.jpg.b9265433dc8c3b550370b1d0e4e4d2fc.jpg)
MarkJ
-
Posts
4,771 -
Joined
-
Last visited
Content Type
Profiles
Forums
Events
Gallery
Everything posted by MarkJ
-
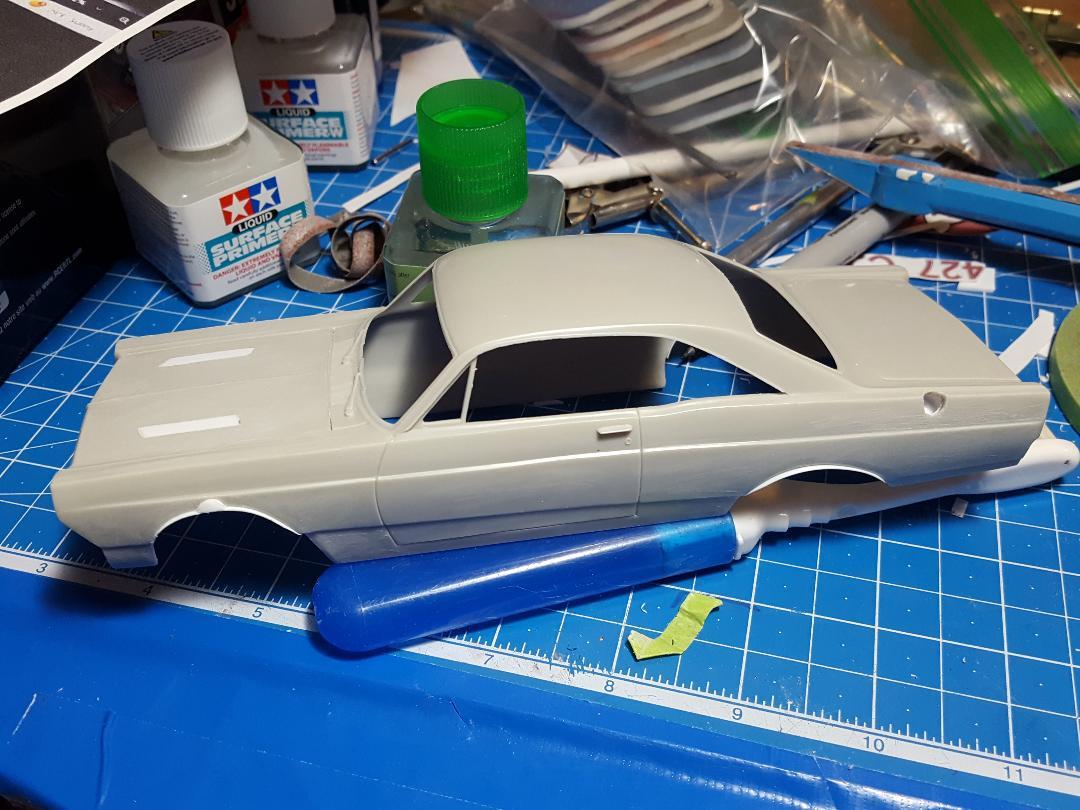
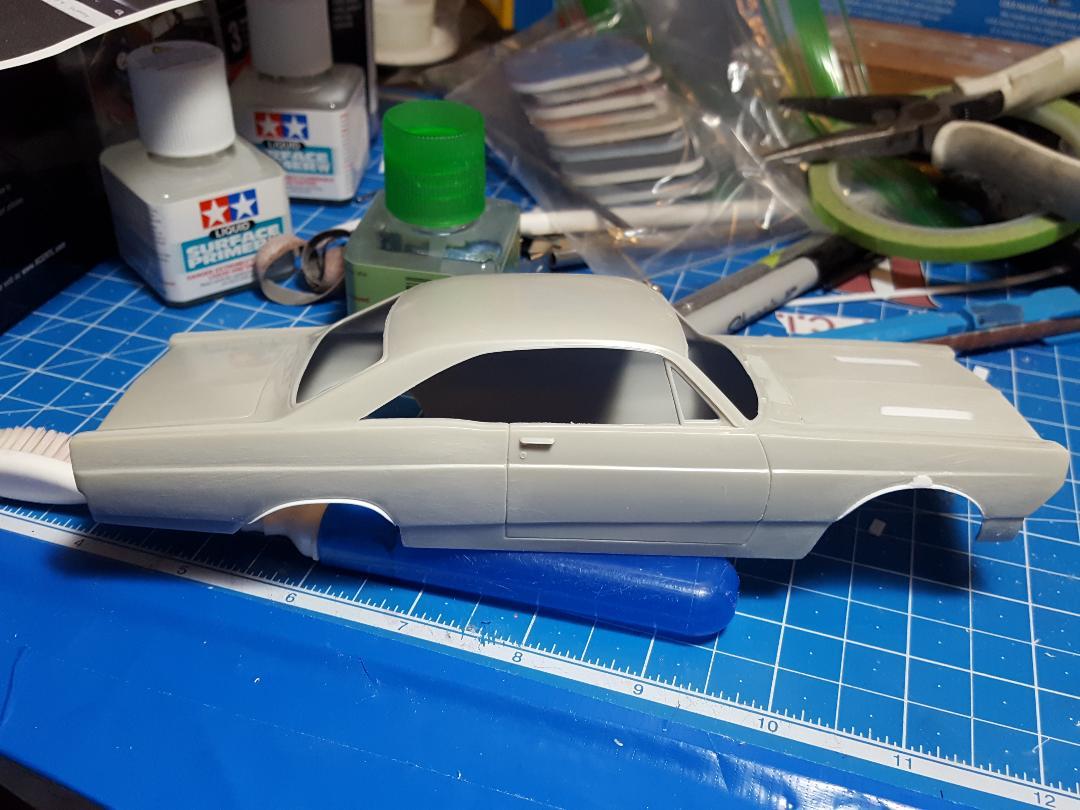
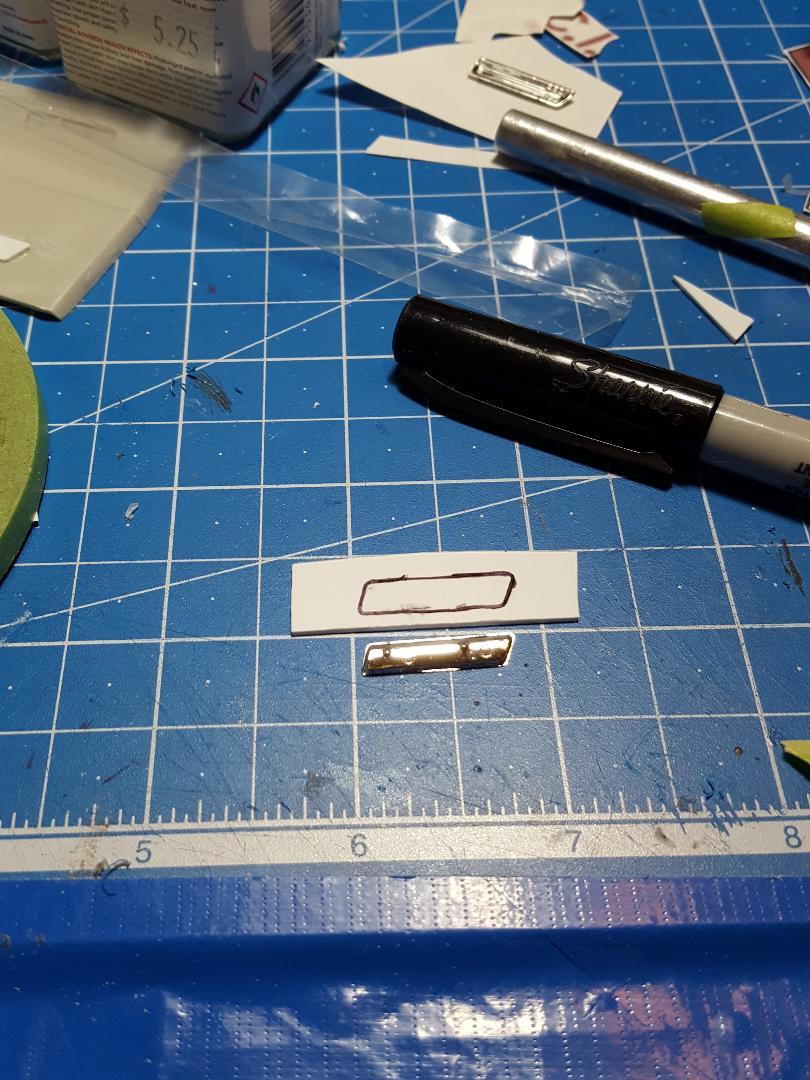
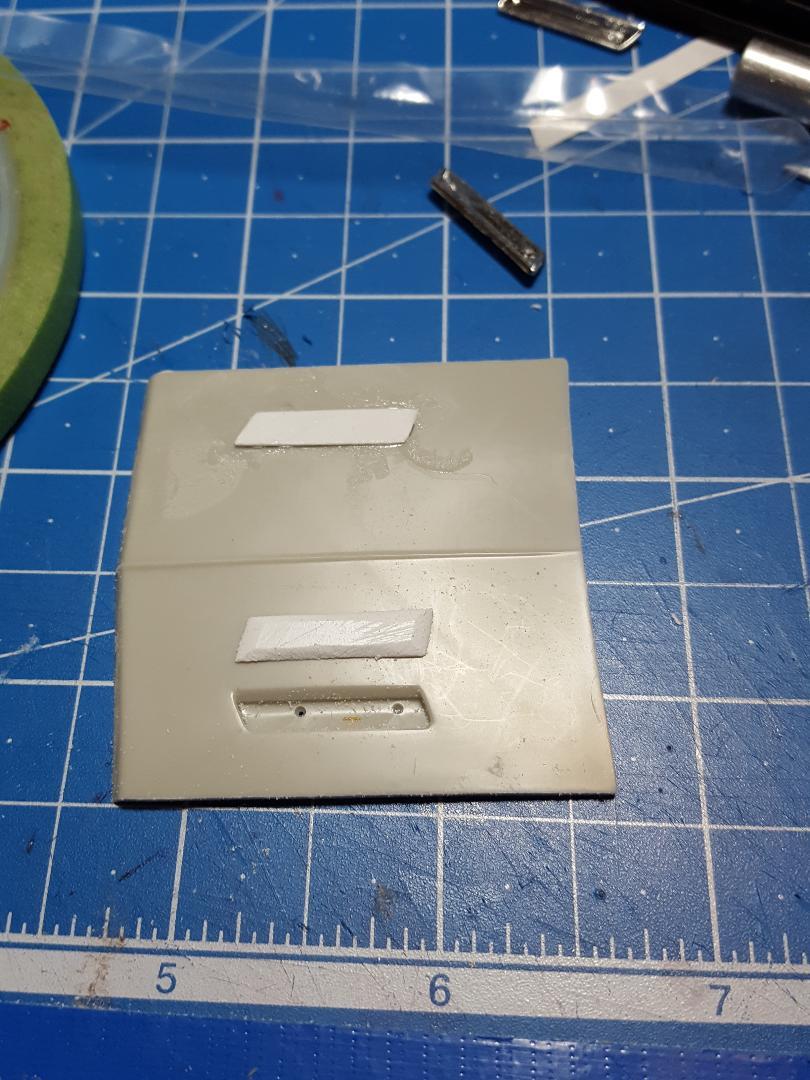
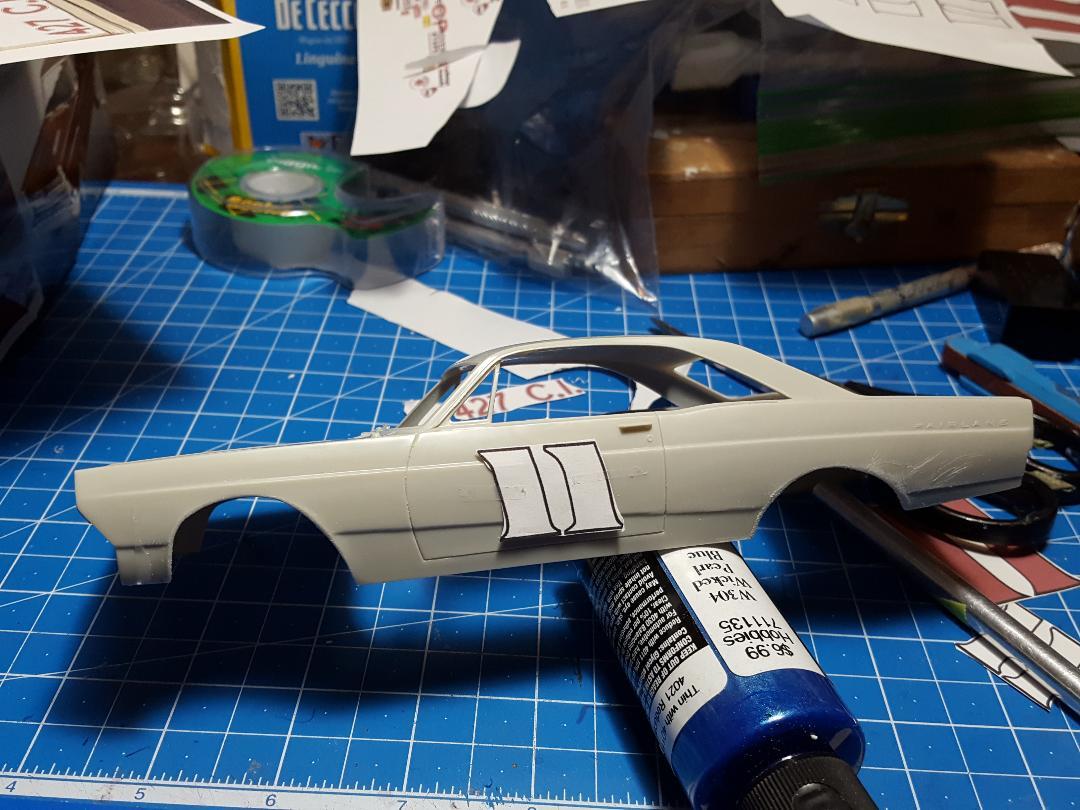
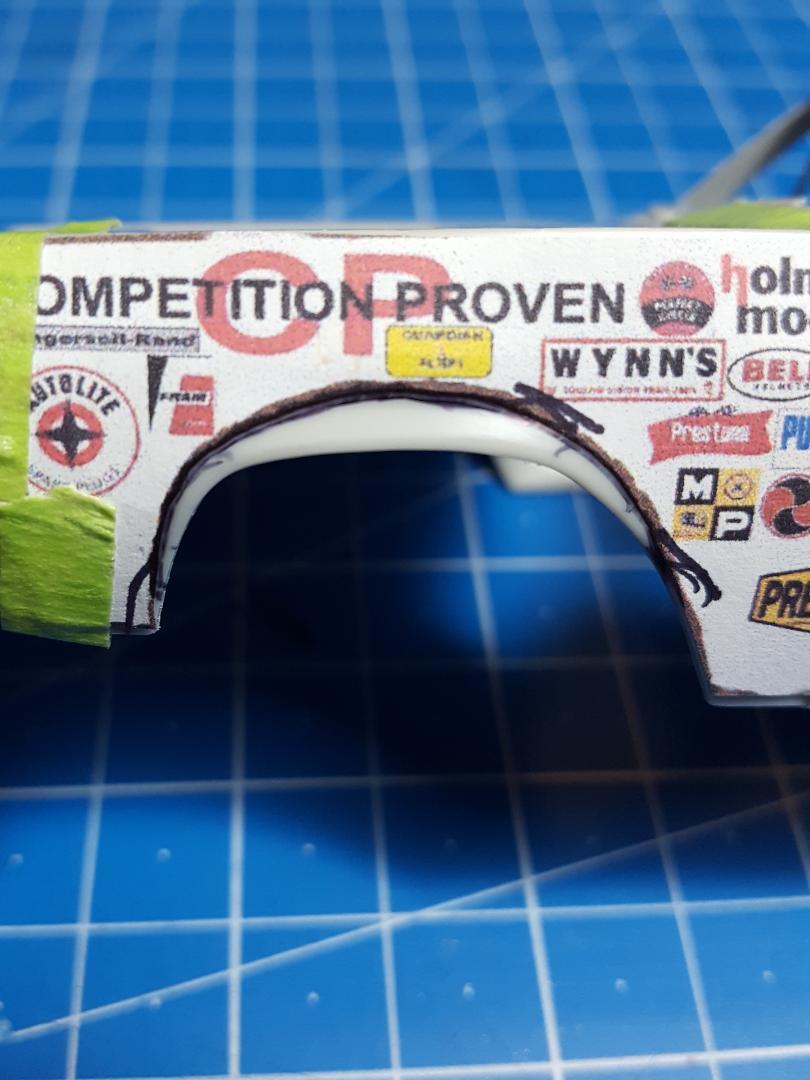
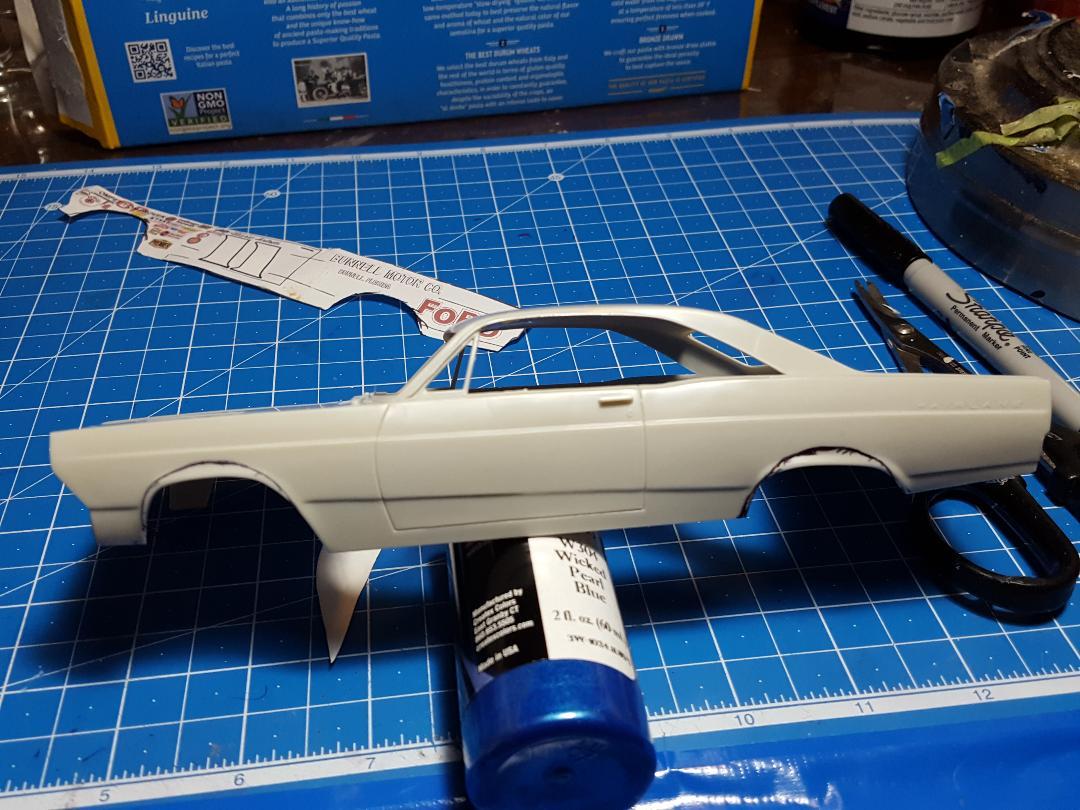
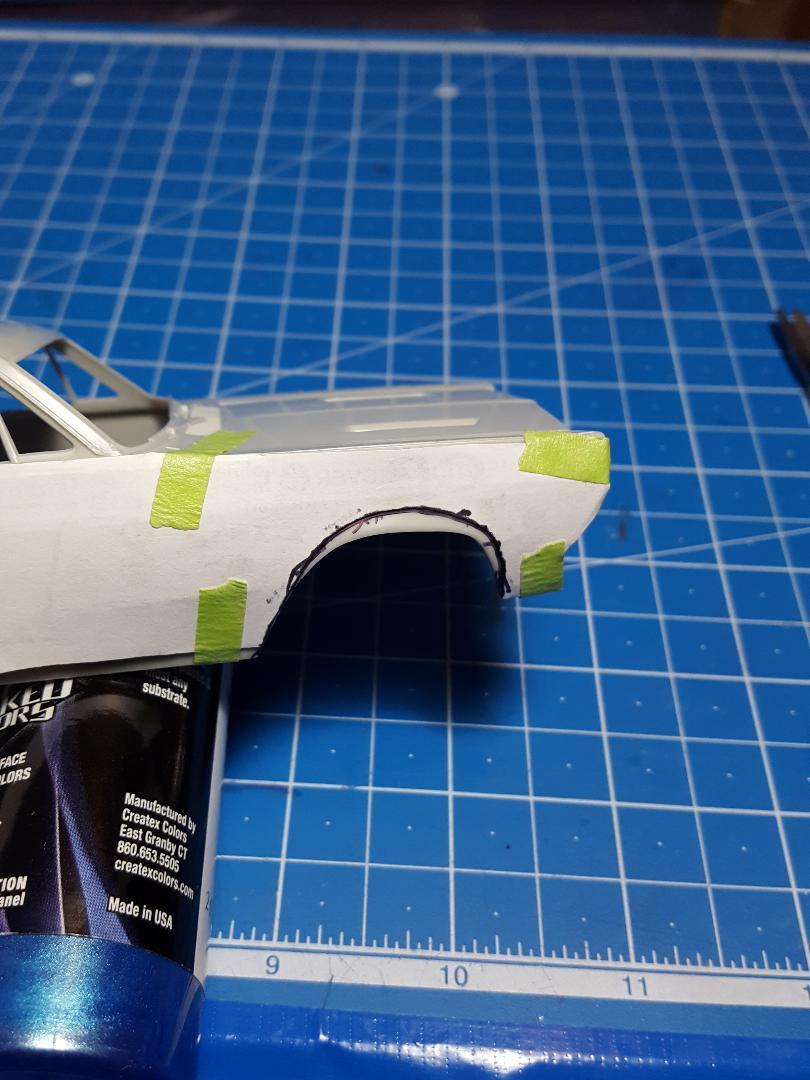
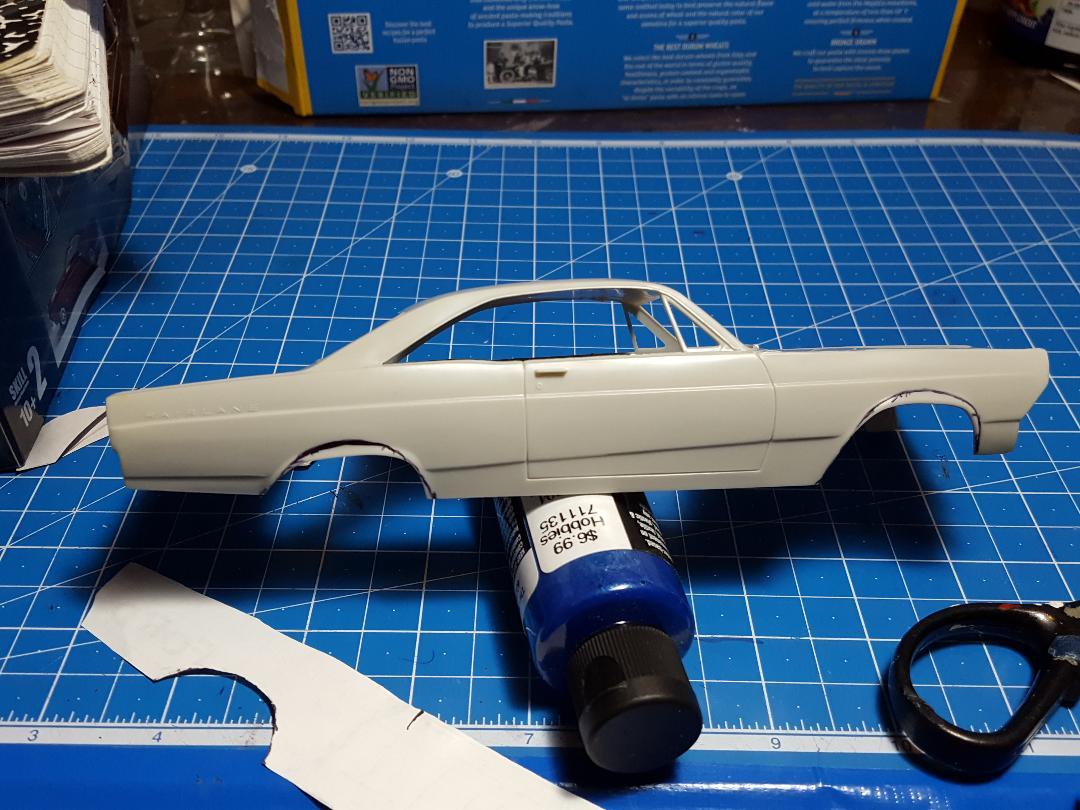
.jpg.b9265433dc8c3b550370b1d0e4e4d2fc.thumb.jpg.915f5b46e3c9402eeaa6972073121c87.jpg) Got the hood finished and made the fuel filler socket for the fuel filler and cap. Also installed lips on the wheel openings. All I lack now is a rear spoiler and sanding down the whole body to get it ready for primer. I tried to buy some rattle can tamiya white surface prime but my LHS was out of it so I bought some bottle Tamiya primer and will prime the body with the airbrush. bummer. I forgot, I also need to remove the wiper blades and arms. Never a fun thing to do.
Got the hood finished and made the fuel filler socket for the fuel filler and cap. Also installed lips on the wheel openings. All I lack now is a rear spoiler and sanding down the whole body to get it ready for primer. I tried to buy some rattle can tamiya white surface prime but my LHS was out of it so I bought some bottle Tamiya primer and will prime the body with the airbrush. bummer. I forgot, I also need to remove the wiper blades and arms. Never a fun thing to do.
-
Thanks, Bob. It was a fun build that I always wanted to do again after 53 years.
-
Rolls-Royce No Chemicals, No Paint, No Harmful Glues
MarkJ replied to Anglia105E's topic in WIP: Model Cars
good to hear, David. I think you will find that they do make a difference in the quality of your inside air -
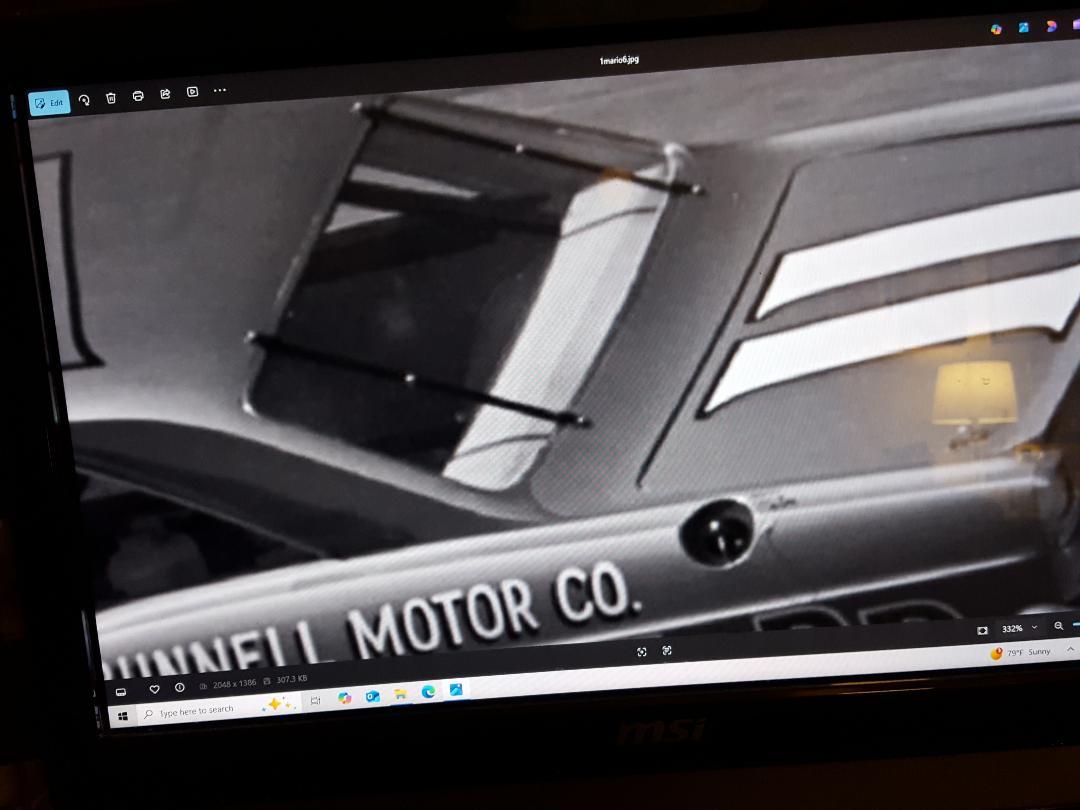
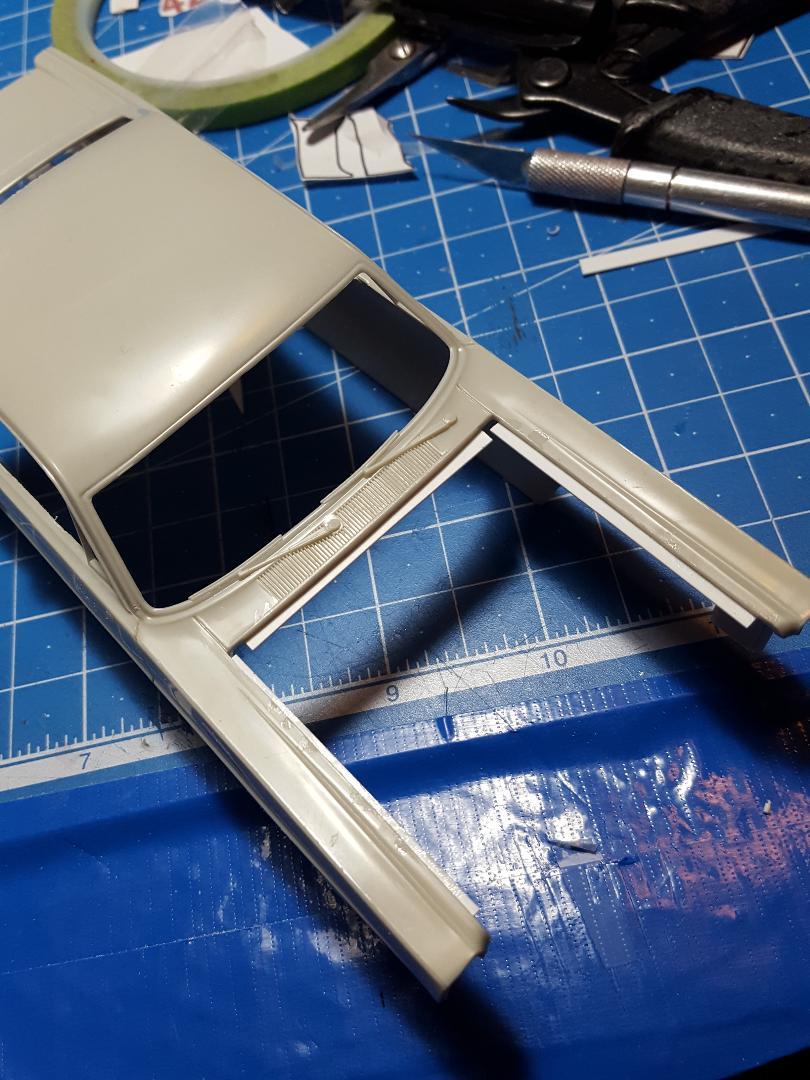
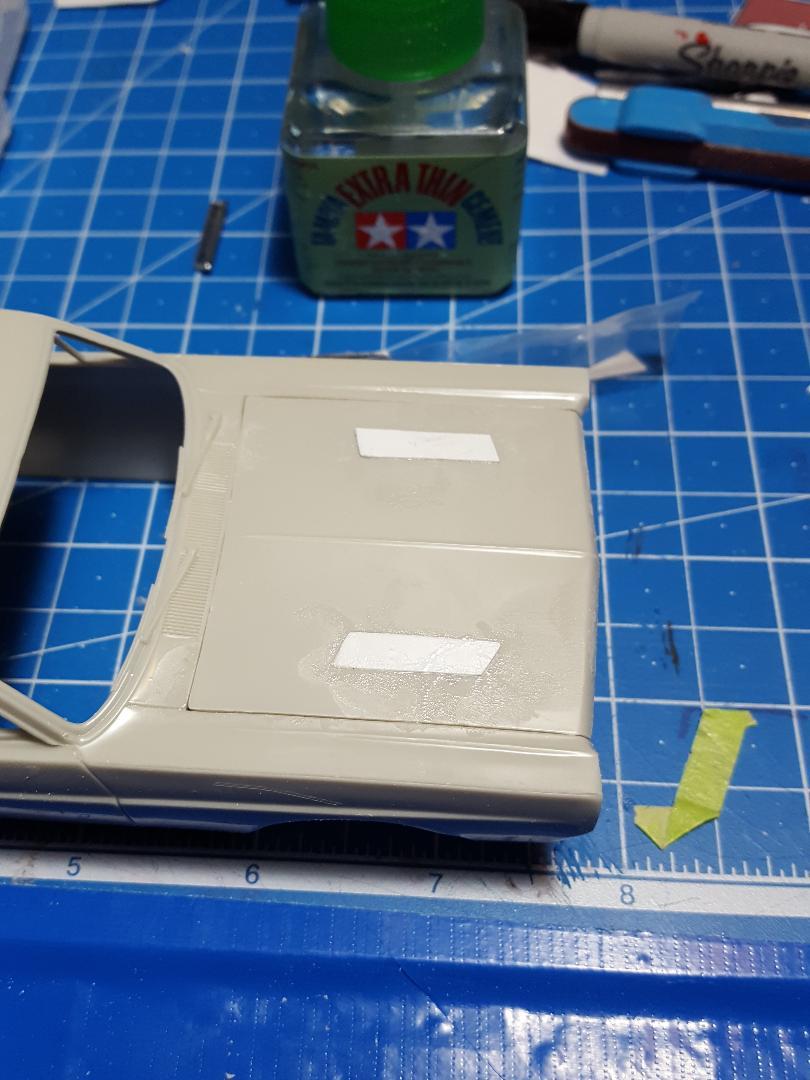
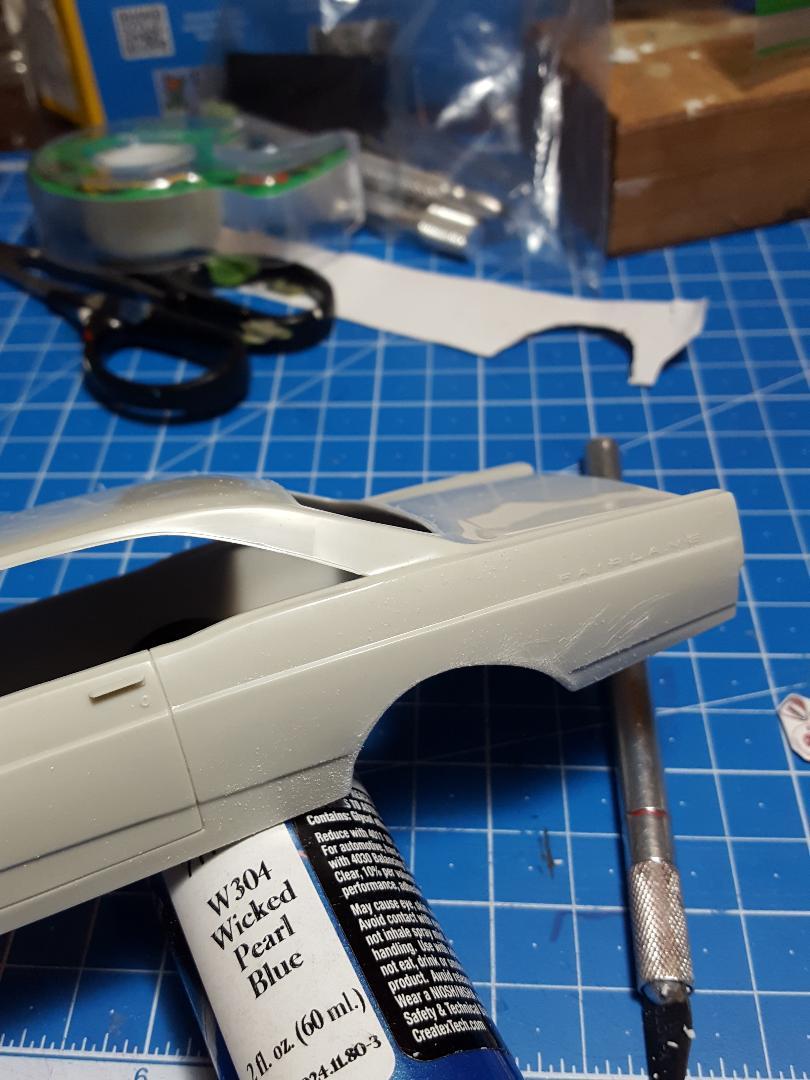
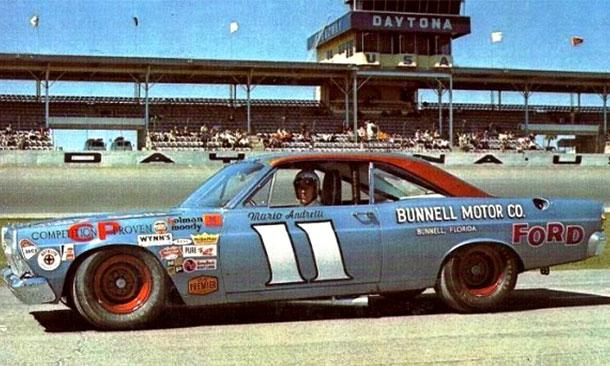
Filled in the voids on the hood and glued the hood shut. Just need to sand the void areas flush and I think I have to add a feature line to the hood on both sides to finish making it a stock Fairlane hood. In that ref picture below, you can see where the gold meets the blue at the bottom of the roof at the bottom corners of the back glass. It's barely perceptible.
-
Rolls-Royce No Chemicals, No Paint, No Harmful Glues
MarkJ replied to Anglia105E's topic in WIP: Model Cars
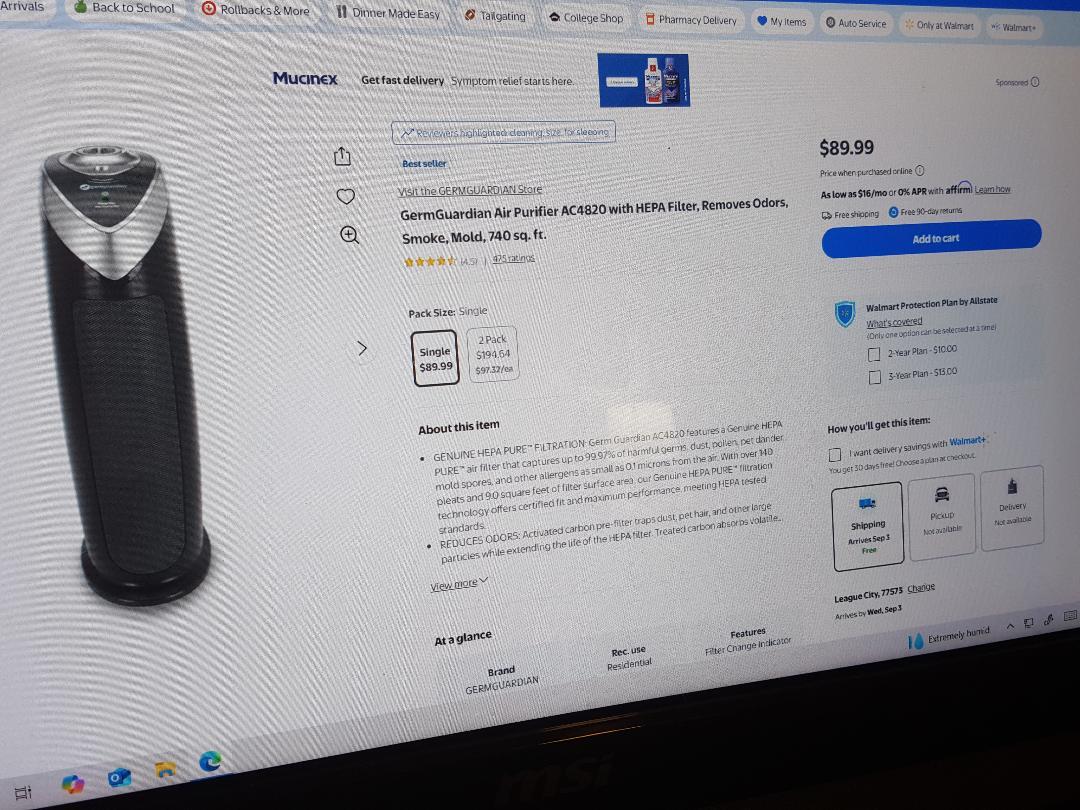
David, the picture below is what I have in my den or largest room in the house. The other two are the same type but made by Holmes that are about half the size, but they all do the same thing. Forgive the picture quality. I had to take a picture of a picture on my p.c. monitor. You don't have to get these brands just get one or how many you want that does the same thing the pictured one does. There are probably hundreds of brands out there and all are probably very similar in quality. I'm sure there has to be something in the U.K. that is readily available, or you could always use amazon or something like that. Take care.
-
Rolls-Royce No Chemicals, No Paint, No Harmful Glues
MarkJ replied to Anglia105E's topic in WIP: Model Cars
David, I live in southeast Texas that is full of pollutants in the air from the many plants I live around and the weather is almost always very humid which promotes mold . I live in a 55 year-old house and if I did not have 3 separate plug in air filters going 24/7 I would be in a lot of trouble.. Even with a central air conditioning system which is necessary for anybody who lives down here whether you have health issues or not. I switched to acrylic paints about ten years ago and have no issues with modeling. I have to use a rescue inhaler albuterol twice a day, morning when I get up and evening when I go to bed and a maintenance inhaler Asmanex also twice a day. If I did not, I would be in a lot of trouble. I have made a place outside to airbrush when the weather allows it and only use acrylics out there as well only because I don't have a place in the house with an evacuation system and I would get overspray all over the work area I use. I am like you; I can't give up modeling. It is the only thing that keeps me sane. If you don't have plug in air filters in your house you should definitely look into getting at least three of them and spread them around your house. -
oops. already thanked you but thanks again anyway. that's what happens when a new page in a thread starts up.
-
Thank you, Beckham. Your interest in the build is very appreciated.
-
Thank you, Trevor. When they came out with the low-cost way to use a laser printer and the ghost white toner to make white decals, I knew I had to get it and somehow learn to use it. I notice that Micro Mark no longer sells the printer or the ghost white toner. Must have had a lot of problems making people satisfied with their results. Luckily, they still sell the laser clear decal paper.
-
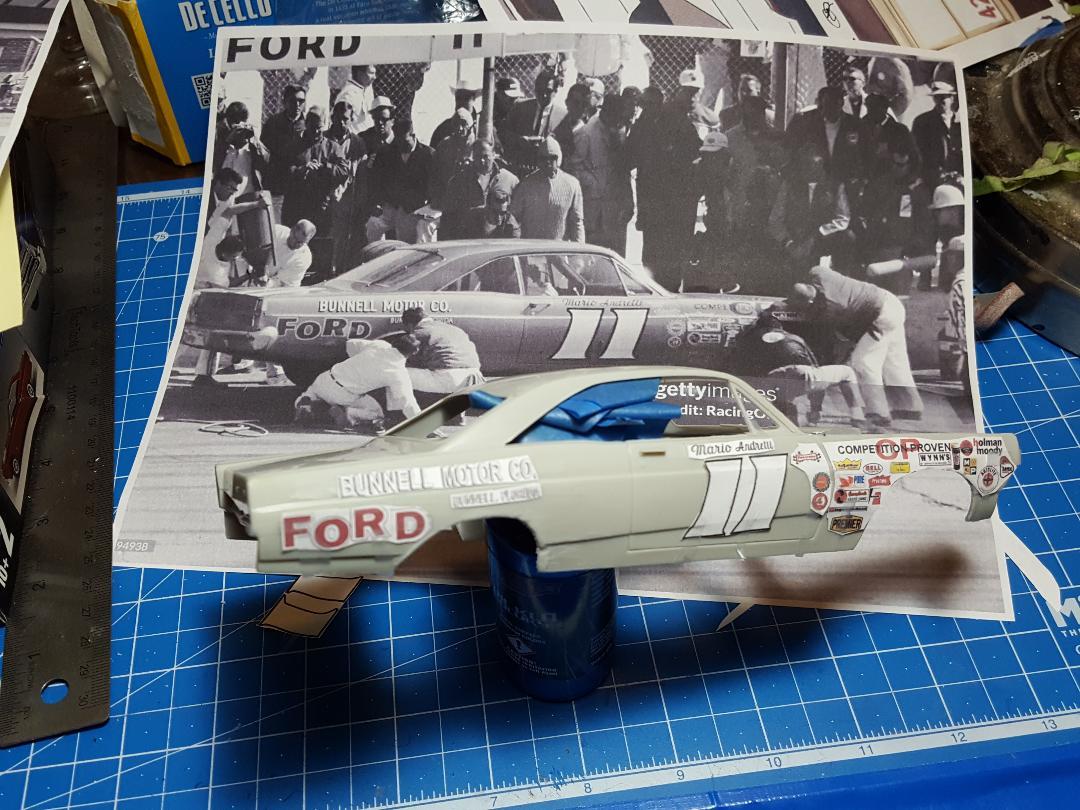
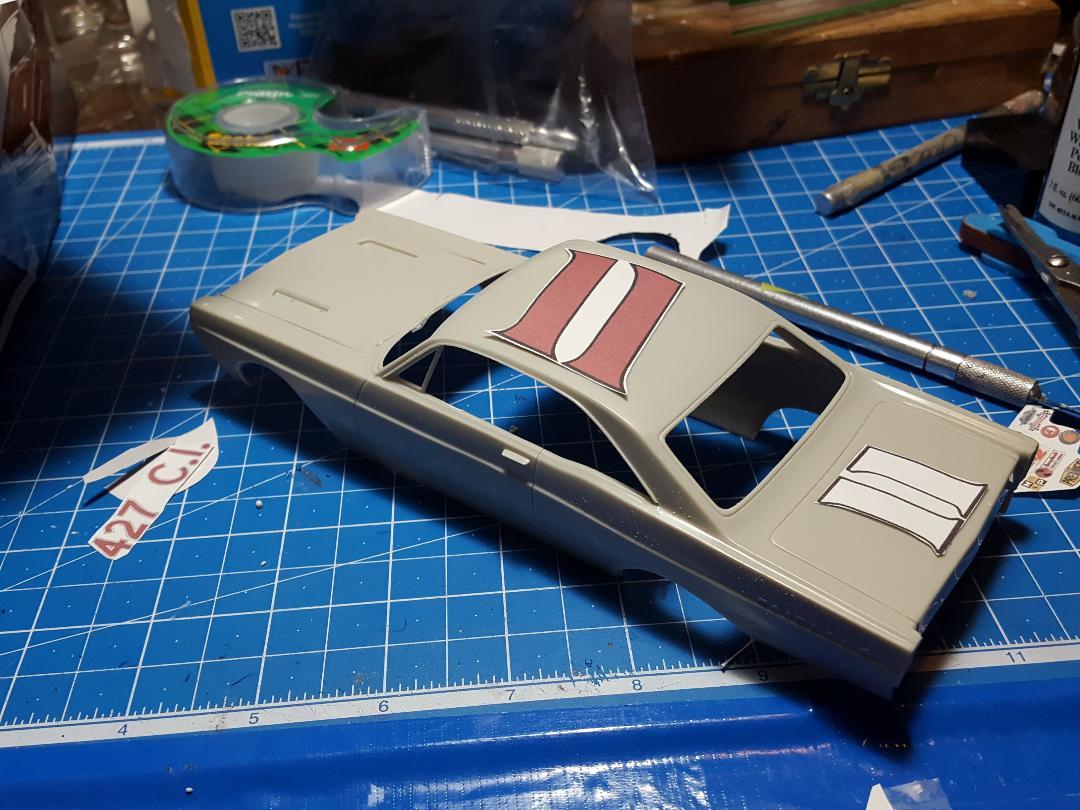
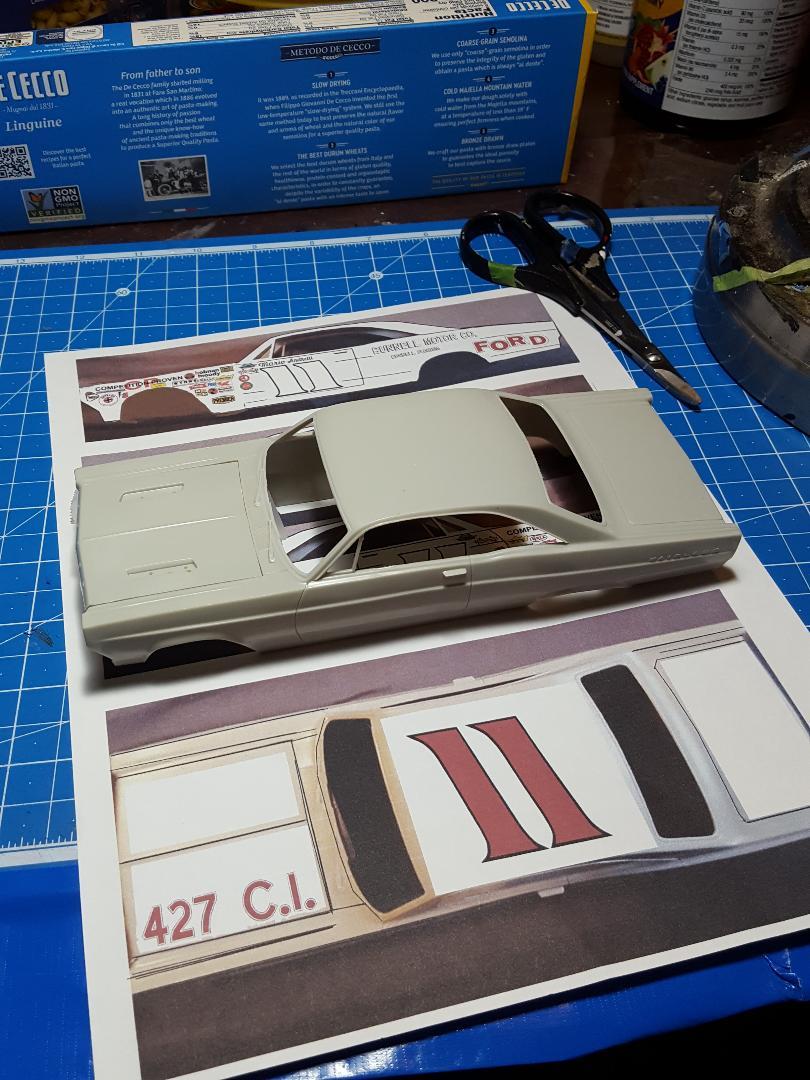
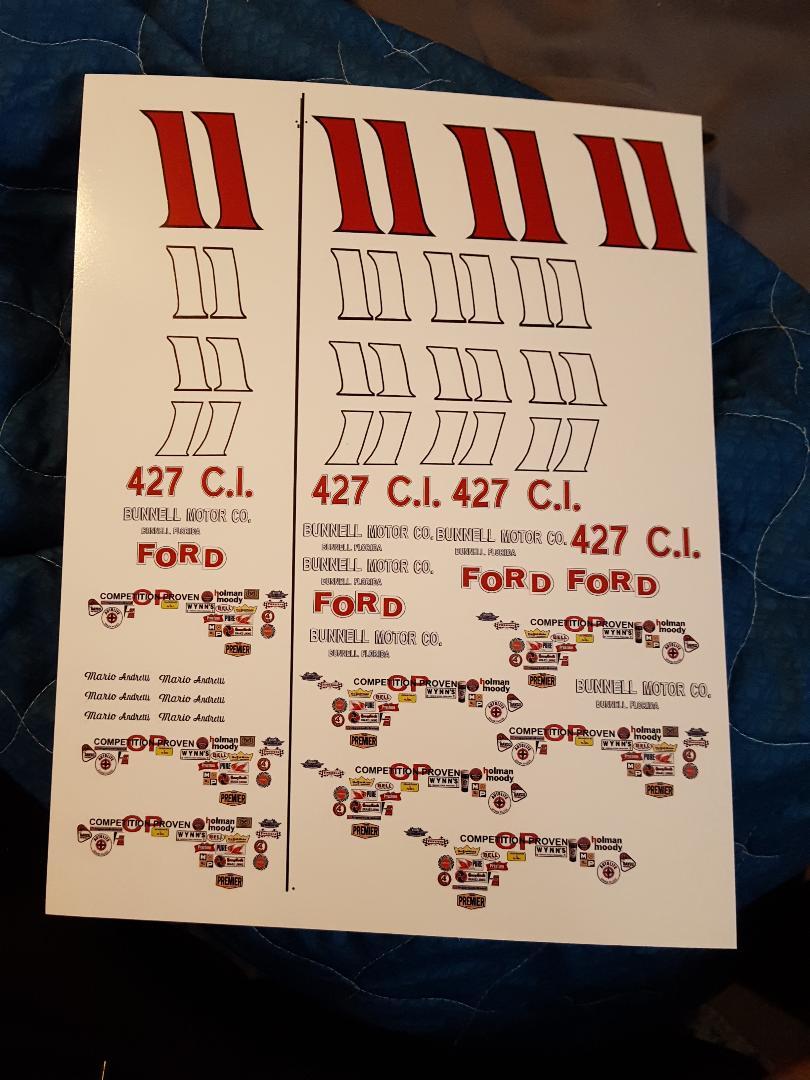
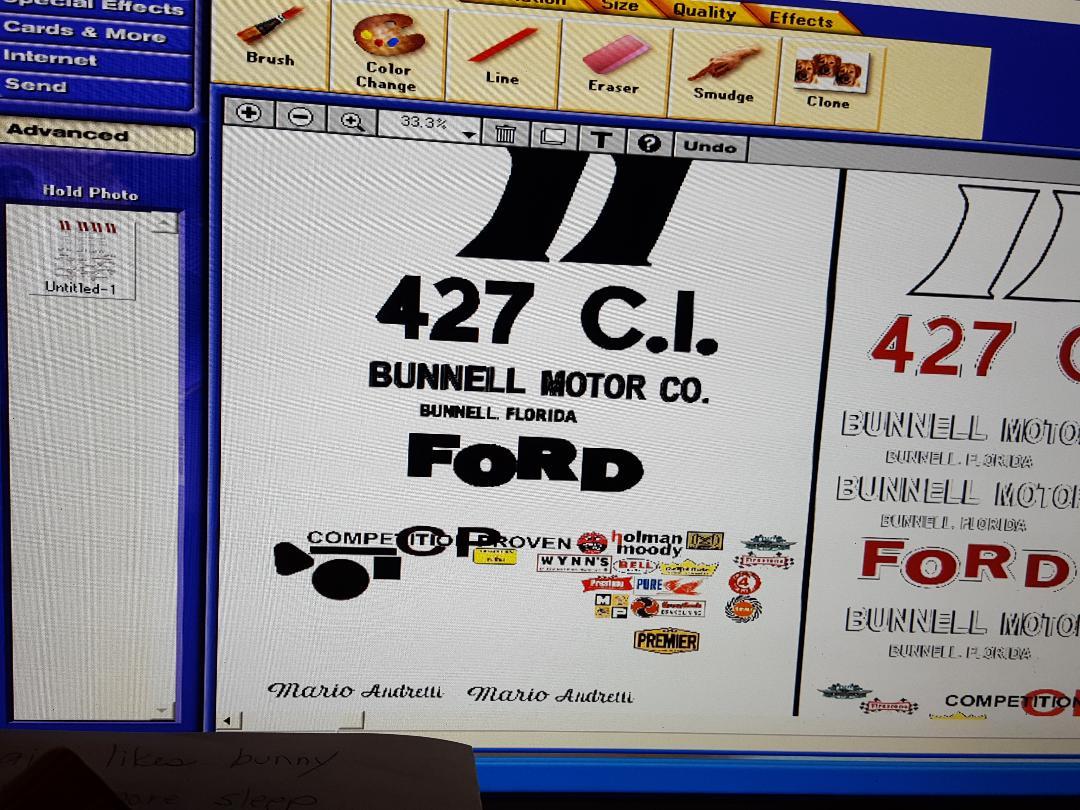
Some more cutting and taping the paper images to see if the decals will fit. I made and printed a Nascar decal for the right side of the car but the real car didn't have one on the right side of the car so I will leave that off. One shot shows a Prestone decal on top of one of the numbers on the right door and I did not make that one on purpose because I did not like the look of a contingency on top of a number. That just aint right, as they would say in Texas. I'm officially through with the decals and will concentrate only on building and painting the model from now on.
-
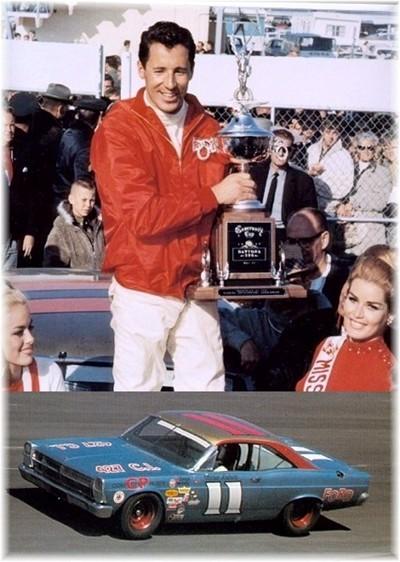
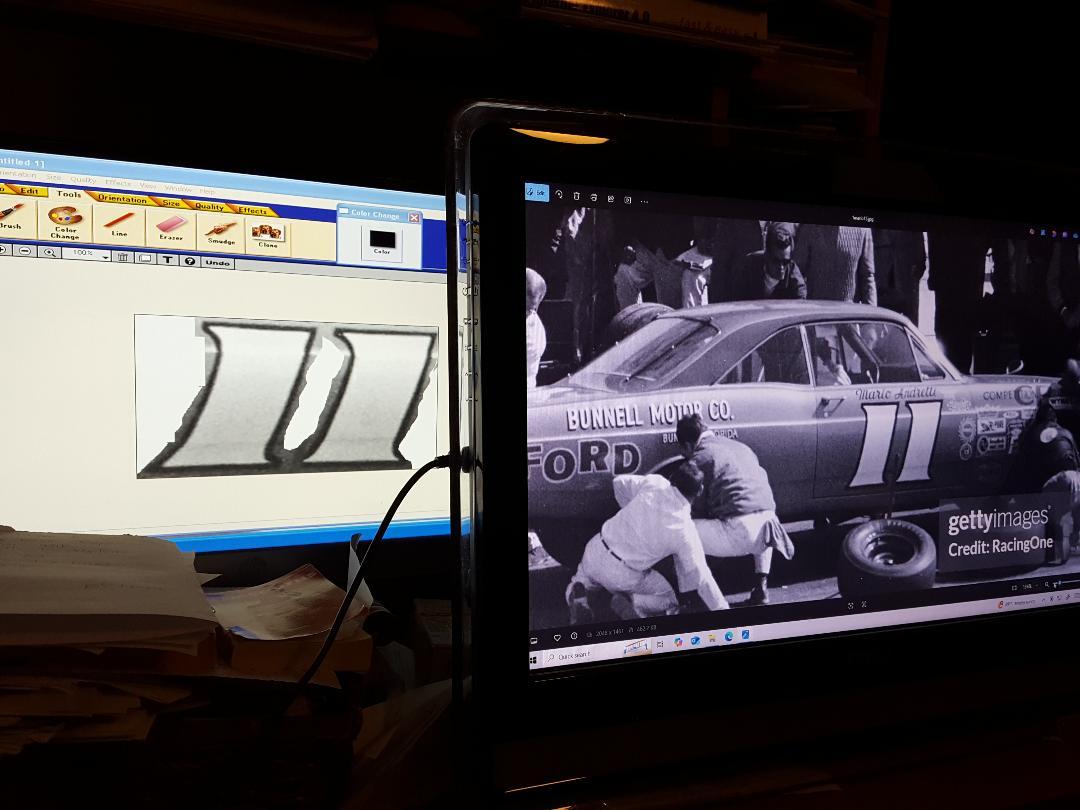
Thanks, Jason. I have that photo from an internet search but it's not as crisp as your card. Thats the trouble with making my own decals. I can't get my printer to print a bright red roof decal like the actual car had. I actually printed an orange image file, but it still printed as red. Oh well, can't have everything.
-
Rolls-Royce No Chemicals, No Paint, No Harmful Glues
MarkJ replied to Anglia105E's topic in WIP: Model Cars
Sorry, Dave. Very bad form on my part. I should have private messaged Pierre. Won't happen again. Please except my heart felt apologies to you and all of the other posters here. -
Rolls-Royce No Chemicals, No Paint, No Harmful Glues
MarkJ replied to Anglia105E's topic in WIP: Model Cars
Pierre, tell me more about this Ferrari. I don't seem to remember ever seeing it on your bench in the wips, or in the showroom. I need more views of this awesome build. -
here are those photos.
-
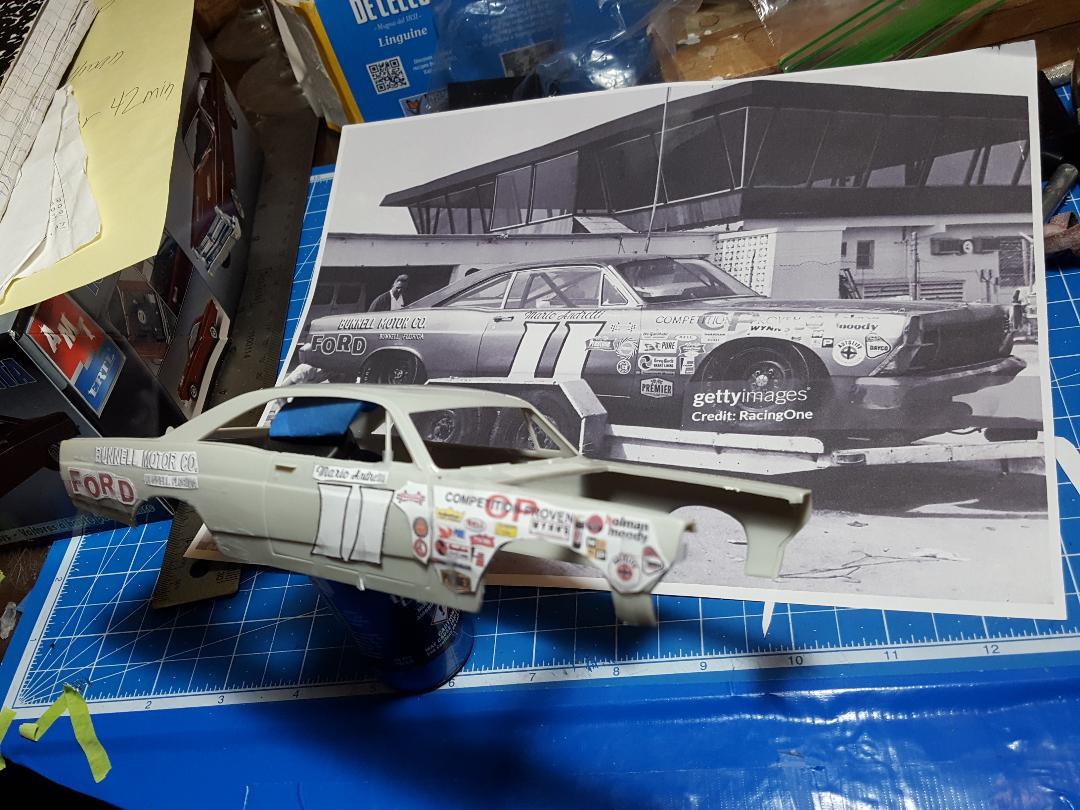
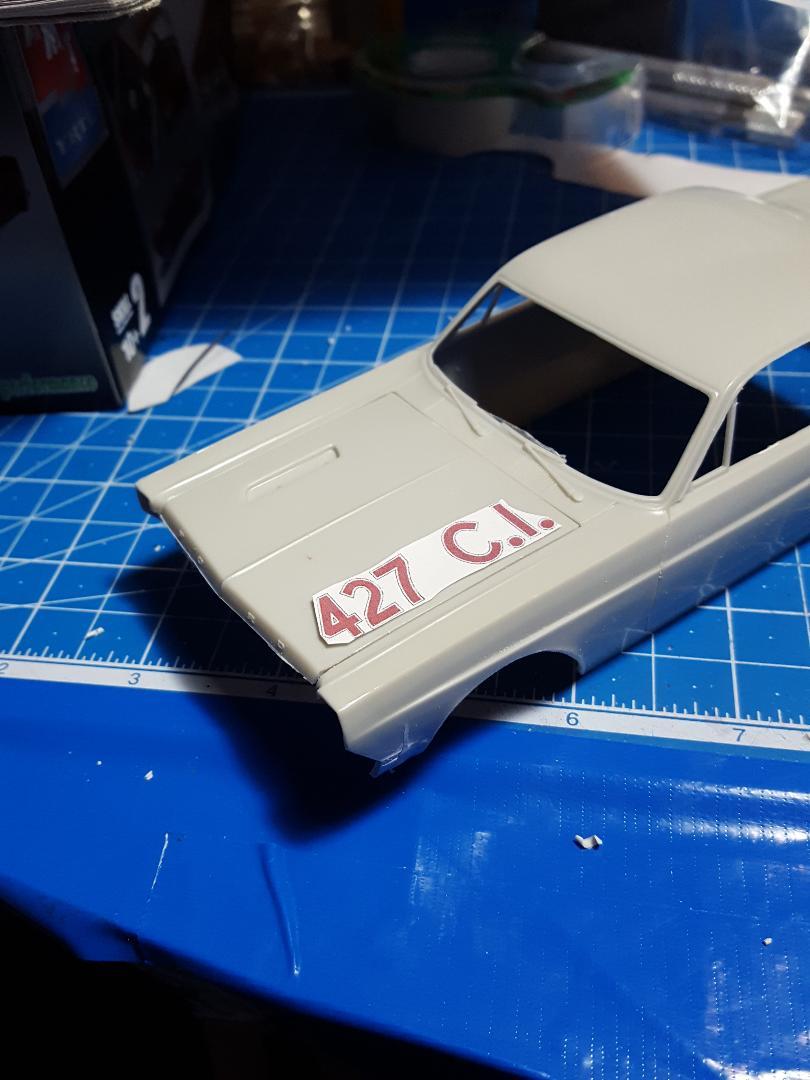
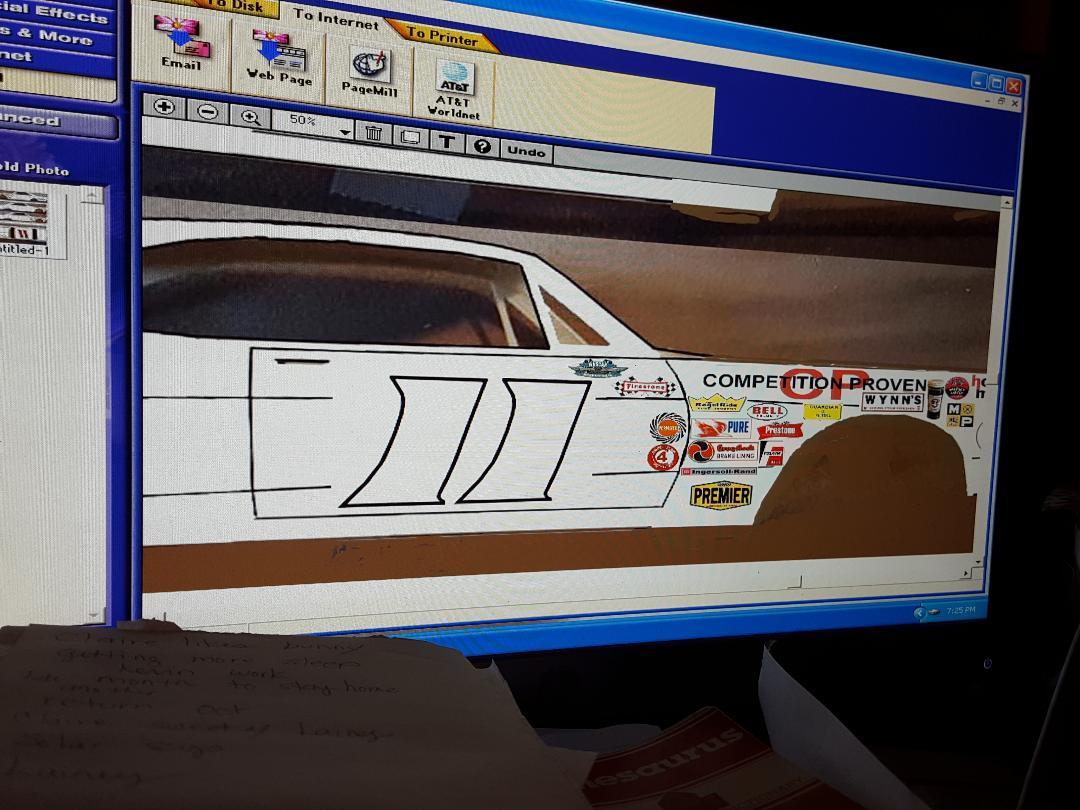
Got some work done using a pattern to get the wheel openings cut out correctly to match the decals that will be placed closely to them. I printed out an image of the car and cut it out to place it on top of the model body to use as a pattern. Also cut out a copy of the decal sheet printed on white paper to see if it will fit which it seems that it will. I will put a small lip on the wheel openings which was done on the real car. Those photos will be coming soon. Ran out of time today.
-
Thanks, Steve. It should be a fun build. Thanks, Carl. Can't wait to start working on some styrene for a change instead of these decal sheets.
-
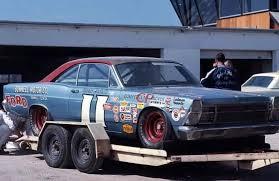
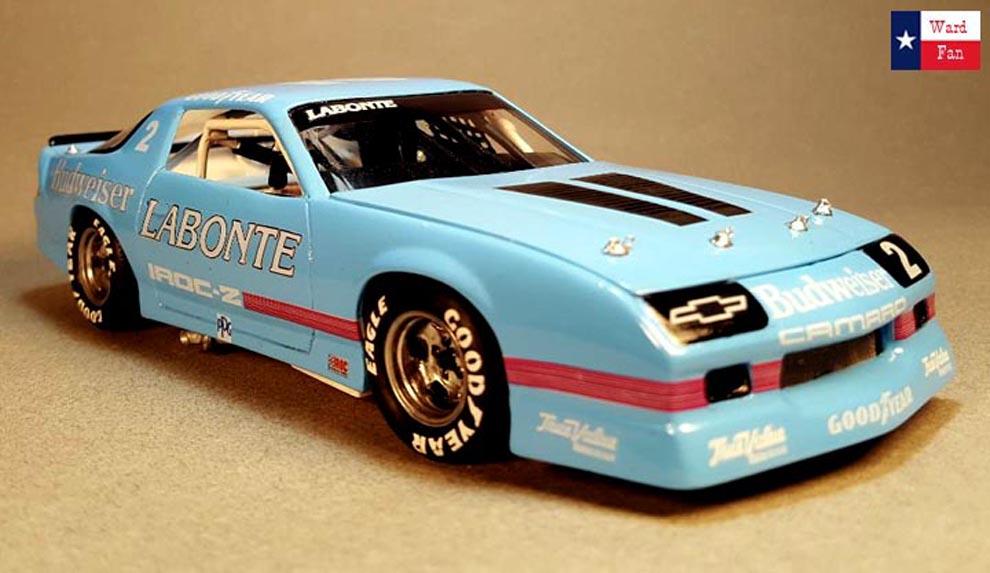
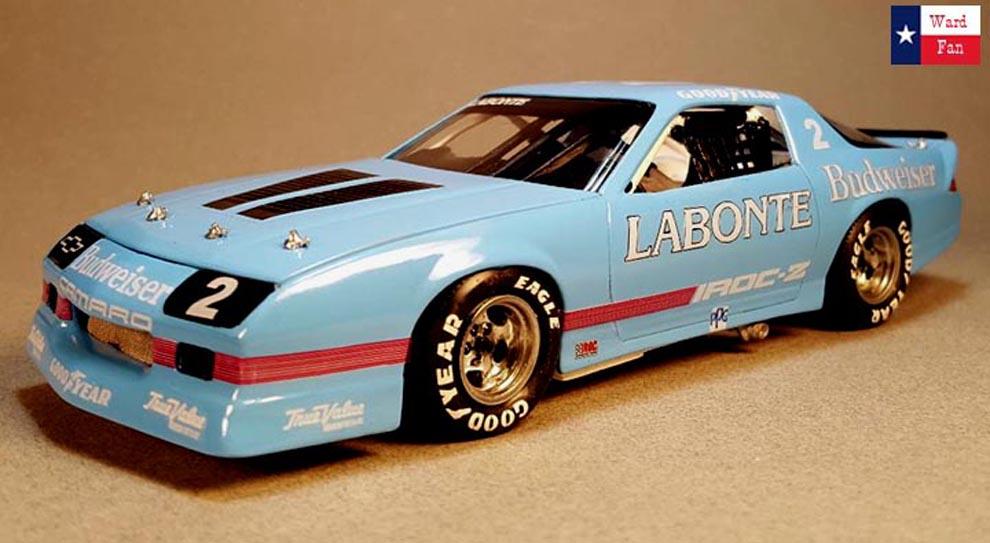
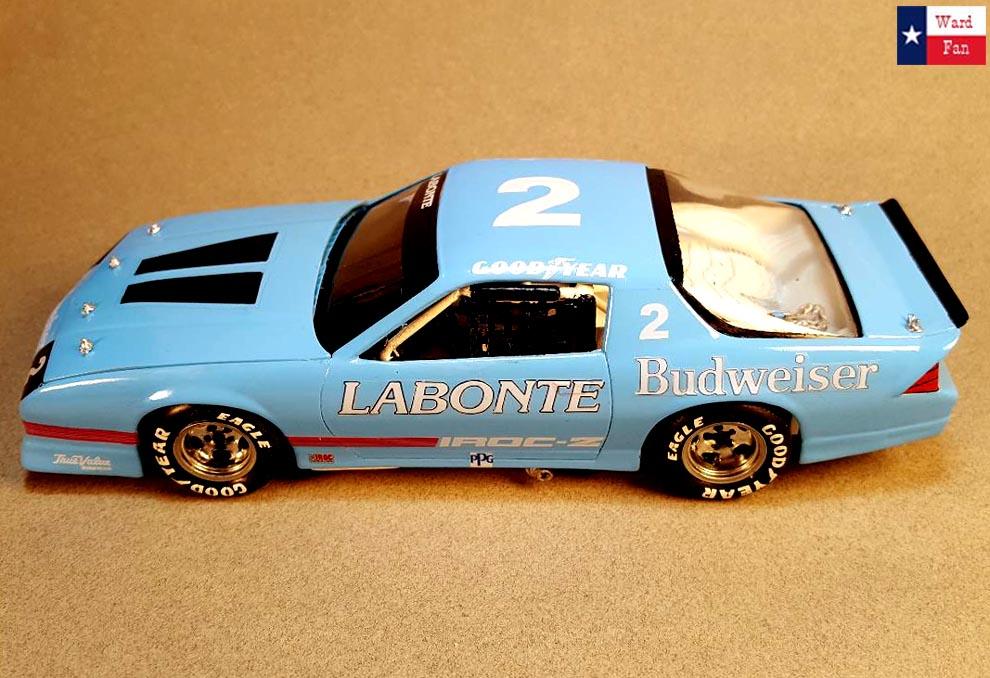
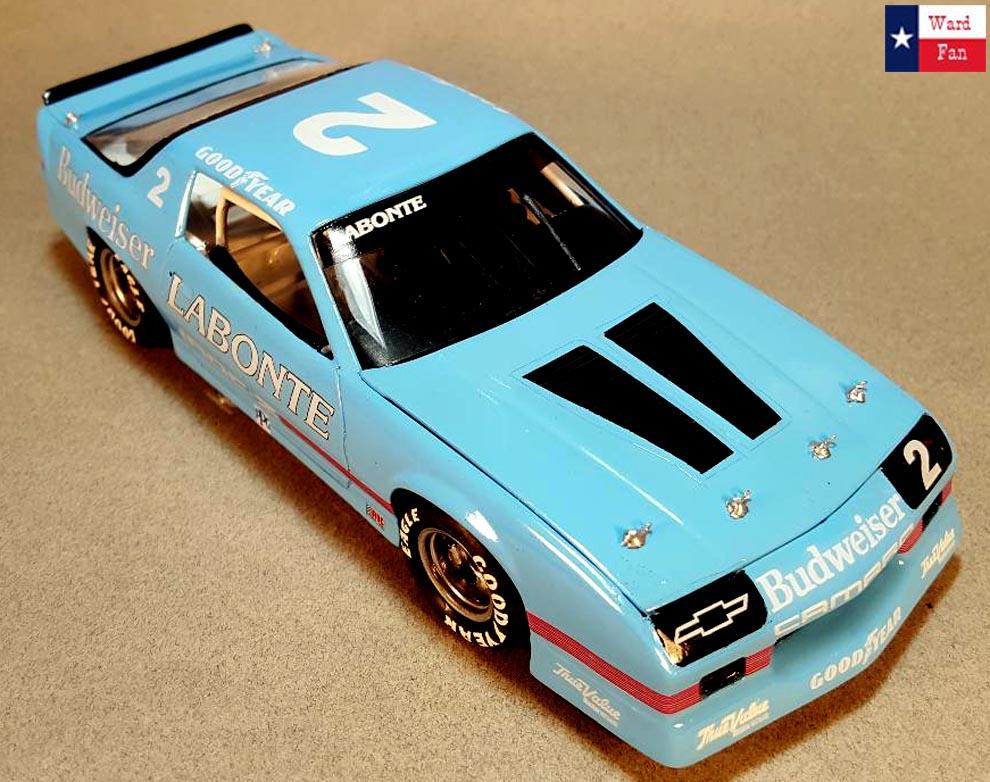
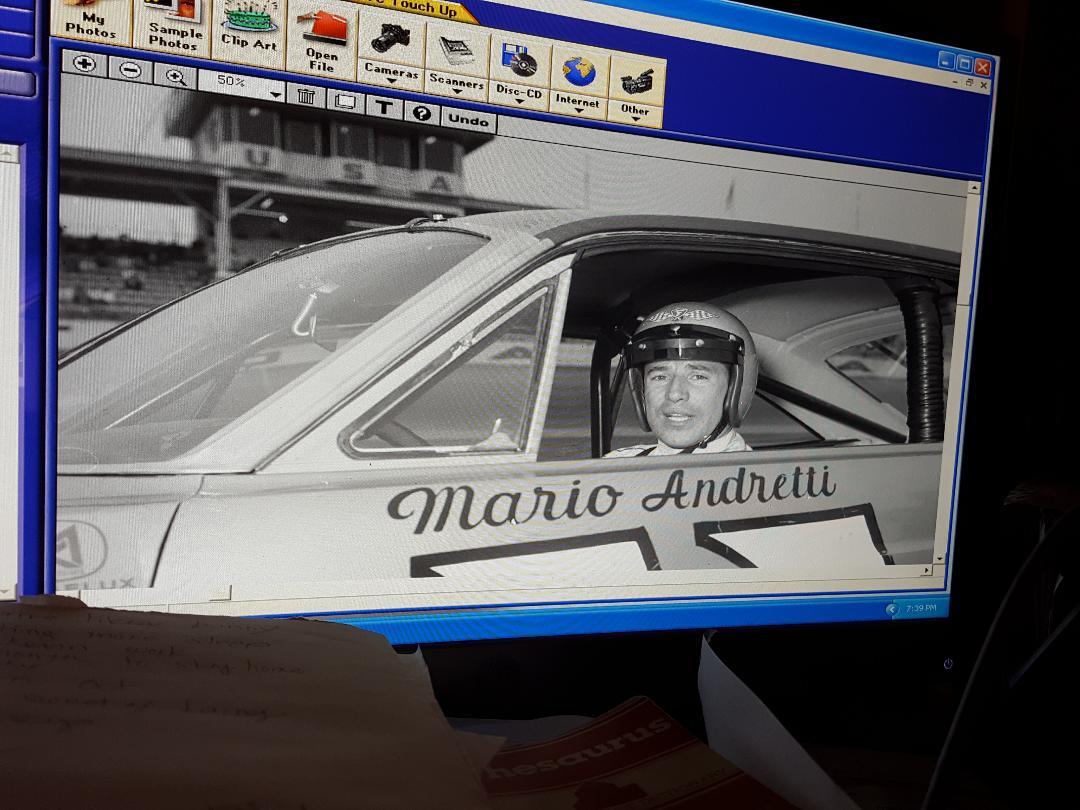
Here is the target I'm trying to get close to. Sadly, not many good color photos of the real car in full race trim are available as per usual. Museum cars just don't seem to ever get it right.
-
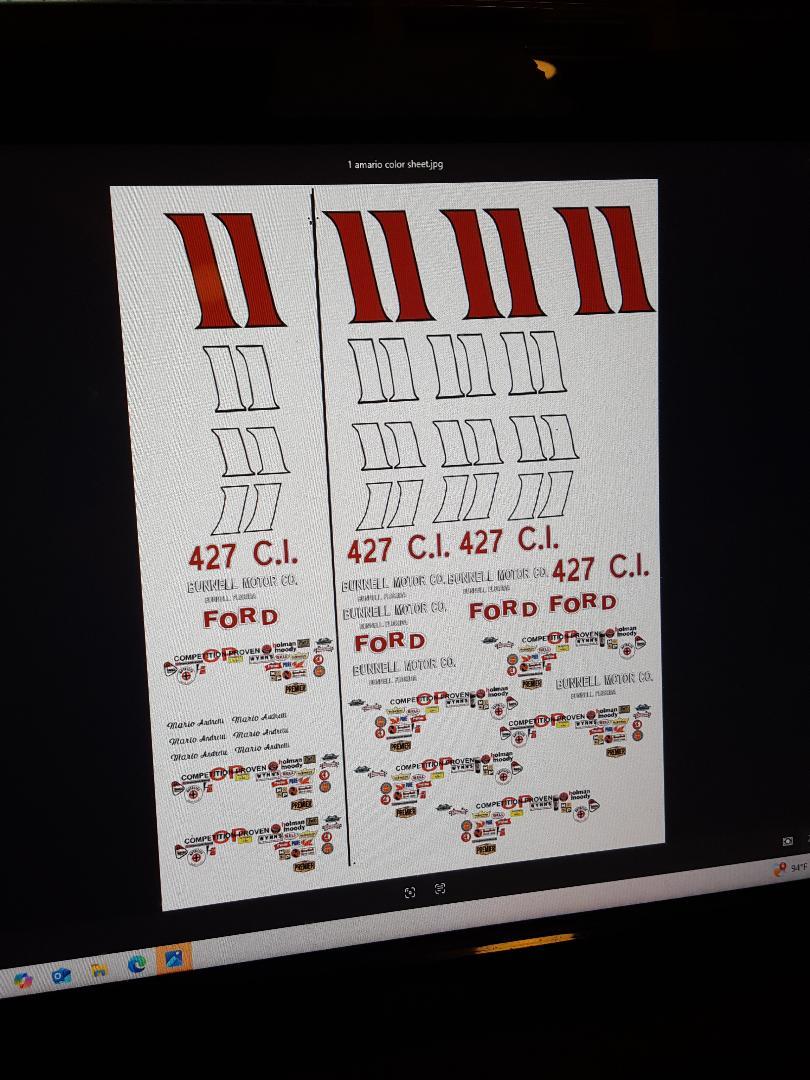
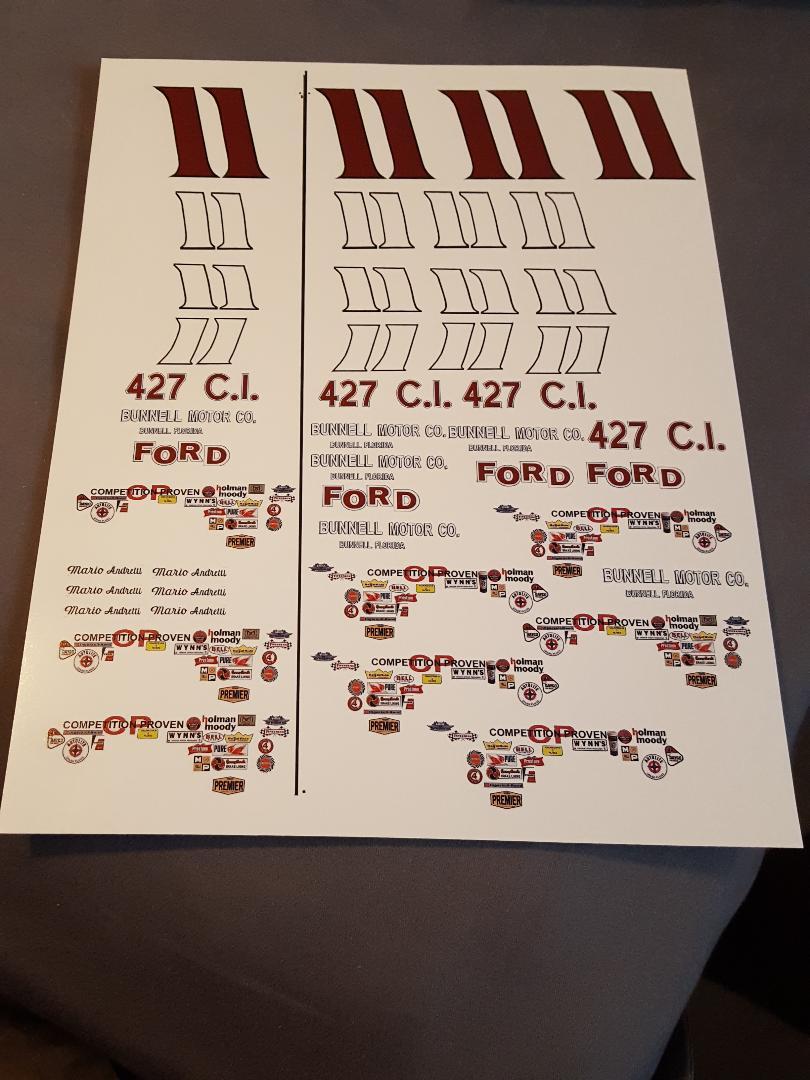
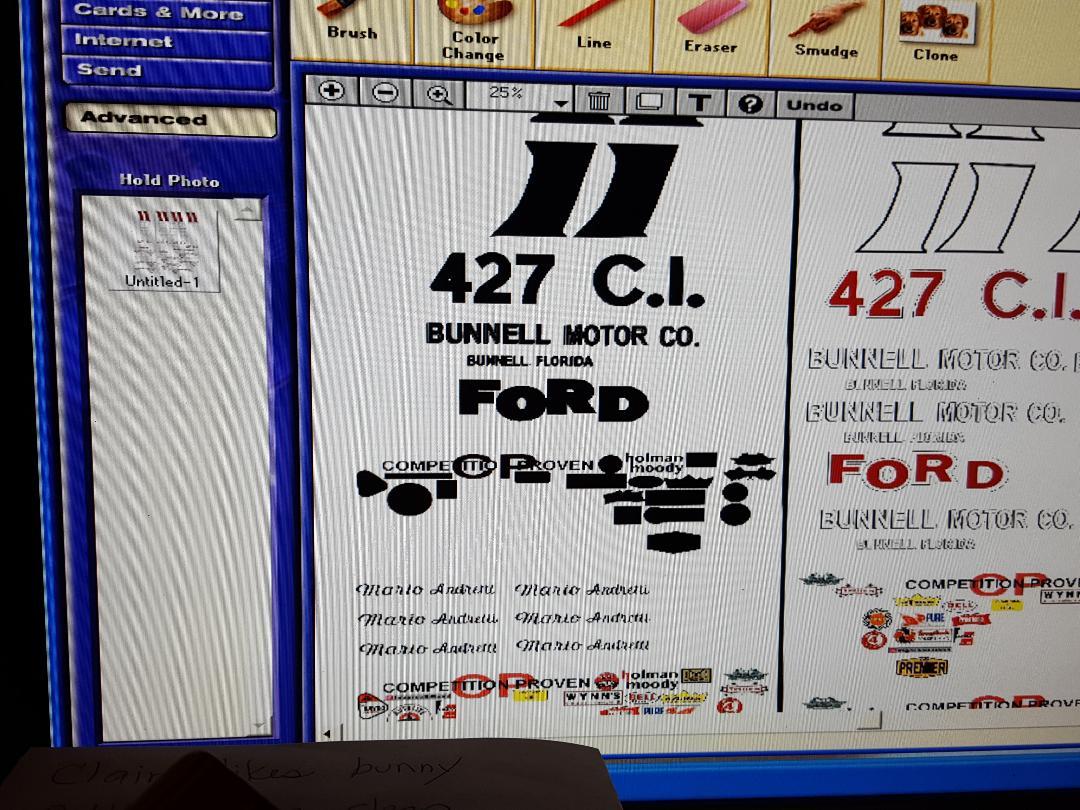
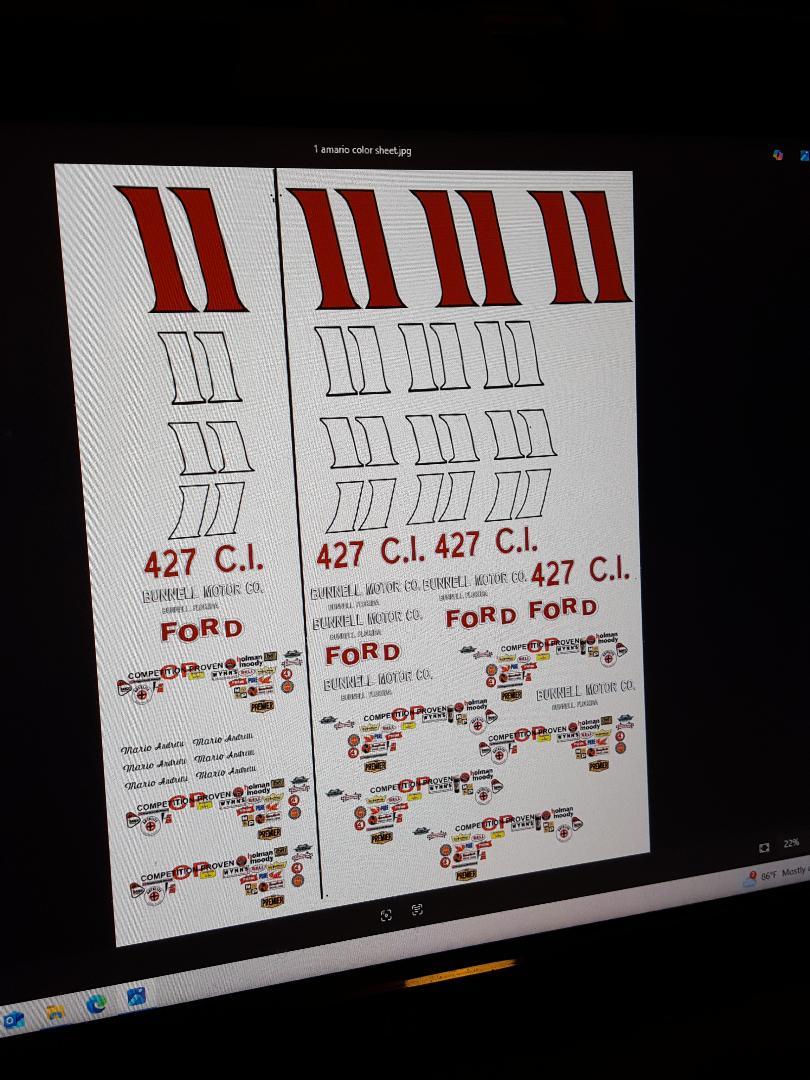
Here is the reprint with the red stuff red instead of maroon. Bought some testors lacquer 1261 clear today to seal the decals. I'm not foreseeing any problems getting them on okay when I finally get the model painted and built. Should go on like the Camaro I did a few months ago . Those decals were made the same way
-
Thanks, Rick. I had to print another color sheet because the red came out too dark . Looked more like maroon. Now the decals are officially finished.
-
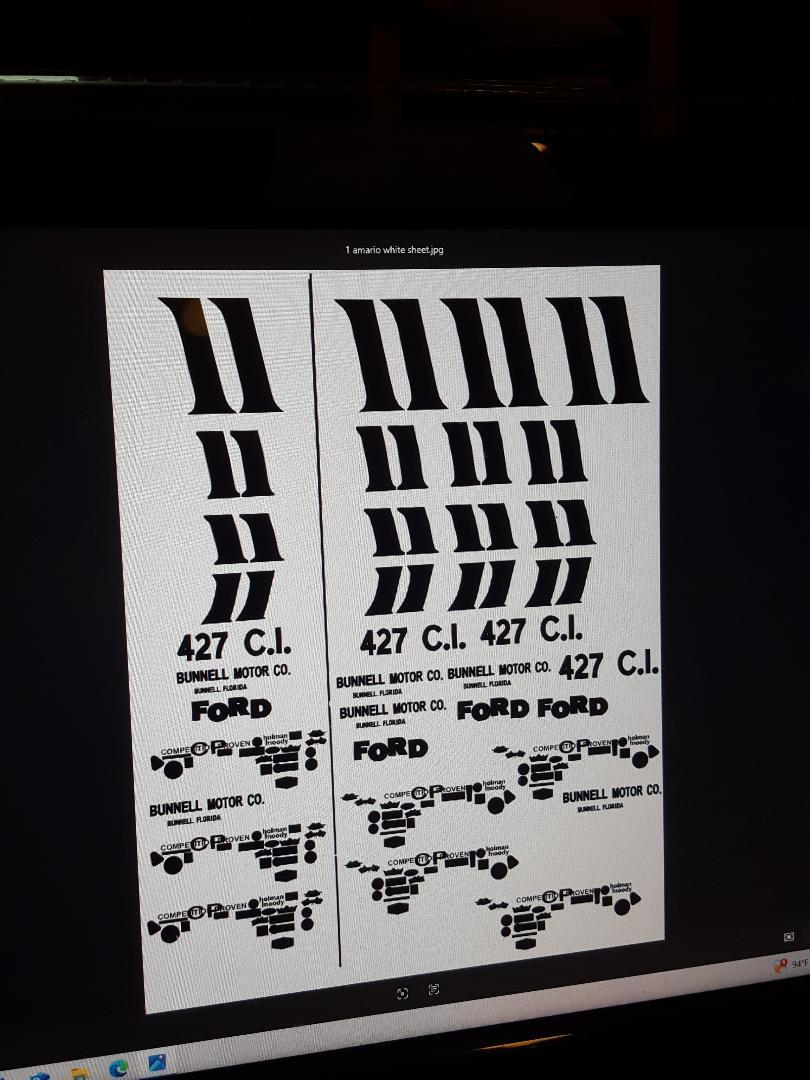
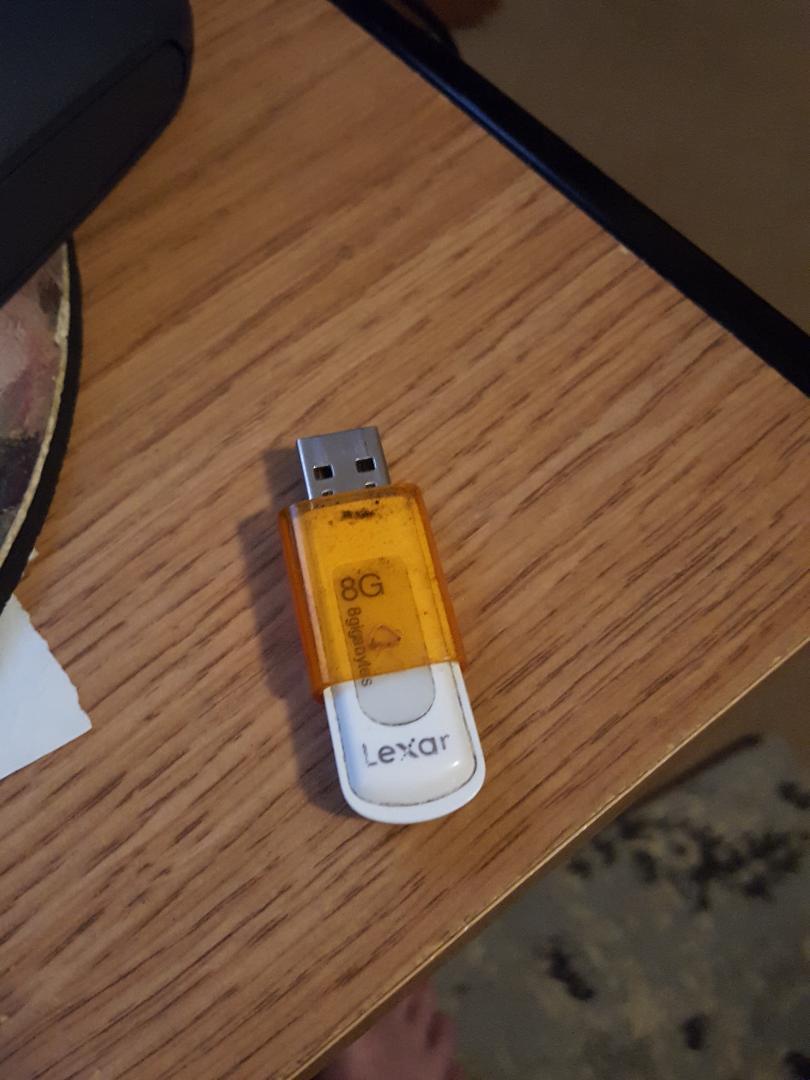
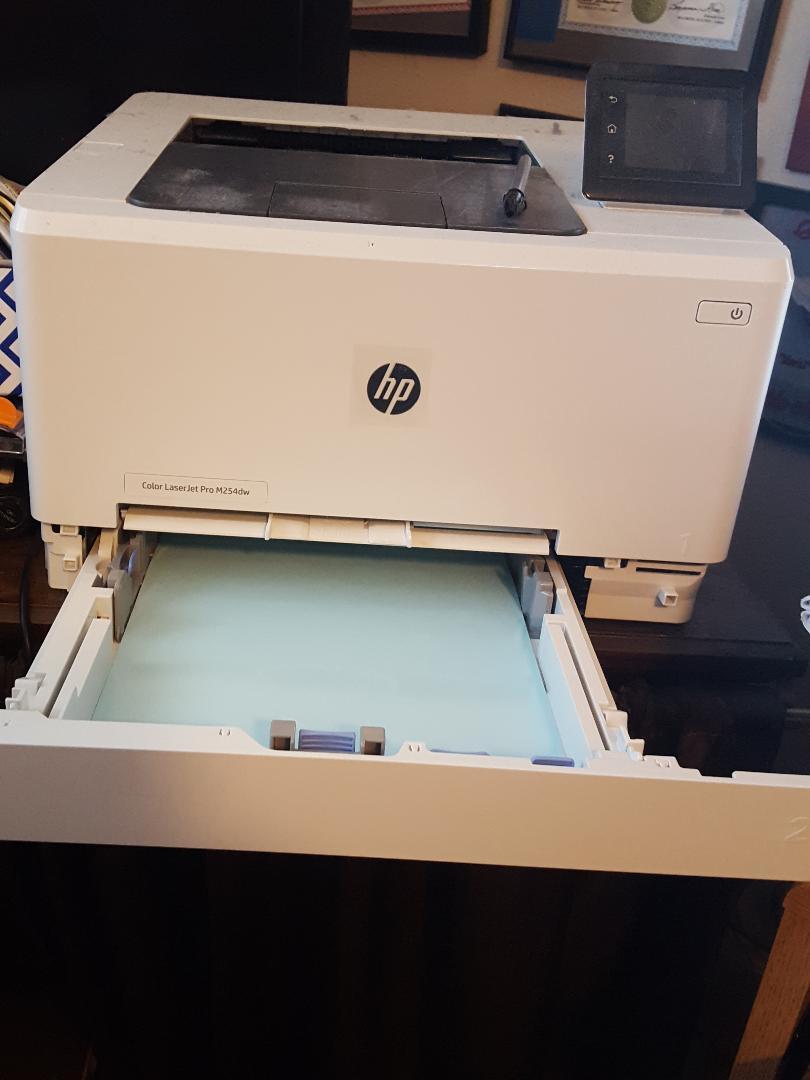
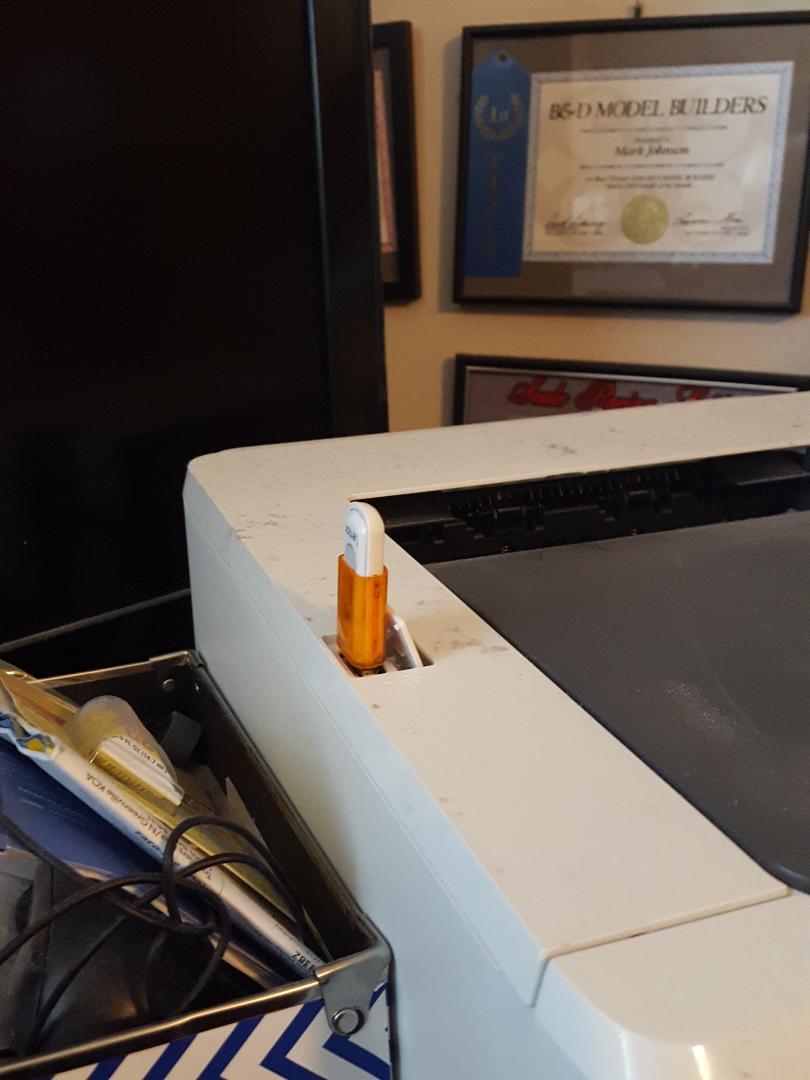
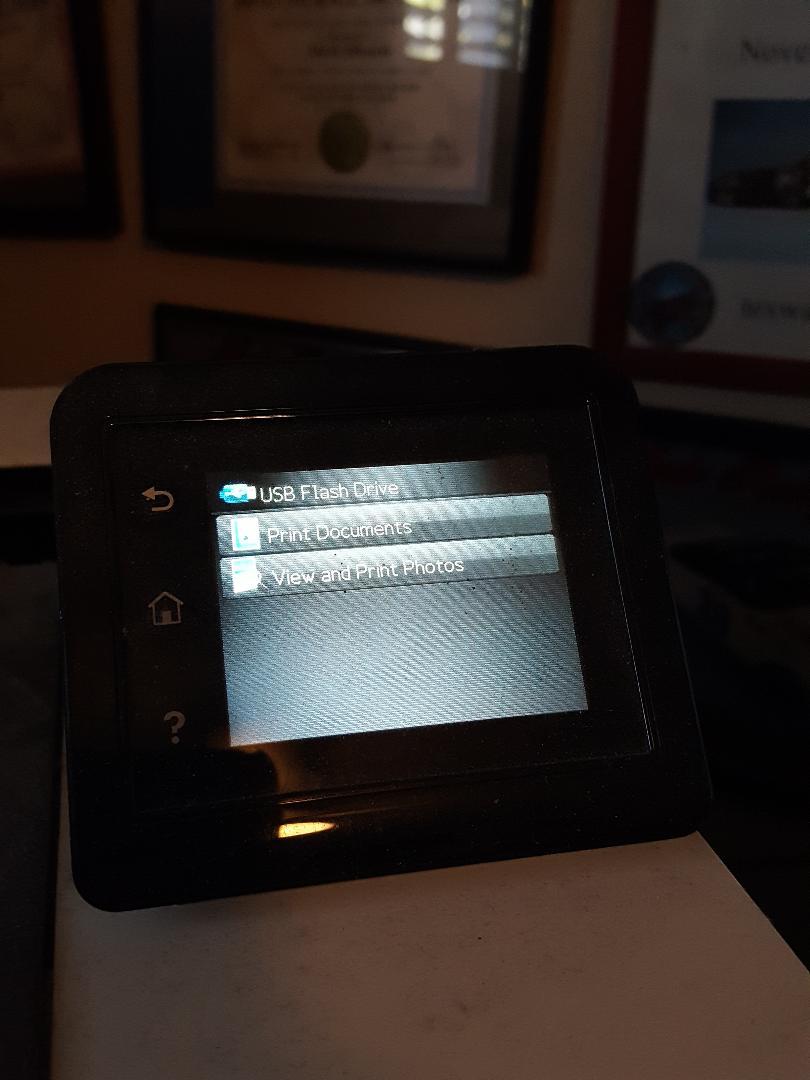
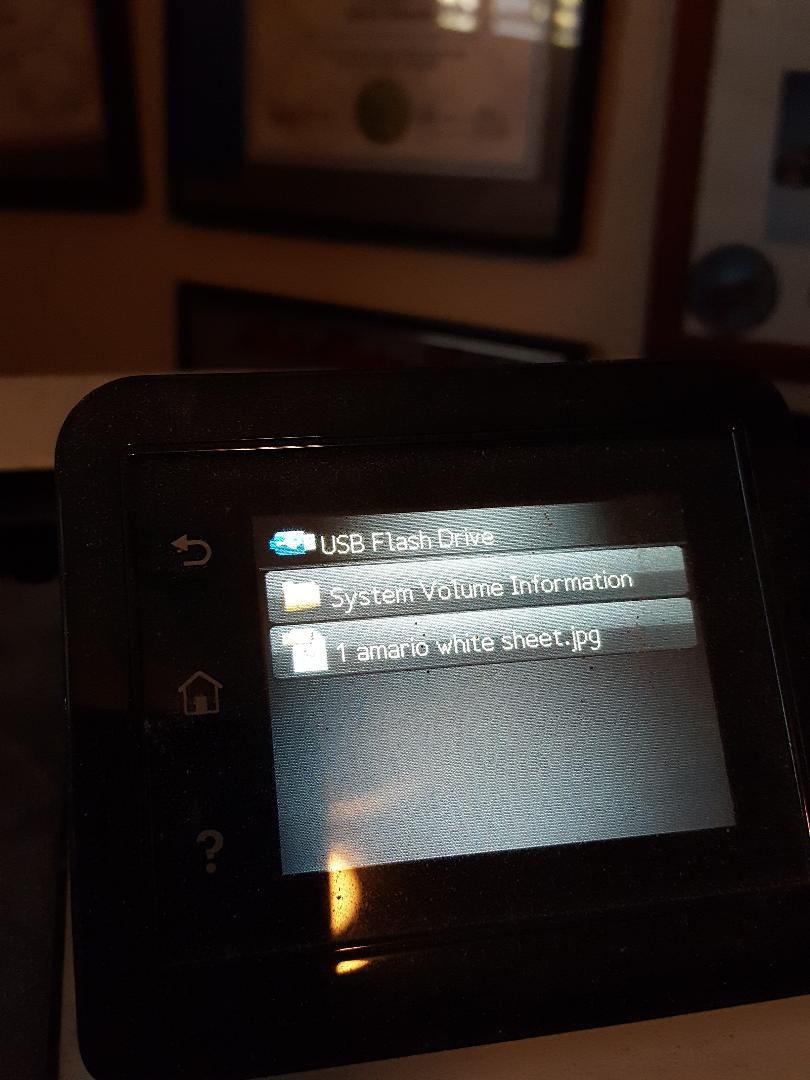
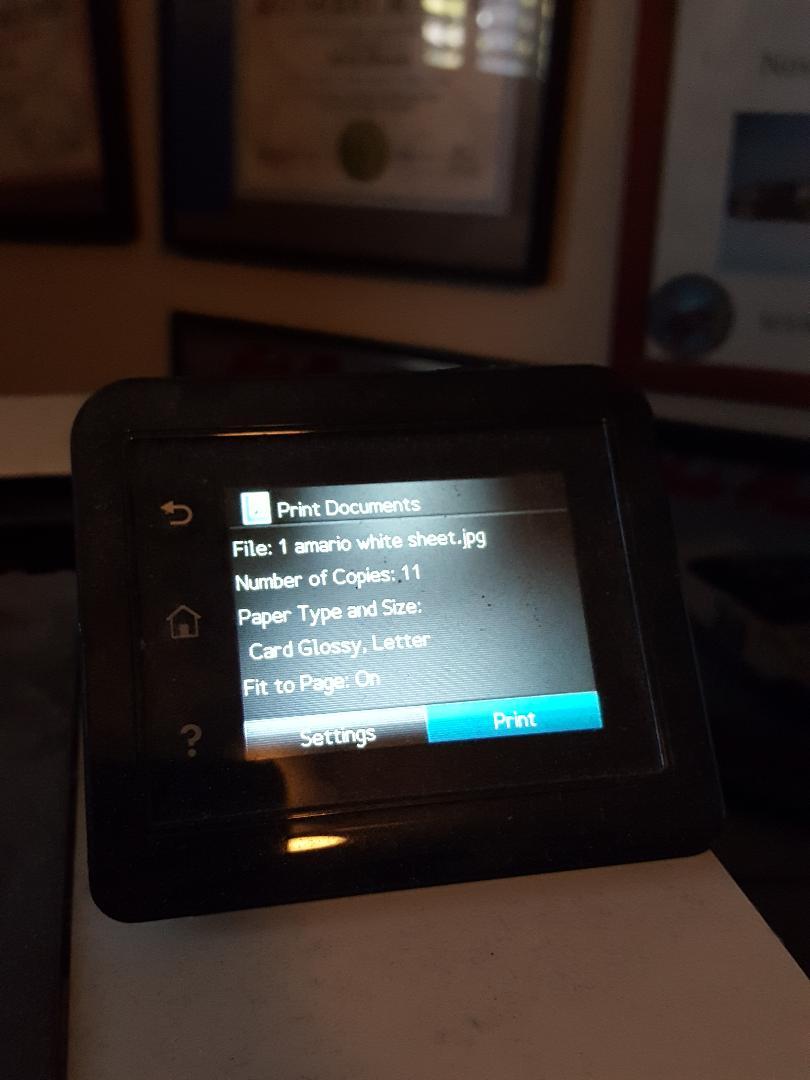
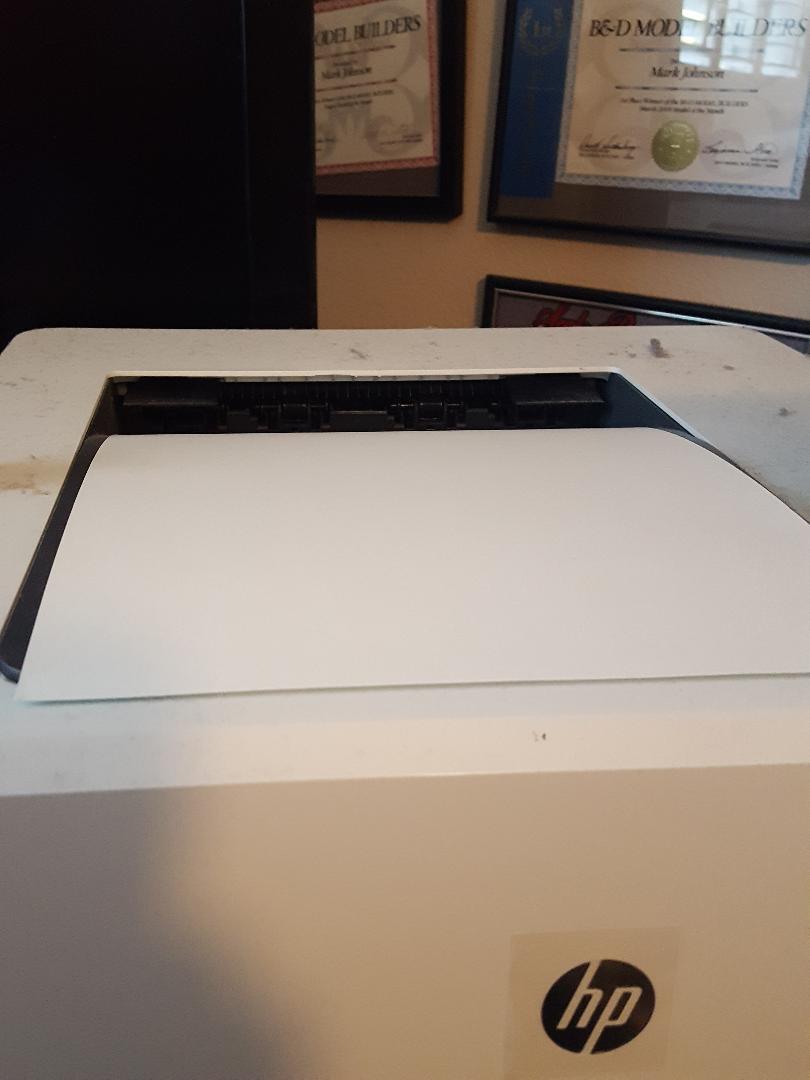
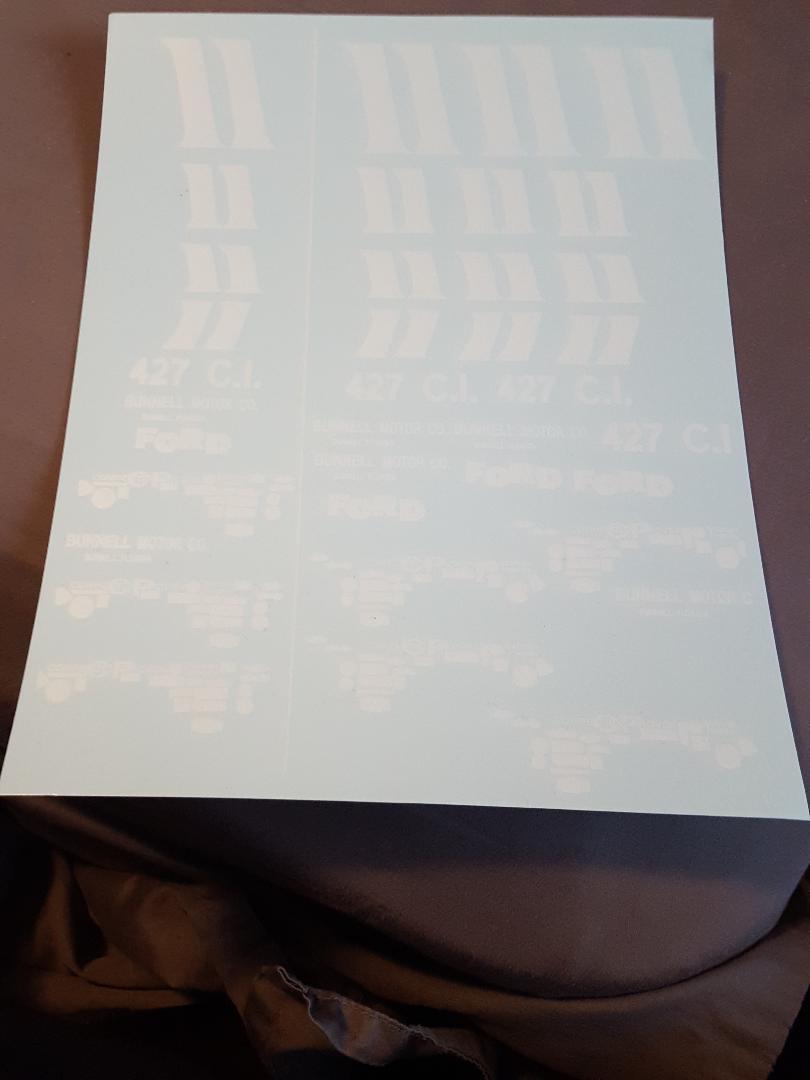
Finally got the color and white decal sheets printed so I can start building the model. The pictures below show how I used a flash drive and touch screen on the printer to print the white sheet on the laser printer. Don't know how it was told to do 11 copies but I only had one decal sheet in the printer, so it had to stop after one. Should have looked at it closer before I hit the print button. So glad this part of the build is over.
-
Thanks, Daniel. This process works but it takes a lot of time to get it done. I had to learn how to use the laser printer without being hooked to my main p.c. I use a thumb drive to insert the picture file, and it has a little touch screen you give it commands on. but it works and I only use it to make white decals that are backgrounds for the color decals. As long as the files are the same other than one being just black images it works. the black images print out as white images from the laser printer. I print the color images on my ink jet printer which makes sharper images than the laser printer can make. If a good decal is available, I will buy it over making it every time, like my last build that I was able to buy Power Slide for and those are always accurate and sized right. This model I could find no decals for it that looked very good or had all the contingencies that this build will need.
-
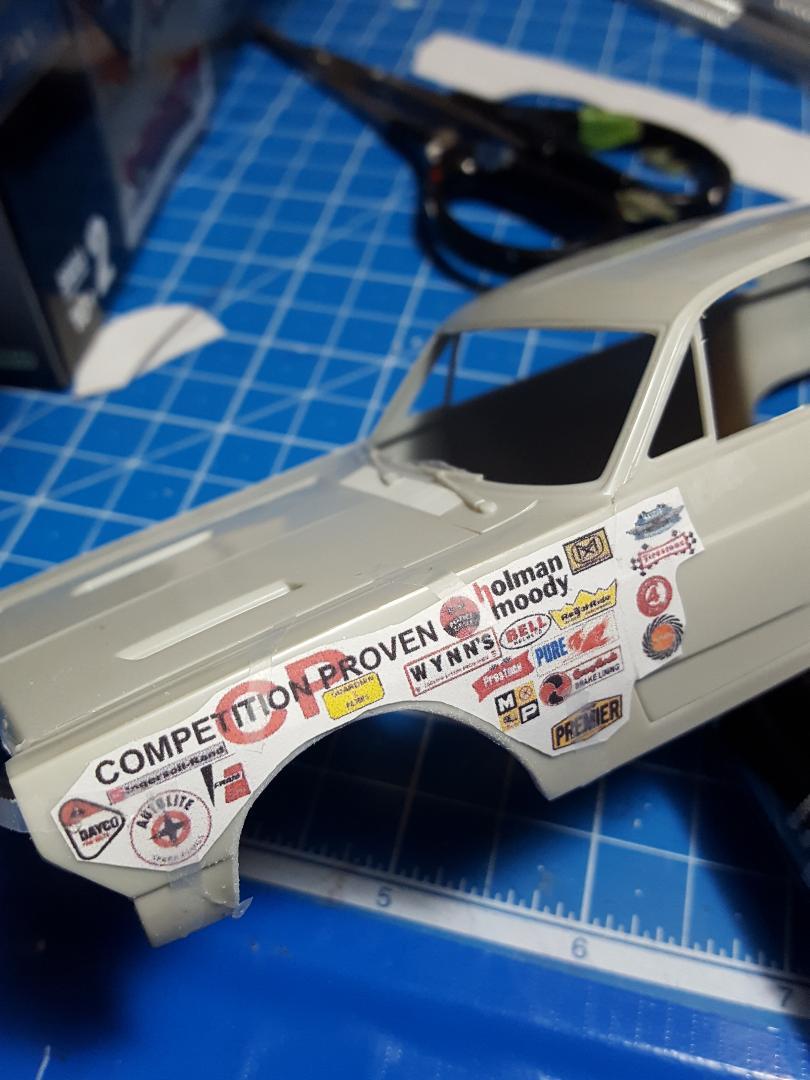
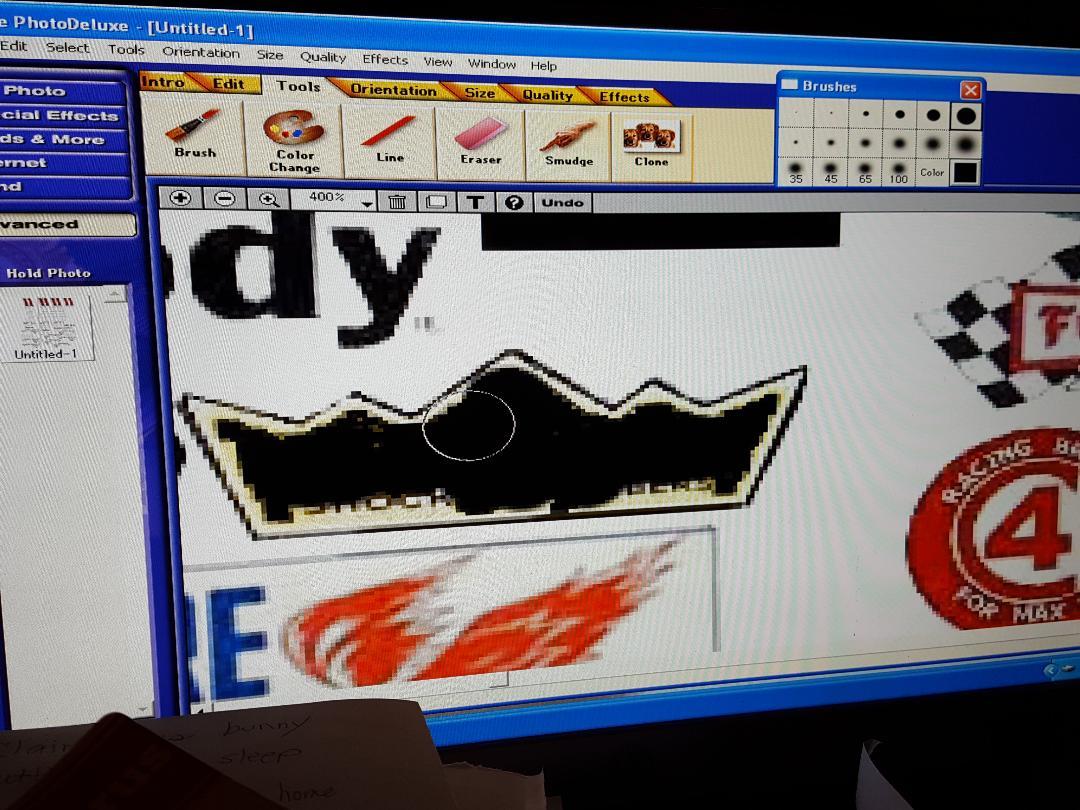
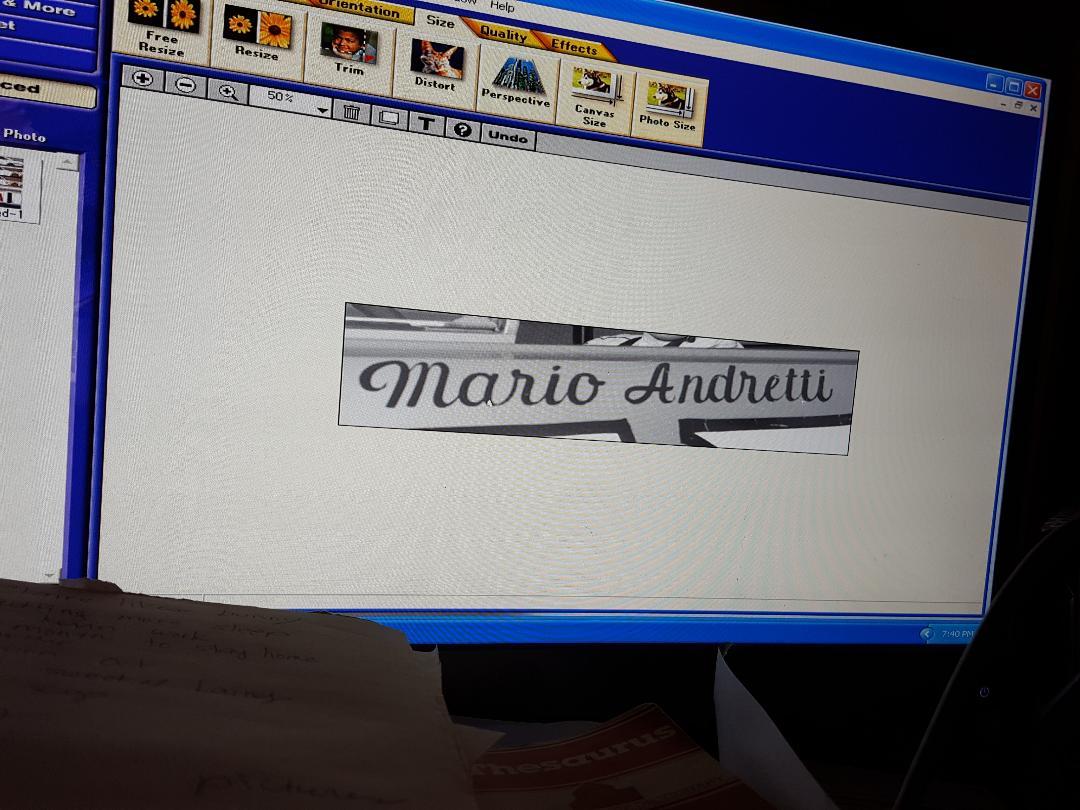
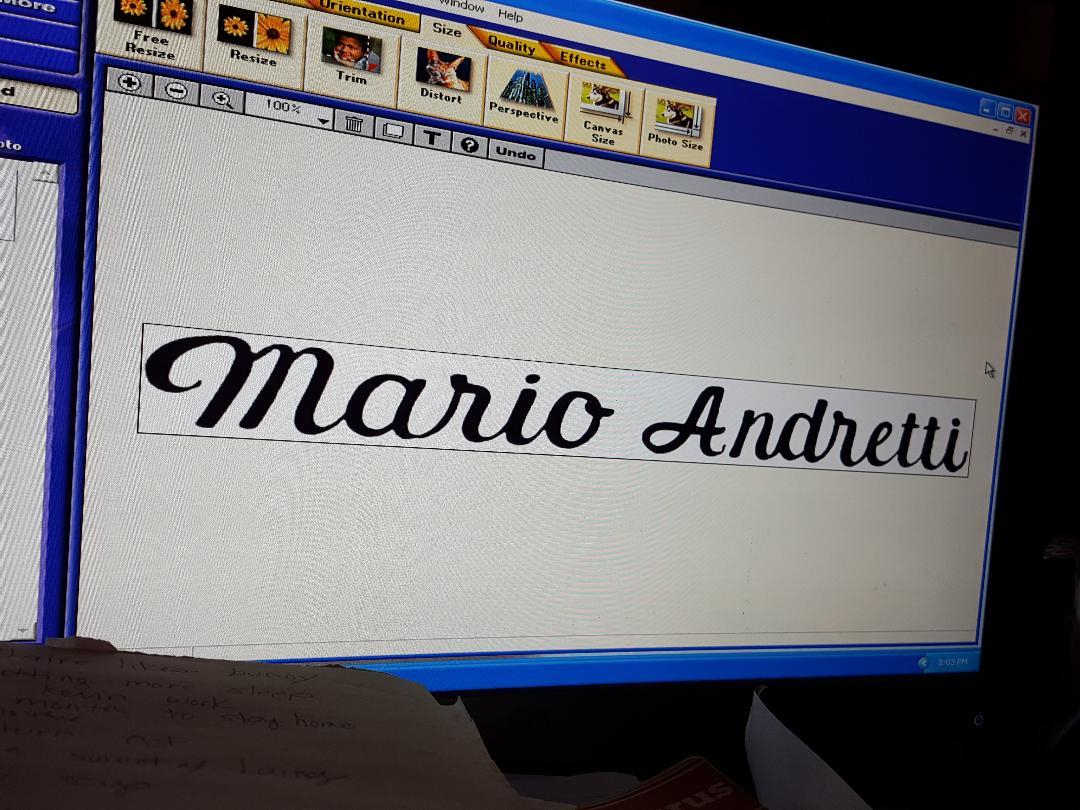
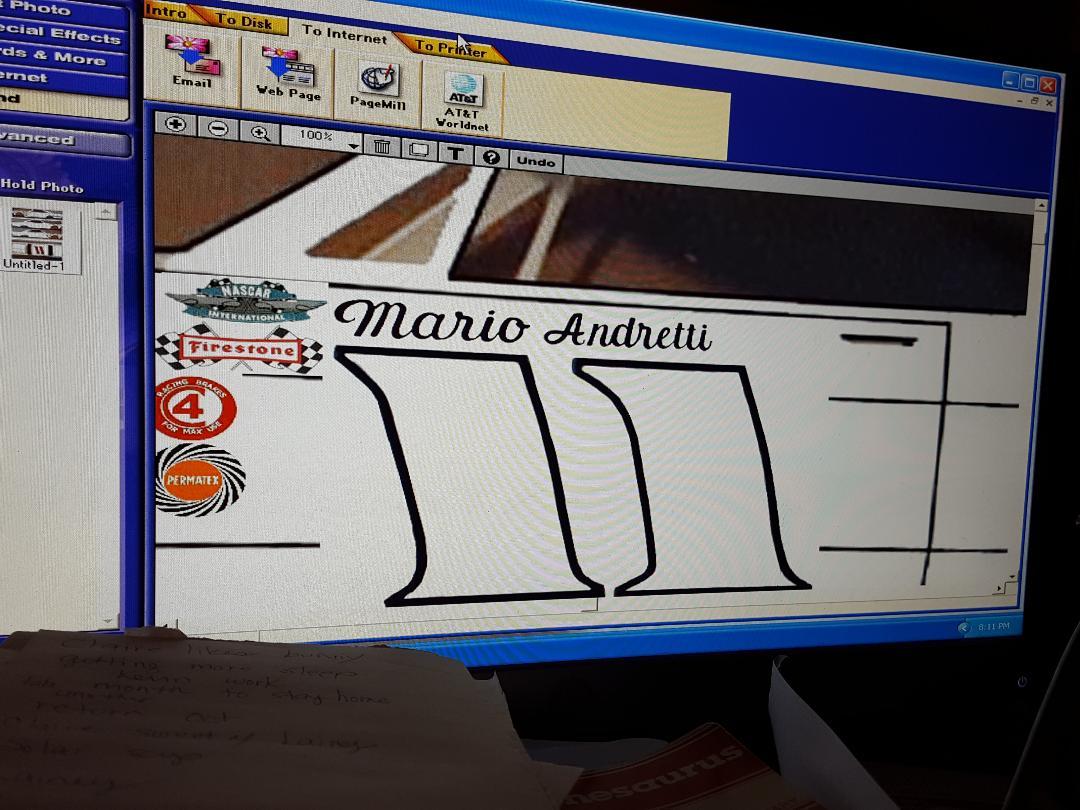
Got the left front fender contingencies changed over to solid black. Just need to get the right front fender contingencies done and I can make the black images sheet so I can use it to make all white images using the ghost white toner in my laser printer. It will all become clearer when I get them done and you all can see what I'm talking about. Basically, you have to have white backgrounds for color decals on any model that is not white. But if the color decal is black like Marios name, that does not have to have a white background. Probably lost anybody watching this thread a long time ago.
-
Finally got my airtime back. Posted the last two decals that I made and the final color sheet that is 8.5 x 11 inches. I'm working to turn the final color sheet into a white inlay sheet by turning all the images into black images. That way the ghost white toner in the laser printer will make a sheet of all the decals on the color sheet into pure white images for the white inlay sheet. Then I can start building the model. I didn't want to start on the model until I knew I would have decals for it.
-
Just the opposite for me. the Hyundai and Mazda dealerships are close by and owned by the same people who we had good luck buying our last big Silverado from. Had no use for the Silverado anymore and the old 2008 equinox was costing us a bundle on transmission work, so we replaced the 2 chevies with the Mazda and the Hyundai. Much happier with these two vehicles.