.jpg.b9265433dc8c3b550370b1d0e4e4d2fc.jpg)
MarkJ
-
Posts
4,771 -
Joined
-
Last visited
Content Type
Profiles
Forums
Events
Gallery
Everything posted by MarkJ
-
.jpg.b9265433dc8c3b550370b1d0e4e4d2fc.thumb.jpg.915f5b46e3c9402eeaa6972073121c87.jpg)
Rolls-Royce No Chemicals, No Paint, No Harmful Glues
MarkJ replied to Anglia105E's topic in WIP: Model Cars
That left front door window frame looks excellent from where I'm standing. Just do that to the rest of them and you will be all set. -
Painted the wheels while I wait to get some cotton gloves to mask the roof sides so I can shoot the gold. I'm having a hard time getting the thin pieces of masking tape to stick and even using latex gloves keeps the masking tape from sticking to the back of masking tape that has already been applied. I saw a guy using cotton gloves to mask with, so I thought I would give it a try. I'm still waiting for my airtime to get out of jeopardy, but I was able to post one picture without getting too close to going over time.

-
Rolls-Royce No Chemicals, No Paint, No Harmful Glues
MarkJ replied to Anglia105E's topic in WIP: Model Cars
David, check your private messages. I finally got the photo of the Rolls edited. You cand see what kind of Rolls itis -
The fine sanding pads worked so now I will mask them and shoot the gold on the roof and if that turns out okay, I will then mask that and shoot the rest of the body blue. I have started the chassis, and it should not be too much trouble getting it done.
-
Rolls-Royce No Chemicals, No Paint, No Harmful Glues
MarkJ replied to Anglia105E's topic in WIP: Model Cars
David, that's why I said I believed it was a Silver Arrow but actually I forgot, so it must have been a Silver Cloud. I said I would post a picture, but I forgot that I should not so when I can private message you with the photo you can confirm if it was a Silver Cloud. It sure was a beautiful car and maintained very well. -
Rolls-Royce No Chemicals, No Paint, No Harmful Glues
MarkJ replied to Anglia105E's topic in WIP: Model Cars
We hired a company in Galveston that uses Rolls Royce automobiles as chauffer driven limousines for our 50th wedding anniversary. I believe ours was a white 1964 Silver arrow. It picked us up at our house and drove us 25 miles to Galveston to our favorite restaurant, "Rudy and Pacos". The chauffer waited while we ate and returned us home. It was a wonderful and memorable way to celebrate our 50th anniversary. I have pictures but I will have to make them more anonymous before posting them. -
Rolls-Royce No Chemicals, No Paint, No Harmful Glues
MarkJ replied to Anglia105E's topic in WIP: Model Cars
Glad you are getting excellent results from the masking. I never thought about using a sharpie before. I never had good results with the molotov products. If you ever touched them even after they were dry, they dulled out very badly. Maybe the sharpie dries harder. -
Sanded down the small areas of the roof that need to be red and shot them with the air brush today but it's still not quite right. I will try the 6000, 8000, 12000 routine and see if that fixes it. if not, I guess i just need to completely remove any sign of the old paint or that horrible Tamiya acrylic primer I had to brush on that started this fiasco in the first place. If I can just get it down to bare plastic, I will just shoot the red to bare plastic and not prime it at all since I have no source for rattle can Tamiya white primer. My lhs has a hard time keeping up with their stock. Maybe the tariff stuff is keeping them from getting any.
-
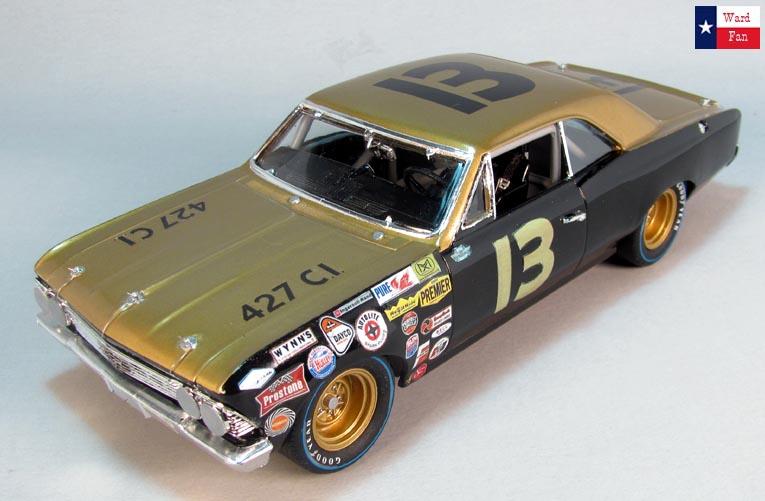
Kevin, I'm looking forward to you building it. This was the car in 1966 that got all the Chevy fans excited about Nascar again.
-
True but the wheels had to be opened up on that car as well and it had a little lip at the end of the back glass opening at the top of the rear of the roof. It was one of my favorite builds.
-
Thanks, Kevin. I think the 60's are my favorite decade of Nascar with the 50's coming in a close second. Not much detailing needs to be done as far as body mods are concerned . They were basically really stock cars. and usually the paint jobs were one color. I'm not a real fan of doing two and three tone paint jobs.
-
Seems I've let my airtime get too low again so photos will be few and far between till the 22nd. But I can tell you that i brush painted the sides of the roof and major failure. I have already forgotten how to put the acrylic paint on with a bristle brush and get good results so I will rub them down smooth and try again. Just did not want to set up the airbrush for that small of an area. No bigee just try again.
-
Rolls-Royce No Chemicals, No Paint, No Harmful Glues
MarkJ replied to Anglia105E's topic in WIP: Model Cars
Congrats, David. That last picture you posted is a definite winner. I can read the printing on the box next to the model. When that happens, you have reached your goal in the paint department. Bravo! -
Rolls-Royce No Chemicals, No Paint, No Harmful Glues
MarkJ replied to Anglia105E's topic in WIP: Model Cars
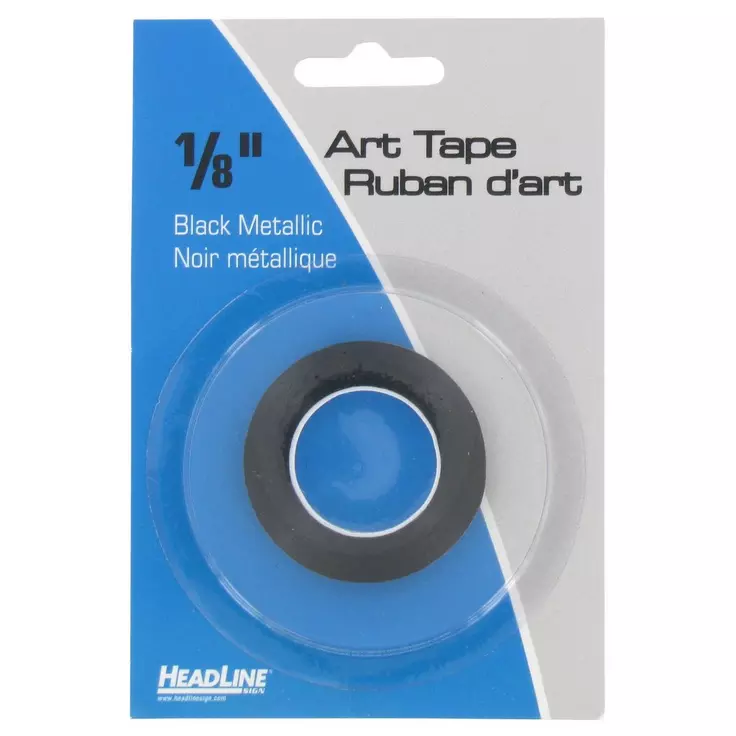
Believe it or not. Acrylic paint is your best bet when doing chrome trim. get some very thin 1/16 of an inch black art tape. The one I show is 1/8 inch below, but you can get the 1/16-inch size and mask the moldings on their edges and just paint the moldings with silver acrylic paint, I recommend Createx but you can also use Vallejo thinned enough to go on smoothly and use a very thin tiny brush. I would show you my results but that would not work. Believe me with a little patience and time you can do a very nice job.
-
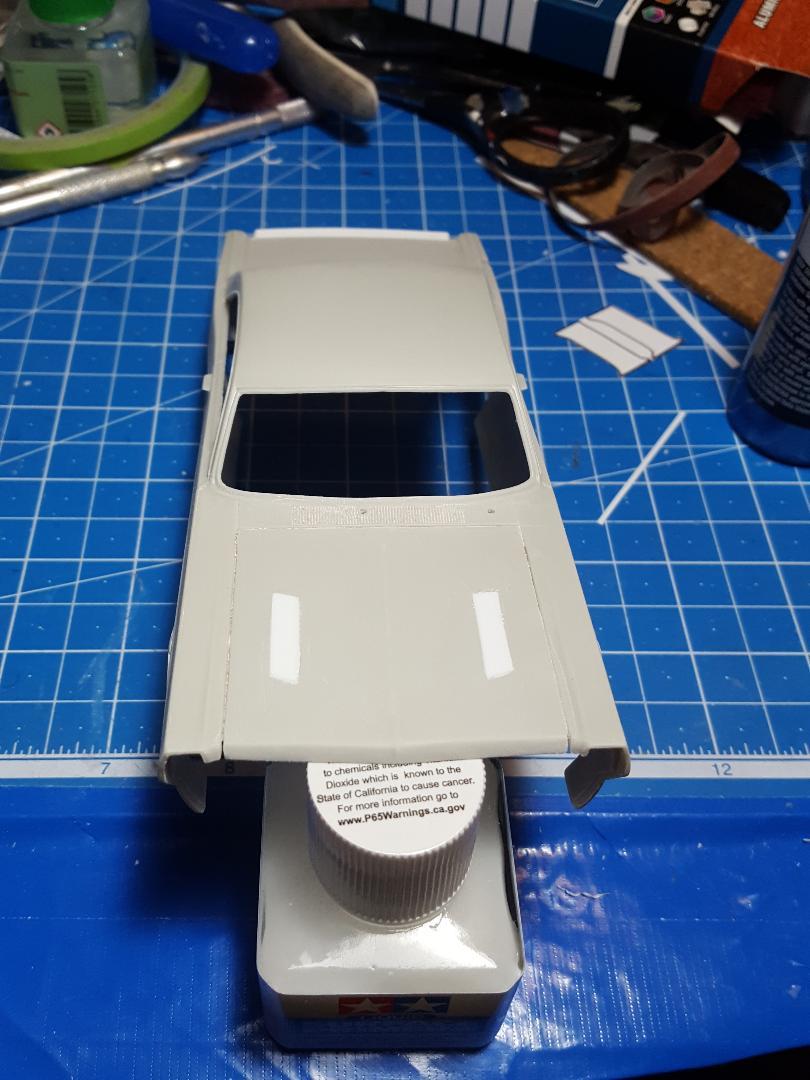
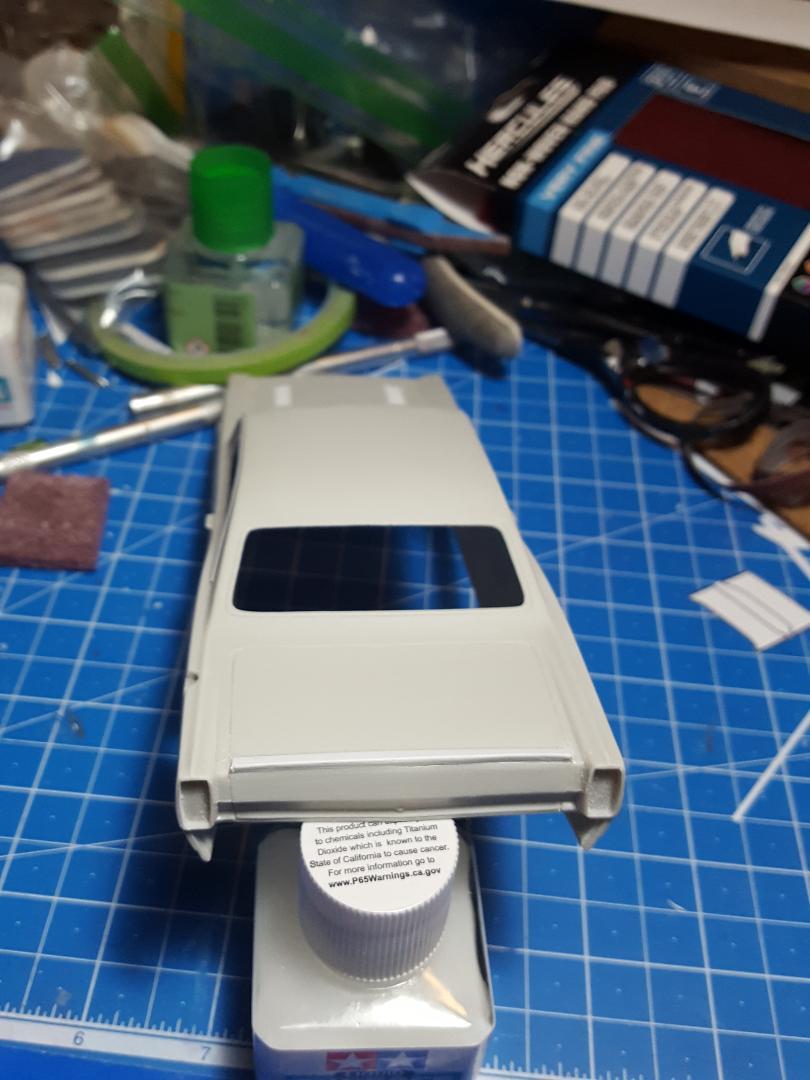
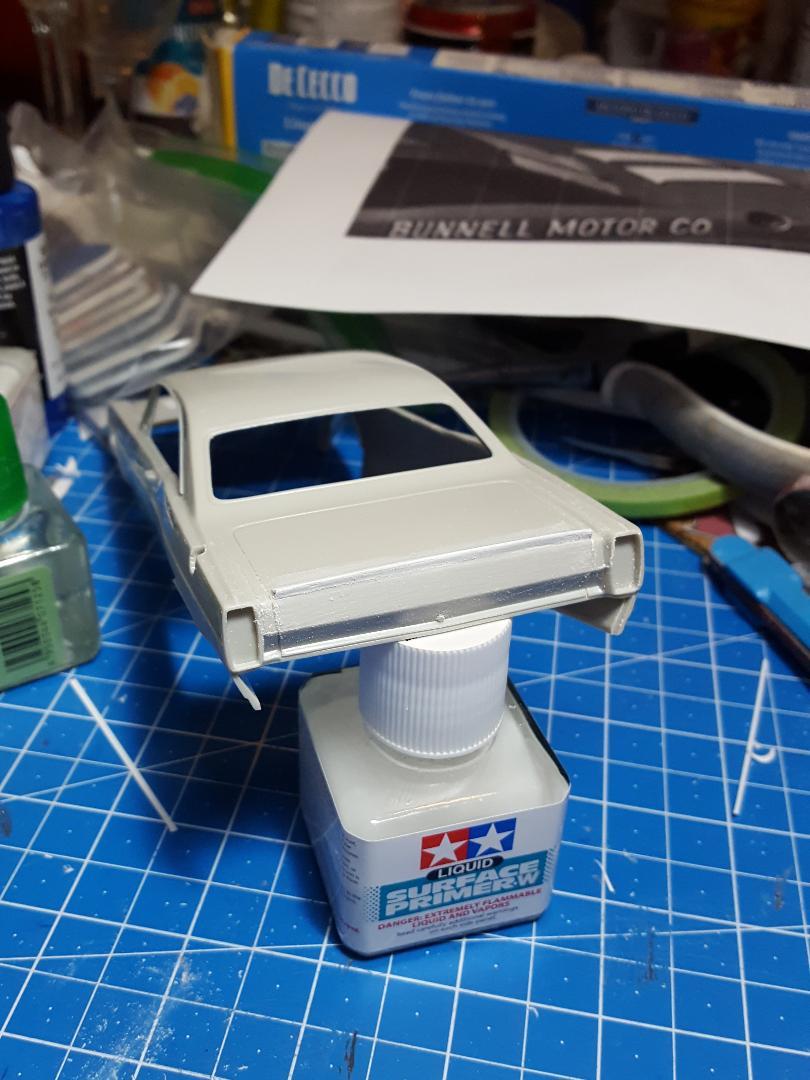
Smoothed the brush painted Tamiya primer with the hand pads and then primed it with some leftover rattle can Tamiya primer I found. I just had enough to cover the gray that showed through after the rubbing process. I will post pictures of it tomorrow. Turned out okay so a quick smoothing of the rattle can primer and I can start painting the body with air brush. I've got a few more good weather days left this week to hopefully get it done. I will have to brush paint the red on the sides of the roof but should only need two more days to paint the gold and the blue.
-
Rolls-Royce No Chemicals, No Paint, No Harmful Glues
MarkJ replied to Anglia105E's topic in WIP: Model Cars
For fine scratches you need to start with 6000 and work your way up to 12000. 1000 will add lots of deep scratches. Hobby Lobby sells a pack that starts with 2000 and works up to 12000. When you get to 12000 you should be able to see your face in the roof like a mirror, especially because its black. -
Rolls-Royce No Chemicals, No Paint, No Harmful Glues
MarkJ replied to Anglia105E's topic in WIP: Model Cars
There is a polish for model cars that comes in bottles that the name escapes me now and I don't know if you would be affected by the smell of it which isn't very strong but the finest level of it is good for getting rid of sanding scratches. Its buried in one of my stash boxes so hopefully somebody else can remember the name of it. -
I agree. It has a nice iridescence to it.
-
I tried smoothing the primer this morning with the hand pad and it did pretty good. I have had some acrylic primers in the past that never seemed to completely cure, and they did not sand out well. Instead of making dust when you sand them, they just scratch up and don't really smooth out. Vallejo primer is bad about that. Good news though. I found about a quarter of a rattle can of Tamiya white surface primer that I can use after I smooth out the bottle primer I have already used.
-
I might have made a huge mistake brush painting that Tamiya acrylic primer straight out of the bottle . I've never seen a primer dry that fast before. It really needed to be thinned with lacquer thinner but i can't use that inside my house. it's too strong an odor and my wife would have not been happy at all. Hopefully it will sand down smooth enough to where I can shoot the color over it. The description of the product by Tamiya said you can brush paint it out of the bottle if you want to. Take my advice, don't do it.
-
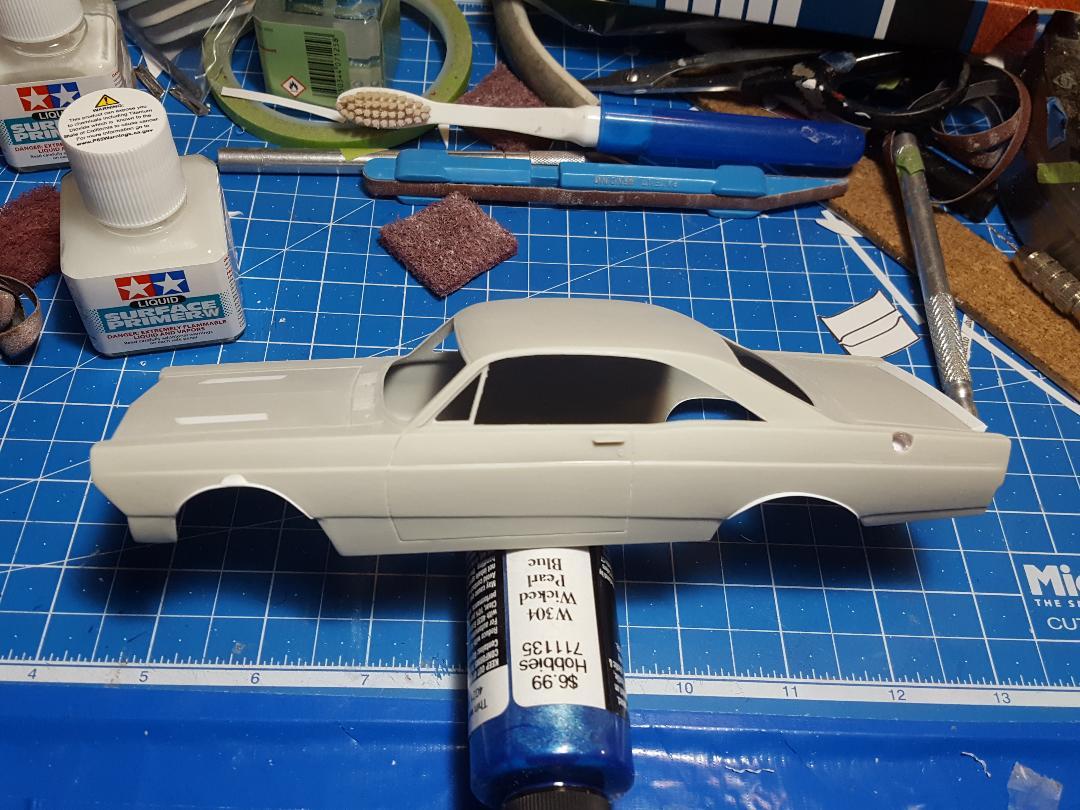
Kevin, if you look about three pictures up in the thread you will see a bottle of it propping up the build for a photo. It's called Createx W304 Wicked Pearl blue. I really like these wicked colors they have. I used them on the Monte Carlo I did before this build. I believe I will just use a standard opaque red for the sides of the roof and the wheels on this model.
-
Thanks, Kevin. I'm trying to stay focused on this one but having a hard time because I'm really excited about my next build. Can't stop thinking about it and doing research on it when I should be concentrating on this one.
-
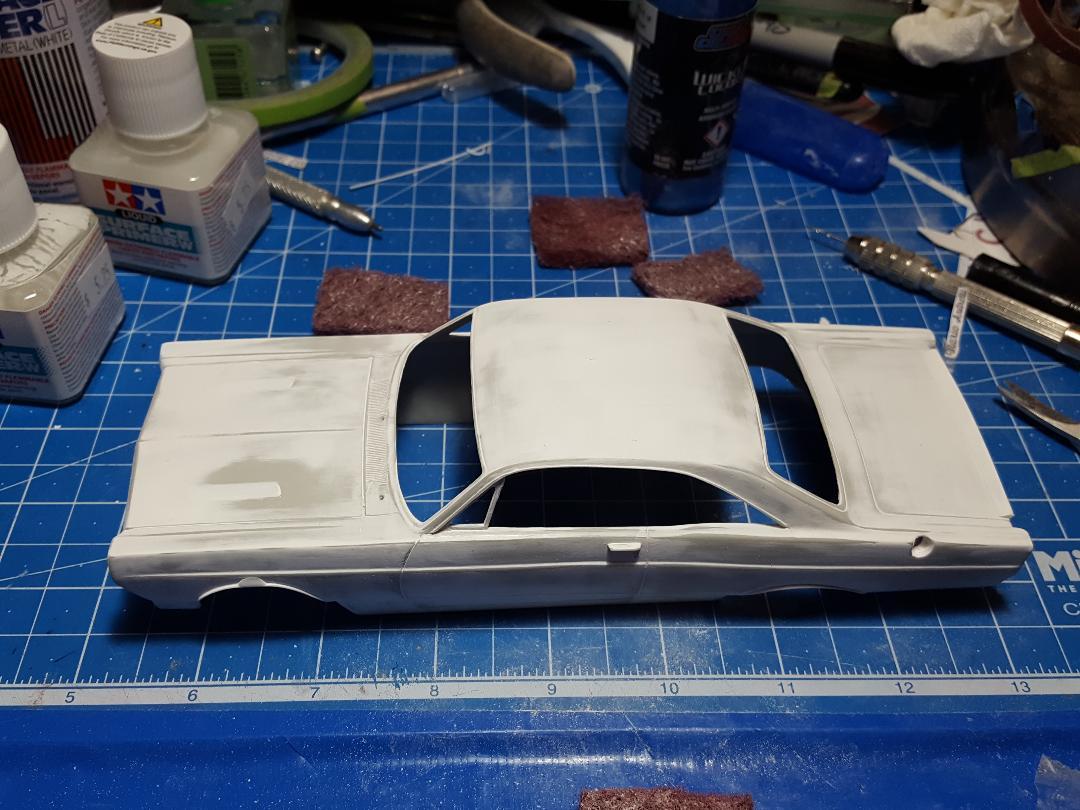
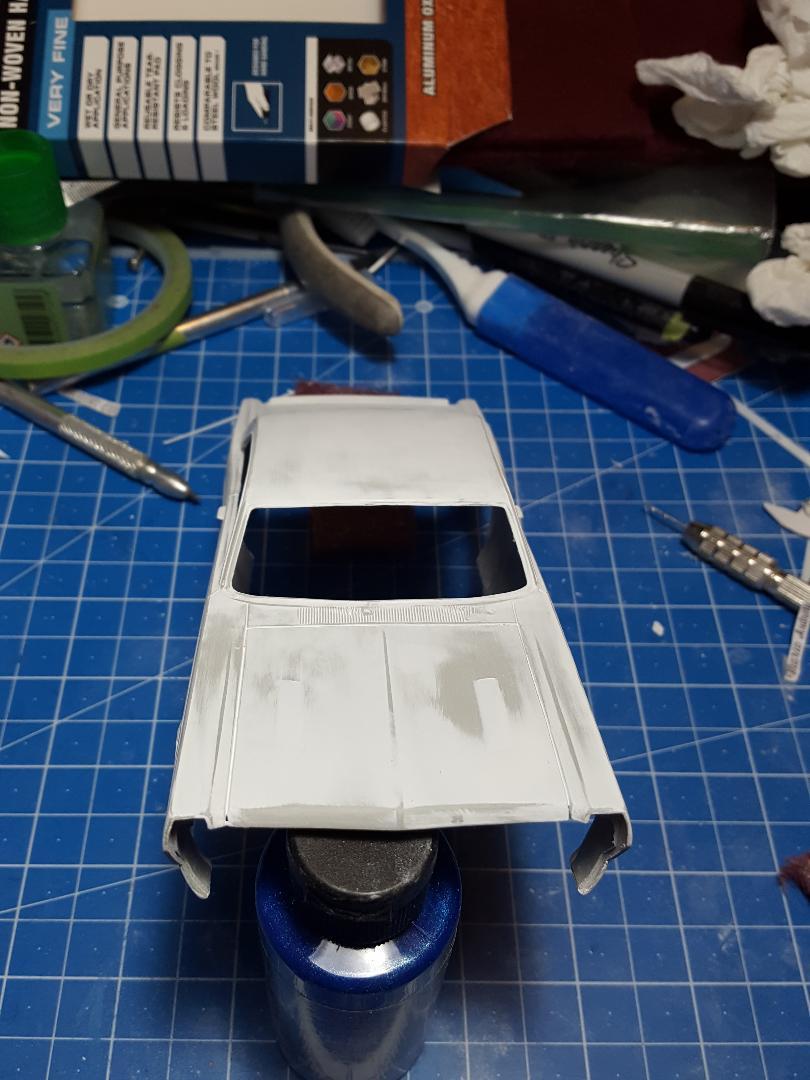
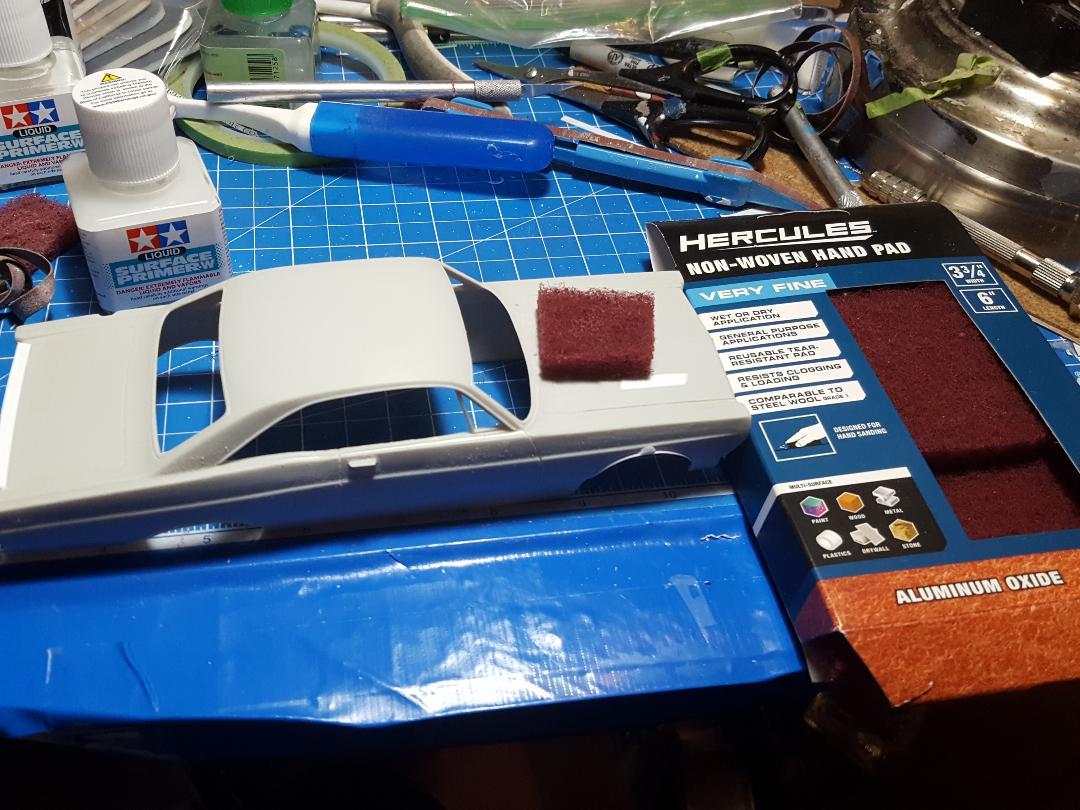
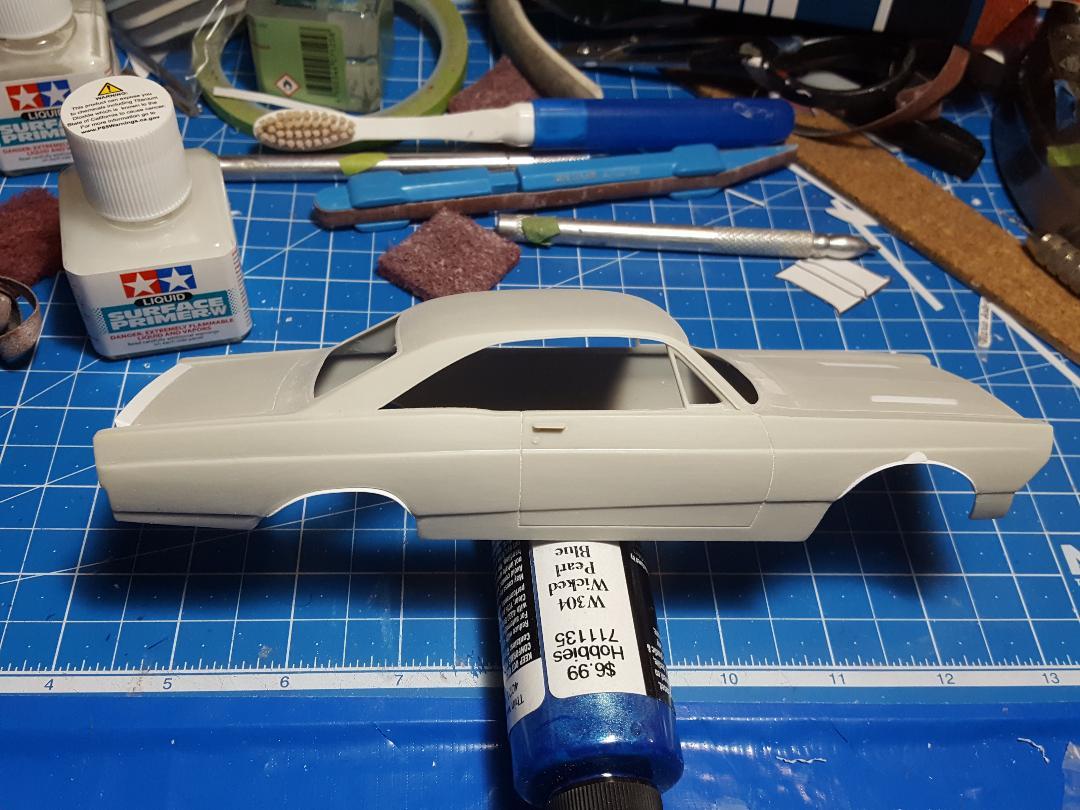
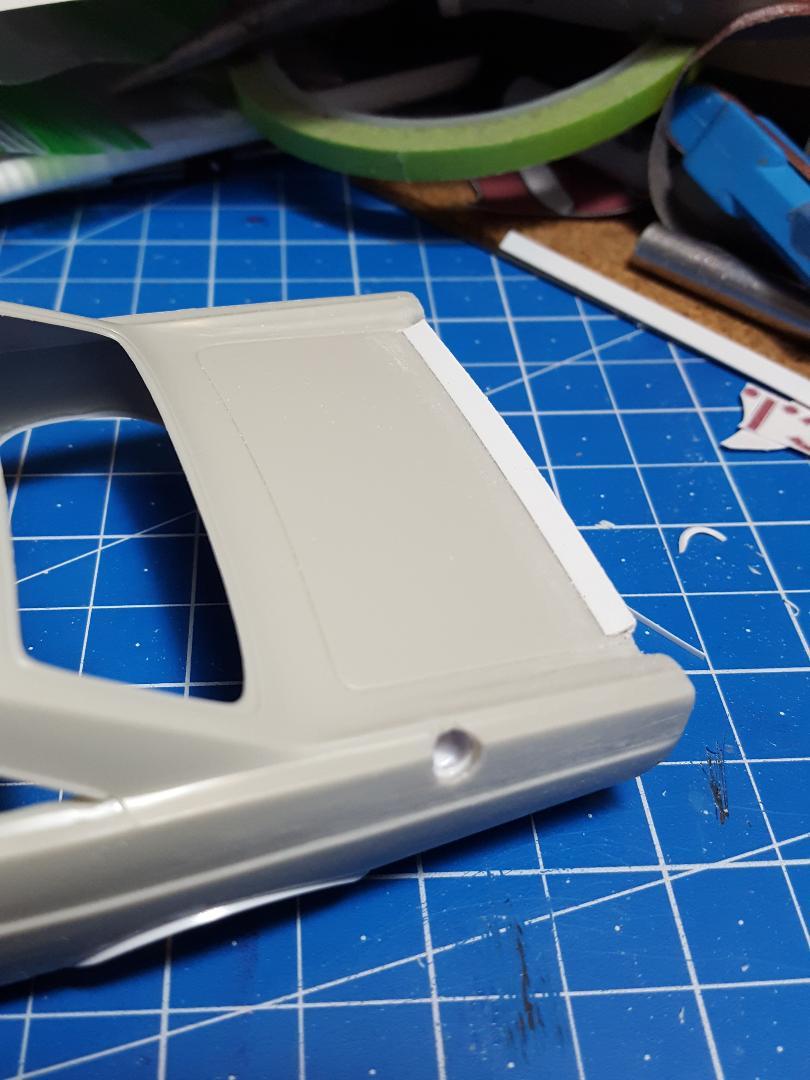
Got the wiper stuff removed and capped the ends of the rear spoiler. Also smoothed off the body with the hand pads I show in the image below. I'm ready to prime today and the weather looks good for airbrushing outside next week. Probably paint the red on the sides of the roof first with a bristle brush. Mask it, shoot the gold on the roof. Mask that and then do the blue after figuring out how to mix the paint for it. Needs to be a little lighter than it is from the bottle. I might add a little silver metallic to it as well. Have to see how the just pearlized looks first.
-
Thanks, Todd but I don't need to get that picky on this build. I could tell when I was doing the decals that the model did not exactly fit the profile of the real car. They hardly ever do.. This is going to be one of those close enough for government work builds. a saying my dad use to always say who was a government employee.
-
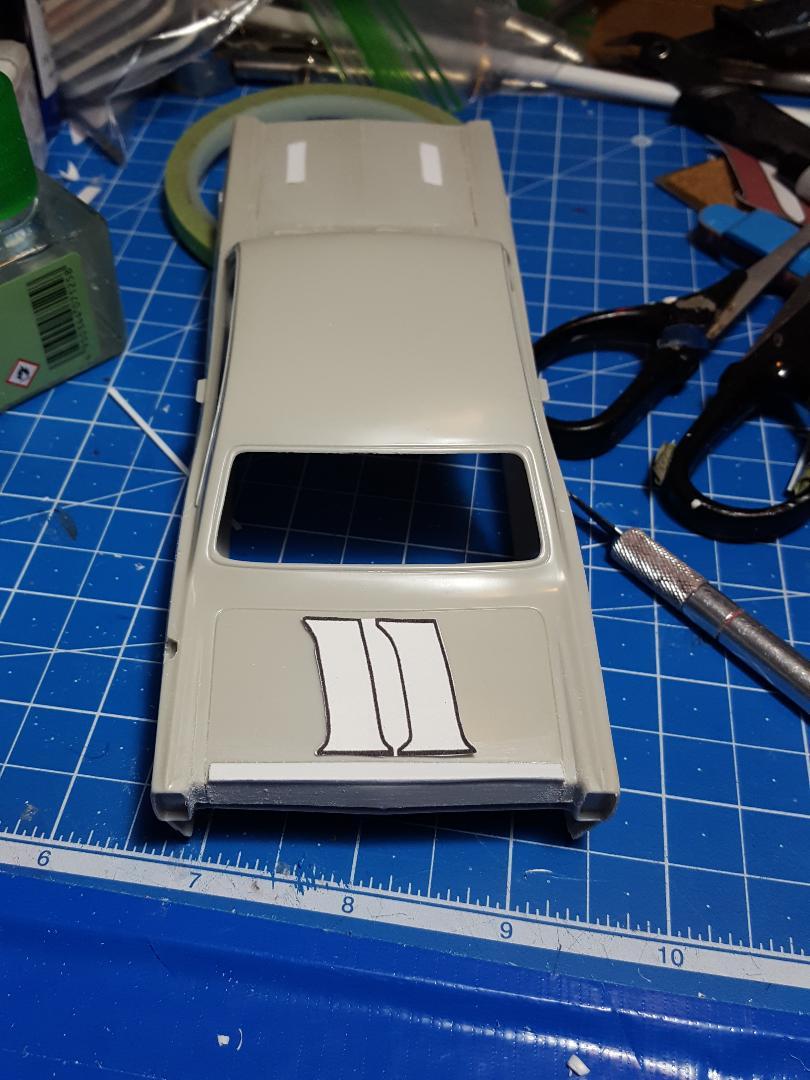
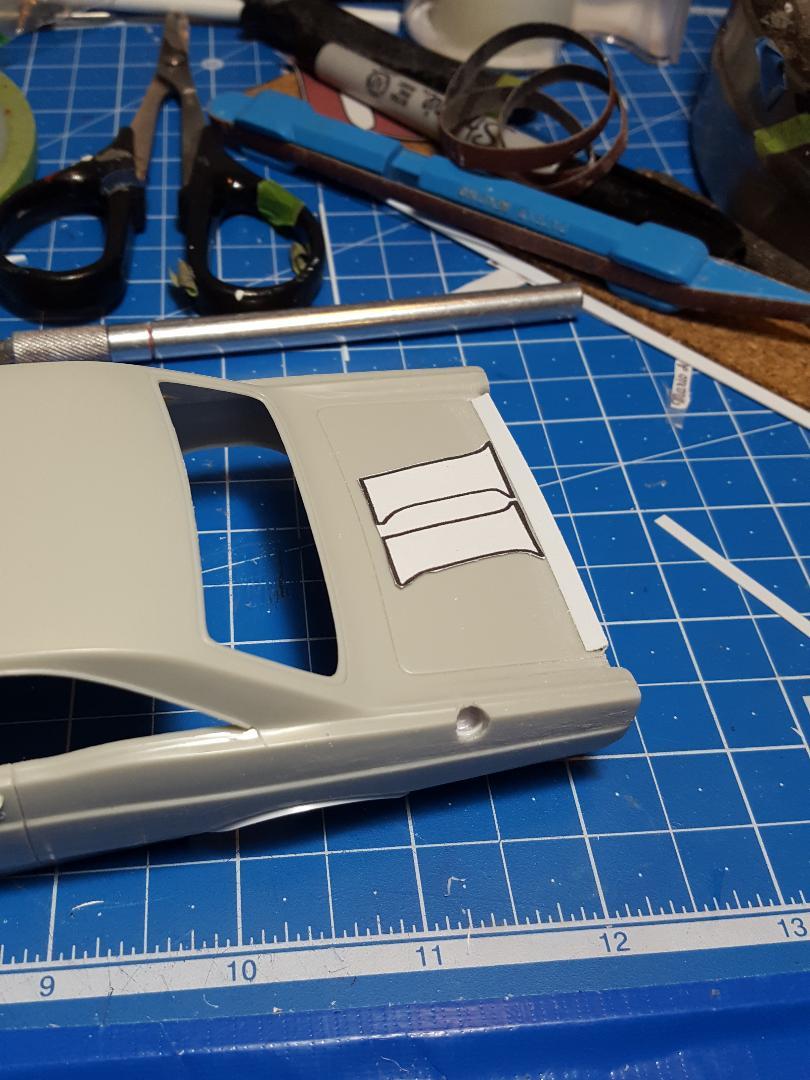
Got the rear spoiler mostly finished. Just some more sanding and add some end caps to it. Rechecked the trunk decal and it still will fit so no problem there. All I lack is removing the wiper blades and arms. Then I can sand the whole body and prime it. I found out that the primer I bought, even though it is acrylic, has to be thinned with lacquer thinner which I will not work with, so I realized that the primer right out of the bottle is thin enough to just brush on the body. Thats what I used to do anyway when I wasn't using the airbrush. It has to be sanded anyway so it does not need to be shot on with the airbrush. Looking forward to painting this build. the colors should make for a nice and unusual color scheme.


.jpg.242fd98bc95010e65a3b5e388564433e.jpg)