Bullybeef
-
Posts
2,300 -
Joined
-
Last visited
Content Type
Profiles
Forums
Events
Gallery
Everything posted by Bullybeef
-
 Thats looking awesome That just looks men n angry like a kissed off bulldog! Love it
 -
1975 Chevy Blazer
Bullybeef replied to Bullybeef's topic in WIP: Model Trucks: Pickups, Vans, SUVs, Light Commercial
Would you settle for a stack of subs and an overhead console tv lol
-
Sounds like a plan, get at it lol
-
1975 Chevy Blazer
Bullybeef replied to Bullybeef's topic in WIP: Model Trucks: Pickups, Vans, SUVs, Light Commercial
Thank you, considering it still A console you say? -
You can send it to me, I promise it will have a great home ?
-
That’s barely scratching the surface of this guys collection.
-
1975 Chevy Blazer
Bullybeef replied to Bullybeef's topic in WIP: Model Trucks: Pickups, Vans, SUVs, Light Commercial
I think the quad buckets gives it an upscale look, but I’ll try to make the bench work. and in other news Bam
-
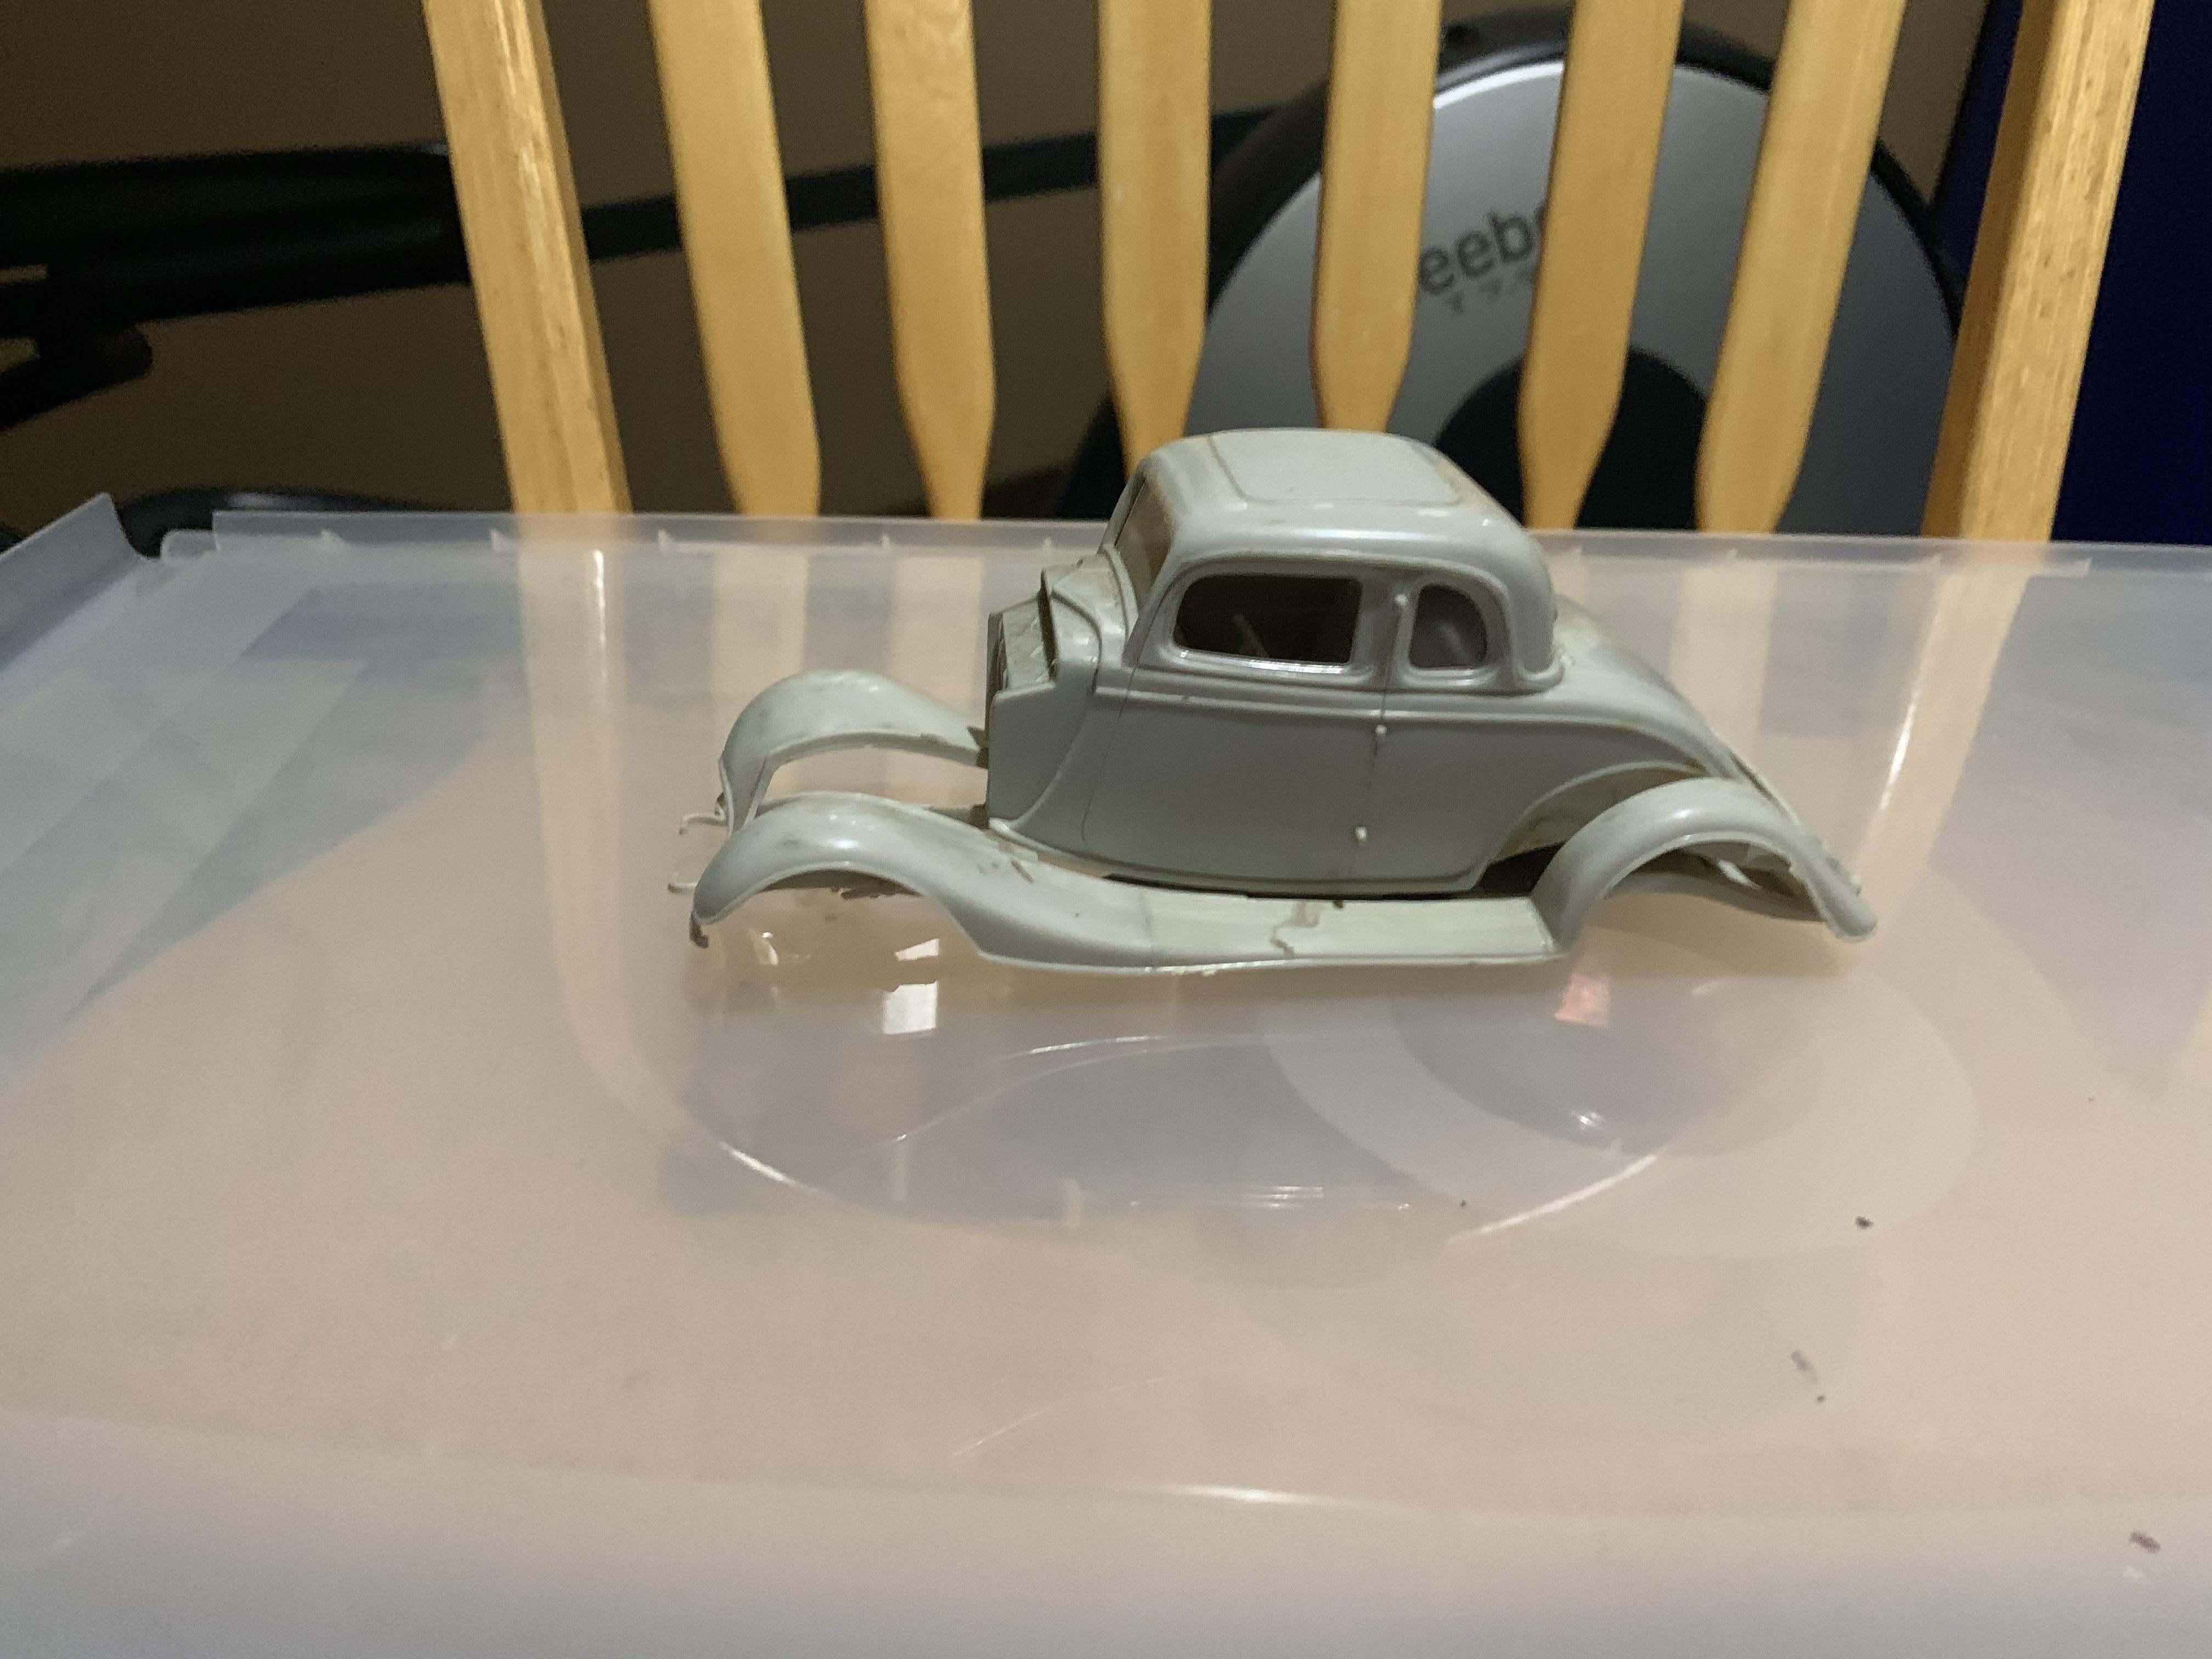
I managed to find a reissue built up locally for 10.00 Canadian, rough but complete
-
This appeals to me, mostly for my love of the Tim Burton Batman movie!
-
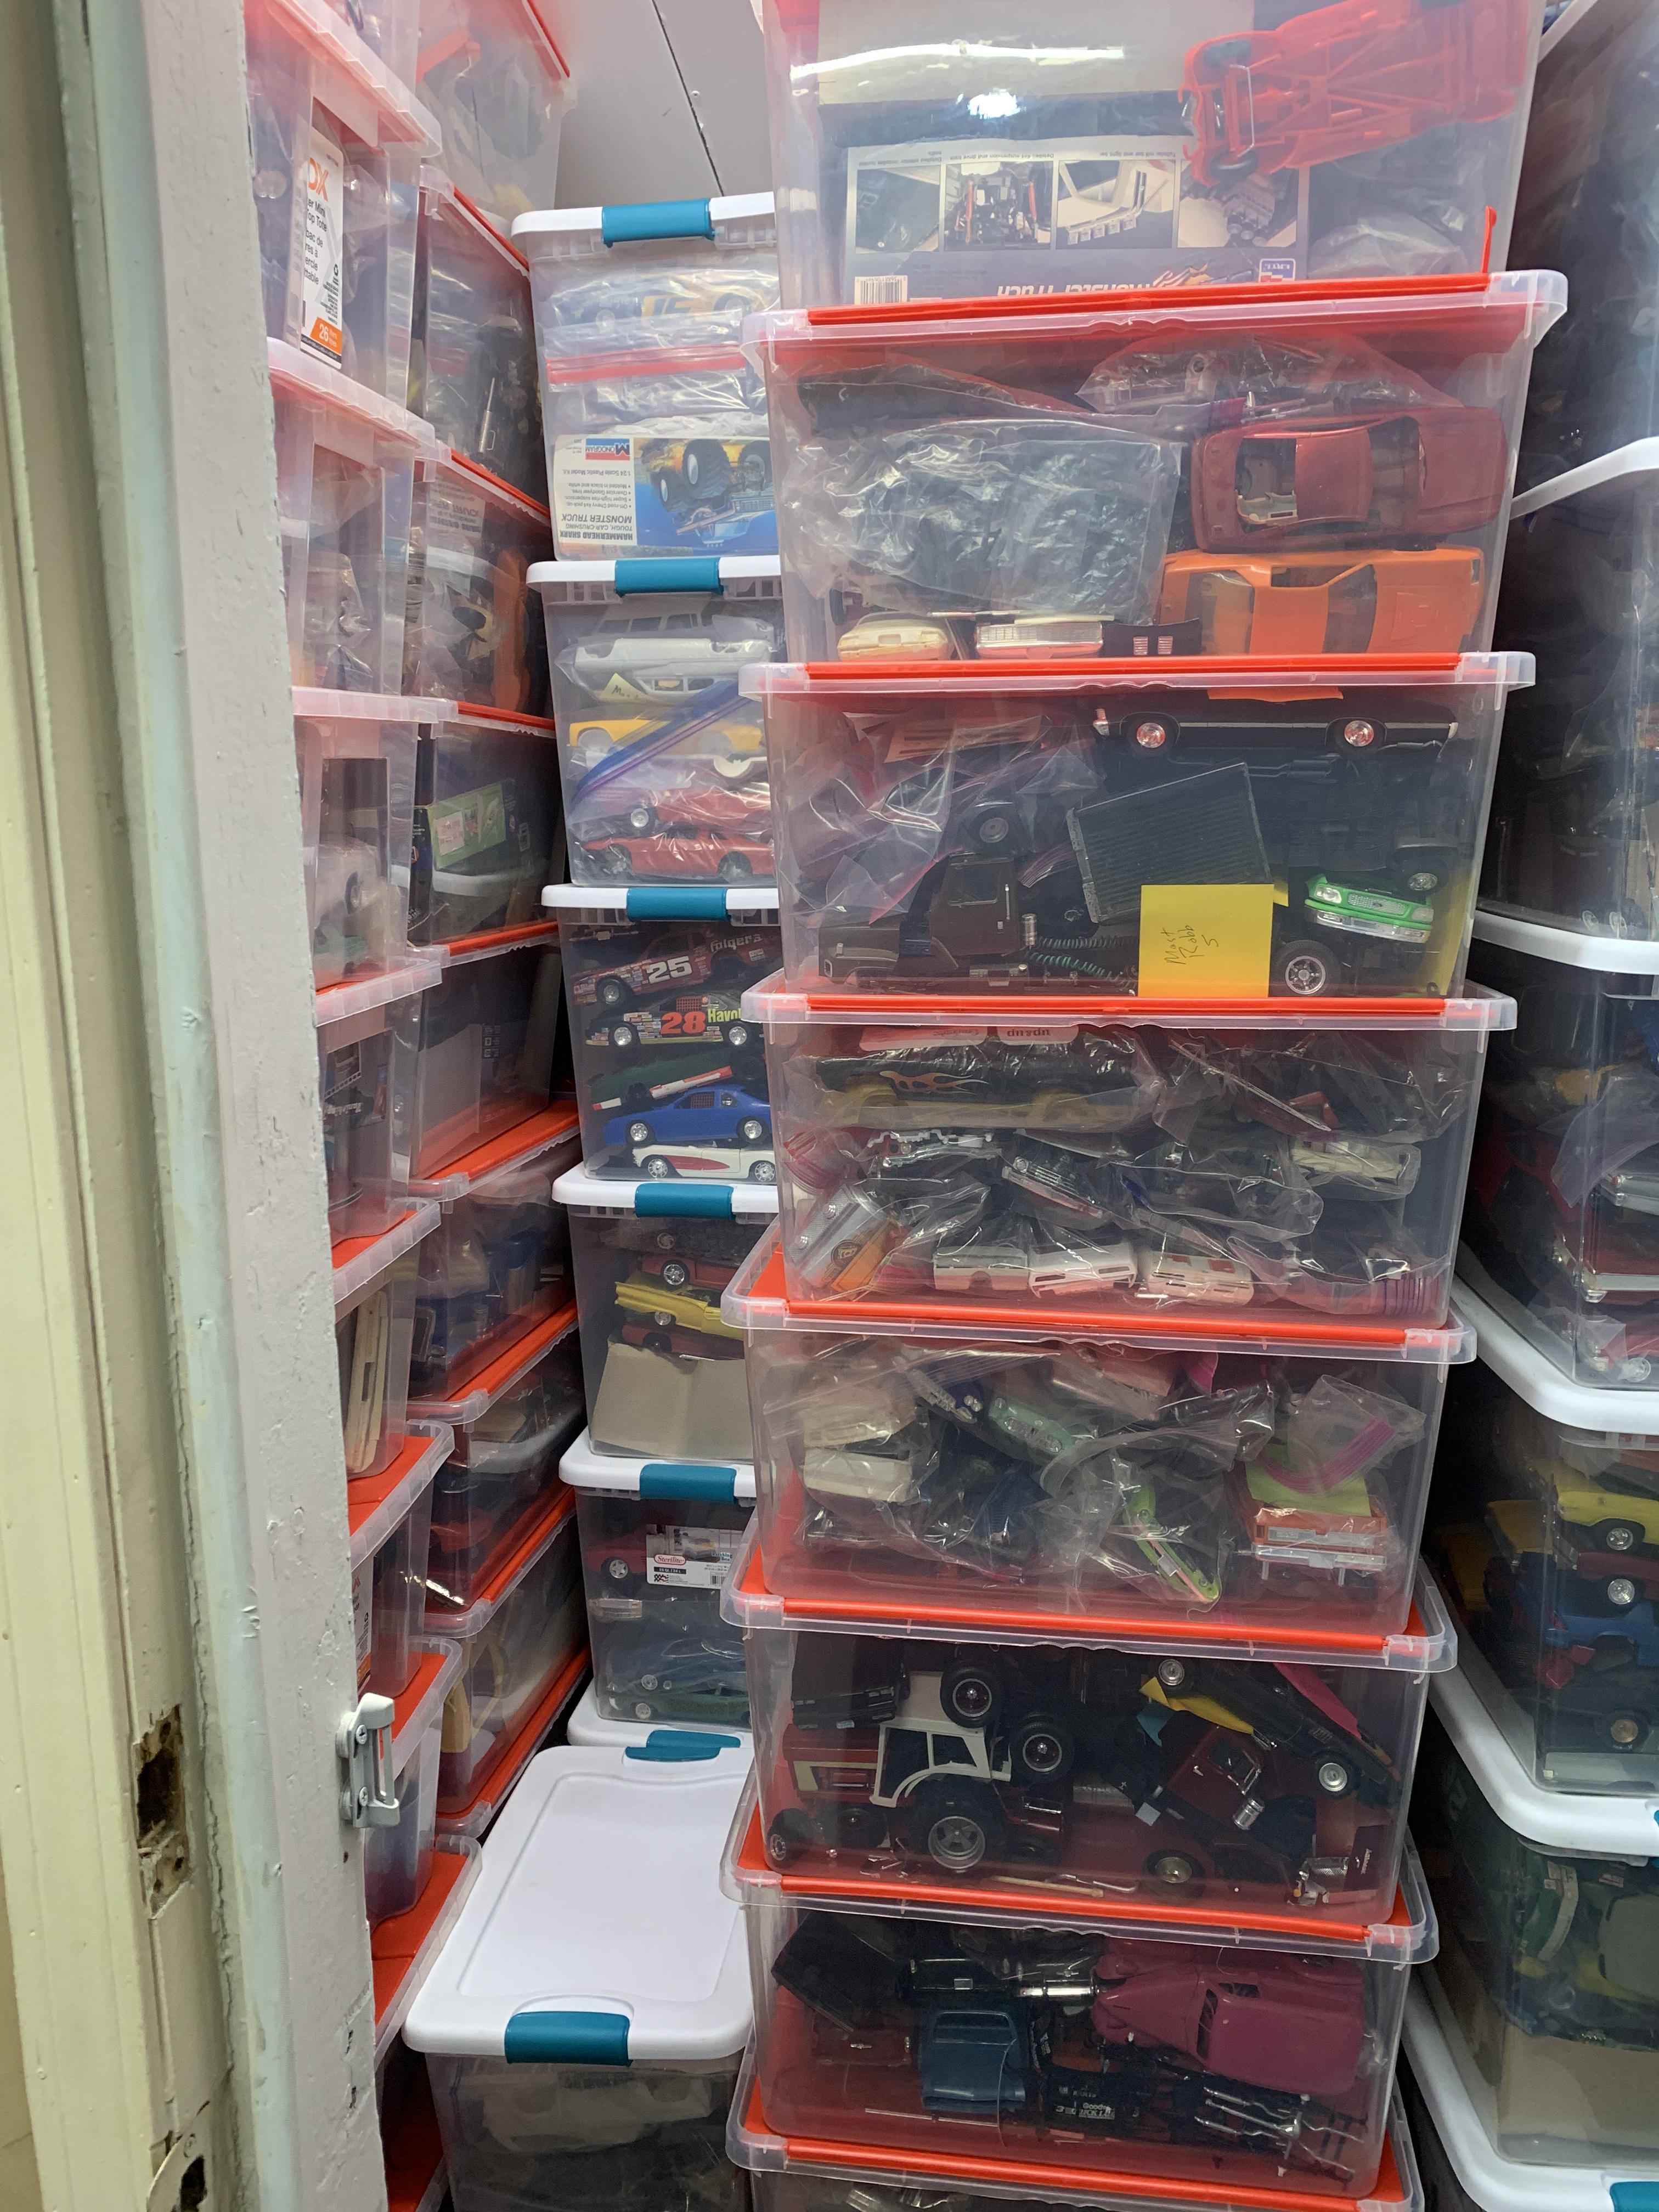
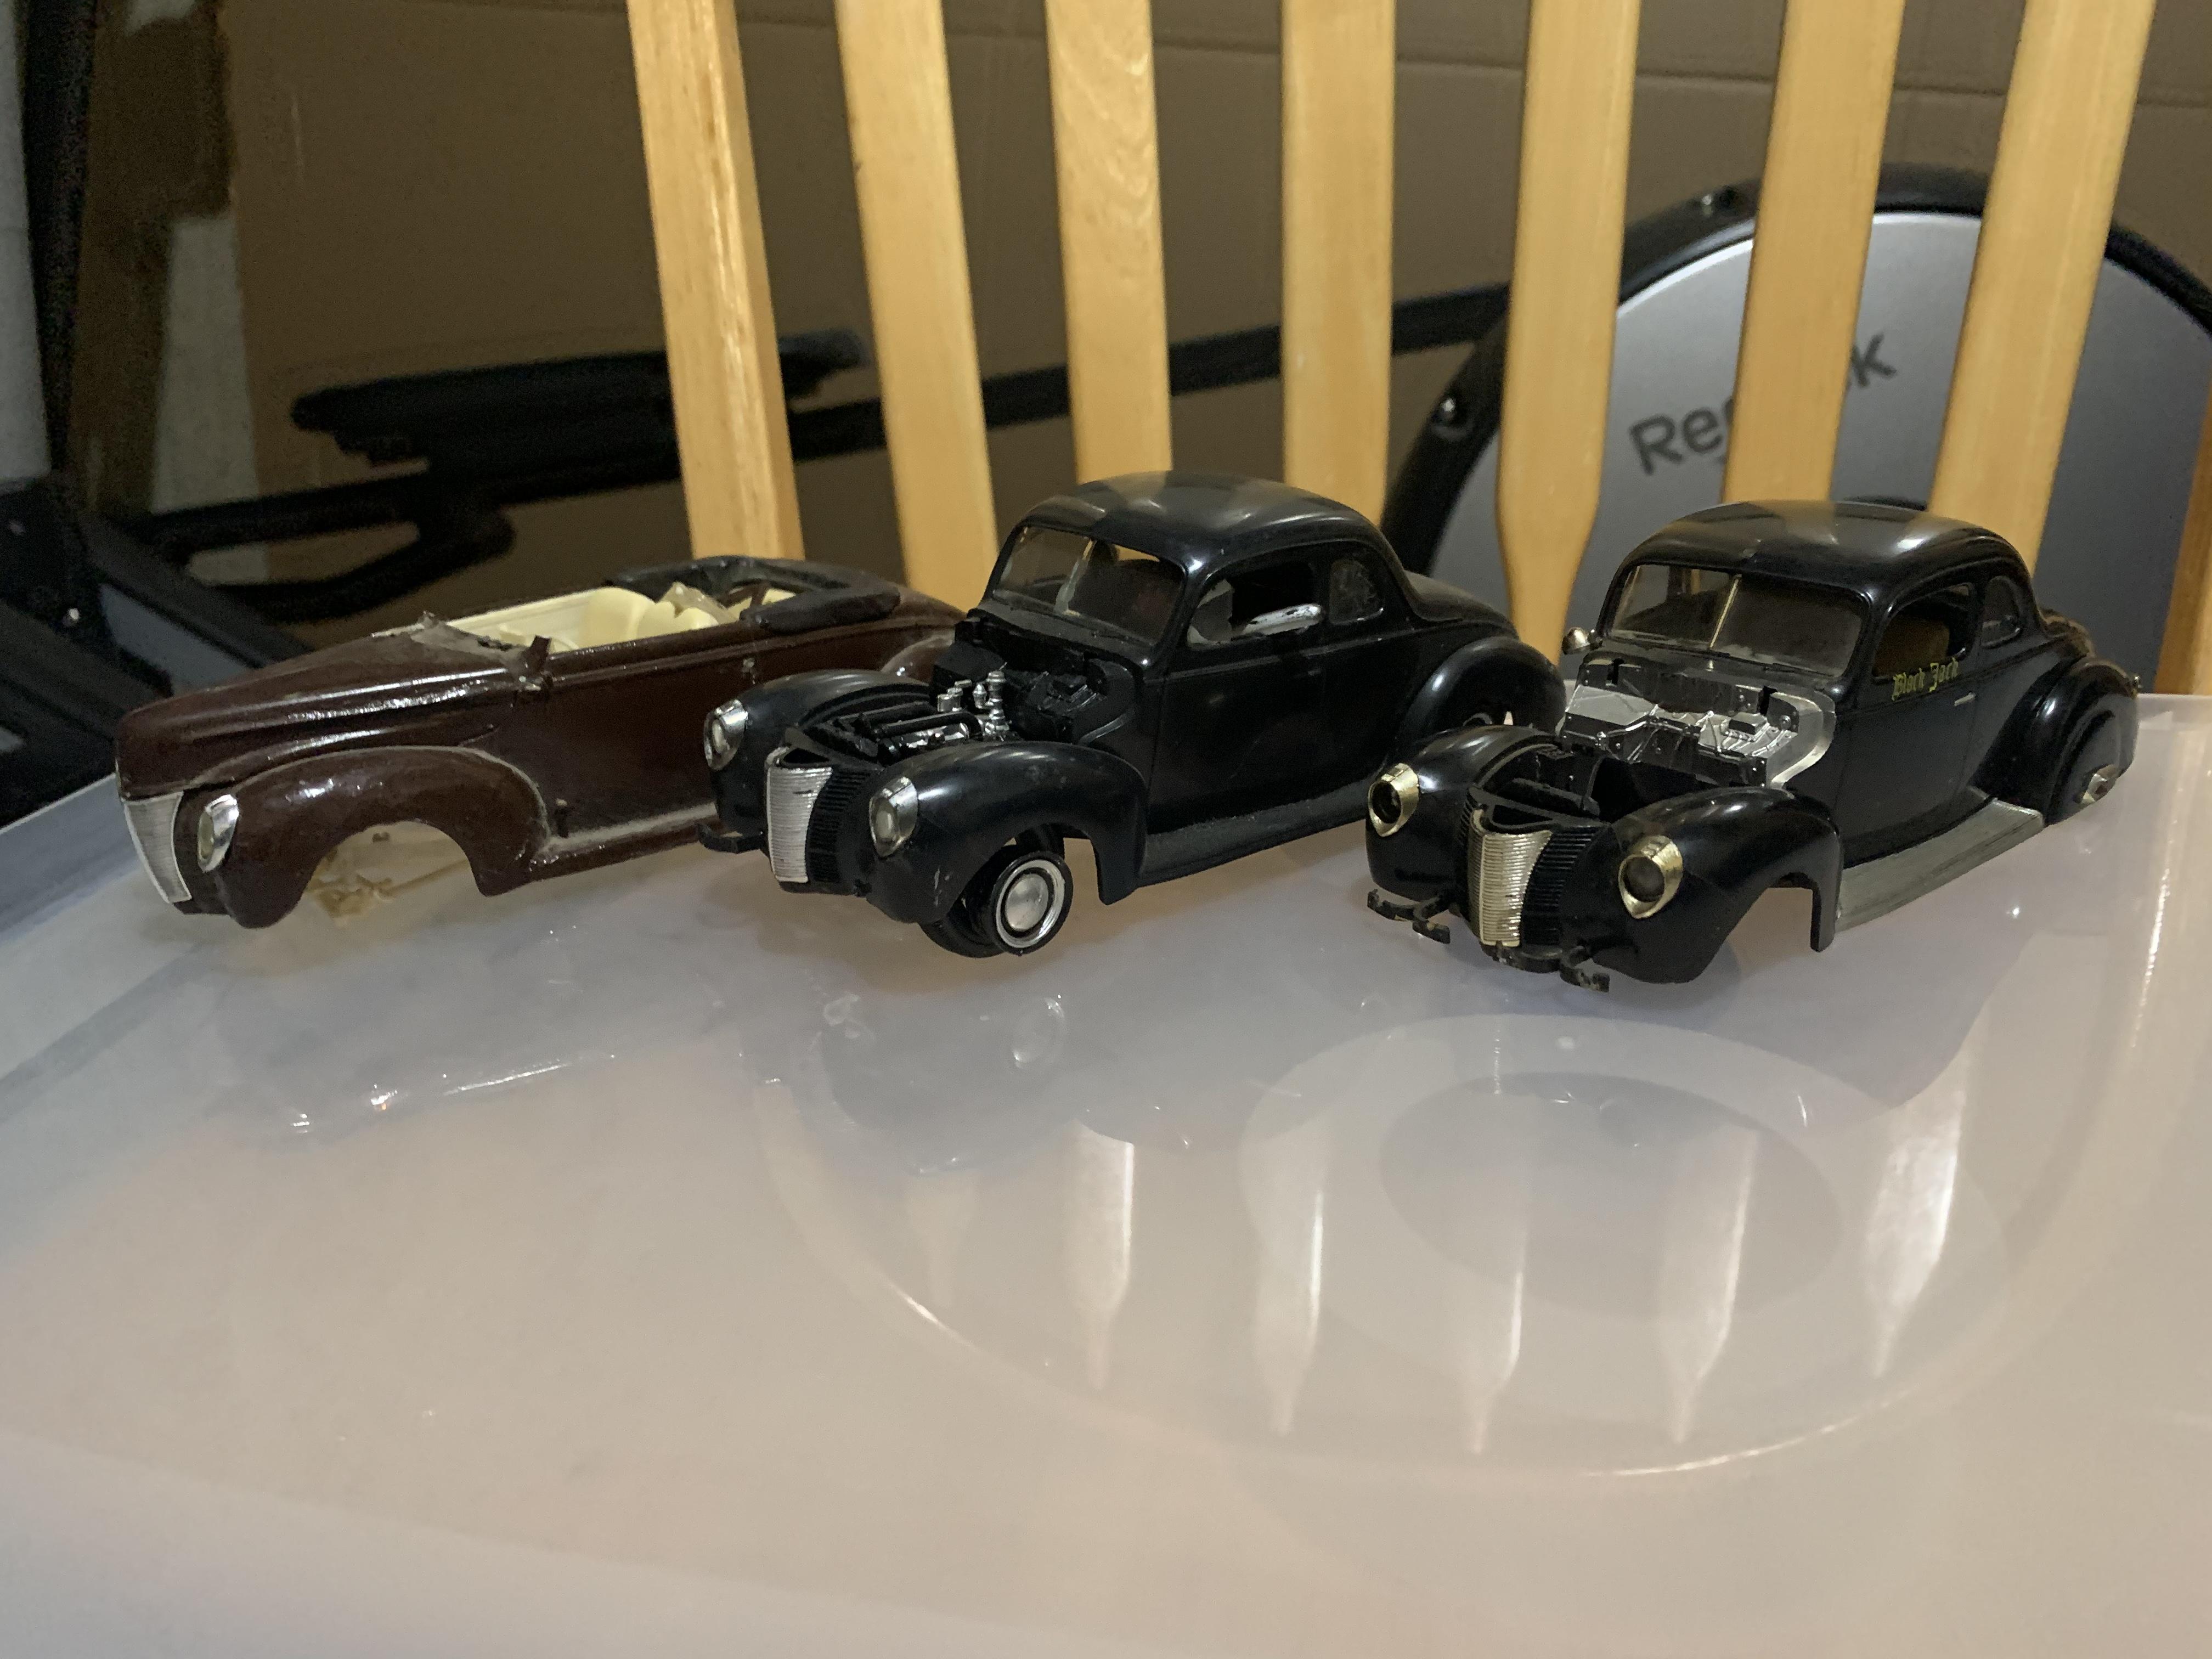
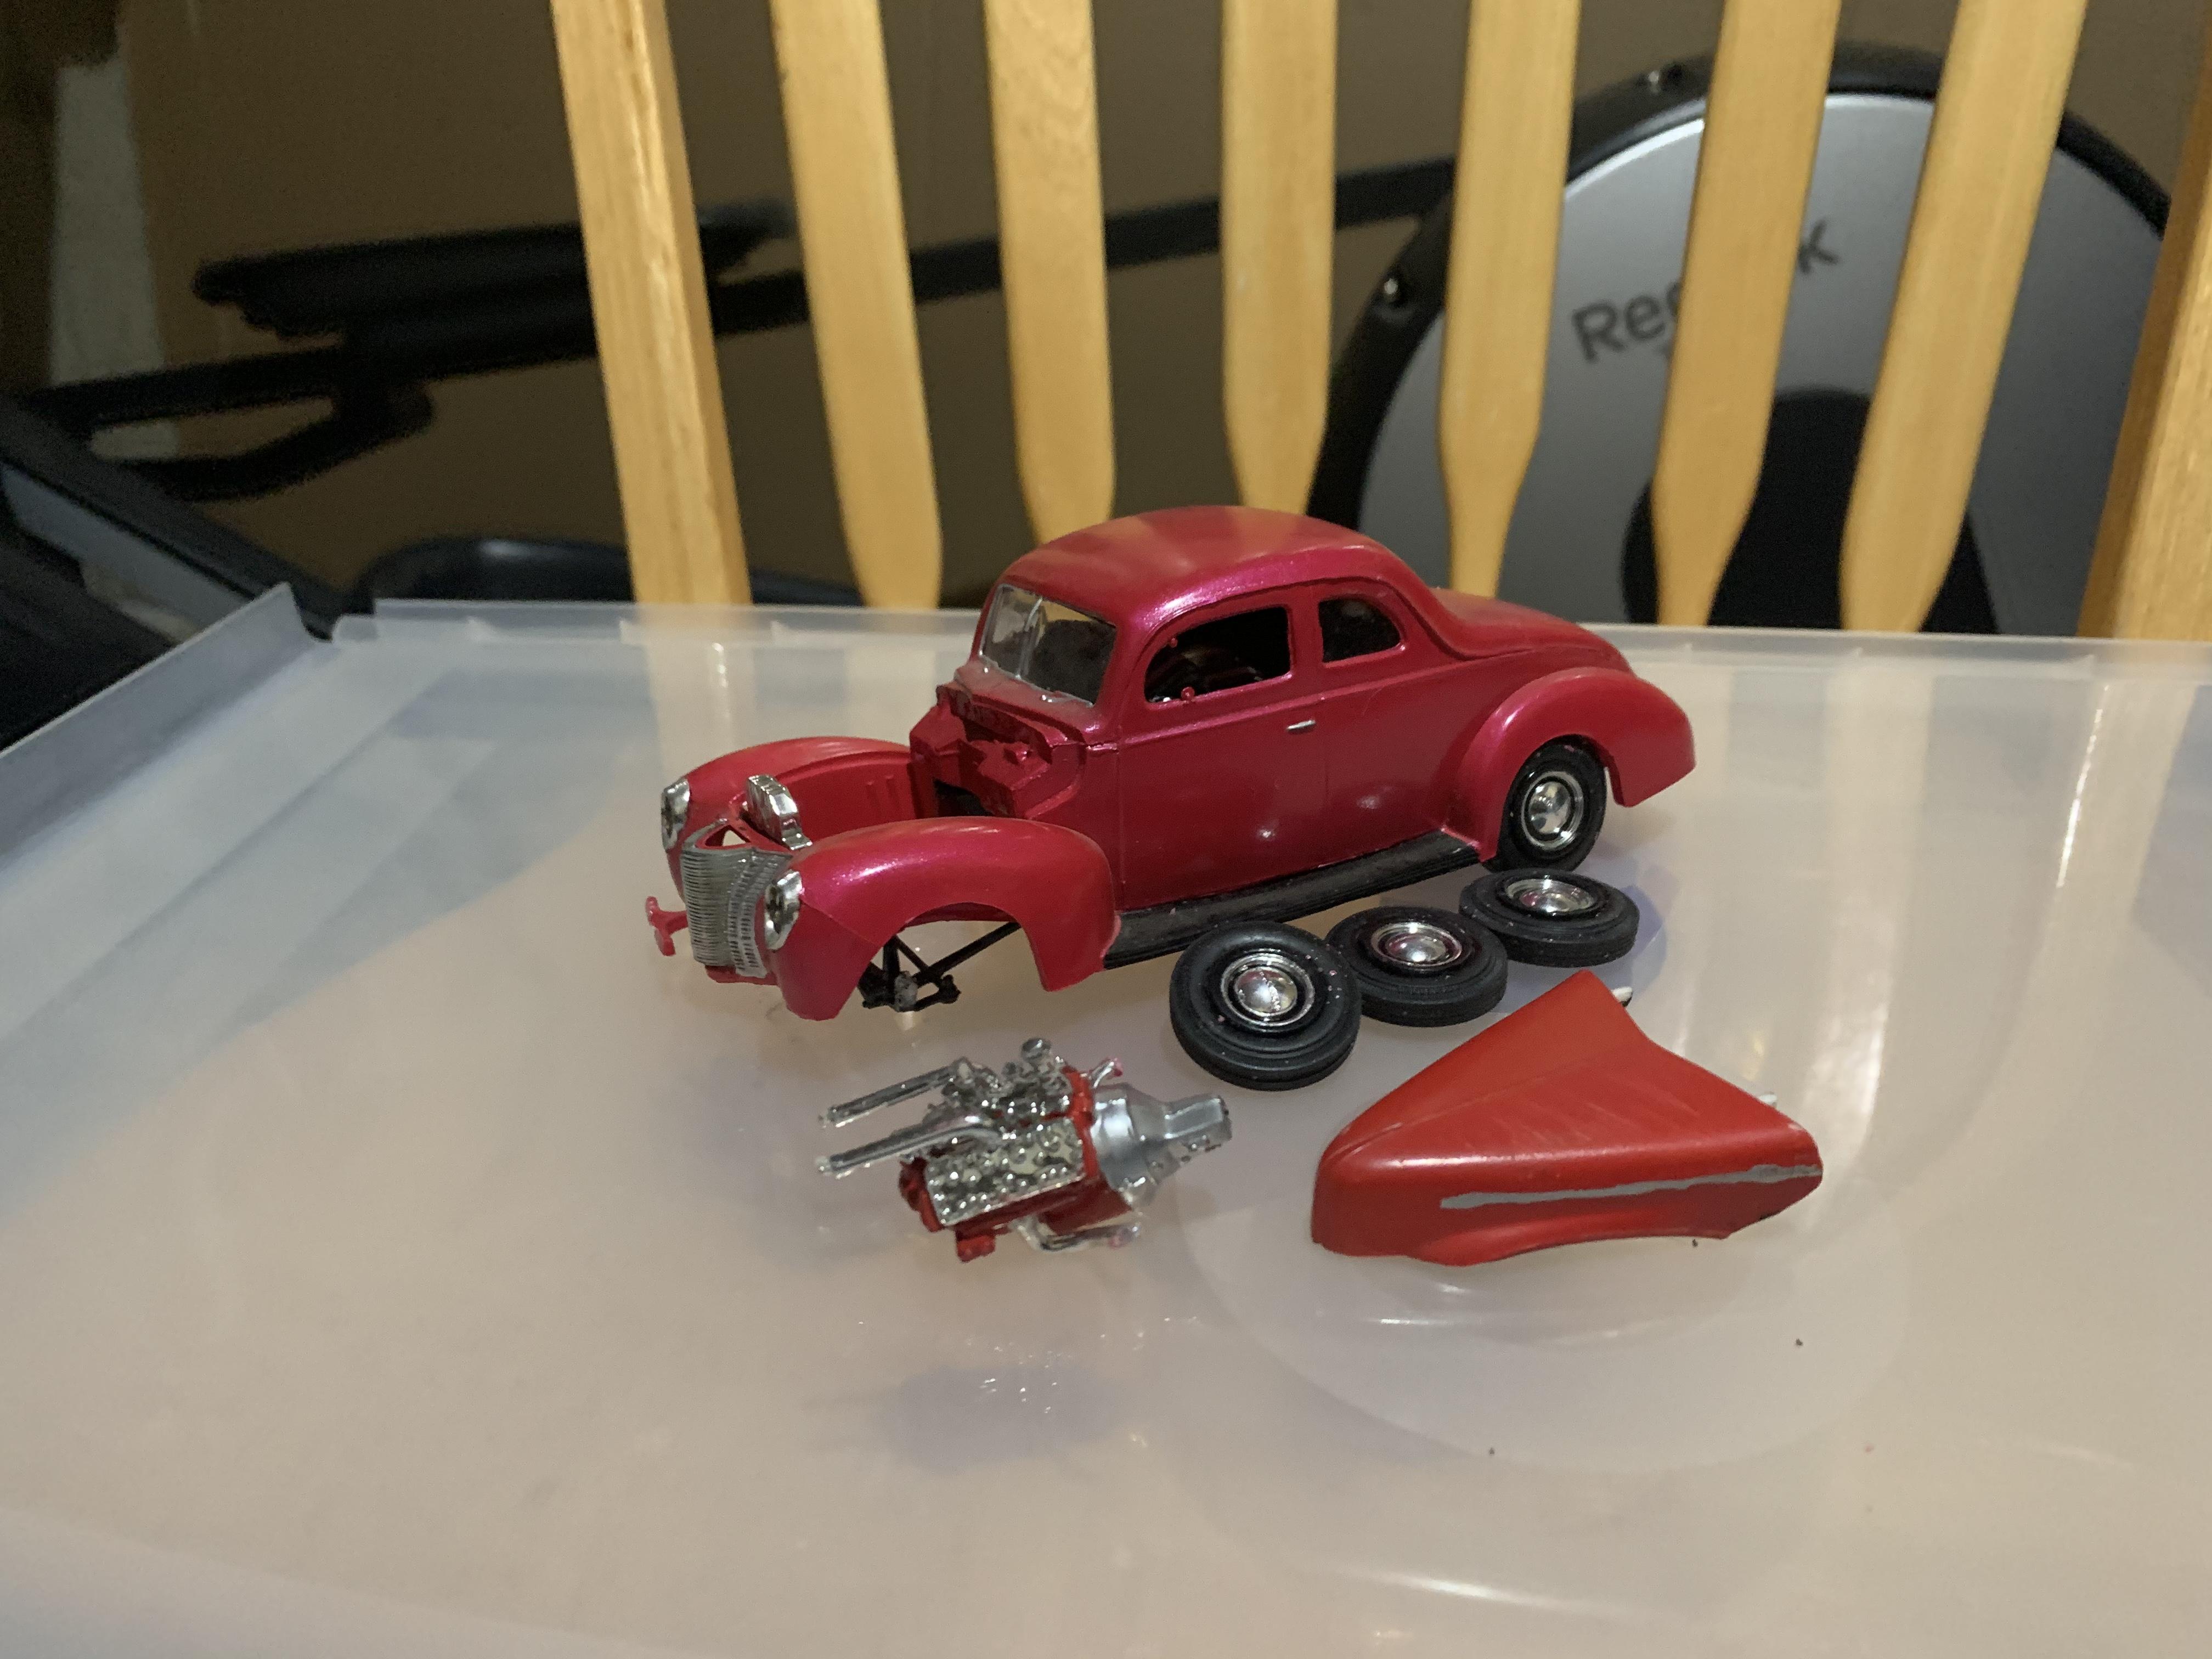
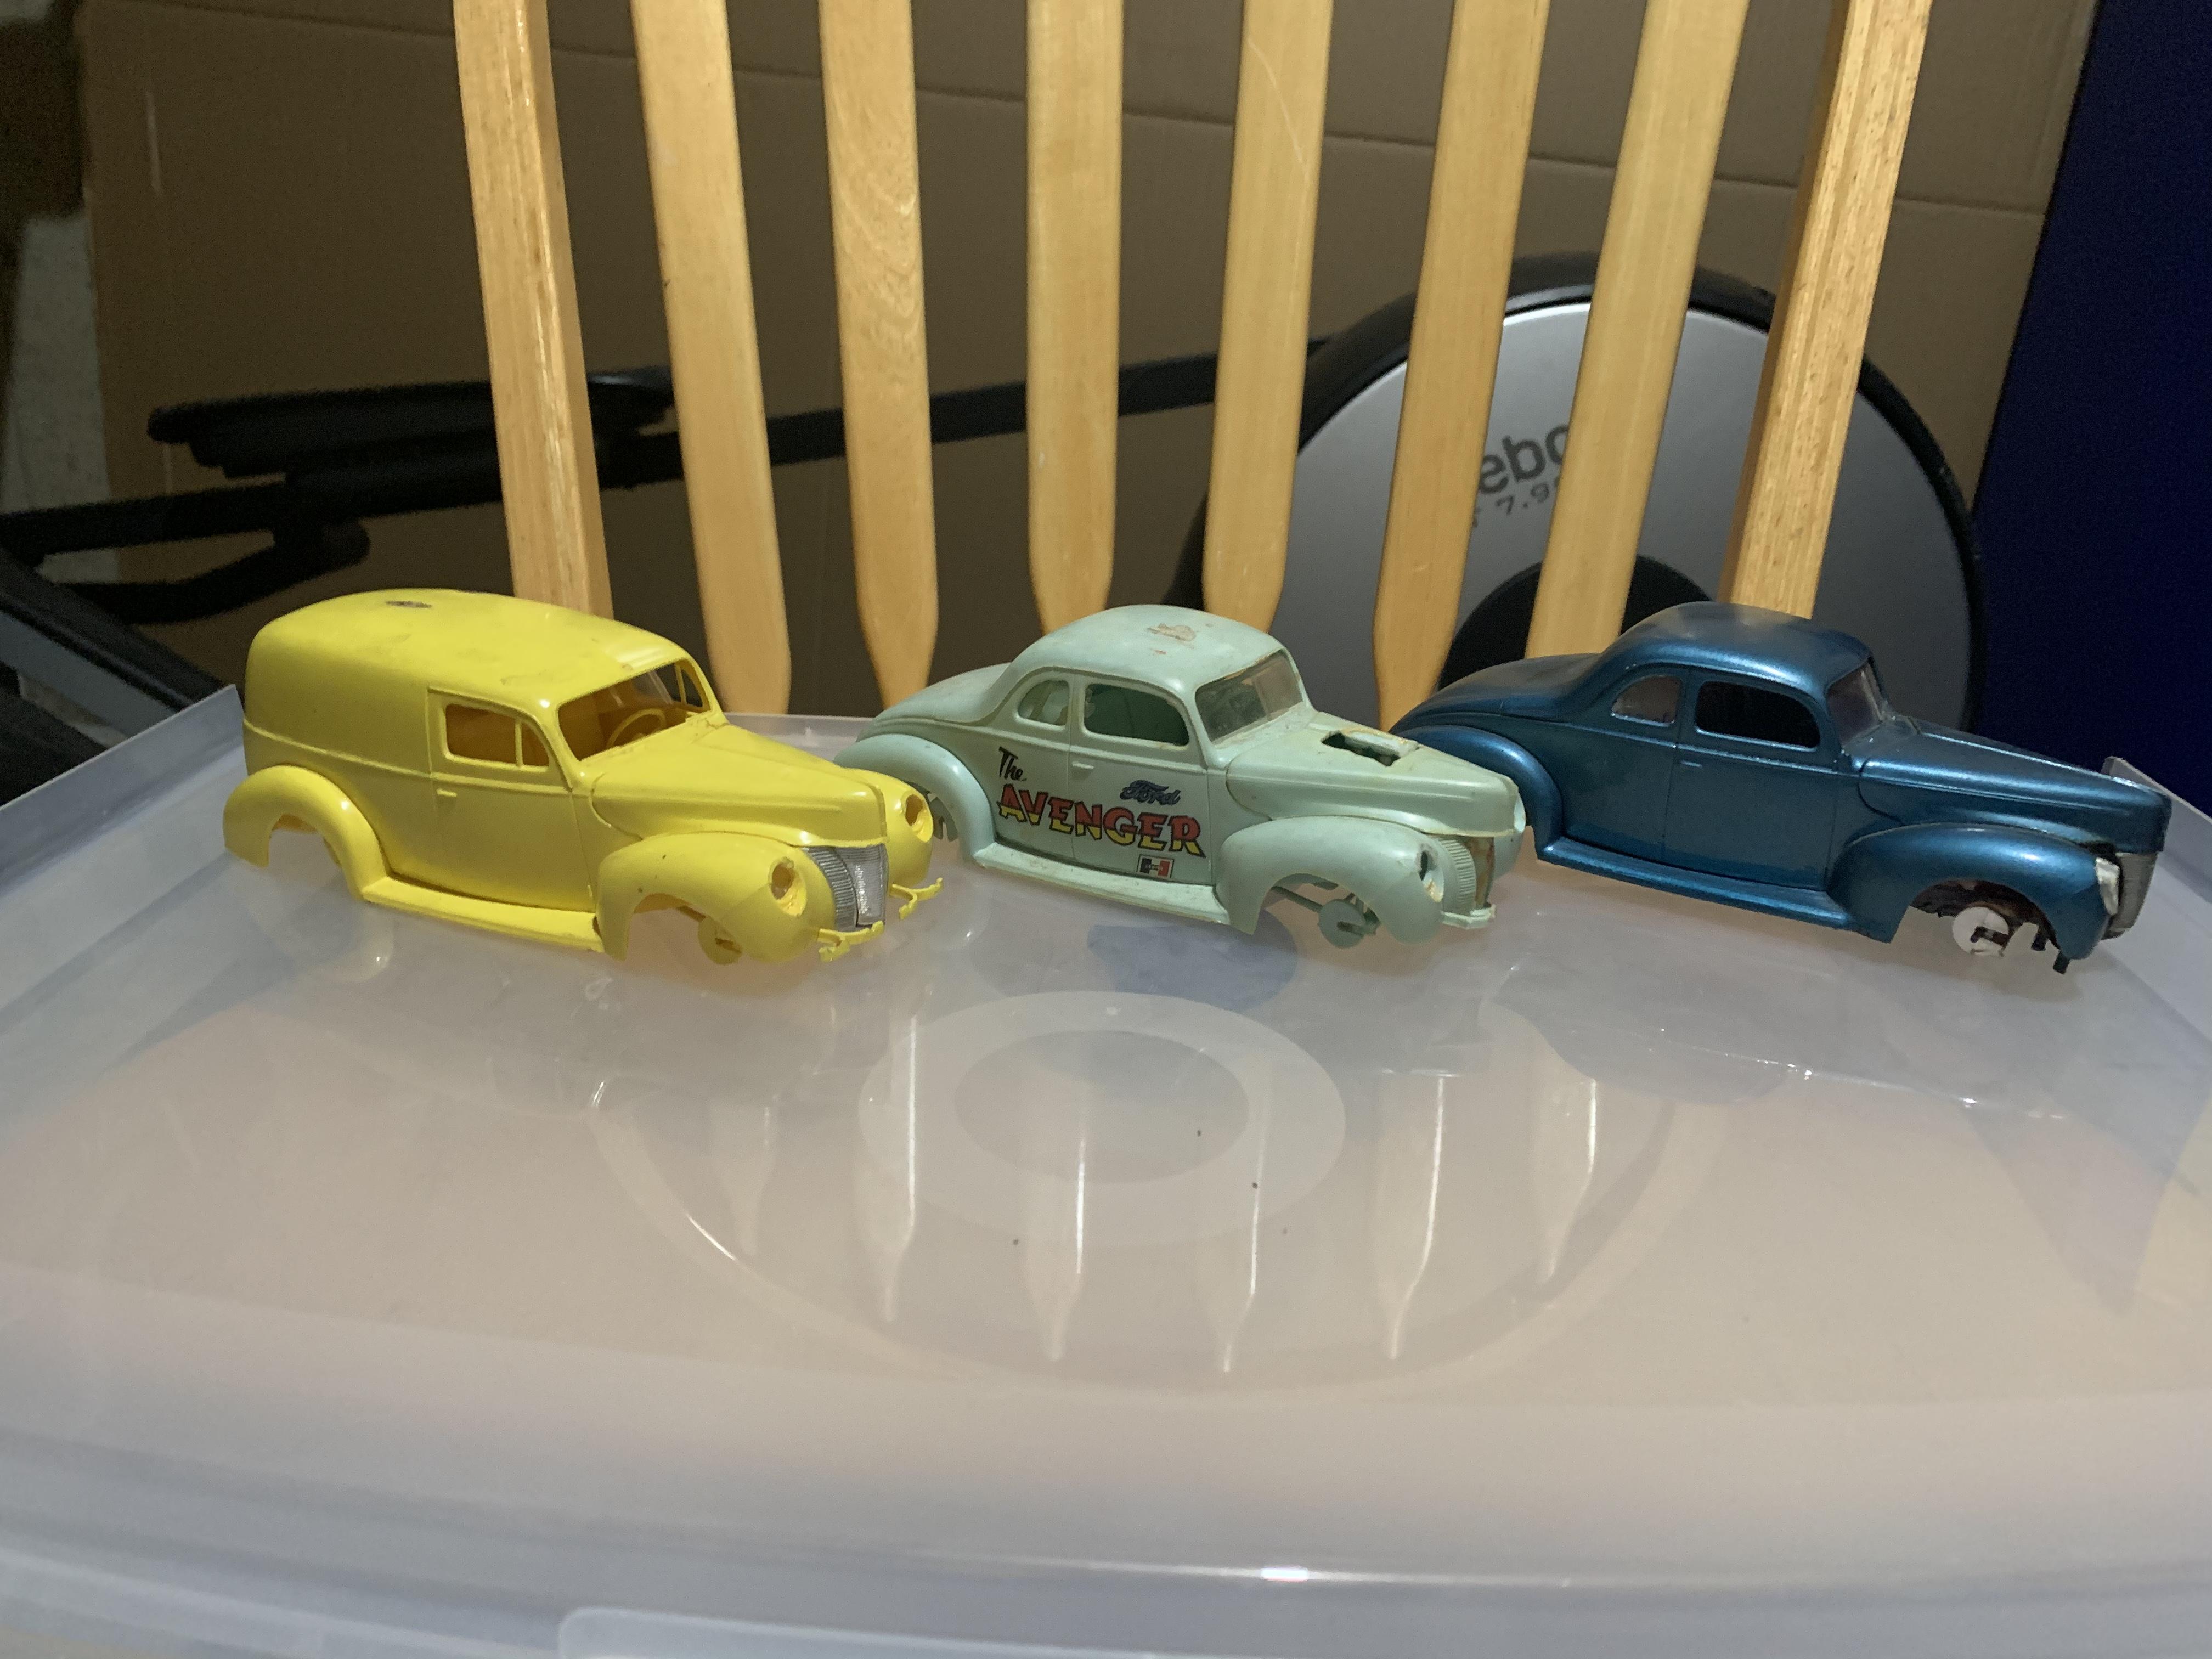
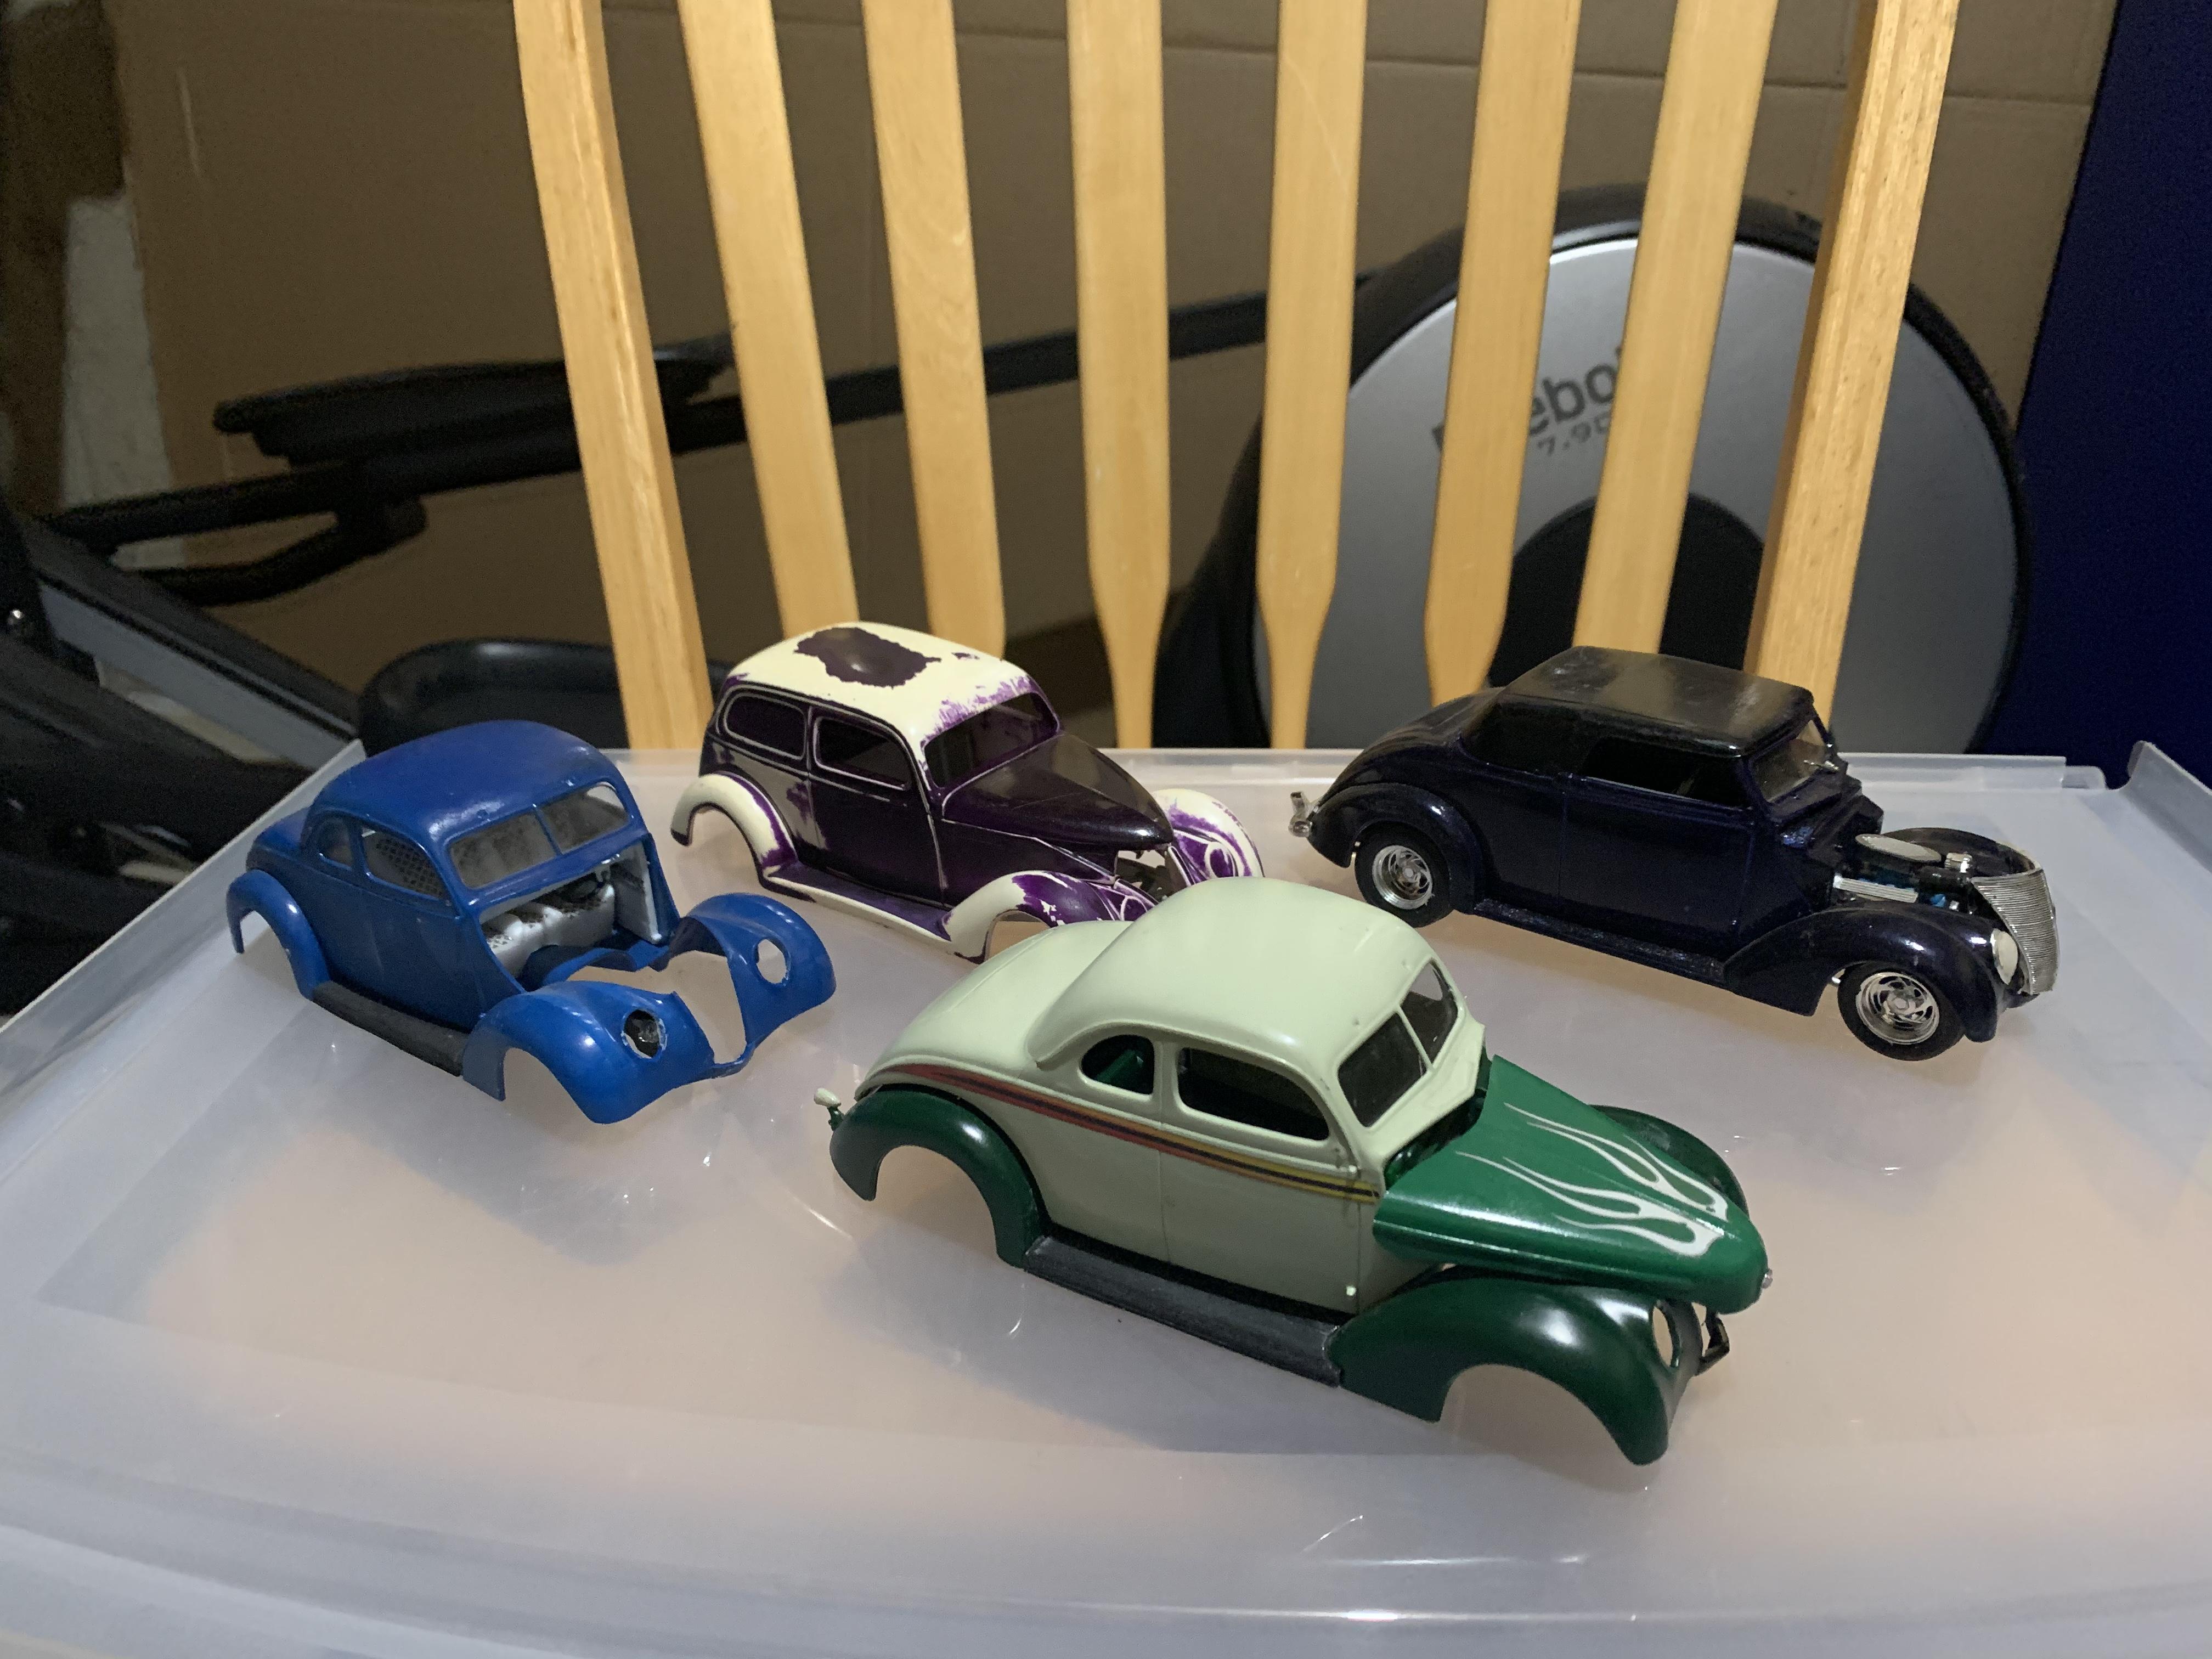
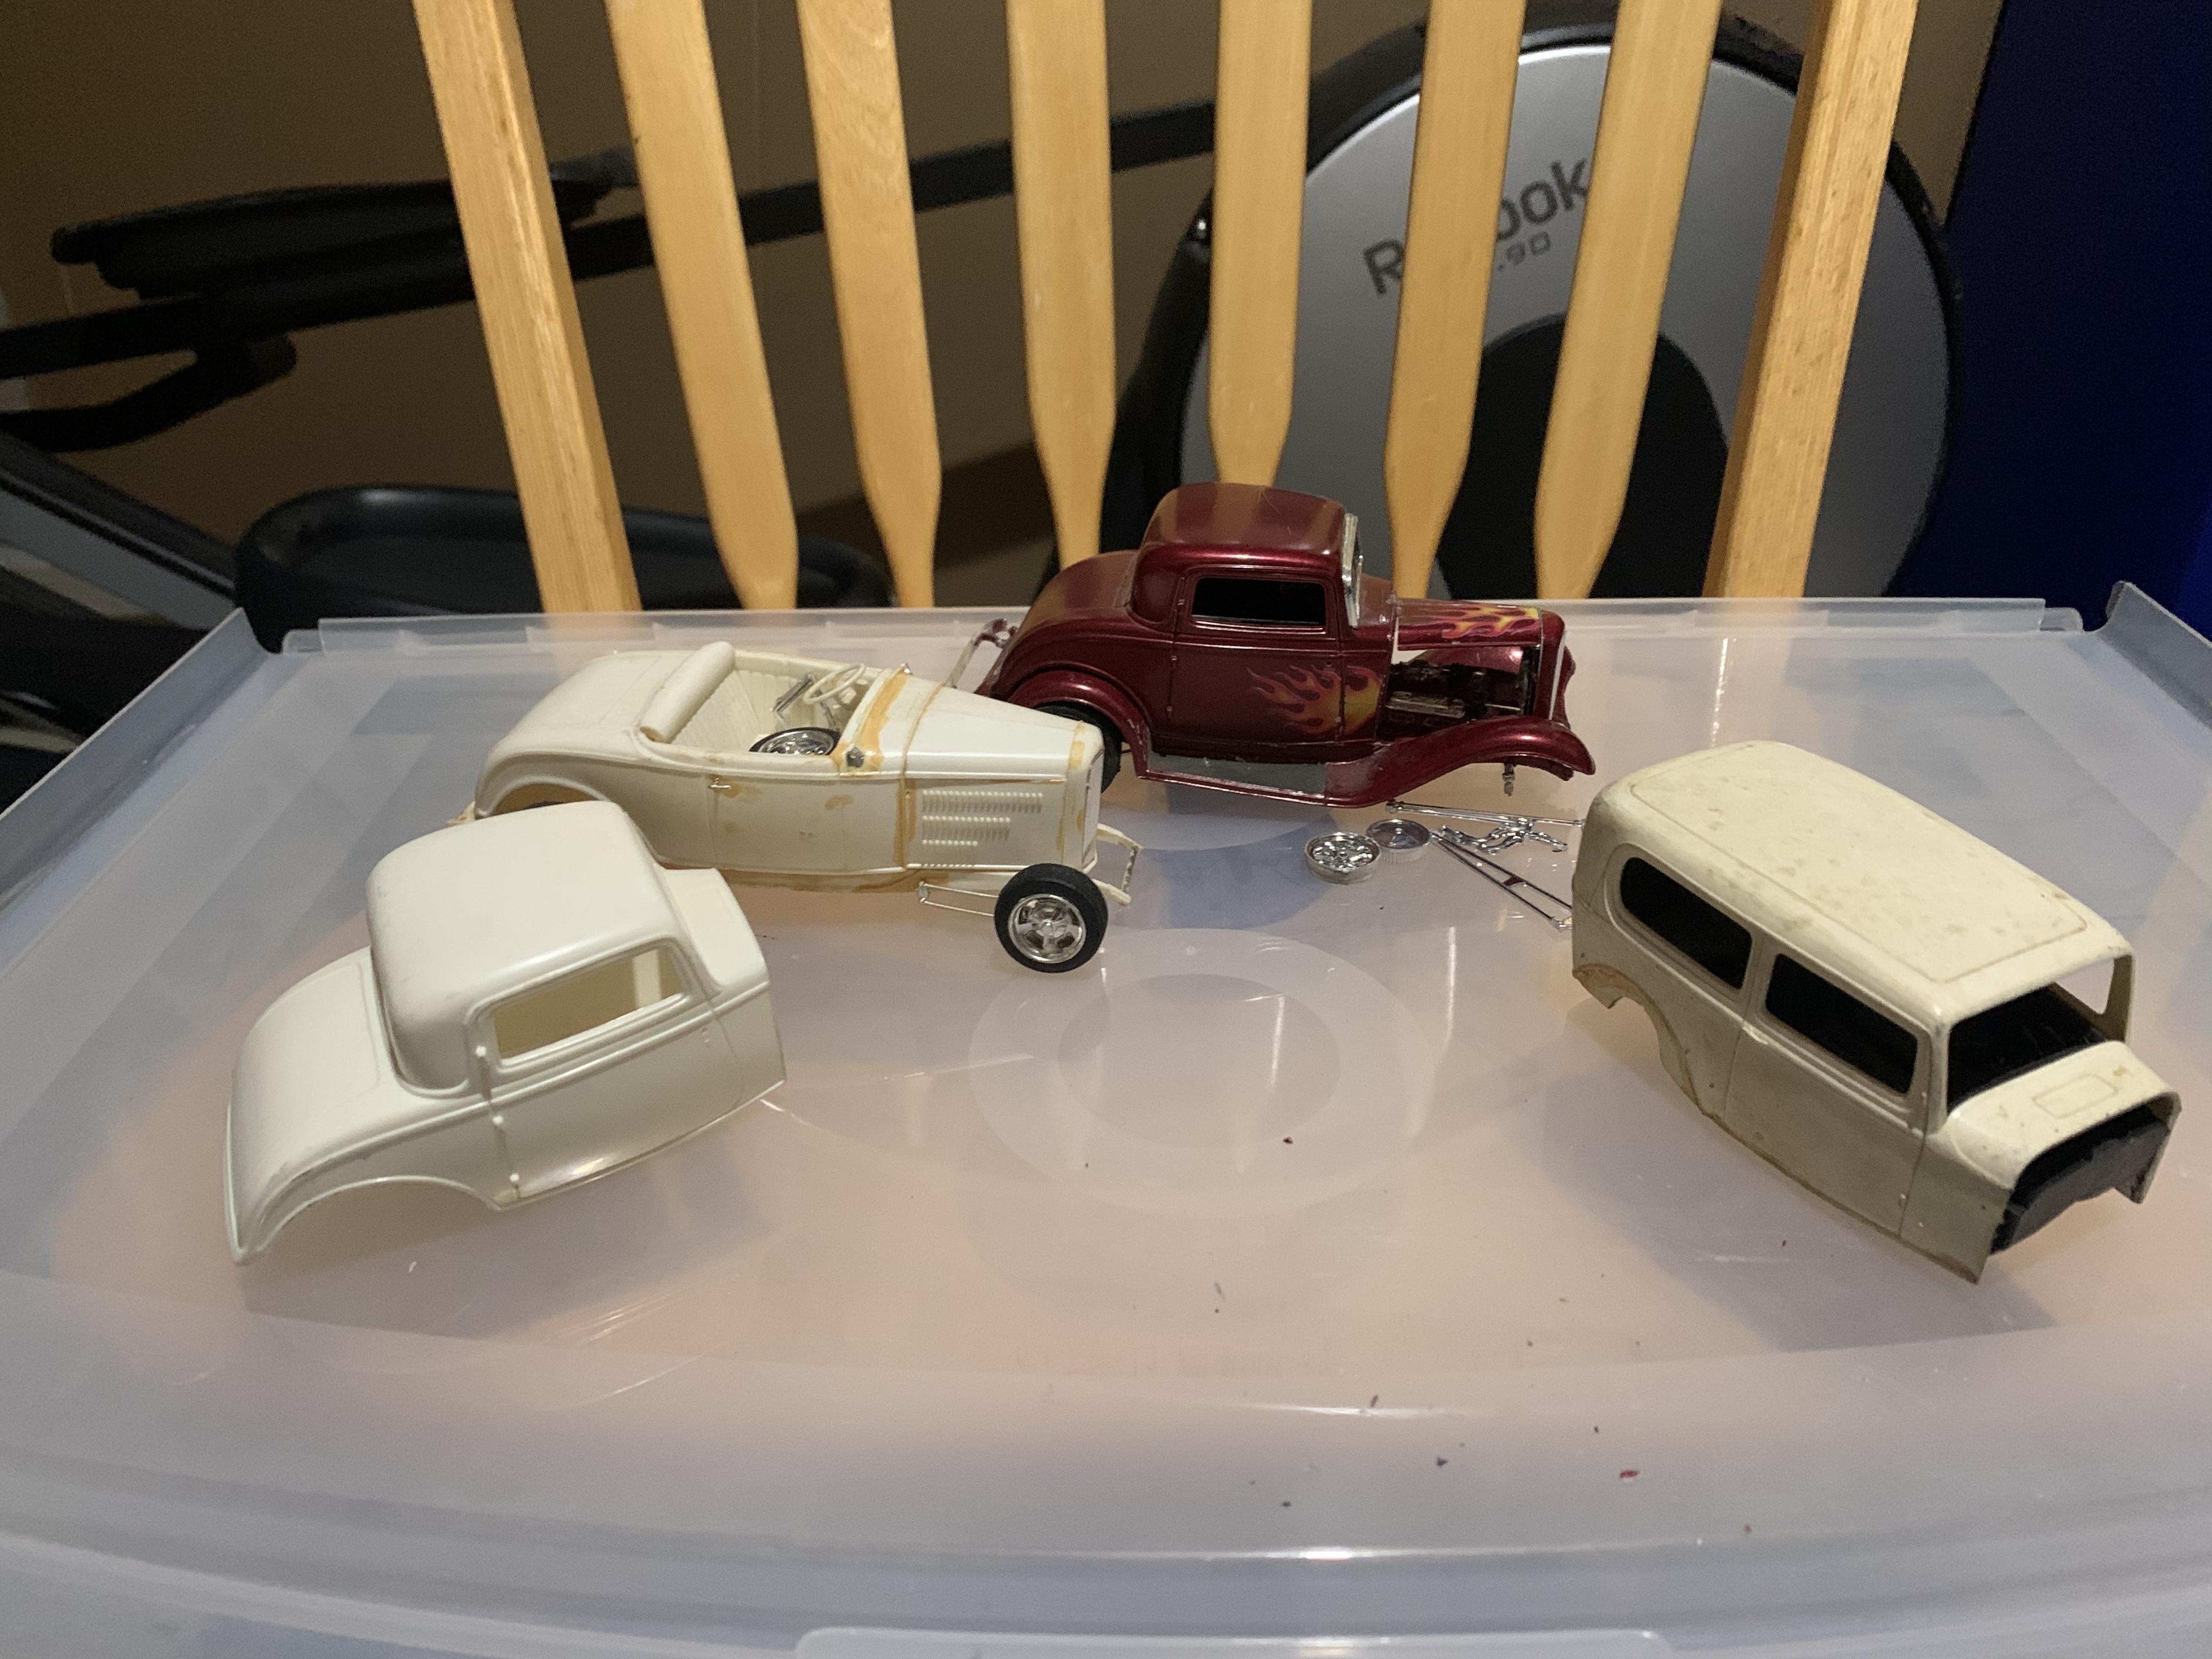
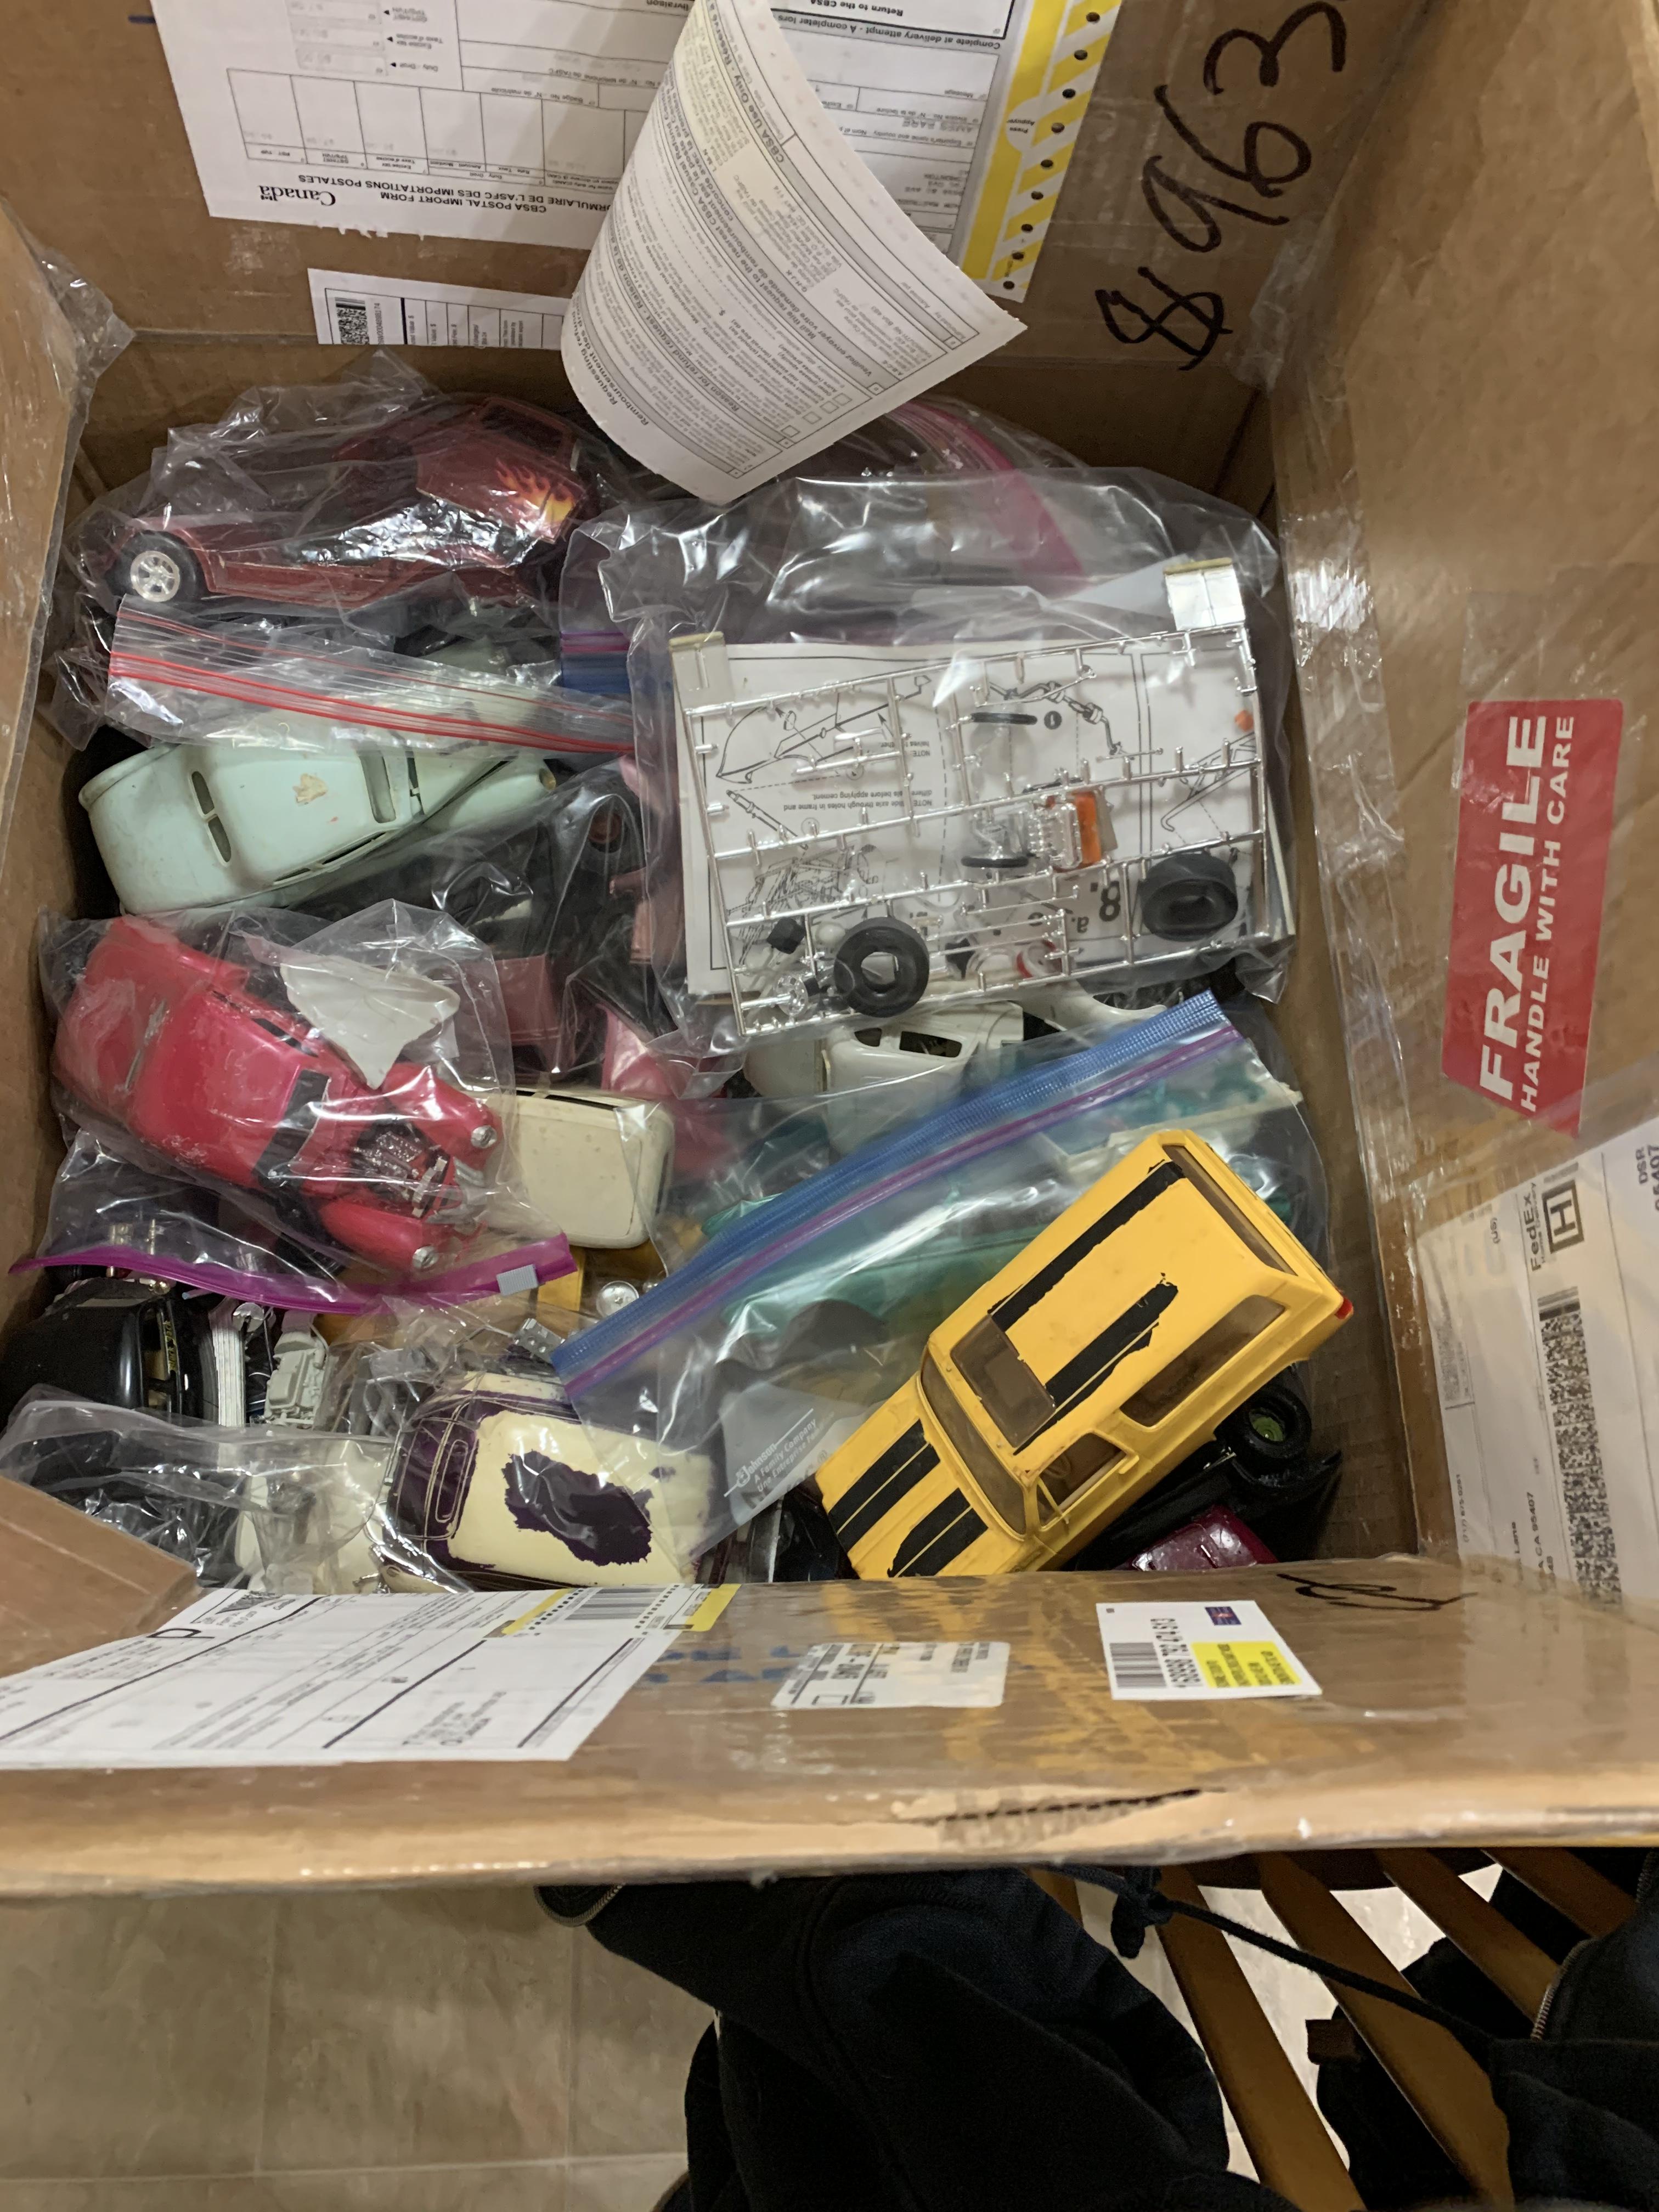
As requested pics of the haul, I’ll start with a pic of the closet that the bins are in. I spent two hours taking bins out and down to sort through them, then put them all back in place. labour intensive but worth it
-
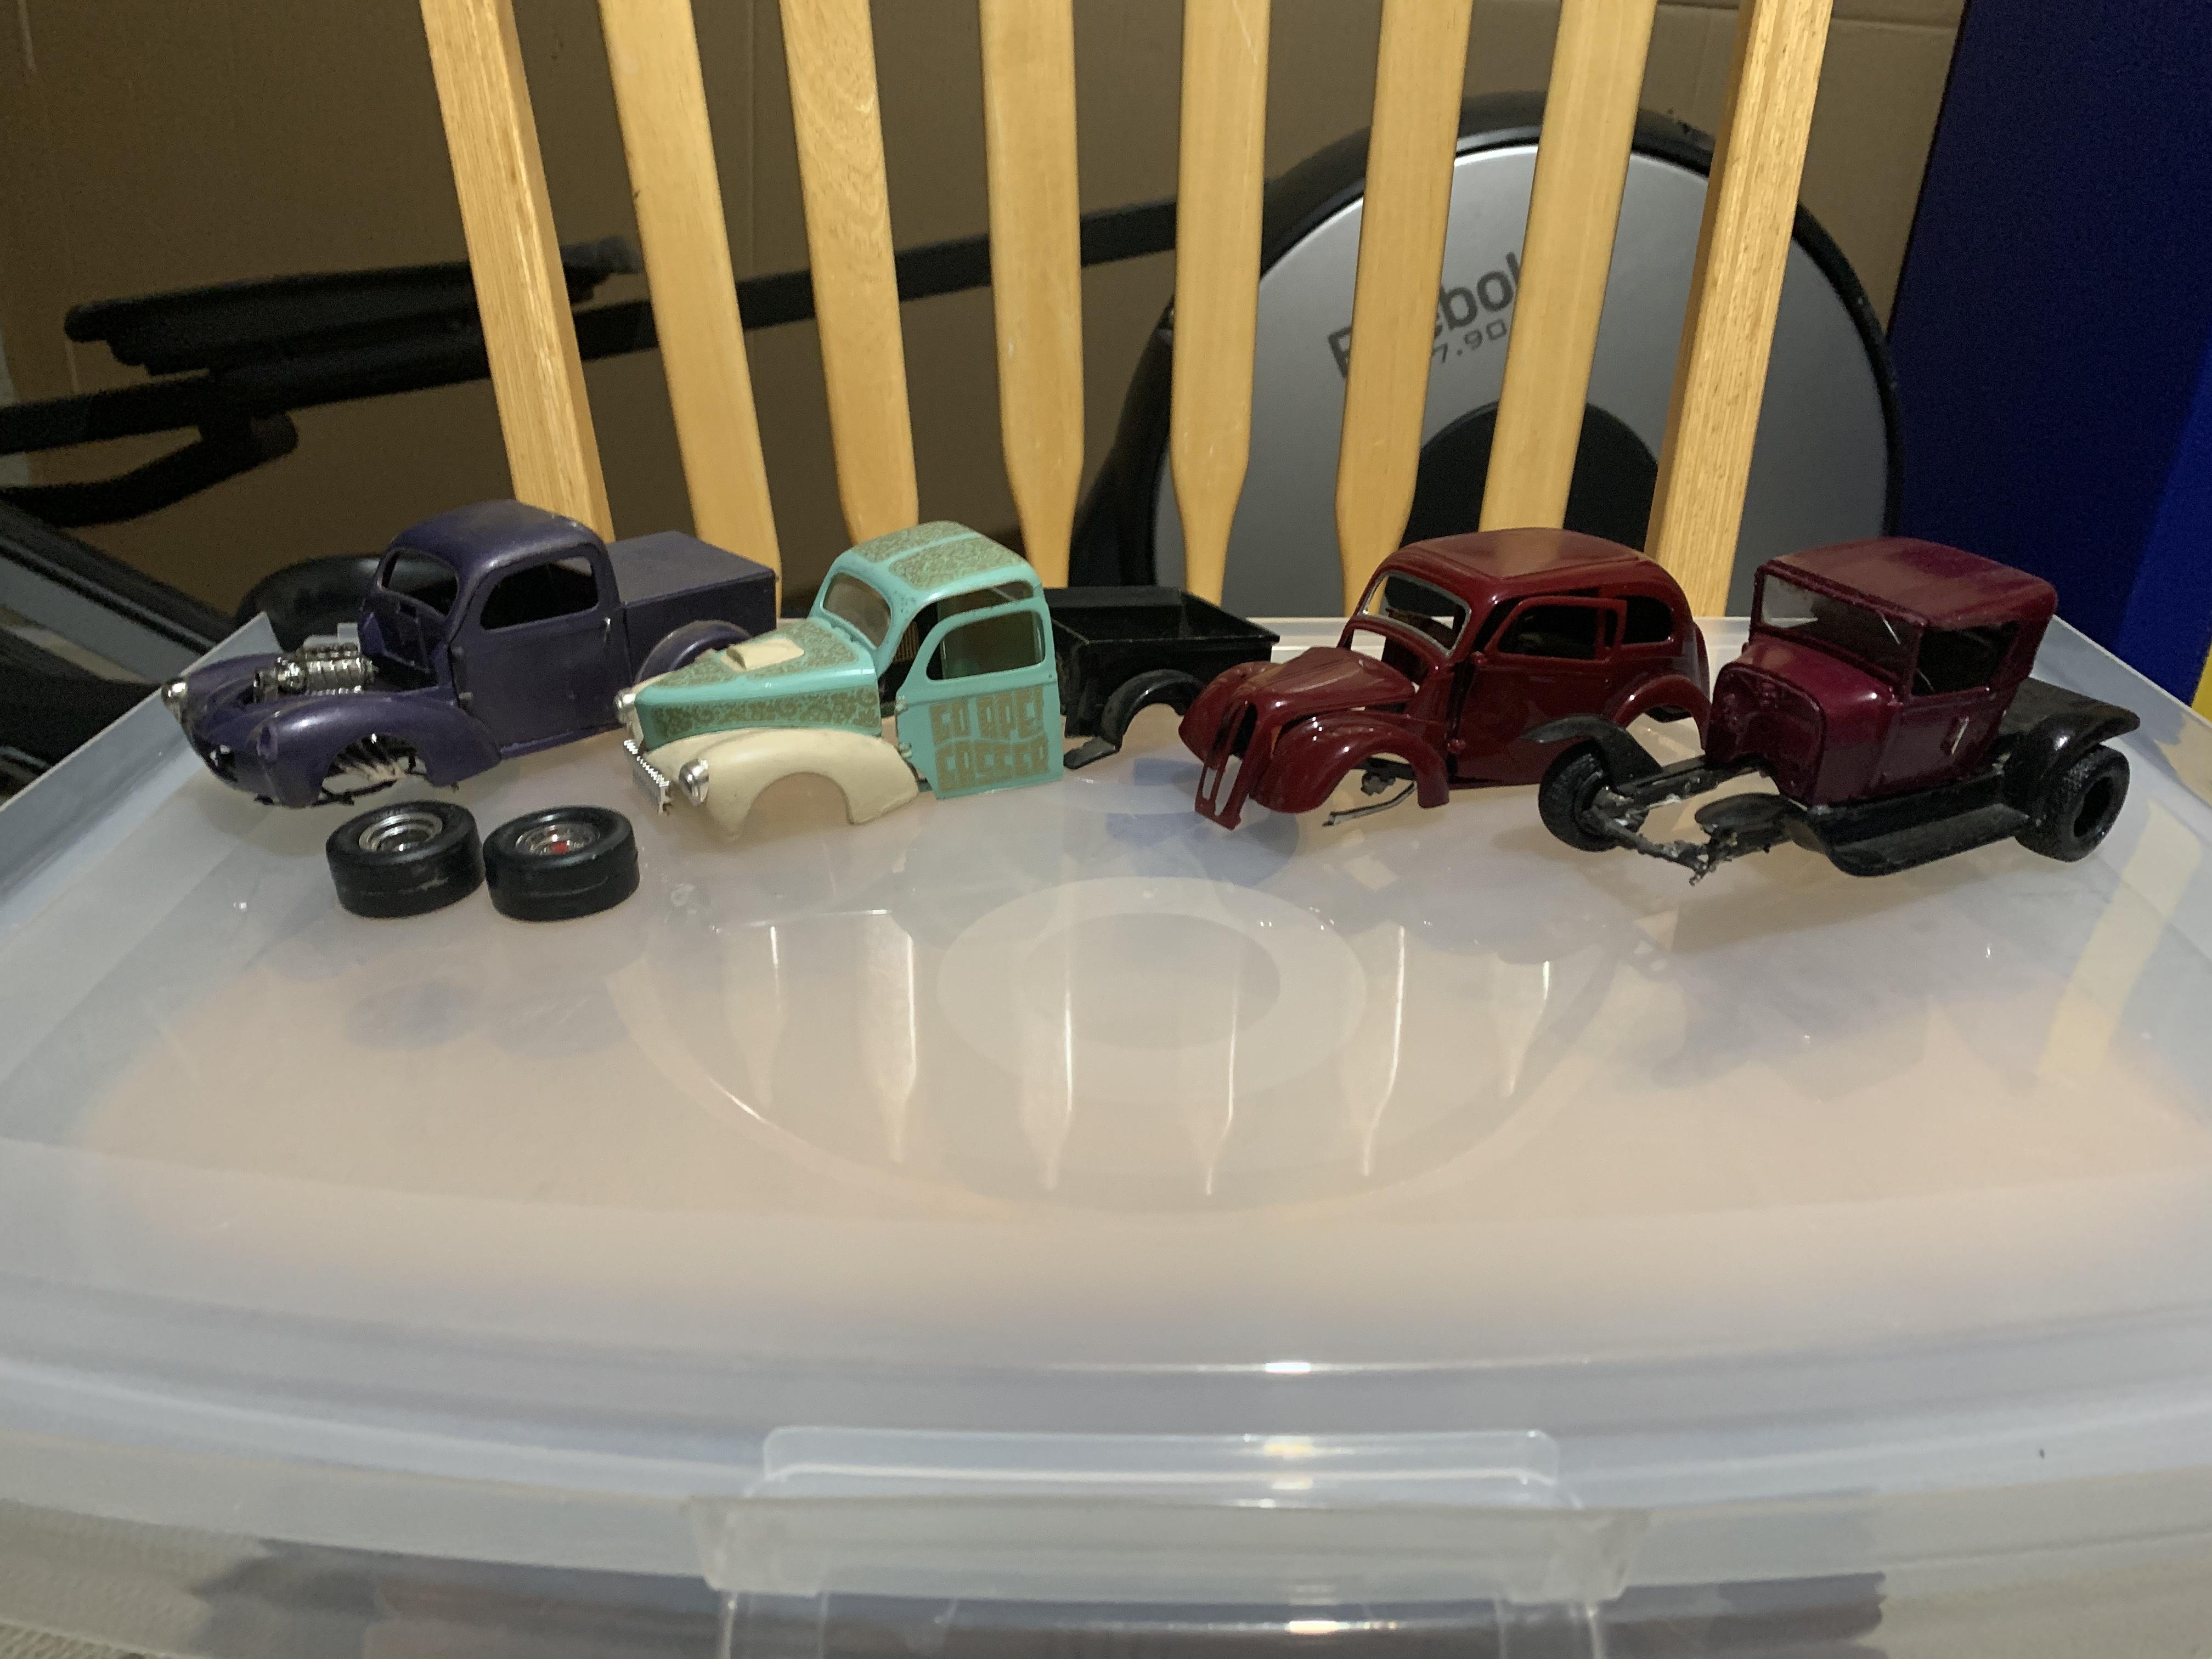
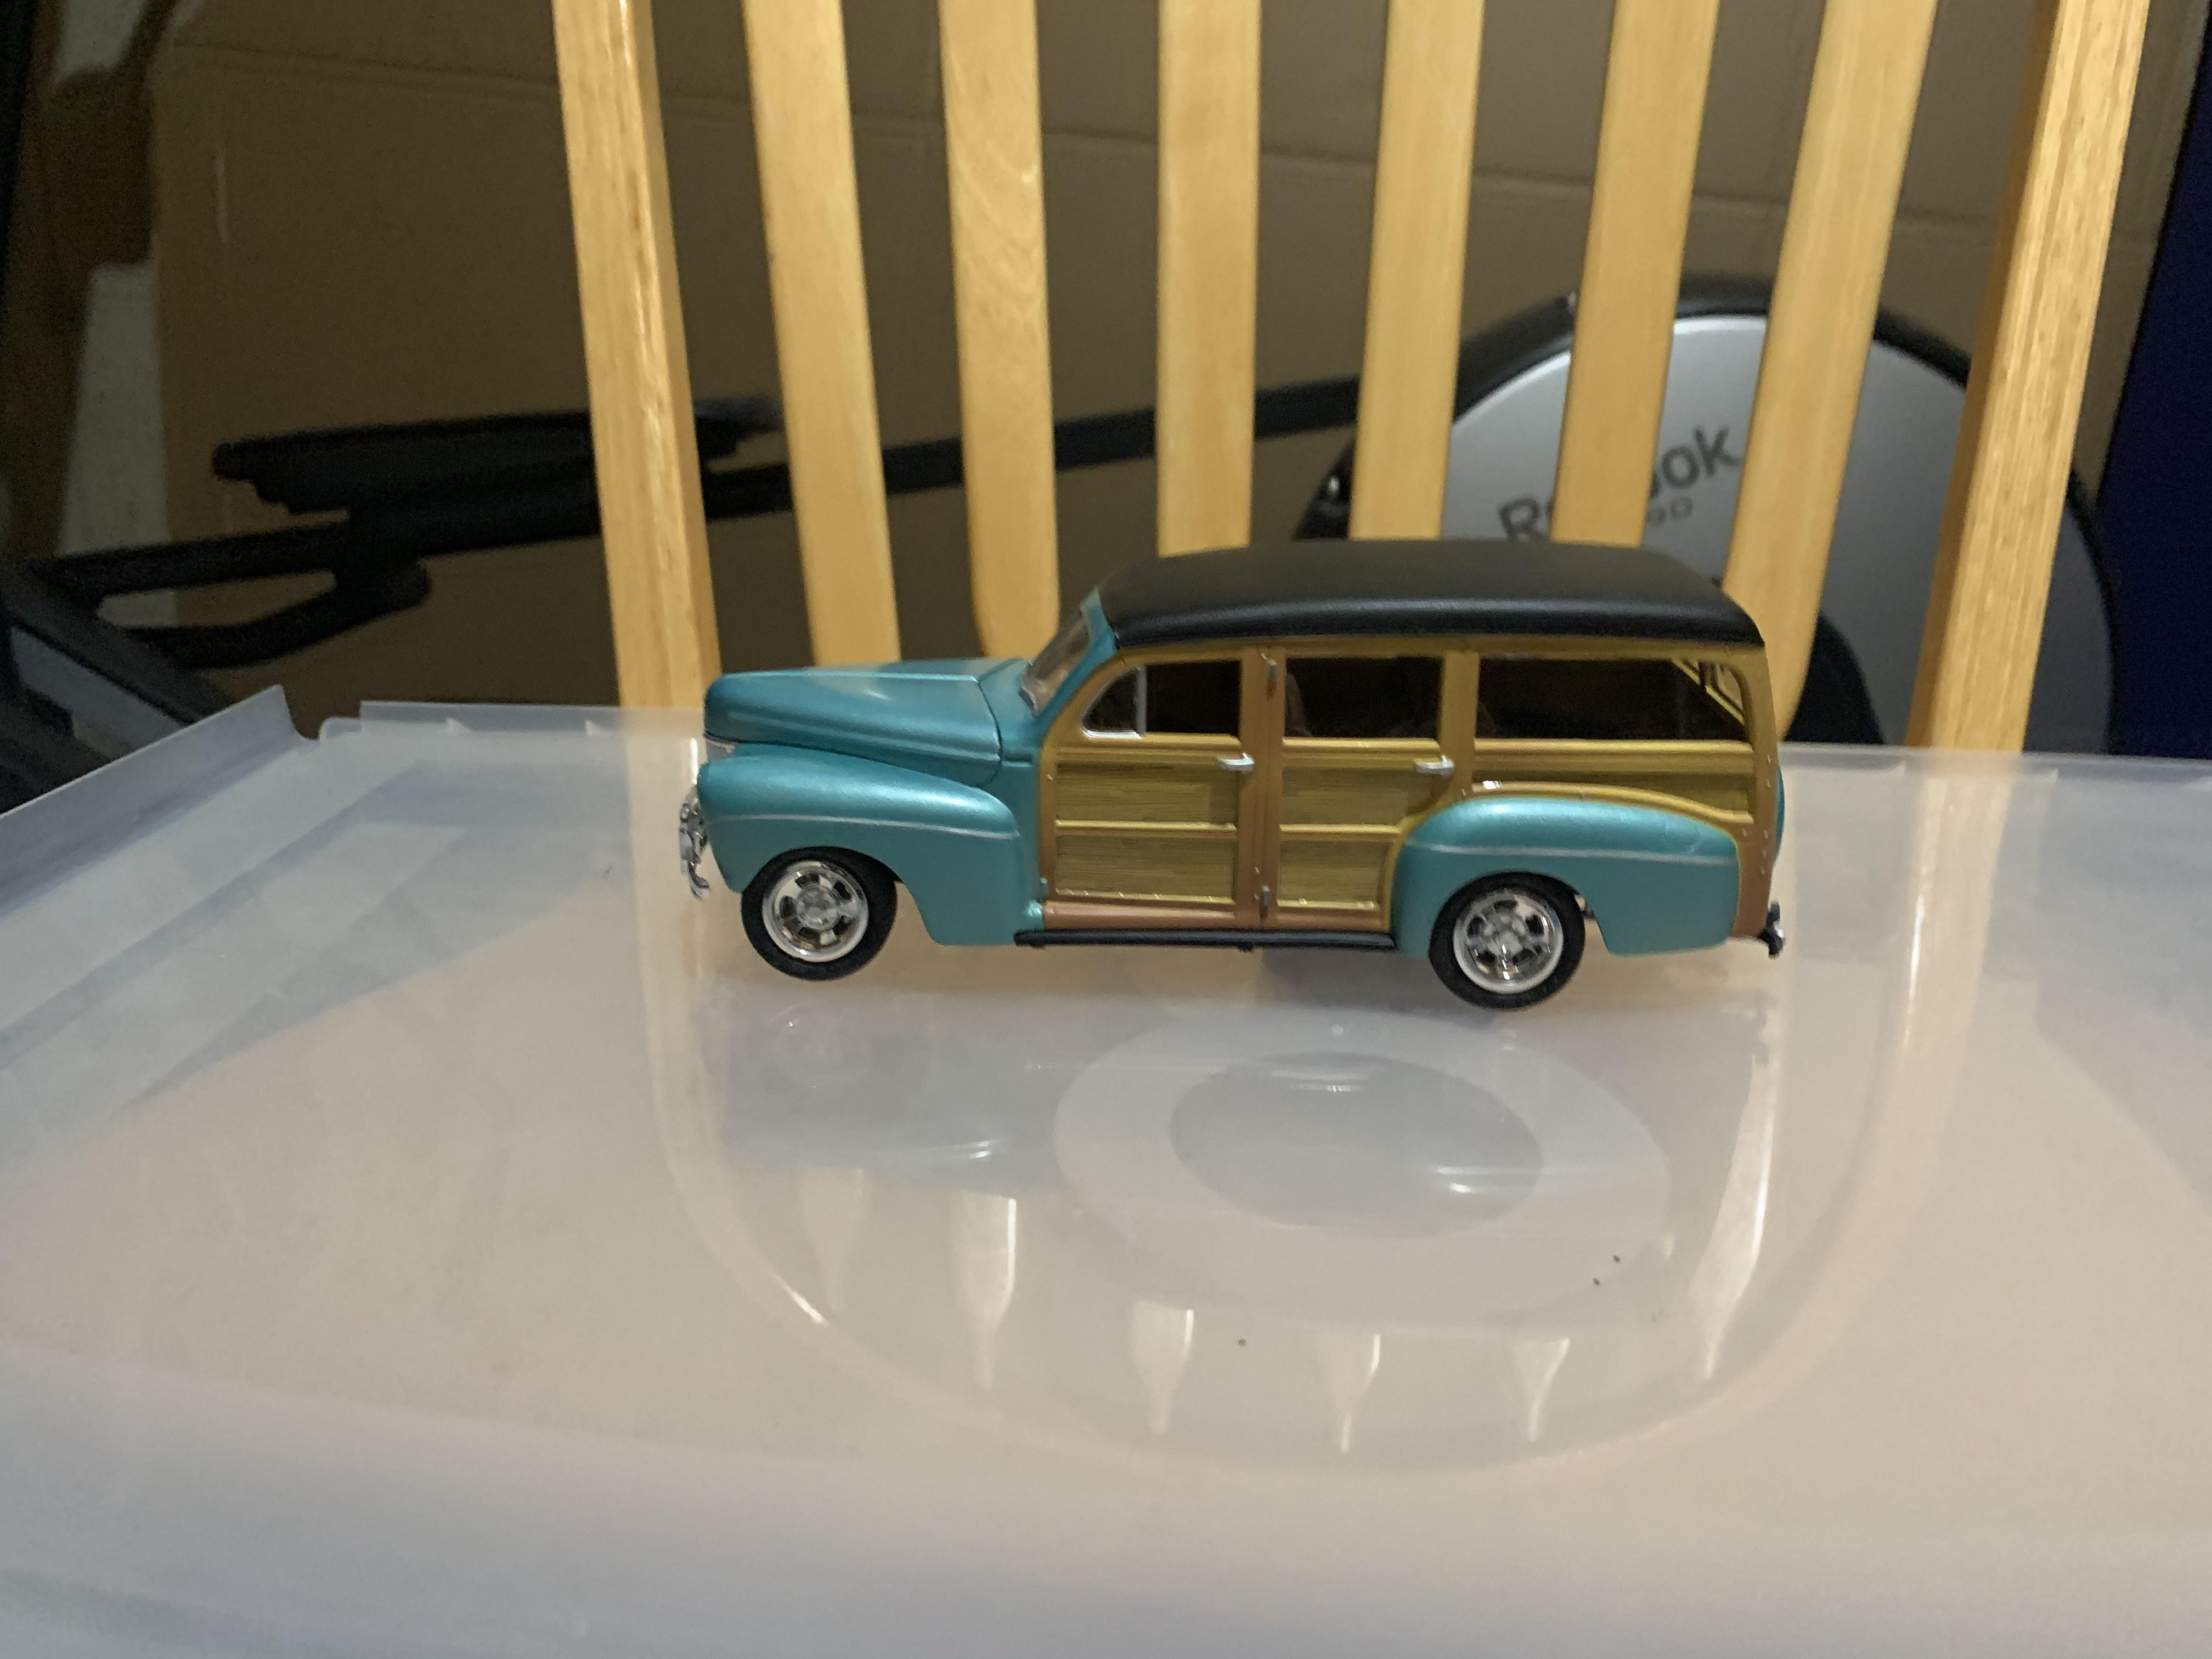
Some goodies for sure I got this local from picking at a friends house
-
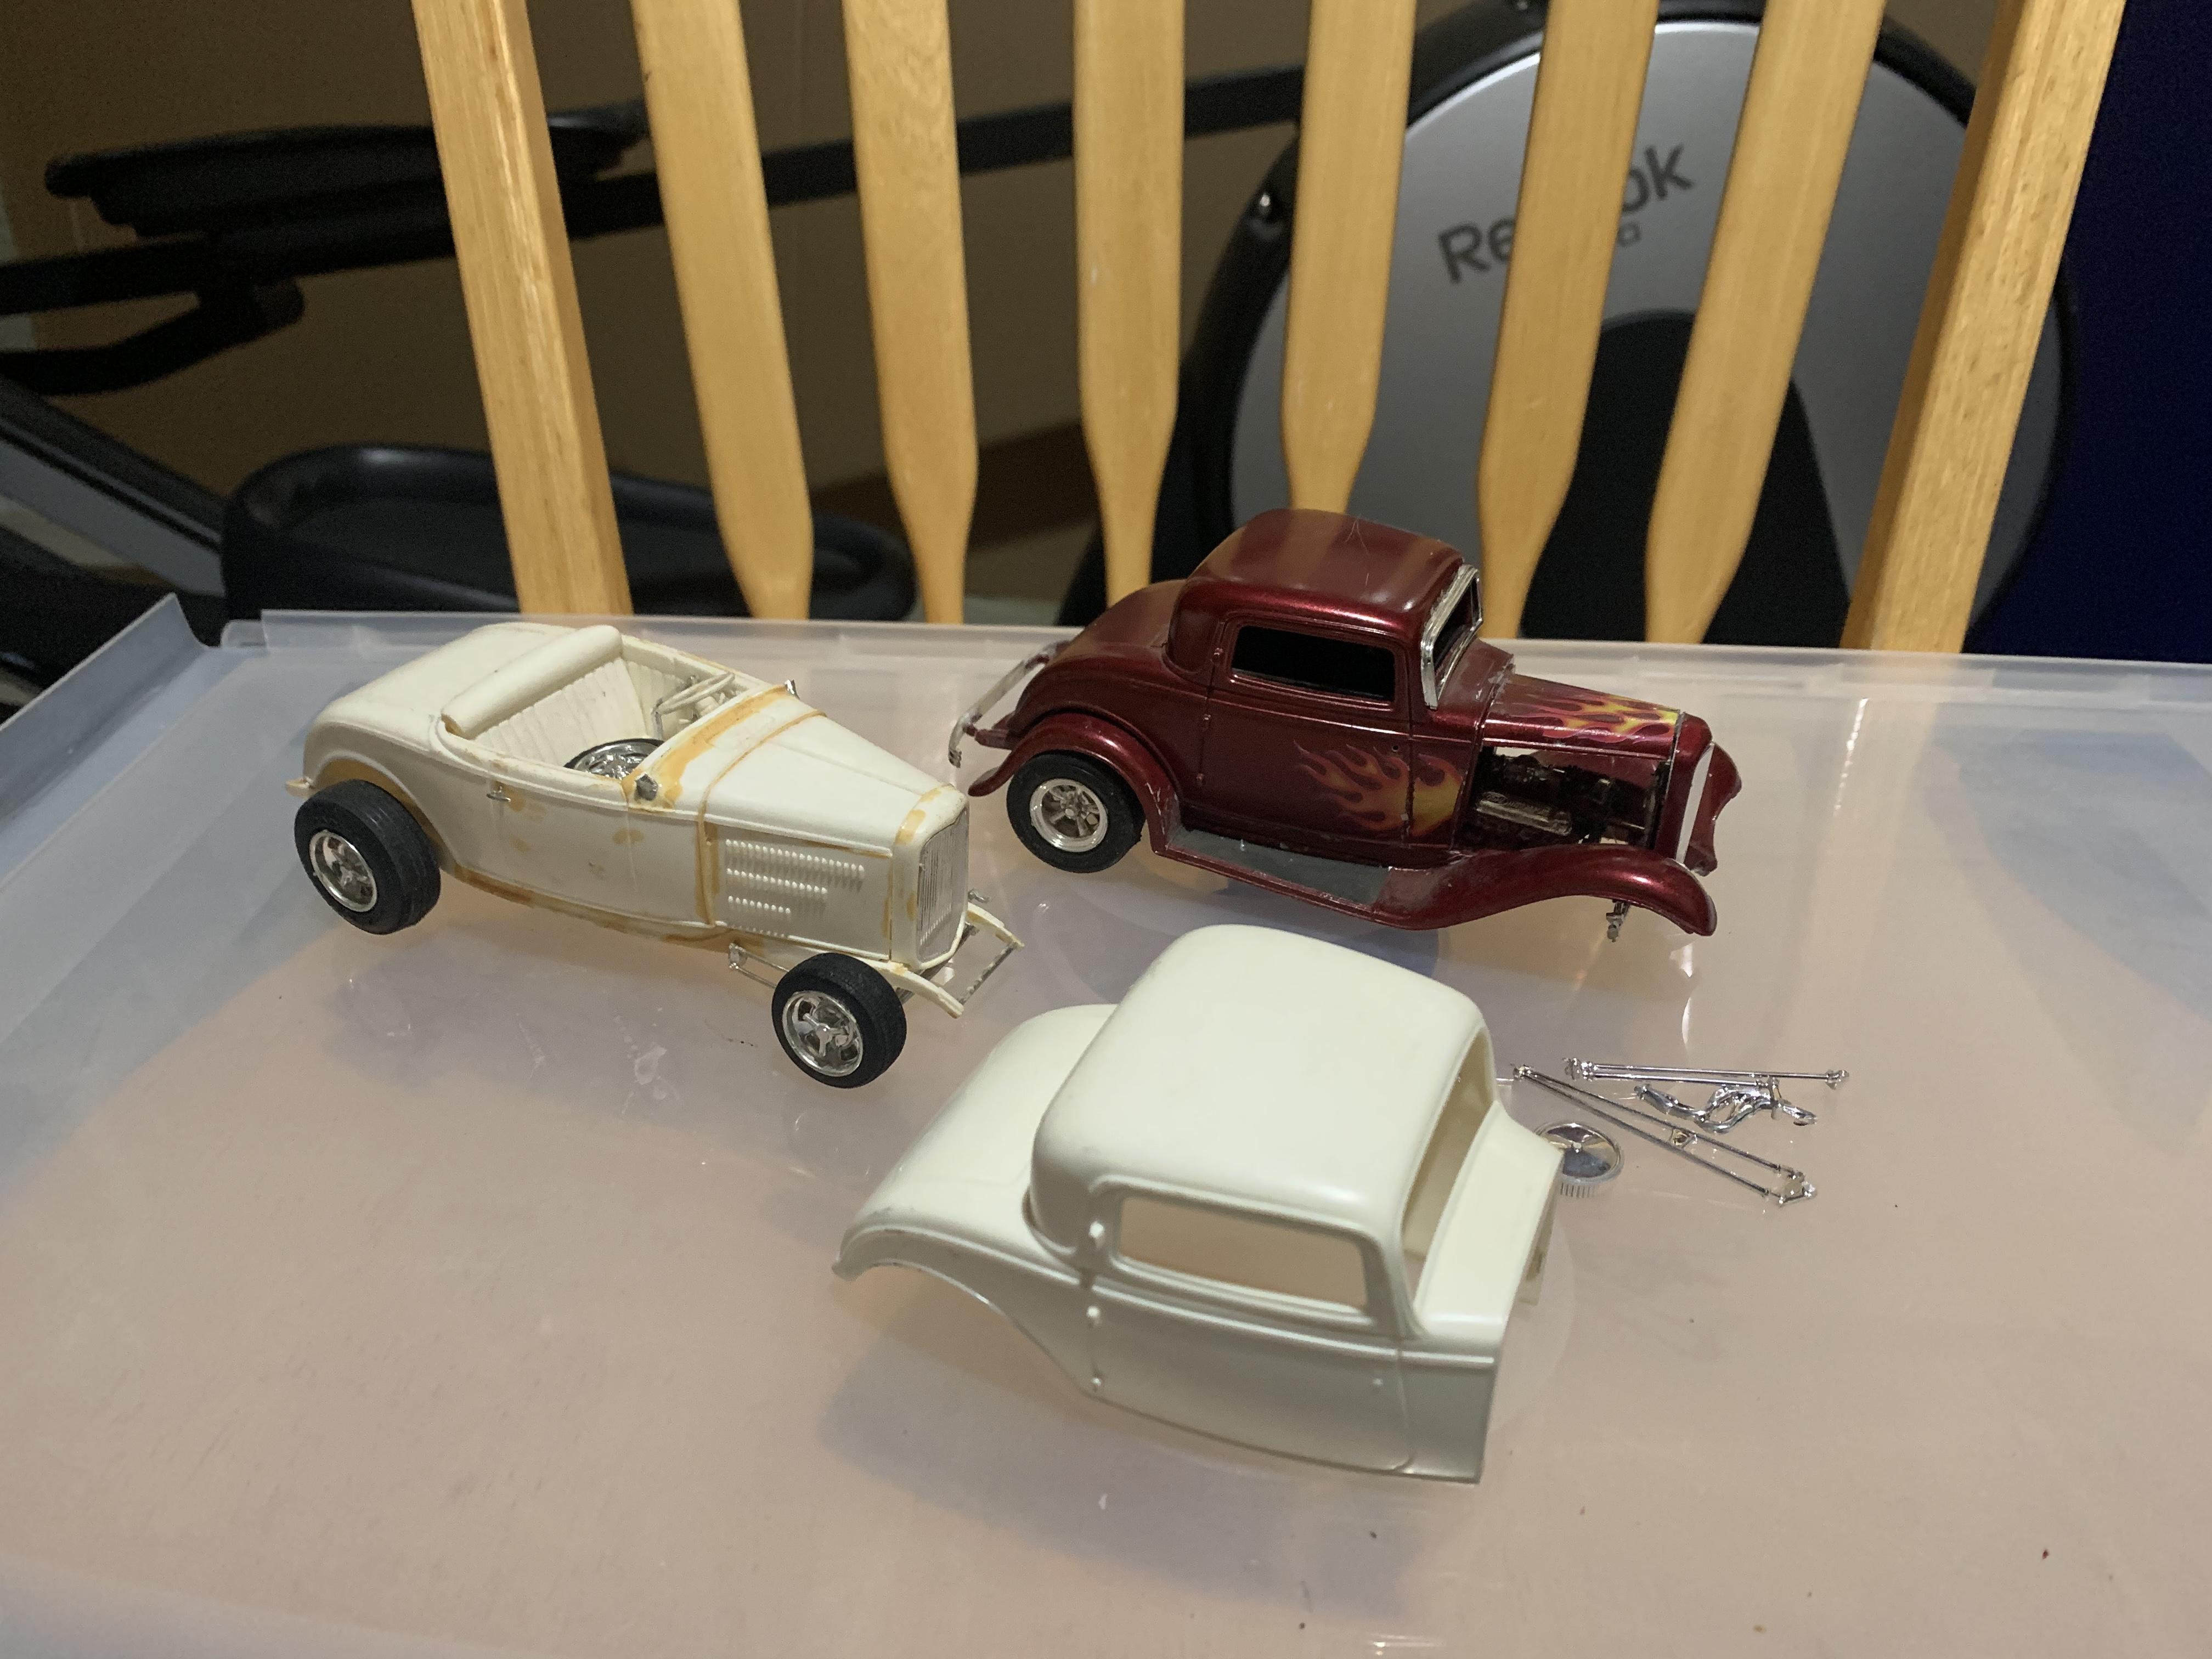
Incoming lots n lots
-
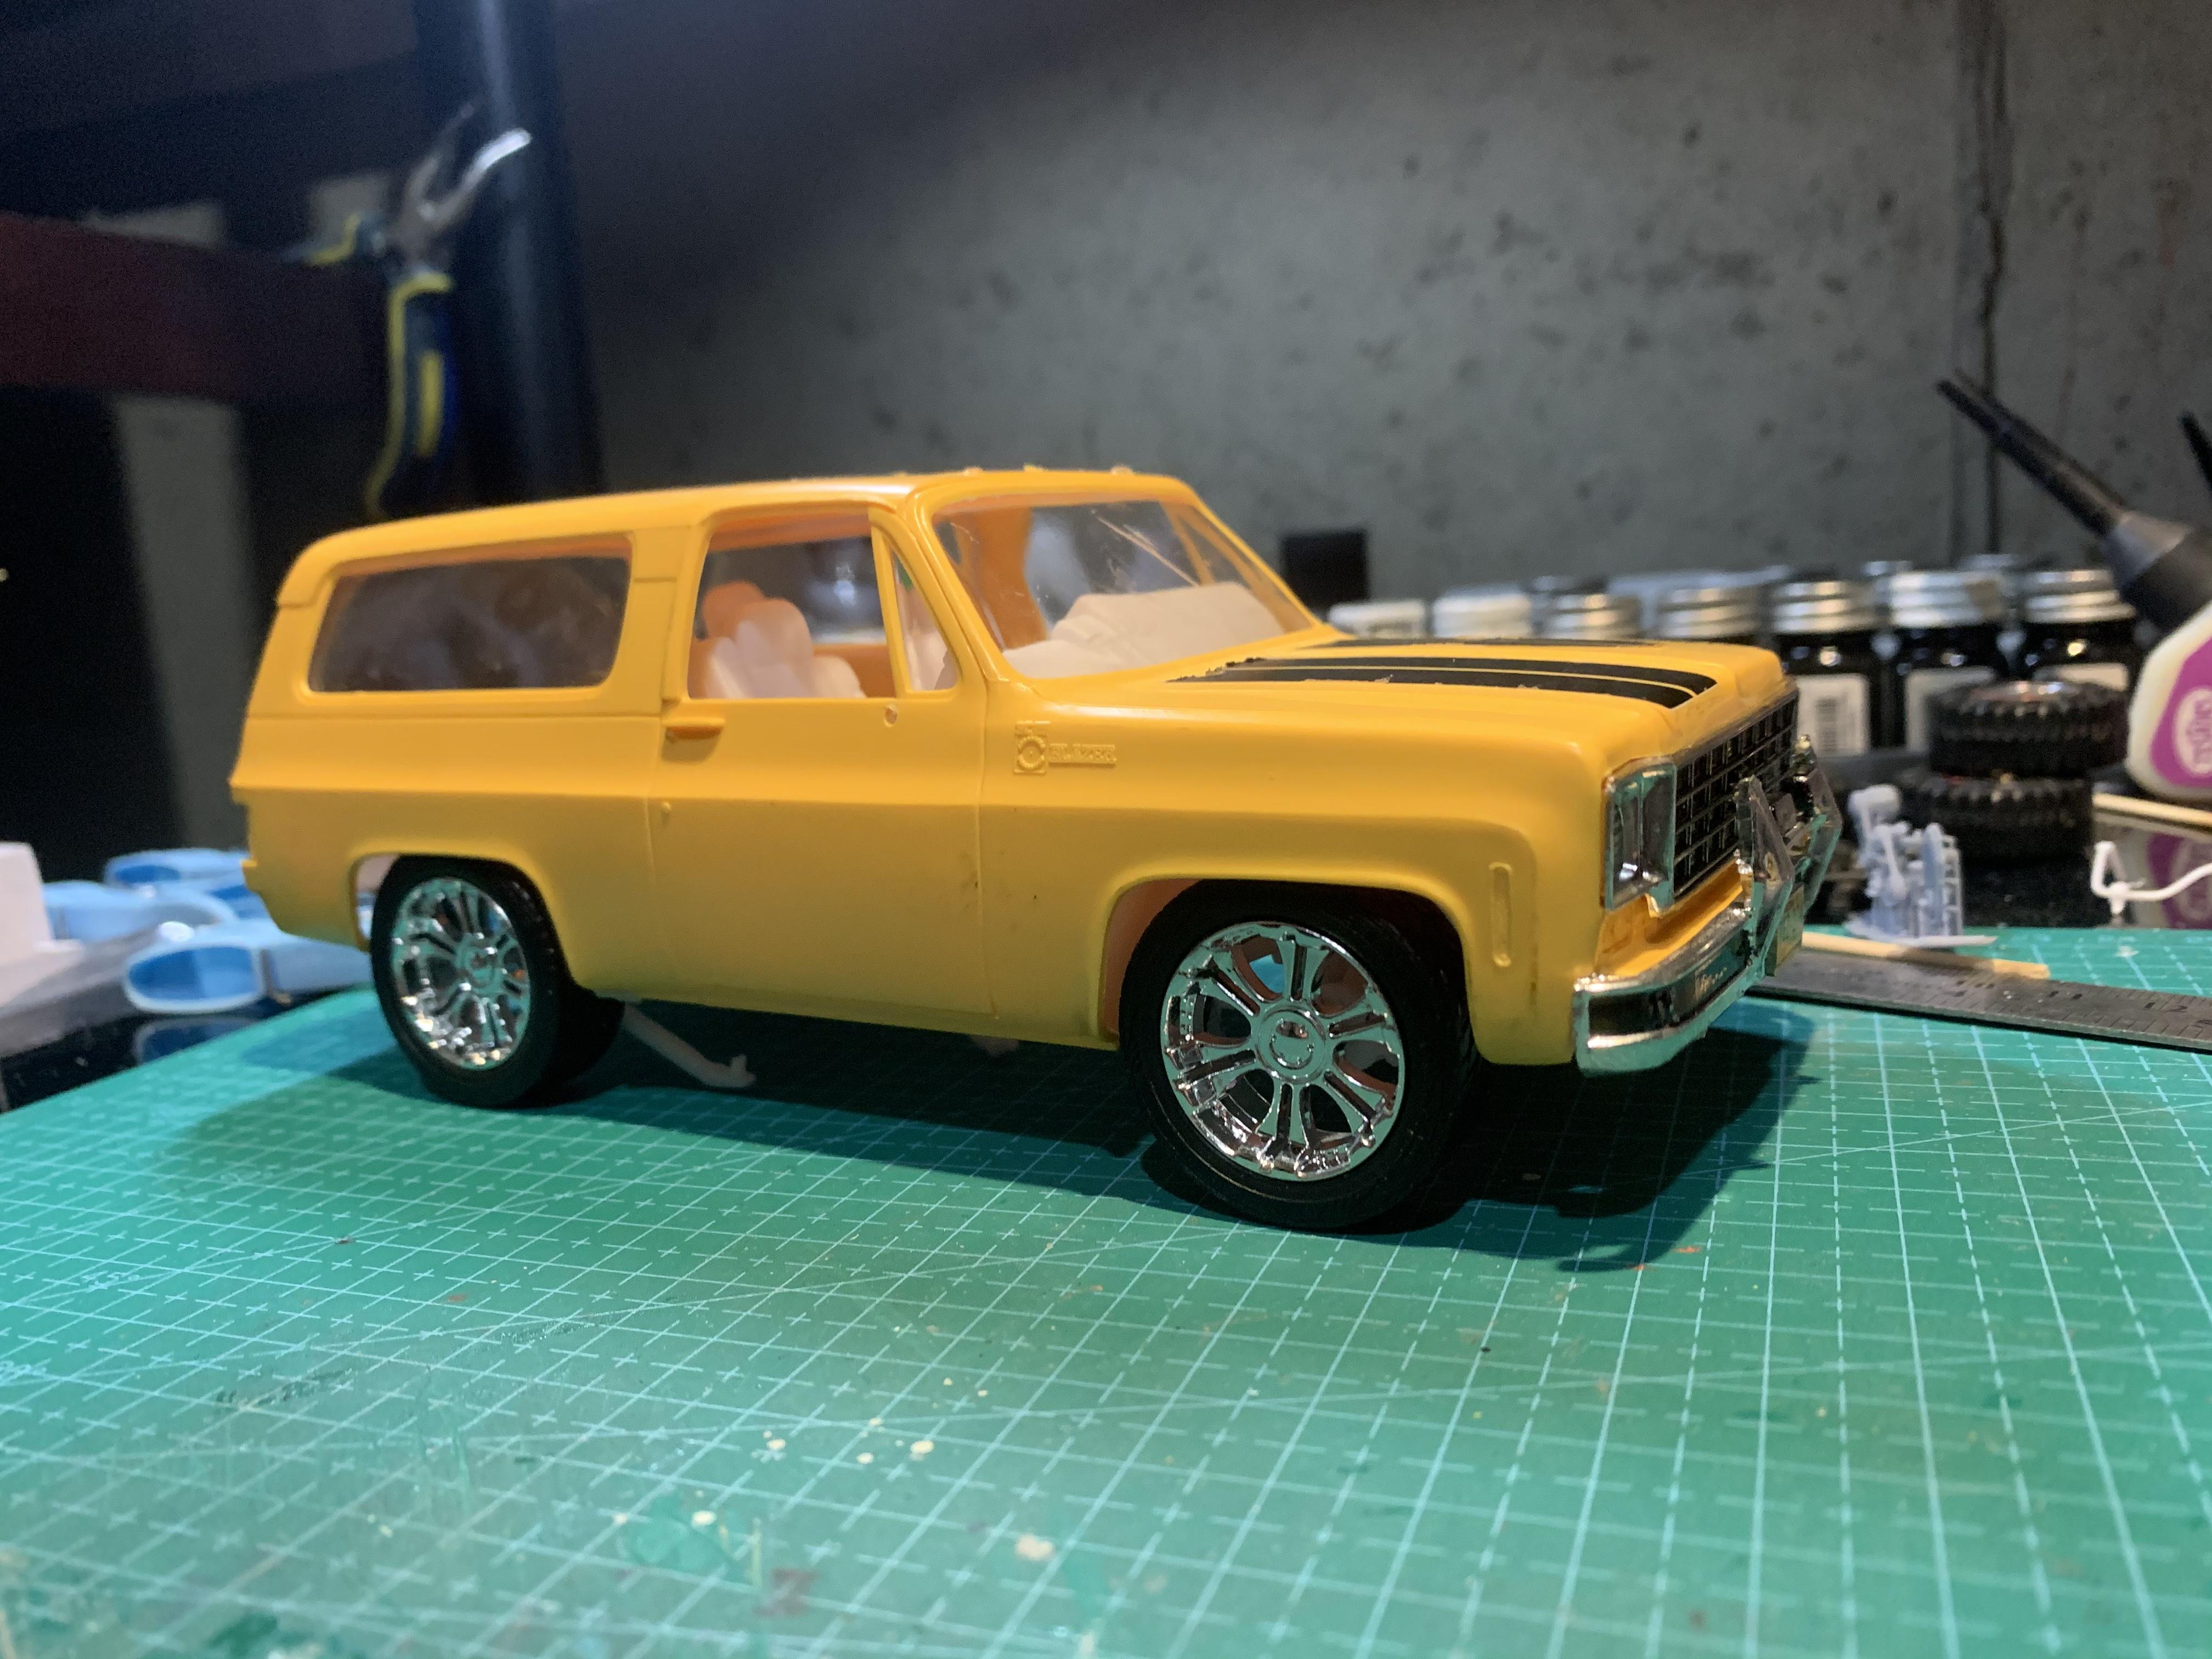
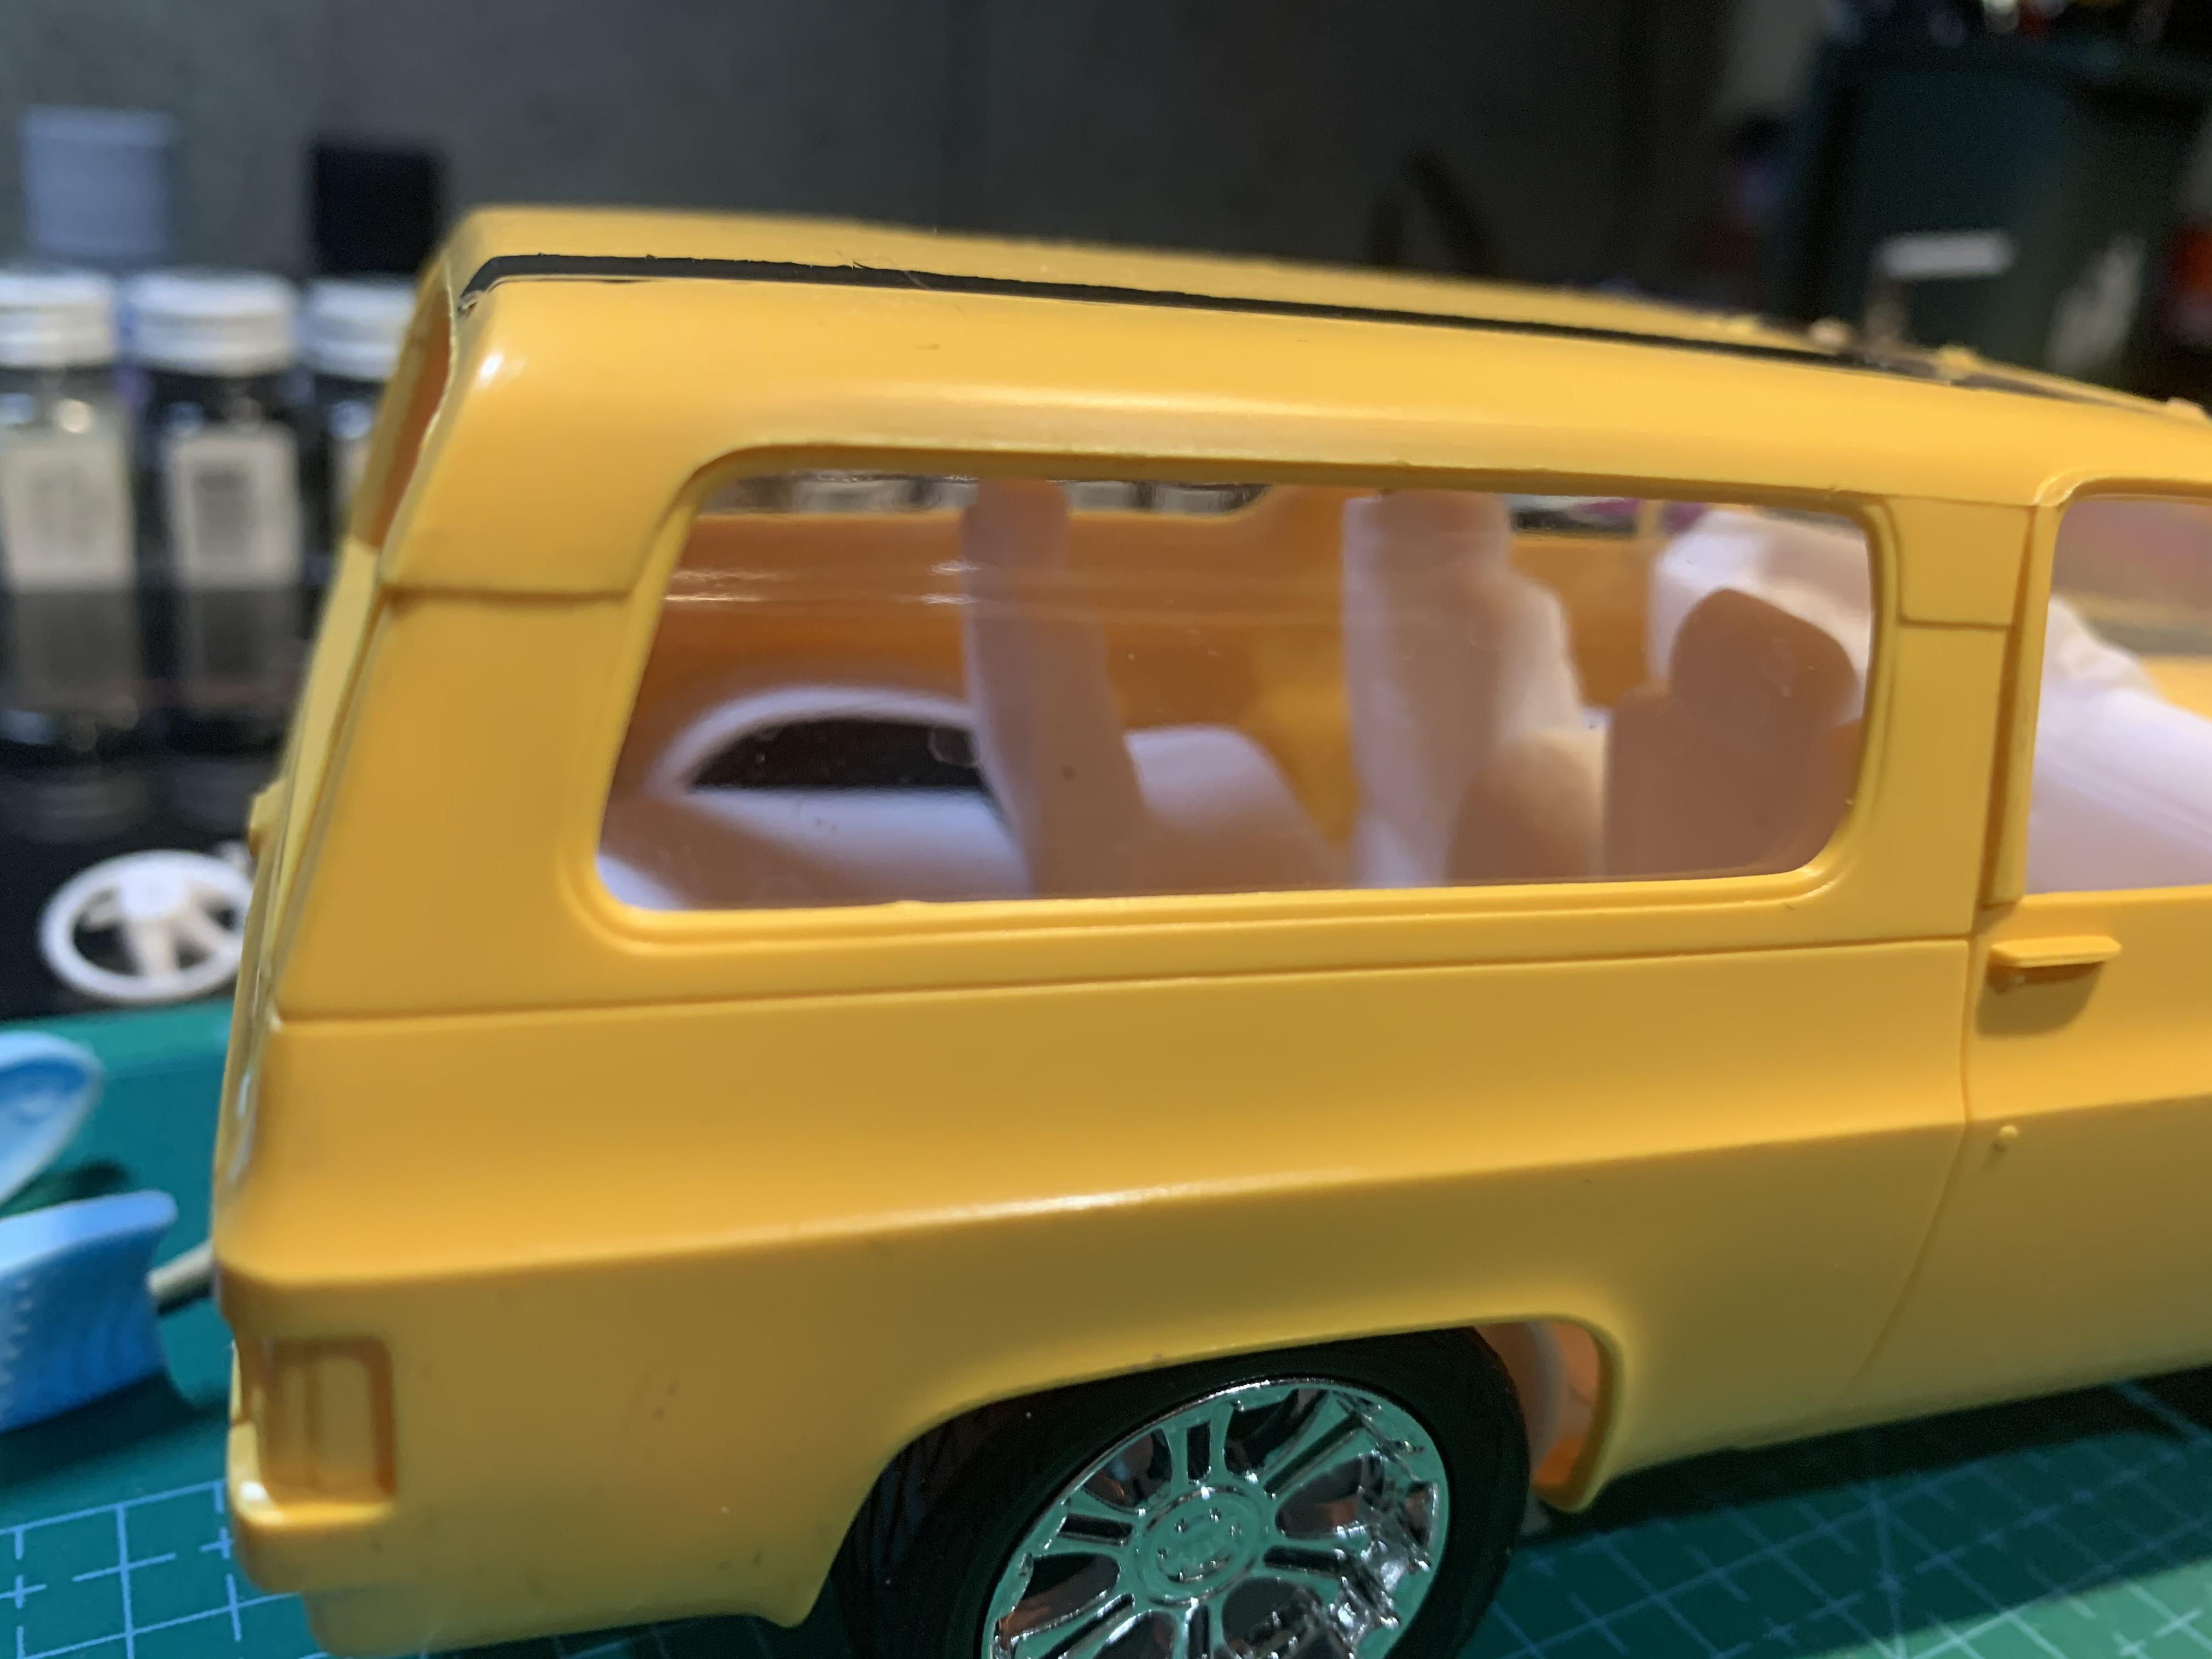
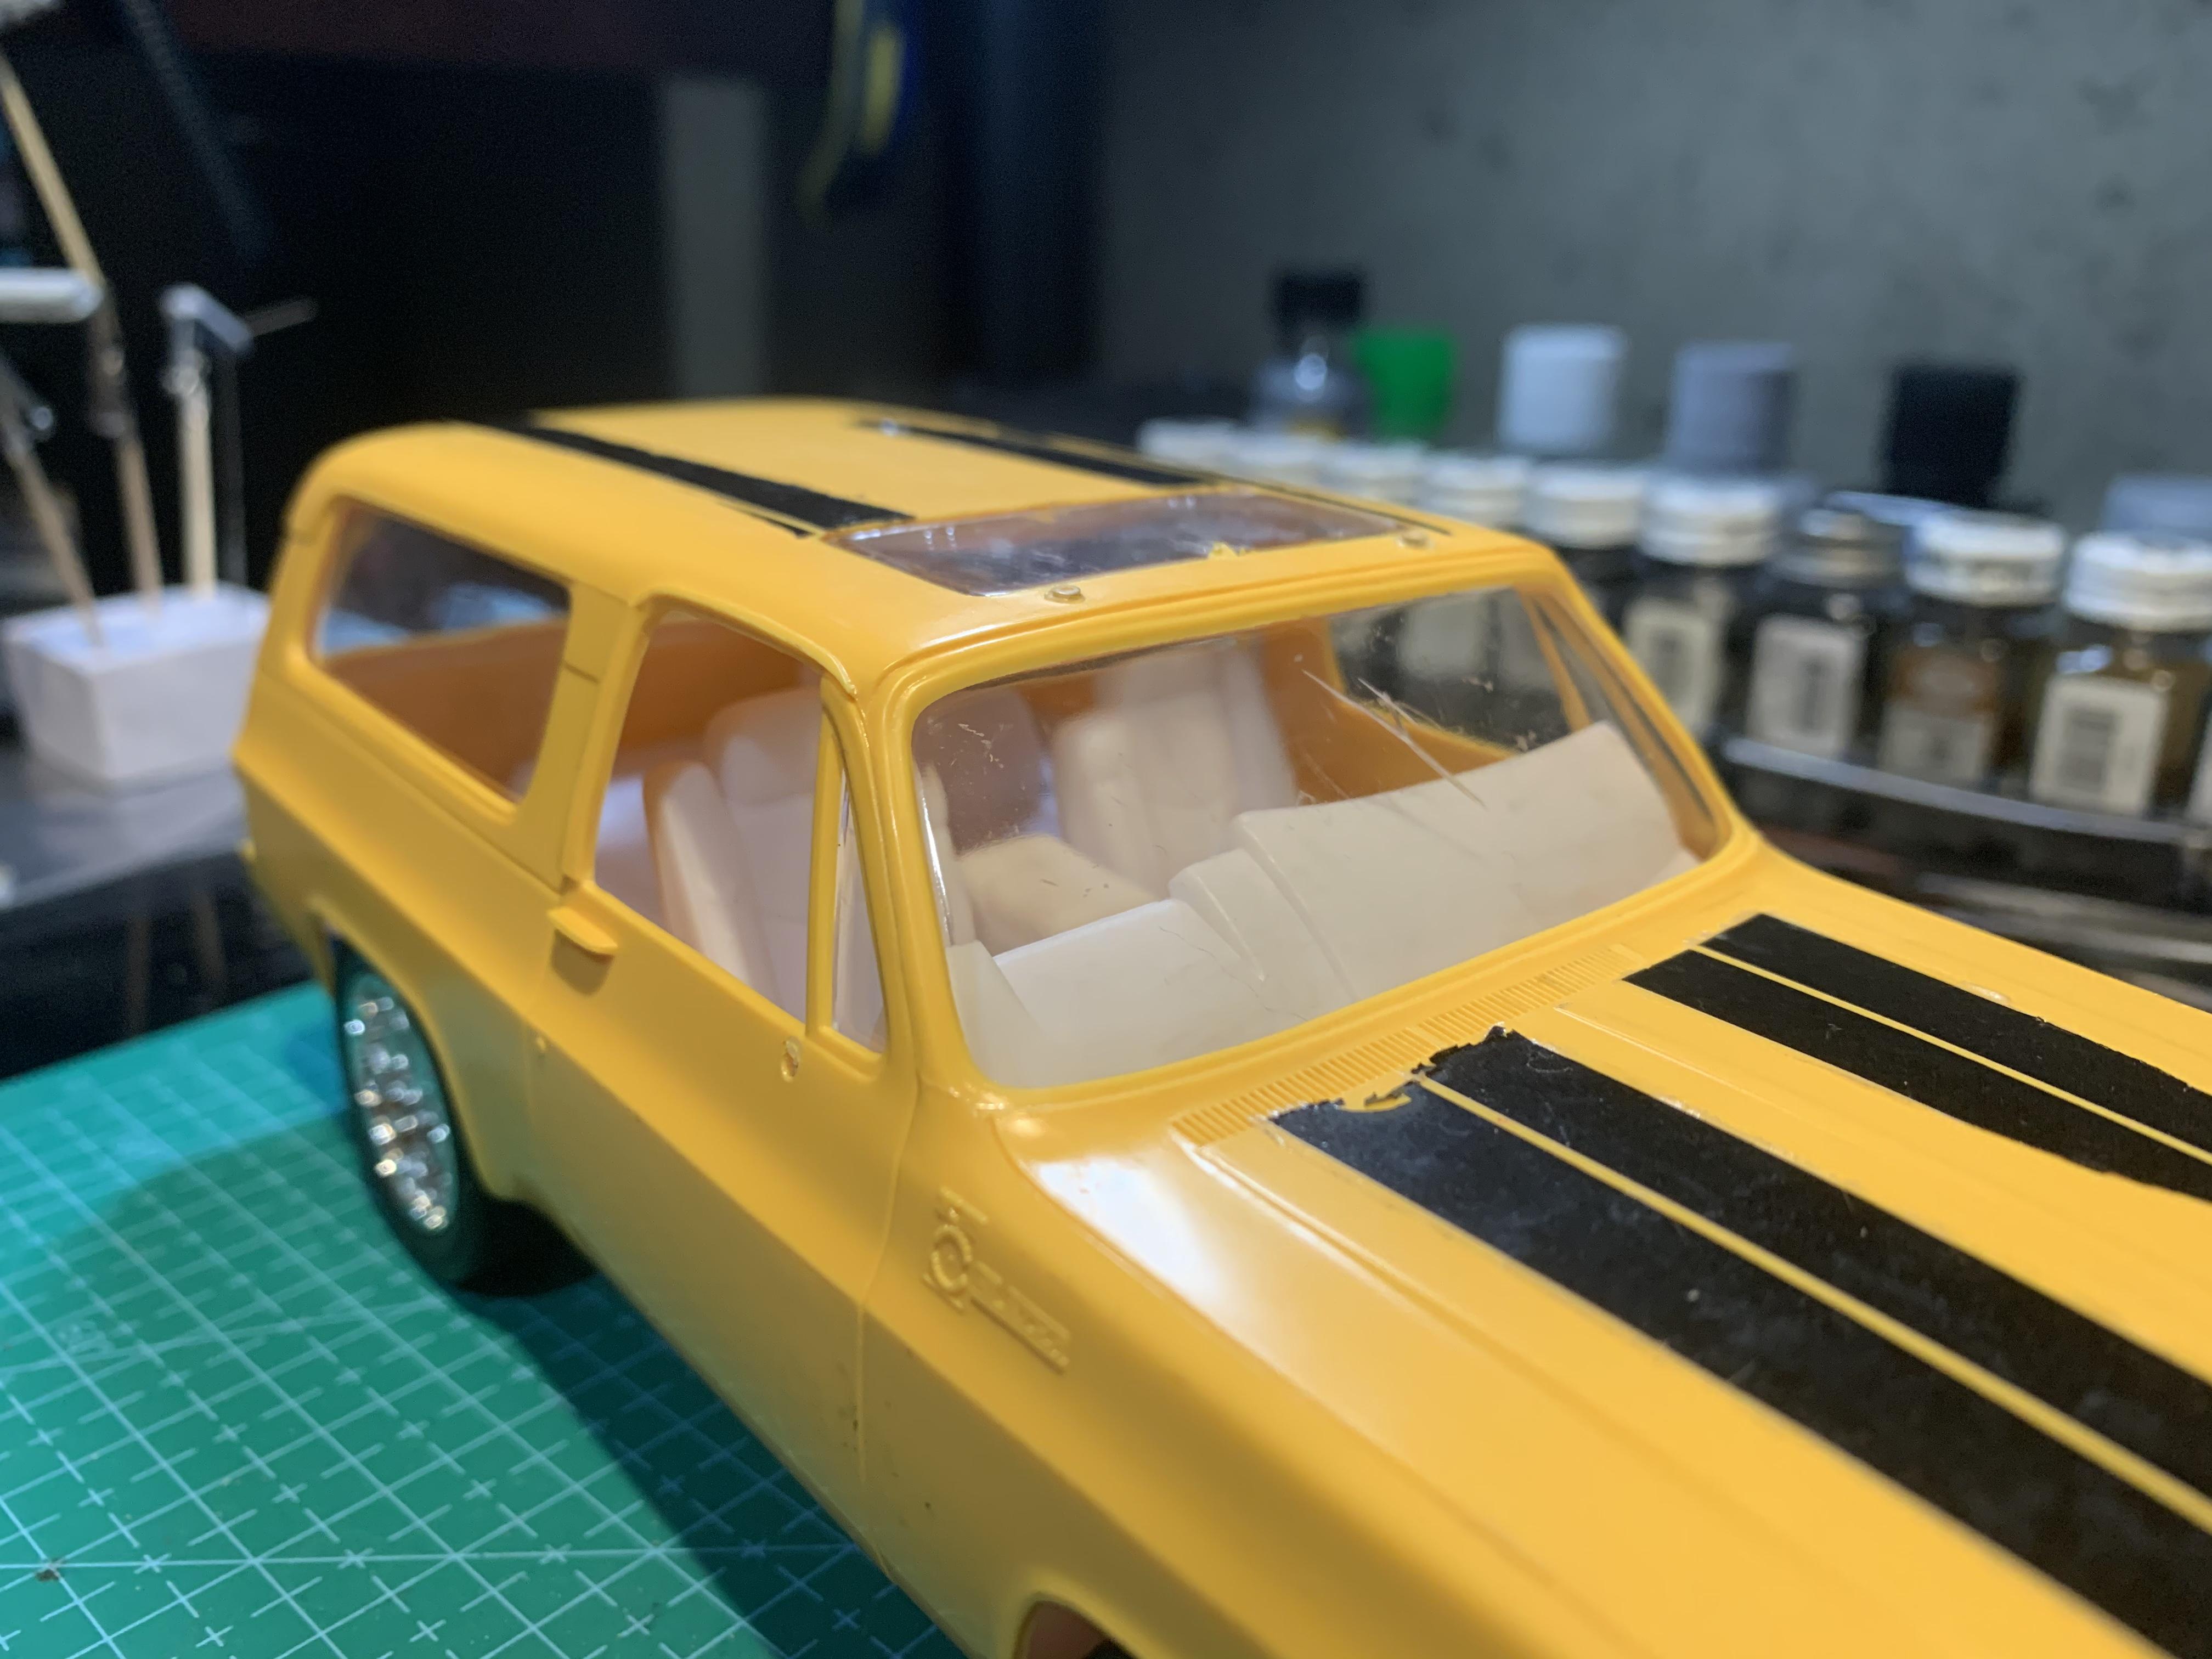
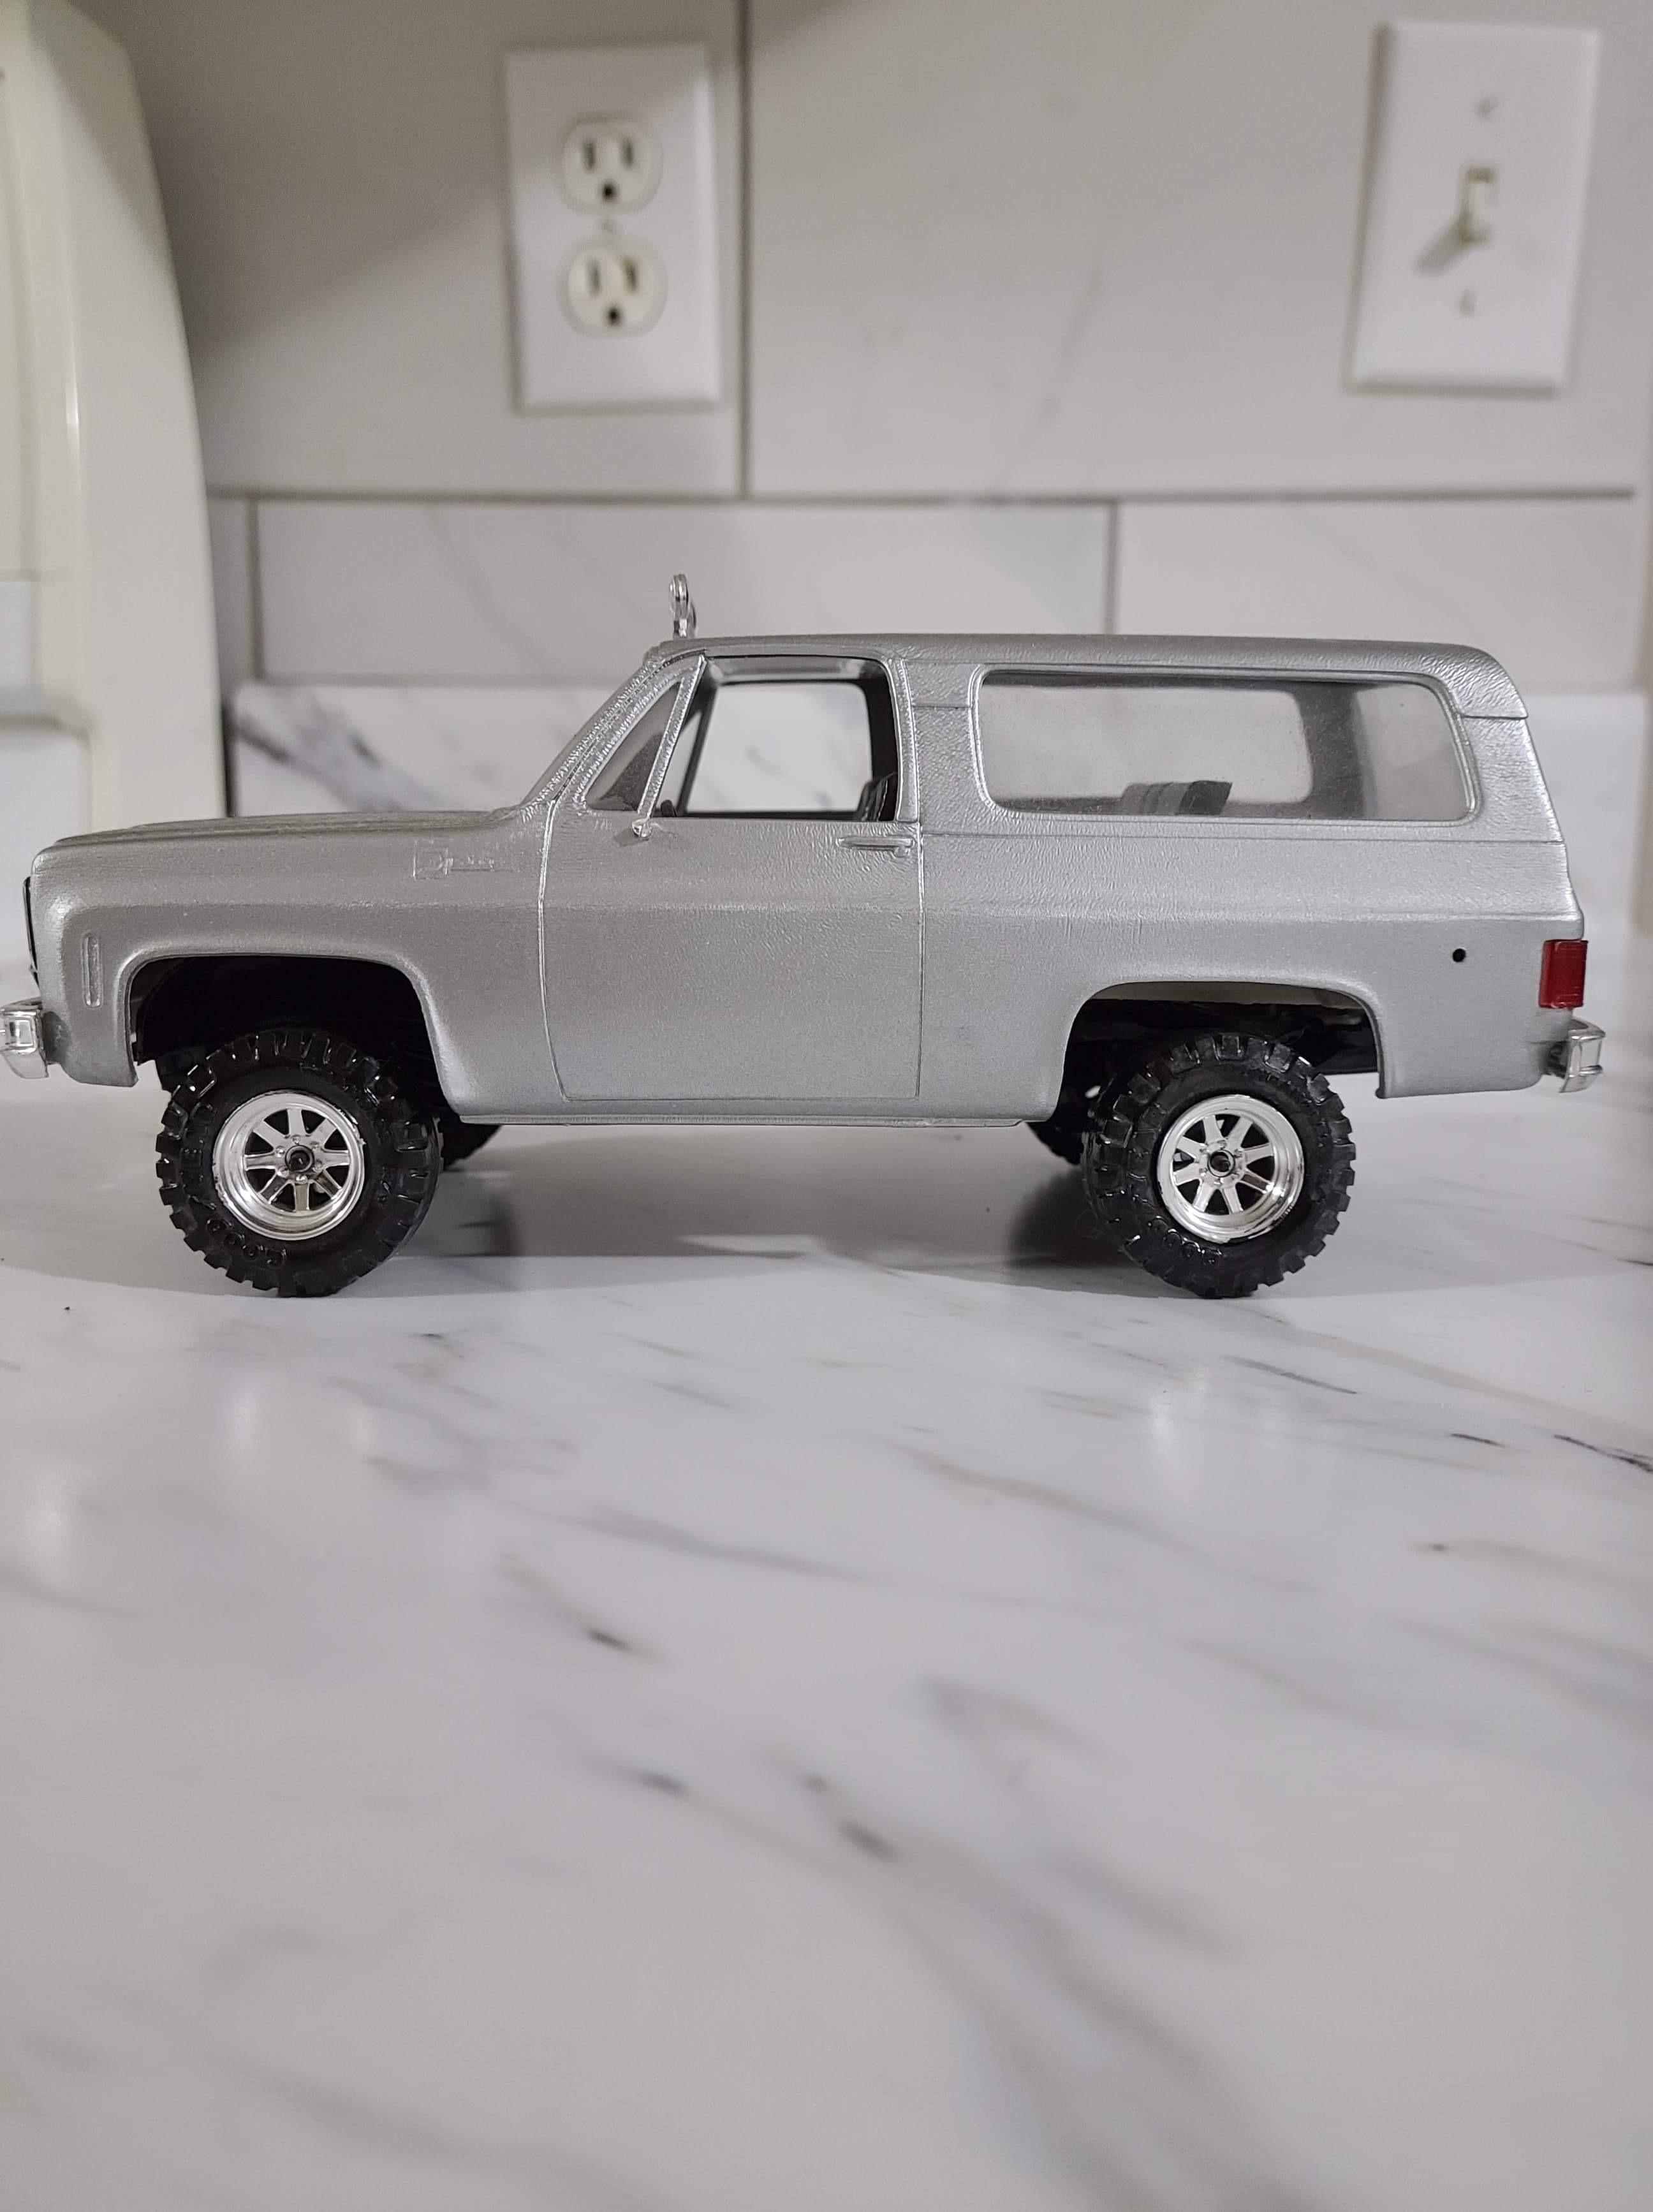
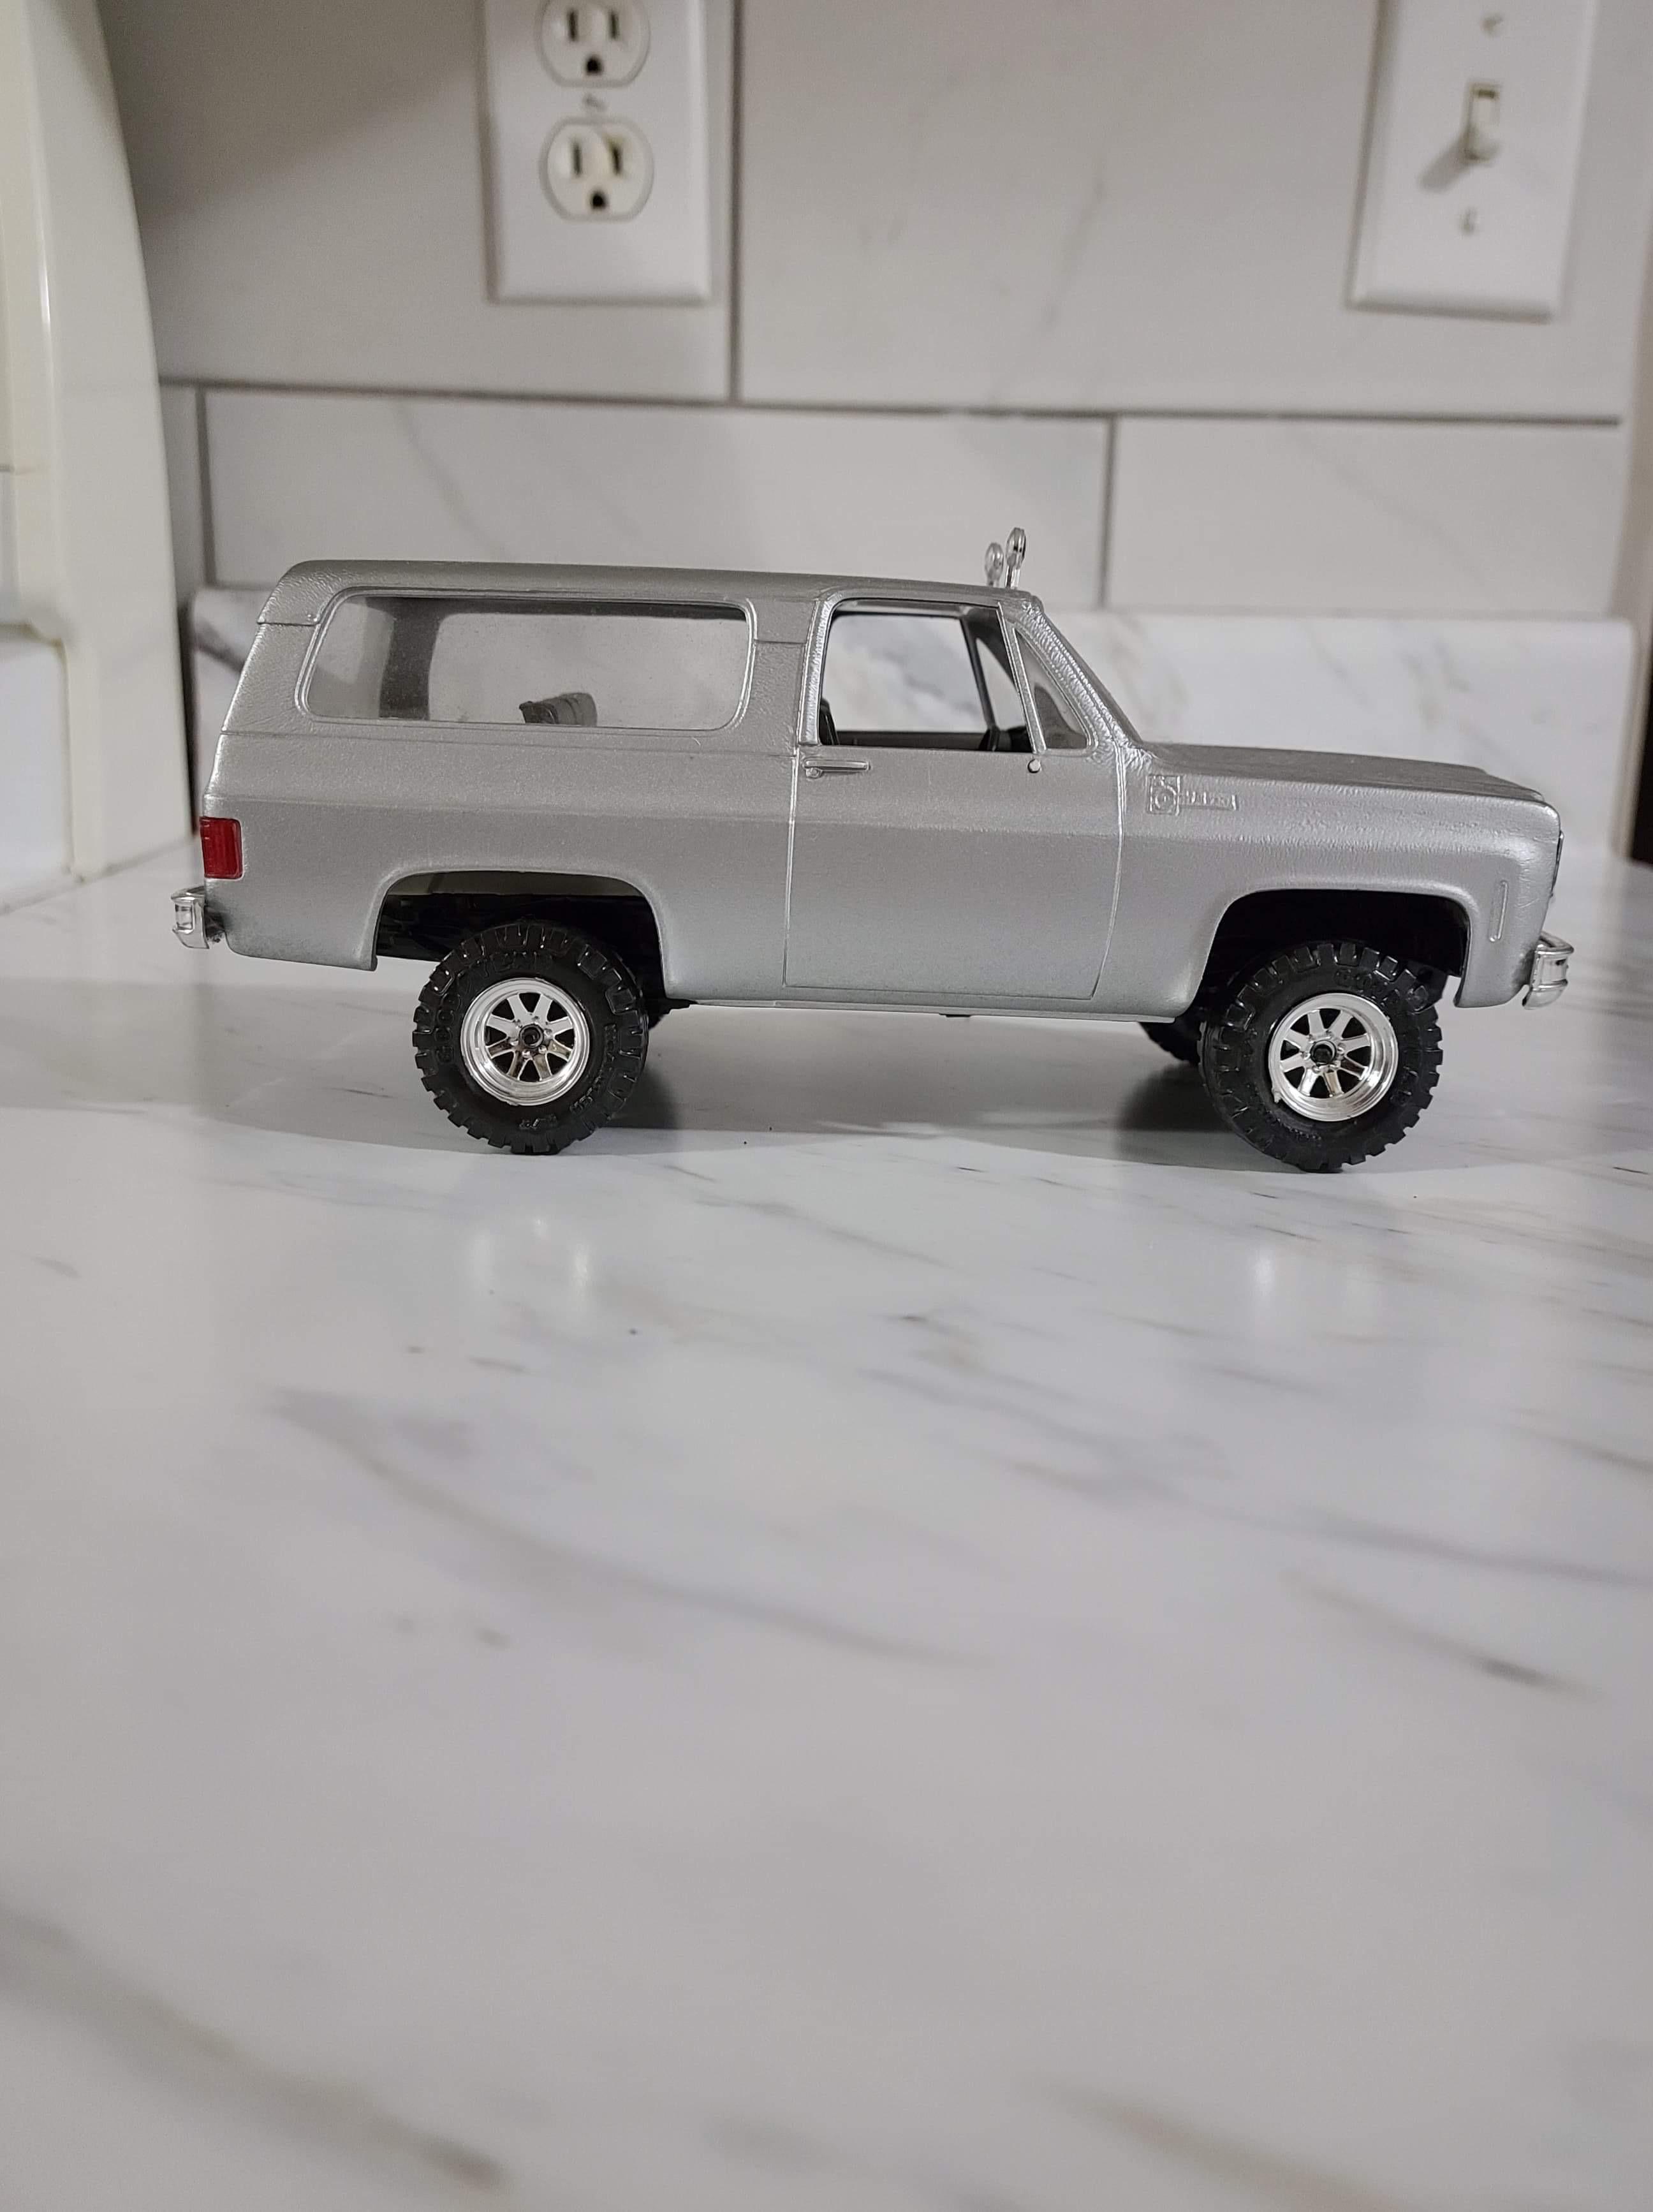
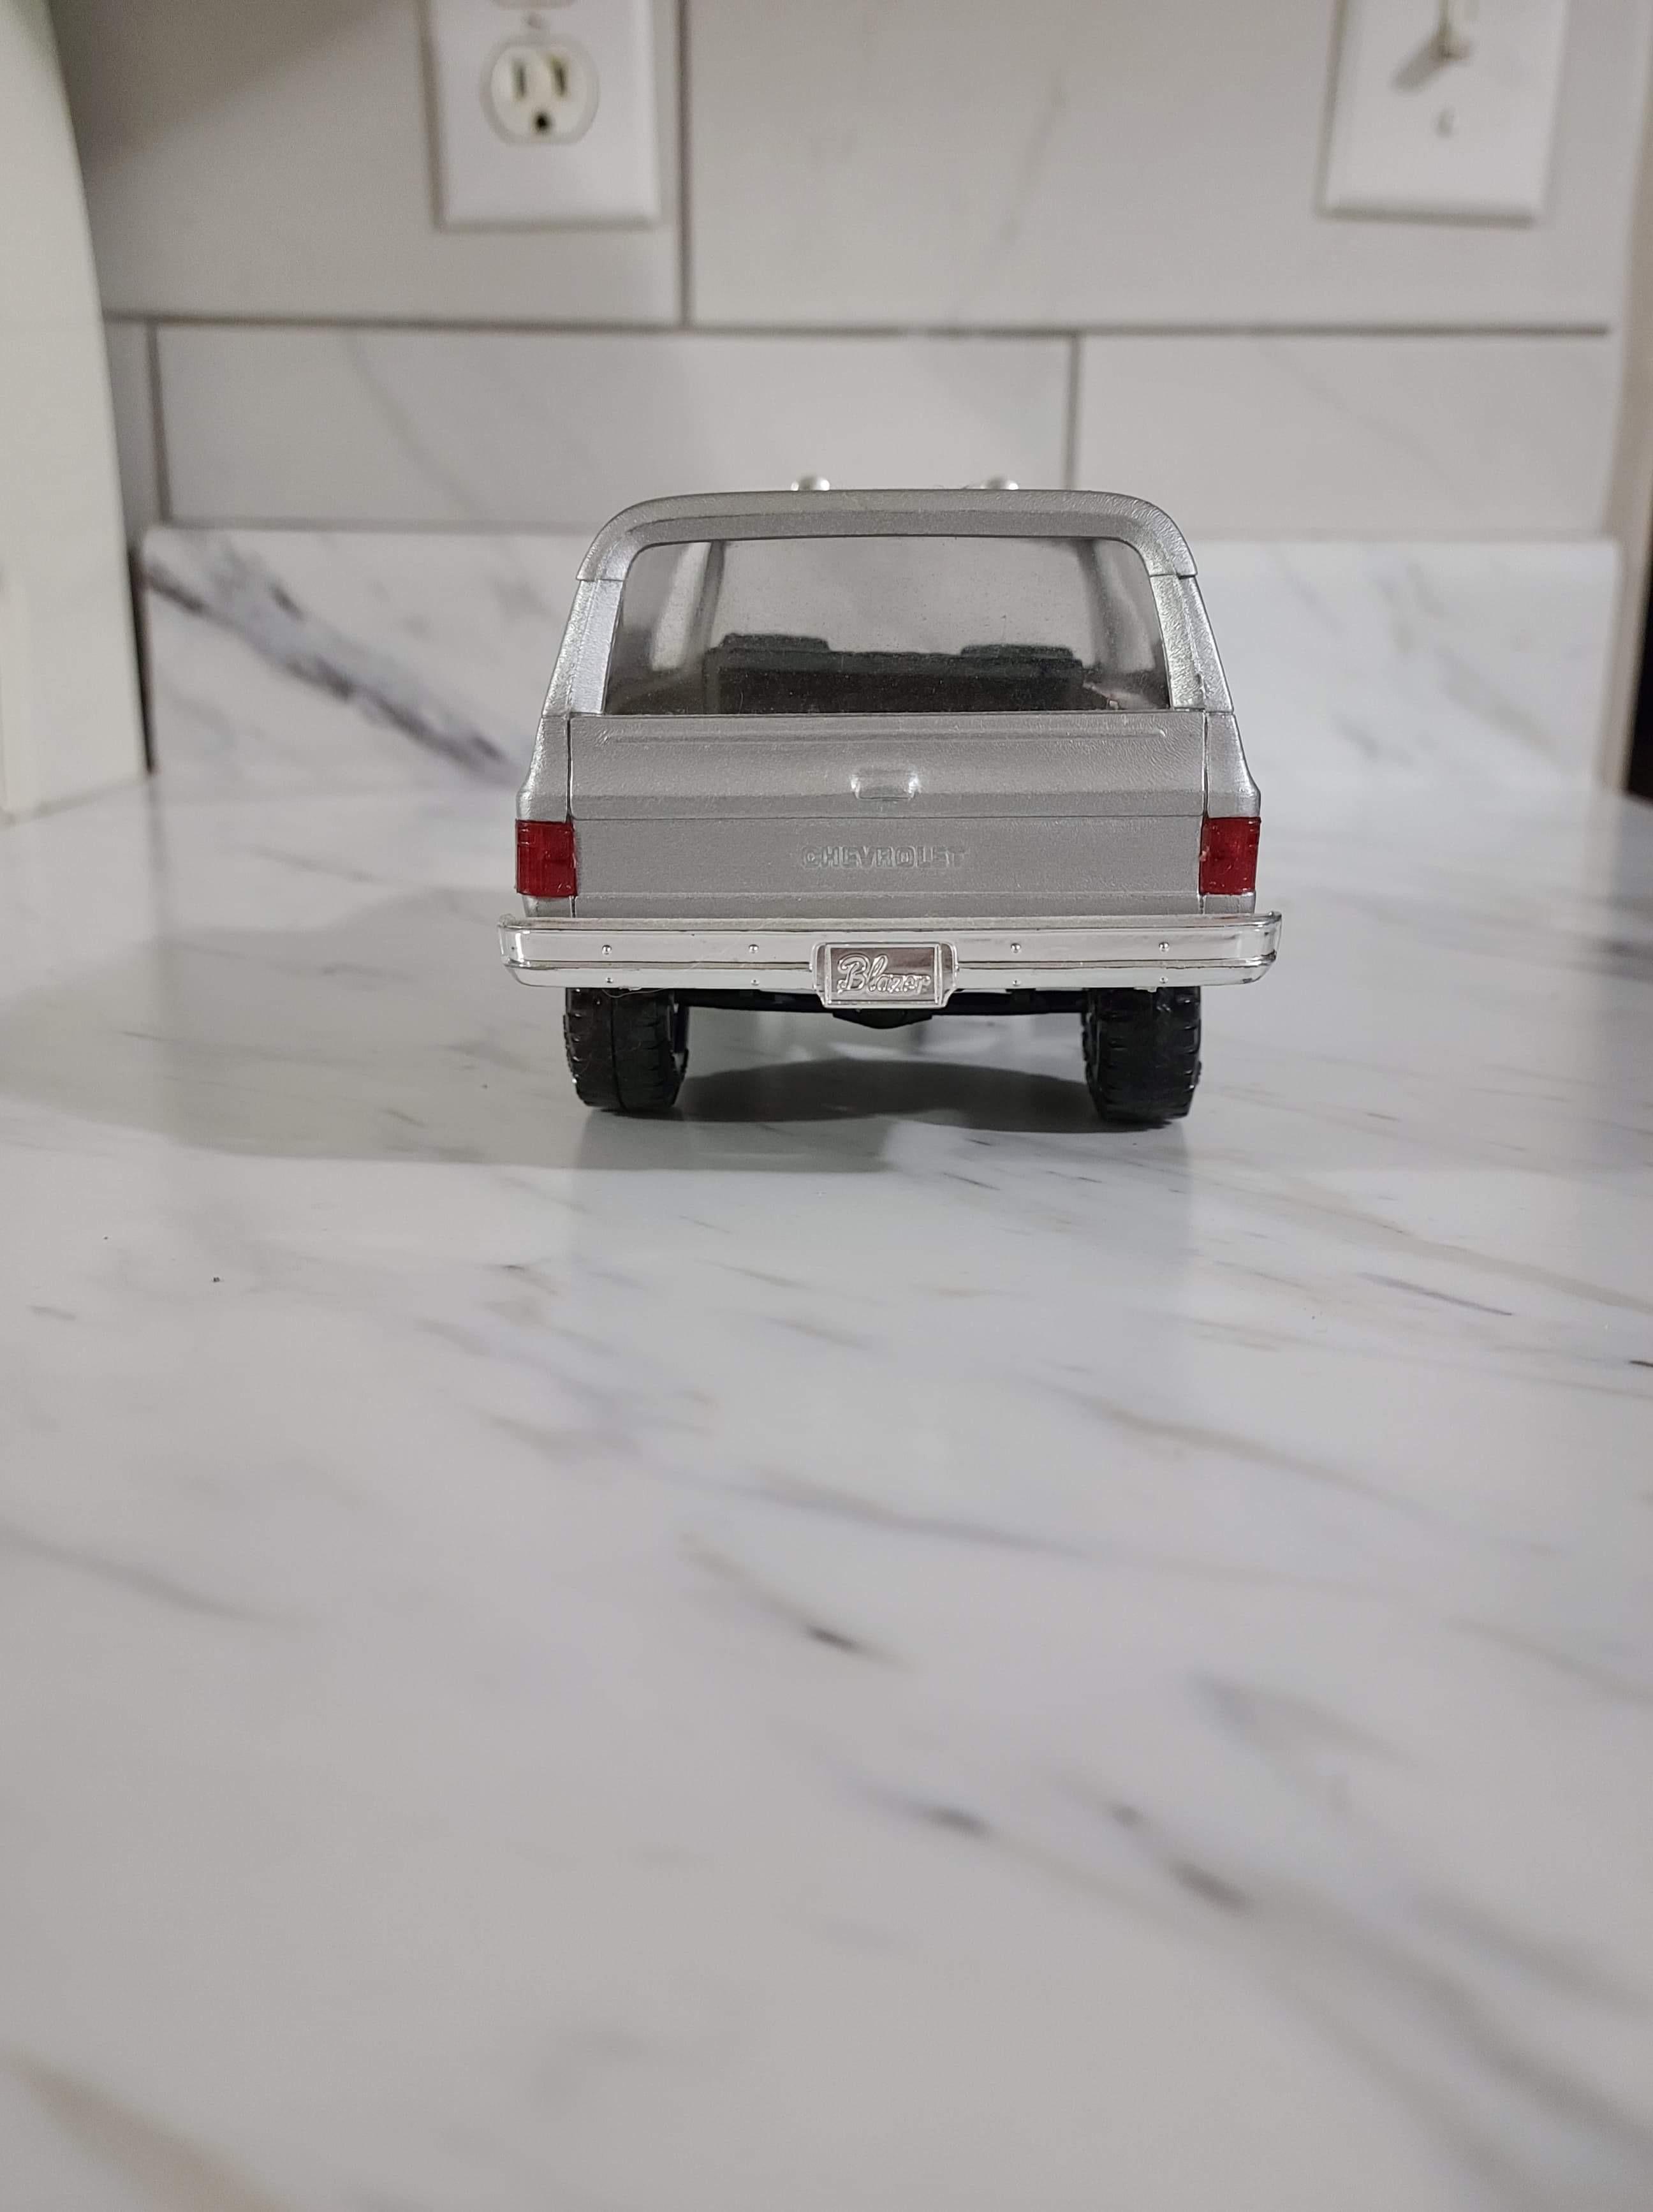
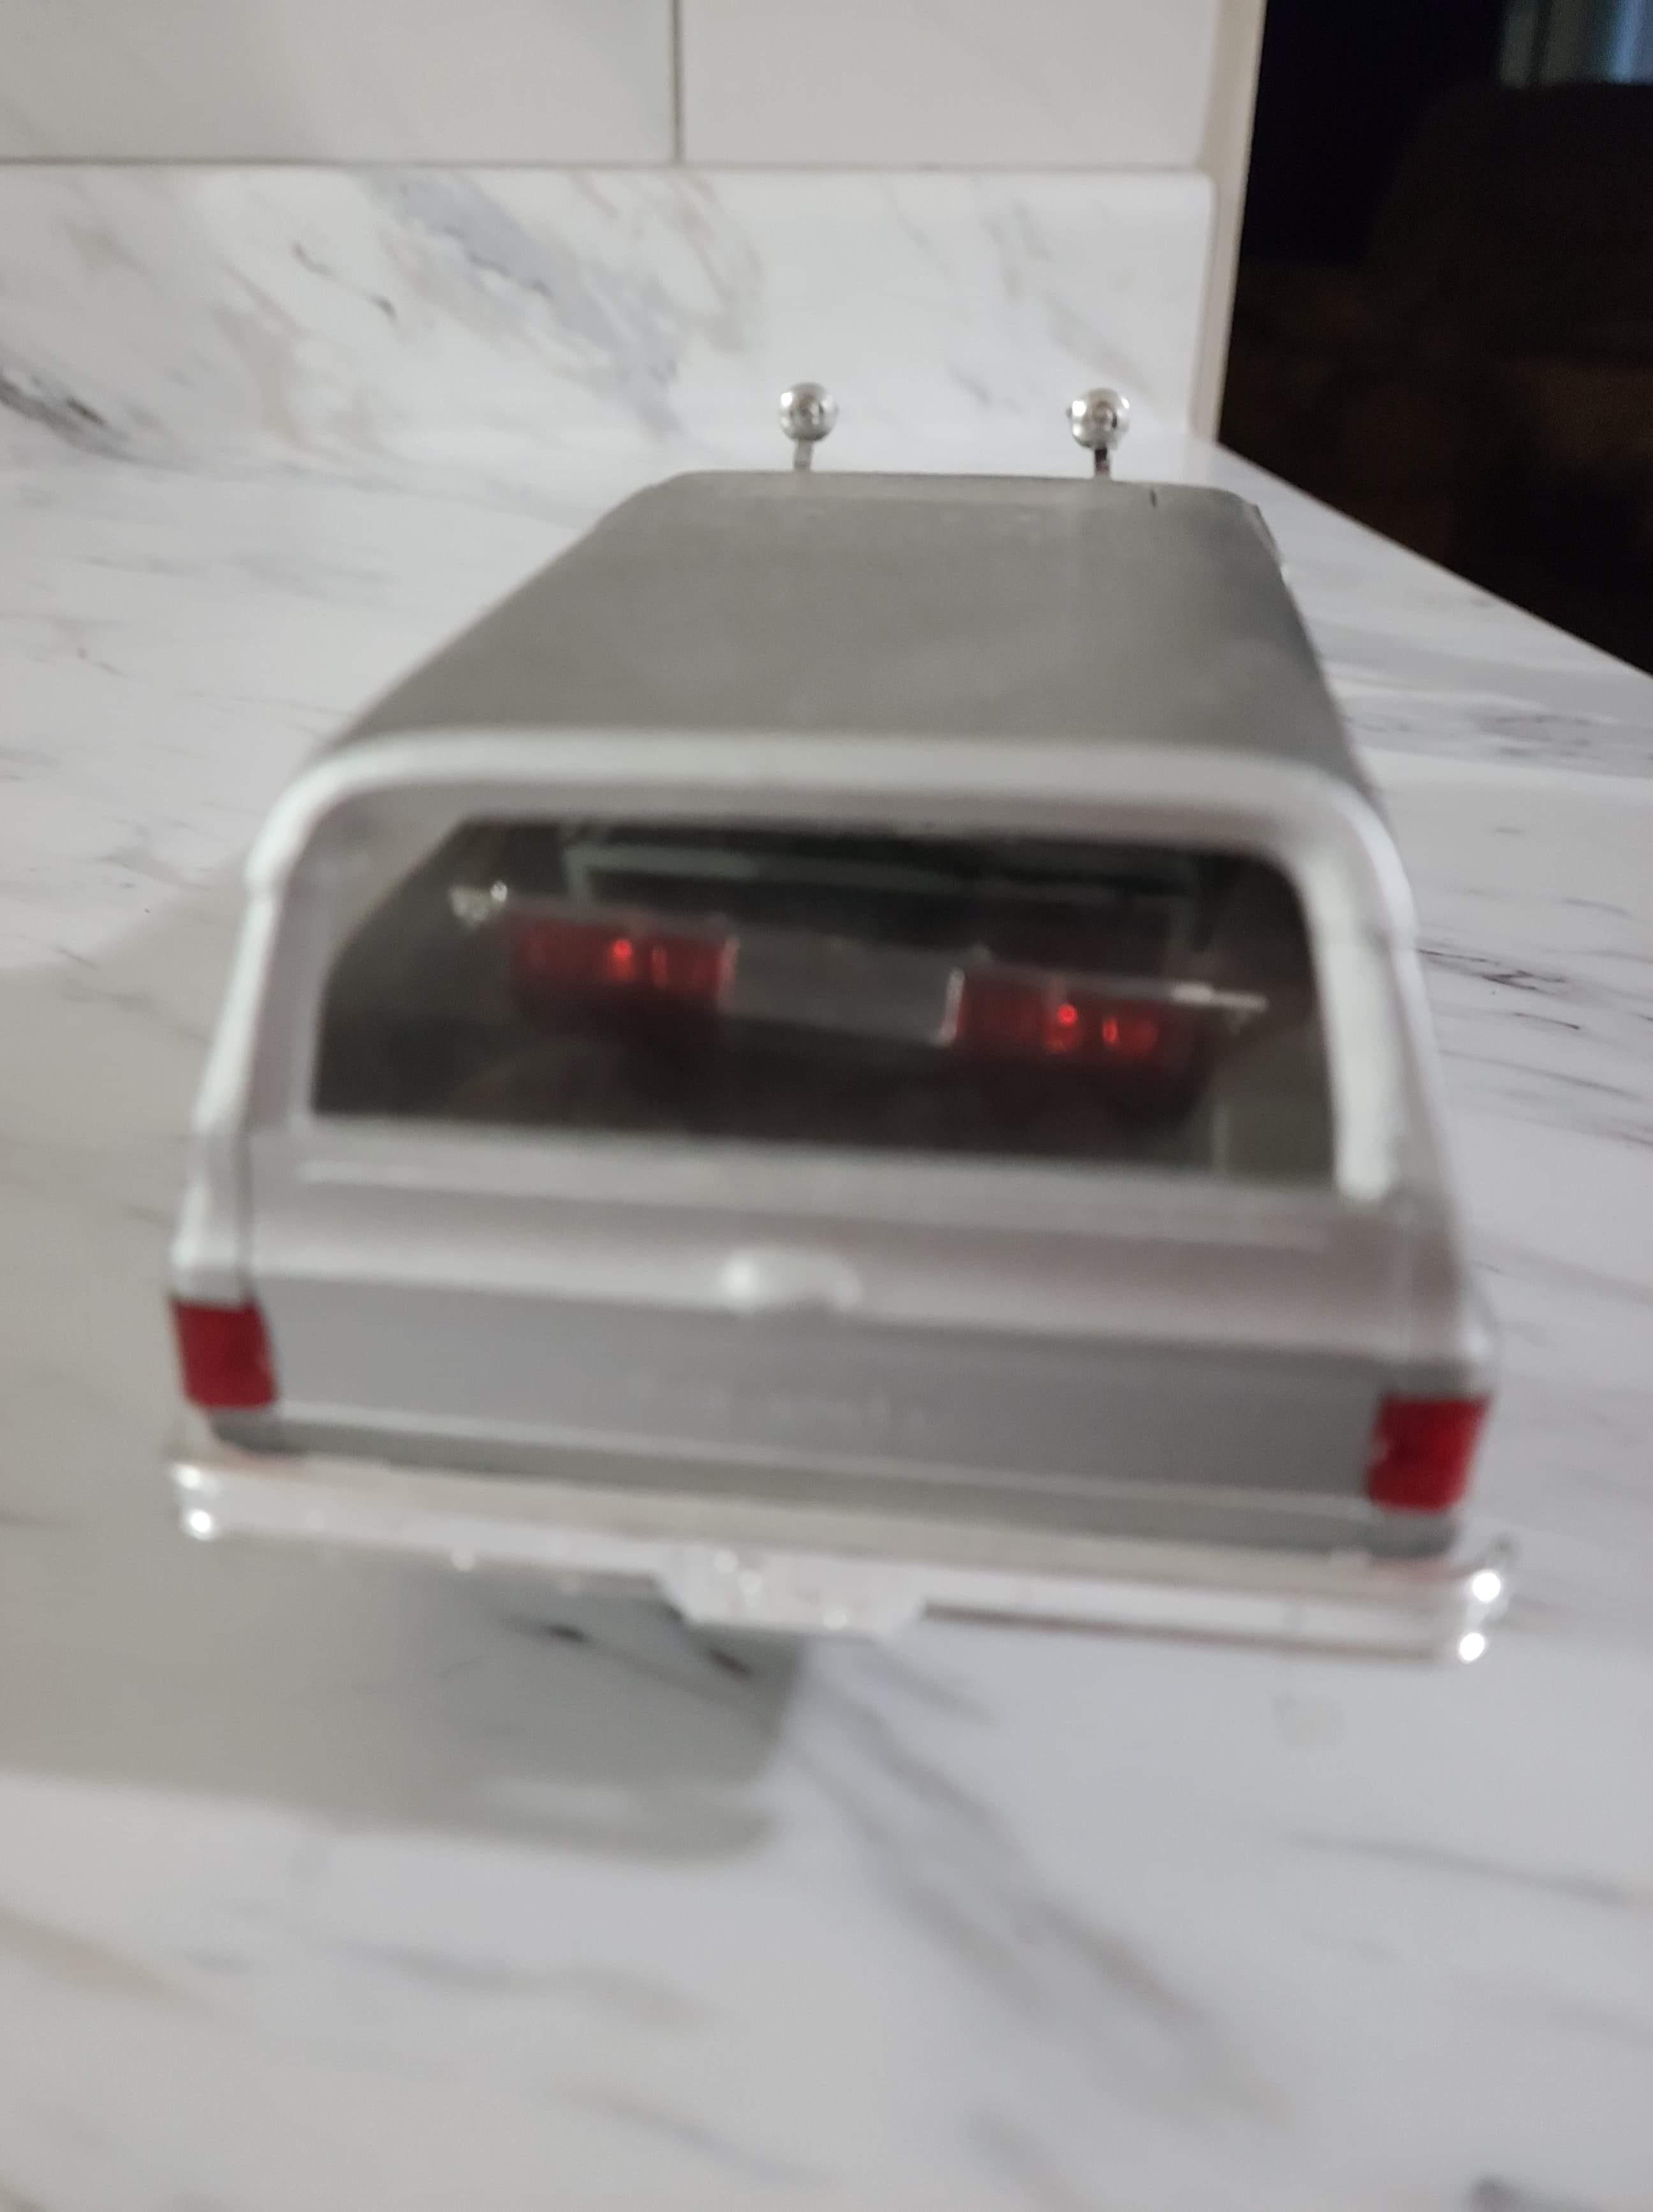
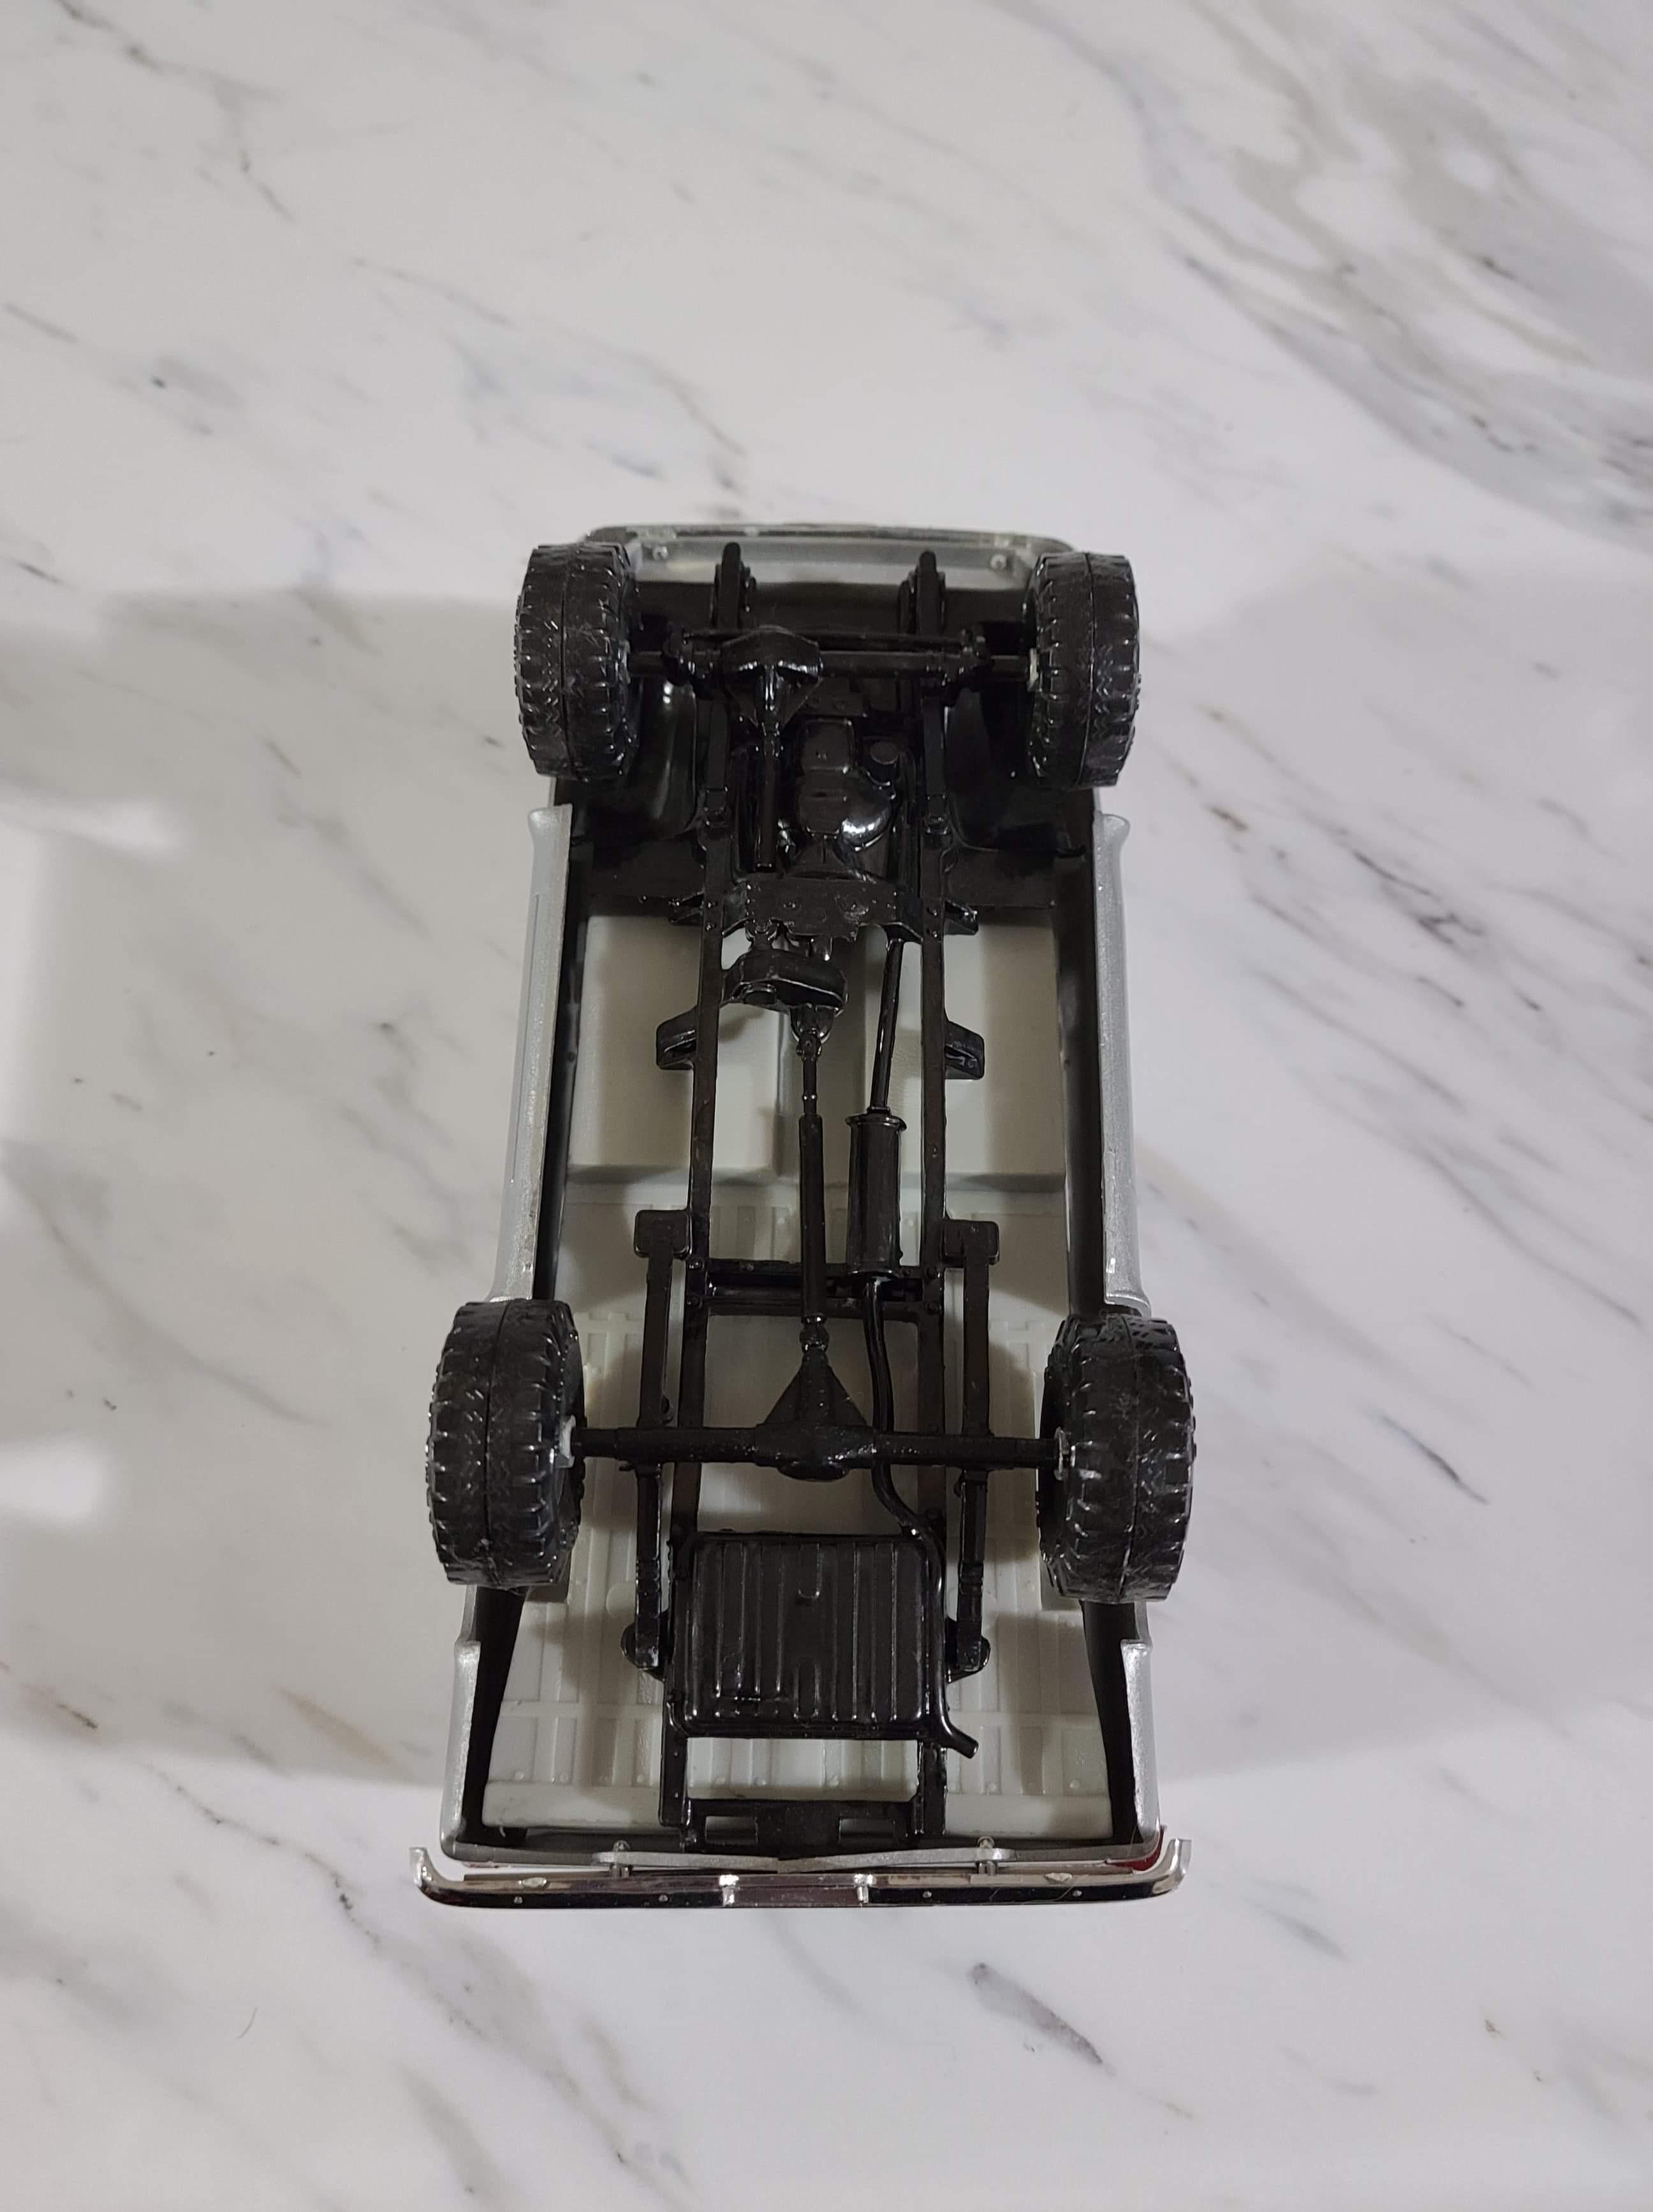
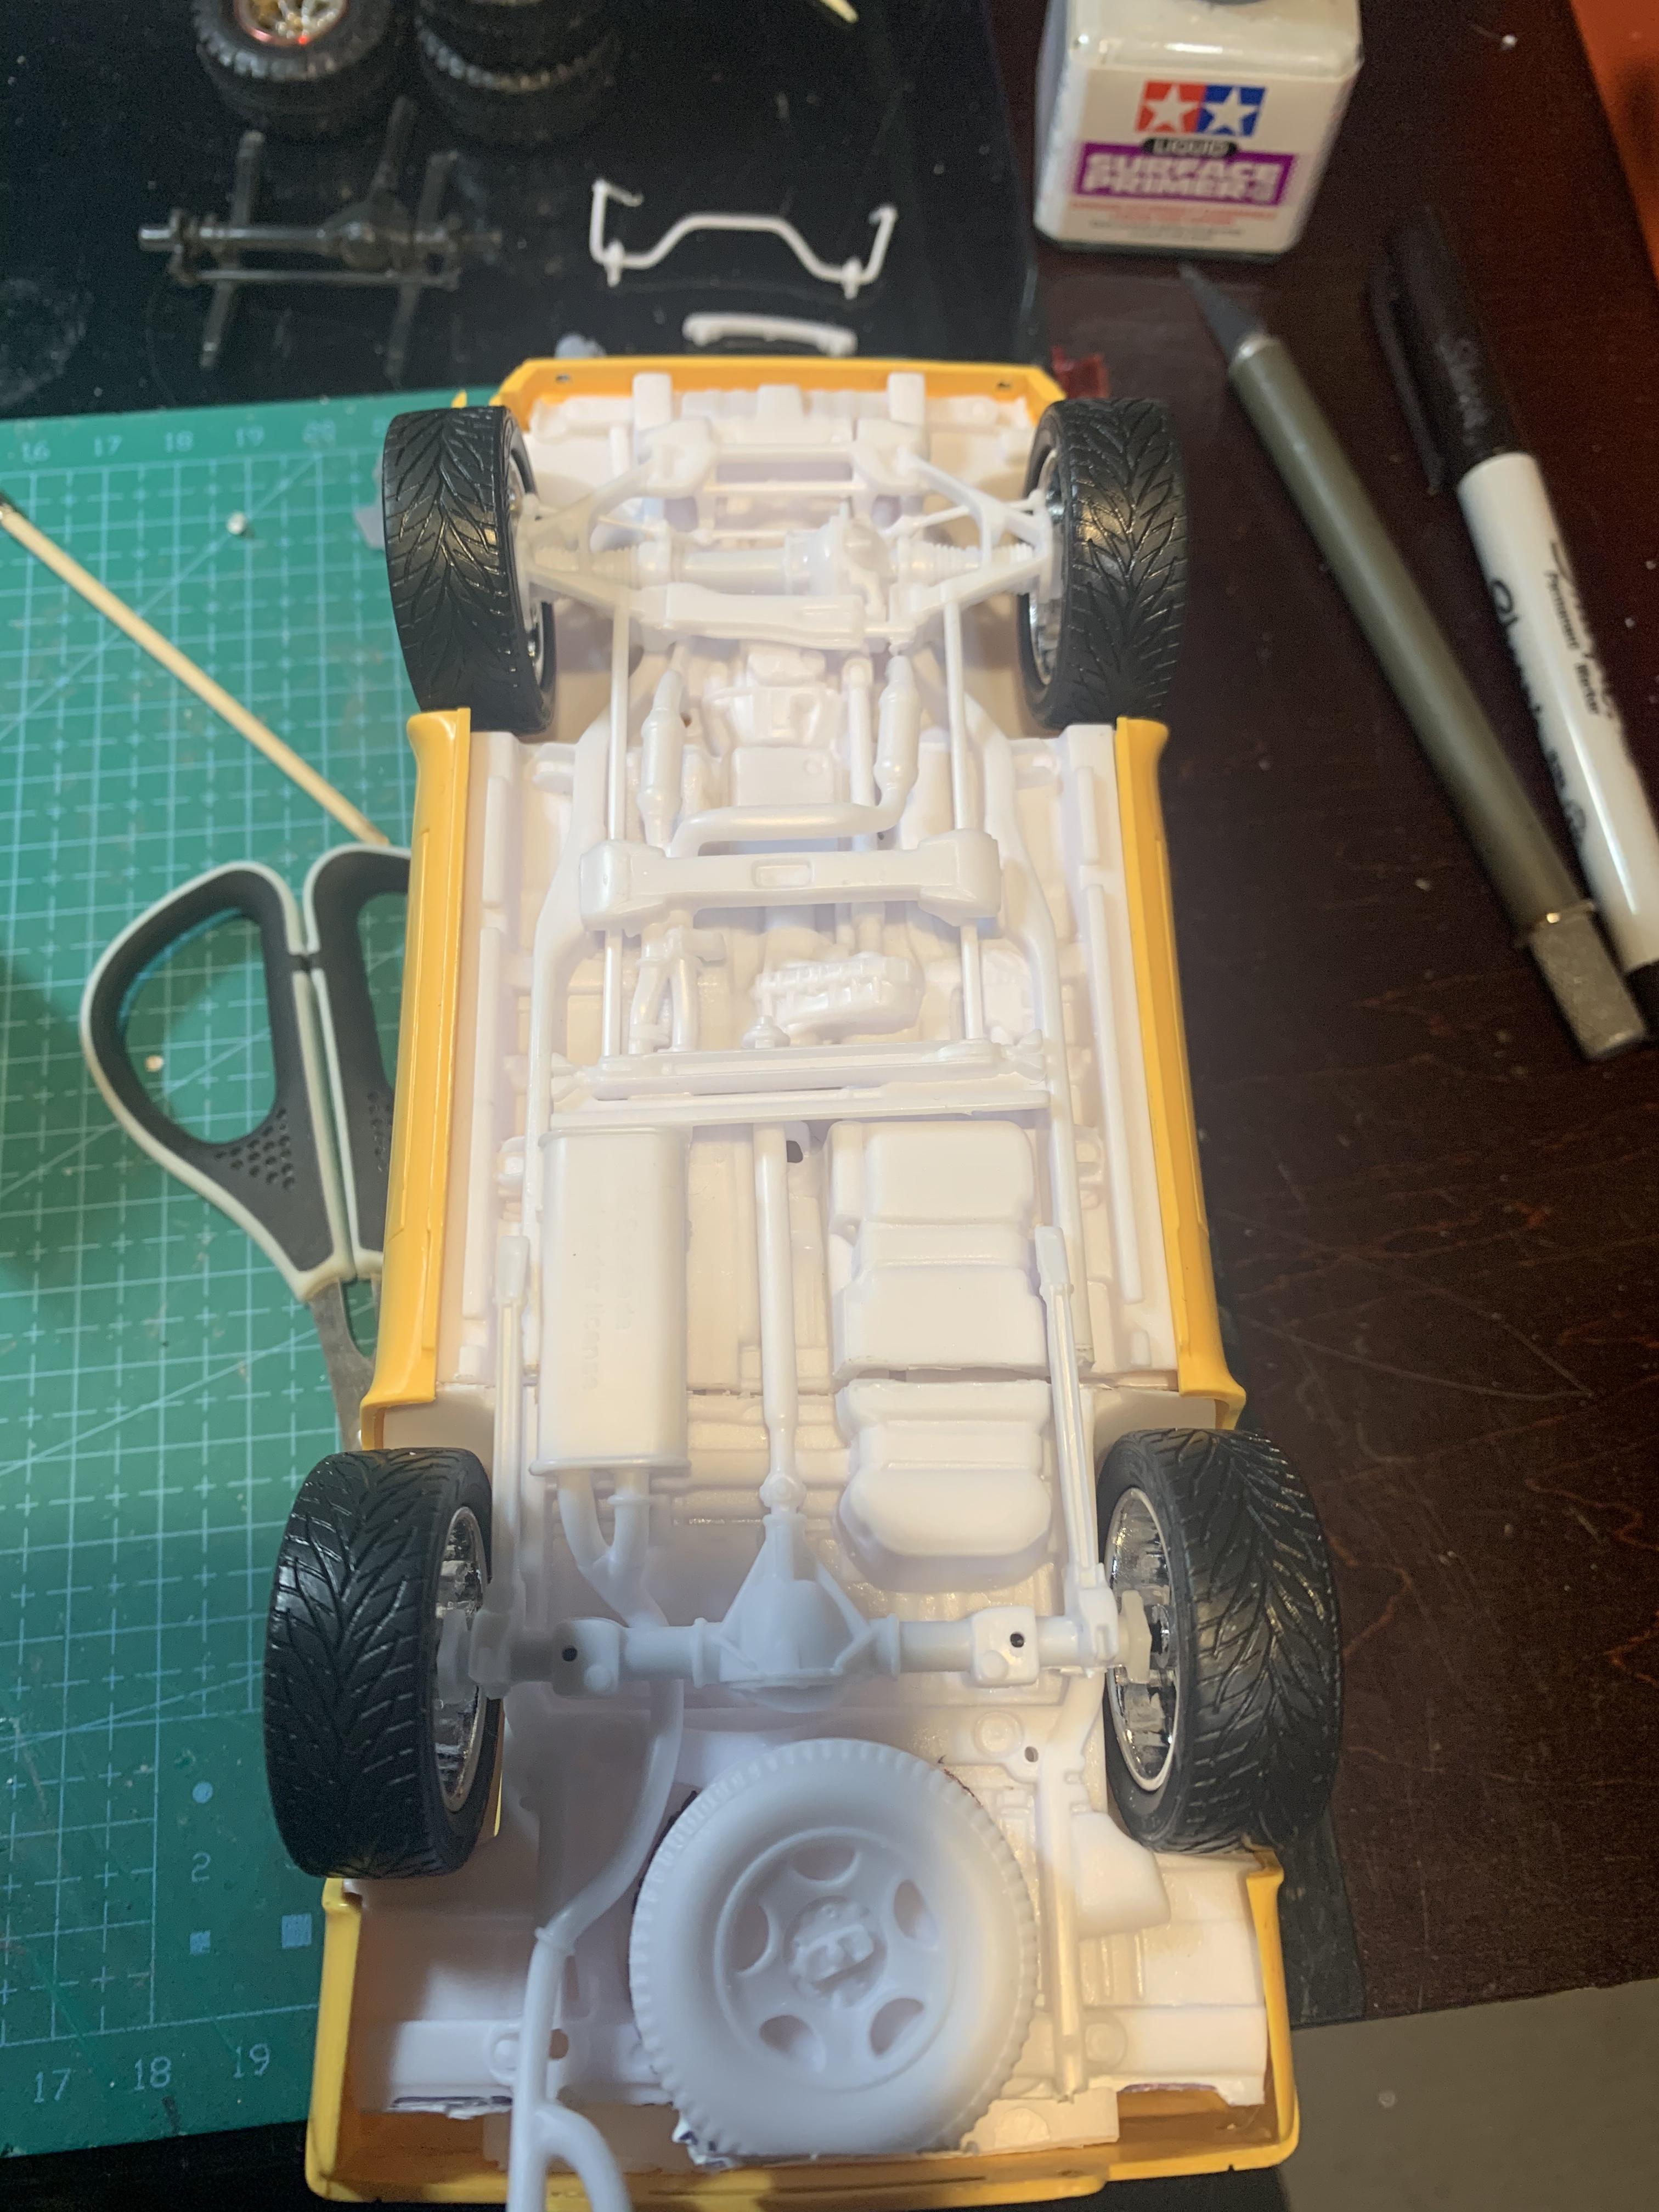
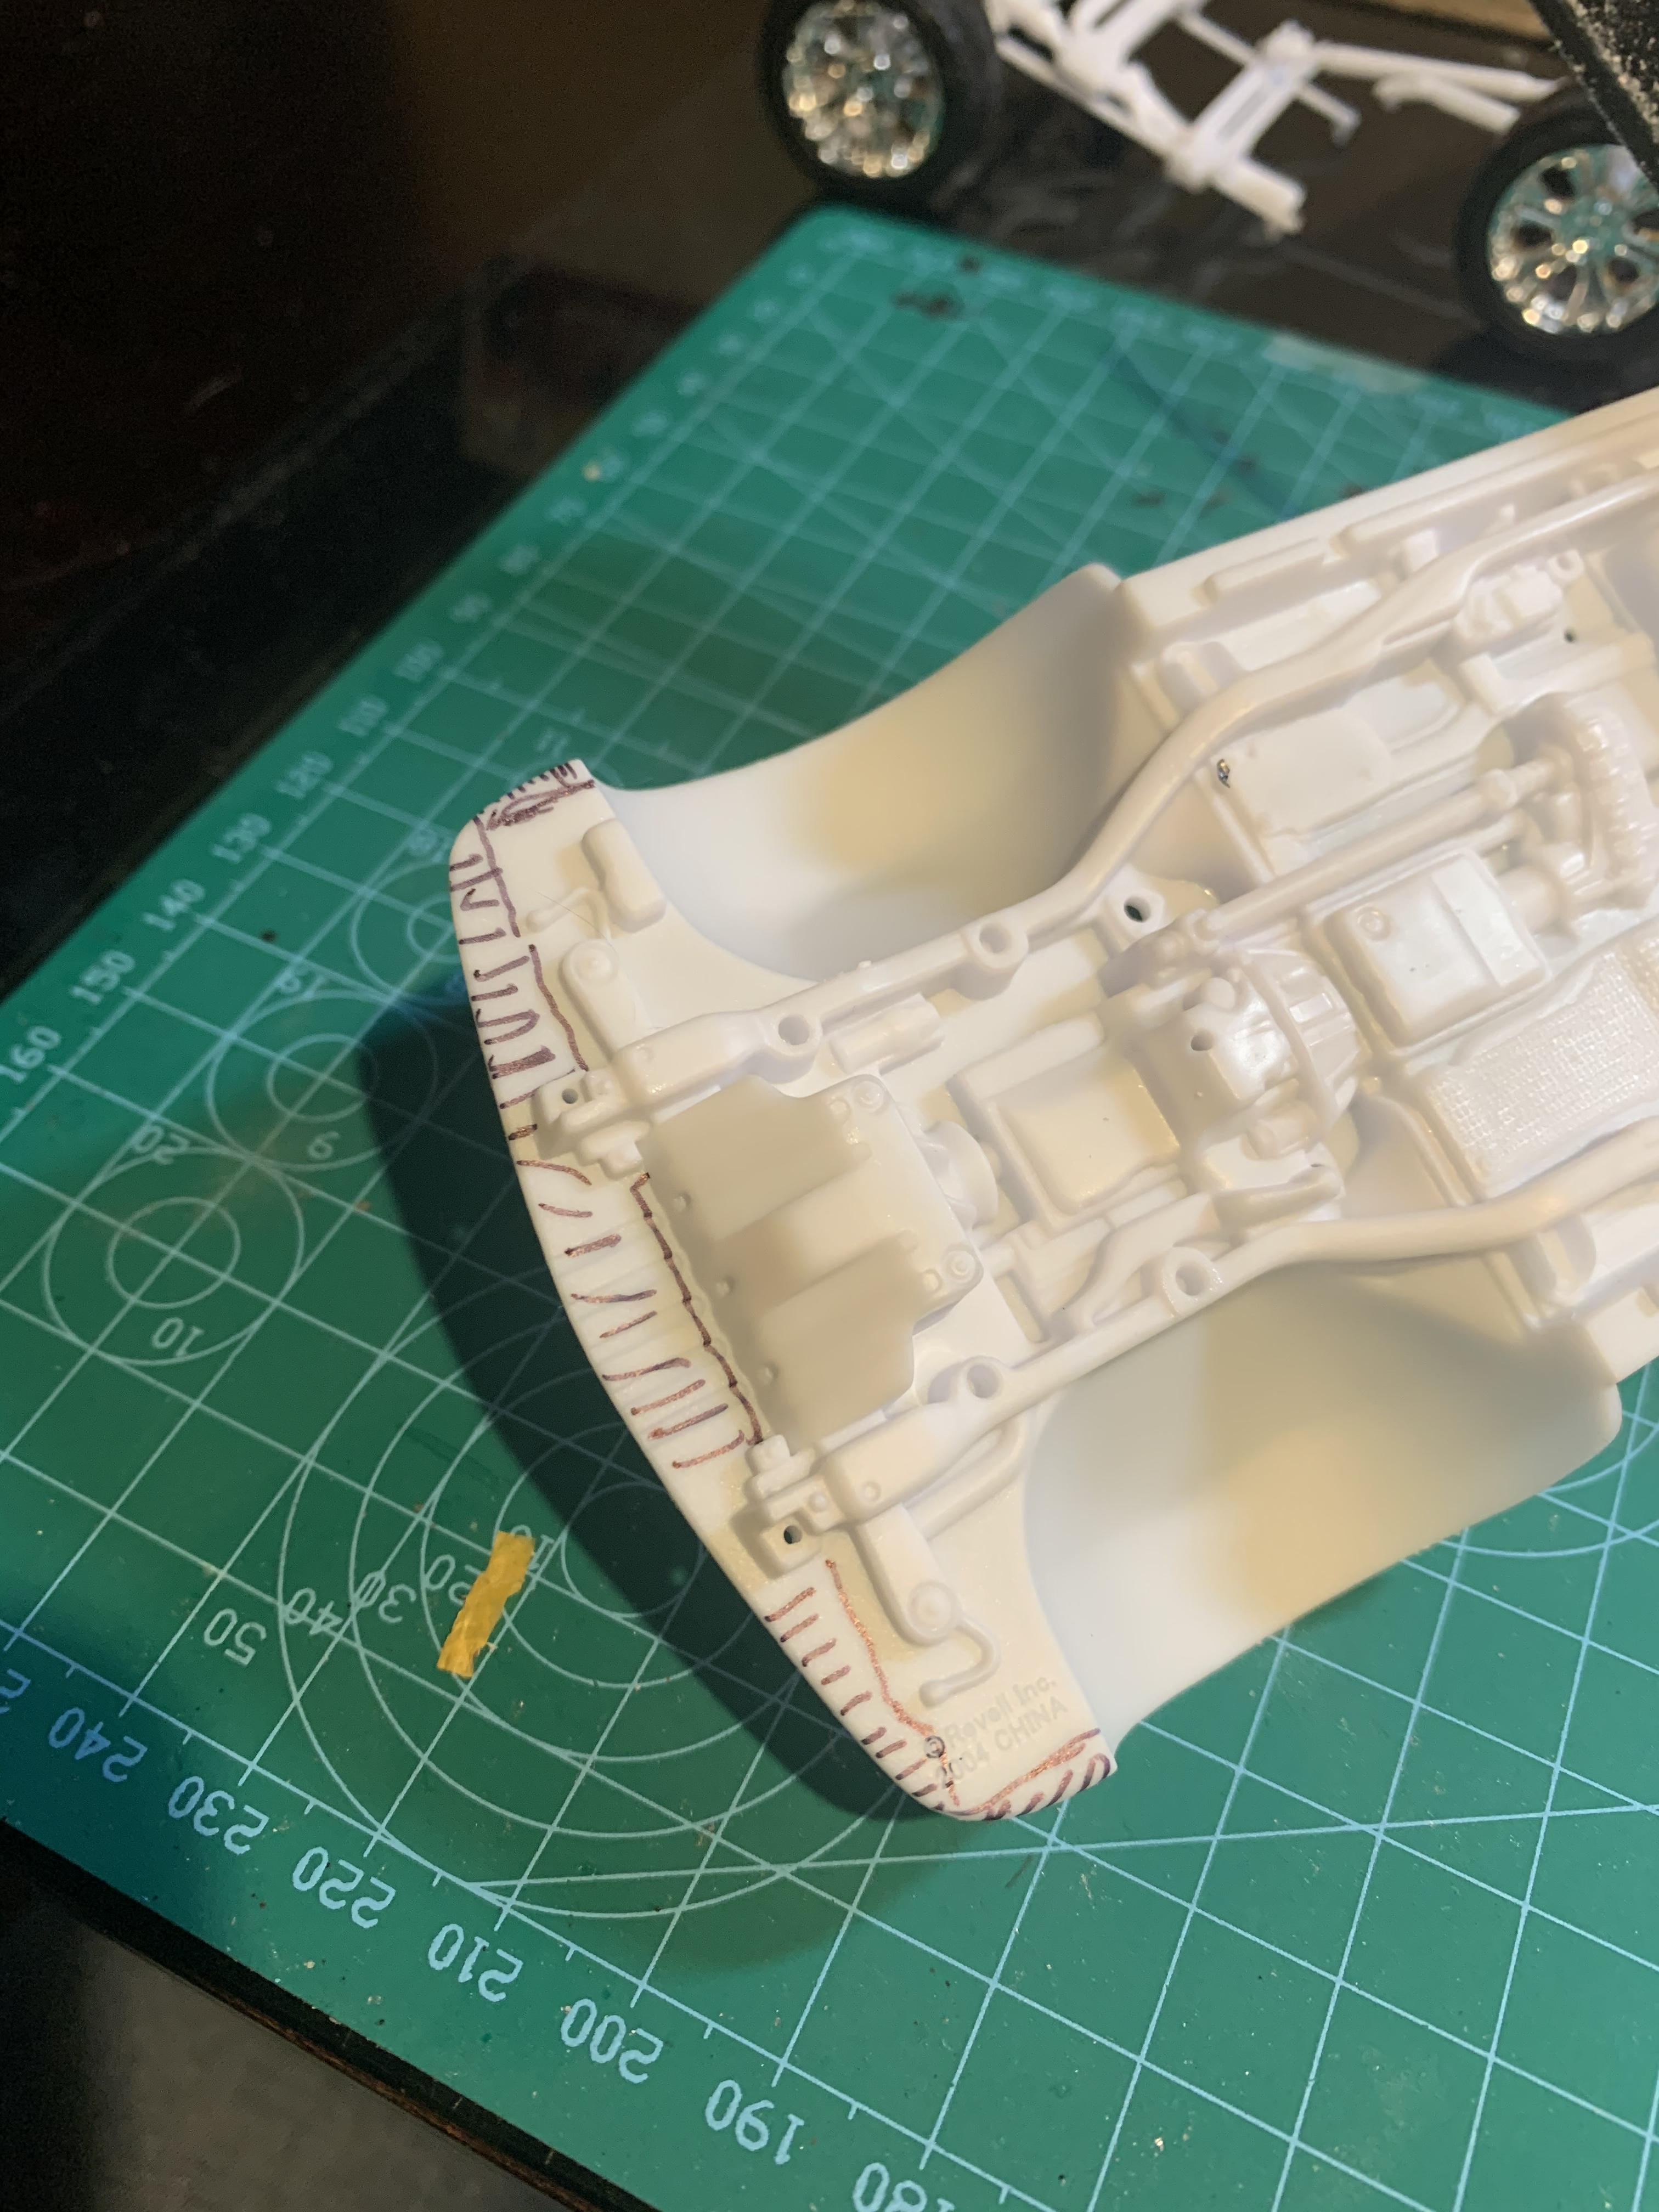
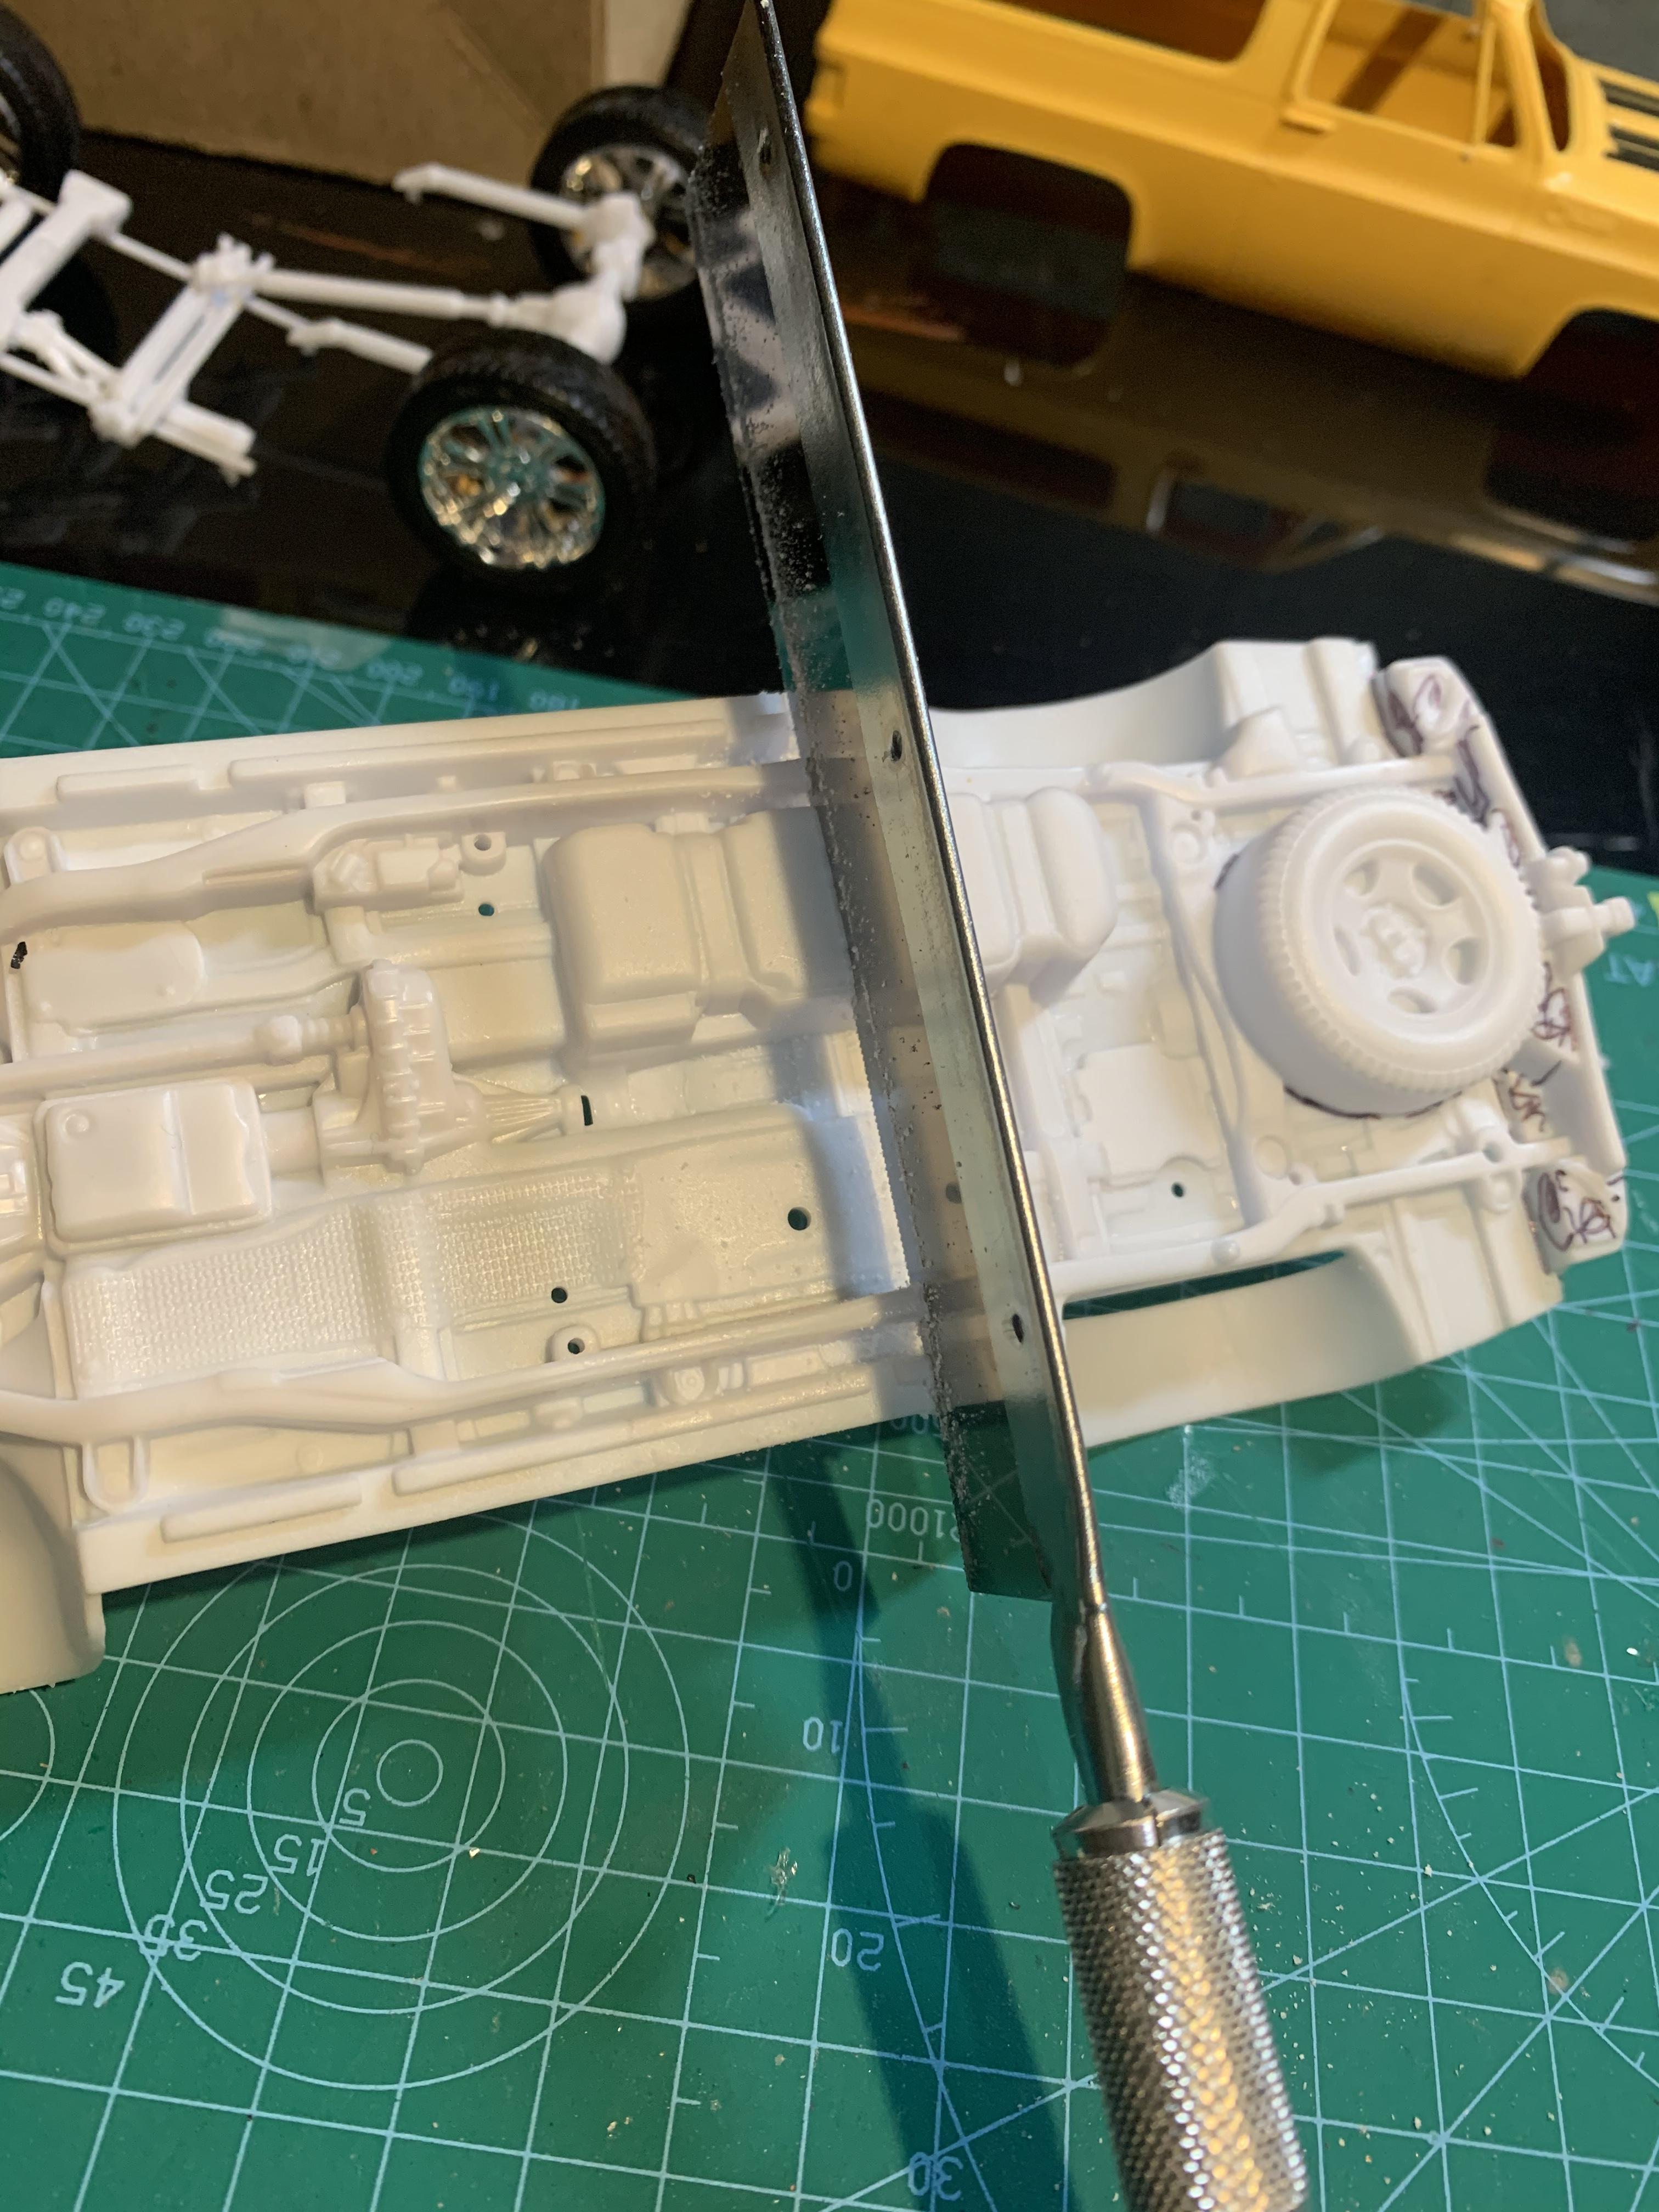
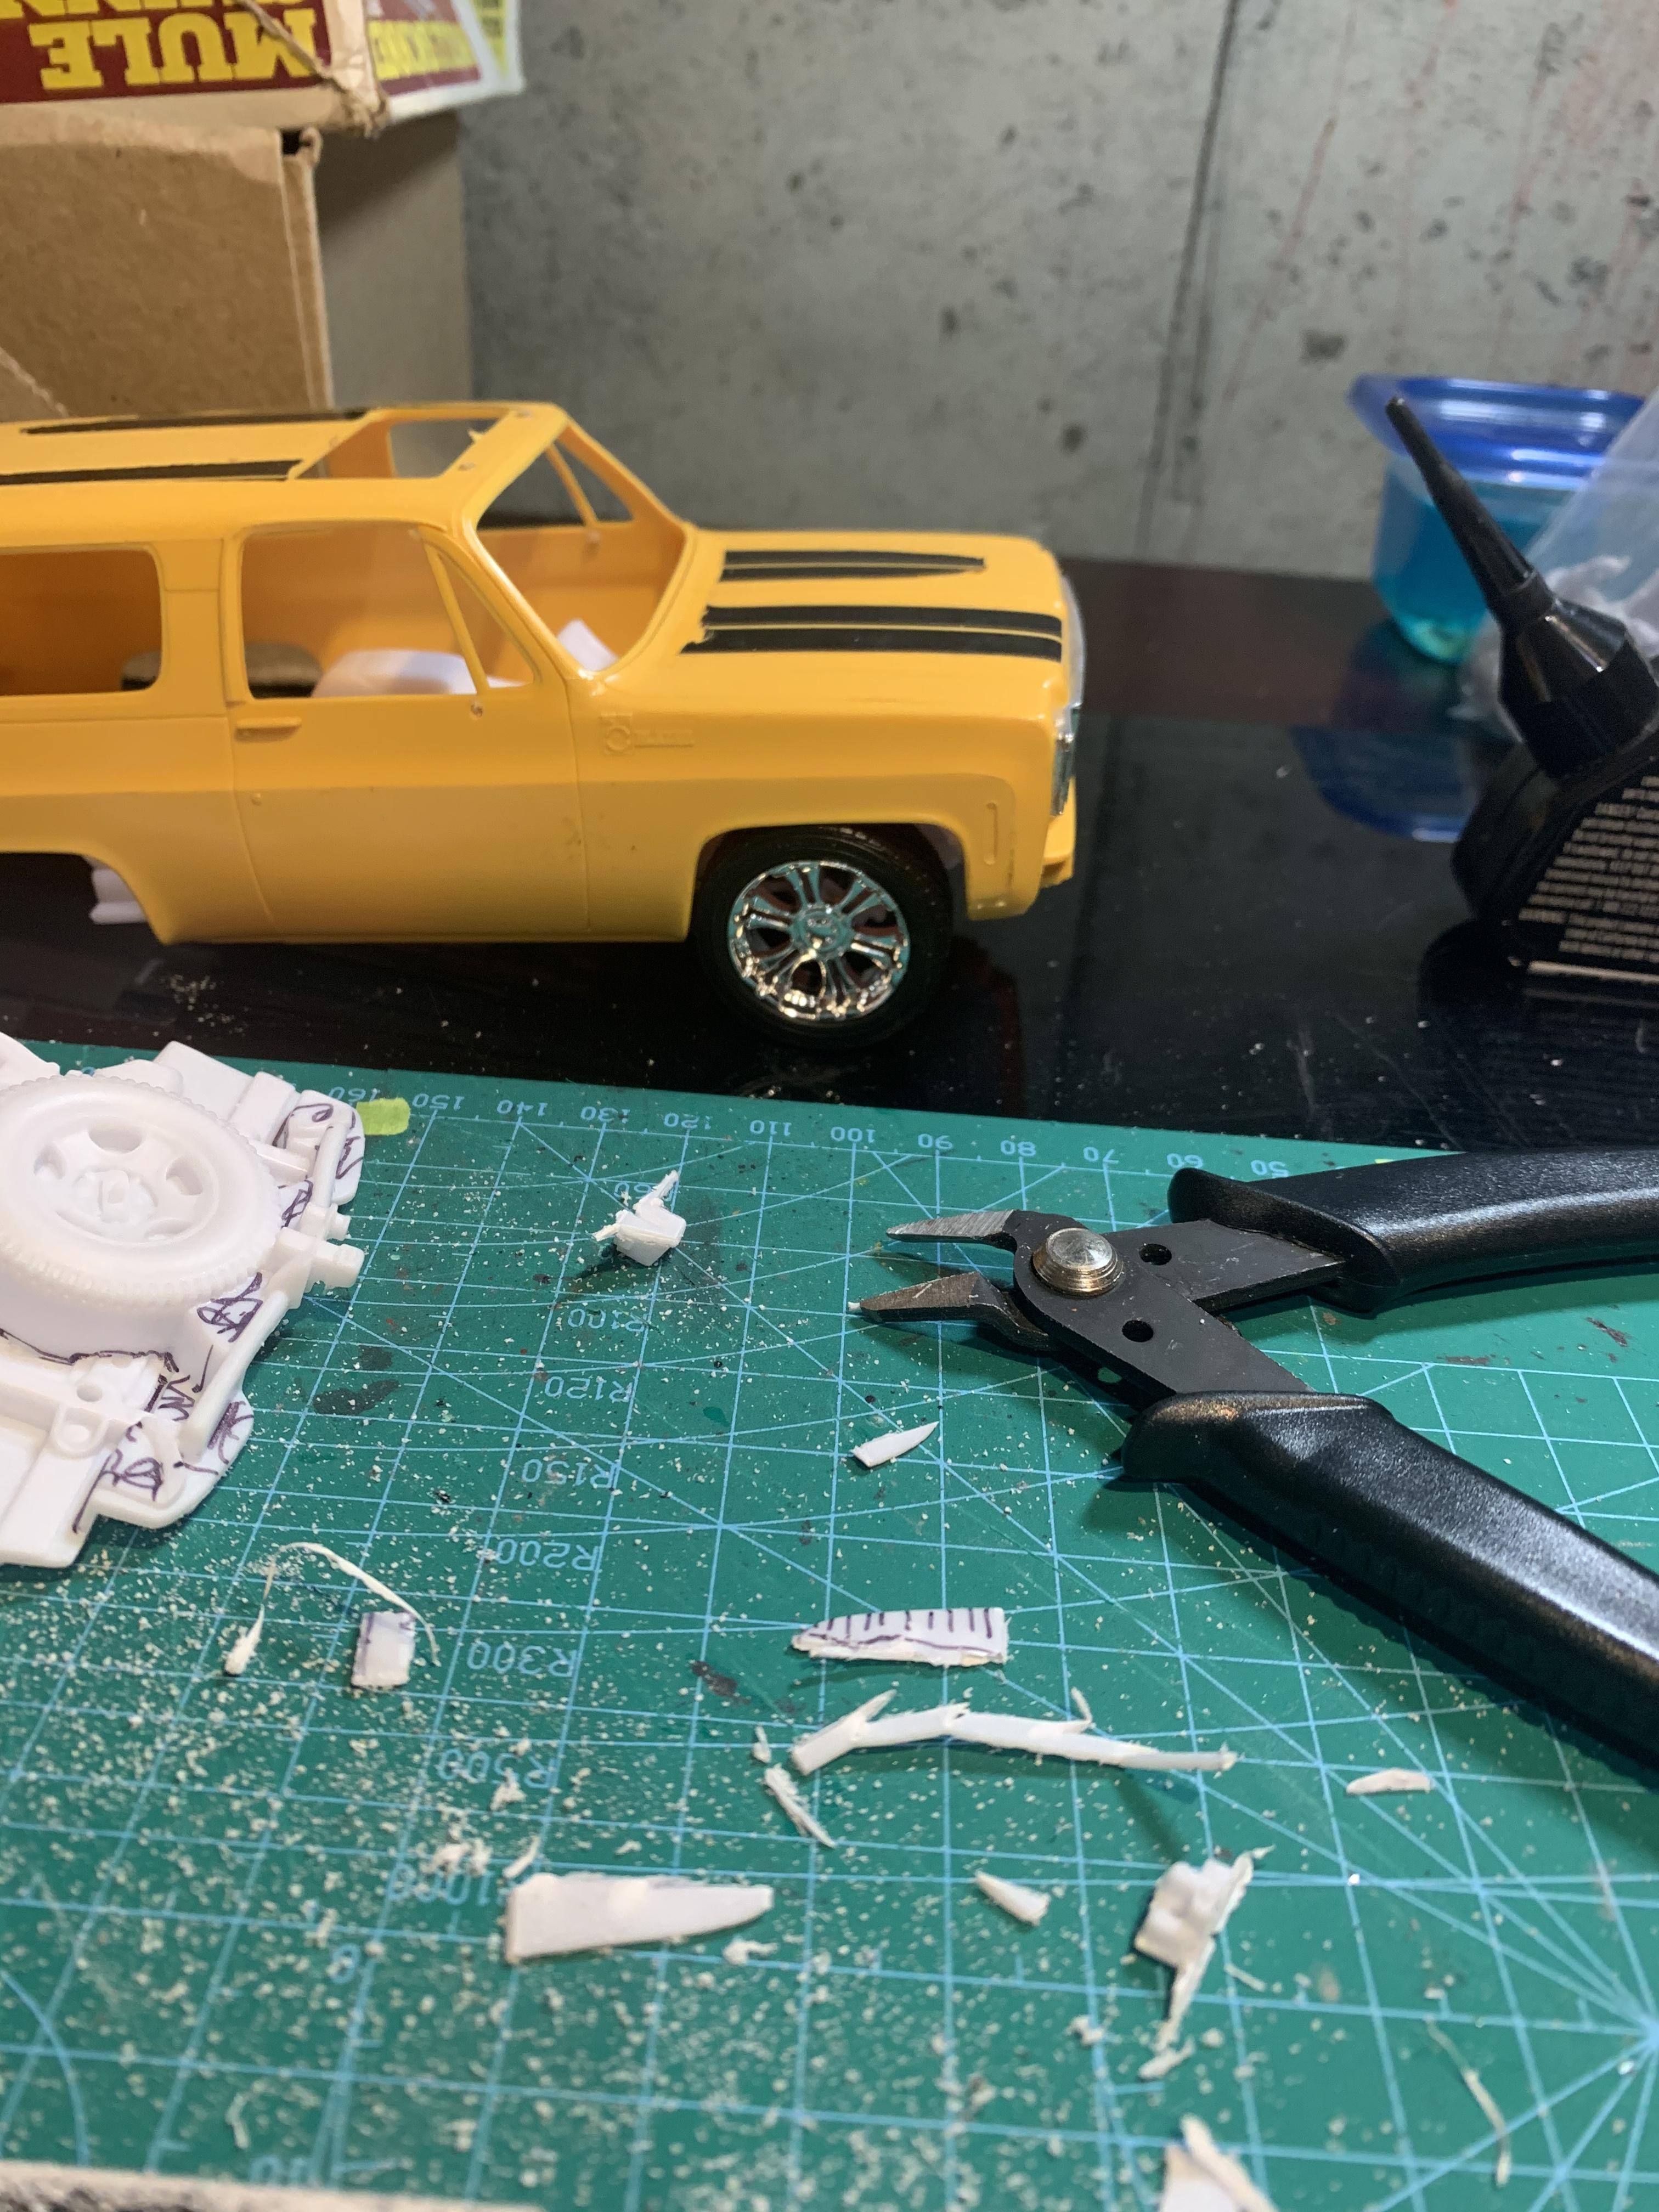
I successfully stuffed an Escalade chassis under a 1975 blazer, disregard the second picture for the stance, that was at the halfway point, with only the front of the chassis pan fitted
-
1975 Chevy Blazer
Bullybeef replied to Bullybeef's topic in WIP: Model Trucks: Pickups, Vans, SUVs, Light Commercial
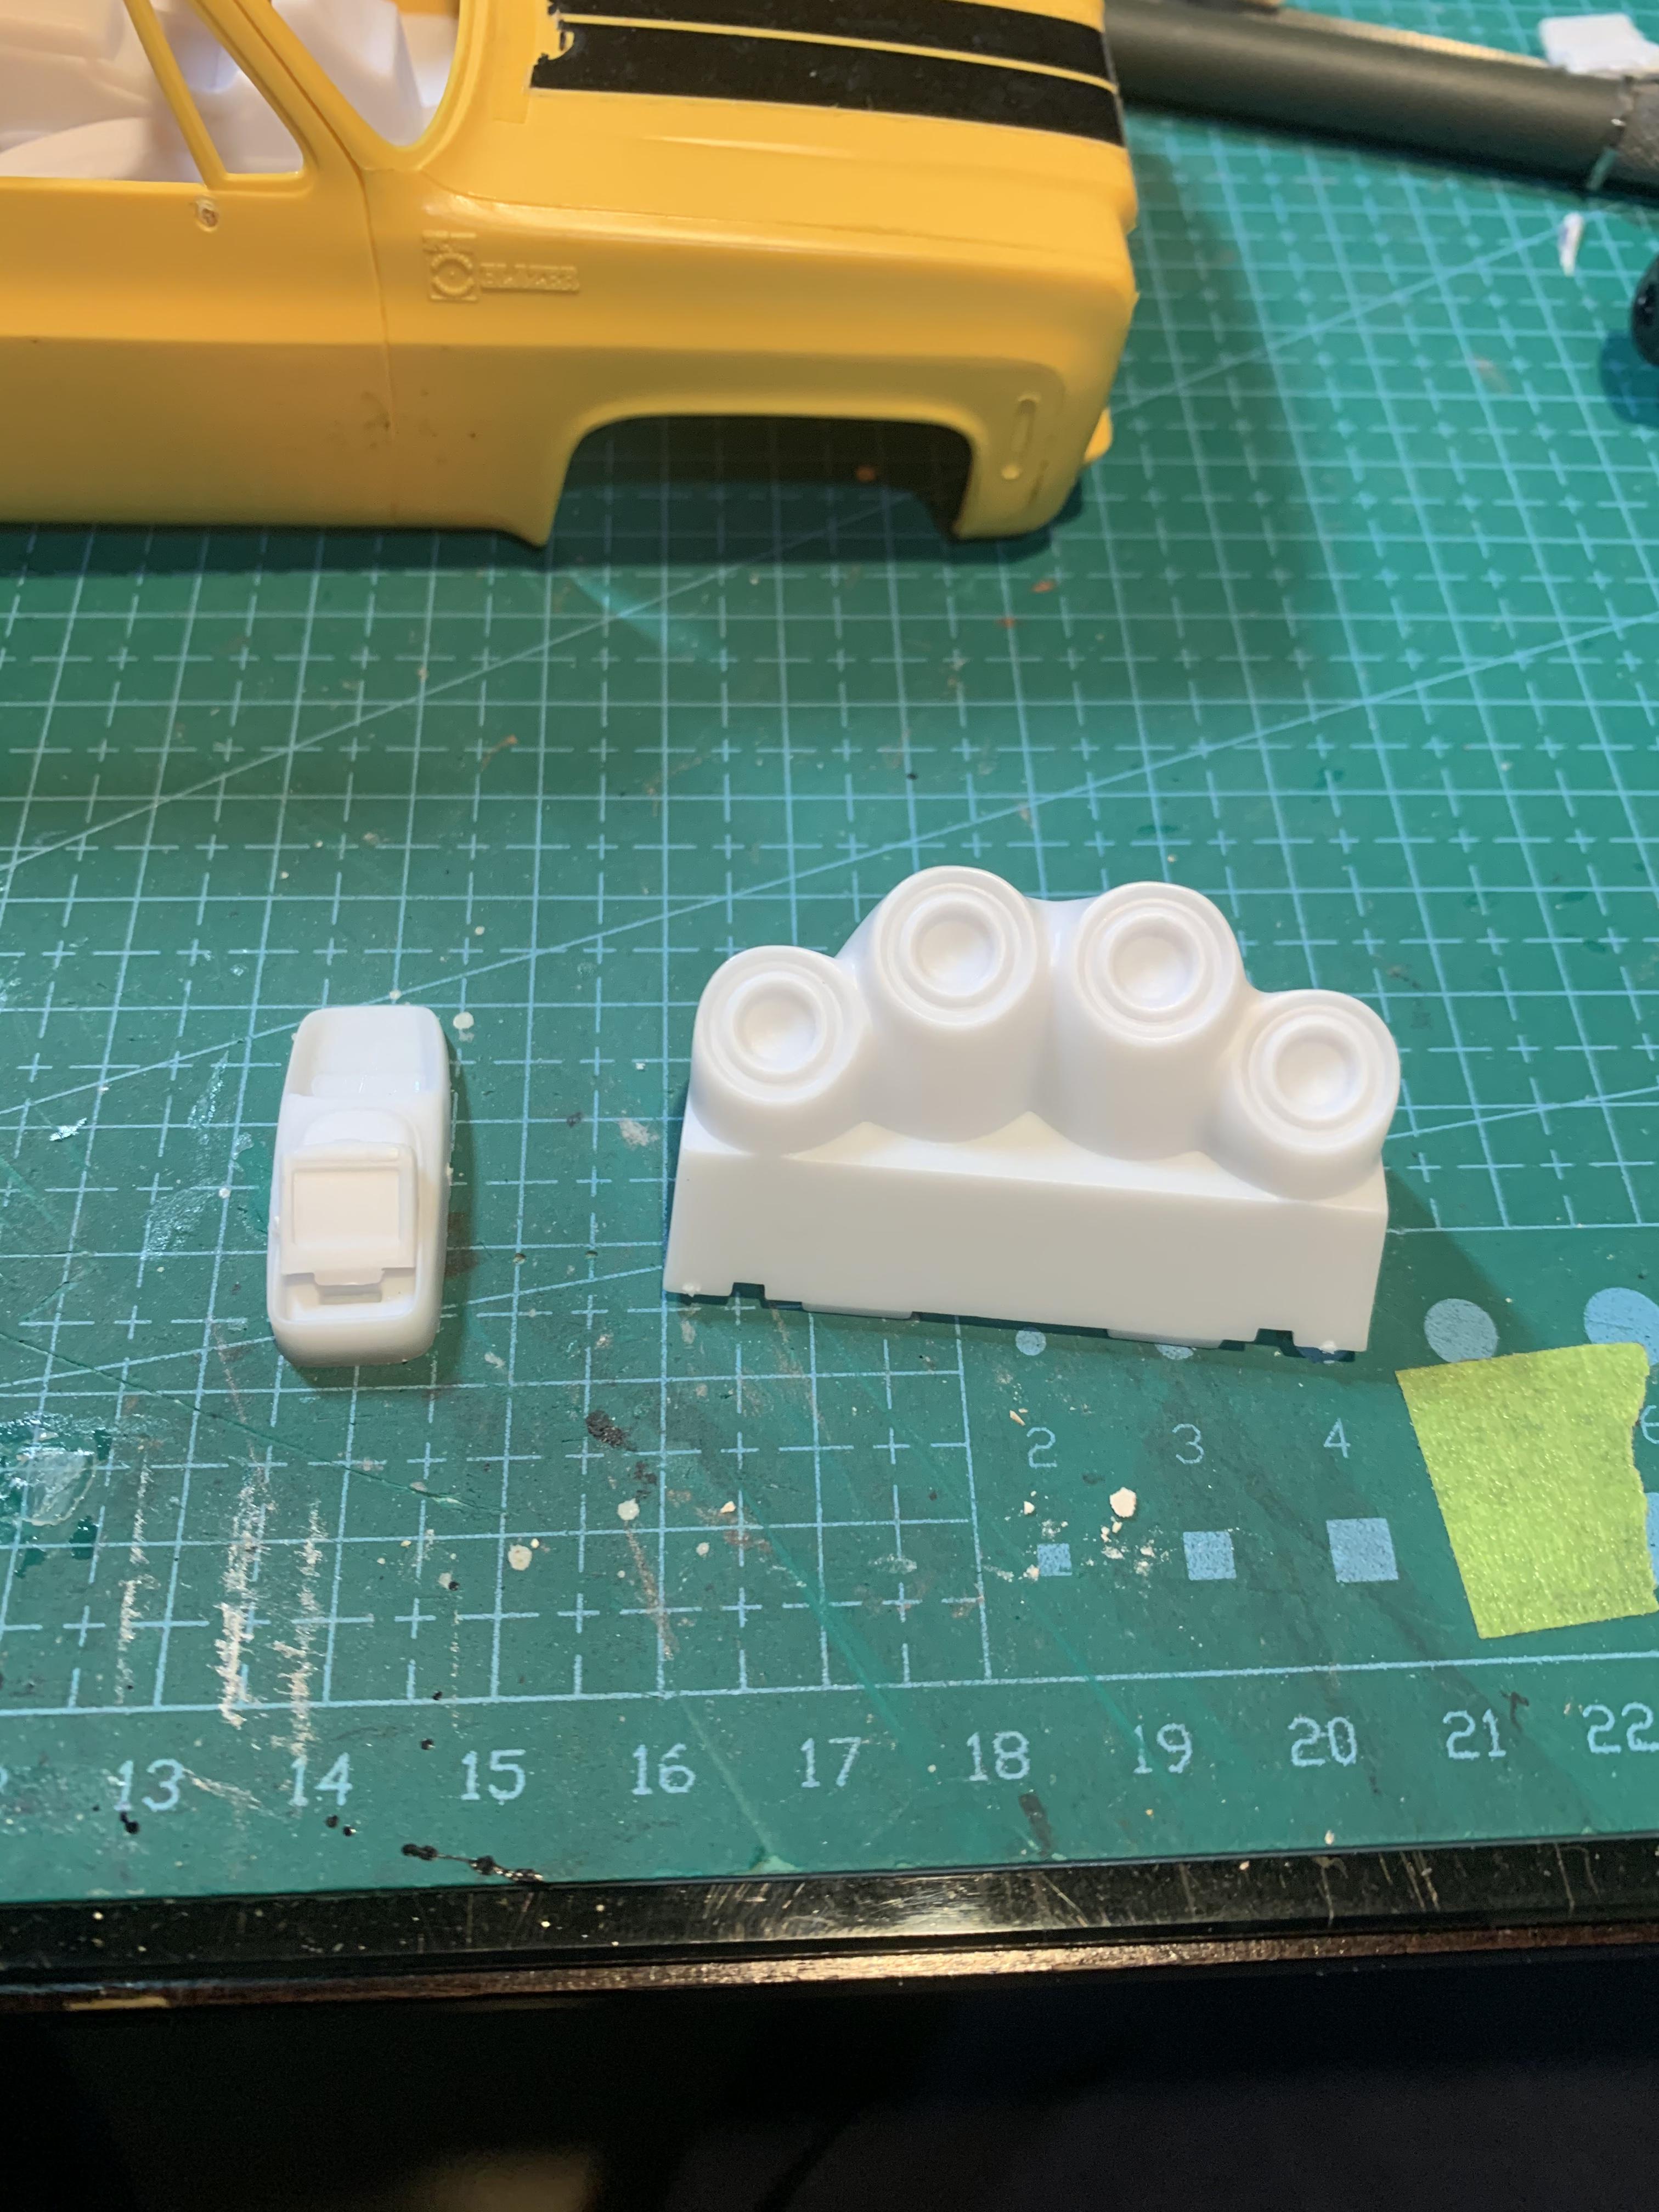
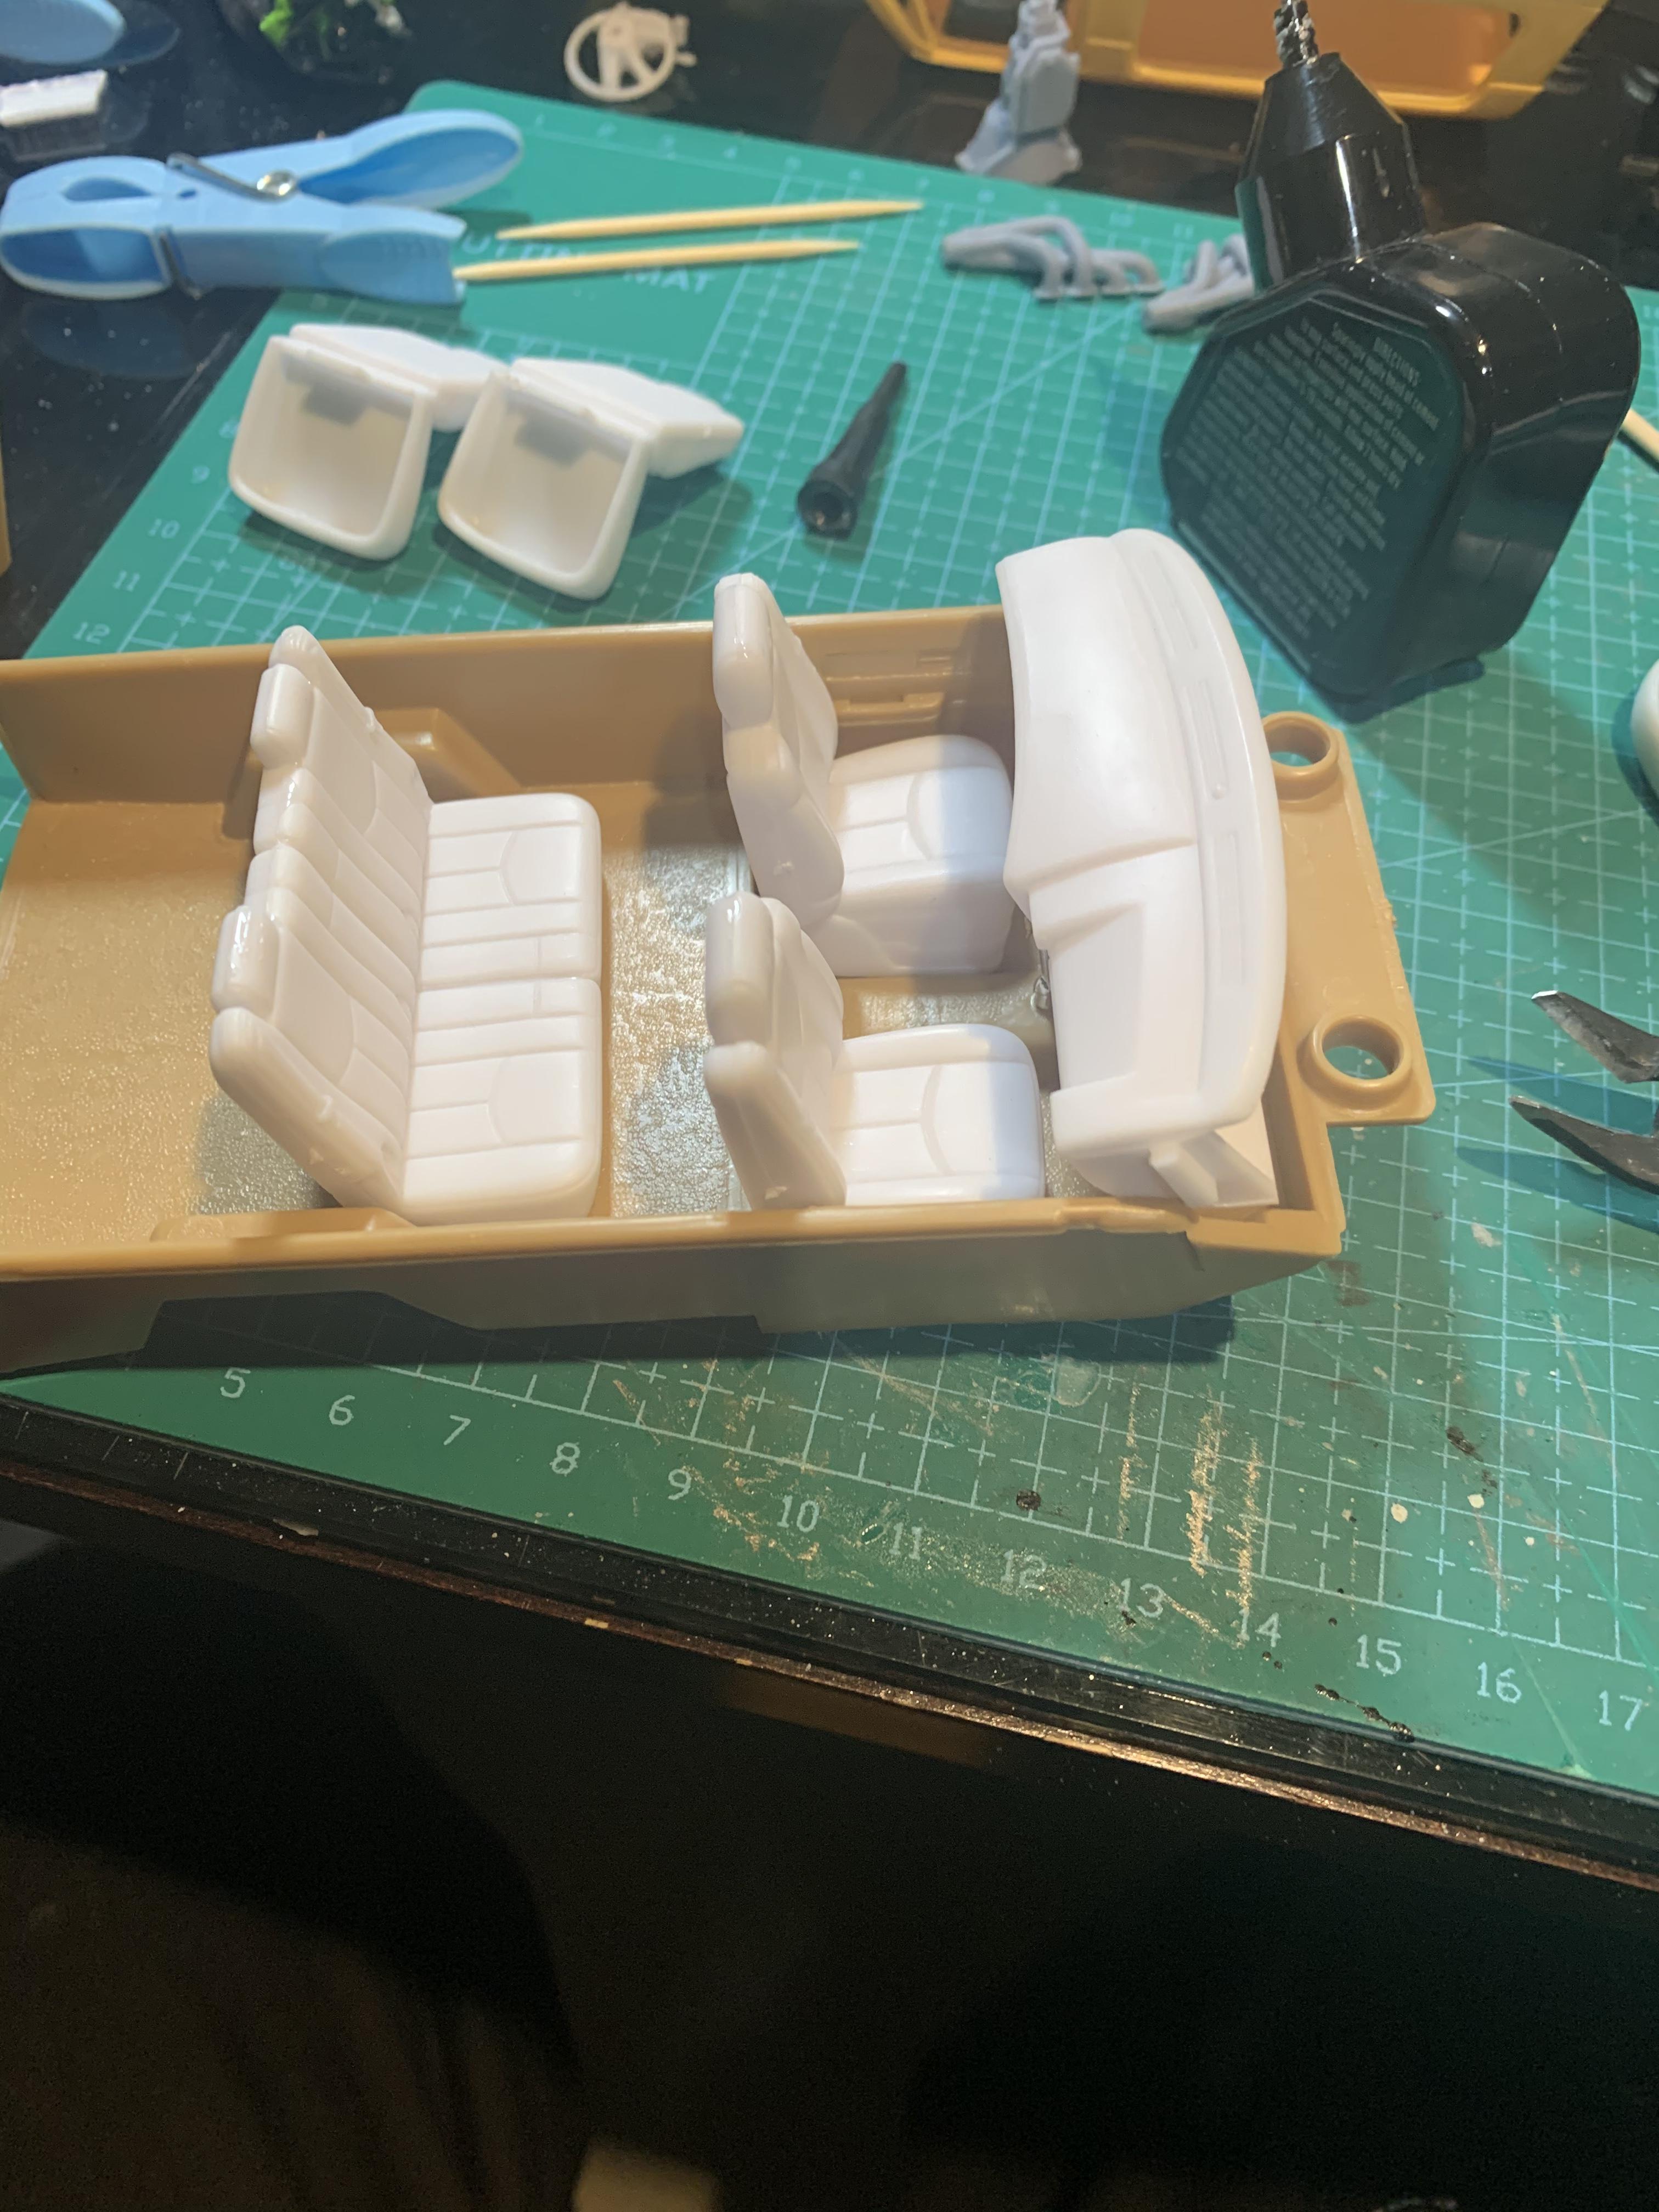
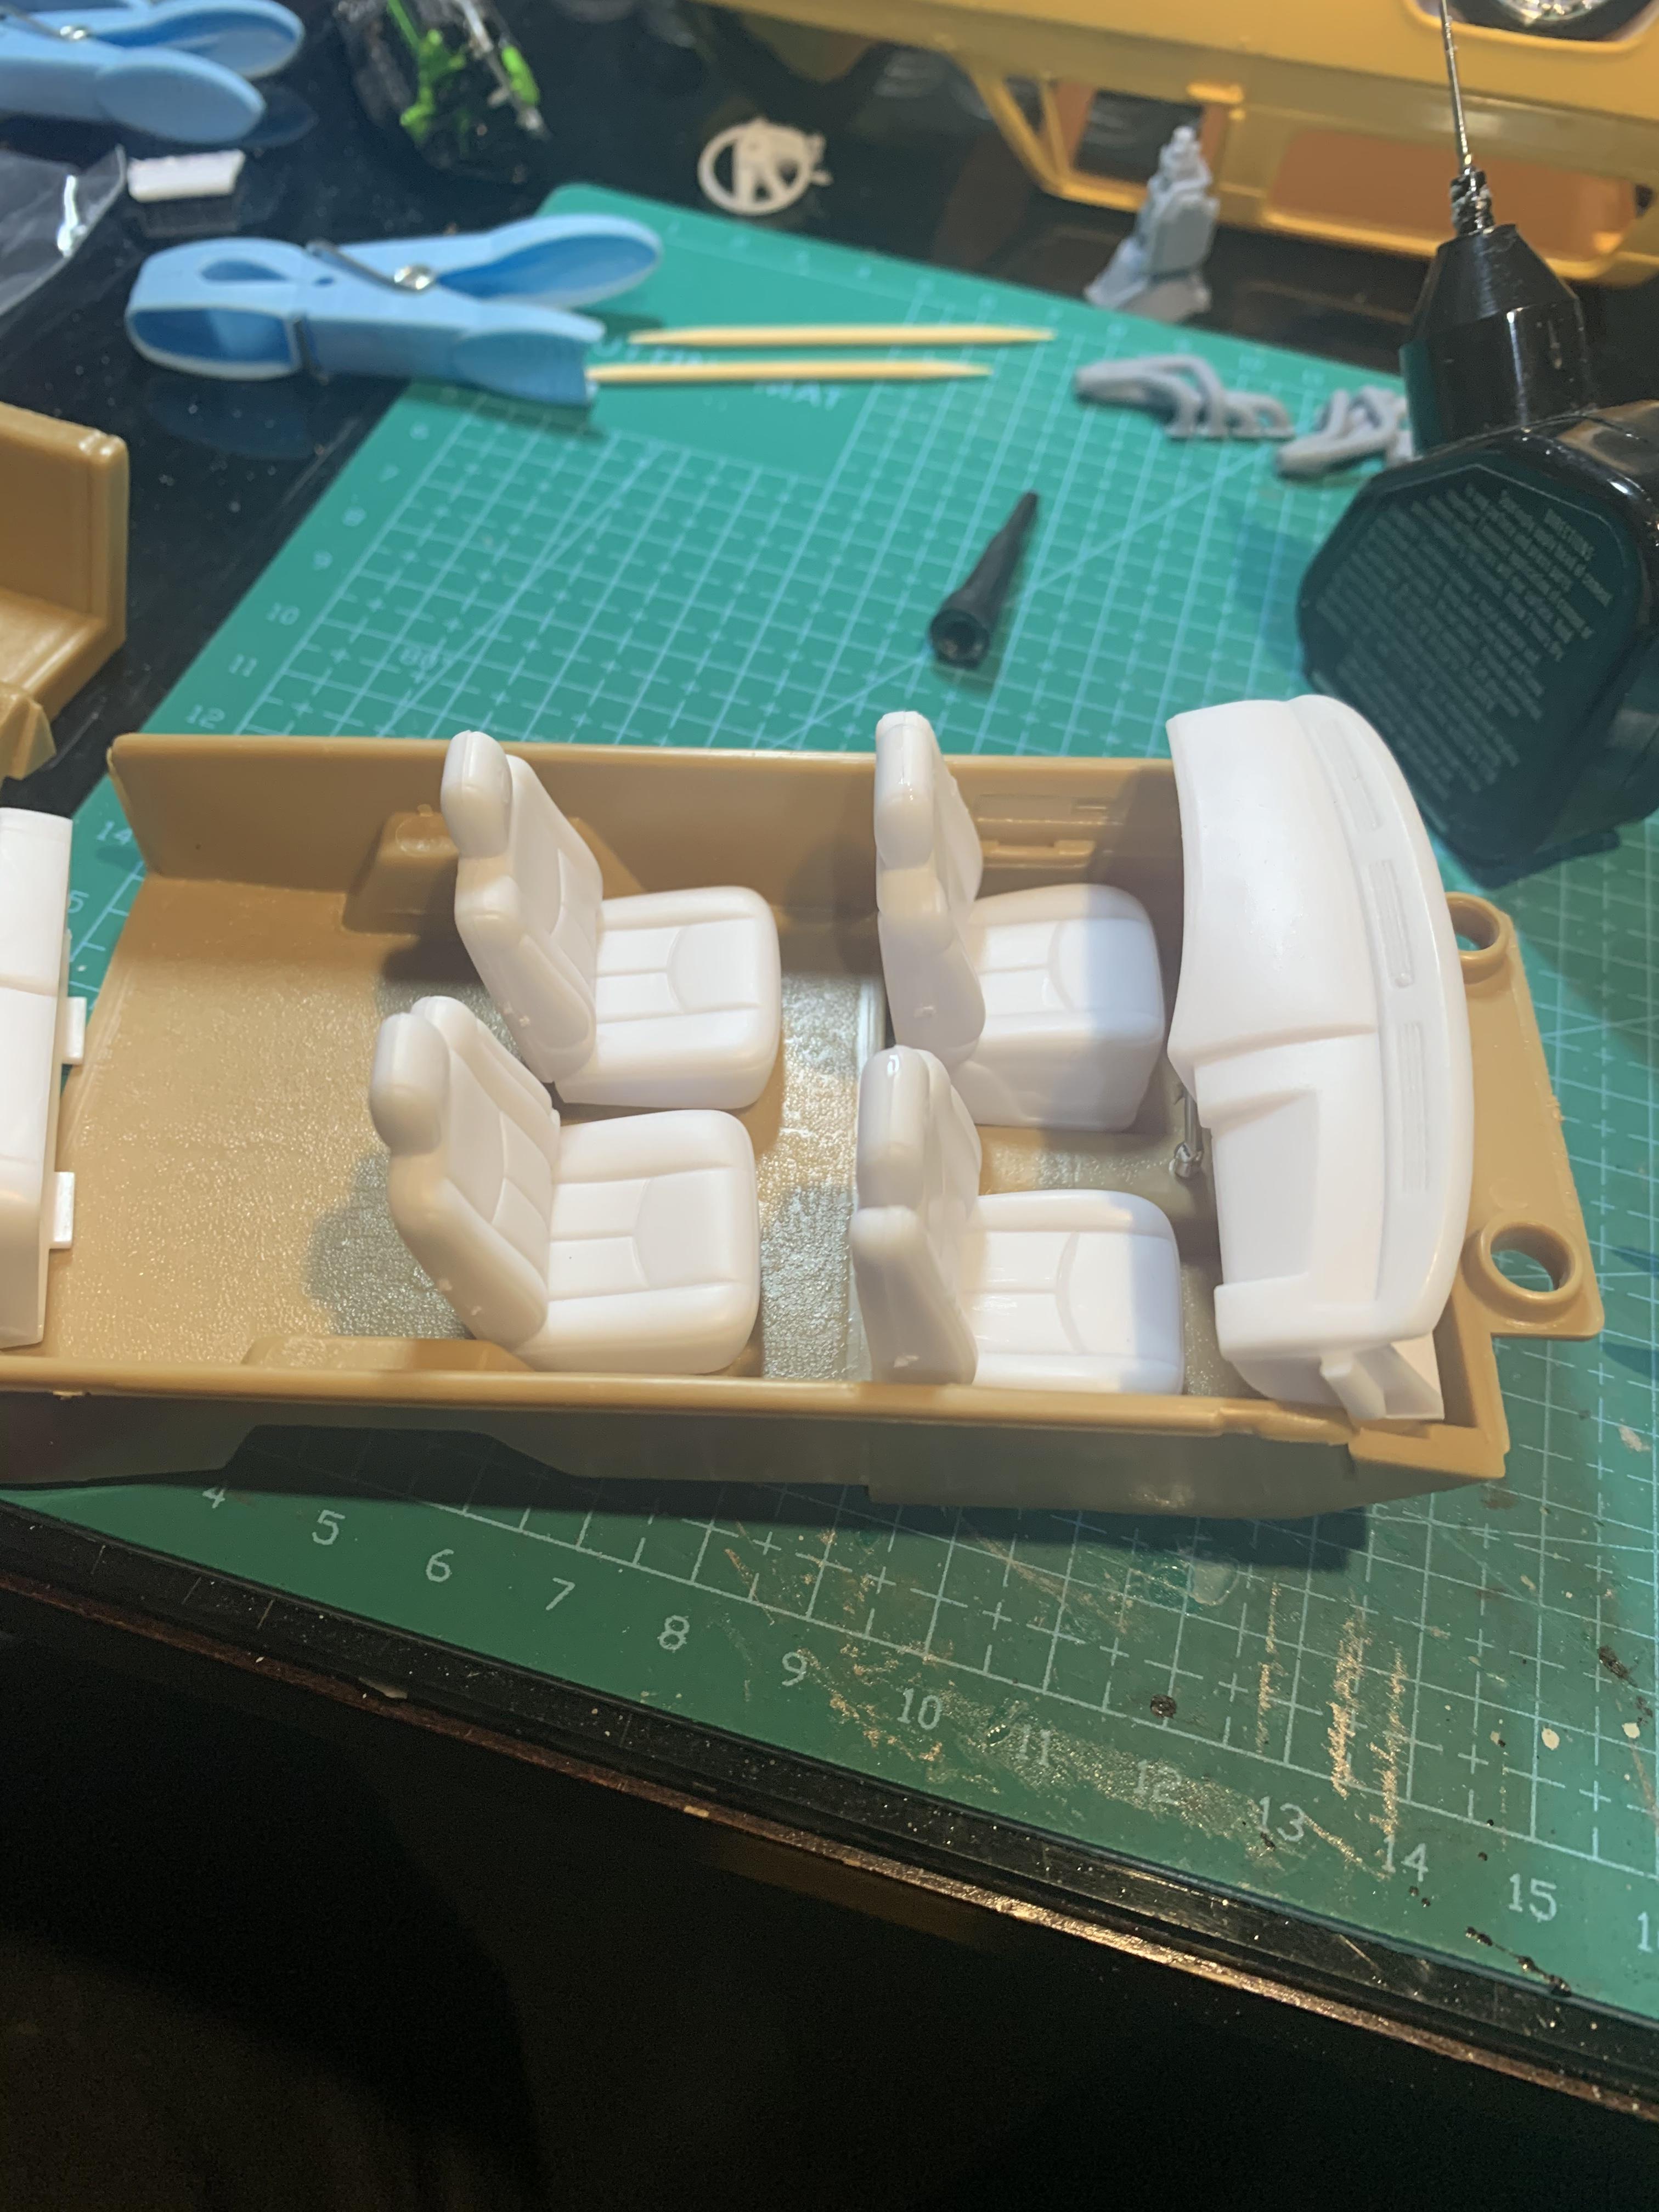
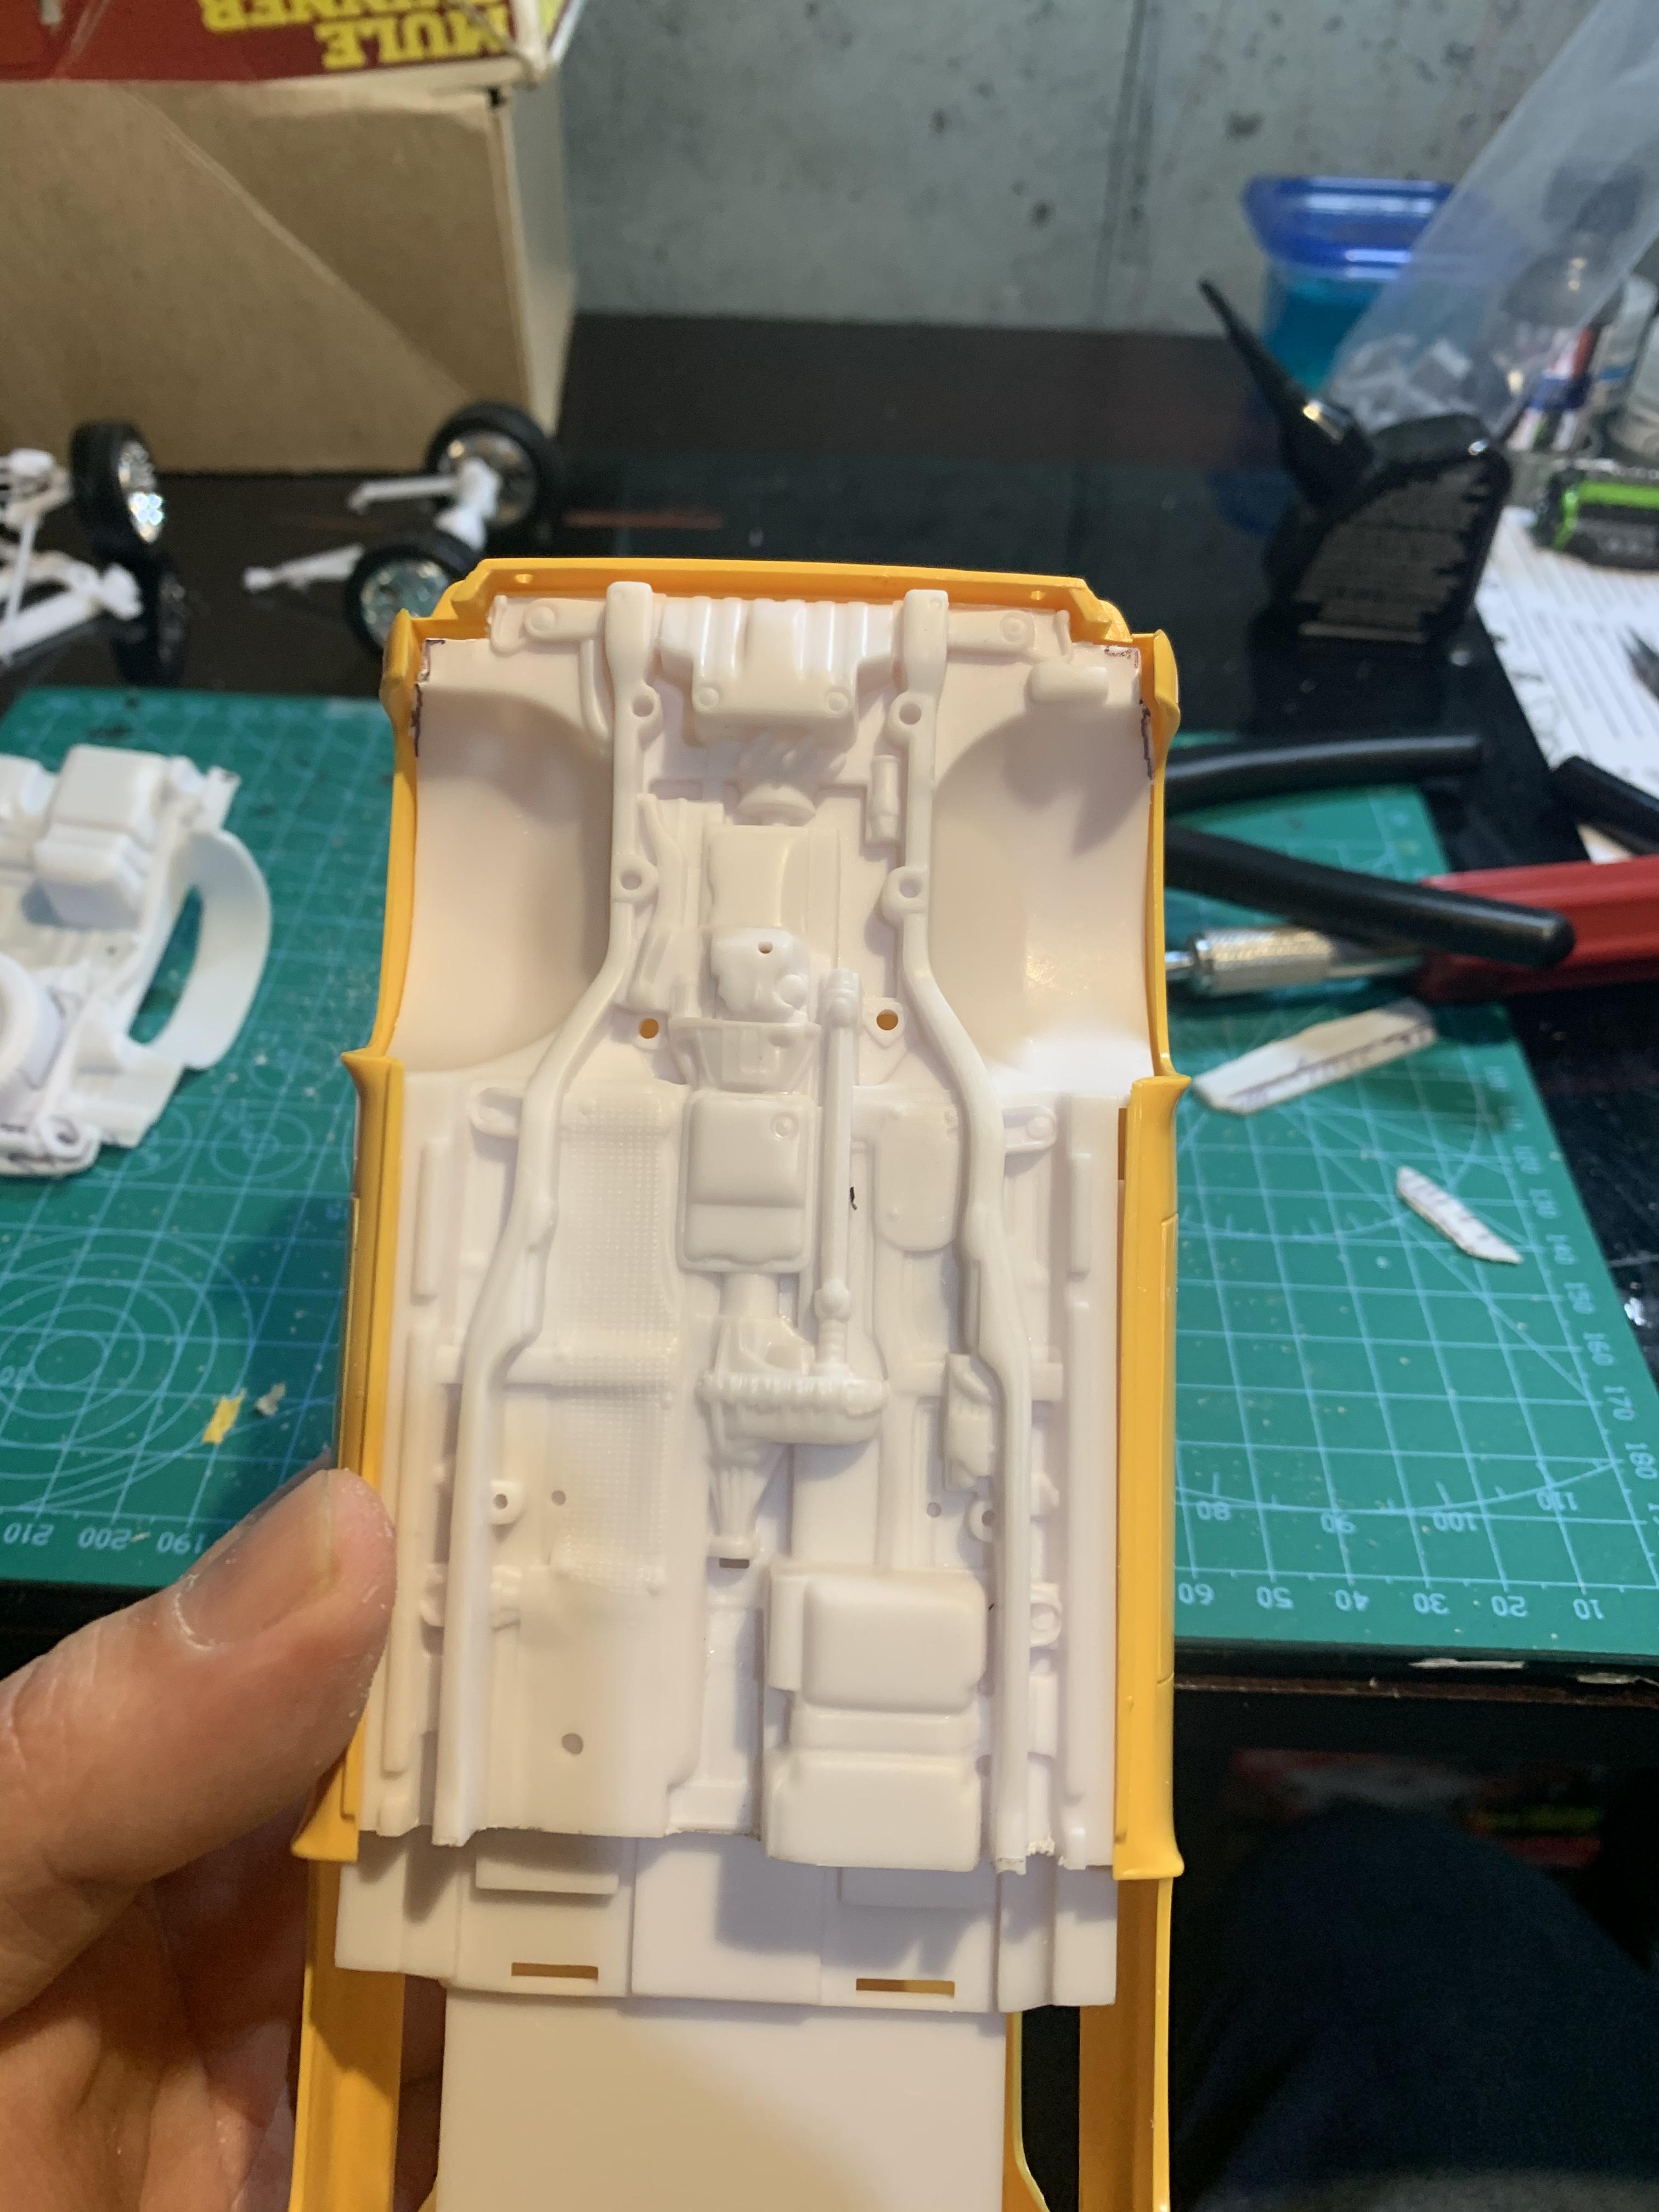
Well all the cuts required to fit the chassis pan are done. Nothing is glued at this point with the exception of the seat halves. I may for simplicity’s sake just use the blazer interior tub with the seats from the esky, Would you go with 4 buckets or keep it traditional and go buckets and bench?
-
Picked up another lot of rebuilders, got my second amt/mpc 1975 blazer. I need more of these for parts to fix/finish the two I have
-
I’ve picked up two of the amt blazers as incomplete rebuilders recently, I am currently attempting to resurrect both one as a custom and the other as a stockish replica with added detail. These things are near impossible to find.
-
1975 Chevy Blazer
Bullybeef replied to Bullybeef's topic in WIP: Model Trucks: Pickups, Vans, SUVs, Light Commercial
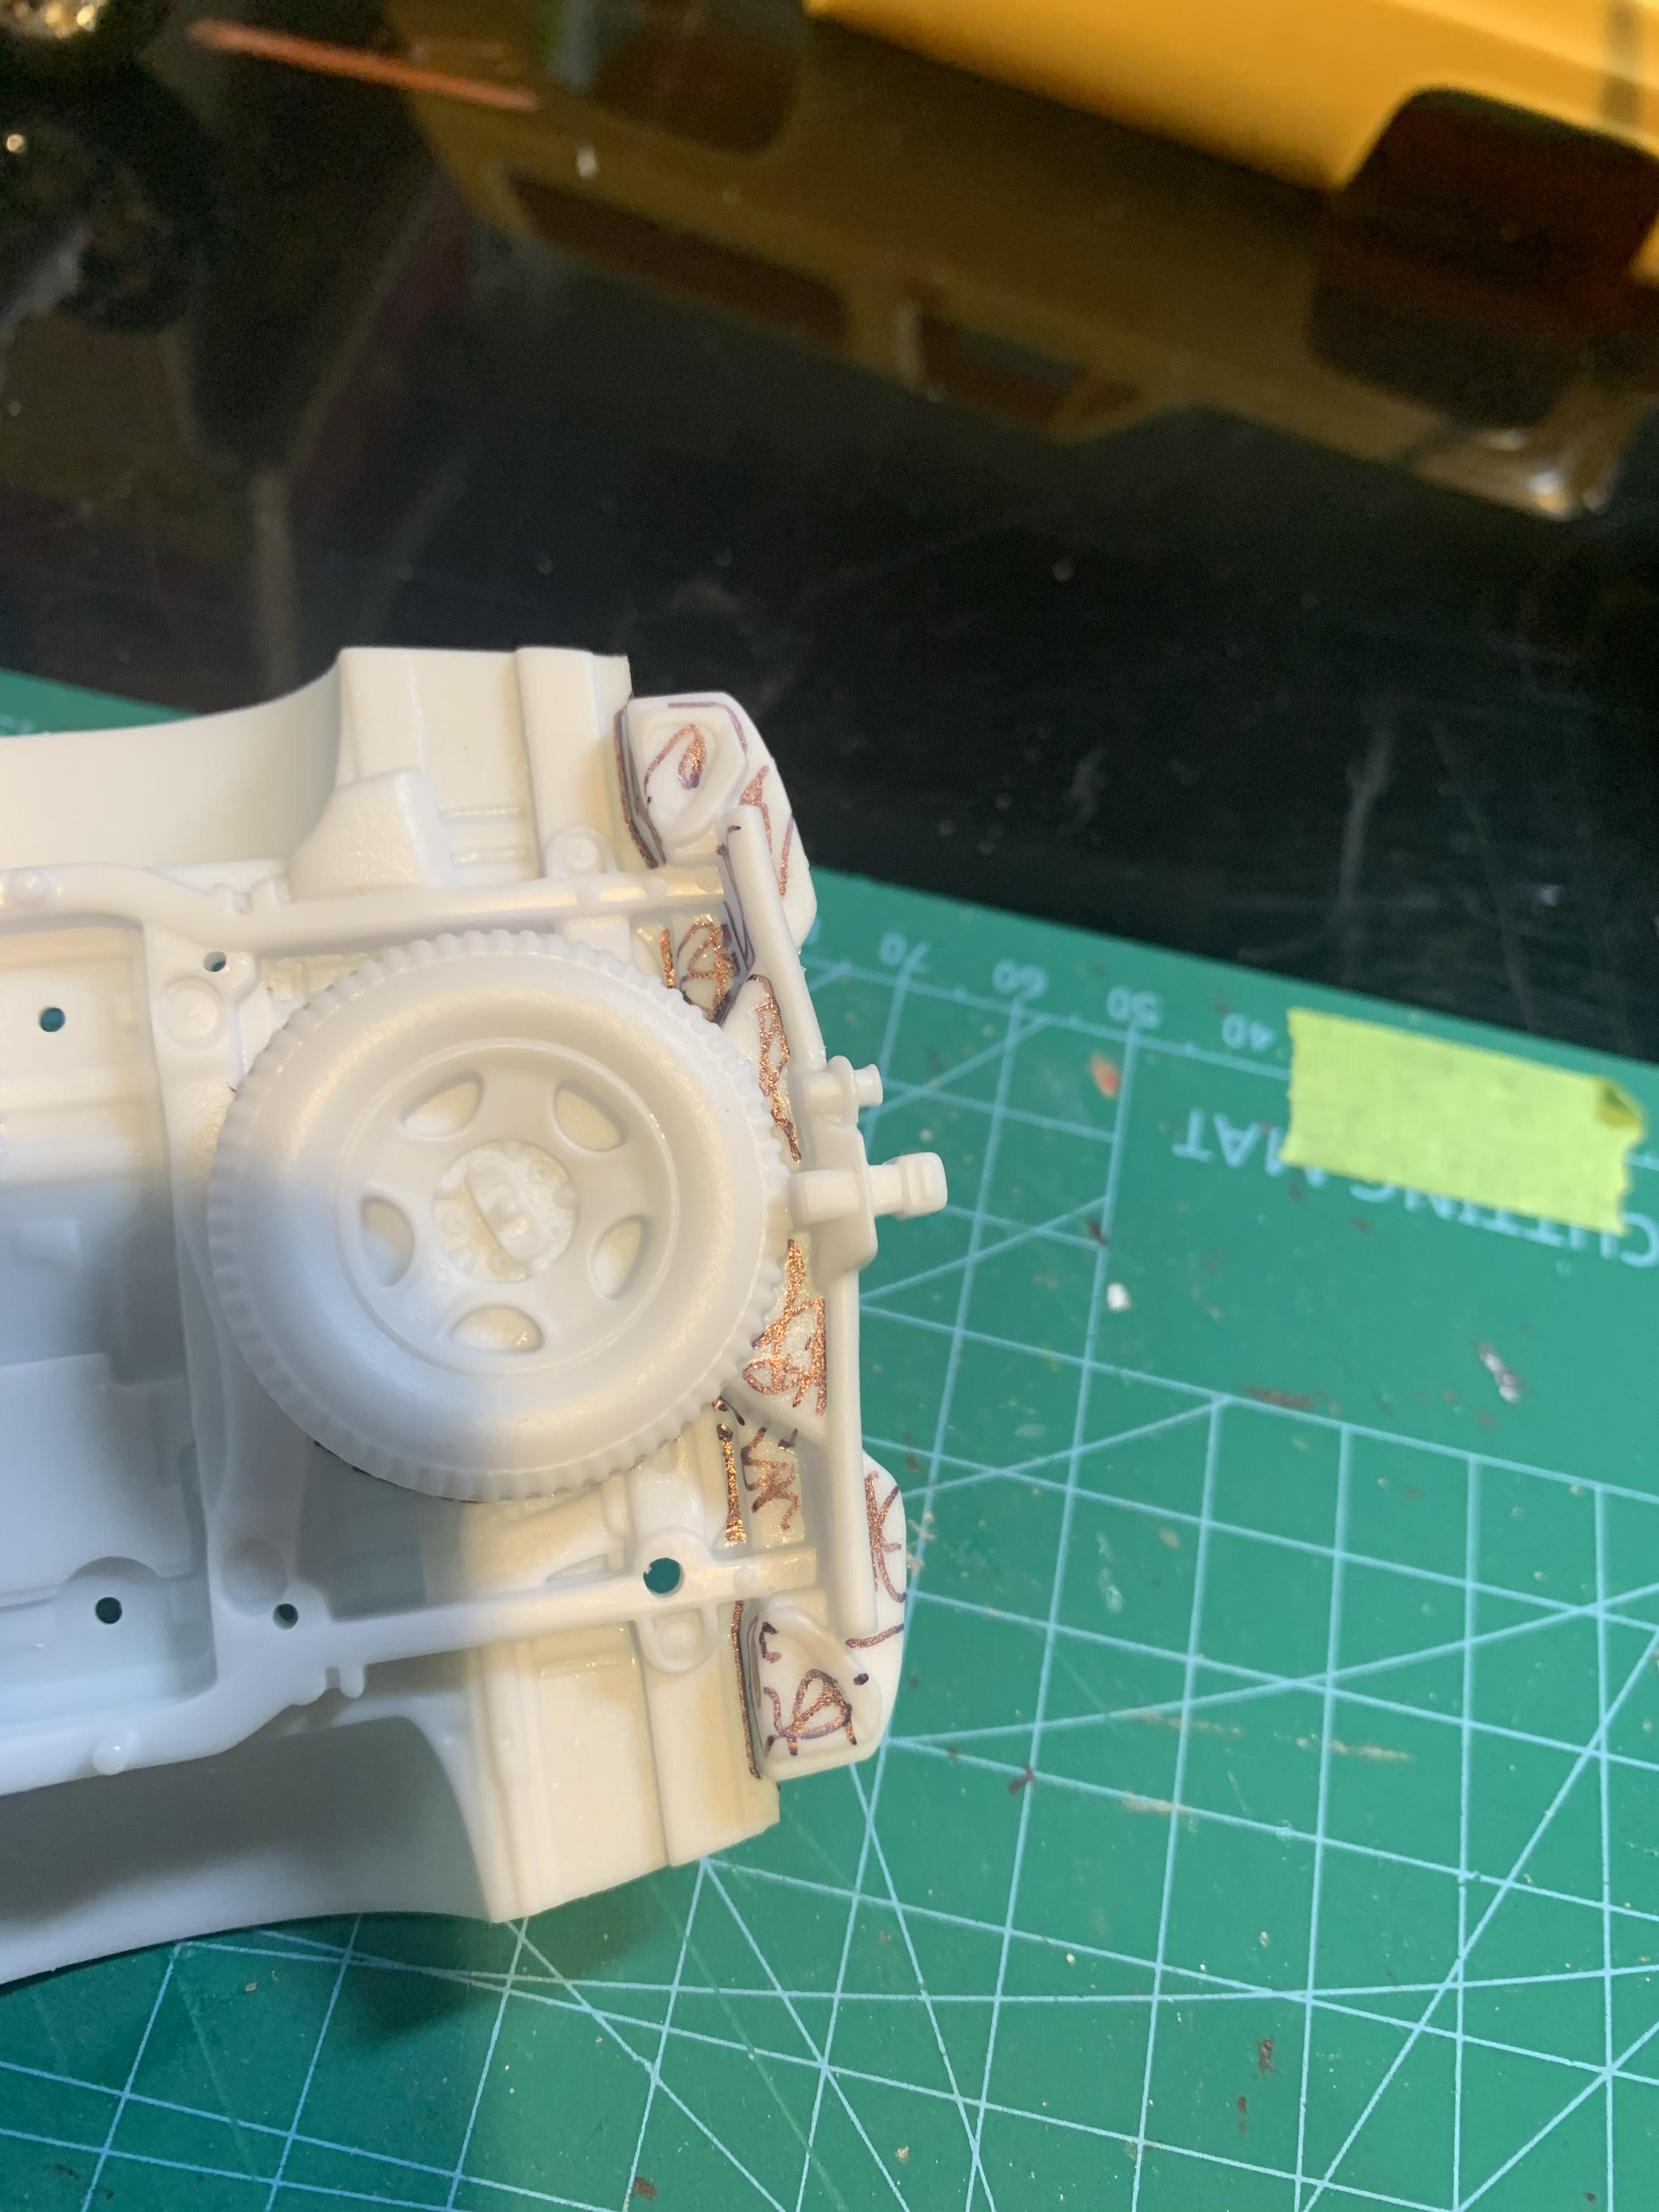
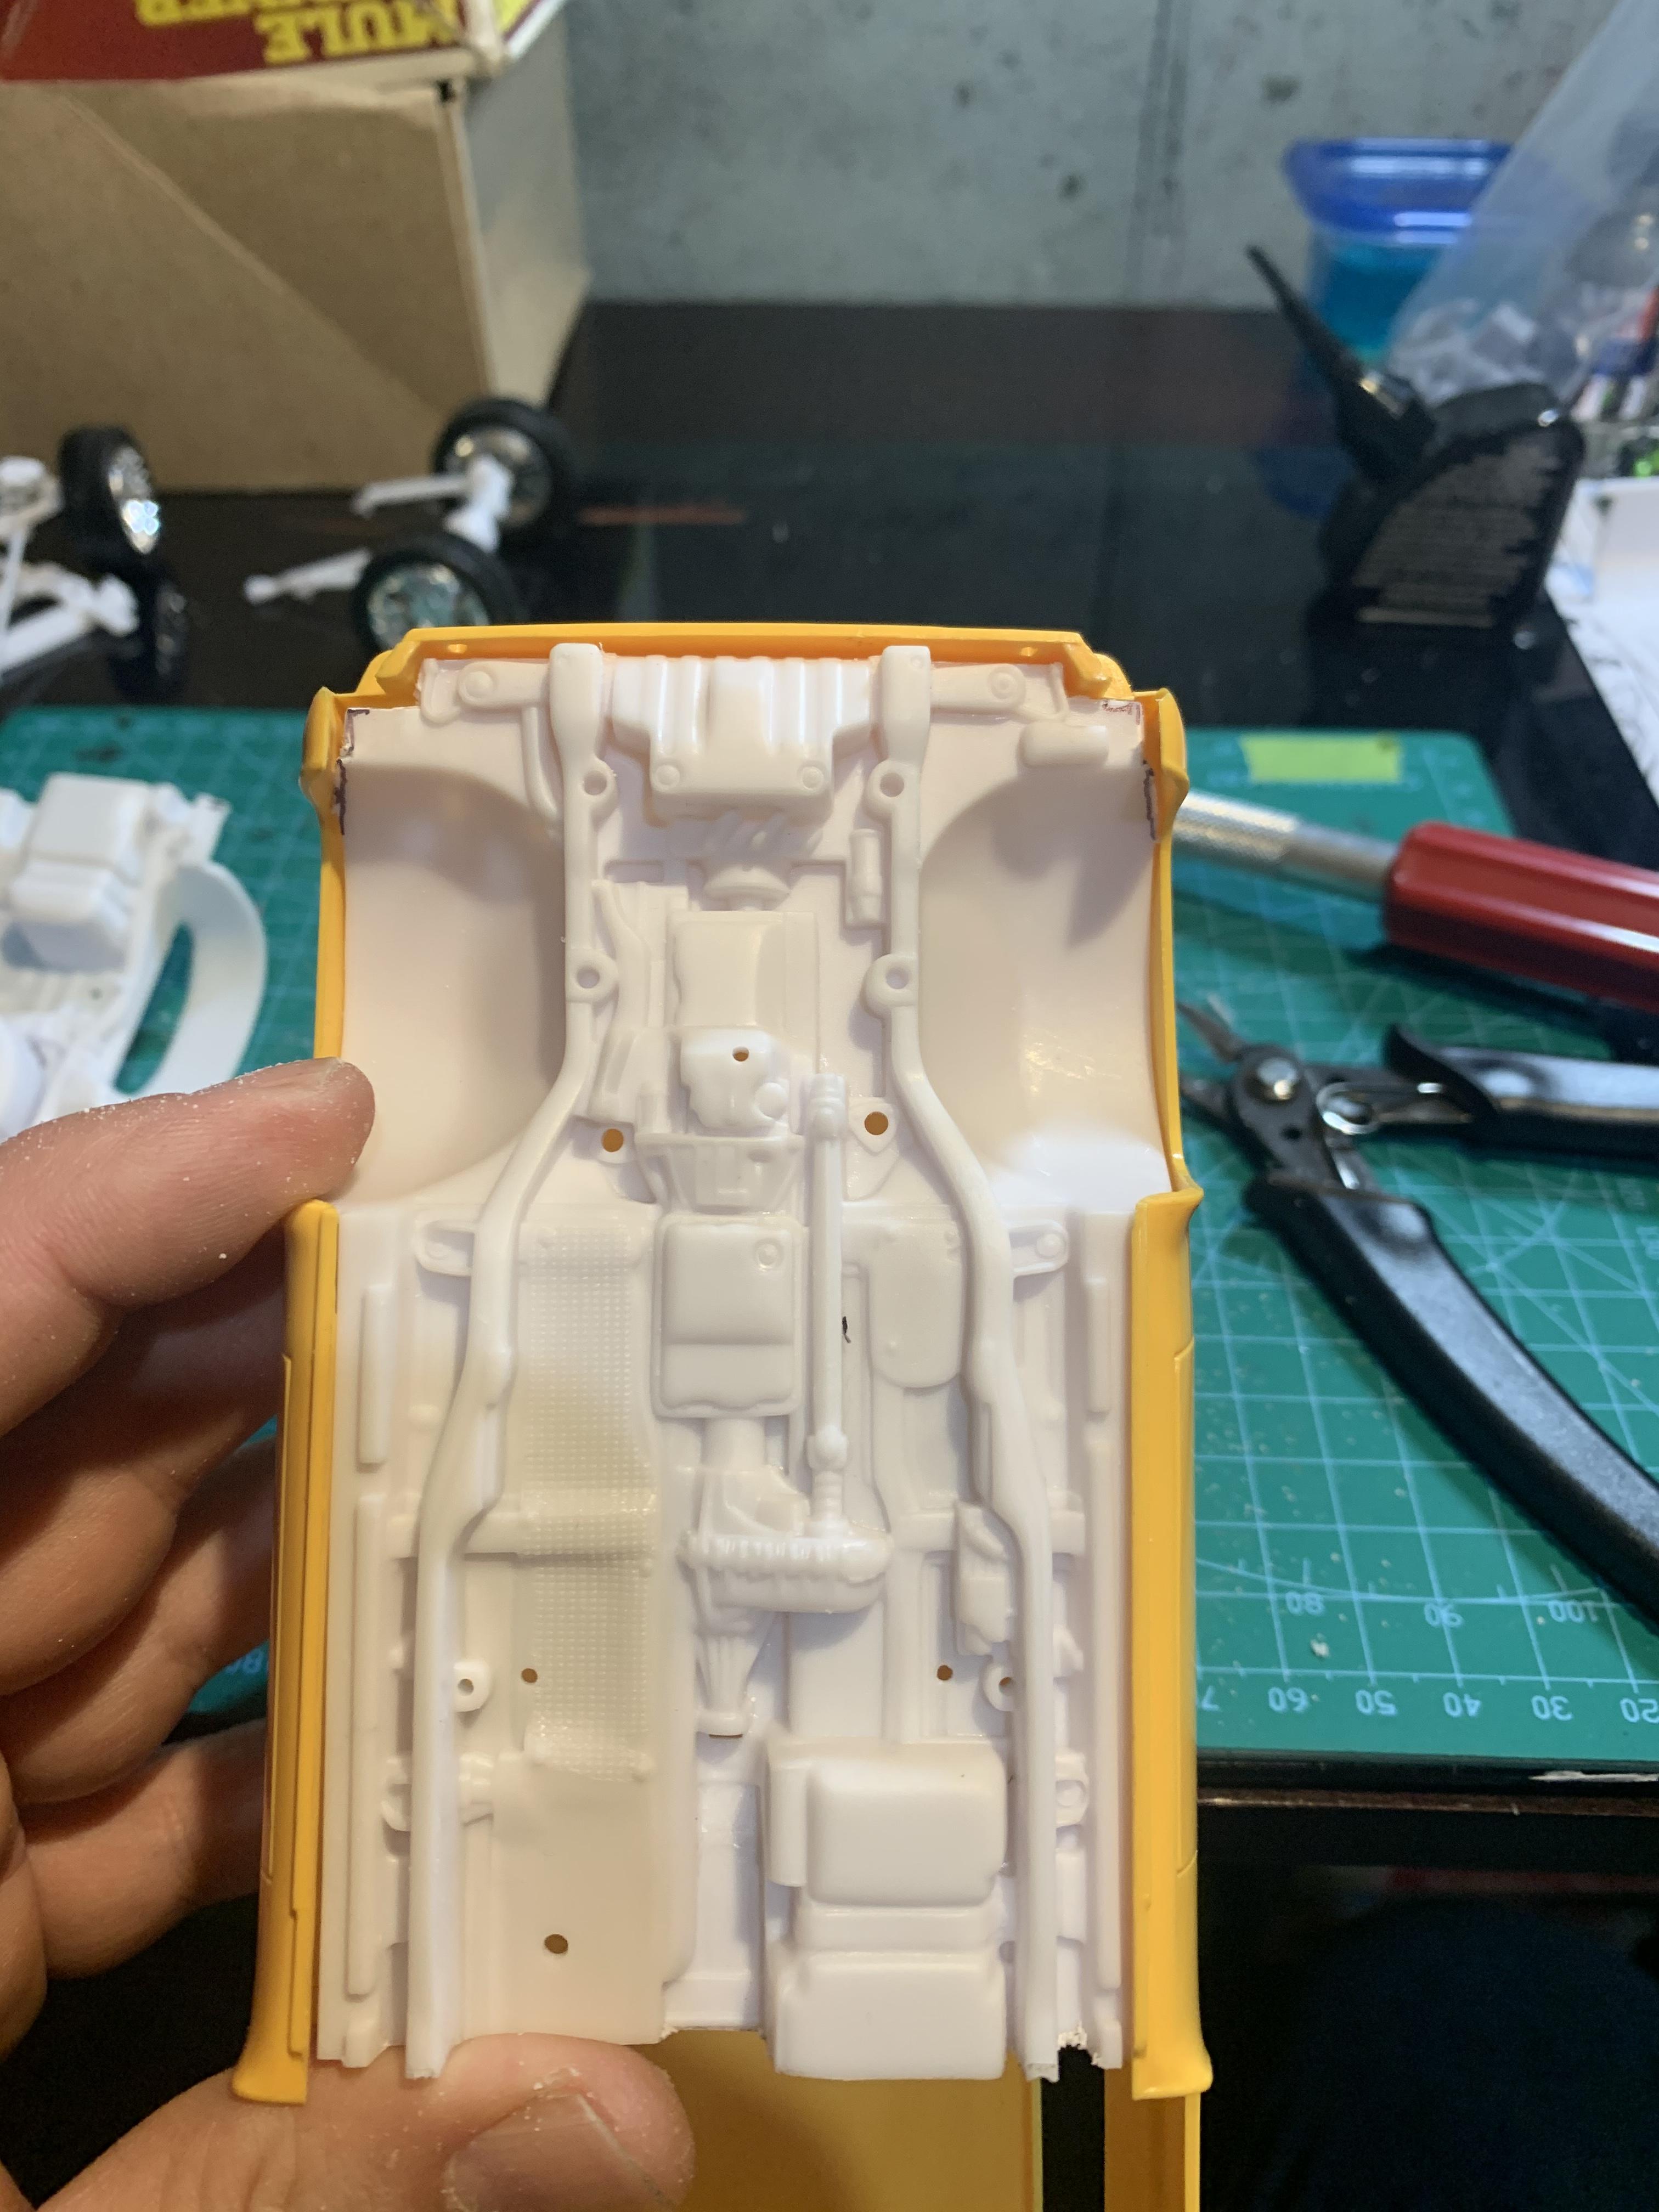
Working on the rear section of the chassis pan today, once I get the trimming right I’ll be able to mate the front snd rear sections together, then move to the interior. thanks for watching and as always “all” comments are welcome.
-
1975 Chevy Blazer
Bullybeef replied to Bullybeef's topic in WIP: Model Trucks: Pickups, Vans, SUVs, Light Commercial
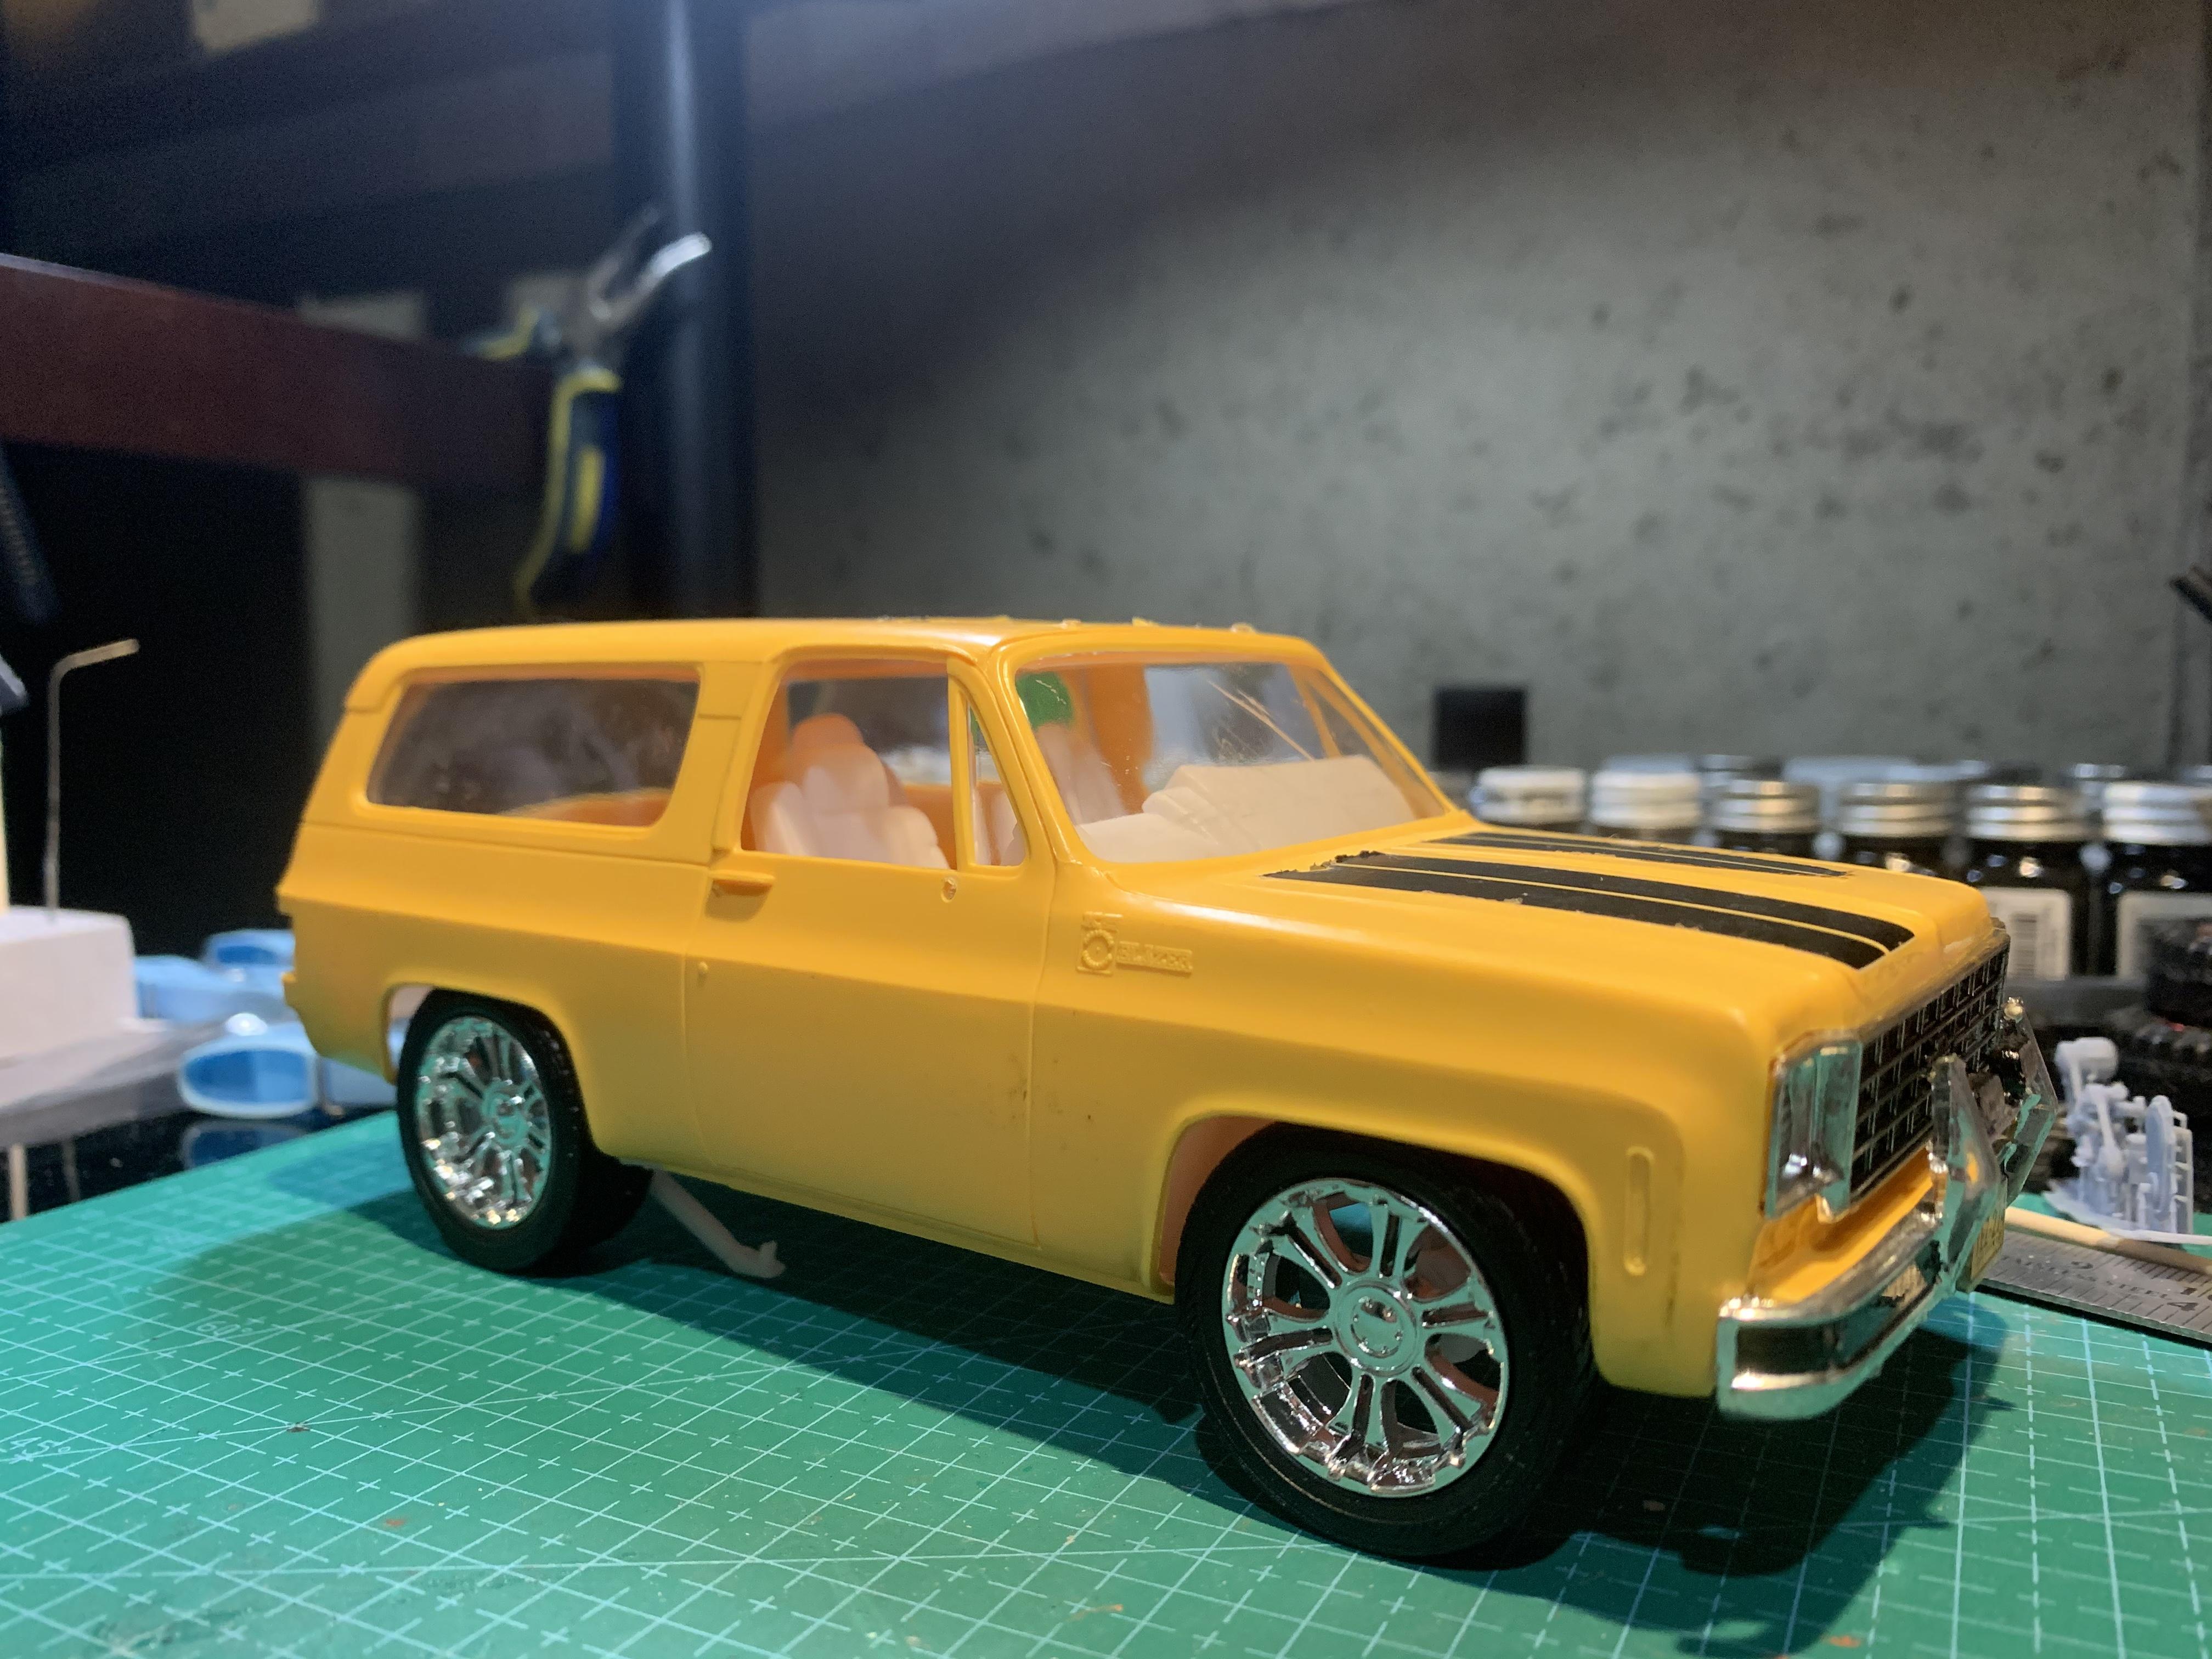
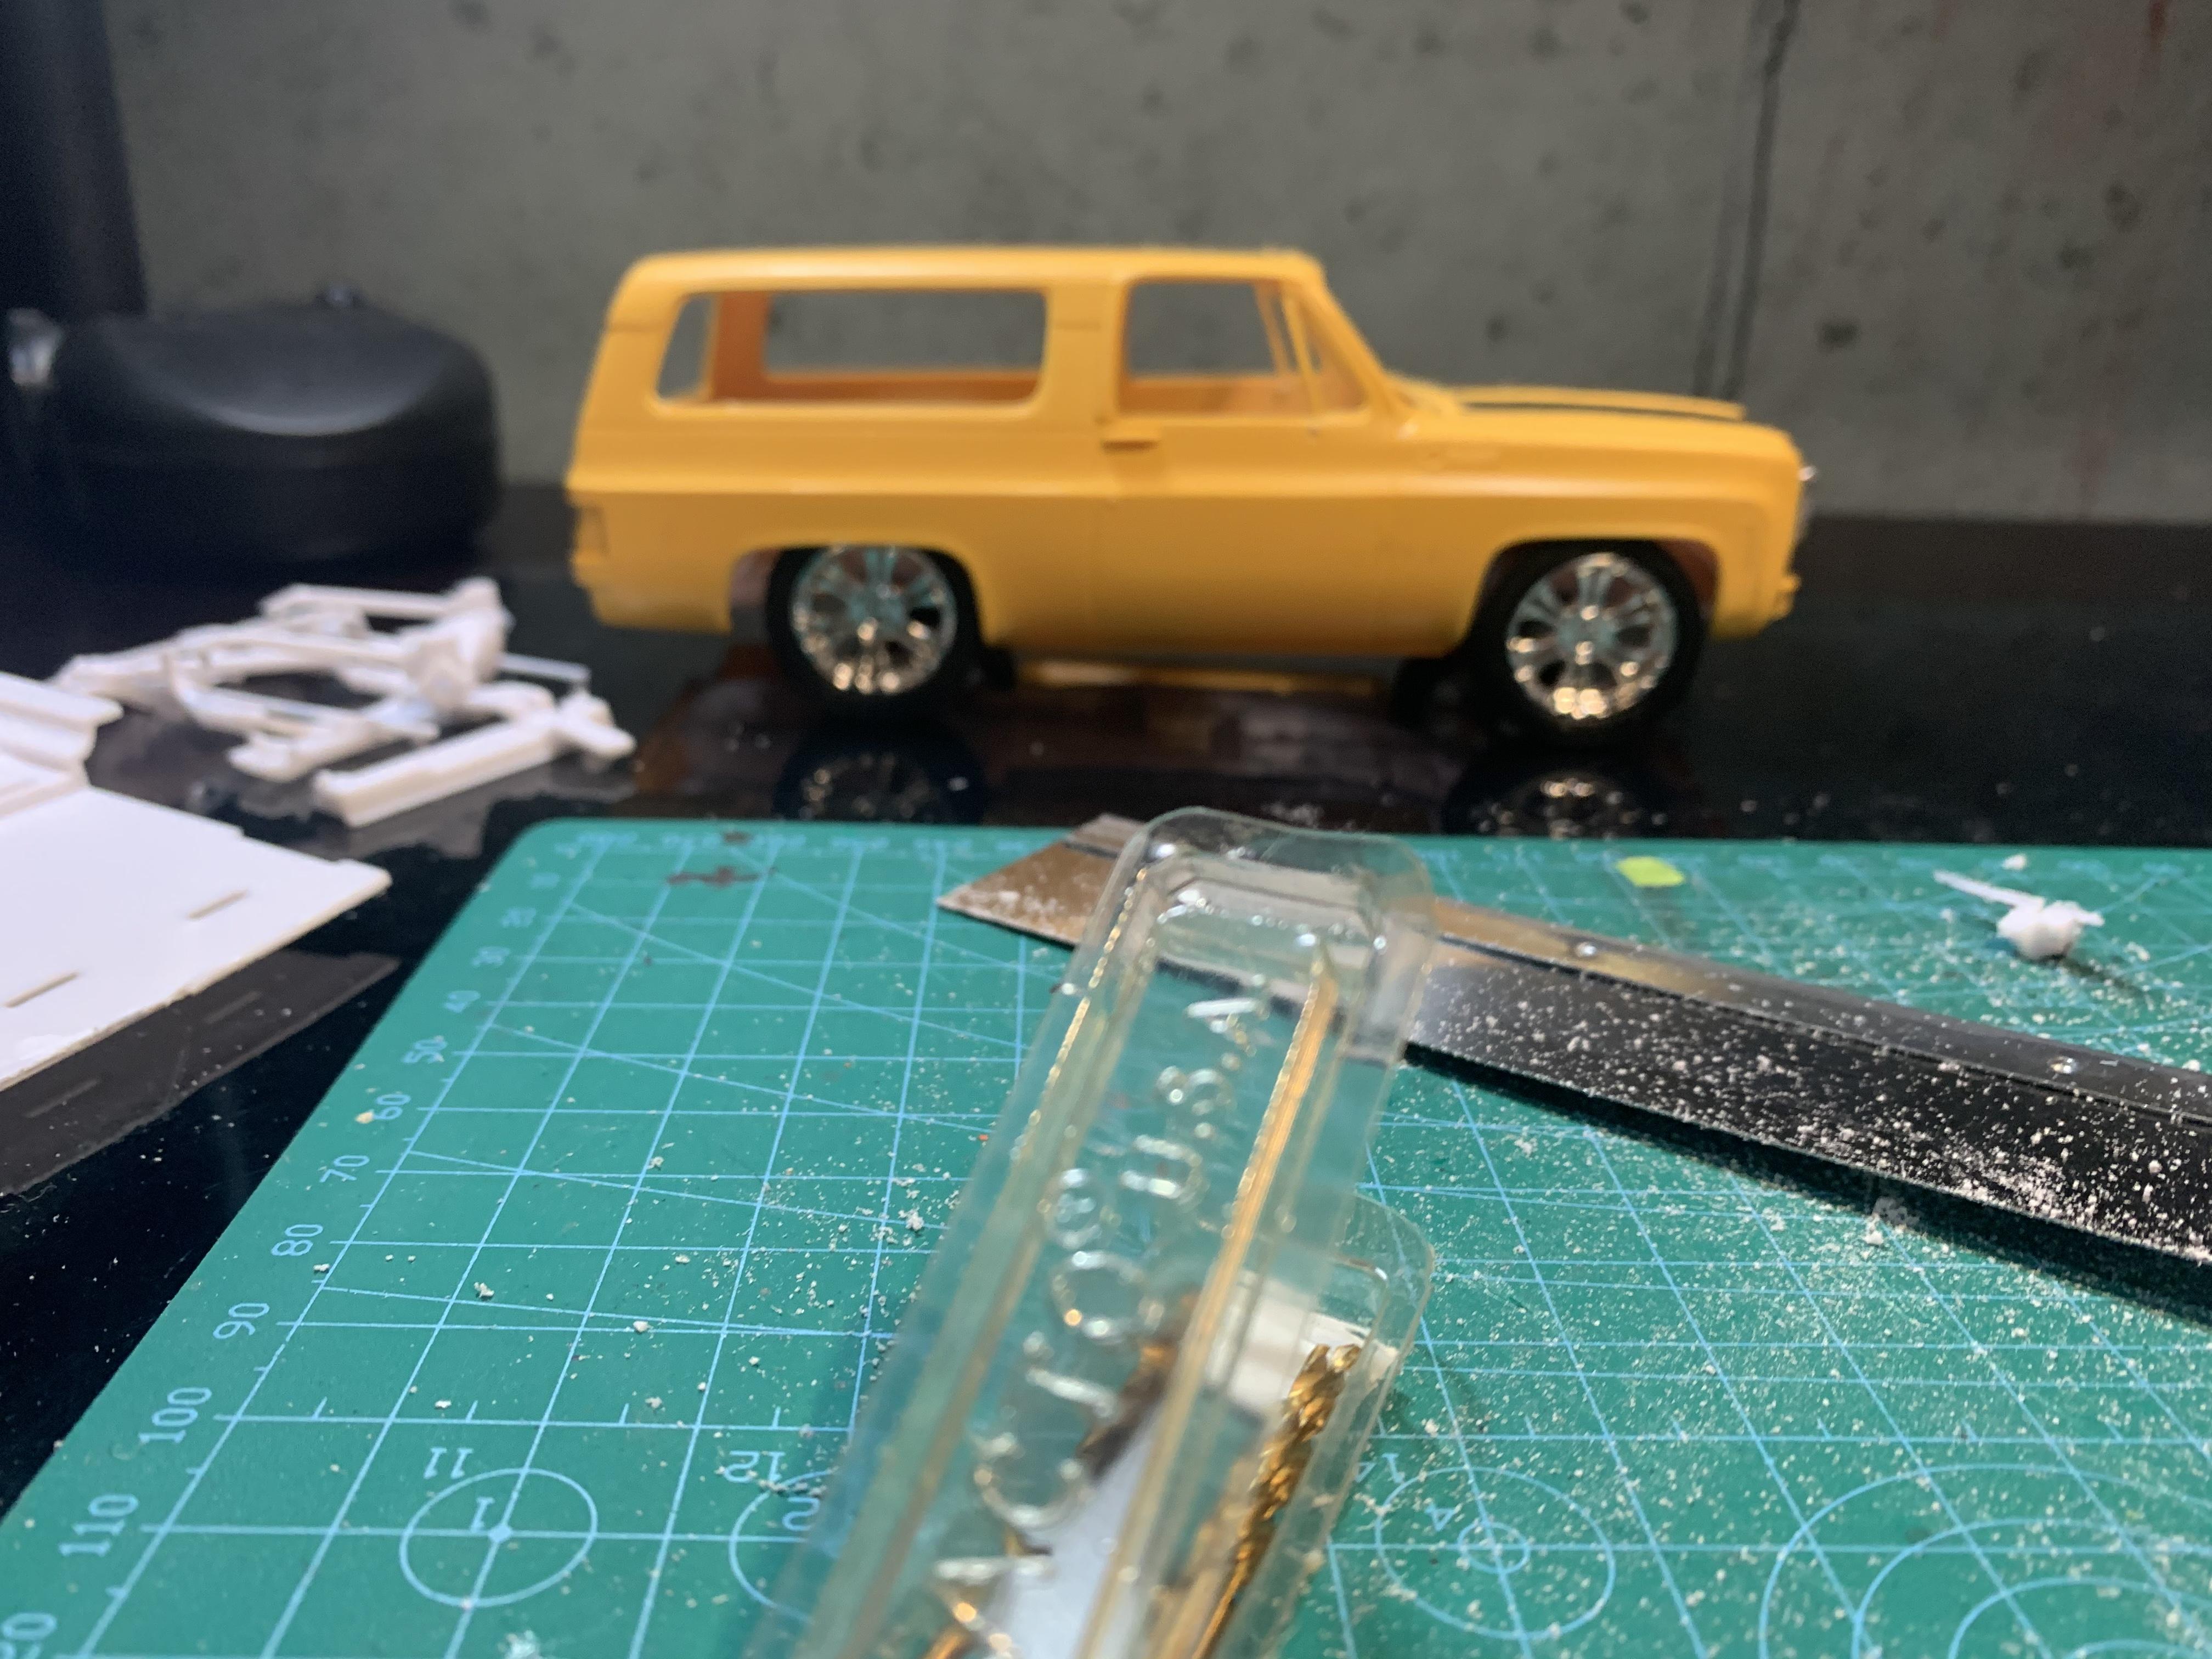
Well I’m back in action, the move is complete and the hobby area is set up(ish) Took advantage of the Michael’s 30% coupon and snagged the revell Escalade for 25.00, did some measuring and decided to stuff this in the blazer( I have a second one now as well) hence the yellow body lol) and here we go, marked the areas for deletion and started trimming, got the front section fitting pretty nicely and now working on the rear. im going to attempt to use the Escalade interior as well.
-
@alan barton My vote would be for either of those 2
-
How are the rest of the parts for accuracy, ie the Intake, carbs, headers?
-
It would be more of a pro street/outlaw build for me
-
Wow! Great detailing on the weathering!
-
This looks like a really cool project, I may steal the front hood treatment for a future lakester build
-
Im impressed with this build quite a lot, I think I’ll have to hit up my local Hs and add this kit to my build list! Wonder how the dobberton J2000 chassis would fit under this?
-
I’m about 4-5 days from having a hobby room set up, I just hope I can find all the parts I had mentally catalogued for my attempt at a Boyd ride.