-
Posts
2,276 -
Joined
-
Last visited
Content Type
Profiles
Forums
Events
Gallery
Everything posted by bluestringer
-
Wow, looks great. How do you guys get the dash so detailed, especially the speedo.
-
Looks great. I like your photo technique, right there at ground level. What are you using for the photos?
-

65 Chevy Stepside
bluestringer replied to bluestringer's topic in WIP: Model Trucks: Pickups, Vans, SUVs, Light Commercial
Thanks. -

65 Chevy Stepside
bluestringer replied to bluestringer's topic in WIP: Model Trucks: Pickups, Vans, SUVs, Light Commercial
-

65 Chevy Stepside
bluestringer replied to bluestringer's topic in WIP: Model Trucks: Pickups, Vans, SUVs, Light Commercial
Thanks. -

65 Chevy Stepside
bluestringer replied to bluestringer's topic in WIP: Model Trucks: Pickups, Vans, SUVs, Light Commercial
Thanks Bob. My paint job doesn't look too good, but I'm not going to worry about. The weather here is just too hot and humid to paint. -
Wow, looks great. Love it.
-
Looking good. My first car was a 66 Impala SS 396 I got when I was 17, I'm 70 now. I'm looking for a kit to replicate it. Didn't Revell make a 66 Impala kit?
-
-

1960 Chevrolet Apache Pickup
bluestringer replied to YBlock292's topic in Model Trucks: Pickups, Vans, SUVs, Light Commercial
Very nice. Love it. -

1966 F-100 , Moebius
bluestringer replied to JET.'s topic in WIP: Model Trucks: Pickups, Vans, SUVs, Light Commercial
Wow. Fantastic. -

Revell Baja Bronco
bluestringer replied to cobraman's topic in WIP: Model Trucks: Pickups, Vans, SUVs, Light Commercial
Looks great. I like it. -

65 Chevy Stepside
bluestringer replied to bluestringer's topic in WIP: Model Trucks: Pickups, Vans, SUVs, Light Commercial
After reading the panel line tutorial on here I tried it for the first time. Back in the day I had never heard of or thought of getting the panel lines to stand out. I think it turned out ok. -

65 Chevy Stepside
bluestringer replied to bluestringer's topic in WIP: Model Trucks: Pickups, Vans, SUVs, Light Commercial
Actually that's the decal that came with the kit. I think it's the way the camera depicted it, (I was using a macro lens with a ring light) because it doesn't look that good just looking at it. Also I said it was done but I've yet to add the taillights which are giving me a fit. -

65 Chevy Stepside
bluestringer replied to bluestringer's topic in WIP: Model Trucks: Pickups, Vans, SUVs, Light Commercial
-

65 Chevy Stepside
bluestringer replied to bluestringer's topic in WIP: Model Trucks: Pickups, Vans, SUVs, Light Commercial
Having problems with my paint. I'm using Rustoleum 2x spray cans and after finishing part of the interior I started getting bubbles and it's been just too thick going on. Then my primer just stopped spraying. My work room is my outdoor shed and it has no AC. The temps and humidity have been terrible here in South Georgia for a few days now, so I'm thinking maybe it's causing the problems. Anyway, here is the almost finished interior. -

65 Chevy Stepside
bluestringer replied to bluestringer's topic in WIP: Model Trucks: Pickups, Vans, SUVs, Light Commercial
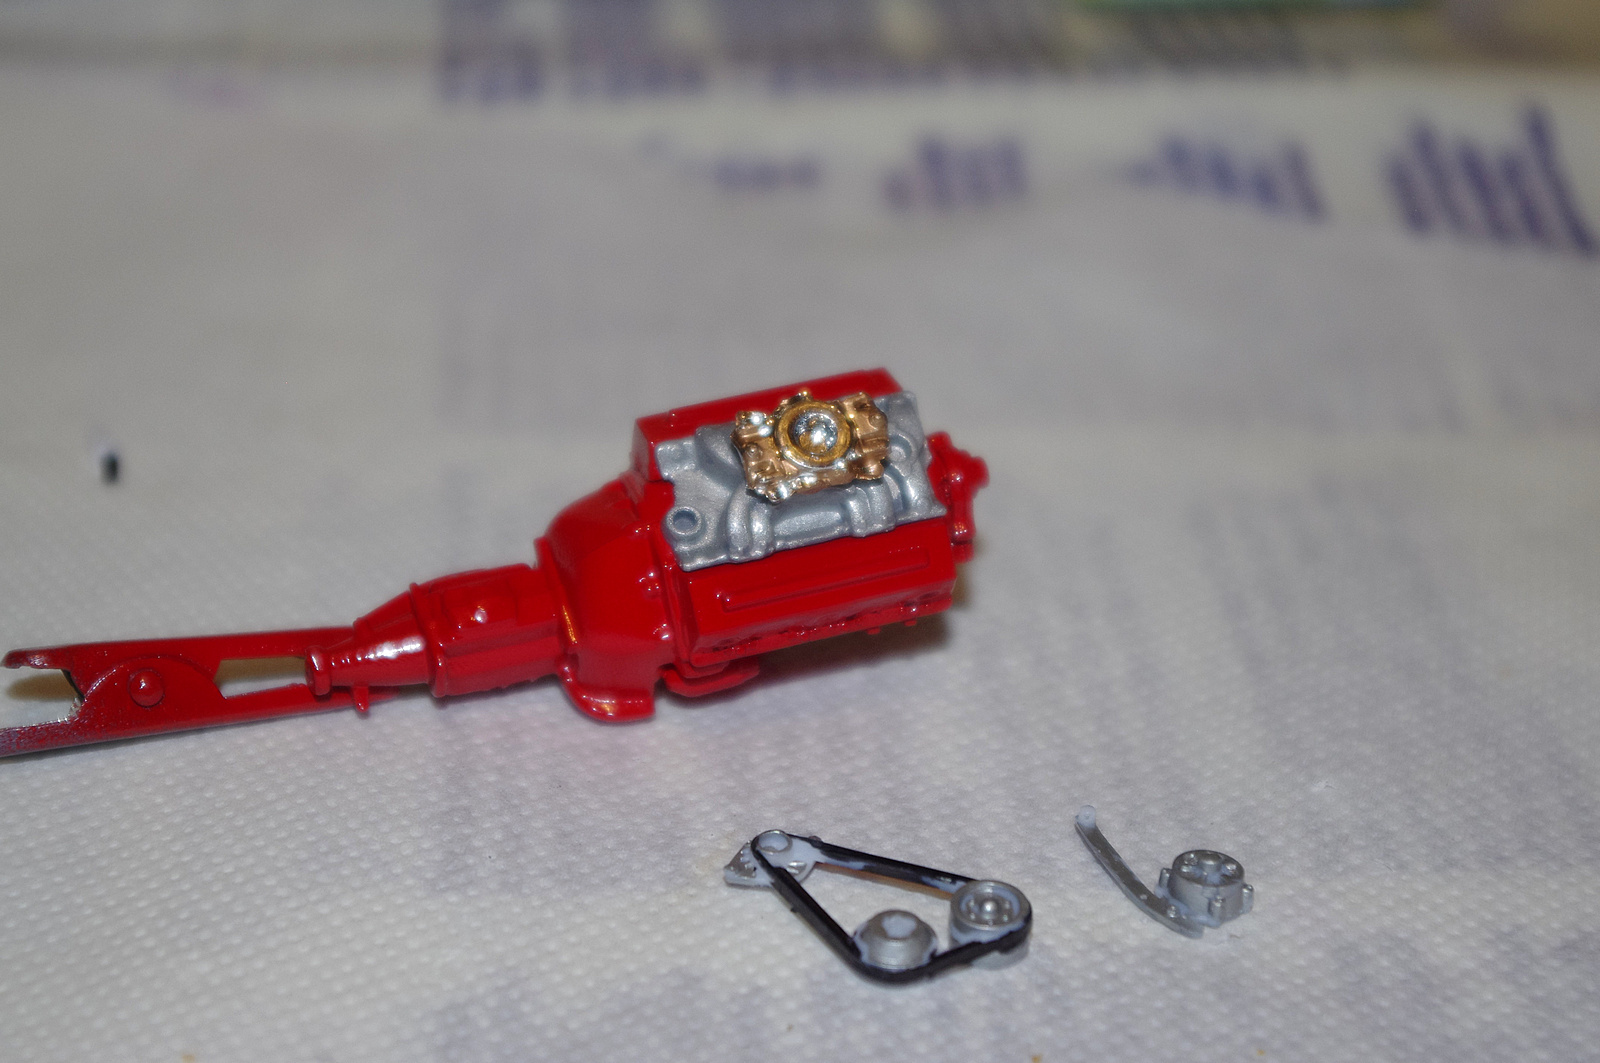
Engine is done, probably need to do a little paint touch up. Getting it wired was a bit tricky, but I think it looks ok. Interior is in primer, hope to get it finished in a couple days. -

65 Chevy Stepside
bluestringer replied to bluestringer's topic in WIP: Model Trucks: Pickups, Vans, SUVs, Light Commercial
I didn't have any steel paint for the exhaust manifolds, had to order some. I'll try working on the interior while I'm waiting on it to get here. Not sure how I'm going to come out with this wiring I'm trying for the first time. -

65 Chevy Stepside
bluestringer replied to bluestringer's topic in WIP: Model Trucks: Pickups, Vans, SUVs, Light Commercial
Working on the engine. I'm building the custom straight out of the box, just want to get a few basic builds done before trying to add more details, although I have a pre-wired distributor I may try to install. Going with Rustoleum Spring Green for the exterior and Nutmeg for the interior. I was dry fitting the interior and can't figure exactly how the seat sits in the tub, seems to be a bit awkward.


