BK9300
-
Posts
1,986 -
Joined
-
Last visited
Content Type
Profiles
Forums
Events
Gallery
Everything posted by BK9300
-

Western Star 4900 FA plow truck
BK9300 replied to BK9300's topic in WIP: Model Trucks: Big Rigs and Heavy Equipment
Thanks for the generous comments, Randy - much appreciated! Hoping to get to the paint in a week or so! Thanks kindly, Mark! Having a bunch of pics and measurements has sure helped with the scratch building. -
Western Star 4900 FA plow truck
BK9300 replied to BK9300's topic in WIP: Model Trucks: Big Rigs and Heavy Equipment
Yes, Sir - very close! -
Looks like fiddly work, for sure - back end is really coming together and the detail looks great!
-
AMT Freightliner...My first big rig
BK9300 replied to Screaminhelo's topic in WIP: Model Trucks: Big Rigs and Heavy Equipment
Got to love gizmology - you're off to a good start with your first big rig! -
Western Star 4900 FA plow truck
BK9300 replied to BK9300's topic in WIP: Model Trucks: Big Rigs and Heavy Equipment
Thanks very much, Jürgen! -
Dodge L-700 stake bed
BK9300 replied to Sam I Am's topic in WIP: Model Trucks: Big Rigs and Heavy Equipment
Really coming together, Sam - too bad about the doors! -
Amazing work, Ken!
-
My hat's off to anyone who takes on a weathering challenge - your results look amazing!
-
Western Star 4900 FA plow truck
BK9300 replied to BK9300's topic in WIP: Model Trucks: Big Rigs and Heavy Equipment
Appreciate that, Jeff - paint is coming real soon! -
Western Star 4900 FA plow truck
BK9300 replied to BK9300's topic in WIP: Model Trucks: Big Rigs and Heavy Equipment
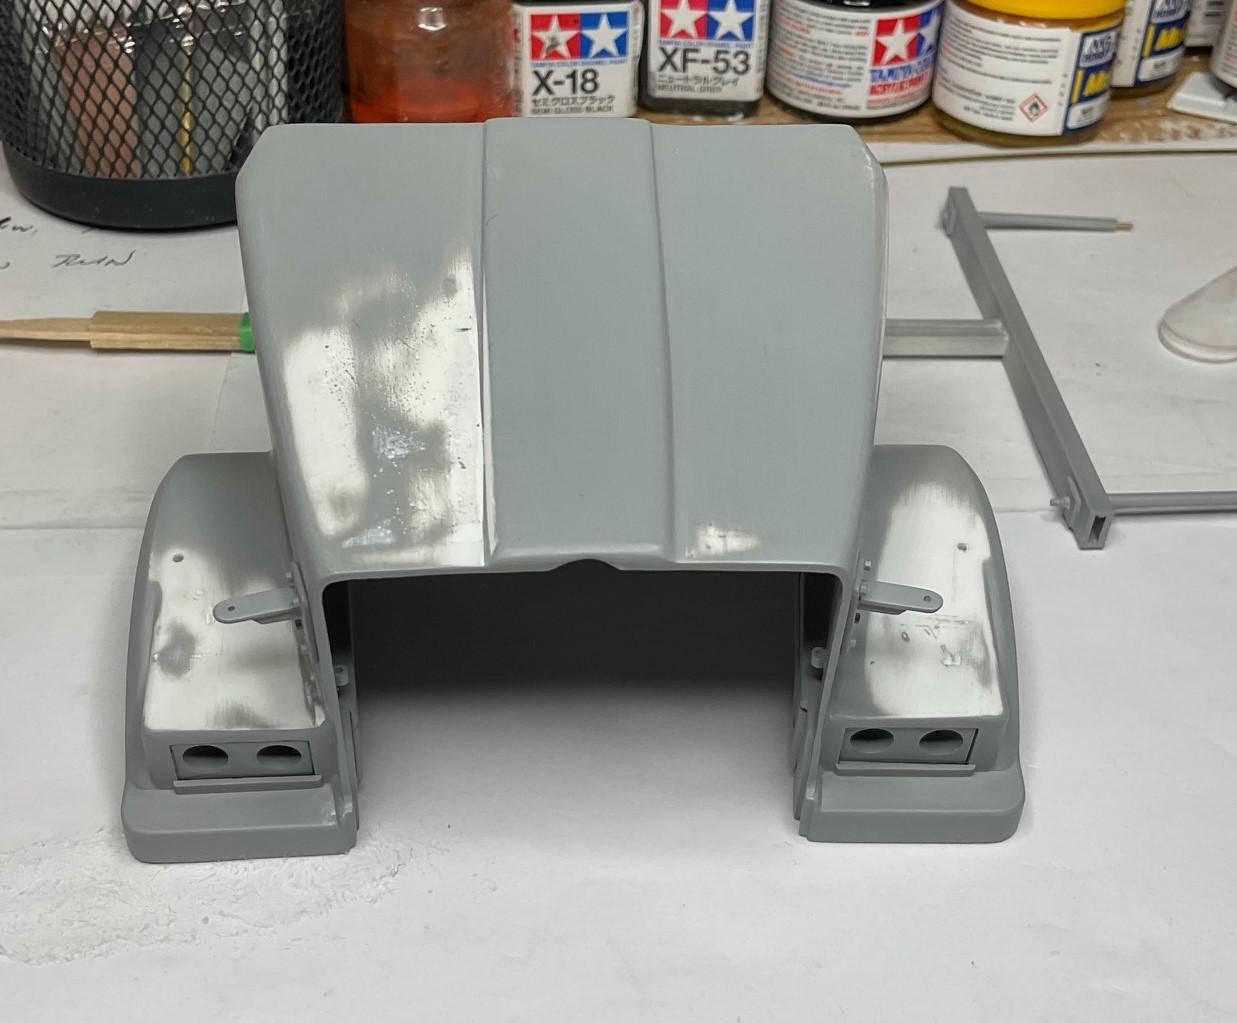
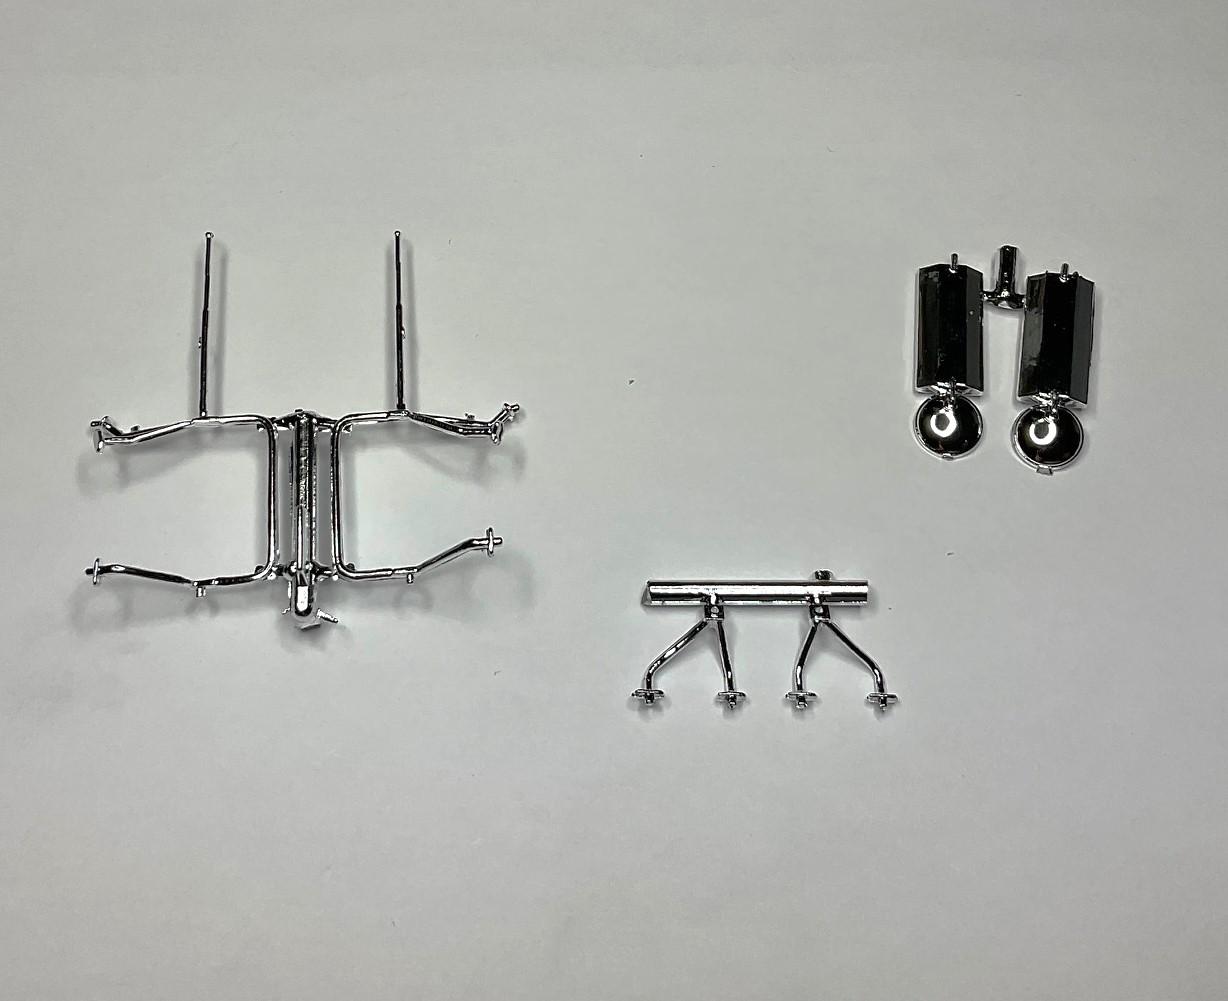
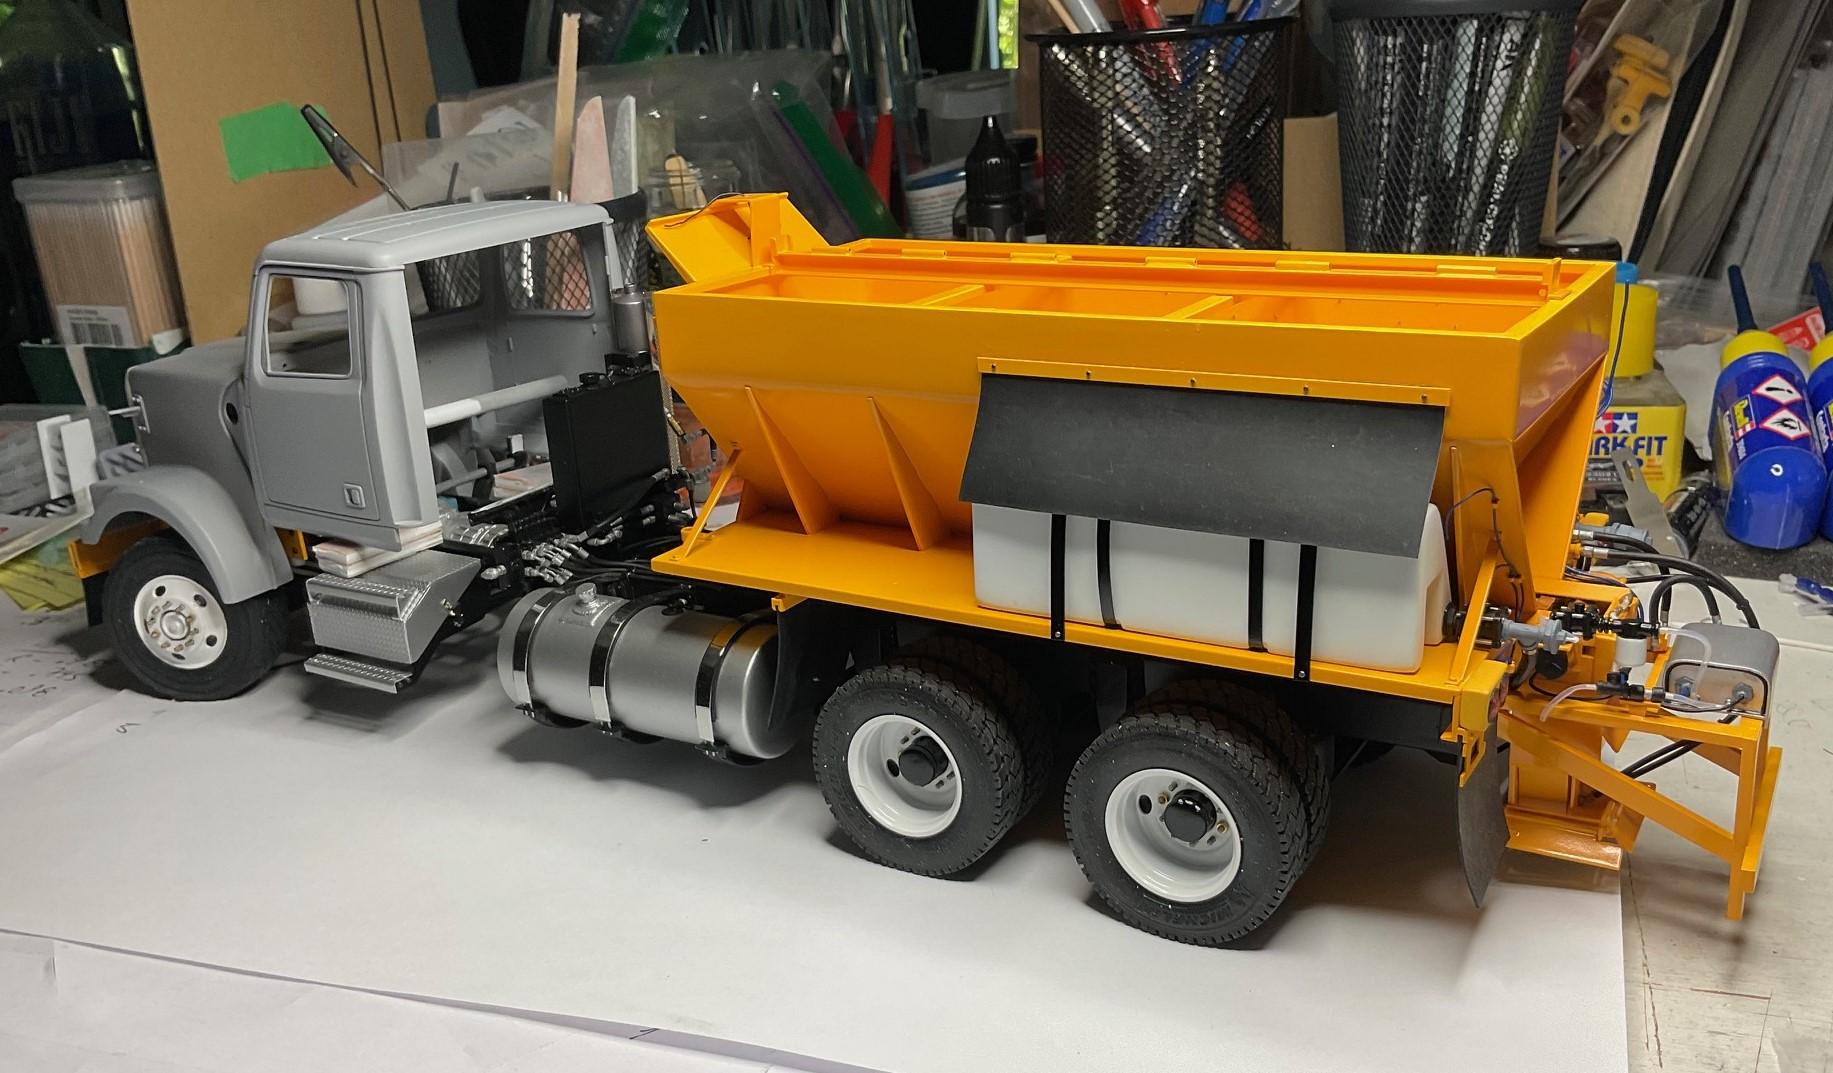
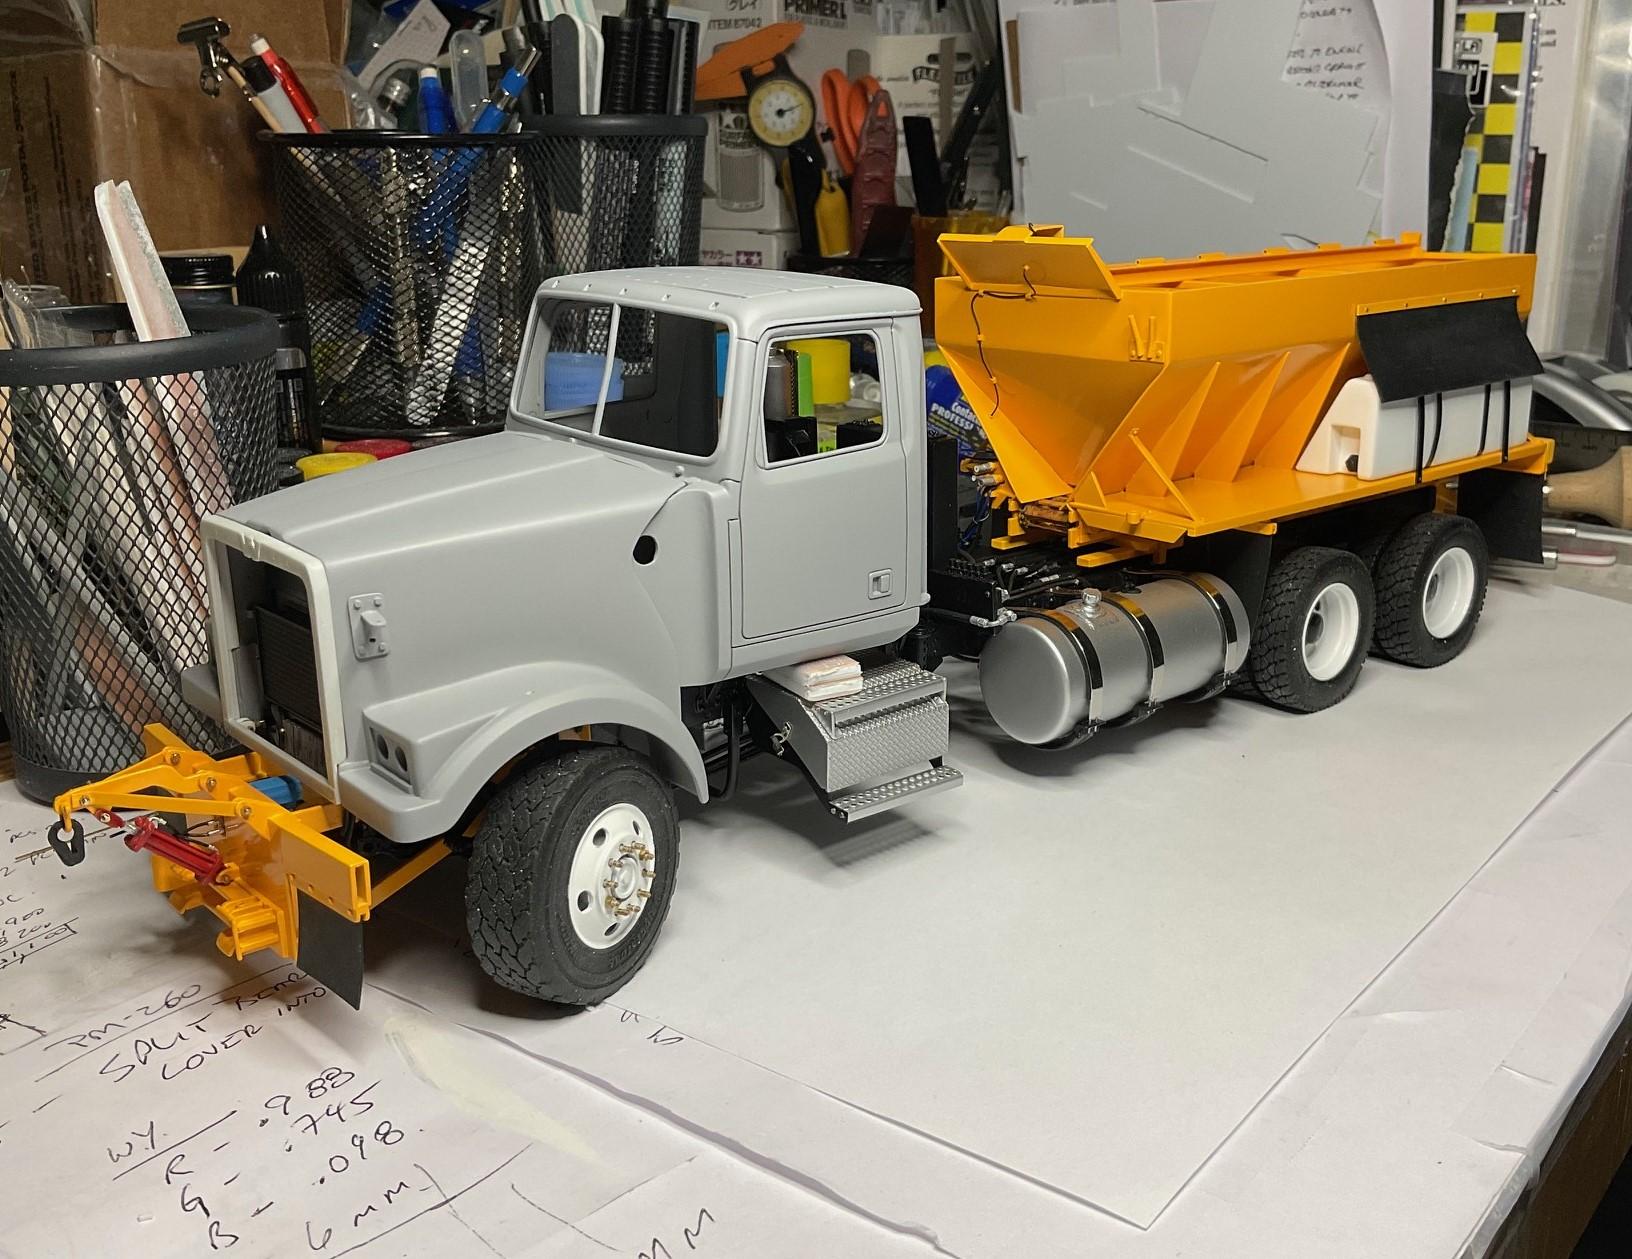
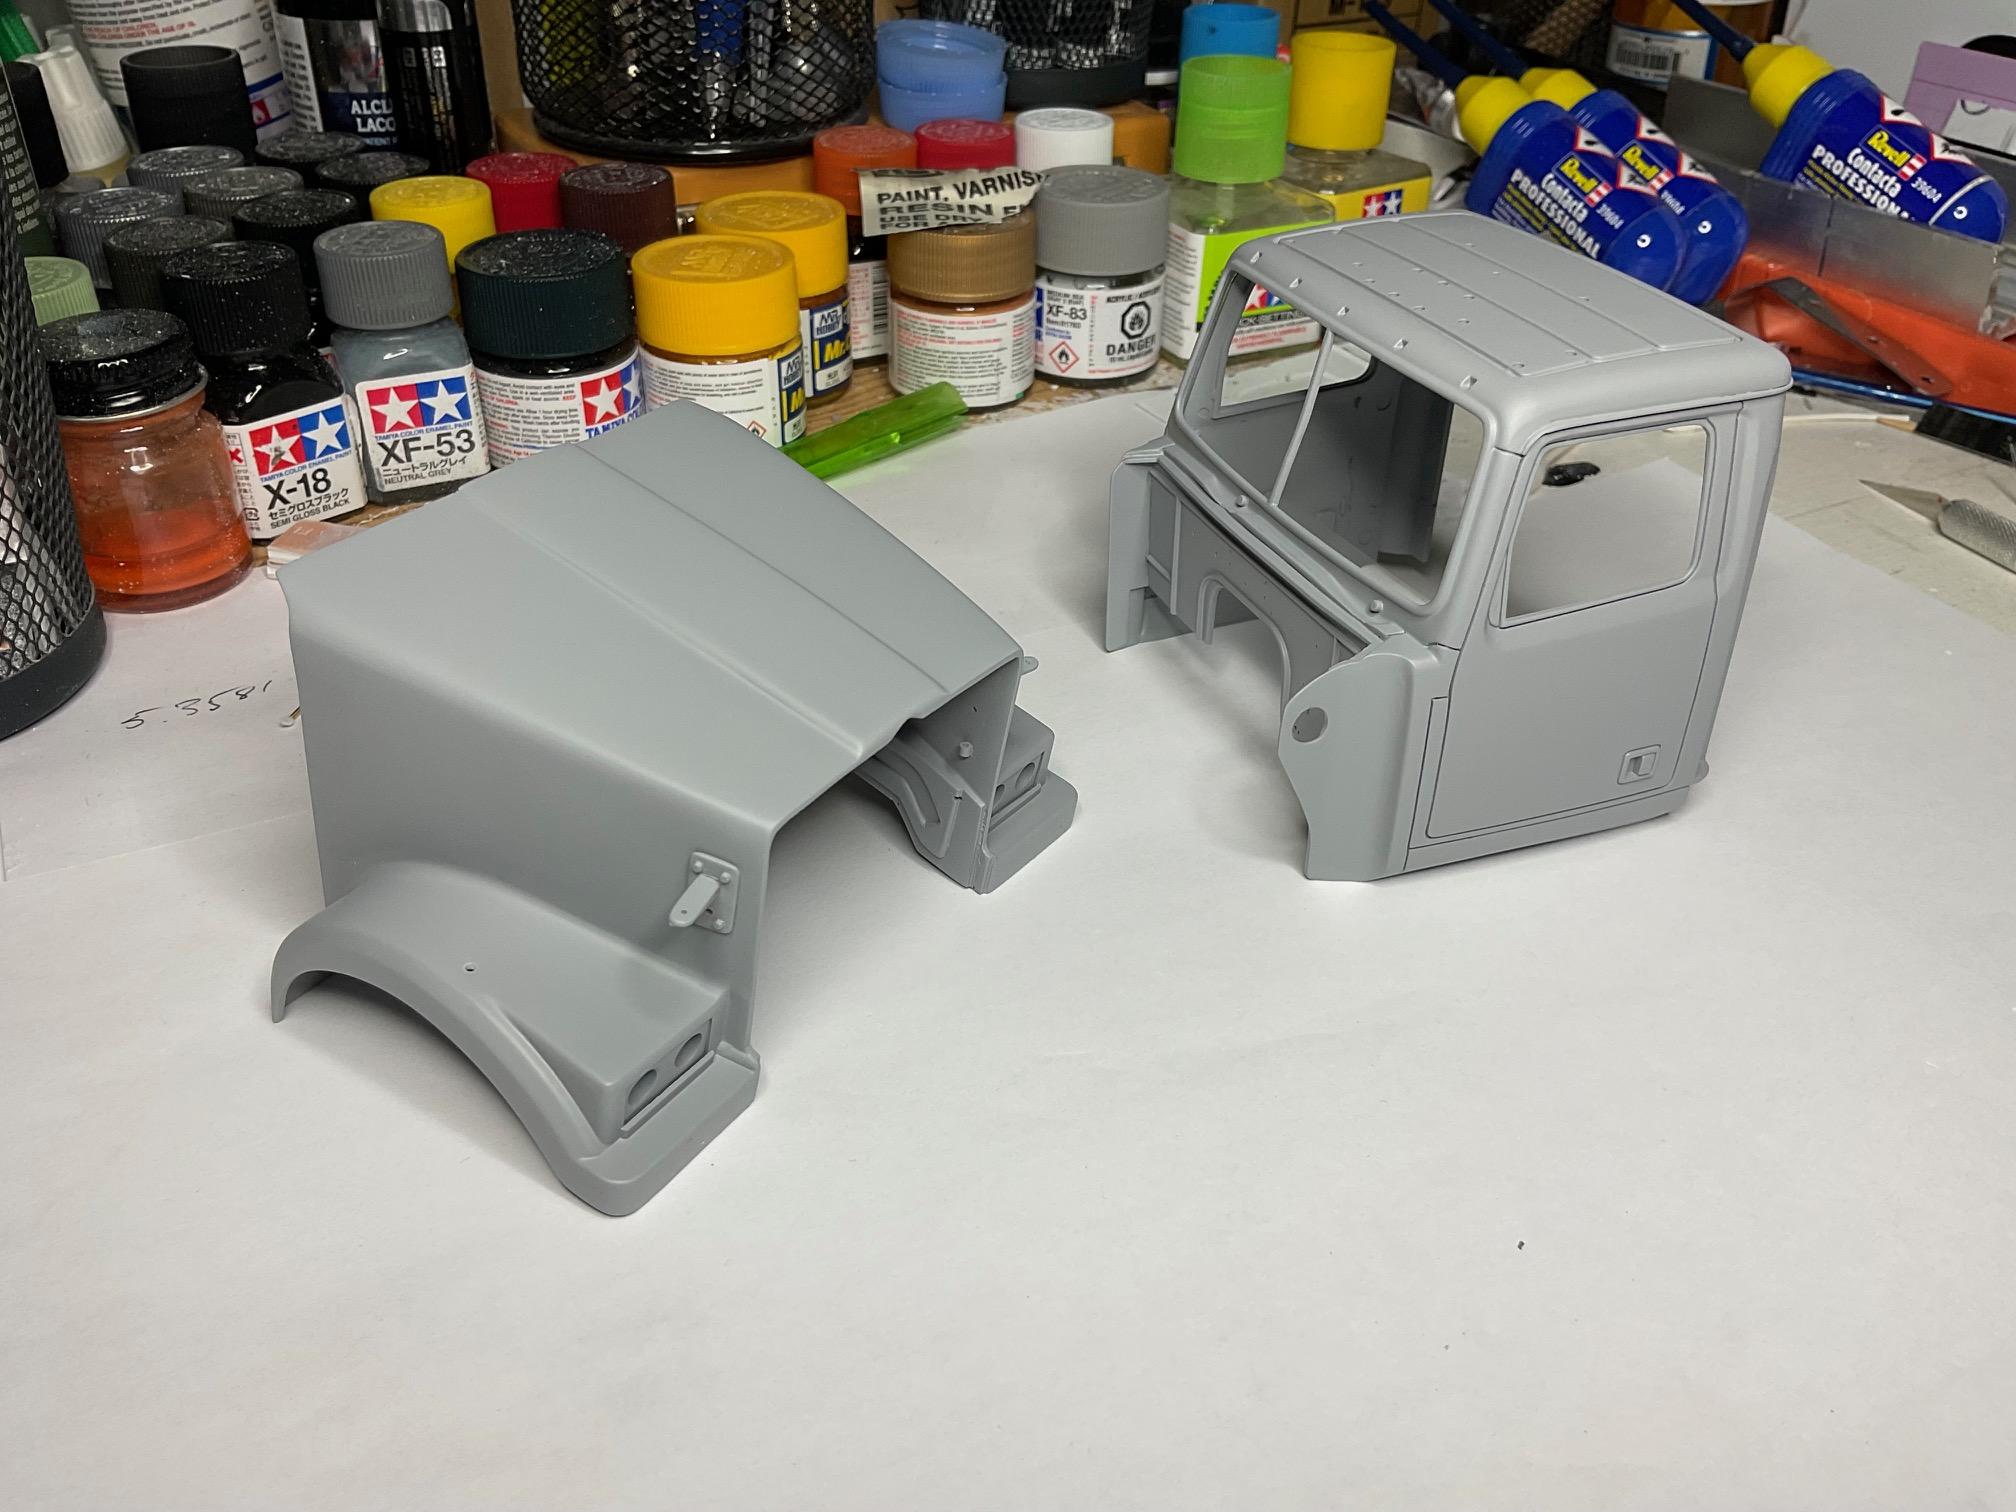
I've been distracted for much of this month, going over pictures for a couple new projects, and doing lots of idea work in Sketchup. Not being evasive, but the 'vision' for what's going to be next and how to do it hasn't been totally worked out, so nothing to let you know about yet - it will definitely be another 'maintenance' vehicle, though! Fun stuff, thinking about a new project, but I needed to put those distractions to the side and get the rest of the plow truck finished. Did the final repairs to the top of the hood and fenders, and some on the cab, and re-primed them. Now I need get on with the mirrors and air cleaner, figure out where to drill holes for locating pins and then get the hood and cab sprayed with final colour, and start the final assembly of the front end. Have done this a couple times now - light priming, repair the pinholes I see, and light re-prime and sand to see what's left. Like I said before, not my favorite part of building! All seems to be good now - any remaining defects I find after colour is sprayed will need to be sanded out as well. I had grand ambitions to do the mirrors from tubing, fasteners, etc., but I looked closer at the kit mirror parts - they look pretty decent and I may be able to save myself some work. If I can clean them up, drill in some thin brass rod mounting pins, and get them re-chromed ok, all without any breakage, then I think I'll be ahead a bit - A couple motivation pics, for the home stretch! Back in February, @Rockford asked me about issues with the cab being blue plastic and the hood being white plastic. Didn't know about that, so did a test spray on a spare hood - with grey primer, then white primer and finally a Camel Yellow top coat - it turned out well then, and there has been no bleed through since. So, after the locating pins for the mirrors and air cleaner are drilled, will carry on priming hood and cab with Tamiya white primer and then spray the top coat(s). Striping of kit chrome, and re-chroming still to happen, Then, final assembly (lots of little bits) and a few decals to come after that - take care!
-
Western Star 4900 FA plow truck
BK9300 replied to BK9300's topic in WIP: Model Trucks: Big Rigs and Heavy Equipment
First off, sorry Jeff - I missed this - apologies (and thanks!). -
Convoy, take 7
BK9300 replied to Jürgen M.'s topic in WIP: Model Trucks: Big Rigs and Heavy Equipment
You are getting lots done while waiting for your cabs! Nice touch with the scuffs and scratches on the rear door. -
Moebius pick up with plow
BK9300 replied to tbill's topic in Model Trucks: Pickups, Vans, SUVs, Light Commercial
Beautiful job on your pickup - very clean build! -
Link-Belt HC-218 Truck Crane
BK9300 replied to redneckrigger's topic in WIP: Model Trucks: Big Rigs and Heavy Equipment
Hope your recovery goes by quickly - always look forward to updates on your build. -
AMT Aero Chief car hauler
BK9300 replied to BIGTRUCK's topic in WIP: Model Trucks: Big Rigs and Heavy Equipment
Will be a very cool build, and what a great inspiration photo! -
Looks awesome, Ron - great detail work!
-
Marvel's Hydra coupe 1/12 scale full scratch build
BK9300 replied to François's topic in WIP: Model Cars
Looks pretty sweet, Francis. Very accomplished result! -
Looks fabulous, Scott - and always amazed at your foil work around the glass - perfect!
-
Convoy, take 7
BK9300 replied to Jürgen M.'s topic in WIP: Model Trucks: Big Rigs and Heavy Equipment
Coming together nicely, Jürgen. I admit it is different to see you building from an actual kit - since I’ve been on the forum, you’ve built mostly your own creations! -
Convoy, take 7
BK9300 replied to Jürgen M.'s topic in WIP: Model Trucks: Big Rigs and Heavy Equipment
Waiting is a pain, but, from the pics we’ve seen, it will be worth it to finally have your cab(s)! -
Just amazing detailing, Charles - how the heck did you make your set of pails?
-
1970 Ford F350 Holmes 440 Wrecker
BK9300 replied to Chuck Most's topic in Model Trucks: Pickups, Vans, SUVs, Light Commercial
Congrats, again - you make some of the finest trucks on the forum, in my opinion! Well done (as always!) -
Maybe awhile in the making, but great update, Jeff! Was looking at the frame pic and wondered if you ever had any problems with paint drying on your airline plumbing? Some of the rubber like lines I have used took forever to finally dry, after being sprayed, and wrinkled as they dried out. Looking forward to seeing the back end of the distributor come together!
-
Making good progress, Jerry - the Espresso colour really highlights the snap on sleeper divider
-
Western Star 4900 FA plow truck
BK9300 replied to BK9300's topic in WIP: Model Trucks: Big Rigs and Heavy Equipment
Thanks. Gary - hope your summer is going well!