rightrudder
-
Posts
300 -
Joined
-
Last visited
Content Type
Profiles
Forums
Events
Gallery
Everything posted by rightrudder
-
Metallic Blue '62 Bullet Bird...locked and loaded!
rightrudder replied to rightrudder's topic in WIP: Model Cars
Thanks guys! TJ, I think the dry fit is worth doing; could save some headaches later. You could enlarge the opening in the body, but it just seemed easier to shave the door panels. Or you could narrow the dash a bit, but then you'd lose the locating tabs on the ends. Patrick, the freeze plugs are done in Testors bronze, but they do look silver in that photo. Waiting on my sheet of PE parts. I started shaving all the script/badges off the car and will use the metal parts. A man's gotta know his limitations, and I suck at painting tiny letters! -
Metallic Blue '62 Bullet Bird...locked and loaded!
rightrudder replied to rightrudder's topic in WIP: Model Cars
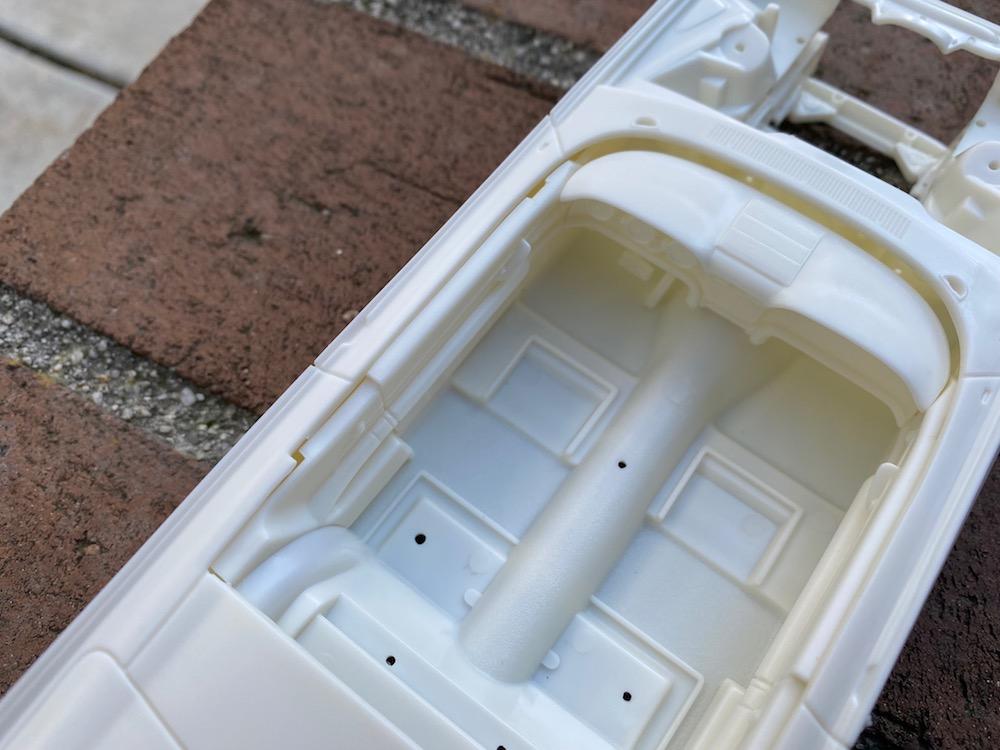
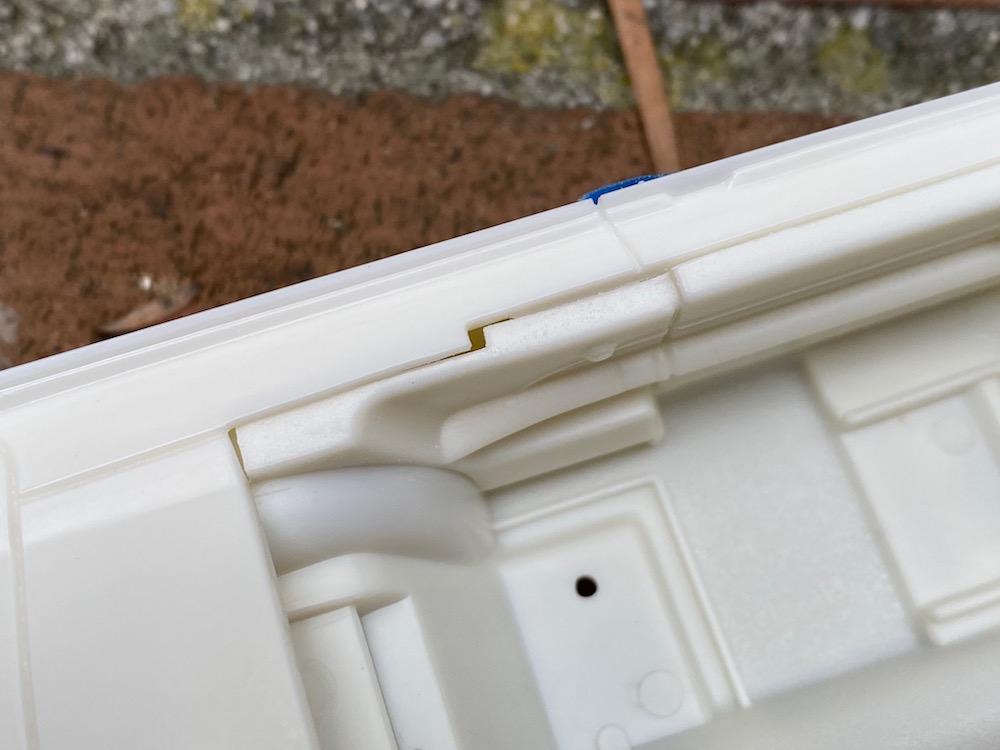
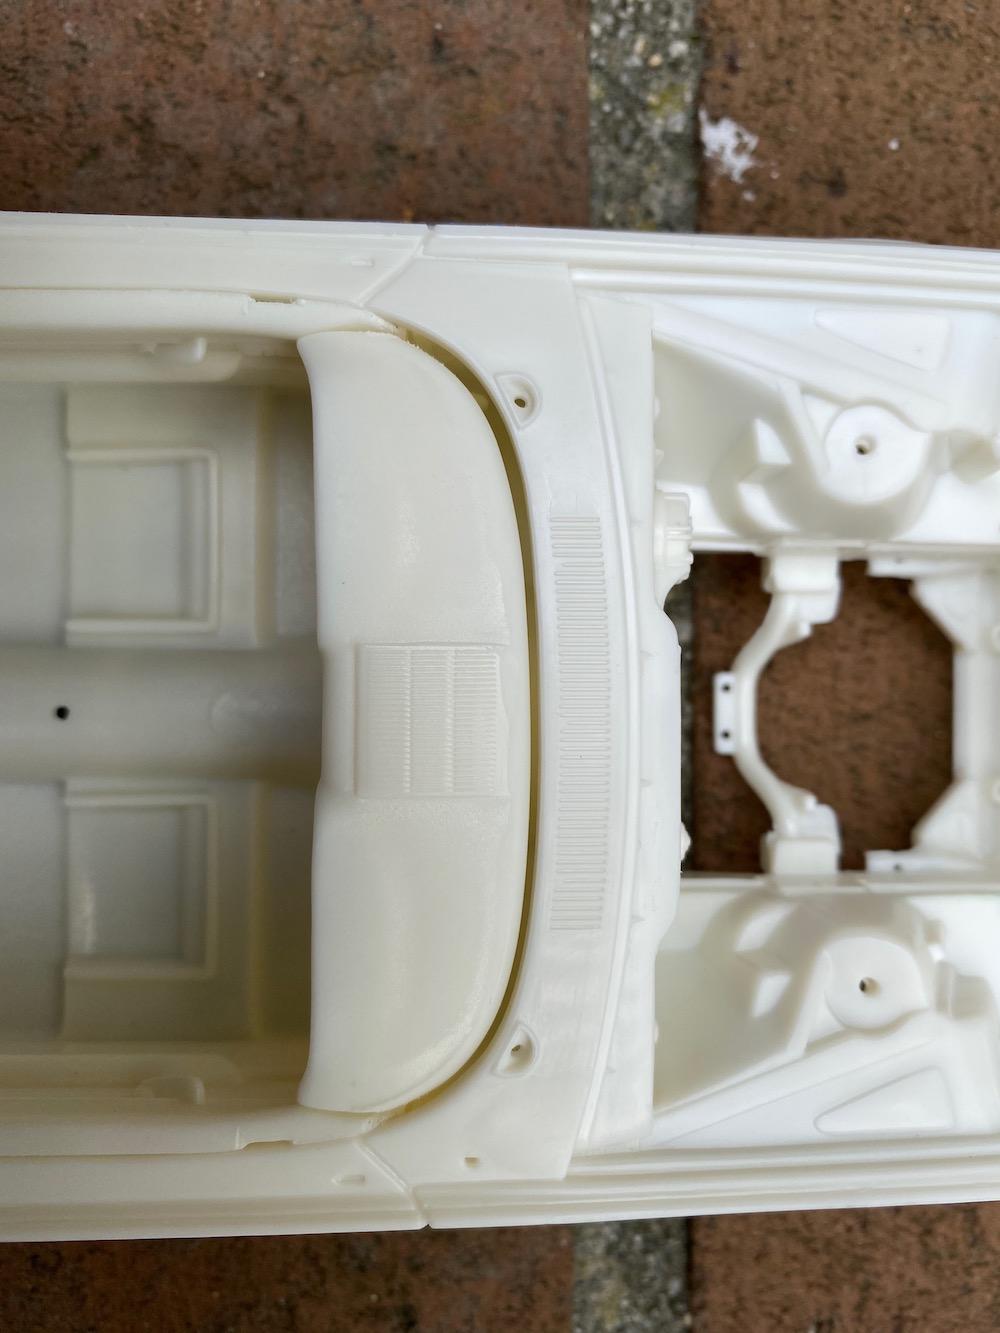
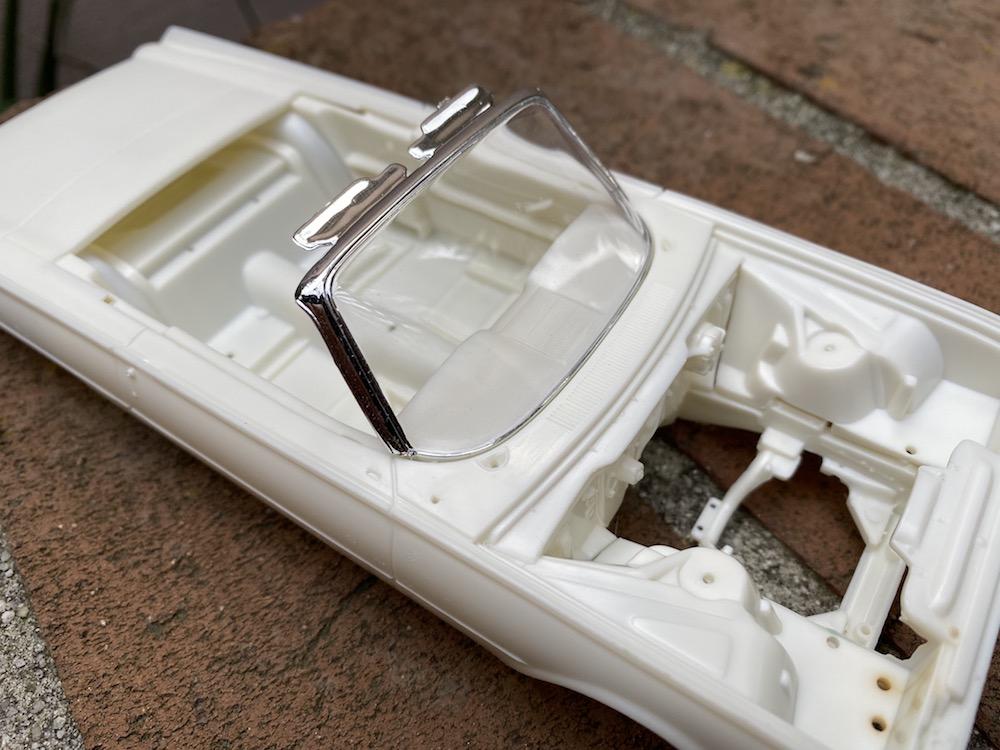
Hey Andy, Thx!! Gonna go with a blue-gray/silver interior combo. I know these 'Birds came with black blocks, but I just wanted a little more "pop"! This release is from round2models.com So I did the dry fit and the problem was obvious...interior just a little too wide for the body opening, especially near the dash. I used an emery board to taper the tops of the door panels toward the windshield in plan view. You can see that the notches that accept the vent windows are now less than half the original depth. Problem No. 2 is the uneven gap between leading edge of dash and cowl. A little carving and sanding and it's a good fit now. There are some little square gaps where the rear door panels meet the bodywork, so I'll extend a little bit with some styrene chunks before paint. So glad I did the dry fit...would've been more complicated to deal with it later.
-
Metallic Blue '62 Bullet Bird...locked and loaded!
rightrudder replied to rightrudder's topic in WIP: Model Cars
Thanks! I just love the lines of the '62. Yours is turning out great! I do think the faired head rest cover is a bit much, so I'll probably display it with an open interior, no roof. Have you reached the dry fit stage yet? I'm curious what needs to be done. I've messed around a little and it looks like the rear seat needs to be sanded down a little for the head rest piece to sit flush, but others have said the interior side panels need to modified in some way for the body to fit nicely. I'm on the fence as far as tack-gluing everything together for this, or just whittling plastic away later and touching up paint on the tops of the door panels. -
Polishing base coat before clear?
rightrudder replied to rightrudder's topic in Model Building Questions and Answers
I haven't seen that scraper. I watched the video on your link and it looks like exactly the right tool for the job! Thx. The bar should glue together just fine. Working away on the engine, test fitting the bumpers, prepping interior parts. I get so fixated that I lose track of time and forget to eat! -
Metallic Blue '62 Bullet Bird...locked and loaded!
rightrudder replied to rightrudder's topic in WIP: Model Cars
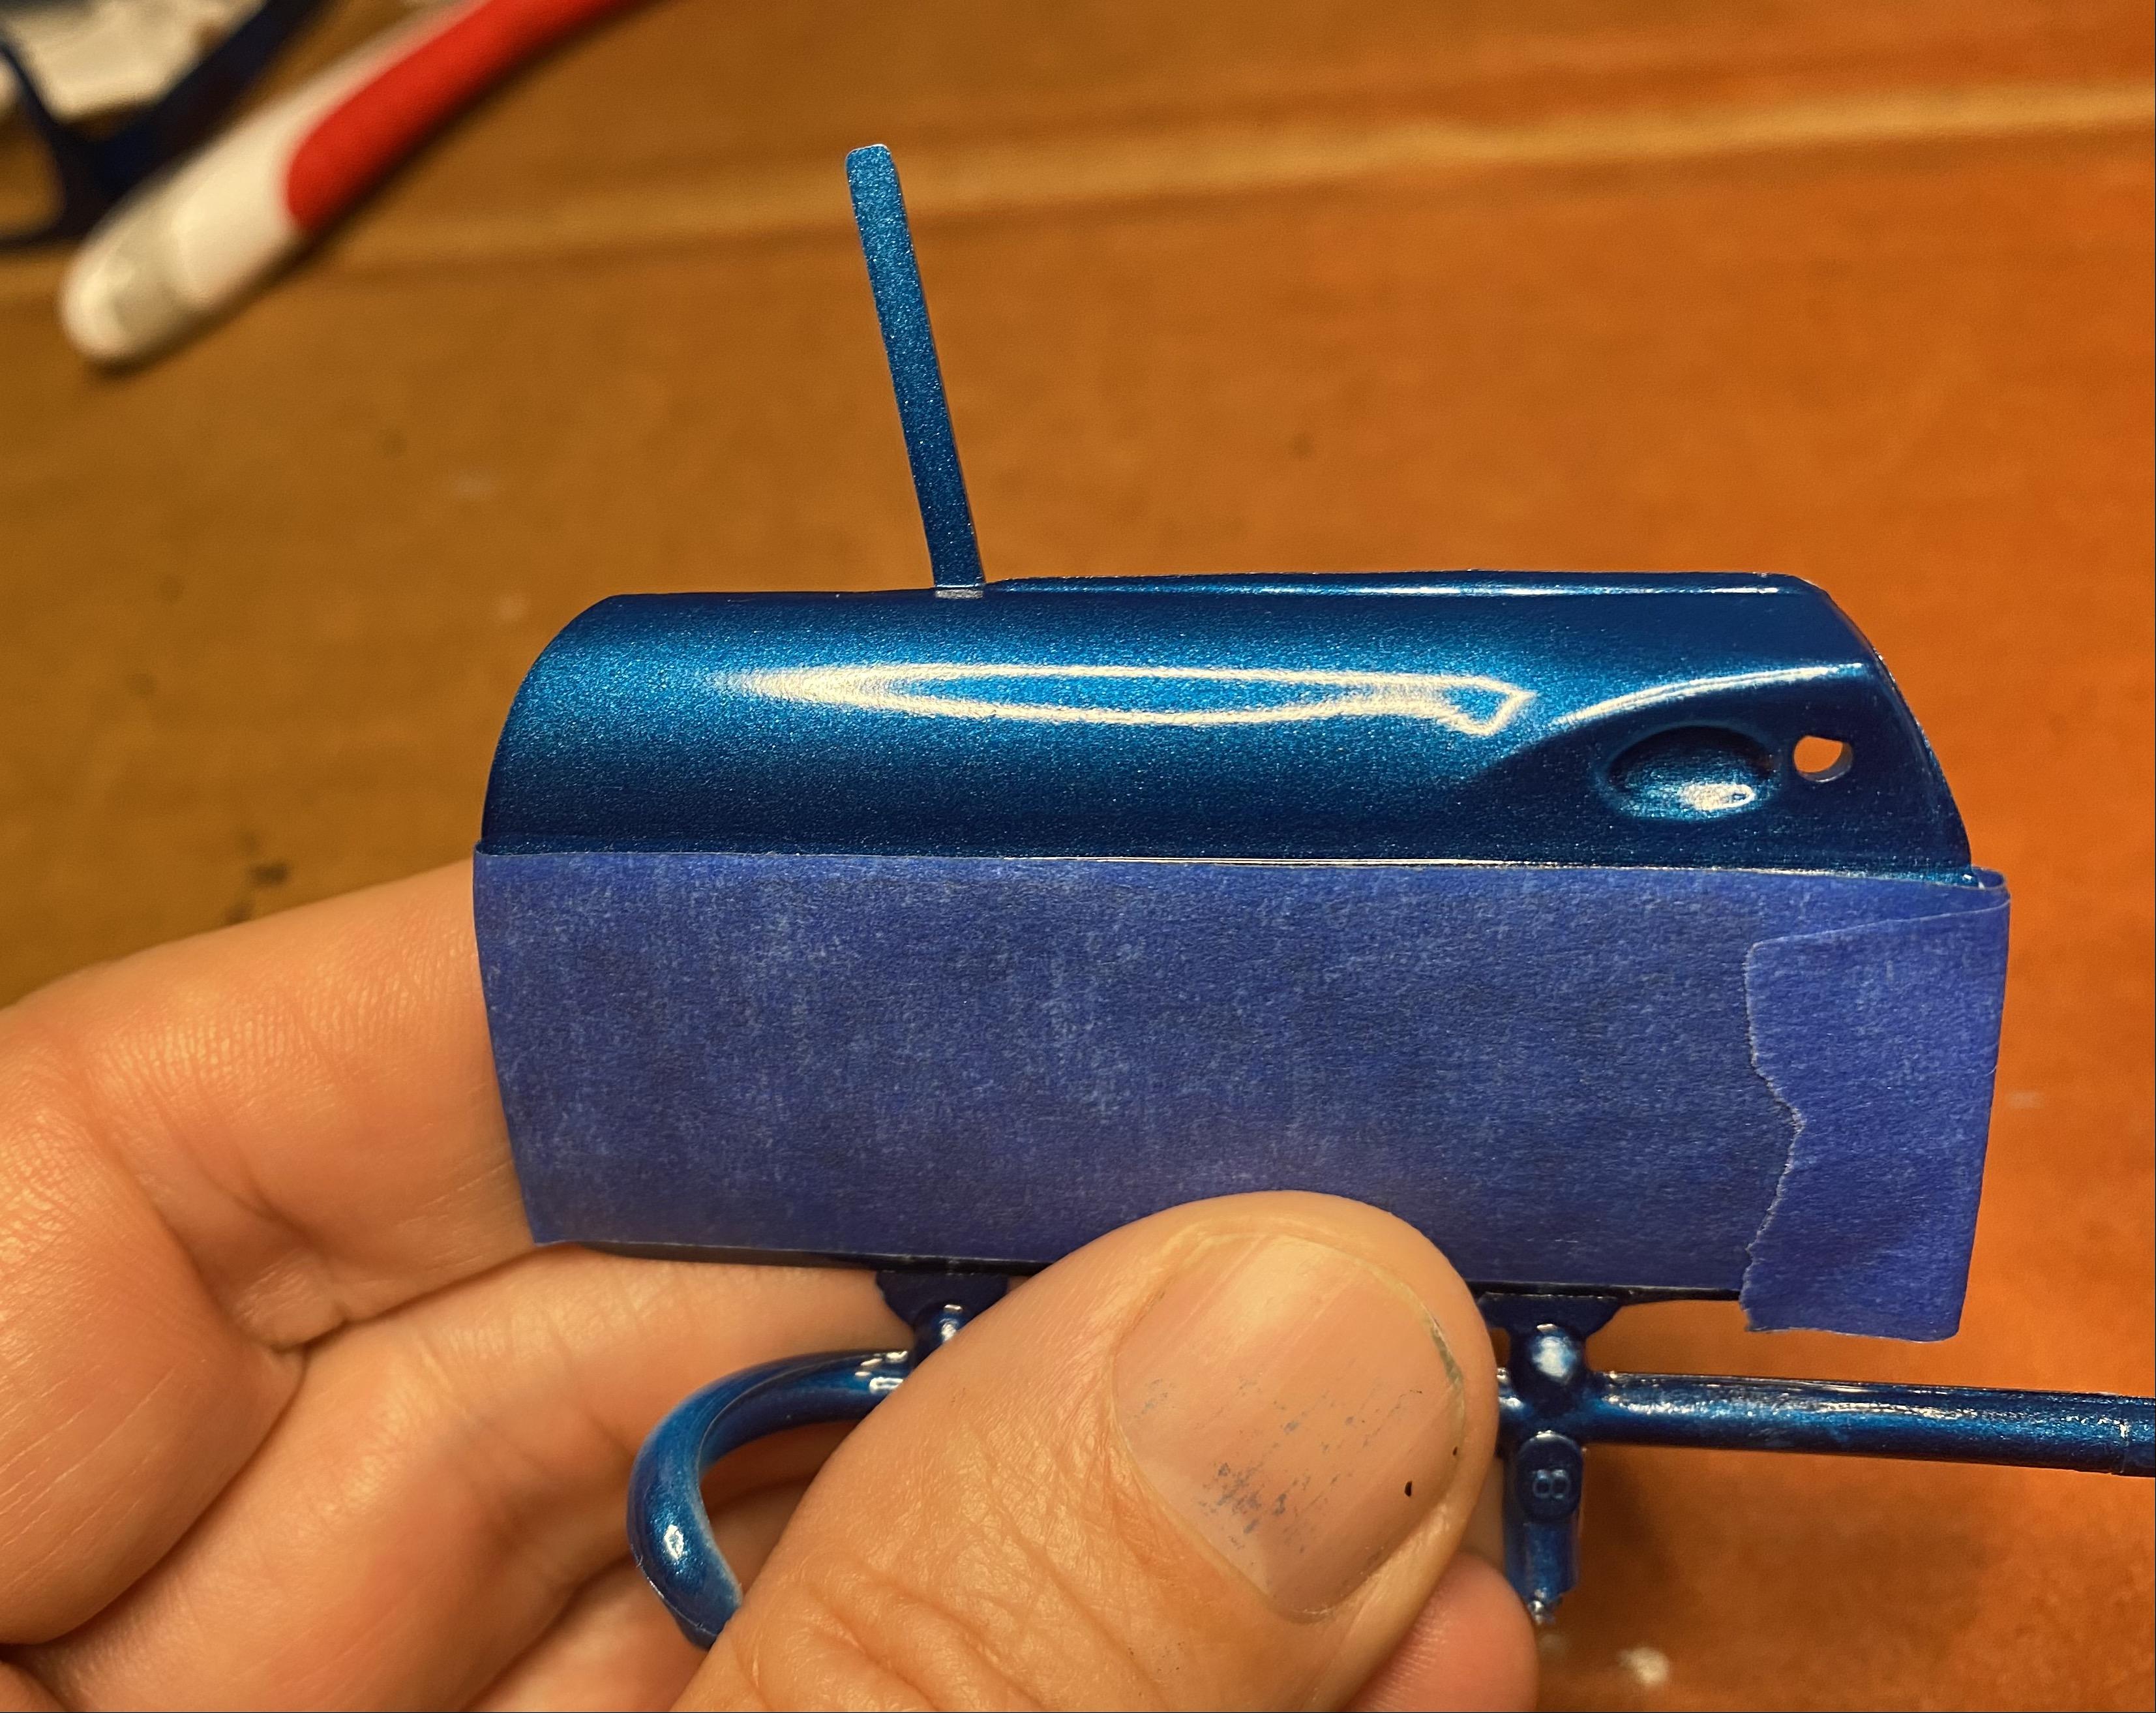
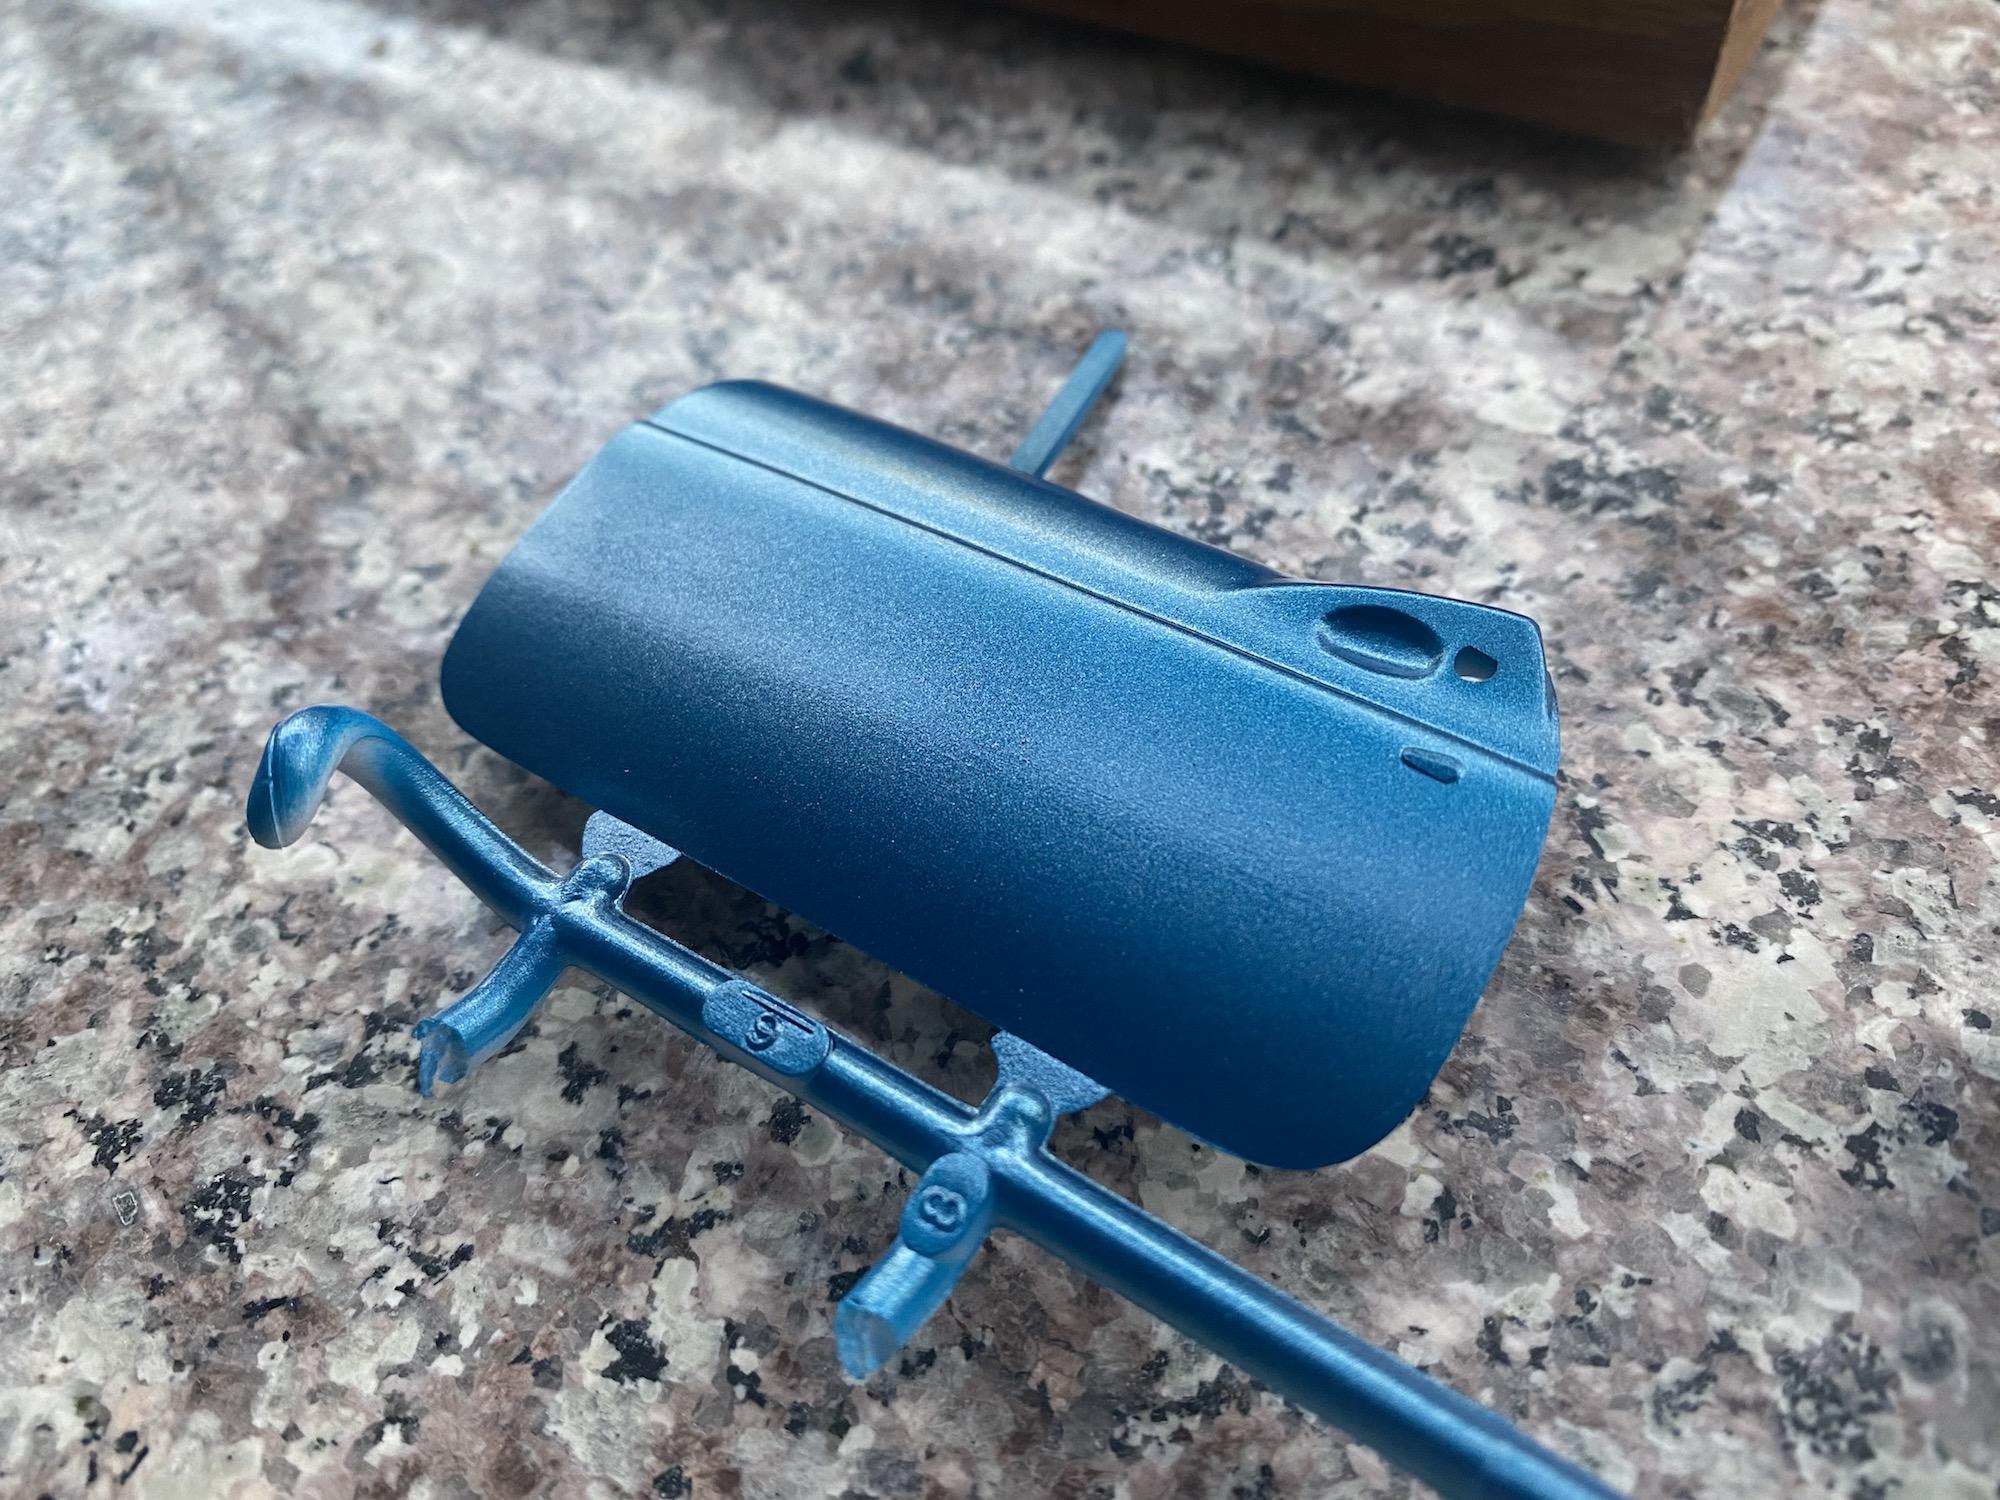
I posted this on another thread, but here's how the metallic blue looks. I sprayed another test panel over a light gray primer, but it turned out significantly lighter, so I think I'll shoot the paint onto bare plastic that's been sanded. I really like the idea of a somewhat darker, richer blue. The paint sticks like crazy, so I think I'll be fine.
-
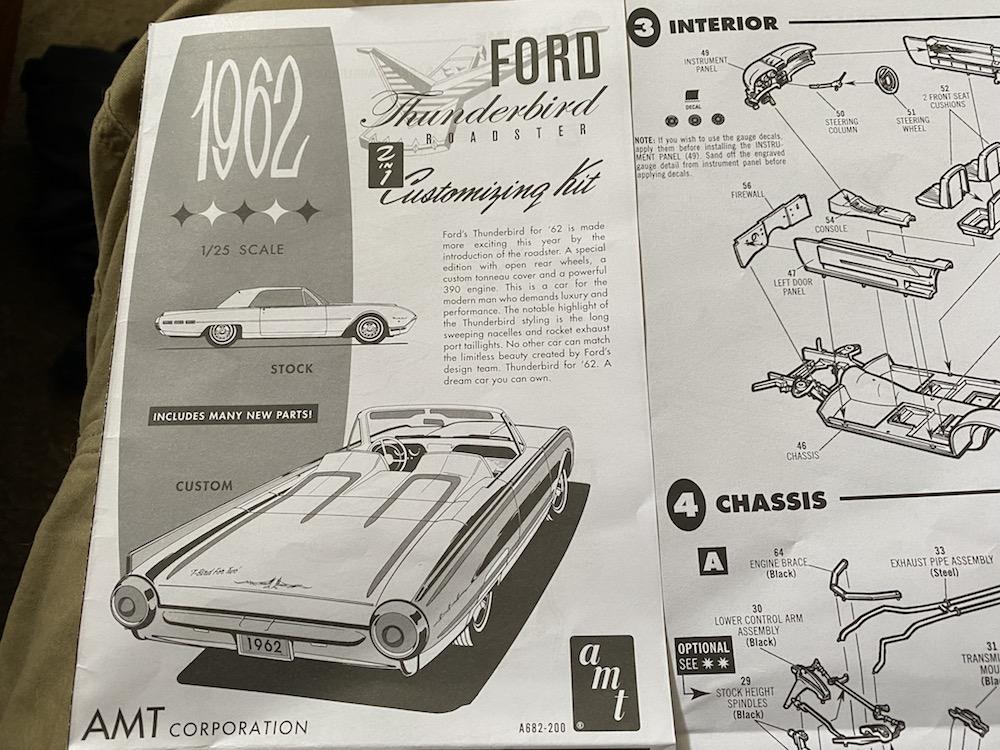
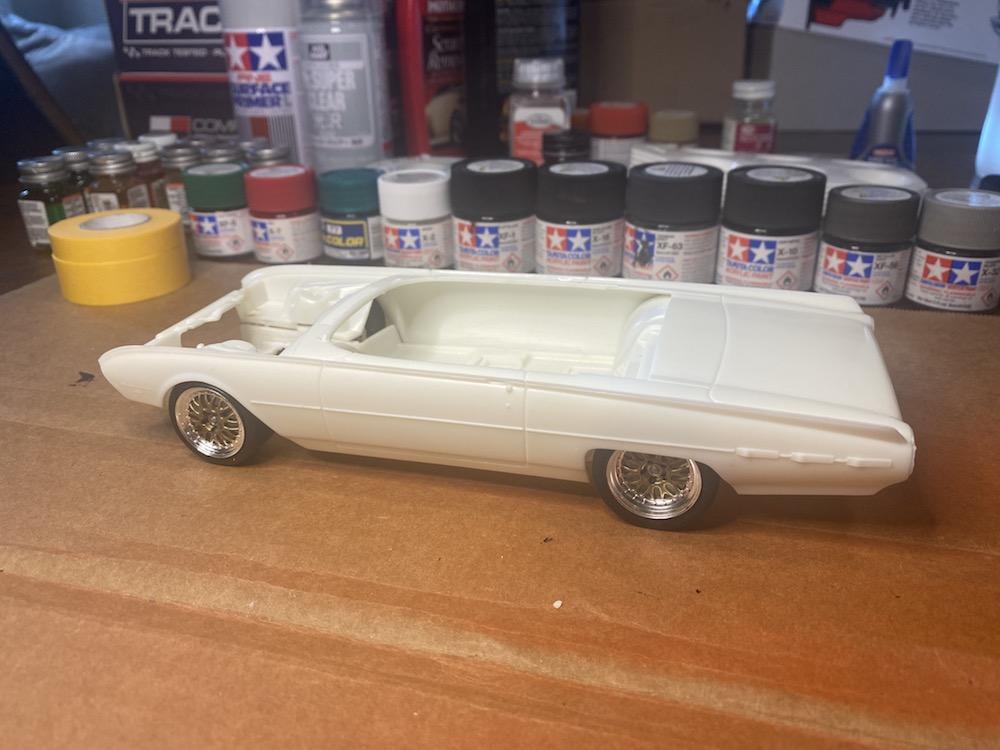
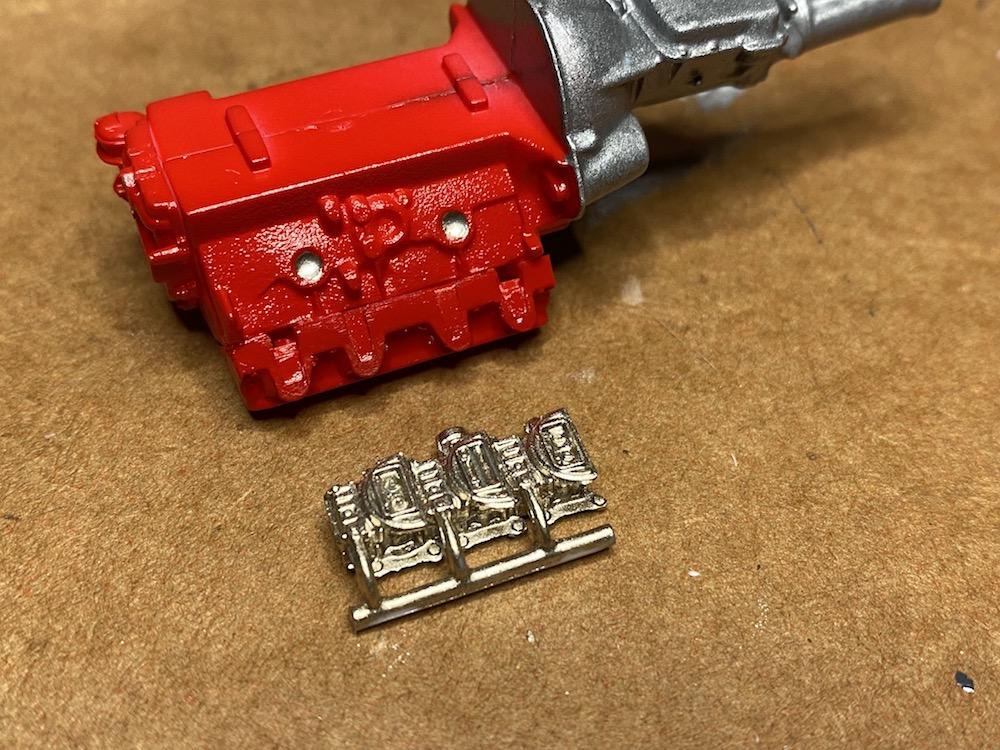
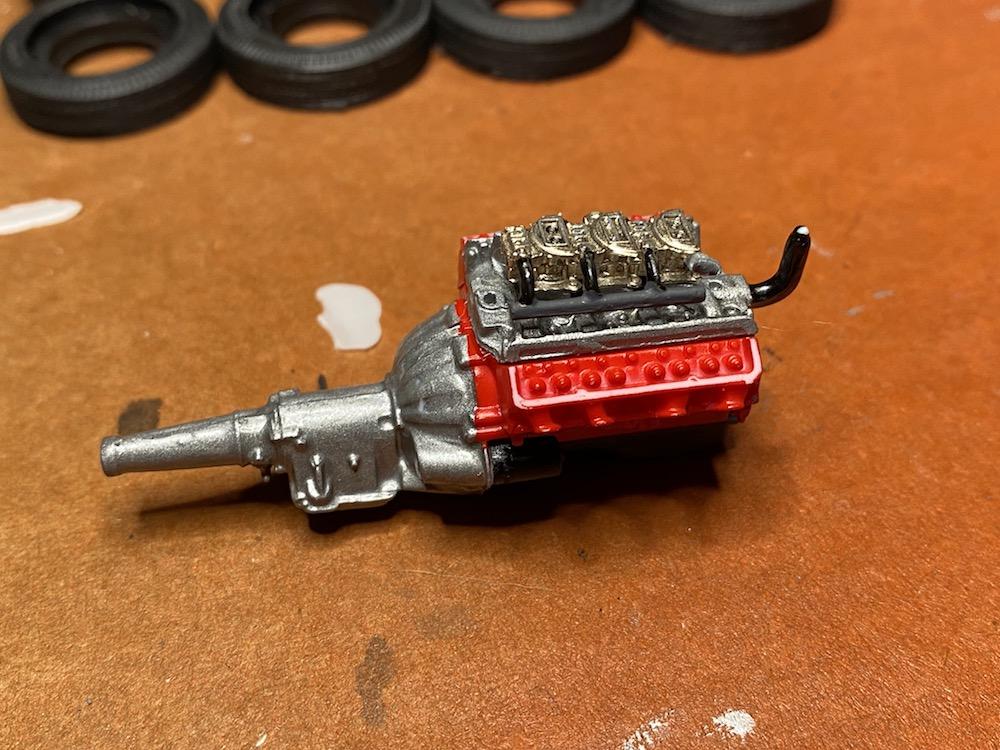
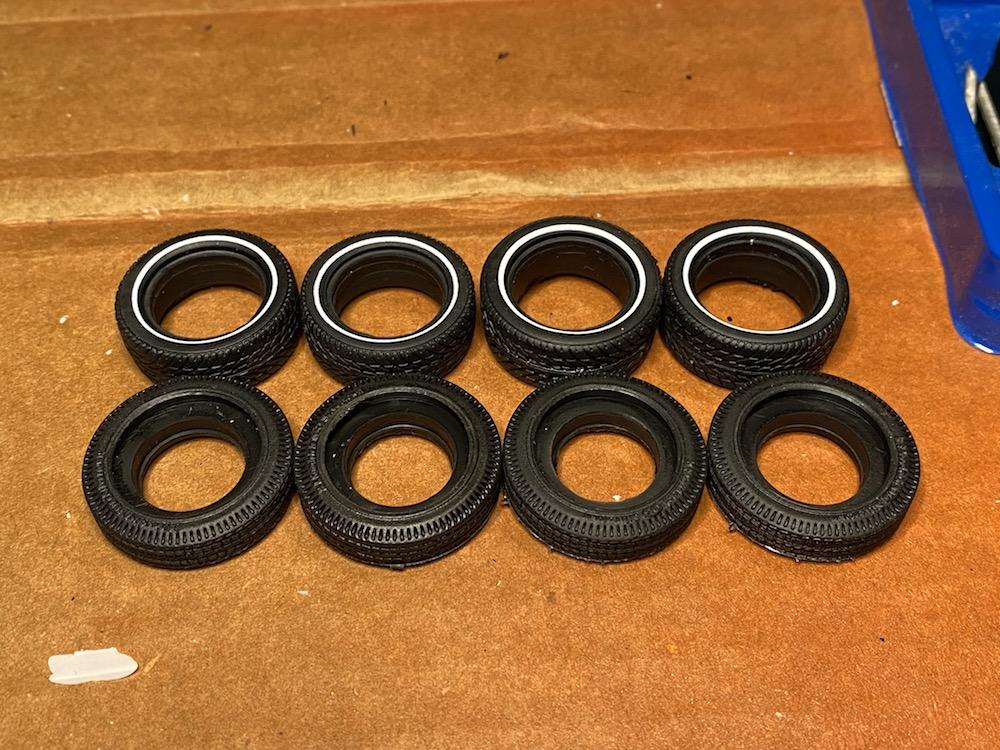
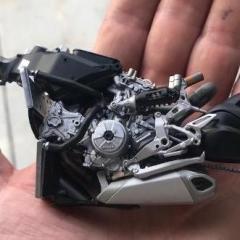
Hi guys, Well, the kit finally showed up this morning and I'm digging right in. Verrryyy impressed with the level of detail here. Noodling on whether to do a resto-mod approach with some Tamiya BBS 3-piece wheels from a Porsche kit, or go relatively stock. I'm not a stickler for factory colors, so I just make it up as I go. It'll be done up in Tamiya acrylics, Metallic Blue for the body and a blue/gray and silver combo for the interior. Here's the body setting on the Tamiya wheels. Rears just barely fit width-wise, and chassis sits level but needs at least a 1/8-in. drop all around to look right. Dunno...the Kelsey-Hayes wire wheels that come with the kit look pretty trick... Here's an example of the detail...not sure how this compares to other AMT stuff as I'm new to the brand. Great sand-casting texture molded into the block. Gotta go with the Tri-Power setup but kit includes a single 4-barrel with a round air cleaner too. Here's the little 390 so far. I'll add some ignition leads at some point, so I pre-drilled "spark plug holes" in the heads. The whole thing is looking a little too shiny, so I'll probably hit it with DullCote before I put the chrome stuff on. Check out how even the valves/valve springs are represented. Last shot is the two sets of tires provided. Lower set accepts plastic inserts for the wide whitewall look, while top set comes as shown with skinny stripe.
-
Polishing base coat before clear?
rightrudder replied to rightrudder's topic in Model Building Questions and Answers
Very cool! Sounds like you have a great setup for building, and look forward to seeing what you do with the '62. I don't have a stash of kits as I tend to fixate on one and build it nonstop! Incidentally, my '62 'Bird showed up this morning! You're right about the flash; requires a lot of patience with the X-Acto. I managed to break the front anti-roll bar already. The detail is really impressive! I'll start a thread over in WIP on it. -
Polishing base coat before clear?
rightrudder replied to rightrudder's topic in Model Building Questions and Answers
Thanks for that, Dusty. It seems if the mixing of the base metallic isn't perfect, each coat goes on a slightly different way, so even sanding through the last base coat applied can reveal paint that looks different. Fun to learn this stuff, especially on scrap parts!! -
Question: best way to mask interiors for painting?
rightrudder replied to customline's topic in Tips, Tricks, and Tutorials
It's what Porsche called Pasha...used on various models including both 911 and 928 at certain times. I think it's cool because it's kinda "checkerboard on acid." -
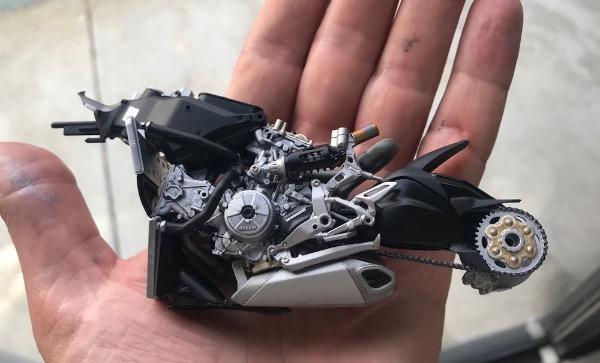
Yeah, that Swiss-cheesed firewall is just weird. Beautiful workmanship!
-
Polishing base coat before clear?
rightrudder replied to rightrudder's topic in Model Building Questions and Answers
Final pic of test panel with a couple wet coats of Mr. Hobby clear. Too embarrassed to show lower part of door panel...there's a giant cat hair in the middle, and a thumbprint too...ugh. Mr. Hobby clear dries fast, but not two hours fast on a humid day! I'm really pleased with the finish & gloss. My big takeaway is to NOT wet sand the acrylic as it's ultra easy to burn through it, even with 2000 grit. Maybe it's a function of laying the paint on too thin? Or maybe acrylics are just more fragile this way. Anyway, I've got the game plan for the real thing now. Thanks for all the advice, everyone...invaluable!
-
Question: best way to mask interiors for painting?
rightrudder replied to customline's topic in Tips, Tricks, and Tutorials
Very nice work! The masking job could've been more difficult, though...
-
A great subject that will test your fabrication skills. Subscribed! I wish someone kitted the original Mustang prototype with the mid-mounted V-4 engine. Maybe someone did?
-
Polishing base coat before clear?
rightrudder replied to rightrudder's topic in Model Building Questions and Answers
Thanks! Wet sanding didn't really work here--looked a little blotchy and easy to cut through the paint--so I think I'll be content to lay it on as smooth as possible. It seems the Mr. Hobby clear I'm going to use is more tolerant to sanding, and if it looks glossy enough at that point I may just polish and forgo sanding altogether. I'm glad I have some time to experiment. I appreciate all the great input! -
Polishing base coat before clear?
rightrudder replied to rightrudder's topic in Model Building Questions and Answers
So here's a test panel with the Mr. Leveler. Bare plastic, no prep, three coats You're right, good stuff! I think at this point I'd gently wet sand, add one more coat, then clear. Also experimenting with interior colors. The door panel is done in Tamiya Medium Blue (XF-18), kind of a neat blue/gray. Brush painted here, but I'll spray it on the new project. Got some of that good Tamiya masking tape at the hobby shop too. I might mix a little dark blue with the XF-18.
-
Polishing base coat before clear?
rightrudder replied to rightrudder's topic in Model Building Questions and Answers
Thank you...that's very encouraging! -
Polishing base coat before clear?
rightrudder replied to rightrudder's topic in Model Building Questions and Answers
Thanks, Dusty. I did buy some and just haven't tried it yet. I'll do another test panel with the stuff before I shoot the body. -
Thanks, Jim...I thought they were the water-slide type. No worries, as I'm fine with cutting them out. I'm absolutely terrible at trying to paint the tiny markings and needles on gauge faces, so these things are a godsend!
-
Polishing base coat before clear?
rightrudder replied to rightrudder's topic in Model Building Questions and Answers
Thanks, Pete. Your description does help me visualize what's going on with metallics. I've been rethinking the paints I want to use, given my skill level. Using an airbrush, I'm most familiar with Tamiya acrylics and am leaning toward using them on the body. I've been experimenting on a practice kit (1/16th '57 T-Bird) that I destroyed, but it's really helpful to use the parts to try out different techniques. The acrylics go on super smooth! Here's Tamiya Metallic Blue (X-13) thinned with rubbing alcohol, sprayed over bare plastic, then wet sanded with 1500 grit and polished with Meguiar's Ultimate polish. I think it would look amazing with a polished clear coat on top...and I do realize that I wouldn't polish the base coat before applying clear; I was just messing around here. I think this blue would really do justice to the '62 Bullet Bird project (kit should arrive Sunday), with maybe a lighter blue & silver interior.
-
Thanks for the heads up on those instrument decals...just ordered a set for the Bullet Bird project.
-
1963 Chevy Nova Wagon Street Rod FINISHED 3/20/22
rightrudder replied to Dennis Lacy's topic in WIP: Model Cars
Wow, that is a very smooth finish already. I think it's the perfect shade. -
Bullet Bird Mild Custom ('62 Thunderbird)
rightrudder replied to JollySipper's topic in WIP: Model Cars
It's hard when you can't achieve what you had in your mind's eye. A shame that gold is not available. I think each of these colors looks very good by itself, but the effect is a little muddy when combined. Solid Cordova Brown FTW! -
Polishing base coat before clear?
rightrudder replied to rightrudder's topic in Model Building Questions and Answers
Great advice, guys. Thanks!! -
Anyone who grows ingredients for beer is a friend of mine! I look forward to seeing your work here. Welcome!
-
Polishing base coat before clear?
rightrudder replied to rightrudder's topic in Model Building Questions and Answers
Well, I think I answered my own question after looking at a few more threads... I'm definitely using primer!