rightrudder
-
Posts
300 -
Joined
-
Last visited
Content Type
Profiles
Forums
Events
Gallery
Everything posted by rightrudder
-
Polishing base coat before clear?
rightrudder replied to rightrudder's topic in Model Building Questions and Answers
Thanks, guys. CabDriver, I do have a cat, so chances of hair (or entire hairball!) ending up in the paint are high! I'll change clothes before I spray to minimize the risk. One more question. Once the body shell is sanded and prepped, assuming there is no spot putty used to fill imperfections, is it OK to spray lacquer directly on plastic and skip the primer step? I read another thread that dealt with enamels, and the author chose not to prime because he didn't want to add another layer of paint that might obscure some fine details. I want to do what's safe! -
Gotta love a Hemi! Lookin' good. What paint did you use for the carbs?
-
Polishing base coat before clear?
rightrudder replied to rightrudder's topic in Model Building Questions and Answers
Thanks for that, Jim. I like to see both sides of the equation. My feeling is if I can get it smooth enough with a finely sanded primer coat and leveler-thinned base coat, I'll just go ahead and shoot the clear. I appreciate the video. -
Great subject, and beautiful execution. And the box art for this kit couldn't be better!!
-
Polishing base coat before clear?
rightrudder replied to rightrudder's topic in Model Building Questions and Answers
Thank you both for the insight. What a deep well of knowledge here! Looks like I'll just lay on the base metallic as smooth as I can and not sand/polish until the clear coat. Can't wait to get cracking on this. Shipping of the kit is tectonic-slow, so I'll have to be patient. -
Nice! You nailed the seat covers. REAL leather still has the spots!!
-
Polishing base coat before clear?
rightrudder replied to rightrudder's topic in Model Building Questions and Answers
Thanks, Dave -
We also got the Fuego in the U.S., and the Alliance, which everyone called the "Appliance"! Briefly, there was a spec racing series with the latter car.
-
Hi Marten, My dad had a '59 Ford Galaxie Skyliner retractable hardtop, and when he sold it, the buyer was from Netherlands. So if you see one driving around... I'm too new here to say...well, what the heck...welcome!!
-
Polishing base coat before clear?
rightrudder replied to rightrudder's topic in Model Building Questions and Answers
Great responses...I totally appreciate them! I bought some leveling thinner, so hopefully the base coats will go on relatively smooth. It's a metallic Emerald Green, but fine metallic and not chunky style. Just gotta work on my airbrush technique on some scrap plastic so I don't mess this up! -
Polishing base coat before clear?
rightrudder posted a topic in Model Building Questions and Answers
So I'm getting ready to try my first really slick, polished paint job and have assembled all the primers, paints and clear coat. My question is, after I do the final wet sanding of the base coat before the clear coat, should I polish it? Will that interfere with the clear coat adhesion? Even if final base coat is sanded with 2500 grit, will the very fine sanding lines show through clear coat, or not? Thanks! -
Bullet Bird Mild Custom ('62 Thunderbird)
rightrudder replied to JollySipper's topic in WIP: Model Cars
TJ, great suggestion on the craft paint. Ratdoggy, lookin' good! I wish I had an extra garage space for the real thing. Rusty, good to know. Thx! -
Bullet Bird Mild Custom ('62 Thunderbird)
rightrudder replied to JollySipper's topic in WIP: Model Cars
Fun facts about the Bullet Bird...you may already know these, but I thought they were interesting. President Kennedy had 50(!) of them in his inaugural parade. Obviously a man of good taste (see also: Jackie, Marilyn Monroe!) Stylist Bill Boyer was really a pioneer of the center console. He had fabbed one up earlier for his daily driver, and he incorporated that into the T-Birds. Bullet Bird was early adopter of unit body construction. Chrysler really led the way in 1960 for unibodies in American mass-produced cars, although there were earlier examples that saw smaller production numbers. -
Bullet Bird Mild Custom ('62 Thunderbird)
rightrudder replied to JollySipper's topic in WIP: Model Cars
I meant how you detail them, with the silver part in the recessed part of the lens. Depending on how they're molded, maybe paint would sort of flow into that well? I'm worried that I'll really mess this part up! I guess some solvent on a Q-tip could remedy anything I botch with an unsteady hand. Part of me really wants to go with tiny LEDs for head- and tail light illumination, but I think I'll have my hands full with other stuff. Looking forward to seeing your progress!
-
Sweet! Sometimes you wanna leave it as a roller...
-
Bullet Bird Mild Custom ('62 Thunderbird)
rightrudder replied to JollySipper's topic in WIP: Model Cars
Looks fantastic so far! I'm watching with great interest as I'm a huge fan of the Bullet Birds and have this kit on order. I'm gonna go with Emerald Green Metallic for the body, and a slightly lighter shade of green for the interior, with silver for the dash and door panel inserts. I might use a few of the custom parts, and maybe get the PE set for emblems, etc, but it will be mostly stock. I'm curious to see how you do the taillights. Here's the car that inspired me, done in a beautiful color called Deep Sea Blue. The '62 is so clean in its side detailing...the '63 with the door hash marks just doesn't work for me.
-
Stunning color! A great match with the actual car.
-
AMT 1962 Ford Thunderbird Sports Roadster 390 Tri-Power
rightrudder replied to RandyB.'s topic in Model Cars
Awesome build! I know this is an older thread, but I just bought this kit and am looking for inspiration. Is that foil on the fender tops, or paint? -
Dreaded Orange Peel
rightrudder replied to TransAmMike's topic in Model Building Questions and Answers
Wow, great results all around. But Luke, your Bel-Air is a freekin' mirror!! Thanks for the inspiration. -
Mr. Hobby Metallic Green (#77)
rightrudder replied to rightrudder's topic in Model Building Questions and Answers
Dale, that stuff seems great. Nothing but positive reviews, so I ordered some. I also went with Tamiya Fine Surface Primer and Mr. Hobby Super Clear Coat. As primer is in a spray can and fumes are said to be super nasty, I'll definitely do this part in the side yard with a respirator and lots of fresh air. -
Thanks, guys. You really get spoiled by Tamiya kits...they go together so precisely. Looking forward to the challenge of "finessing" certain parts of the AMT '62 T-Bird. I watched a build video that was quite detailed, and so I know a few problem areas to look for. Got a ton of paint, primer, leveling thinner, clear coat and other building supplies in the mail, so I can hit the ground running. There's a pretty neat photo-etched metal set available that I might spring for. What is your experience with these parts, especially the badges for the hood and trunklid? Do they look too "oversized" when applied? It seems the chrome trim and the badges are among the details that will really make the model stand out.
-
Mr. Hobby Metallic Green (#77)
rightrudder replied to rightrudder's topic in Model Building Questions and Answers
Thanks for all the great replies, guys. The color is a rich metallic Emerald green, so I guess I'll start with a medium grey primer. Excellent advice to experiment with a base silver coat and possibly different primer colors. Still waiting on the kit in the mail, and I'll no doubt start with the engine first (I'll use my Tamiya acrylics here), so I've got plenty of time to noodle this around. -
Gonna use this paint on my next project (AMT 1962 Thunderbird Convertible) and I had some questions. I'm a noob when it comes to super-nice exterior finishes...have done rattle can stuff before and I'm never happy with the result. I recently bought an airbrush and am getting better with it. 1) Should I use primer? Bodyshell is molded in white plastic. 2) Do I need to use a base coat here of silver or something? I want the paint to really pop!! 3) Is this Mr. Hobby paint acrylic or lacquer or enamel? I plan on getting Mr. Hobby Super Clear for the final coats, and will wet sand and polish. Thanks in advance for any input.
-
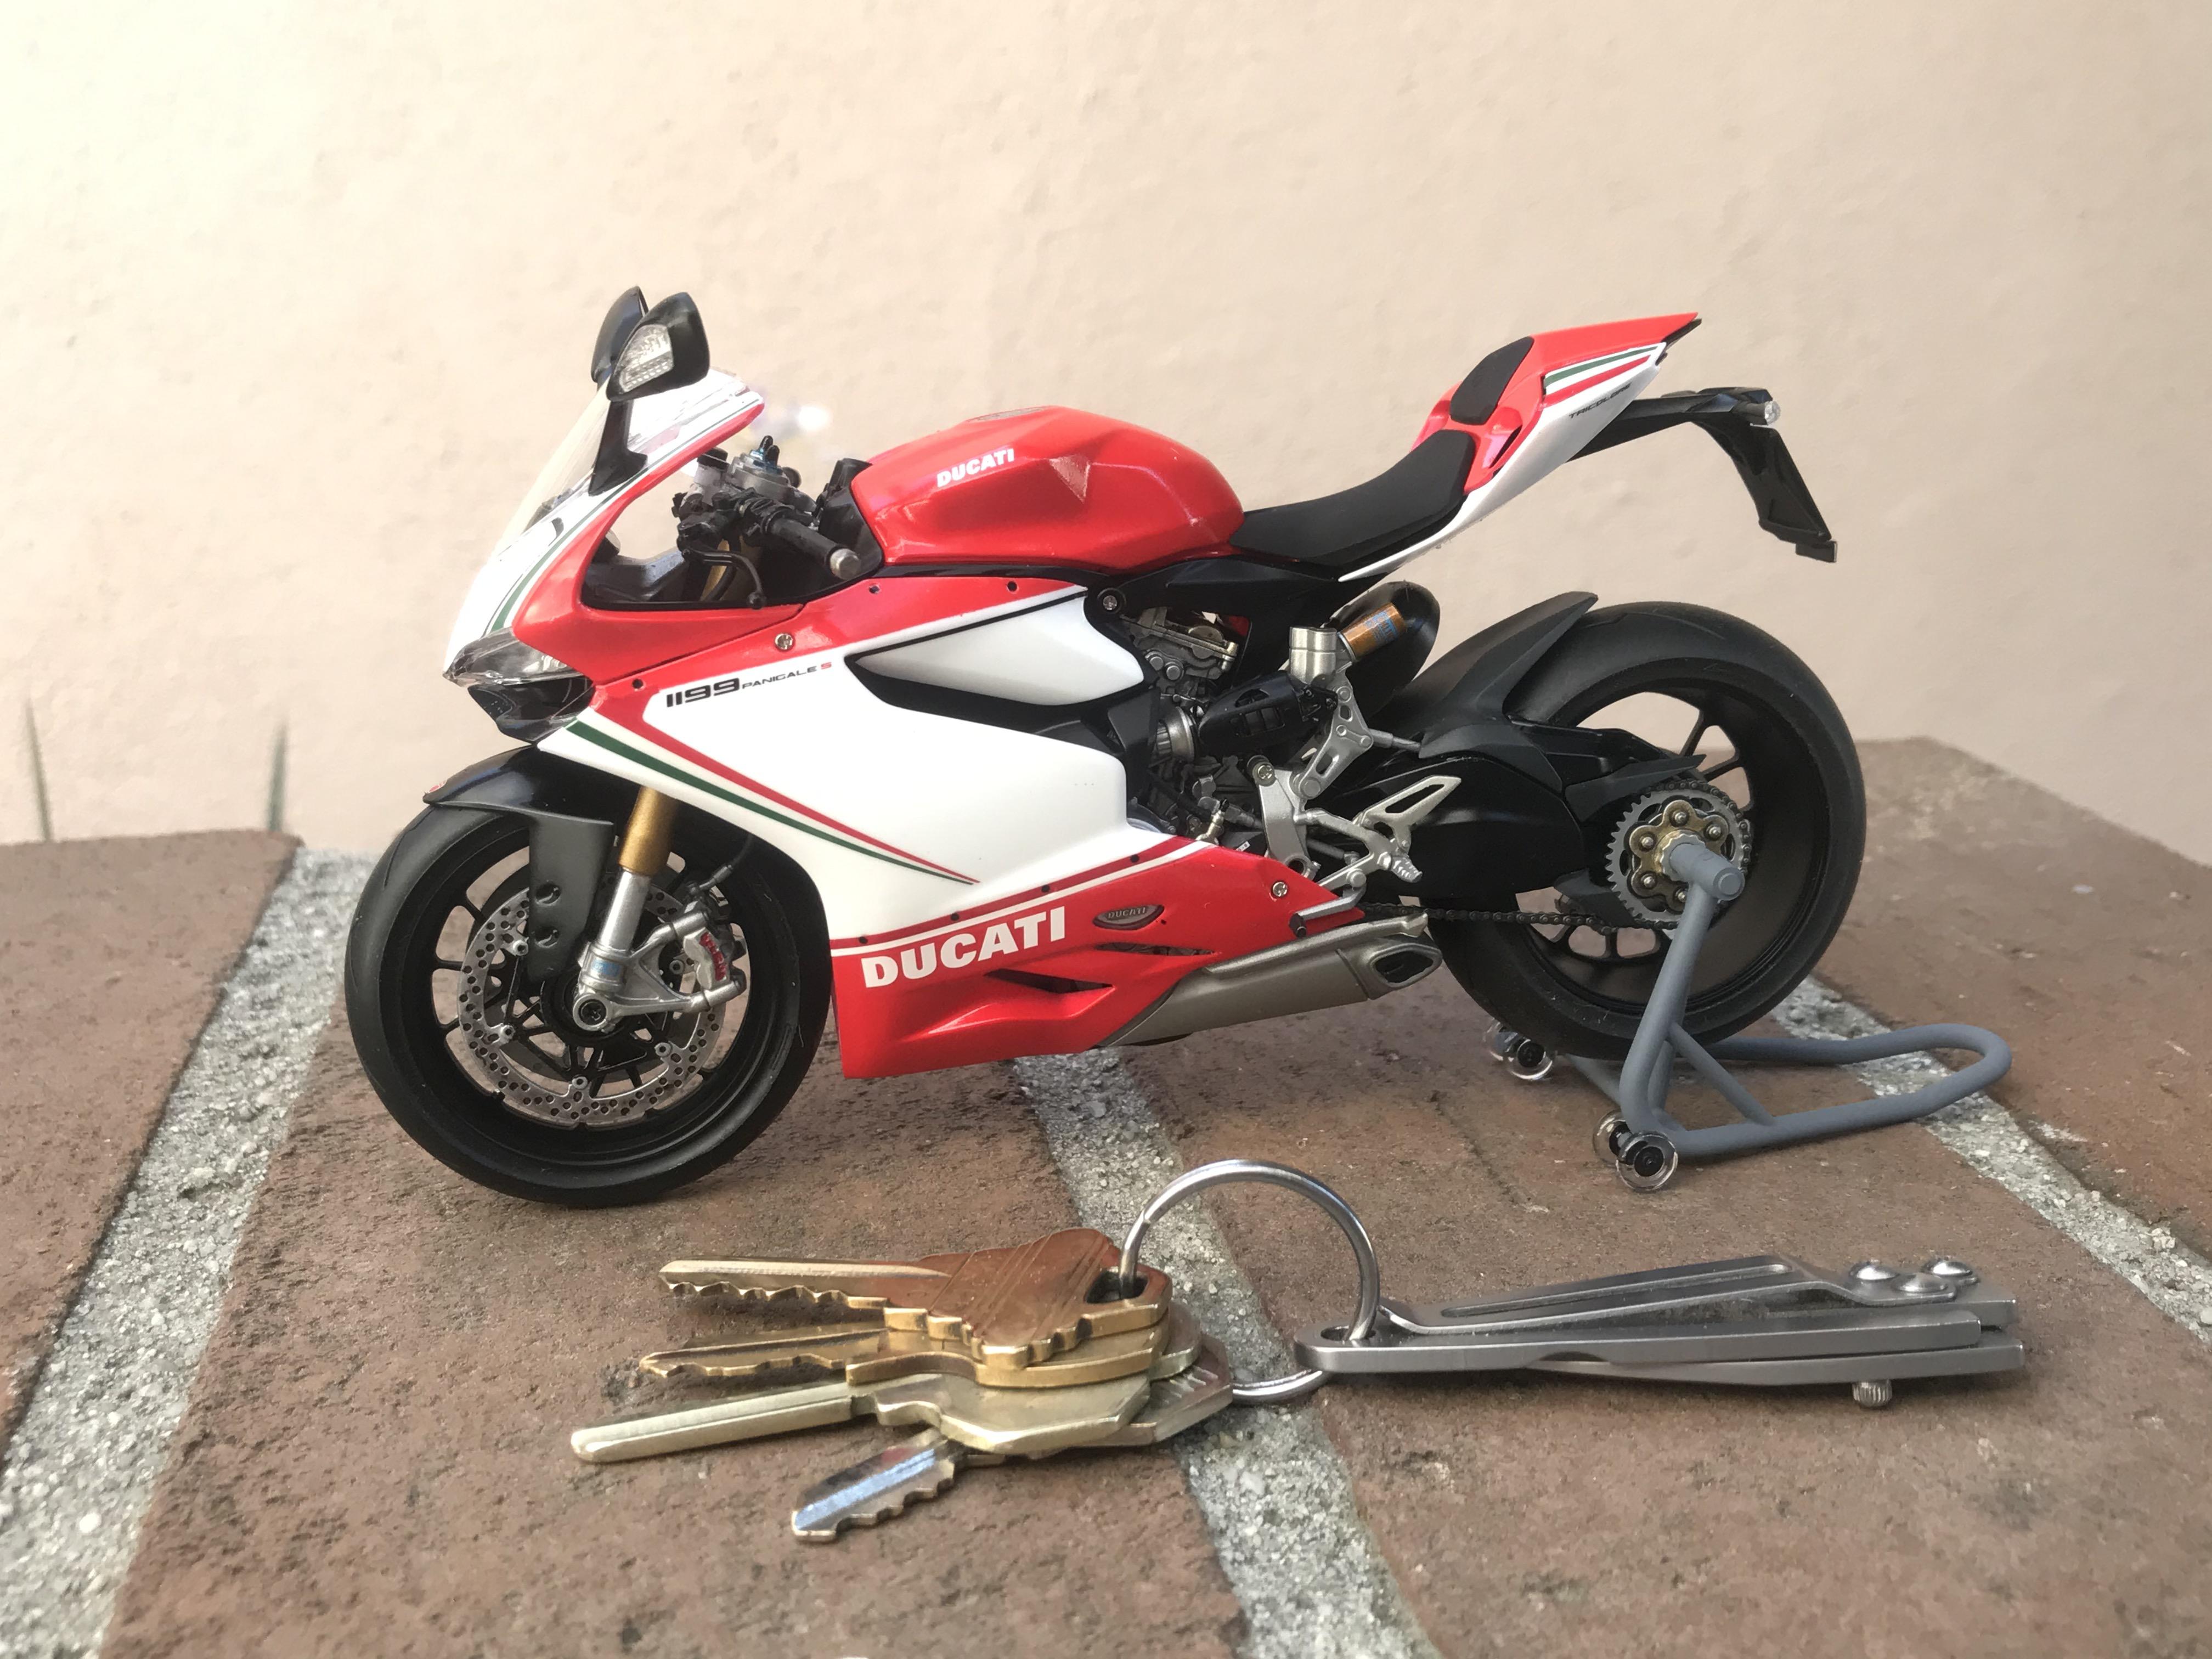
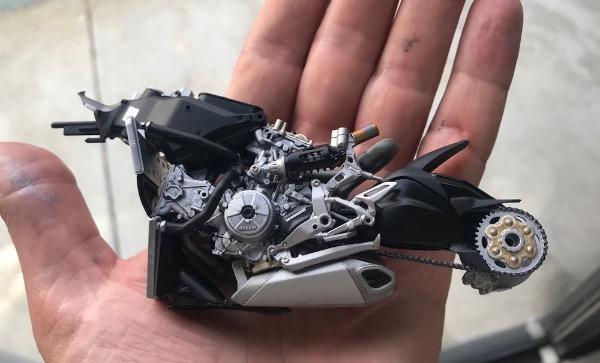
Hello! I'm a retired guy in South Orange County, CA who built models as a kid and got back into the hobby during covid. Let me say just how amazing this forum is...I'll no doubt spend countless hours poring over all the threads here. So anxious to learn new techniques! Most builds have been Tamiya stuff, but I'm venturing into some AMT kits. I fell in love with this '62 Ford Thunderbird convertible that will be my next project. I've seen a few videos on wet sanding & clear coating, and this will be the first model where I'll attempt to make the paint really shine. Previous efforts have been rattle can jobs and I've never been too happy with the results in terms of orange peel. I did just recently get an airbrush, and I've used that successfully for chassis and interiors. Bought some BMF for the T-Bird and will experiment with that for the first time. Here are a couple kits I've done in the last 1.5 years...Tamiya Ducati 1199, and a Hasegawa Lancia Stratos.