rightrudder
-
Posts
300 -
Joined
-
Last visited
Content Type
Profiles
Forums
Events
Gallery
Everything posted by rightrudder
-
Advice for 1st time airbrush user
rightrudder replied to Kevinch's topic in Model Building Questions and Answers
I'm a big fan of the Tamiya acrylics, and I use 90% isopropyl alcohol for both thinning and cleanup. It's weird...they stick really well to bare plastic, yet they scratch more easily than lacquers or enamels, if that make sense. Very durable once sealed with a clear coat, though. They have a distinct sweet smell, but no really overpowering fumes. Far, far easier to clean out of the airbrush than enamel & lacquer. Here's a T-Bird done with Tamiya metallic blue over bare plastic, sealed with Mr. Hobby Super Clear. I'm really impressed with how smooth the paint goes down.
-
I think they're to the left of the exhaust manifolds and inner wheels.
-
Finally shot some paint...Tamiya rattle-can Black over Mr. Hobby black surfacer. I got some slight bubbling of the paint on the right front fender, but it's pretty minor and I might just leave it. I can always take the photos from the "good" side! I'll let it cure for a good two days before I apply the clear coat.
-
Great concept and a solid start on your project! We're fortunate to live near Pegasus Hobbies...I'm about 50 minutes away, but close enough that I go there every couple of months.
-
Thx, John! Maybe I just got a bad Molotow pen. Results were quite good when it was fresh but it has degraded. I'll get another one with my next batch of supplies.
-
We have a roller! I love this point in the build. Wheels were a little more work than I was expecting, but I think they turned out good. The chrome beauty rings are a perfect press fit into the rims; no glue required. Just get it lined up, put the wheel down on a hard surface and press it flush. I used flat aluminum for the rims, titanium silver for the finned drums and a little panel line wash for the hubcaps. Those caps didn't really sit down on the drums like they should...too much lacquer underneath that chrome on the pin?...so I shaved the pins, sanded them flush and glued them on. Rear bumper is much improved with a strip of BMF on top, especially since the Molotow pen is looking less like chrome these days and more like a cold solder joint! Can't wait to get some black paint on the body, but goin' on a road trip tomorrow to visit friends.
-
It's so hard to evenly apply paint with a brush over a larger area. That said, your interior looks pretty nice! Taping stuff off for spraying is really tedious, but good masking tape (the Tamiya yellow stuff) helps quite a bit.
-
Nice! I've been meaning to build something and paint it yellow. I'm interested to see how the TS-16 looks on the body shell. Please post pics of paint before and after the pearl clear.
-
I like those scratch built shocks, and the build in general. Coming along nicely! I say go with the rollcage. 👍 Looks like you've solved the shock attachment problem, but in the past I've rifle-drilled a hole in the styrene shock body and used a section of round toothpick as the "pin."
-
Lookin' good! Bummer about the missing spring; I hope you can find it. I feel like I lose at least one tiny part per build when I drop it into the Carpet of No Return.
-
Thanks, Greg! John, it surprised me too. At least the front bumper/grille is done the proper way. Since I took that pic, I cleaned up the attachment points and applied some Molotow chrome, and it looks somewhat better... But... I might apply a strip of BMF here. It would allow me to sand the bumper's leading edge perfectly smooth.
-
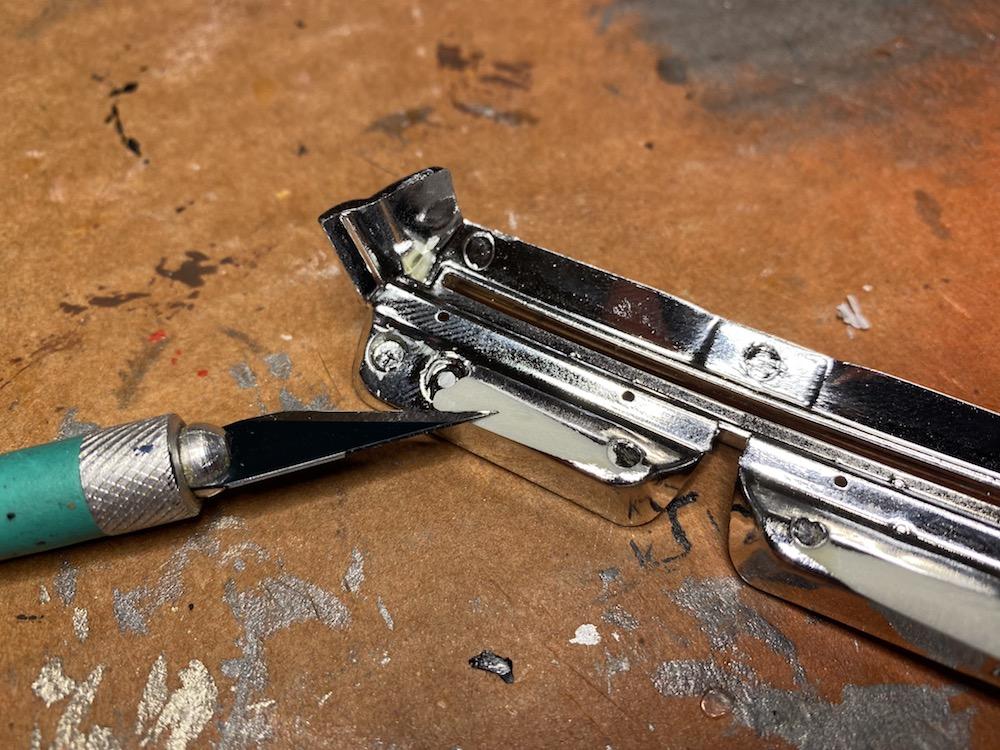
David and Bob, you're so right about the radiator support/grille interference. When I said the front bumper fit well, that was before I had the body on the chassis! Here's some pics detailing what's needed to remedy the situation. Dremel off those cylindrical bosses on the radiator support and carve/sand them flush. There are pins on the grille/bumper assembly that are supposed to fit in these, but it was impossible to get it to work as designed. Then, slice off those pins and carve away on the back side of the grilles. Most material needs to come off the outboard ends, near the inner headlight buckets. You have to take quite a bit off! Rear bumper fits very nice with pins into the body. Too bad the sprue attaches to the highly visible top side of the bumper... 😡
-
Yes, love all your fabrication stuff. My skills here are limited but I learn a lot by watching these builds. 👍😀
-
Thank you, Ken. Gonna tackle the wheels and test fit the rear bumper tomorrow; front bumper fits quite well, as does the hood. I've been working on the windshield and got a pretty decent fit by sanding to top edge down and giving it some curvature to flow into the roof better. It still sticks out above the roof, but far less than before. Looks like you have to foil the edge of the windscreen rather than the pillar. I don't think I have the fortitude to re-work the wheels in any way...they look decent to my eye, so I'll just paint 'em up real nice.
-
Wow, what an amazing kit! Following...
-
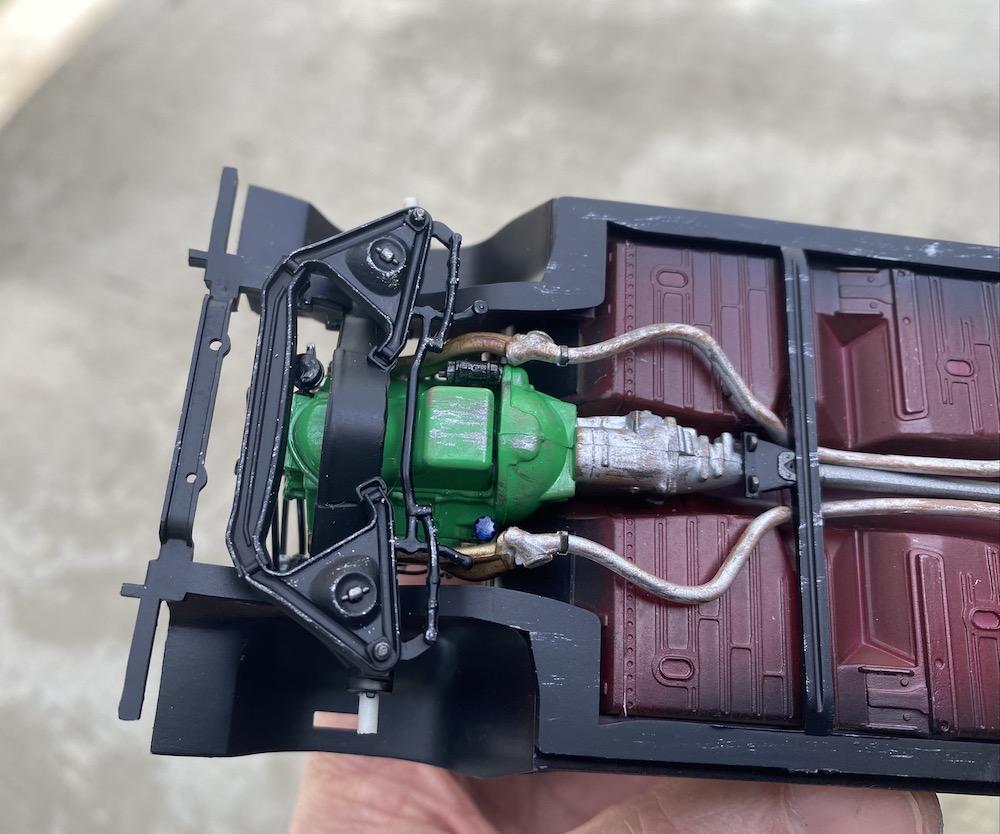
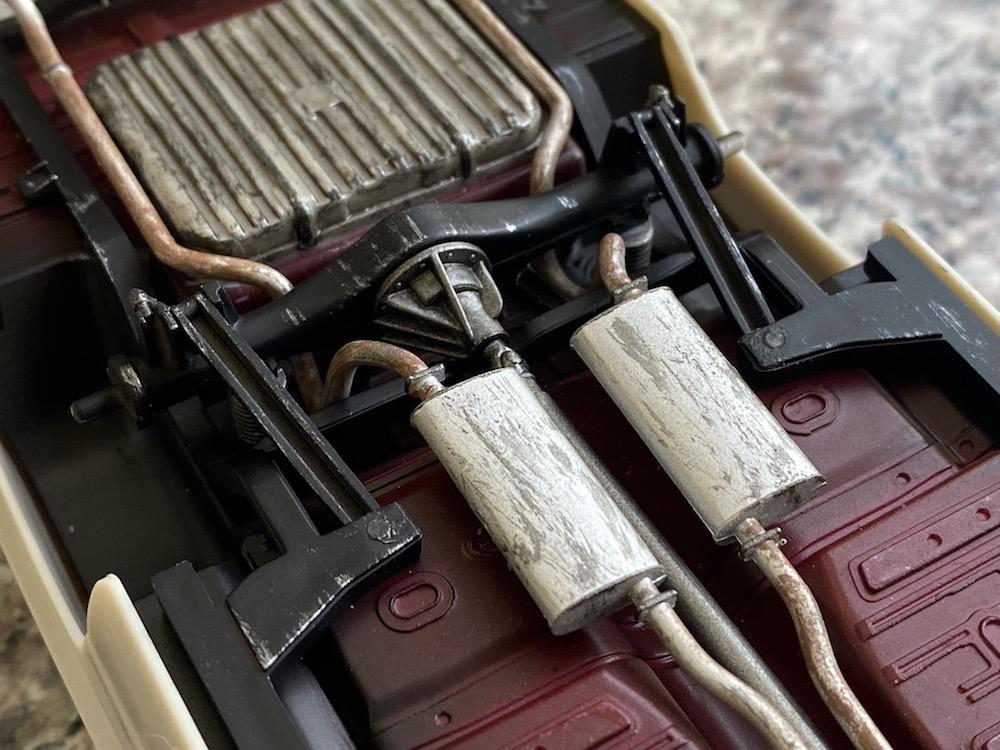
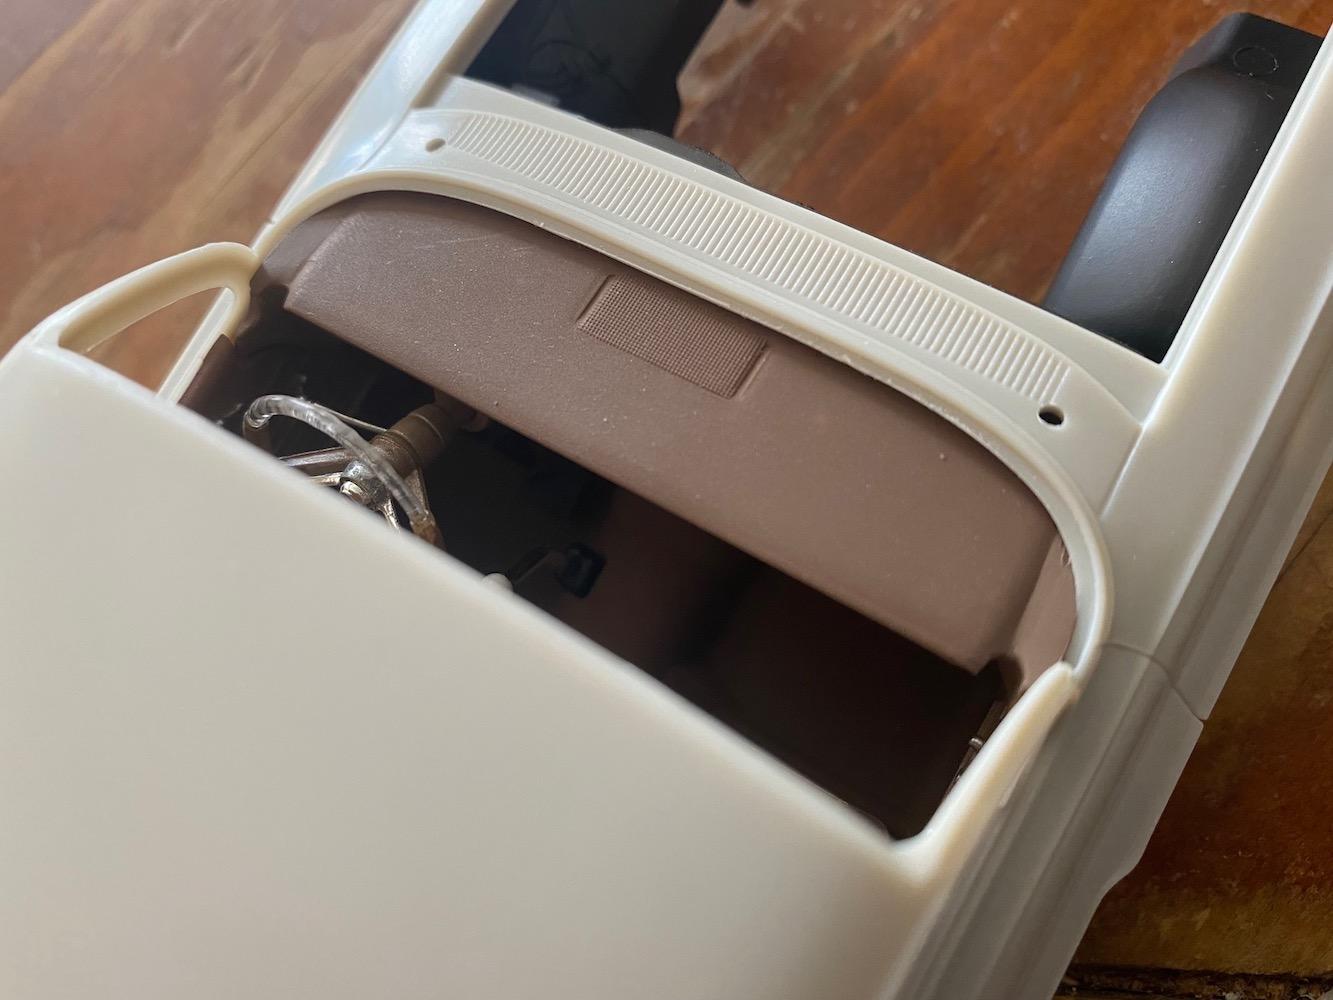
Chassis is done! it went together pretty quick, as I prepped/painted most parts during breaks in putting the interior together. I like how it turned out overall, but gas tank is too heavy handed with the weathering. I think I need to paint it a darker shade initially and then I don't have to "dirty it up" as much to make it look right. Exhaust was the most fiddly part, as usual. Instructions said to glue the frame to the pan, then glue in the engine, and then fit exhaust. I didn't realize that exhaust went underneath the transmission crossmember, and it was an extremely tight fit to cram it through there, given the bulky section that mates up with the exhaust manifold. In the first shot, you can see the body tabs in the front wheel wells that help line everything up...very slick.
-
Looking great! Perfect color for the engine, and your foil trim looks excellent. 👍 I'll have to try your Elmer's glue method at some point.
-
Neat! That extended tail will give you a few more mph down the Mulsanne Straight. So worth saving from the glue bomb (putty bomb?) pile. That tail is wonderful...I get a bit of a GT-40 Mk II feel from it.
-
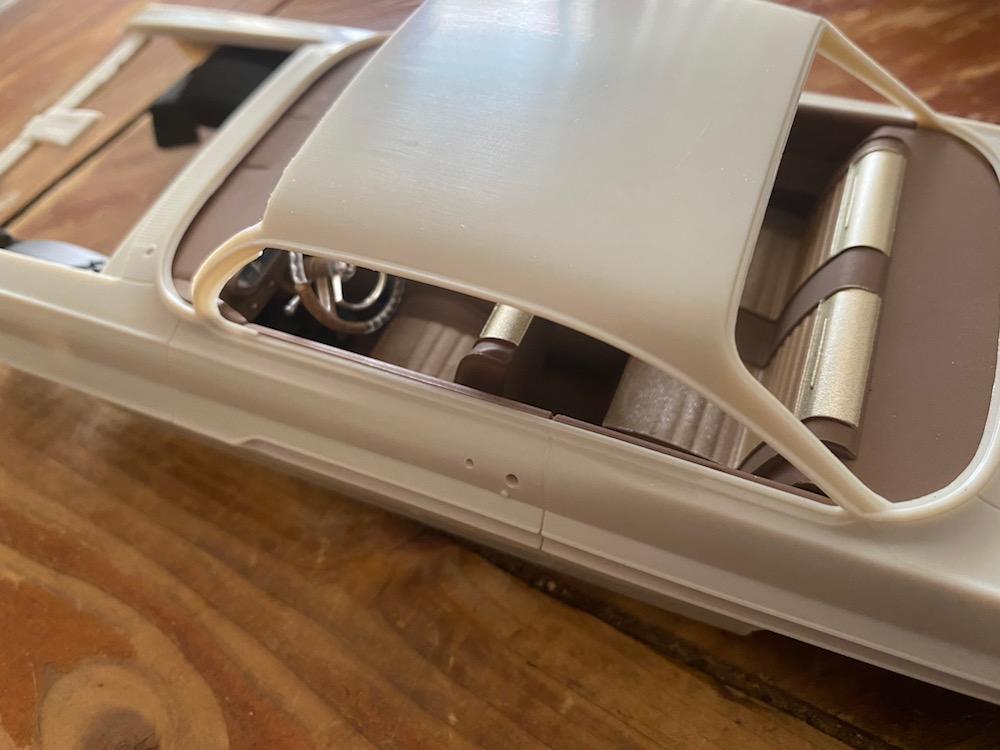
Thank you, Bill! That means a lot coming from a true master like you. Your Green Hornet build is incredible in all aspects. Roll-up windows? Killer! I have your site on my Favorites list now. I do have the benefit of being retired, so when I sit down at the hobby table, I lose all track of time and get more accomplished than I expected to. I know I have to stop and eat when the hypoglycemia kicks in, and my hands shake enough that I can't do detail painting! So I test-fit the bodyshell, and you're right about not seeing the pedals really well, so that is some comfort. I'm really impressed with the fit of the interior to the beltline of the greenhouse...a benefit of gluing the glass in from the outside. I really like this Moebius kit for the most part. You can see some very fine striations in the body panels from the mold, but these will disappear with some very light sanding and a coat of primer. Gotta love the Ventura's A-pillar.
-
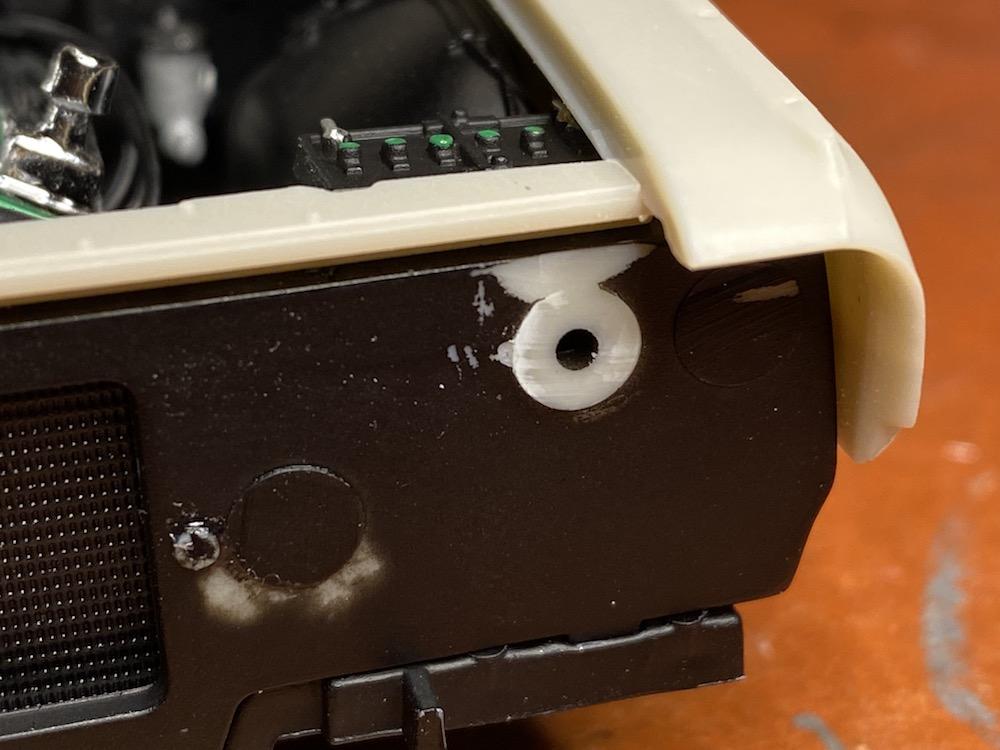
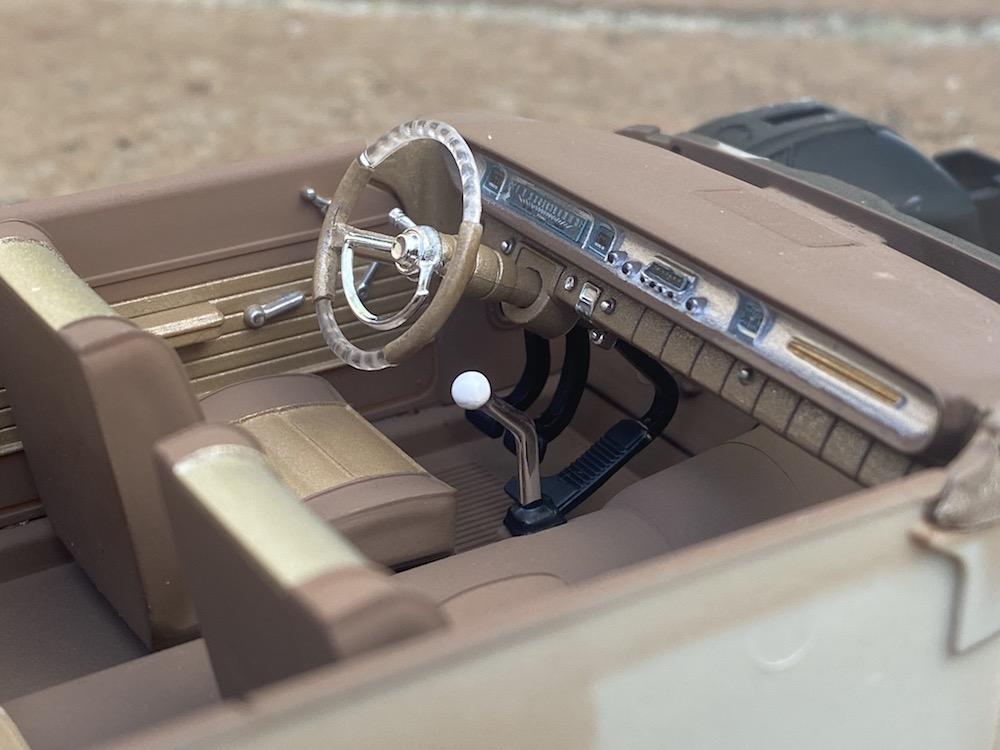
Thanks, guys! Doing the dash is my favorite part of the build. Tweezers and a magnifier are your friends, for sure. I finished the door panels this morning, painted the handles, etc. and put it all together. A couple of observations: Man, the pedal cluster is way out of scale!! It also extends too far toward the seat, something that's really apparent when you assemble everything. Some of you building the kit may want to scratch-build another cluster, or modify the existing one. I think just cutting 25 percent off the bottom of the throttle pedal, and maybe heating/bending the brake and clutch backward would help. Oh well, pedals are not all that obvious when the model is completed. Also, if you anchor the steering column to the little circular recess on the firewall, the steering wheel angle is too shallow., VW Microbus-like. I moved the anchor point to just above the recess, and I think it looks better. On to the chassis!
-
Nice! Cop car wheels play well with the Cuda, for sure. Maxx, Donut Derelicts is certainly a great show. I need to get down there again; it's such a cool and diverse mix of cars.
-
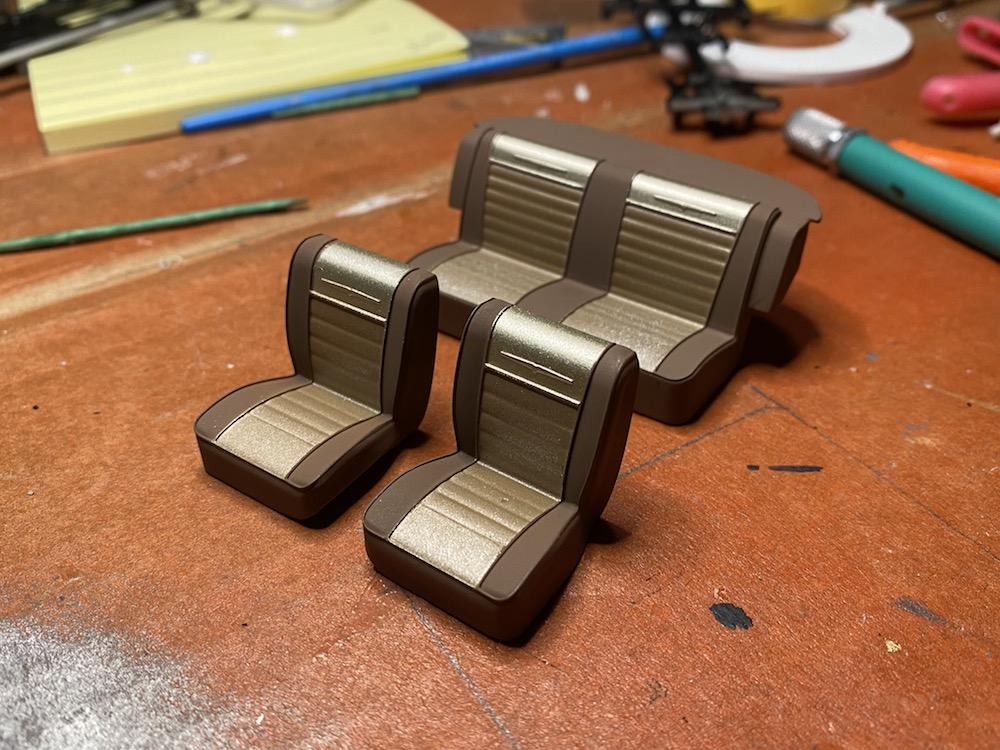
Must've cleaned out the airbrush 6-7 times this afternoon, but I got the seats and dash done. I shaved the raised border on the lower seat cushions because I wanted the center section here to be all one color. Dash is tri-color too, the silver being airbrushed Testors enamel. For gauges, I left the backing on the decals, cut them out and glued them in place with canopy glue. I find it much easier to handle them with the backing still in place.
-
Yeah, what Bob said. A very cool shade of blue I haven't seen before. 👍
-
Good choice. Looking forward to your progress.
-
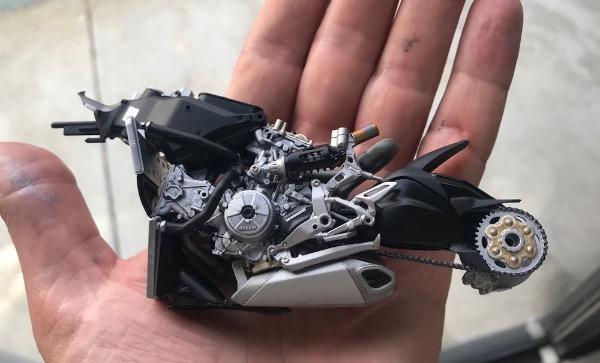
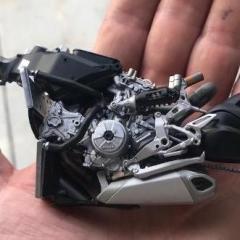
Good lookin' mill! Me gusta los blue plug wires. 👍