rightrudder
-
Posts
300 -
Joined
-
Last visited
Content Type
Profiles
Forums
Events
Gallery
Everything posted by rightrudder
-
AMT 1955 Chevy Bel Air Restomod Creamsicle. (Pic heavy)
rightrudder replied to Dragonhawk1066's topic in Model Cars
Love it! I really like the last few photos with low light and shadows. Killer diorama. -
Nicely done! I like the brown...reminds me of my dad's 1973 Mercury Marquis. Slot mags, gotta love 'em.
-
Thanks for the post. I just bought a $17 Foose Impala kit and some supplies.
-
Nice! Great color choice...unconventional but it works super well.
-
Looks good! Are those the kit wheels? They give it a clean look. Excellent plan about not rushing; just adopt the mind set that you're not on a schedule to complete it. Easy to say and hard to do...often I work into the wee hours on my latest kit and my mind is fried, and that's when I make mistakes. Do lots of dry fits of body to chassis before paint.
-
Metallic Blue '62 Bullet Bird...locked and loaded!
rightrudder replied to rightrudder's topic in WIP: Model Cars
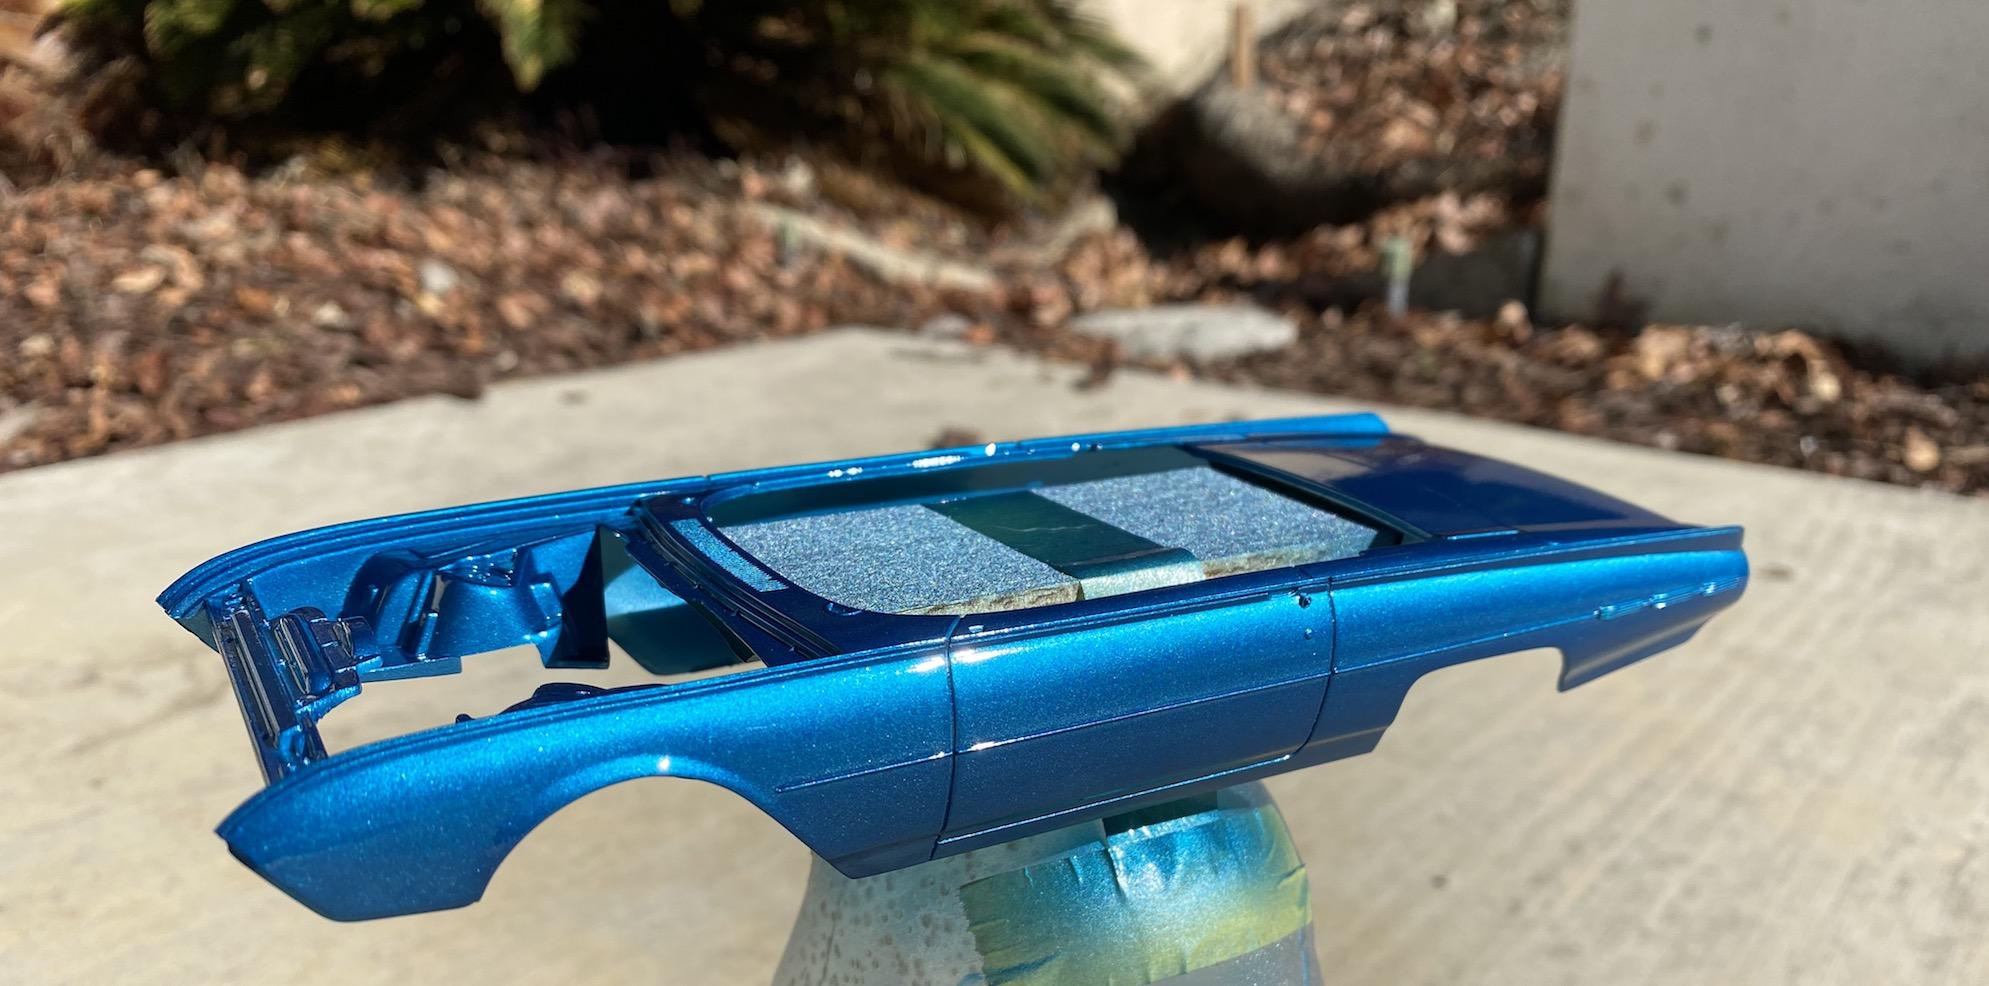
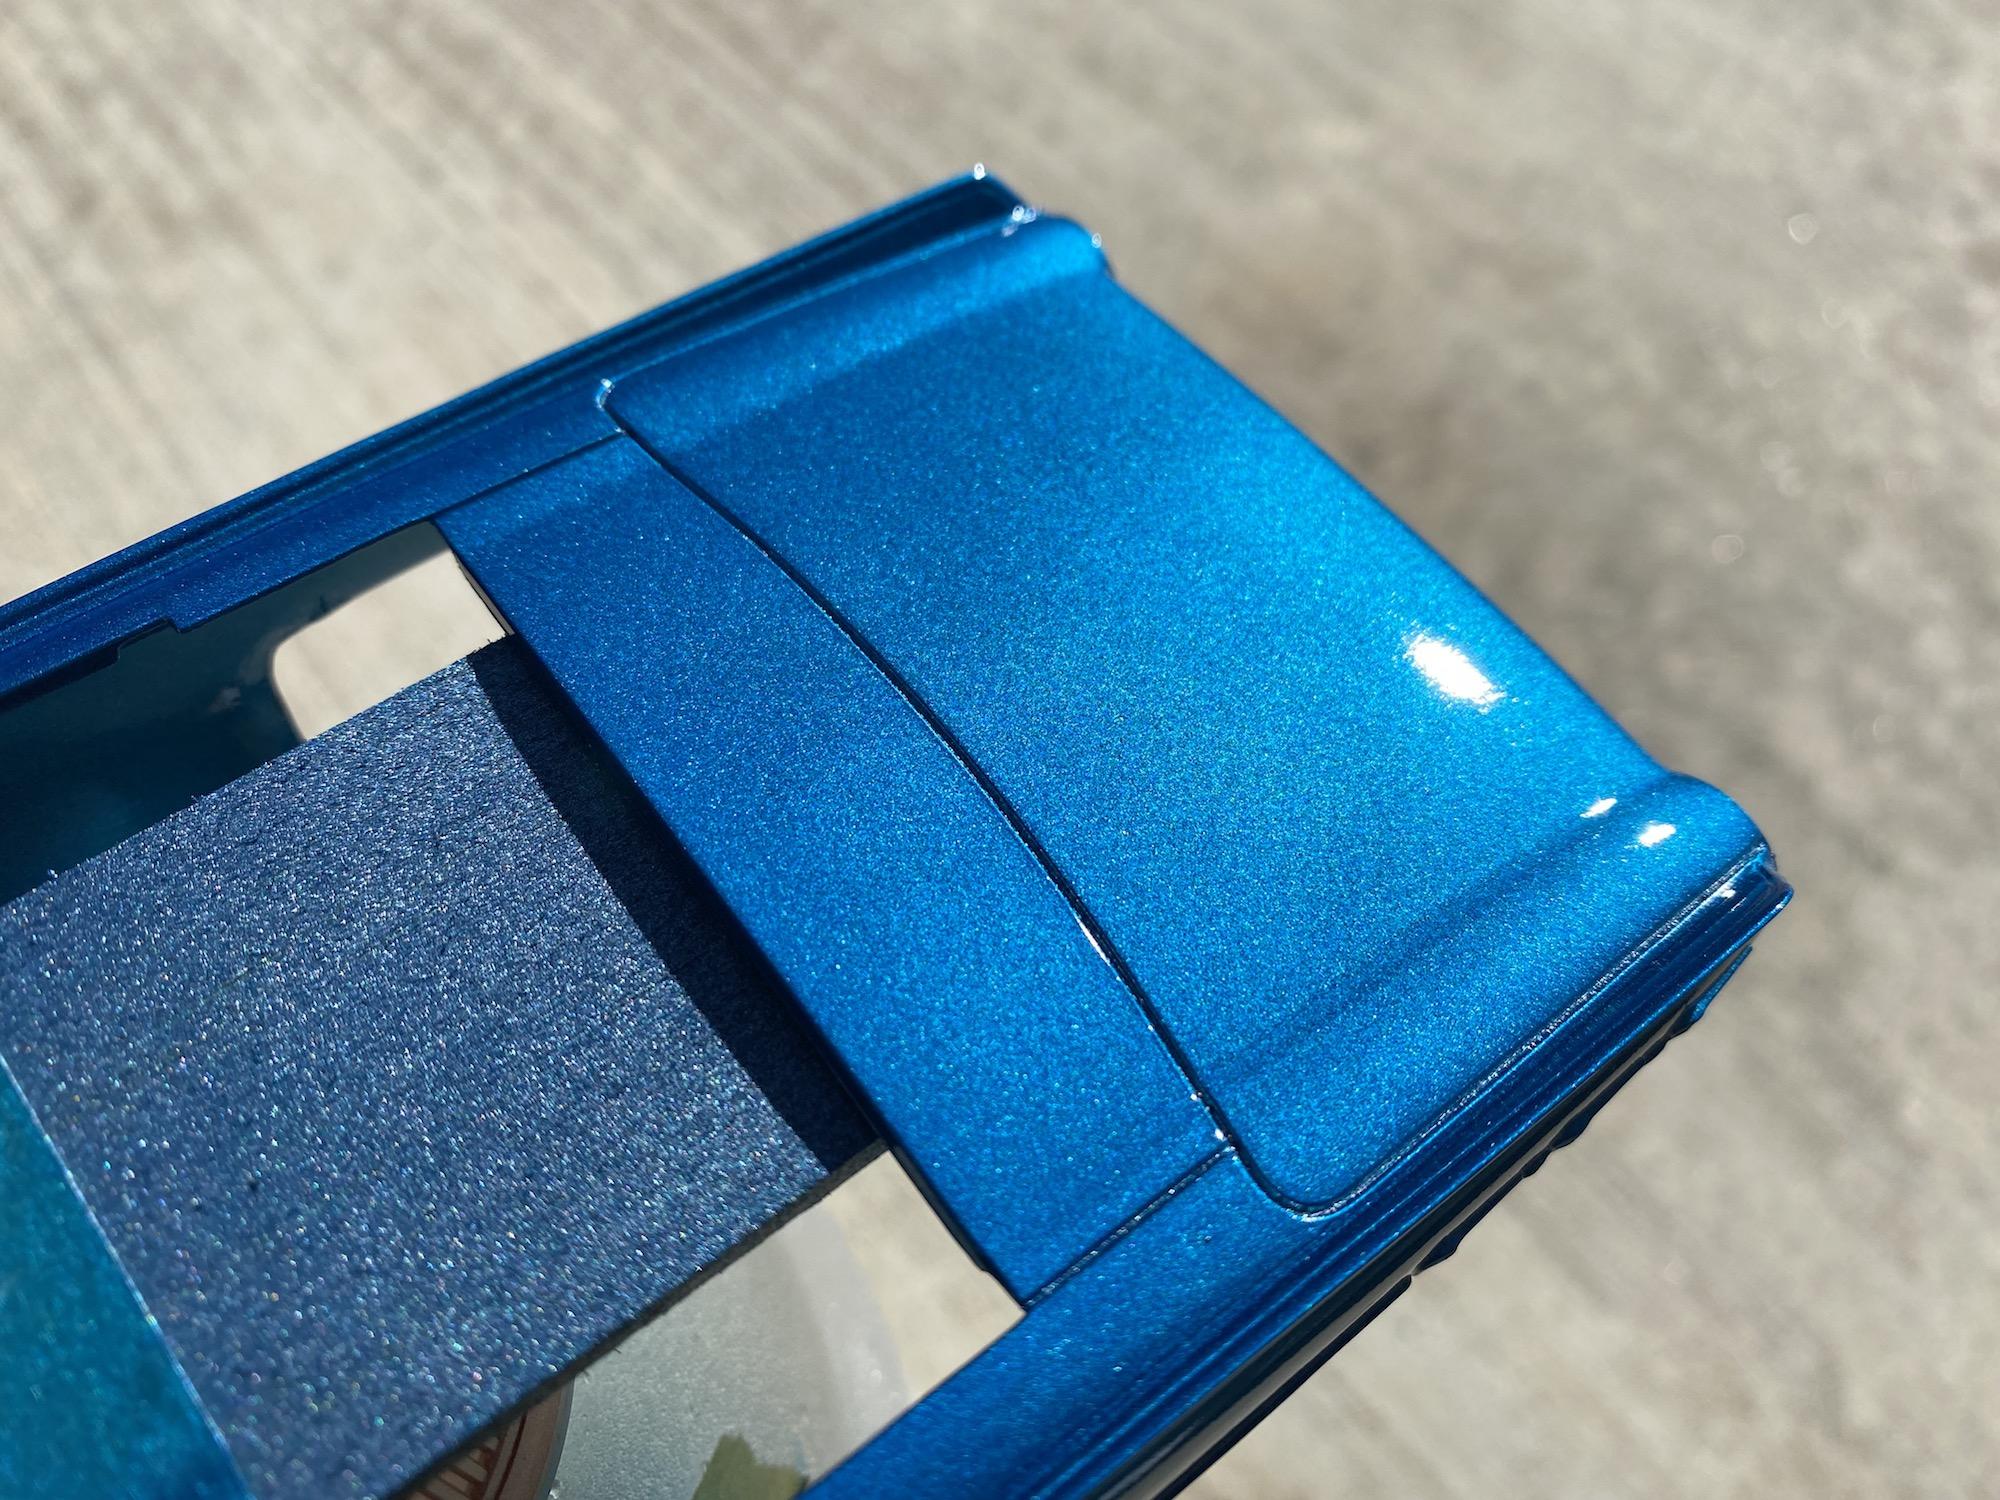
Thanks, Ray! Got the clear coat on today, one mist coat, one wet coat and one super wet coat. The clear really deepens the blue, exactly what I had hoped for. The body itself has very few flaws, but the biggest one is a small bulge on the cowl, on the right side between the wiper attachment point and antenna. You can't see it in these photos...just wanted to give a heads up to future builders who might want to shave or sand it down. The panel lines are pretty deep right out of the box, though I did some light scribing.
-
Excellent finish! Mesh in the vent openings looks super cool.
-
Kits with air conditioning
rightrudder replied to Theo's topic in Model Building Questions and Answers
I'll add the AMT 1962 Thunderbird Convertible. The kit has the compressor and styrene hoses.
-
Metallic Blue '62 Bullet Bird...locked and loaded!
rightrudder replied to rightrudder's topic in WIP: Model Cars
I went ahead and sprayed it, and spent time between coats deflashing the wheel knock-offs (tedious!). It turned out great! There's just one minor booger in the hood, so when that fully dries I'll sand it off very gently and apply one last coat, but the body is done. Mr. Hobby clear for tomorrow. Fortunately, good painting weather is forecast.
-
I like it. Nice gloss!
-
Looks great!! Bold choice on the green shocks...looks just right. Having done the T-Bird chassis, I can fully appreciate the work that goes into cleaning up the mold seams on the exhaust alone!
-
Metallic Blue '62 Bullet Bird...locked and loaded!
rightrudder replied to rightrudder's topic in WIP: Model Cars
Thanks guys! Just shot the mist coat on the bodywork this morning. With Tamiya acrylic, do you think an hour between coats is sufficient? My plan is to shoot all base coats (maybe three total) today, then shoot the clear tomorrow. Ordered a Molotow chrome pen to touch up the edges of the bumpers where I had to trim away some light flash. -
Metallic Blue '62 Bullet Bird...locked and loaded!
rightrudder replied to rightrudder's topic in WIP: Model Cars
One more observation about the kit...the hood didn't fit quite right, and it turns out that the right edge where it meets the body is noticeably thicker than the left. I don't really care about the detail on the underside of the hood, so I just started carving and sanding away on the right side. Fixed! -
Awesome...thx, will pick up a can for future stuff.
-
Polishing base coat before clear?
rightrudder replied to rightrudder's topic in Model Building Questions and Answers
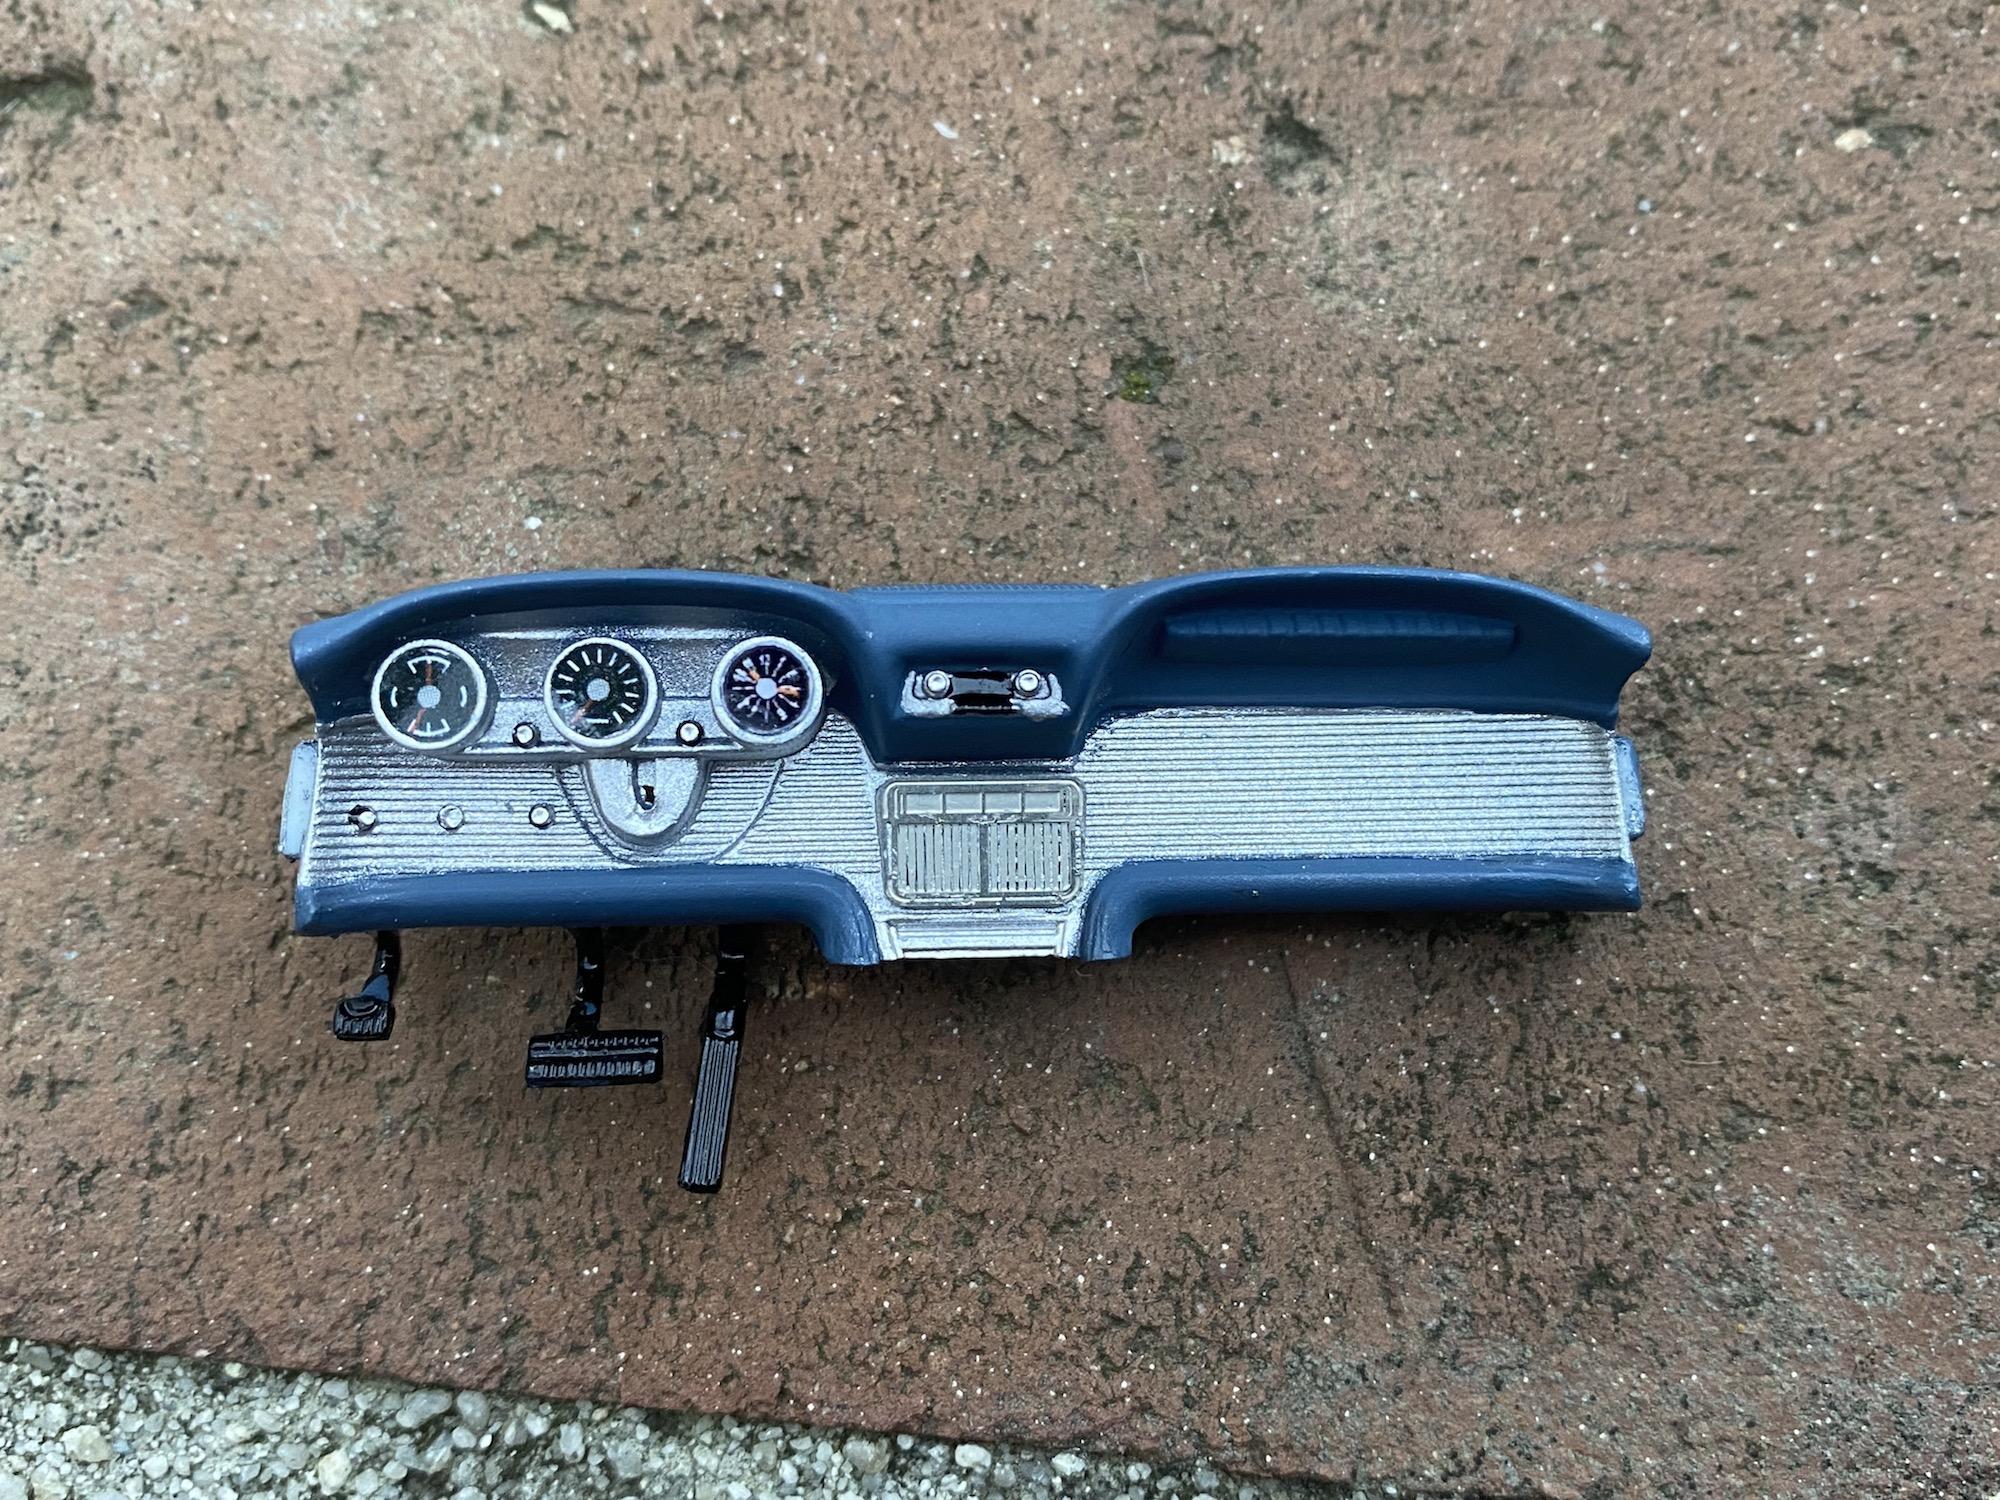
Hey Dusty, Thank you for the specific info on your chroming process. I might try that with both the wipers and the vent windows, as they're the biggest offenders. I might try to san the vent window clear plastic down to 1/3 thickness and re-polish, as the thick plastic looks a little clunky. On the gauges, I basically removed the center nubs off the faces, and the decals laid down nice. Make sure you precisely trim the decals to remove all the surrounding clear part, right down to the black circles, so the decals will sit inside the hoods. I messed up the clock decal, and used a photo-reduced one with paper backing, but it matches pretty well. I'm still mulling over the side trim, I might shave it as you're planning to do. I'm a noob at BMF so the fender-peak trim will be hard enough! -
Metallic Blue '62 Bullet Bird...locked and loaded!
rightrudder replied to rightrudder's topic in WIP: Model Cars
Thanks, guys! I totally appreciate the encouragement. She's a roller now. ? Too tired to post photos, but the stance is just a tiny bit nose-high for my liking. Don't get me wrong, as I think these 'Birds look proper with a little reverse rake. I didn't want to use the optional lowered spindles because I didn't want it too slammed. I may fiddle with the stock spindles toward the end, but it looks good...but not ideal. I think when I paint the wheel wells black it will look lower without all that white plastic showing. Big word of caution when you get ready to fit the wheels. Rears go onto the axle fine, but fronts are really snug. So pre-fit the wheel retainer pieces to the spindles & rear axle and sand/shave things as necessary before you put them inside the wheels. If you have to push too hard, the spindles pop out of the suspension arms and you fear you might break something. Very fiddly and frustrating! Did another dry fit and things are looking good. Need to shave the top of the firewall just a little for body to fully seat as it should. -
Metallic Blue '62 Bullet Bird...locked and loaded!
rightrudder replied to rightrudder's topic in WIP: Model Cars
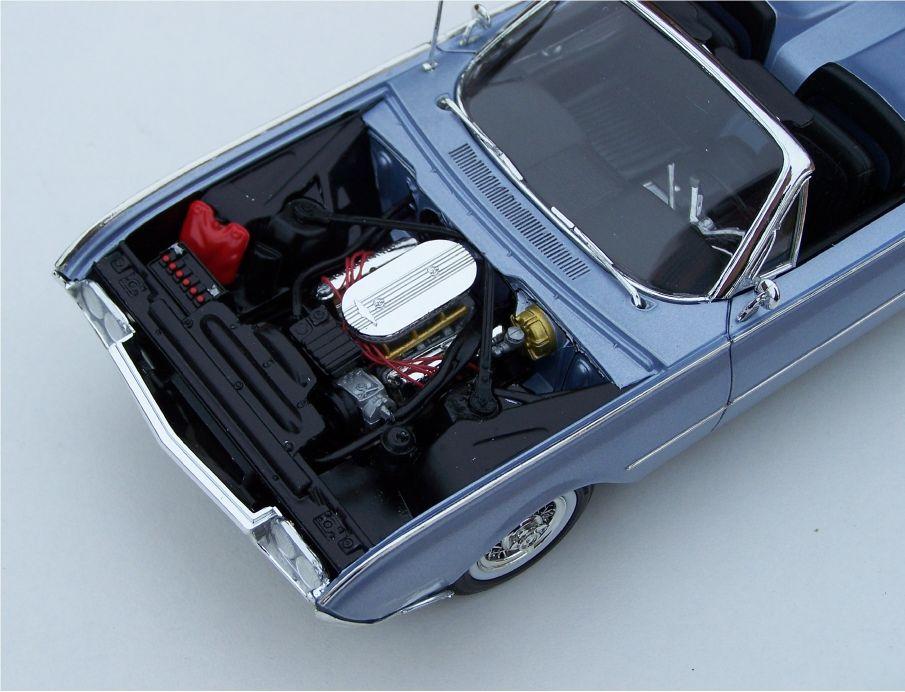
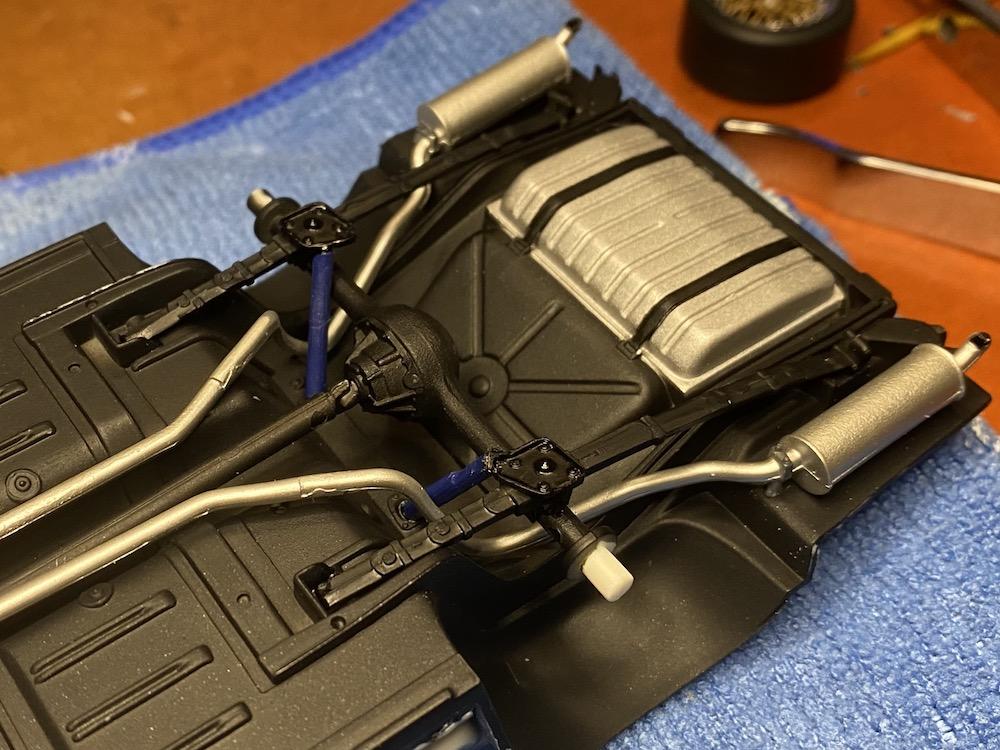
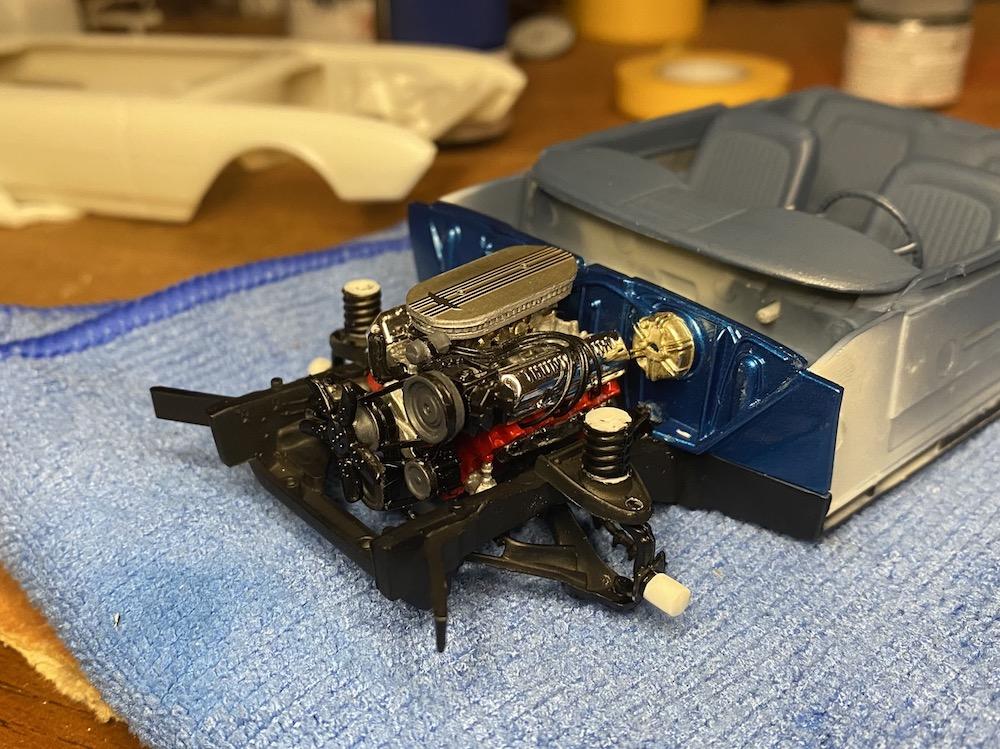
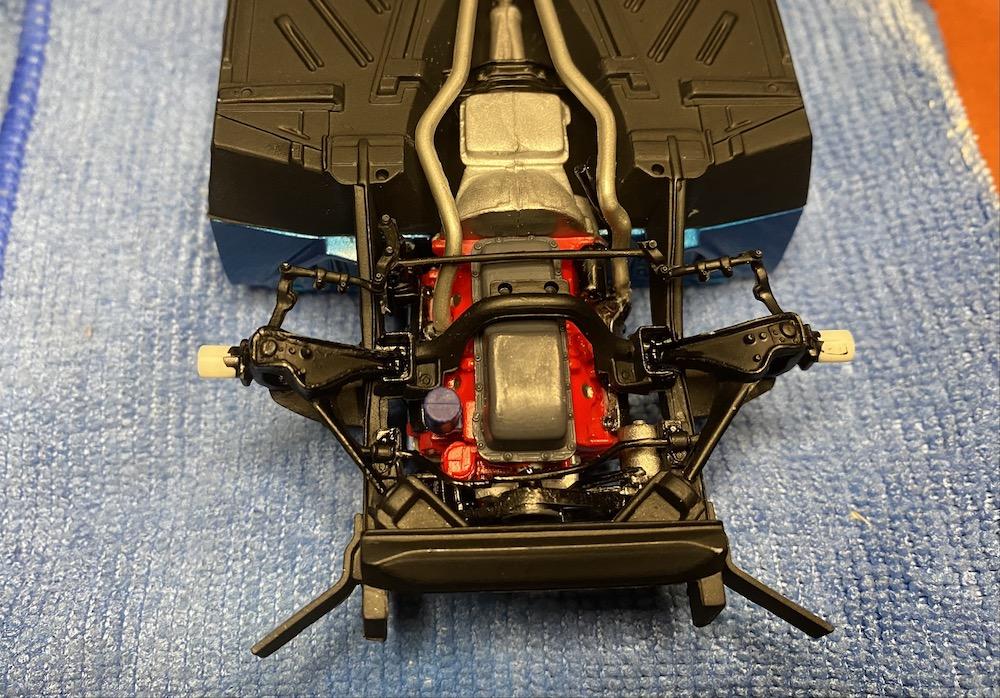
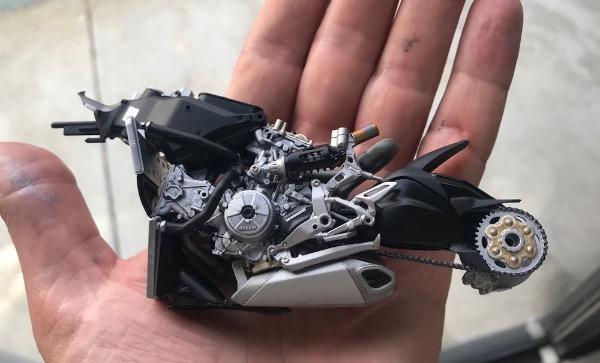
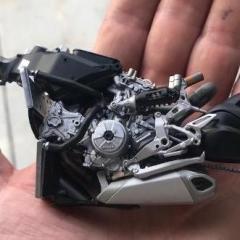
Well, I managed to lose one of the shocks, and I couldn't find it after a thorough search. But a toothpick is about the right diameter, so I made a couple and painted them. But here's the problem: shock brackets on the leaf springs lead you to believe it's a staggered setup, i.e. one in front of the axle and one behind. But upper attachment points don't really work with this idea. Maybe I'm doing it all wrong? So I shaved the attachment ears off the brackets and glued the shocks in like so. Good enough for me! Here's the engine installed. A shame that the engine bay is so tight that you can't see a lot of the engine detail on the finished model. I shaved the pins on top of the coil springs. They locate with holes in the body shell, but it's difficult to get them aligned right, and the body already locates super solidly on the frame rails just forward of the engine. Here's the underside. After about 17 attempts to re-glue the broken anti-roll bar, I may just cut it off. If not having it bugs me, I might make another out of piano wire. The piece that comprises the lower control arms, anti-roll bar and steering linkage is the most fiddly, fragile part of the whole kit. It was a race to get the spindles fit and everything aligned before the glue dried. The engine just kinda "floats" on two pins between the freeze plugs on the block, and have no real corresponding holes. It works pretty well, as it's attached by the transmission mount, driveshaft and exhaust system.
-
Thanks for giving us that tutorial...excellent results! Nice to have several different ways of doing chrome.
-
Looks great! The Challenger really is one of the cleaner muscle car designs, IMO, and it oughta really pop in mango orange. What paint/color did you use for the exhaust manifolds? They look just right.
-
Polishing base coat before clear?
rightrudder replied to rightrudder's topic in Model Building Questions and Answers
I'm glad I'm experimenting a lot, because when spraying the firewall, the metallic blue with Mr. Hobby leveler turned out far more silver than desired. I thought, is the paint going bad? But then I reshot it with IPA as a thinner and I got the rich blue that I wanted. Interesting that a thinner can affect the color that much...probably just a metallics thing. Probably lays all those flakes down flat where they become more effective at reflecting light. So, Mr. Leveler reserved for non-metallics, and I can use el cheapo IPA for now. -
Metallic Blue '62 Bullet Bird...locked and loaded!
rightrudder replied to rightrudder's topic in WIP: Model Cars
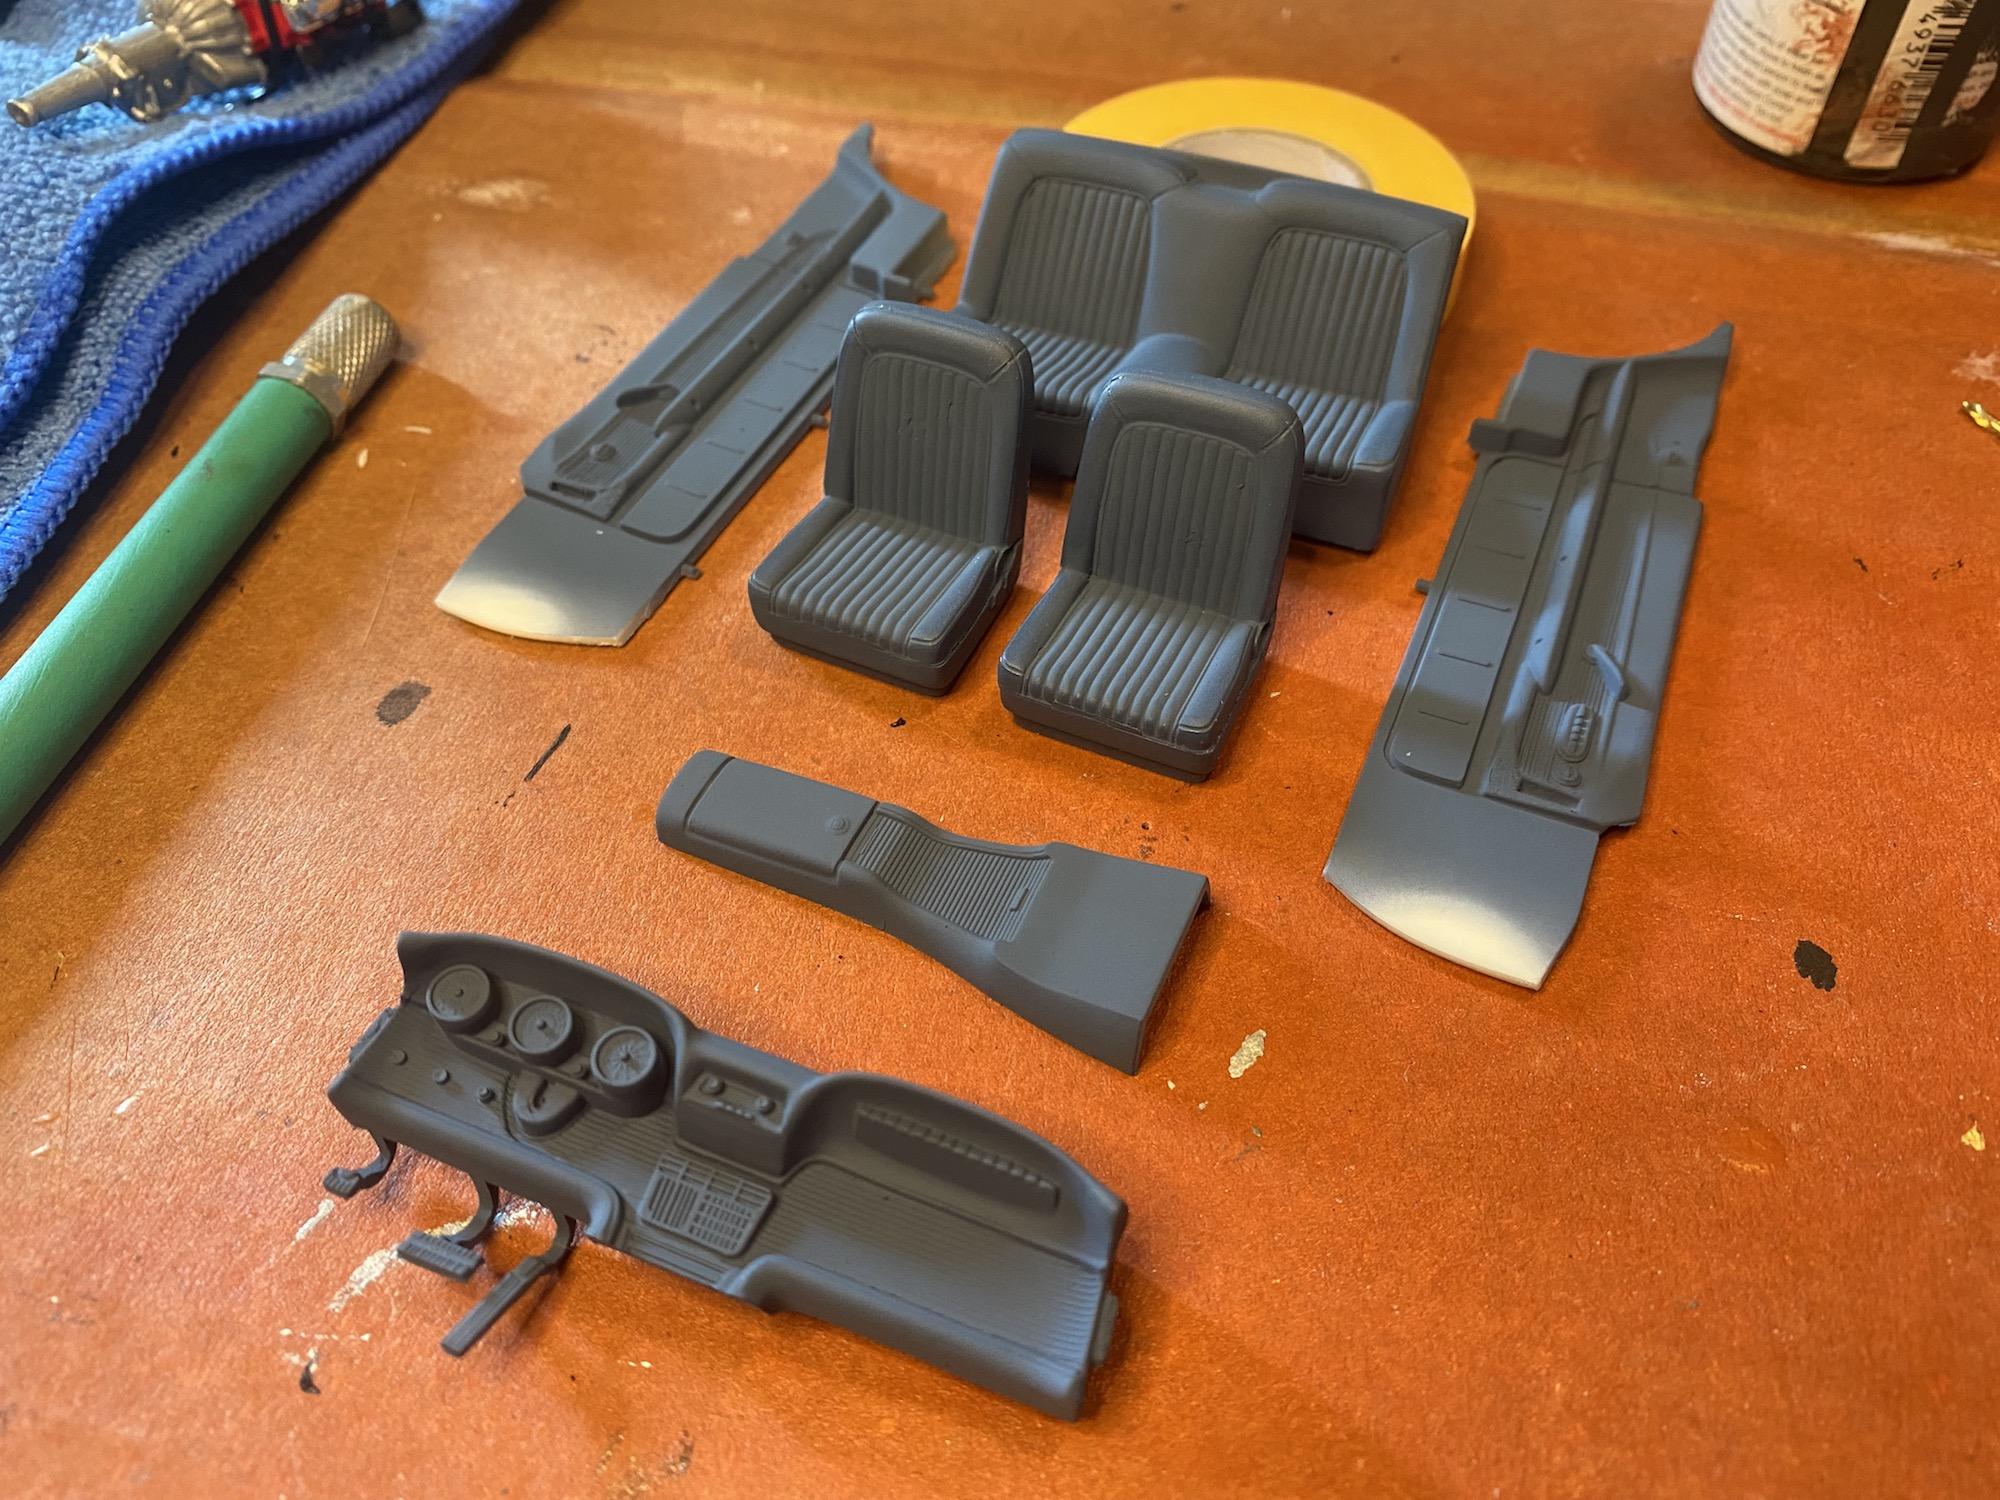
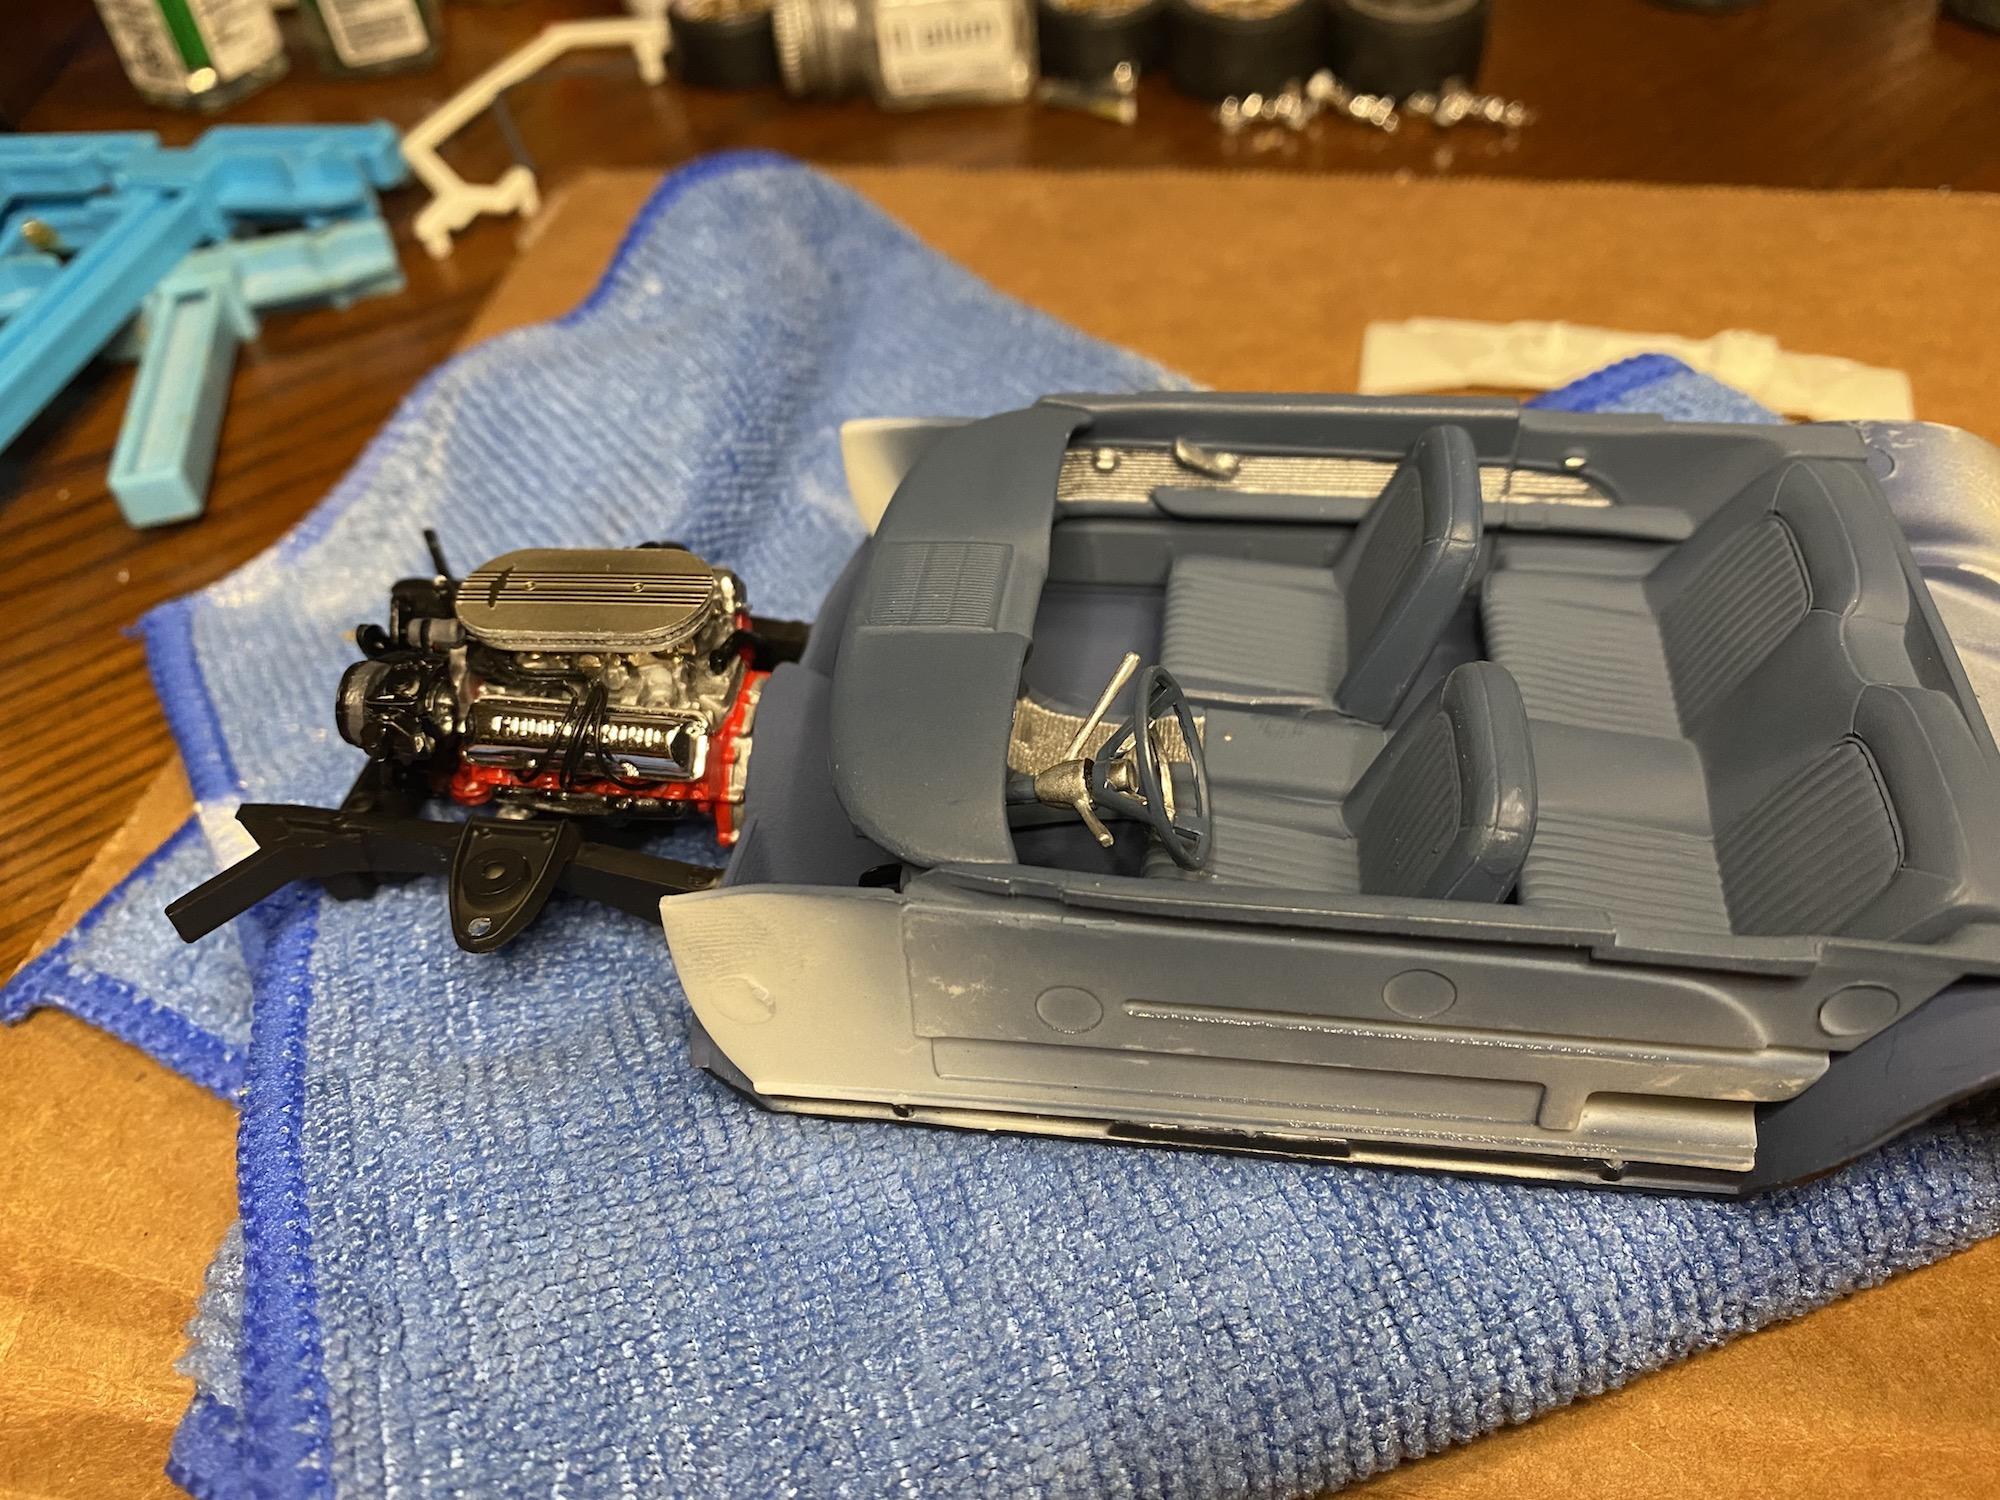
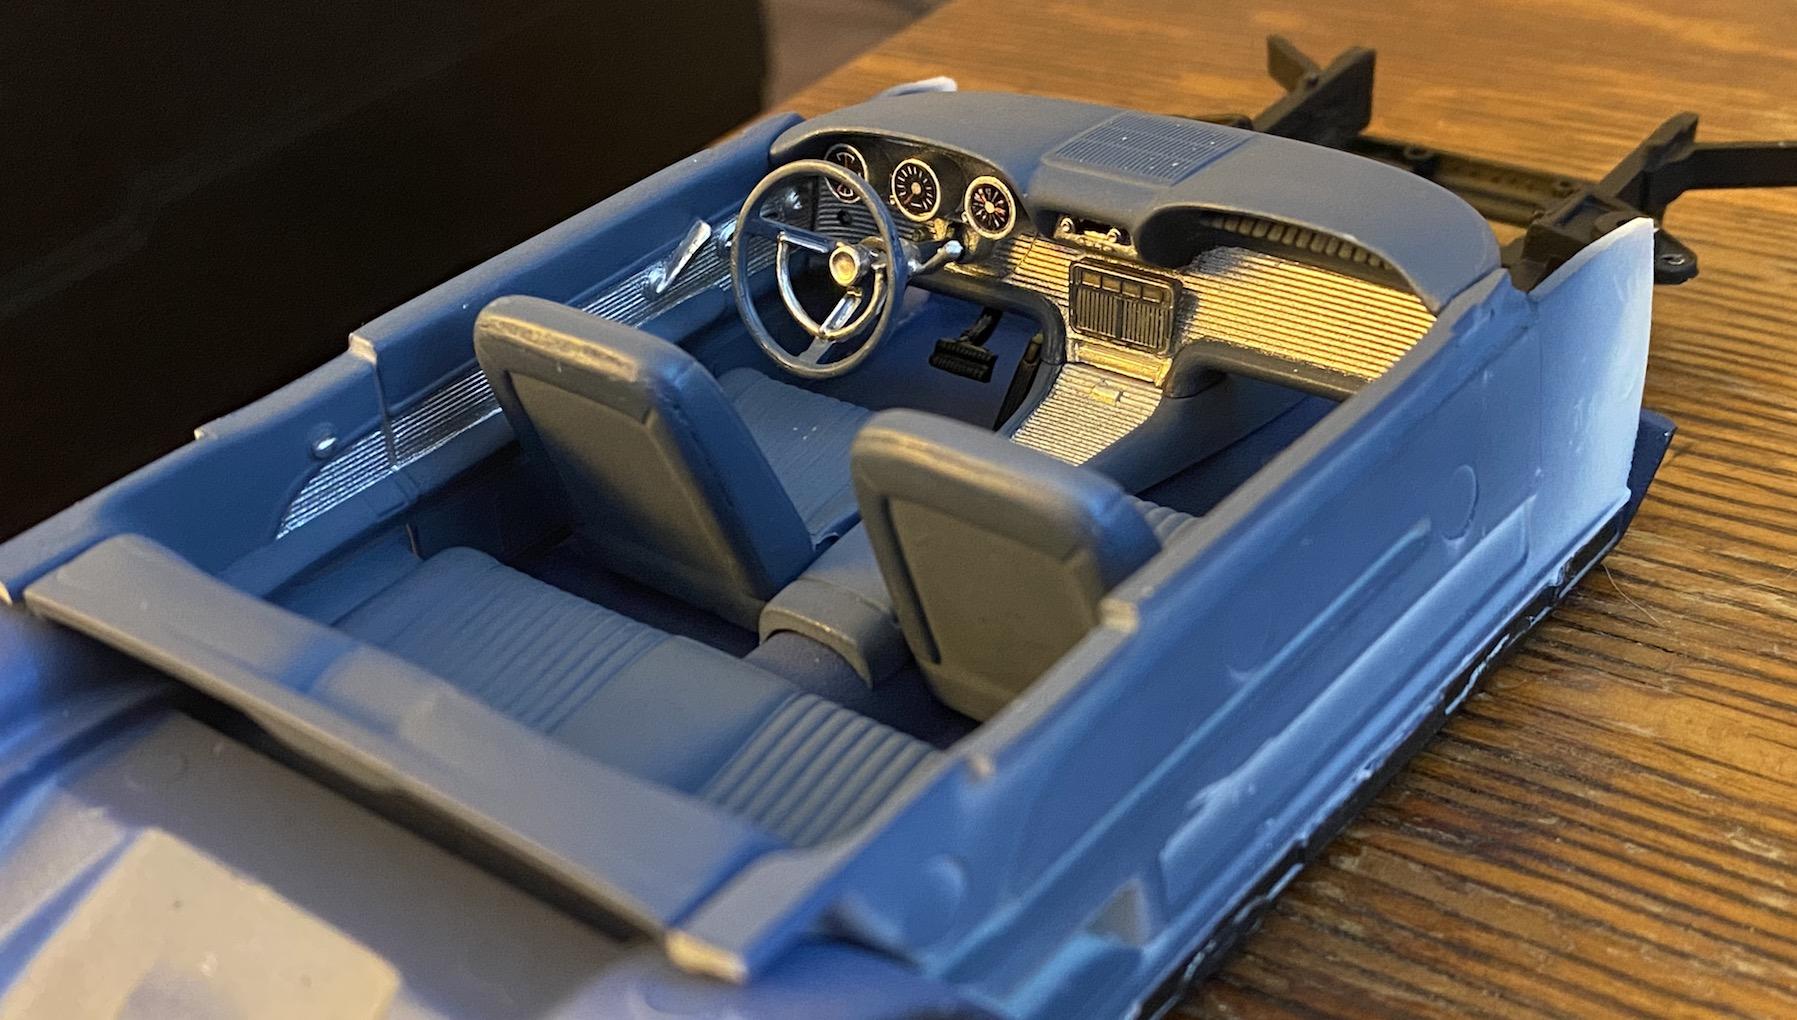
Thanks, Carl! I've made a lot of progress...finished up the interior and I'm starting on the chassis. Lost one of the rear shocks...grrrr!...so after spending 30 minutes on my hands and knees looking for it on the carpet, I gave up and made some out of toothpicks and bits of styrene. I posted some interior shots on another thread, but I'll repost here to keep all the build photos together.
-
Polishing base coat before clear?
rightrudder replied to rightrudder's topic in Model Building Questions and Answers
Thank you, Chris! I'm totally pleased with it. Great advice on not sanding the metallic...these Tamiya acrylics are wonderful and easy to work with, but they scratch easily until you apply the clear coat. The Mr. Hobby clear dries hard as a rock. I'm gonna apply the base coats to bare plastic, as the primer changes the color too much, so I'll just have to live with any imperfections in the plastic. I'll sand the bodyshell thoroughly with 1000 grit, which should help. Dusty, I hear you on the thick chrome! I couldn't even identify the wipers as wipers until I studied the instructions. I'm with you on the skirts...I'm leaving them off. The car just looks right without them and it shows off the wire wheels better. My bumpers are OK; the rear one is actually pretty nice, but the outboard ends for the front one splay out a bit. I think I'll soak it in hot tap water and see if I can bend it in a little. I might try covering the ends with BMF, as they look a little scratchy. What do you use to dechrome and rechrome? Making good progress. Wow, when you zoom in it really brings out the flaws. Soft, diffused light is your friend! I'm really digging the blue/gray interior color, and I'm using the PE parts sparingly...just the HVAC grille on the conter console. Will use a few more of them in the engine compartment. The set comes with a full set of aluminum interior inserts, but it looked too hard to shave all the door handles, etc. to install them, so I went with Tamiya chrome acrylic instead.
-
Metallic Blue '62 Bullet Bird...locked and loaded!
rightrudder replied to rightrudder's topic in WIP: Model Cars
Glad I could help! -
Metallic Blue '62 Bullet Bird...locked and loaded!
rightrudder replied to rightrudder's topic in WIP: Model Cars
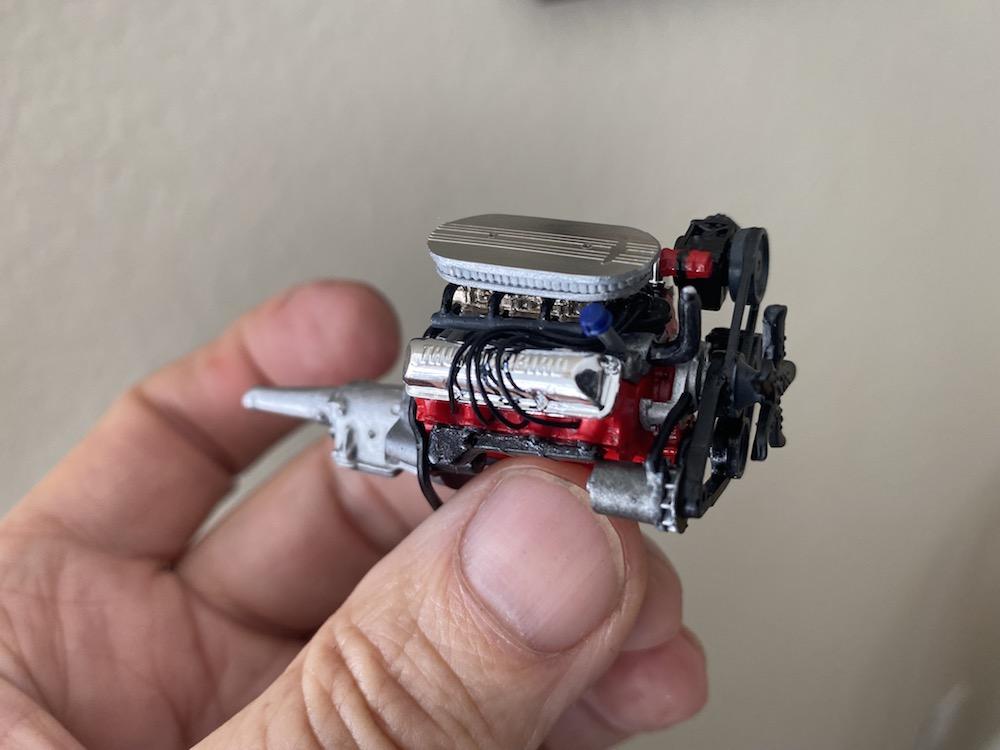
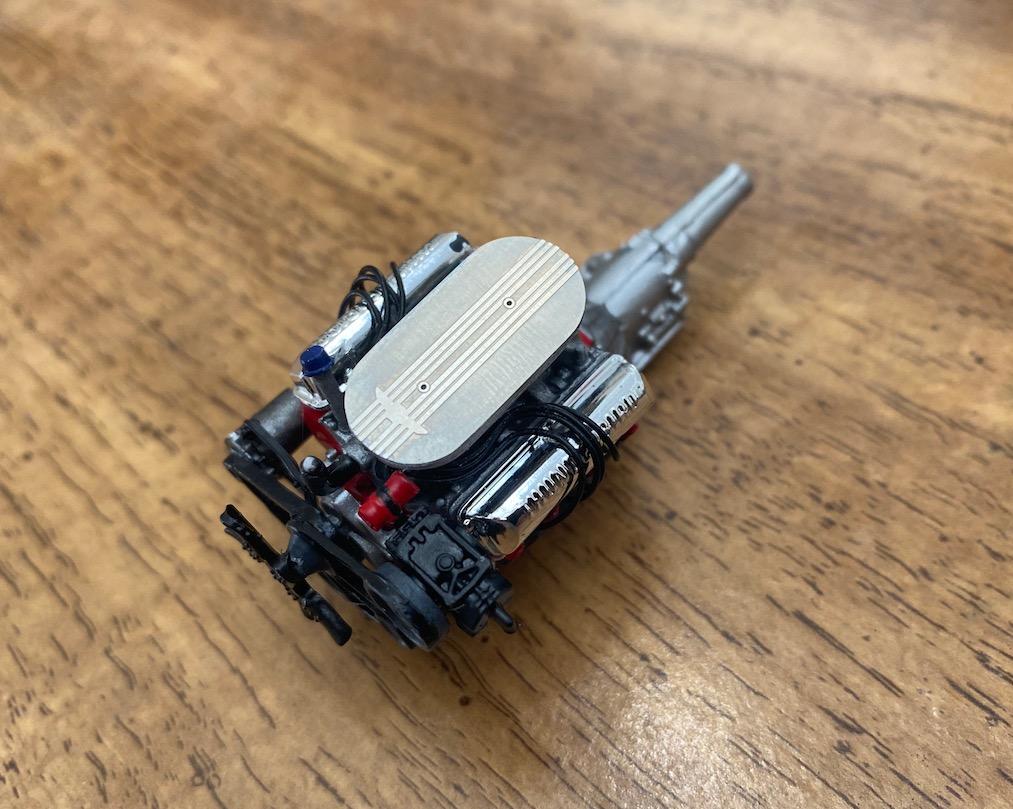
More progress. Got the mighty mini 390 done and the plug wires turned out well. Ignition coil in red is a little too loud, so I'll probably repaint in a different color. PE parts came in and I love the airbox top. Still need to add the PE T-bird badge to the front. Man, is that piece small! I'm glad I got a magnifier setup before this build. On to the chassis and interior.
-
Looks great, and your dash is a freekin' work of art. Gonna tackle the dash on my own project in a few days, so consider me inspired! Also looking forward to the Green Stuff treatment for your trim. I bought some BMF but haven't tried it before, and there's a lot of anxiety that I might mess up an otherwise nice model..