rightrudder
-
Posts
300 -
Joined
-
Last visited
Content Type
Profiles
Forums
Events
Gallery
Everything posted by rightrudder
-
Metallic Blue '62 Bullet Bird...locked and loaded!
rightrudder replied to rightrudder's topic in WIP: Model Cars
Thanks!! Here you go: I thinned the metallic blue 1:1 with 70% IPA. I tried a test with Mr. Hobby Leveling thinner, but the color turned out way too silvery, so I went back to good 'ol rubbing alcohol. I applied 3 base coats with 45 minutes between coats, and let it dry for one day (70 degrees F high temp) but I think in the future I'll let it dry for 2-3 days before spraying clear. Don't go too wet on the clear coat; mist coat, and then 2-3 medium coats. I did a little bit of hand polishing with Meguair's Ultimate Compound, but if you were to take the time to machine polish I bet it would be super glossy!
-
Thanks guys! Now the fun part...thinking about what to build next.
-
Super nice Corvair, and I love the color choice. I'm using Tamiya acrylic metallics too, and you're so right about waiting for it to cure before clear. On my latest project, I got good results for the hood and body after a 1-day cure, but on a third piece I hit it with a way-too-wet coat of clear and it lightened the color somewhat. The acrylics make up for the long wait with their ease of use, and airbrush cleanup is far easier. They go on smooth!
-
Fun! You nailed the fake wood siding. ?
-
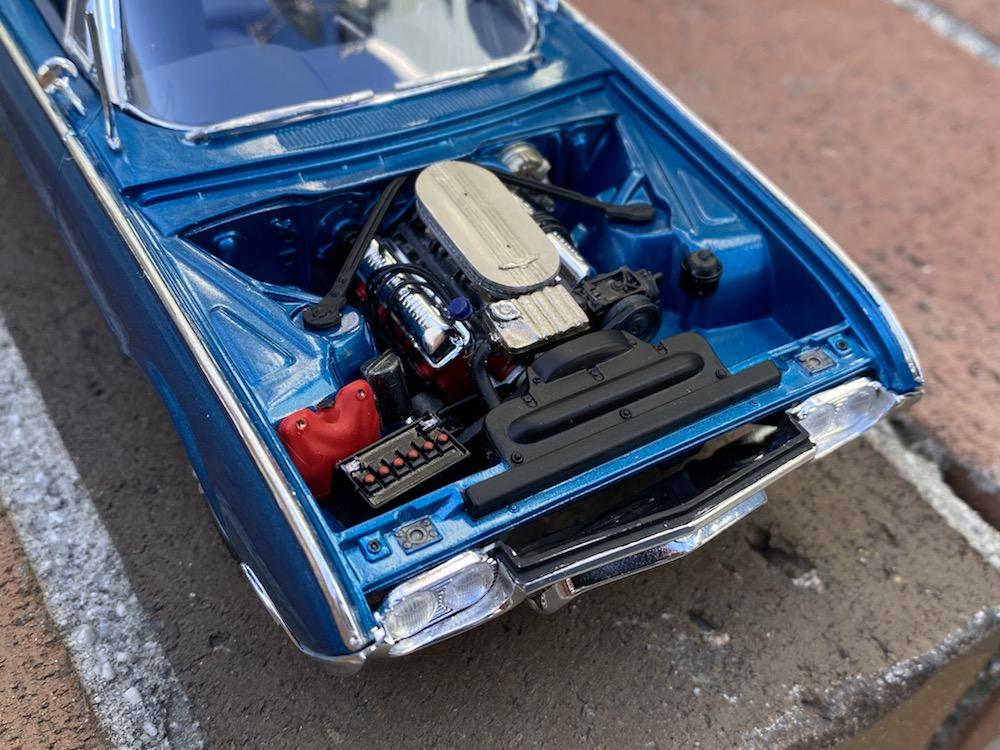
Stunning! That paint is glass smooth. Another request for engine shots, please.
-
Thanks, guys! It was a pleasure to build...certainly a bit harder than the Tamiya stuff I'm used to. The parts on these AMTs need a little more "persuasion" to fit together sometimes.
-
Metallic Blue '62 Bullet Bird...locked and loaded!
rightrudder replied to rightrudder's topic in WIP: Model Cars
Thanks! I appreciate it! I just posted some shots in Under Glass. -
Metallic Blue '62 Bullet Bird...locked and loaded!
rightrudder replied to rightrudder's topic in WIP: Model Cars
Thanks!! -
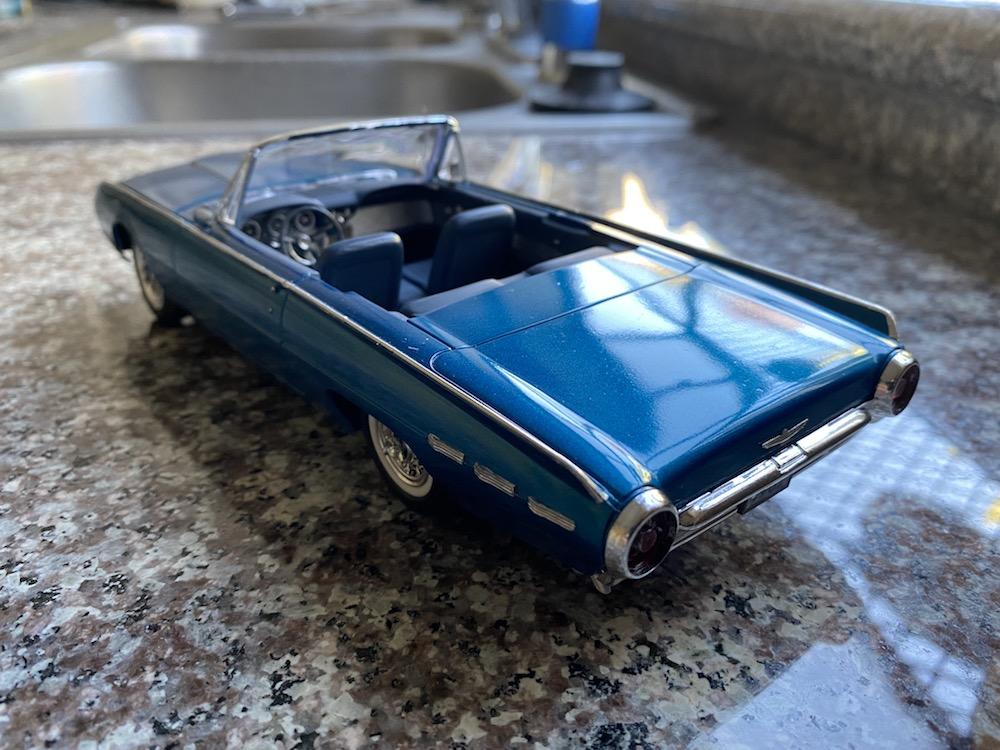
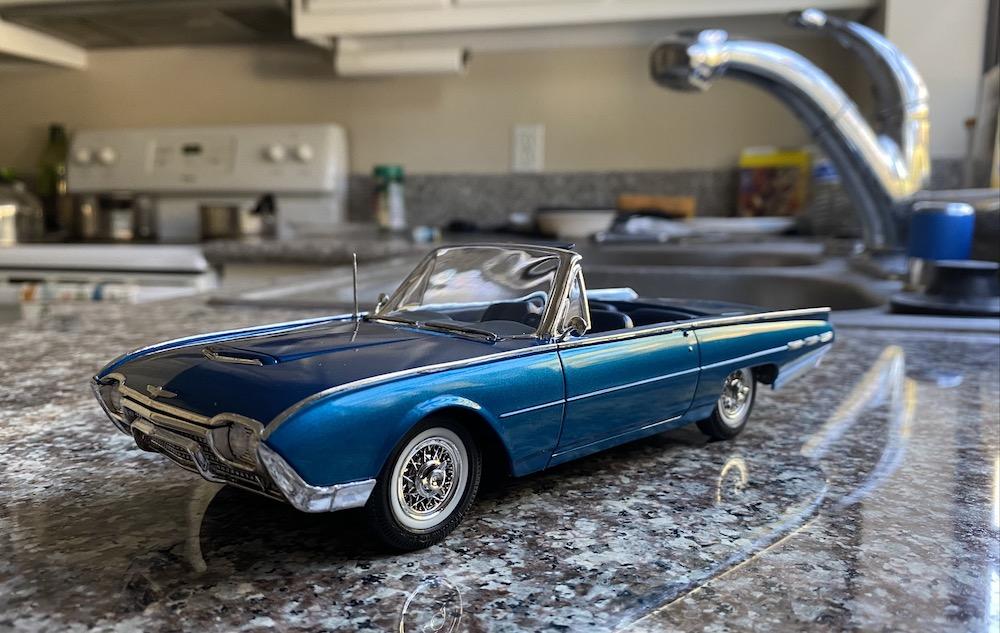
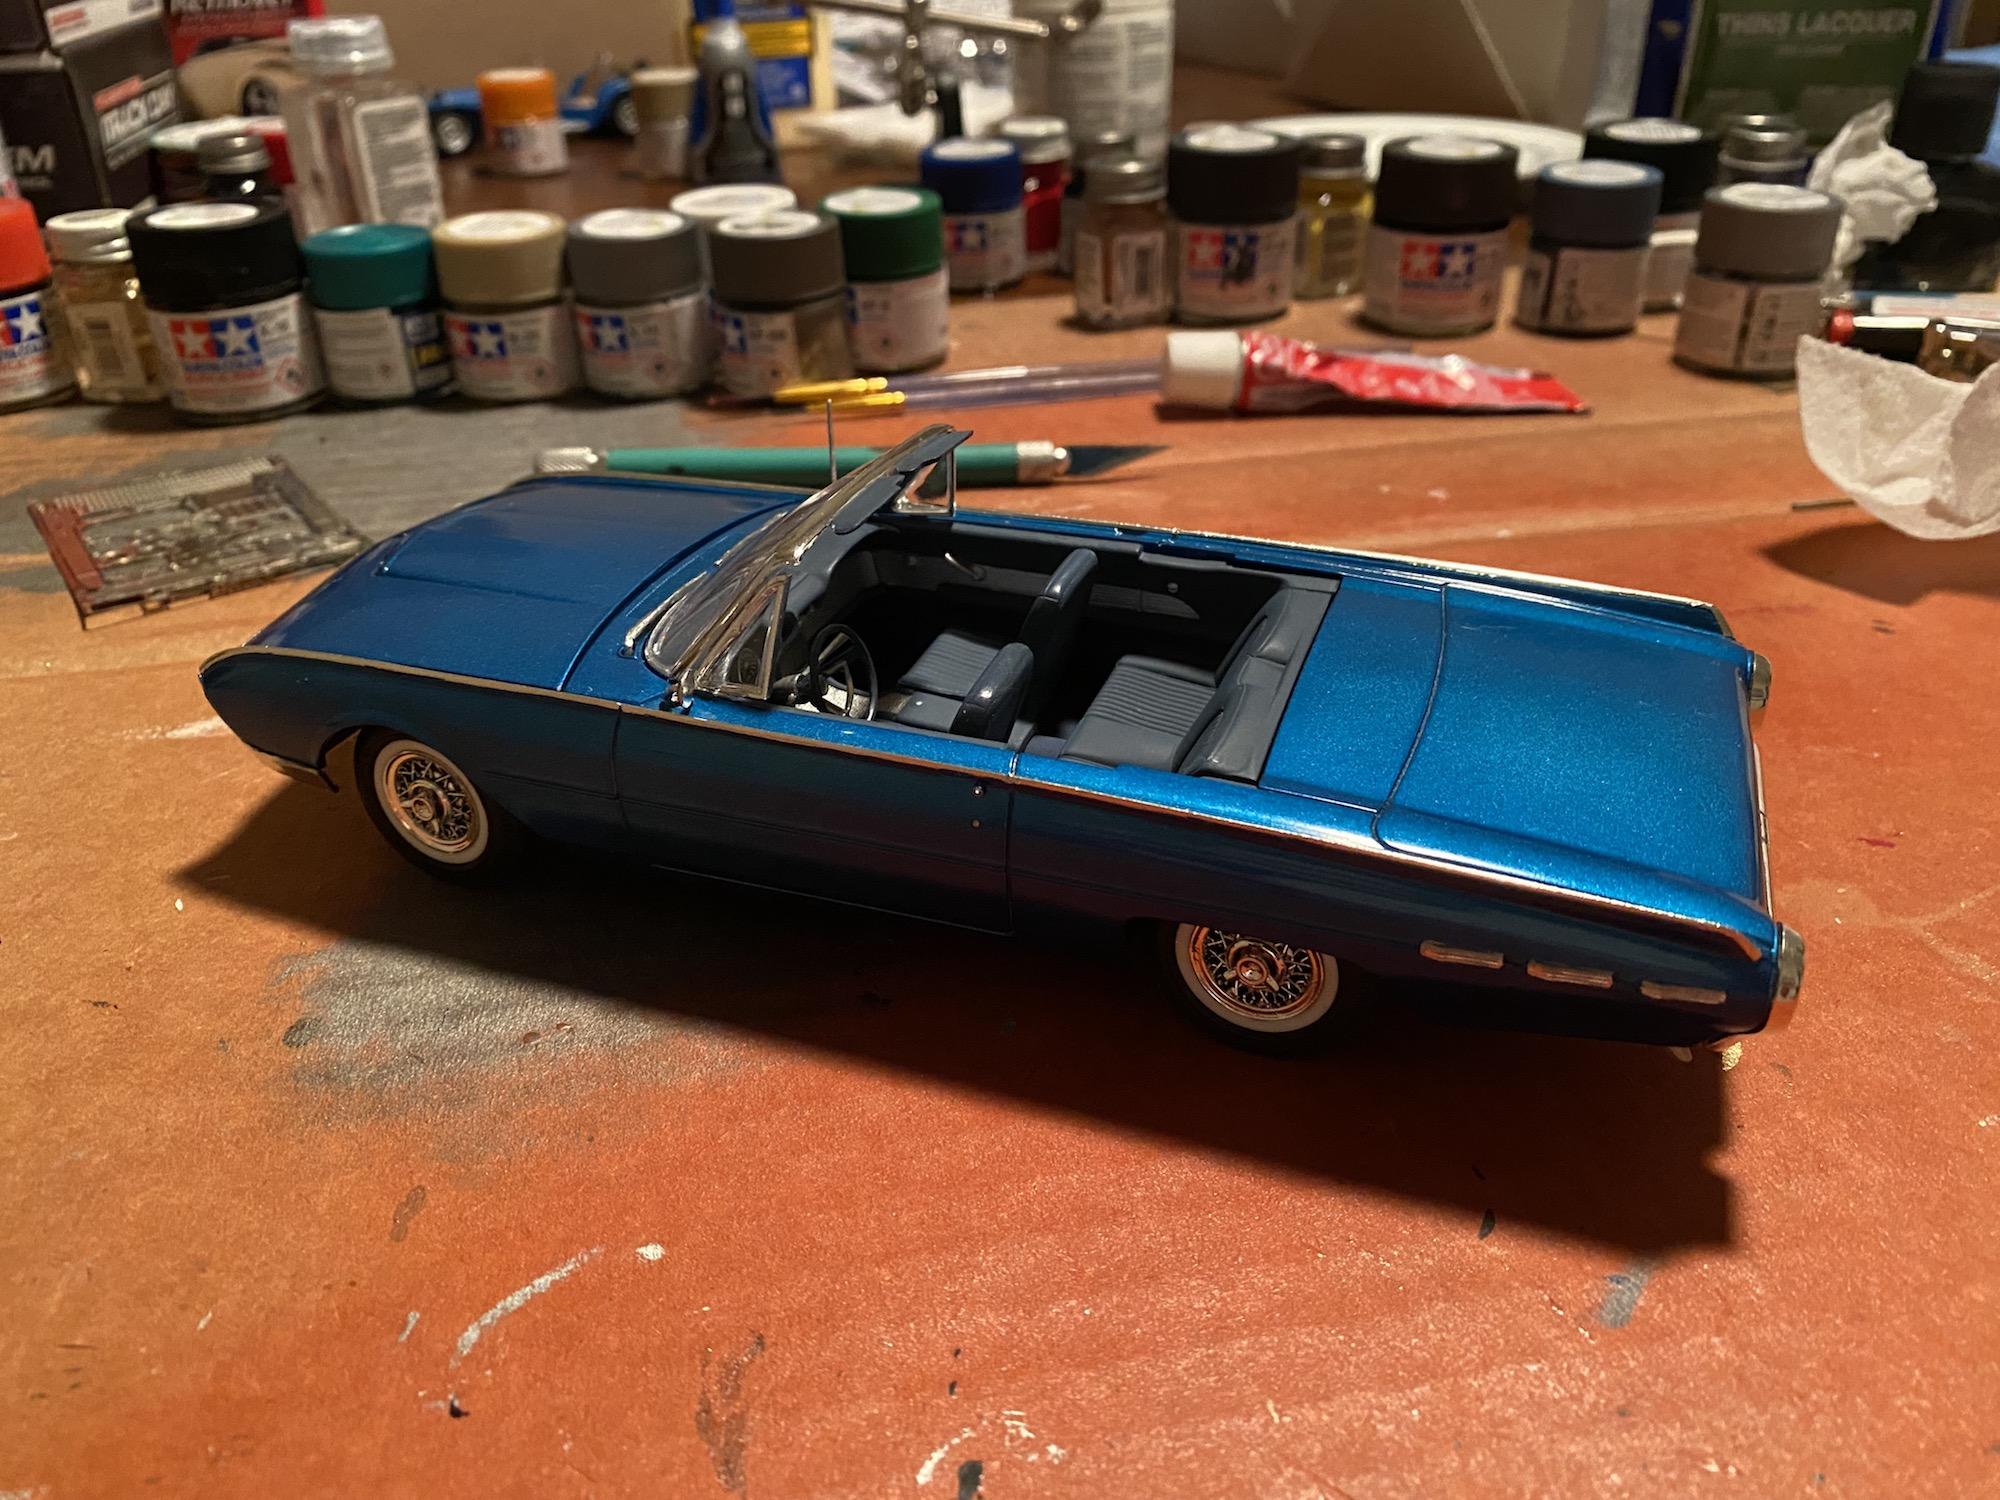
Got 'er done! For the most part, I'm really pleased with the result. Paint is Tamiya acrylic Metallic Blue with Mr. Hobby clear coat. The two disappointments are a somewhat warped hood, so there's an uneven gap from the leading edge to the grille; and the wipers--they were real blobs of chrome, and when I stripped them, there wasn't much there in the way of detail. I decided to leave the hoses out of the engine bay to better show off the plug wires. I might add a few more etched metal details, like the script forward of the front wheel wells, but I sort of like the cleaner look without them. Thanks for looking! IMG_6397.m4v
-
Metallic Blue '62 Bullet Bird...locked and loaded!
rightrudder replied to rightrudder's topic in WIP: Model Cars
All done! Time to clear off the hobby table for the next one. I'll post some pics soon in the Under Glass section.
-
Best glue for photo etch parts
rightrudder replied to br67's topic in Model Building Questions and Answers
I like Pacer Formula 560 canopy glue. Very forgiving...won't cloud paint and dries clear. You have some time to move the emblem around, and you can wick away the excess with a paper towel. I use it for attaching mirrors, headlight lenses, a million things. -
*El Camino Ride Height ?*
rightrudder replied to 1972coronet's topic in Model Building Questions and Answers
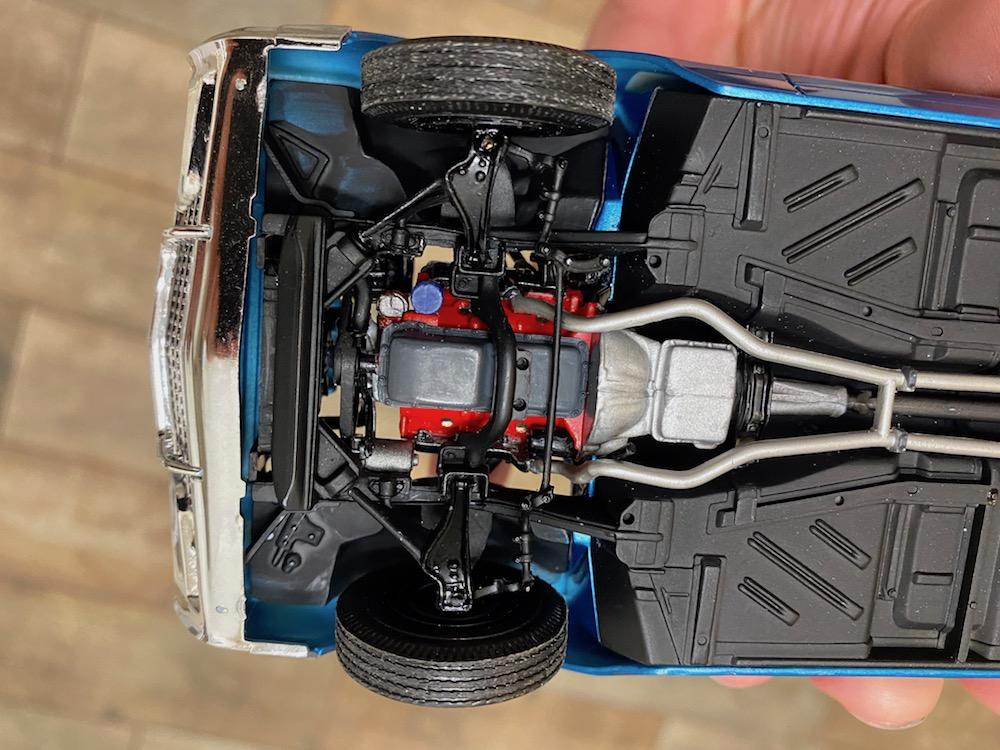
If having steerable front wheels is important to you, use a short length of aluminum tubing. Shave the spindle as shown in the photo, then epoxy to the tubing to get your proper axle height. Then drill through the upper and lower control arms with a pin vise and slide piano wire through them and the tubing and you're done! I did this with the spindles already glued to the wheels, but it's easier if done beforehand.
-
Favorite modeling tools
rightrudder replied to rightrudder's topic in Model Building Questions and Answers
Nice. I need to get more tiny drill bits; I've got a couple of them in pin vises right now but I didn't have the right size for a spindle modification I did. Fortunately, I found piano wire in the correct diameter, and with heat from a trusty Bic lighter, I melted the hole to size. -
Metallic Blue '62 Bullet Bird...locked and loaded!
rightrudder replied to rightrudder's topic in WIP: Model Cars
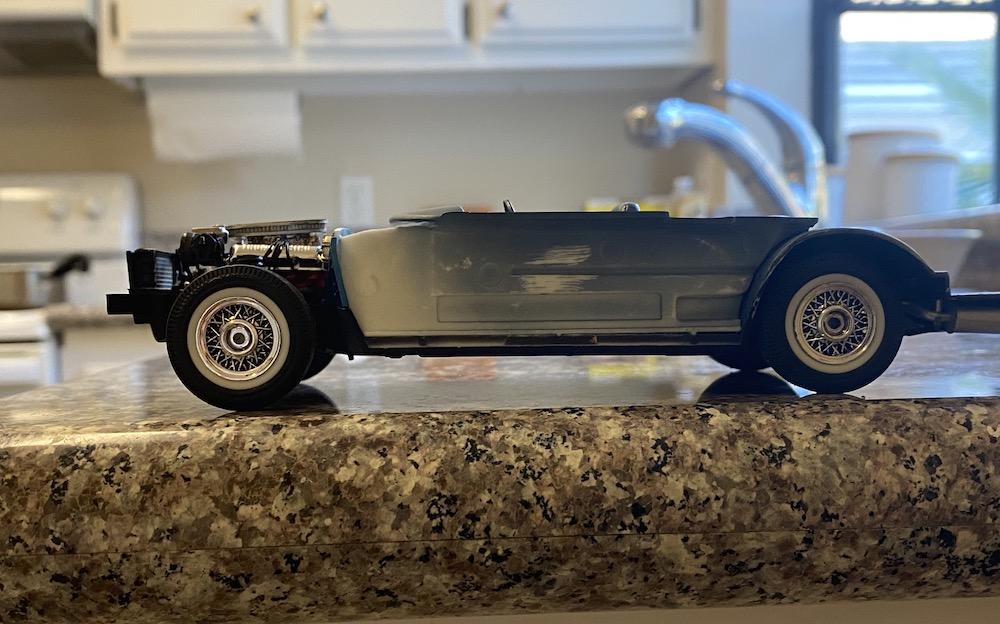
OK, new front ride height. It's a subtle change but I didn't want it too low, and it sits nicely level now.
-
Favorite modeling tools
rightrudder replied to rightrudder's topic in Model Building Questions and Answers
Wow, quite the collection there, Peter! -
Metallic Blue '62 Bullet Bird...locked and loaded!
rightrudder replied to rightrudder's topic in WIP: Model Cars
Well, the reverse rake continues to bug me. Chassis sits just a little too nose high, so I think I'm gonna split the difference between the axles on the stock spindles and the lowering spindles (in pic). There's a difference of about 2.5 mm, so I need to come down 1 to 1.5 mm, which puts the axle pretty much centered in the spindle. Fortunately, even when everything is glued together in the front suspension, you can pry the control arms apart and pop the whole spindle/wheel assembly out. I figure I'll epoxy some aluminum tubing to the modified spindle, and run piano wire inside it and through the control arms. A pain, but the stance has to be right!!
-
Metallic Blue '62 Bullet Bird...locked and loaded!
rightrudder replied to rightrudder's topic in WIP: Model Cars
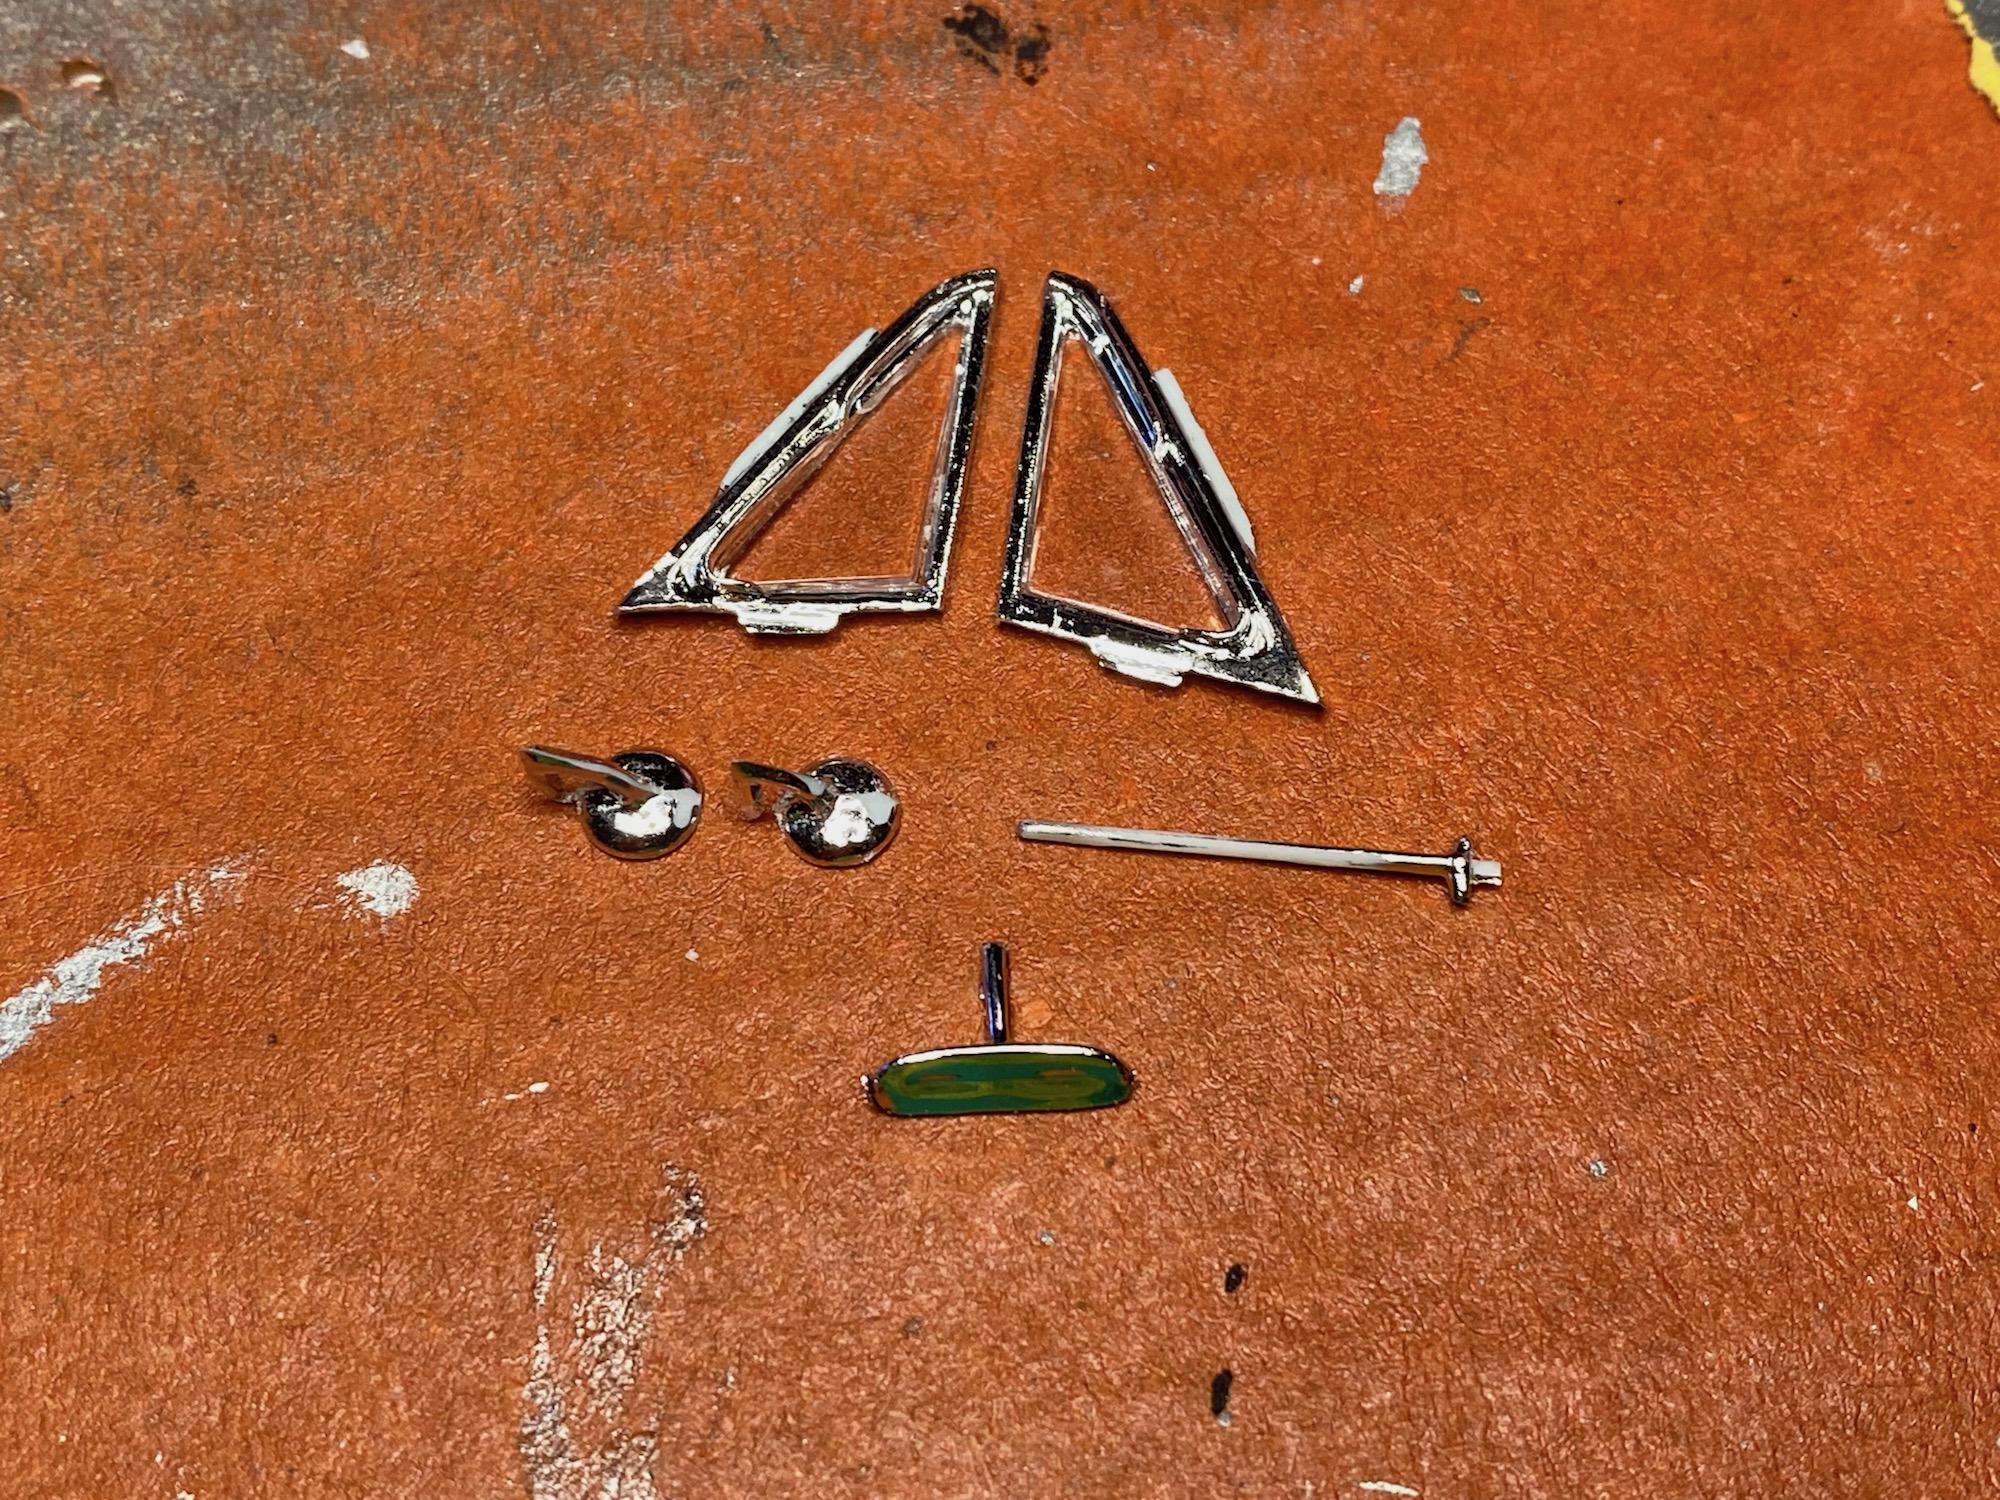
Cleaning up some of the fiddly chrome bits, and I'll touch them up when my Molotow pen gets here...hopefully today! Had to sand the edges of the vent window glass a bit to get them to fit in the frame recess. I used Pacer Formula 560 canopy glue for this (lots of rc planes in my past). It's white and dries clear, and the best thing is if you make a mistake, it peels off like rubber cement. Won't cloud the clear plastic at all. Windshield is a perfect snap fit into the frame, so I probably won't use glue whatsoever.
-
Bullet Bird Mild Custom ('62 Thunderbird)
rightrudder replied to JollySipper's topic in WIP: Model Cars
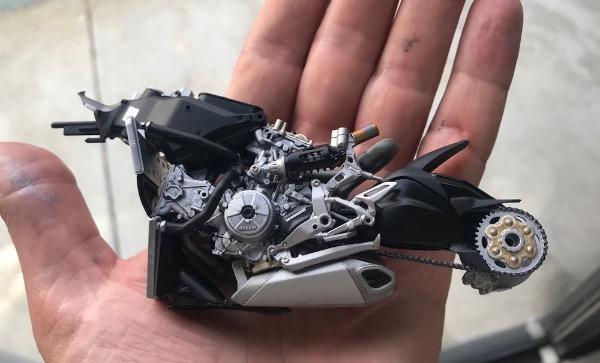
Hadn't heard of Watson...will Google. Excellent engine; the rocker covers look great in gold. ? -
Bullet Bird Mild Custom ('62 Thunderbird)
rightrudder replied to JollySipper's topic in WIP: Model Cars
Looking forward to seeing it. What's Watson style? -
Metallic Blue '62 Bullet Bird...locked and loaded!
rightrudder replied to rightrudder's topic in WIP: Model Cars
Thanks! I'm not touching it for two full days! I want to avoid that big fat fingerprint in the paint. -
Thanks for the source; I will certainly get some in the future. I'm fortunate to live reasonably close to Pegasus Hobbies (40-minute drive) so I'll see if they stock it on my next trip. So few brick-and-mortar shops around anymore...two hobby shops within 15 minutes of my house have closed in recent years. Sign of the times...
-
Got a few I need to get a move on starting, completing
rightrudder replied to JerseeJerry55's topic in WIP: Model Cars
Nice stash! Don't forget to schedule some "lung recovery time" between builds. ? -
Great ideas! I usually use the transmission as a handle...and of course I don't have the foresight to put off painting the transmission until the end, so it's a fingerprinted mess and needs a repaint!
-
Everyone has a fave, right? I'll start. These locking tweezers are really great at holding small parts for painting. Part of a whole set at Harbor Freight for less than $10, IIRC It'd be great to see what others can't live without. Edit: Posted in wrong subforum. Mods, can you move to Tips & Tricks?
-
Bullet Bird Mild Custom ('62 Thunderbird)
rightrudder replied to JollySipper's topic in WIP: Model Cars
I'm glad you found the gold paint. Are gold and brown mixed for the chassis, or is the gold sprayed first?