Mothersworry
-
Posts
415 -
Joined
-
Last visited
Content Type
Profiles
Forums
Events
Gallery
Everything posted by Mothersworry
-
 MPC Shirley Muldowney Plymouth Roadrunner Funny Car...sealed inside.
-
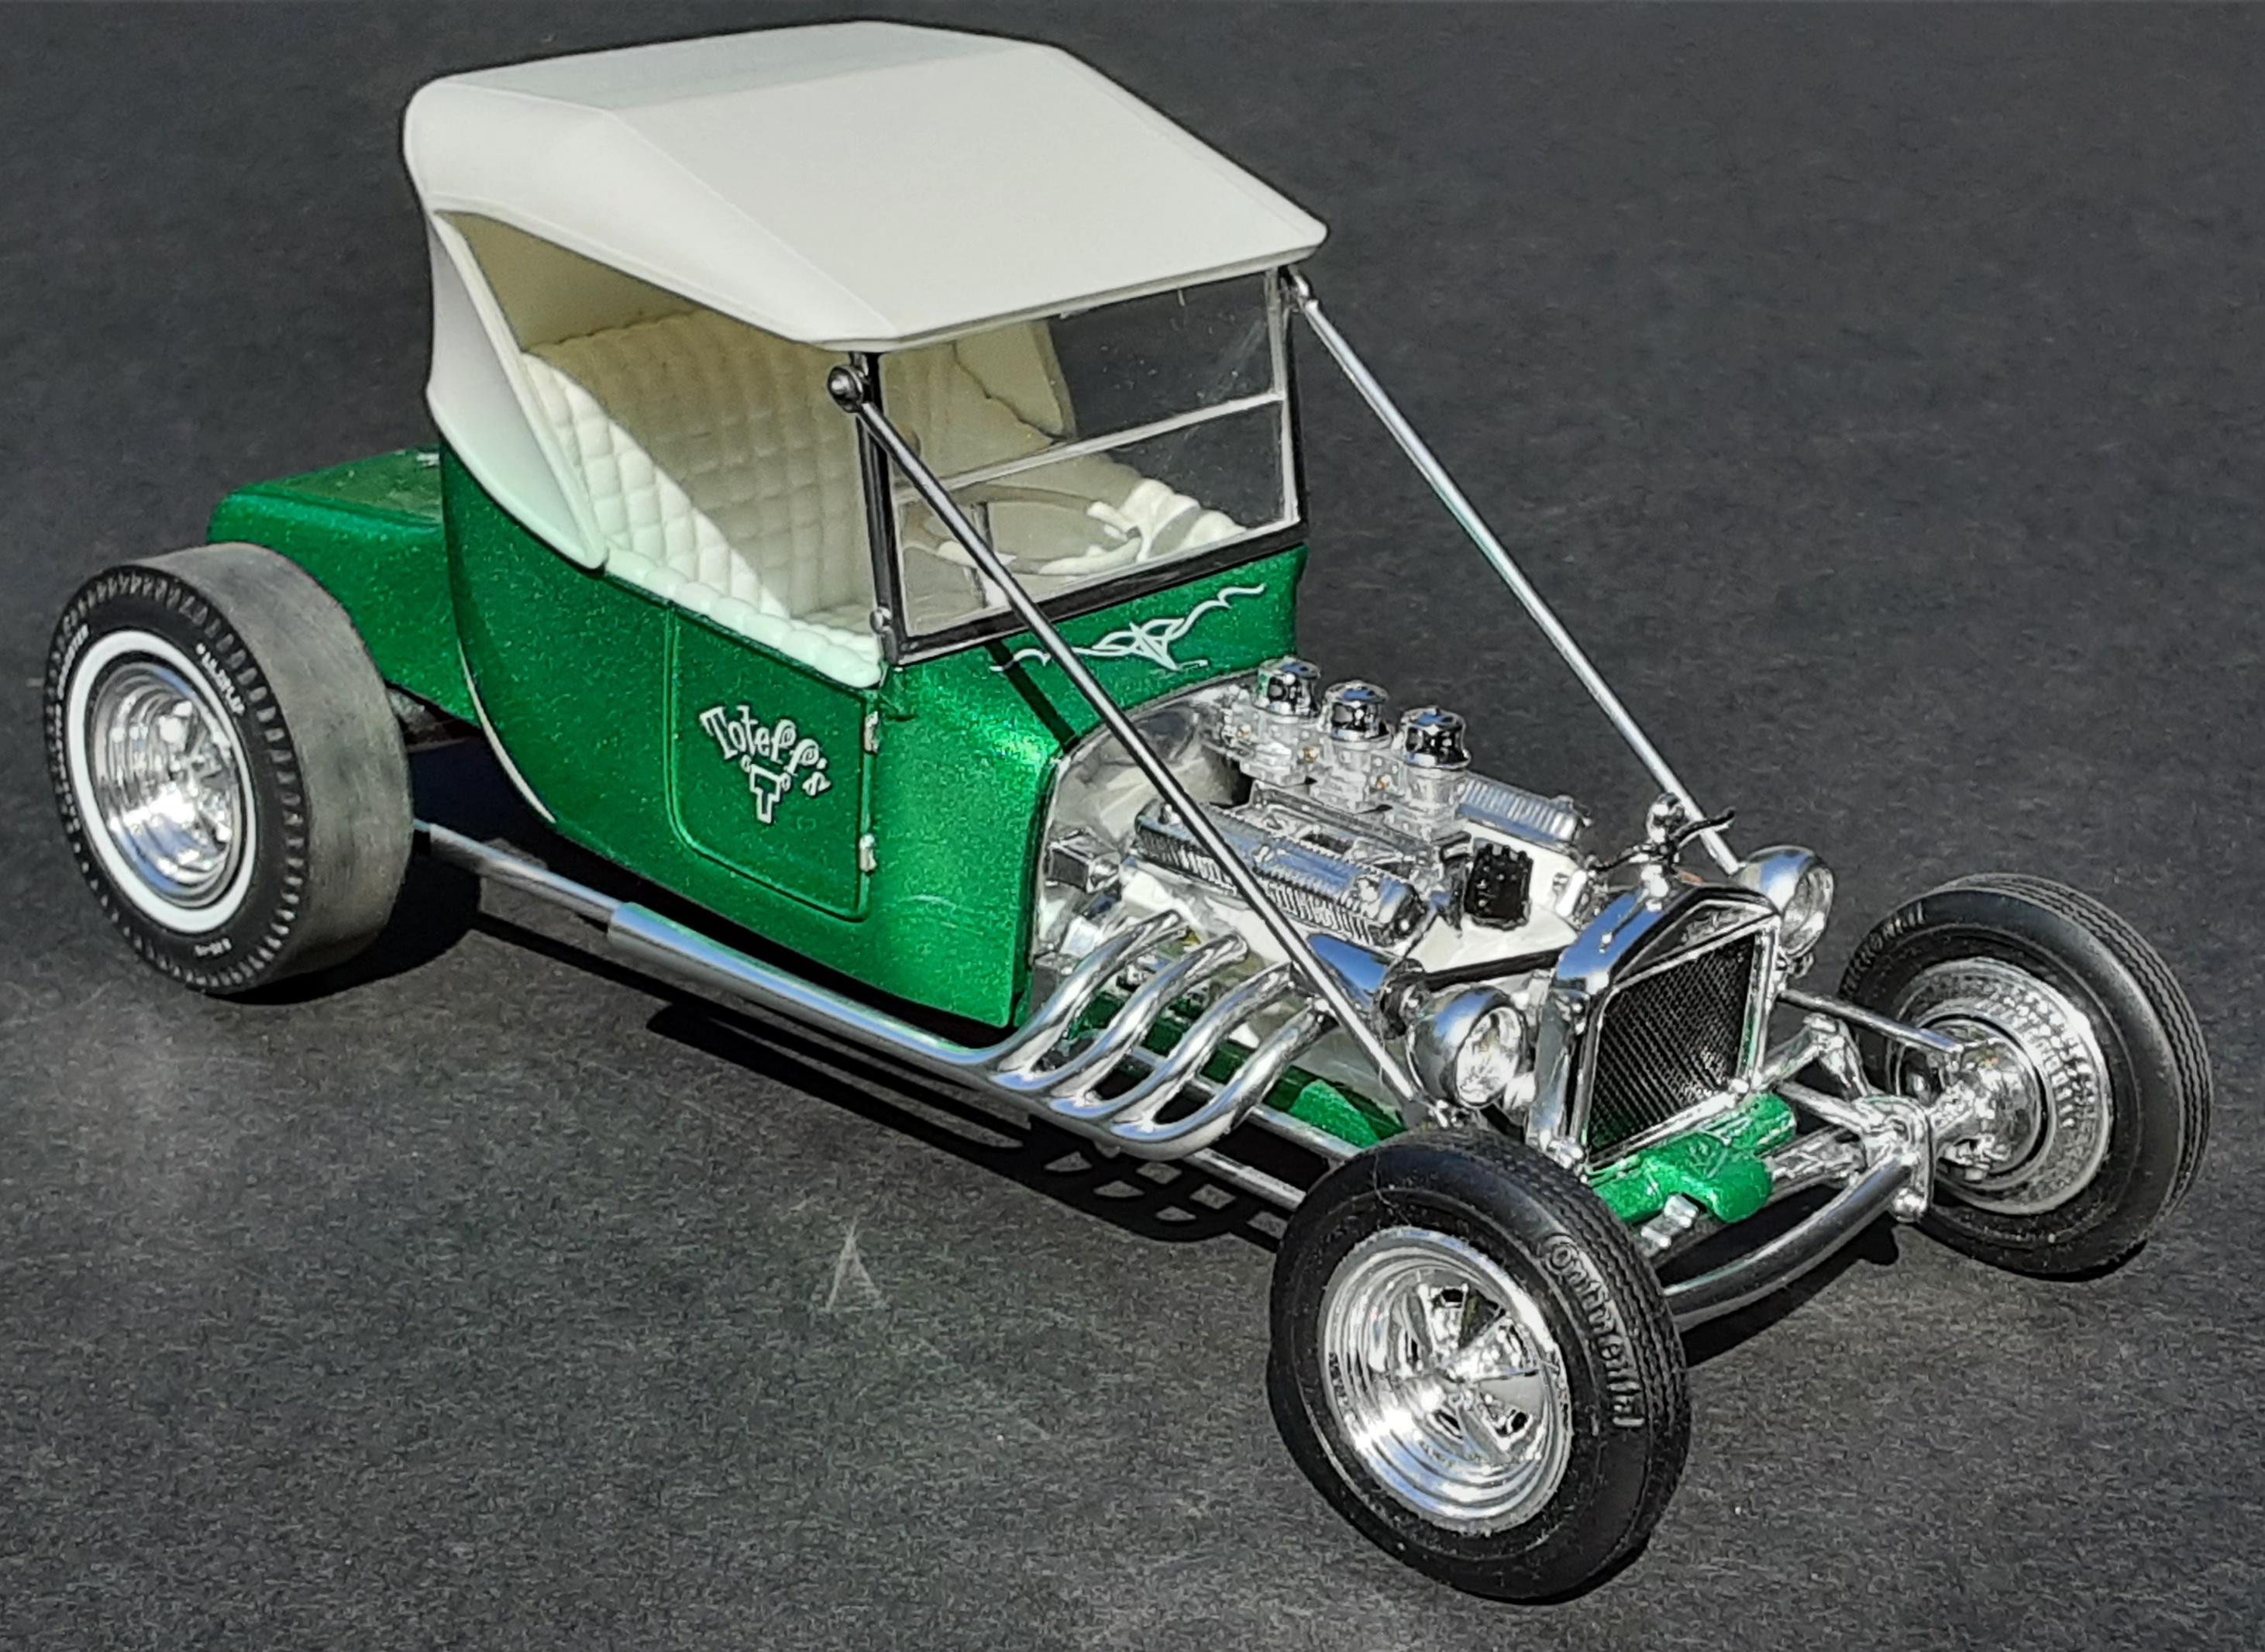
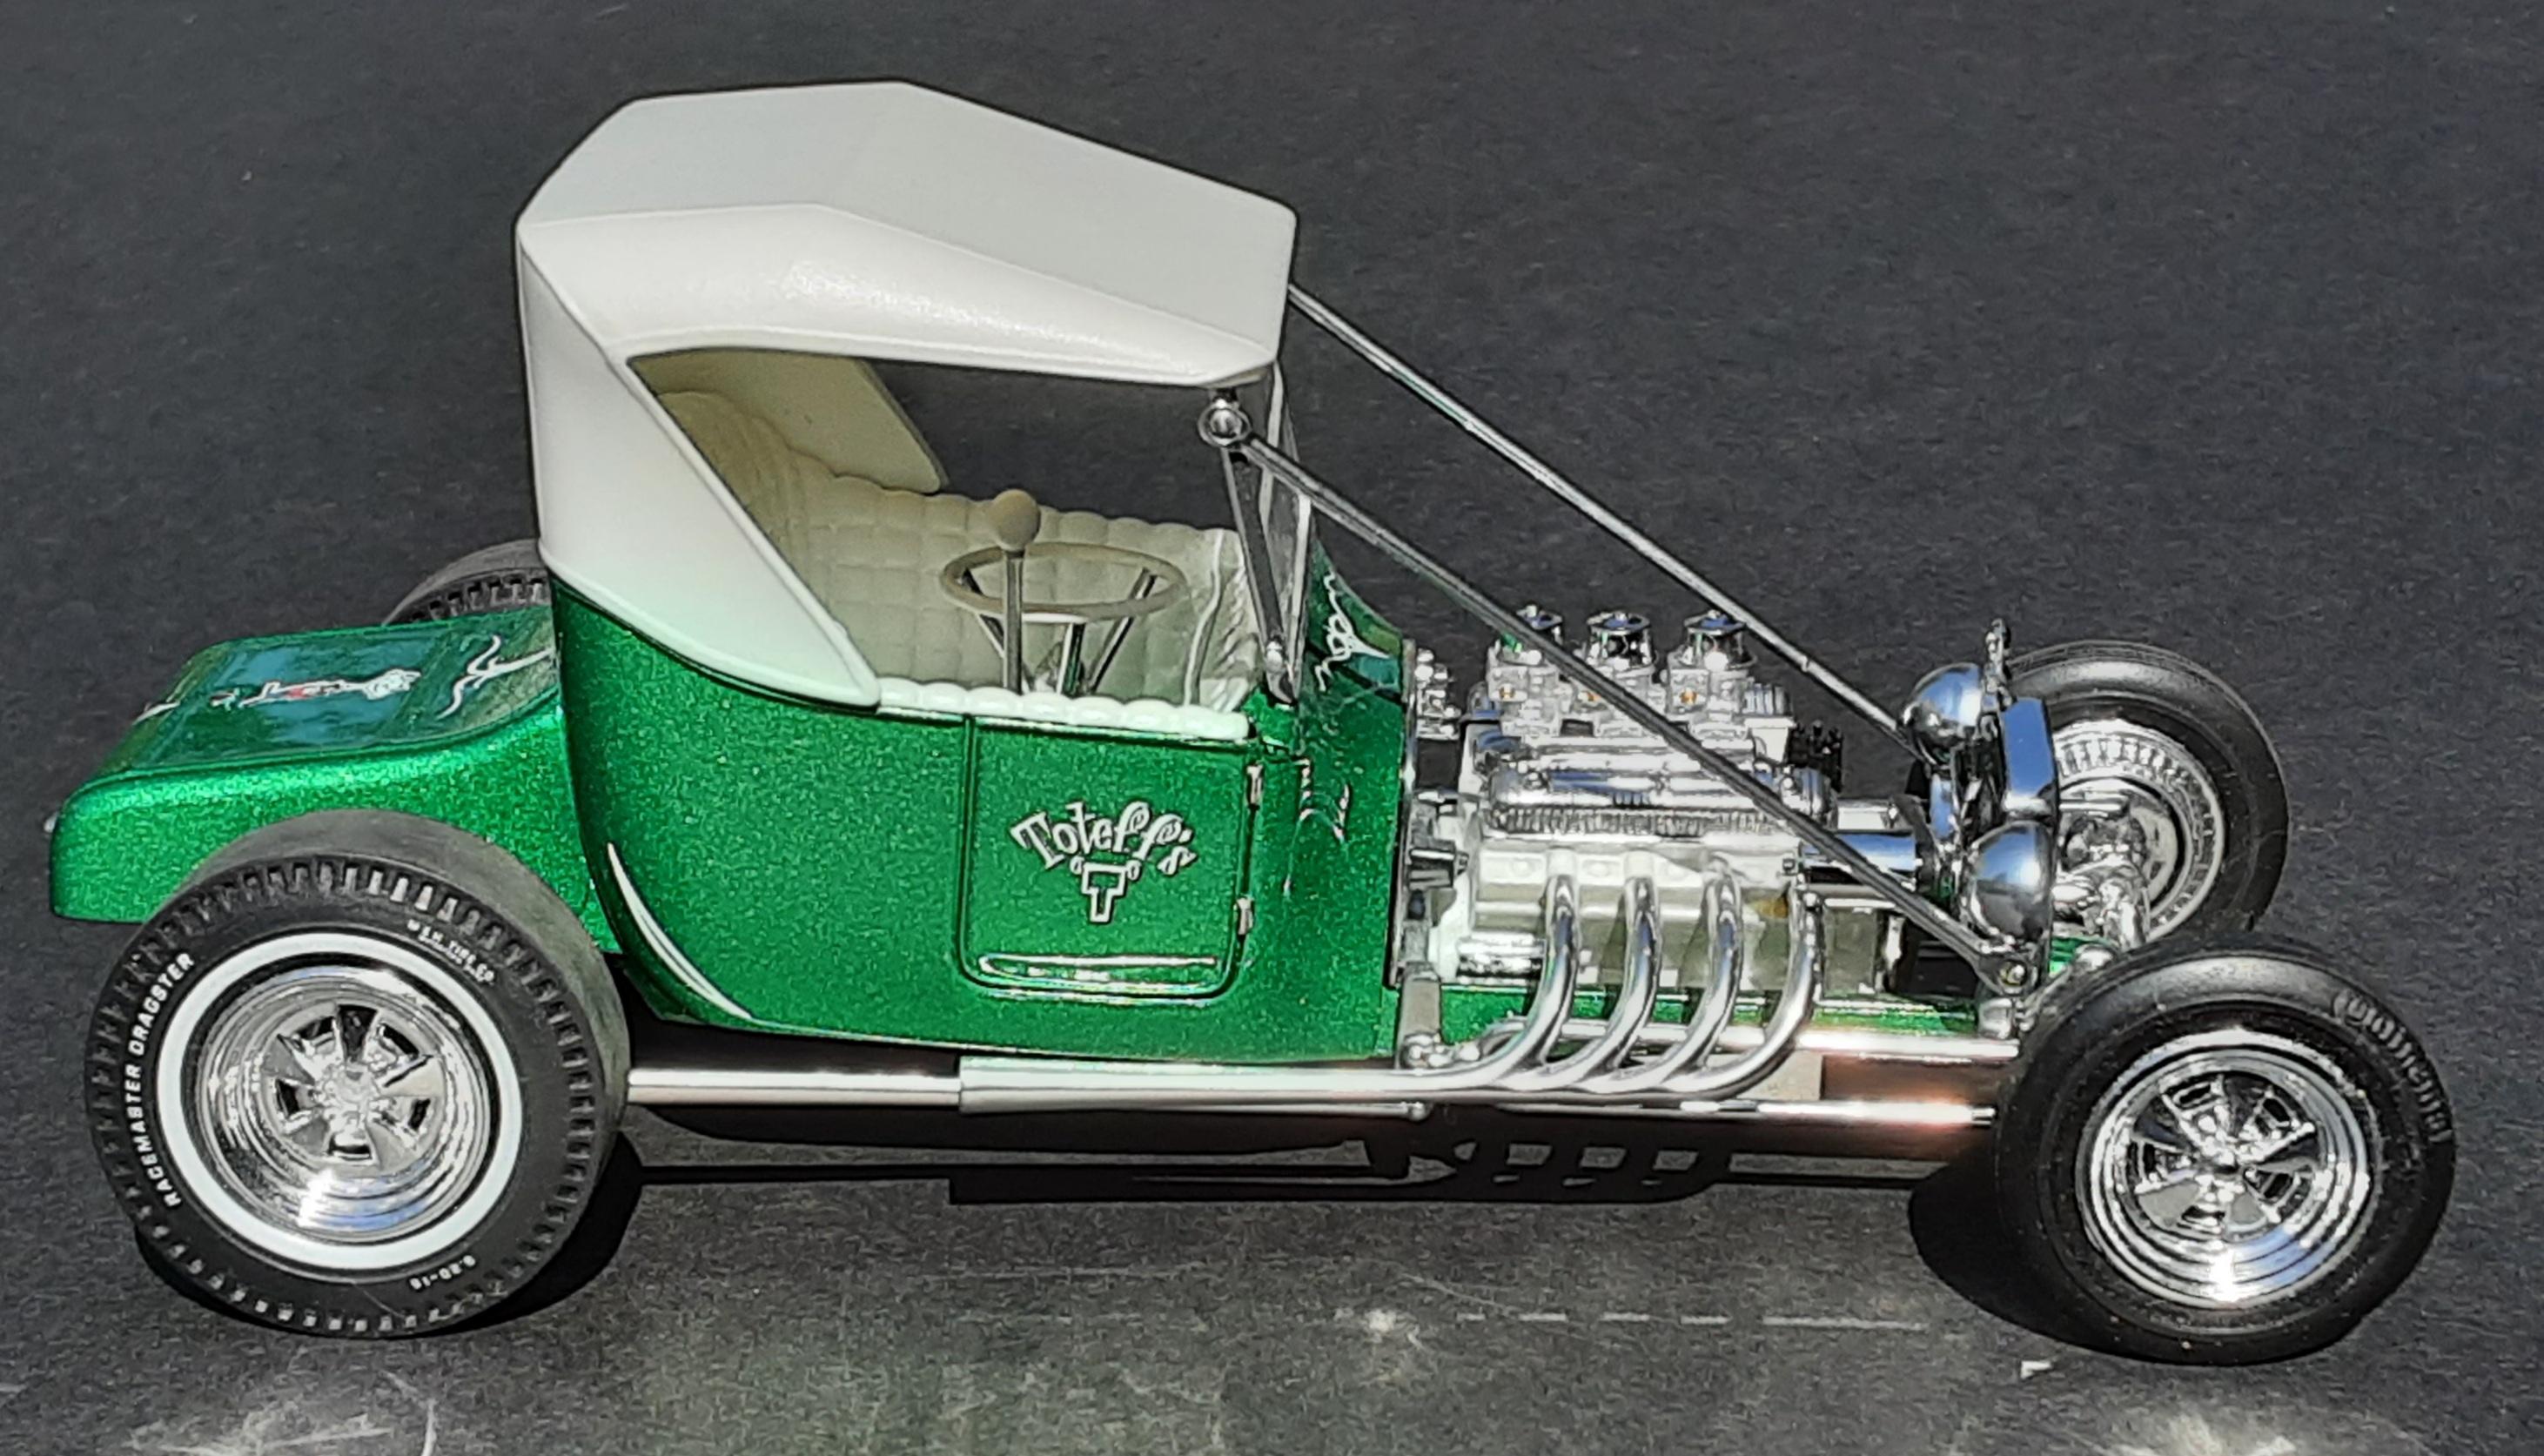
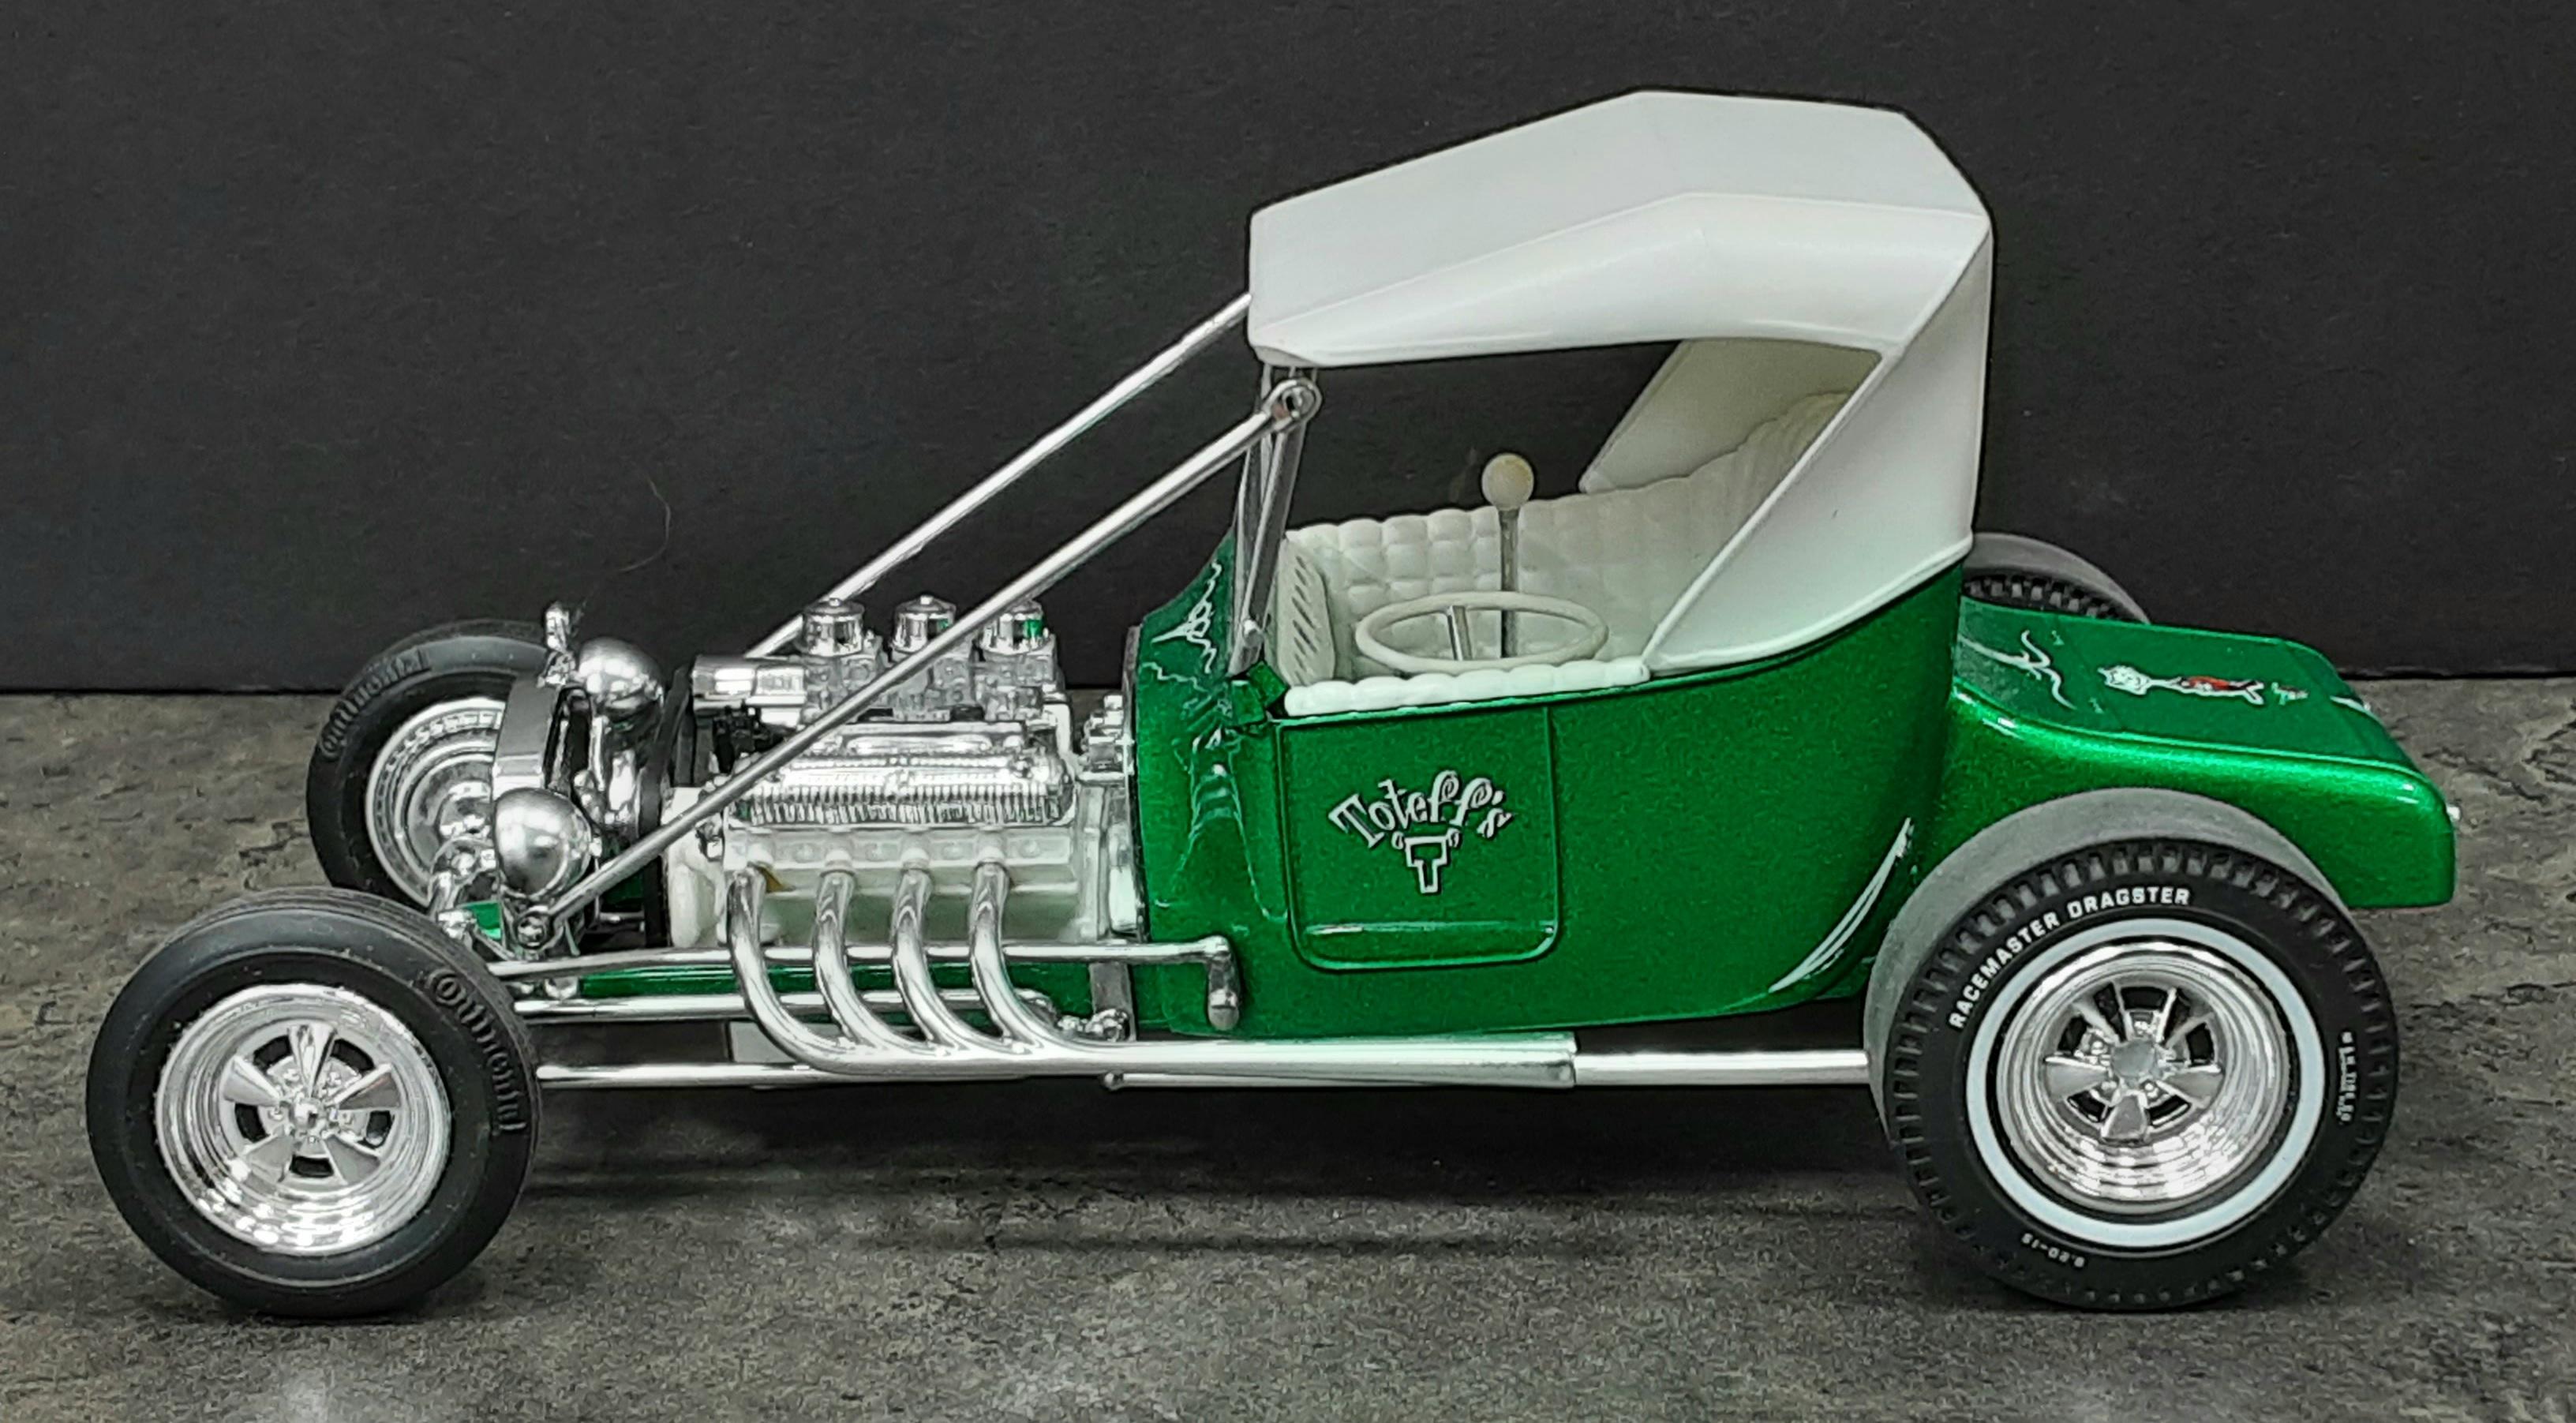
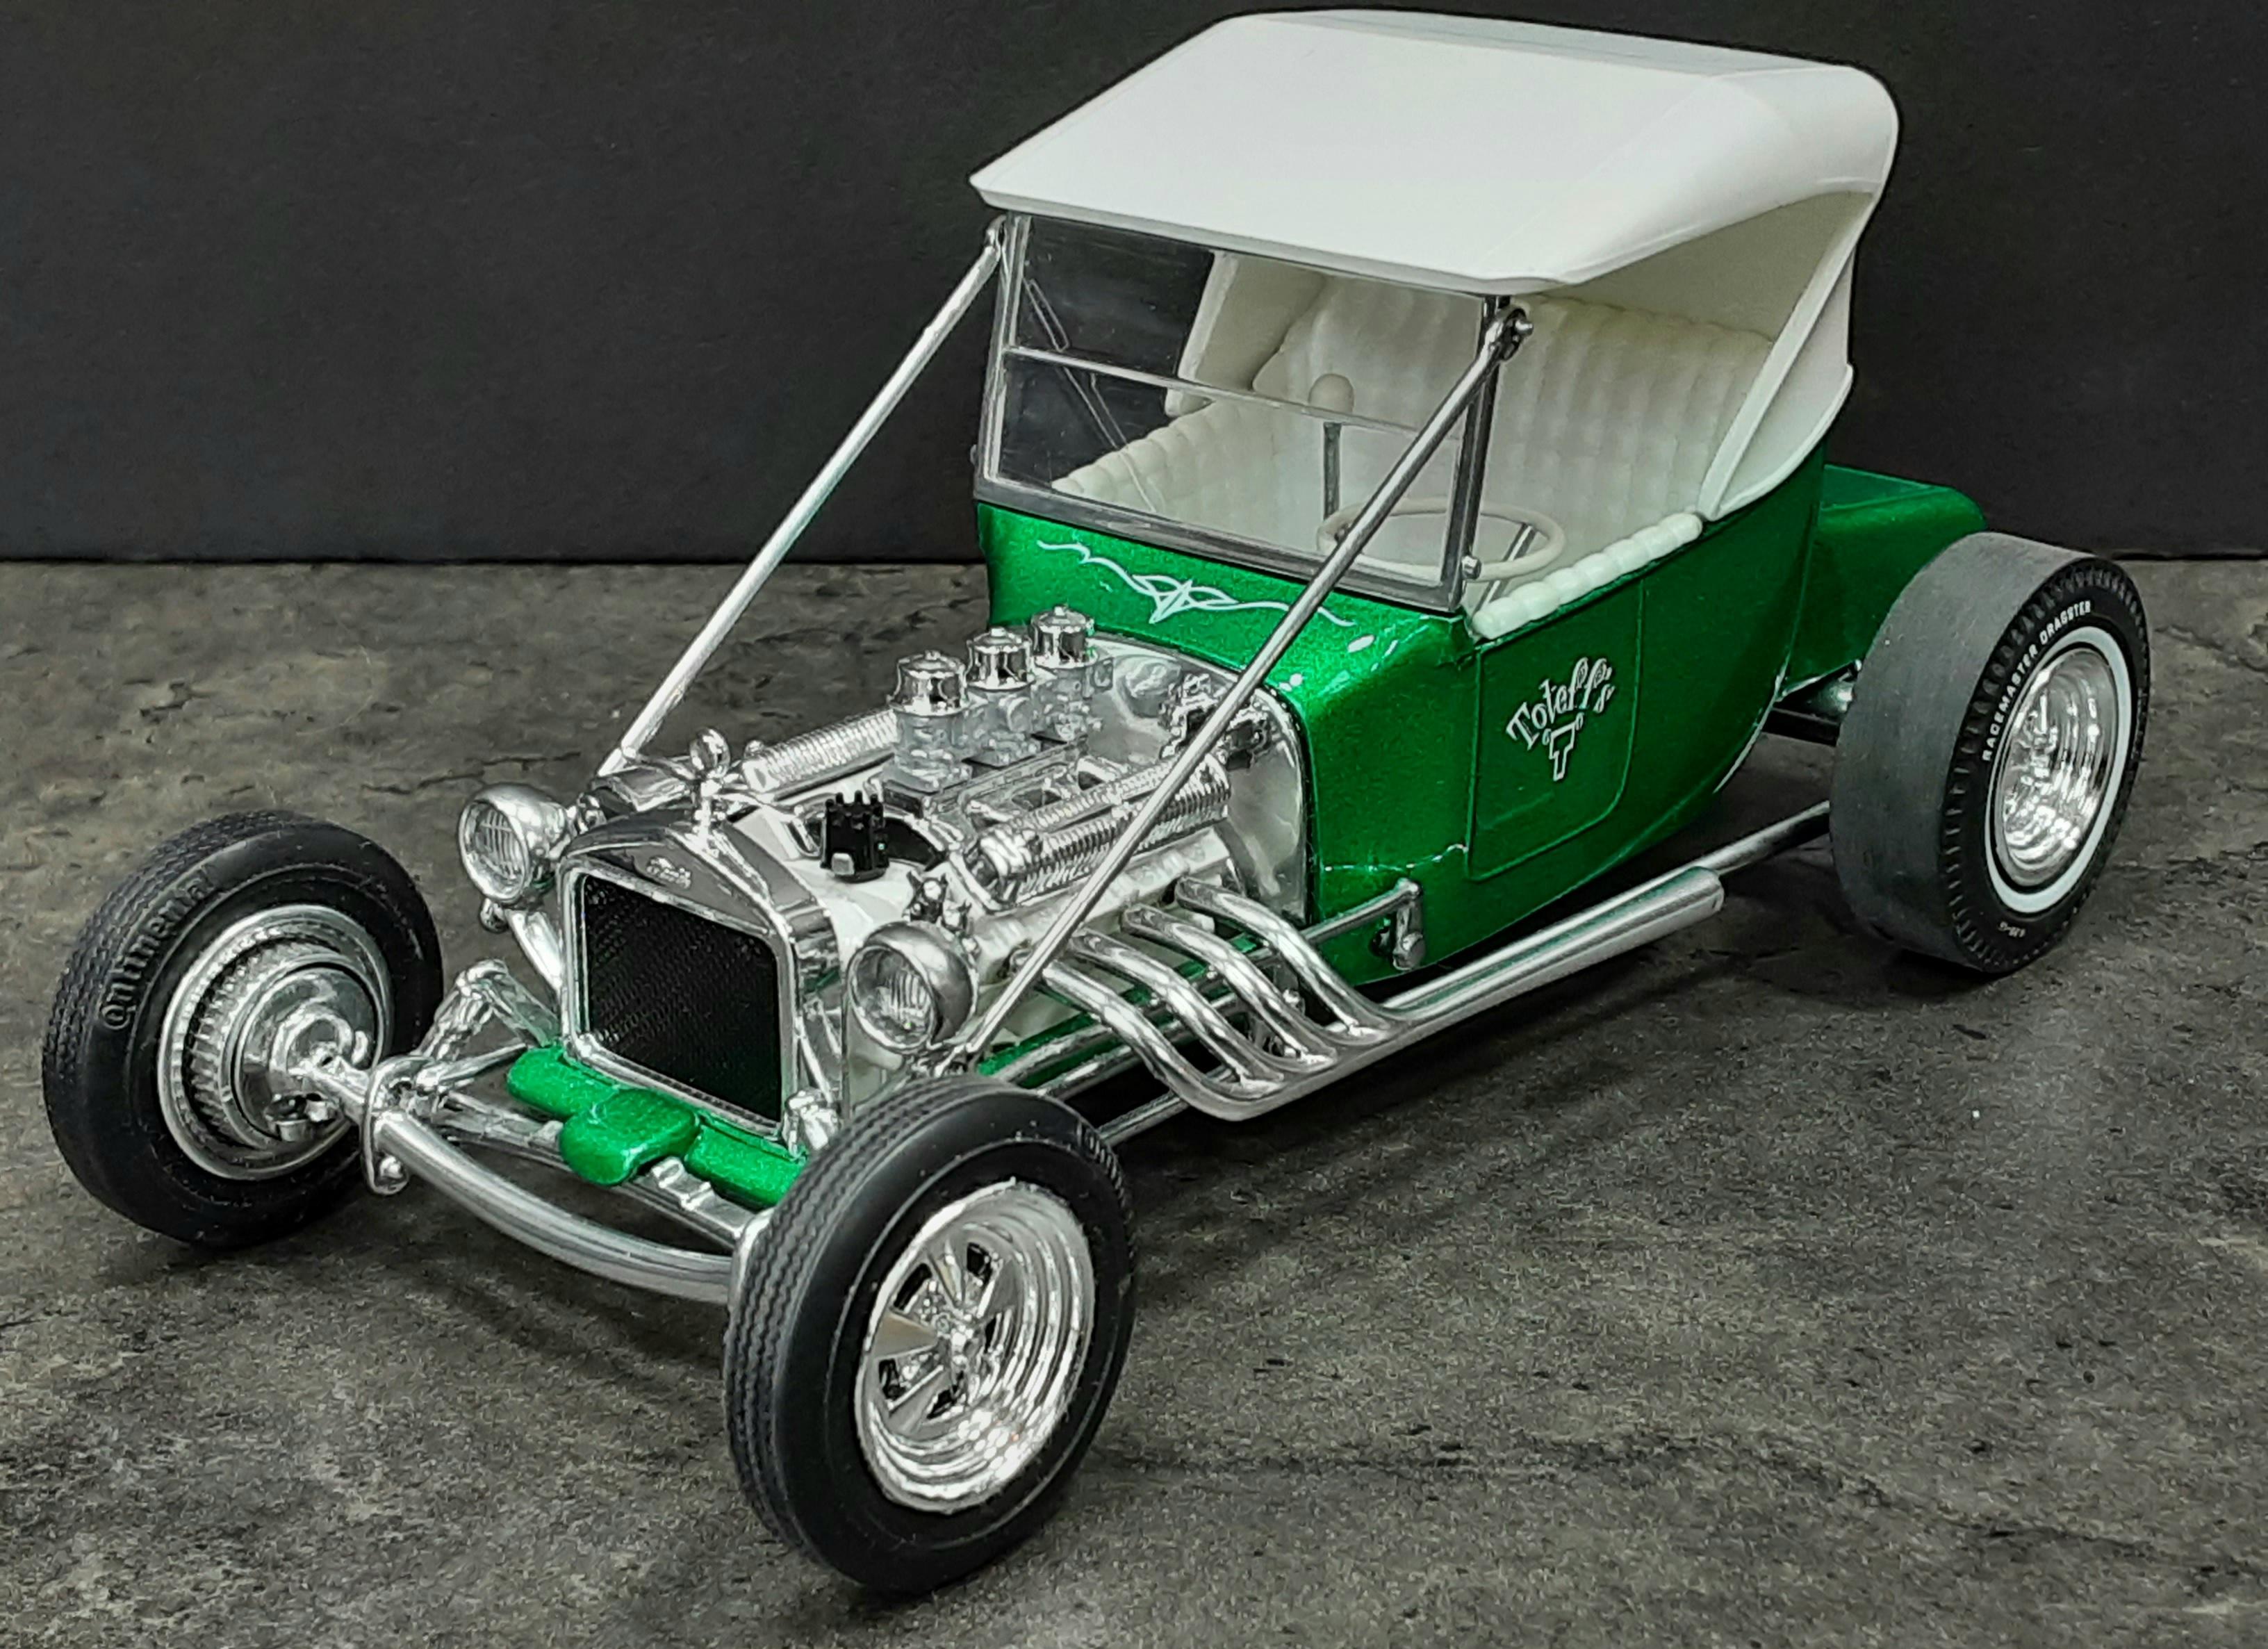
Amt '25 T Bucket.
-
Show your iconic Custom Car/Hot Rod replicas
Mothersworry replied to Koellefornia Kid's topic in Model Cars
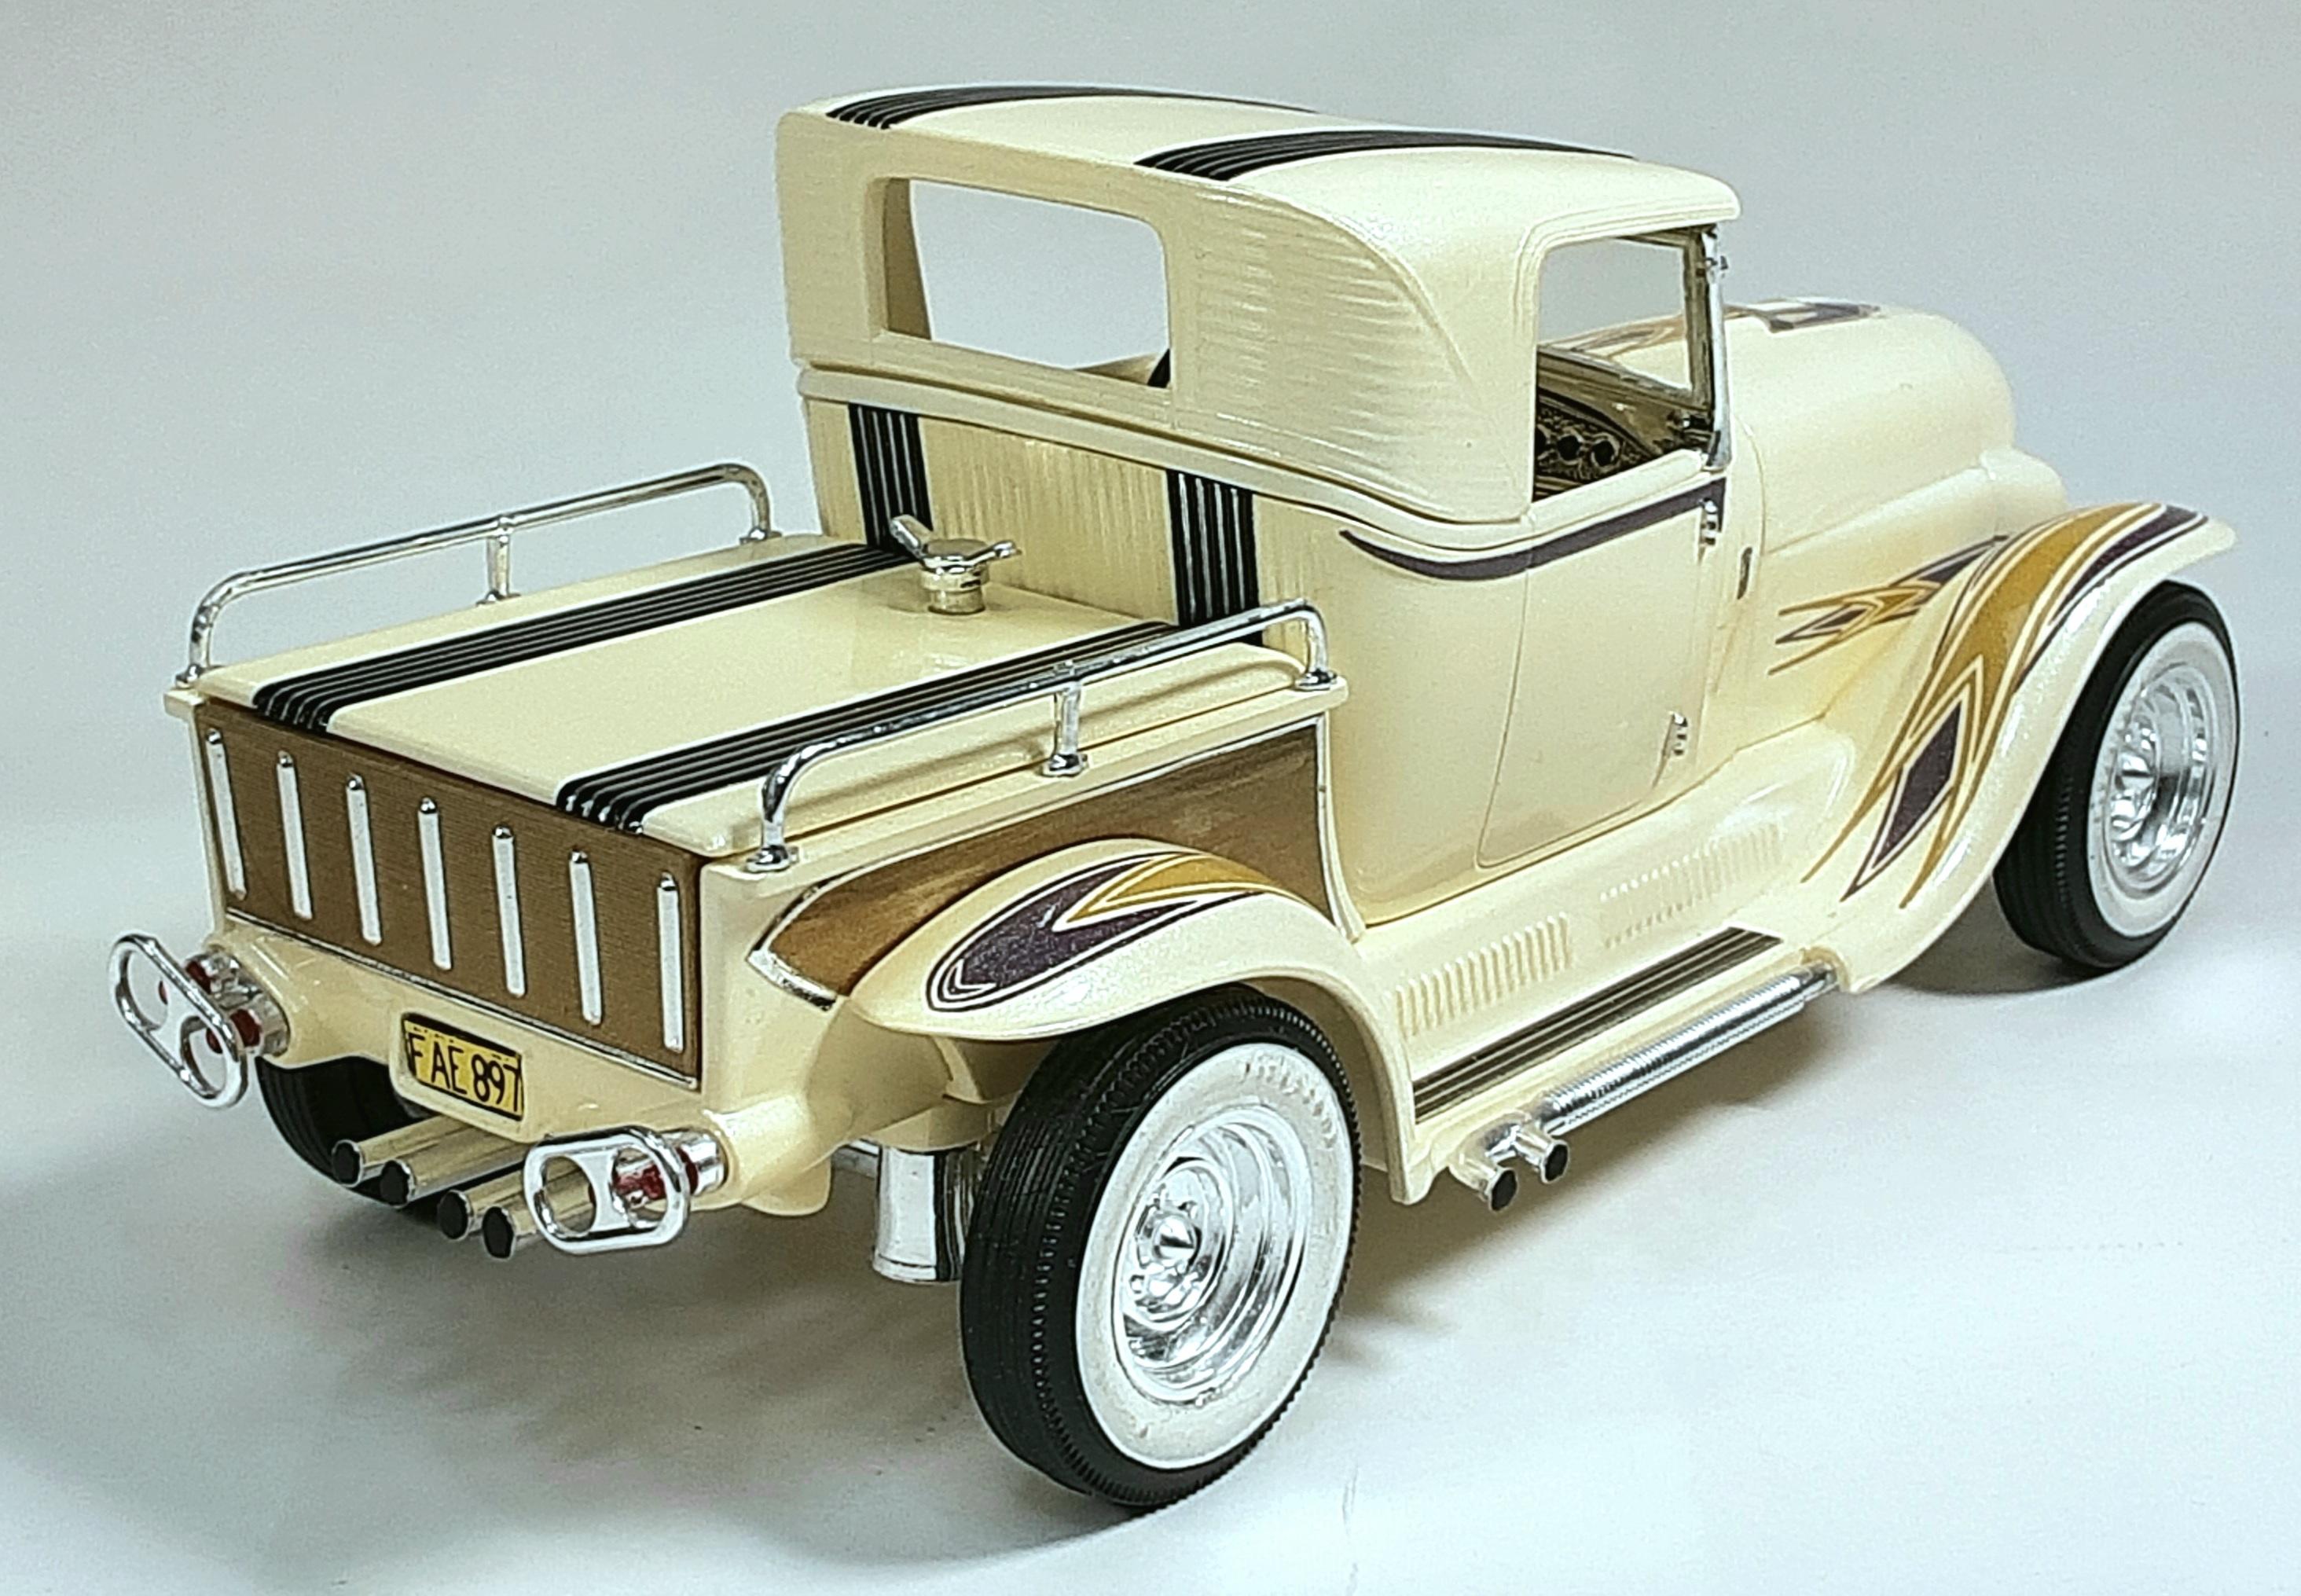
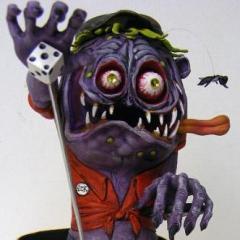
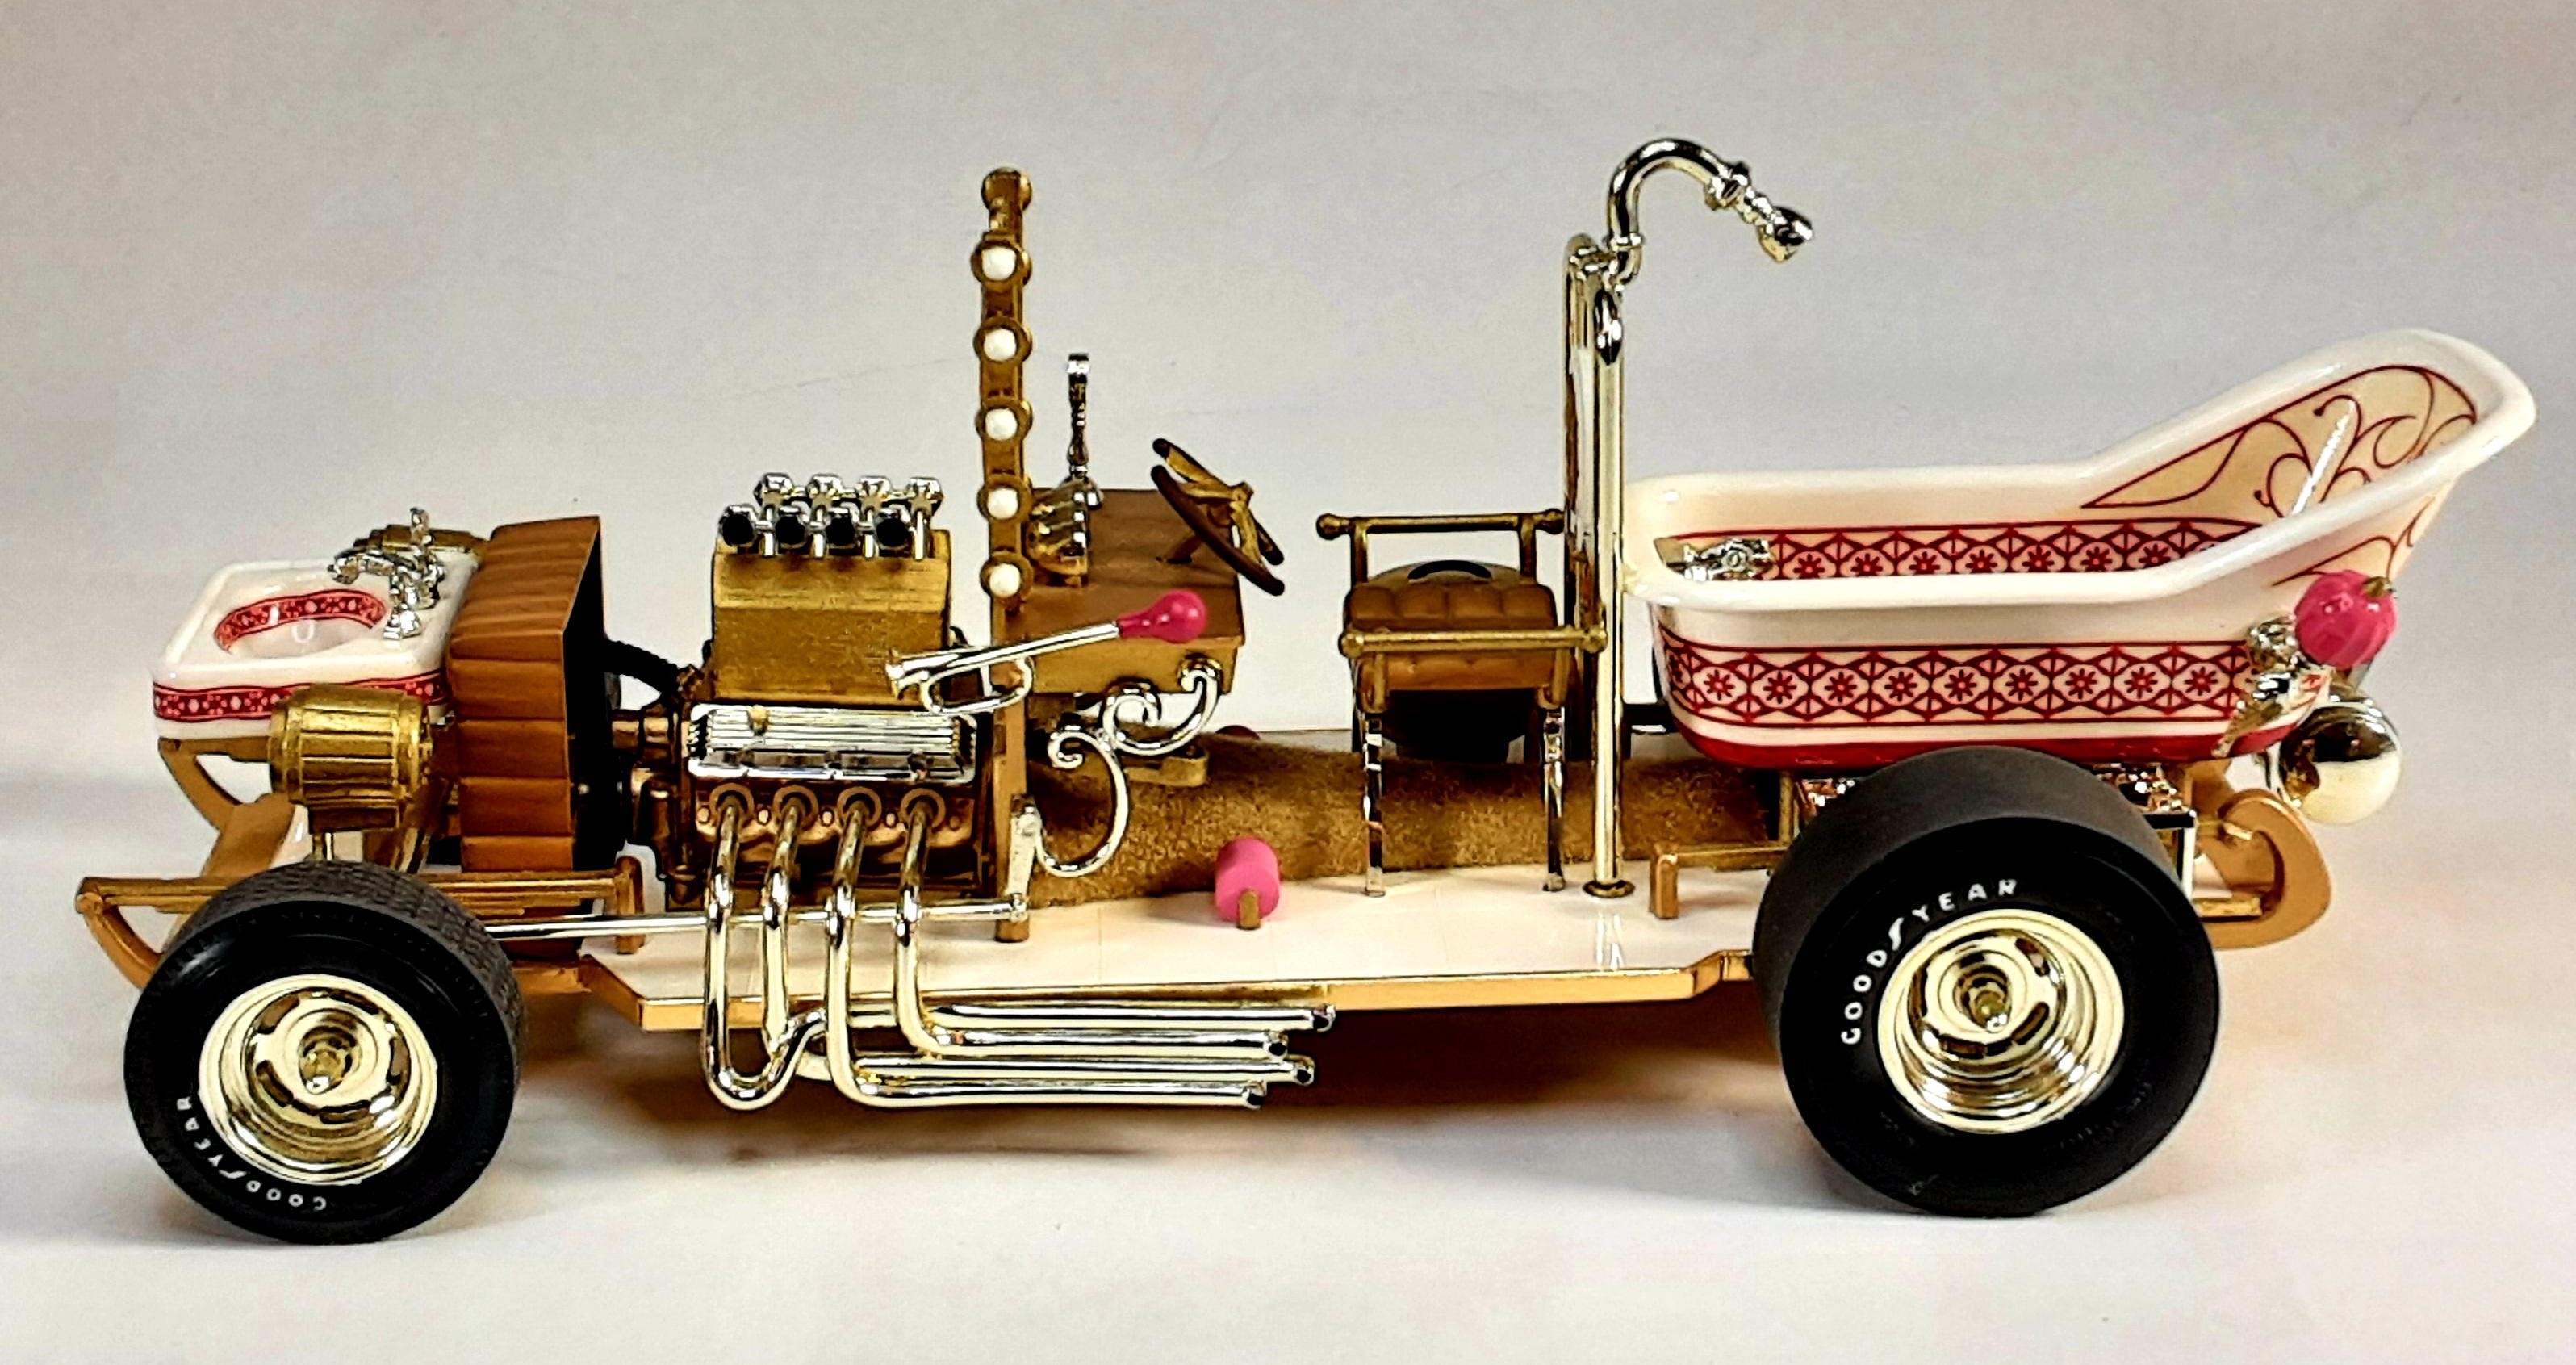
Barris's Bath Tub Buggy...one of his screwier contraptions. I built it a few years from an original mint kit circa 1969, even the decals worked well.
-
Mach I concept car....
-
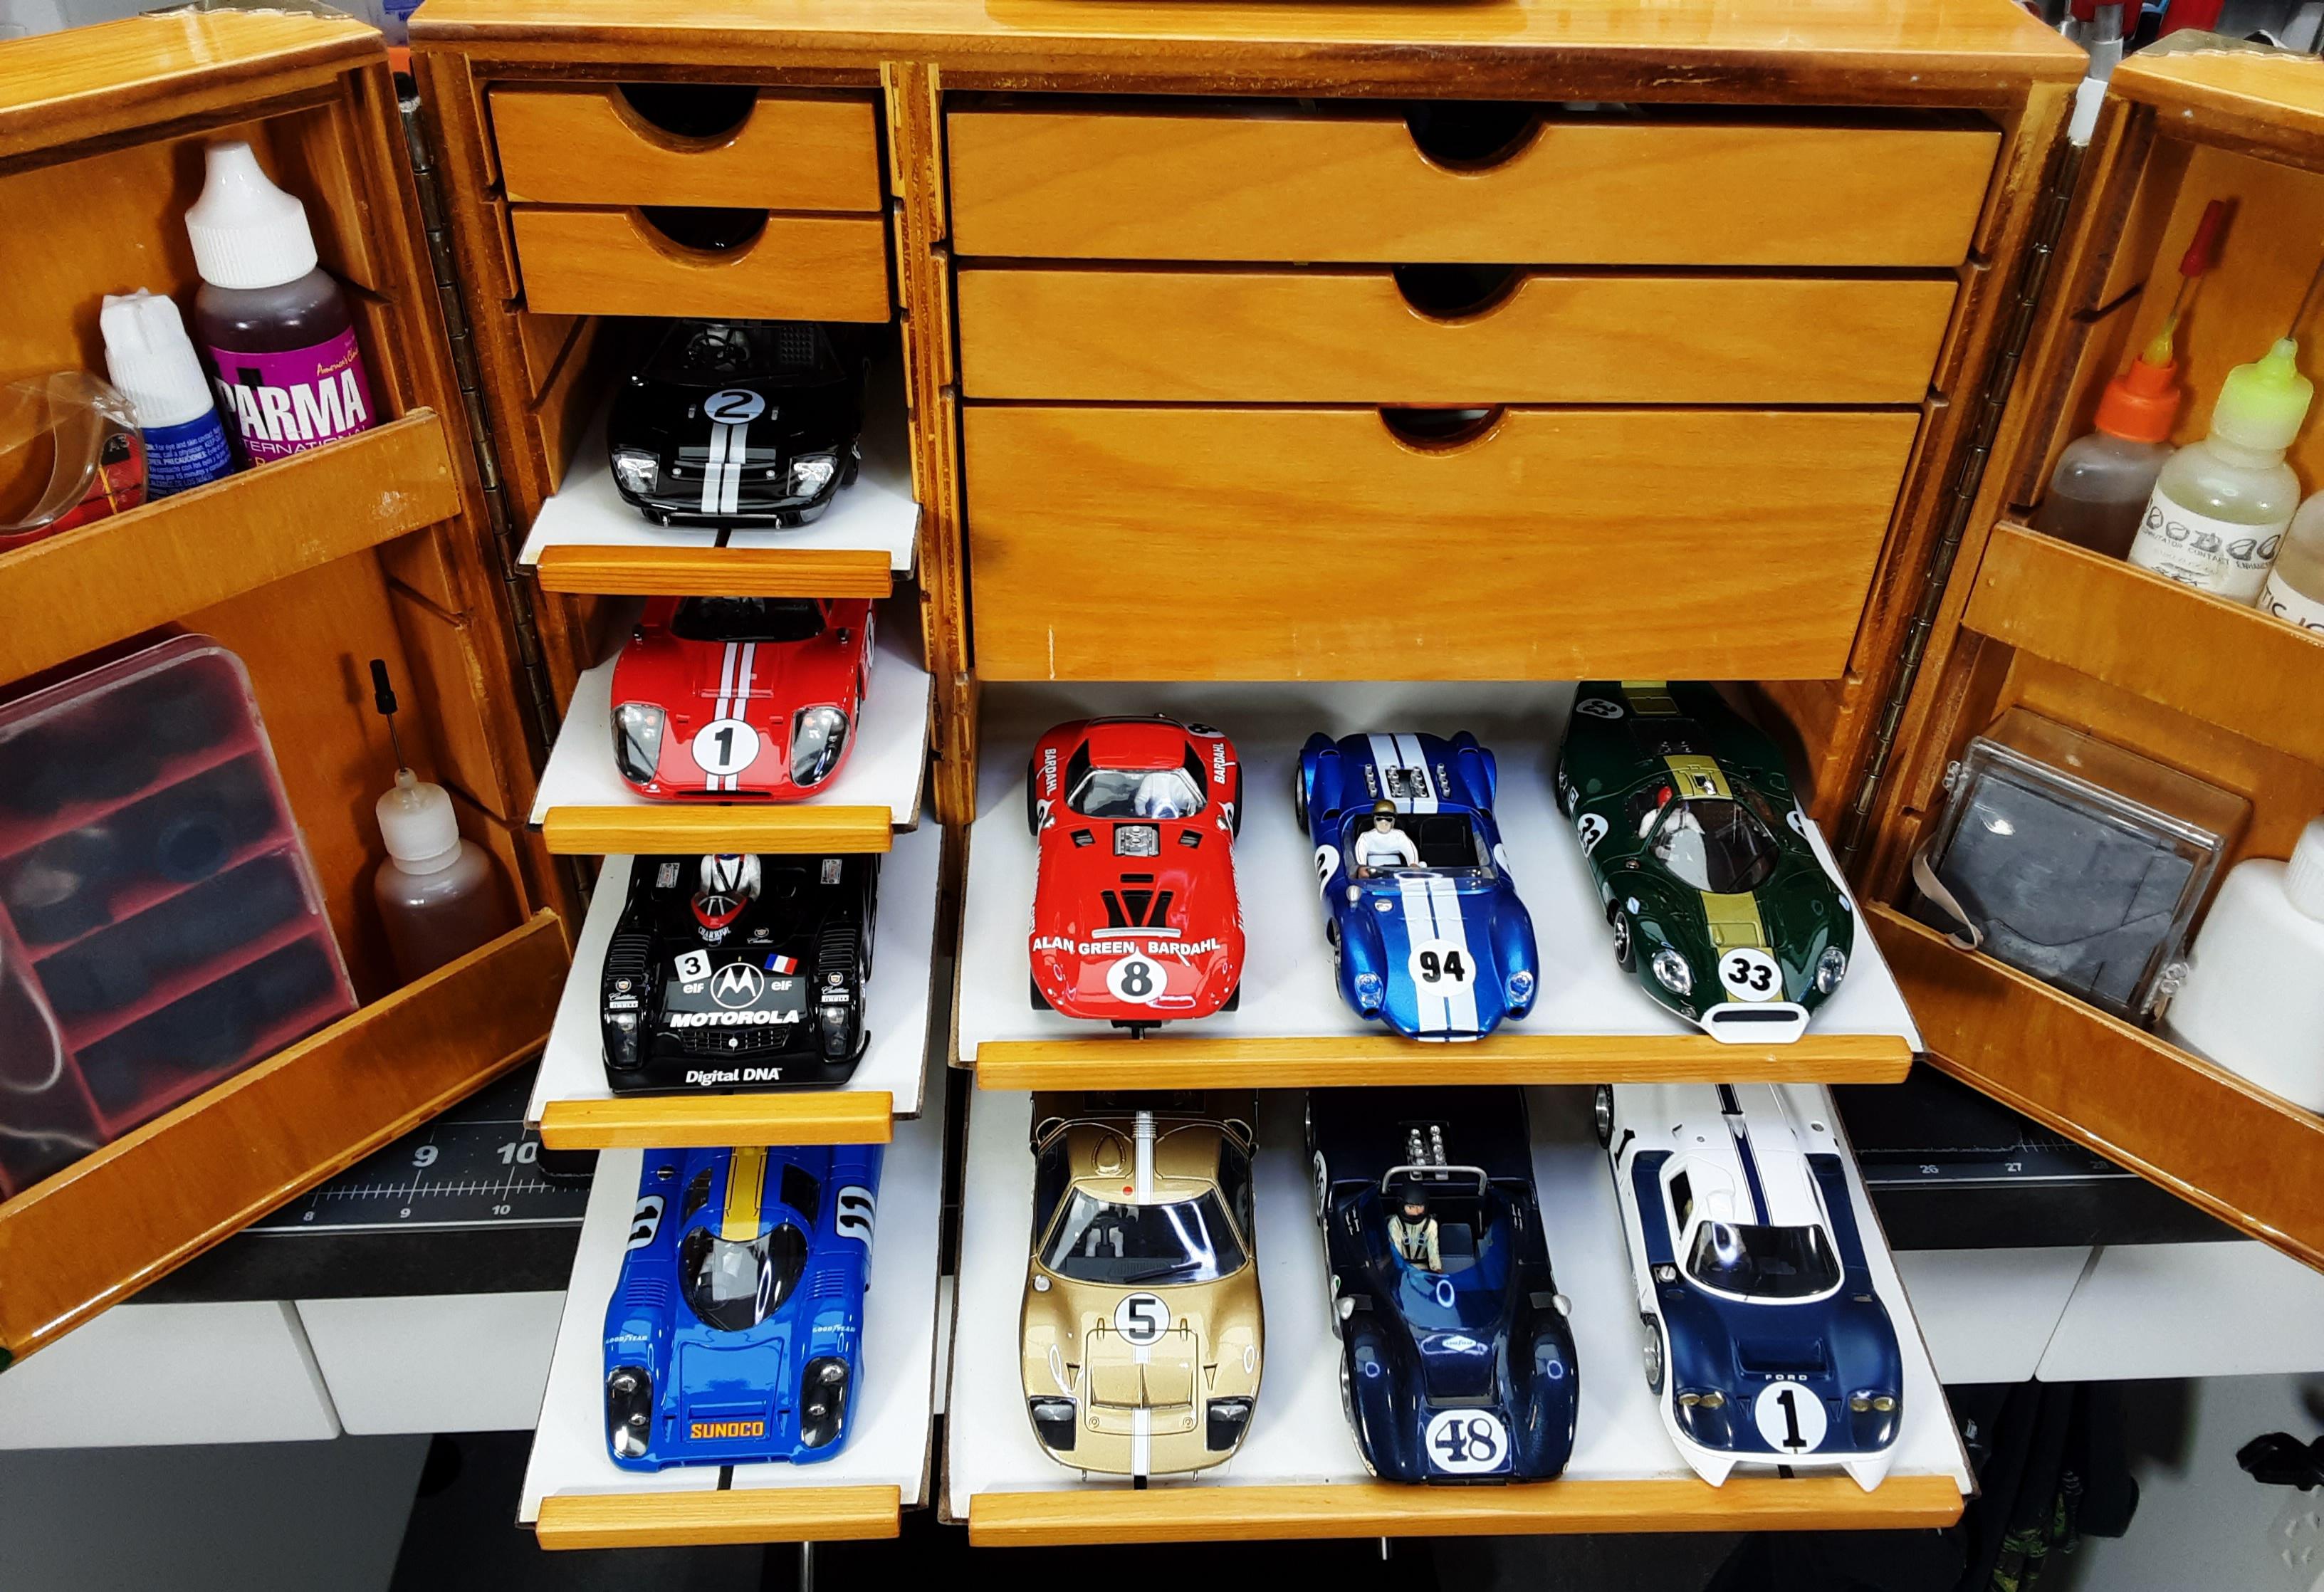
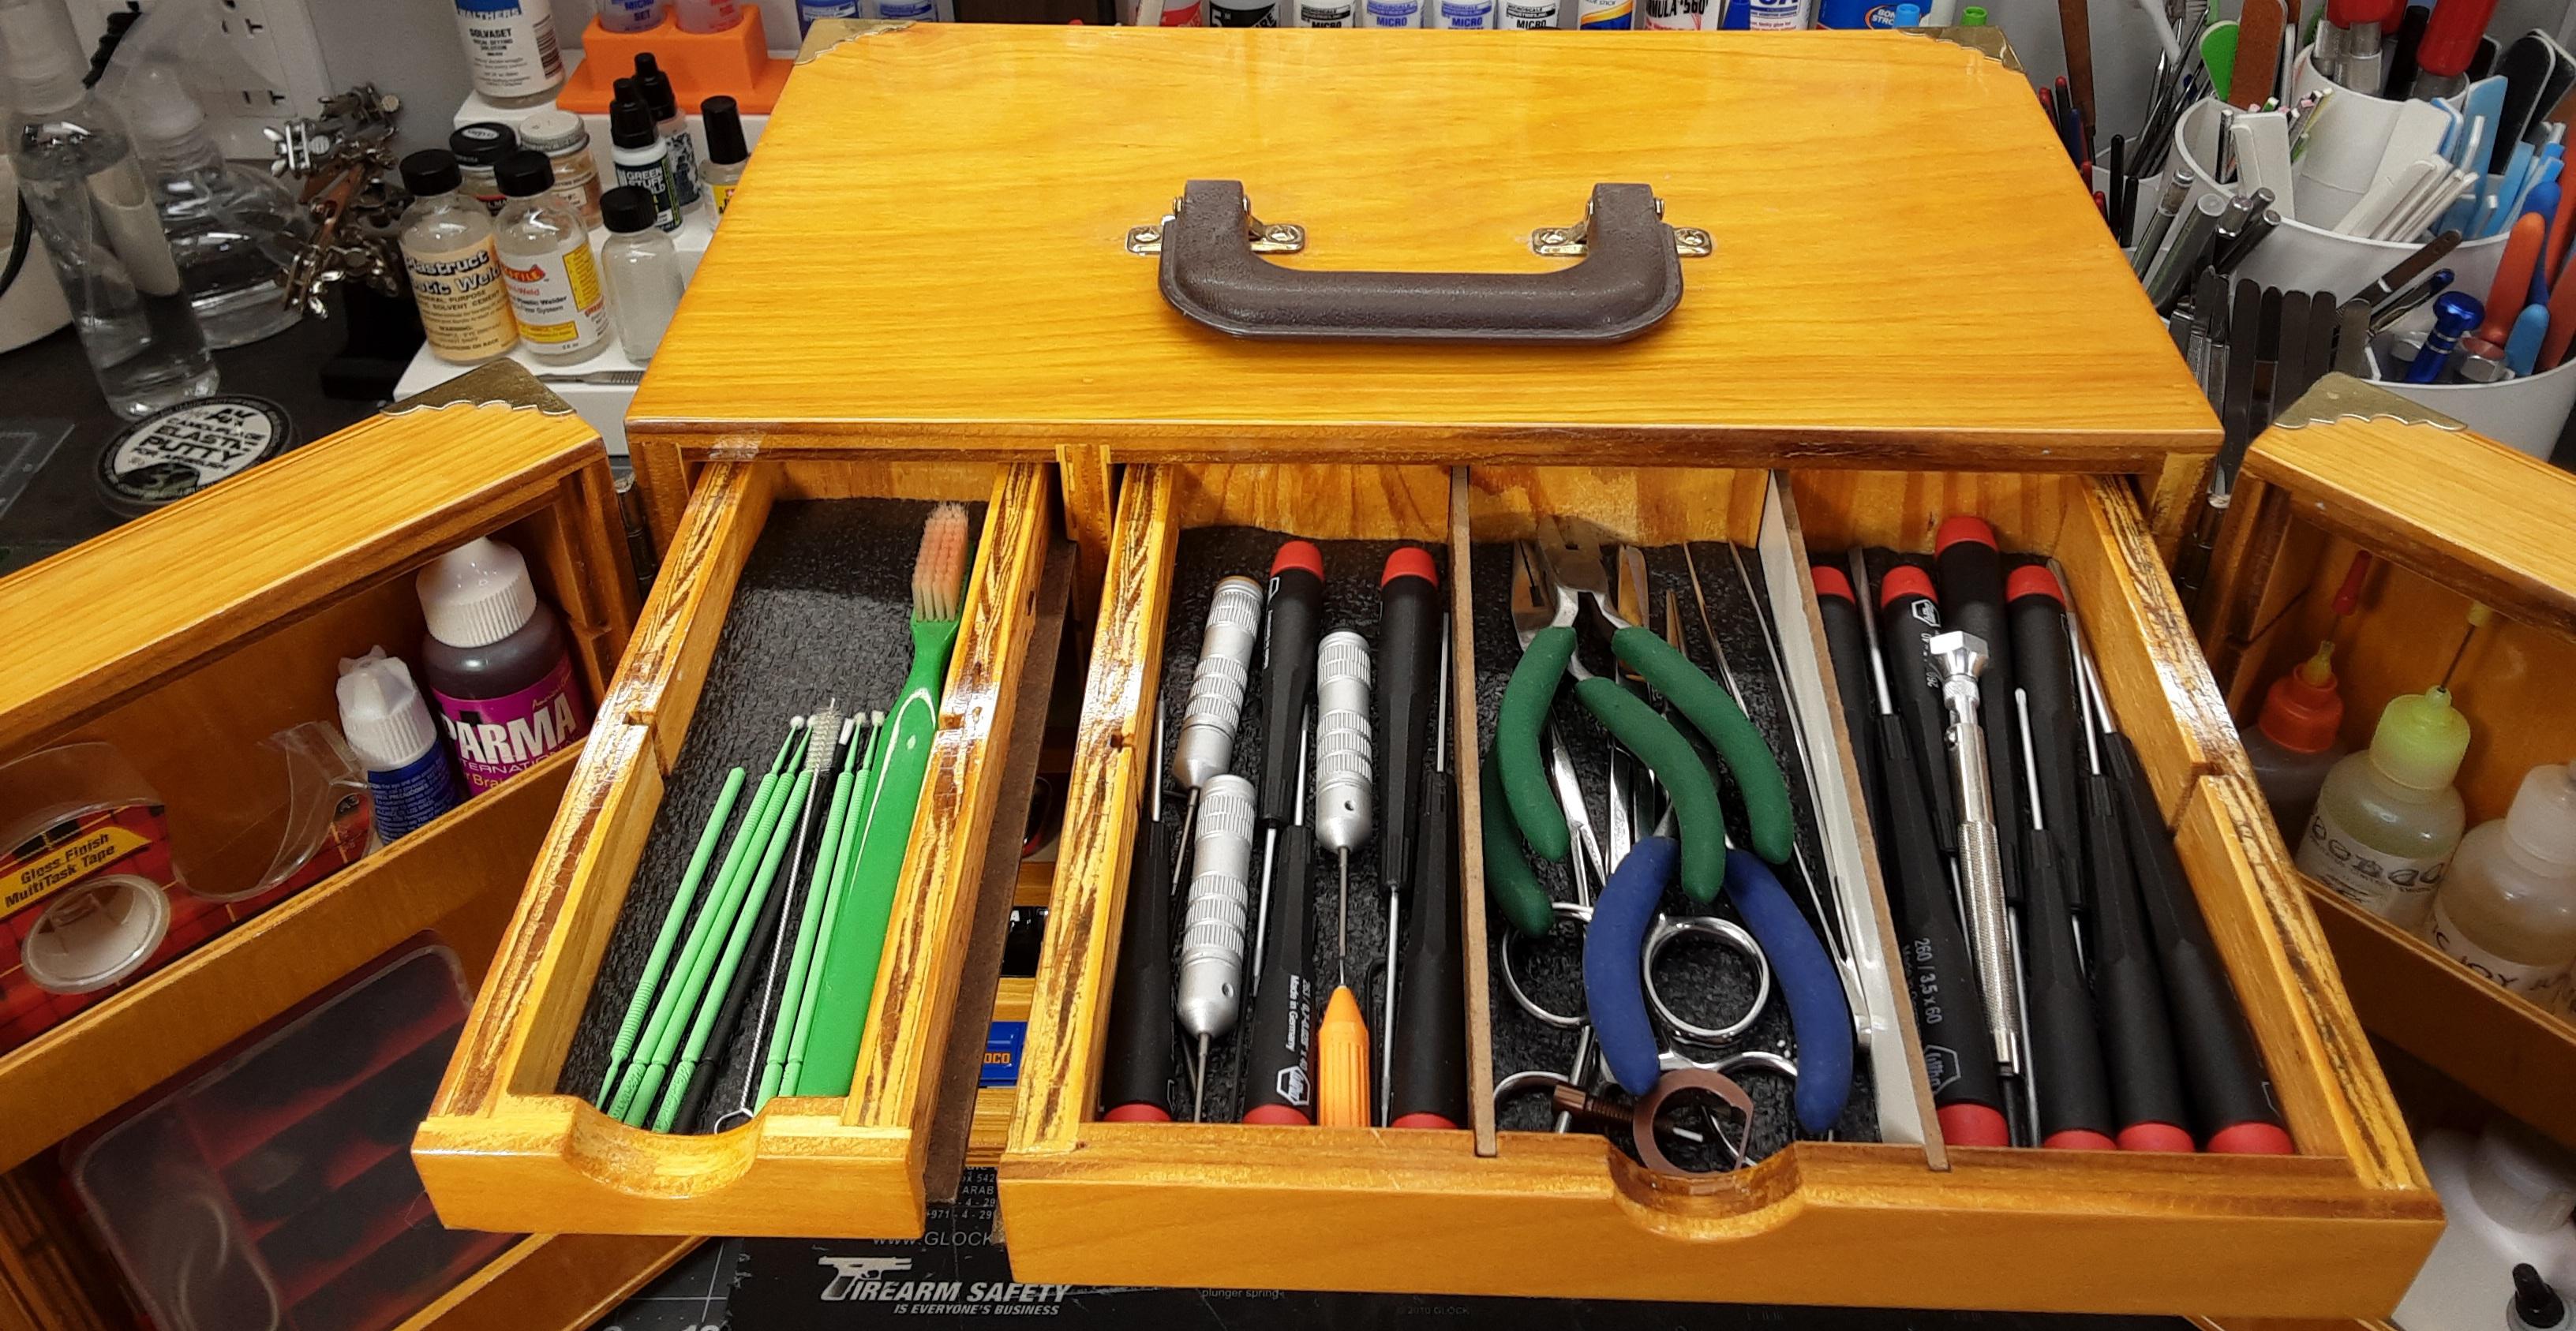
My Slot Car Pit Box. Had it custom built to my specs about 15 or so years ago and finished it myself. Lotsa storage fer cars, trackside maintenance goodies, controller and other such stuff.
-
Show your iconic Custom Car/Hot Rod replicas
Mothersworry replied to Koellefornia Kid's topic in Model Cars
Roth's Outlaw...
-
Show your iconic Custom Car/Hot Rod replicas
Mothersworry replied to Koellefornia Kid's topic in Model Cars
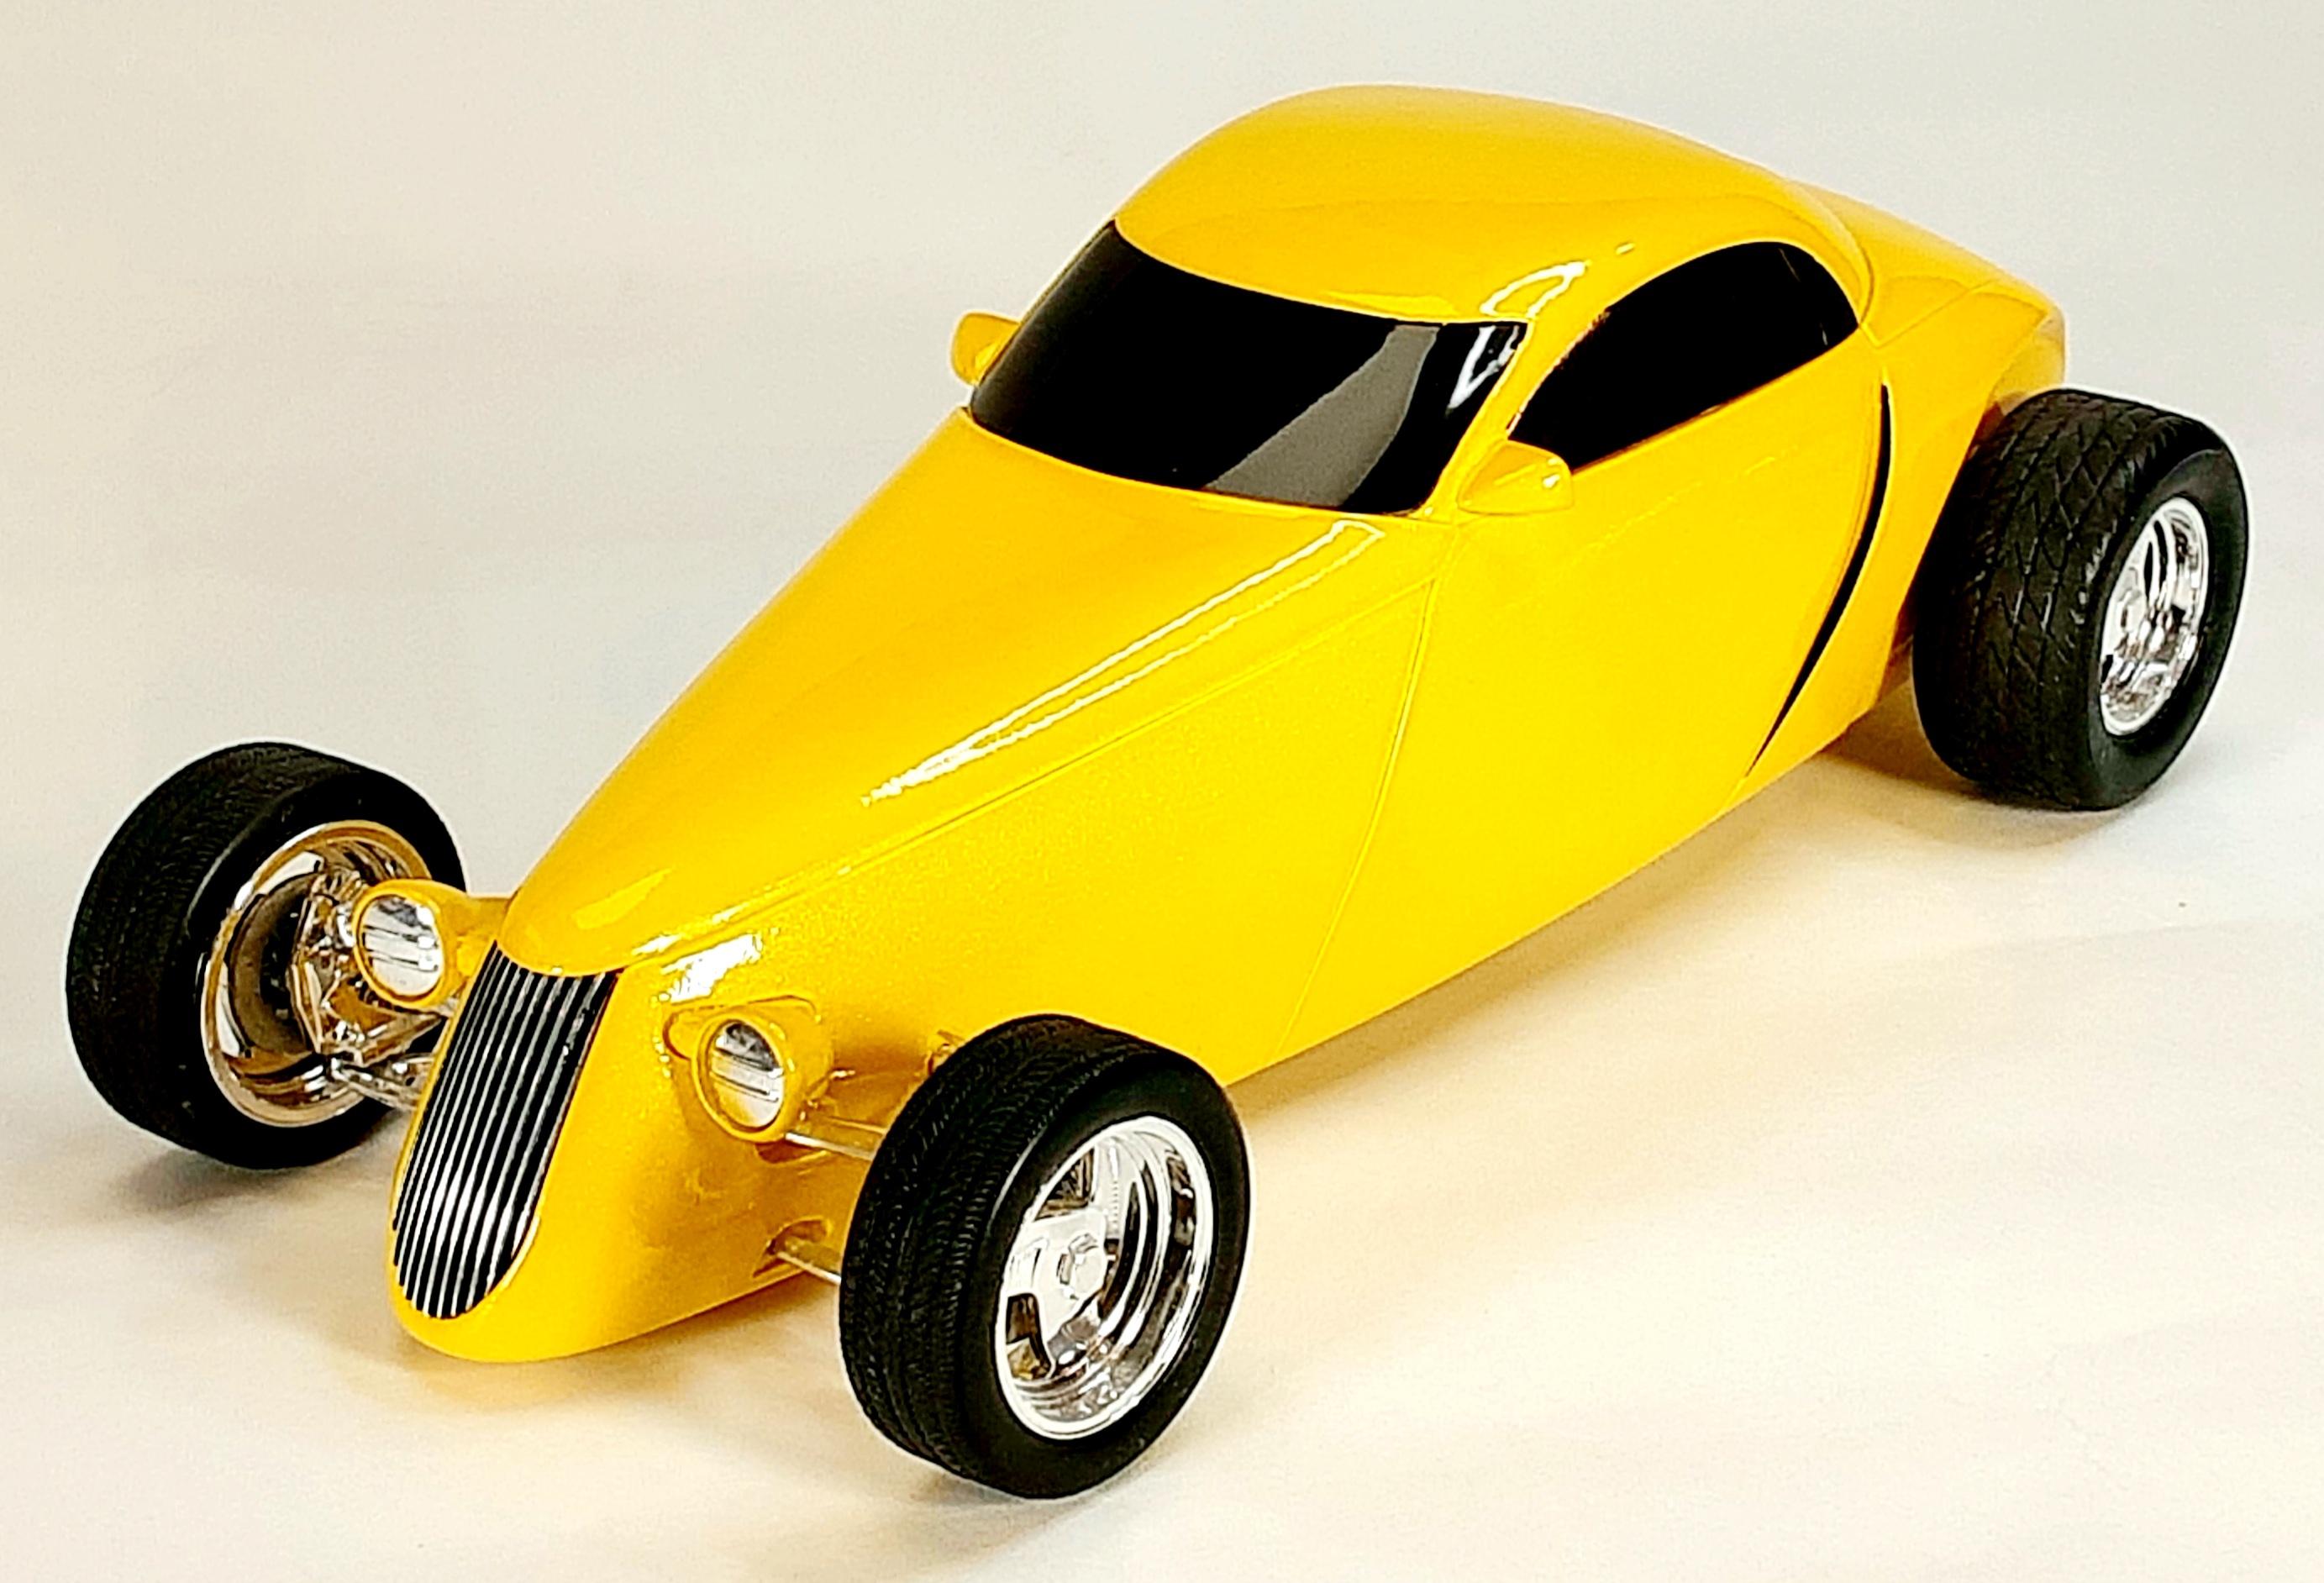
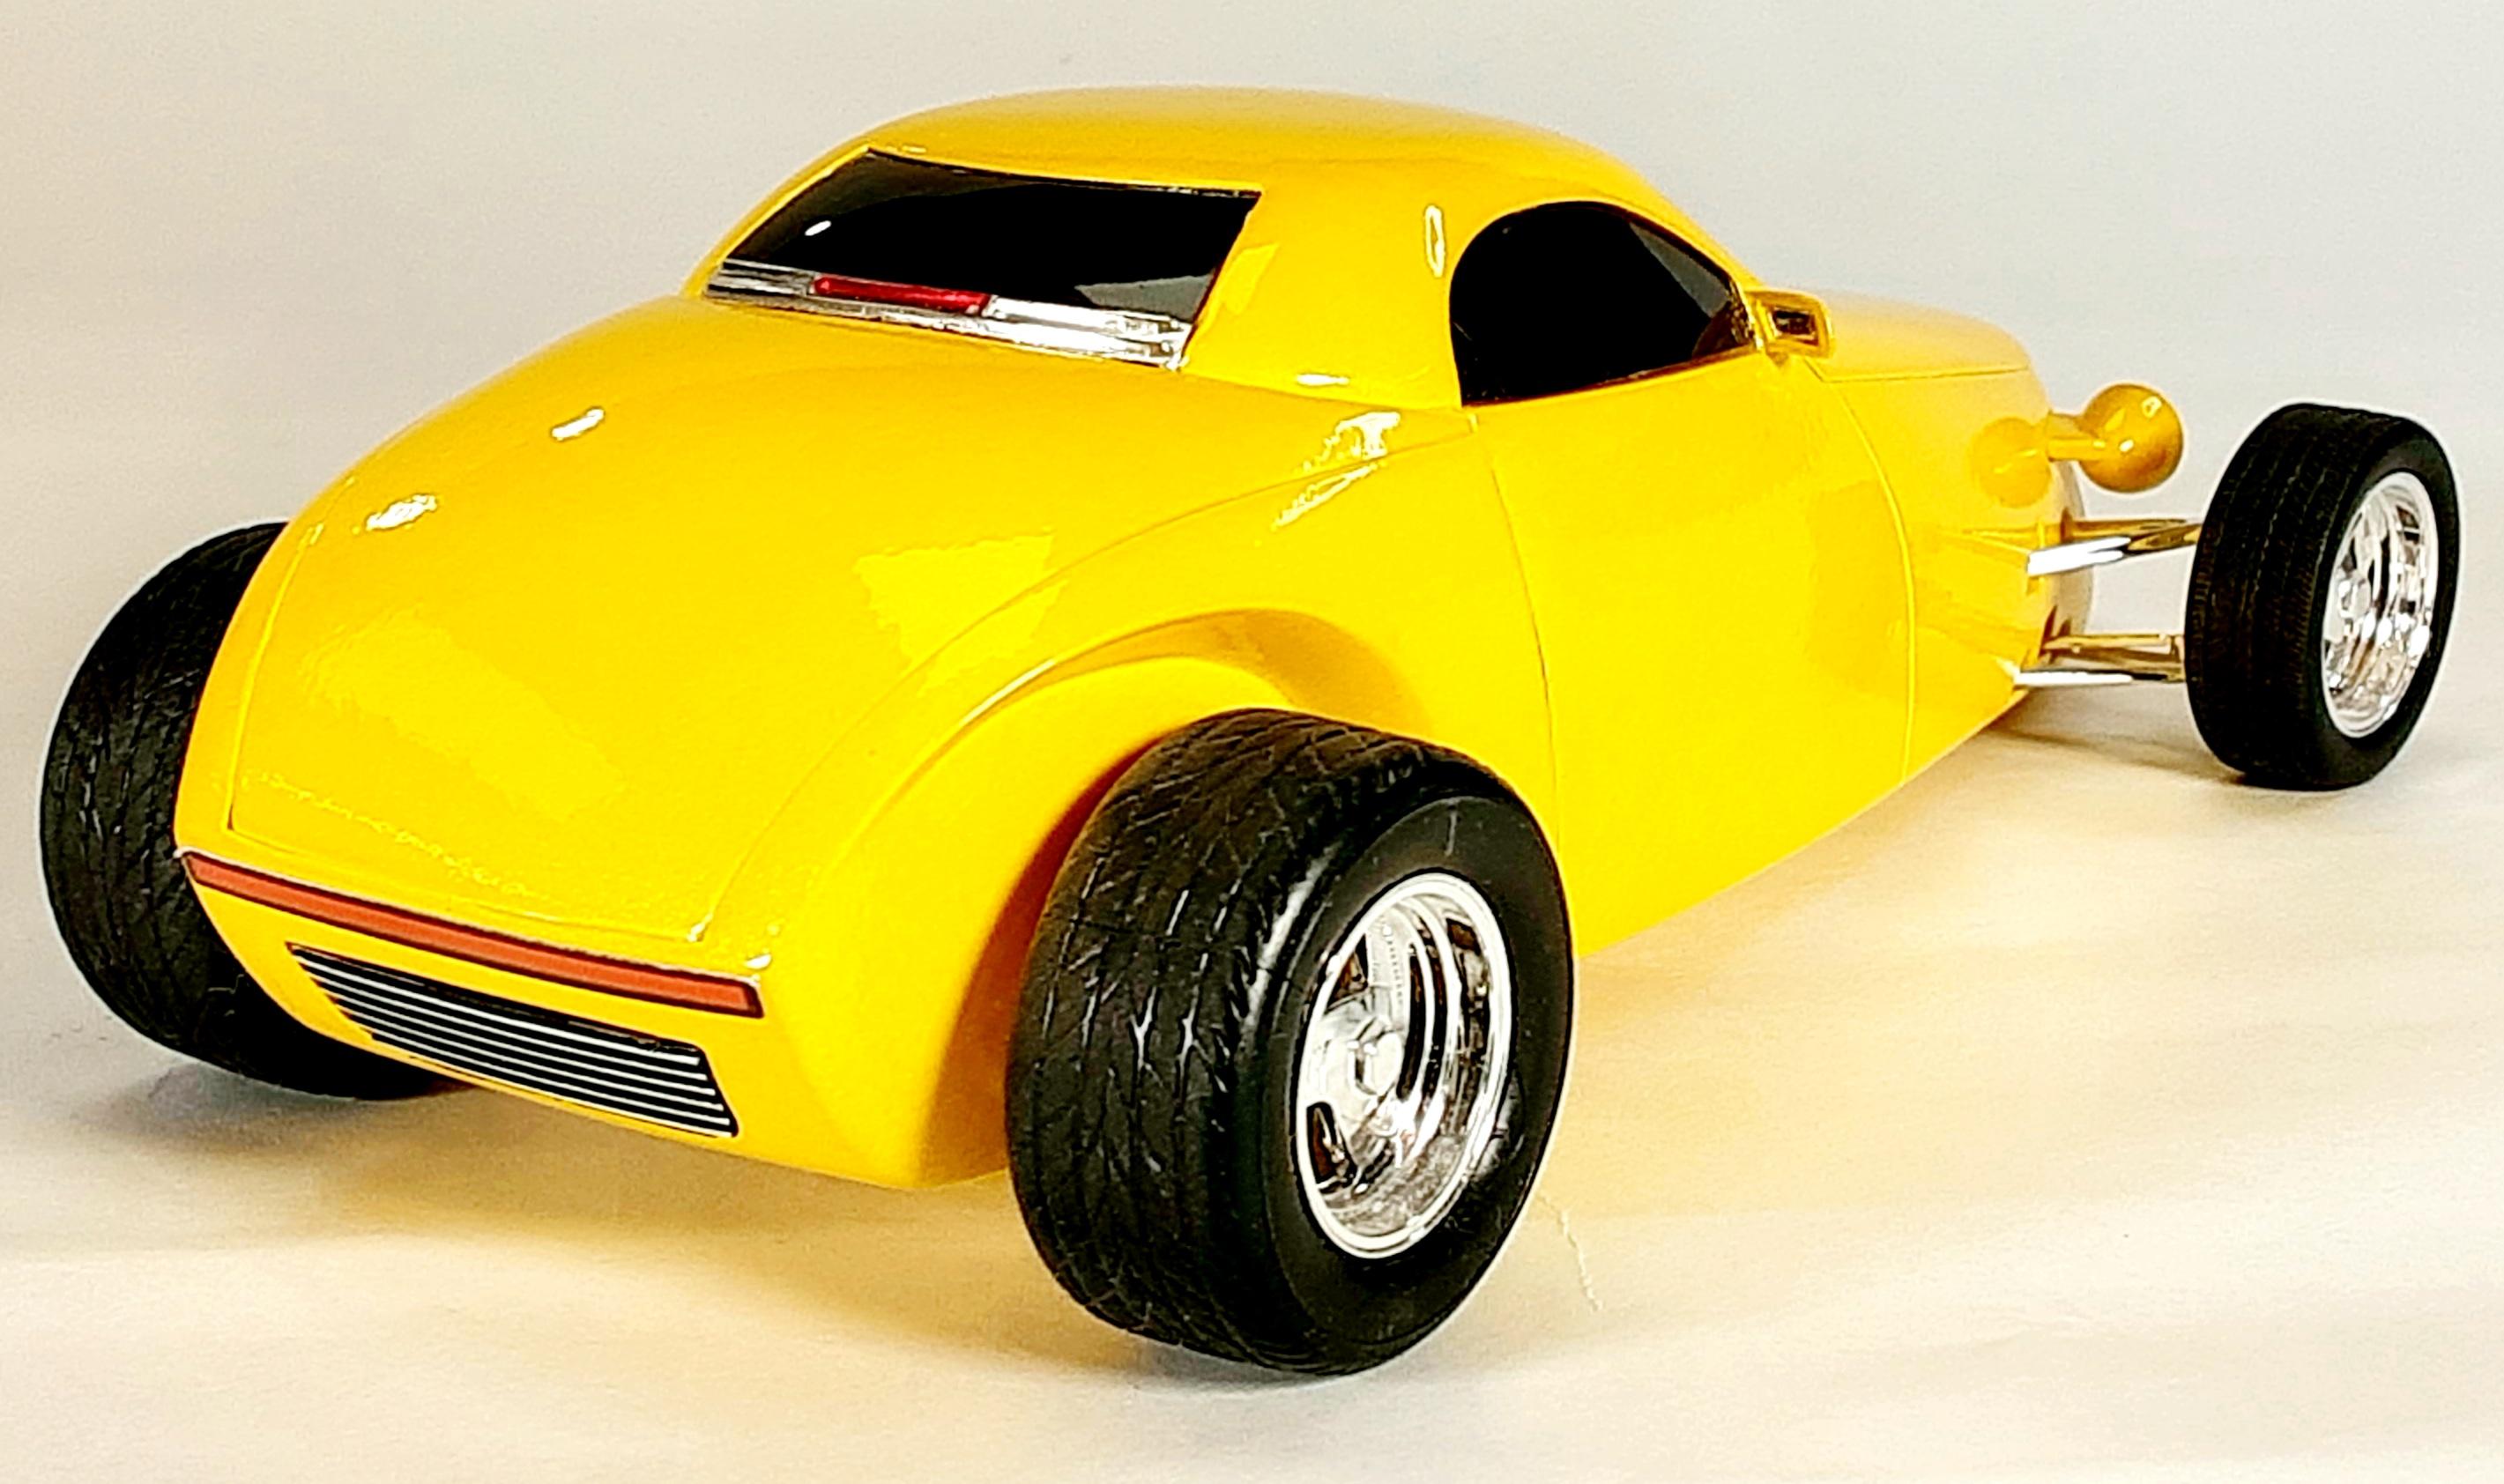
Boyd's Aluma coupe...
-
I like it.
-
I like it.
-
When All Else Fails....?
Mothersworry replied to gcthree's topic in Model Building Questions and Answers
I've had some success with Tamiya Decal Adhesive in getting troublesome decals to stick.
-
'63 FORD GALAXIE LIGHTWEIGHT...
Mothersworry replied to Mothersworry's topic in WIP: Drag Racing Models
Thank you fer yer comment, gonna be a curbside build, may do the '60 chassis fer the Gas Ronda car but we'll see. Yup, Jack Smith decals fer the trim goodies. -
'63 FORD GALAXIE LIGHTWEIGHT...
Mothersworry replied to Mothersworry's topic in WIP: Drag Racing Models
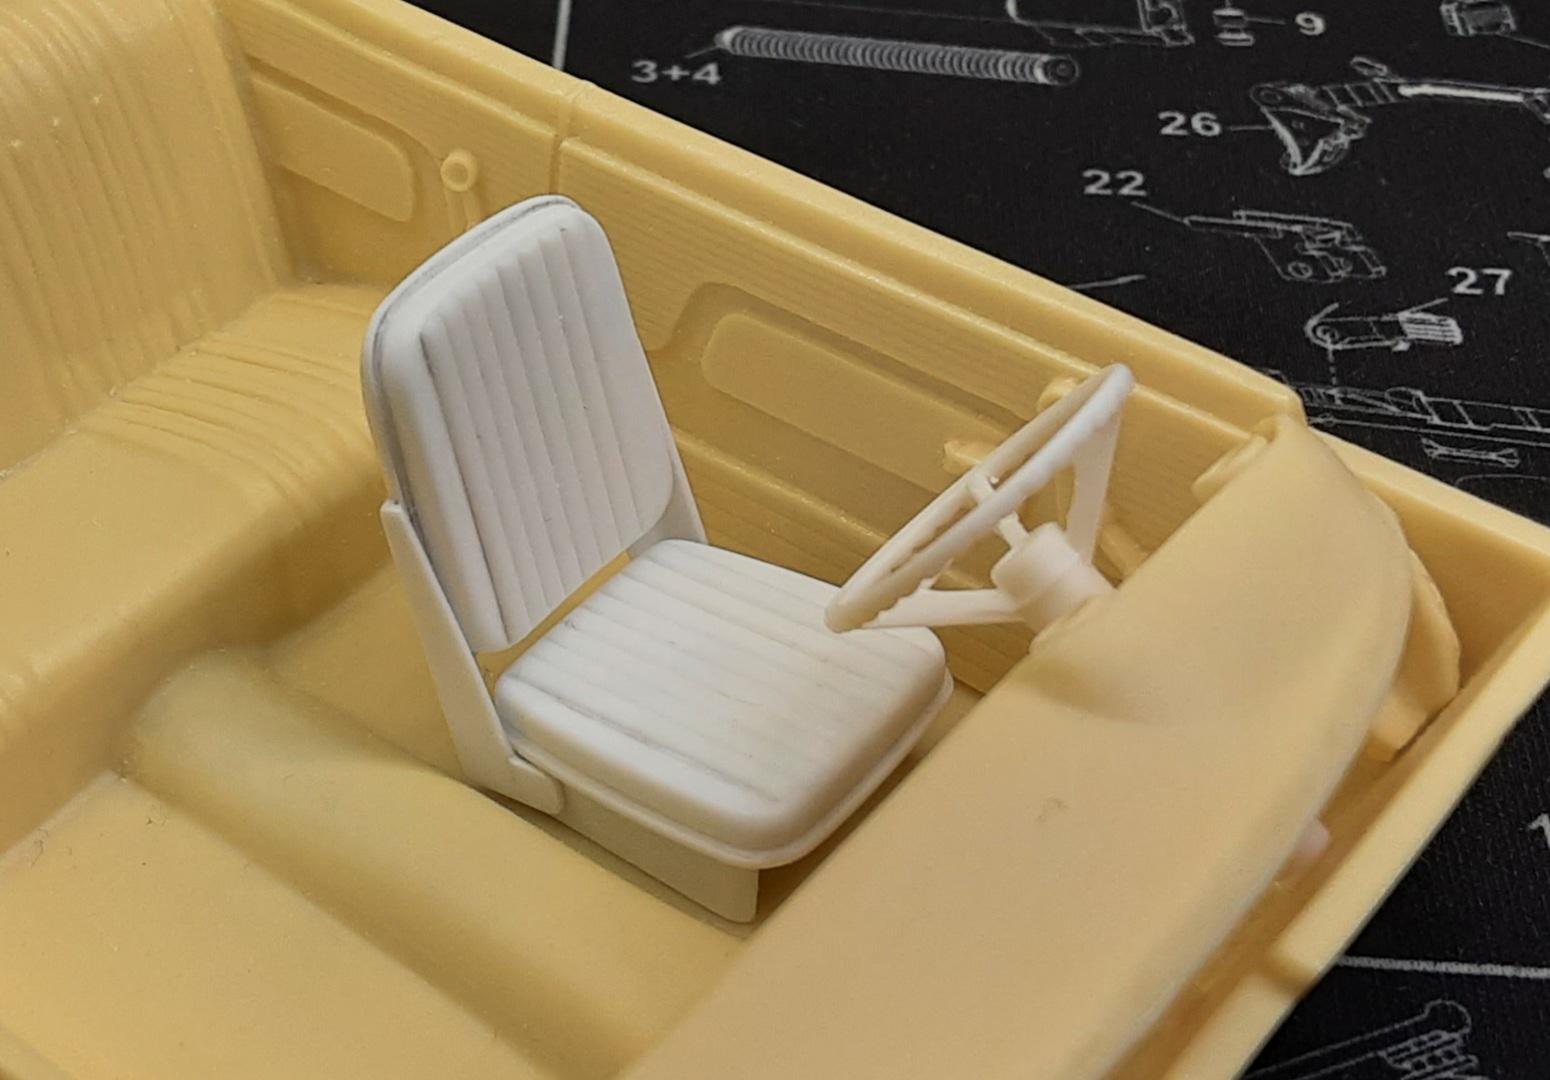
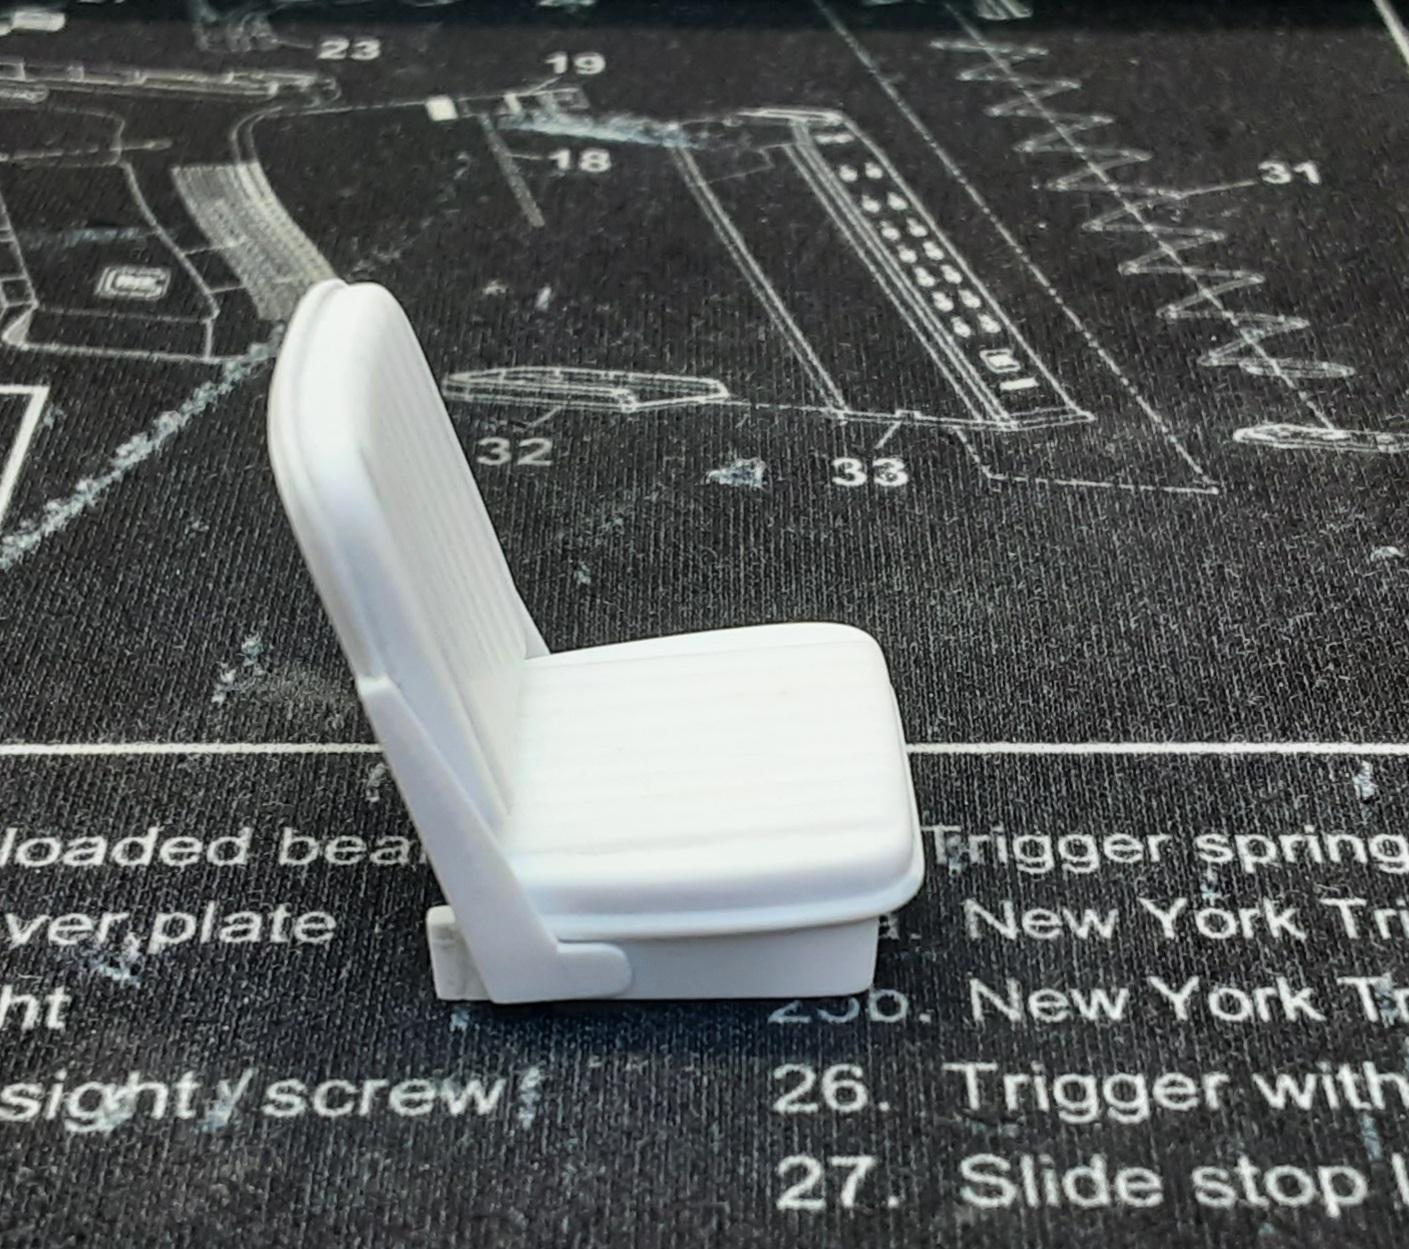
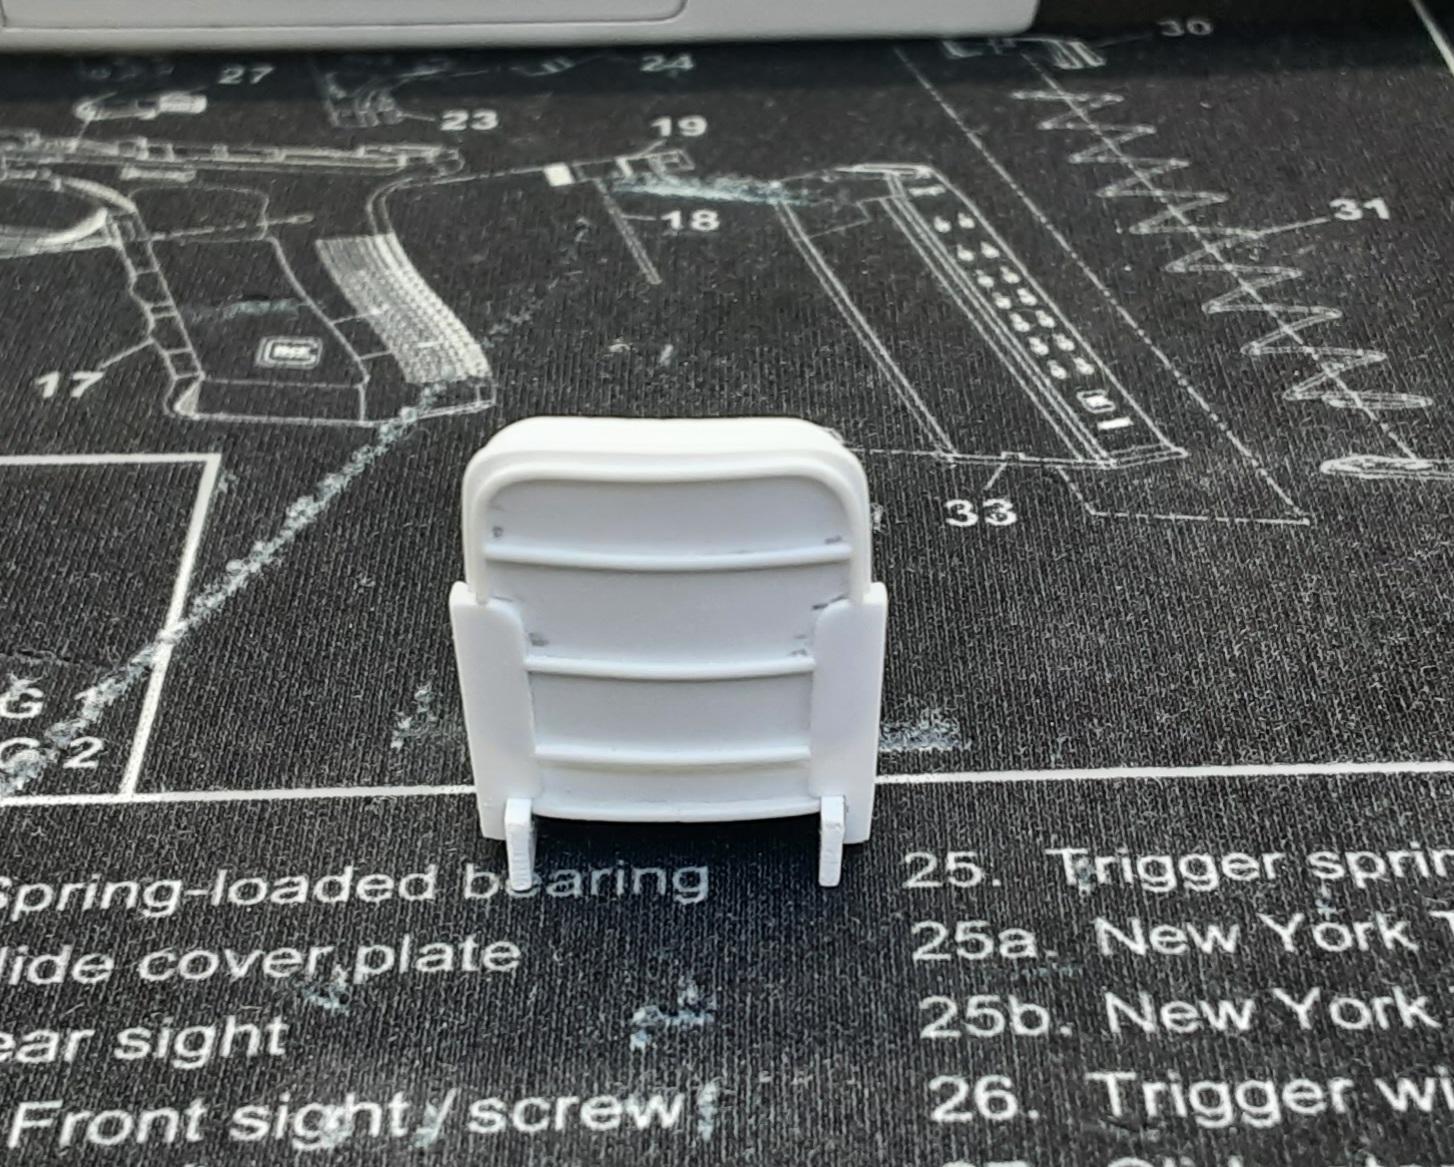
Thank you fer yer comment Bill. I will be giving the seat master to Kevin this weekend. Stay tuned on future availability. -
Don't usually do WIP's but I snapped some pics fer a friend so here ya go. Body is just about ready fer clear, master for the bostrom seat is nearly finished...gonna have Kevin cast a few sets up fer me. Not an exact replica of the seat but close 'nuff.
-
Picked this up at a garage sale fer a buck this past weekend...should make fer an interesting build.
-
Show your iconic Custom Car/Hot Rod replicas
Mothersworry replied to Koellefornia Kid's topic in Model Cars
Ala Kart by Barris, built from an original issue AMT kit.
-
Late 1965 or maybe early '66...IMC Ford GT. I wuz 7 years old in 66. My Dad gave me sum tips on assembly, glue useage and such and how to use an xacto knife but I did all the work myself and as I recall it didn't turn out half bad. Now my Dad explained to me that after you finish a model yer supposed to put it on a shelf and just look at it. Of course to my 7 year old brain this idea of looking and not touching wuz ridiculous...I built it, I'm gonna play with it. So my first build didn't last that long but it wuz fun.
-
Show Us Your Work Bench
Mothersworry replied to Bruce Poage's topic in General Automotive Talk (Trucks and Cars)
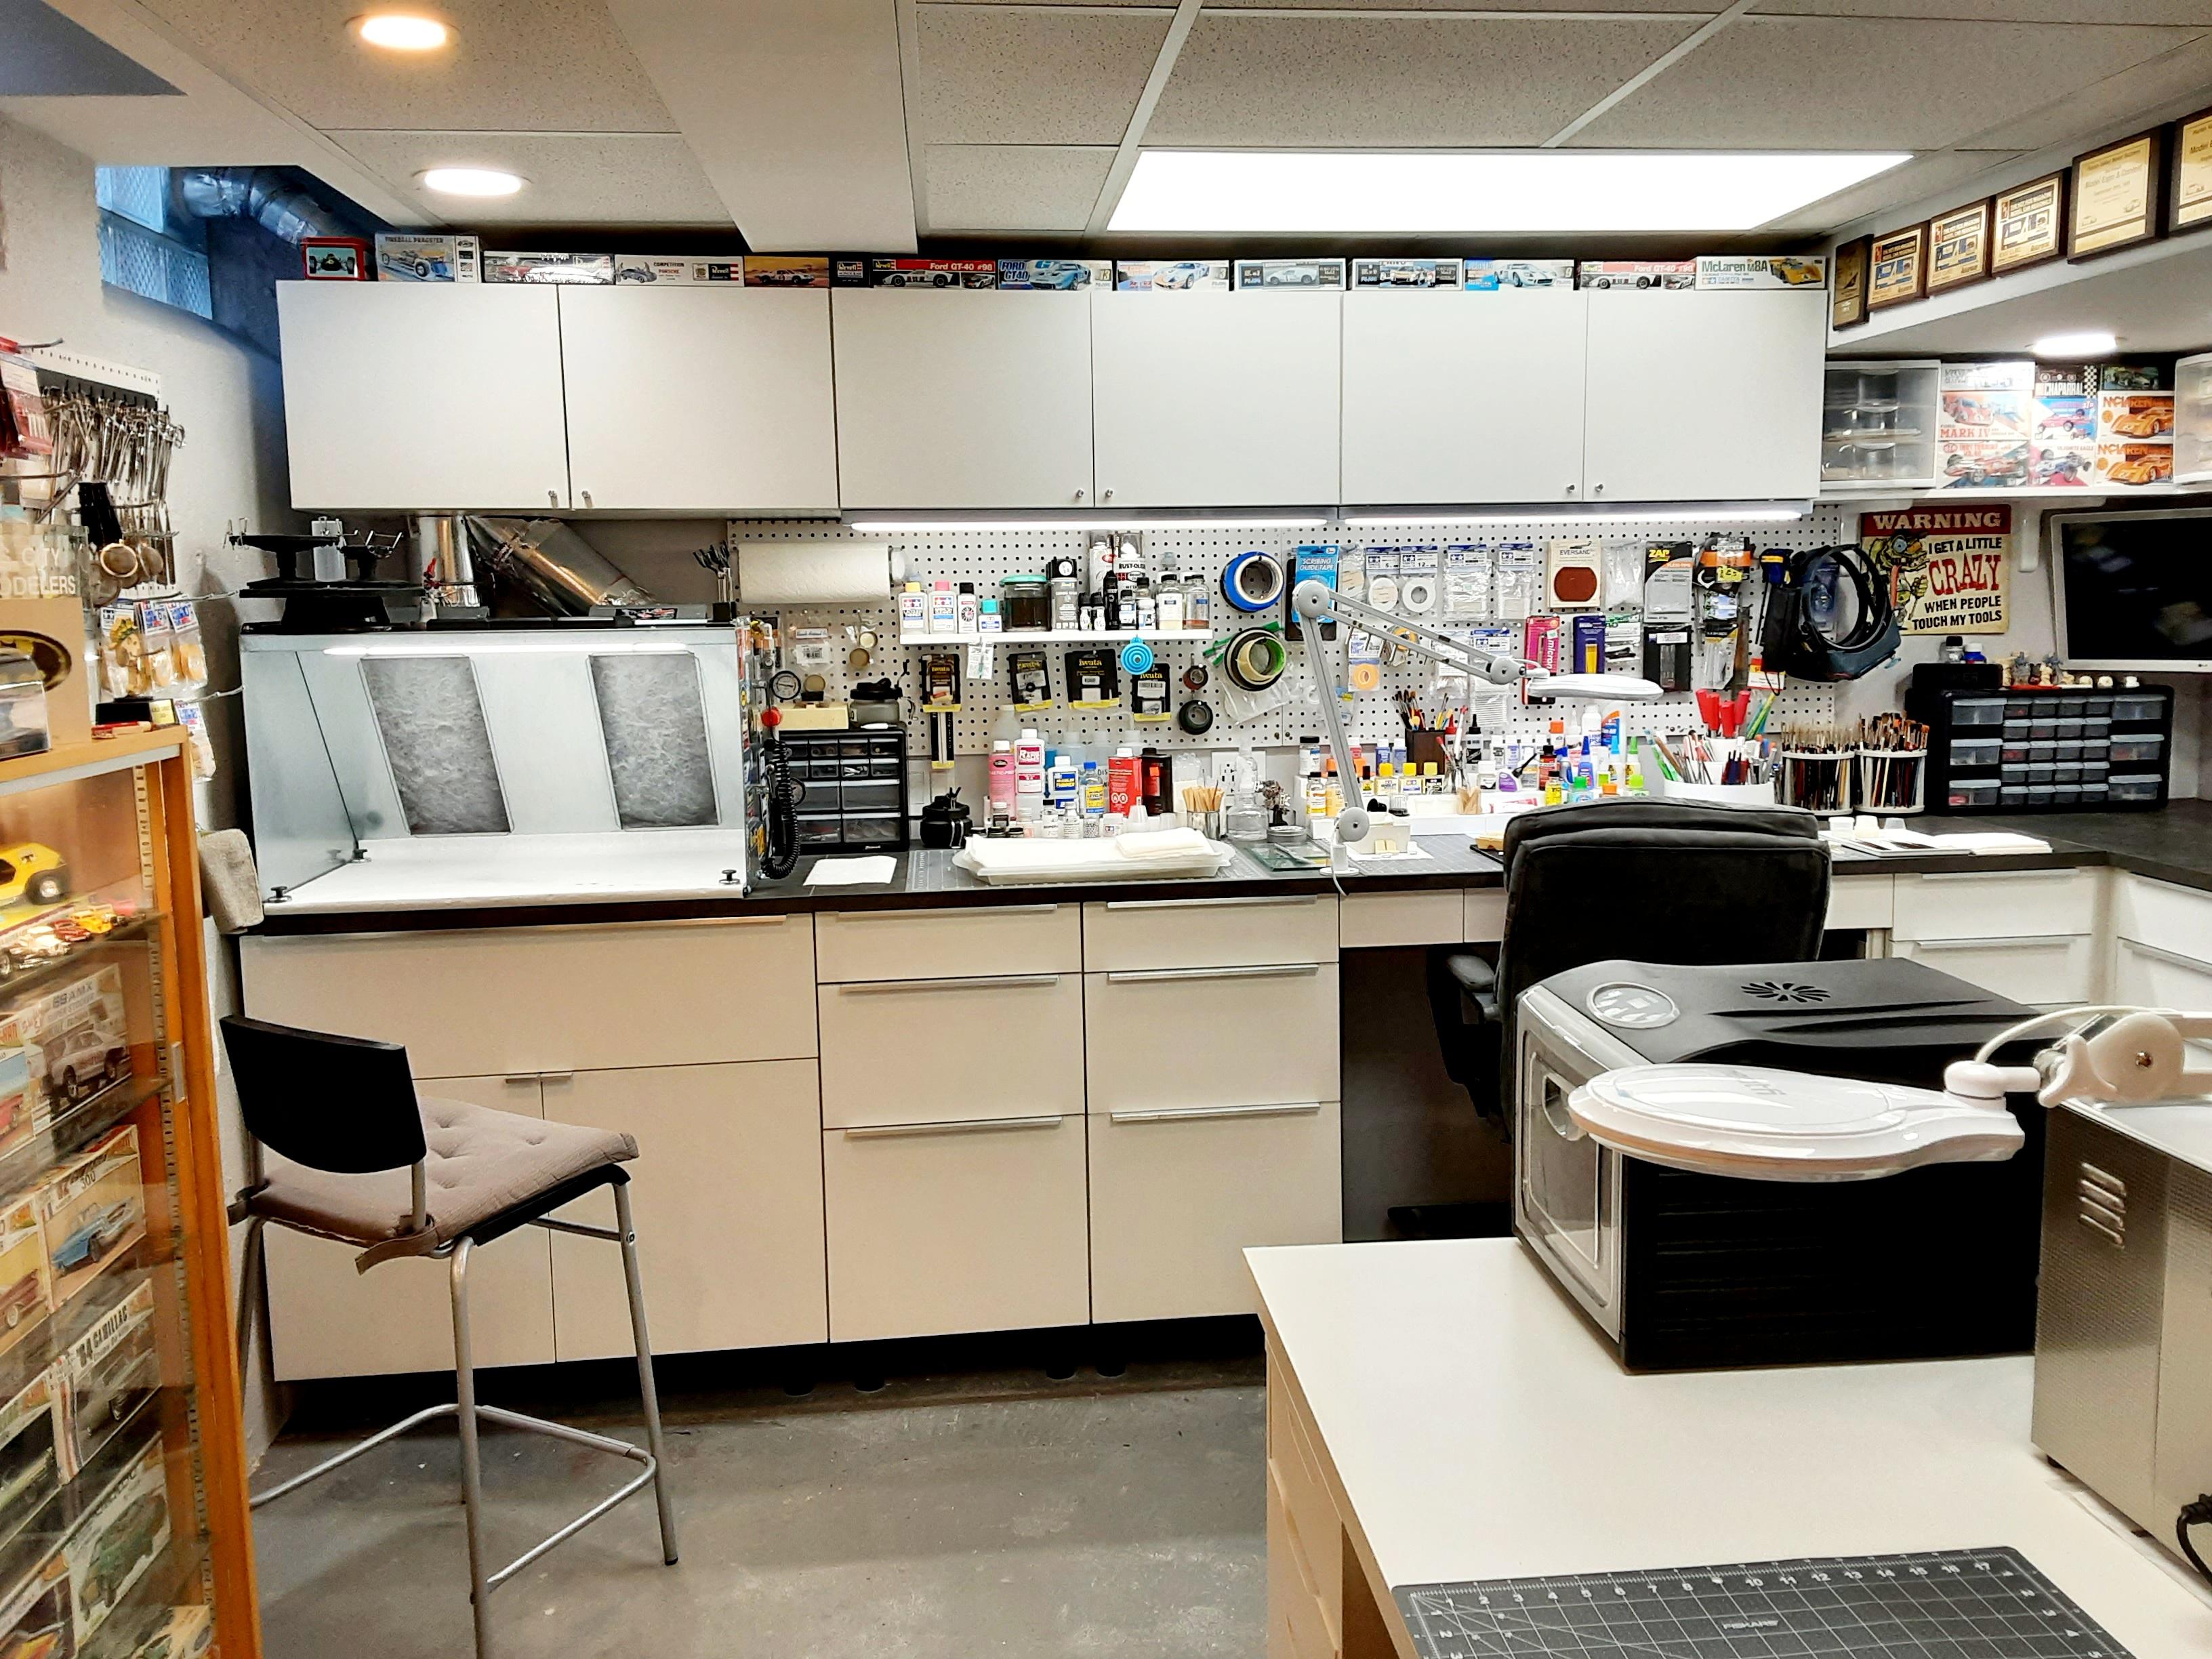
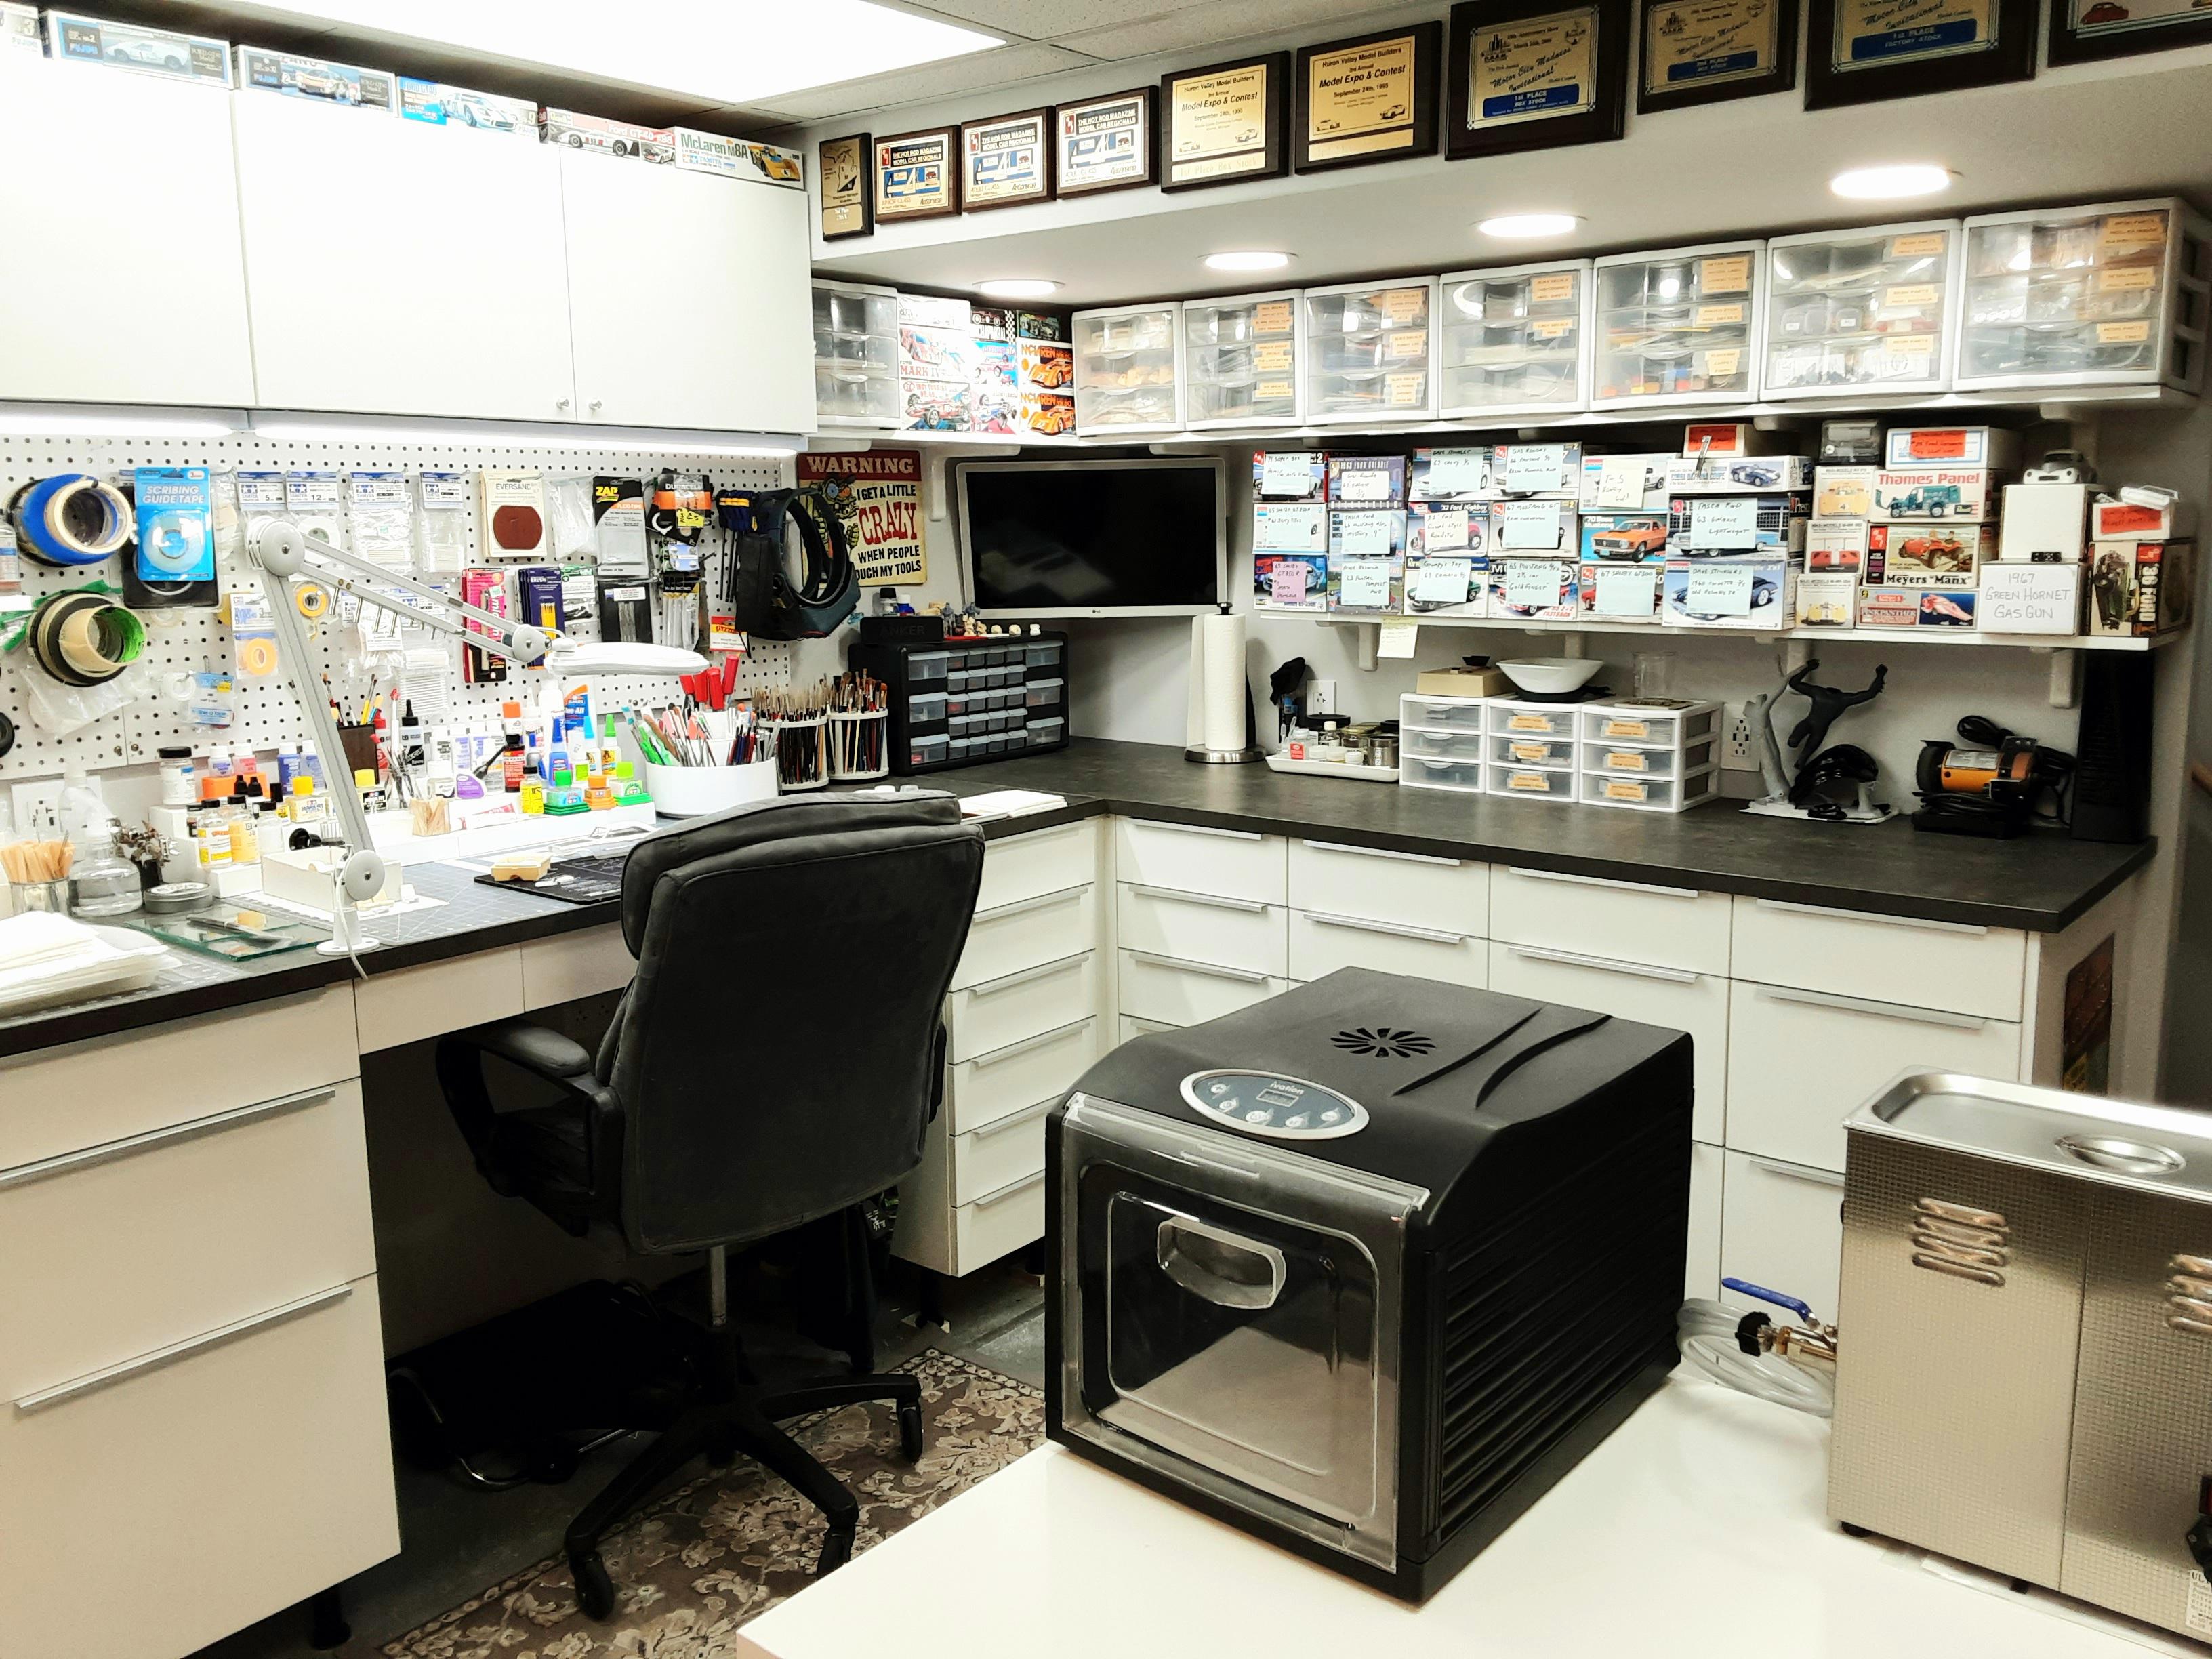
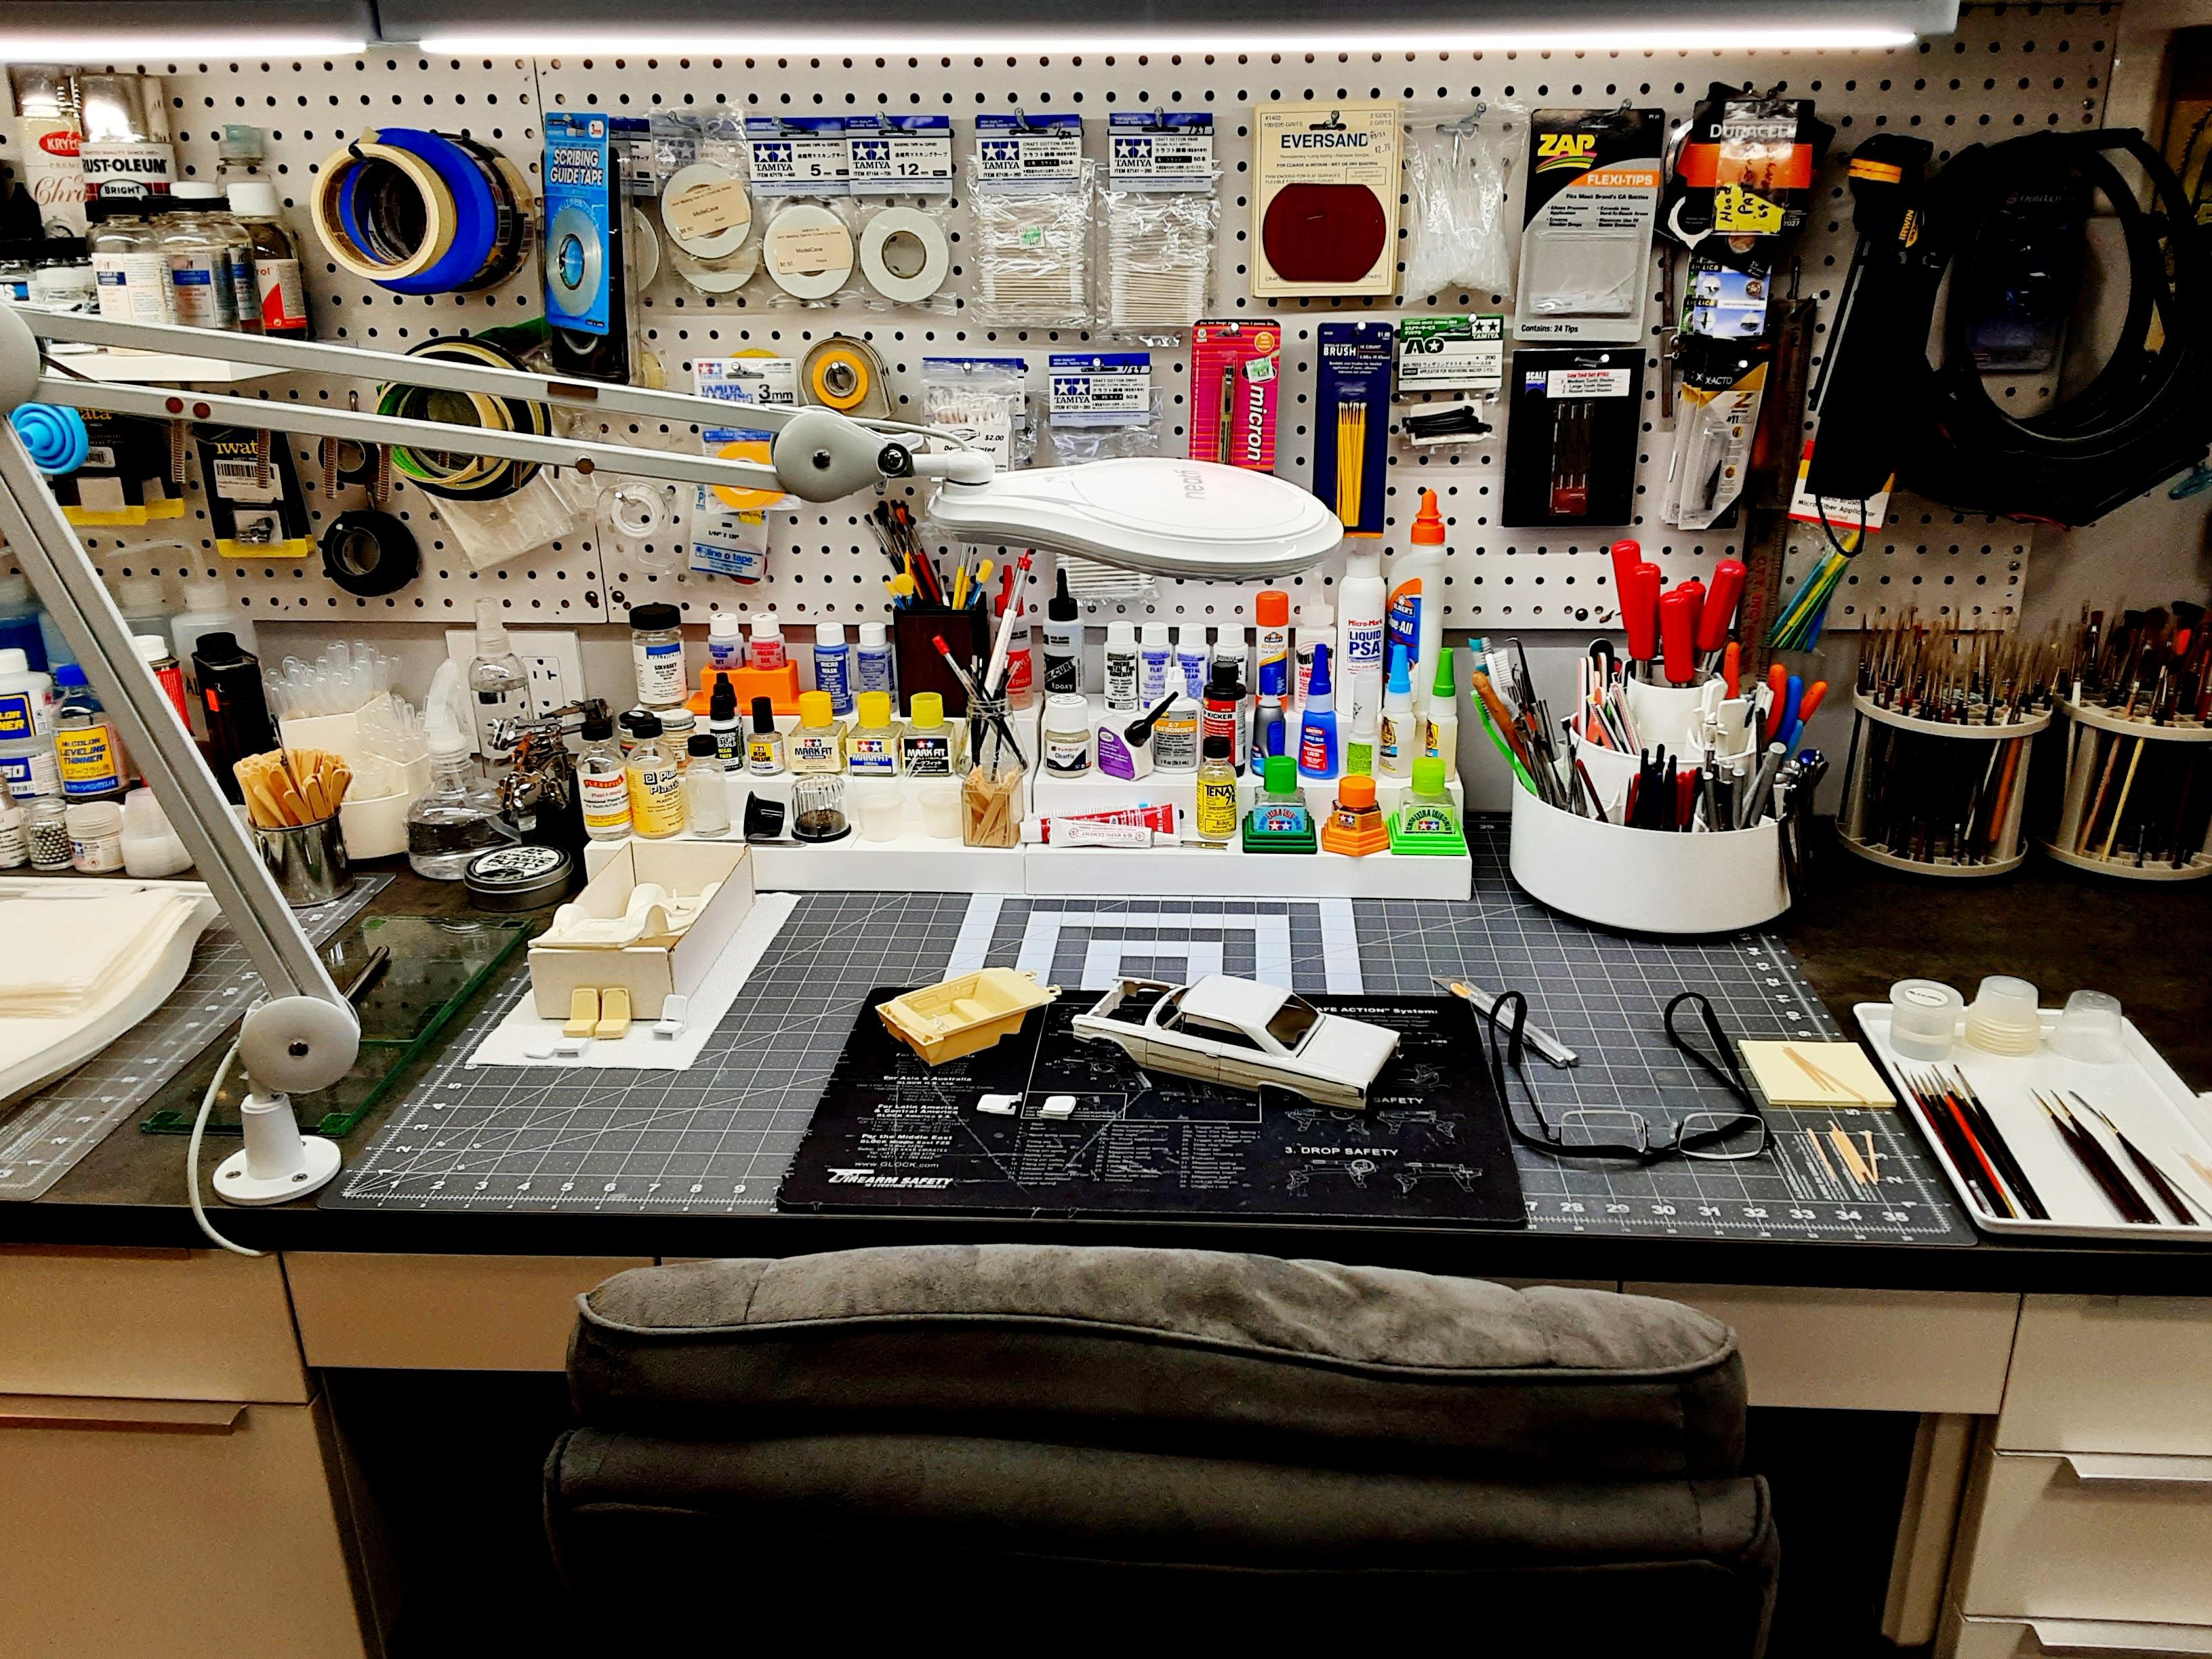
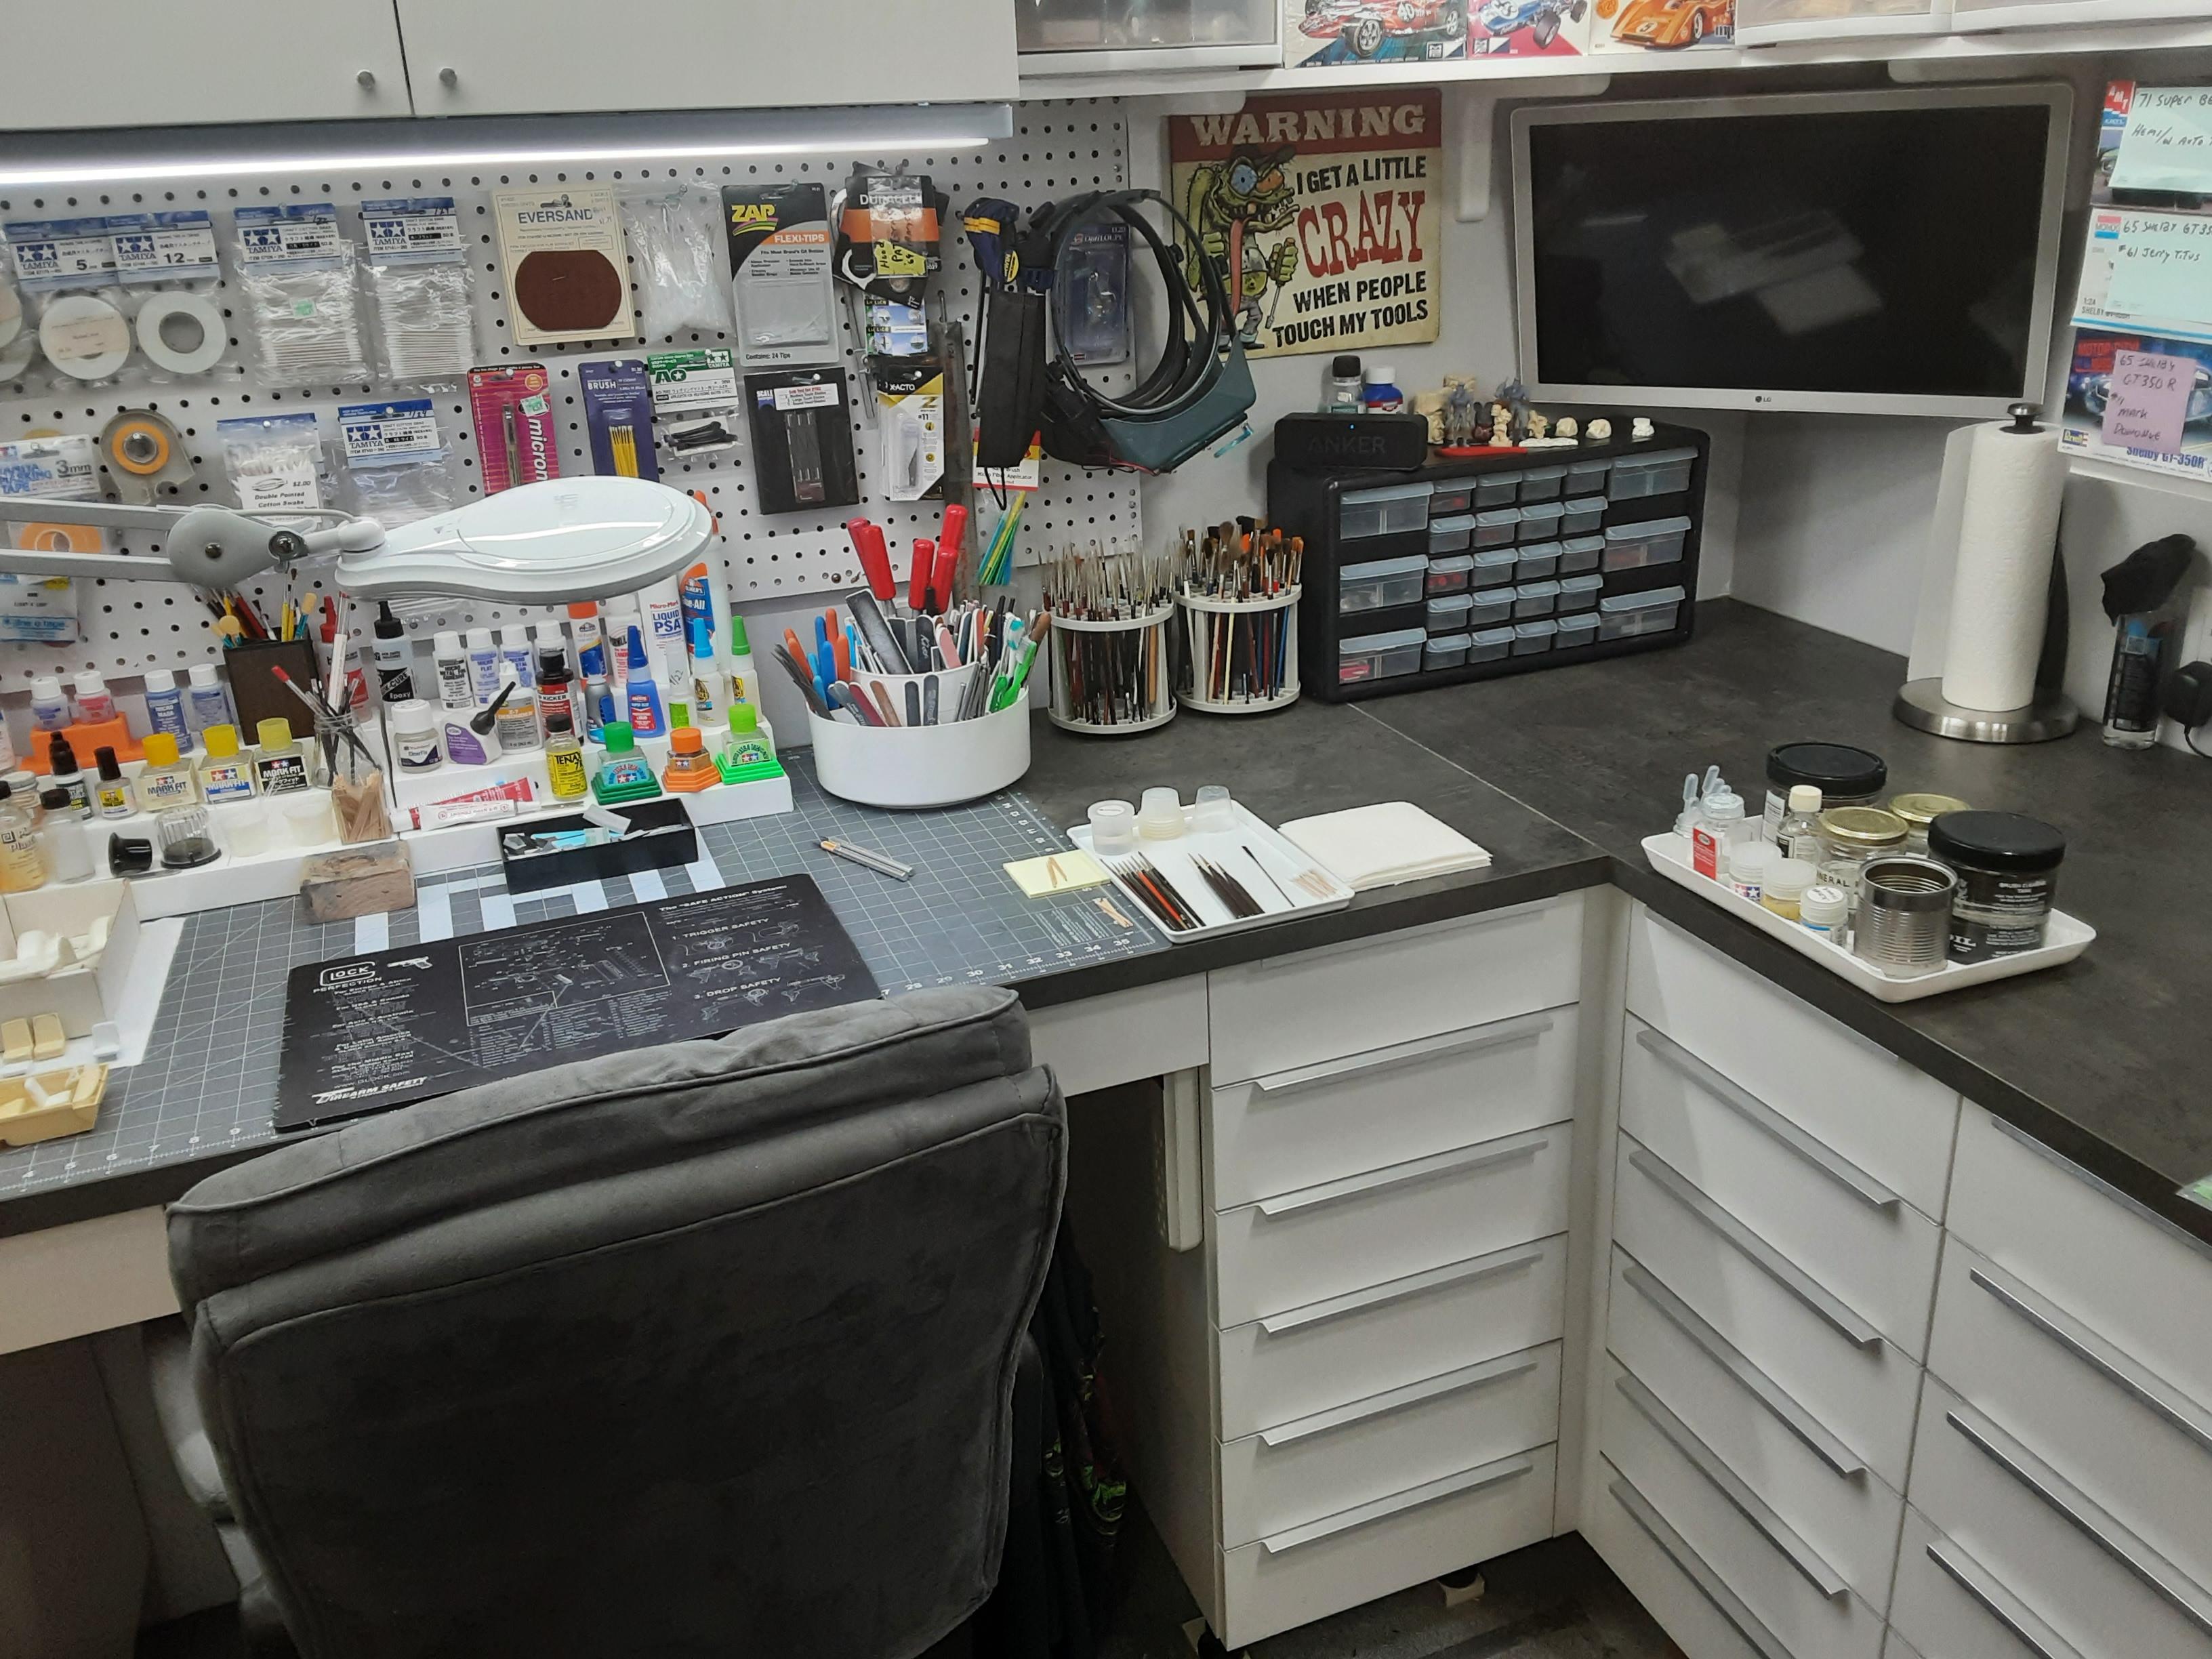
My little shop of Horrors...posted before but perhaps some that haven't seen it might find it useful. Built the shop in 2018 in anticipation of retirement (2020). Ikea Kitchen cabinetry wuz used throughout. I also maintain a storage unit that has sumthin like 1200 to 1500 or so unbuilt kits (kinda lost count after the last collection I bought). Entrance to the shop, some of the more interesting kits (vintage) on the shelves, the door is fer a supply pantry. Resin goodies stored between display cases. Secondary work bench in the foreground to the right. Paint booth with compressor located in sound proofed cabinet below and manifold mounted to the right side of the booth. Secondary work bench in the foreground to the right. Main work area, airbrushes and related stuff in drawer below paint Booth. Drawers to the right contain various painting supplies. TV mounted on wall, drawer units above contain resin bits and goodies, photo etch stuff, detailing parts, decals and abuncha other goodies. "In progress" kits on shelf below. Secondary work bench...this is where the messy stuff gets done, Dremel work, soldering, polishing, metalwork, etc. Cable driven hand held tool holder controlled by a modified foot pedal...can take the Dremel down to 0 RPM. Ultrasonic cleaner fer cleaning resin and other stuff and Dehydrator on the bench as well. Closer shot of the main work space, currently playin around with a '63 Galaxie lightweight. Creating a Bostrum seat master fer Kevin to cast up. Supply pantry...I like to have spare stuff. Opposite wall in supply pantry, can never have enough paint...sums good, mores better, too much is just right.
-
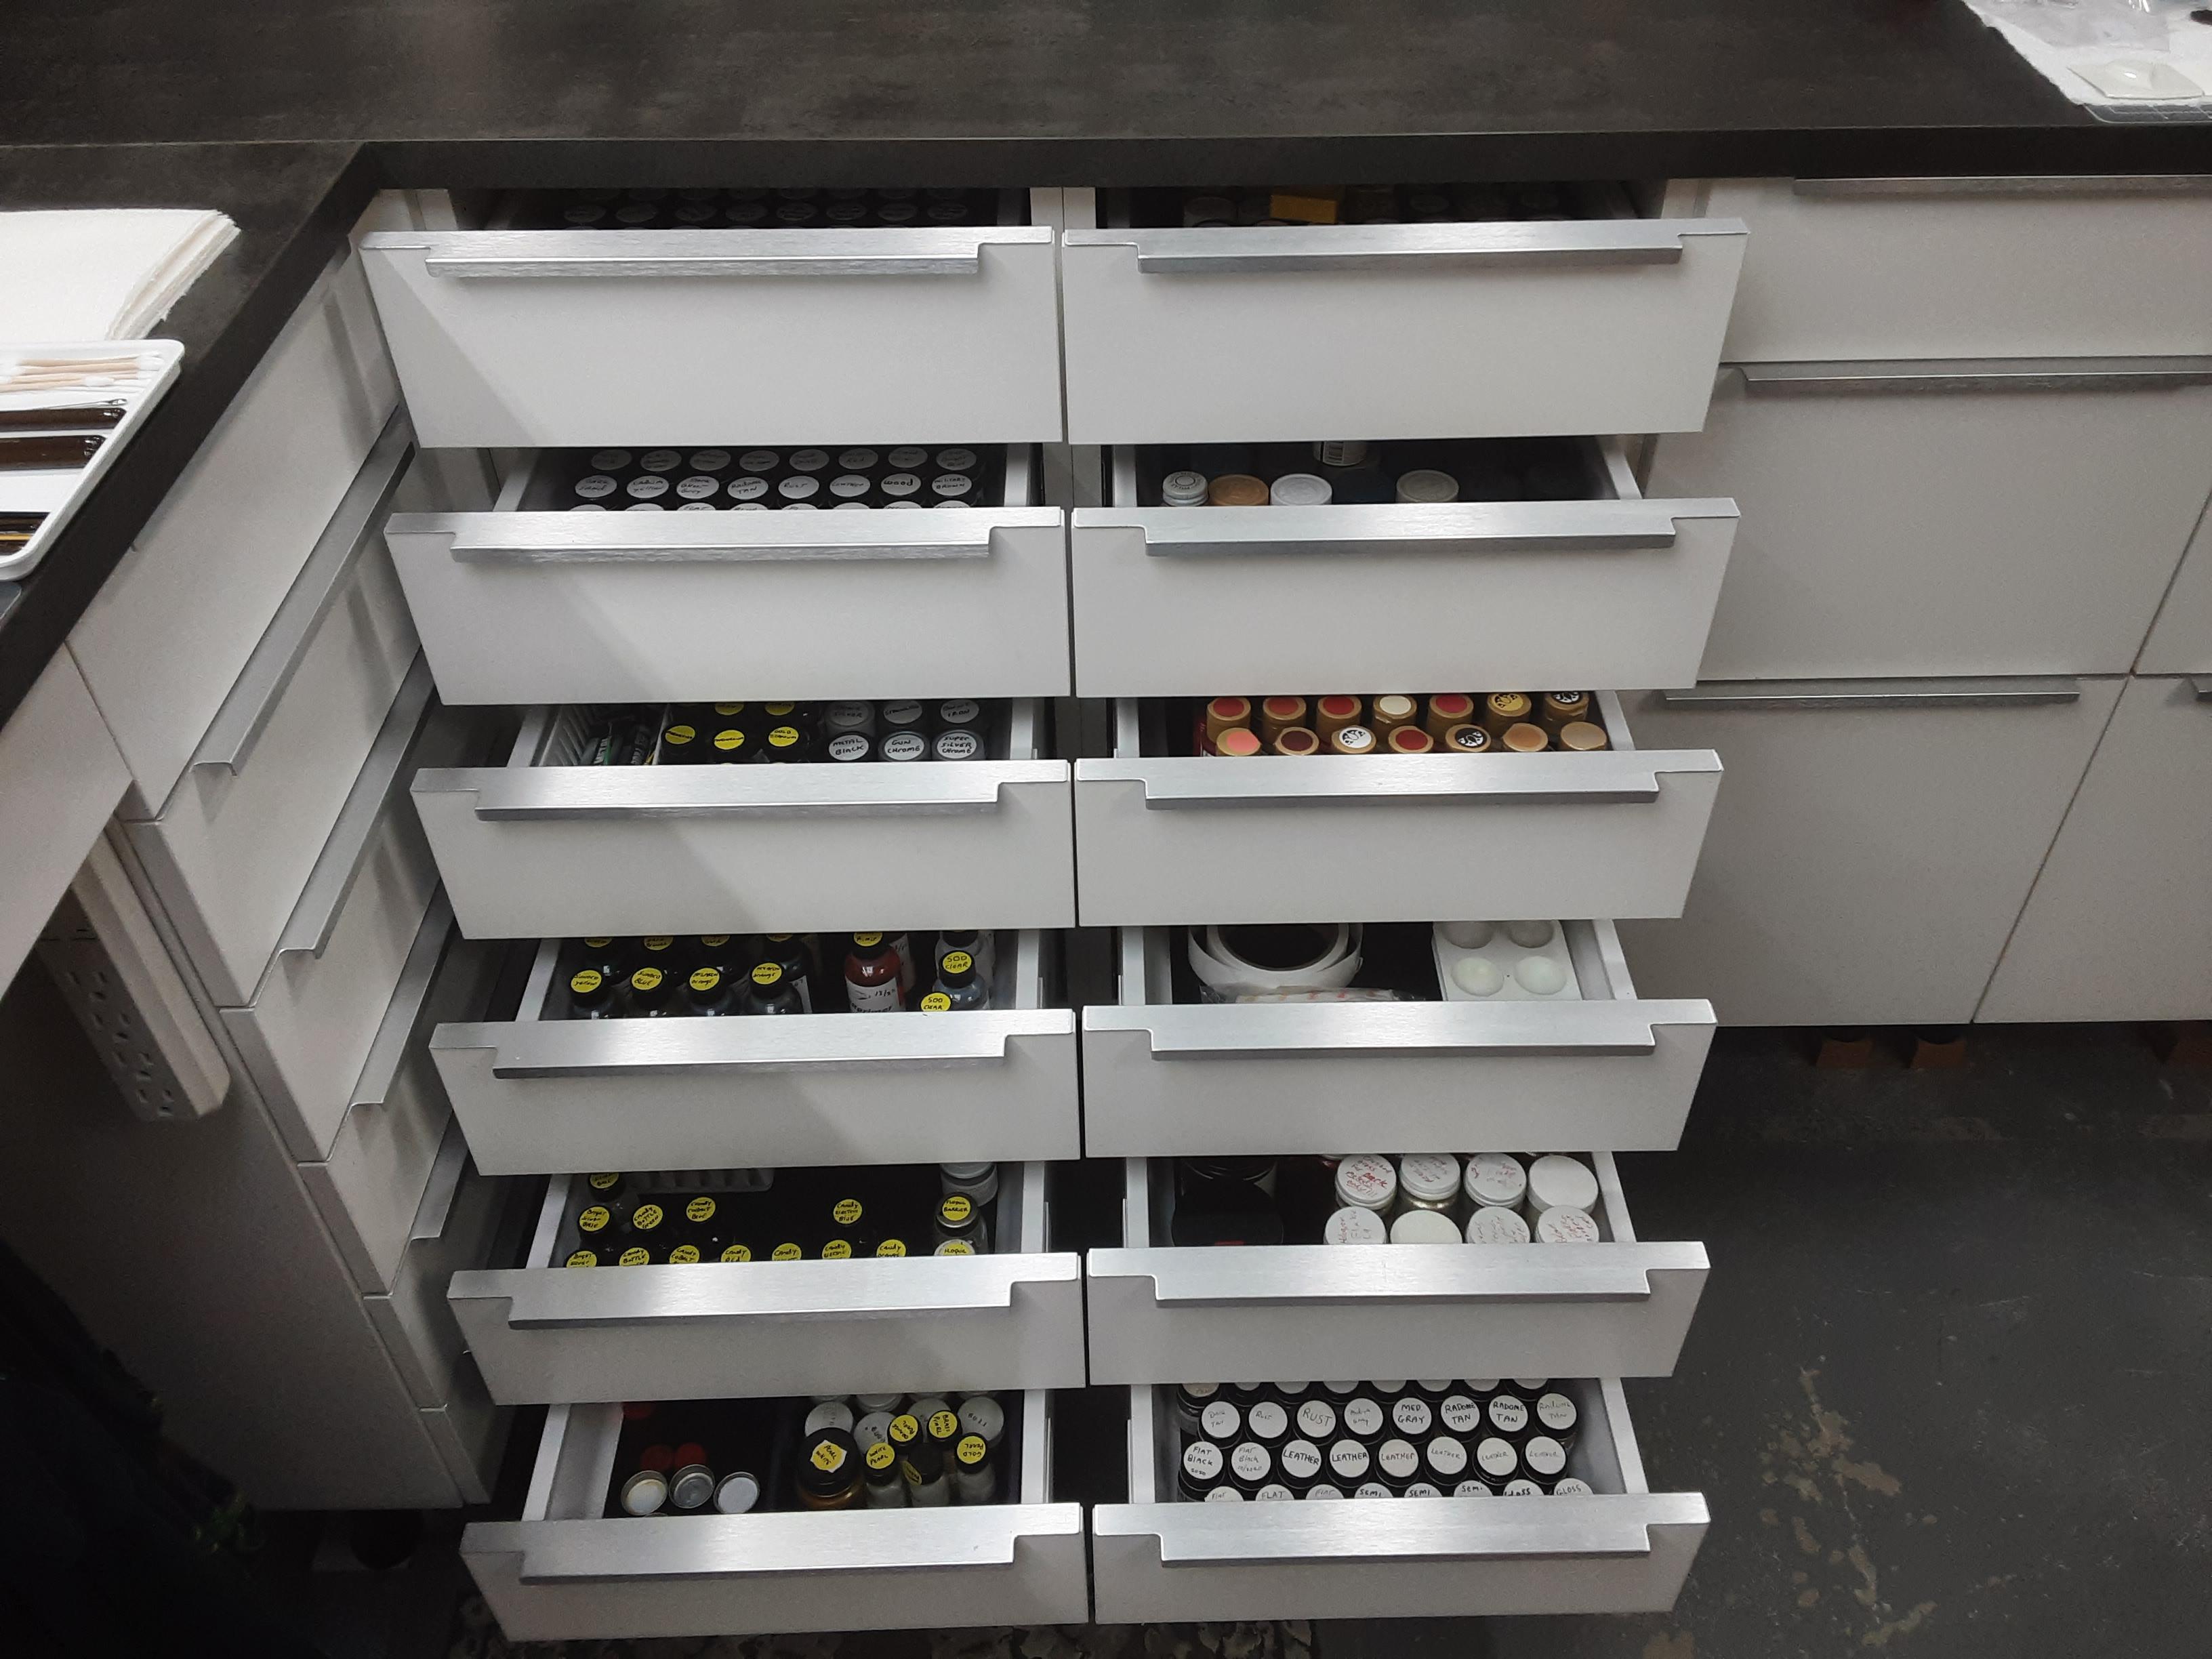
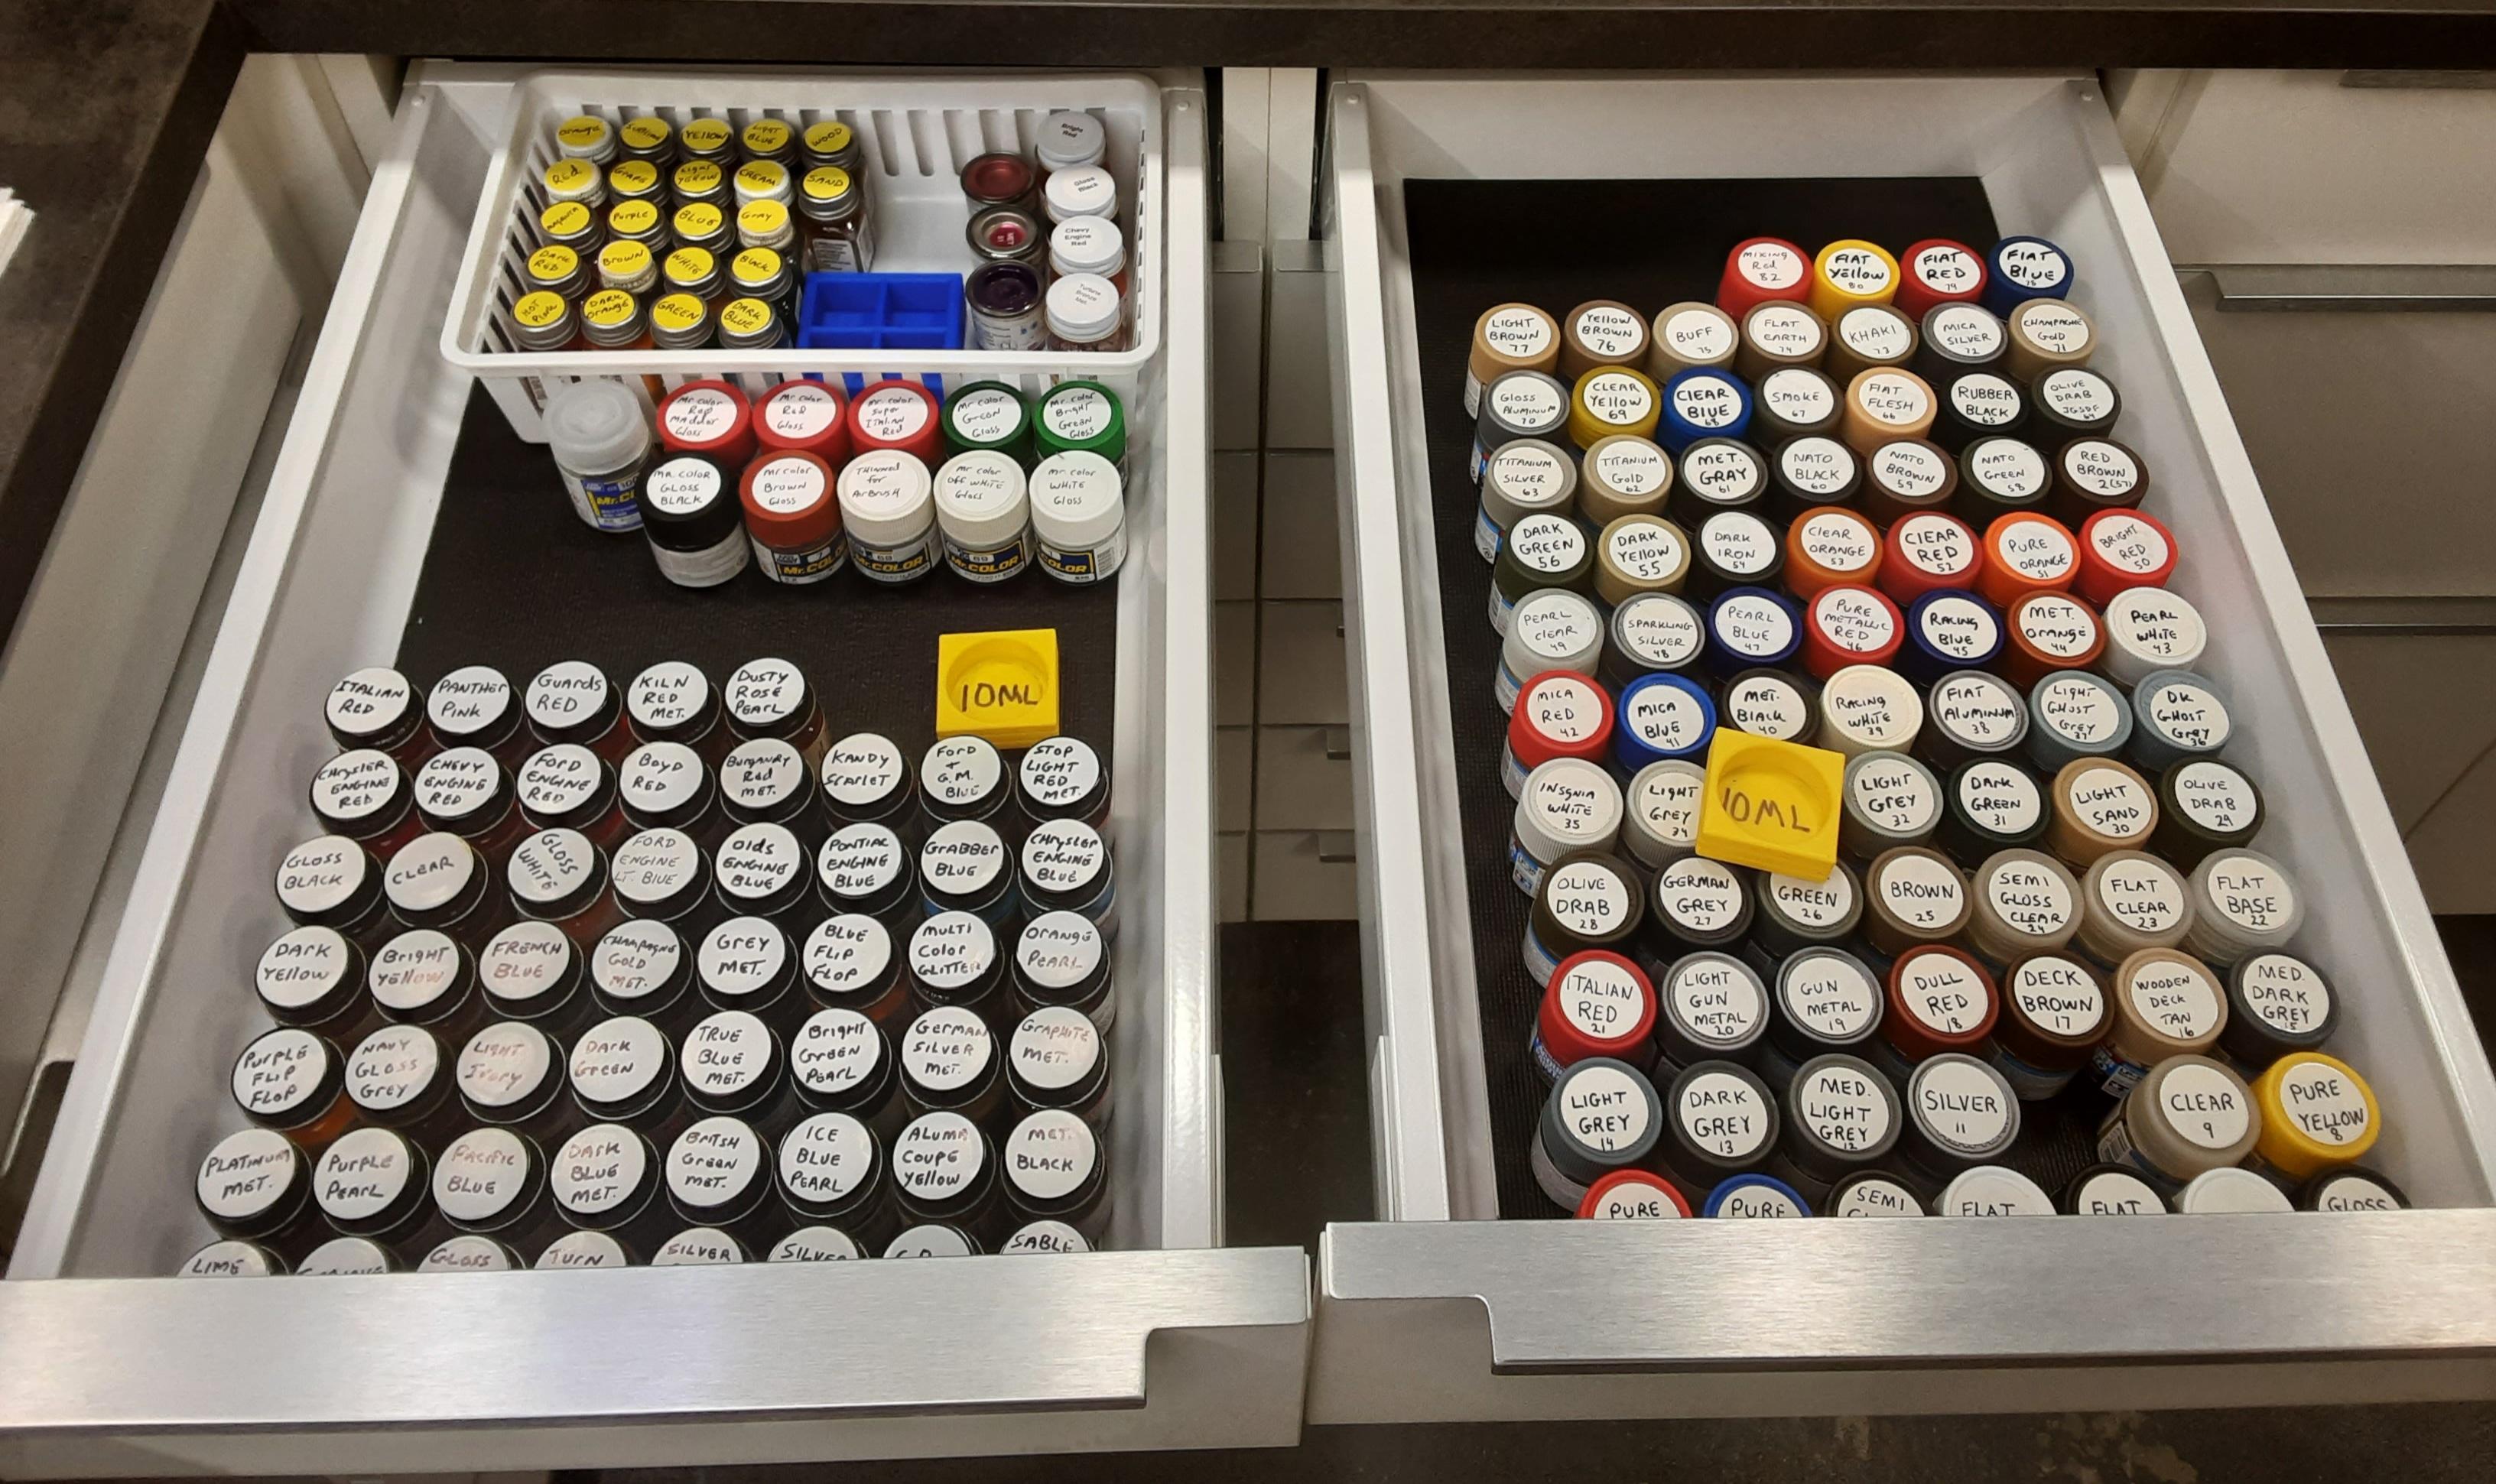
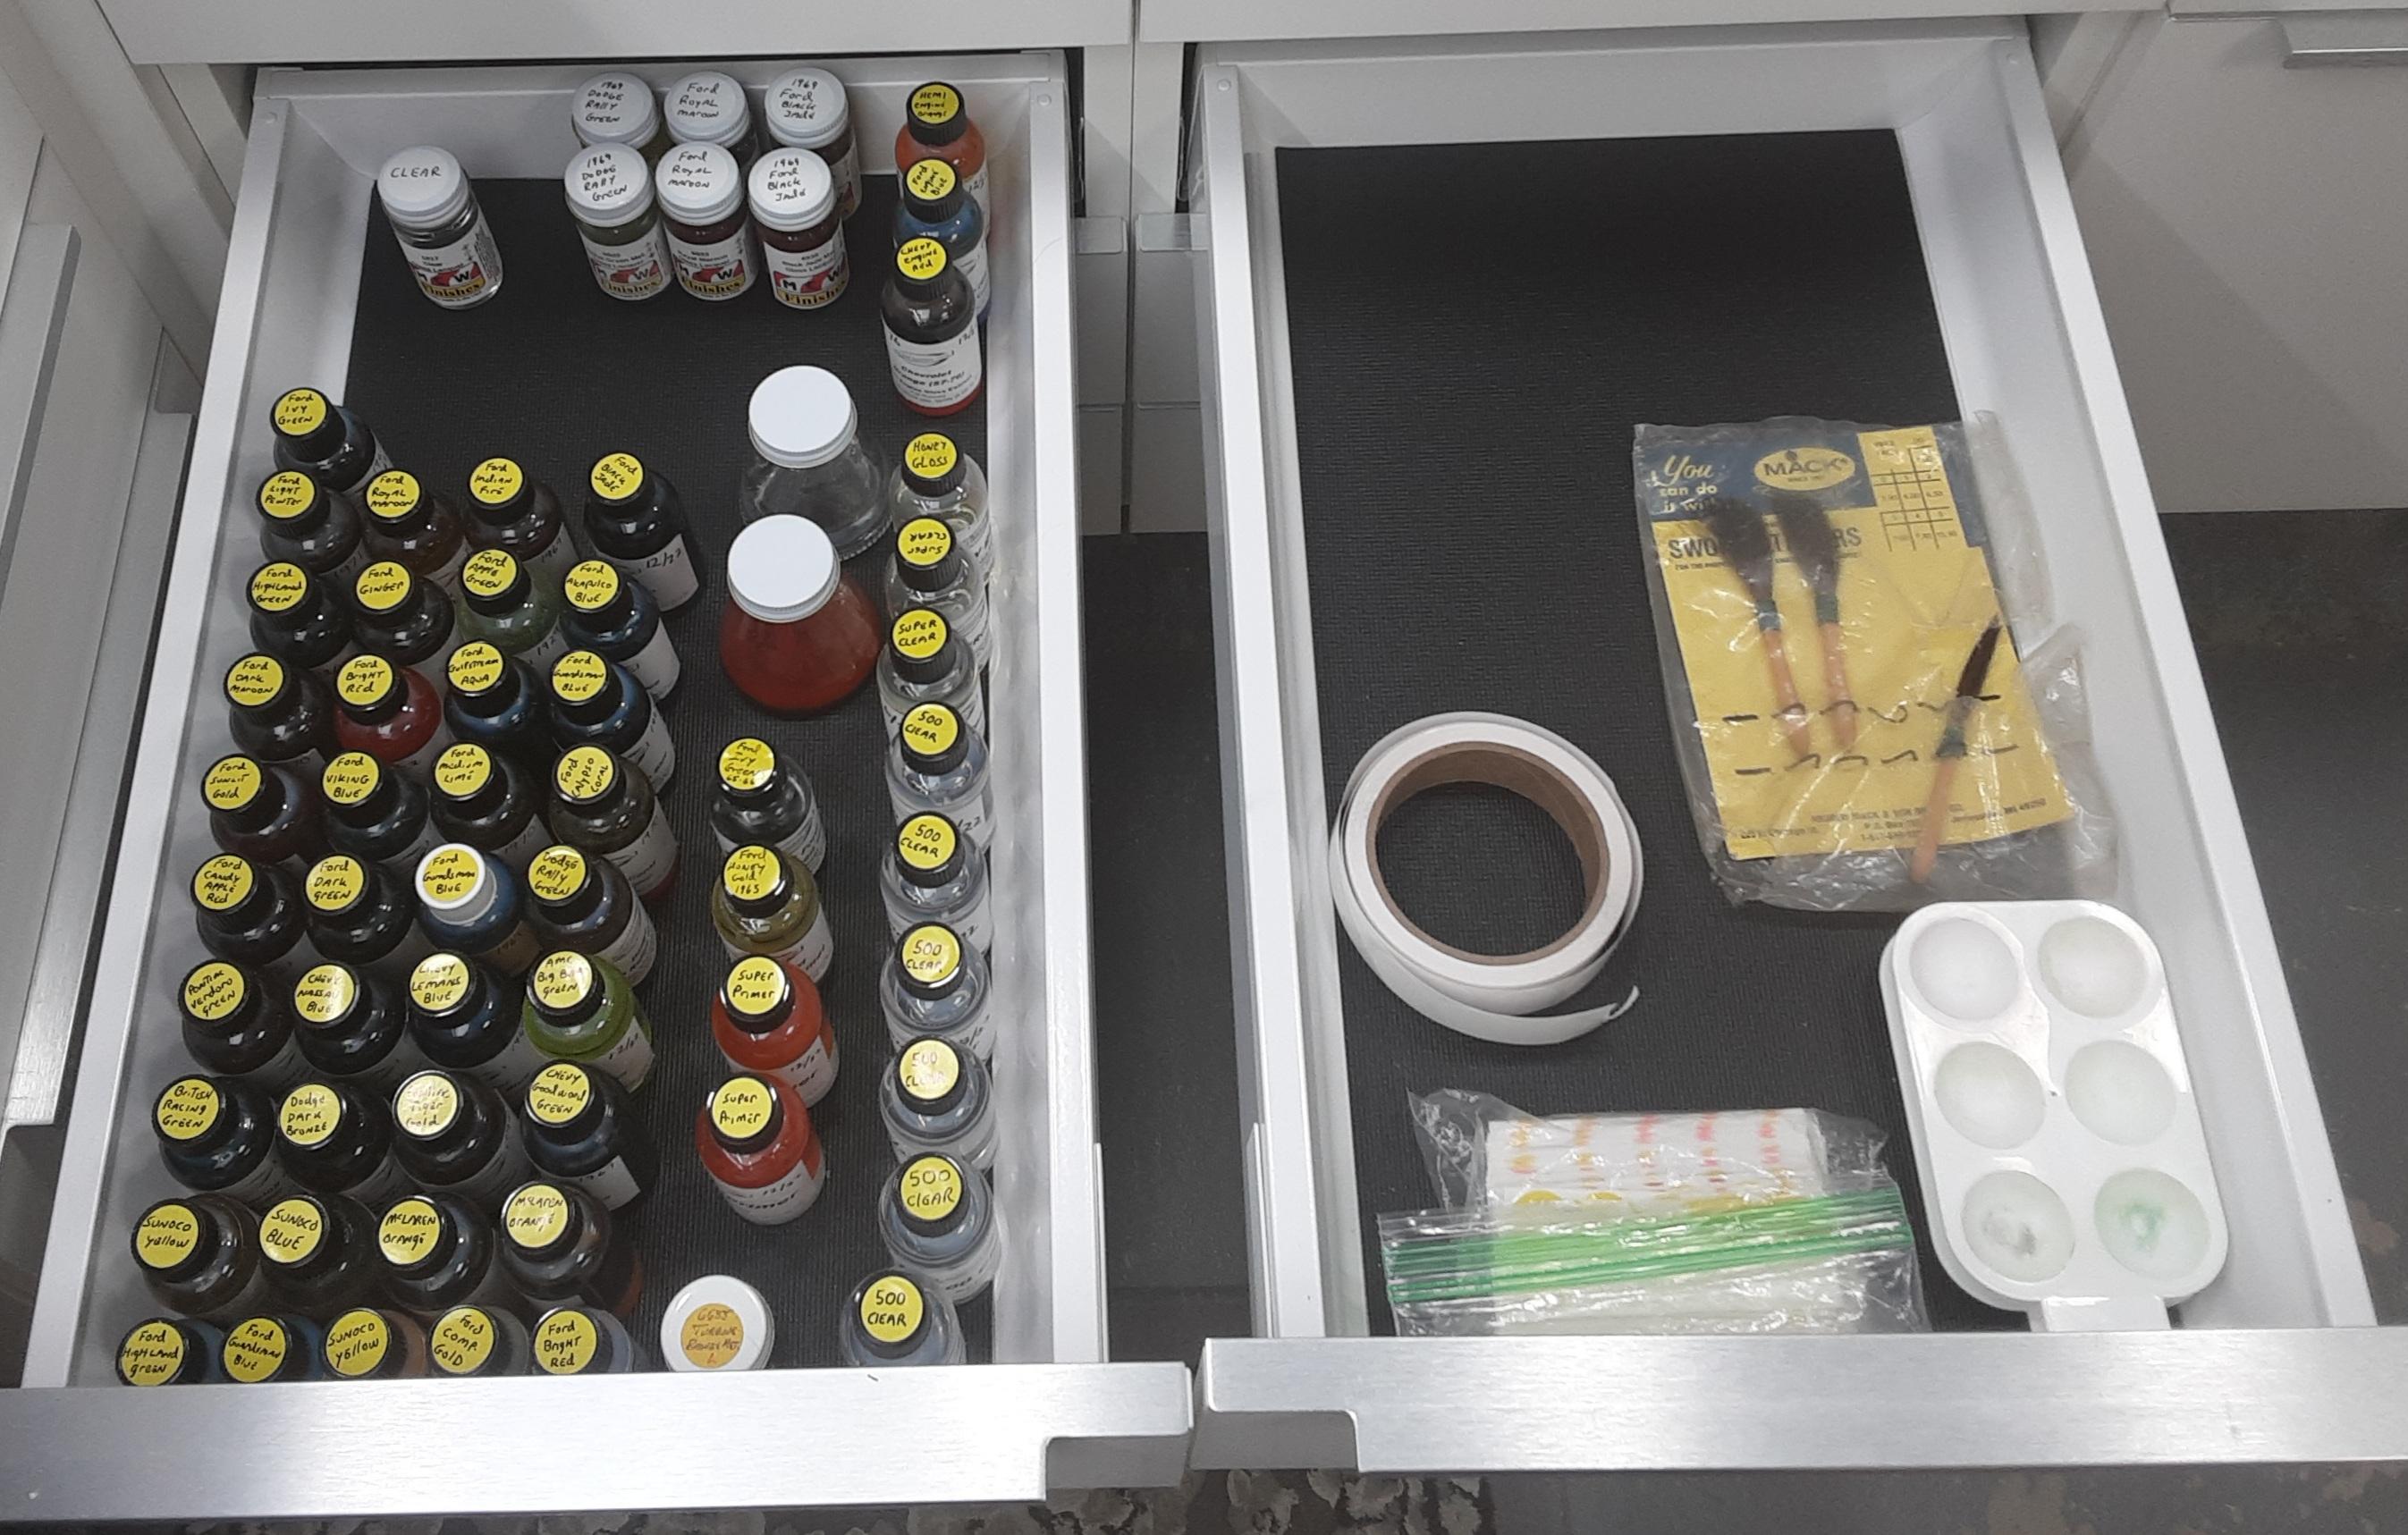
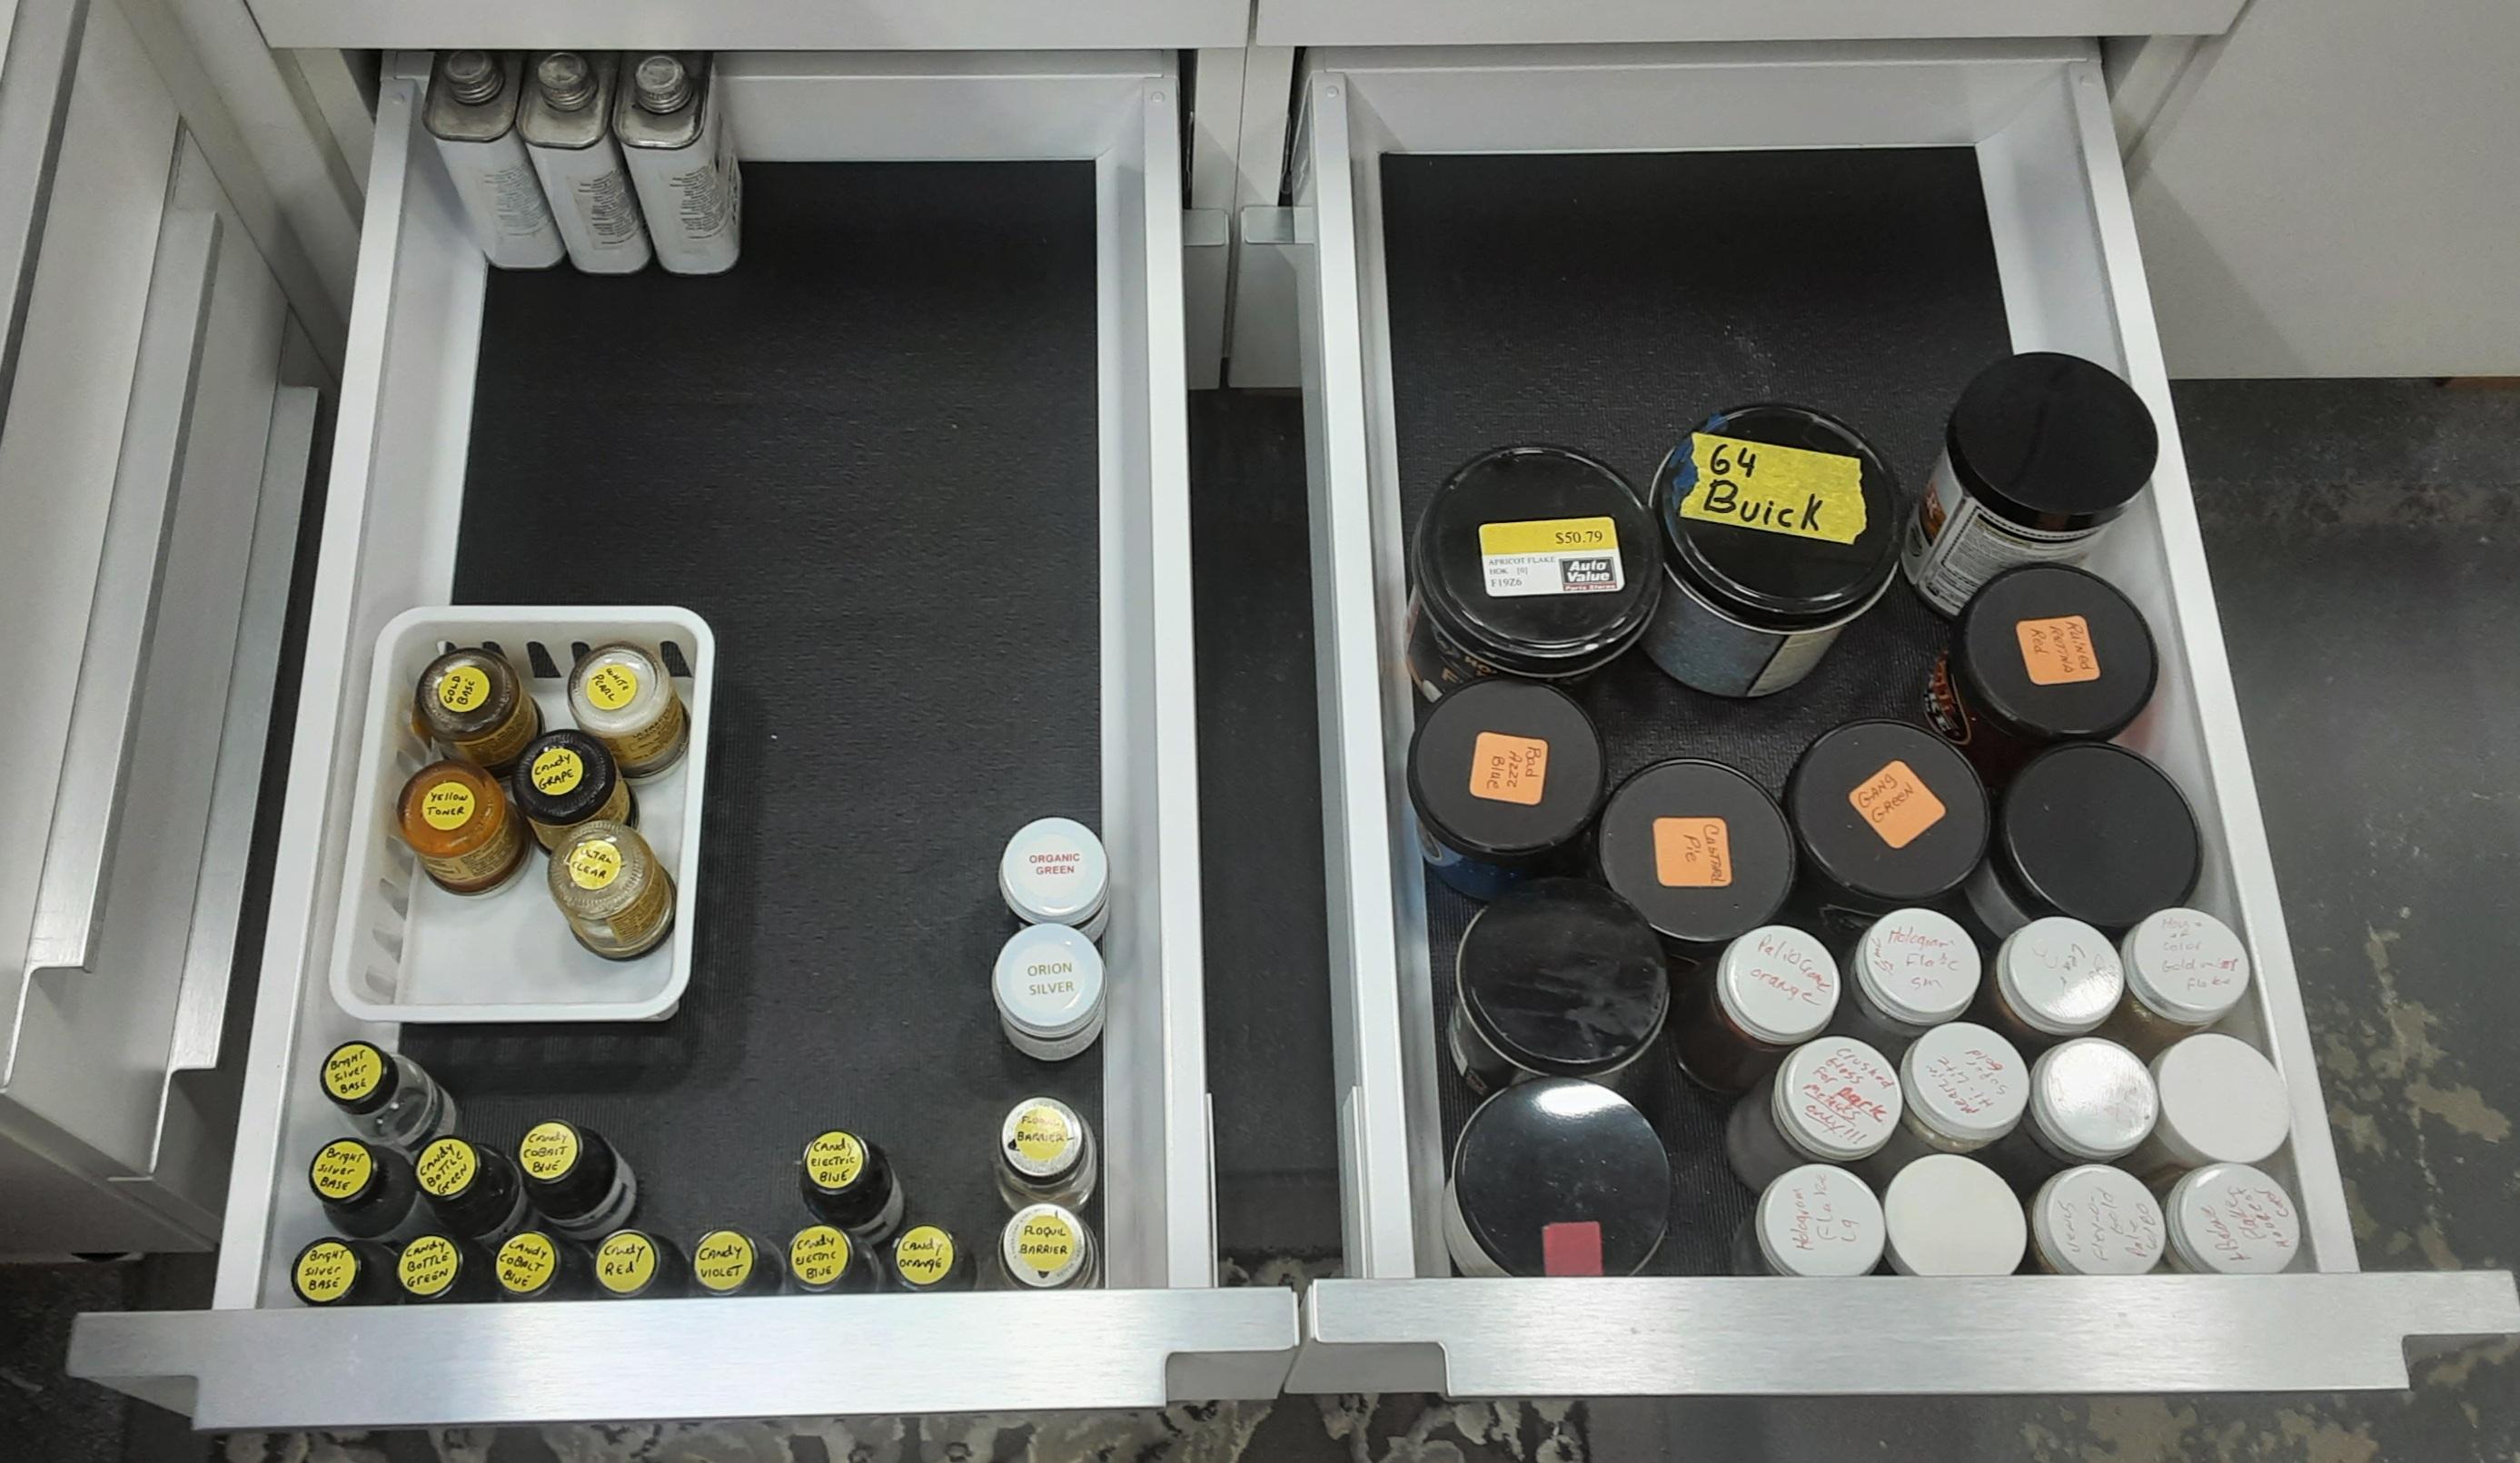
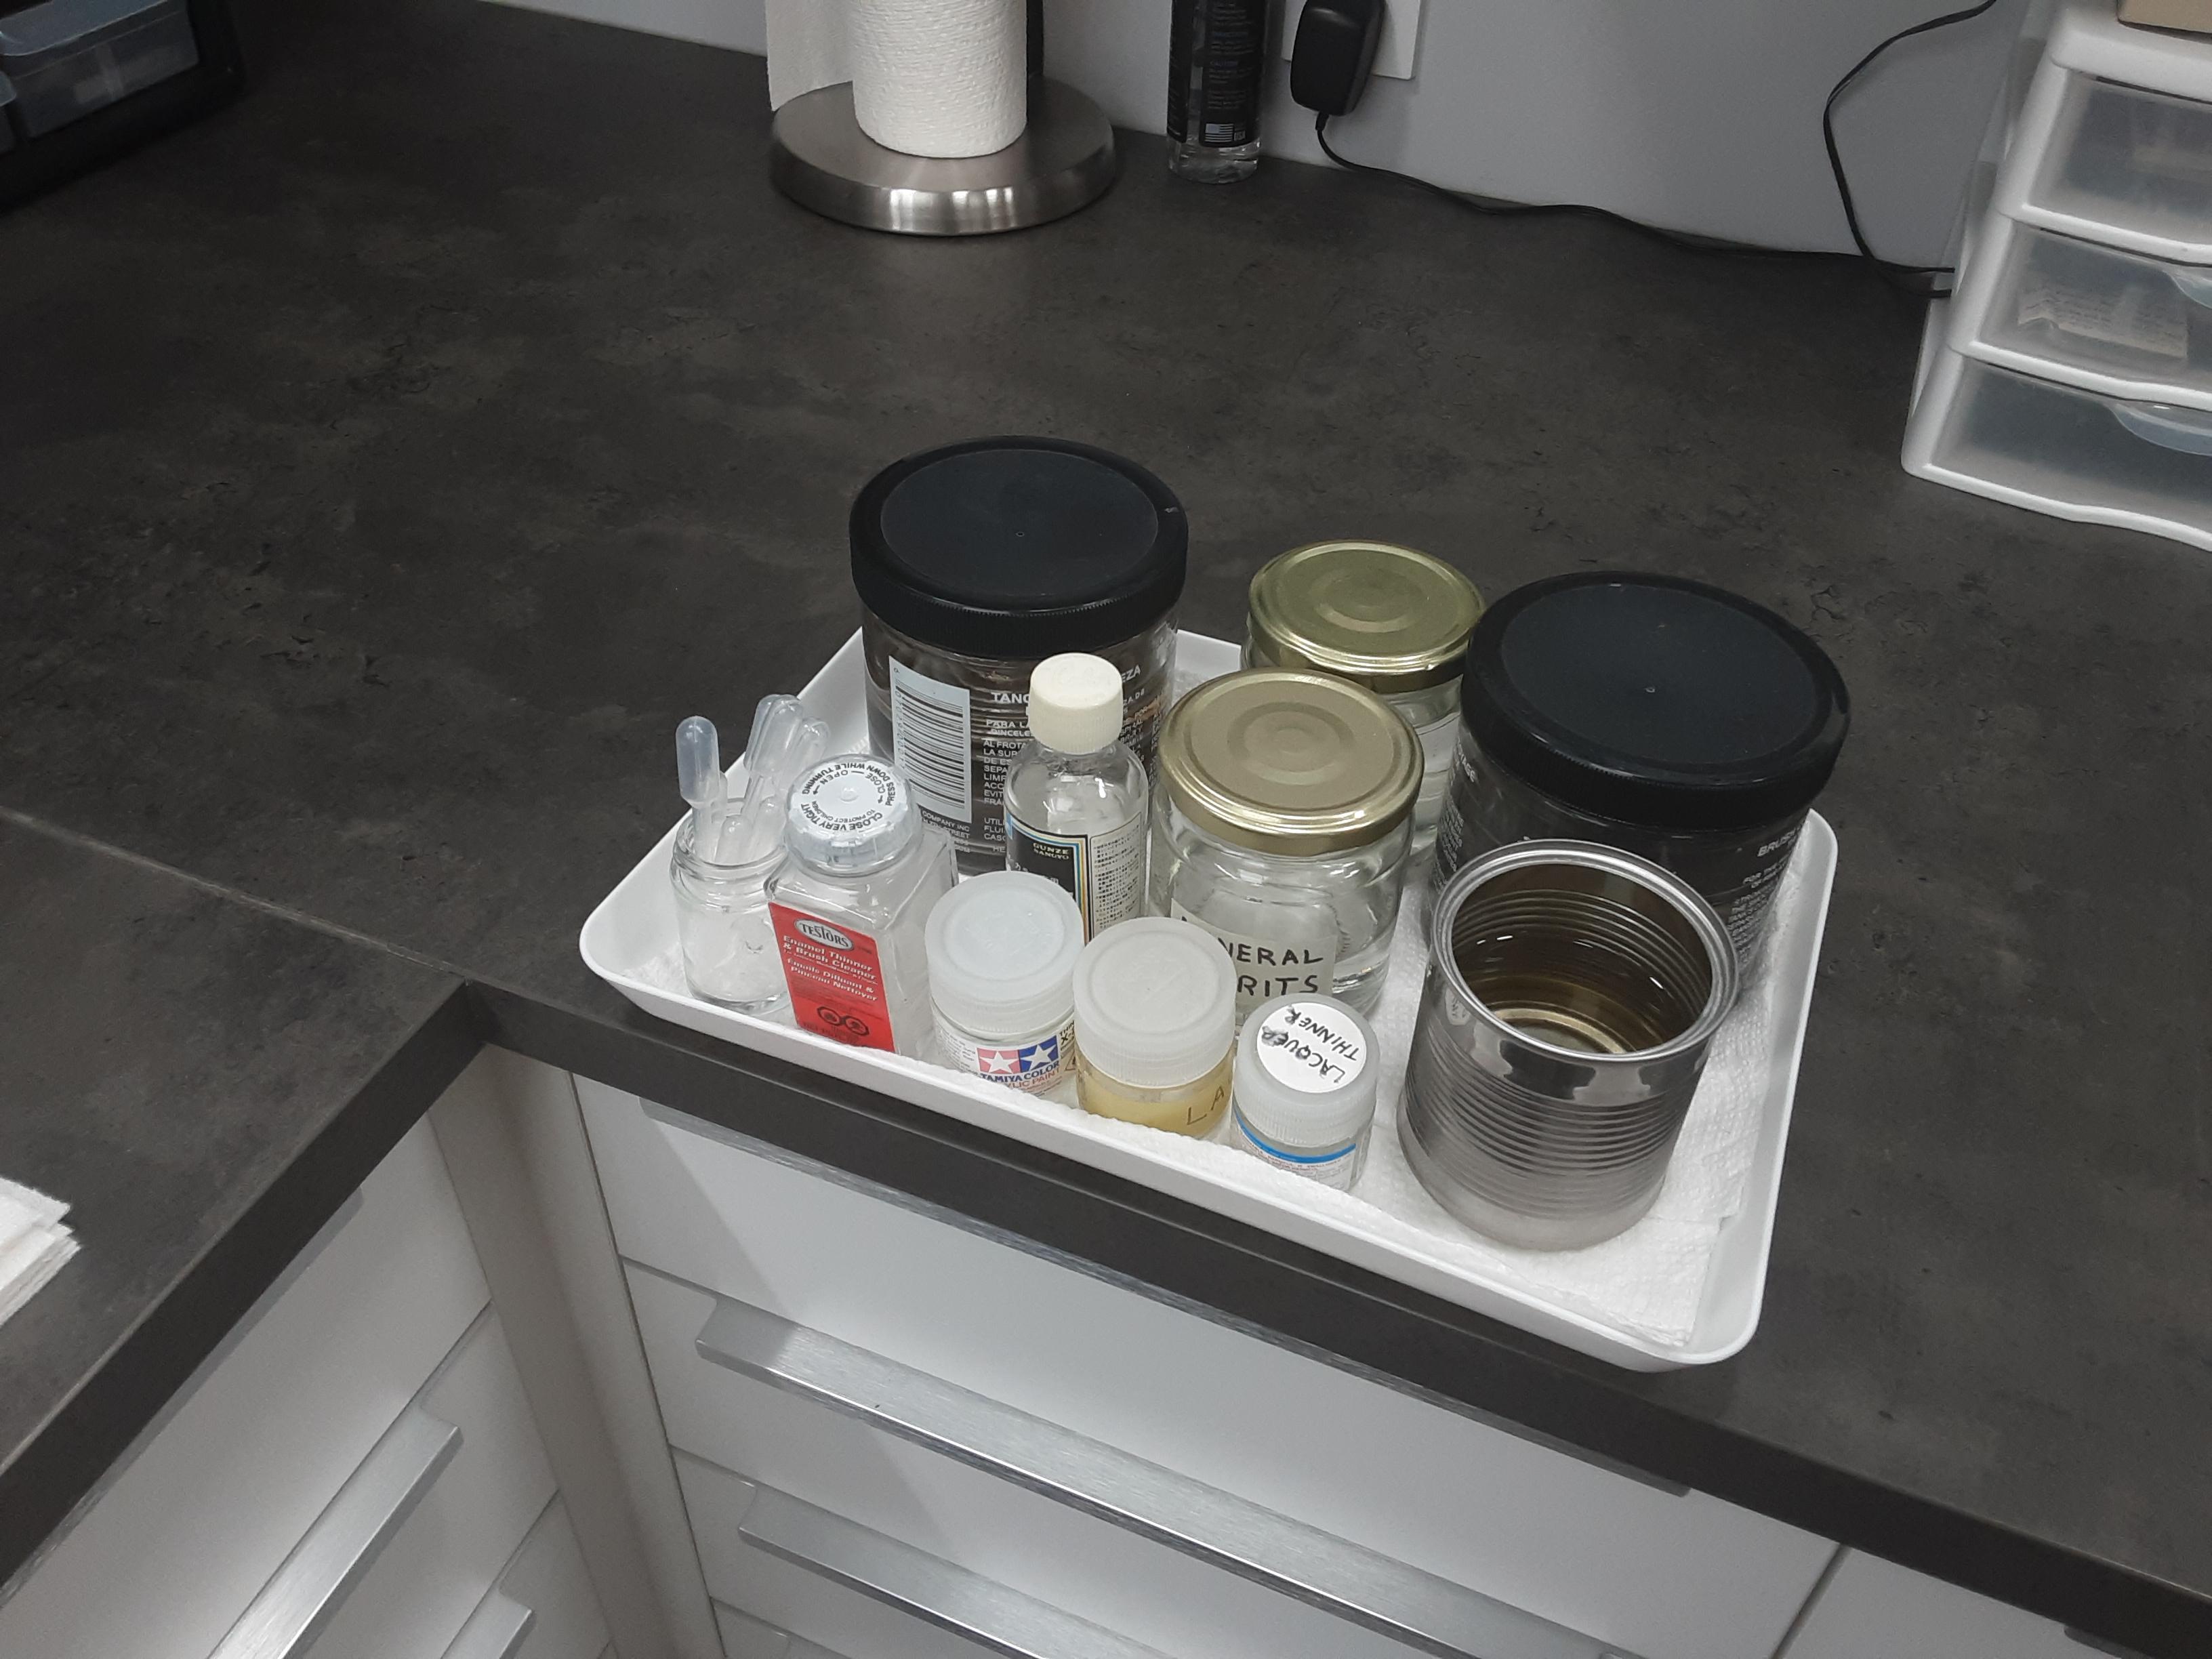
Let's see your paint storage system
Mothersworry replied to Monty's topic in Model Building Questions and Answers
I store my paint in drawers to the immediate right of my main work area, organized and labeled fer easy access. I keep a tray with the brushes that I use most often along with mixing cups, some alcohol, mixing stick, and various cotton tipped swabs on the right. I also have various thinners and brush cleaning bottles on a tray that is stored out of the way until I need it.
-
Show your iconic Custom Car/Hot Rod replicas
Mothersworry replied to Koellefornia Kid's topic in Model Cars
Some very nice models, but it seems this Threads gettin a tad off topic...supposed to be about replicas of real Hot Rods and Customs that actually exist/existed in full scale. Just sayin... -
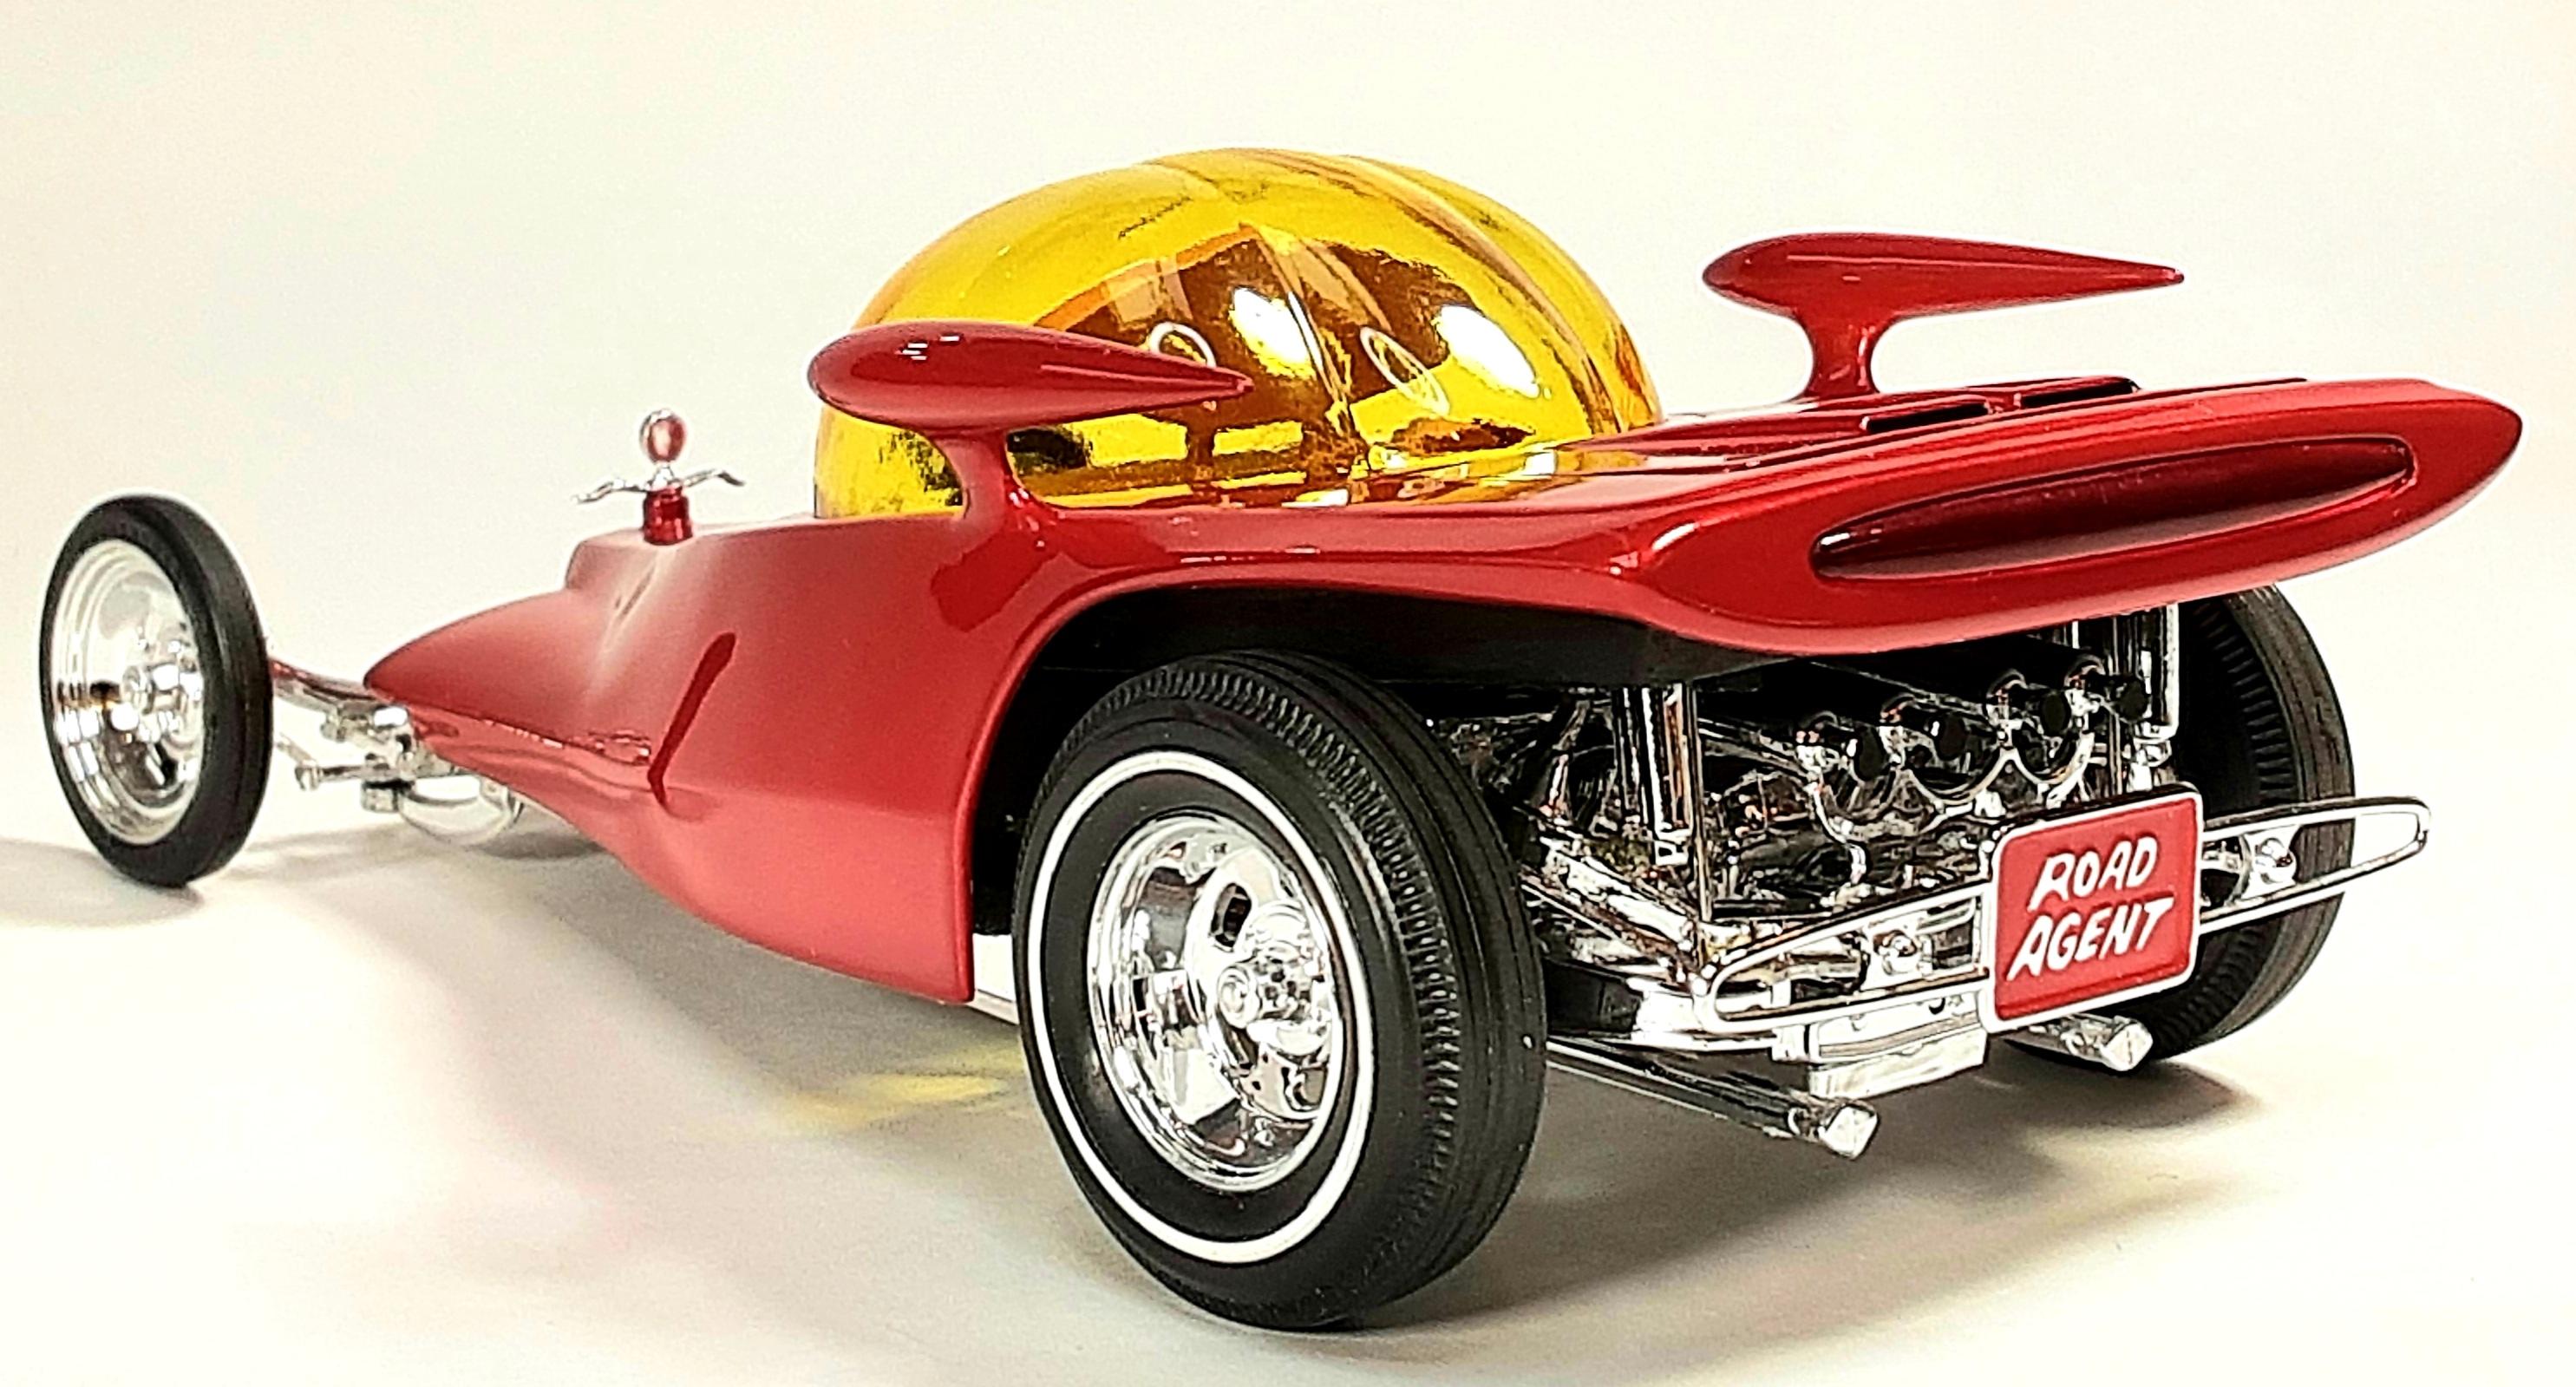
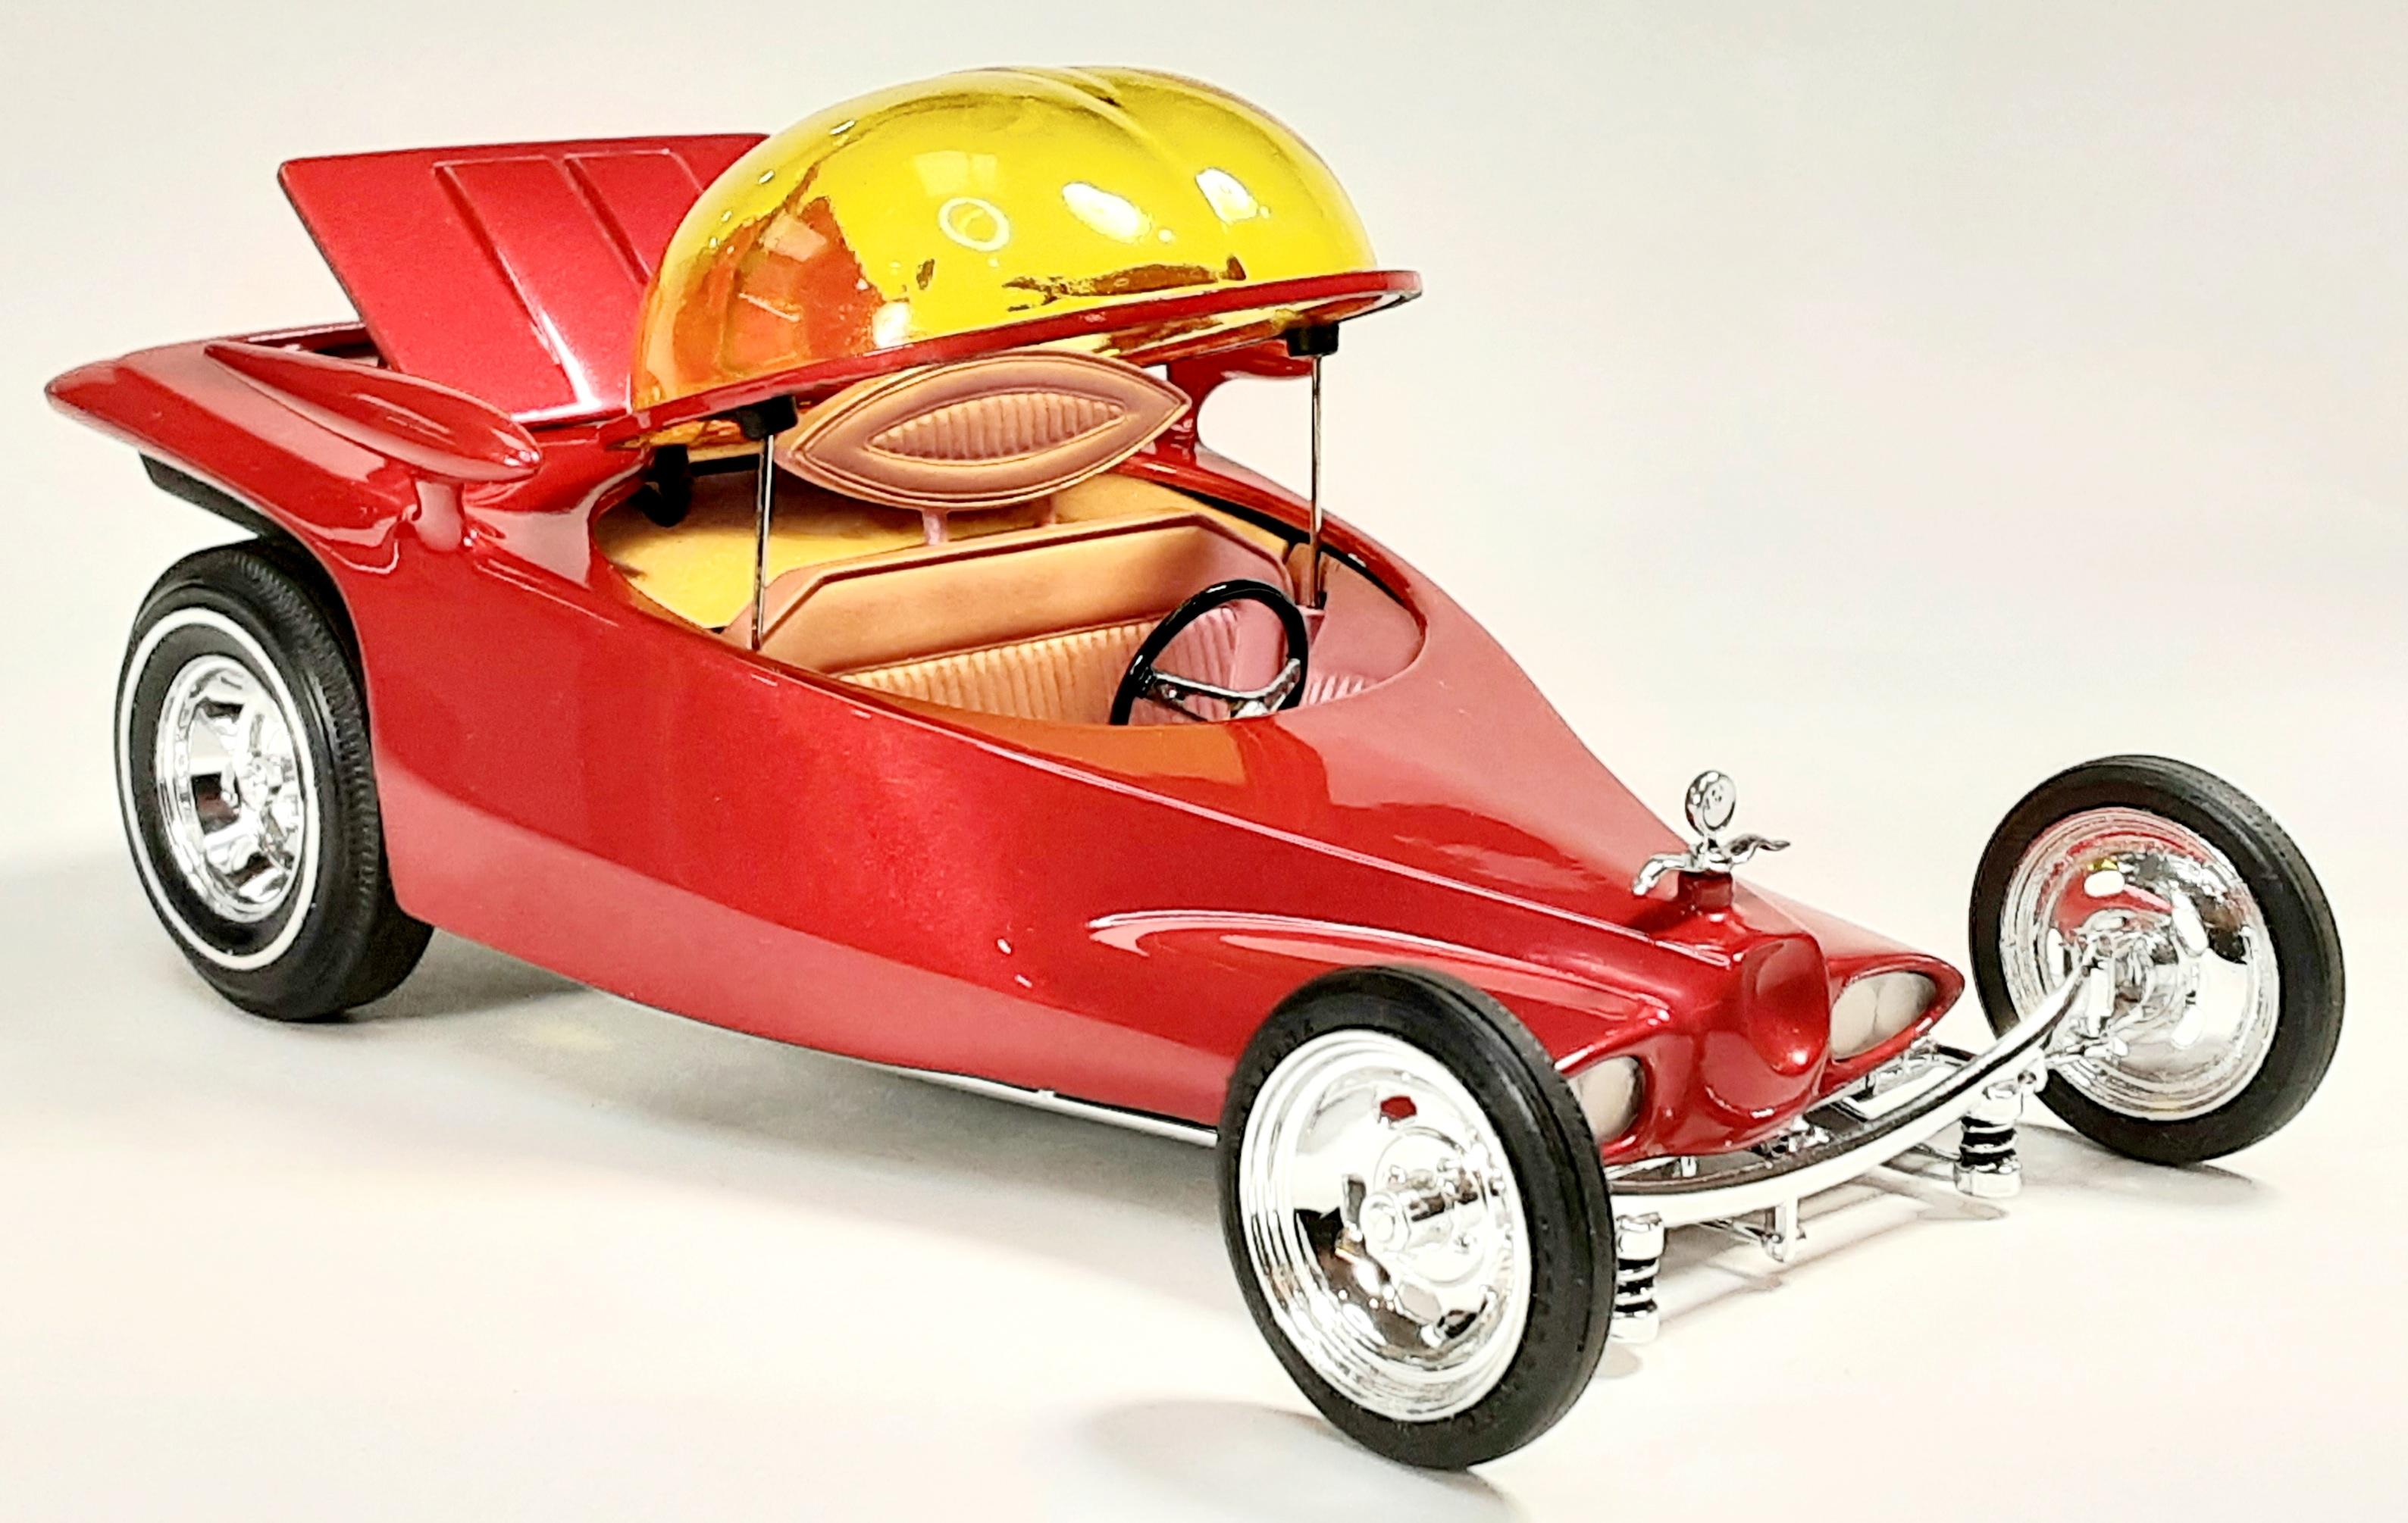
Show your iconic Custom Car/Hot Rod replicas
Mothersworry replied to Koellefornia Kid's topic in Model Cars
Roth's Road Agent...
- 58 replies
-
- 10
-

-
Tardy again Robert?... might hafta send you to see uncle Bill. Rally wheels and double redline tires from the recent issue of the AMT '66 Mustang GT Fastback.
-
Show your iconic Custom Car/Hot Rod replicas
Mothersworry replied to Koellefornia Kid's topic in Model Cars
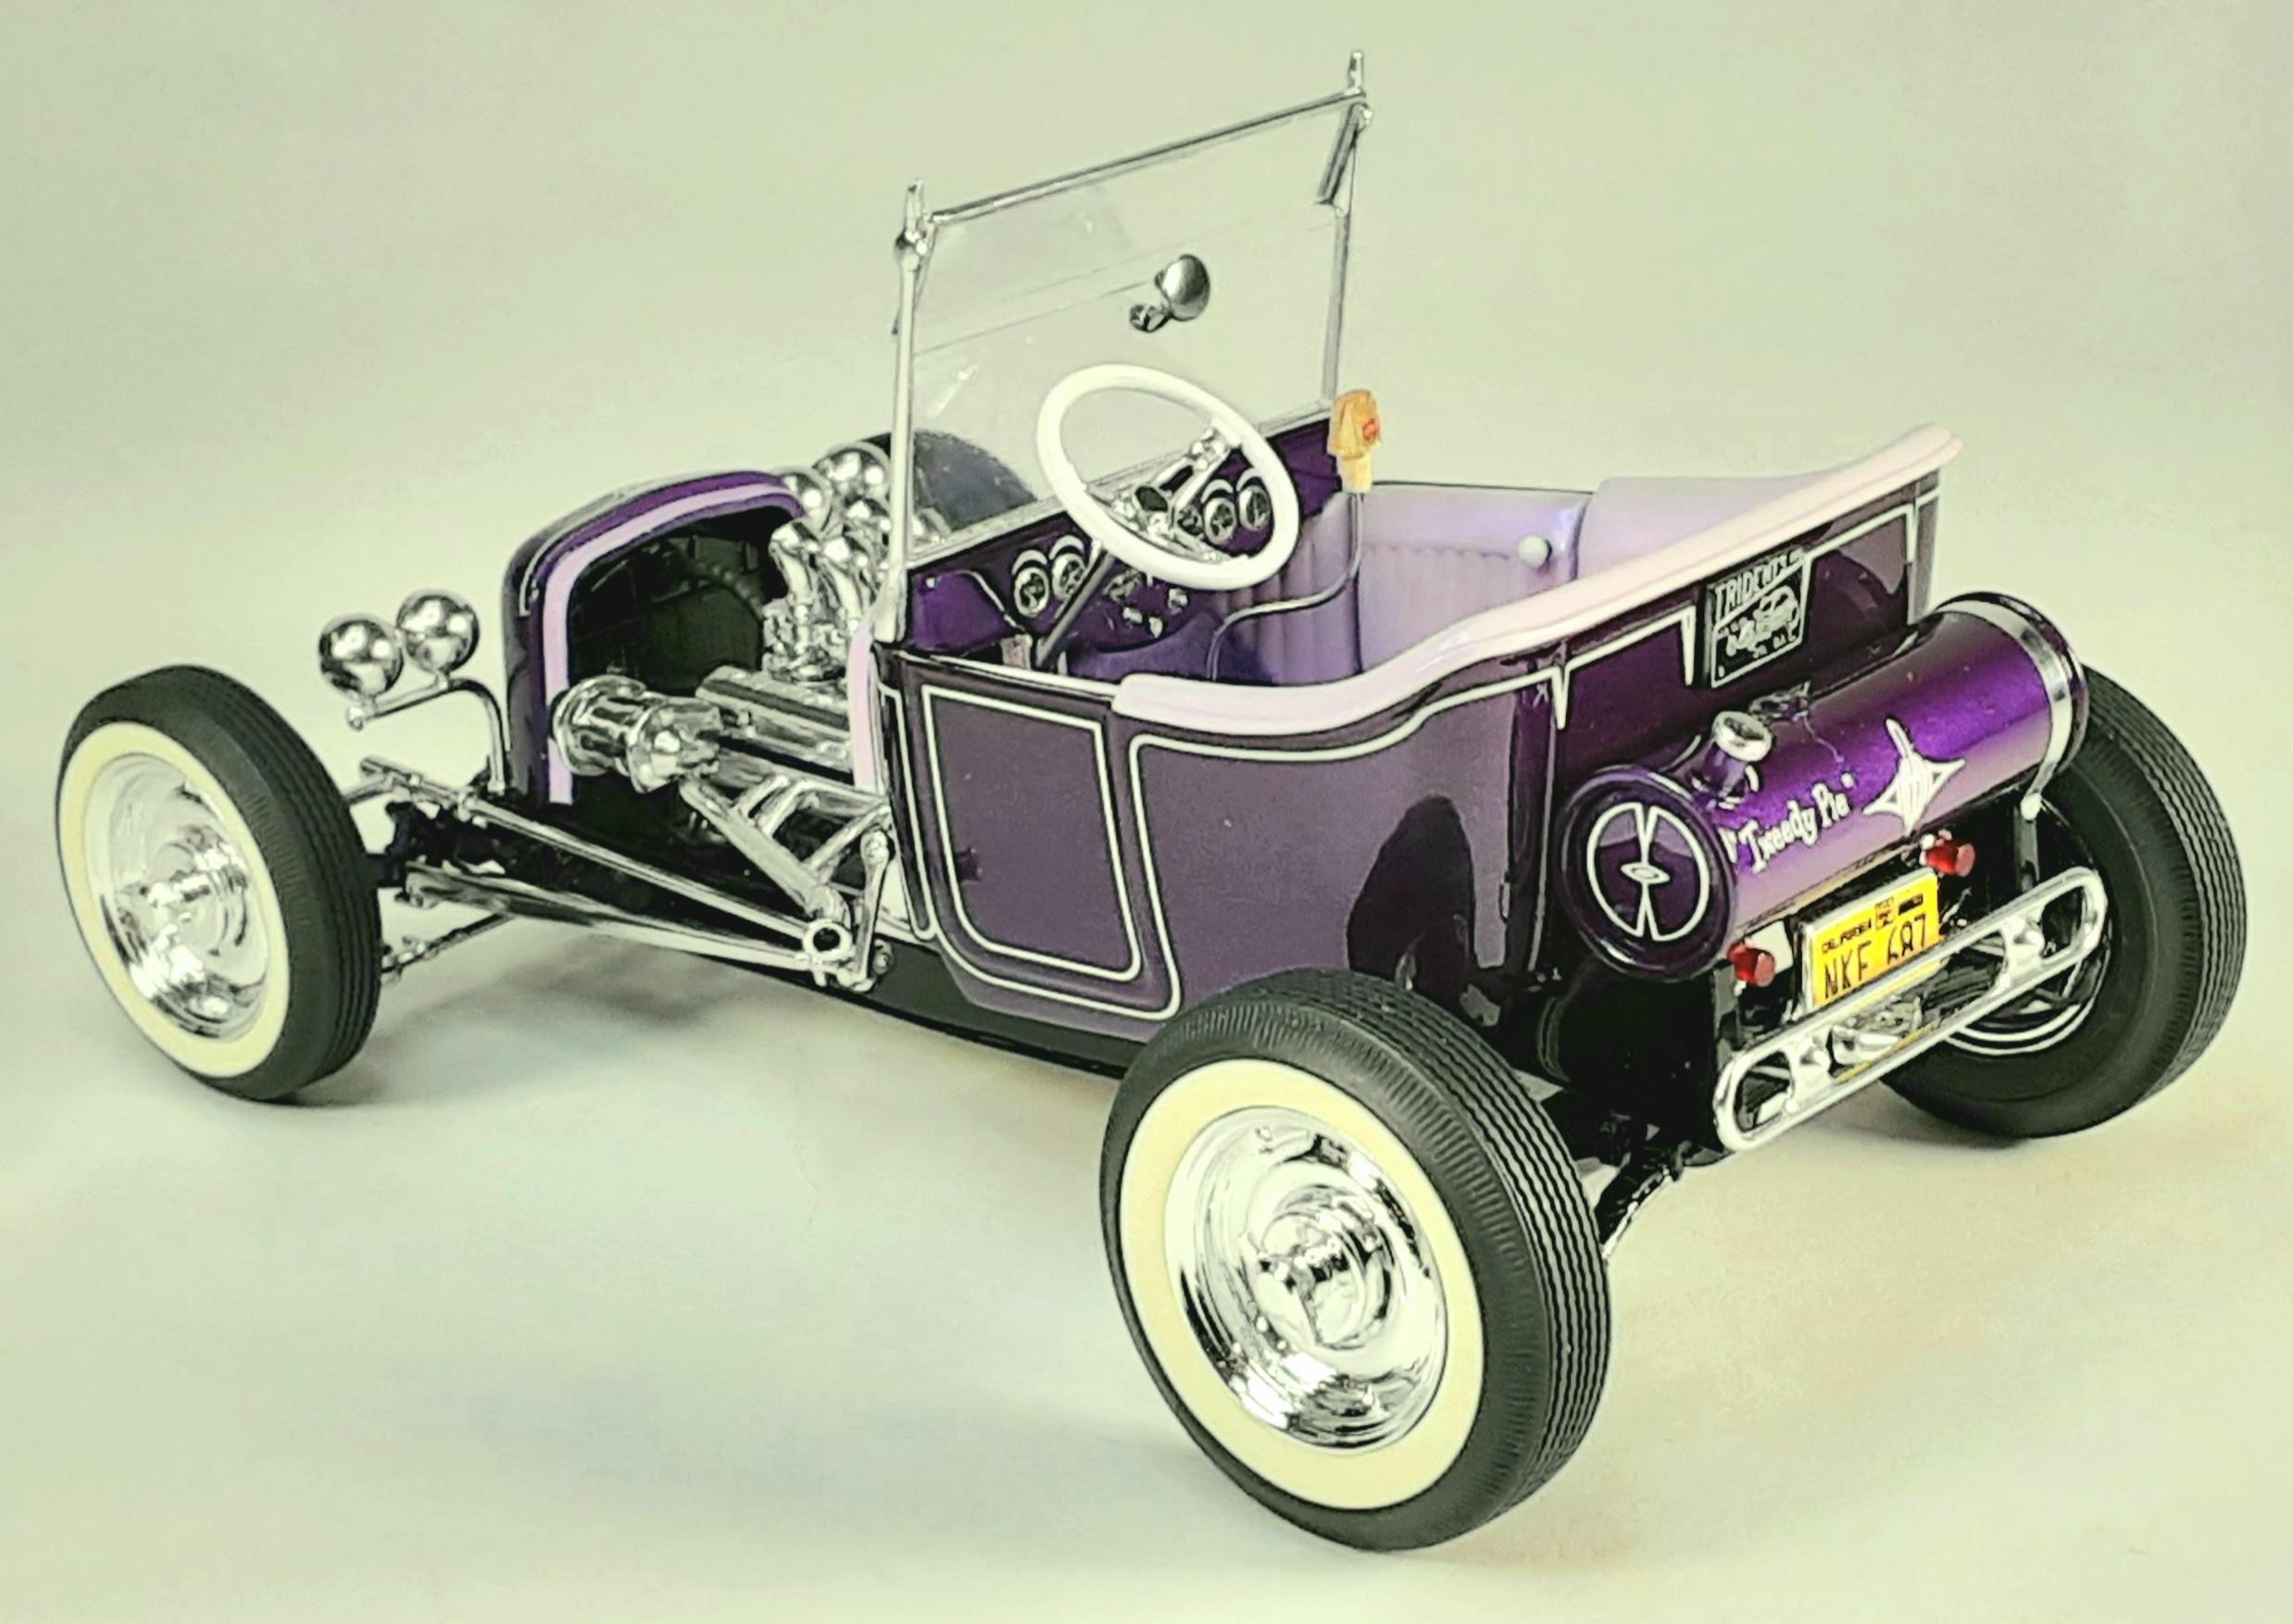
Roth's Tweedy Pie...
- 58 replies
-
- 12
-
-
Show your iconic Custom Car/Hot Rod replicas
Mothersworry replied to Koellefornia Kid's topic in Model Cars
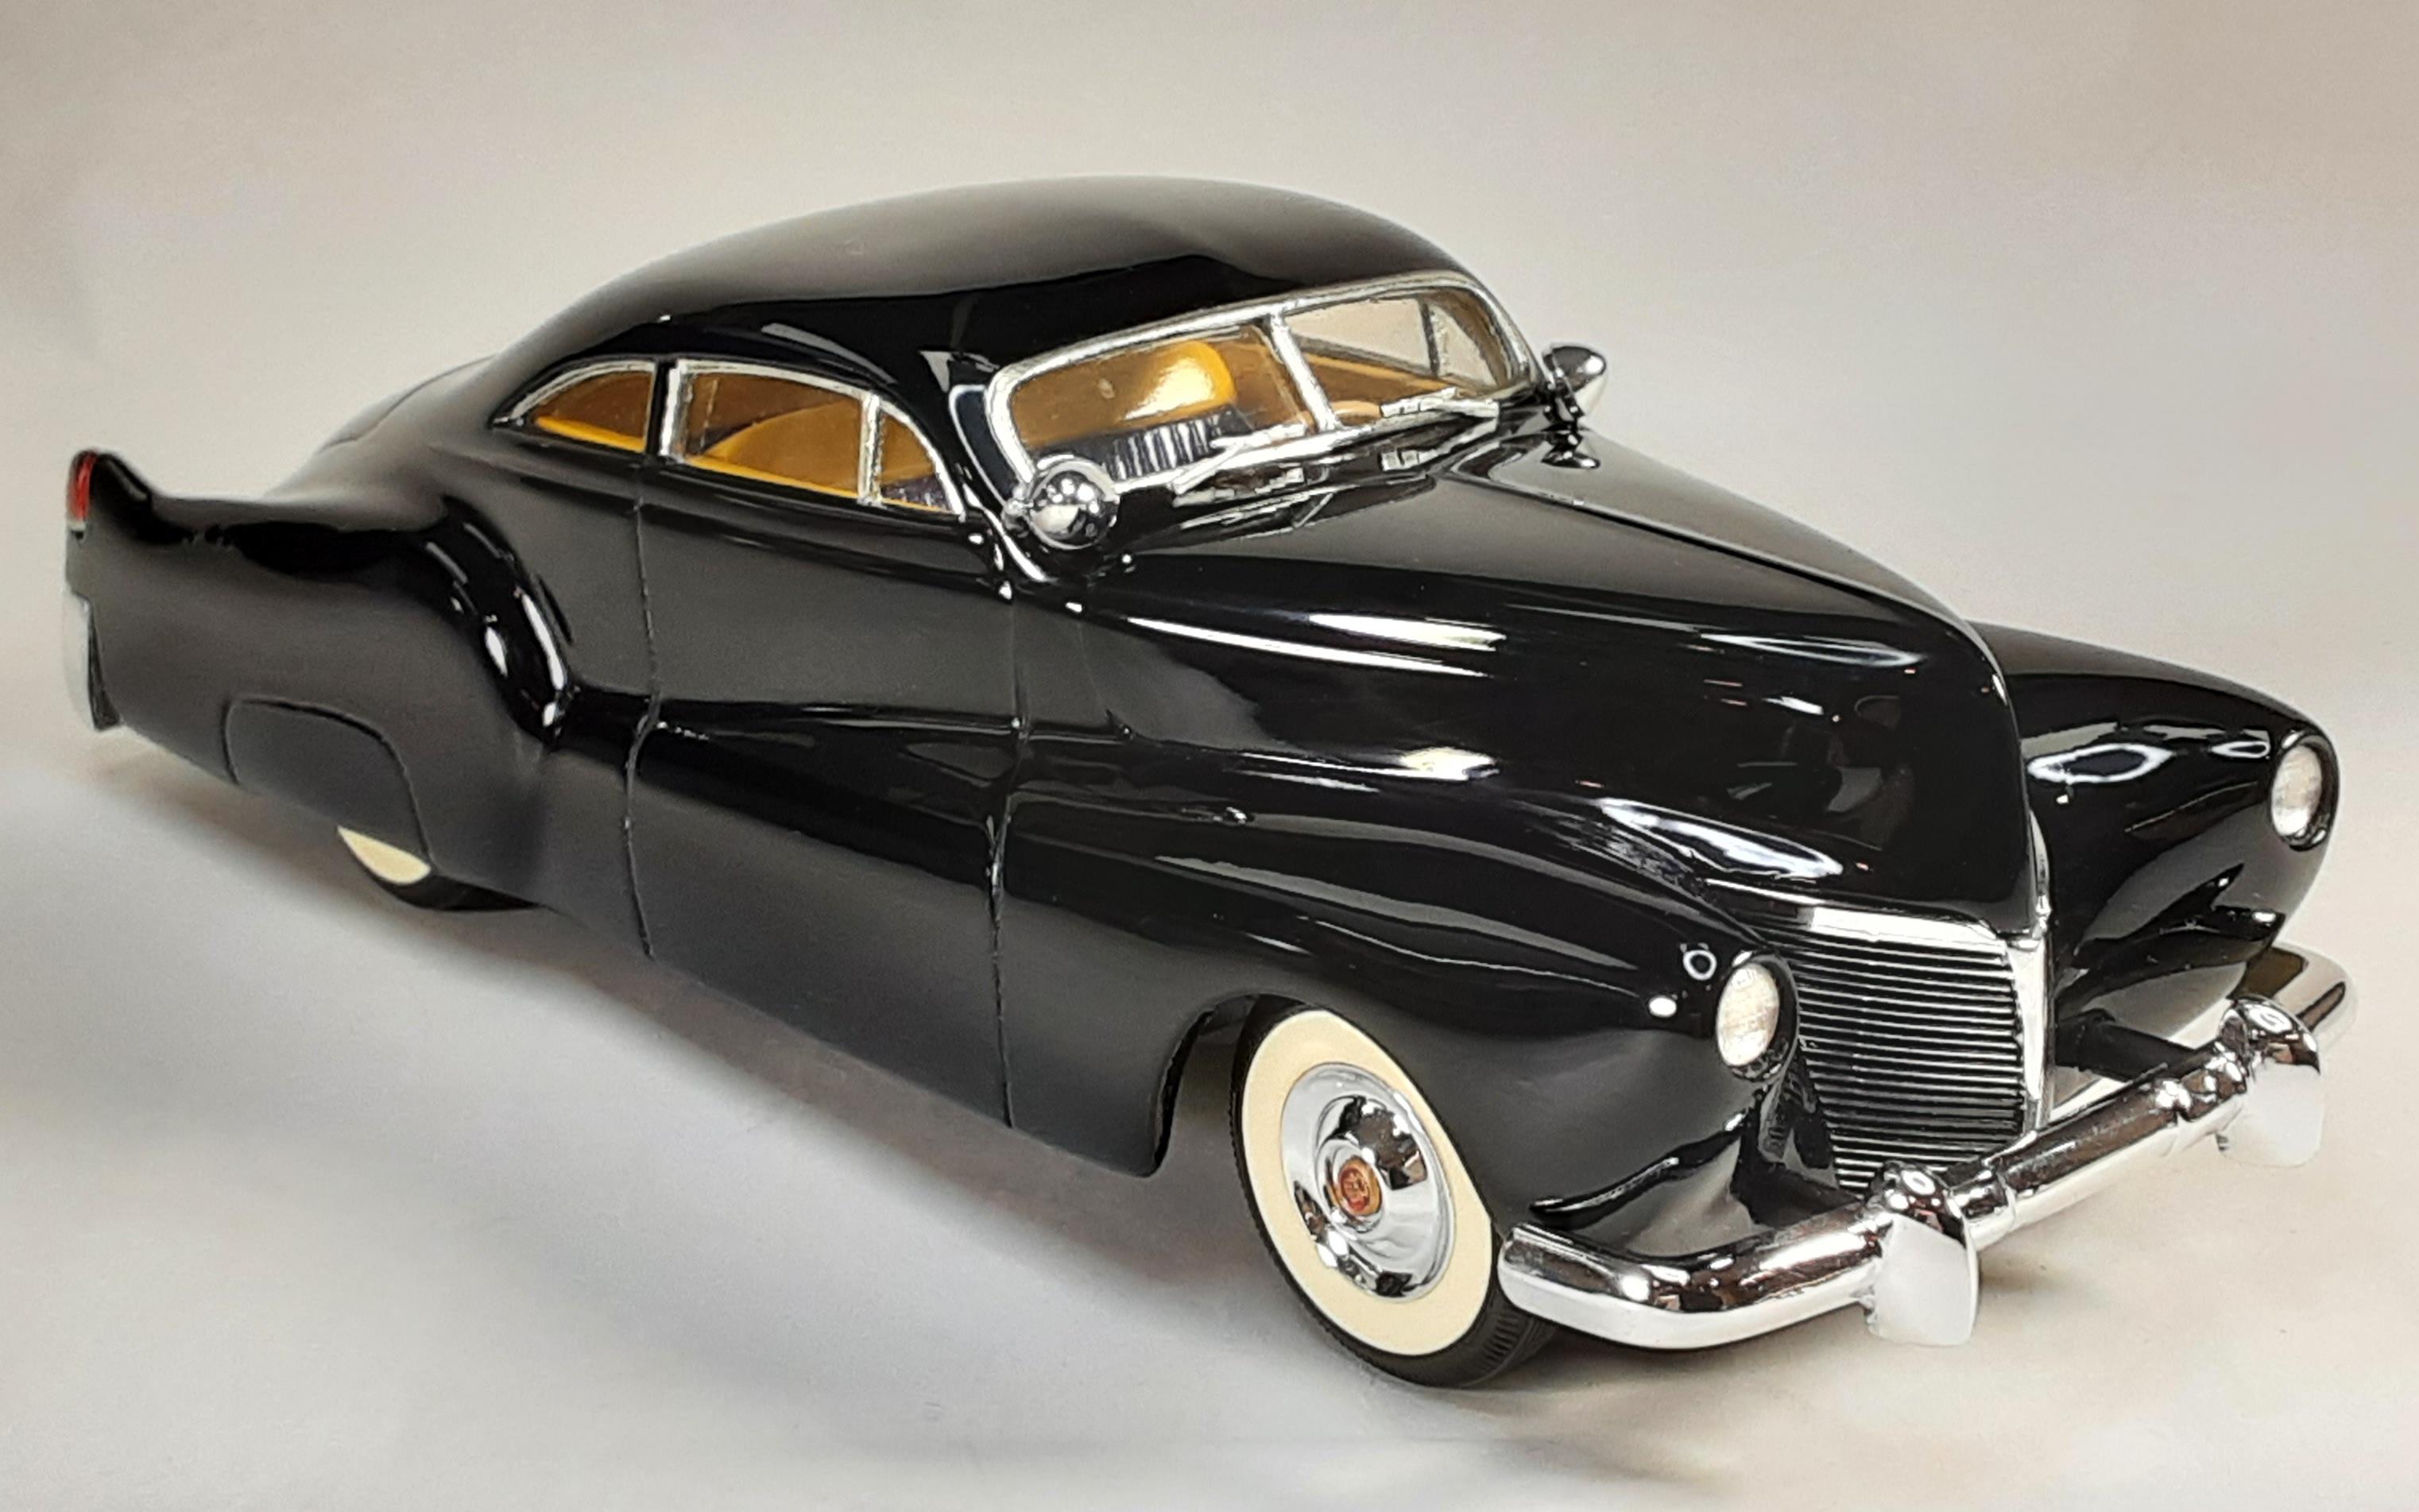
Gil Ayala's '40 Merc radical custom.
- 58 replies
-
- 14
-
-
Thank you fer yer comment, the "carpet" is black flocking applied with a white glue solution.
-
Jasons!...CRS on the name of the store...thanx. Yeah, Jason's had a few kits, not a big variety...mostly Palmers. Do remember pickin up a 1/20 MPC Turbine Car from there.


.webp.cb761183c637b7c9c411e7dcdb9bec0f.webp)