François
-
Posts
489 -
Joined
-
Last visited
Content Type
Profiles
Forums
Events
Gallery
Everything posted by François
-
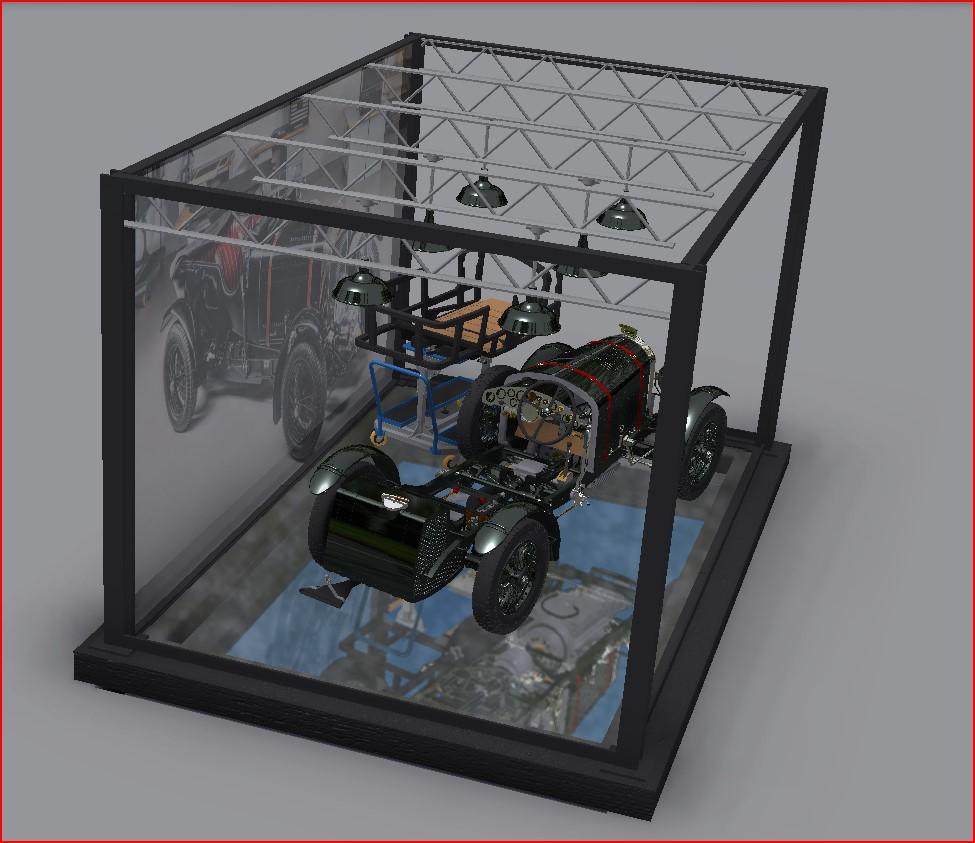
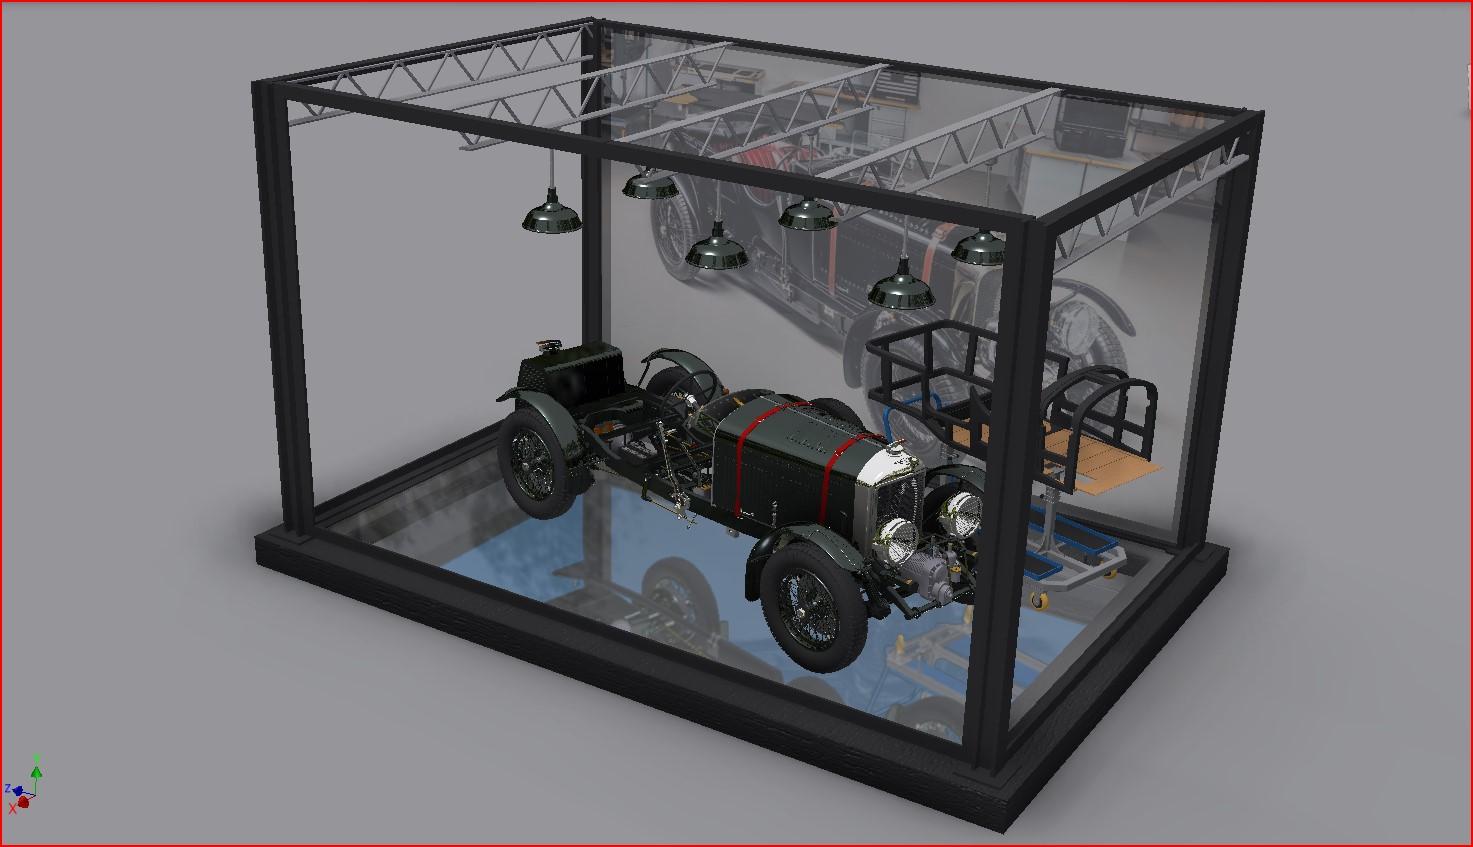
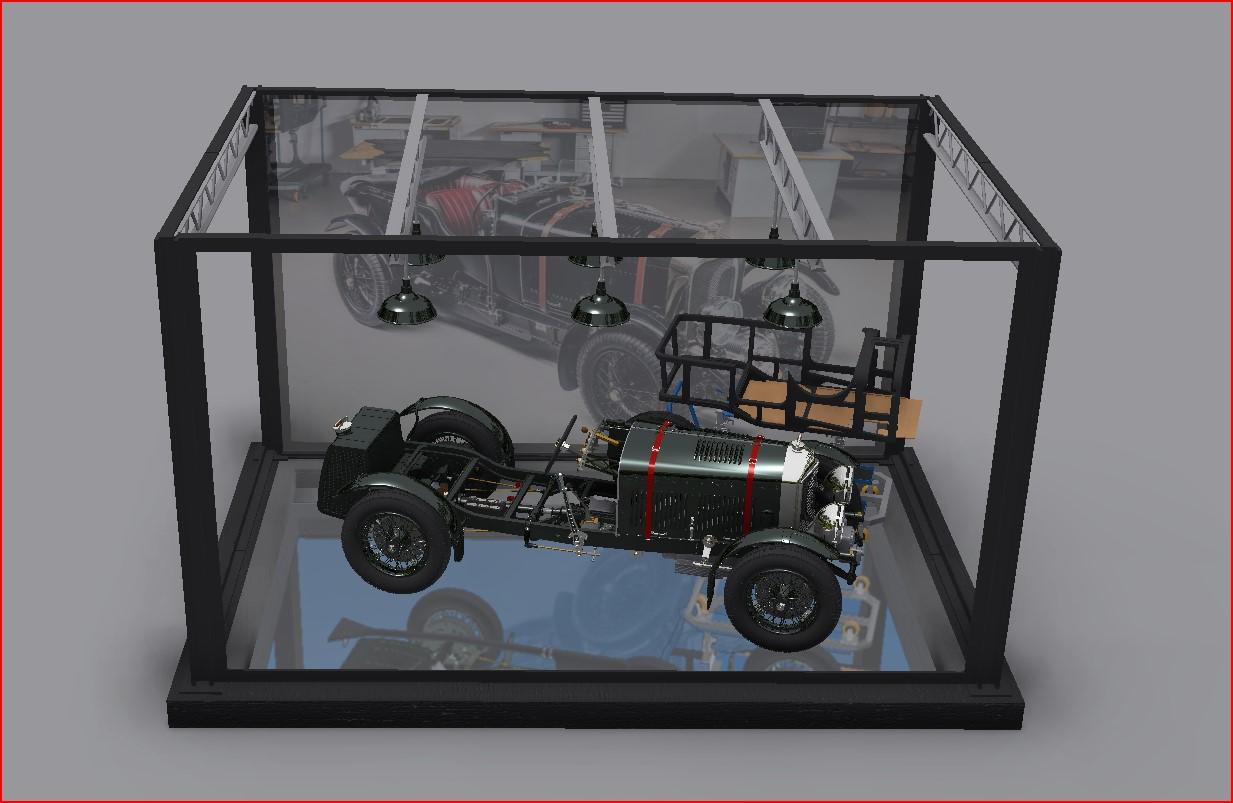
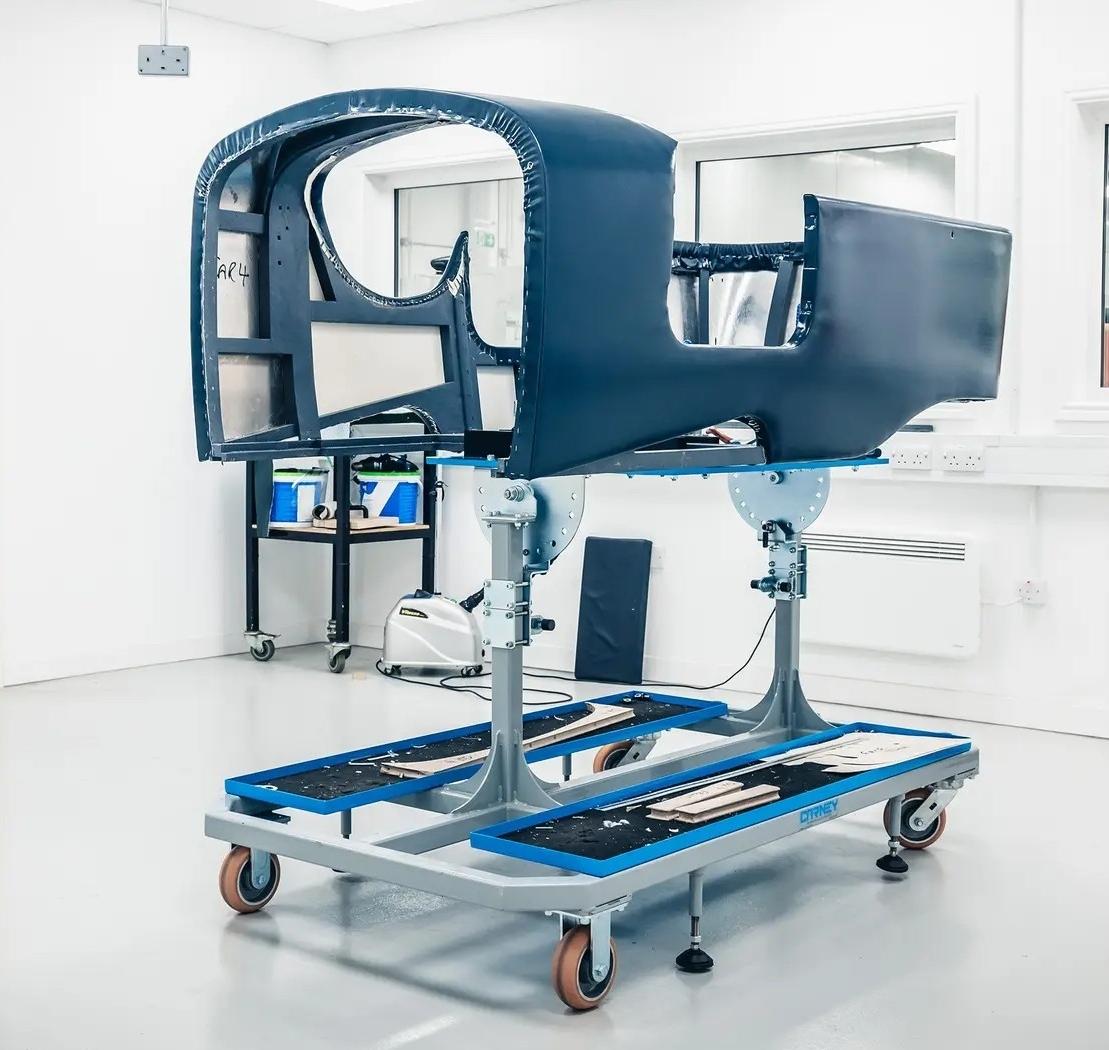
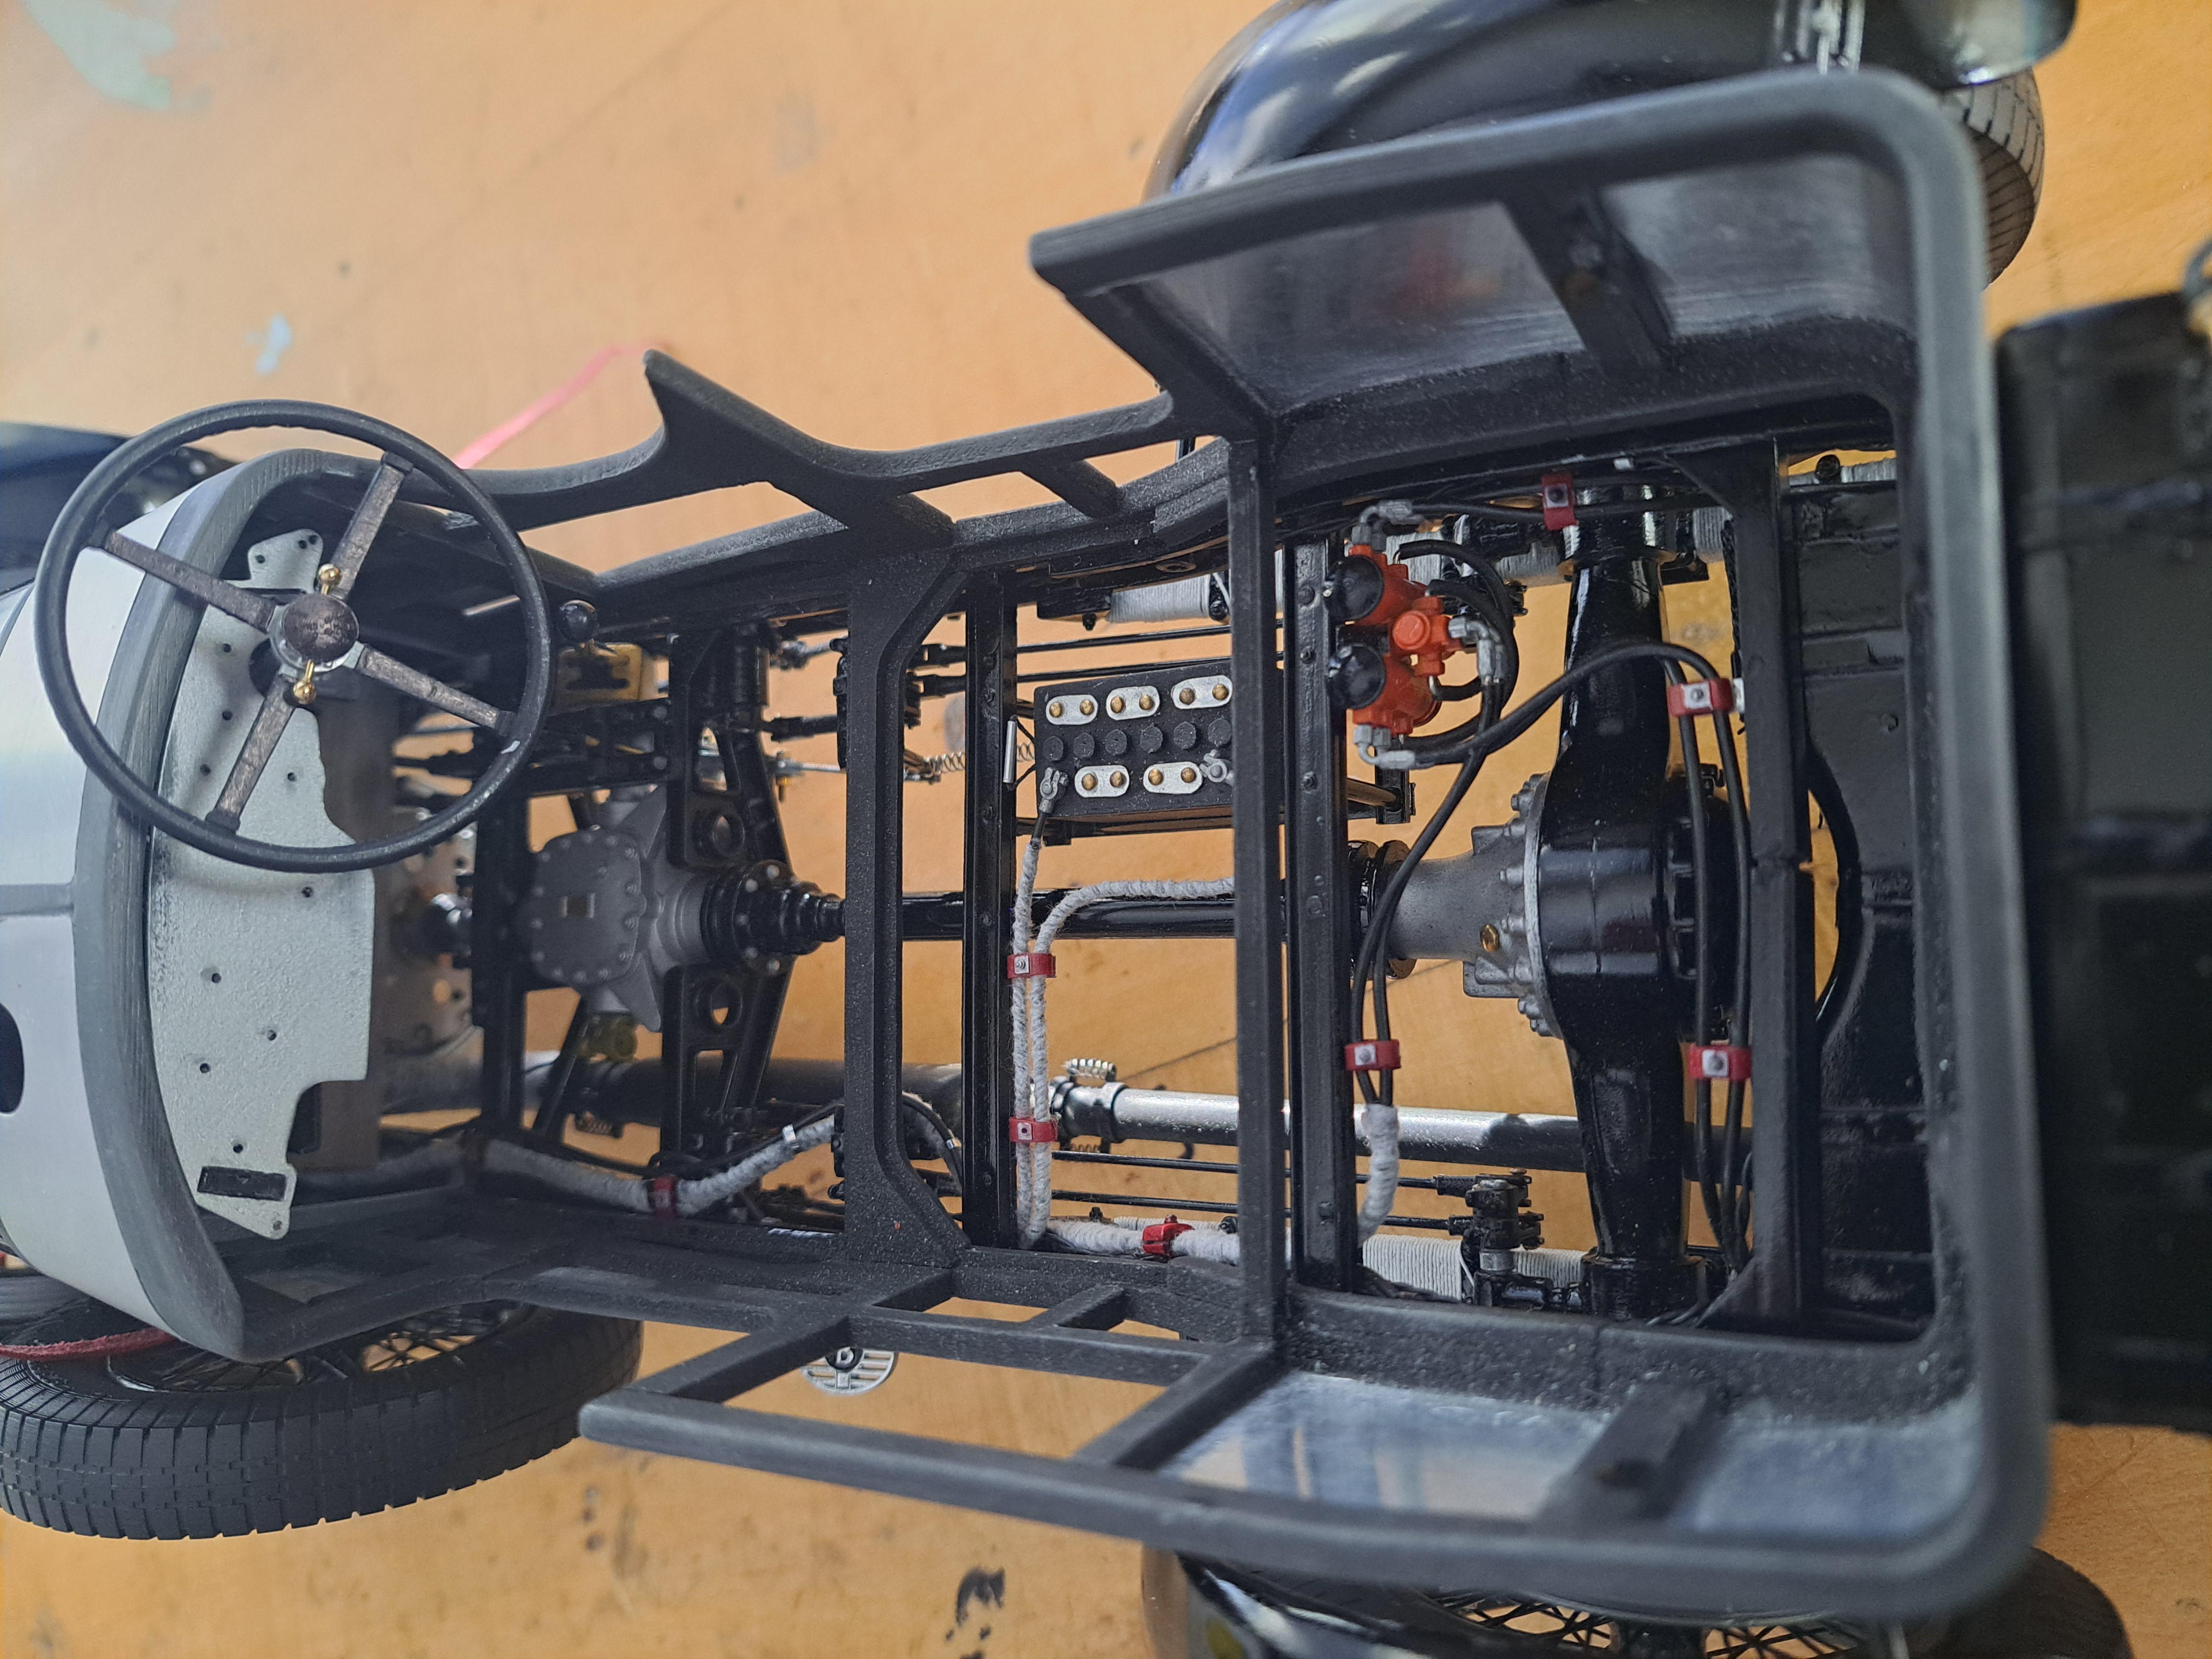
I started modeling the display case. My idea would be to inbed a miror in a simulated concrete base on which there would be a steel structure (really plastic not steel). The structure would have H columns at each corner and 4 angle iron framed plexiglas panels with a bunch of rivets holding the panels in place. I would like to incorporate trusses and working shop lights. I'm thinking of overlaying the rear plexiglas panel with a translucide image of the real car, not sure how that could be done. There would be a control panel mounted on the outside of the display case that would control the shop lights, head lights and motor. Back in the 50's, my father, who was a draftman back then, would make scale models of water piping layout for a company called Canadair (it later became Bombardier aeronautic). I still have a box full of miniature Britannia water valves that he gave me when I was just a kid and that I never used. I would like to incorporate them in the display case some how, maybe a few water lines ? Here are a few screen shots of the display case so far. Not nearly there yet but it give the general idea.

-
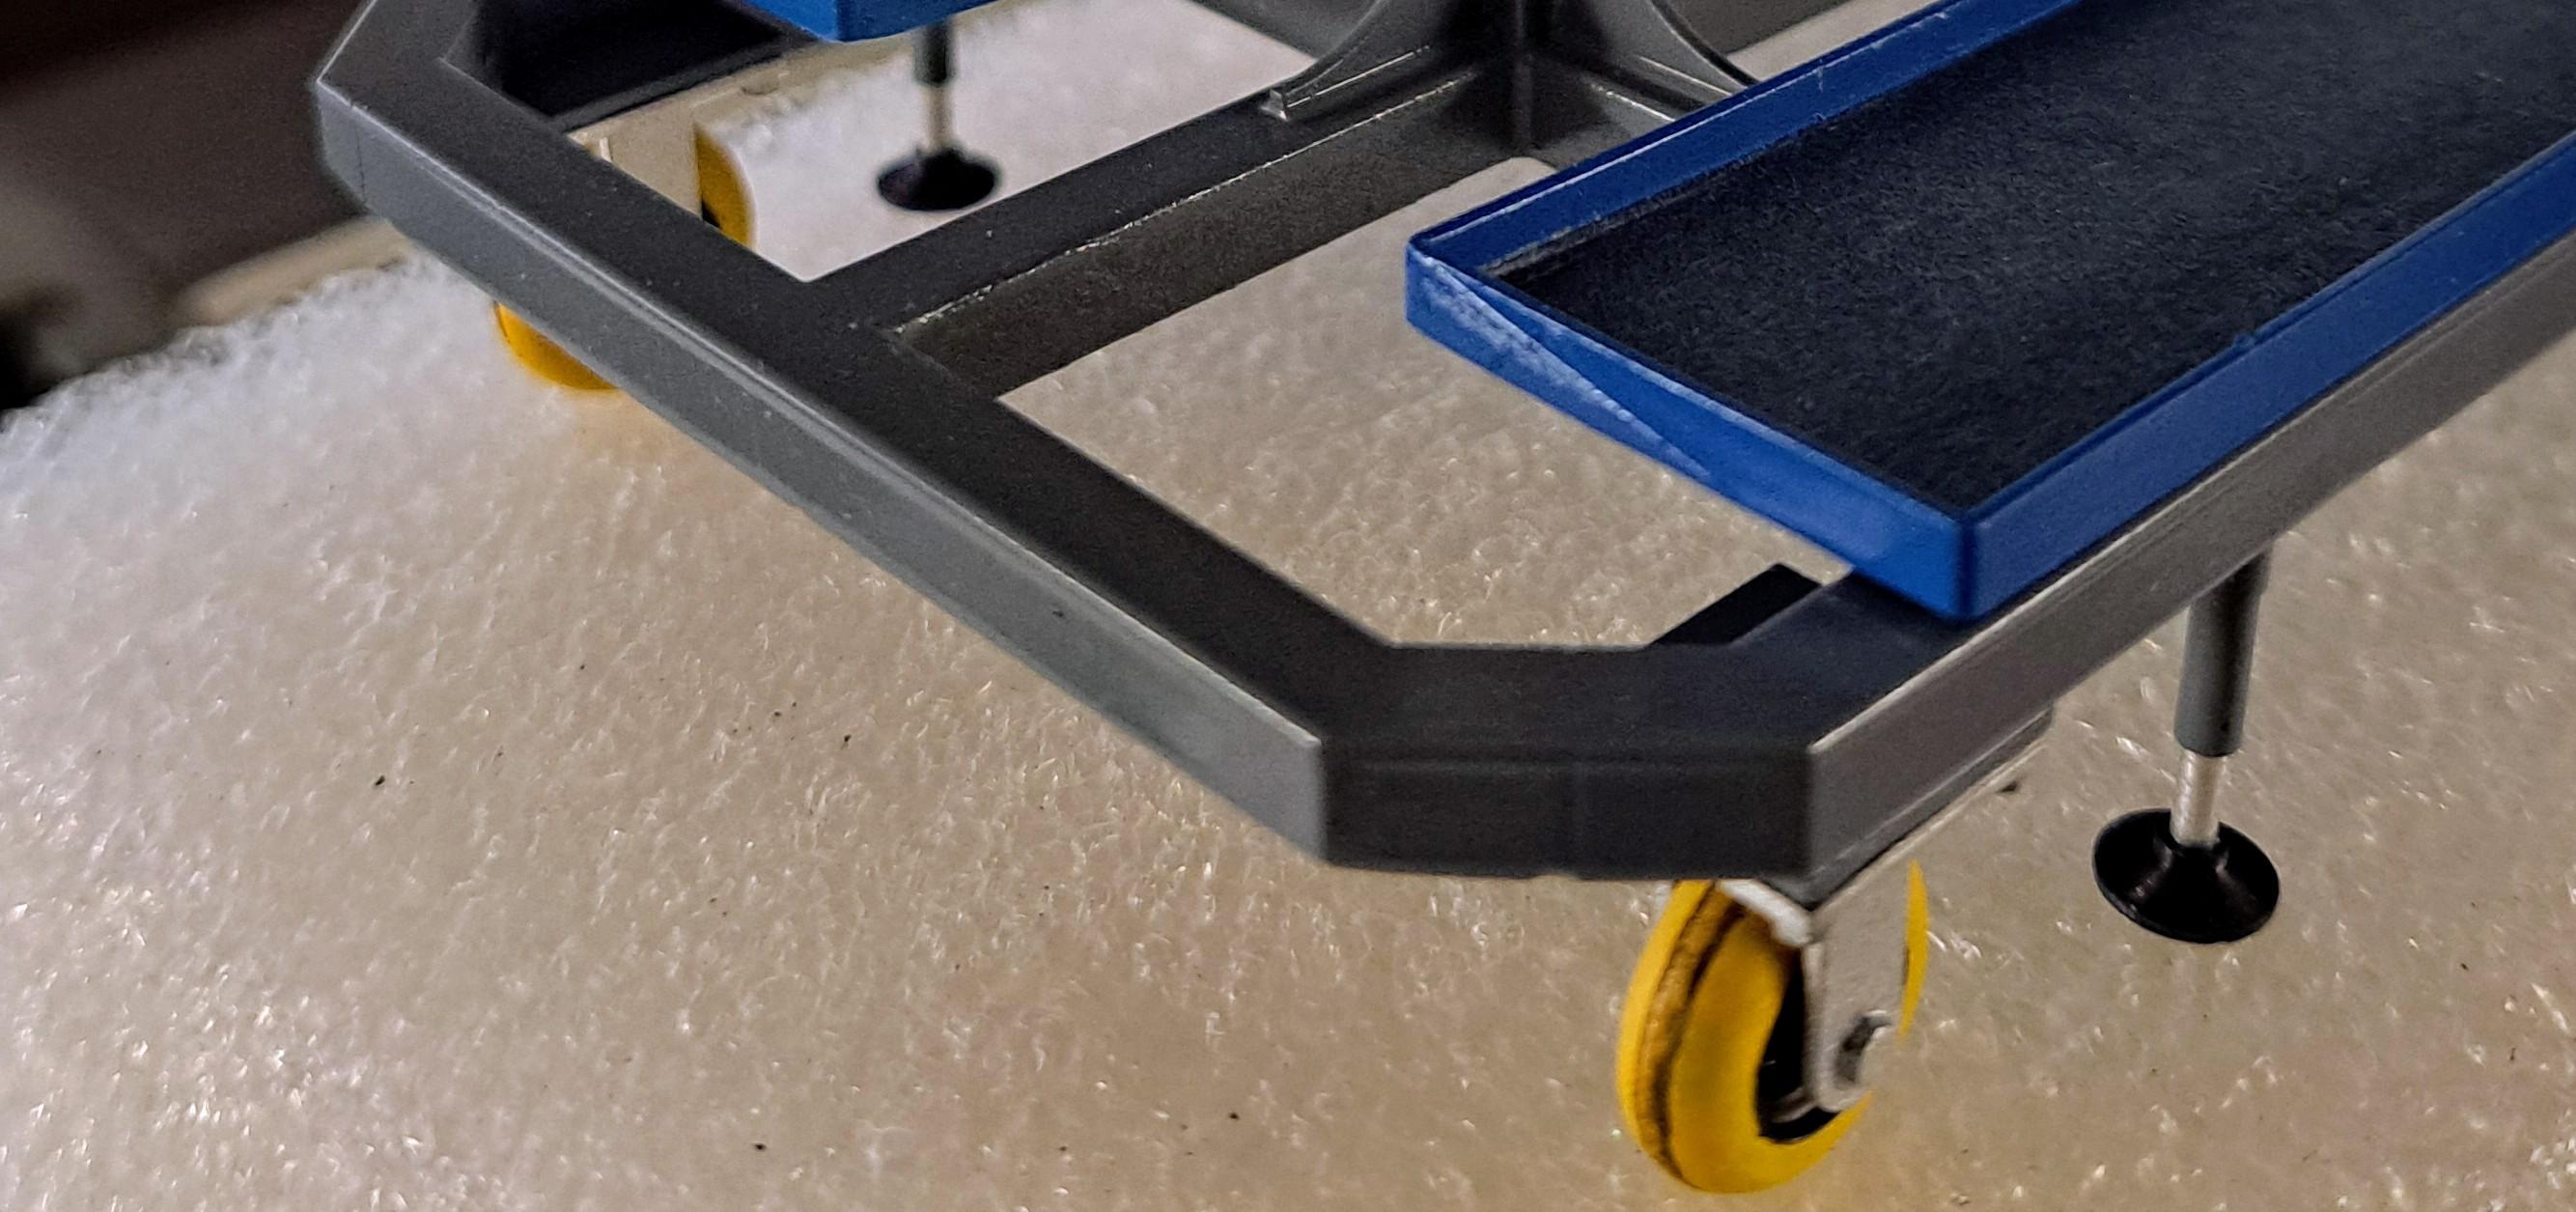
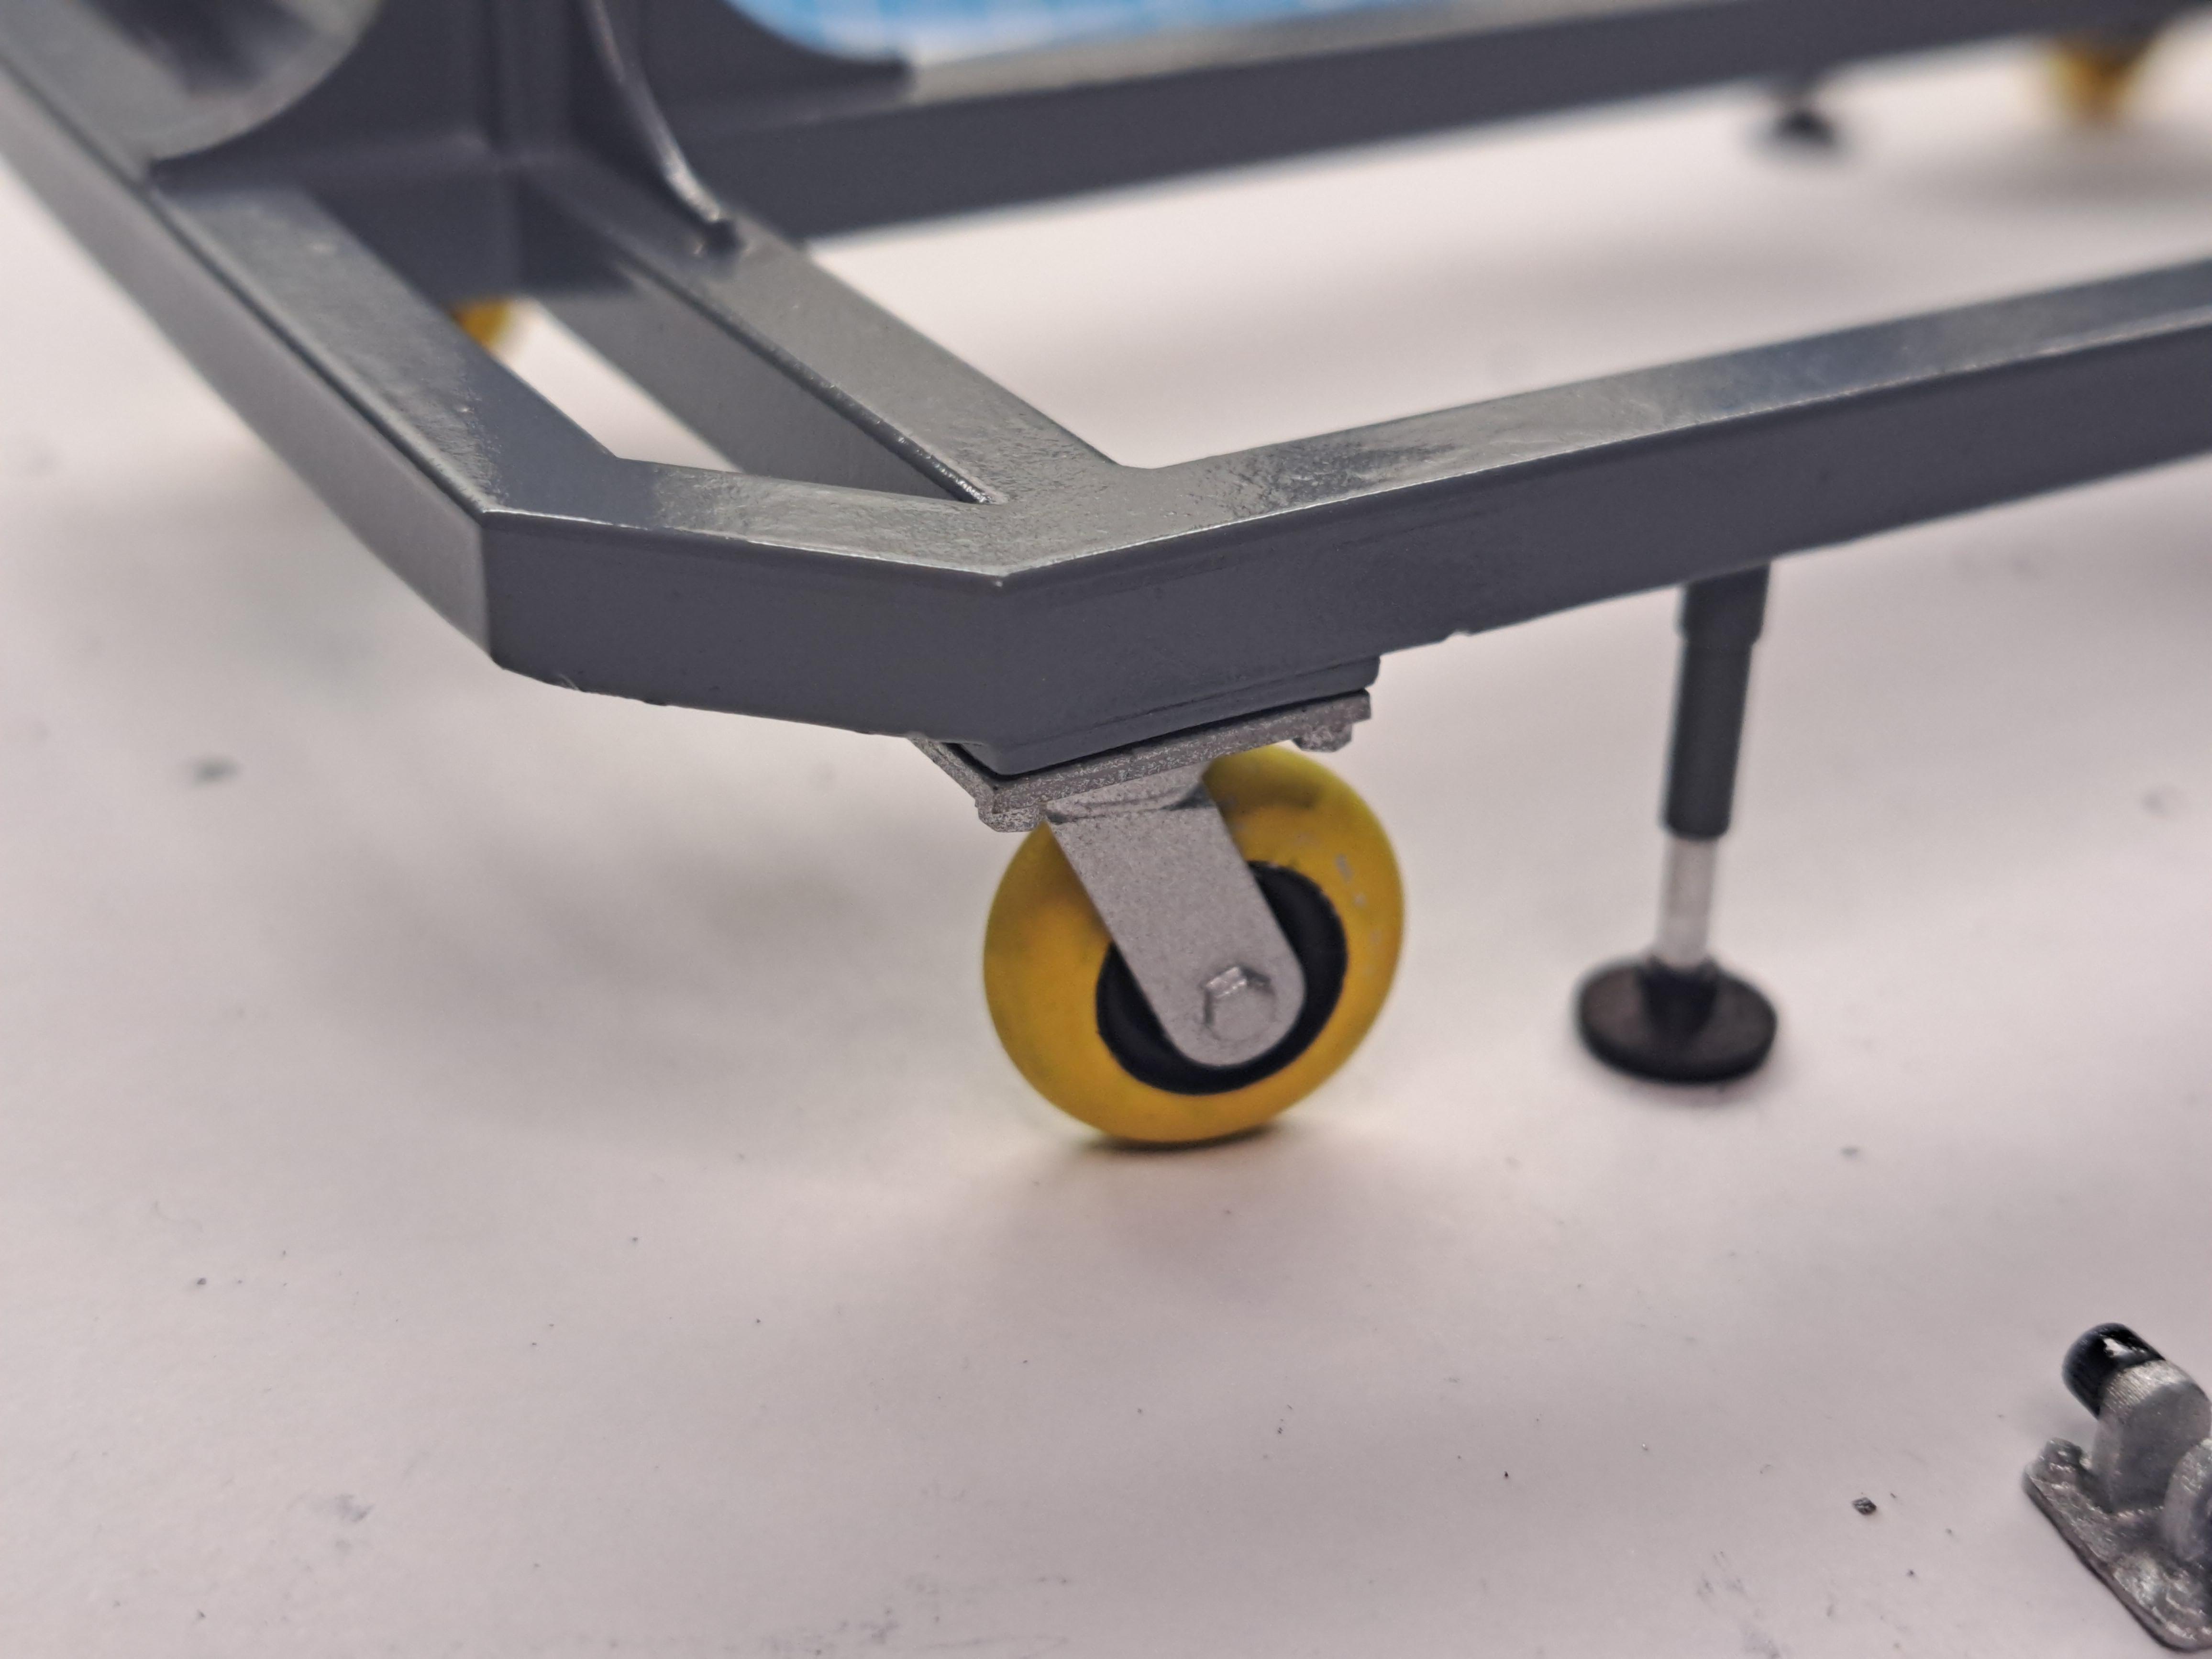
Thank you LaughingIndian, you noticed the dirt on the trolley wheels !! If it's there on the real one, it's there on the model.
-
One thing I forgot to do is the temp probe wire going from the radiator to the temp gage. Now it's done.
-
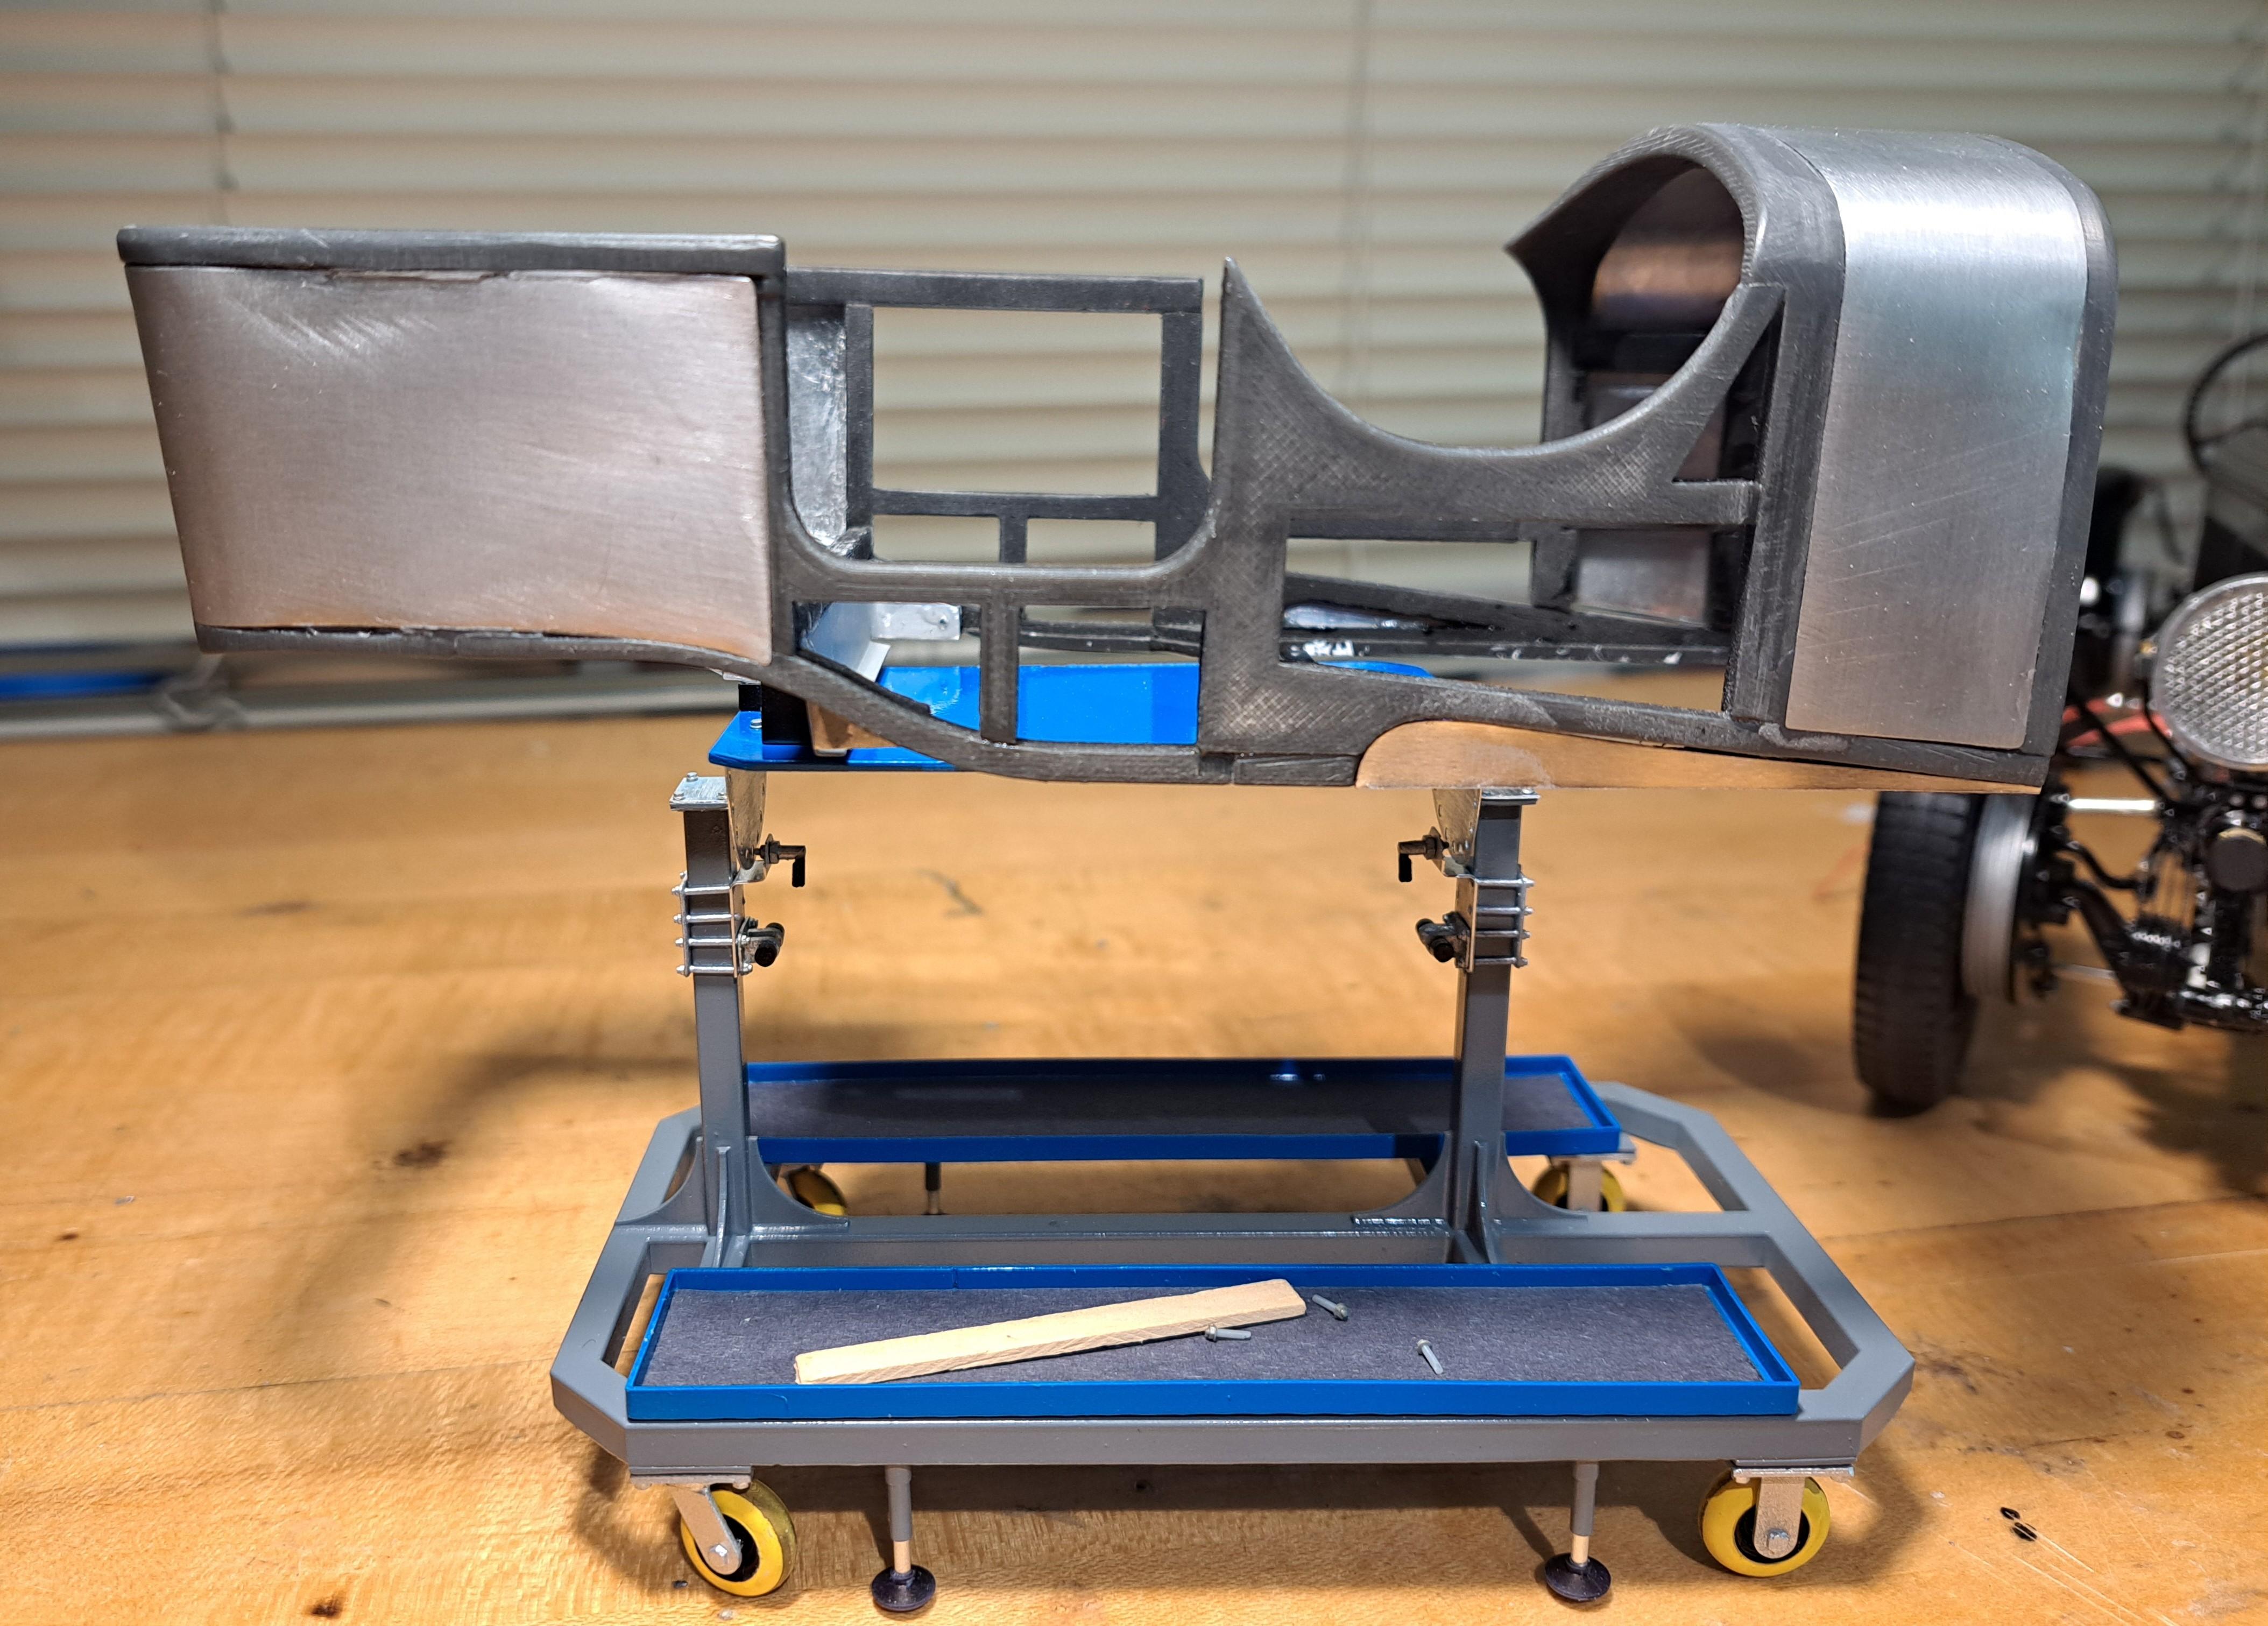
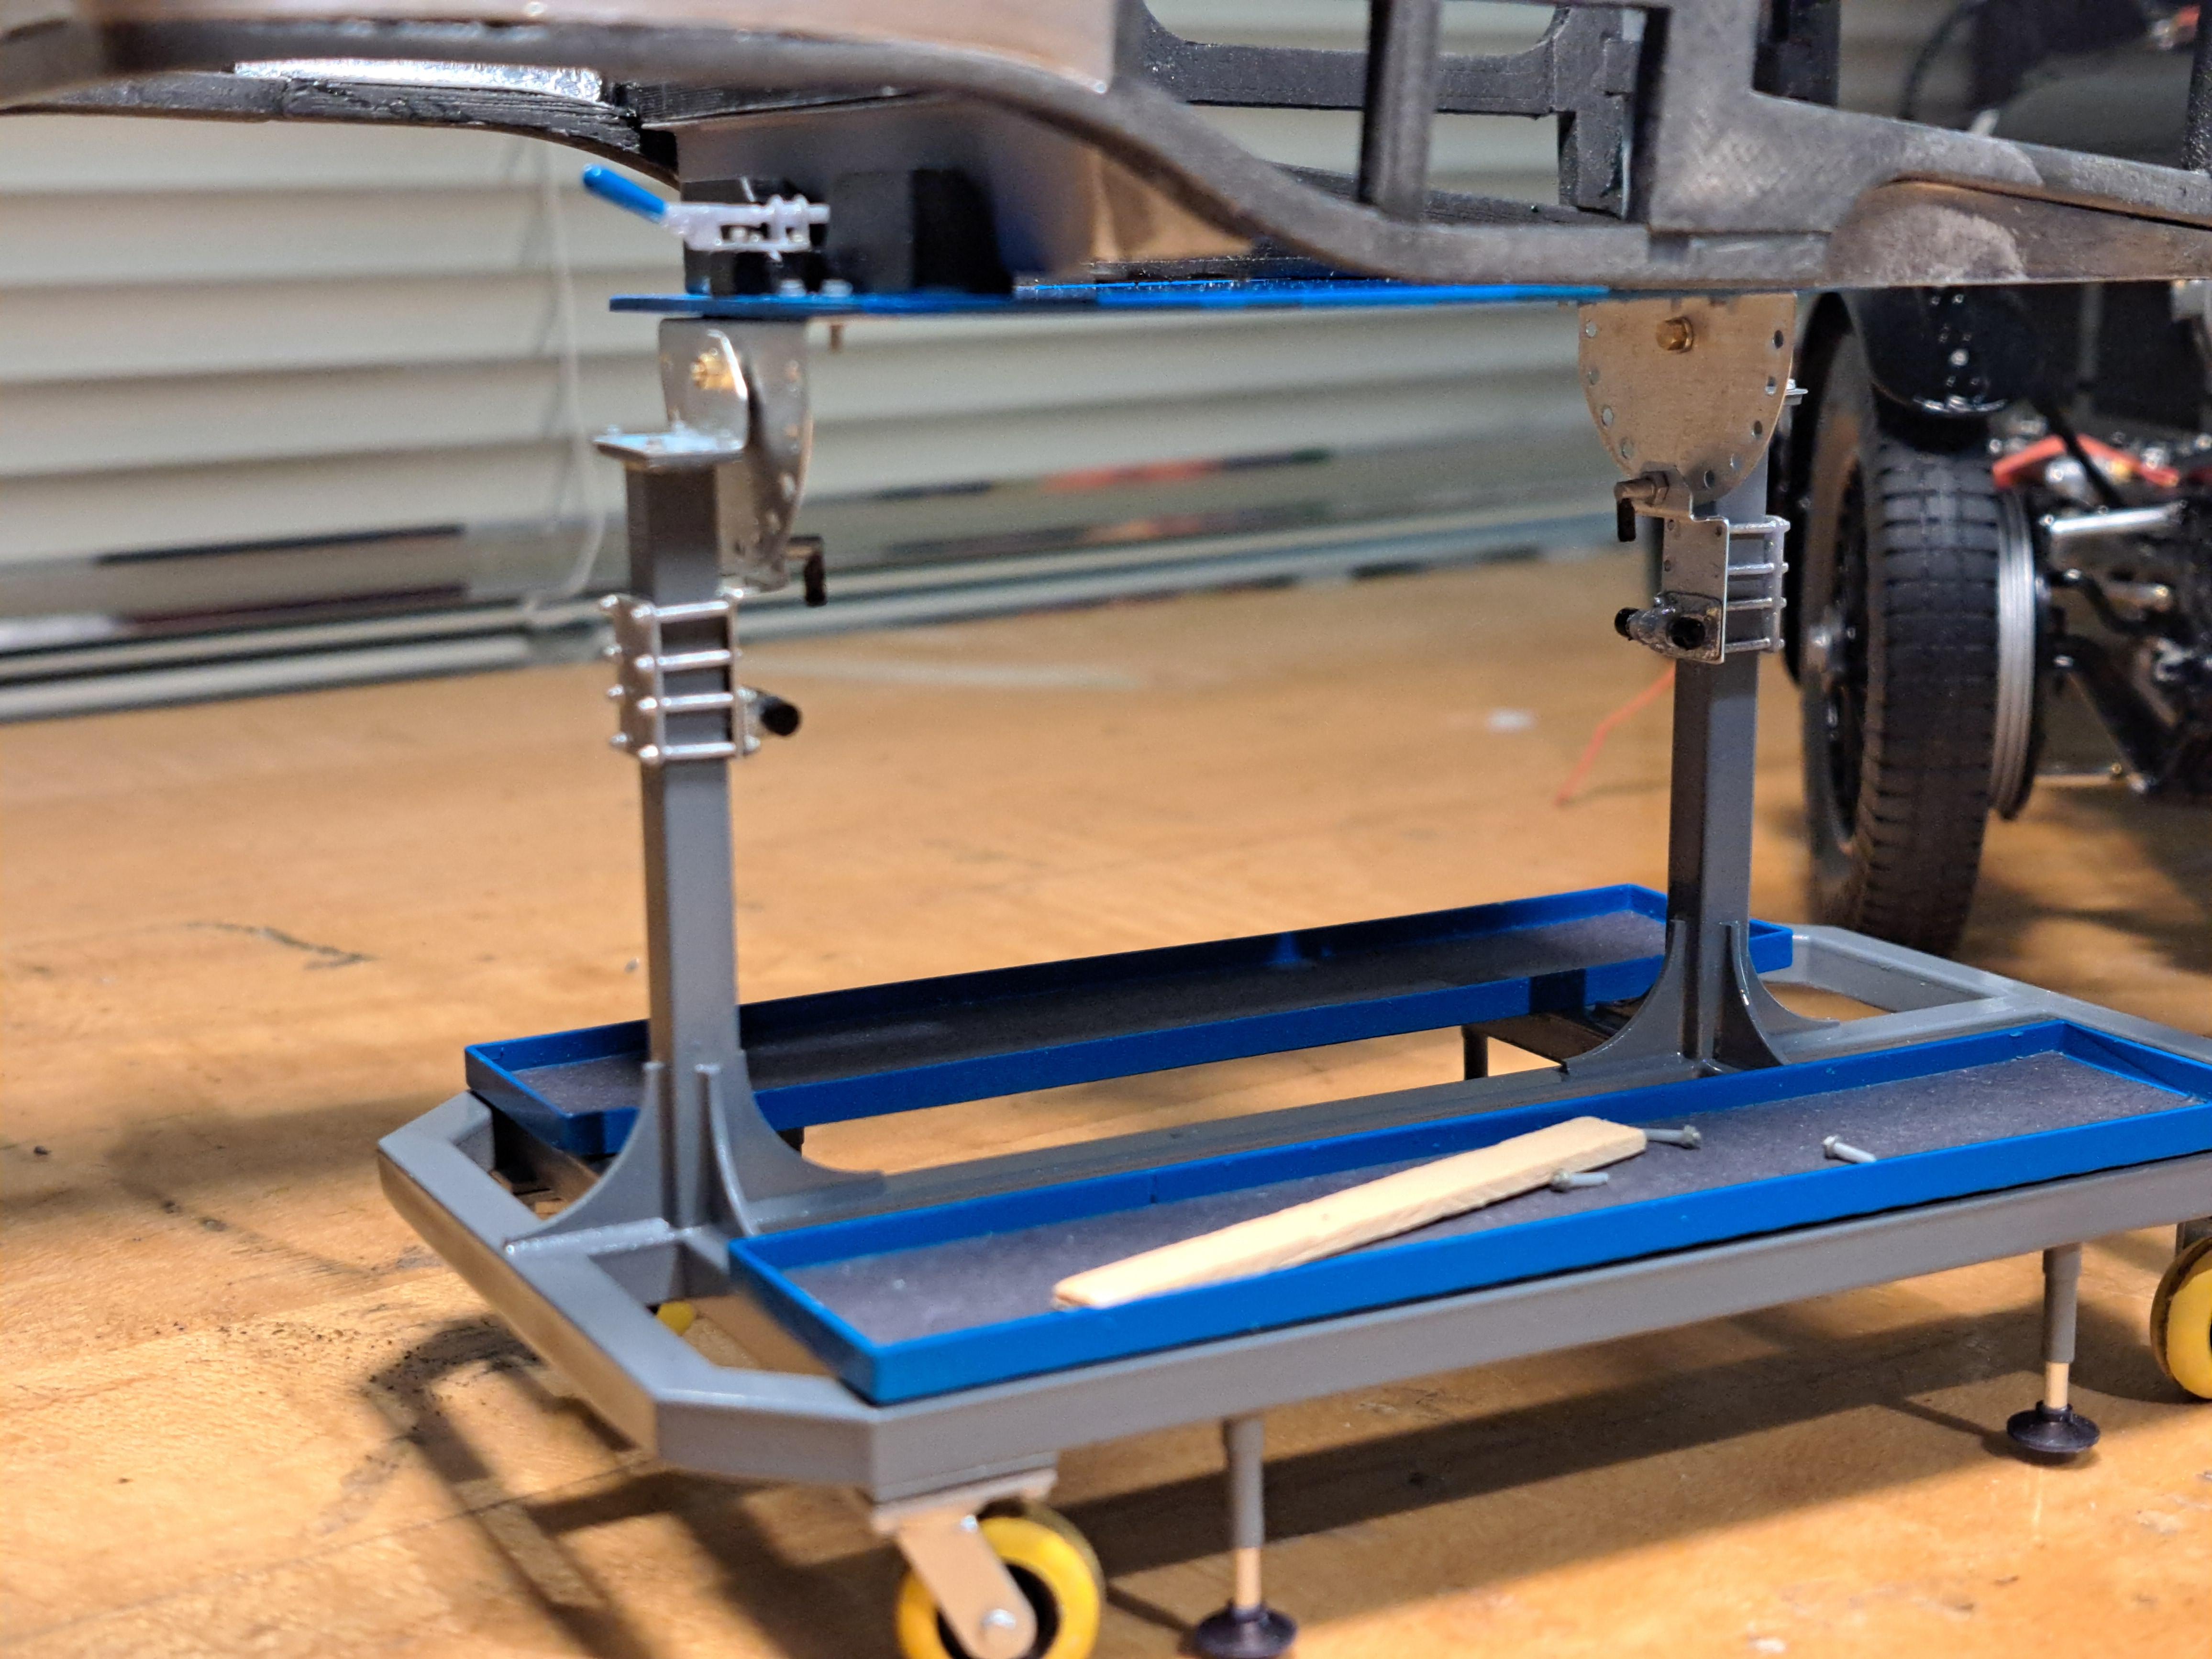
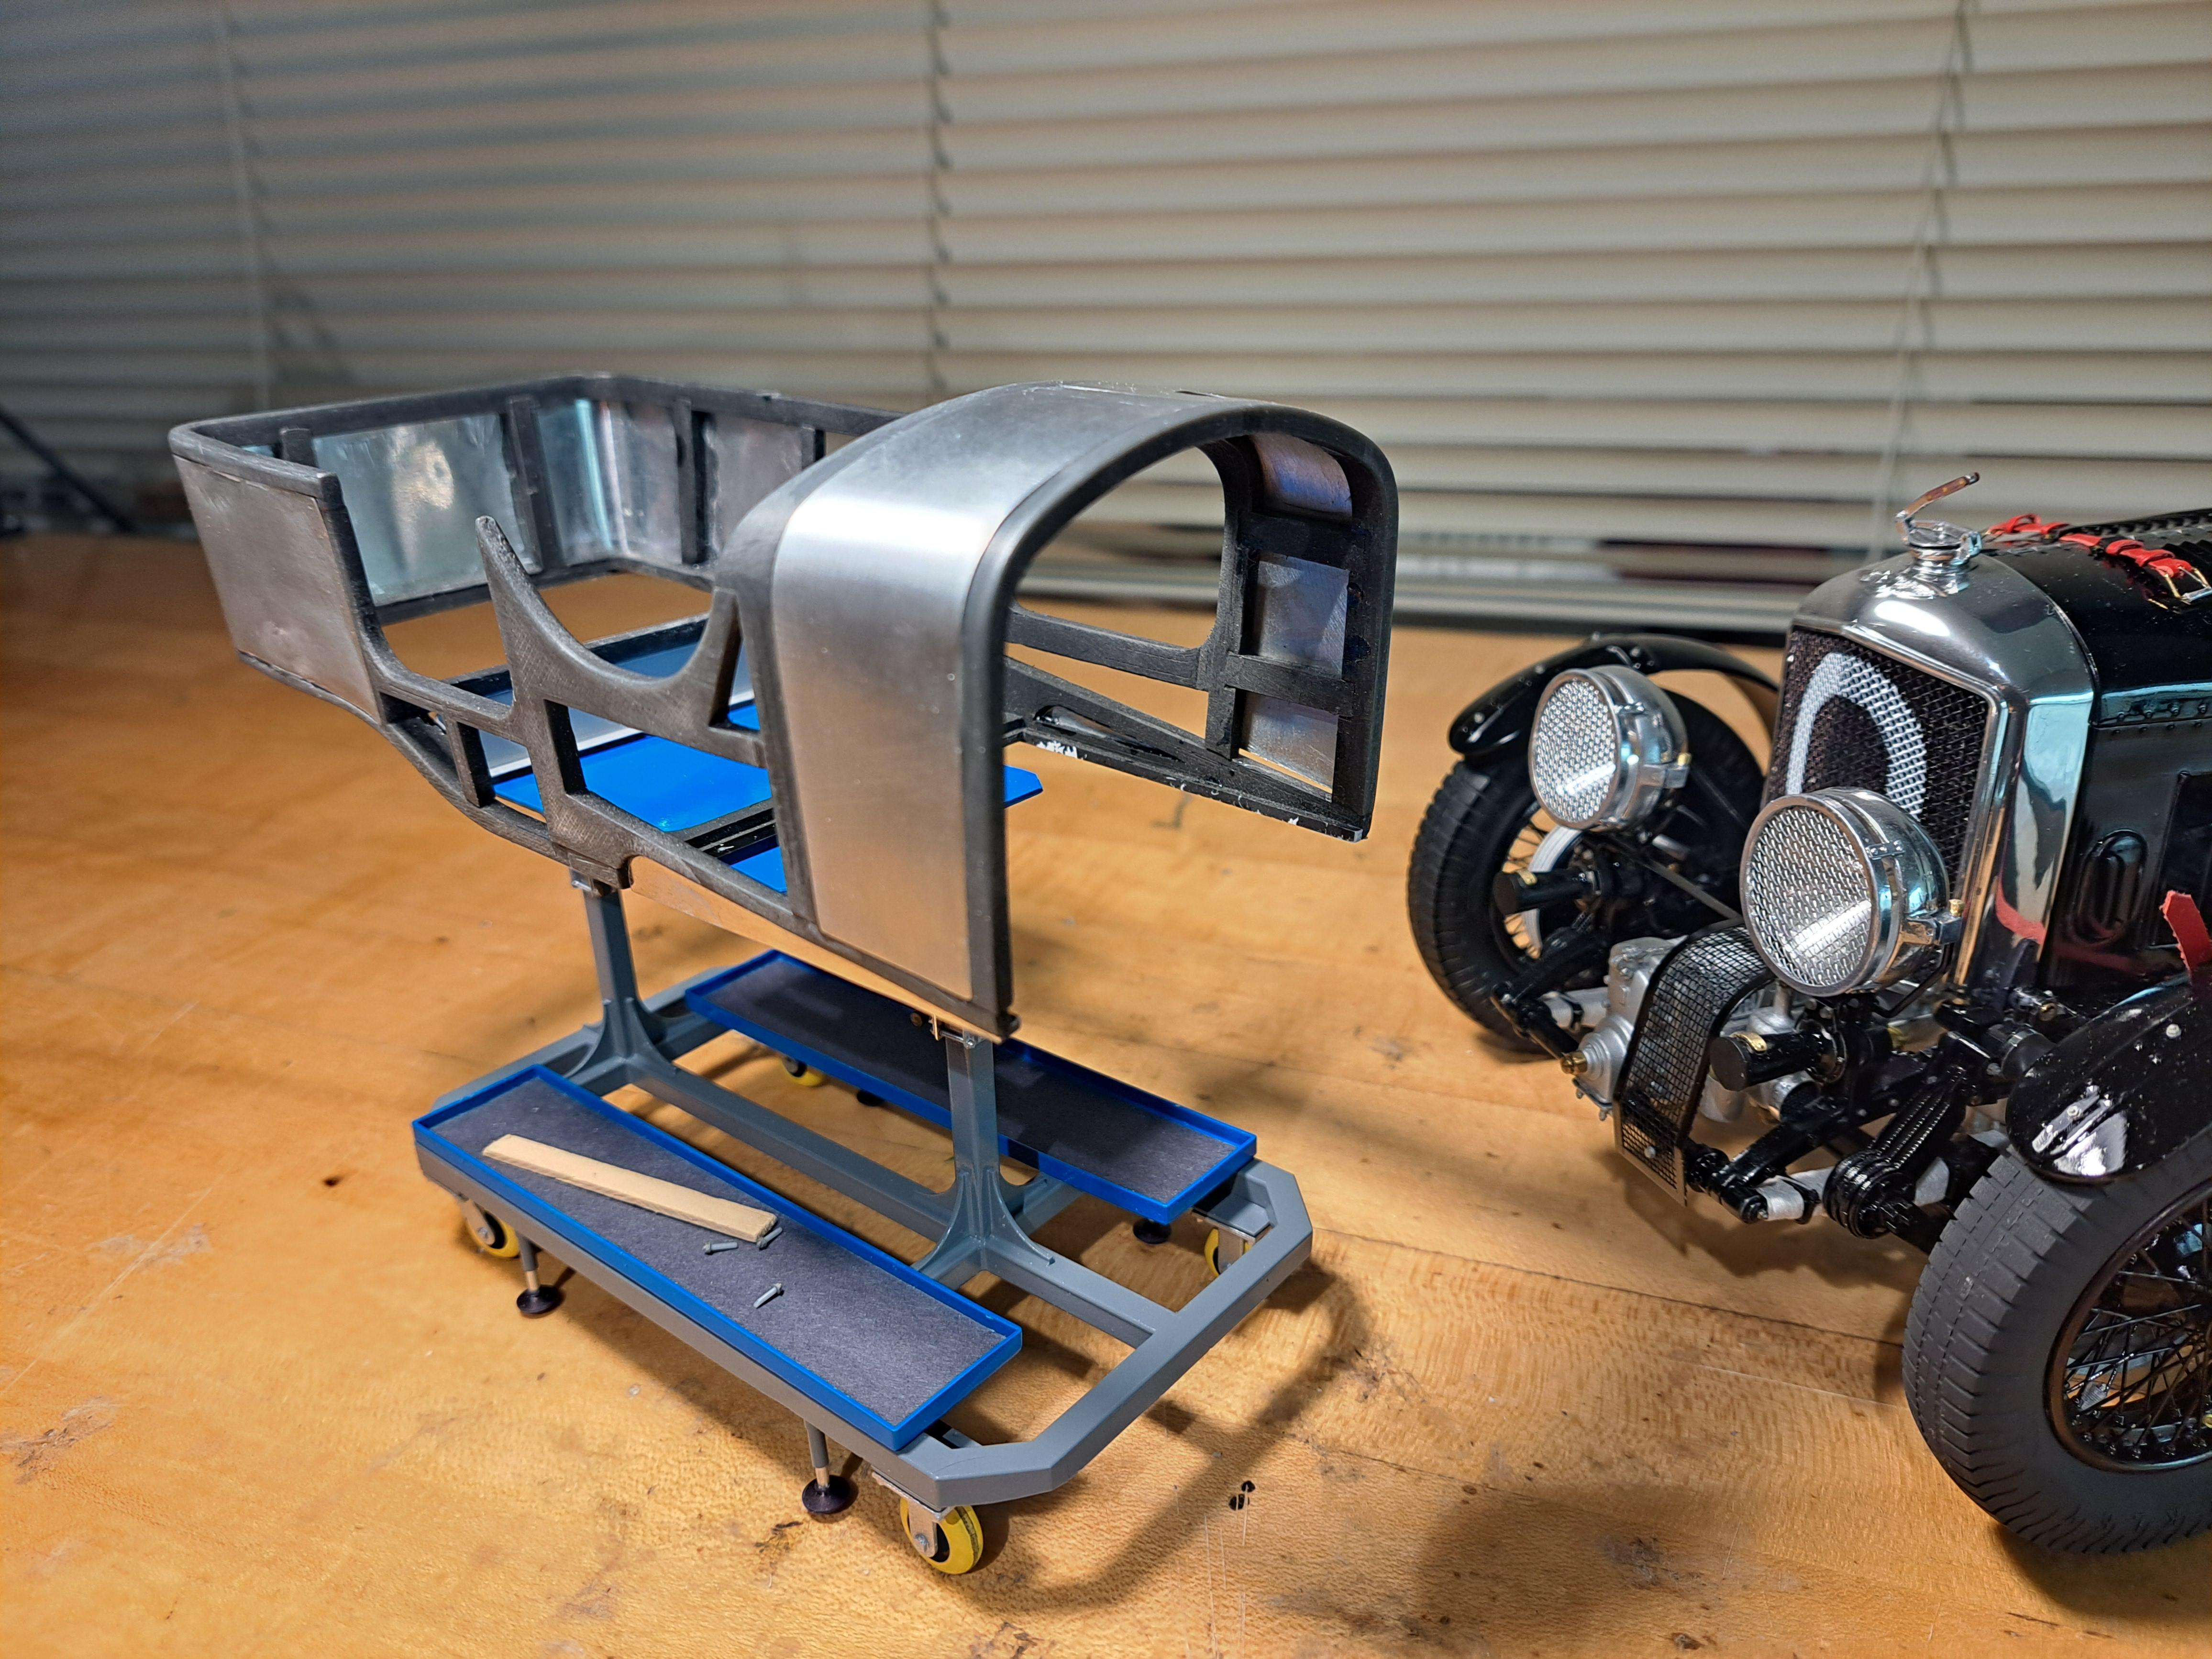
The trolley is completed. Here are some pictures with the tub on it. And the real one
-
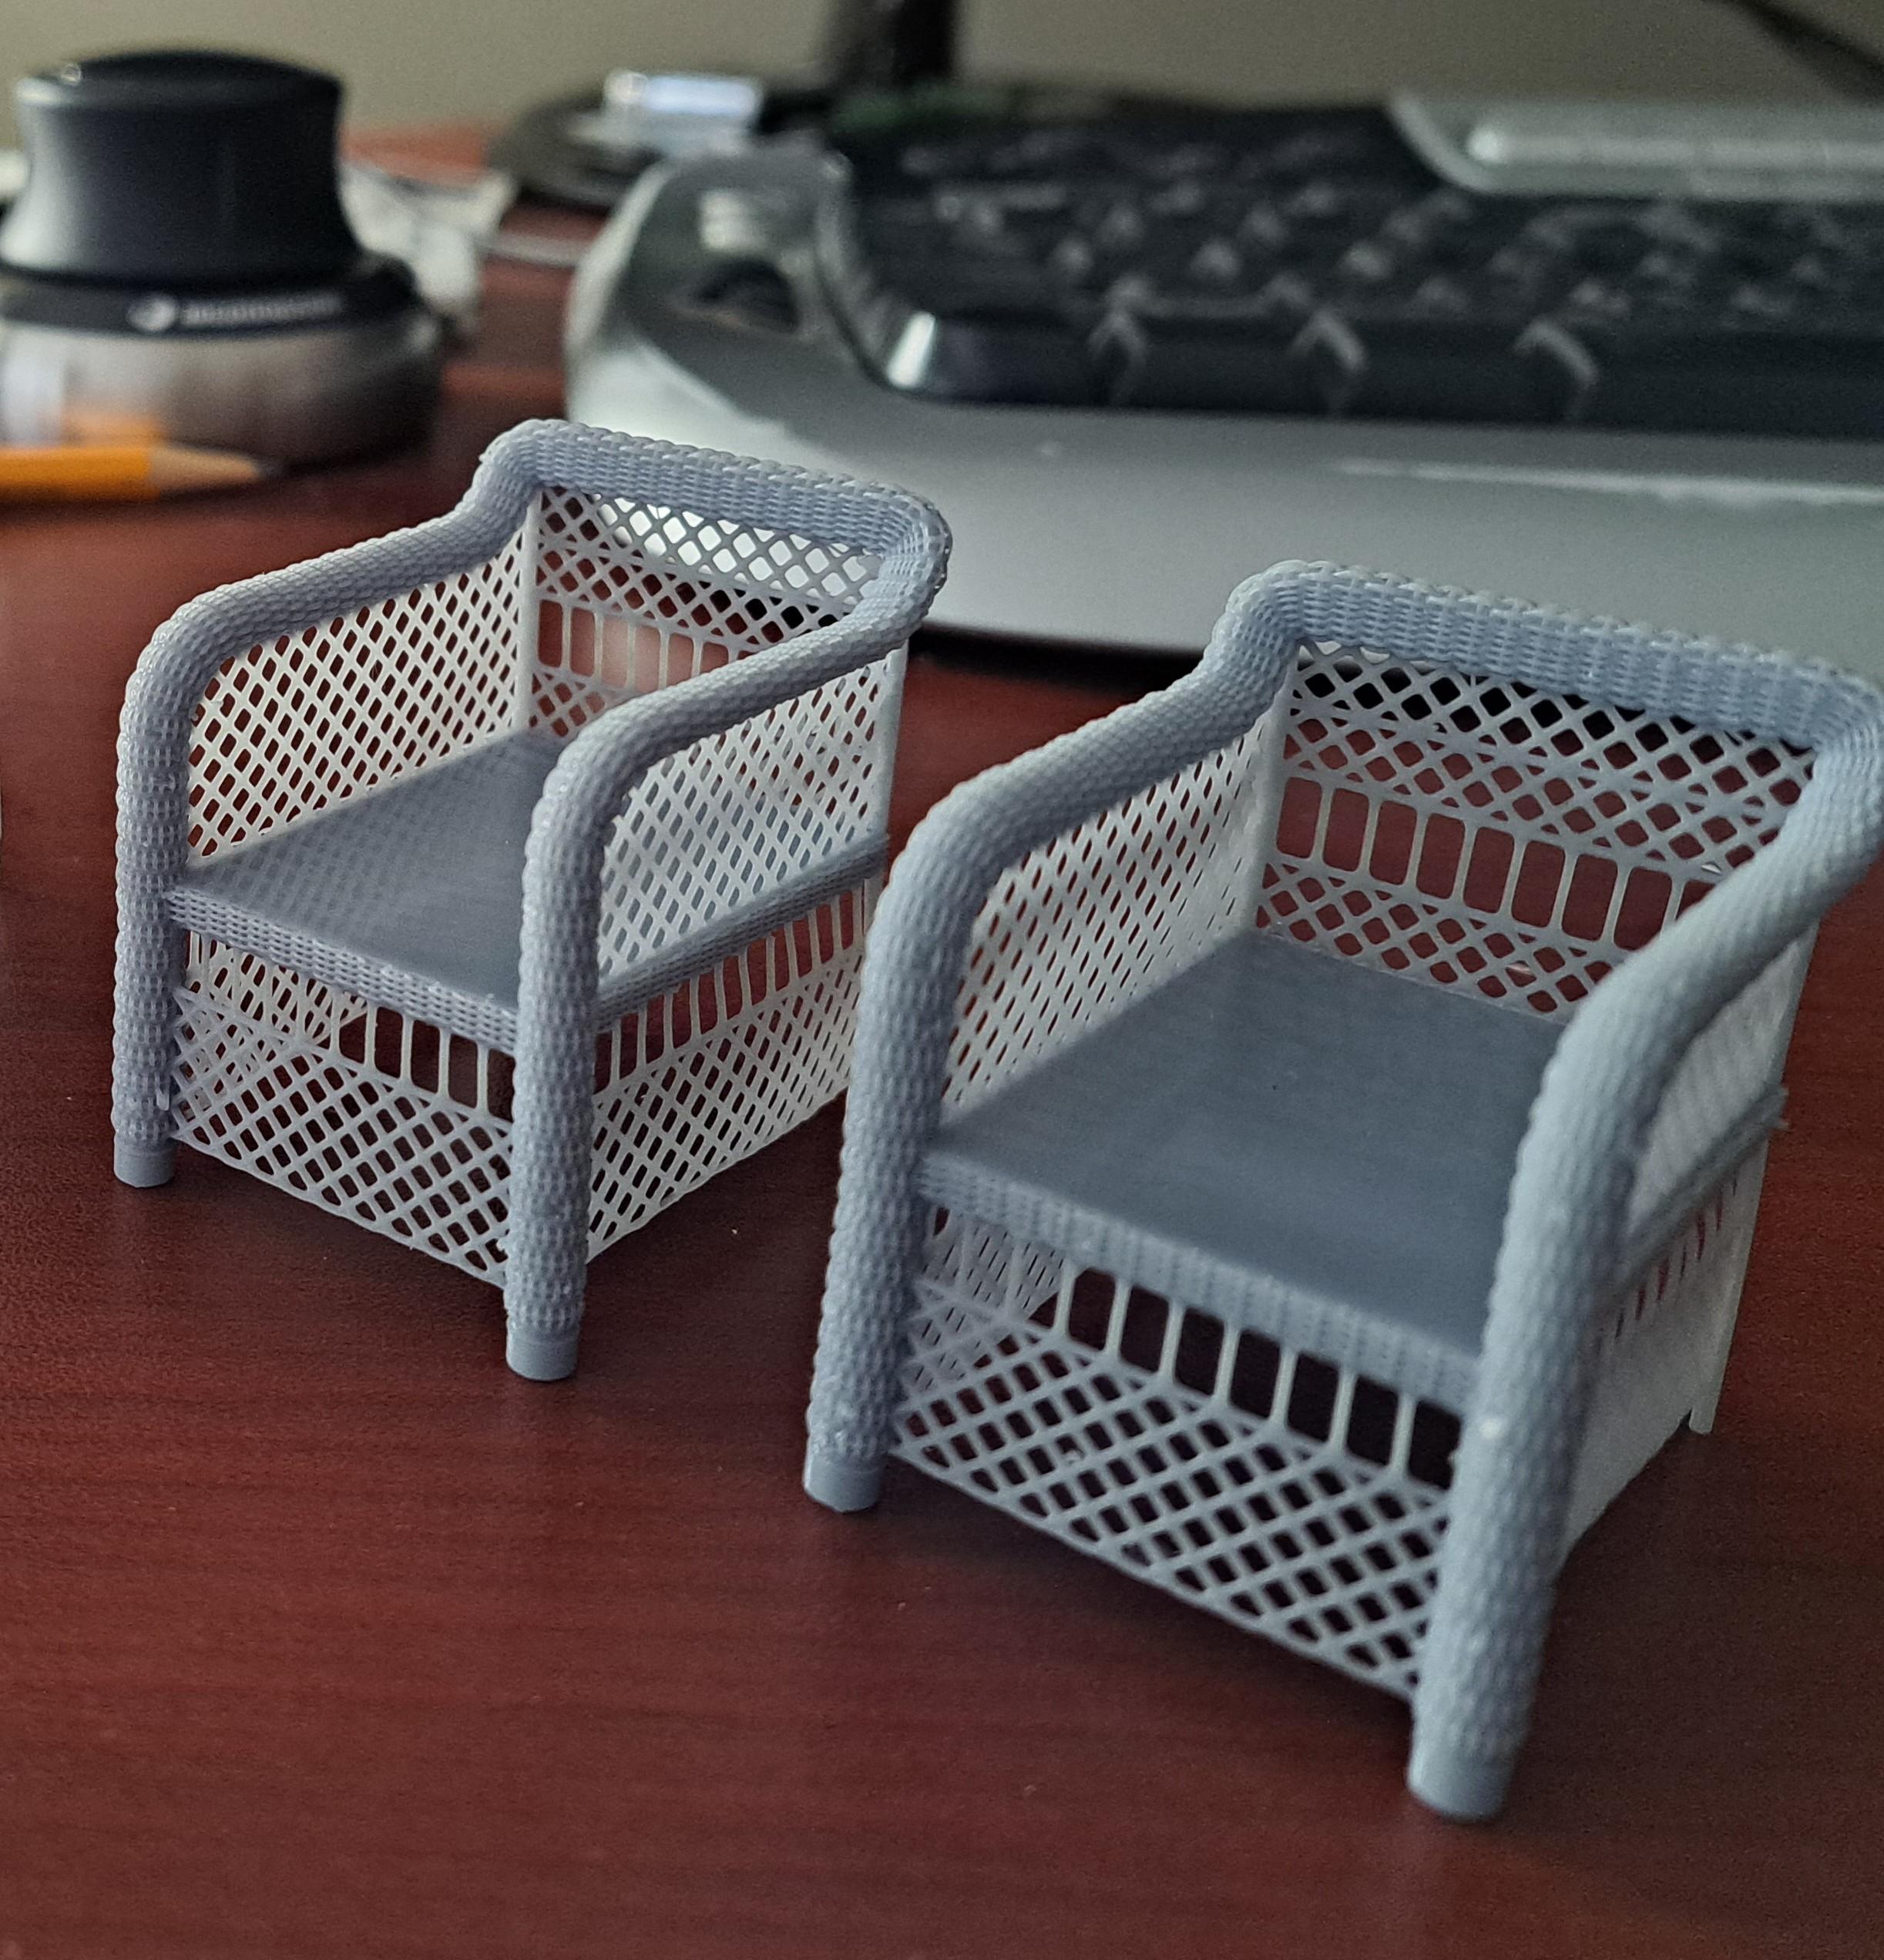
Big John, not sure if you're joking or not but just to be clear, the wicker chairs are not for the bentley. They are for a 1/8 scale boat. I've pretty much completed the trolley, just a few pieces to add and that will be it.
-
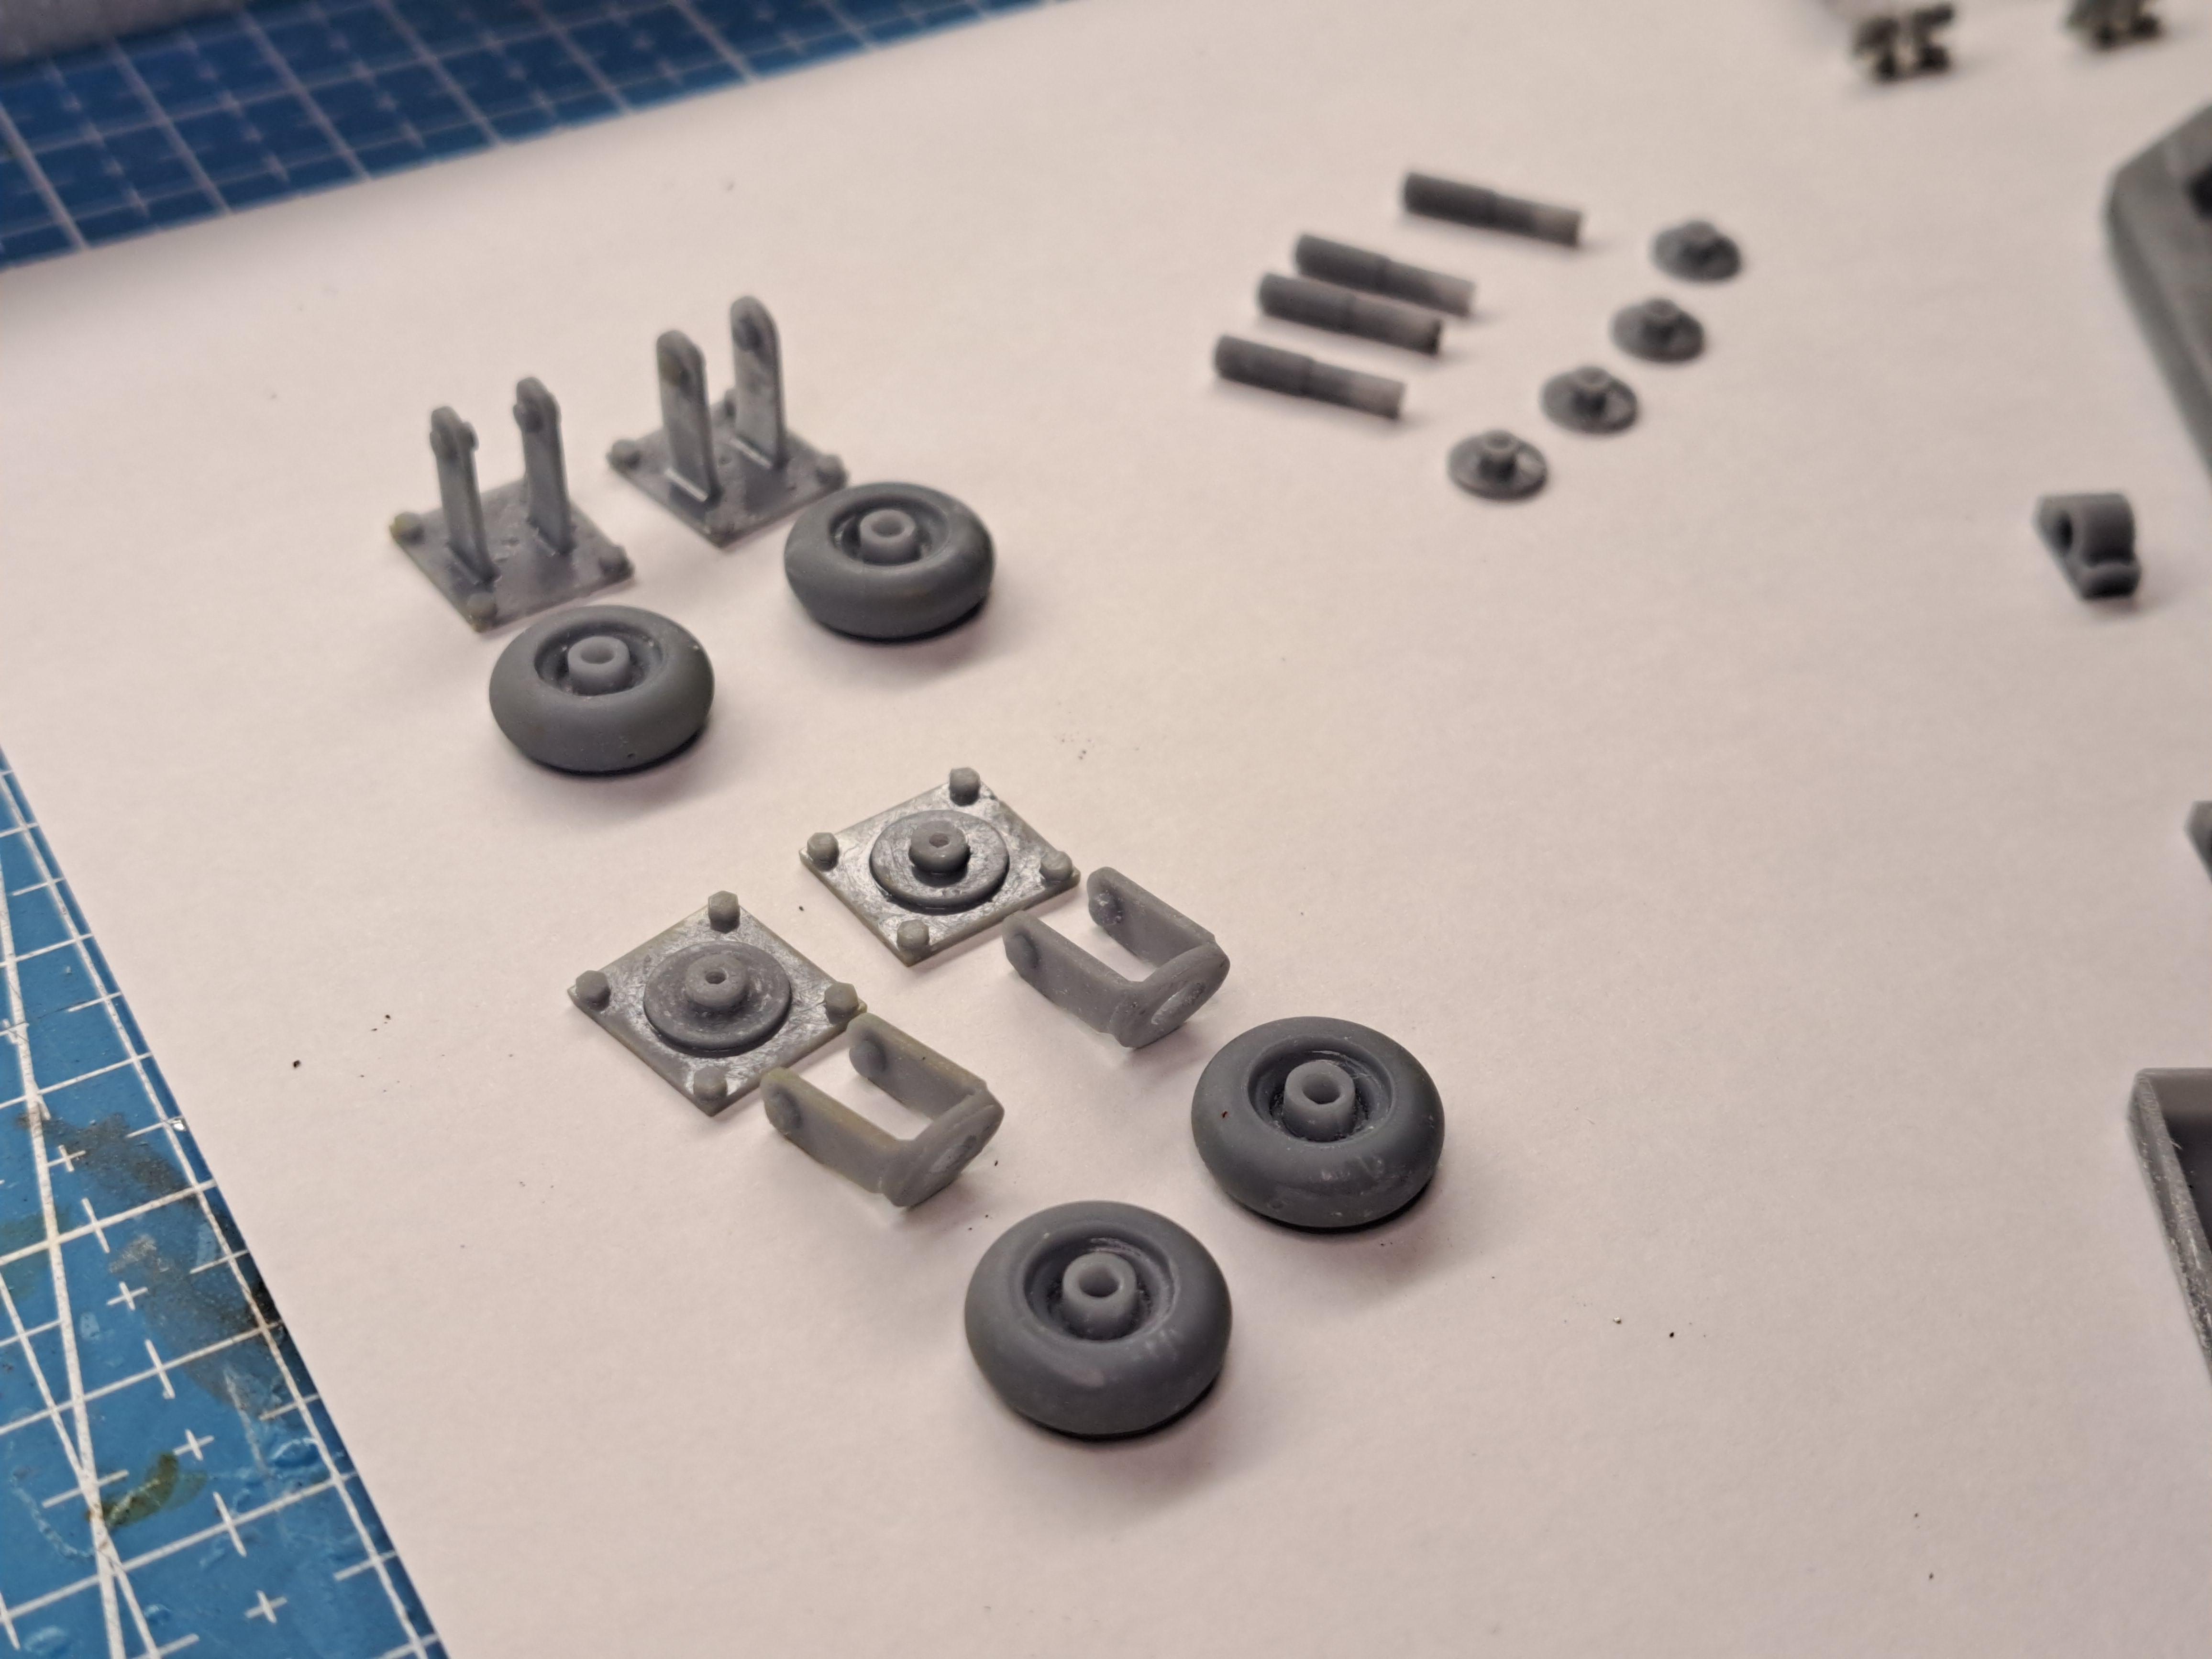
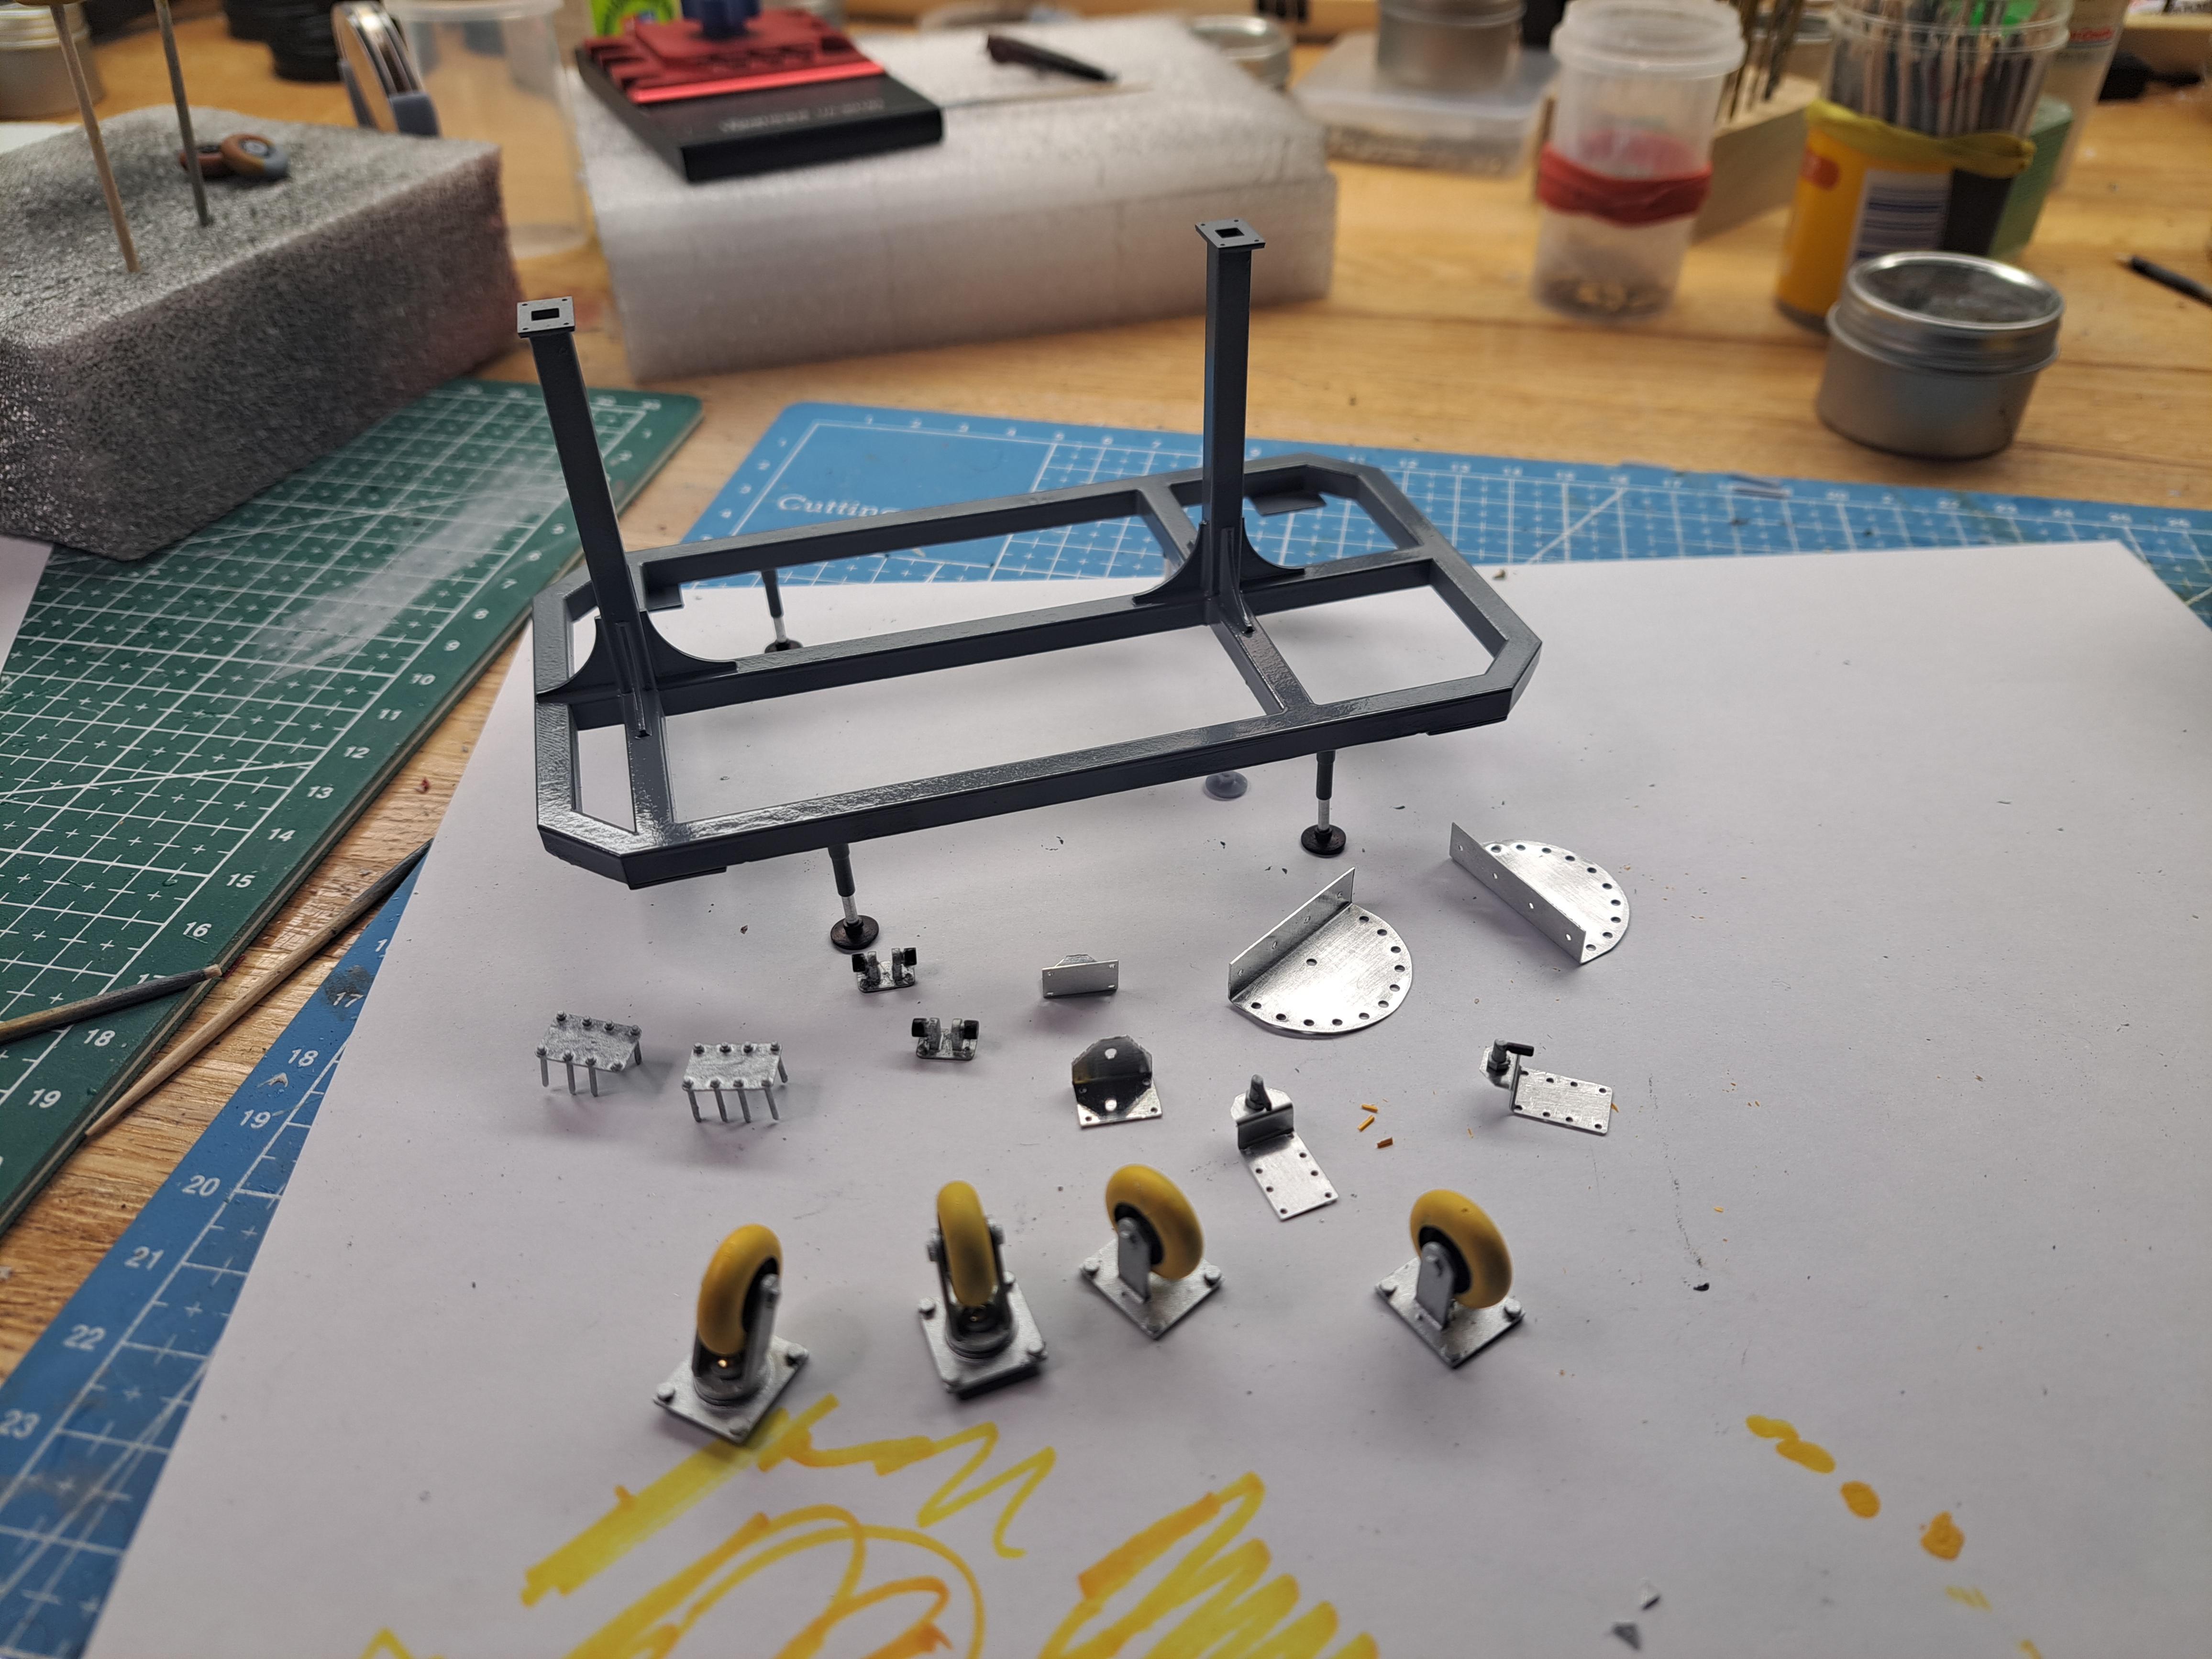
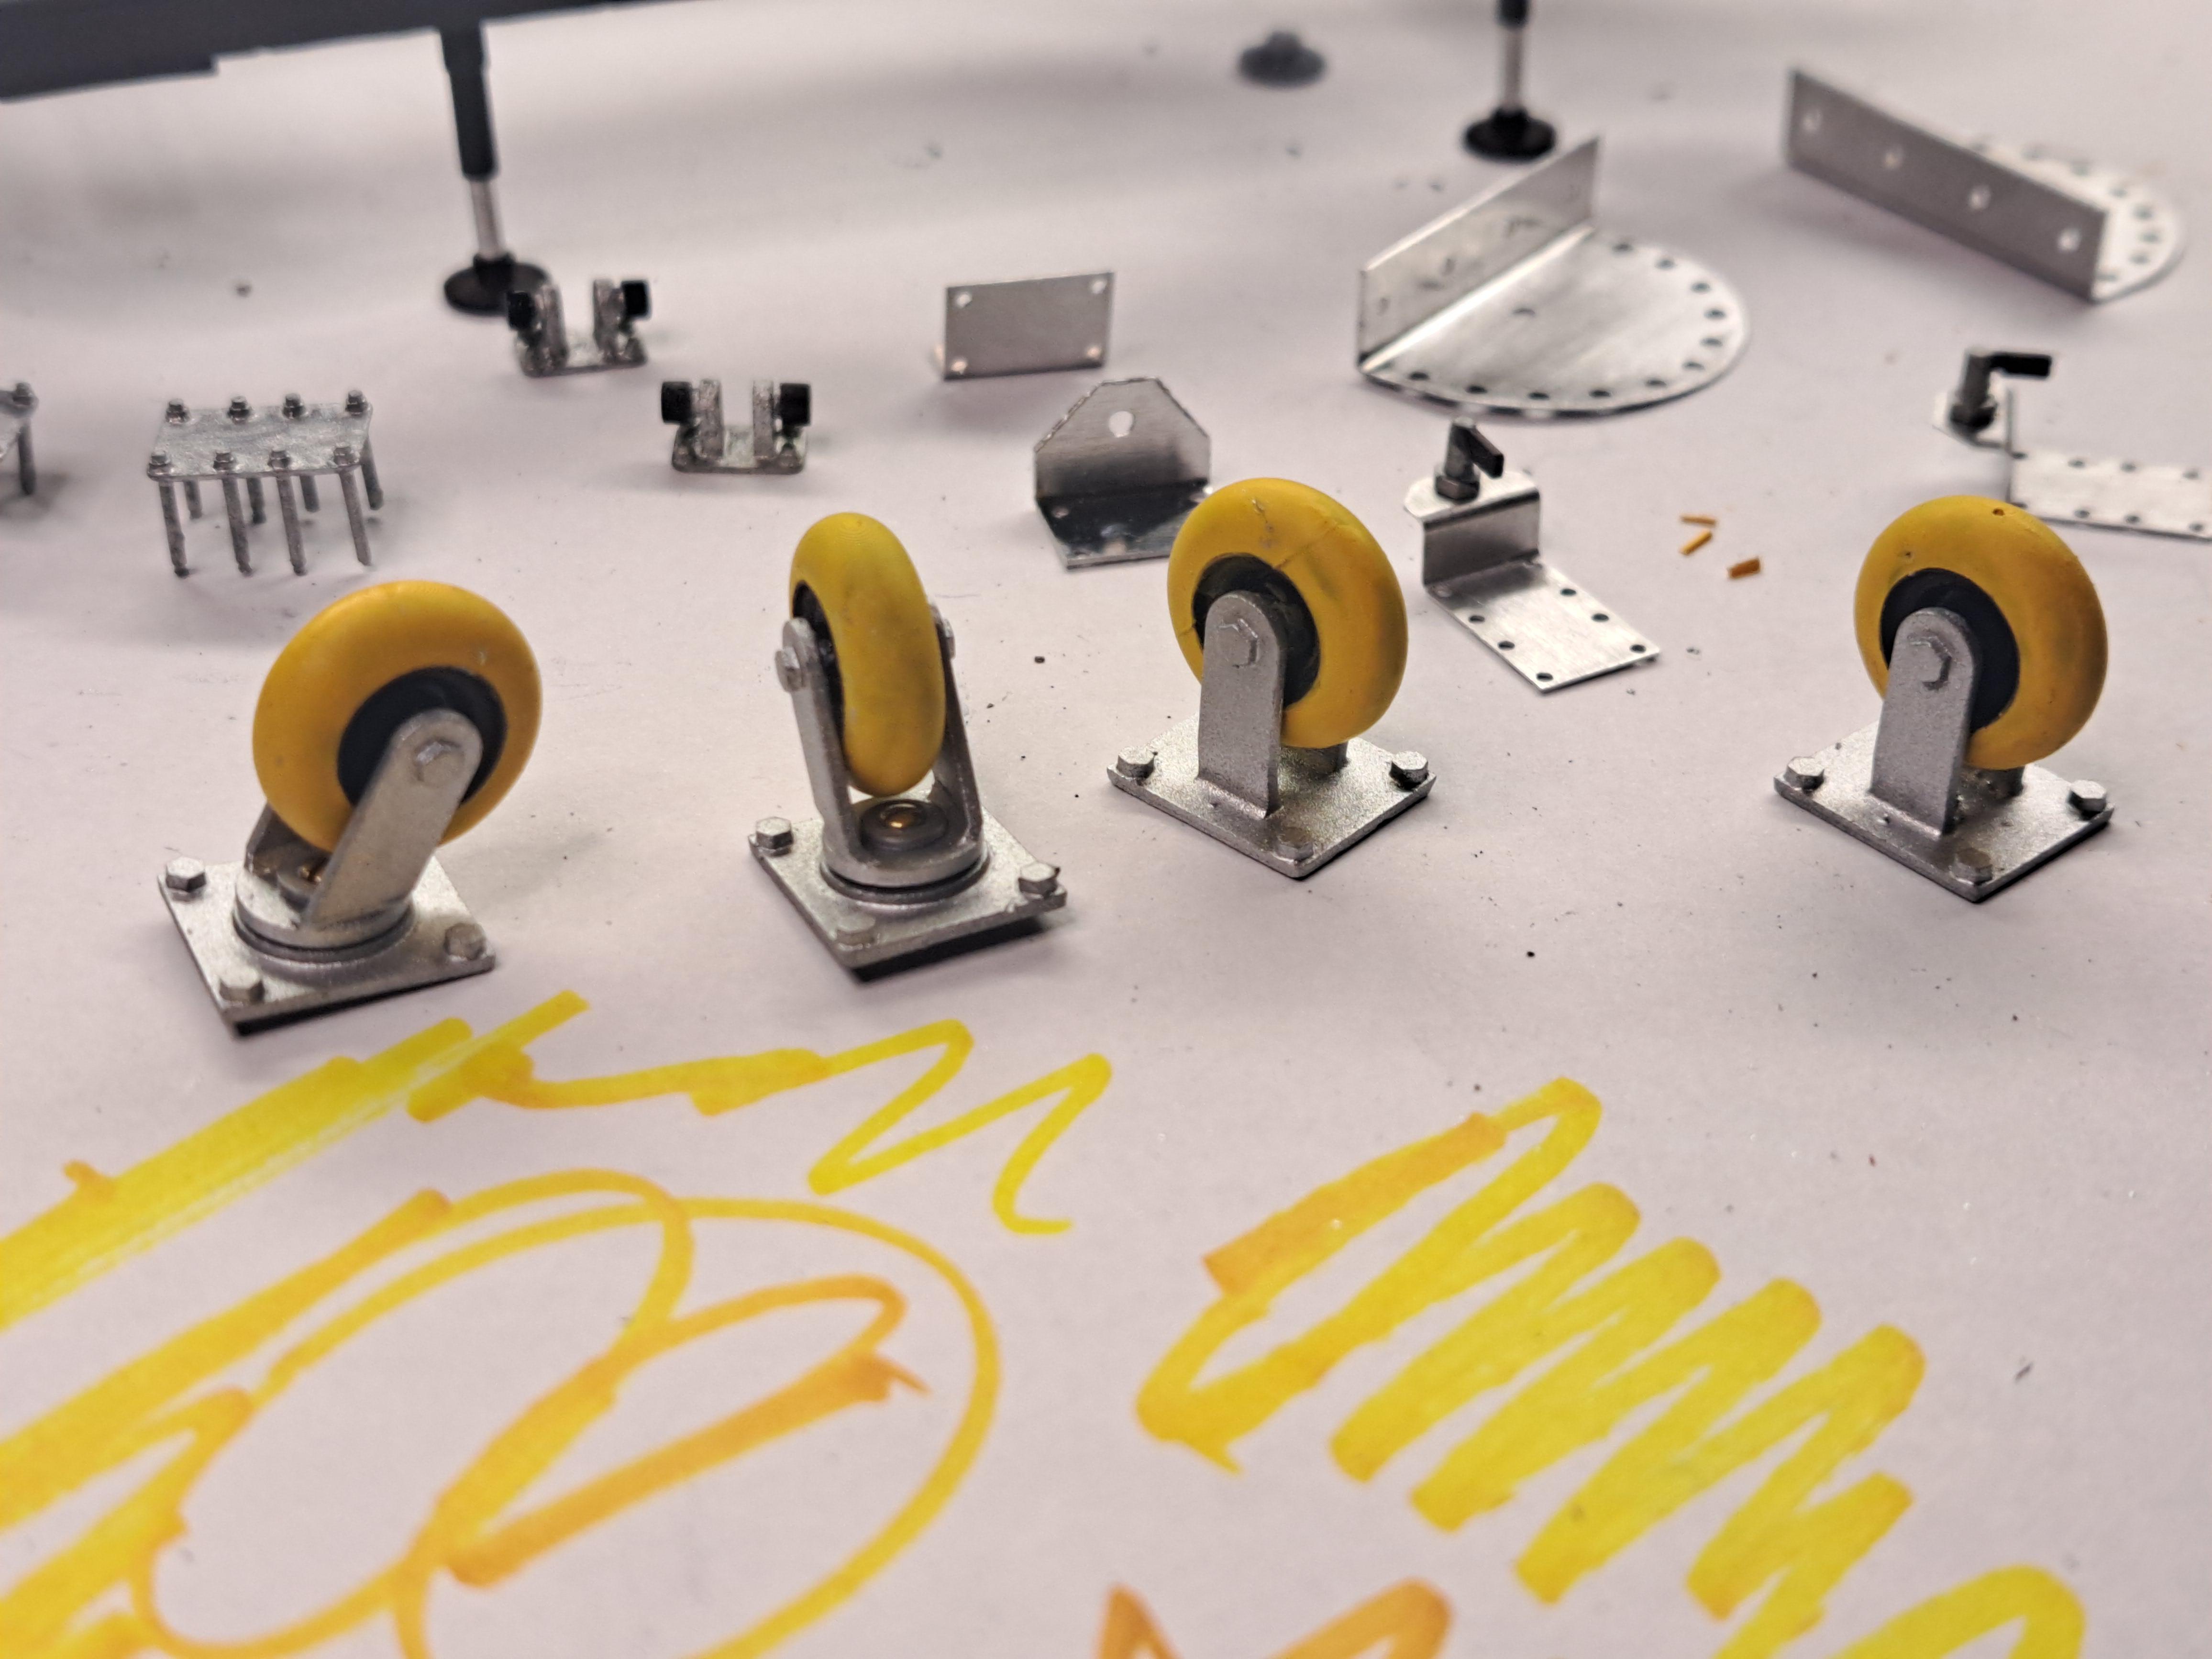
Thank you David. All the trolley parts are done, either printed or hand made. Everything is painted except for those that are light blue, will get that tomorrow. Here are a few pictures.
-
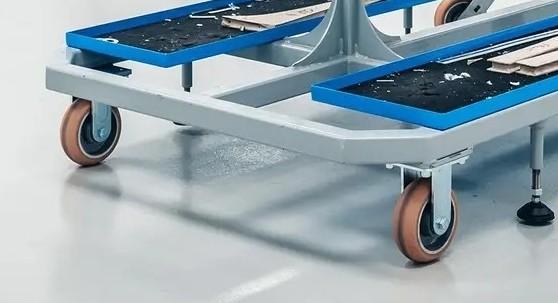
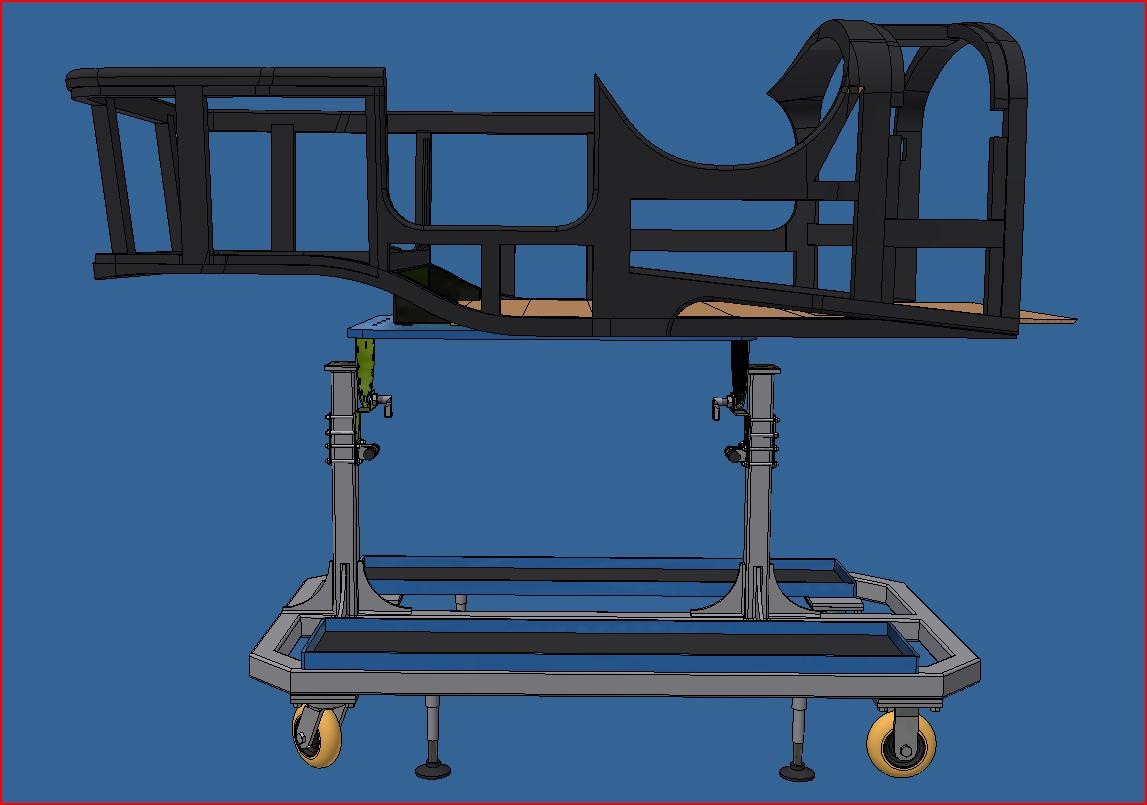
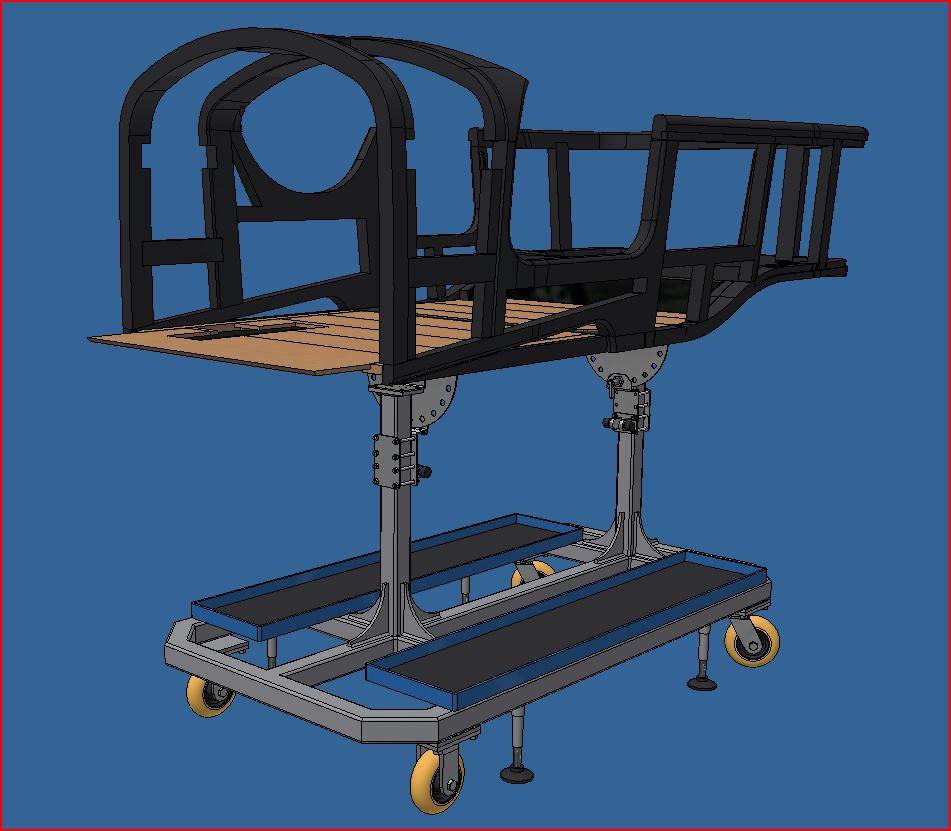
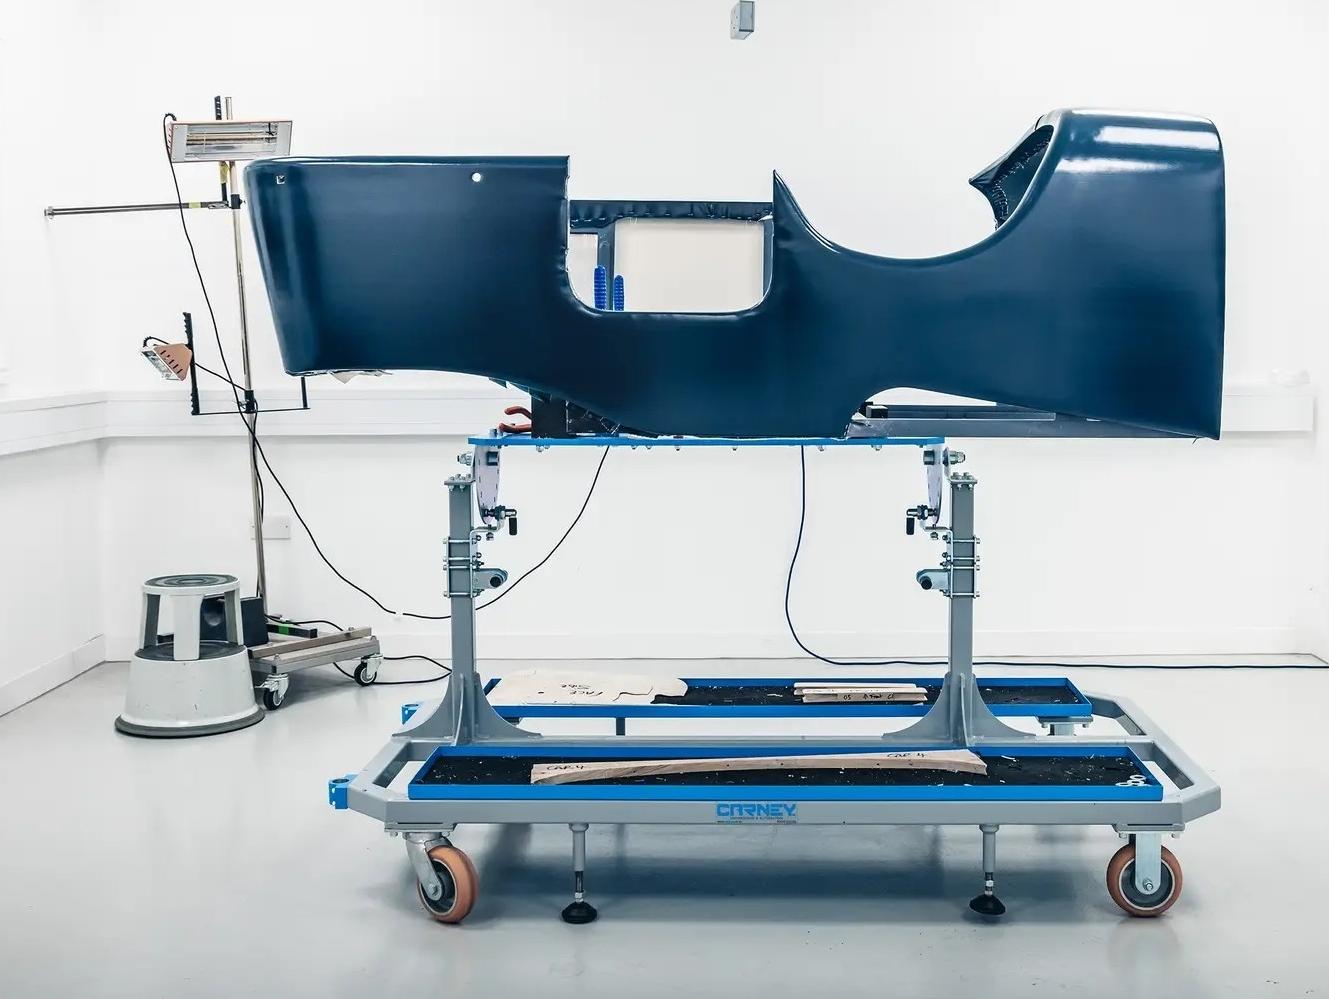
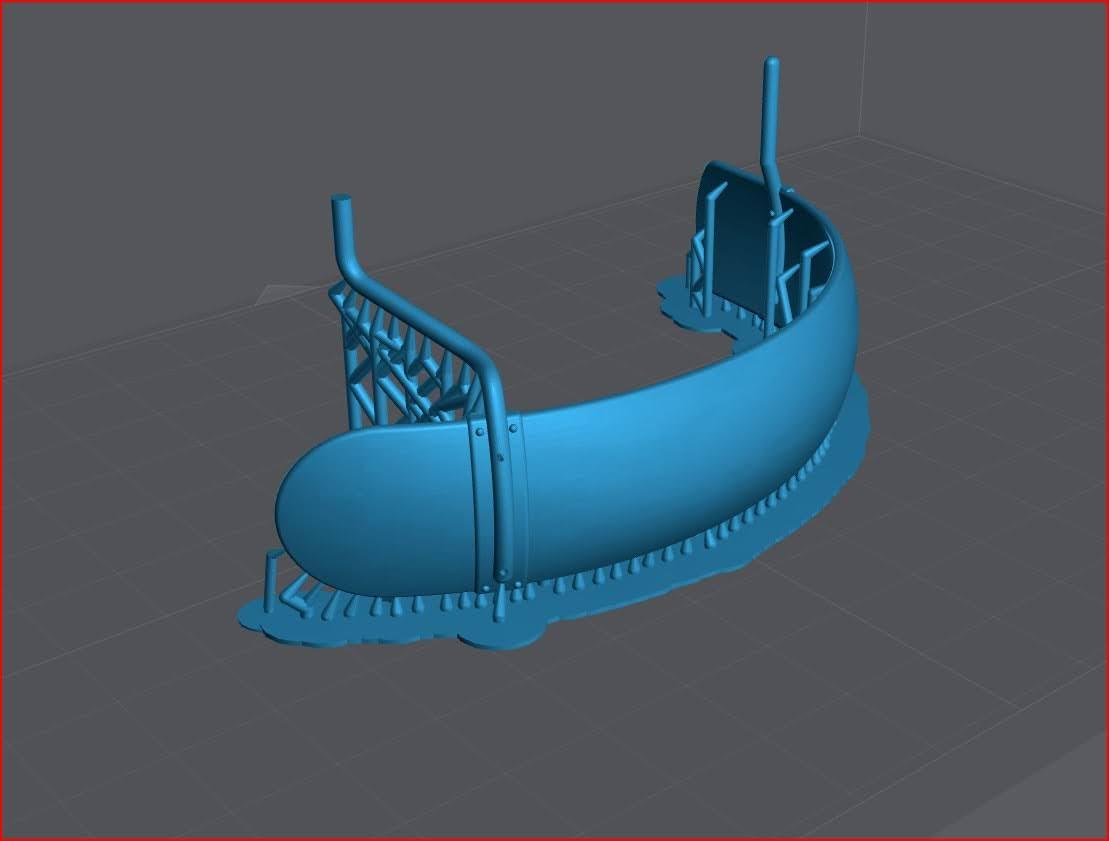
Started work on the body trolley. I 3d modeled it by doing a rule of 3 from a picture of the real trolley.
-
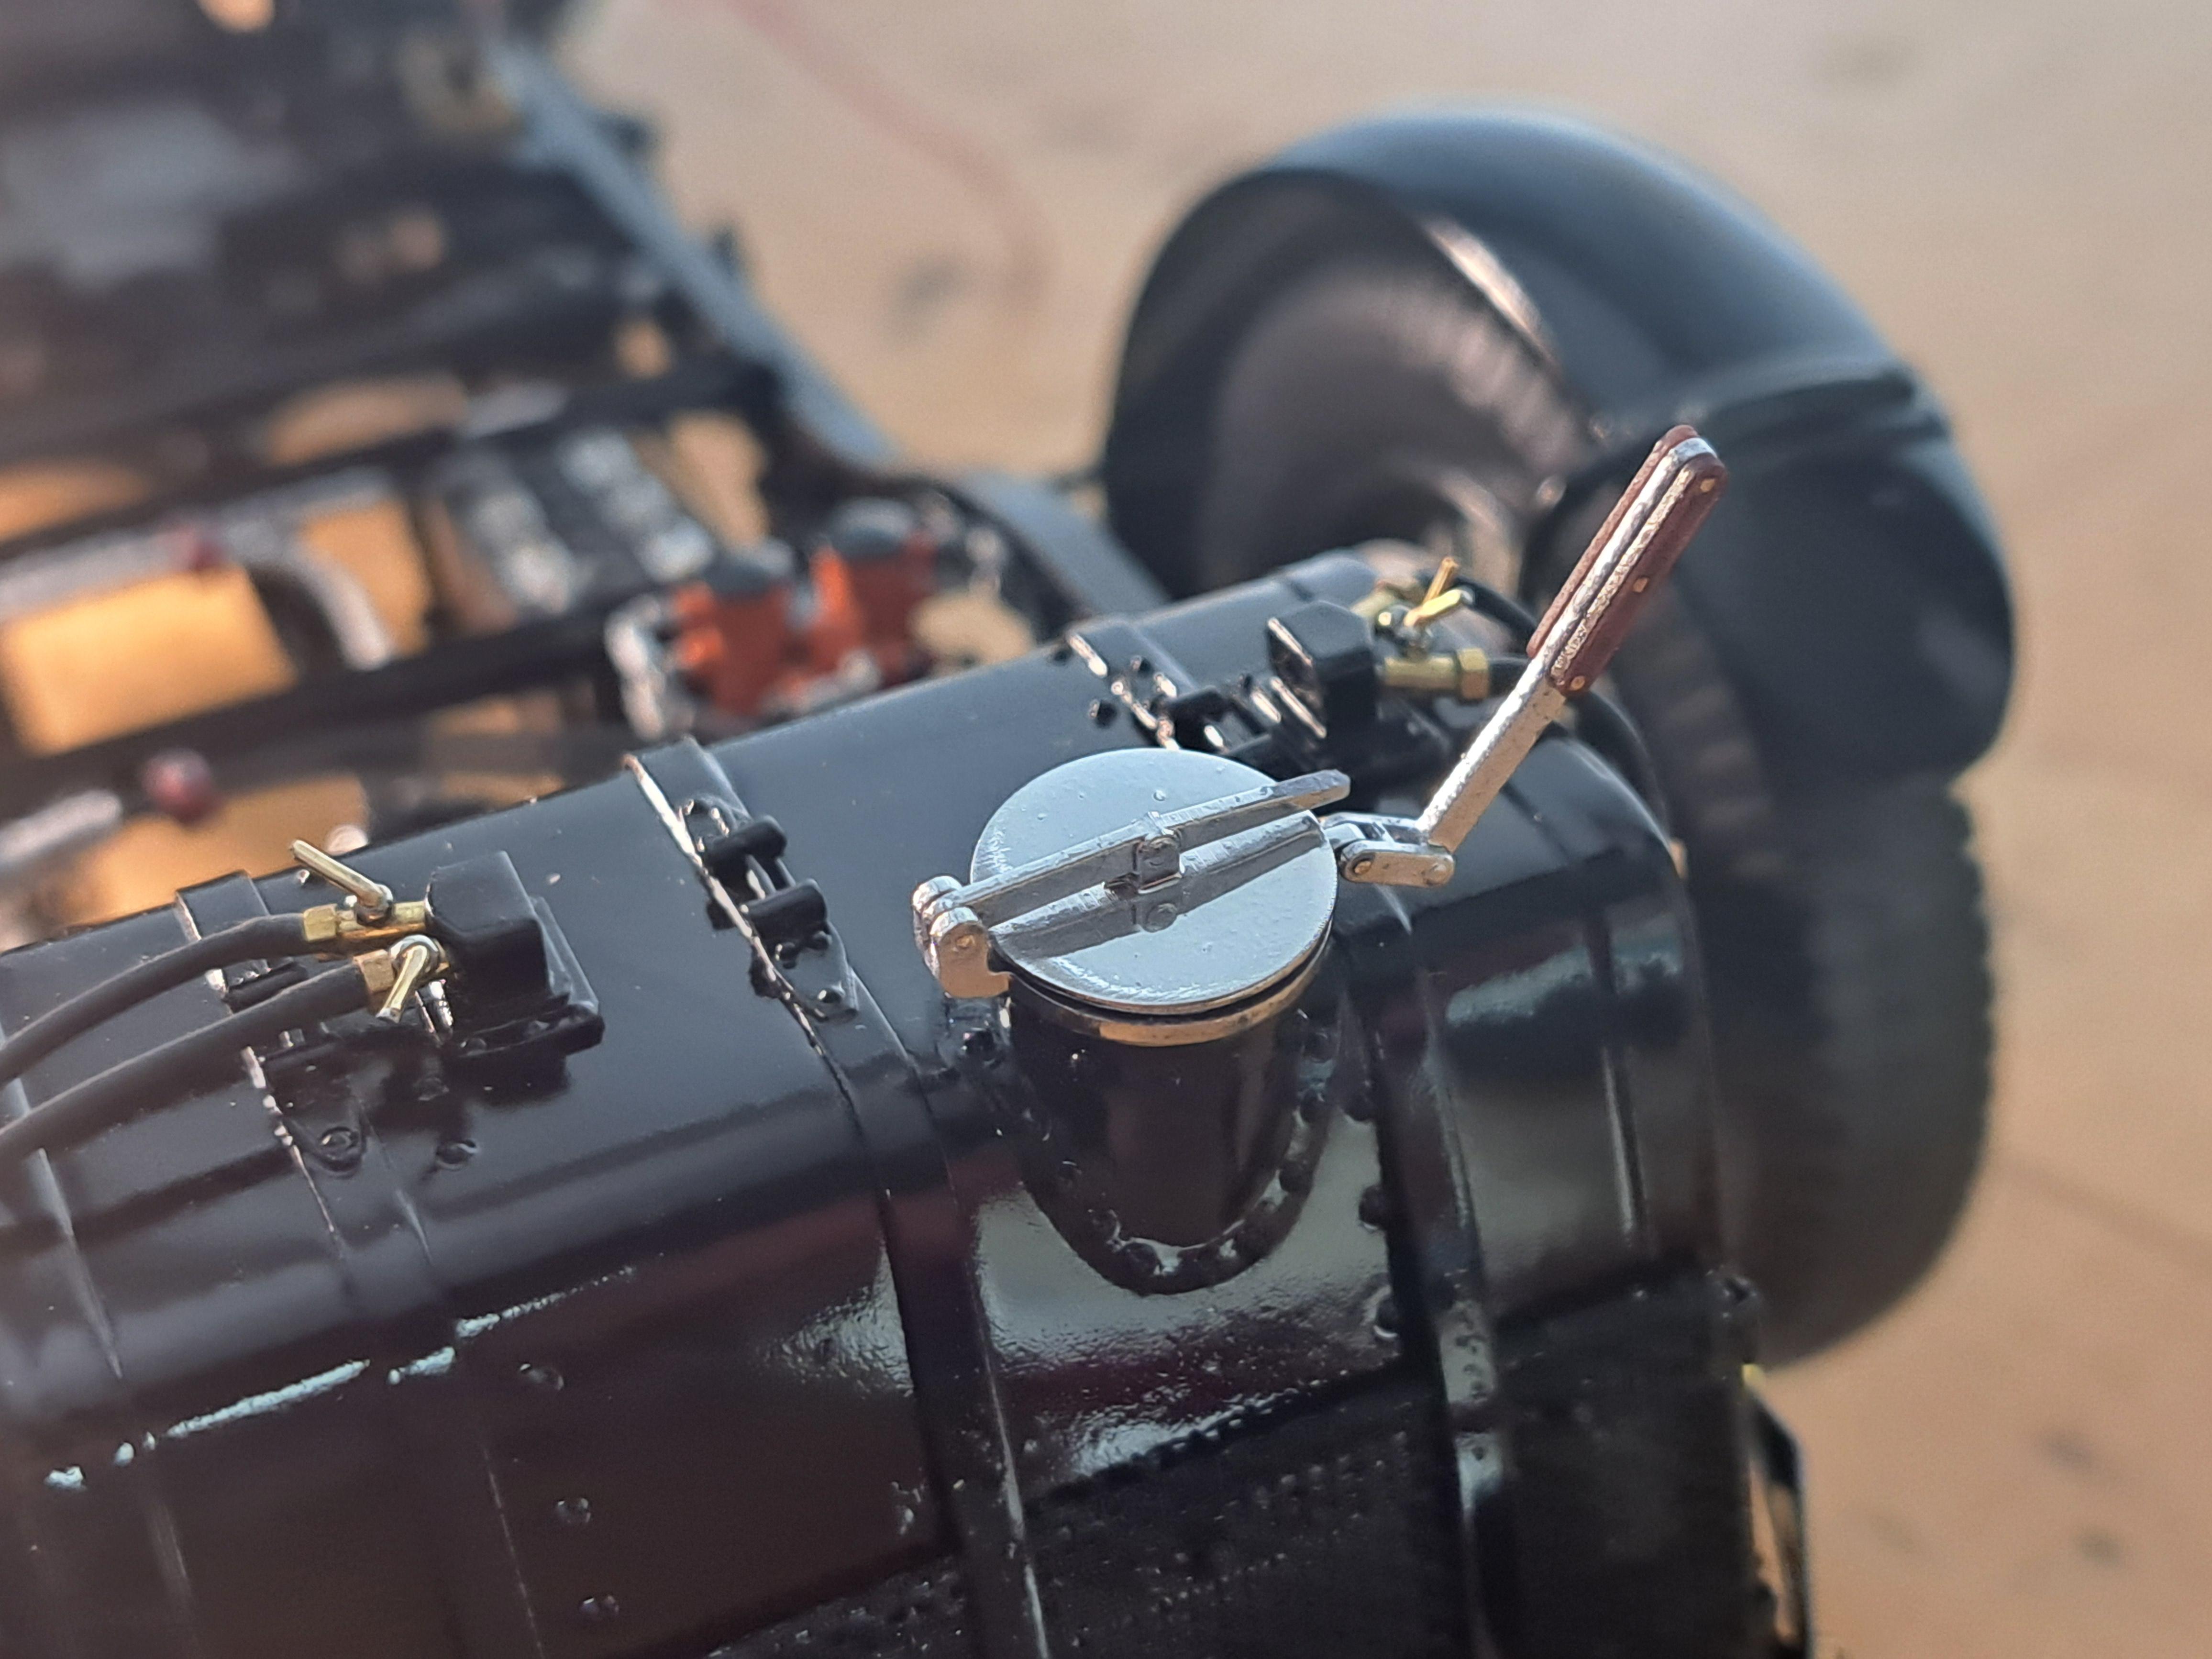
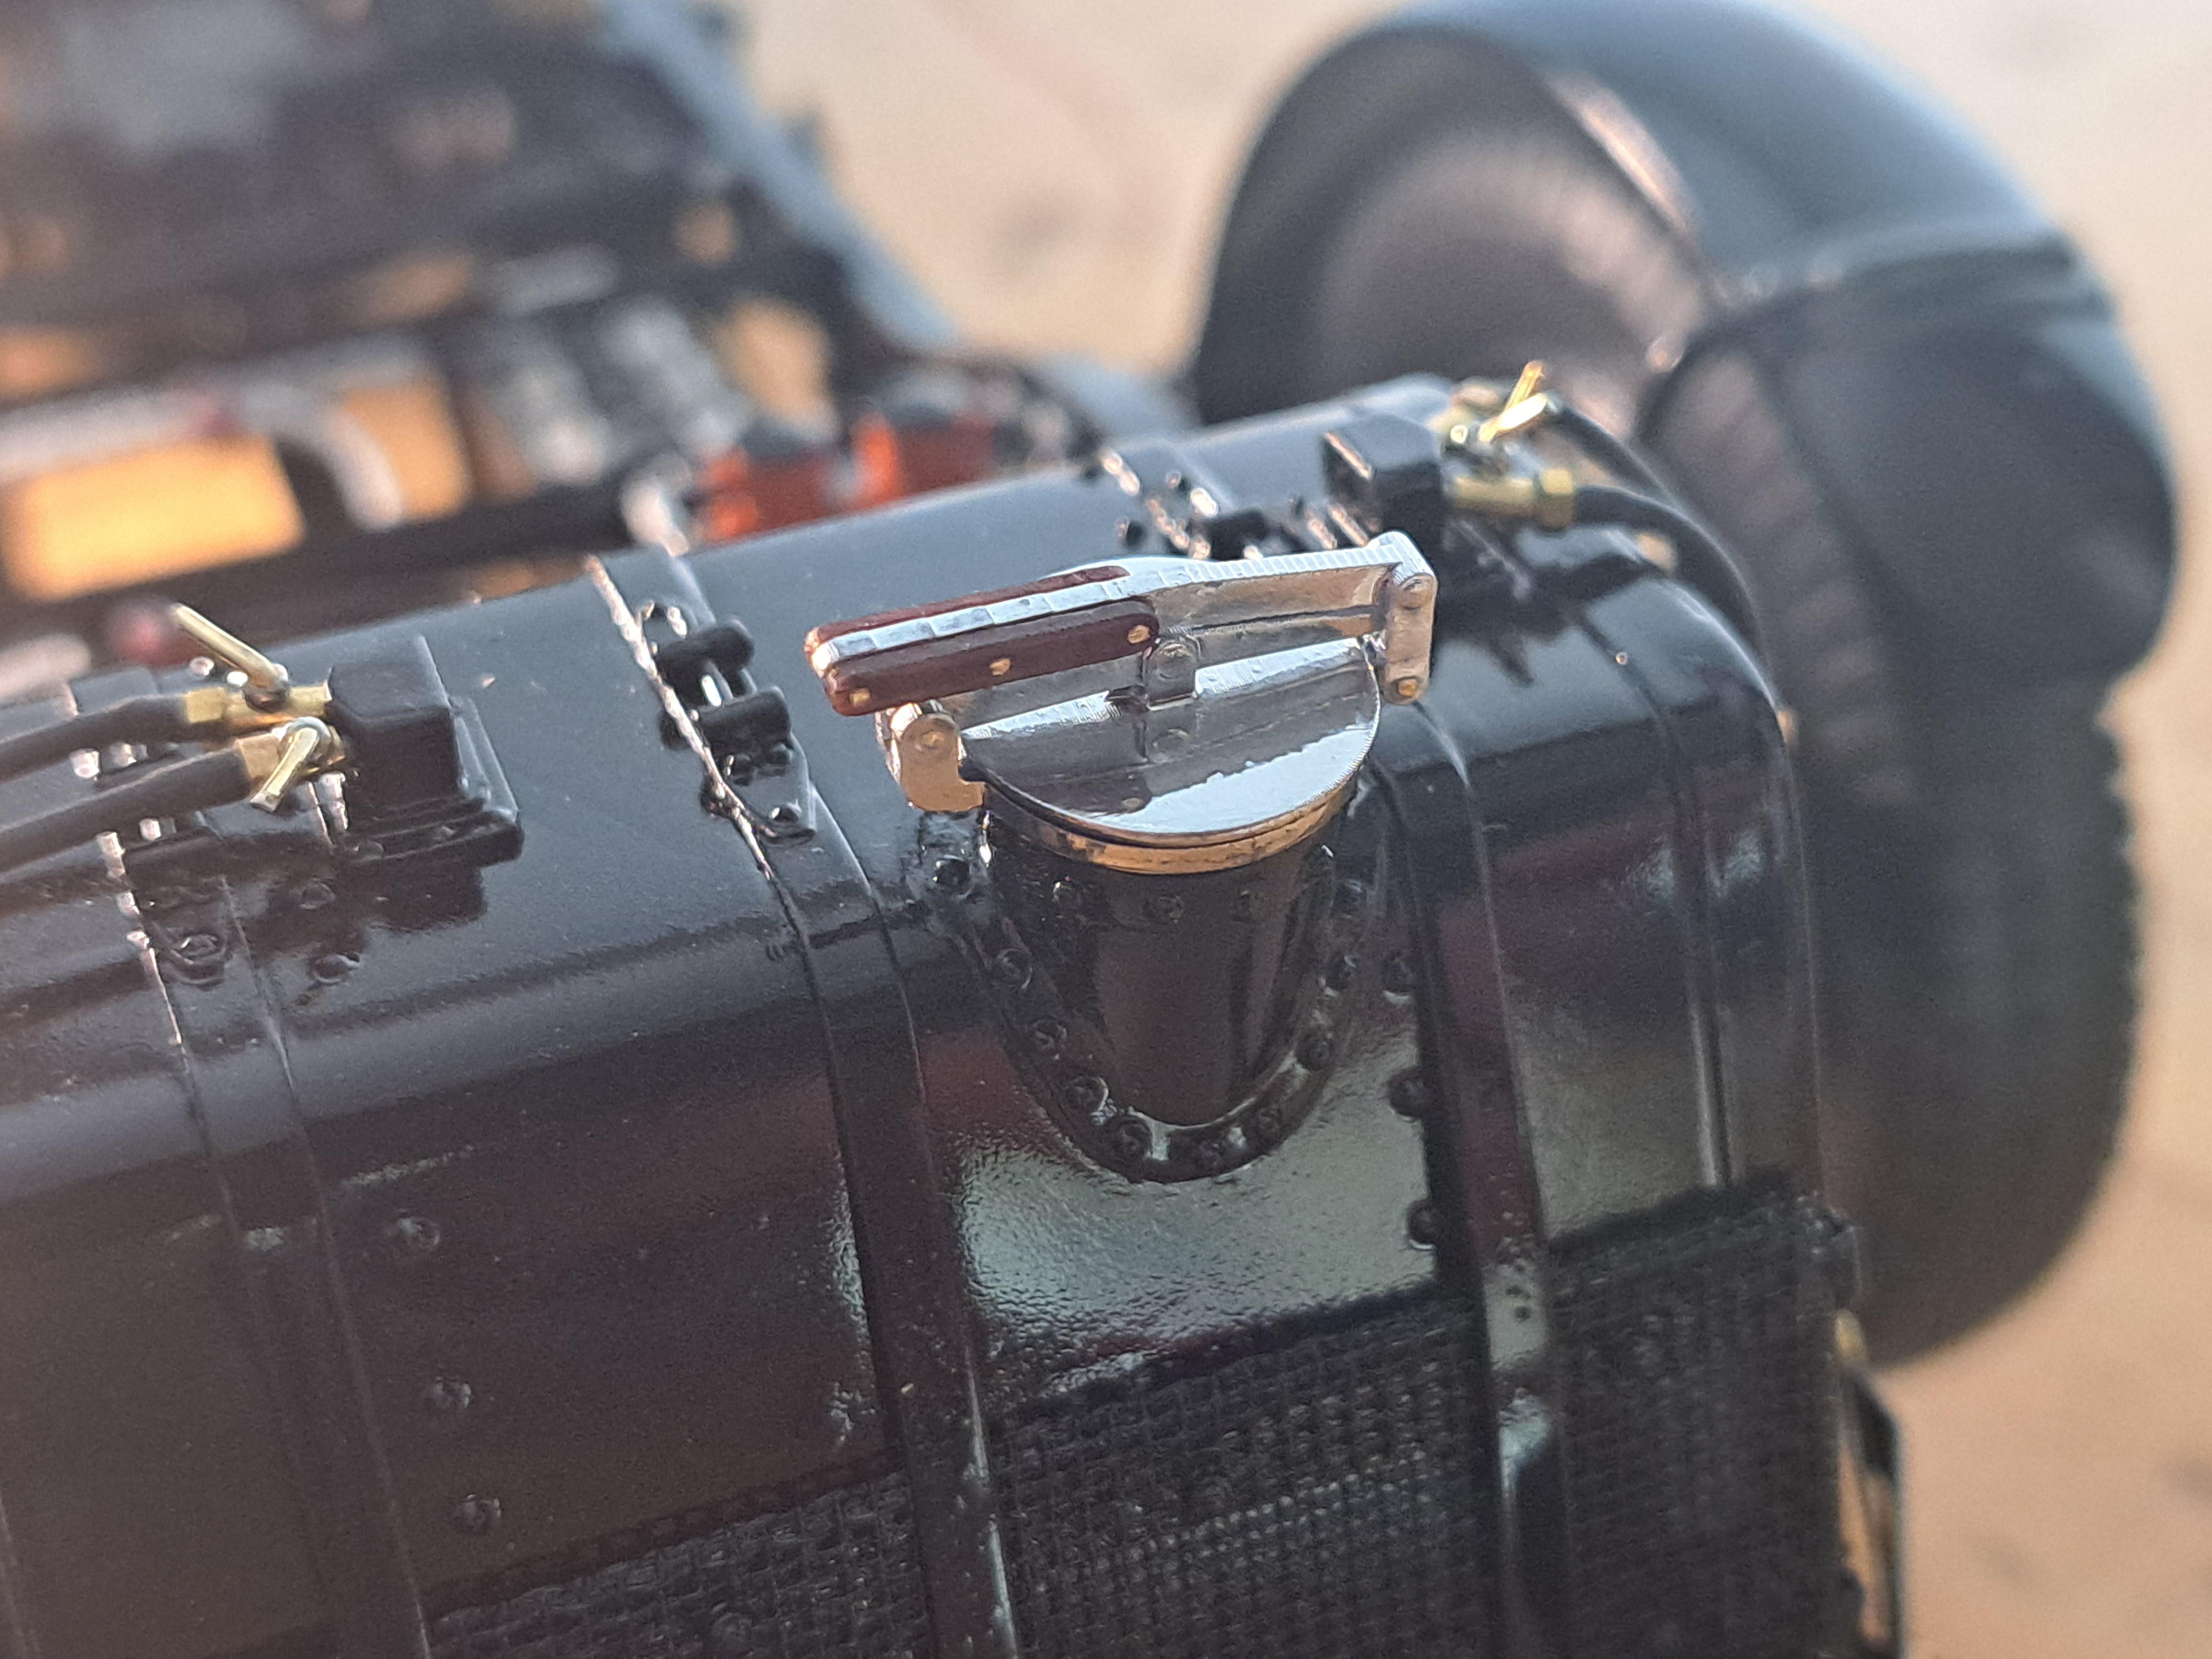
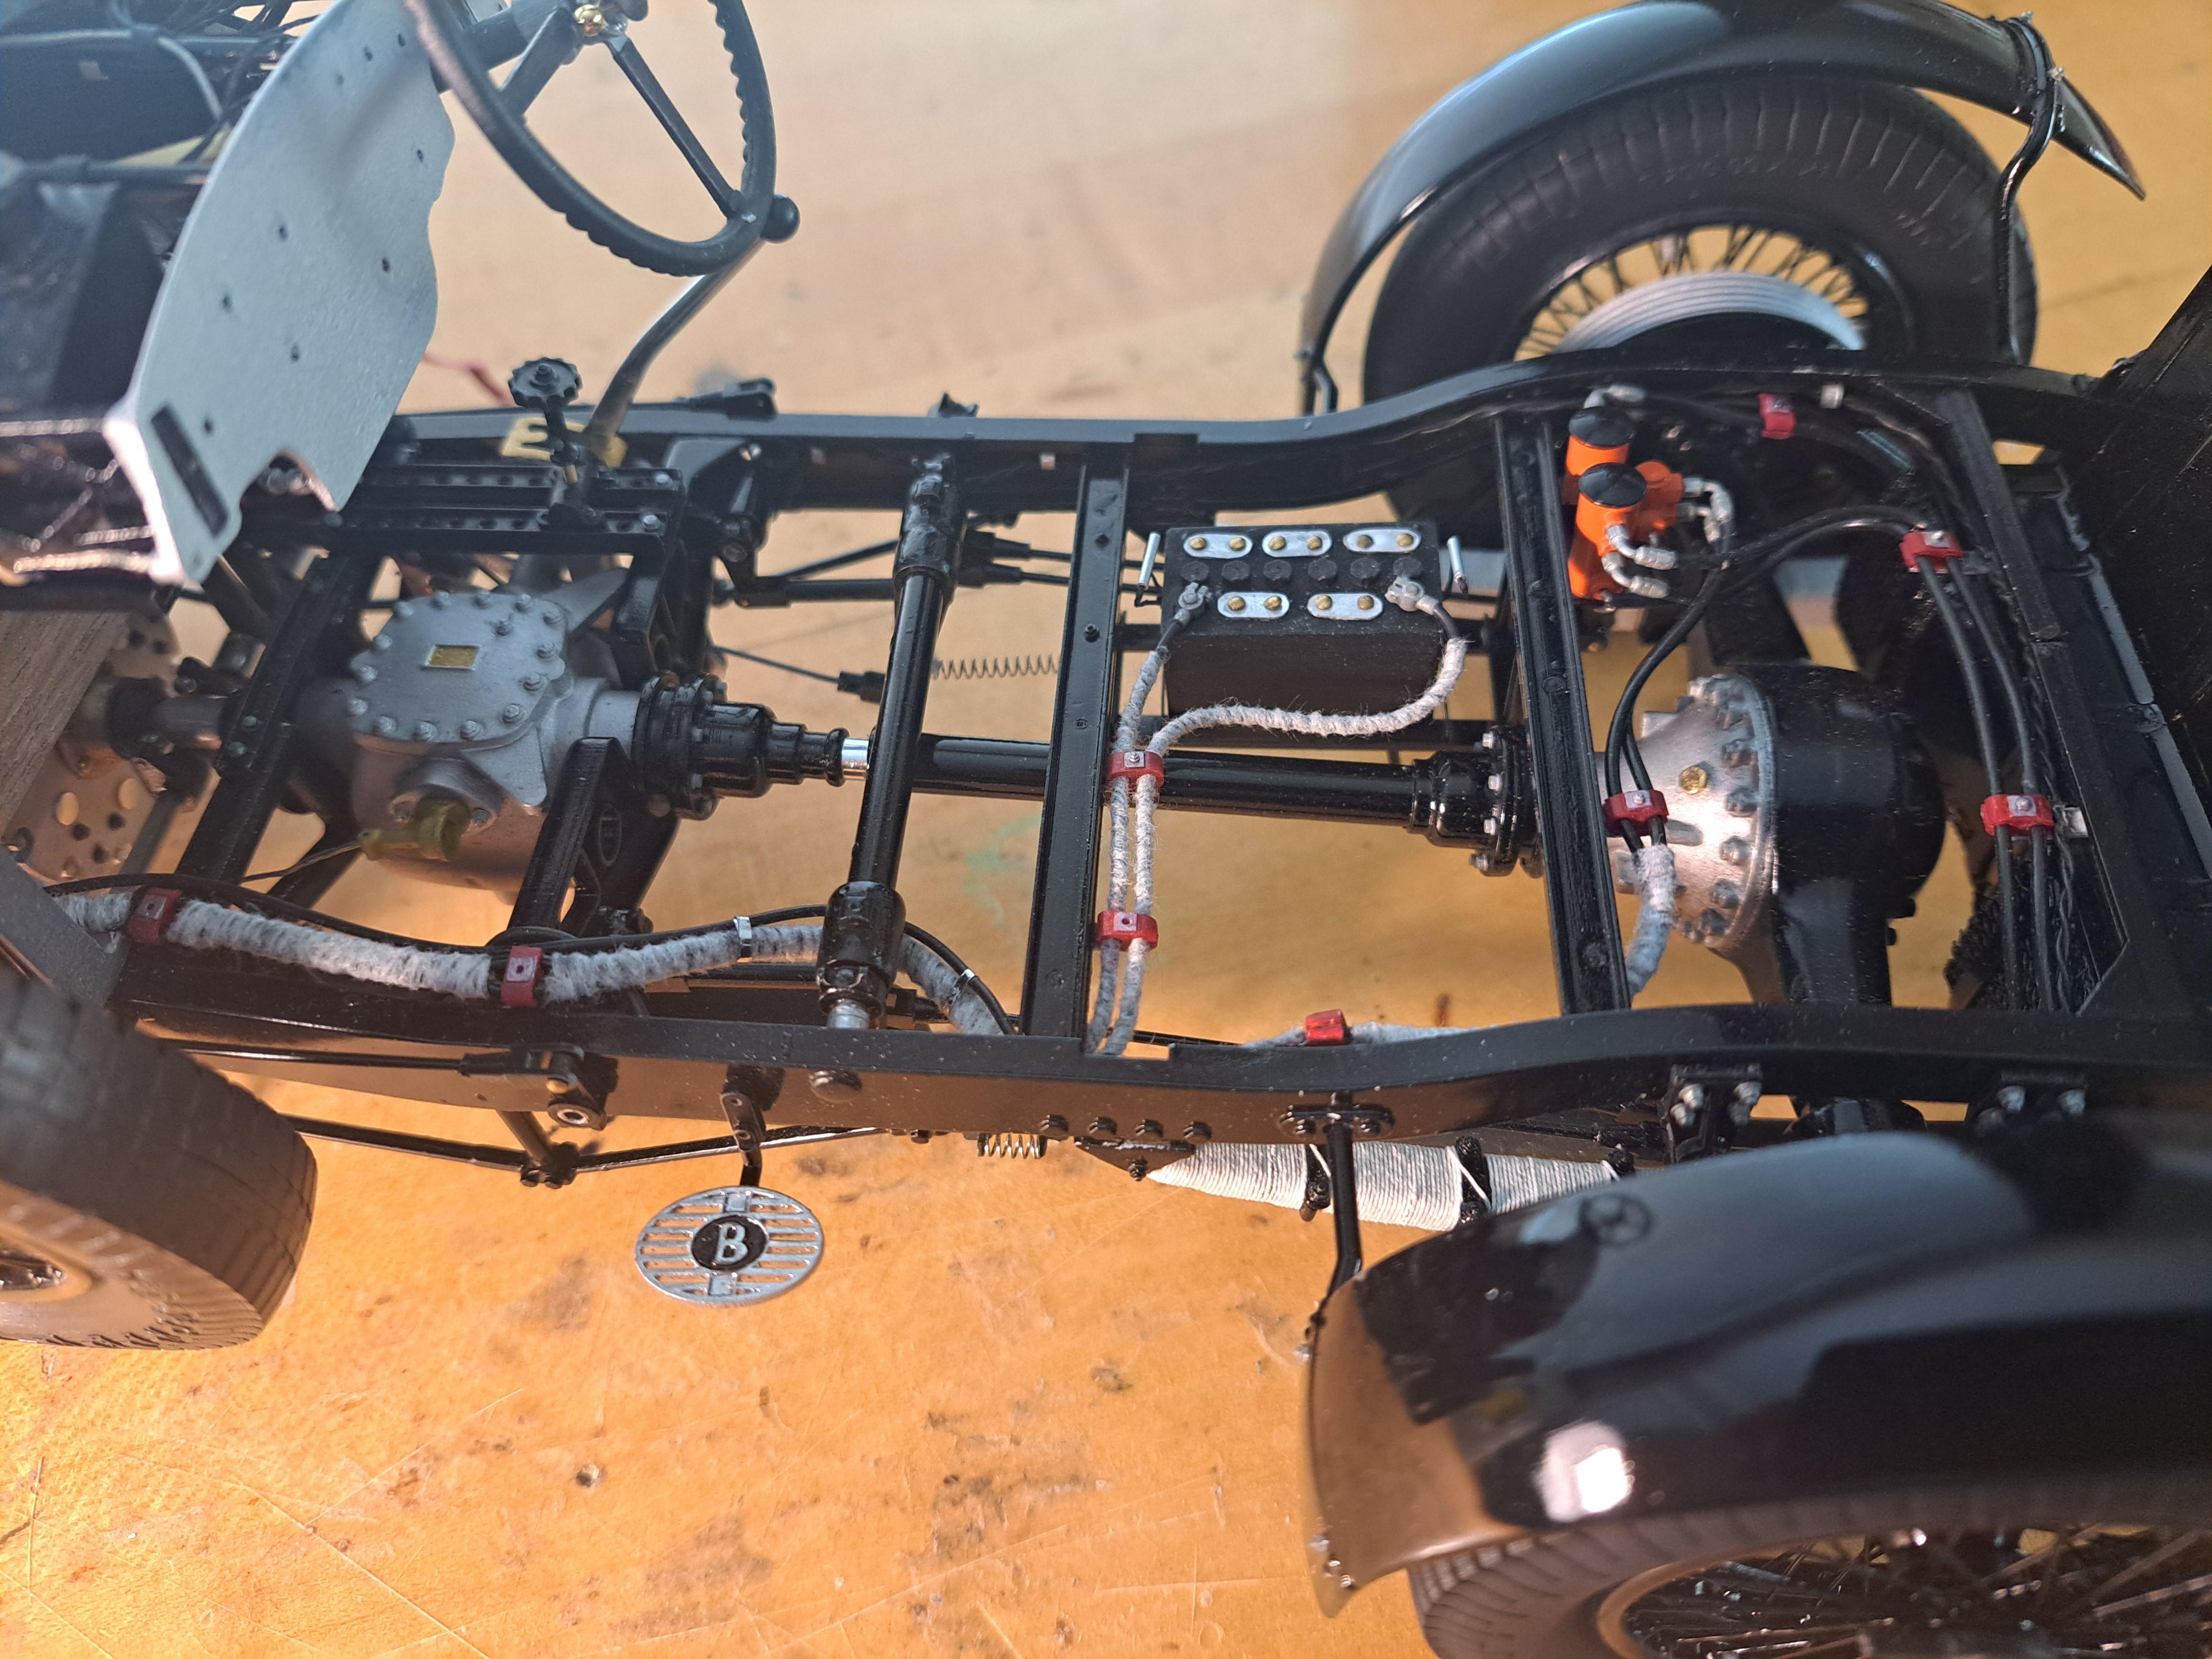
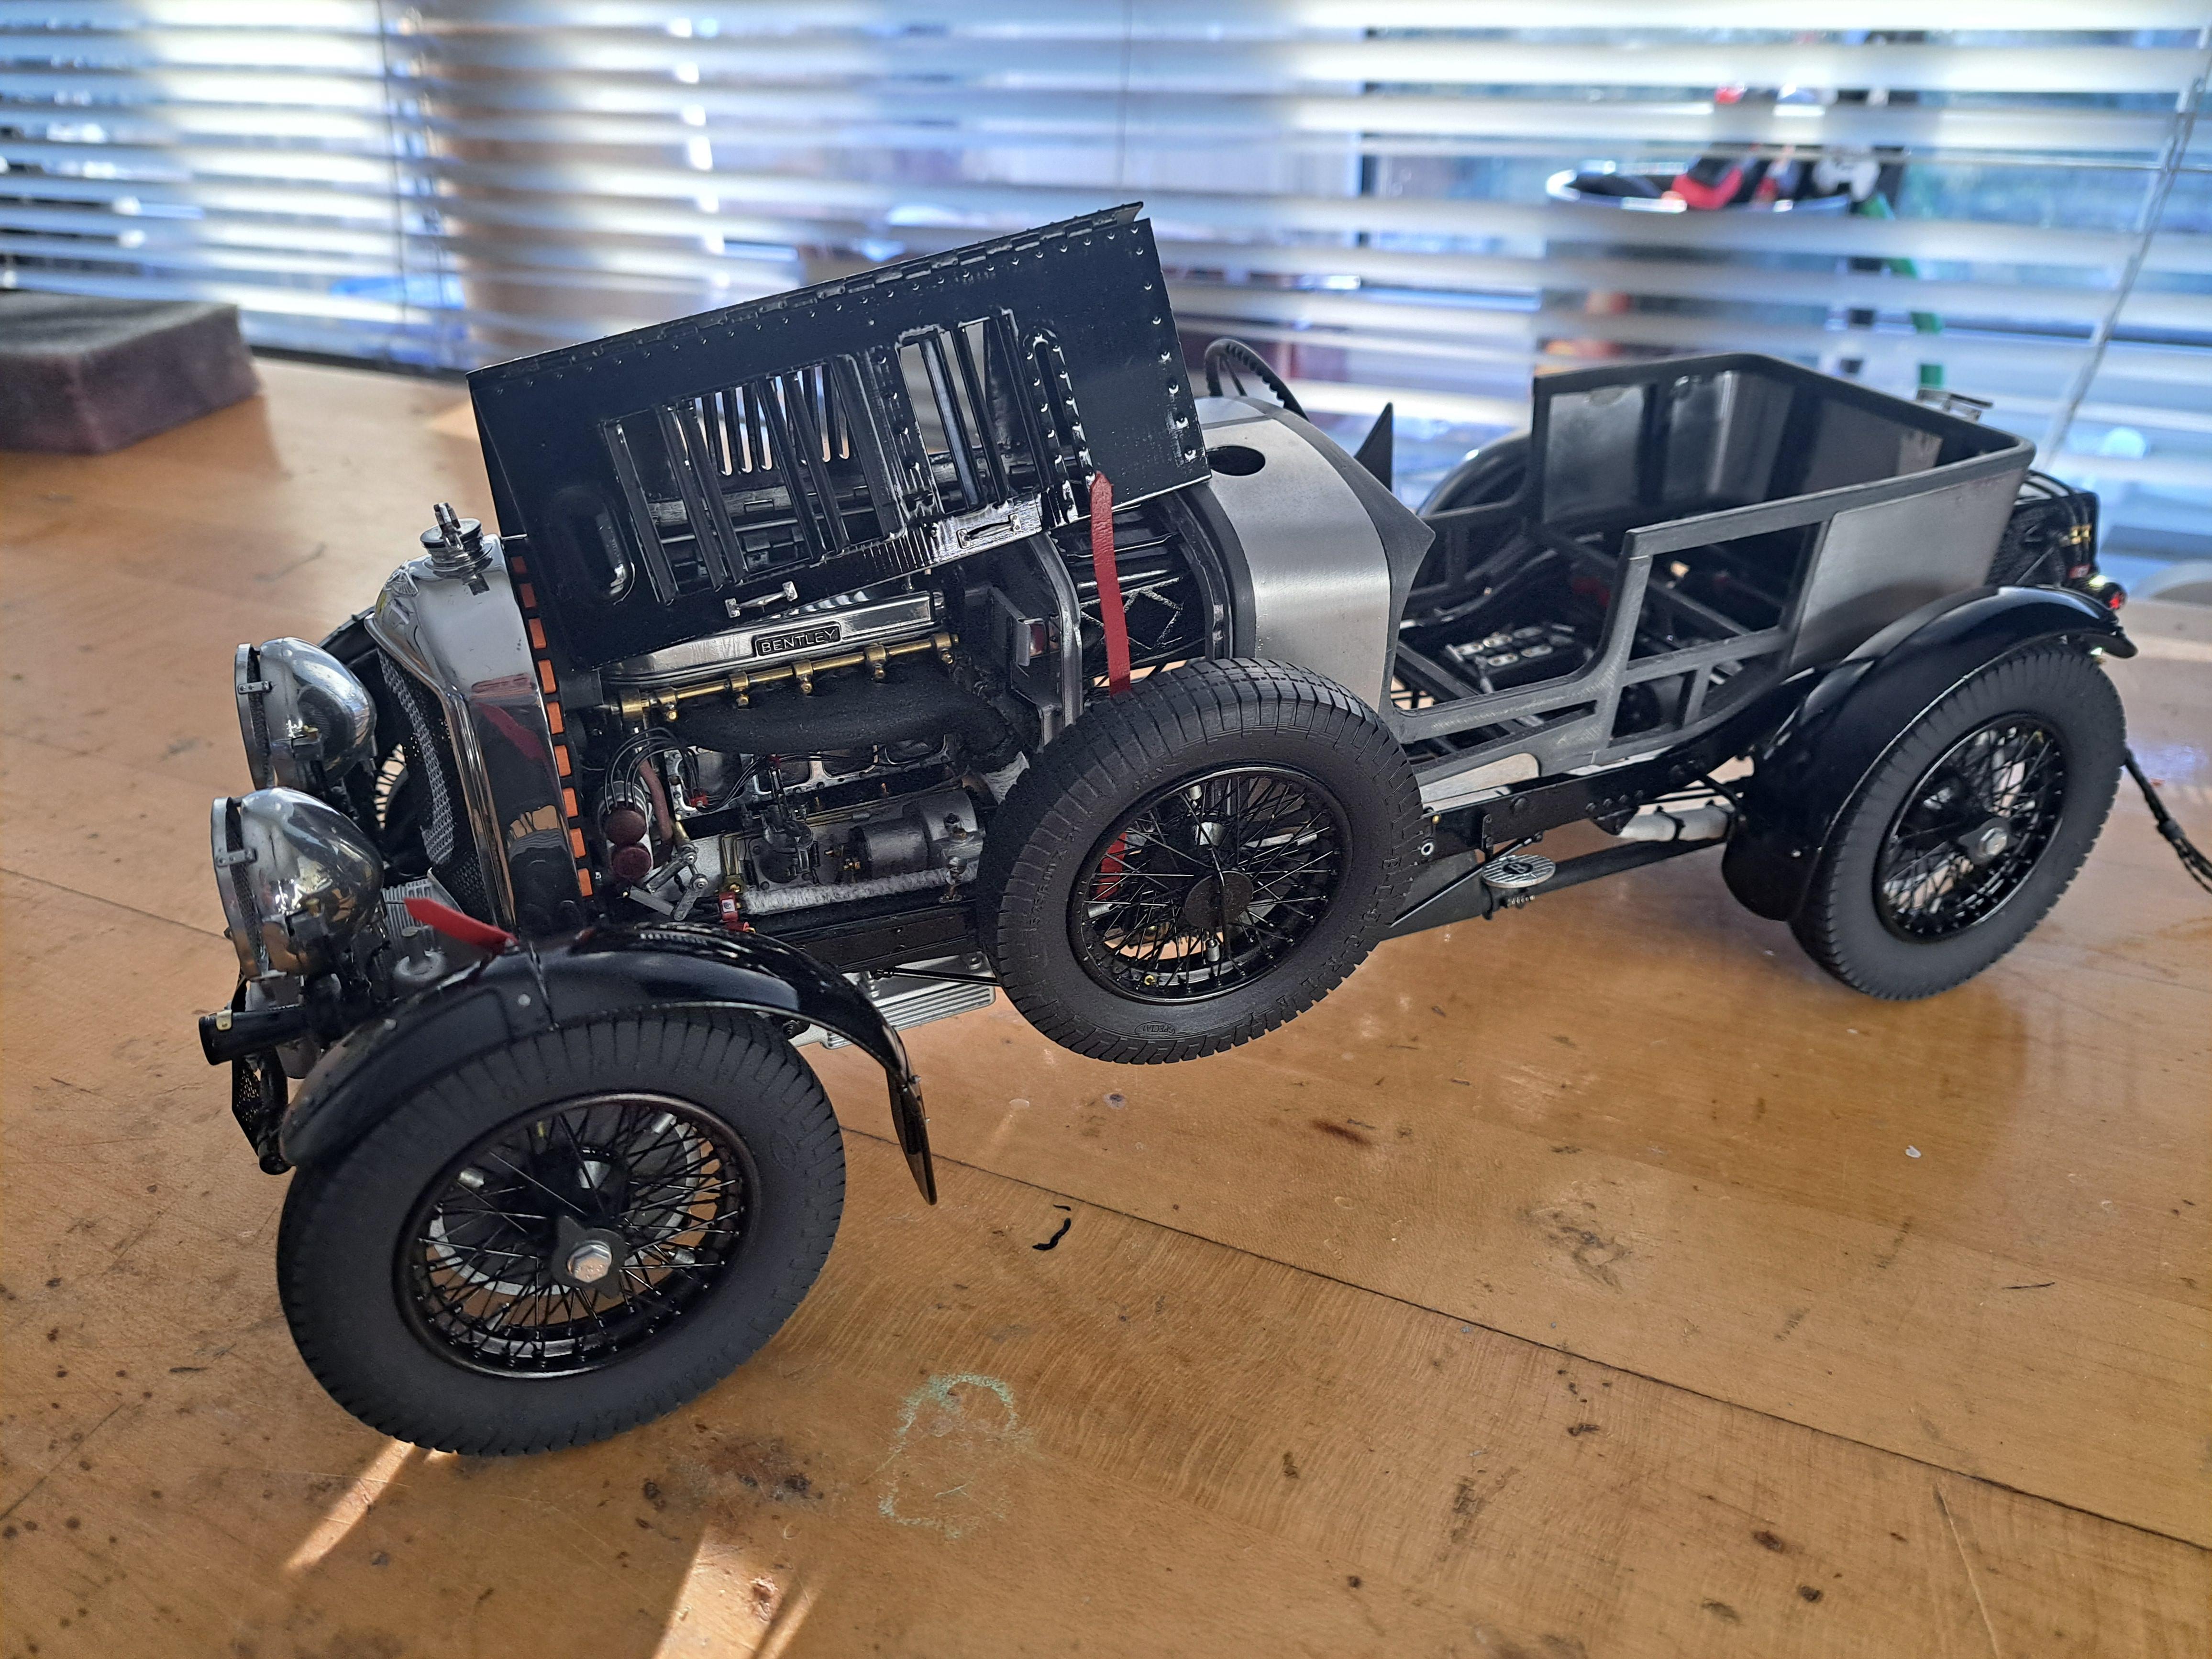
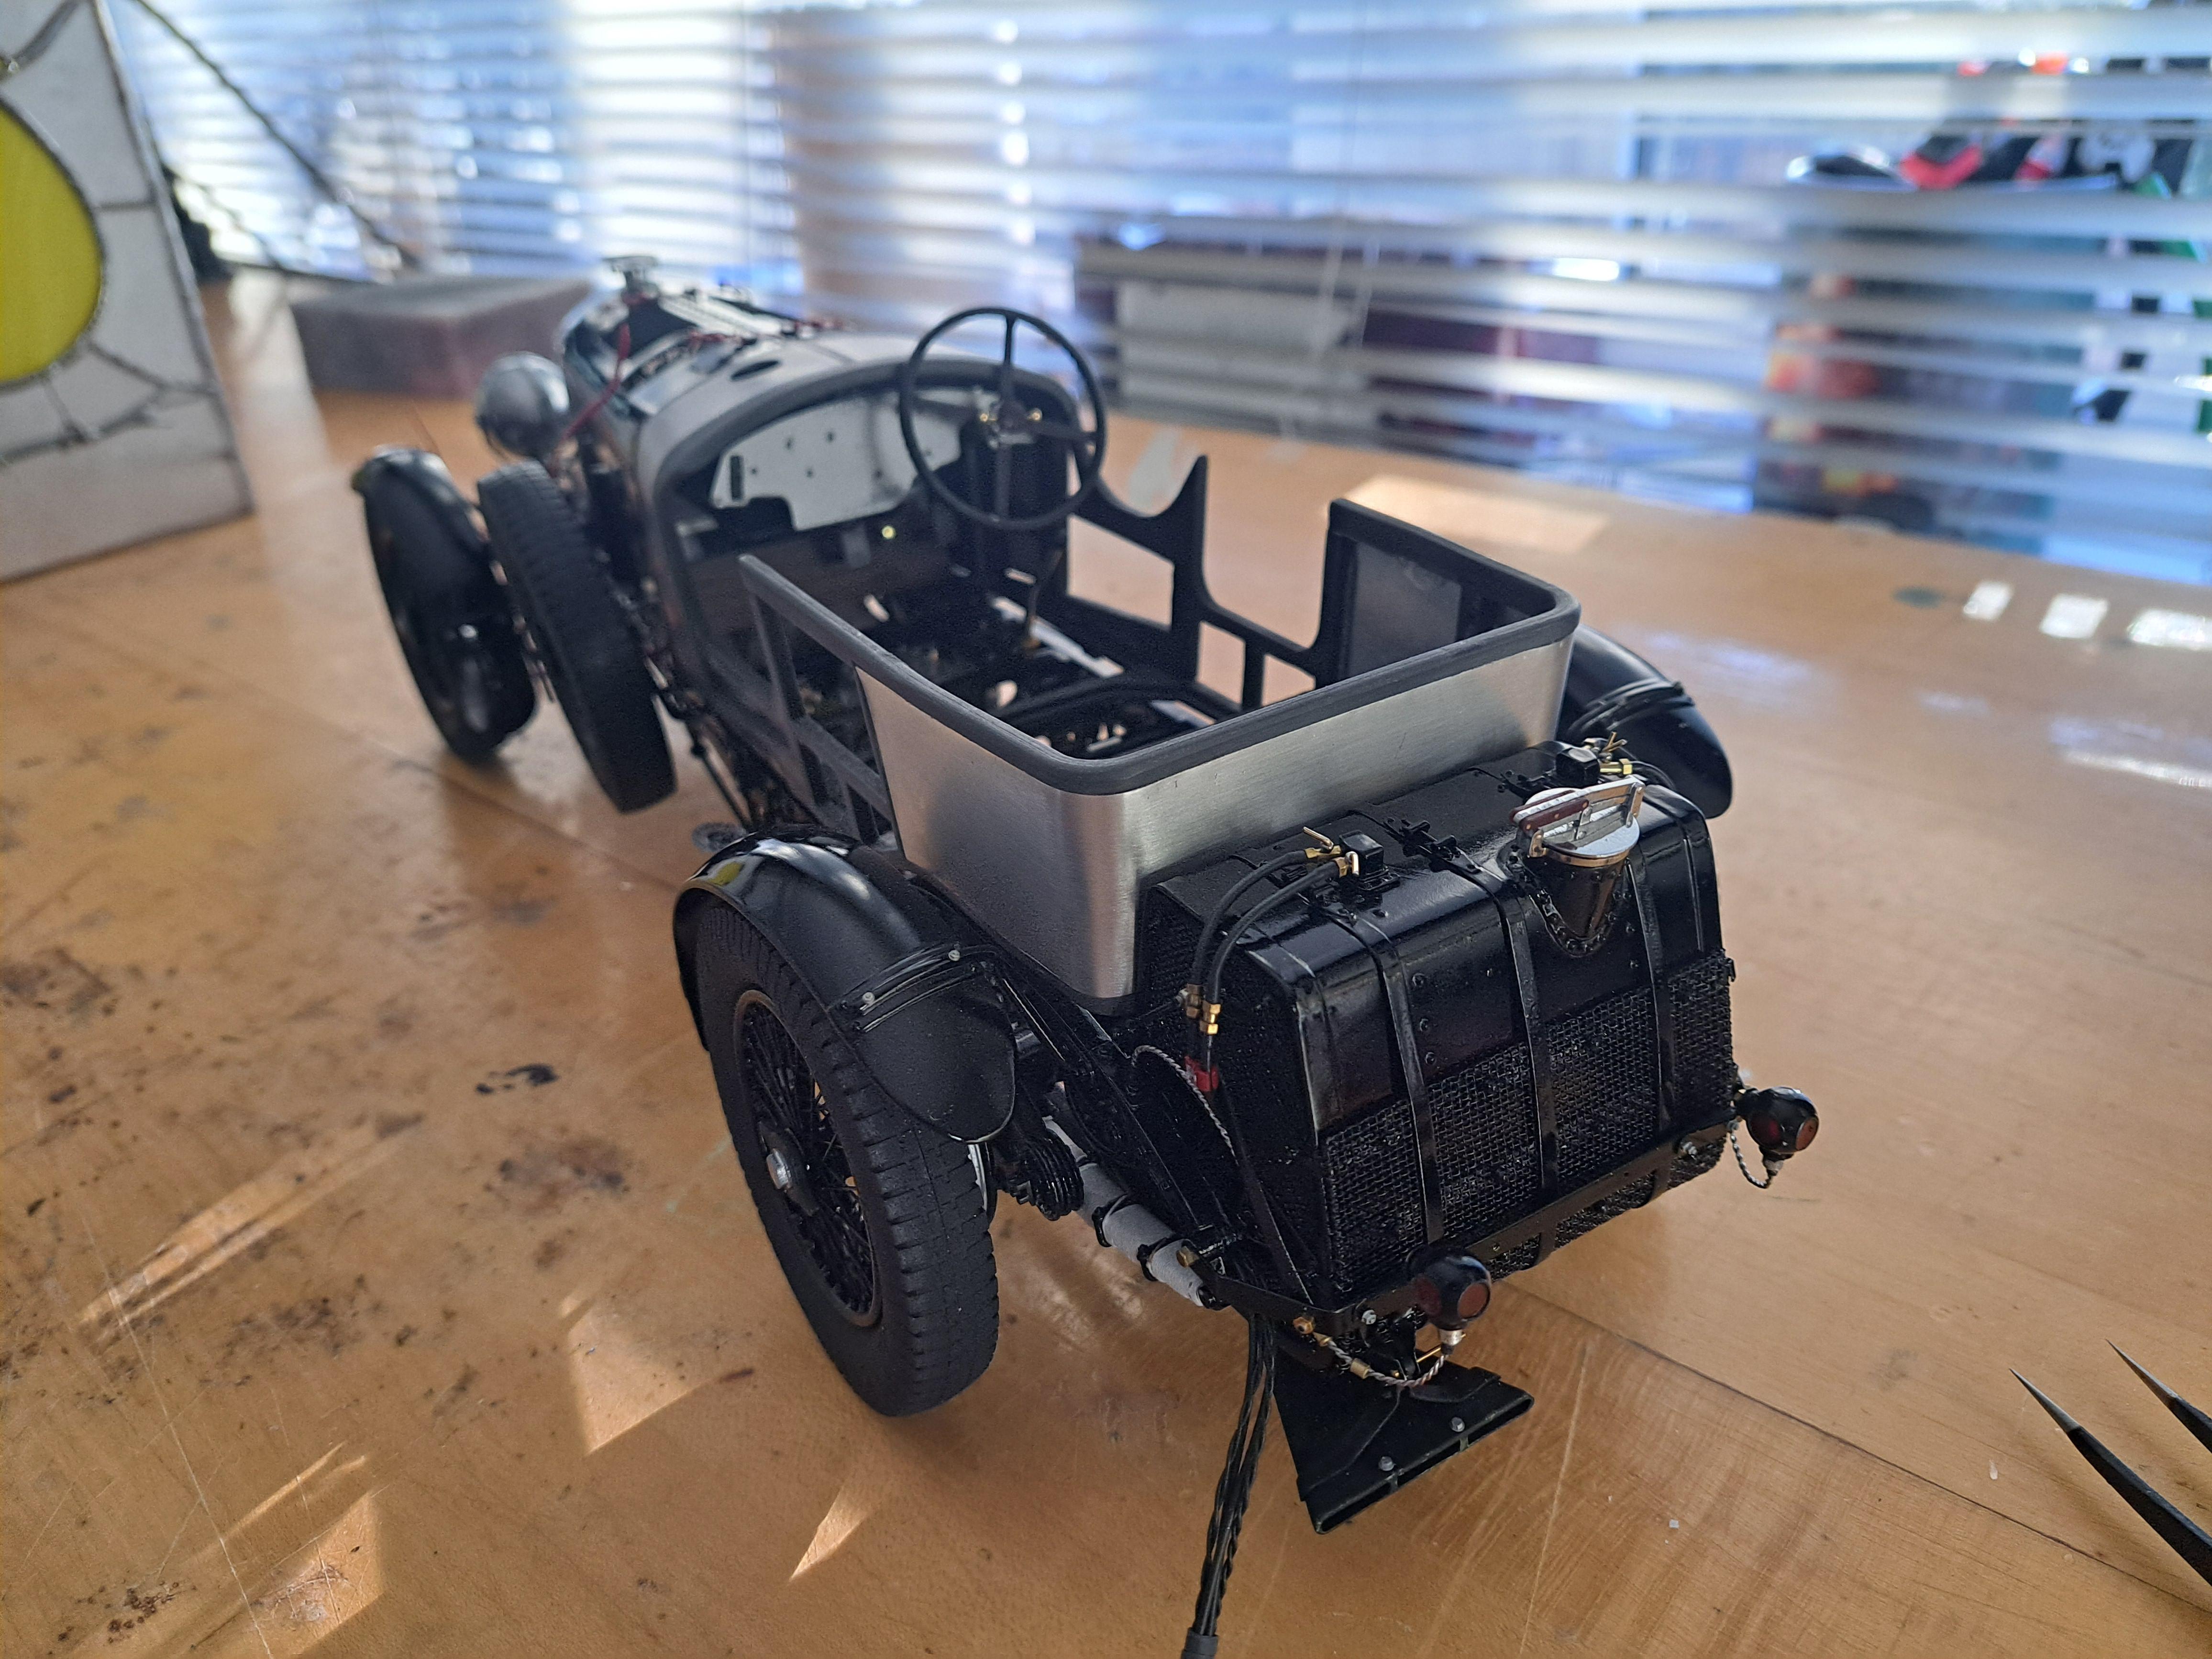
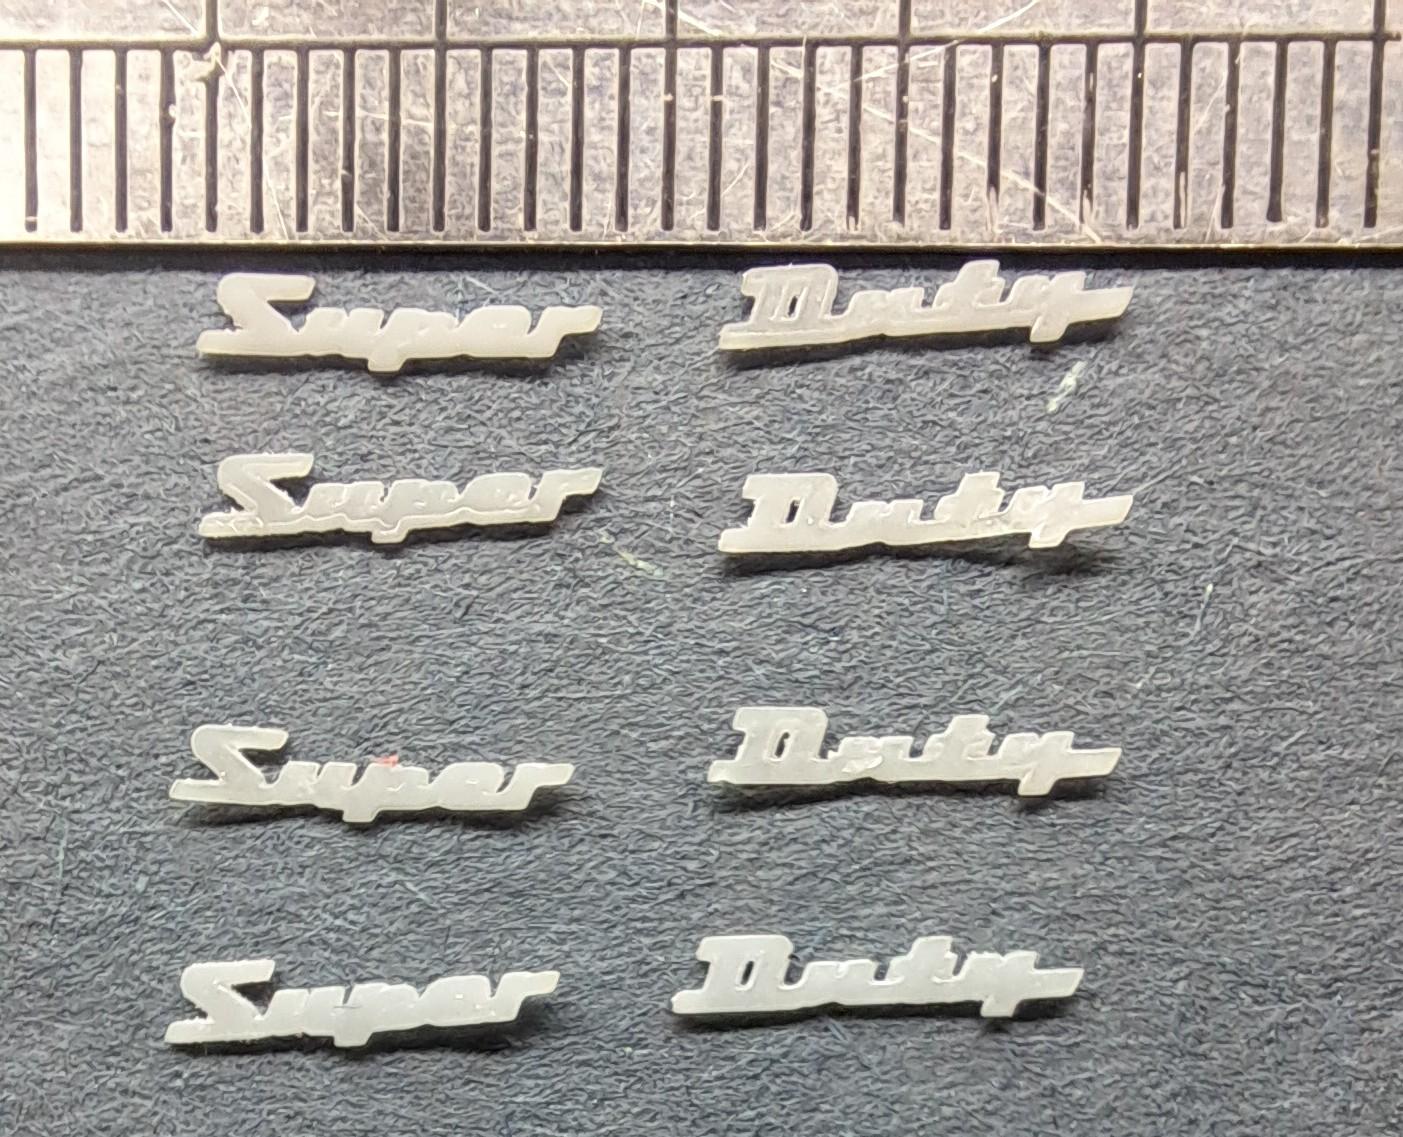
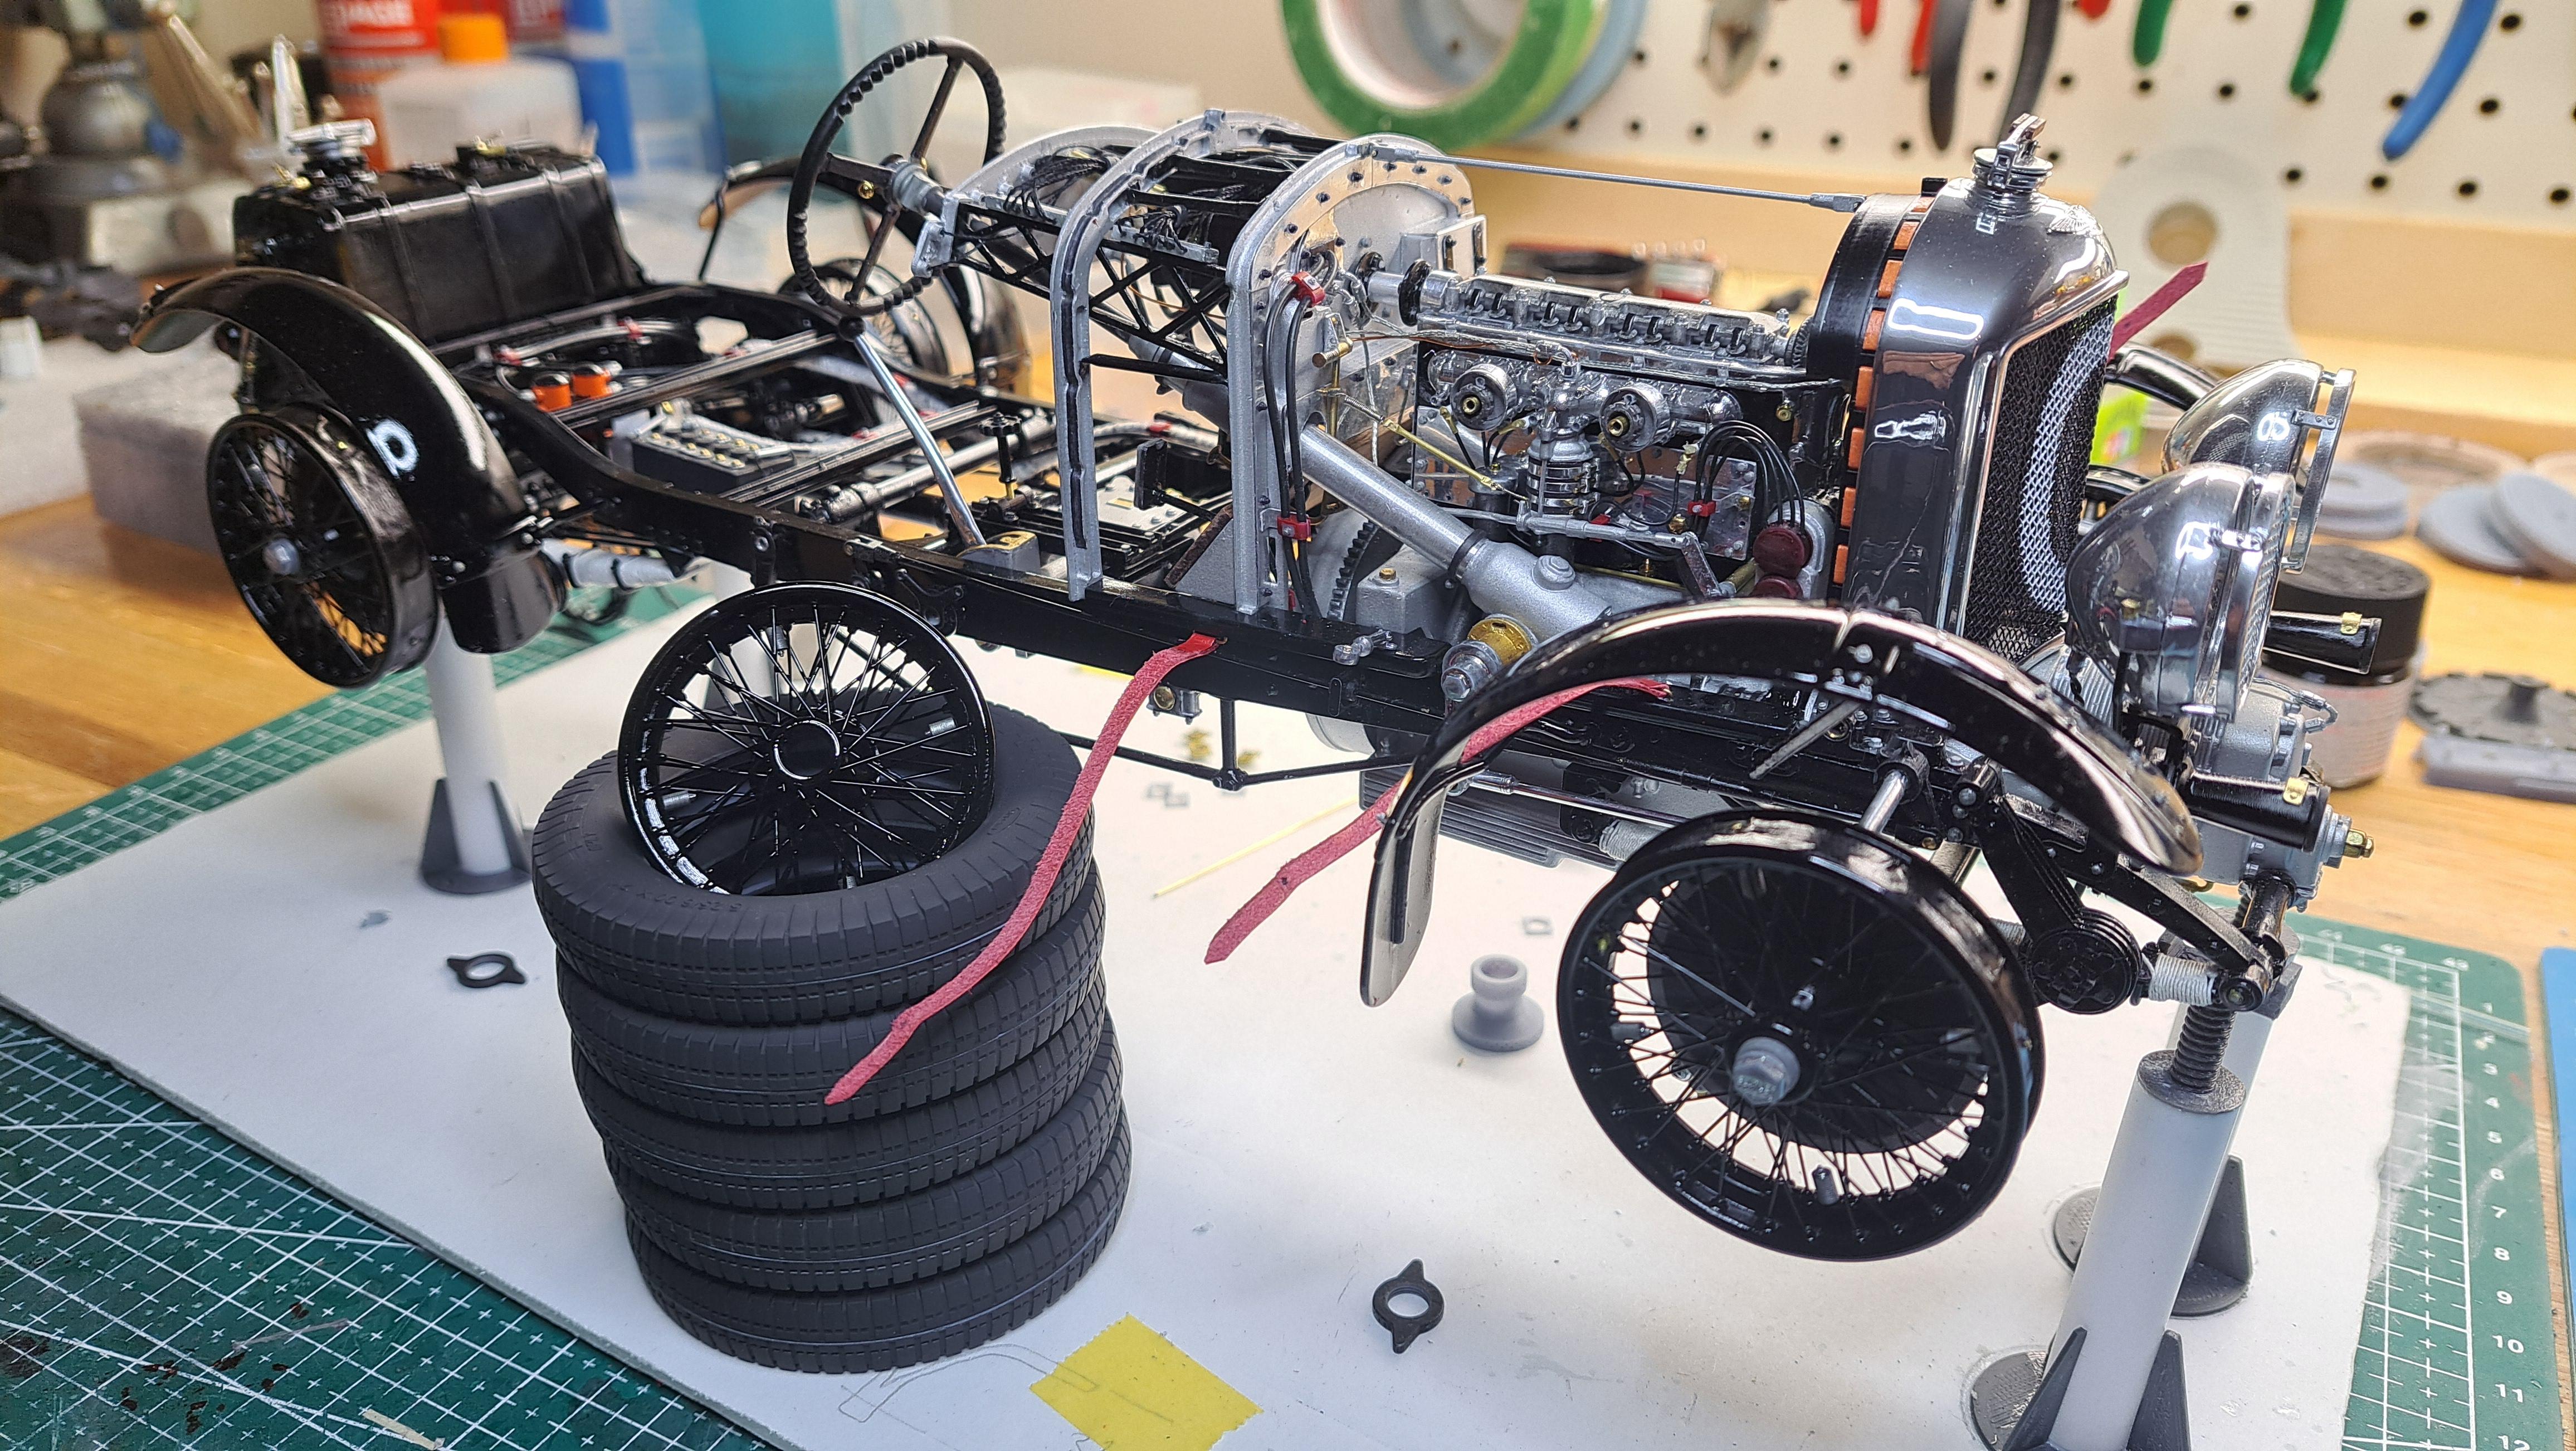
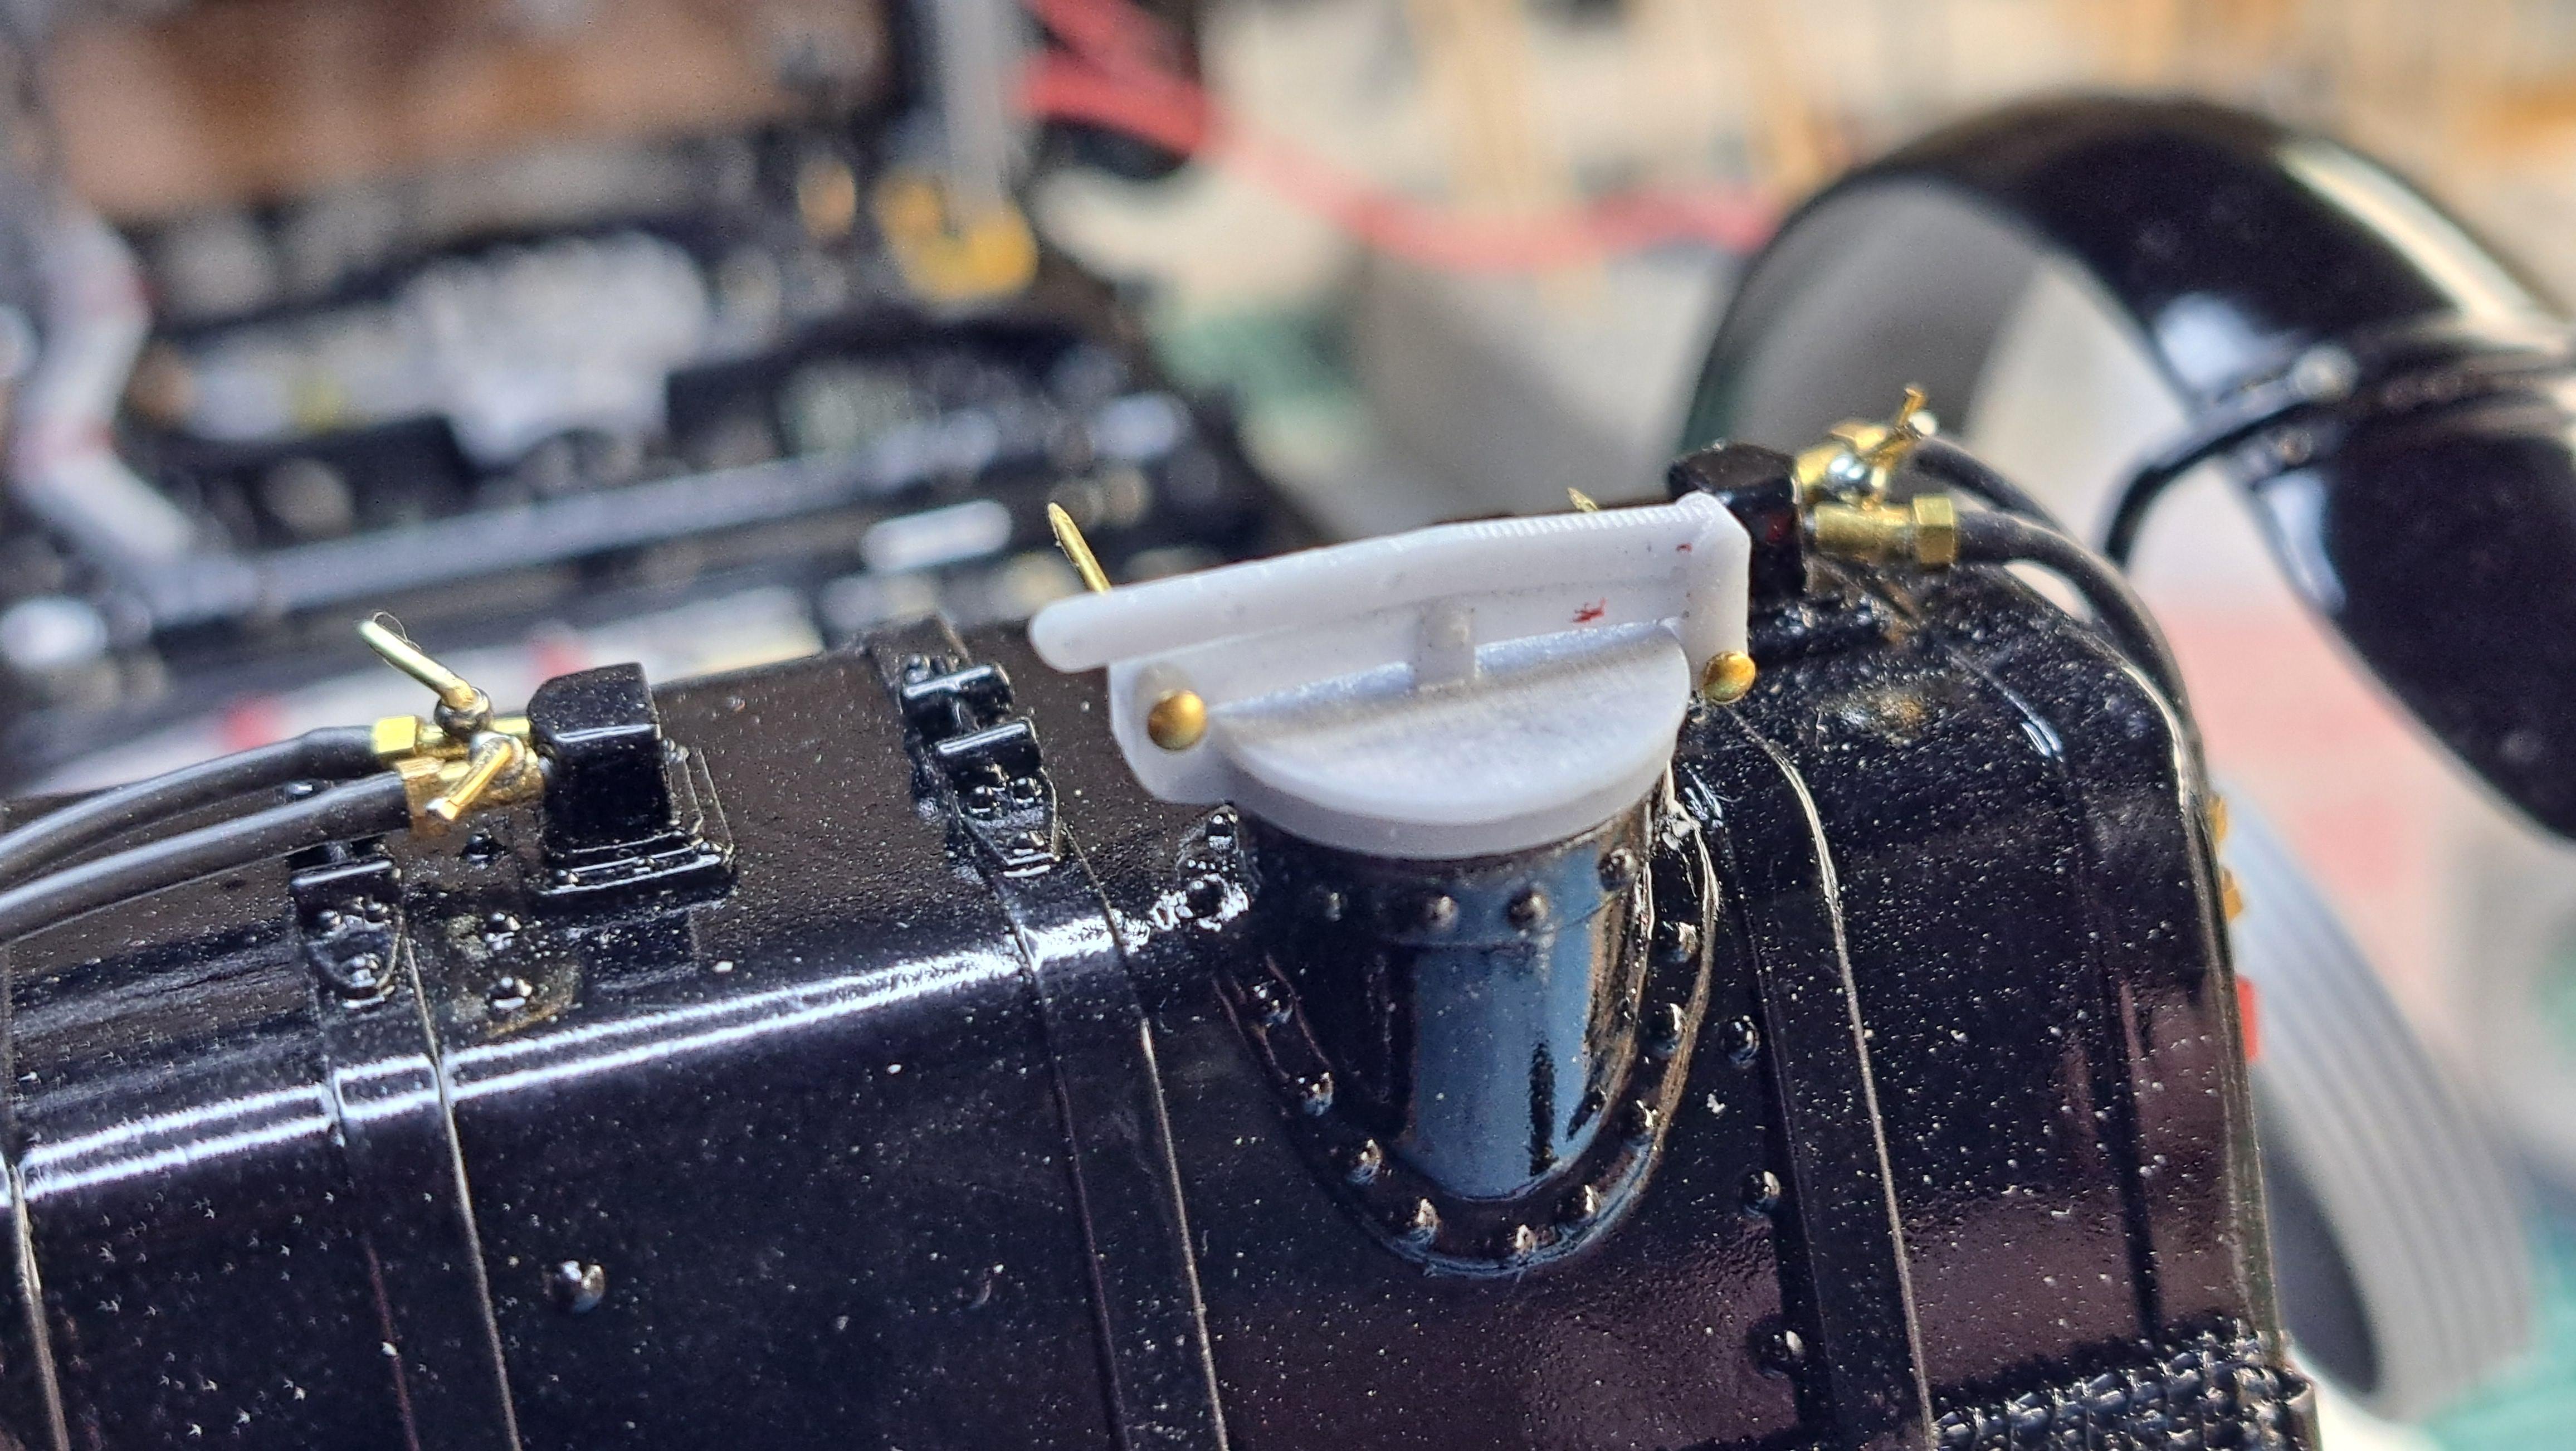
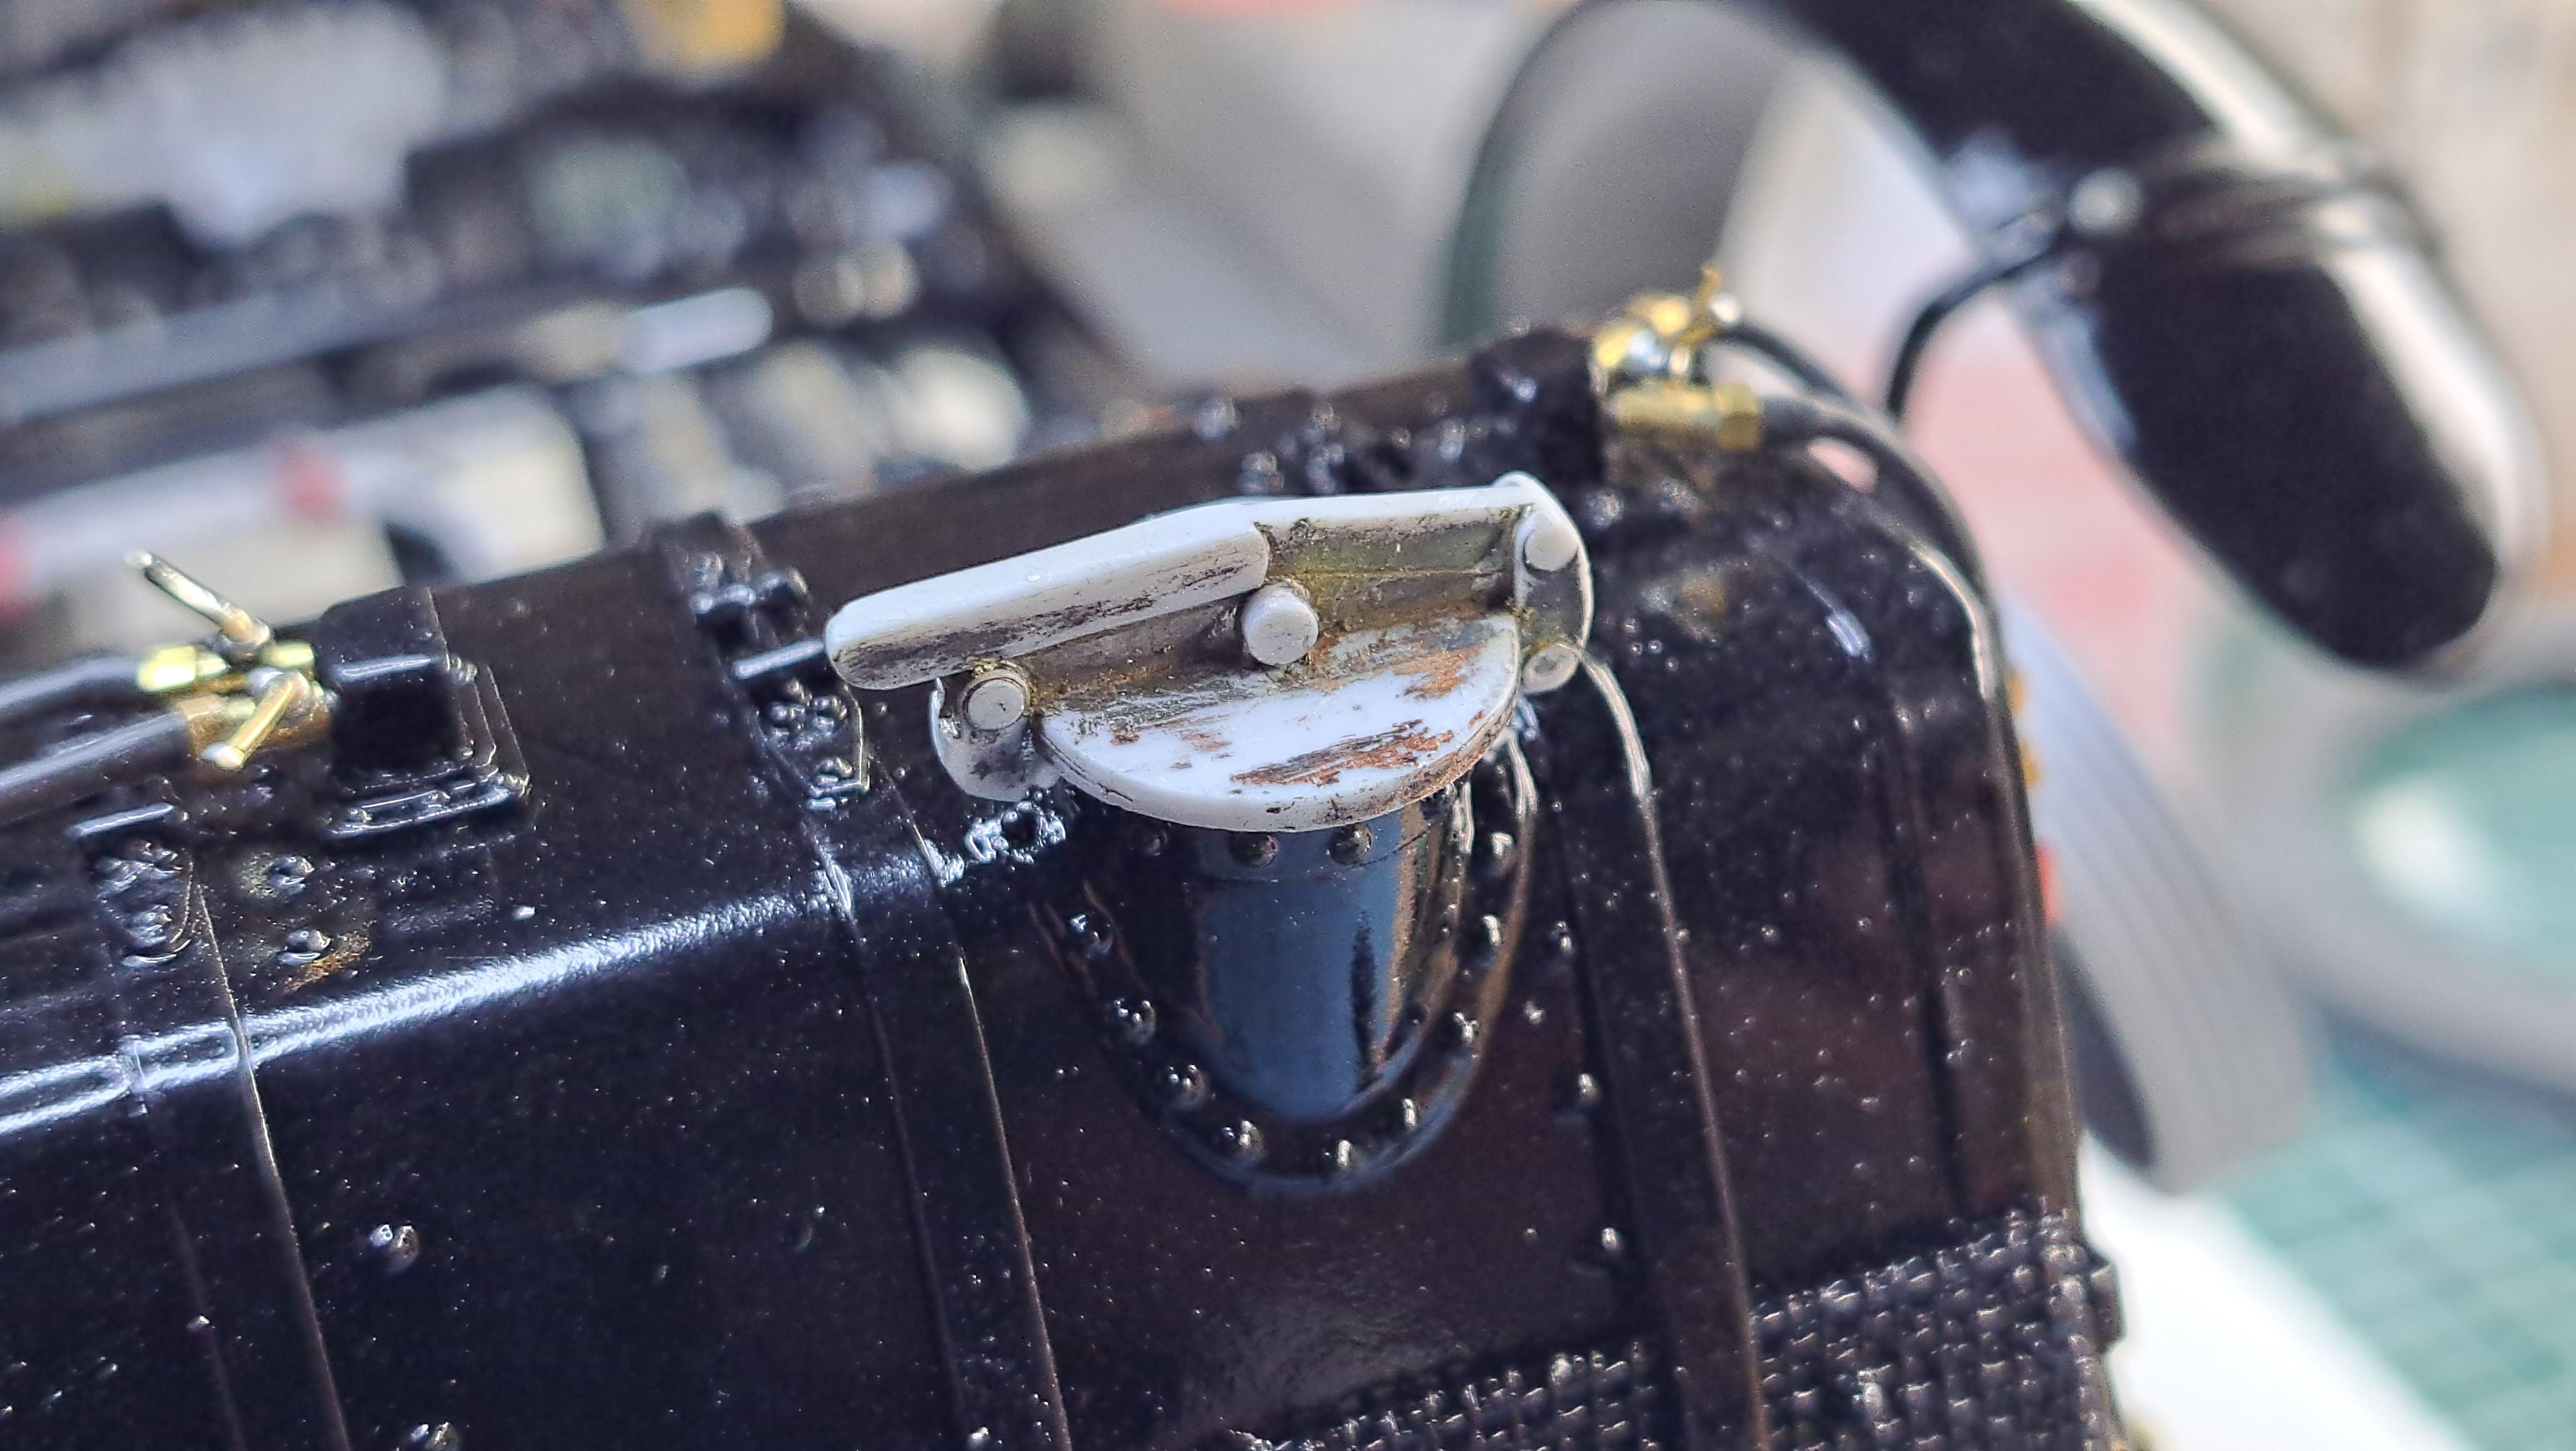
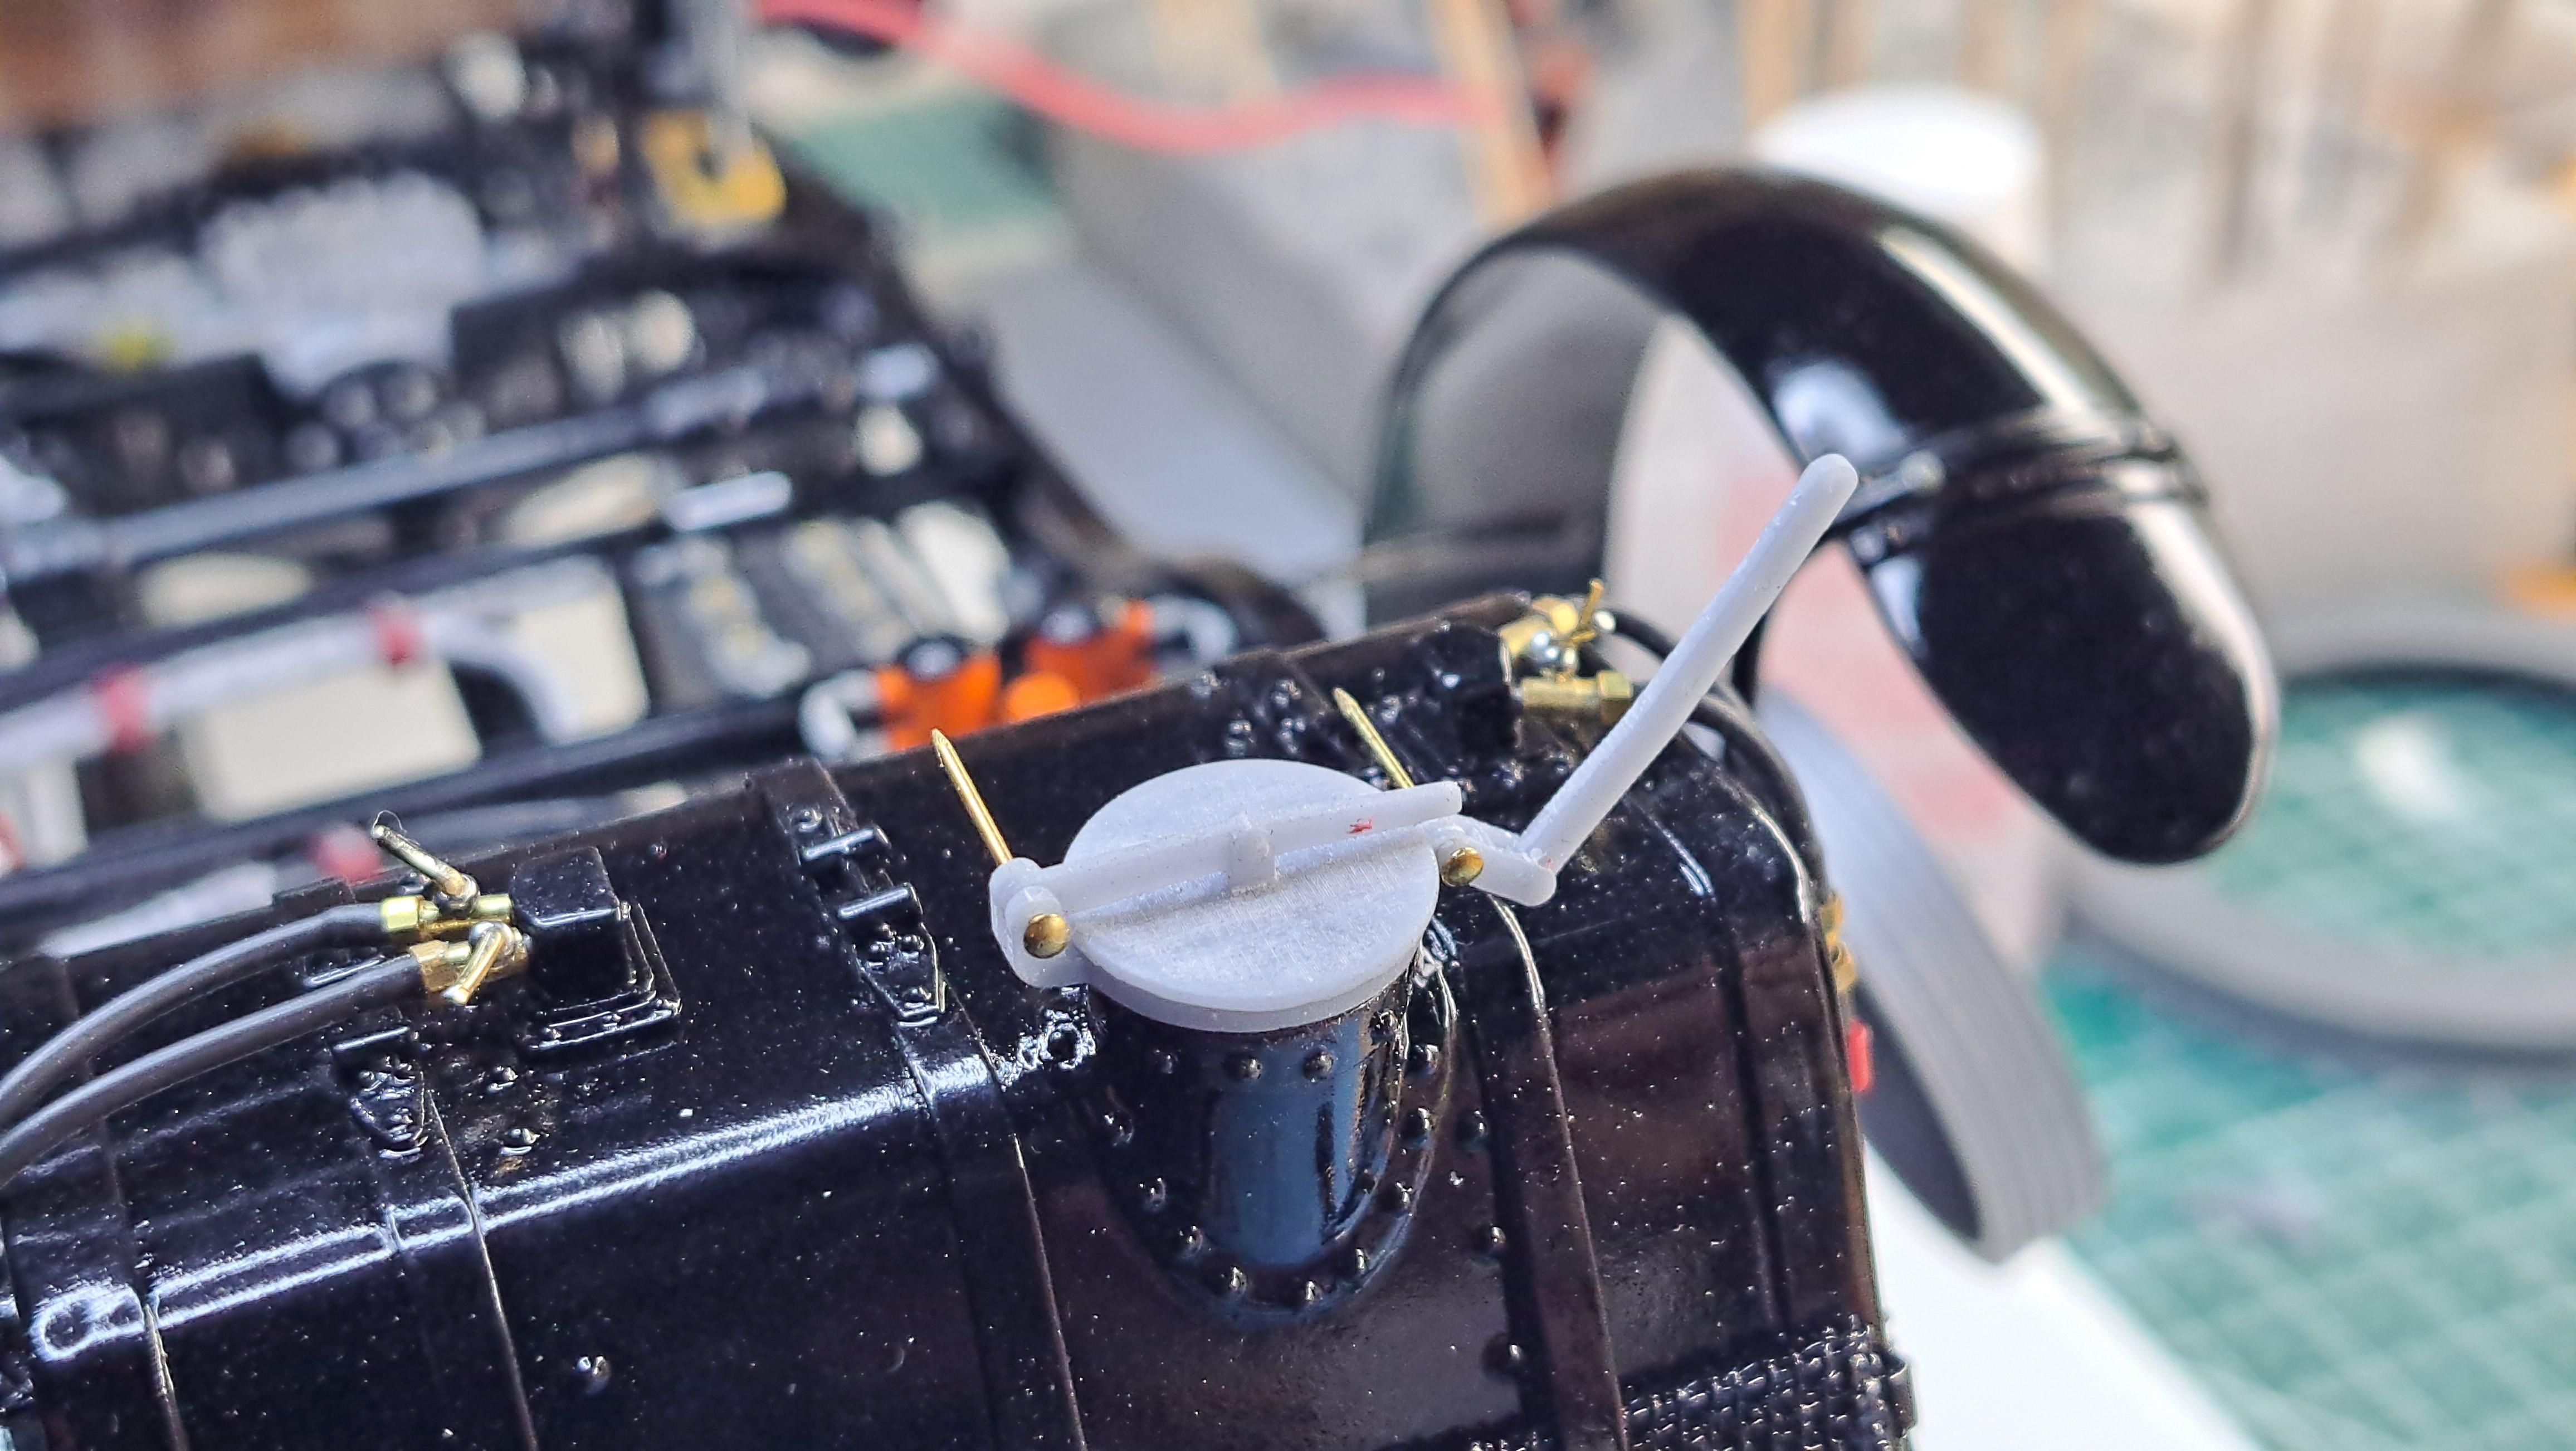
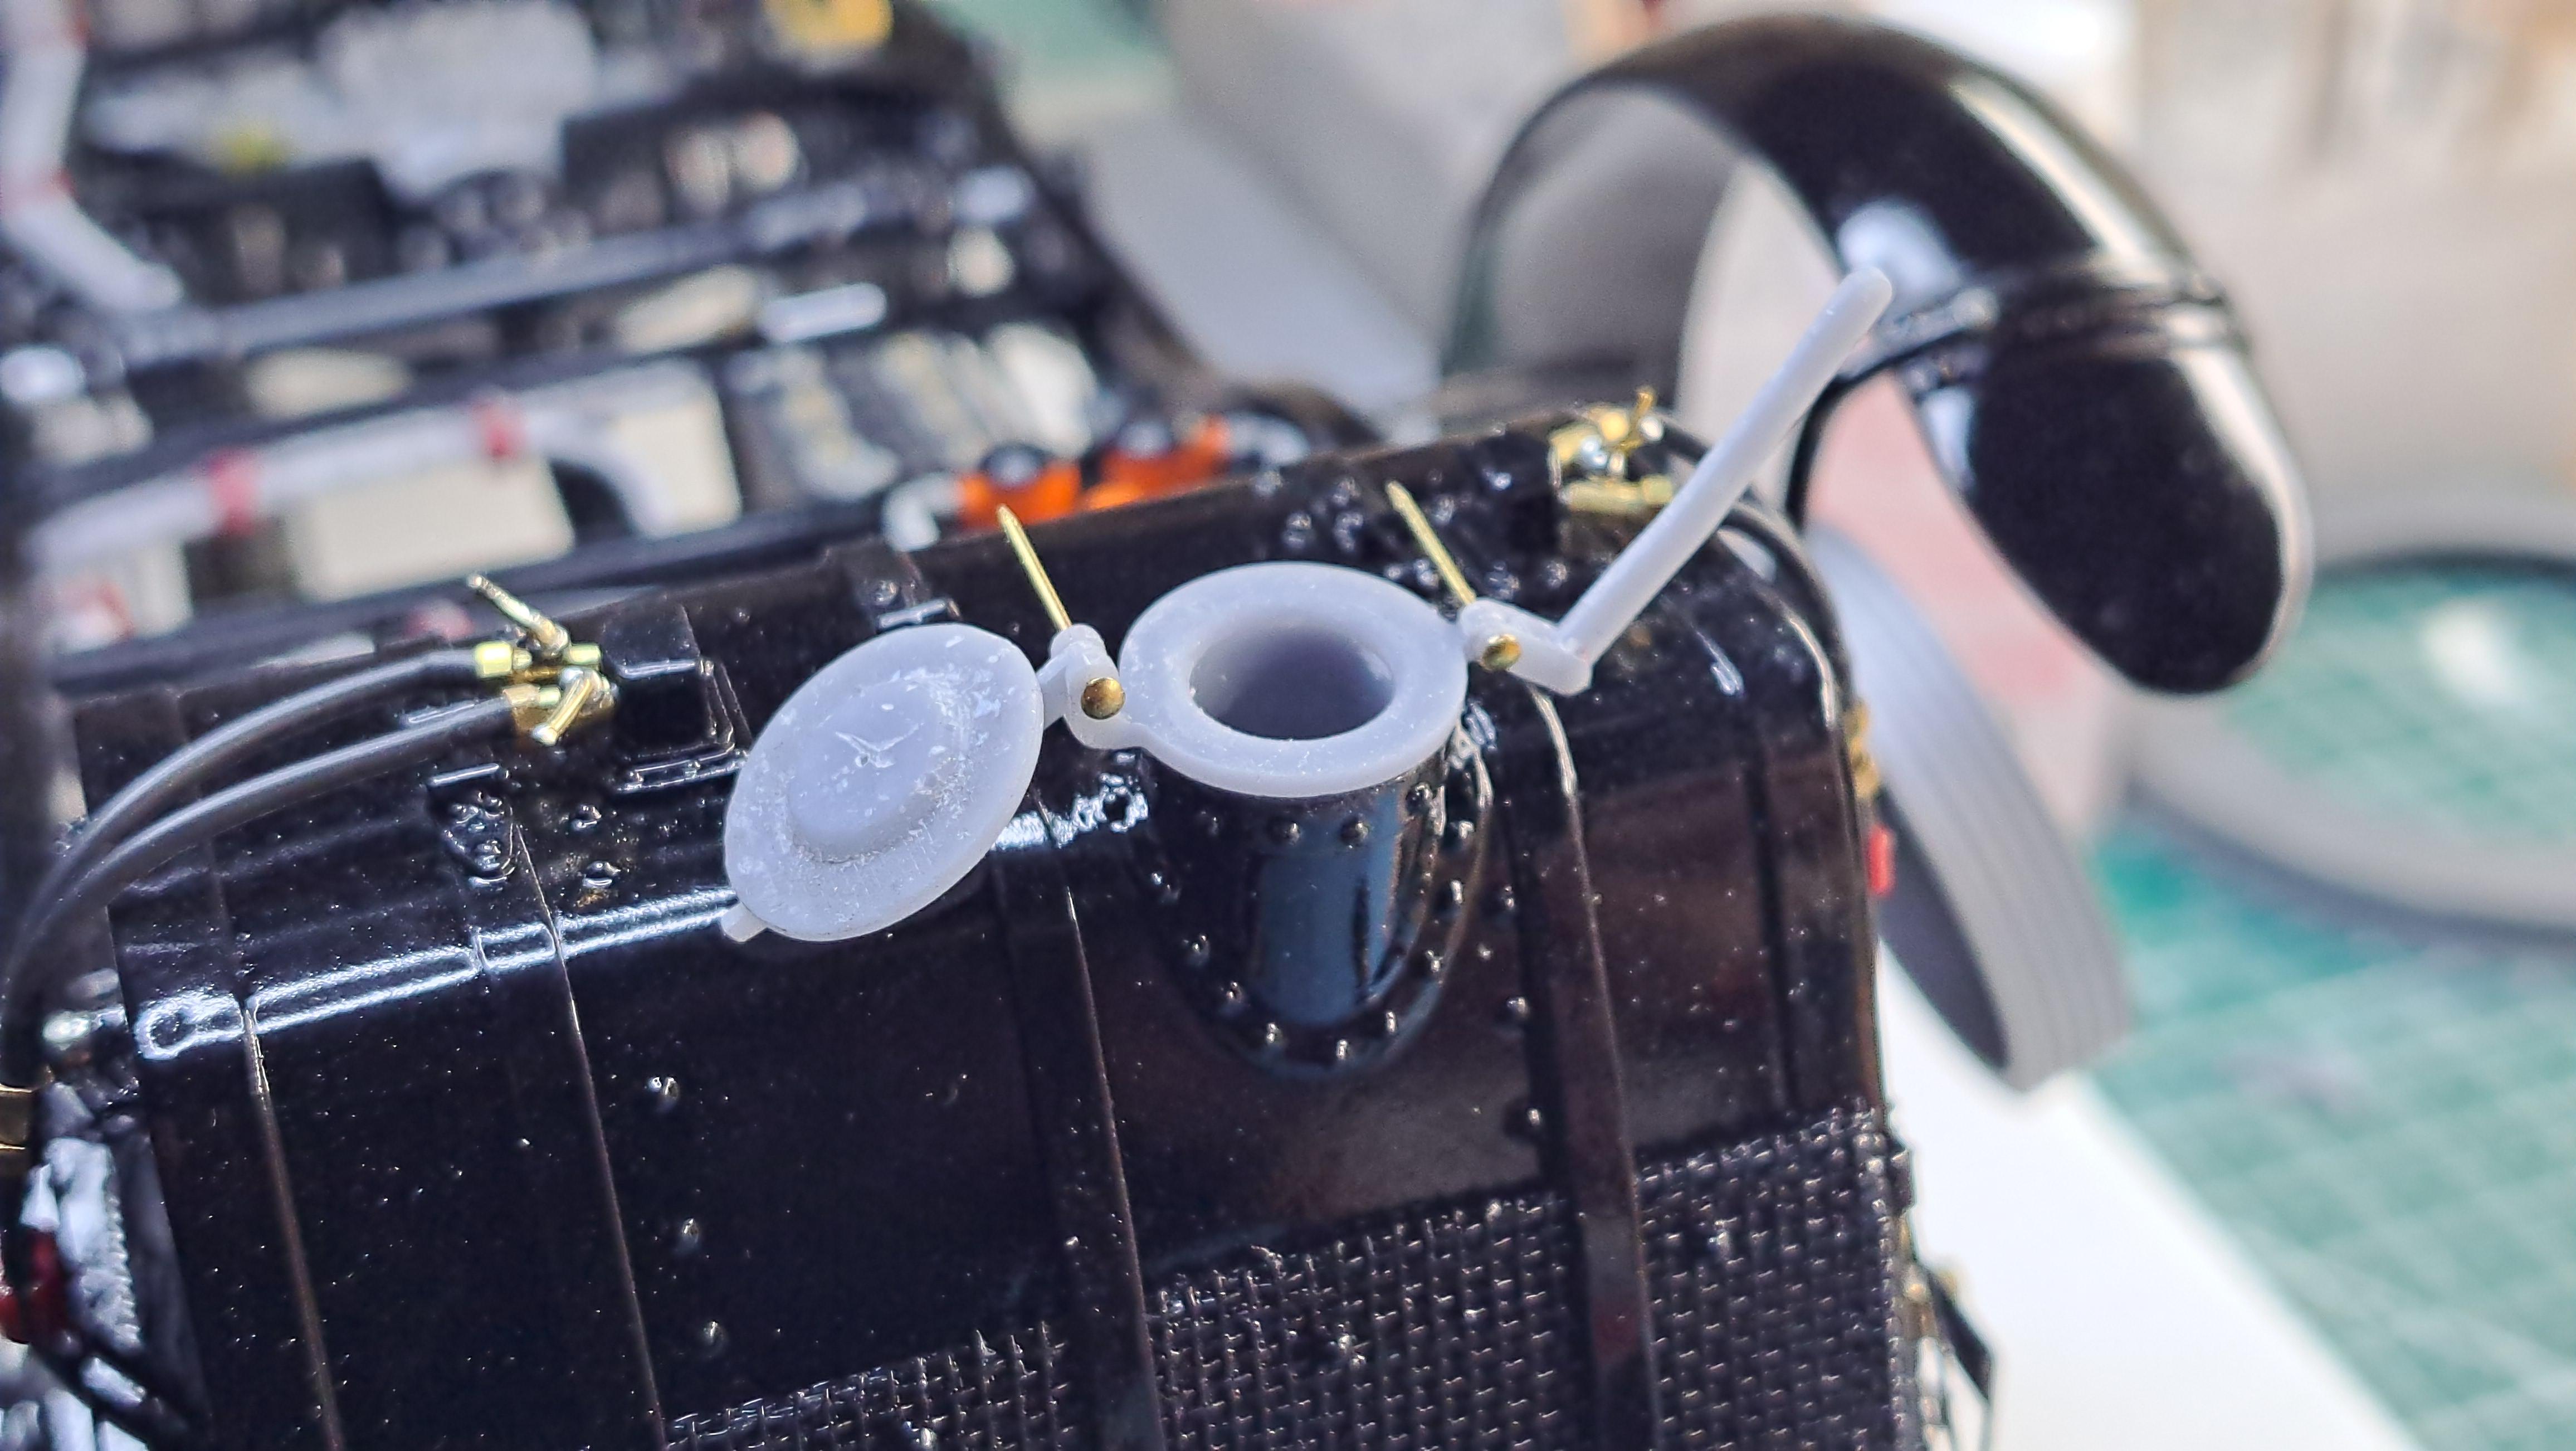
Last item on the mecanical side of this build, I finished and installed the gas tank cap. So here are a few pictures of the car as of today. As a side note, I printed a few 'Super Duty' logos in 1/25 scale for a Ford truck. Each logo is 9mm long, can you say tiny? Also printed 2 wicker chair in 1/12 scale for a runabout boat. I was given the 3d model so I didn't have to make it but the printing was quite challenging.
-
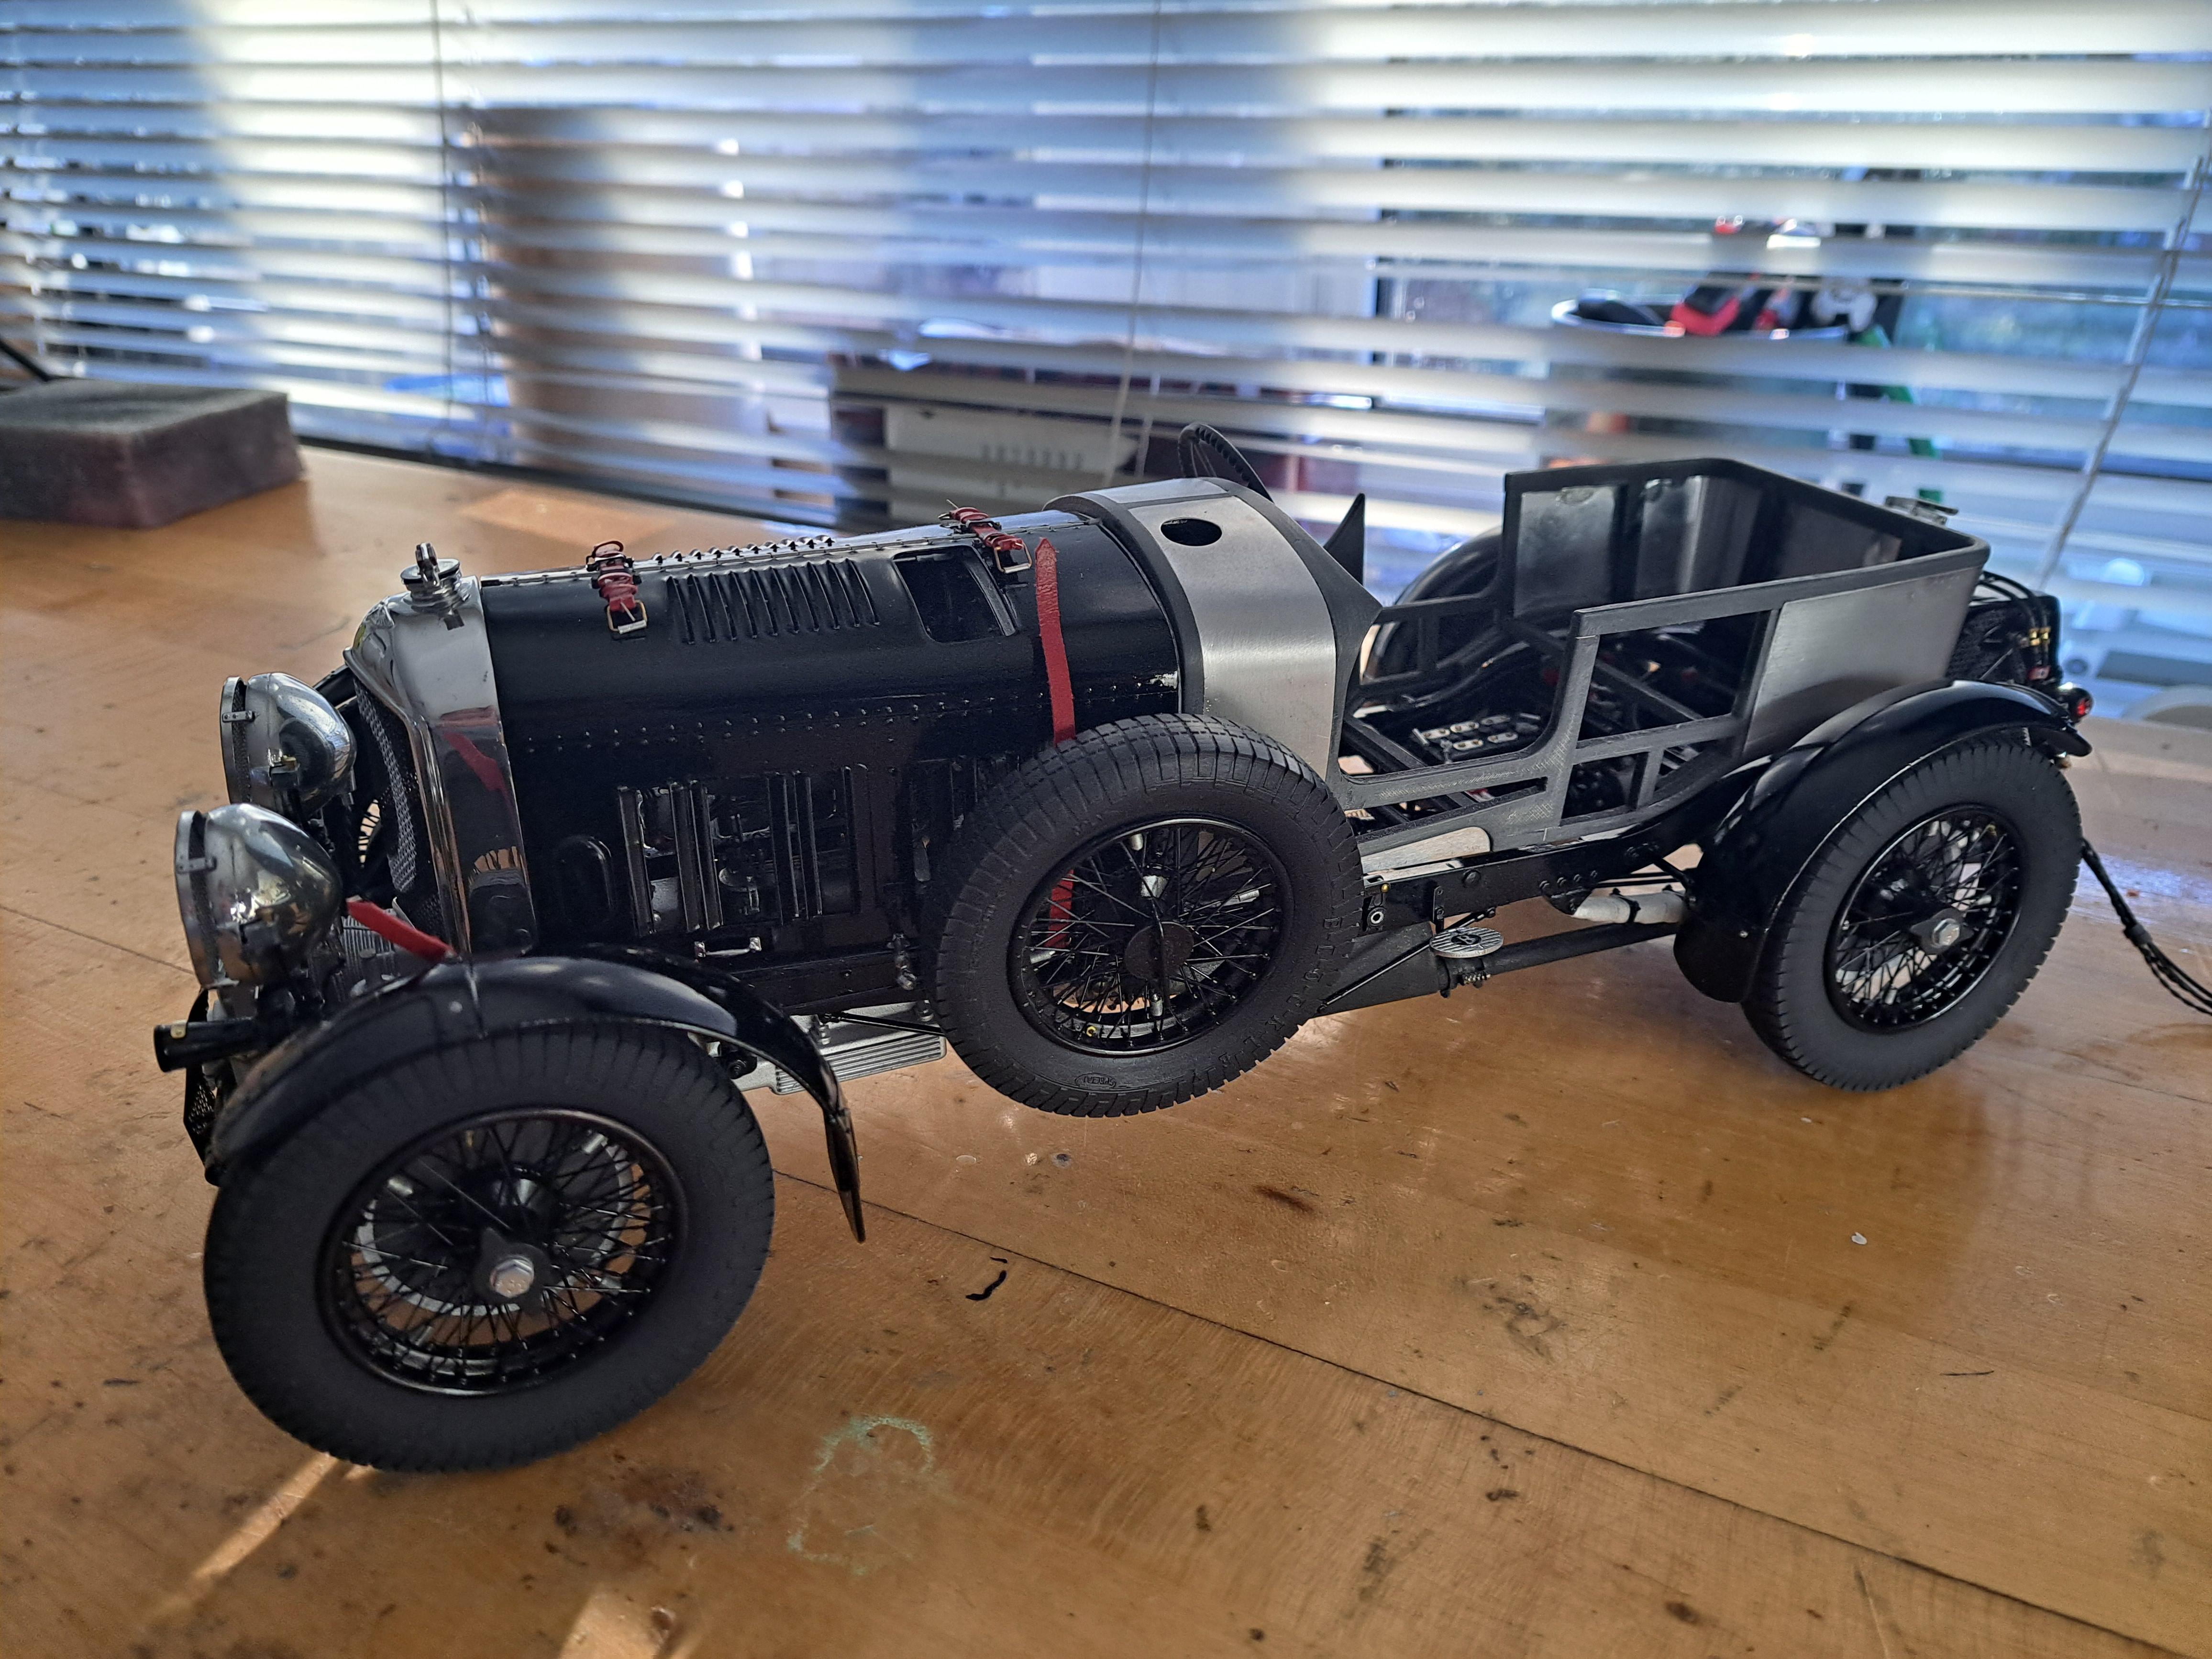
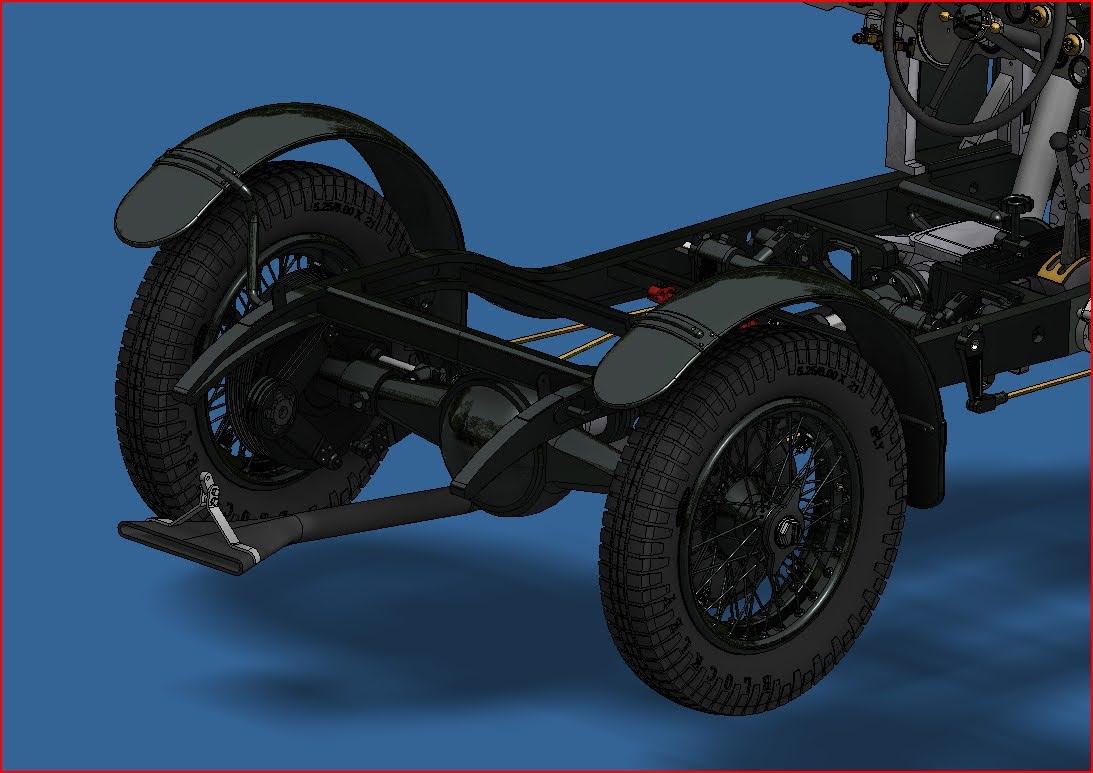
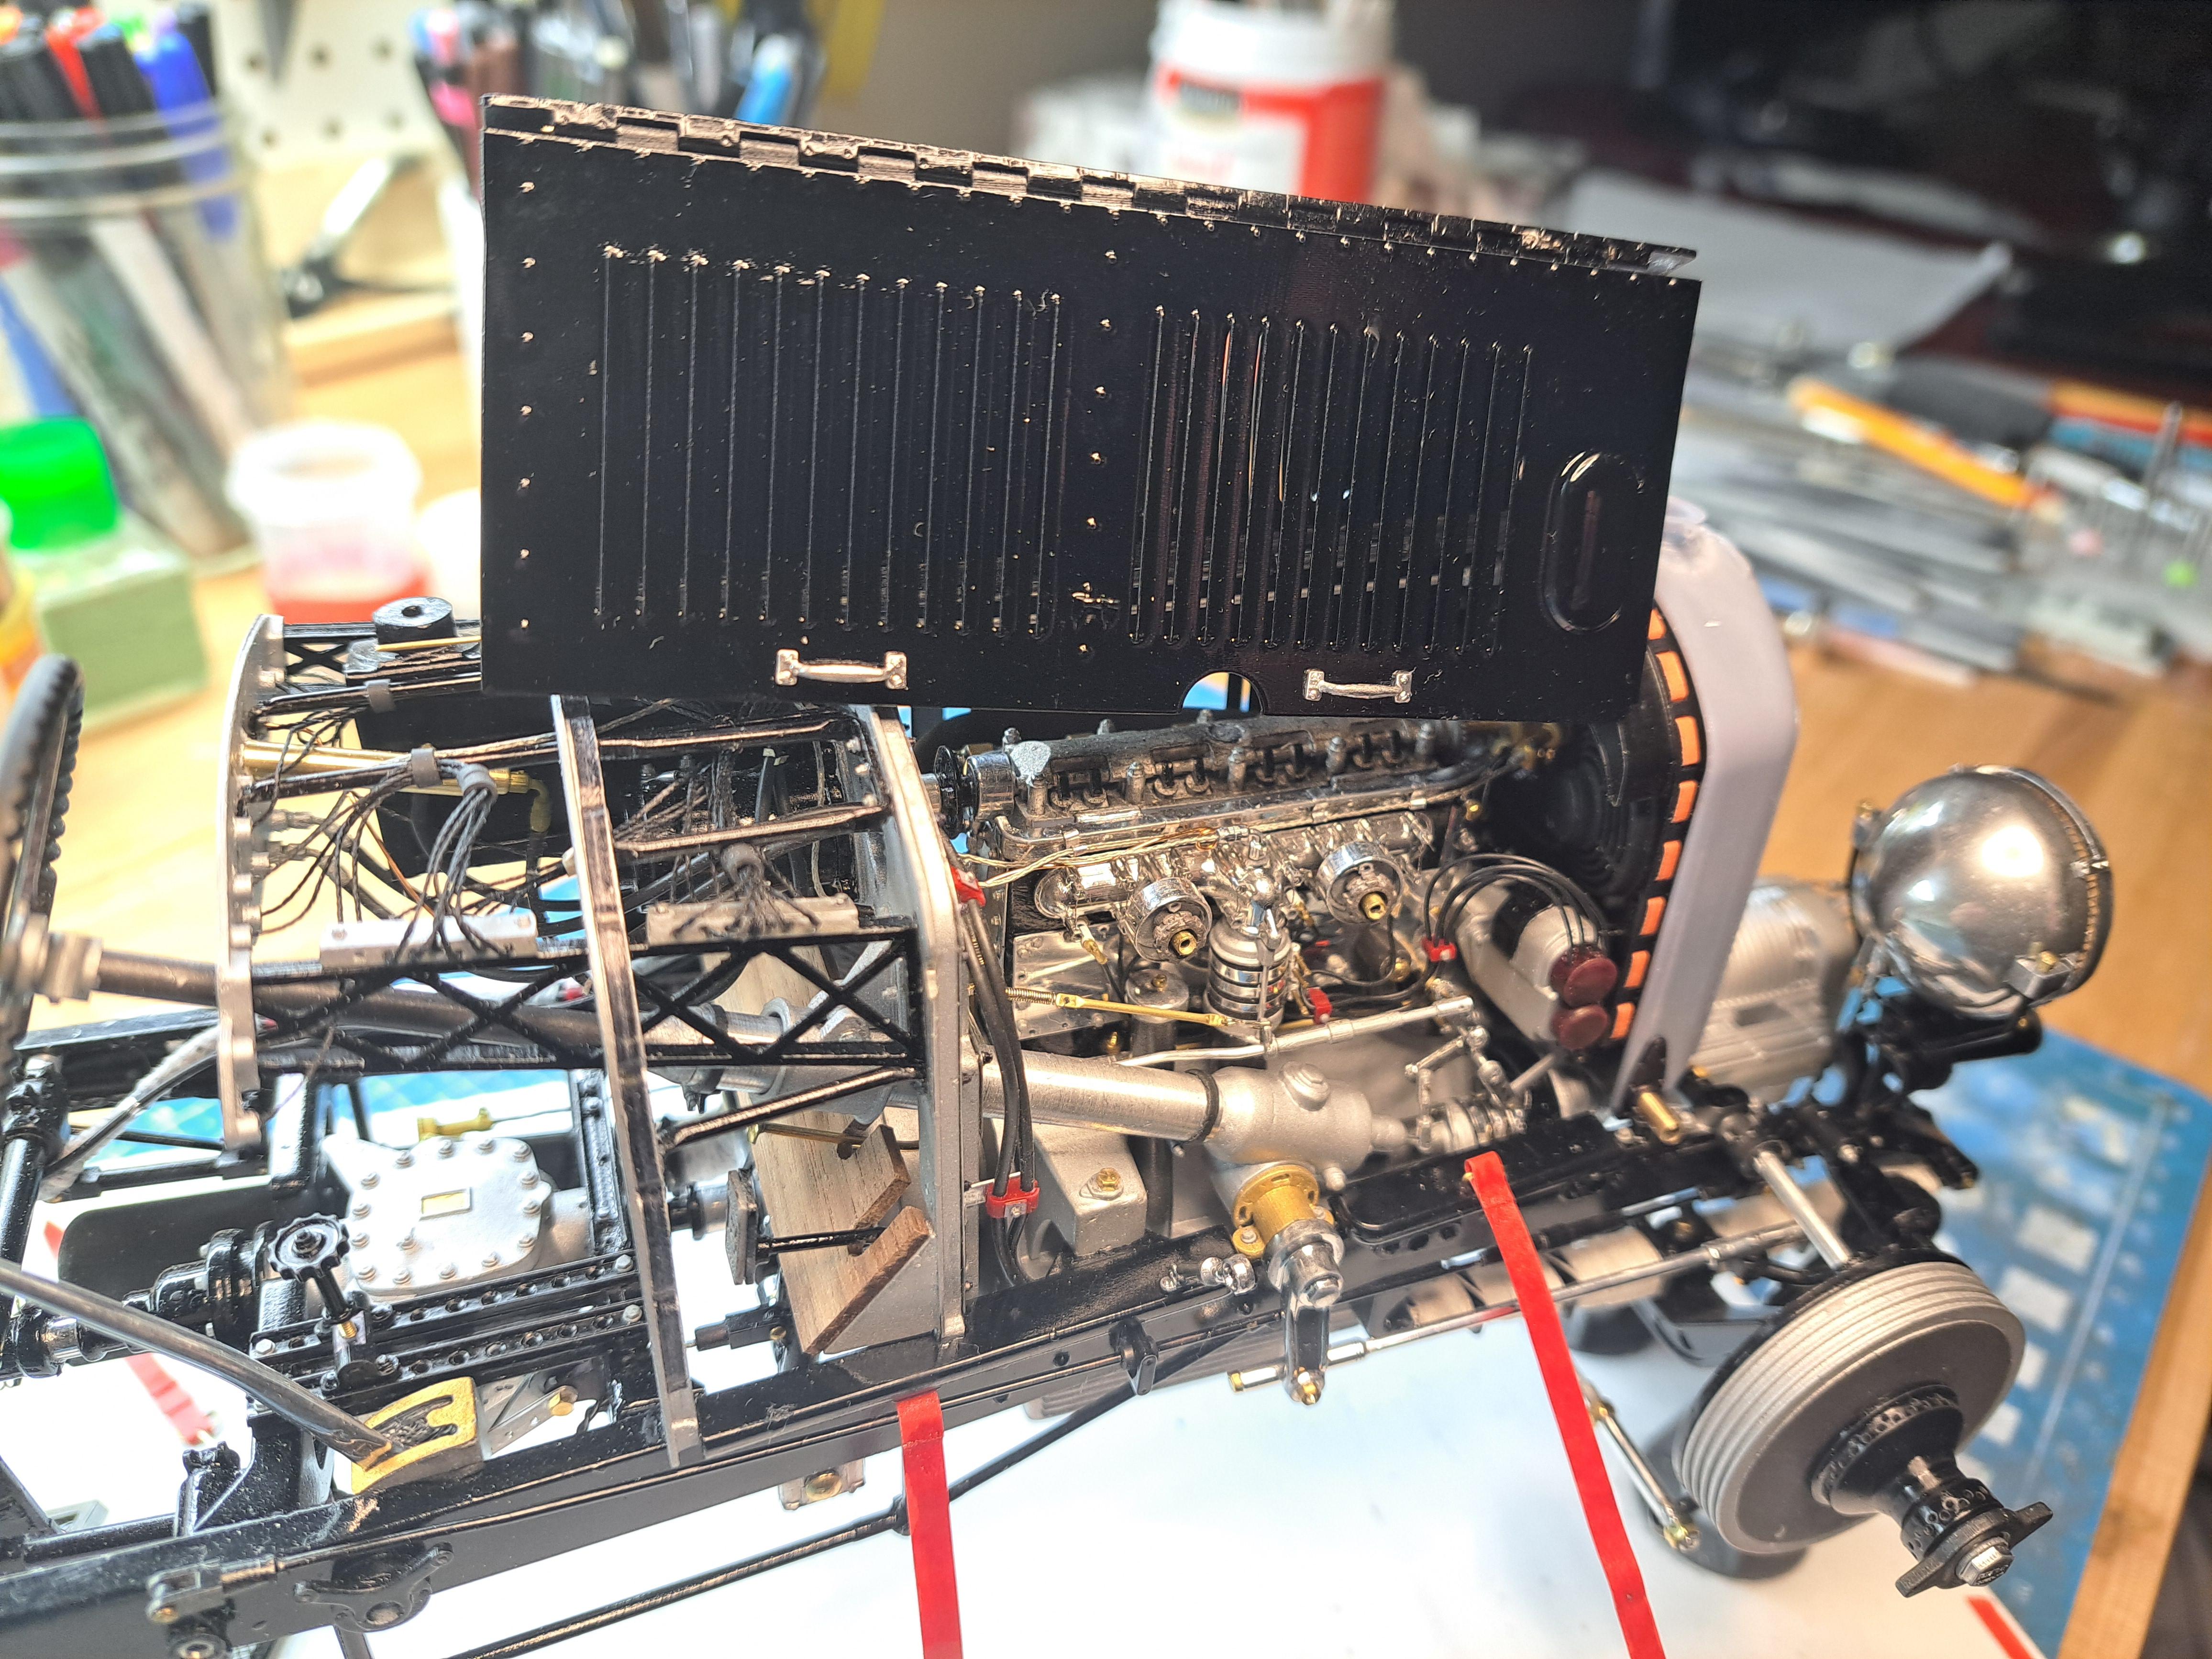
Thank you everyone for your positive comments. So the mecanical aspect of the car is pretty much finished, a few odds and ends here an there but basically done. The next step should be the body but I think I'll procrastinate a bit more and work on the presentation side of the project for a while. I want to show case the car in a 1930's industriel environment, steel structured shop, old style lighting and maybe a few water pipes. I also would like to mount the completed body on a trolley, the same trolley that was used on the continuation series built in 2019. By doing so, all the extra details I added would remain visible. So I think I'll give these things some thought.
-
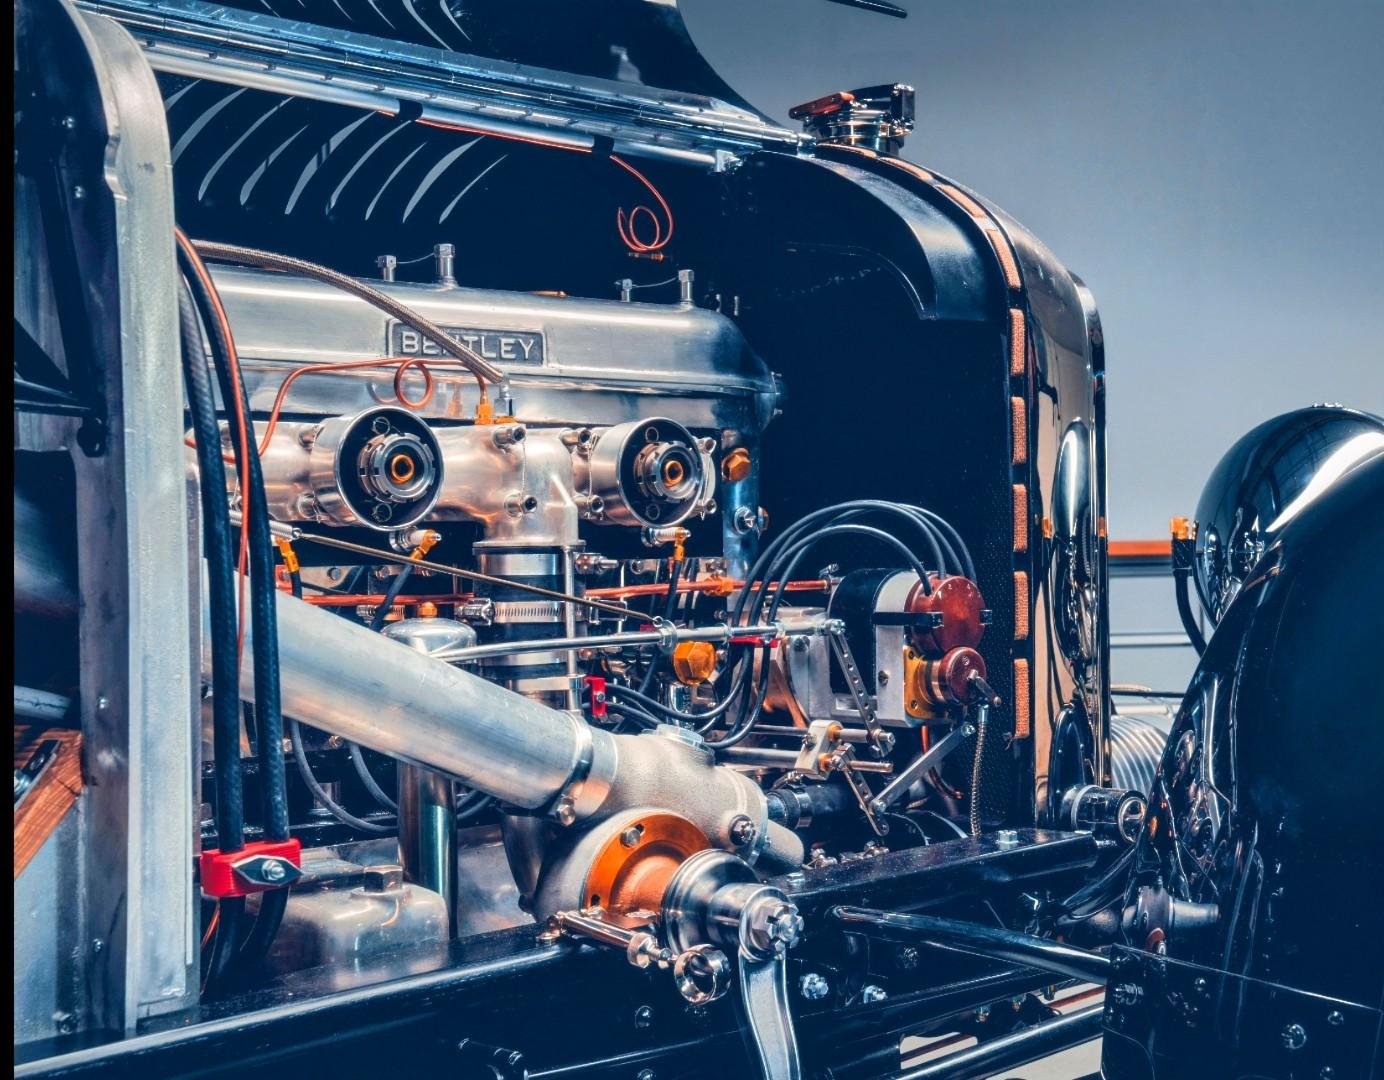
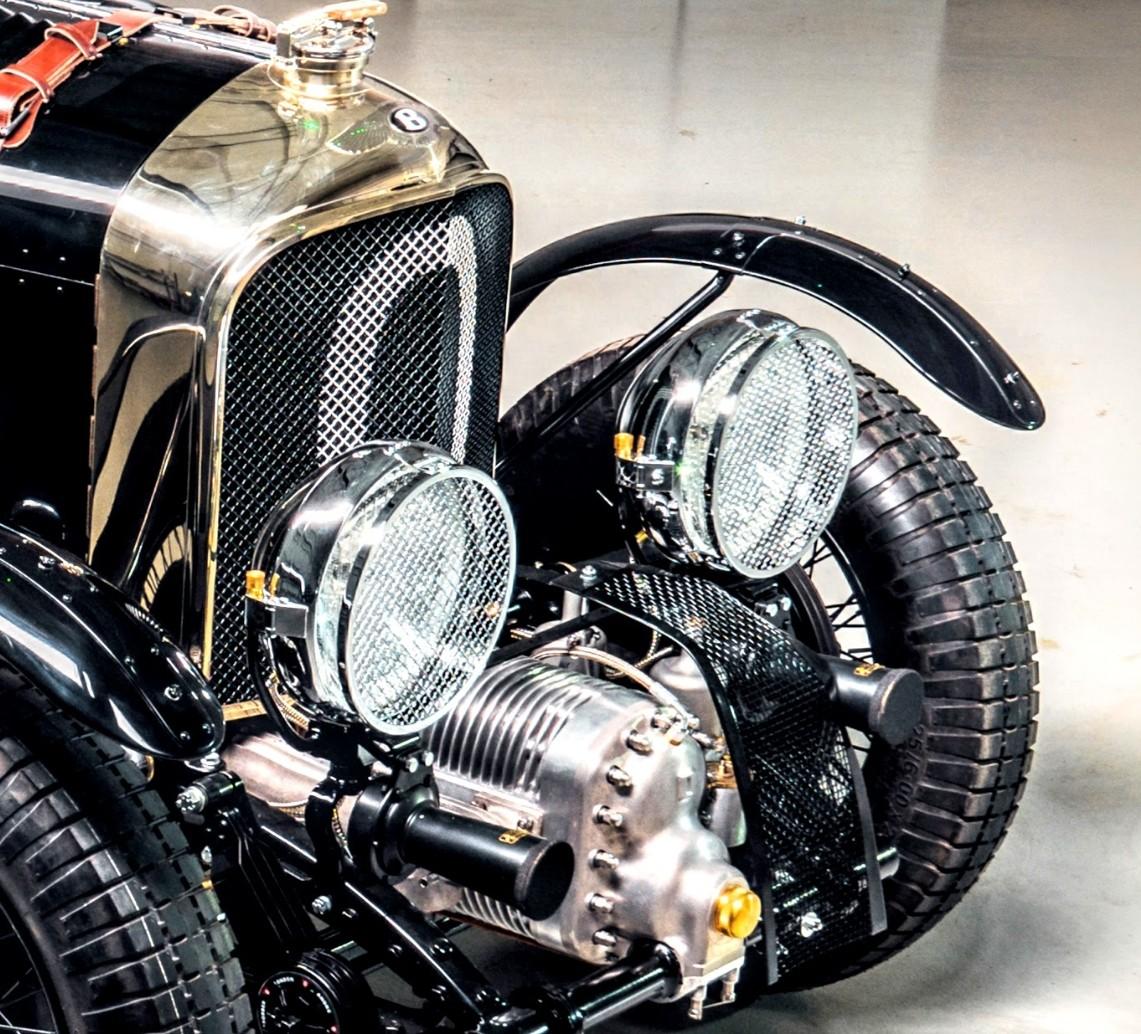
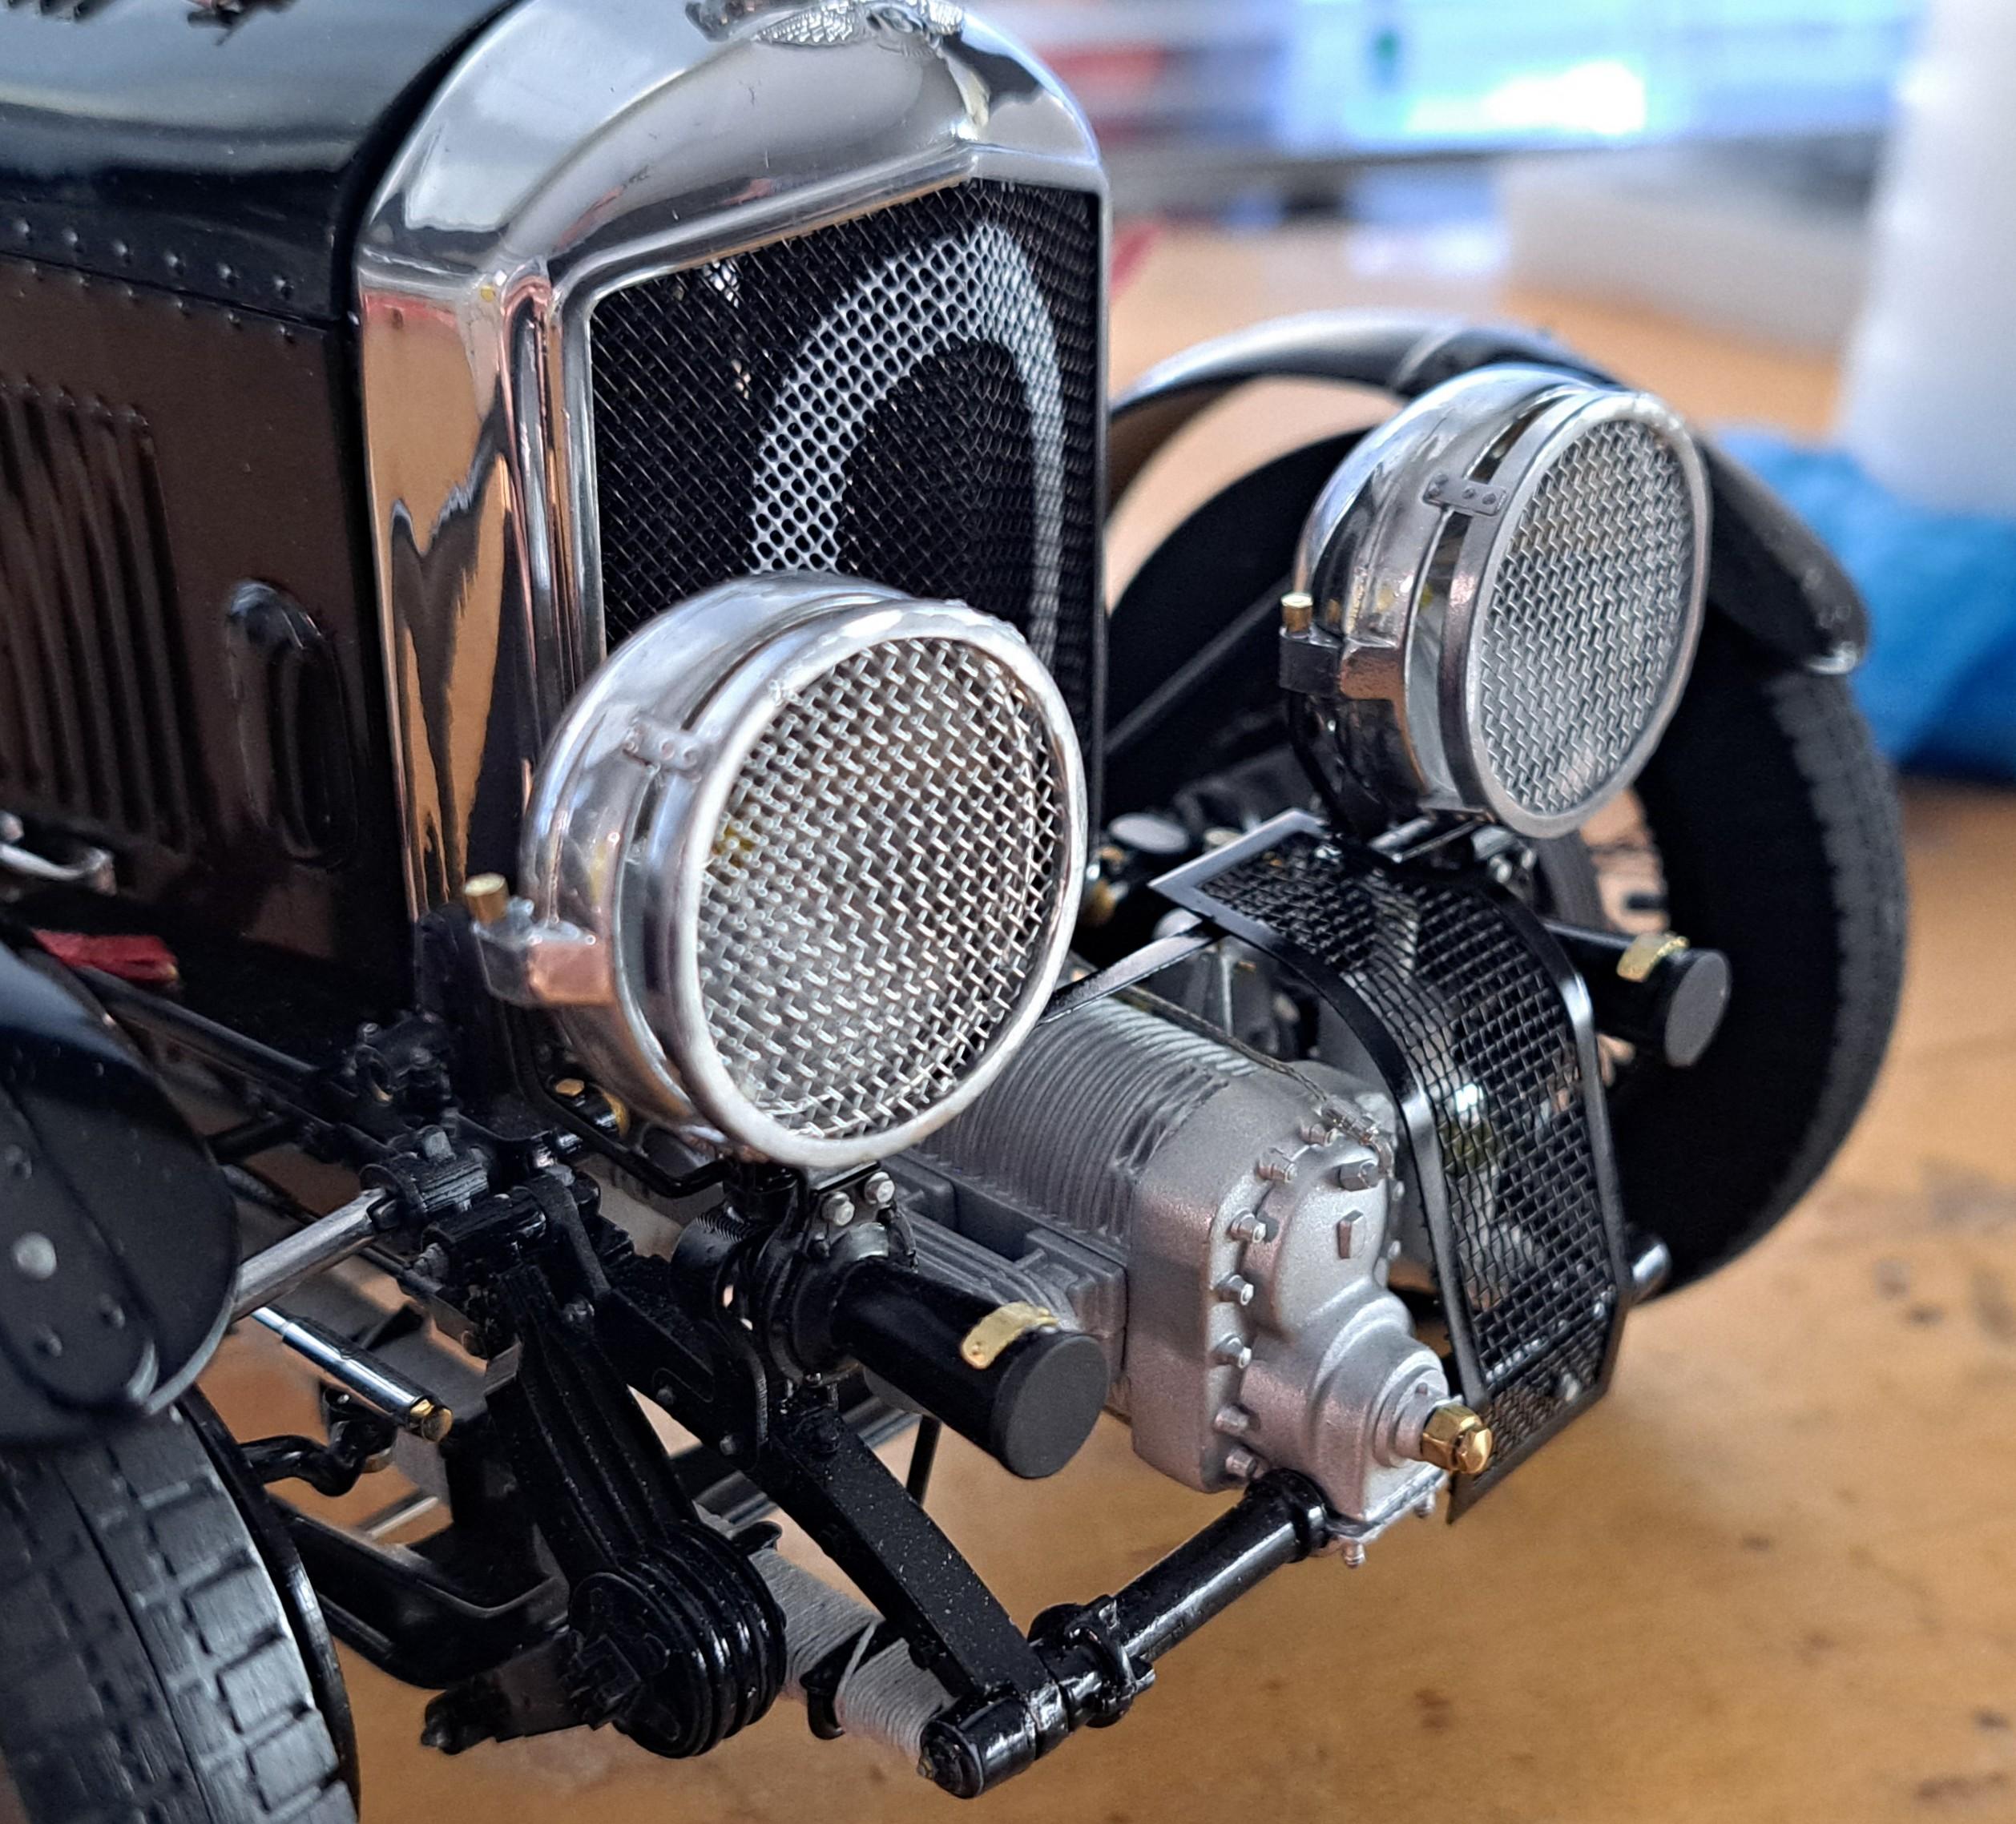
Finished the cam cover today, complete with lockwire. And fabricated the carburator guard out of aluminium and wire mesh. And the real thing
-
Oldrevellfan, how would that work exactly ? Can I glue wet leather or does it need to dry first? It seems to be already pretty flexible. And very thin
-
Many thanks to everyone for the positive feed back. I'm almost down to what I consider to be the most difficult part of this build, covering the boby and finishing the interior. This is where this build becomes a real show piece or remains a very nice model. I received a thin lamb skin leather sheet, it's only .3mm thick (.01in). I think it will do nicely to simulate the rexine. It's very flexible, thin enough for all the curves (I hope) and has just enough shine to it. I have an image in my head of what the final setup will be, model and display case. I'm just not exactly sure how I'll go about it, after all I've only been thinking of this for 18 months !! But I'm confident I'll figure something out.
-
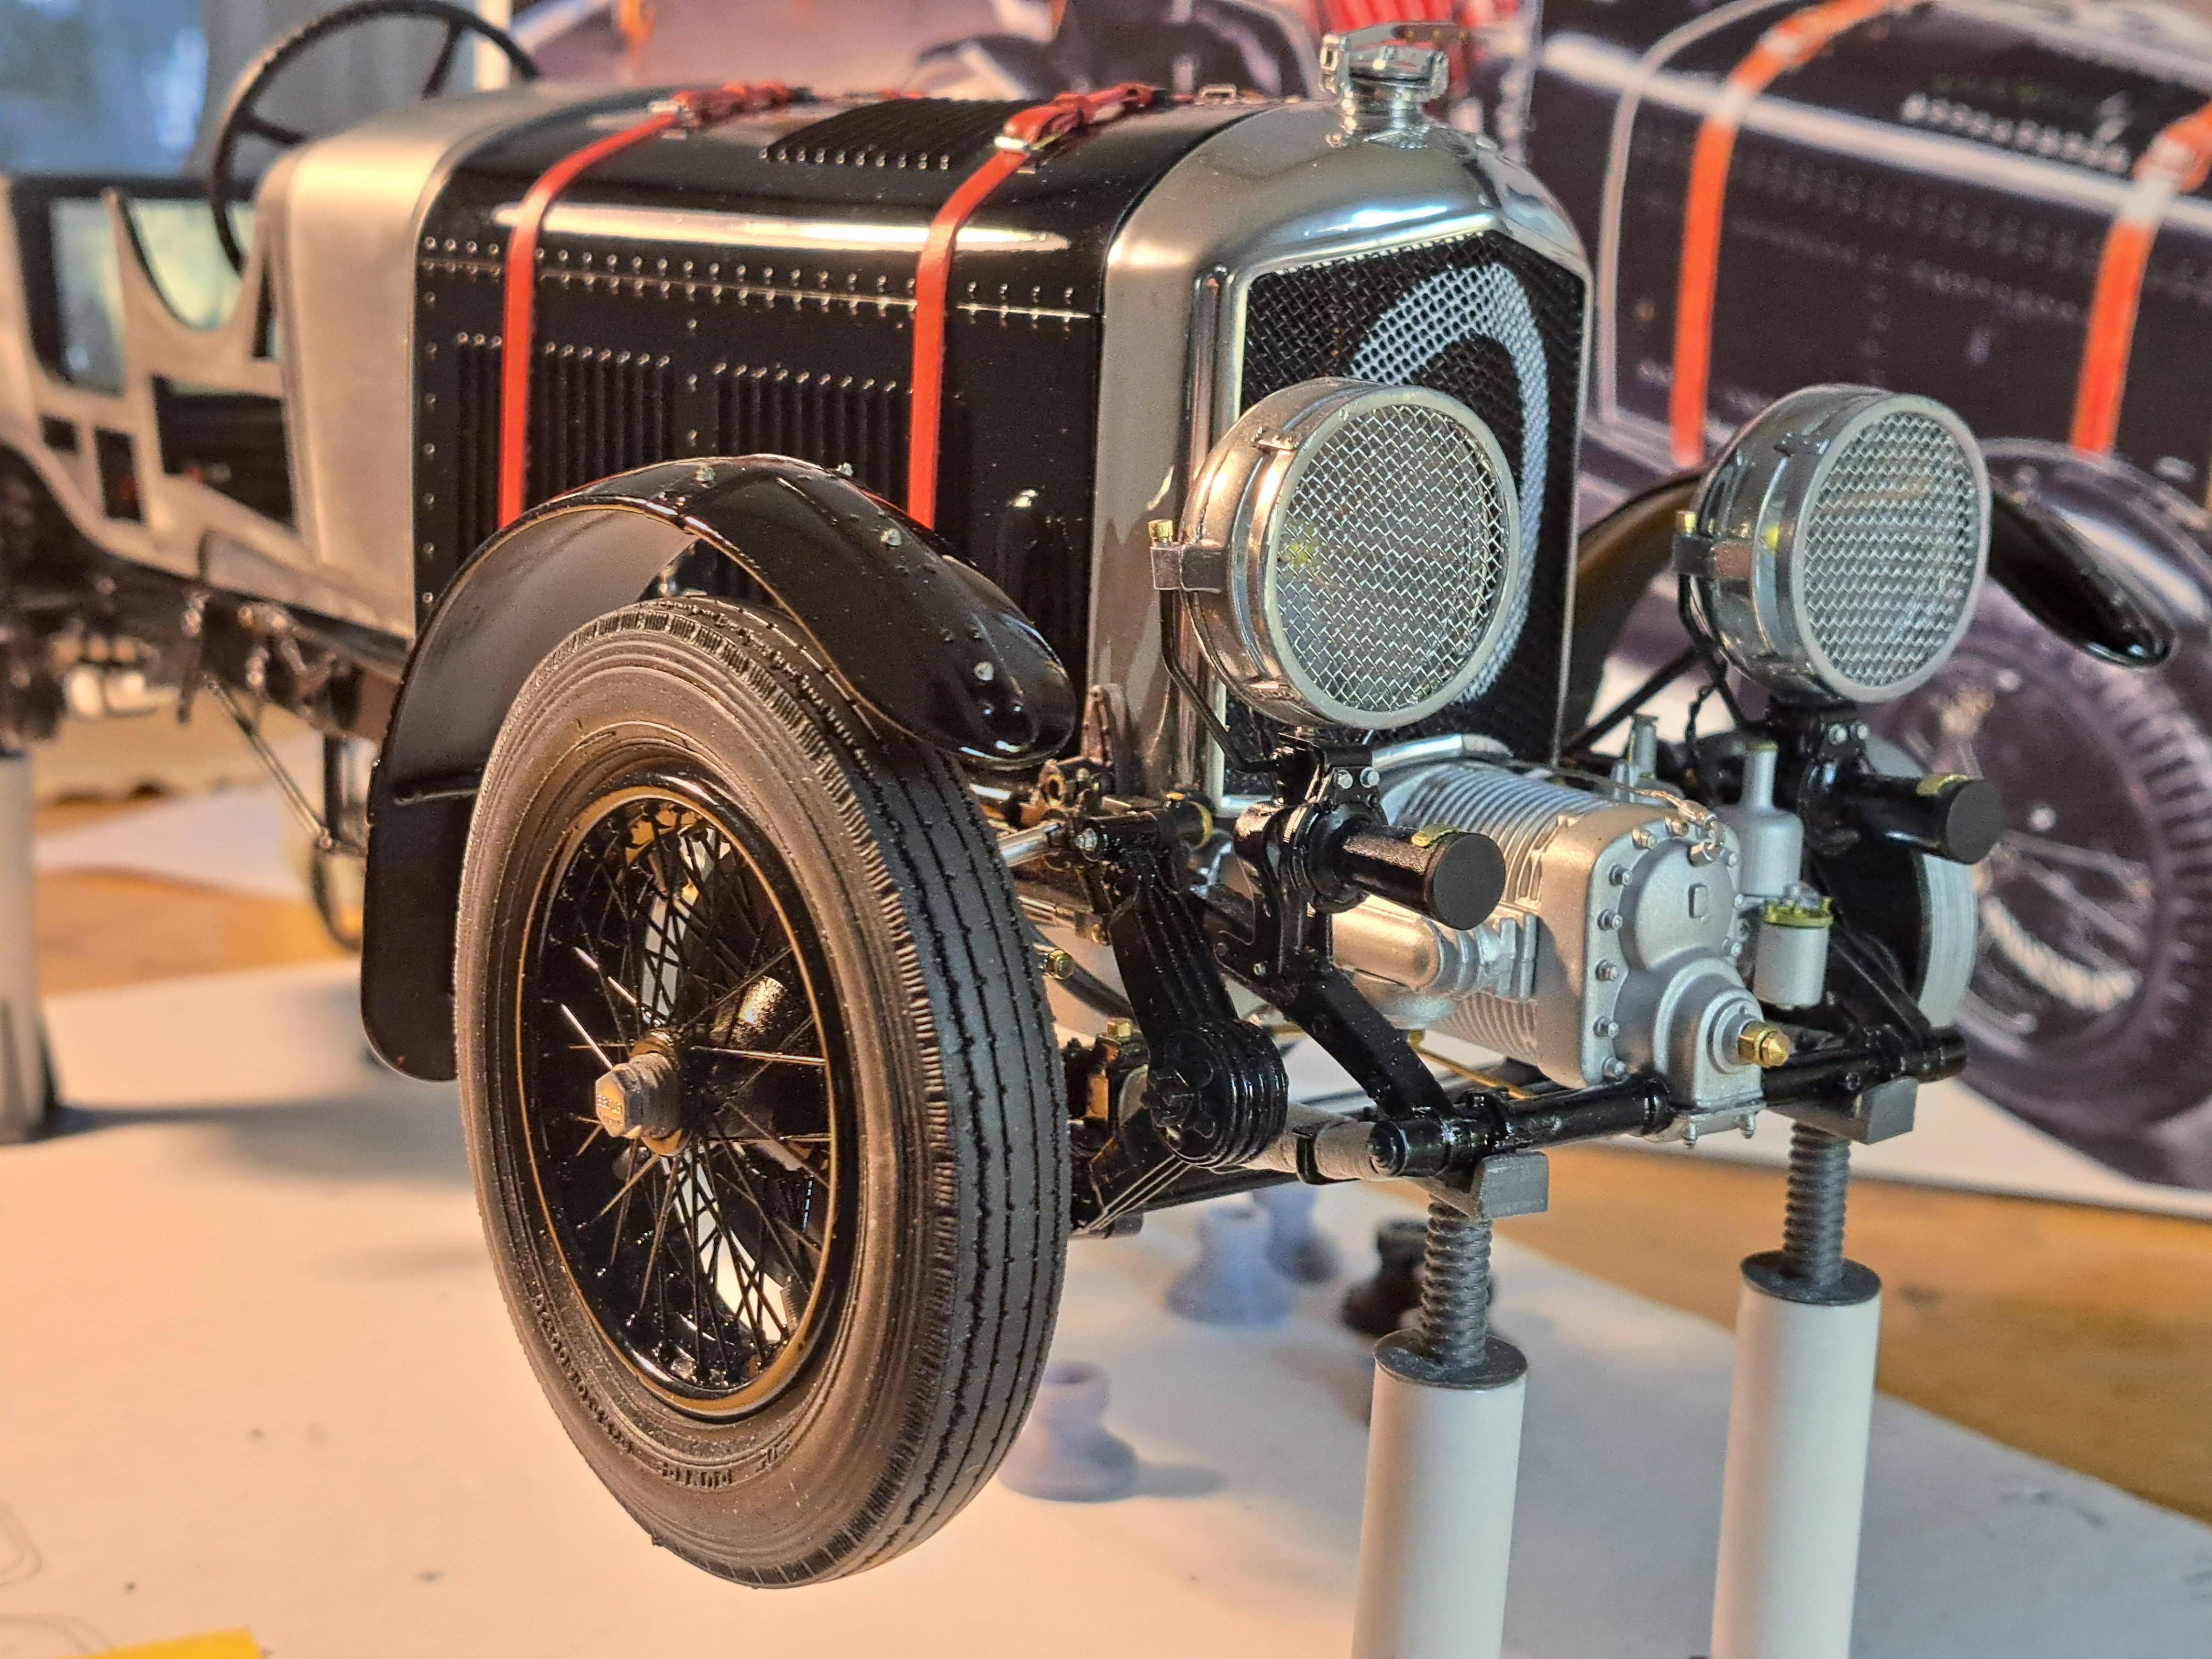
First time on all 4's! 4 out of 5 tires are mounted on the wheels, I had a little problem with the 5th and had to reprint it. The tires on my ref car have a little shine to them (armour all maybe?). I know it's not period correct but again, I'm aiming to reproduce a car built in 2019 so I but a little bit of floor wax on mine to give them a shine. I am more than satisfied with the result.
-
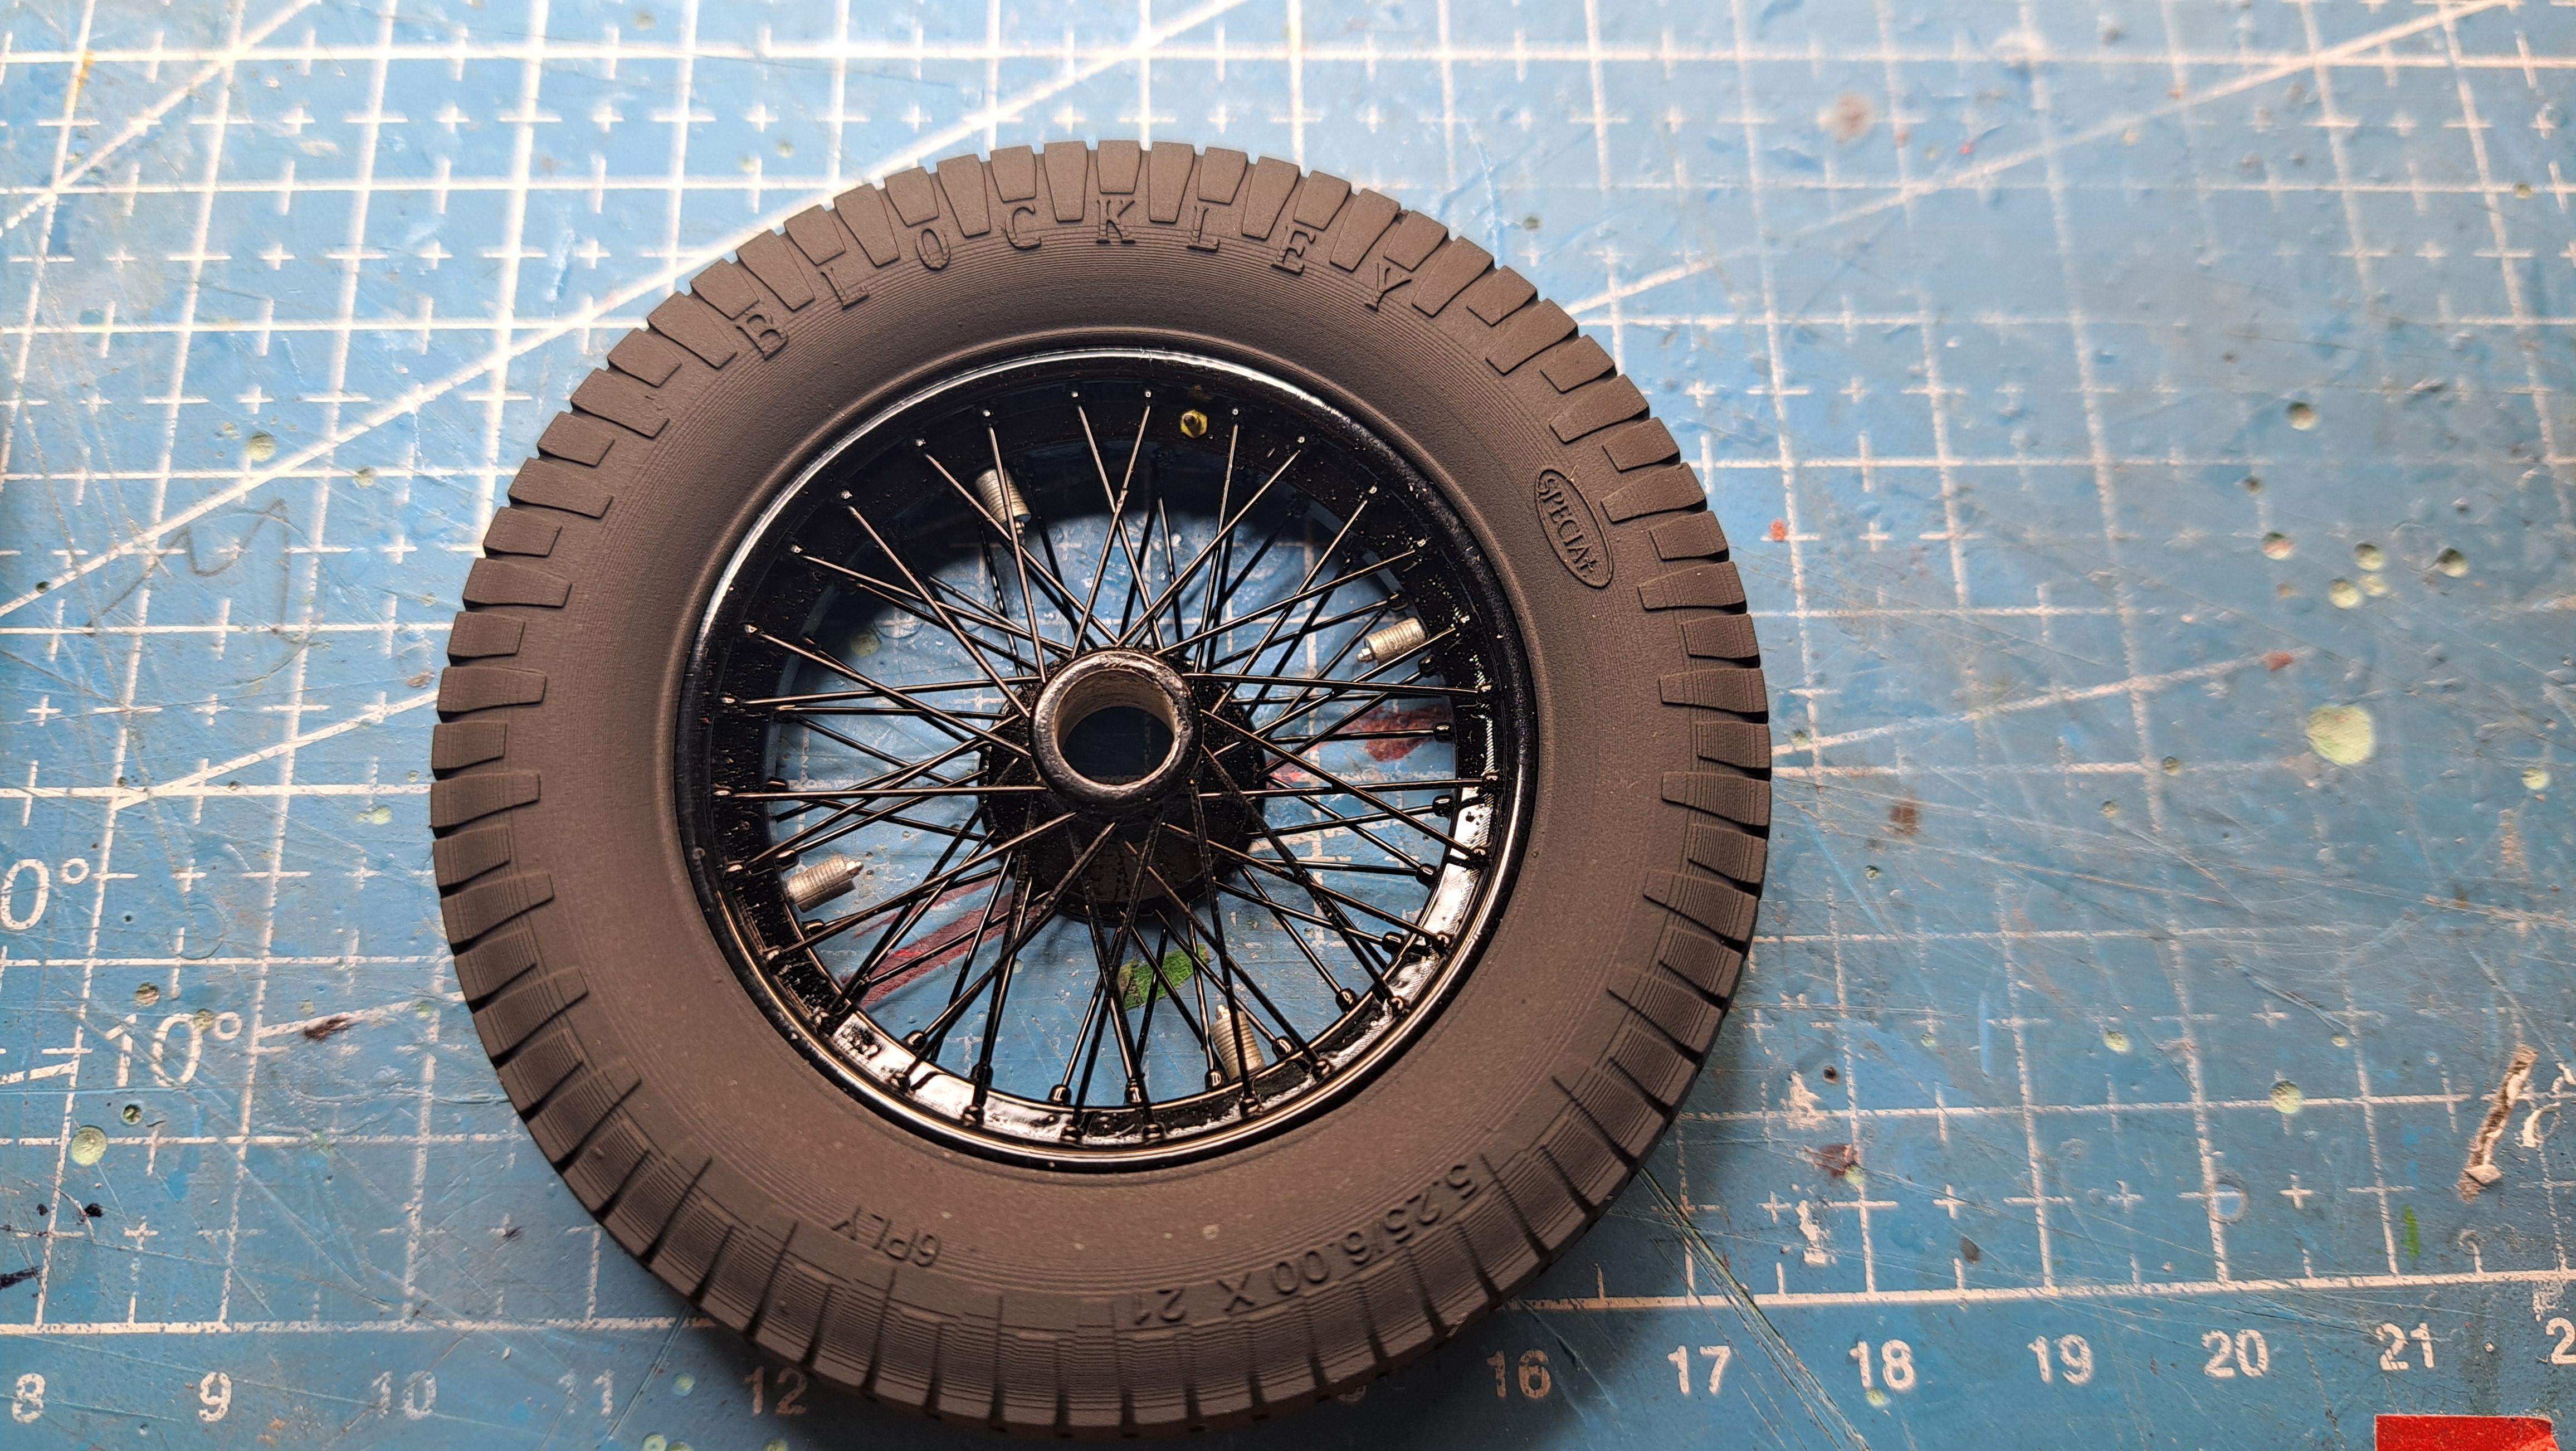
Thank you Philip As requested, here are a few pictures of the finished wheels. Just need to mount the tires. I'm affraid it might prove to be quite difficult since I printed them with a hard resin. If they don't fit properly, I guess I'll have to get the quite expensive rubber resin.
-
Finaly finished lasing the wheel, they are primed and ready for paint.
-
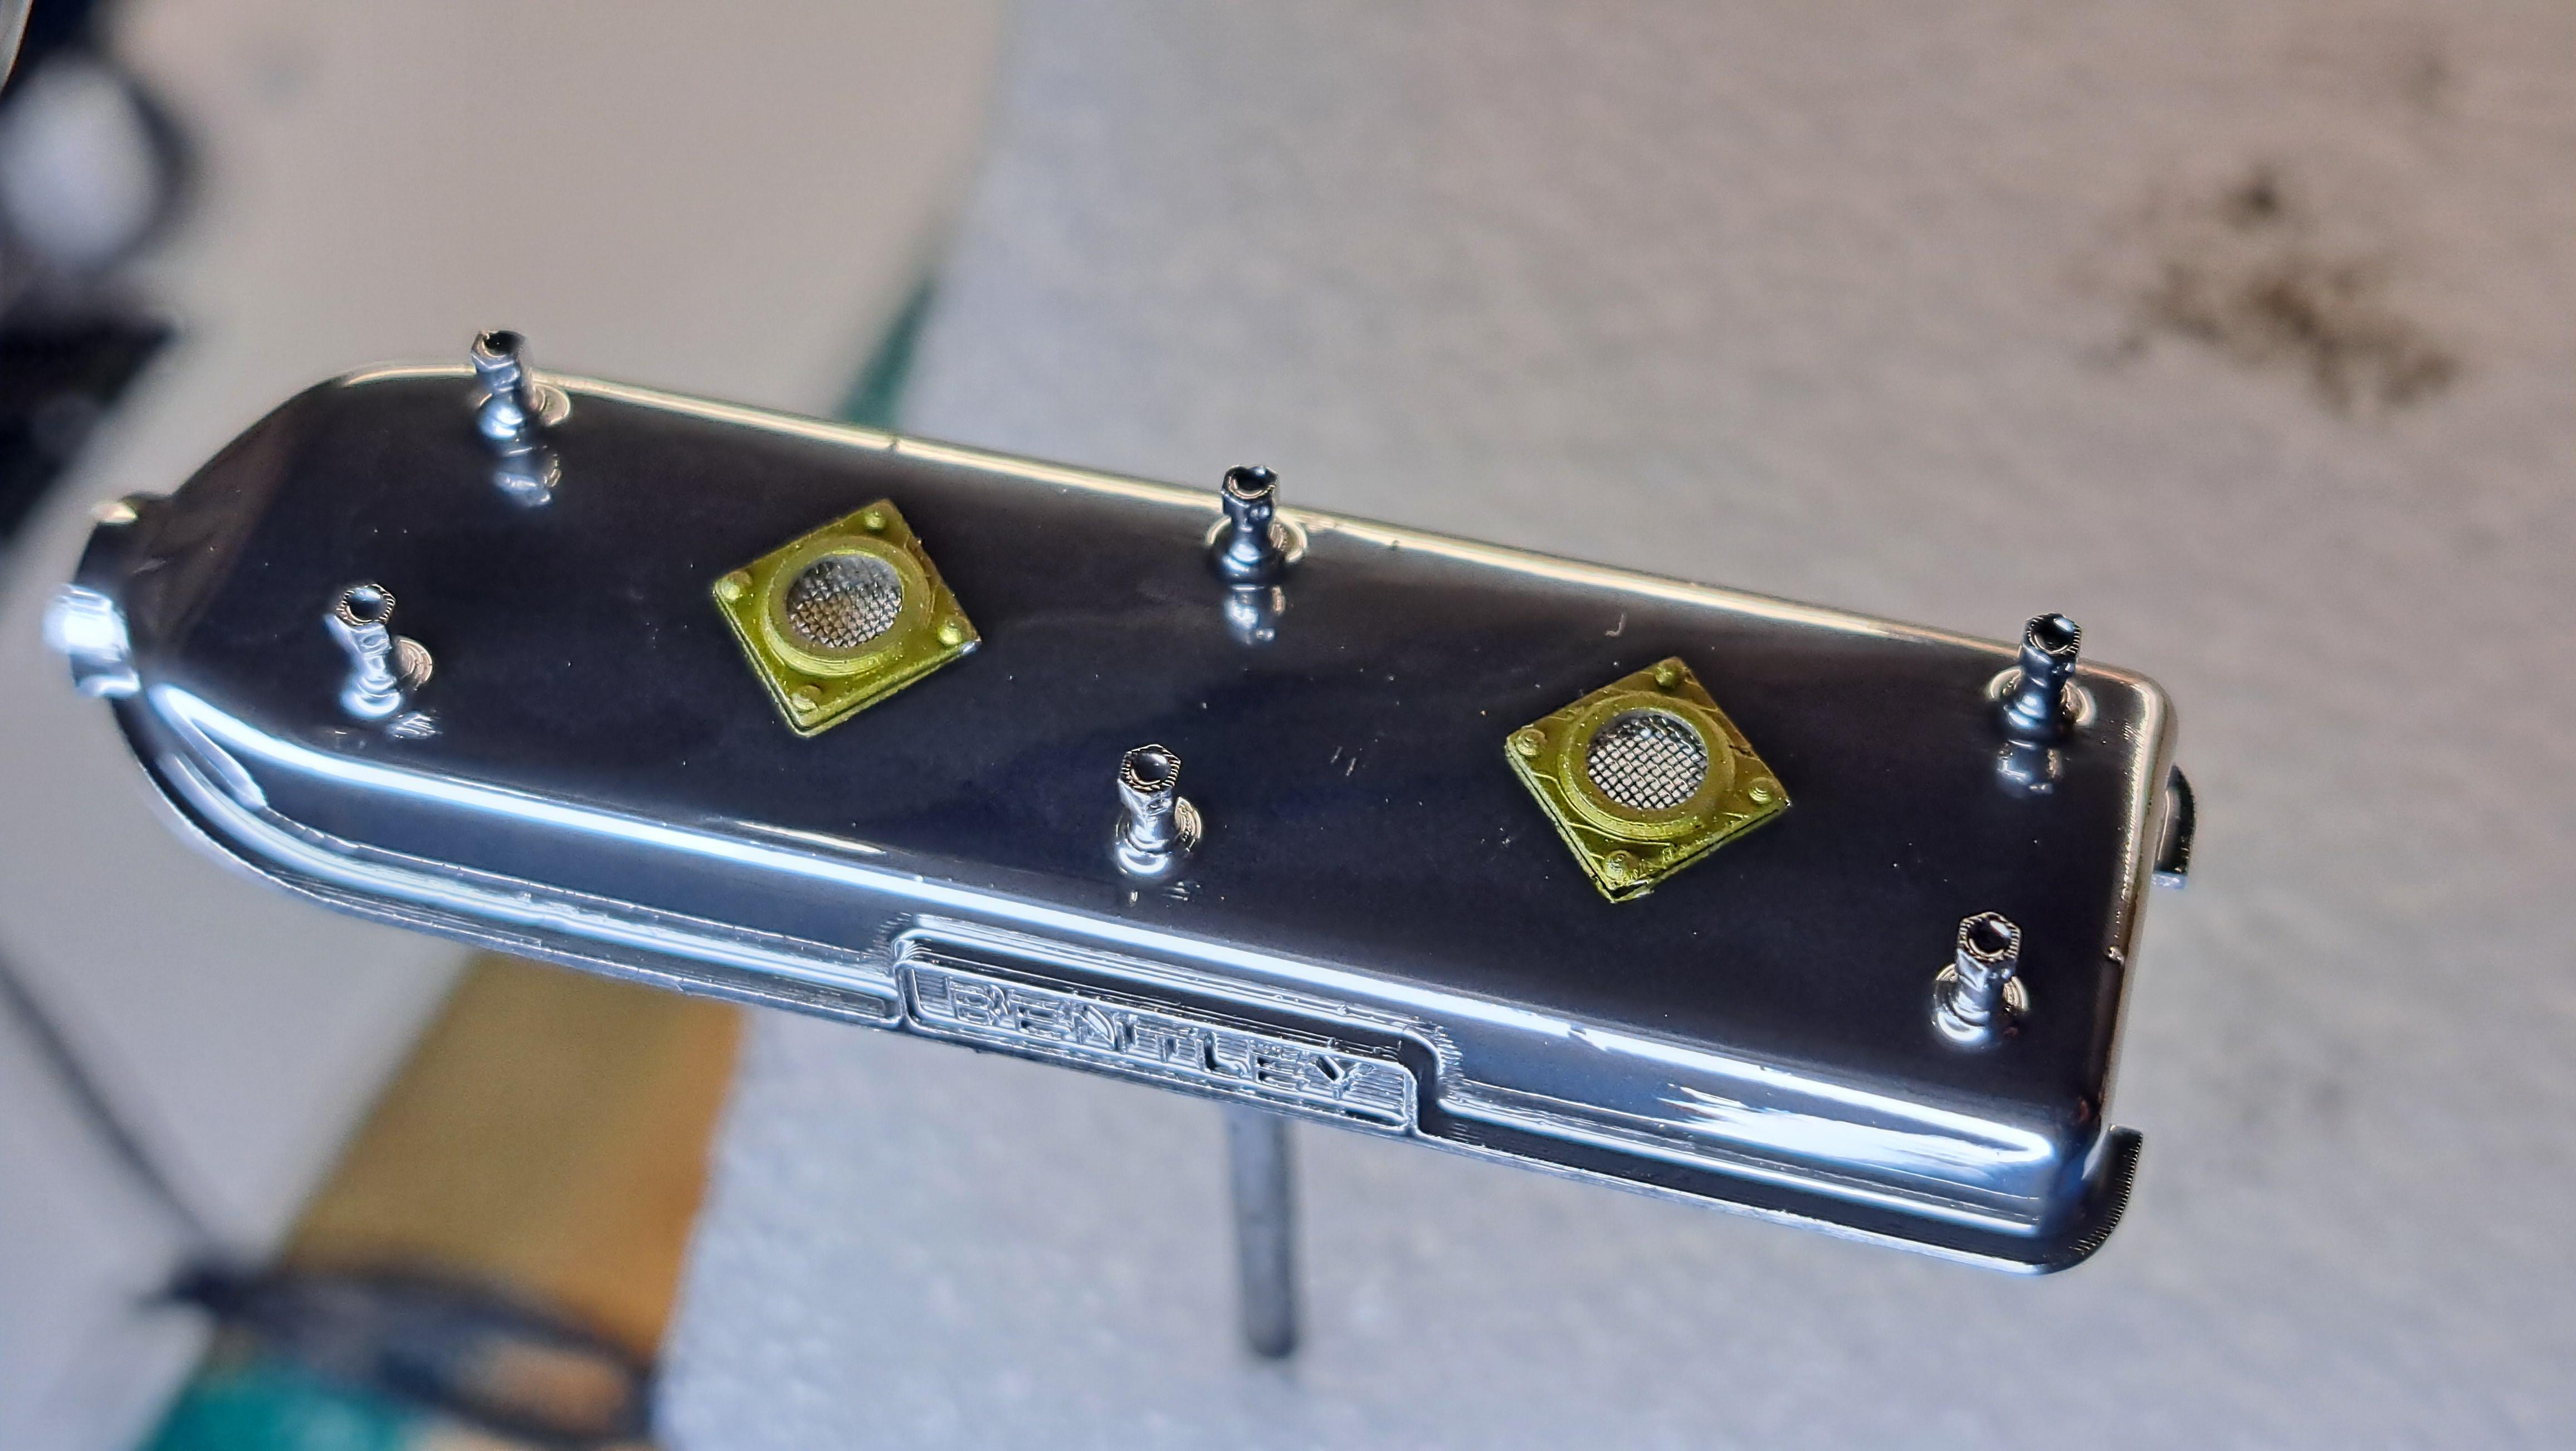
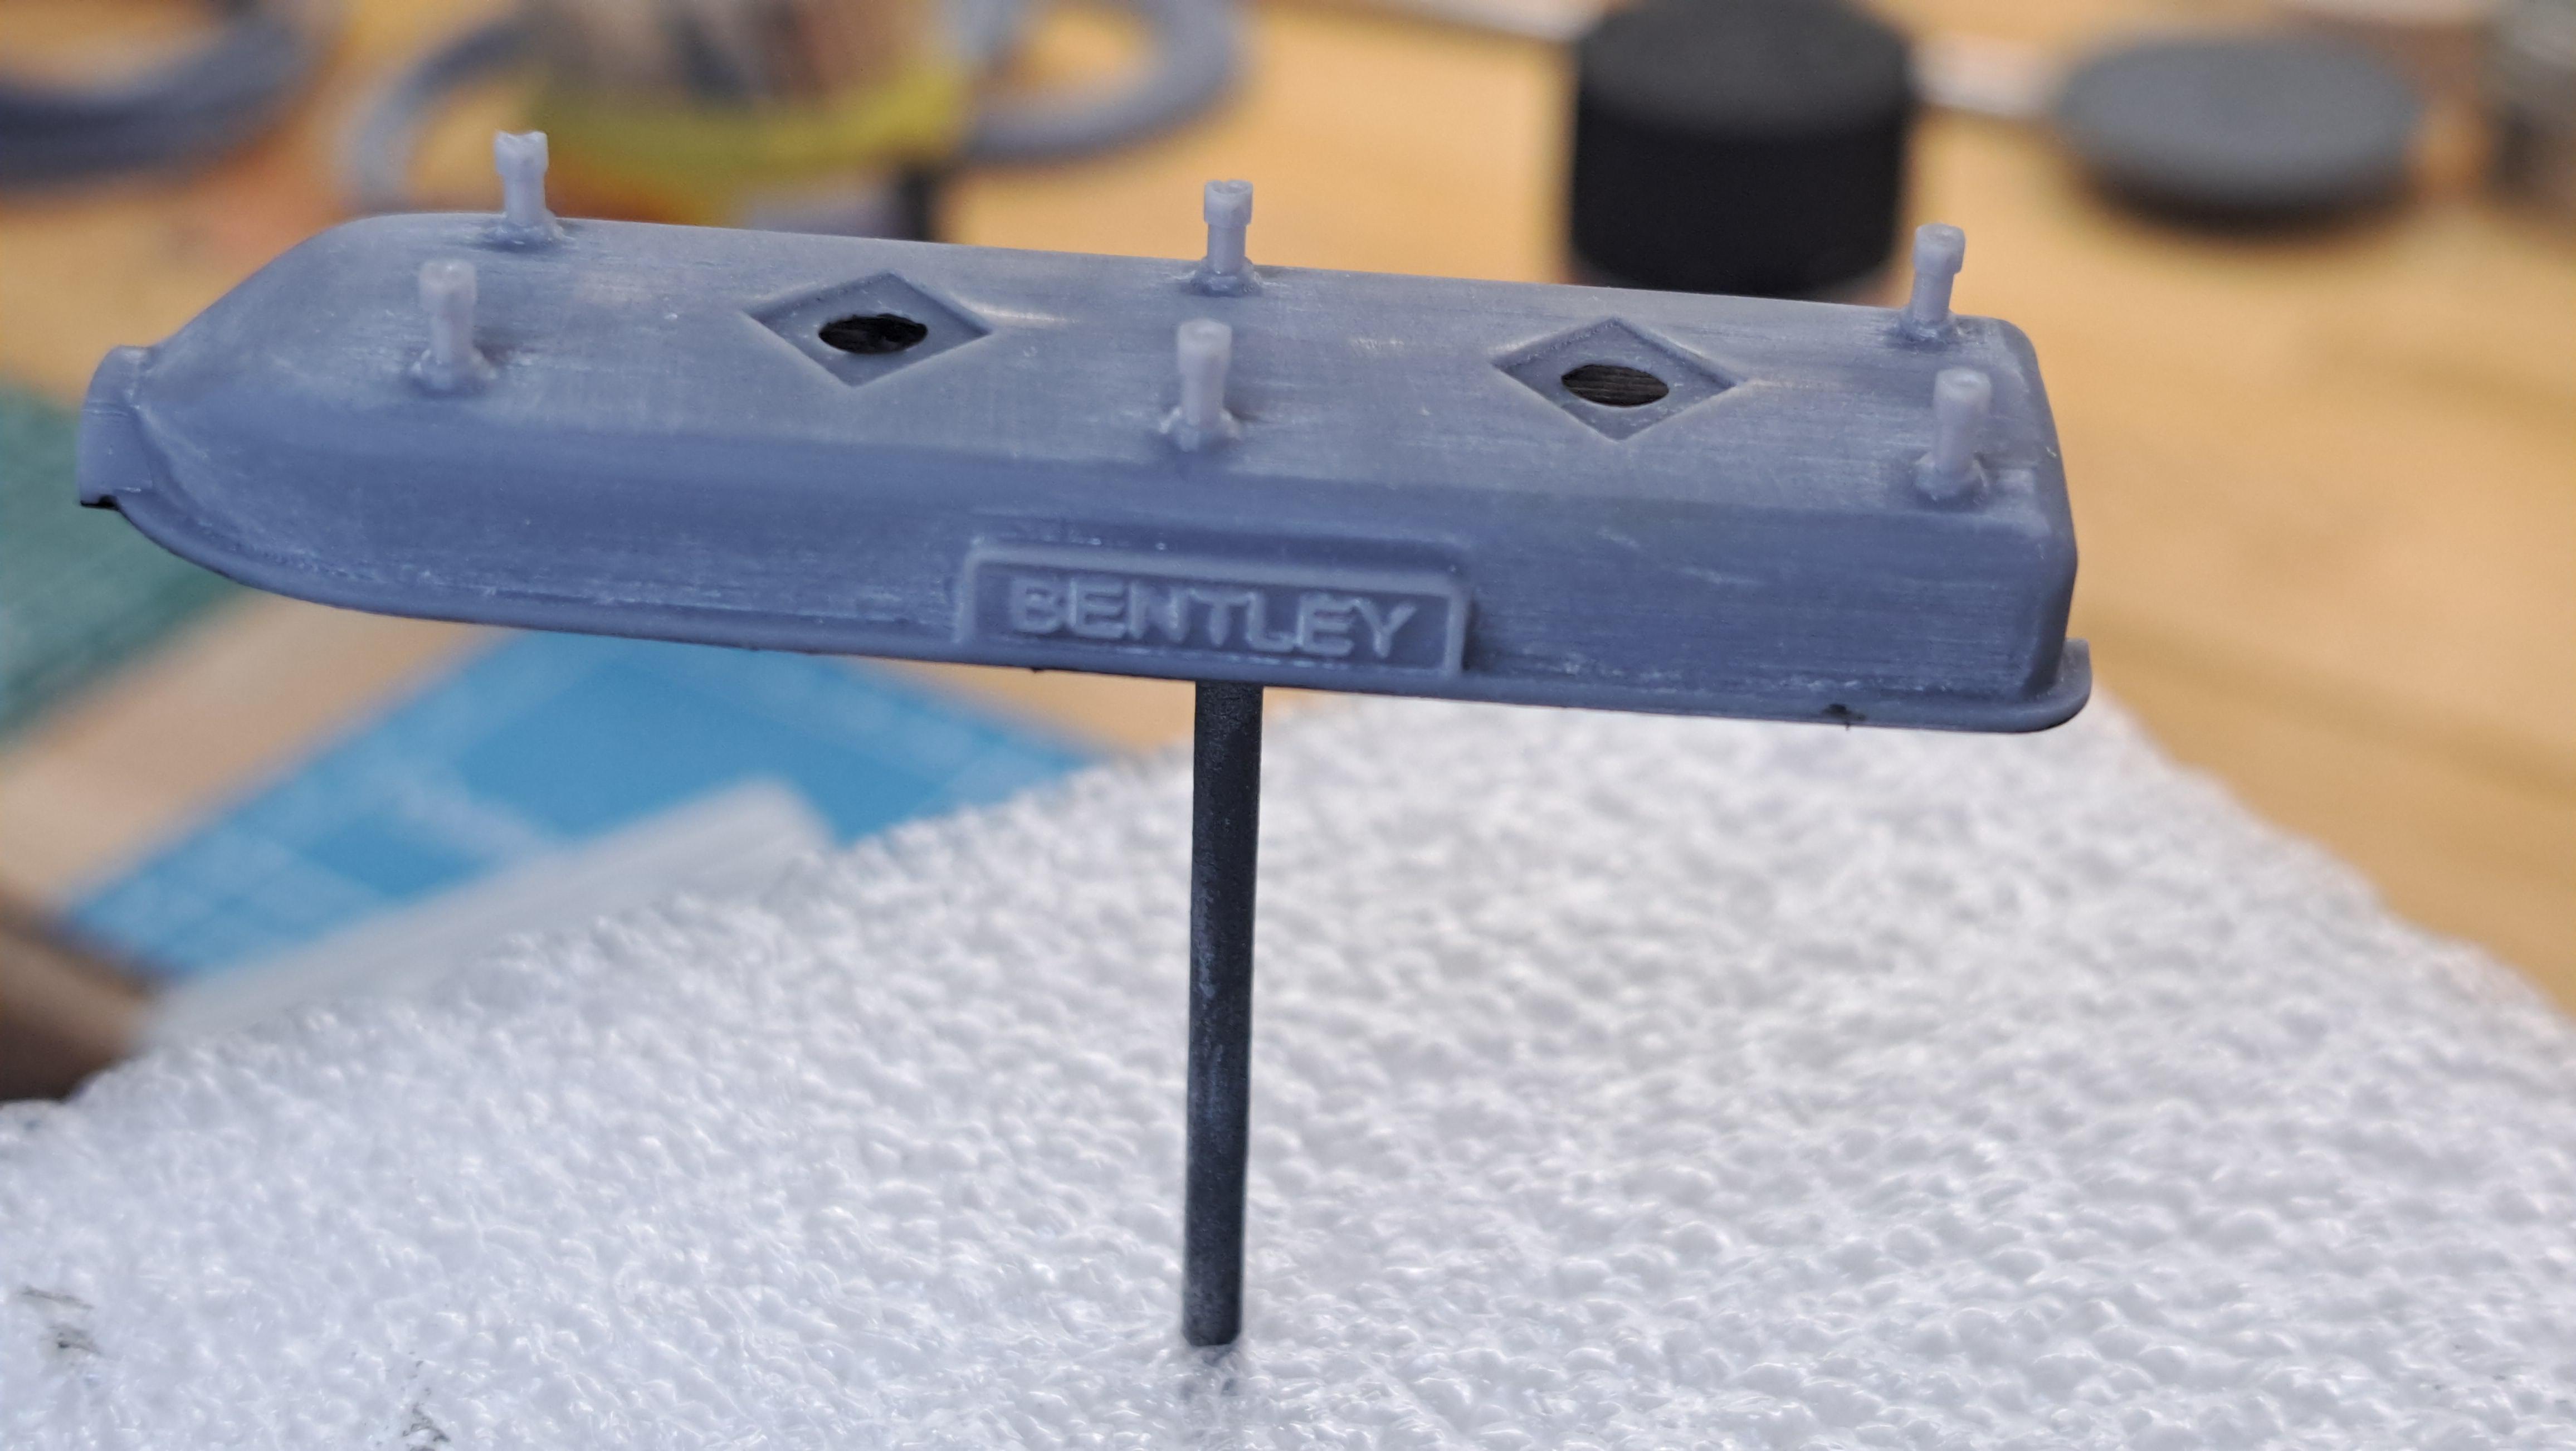
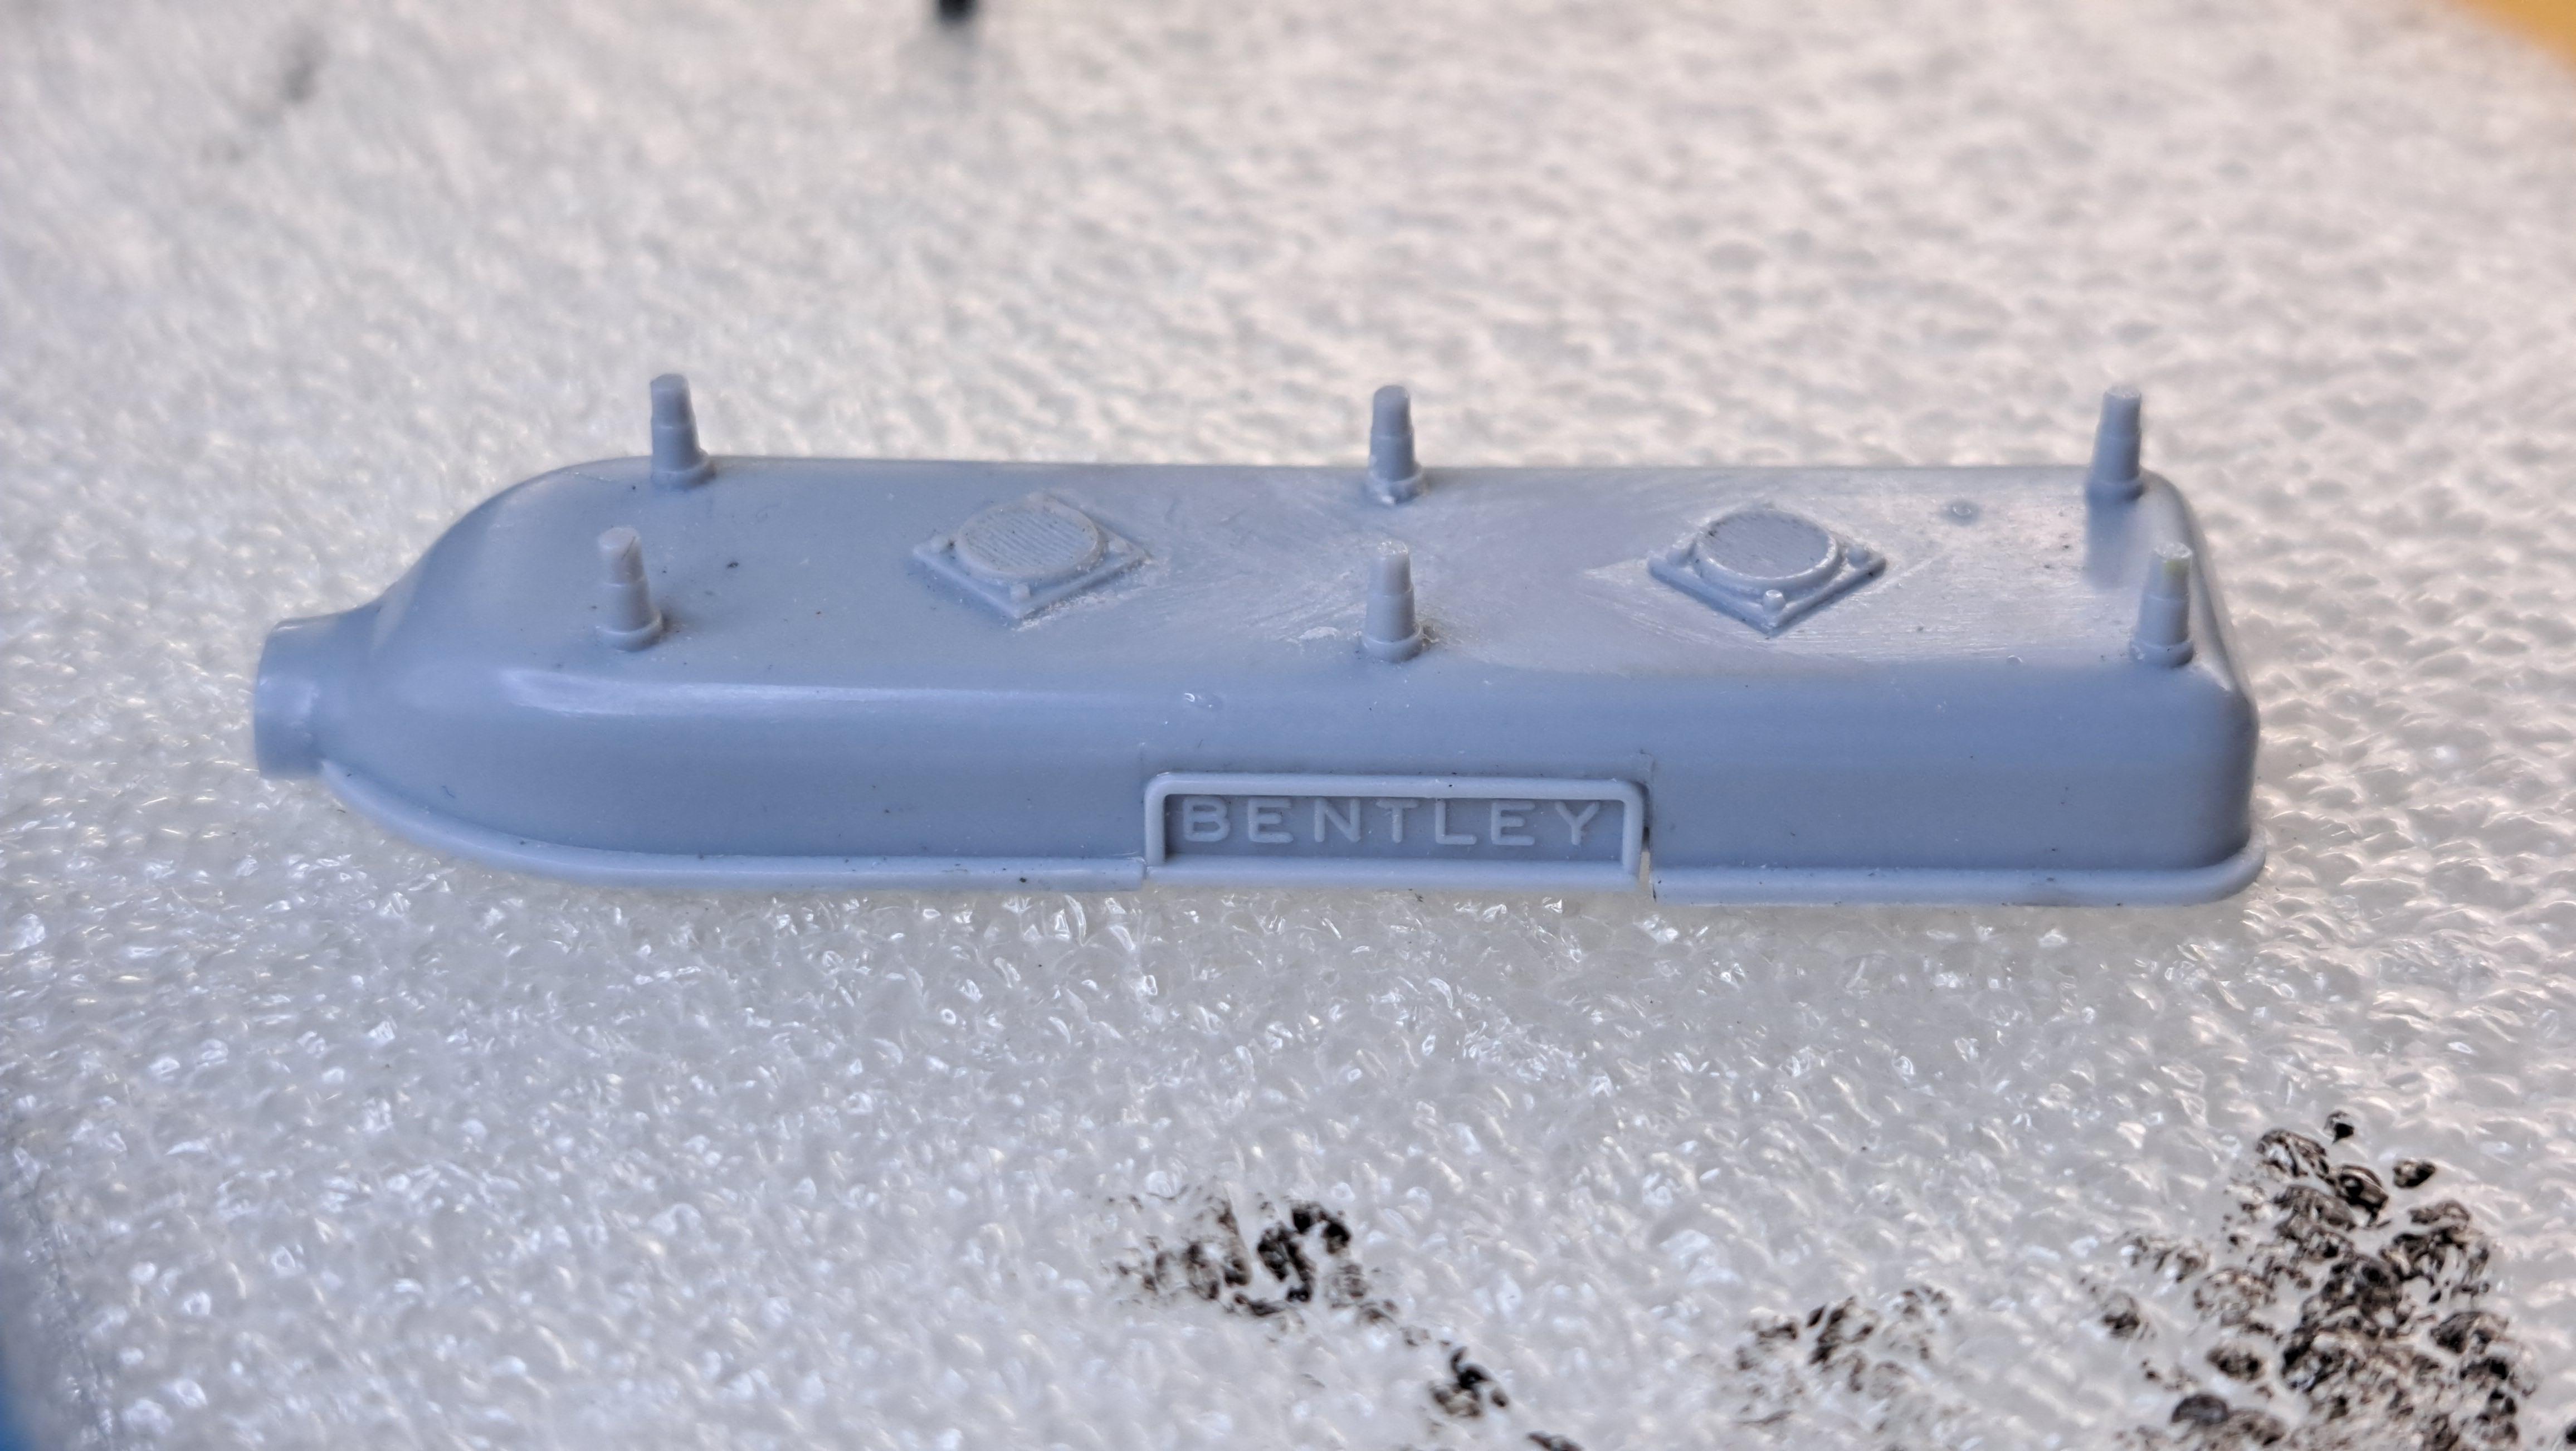
I still have many loose ends to tie up. One of these is the engine top cover. Again, the kit cover, while being ok, is not great. For one thing, the breather plates and mesh are moulded in and not well defined and the 6 mounting bolts don't have the correct shape nor do they have the lockwire holes in them. So I decided to model it and print it. Here's the kit's cover with everything moulded in Here's my print. It's hard to see but all 6 studs have a tiny hole on It's tip for the lockwire The kit's moulded breather plate next to mine which has a micro mesh My cover chromed and with the vents installed, still need to paint the contour of the letters in black and to install the lockwire Another loose end was the gas cap. Having already done the radiator cap, it was easy to just modify the cad a bit to make it bigger and to print it. The kit's cap My cap closed With handle opened And lid opened last thing I did today was to paint the tires and a new set of wheel rims. I should be ready to lace them tomorrow.
-
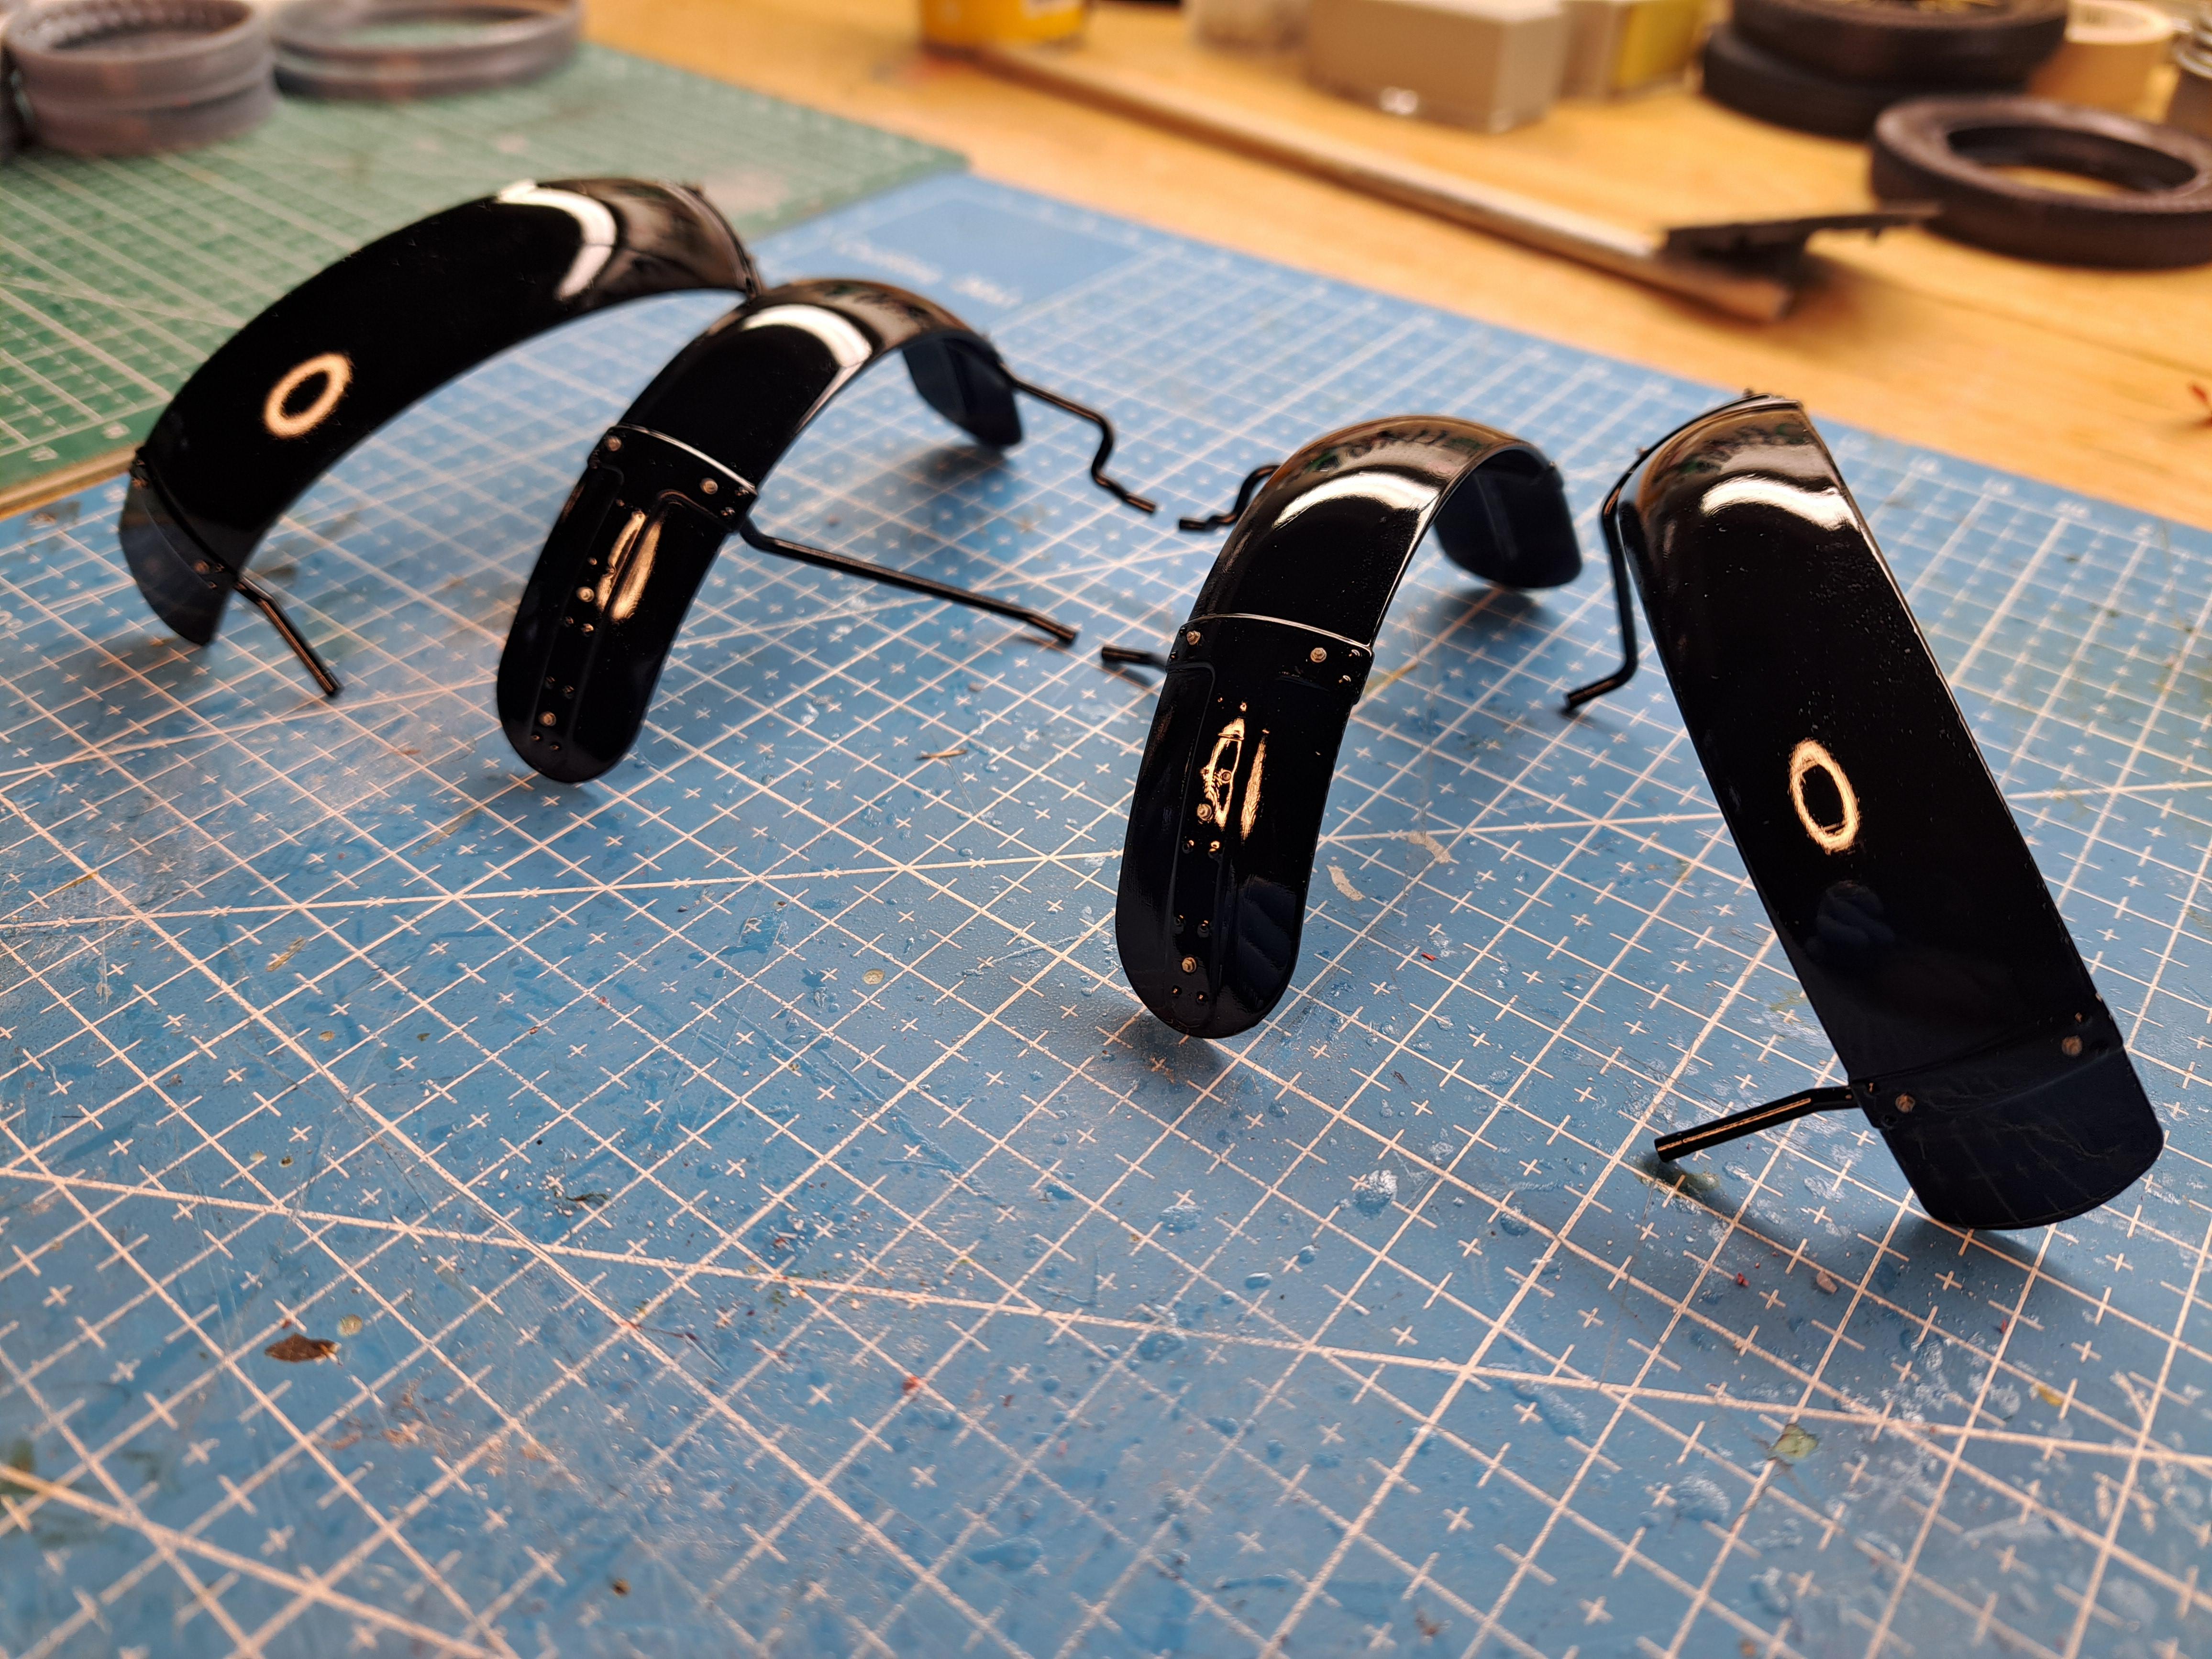
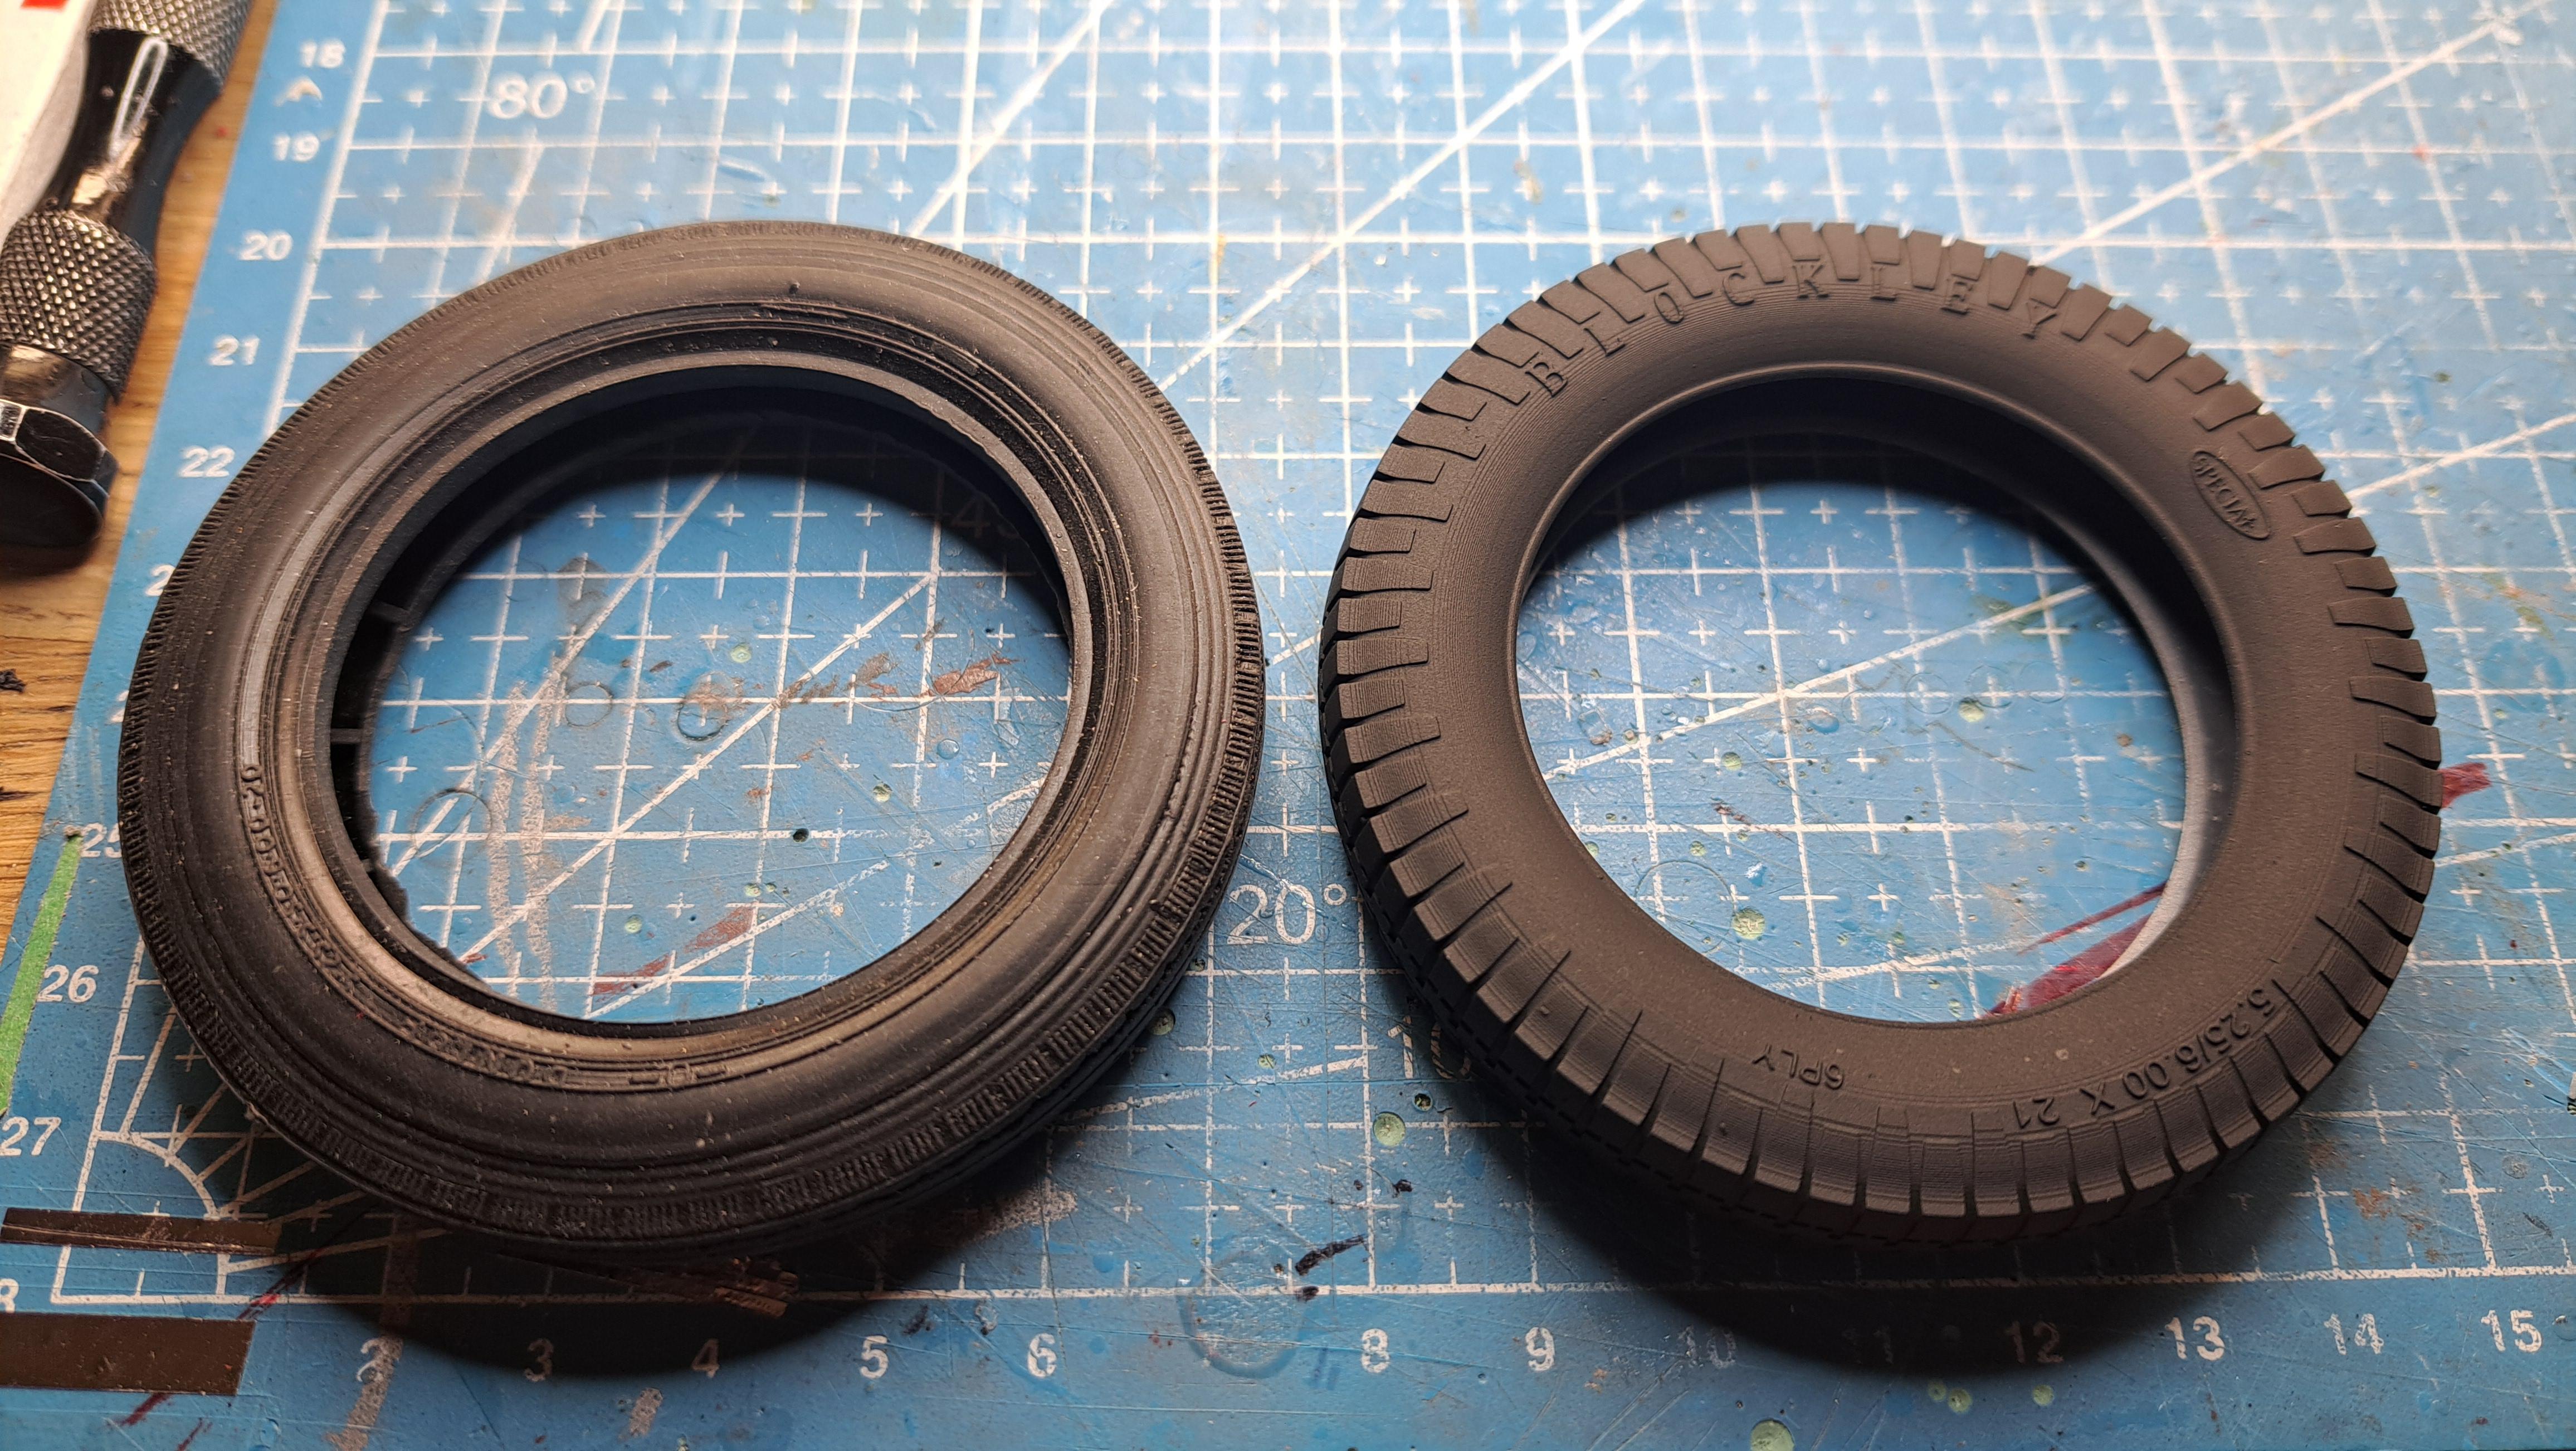
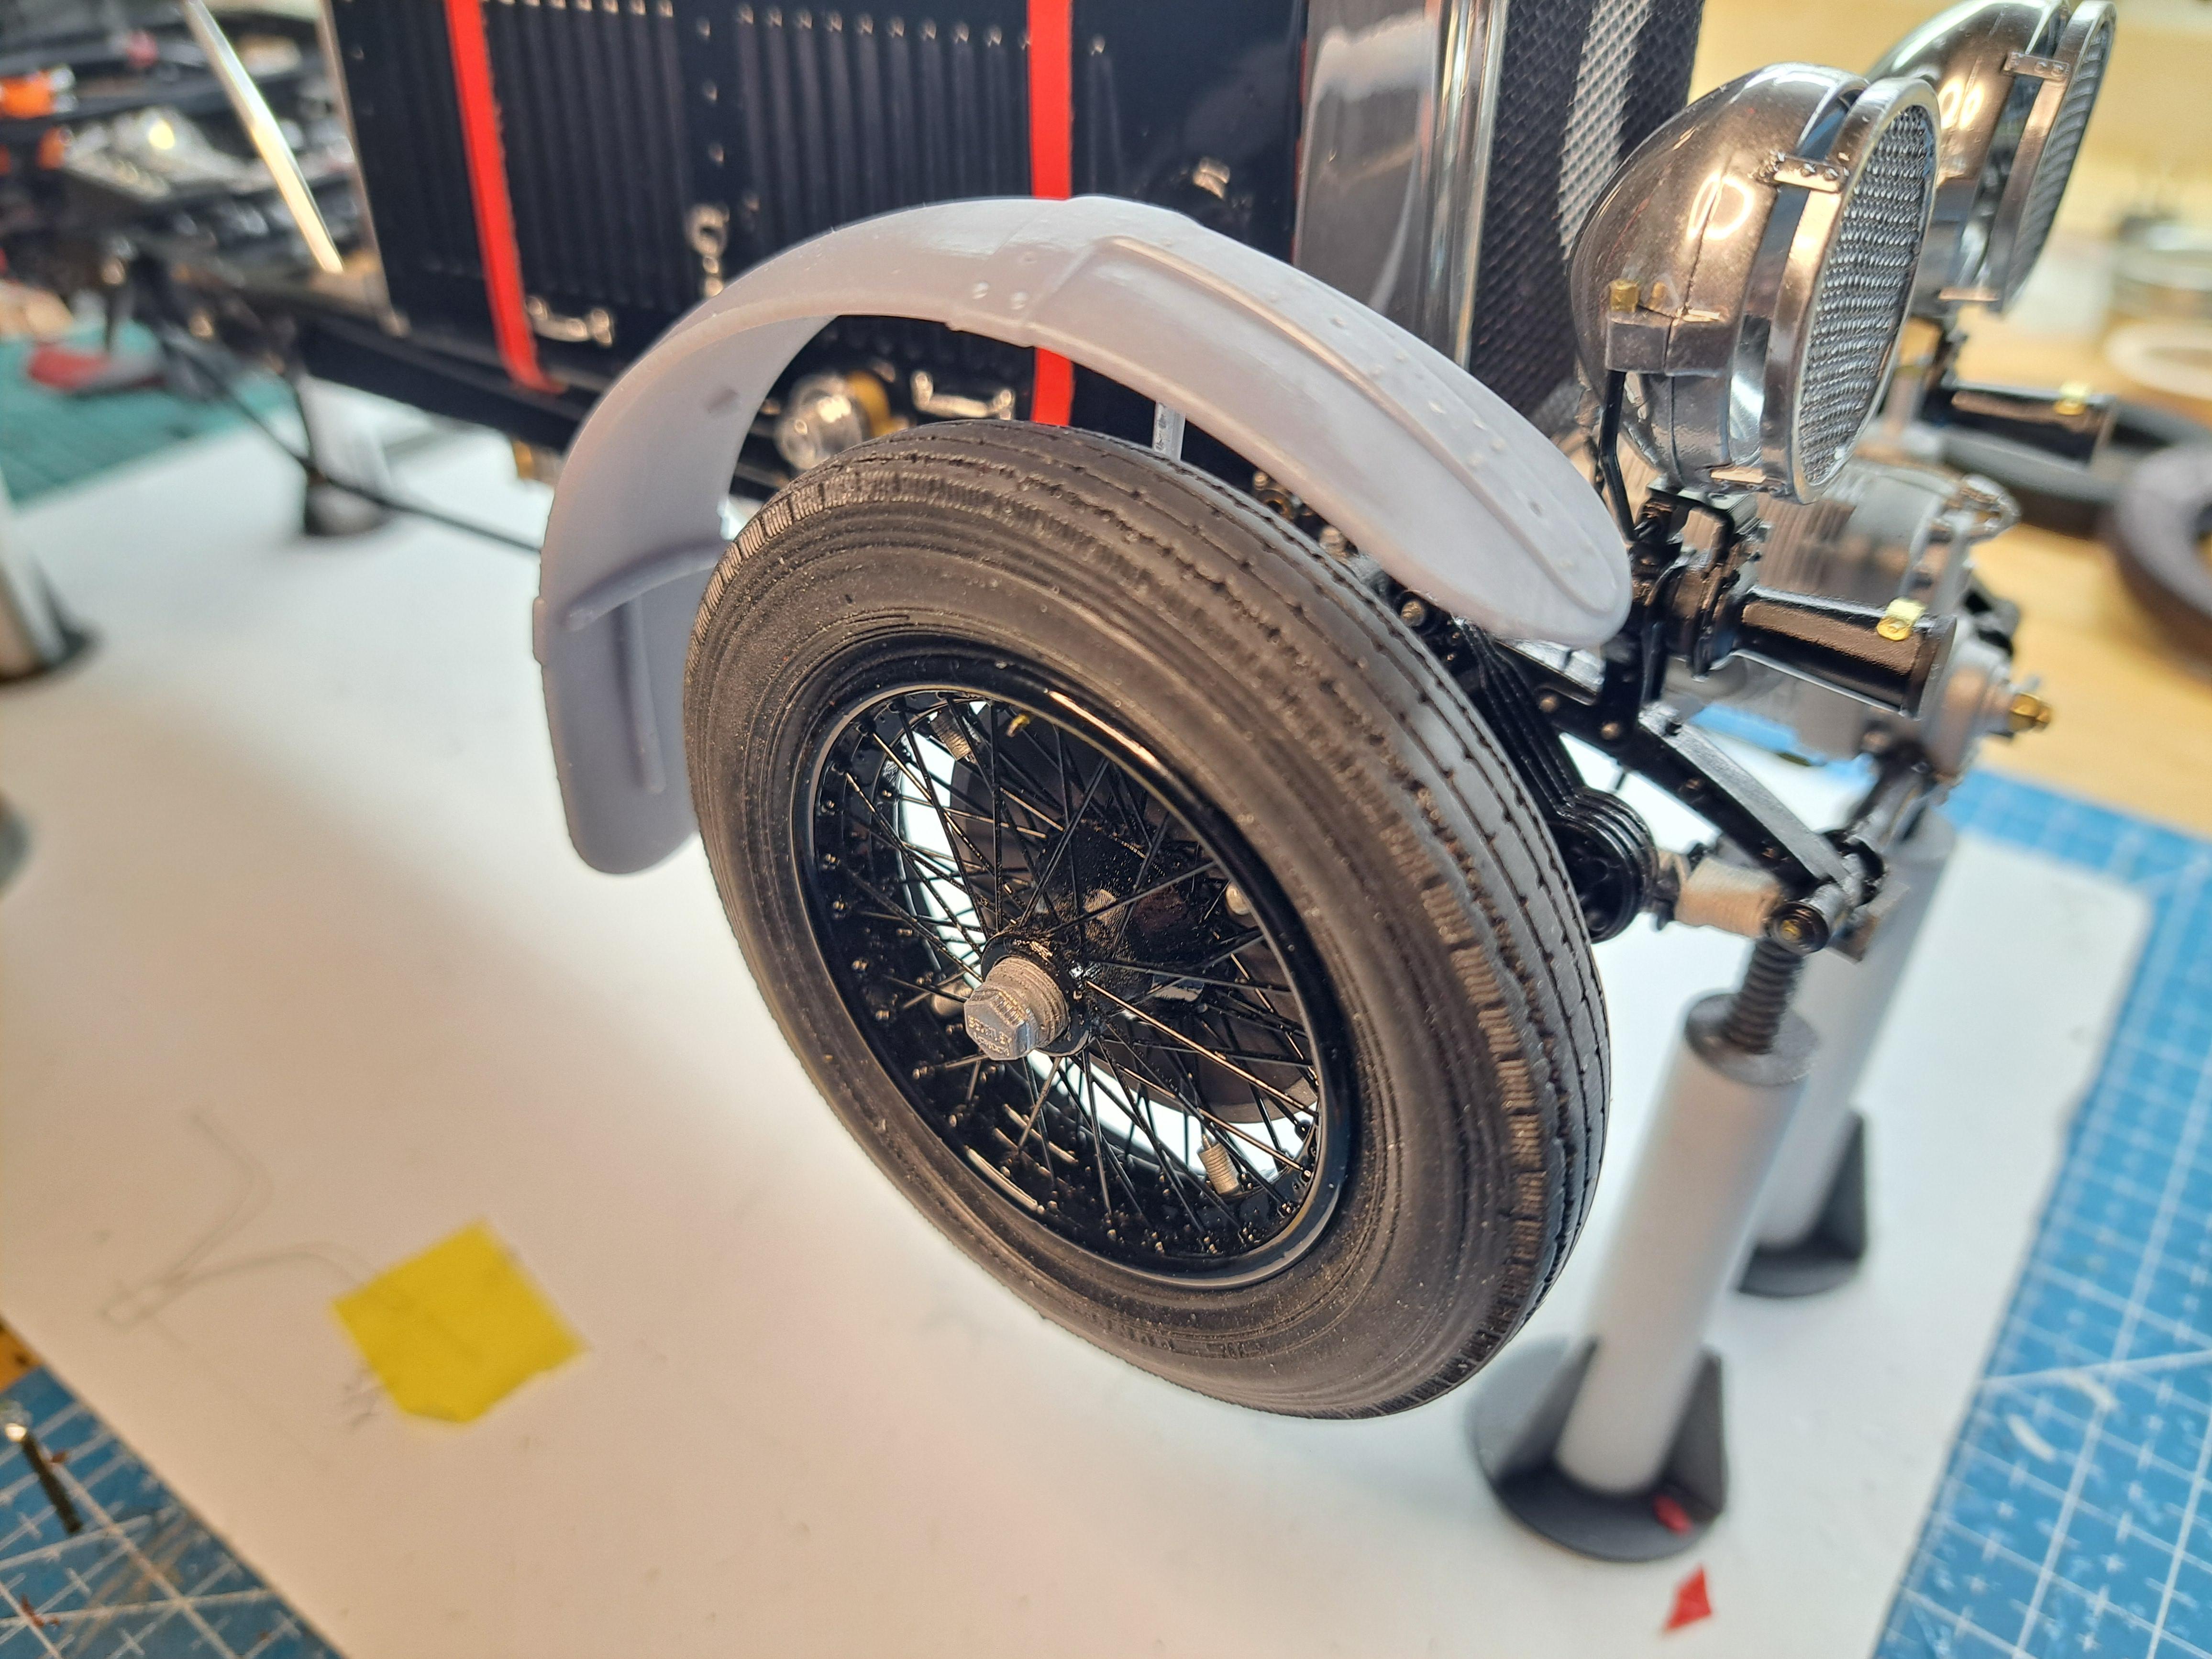
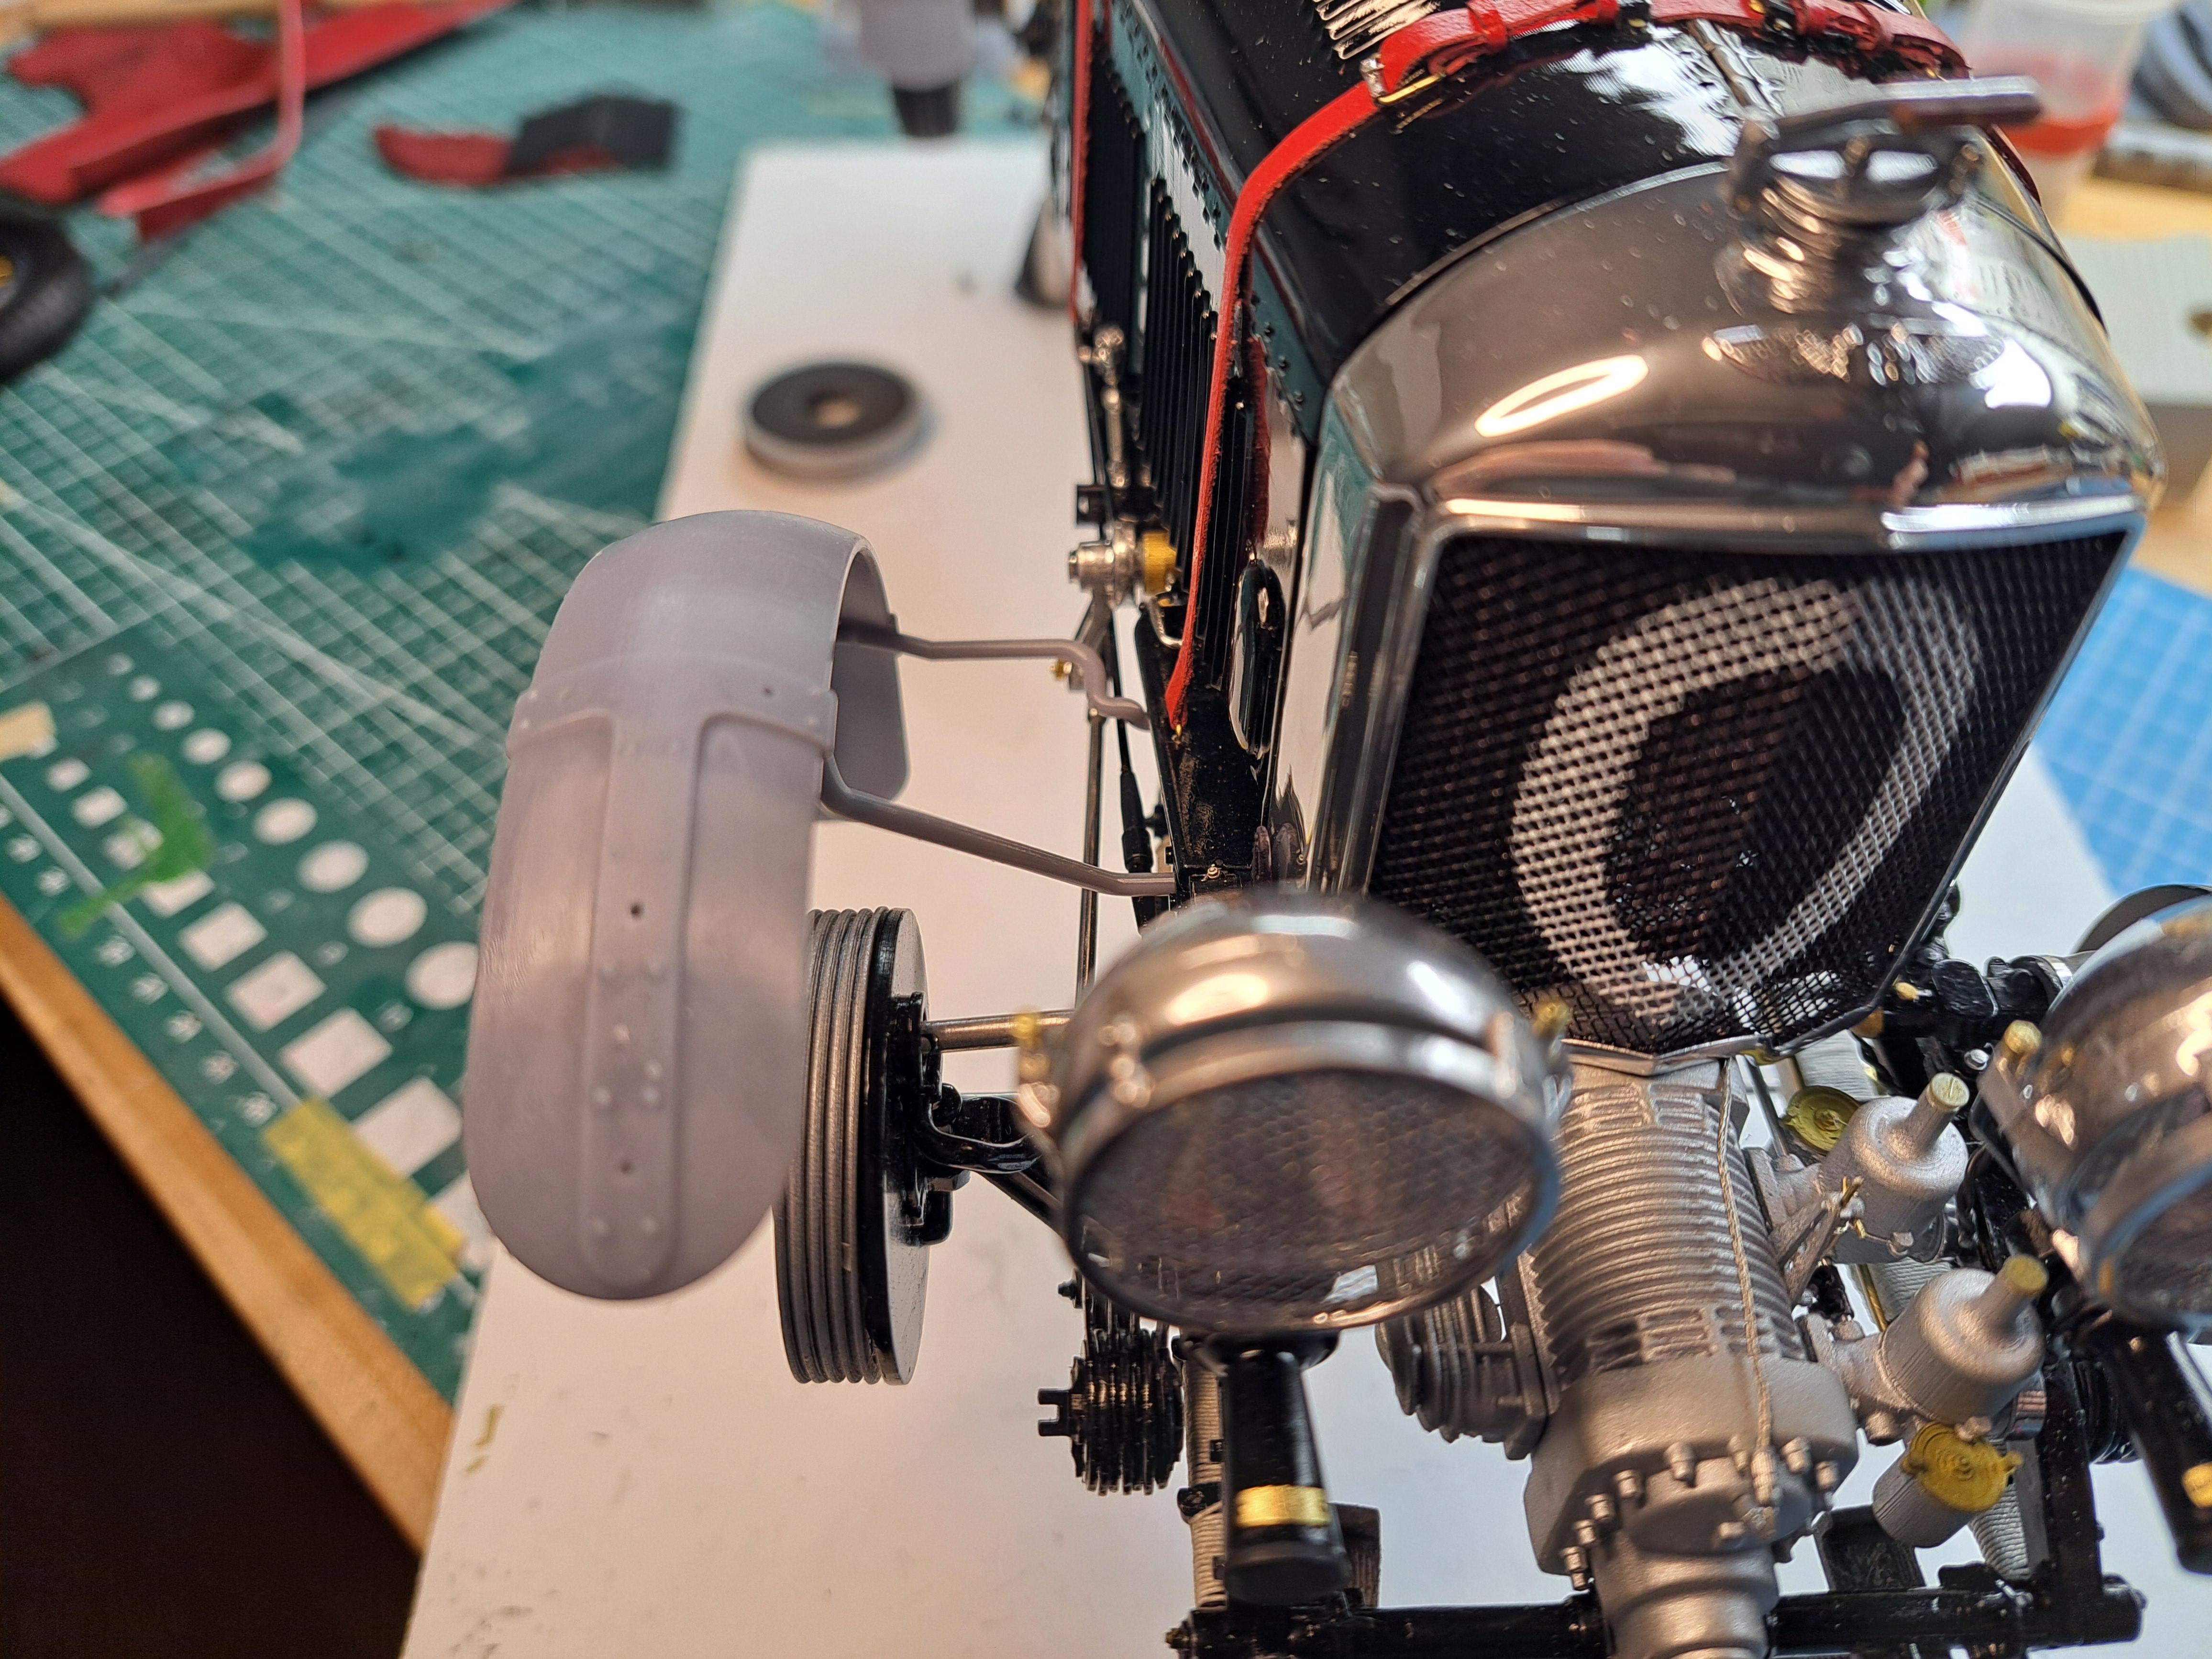
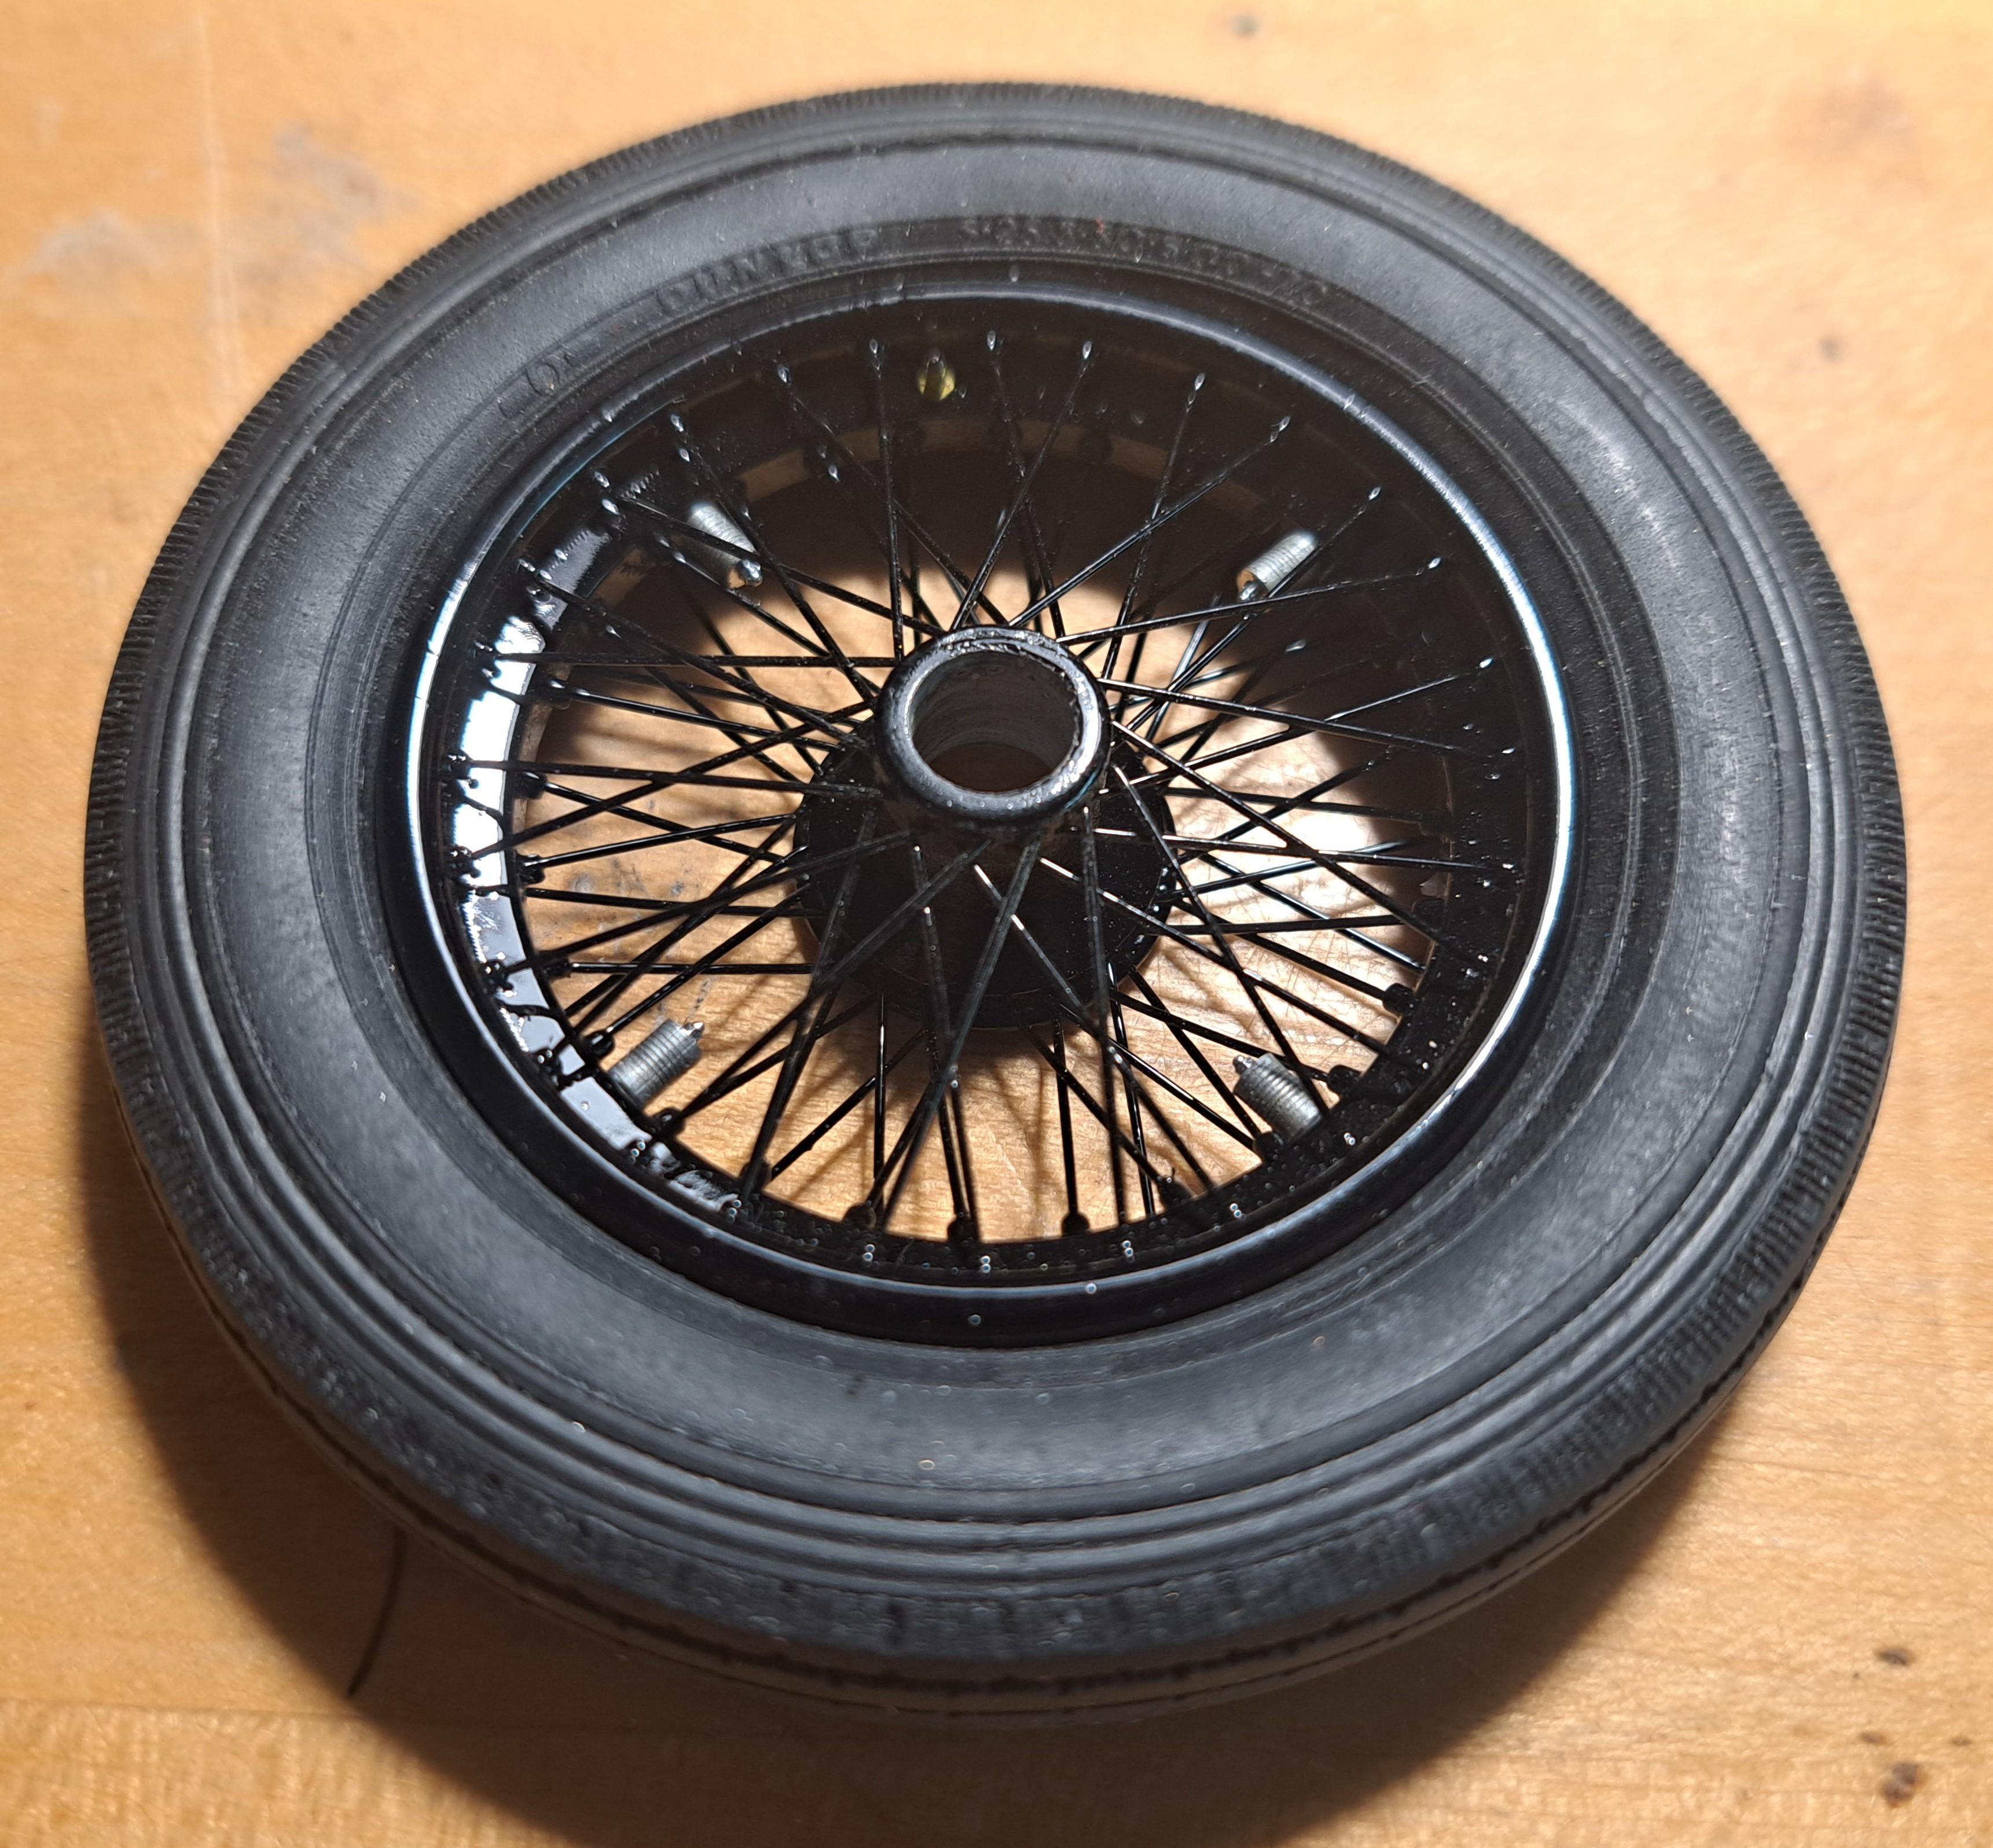
I think I'm getting pretty close to a good tire. For now, it's printed out of regular resin and painted with Tamiya's rubber black. I will eventualy print them will rubber resin. Left side is kit's tire, right side mine The finished fenders And temporarily mounted on car
-
Thank you Philip, this model is actually not all that rare and has been around since the 70's and probably even earlier. It was produced by many manufactures, Airfix, MPC, Heller, Union, Tsukuda and possibly others that I don't know. I'm building the Airfix kit, or at least that's the kit I started with. By the time I'm finished, it will be more 25% Airfix, 75% me. I haven't done the seats yet so not to sure what you are refering to. Keep looking, more fun stuff coming.
-
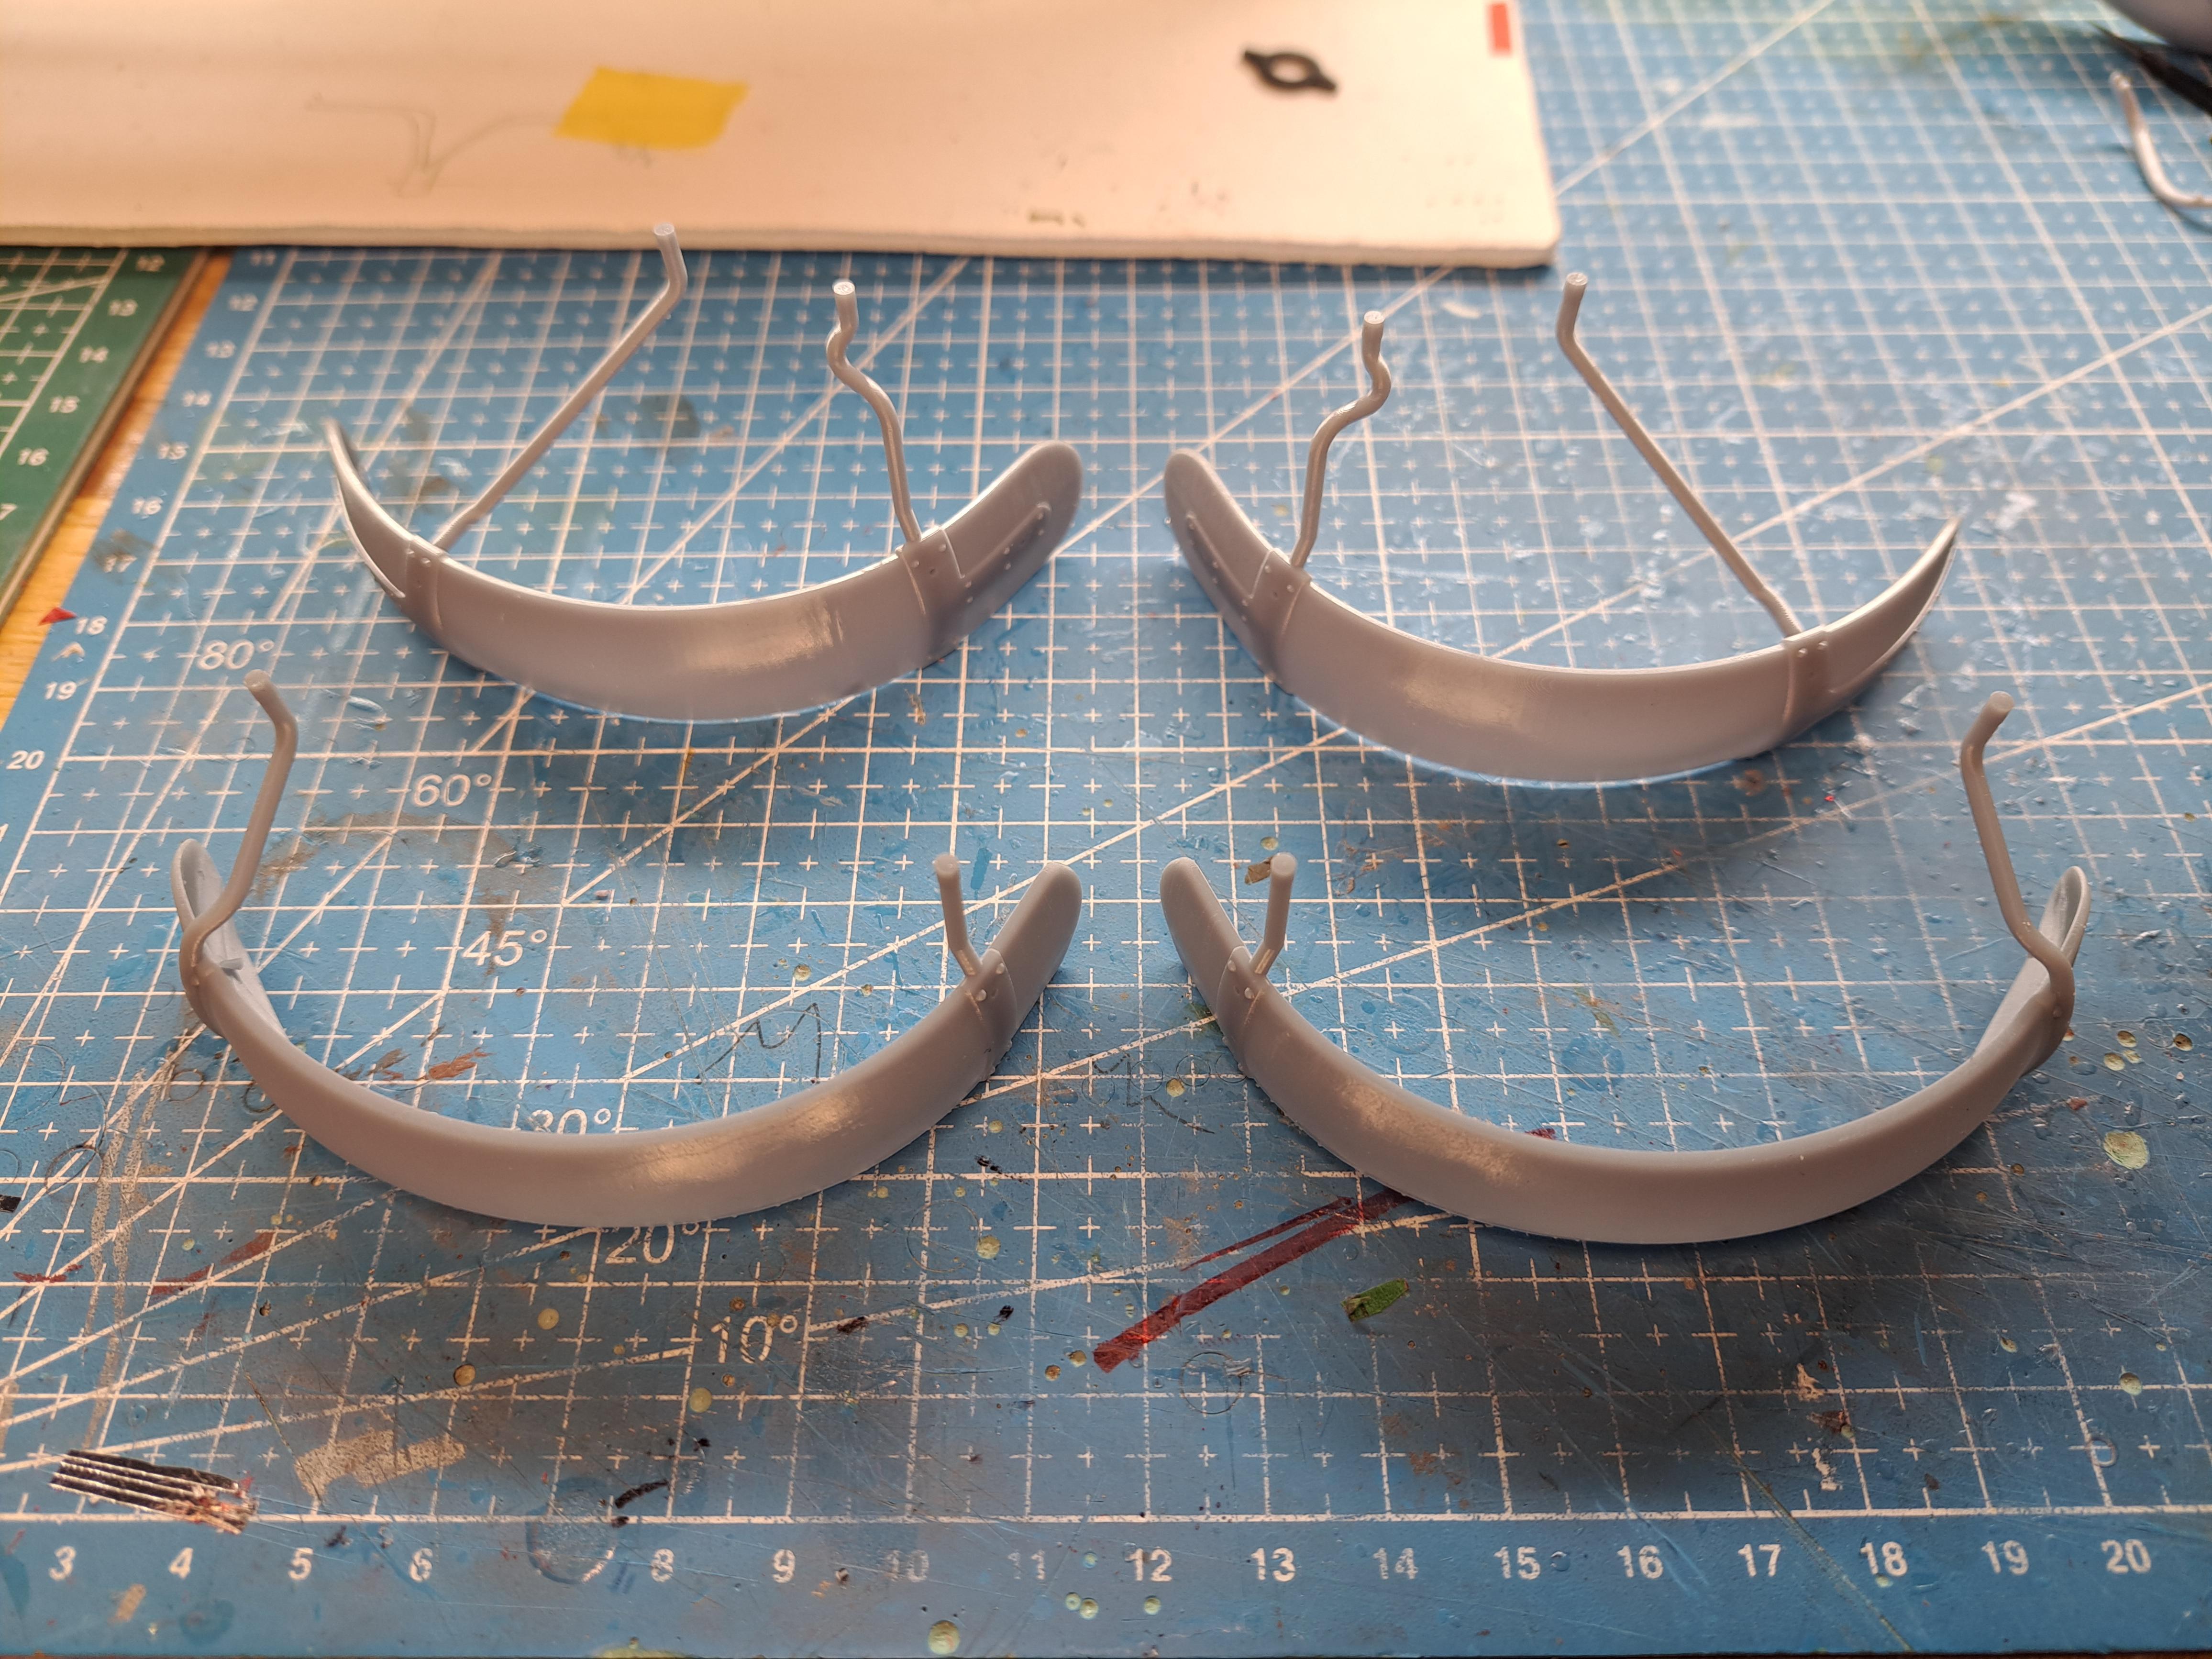
Bugatti fan, the printed rods are stiffer but they are still plastic. The 2 major benefits of printing the fenders are that by printing the rods directly with the fender, it make assembly much easier and assure a proper fit identical on both sides. It also permited me to better copy the real setup since the kit mist a few details and got some others completetly wrong.
-
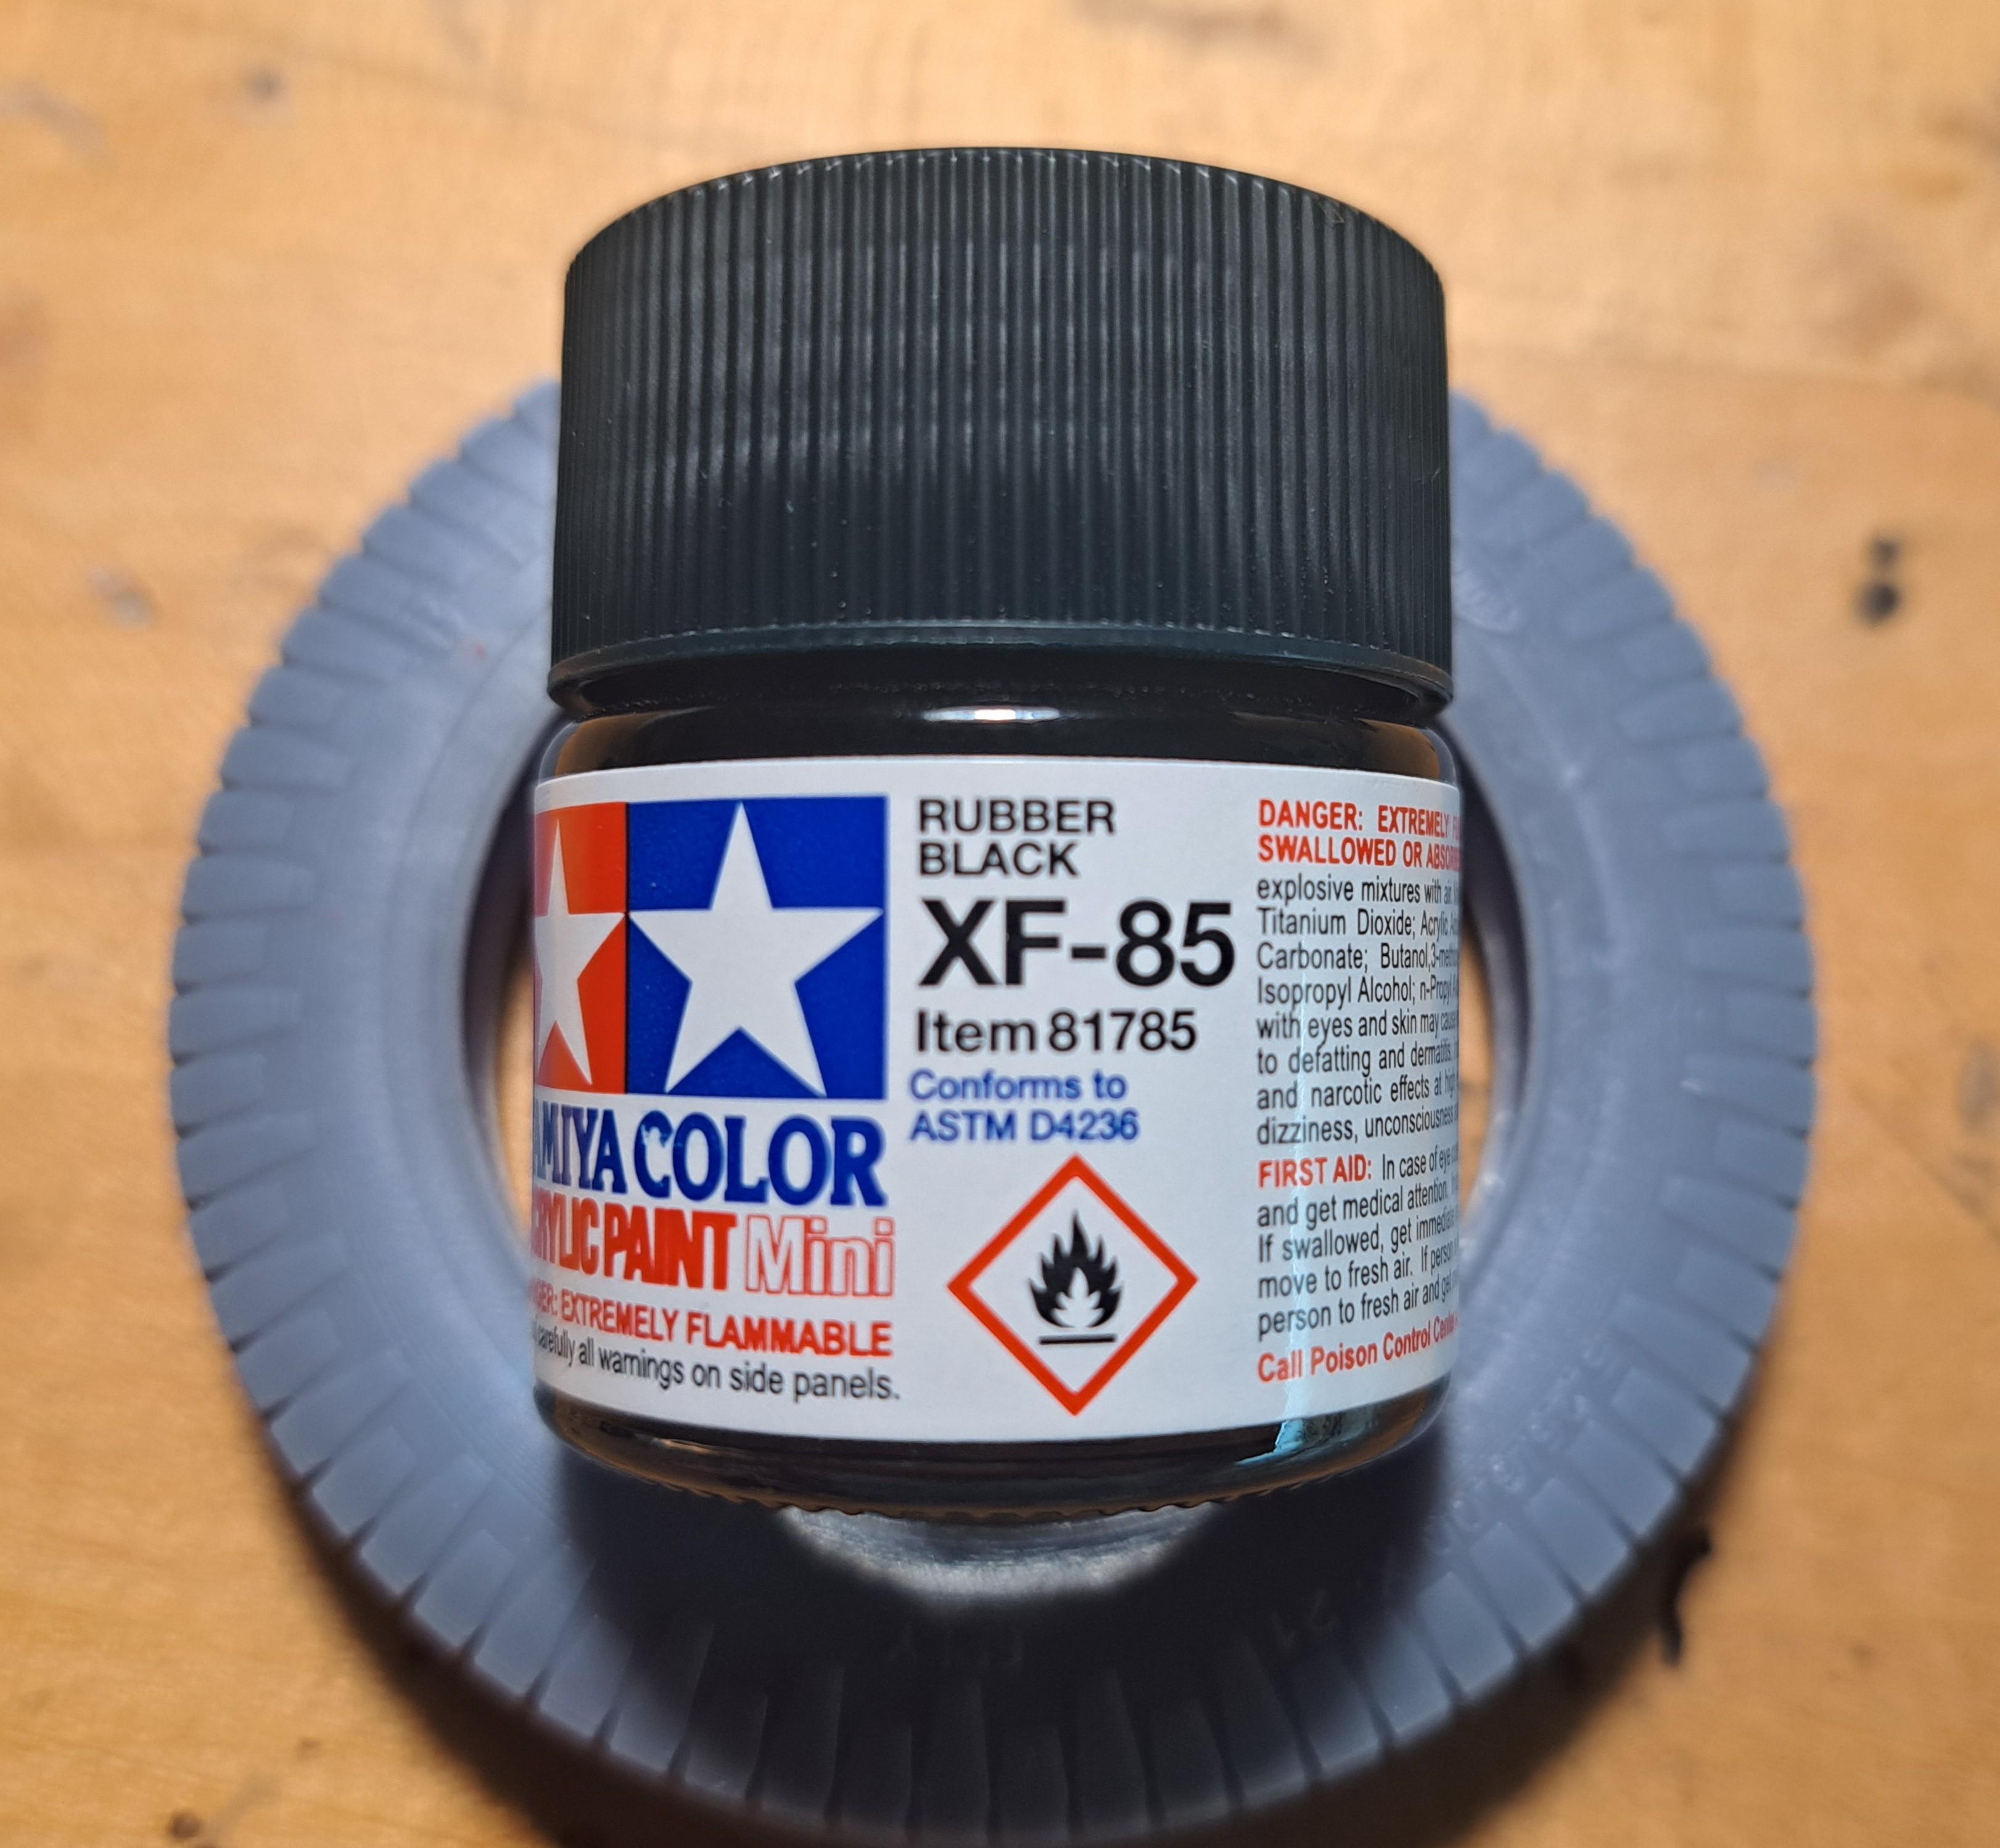
Ok, so I think I have a good tire print but I'll now for sure once I paint it. My 2 first test prints were blackened with a permanent marker, it looks a bit like an armoal coverded tire. I found a black rubber paint made by tamiya. If the paint gives a good enough rubber look, I'll print a 5 tires with regular resin to start and may print them again with rubber resin later on. Here, in order, are pictures of the kit's tire my firts test print my second test print my third a real Blockey tire and the black rubber paint I've also started work on the fenders. The kit's parts are ok but no more. The mounting rods are very flimsy and don't fit good, especially at the front. So me being me, I 3d modeled them and will test print to see if I can do better. It will be print in 1 piece, the fender with the 2 mounting rods instead of 3 separate pieces. I might need to reprint a few times to get the rods in the correct location but by printing them it's easier to add missing details like rivets, bolt holes... Kit's rear fender Kit's front fender The 3d model A rear fender ready to print
-
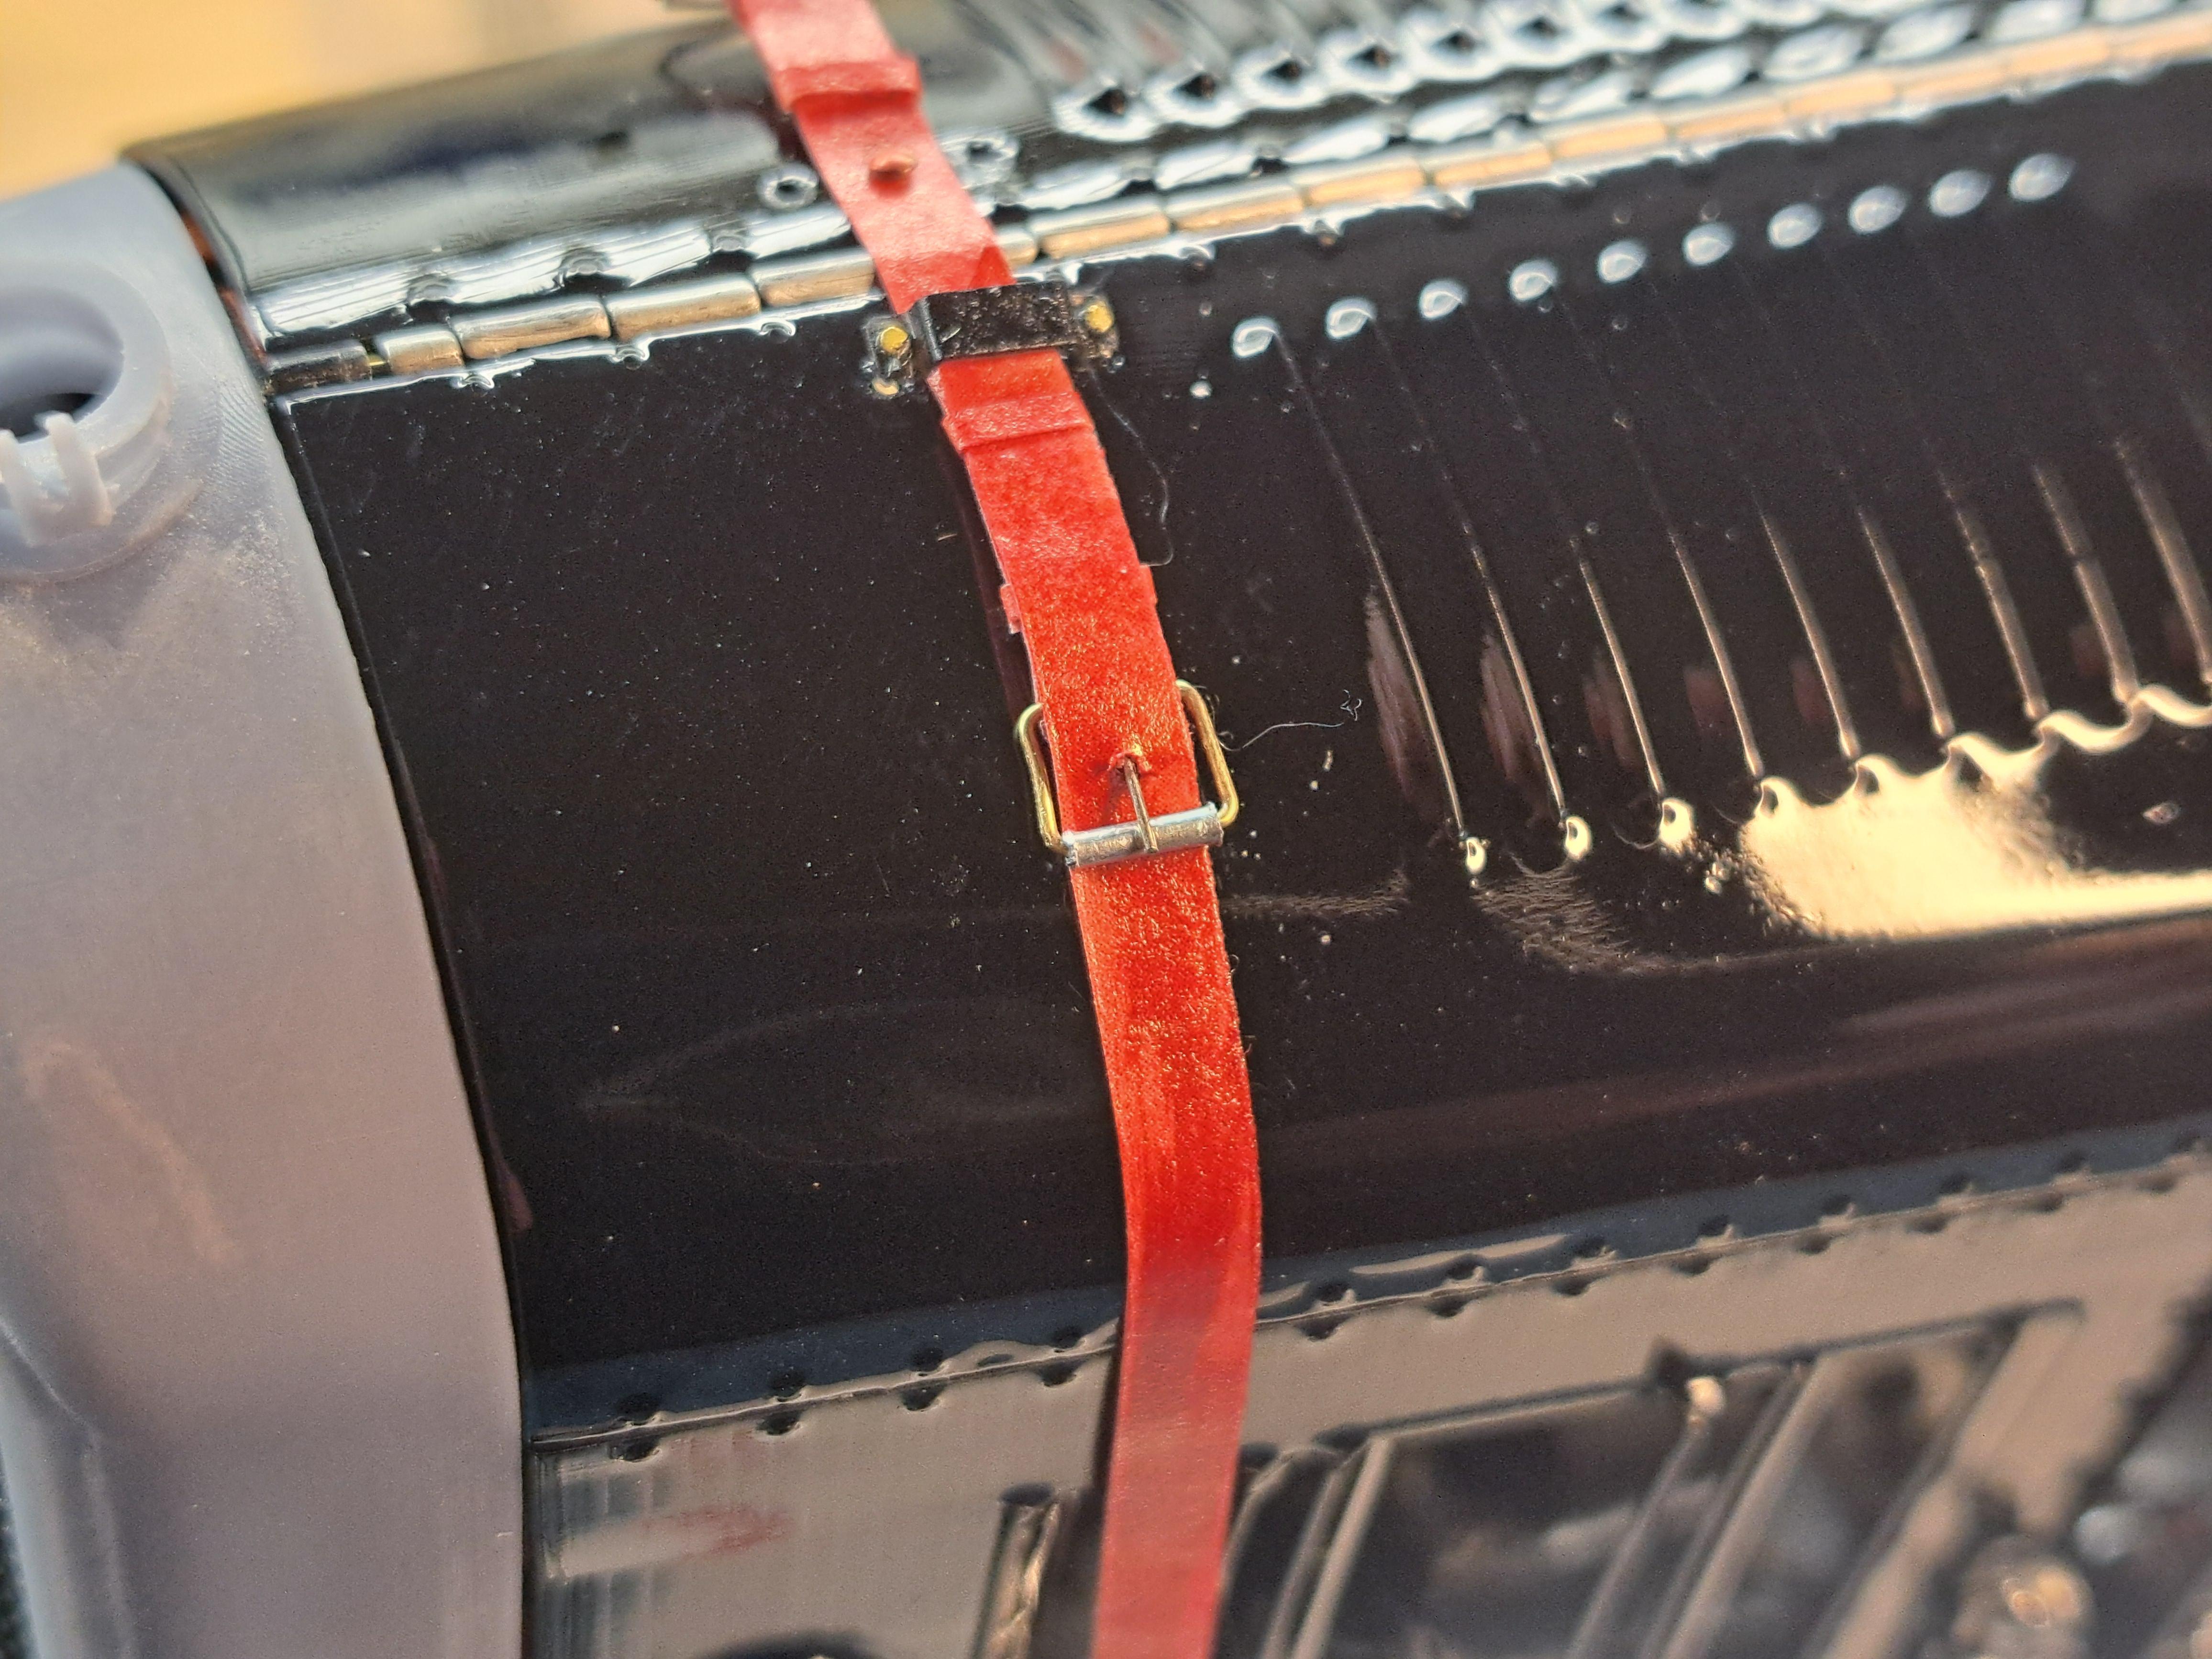
Thanks. If I do decide to print them, I'll use a flexible resine. If soft enough, the weight of the model should compress the tires a bit. Althougt my original plan was to show case the model on 4 stands in which case a flat spot won't be necessary. I just complete the new hood straps in leather. Much better than the previous ones. Now I can tension the straps for a more realistic look.
-
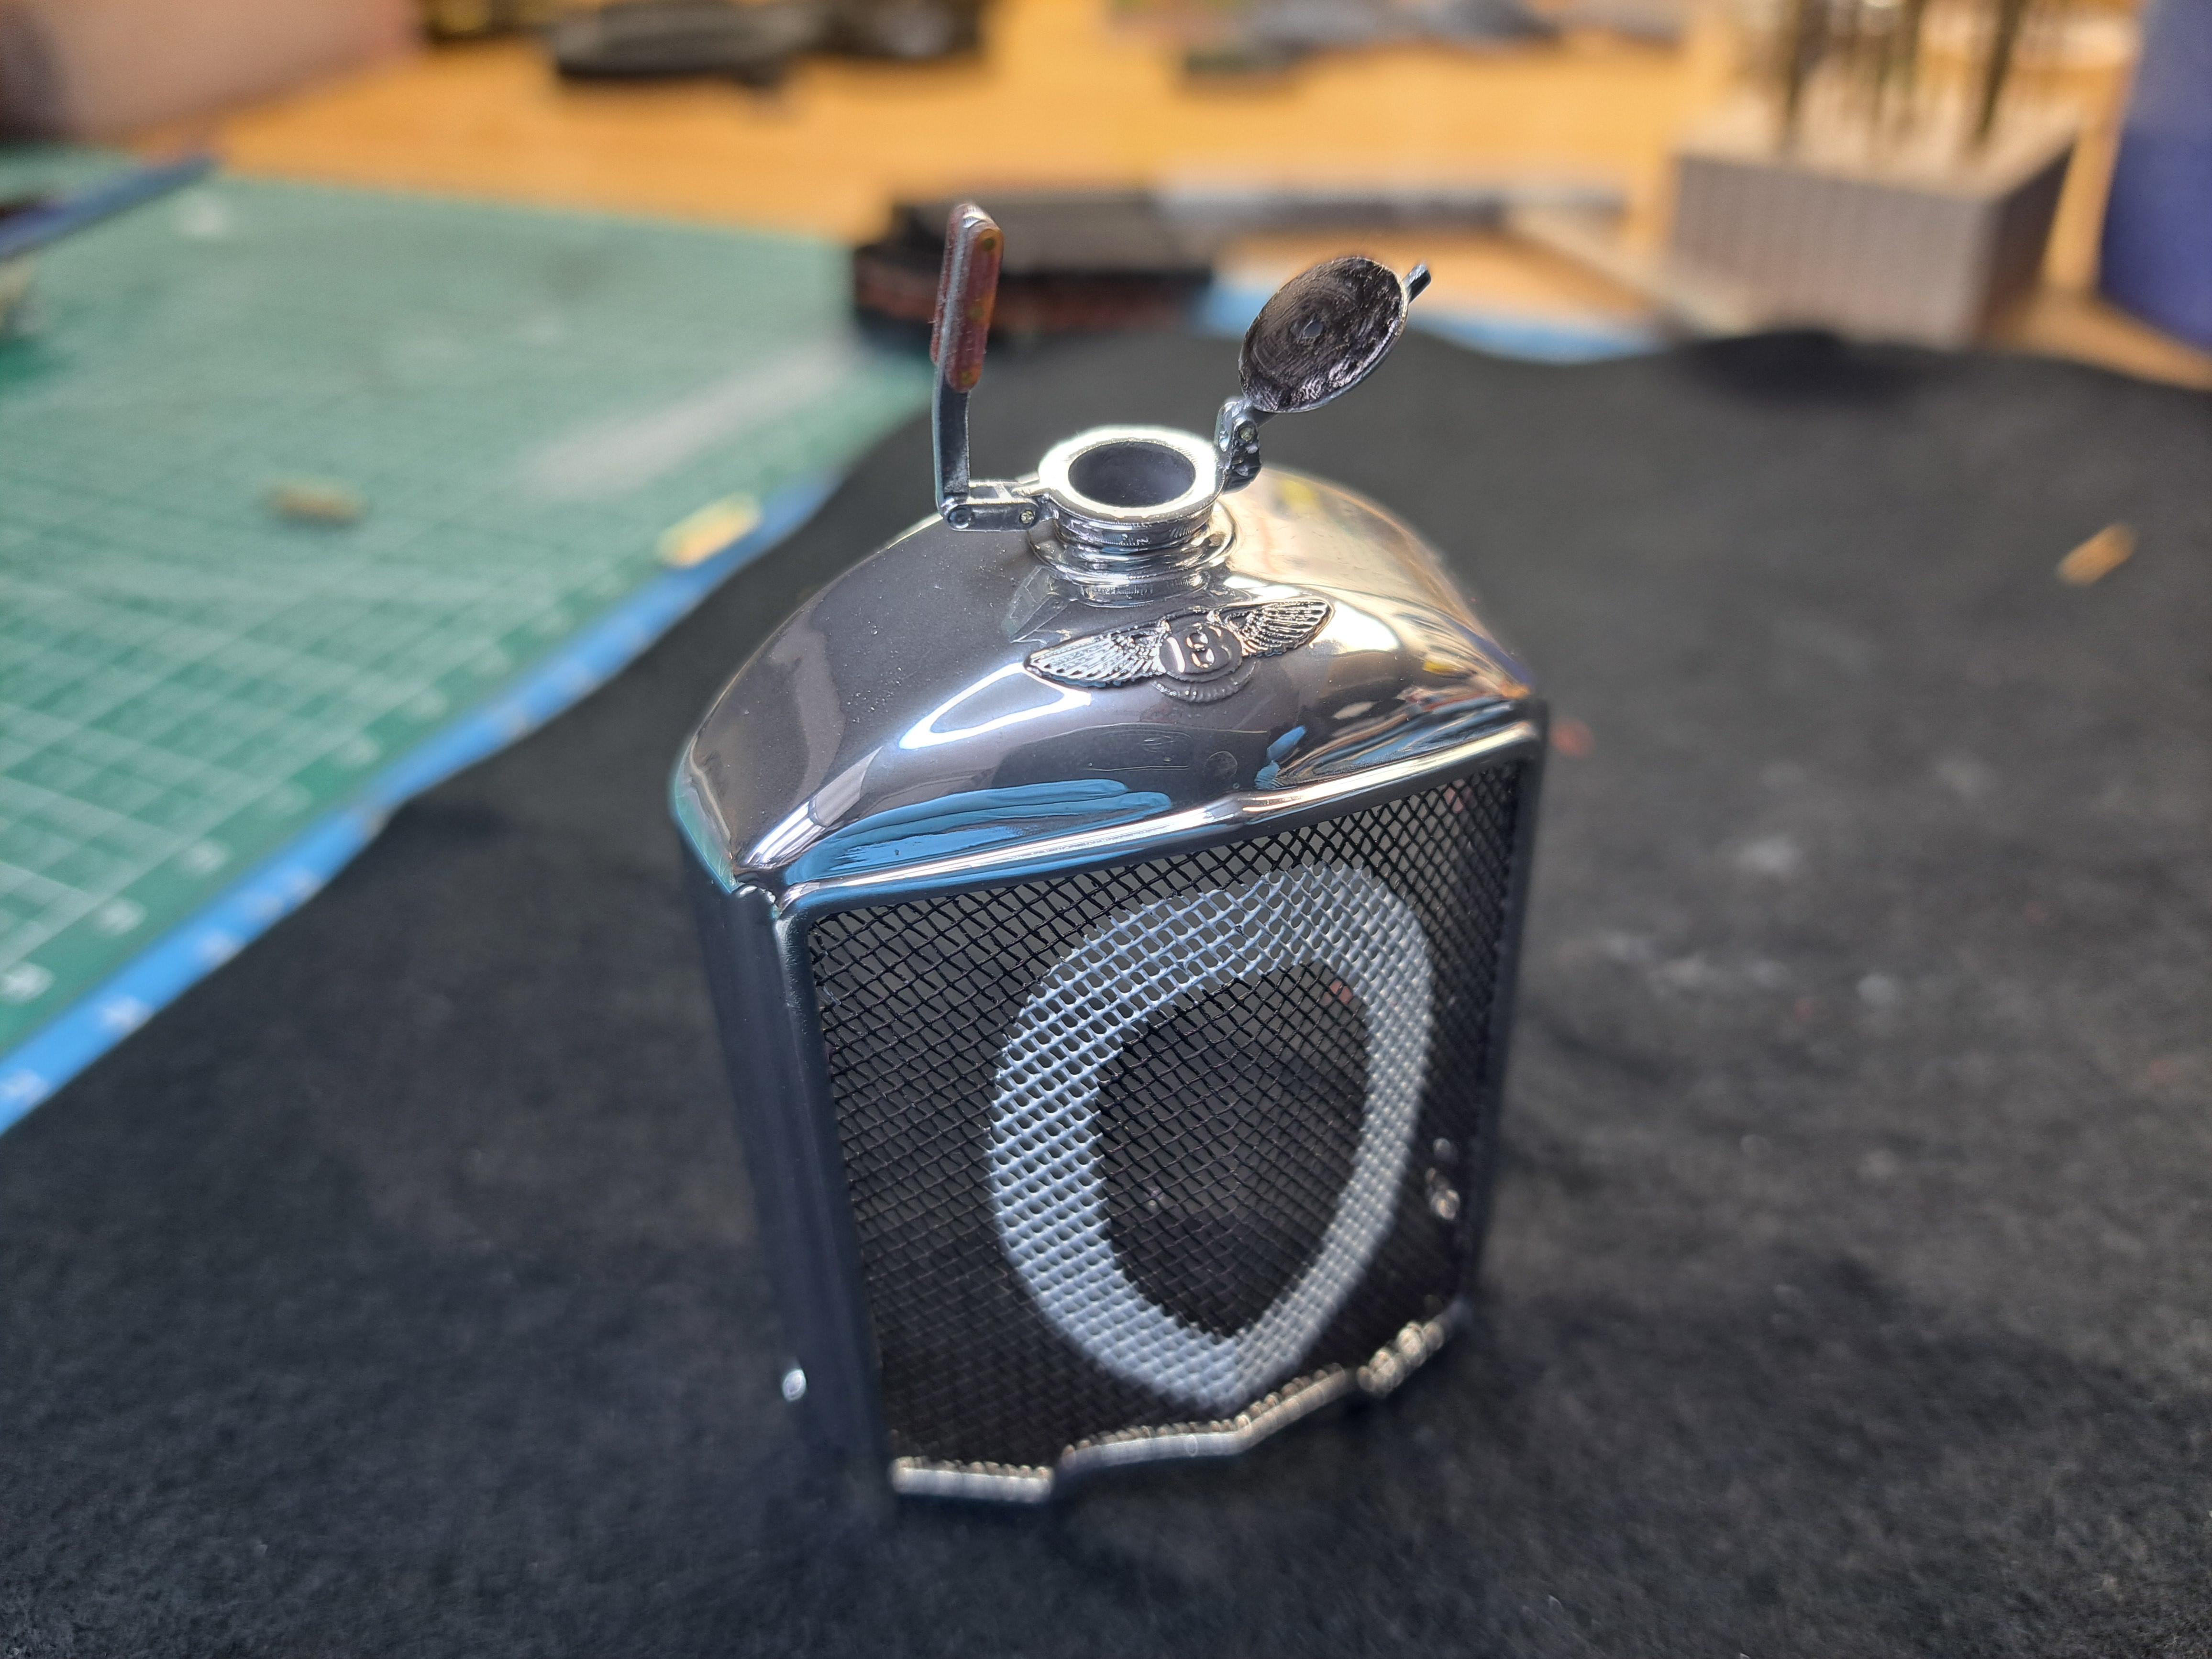
Finally finished the radiator and I'm very satisfied with the result. Even the angle ajuster mecanism I made worked great althougt I barely needed it. I'm redoing the hood straps one by one in real leather so once that's done, the front end will be complete. Here are a few shots of the finished radiator along with a fun picture of the model next to the ref car. I also did a test print of a tire. But since I don't have any rubber resin yet, I had to make it in 2 halves. It came pretty good for a first try. Here what the real tire looks like And mine
-
Oldrevellfan, I think it's a combination of 2 things. The anchor point for the strap is at a small distance from the side panel which creates a slight angle and the fact that the straps aren't tensionned. I'm making new ones with real leather that I'm skiving to .02in think. I should be able to stretch these new ones more than the other ones. It should help... maybe...
-
Finished the hood straps today. I'll let the radiator cover dry for a couple more days before handling it. So the front end should be pretty much done by the end of the weekend. I also installed the foot step. Next up will be the 4 fenders. I still have the wheels to finish but that can be done just about at any time.
-
the bigger the part, the better the surface finish has to be to get a smooth surface, otherwise, any defect will show (lower red circle). And It can do strange things (upper red circle). Also, the quantity of paint applied per coat is a factor 2 to 3 light coats are better then one heavier, it's a auto leveling paint so don't panic at first and resist to put on too much. Hope this helps. compared to good one