sflam123
-
Posts
656 -
Joined
-
Last visited
Content Type
Profiles
Forums
Events
Gallery
Everything posted by sflam123
-
Tide Lumina (DONE)
sflam123 replied to landman's topic in WIP: Stock Cars (NASCAR, Super Stock, Late Model, etc.)
Excellent!! Very nice work. -
Me too. Definitely NOT a decals website
-
That looks fantastic! Great work!
-
Looking forward to more of this one! Nice work thus far.
-
Tide Lumina (DONE)
sflam123 replied to landman's topic in WIP: Stock Cars (NASCAR, Super Stock, Late Model, etc.)
That looks great!! Nice job! -
Ian, after seeing some of your other work, I have absolutely no doubt you will end up with a final product that reflects your efforts. Your skills are amazing and I really enjoy your WIP posts and the final results!!
-
Just amazing Ian! Amazing craftsmanship and pure art.
-
To second what Dave Van said but with MicroSol, after the decals have dried for a couple of days I take a very soft cloth and dampen it and GENTLY wipe away the MicroSol residue. It might take a couple of times of gently wiping, but I've not had a problem of the residue not wiping off.
-
Very nice!! I love these cars.
-
Chaparral 2D
sflam123 replied to Pierre Rivard's topic in WIP: Other Racing: Road Racing, Land Speed Racers
Great job on this so far!! I look forward to seeing more progress!! -
That is SWEET! Nice job!
-
Man, I can't wait to see what you do on this!! That was one of several of Sammy's cars for Syracuse that were groundbreaking. Please post on here as you begin work on this!!
-
That turned out well!! Nice job!!
-
That looks rally good!! Nice job! What 's the story on the sprint car in the background of some of the photos?? Having just gotten back from 8 nights of sprint carts in Florida, I need to see more!!
-
Fan freakin’ tastic! I love the look of an asphalt modified and you really captured it perfectly!
-
David Pearson 1969 Talladega
sflam123 replied to bogger44's topic in Stock Cars (NASCAR, Super Stock, Late Model, etc.)
Beautifully done! I’ve got one, but it is not nearly as nice as yours. Fantastic effort! -
Larry Hess Rambler
sflam123 replied to jdcar32's topic in Stock Cars (NASCAR, Super Stock, Late Model, etc.)
Very cool! My grandfather on my father’s side was a huge Rambler fan. He always told me that there was a Rambler racing in NASCAR during the 60’s, but to be honest, I never believed him. Thanks! -
Great build! Love the way it turned out!
-
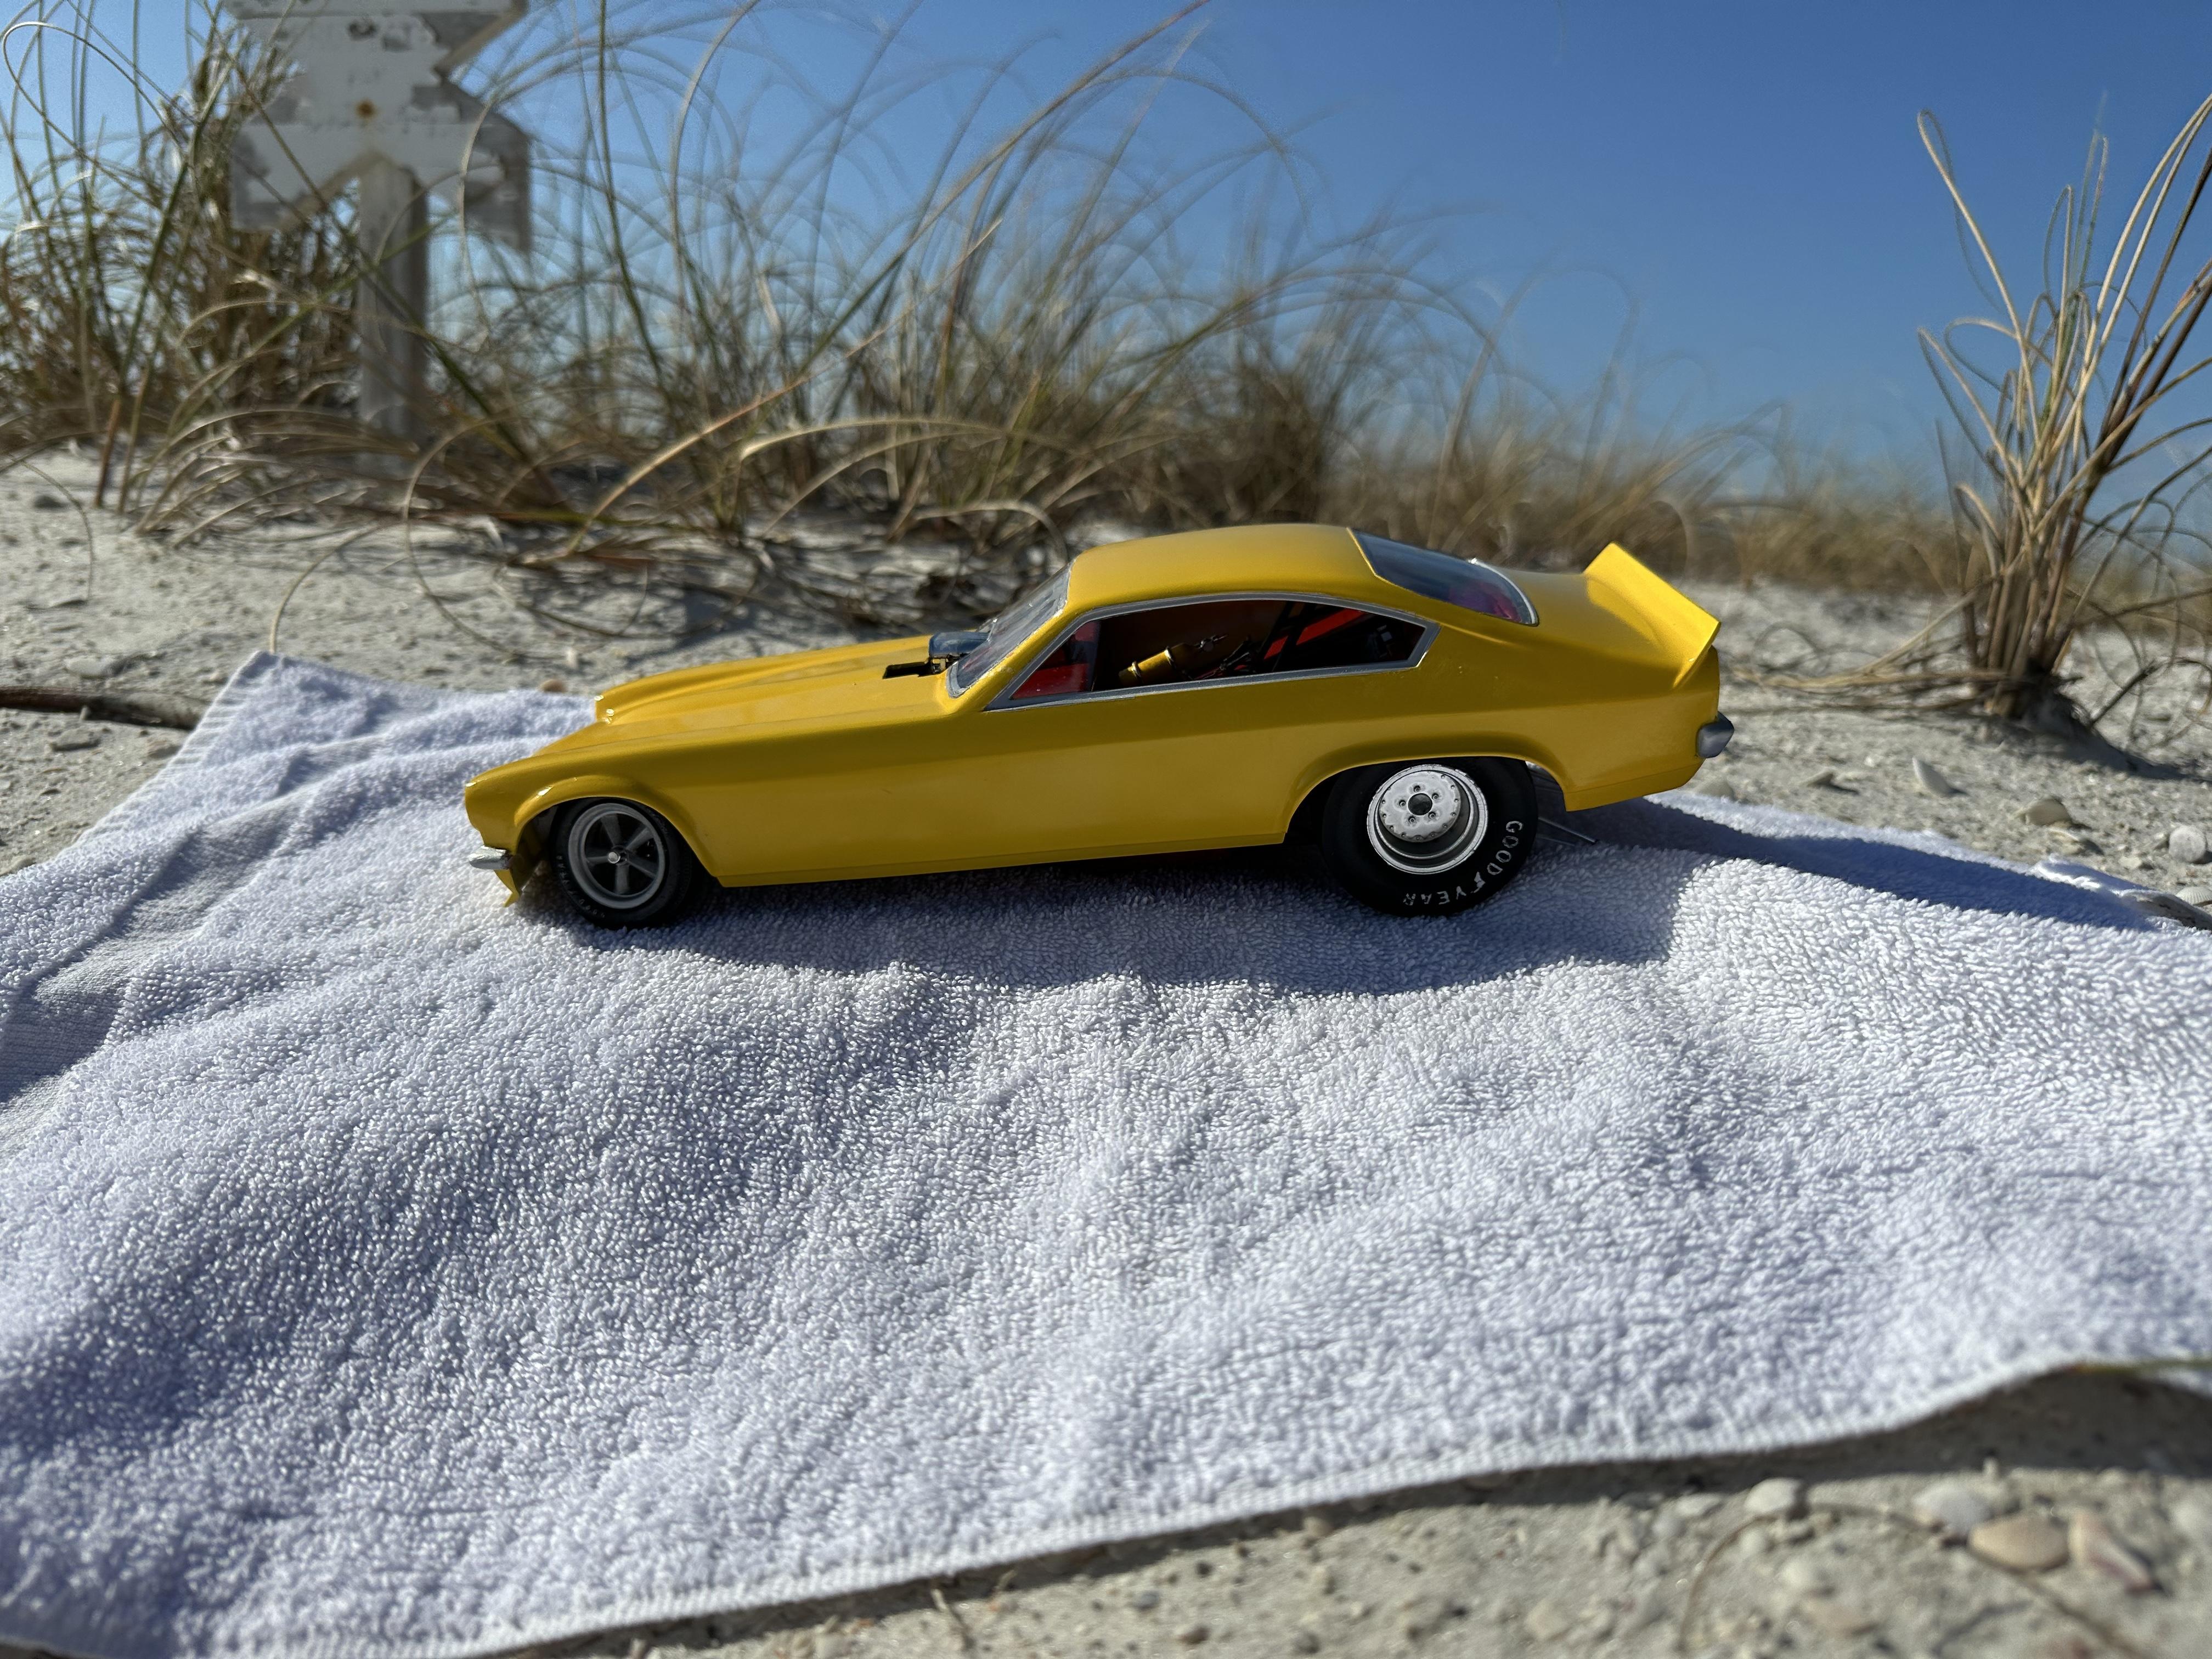
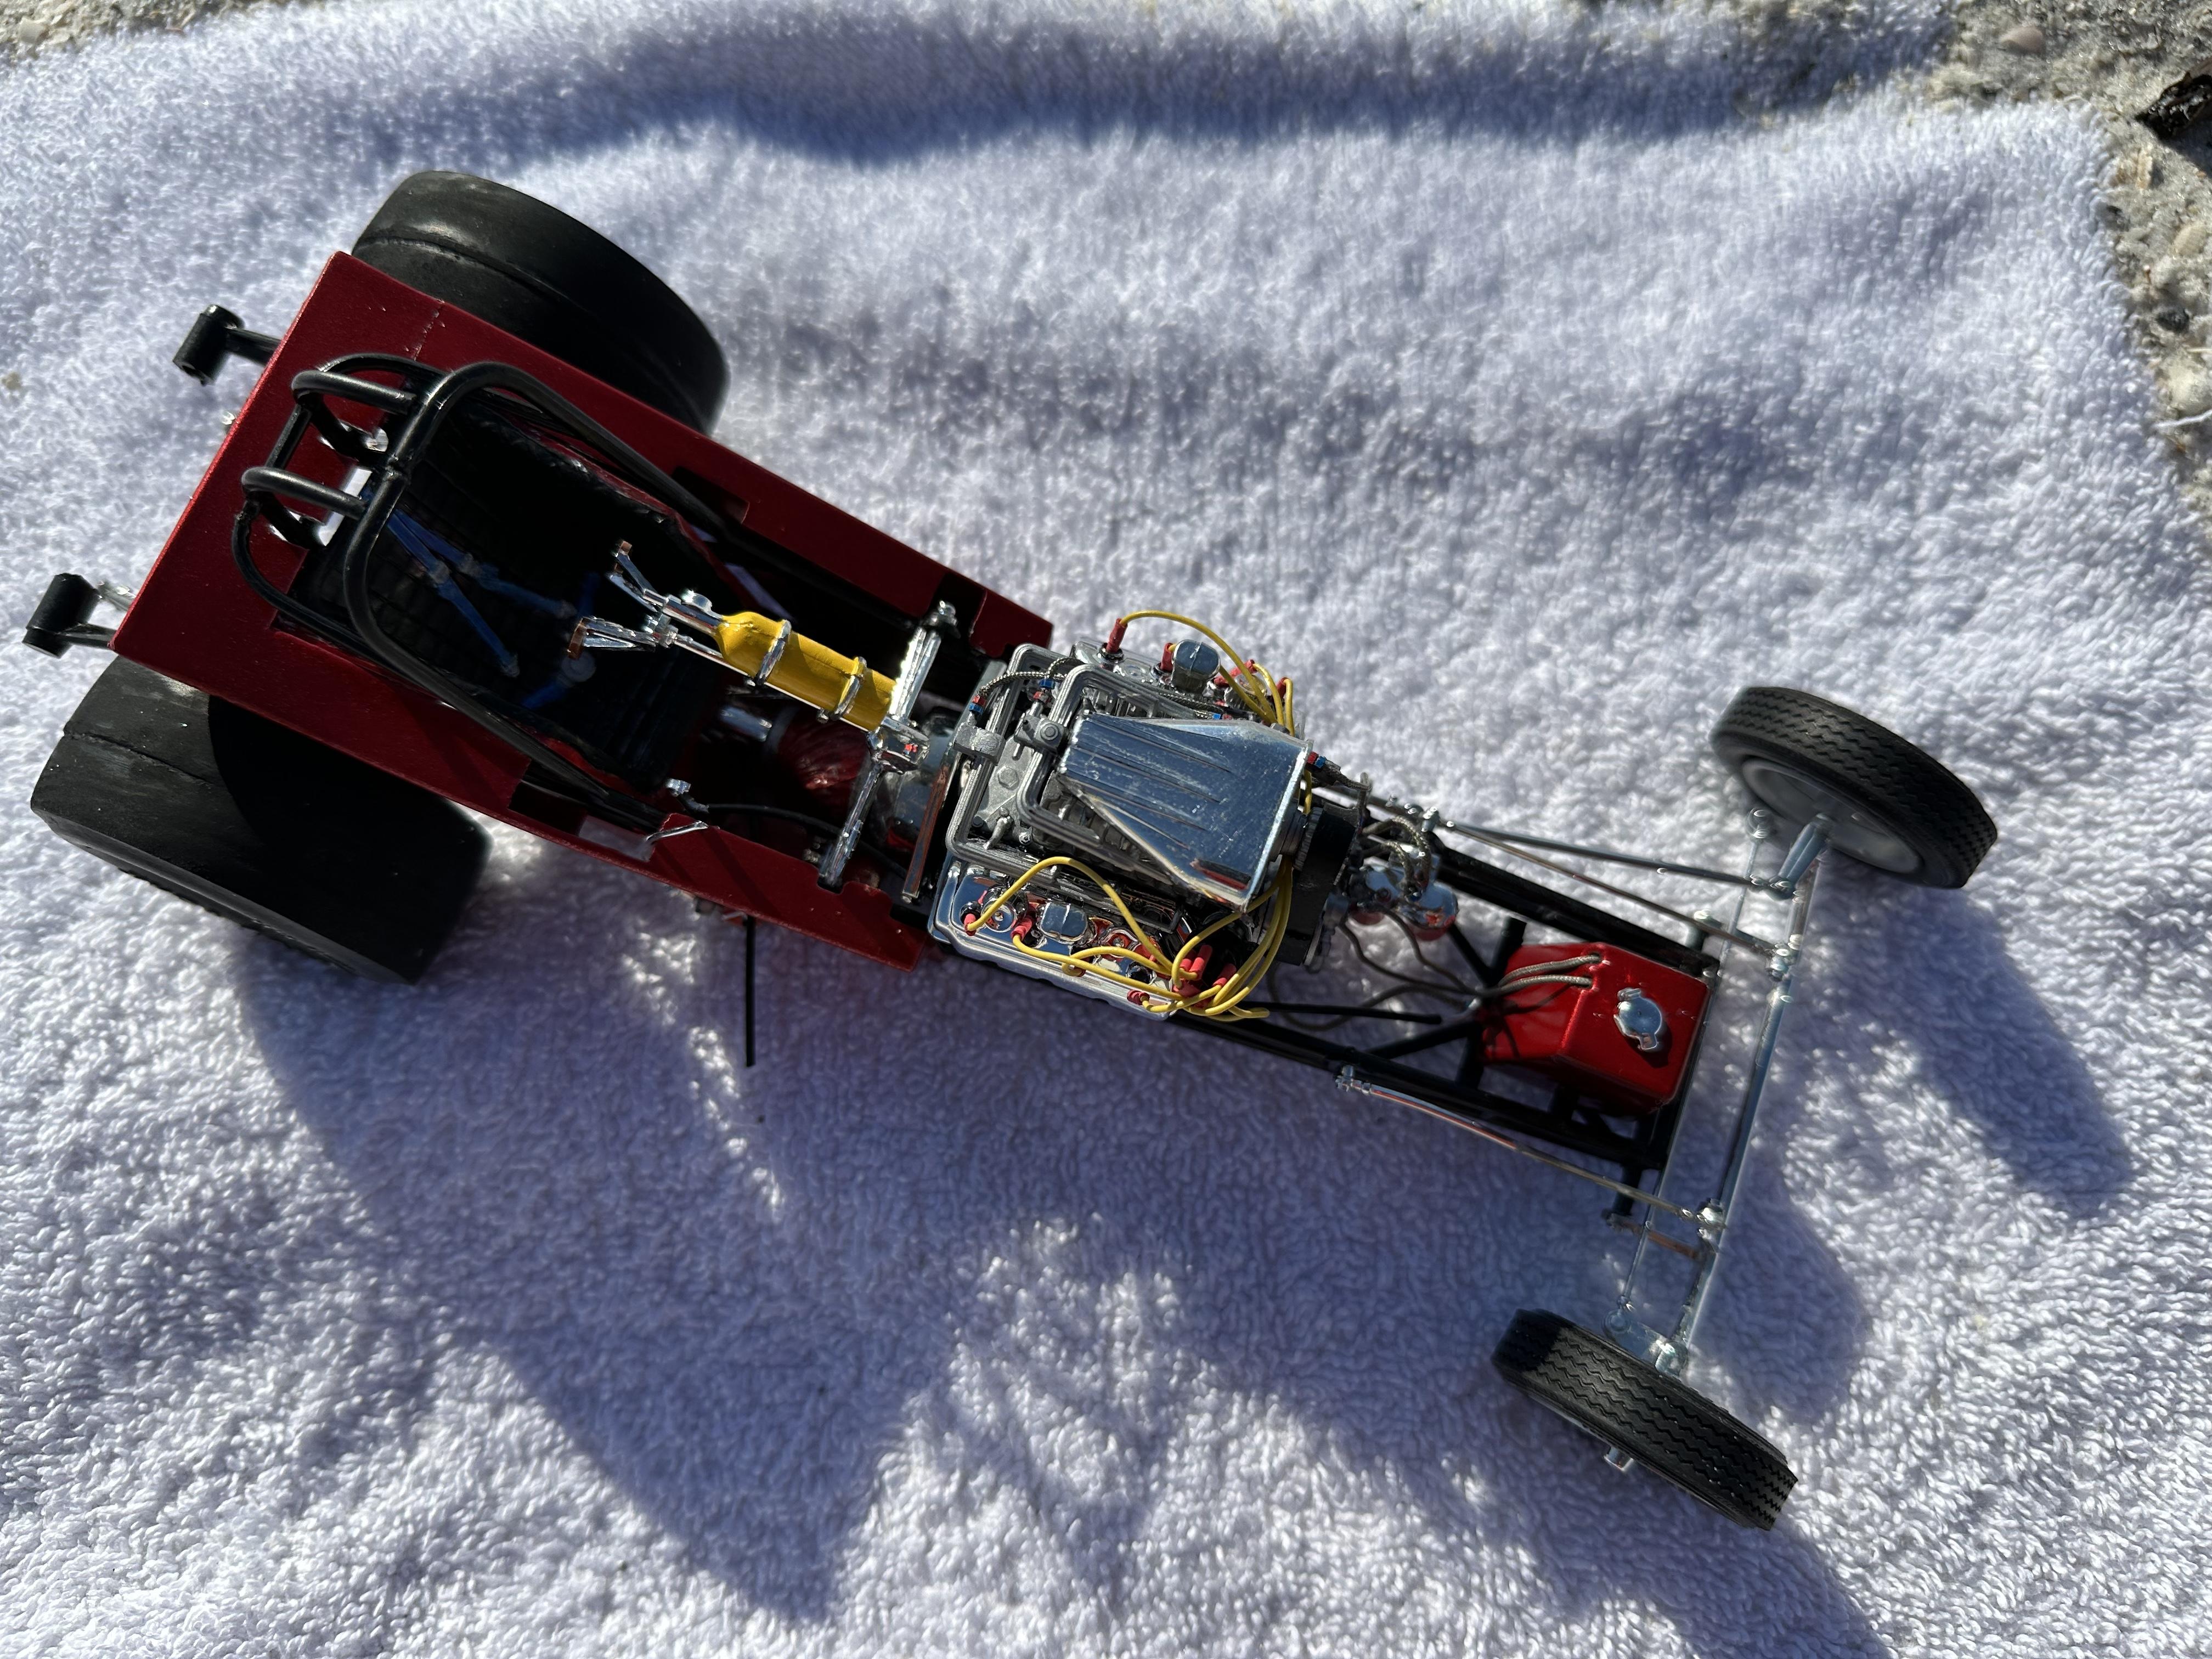
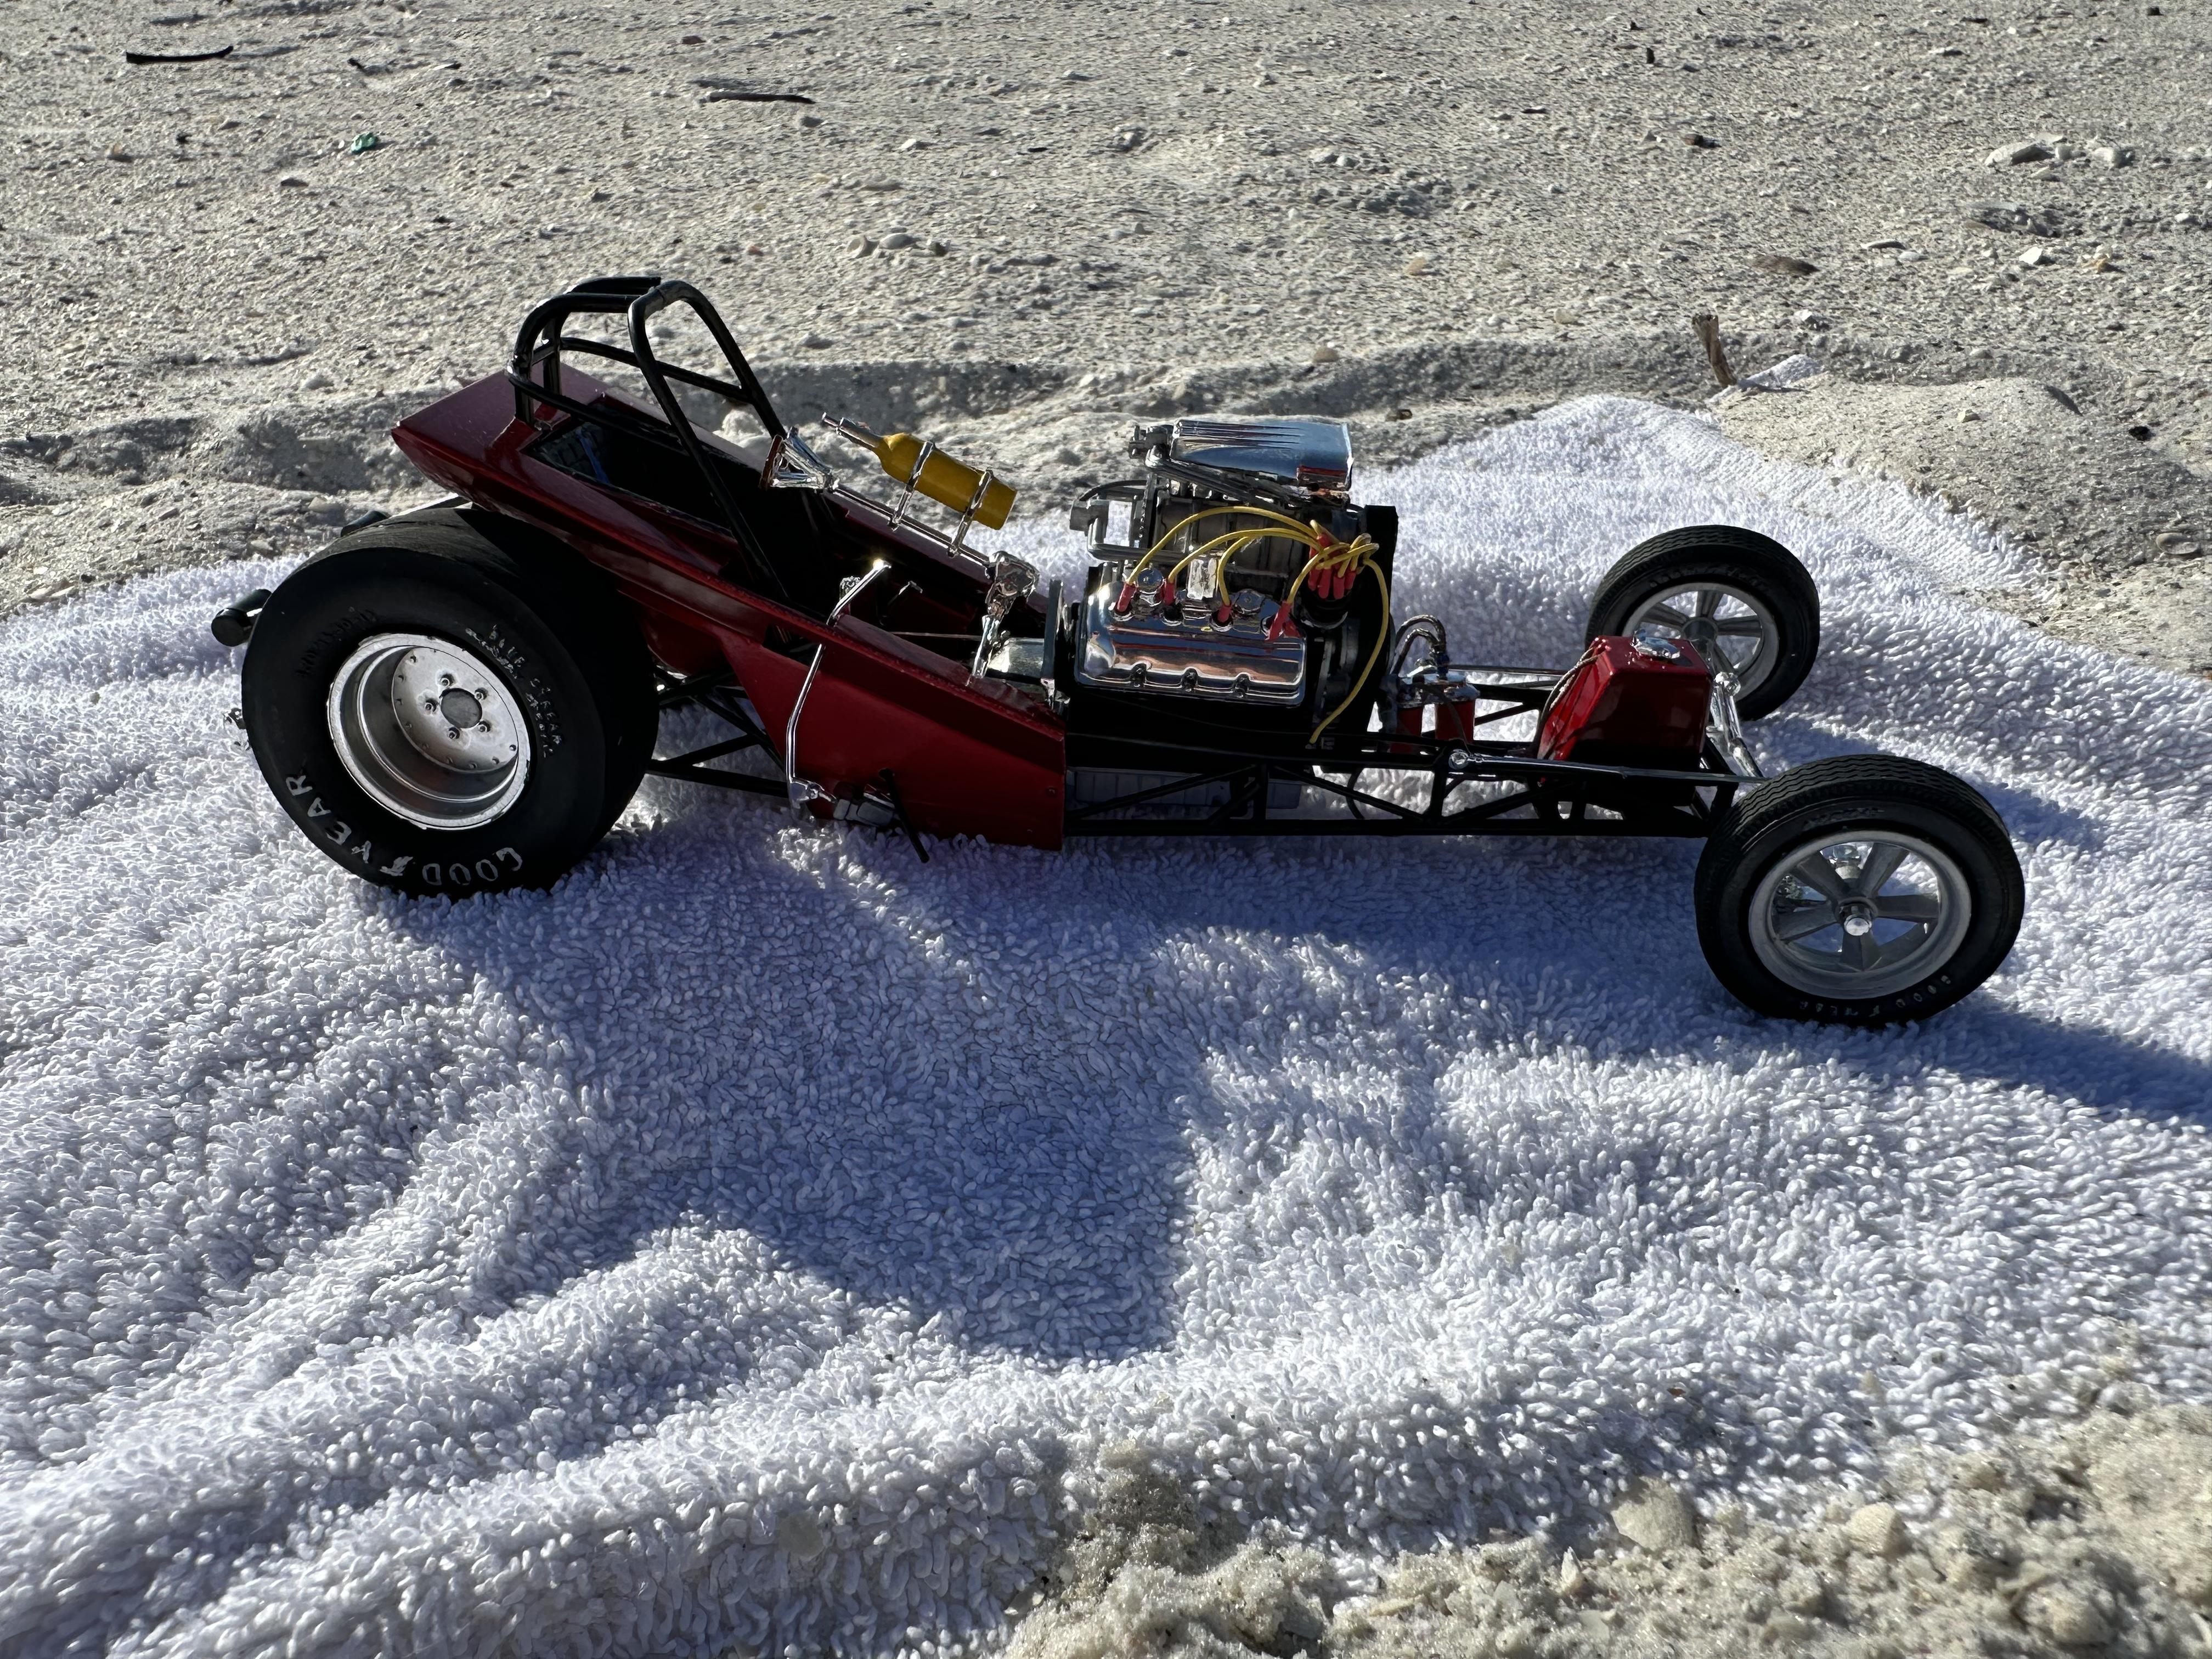
Hello again all! I know it’s been a bit since I’ve updated and for that I apologize. I’ve gotten a fair amount done in the last three weeks. I’ll start by saying I love the way these 1/16 scale cars look after they are wired and plumbed, but I HATE doing the plumbing. I do love how this project is turning out though. I’ve got all the engine wiring done and most of the fuel and oil plumbing complete. The engine is wired using the kit spark plug wiring with Pro-Tech boots. The plumbing is done with .045 Pro-Tech braided line and fittings on the oil lines and .035 Pro-Tech braided line and fittings for the fuel lines. The front wheels are from LPH 1320 Model Products. The rear wheels are the kit wheels sprayed with two coats of semi-gloss clear to tone them down a little. The only thing I don’t like is the injector hat. I am using the injector hat from the Atlantis Green Elephant kit, and although I’ve assembled and disassembled it several times, tweaking on it each time, it just doesn’t look quite right to me. I’m still considering other options. My hope is to get the assembly wrapped up in the next week and the body decaled in about 10 days. We’ll see how it goes.

-
Thank you! I appreciate the response!
-
Nice build! If you don’t mind me asking, whose aftermarket decals did you use?
-
“BUILDING THE COVERS “ Vol # 33 JUNGLE JIM’S BLUE MONZA FUNNY CAR
sflam123 replied to M W Elky's topic in Drag Racing
Very nice! -
Ian, Thank you for the comment. PM sent.
-
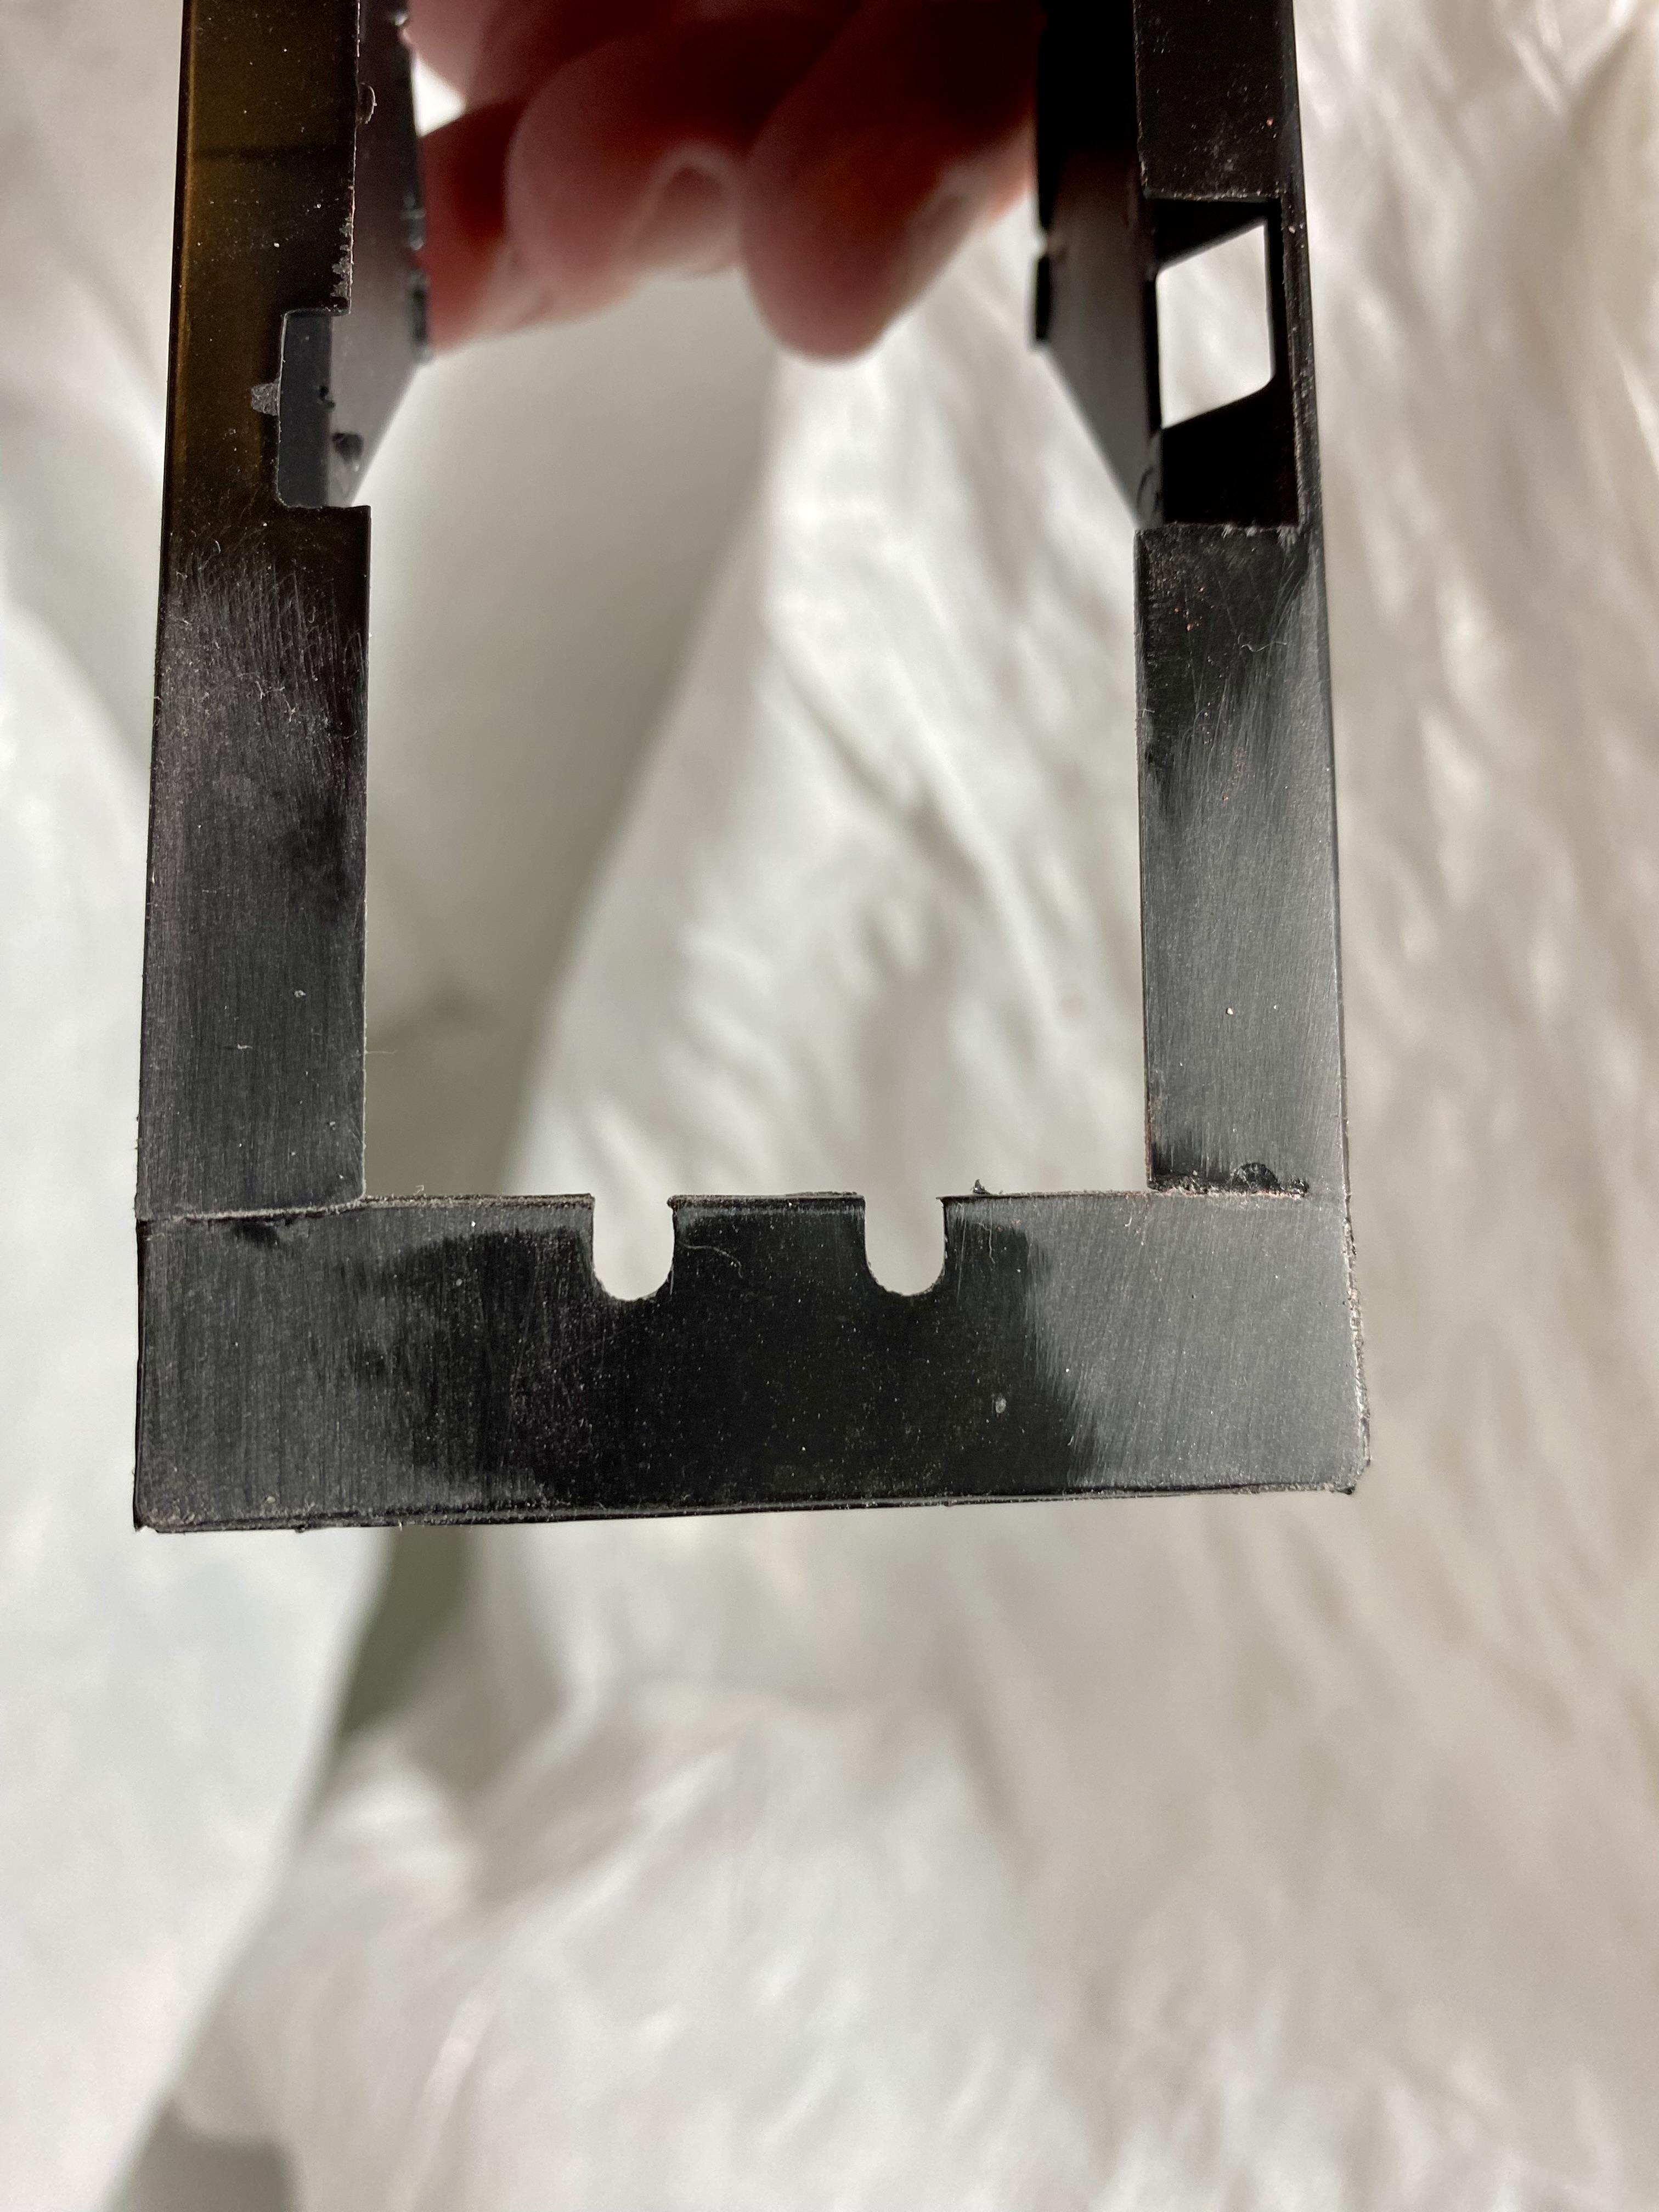
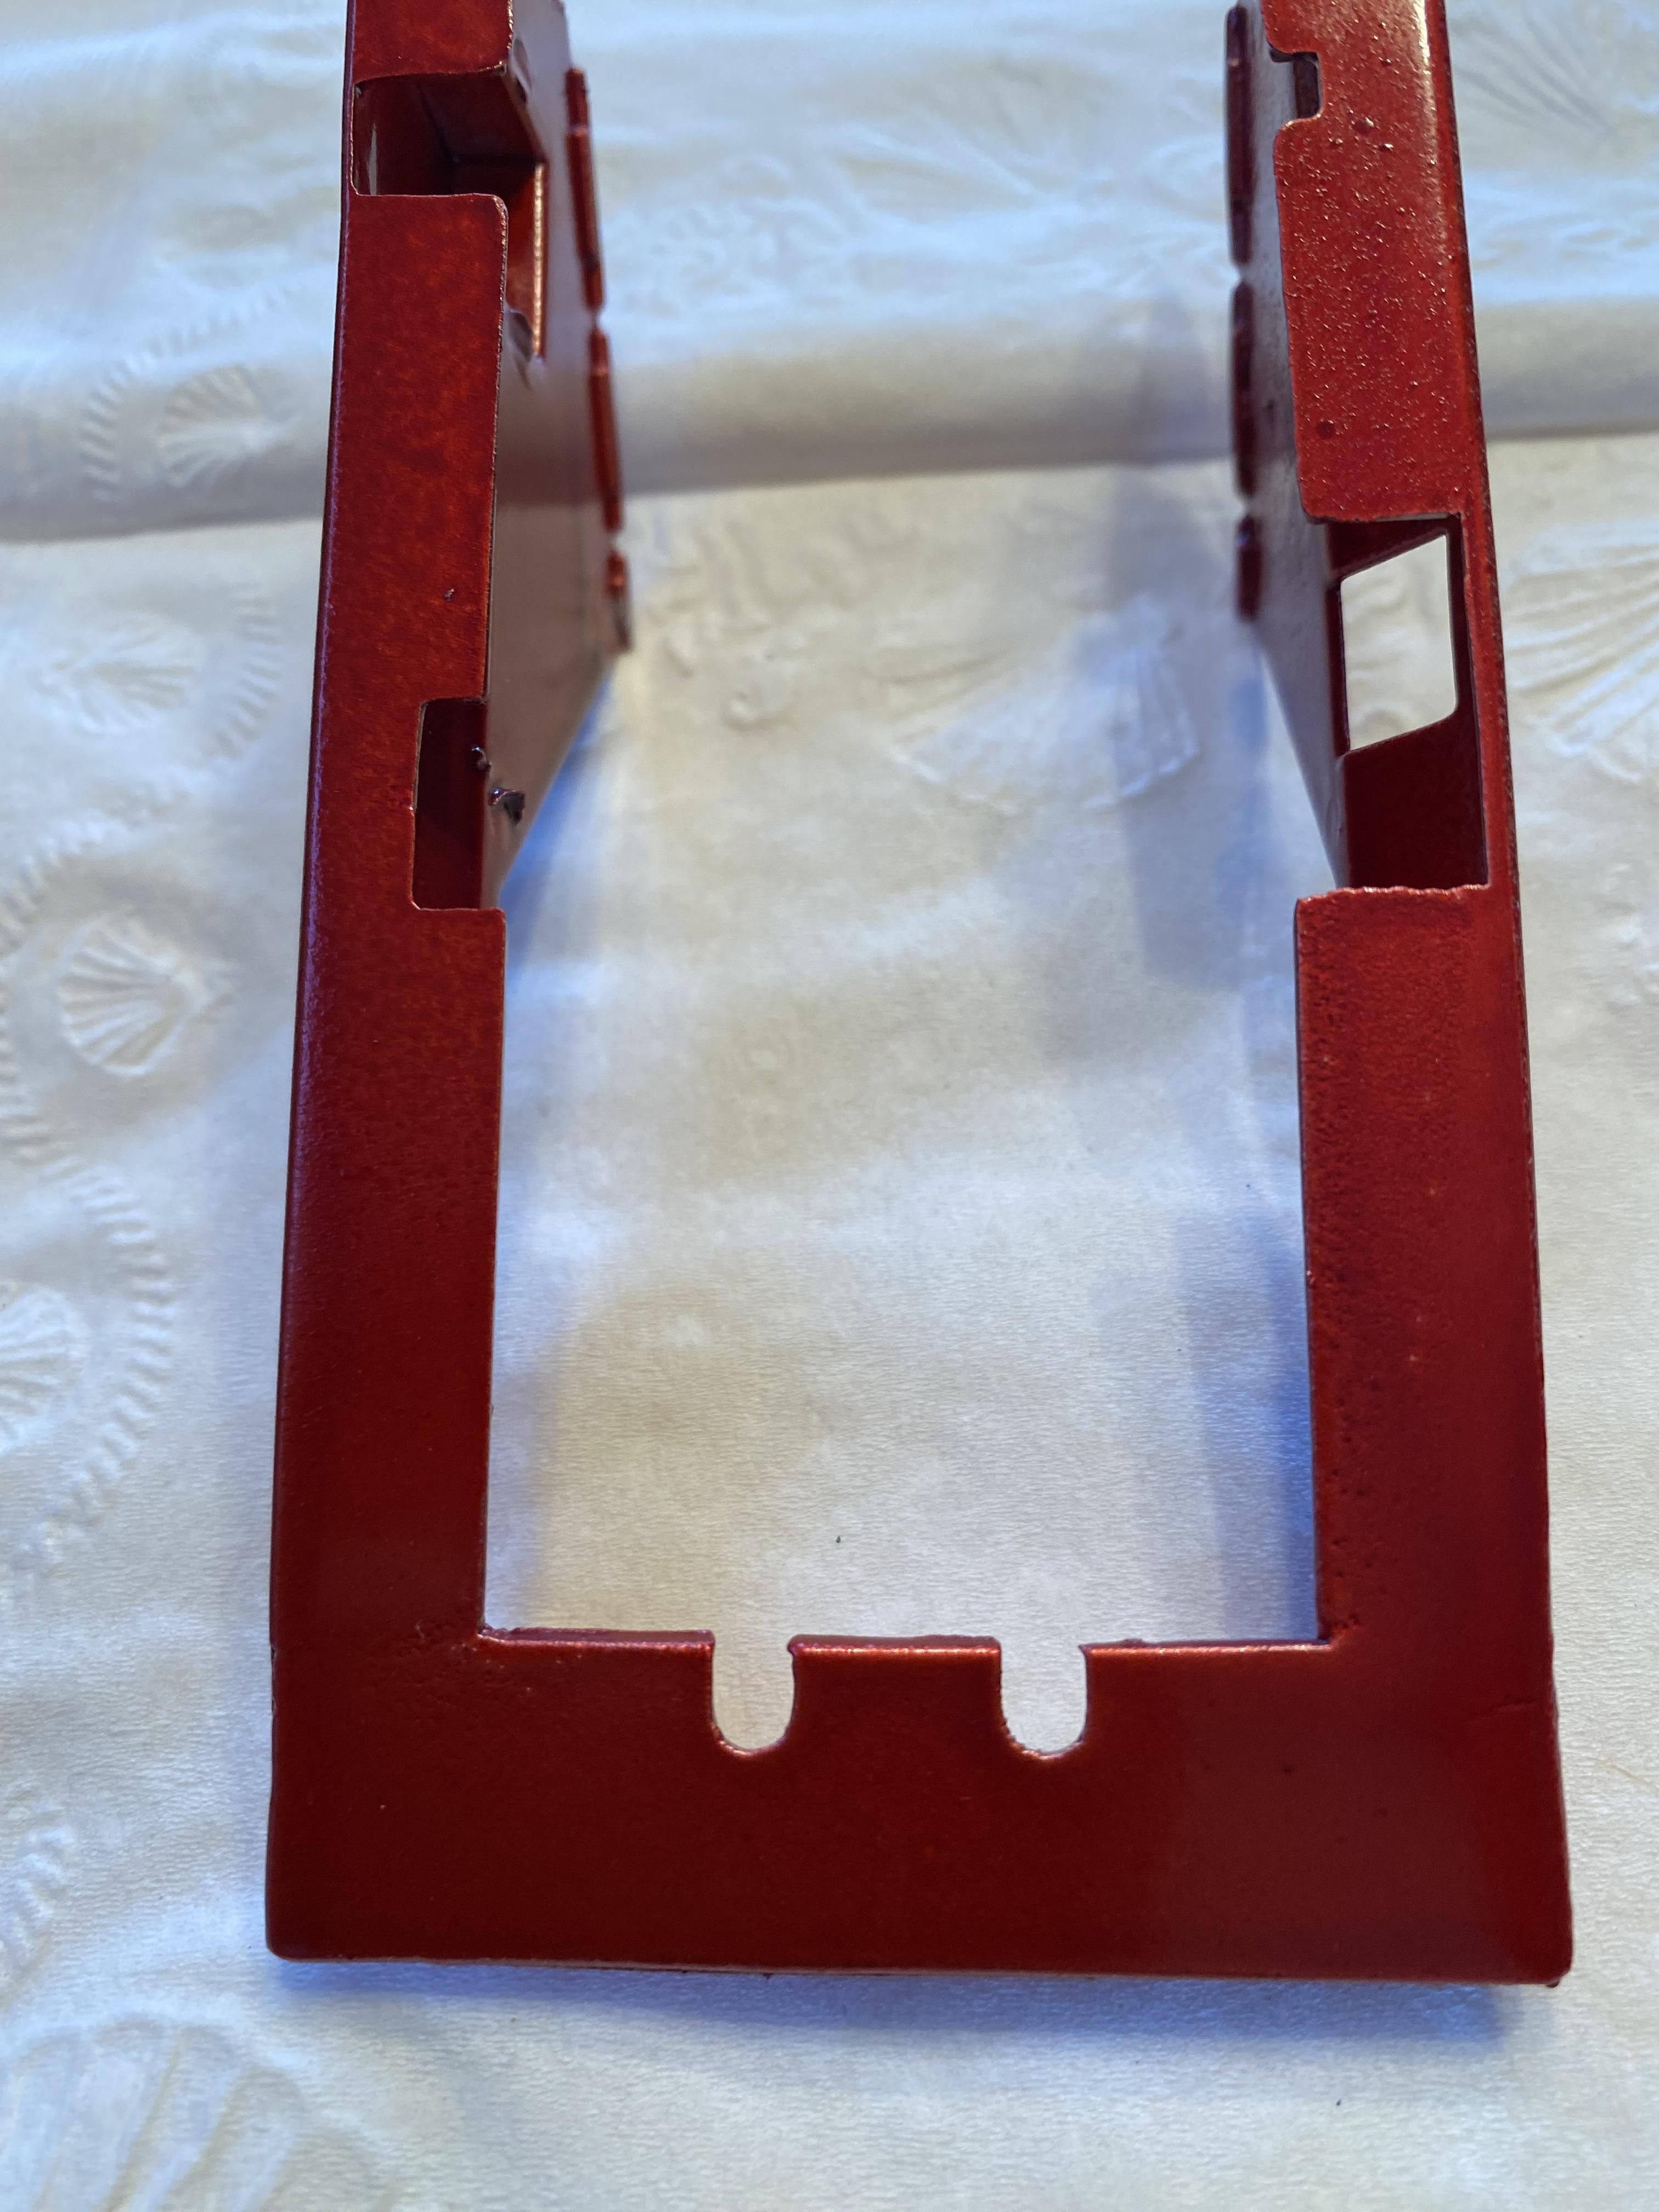
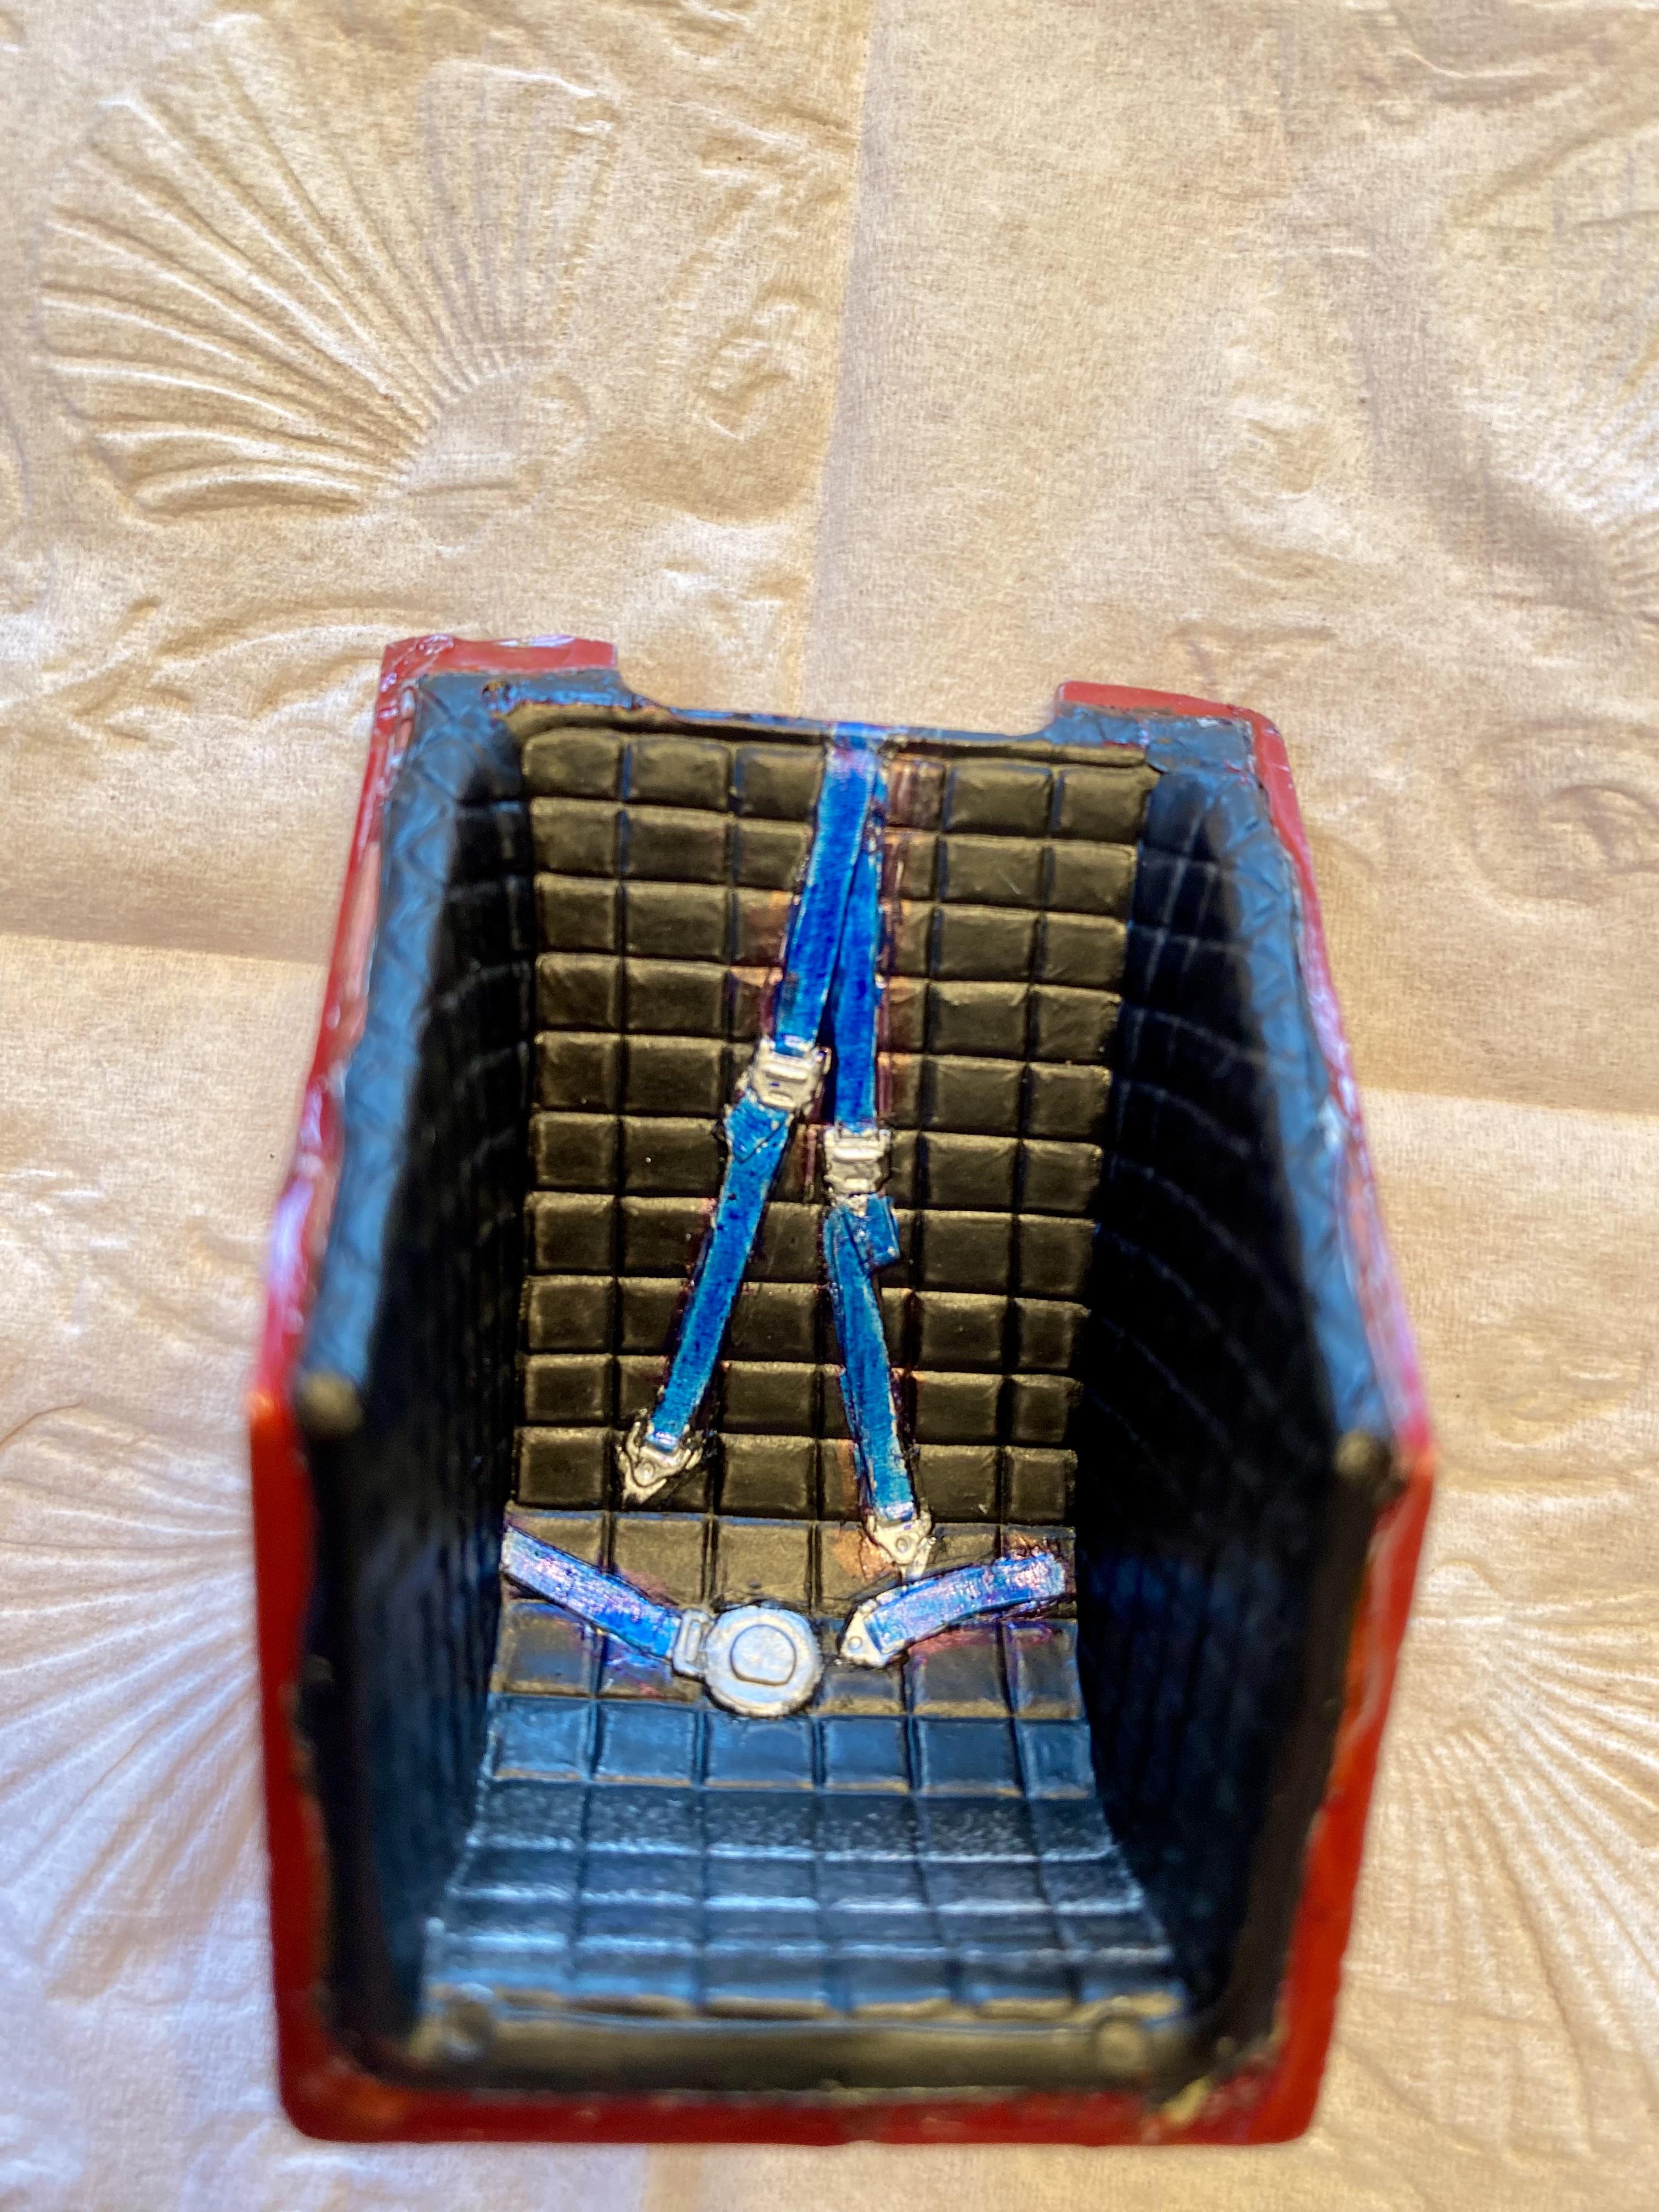
Another brief update for everyone. Now that I have the body squared away, I started working on the interior tin. Although I know why it was molded the way it was, I have never been a fan of how th cockpit tin looked after it was assembled. I've been fortunate to know several tinsmiths, a couple of whom worked extensively in the circle track world, and they are meticulous craftsmen. So, I invest some time and effort to clean it up and make it look like it would have been something they crafted. It's not a lot of work, just some filling and sanding and smoothing of the seams. I also detail painted the seat. I have tried and tried to use the photo-etched seatbelt hardware that is available and I've tried using medical tape, cloth, and about everything else I can imagine for the belts, and in the end all it does is frustrate me because it ends up looking like BLAH_BLAH_BLAH_BLAH. So, I paint all the cast in details on the seat. At best, it looks "okay". Would it look better if it were hardware?? I'm sure it would if someone other than me did it!! But, trust me...this looks WAY better than if I used photo etched hardware and seat belt material!
-
Tribute to 1966 Le Mans 1, 2, 3 Finish
sflam123 replied to Lobo2me's topic in Other Racing: Road Racing, Salt Flat Racers
Those are ALL beautiful! Very nice work!