Moparman18064
-
Posts
609 -
Joined
-
Last visited
Content Type
Profiles
Forums
Events
Gallery
Everything posted by Moparman18064
-
Thank you very much Stuart. I did the best I could considering scale and skill. Thank you Chris
-
Nearing the finish line yet Roger? Wishing you luck for show.
-
Thank you Larry
-
Thank you very much Mark. Yes, it did do it’s share of that.
-
 Thank you. I have not seen tires available yet, but Best Balsa has the decals for about $85 and funnels and injectors for $145, ouch. Paul Koo has an upgrade kit for the Pocher for $145, which is a dvd, some screws/ bolts and tubing/ harness material. I have been in contact with Mad Mike about the engine, have not worked out a price yet. I do know that I absolutely need the decals, they are toast.
 -
Thank you Carl
-
Nice build
-
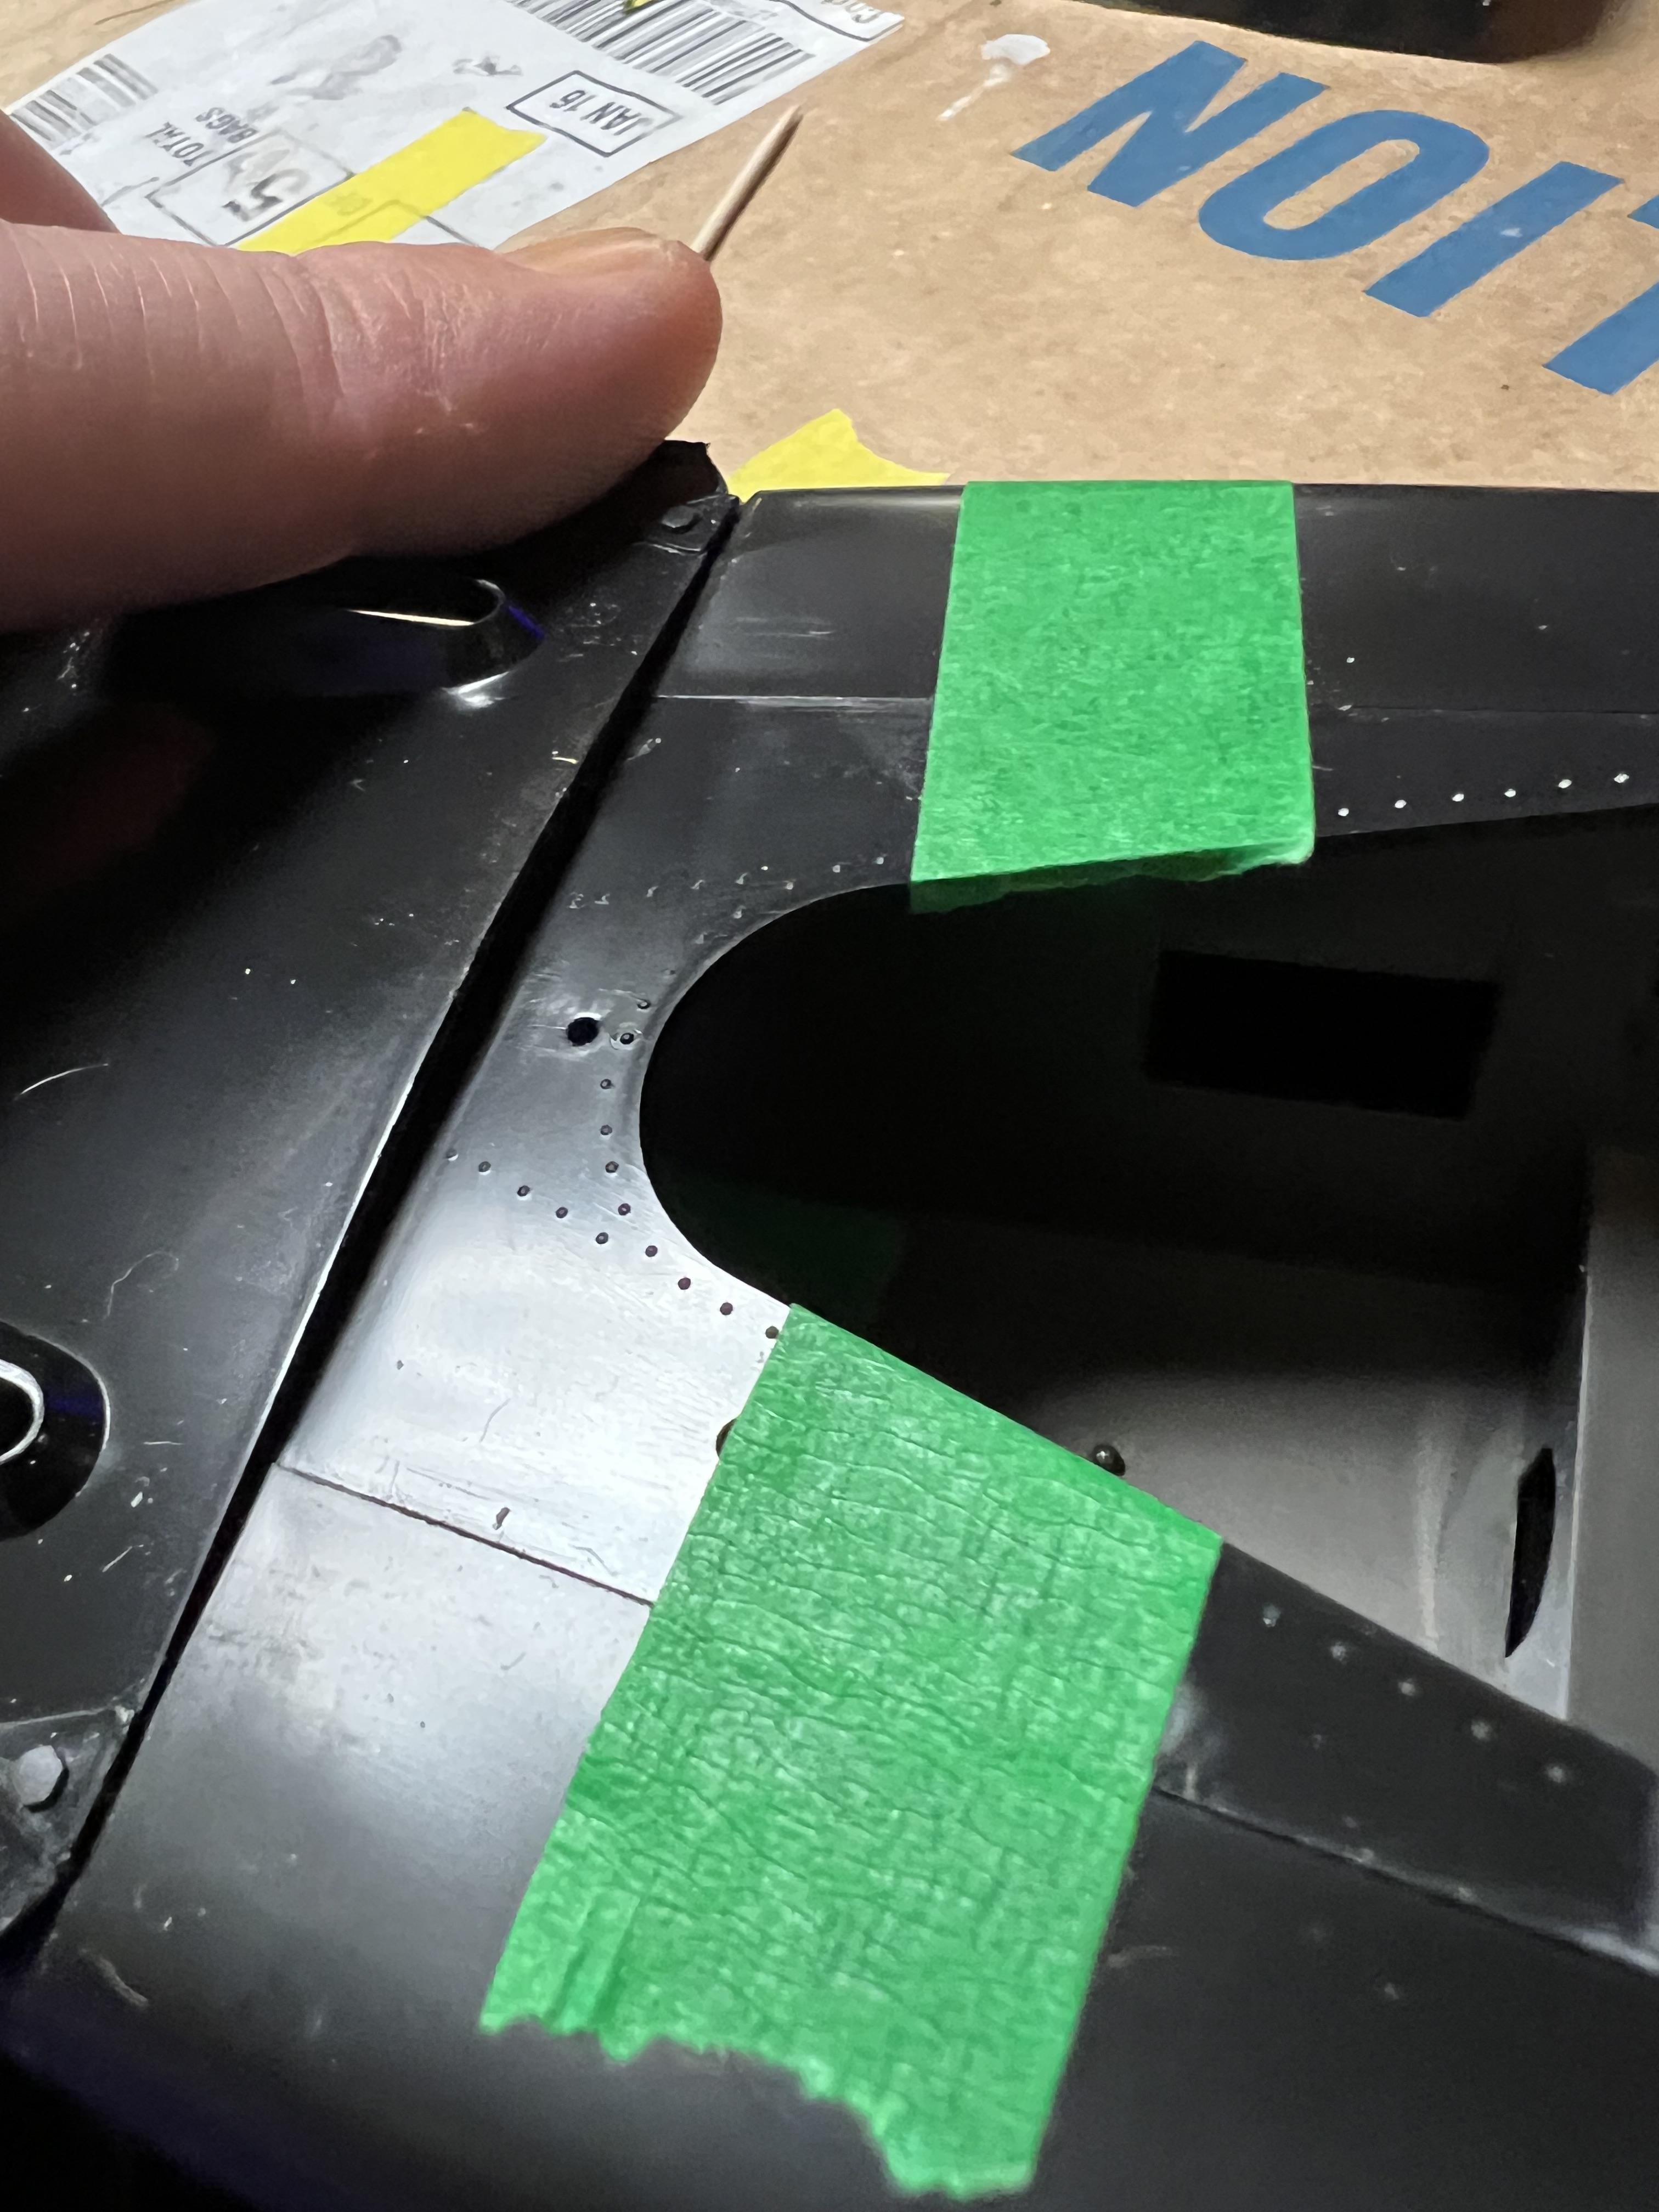
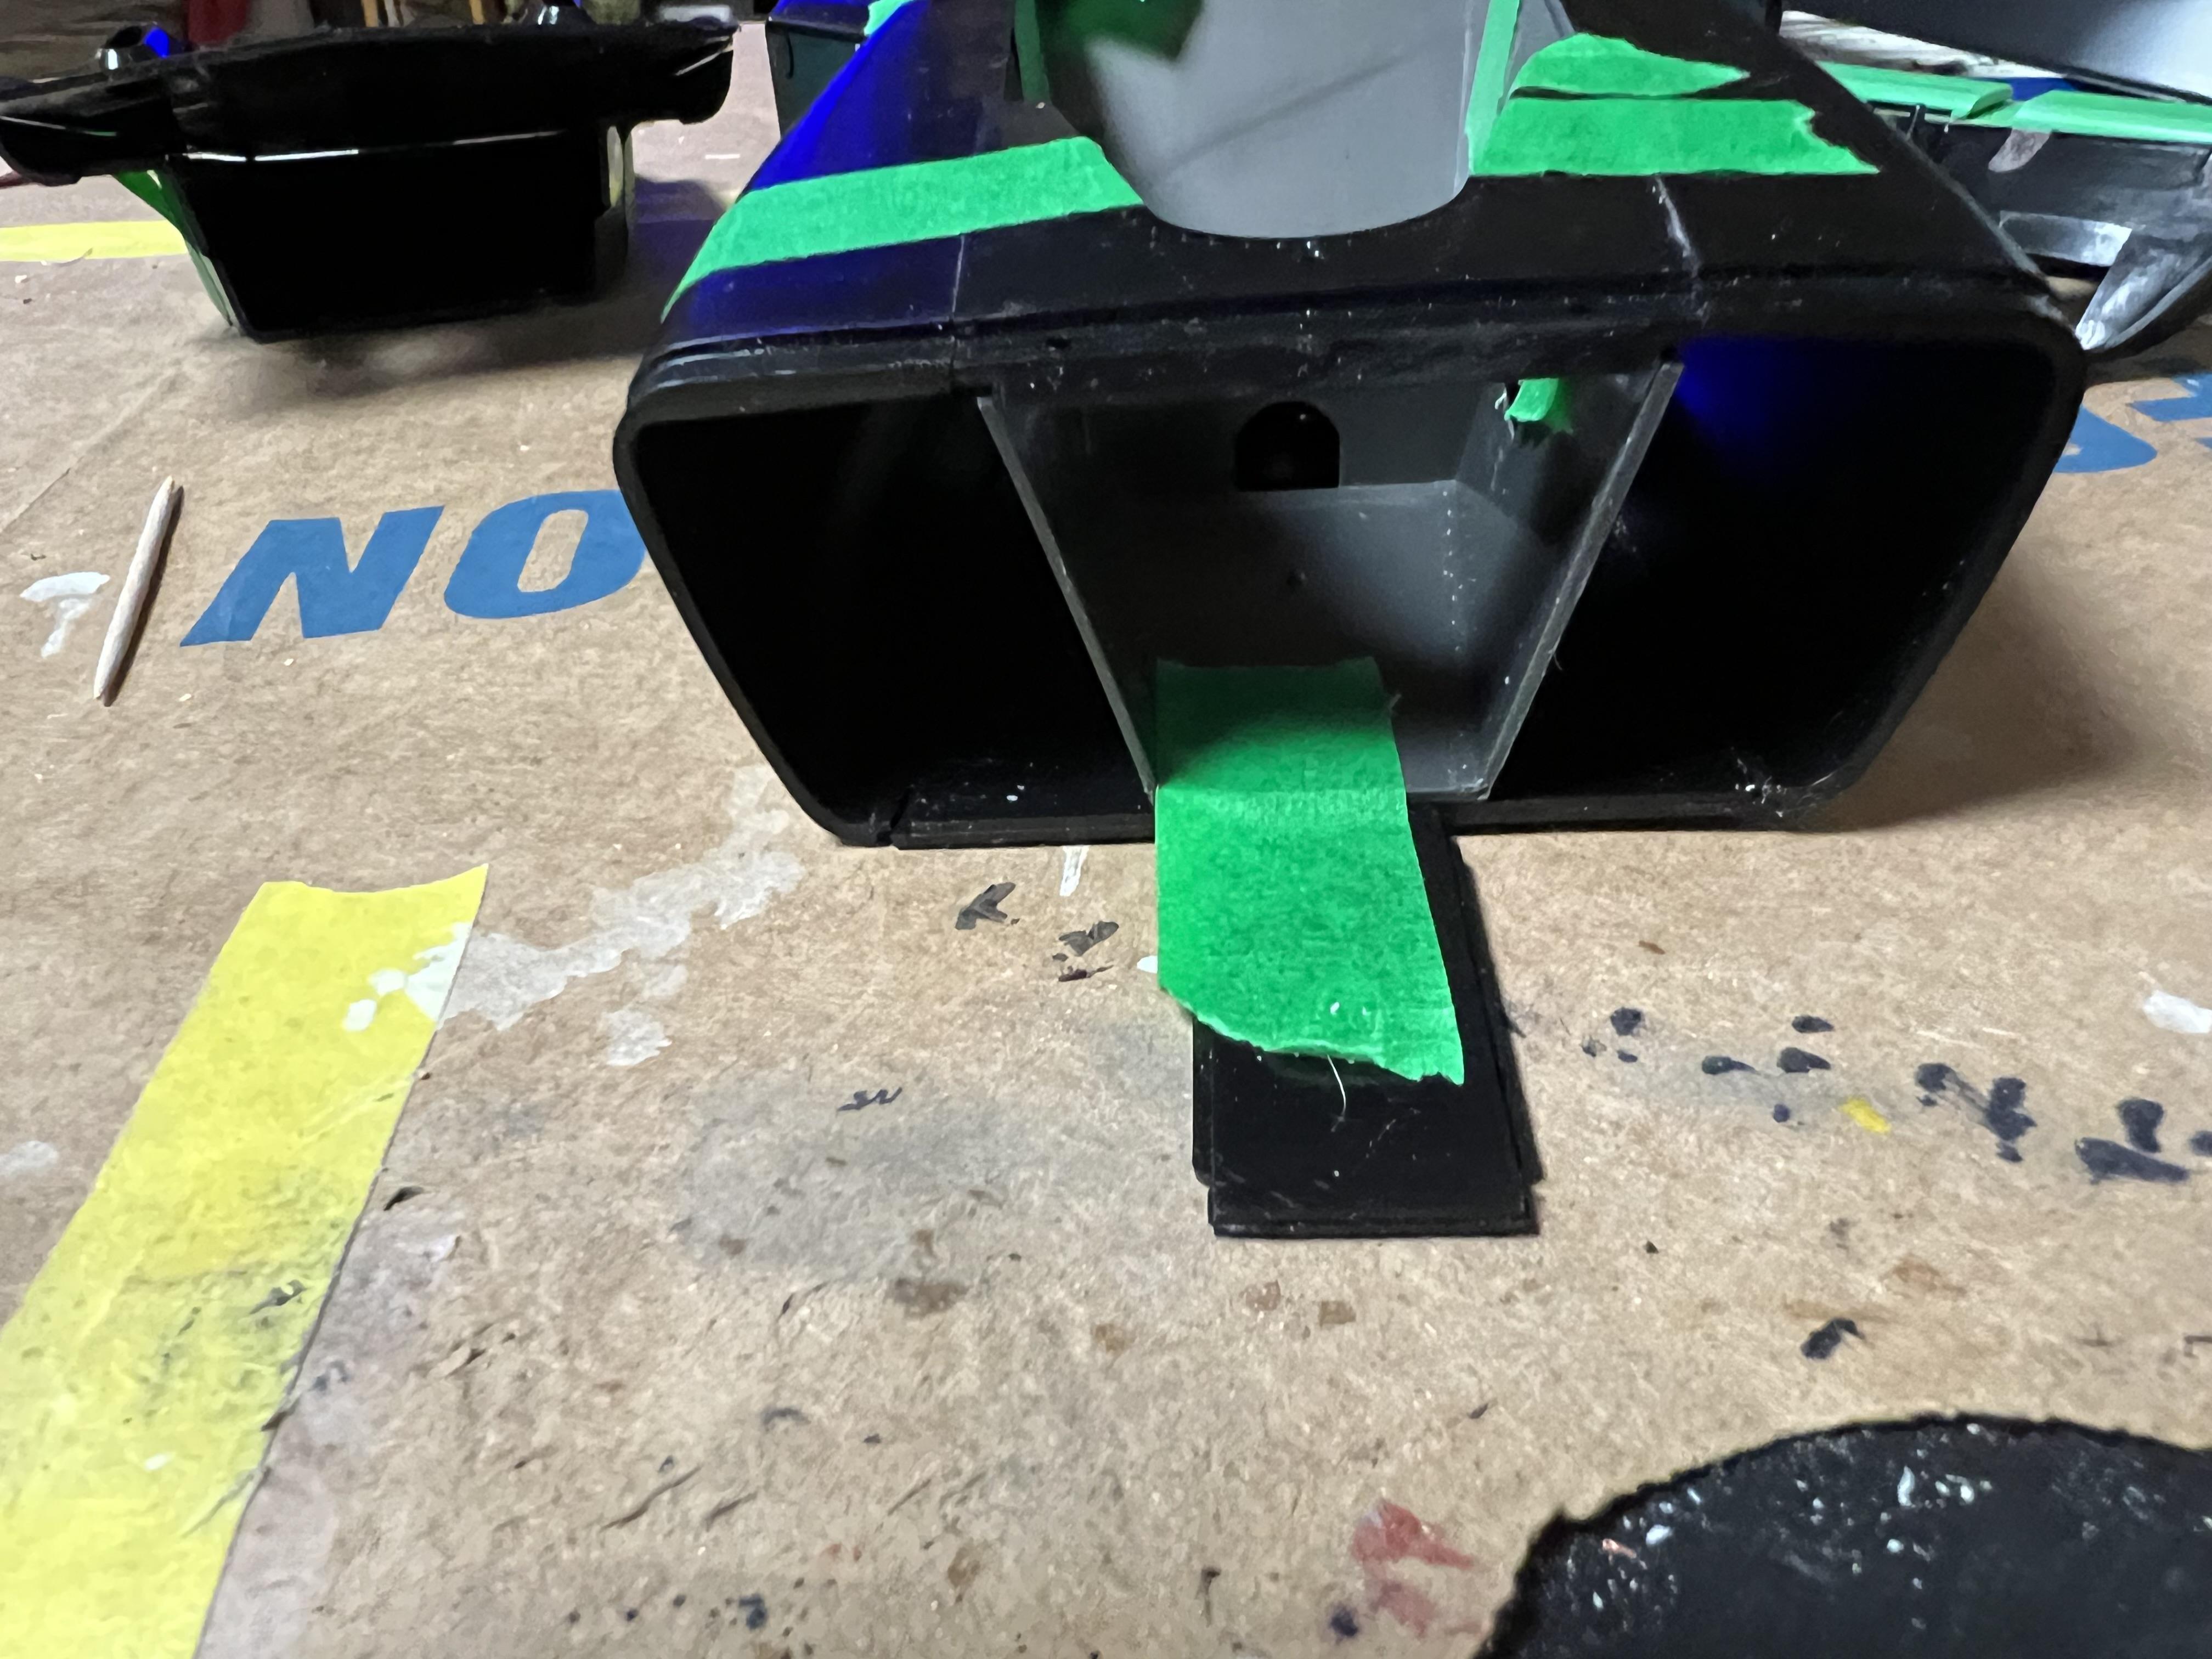
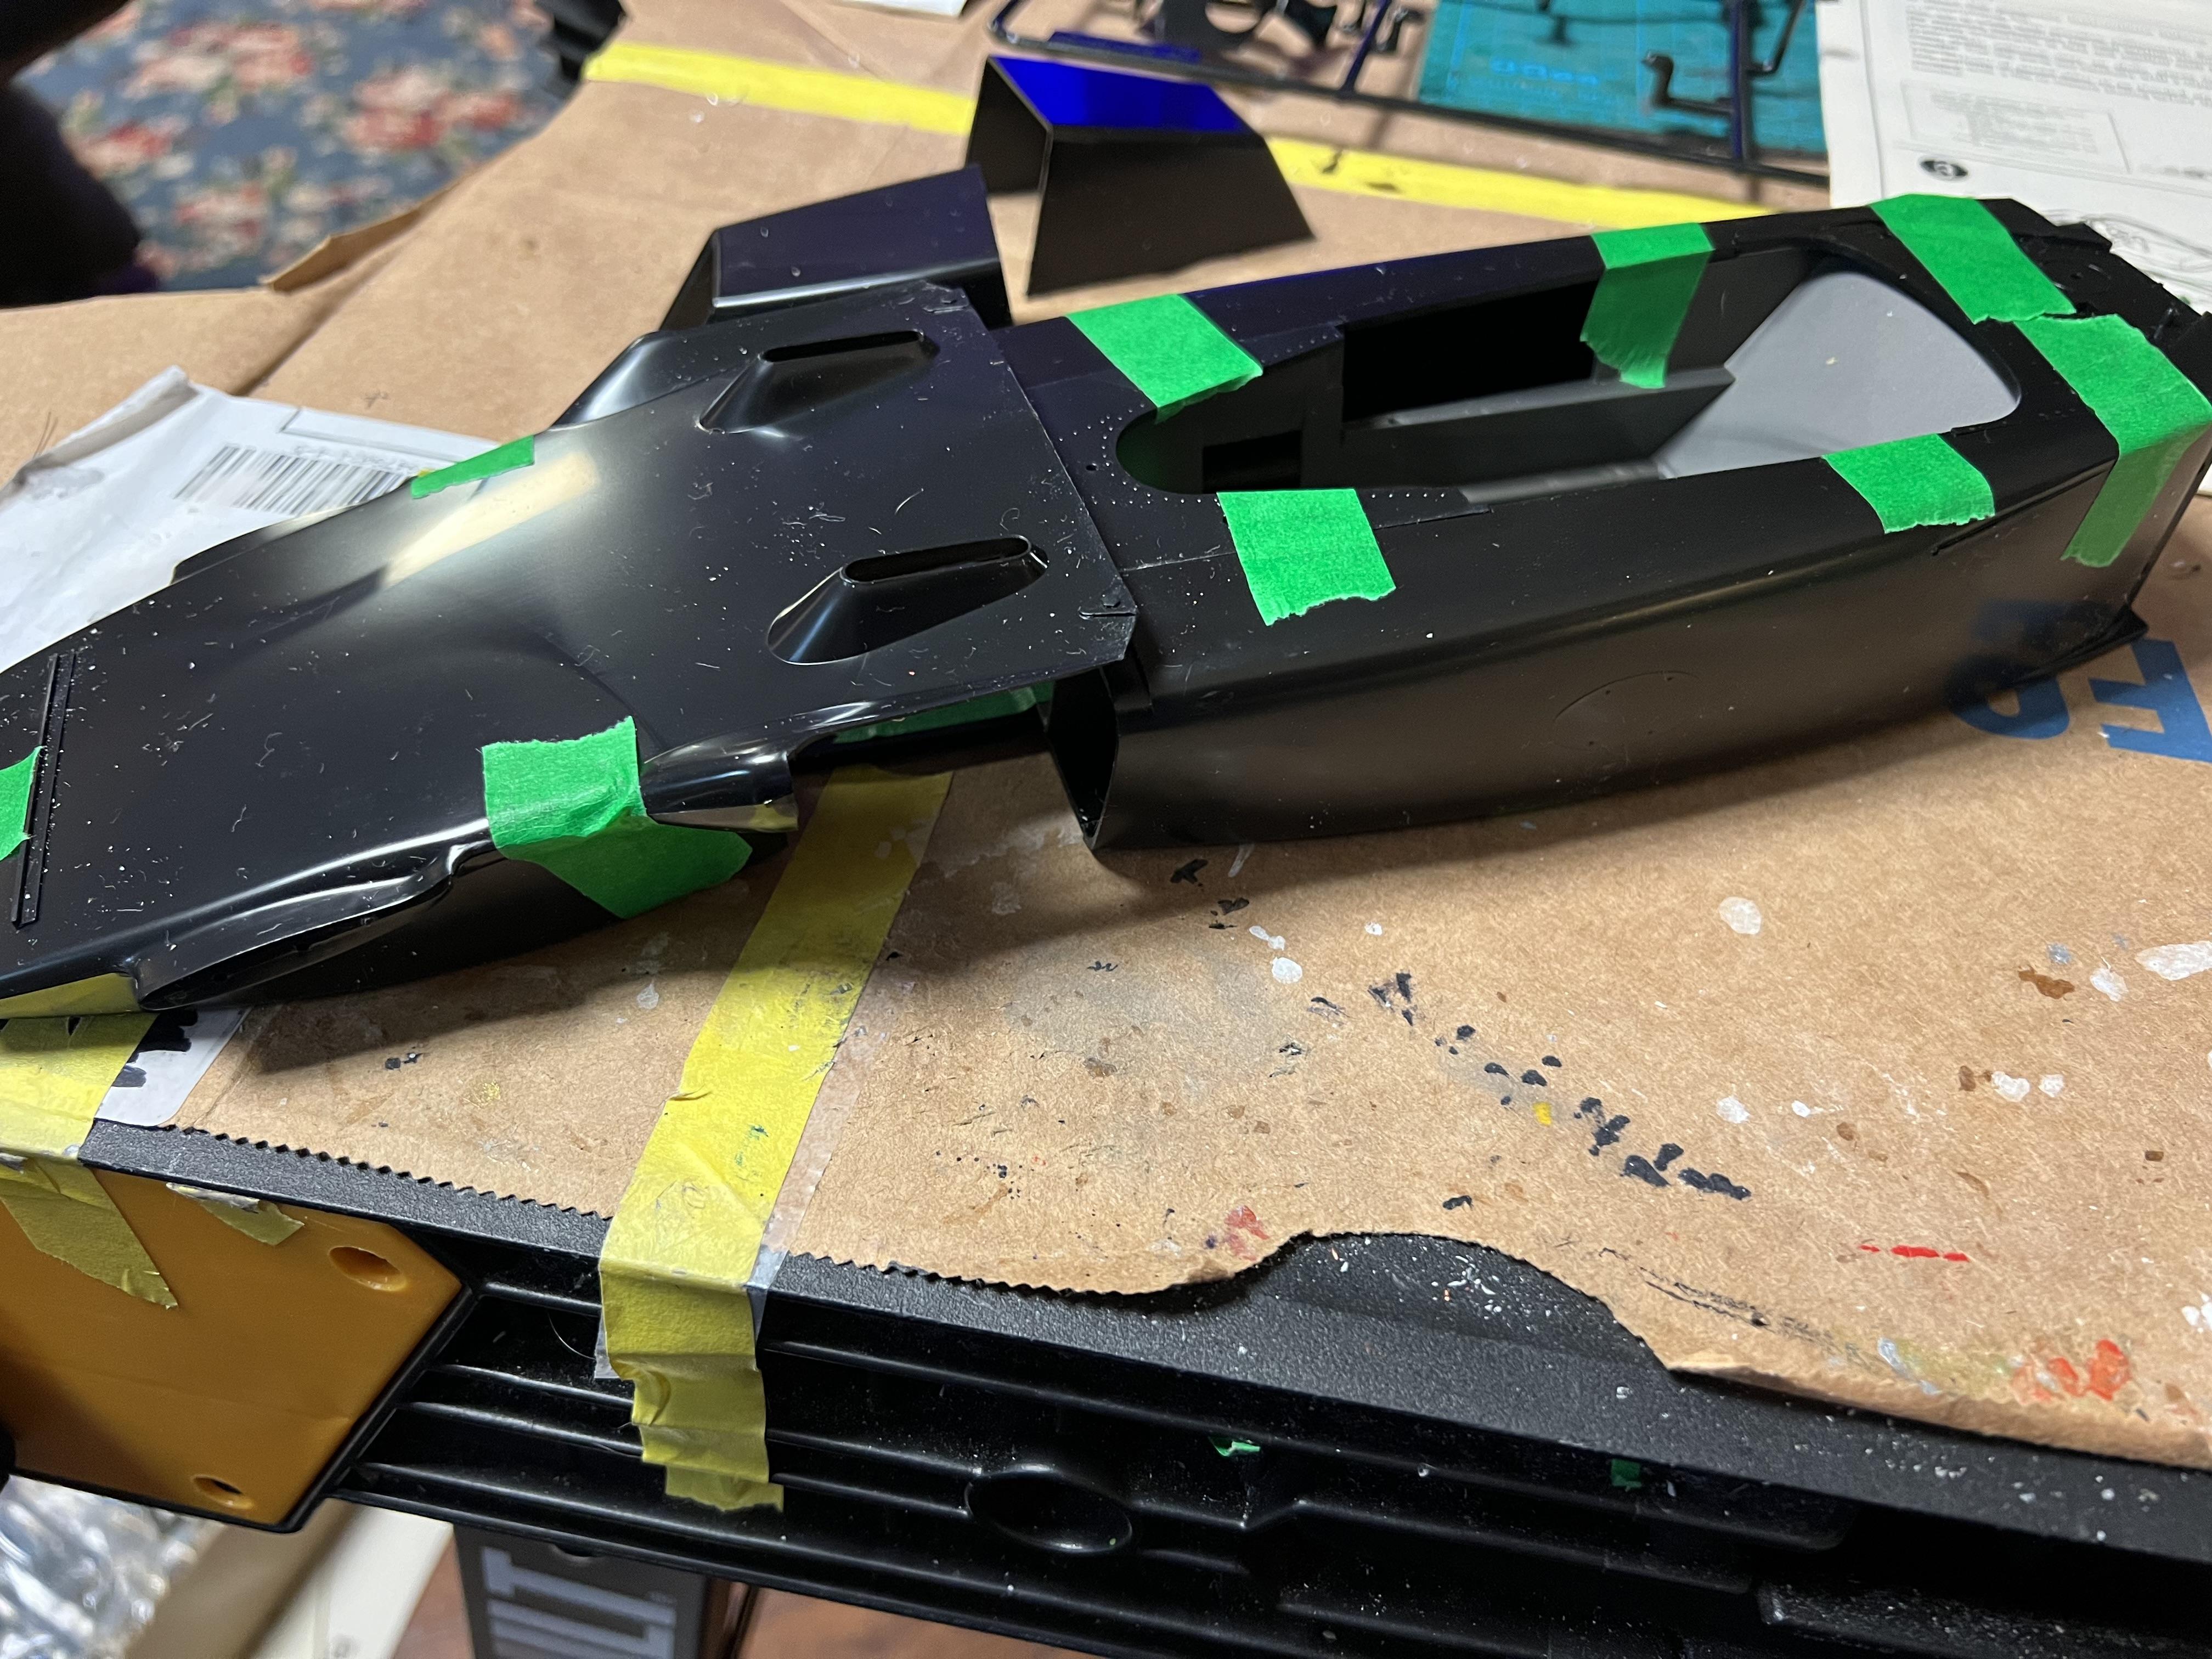
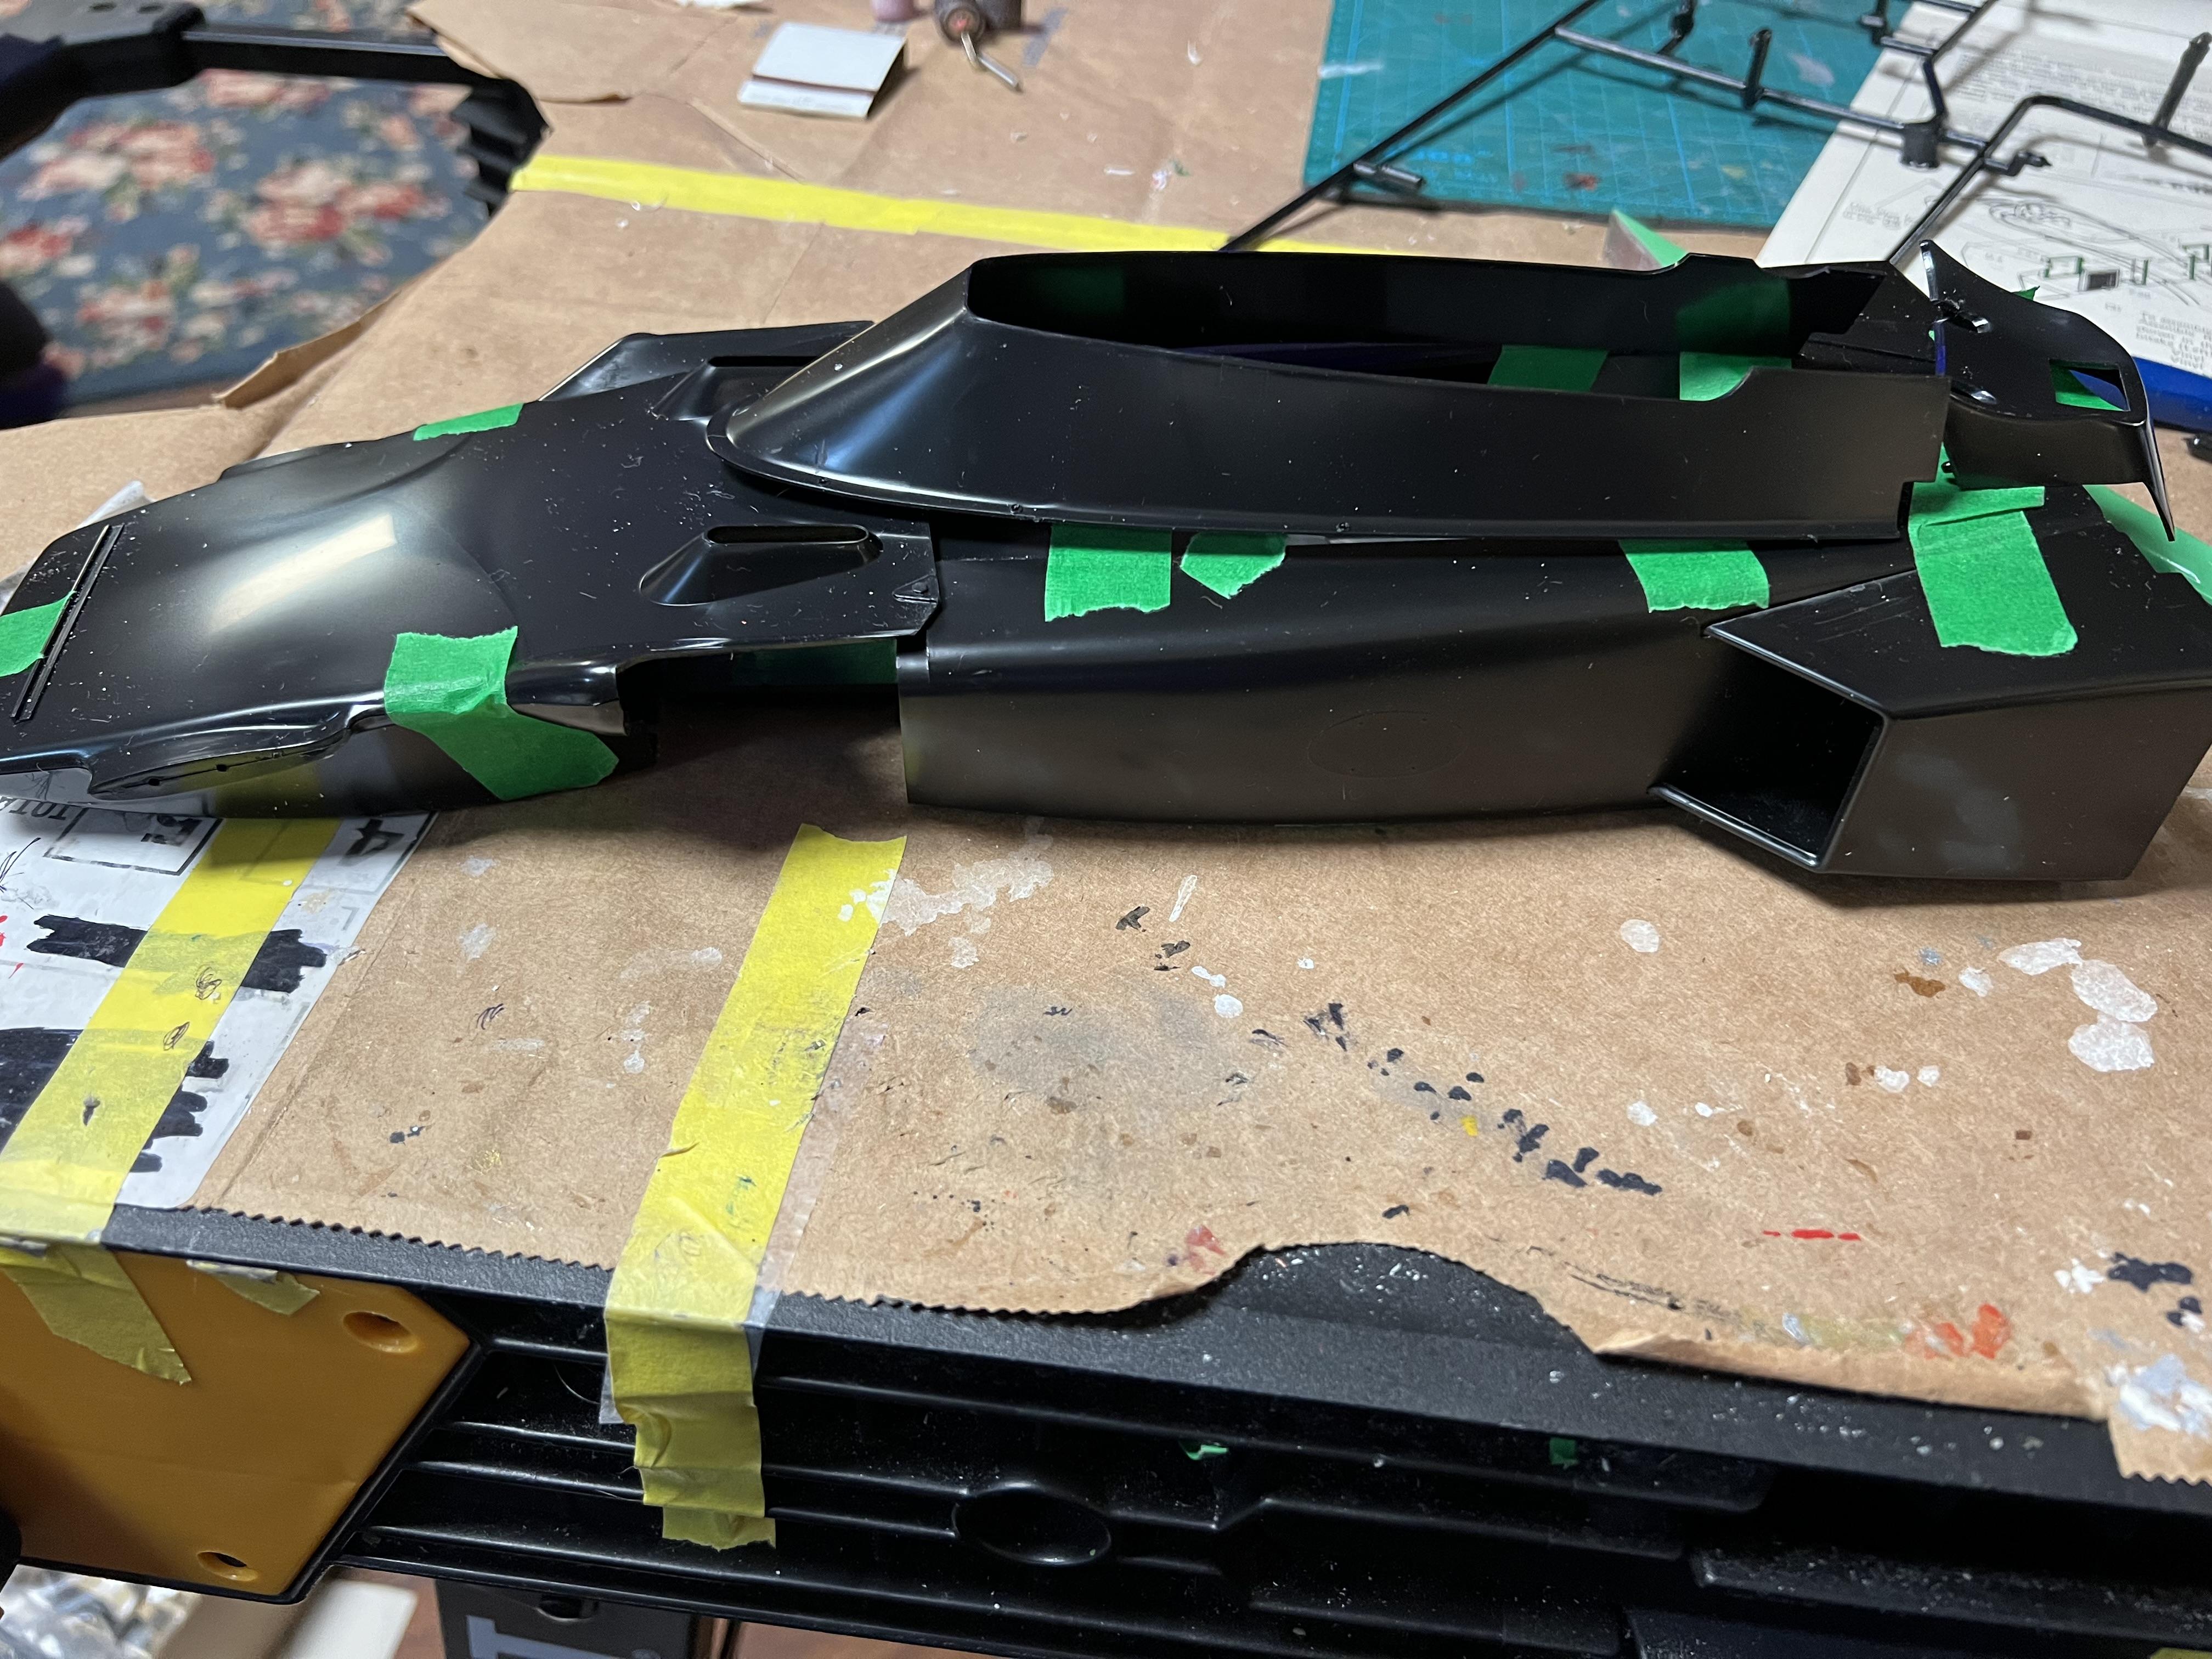
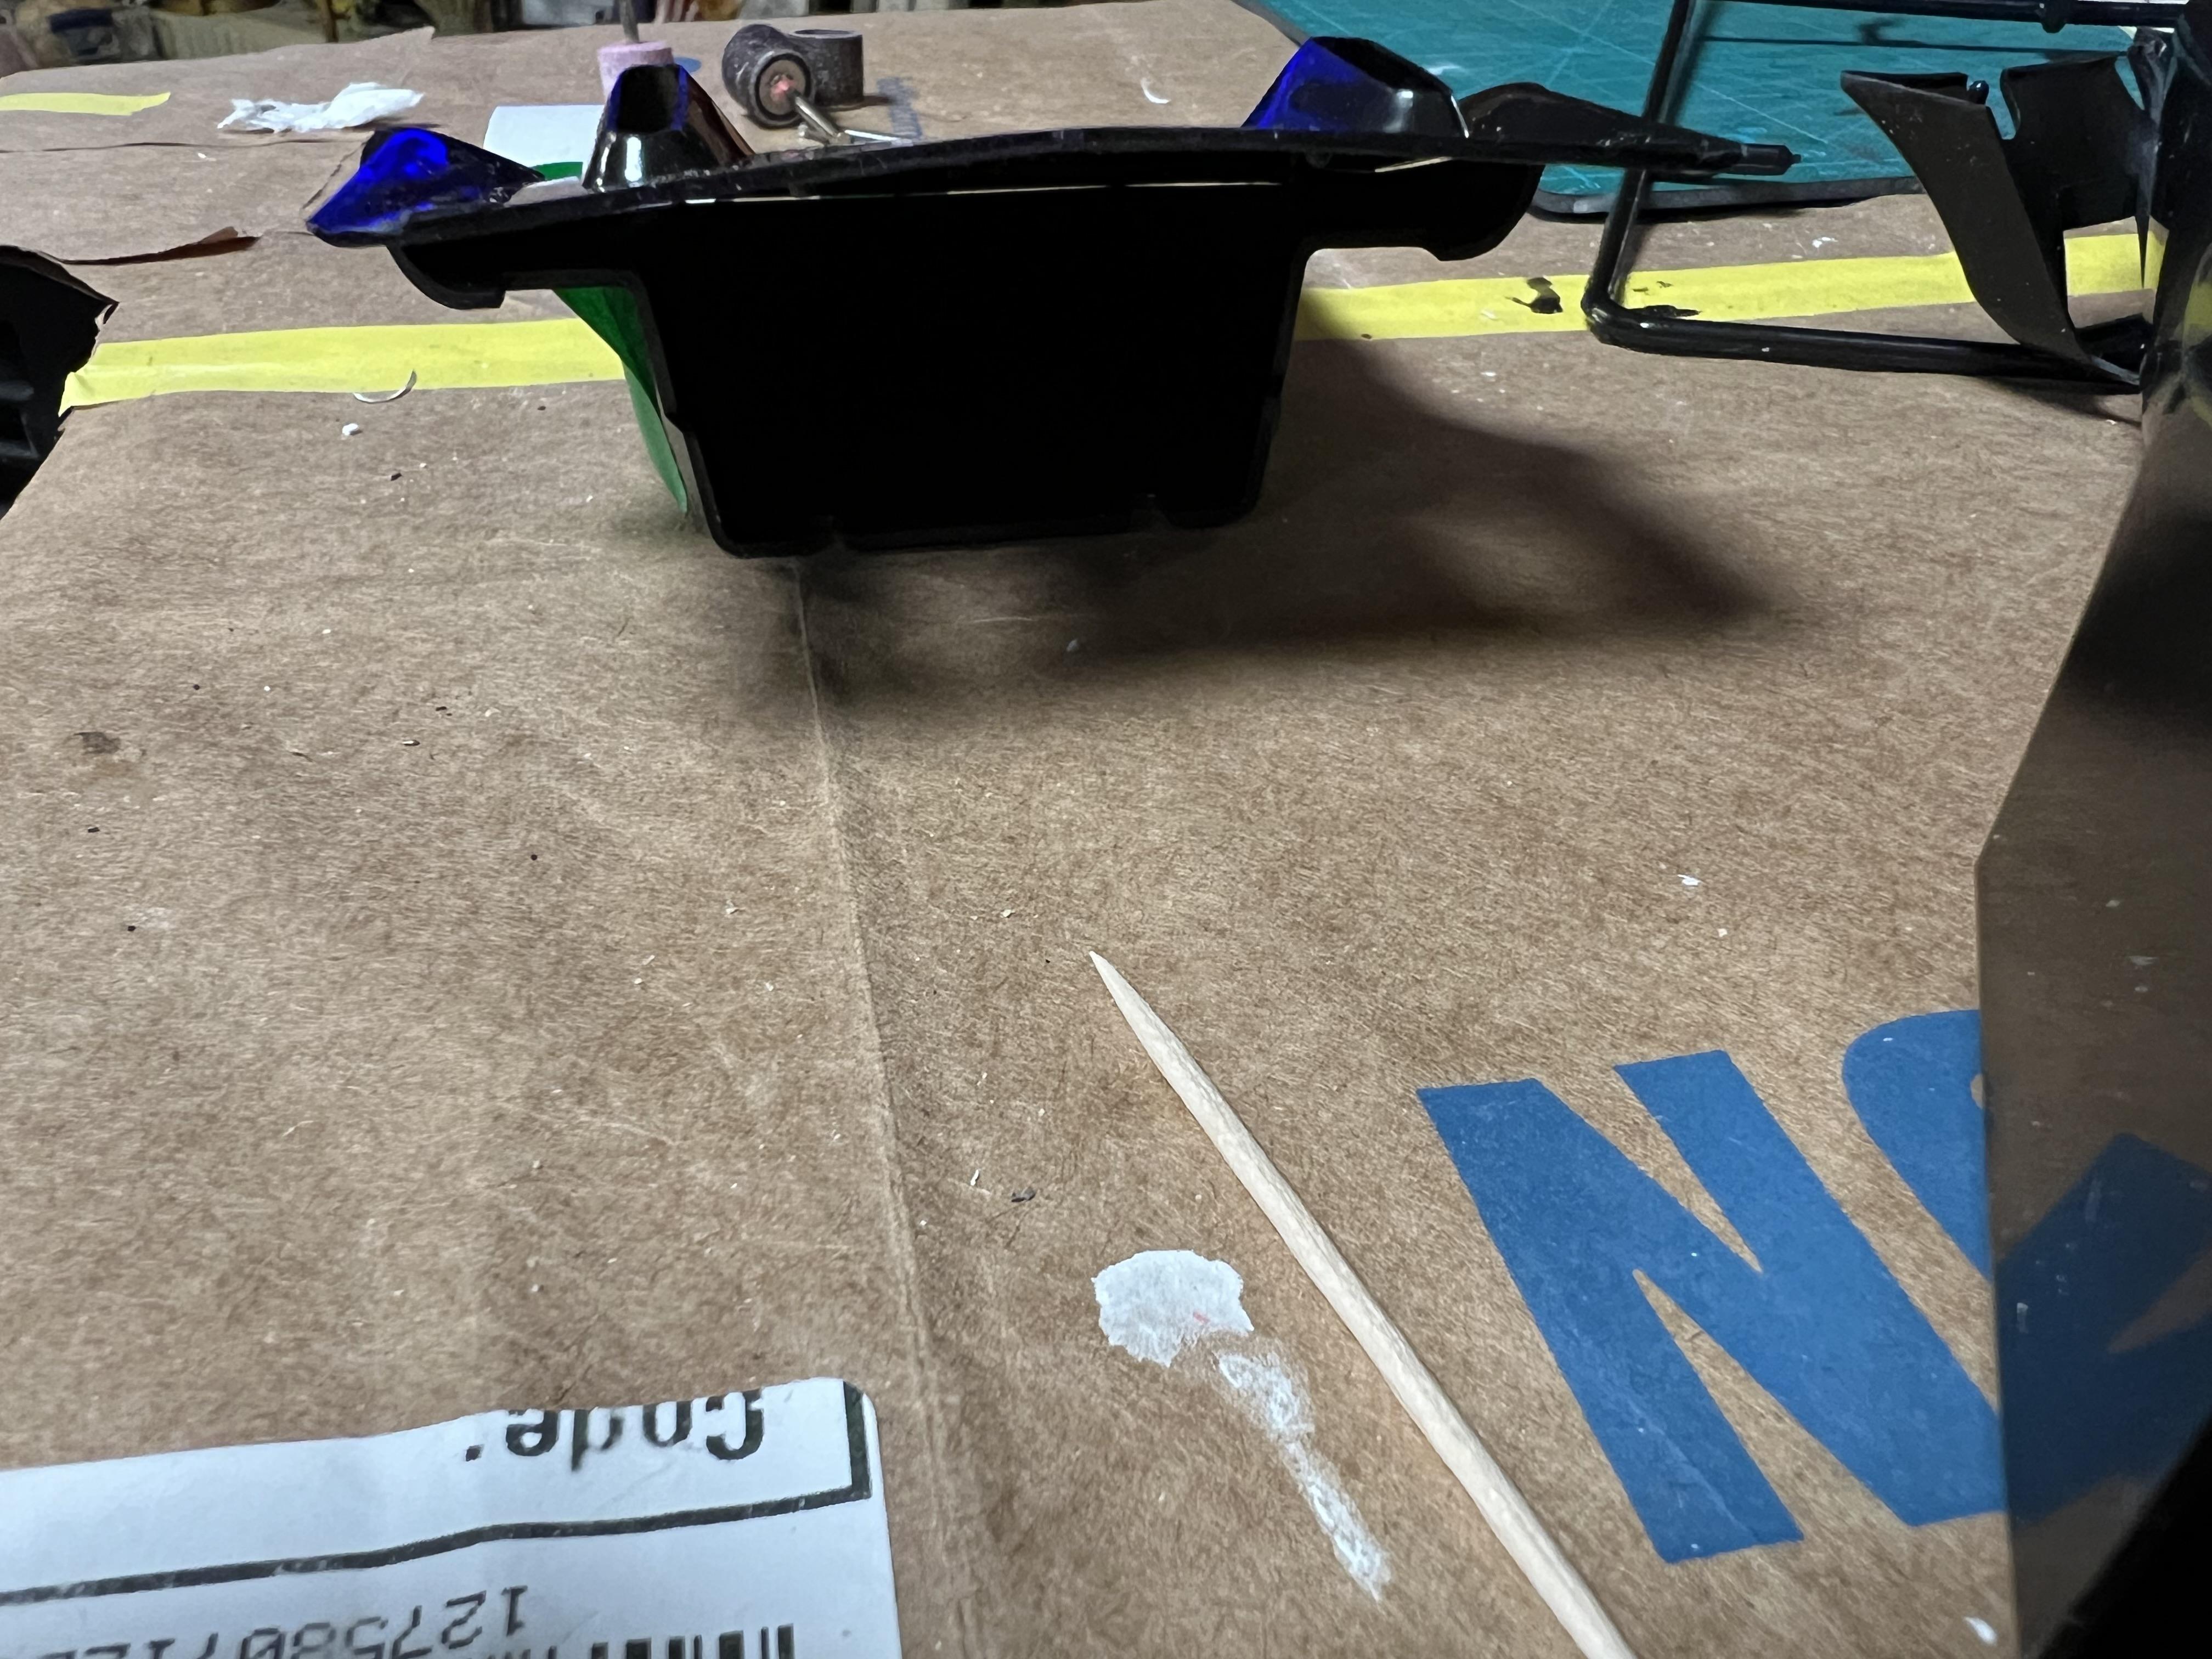
First up, check all parts there, good, will need decals. Next, check for warpage on body panels, all the panels around cockpit fit well, the nose is warped on upper edge where it connects to cockpit area. I need to straighten, ideas? I was thinking of taping it to a level and trying semi hot water/ possibly hair dryer?

-
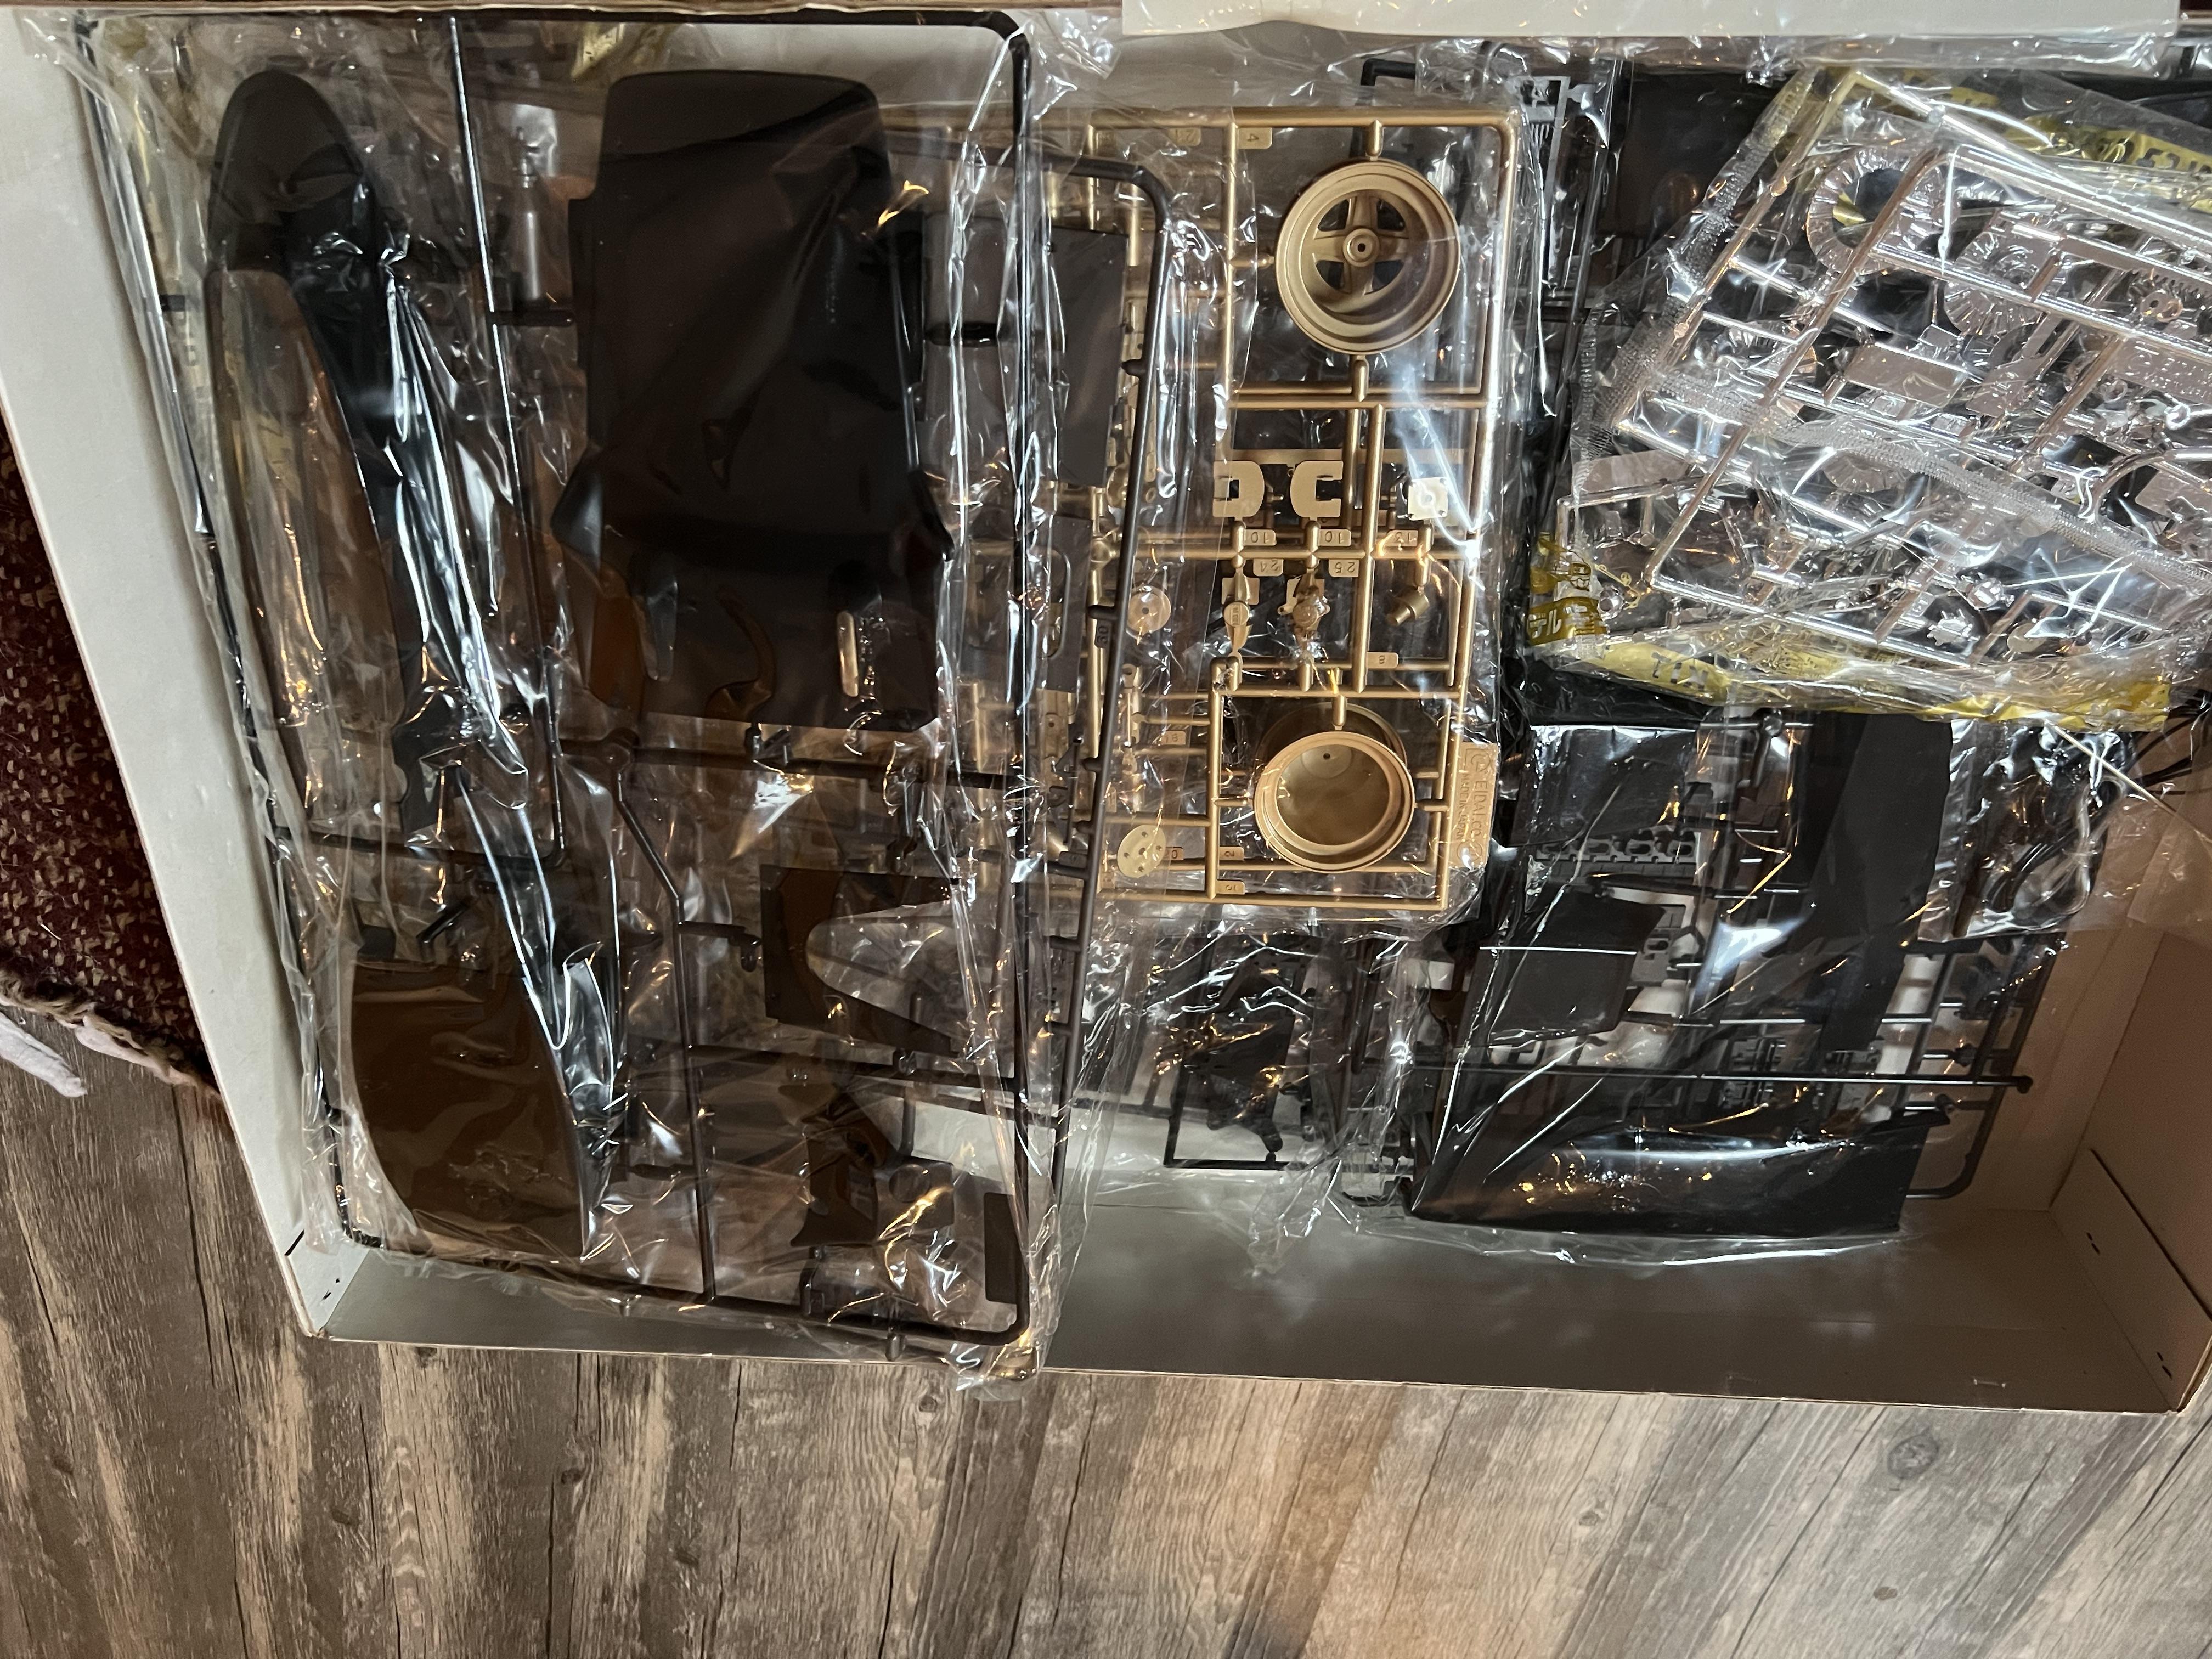
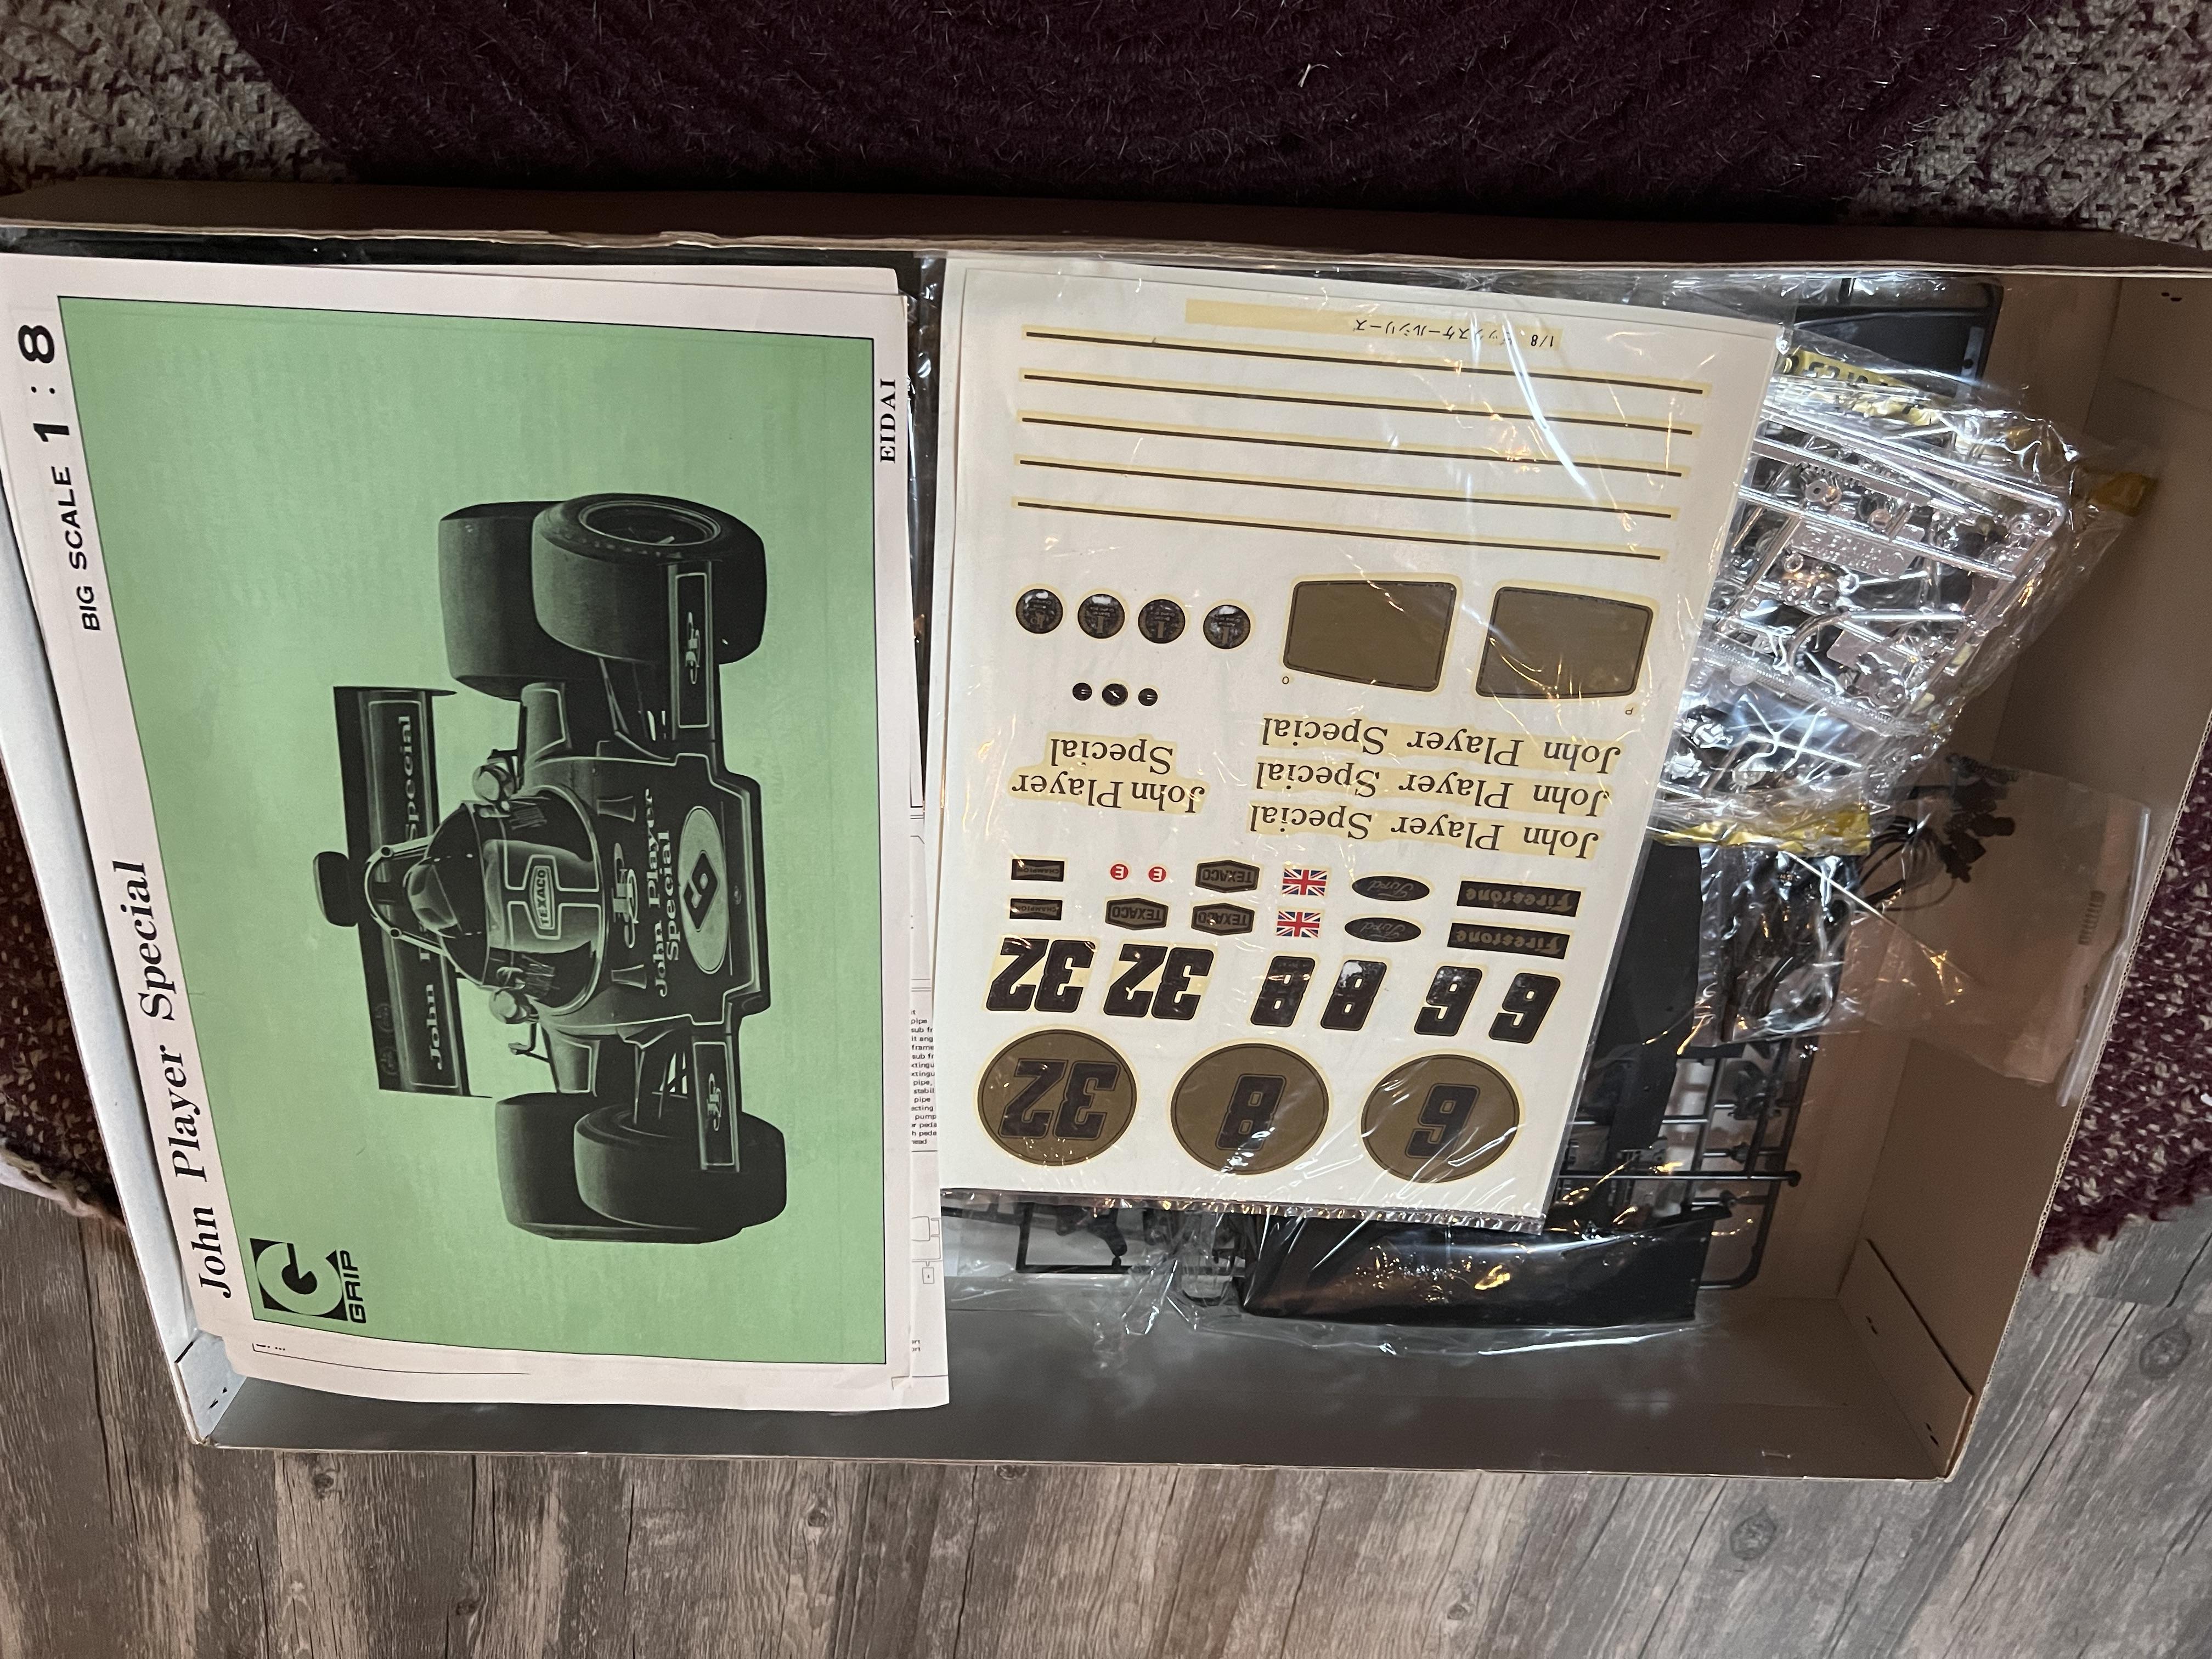
I am starting on a kit that I wanted to build since I was a kid. I have actually purchased it 3 times since the late ‘70s( sold twice due to finances), this time it is getting built. I always thought the JPS Lotus cars were the best looking of all. I want to elevate this kit as much as finances and skill allow, so welcome aboard
-
Cool concept, looks fantastic in that yellow
-
This is just too cool! Looks awesome
-
Gorgeous build! Great workmanship, paint and color choice!
-
Fantastic!
-
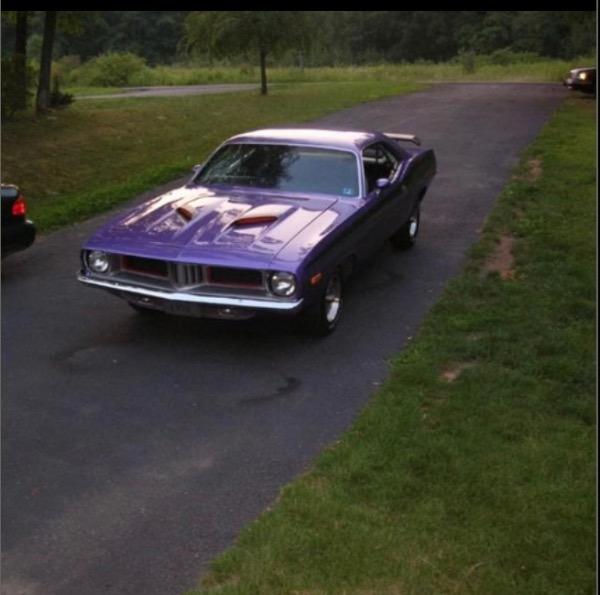
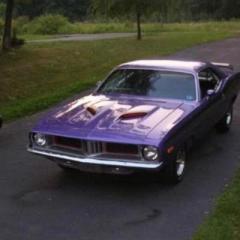
Thank you very much David. As a matter of fact, I do wish I still had it, along with several others, like every E body I’ve owned Thank you very much Thank you! Thank you. It was a terror on the street, a little tricky, as it got very fishtail happy. On the track, it was much more behaved. It was a joy though, always turned heads
-
1974 Ford Maverick 2 Door Sedan base model
Moparman18064 replied to RACINE ISHRAQUR RAZA's topic in Model Cars
Very nice remake! My mother had a butterscotch yellow one that she ran into the ground. -
What a comeback! Wonderful execution.
-
Nice color choice and stance. Well done
-
I’m with everyone else, this is super cool! It screams show car circuit of the 80’s
-
Very nice ‘62! Great color combinations. The trim, top came out great.
-
Very well done! It just looks so right in red.
-
Sweeeet GTS in a color combo that is not seen much. Looks great
-
I just love my E bodies! Looks great!
-
Really nice! That diamond tuck fits it perfectly, low and slow!
-
Fantastic build! My coworker had one just like it! I love it!
-
Nice 62!