Duddly01
-
Posts
1,048 -
Joined
-
Last visited
Content Type
Profiles
Forums
Events
Gallery
Everything posted by Duddly01
-
Thank you. This one was really a fight to get it looking as good as I could make it. Thank you!
-
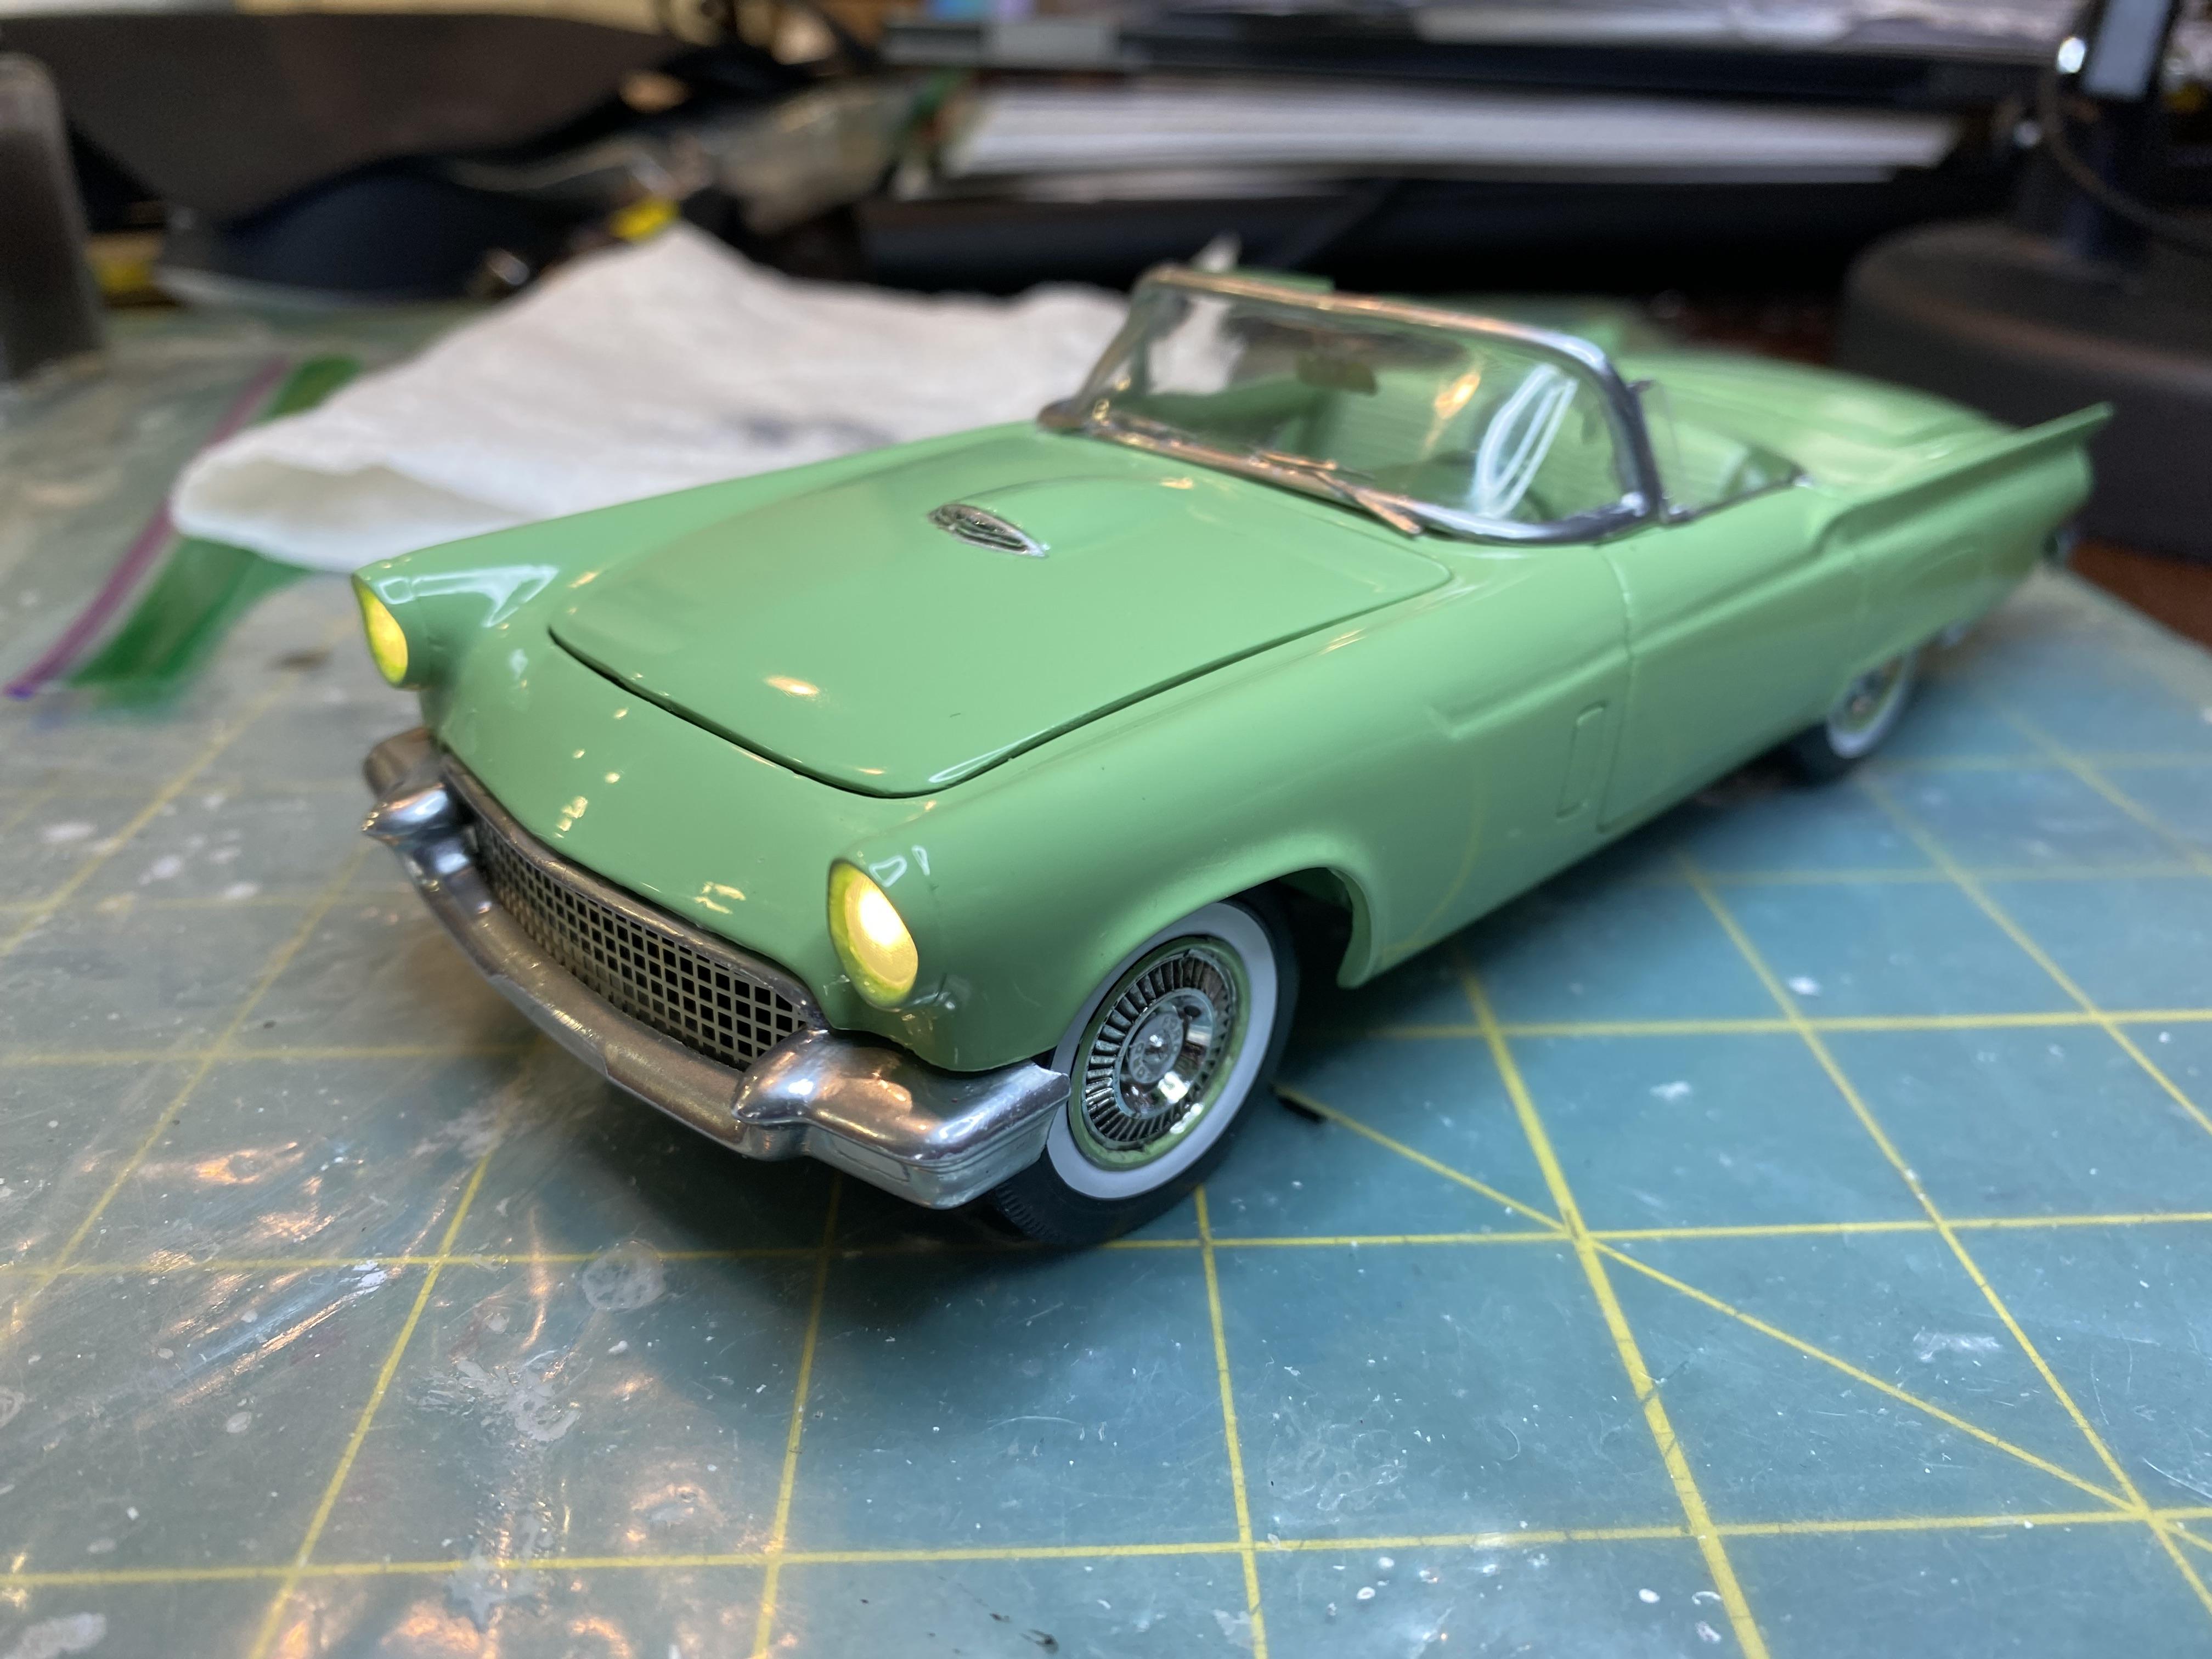
Just posted pictures of the completed build. Thanks everyone for you feedback and support. I am likely going to be tag teaming two builds next. A 1968 Mustang California Special using a 1968 GT Fastback kit and a Resin body. I started this during a waiting on supplies period but it is going to take an extreme amount of work to get looking good. I am also building a 1996 Corvette replica of a car my wife’s cousins husband owns for his birthday in October. This is the thread for one of the next builds:
-
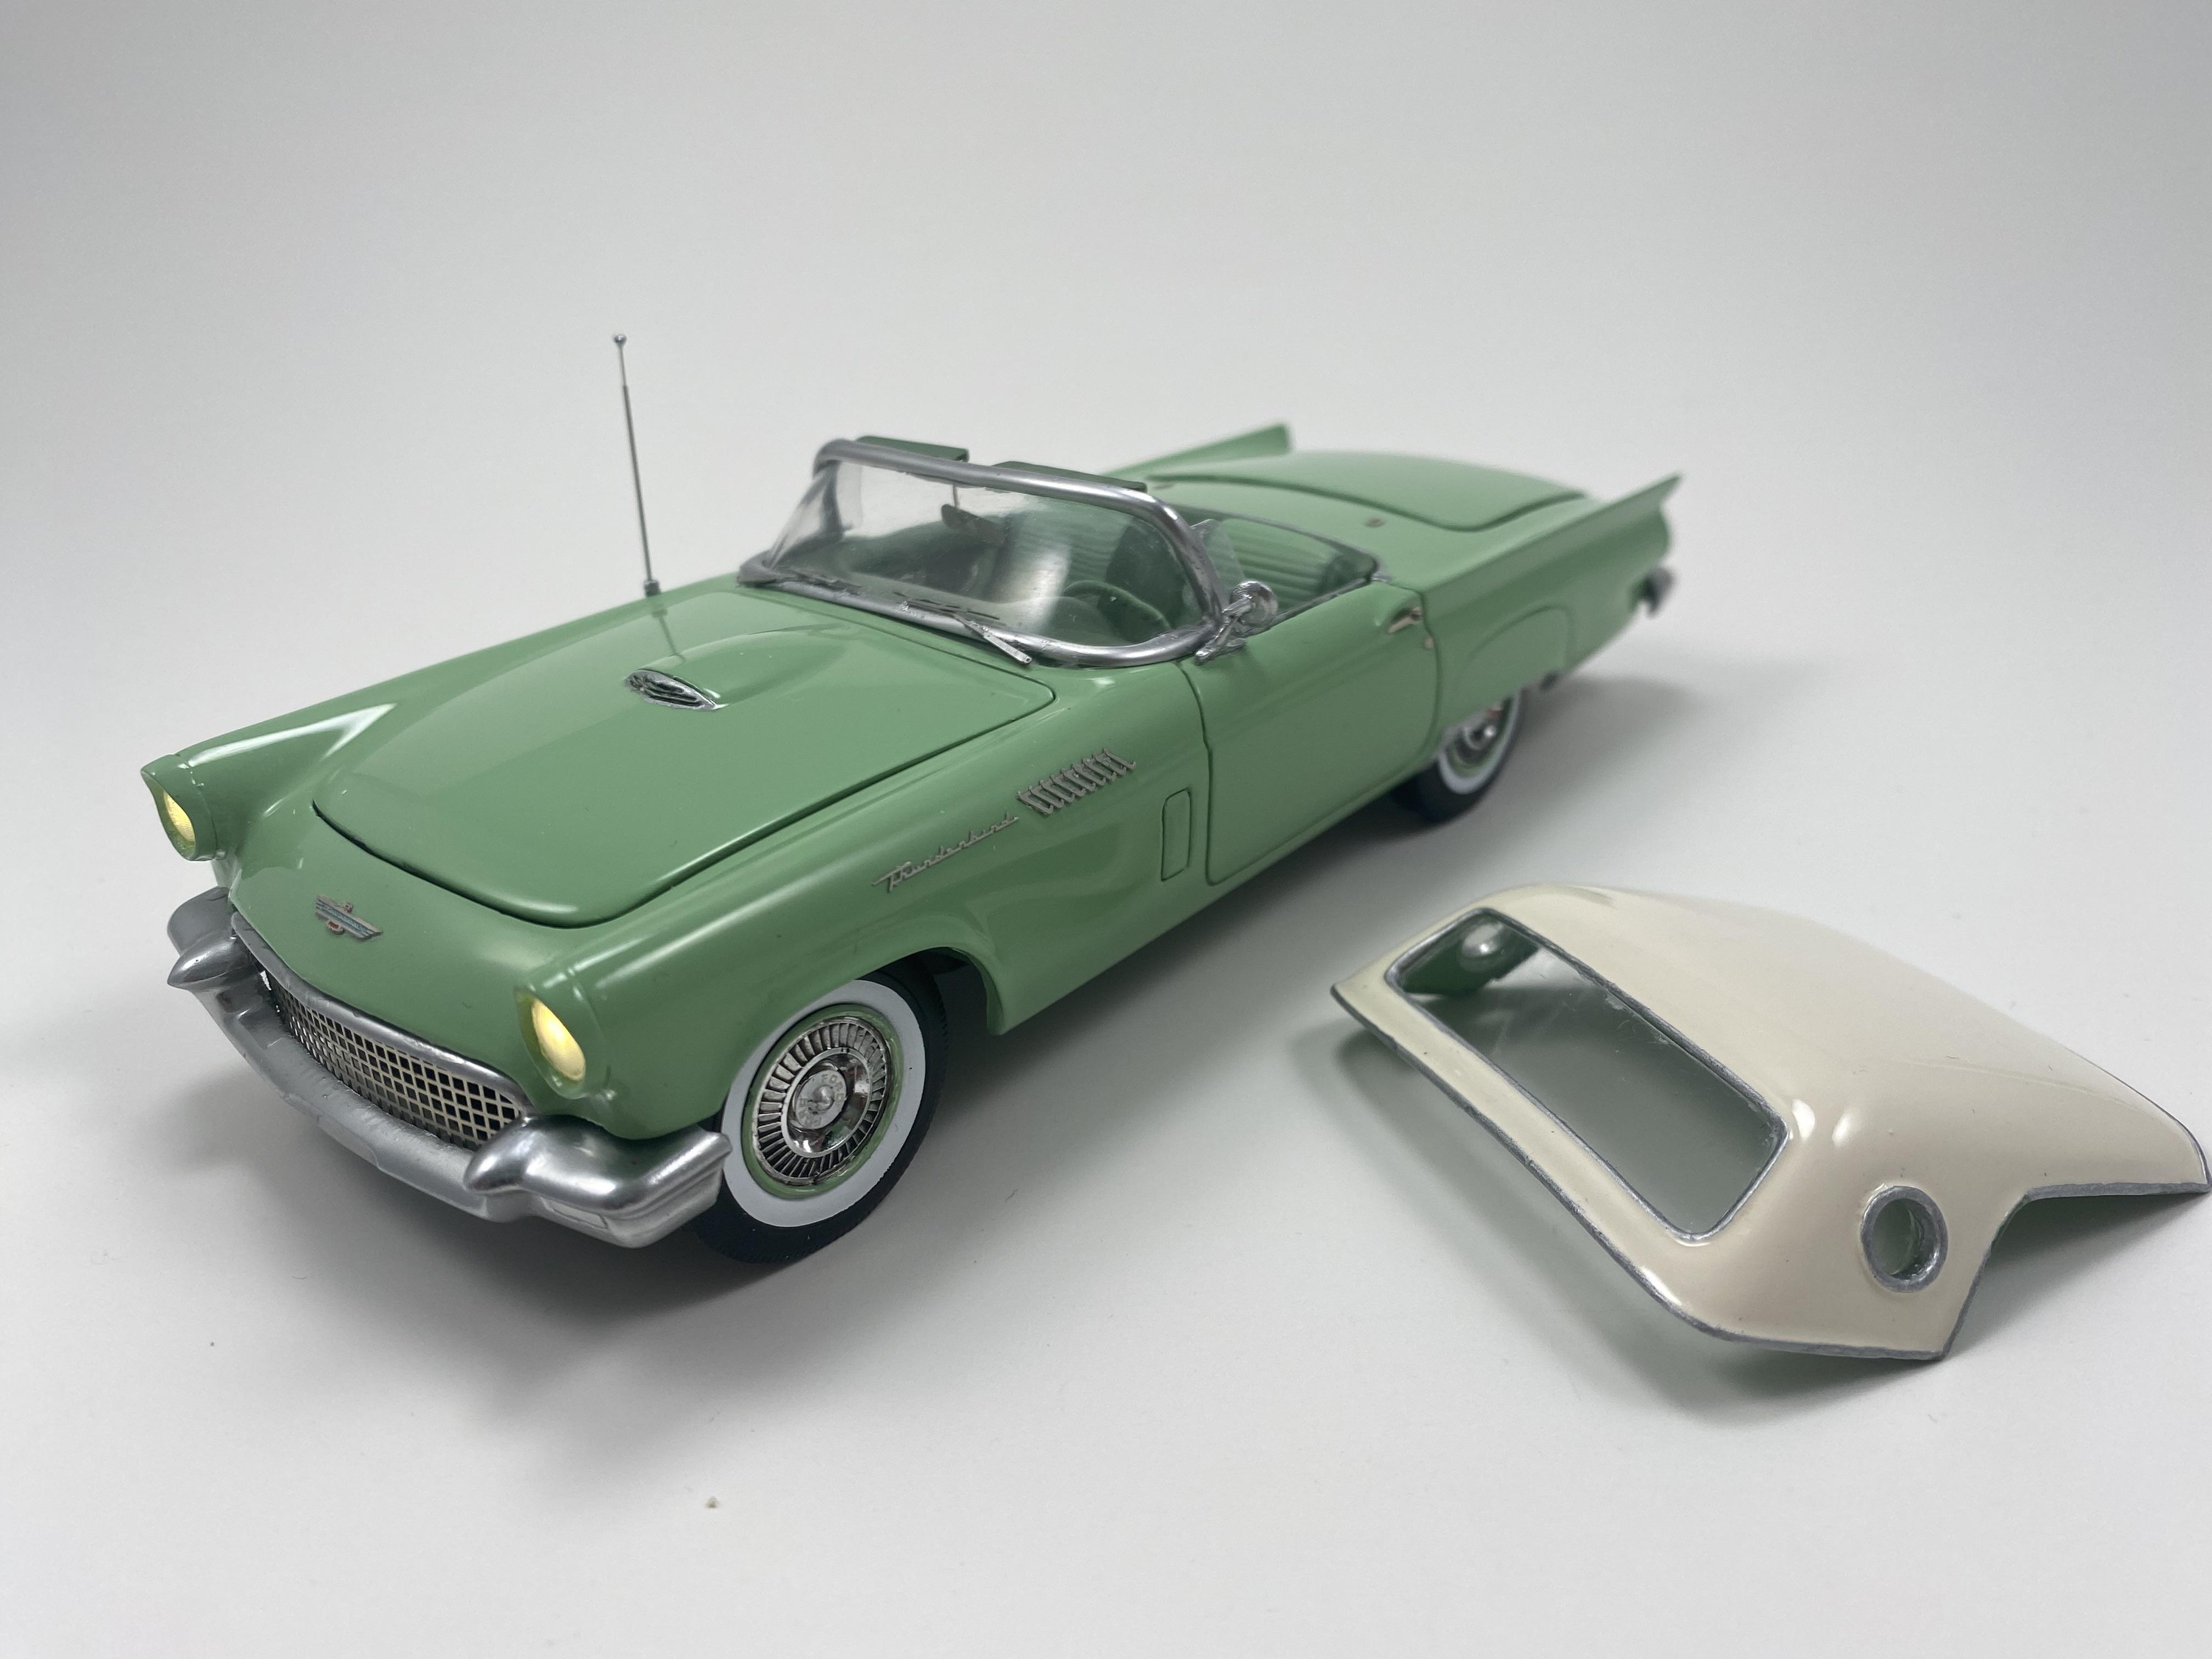
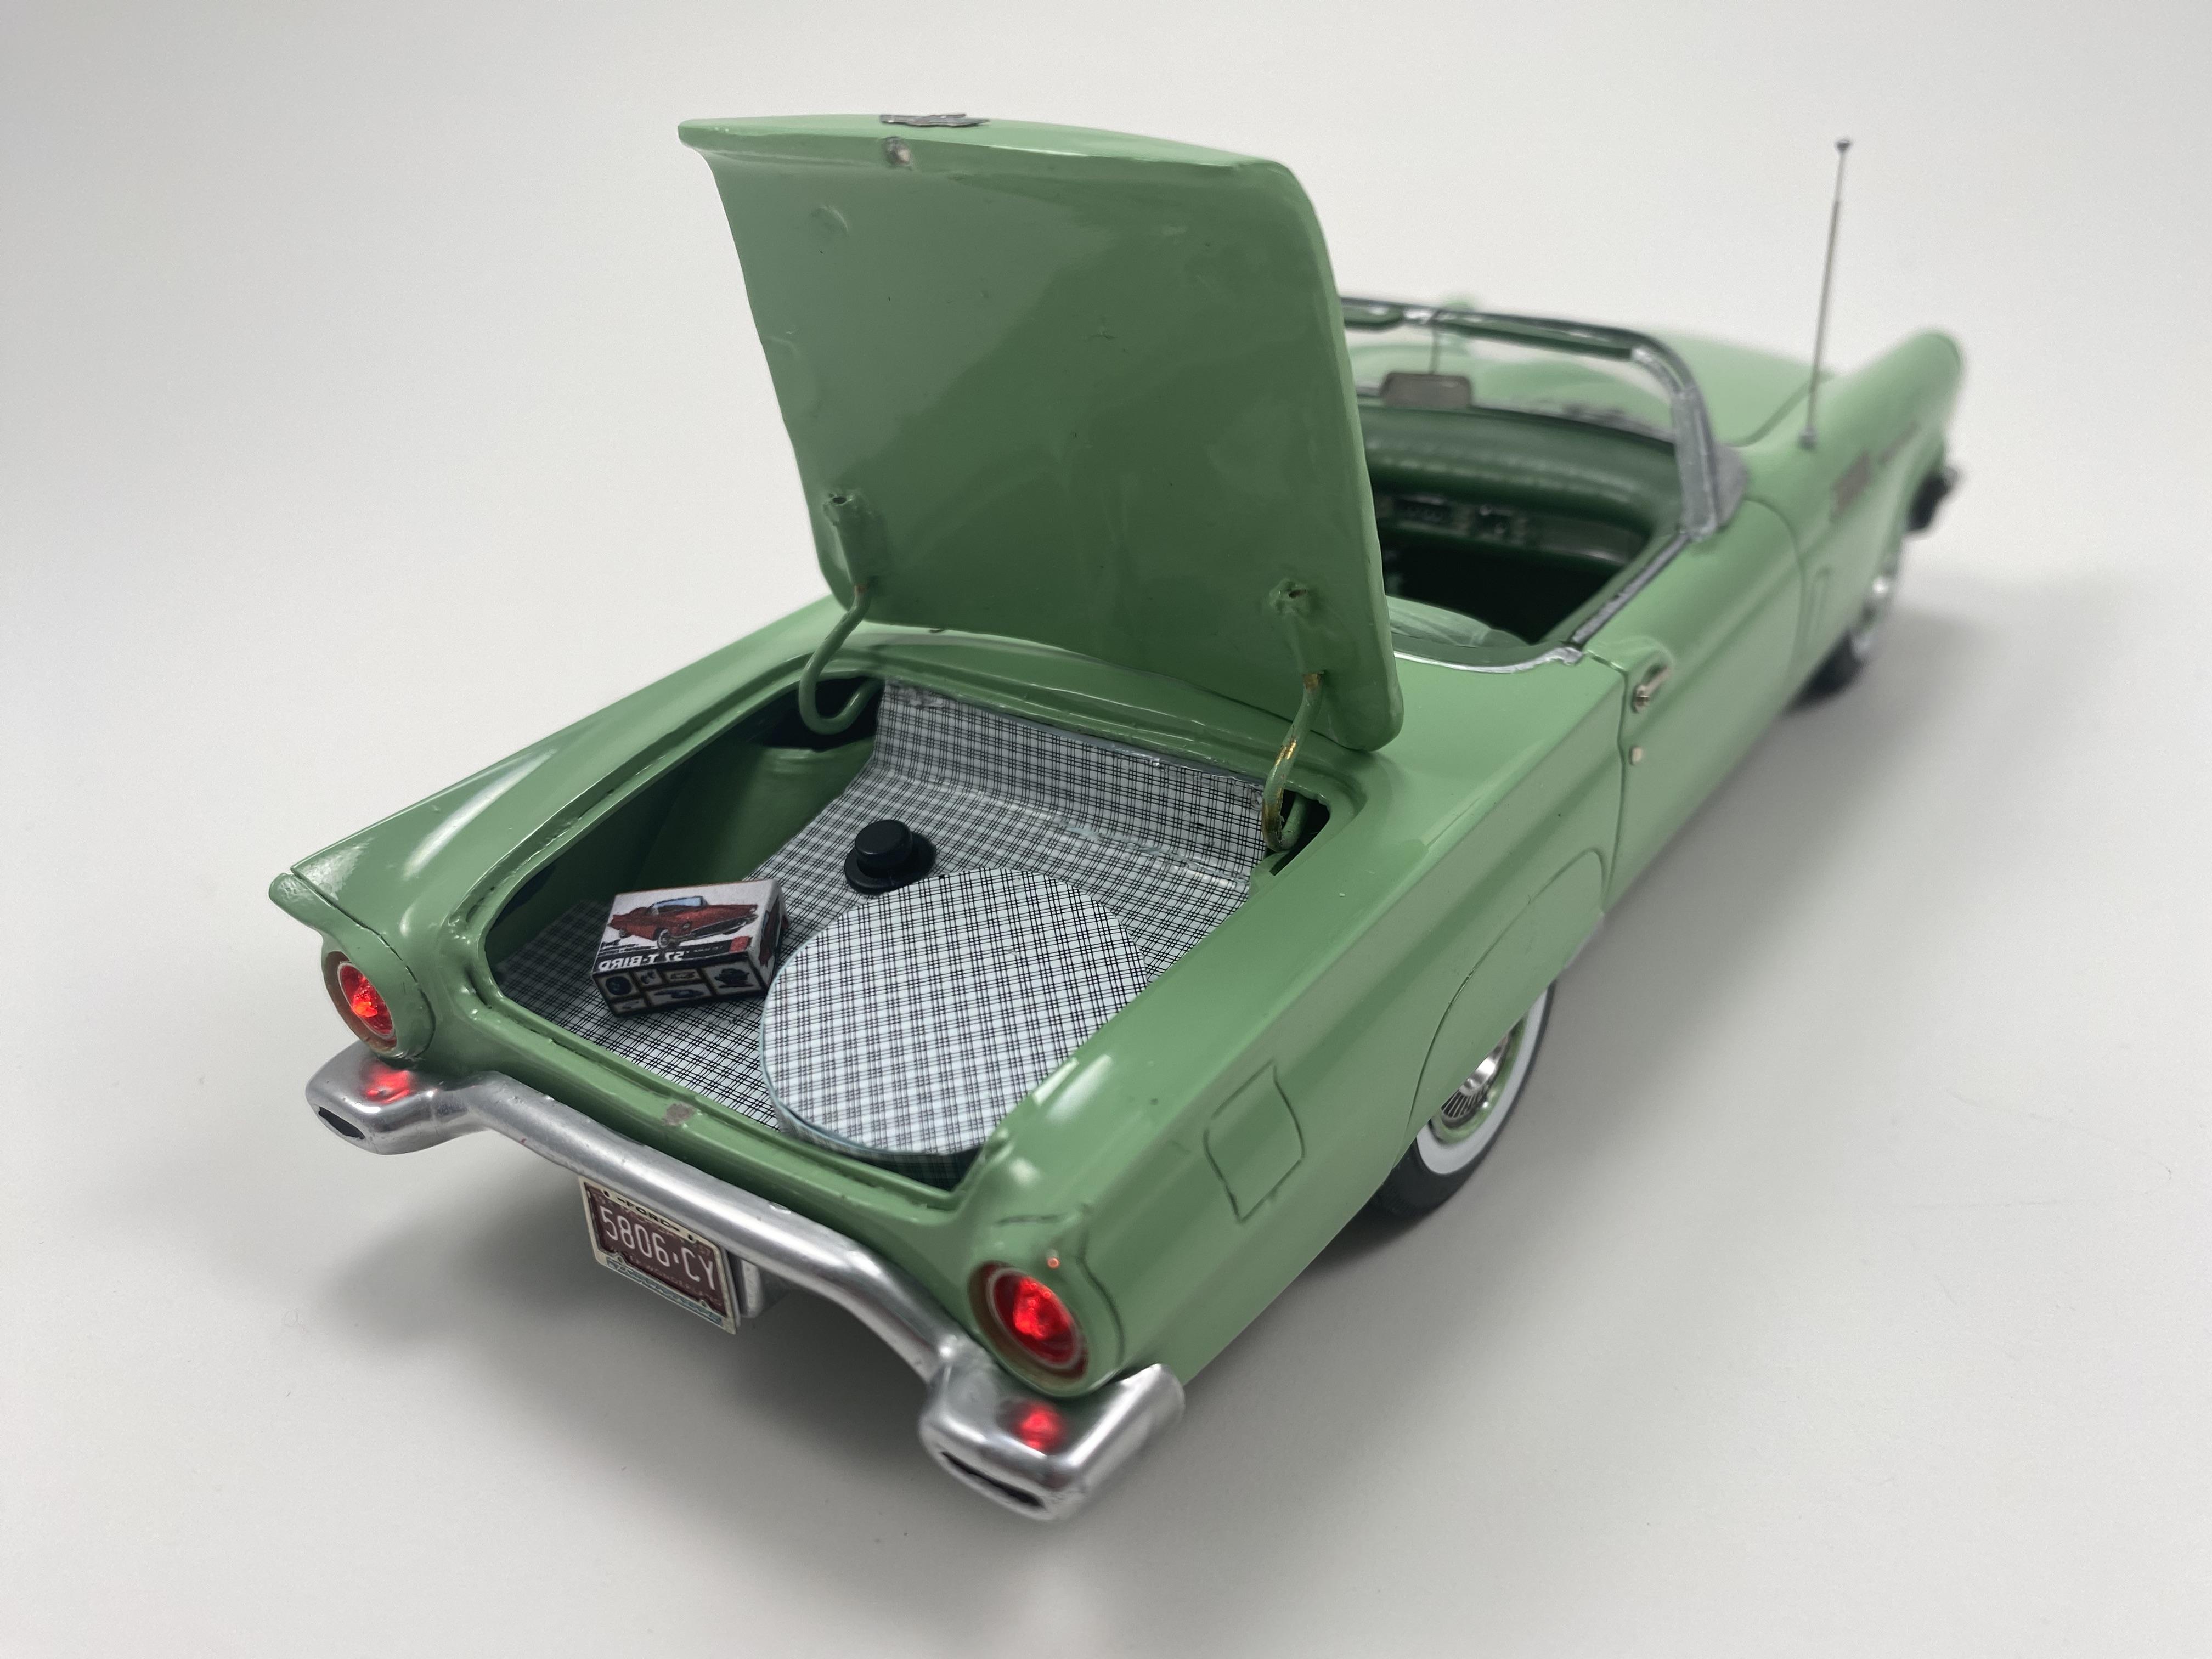
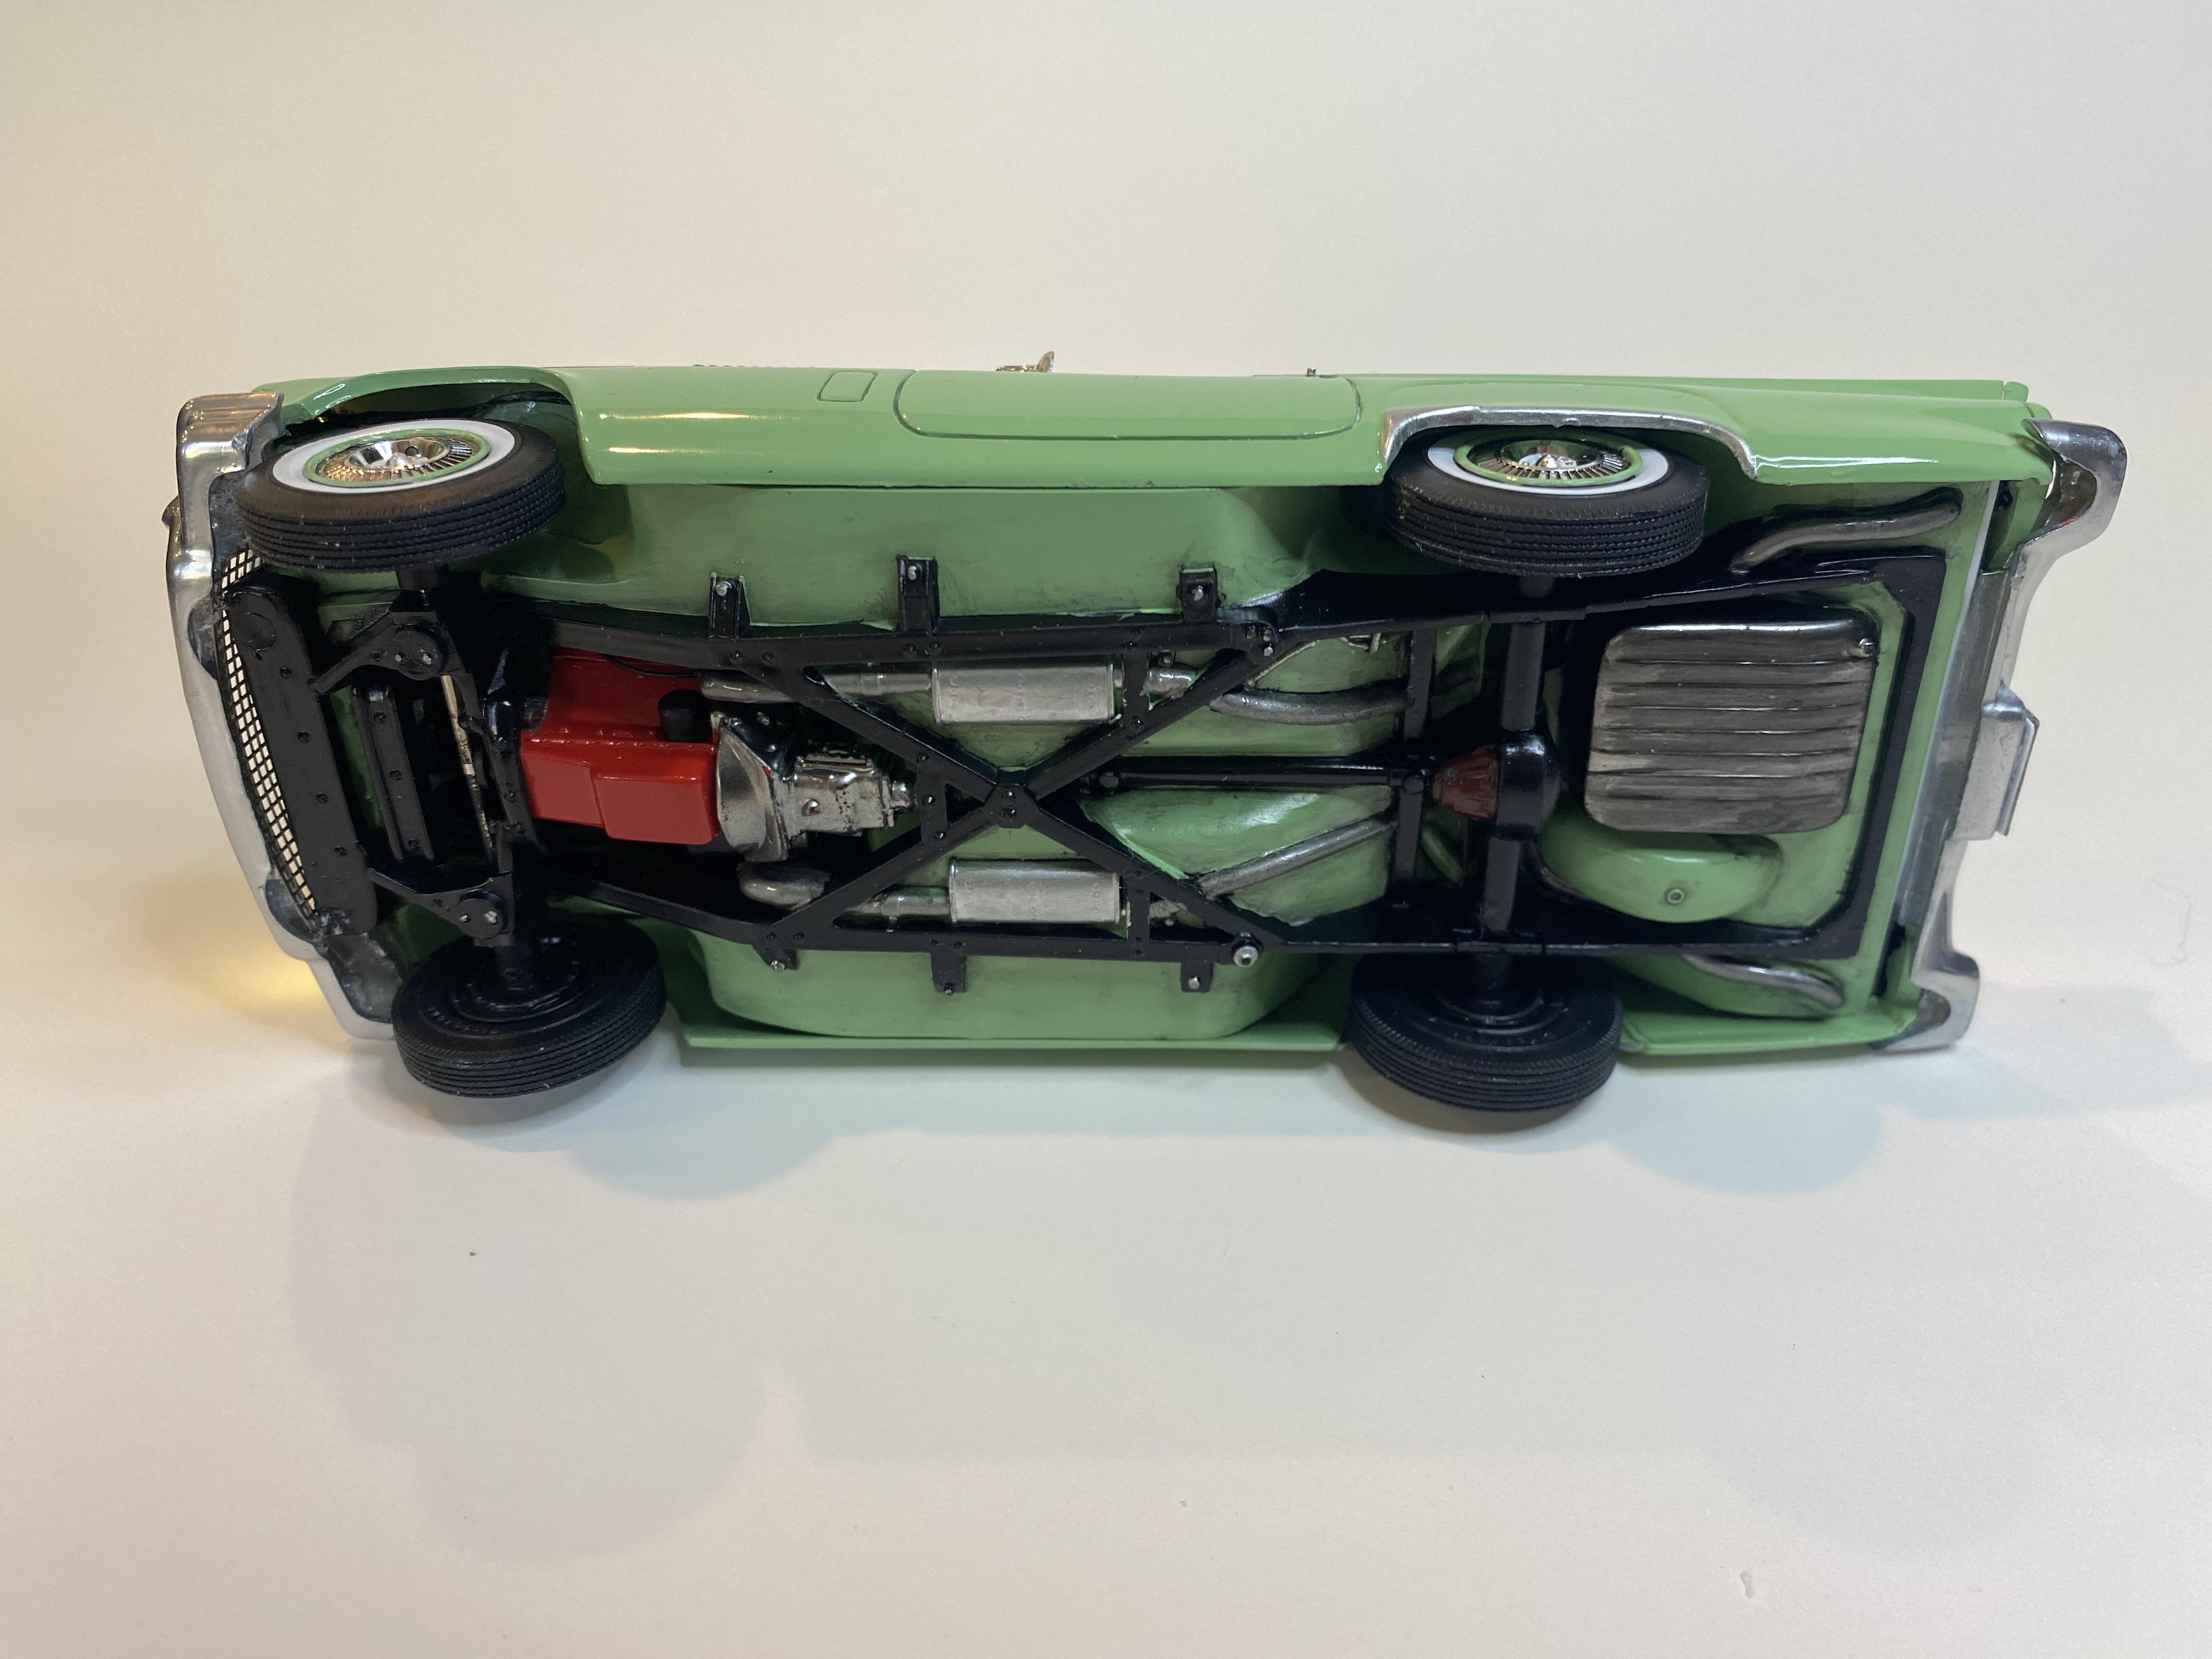
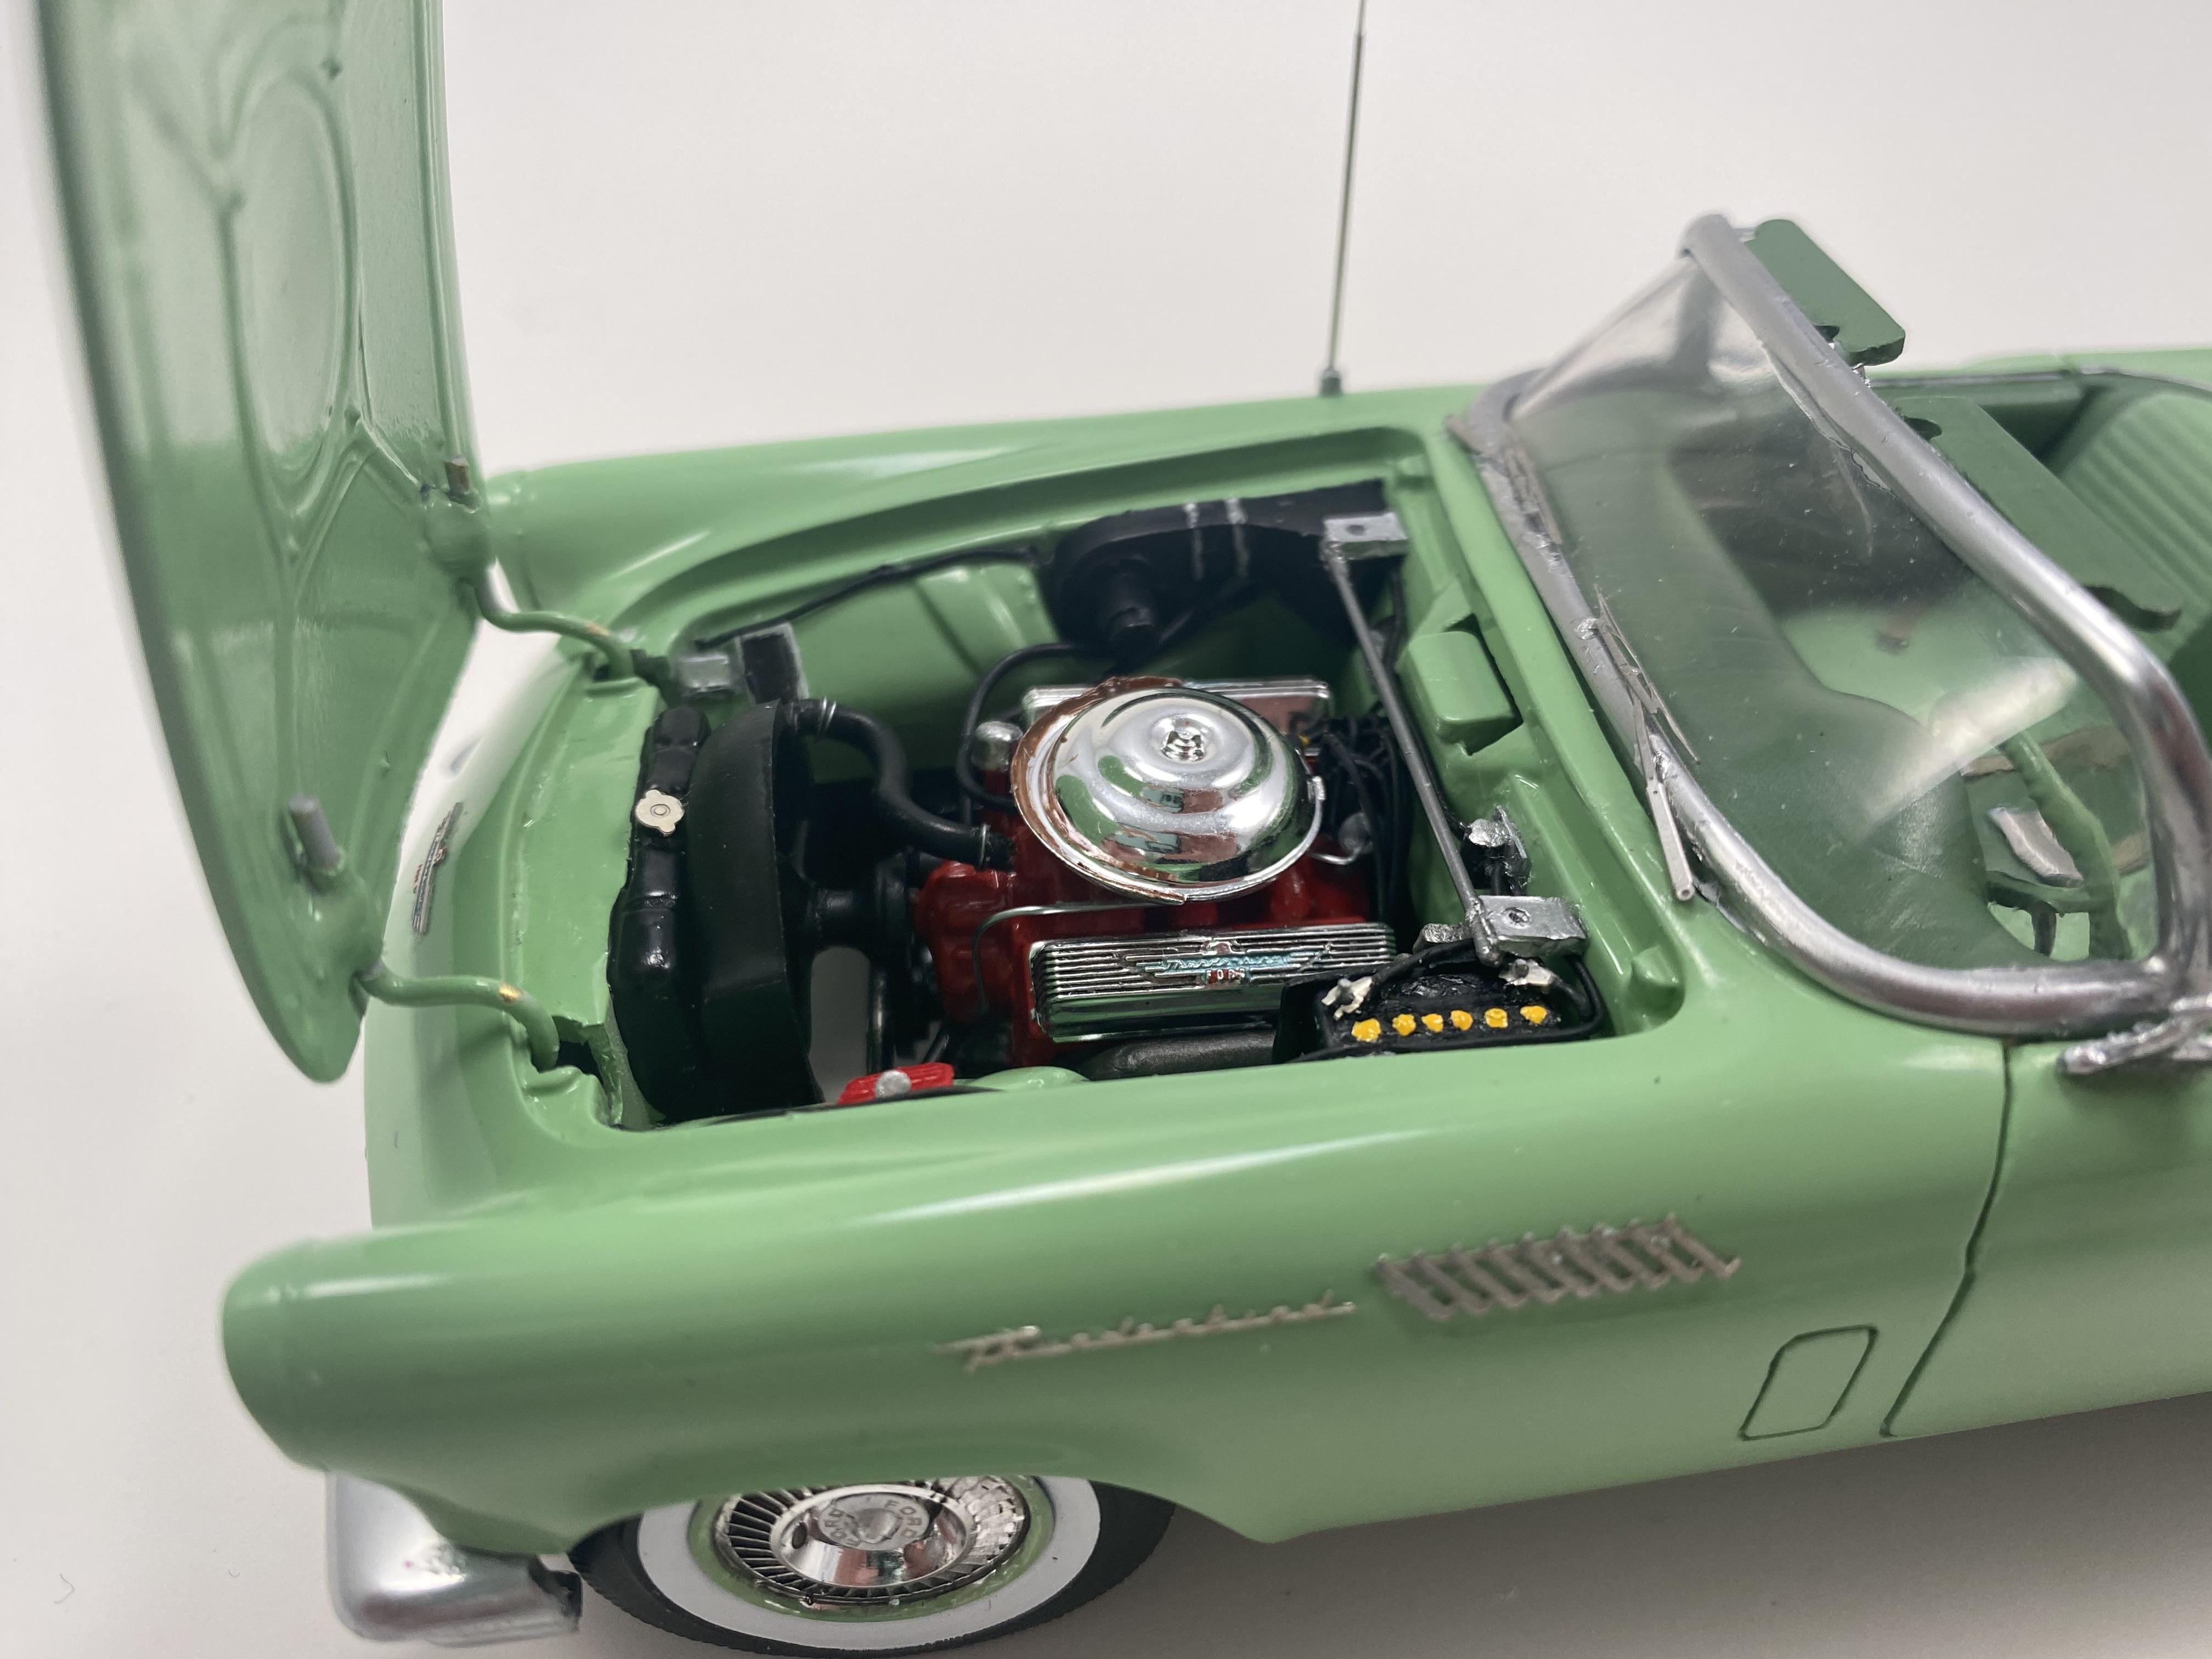
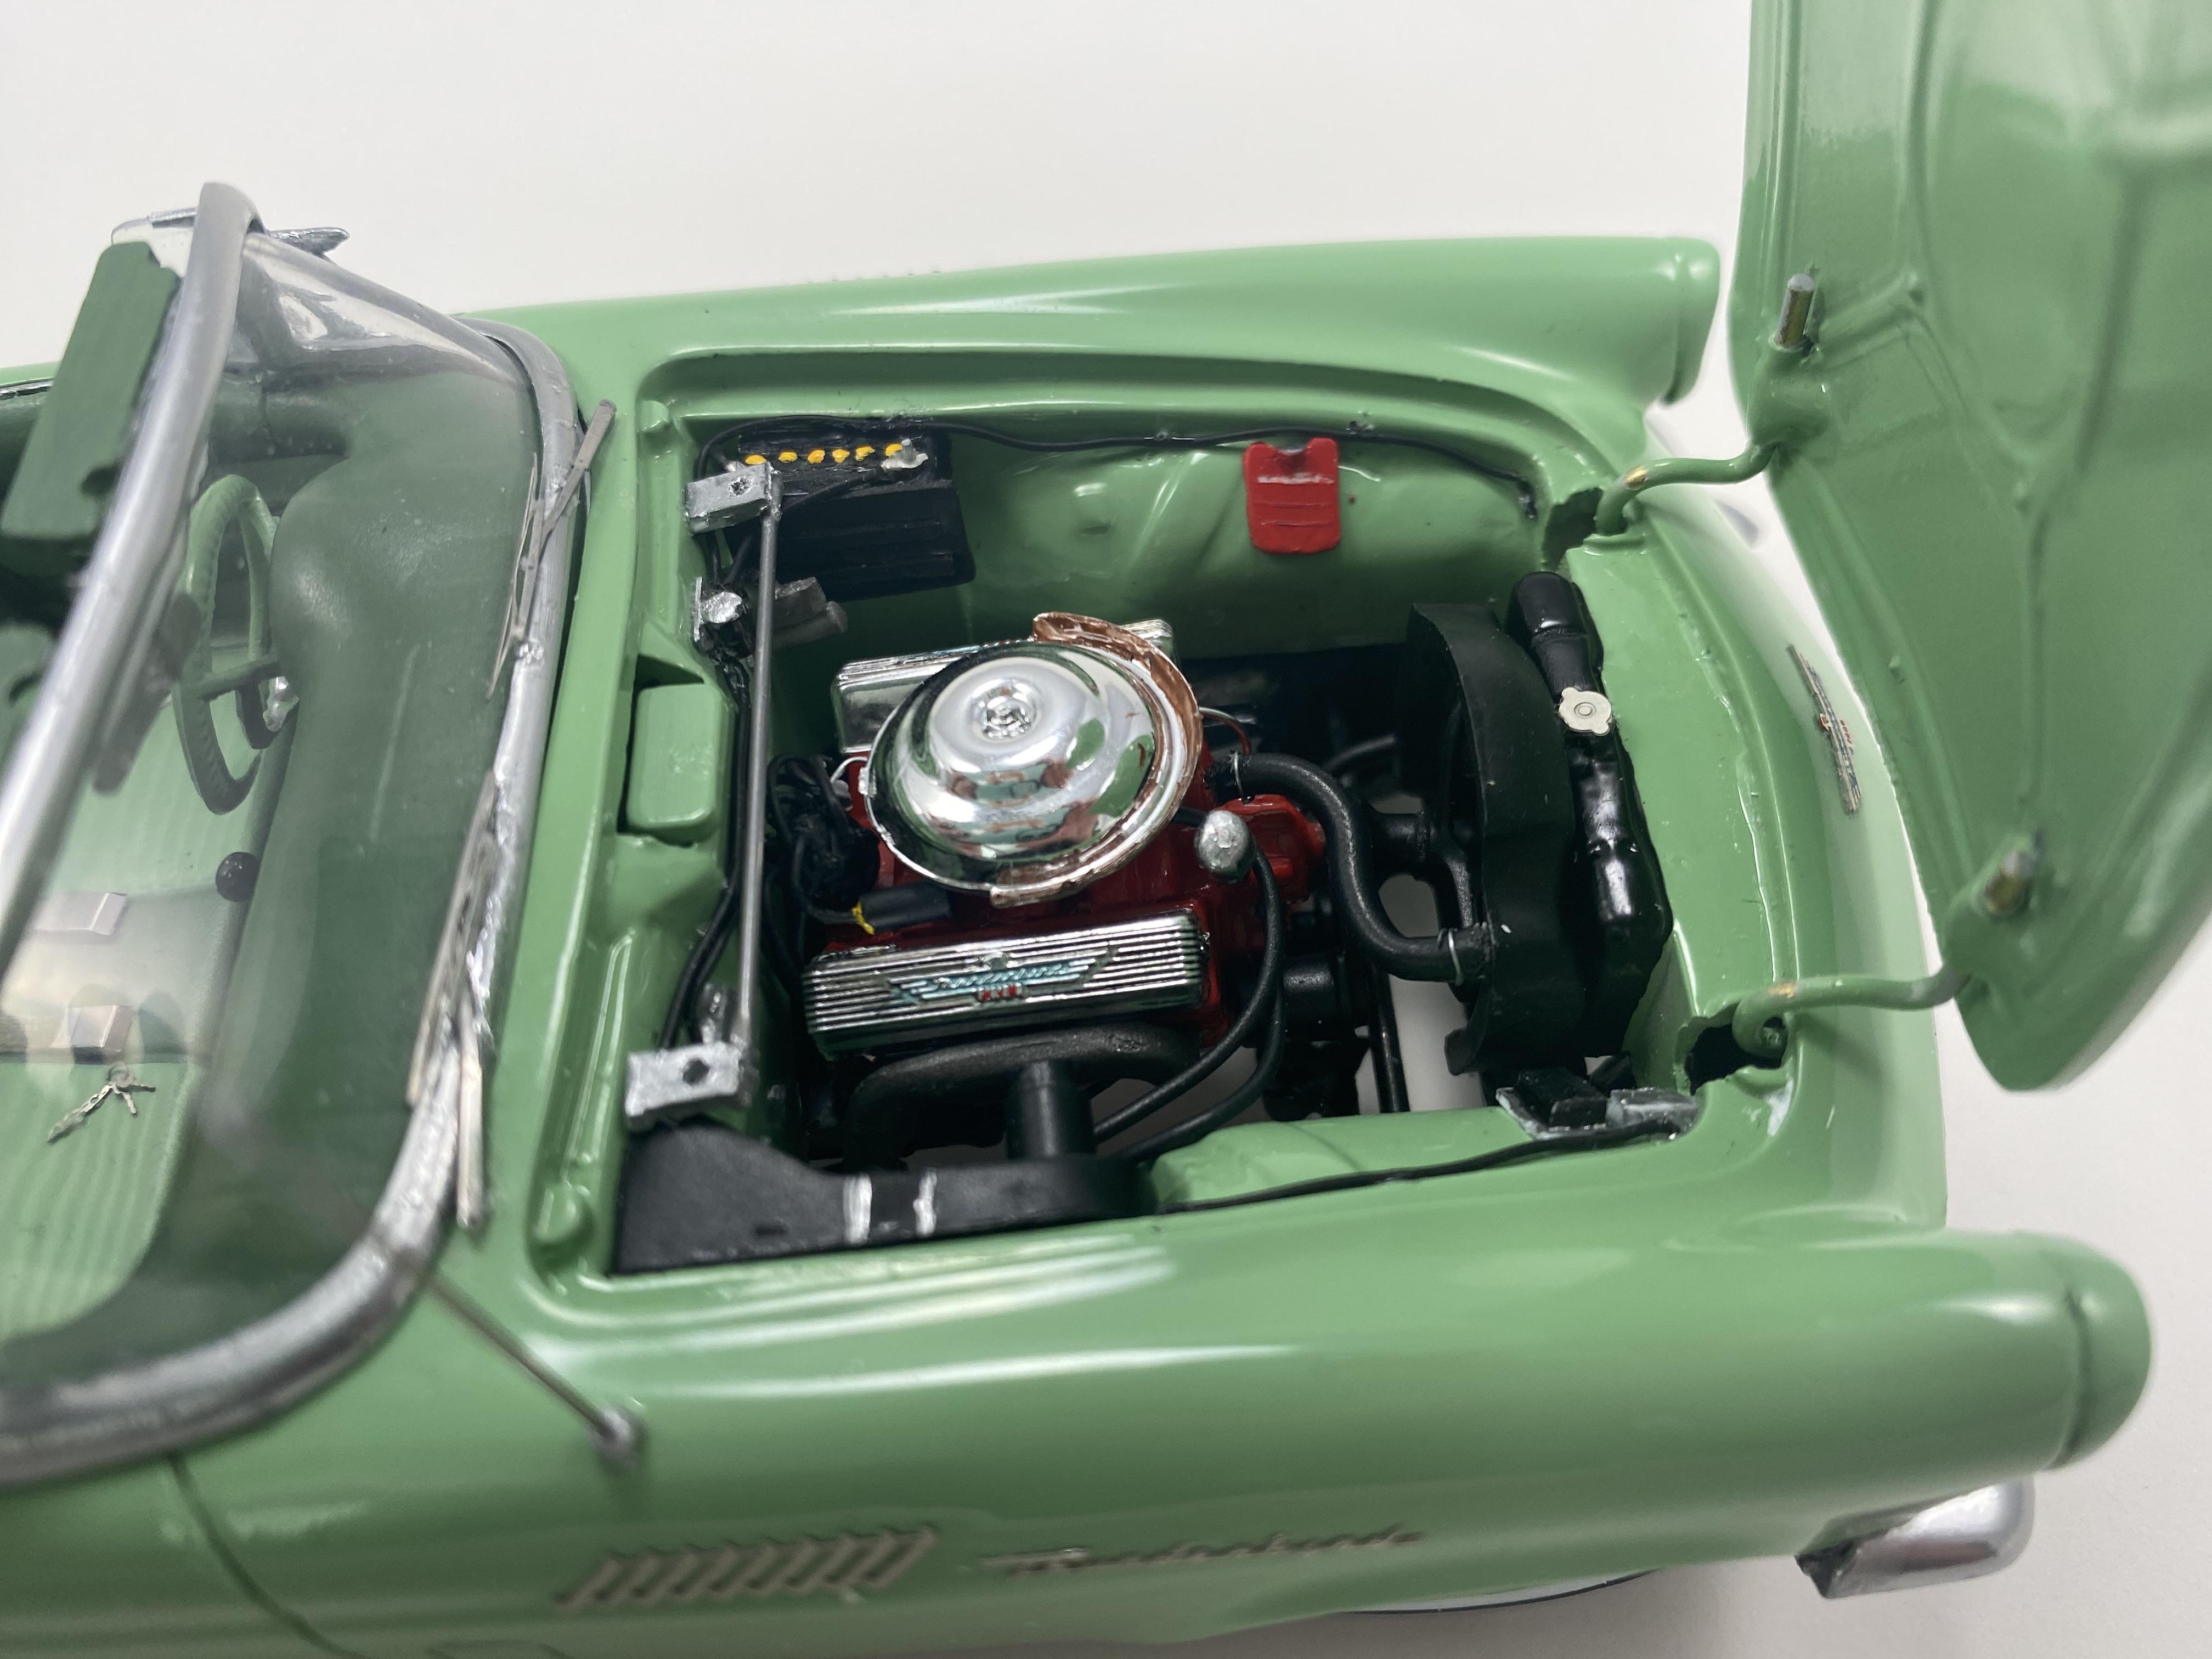
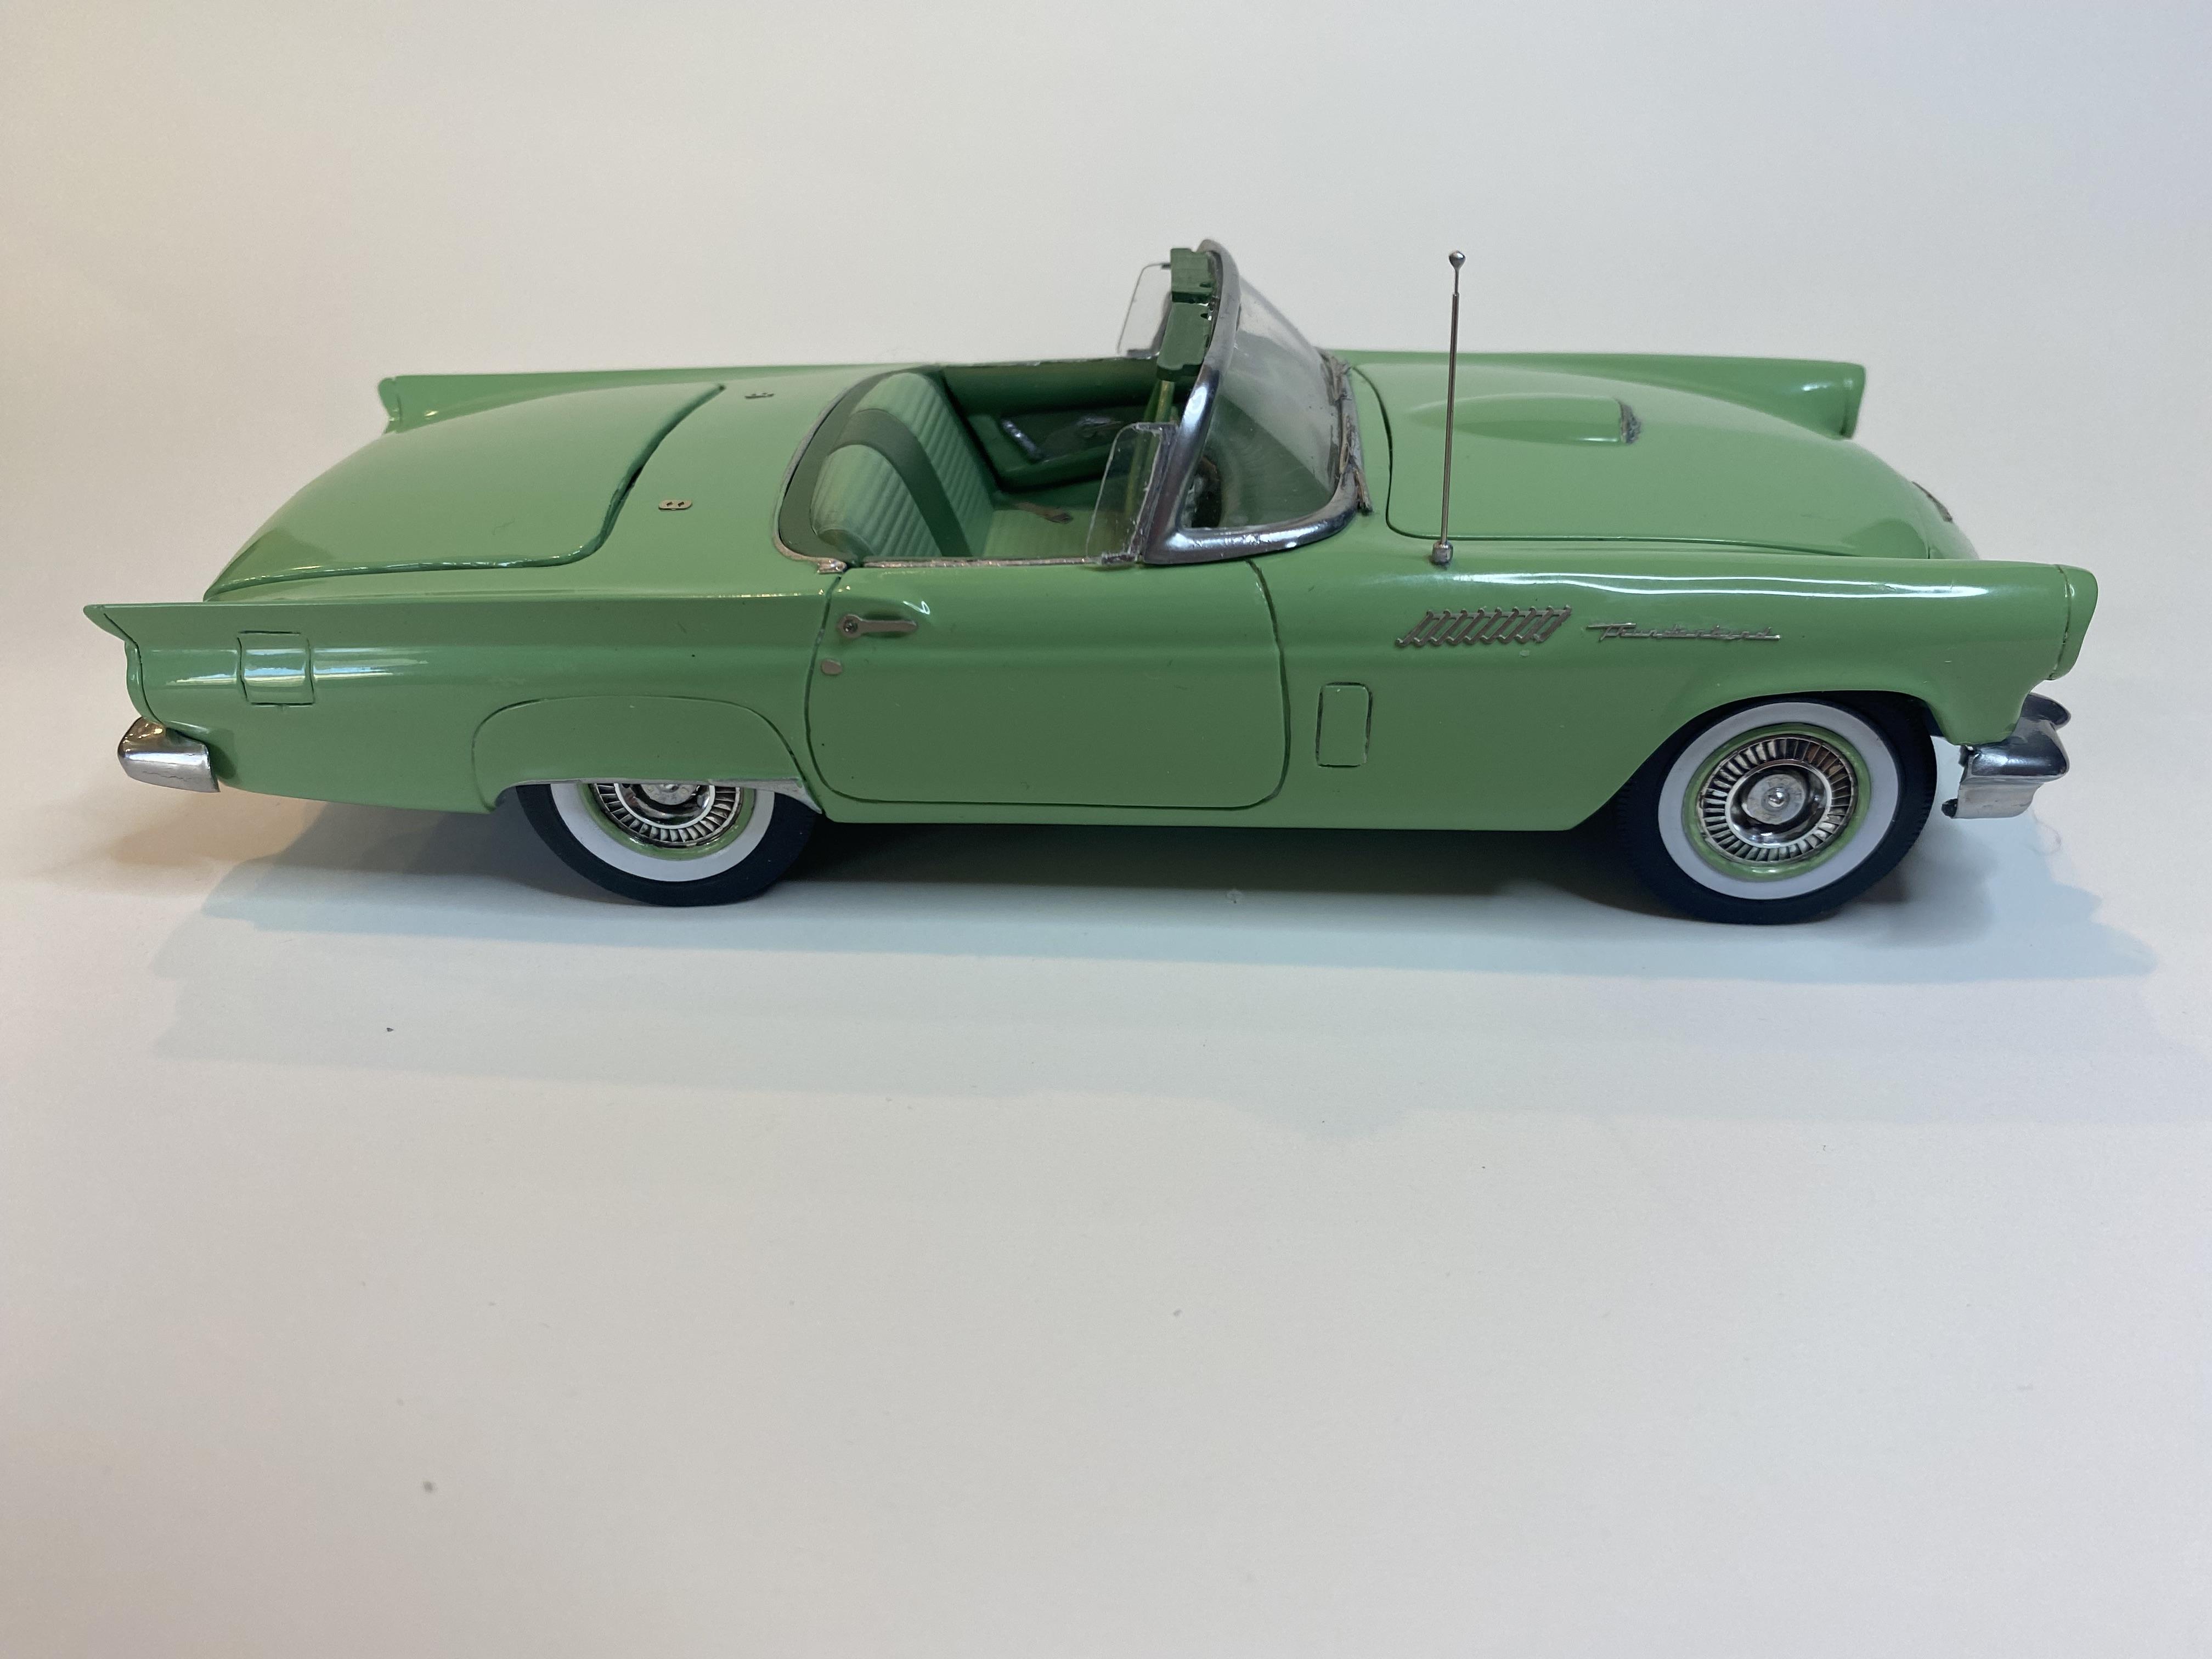
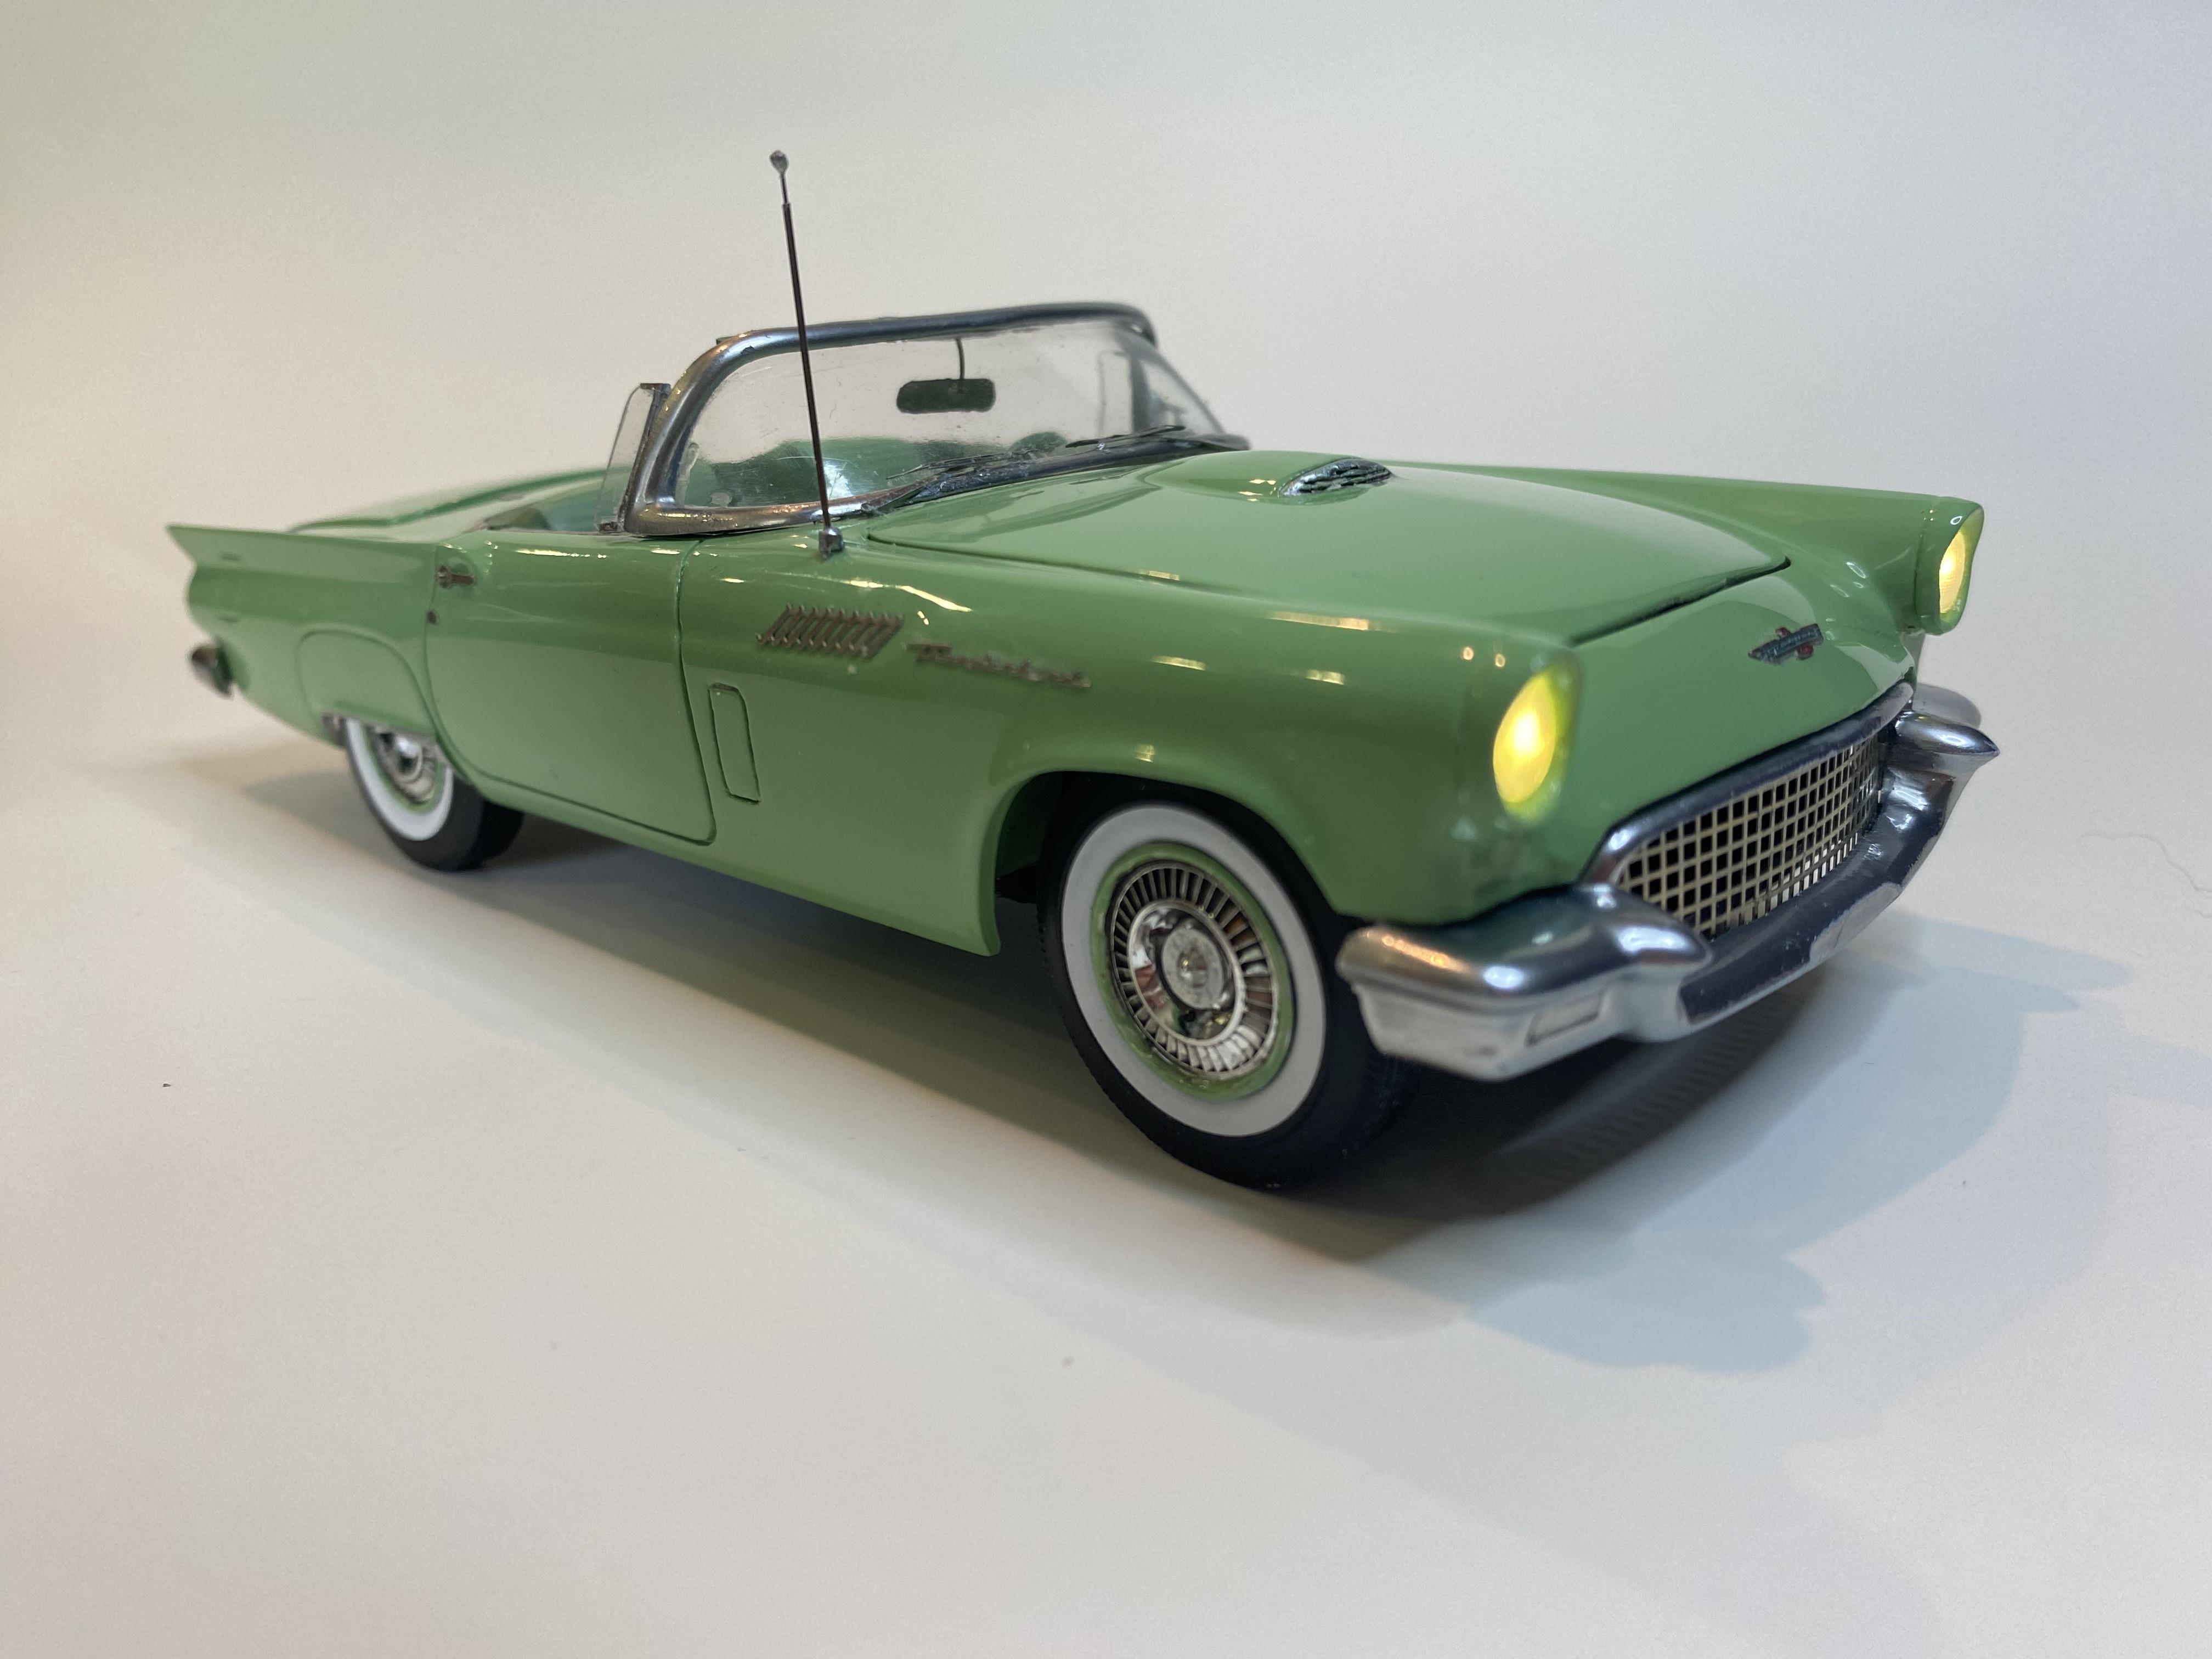
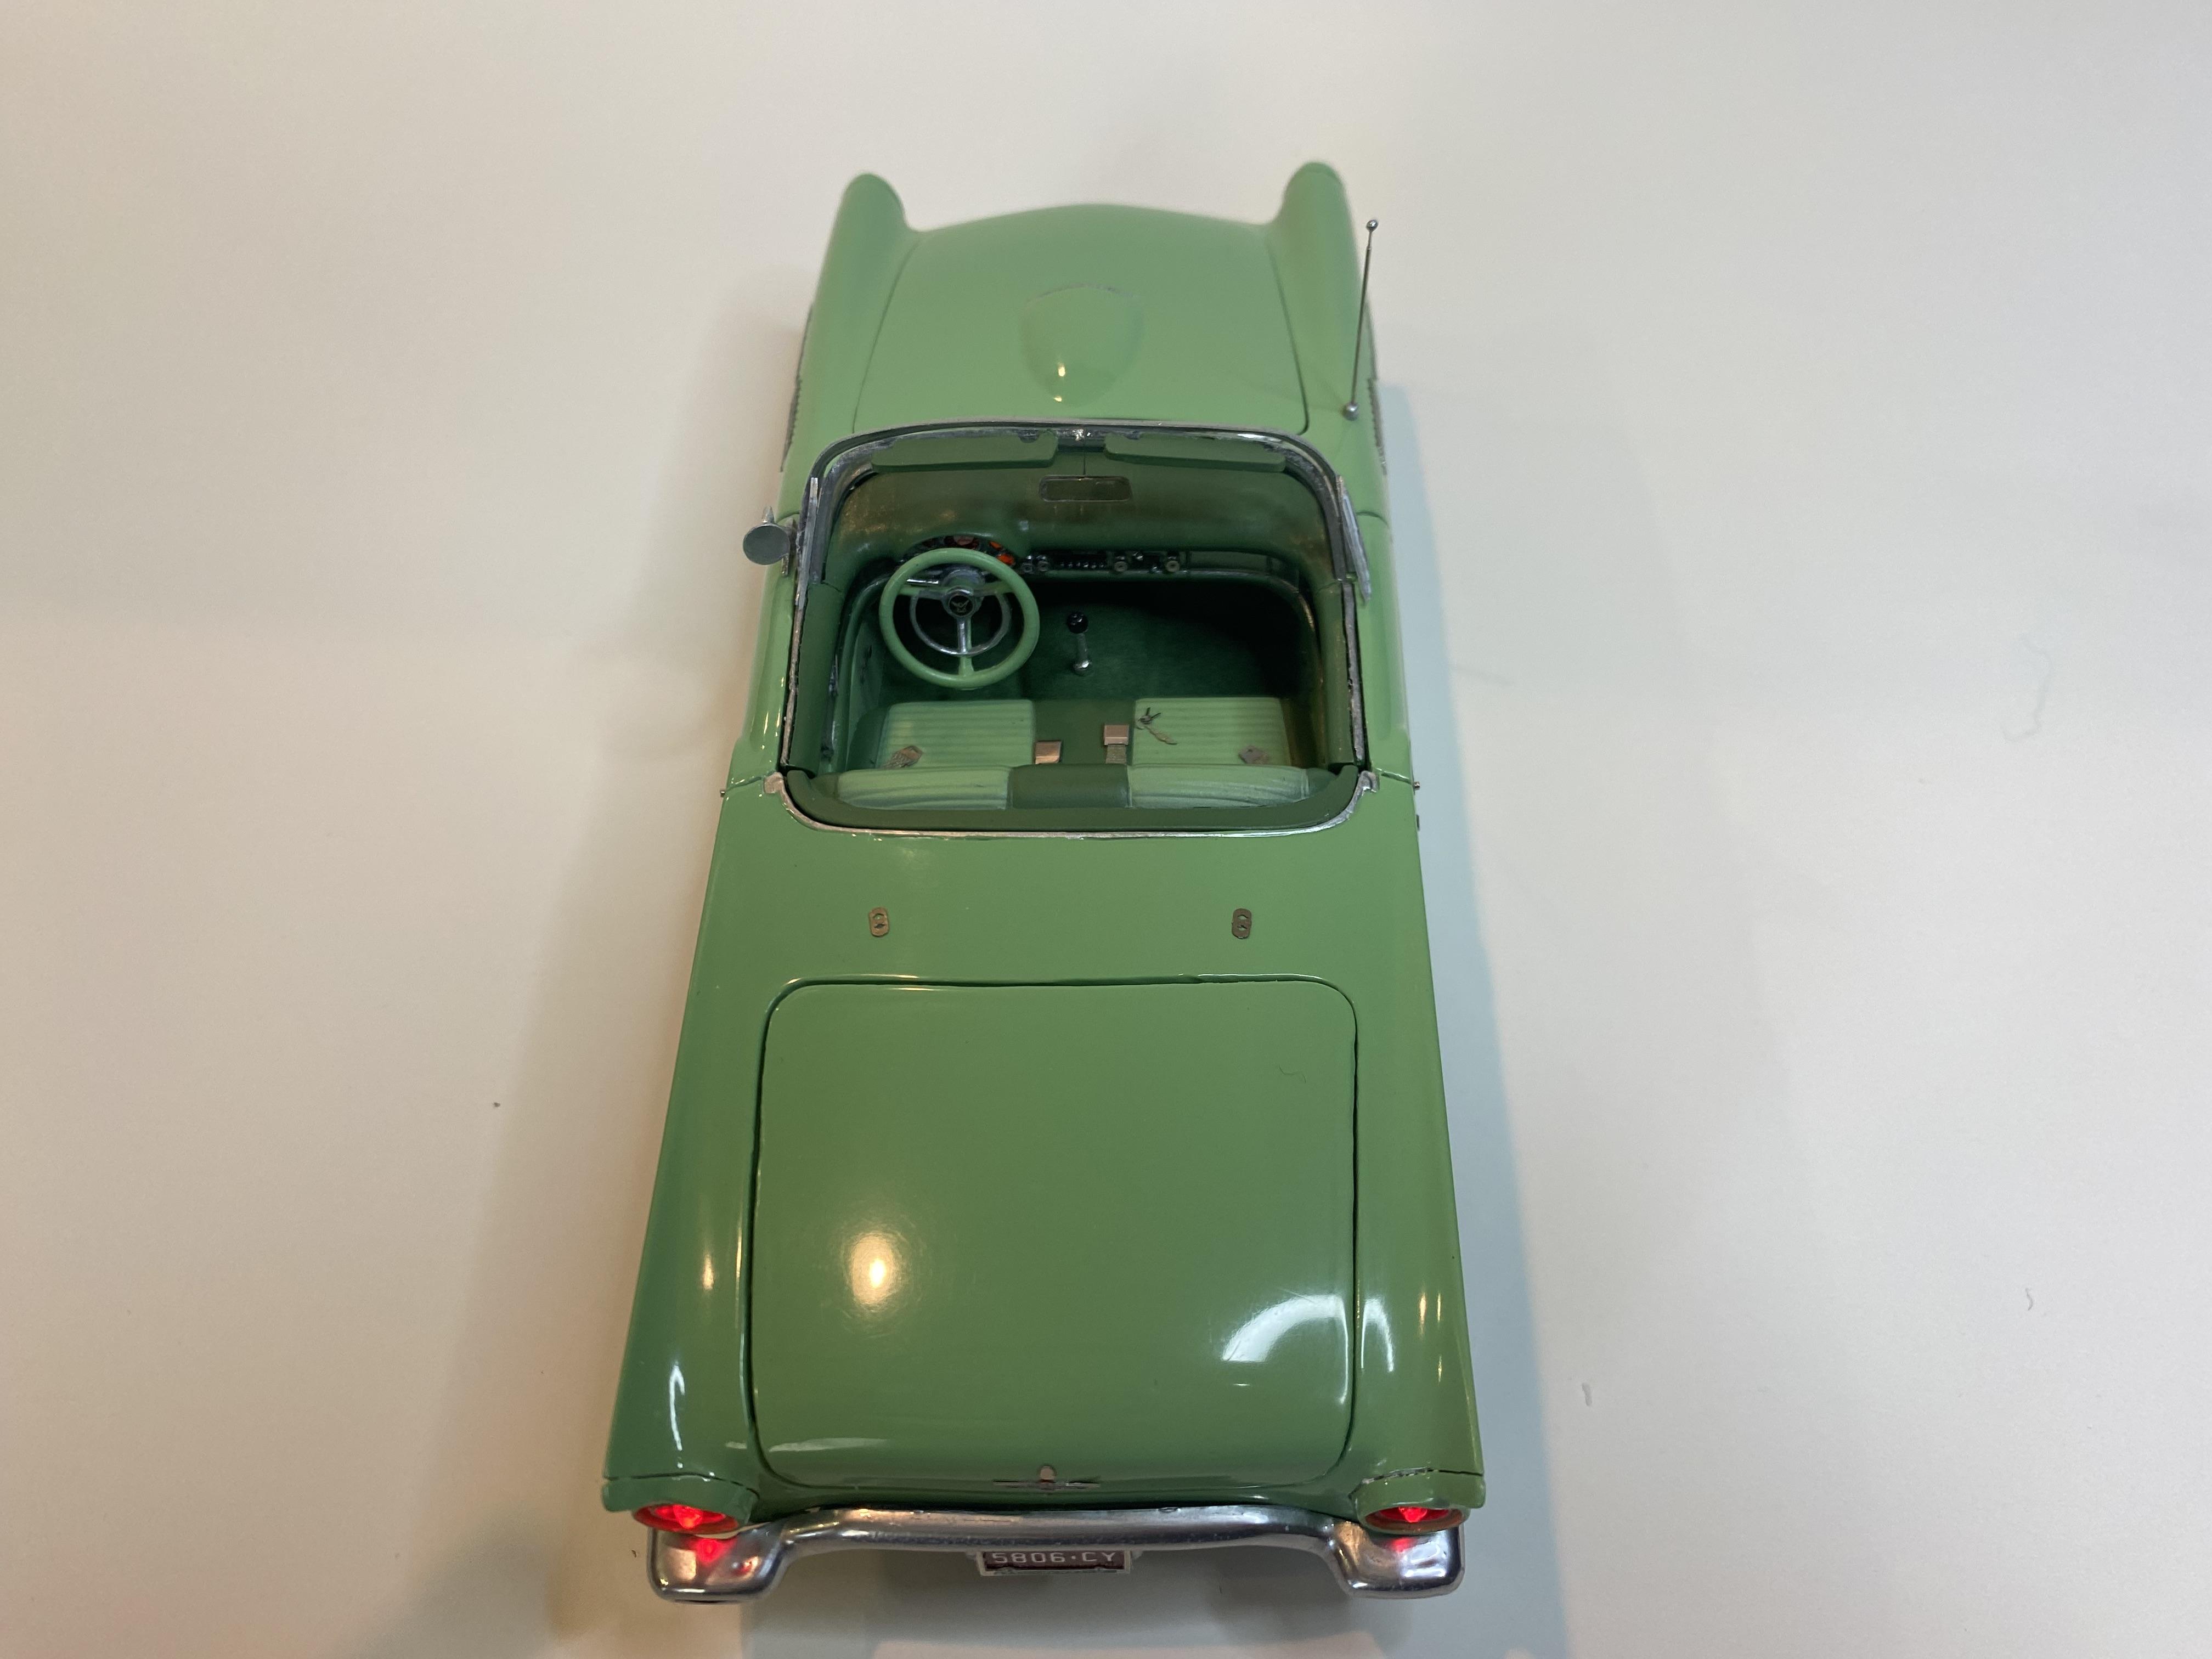
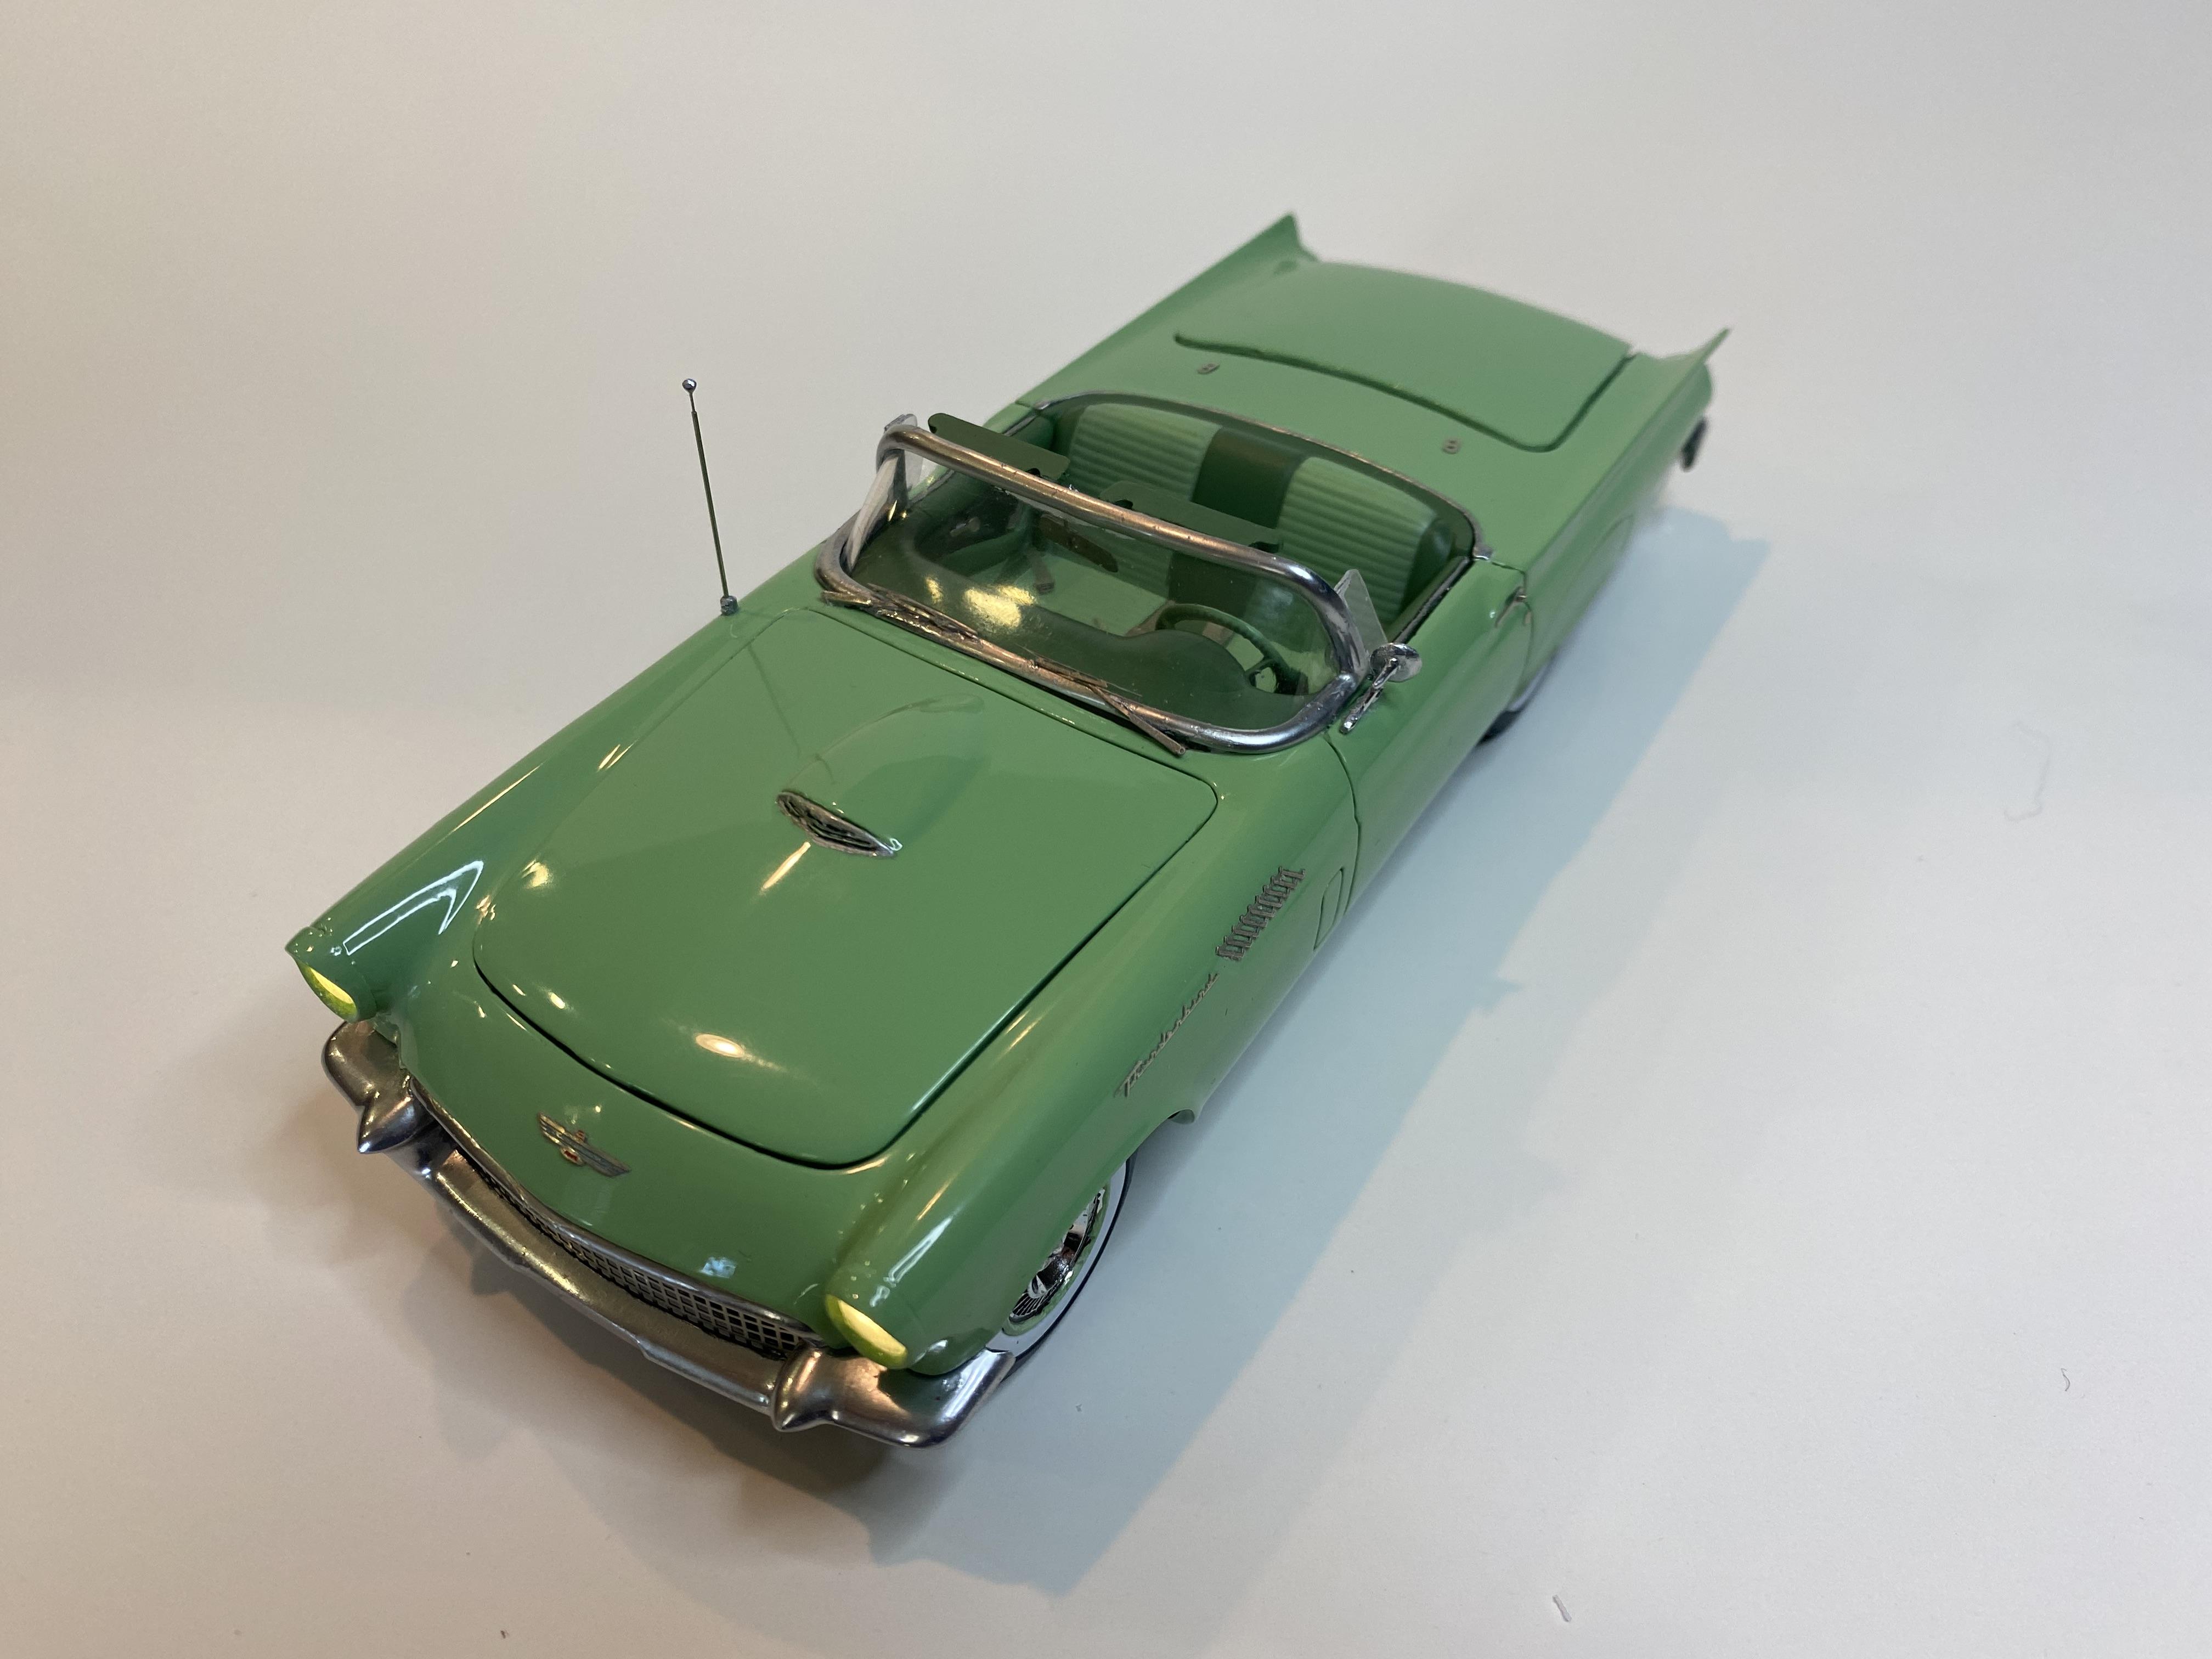
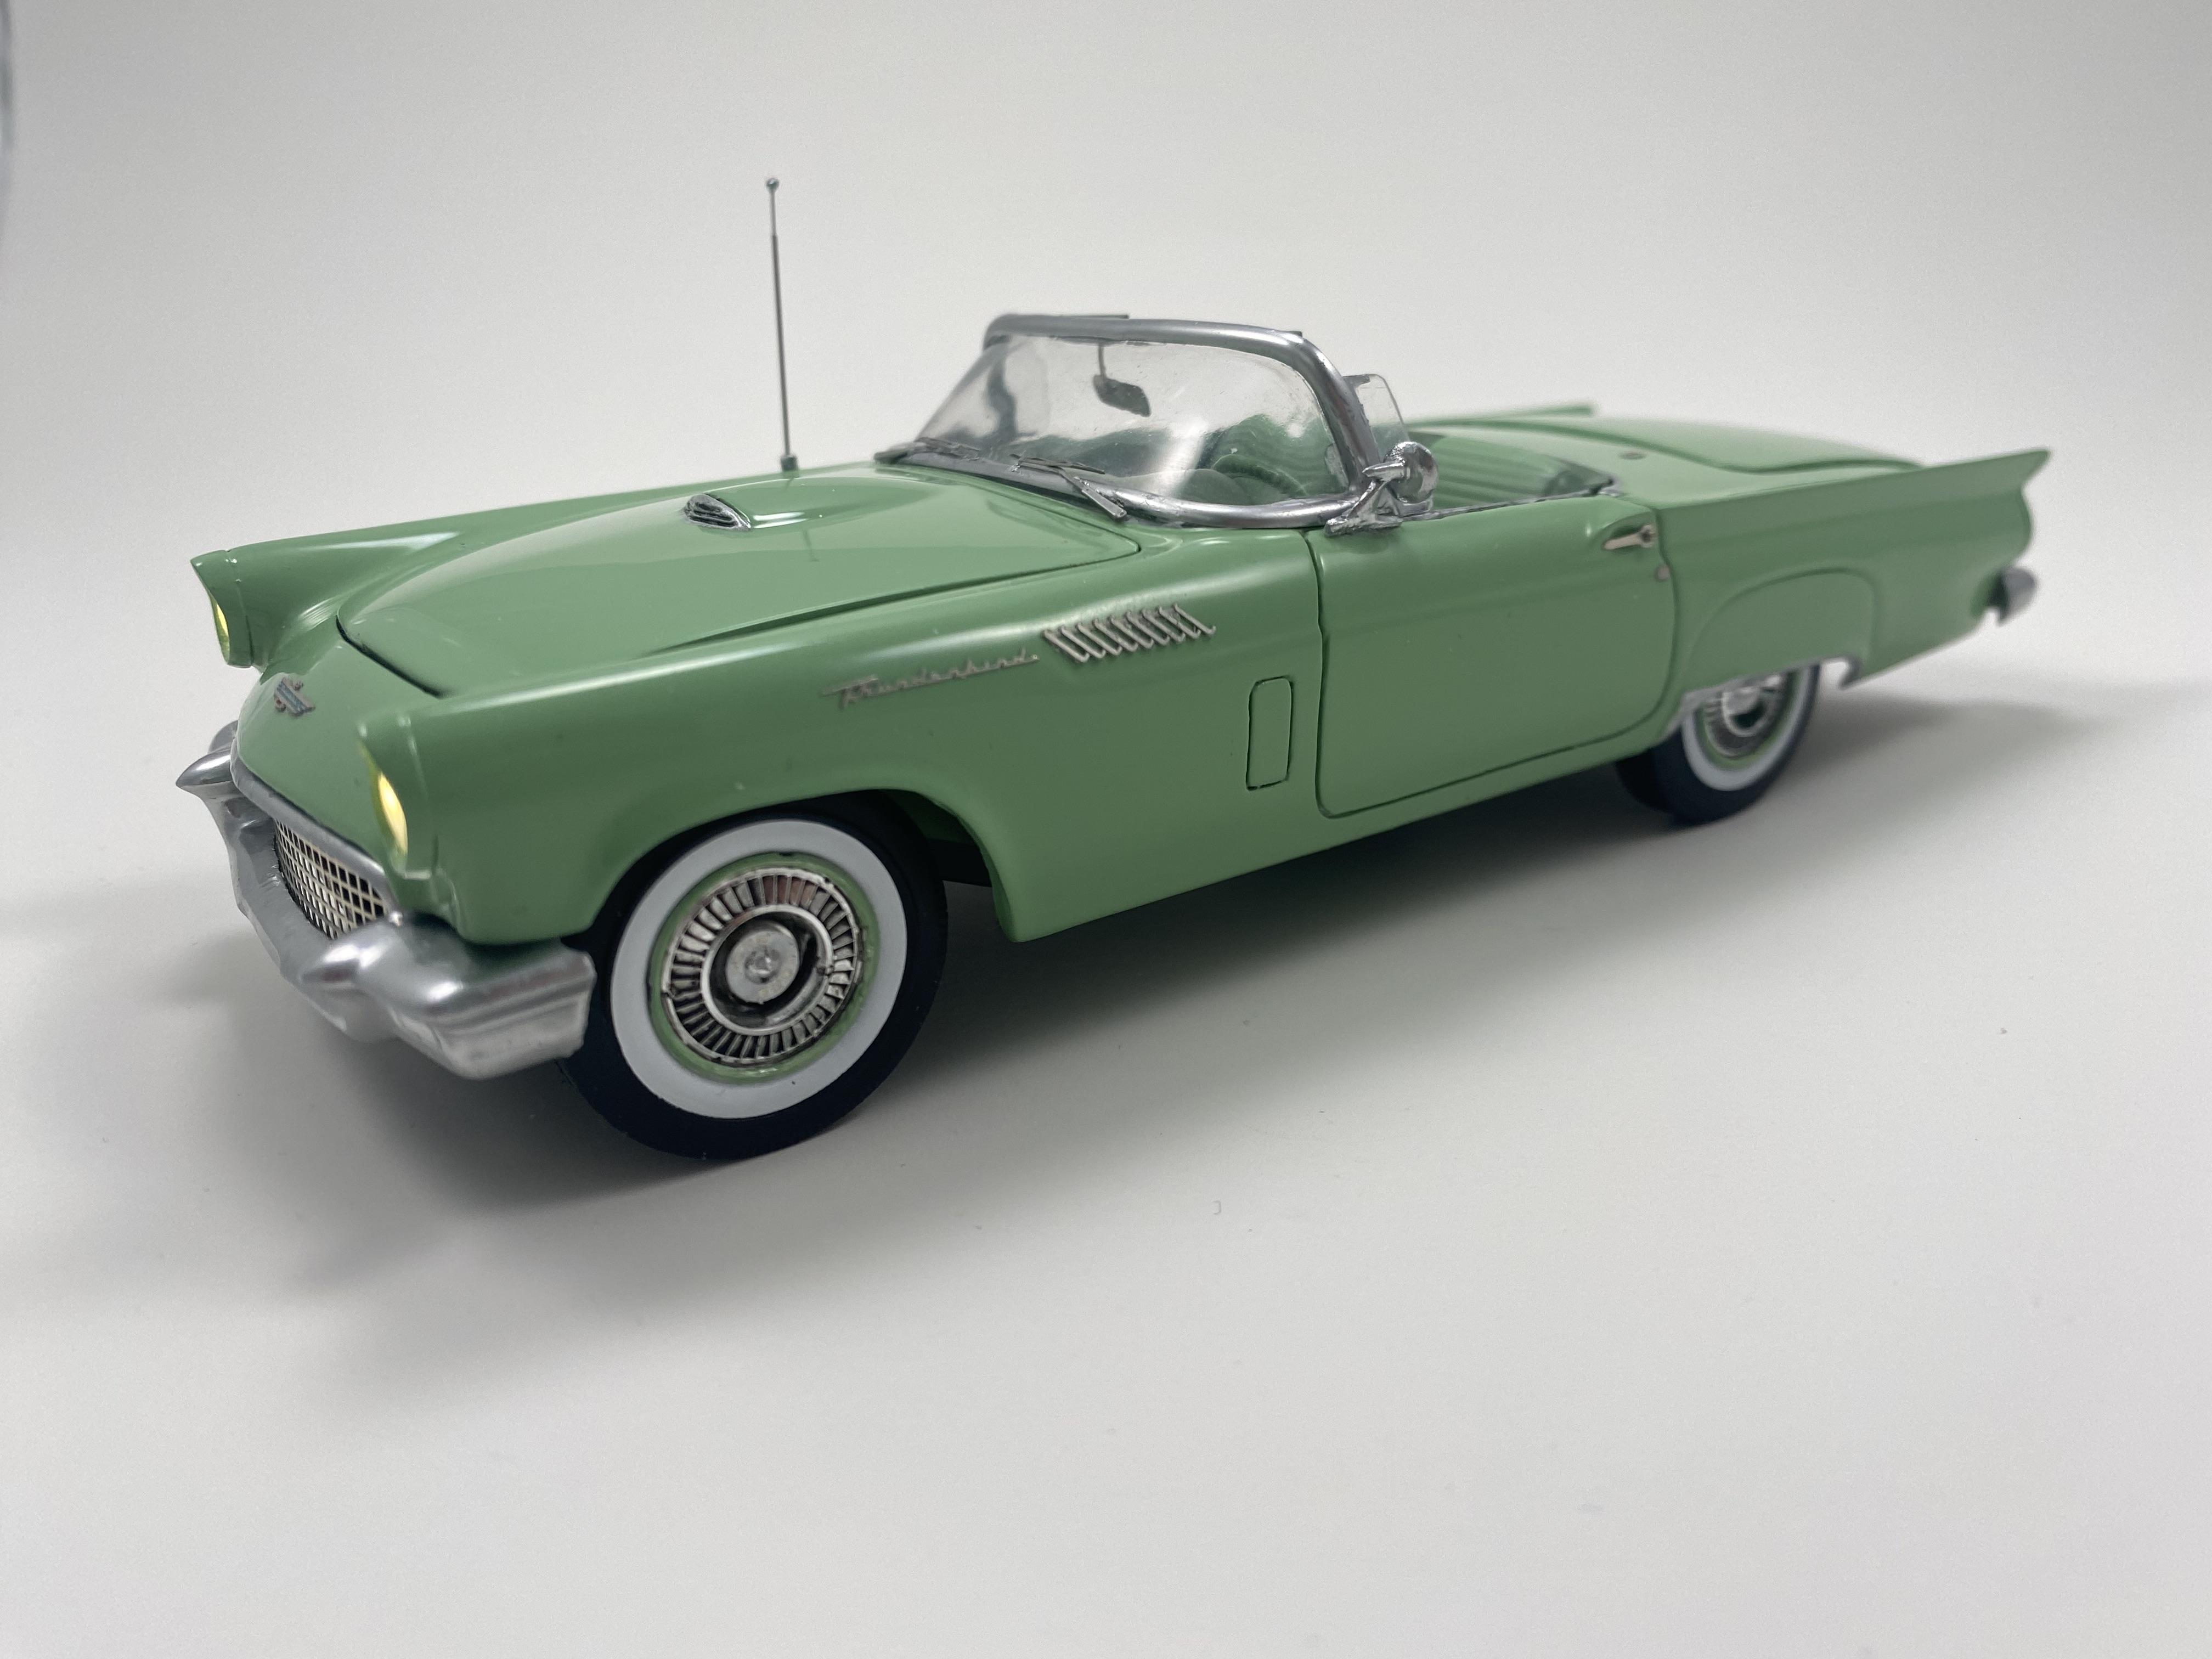
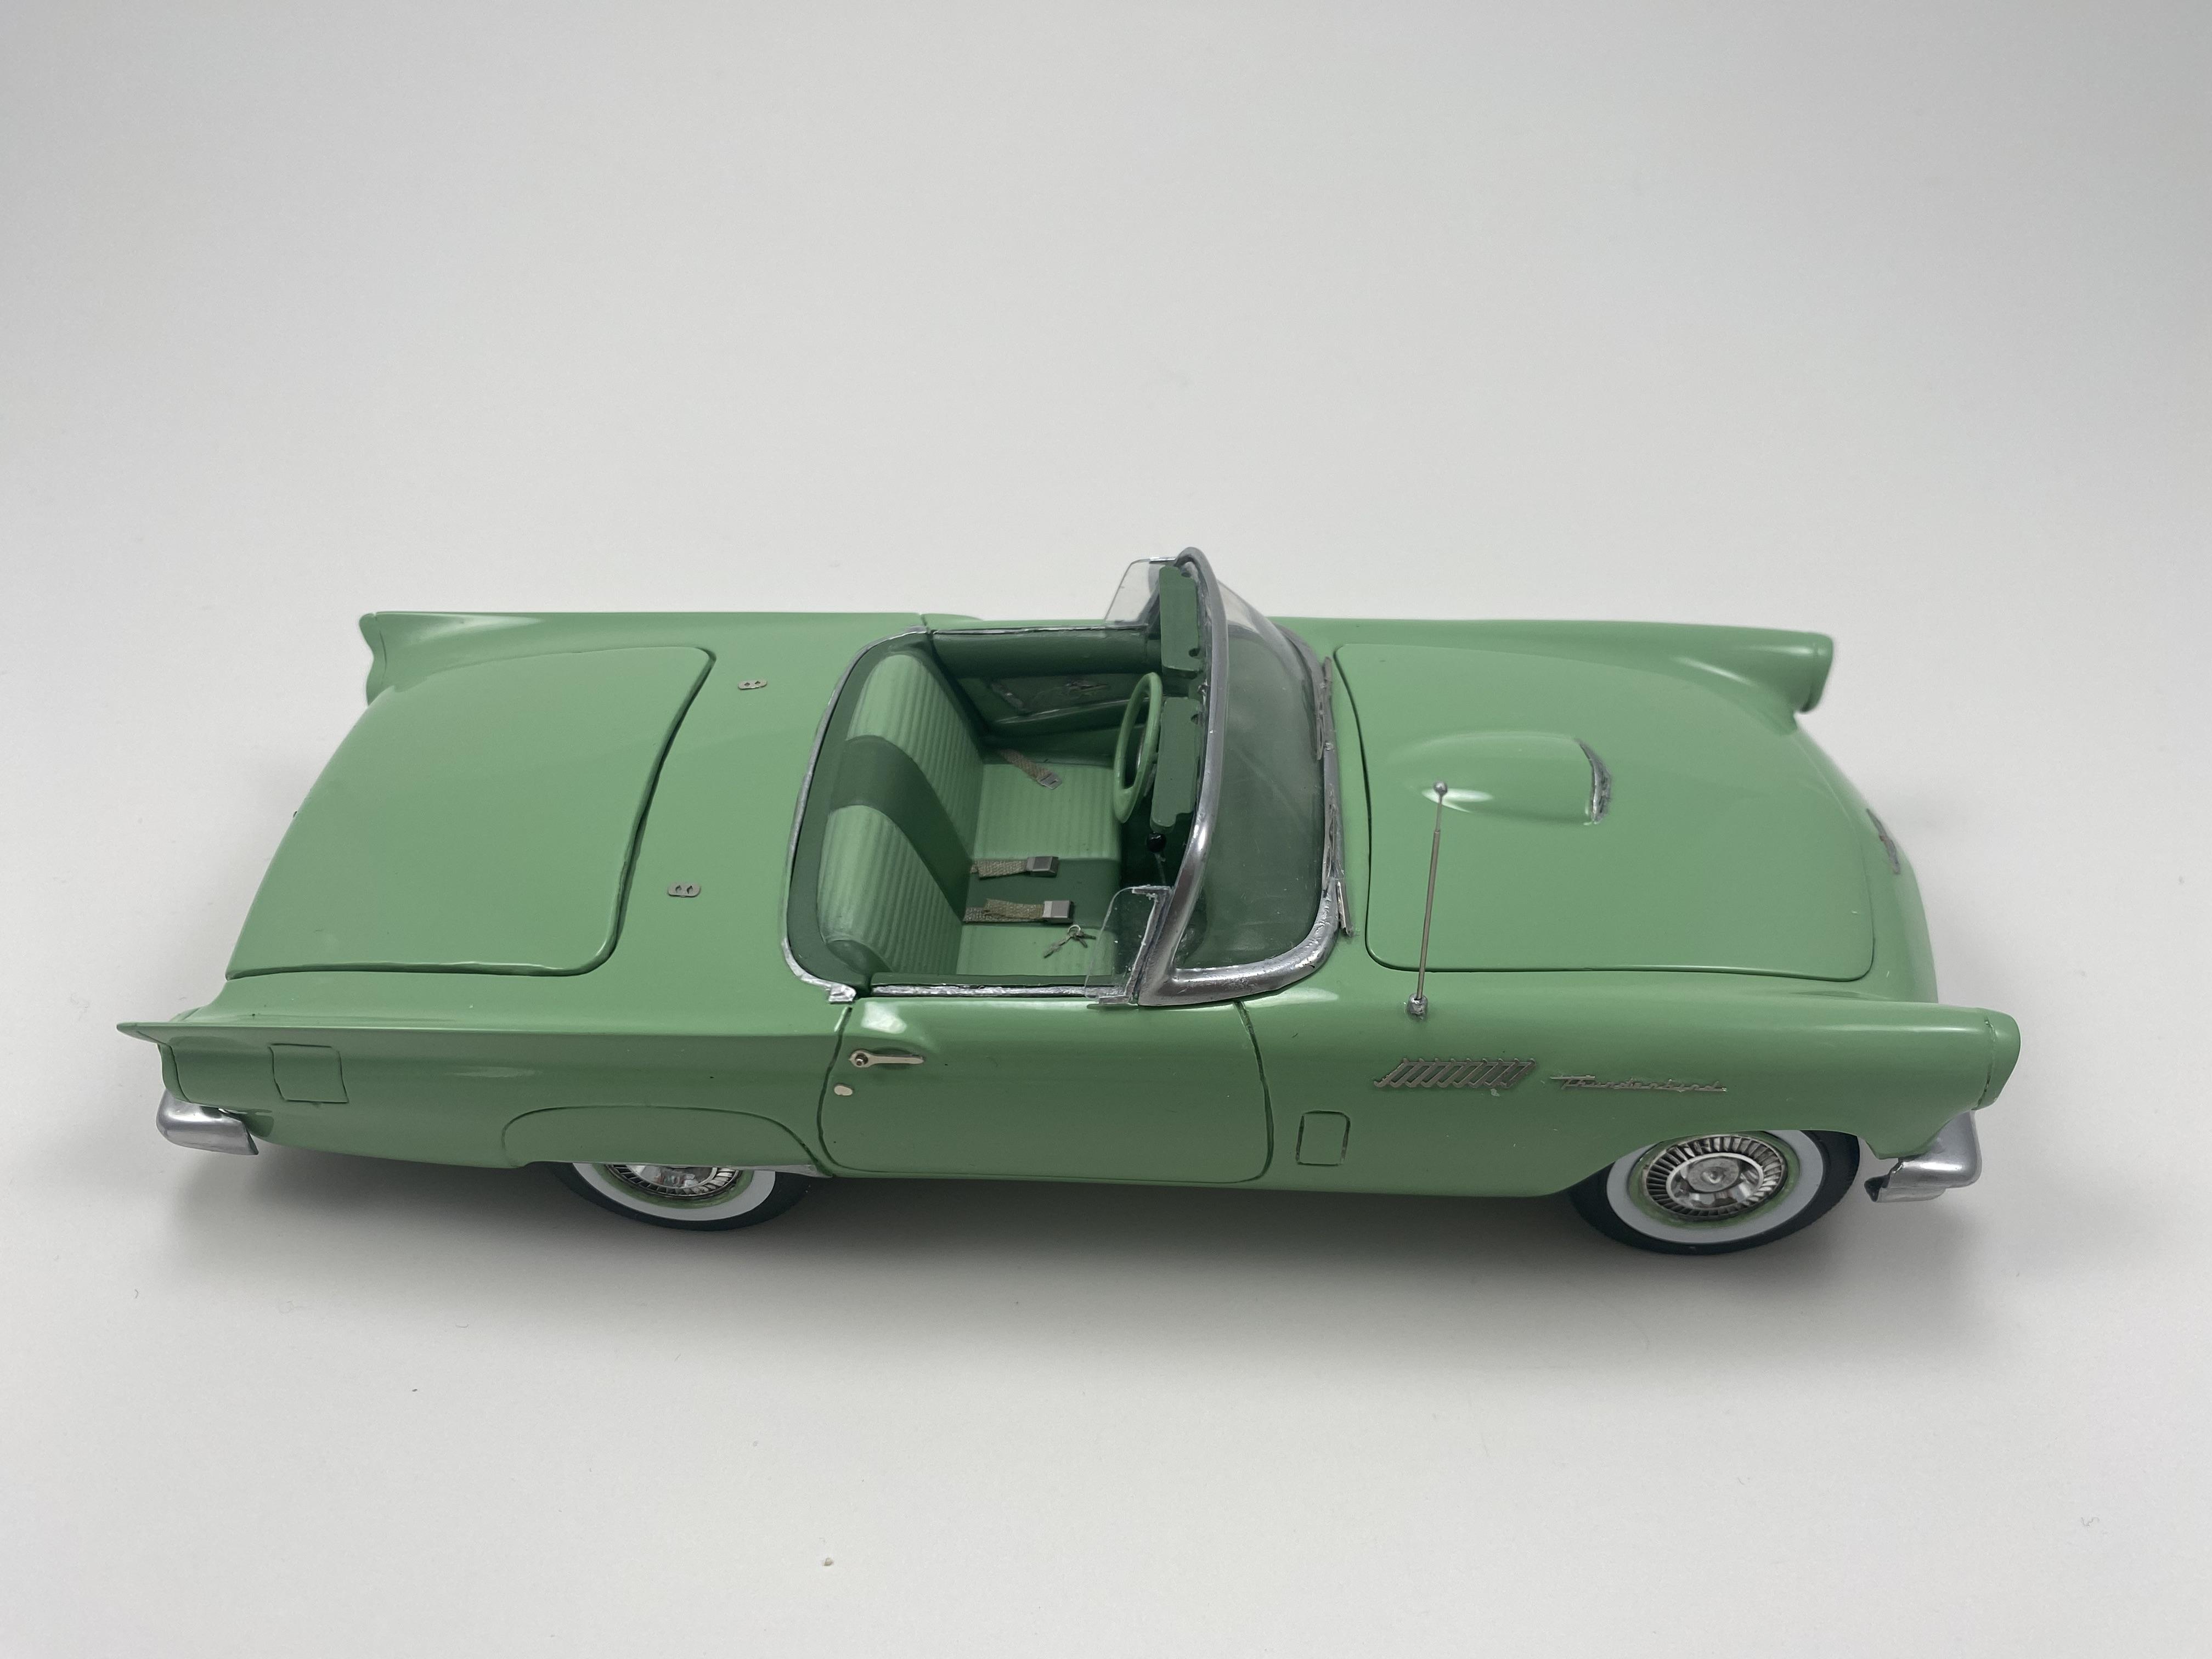
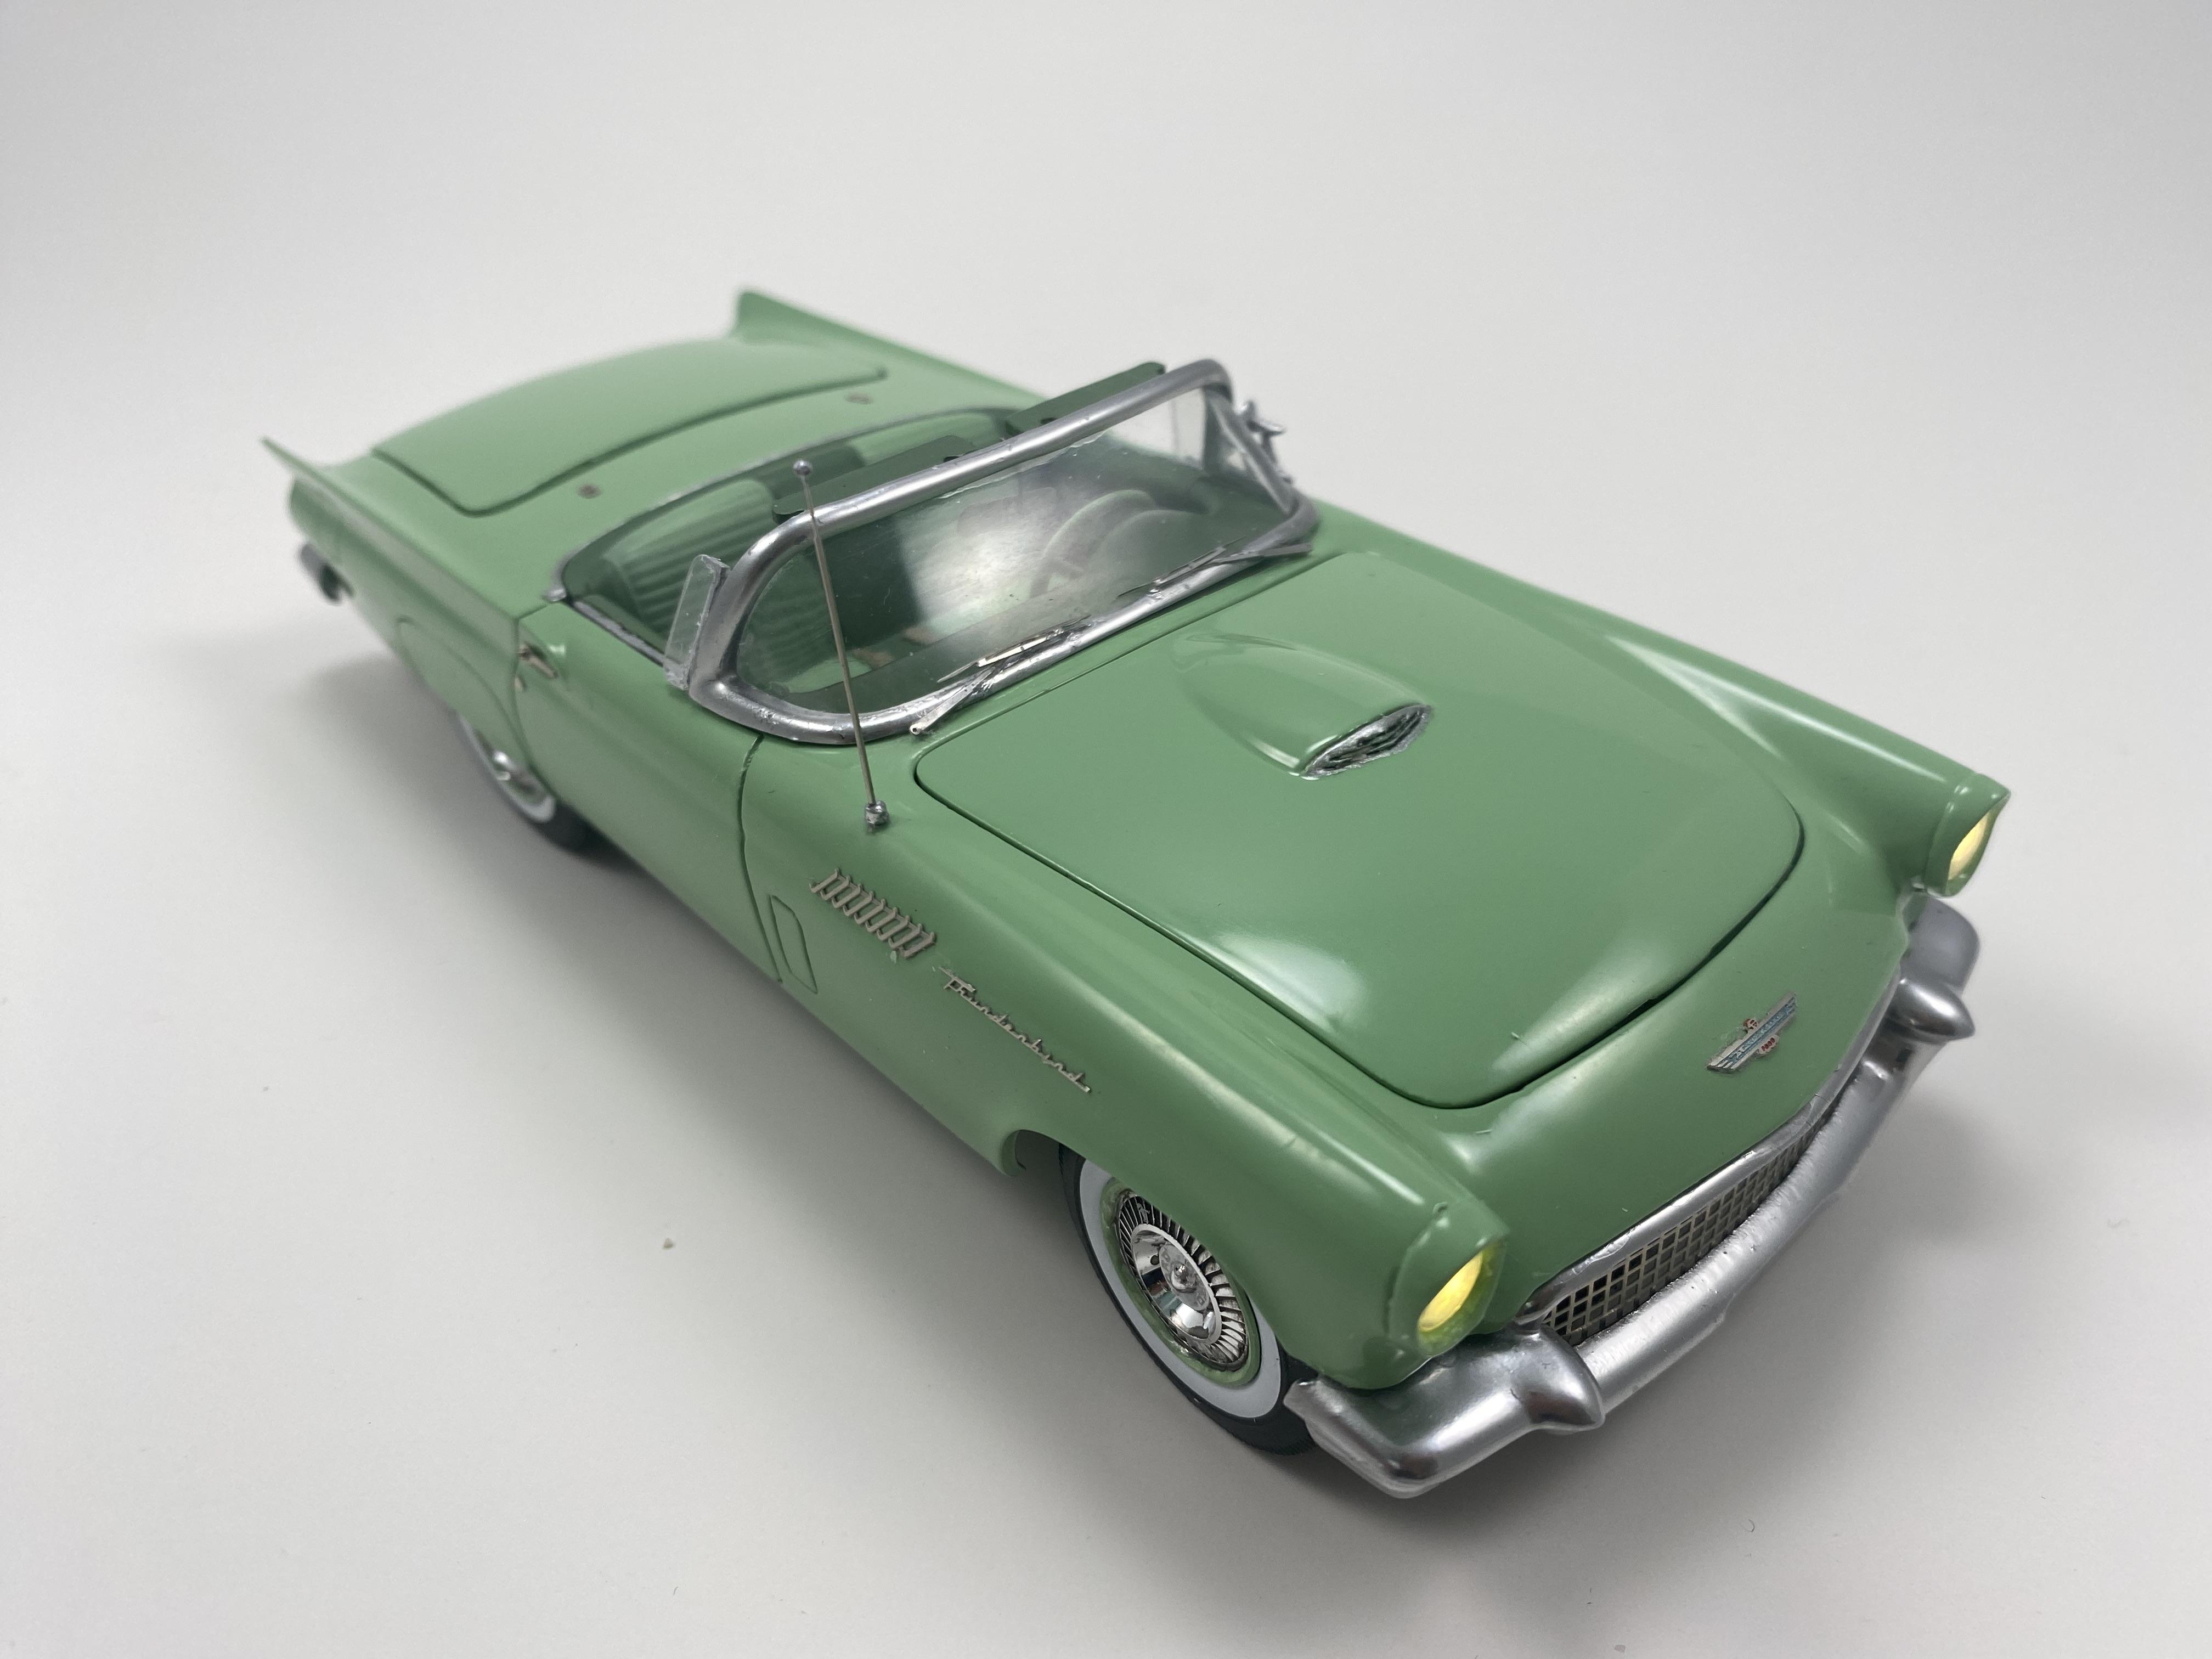
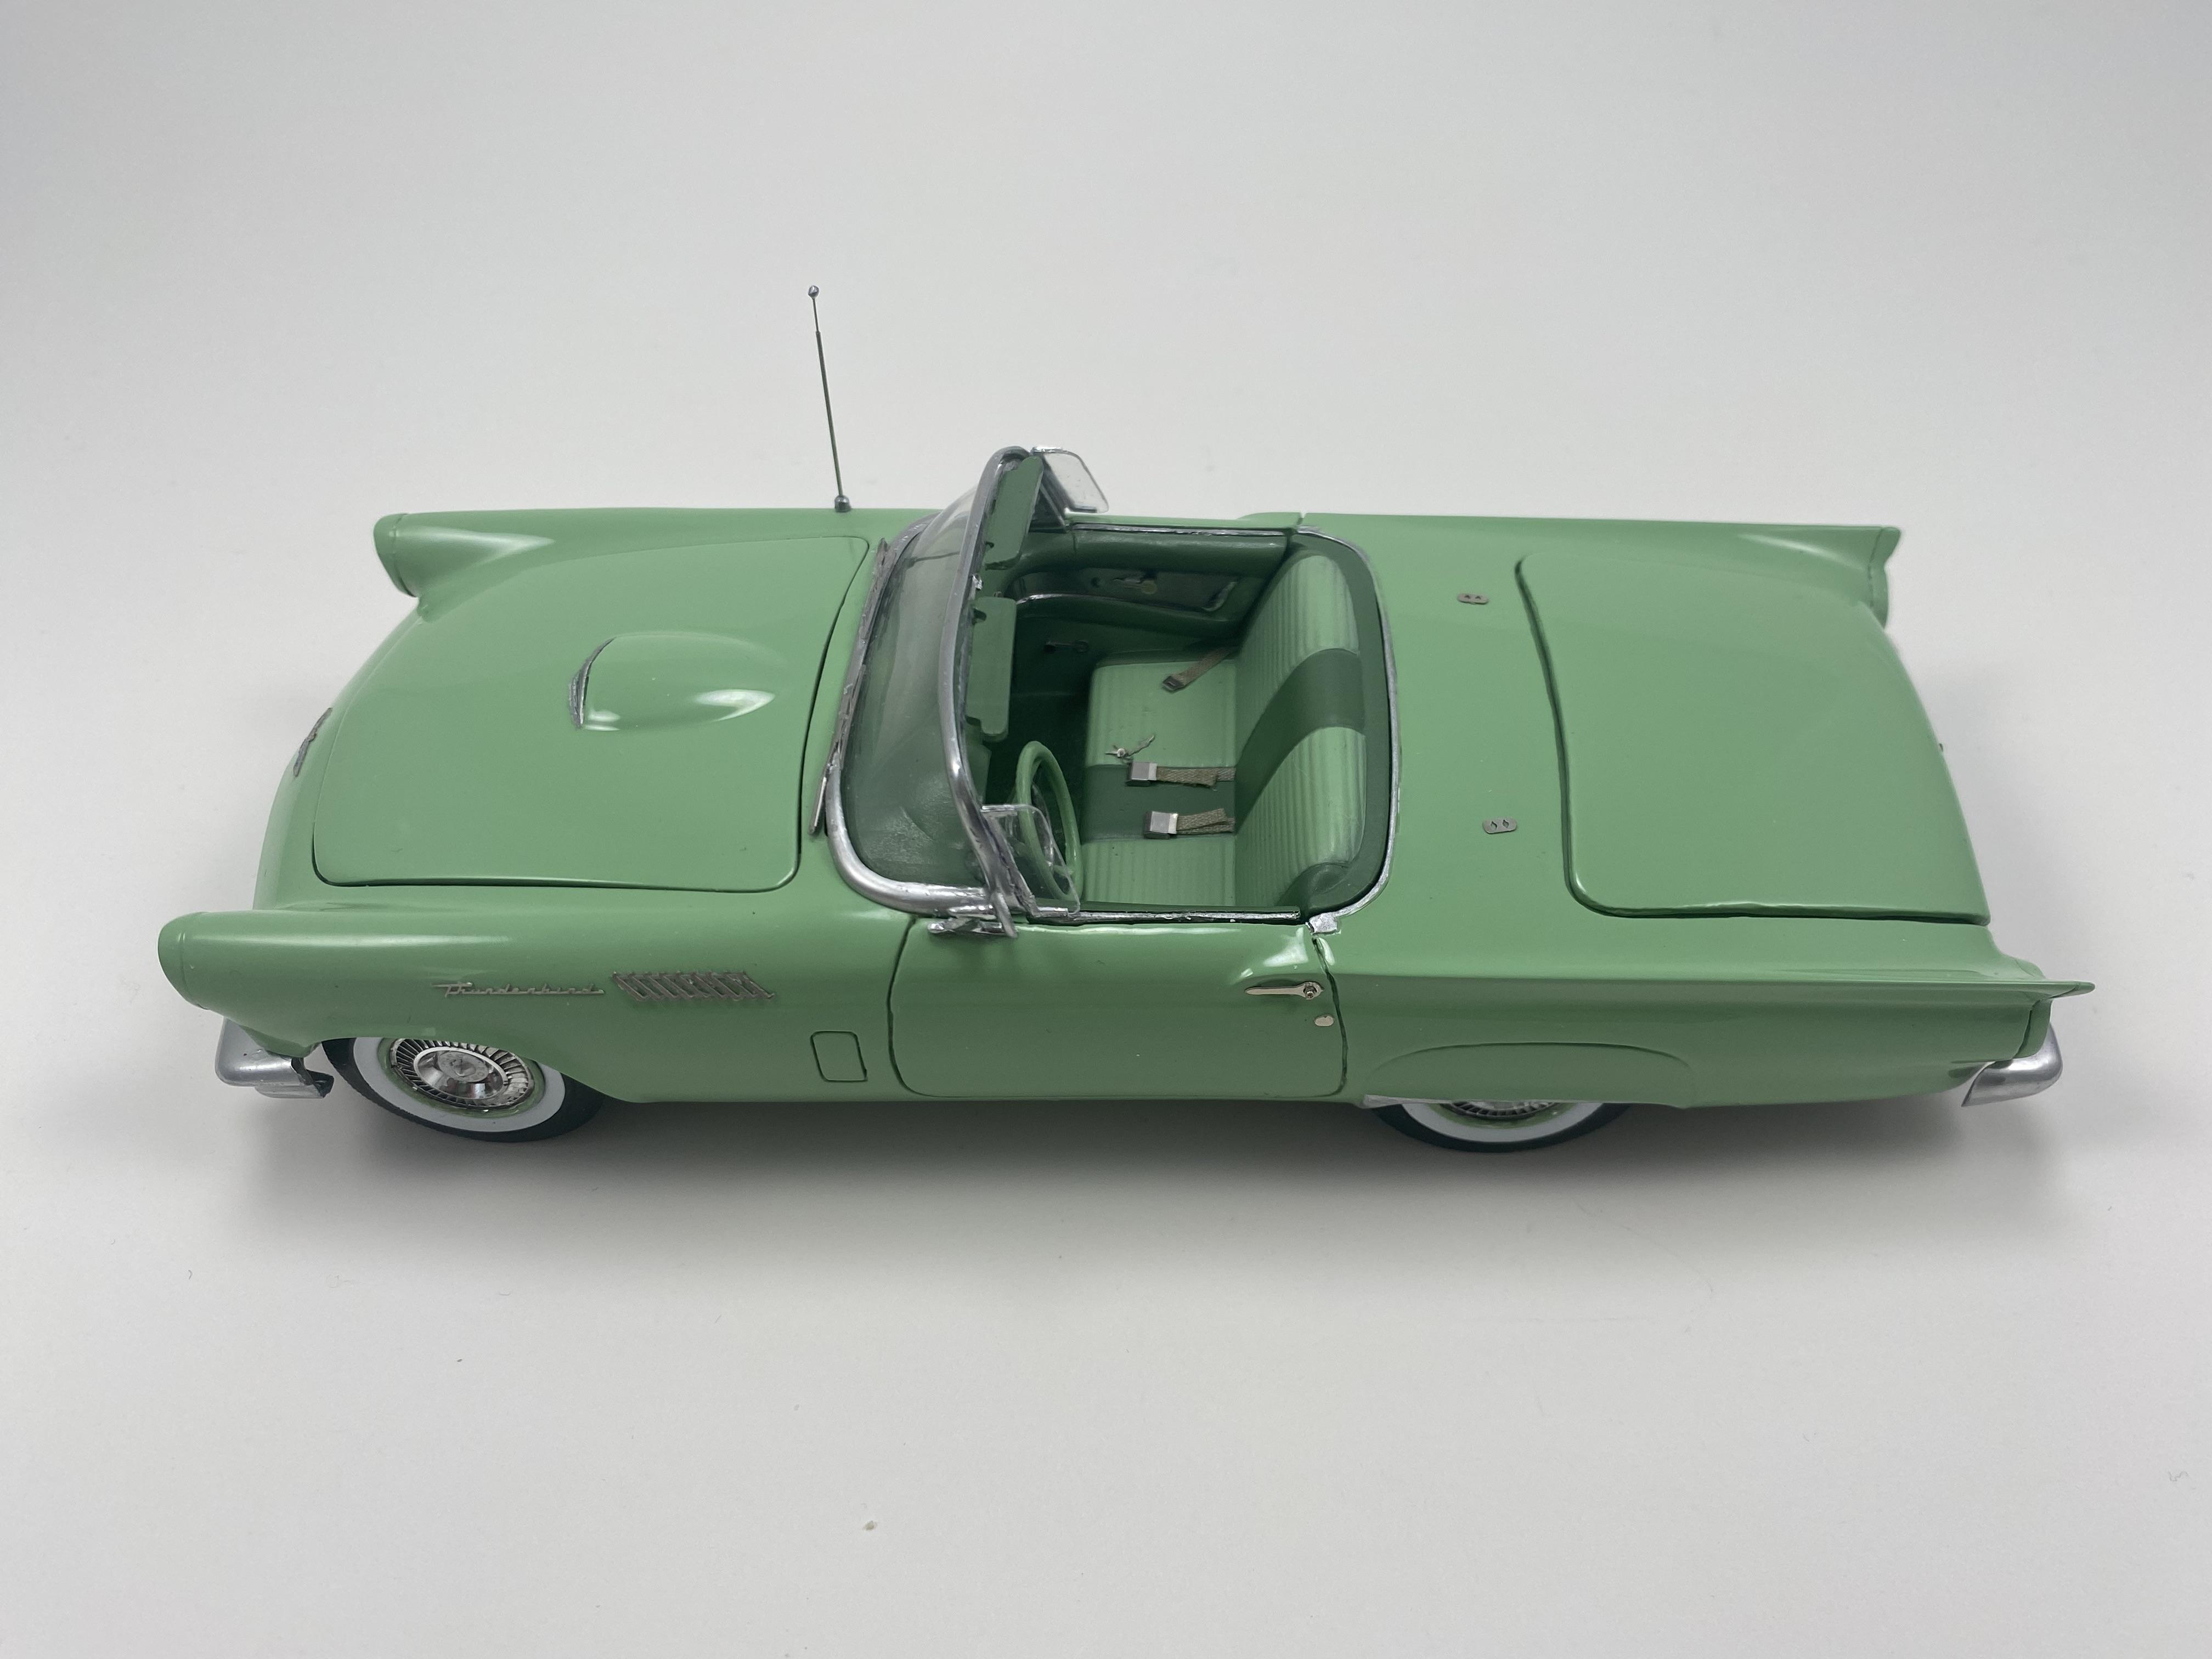
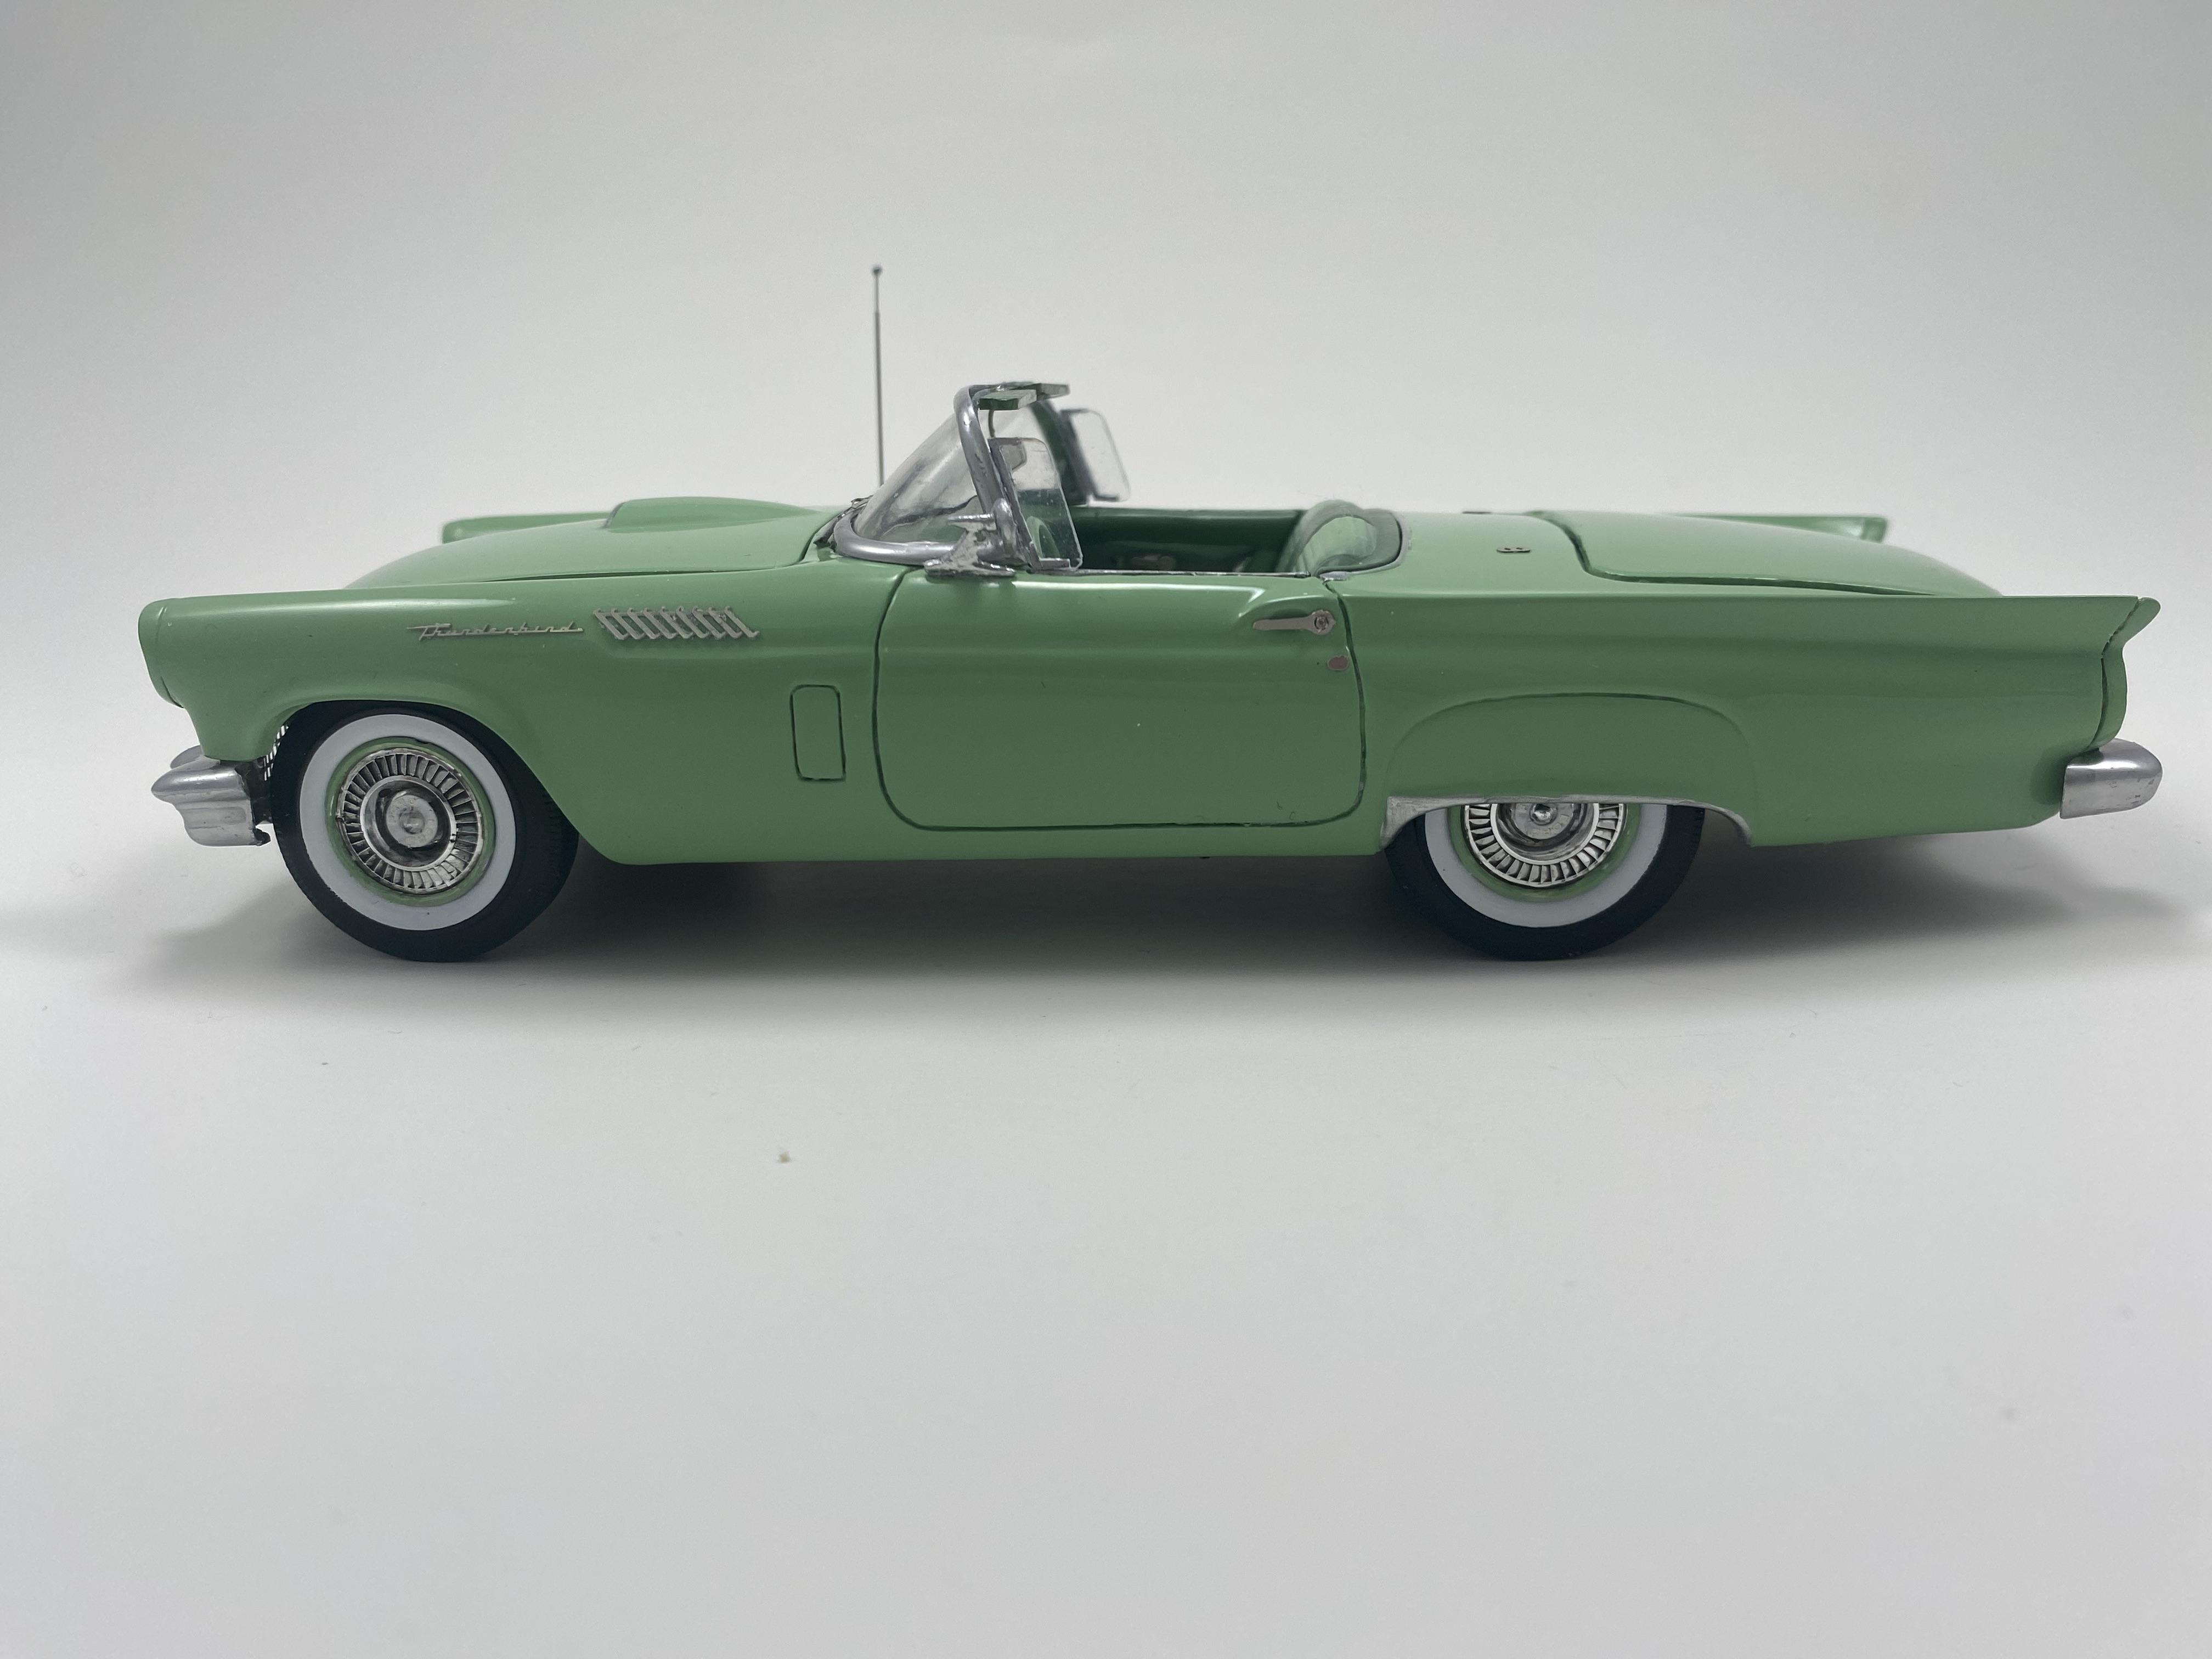
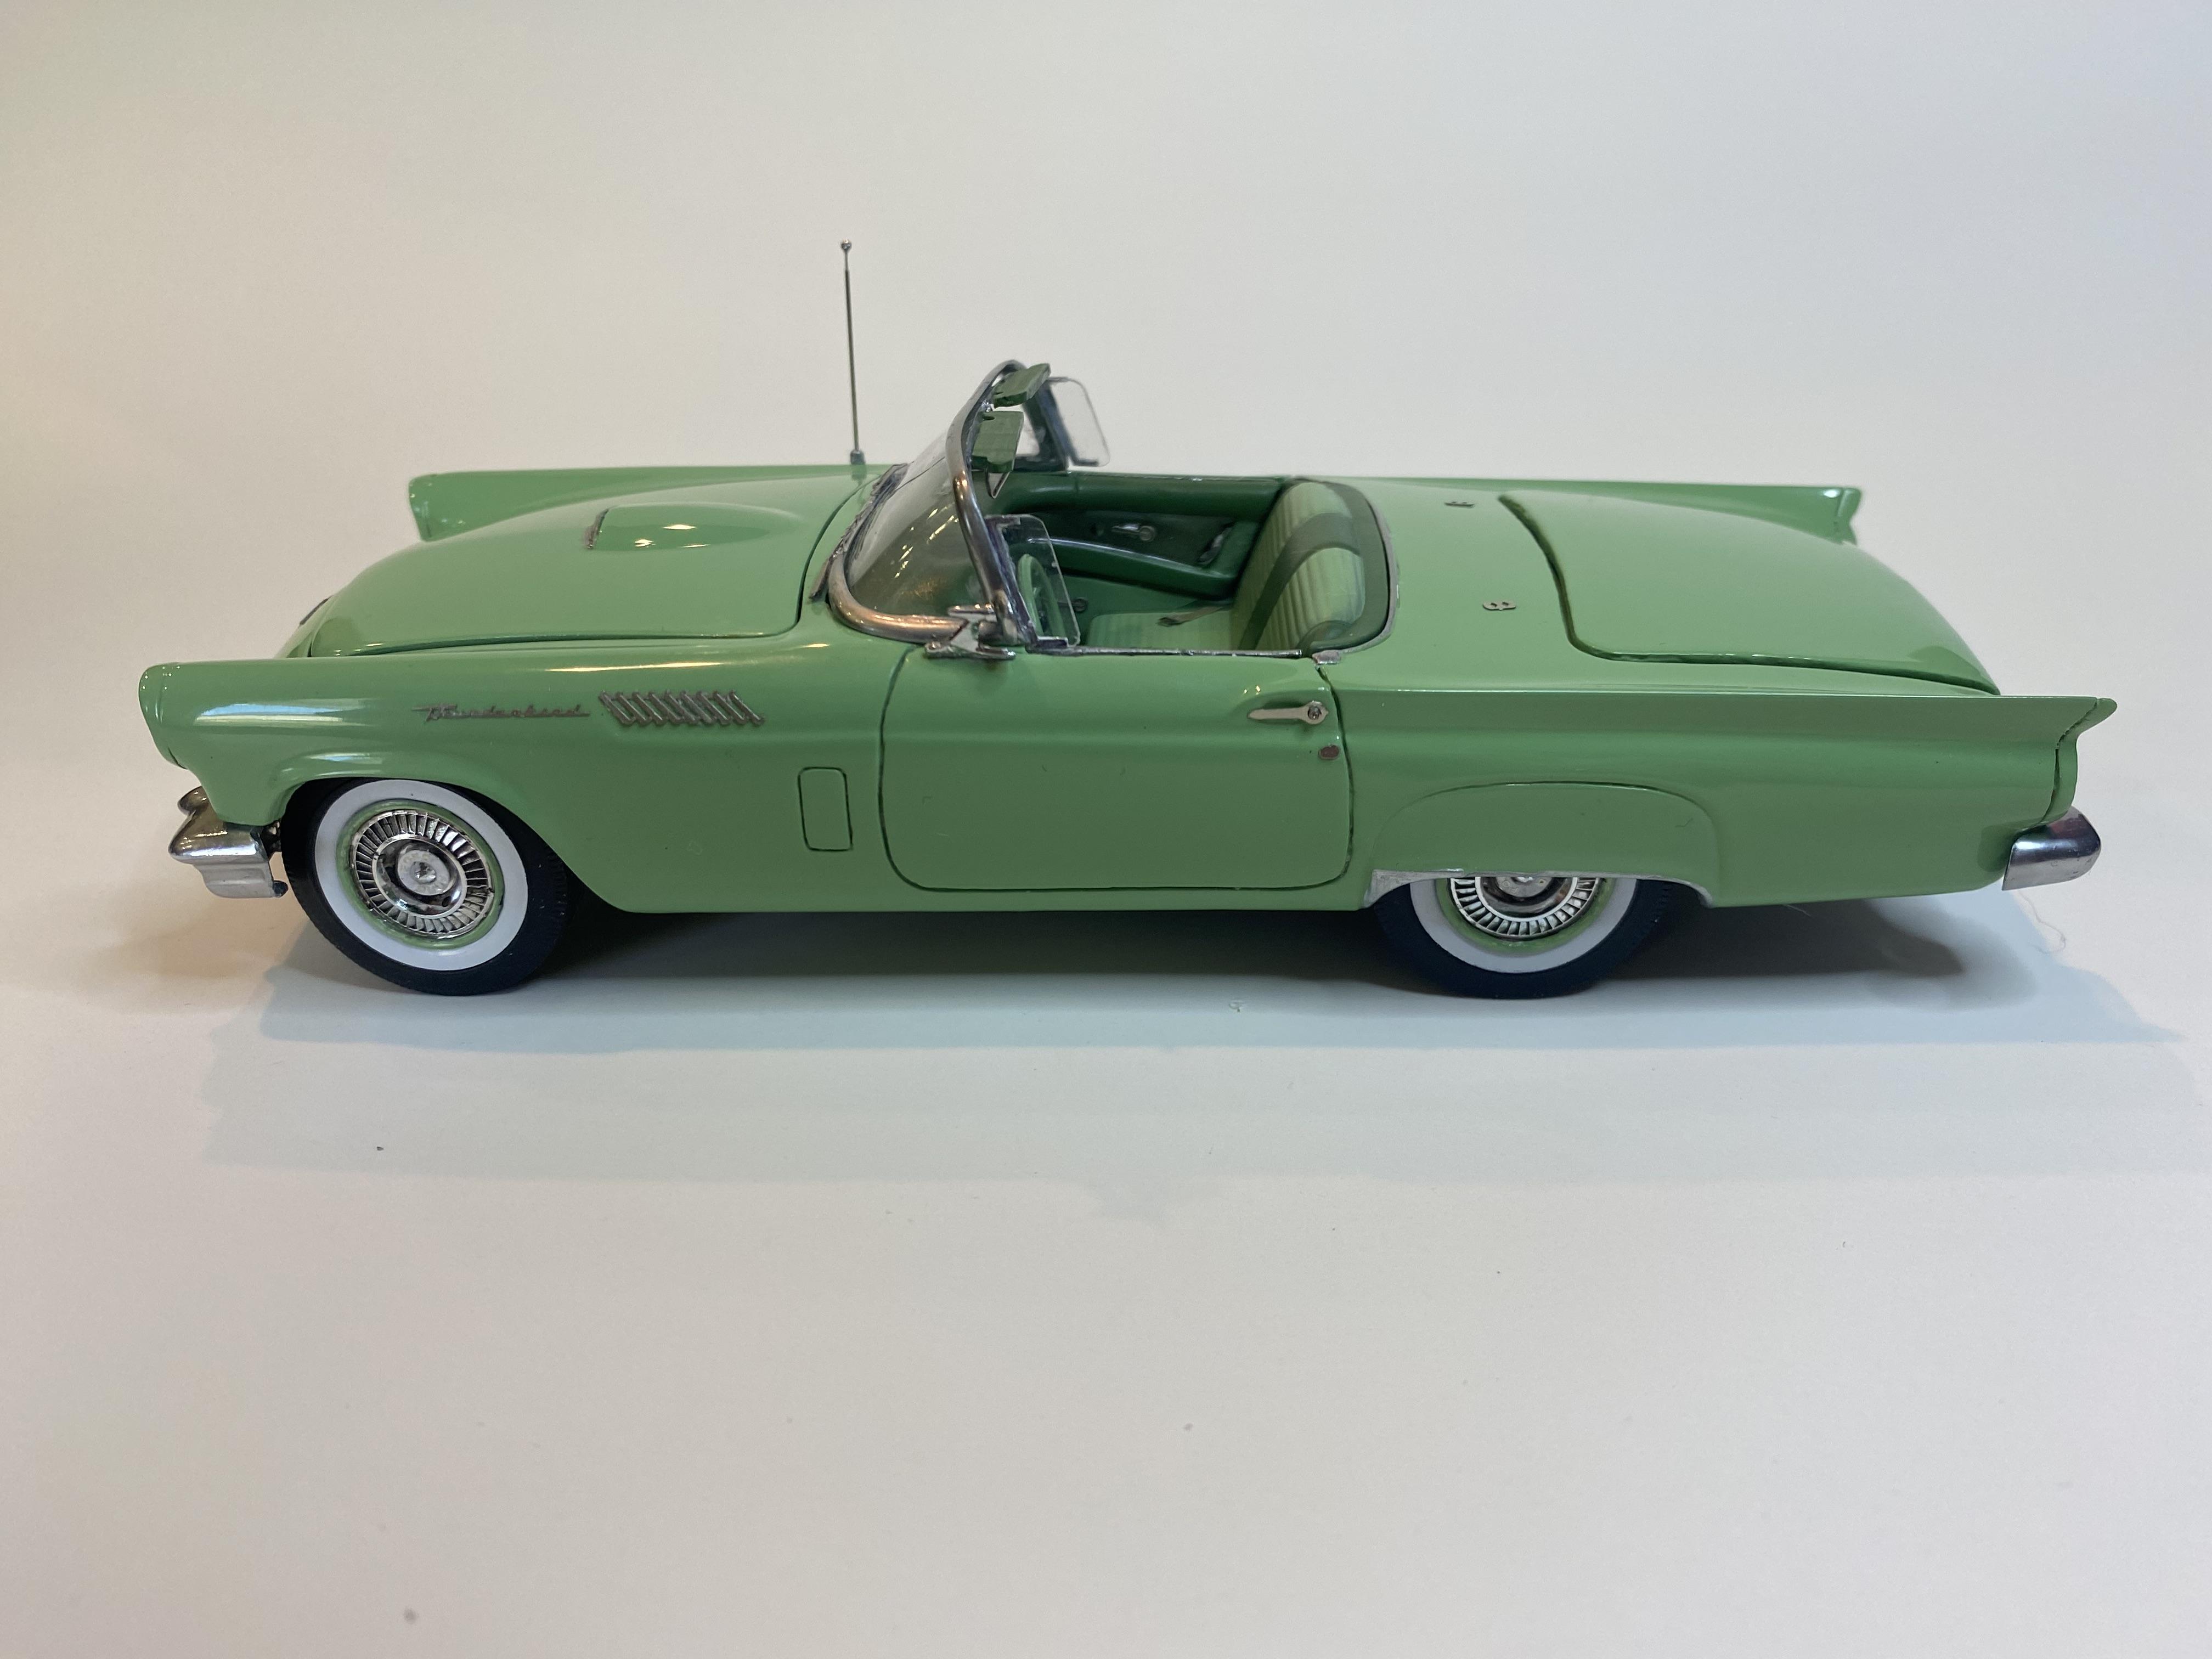
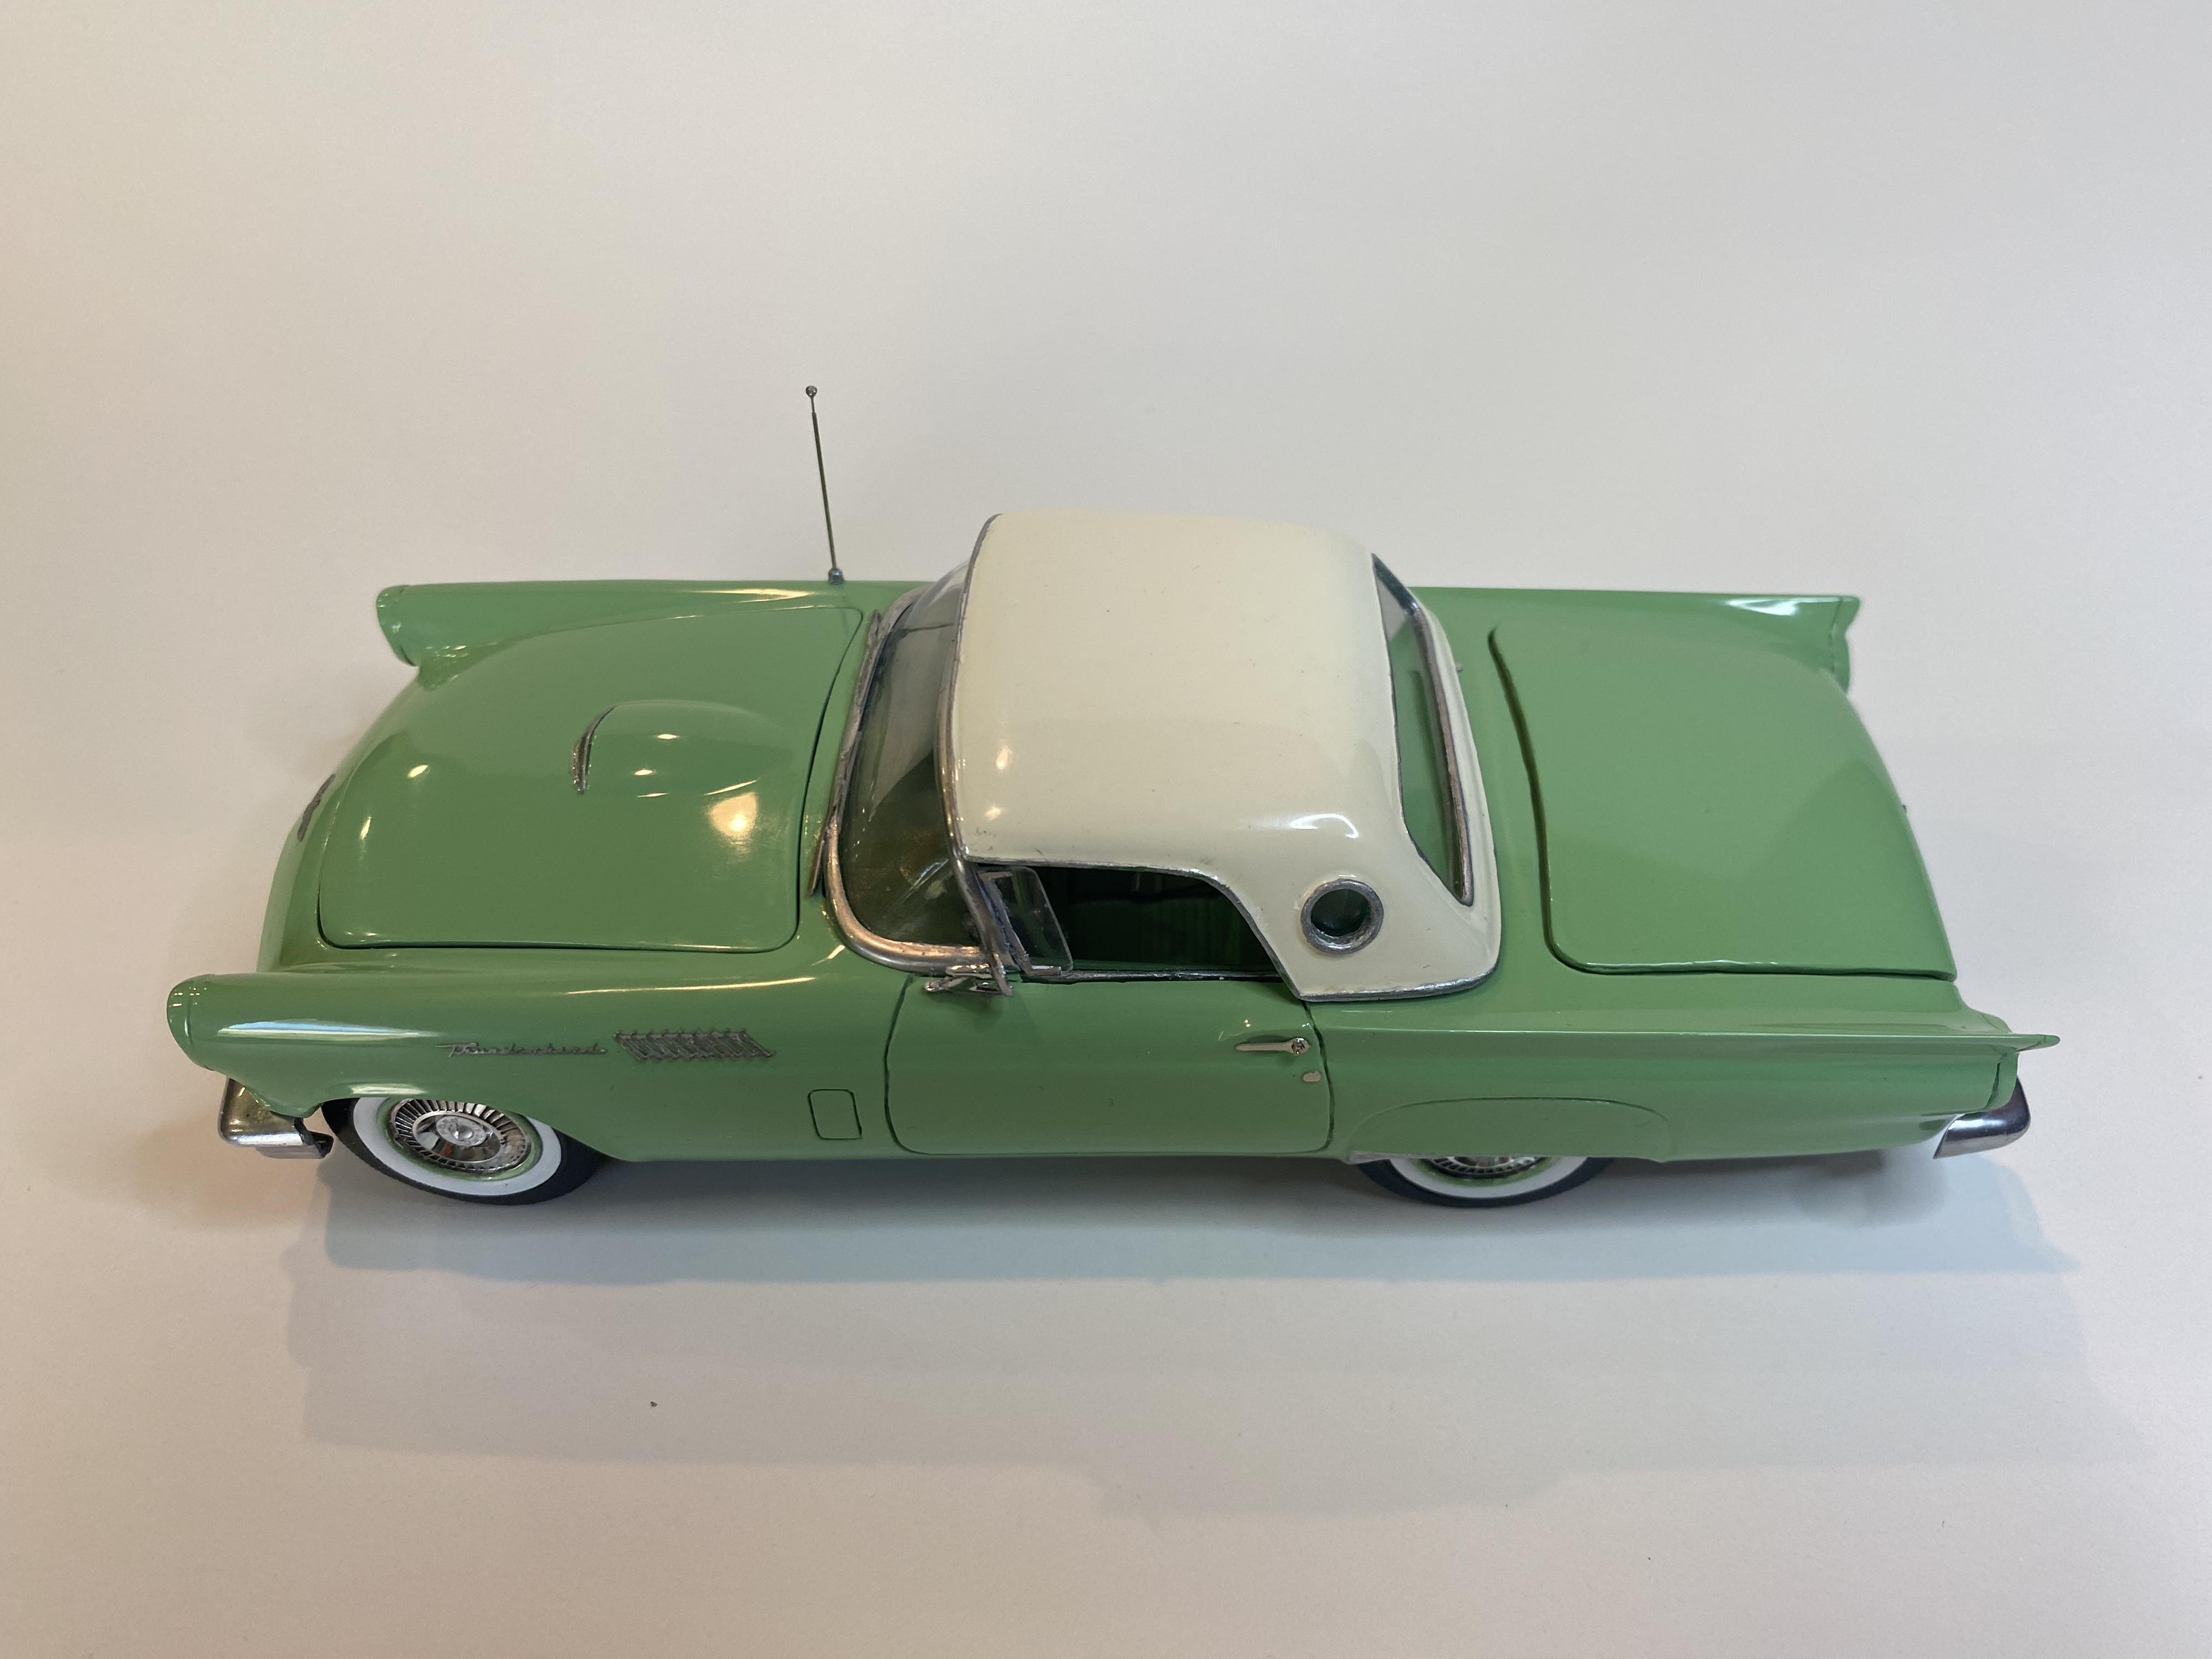
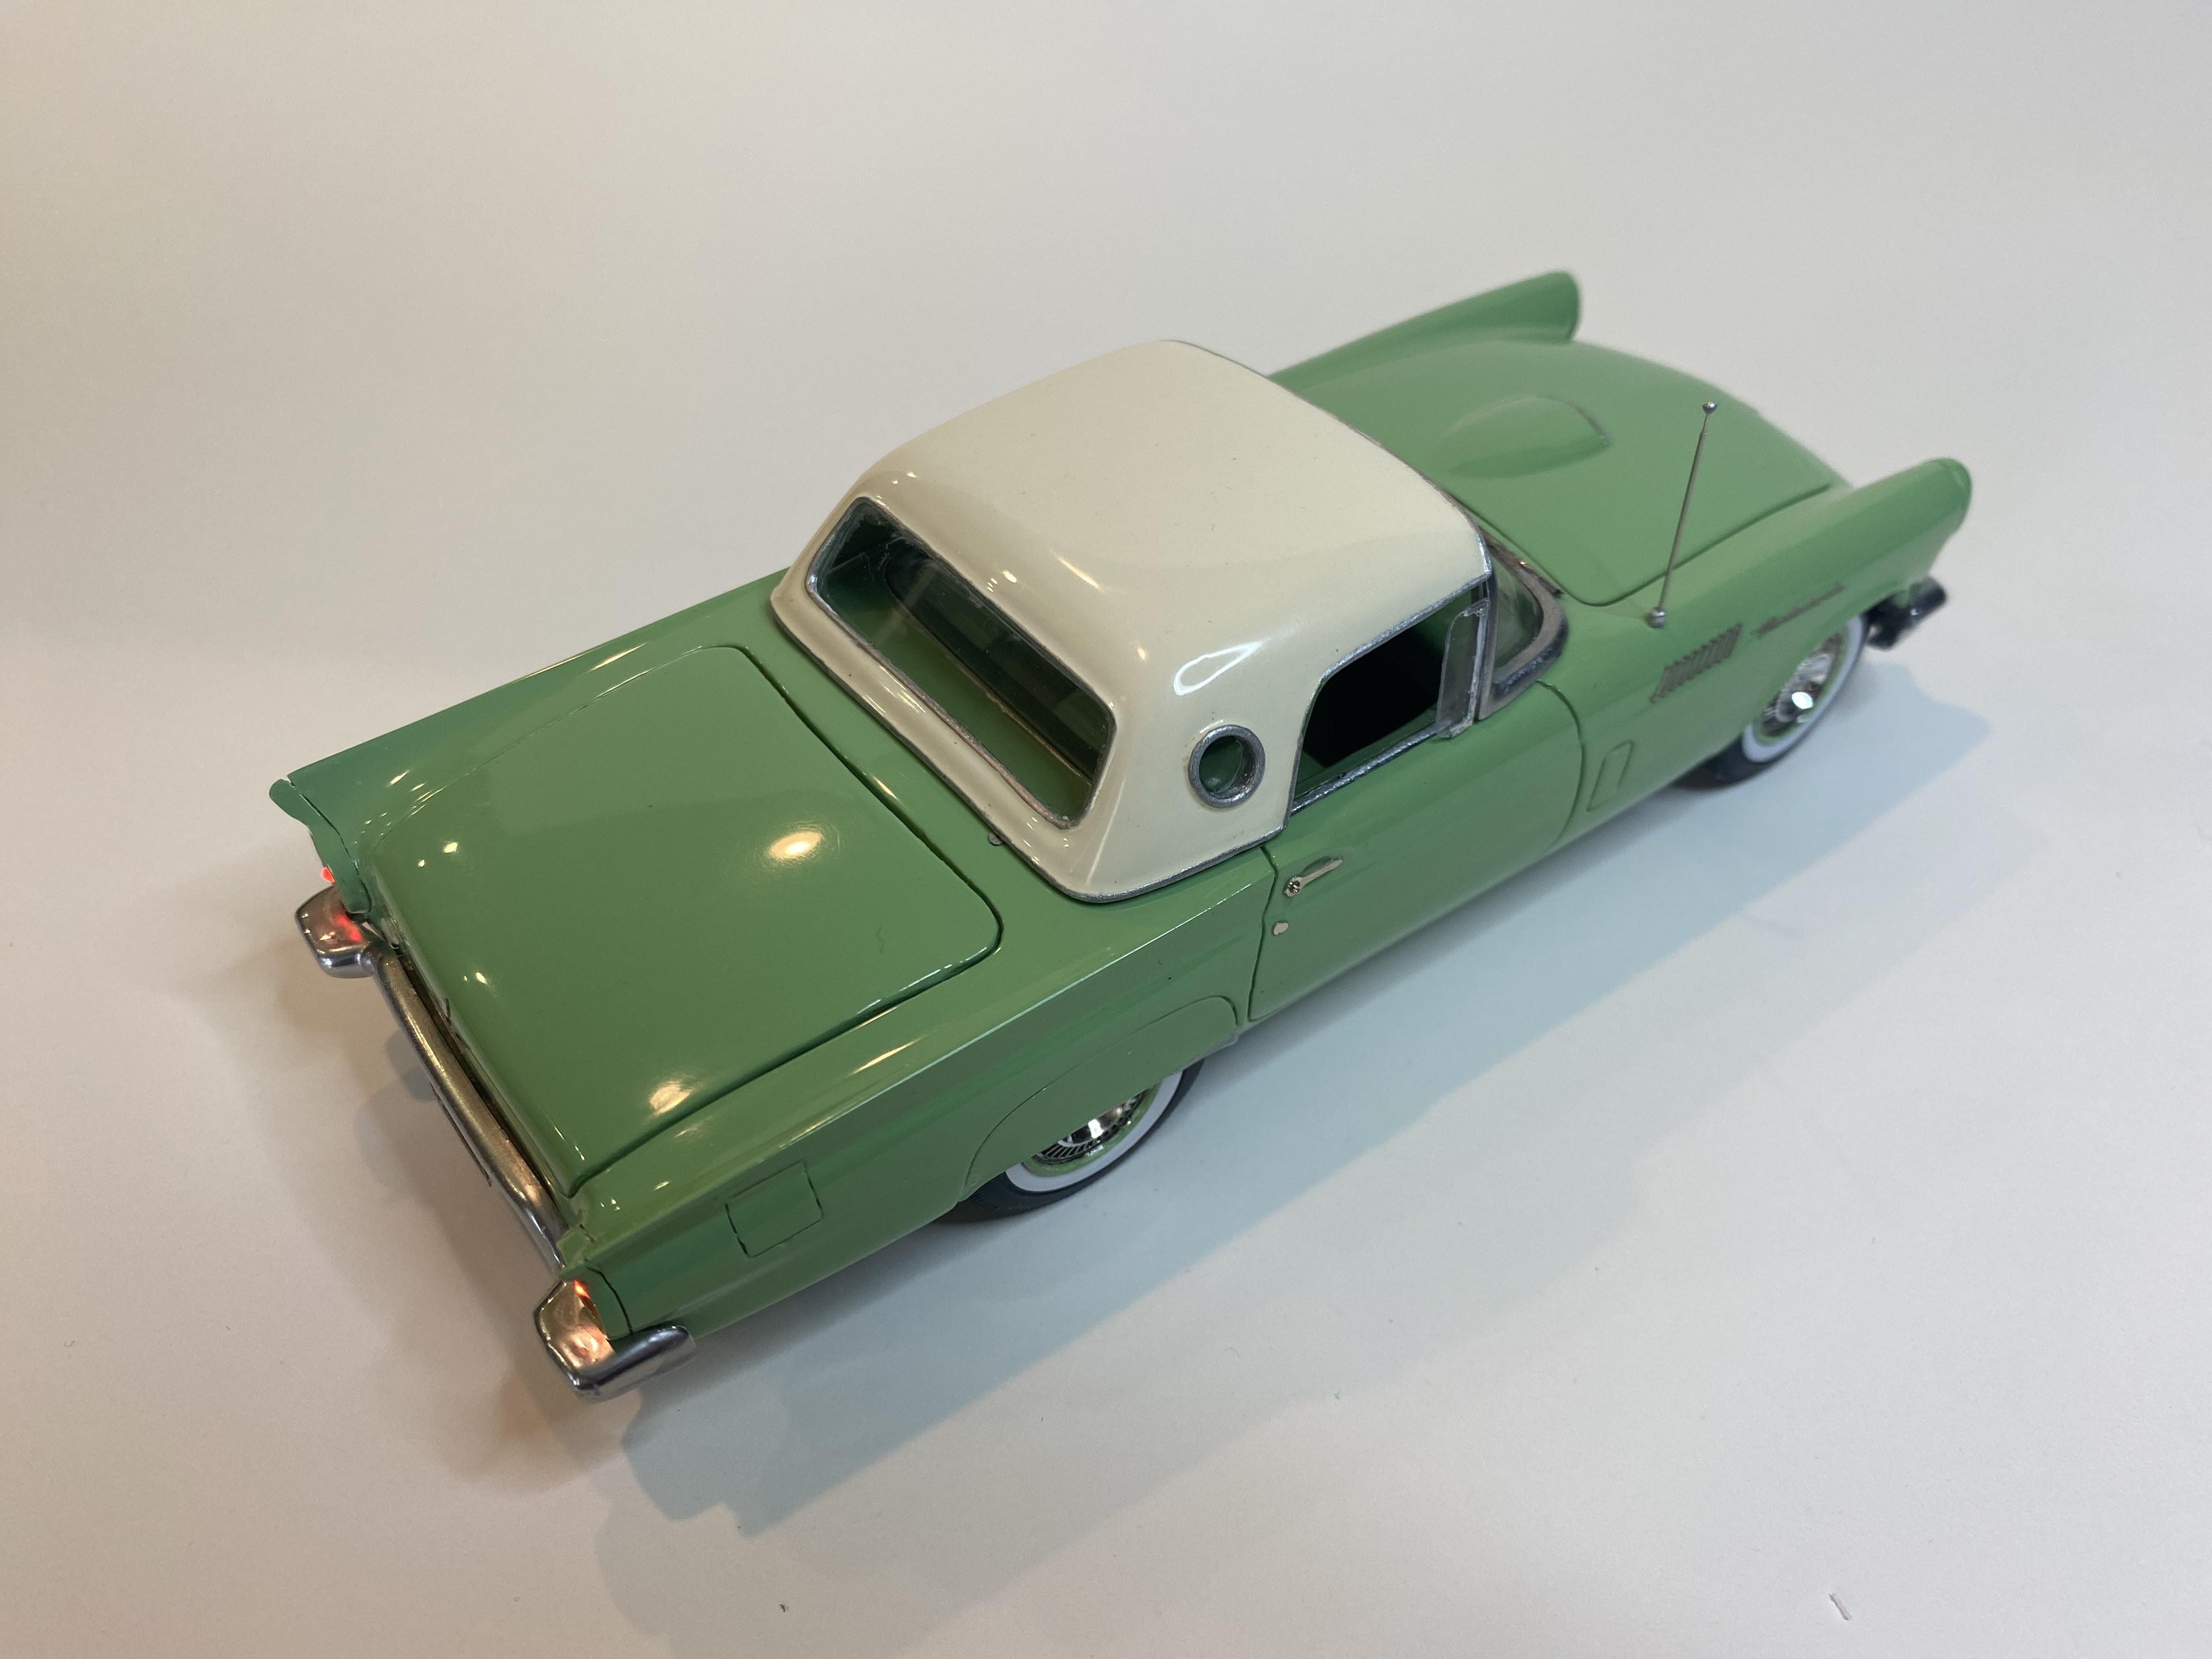
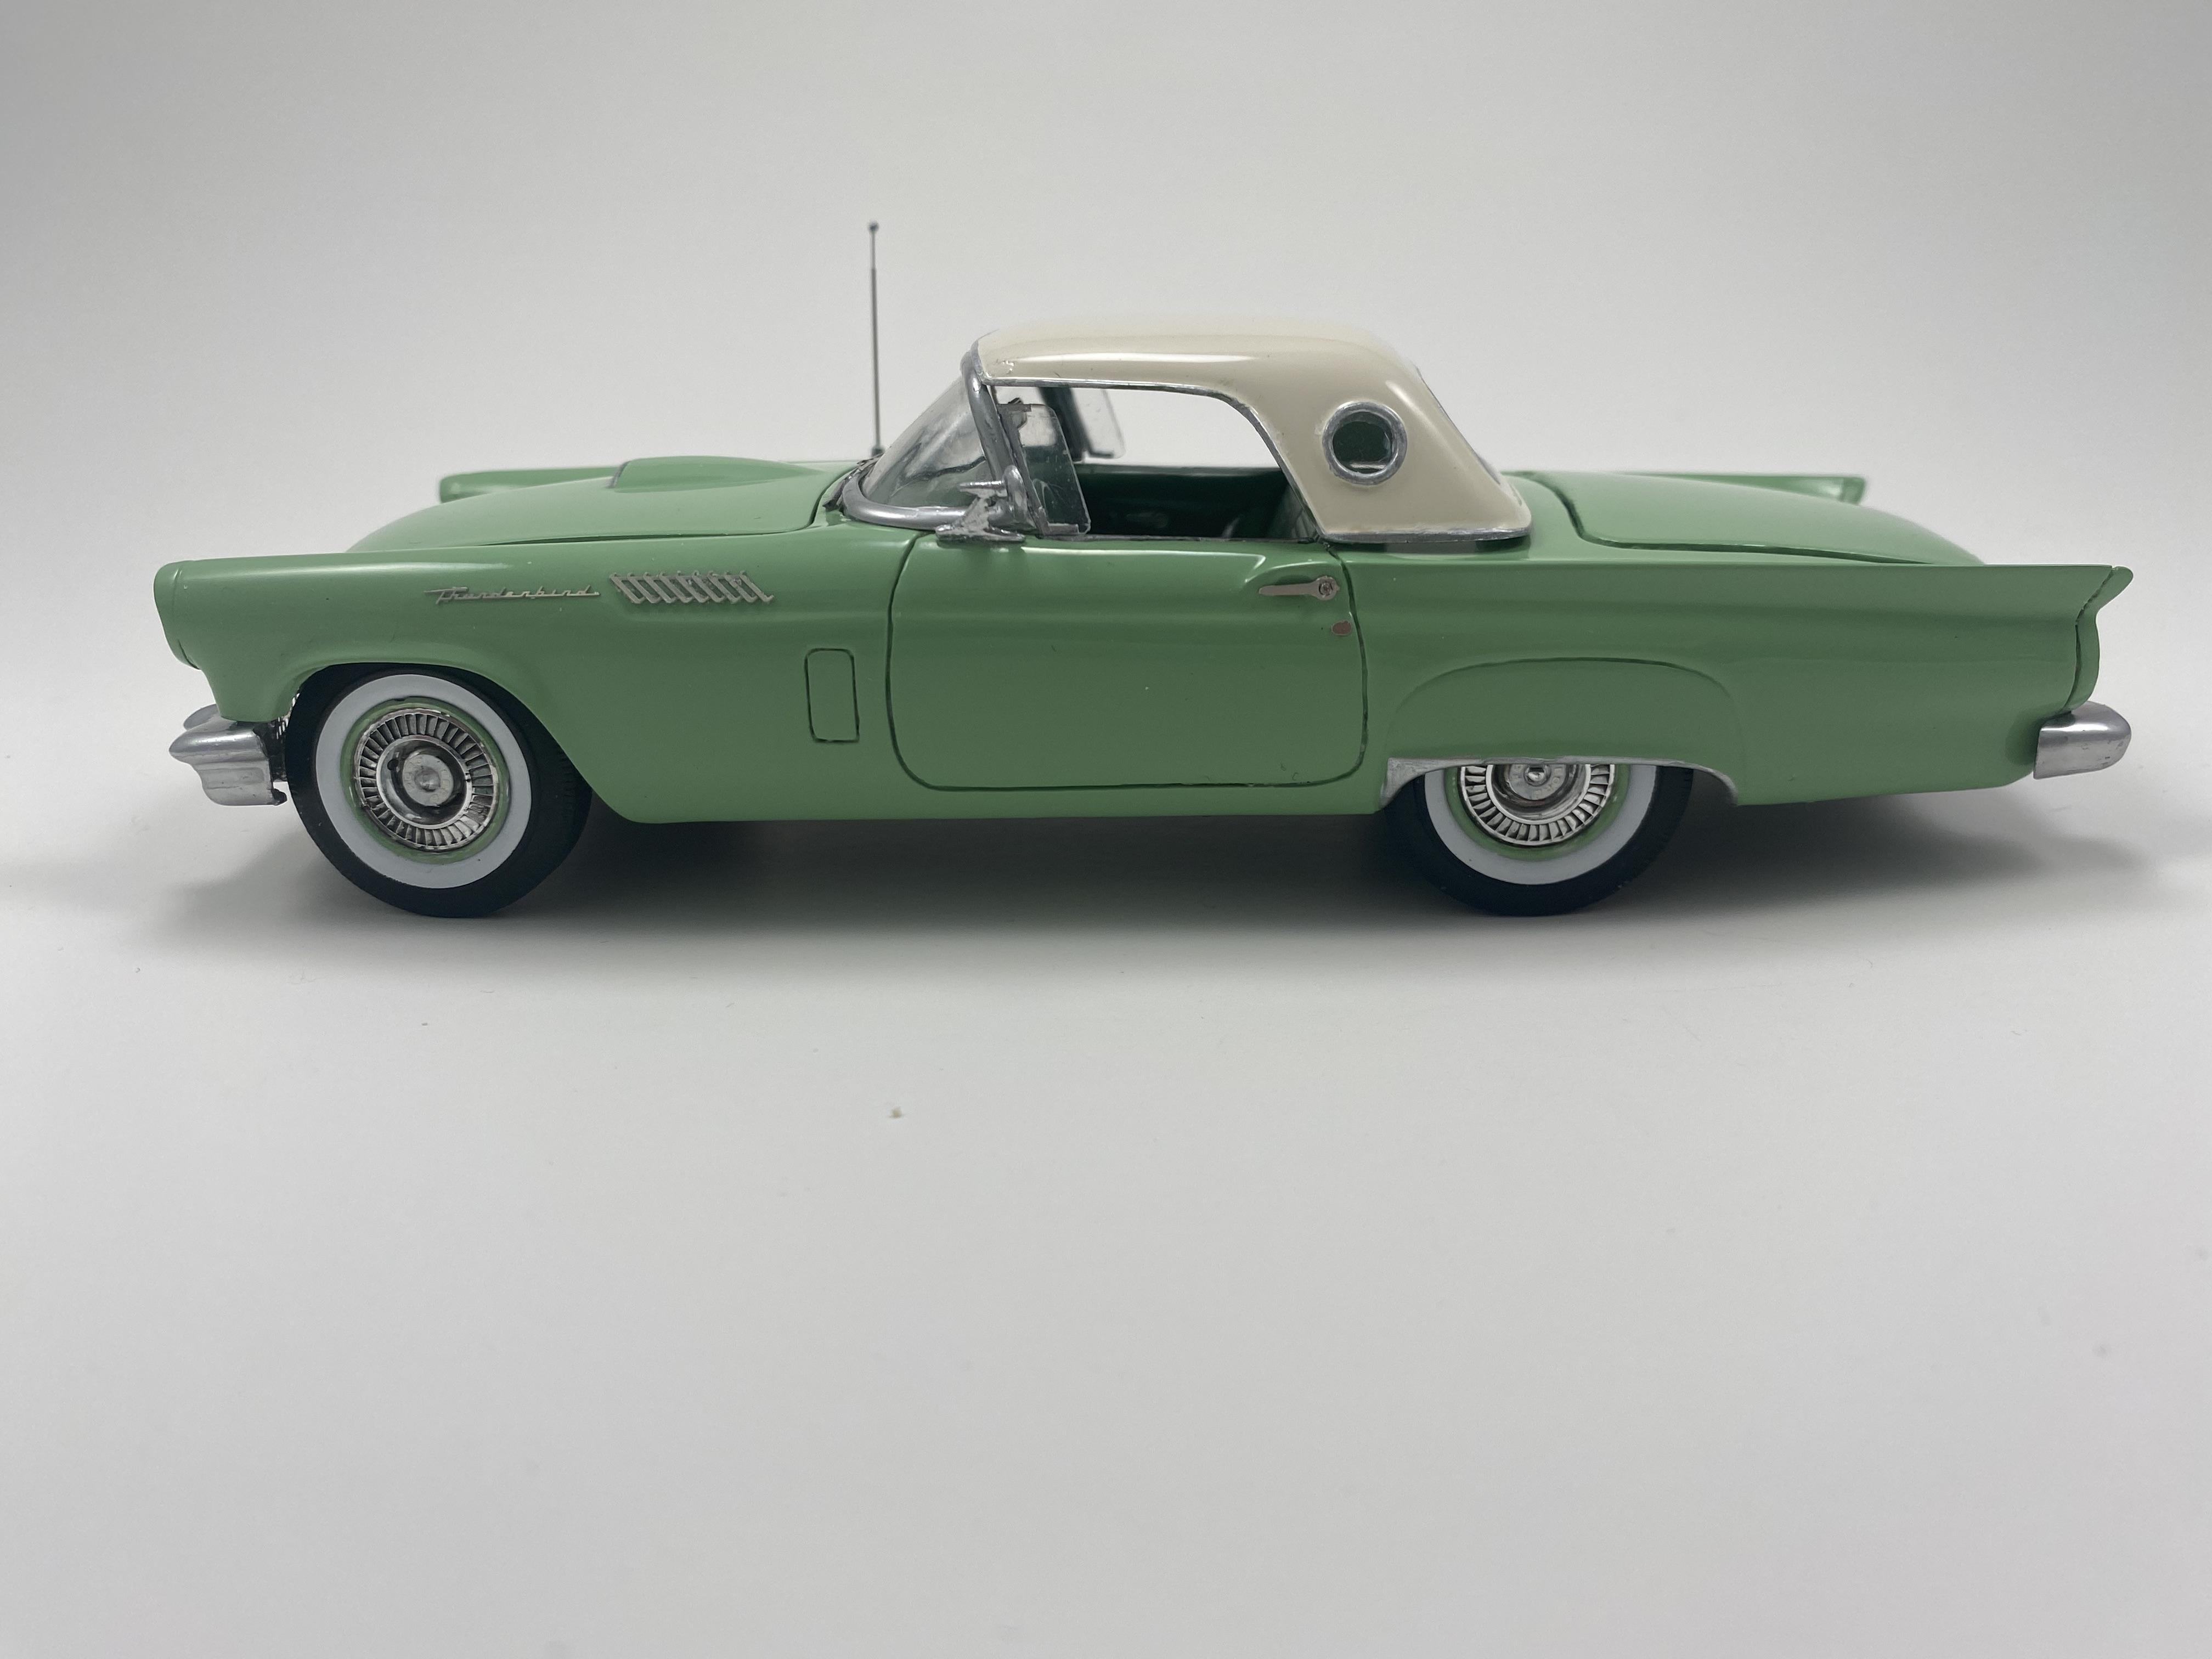
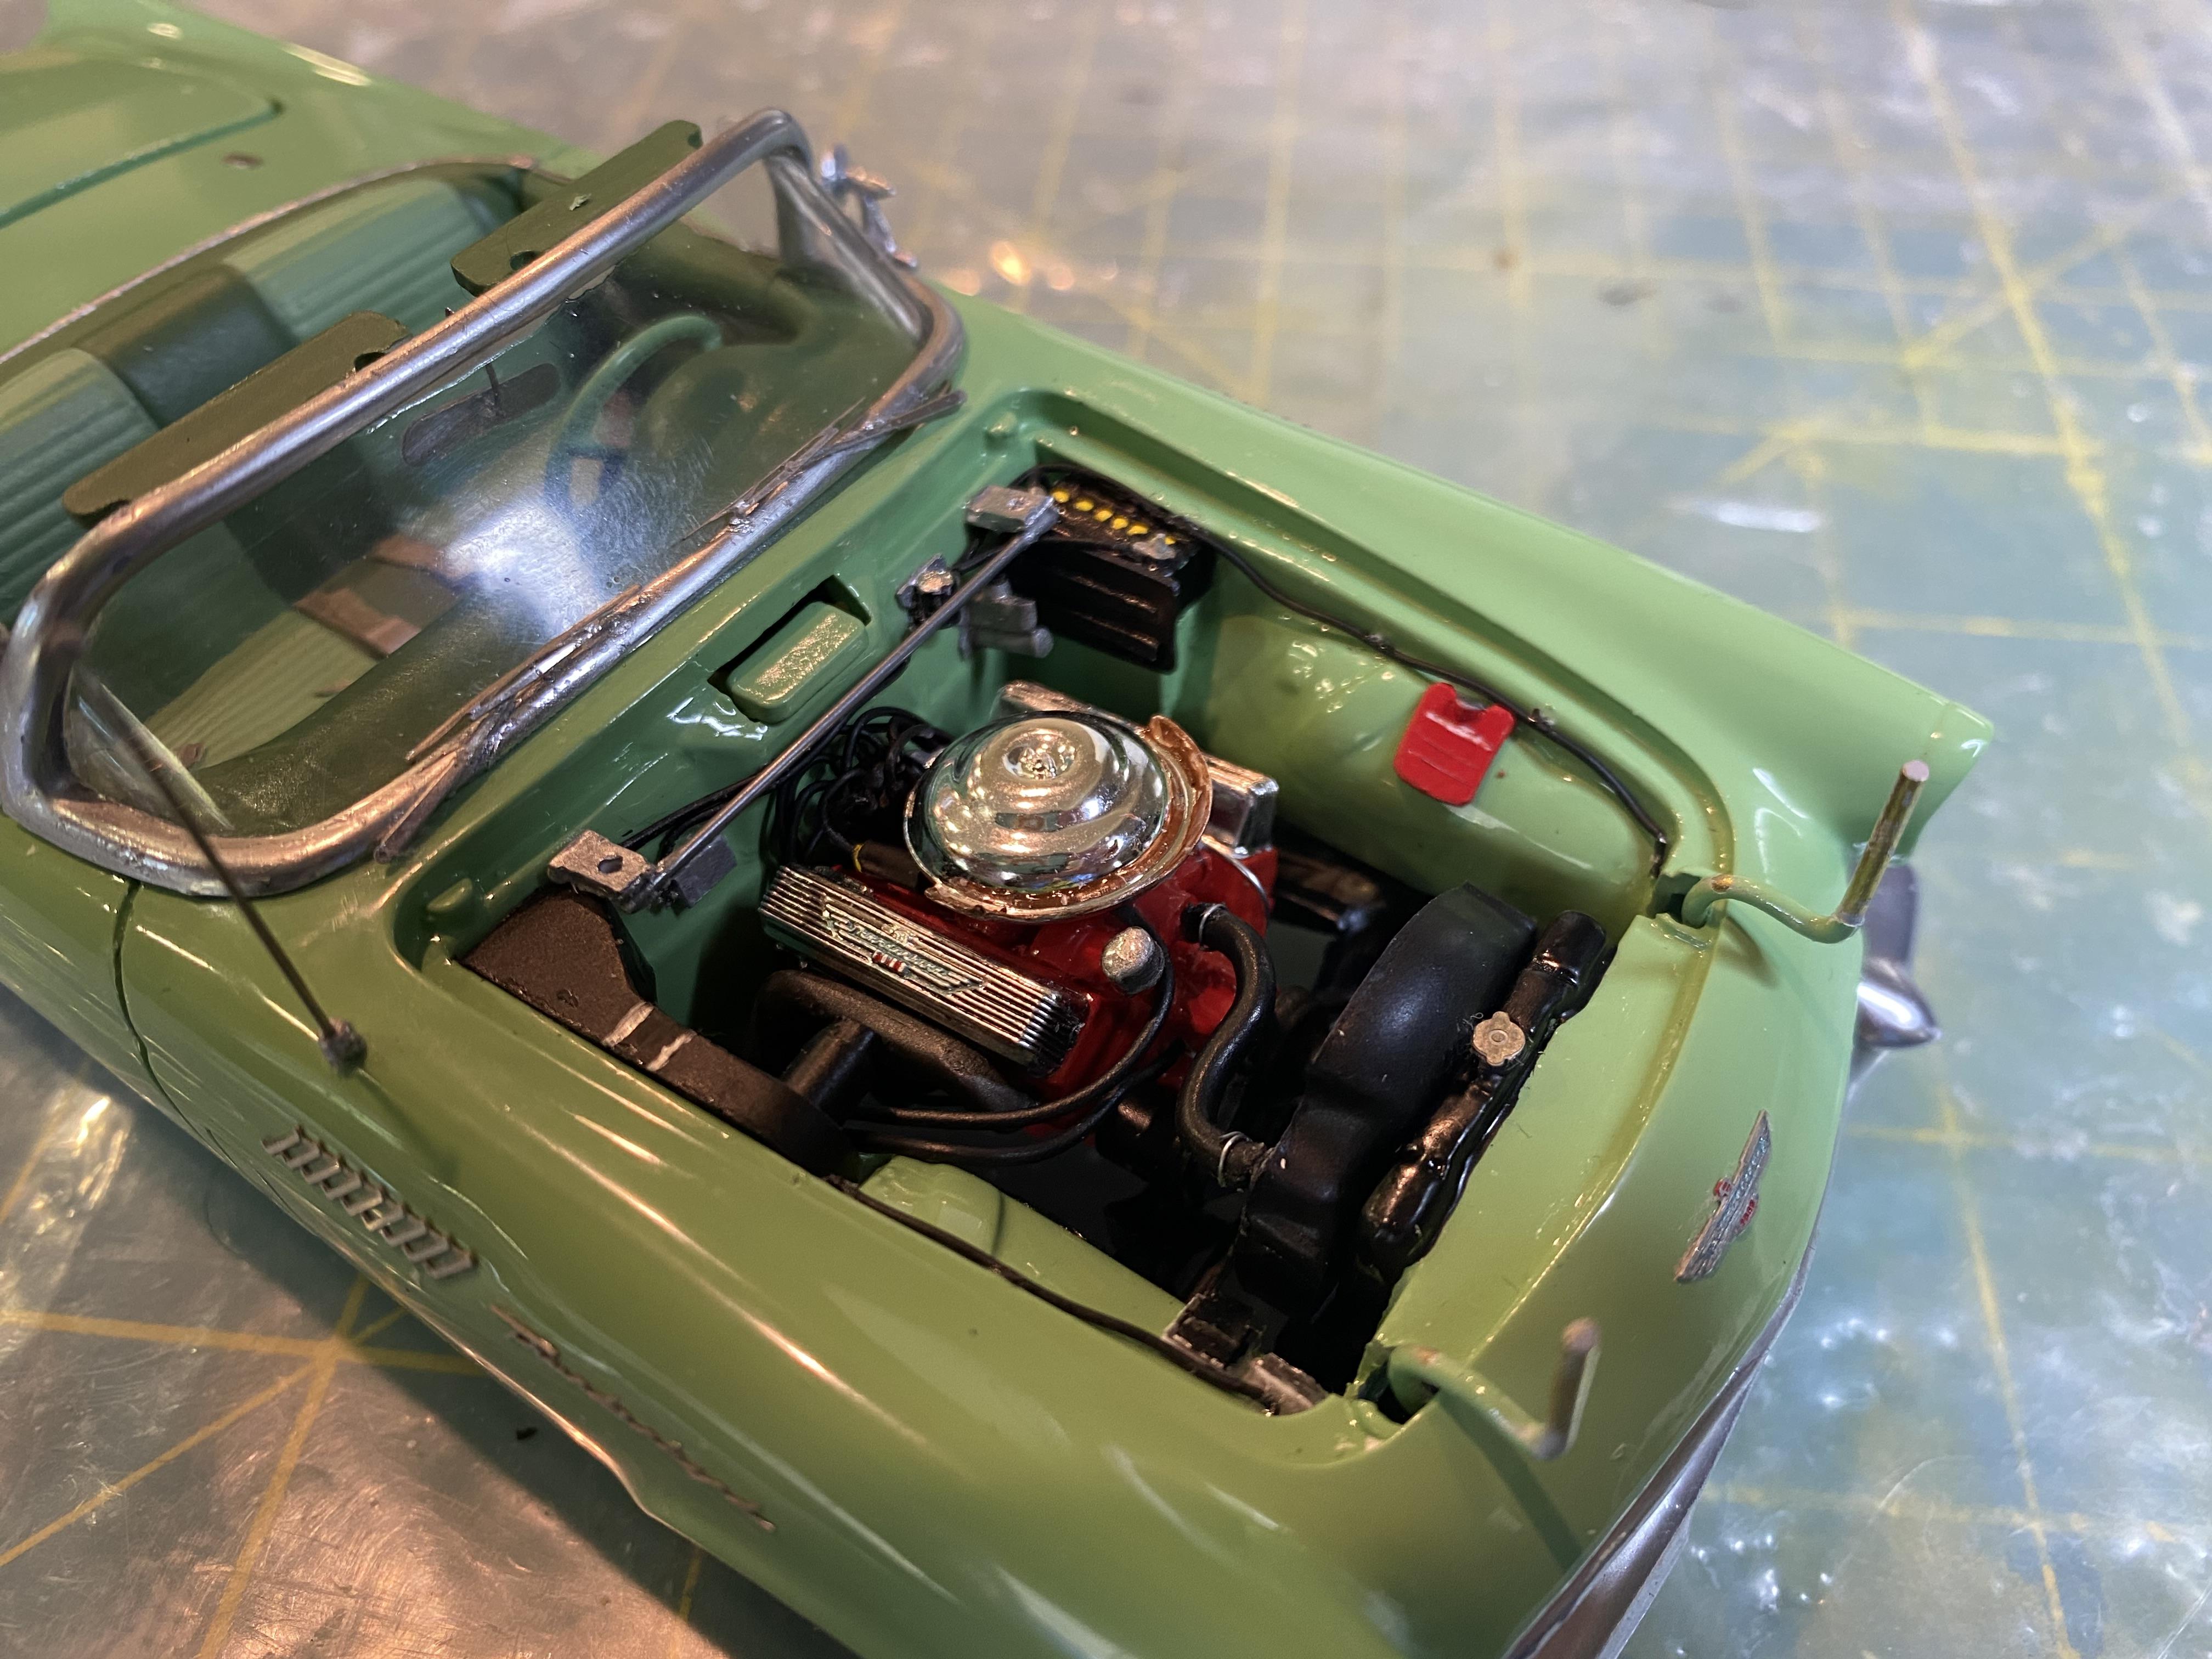
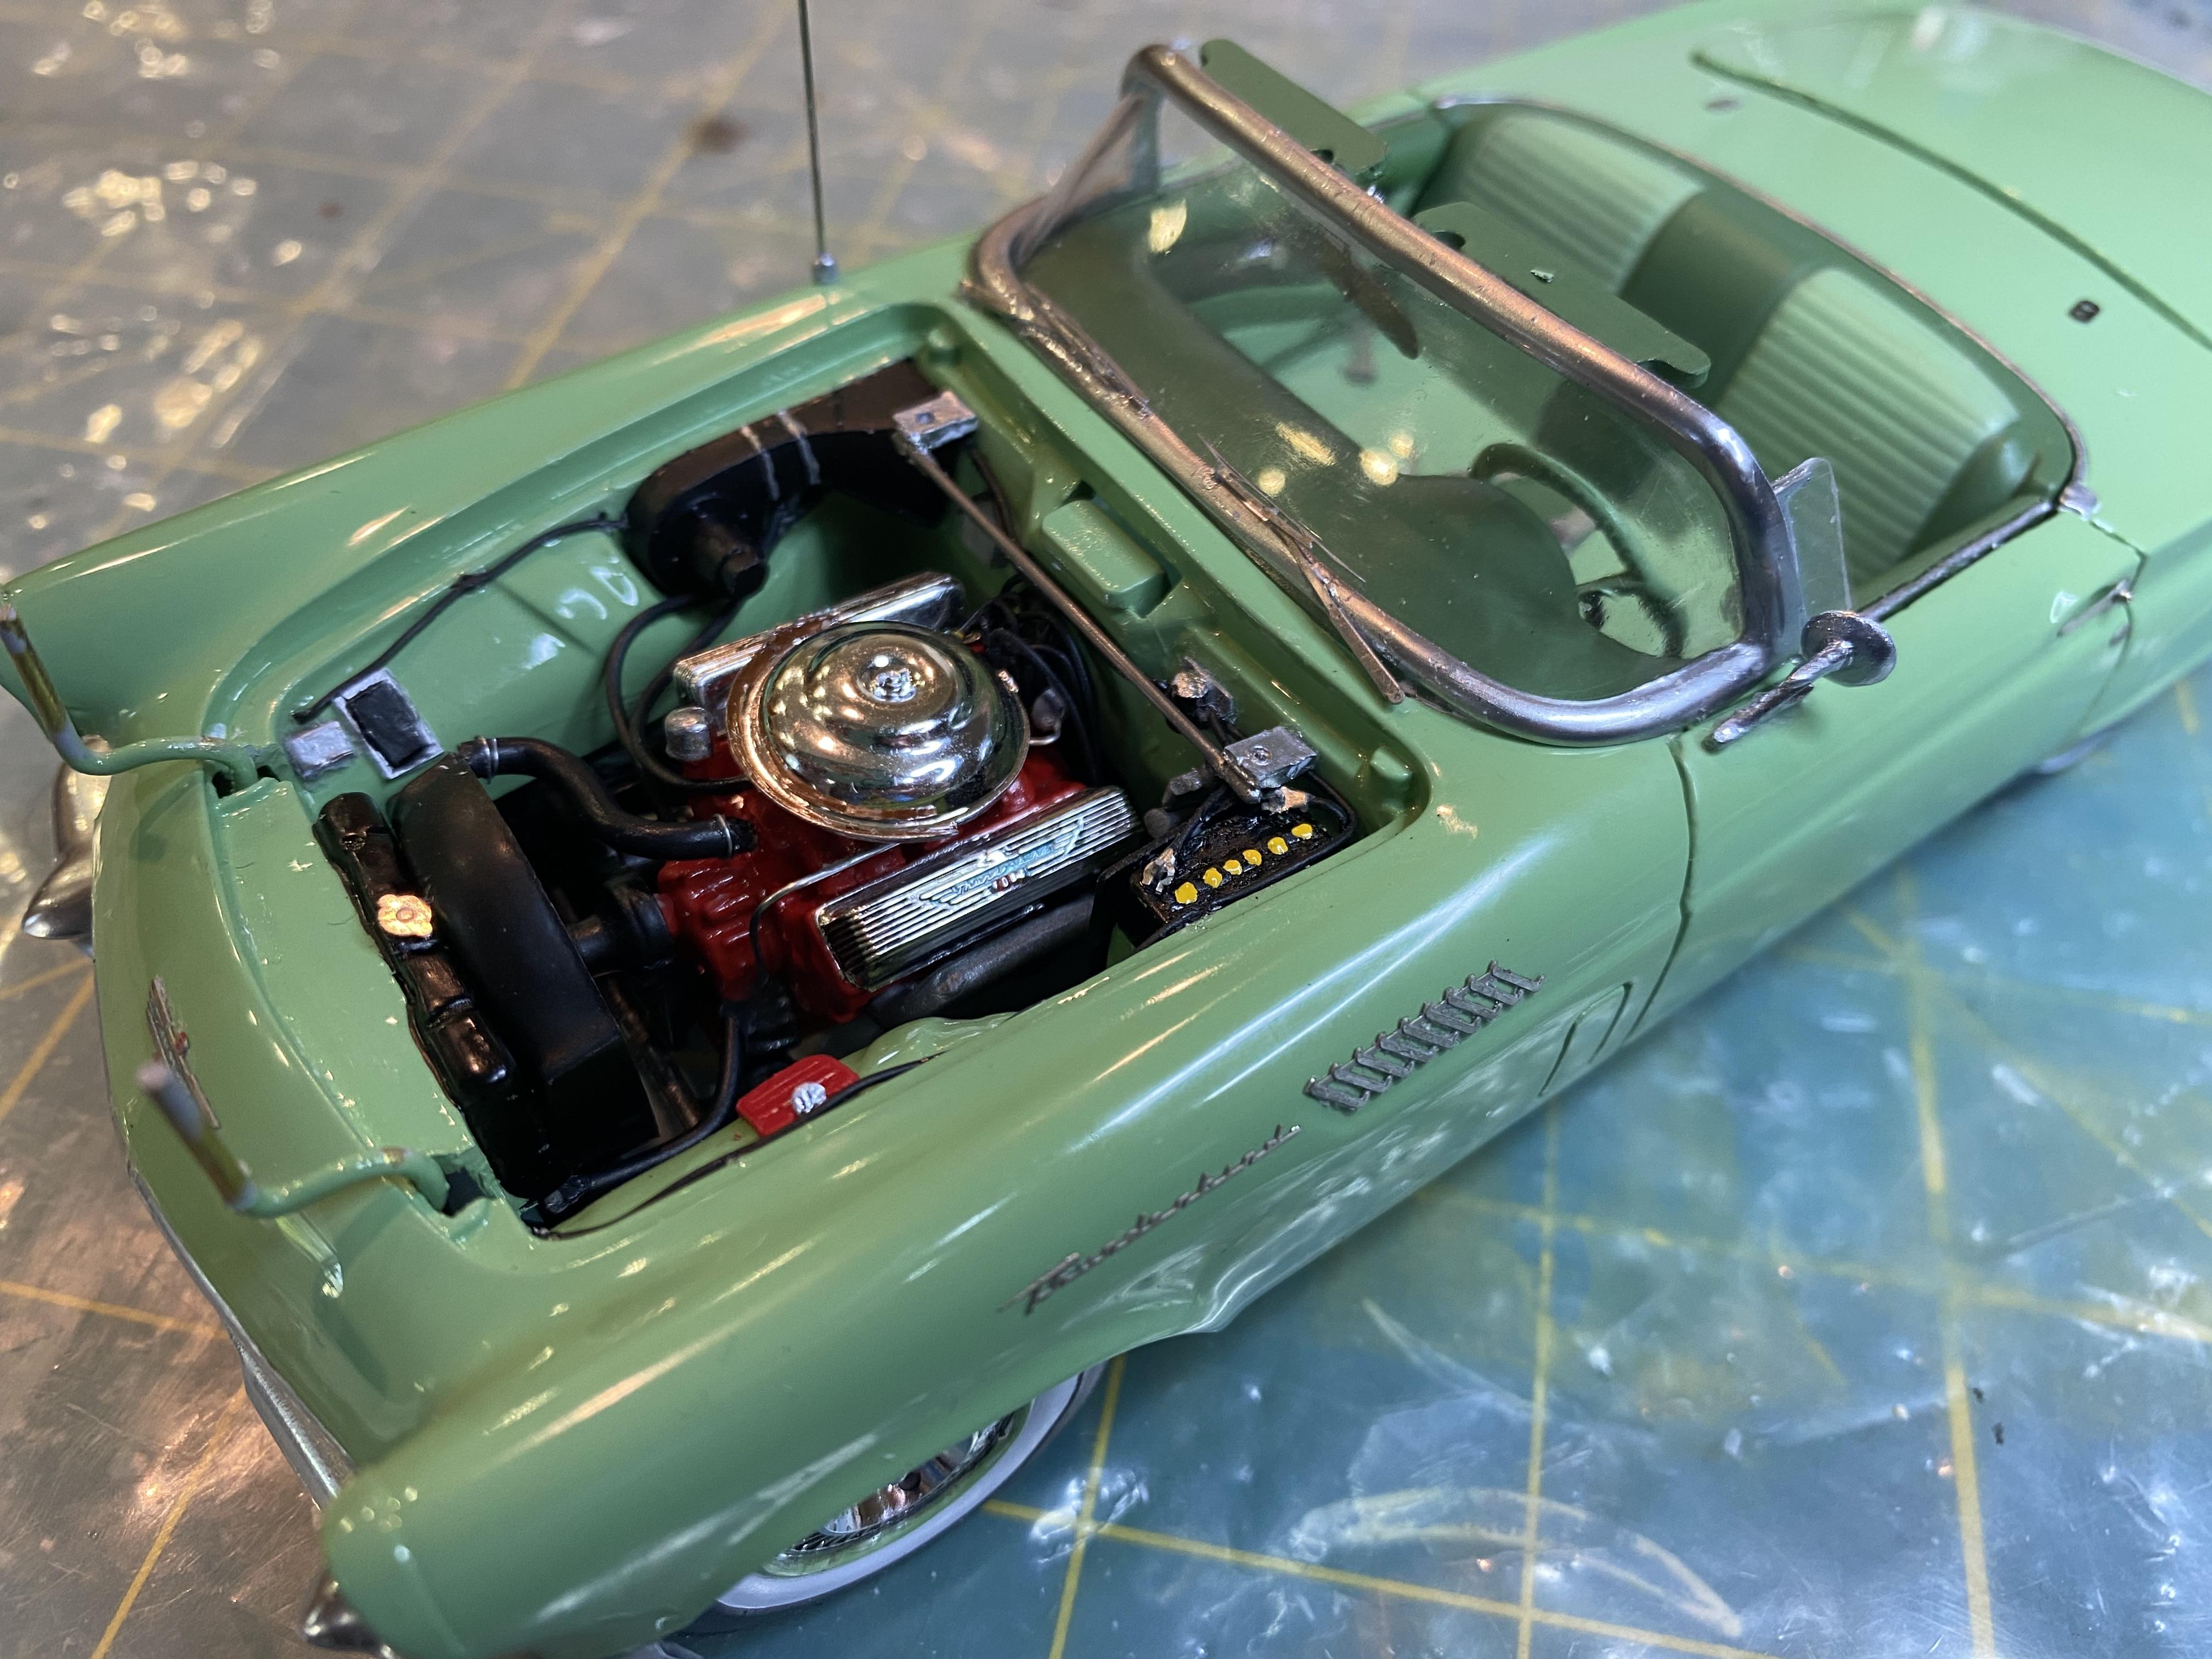
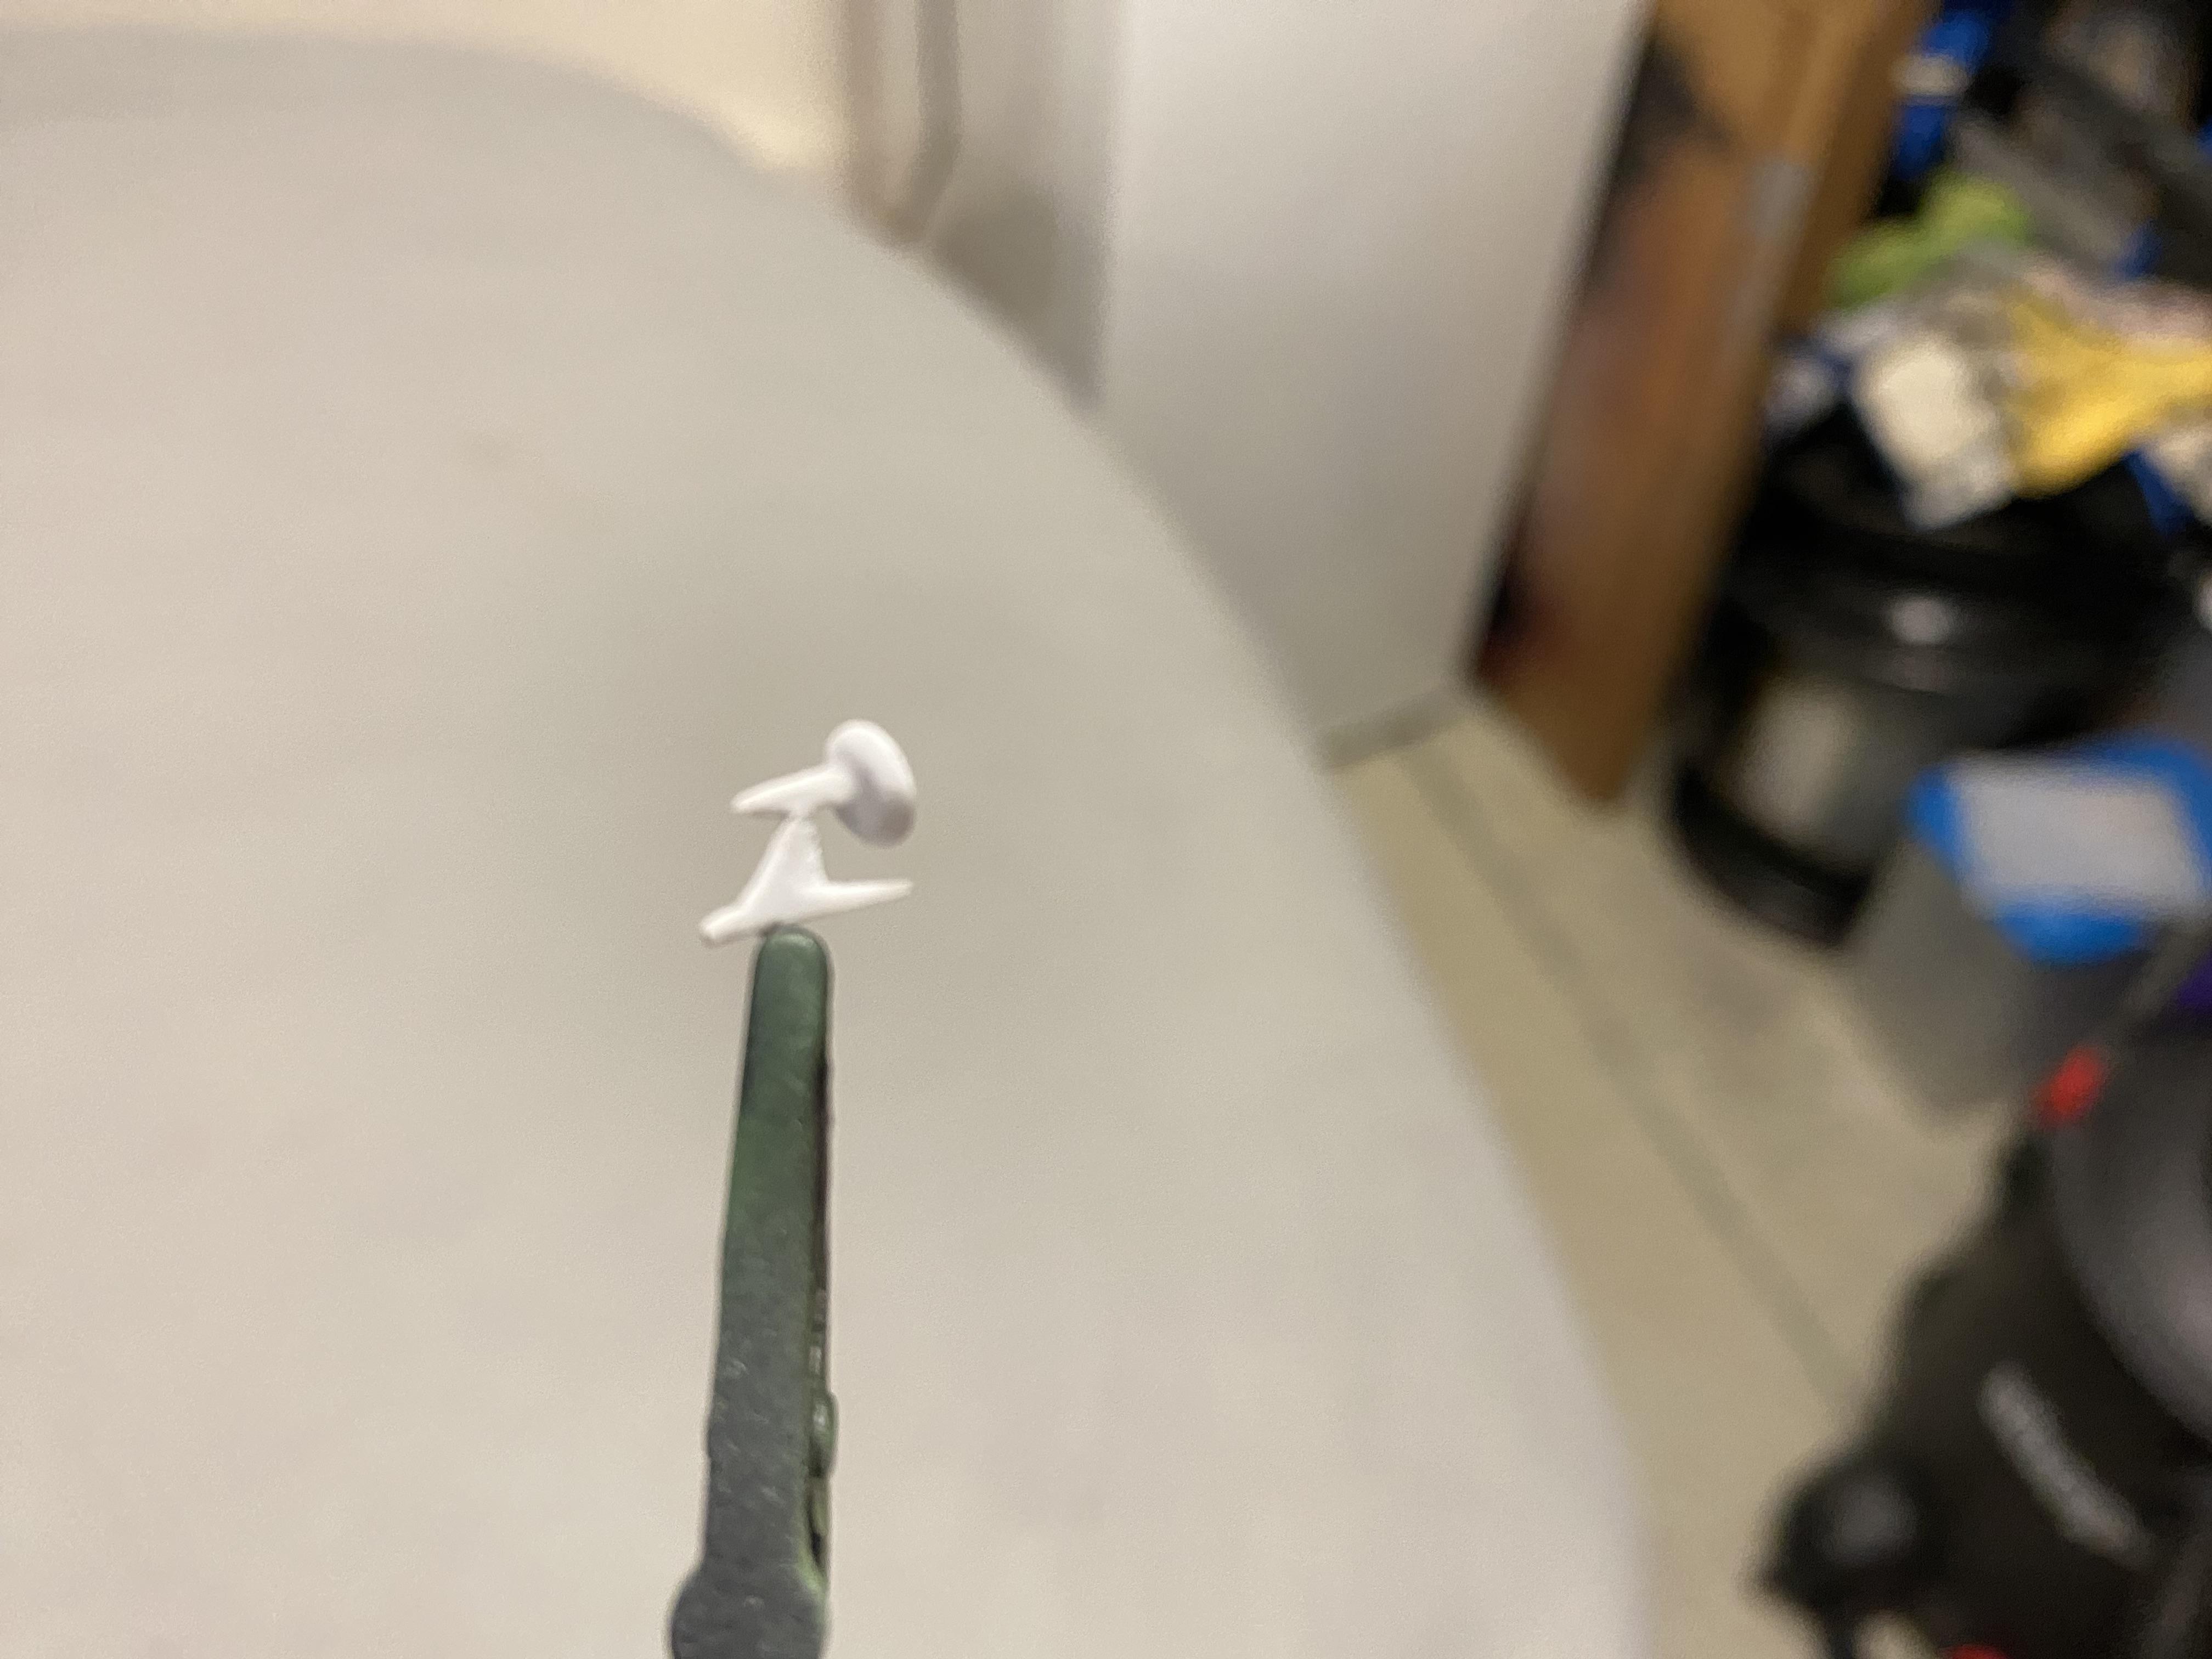
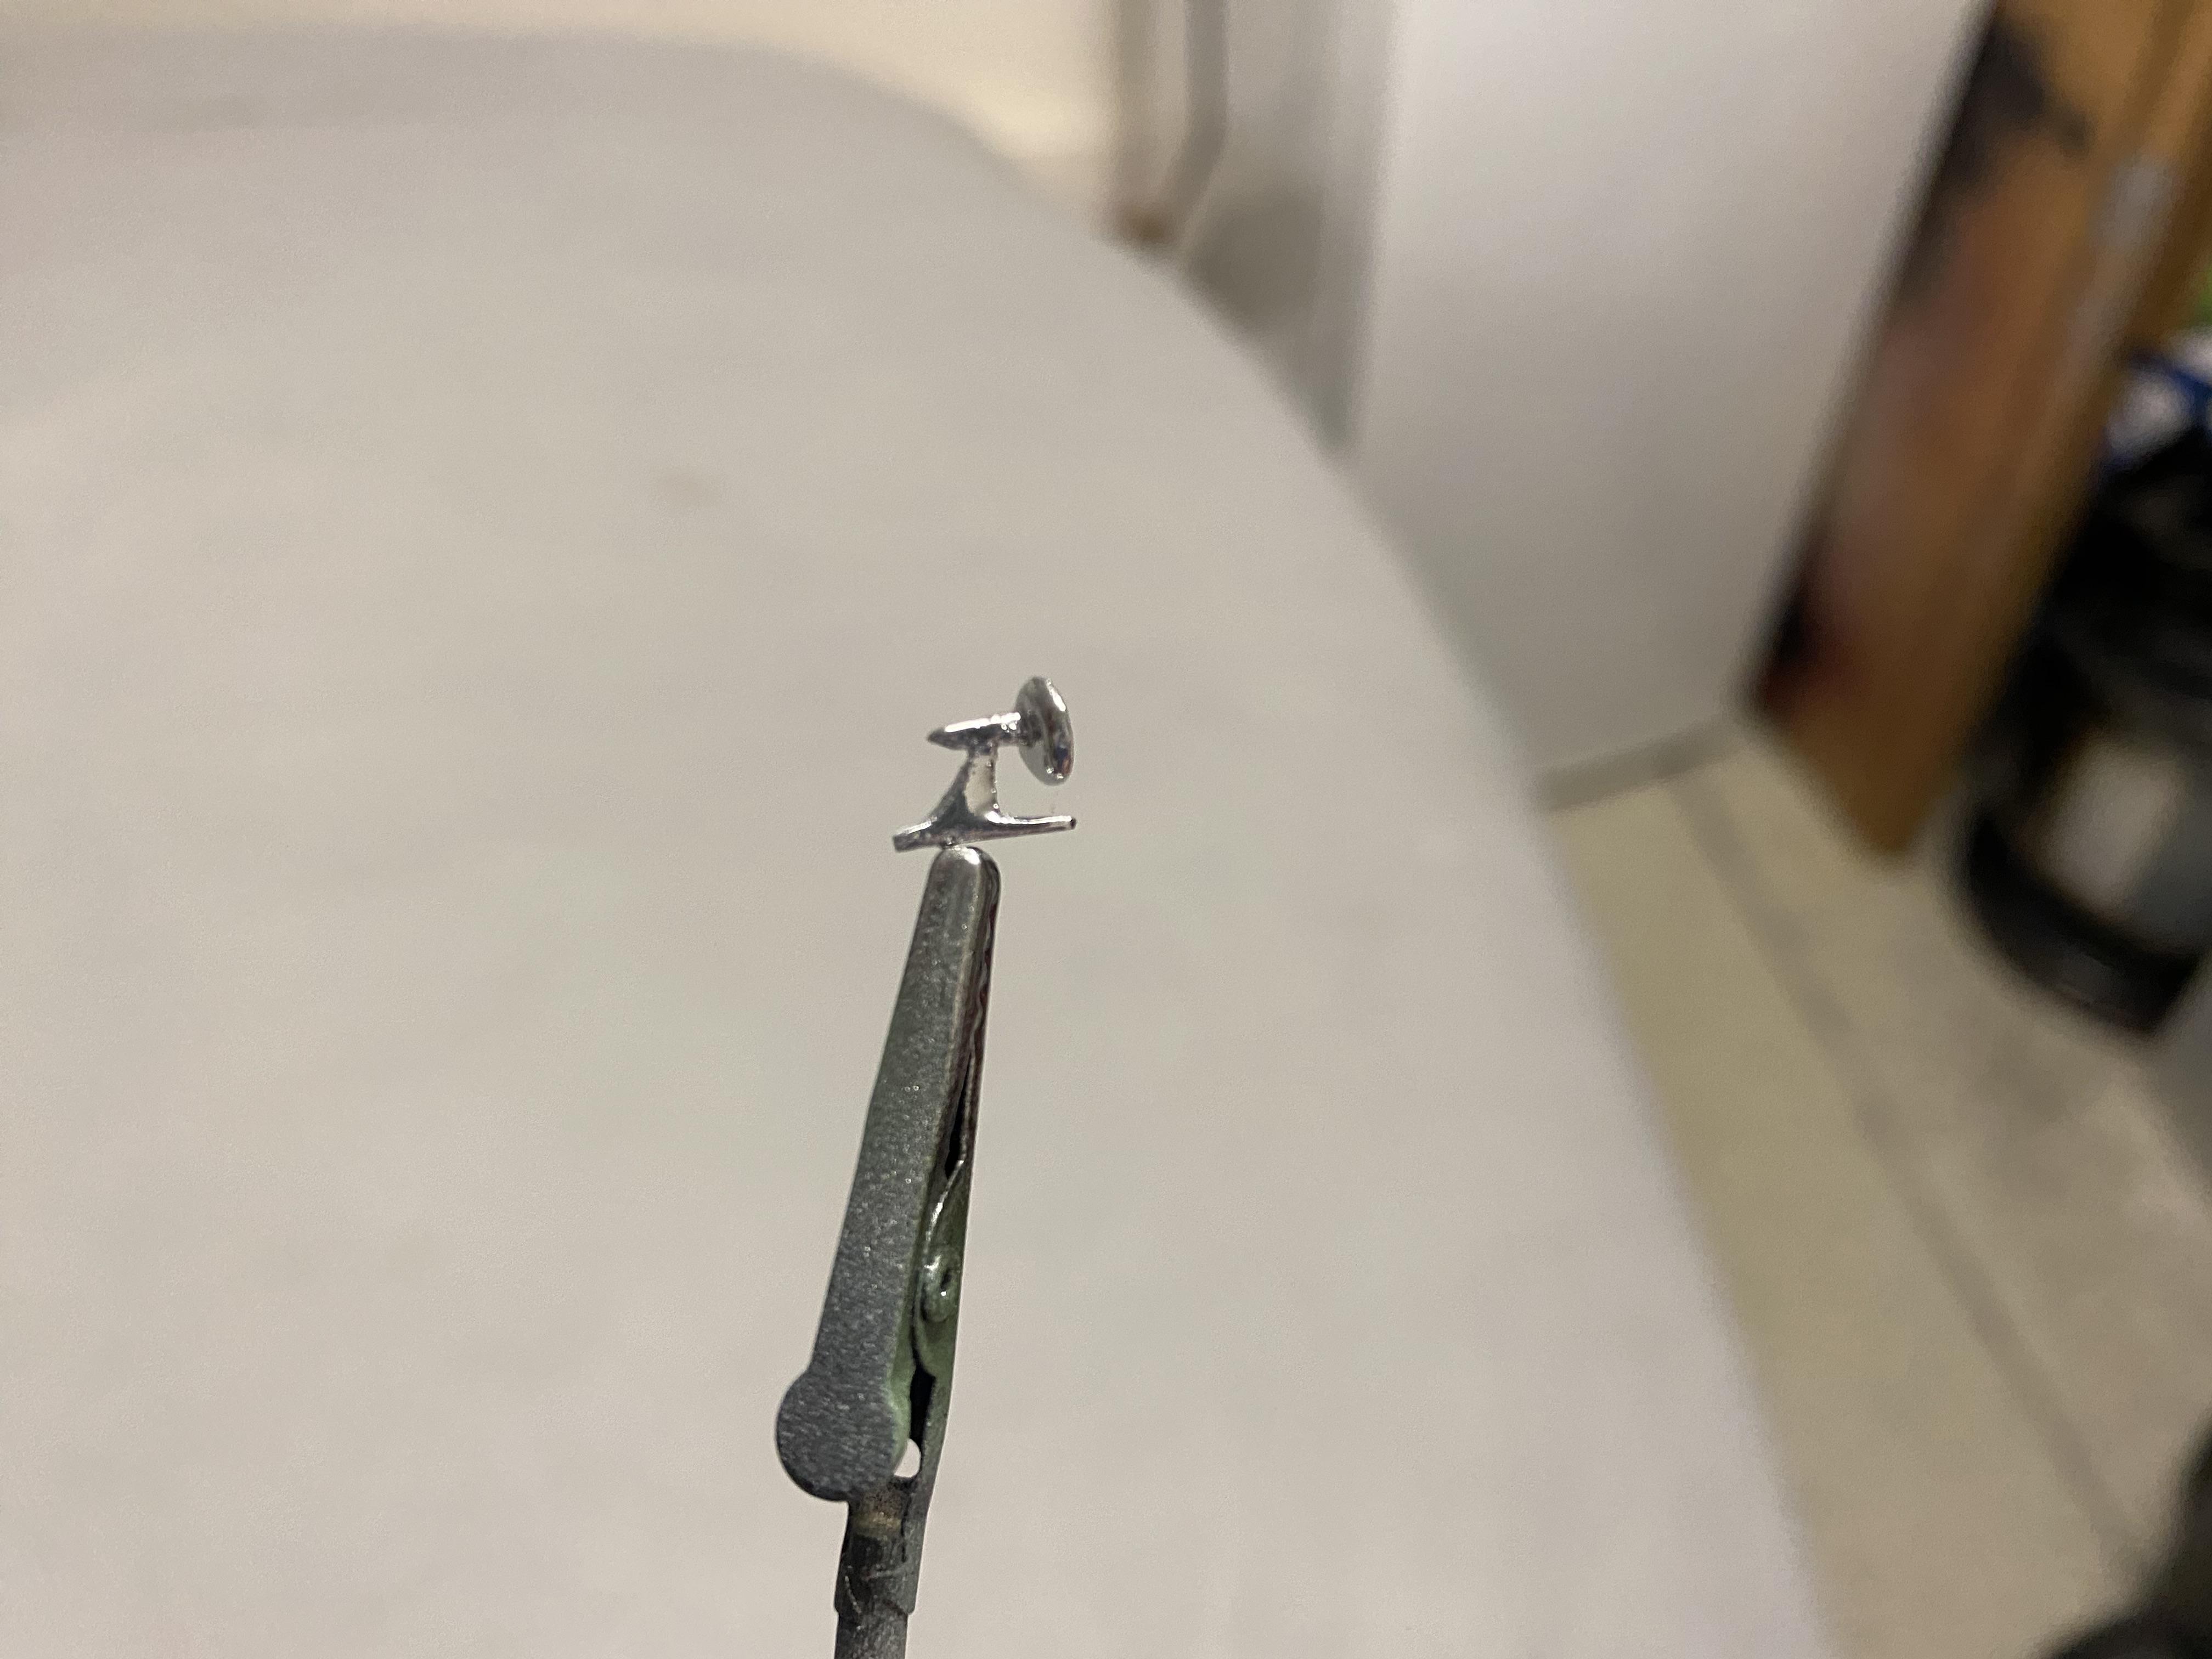
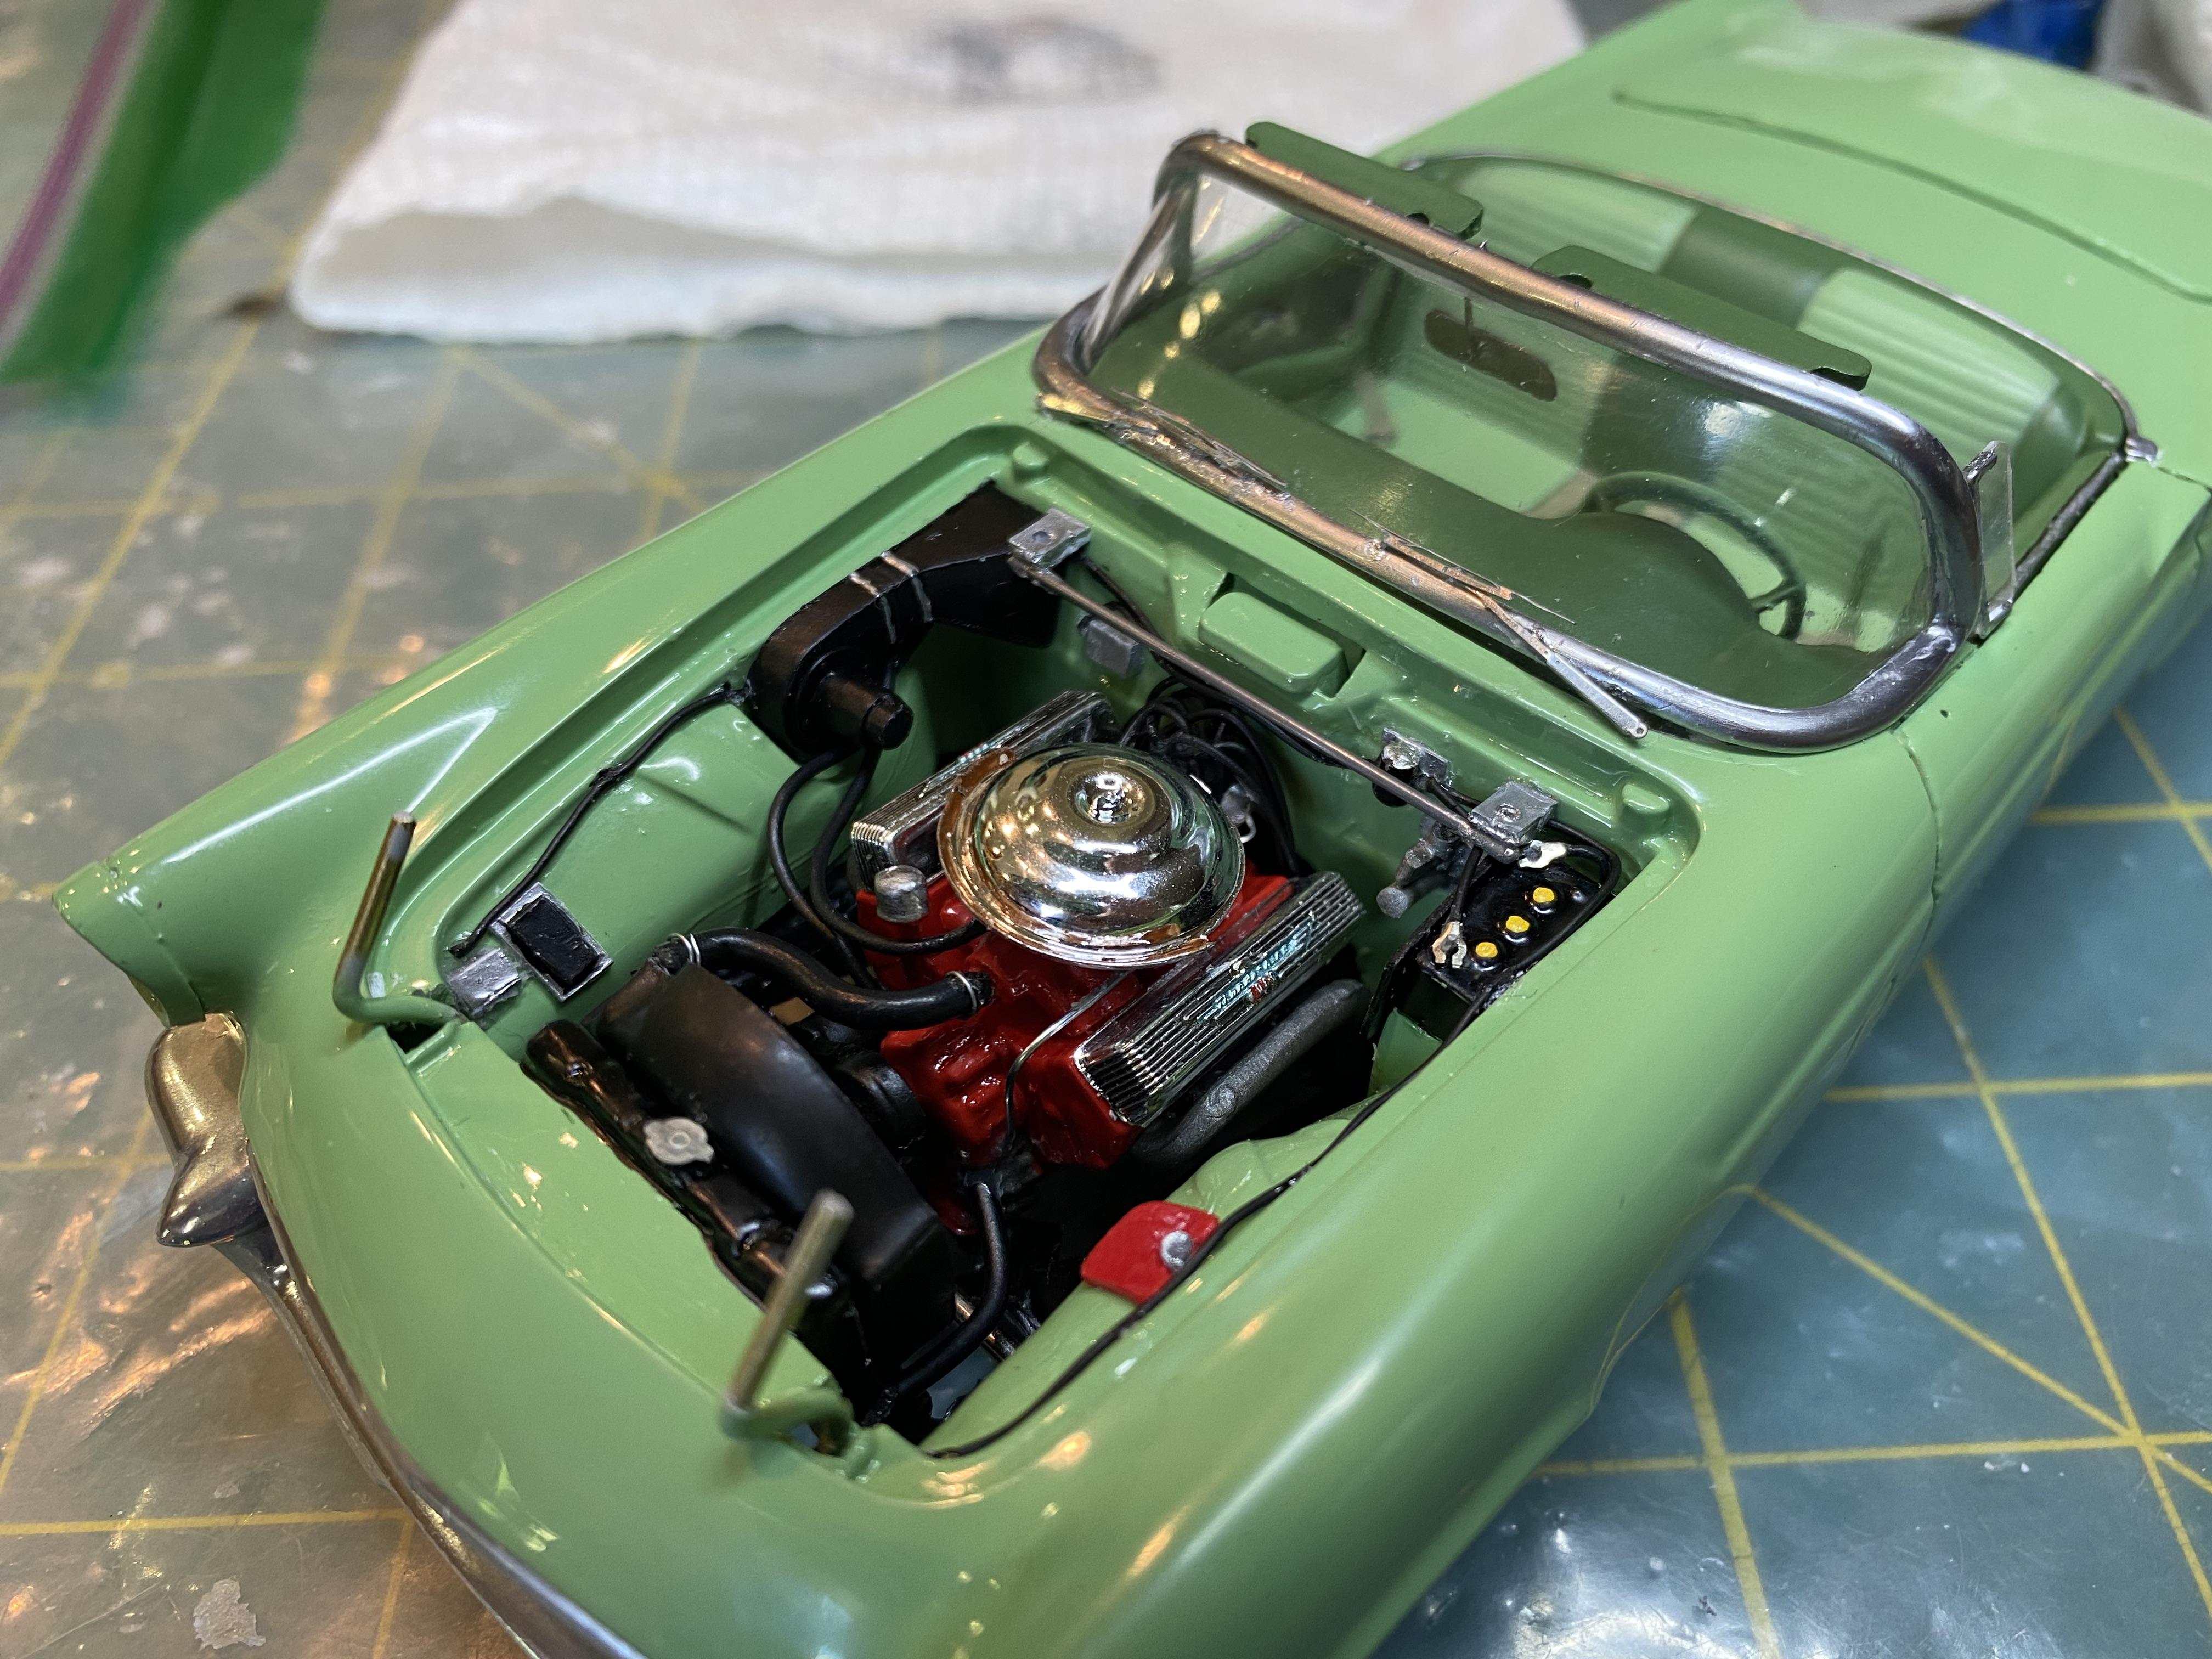
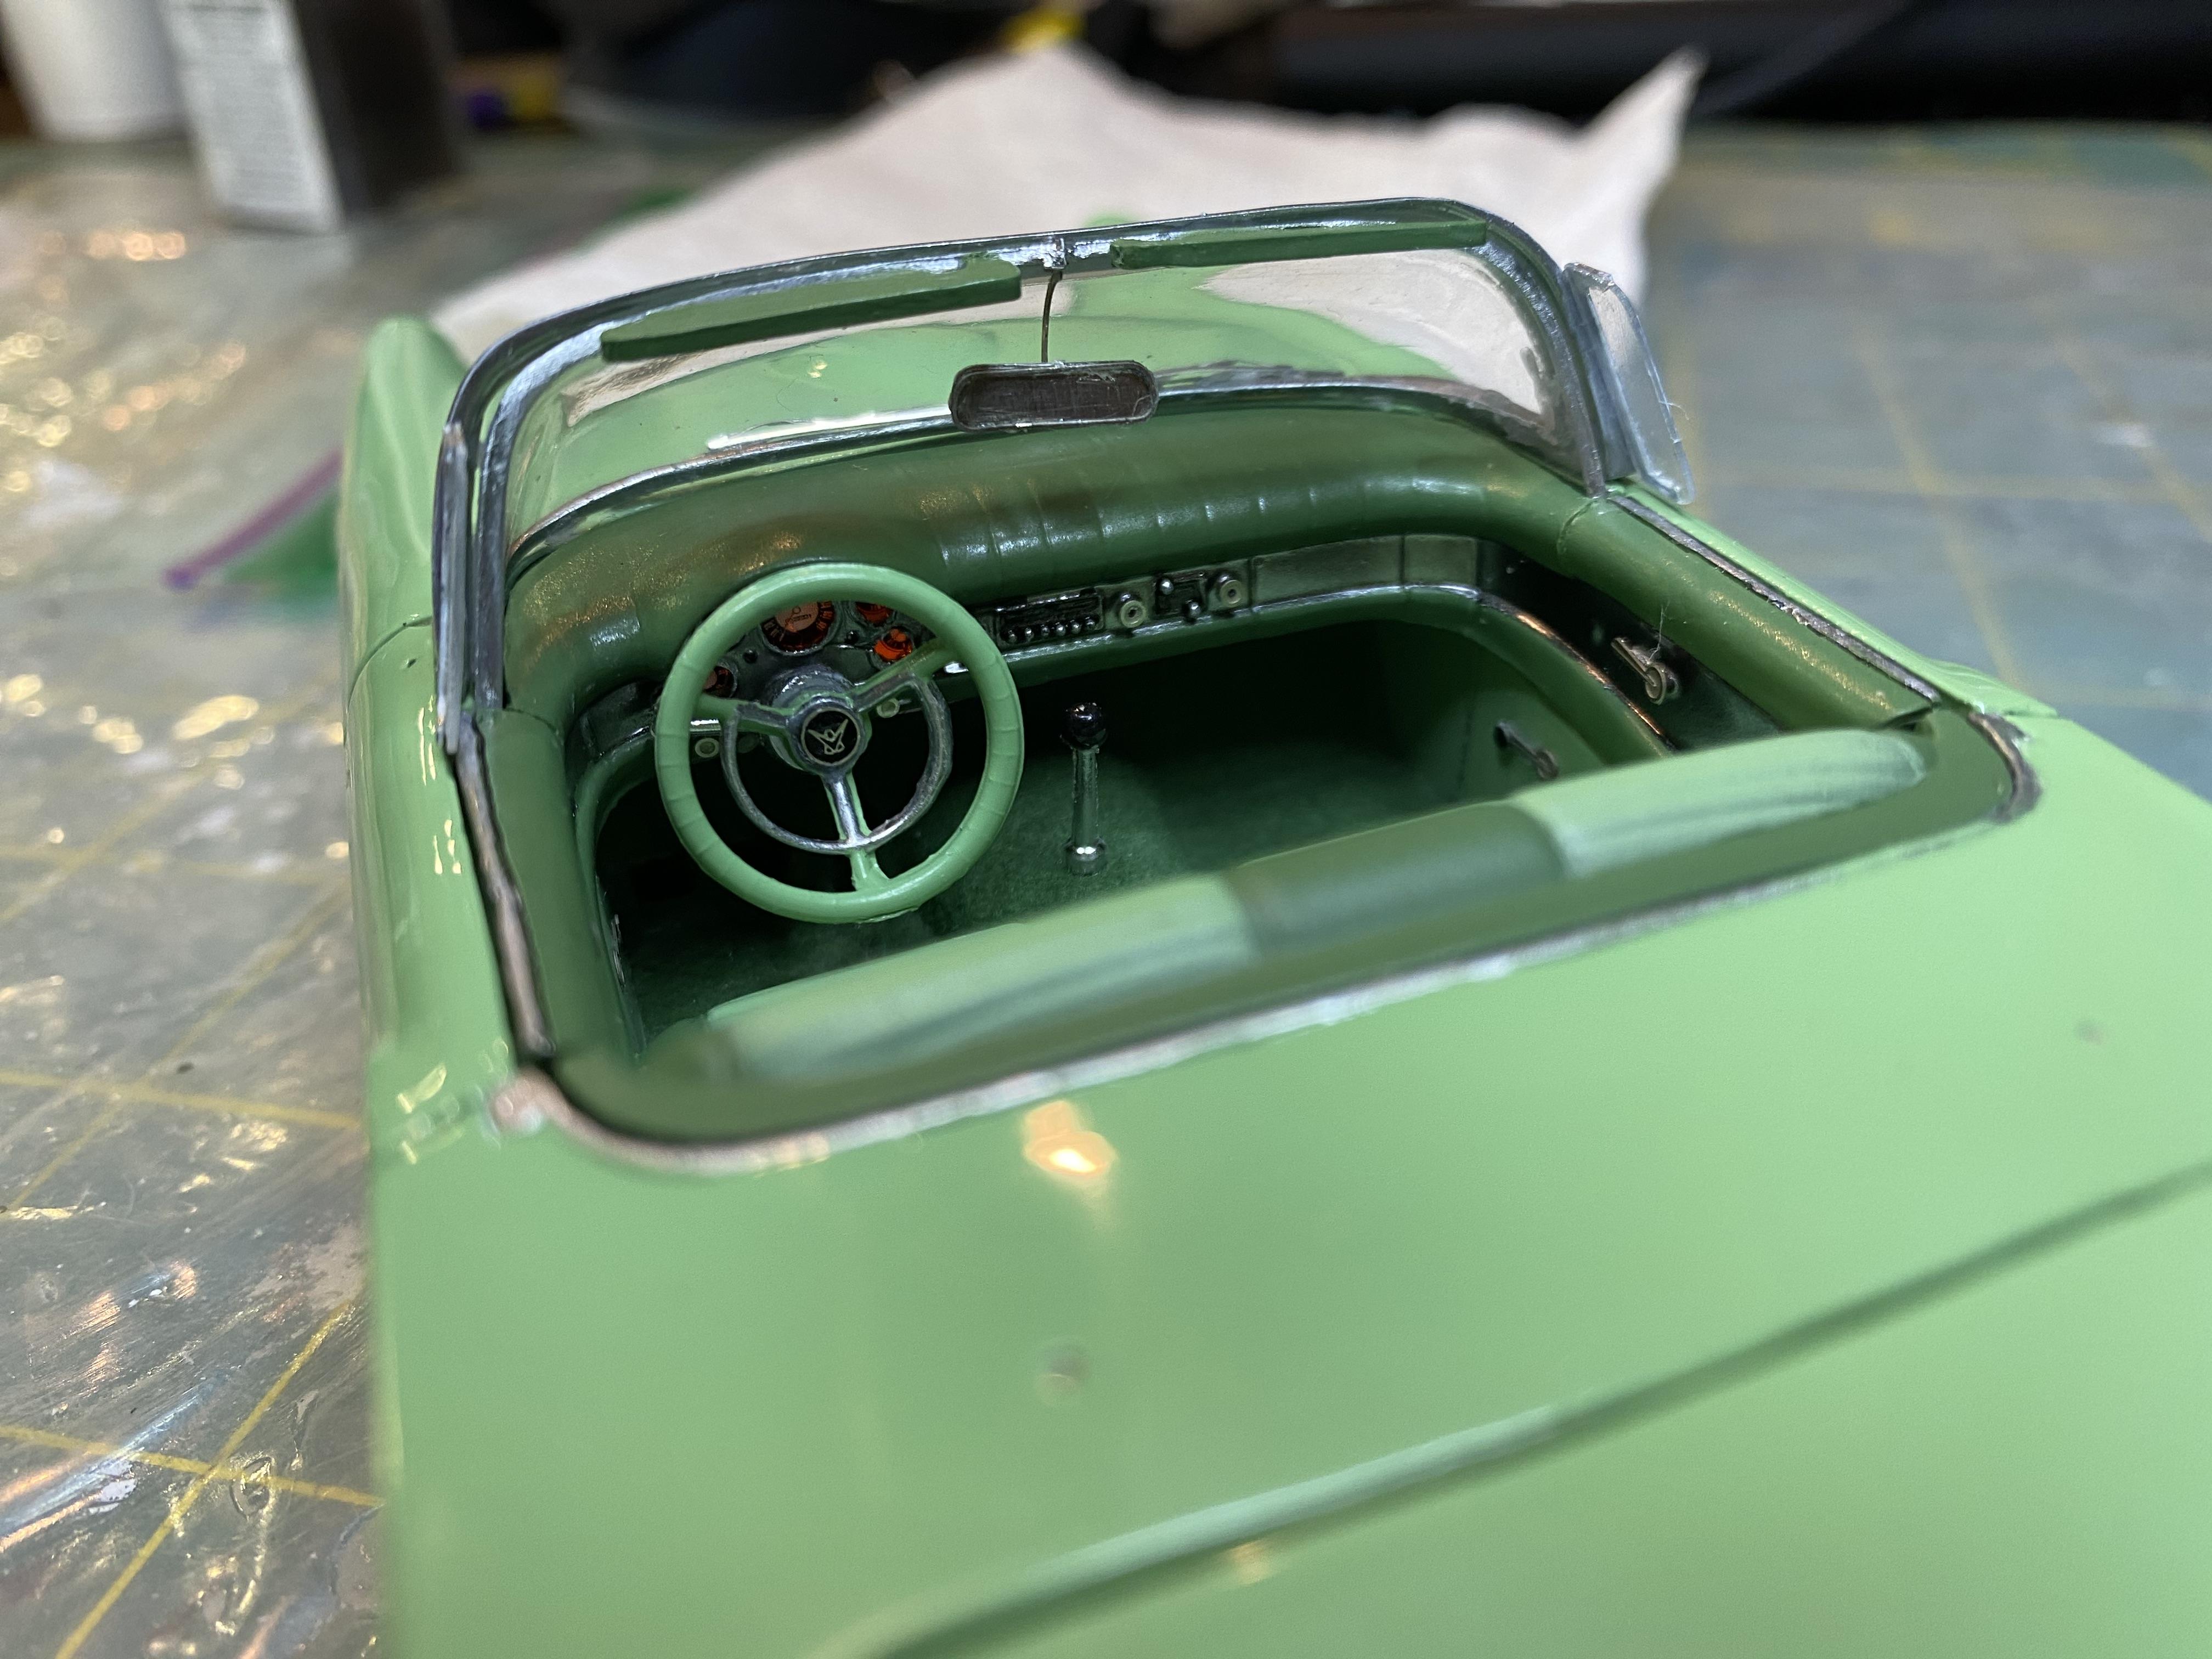
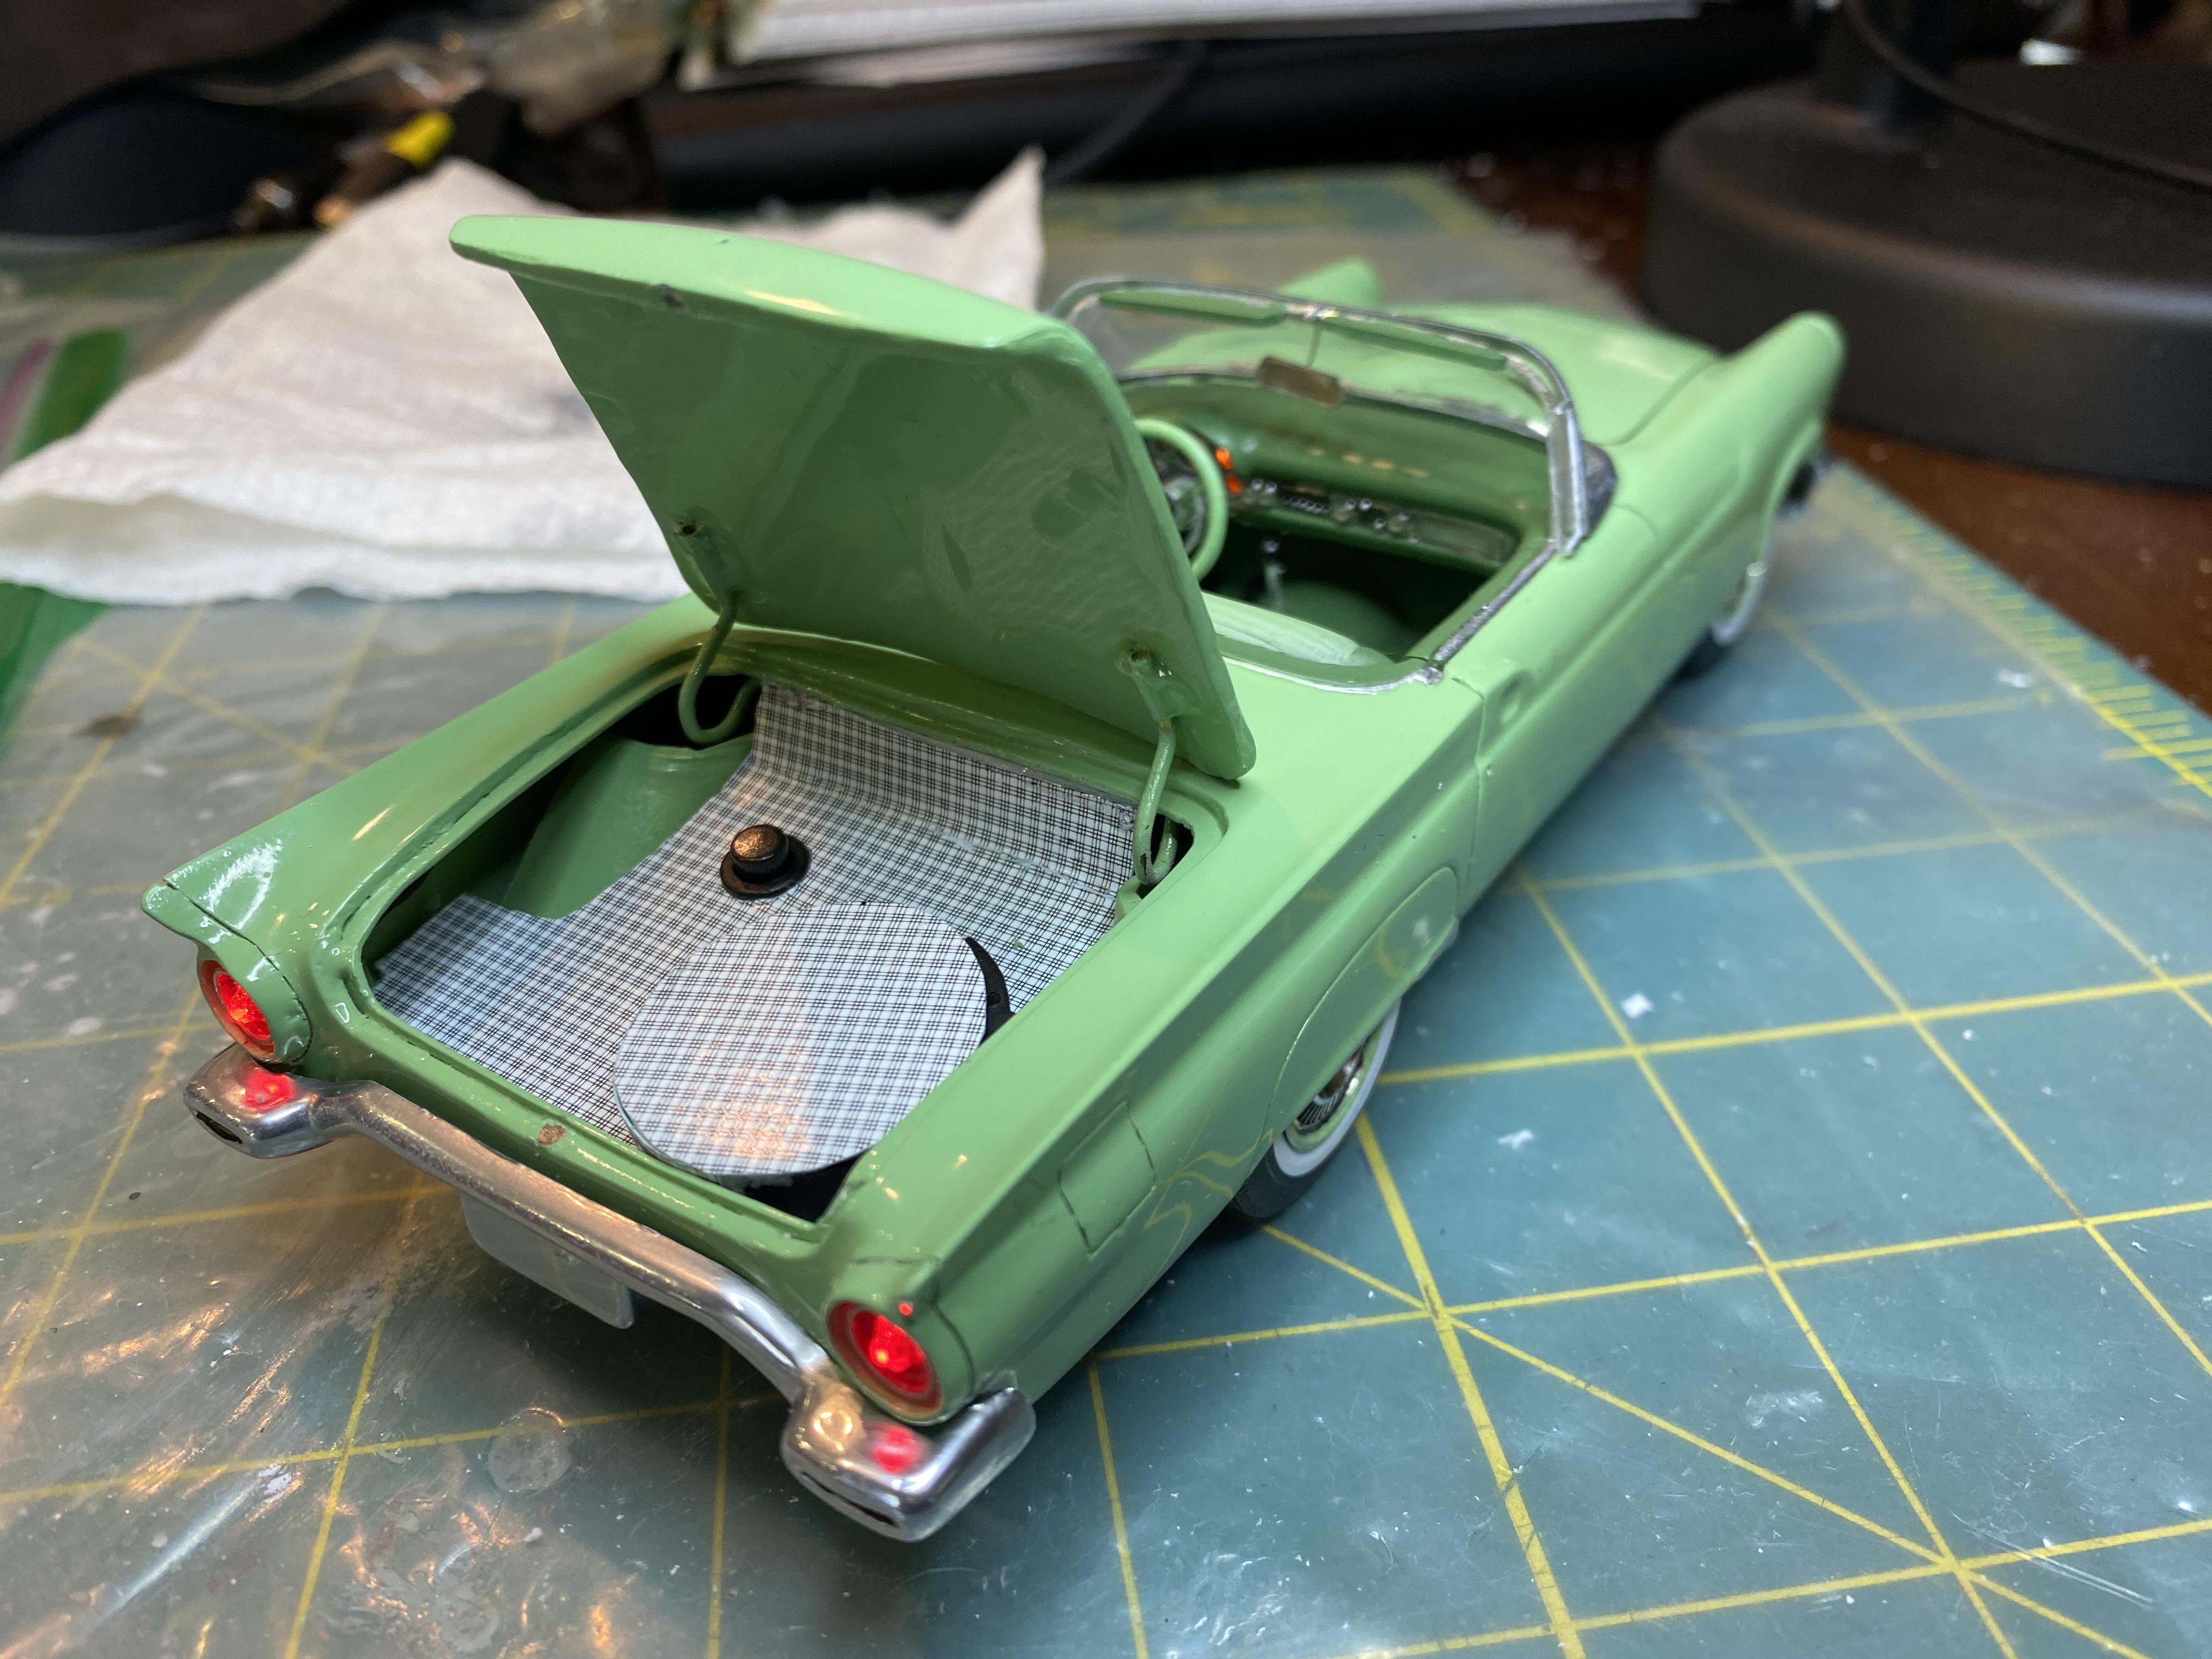
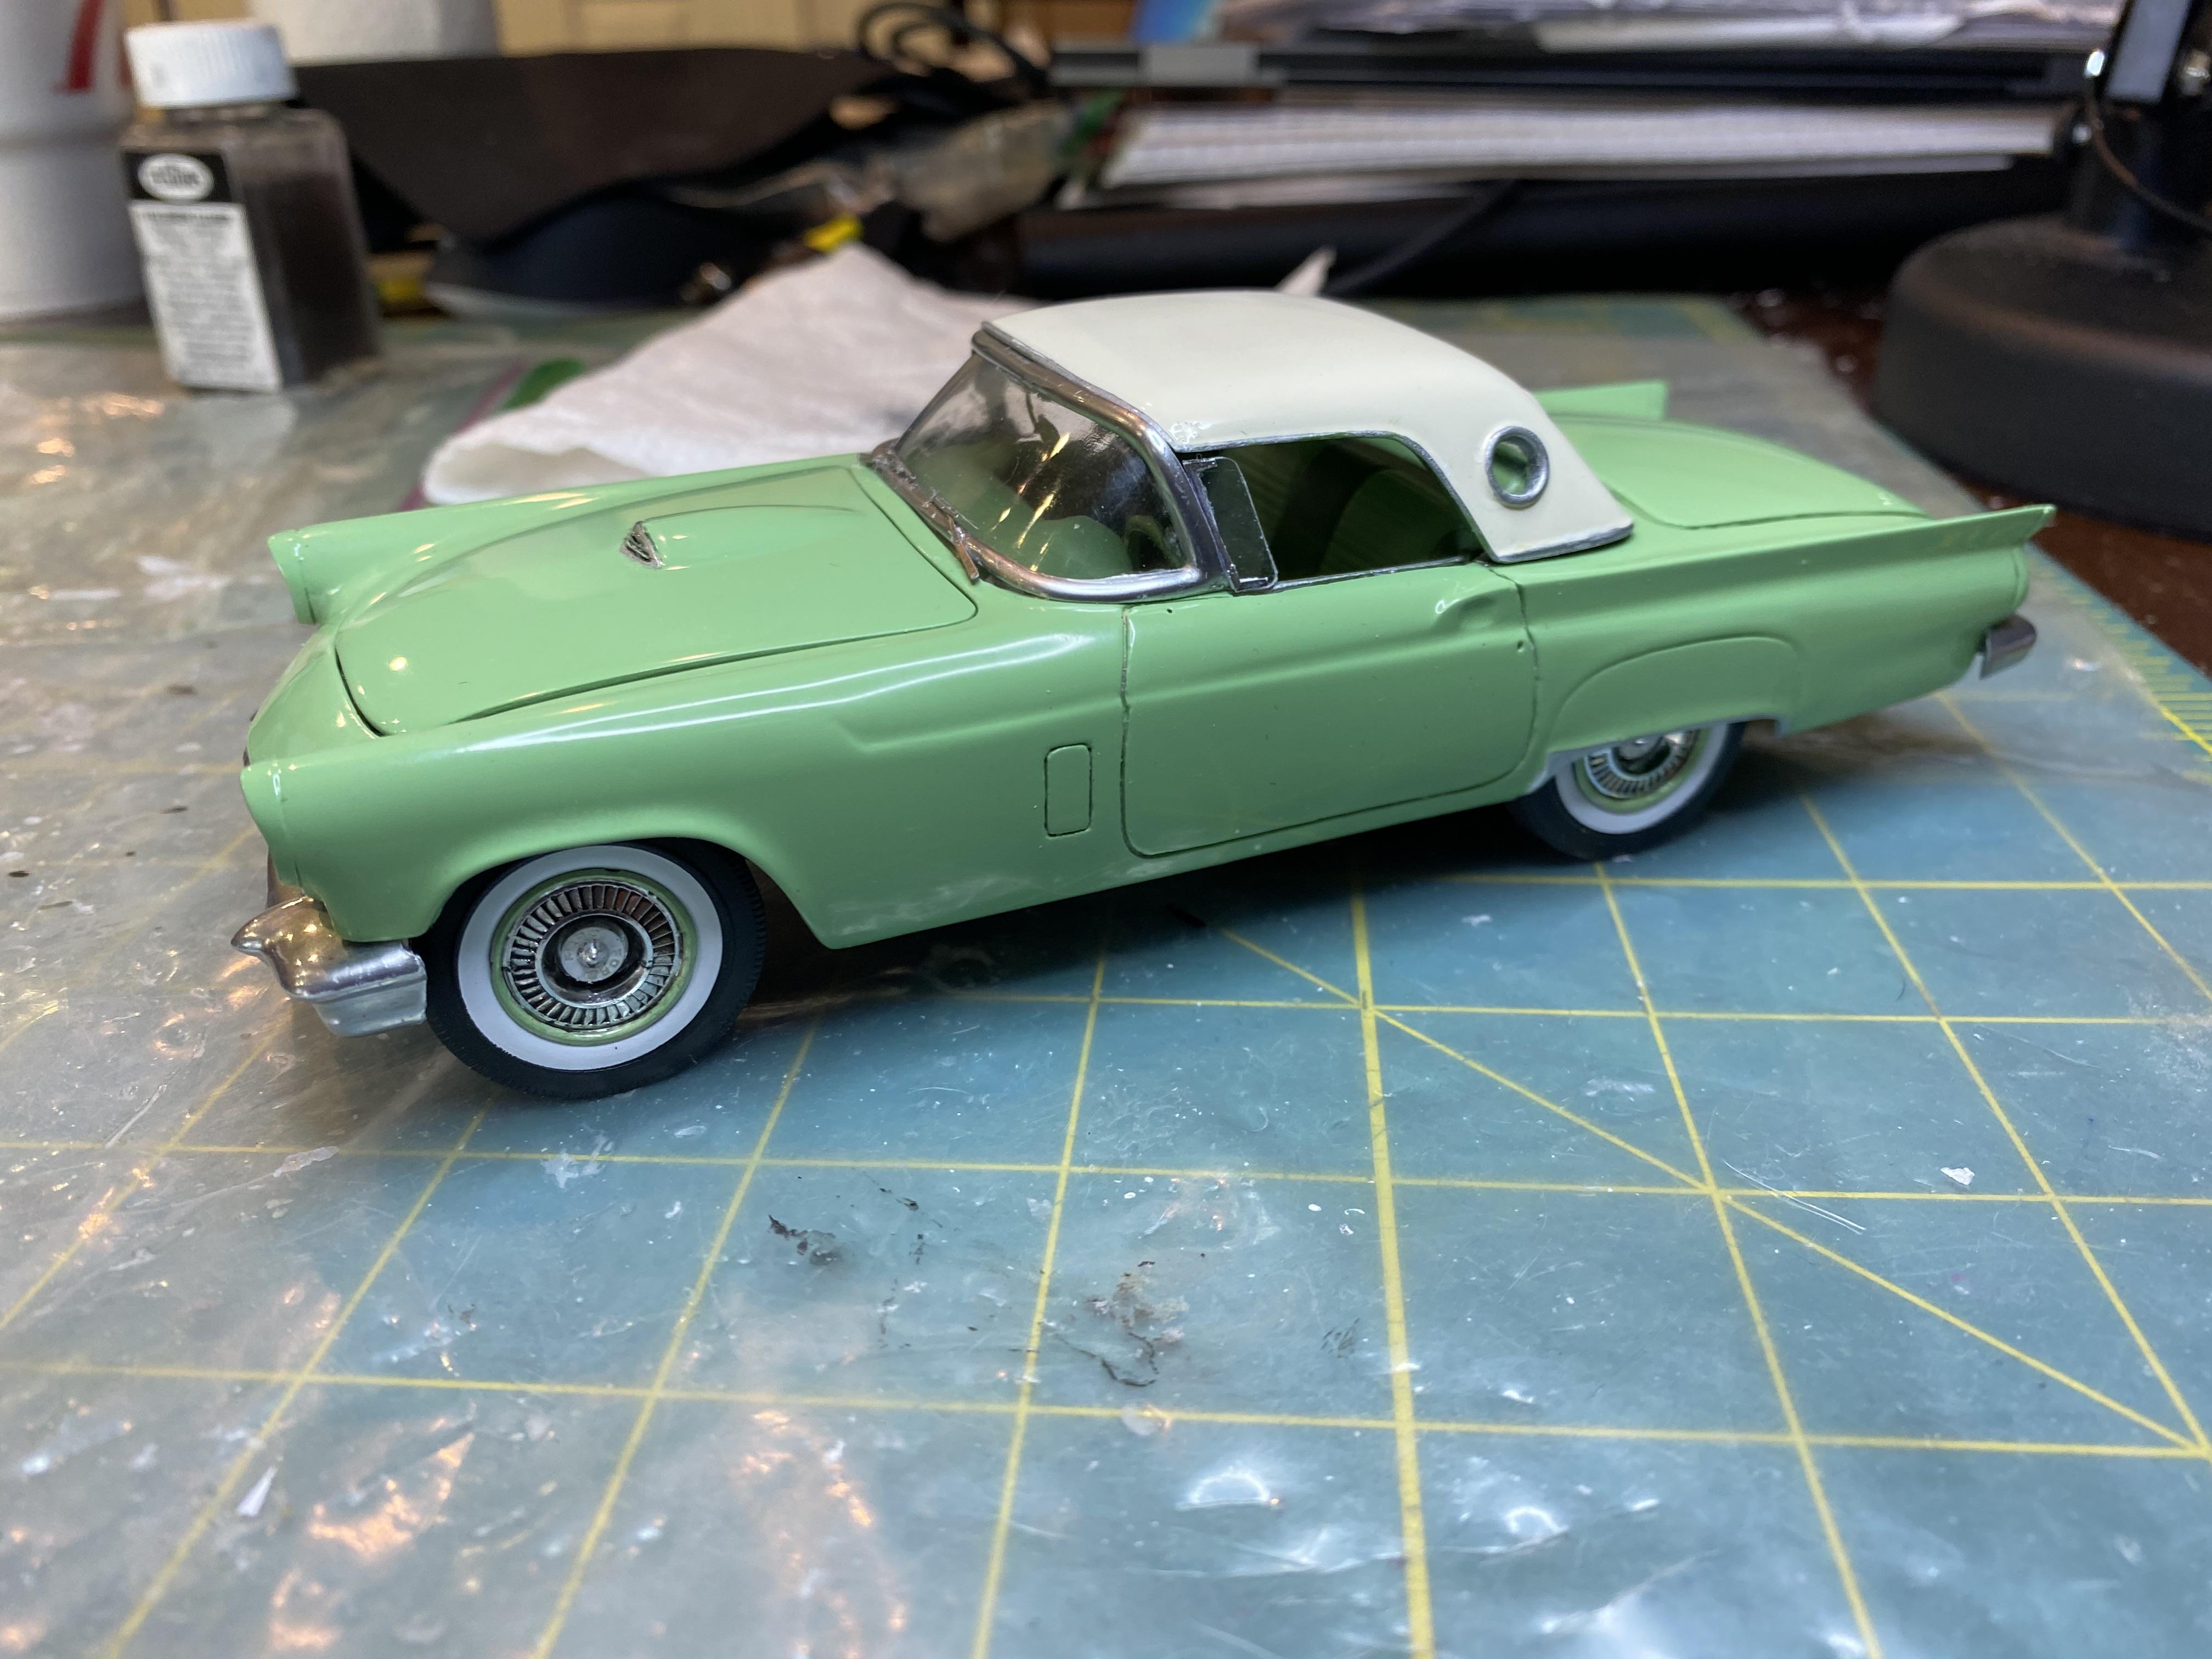
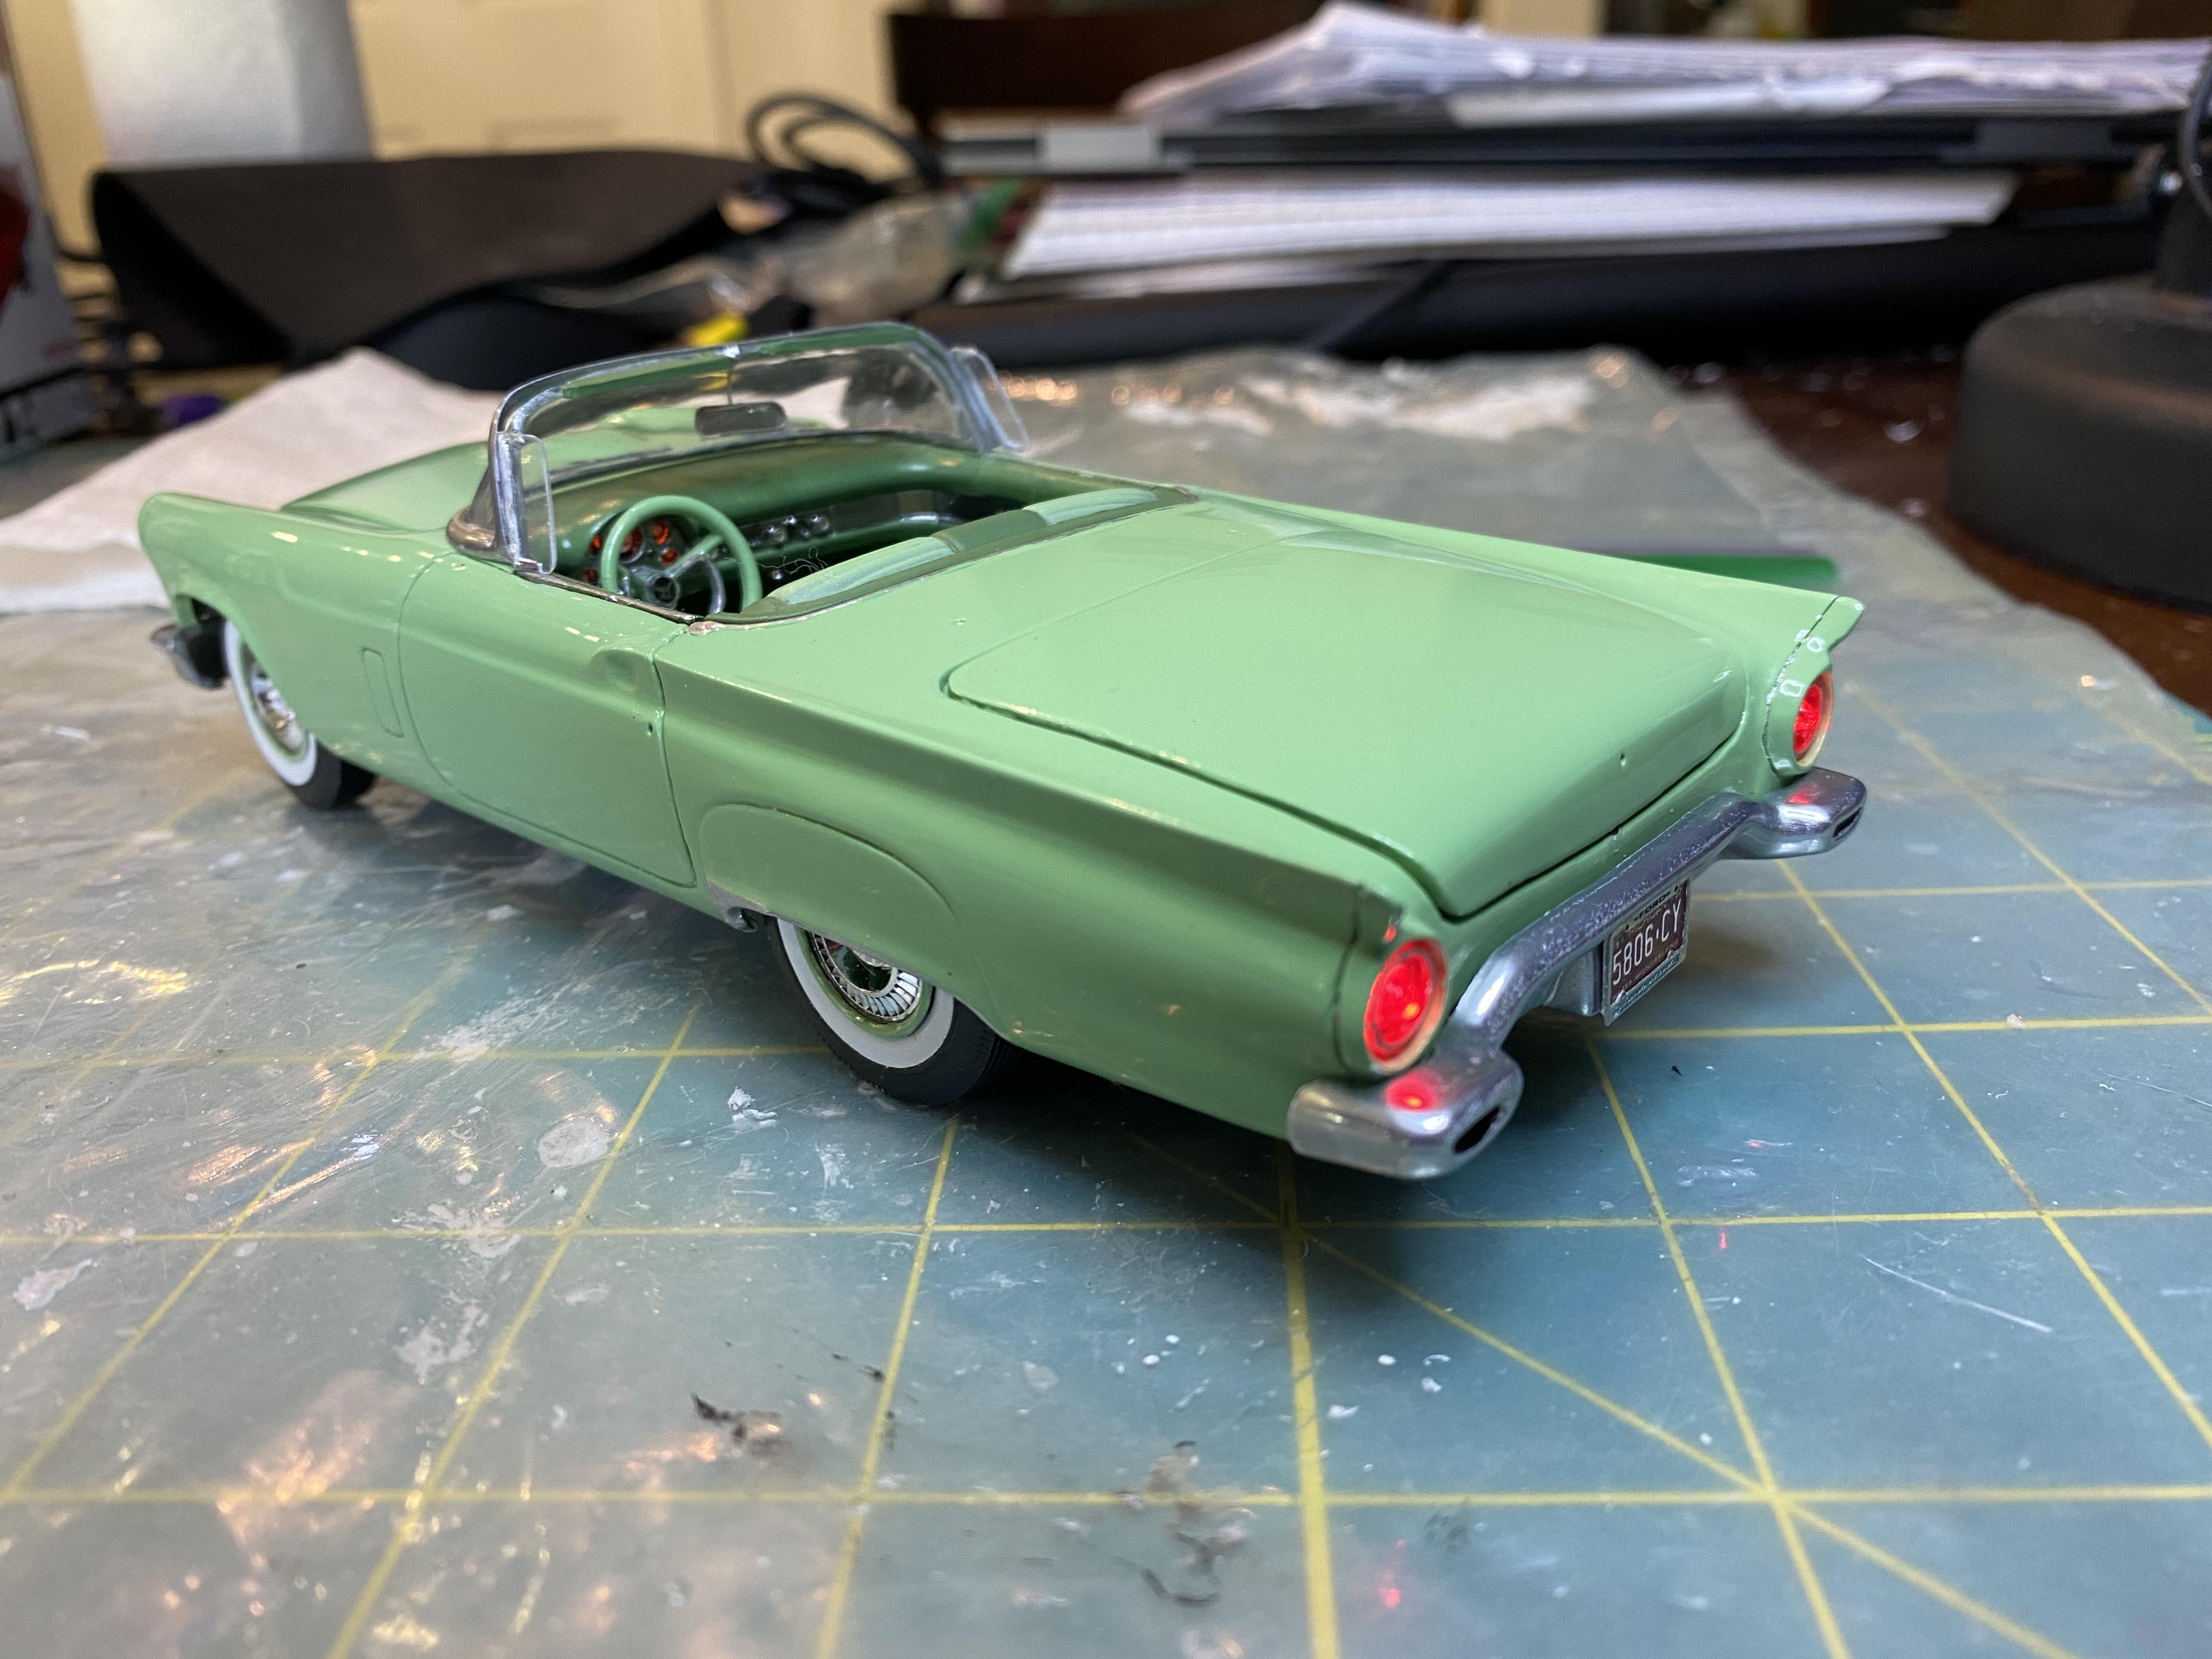
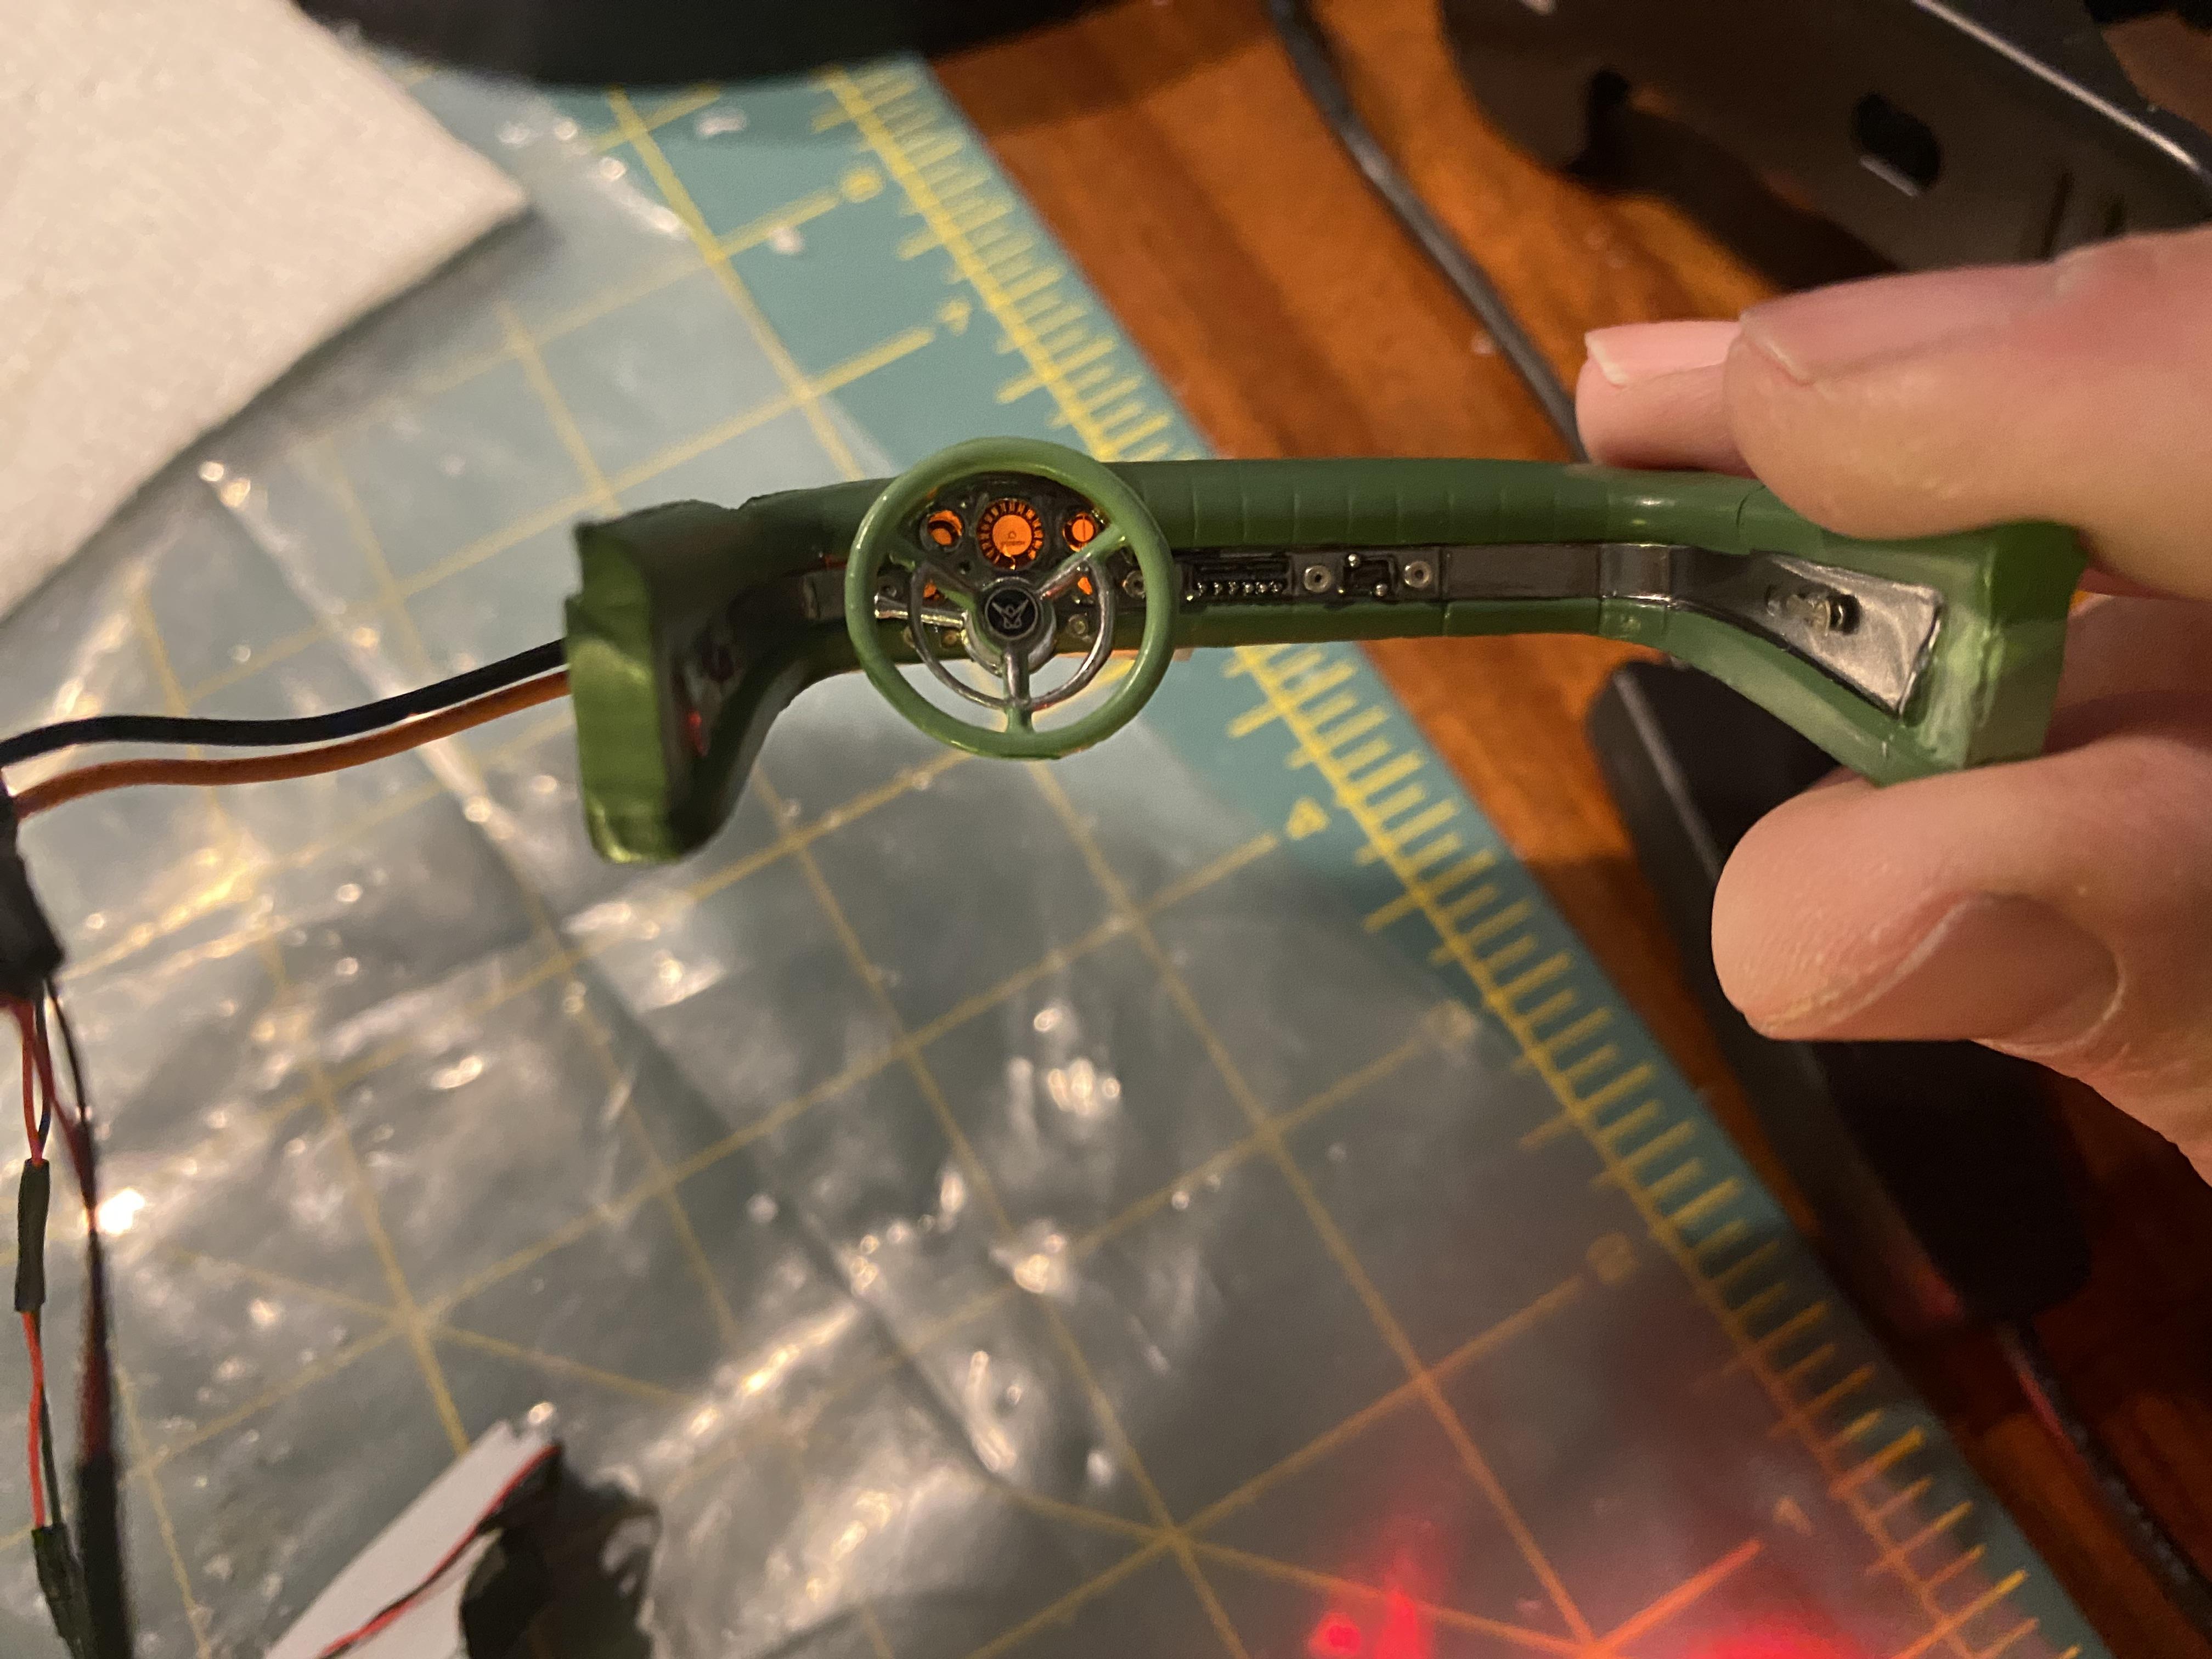
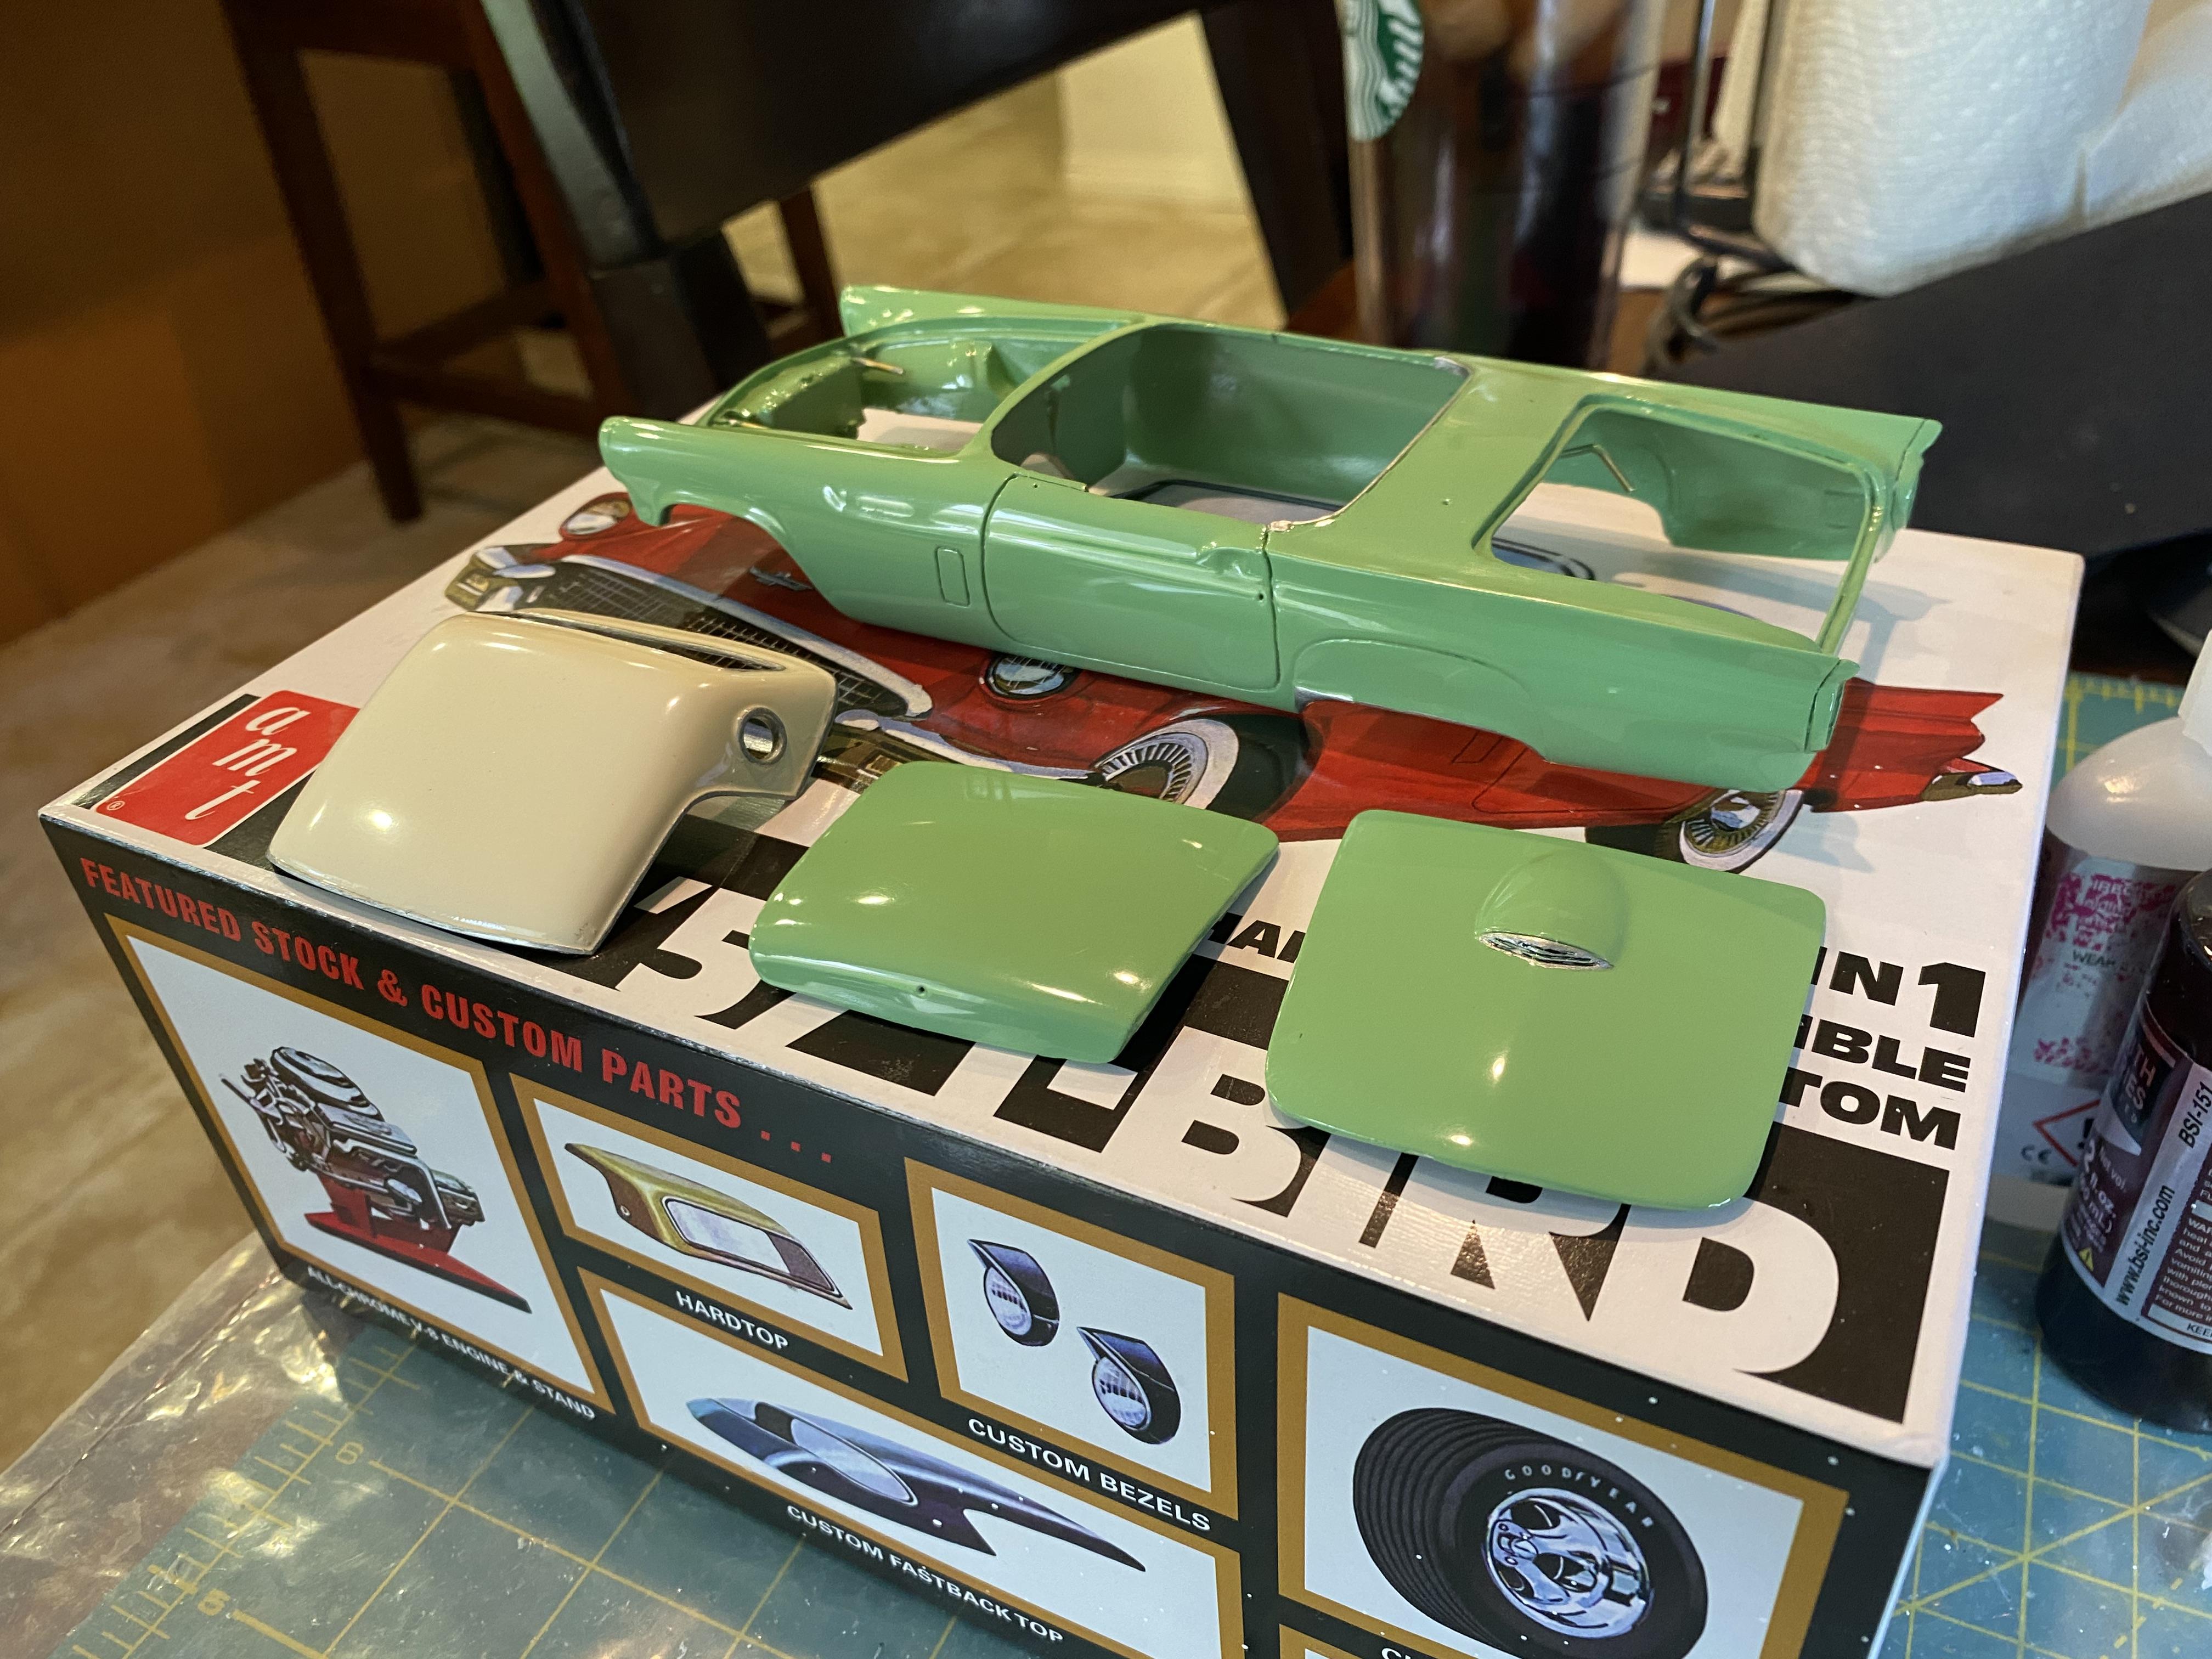
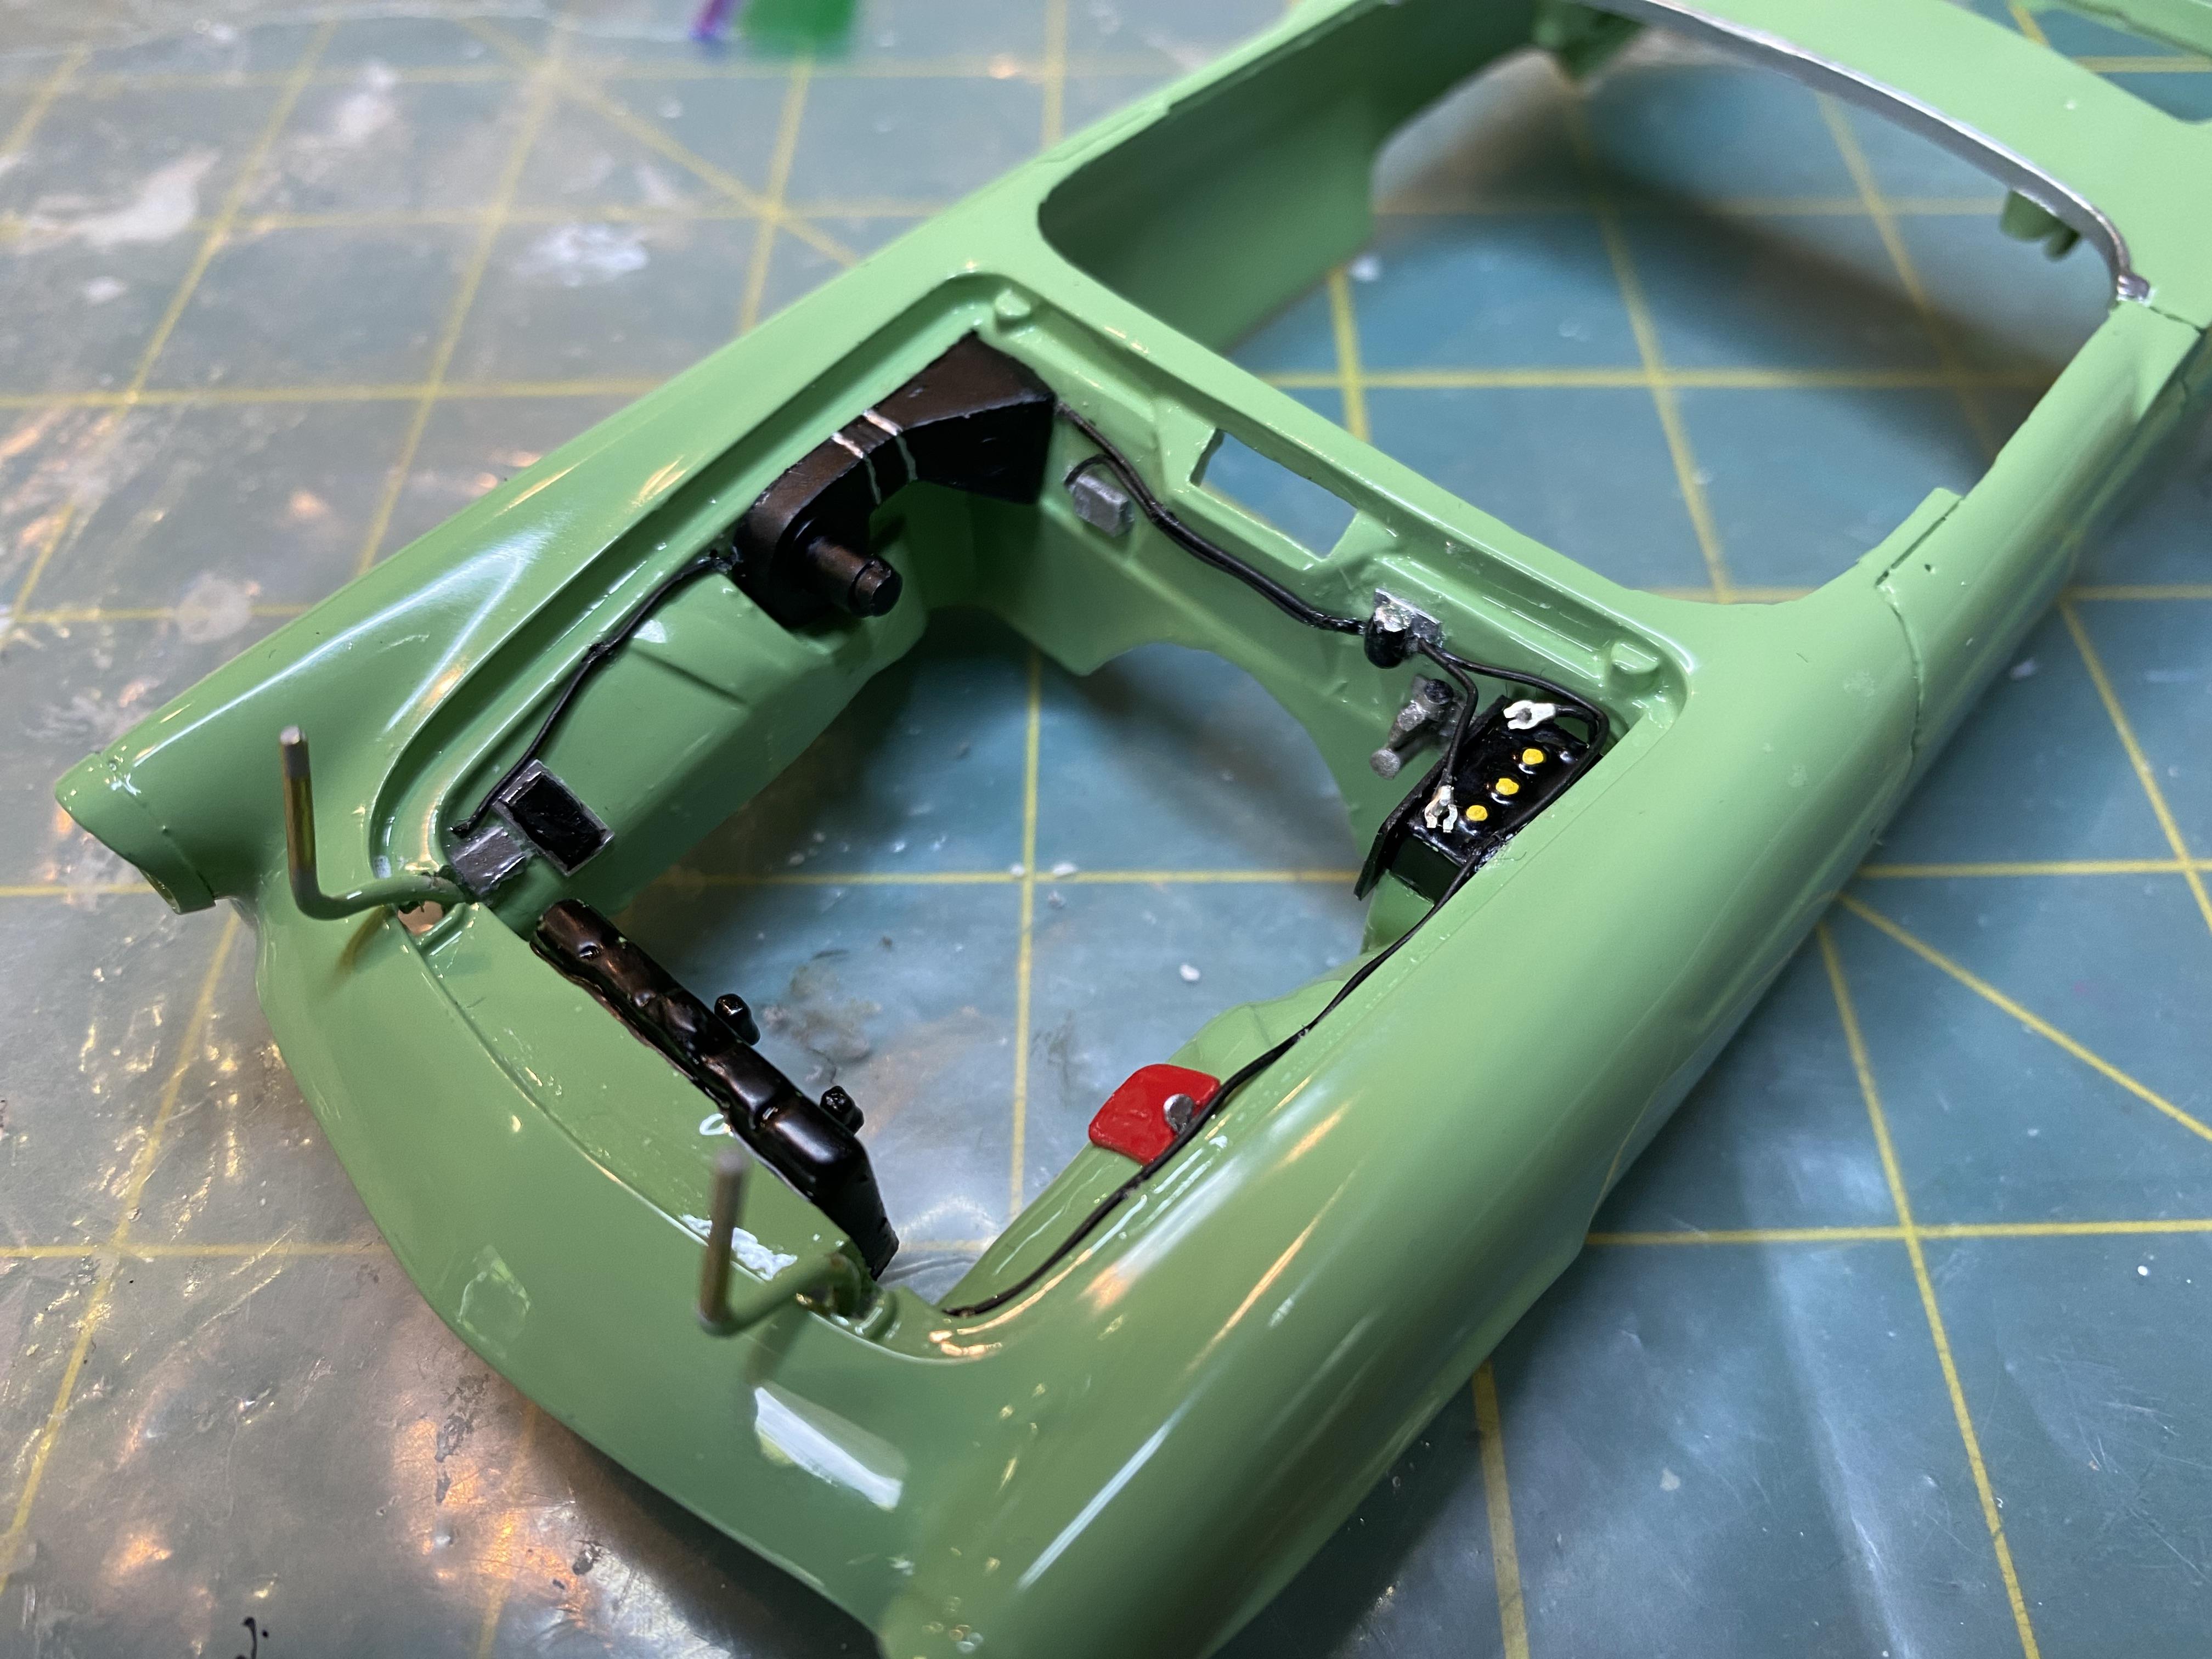
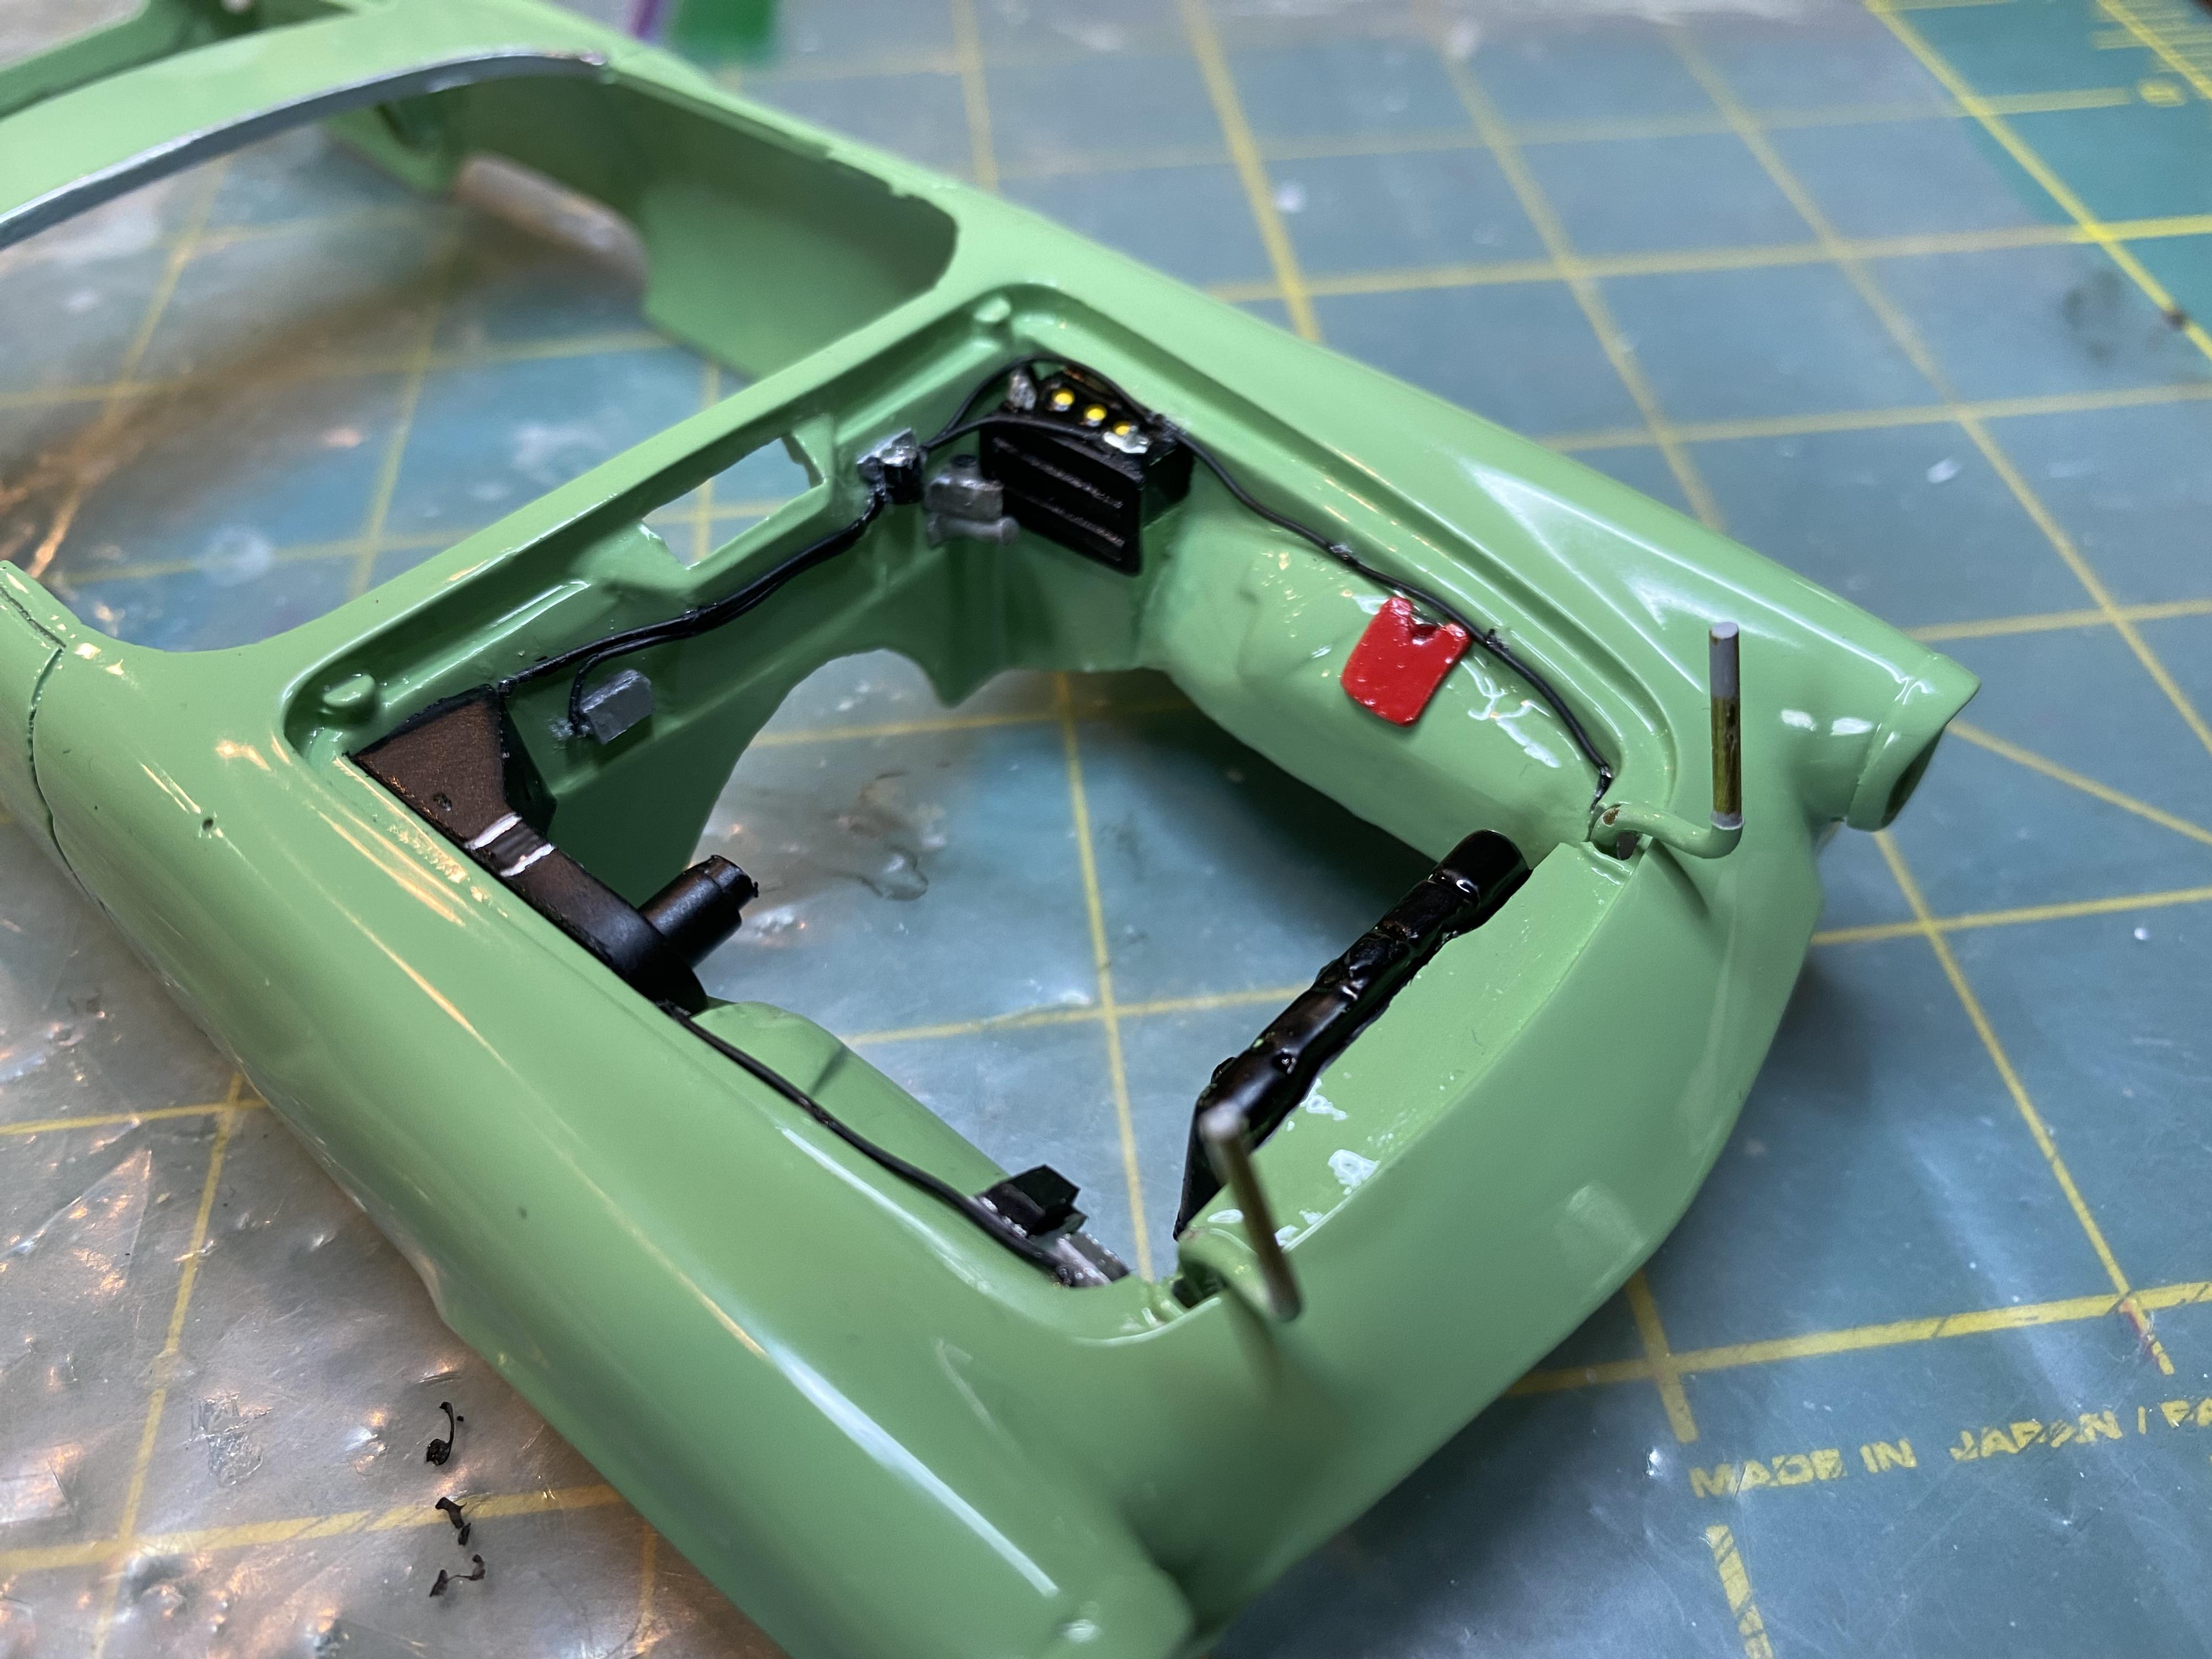
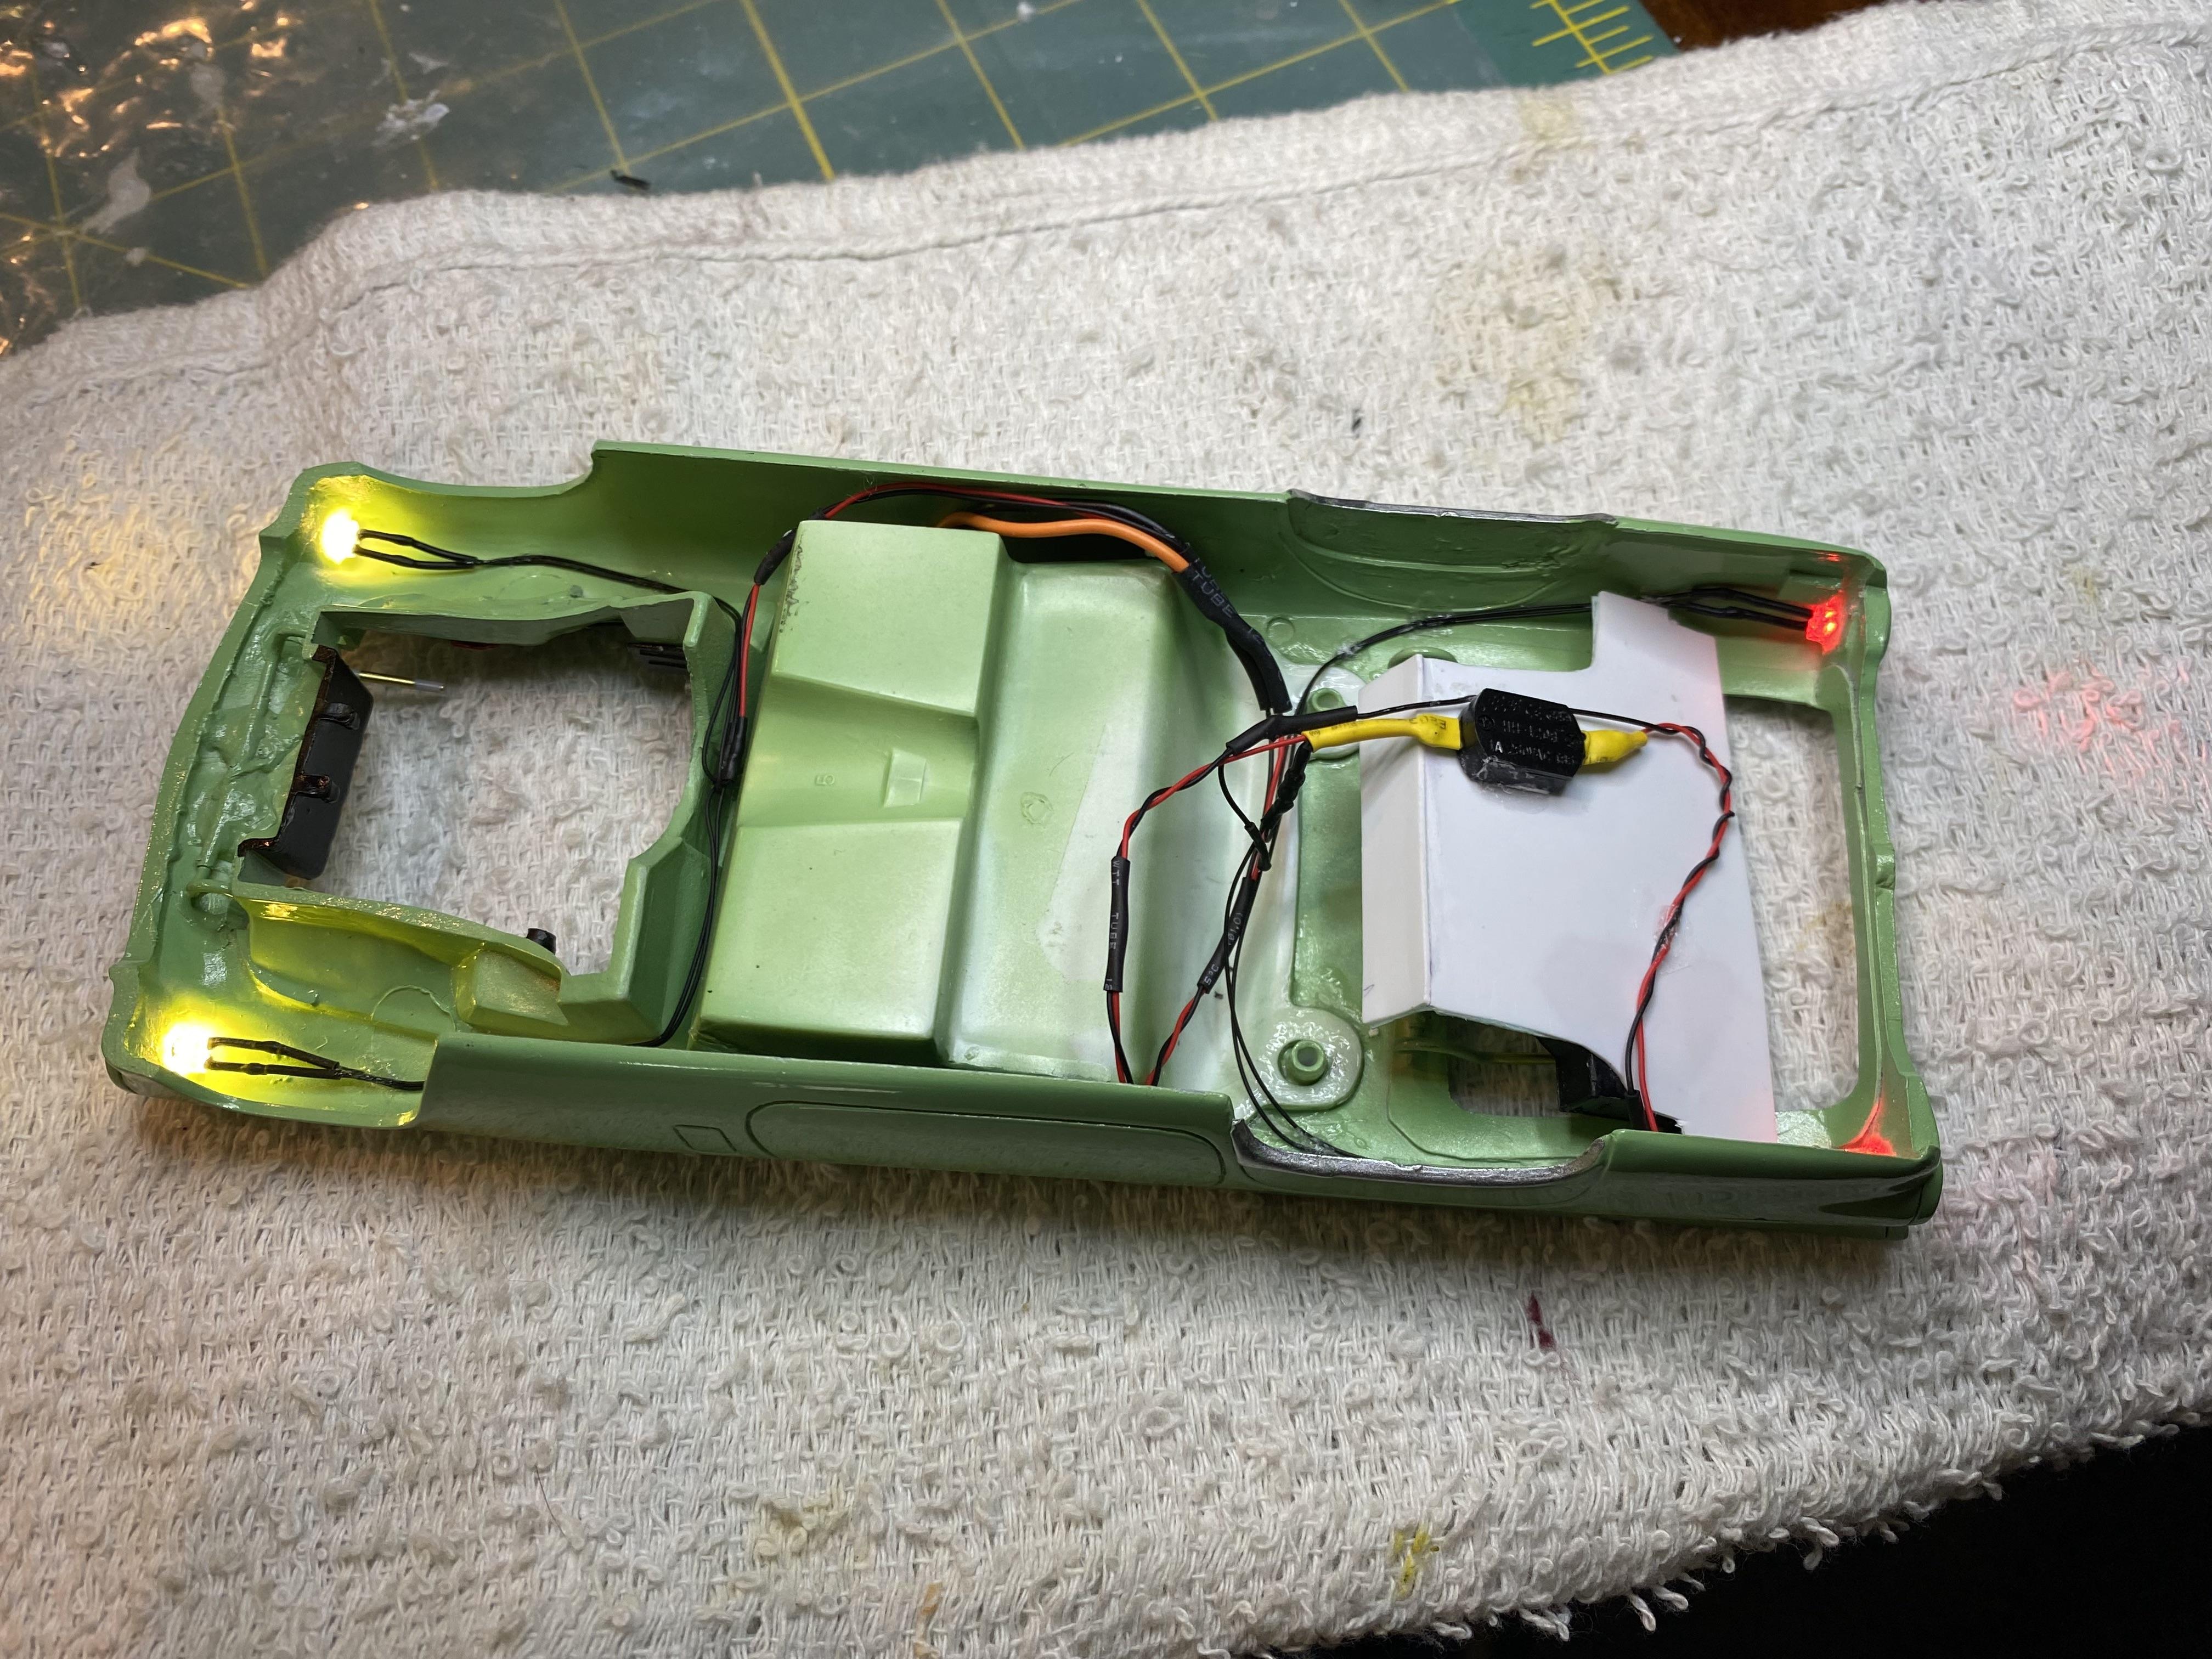
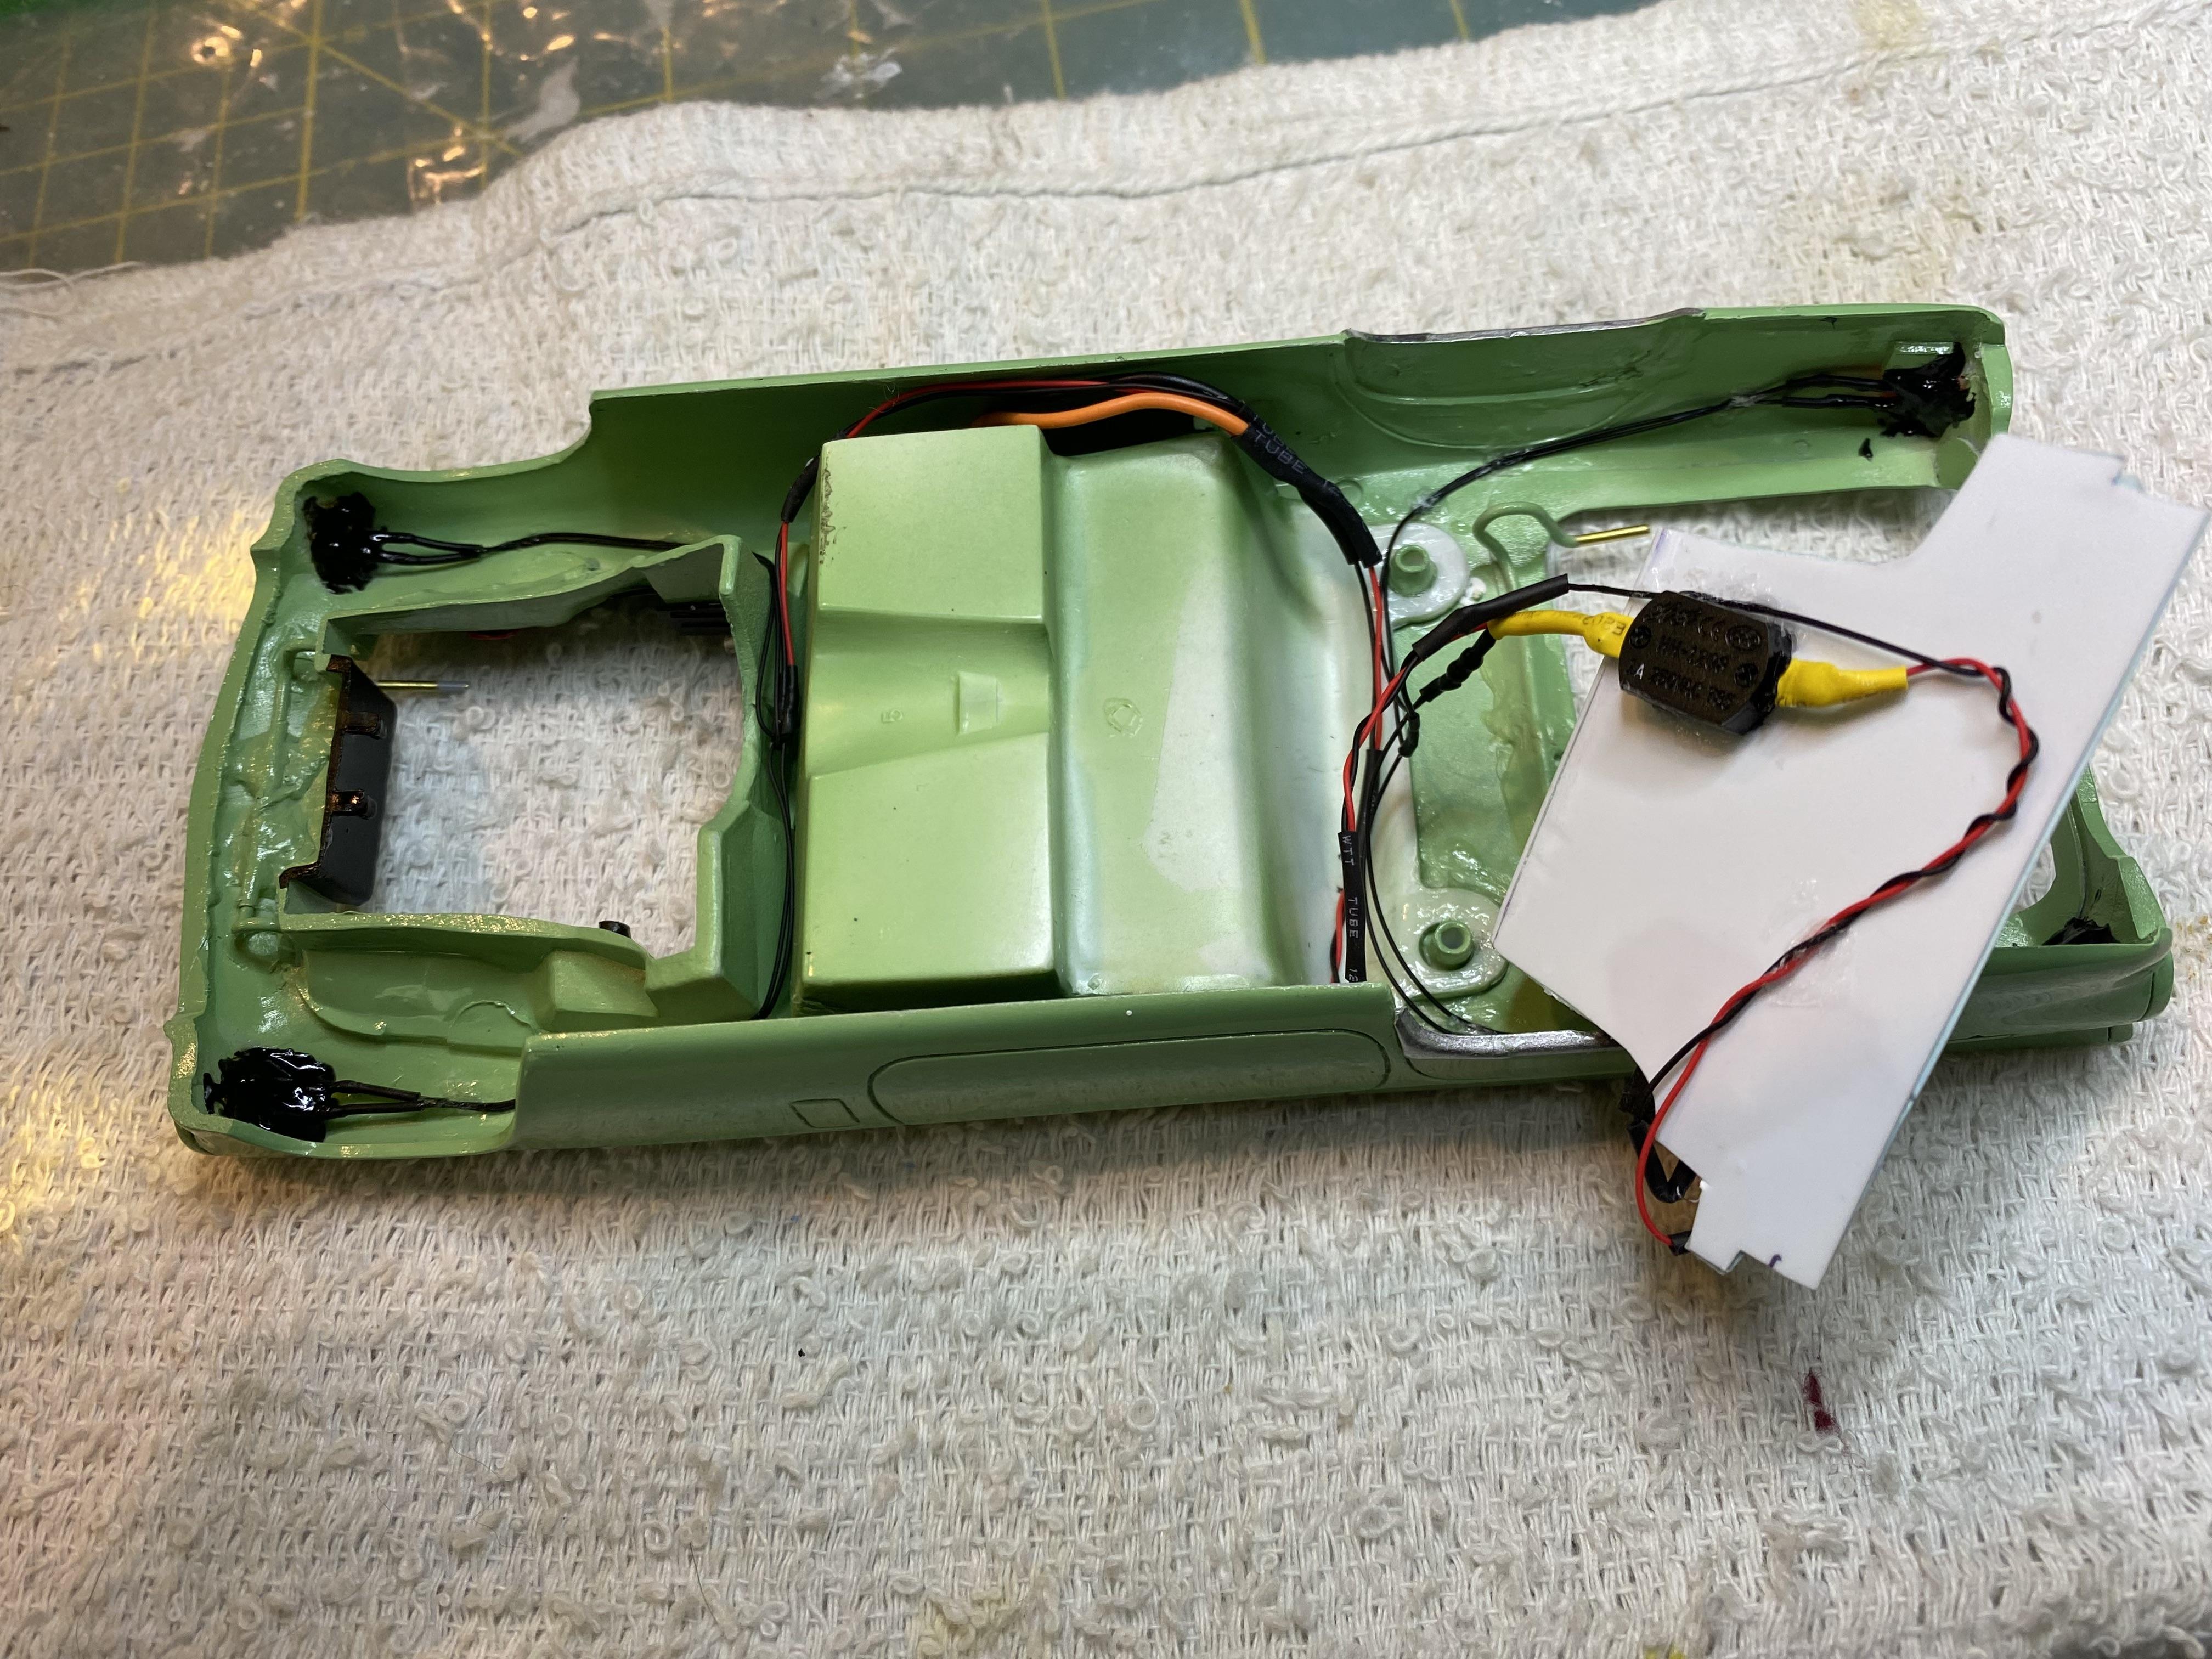
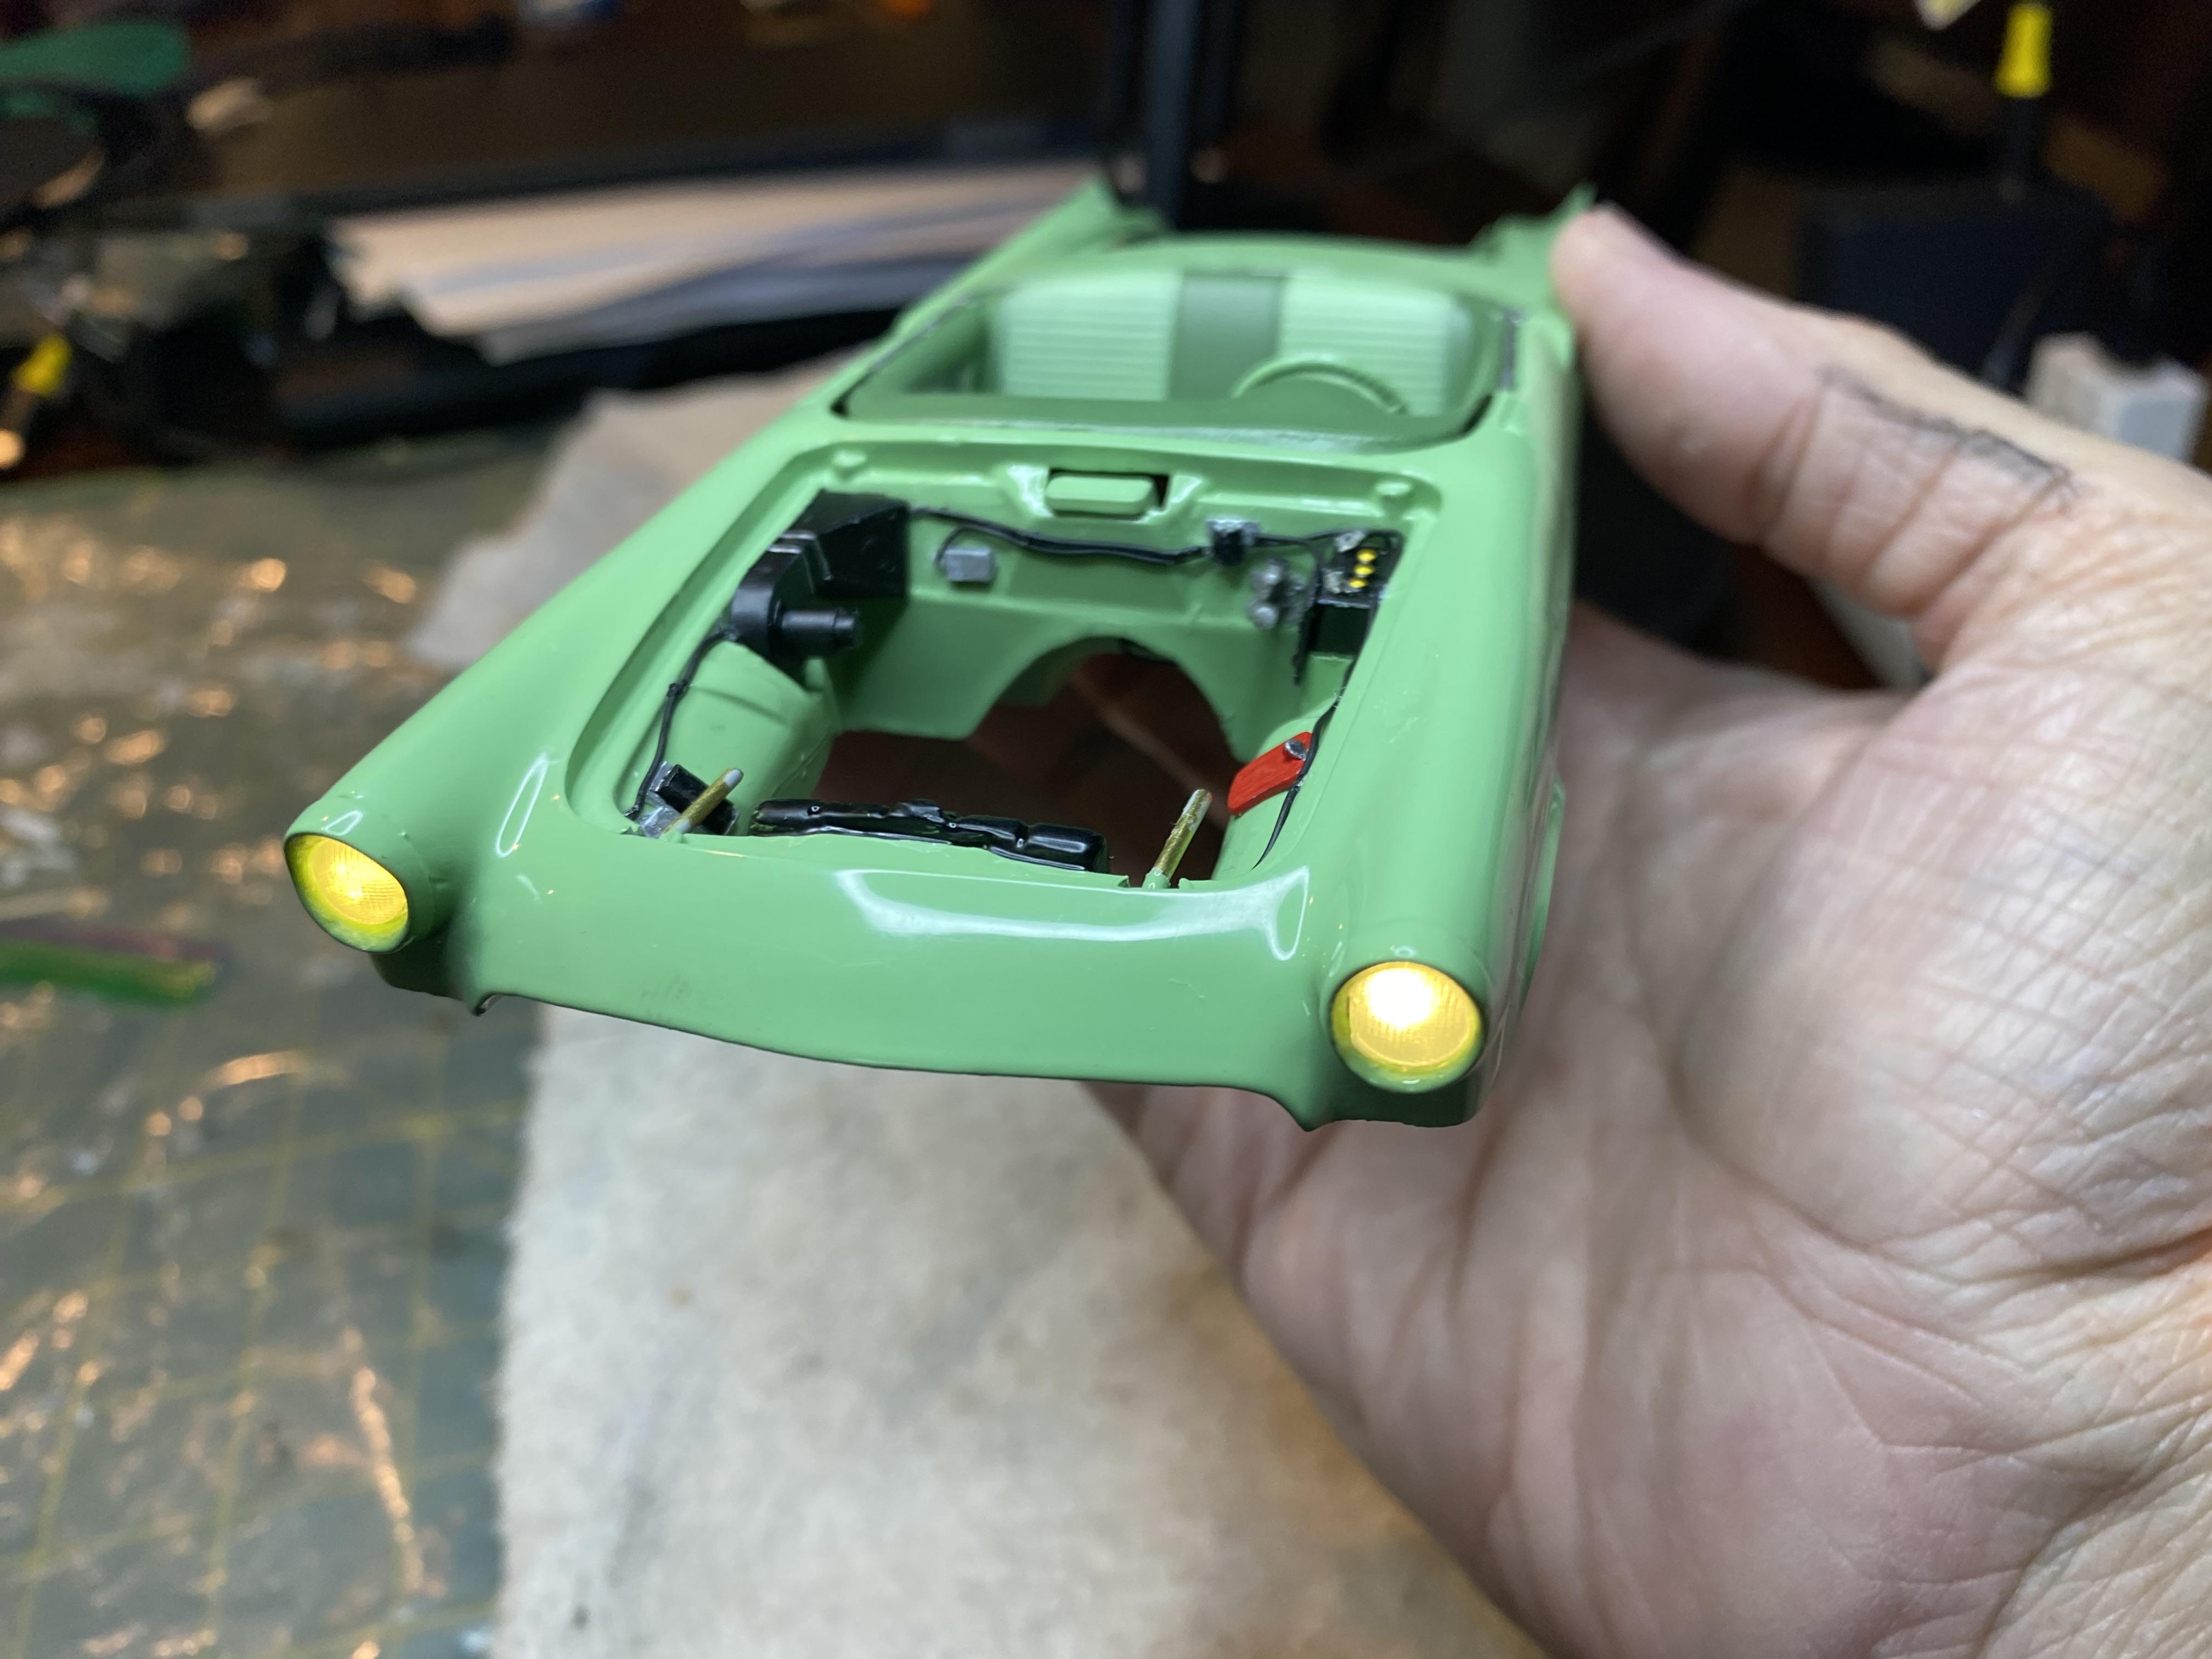
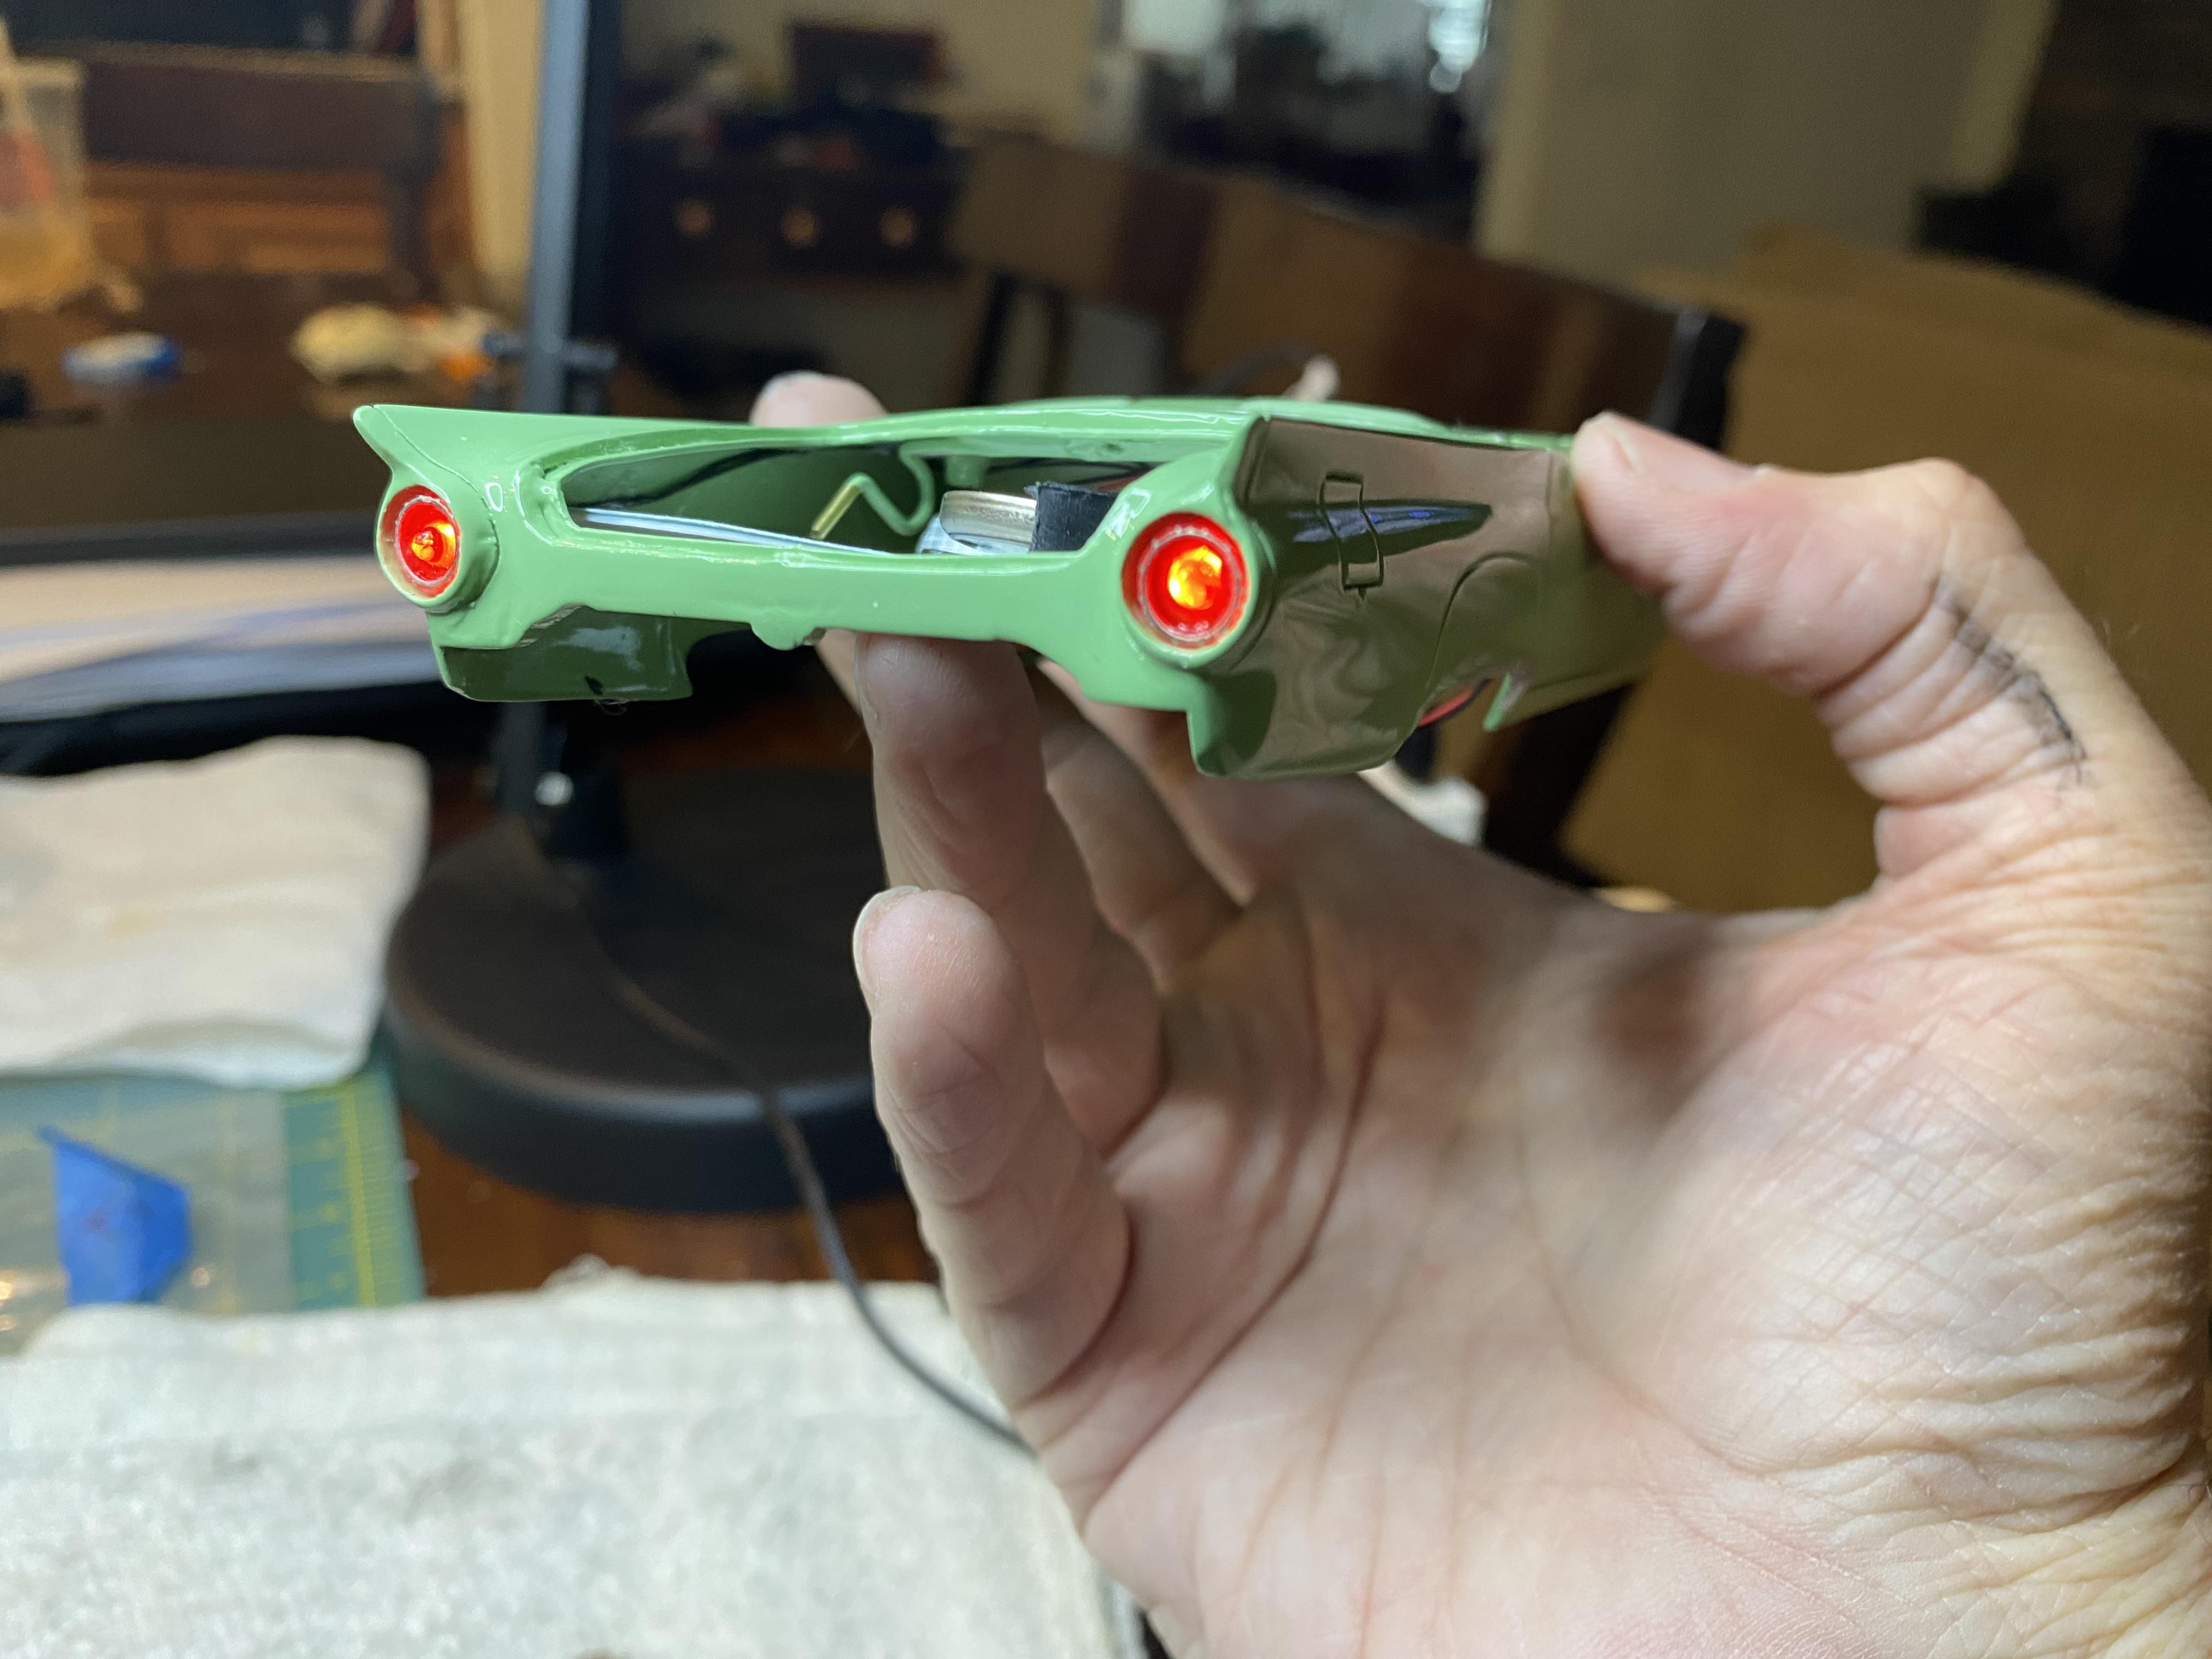
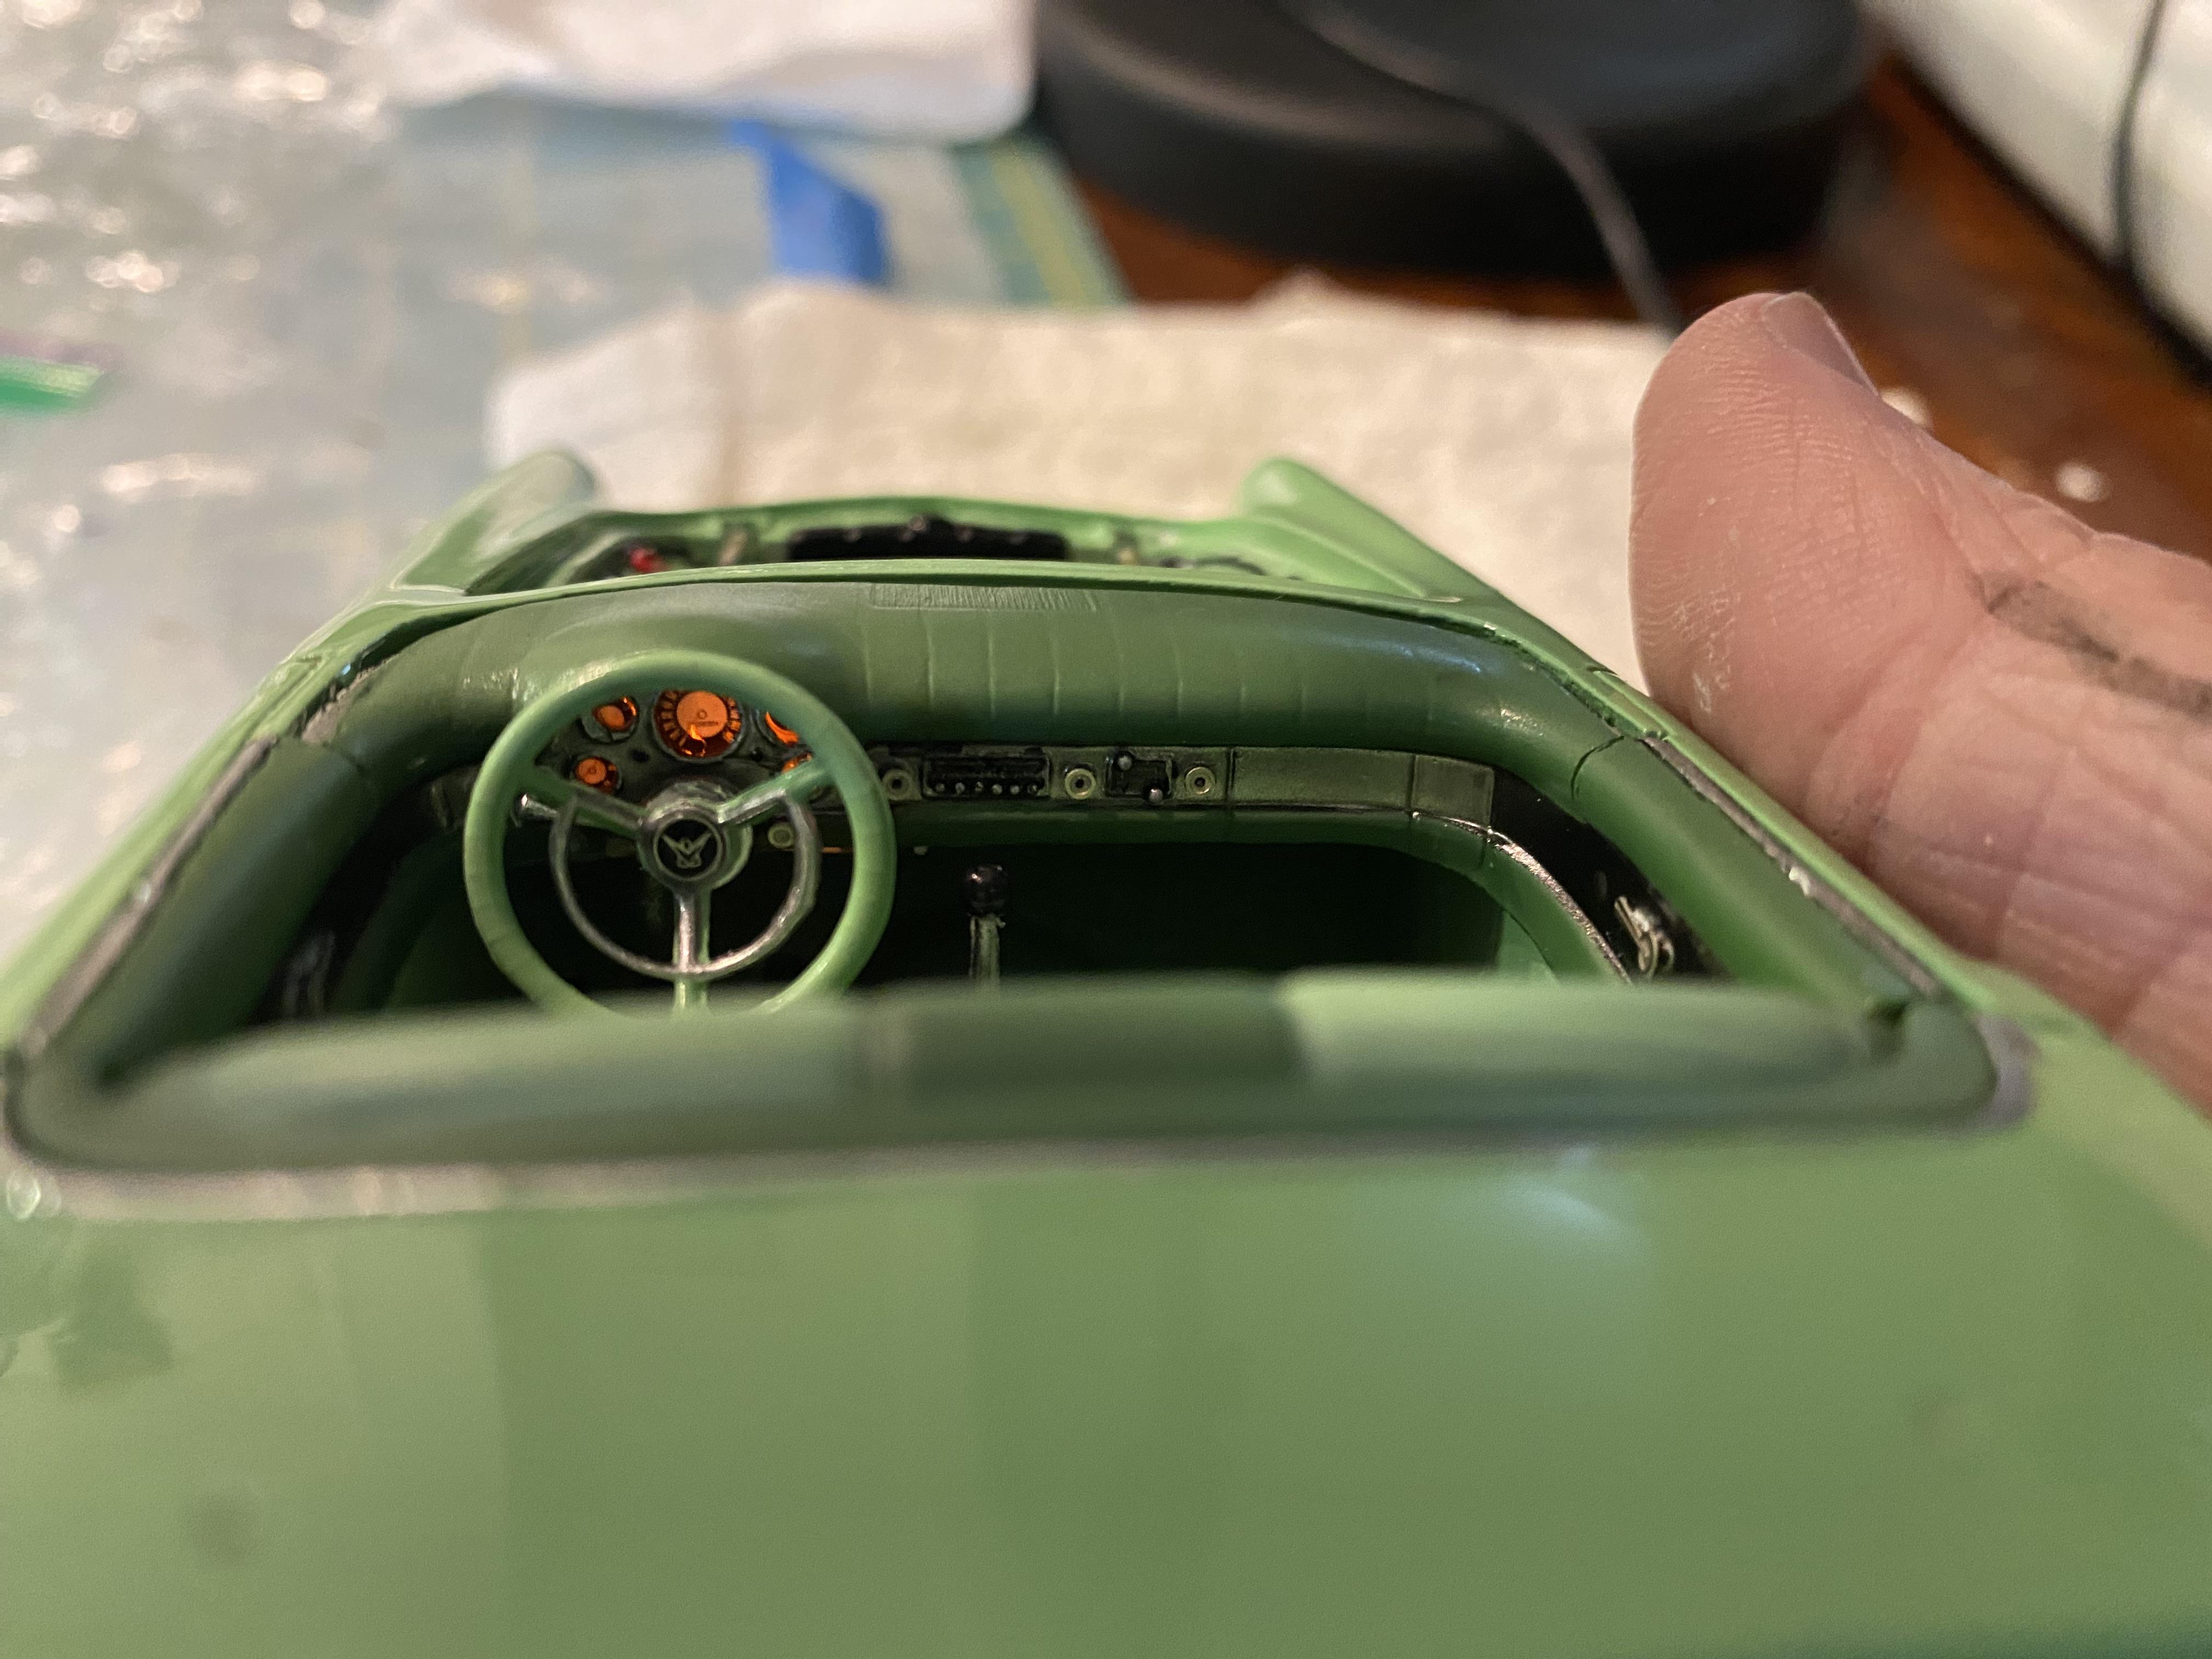
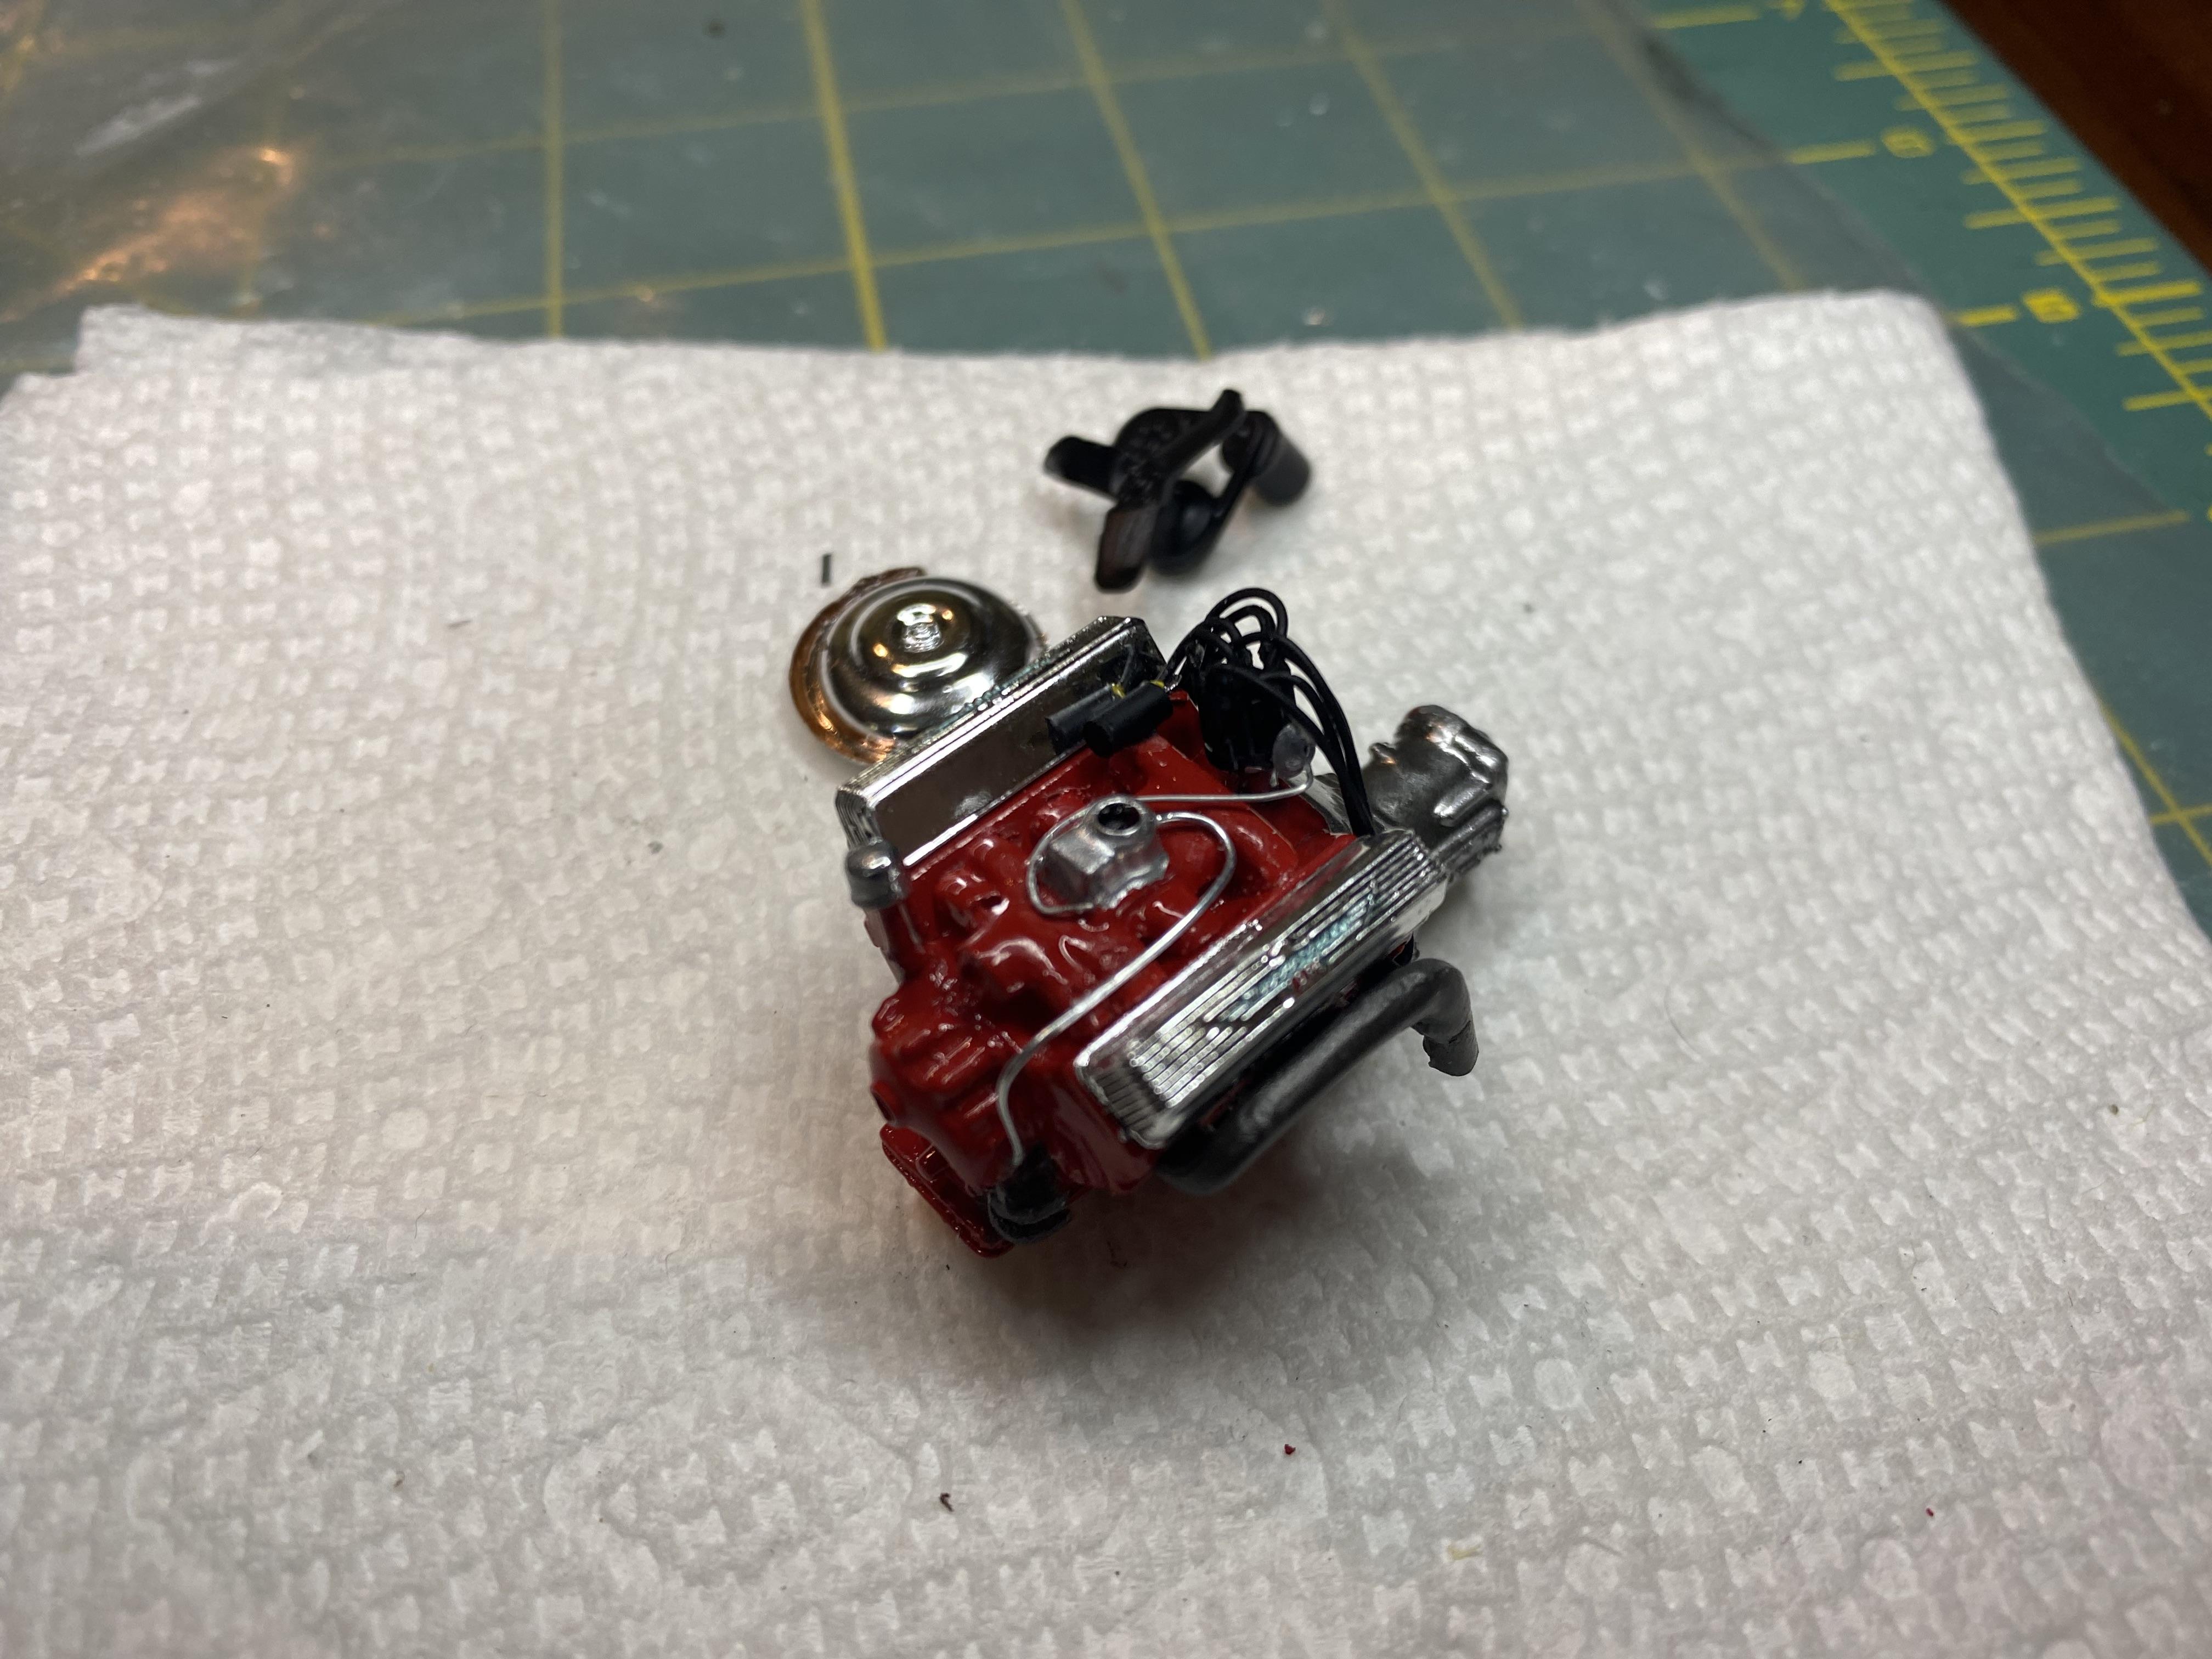
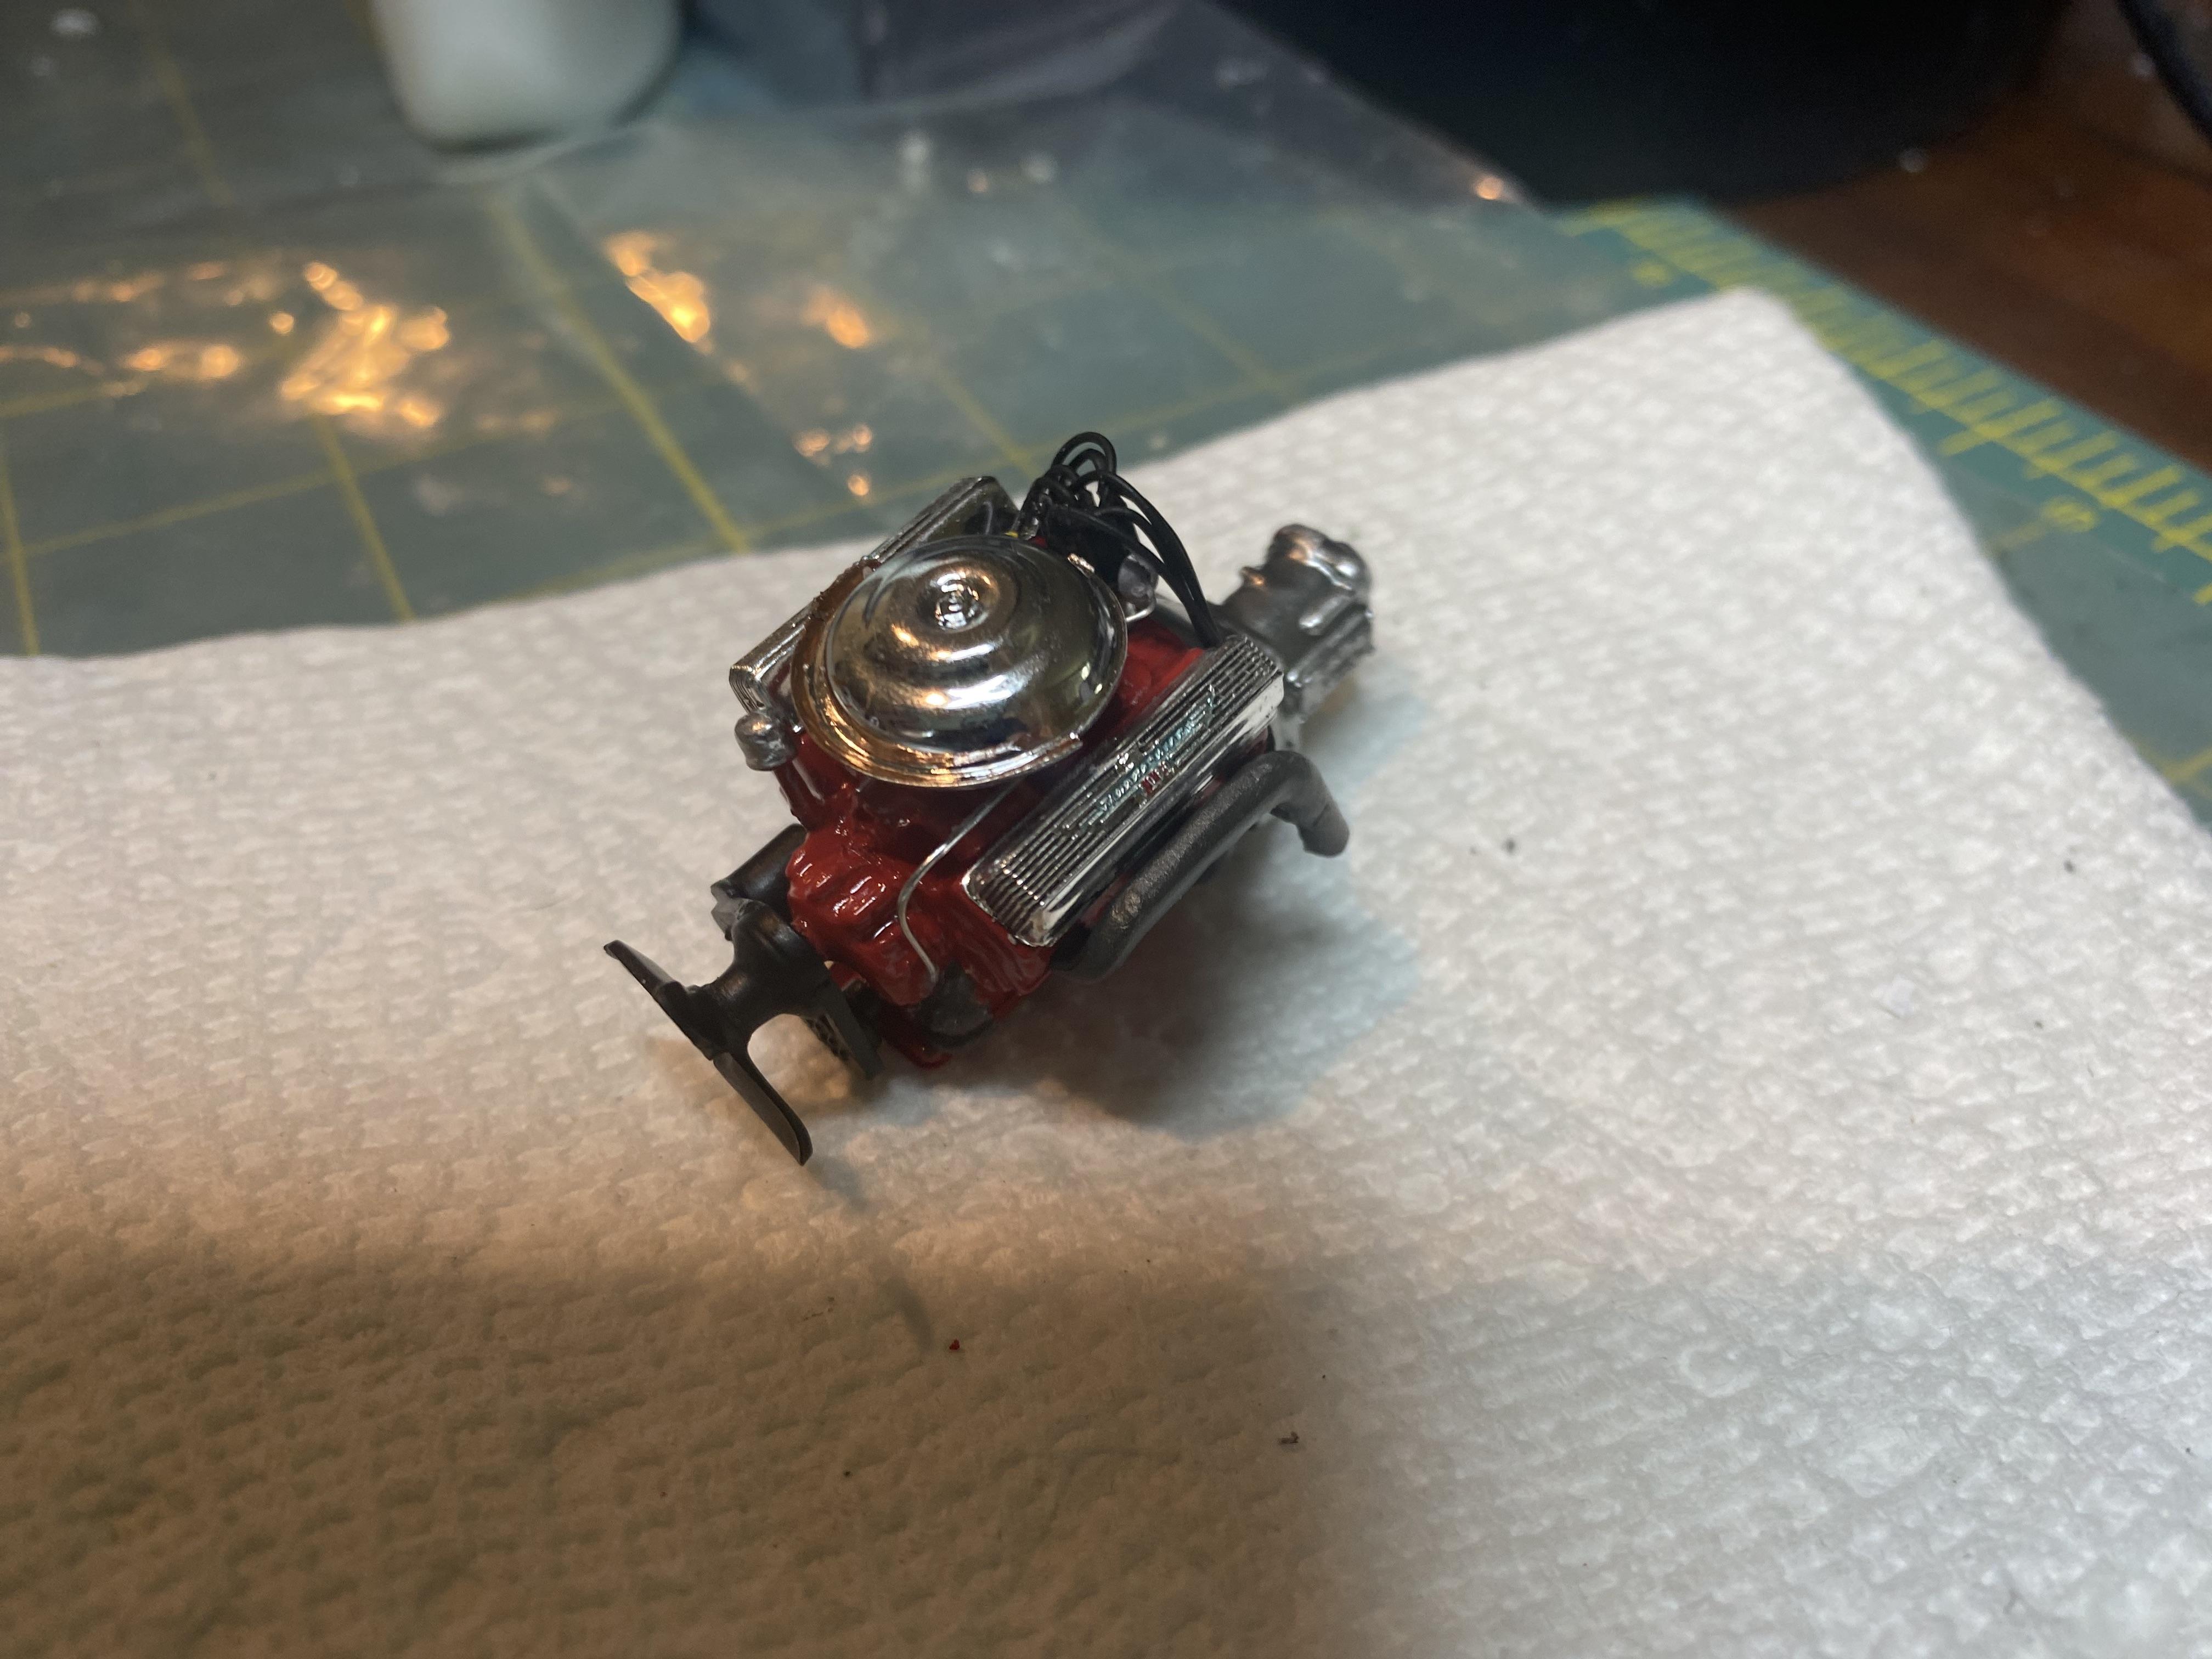
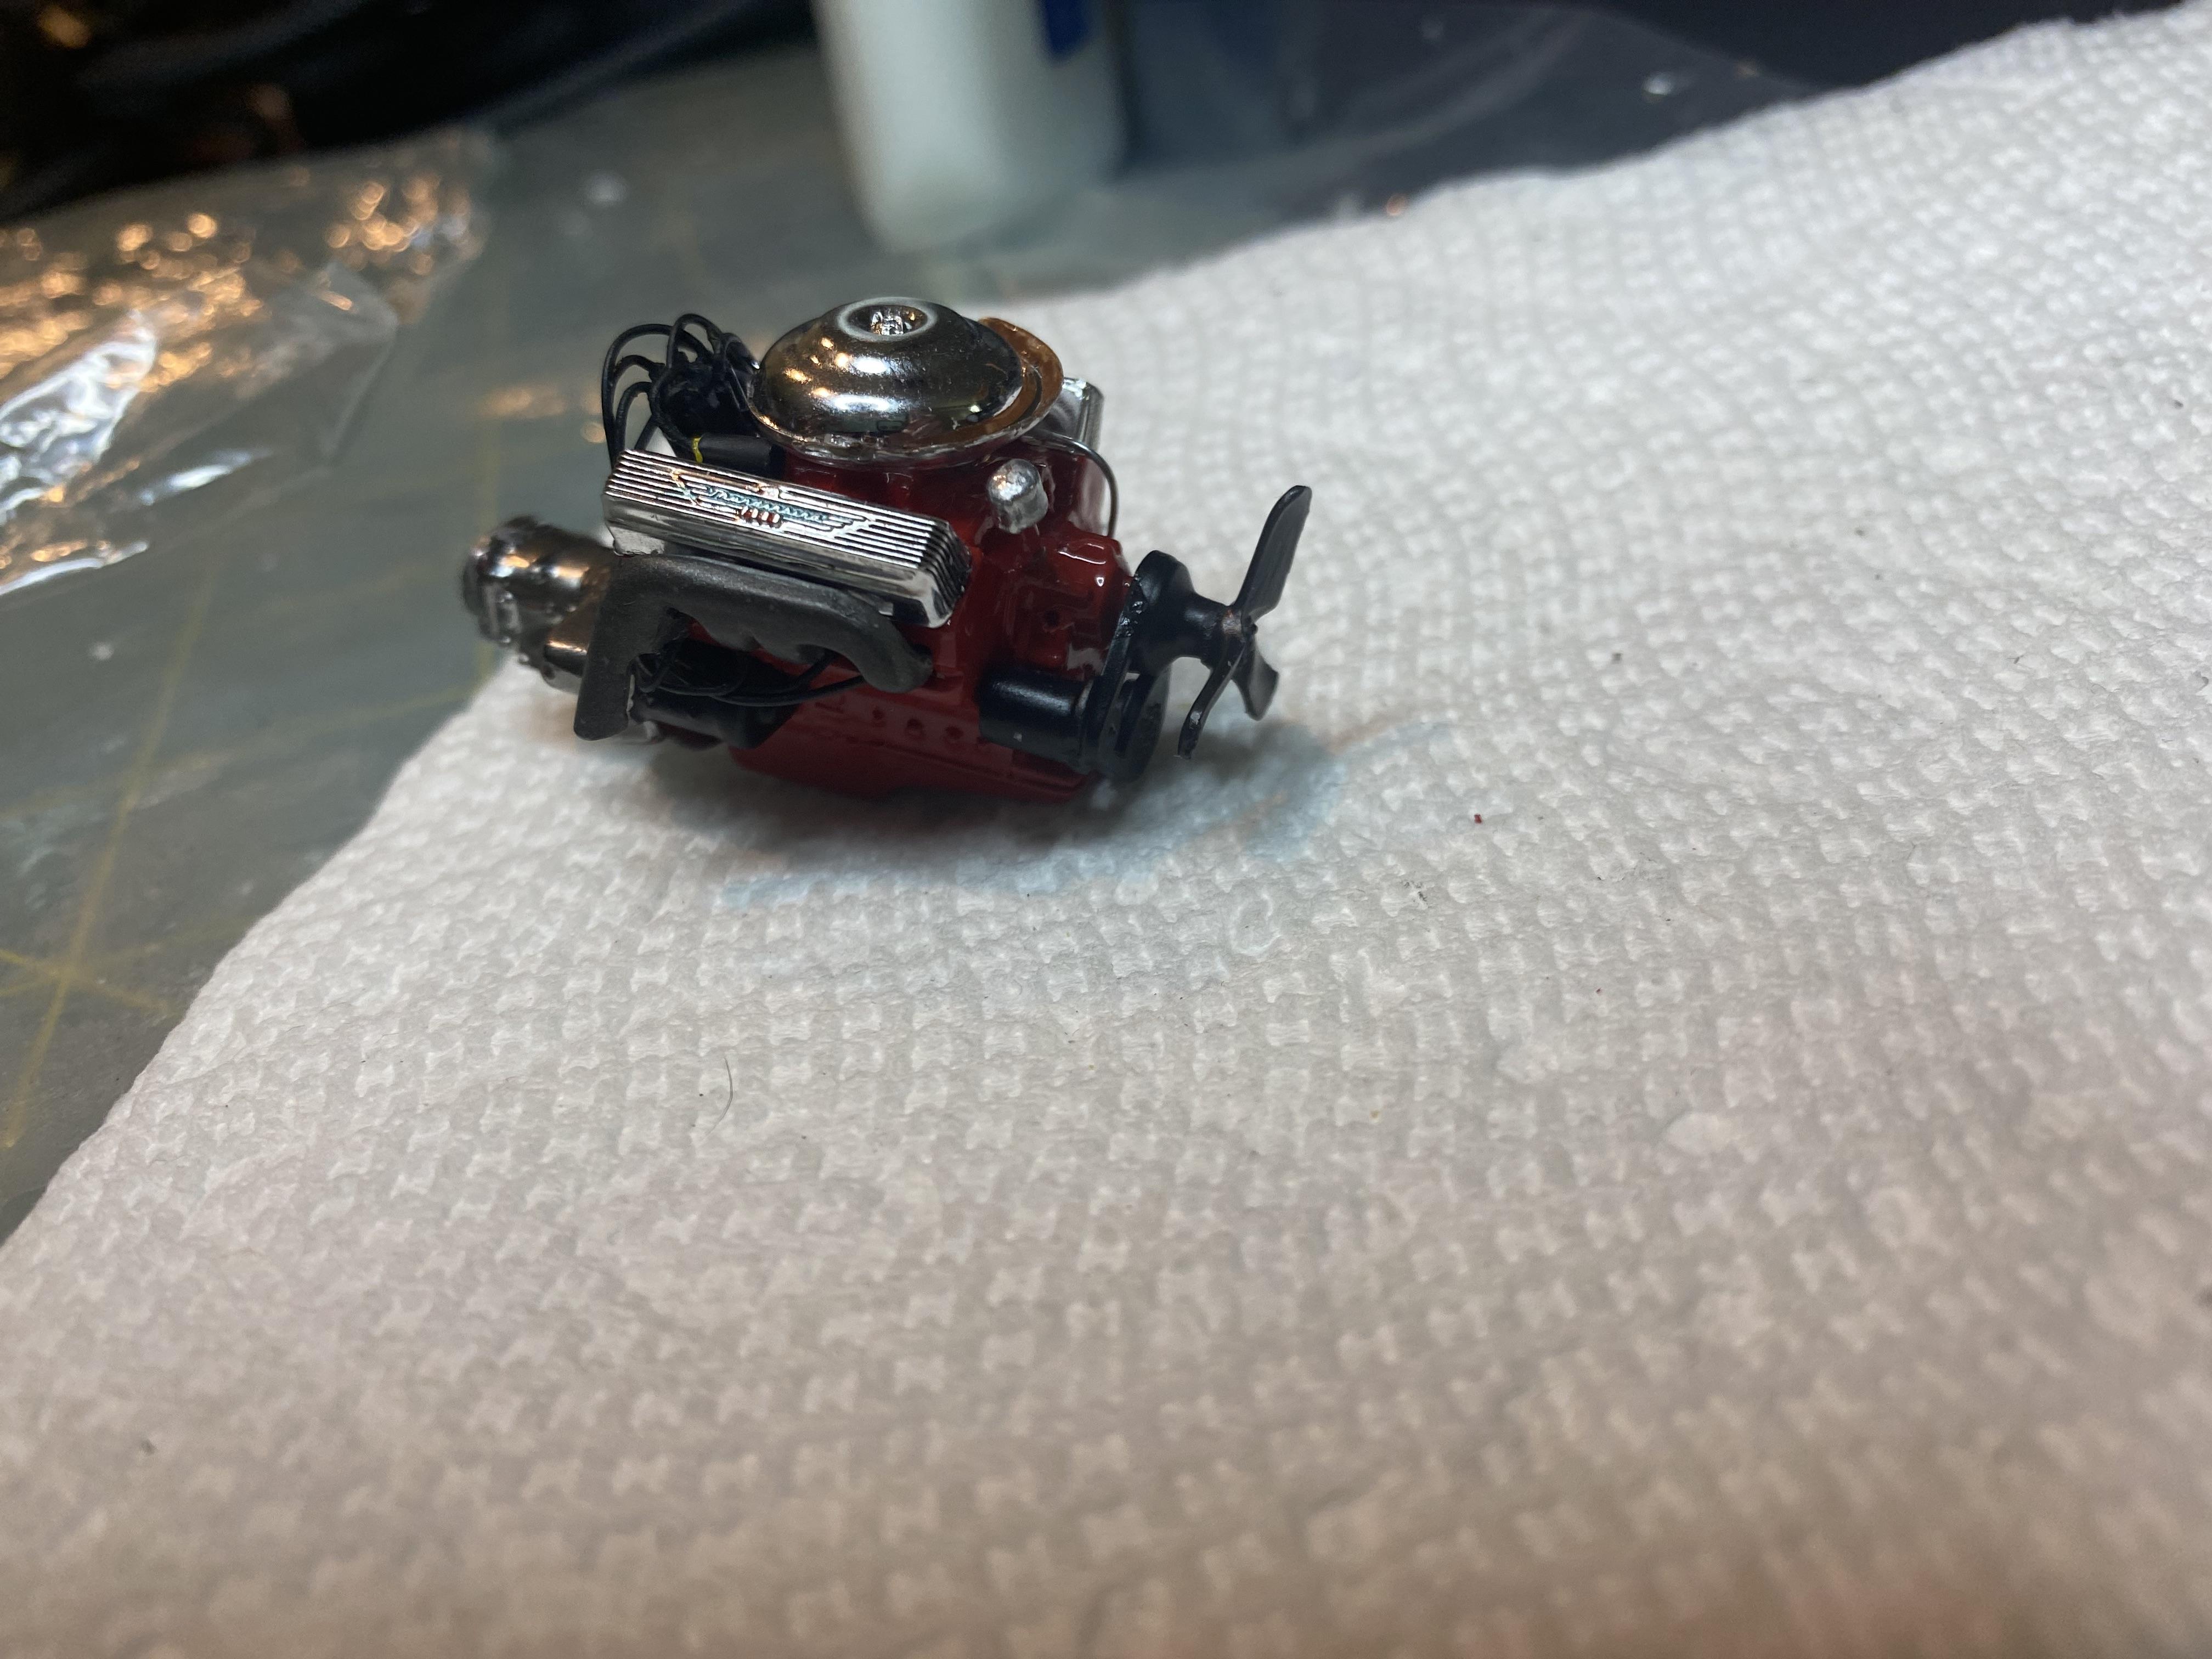
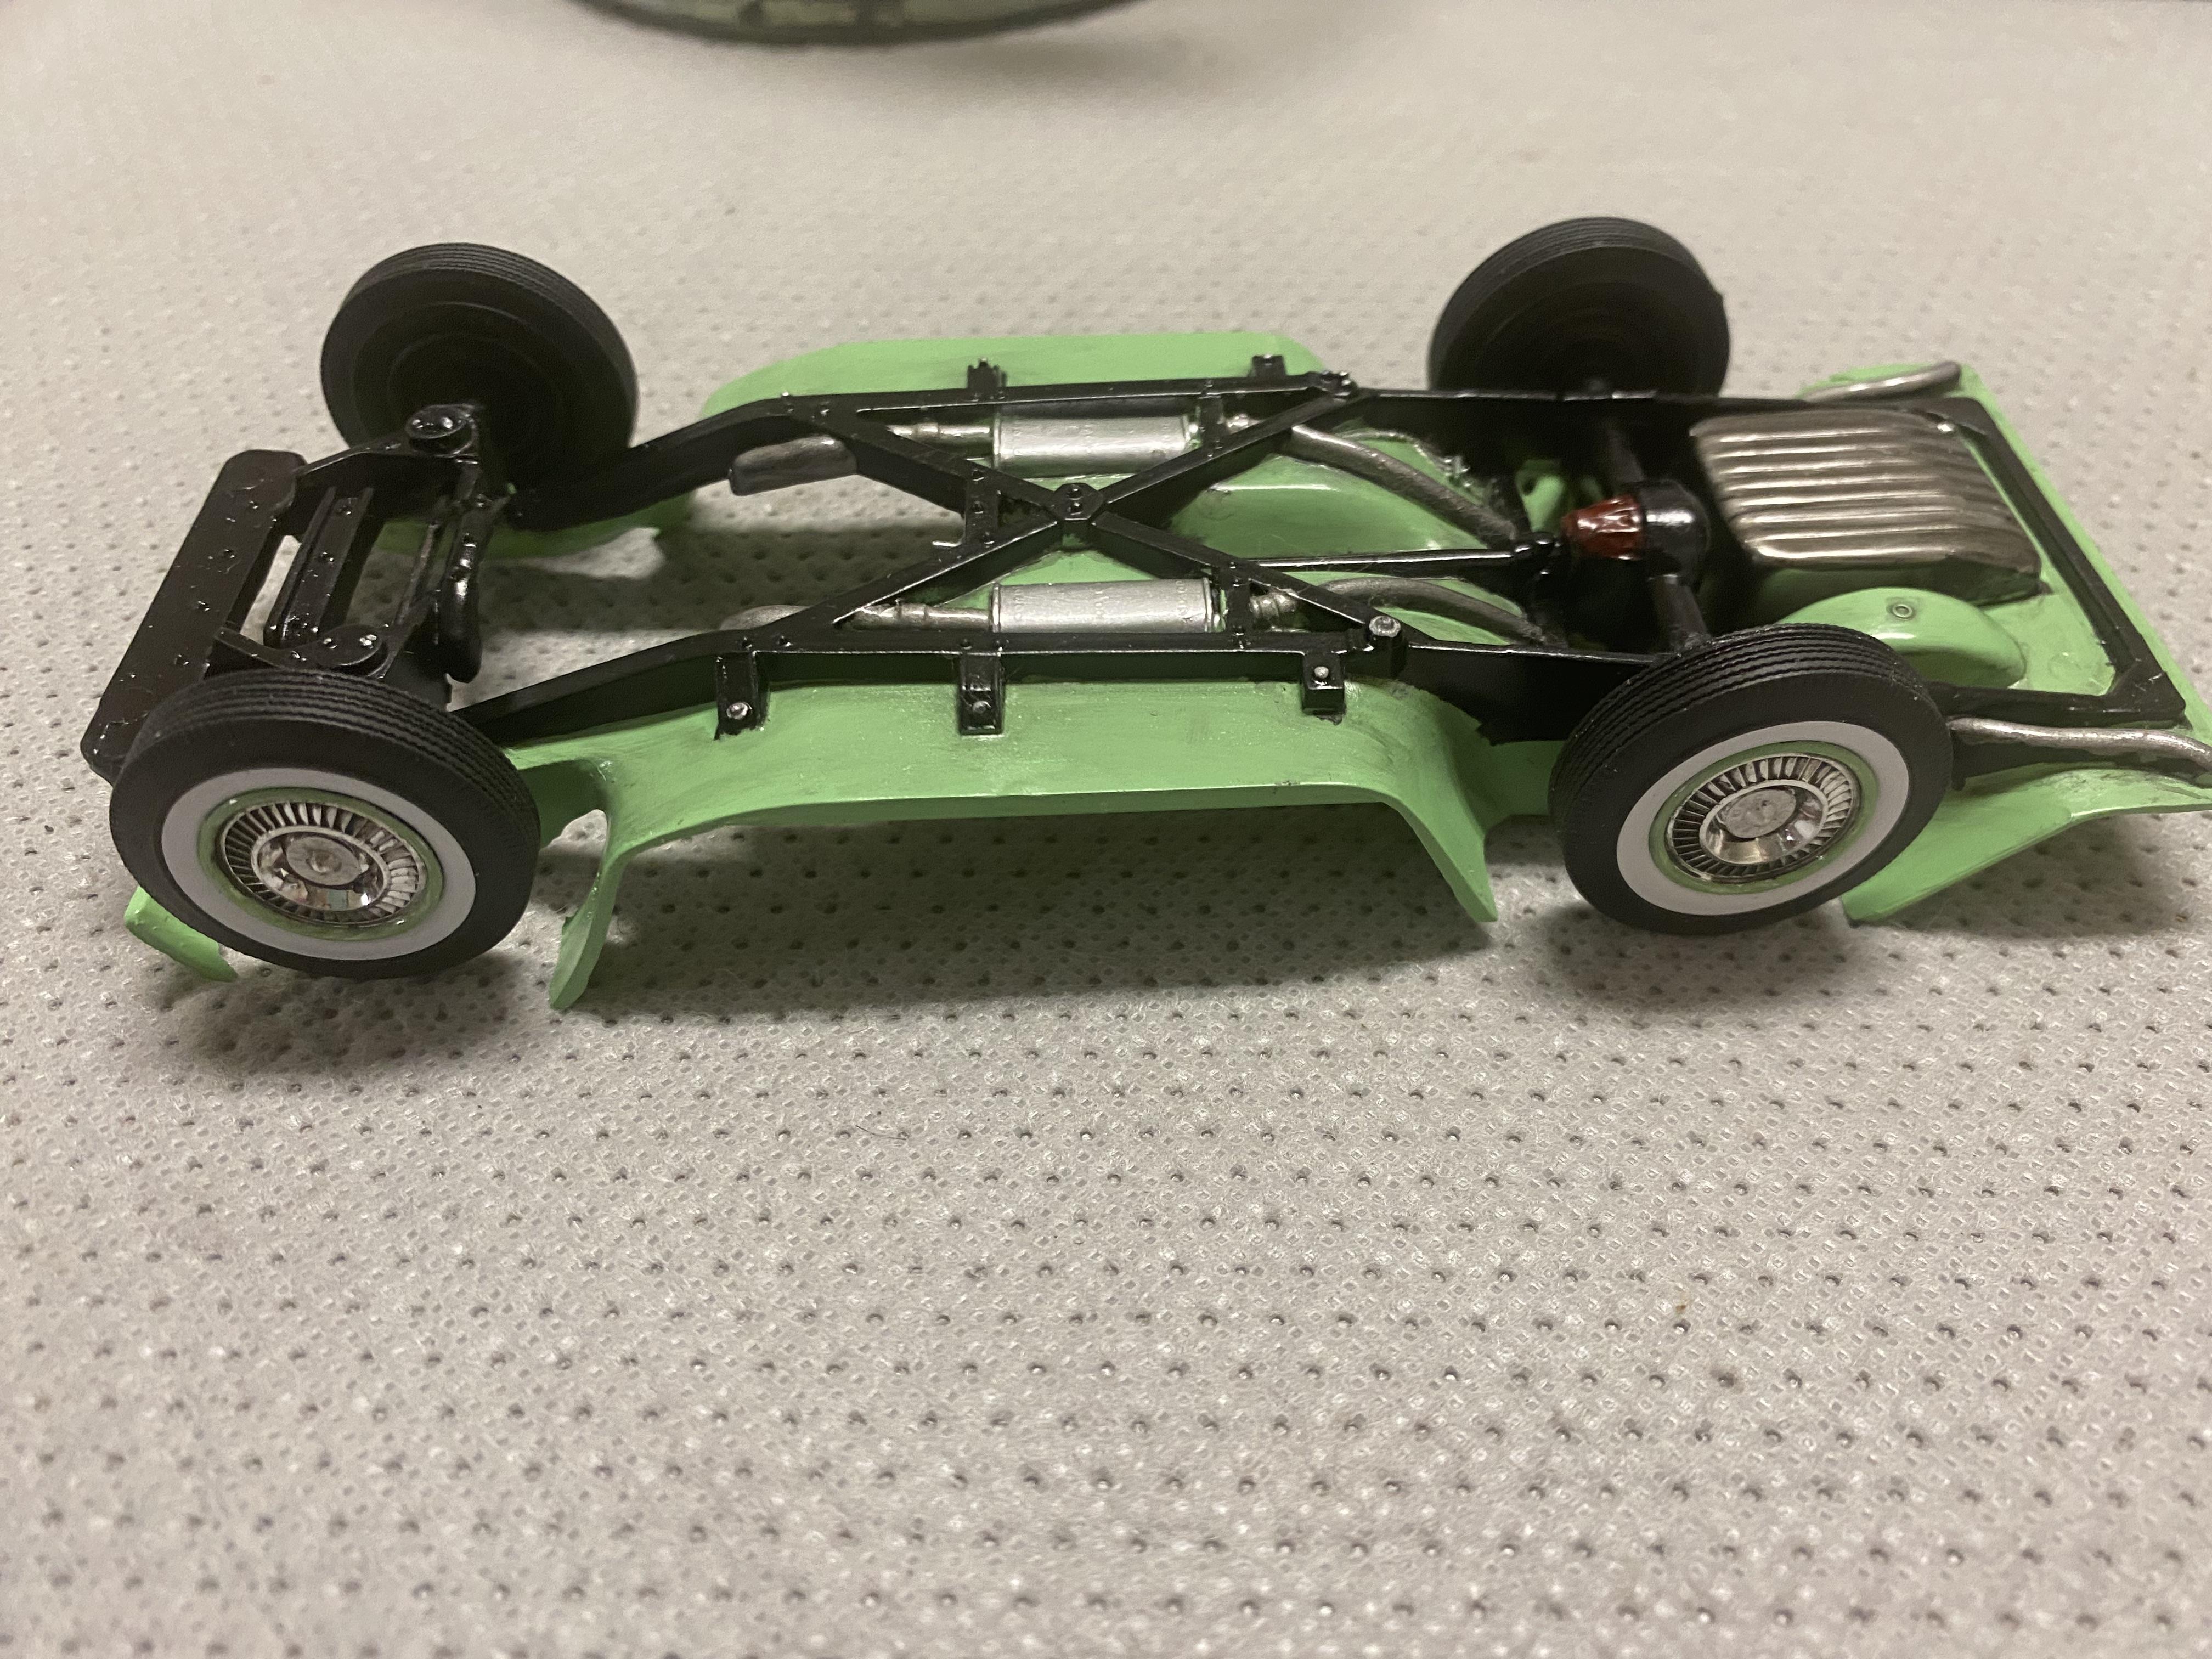
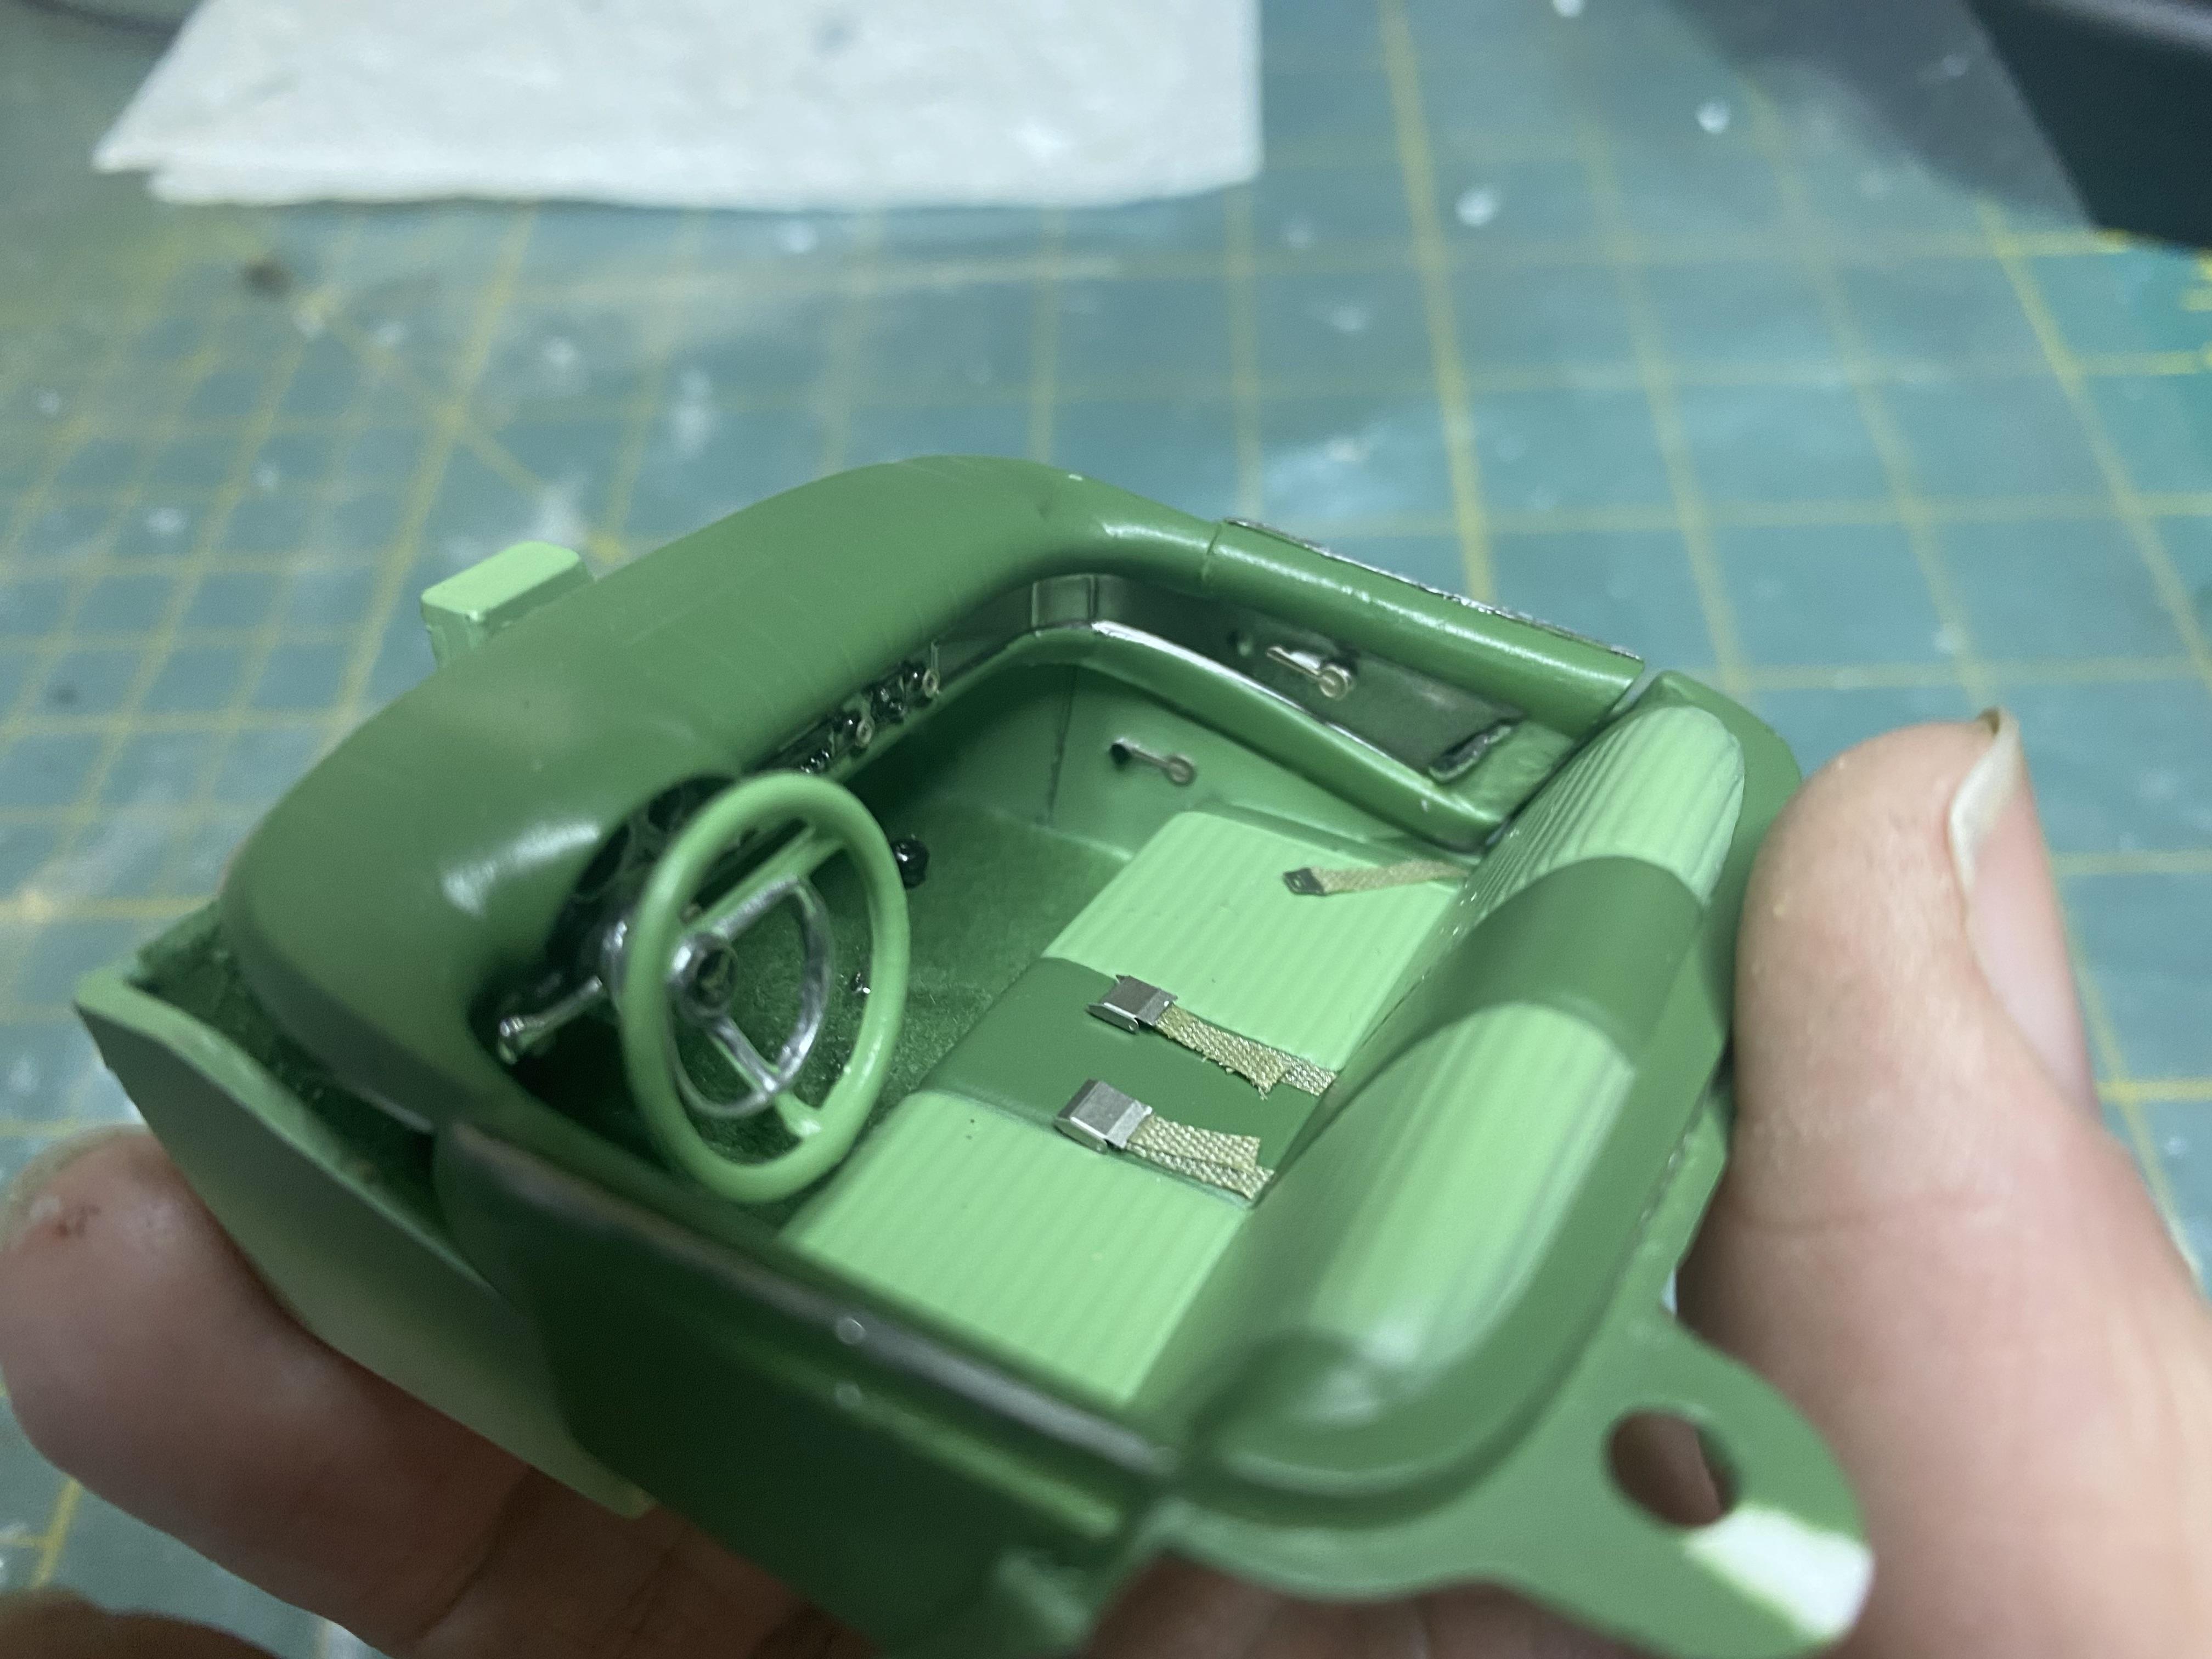
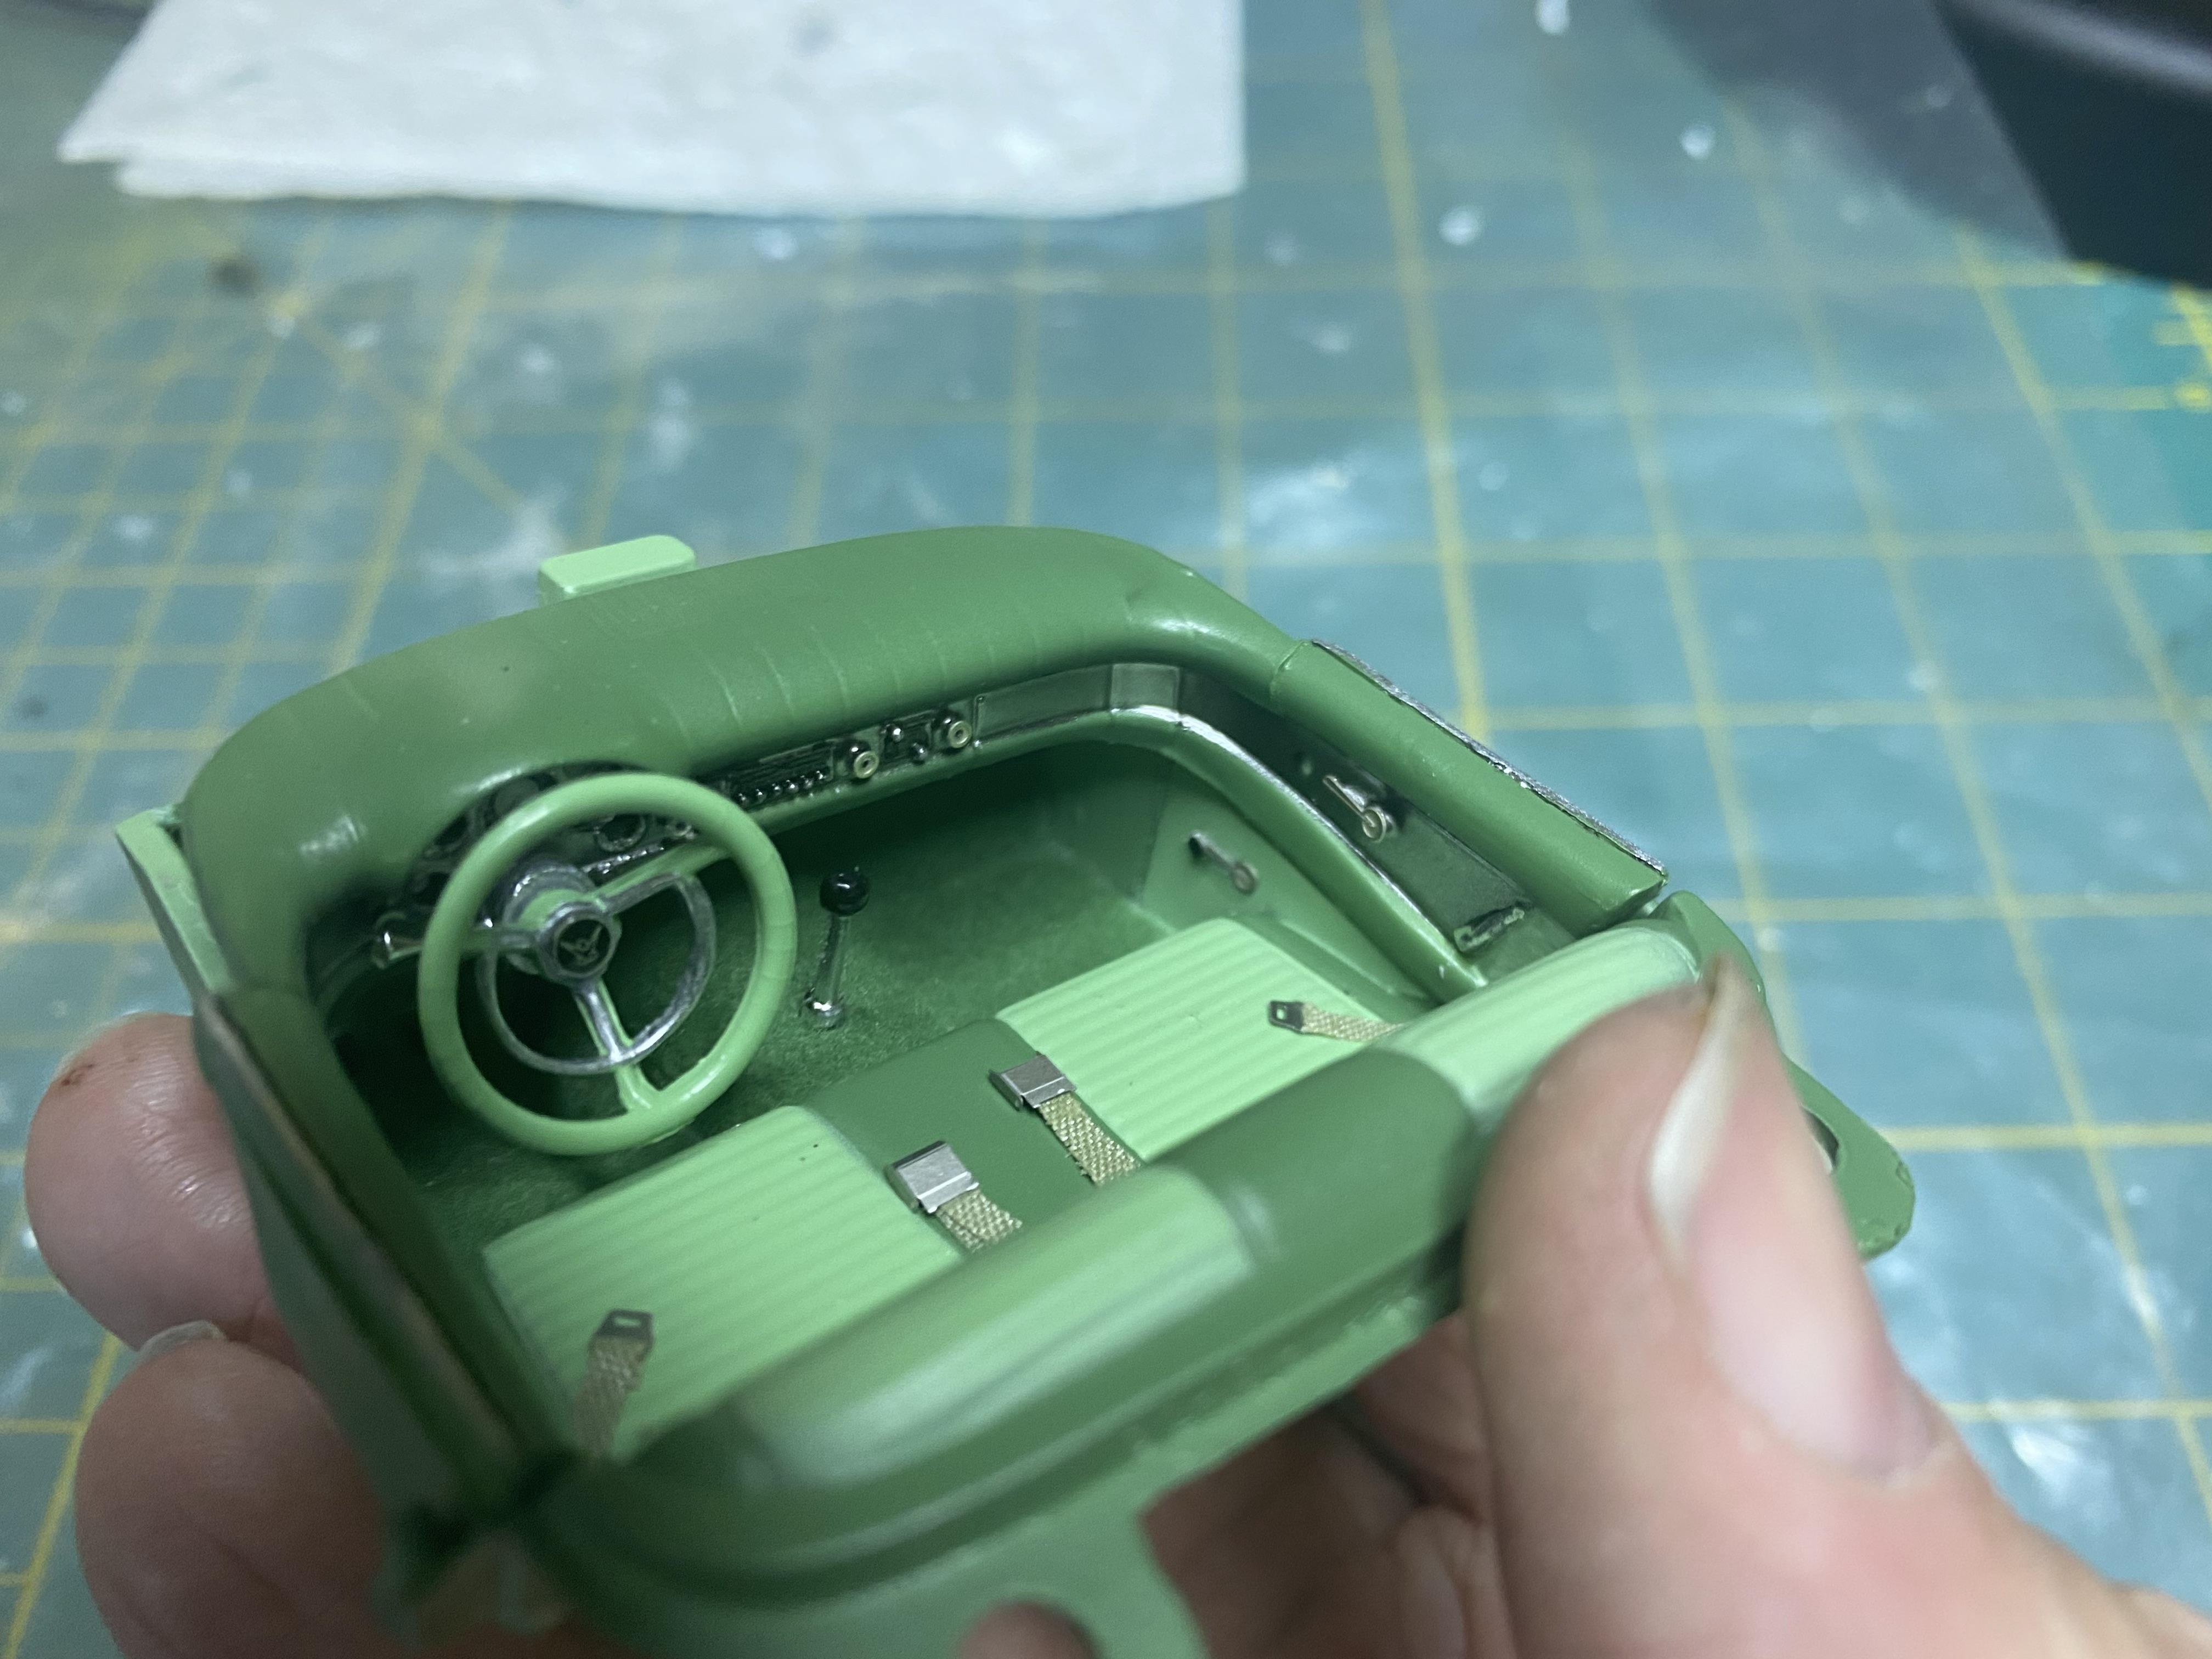
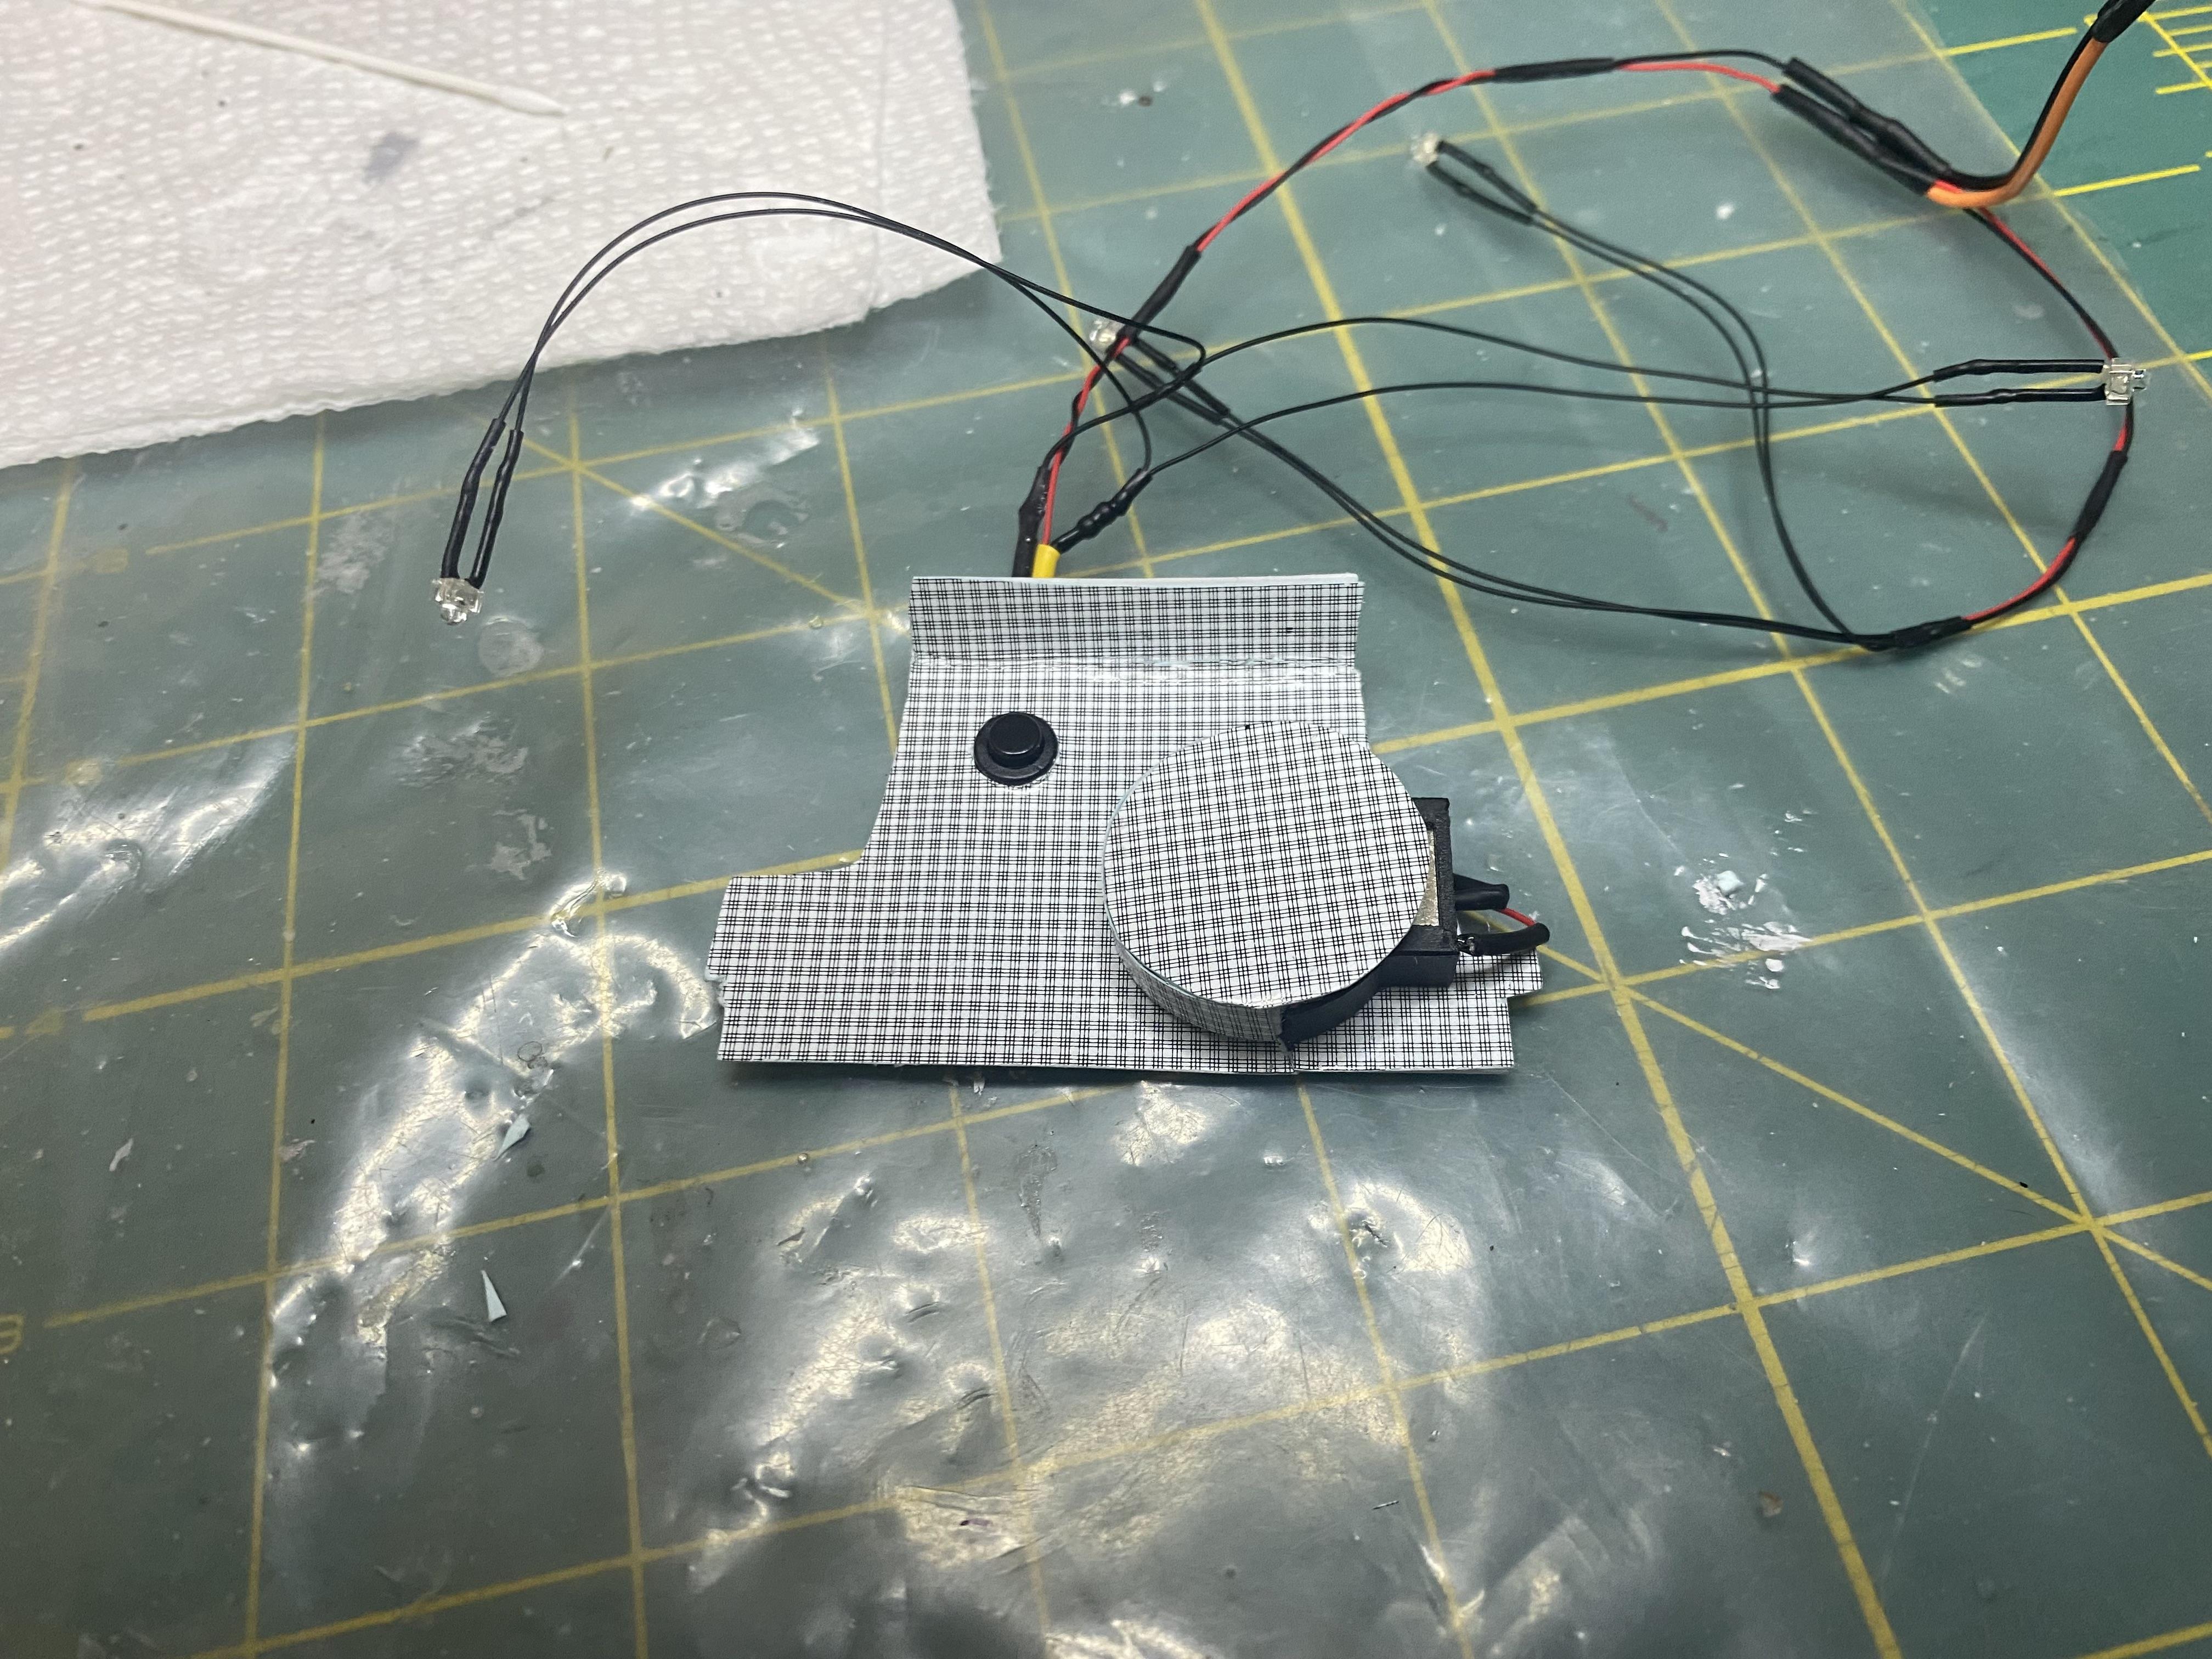
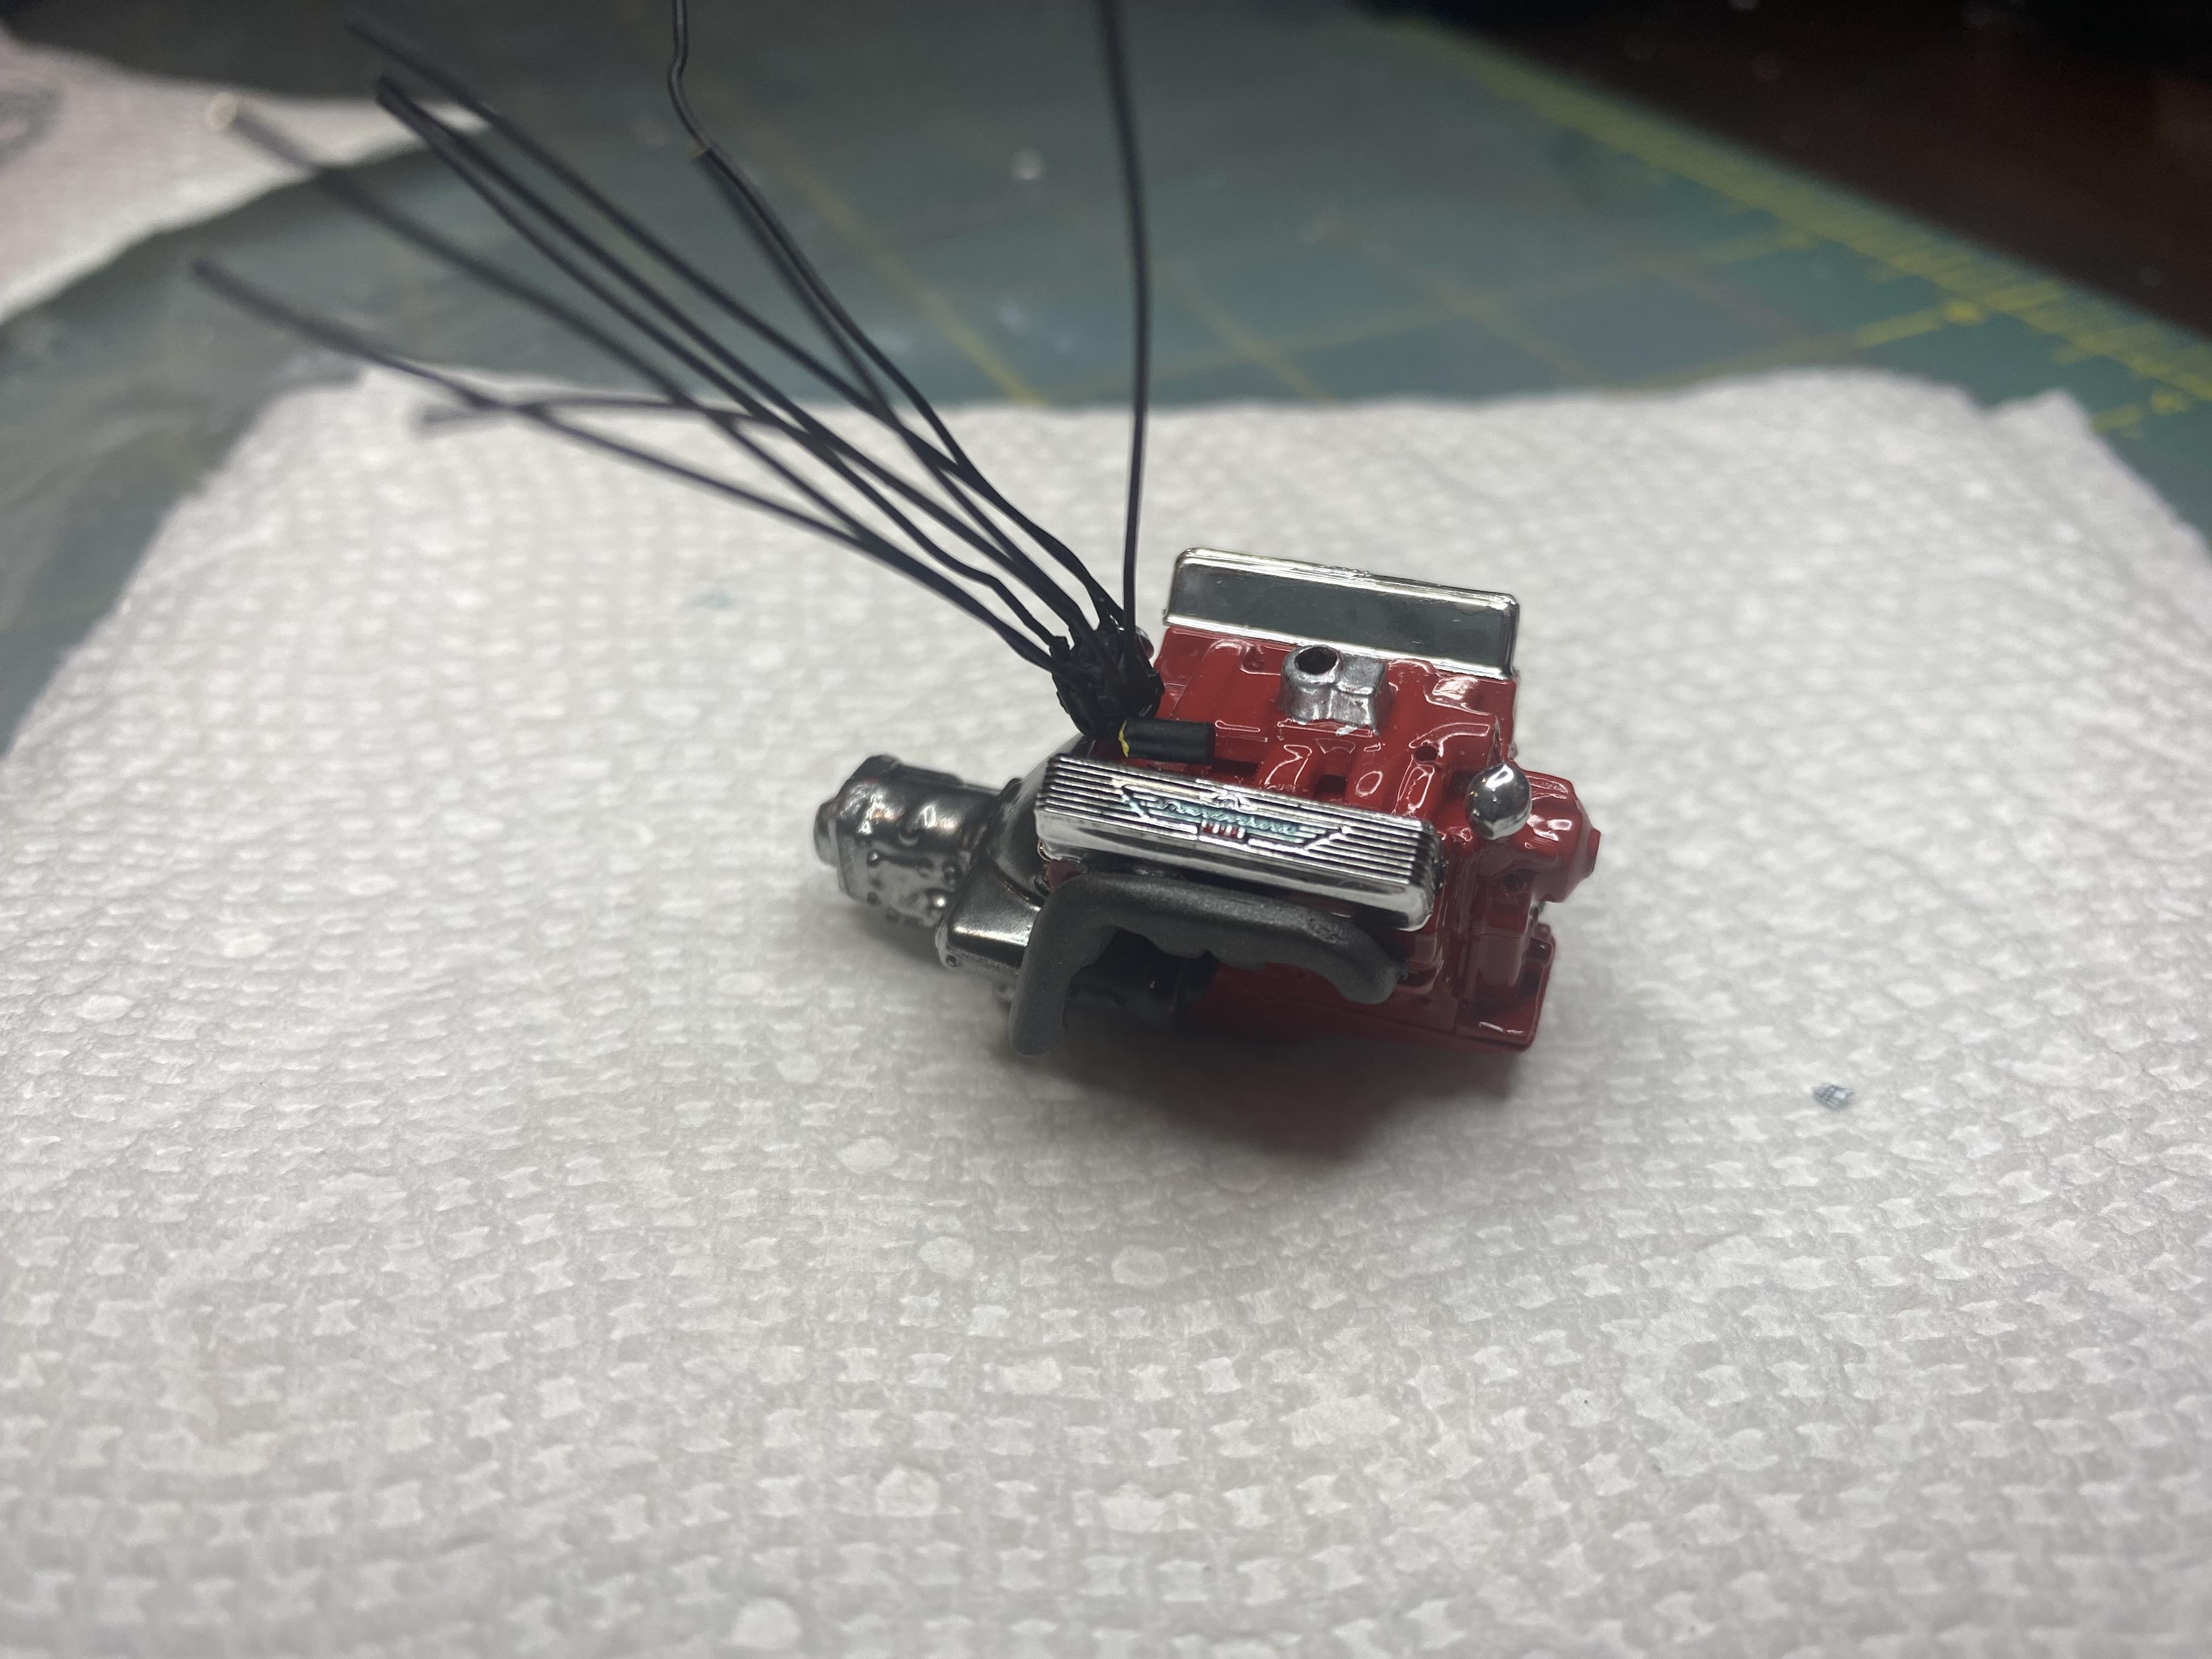
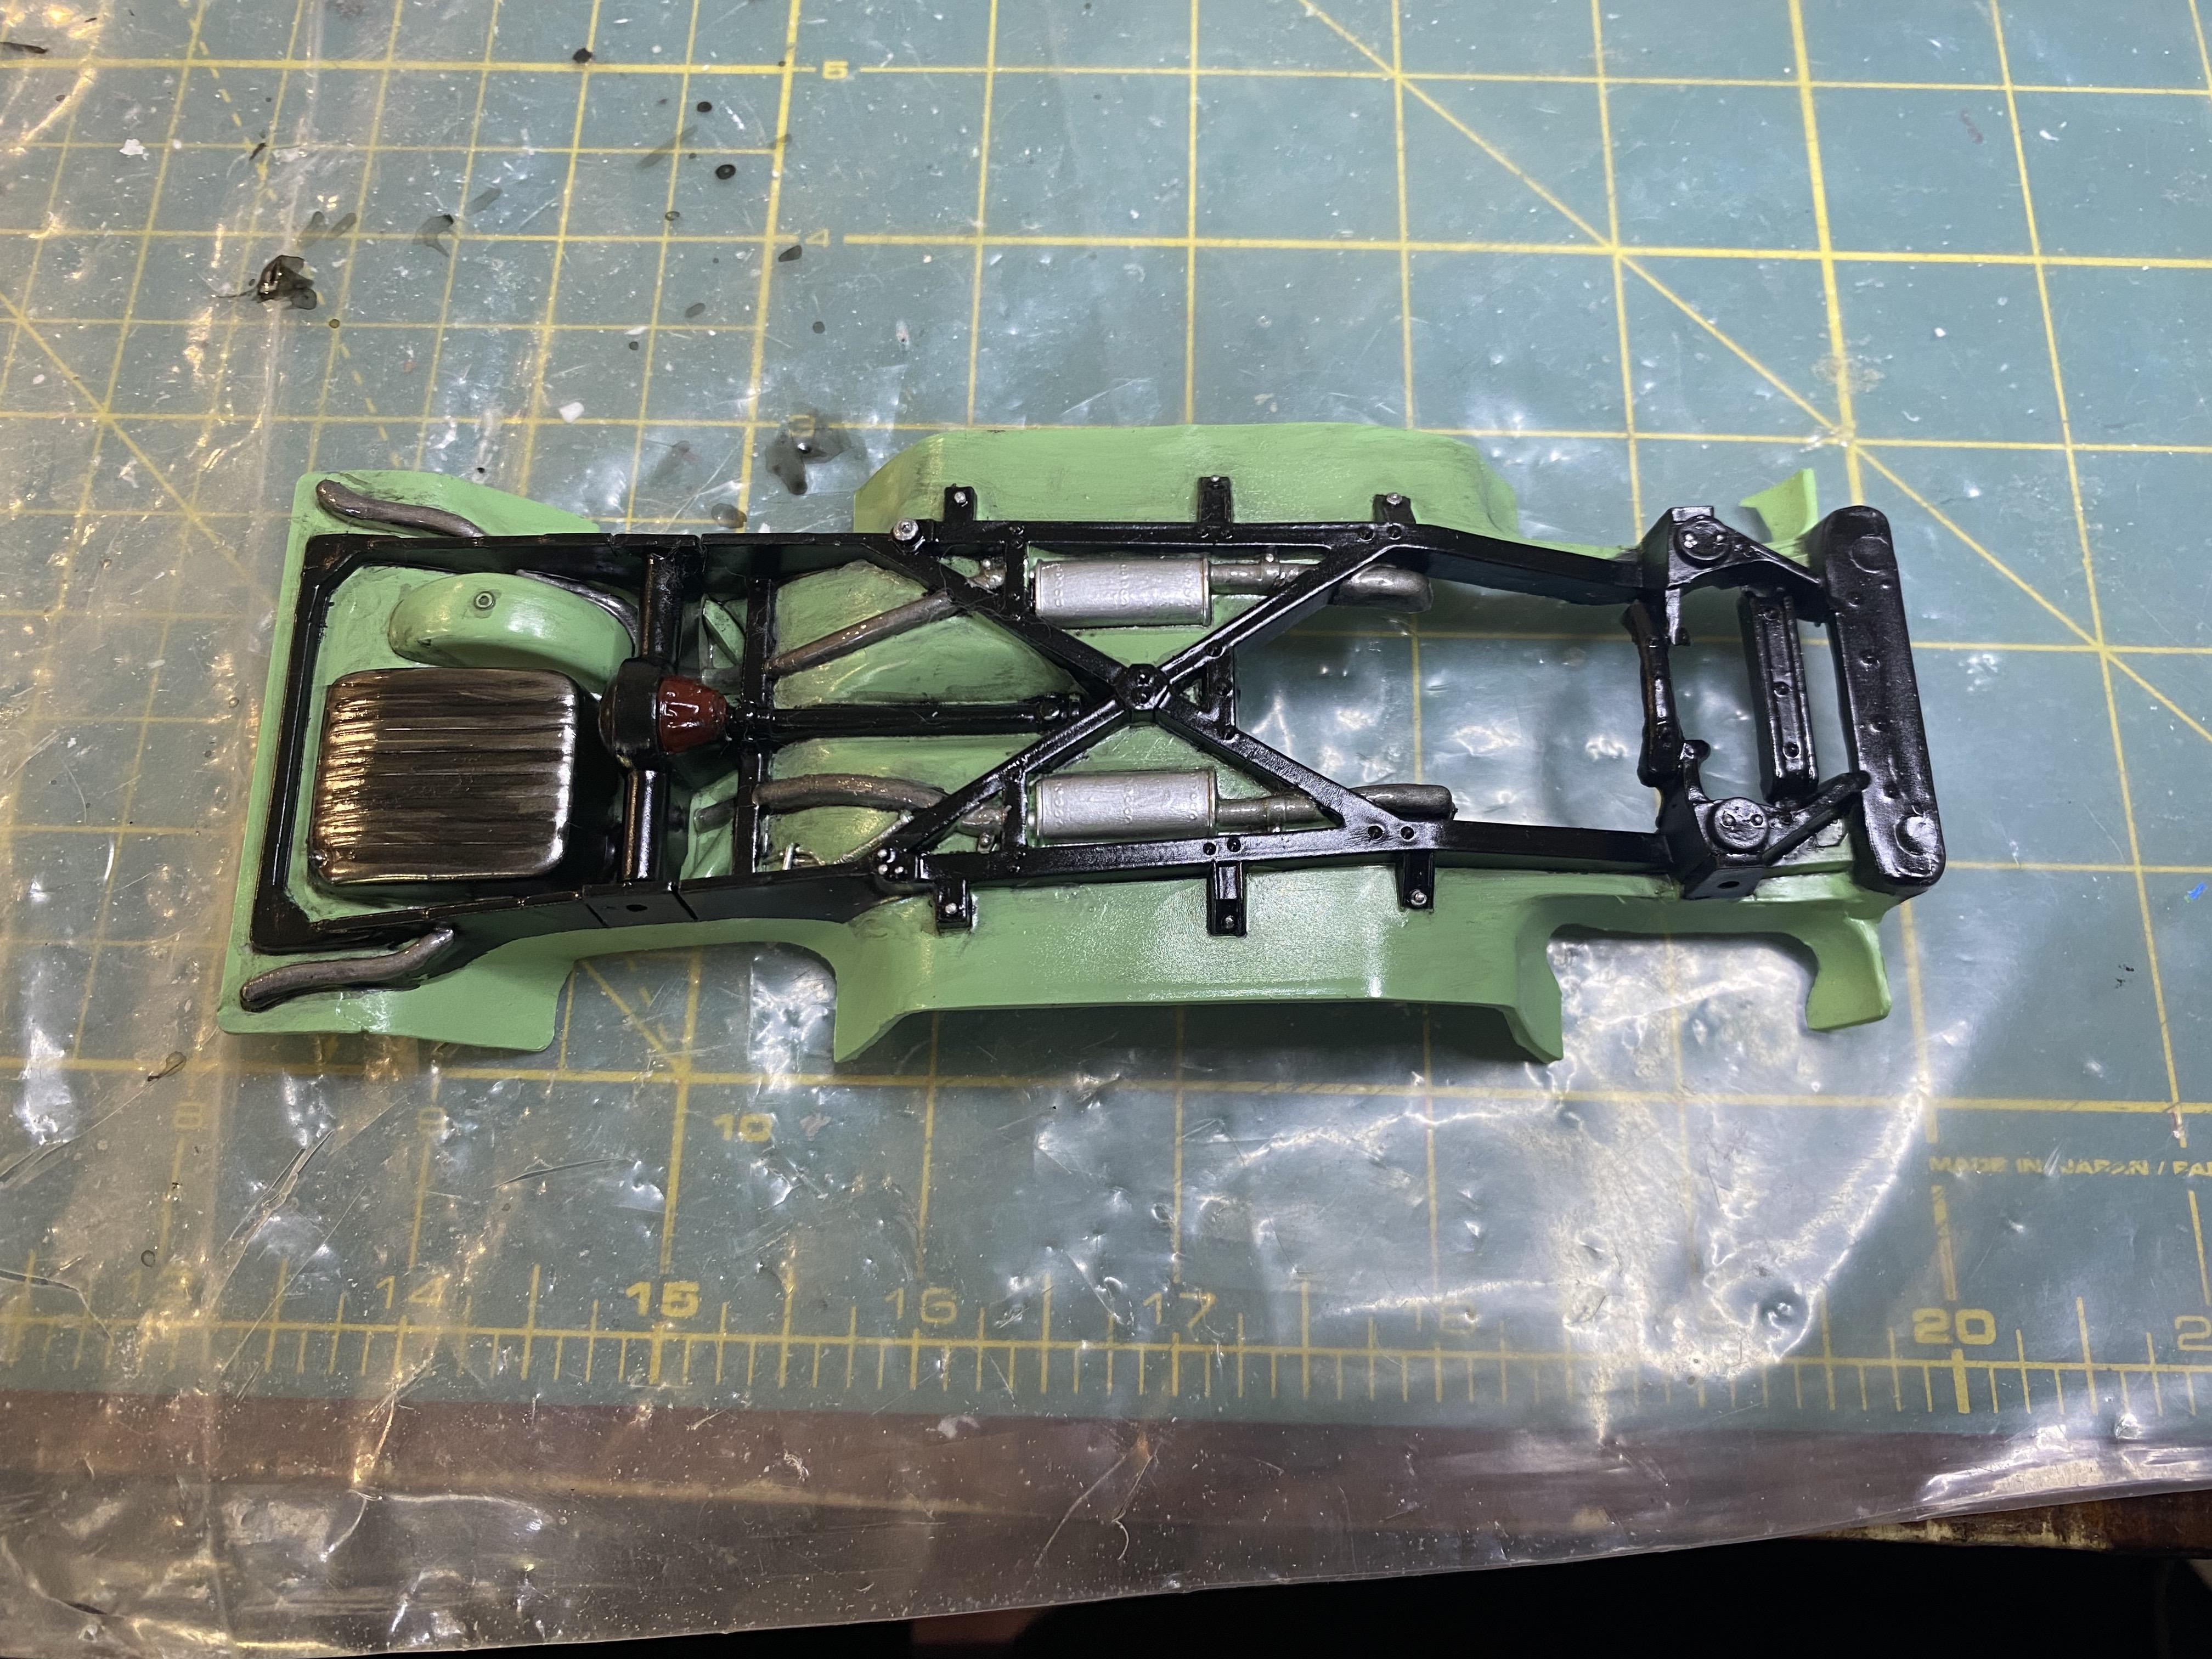
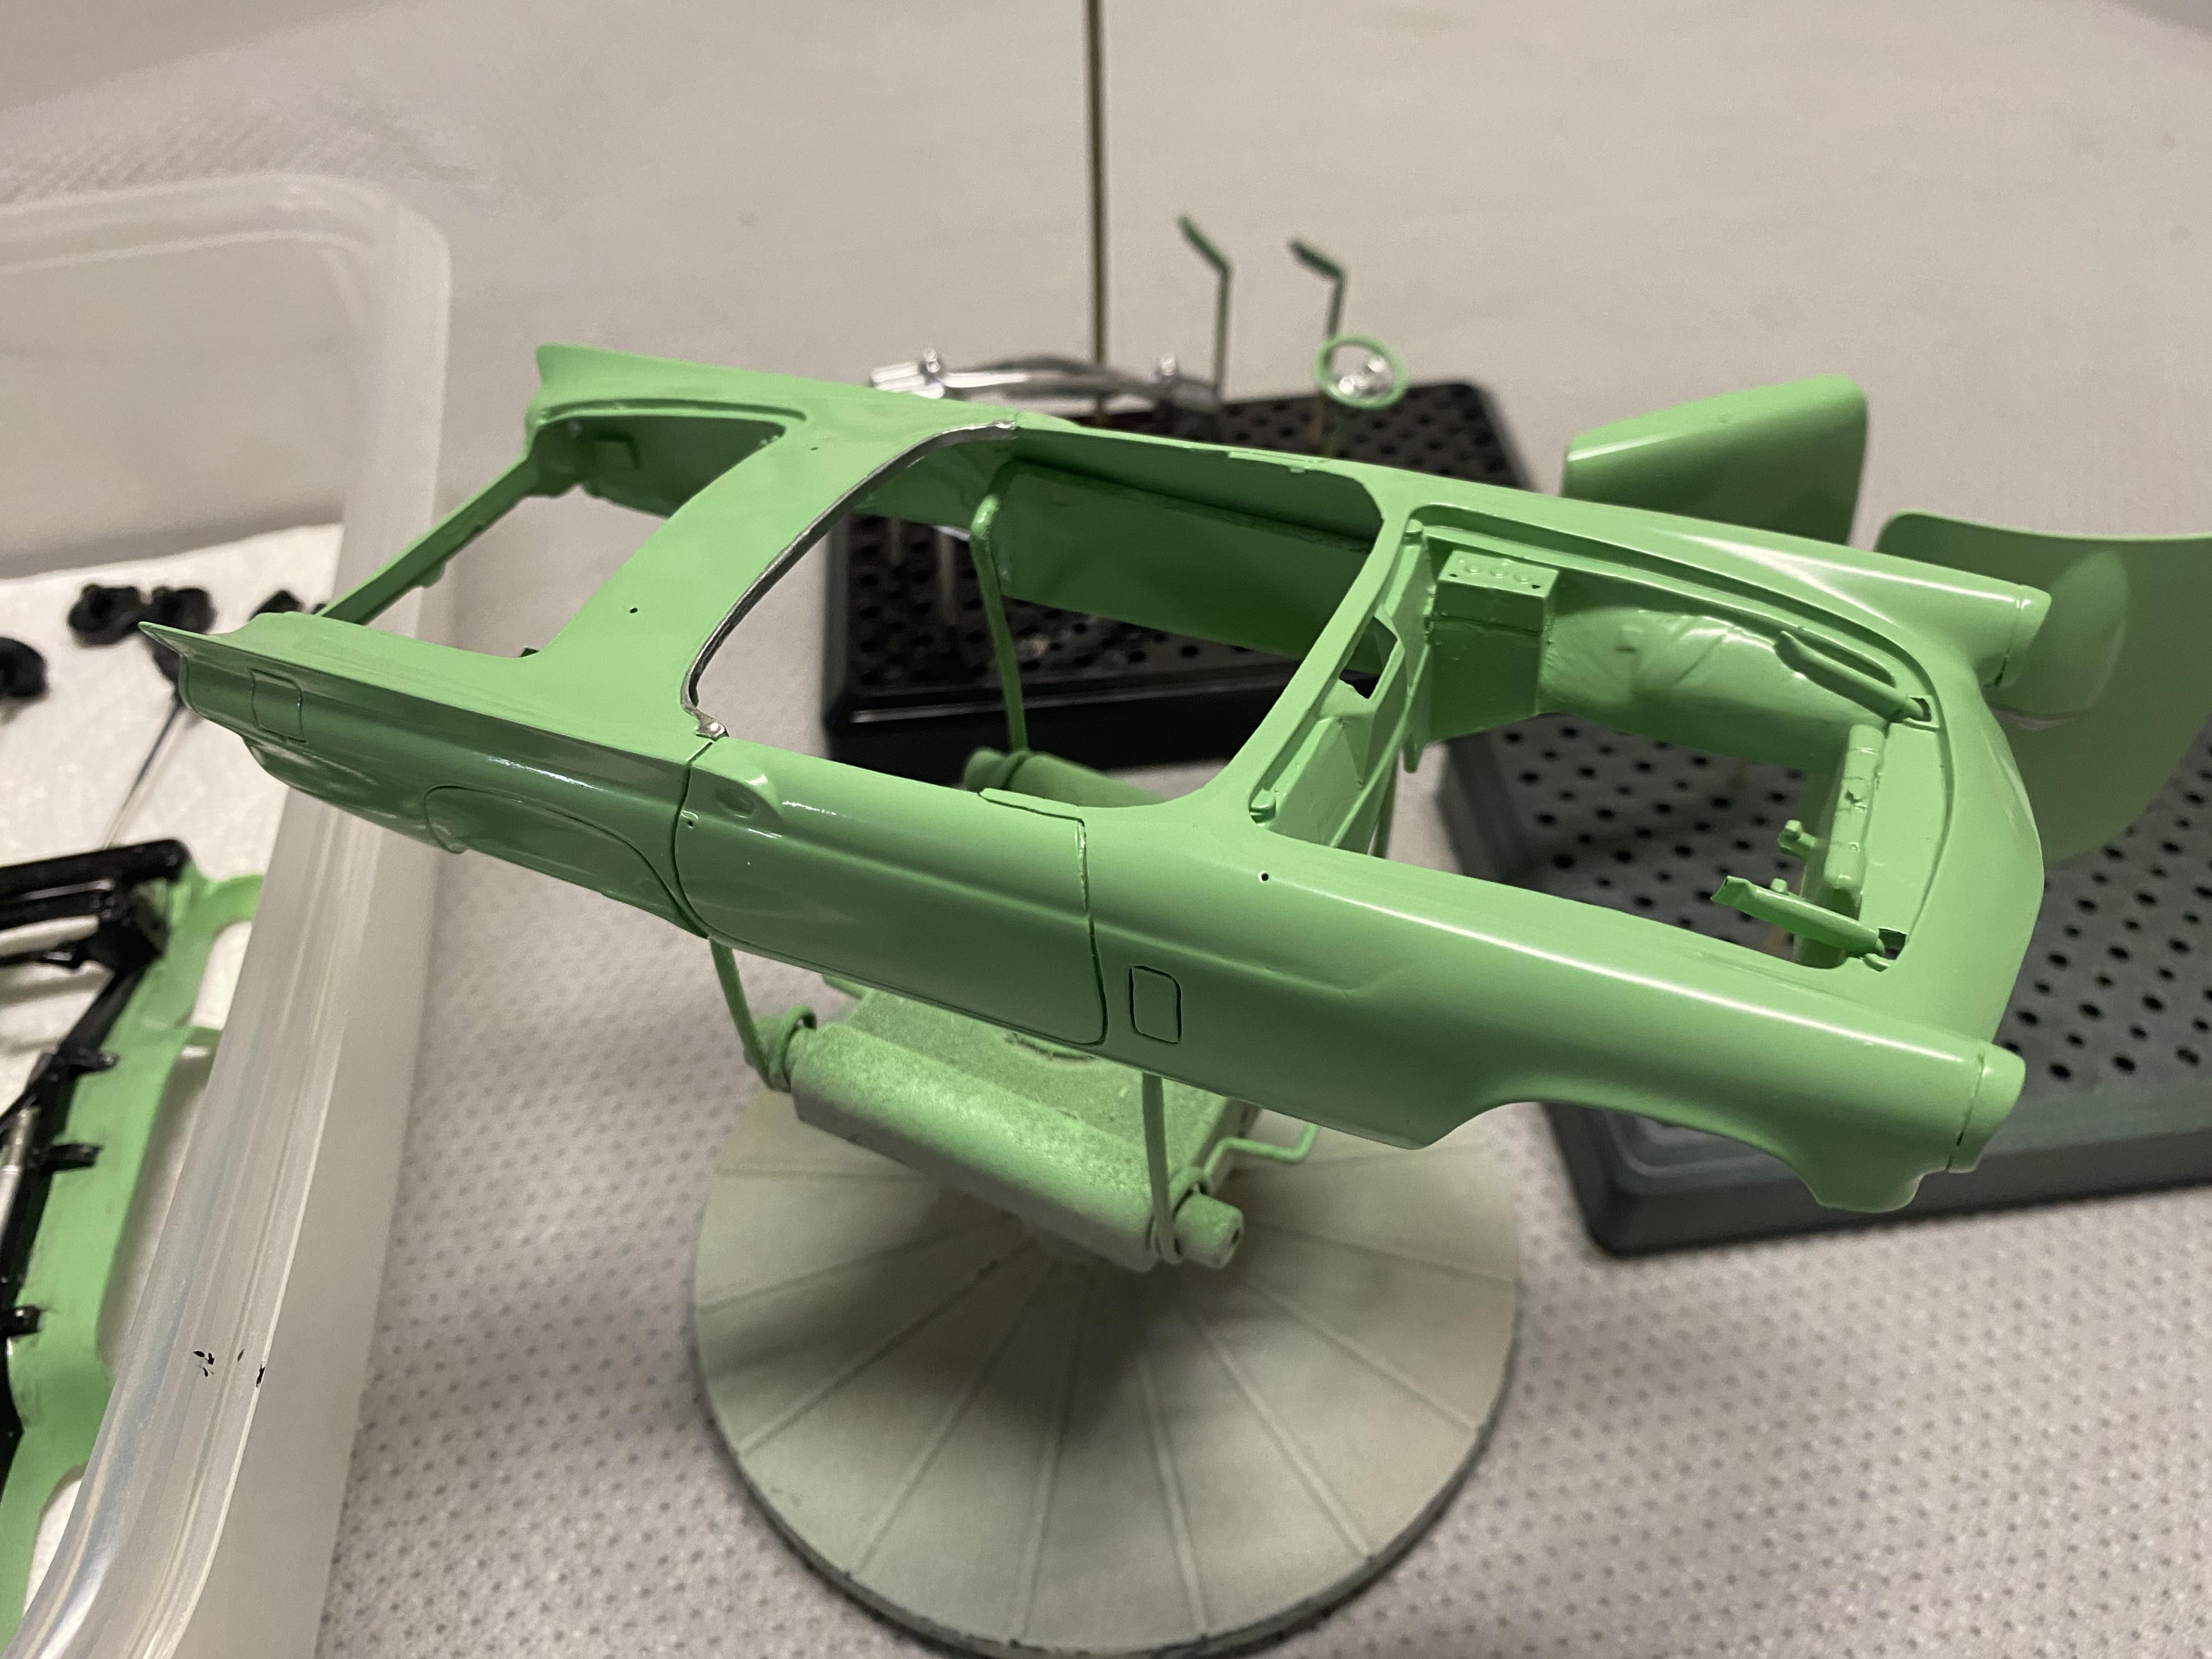
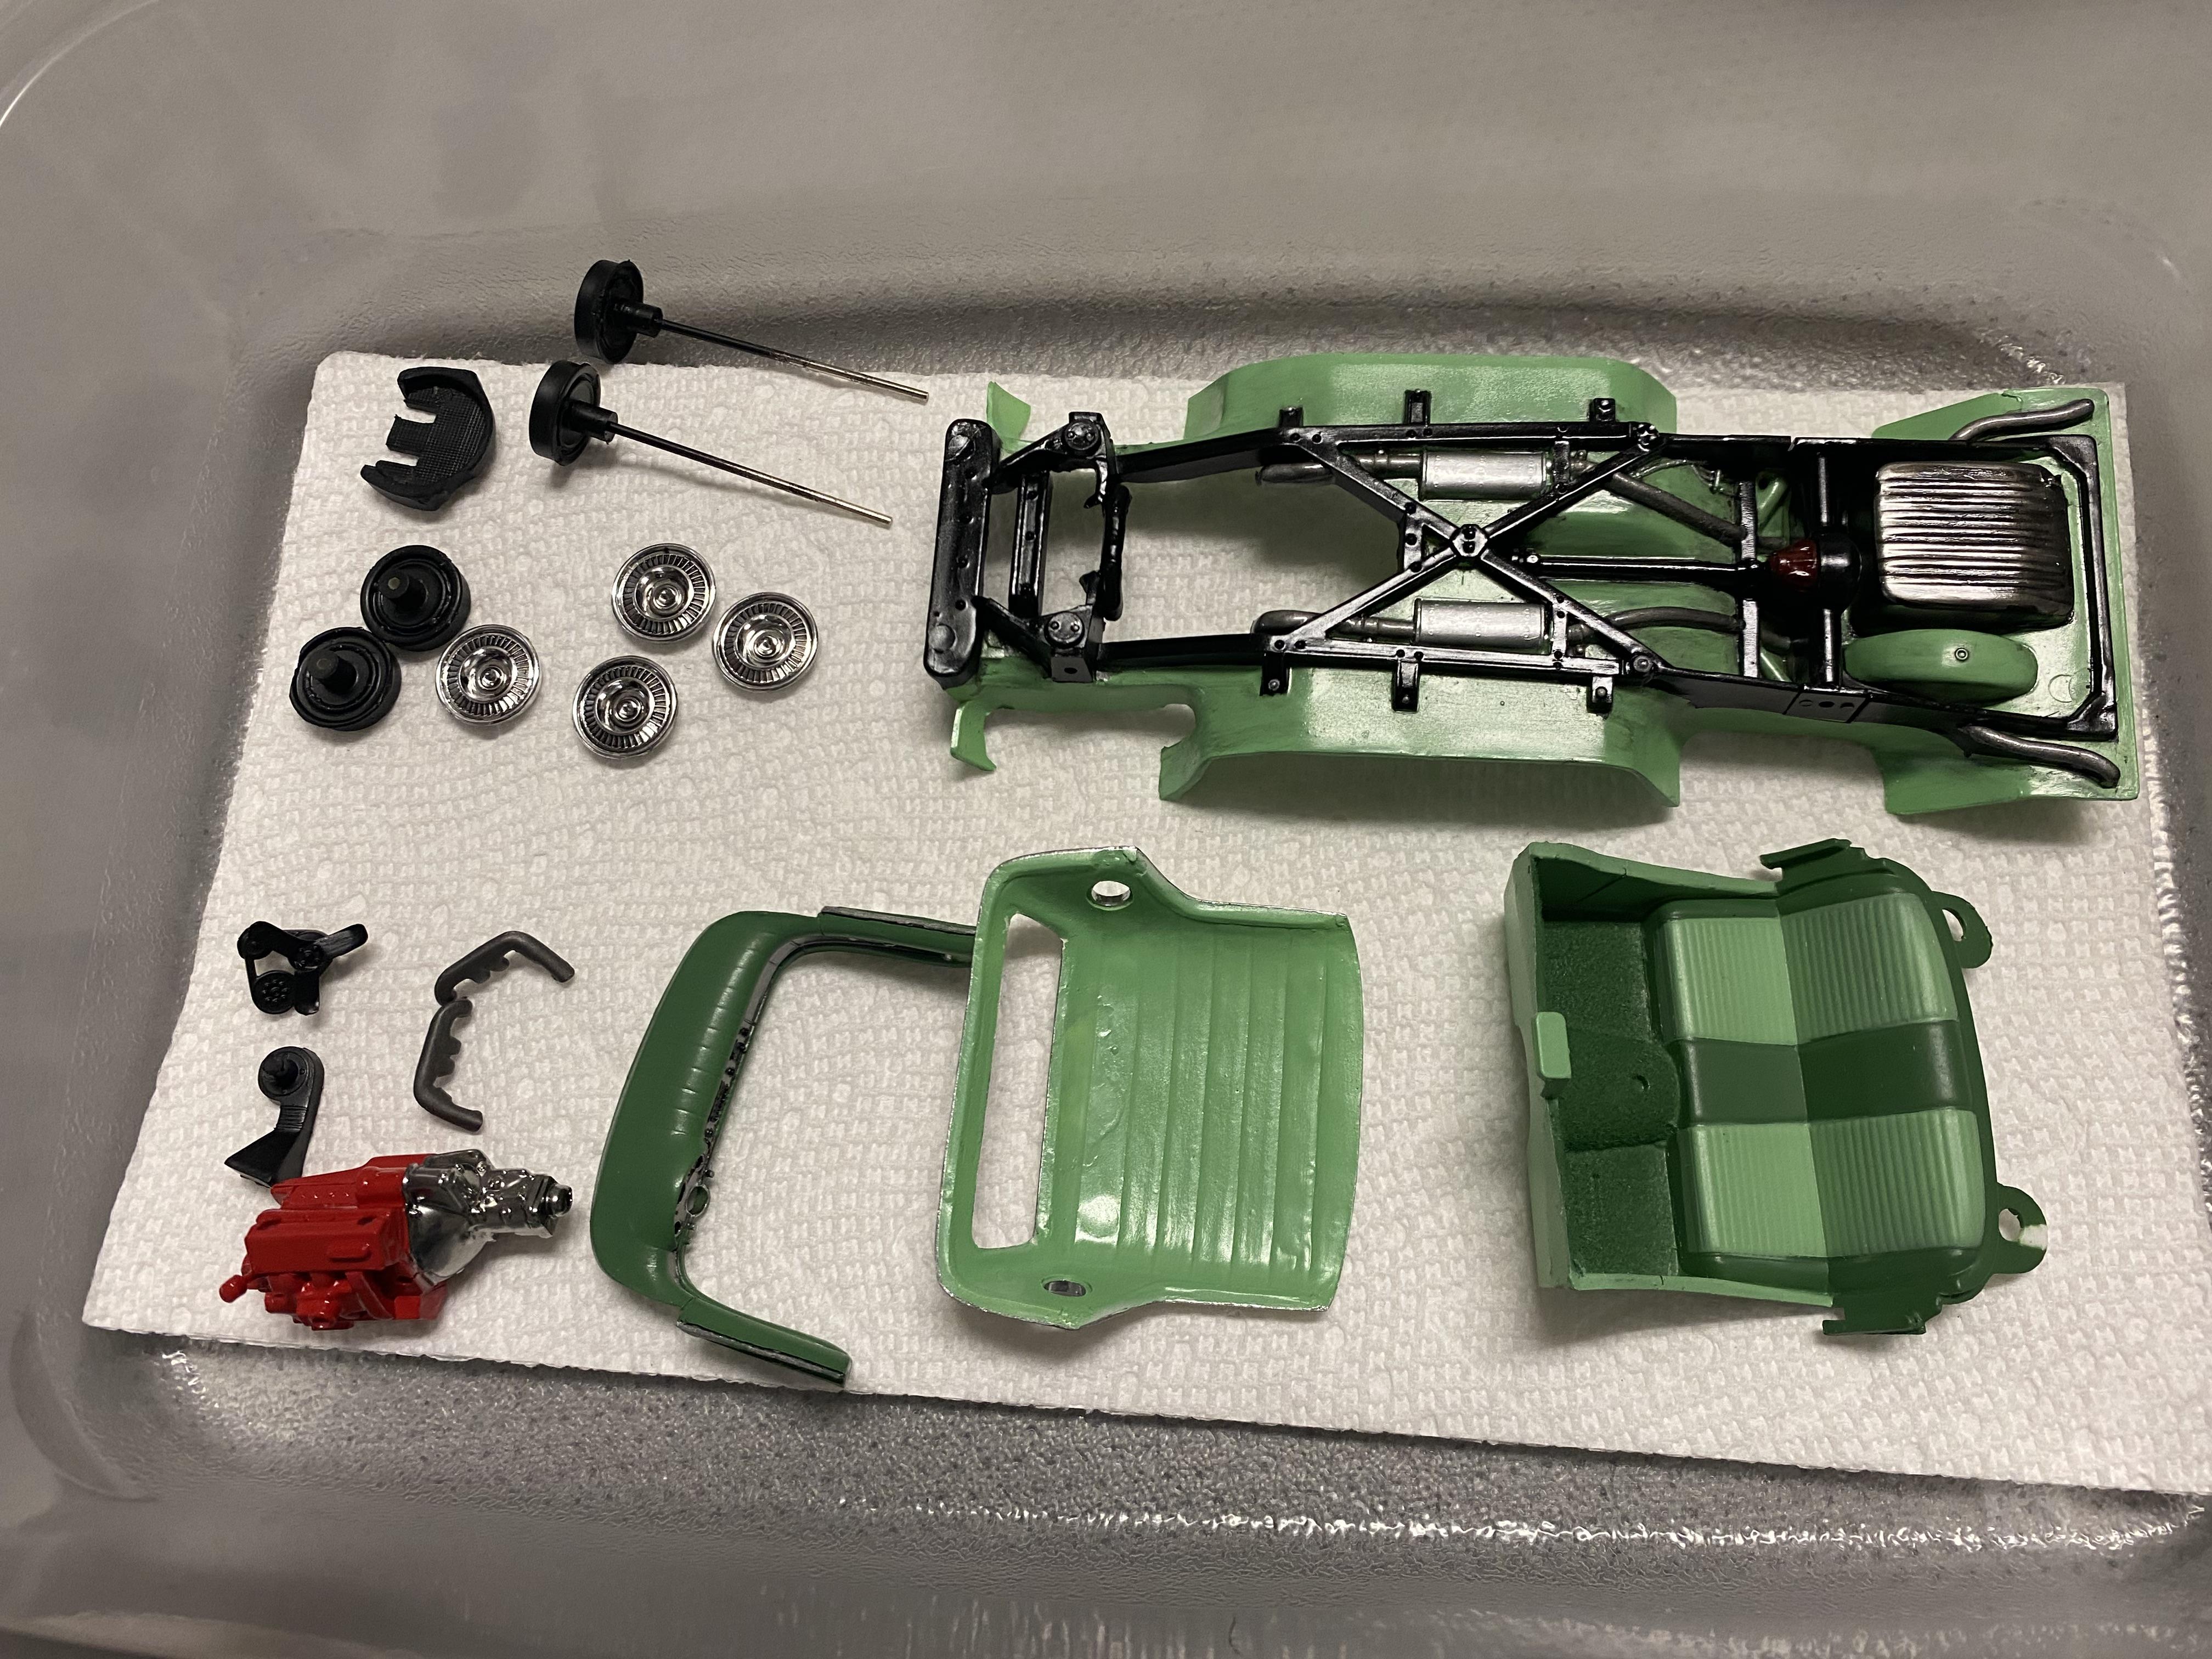
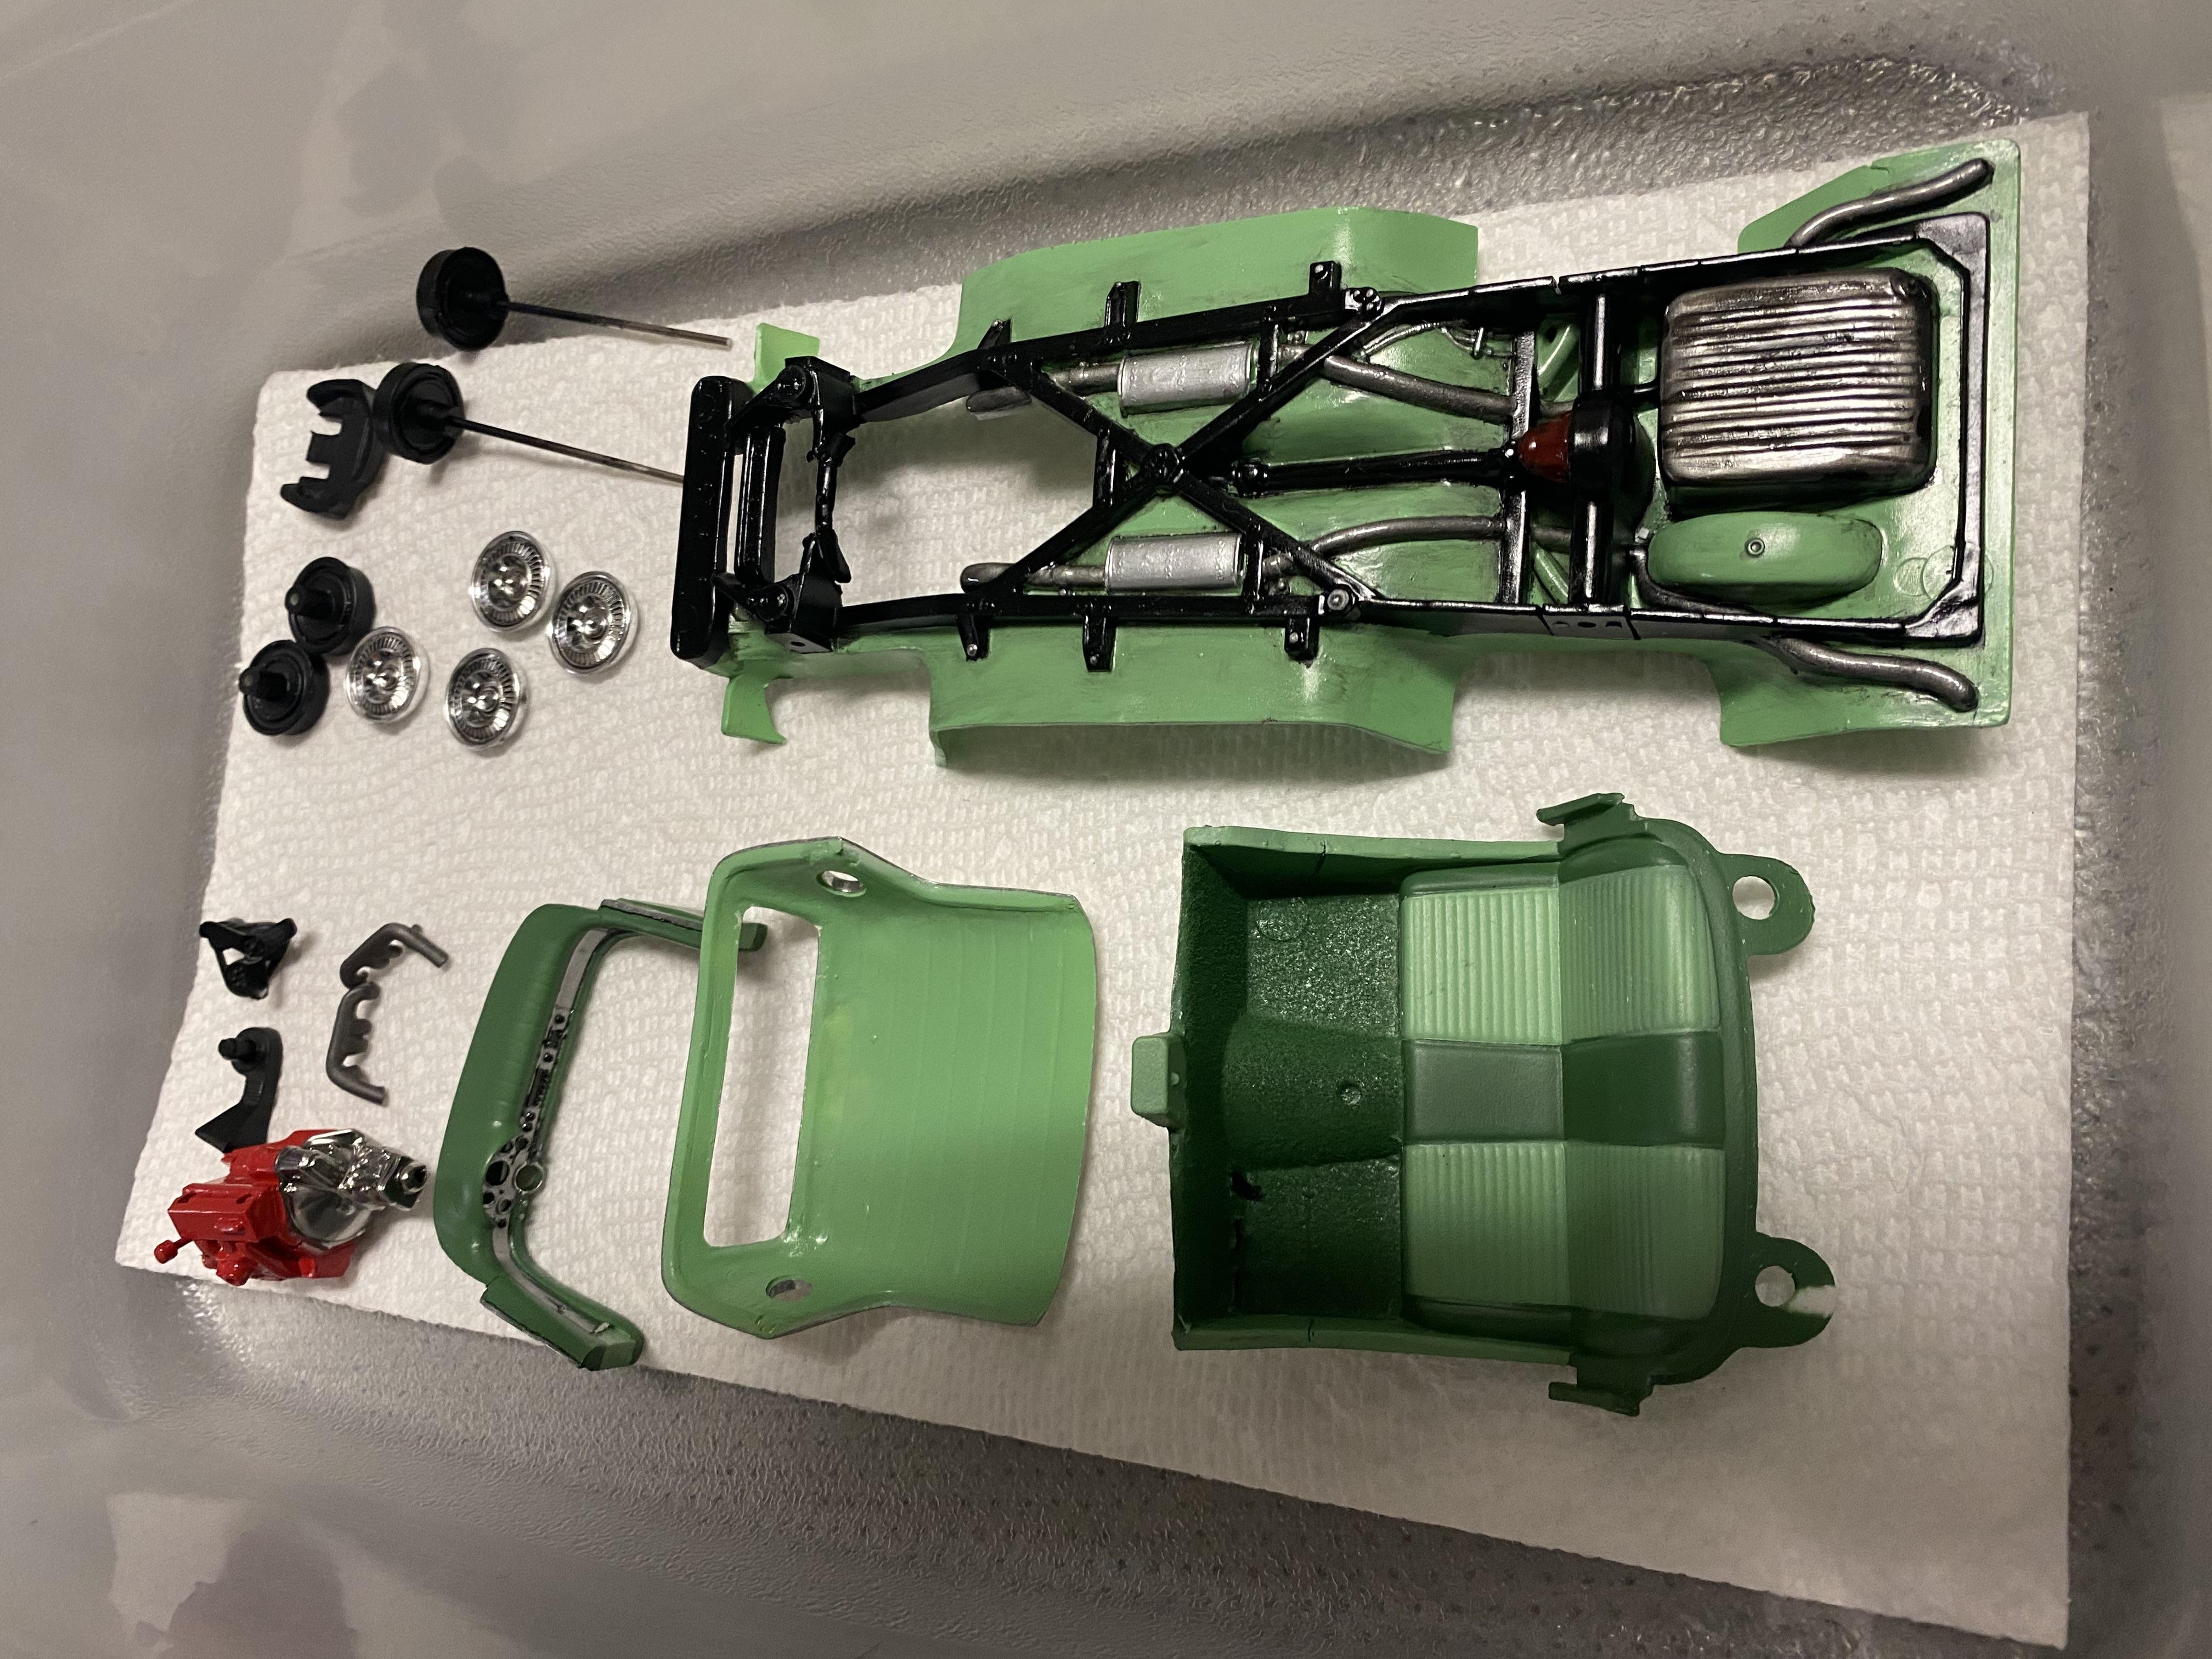
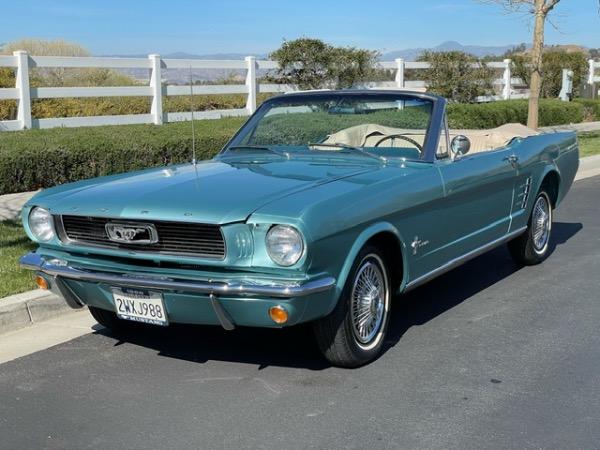
My wife asked me to build a 1957 Thunderbird next. I opened the box and I have to say I was really not happy with what I had to start with. I purchased a resin top from Drag City Castings, but the chassis is not great but I made the best of it. As usual I added Headlight, taillight & gauge light LEDs. I removed most all of the molded in engine detail and scratch built it. Cut open the trunk for the LED battery and added a model kit box of the kit it came from in the trunk. A lot of photo-etch detailing. Paint is correct willow green exterior and columbine green / willow green interior with a colonial white top from MCW Finishes. 2K clear on the body from Splash paints. Scratch vent windows, antenna and rear view mirrors. If you missed the full build in WIP it is available here:

-
That stinks. This kit the taillights were on the chrome tree. I ended up UV resin casted clear lenses and used Tamiya clear red. I have been making clear lenses for several of my builds
-
Does the newer kits not come with clear headlights and taillights? Btw, I didn’t feel up to taking the car apart but I modified the battery best I could. Thanks for the info. I have scratch built the rear view mirror now too.
-
Nice, I will have to look for one. The latest release is just a curbside.
-
Well, that’s a start at least. What about gauge and taillights? ?
-
I finished the detailing today and will be posting pictures to the finished thread later today. Thank you everyone for your support.
-
Thank you.
-
Ah, good to know. Thanks.
-
Thank you. It is the kit battery, one thing I didn’t scratch build. I built the shield that goes beside it so I thought it would be ok. Looks a lot like 12v batteries in newer muscle cars. I didn’t even notice a difference. Oh well, lesson learned. Thank you. LEDs seems to be my thing. My daughter says I couldn’t get away with a build that didn’t have them anymore. ?
-
Thank you.
-
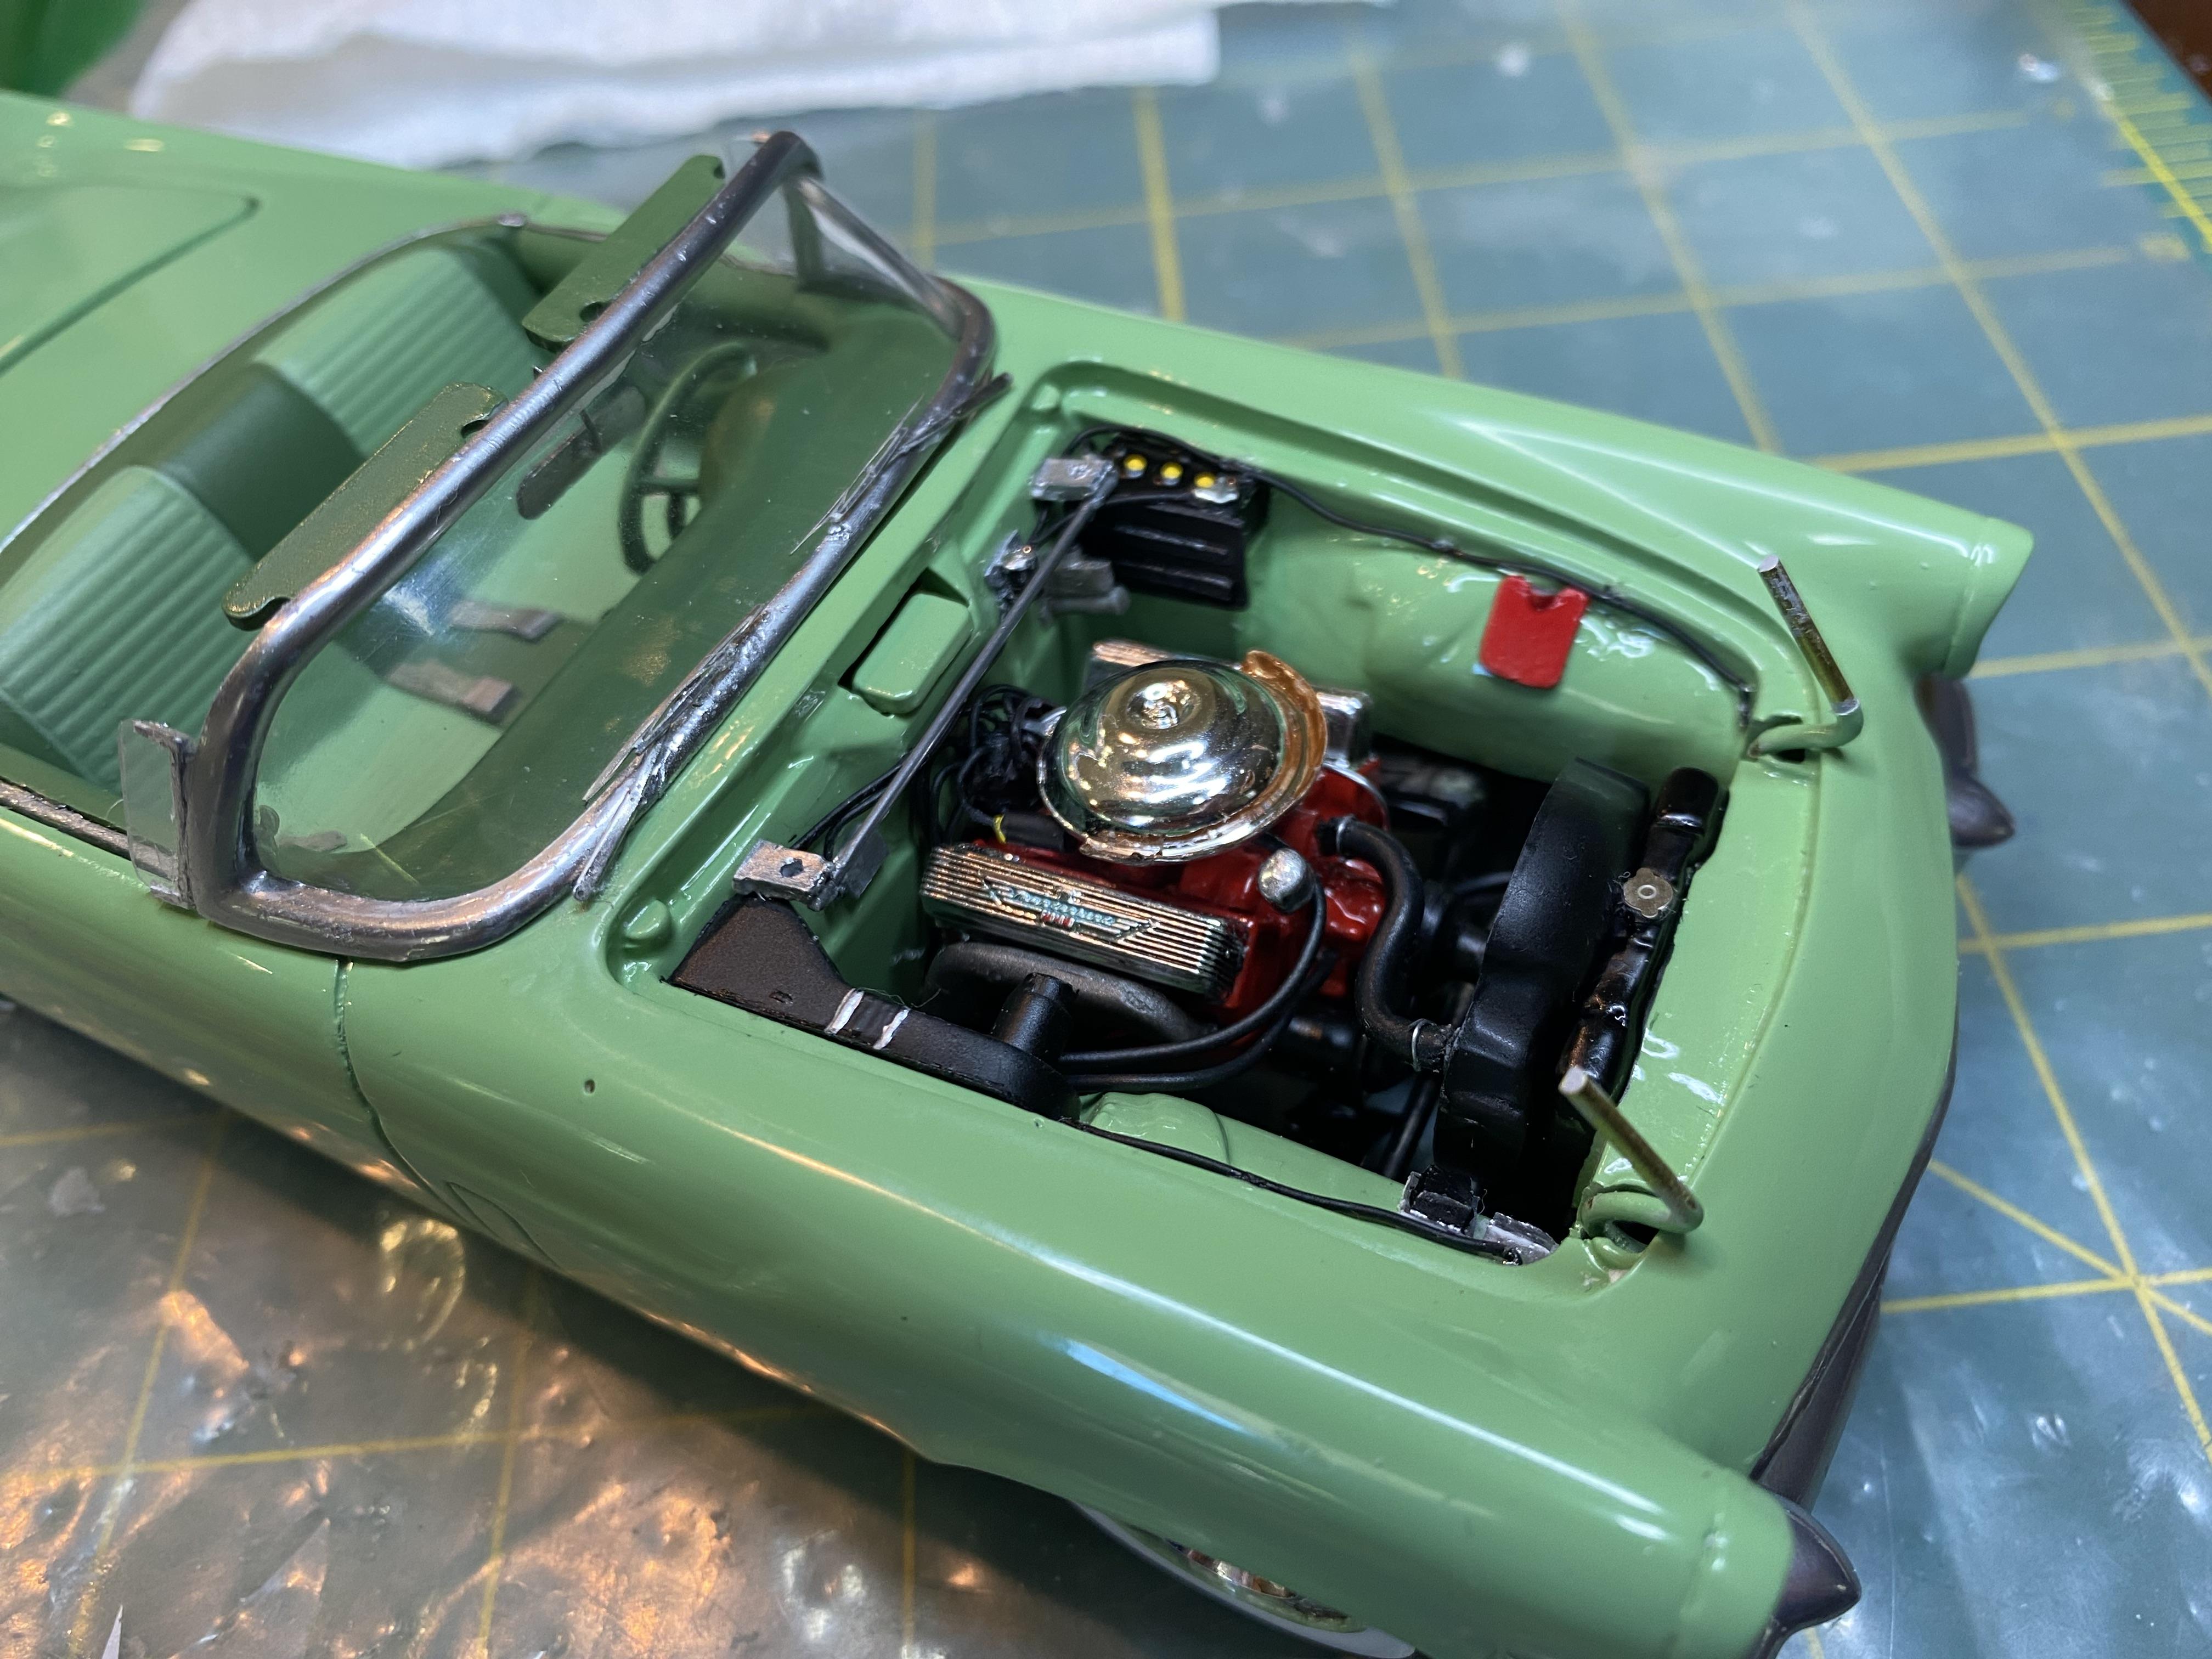
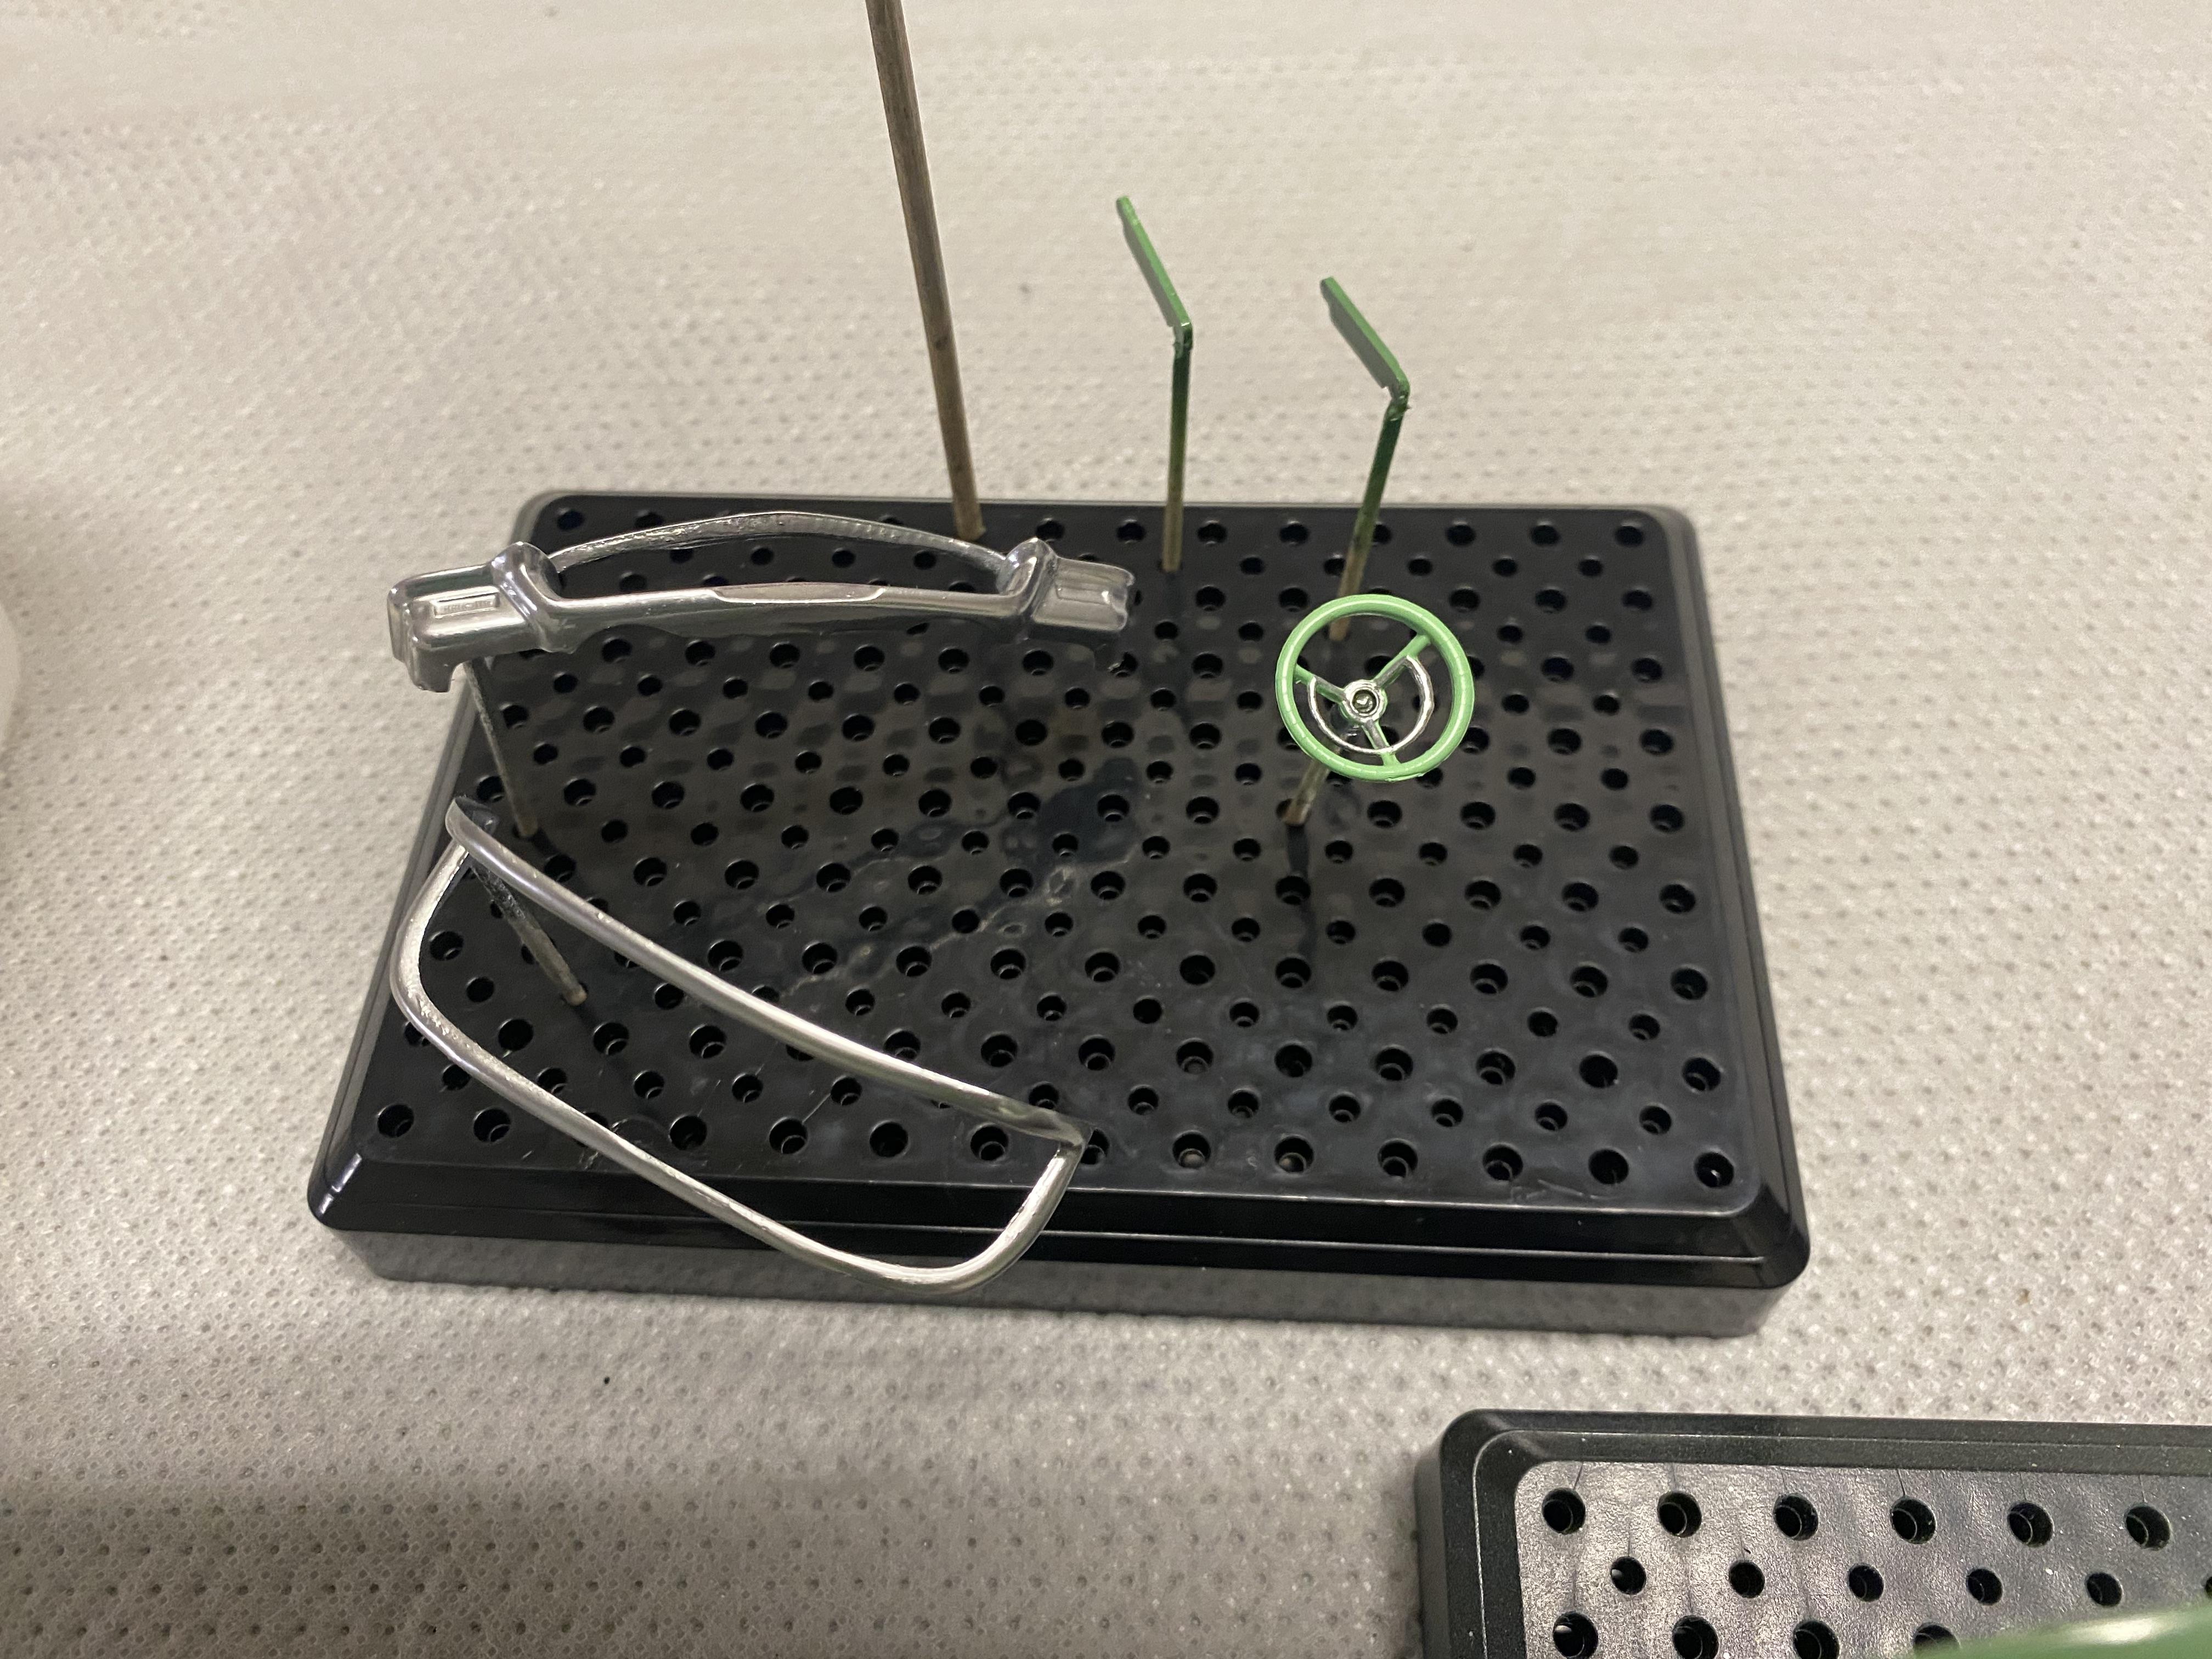
I got quite a bit done today, but still a lot of detail work to go. Assembled the chassis and windshield. Created the side vent windows and glass for the resin porthole top. Finished detailing the engine compartment. I still have to create the antenna, side mirror and add a lot of photo etch details as well as a good polish and cleaning up all my finger prints.
-
Thank you. I use warm white LEDs for classic cars. The bright white lights I use on more modern cars just don’t make since. Thank you.
-
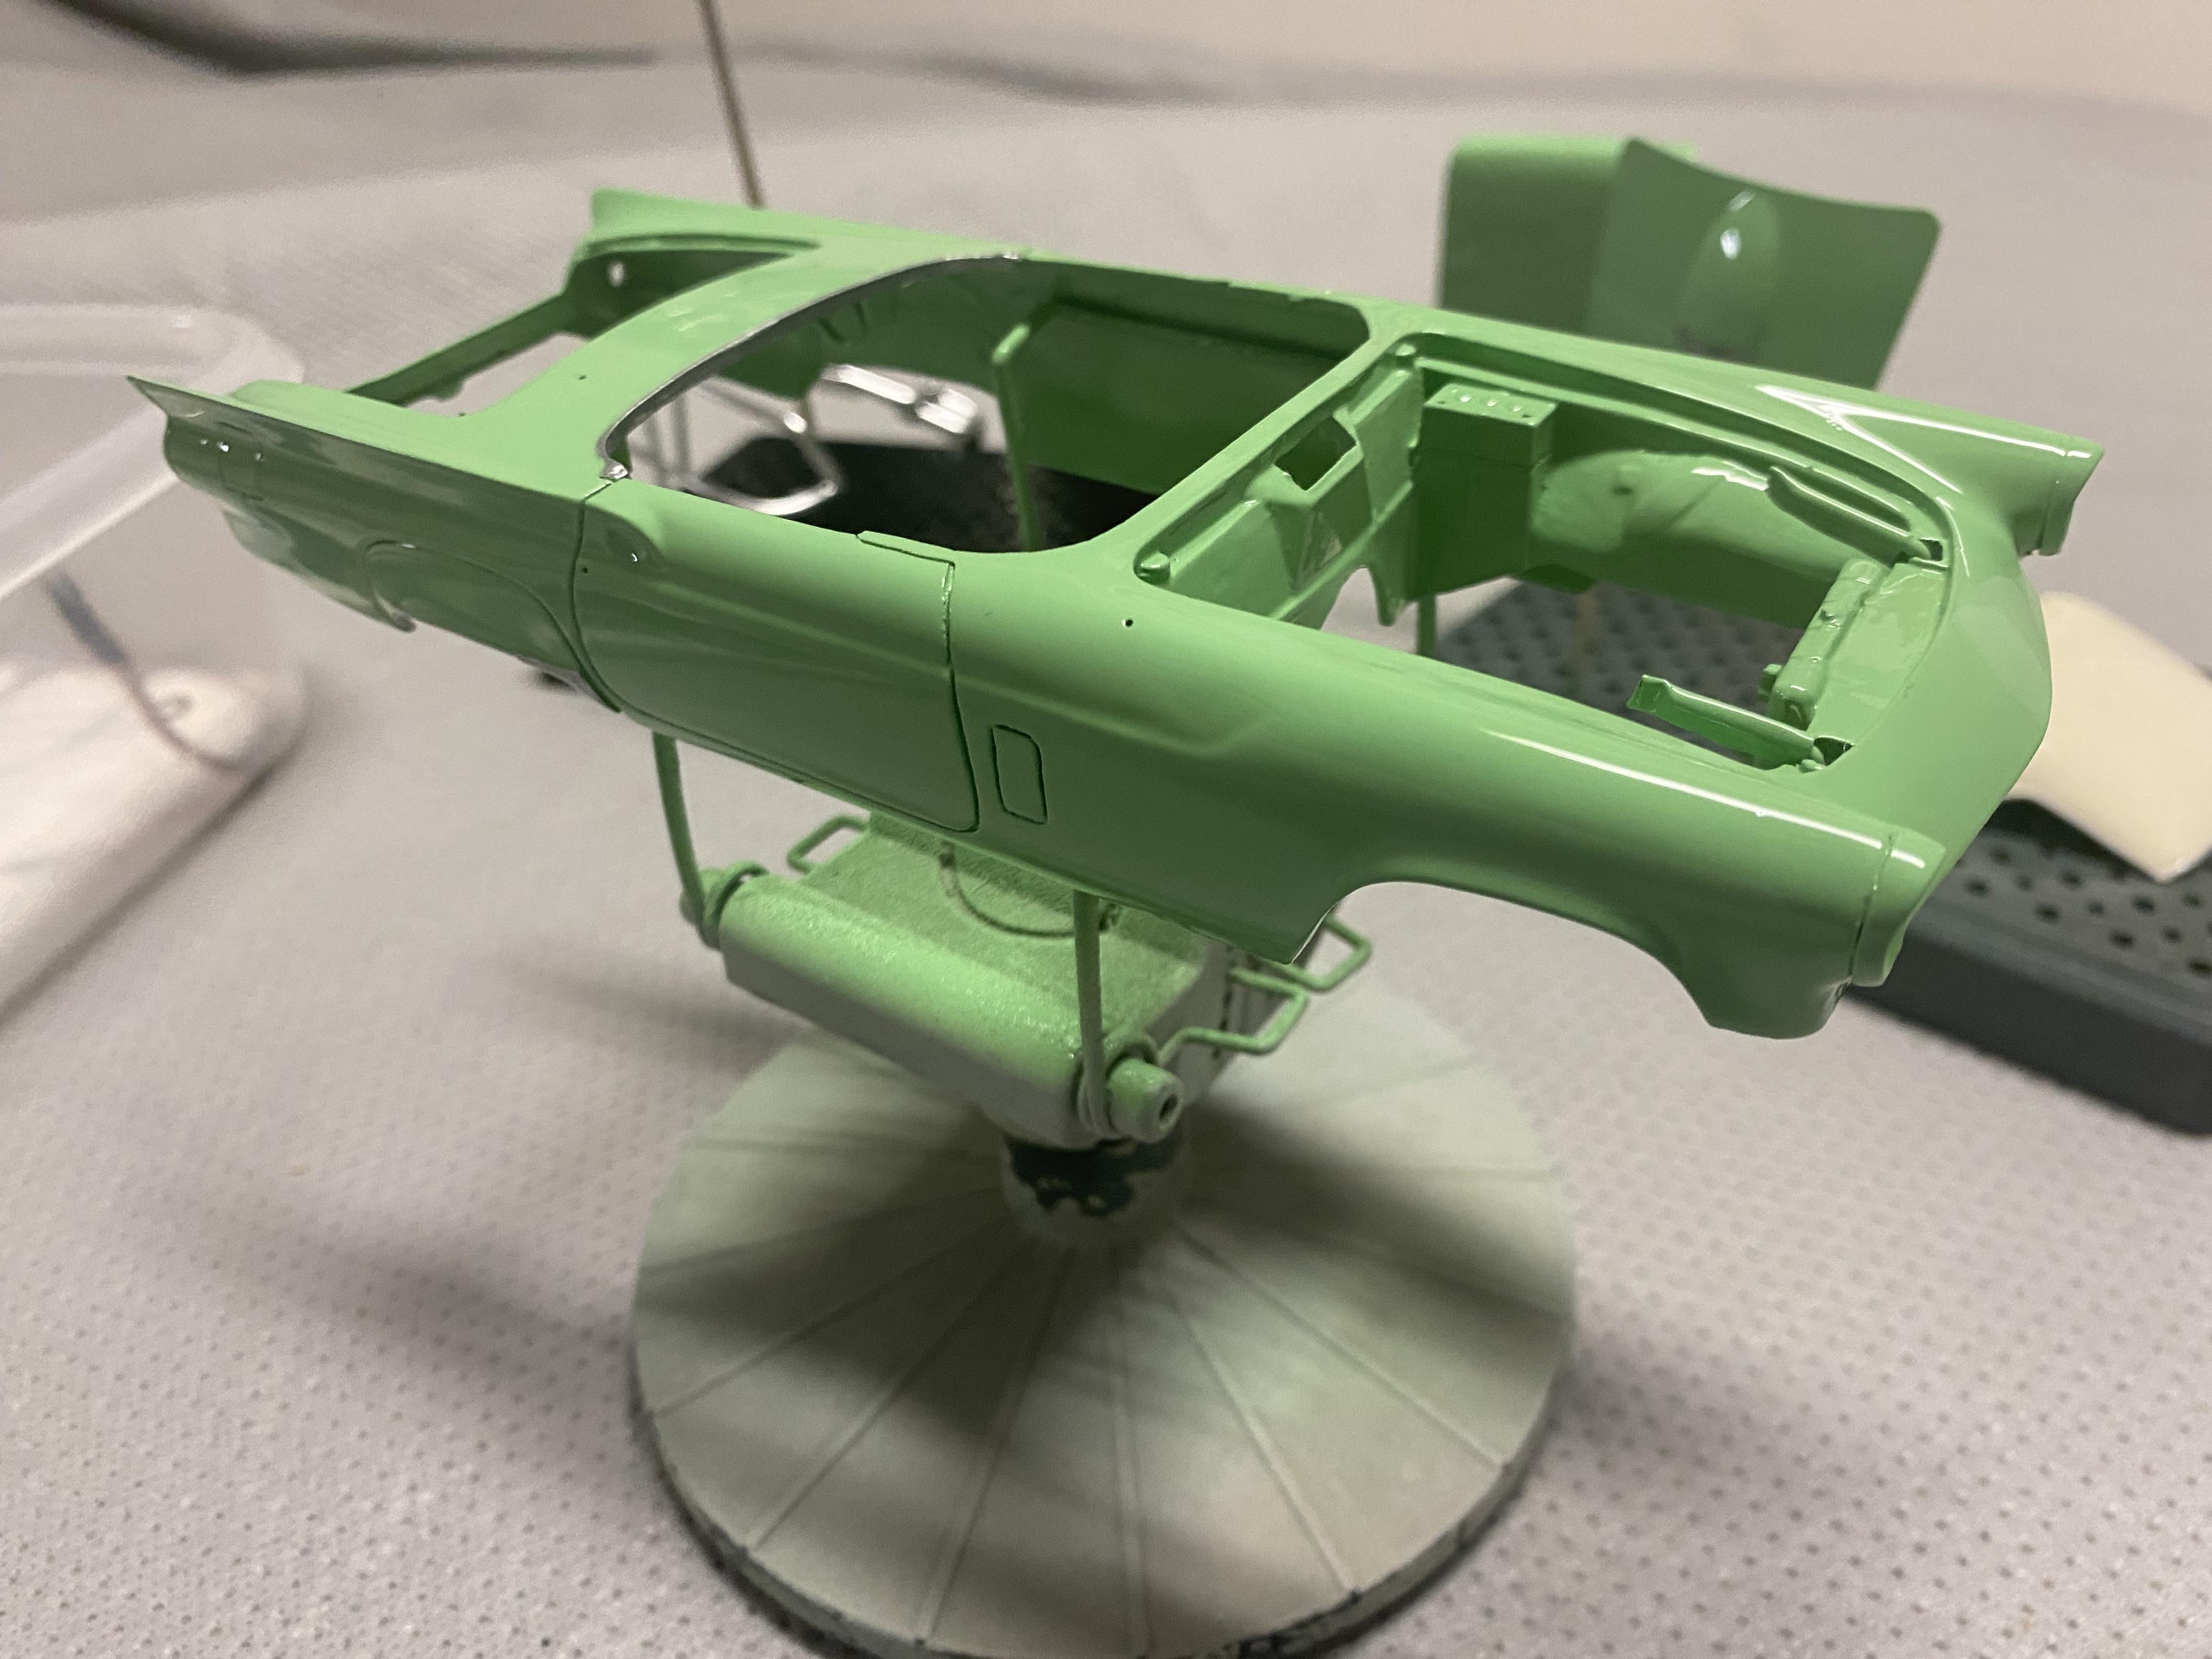
Wet sanded and polished the body and parts, started detailing the engine compartment, installed the interior to the body and installed the LED wiring harness.
-
I have been using splash paints 2K gloss clear. Mainly because it is easily available at my local hobby shop. It is mainly to get a few specks of trash and smooth the gap edges to look a little less rounded. The clear lays really smooth, no orange peel. 4000 to get the trash, then 6000 to smooth a bit 12000 to get the scratches caused by those two.
-
Me too, this kit has fought me all the way. Waiting at least 48 hours to wet sand and polish the body, but should be starting assembly and final detail this weekend. Have lot of plans for scratch building engine compartment details. As you can tell I removed all of the molded in detail.
-
Thank you!
-
Thank You!
-
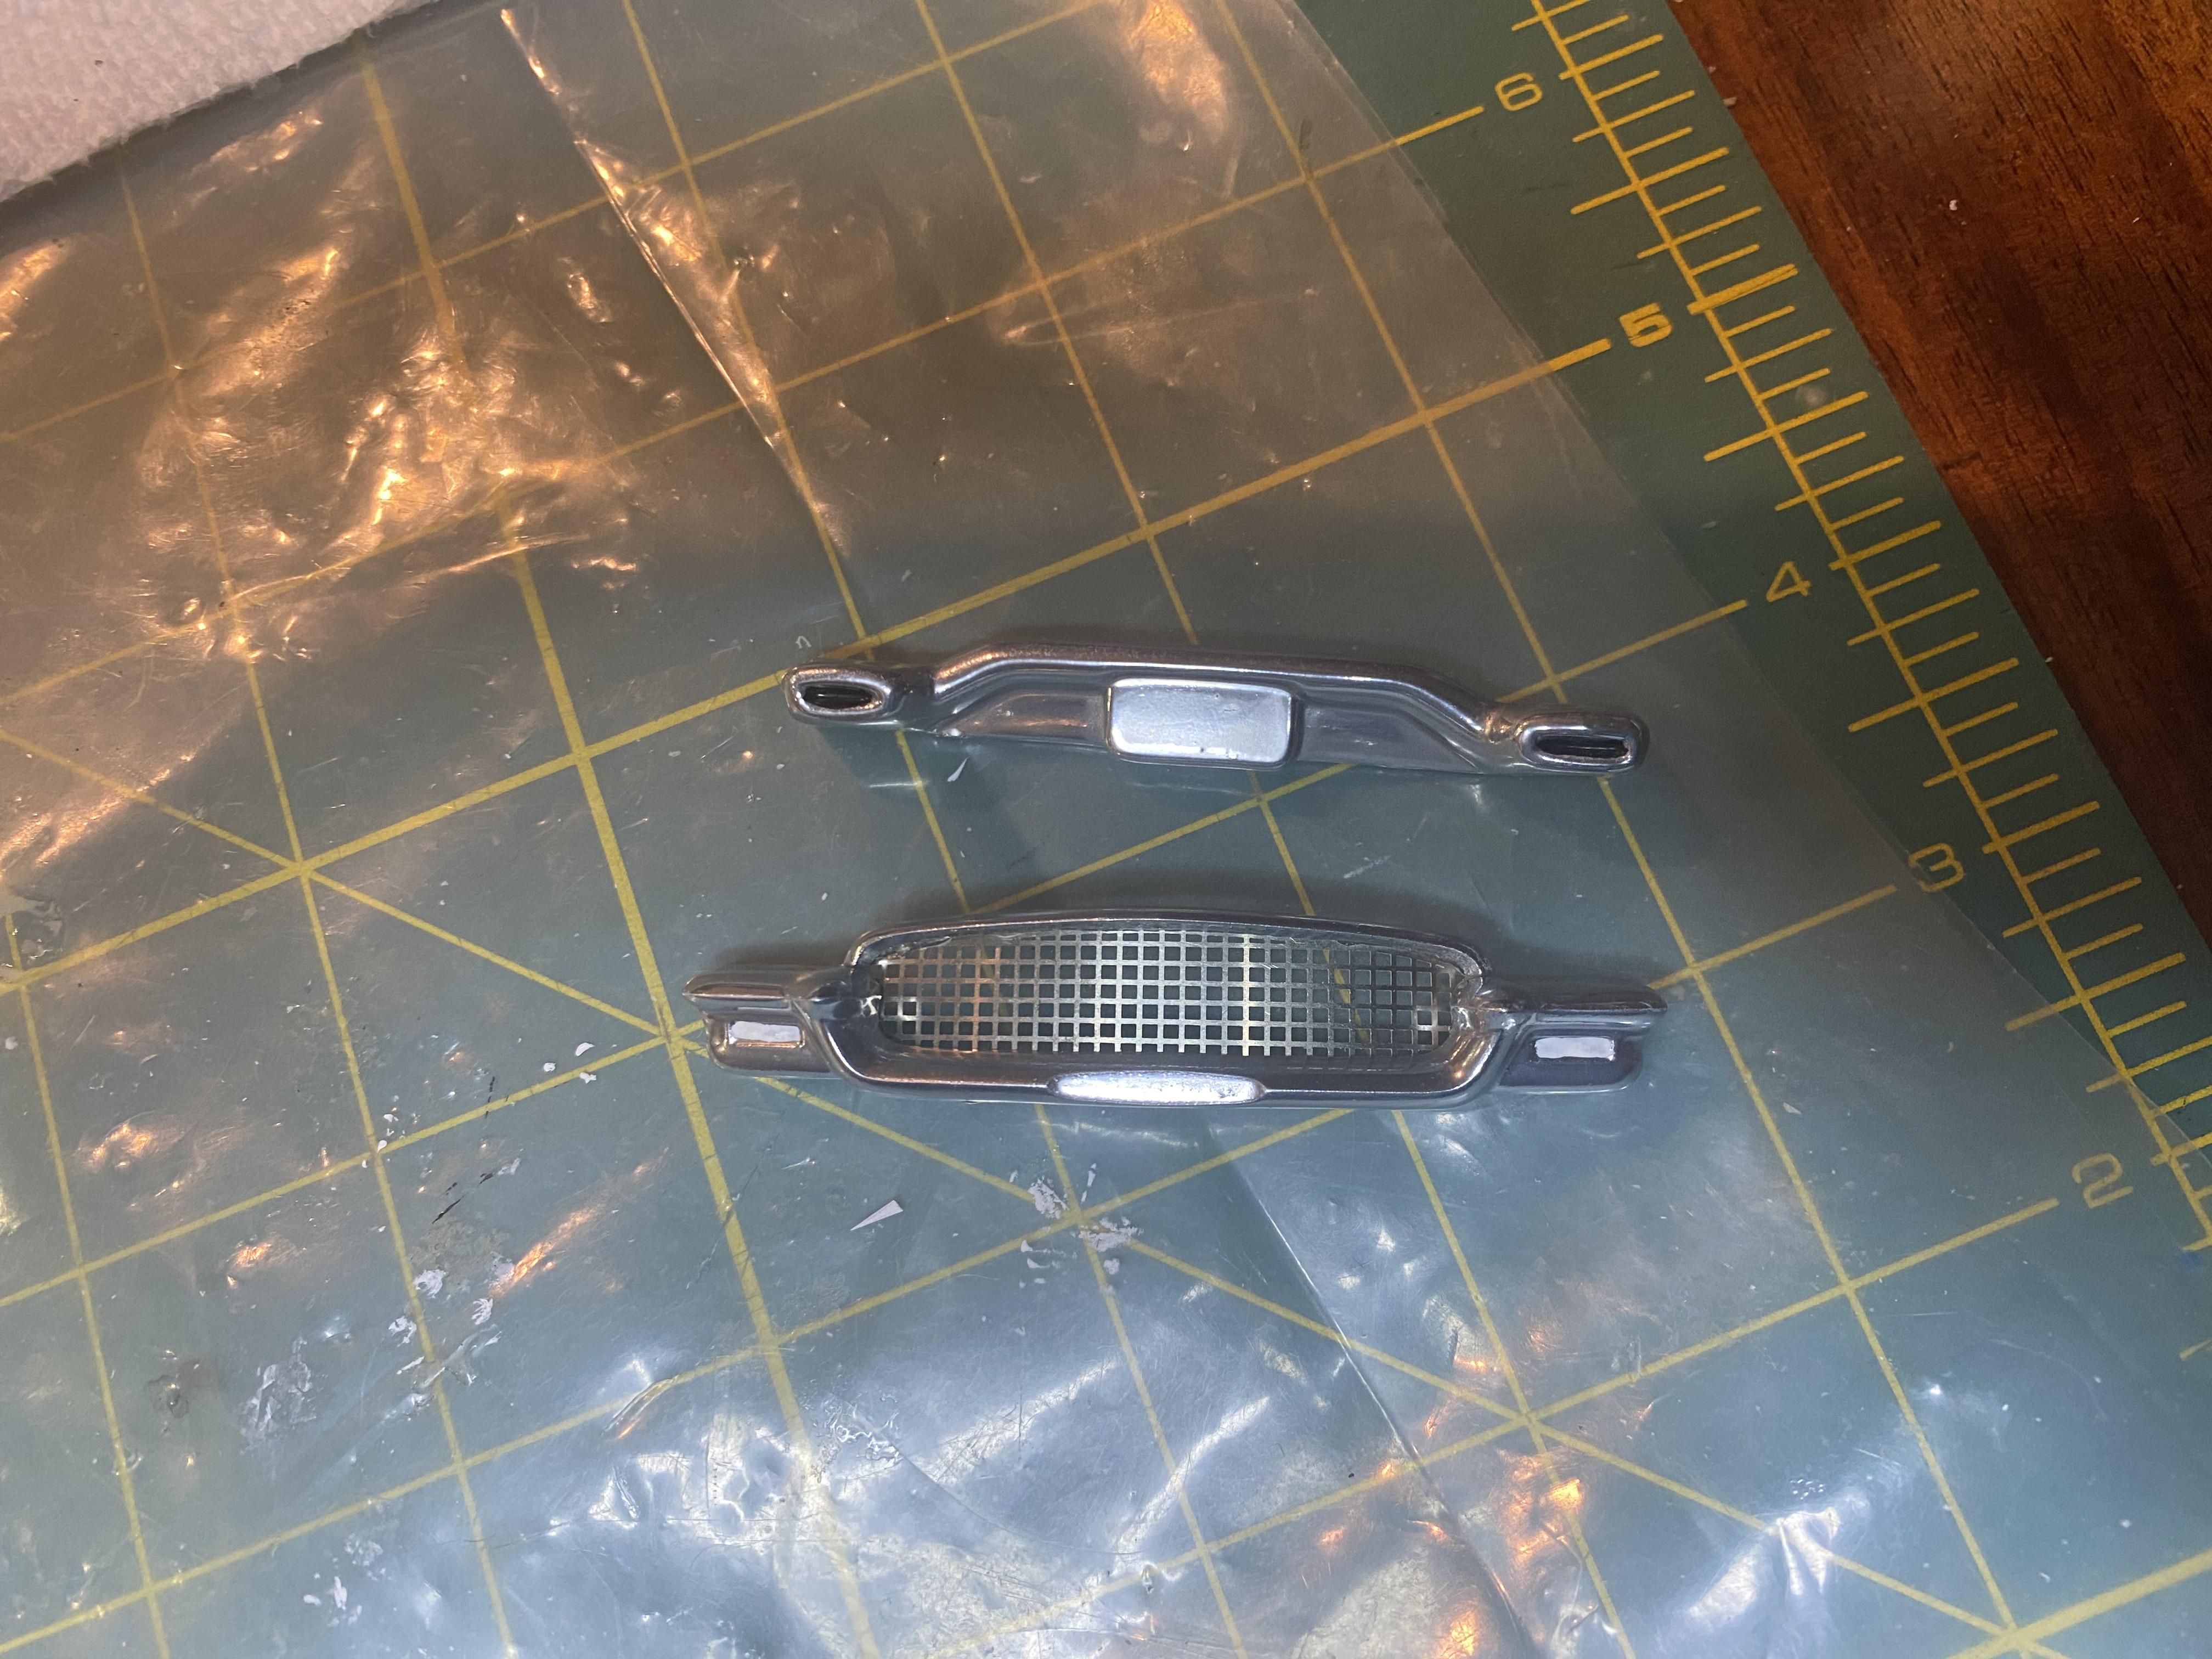
Today sprayed the body and top in 2K clear. Assembled the engine with plug wires, fuel and vacuum lines. Put grill into front bumper. This weekend I am hoping to wet sand and polish and start assembly and detailing.
-
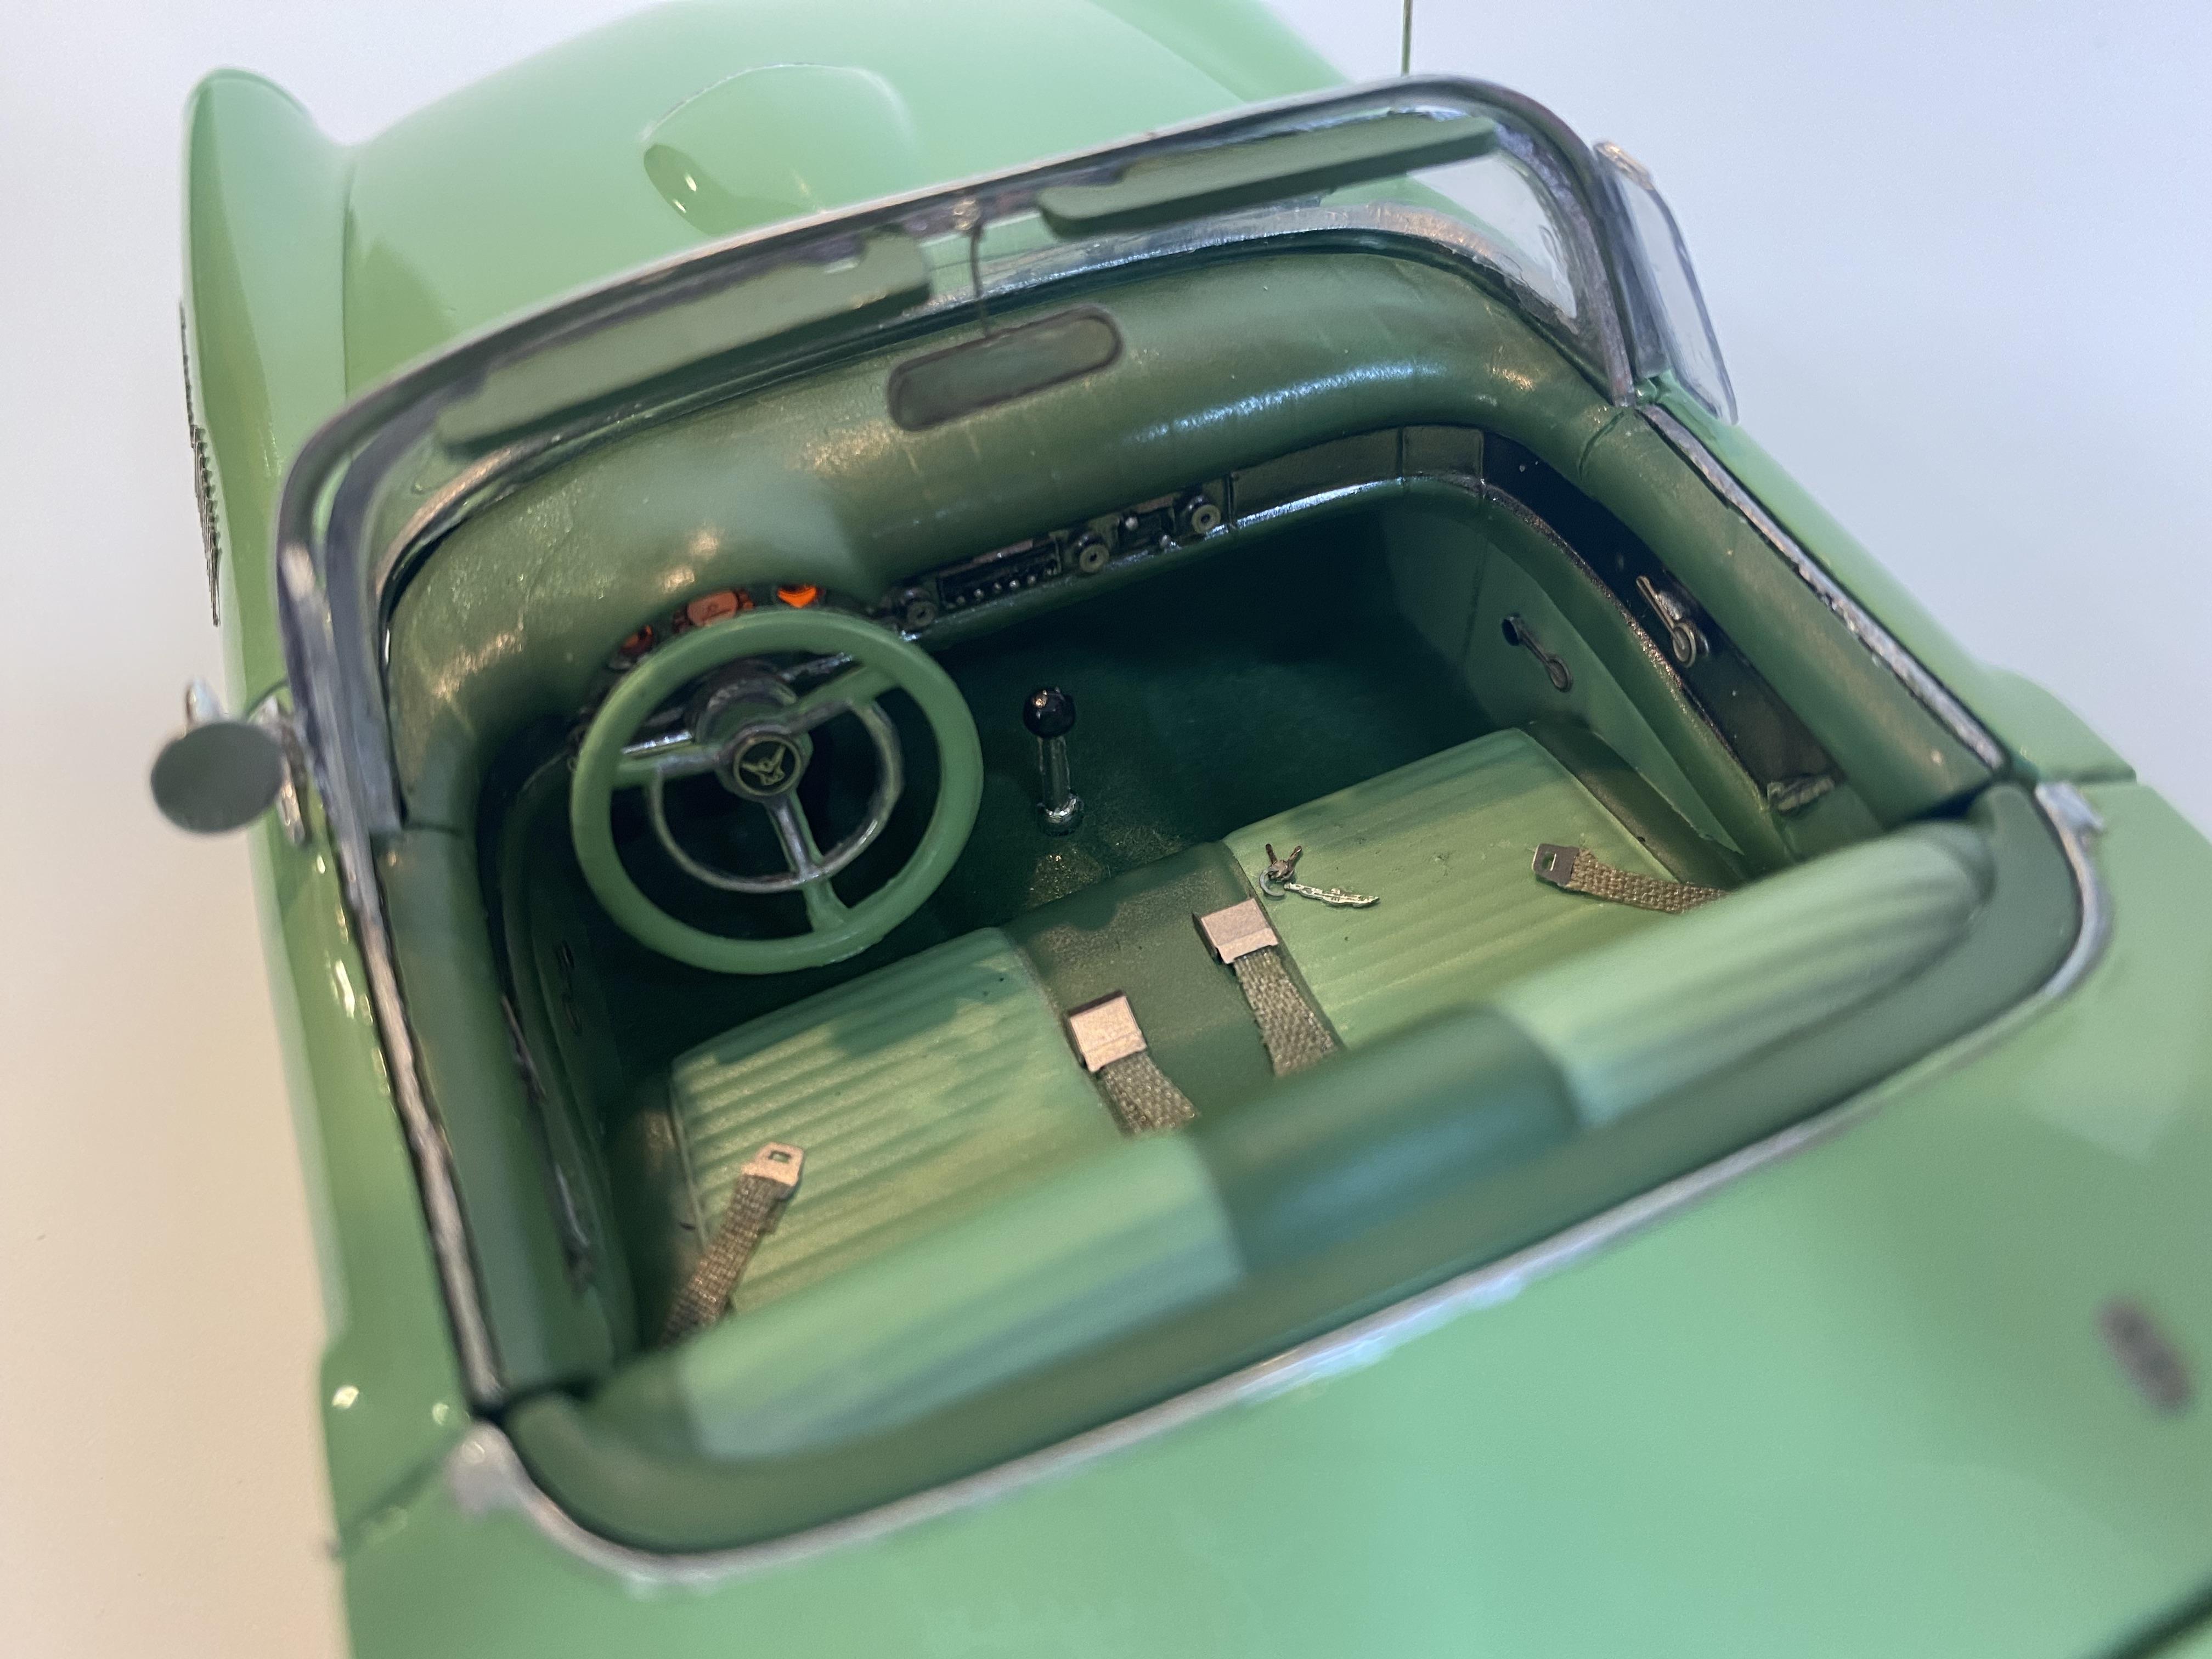
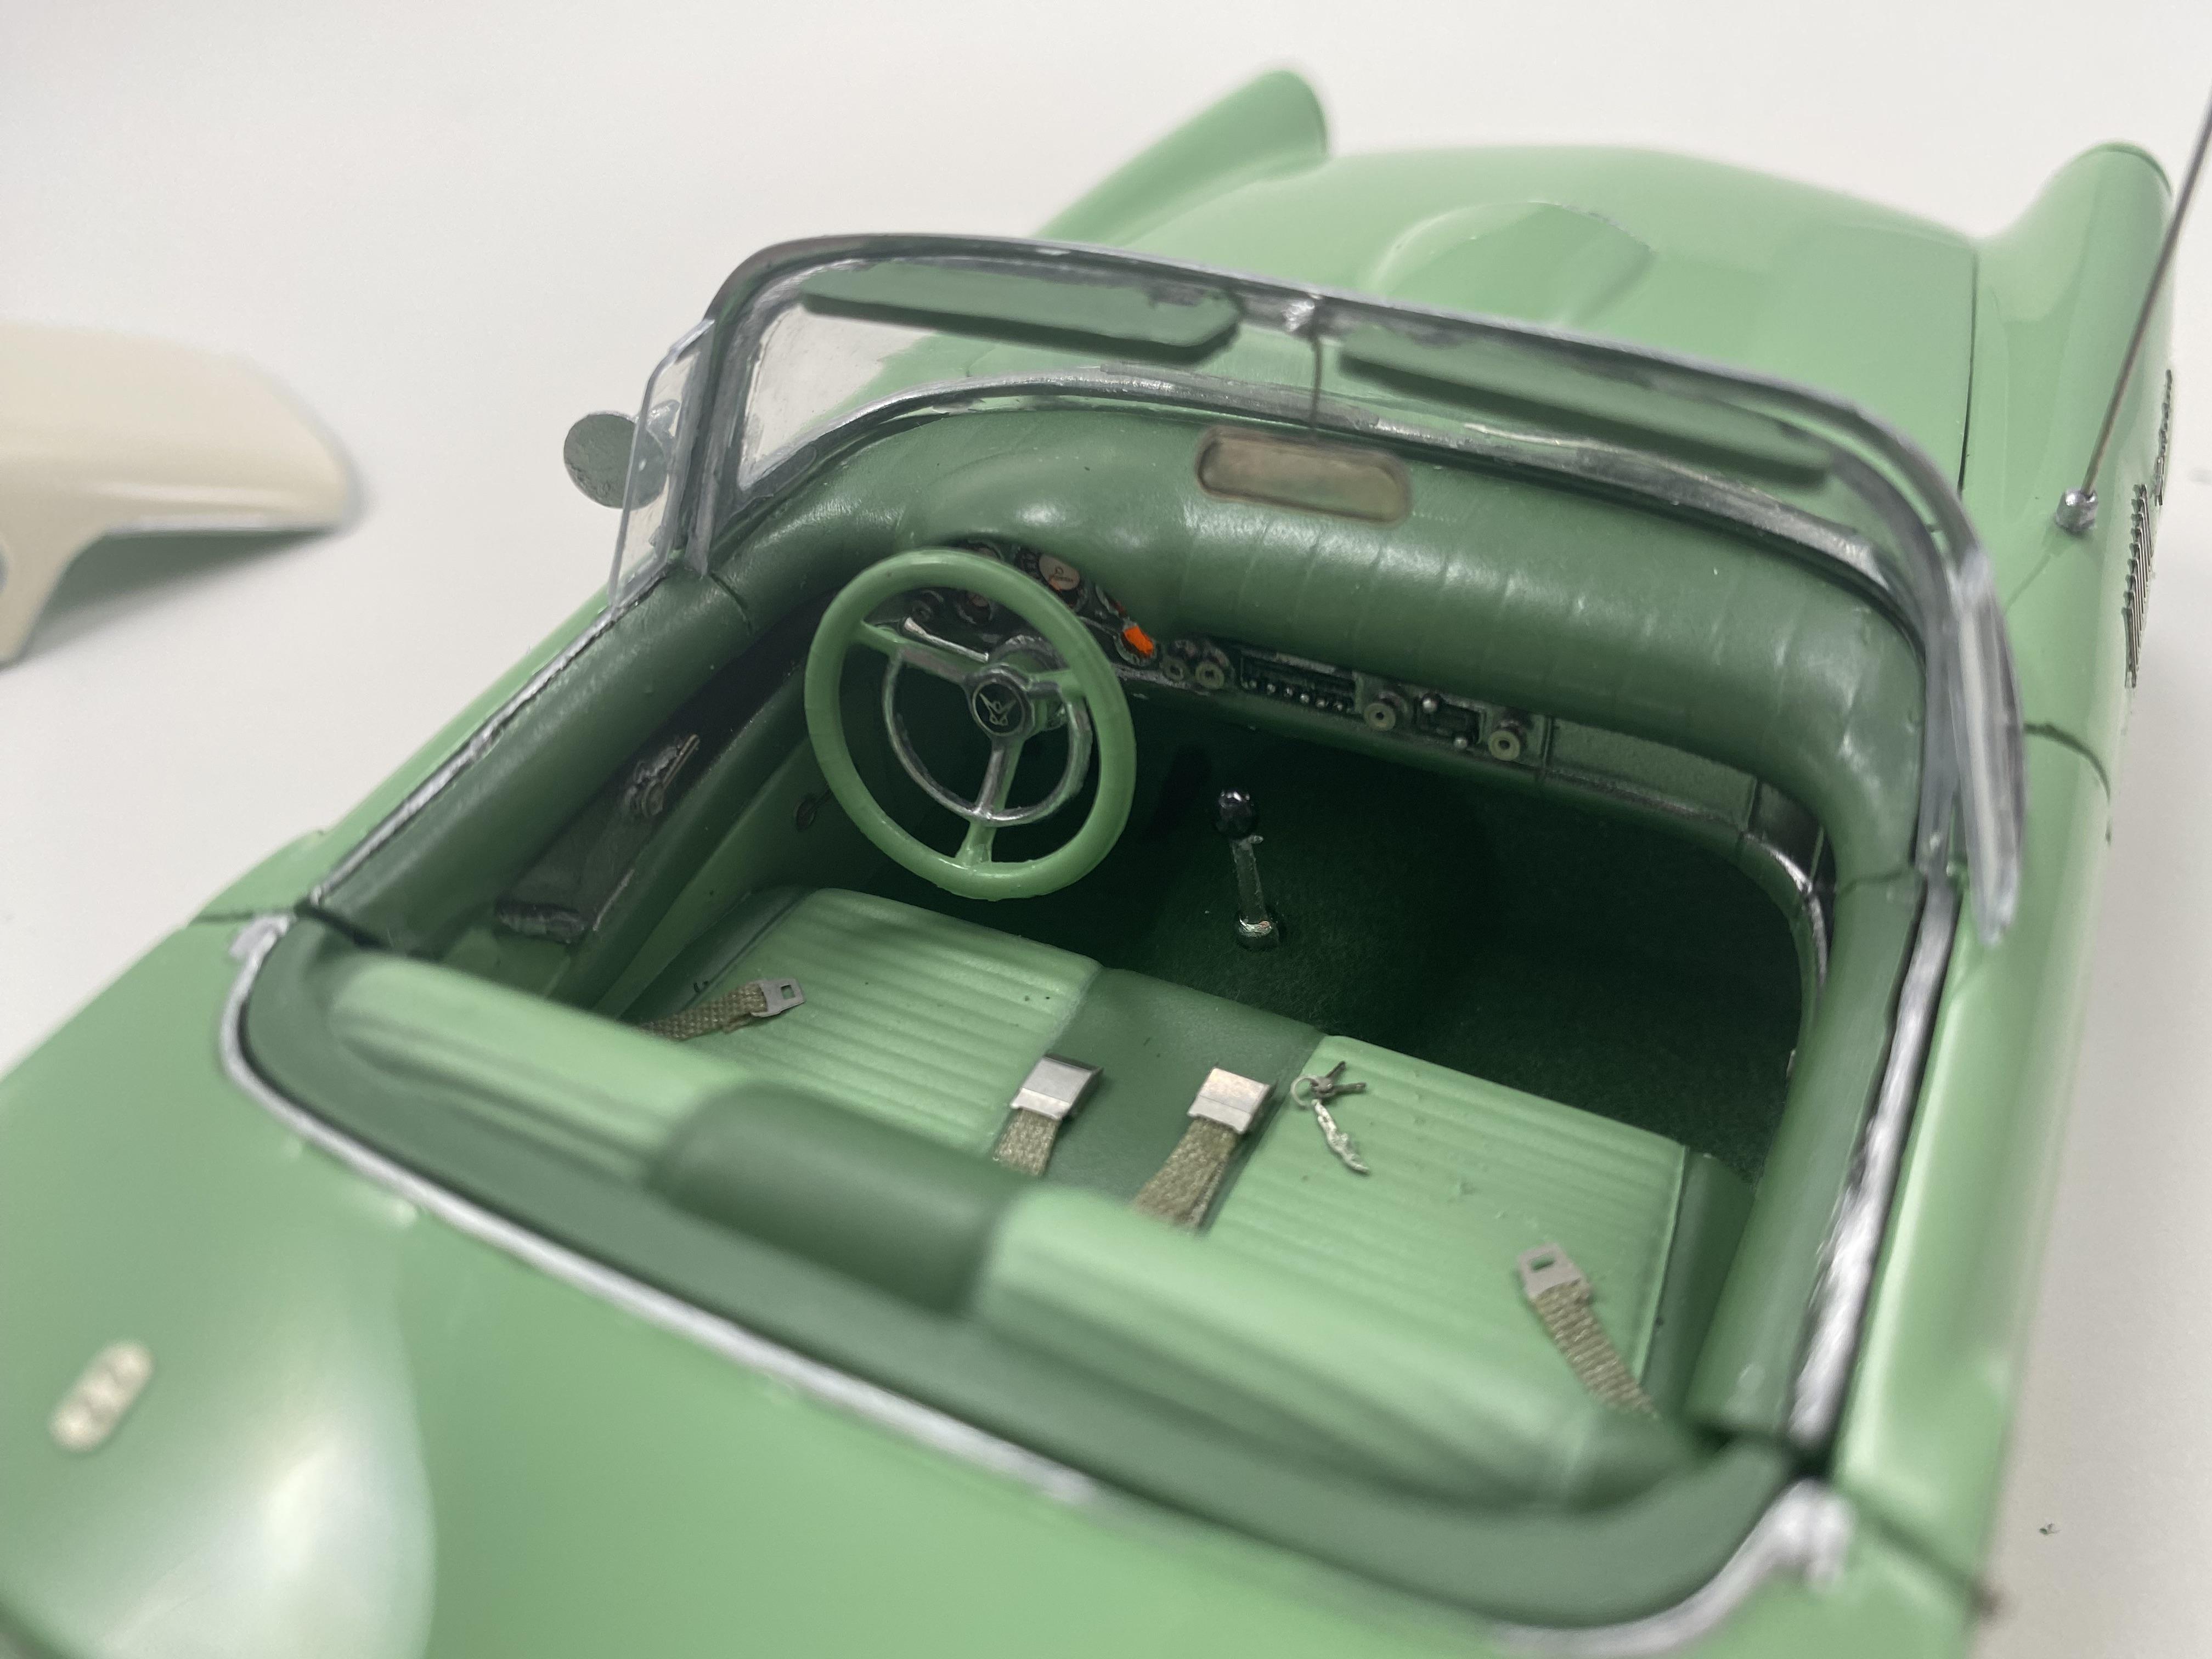
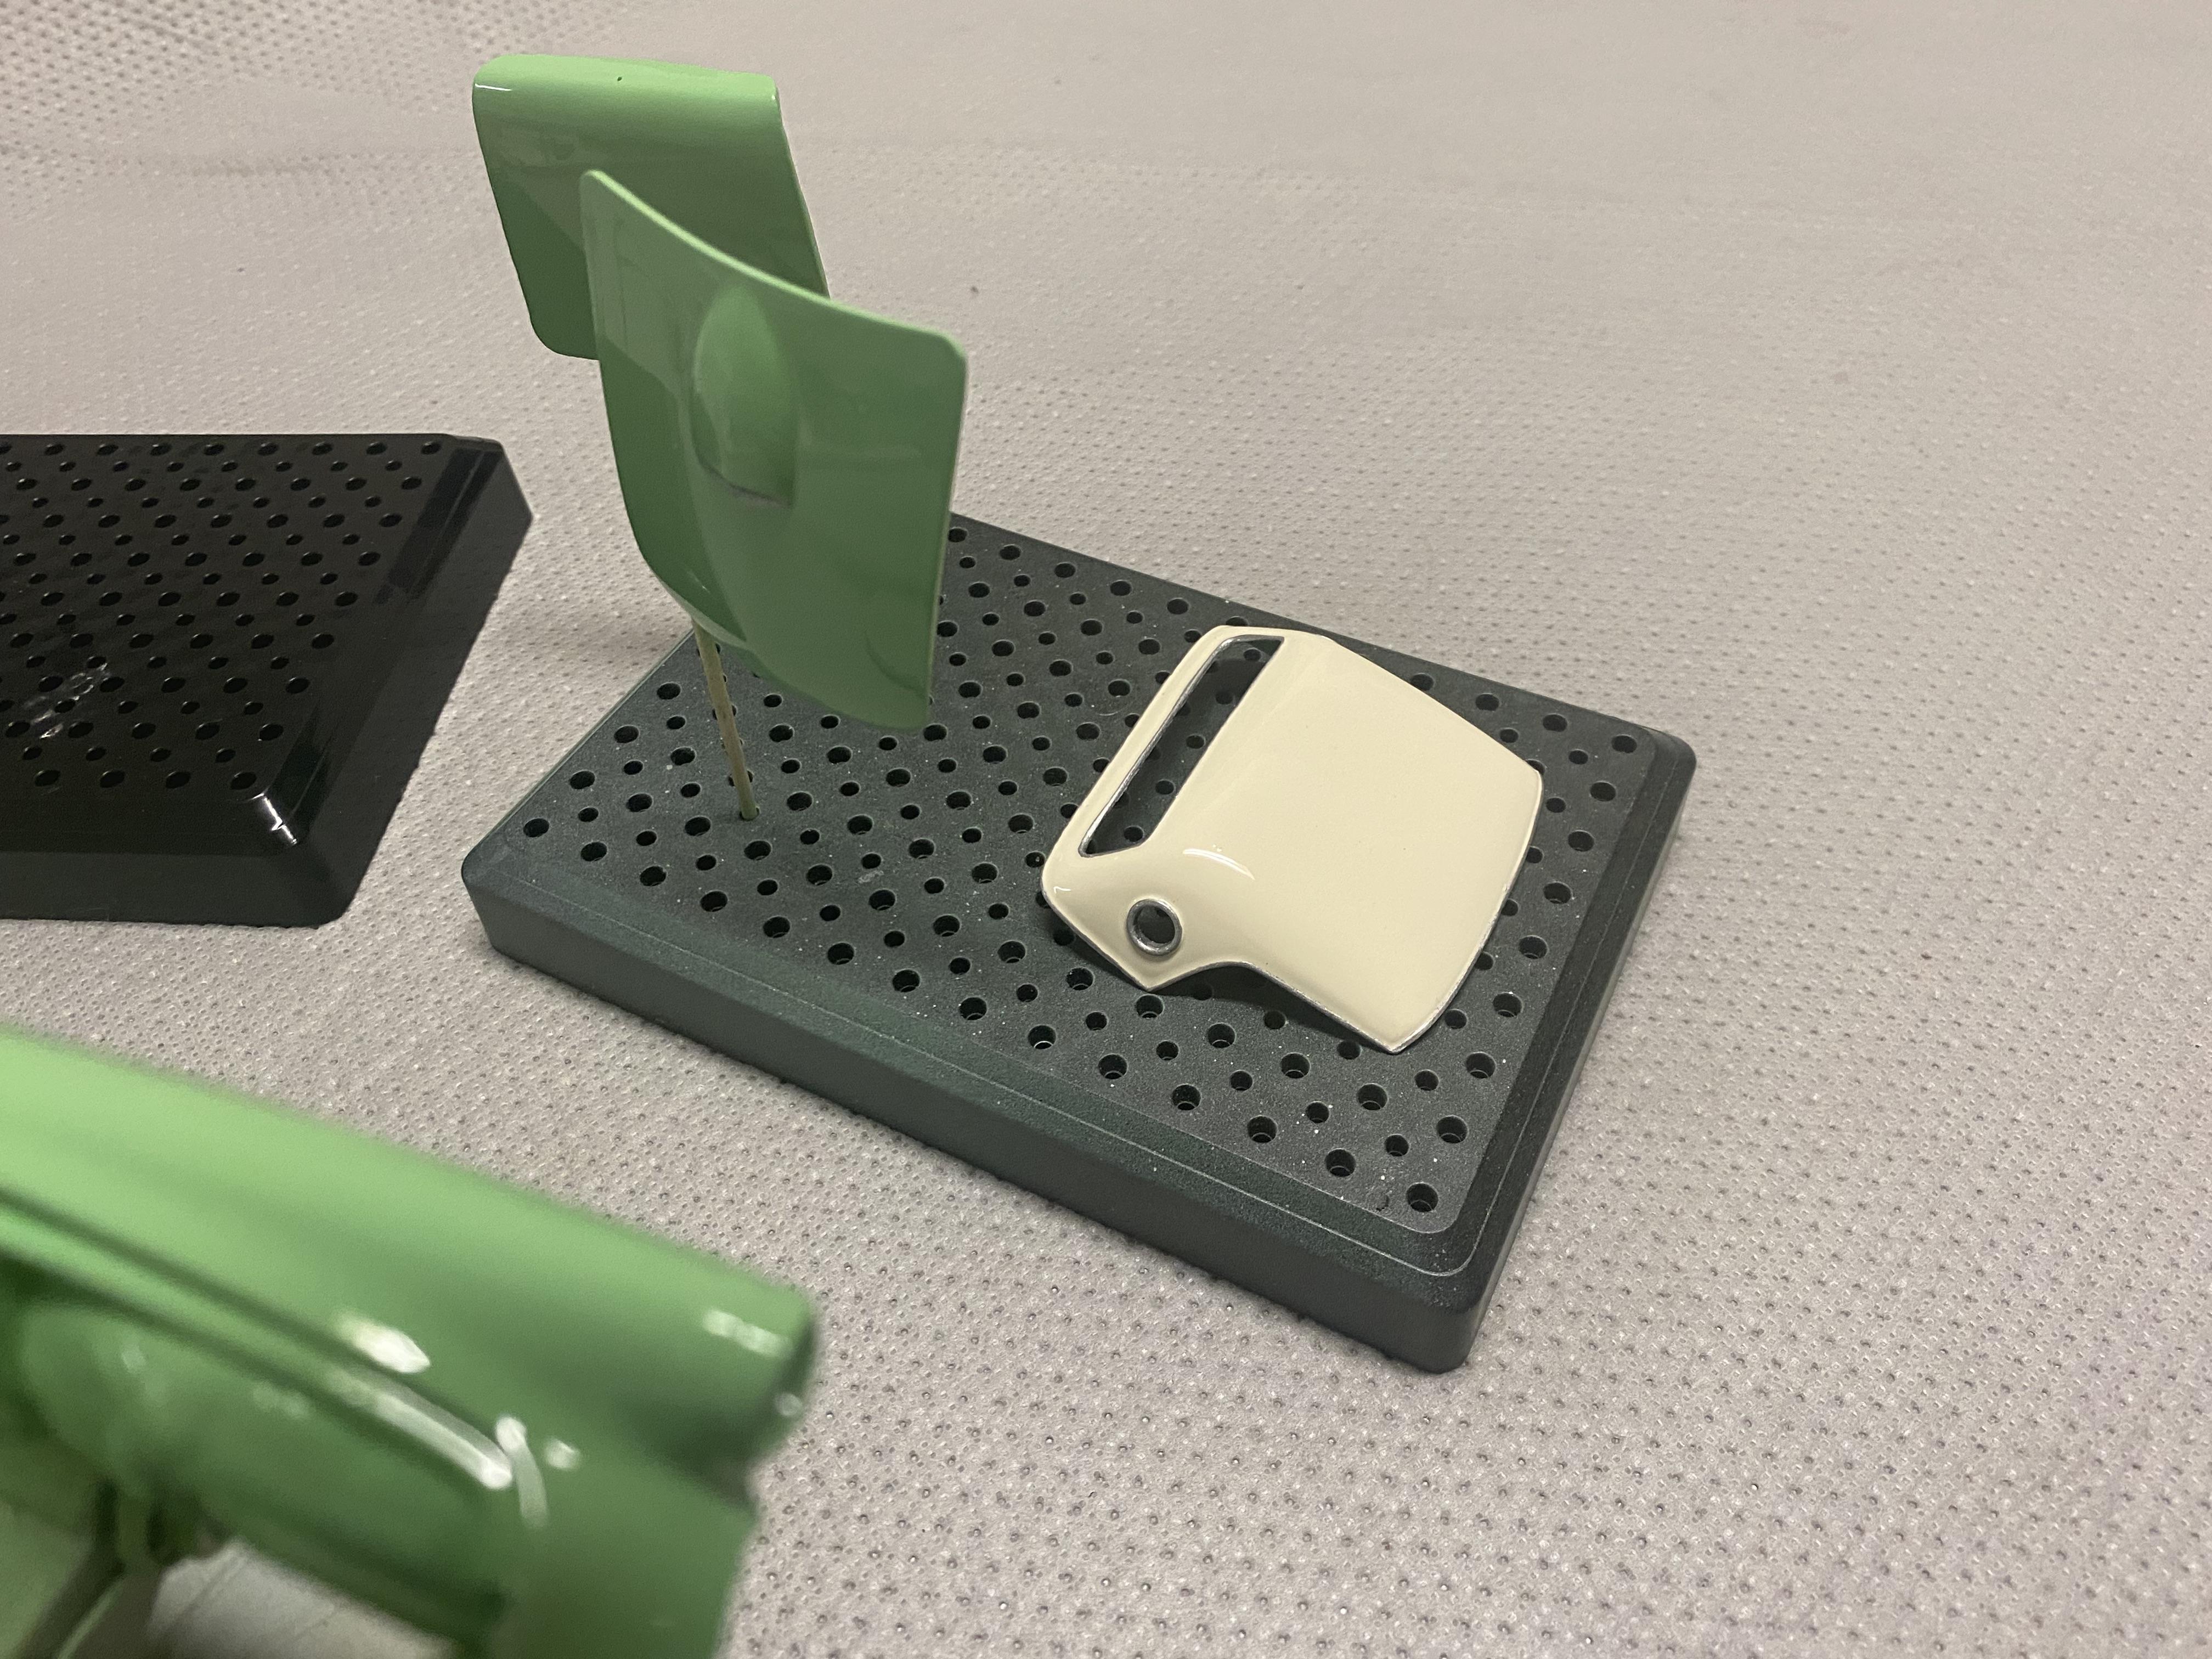
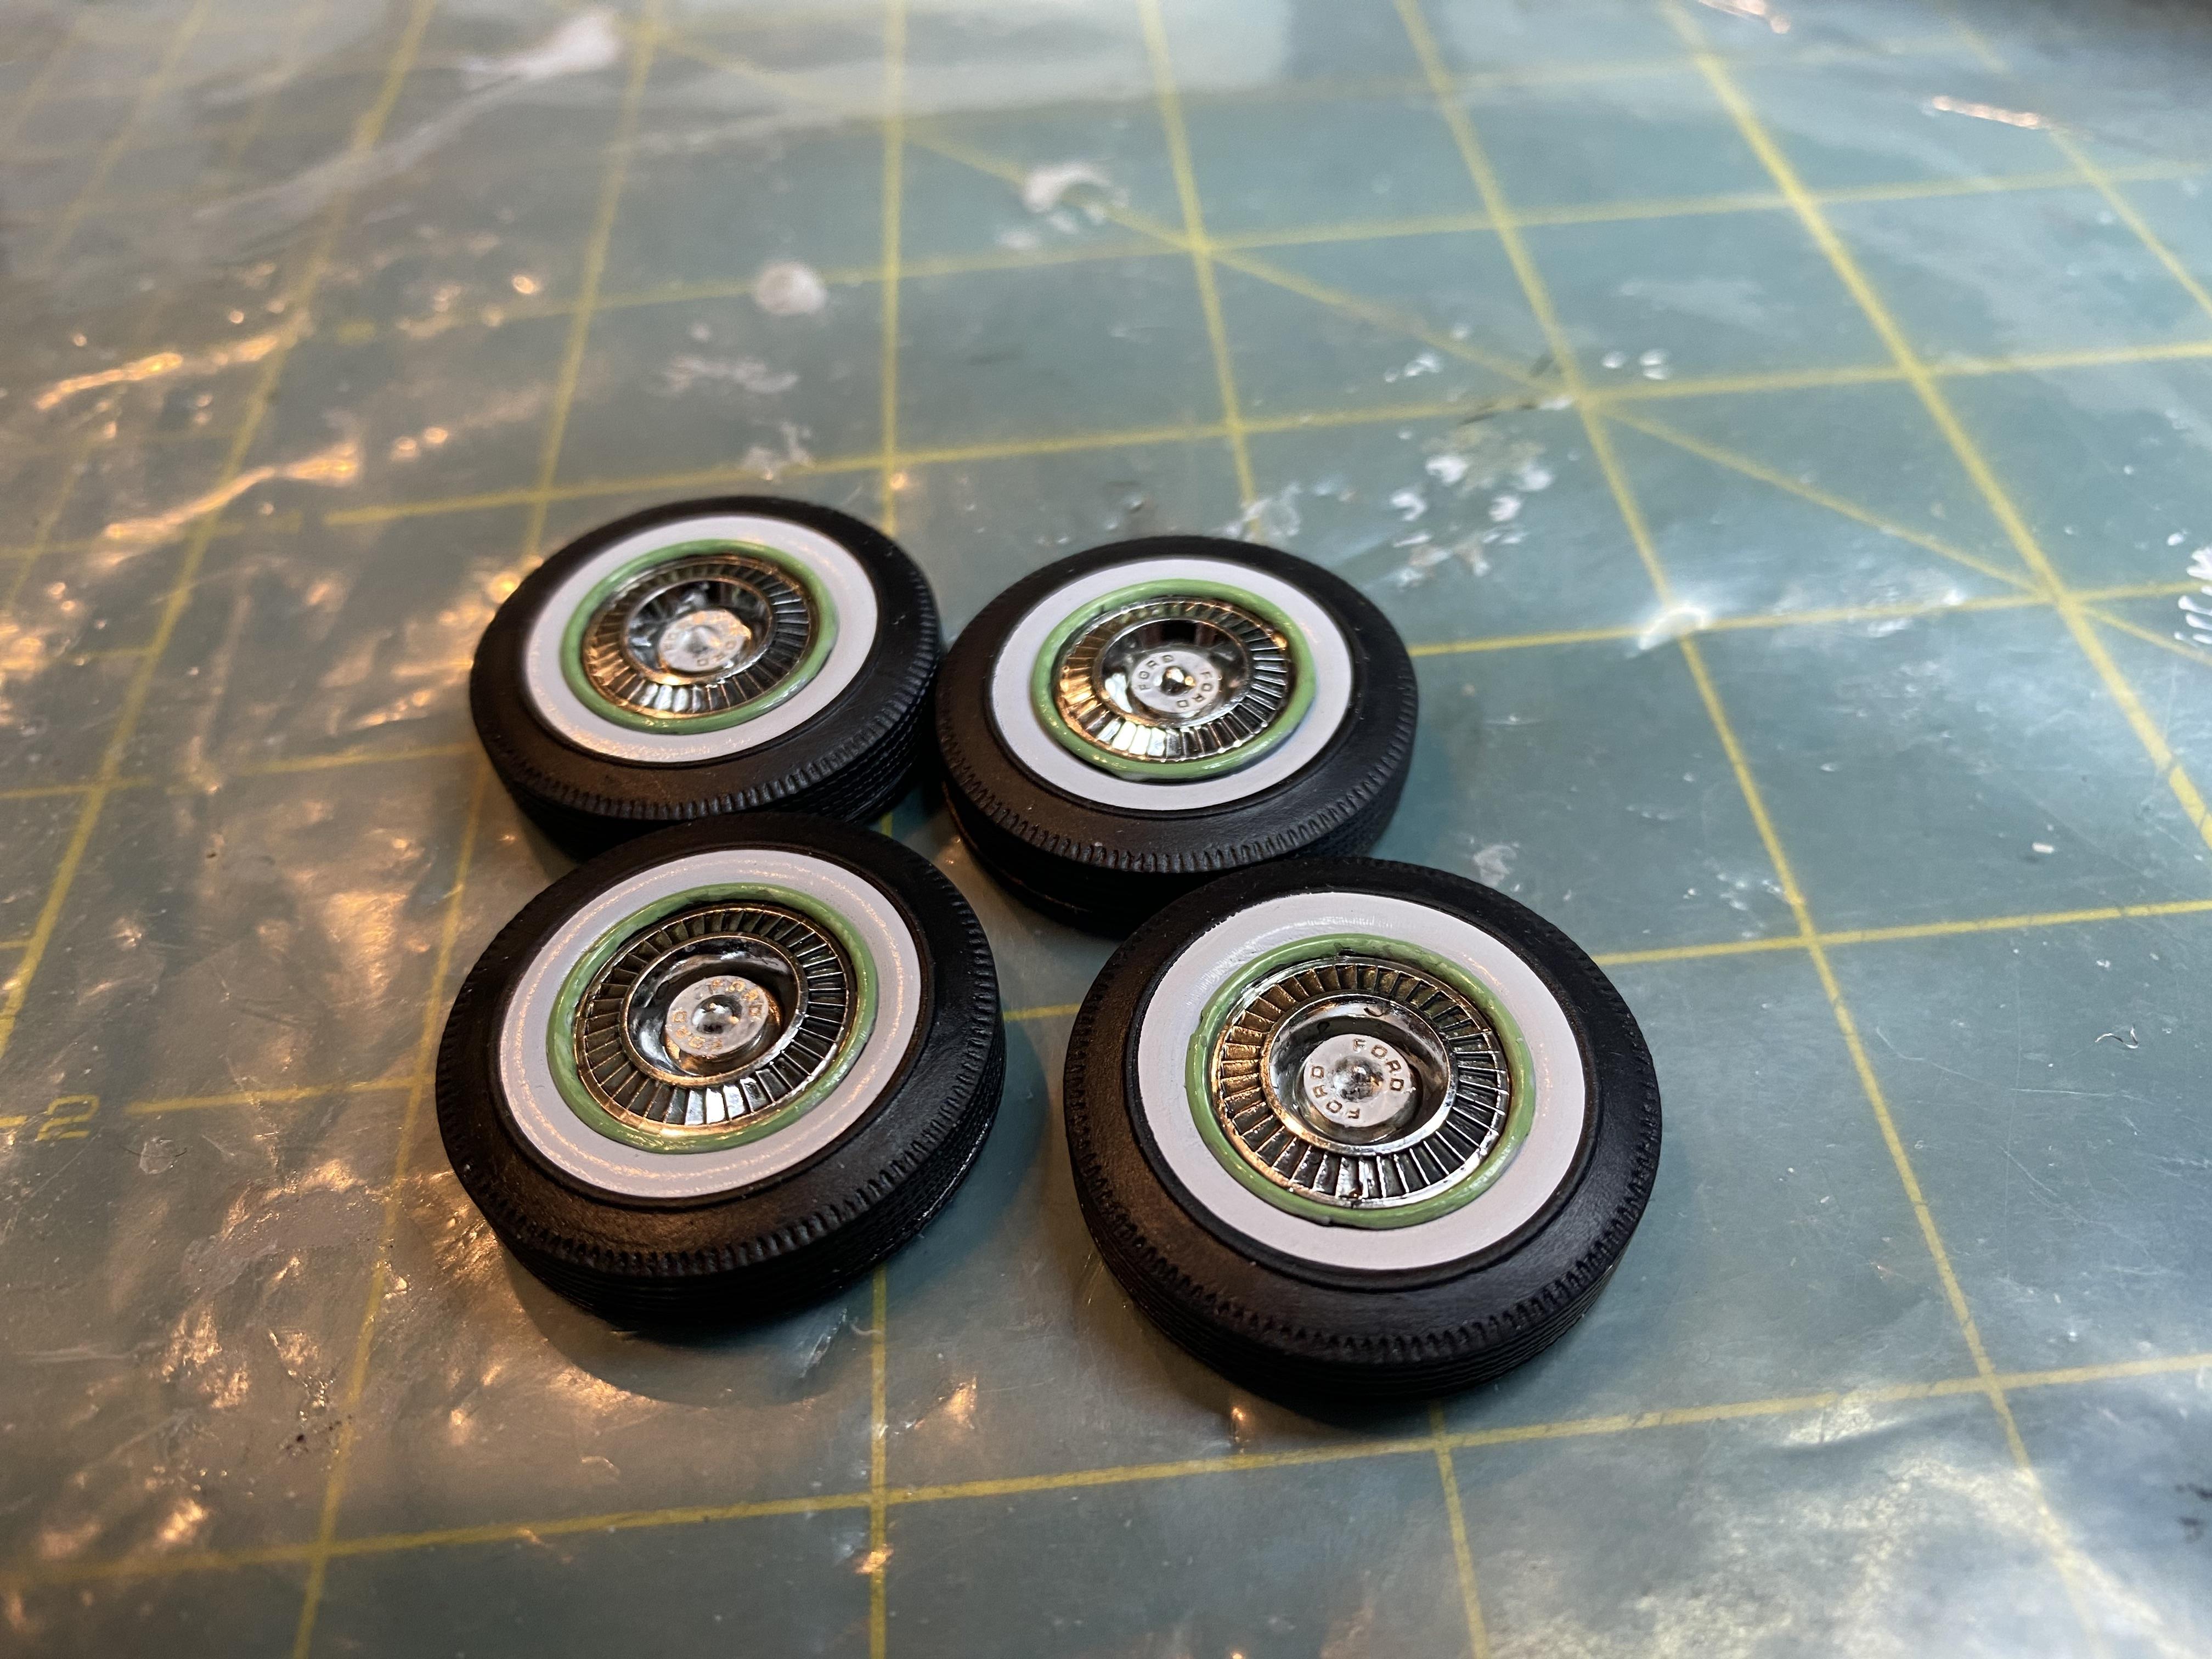
Painted and installed the wheel covers. Detailed the interior, added a trunk mat and pattern to battery cover. Started on the engine. Tomorrow I am hoping to 2k clear the body so it might be ready to to wet sand and polish this weekend.
-
Thank you. Still need to 2k clear the body, and polish.
-
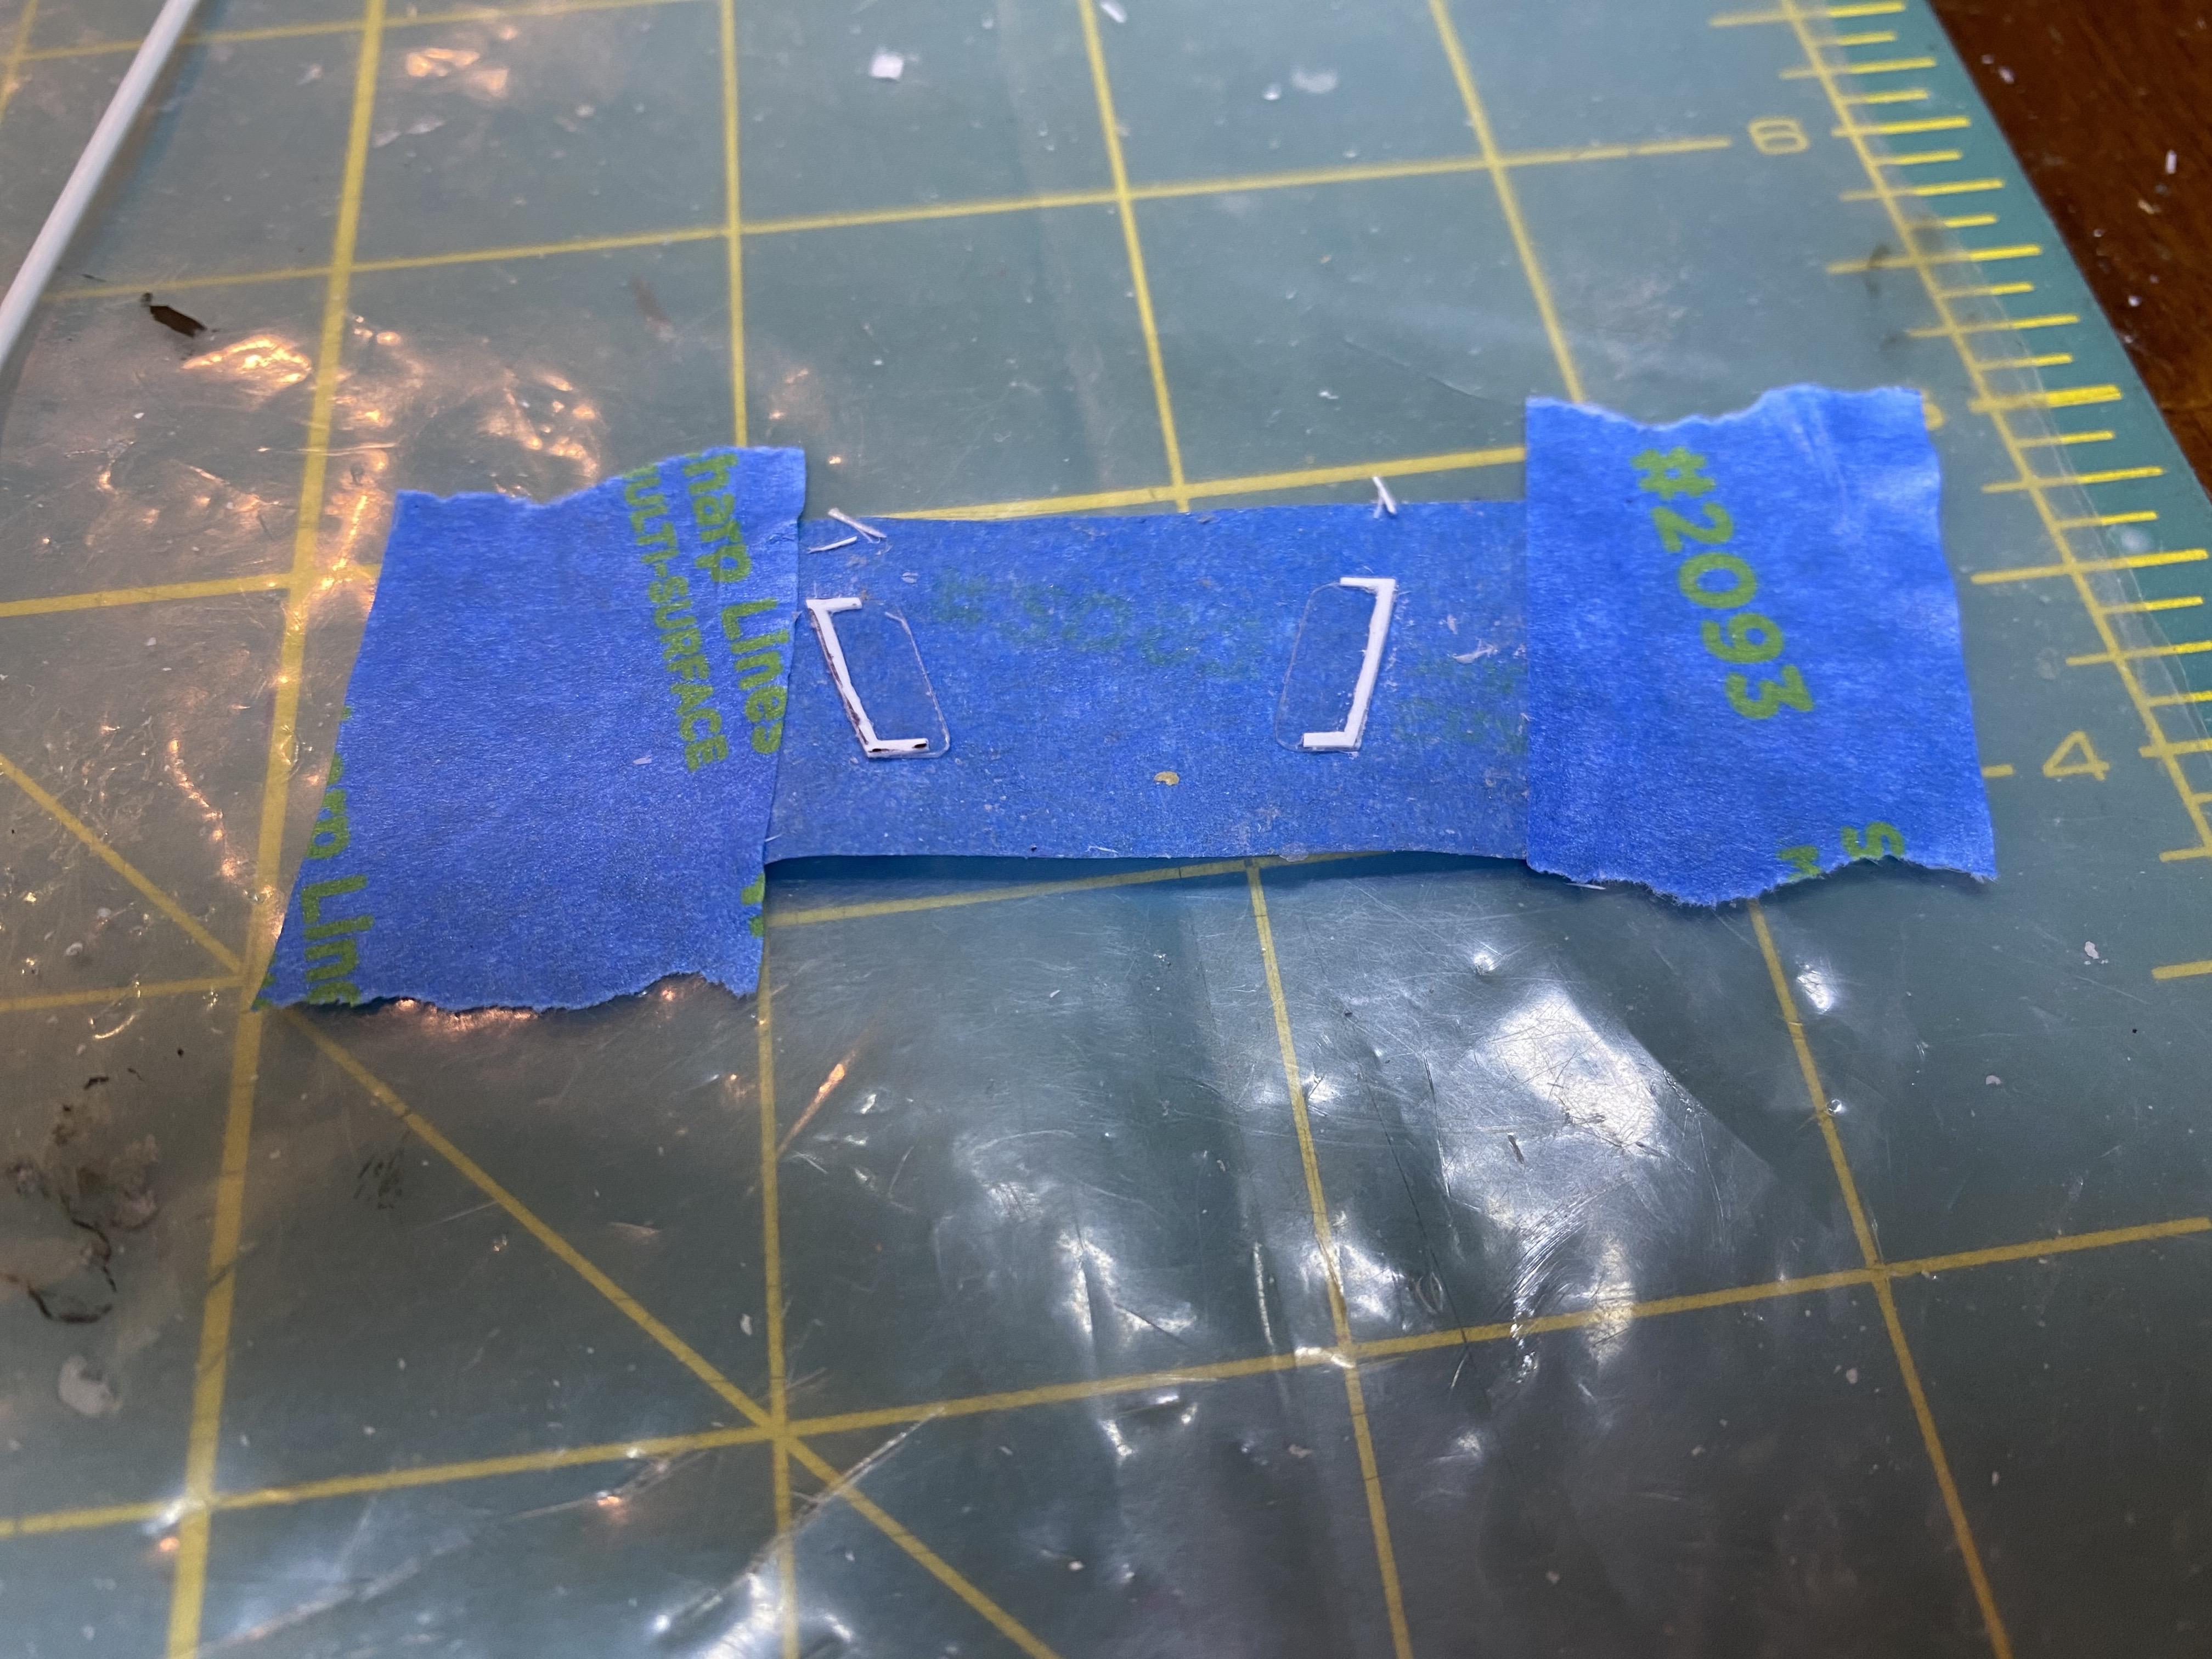
I am done with airbrush work and starting on detail painting. As I have mentioned a lot in this thread, I hate this chassis. I painted it and gave it a bit of a black wash to give it some depth. Still don’t love it but it will have to do. I molotow chromed that remaining trim and hood vent. I will give it at least 48 hours to cure a bit then 2K clear the body parts. The engine compartment will get a full detailing and wiring with a lot of scratch built parts like the wiring, master cylinder, washer bag, regulator and hood hold down rod. The trans is Alclad airframe aluminum, the dash panels inset is Alclad hi-shine aluminum. The top exterior is colonial white with the willow green headliner. The top is a resin version, I think it was at least based on the one that comes in the 56 kit from the looks of it.
-
It was actually someone here on the forum that mentioned it. I had tried so many thing but dipping is the only thing that worked and didn’t destroy the bright chrome look. Even spraying the chrome with pledge fogged it up. I still spray molotow for things I can’t dip like trim on the body. I lightly mist spray the body with the 2K clear over the trim first, let it sit for a little while and I lose very little brightness if at all. That takes practice though.
-
Thank you. This is really not a great kit but with a lot of work I think it will come out ok.