Duddly01
-
Posts
1,048 -
Joined
-
Last visited
Content Type
Profiles
Forums
Events
Gallery
Everything posted by Duddly01
-
Thank you! Thank you!
-
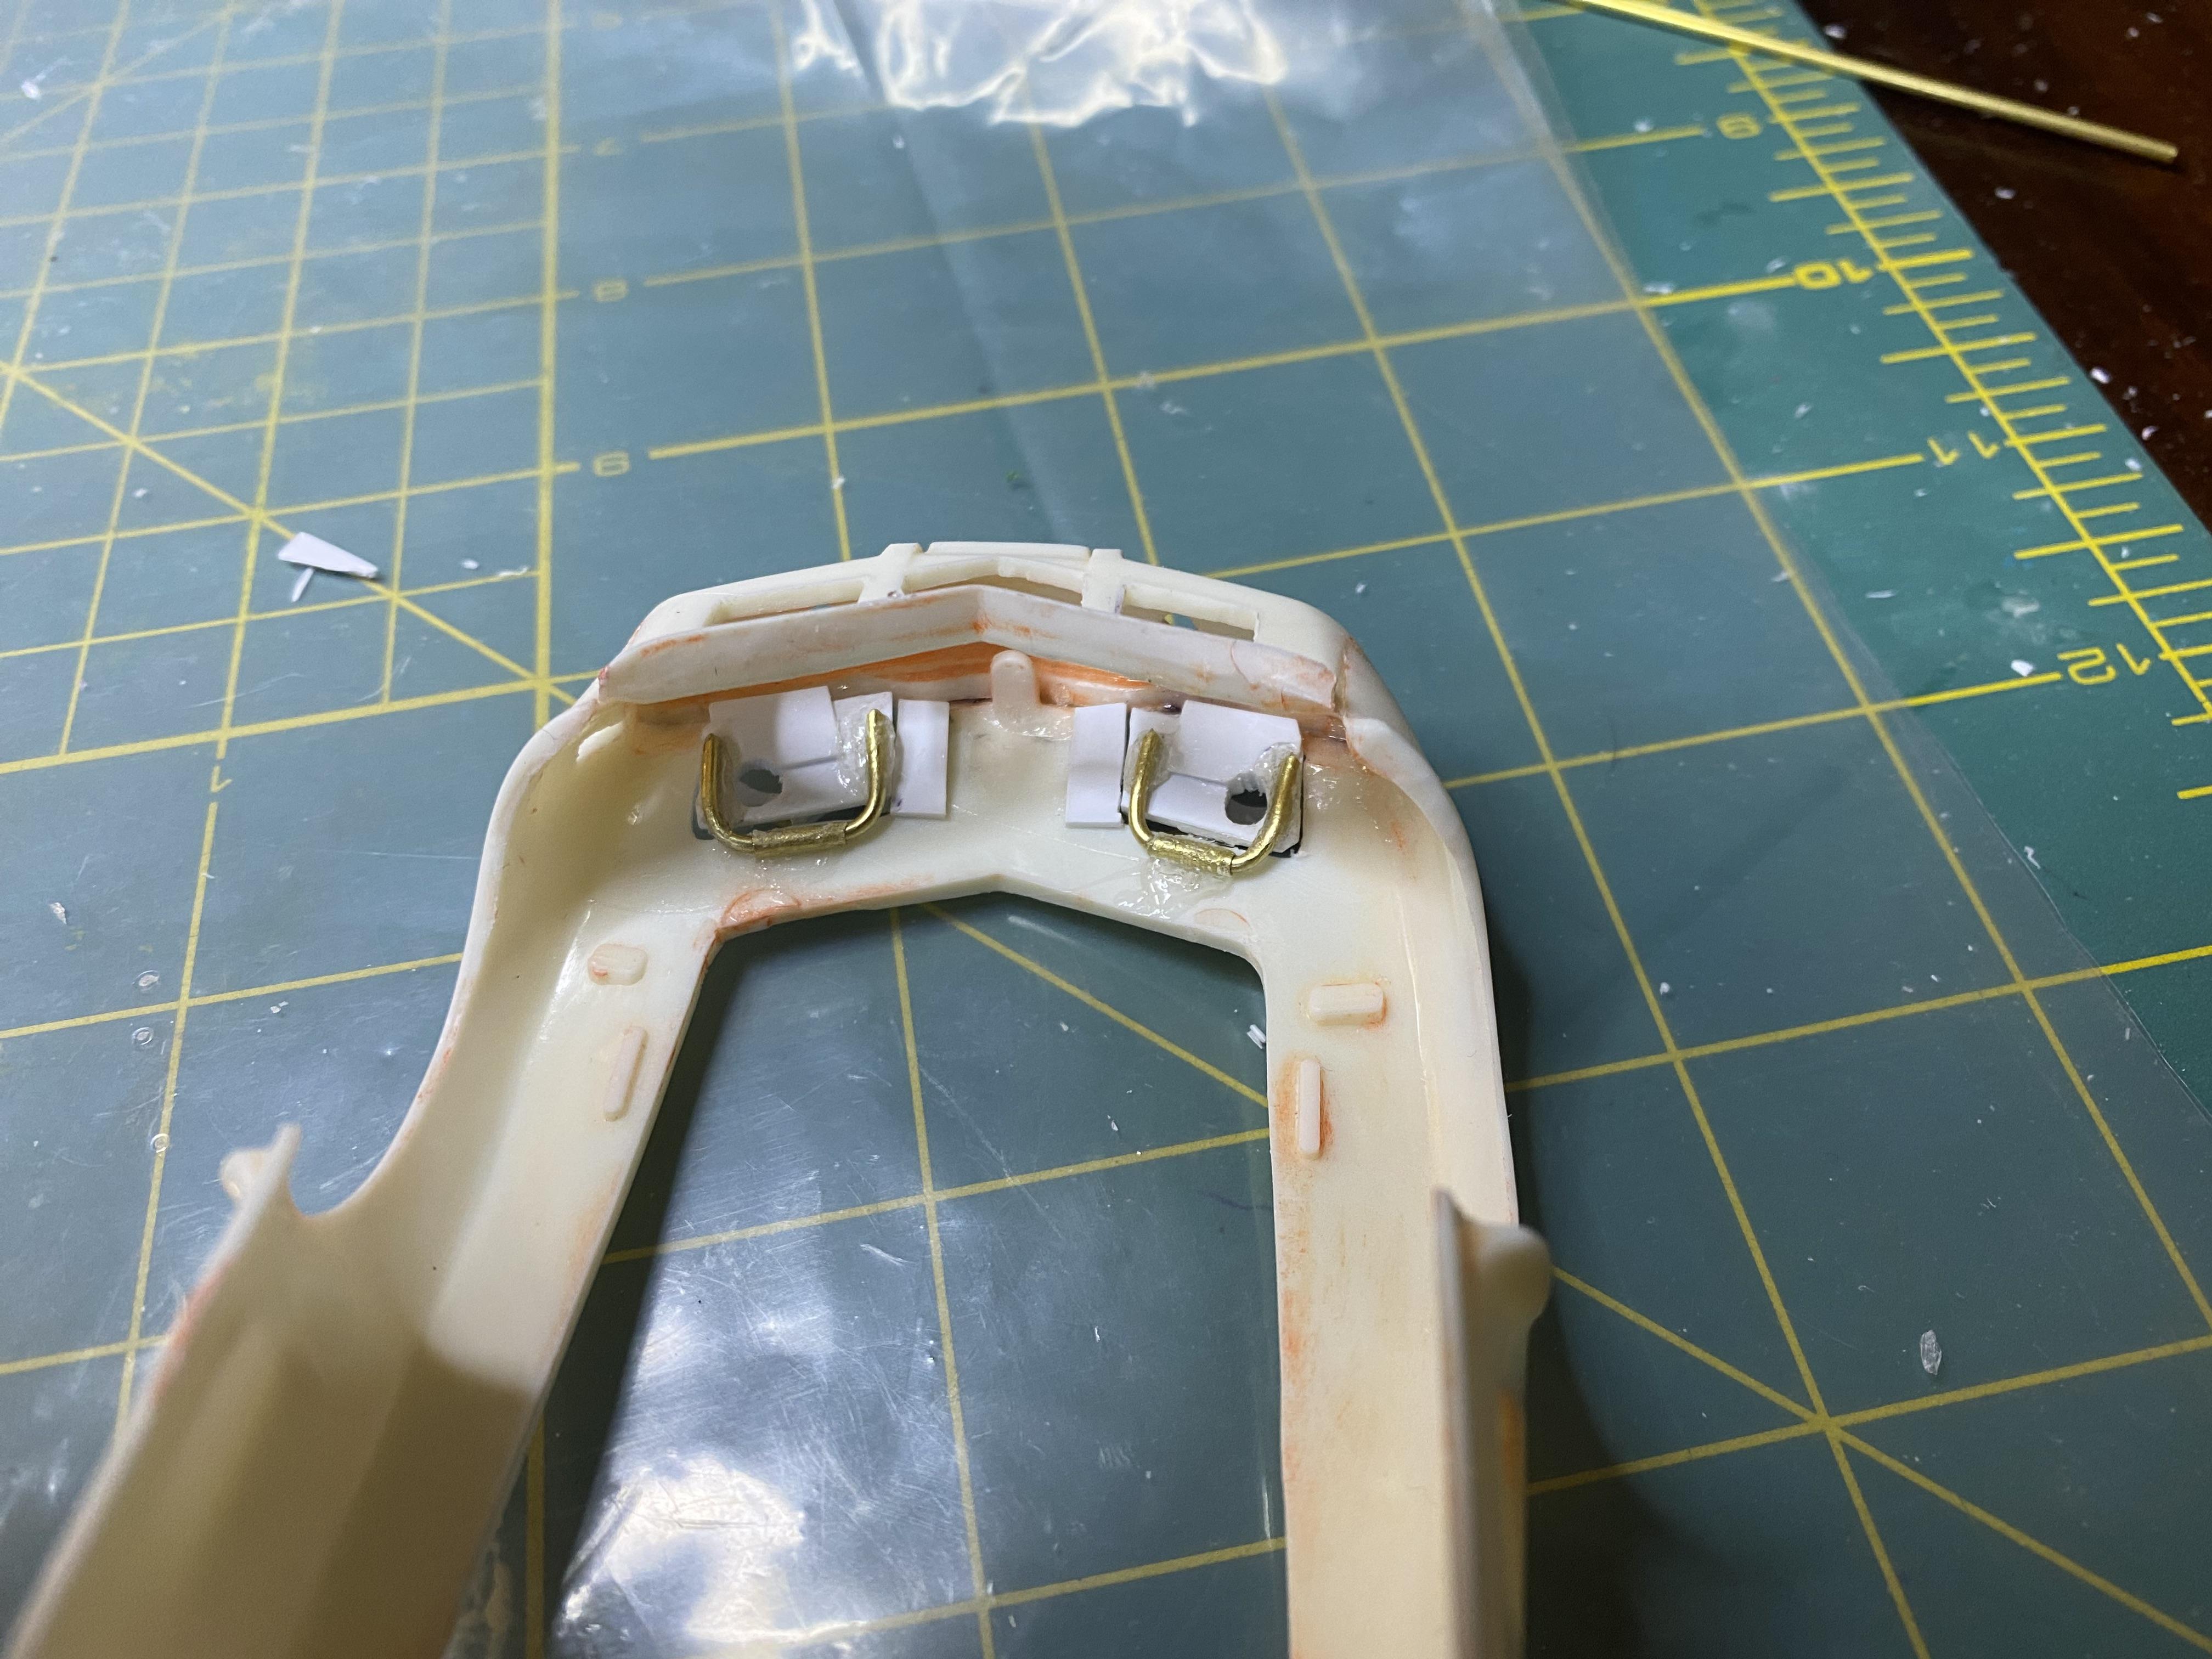
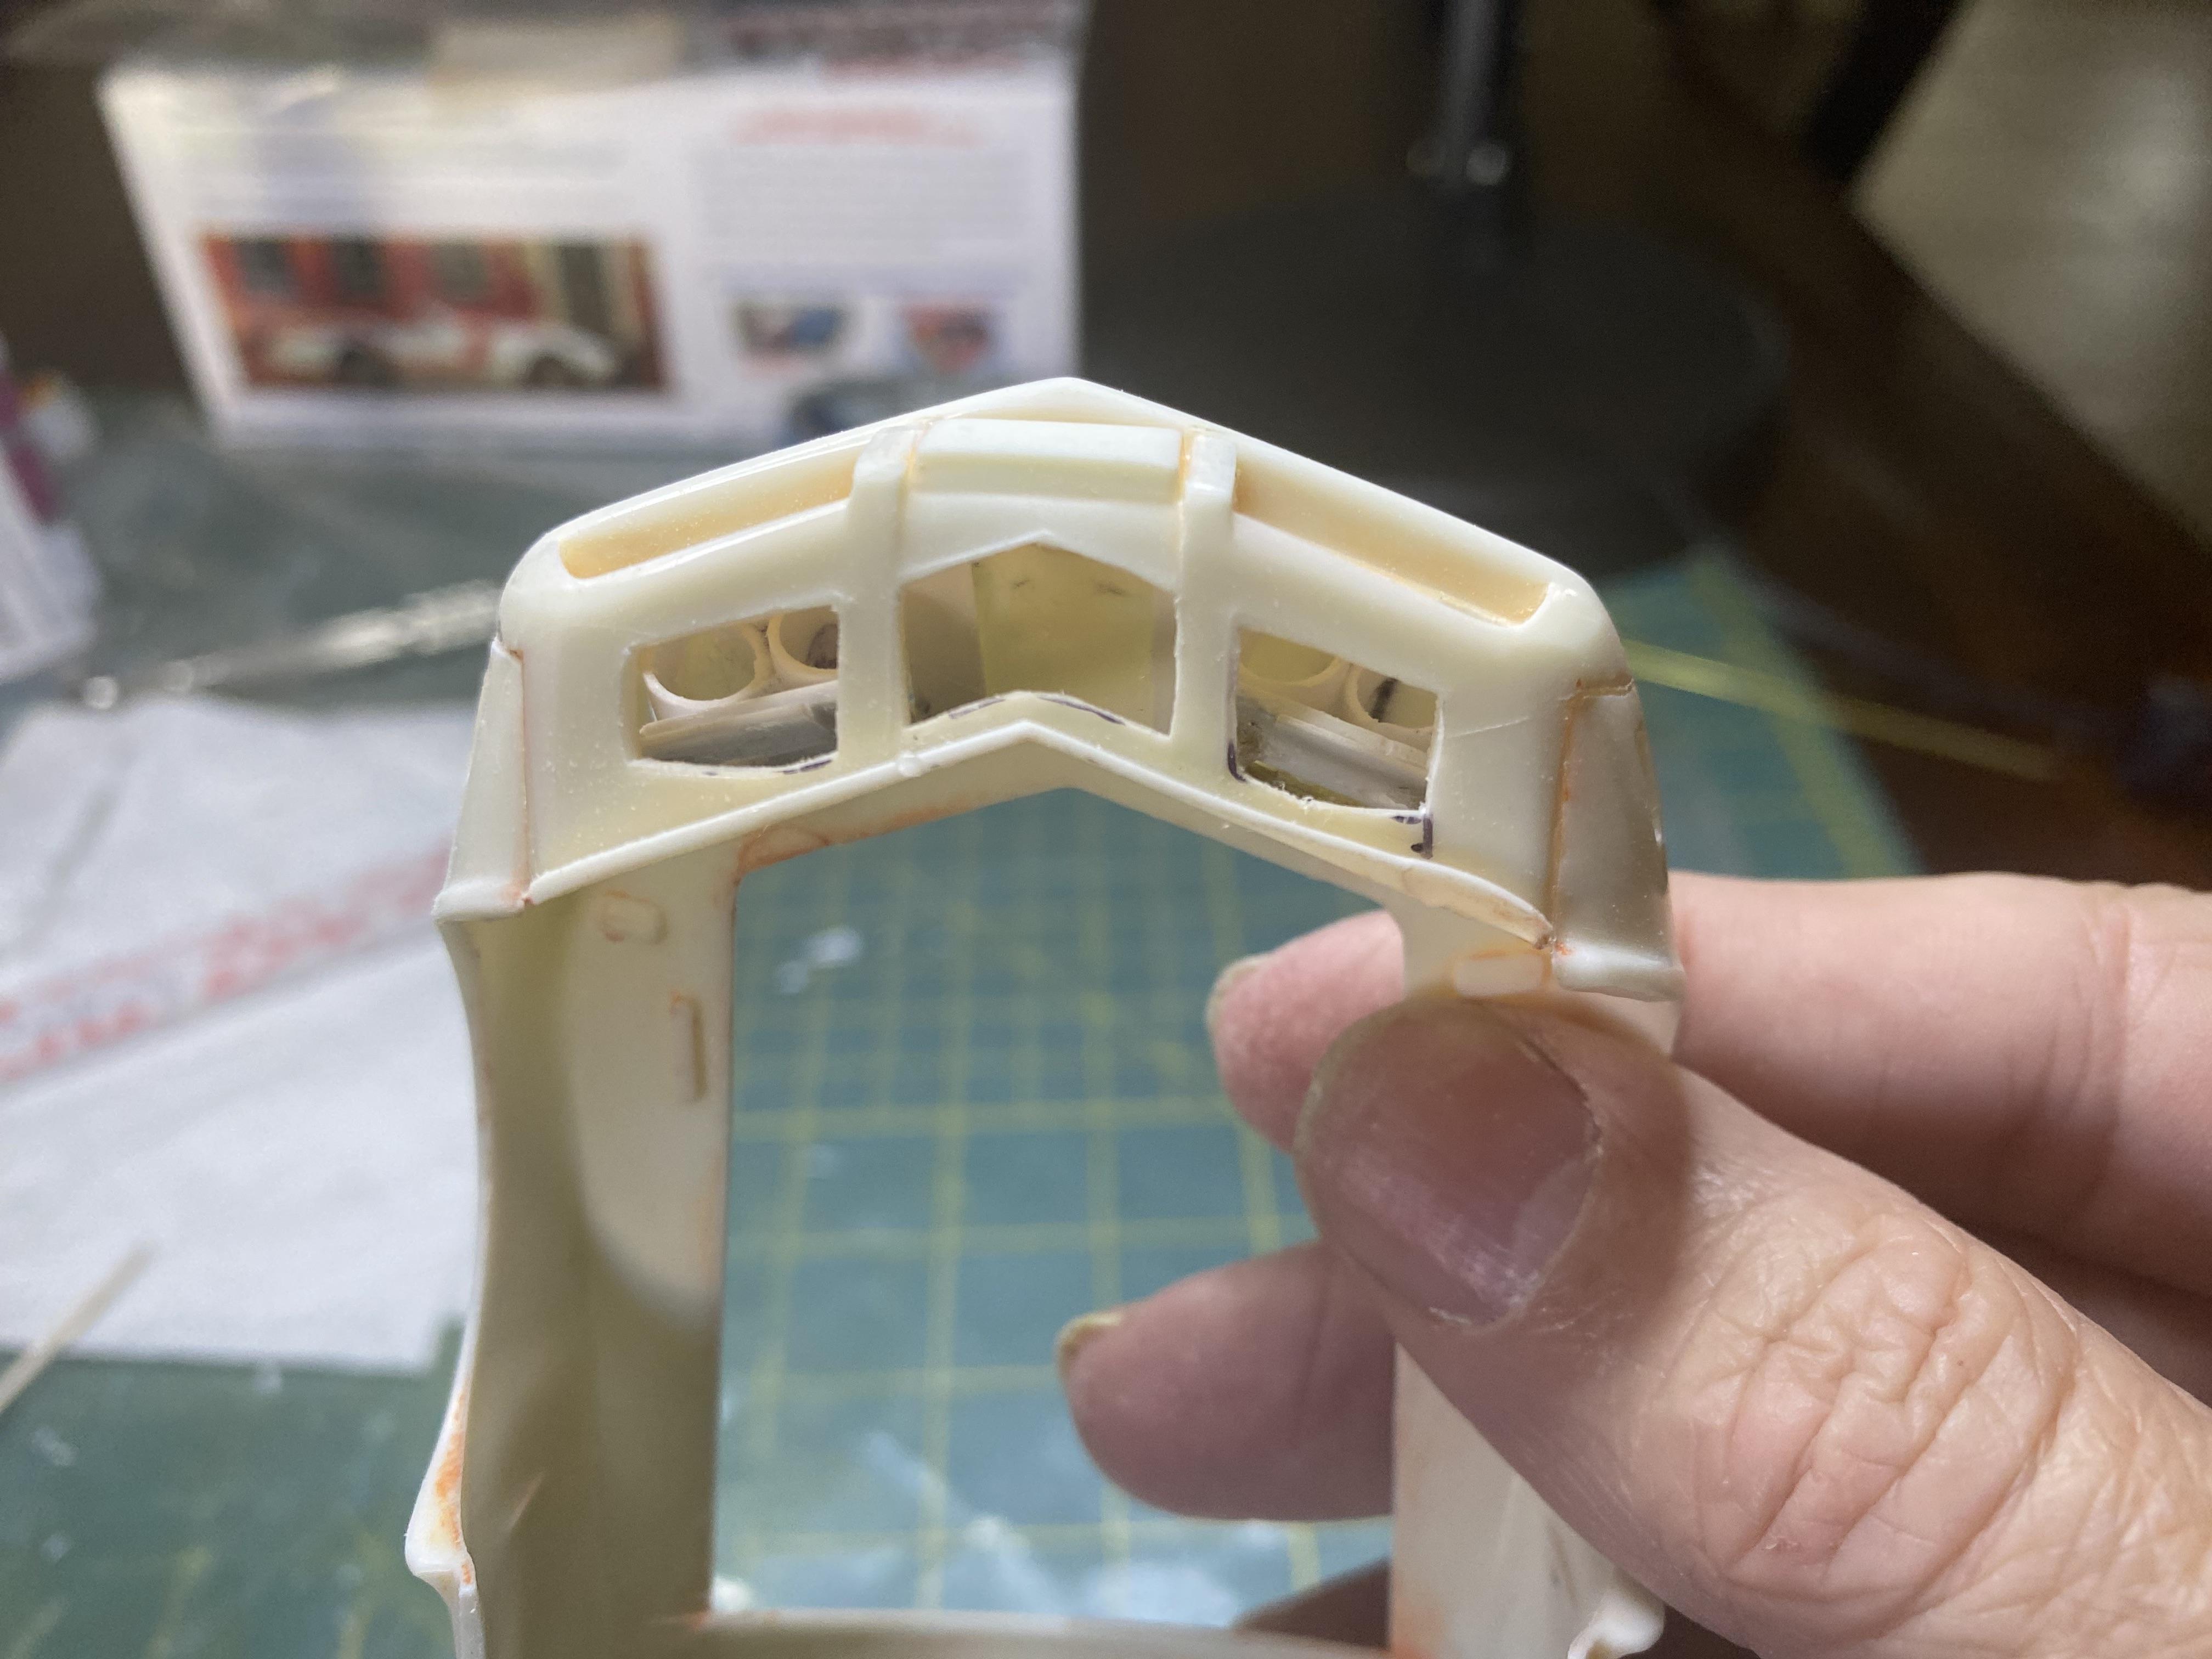
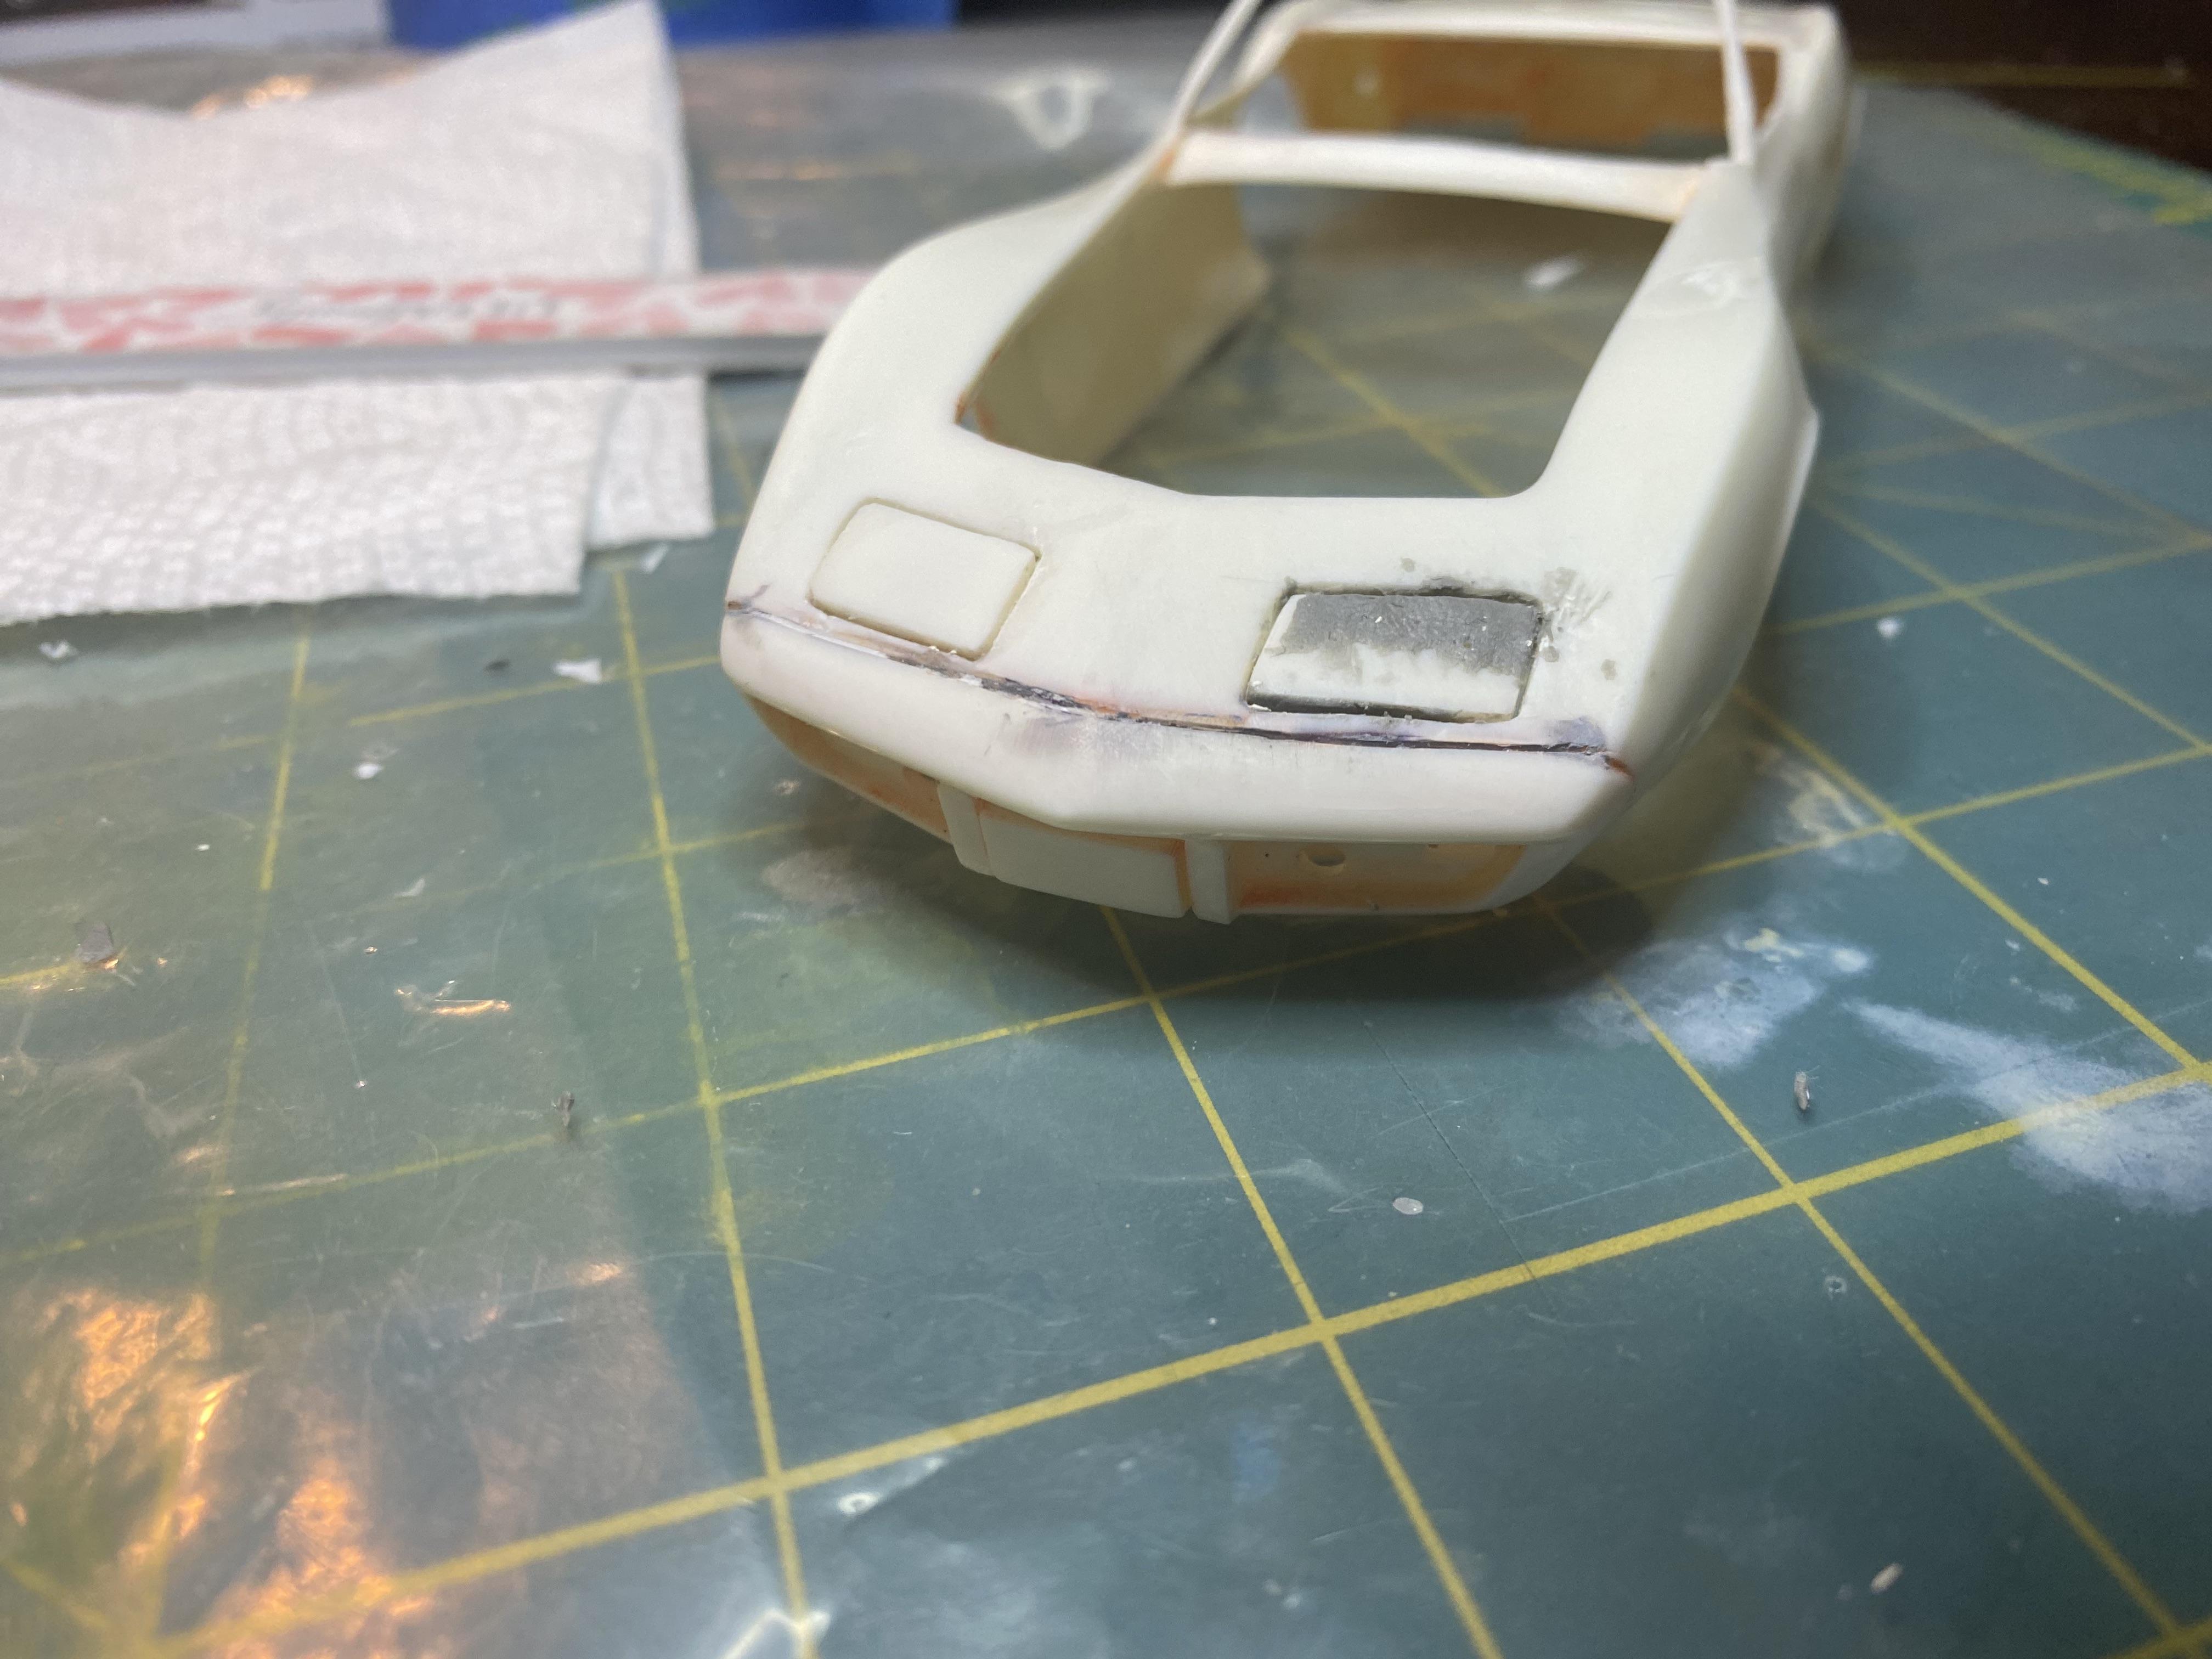
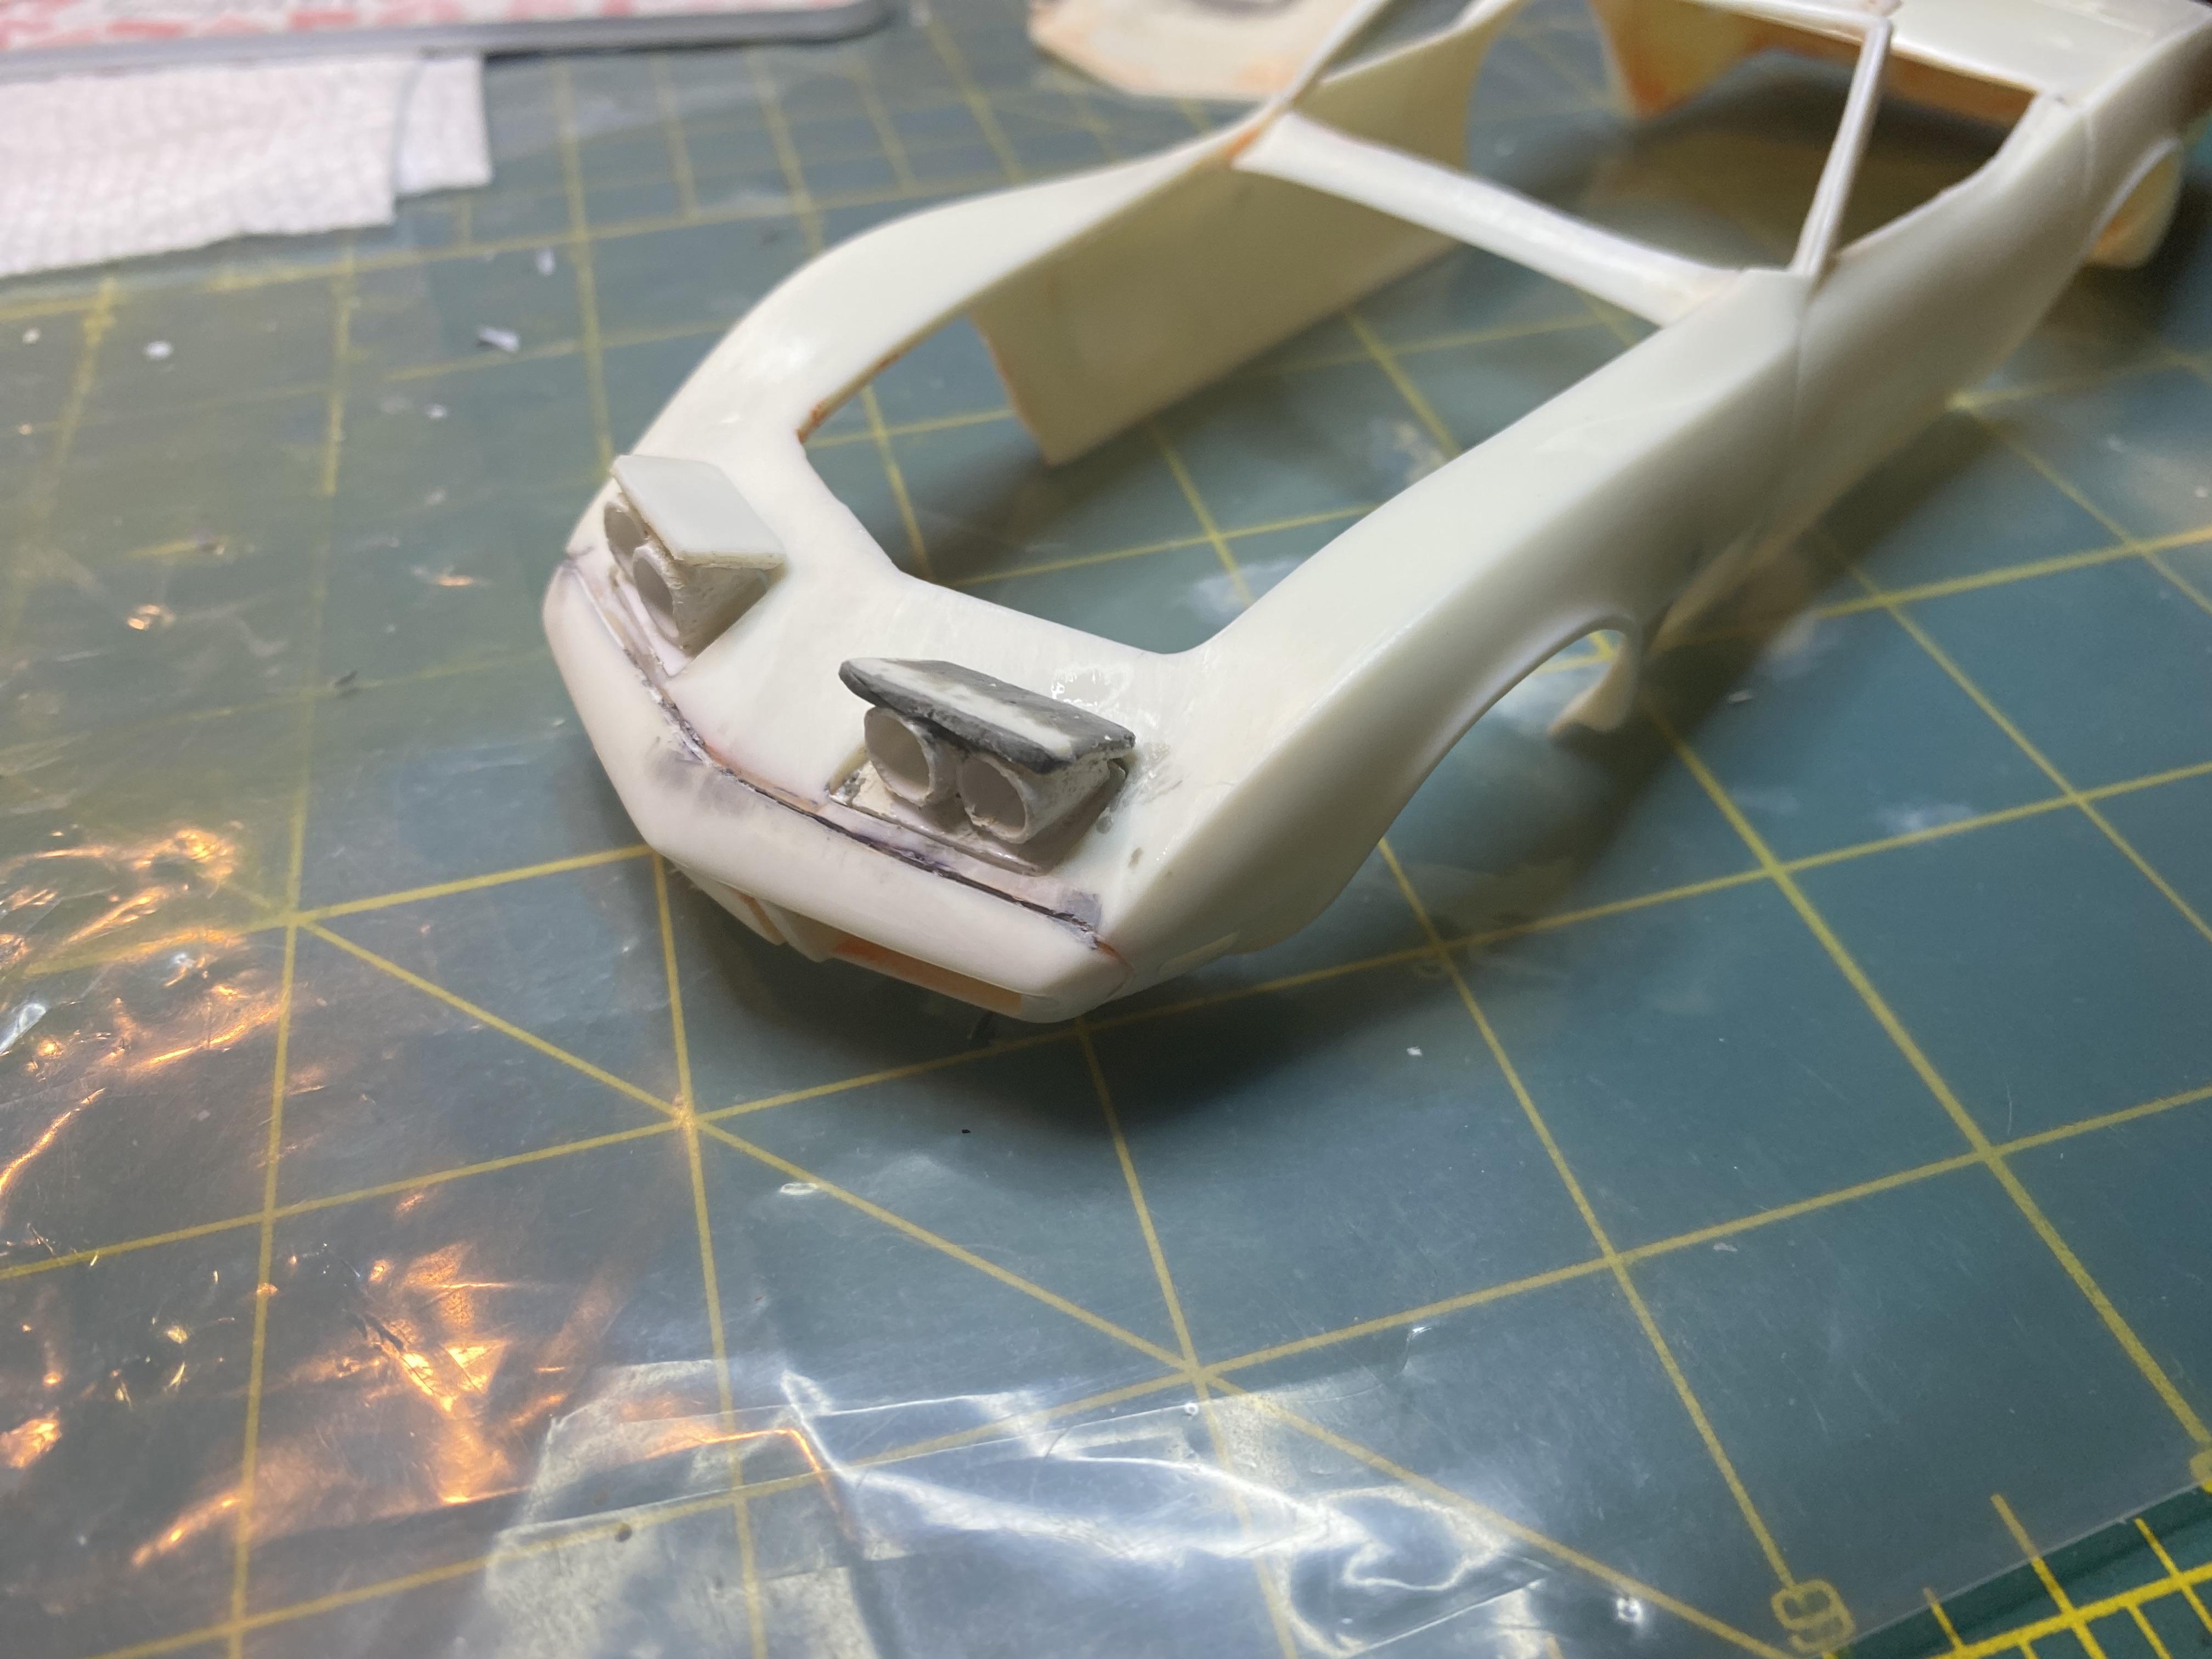
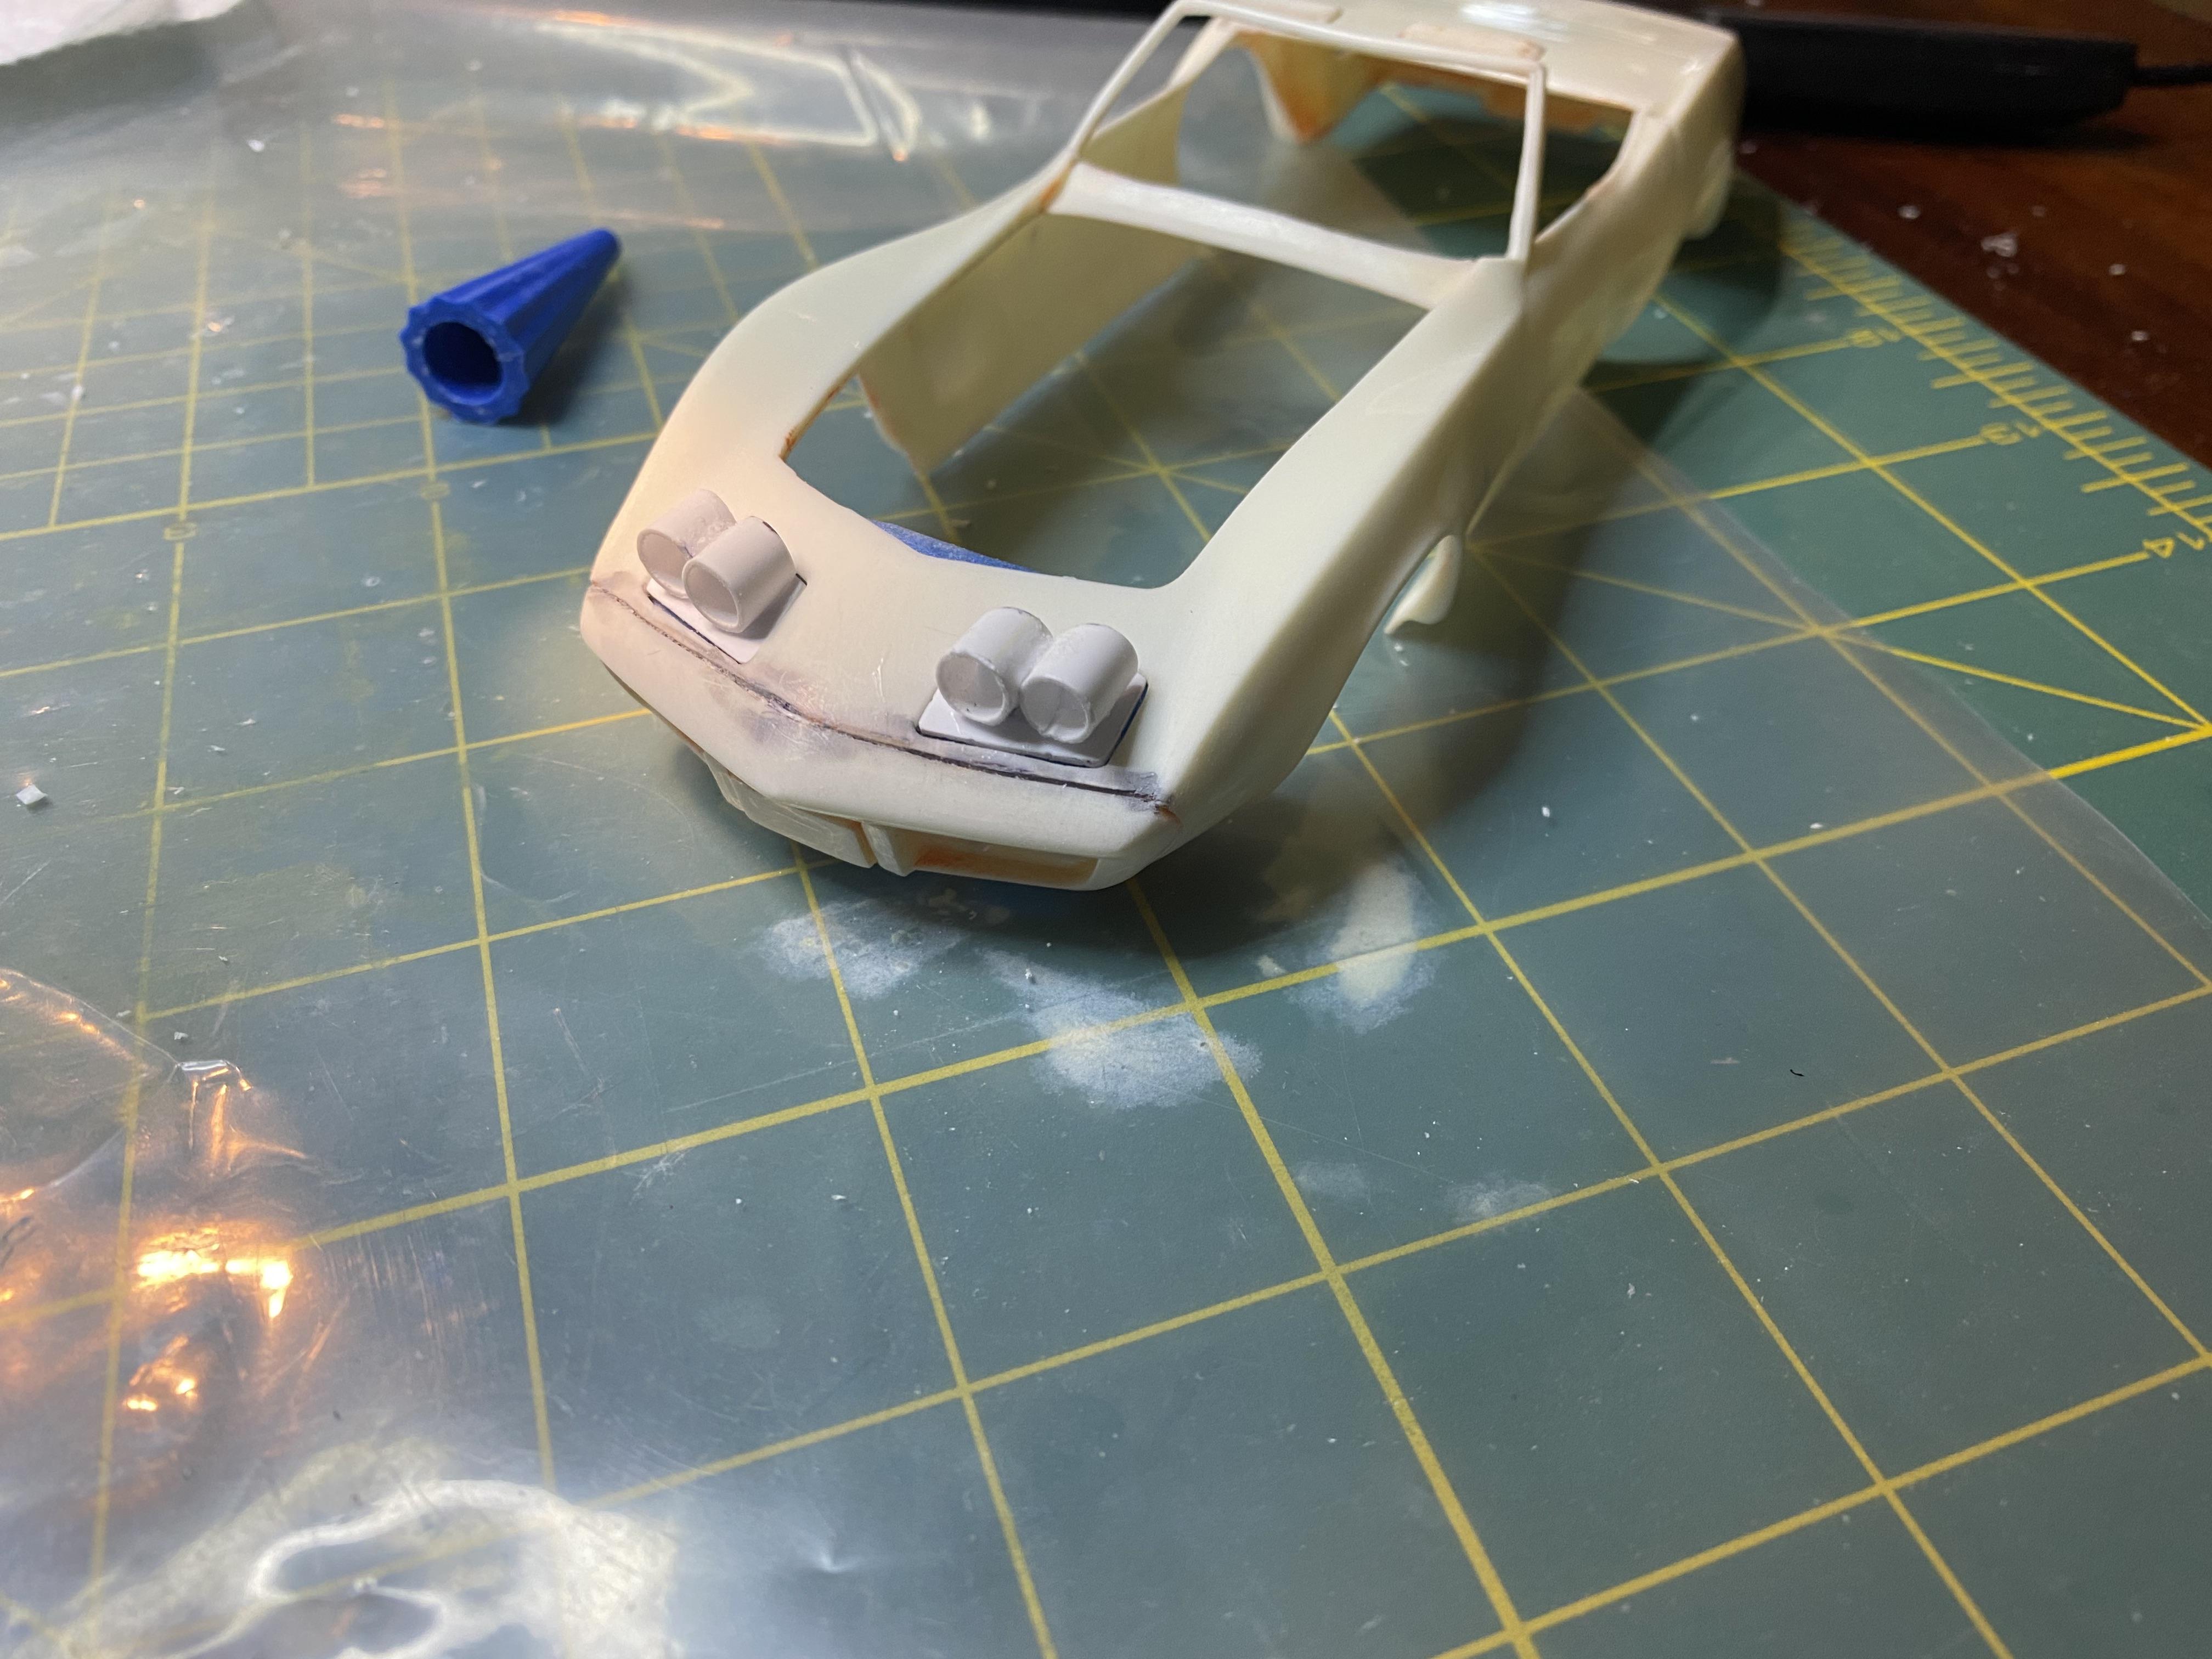
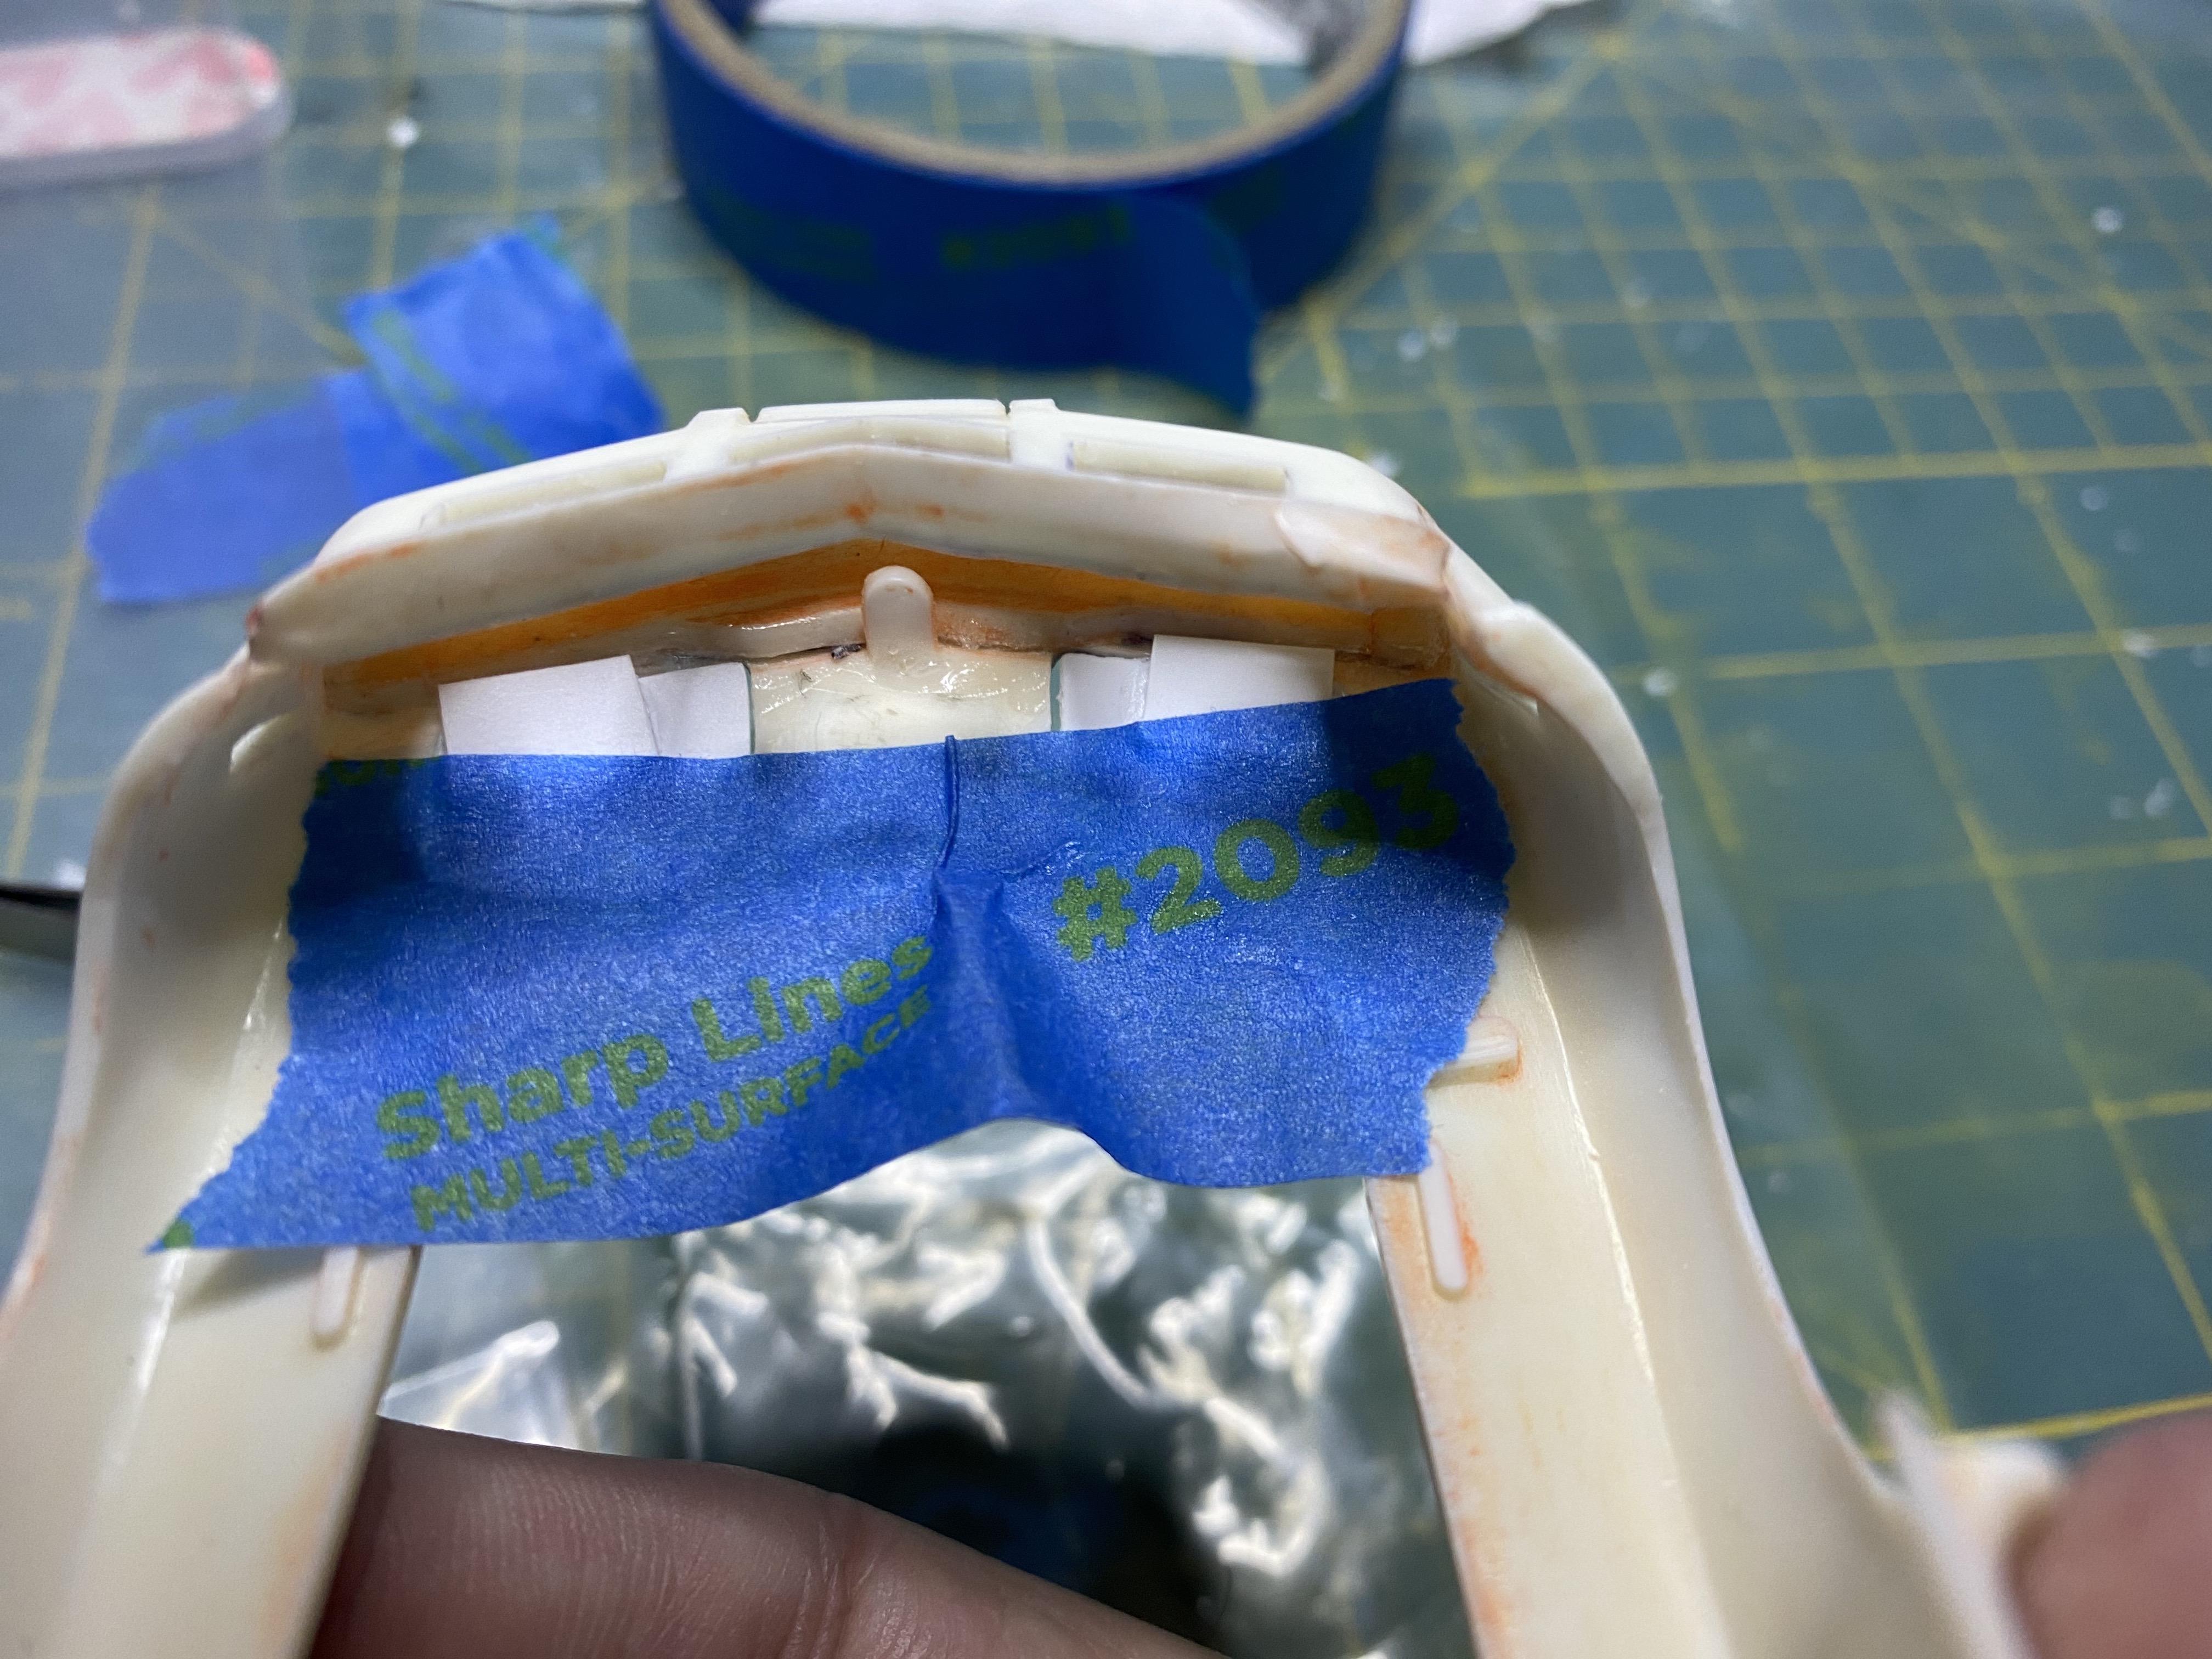
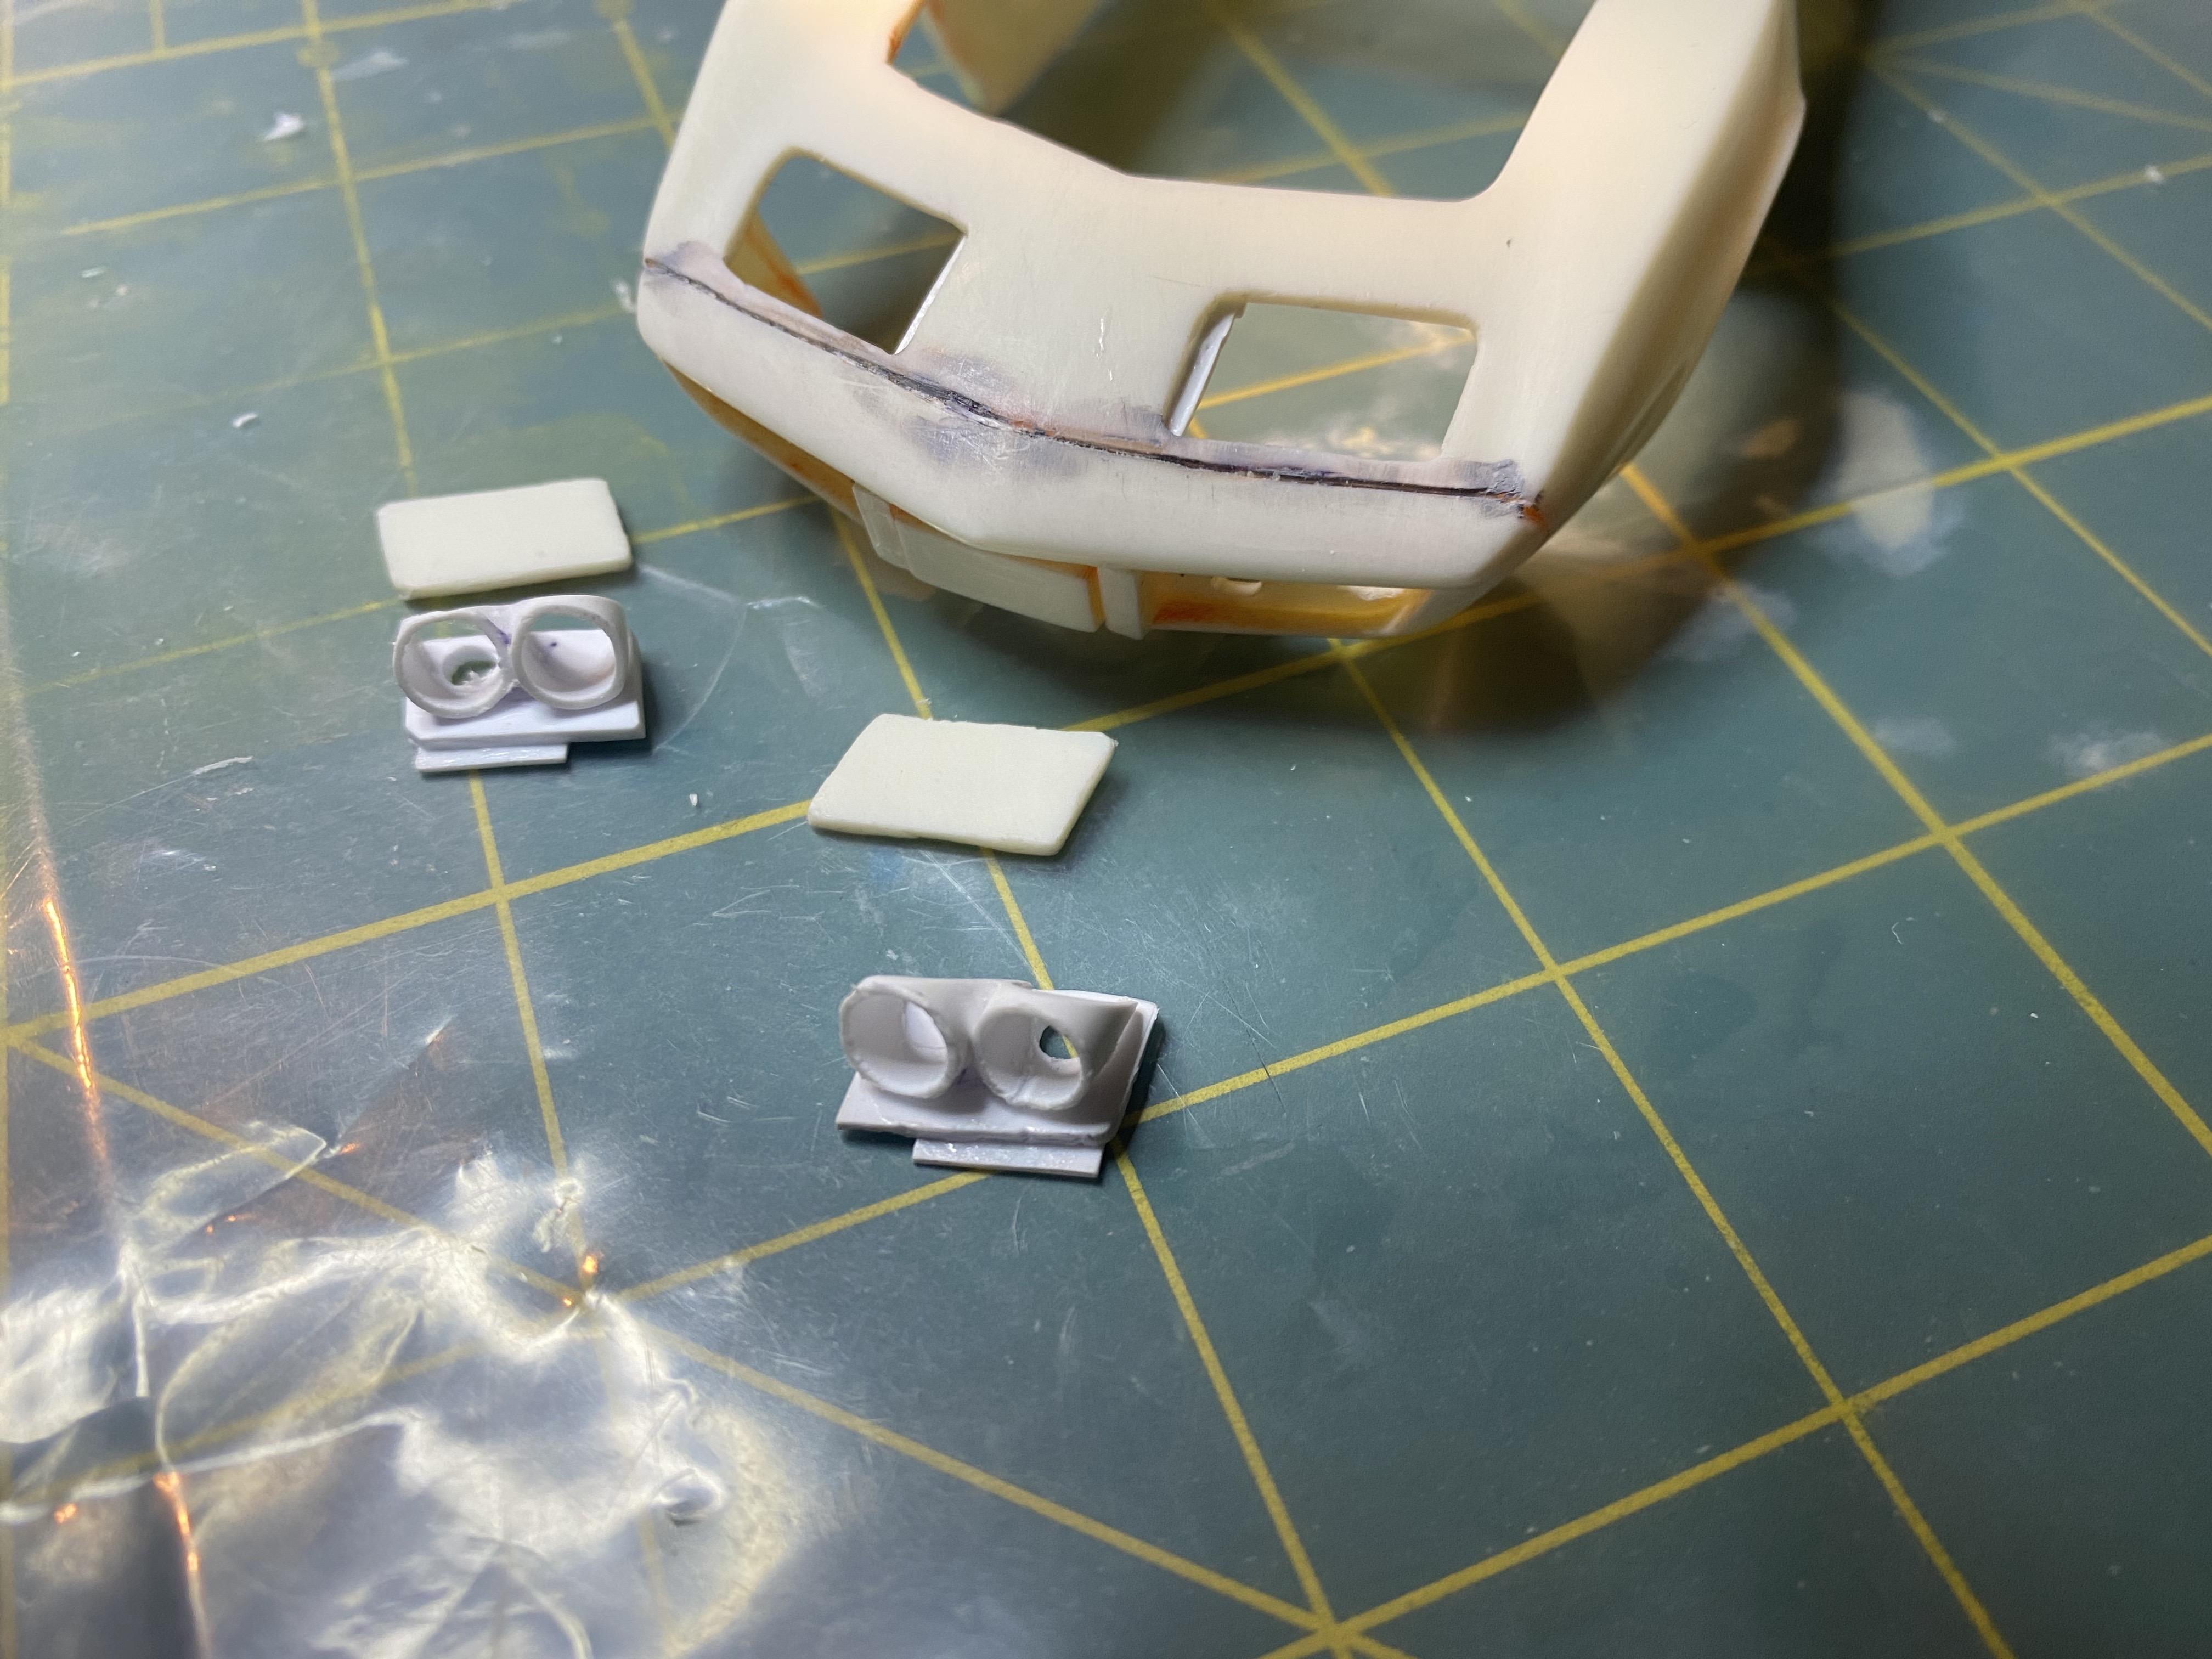
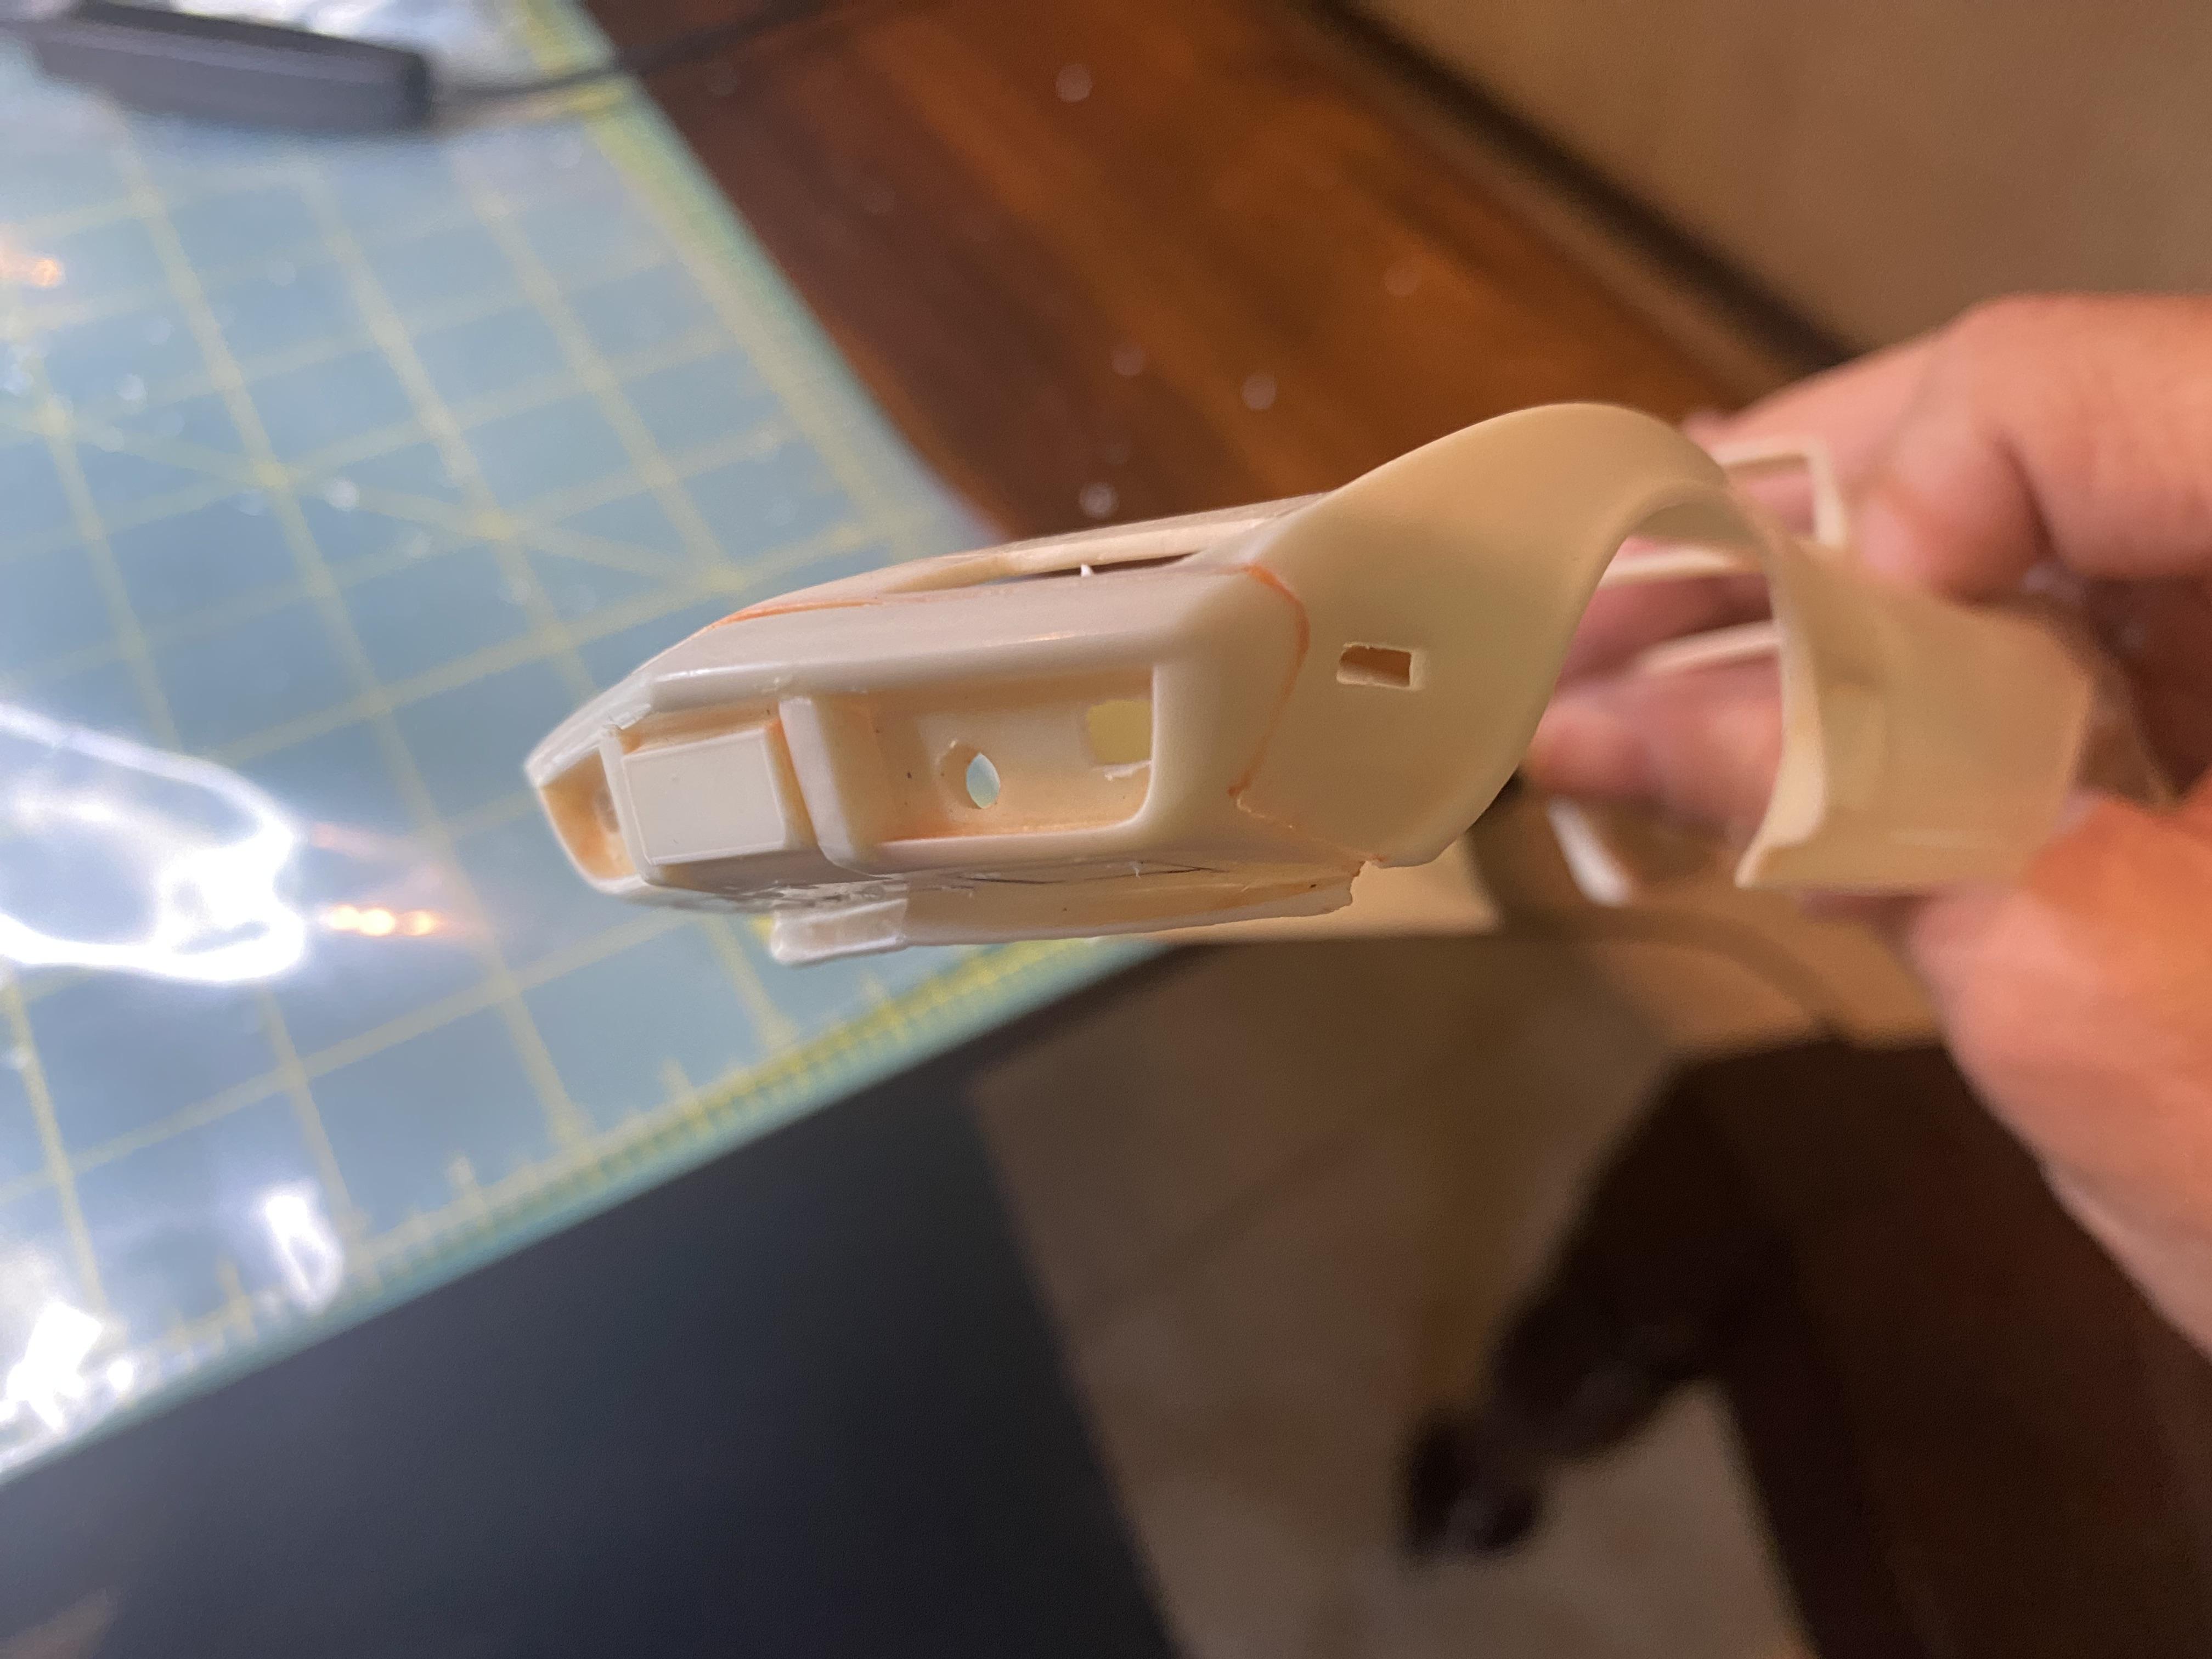
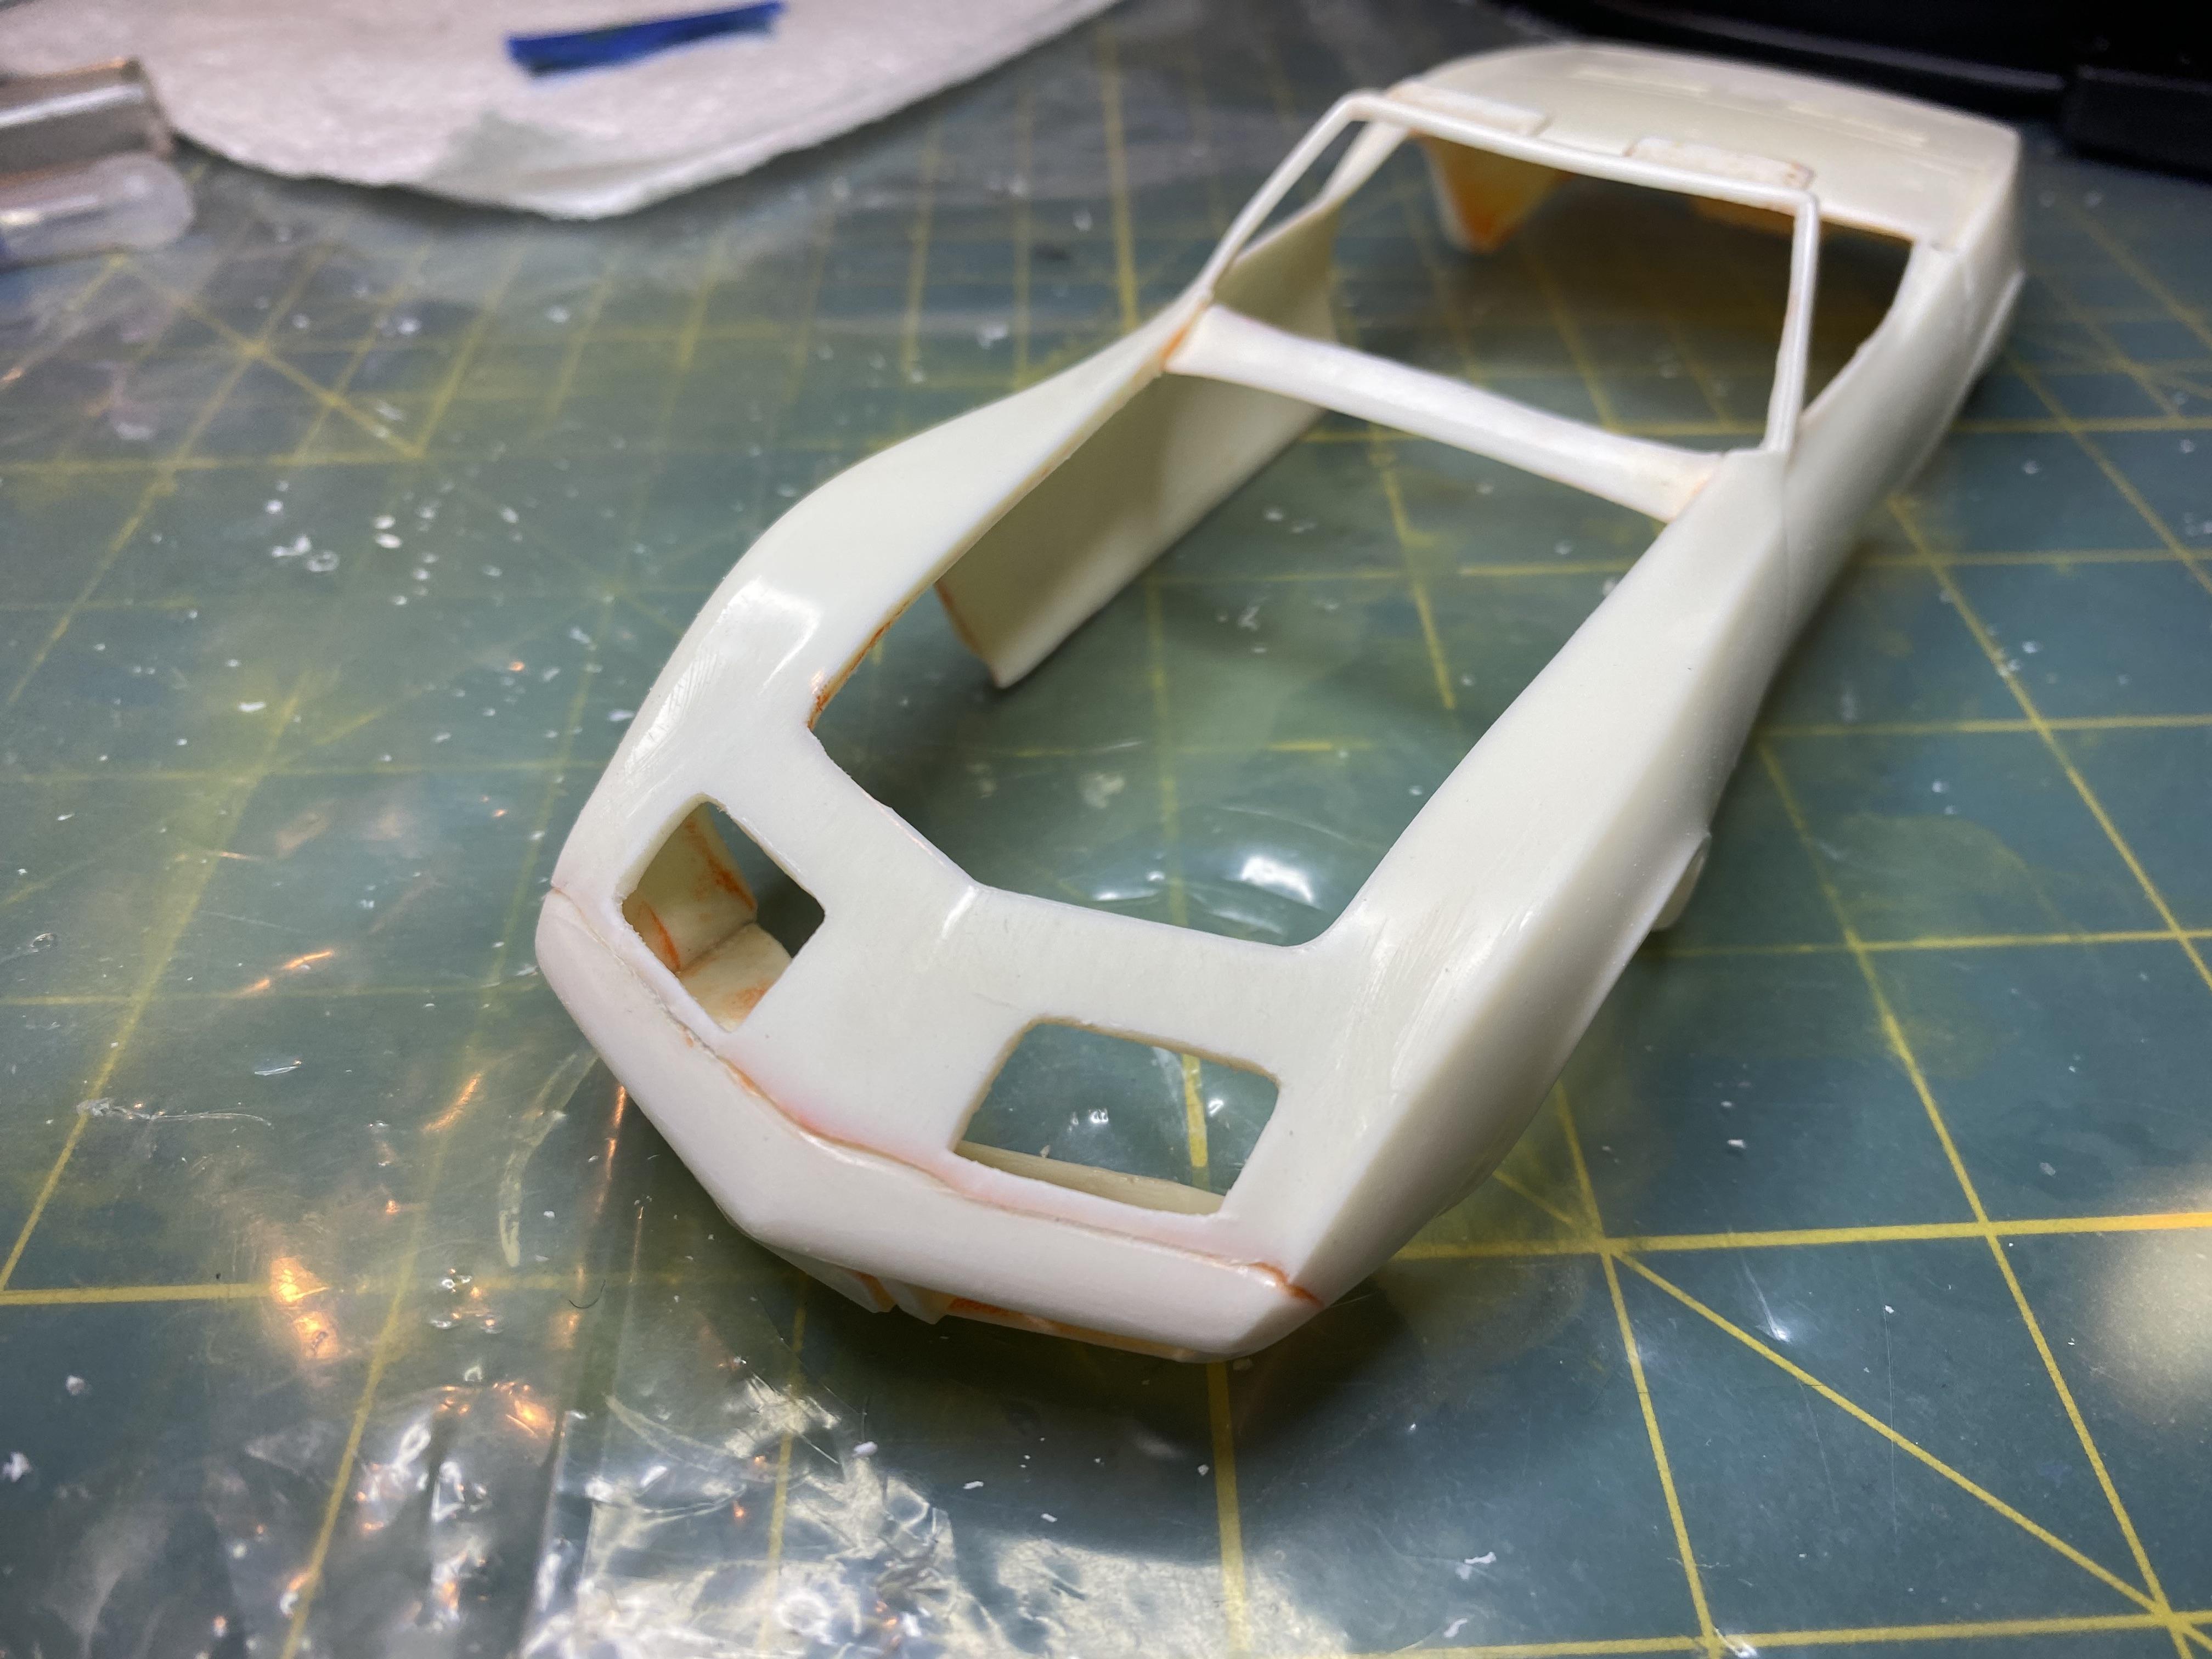
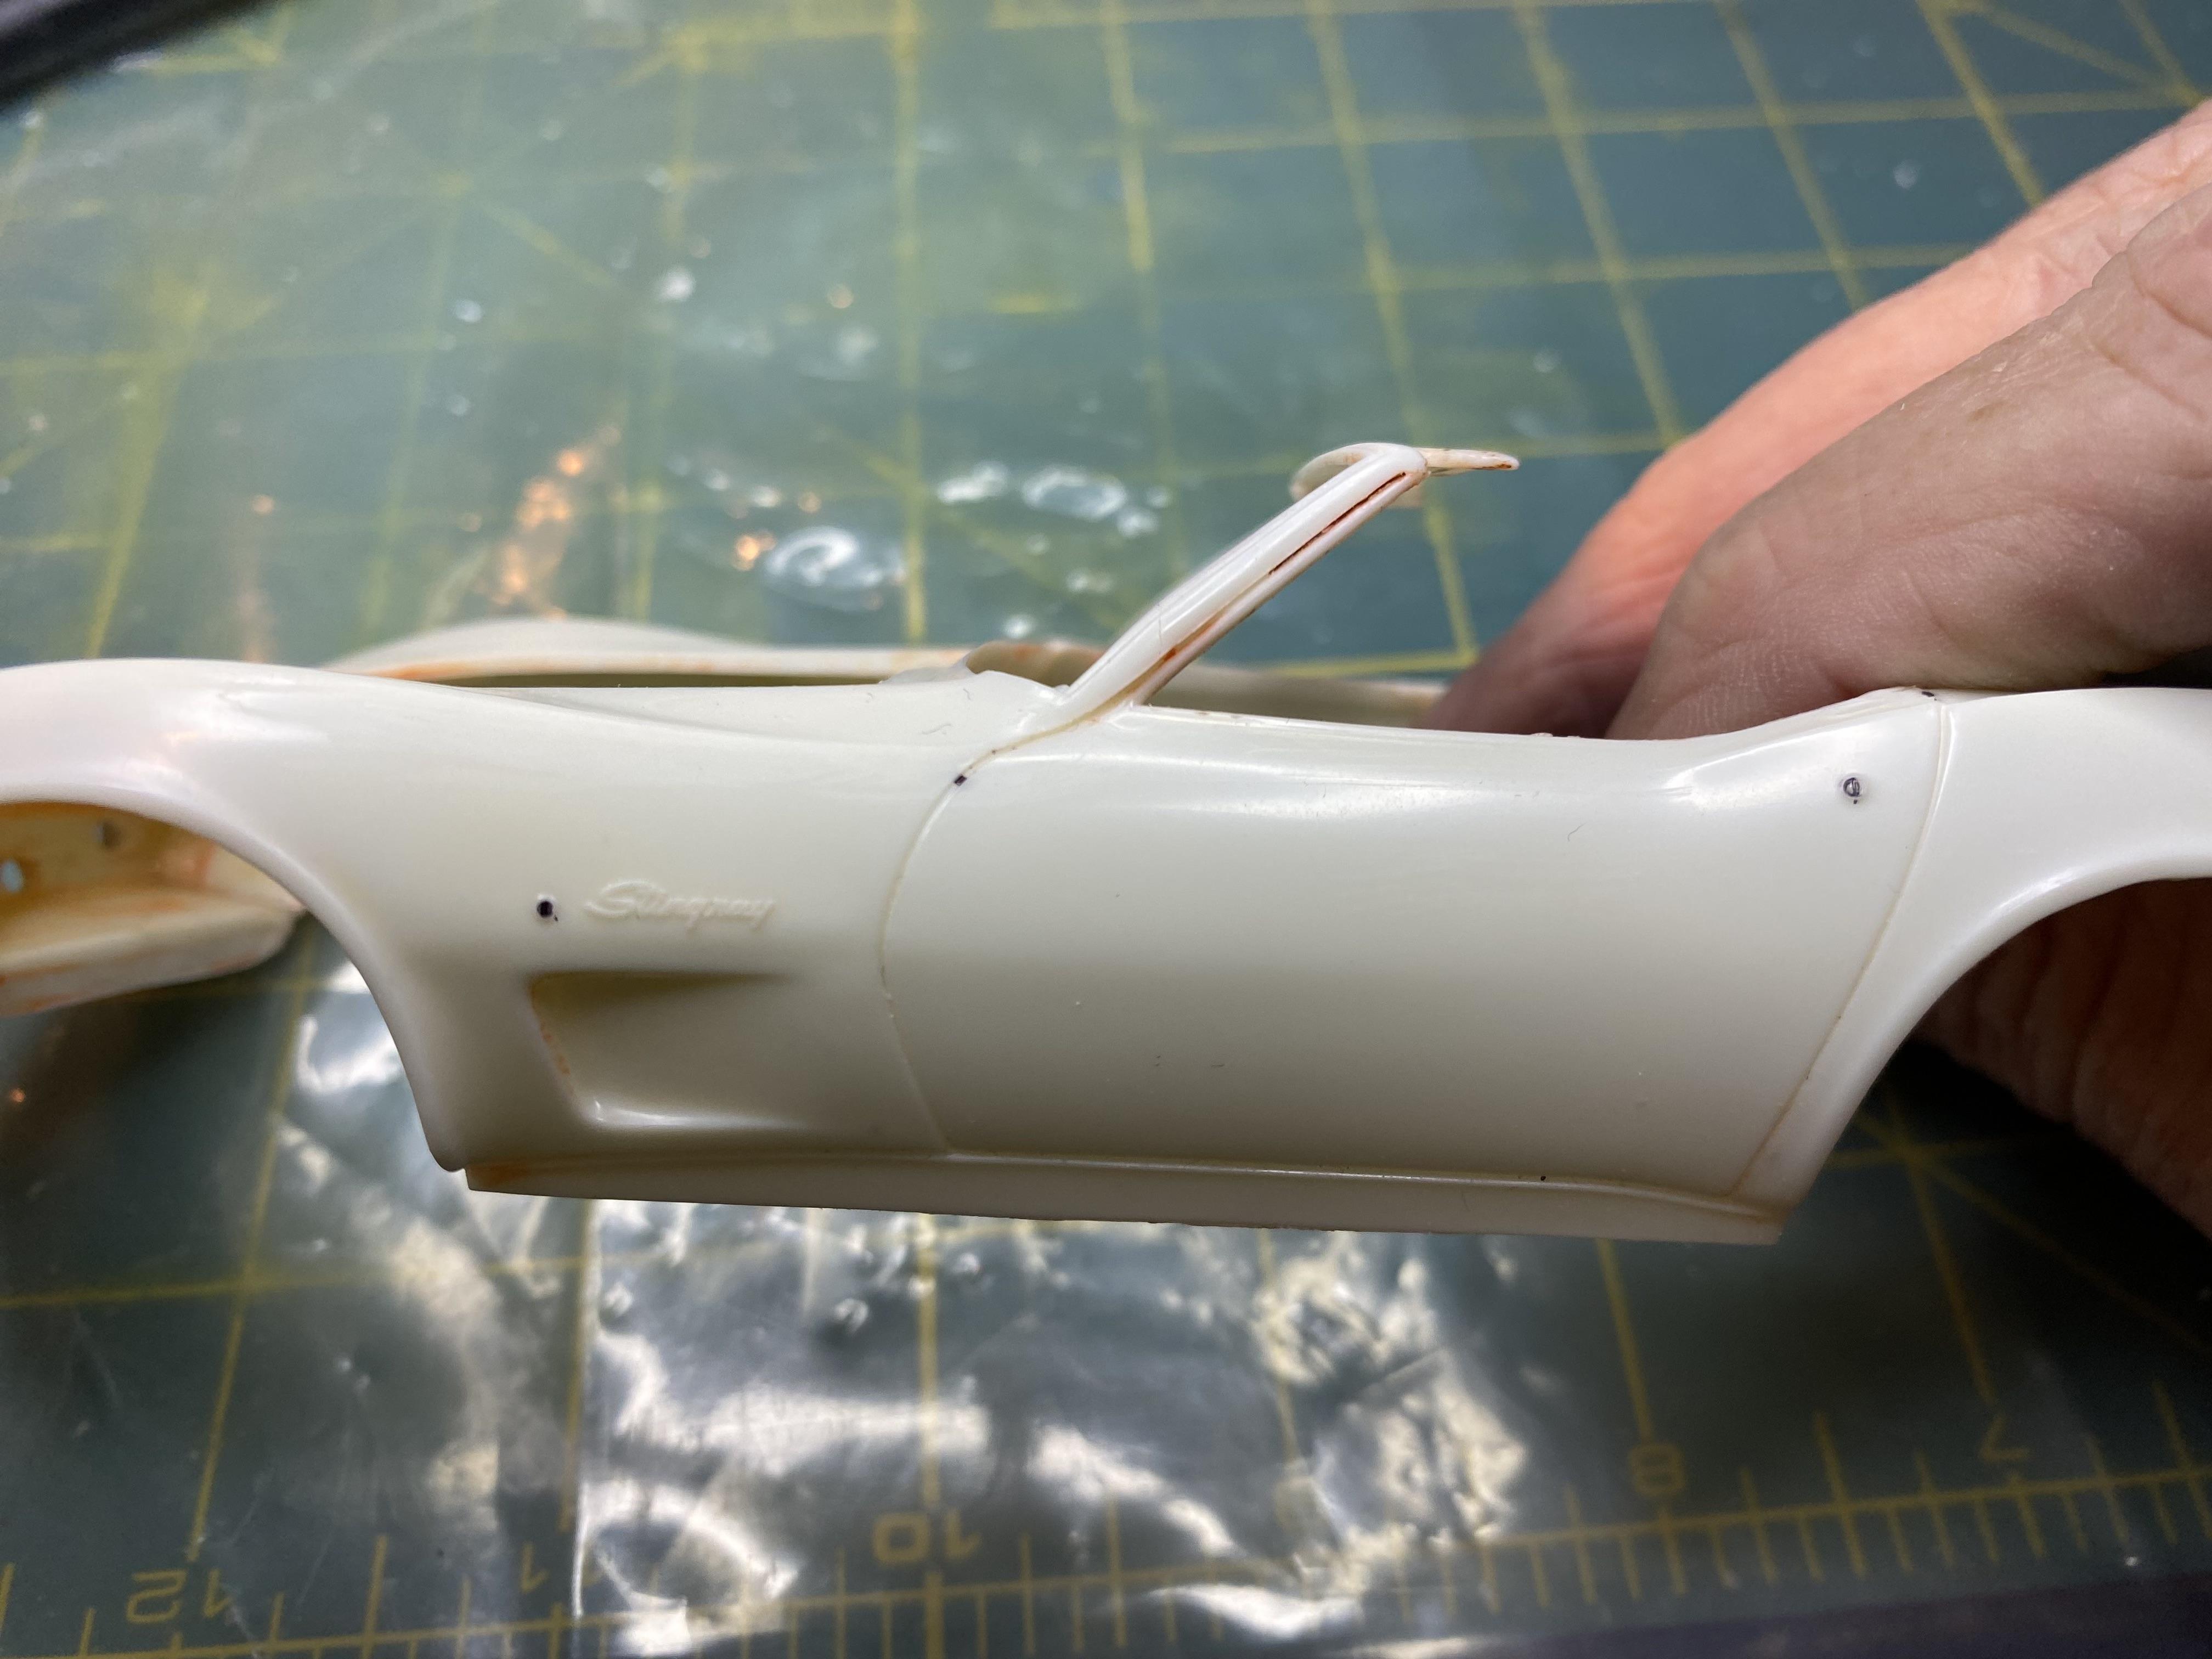
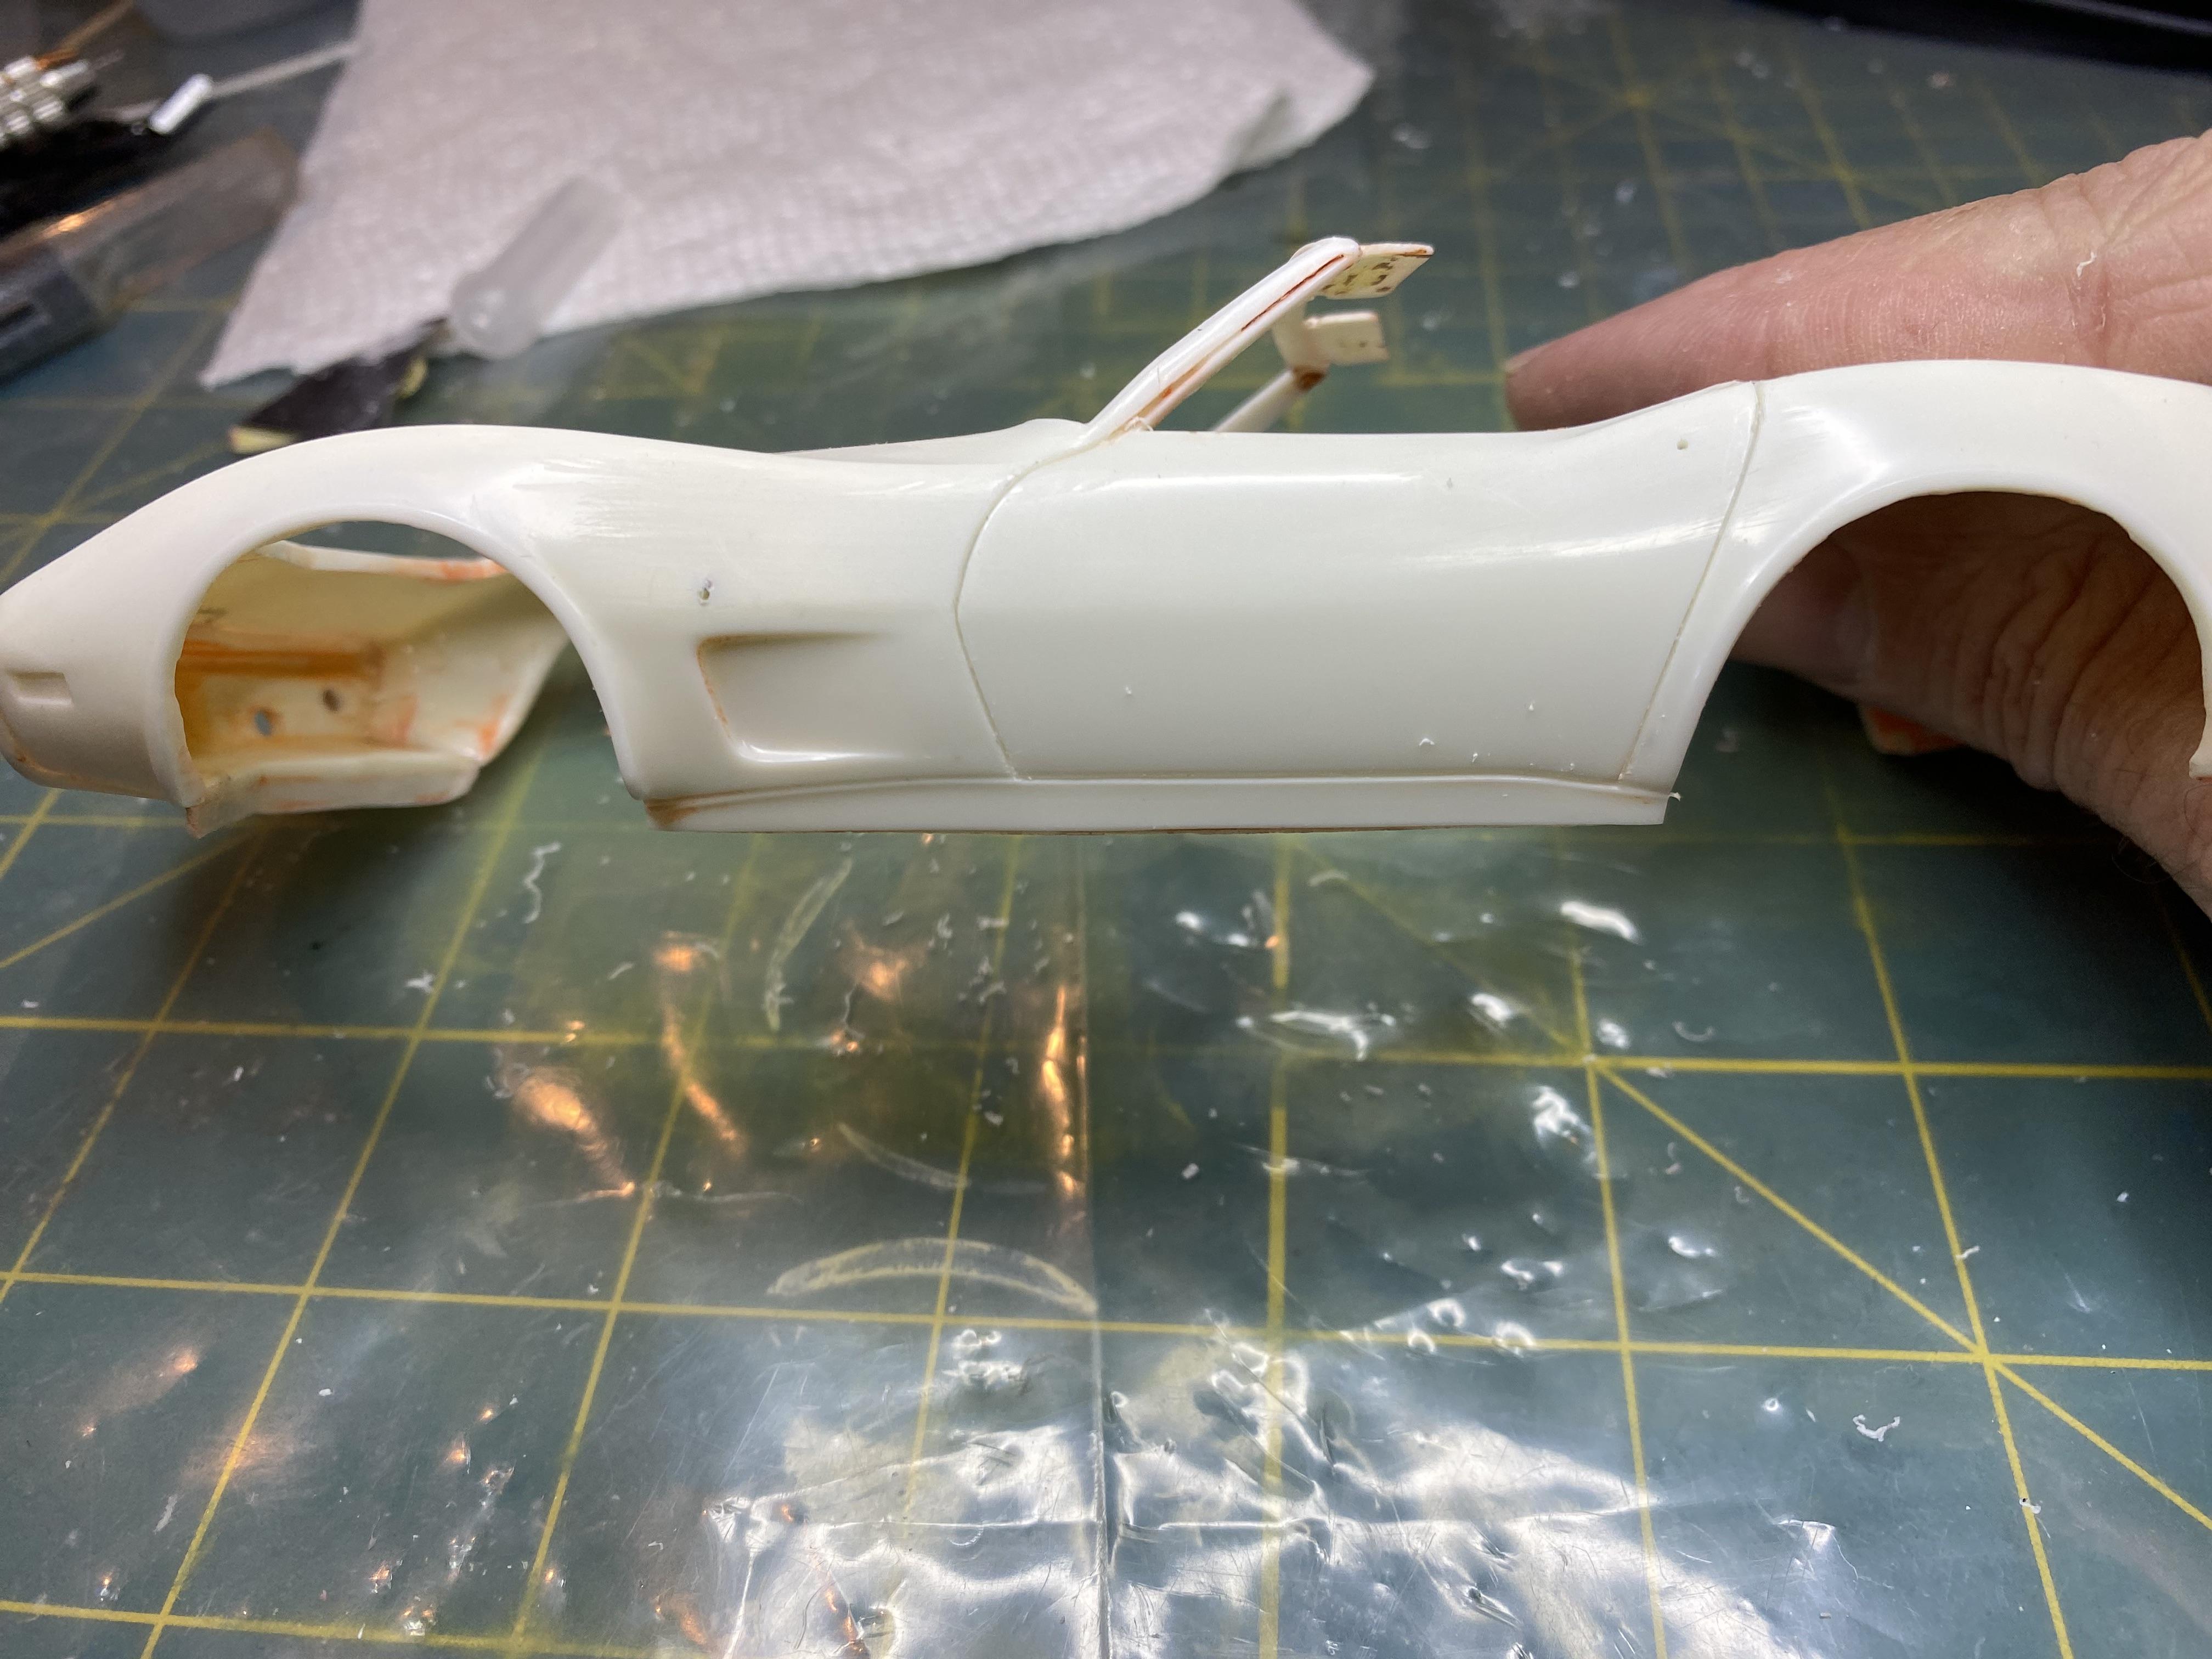
More work on the headlights. Got the hinges made, working on the body, added the tops fit as well as I could. I can access the headlight from underneath to raise them. started adding epoxy putty to improve fit on driver side. epoxy putty filled the cutout on the underside of the hood, created metal hood hinges, the original little tabs were not going to hold up. Lots of sanding and body work to come.

-
@Dave Ambrose, I still haven't received issue 223 in Southern California. Shouldn't it have arrived by now. Issue 222 didn't arrive either and I had to get a replacement copy sent, I am seriously wondering about my usps.
-
thank you!
-
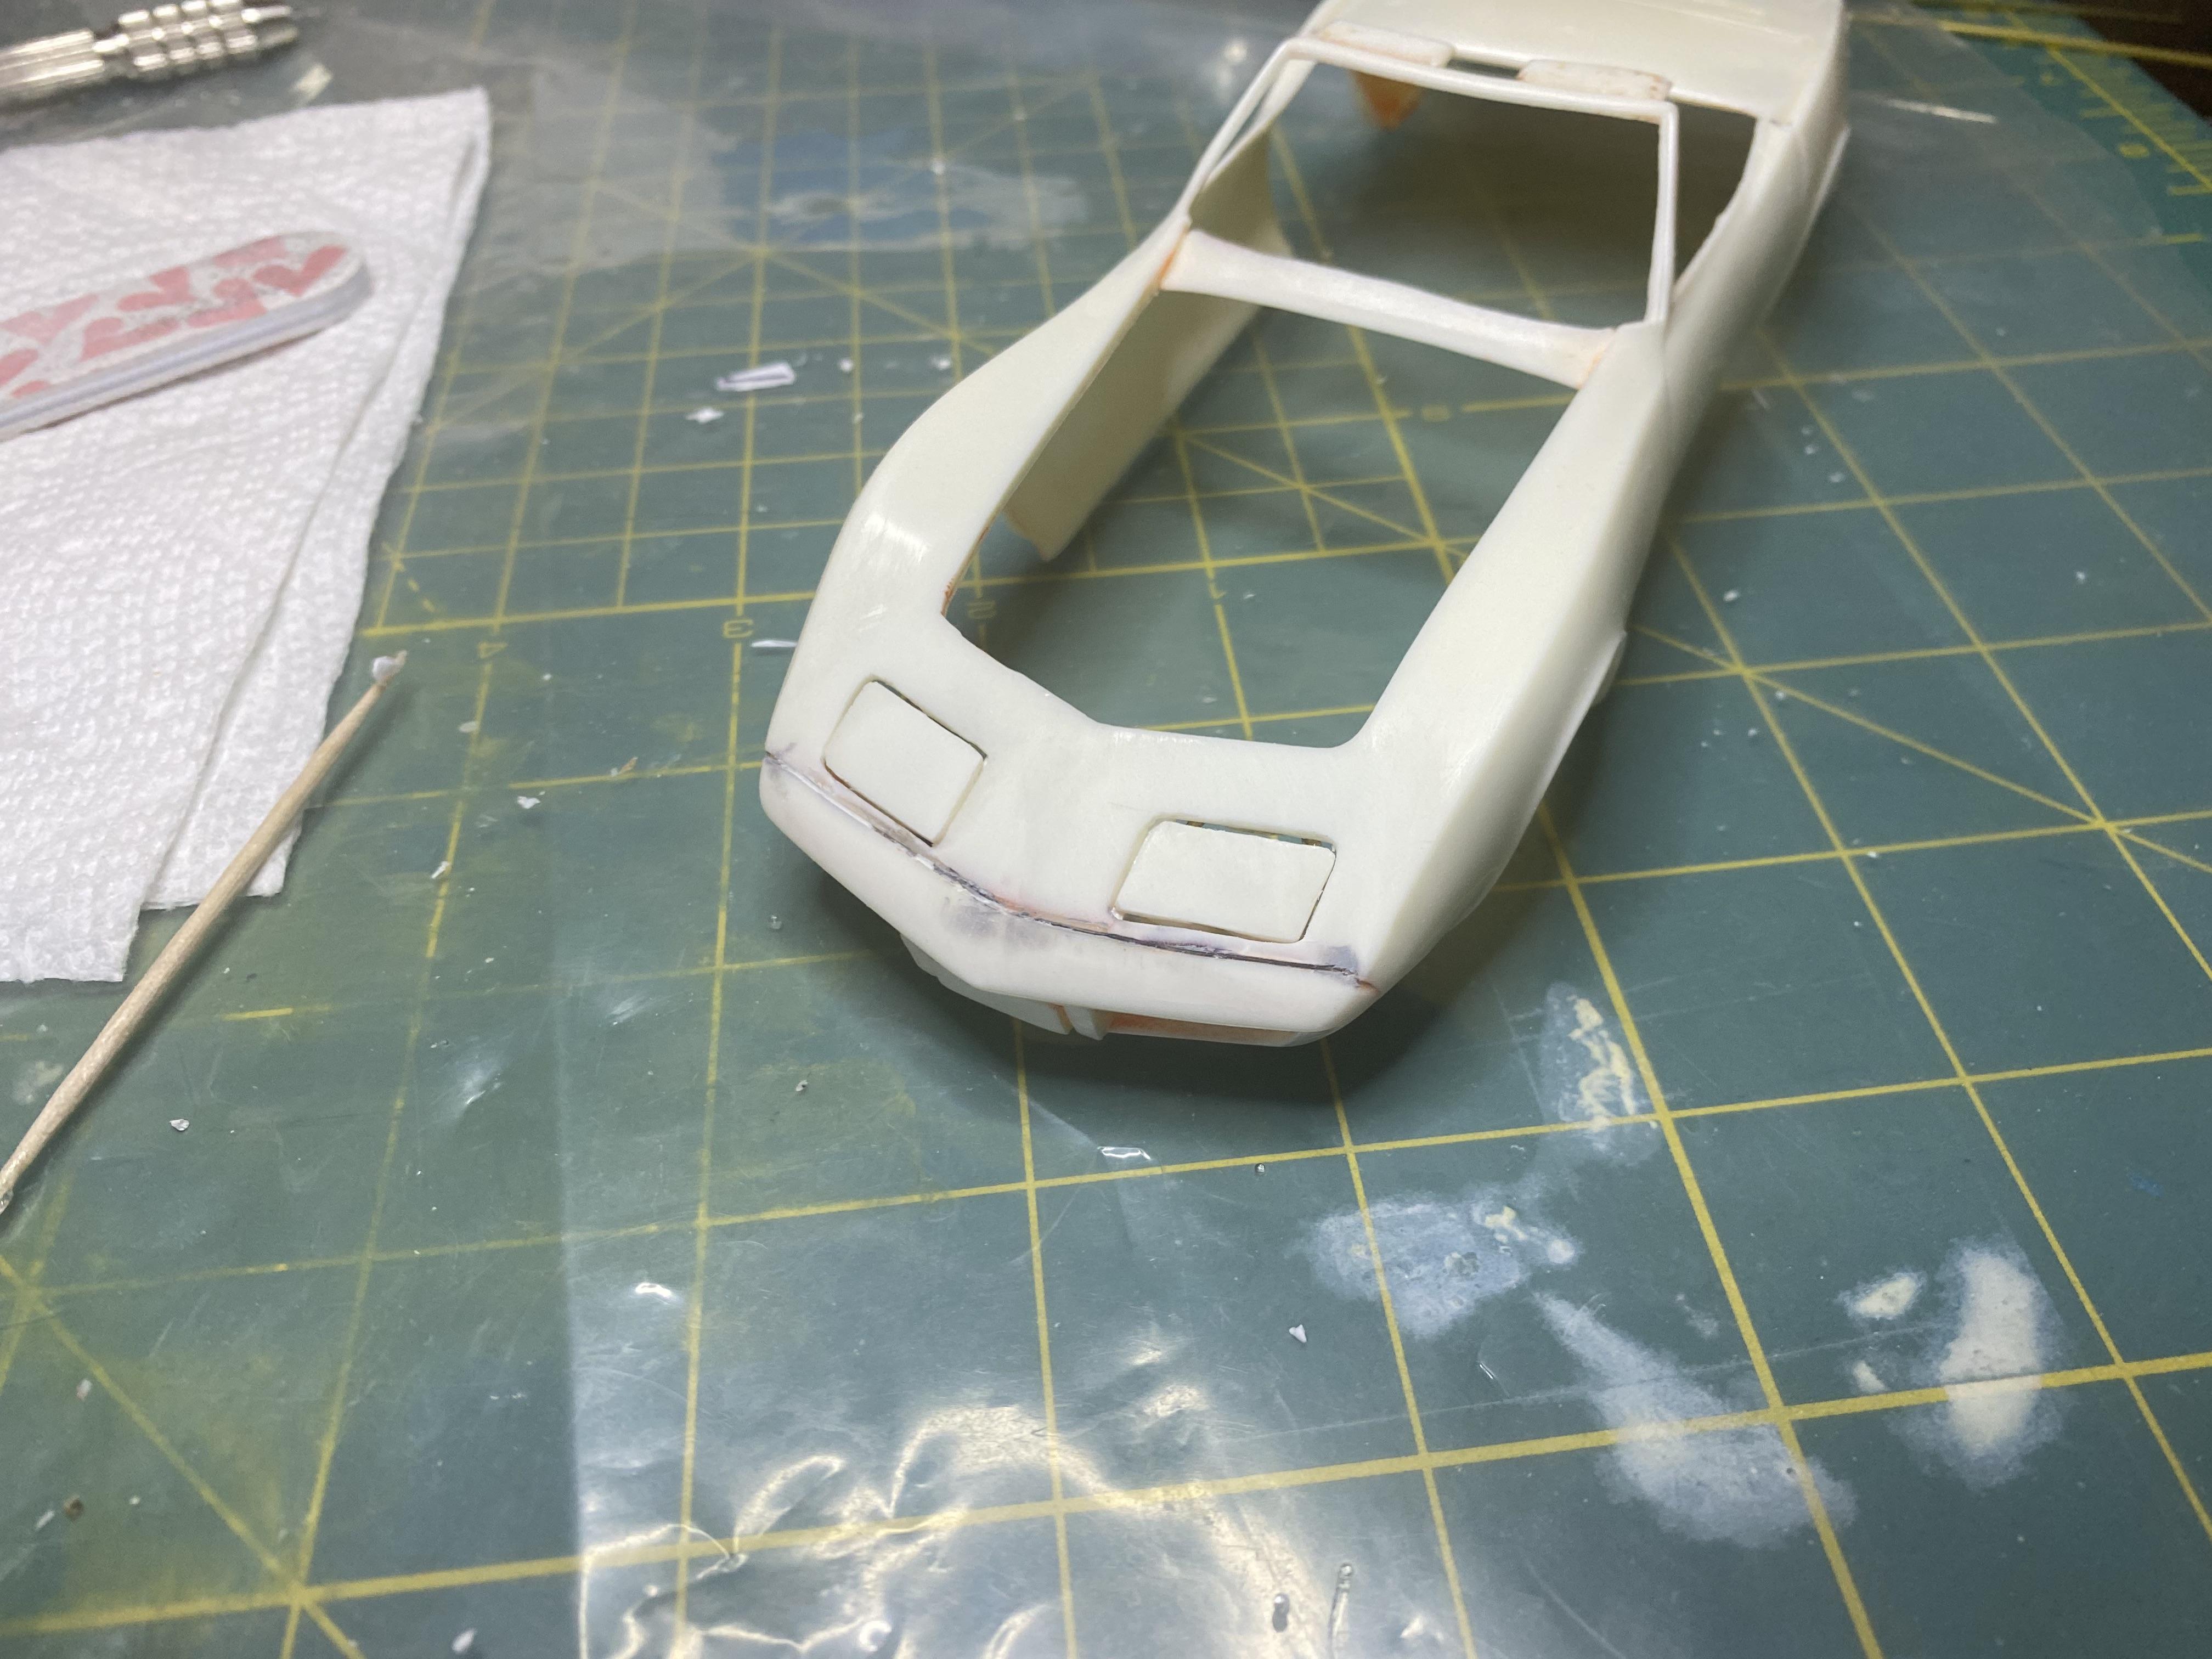
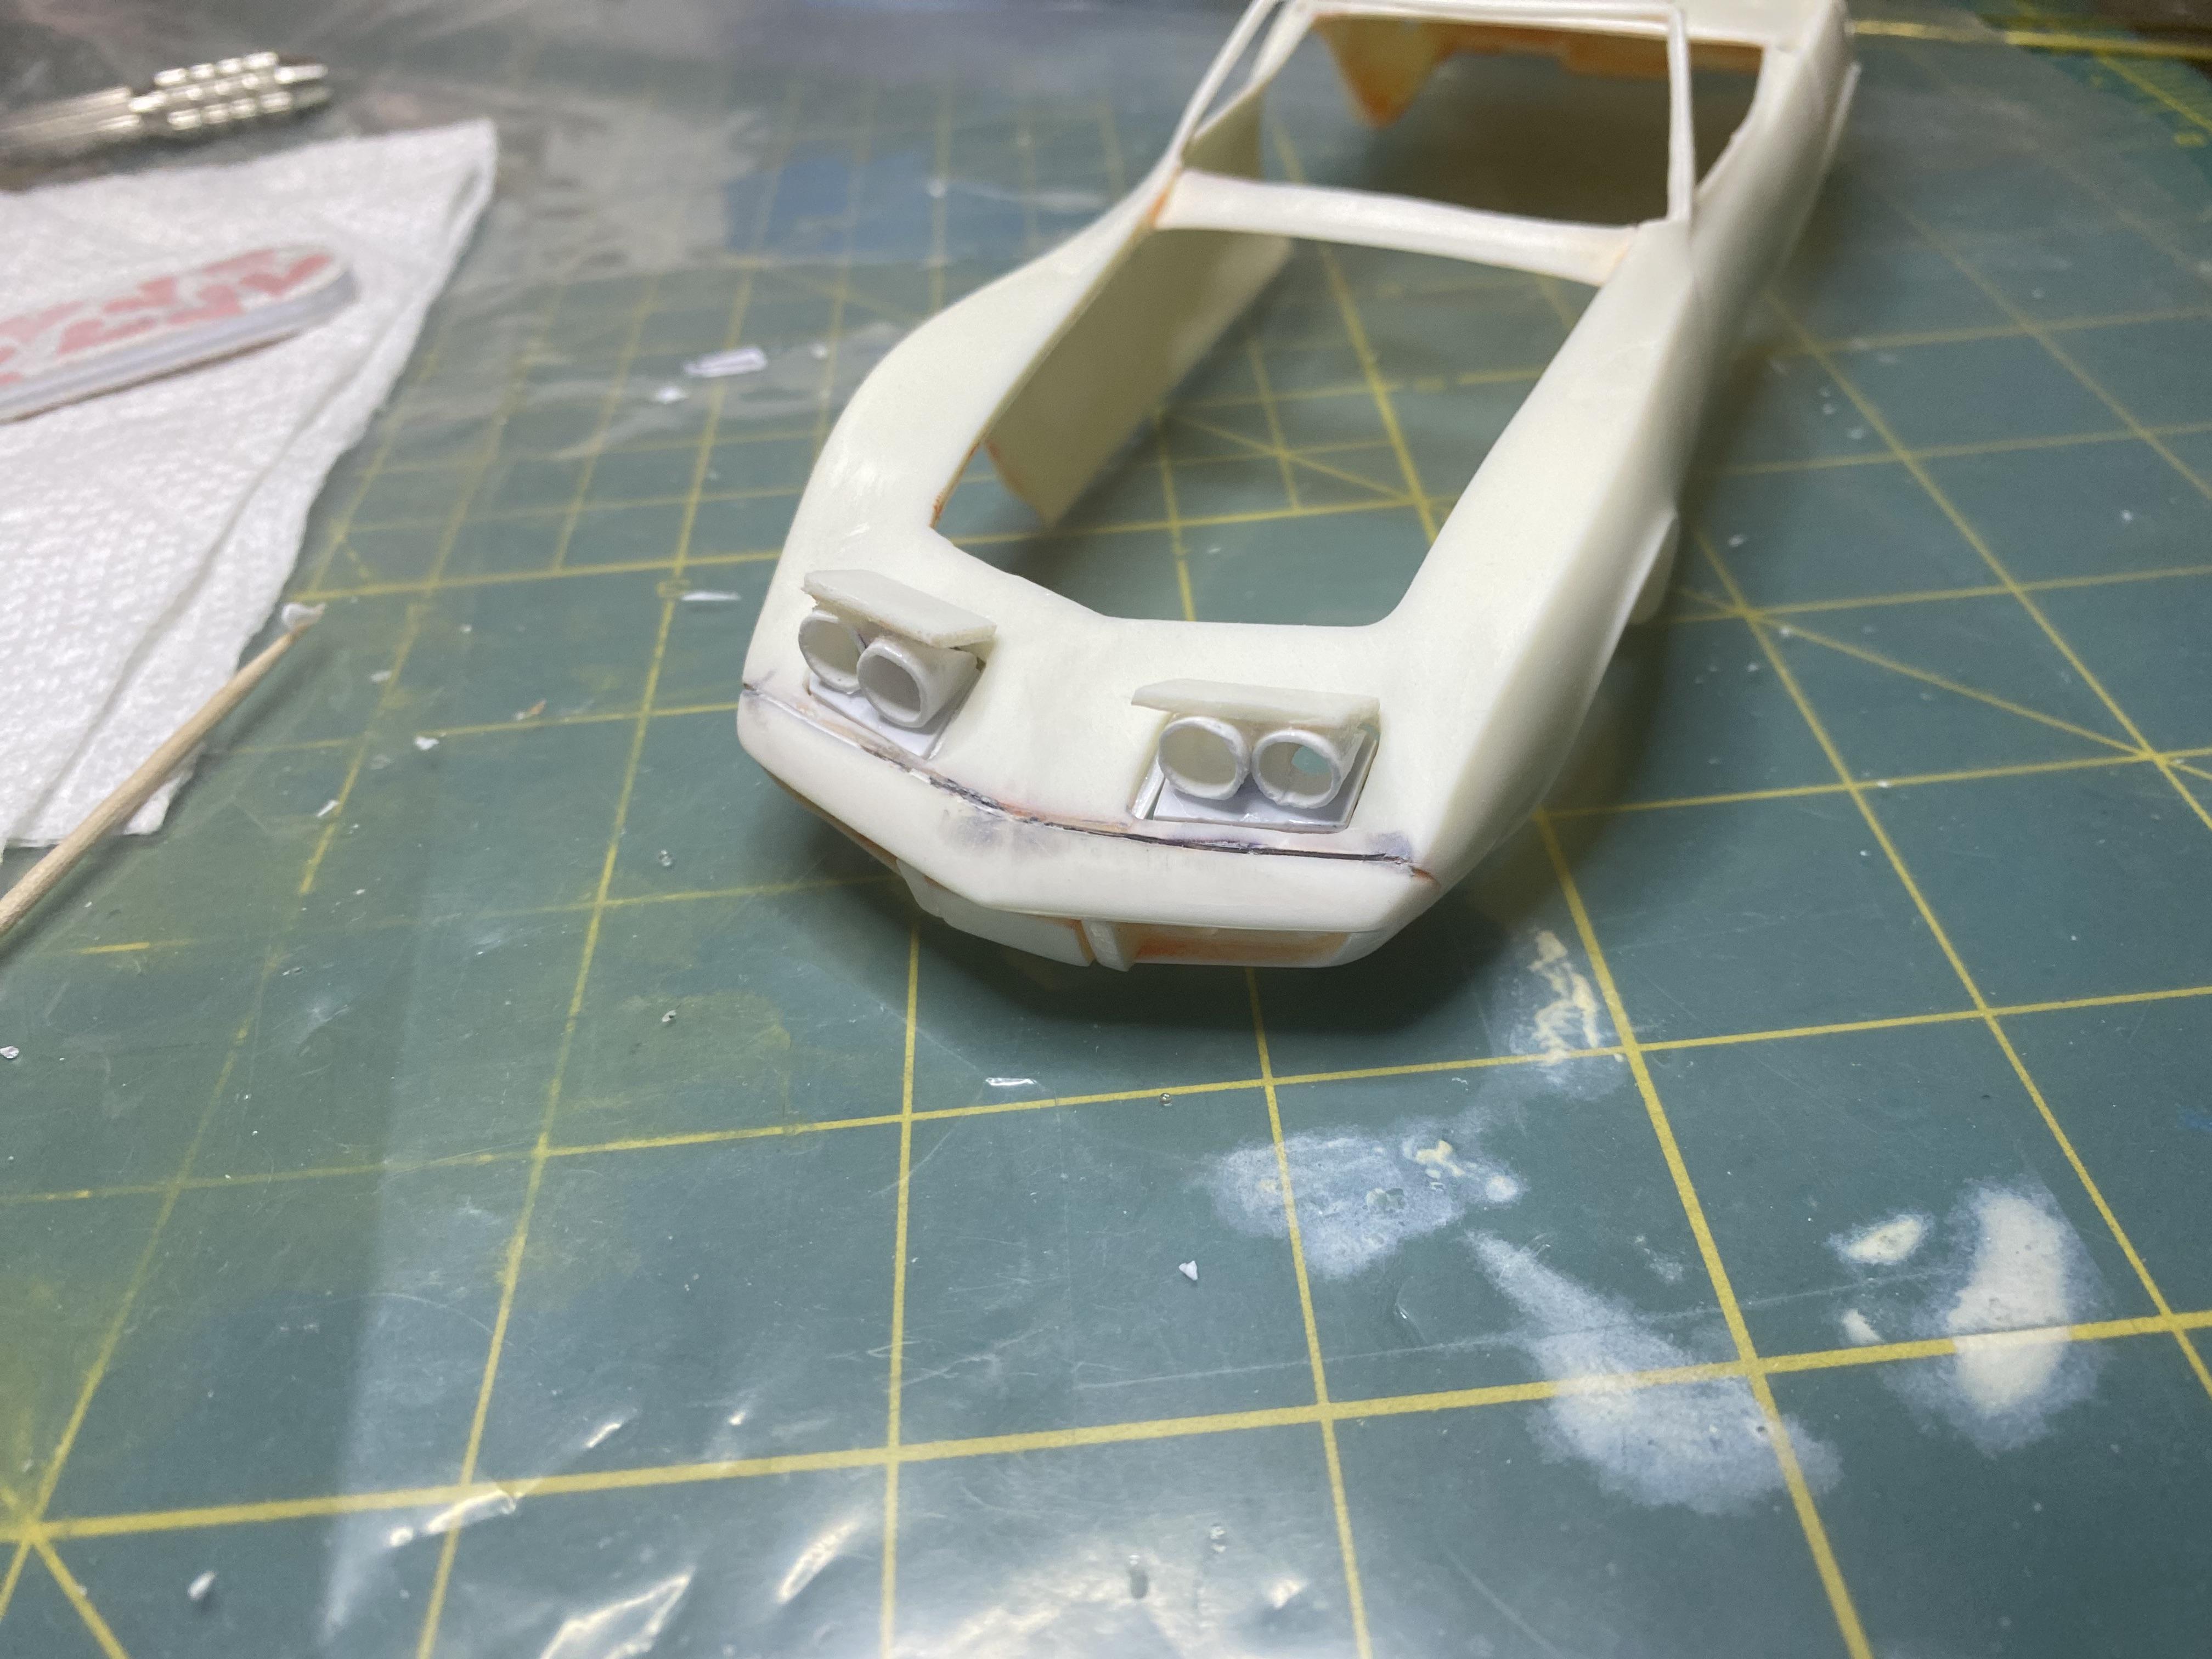
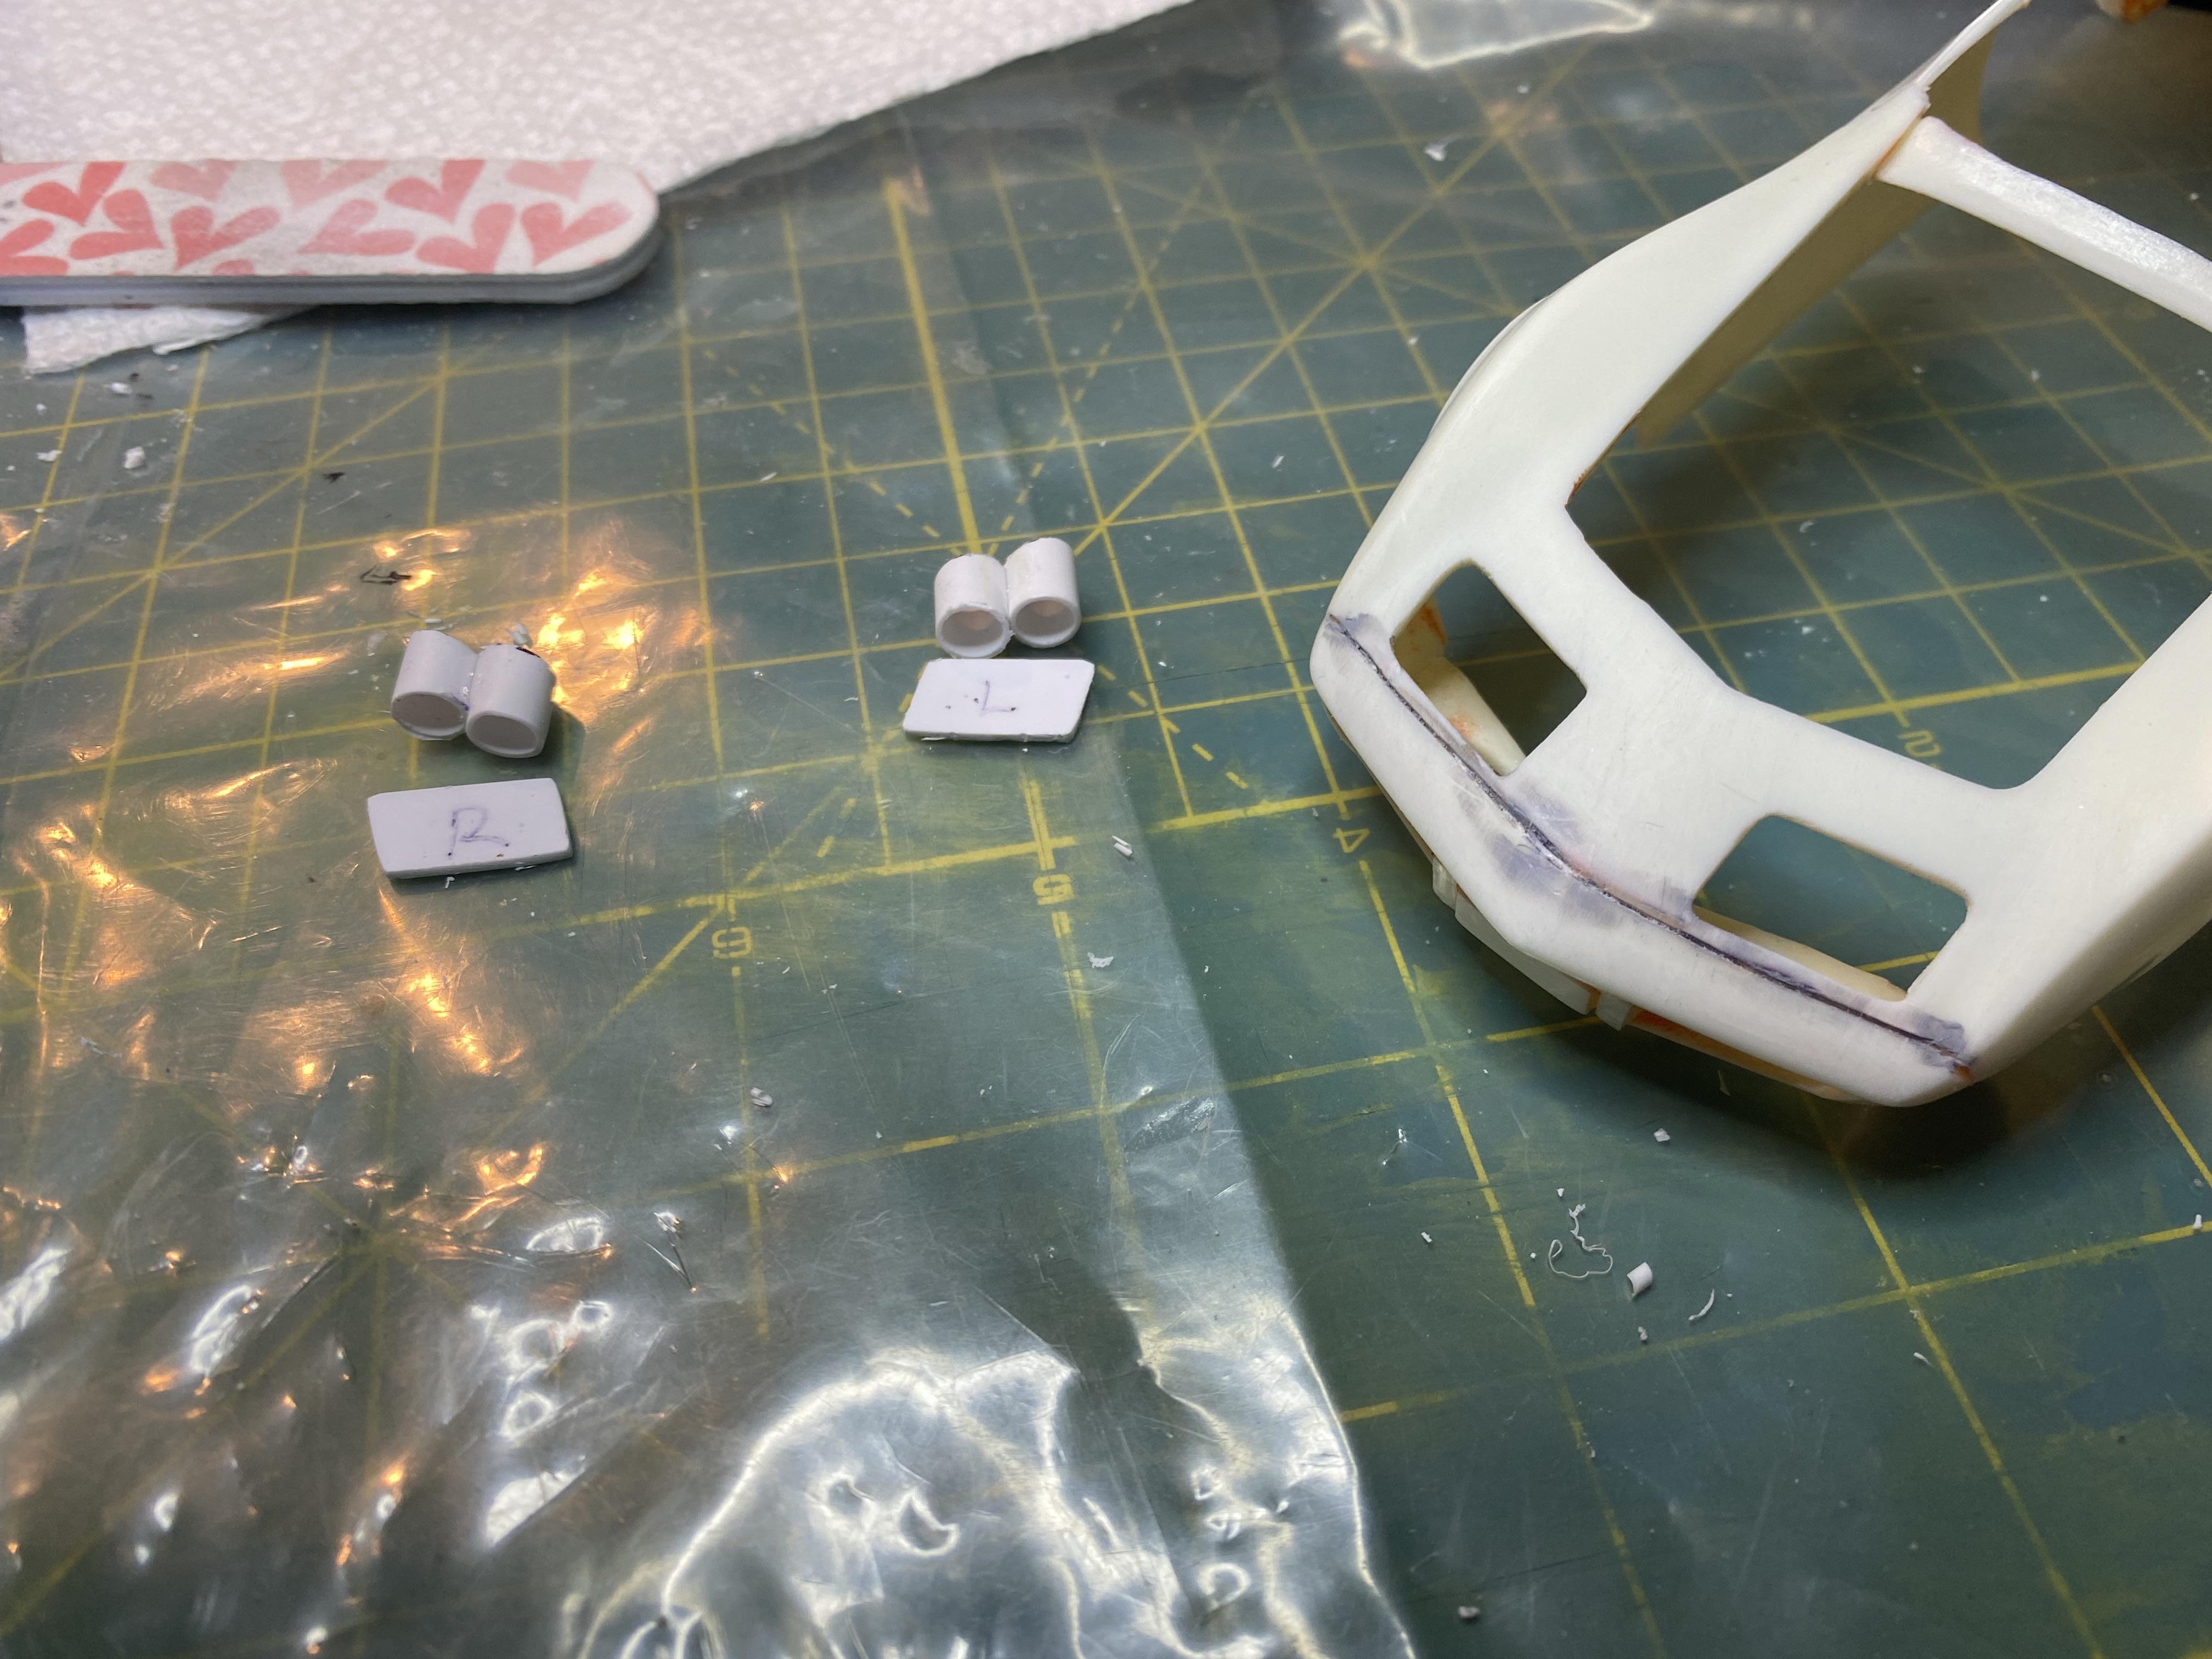
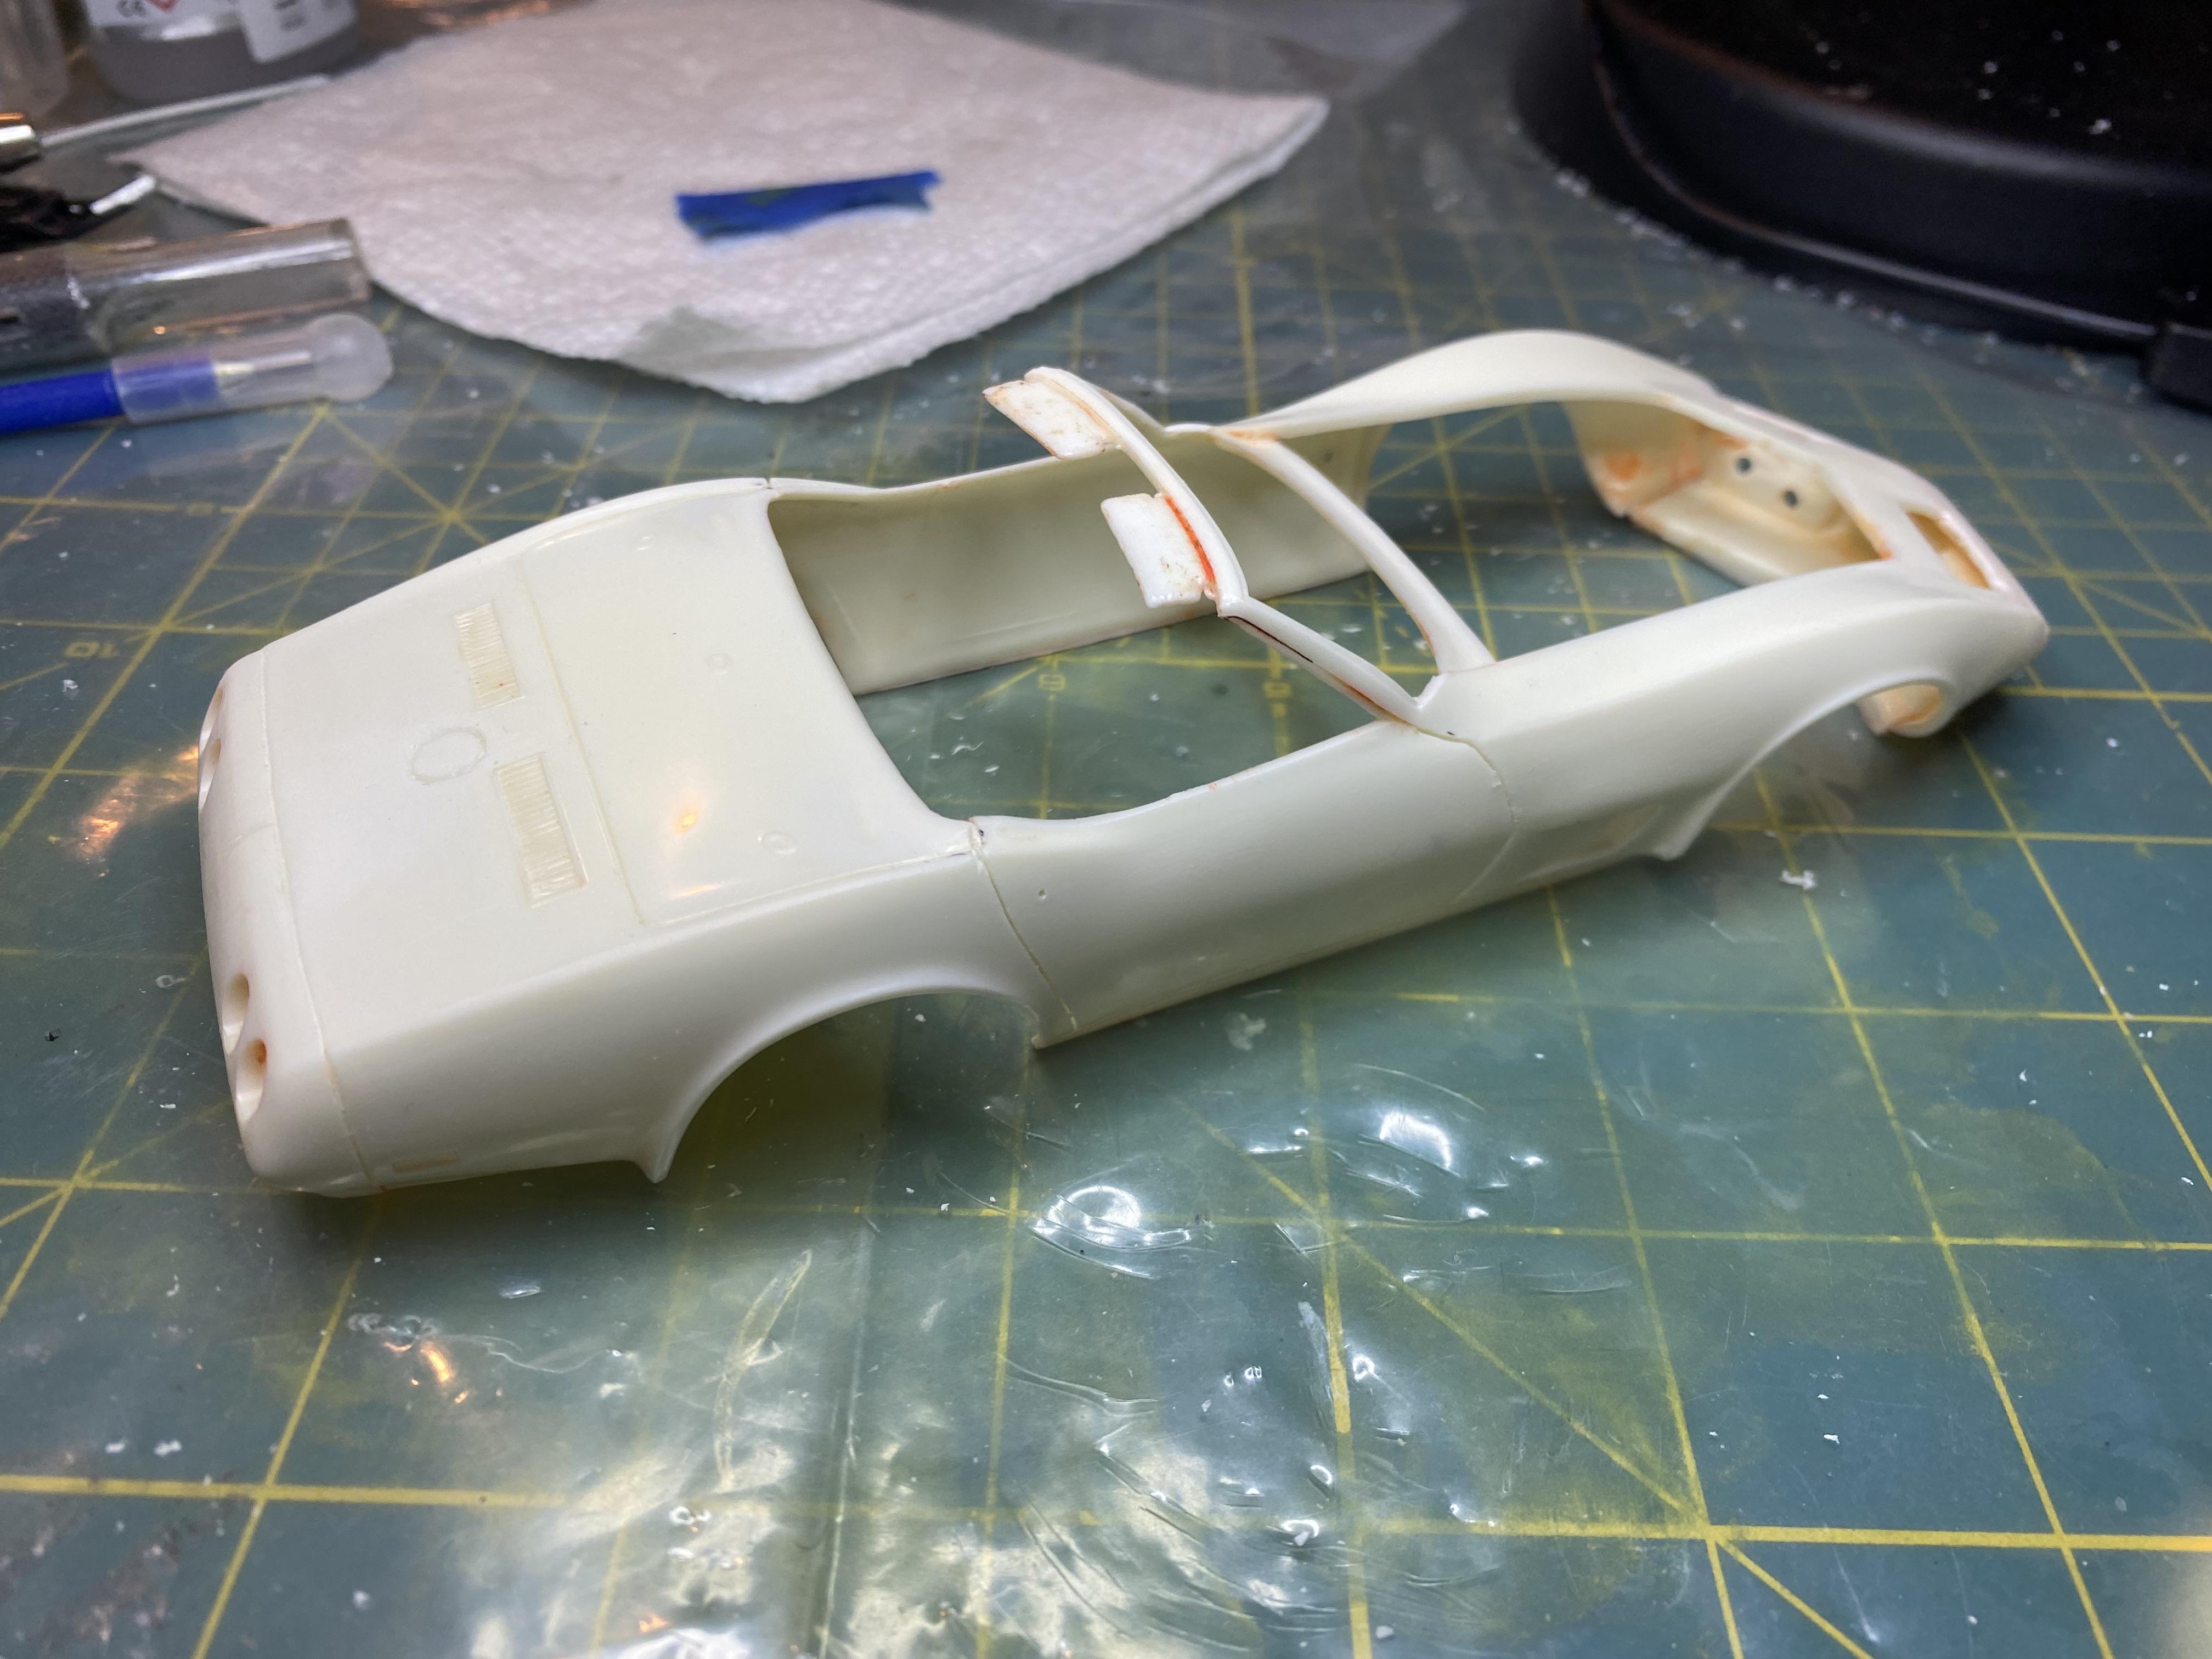
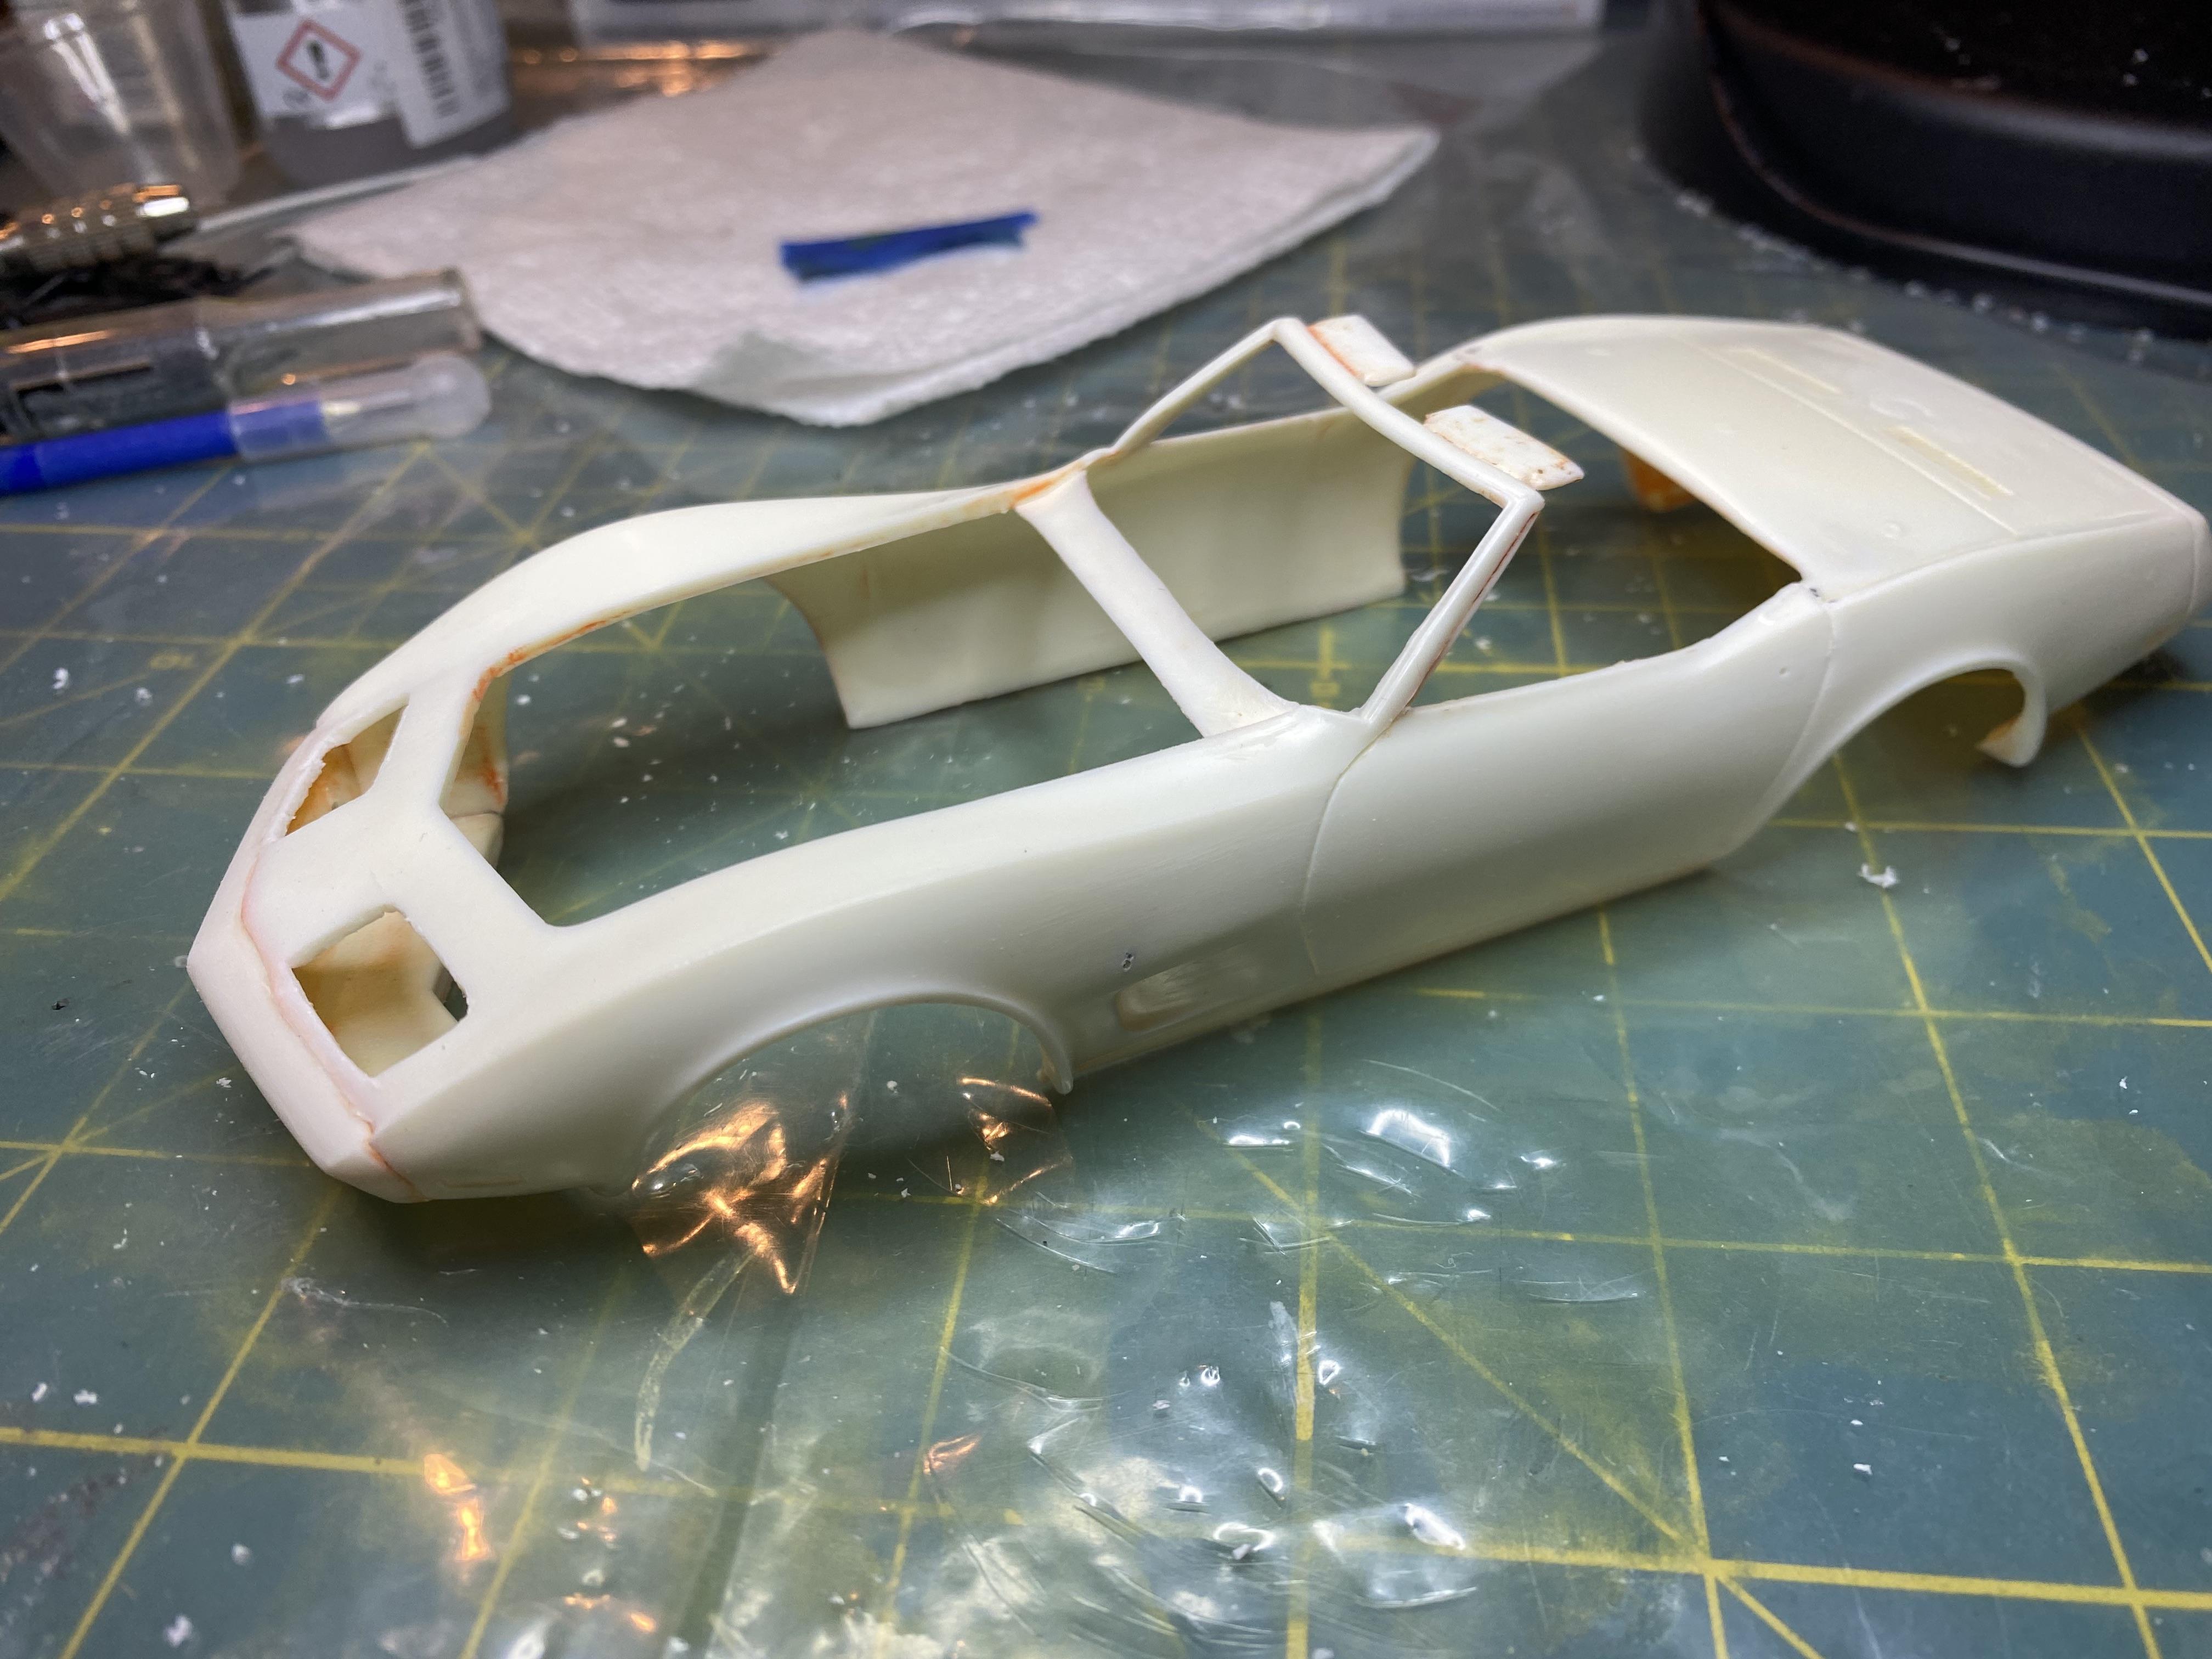
Started making the headlights. 1/4” tubing and sheet styrene. Created tabs on the headlight parts to keep from opening too far and tabs on the body to keep it from closing to far. Drilled holes for LEDs for outside headlights. Next I need to create hinges. The headlight tops will be glued to the headlight bases once I can make sure they align well with the body when closed. the lids are just sitting on to see how it will look. created tabs to keep the headlights from opening or closing too far. Holes drilled for LED wires.
-
Thanks, hopefully the nose fits better from your kit. Getting it looking better but needing more work still. Need to cut out the convertible top door then on to fabricating the headlights.
-
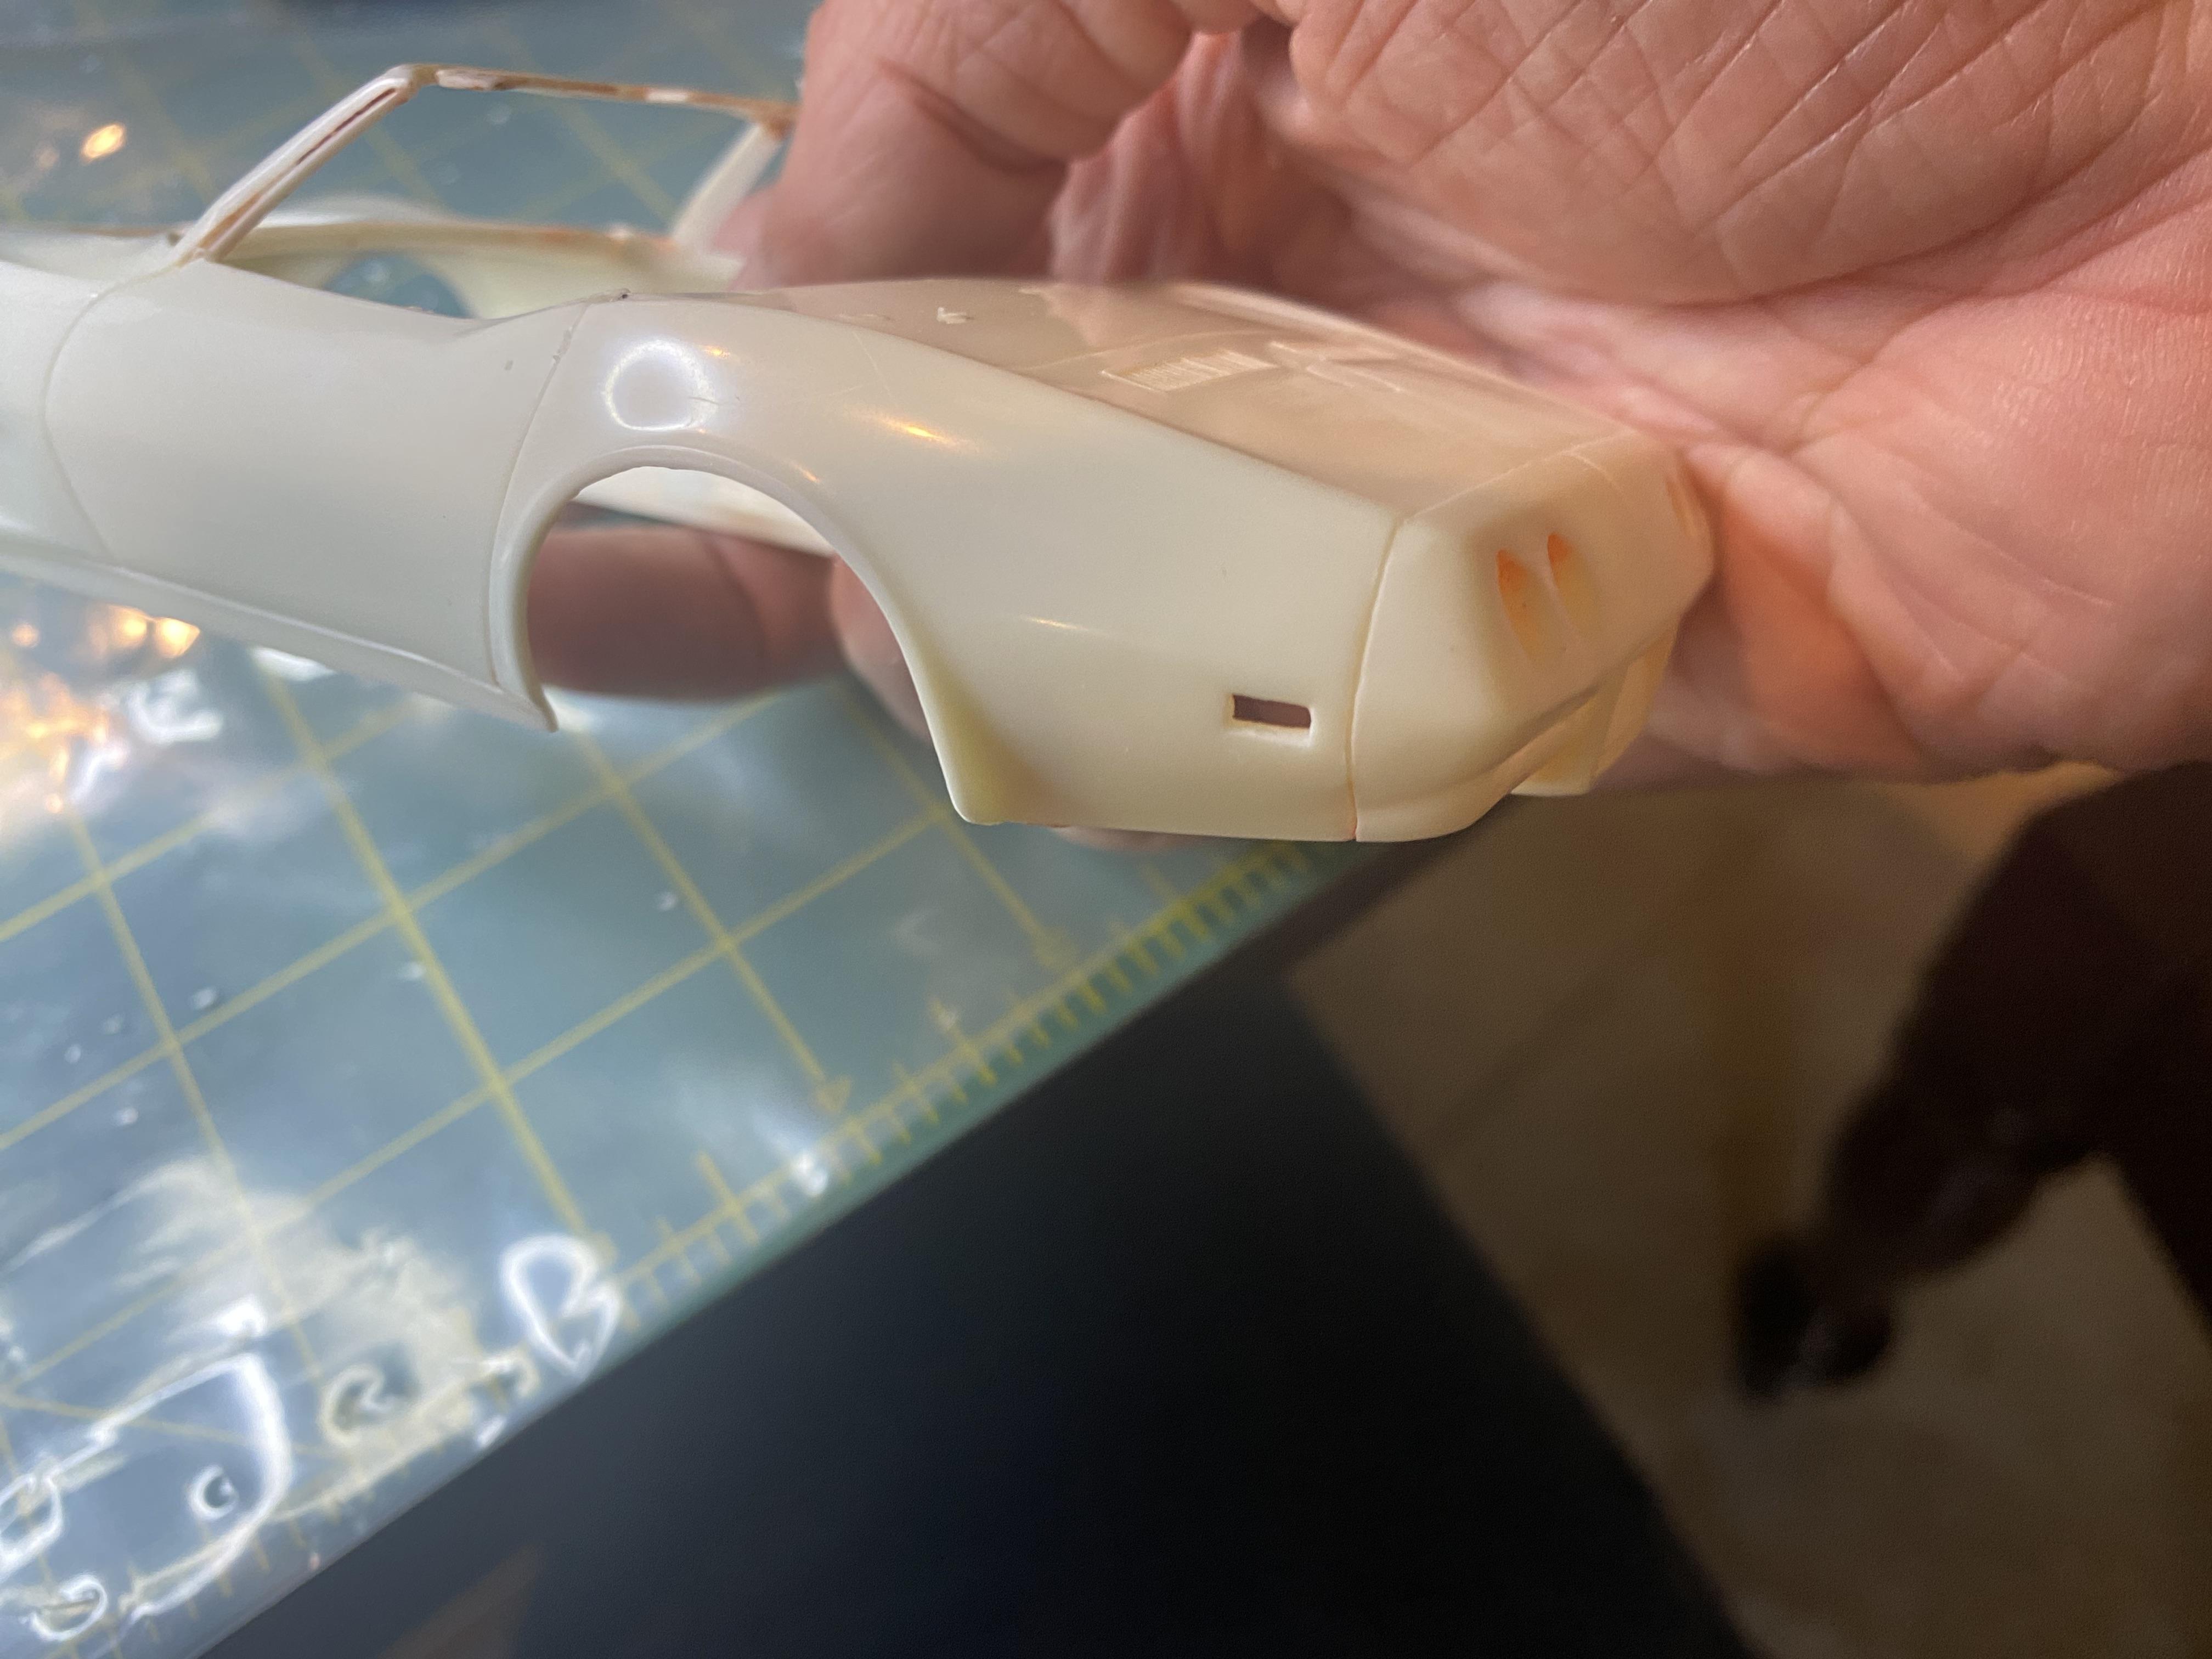
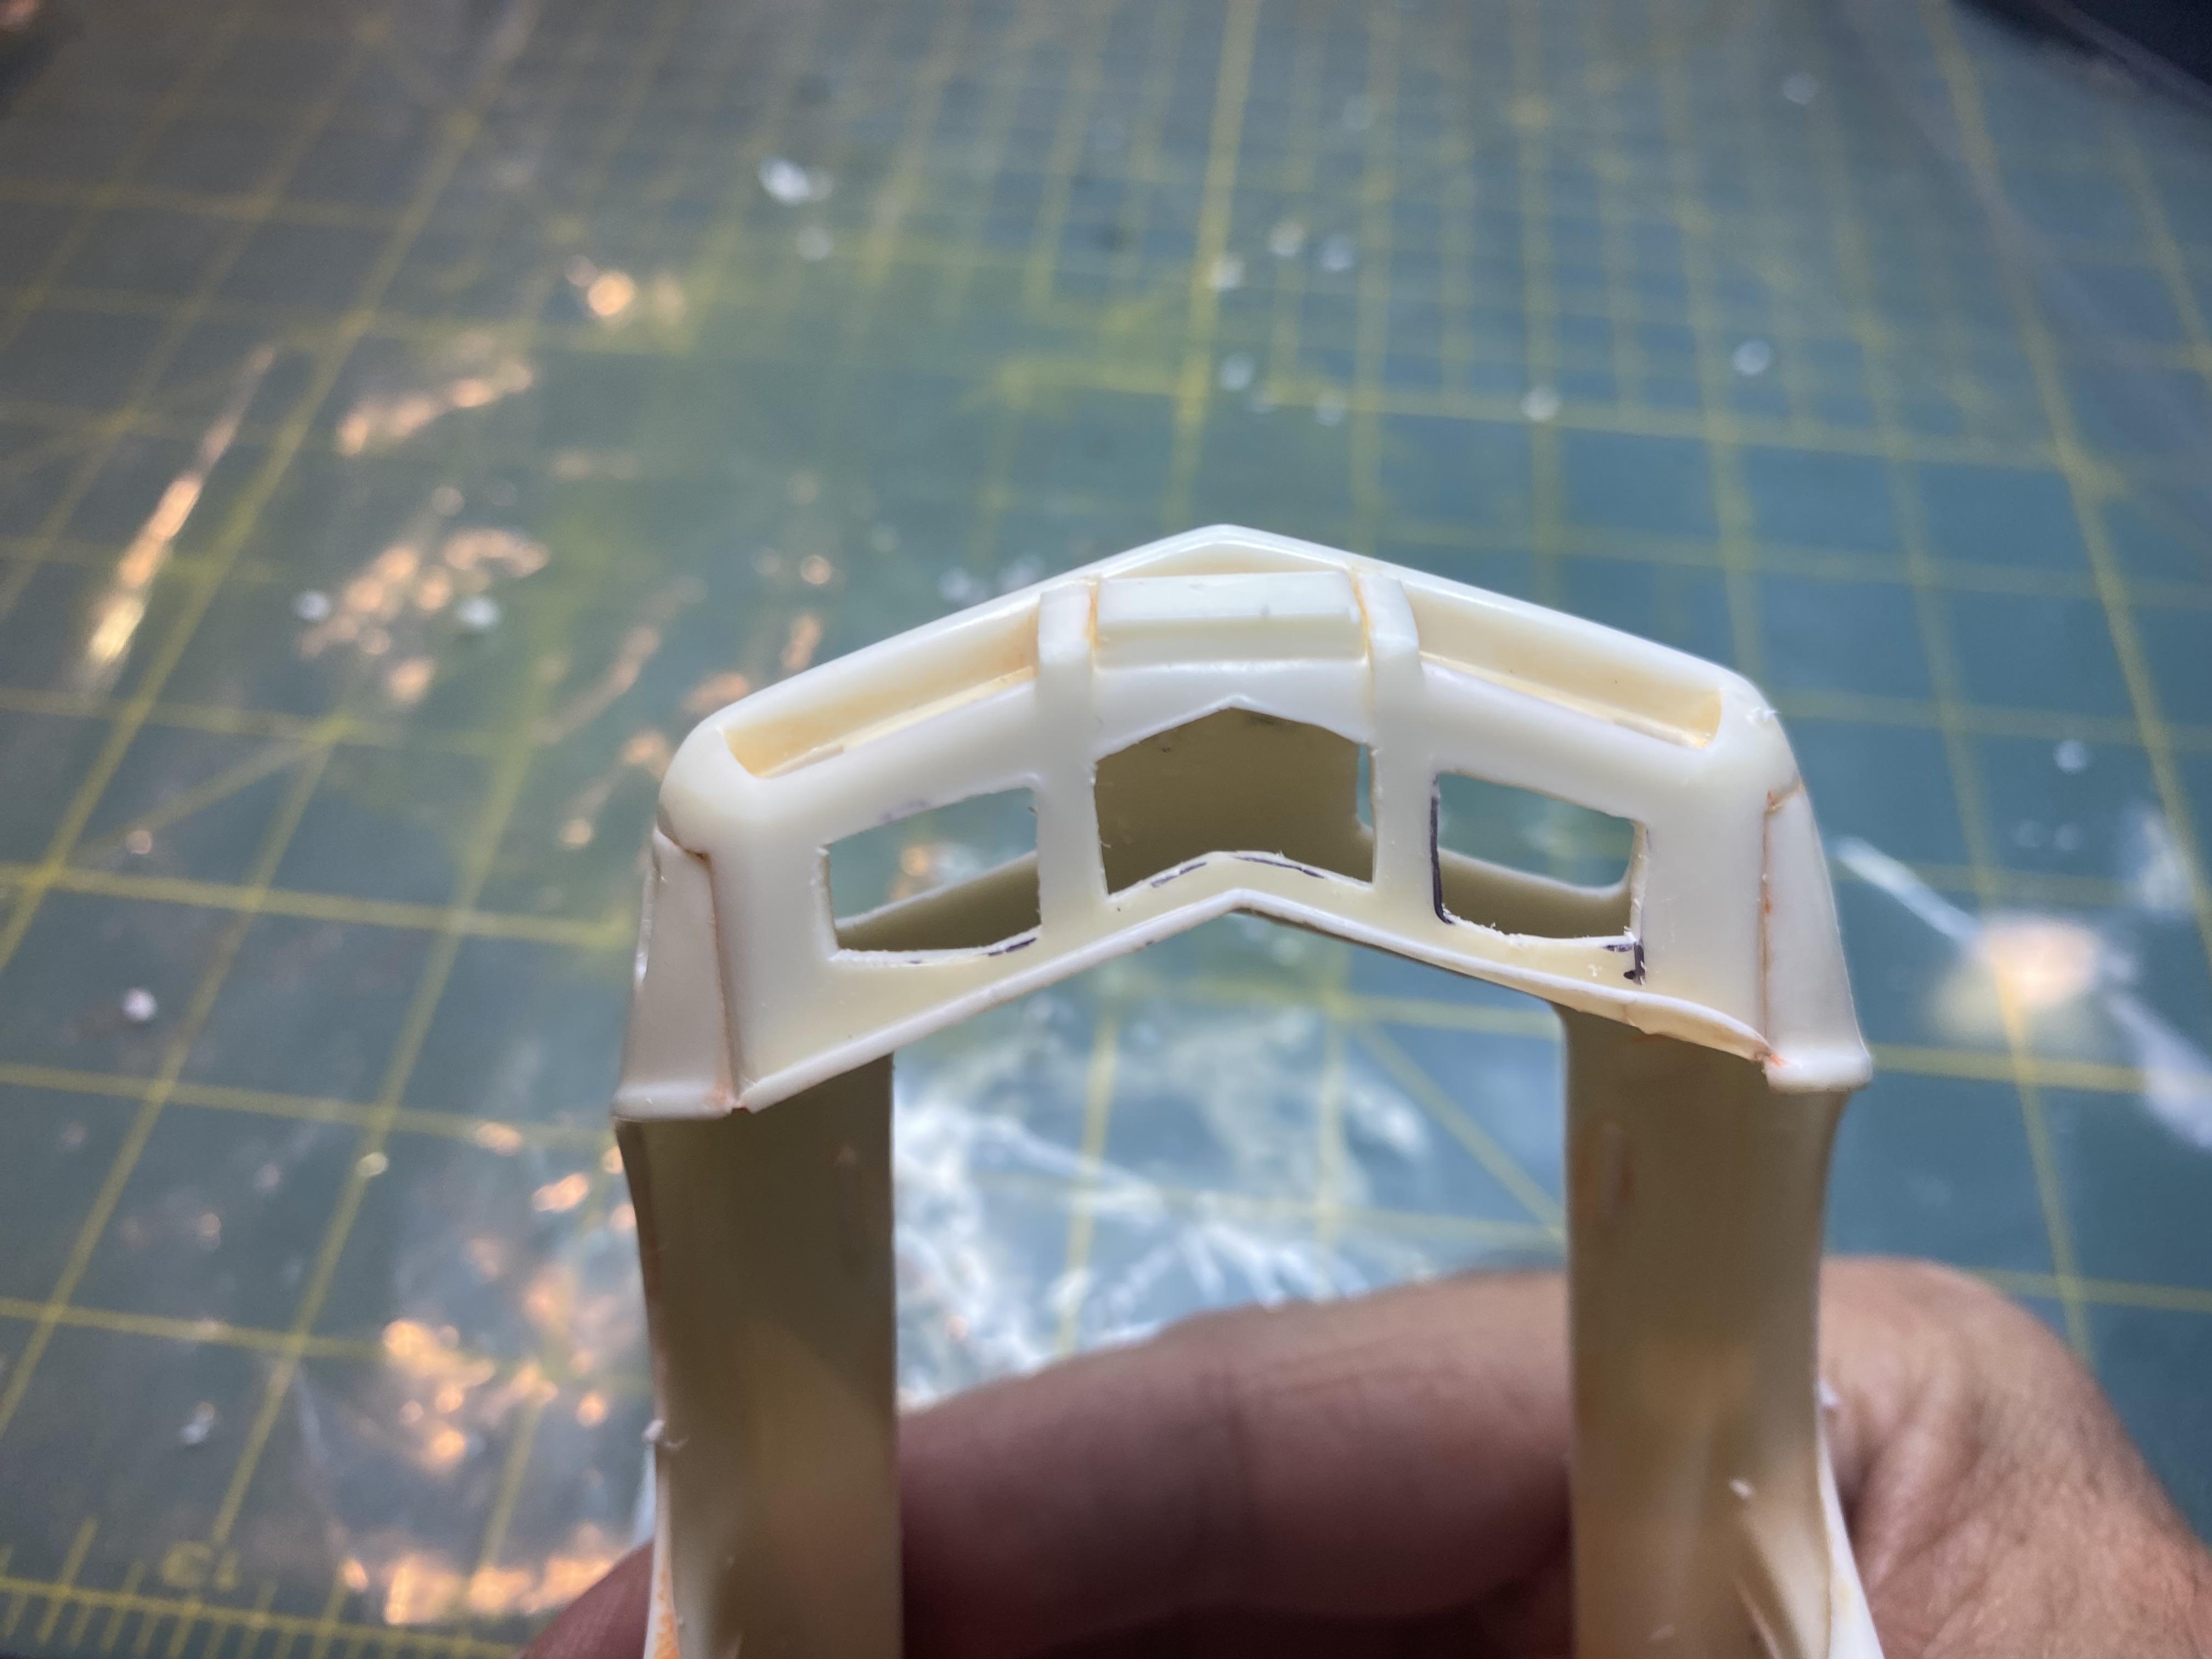
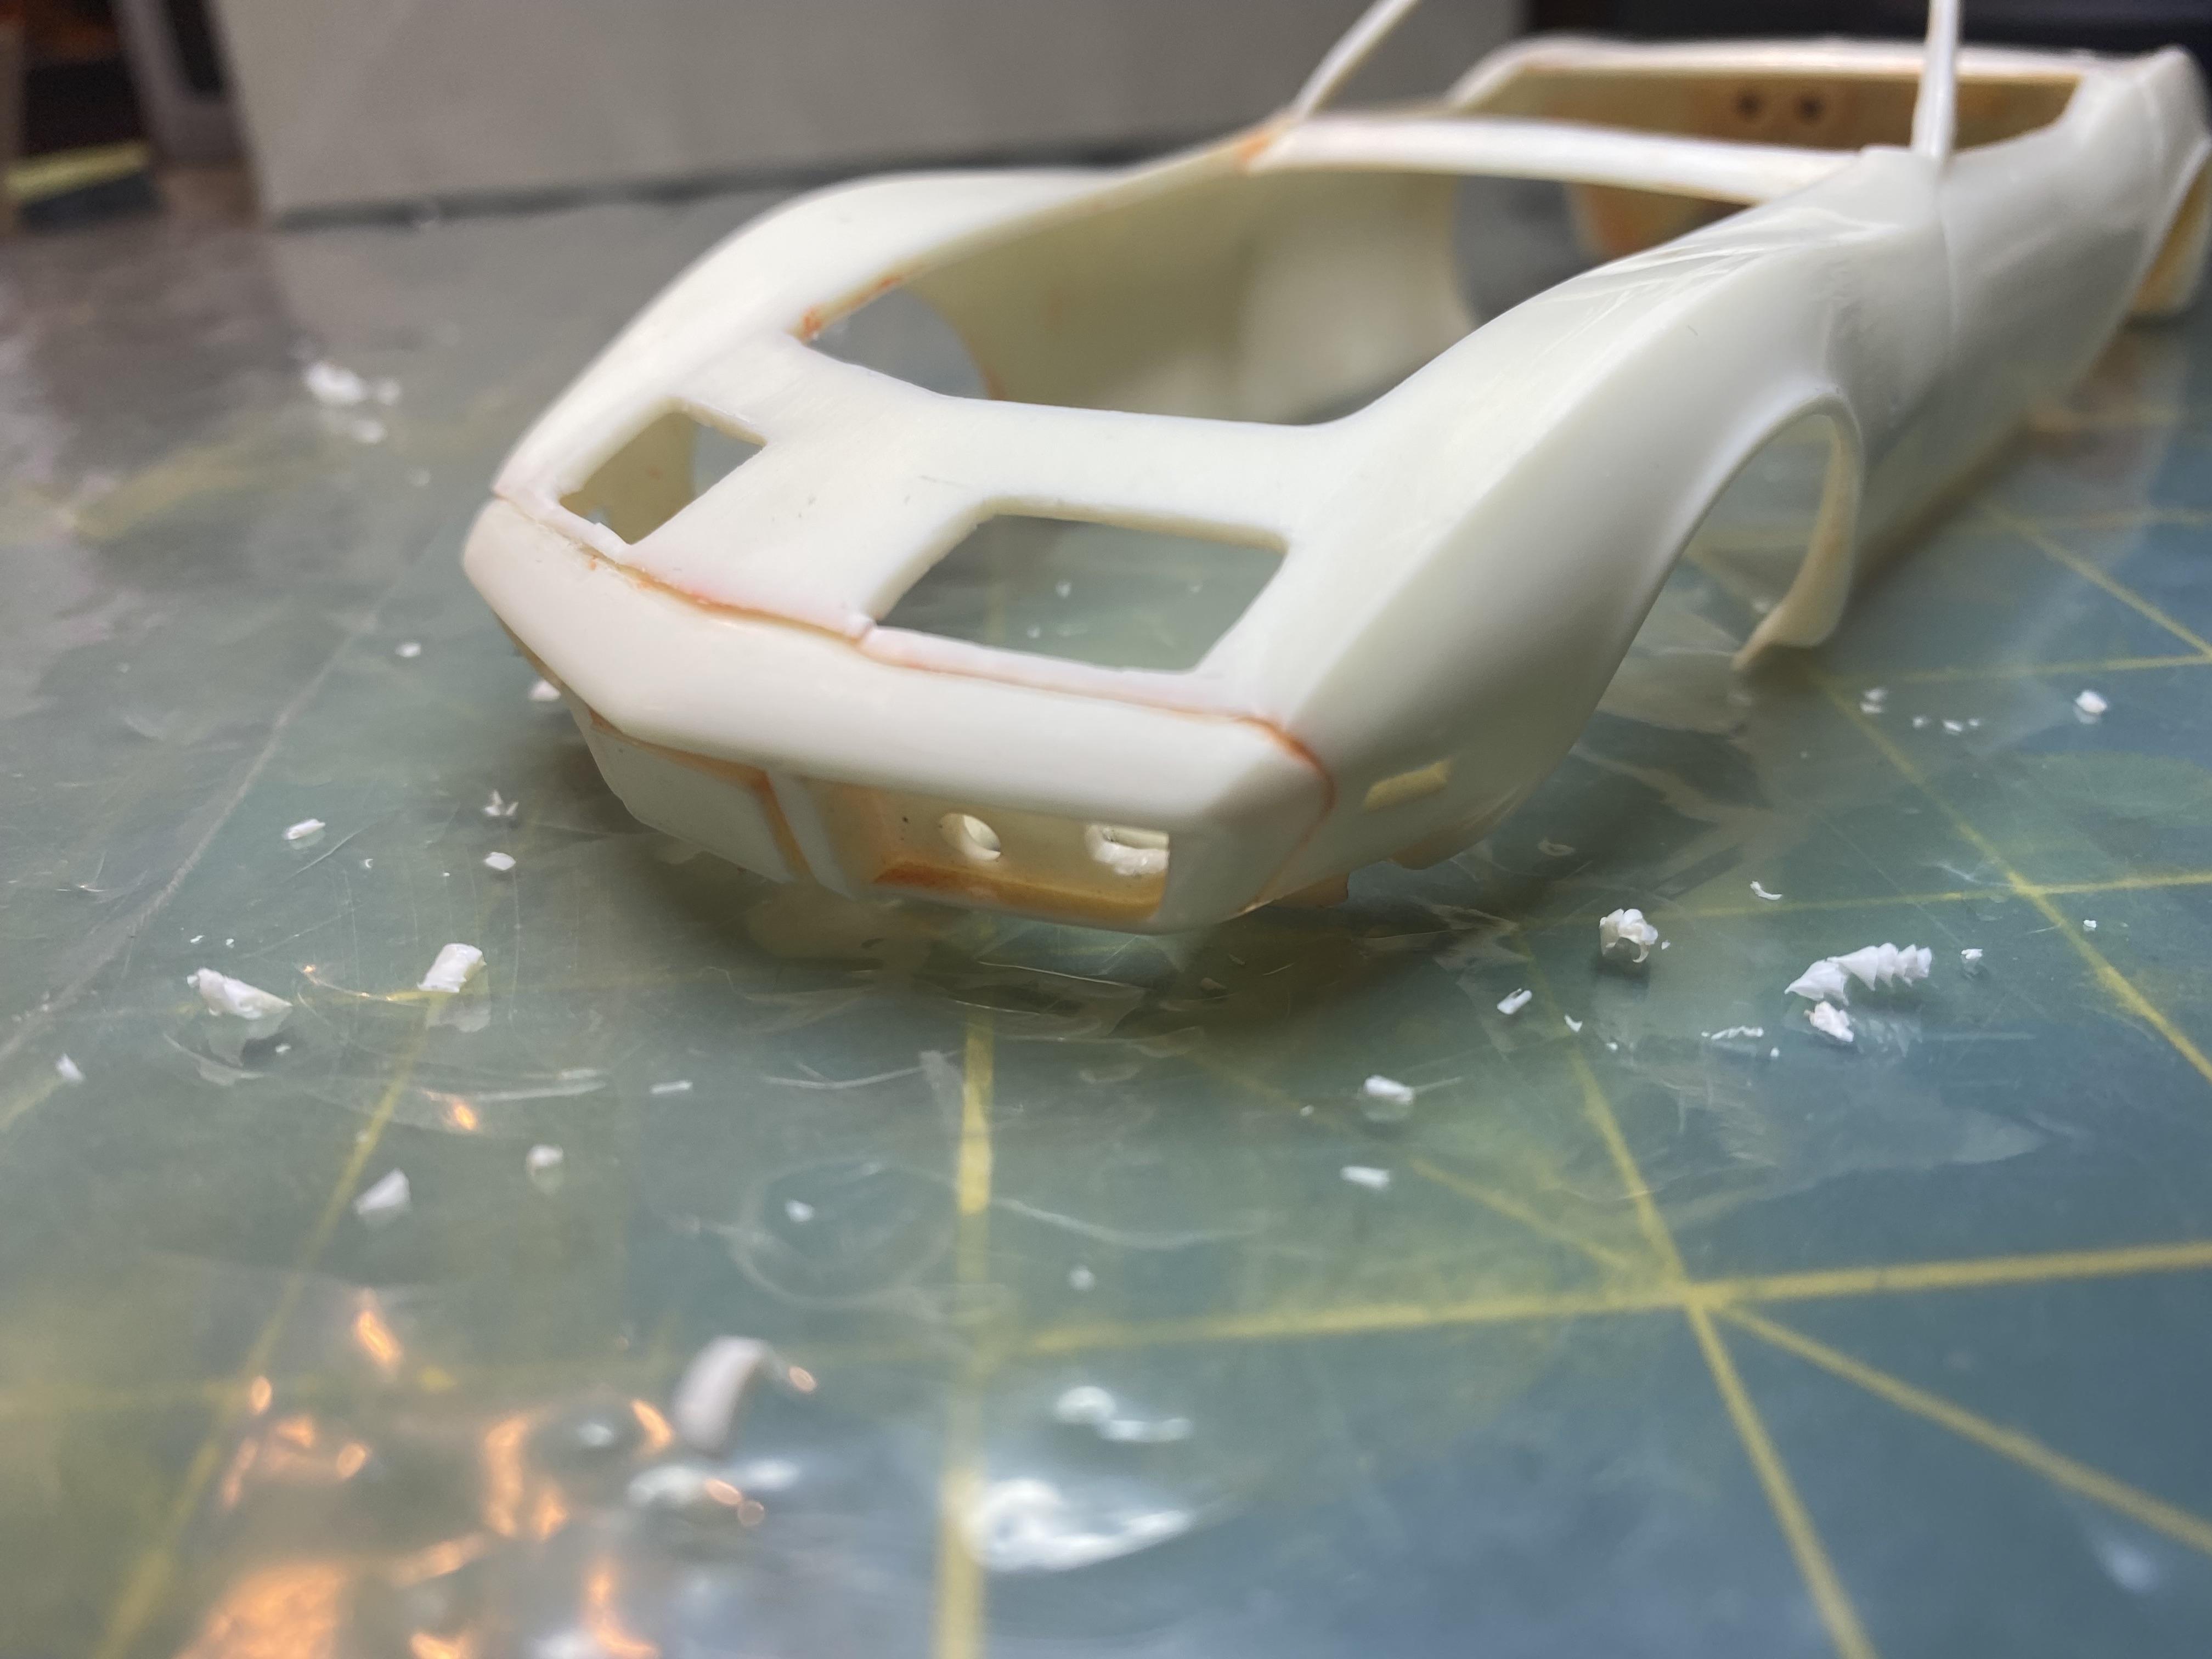
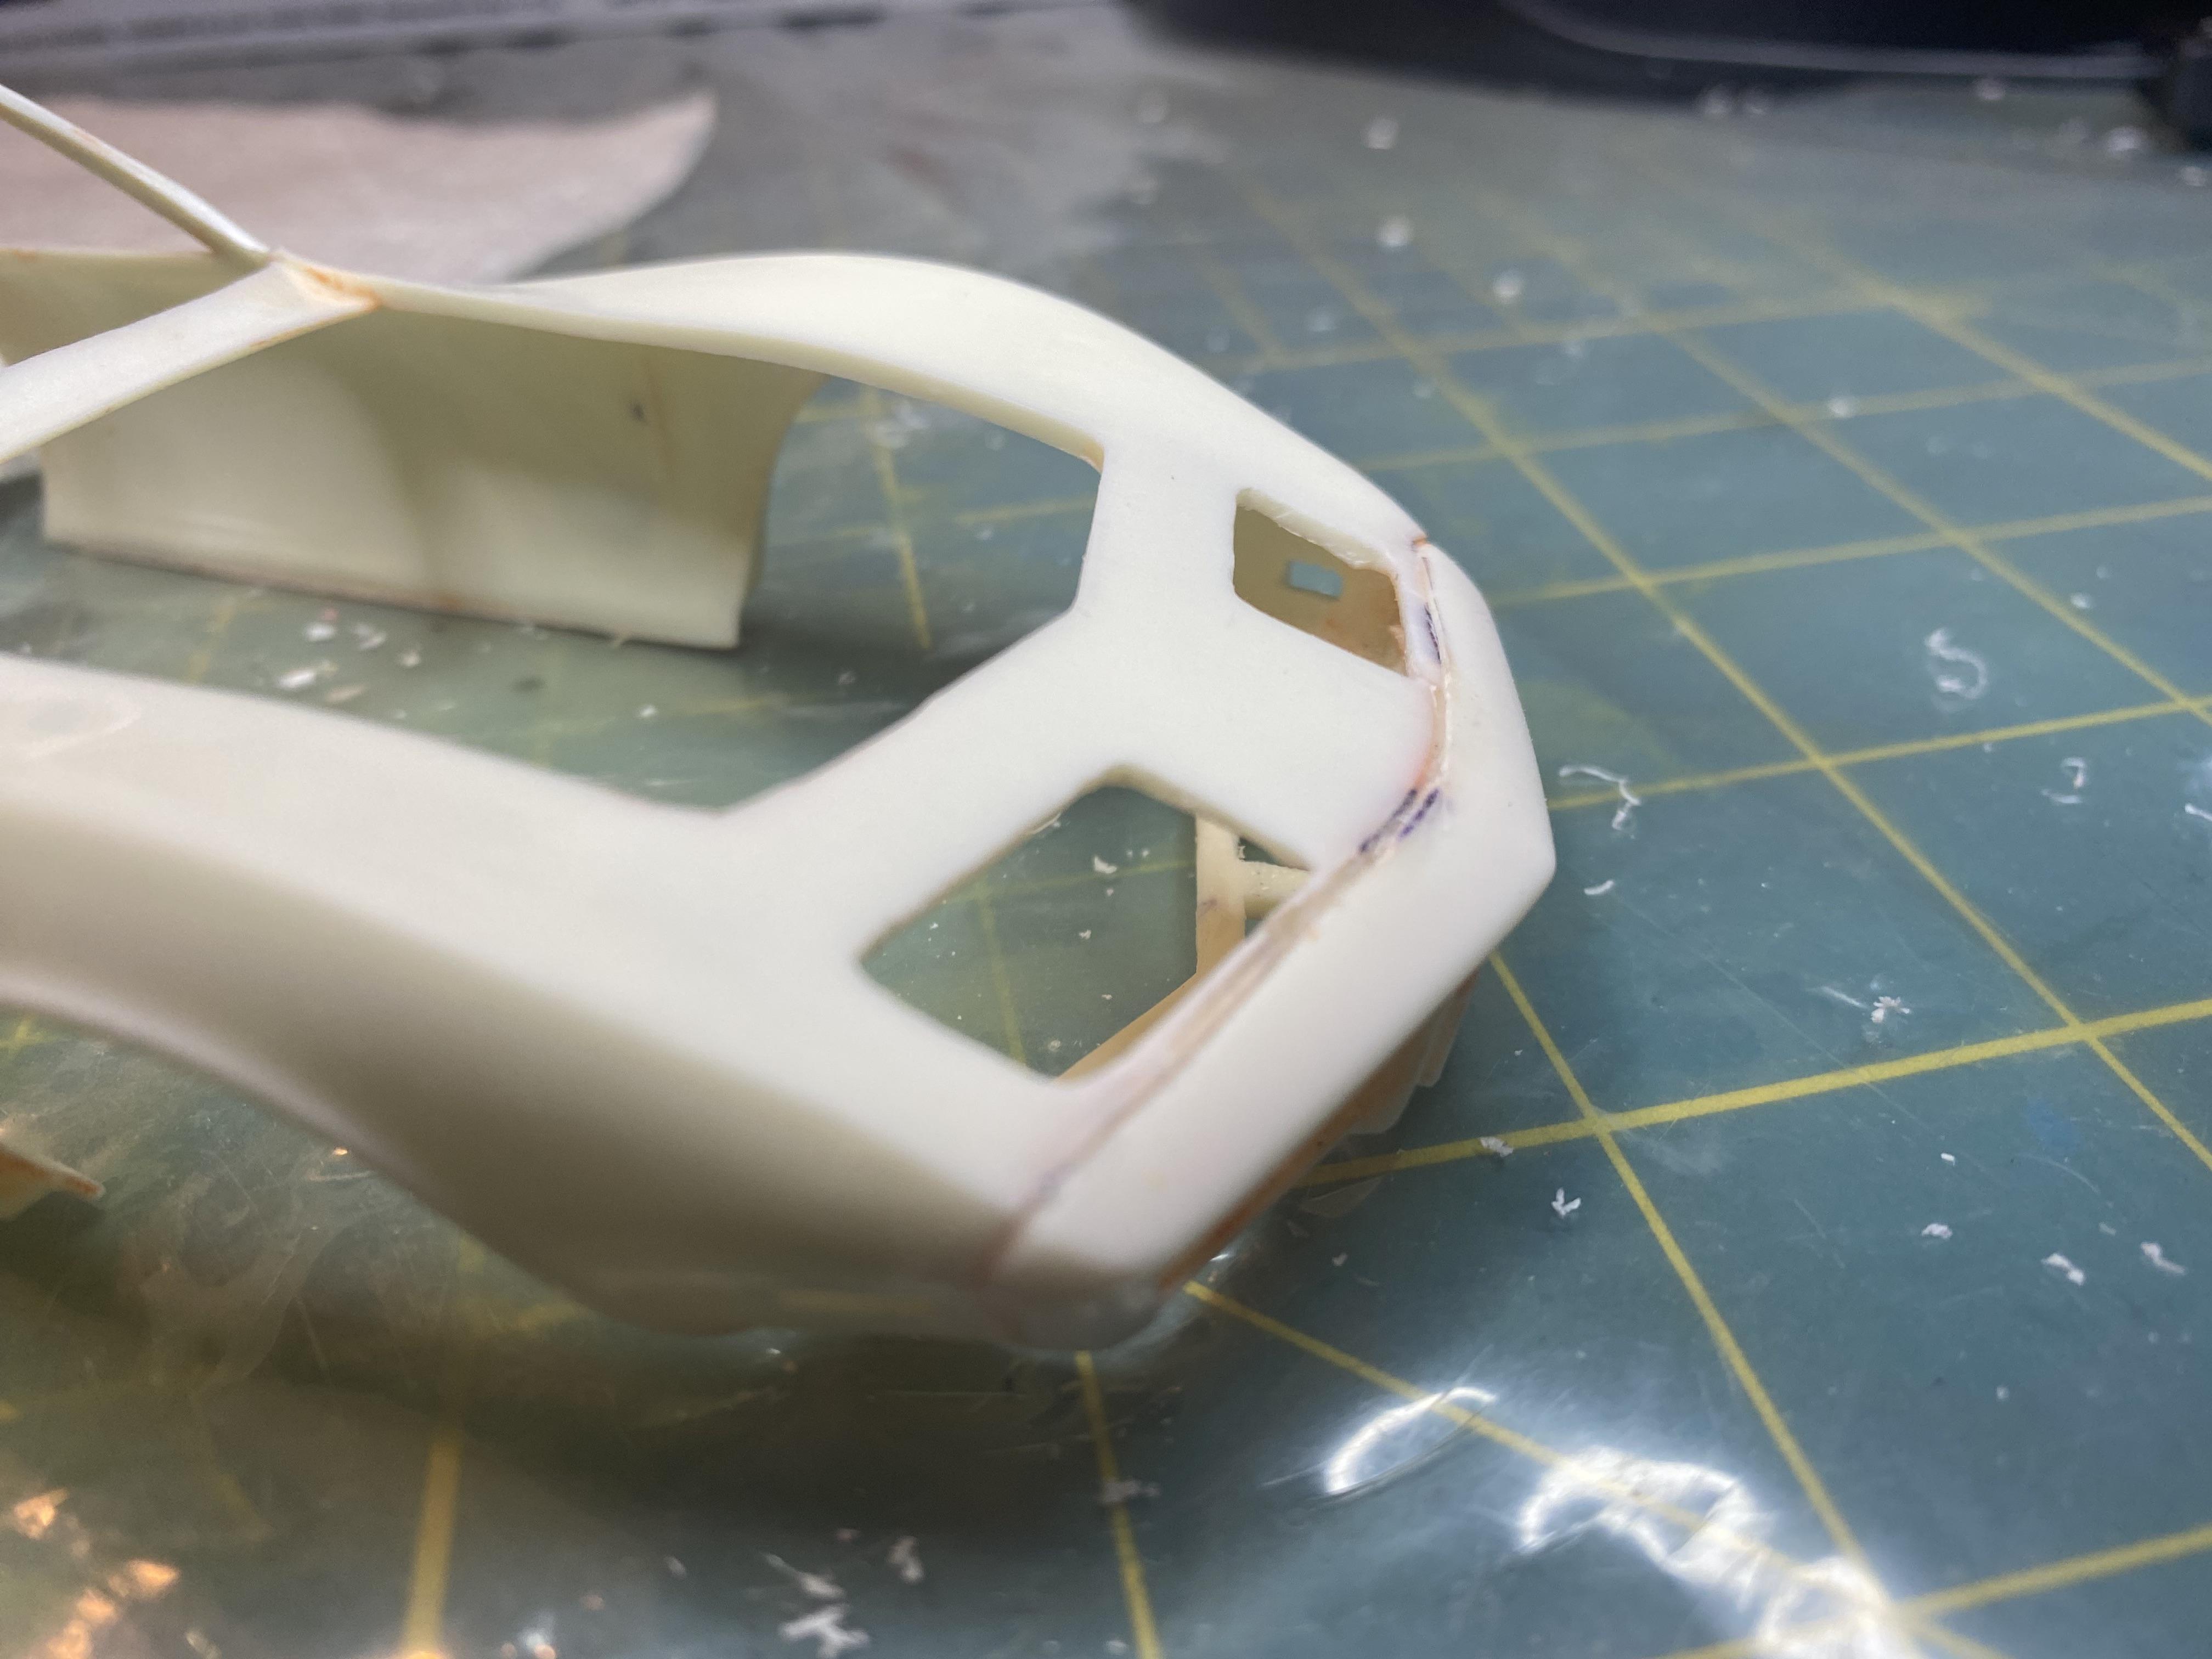
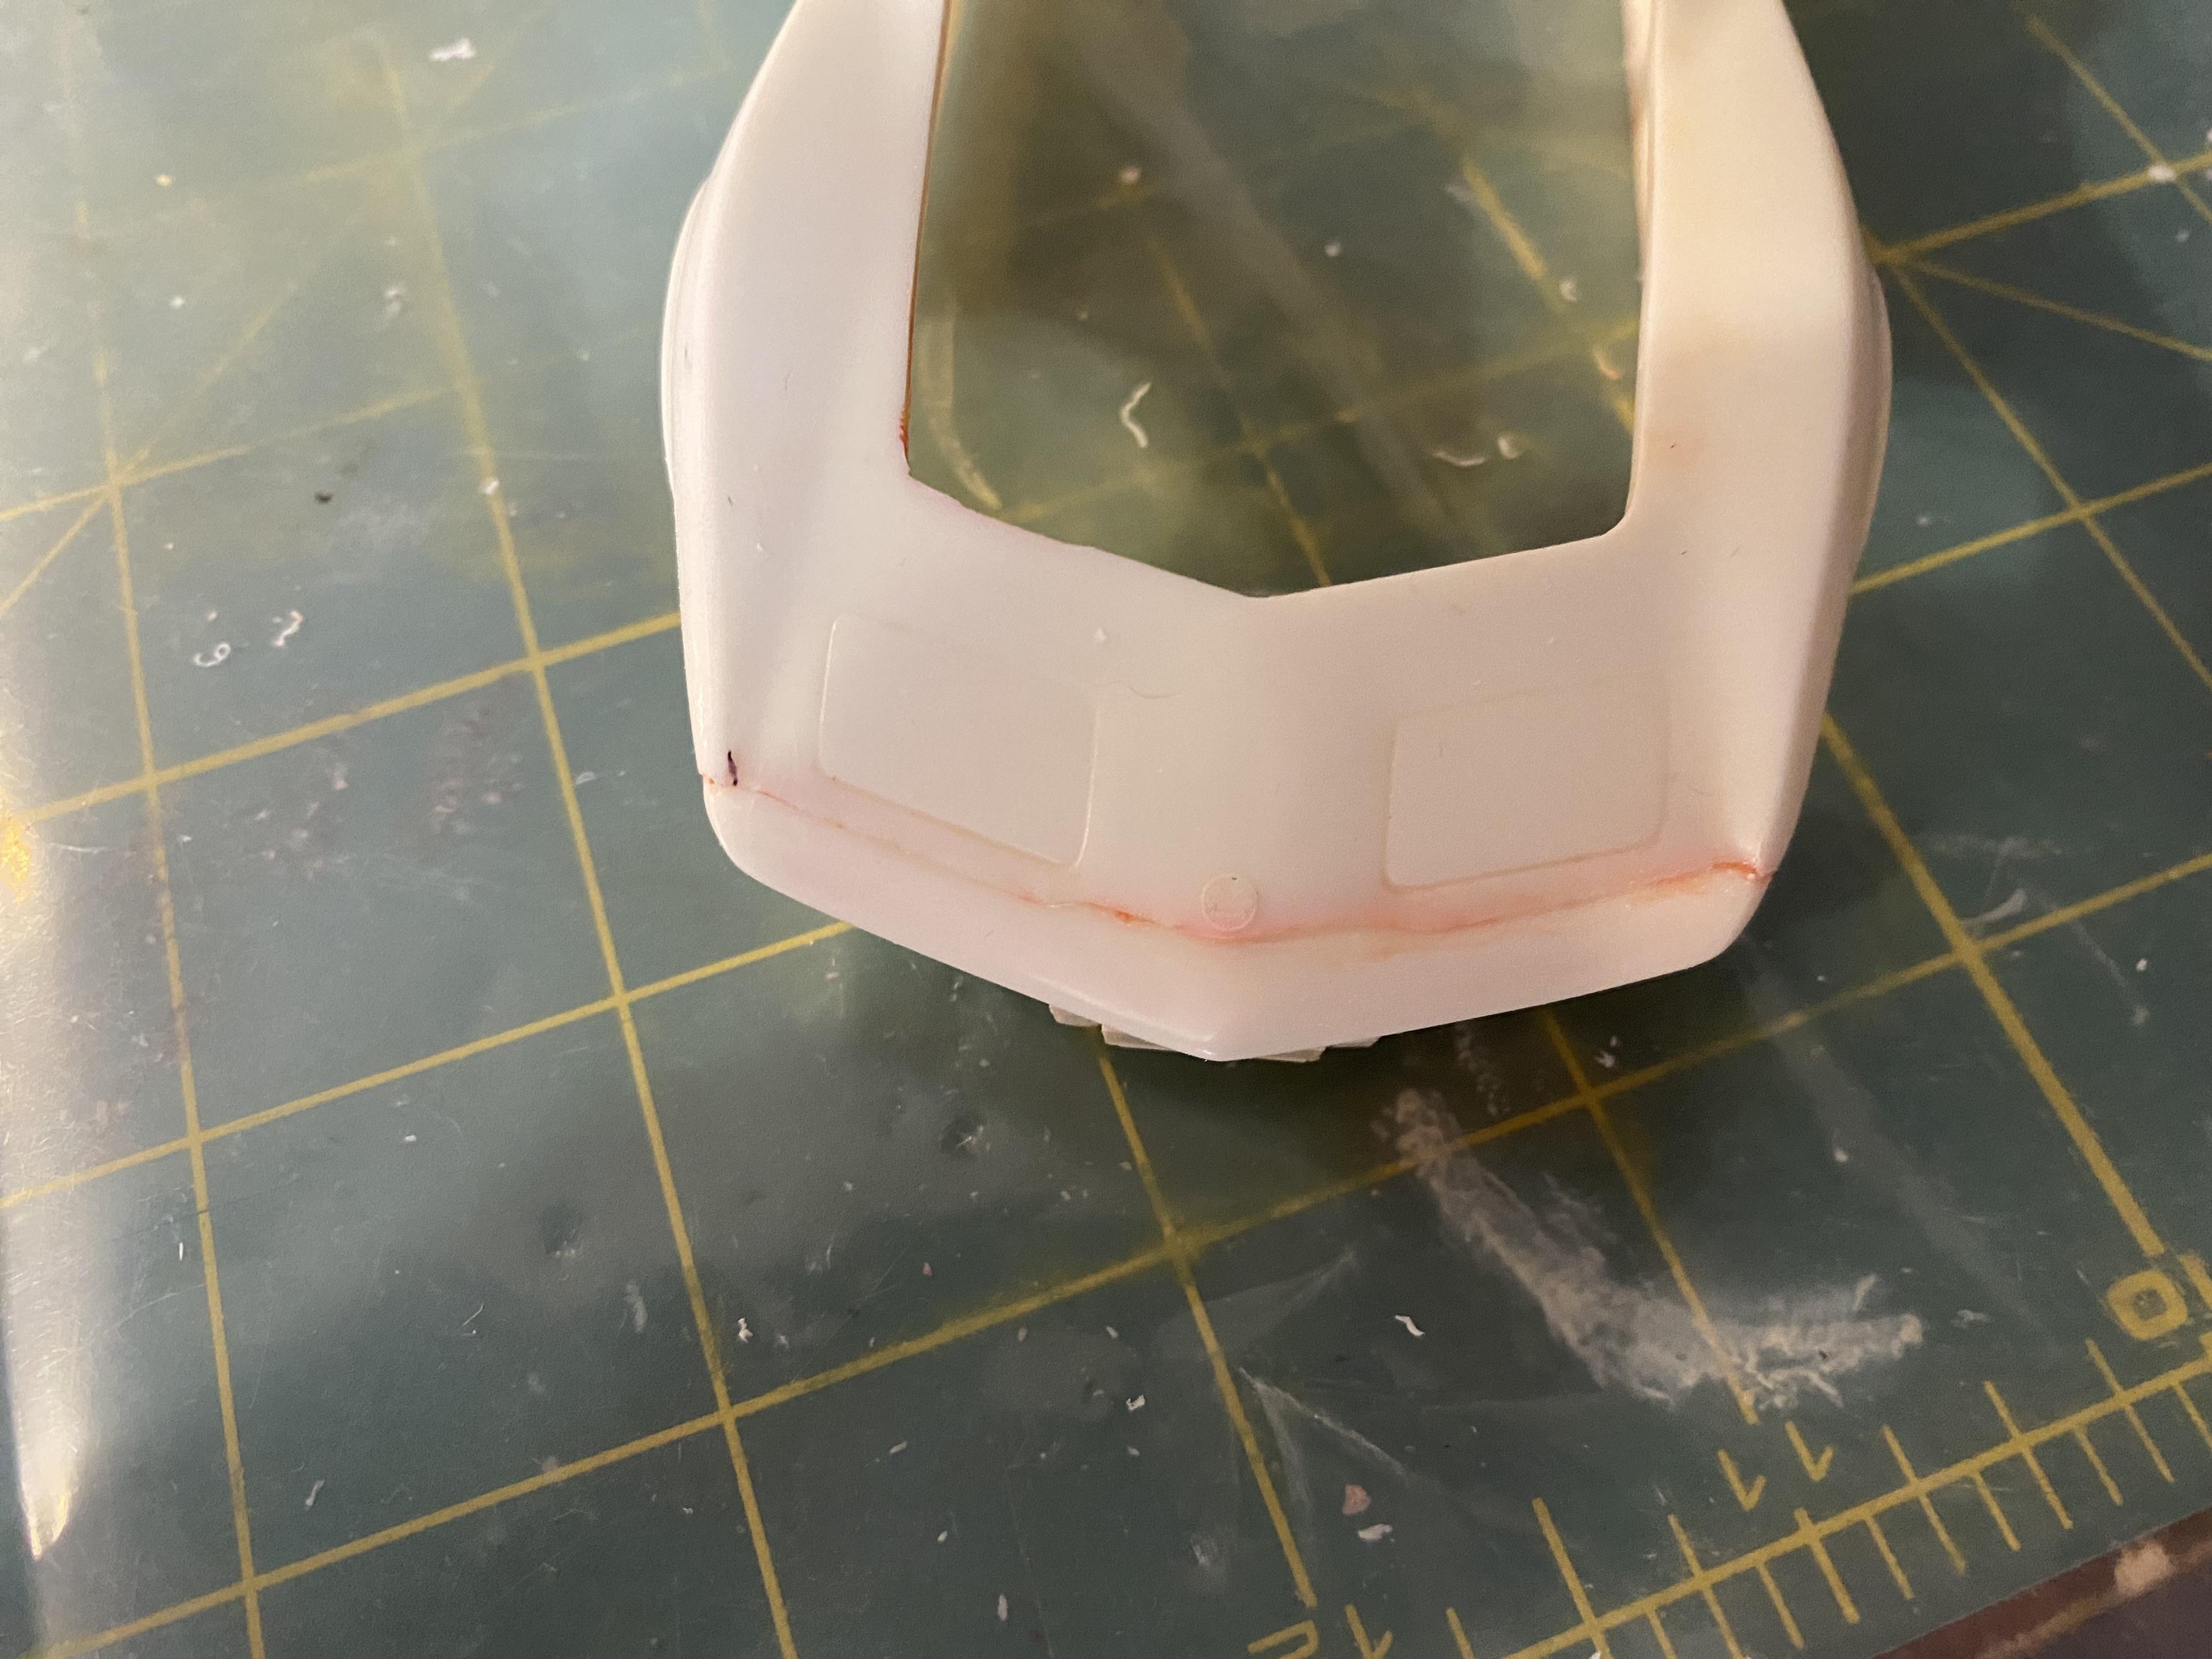
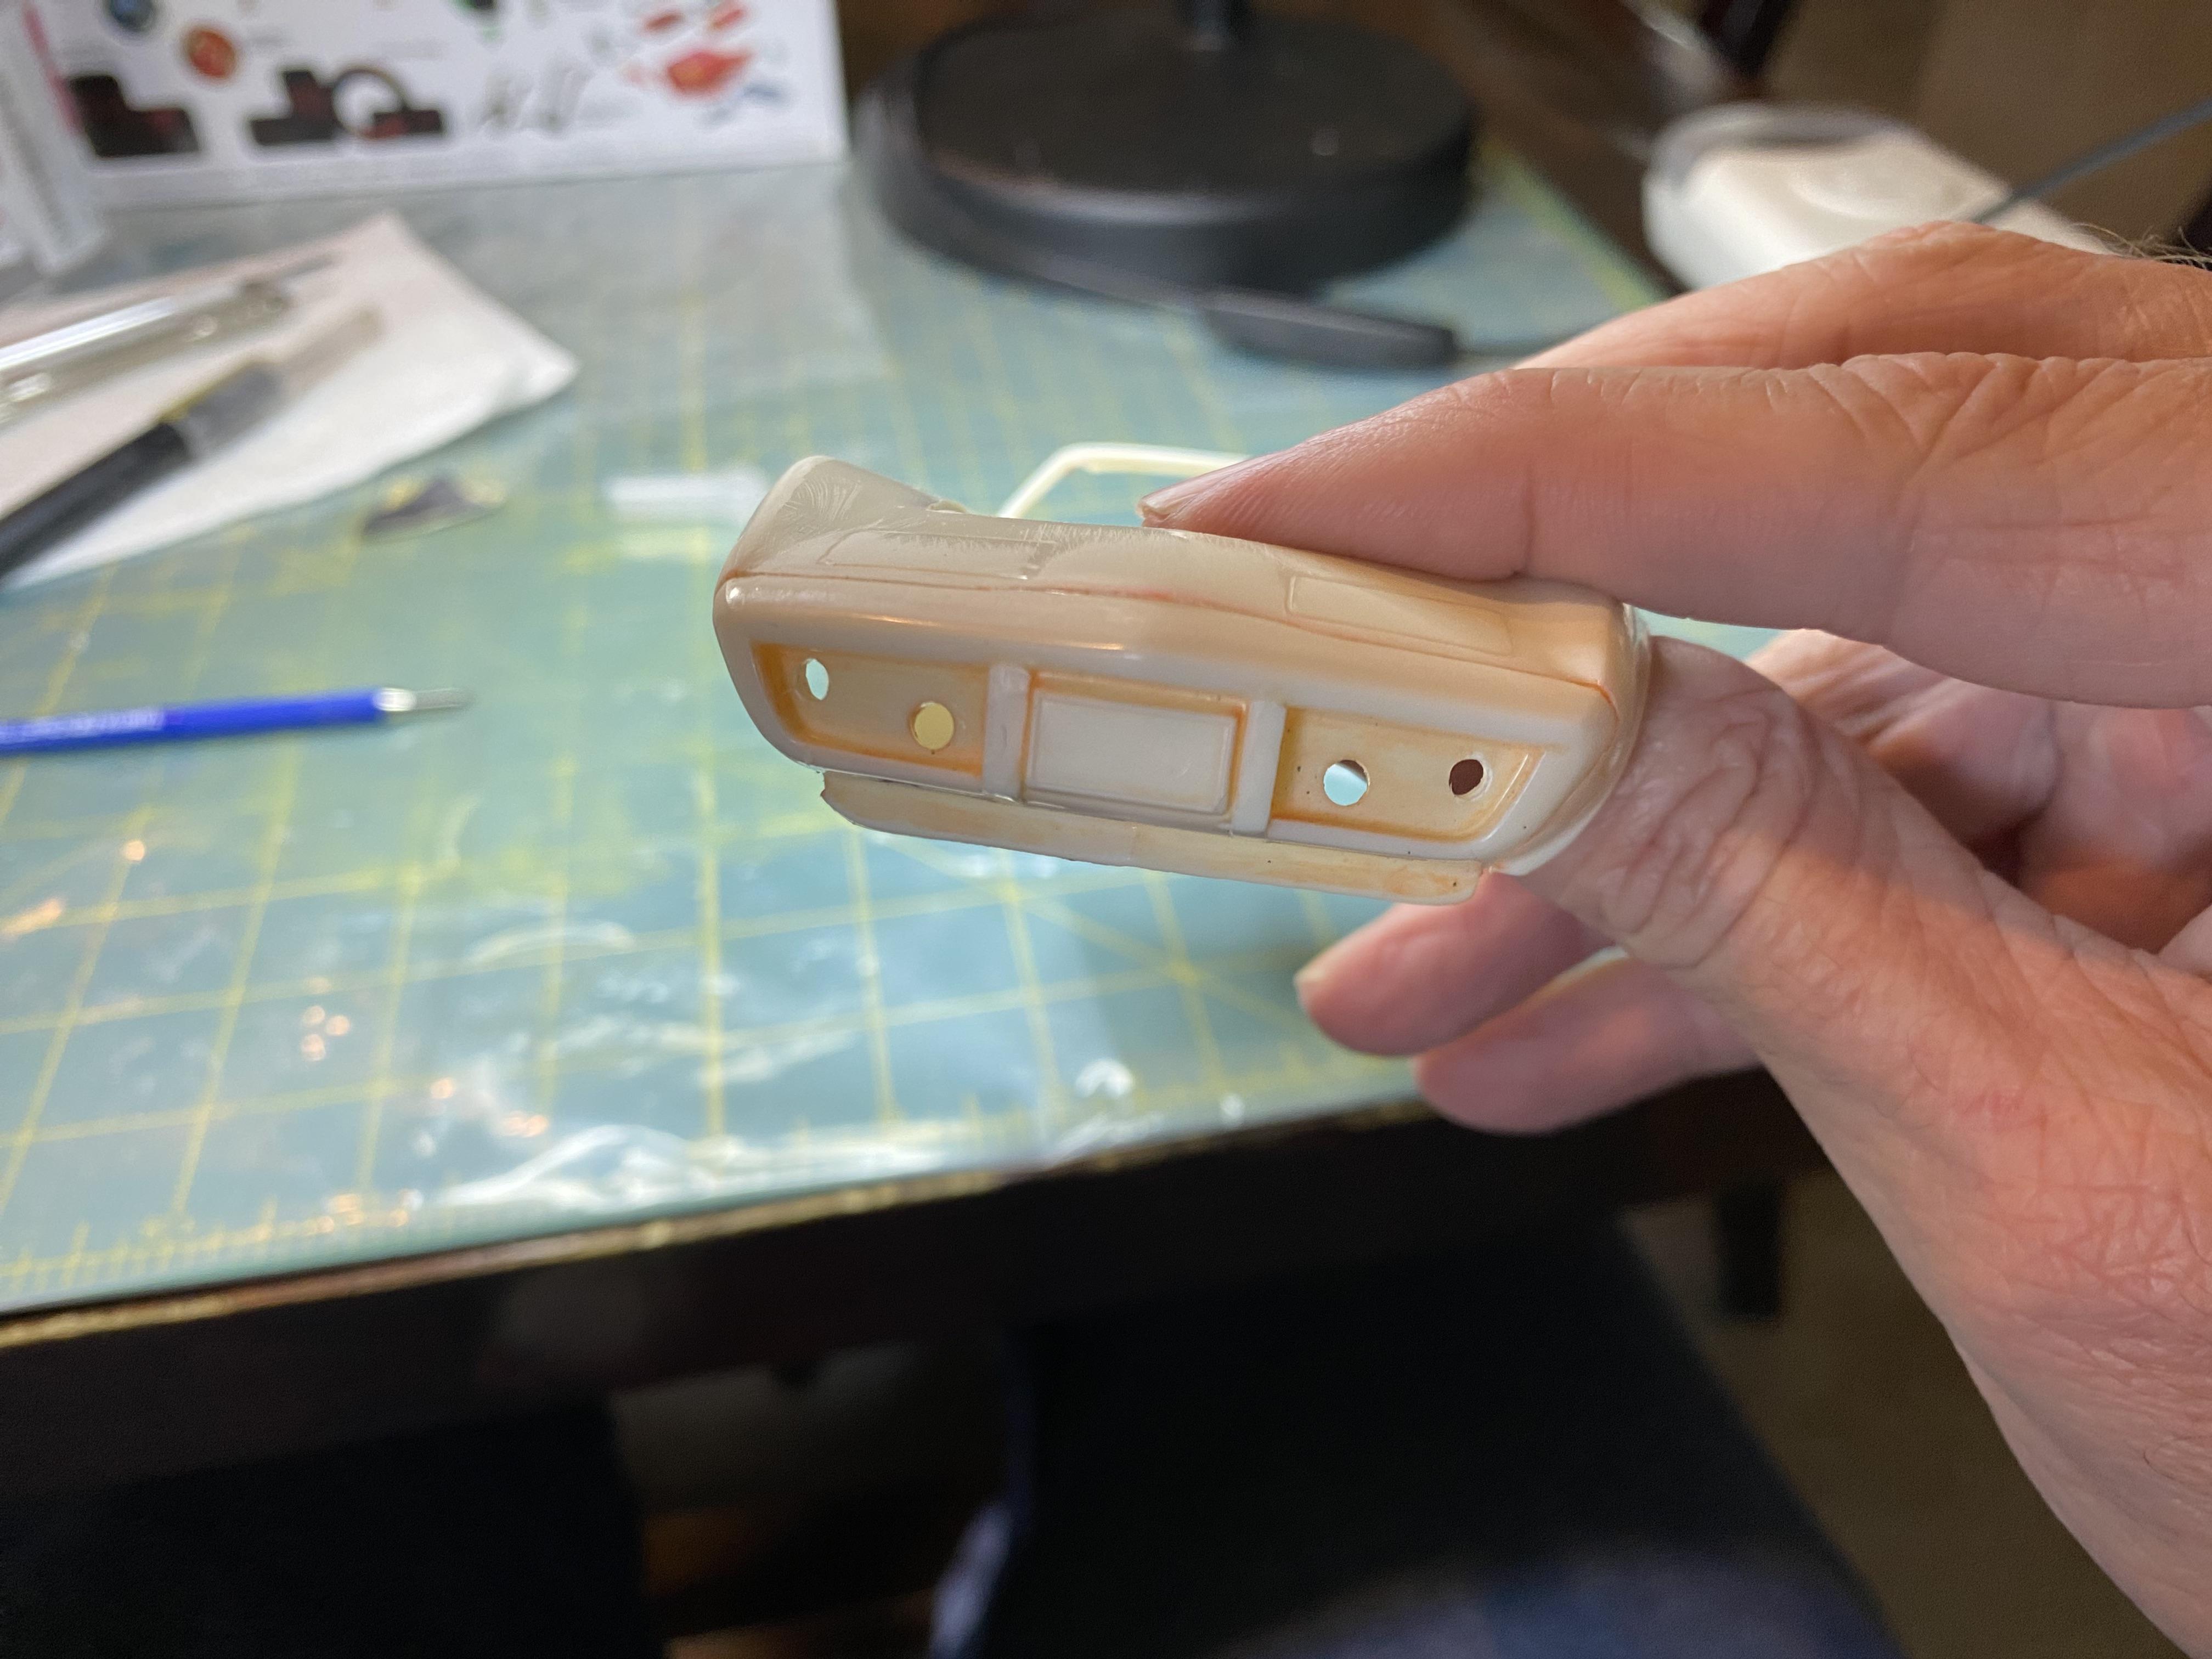
Got a little done on the body. Cut open the side markers for LEDs. Opened the the bottom openings in the front fascia, worked on front bumper fit and started converting the front bumper to 1974 style with the straight curve across the top of it which is a lot different from the 1975.
-
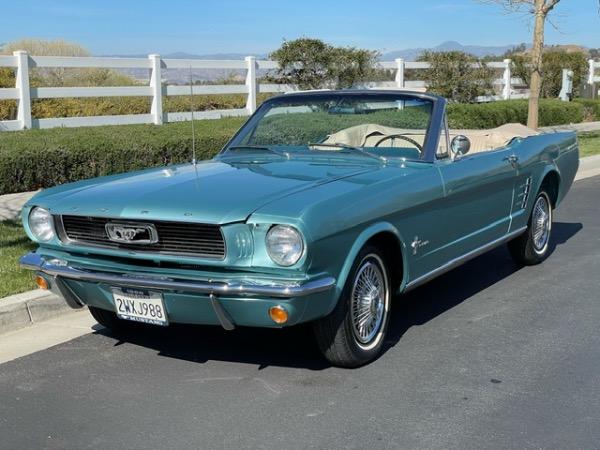
Thank you so much for following my build. I love turquoise convertibles. Thank you. Thank you.
-
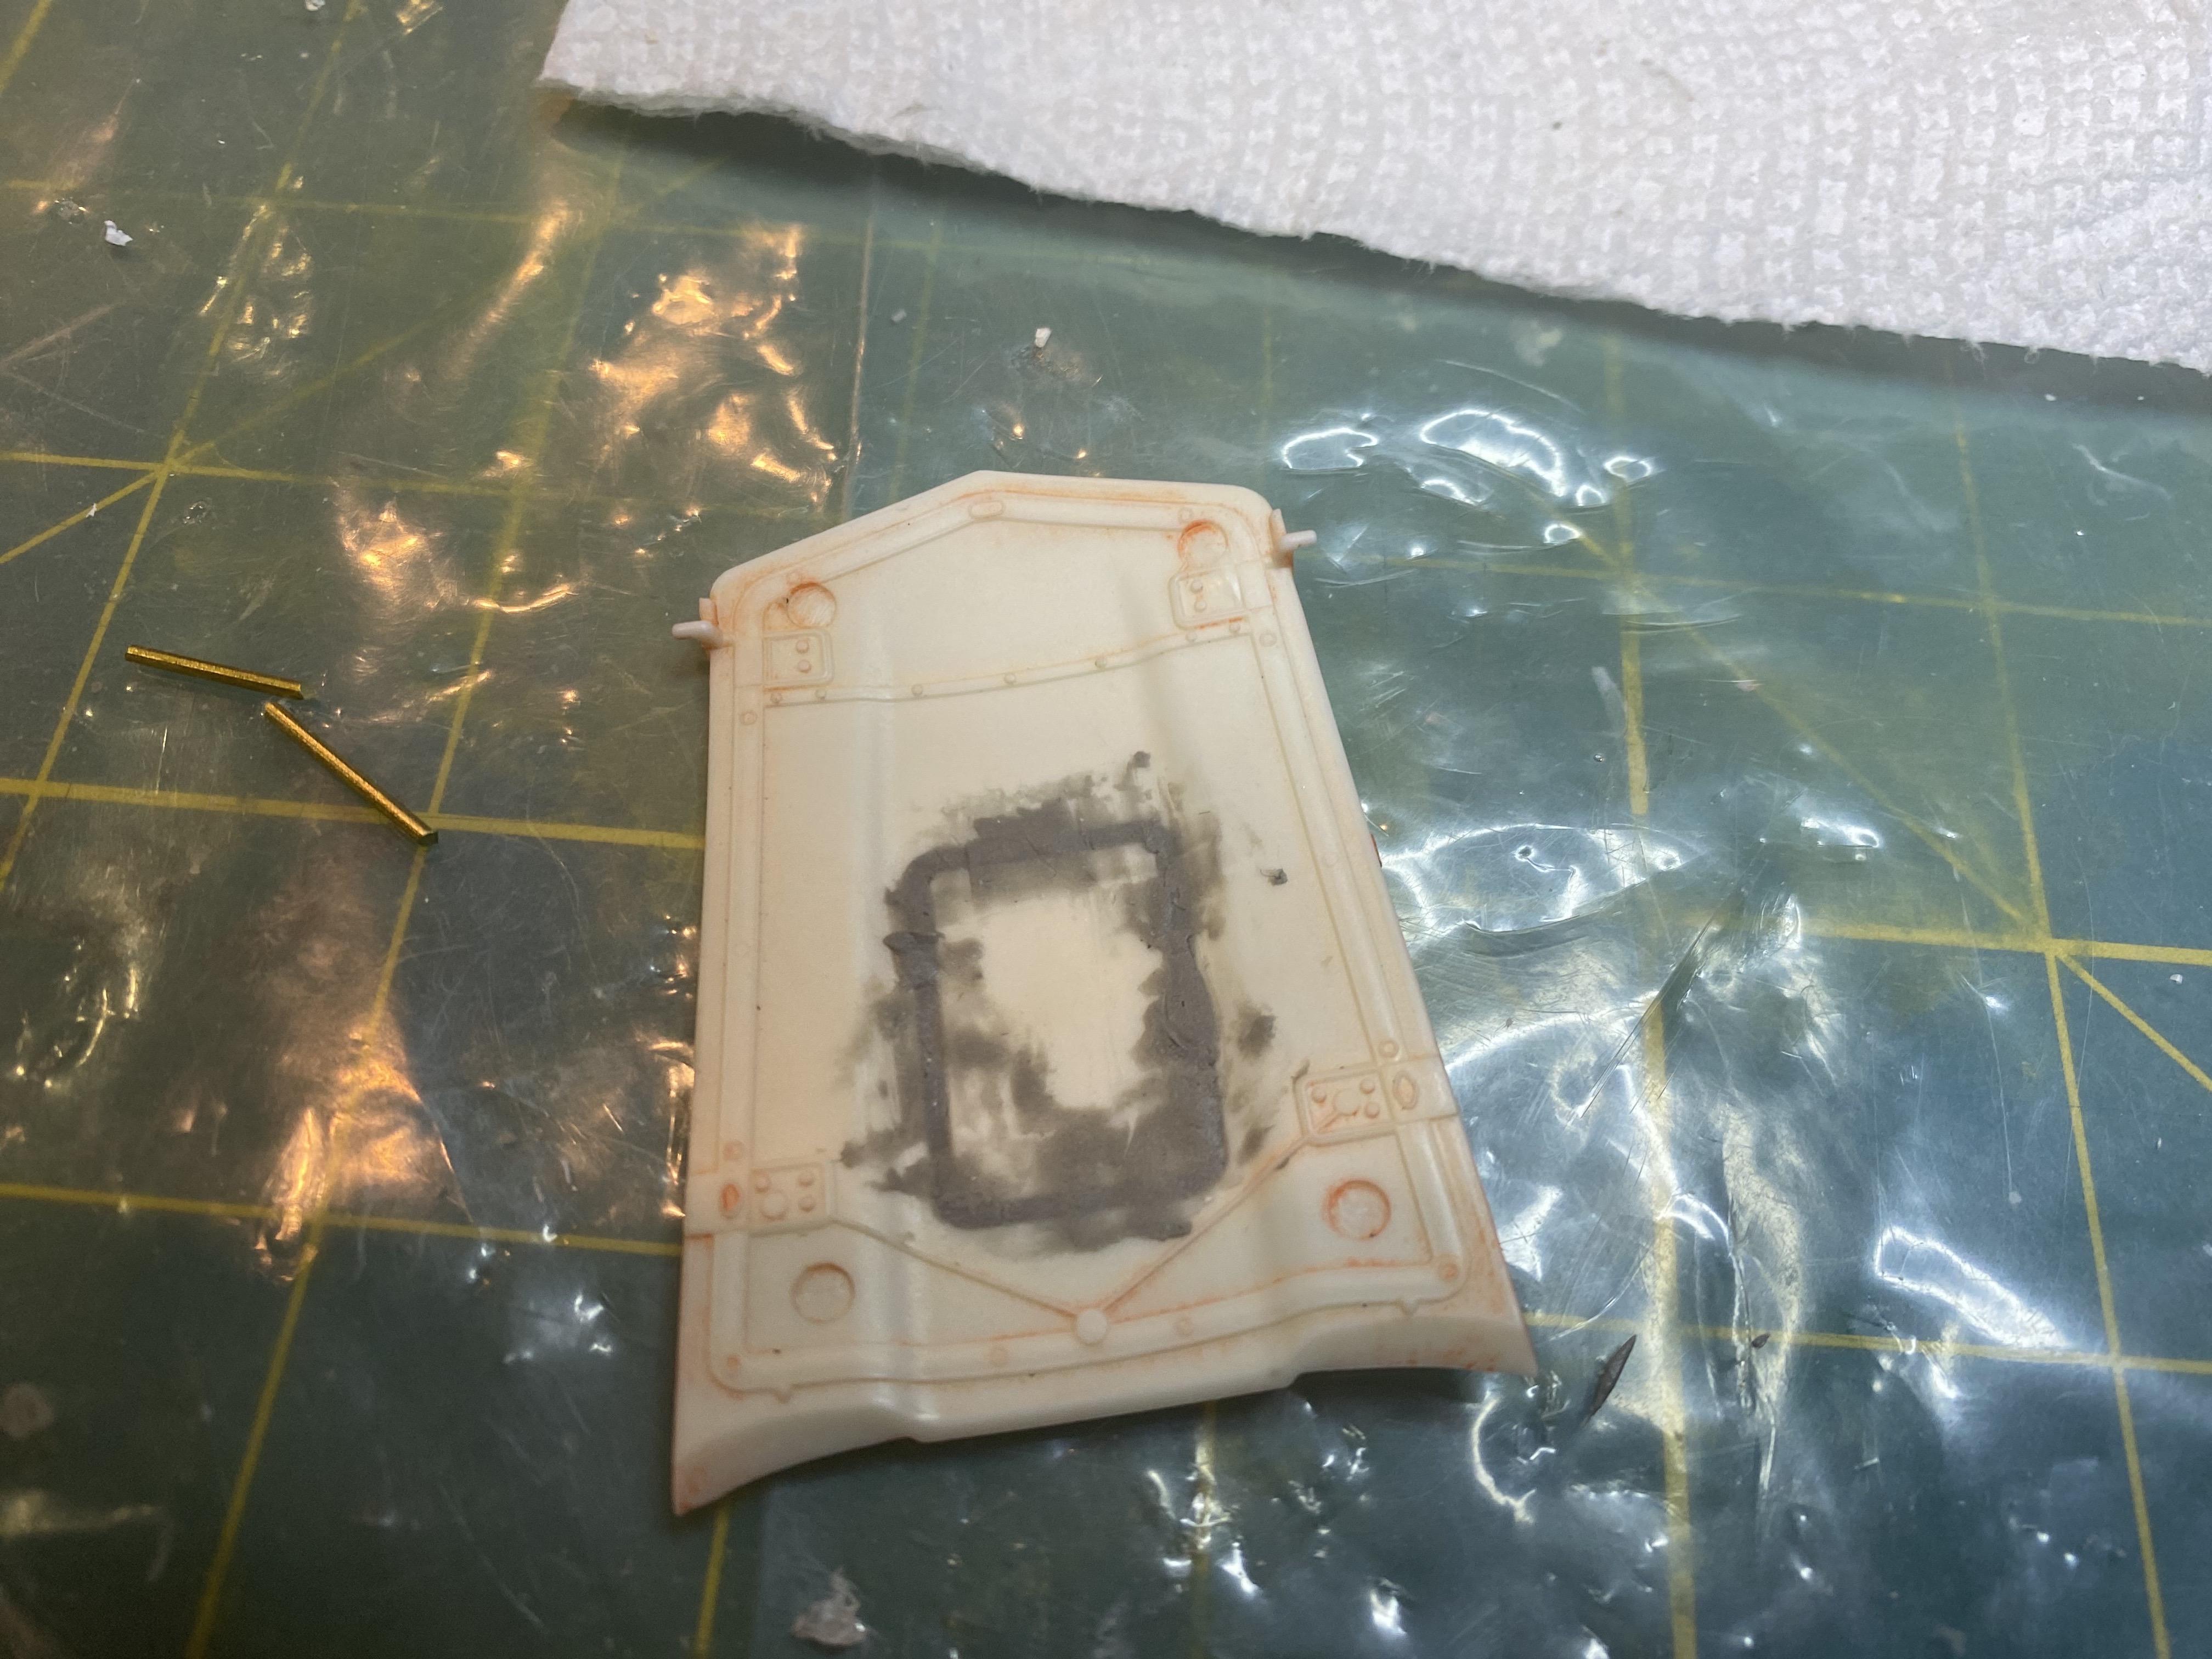
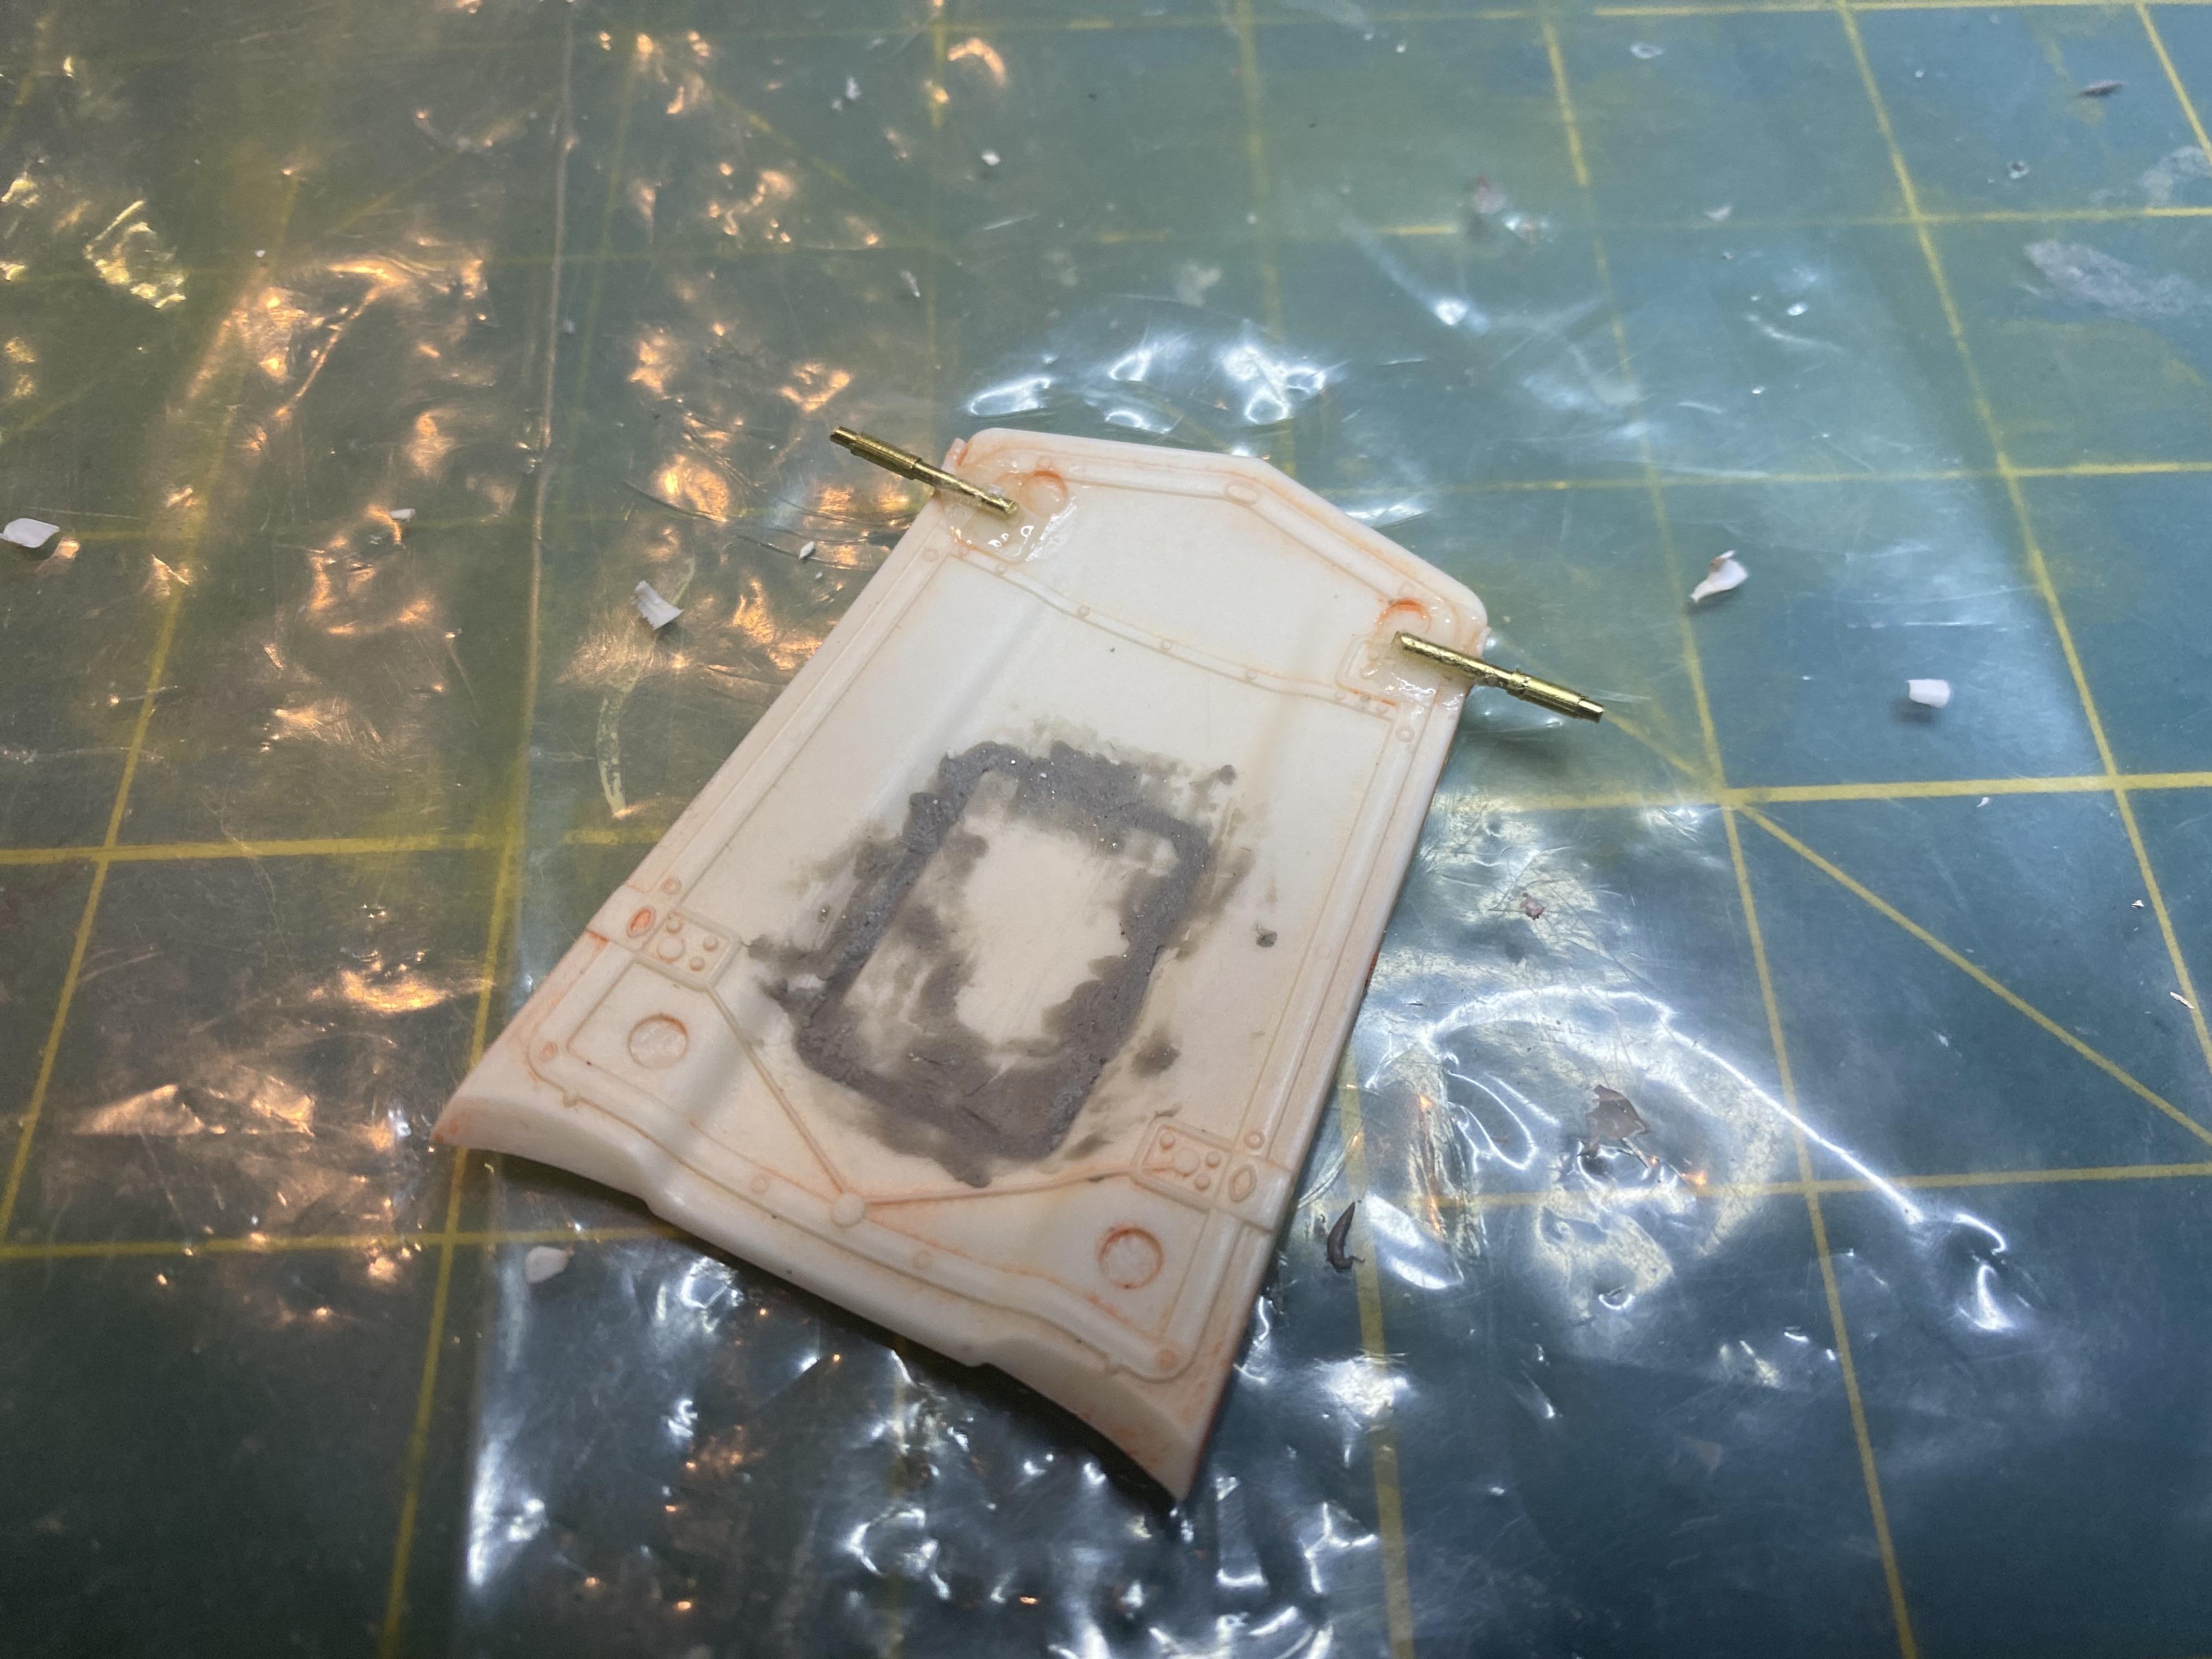
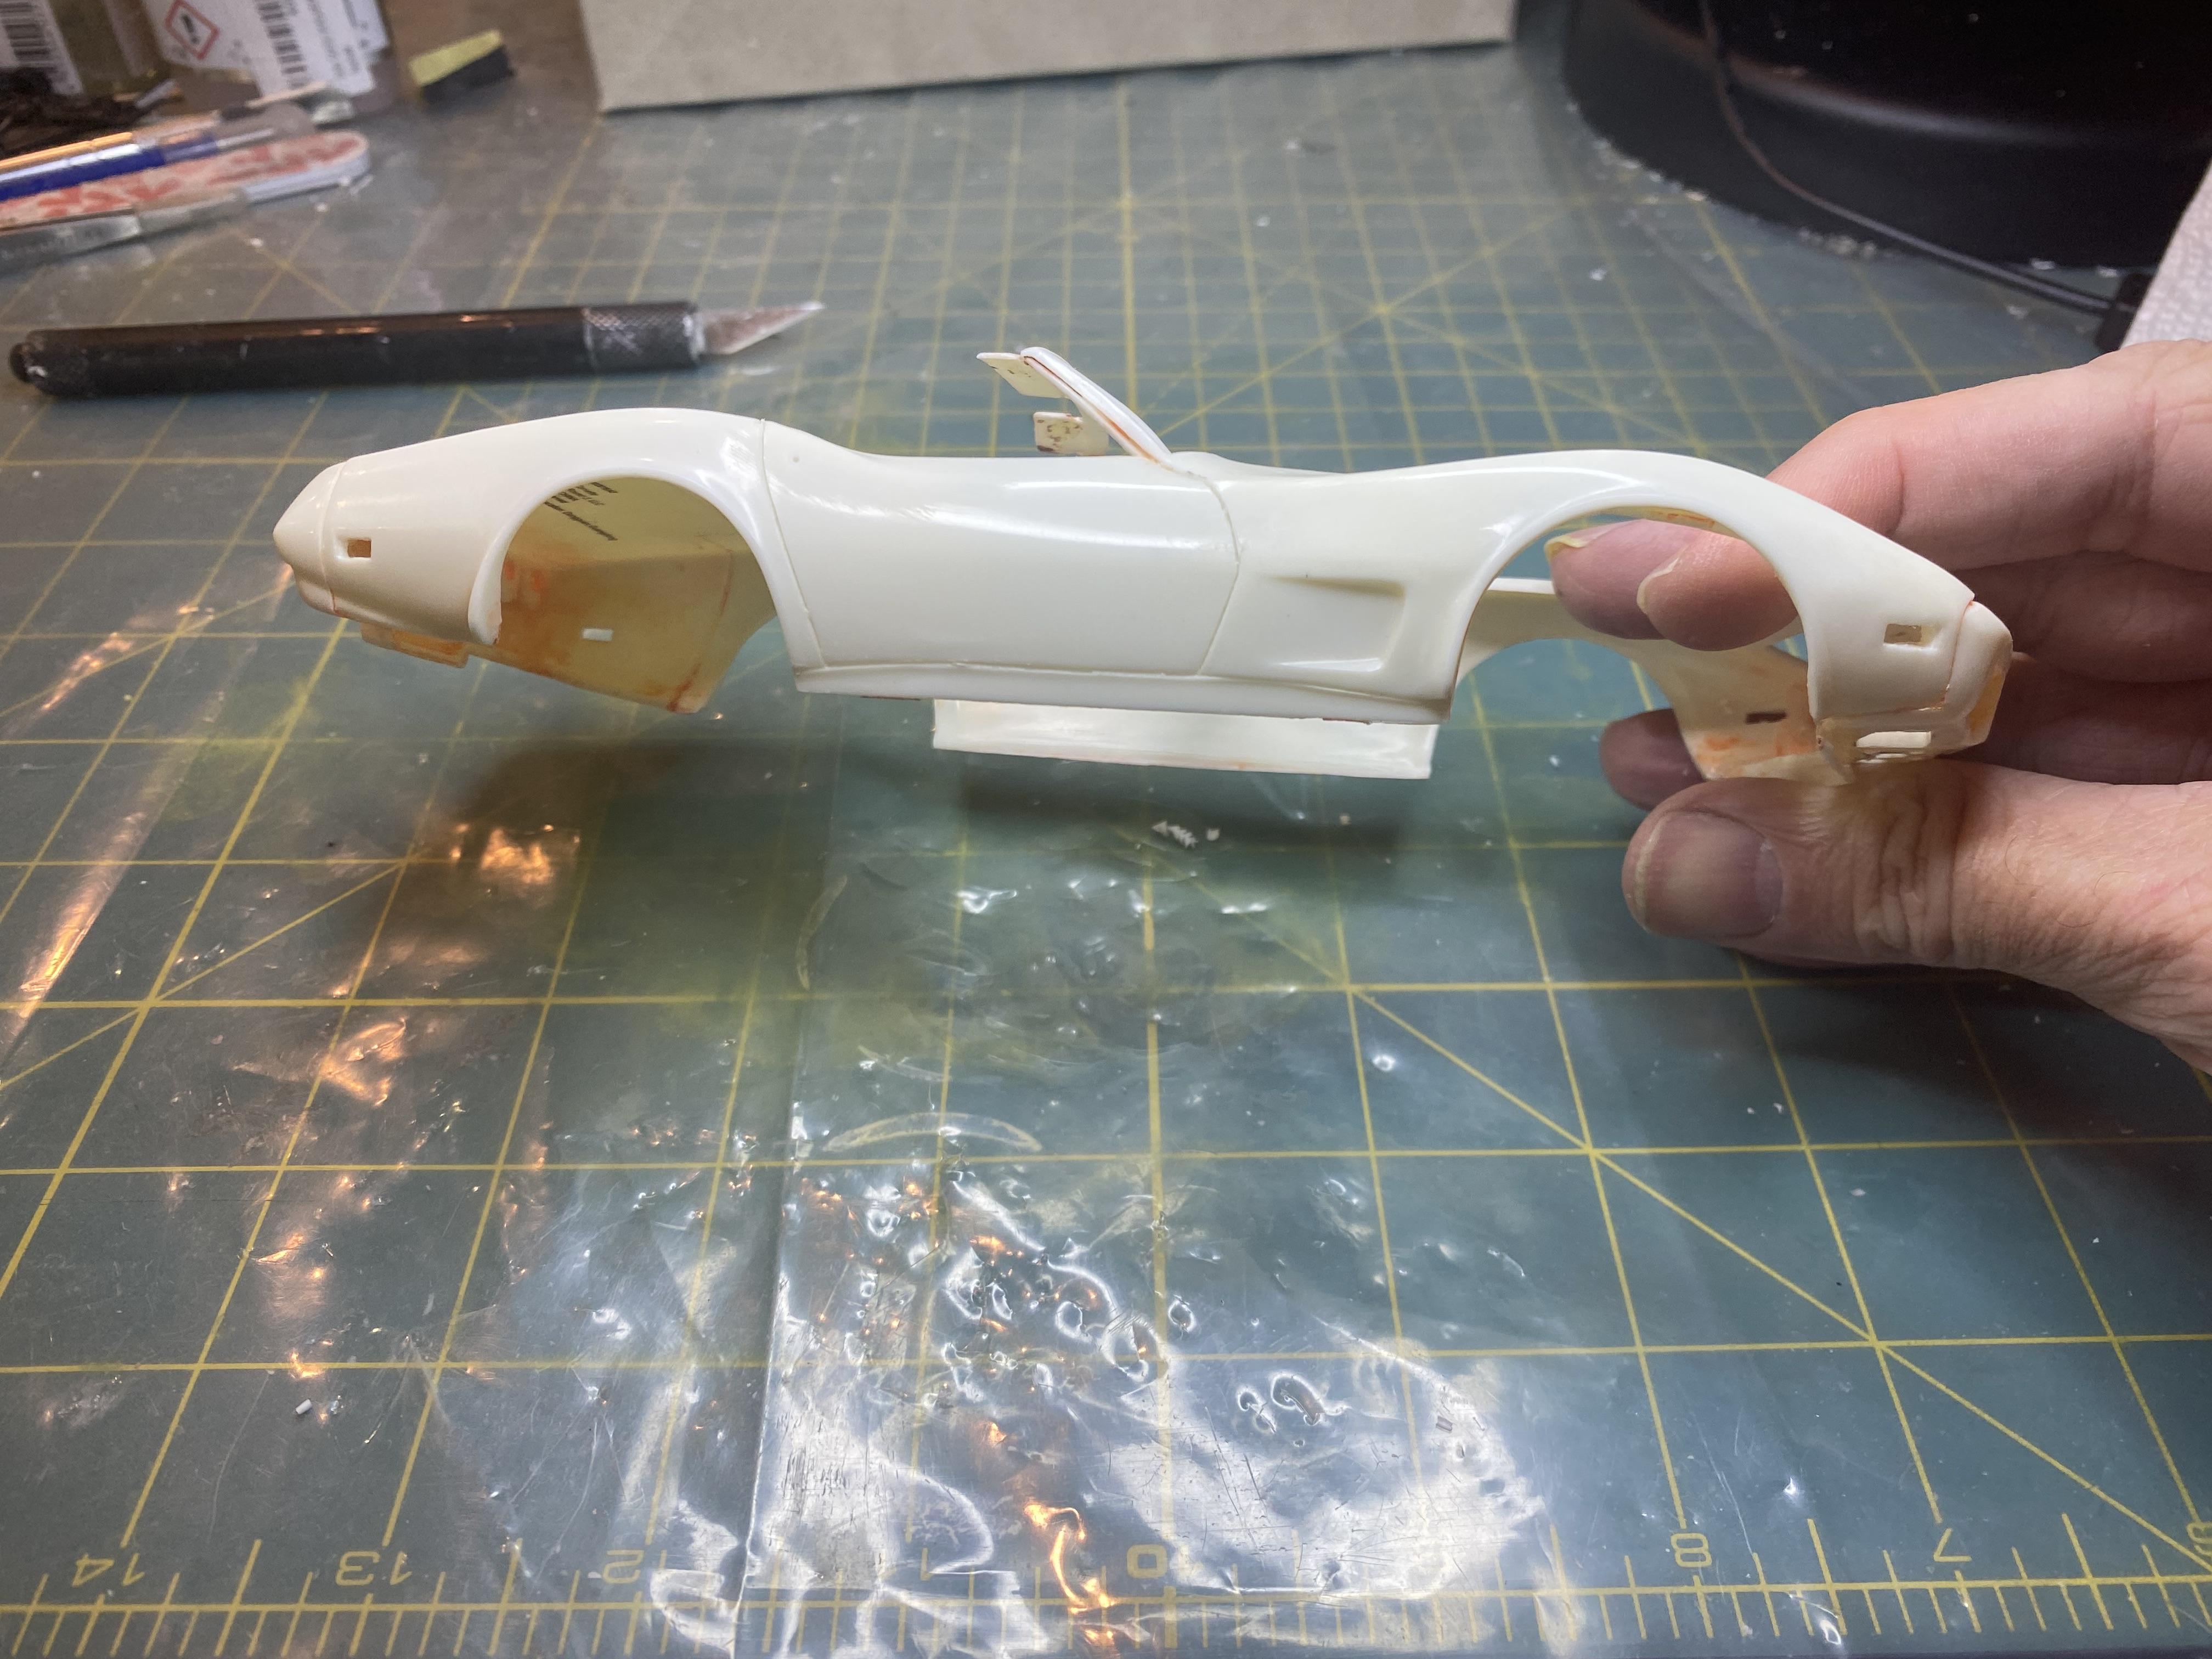
I had a very busy family day out but I did get a little bit done on the body. The front emblem was not even centered on front end. I was planning on removing it and creating a new one anyway. I cut holes for LEDs for the front parking light and roughly cut out the headlight doors. I etched the gas cap and removed the emblem. It is my understanding the 1974 didn’t have a gas cap emblem. I drilled out the door locks and driver side alarm lock to add top studio rivets to later. Also removed the Stingray script that will get replace with photo etch and etched the door jambs a bit deeper. I still have a lot to do including cut out the side markers for LEDs. I am probably going to cut out the convertible top door and make it hinged to open so I can put the A23 battery in the top well.
-
Thanks!
-
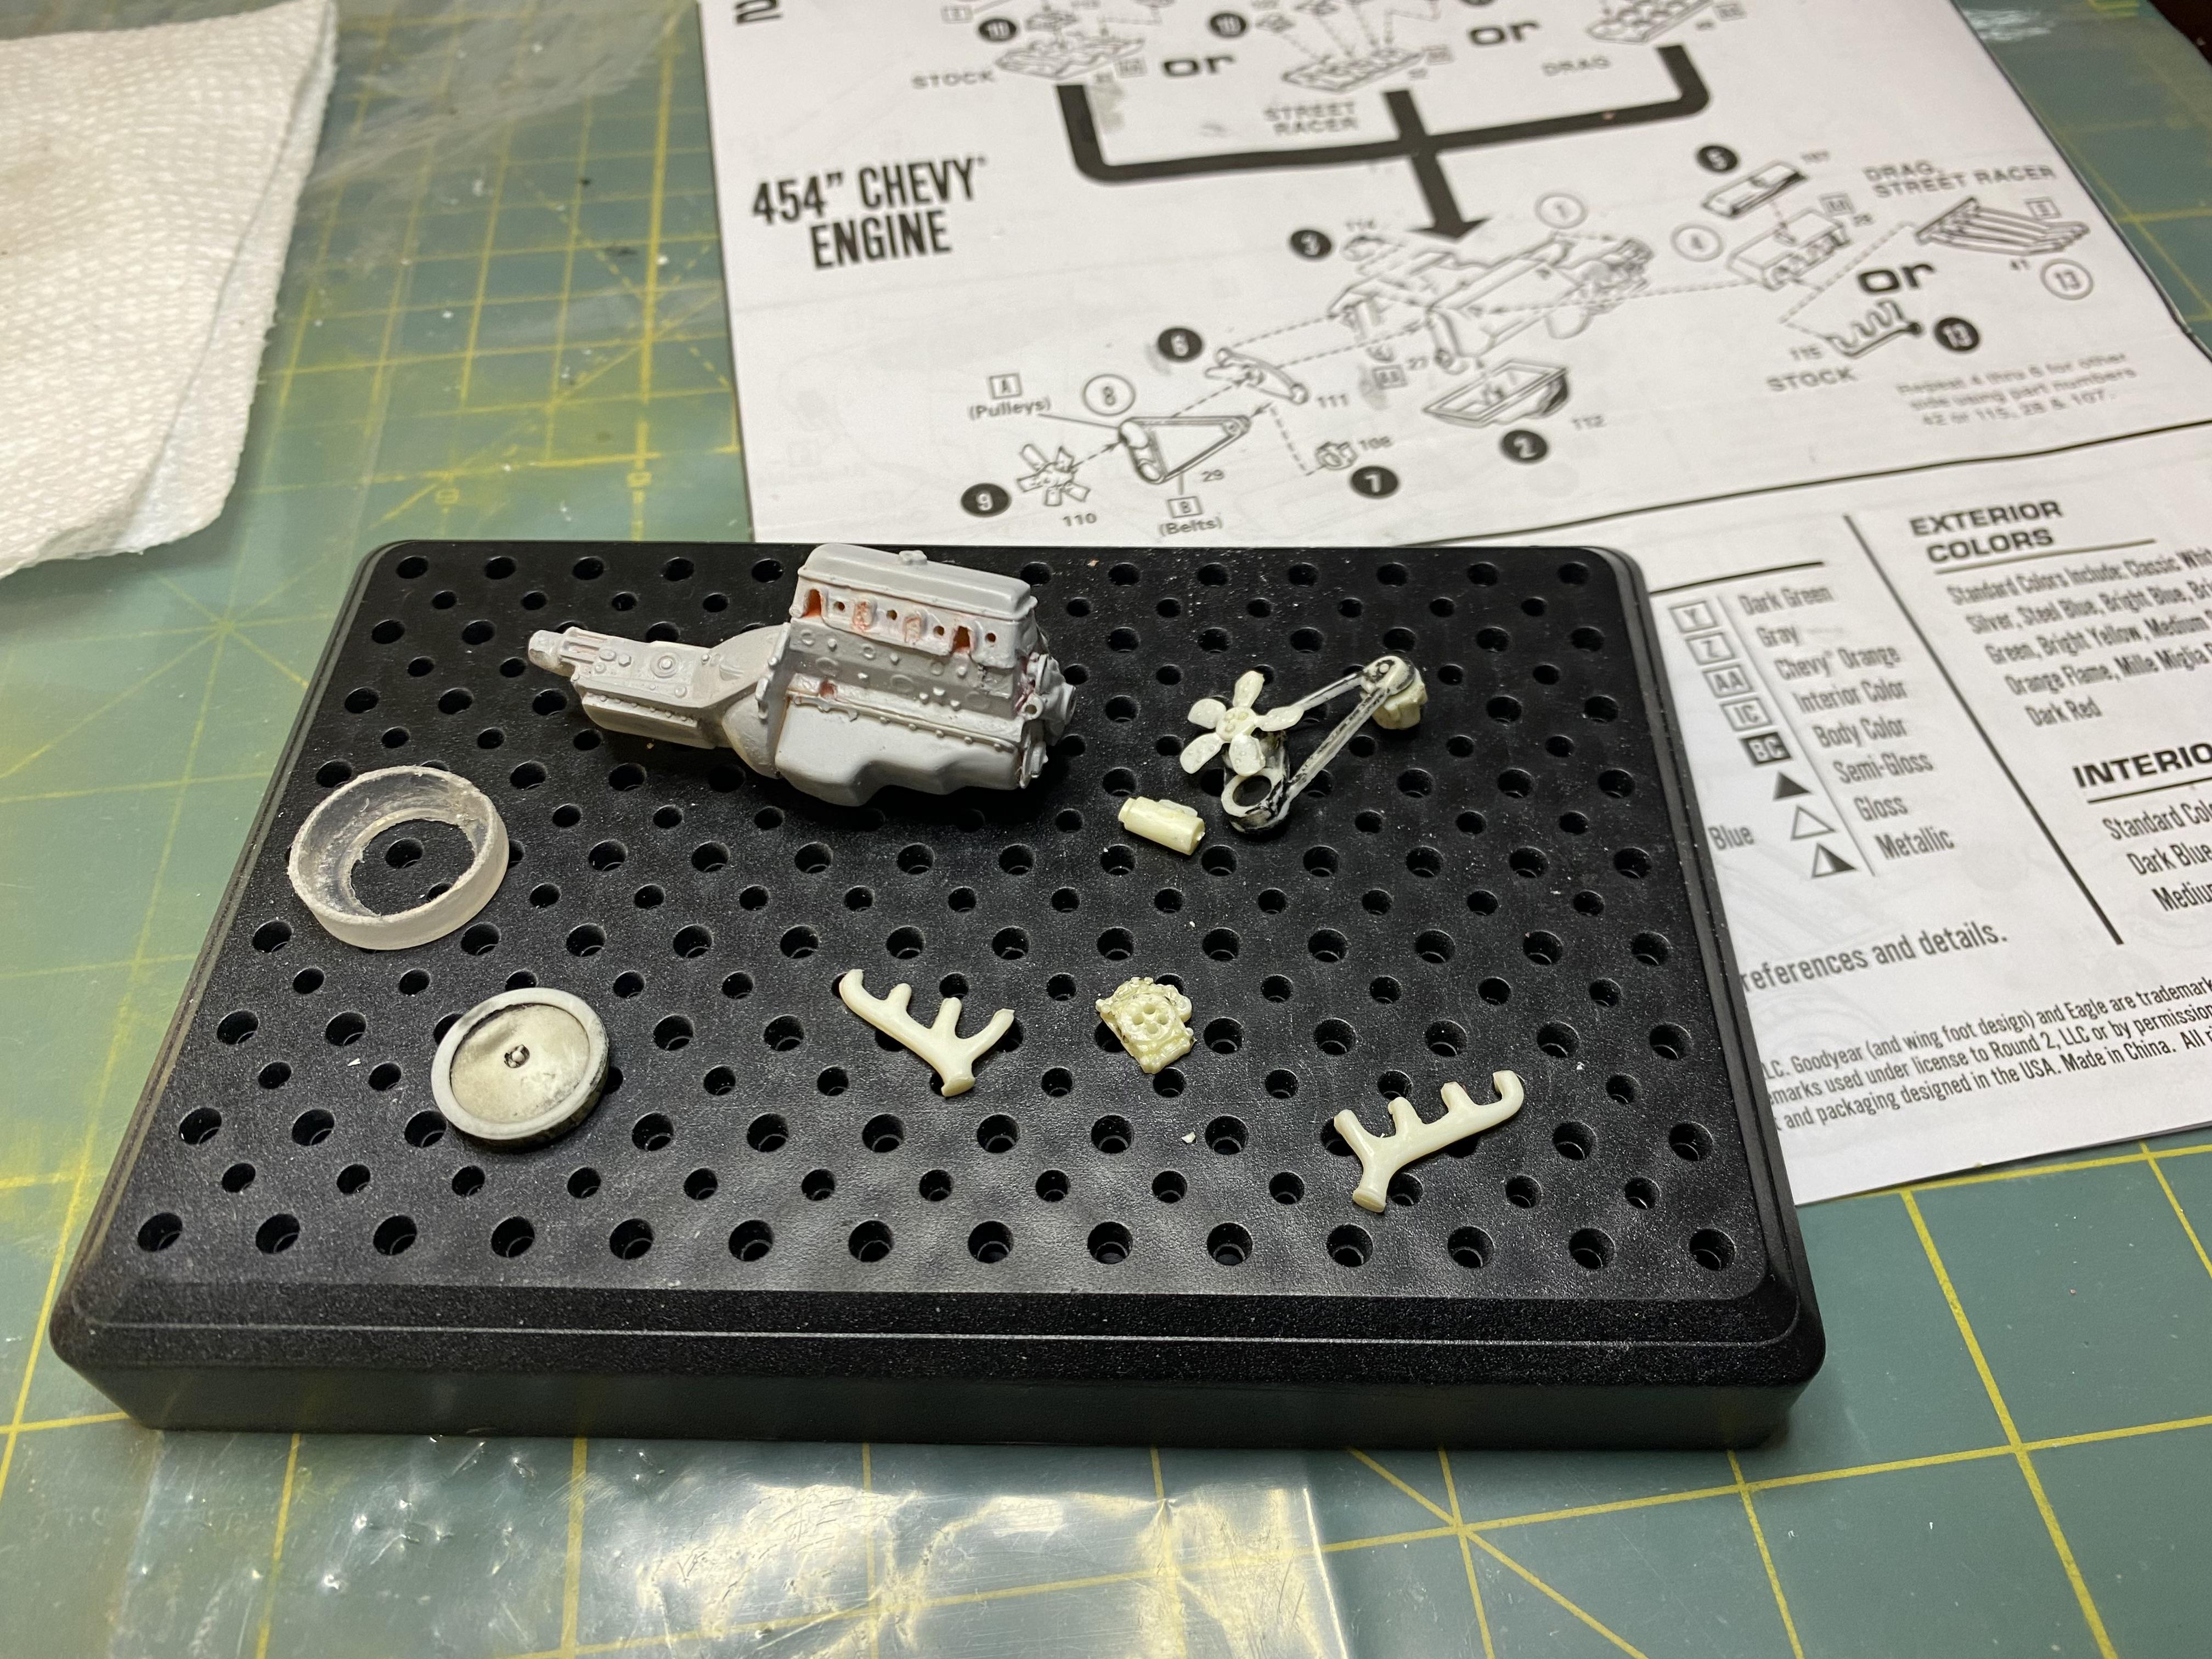
It actually came with both. Metal and some on the chrome tree. I am going with a stock build though, having to scratch build the air cleaner ram air base it didn’t come with. ?
-
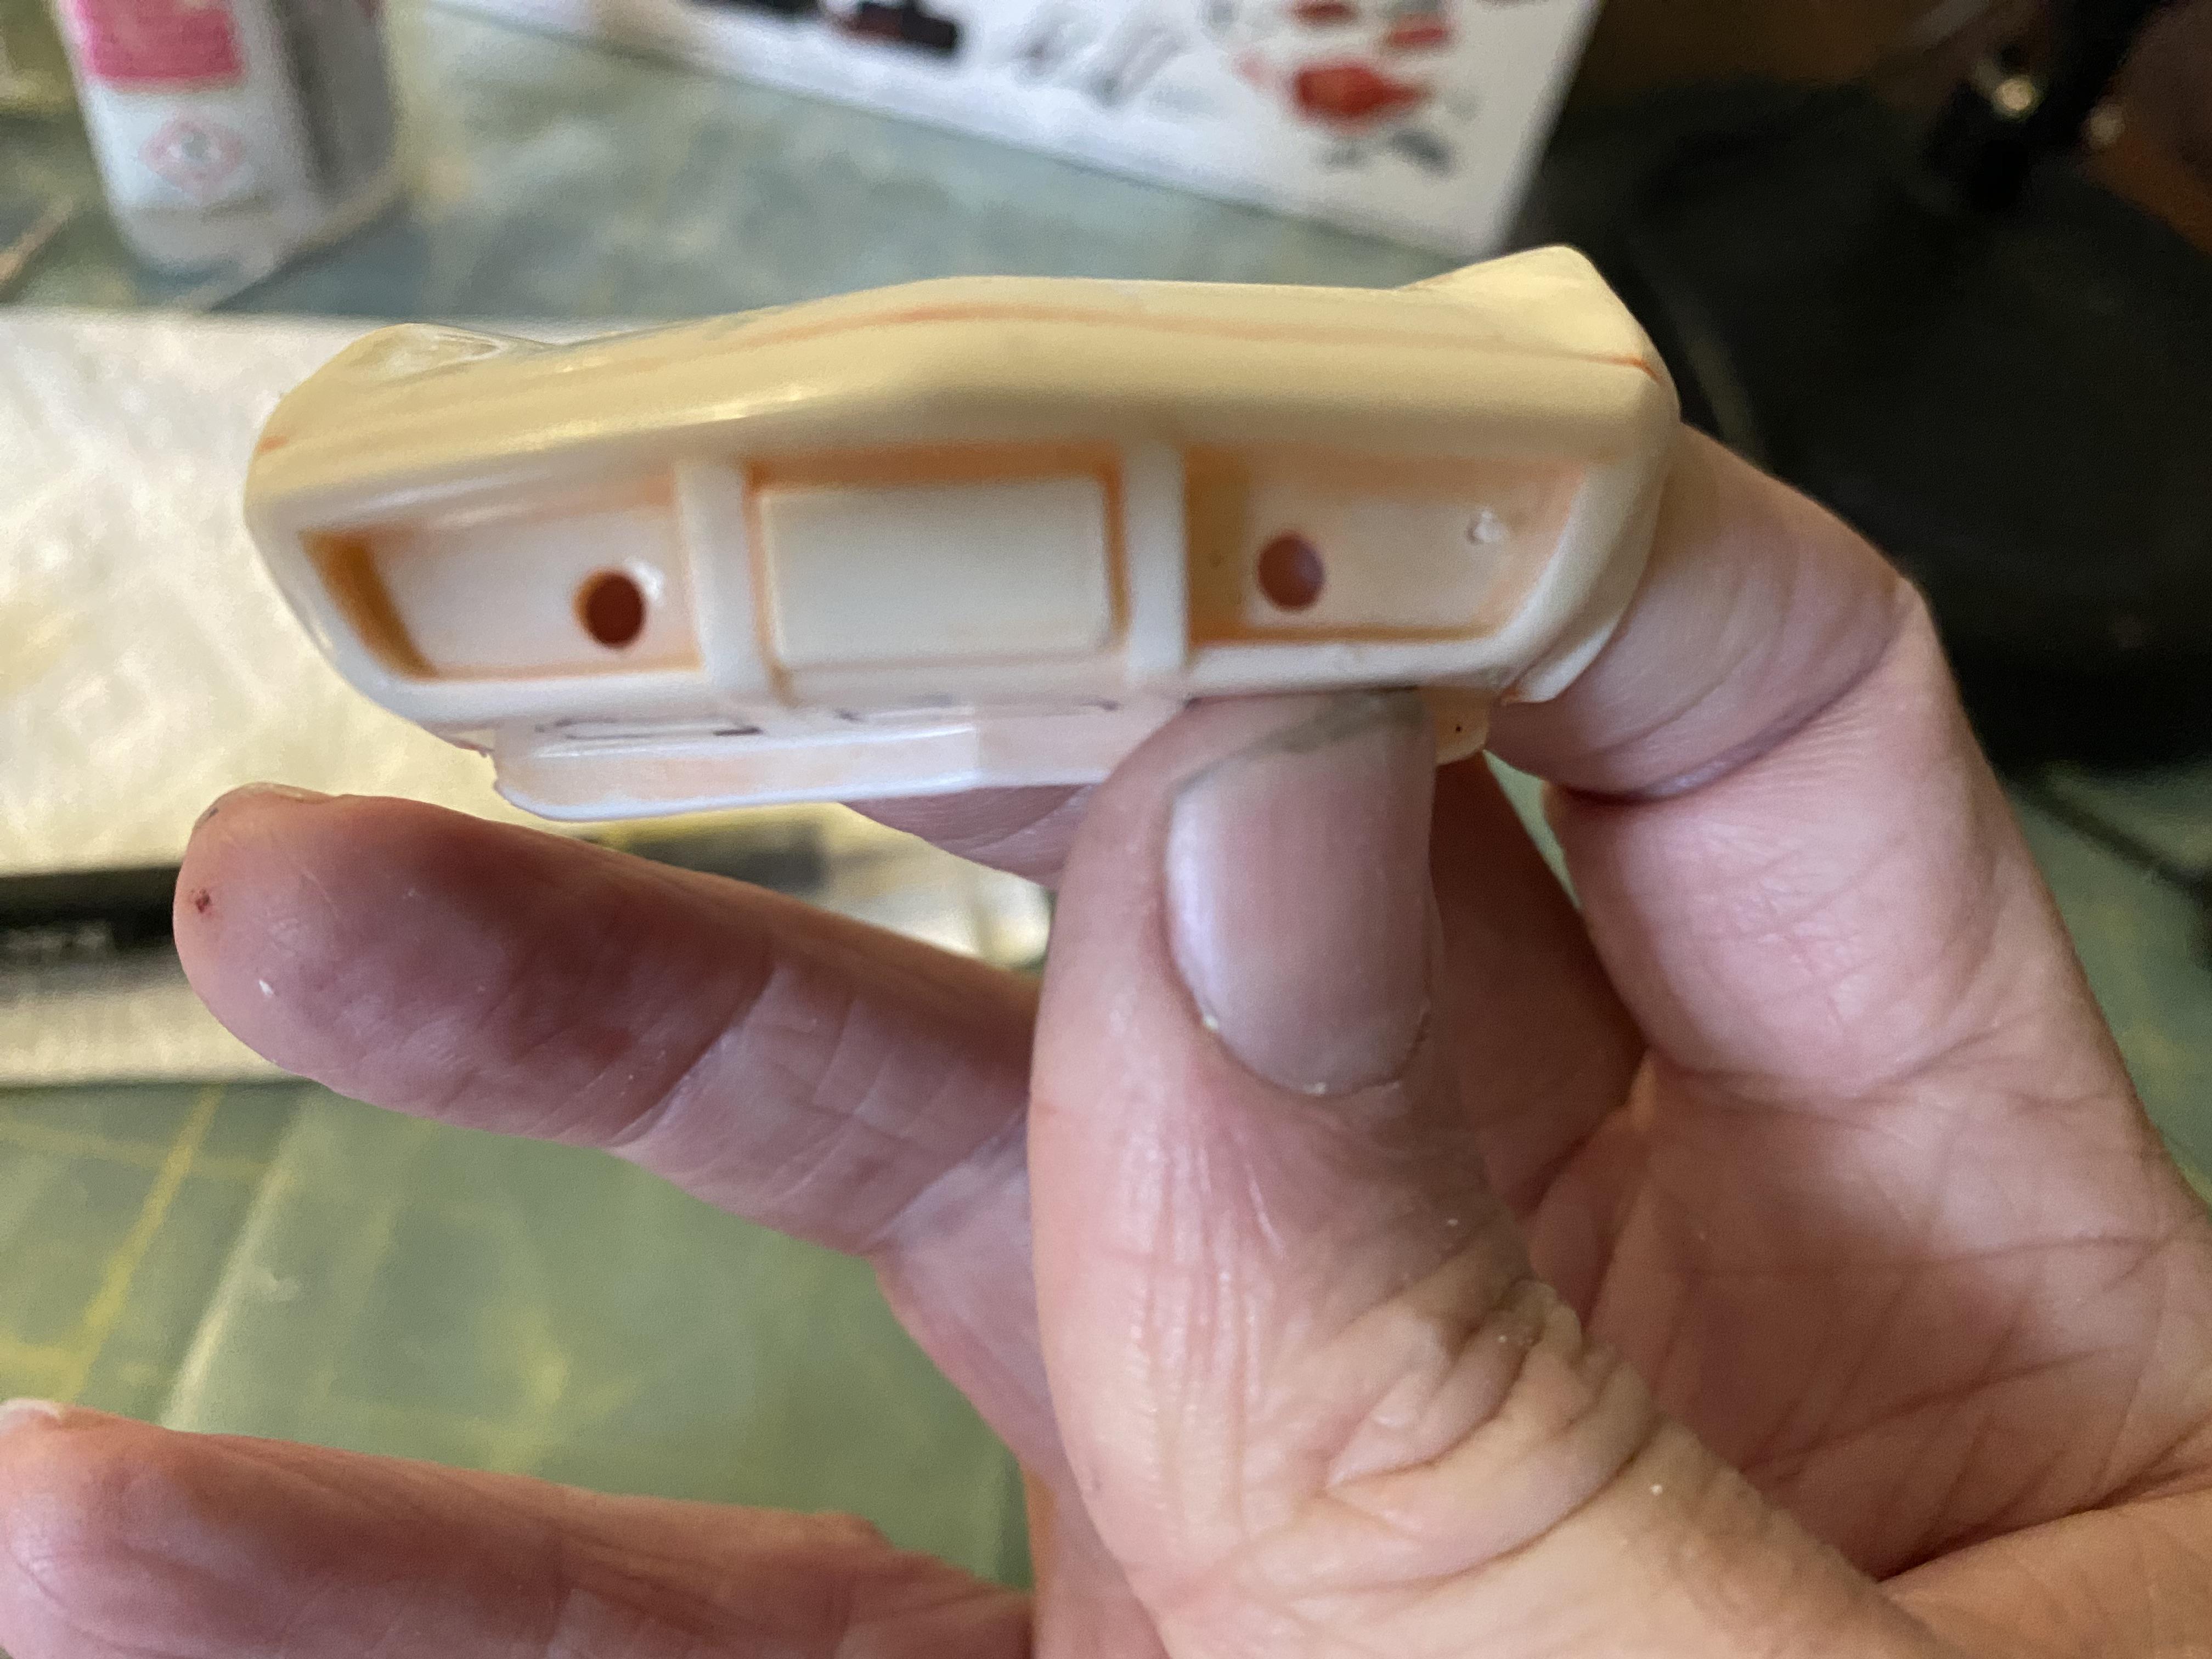
I am sure I will be able to figure out something. There are three openings in the underside of the front bumper that are supposed to be open but are closed over in the kit bumper. I will be opening those up for access to be able to open and close the headlights.
-
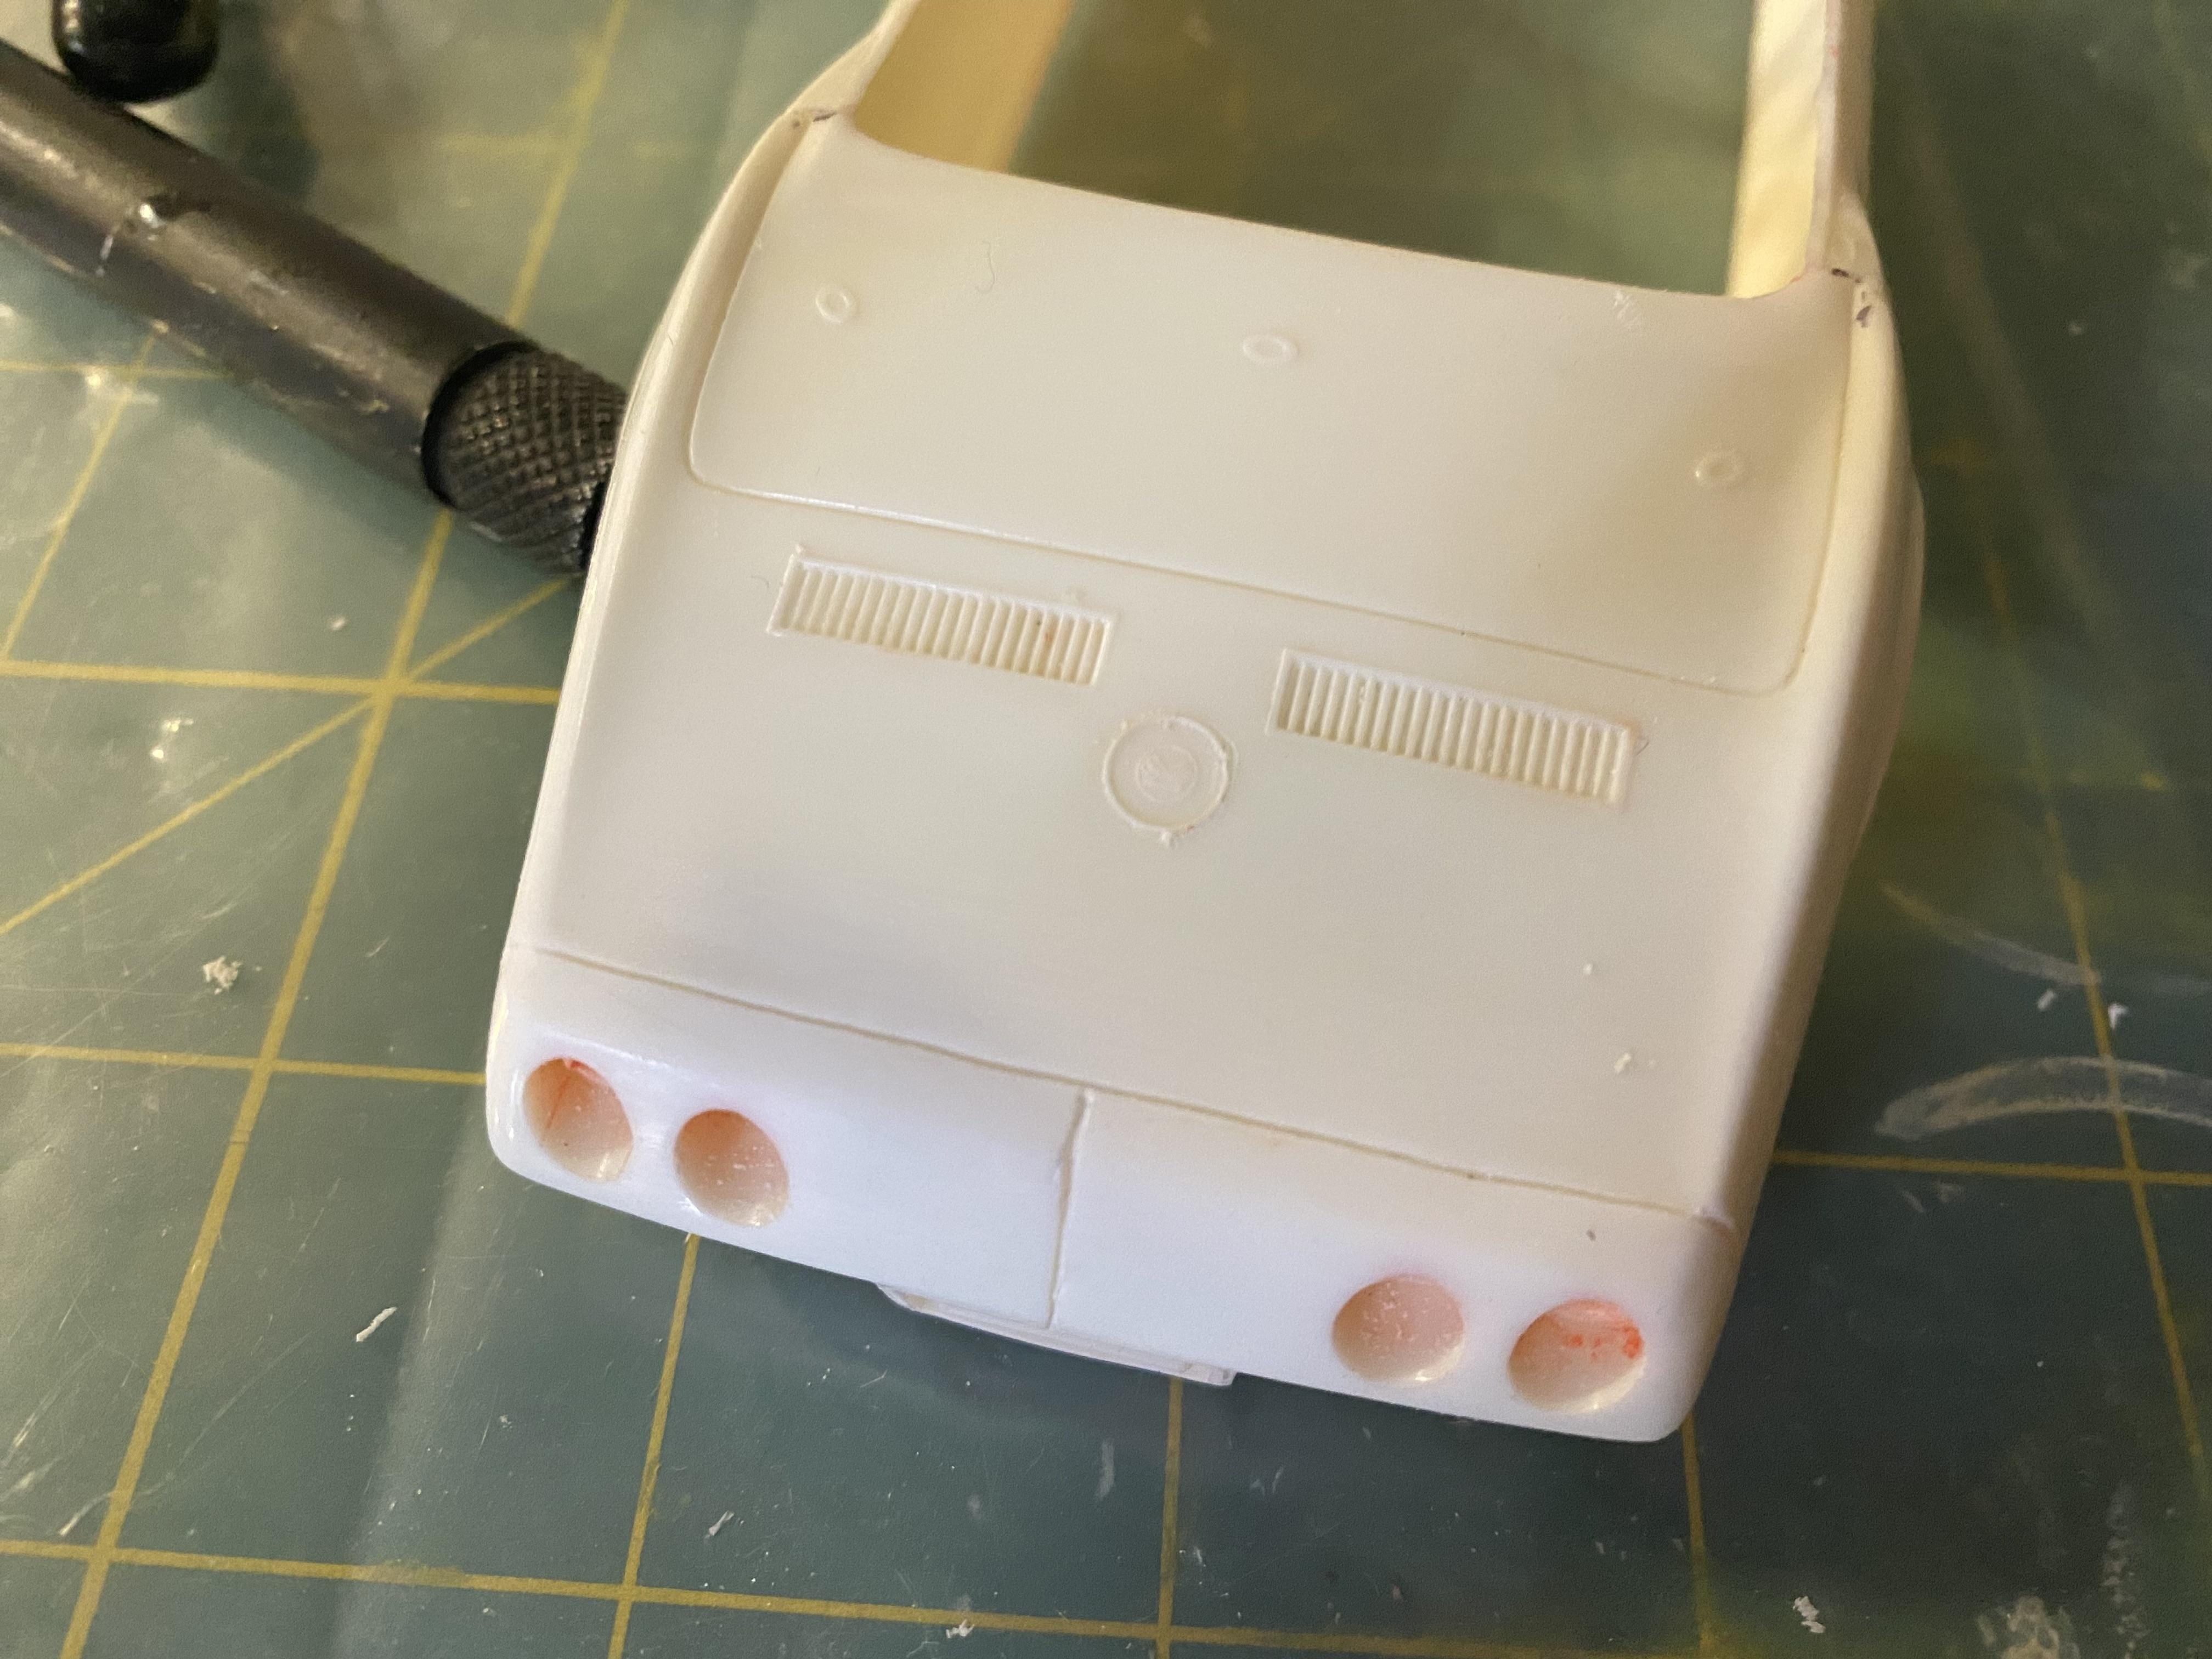
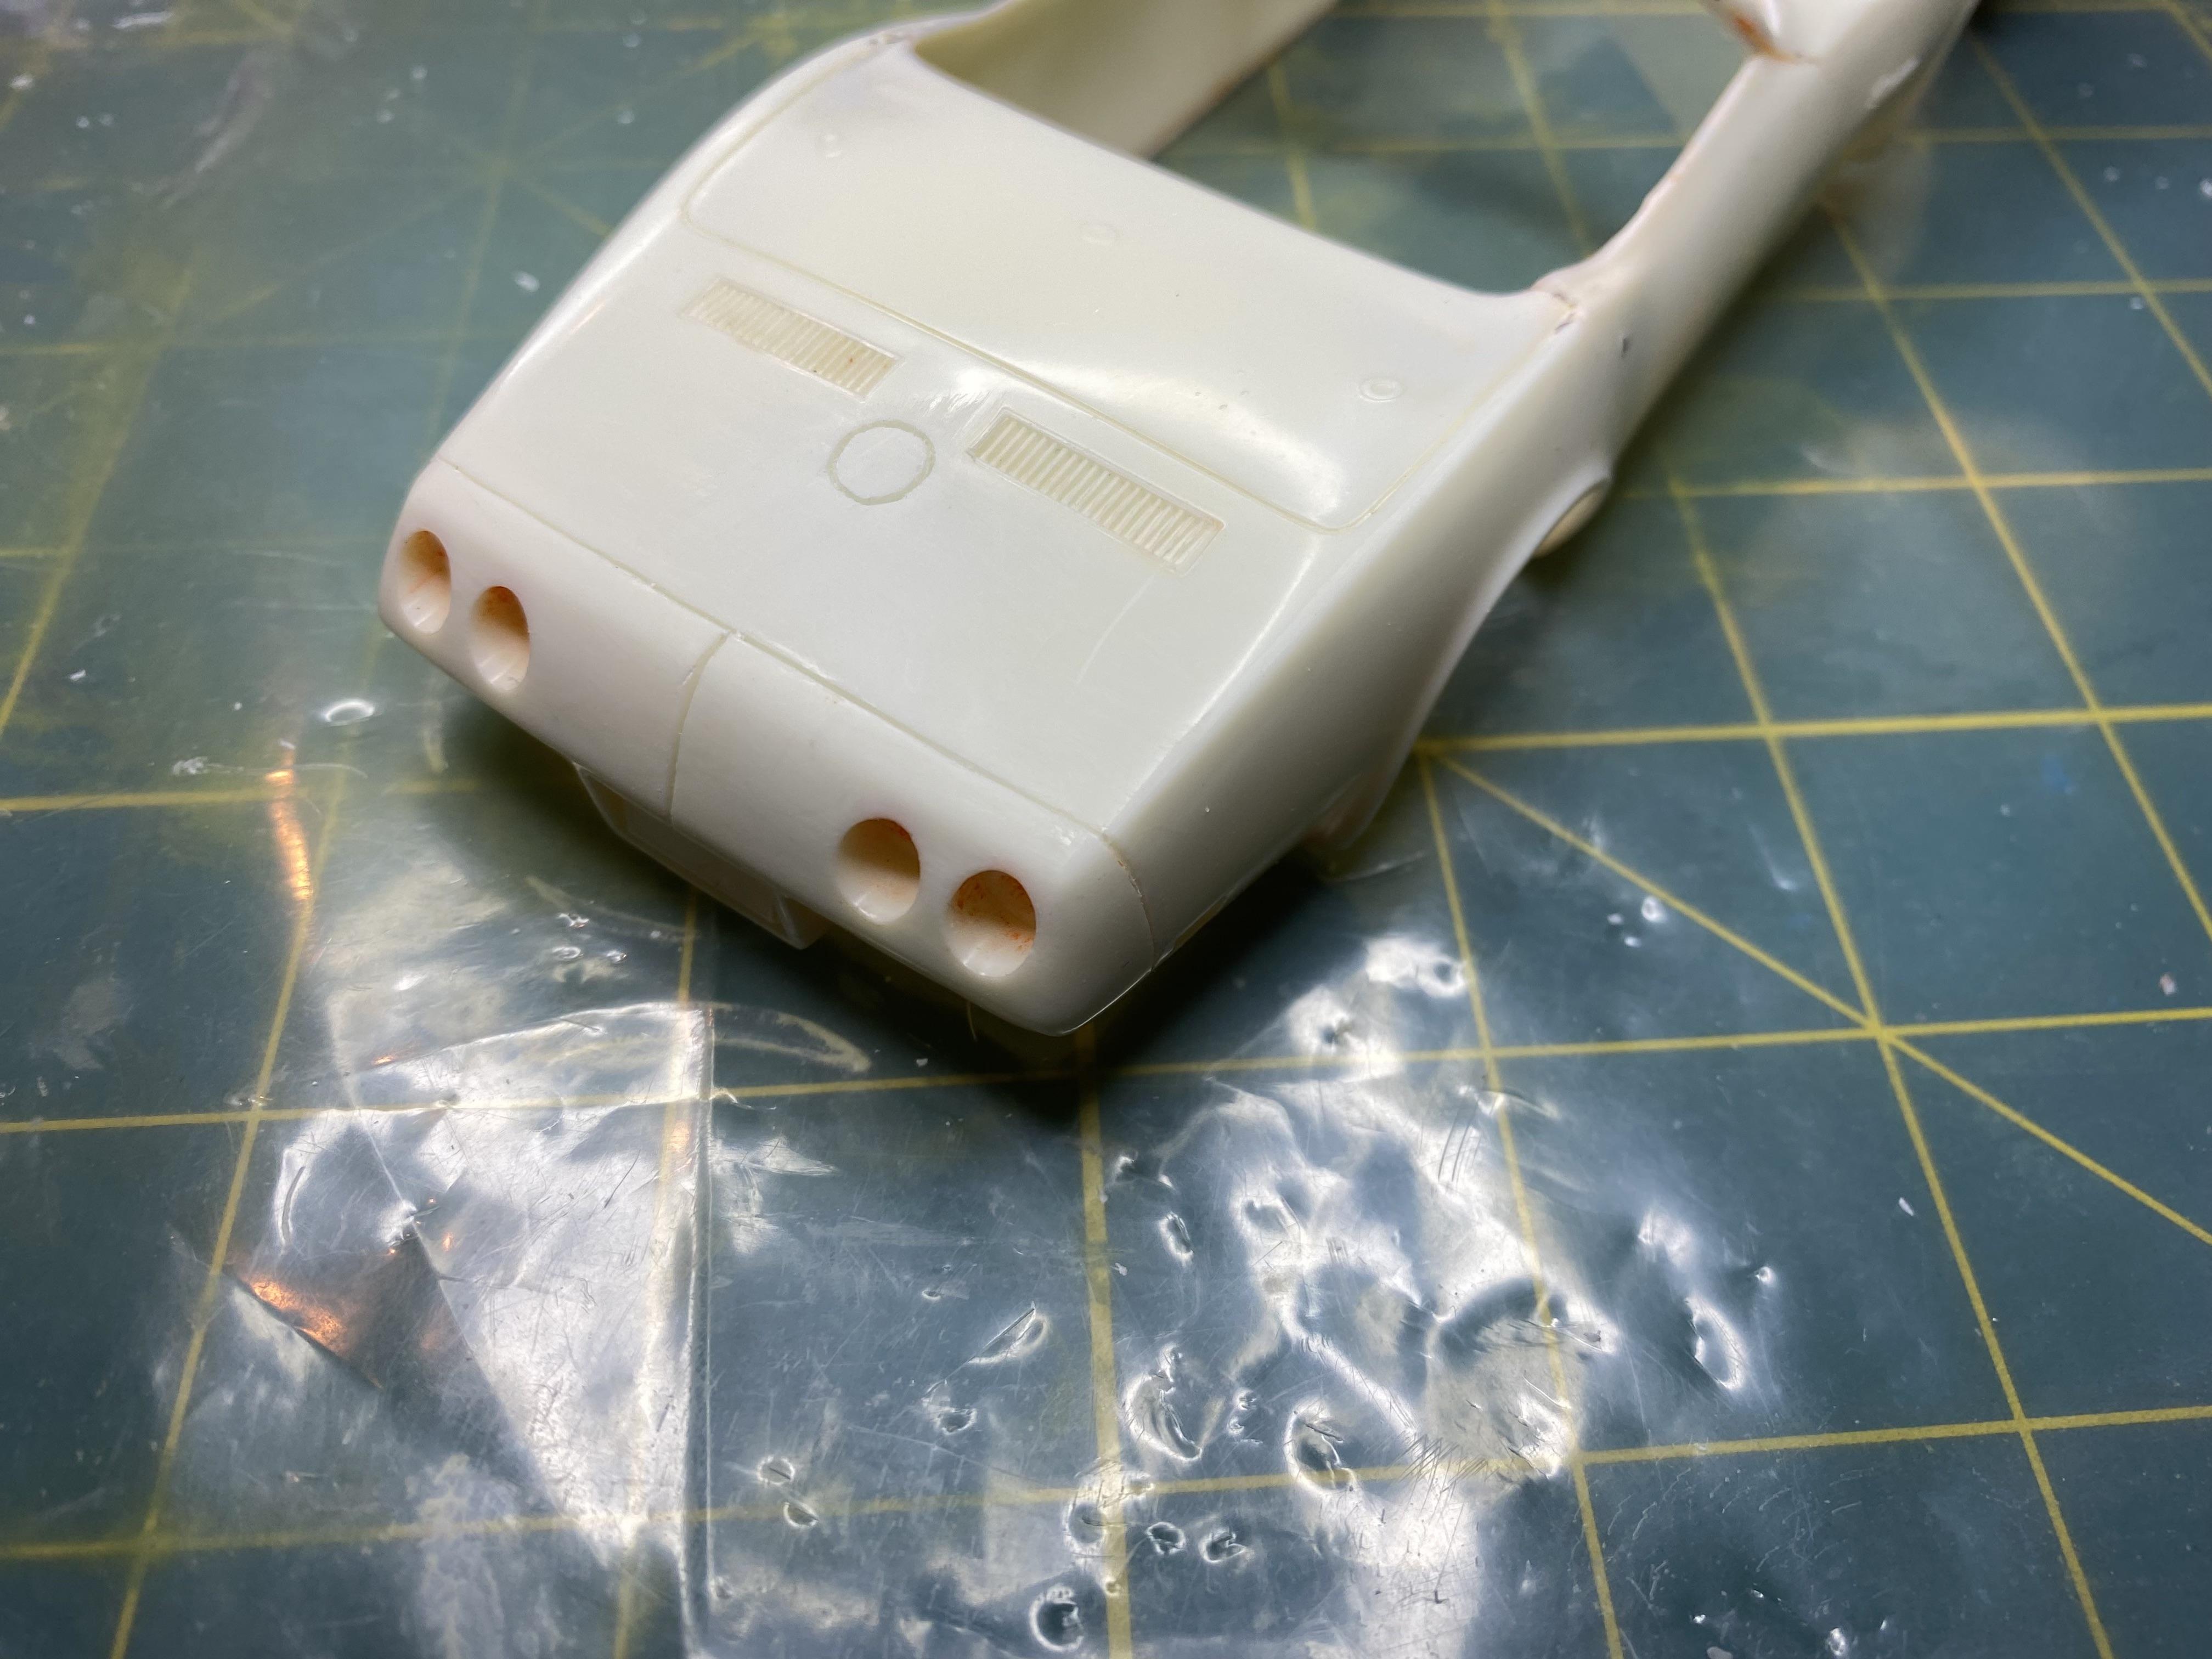
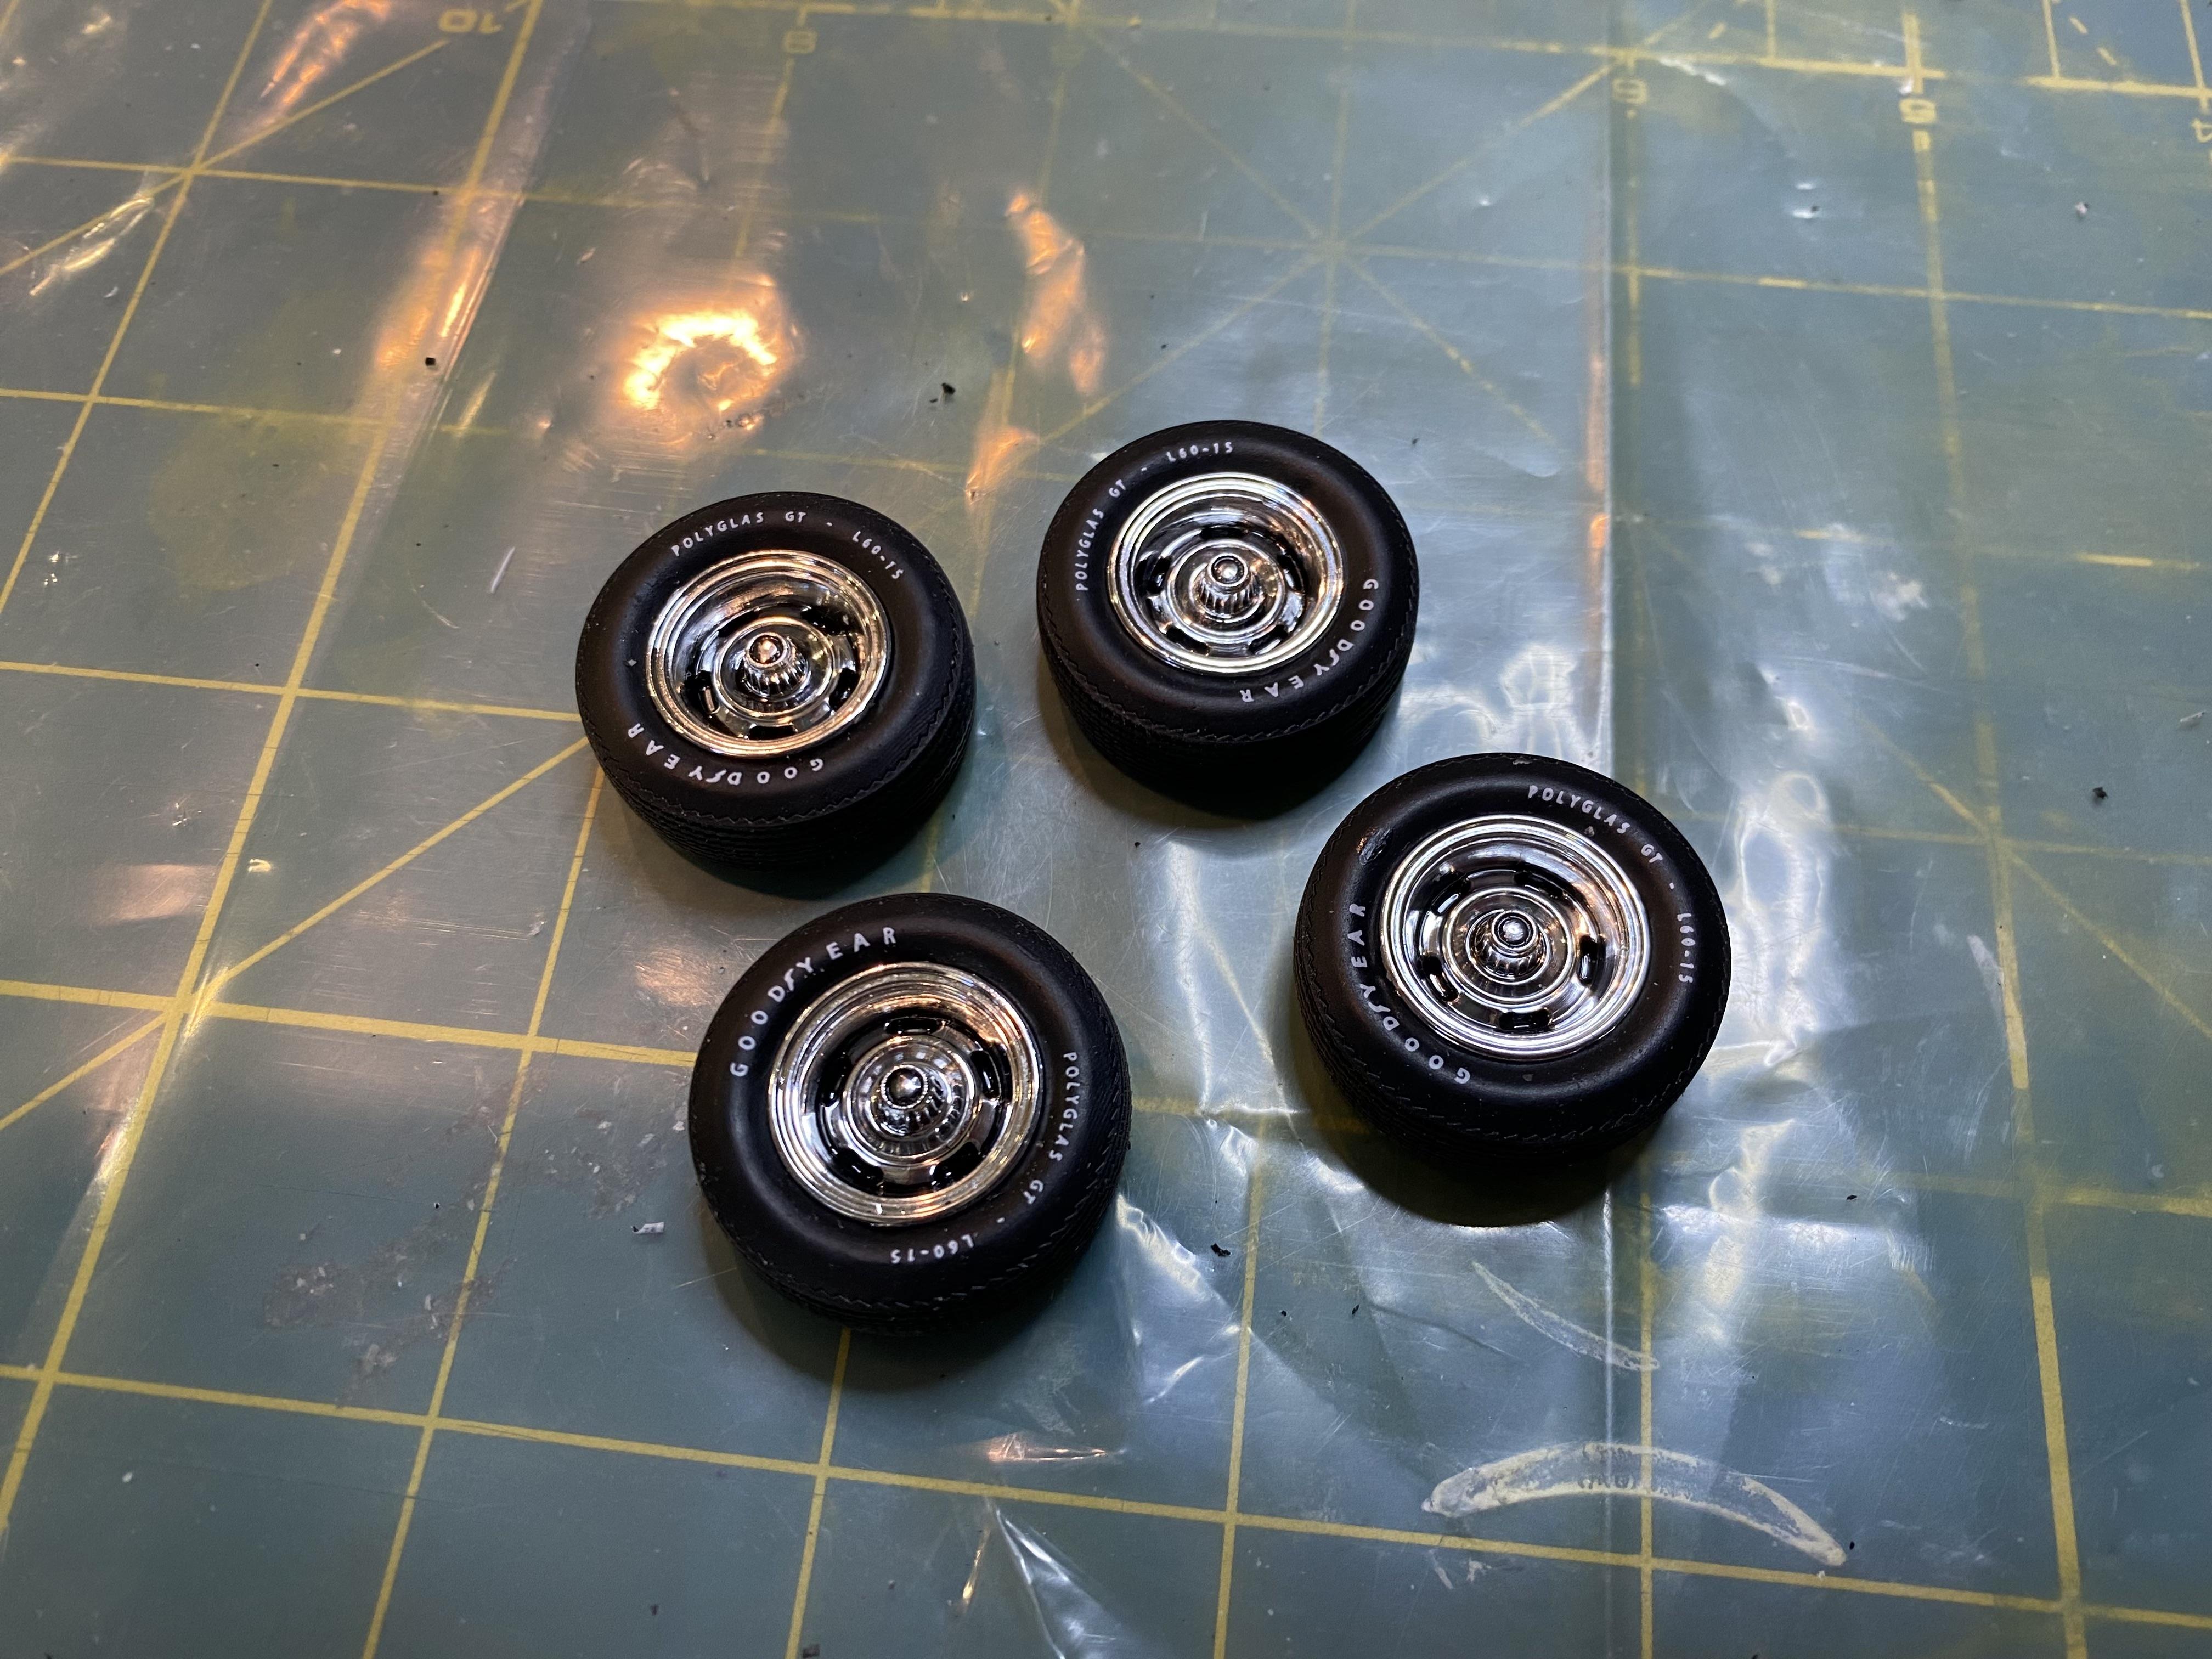
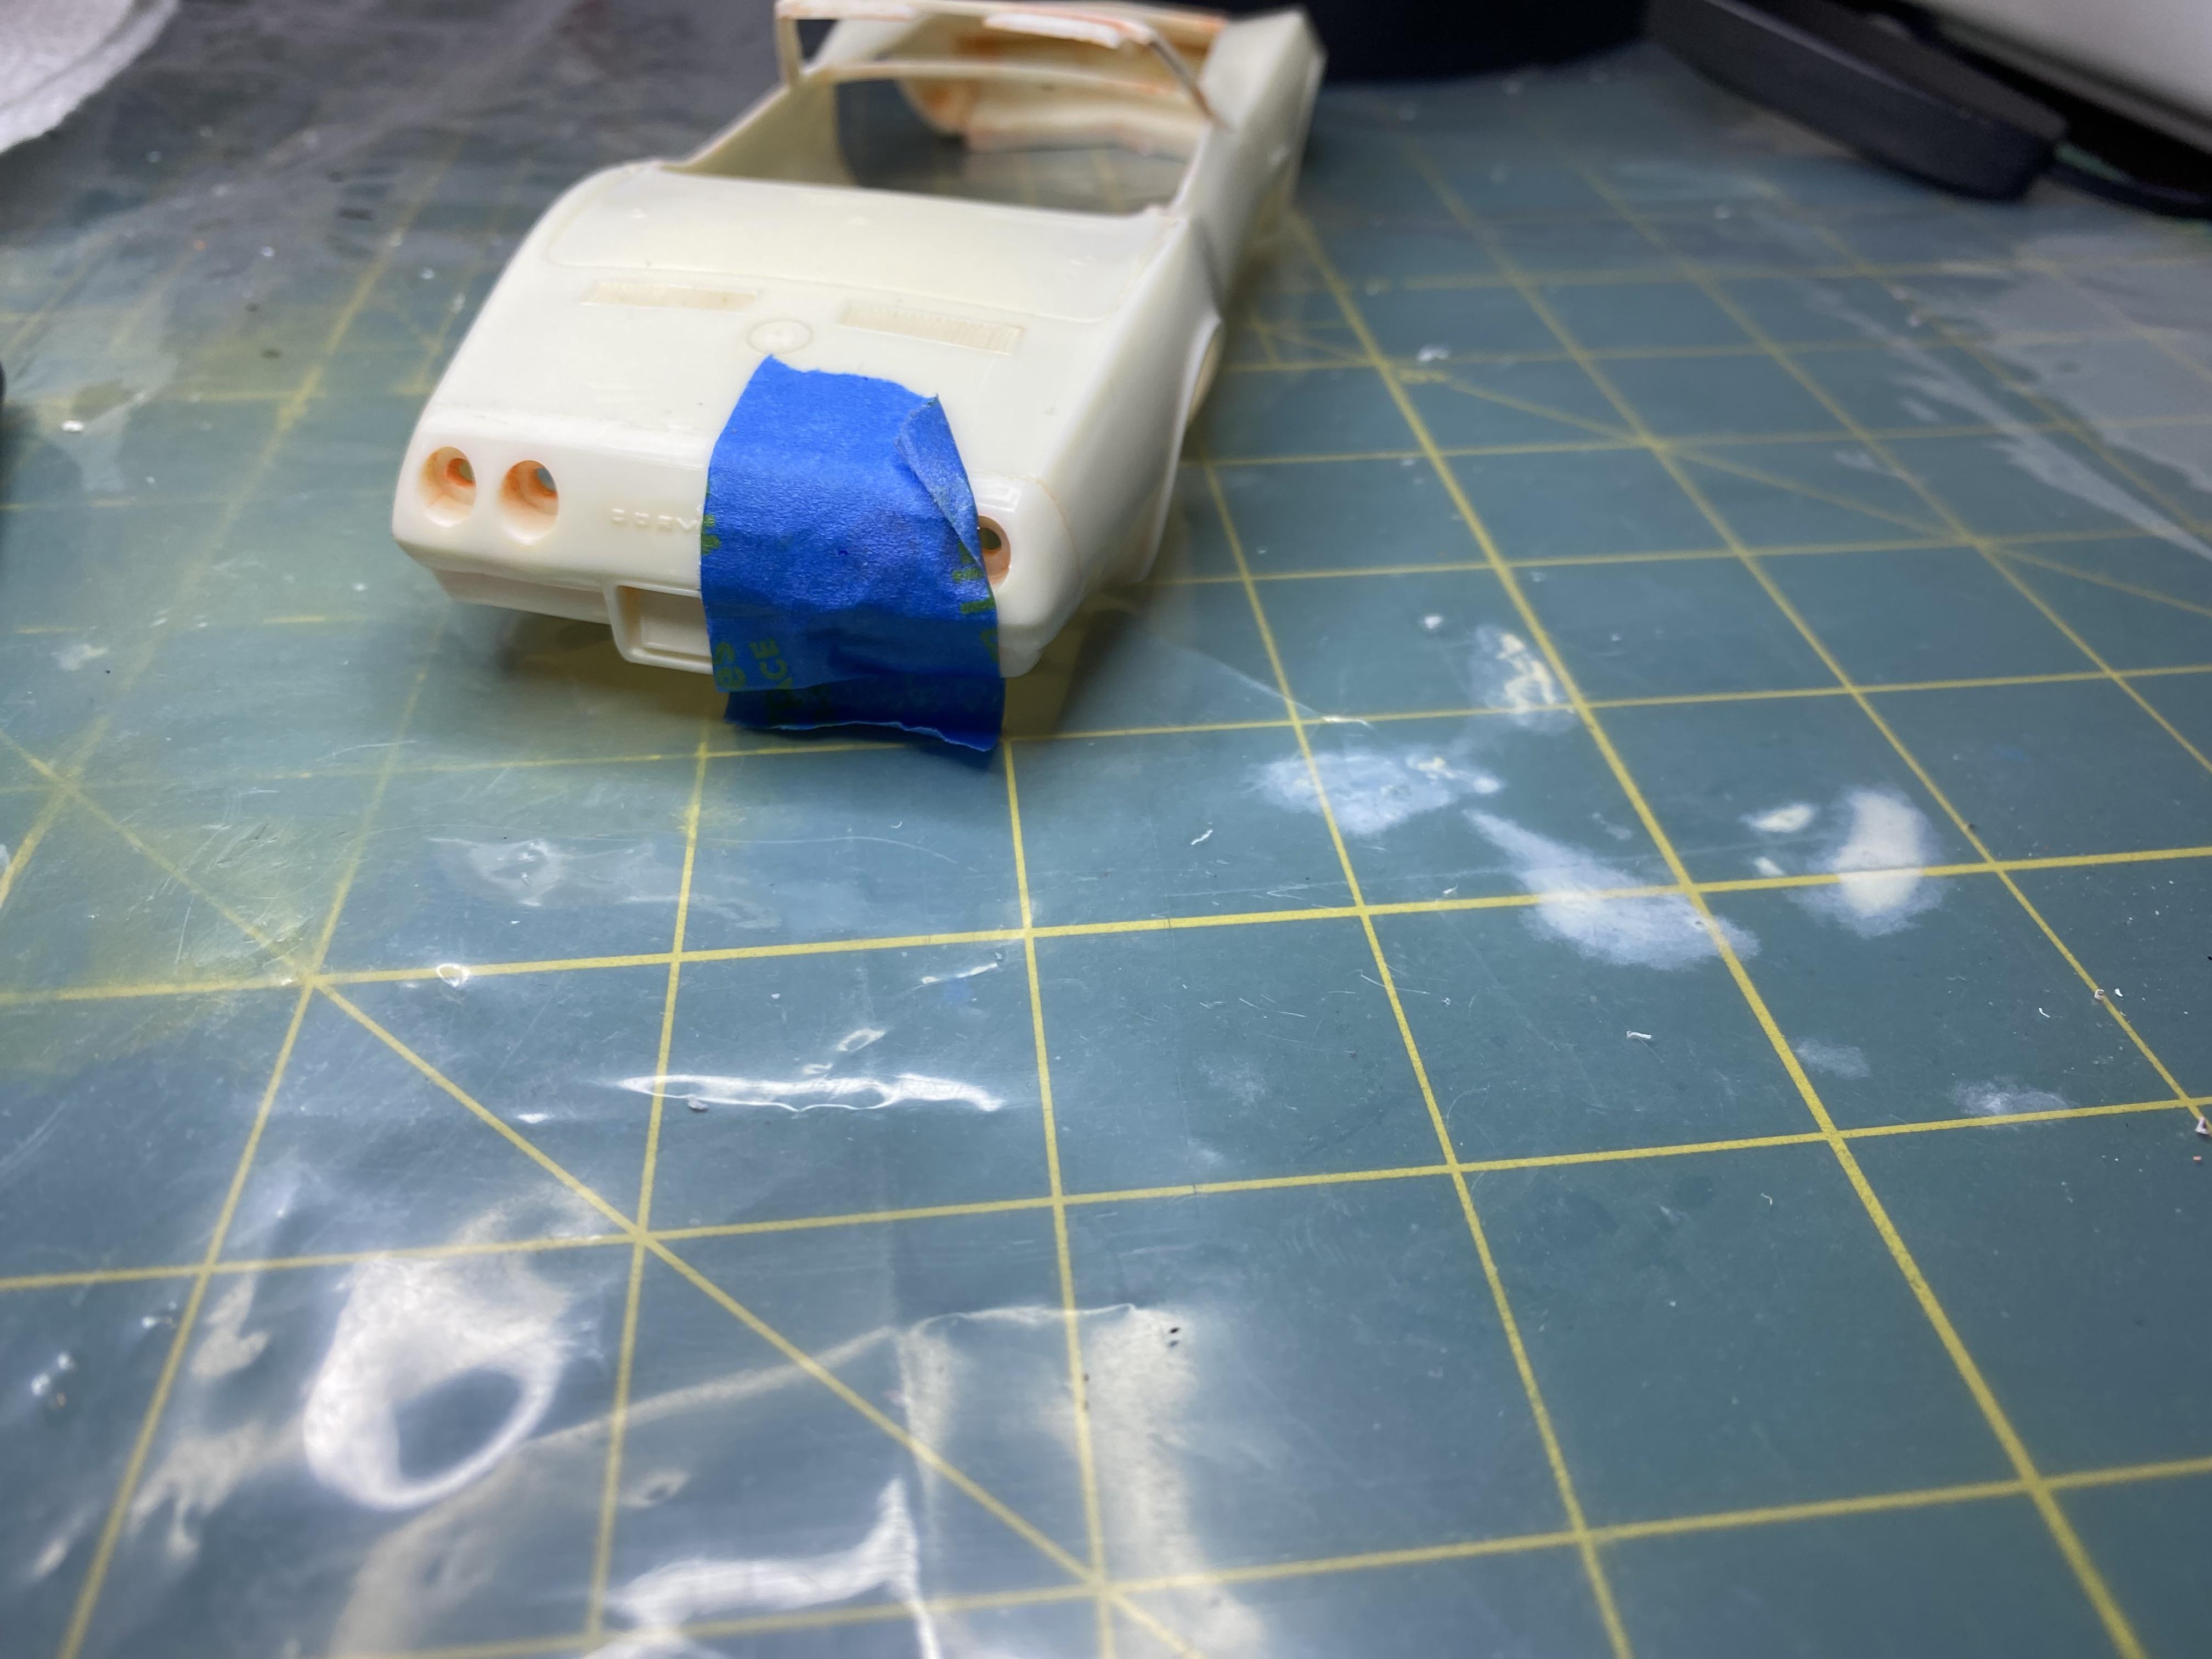
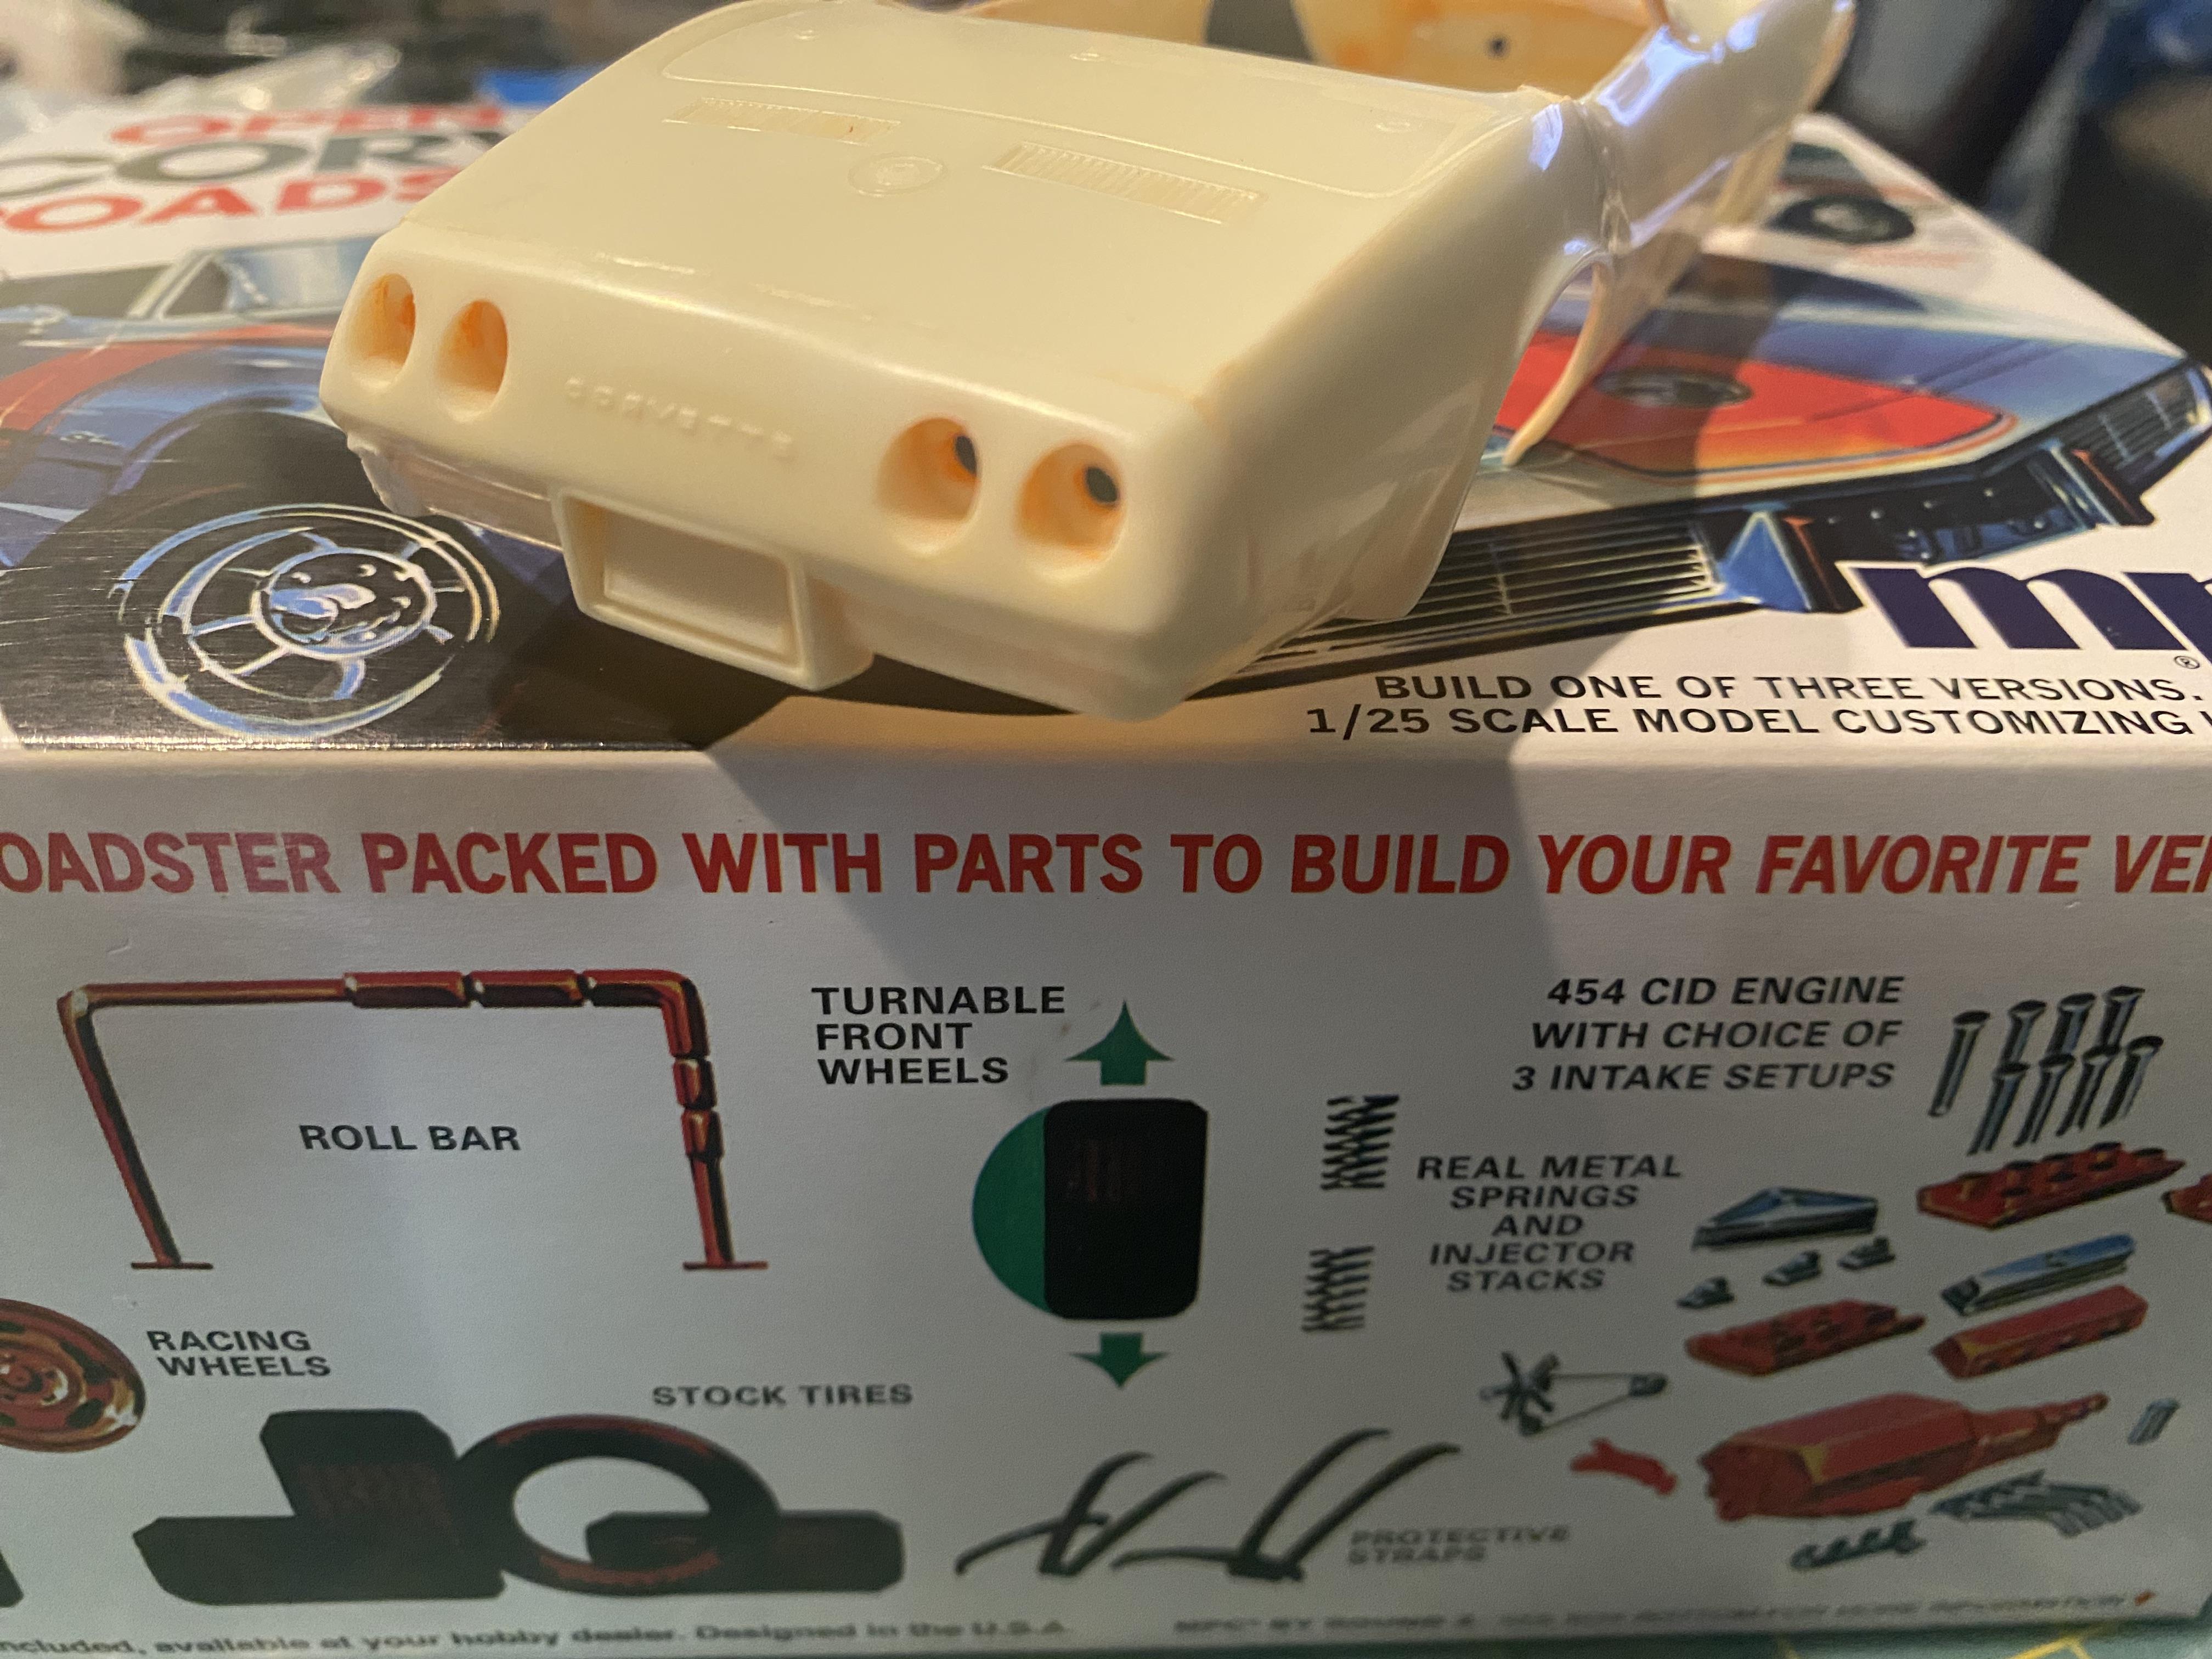
I stripped a bunch more pieces that were chromed. Panel lined the rally wheels and got a period correct set of Goodyear pad printed tires I am going to got with. I also got the engine back together after dechroming parts that will all be Chevy engine red-orange. I drilled for plug wires and started filling seams. The kit did not come with the air cleaner ram air dual snorkel base so starting to scratch build. I didn’t get much done on the body. Just cleaned up mold lines, cut the rear bumper to look more like a 1974 and removed the corvette script on the rear bumper that will be replaced with photo etch. The front bumper doesn’t fit at all, going to take some work to get to look right. There is soooo much more work to get the body ready for paint.
-
I know, about to post update. Thanks.
-
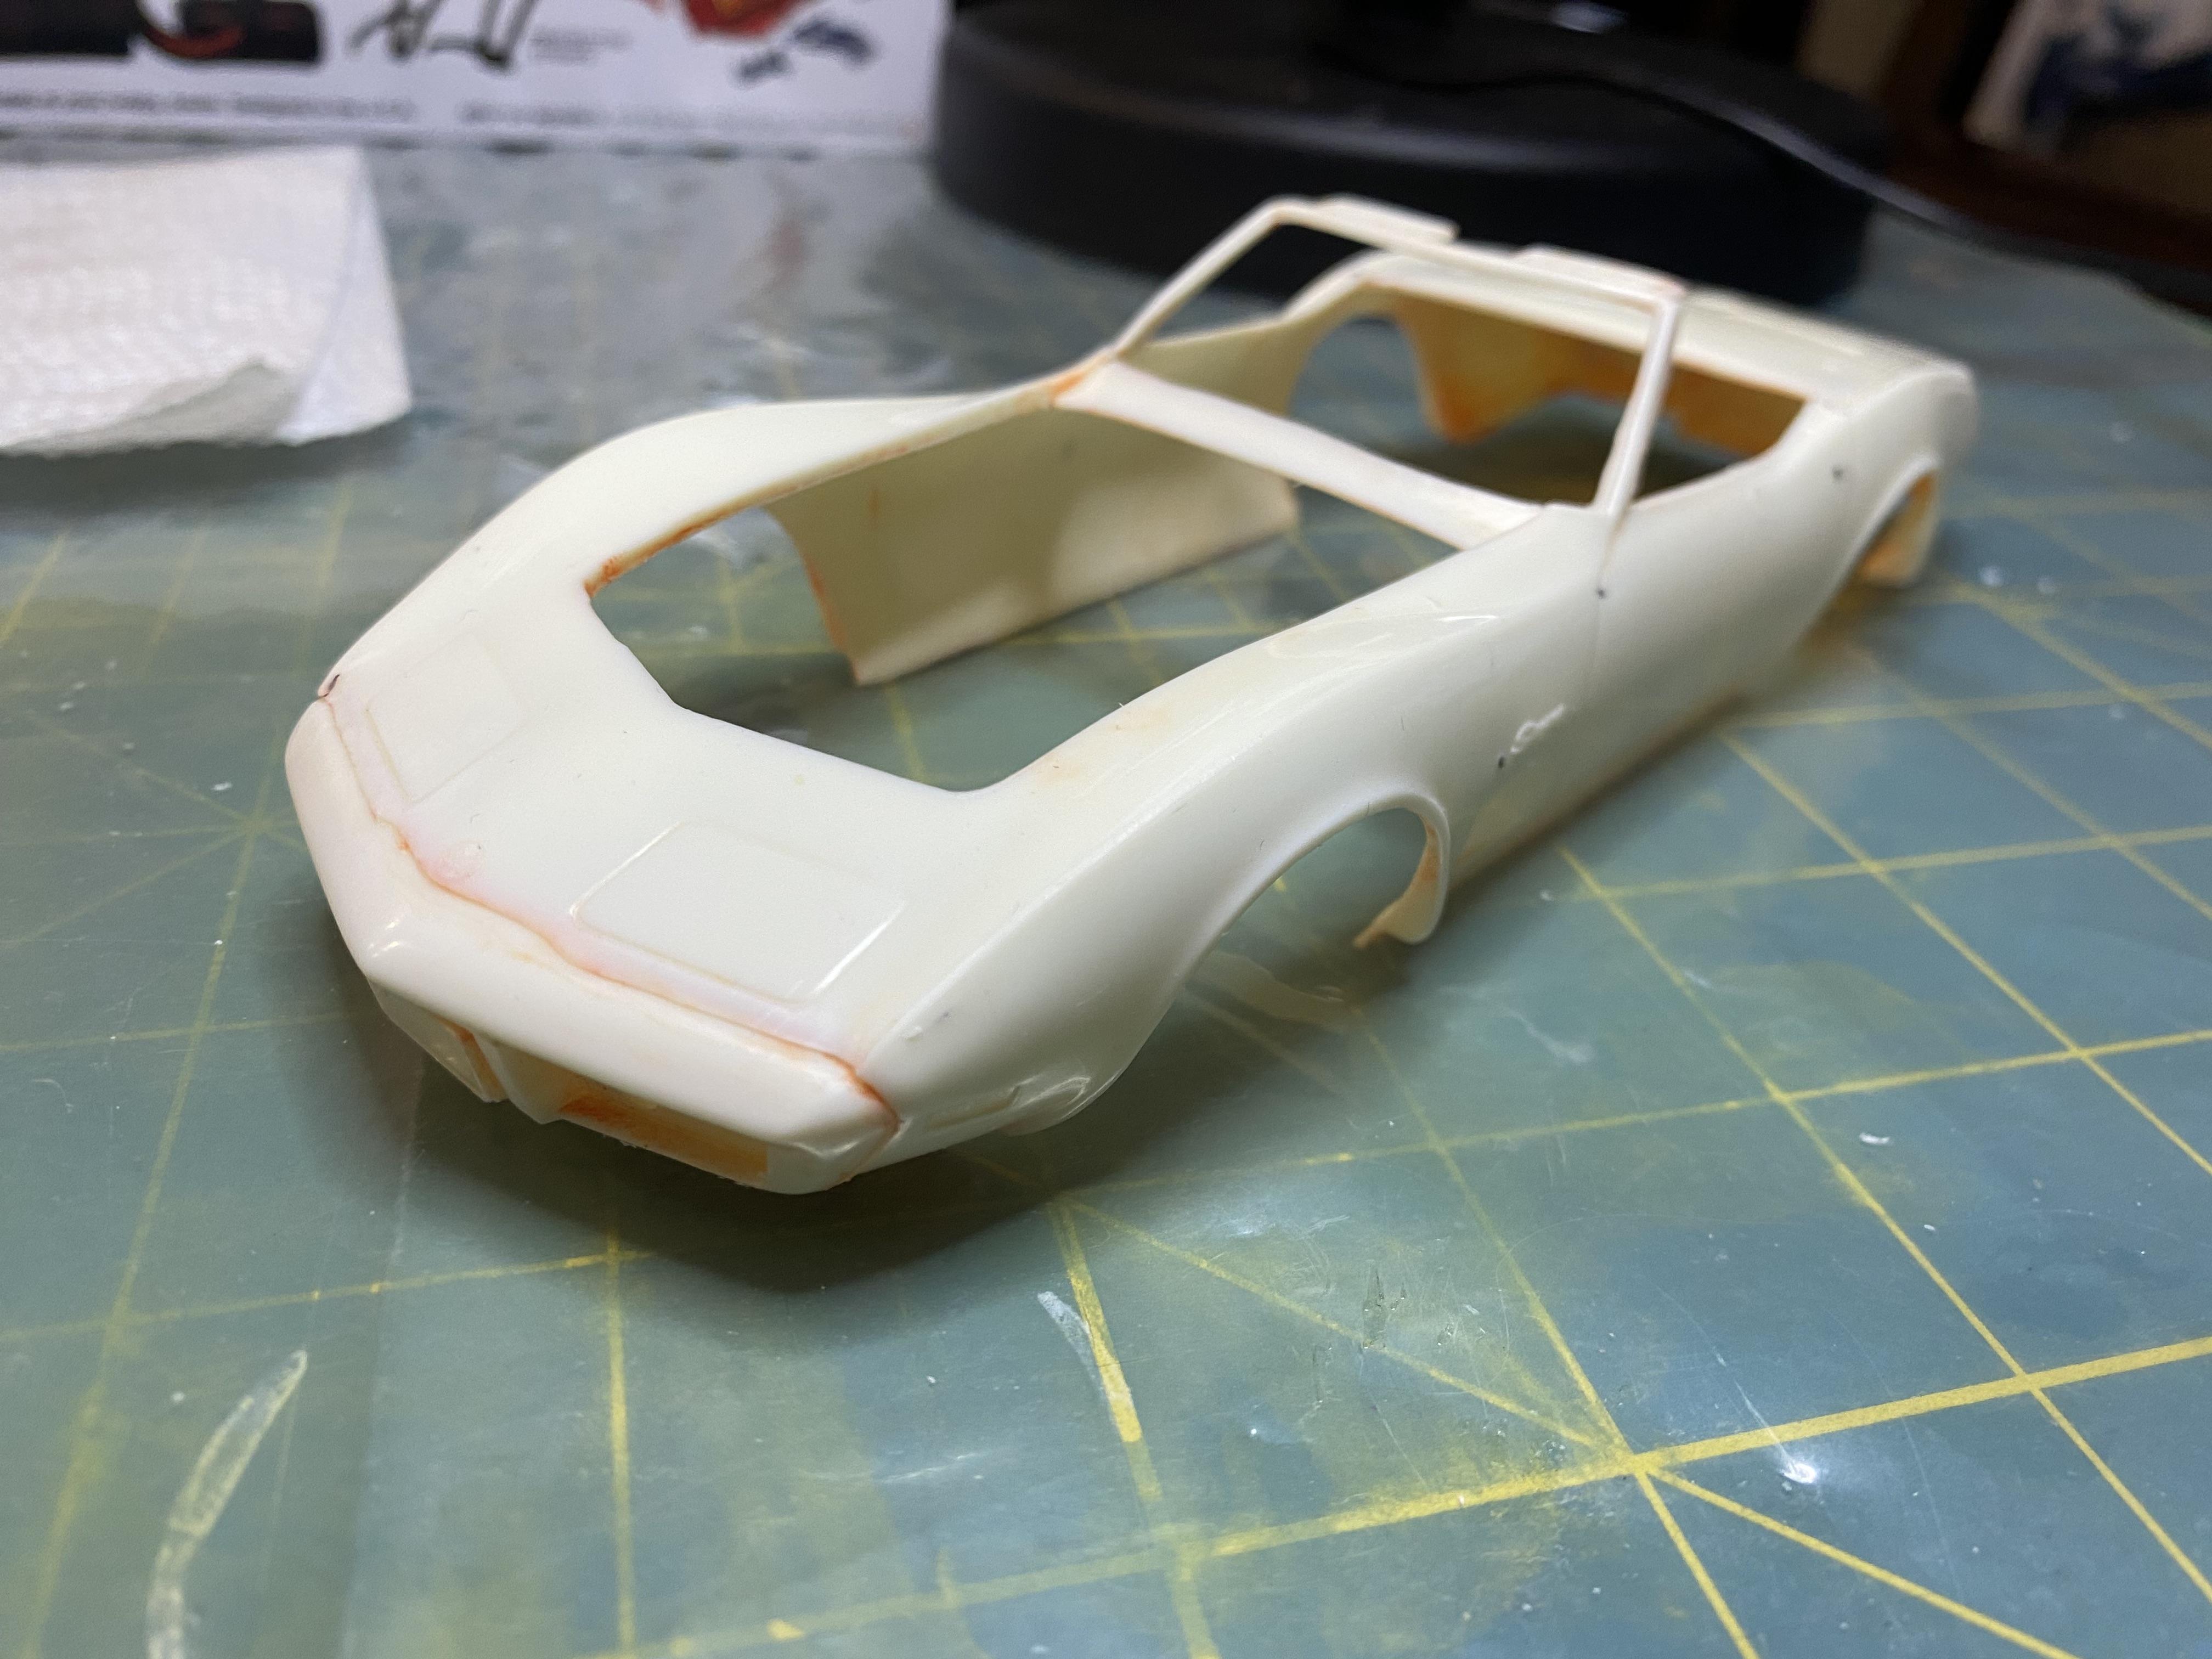
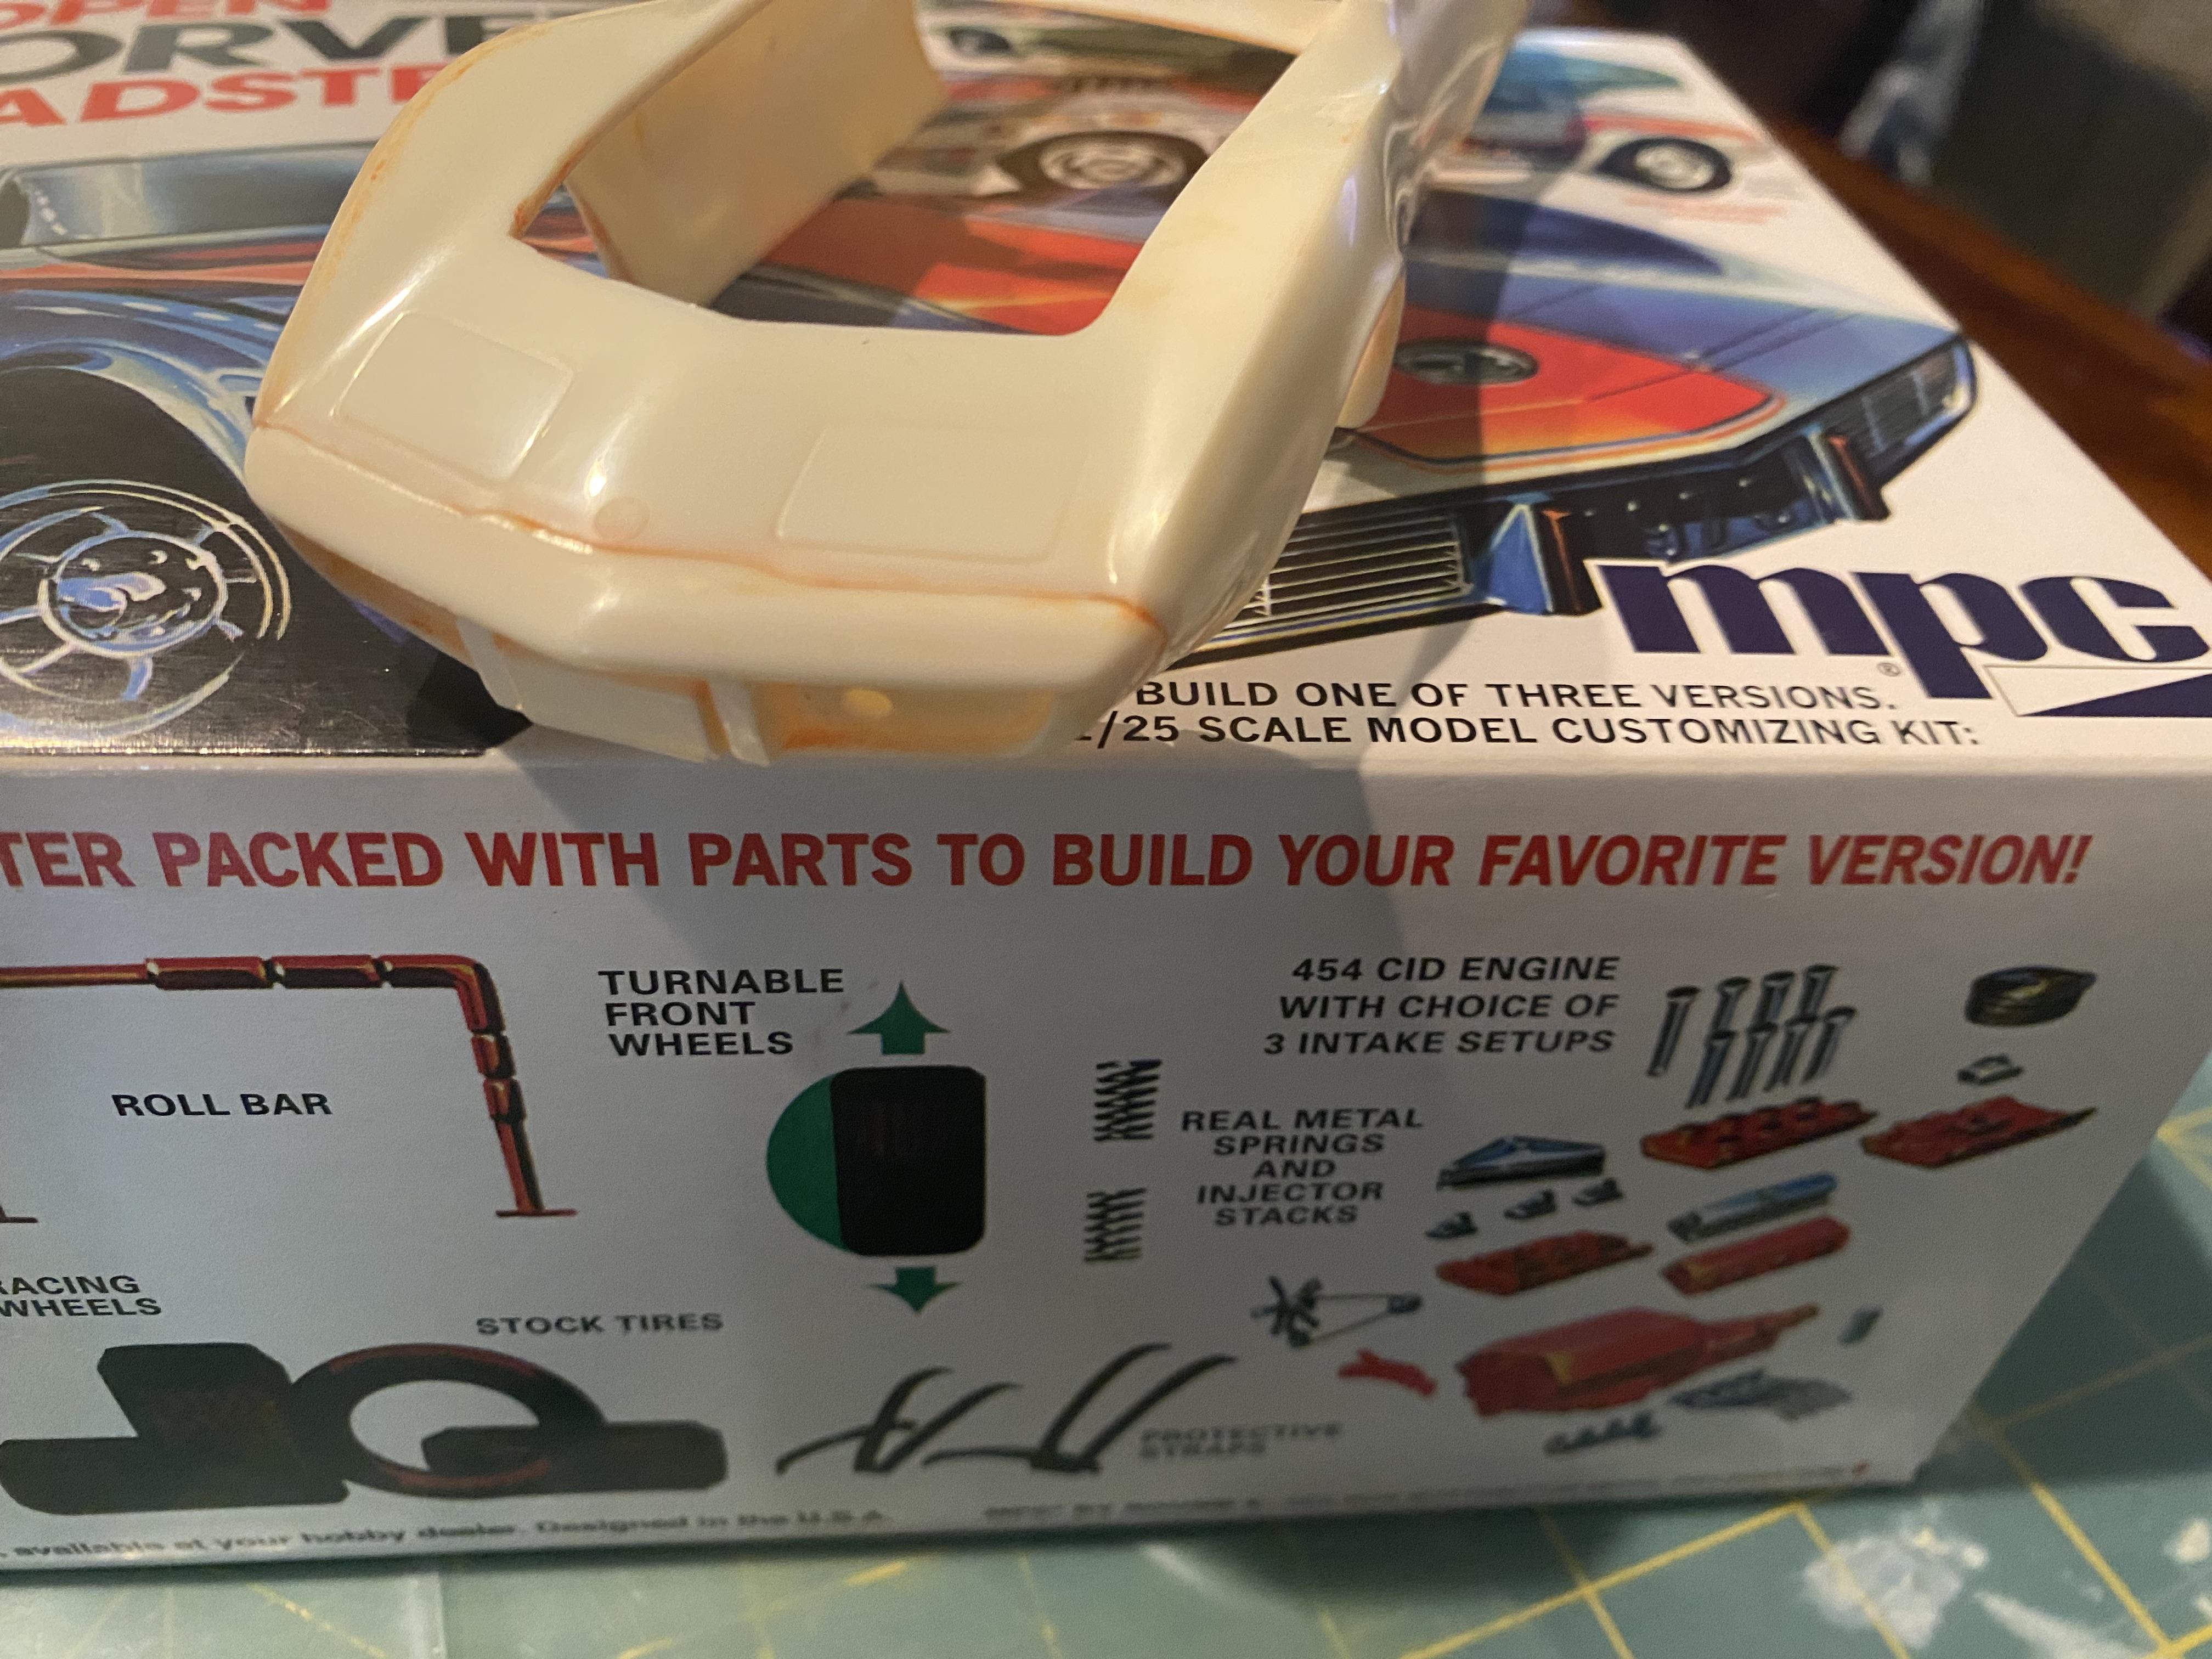
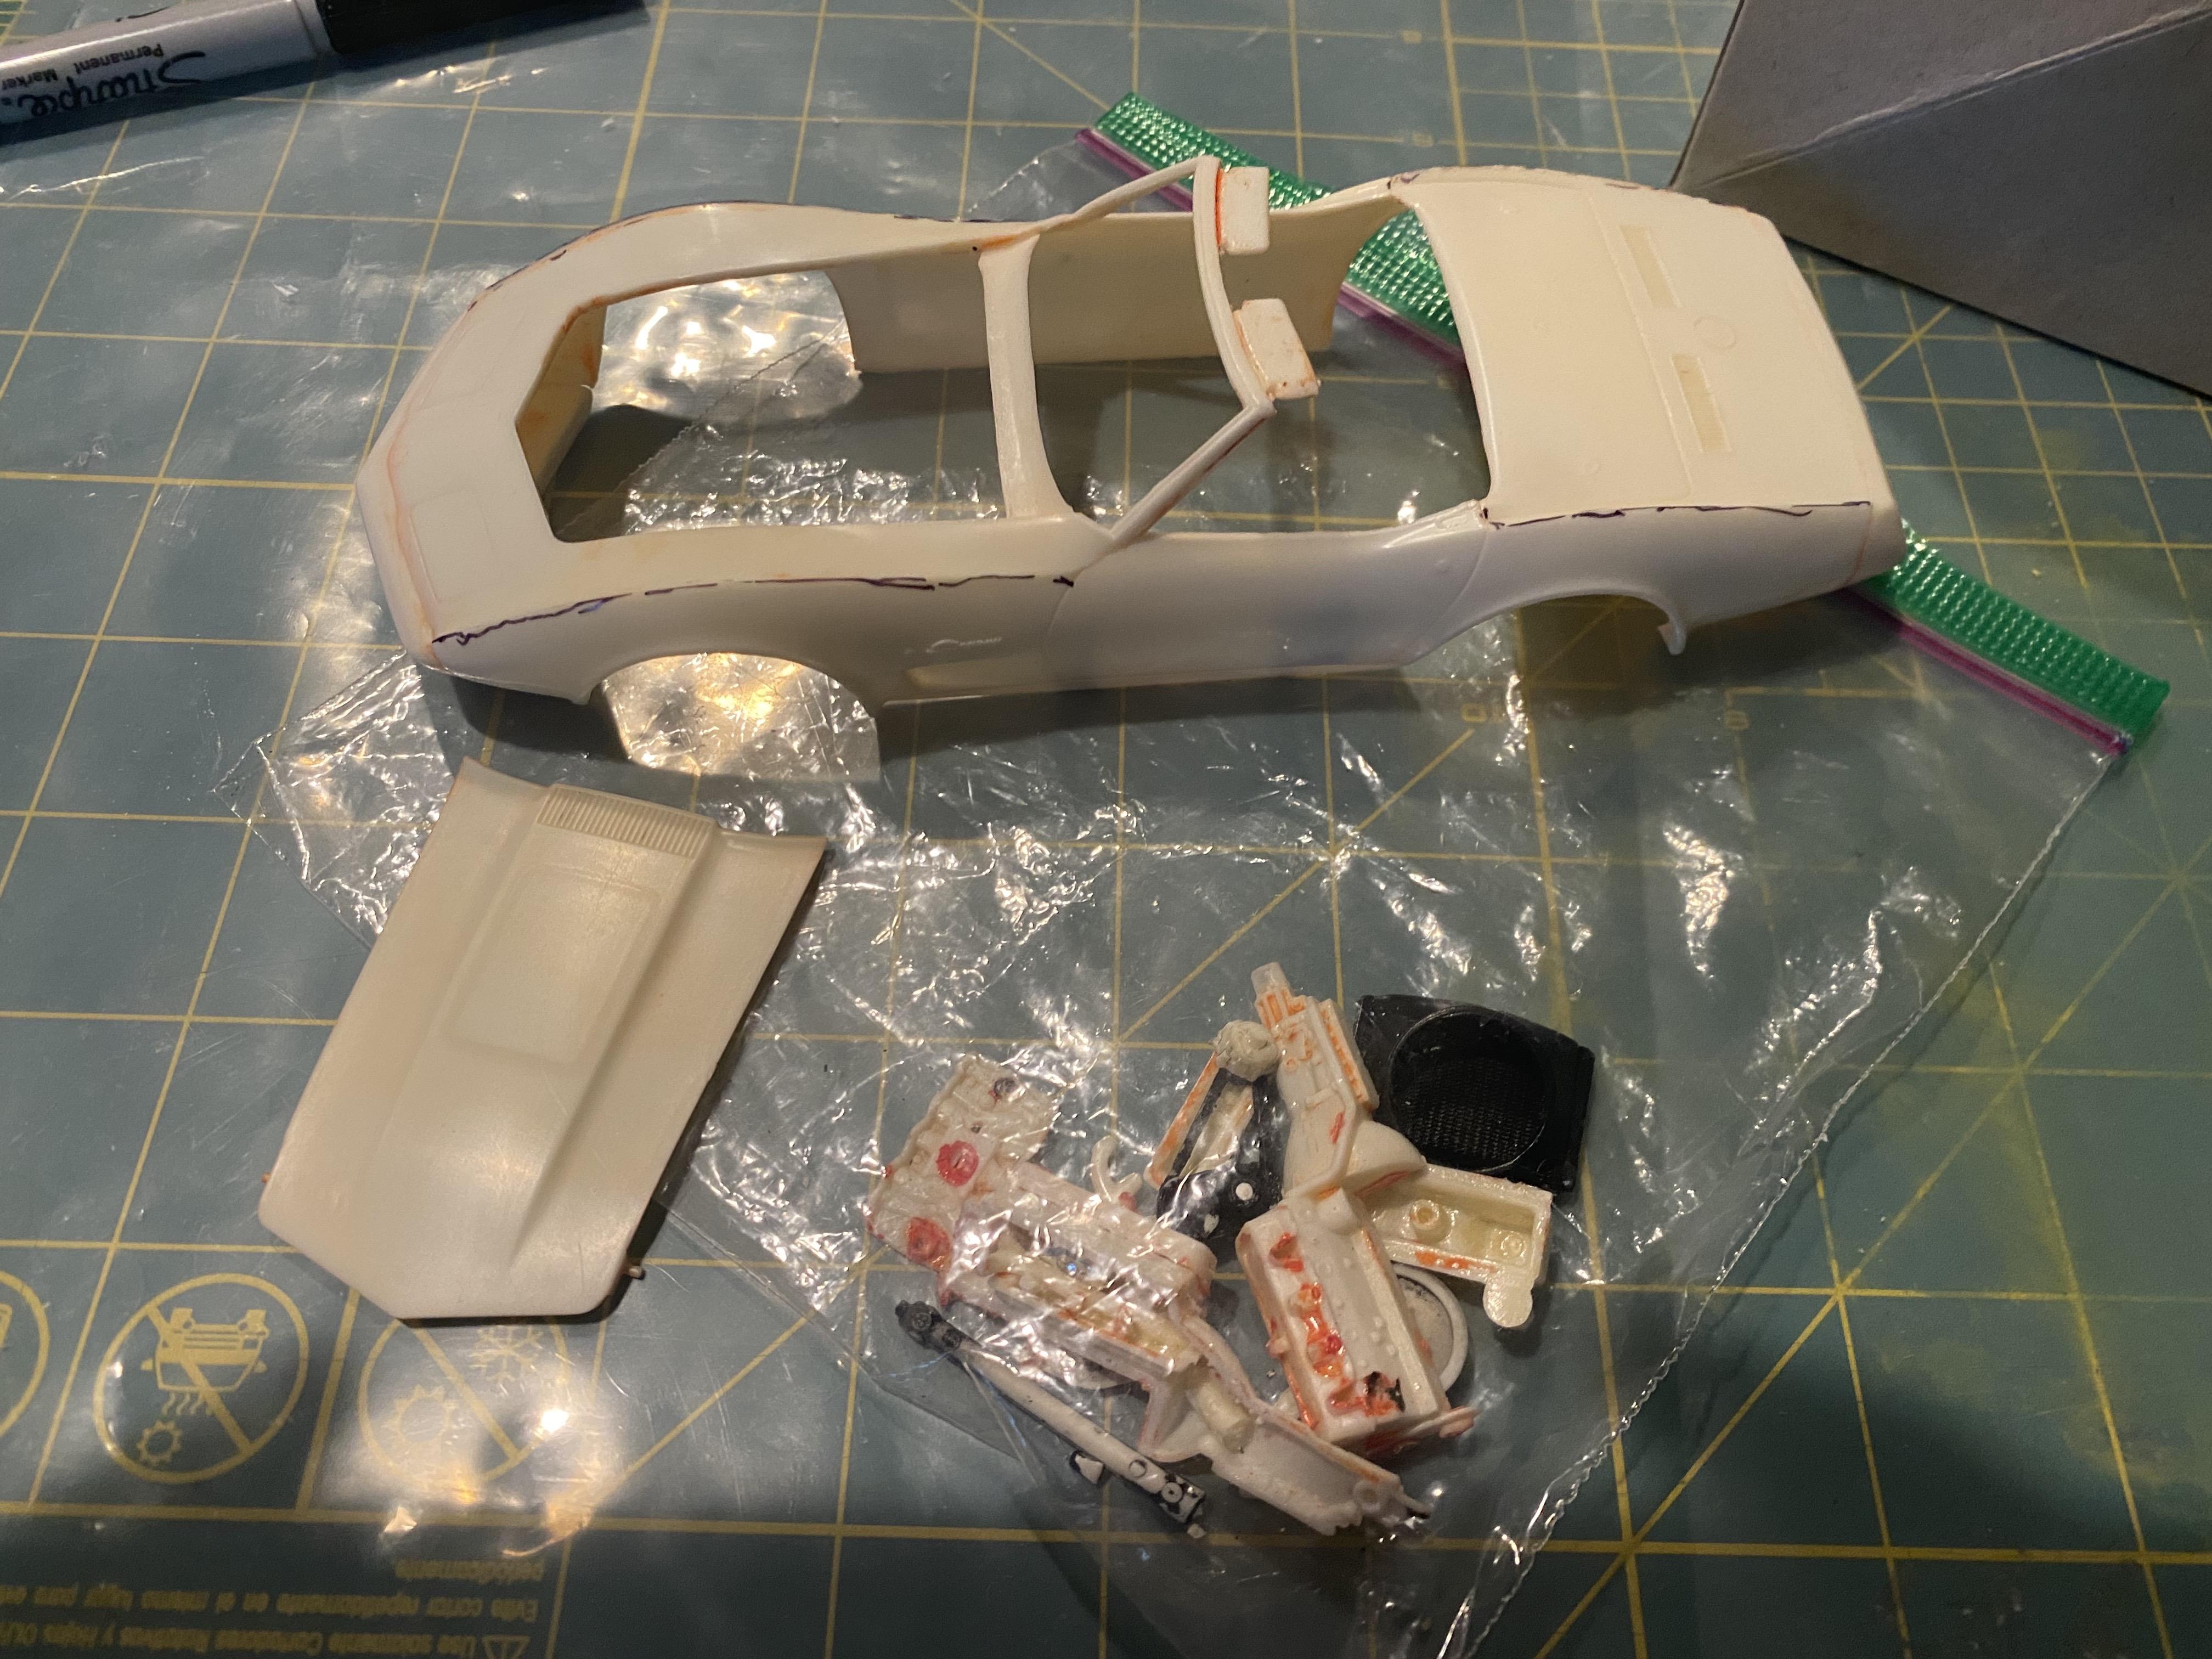
I have decided to try a build somewhat outside my comfort zone, not a Mustang but a 1974 Corvette. At least this will not be a kit bash and insane amount of scratch building like the Mustangs. There will be some scratch building for some parts that don’t exist or live up to expectations, but it will mostly be out of the kit. I purchased this kit many years ago and started to build it over a weekend, rattle can painted the body, assembled the engine and some other parts. It was not pretty. I have now stripped the paint off the 1975 Corvette body and started converting it to a 1974. The kit came with a 454 and the last year of the 454 was 1974. I can only assume it was a slight retool of the annual 1974 to 1975. The engine had way too many chromed parts so I pulled it back apart and stripped all of the engine parts. I am planning on doing my LED wiring I usually do, I think the hardest part will be finding a place for the battery and making the headlights pop up. Hopefully I can make space where the top would go down for the battery.
-
Thank you. I never thought of my Eco-Boost convertible as "Bad to the Bone".
-
Thank you. They do seem to bring some life to the build, but boy can they be a pain to find a place to get the battery to fit. The LEDs are small enough to fit almost anywhere at least.
-
Thank you. I think I am ready to celebrate the 60th Anniversary now! Thank you!
-
Thank you. Thanks, The lighting on this one was a bit more difficult. I had to move from a 3V coin battery to a 12V A23. The addition of the 4 additional side markers was just too much for the coin battery.
-
thank you.
-
Thanks.
-
Thank you. I used actual J7 2018 Mustang Magnetic Metallic touch up paint. Came very thick and required a lot of thinning to airbrush. Then 2K clear and polished. Thank you. Thank you.
-
Thank you. I tried to get them as close as possible. Thank you. Thank you.
-
 Thank you, very helpful!