OldNYJim
-
Posts
249 -
Joined
-
Last visited
Content Type
Profiles
Forums
Events
Gallery
Everything posted by OldNYJim
-
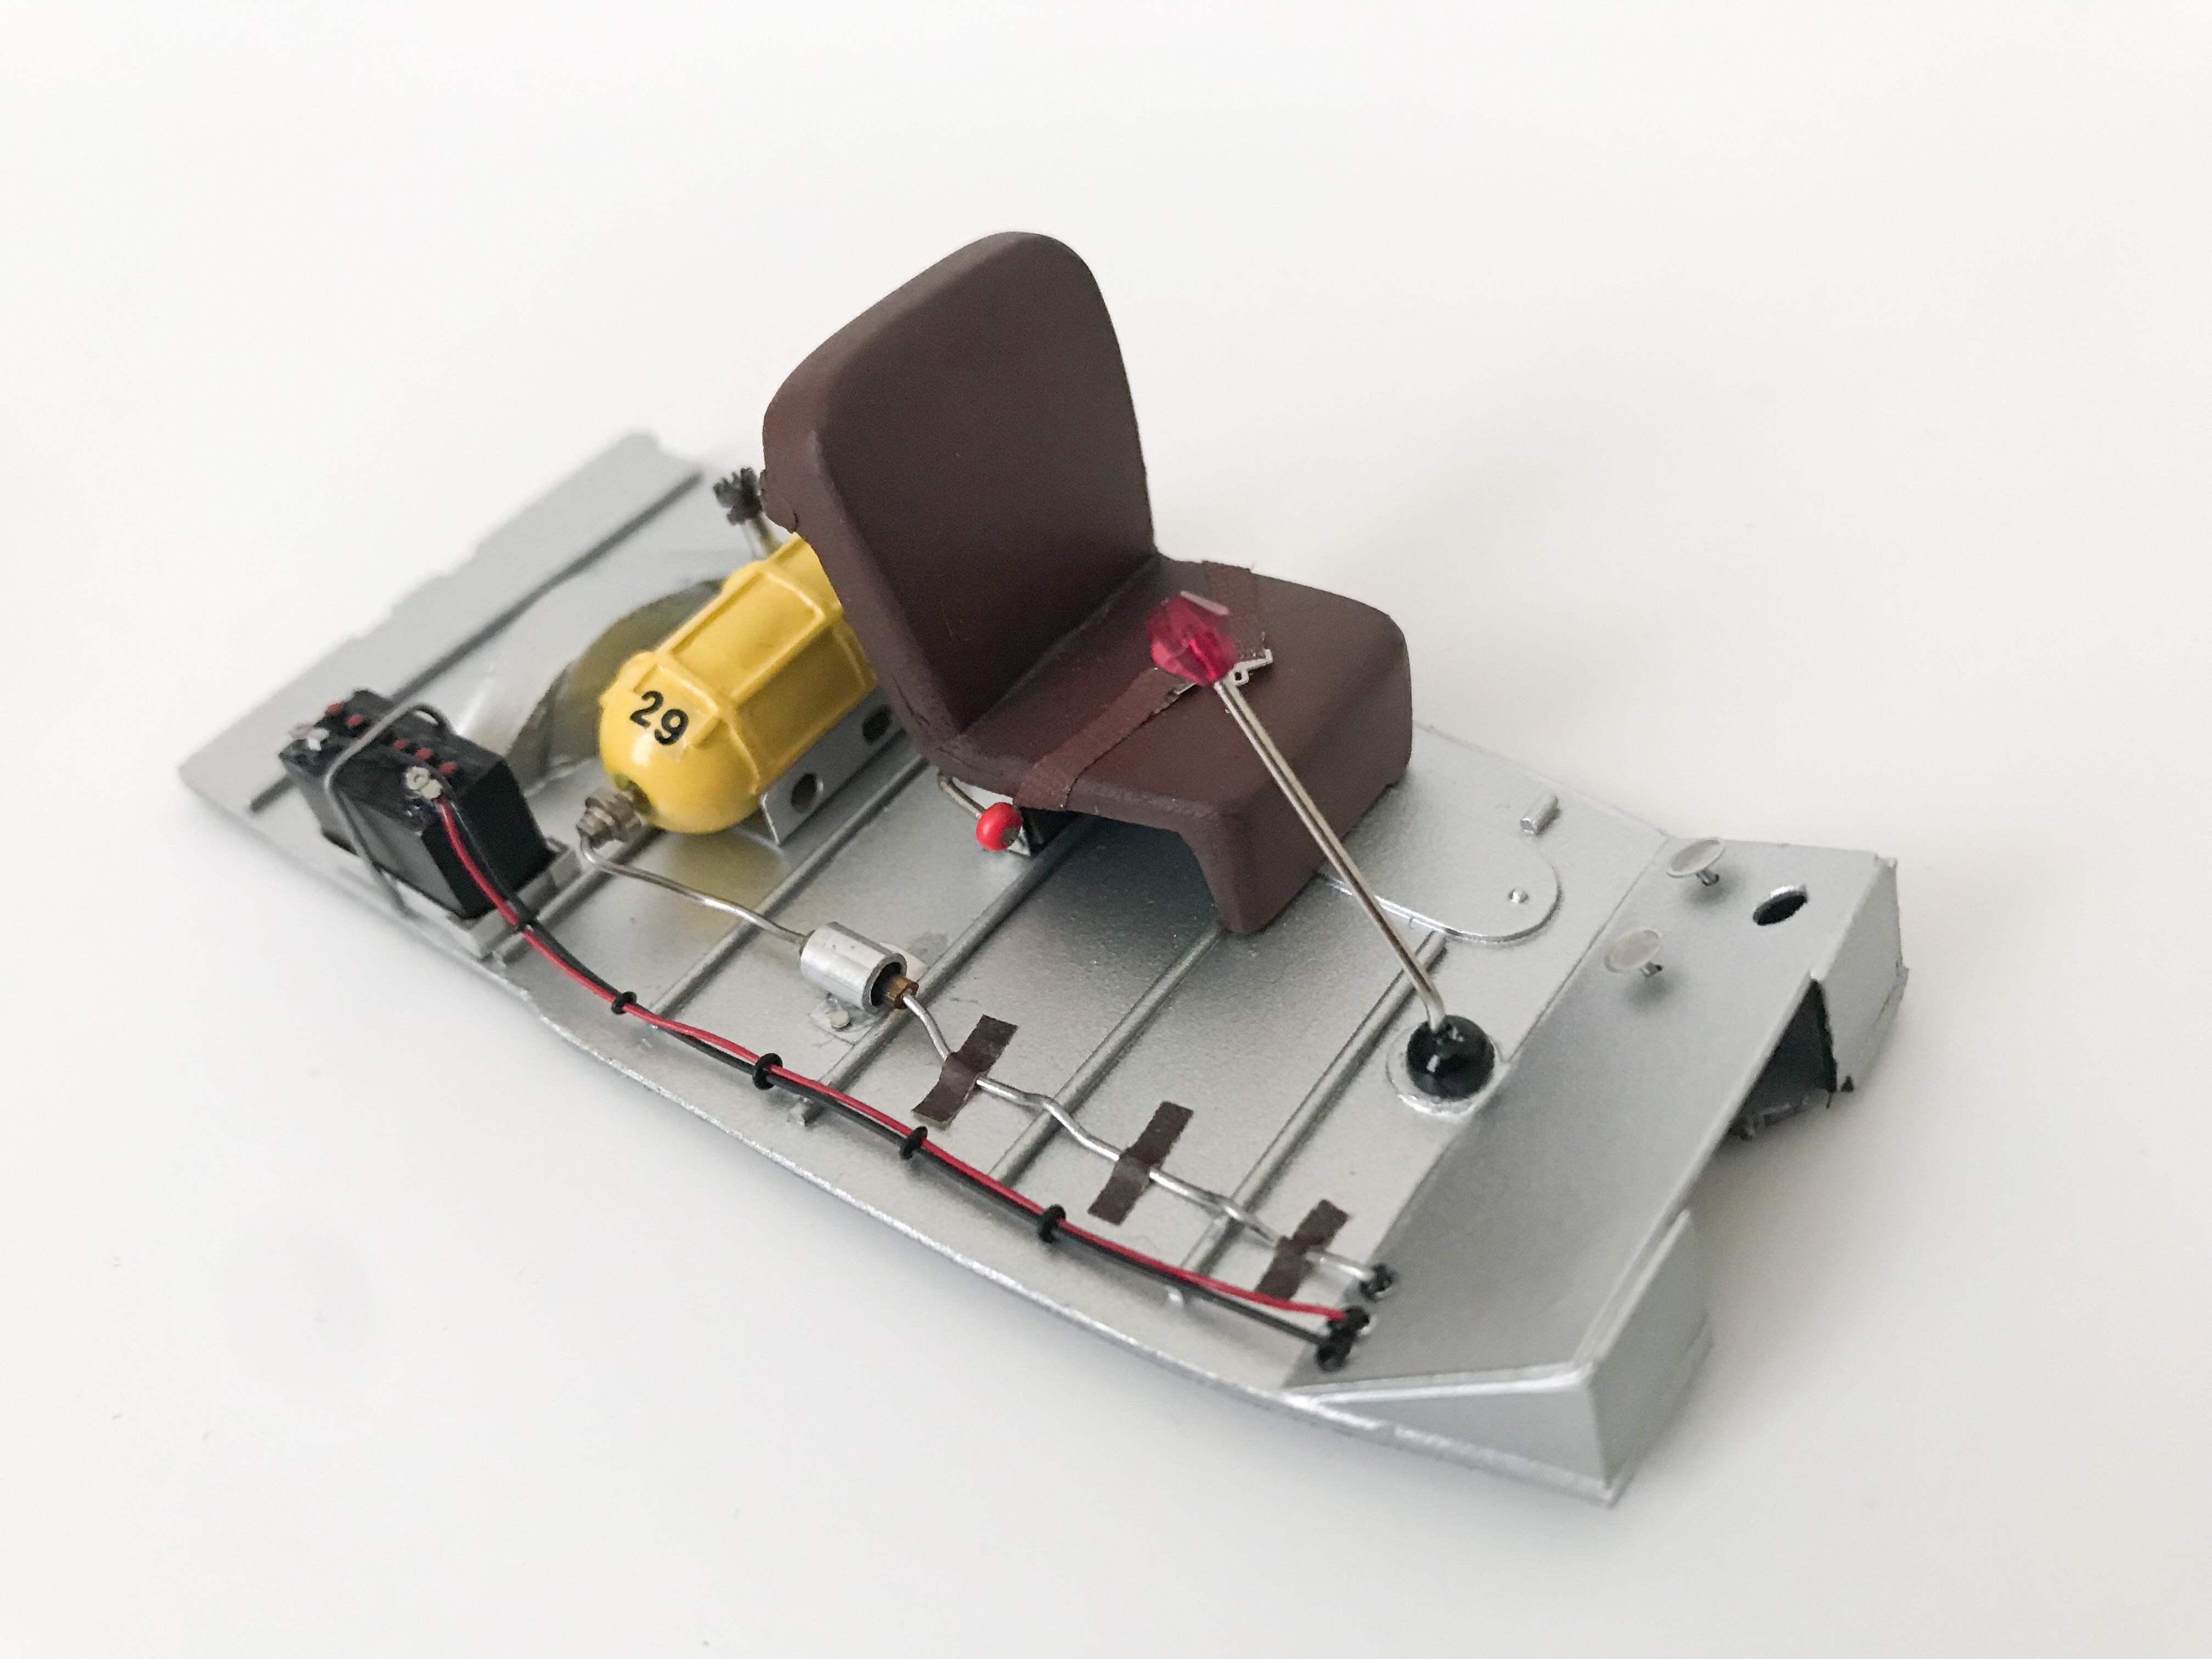
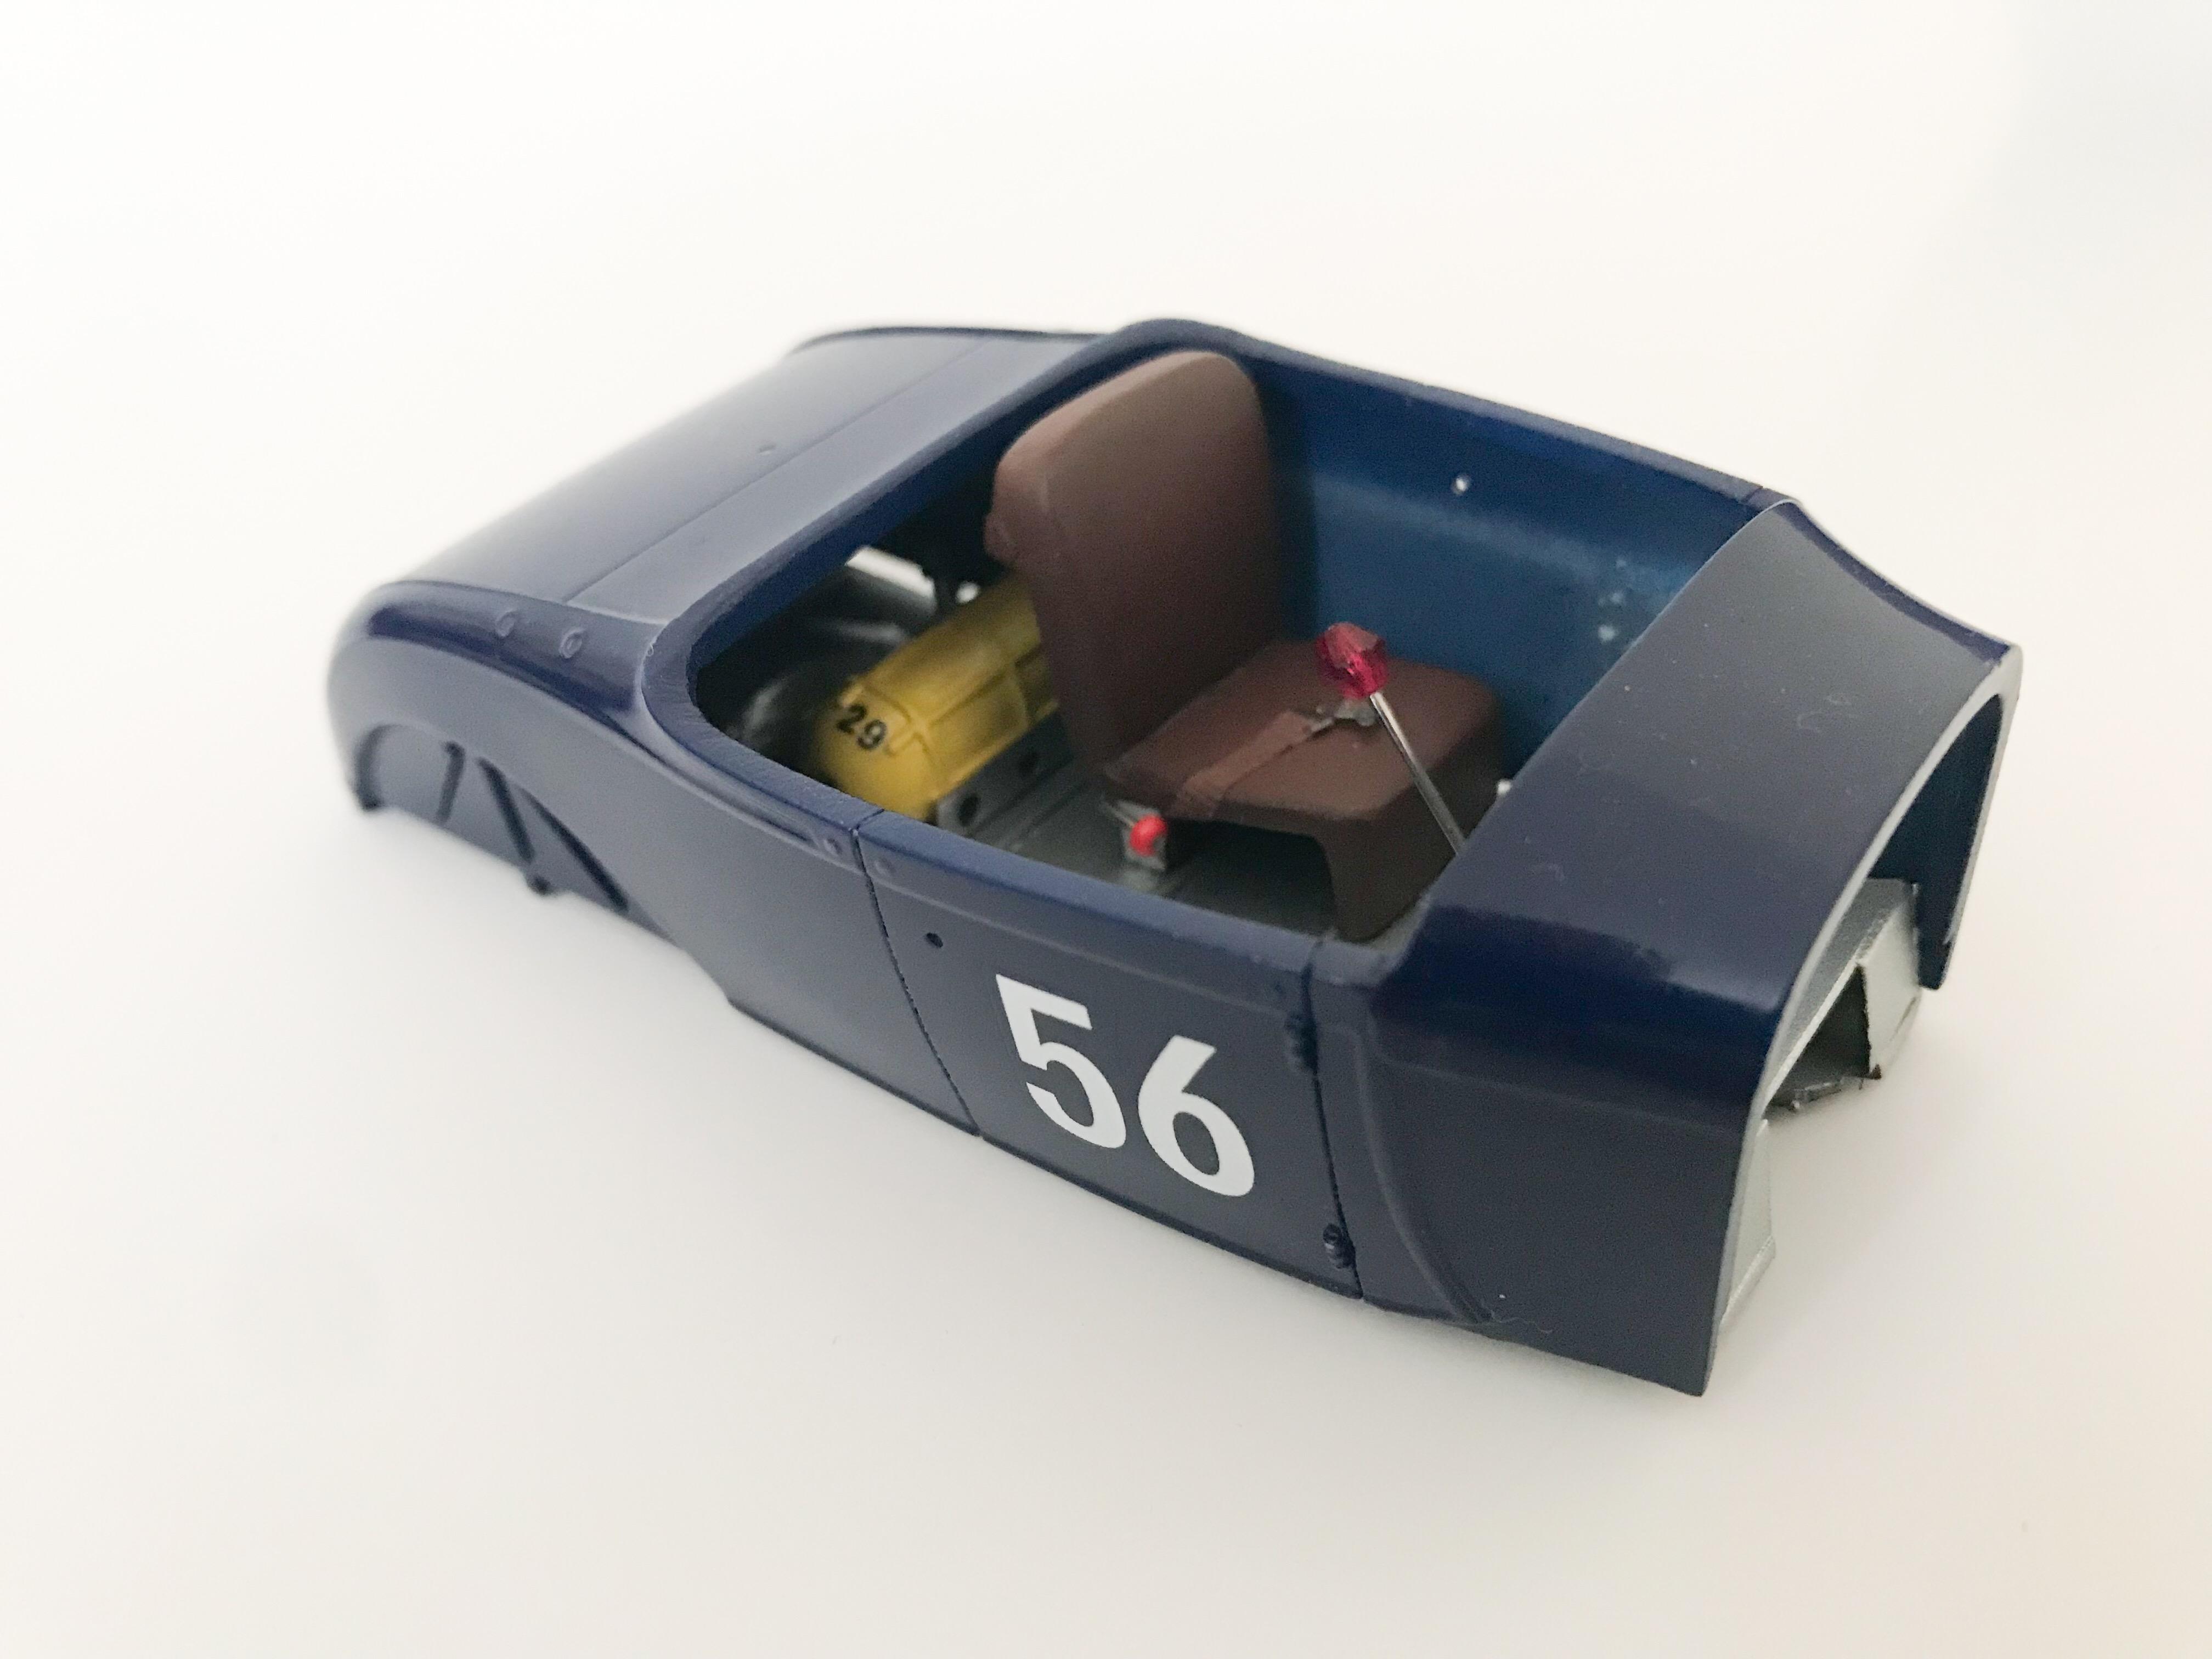
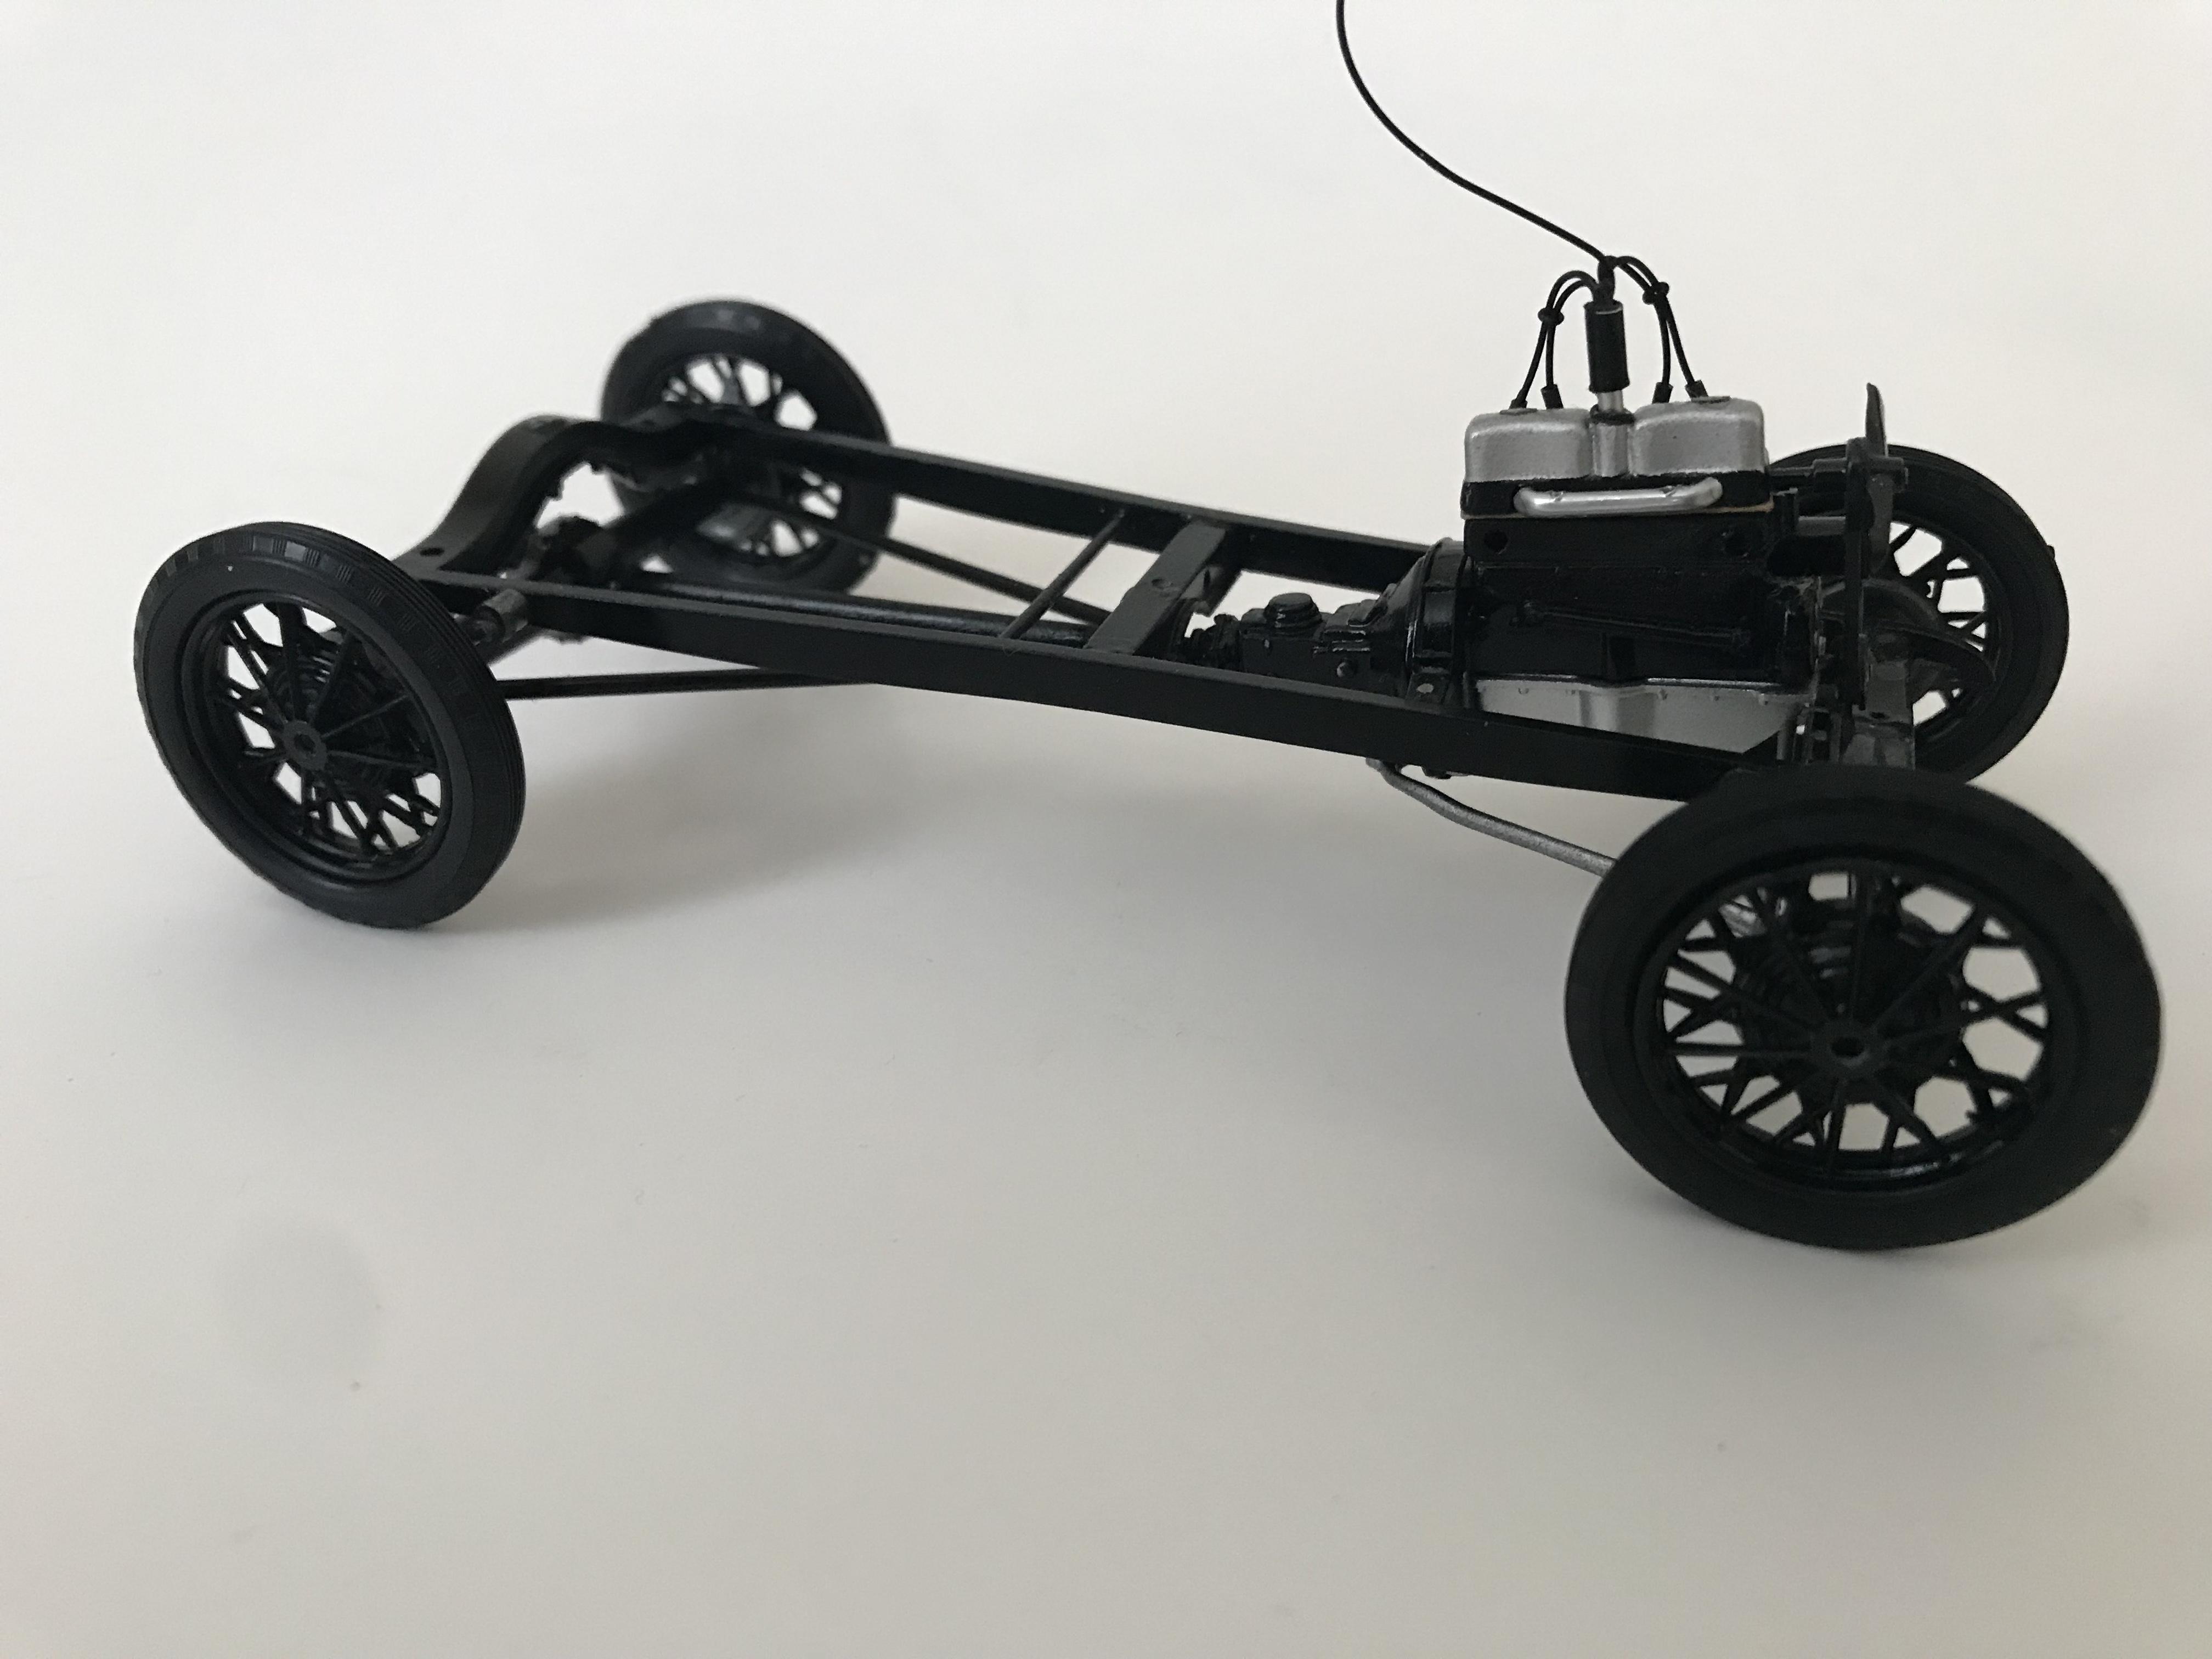
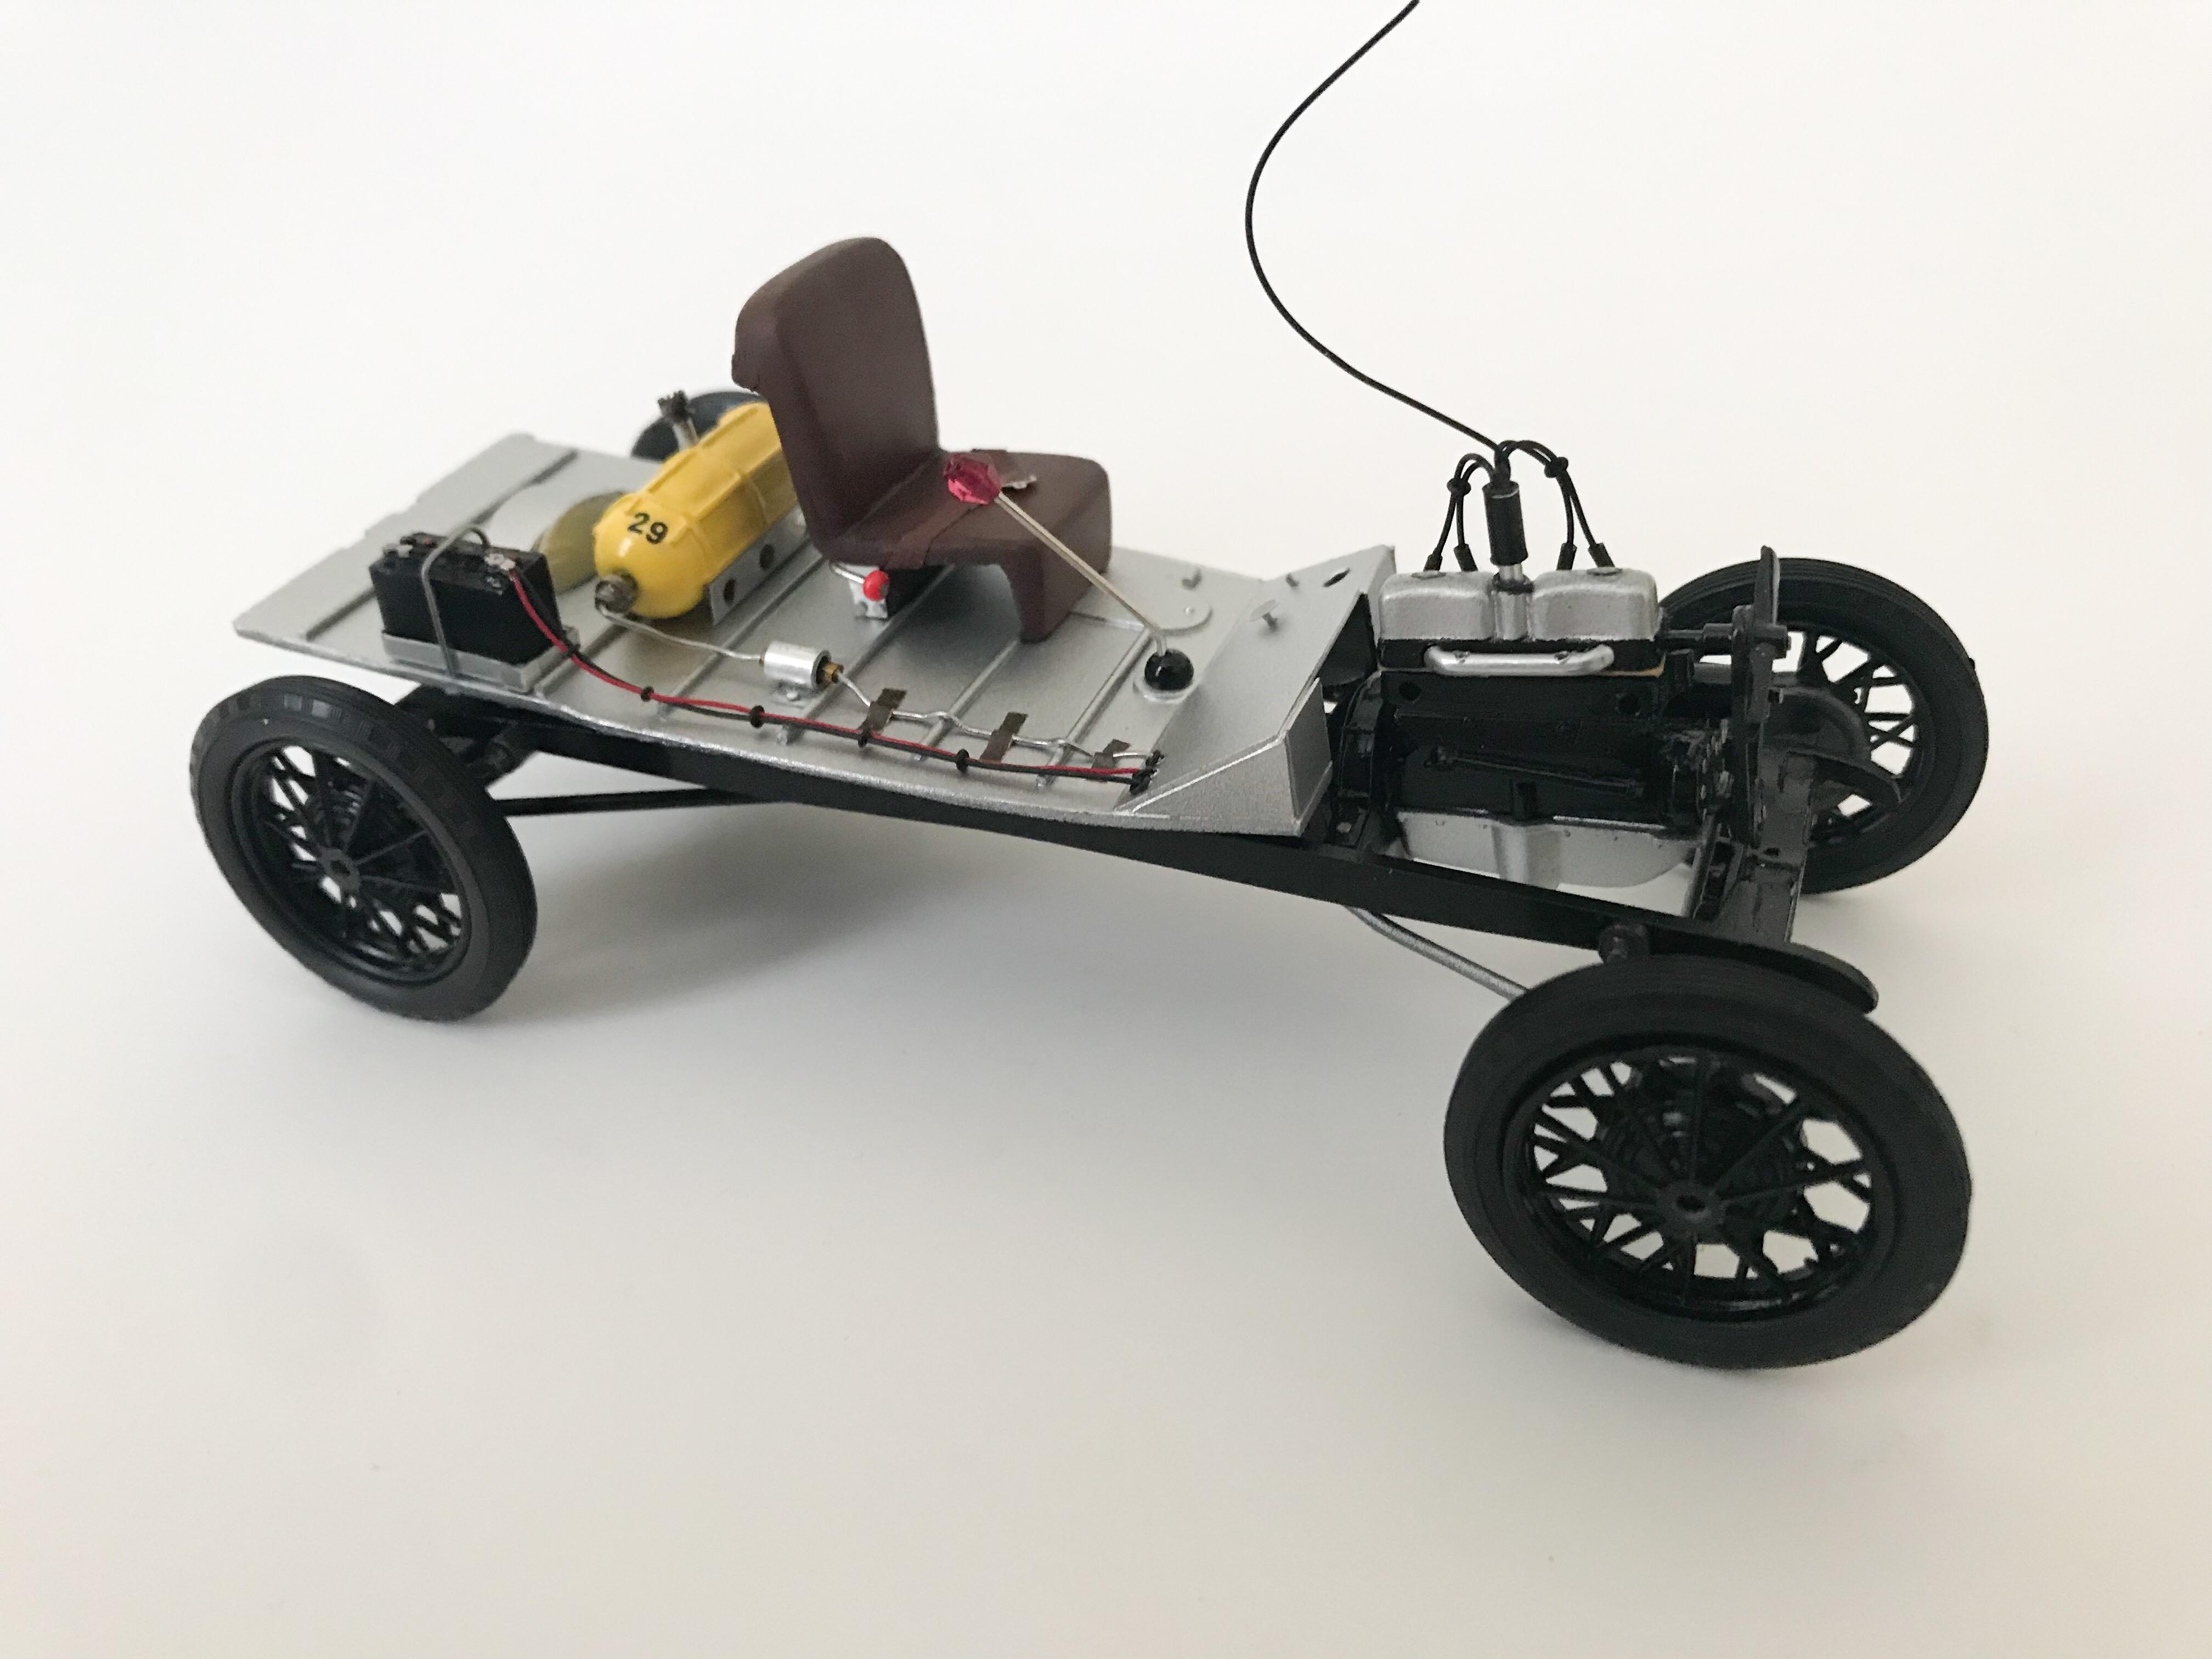
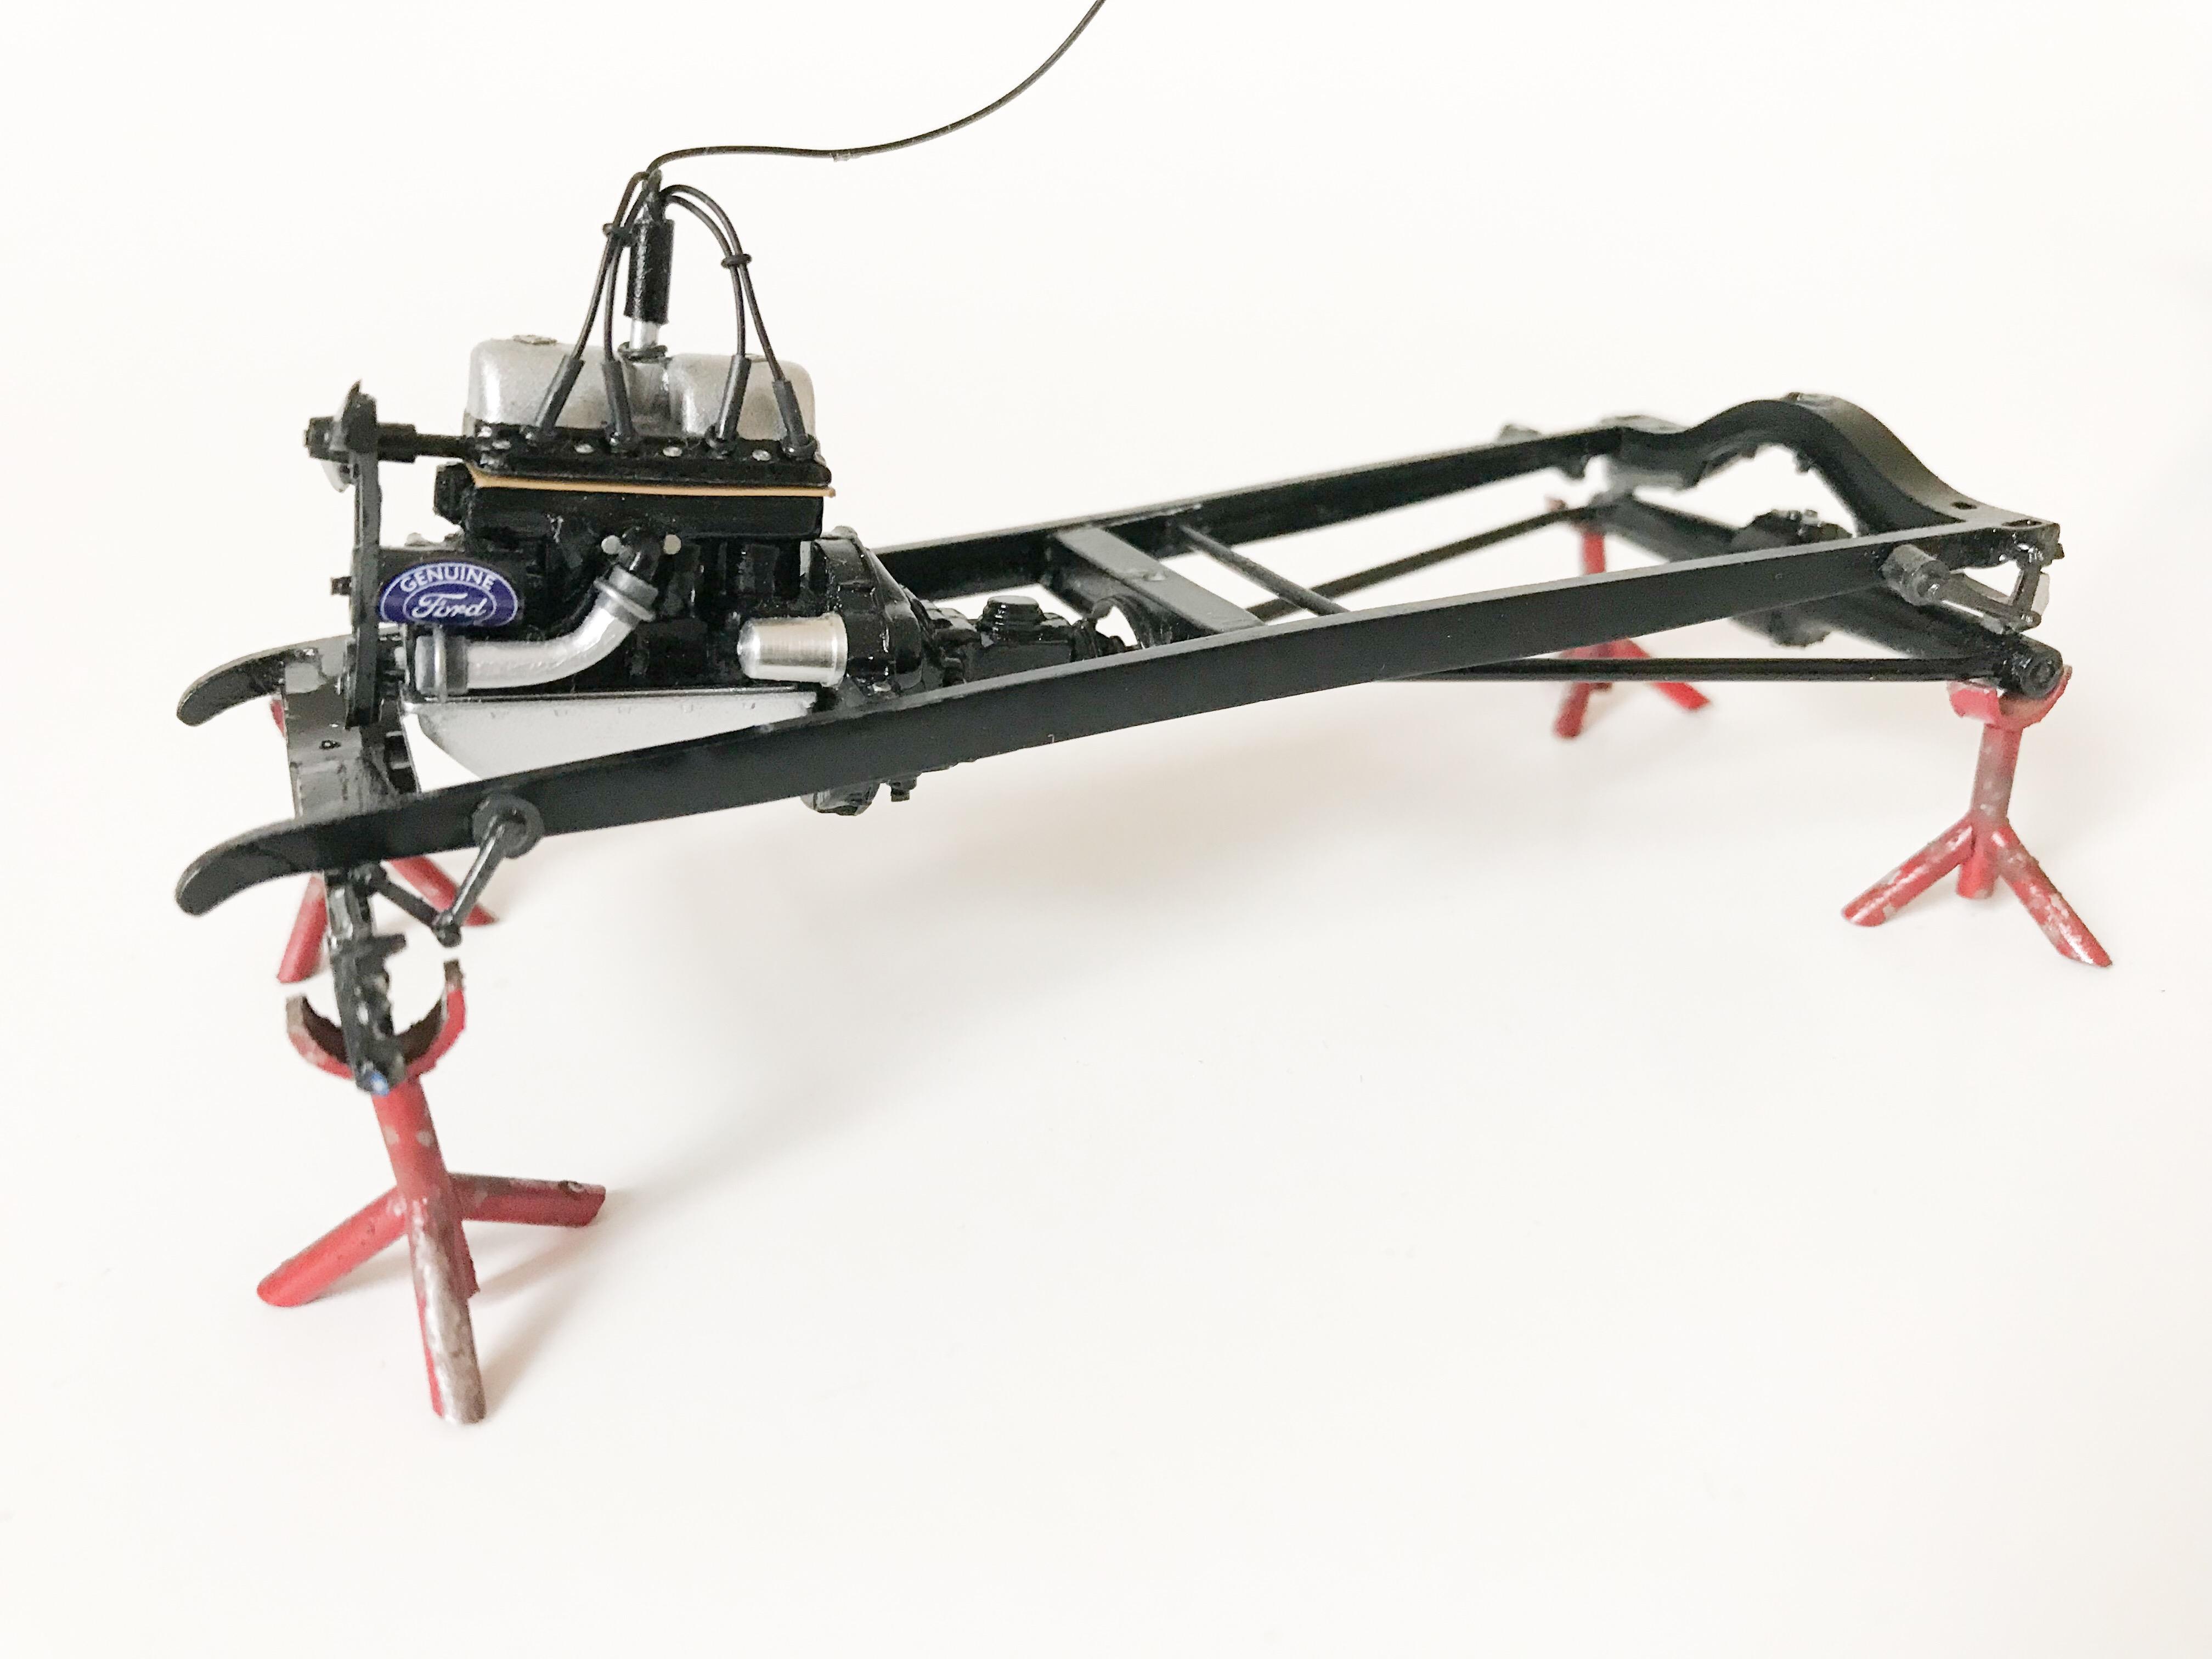
Thanks for the lovely comments fellas! Did some work on the interior today, got the fuel tank, battery and seat in place for good, and did some wiring and plumbing Most of this won’t be super-visible once the body’s in place, but I like the idea that if you took a closer look there would be a load of extra stuff to notice: Got the wheels and tires assembled and got the frame off it’s scale axle stands ?: and a combination of those two sub-assemblies to make sure everything still fits ok: And a quick mockup with the body too, mostly to satisfy my curiosity of how it’ll look when it’s done: More soon, soon as I’ve done more!

-

AMT Li'ler Mixer
OldNYJim replied to OldNYJim's topic in WIP: Model Trucks: Pickups, Vans, SUVs, Light Commercial
Thanks for looking everyone - Tom, usually refreshing the page will bring them up, unless they're having an issue. Haven't made much progress on this - I needed to get the frame, engine and body all in green (referencing the box art) so that I could actually assemble anything...but it took me FOREVER to find a green I liked - but I found one! This is Createx lime green pearl shot over a silver base...it's not actually a candy paint, but I over-reduced it to make it into one, and it came out pretty close to what I was after! It's got a nice bright tone, but it flips to gold in the light as you move the parts around. Just gotta clear all these bits (when the humidity drops a little anyway) and I can actually start building this thing
-
I feel like threads like this probably wouldn't exist on the board now, what with the threatening to set a gang on someone and allegations of racism and talking about drug runners
-
A little more progress today - did some assembly work on the chassis, getting the front and rear axles in place...need to get the wheels clearcoated and finished so I can get this thing off those axle stands ?
-
A solution to this problem might be as simple as posting something along the lines of "are you interested in some constructive criticism?"...but also, if someone's happy enough with a build to post it up here then they're obviously having fun and more power to them!
-
Did a GREAT trade with Vince, aka VintageDragCrazy - would 100% recommend him (and his killer wheels) to anyone contemplating a trade!
-
Got these cool aluminum wheels from VintageDragCrazy! They’re beautifully made!
-
References Scratchbuilding
OldNYJim replied to Gabriel Leidentz's topic in Tips, Tricks, and Tutorials
And another amazing builder - any of Mark's build threads are incredibly impressive and inspiring...like this one! -
References Scratchbuilding
OldNYJim replied to Gabriel Leidentz's topic in Tips, Tricks, and Tutorials
In an effort to resurrect this thread (I'd LOVE to see more amazing scratchbuilding-and-super-detailing-heavy threads like the ones above) here's another killer one from Mr Impalow - check that amazing bike out!!! -
Mr Model makes a useful set of various logos - it's this one: Thanks for the kind words and replies everyone! I'm just setting down to do some work on this now, so more soon!
-
Lighting a display box for a model
OldNYJim replied to OldNYJim's topic in Model Building Questions and Answers
So many cool ideas - thanks everyone! -
(seemingly) Same kits, different scales
OldNYJim replied to Jim H.'s topic in General Automotive Talk (Trucks and Cars)
It’s due to economic inflation - you just don’t get as much for your money as you used to ? -
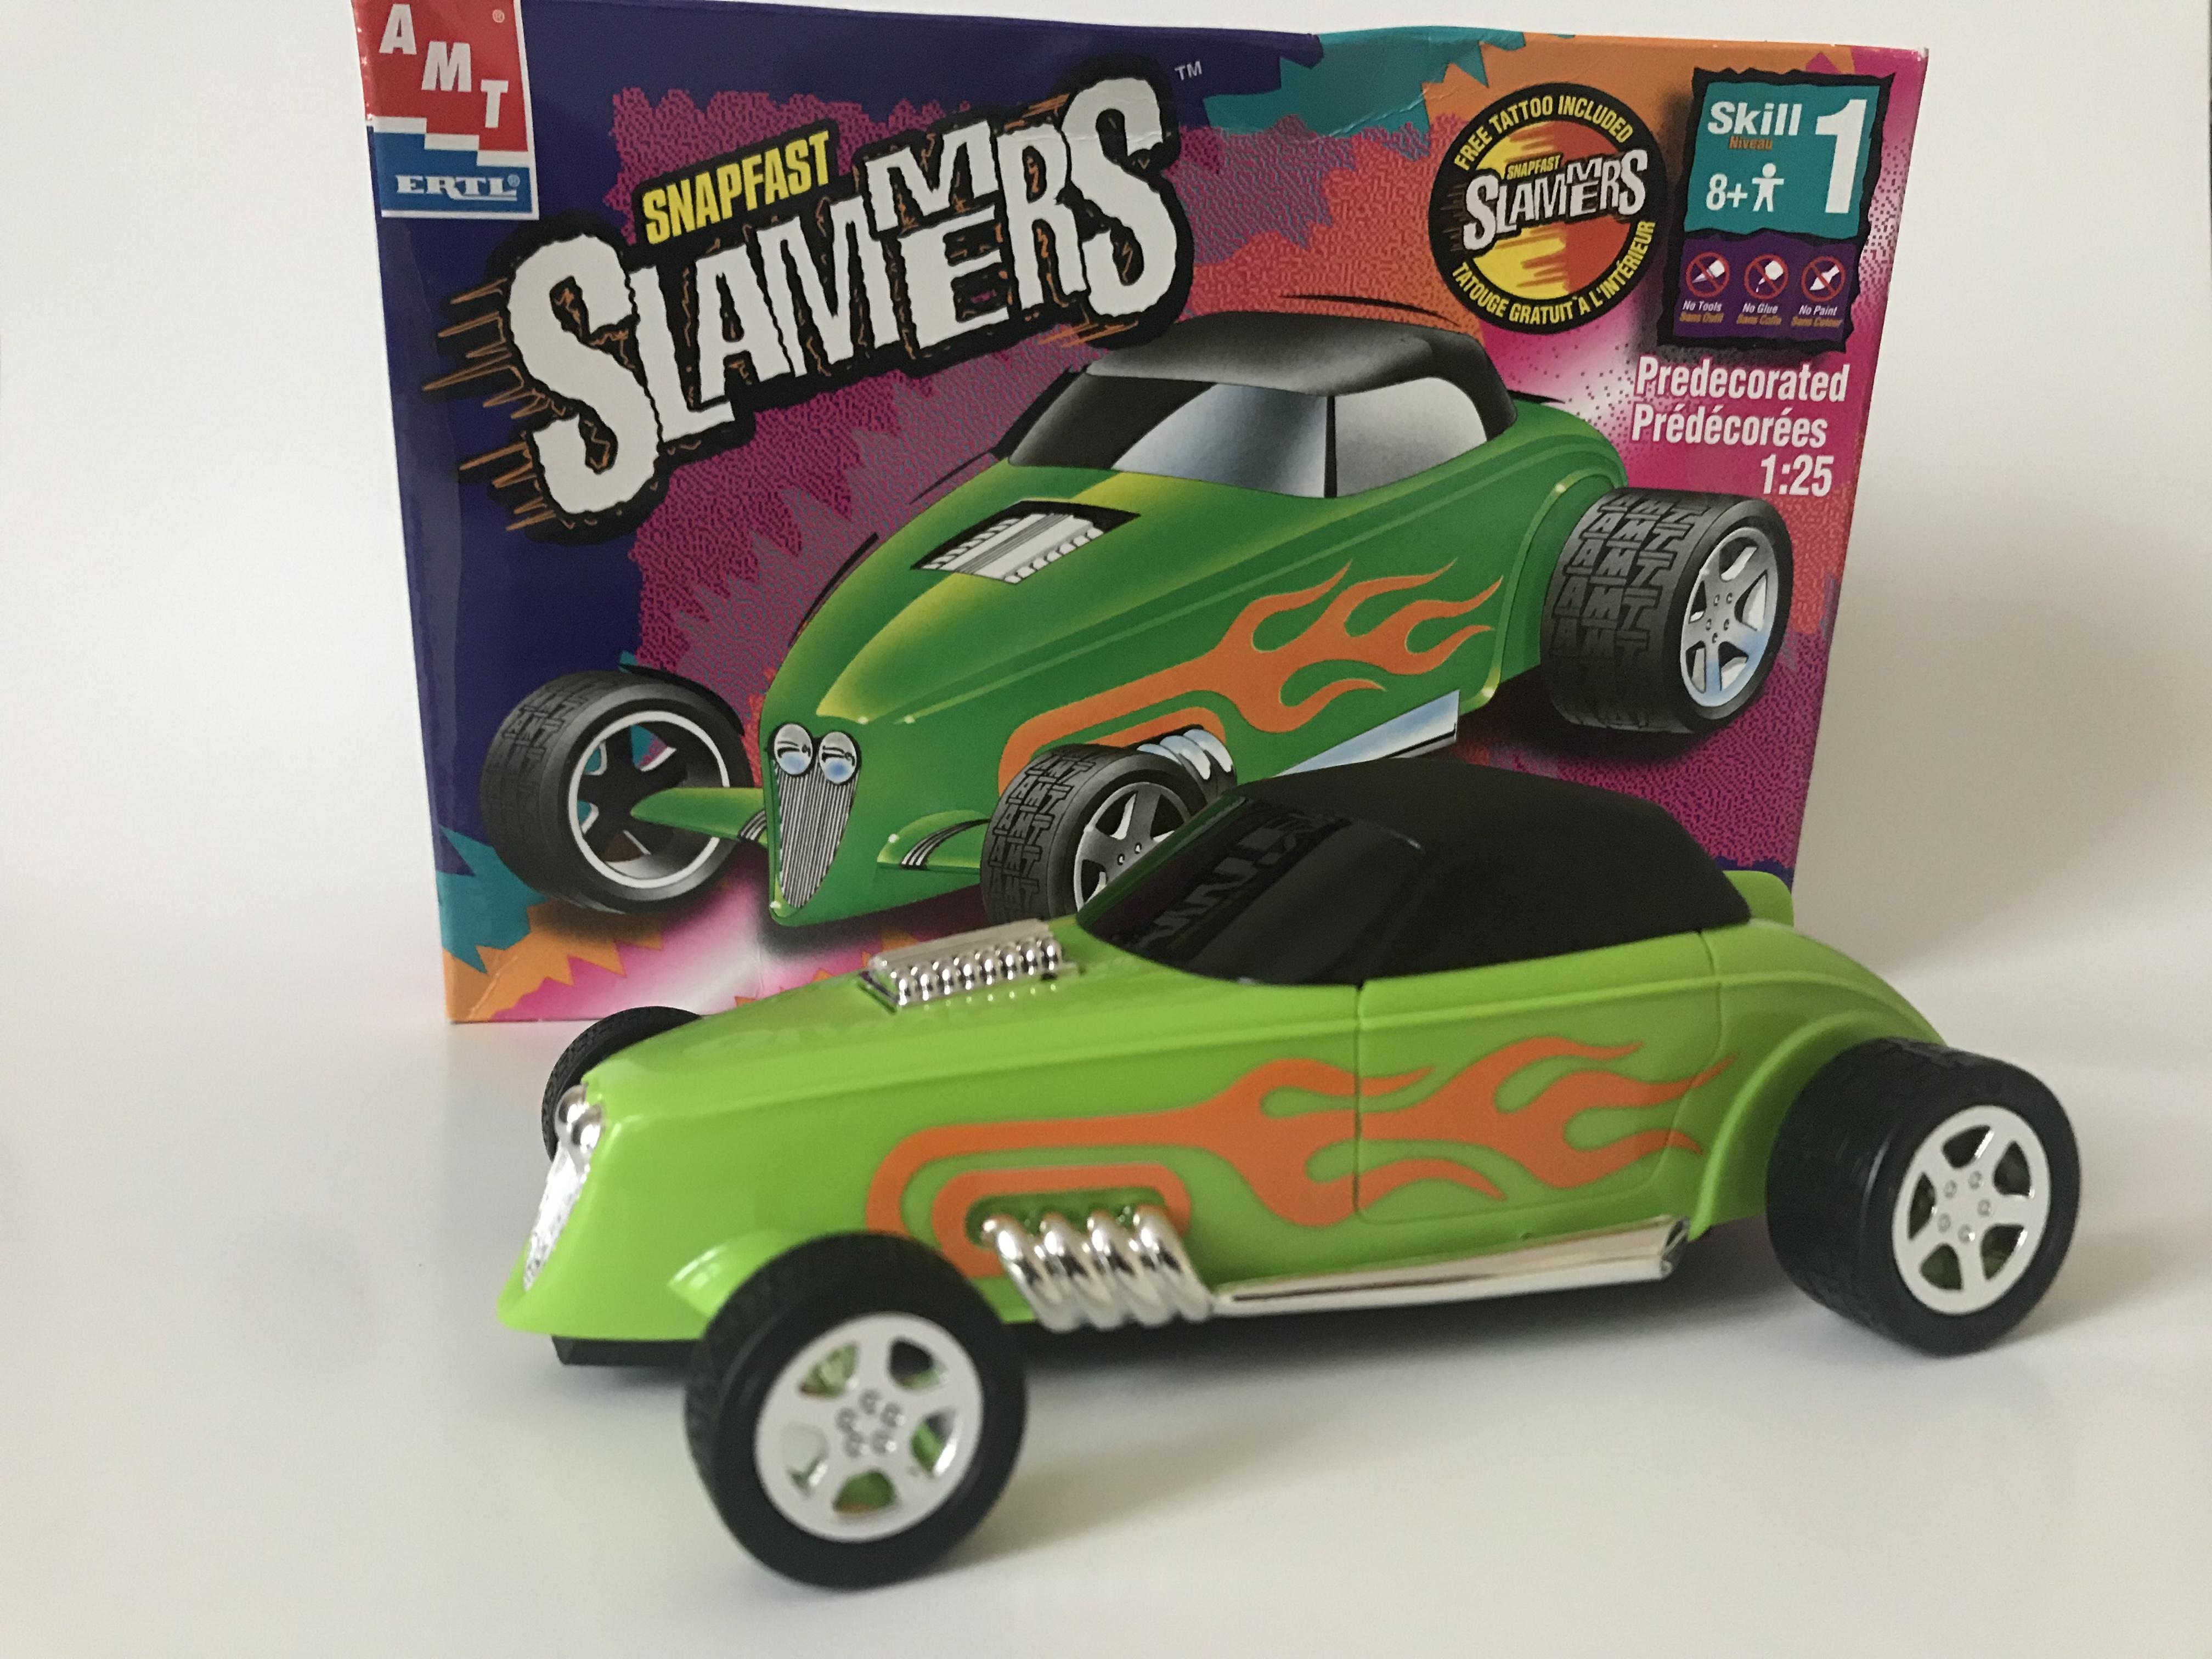
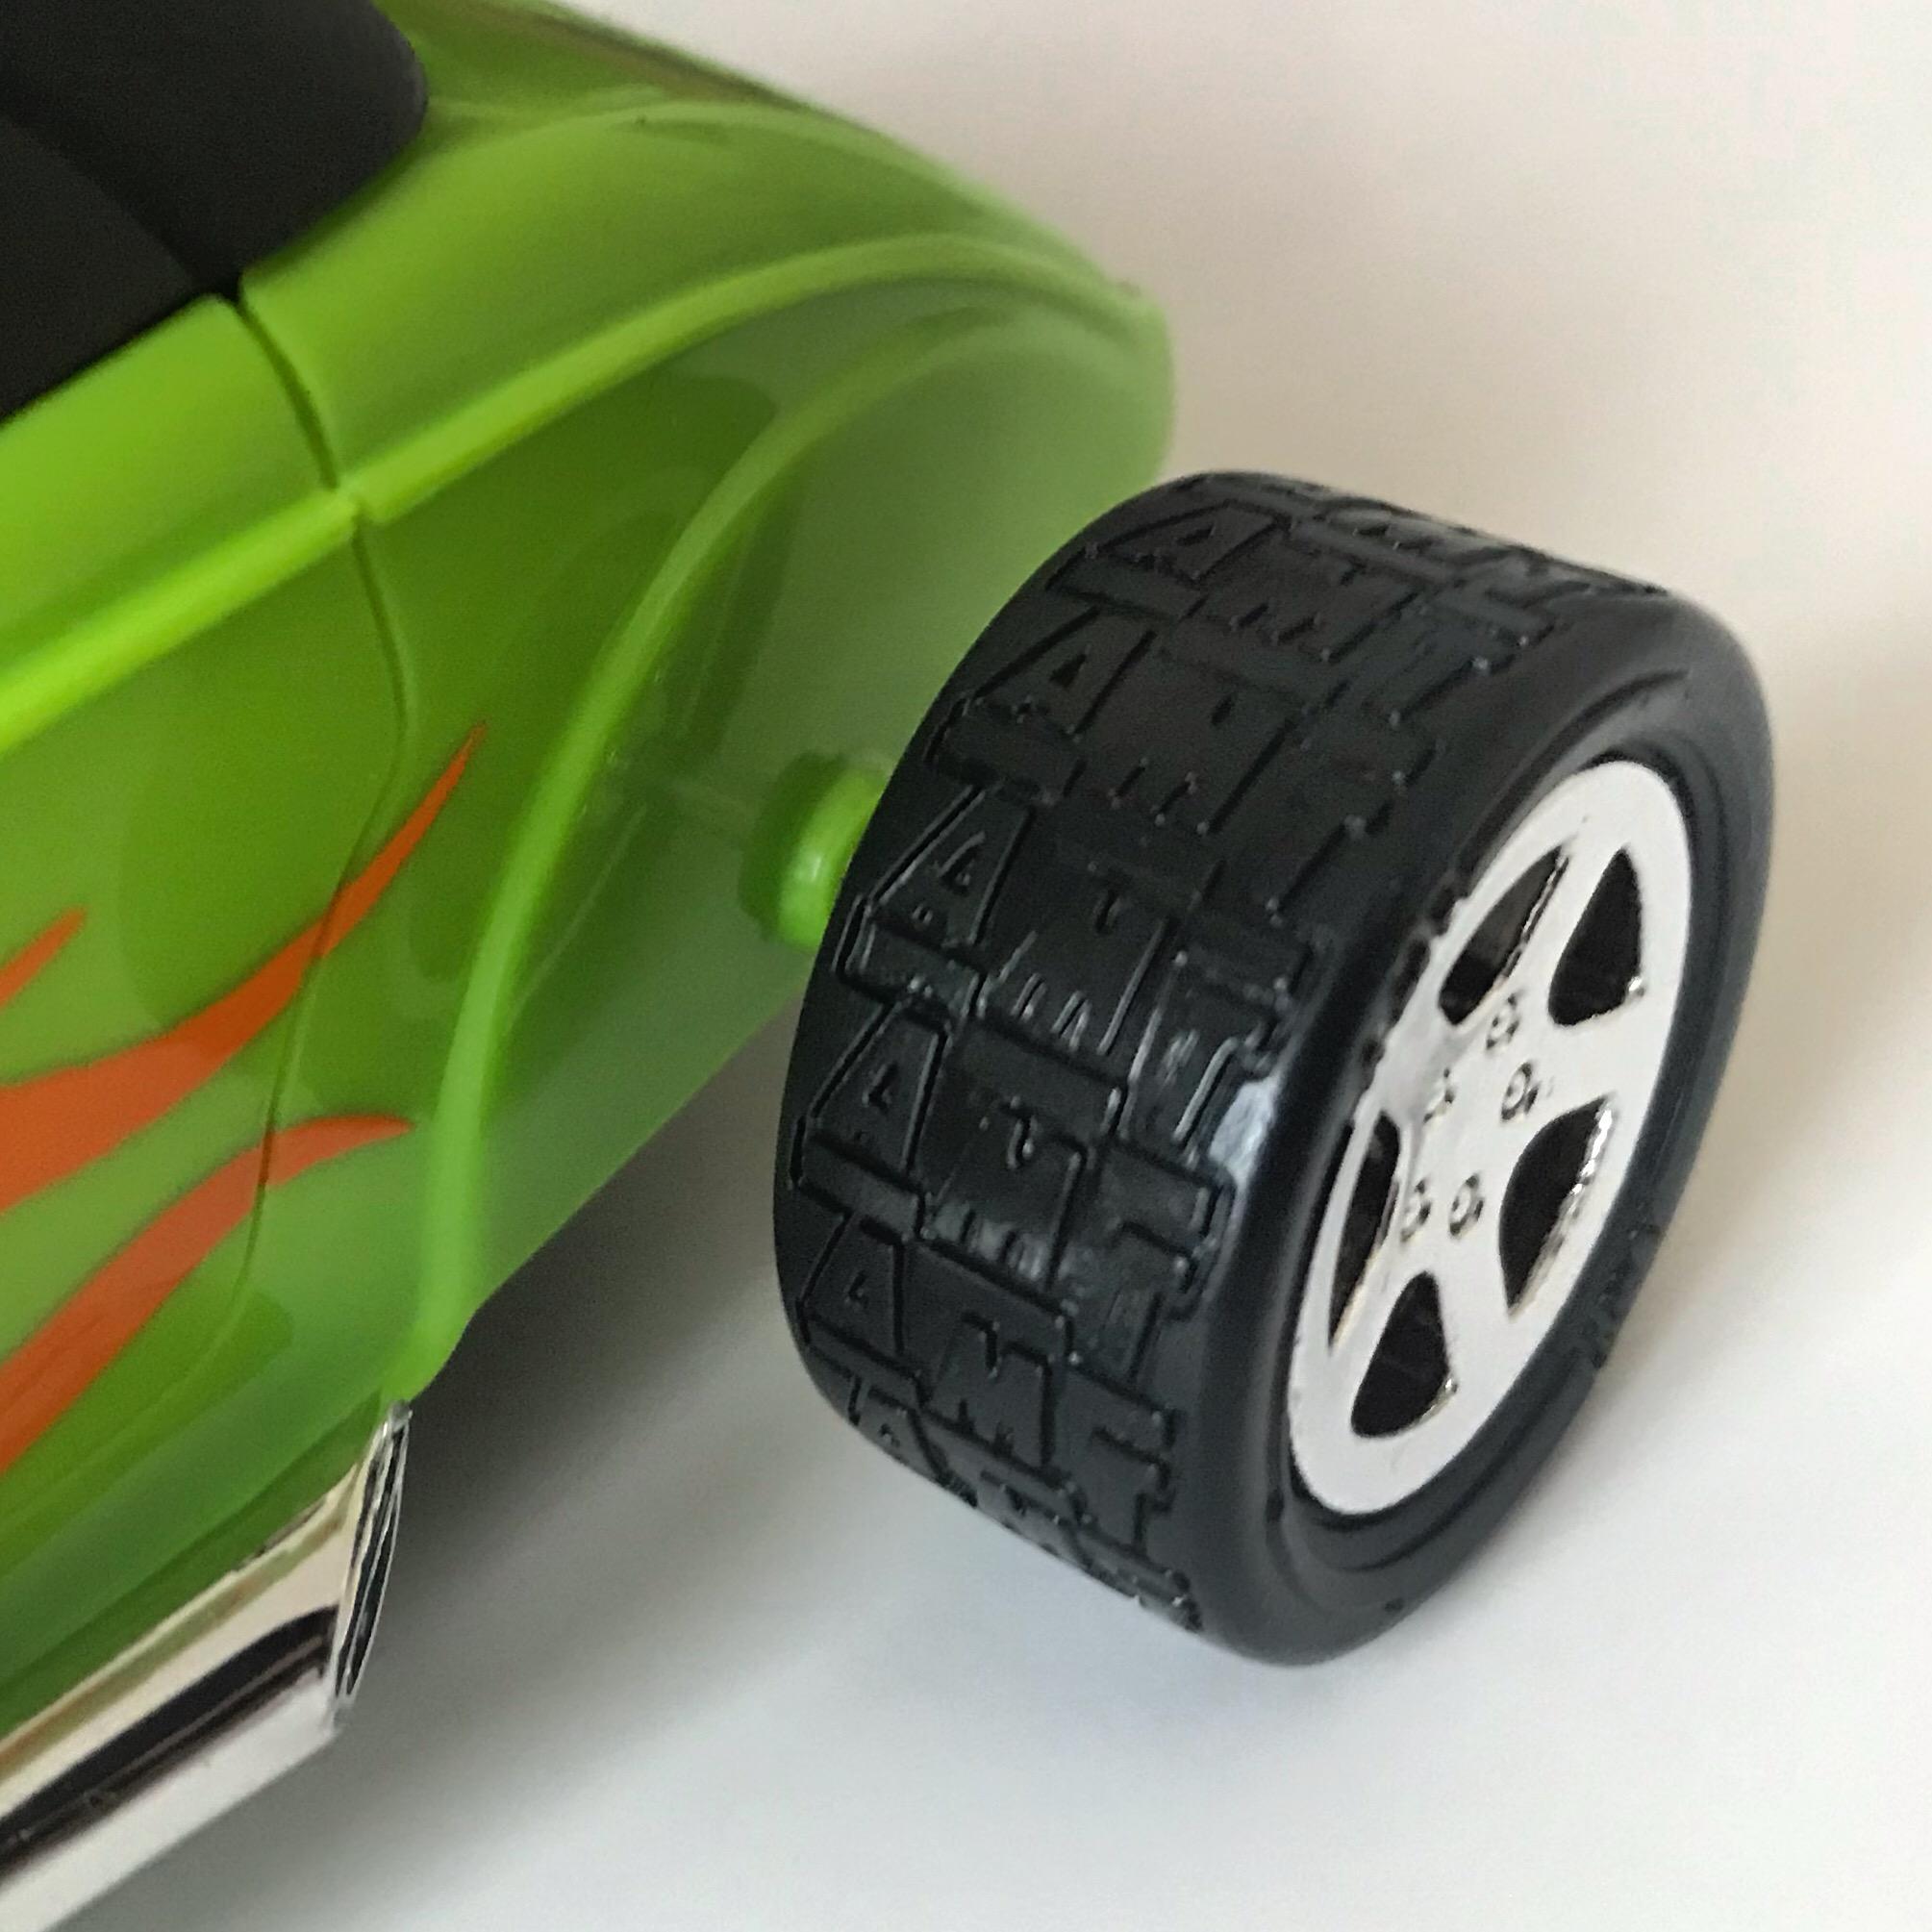
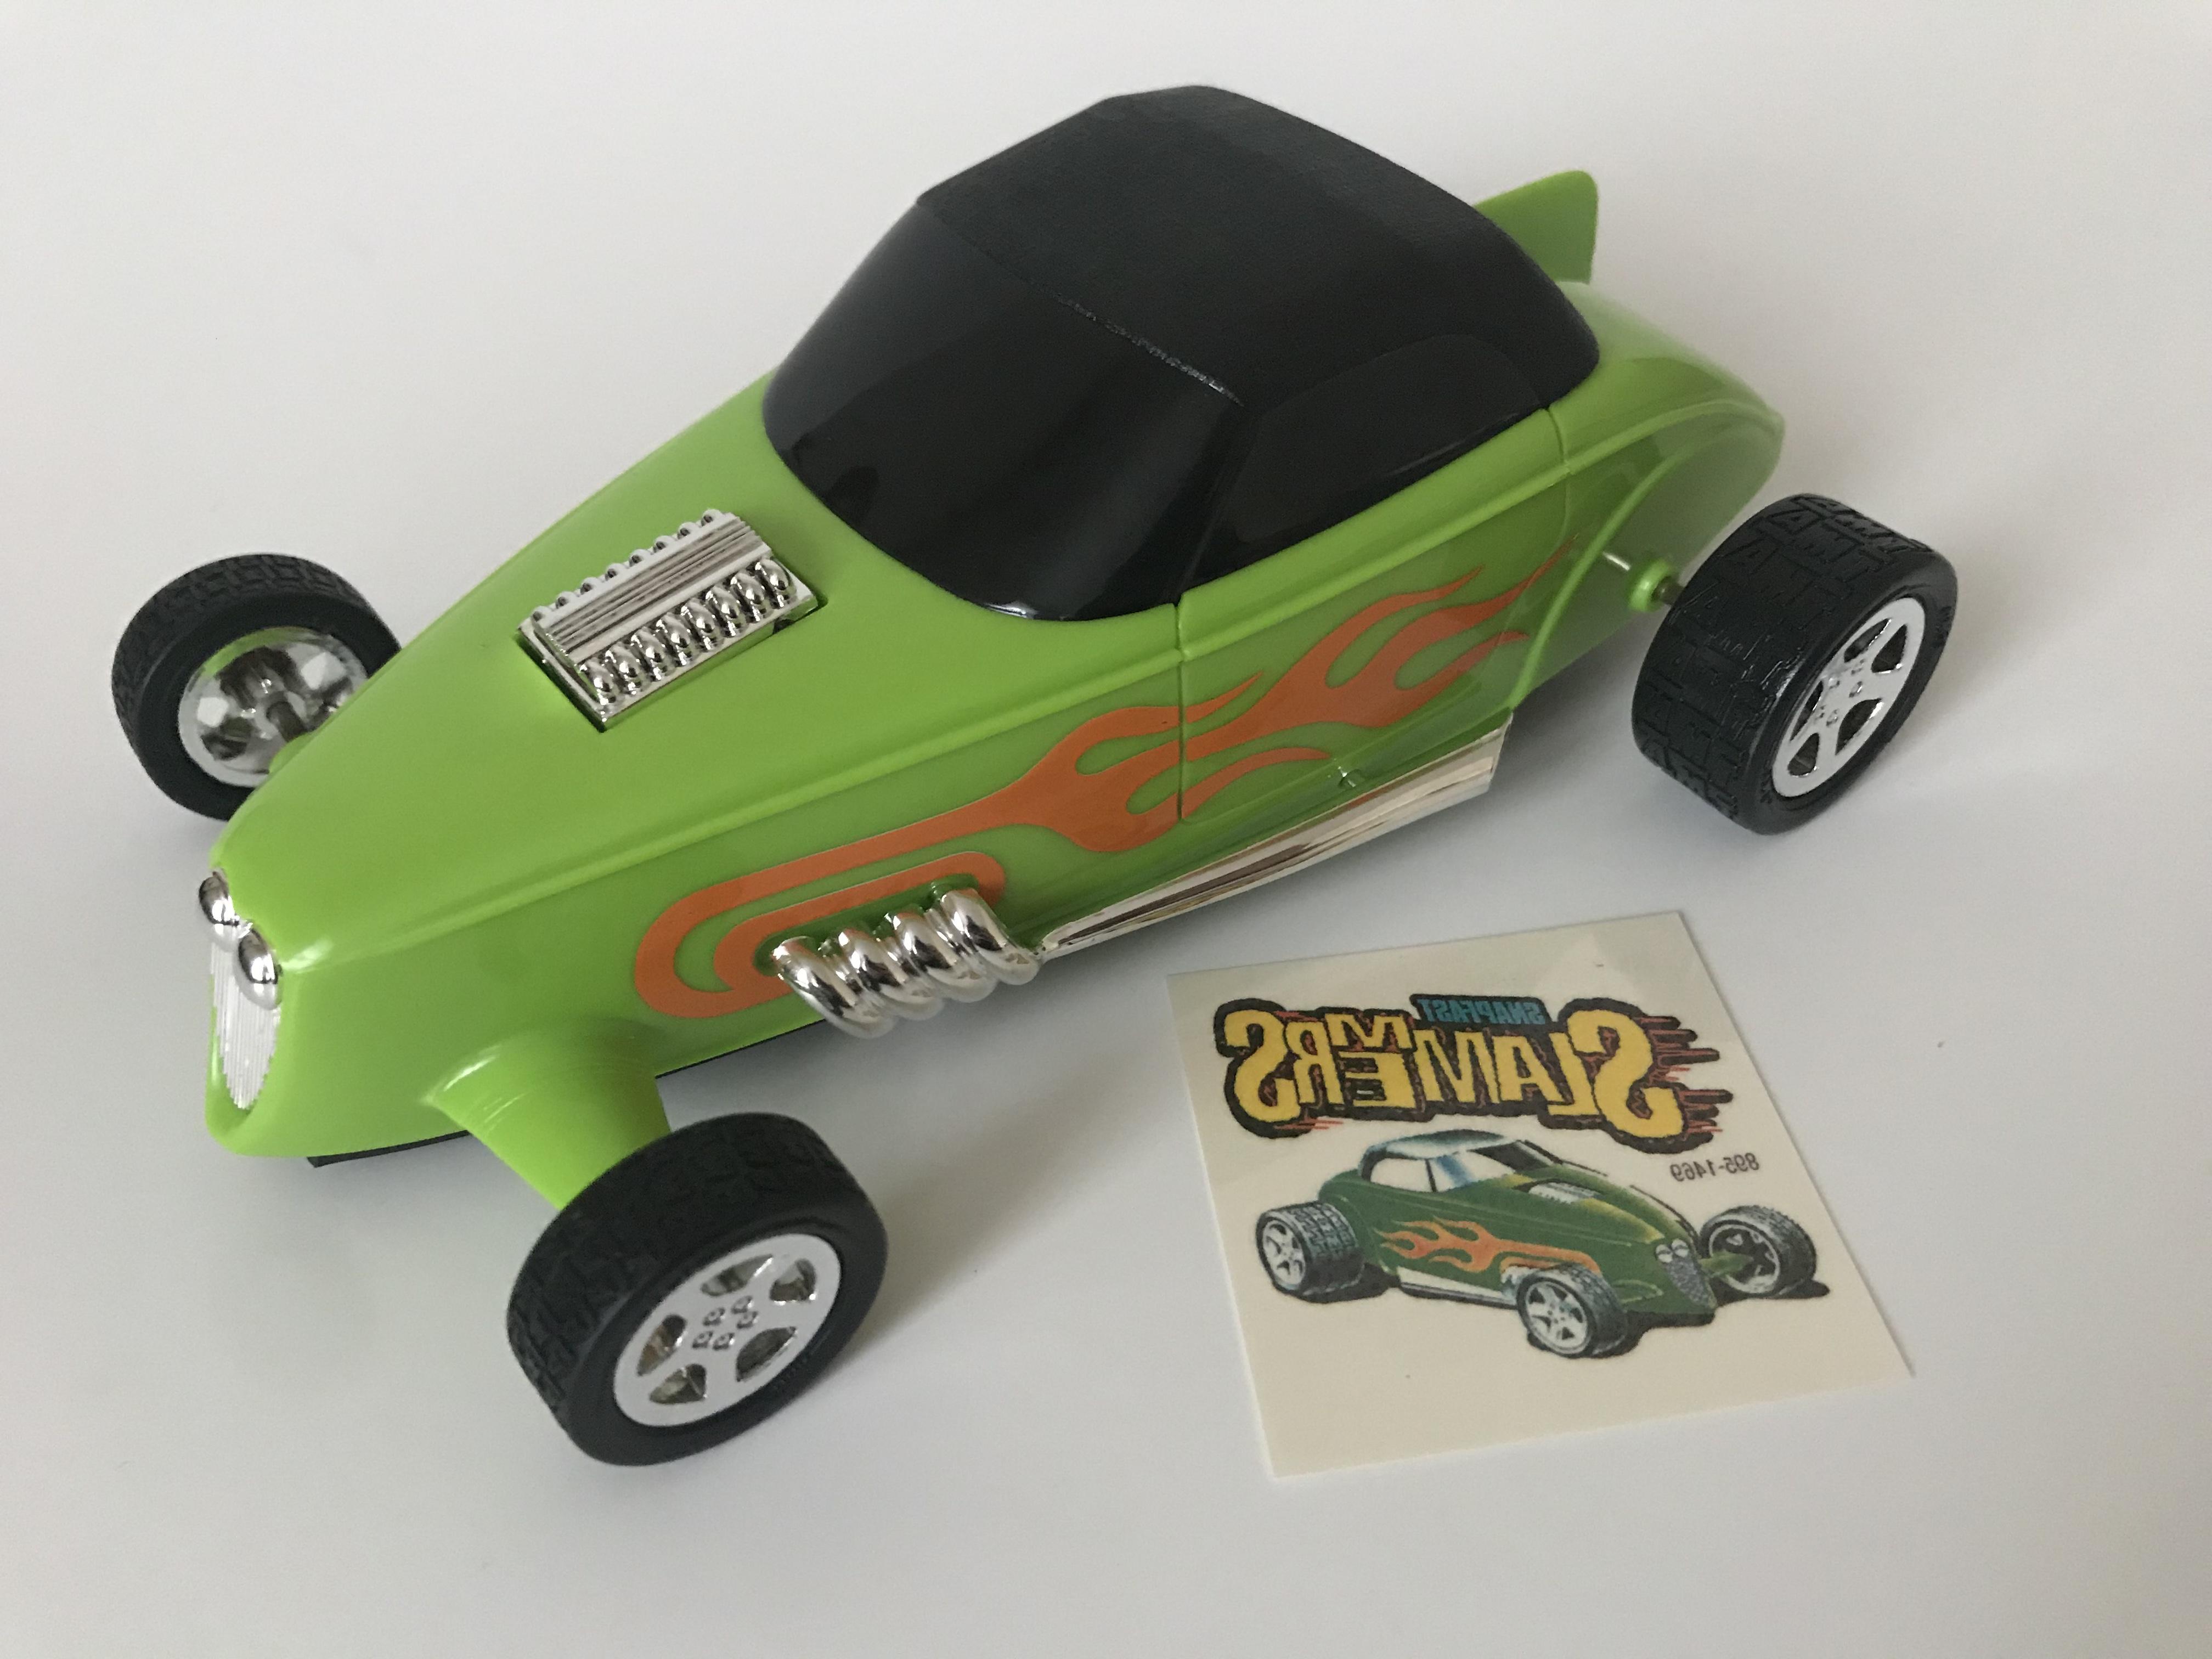
Got this today - just a little fun kit to mess with...$8 on Amazon! These kits have AMT logos on the tires ? And, weirdly, a temporary tattoo! ?
-
Mainly for my own amusement (and to check everything will still fit where I imagined it would go) a quick mock up of the interior parts all together.
-
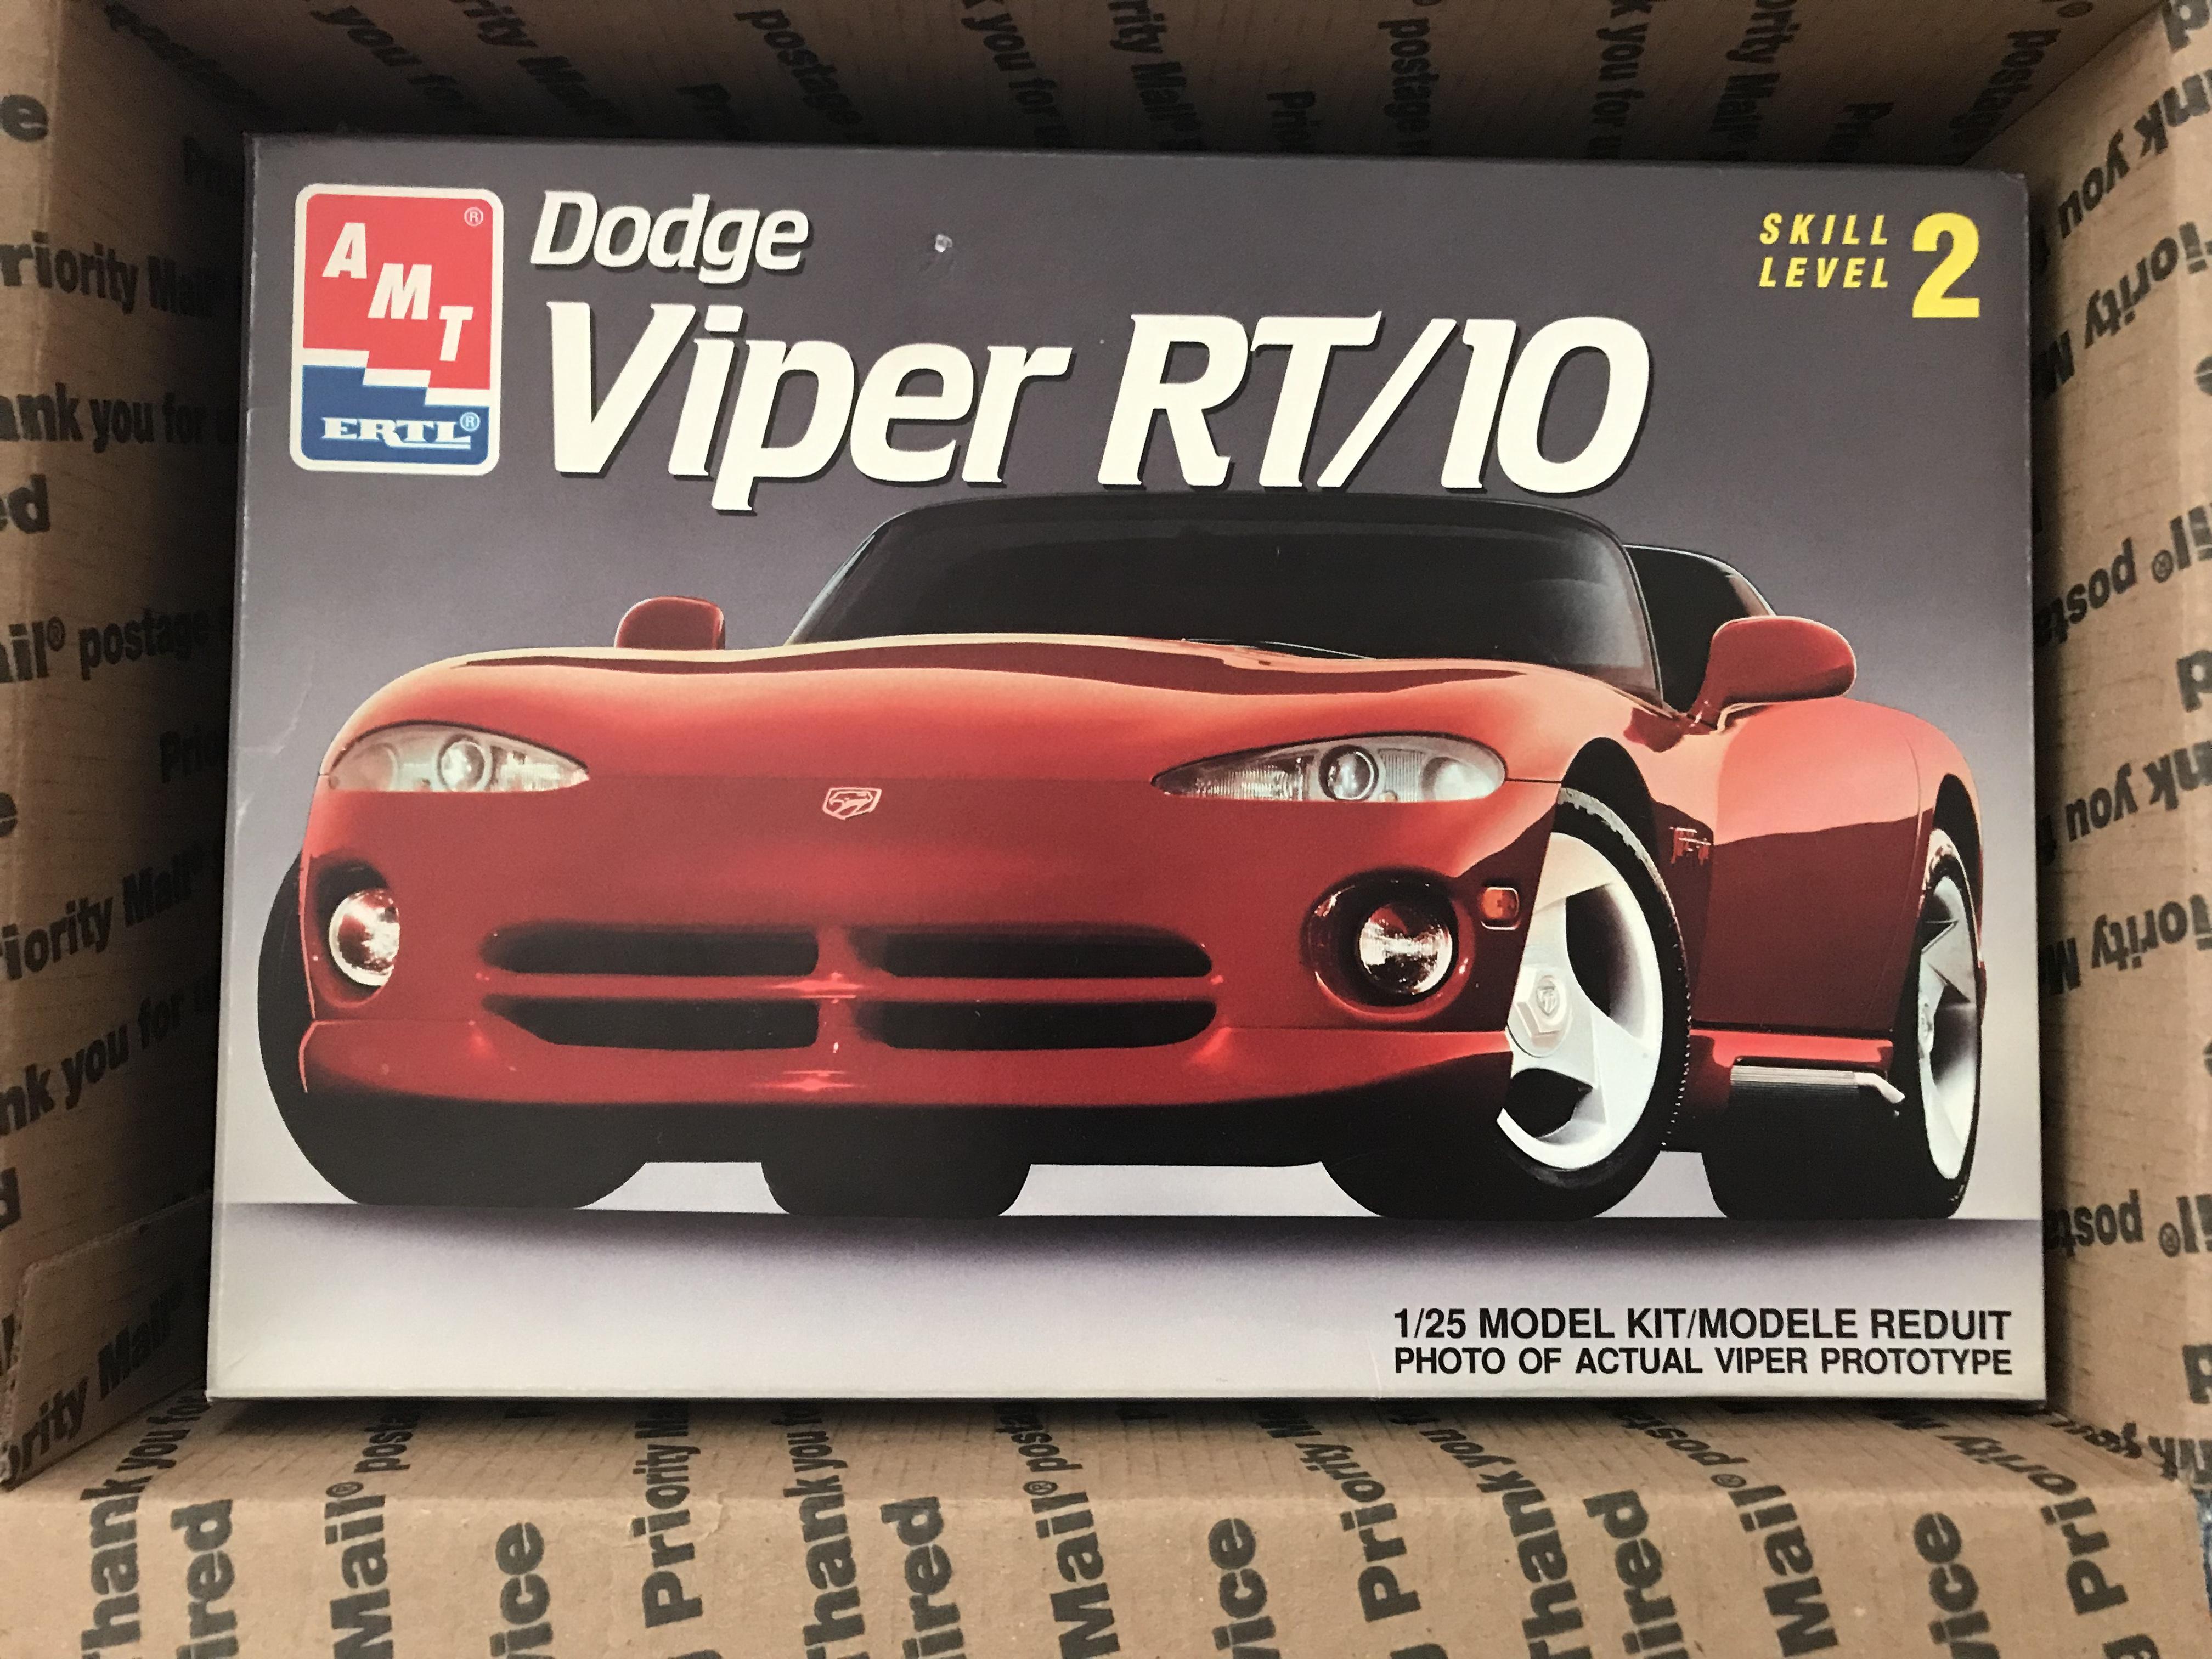
A $5 eBay find - I’ve been wanting to build one of these! Love those first generation Vipers! Anyone built one of these? I’d be interested to know if there’s anything to watch out for!
-
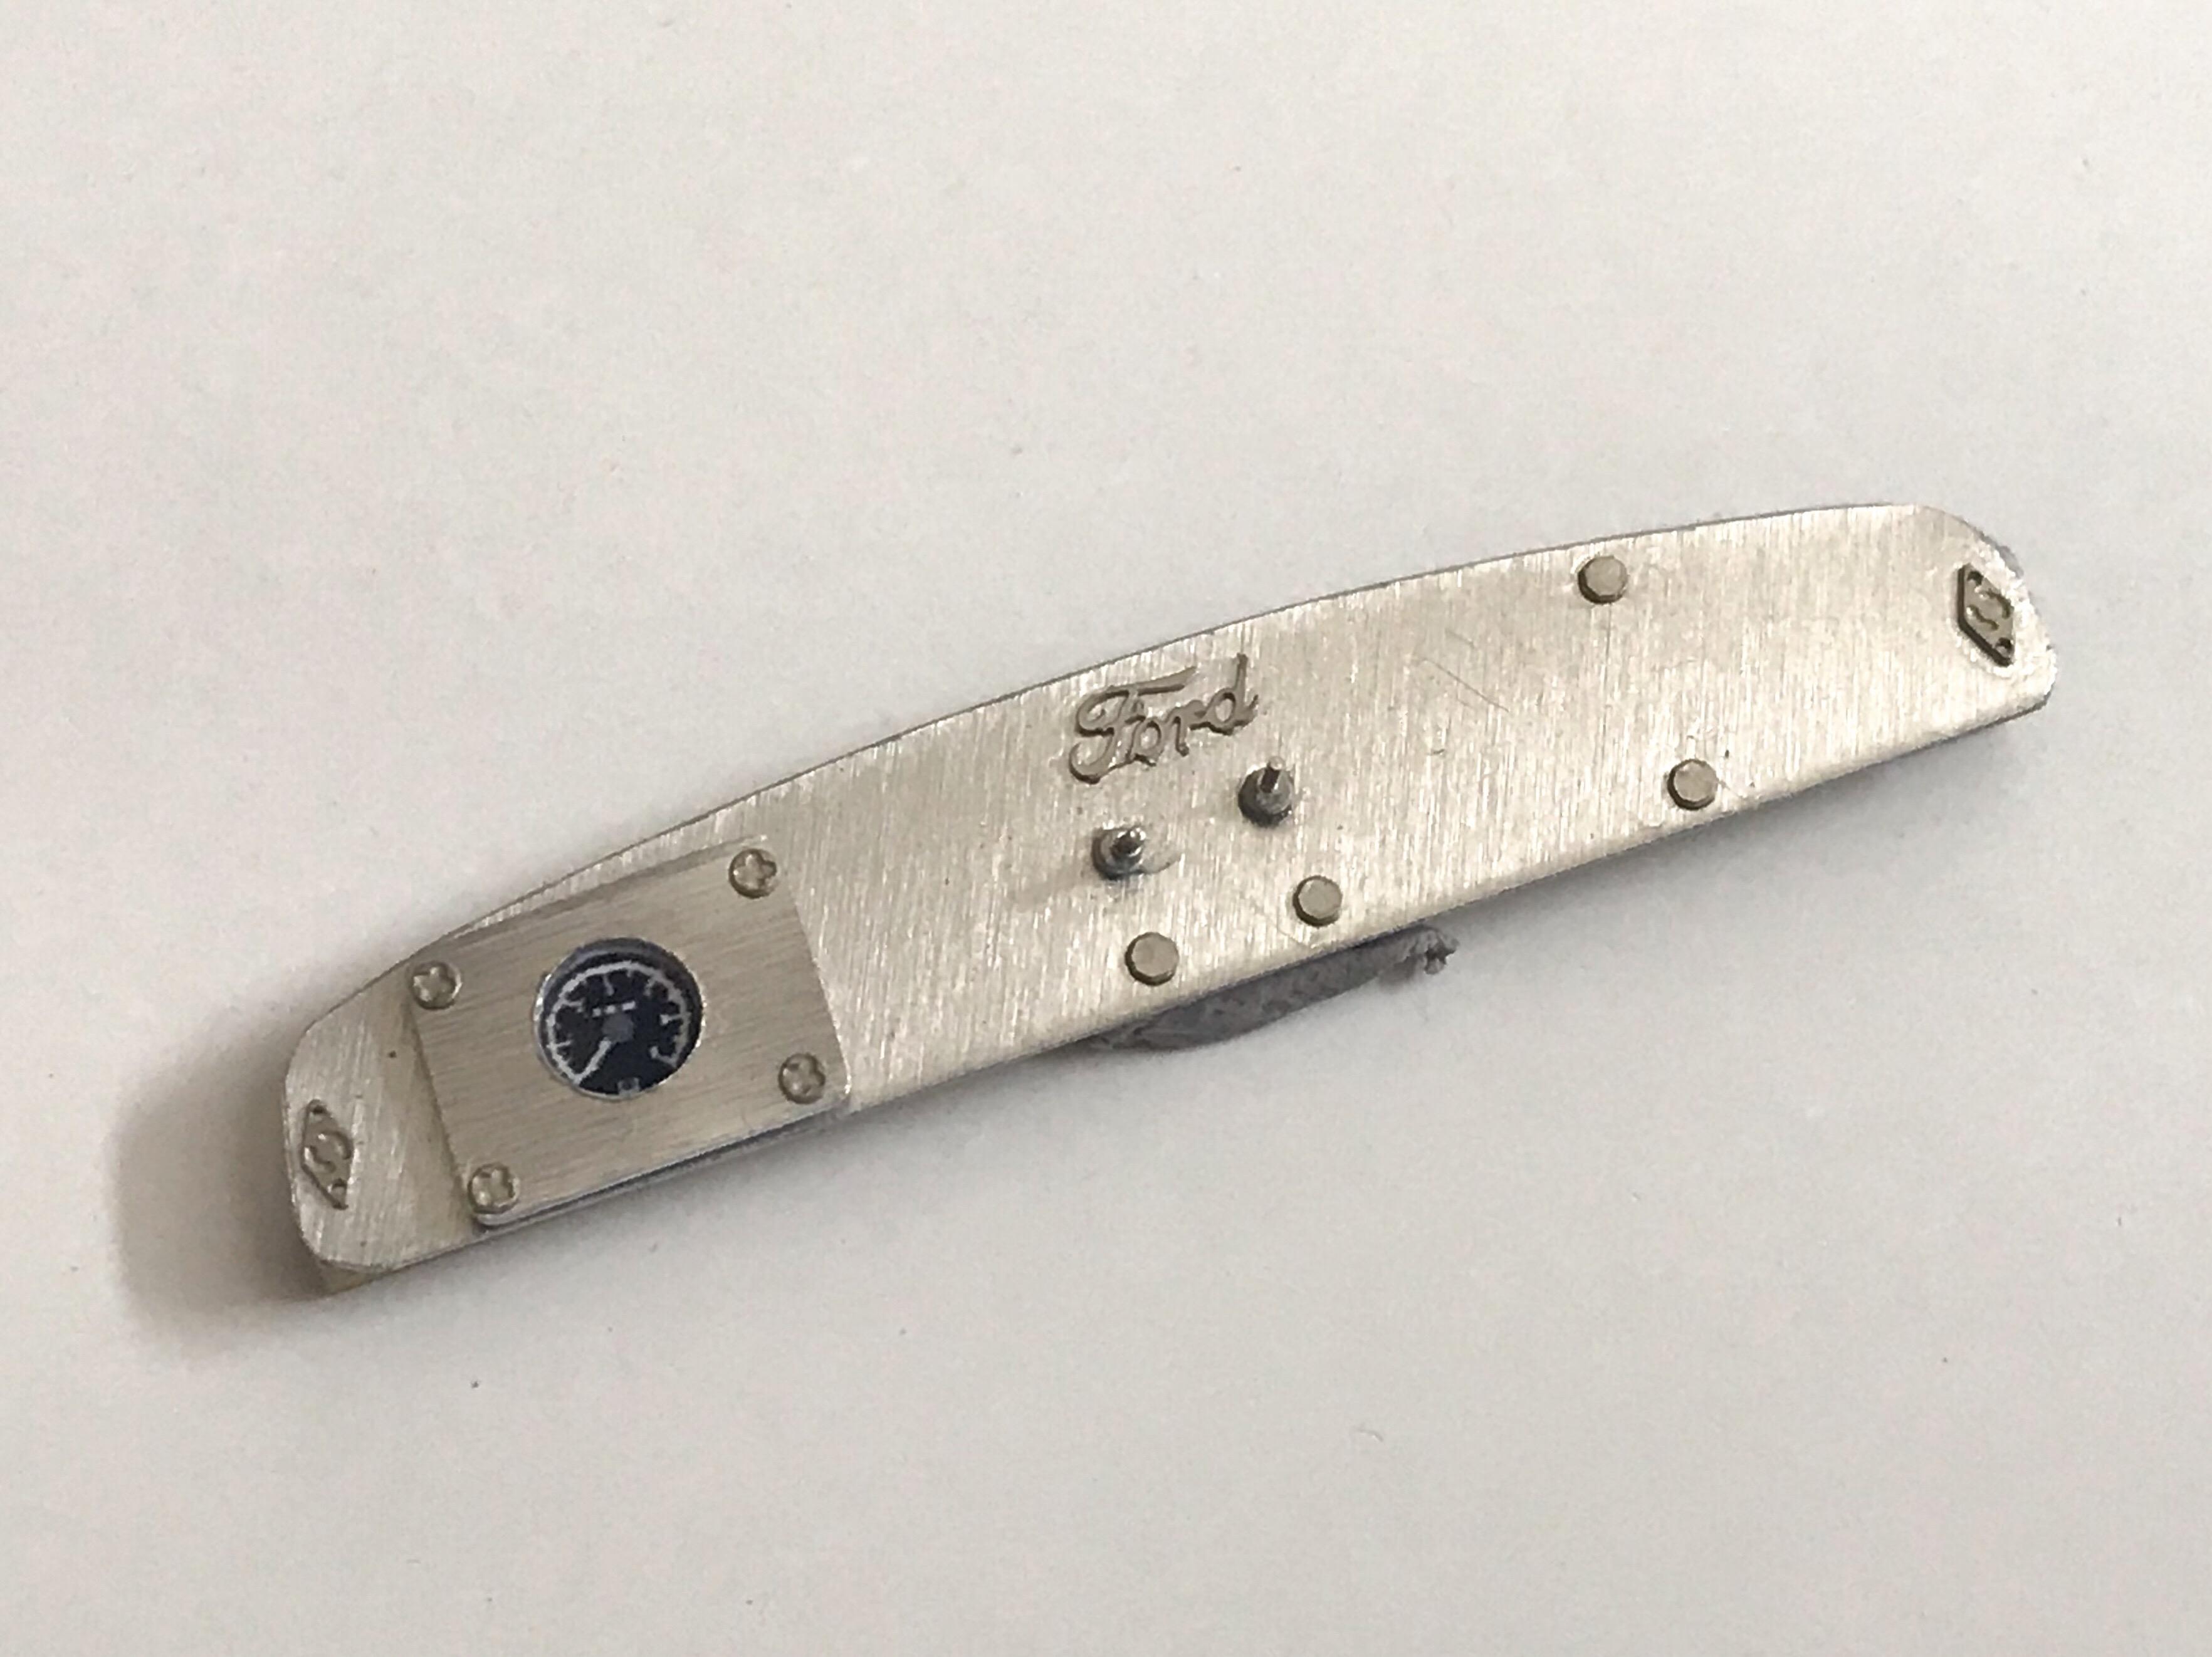
And one more little update, seeing as I’m working on this thing today - decided to make an aluminum dash (even though the kit came with two perfectly good ones AND I already made a third ??(. Used some photoetch details and some machined toggle switches (I figure this thing would need at least two switches - starter and main power maybe?) and a decal for the gauge i think this will look good with the wheel I did yesterday and those aluminum door panels. More soon, soon as I’ve done more!
-
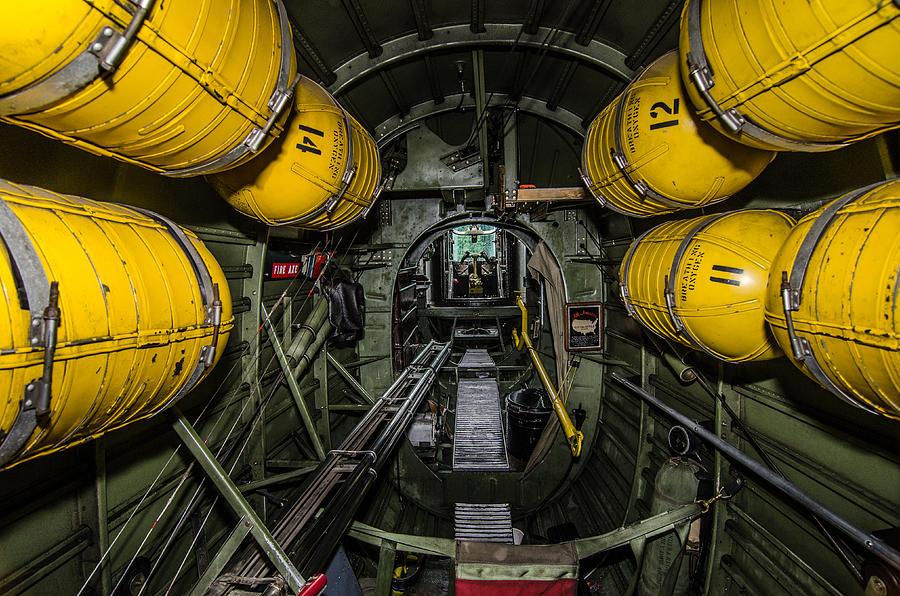
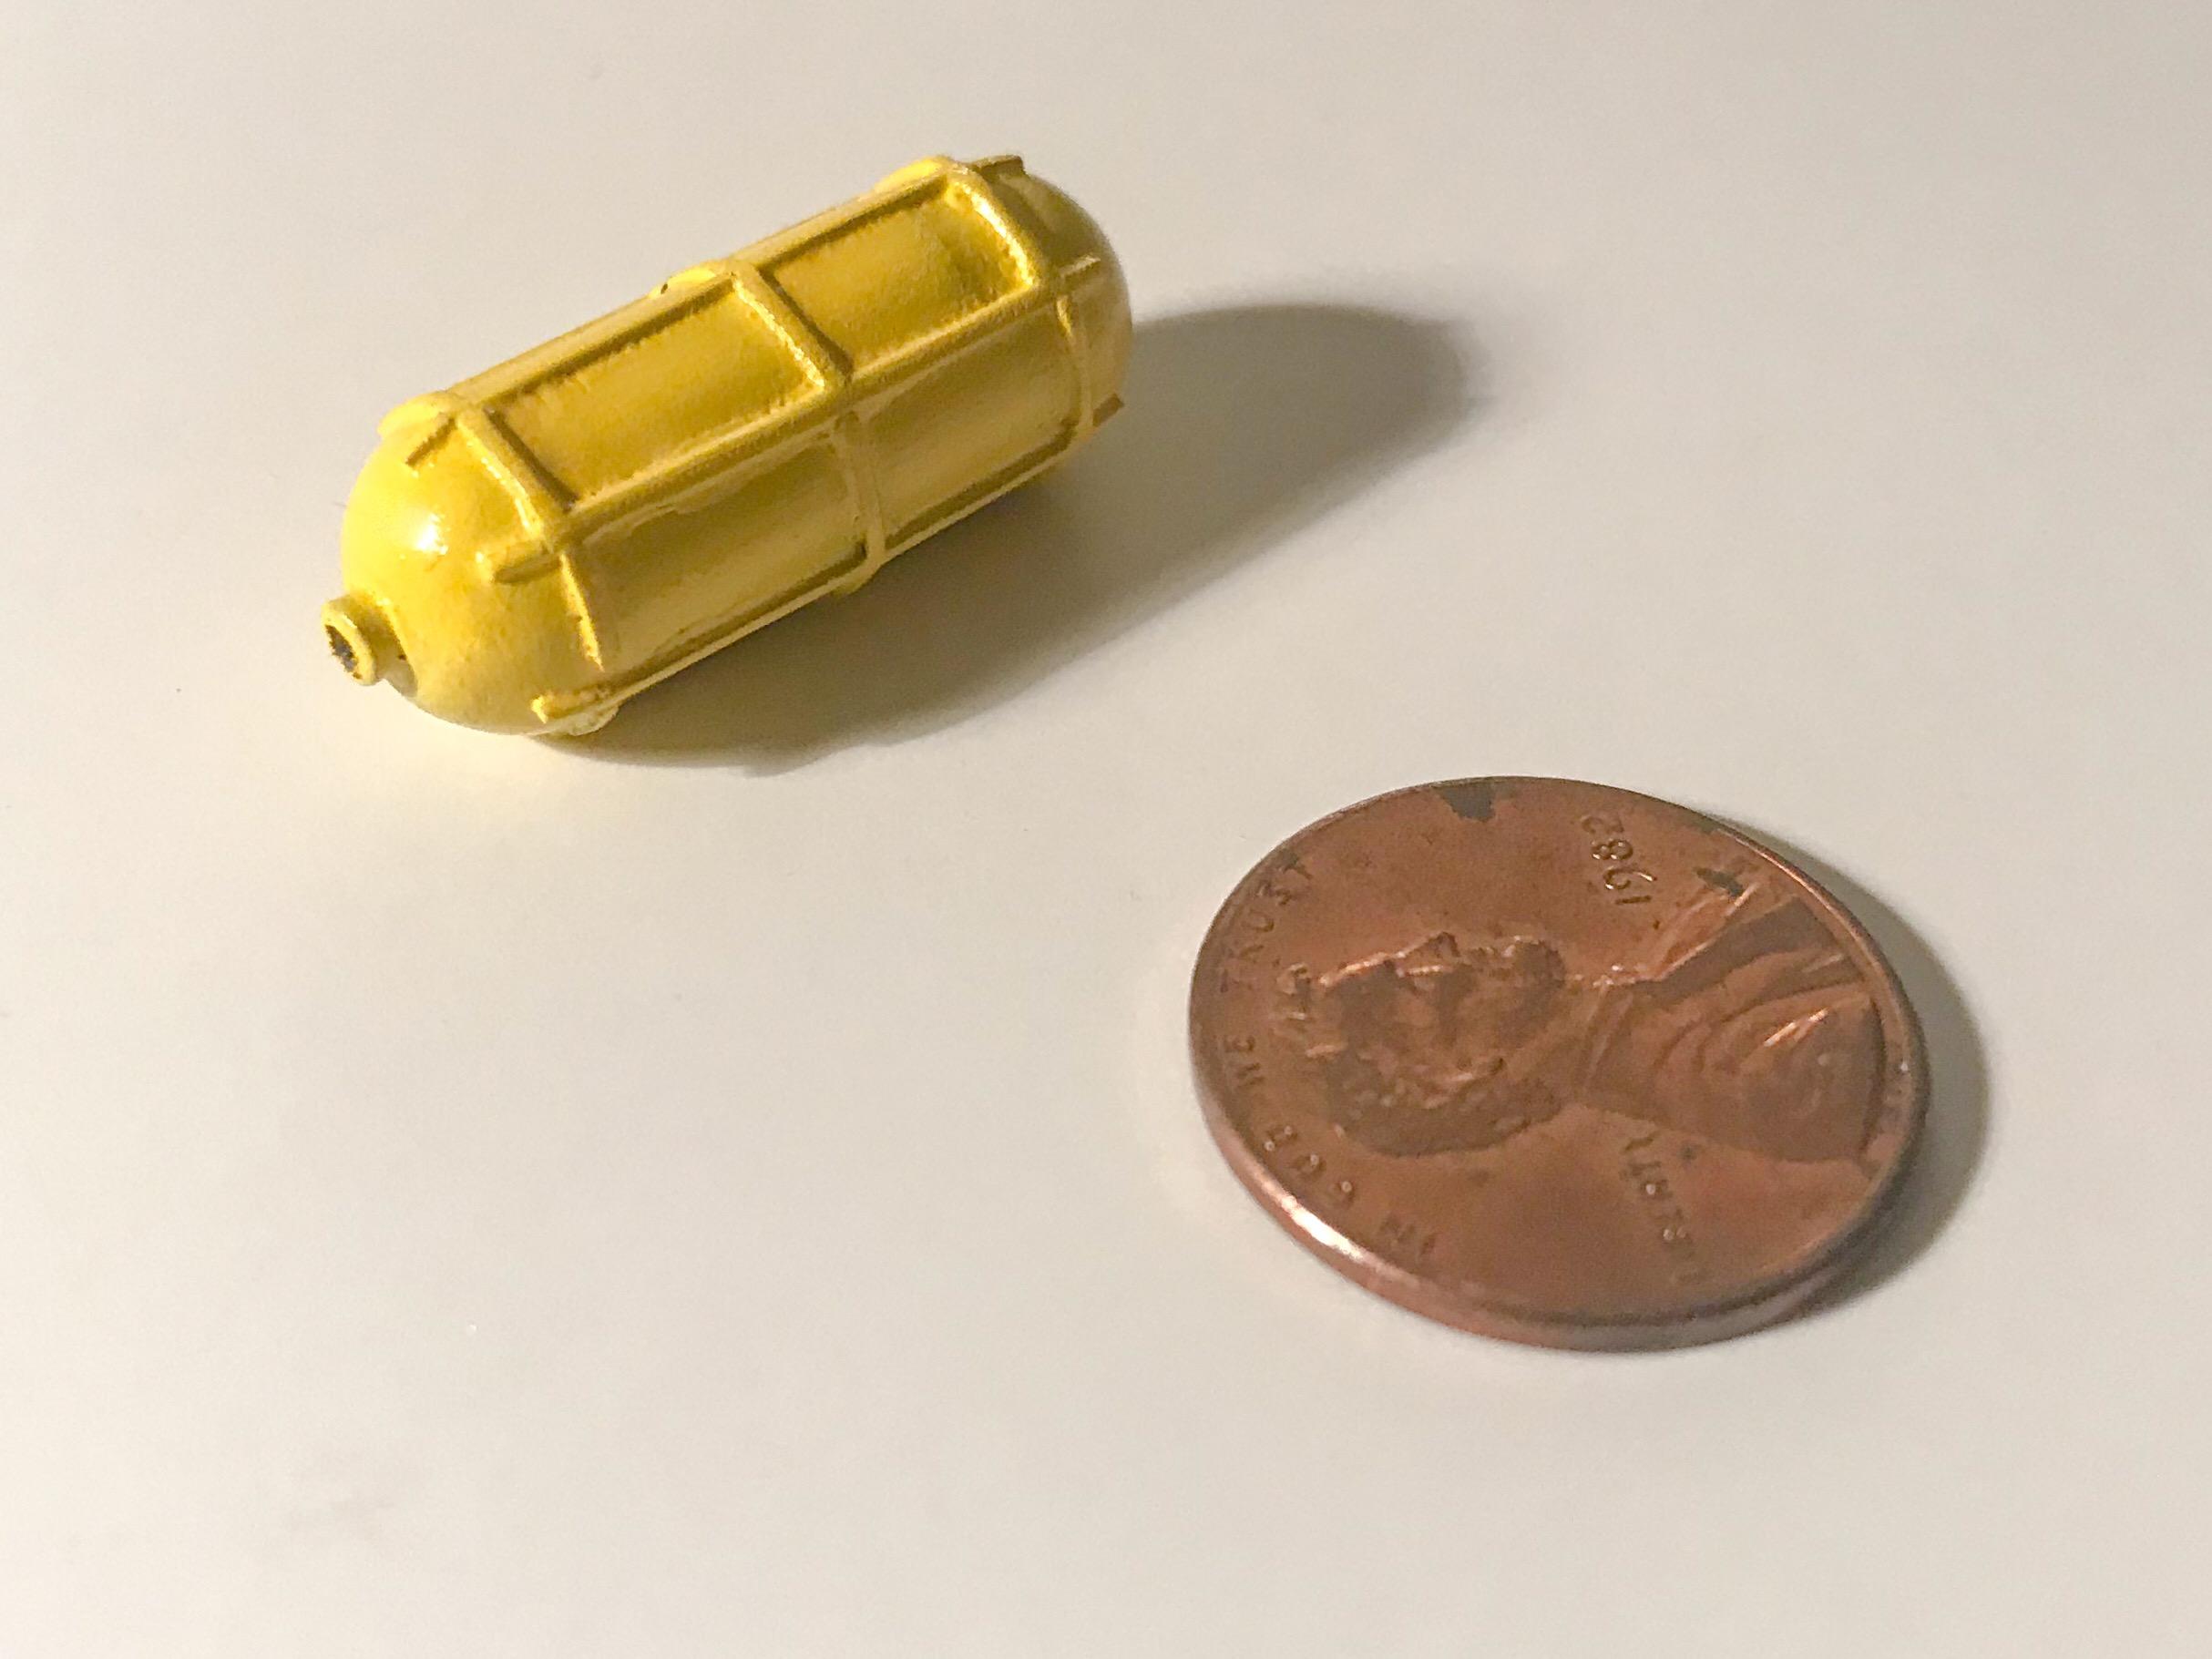
Thanks for the kind words everyone! A couple of small updates - I’m at the stage where everything is waiting to be painted and then detailed...I picked up a resin battery as the kit didn’t have one (presumably because it would be hidden if I’d build this as the manufacturer intended anyway) and I’ll detail that this week and make a small aluminum tray for it to mount in...and I had the idea of doing a gas tank inspired by the old WW2 oxygen tanks that some of the bombers used to have - like this: I’m not trying to match it exactly as it’s going to be hidden right in the back of the car somewhere where all but the most inquisitive won’t see it anyway, but I liked the idea that maybe someone in a shop somewhere saw those and built something like it...this is it in progress...need to make some mounts and add lines and some more little details but it’s roughly how I imagined it should look anyway: I was also reading about old steering wheels, and how they would wrap them in string or tape, presumably to make them easier to grip, so I did something similar to mine with some Washi tape, with a couple of washes over the top to add some age and depth to it. I’m building this as if it was a modern build of an old style car (hence the paint being a bit shinier than it would have been, and no weathering of any of the parts really) but I wanted to do the wheel as if it had been on there forever and it had so much character and such a cool look that they left it on there without messing with it More soon, soon as I’ve done more!
-
Hey, Round 2, Moebius....
OldNYJim replied to Richard Bartrop's topic in General Automotive Talk (Trucks and Cars)
Imagine THAT turning up at your house as a nine year old, and having to explain to your Mom what it's doing there -
Lighting a display box for a model
OldNYJim replied to OldNYJim's topic in Model Building Questions and Answers
You know how sometimes a solution is so simple that you don’t even think of it? I guess this was one of those. I looked up LEDs for model lighting, lighting kits for sci-fi models, lighting kits for RC stuff...I absolutely should’ve just thought about under-cabinet lighting like these. Brilliant, thank you Ace! Embarassadly yours, Jim ? -
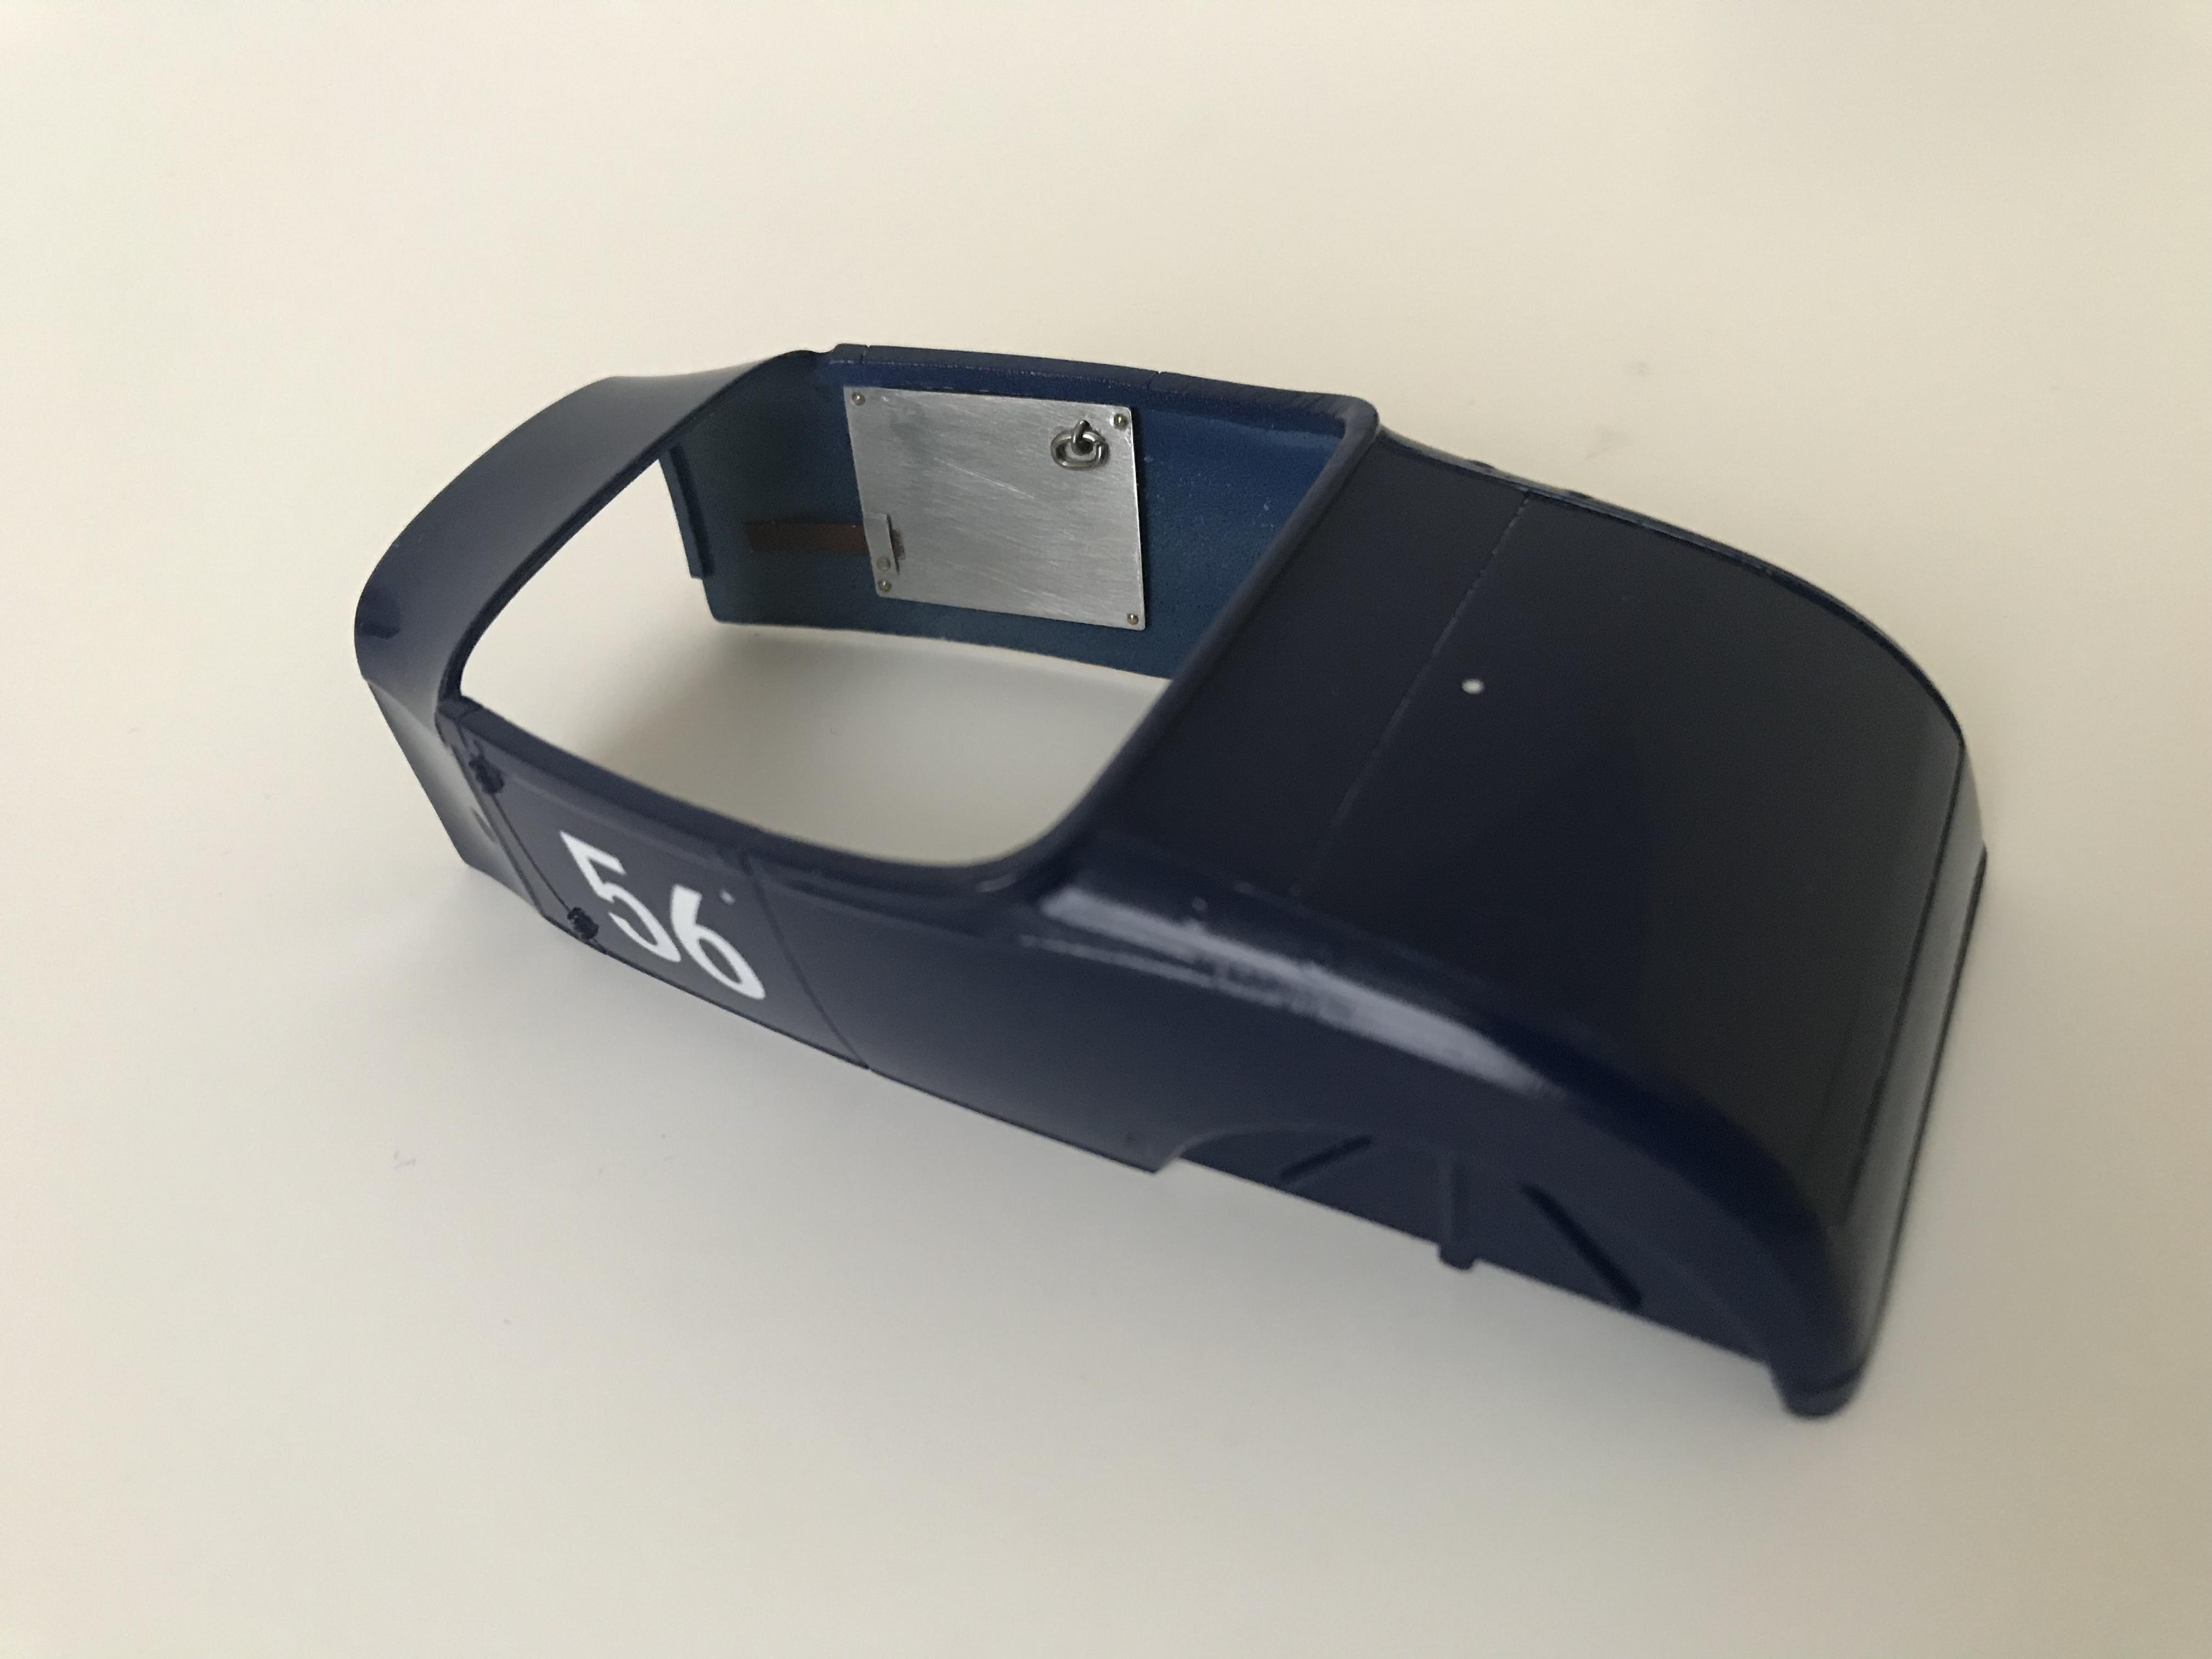
So, I had an idea for a little display with a model inside a plastic case - something like the pic attached (excuse my poor technical drawing skills ?). It would probably be similar size to a regular kit box I guess - but I’d like to build something into the top part of the box to light the model nice and bright. I’m a pretty competent solderer so rigging up some LEDs to a little battery pack doesn’t worry me too much - but I’d be interested if anyone knows of any suppliers who sell something ready-to-use along the lines of what I’m thinking. Does anyone have any experience with this kind of project? i did a search of the forum and found some useful info about lighting kits for particular models but not so much about lighting a display case like this...
-
What did you see on the road today?
OldNYJim replied to Harry P.'s topic in General Automotive Talk (Trucks and Cars)
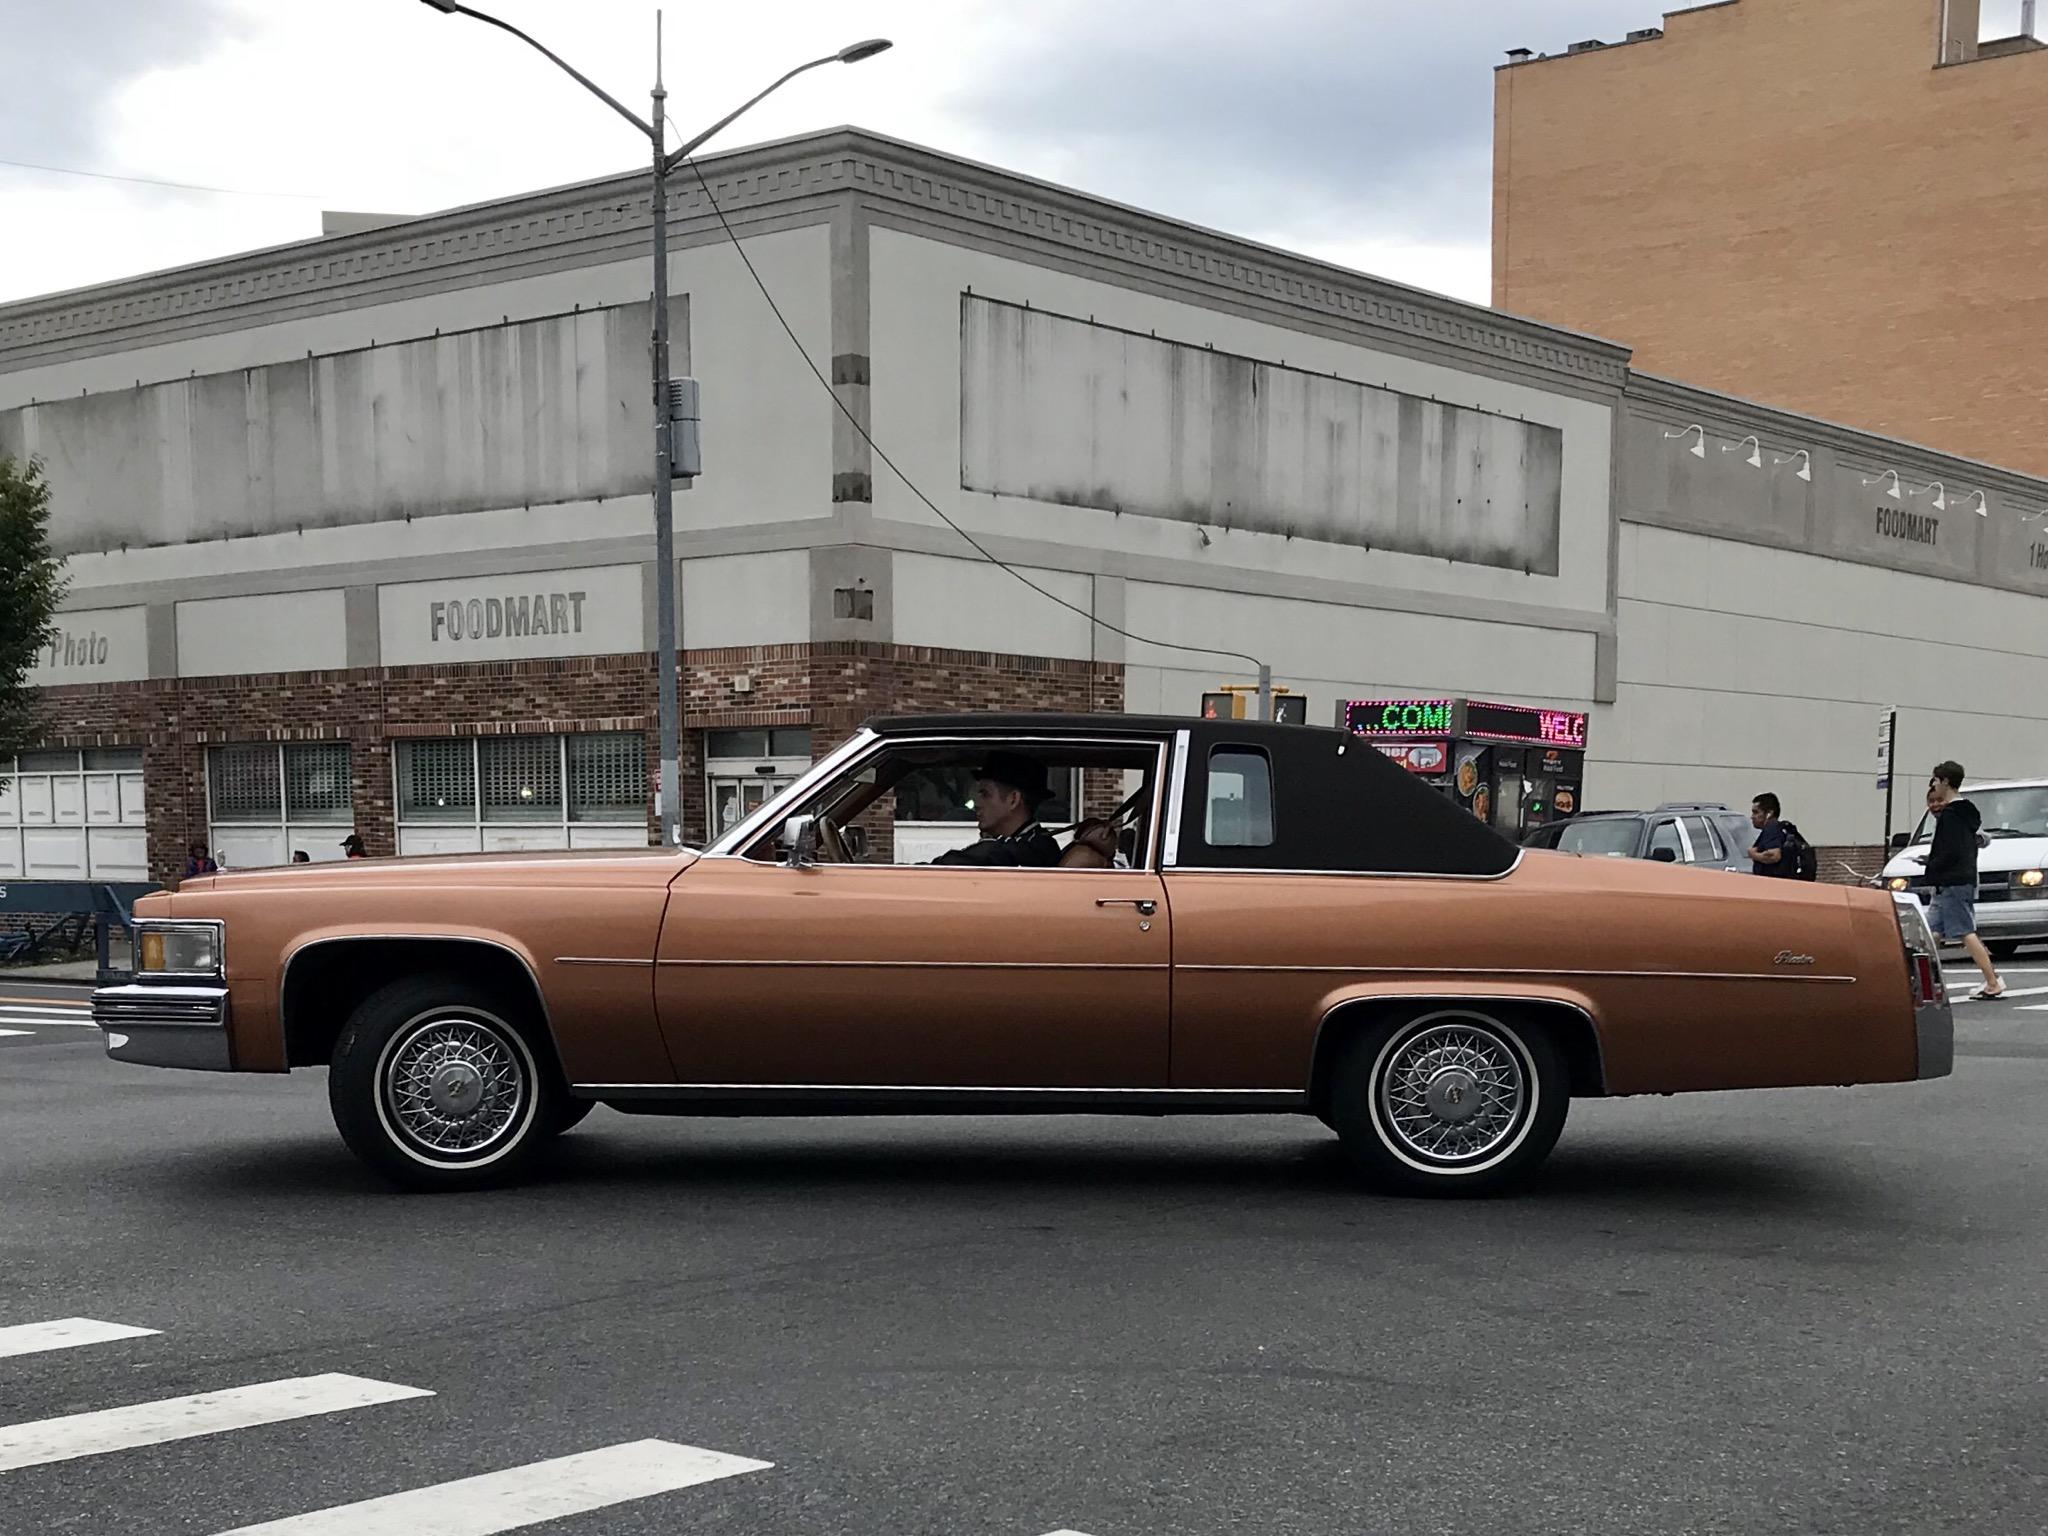
This past week’s sightings from in and around Brooklyn, NY
-
I’m usually just SURPRISED when a plan comes together ?
-
I’m with Steve on the Elmer’s - our local Walgreens had a back to school special on all the varieties a couple of weeks ago so I picked up the clear and purple (goes on purple, dries clear) varieties to see if any of the other varieties work any better than the white stuff (which admittedly works pretty well for me anyway)
-
This looks great already! I love it! Can’t wait to see more!
-
Another little update, seeing as I’m on a roll apparently - I love when a load of parts start coming together suddenly! Got the door panels made; I used some aluminum from the lid of a tin of nuts, added some brass rivets, made some door handles (meant to be reminiscent of those on a ‘33 Ford, although not an exact replica) and added catch straps to stop the doors swinging open and dinging that freshly polished paint ?