dino246gt
-
Posts
2,244 -
Joined
-
Last visited
Content Type
Profiles
Forums
Events
Gallery
Everything posted by dino246gt
-
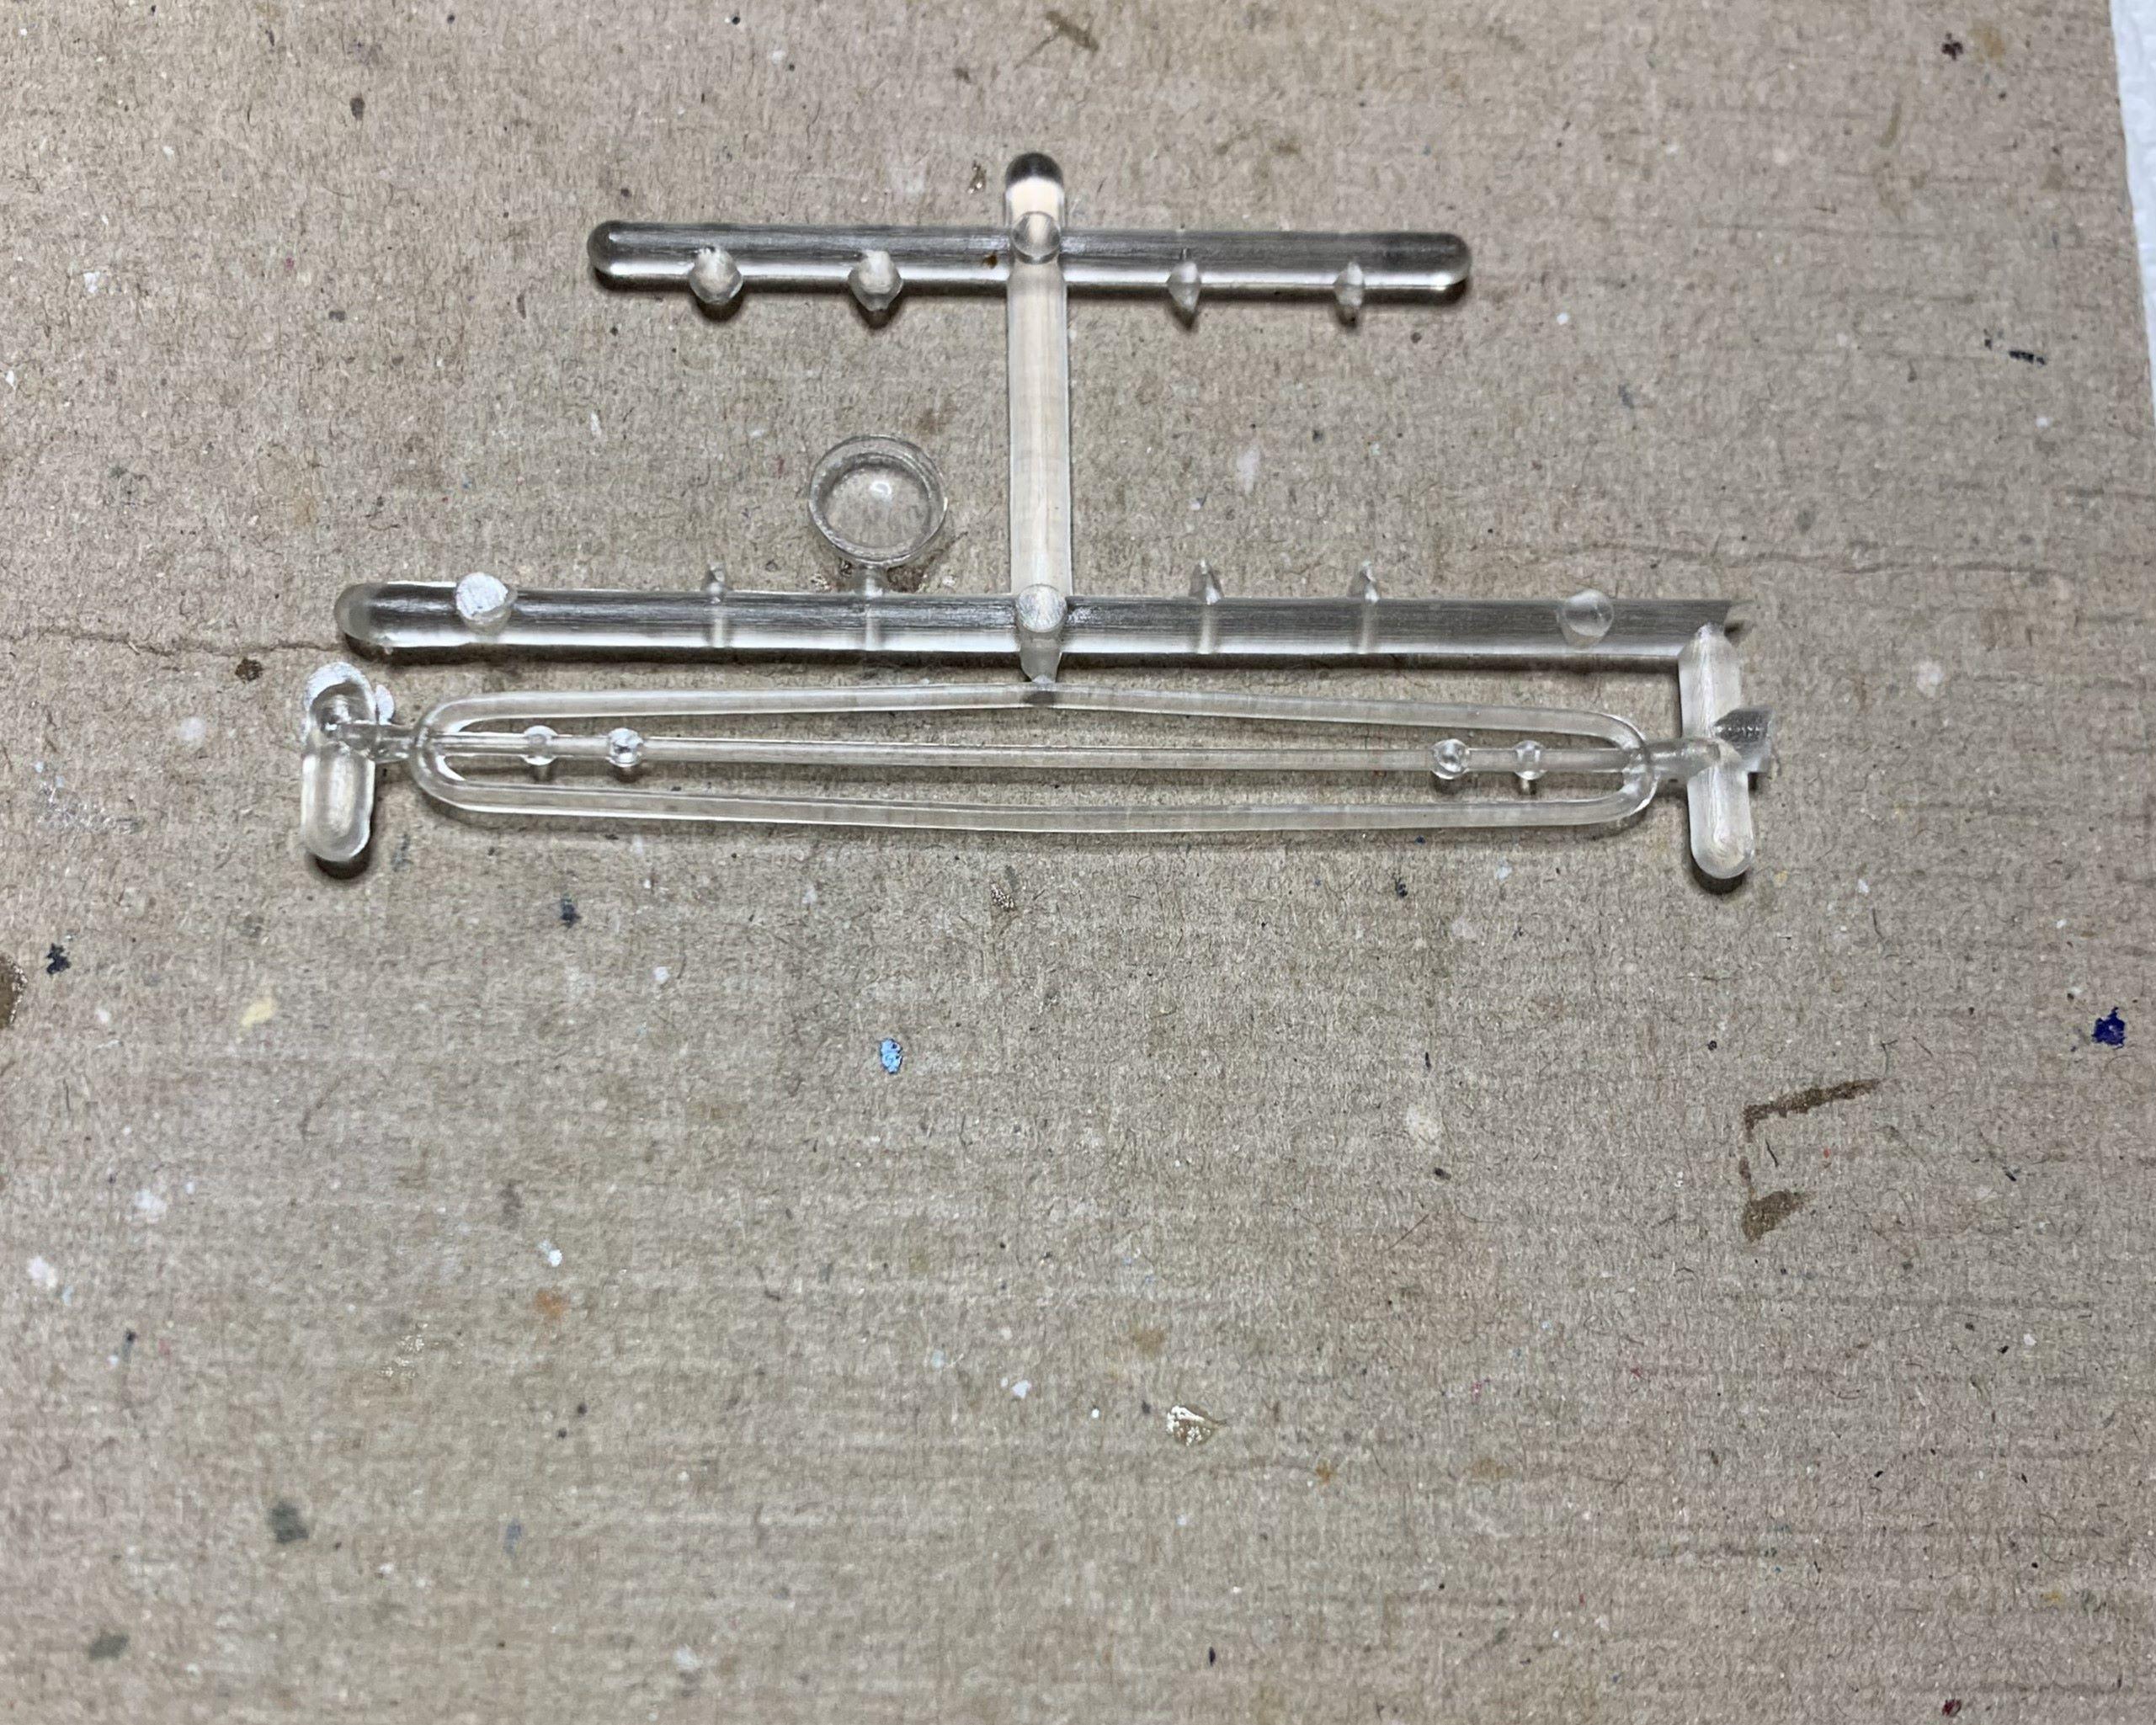
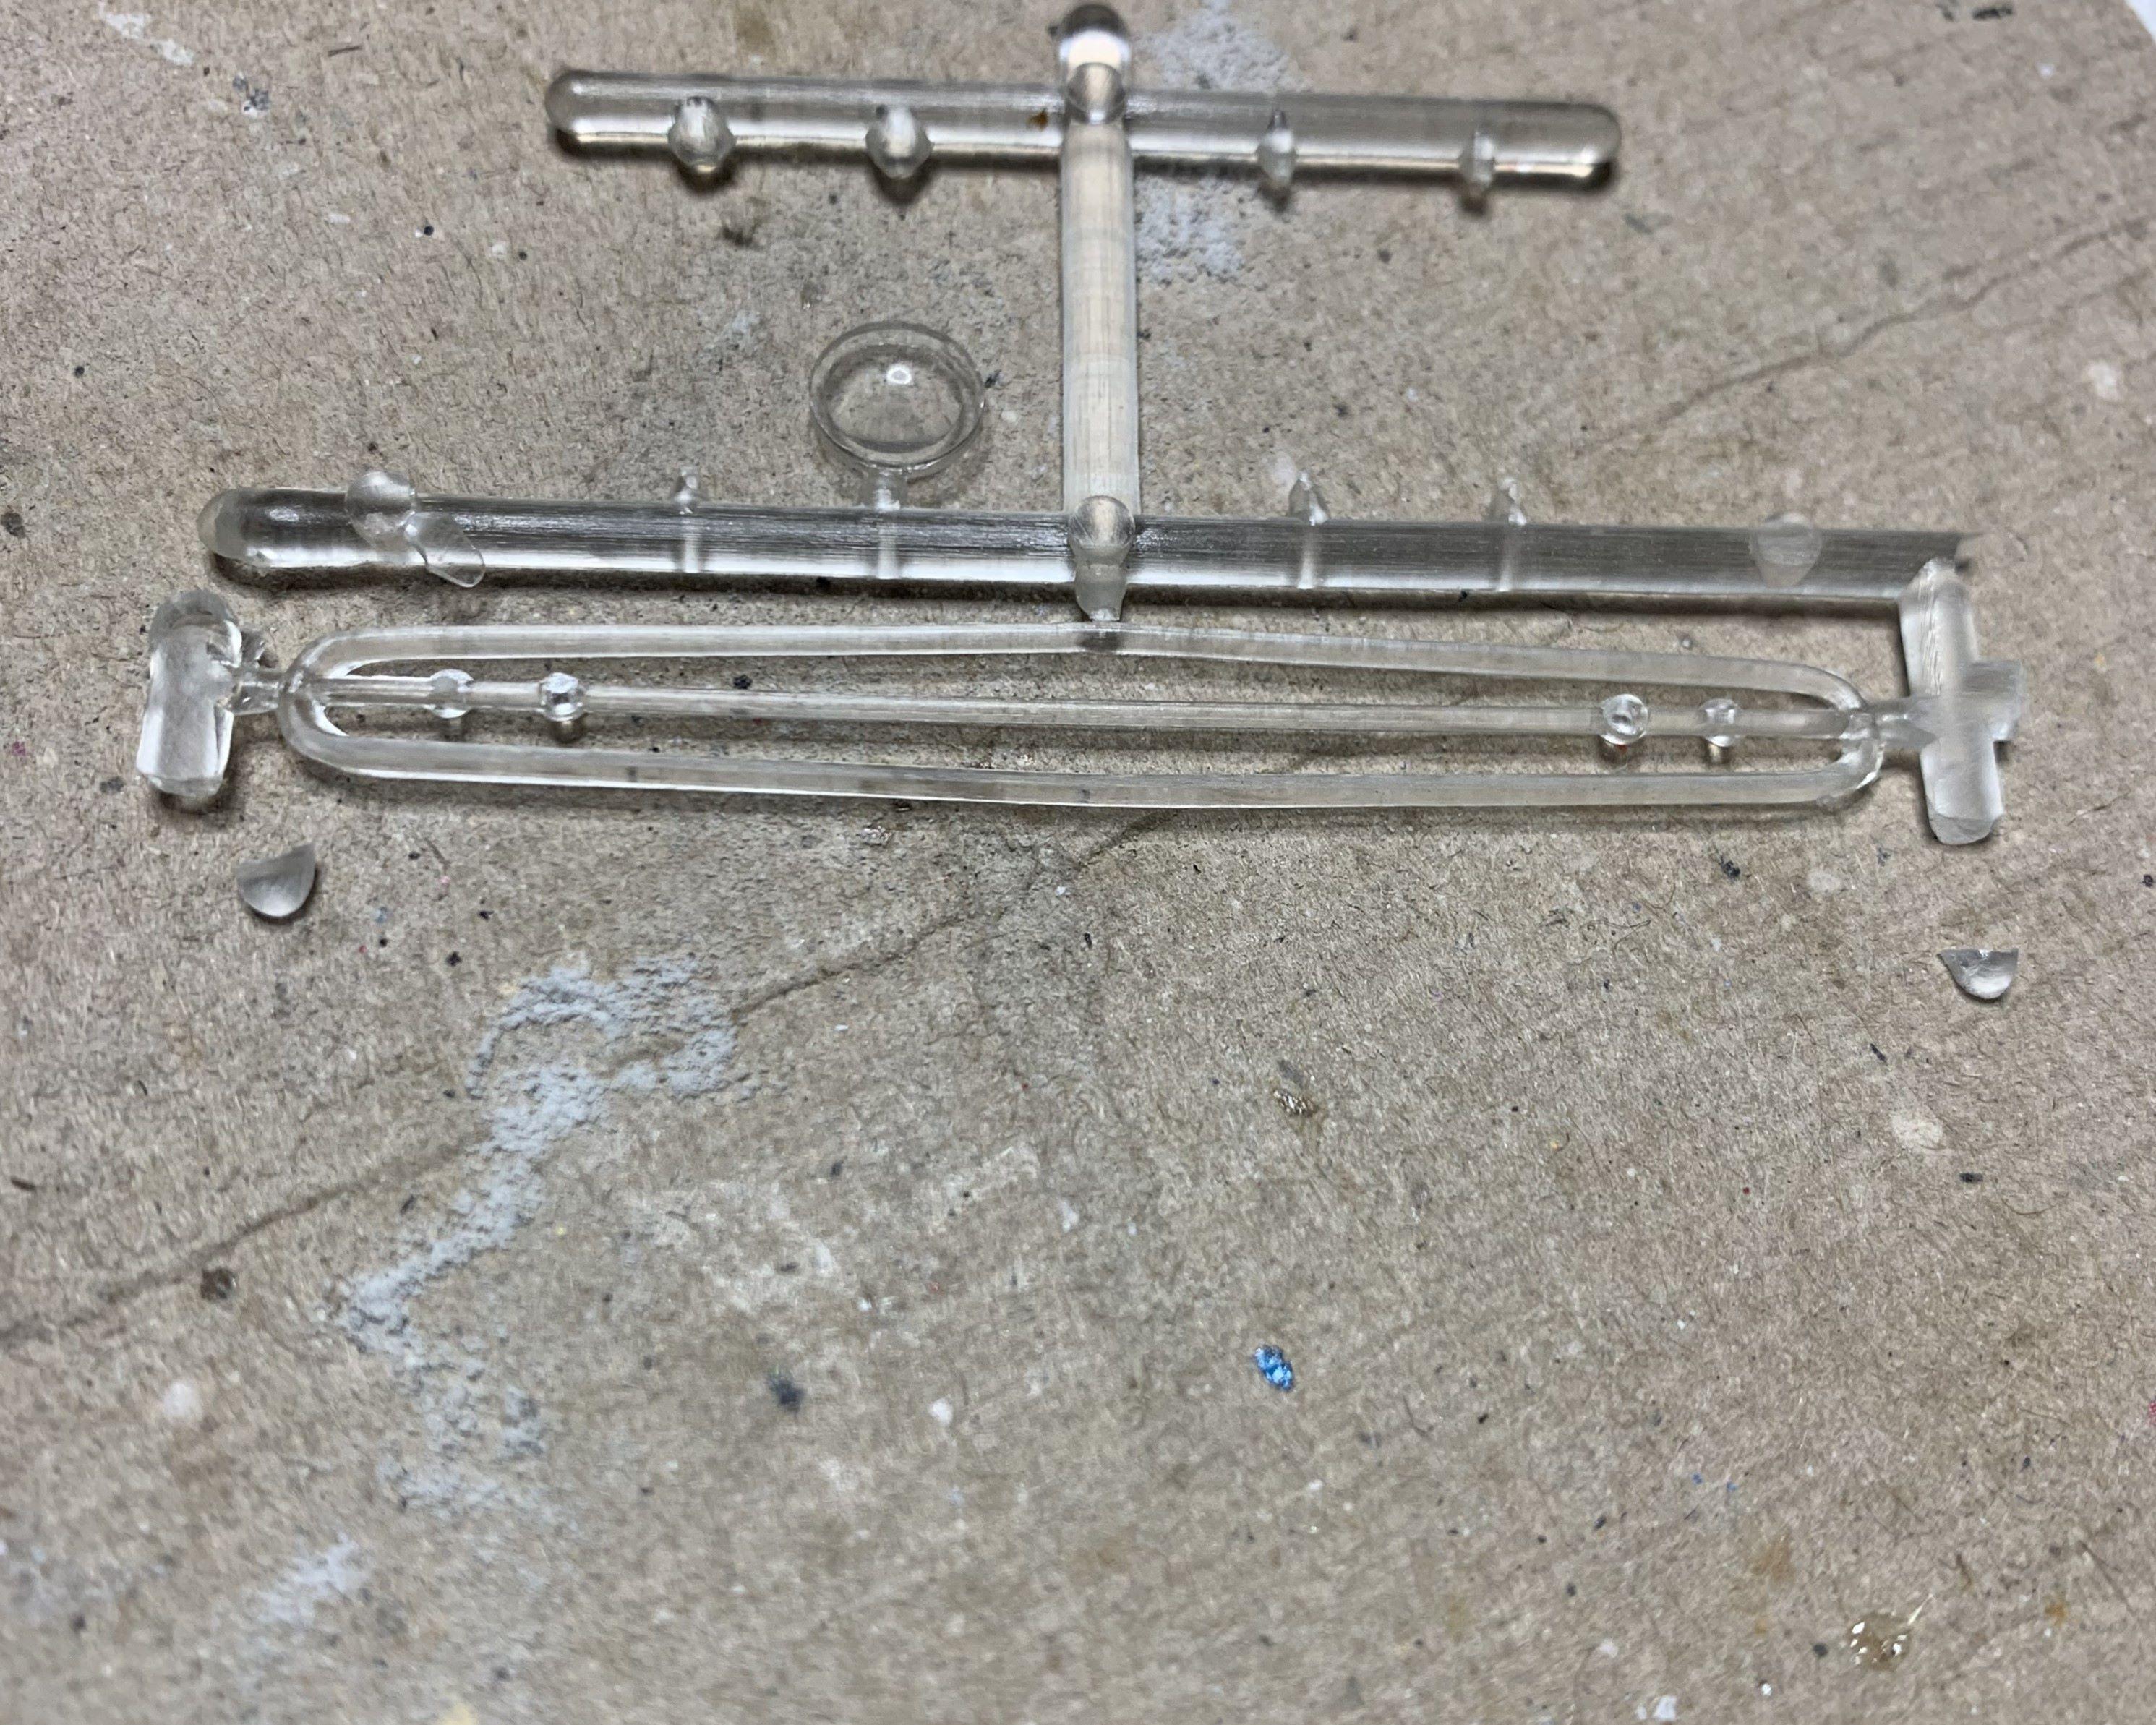
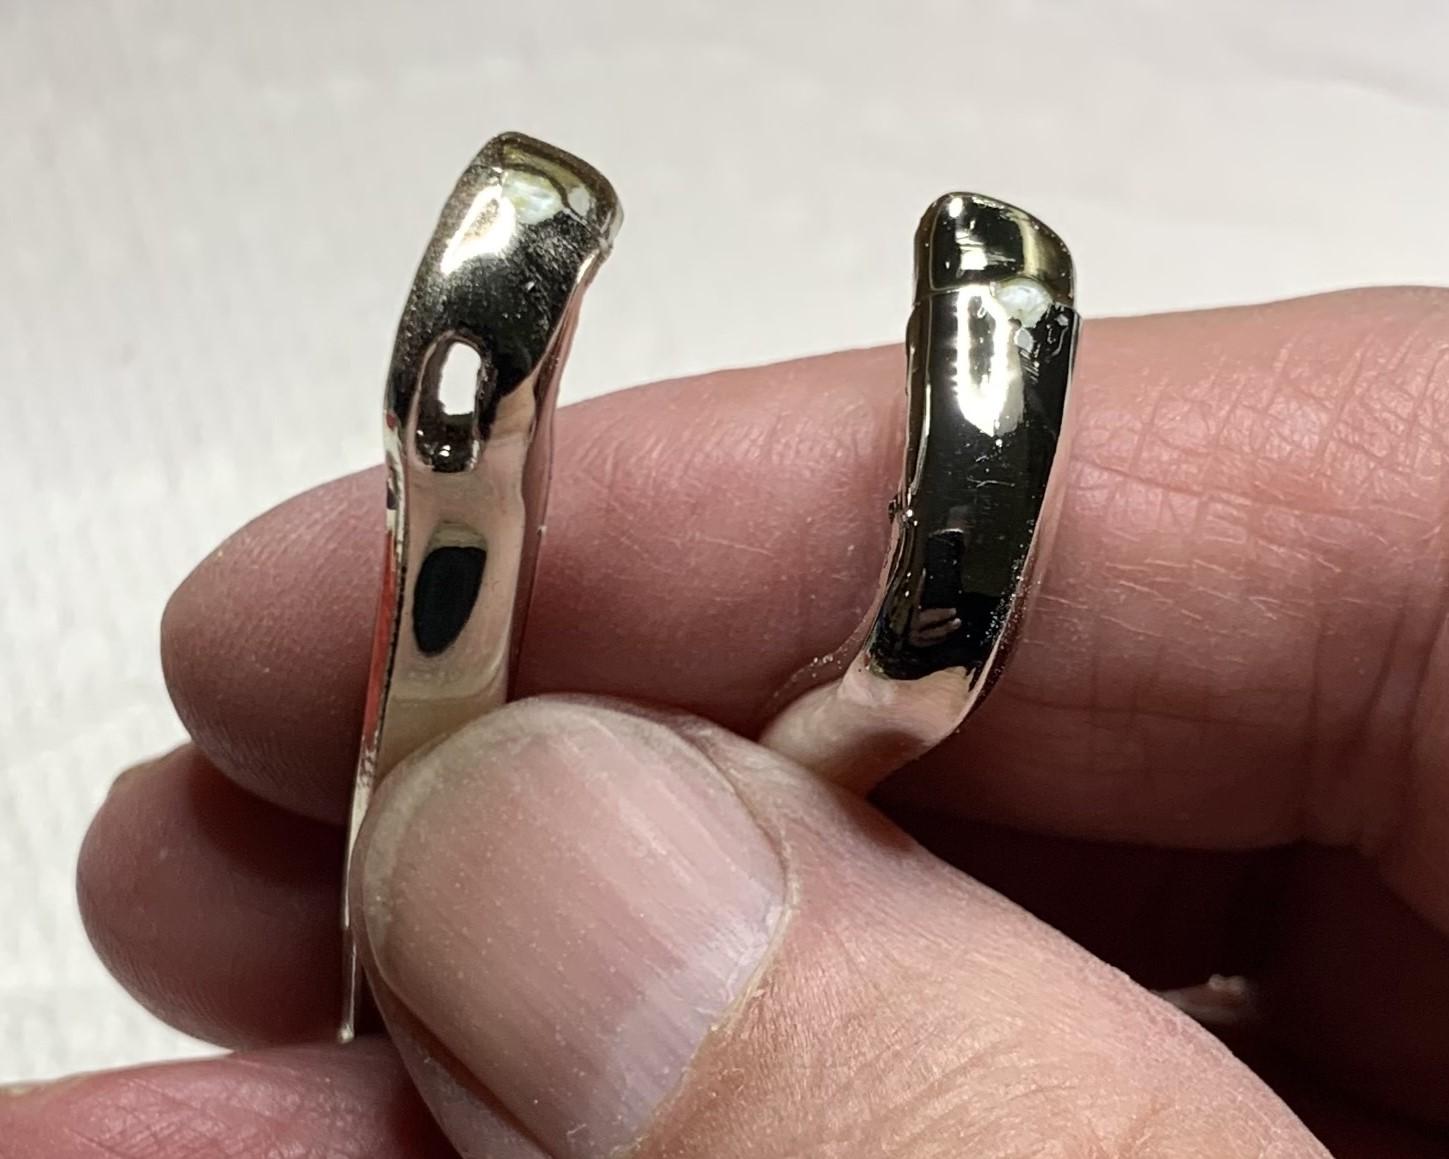
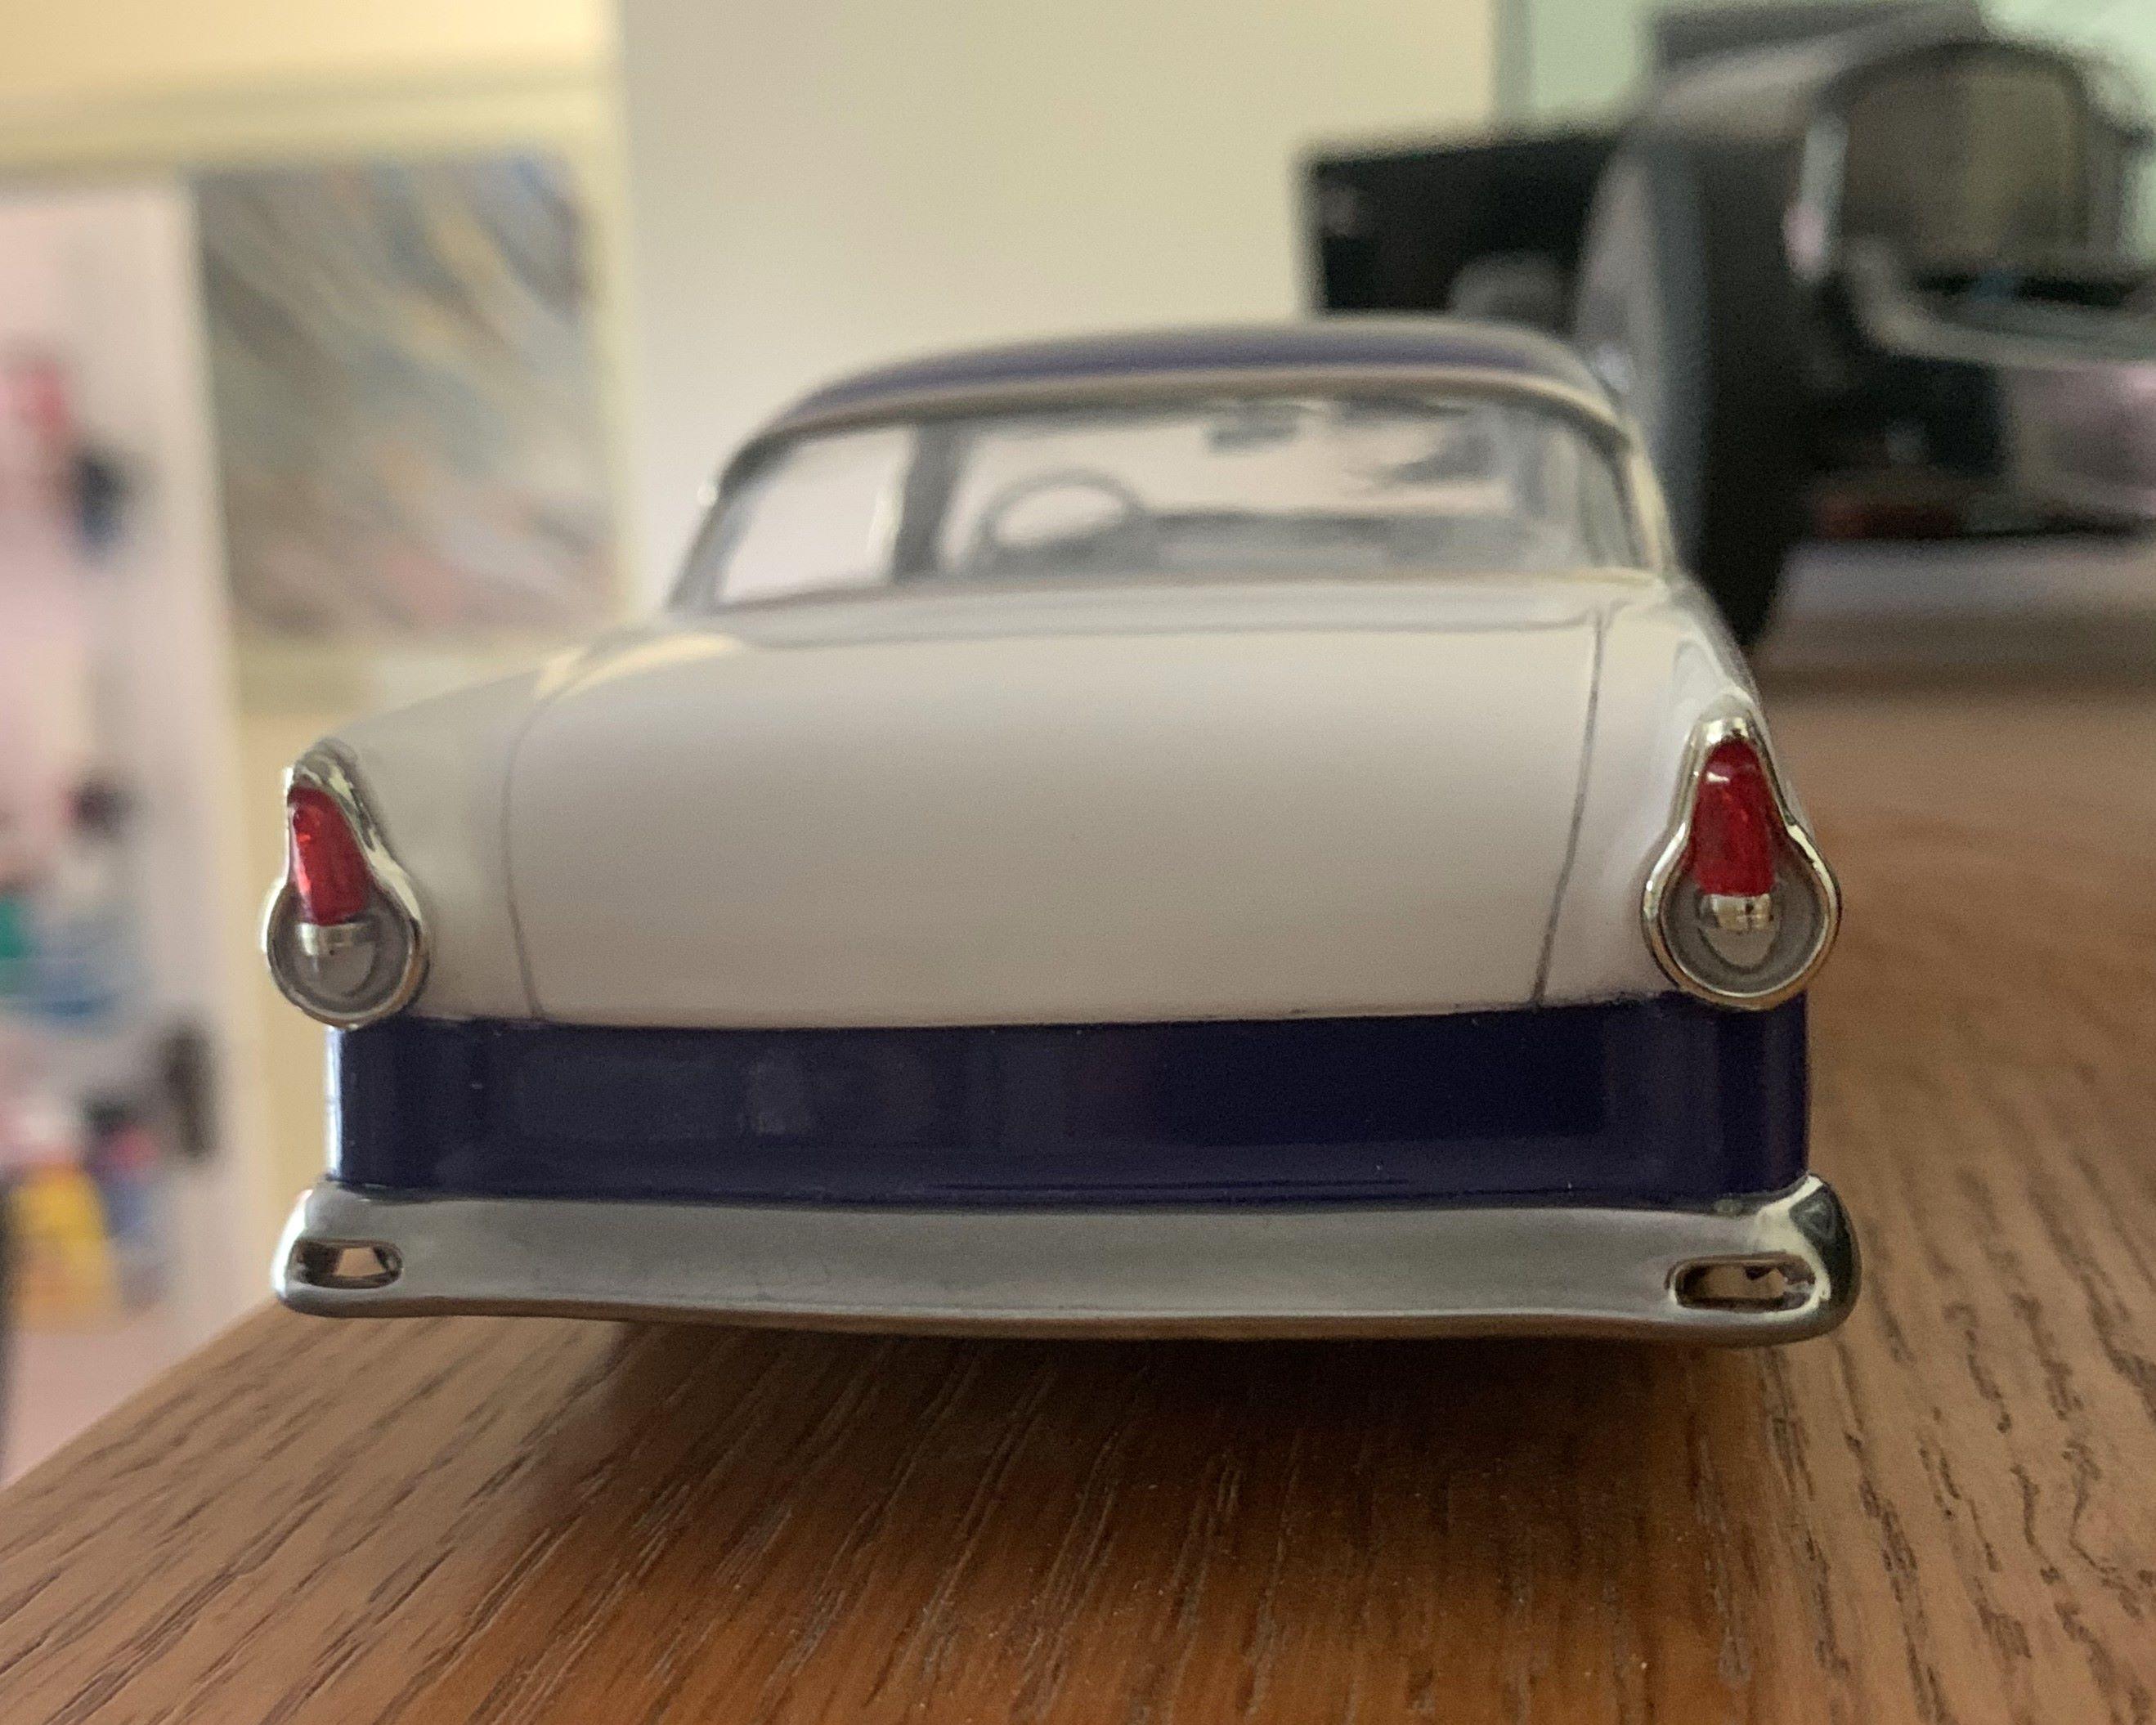
I cut the backup lights out and found some clear sprue to replace them After filing one side flat, I cut off the ends and glued them on. I opened up the rear bumper and will extend the tail pipes to there. Looking more like a car every day now, cheers!

-
Very impressive, extremely impressive!
-
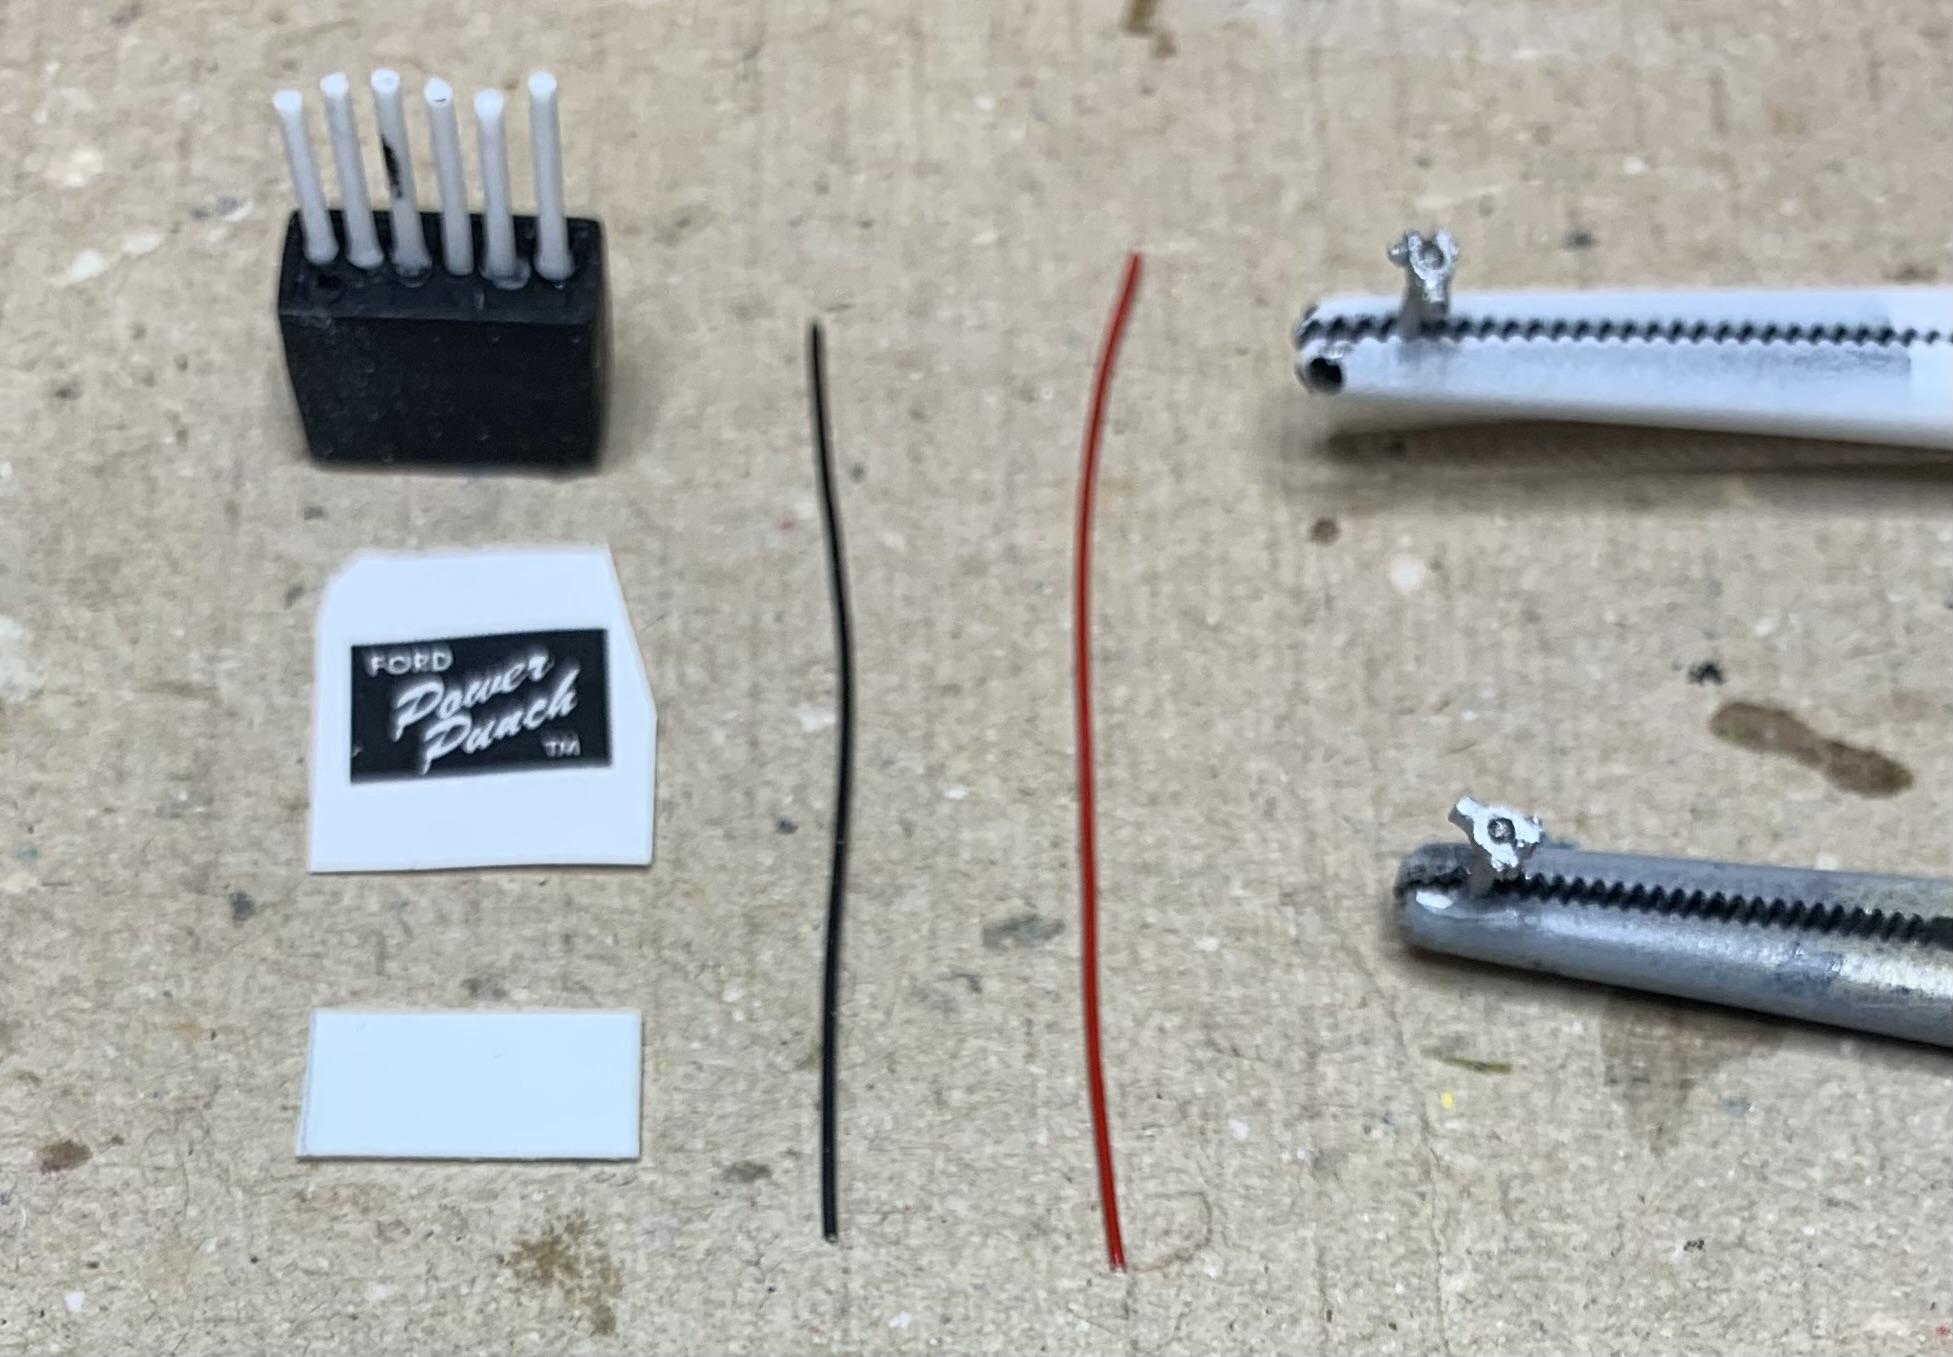
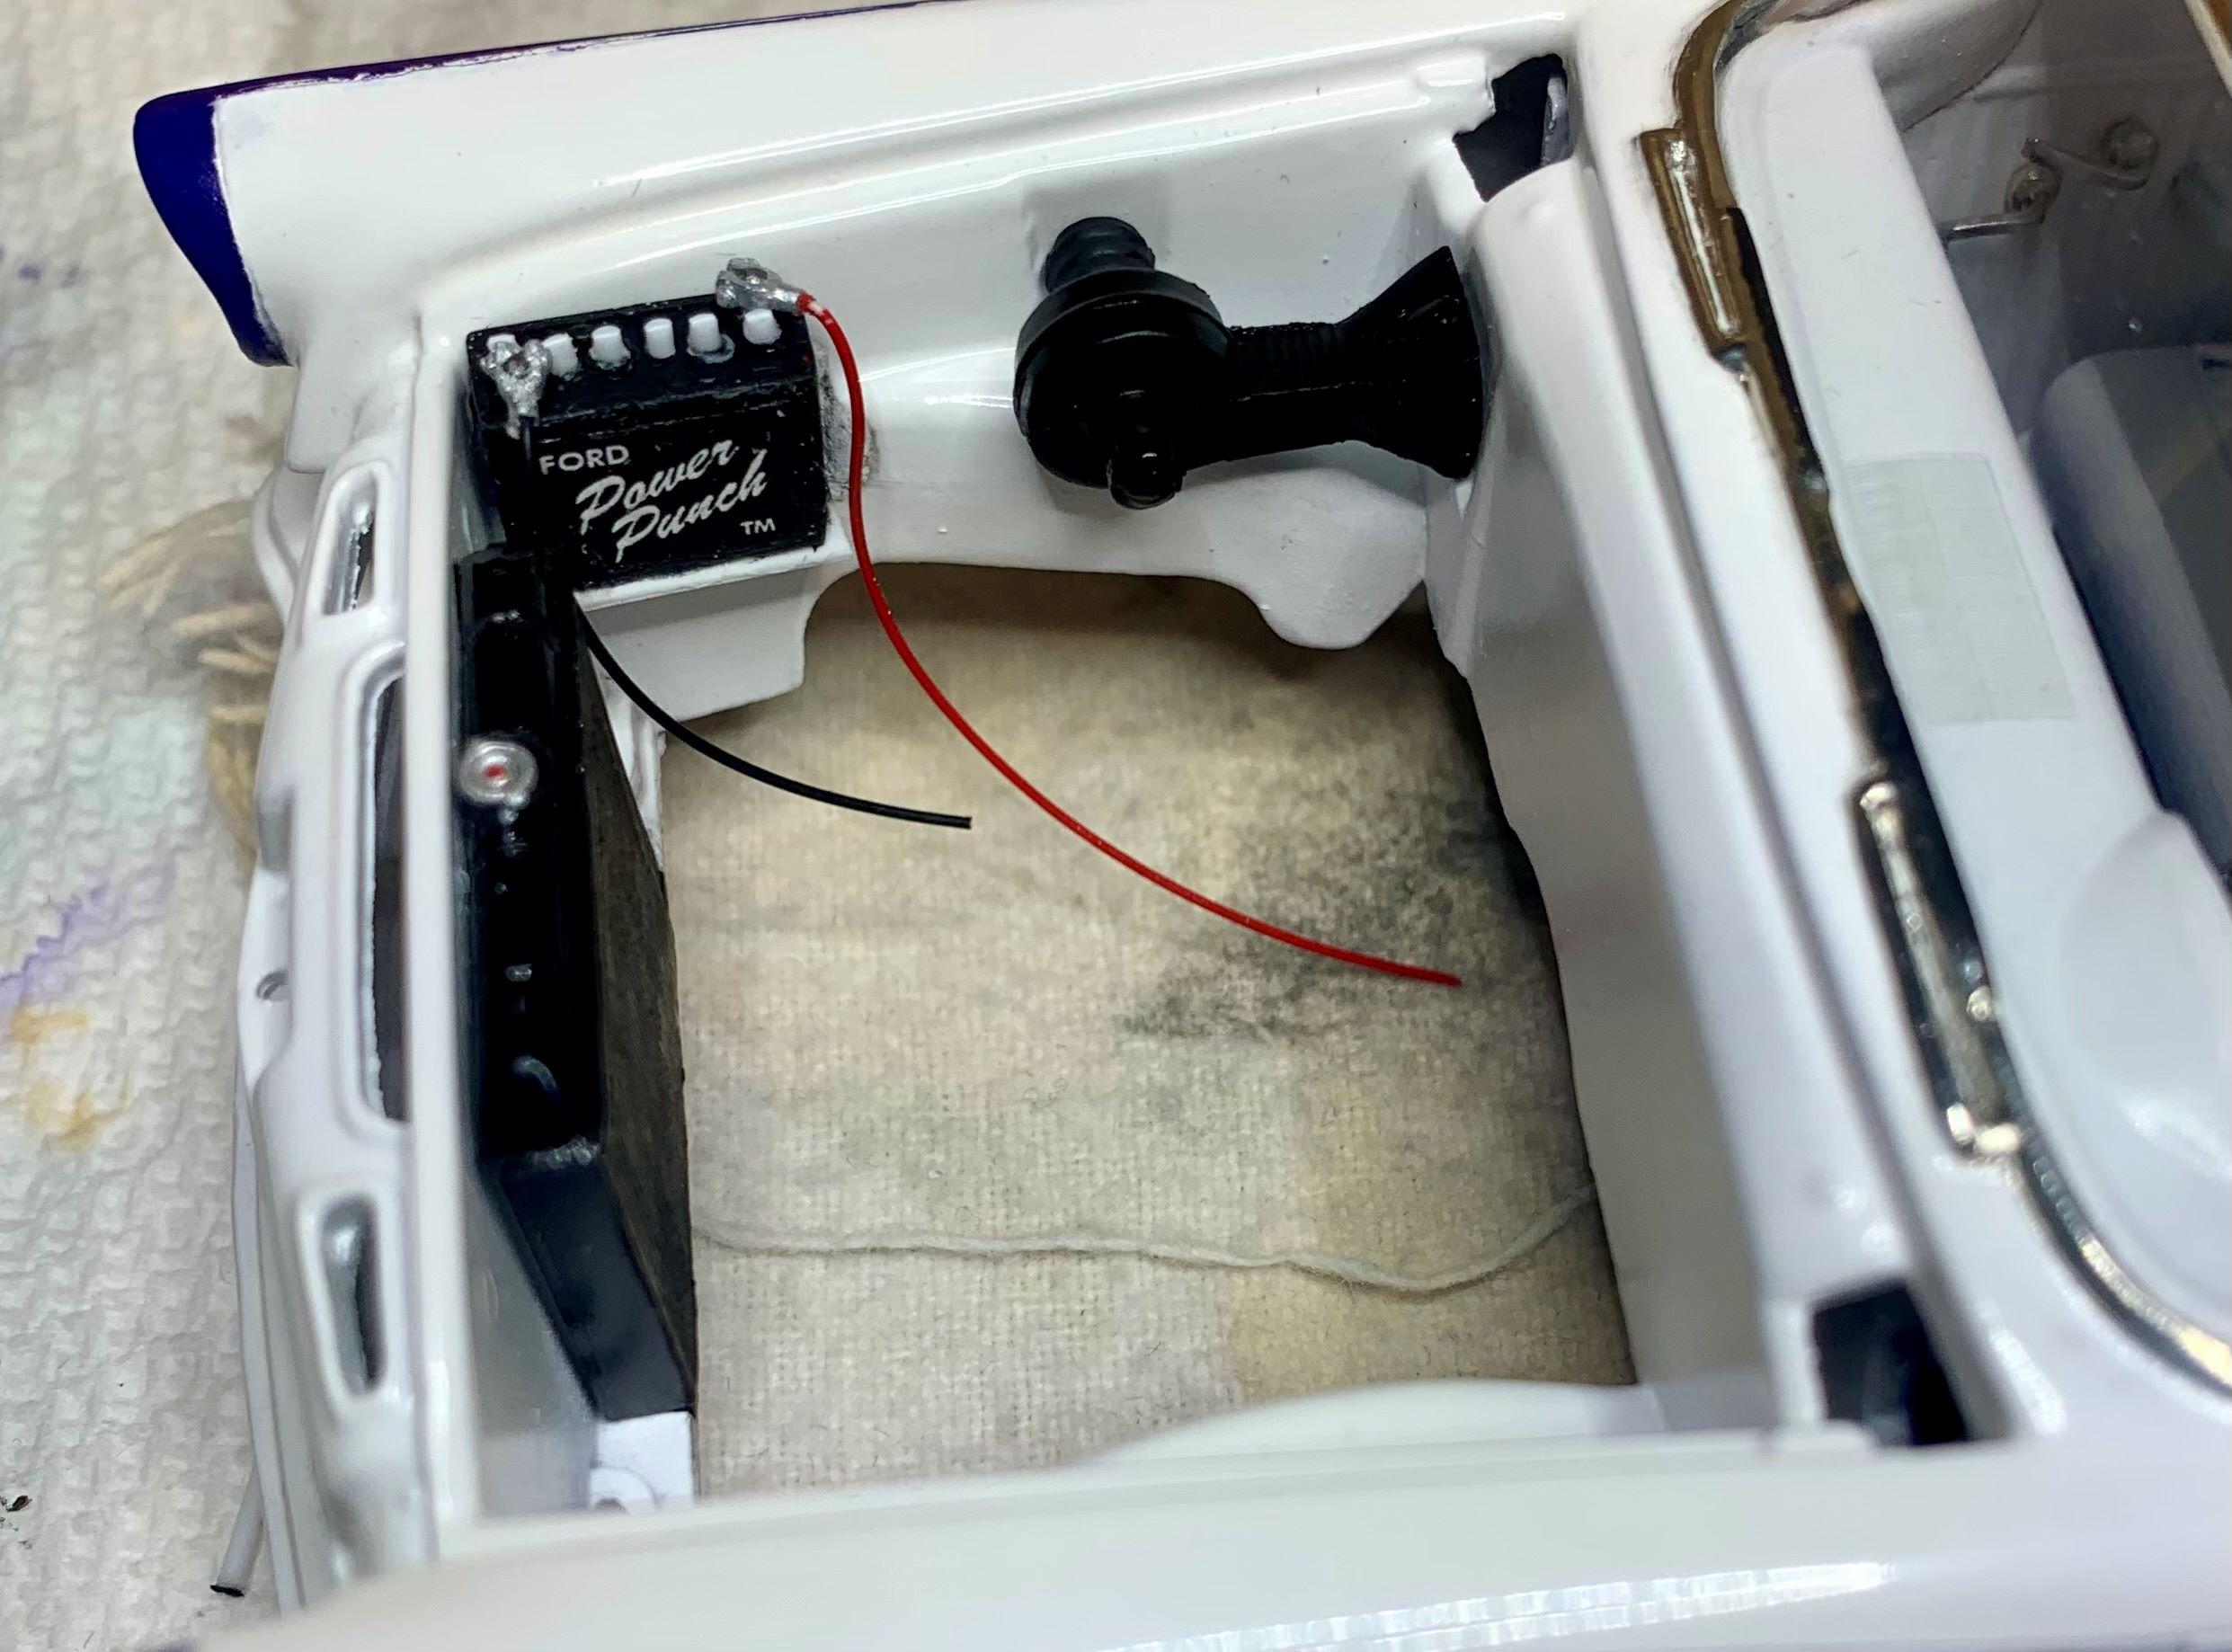
I made up somewhat of a voltage regulator, and wiring harness, nothing fancy. I just want to add a bit of detail to the vintage kit, not overdo it like a modern build. I'm imagining (dreaming) that I could build like this back in the 60s!!! I still want it to end up mostly from the original kit.
-

Comparison Revell vs. MPC 1967 Corvette
dino246gt replied to iBorg's topic in Model Building Questions and Answers
So, iBorg, I didn't really see that you want to restore one, so my comments should be neglected! The recent Streaker-Vette re-issue from Round 2-MPC is definitely your go-to for restoring that old Cosma-Ray kit! -
3D Printed '57 Nash Ambassador Advice
dino246gt replied to Andria H's topic in Model Building Questions and Answers
https://www.ebay.com/itm/267277025317?itmmeta=01JZHEBE4GFS1N90QQEKSHWV9T&hash=item3e3af3c025:g:wqkAAeSw-ltoQJjr That 3D printed engine would be perfect for your build, use the generator instead of the alternator. This print give you that choice. -
Comparison Revell vs. MPC 1967 Corvette
dino246gt replied to iBorg's topic in Model Building Questions and Answers
I'd say the Revell is the much better kit. I used the Revell Corvette kit engine in my '64 Malibu:
-
I only use the Molotov, or other "chrome" inks for interior bits, and I mostly build hardtops, that will never be touched. If you want to use it on exterior door handles, do it last, after the model is finished, don't touch them, EVER! I use it on engine bits sometimes, but I don't have a lot of "chrome" in my engine bay builds. To answer your original question, how to remove chrome ink "outside the lines", I'd wipe it all off, then start again. put some on a piece of paper and use a tiny brush, and colour inside the lines! Cheers and happy modelling!
-
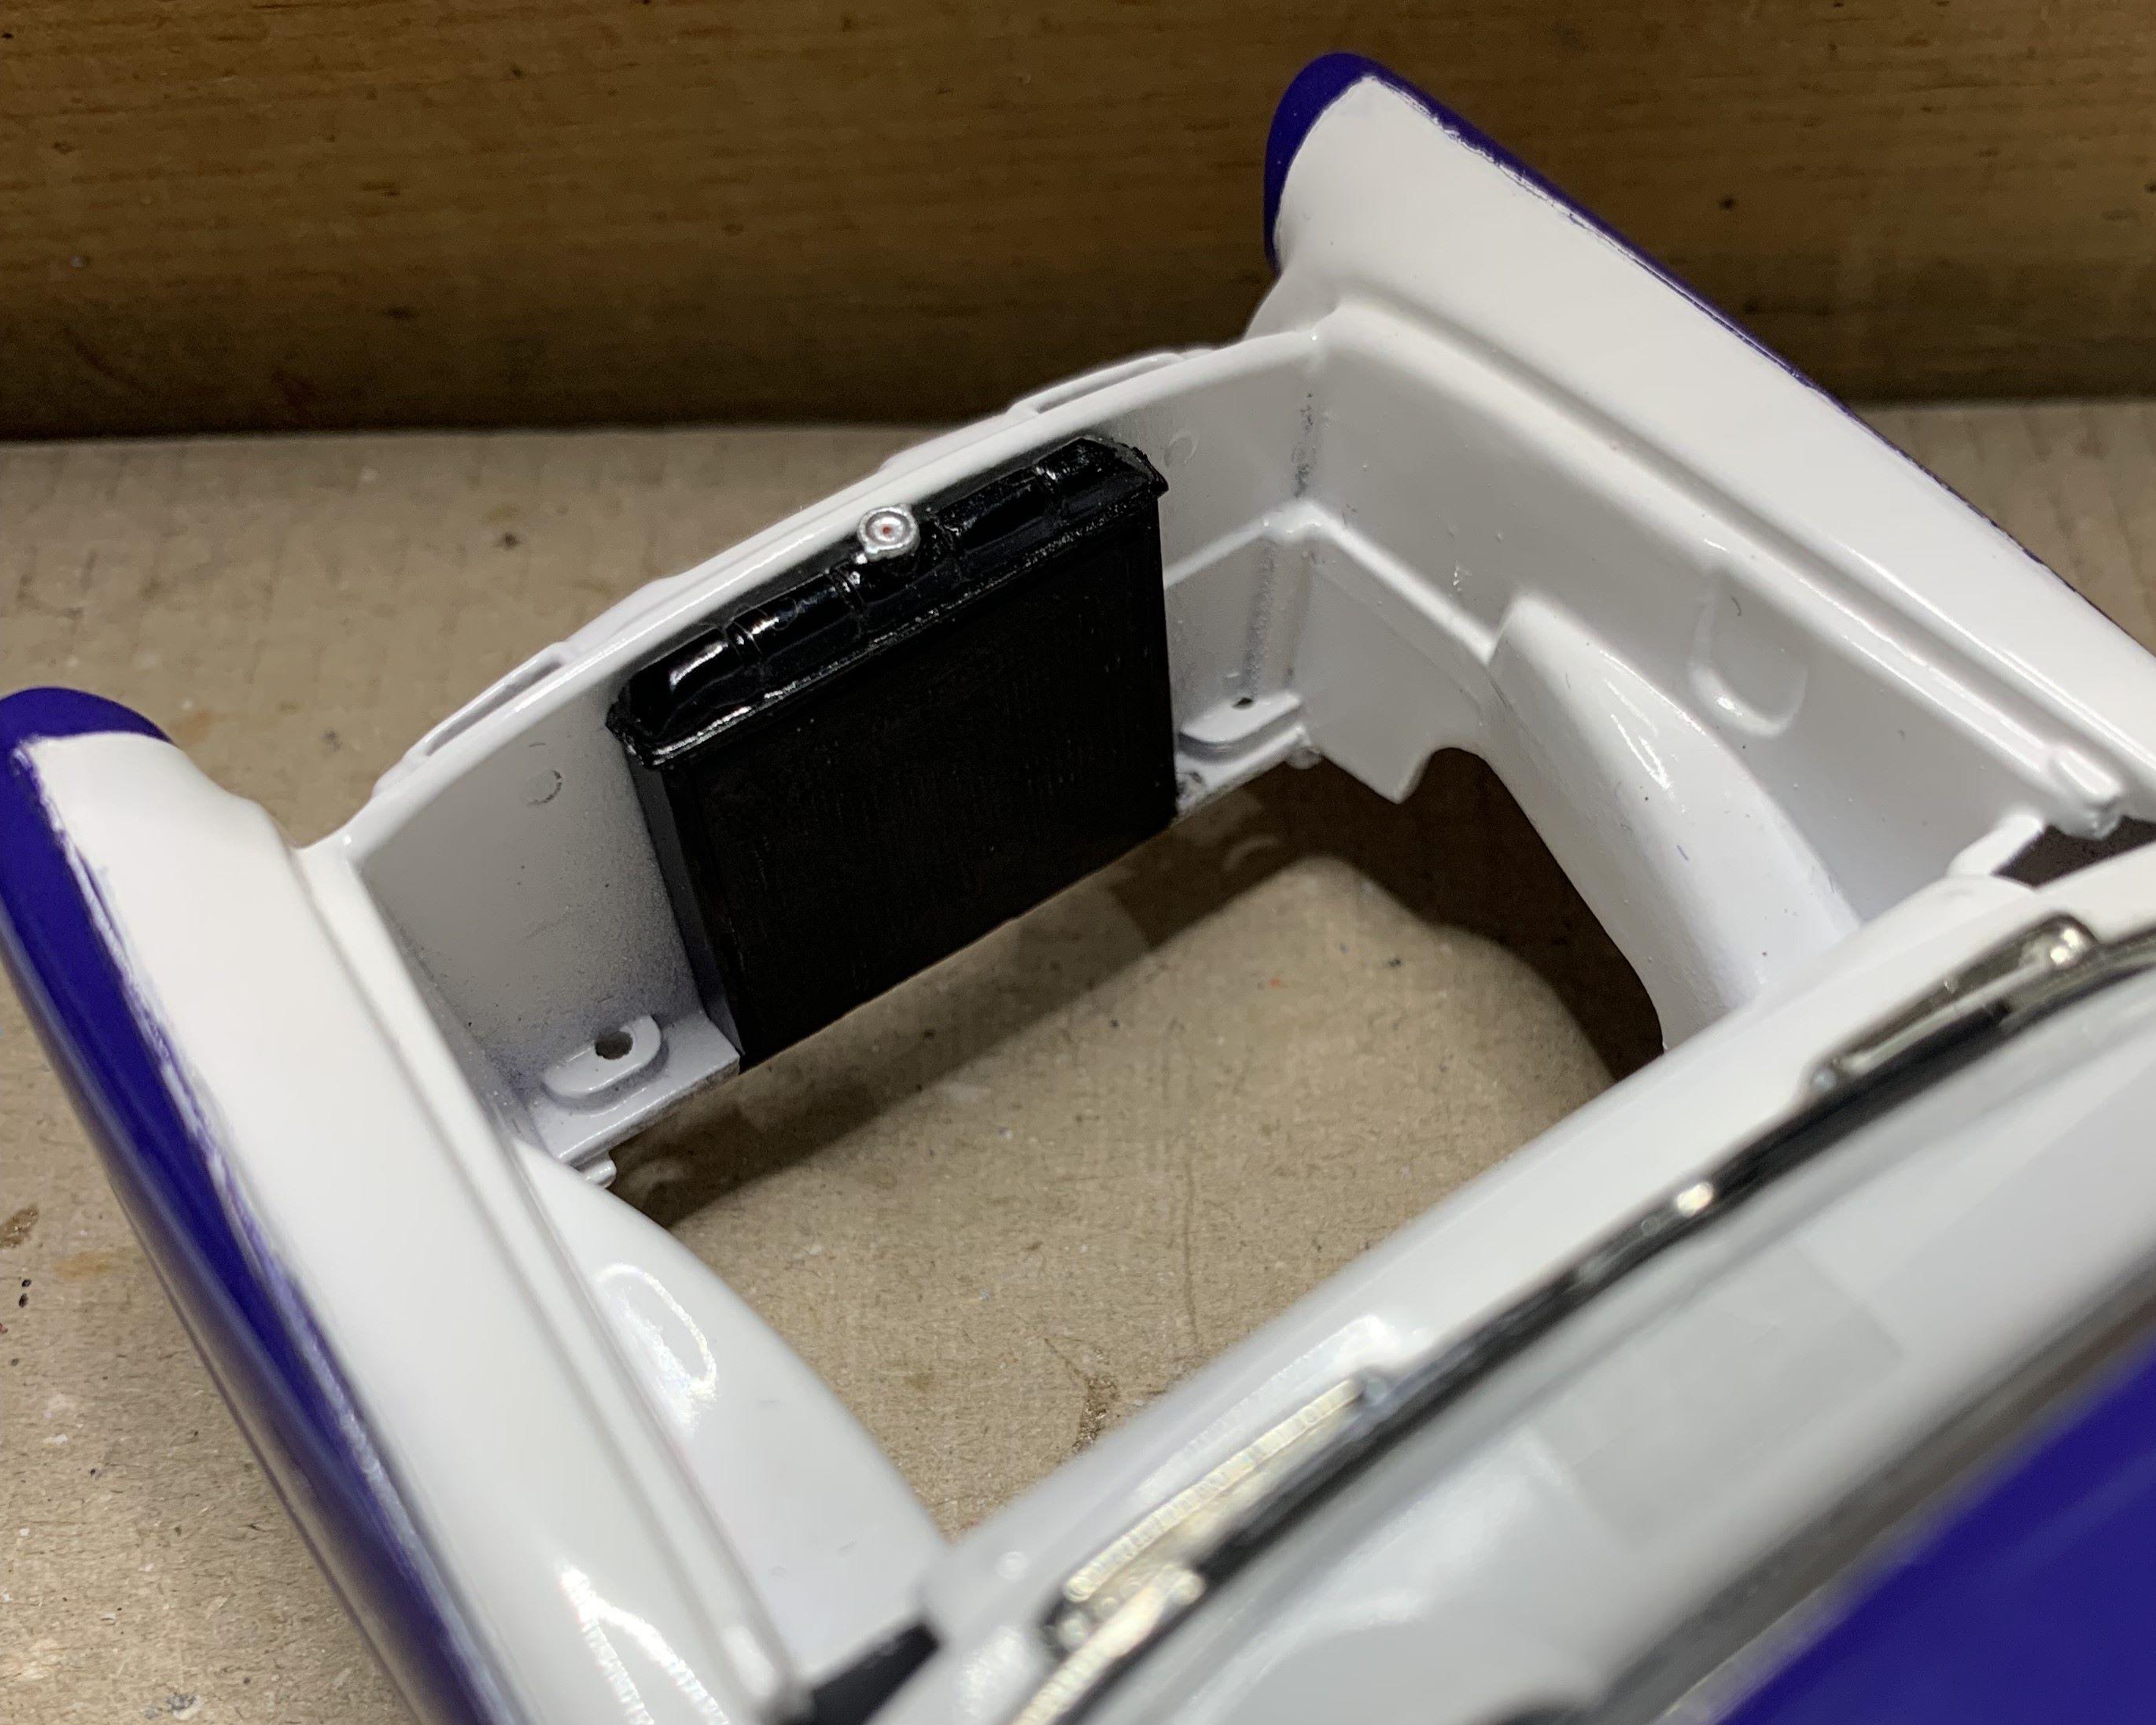
I added details to the original kit battery. Little by little, hey it's Summer and I'm outside most of the time, but I still like working on models late at night! Cheers
-
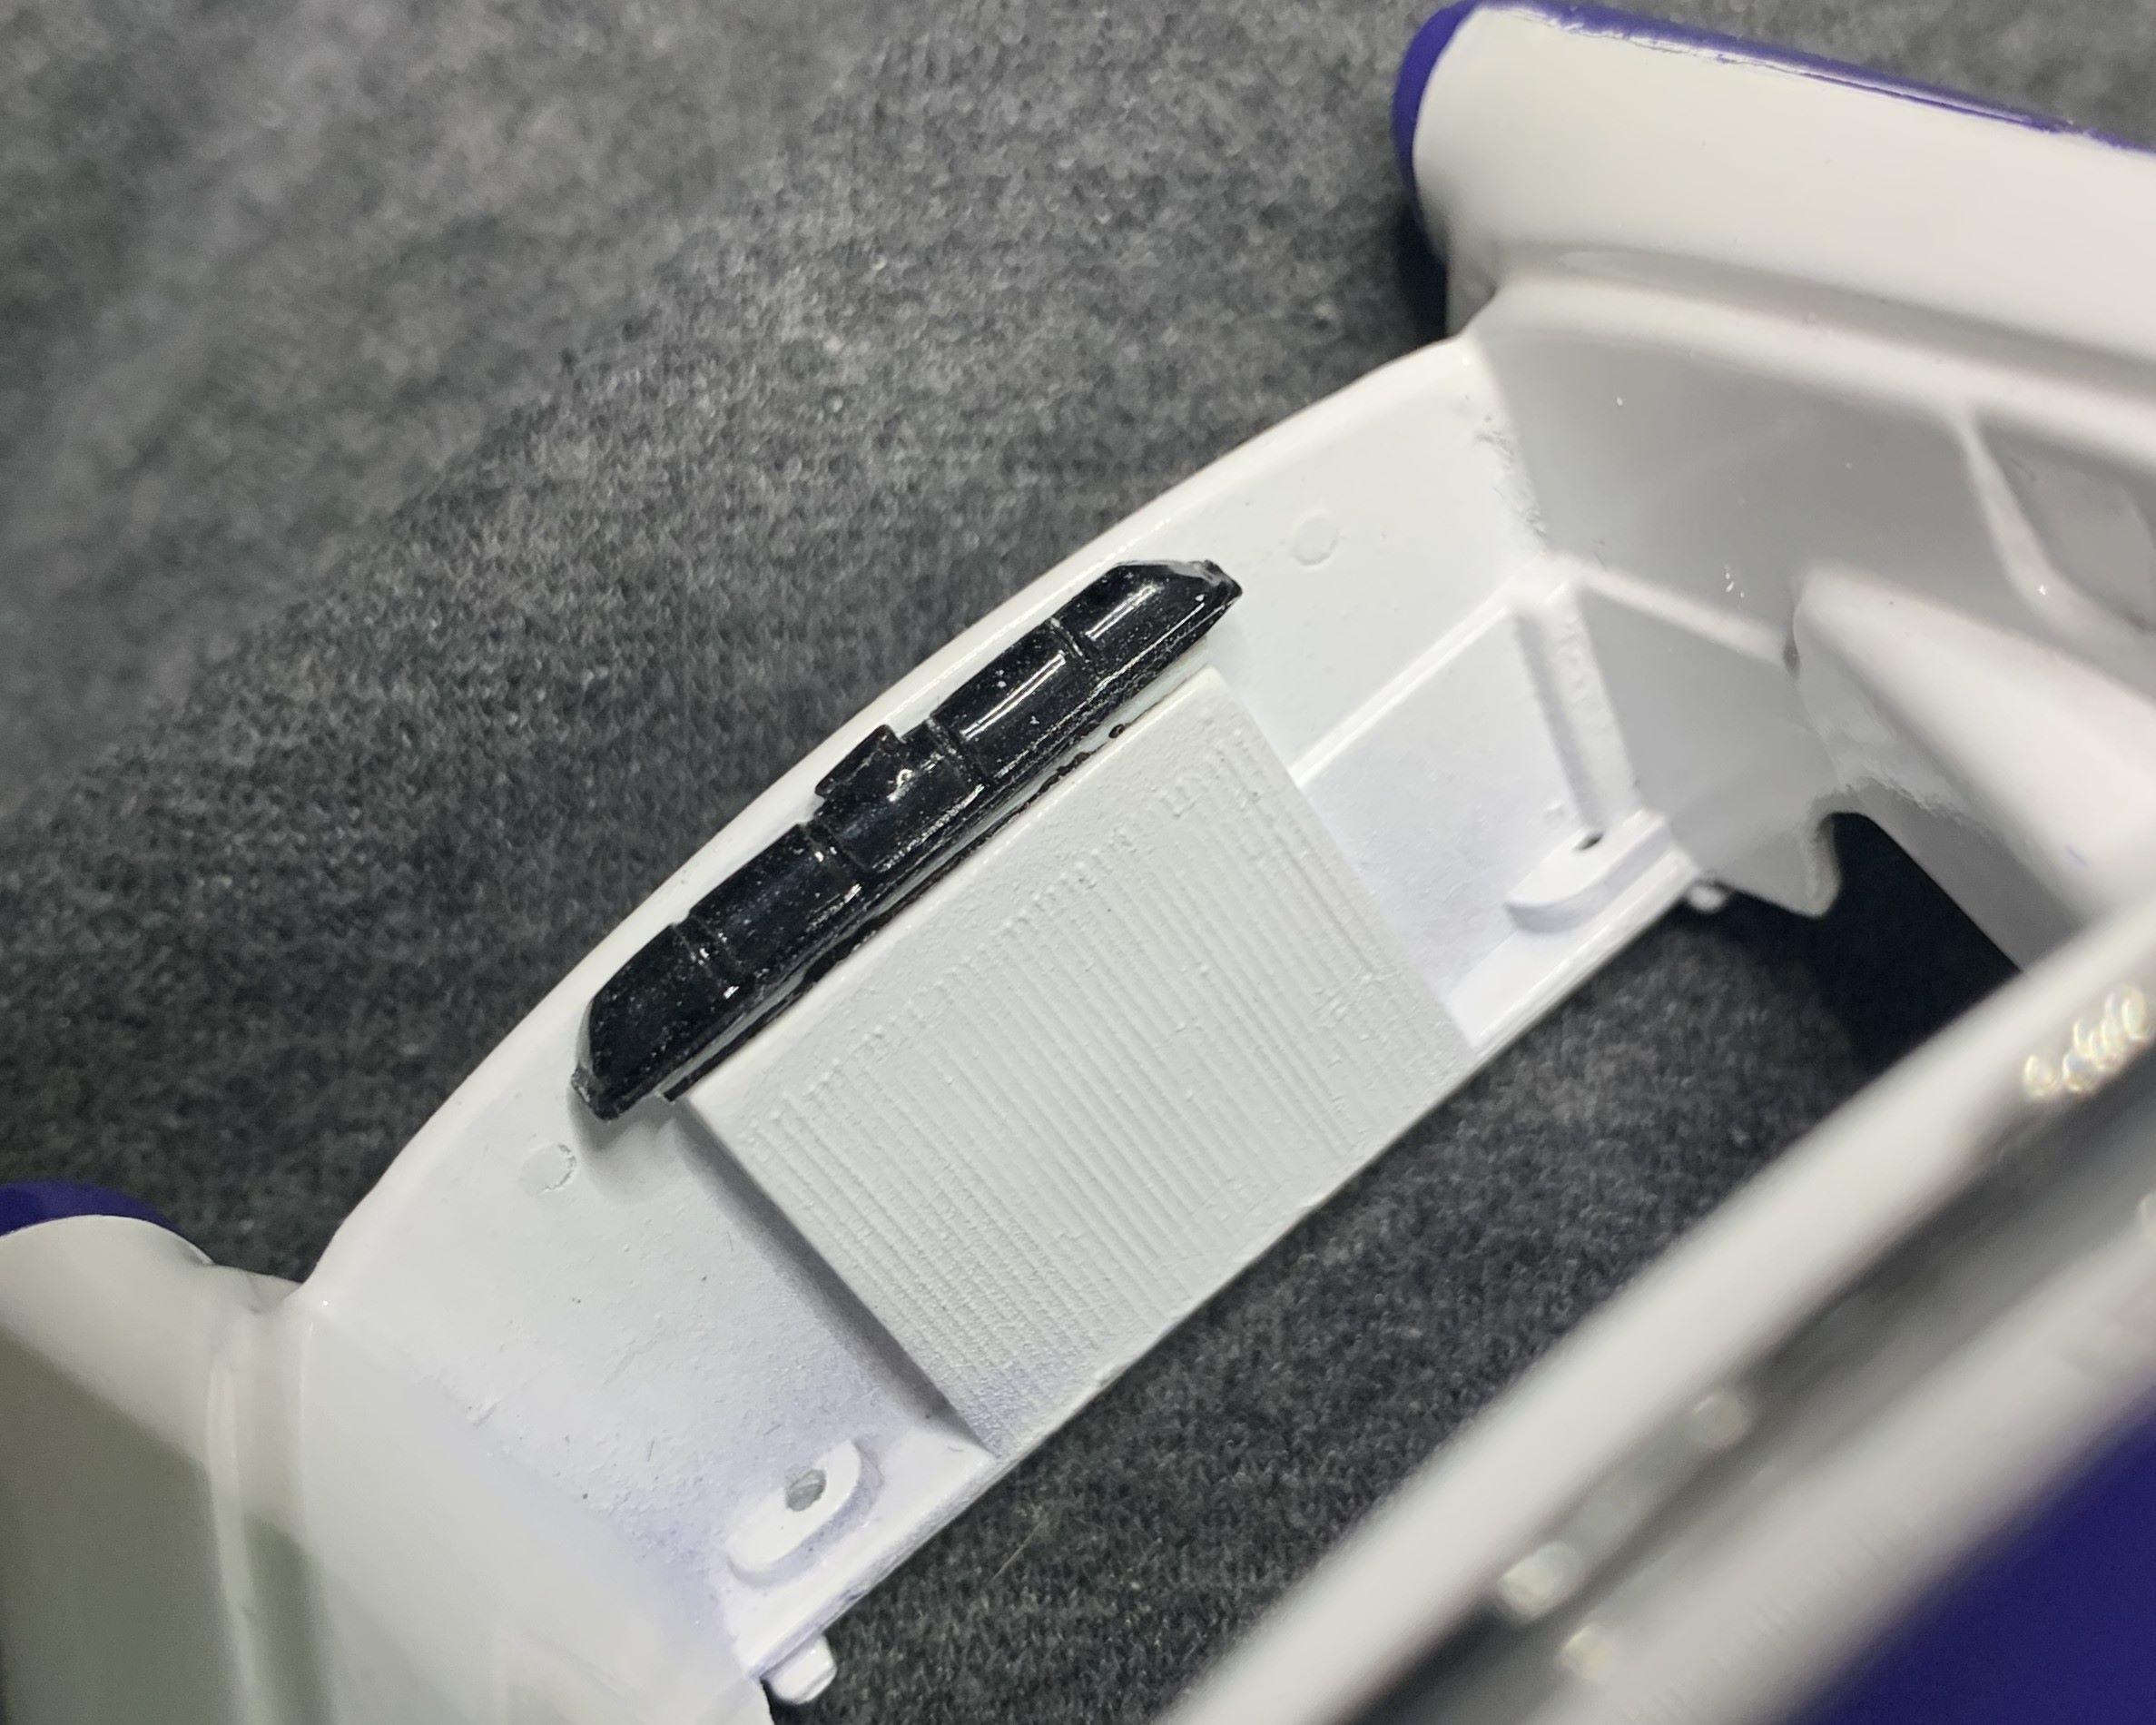
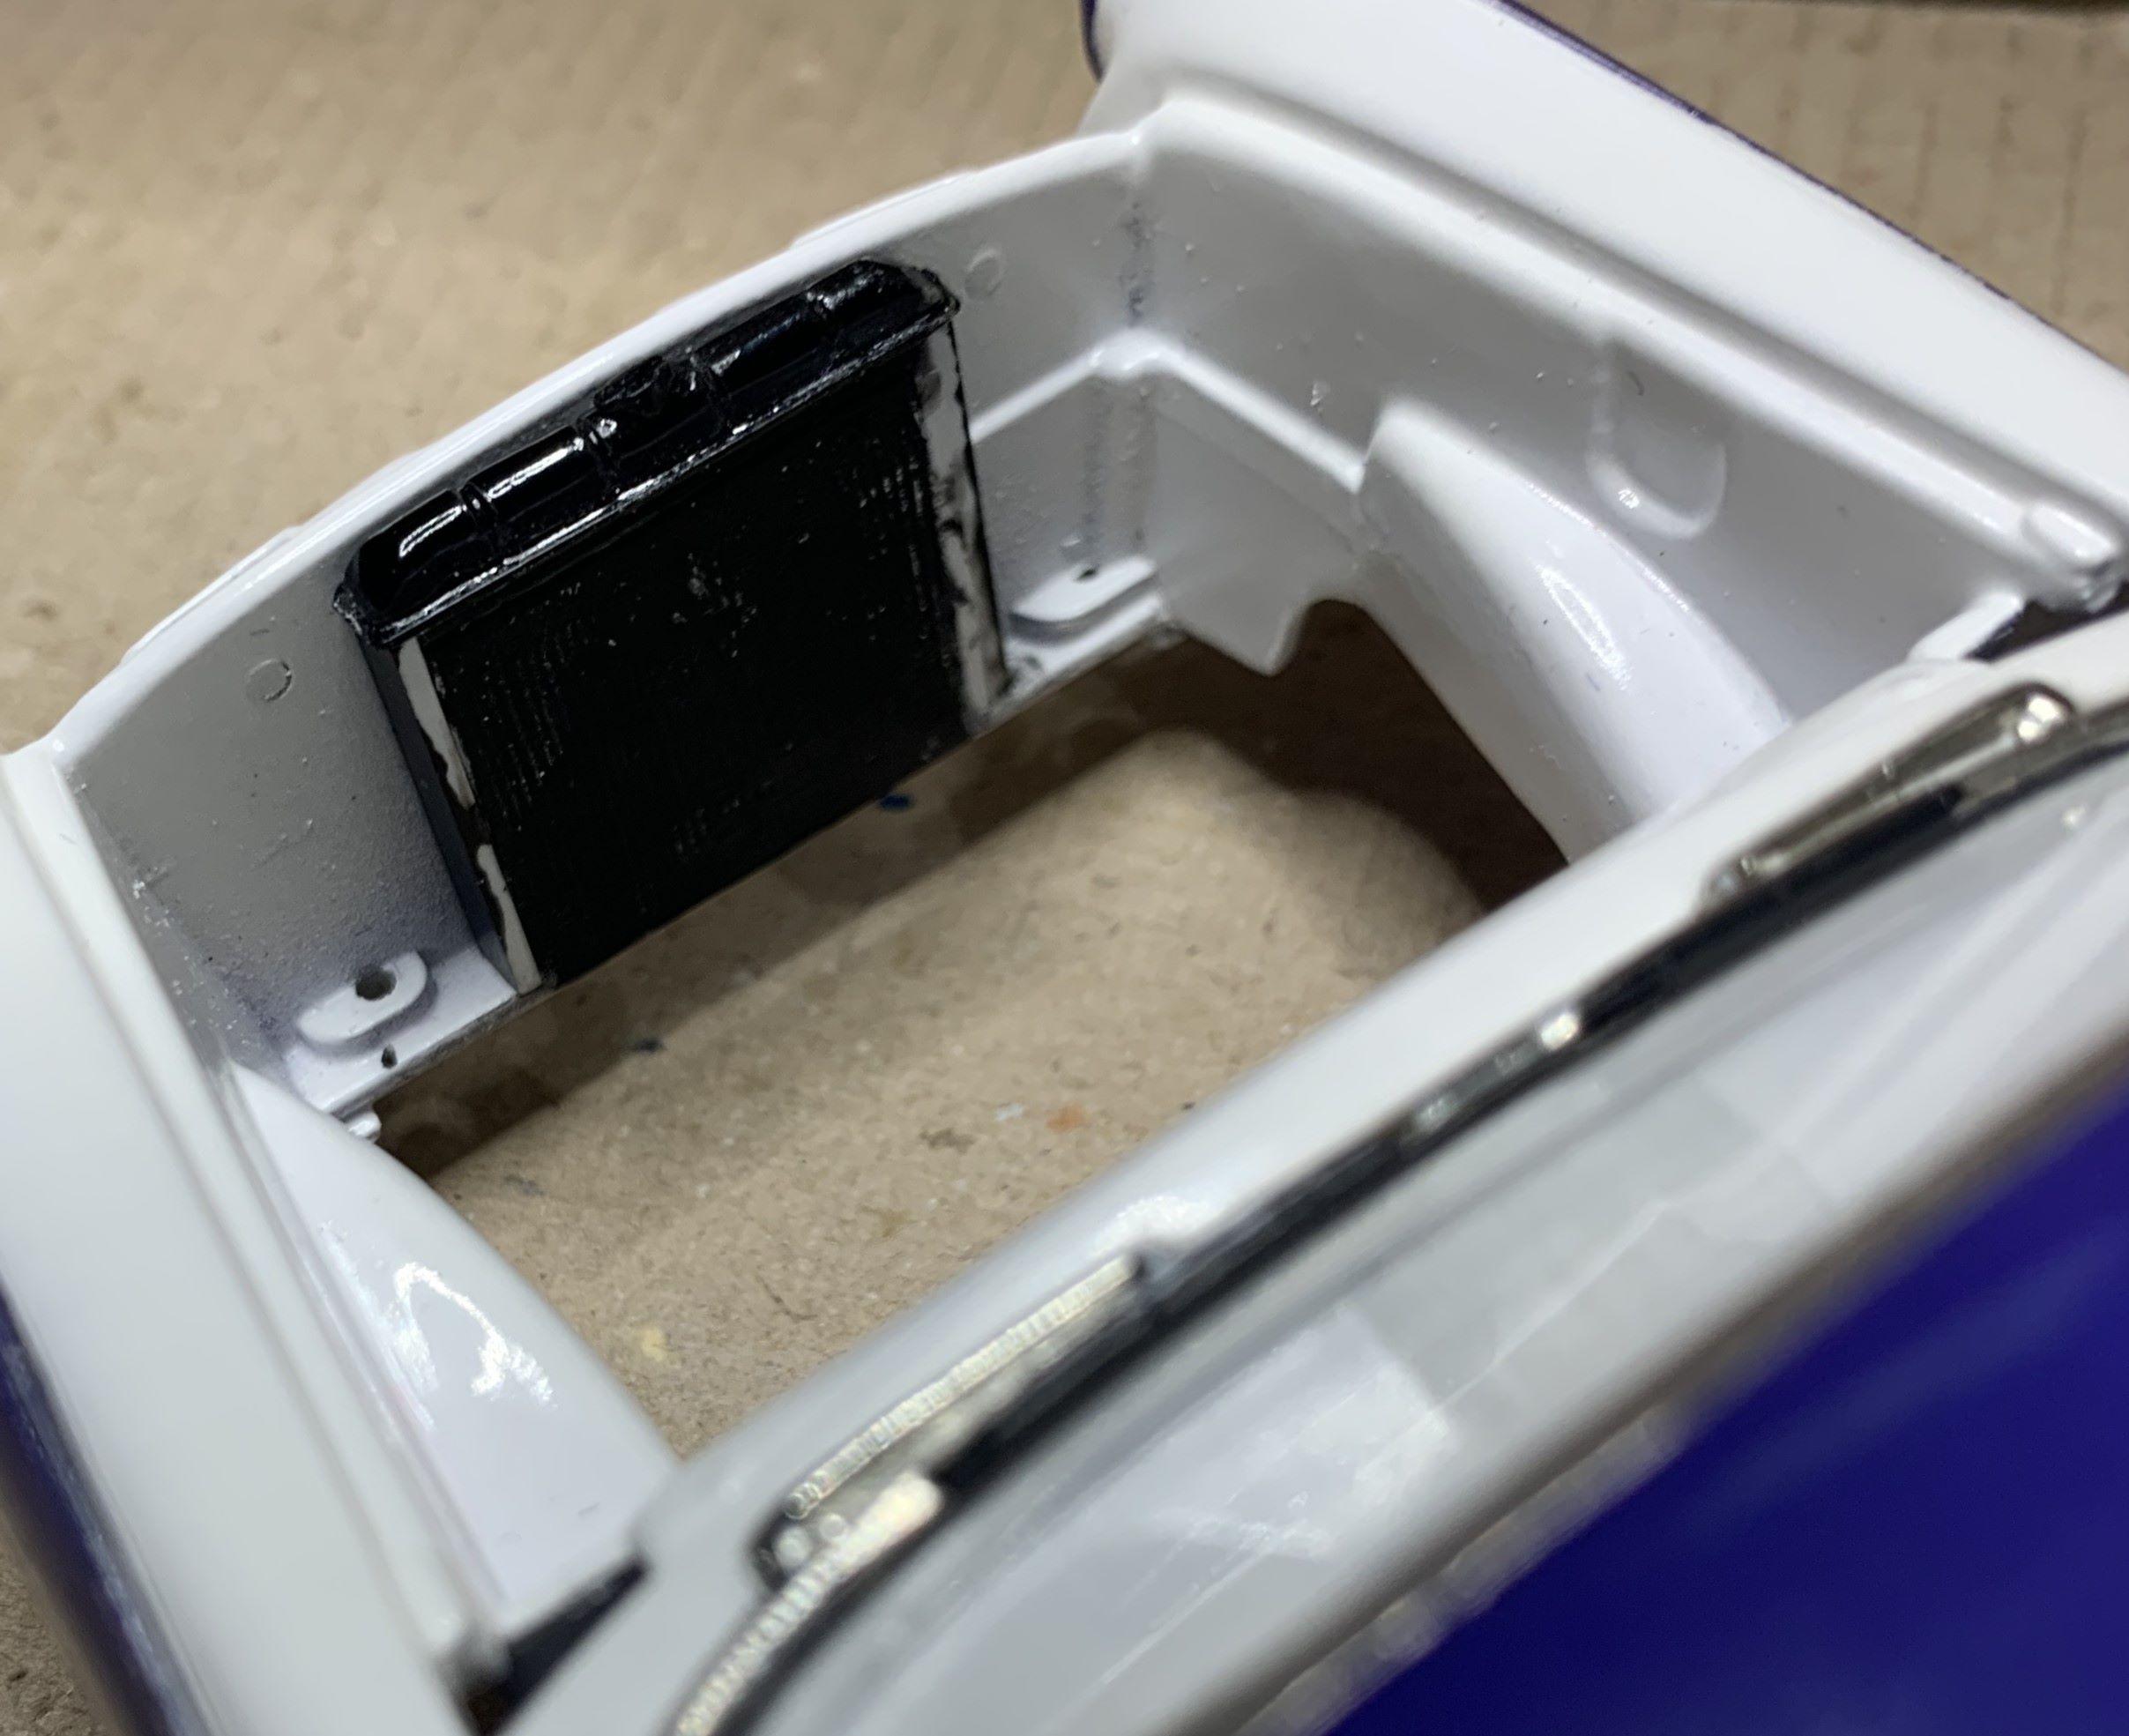
The rad top was sprayed black a month ago, but when I went to install it, it's quite a bit wider than the molded-on rad! No problem, I cut styrene to fit and painted the edge that will sit up against the white, black and glued them on, then painted the face flat black. I used a 3D rad cap.
-
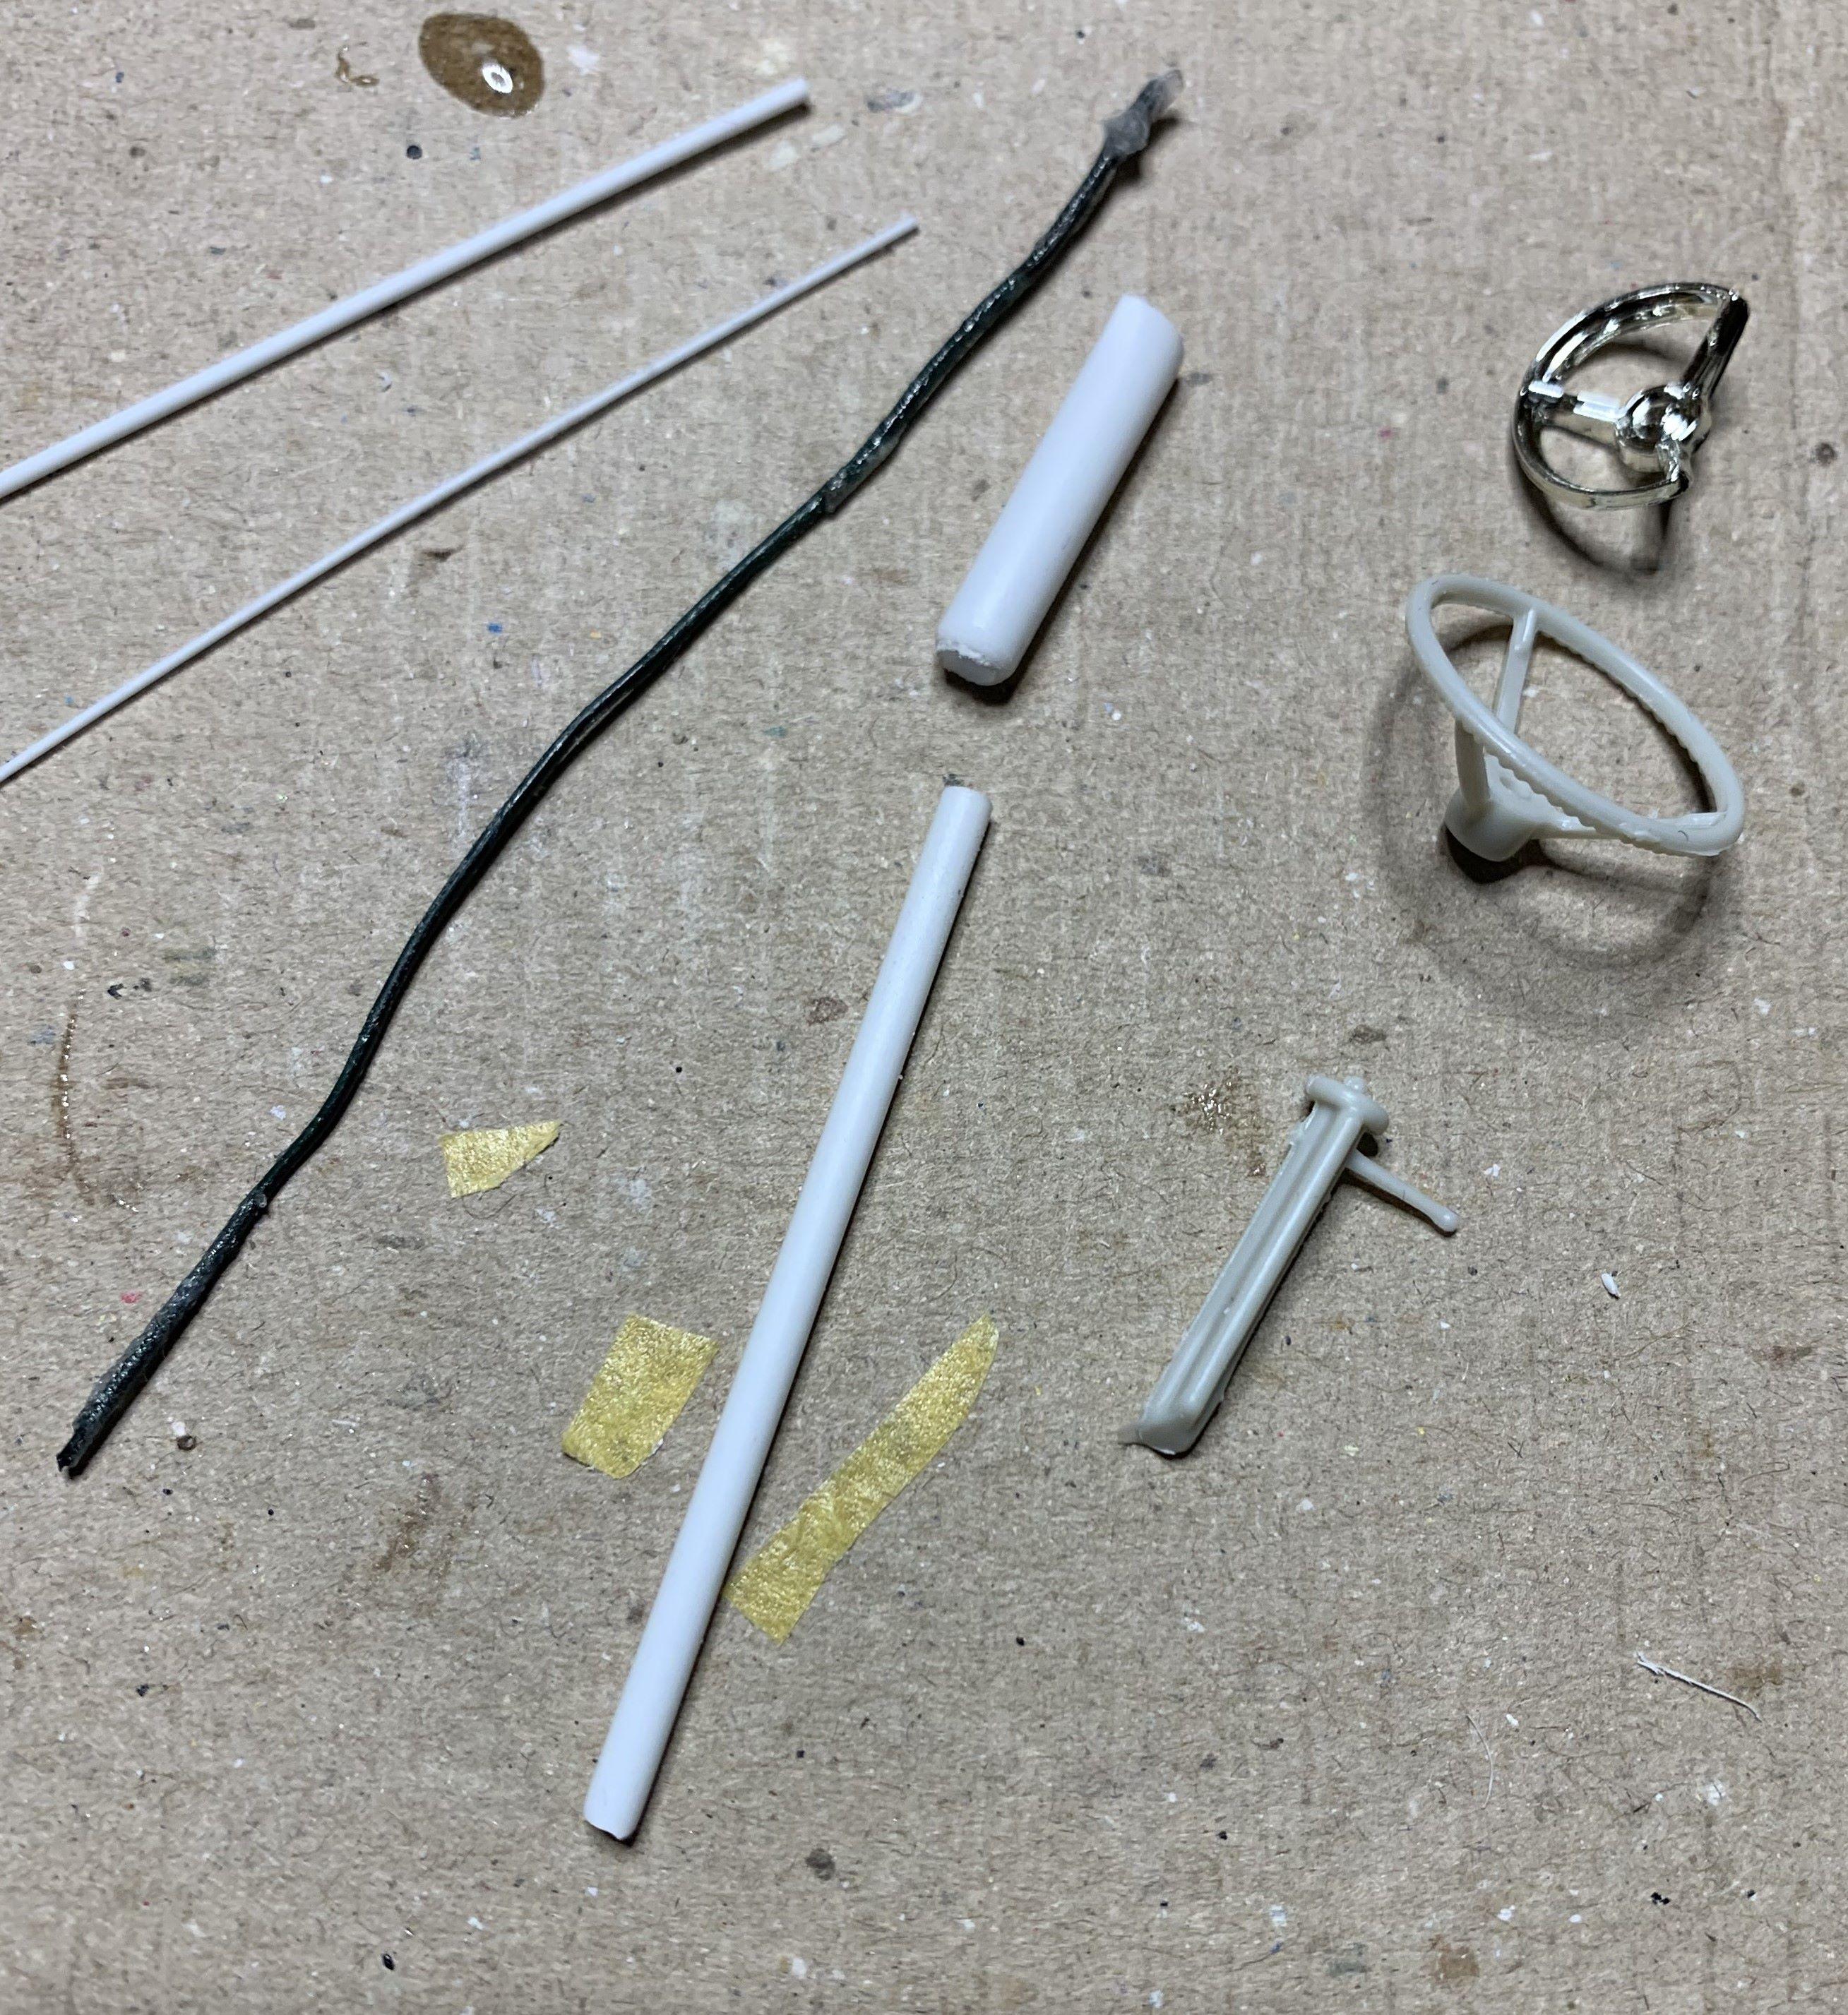
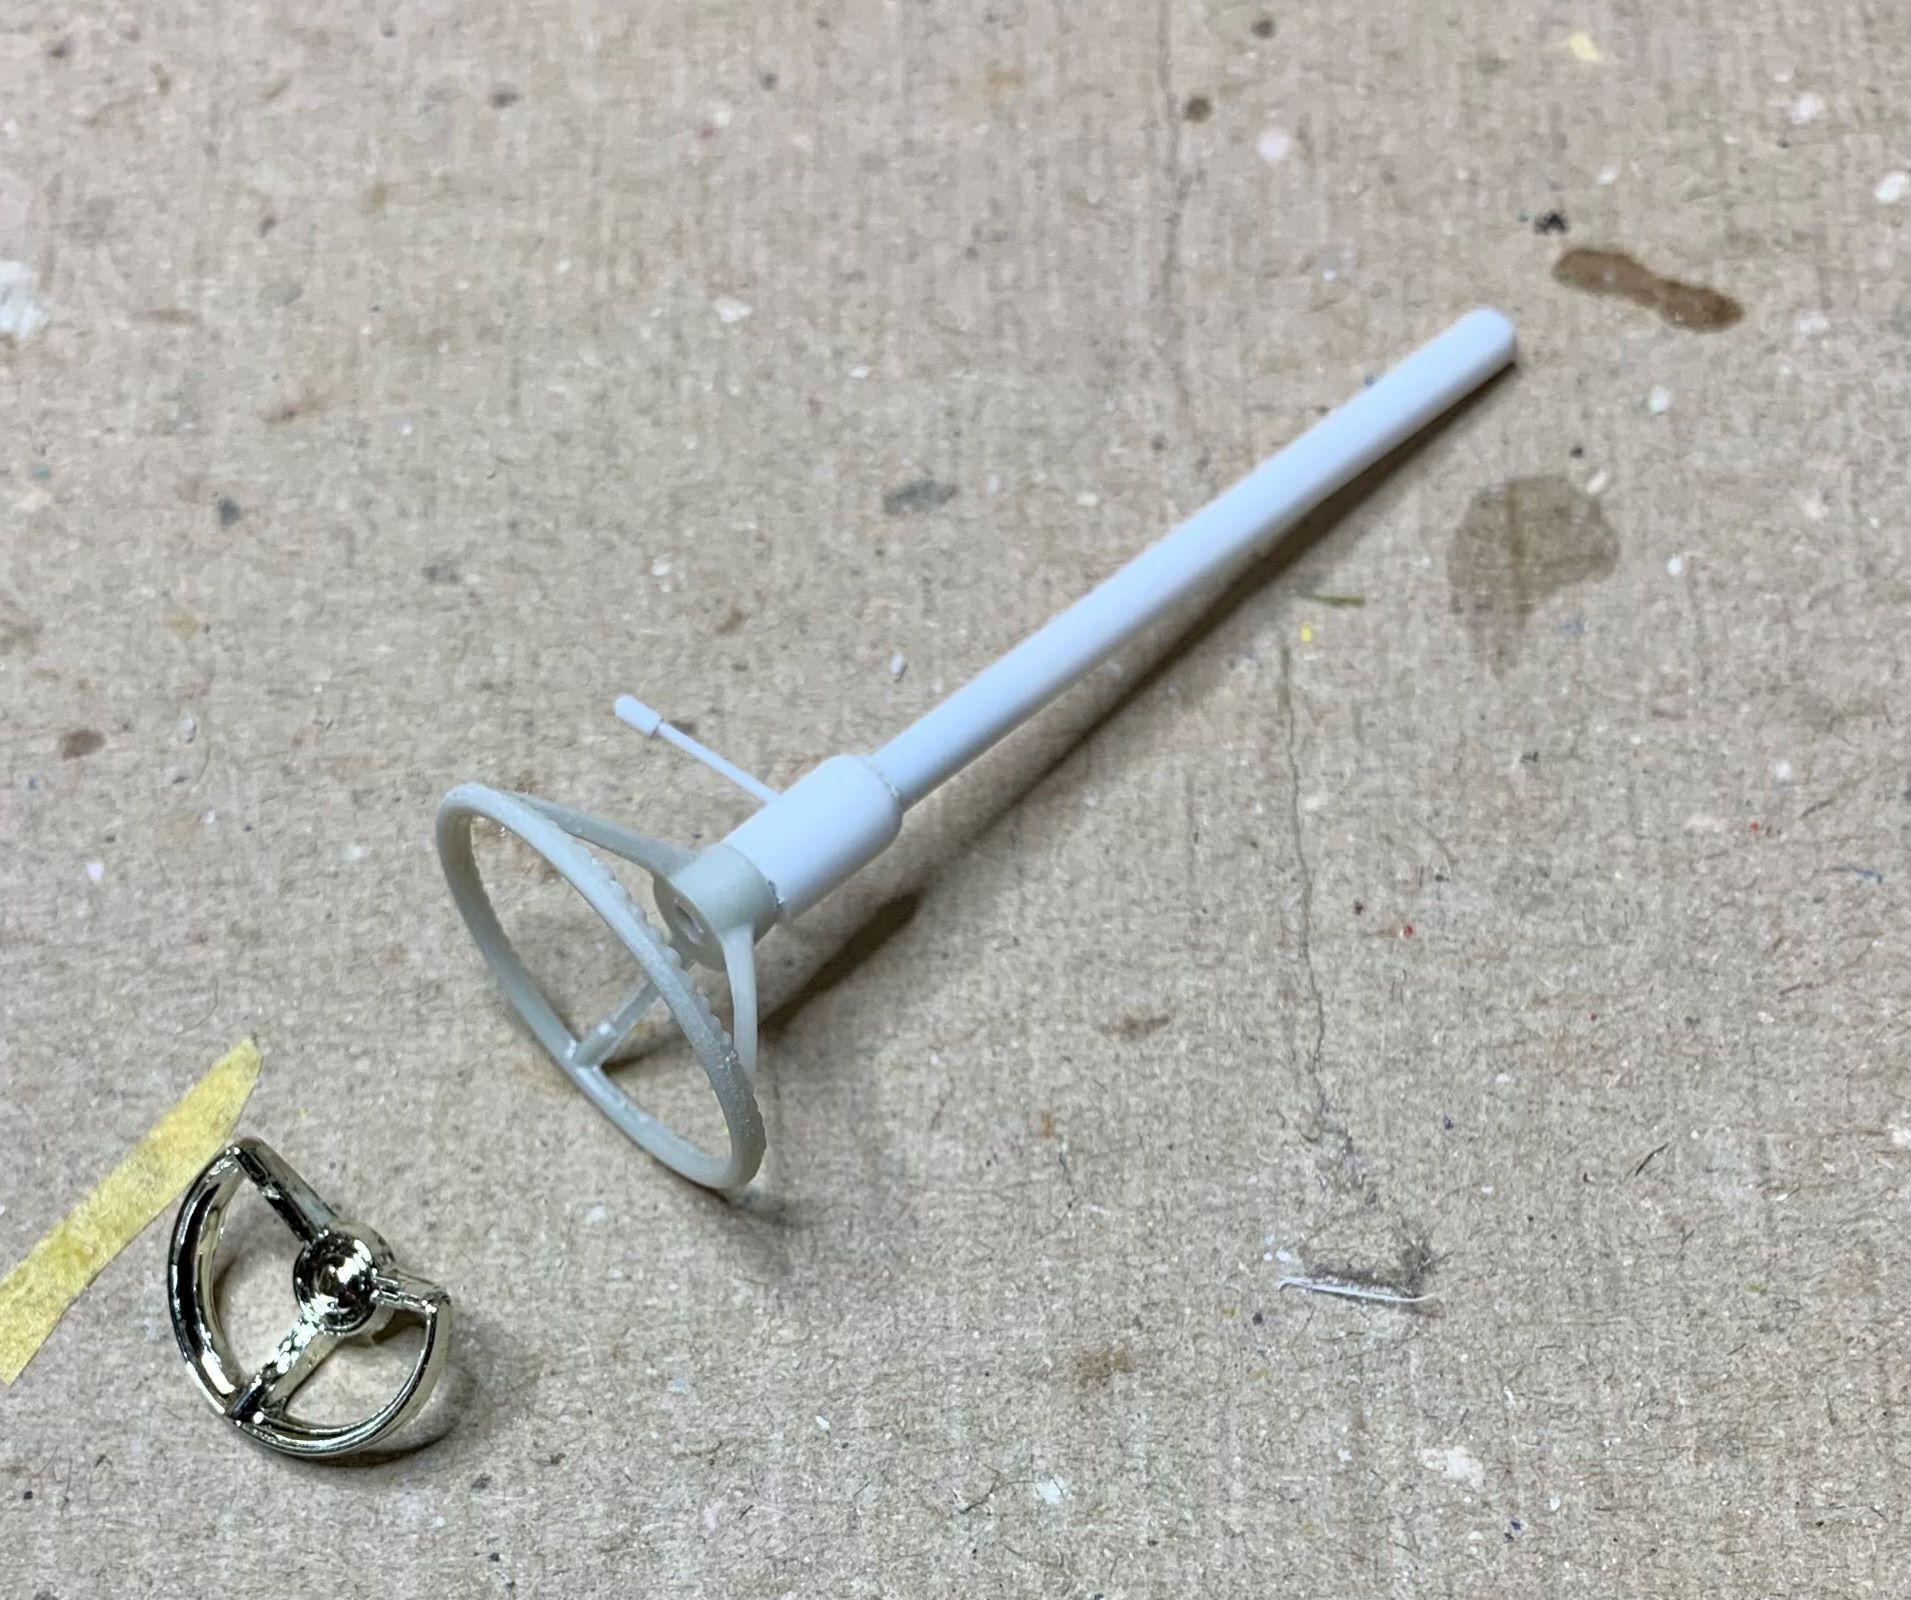
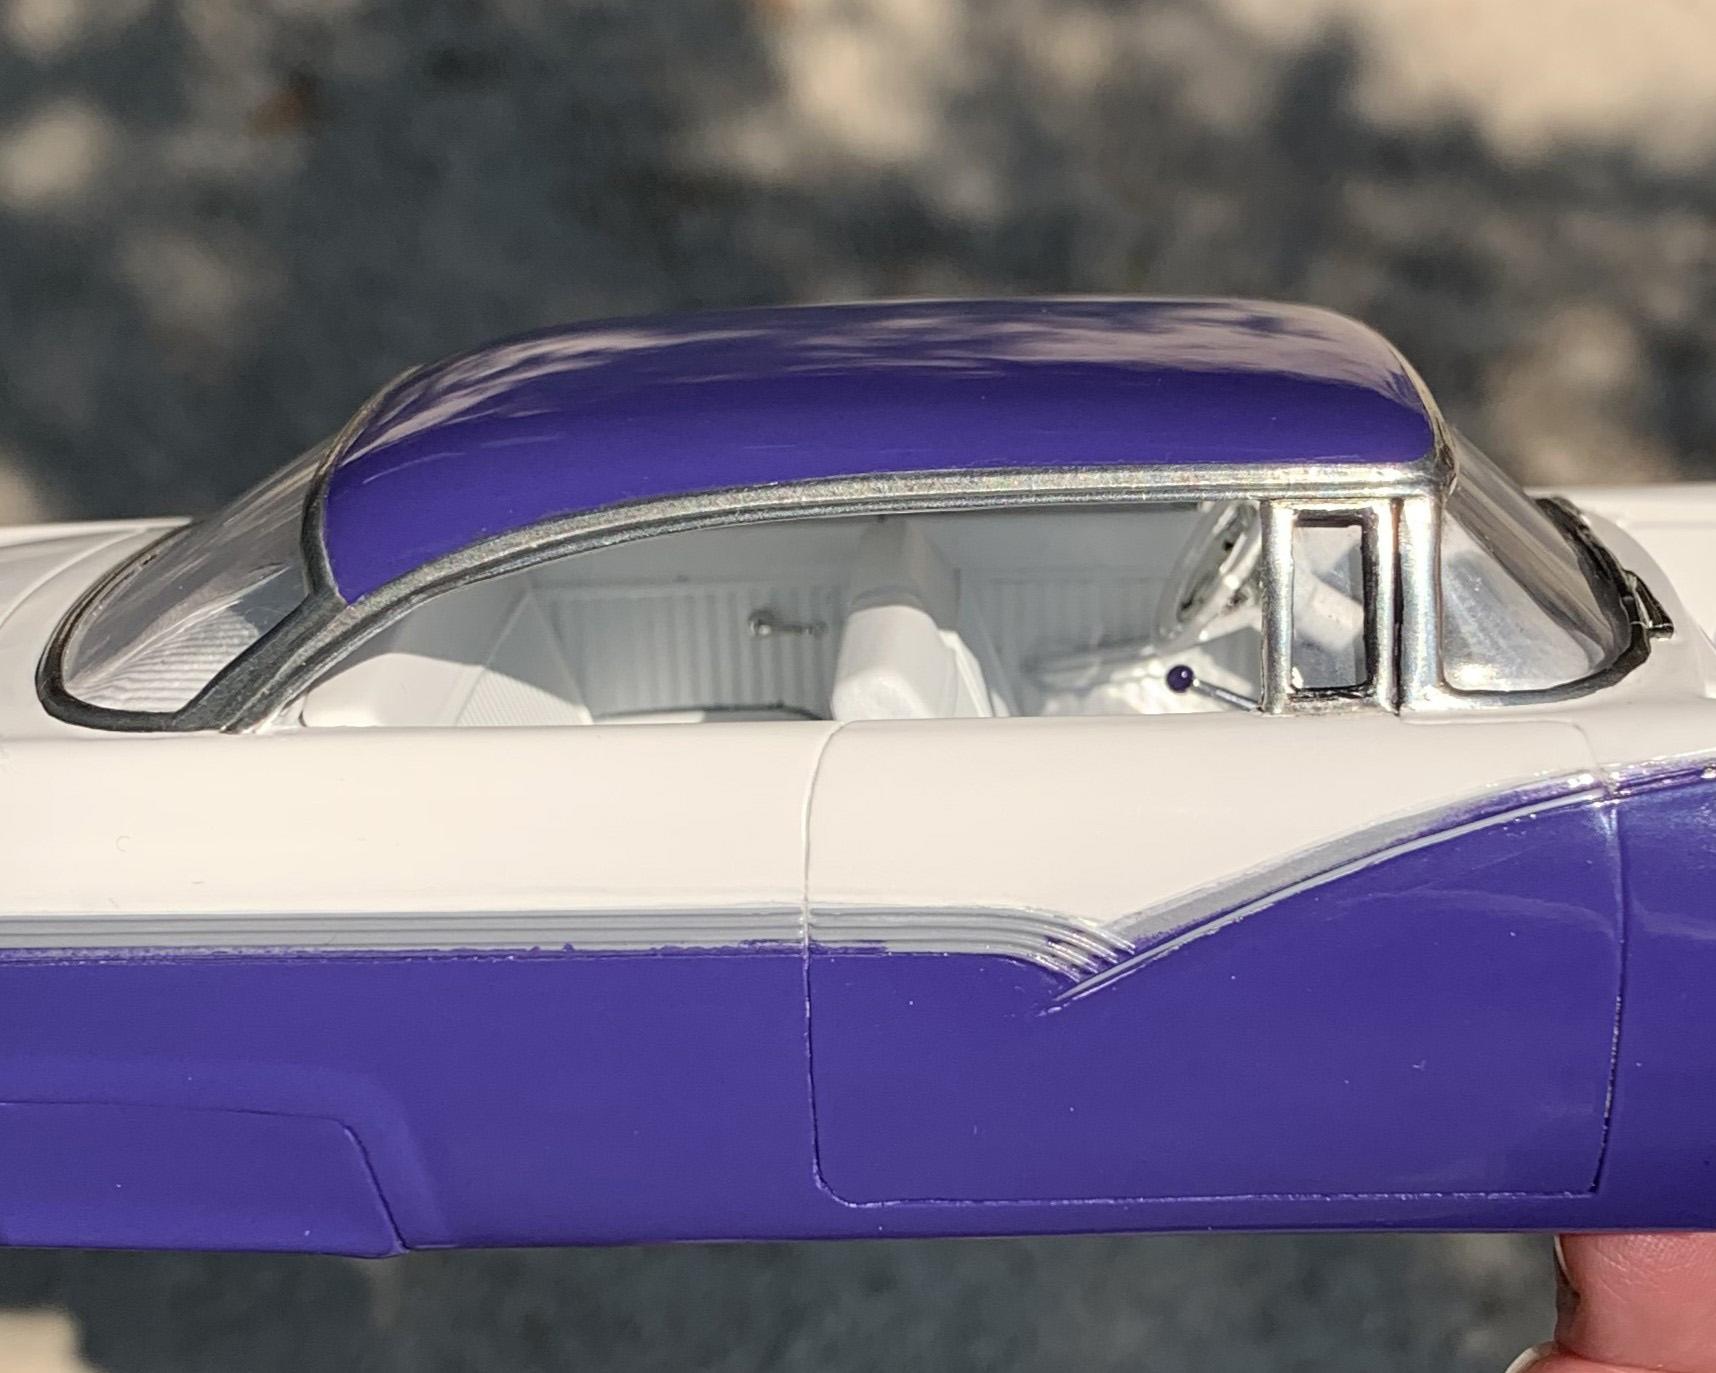
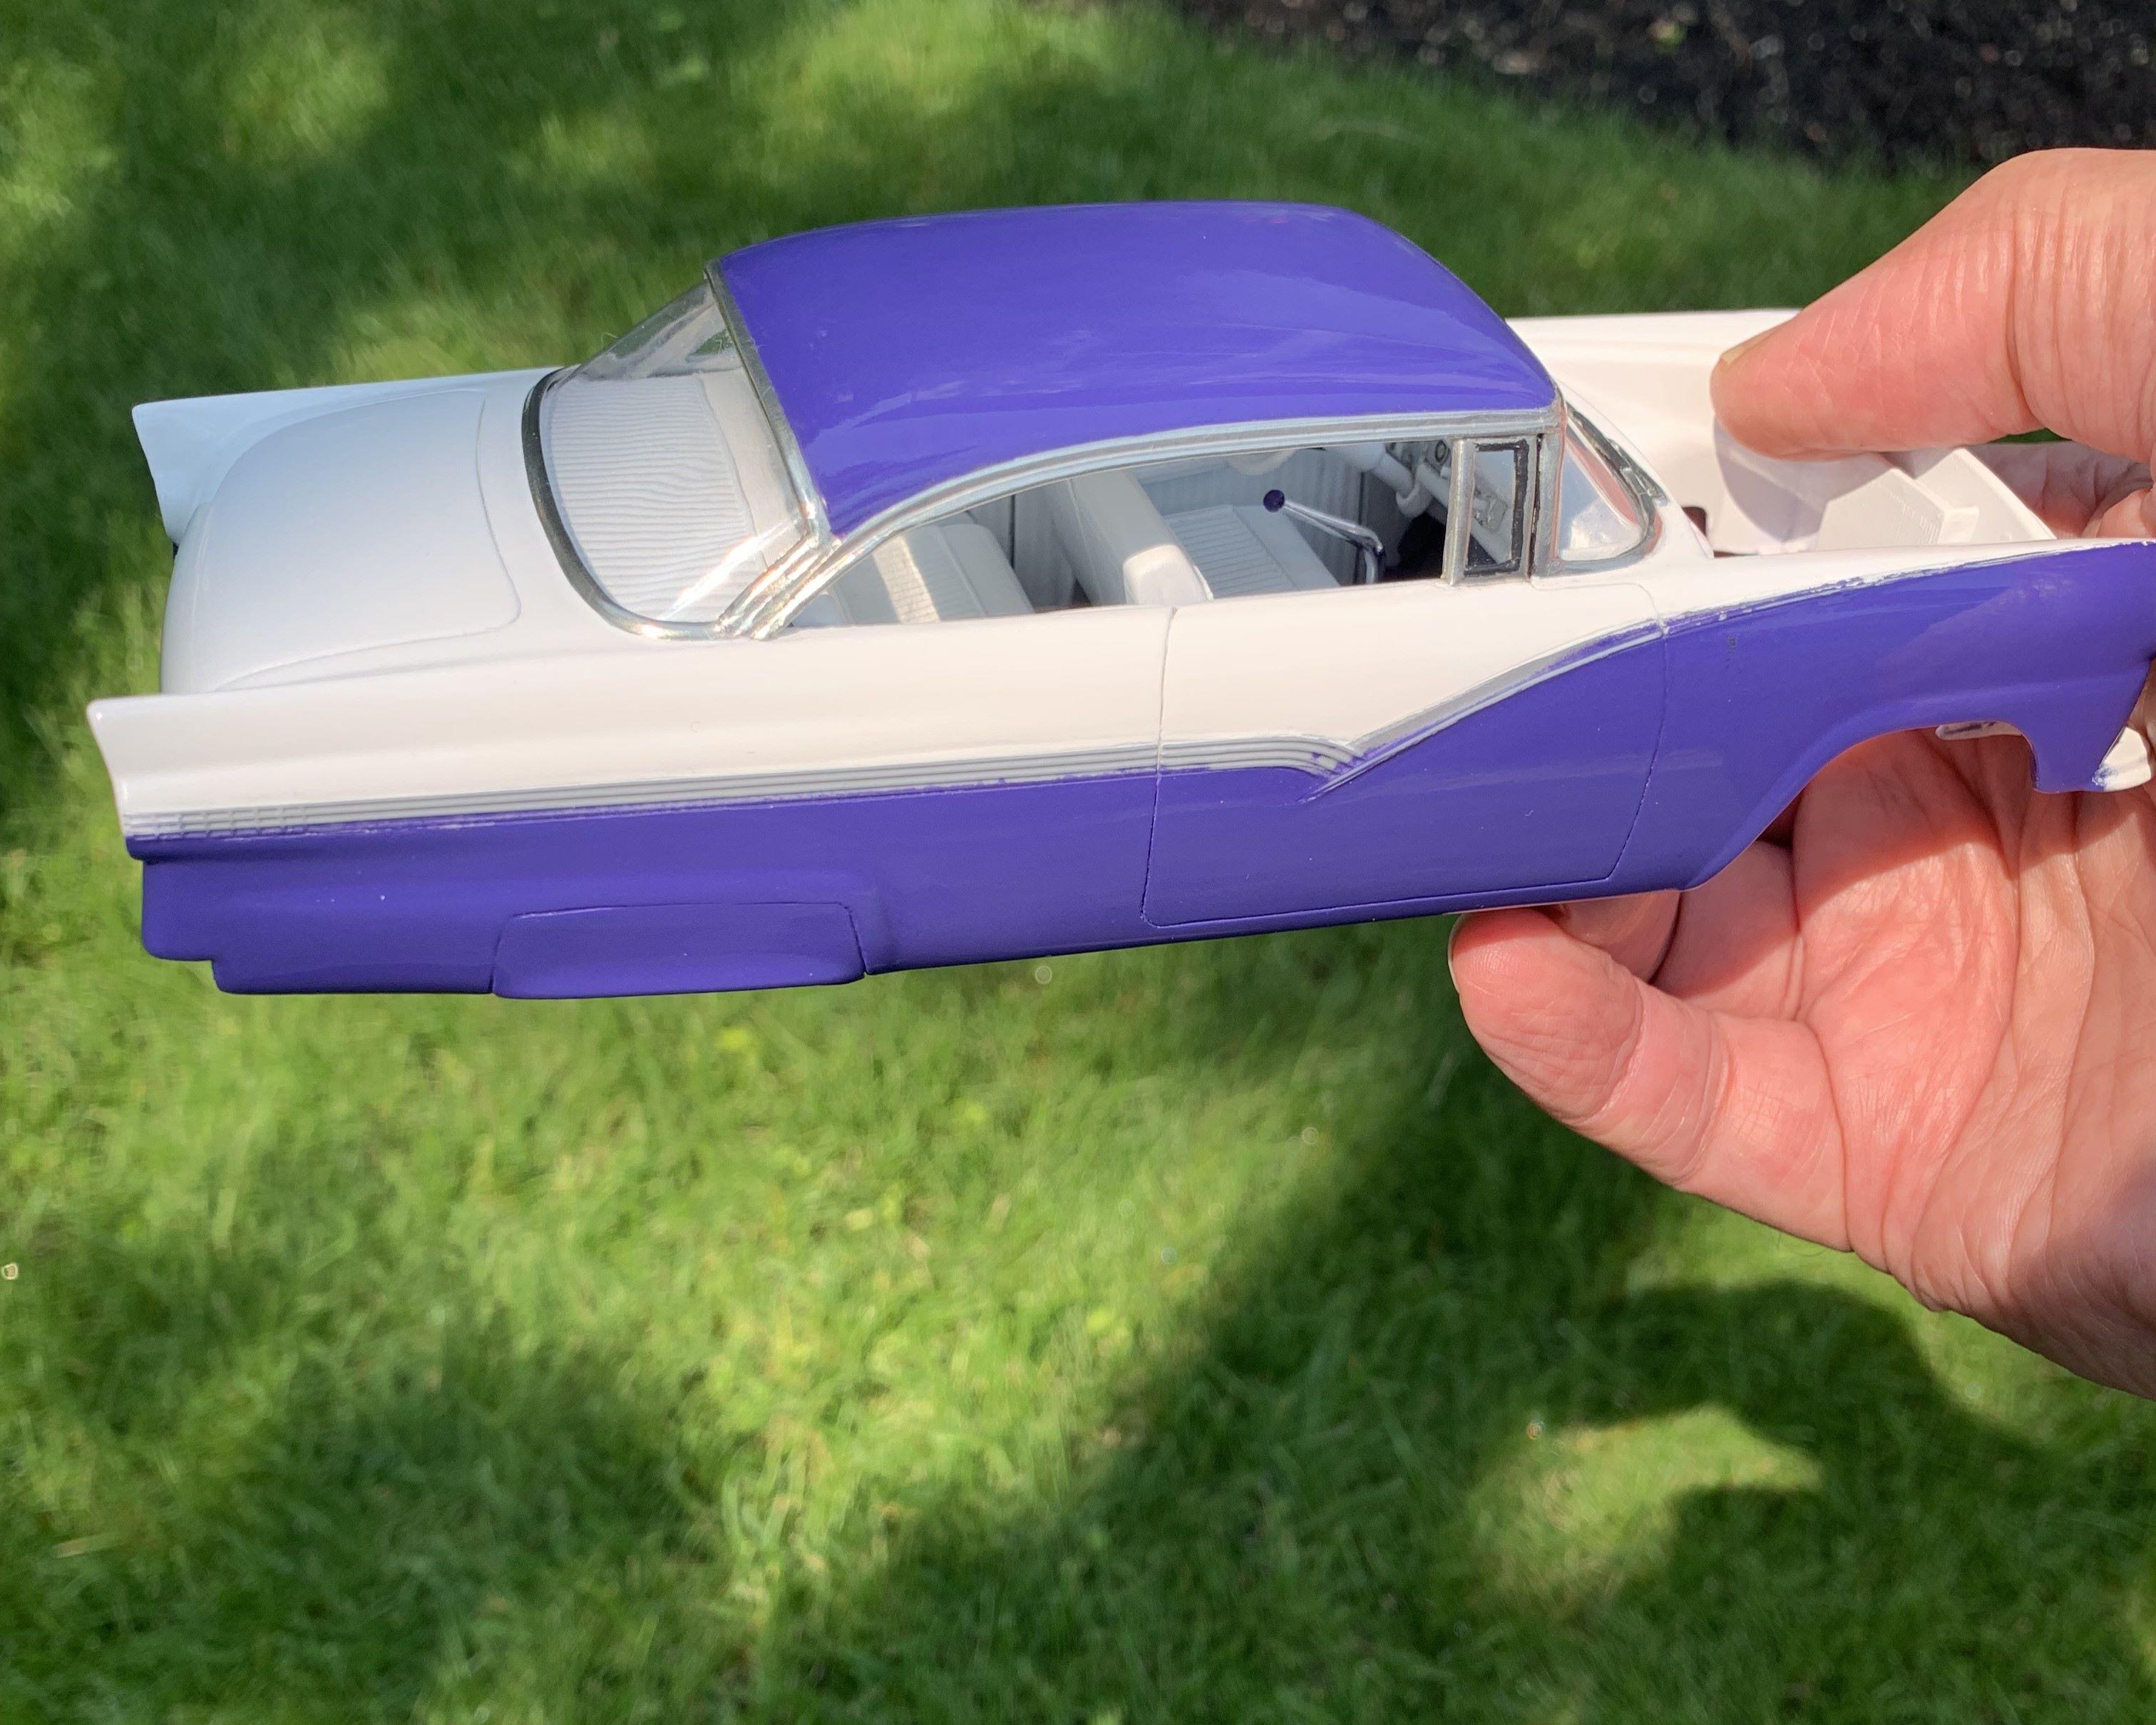
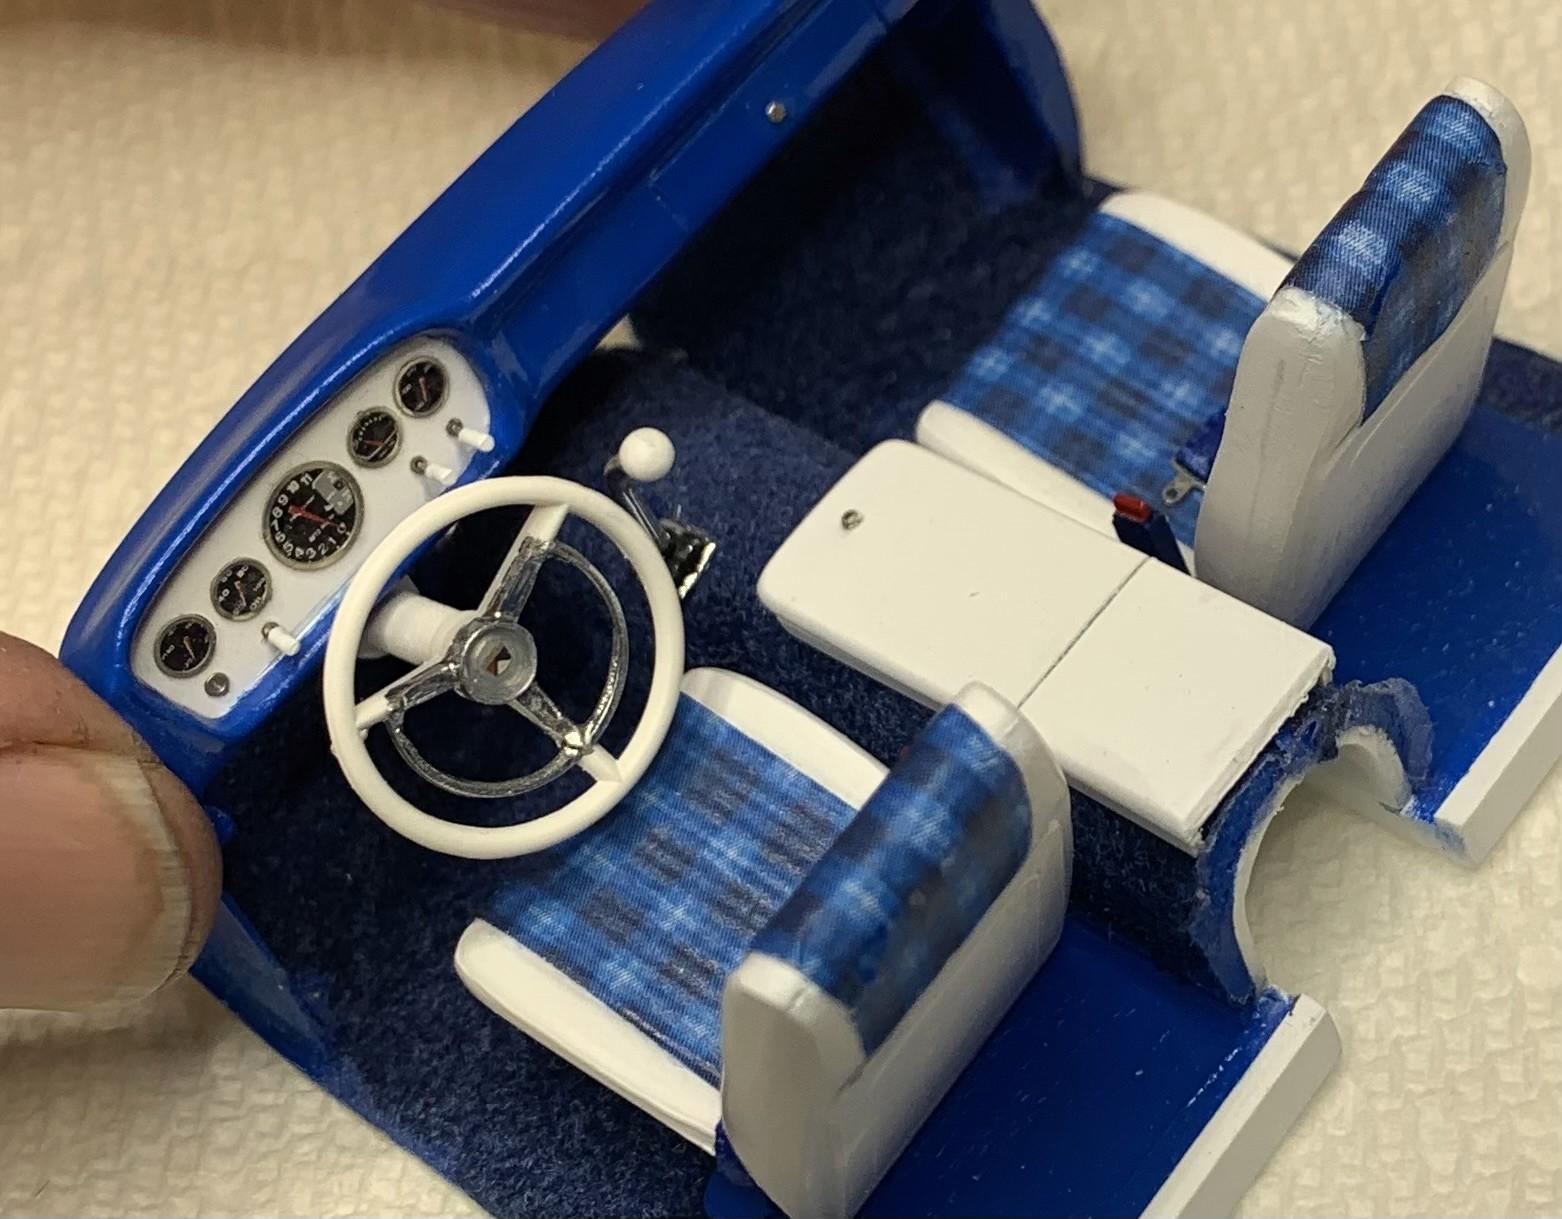
The kit steering column has a shifter rod on top, but I'm using a floor shifter, so I made a new column and signal lever. I made basic shapes of visors with a hole for an inside mirror (from the parts box) and it helps hold the windshield in place. So after doing the interior, and foiling around the roof, I added the glass and finally glued the interior in, to stay! It's a BIG step in this build, next will be foiling the side trim. You can see my scratch made skirts in the last picture.
-
Window cranks and door handles (interior) are simply tiny chrome beads from Michael's and beading wire bent to shape with .030 styrene at one end of the window cranks. I filed the door handles to give a bit of shape to them. I sprayed Revell chrome into the can lid, then brushed it on. I didn't take pictures of those before they were made and installed but up a few posts, they're shown before I painted them chrome.
-
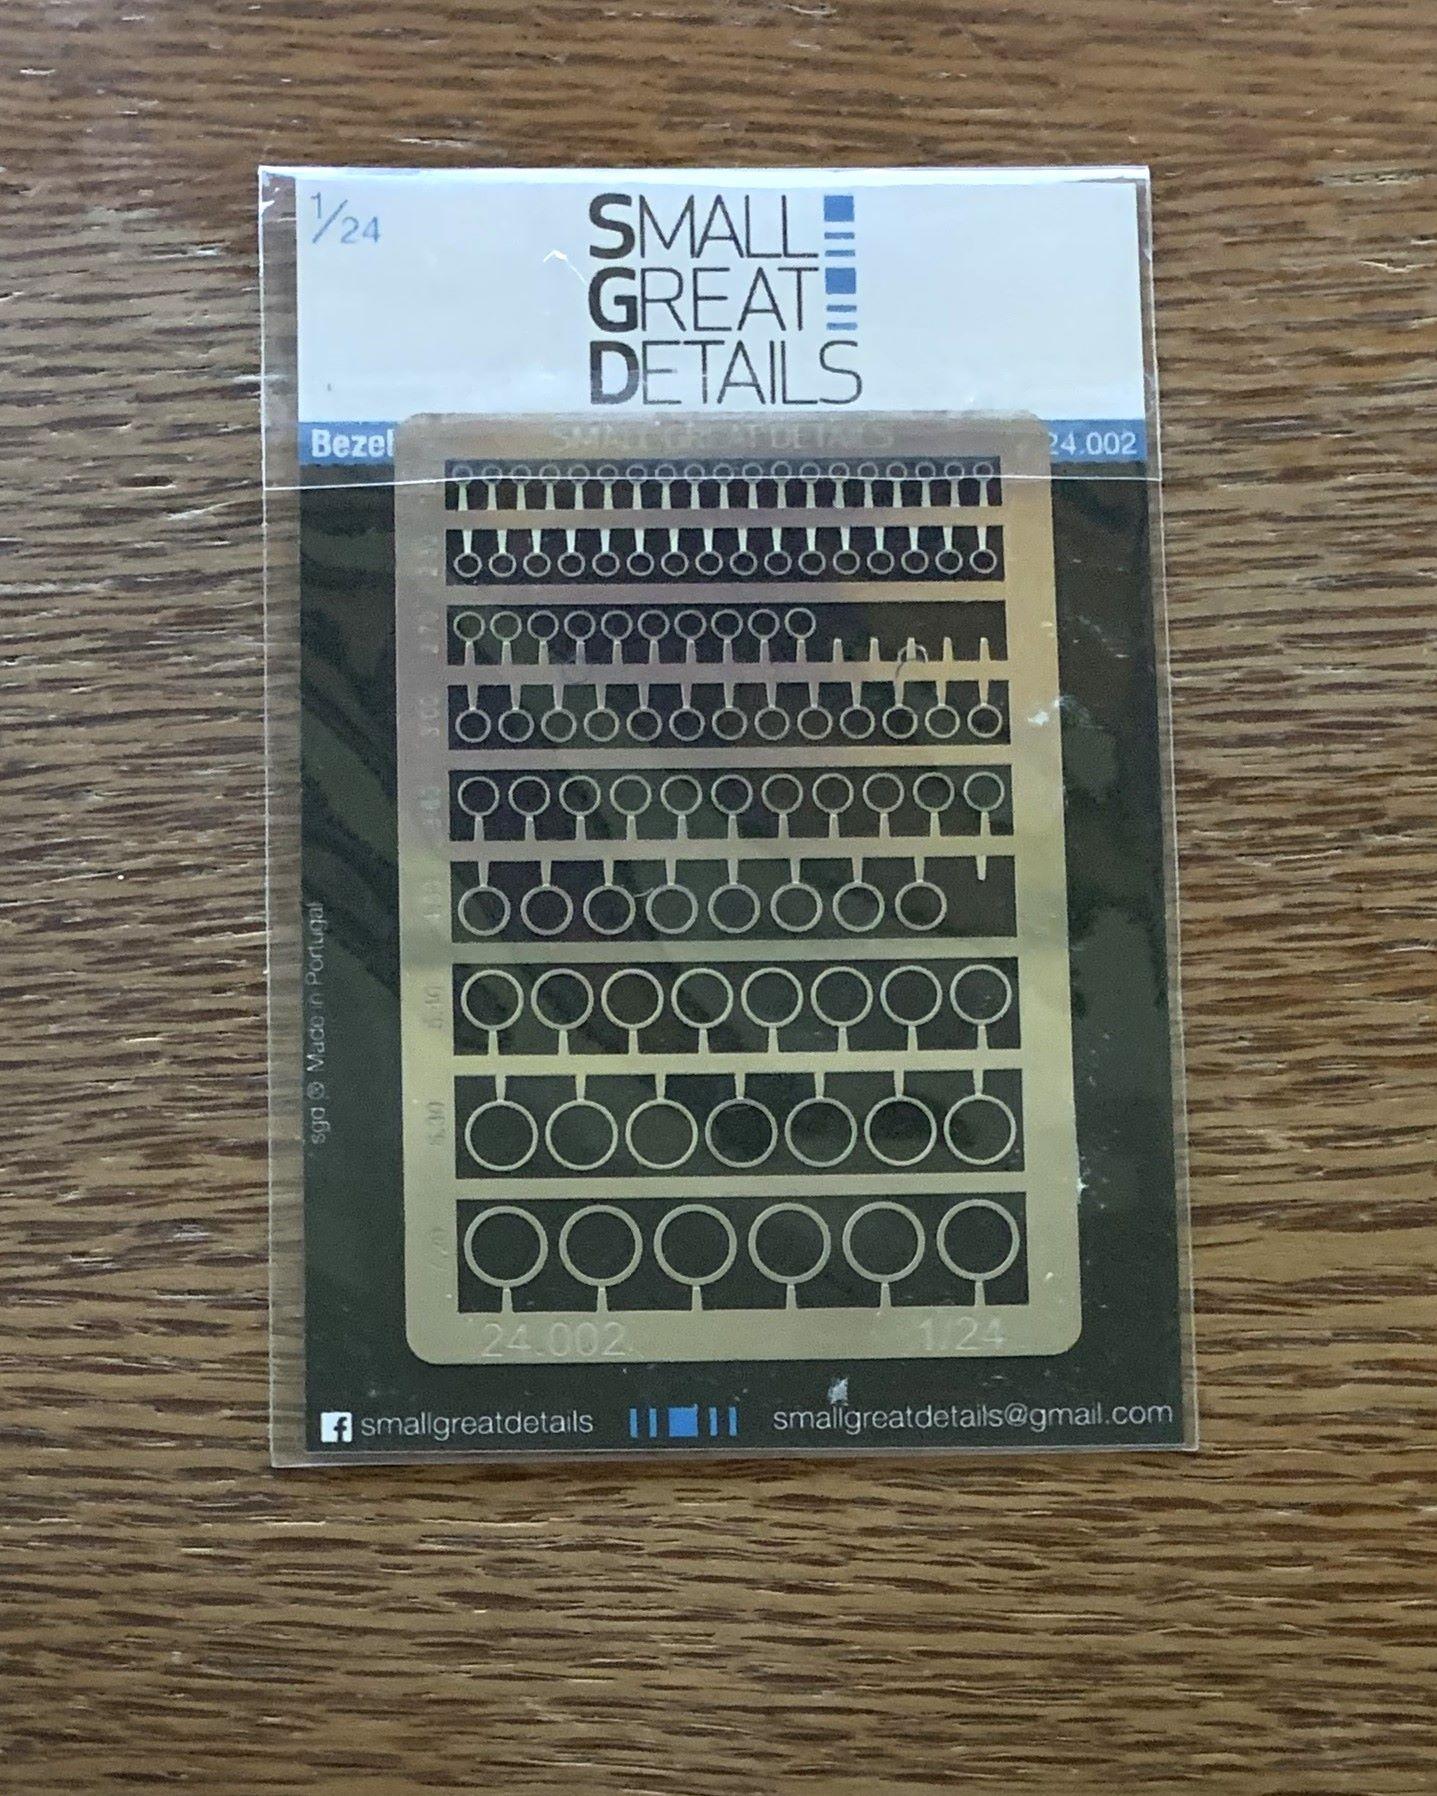
I have a couple of packs of these, I use them on many of my builds, over decals, then filled with white glue which dries clear and replicates the lens. Here's my '62 pickup custom gauge cluster using them:
-
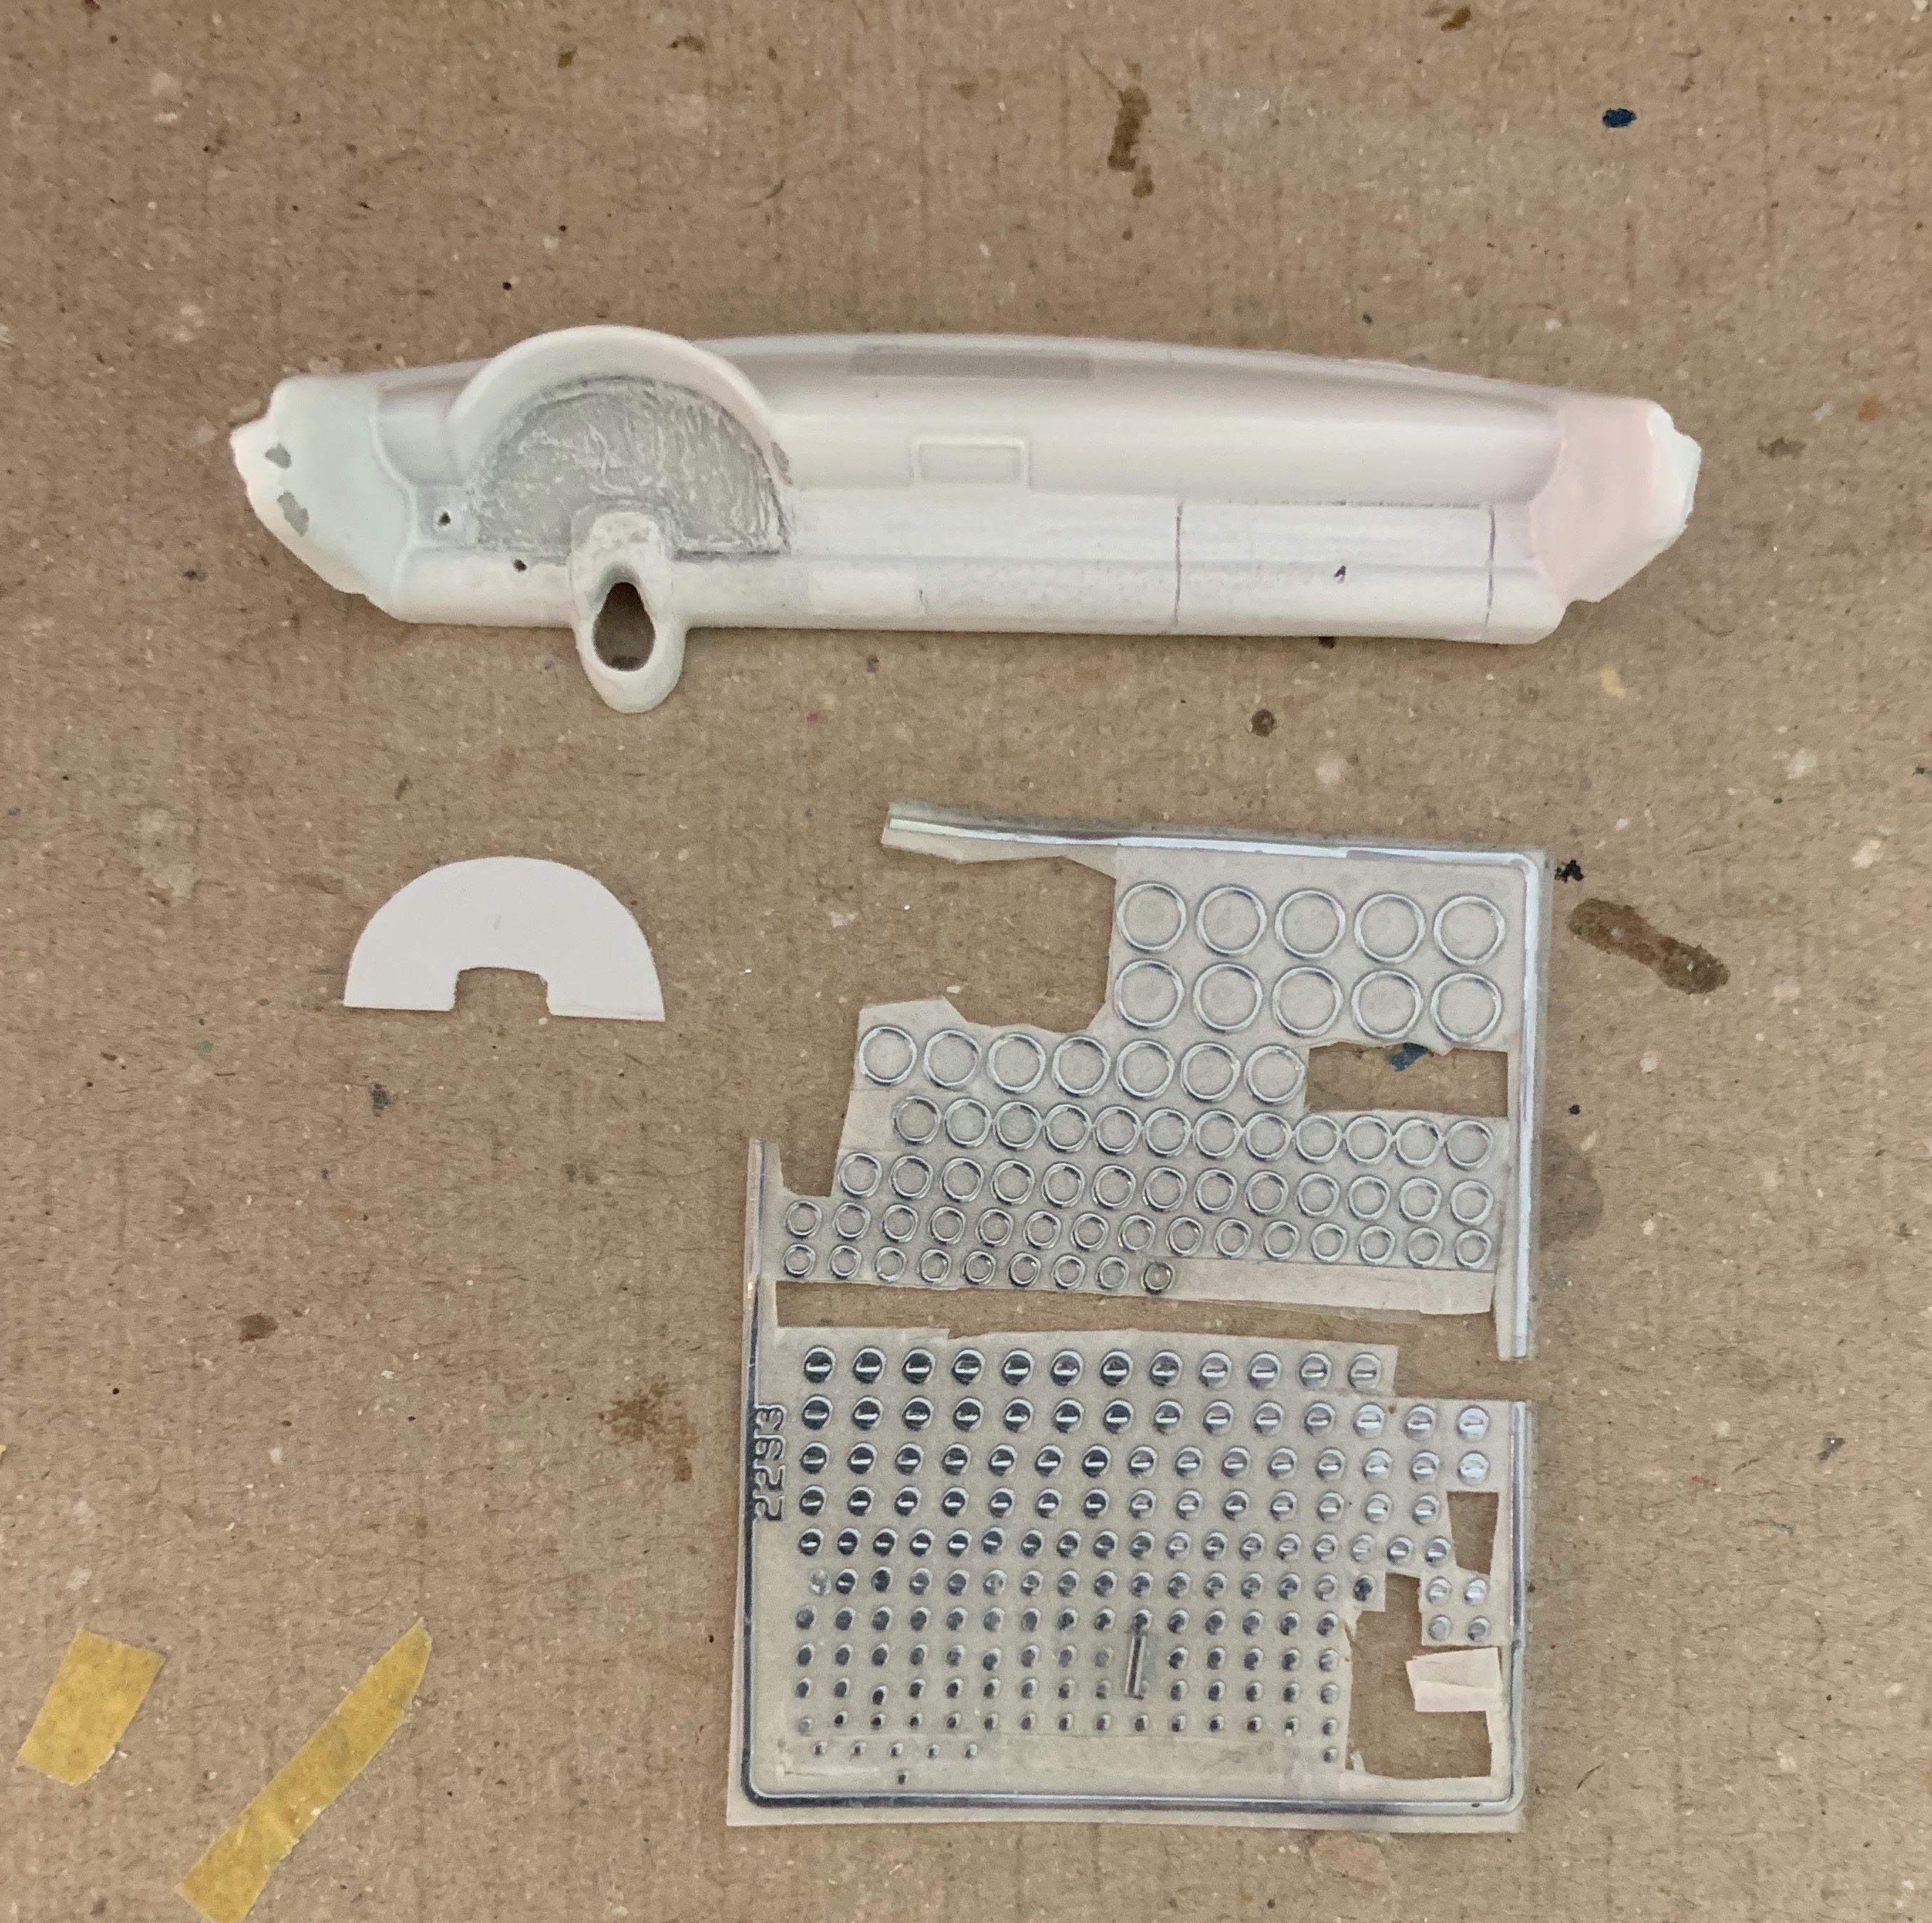
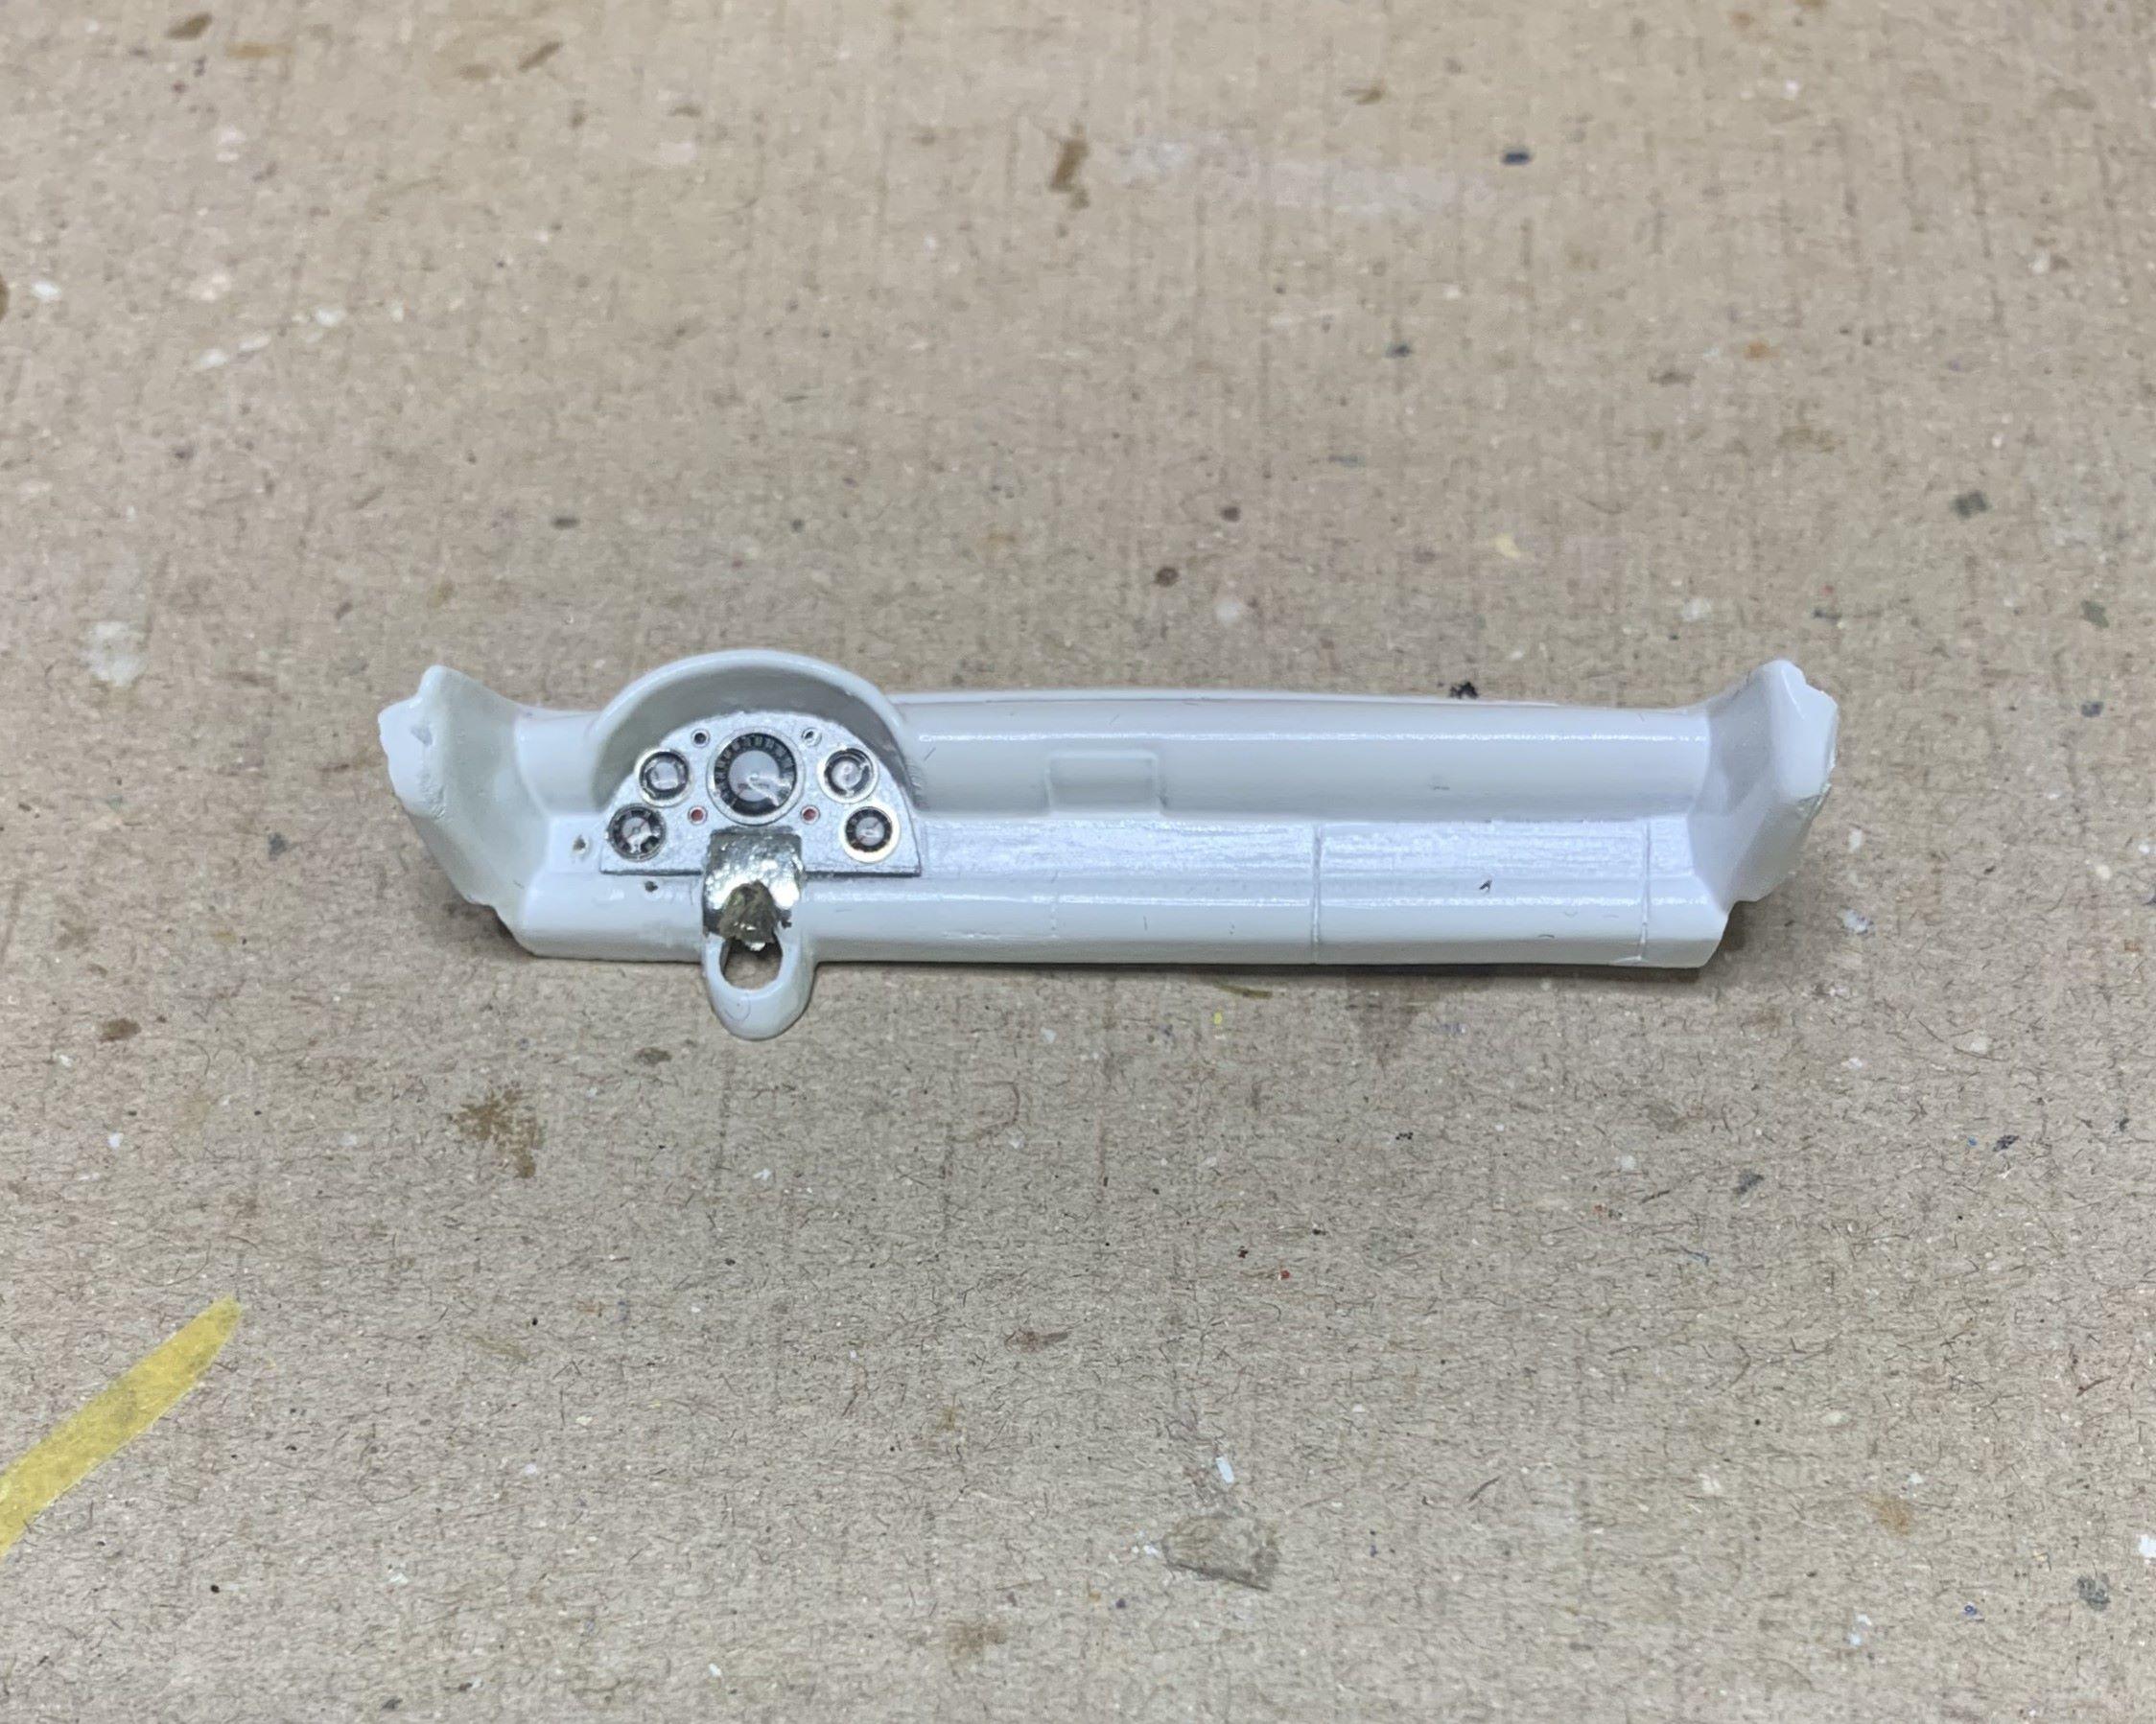
The kit dashboard, nothing wrong with it, I'm just me, I like to mess everything up! LOL Made up a separate panel for the instruments after I more or less, smoothed the dash. Gauge decals, with photo etch rings and clear glue (lens). Now I need a radio, that Merc Woody Wagon kit has one, or should I say HAD one. Dash just held in place, still some tweaking to do! But now............. I'm going to watch the Winnipeg Blue Bombers CFL football on TV with Shelley, GO BOMBERS! Cheers UPDATE: Bombers won the football game, now they're 3 and 0 this season so far.
-
Gorgeous build of a fabulous kit!
-
Floor shifter and pedals installed, dashboard started, later.
-
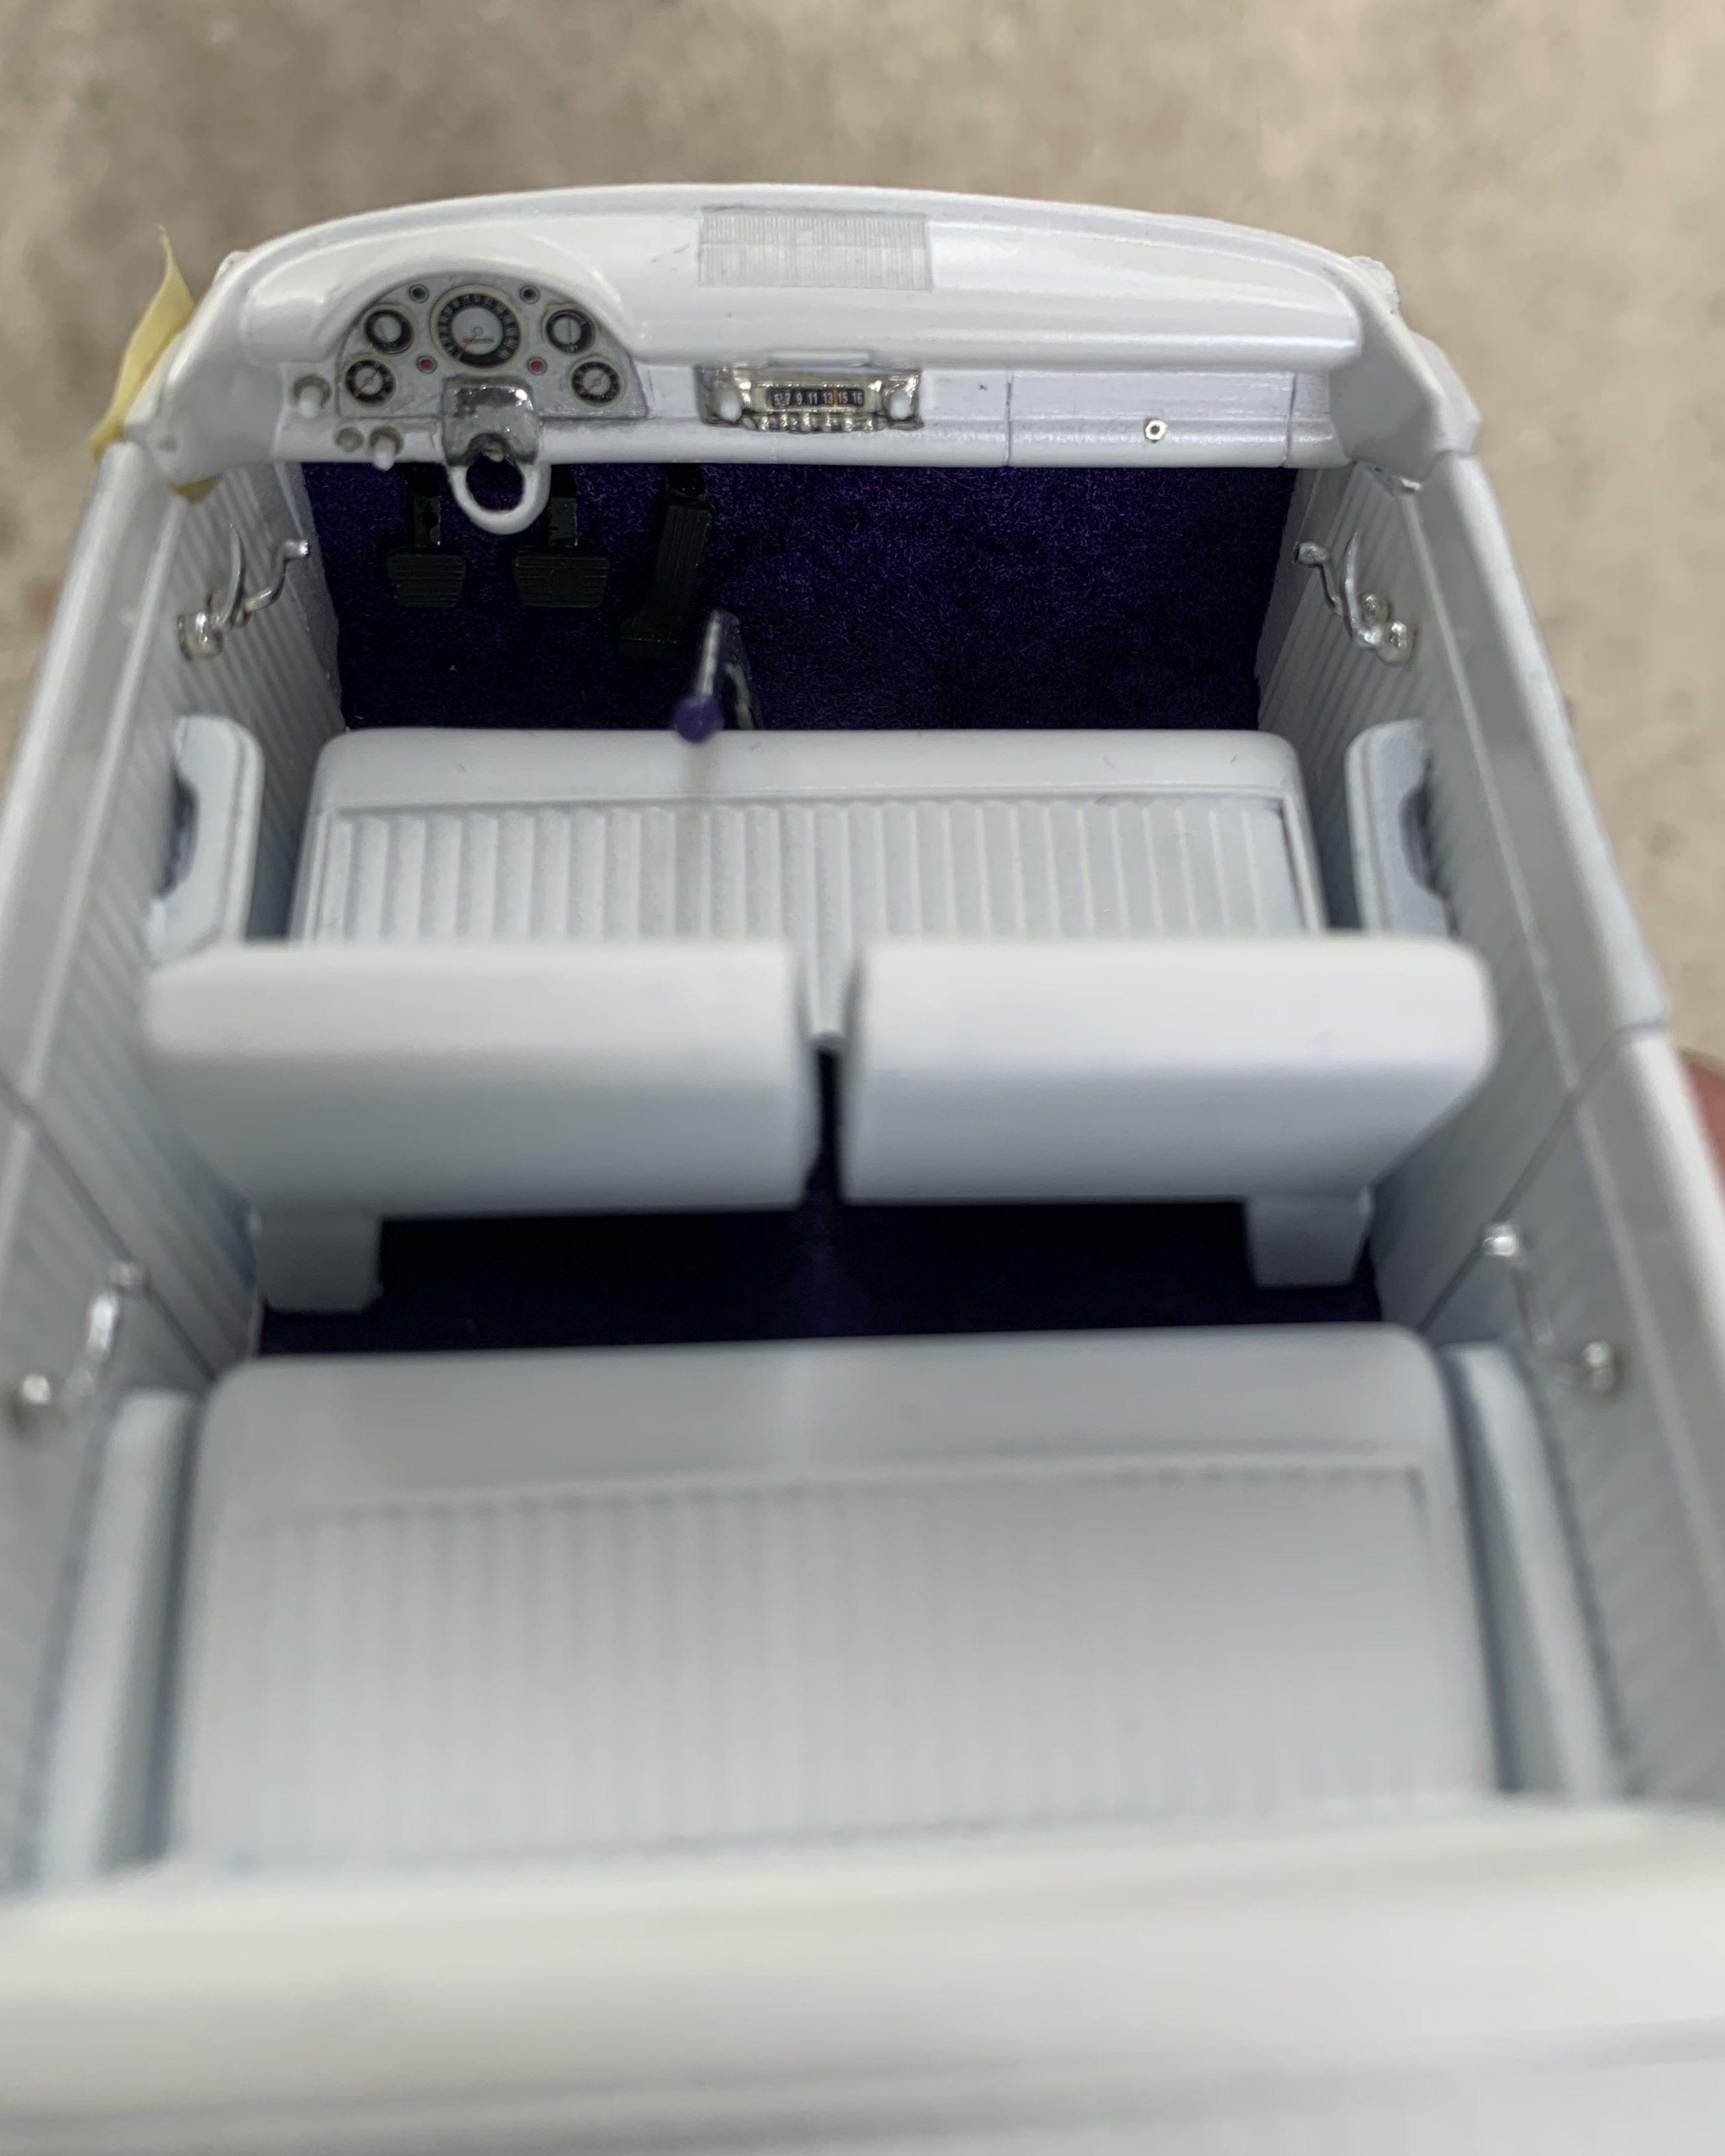
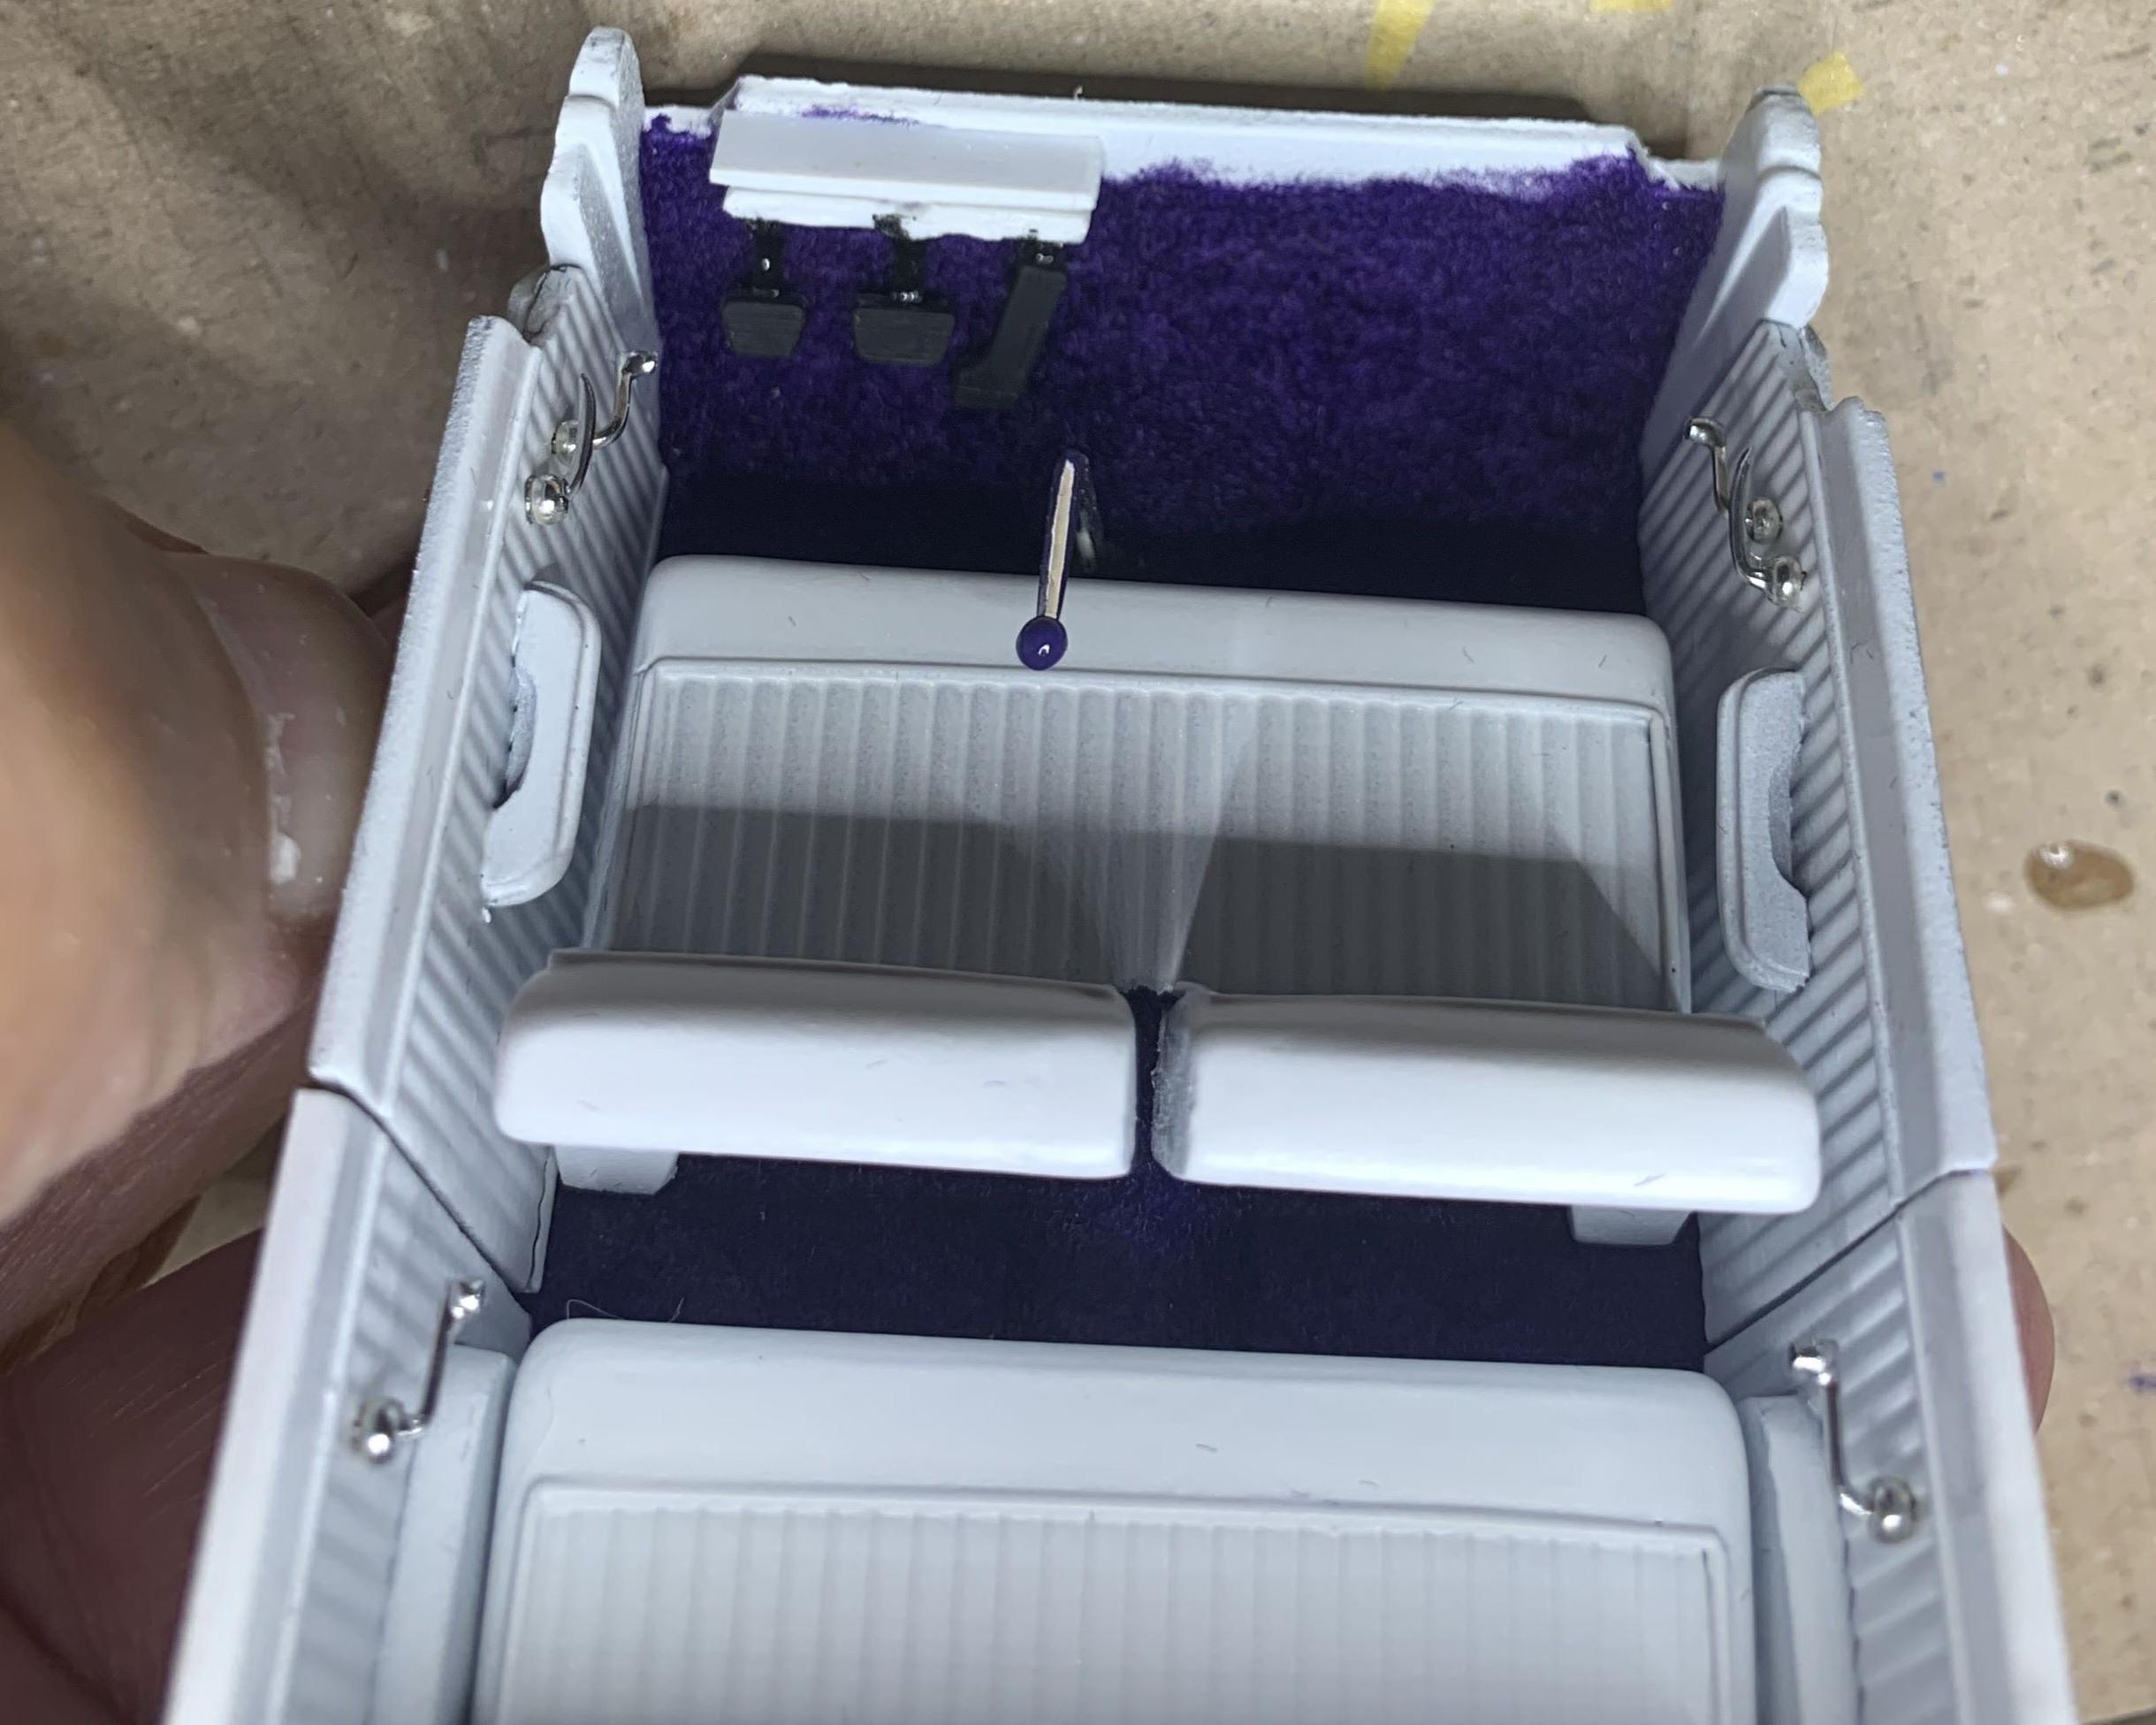
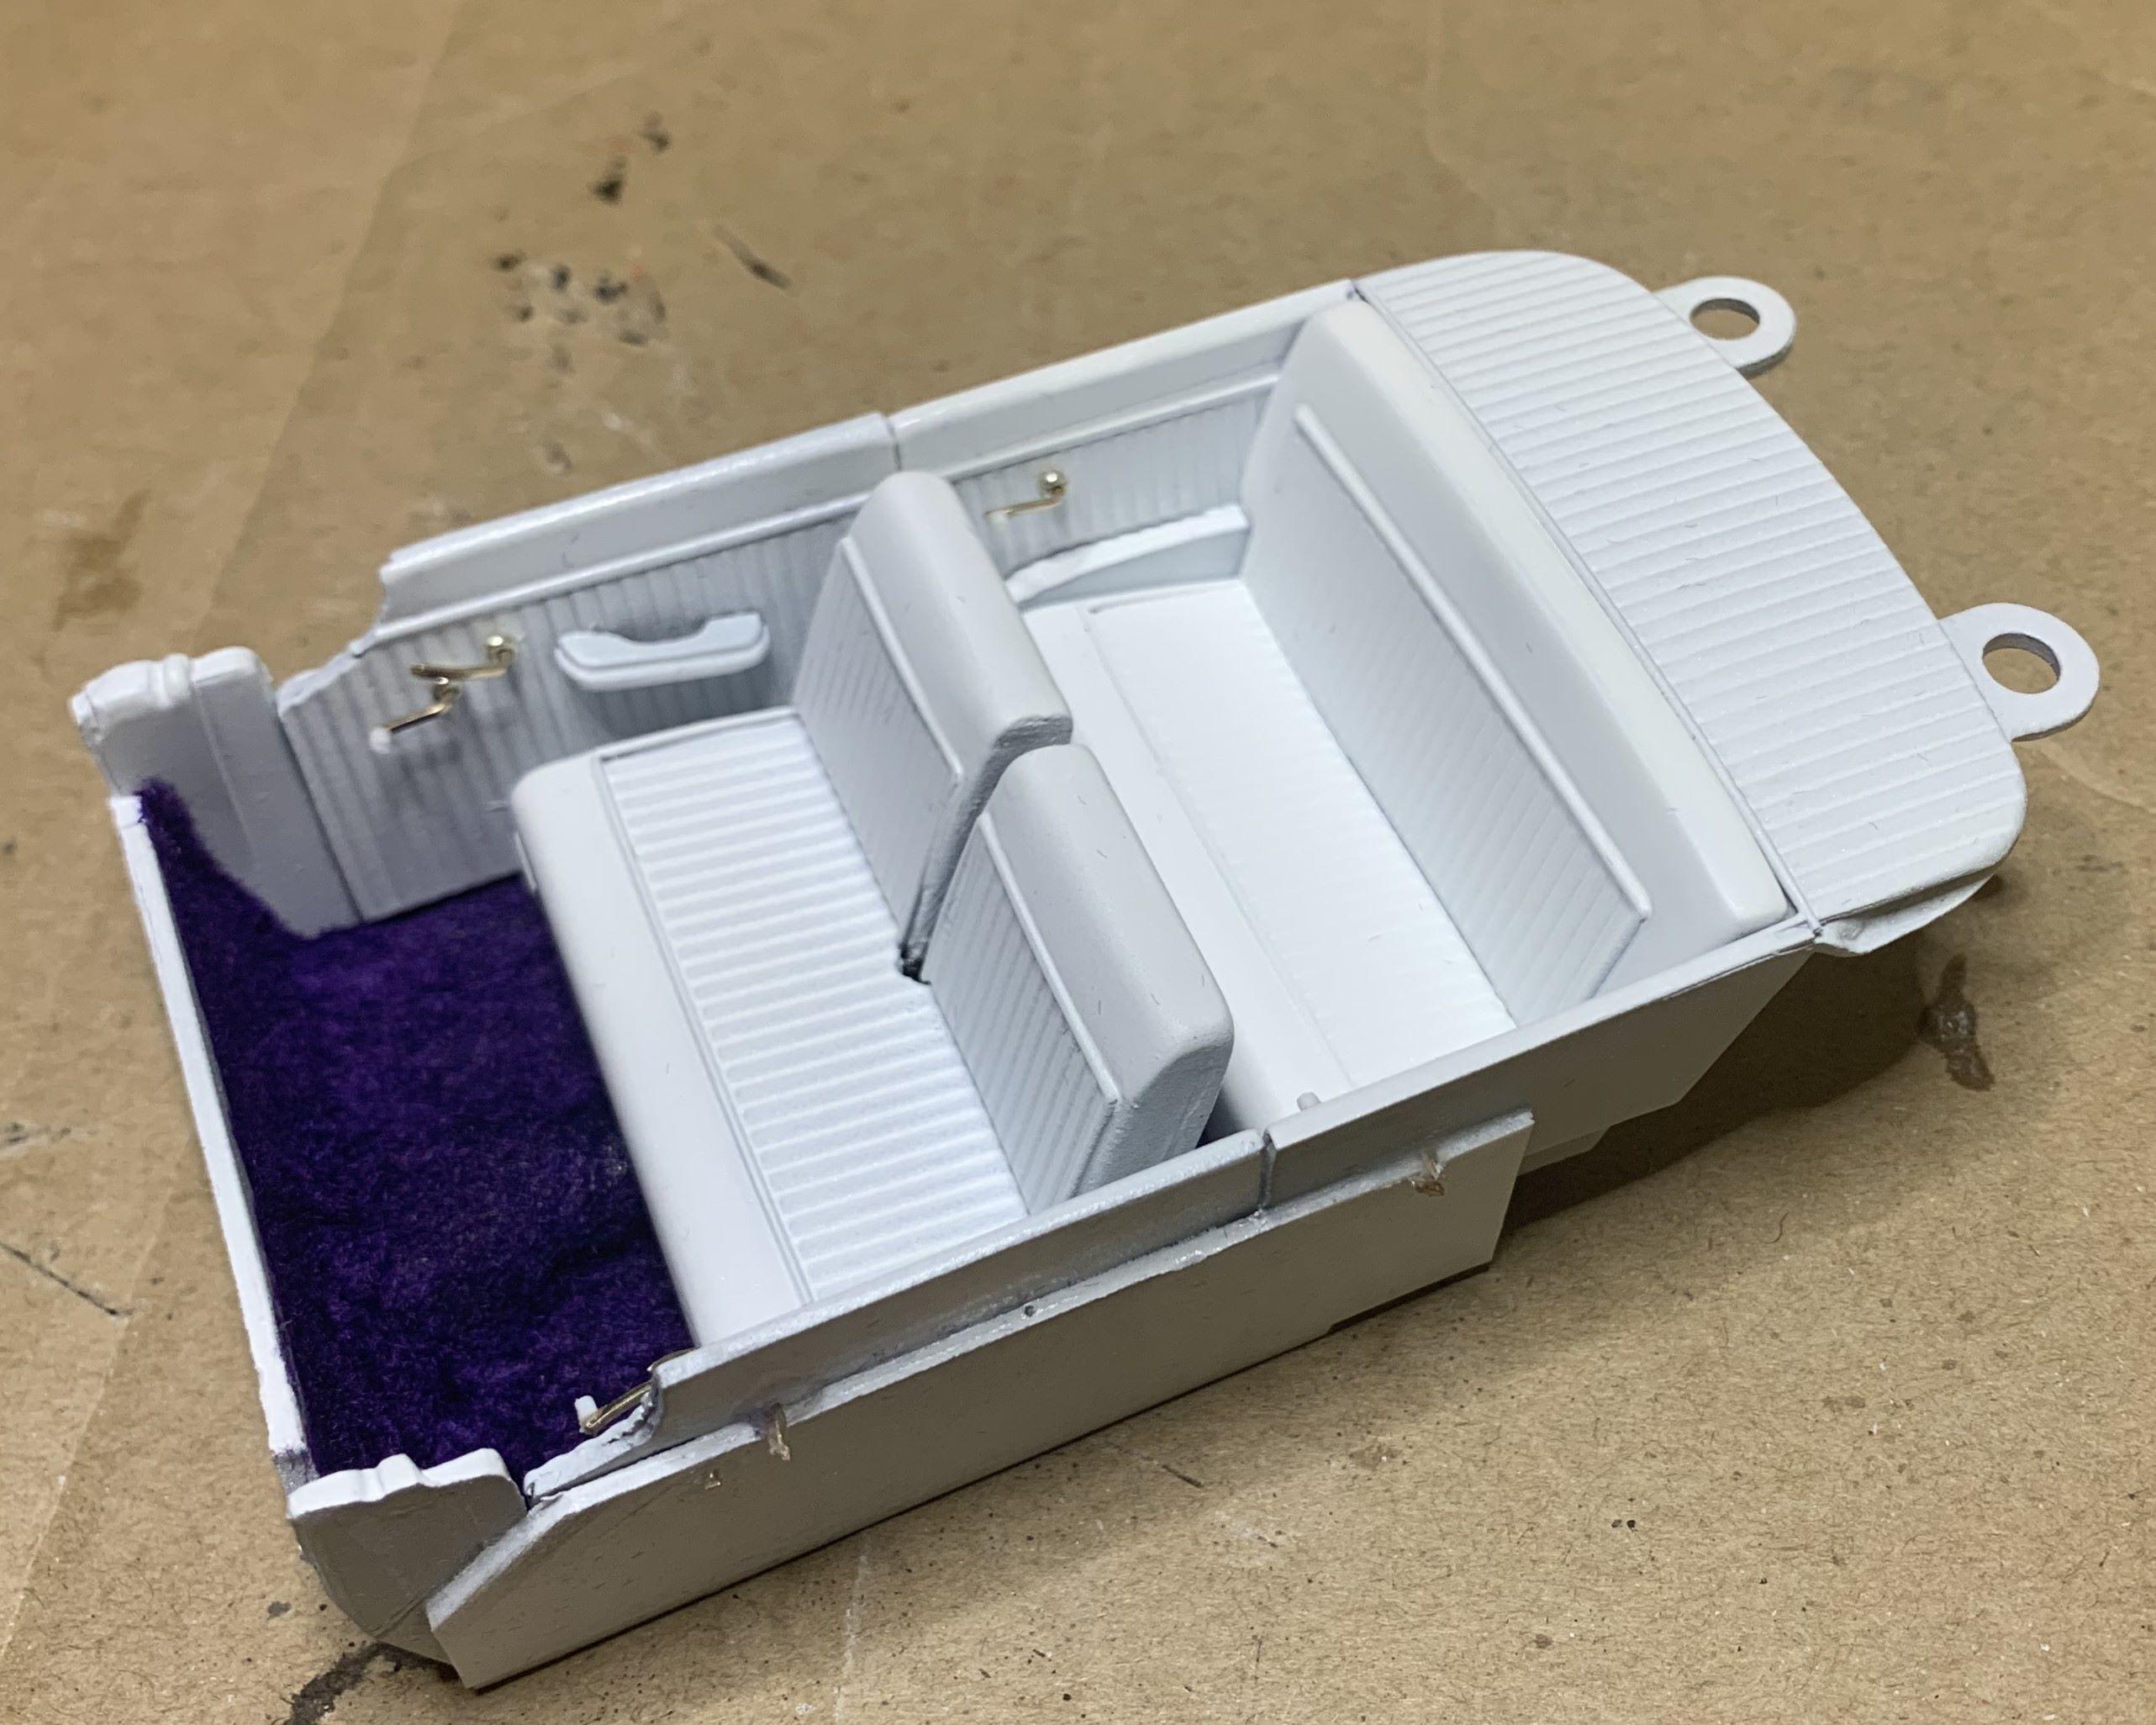
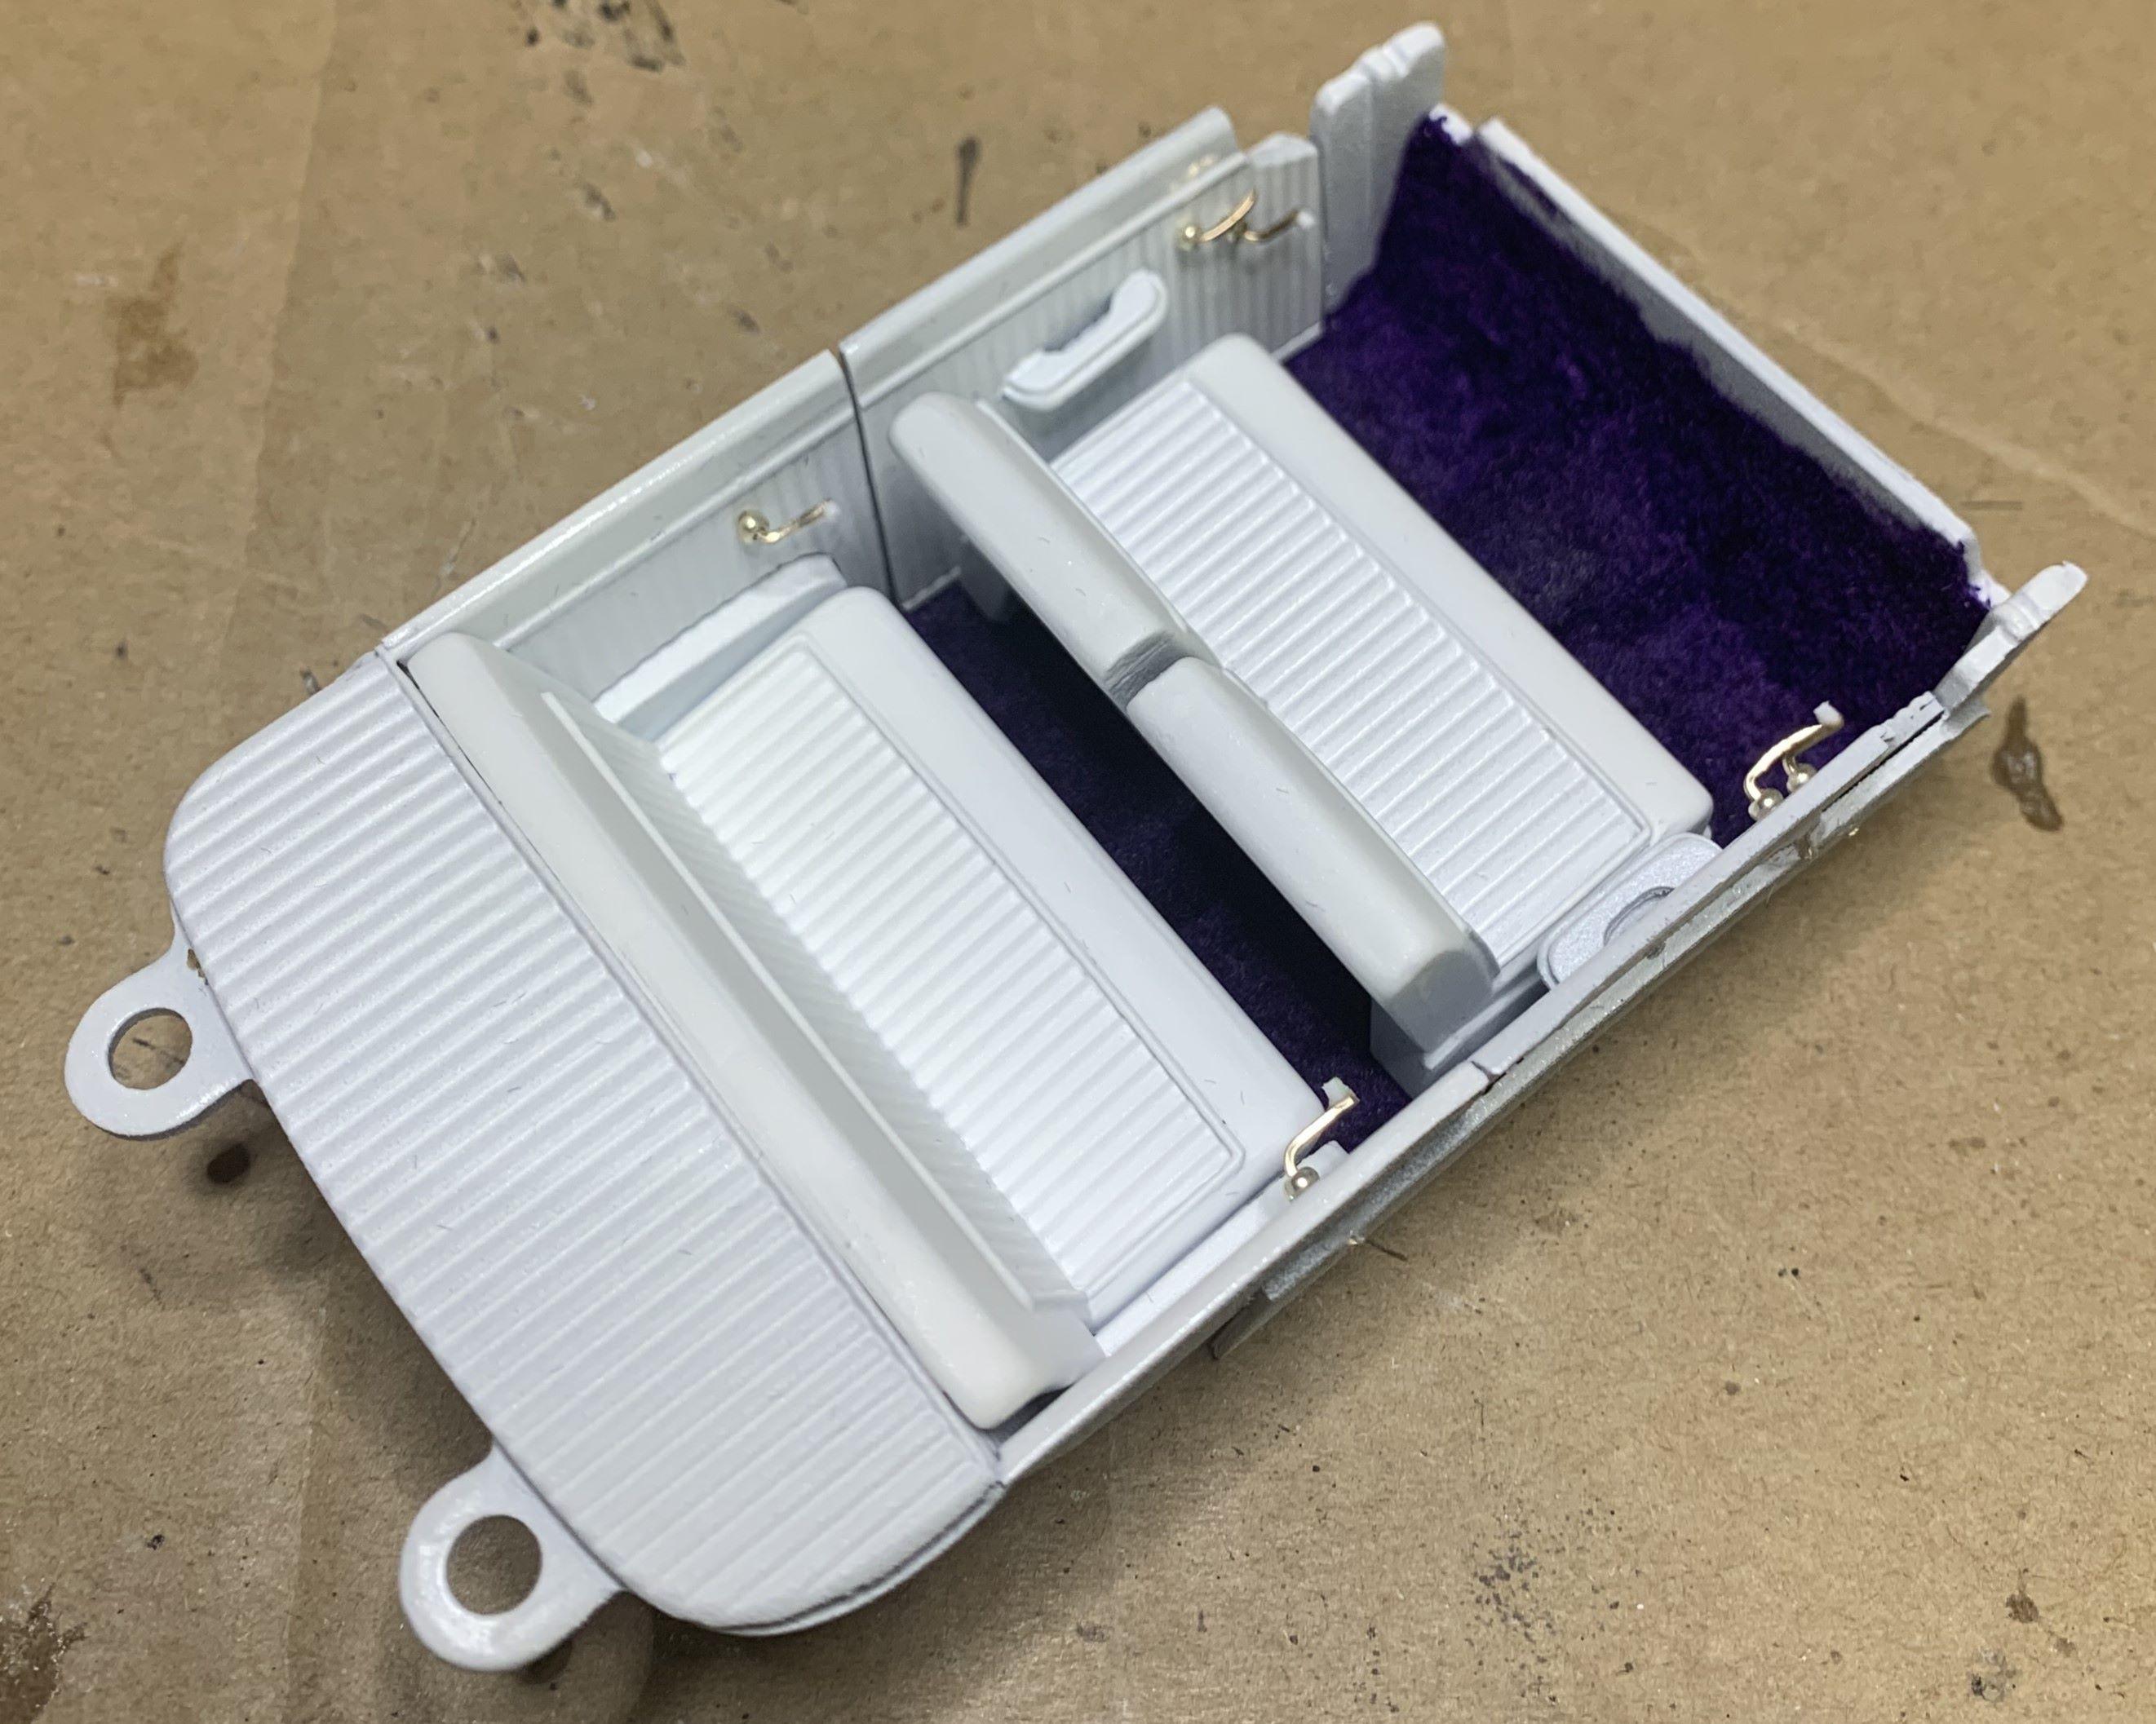
I made some simple window cranks and door pulls. Now the seats are glued in, over purple flocking. I still need to detail the dashboard, make a steering column with signal lever, add a steering wheel, pedals and floor shifter.
-
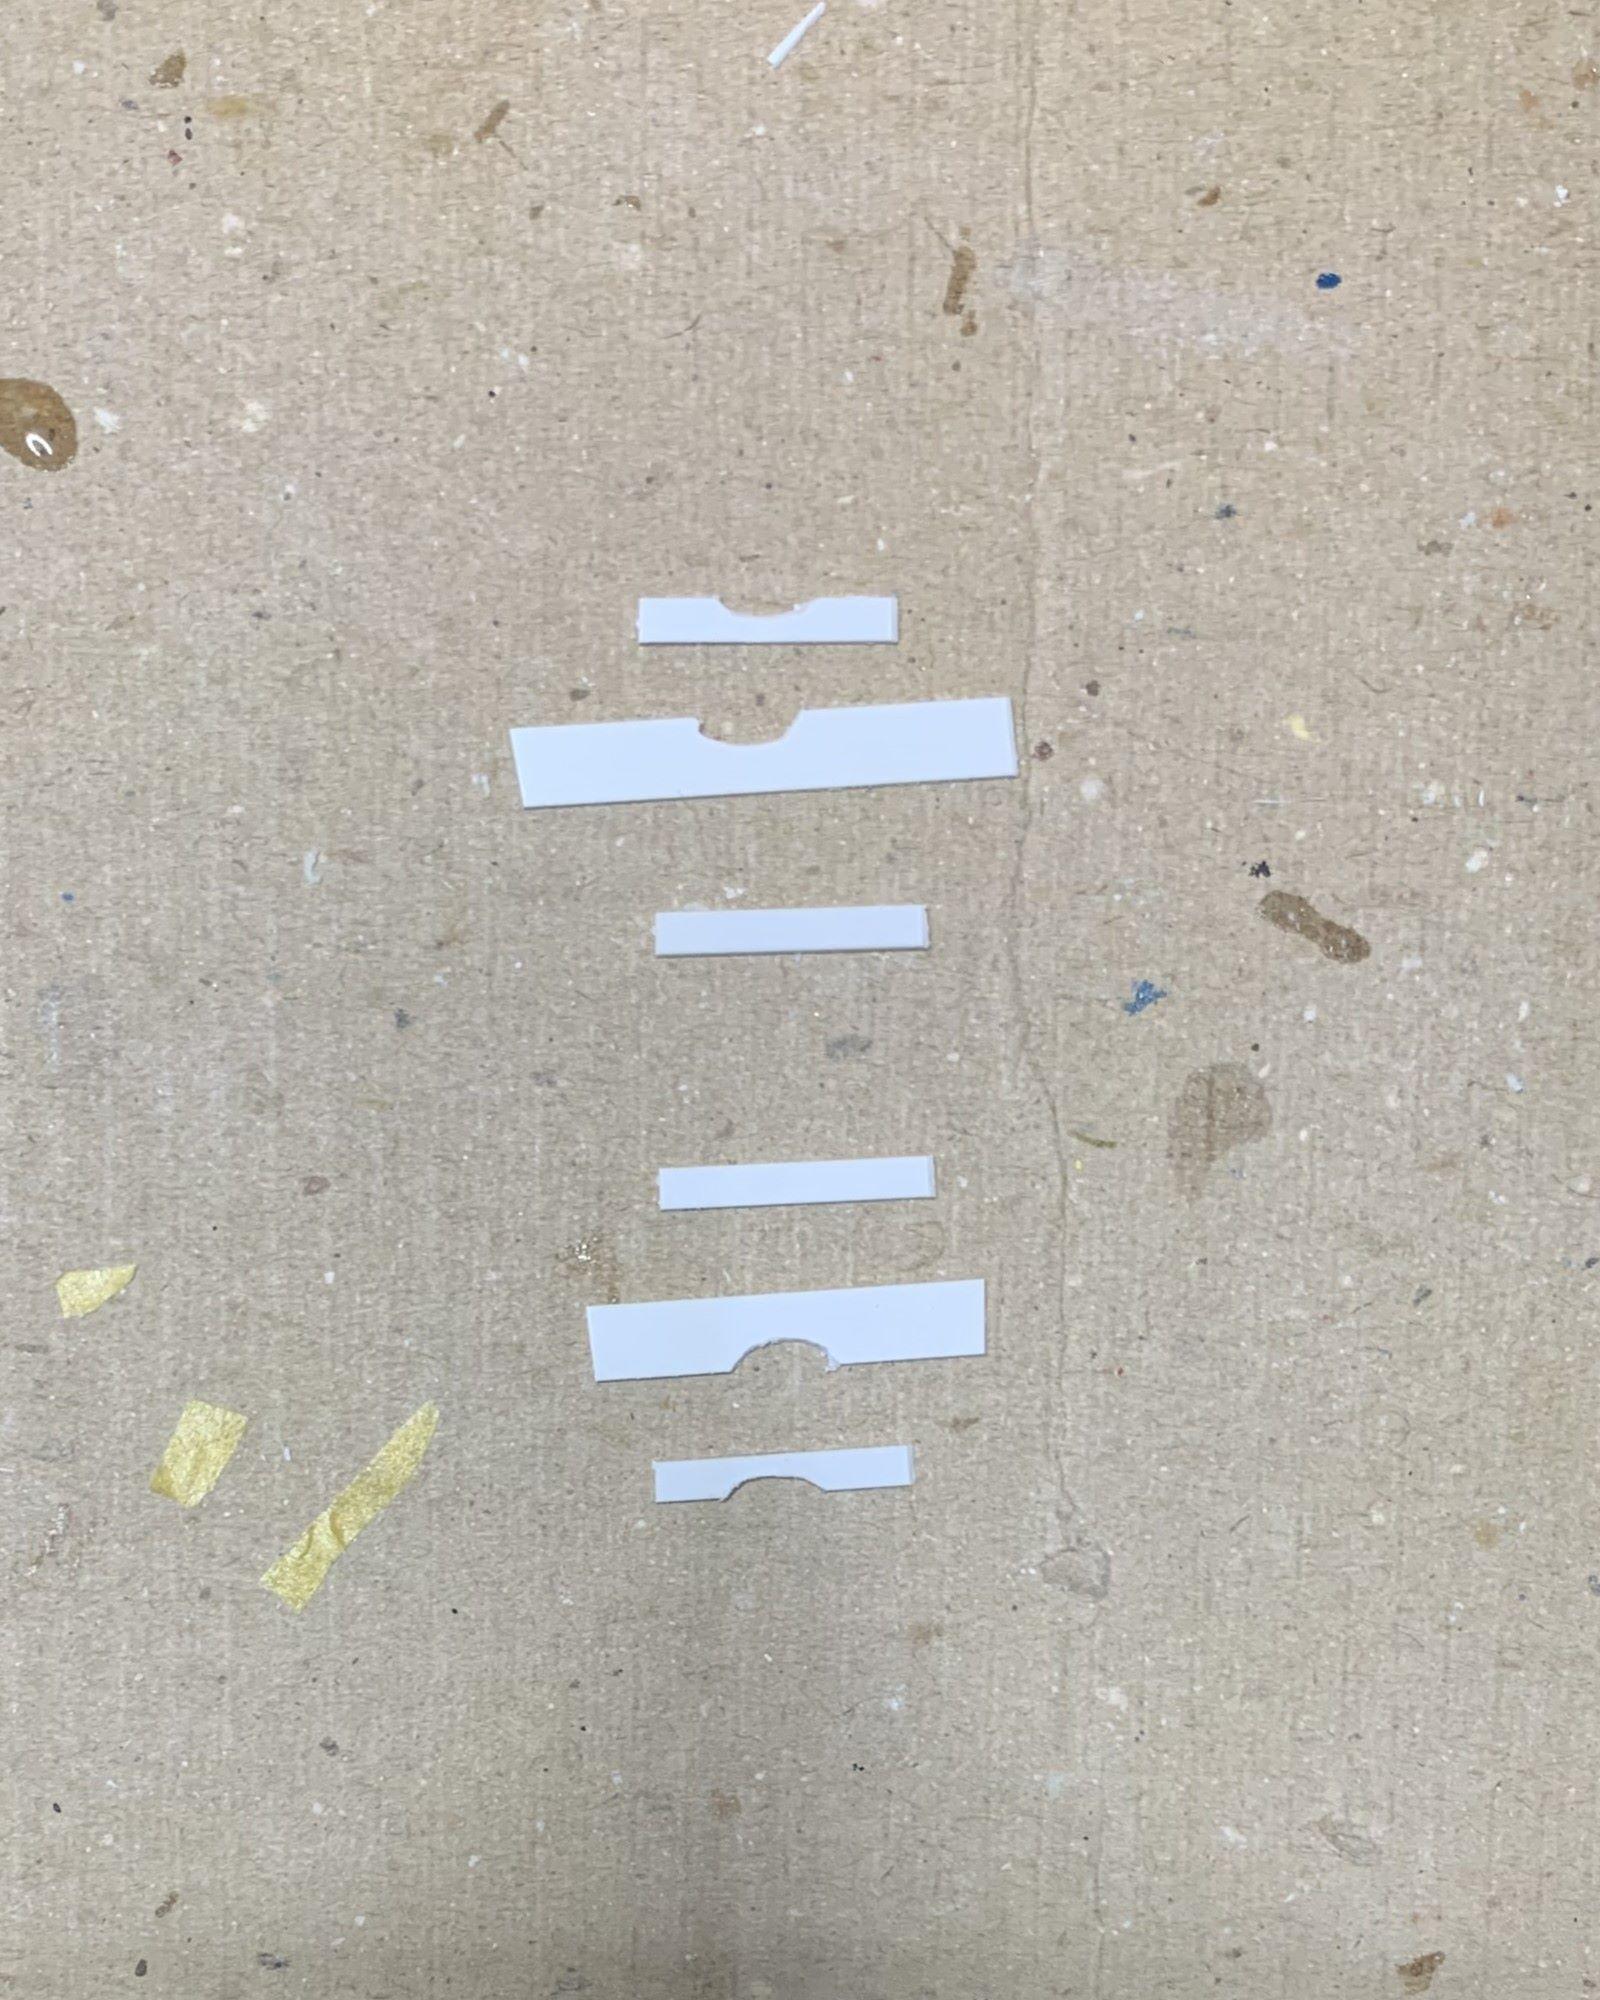
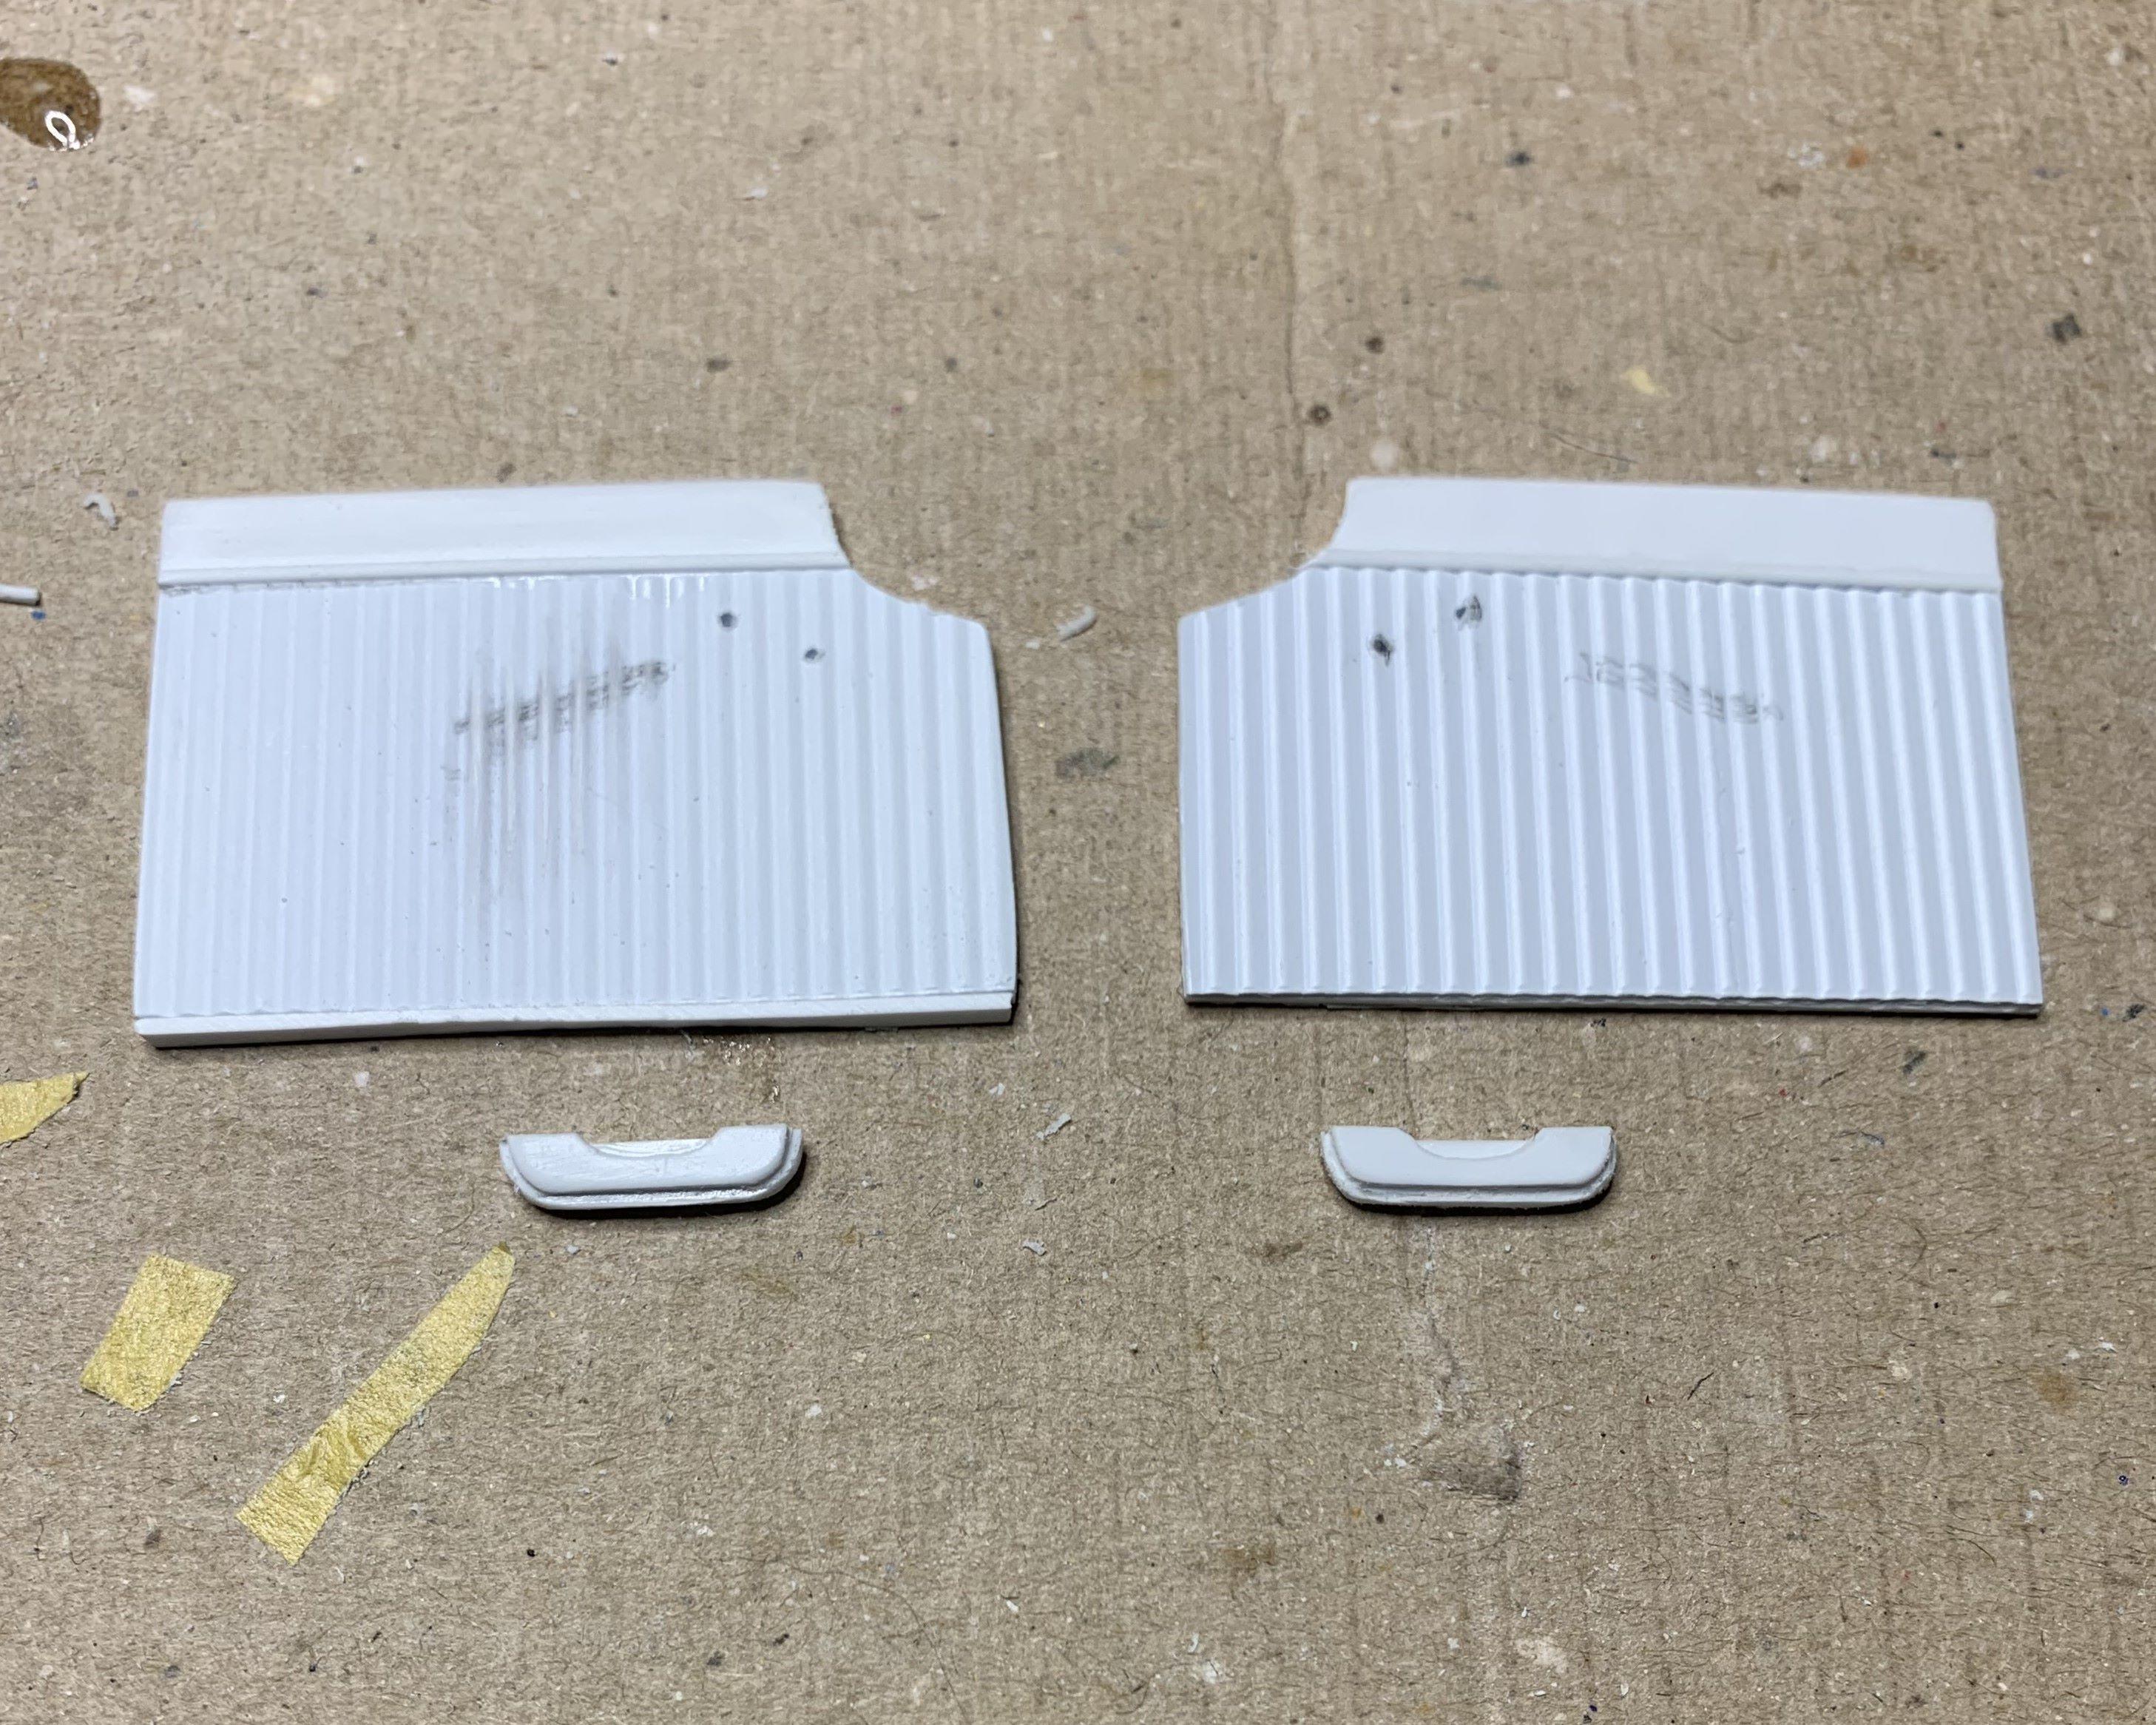
I made the front door cards from styrene, pretty simple. I made the arm rests from 3 pieces each, they'll get "tweaked" a bit before actual paint. So here's the basic interior in grey primer, probably going to be all white with purple carpet (flocking). Haven't started the dashboard yet.
-
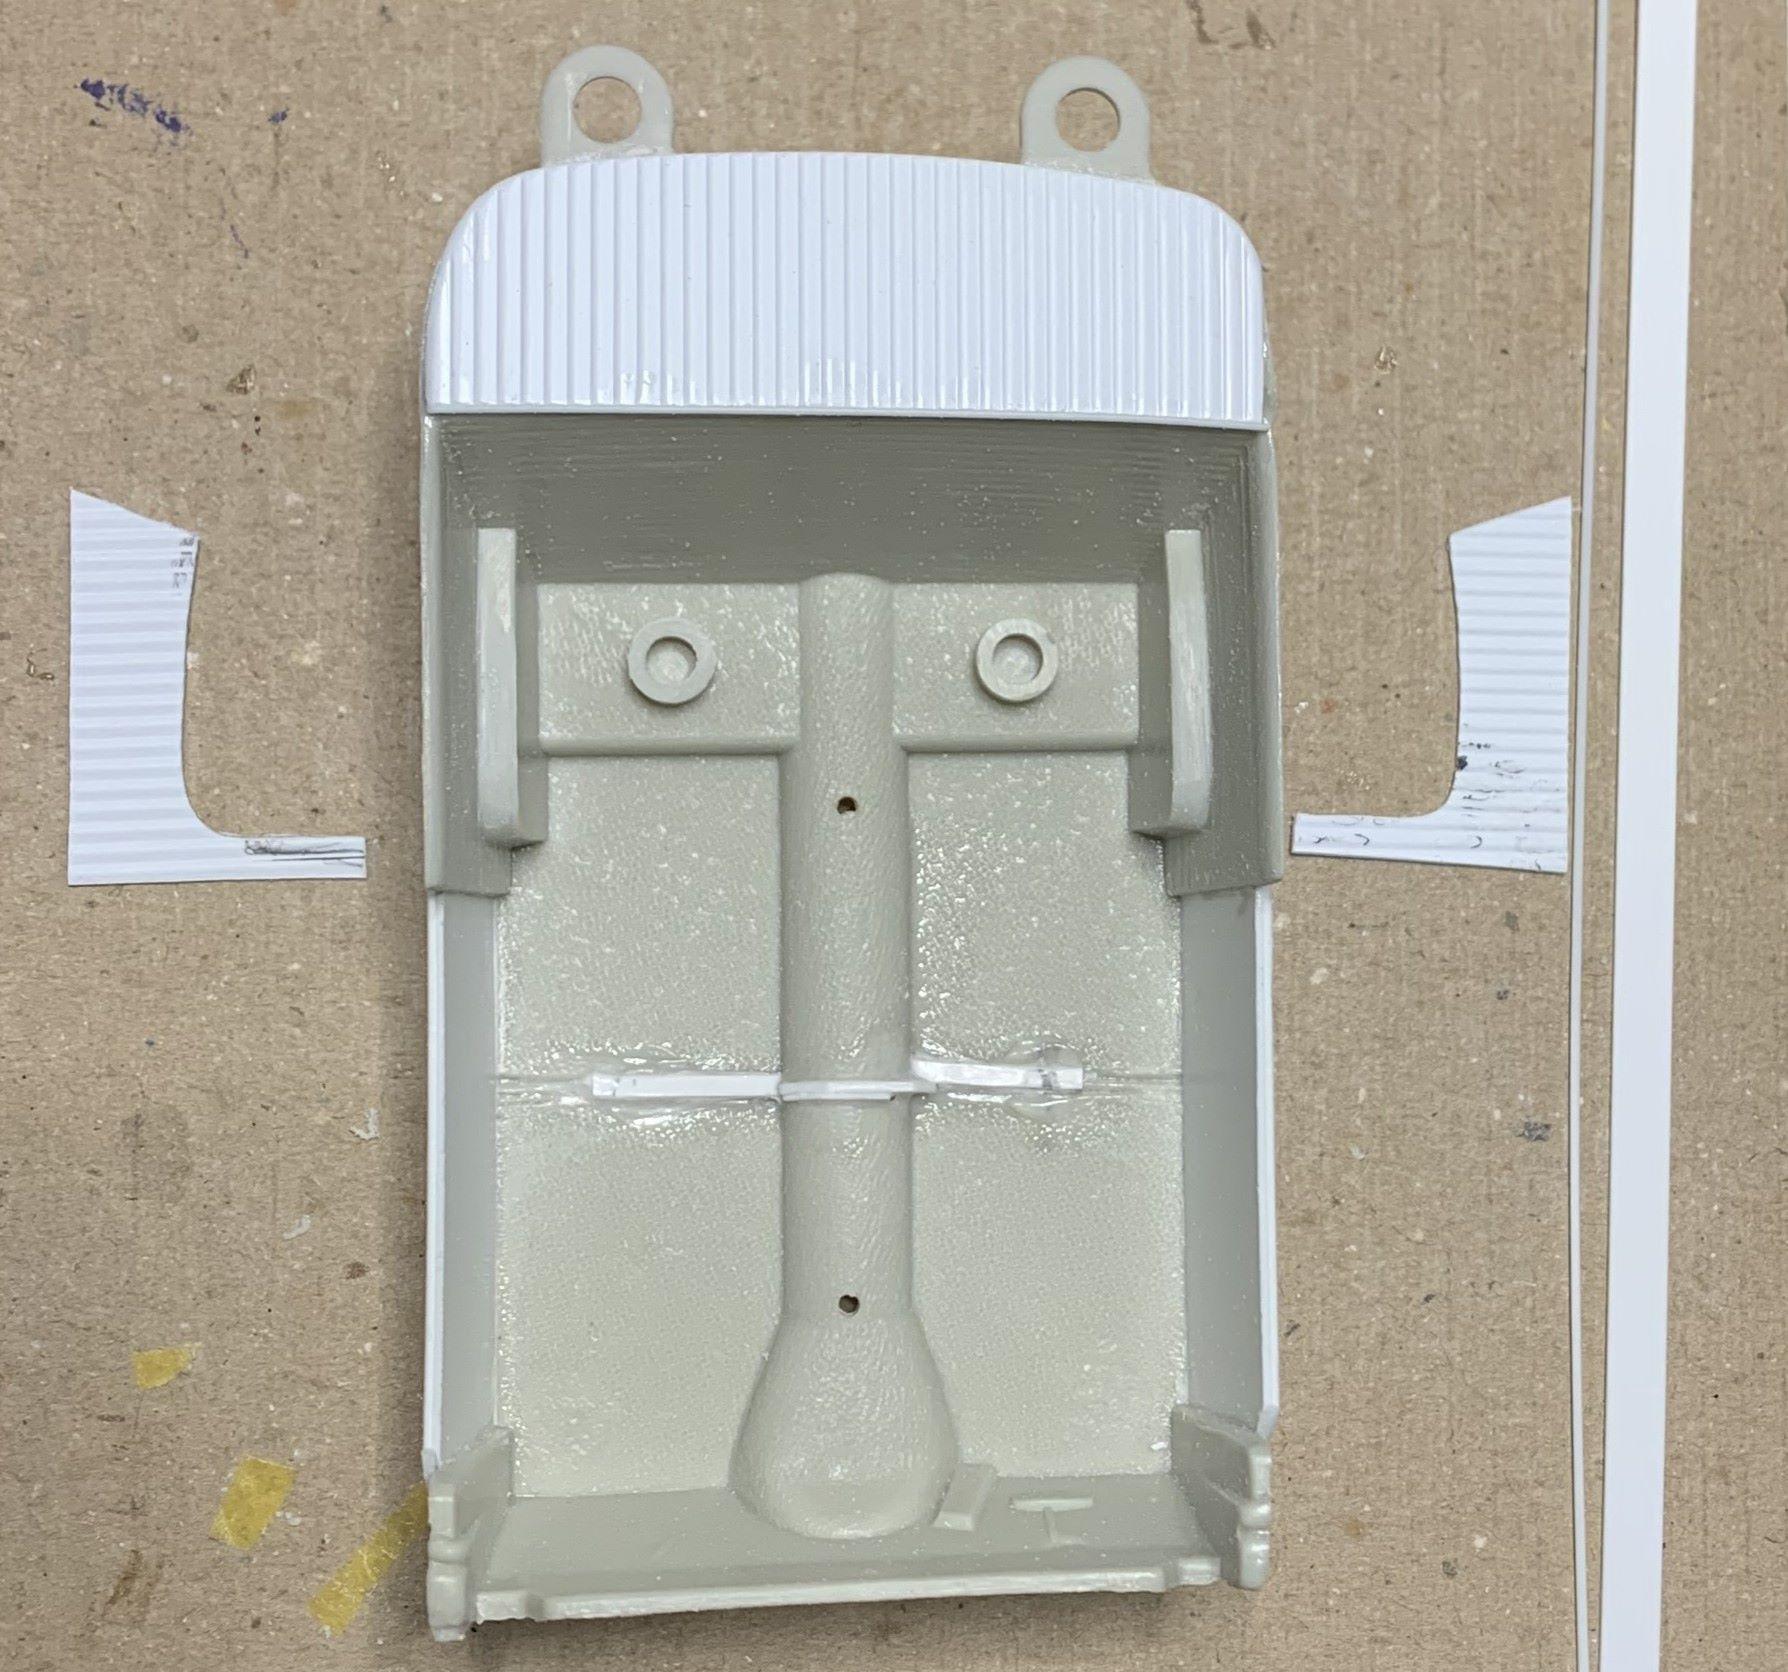
I made rear side panels. You can see where I cut the floor to bring it back to level.
-
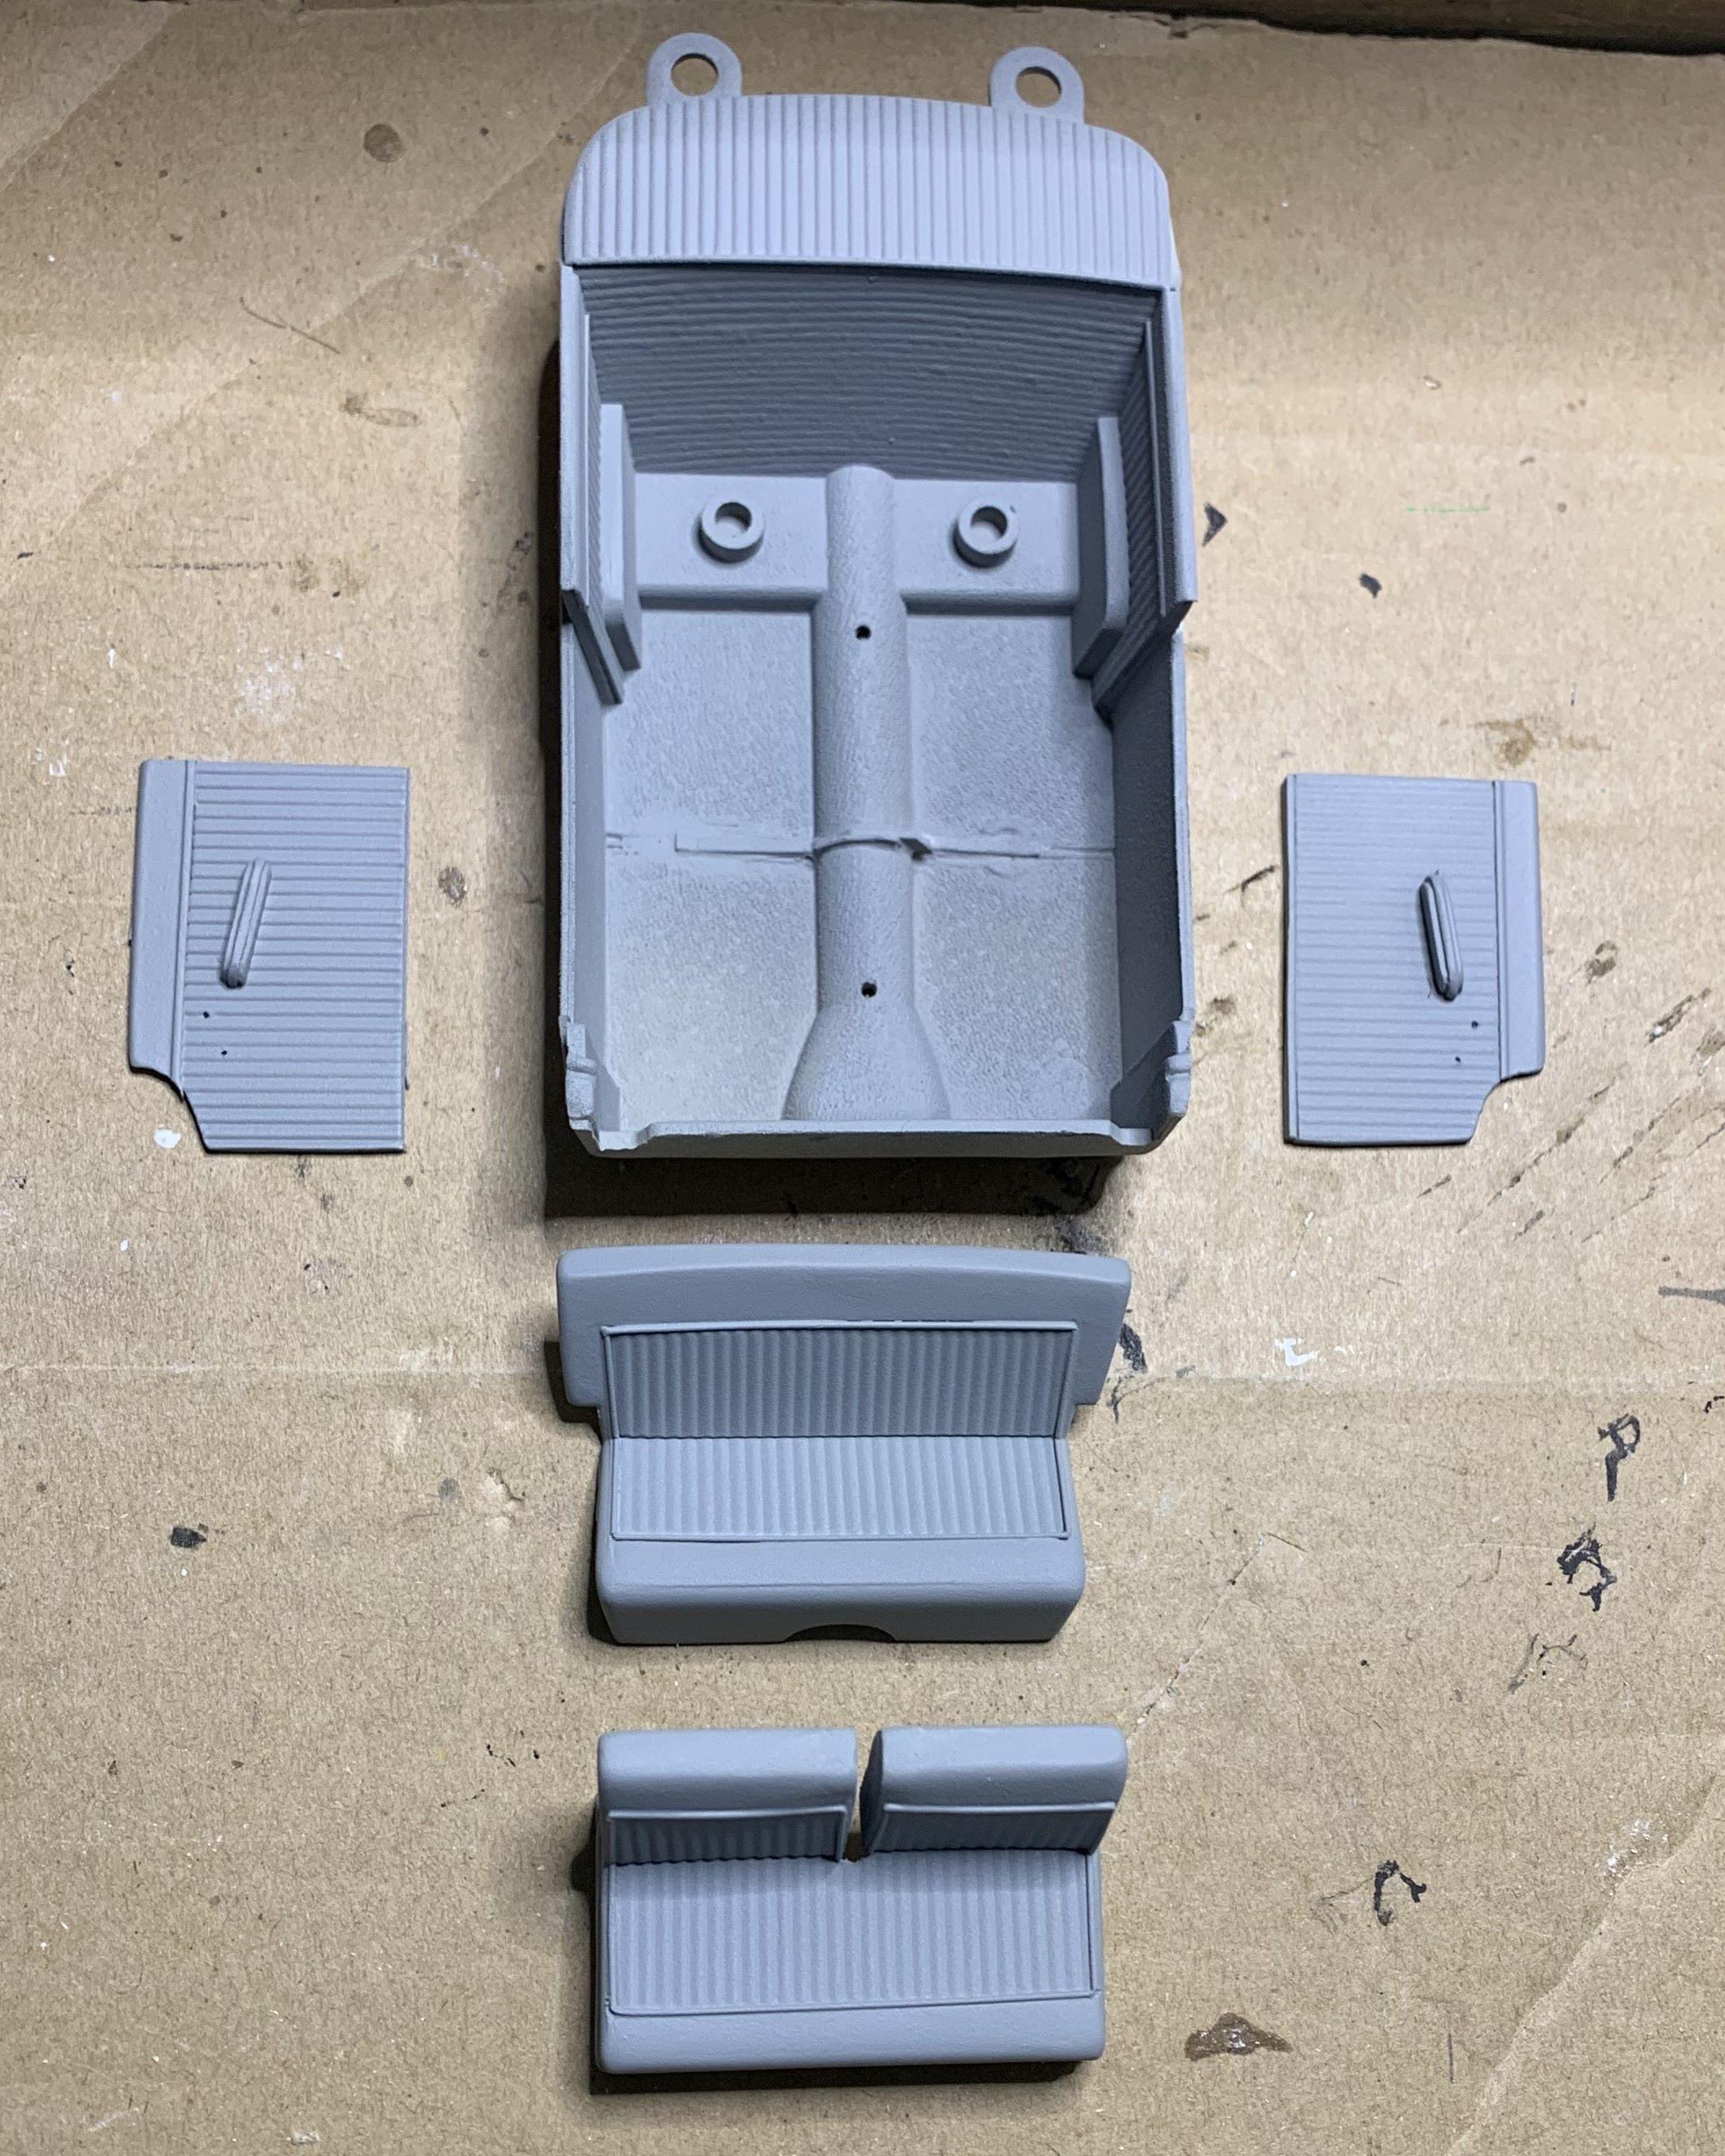
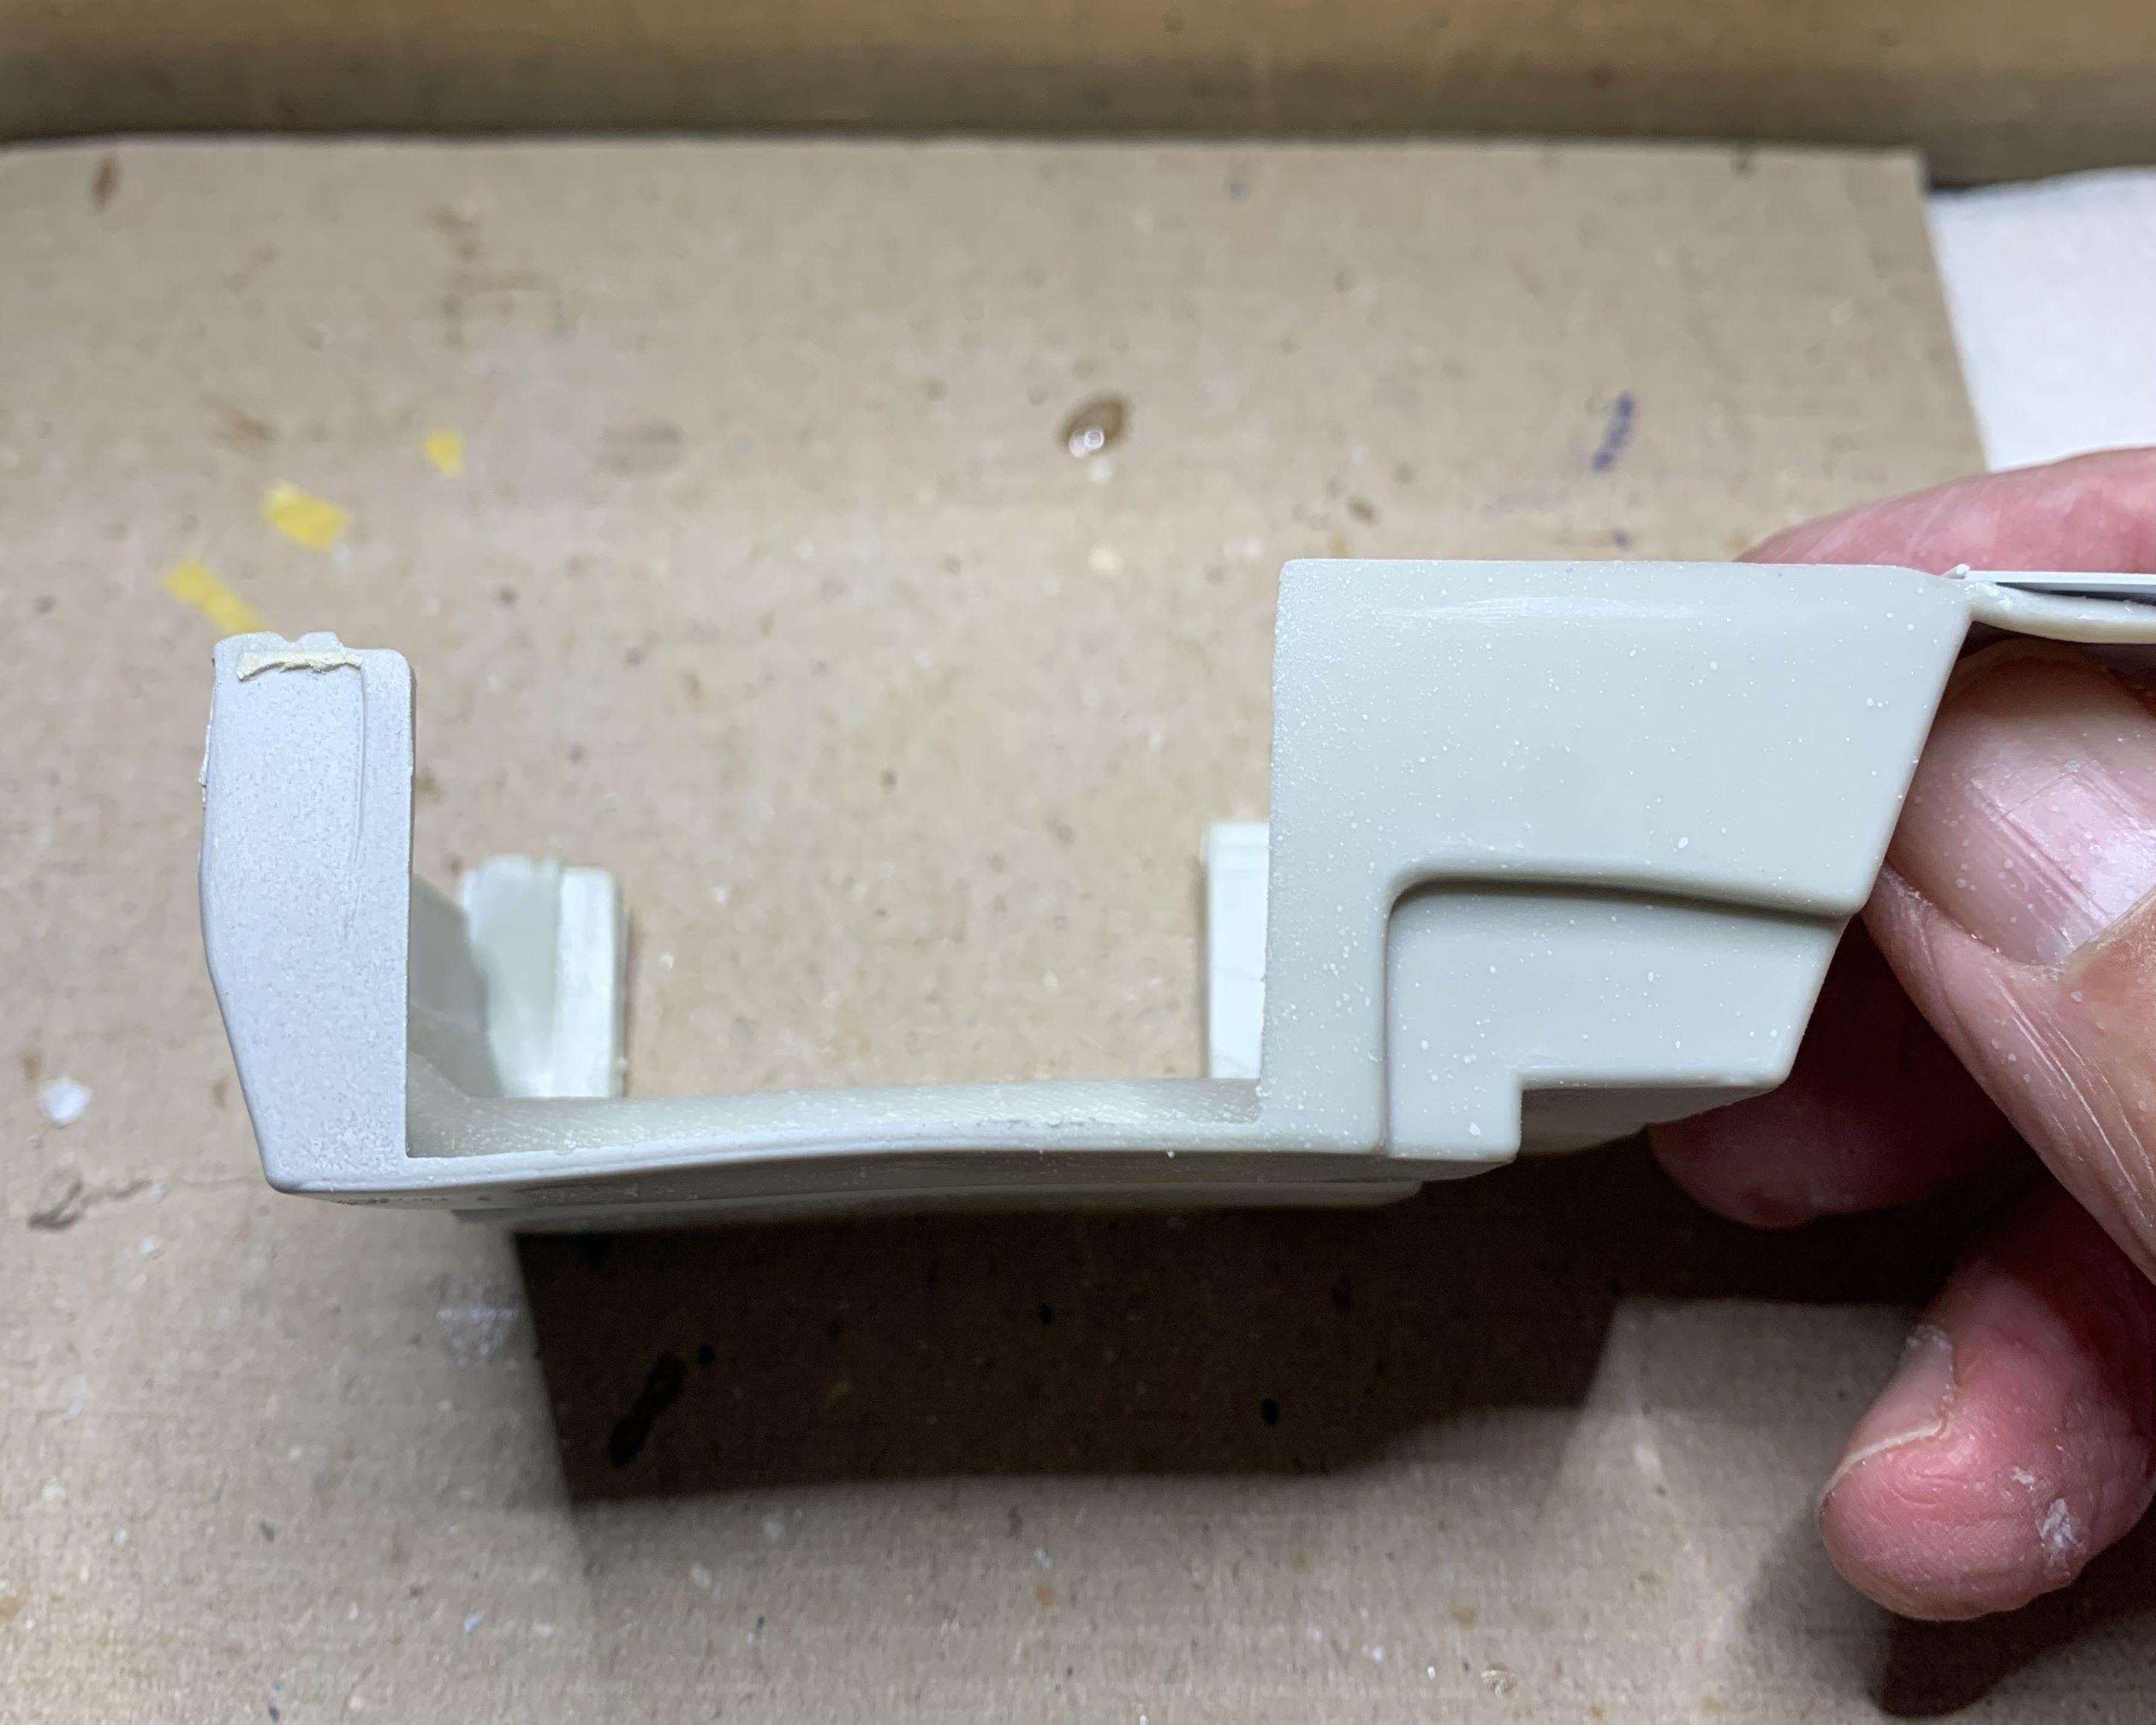
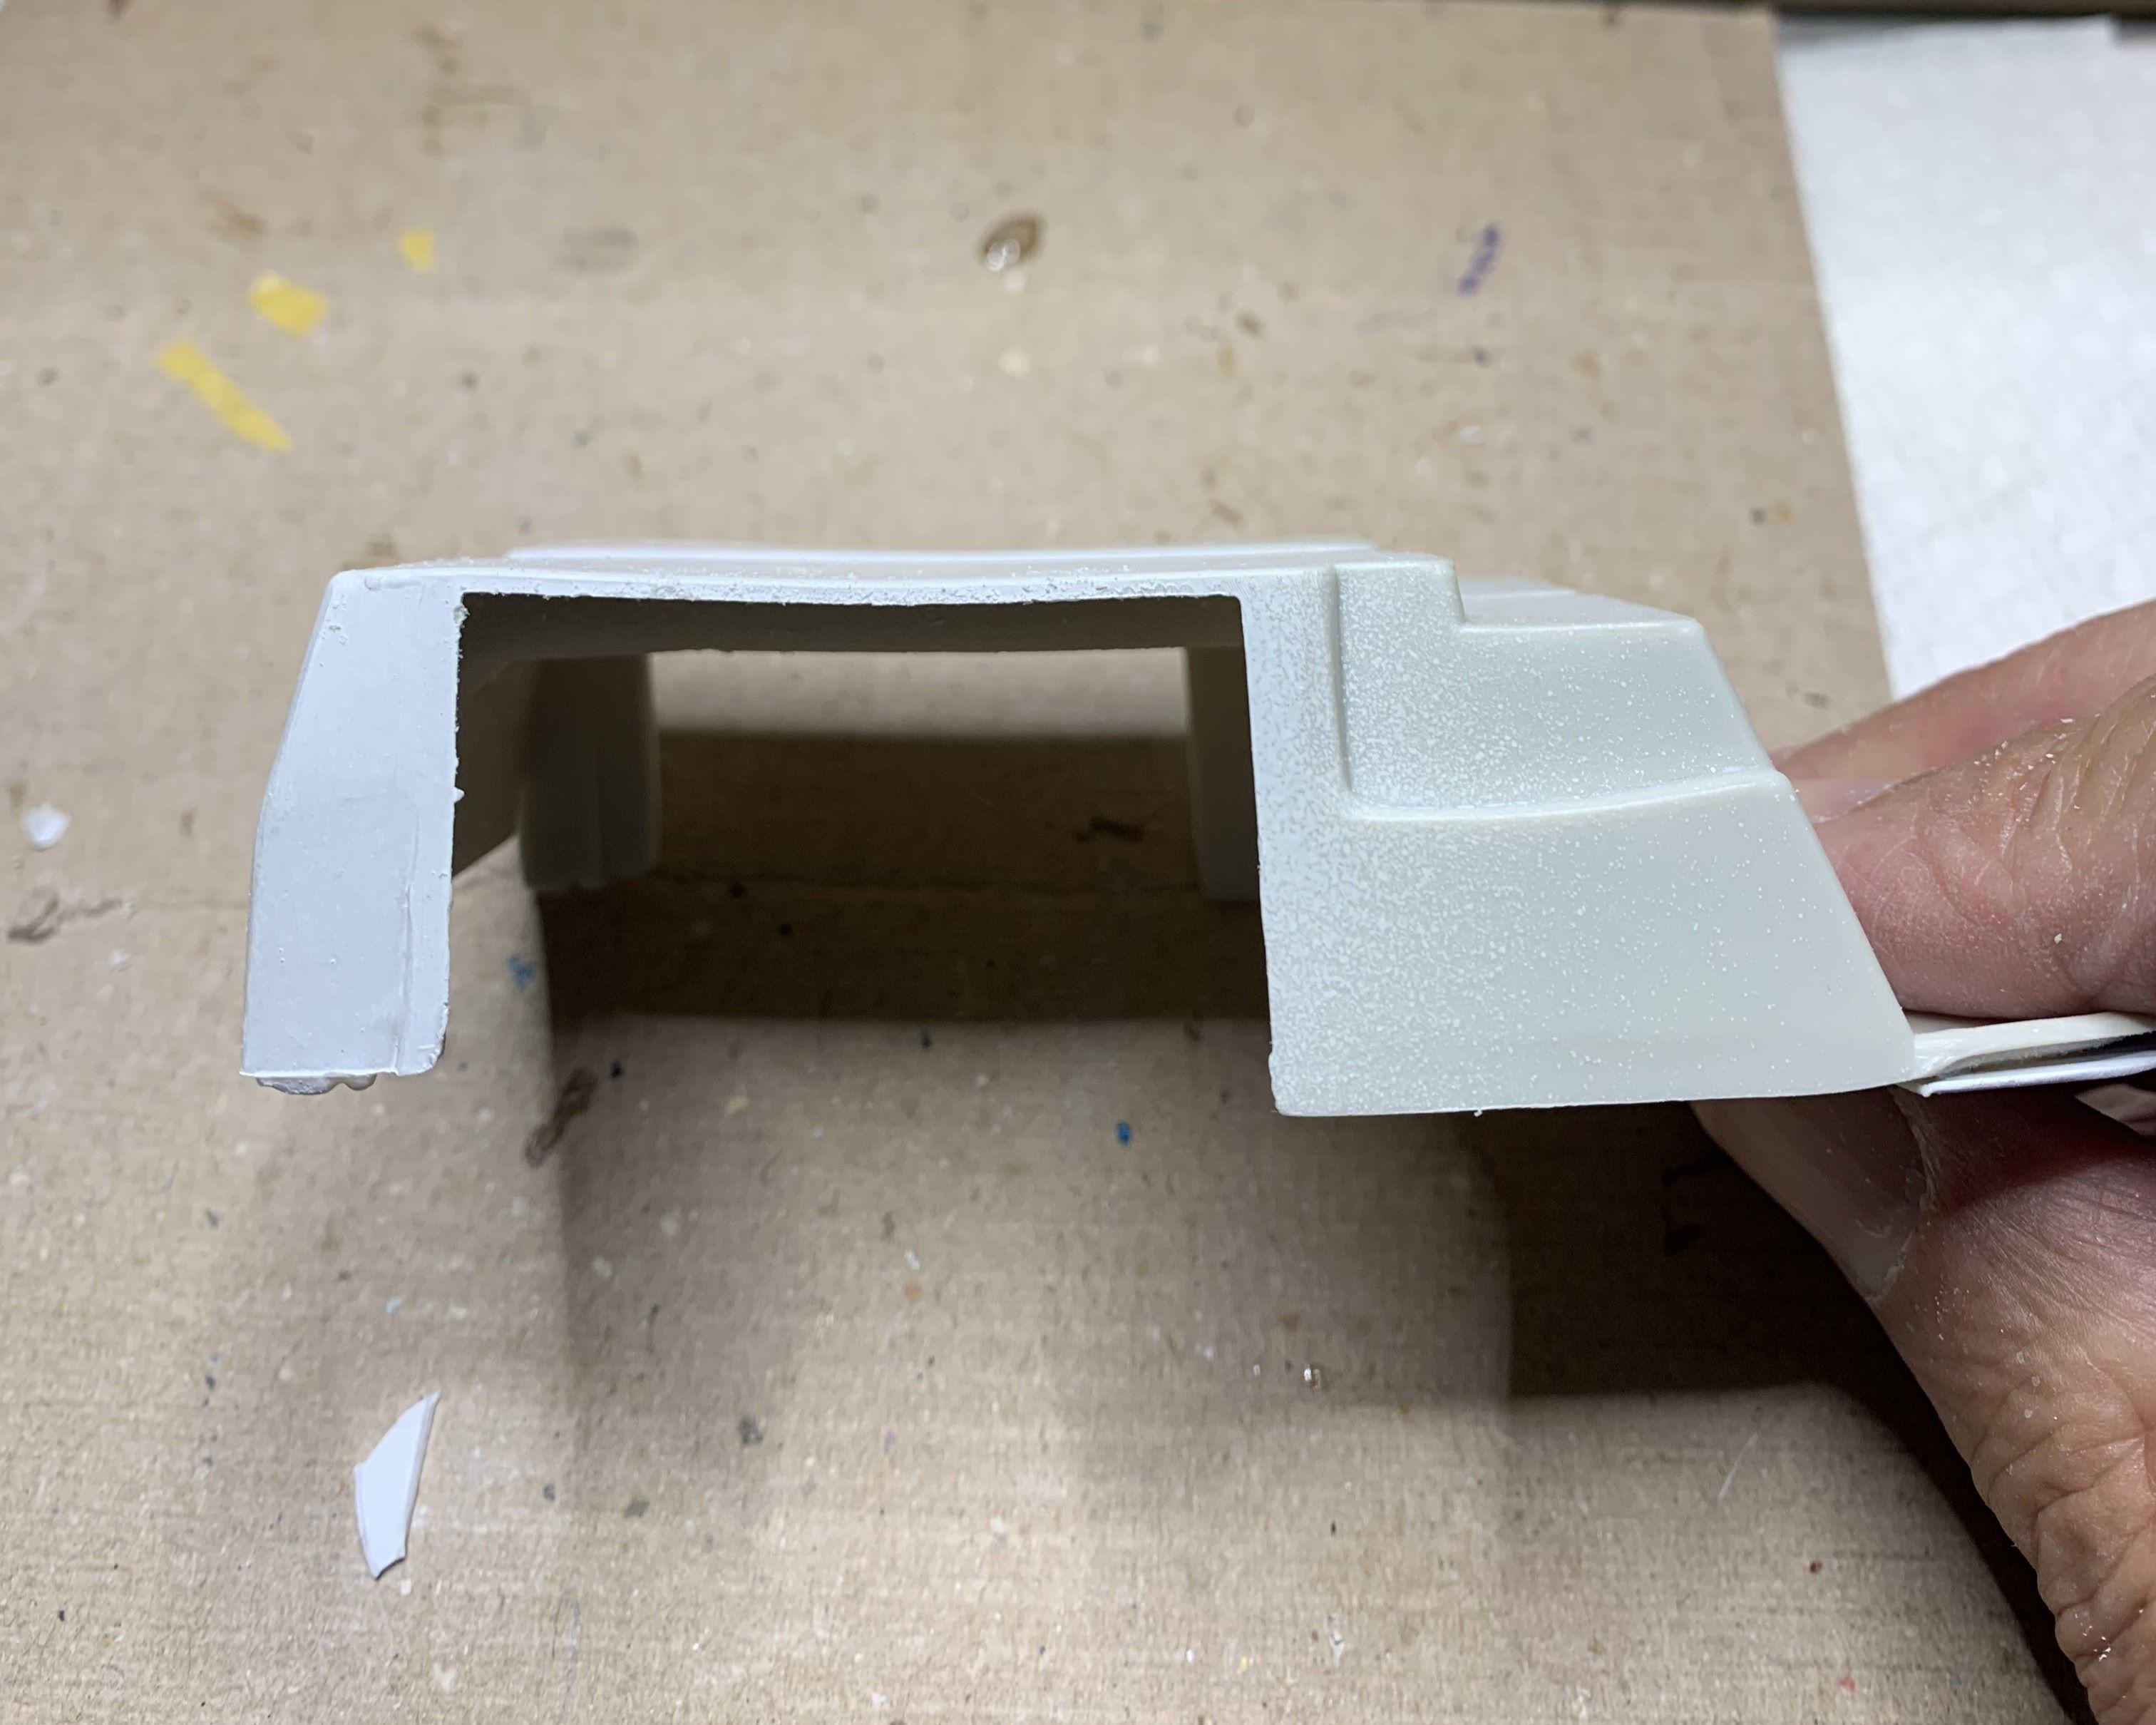
The tub was quite warped. I cut a vee groove where the front seat will cover and glued a wedge then secured it with these side pieces.
-
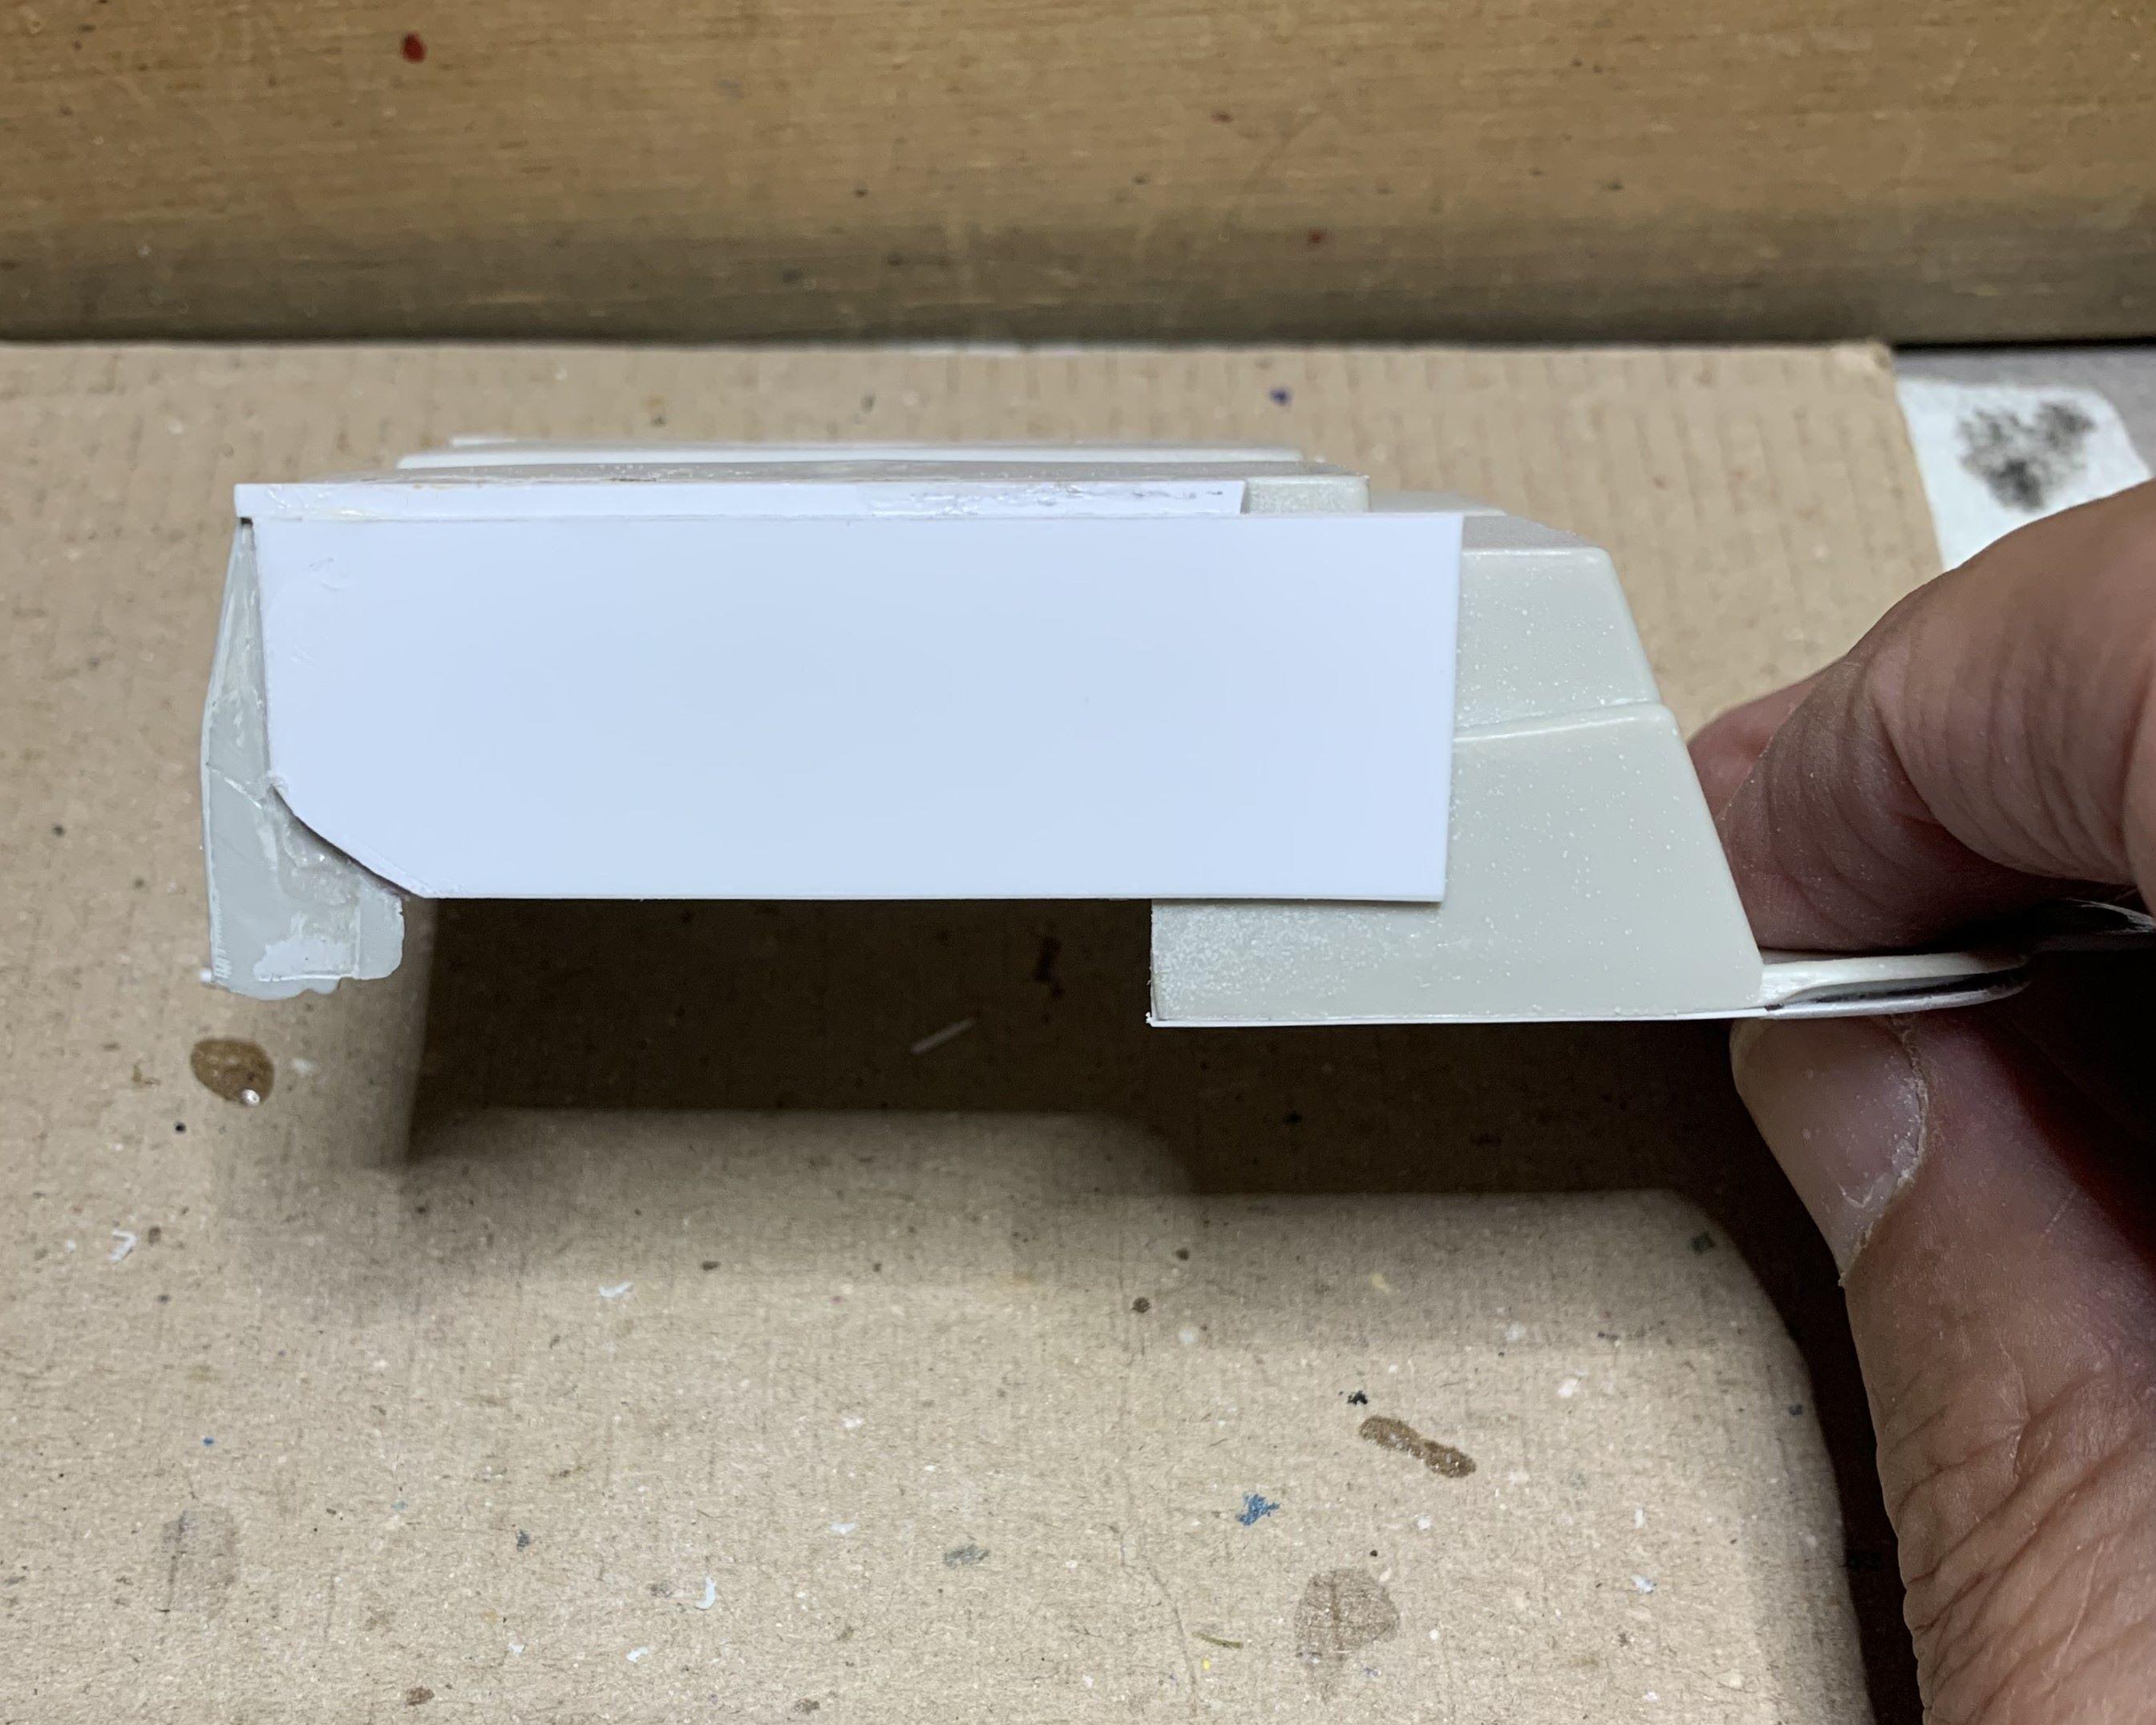
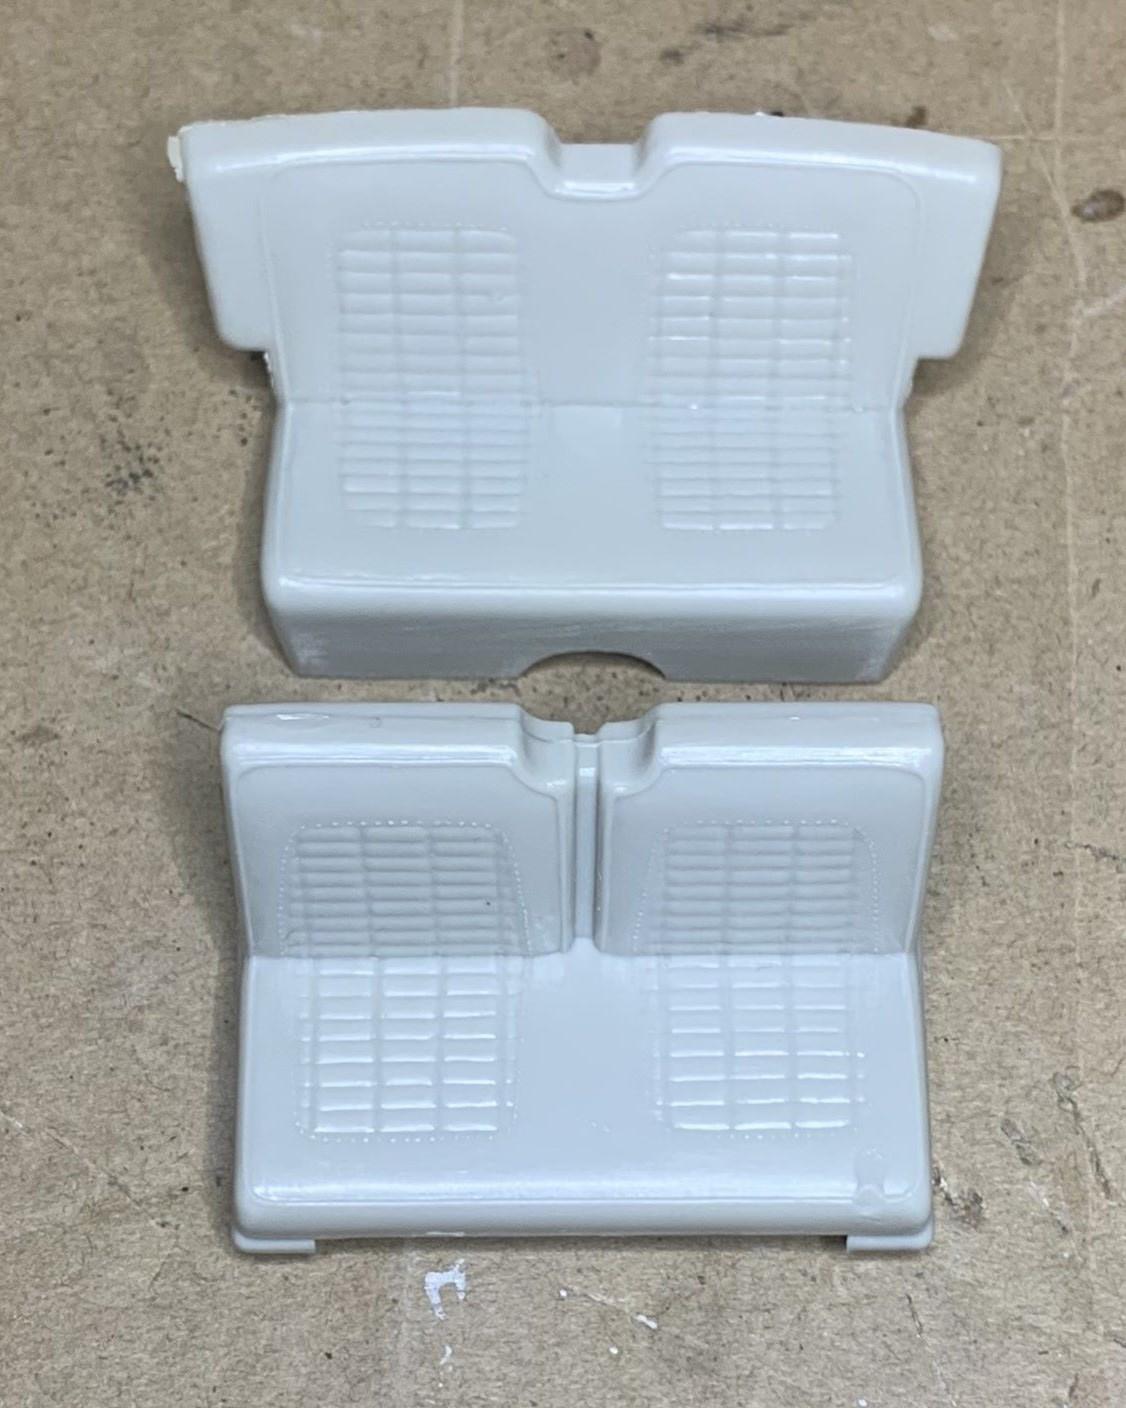
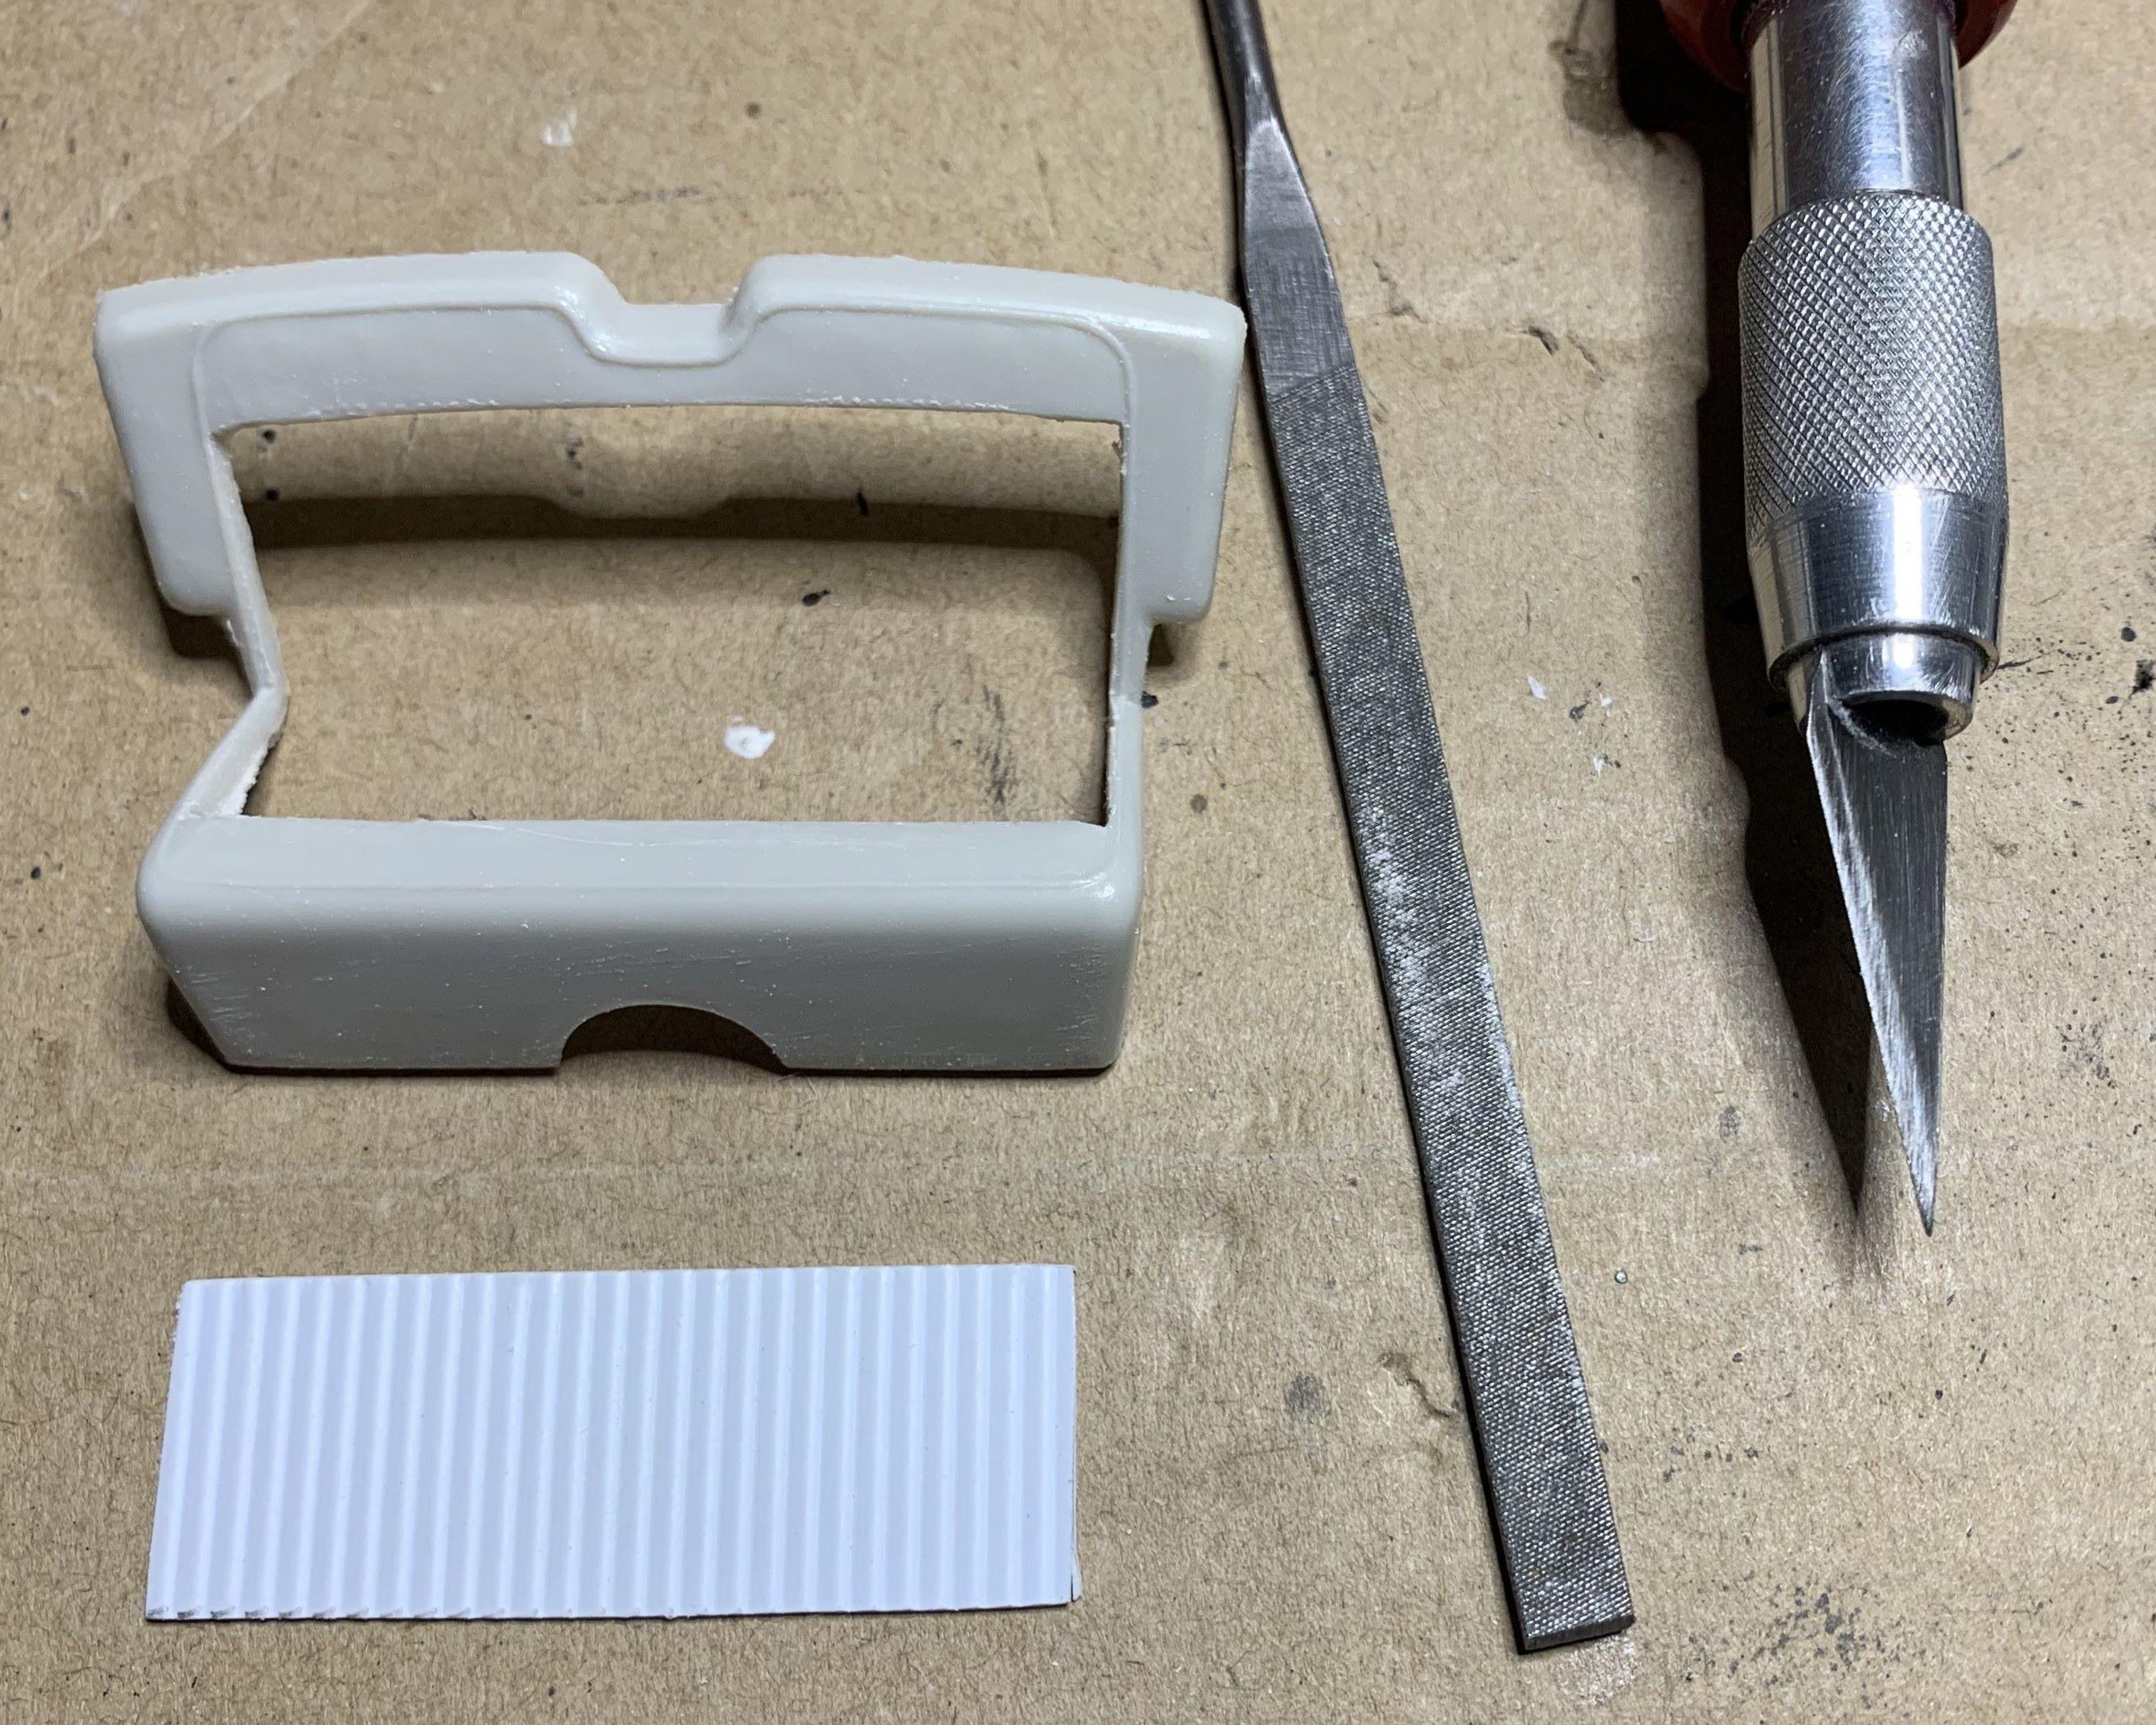
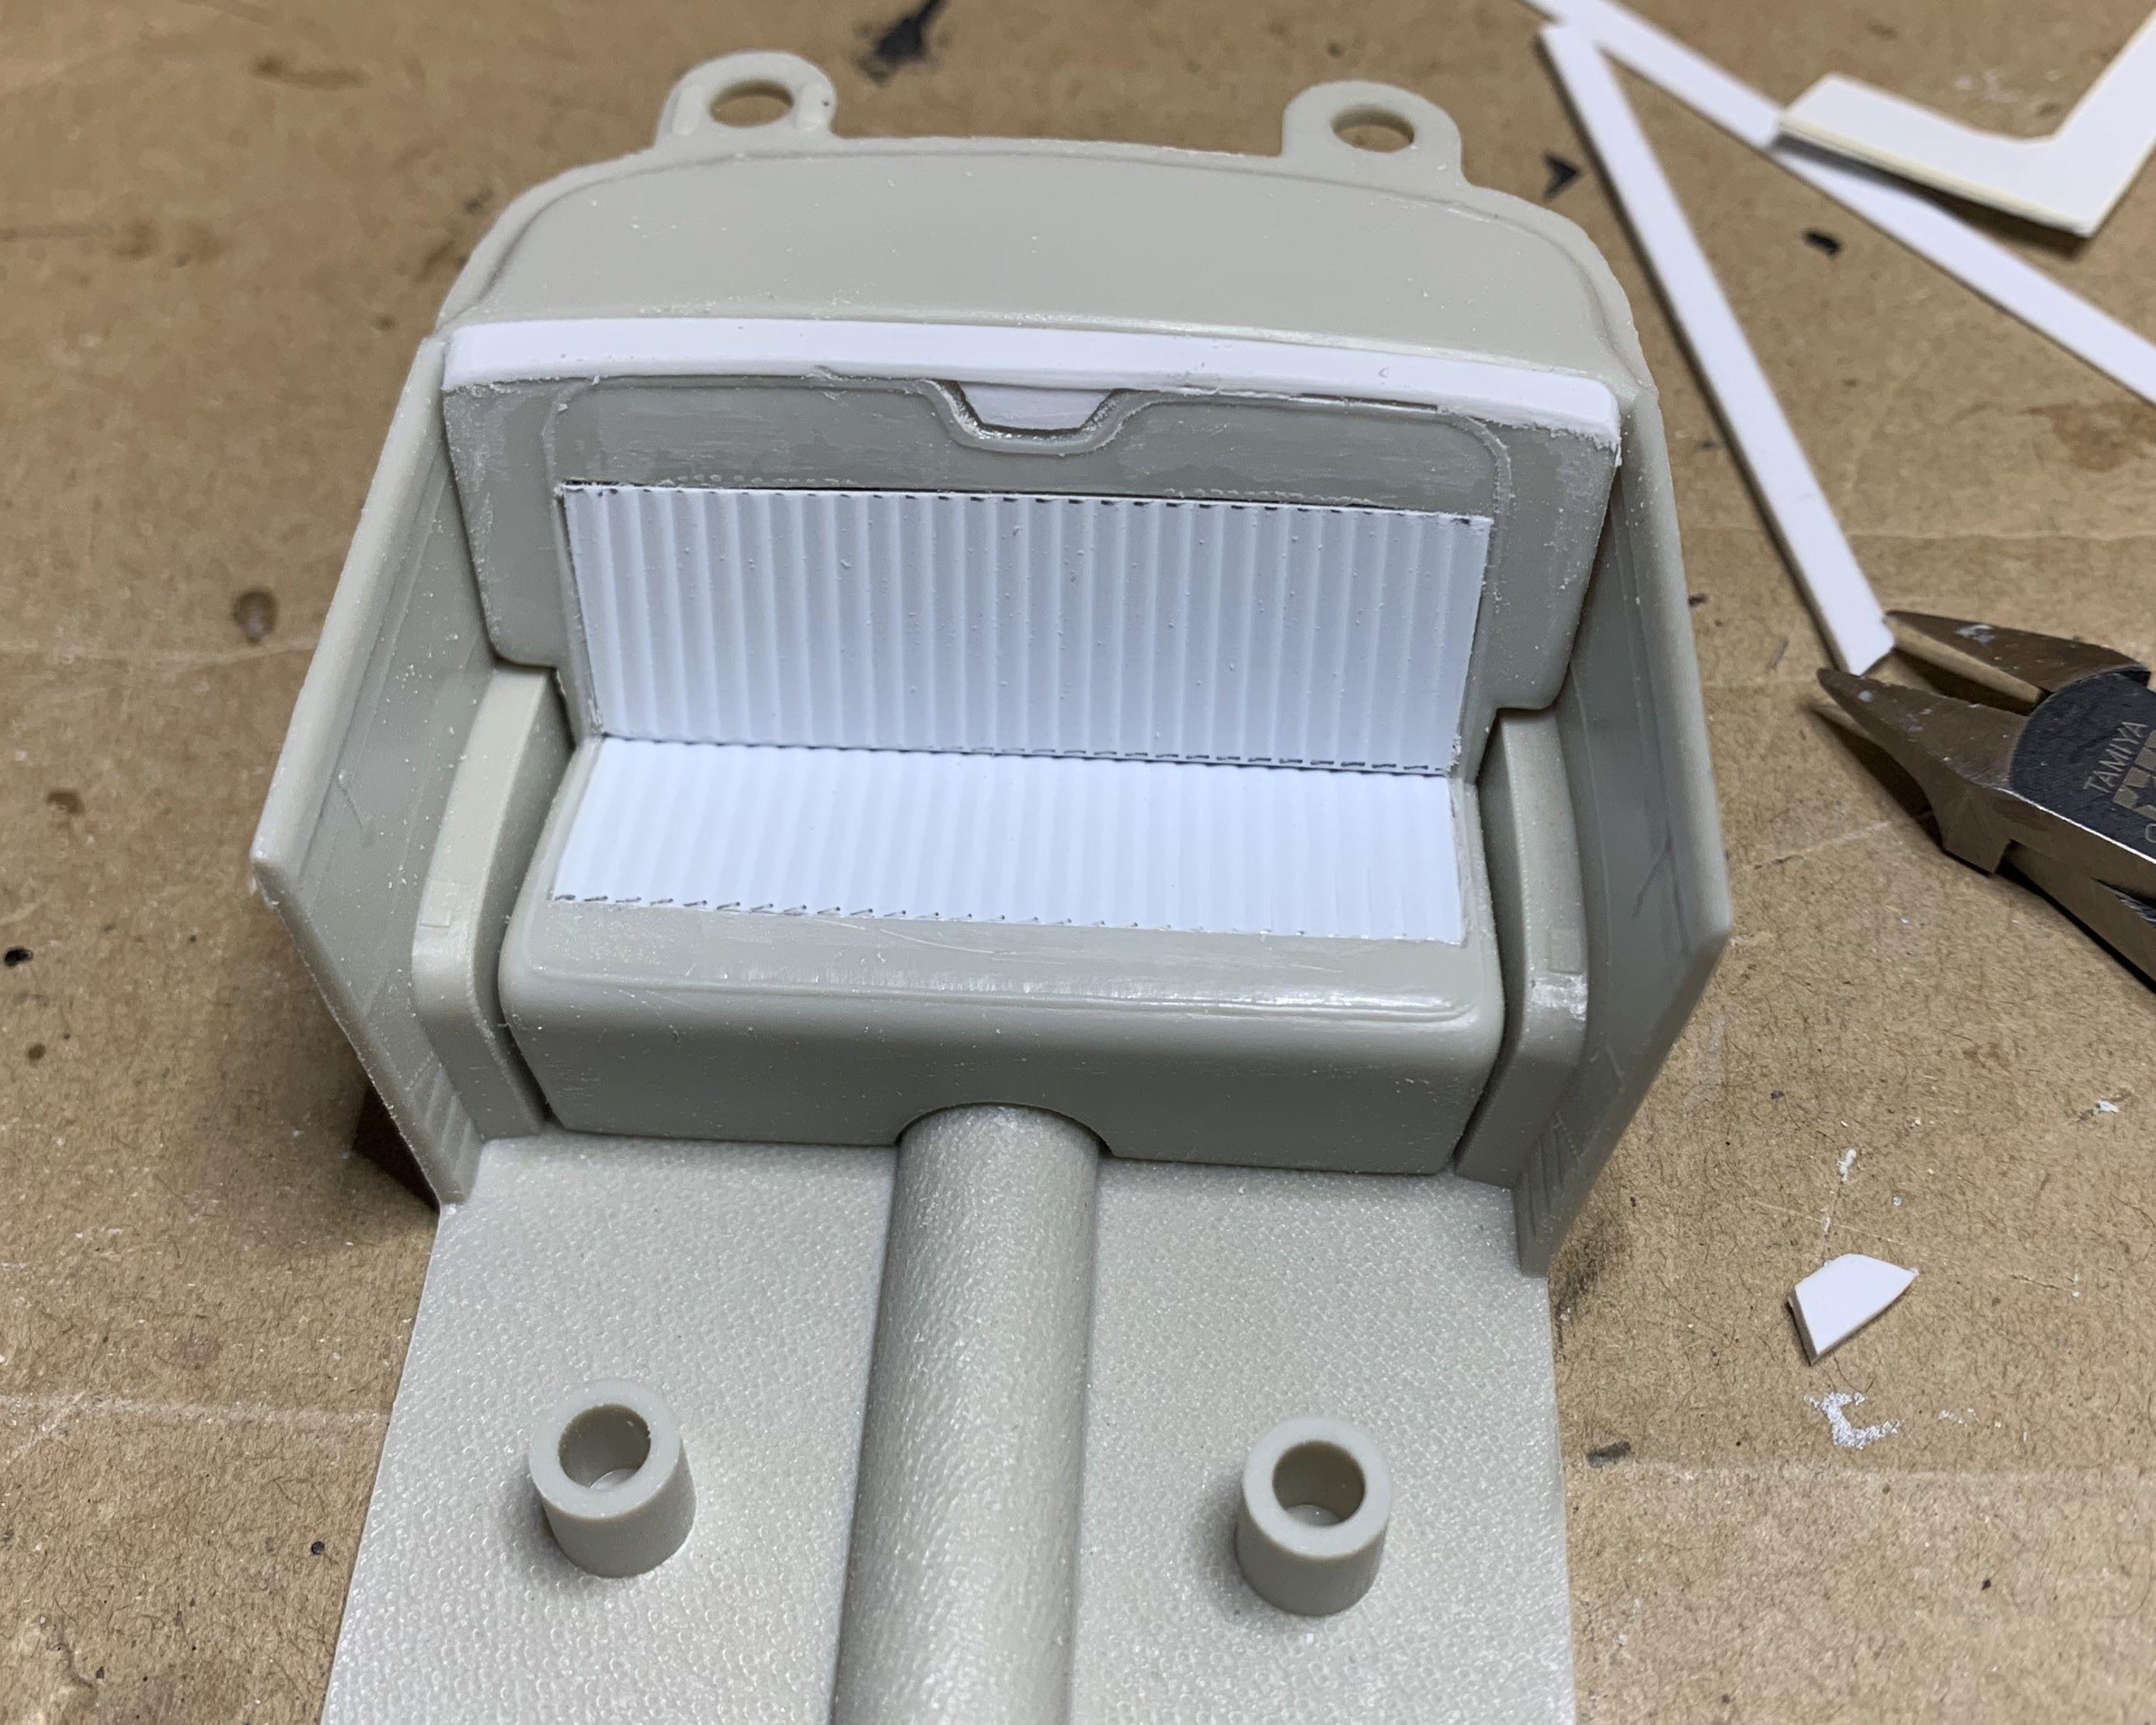
Started the '56 Ford interior, 9 pictures: 1: Here's the kit seats. 2: I want a simple rolled and pleated custom interior, so I cut out the stock upholstery. 3: Here's the "rolls and pleats". 4: I also eliminated that dip in the seat back top. 5: Then I thinned the package tray so my added styrene wouldn't stick up too far. 6: Here's how the package tray lines up with the rear seat now. 7: For the front seat I added styrene to the center because I was going to cut down the middle of the seat back. 8: Looks much better with the seat back separated. 9: Here's just a look with both seats together, not glued in of course. I still have to modify the rear sides and door panels, prime, paint and flock, before I can glue the seats in. Cheers!
-
Cool project! I do like both, but the cross-ram really does it for me.
-
I just wanted to show Pat, "landman" what can be done with just kit parts. I did a lot more, but this is HIS thread, I don't want to post too much of MY stuff on it.
-
That's very nicely integrated! And it IS a LOOOOONG roof! LOL Looks great so far, and I'm sure you'll make it look so cool!
-
I cut these parts out and ended up with a pretty decent frame! Easy to do.
-
So much better! Great tip Greg!