randyc
-
Posts
2,961 -
Joined
-
Last visited
Content Type
Profiles
Forums
Events
Gallery
Everything posted by randyc
-

AMT 50 Chevy pick up question
randyc replied to cars1206's topic in General Automotive Talk (Trucks and Cars)
Man I was awesome when I had those wheels on my truck. I won't say when or where, but let's just go with the assumption that Southeast US was a little behind. No mullet though. LOL -
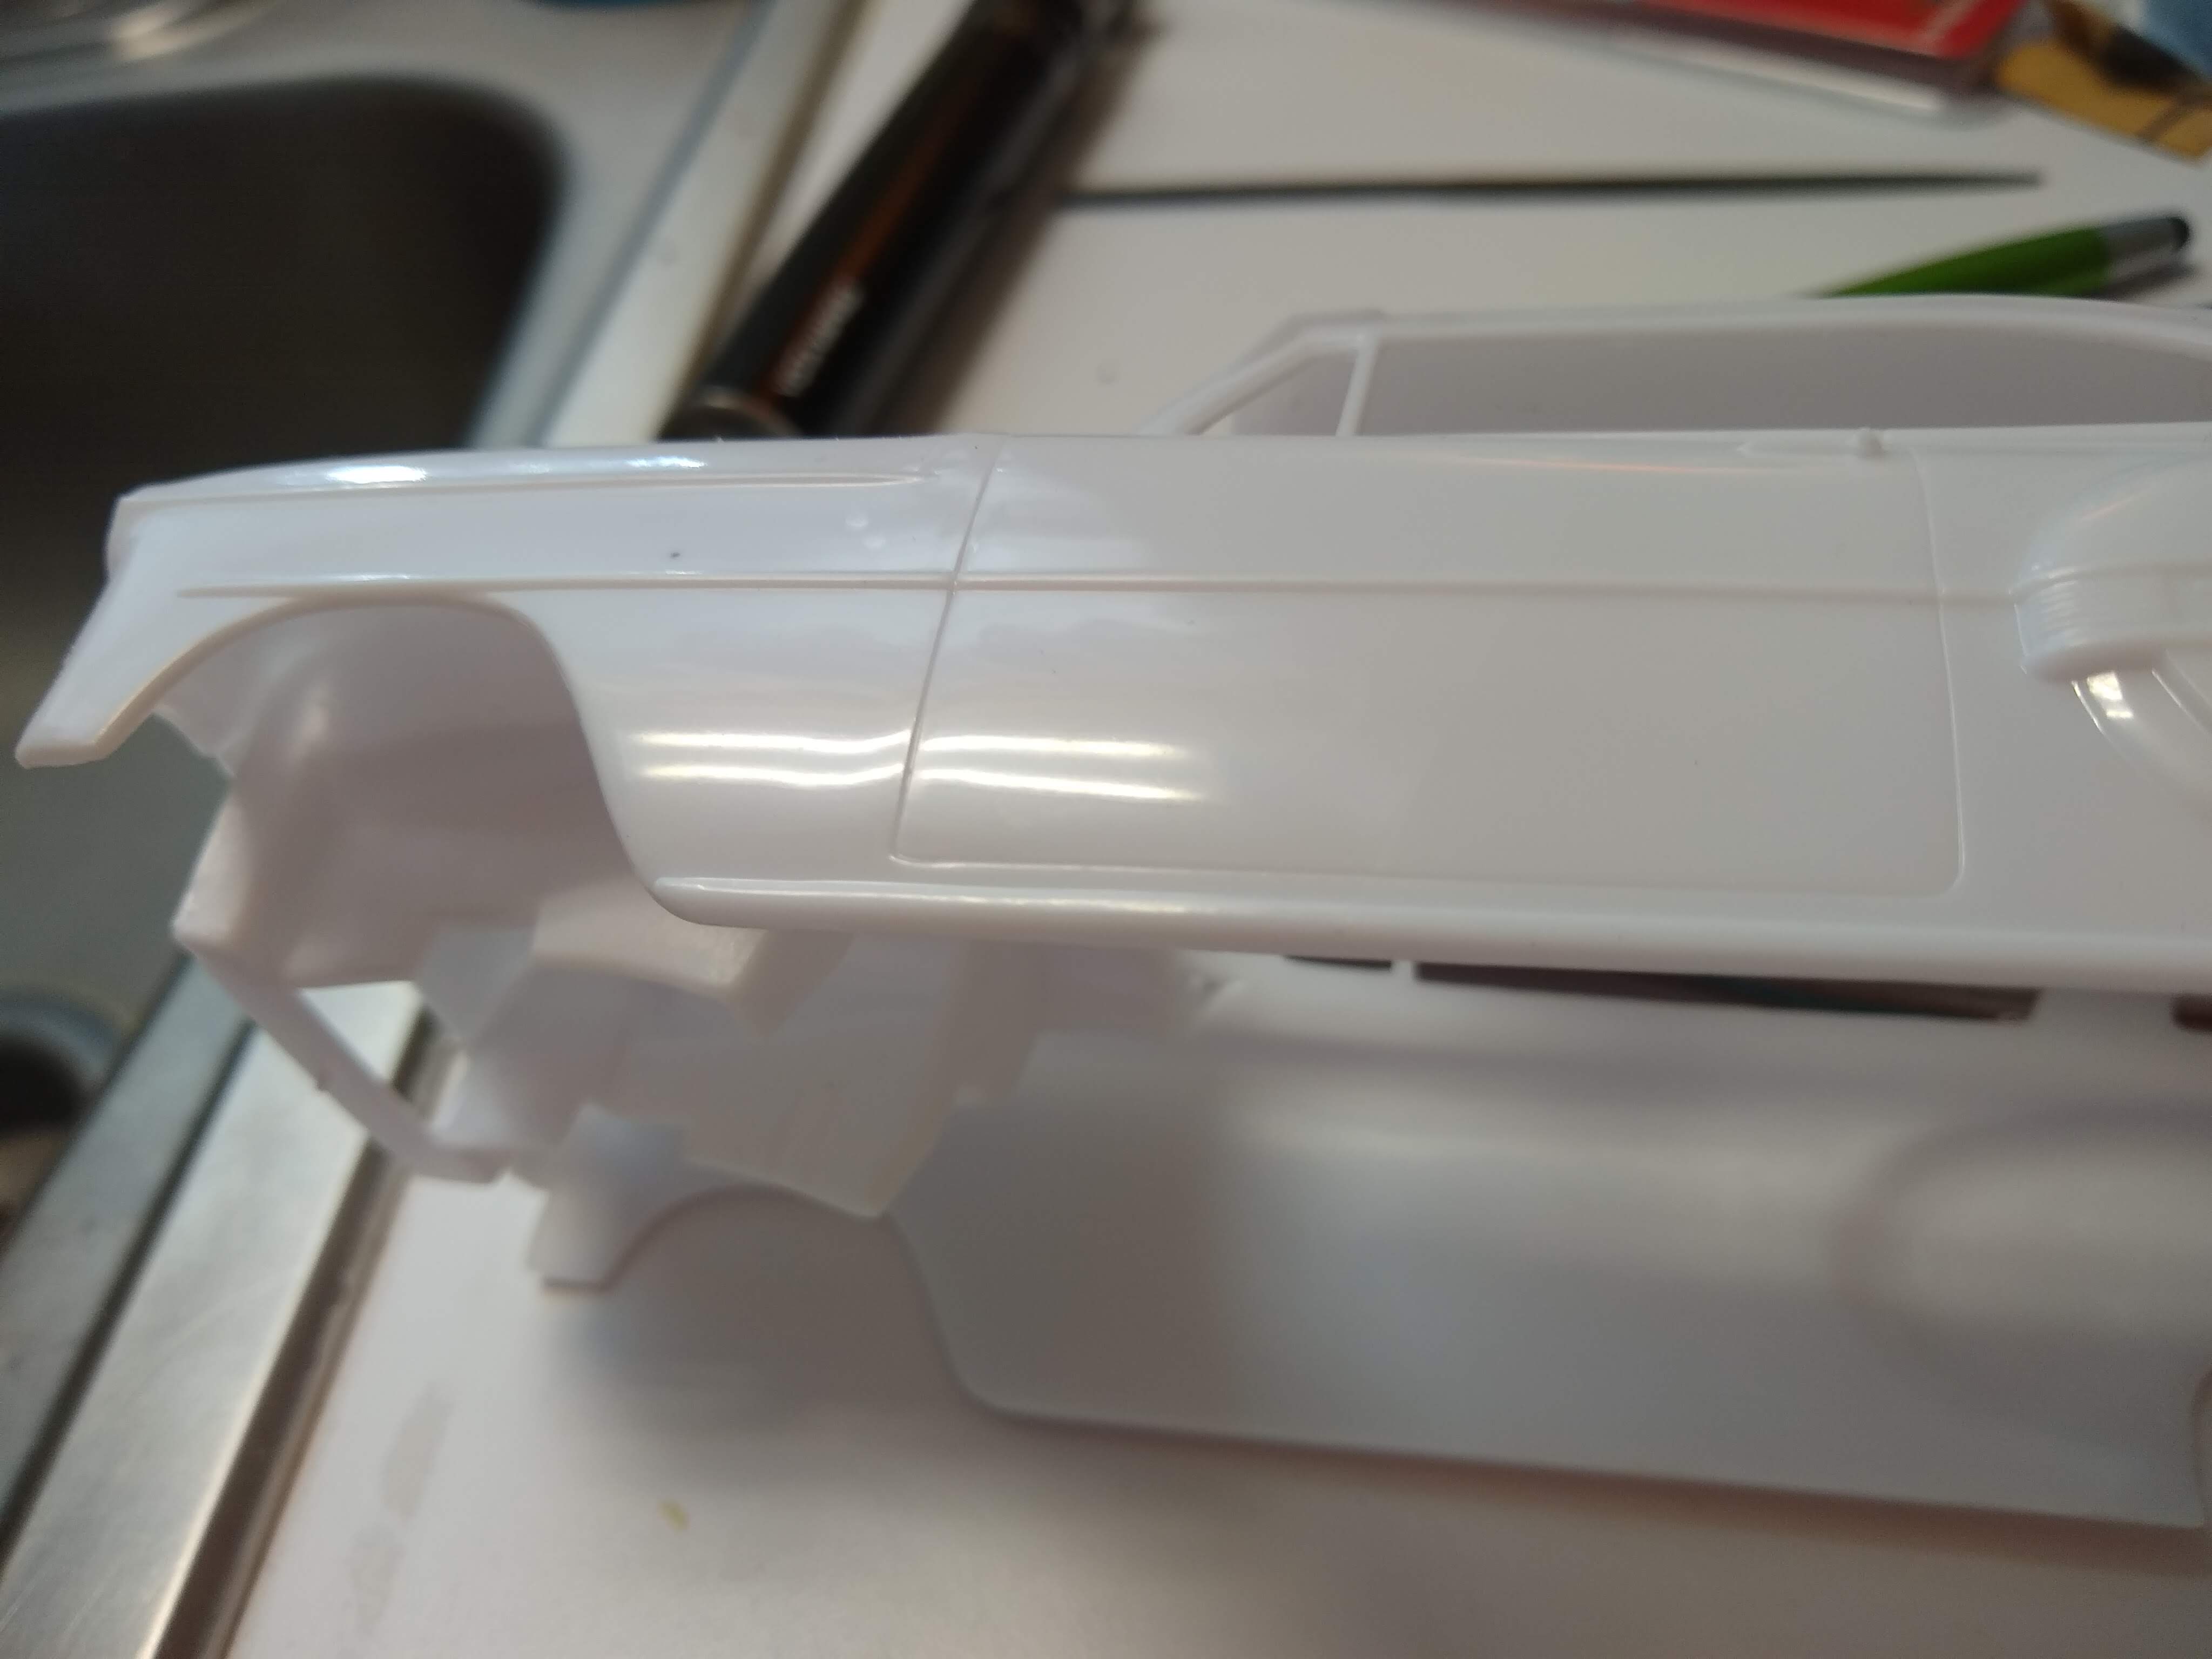
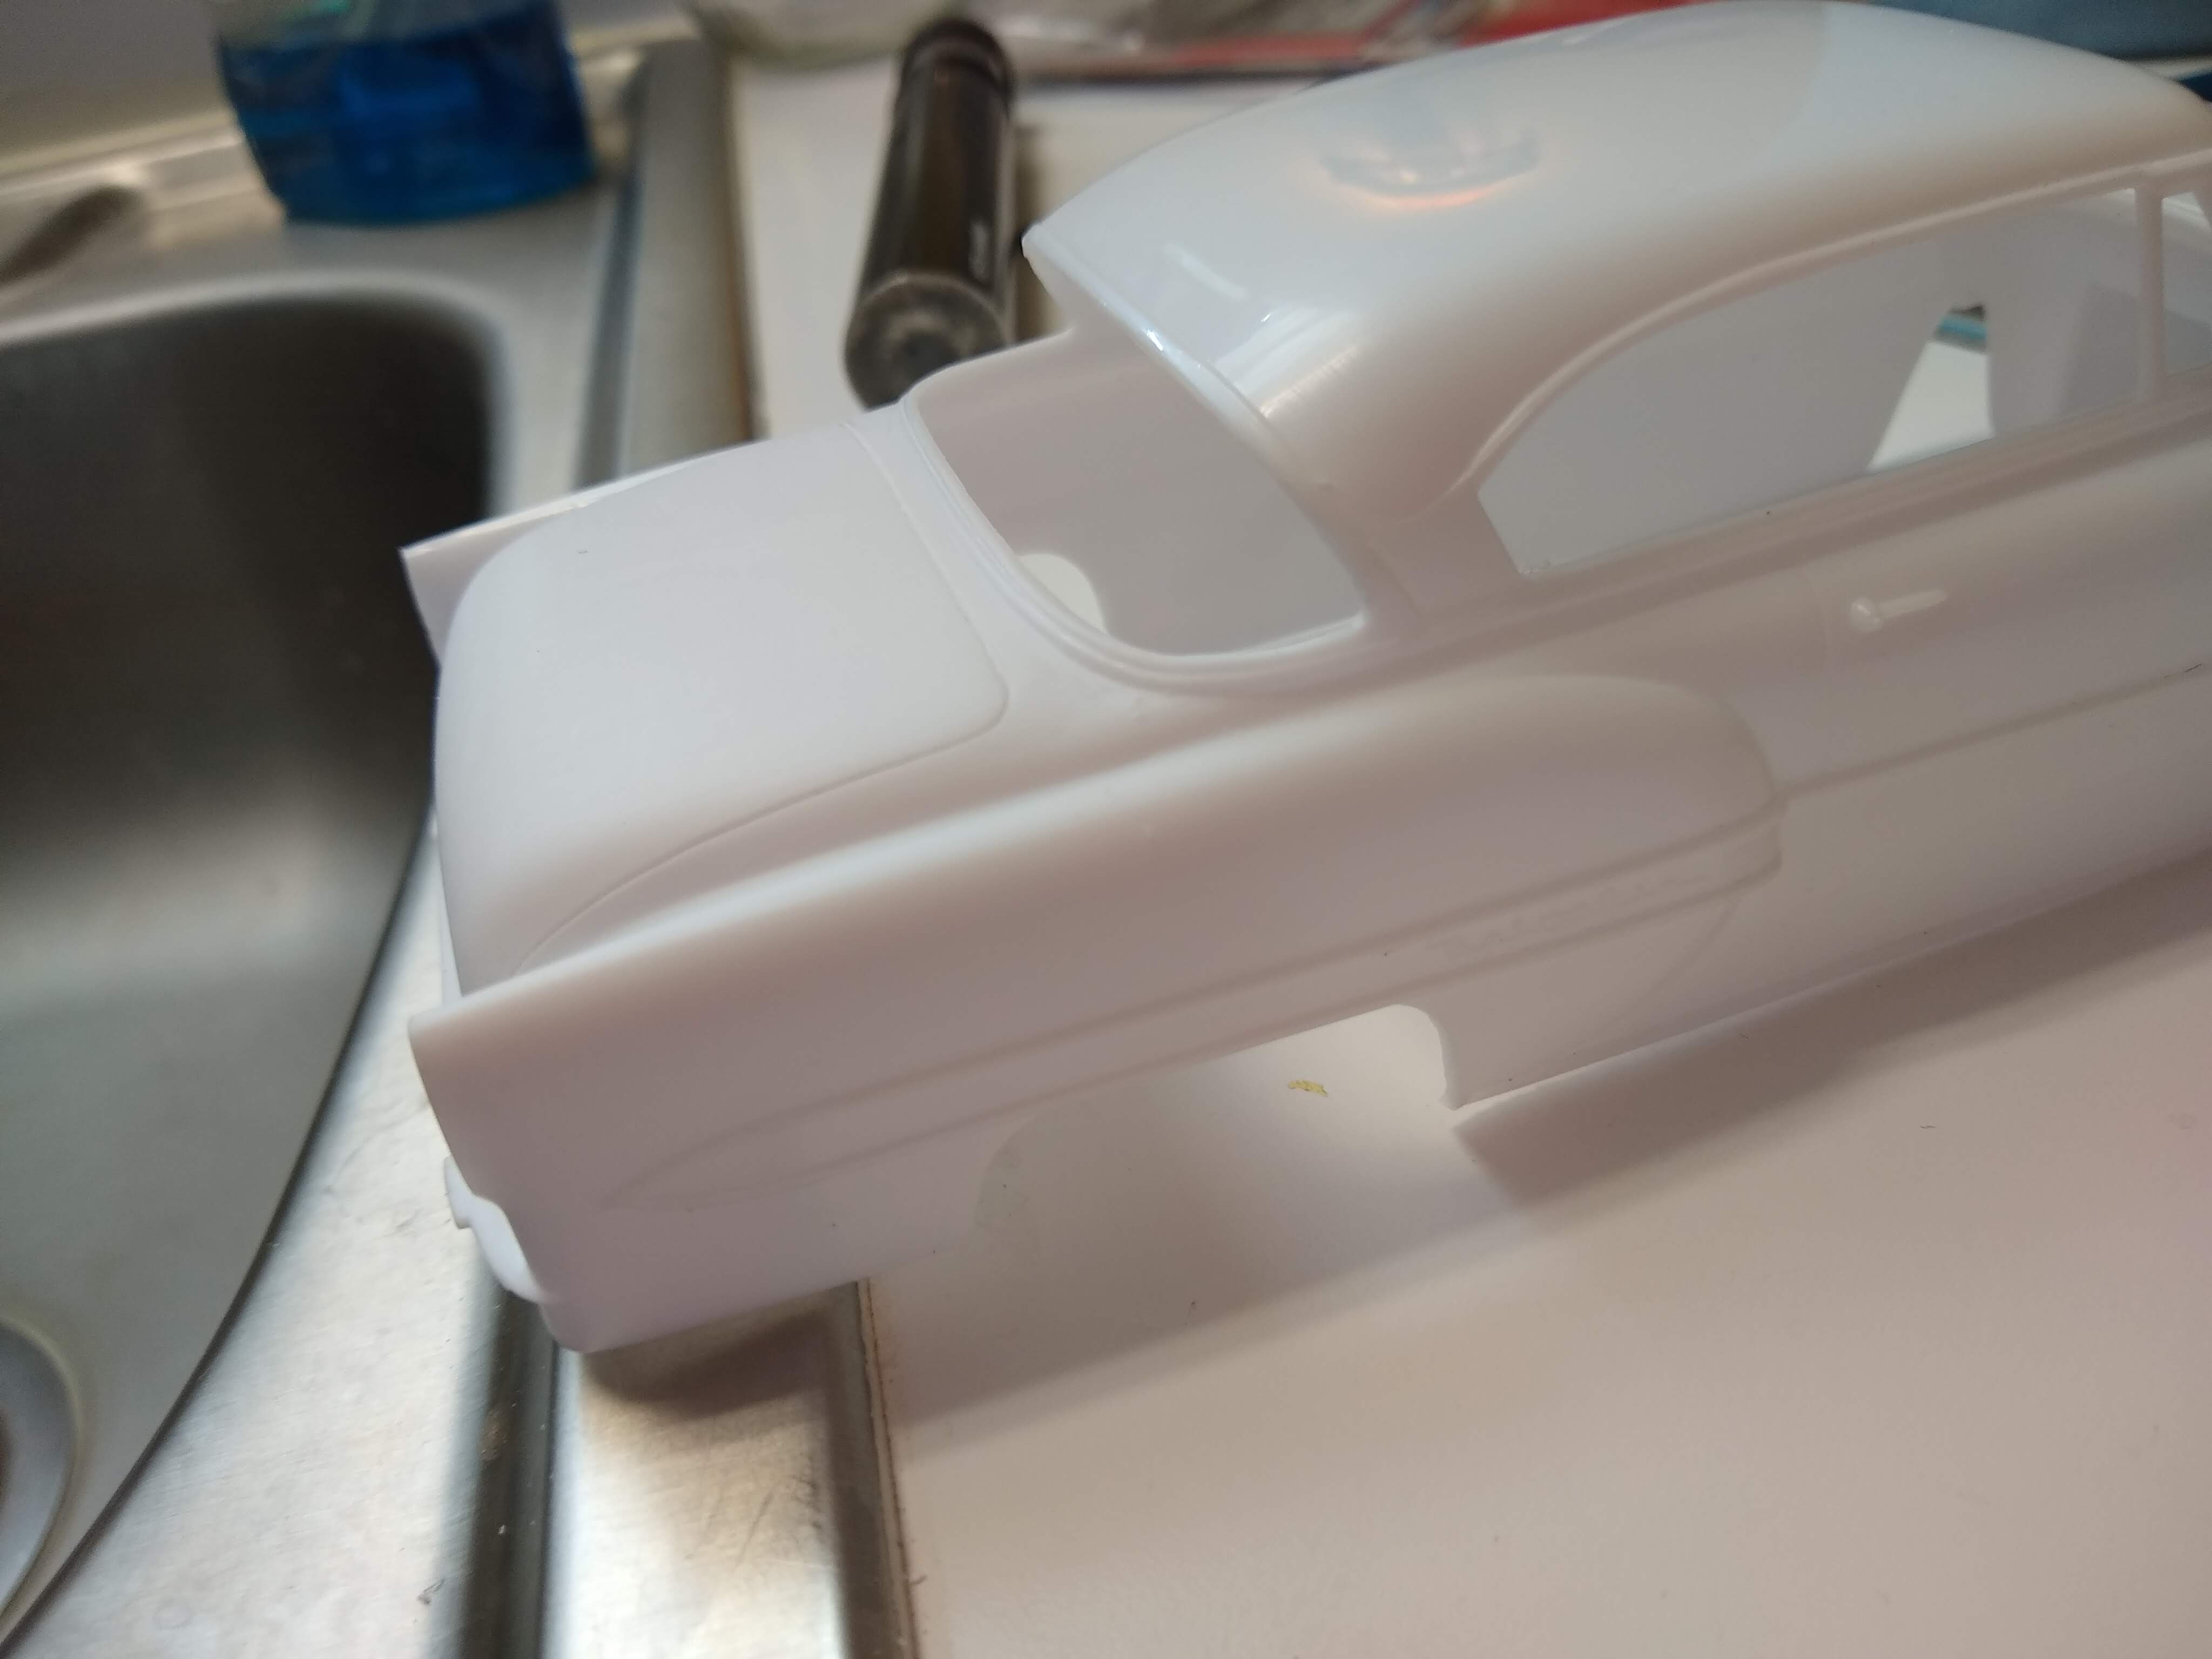
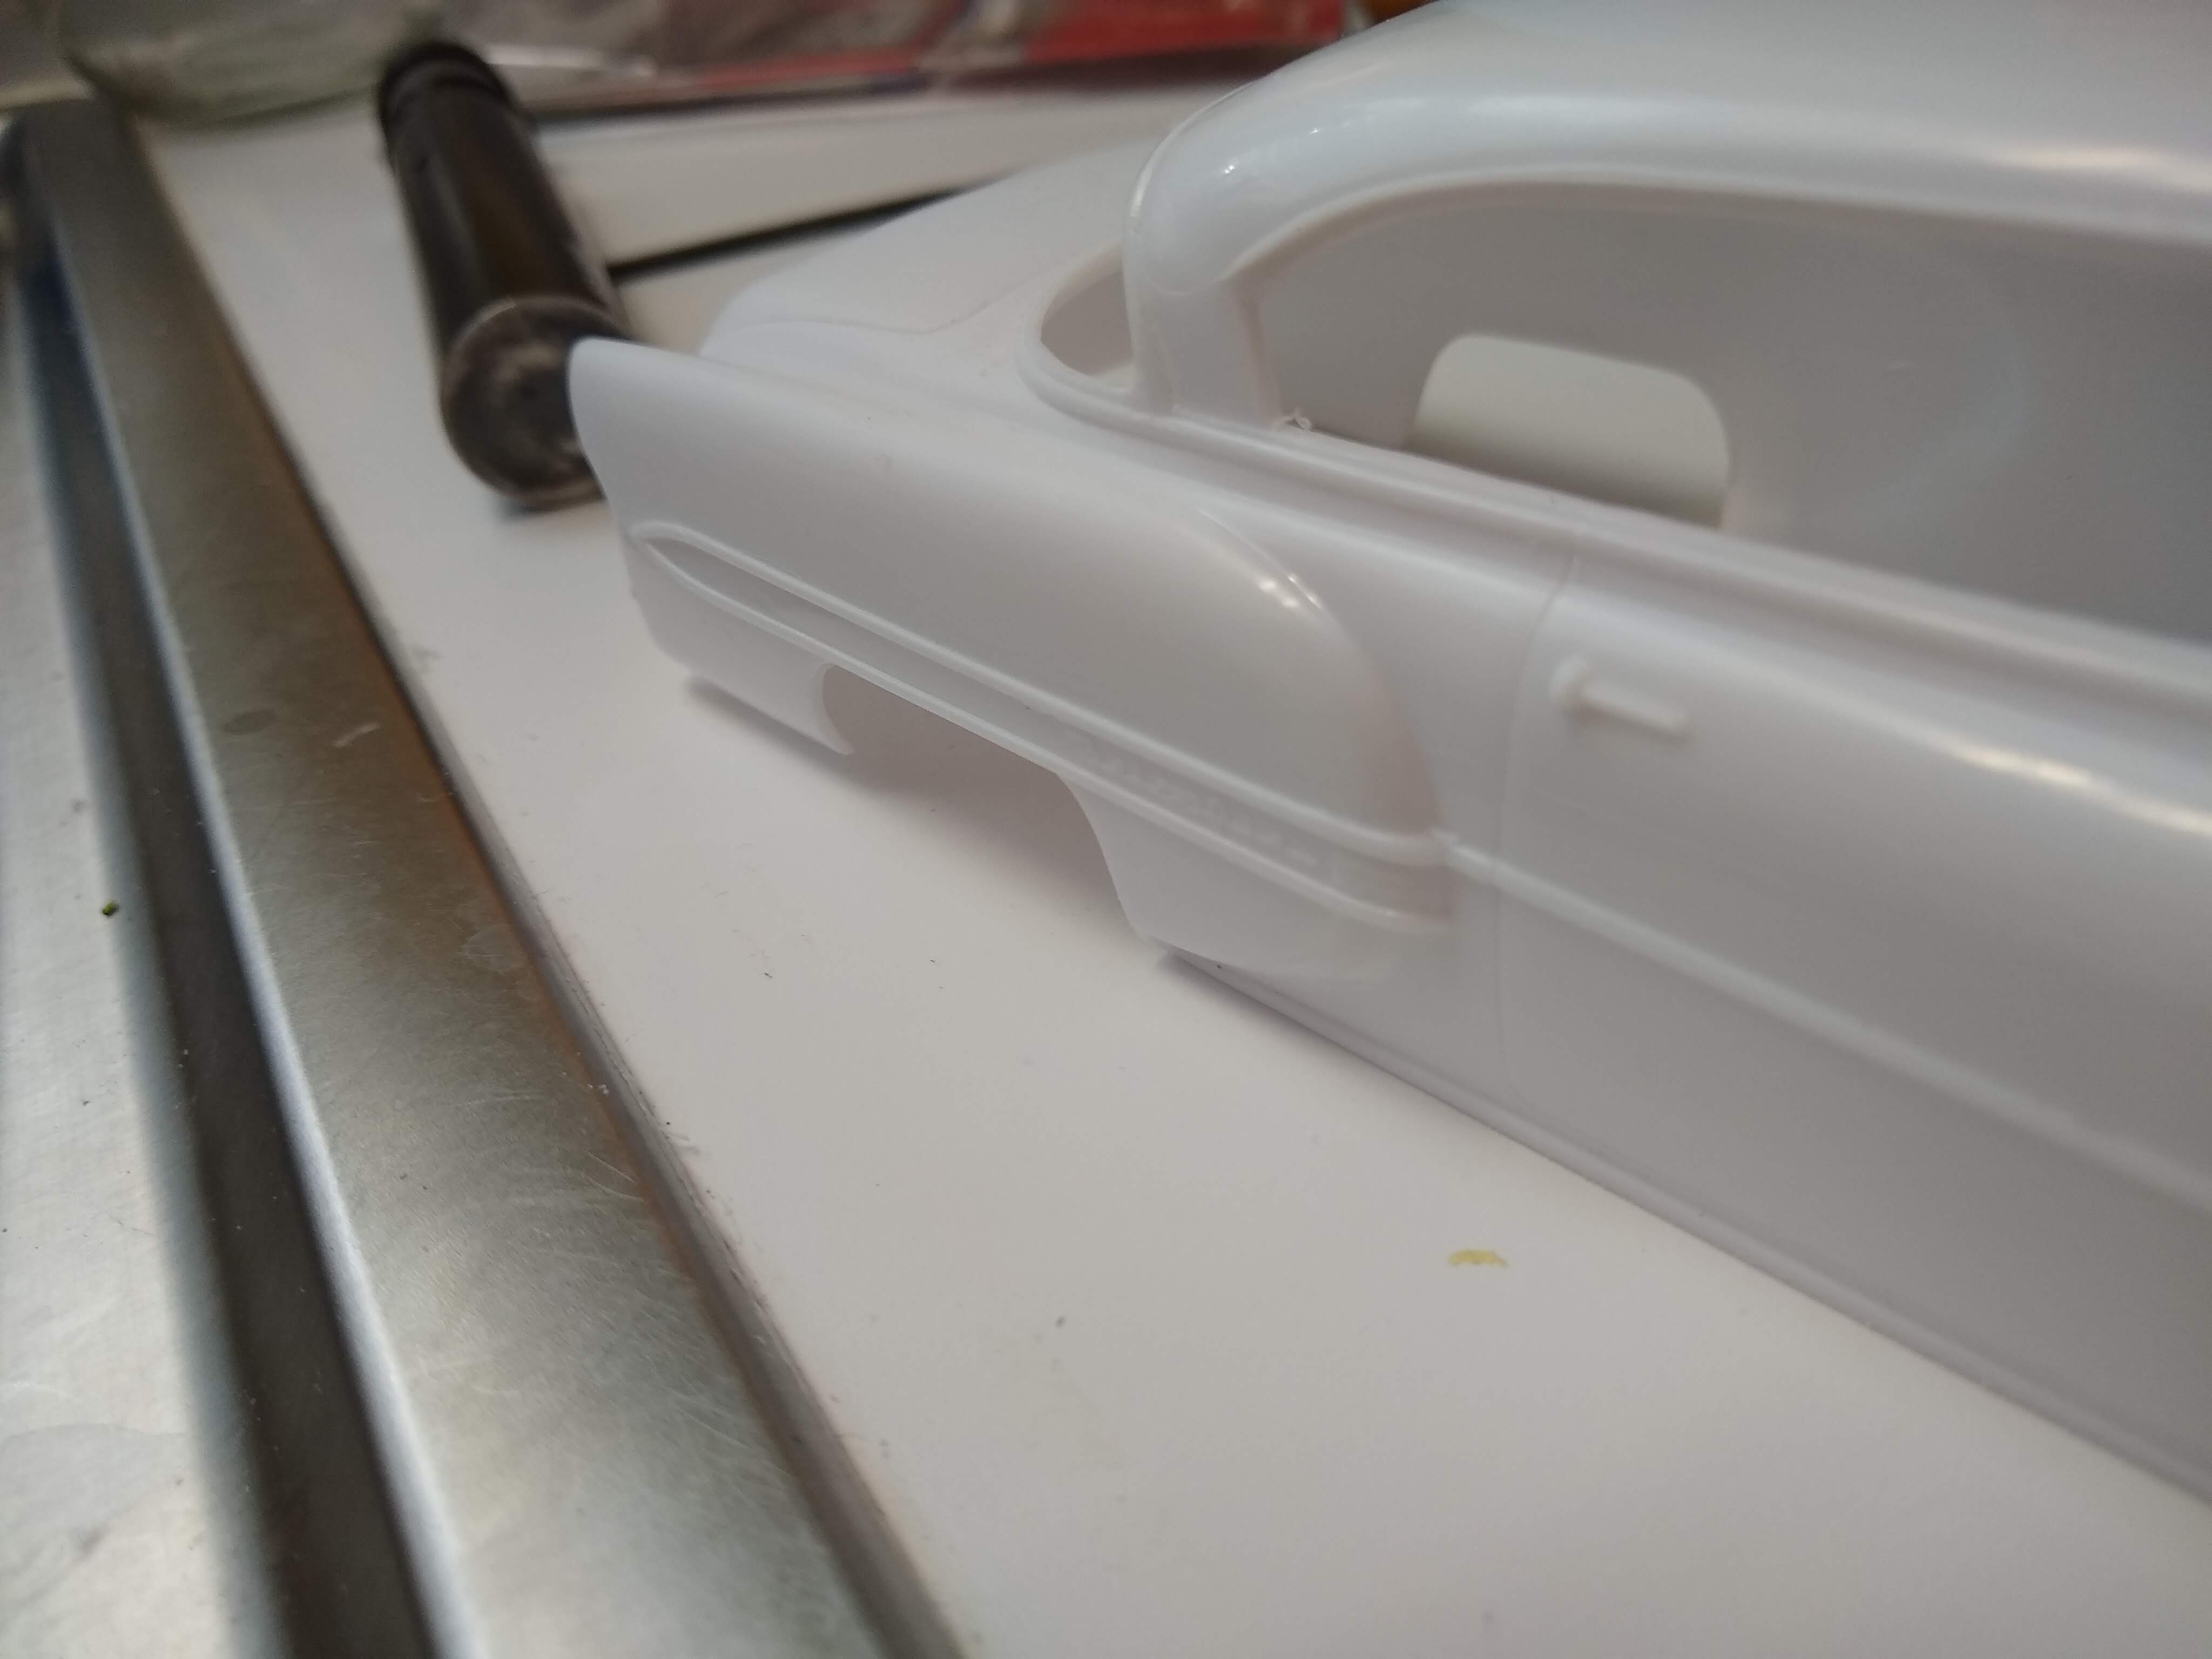
Nothing too exciting here. Just an easier build for me while I'm working on the Lotus for a friend. The Esprit is kinda intense. This should be an easy build of a generation of BelAir/Chevy I don't have enough of. Probably a metallic green with a cream top - not sure on the wheels yet. Maybe the lowered suspension and wide whites? If it will fit. Just opened the box yesterday. Maybe a few Custom touches. Very mild. These photos may not show but the panel lines and trim is all soft as molded. The panel lines are barely there - mostly a guide. Can't imagine painting it this way. So I'm cleaning up the gaps and mold lines and trim edges. I have a couple hours in this so far and haven't progressed beyond the trunklid. Just saying there is alot of cleanup and sharpening to be done. I think this will pay big dividends at the far end of the build. I can't see that far yet. I barely have an idea what color this thing will be. But my goal is to look at least as good as a "mint" diecast. In the phtos, the passenger side is the one with the most work. The driver's side door has had a couple passes with scribing tools (Xacto with a broken tip mostly). Nice square groove. Same blade on past 4 builds. I use dental picks, regular Xacto tip, and a triangular file for the panel lines. Same for hte chrome trim. Mark Gustavson recommended scribing the edges of trim years ago and he's really right - it does help sharpen the edges.

-
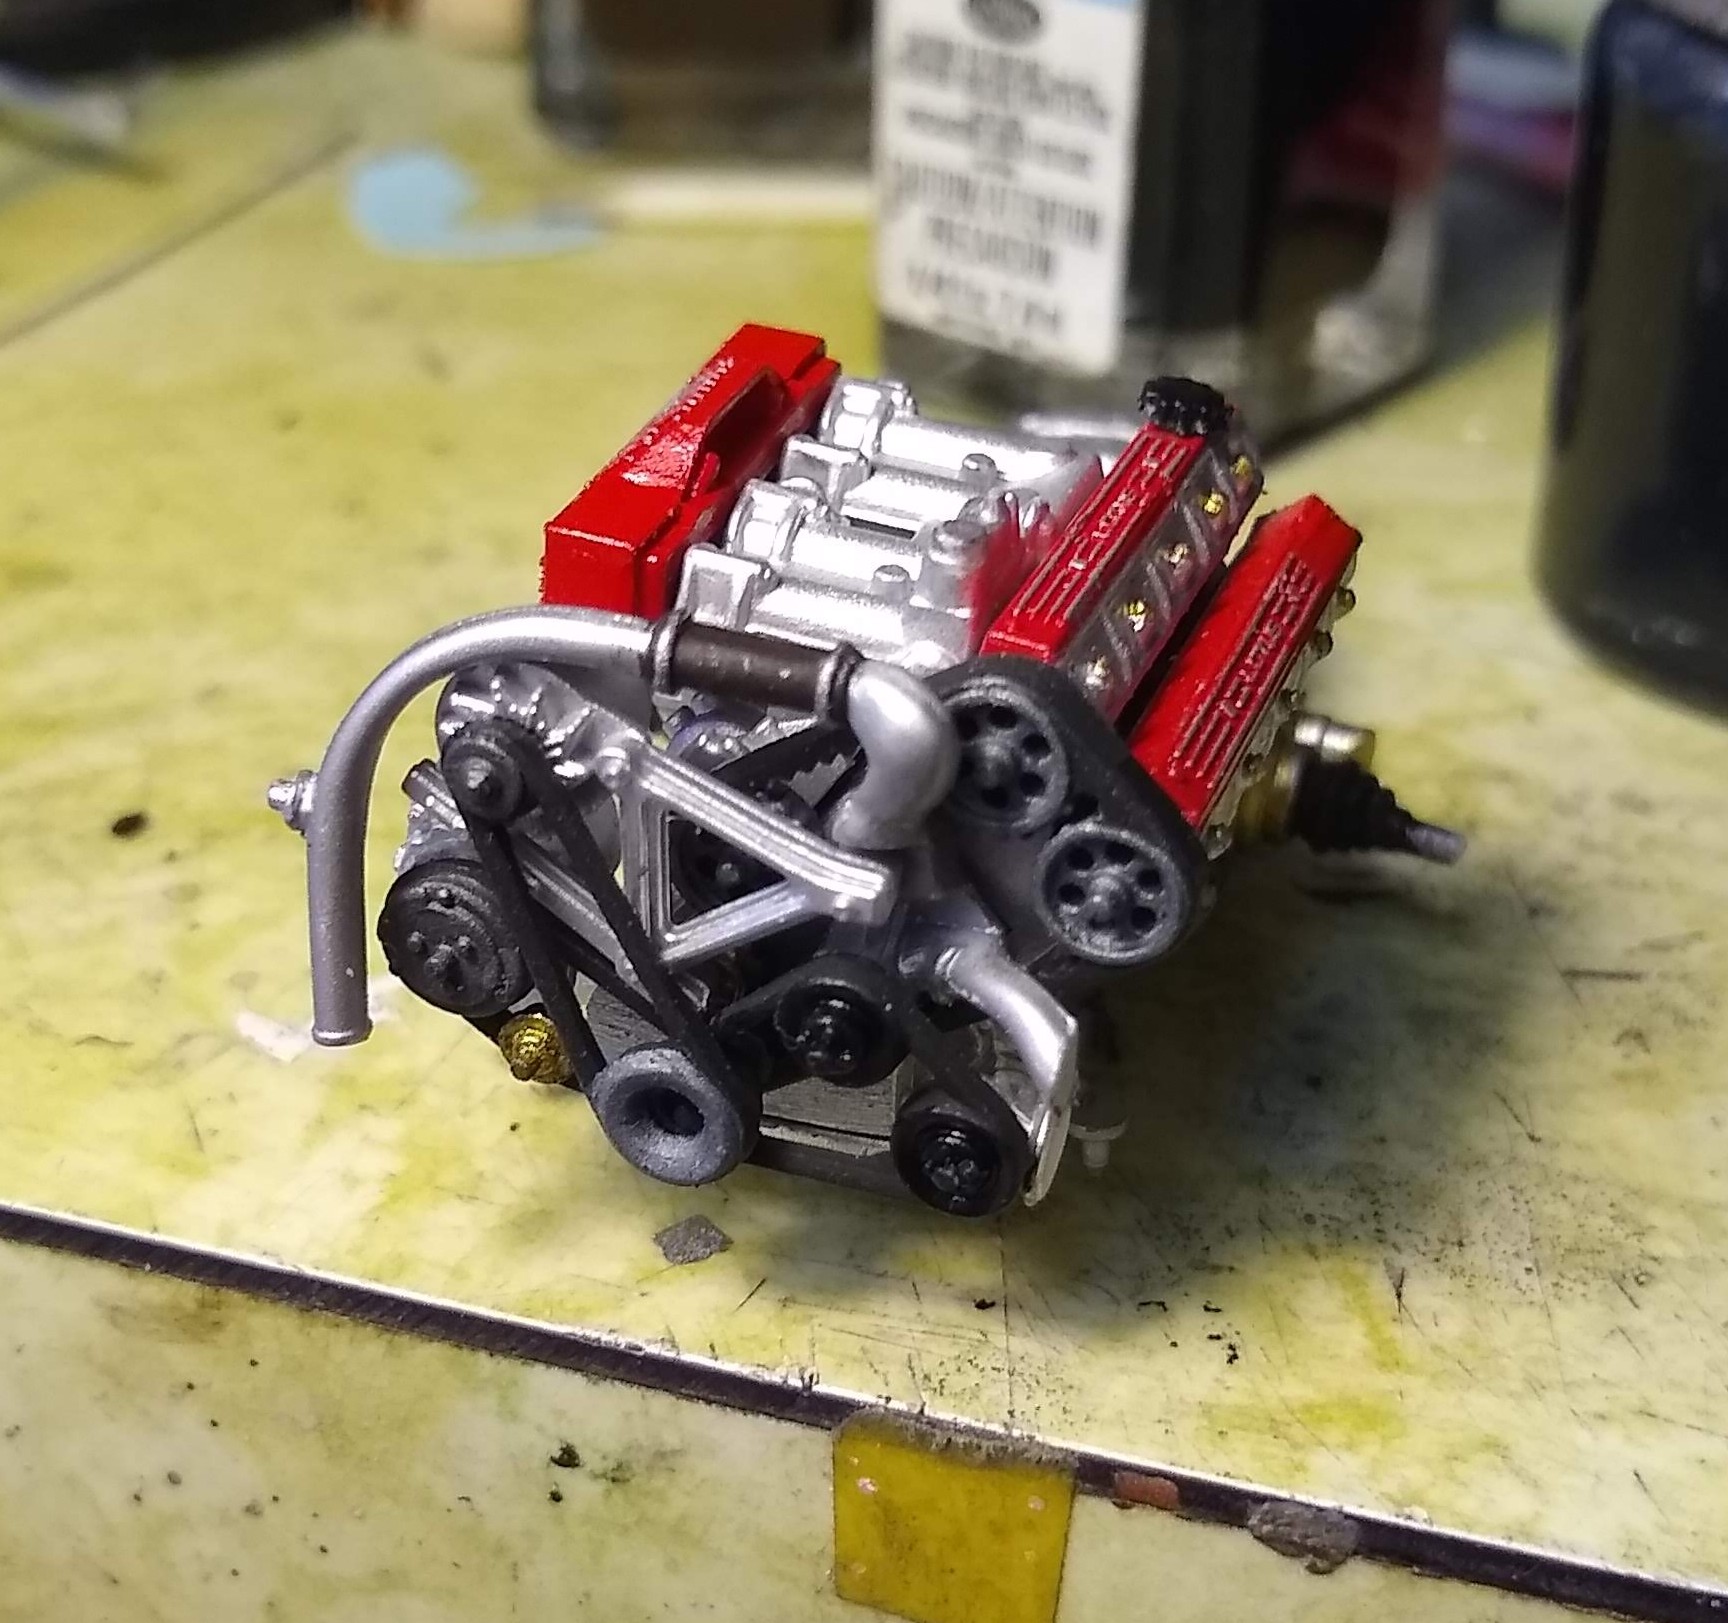
Short and quick. Engine details. As nice as the front of the engine is with all the belts and pulleys, it all gets hidden when installed. Only issue I encountered with engine is that the cam cover with oil cap is shown incorrectly in my instructions. Instructions show the cap going to the front. Photos of real show it at back and the cap has to go to back for the gear mounting pin to be at front for the cam drive belt. Might be a good idea to use a slower setting adhesive than I did - one is crooked. I painted all the red parts red and then went back with detail paints. And will hit the aluminum ribs again so they look better. Lots of mold lines on these parts to be cleaned. Have fun - they keep showing up after paint as well. Also the vacuum pump part is a little vague. No pin as shown in instructions. Starter can be painted most any way you want - no consistent photos on the net. But it's more than just black. I was going to wire the plugs, but the gap between the covers is so small it won't be seen. I only dull coated the chrome parts. It will give a little contrast to the painted parts. Next up will be installing the rear wheels and I think the chassis will be mostly done. Then to body and interior which I have done very little with so far. I have done the seats and dash gluing and sanding. That's covered better in Dann Tier's post.
-
Where are all the built up kits???
randyc replied to randyc's topic in General Automotive Talk (Trucks and Cars)
That's just it - I forget to take the photos. And yes, that is an excellent build. Should be fun when I get to it. -
Where are all the built up kits???
randyc replied to randyc's topic in General Automotive Talk (Trucks and Cars)
Yep. I have found that on a PC, I can keep clocking and find more photos deeper on the net. -
Yep. I replied to Dann so maybe he will share more tips on building this one. Lots of net chatter about how these kits are so fiddly and hard to build. Trying to document the build so more can be completed. Sad when plastic doesn't get built. ?
-
No. The turbo us version. Gray box with white/silver car on it.
-
Where are all the built up kits???
randyc replied to randyc's topic in General Automotive Talk (Trucks and Cars)
I understand that. I have messed around a bit and found more stuff on the net. But that's sitting at a PC. Usually when I'm looking on my phone for something, it's a bit harder to get deep into a search. or it is for me. And I am often searching while sitting at the workbench or watching tv at night. We don't have a PC at home and the laptop is old and cranky. I'm not as savvy as I used to be on technology. -
If you compare Easy Off's MSDS to this, the CAS number is the same. Easy off has btw 2.5 - 10% Lye, the orange cleaner has .5 - .8%. Quite a difference. But all of the little ingredients probably contribute to the removal of the chrome. But will it cut the lacquer undercoat on the plastic? Hard to tell from the photos. Sometimes it matters, sometimes it doesn't. I've about quite stripping chrome. I mostly dull coat it and paint over from there. Usually ends up with some sort of less chrome metallic finish in many cases. And I don't have to deal with Easy Off. Interestingly, Awesome products took over an old funriture plant here in Mt Airy NC and manufactures here. Among many places I'm sure.
-
Where are all the built up kits???
randyc replied to randyc's topic in General Automotive Talk (Trucks and Cars)
Yep. I have about 4 "on deck" right now. I have 3 I am in various stages - 4 if you count the one that just needs exhaust tips glued on to be complete. Two of the "in progress" have progressed to where it is just the final assembly details. I have been trying to LIMIT my projects to things I can complete and limit the number I'm working on at any one time. -
Where are all the built up kits???
randyc replied to randyc's topic in General Automotive Talk (Trucks and Cars)
Welll....okay then..... That will work. And between us all, we've hijacked the thread... HAHA. I don;t mind though. -
Where are all the built up kits???
randyc replied to randyc's topic in General Automotive Talk (Trucks and Cars)
See? Perfect place for a thumbs up. Exactly. -
Where are all the built up kits???
randyc replied to randyc's topic in General Automotive Talk (Trucks and Cars)
Hey, the older I get, the more hte stock builds appeal to me. And I may have to eat some words. By clicking around, I found MORE Lotus stuff by accident. I was looking for real refernce and stumbled on to a built up thread on a british site. Then there was a "see more" option which came upwith a LOT of links. So.... I may be at fault. It is harder to find stuff using phone. I don;t have a PC or laptop at home and wouldn't have that at bench anyway. I look more at Under Glass now anyway. Unless it's a specific project. AI feel like a lot of workbench cars never get finsihed. Some of those are pretty intense ideas. I look a lot but don't always post a reply. Wish there were a thumbs up reply. -
Re-engineering Monograms Lotus Esprit...new update!
randyc replied to Dann Tier's topic in WIP: Model Cars
Ok, Dann... where are we now??? I have recently start the US version and am going to use some of your tips. Need to make sure I'm not going to miss something else. Mine will be stock kit height, stock engine, basically OOB. I cut the dash out last night - got to fit that up now. Had to come look today to see how it is supposed to fit together for sure. So I'm caught up again - about the 8th time I've read over this post. So far, this is the most thorough building article I've found on this kit. Talk to ya soon I hope -
So I am building for guy that pays me to build for him. Kinda sweet deal. Wish I could make real car shop rate... But when he tells me about a kit he might want me to build, I look it up on the net. Tons of most everything for sale on ebay of course. But where are the built ups? And threads about the build. Example, last night I was looking for johan 1931 Cadillac stuff. A few but not a lot - I expected more. Recently was looking for Lotus Esprit - even less, especially on the Turbo US version kit. This is net wide, not just MCM, which I always read when I see a post in my search. I know guys here don't build every kit ever made and post photos/opinions. But I would think there would be more out there. Or are my expectations too high? I'm trying to contribute more of late especially when I see a lack on the net. Bujt I don't build as fast as I used to. I guess I am expecting too much really. But hey, someone out there wants to know. If you're building something, post up! And if you find a tip that will help, even better! On the good side, the net has really expanded research photos for most every car ever made. I have not been disappinted there. No reason to not know how something really looks on a model
-
I thought of you immediately when I saw this. I'd like to see your collection in a big photo like that.
-
Thanks! This one wasn't bad. Missing the outer box, but had everything else: styro shell, gloves, tool, hang tag, both tops still wrapped in pink tissue. And only a few more dollars than others listed that were less complete. I couldn't believe it hadn't been bought yet. And the car is almost perfect. One pimple in paint. Like you, I have enough and there aren't many that I want and are in my range.
-
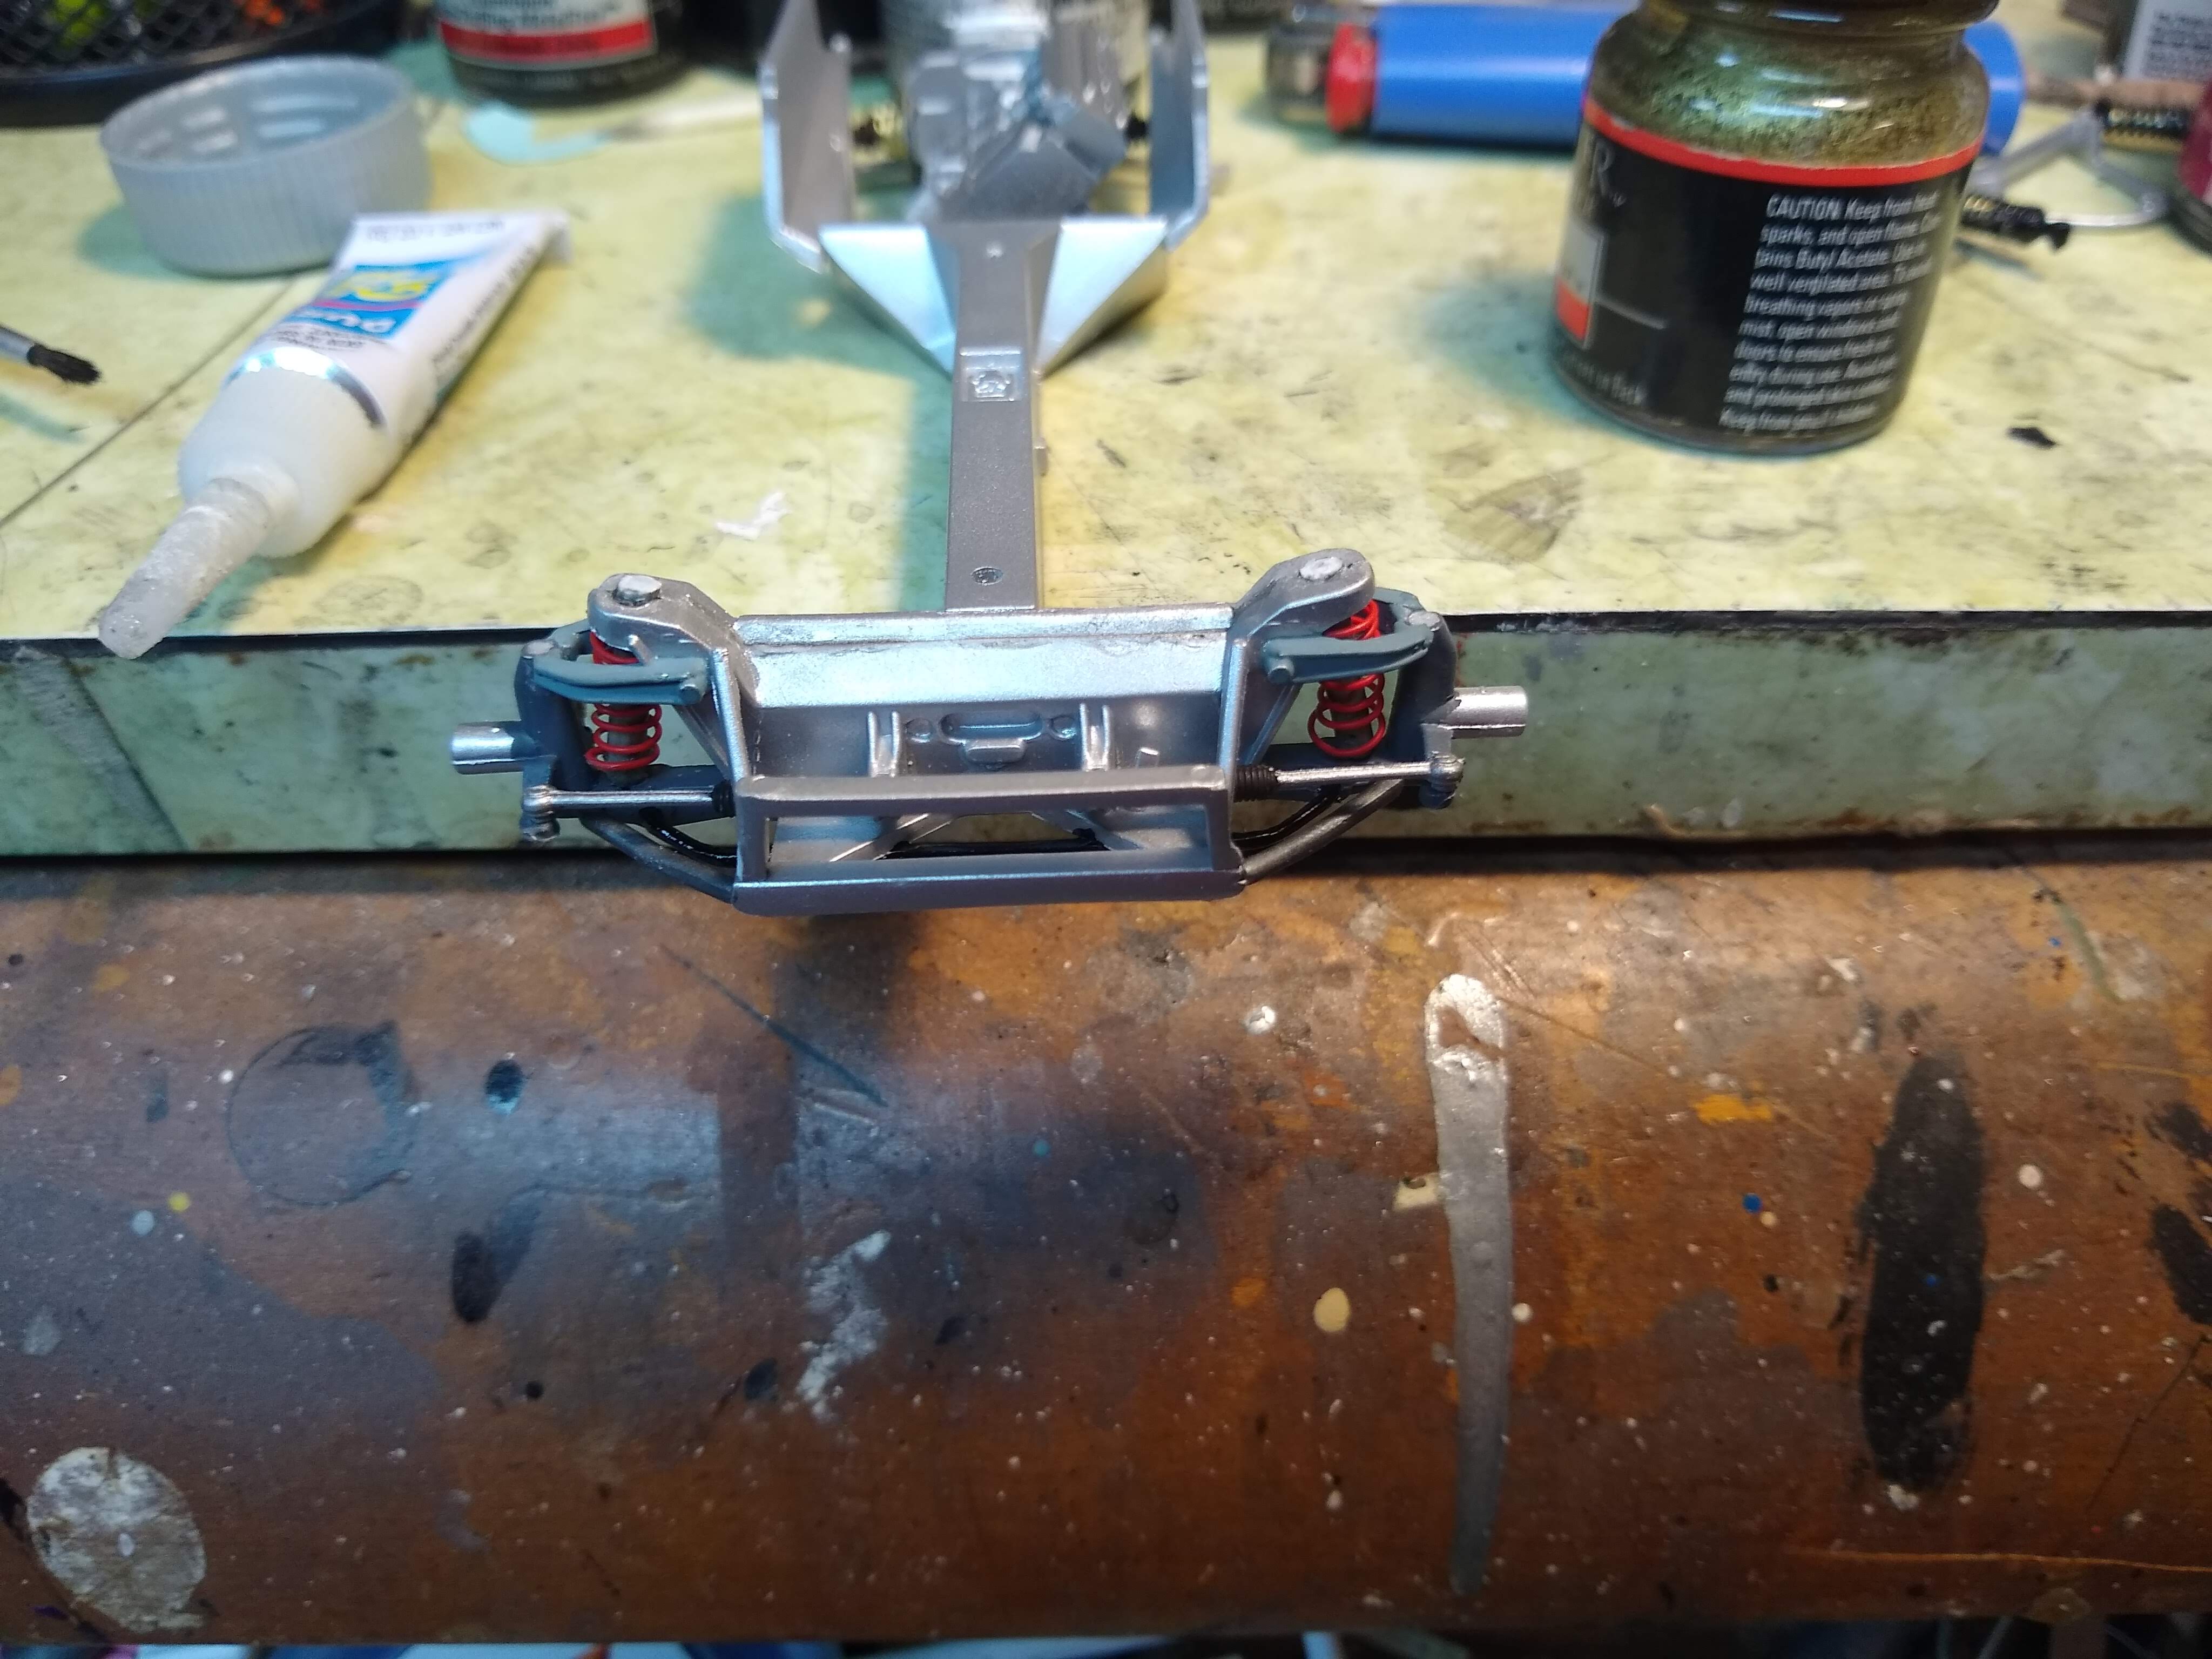
This is a new build for me. Thought I'd try to document the build for future searches. When searched for more information, I didn't get a lot of hits for this particular kit. I read a LOT about how this is a hard one to build and nothing fits all that well. I'm building this for someone else, so hopefully it will all come together and we can find the pitfalls and others can avoid them in future builds. the guy I'm building for keep sending me kits he wants and many are challenging. Johan 31 Cadillac coming. MPC 32 Chrysler as well. Dann Tier has a thread somewhere that I need to find next again to review how he put the dash in after separating from body. Lots of good stuff on his build as well. I won't do everything he did. He goes into more detail than I do. Mine is a build for someone who wants it built nicely, but superdetailing not necessary. I started by spending a few hours trying to clean up parts. Lots of mold lines and ejector pin marks. I always start this way and then move to gluing up whatever subassemblies possible. I'm finding on exotic cars that starting by gluing the major frame parts is a good start to a solid flat foundation. I glued the tunnel onto the spine and front bulkhead first with liquid cement. Let it dry, making sure it was flat and not warped. I also cut some lead fishing weights in half and shoved them in the tunnel to give it a little weight to help sit flat. I buy the little round ones at a big box for about a buck a bag and try to put as many in a car as possible to make it feel more substantial - like a diecast. Before I painted, I also put the pieces on the rear of frame, making sure they line up with the body. I put body and interior together to use to test fit all of this as I go. I painted the frame parts with some Duplicolor silver I had on hand, Matches up with a powder coated frame I found on the net. Wanted to use a paint that would standup to a lot of handling. I Somewhere I saw a tip on painting coil overs. I painted the shaft with Molotow and the shock body with brass. then wrapped wire in the coils and then painted the coils black. Remove wire - basically using wire as a masking agent. This worked pretty good EXCEPT... Problem was that I was trying to hold the fronts with a pair of hemastats. One flew off into space to never be found again. I heard it ricochet about 3 times before it settled somewhere. Ok, not a critical part to the foundation of the car. Just there for appearances See photos. this is the simplest, crudest coil over known to man. Plastic rod tapered on one end cut long. Drill a small hole near one end where you want coil to start. I wrapped some Radio shack wire I use for plug wires around a wood screw about an inch long. Unscrewed the screw from wire and had a coil. Hooked one end in the hole I drilled and left other end floating. Glued tapered end into the lower control arm. Coils were way long, but when I put the front half of bulkhead on, I compressed the wire to fit and it tightened up the coils. they are uneven. This was quick, ugly fix. Then I cut excess from top of coilovers. This will work for a quick look under car. There are coils under there in the place where they should be. the kit parts are pretty crude as well, so no huge deal. If I had a big chunk of plastic I could mill one I guess. I have a drill and moto tool for lathes... lol You can see that the front part of front bulkhead does not fit well already. However, this is not a particularly crucial part of assembly. It will be cosmetic for the most part. It holds the coilovers in and mounts the front framepiece and rack and pinion. Fits into underbody without interference. The rear side pieces are more crucial in making this thing go together correctly. You could finish this up more if you desire. I don't think I'm going to use the removeable chassis feature on this one. I have also assembled the engine block (with more lead weights in it) and every part I can that can be cleaned up and painted. Probably go back to engine next. I'll keep documenting as I go. I don't have a photo set up so you get to see my dirty workbench. And I forget to take photos as I go.
-
Thanks. It is very elegant and I could not build it to this level, period. Not with all the detail.
-
Nice collection!
-
Shirley Shahan’s Hurst/AMX Finished!
randyc replied to dragmodels44's topic in WIP: Drag Racing Models
Very nice! -
And the dark spots on headlights aren't pins, they are engraved spots in the middle of the lenses. they show up quite noticeably.
-
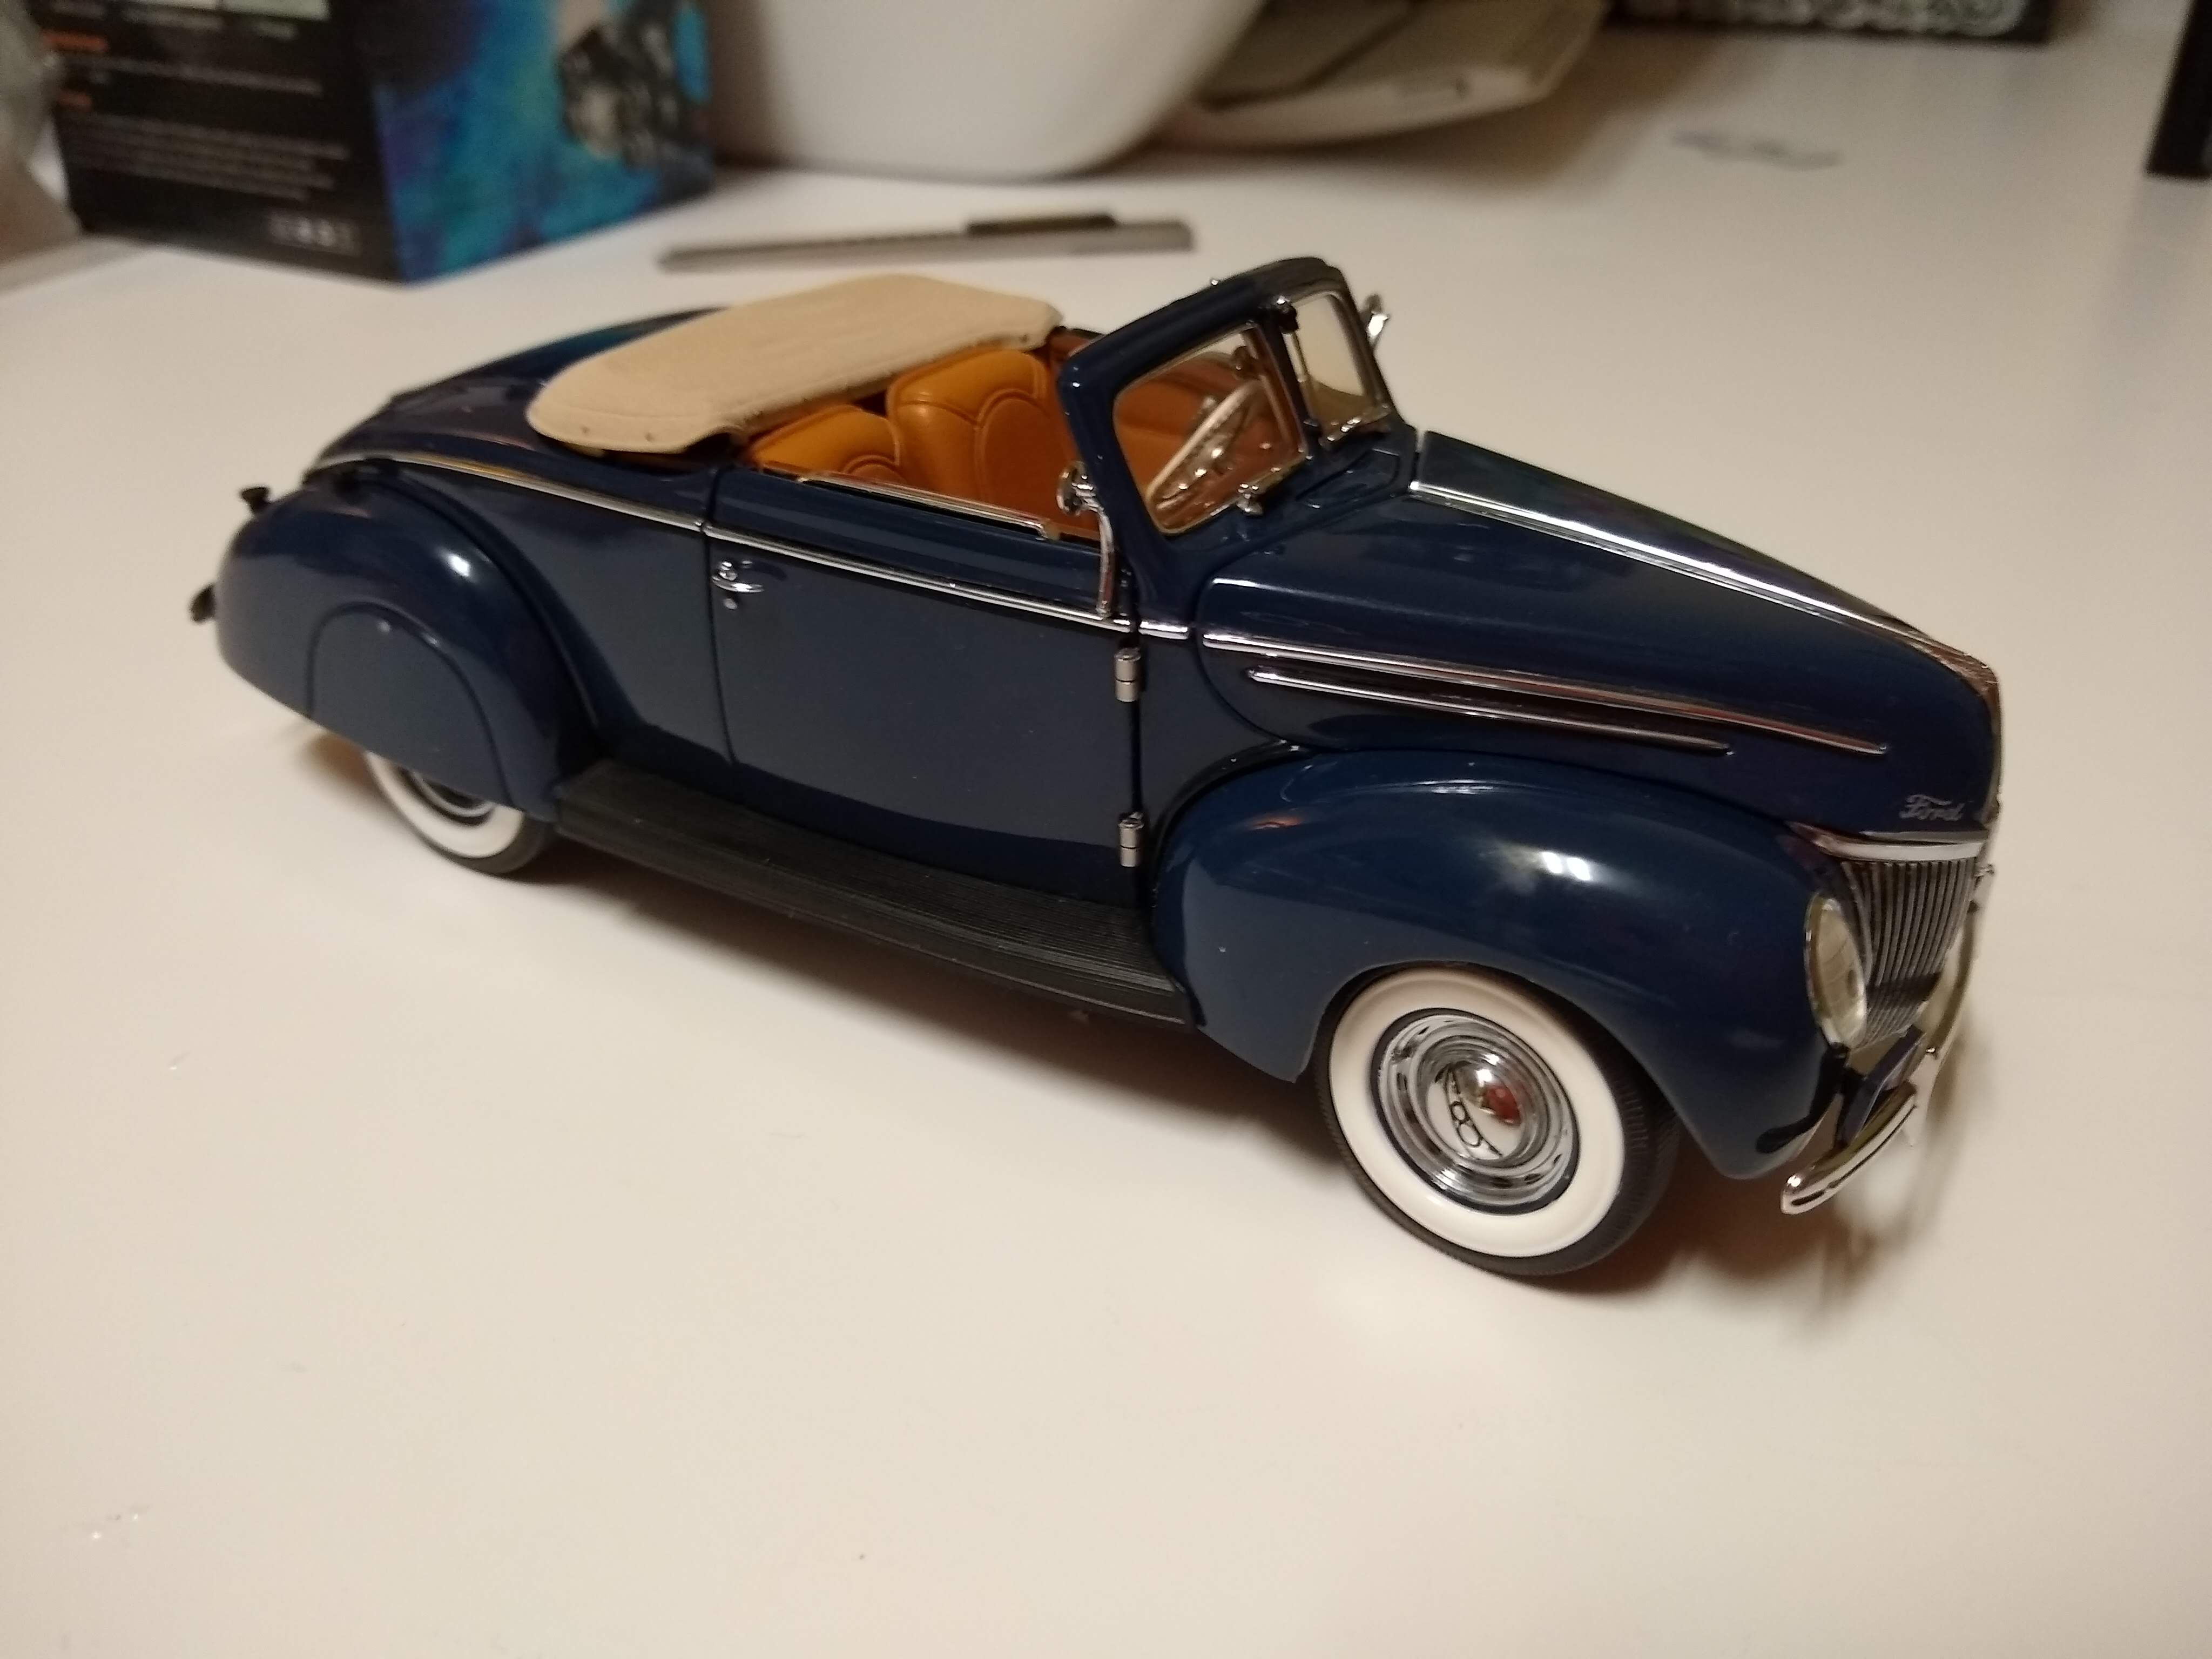
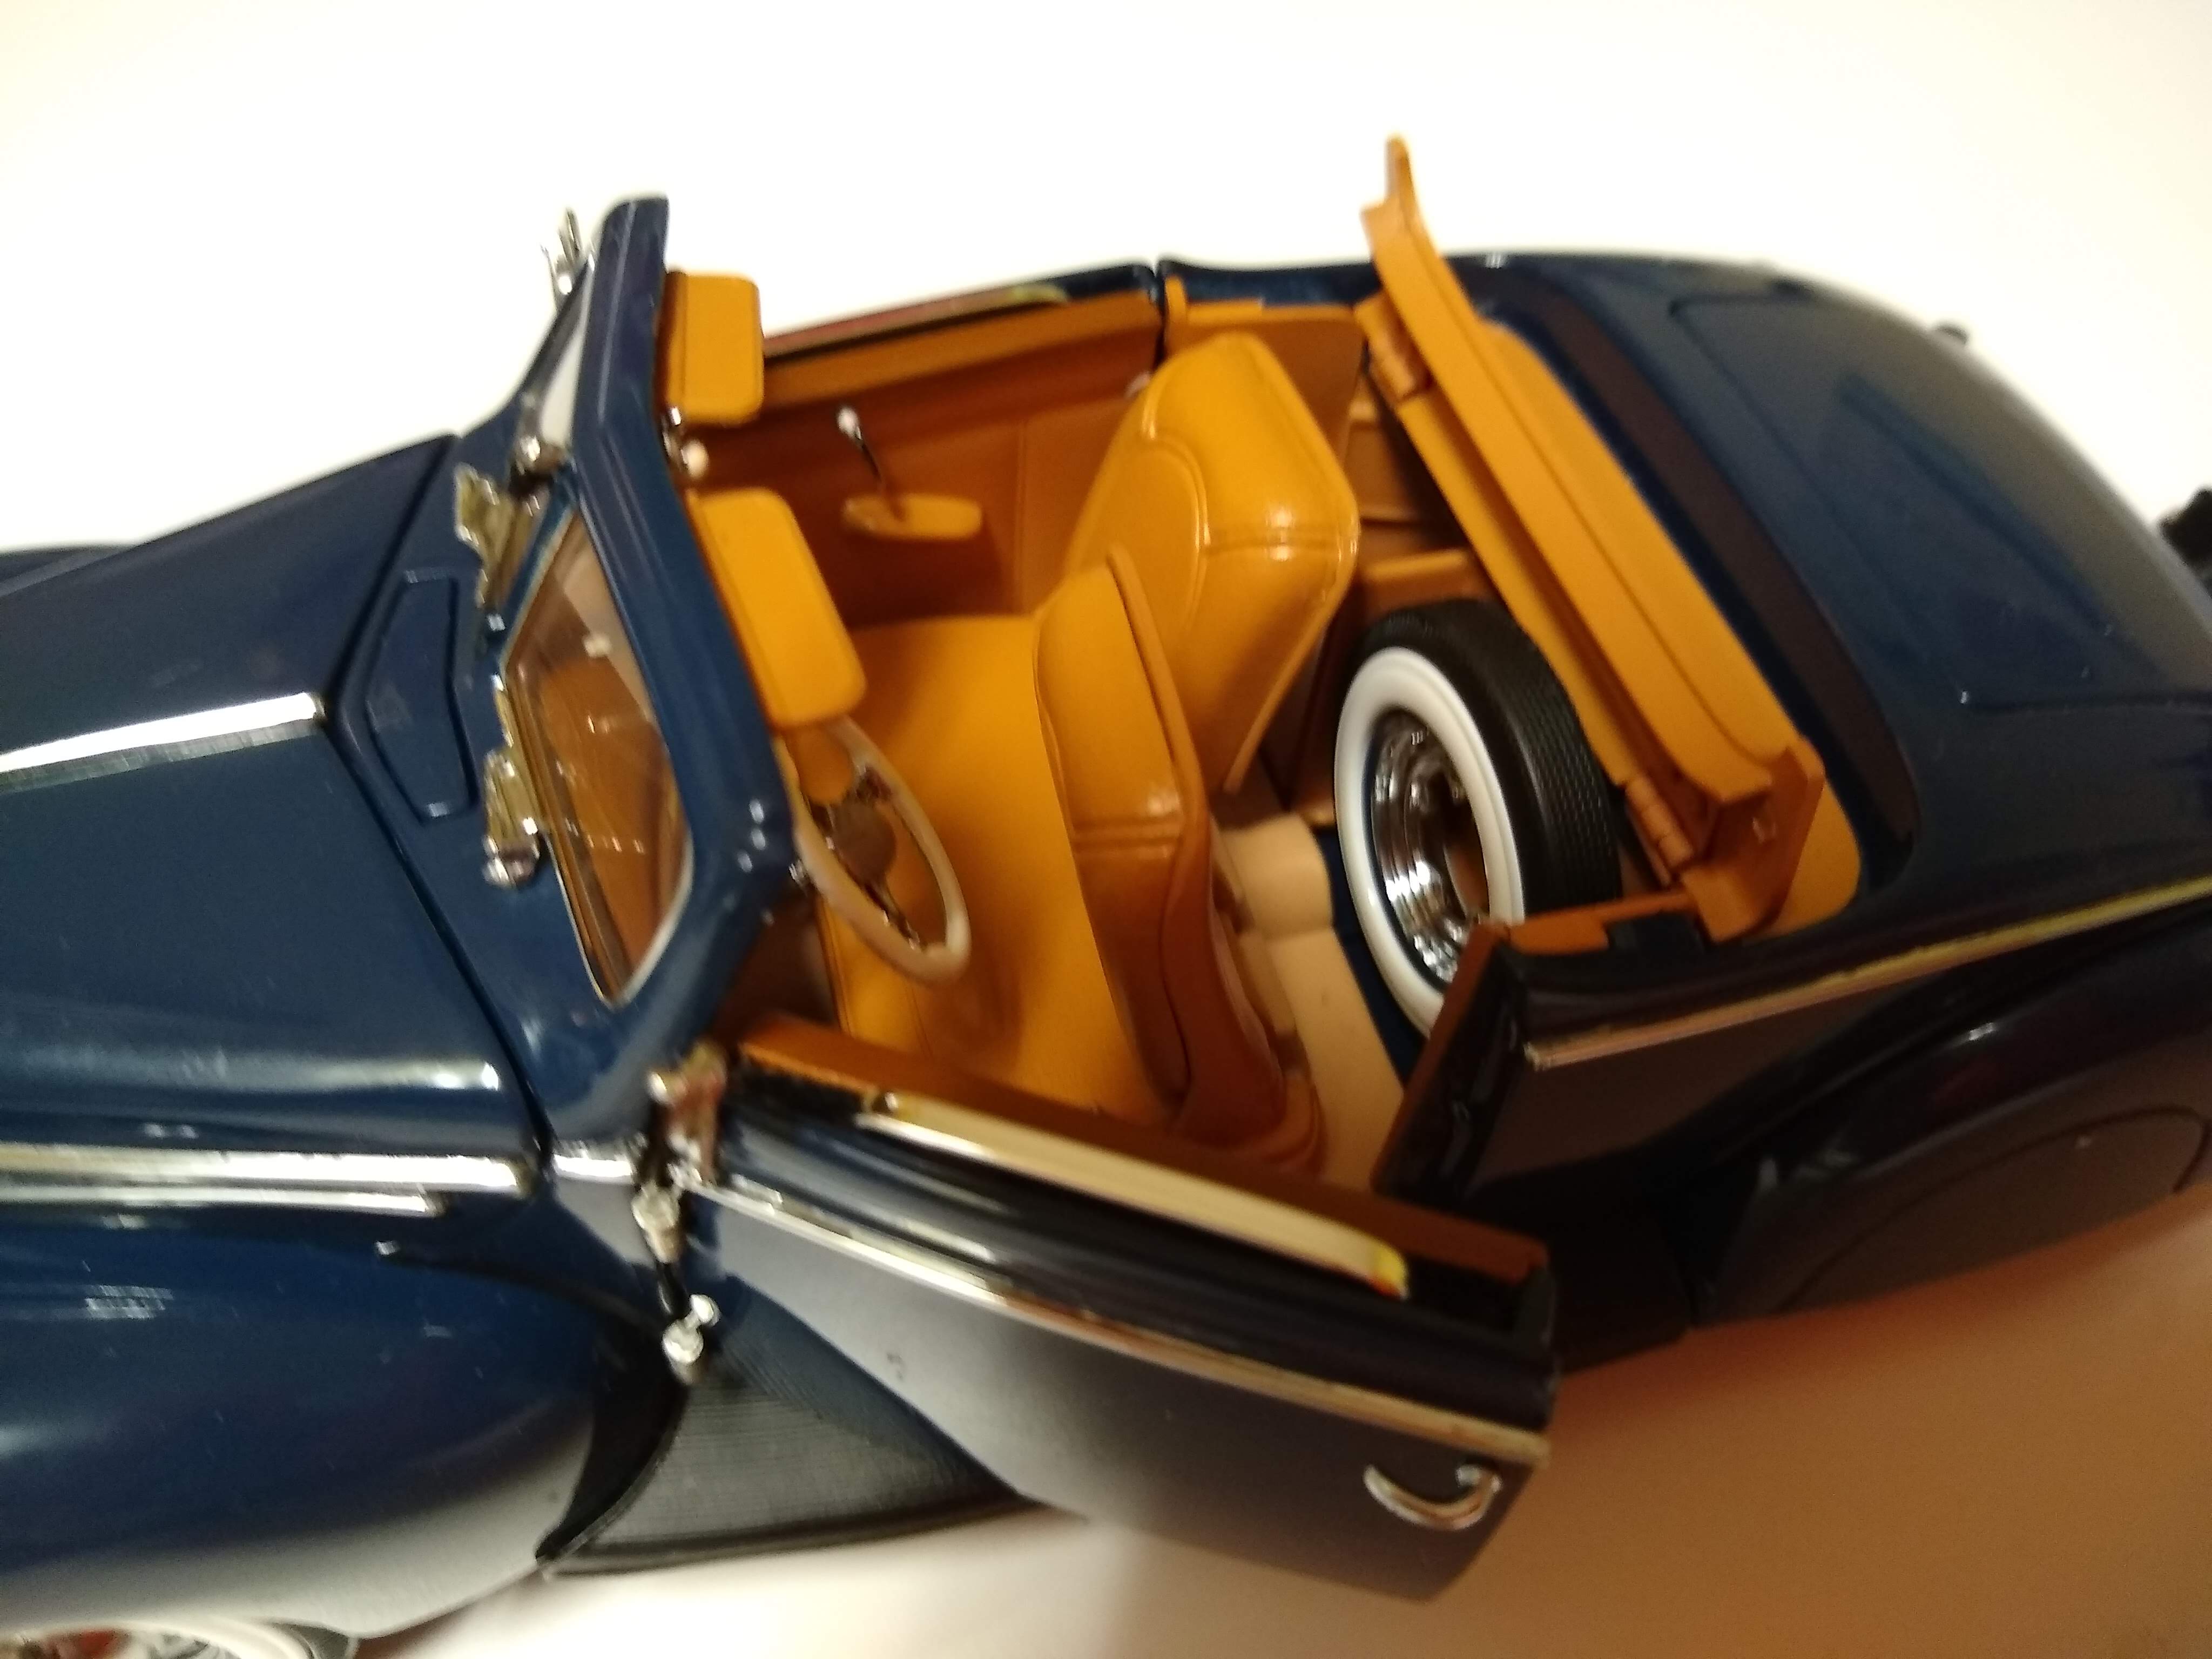
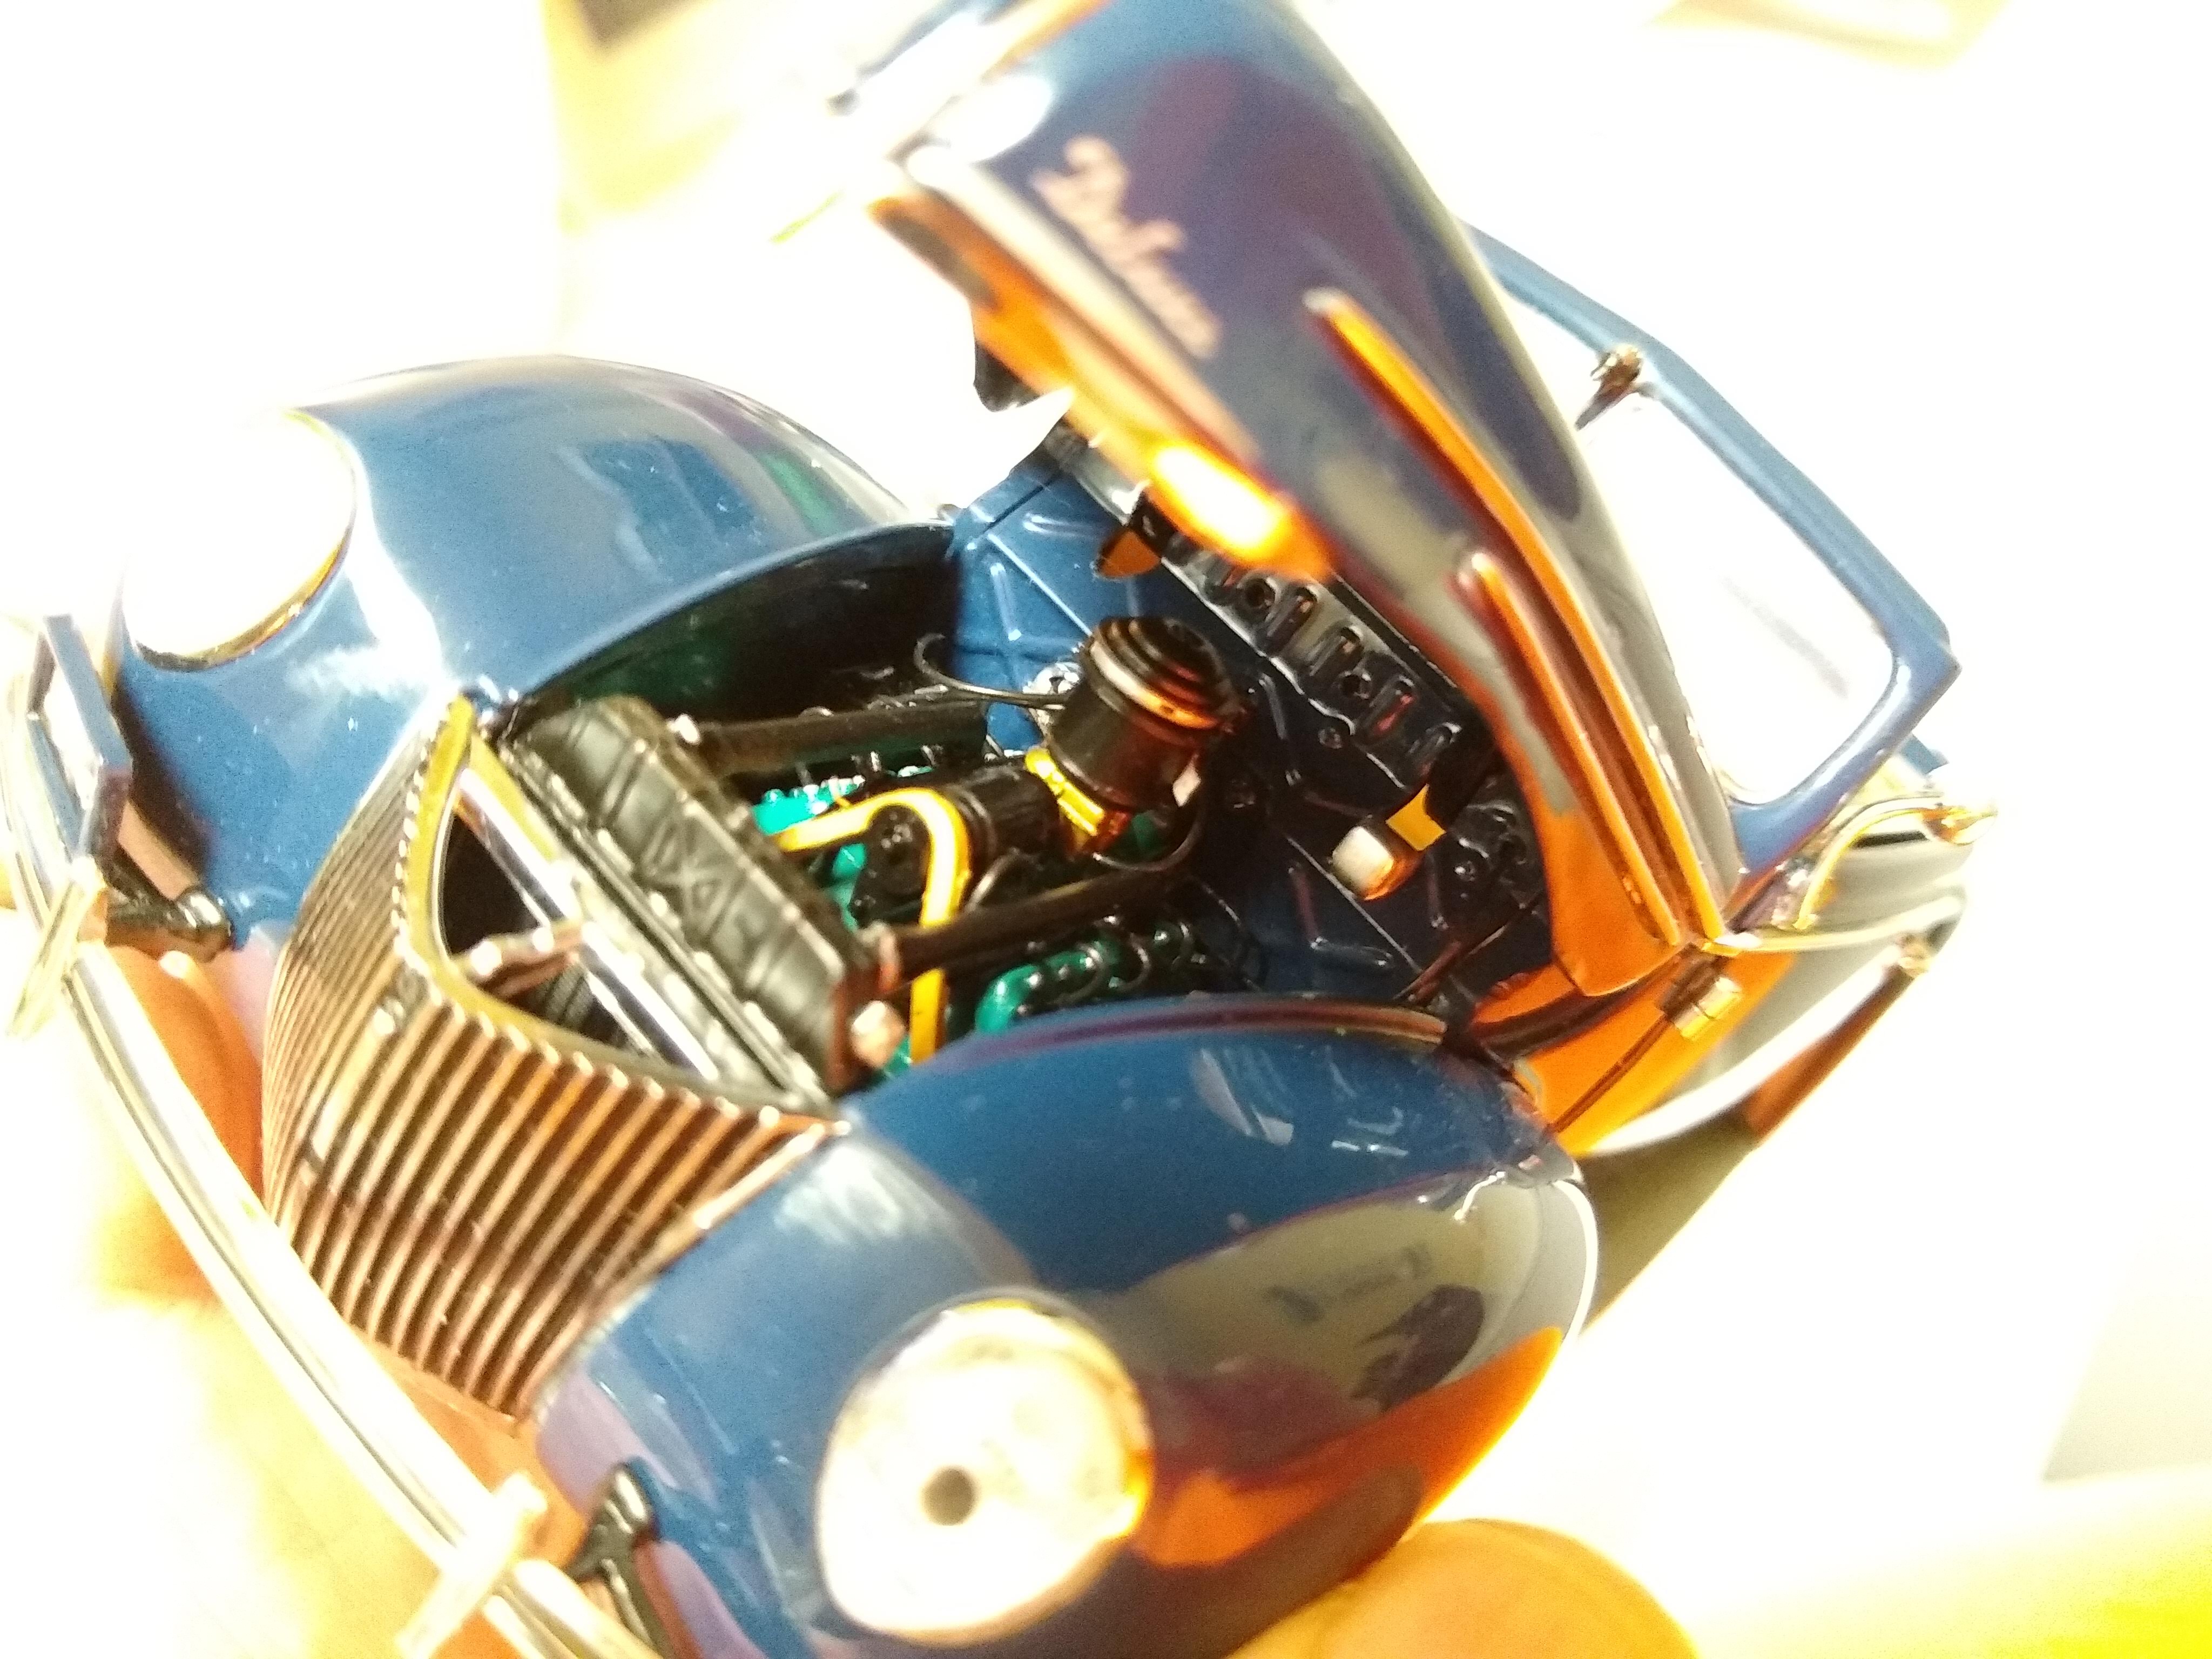
Just got this one last week. Put it here instead of the "what'd you get" thread so if someone is researching it, it will turn up on Google maybe. It's tough to get information on diecasts sometimes. So basically the car is pretty nice, Has both top and boot. Engine is pretty detailed, wiring etc. the photo is washed out because I brightened it up to show some detail. The spare tire is removable, drilled lug nut holes. Rumbel seat opens, working suspension. And the neatest feature to everyone but Mr Obsessive - ROLL UP WINDOWS! Bill is an old pro at these, but I'm fascinated by that little feature.They move pretty smoothly with the window cranks. Only thing I wish were different is that the fender skirts should be removable. This is supposed to represent the car that was presented at the World's Fair in 39 (I guess?) And the grille/hood fit better than the Danbury Mint 40 ford that doesn't come together quite right. I did have to adjust the drivers door a little to get it to shut all the way. Nice metal hinges though. I think the gas cap is supposed to open but it's so tight I don't want to force it and break it. It is drilled where a hinge pin could be.
-
NICE!!!
-
Carry on. Be interesting to see.