Modlbldr
-
Posts
6,885 -
Joined
-
Last visited
Content Type
Profiles
Forums
Events
Gallery
Everything posted by Modlbldr
-
 Kind of my attitude. I've blown a lot more money on worse things. BTW- I have a few built Vettes that I don't know if they are what you're looking for or not. If I can round them up I'll take a pic and let you look. Later-
 -
Thanks Carl! Got the first coats of clear on and now to let it sit before wet sanding and another couple of coats. Later-

-
I played the idiot today! I had looked at a cool old MPC kit on eBay last week and couldn't understand why it wasn't getting any bids. Then I read the listing and the LAST LINE in the description boldly says BOX ONLY. Well, that explained it. This morning it popped up again on my feed with only 5 min left and still no bids. I went ahead and threw my opening bid in before looking again to remember that it was JUST THE BOX! Oh well, $16 shipped is a cheap lesson to learn..... Later-
-
Thanks Scott! Can't wait to get this one on the shelf. Later-
-
Looks much better this afternoon. I washed it to get ready for clear coat. No more smudges and finger prints. Later-
-
Got this resin Duramax the other day. Nice casting. Plans are to add it to this Chevy build. Later-
-
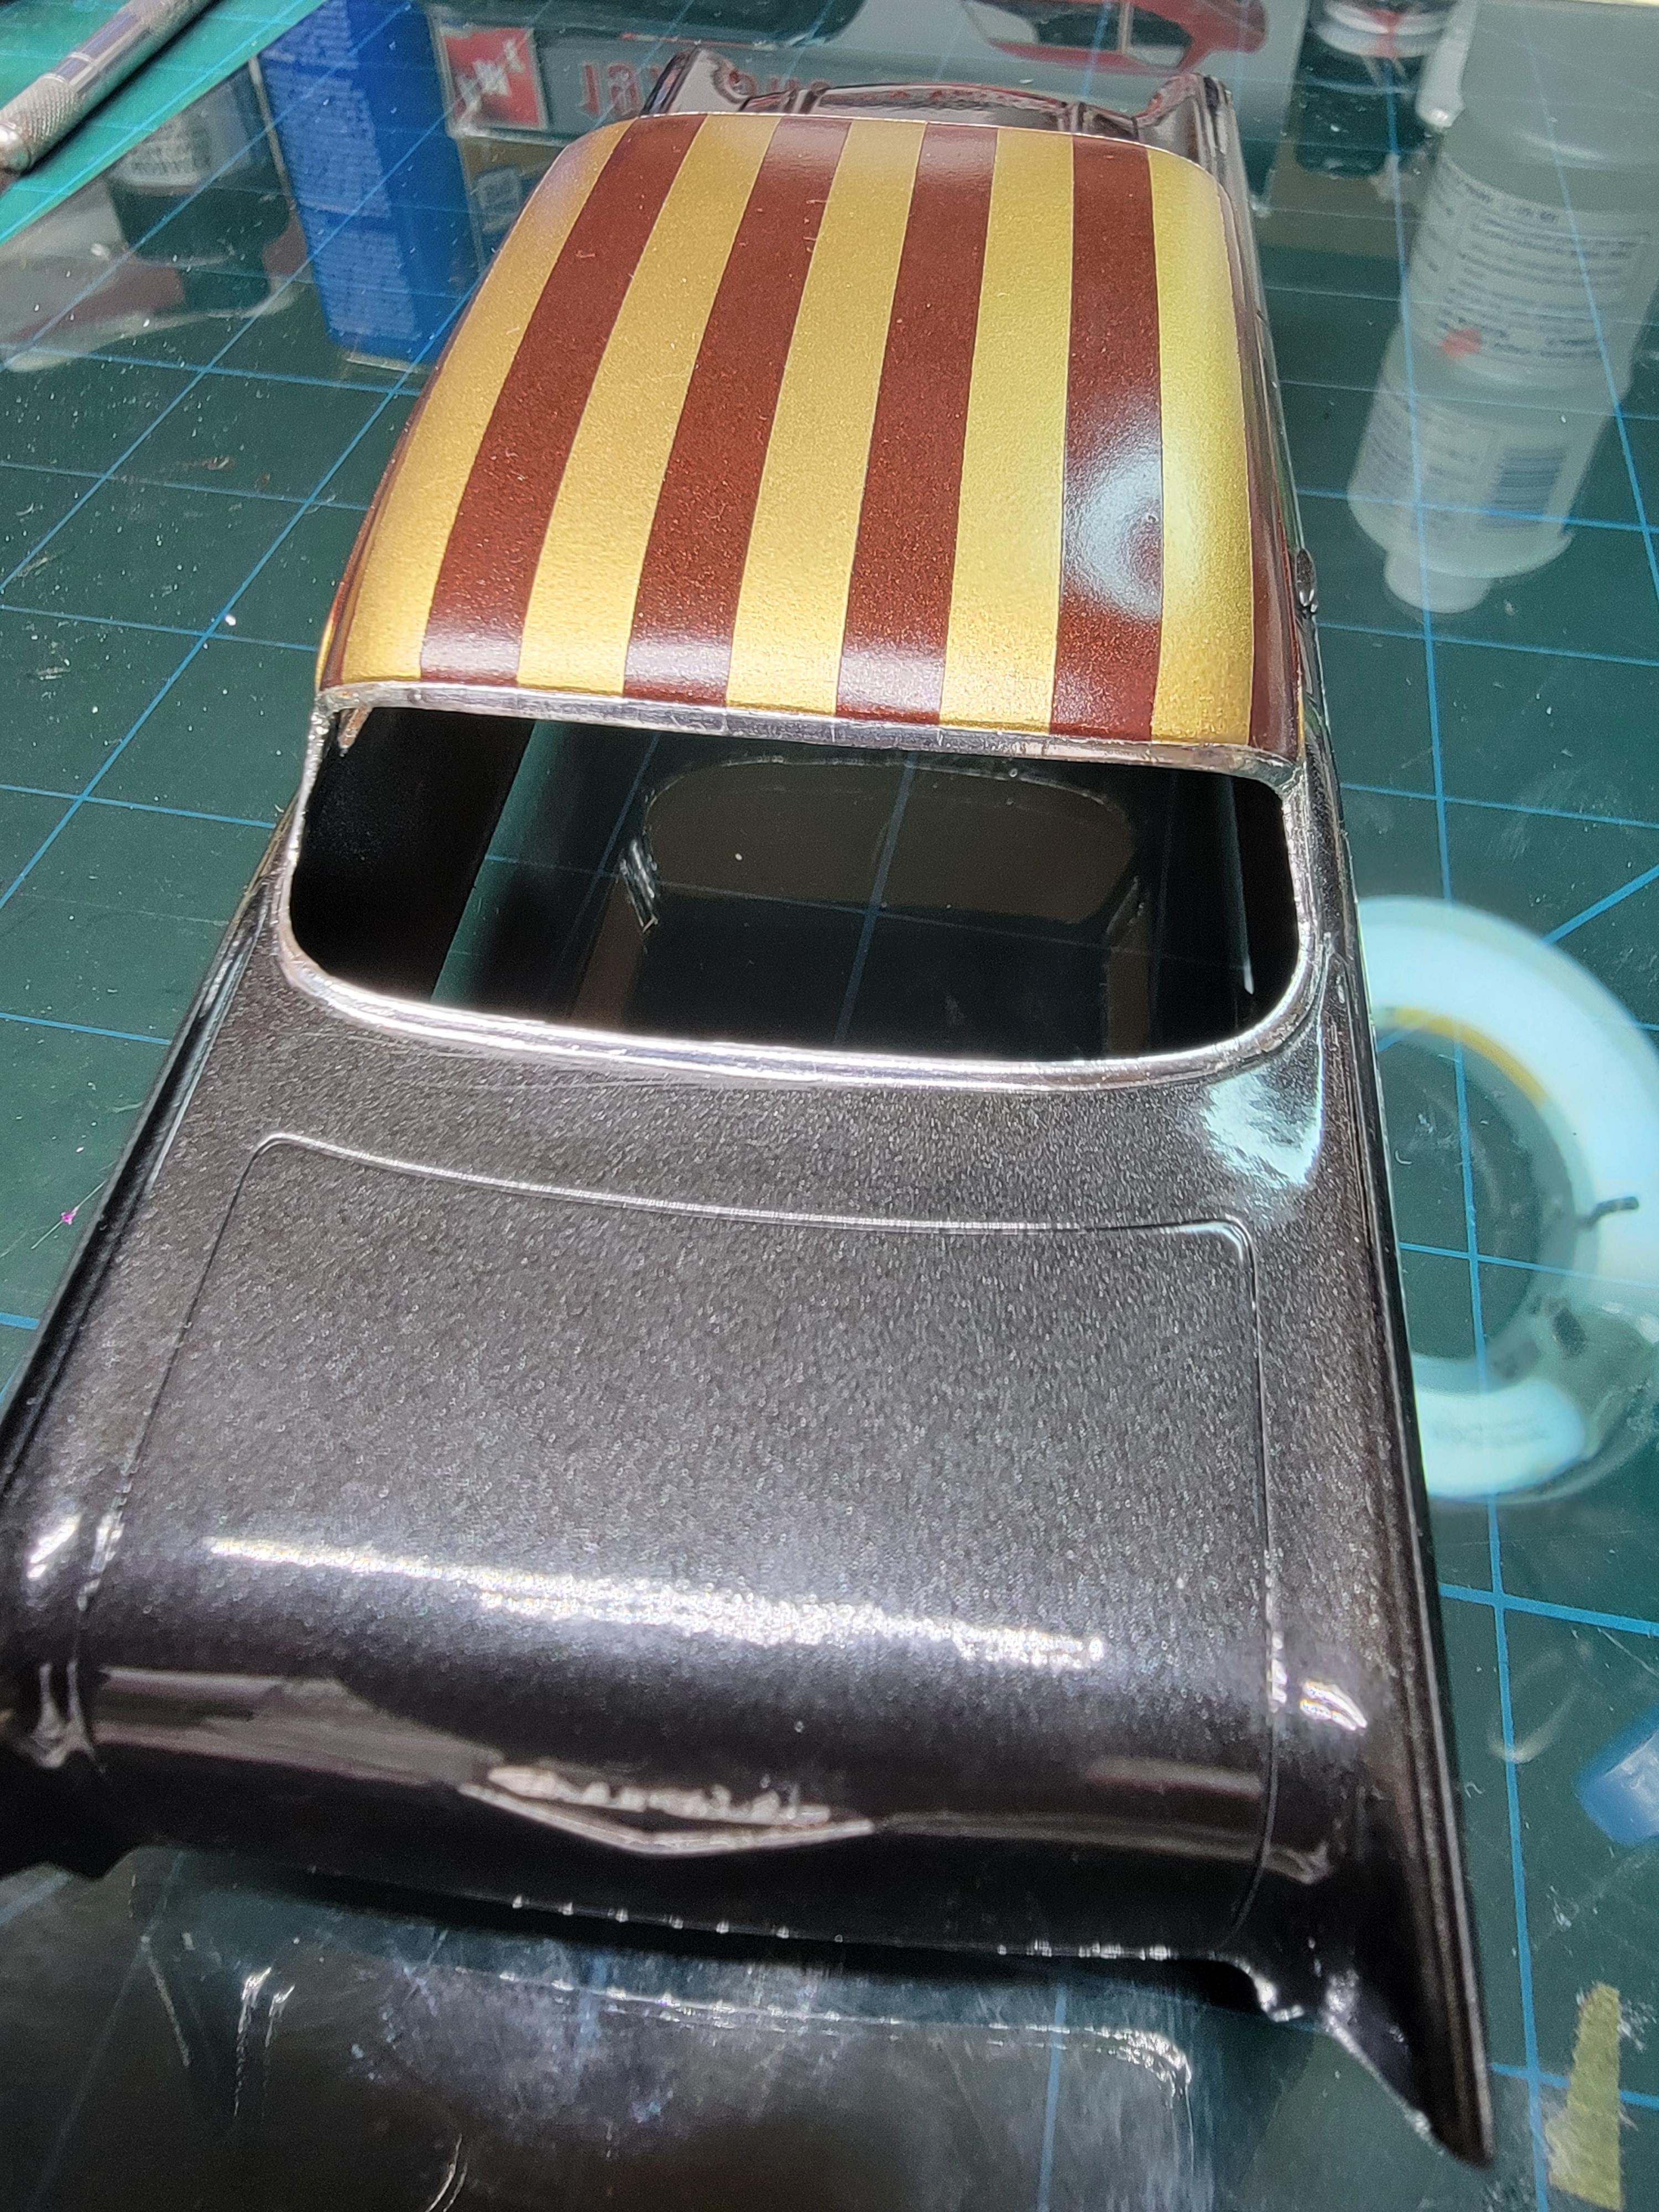
Thanks guys for tuning in. Got some bench time tonight and a Zoom Meeting with Sam I Am. I was able to finish the BMF. Not perfect, but then neither am I. I'll clean up the mistakes with Molotow later. Now I can clean the prints and scuffs off the body and spray some clear. I should be able to finish this in my lifetime. Later-
-
Stretched SSR
Modlbldr replied to Modlbldr's topic in WIP: Model Trucks: Pickups, Vans, SUVs, Light Commercial
Thanks Fellas! Great ideas! I'll start with the hole drilling first. Thanks. Later- -
Nice looking work so far Kenneth. What color are you thinking of going with on the body? Later-
-
Stretched SSR
Modlbldr replied to Modlbldr's topic in WIP: Model Trucks: Pickups, Vans, SUVs, Light Commercial
Thanks Claude! I have quite a few concept builds that are half built and hope to get going on them. Hopefully they will turn out half as nice as your builds. As a matter of fact I'm going to send you a PM Later- -
Will do. I got it for $40! Not a bad price. Great score on the cedar wood too. I'll have to see if I can find a cigar shop in town. Later-
-
Stretched SSR
Modlbldr replied to Modlbldr's topic in WIP: Model Trucks: Pickups, Vans, SUVs, Light Commercial
Thanks Ray. Later- -
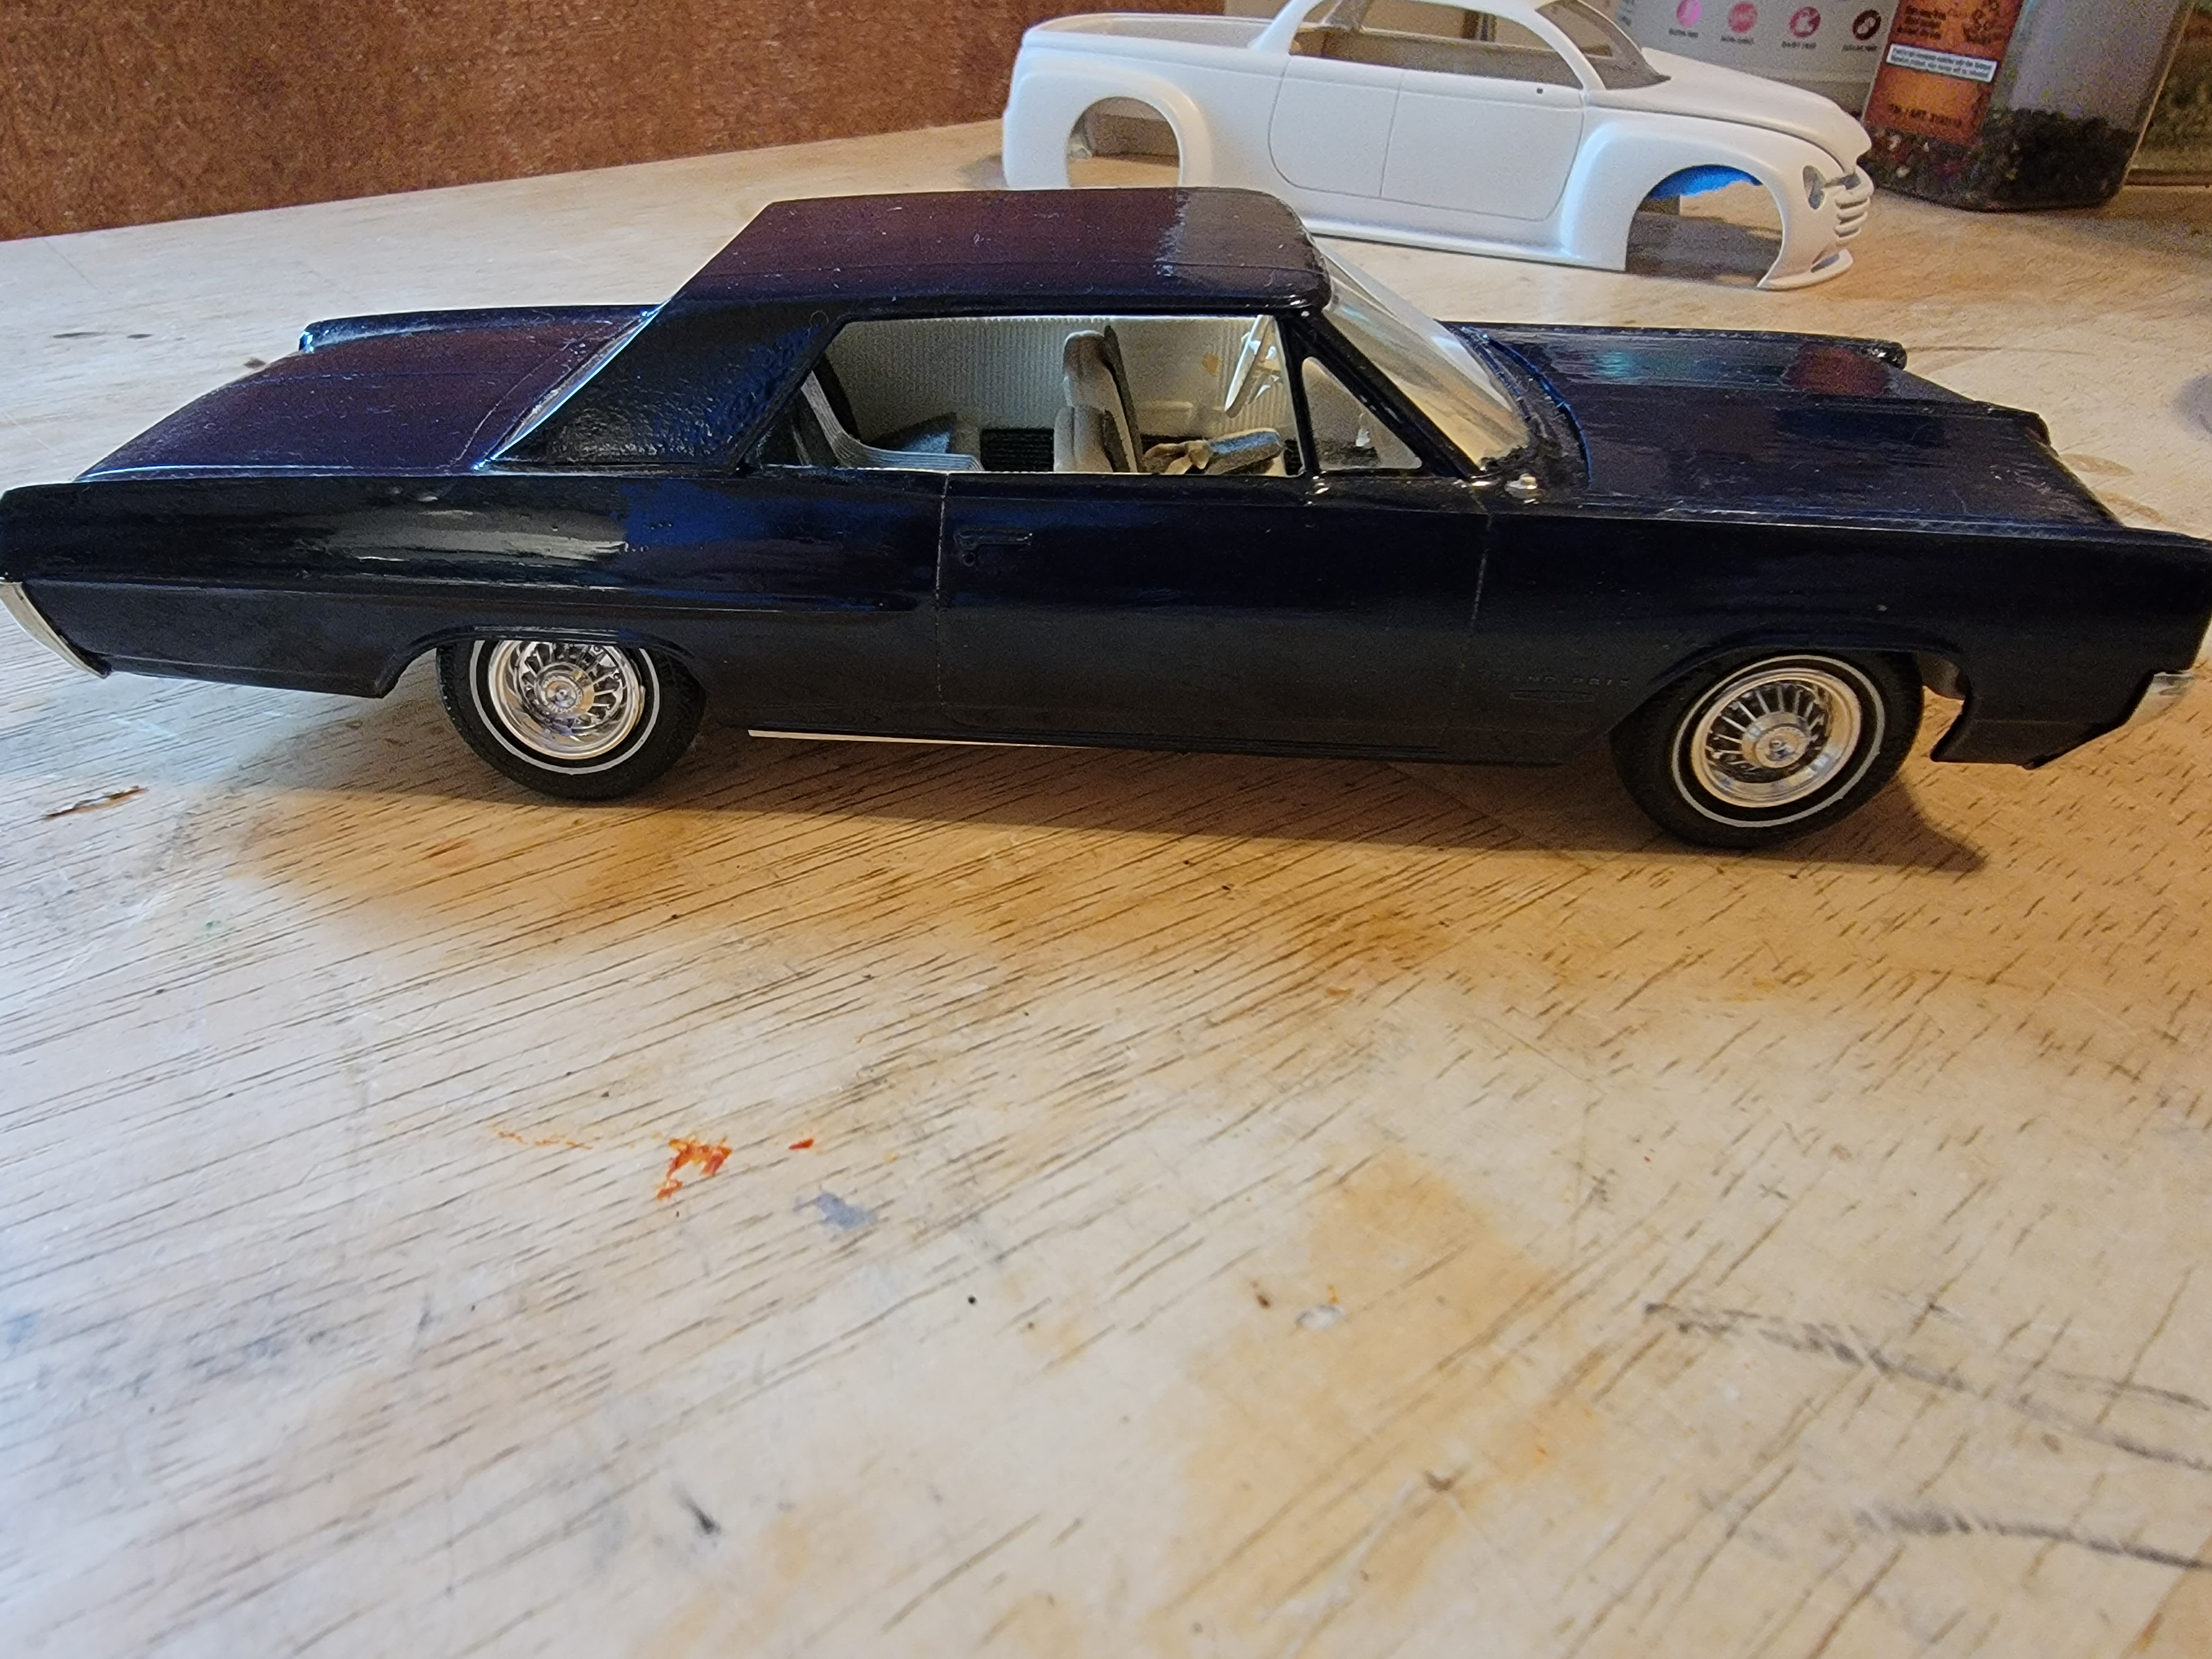
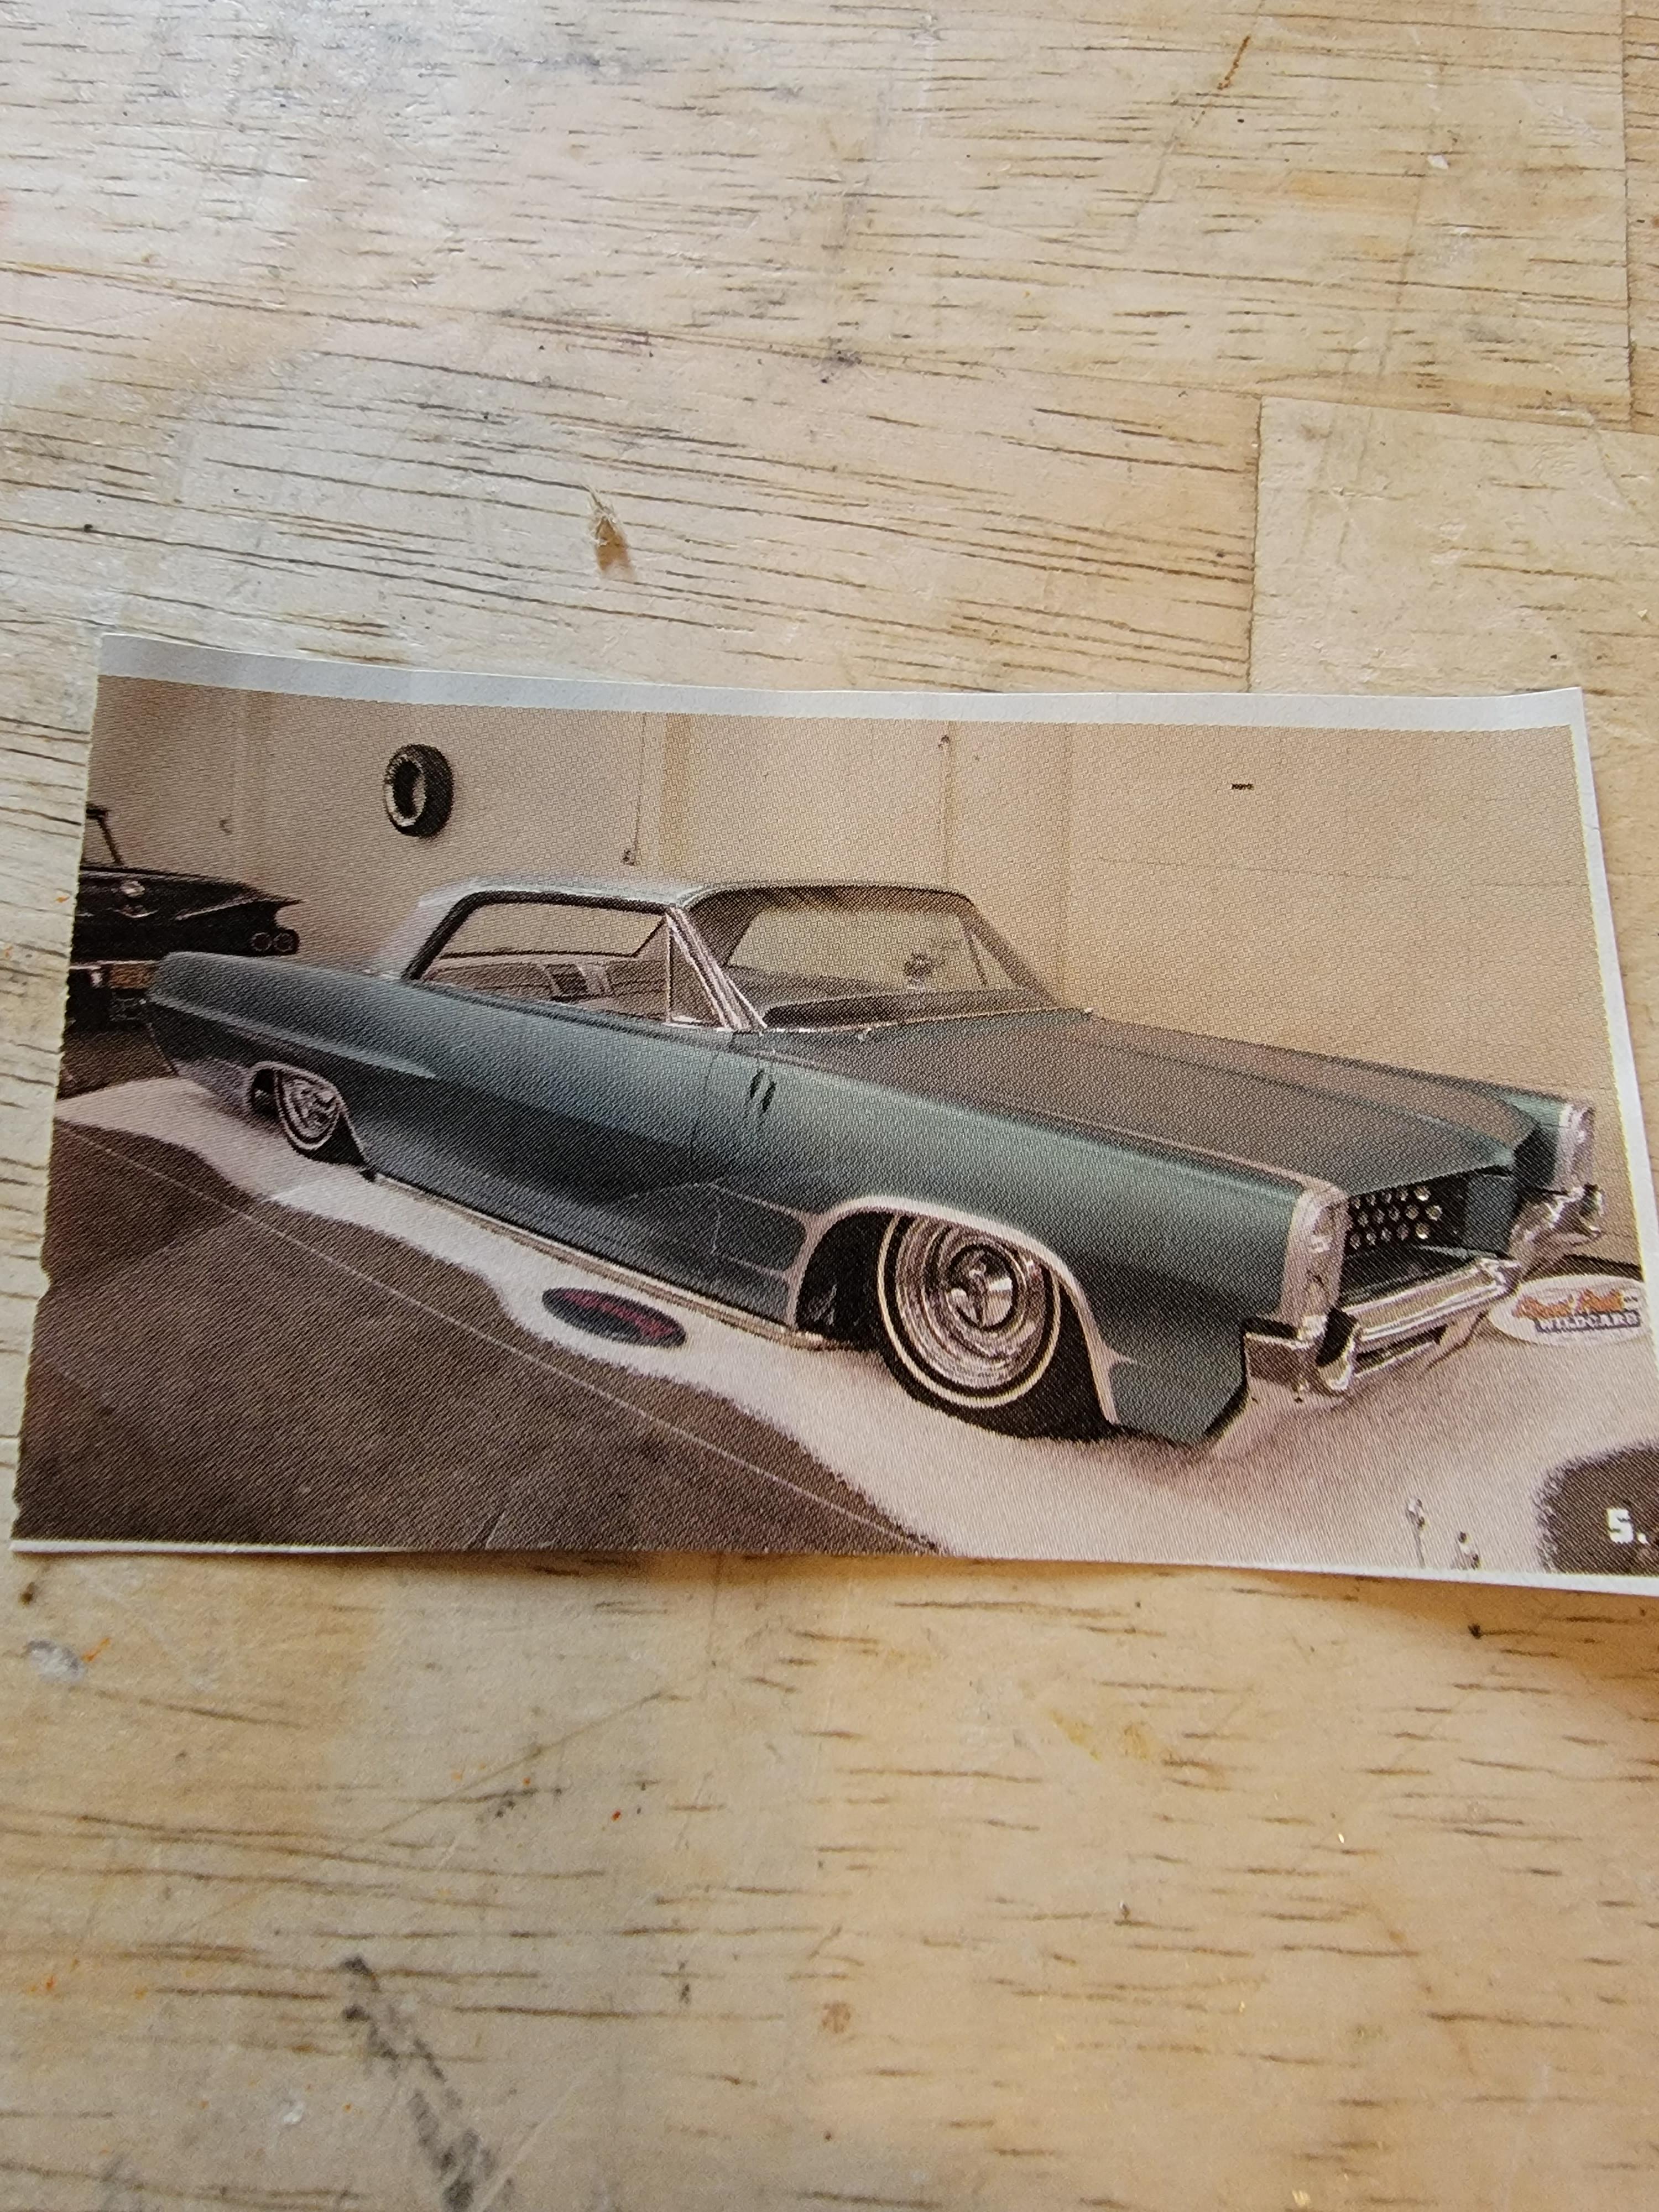
Got this in the mail today. 64 Grand Prix. Brush painted but it is in great shape. My.plan is for something similar to the one I found in a magazine. Later-
- 39,276 replies
-
- 1
-

-
- johan
- glue bombs
- (and 1 more)
-
Stretched SSR
Modlbldr replied to Modlbldr's topic in WIP: Model Trucks: Pickups, Vans, SUVs, Light Commercial
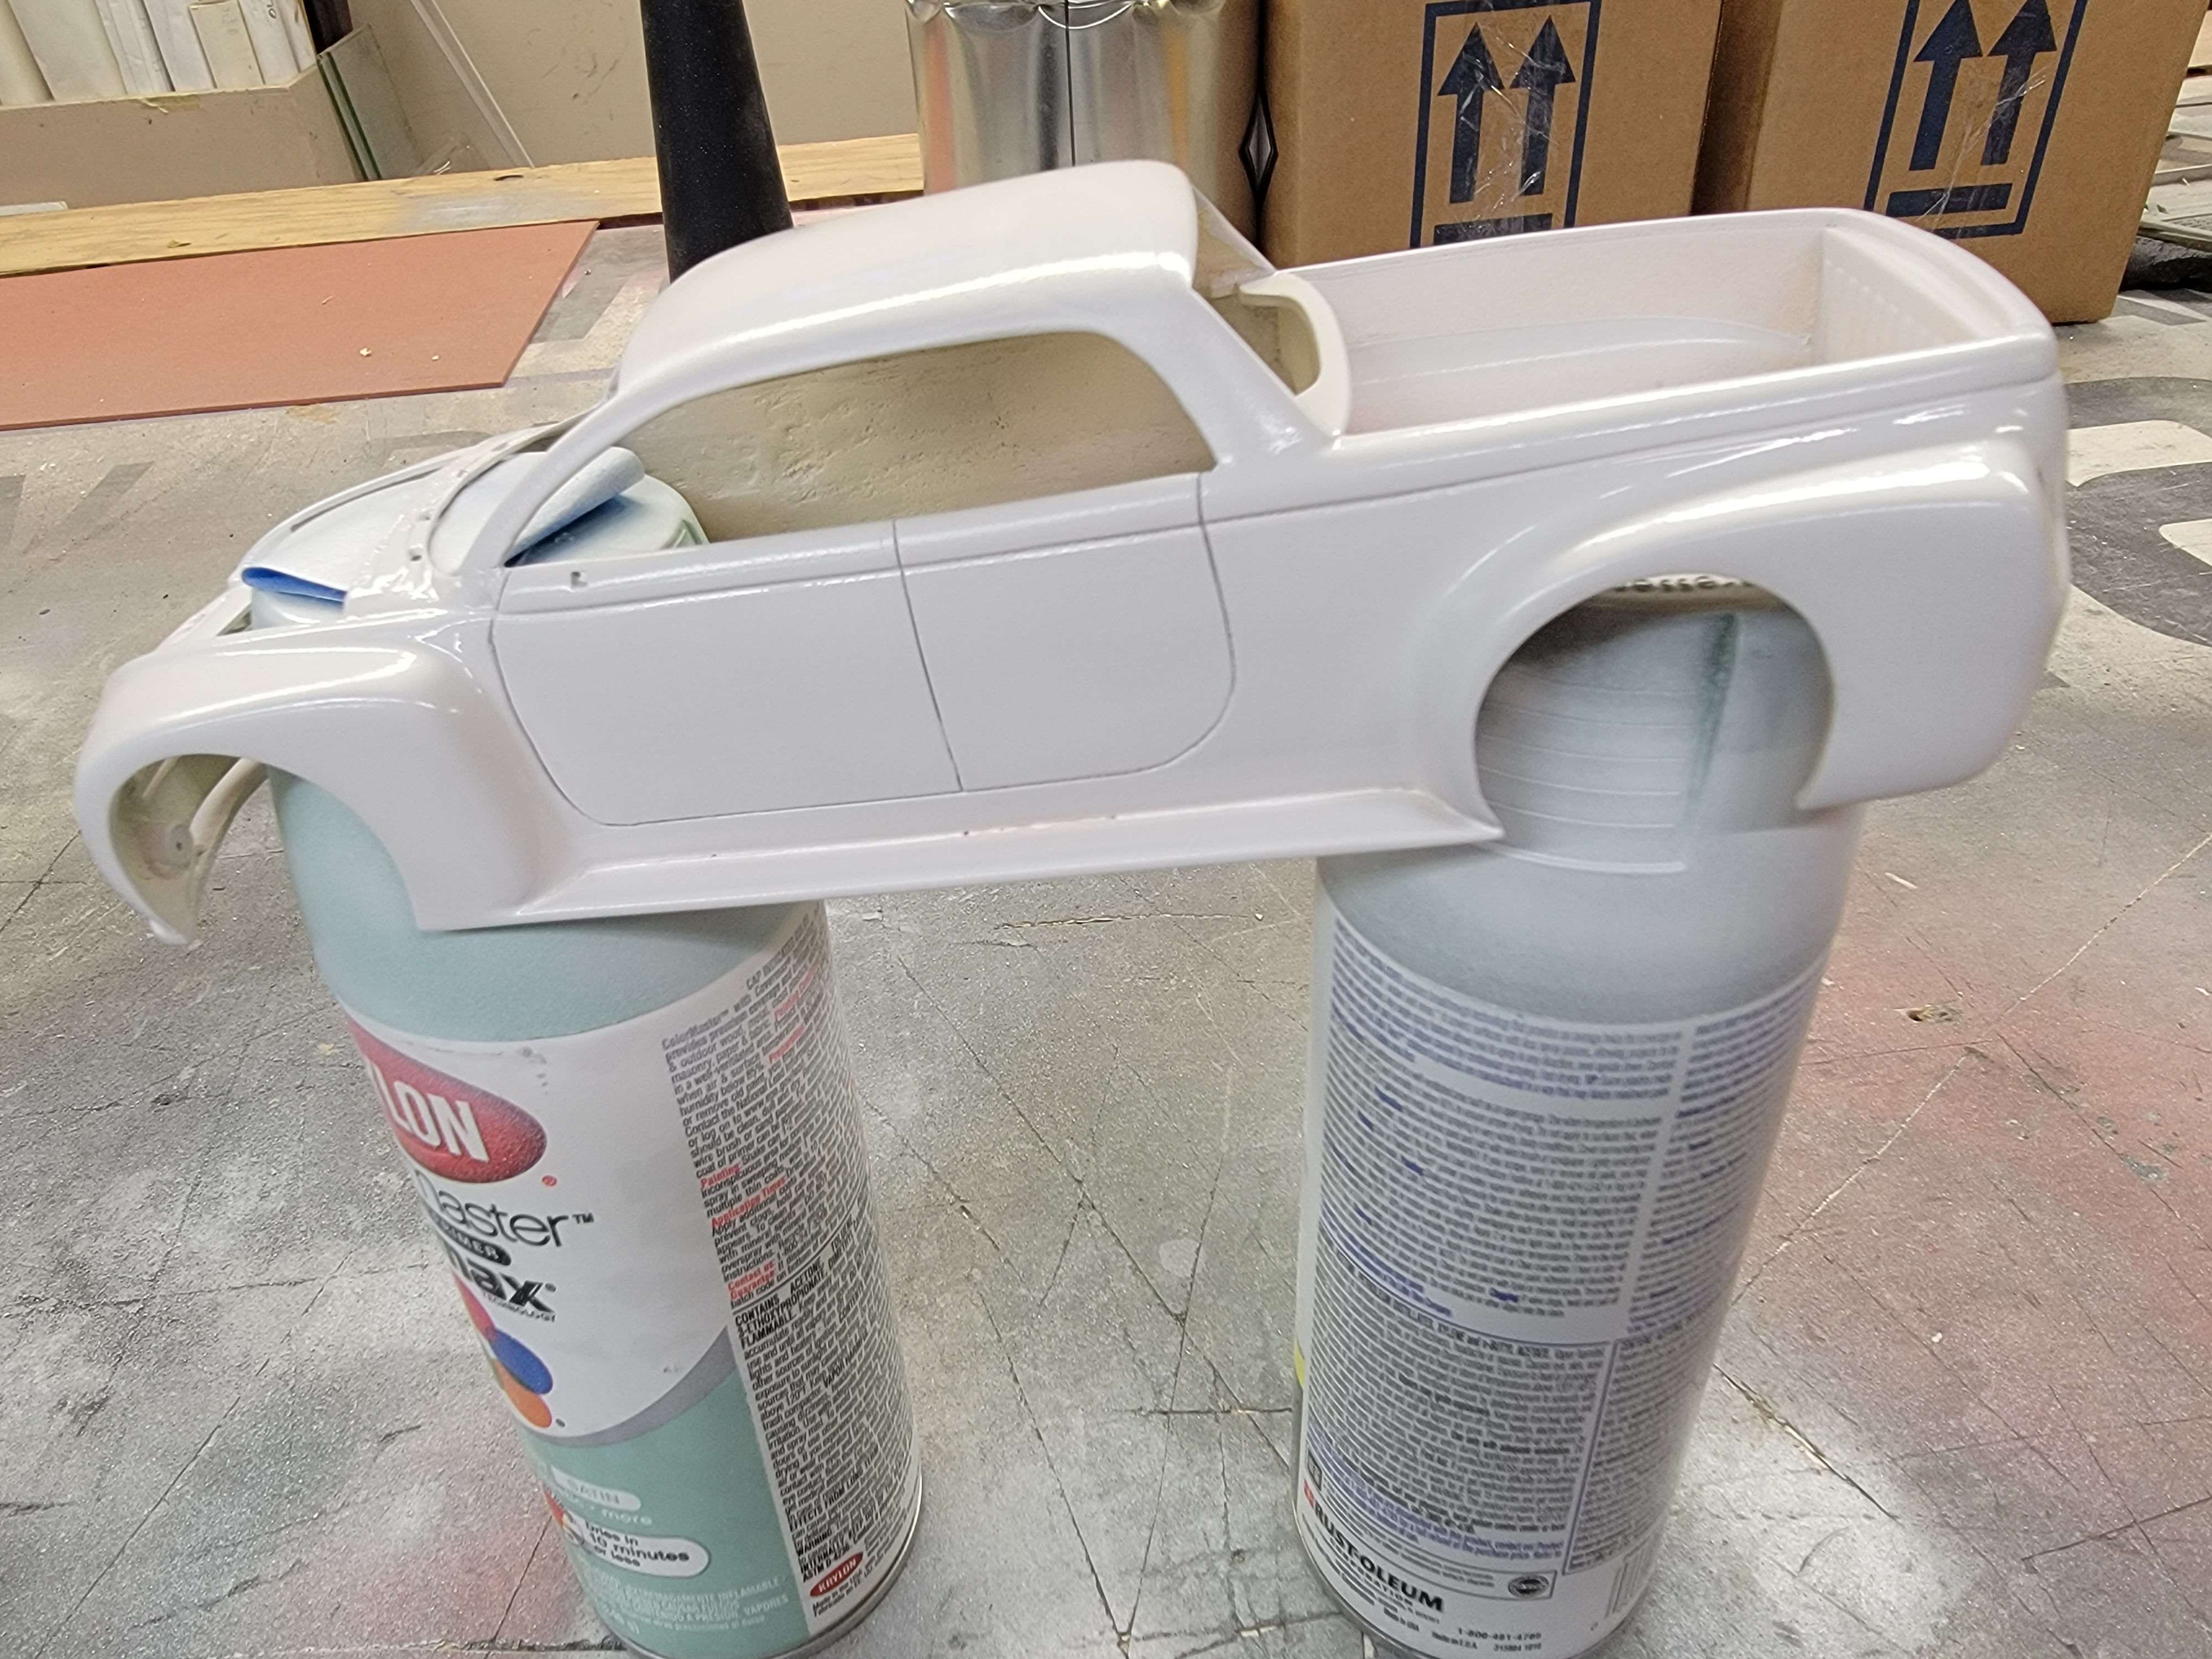
I shot a quick coat of primer on the body this morning. Looks like I still have some issues with the crack in the roof. Or, it's just my eyes seeing something that isn't there. It definitely needs smoothed out but not sure if the crack is still present. Looks like my work on the rear pan turned out. Just a slight bit of ghosting. I'll let this sit a couple of days before I start sanding on it. Time to work on more of the interior and getting the top of the engine figured out.
-
Time to bump this back up to the top. I started work on this one again since I am so close to being done. Been getting the BMF done around the windows. Got probably one more session at the bench and I'll have the BMF done. Then I can clear it all and slap it together. Later-
-
MPC Milk Trike
Modlbldr replied to PatW's topic in WIP: All The Rest: Motorcycles, Aviation, Military, Sci-Fi, Figures
Very nice work Pat! I like the paintwork. I have an ongoing build of one I widened. Later- -
Stretched SSR
Modlbldr replied to Modlbldr's topic in WIP: Model Trucks: Pickups, Vans, SUVs, Light Commercial
I'll get ahold of you later after 5:00. Later- -
Stretched SSR
Modlbldr replied to Modlbldr's topic in WIP: Model Trucks: Pickups, Vans, SUVs, Light Commercial
I took out a rebuilder that I got from Lee Rilea to get the second set of seats. I removed the rear license plate/ exhaust exits from it, cut the ends off and began the molding in process on mine. Here is where I ended for the night. Later-
-
Stretched SSR
Modlbldr replied to Modlbldr's topic in WIP: Model Trucks: Pickups, Vans, SUVs, Light Commercial
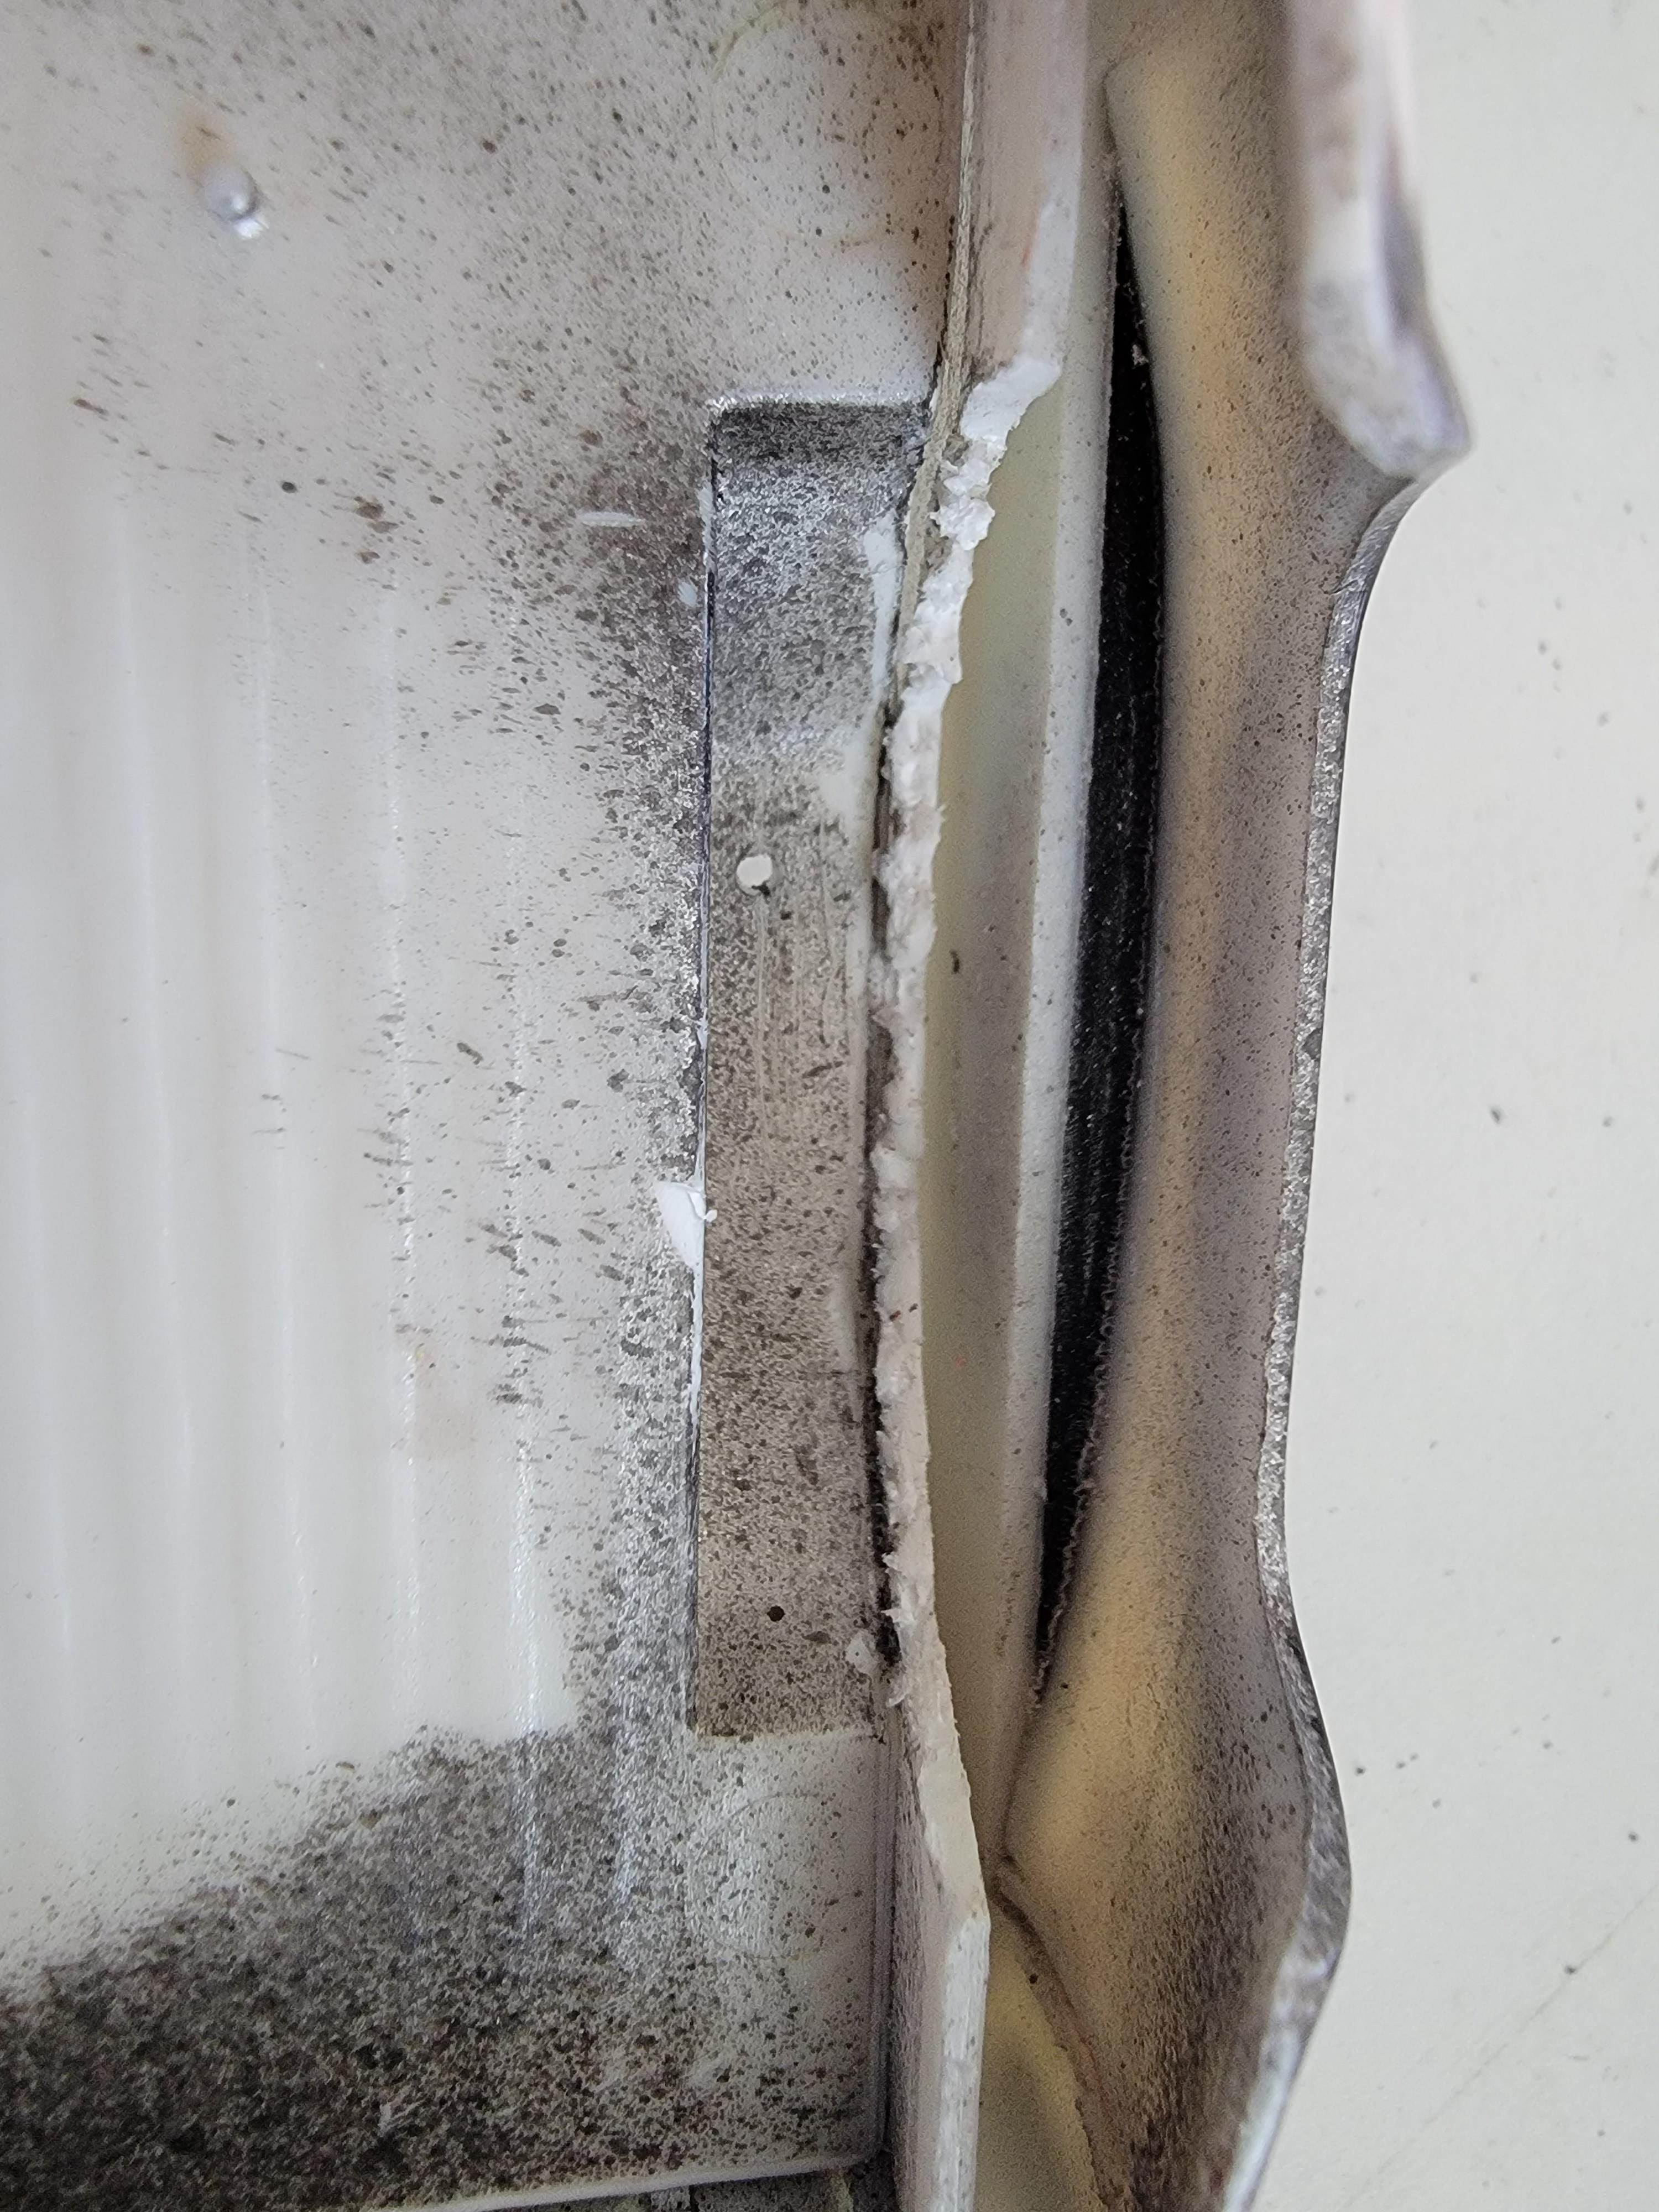
Got about an hour in at the bench last night and worked on this. I scribed the door lines on the driver's side to clean them up a bit. Then I needed to do something with the rear pan. My buddy had just left an uncentered opening in the back. Later-
-
Al, Such beautiful work on that! The color and wheel choice is just perfect! Very nice model. Later-
-
Does anyone have any info on the next quick build? 24 hr or 3 day weekend, etc? I'm itching to do another. Later-
- 1 reply
-
- 1
-

-
What a beautiful looking Ford! That color is amazing!! Nice work. Later-
-
55' Chevy Step-side
Modlbldr replied to TransAmMike's topic in WIP: Model Trucks: Pickups, Vans, SUVs, Light Commercial
Mike, That is some fine looking work! I really love that color of red. Looks great on that ol' Chevy! Later- -
84 GMC custom widebody
Modlbldr replied to Modlbldr's topic in WIP: Model Trucks: Pickups, Vans, SUVs, Light Commercial
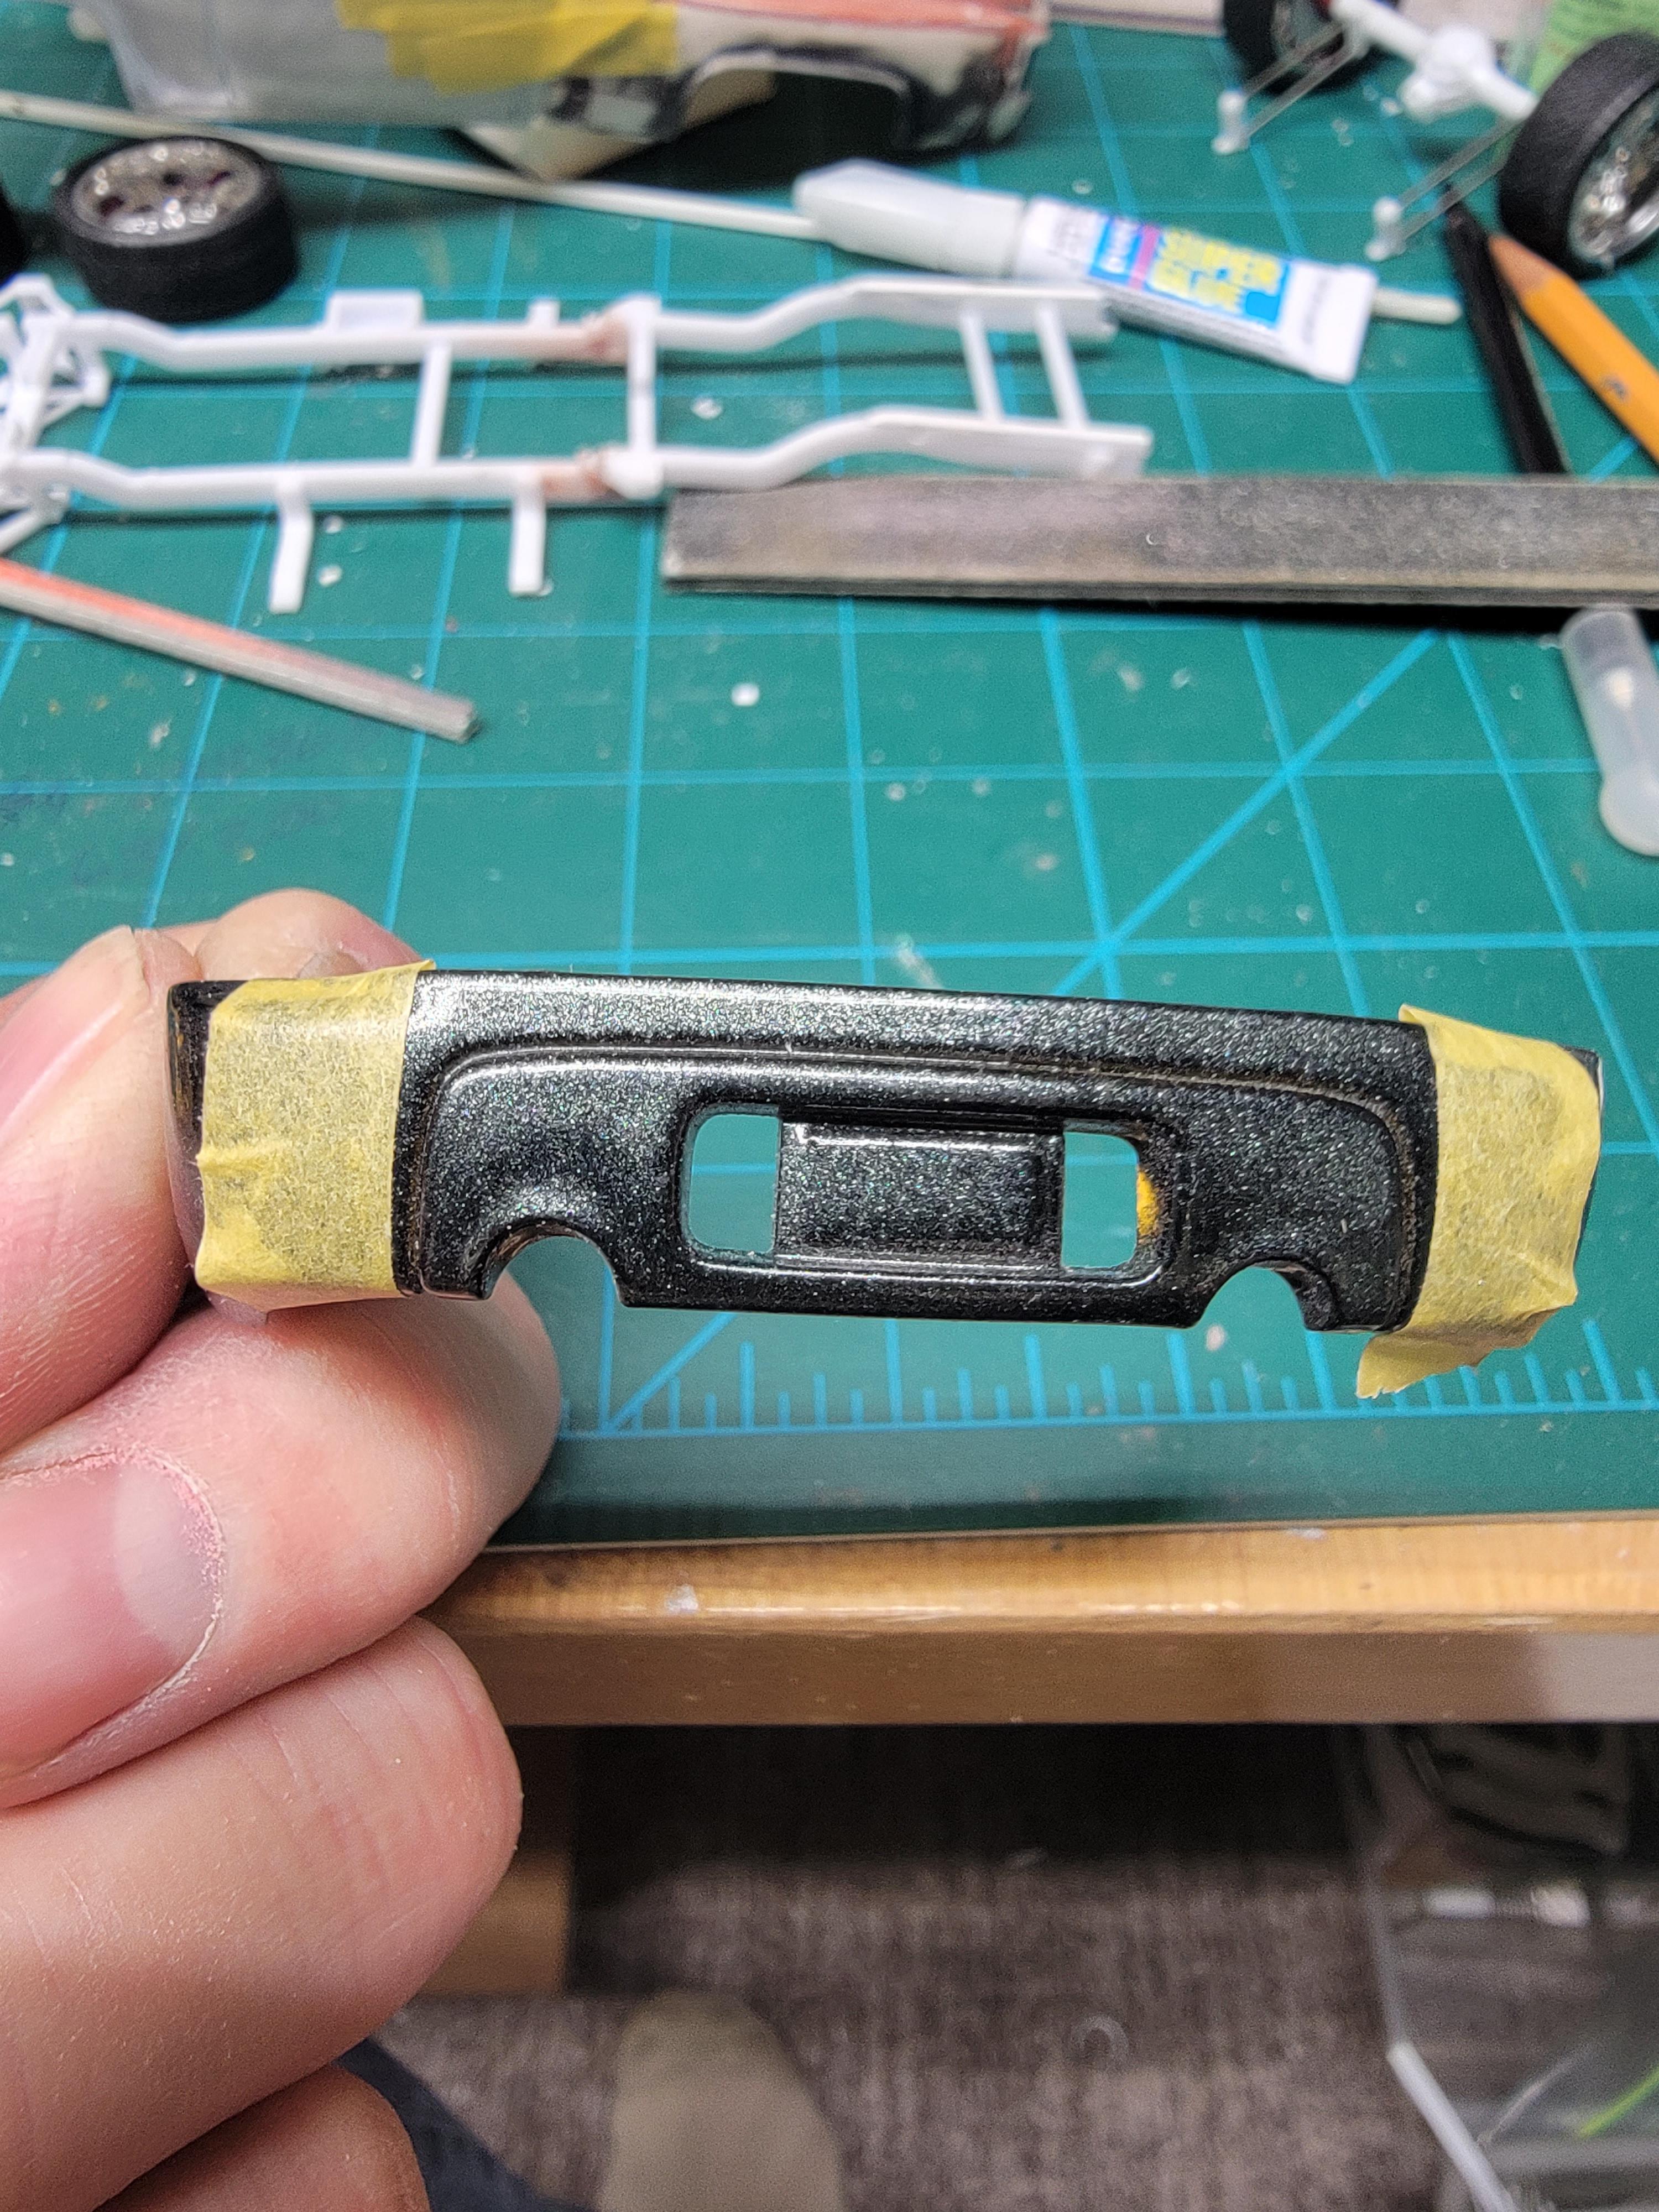
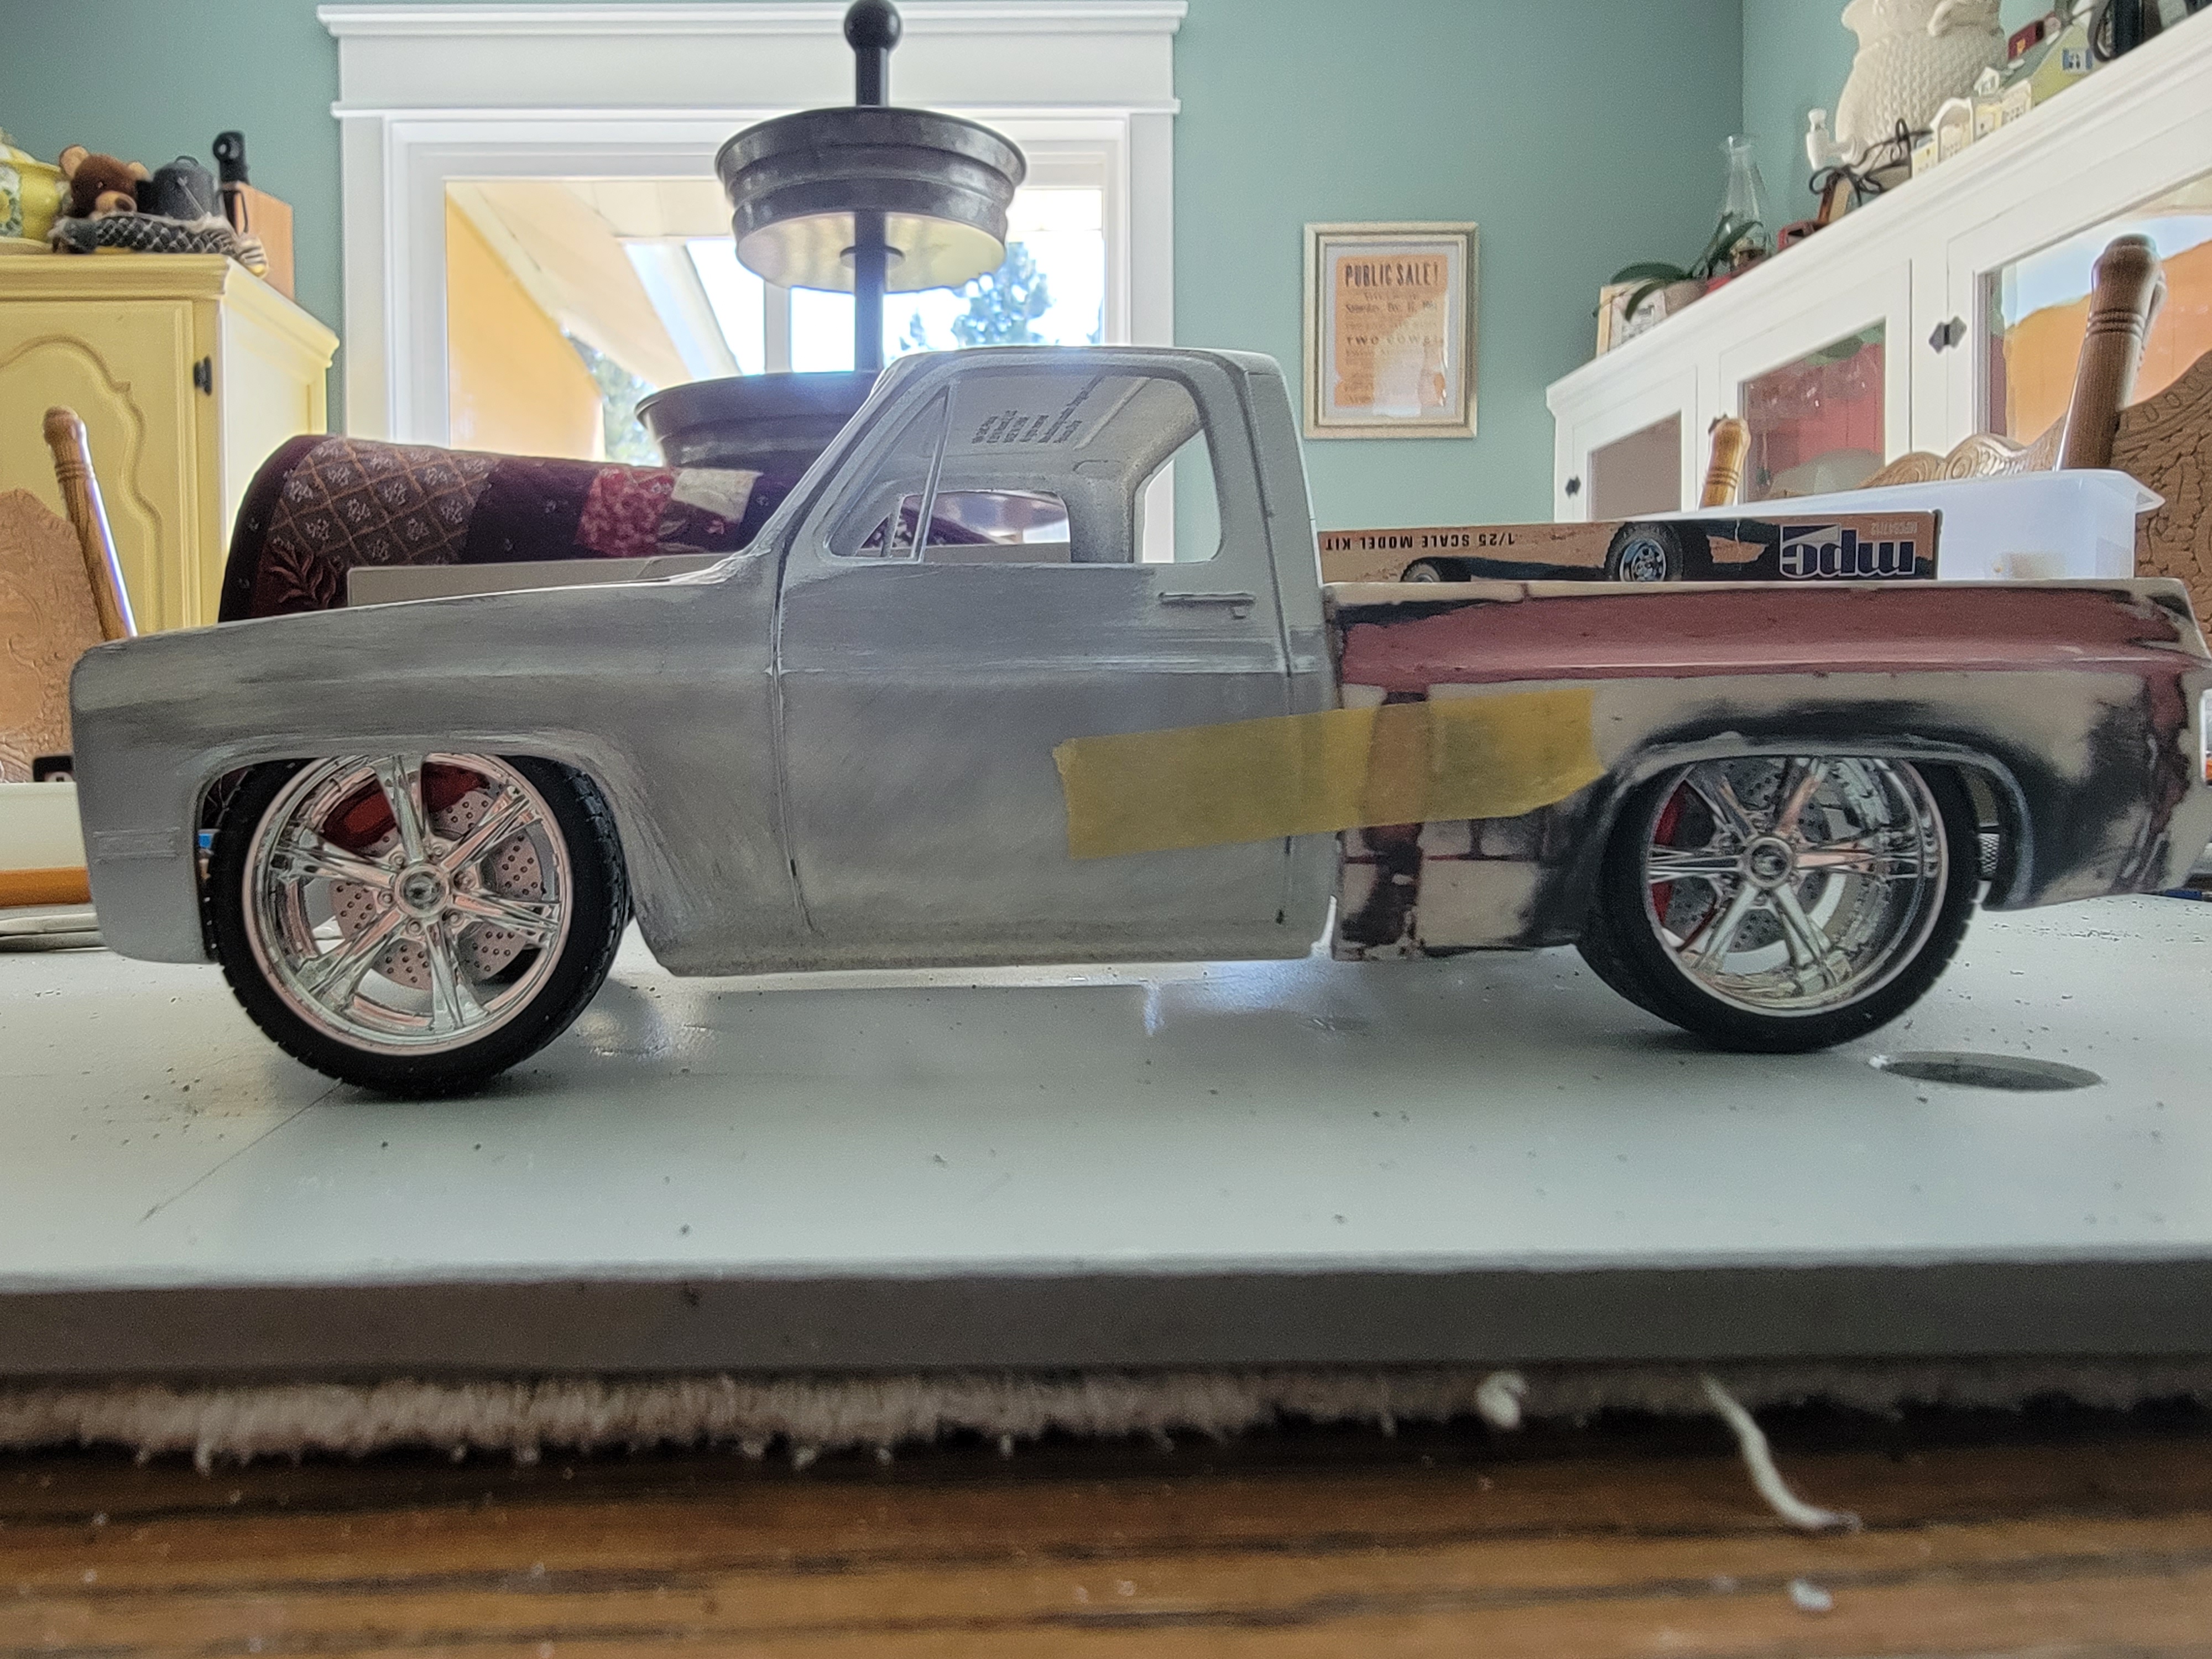
I made a quick mod to the frame in the rear. Ill clean it all up on my next bench session. I cut the frame just past the Cab and added a block to raise the rear of the frame a bit. I did this for a couple of reasons. Now I will not have to add such a tall block between the frame and the bed floor and now my rear axle does not touch the frame. Later-
-
84 GMC custom widebody
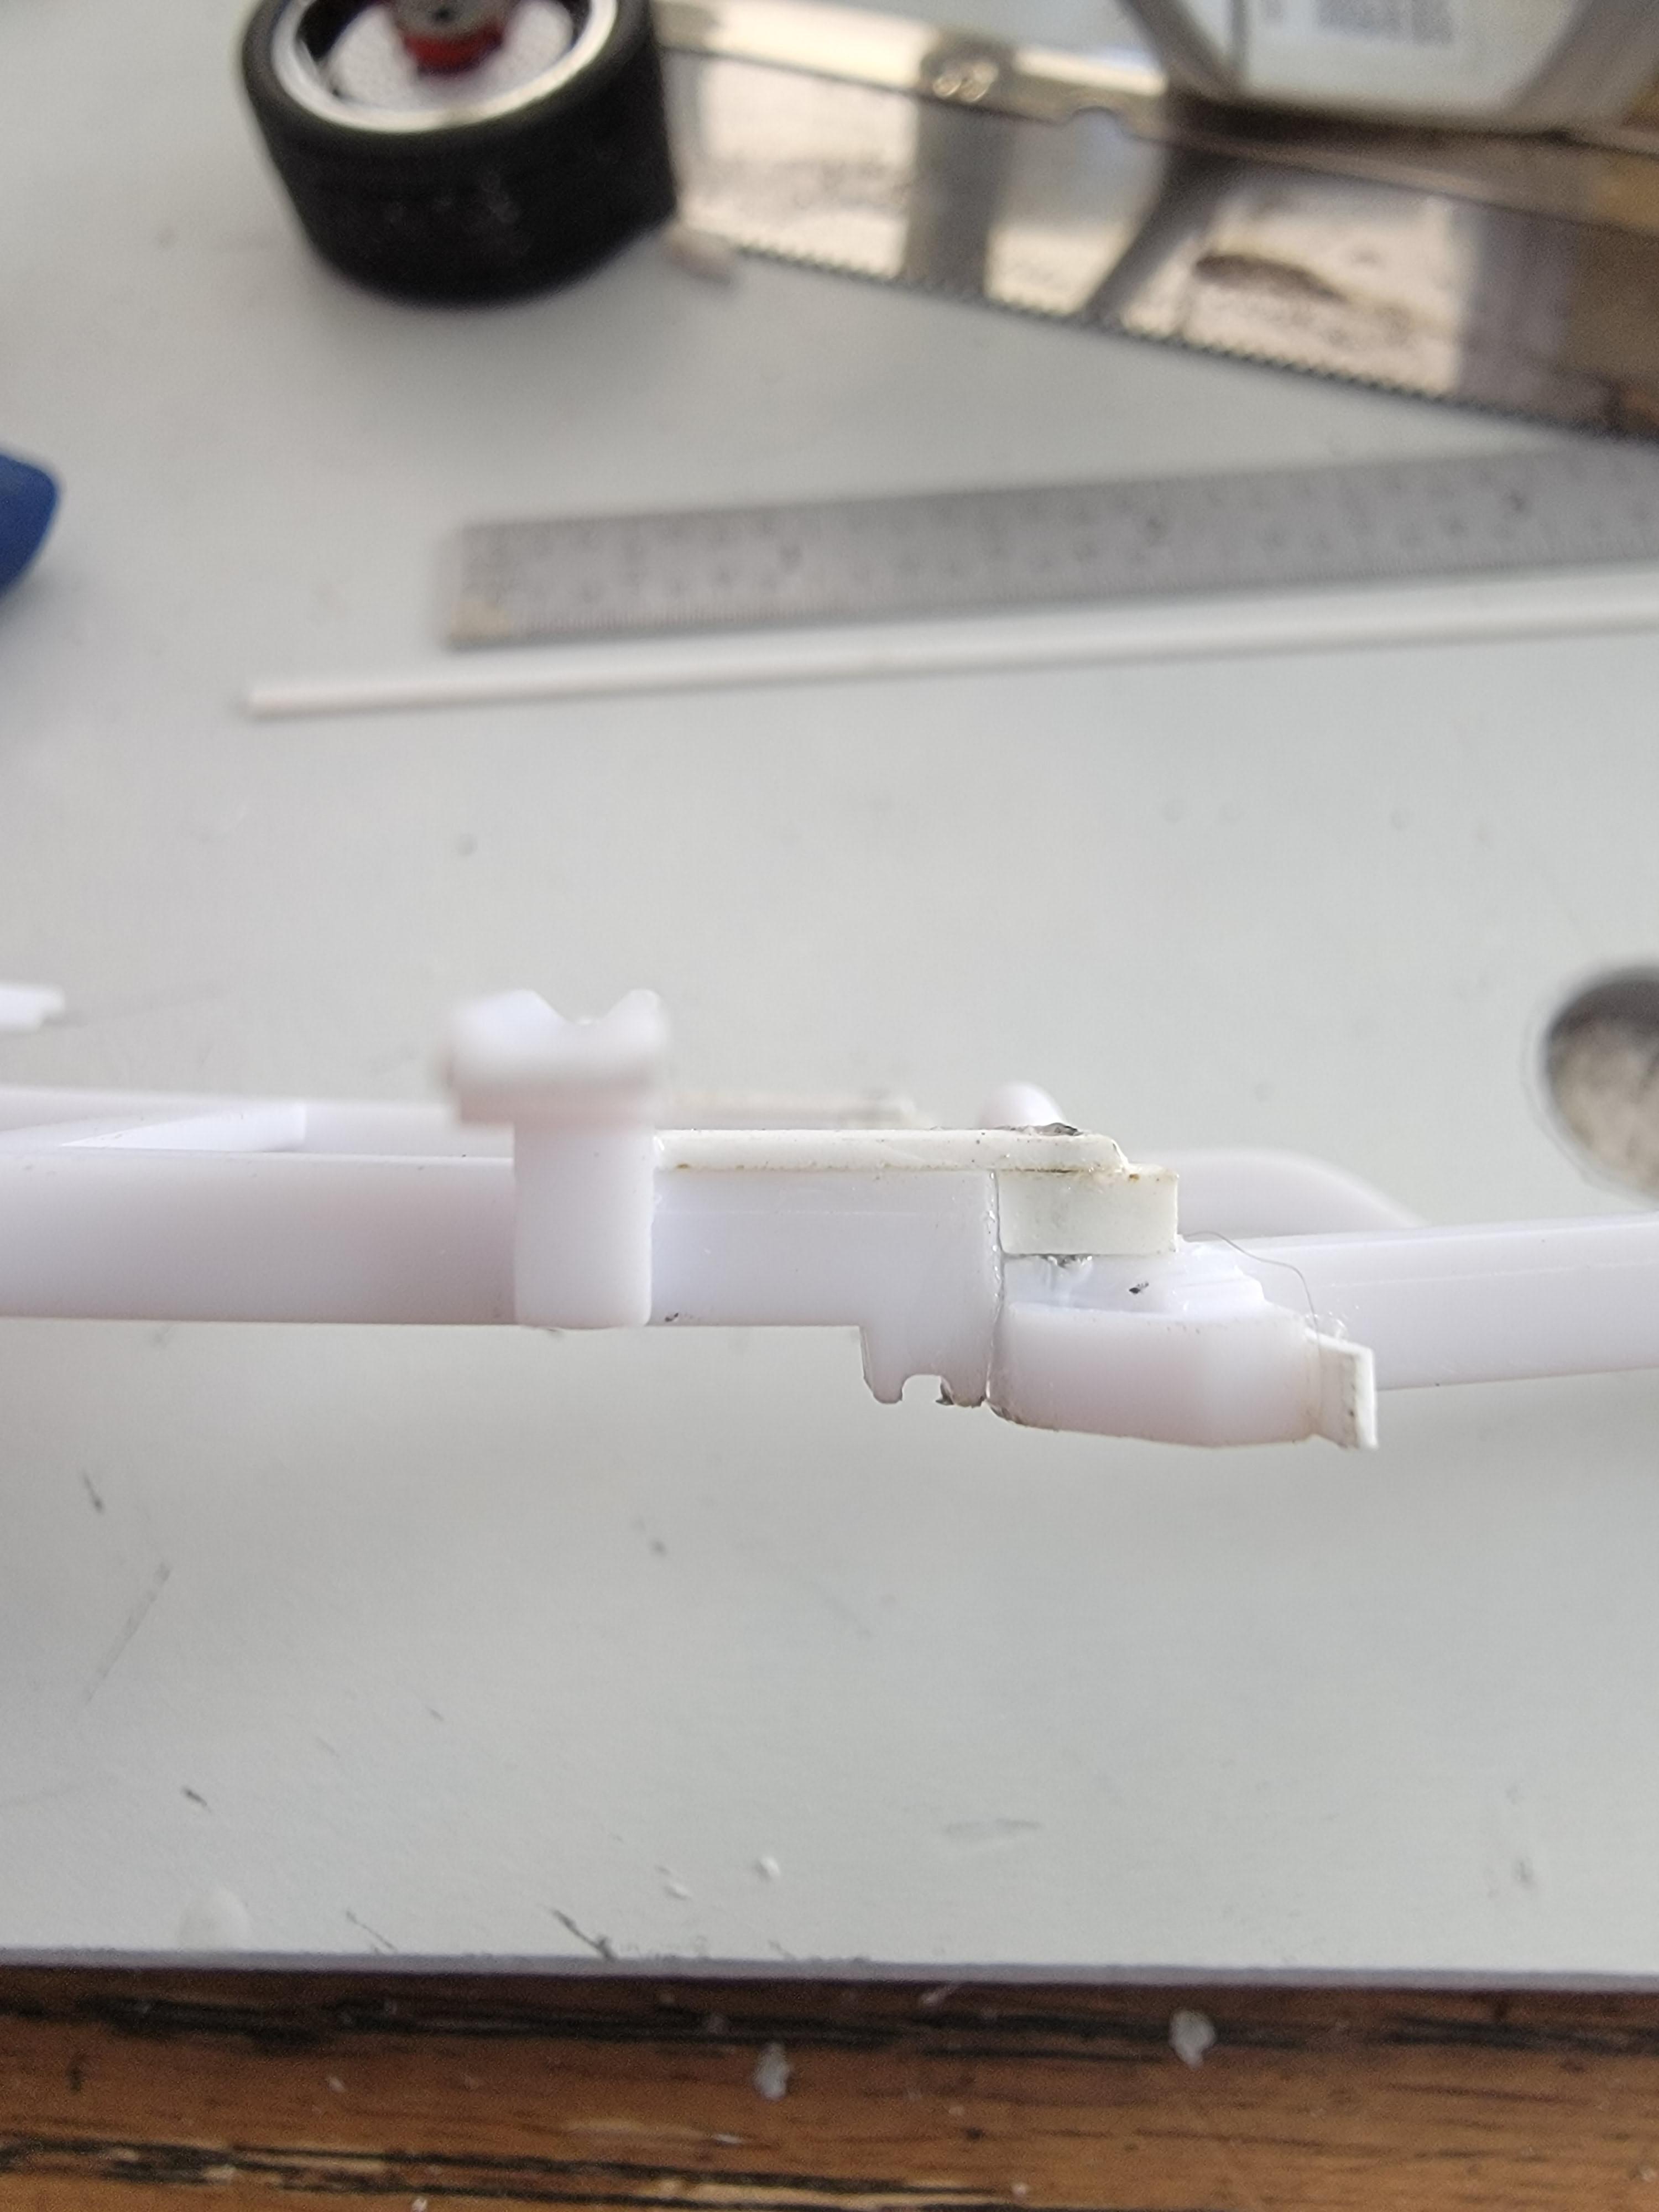
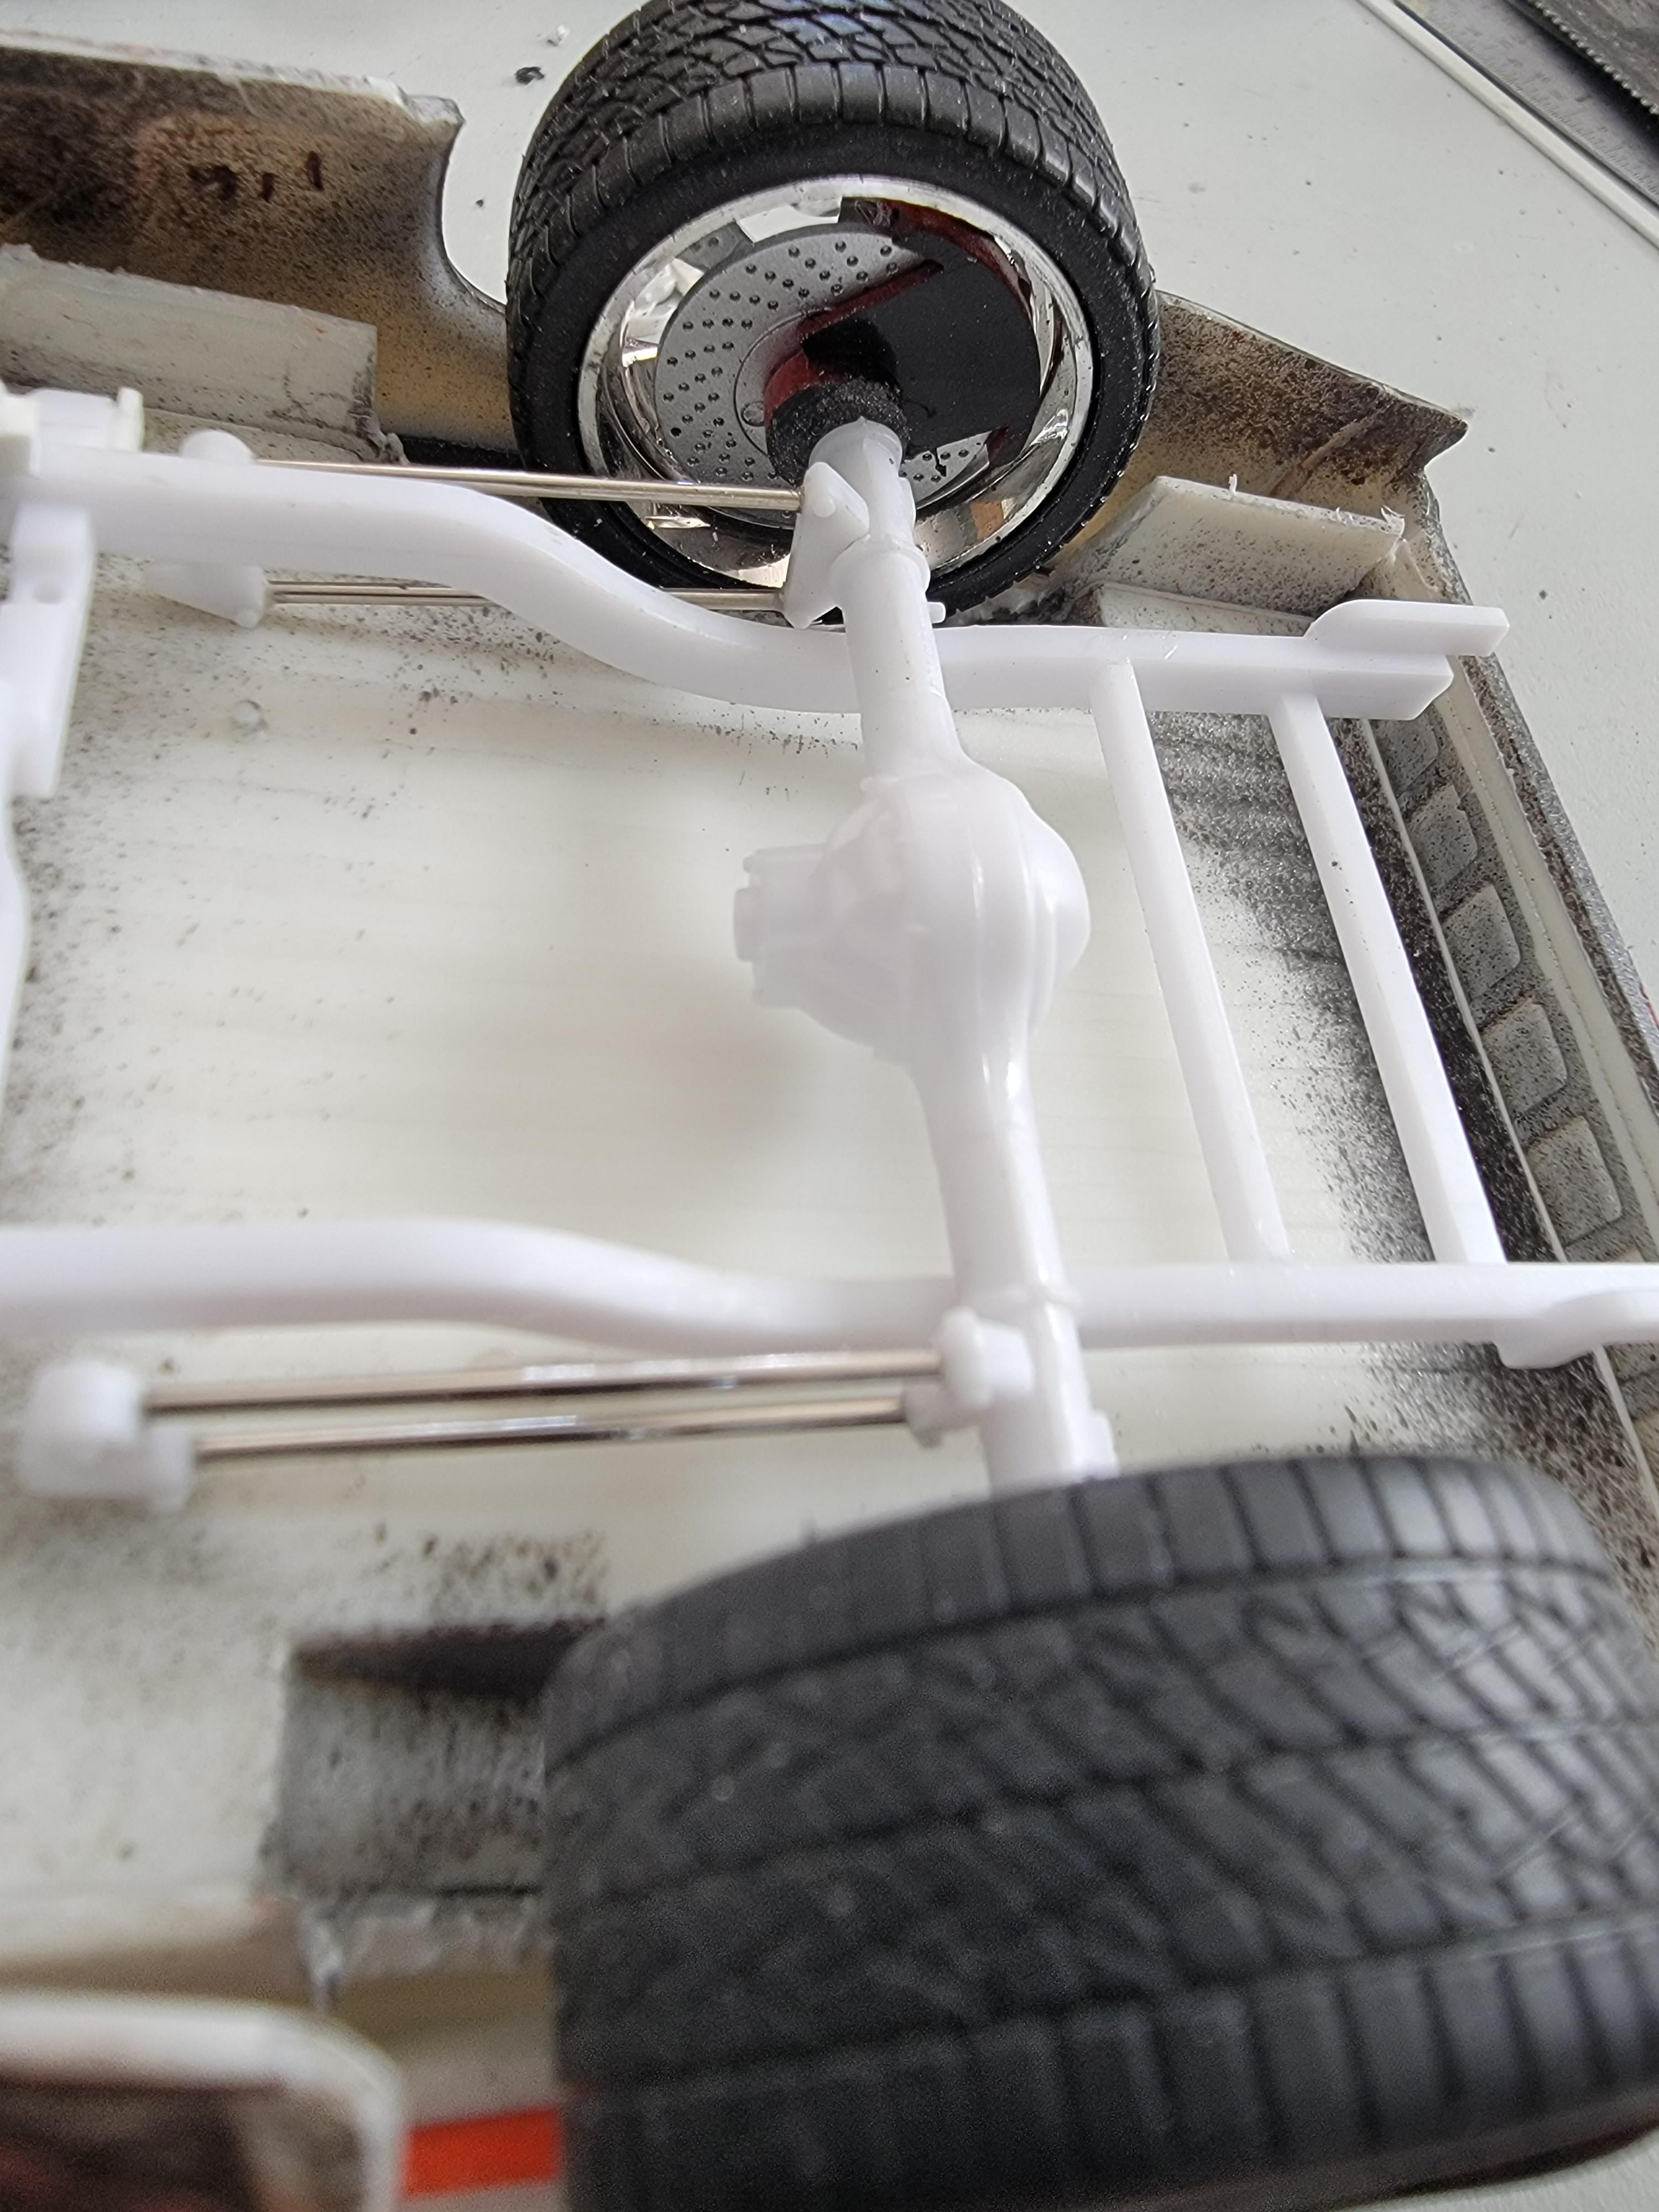
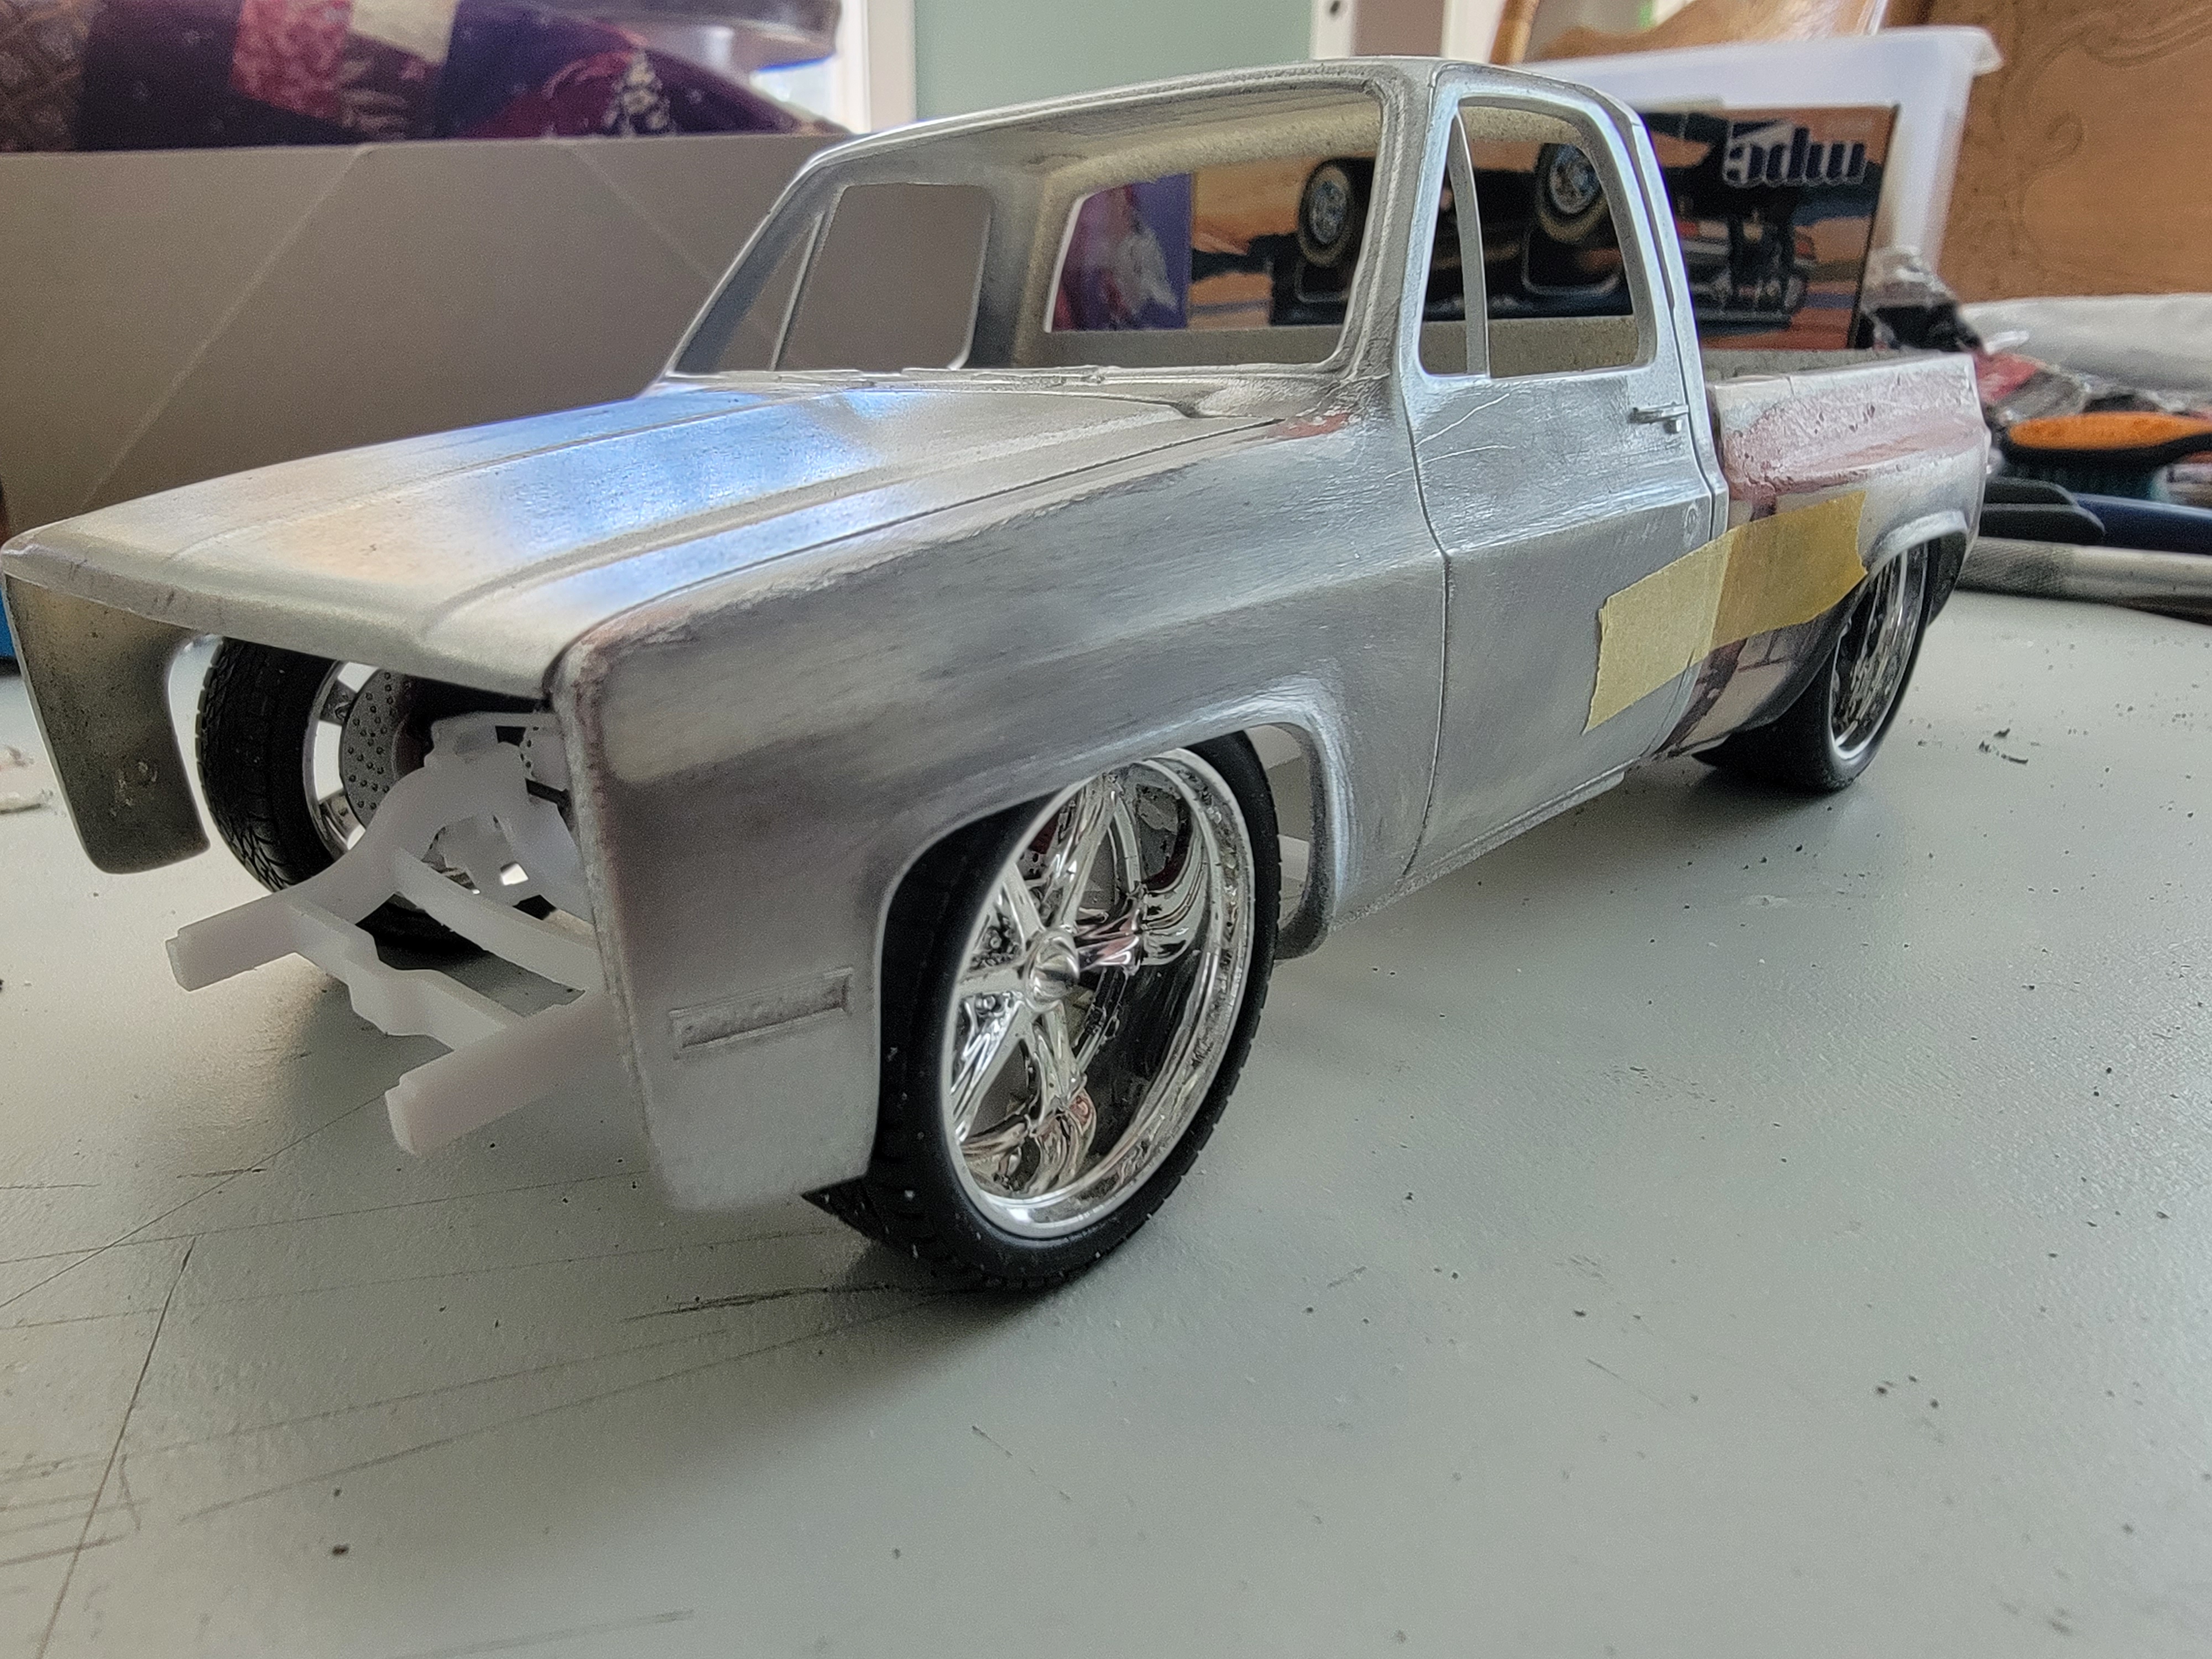
Modlbldr replied to Modlbldr's topic in WIP: Model Trucks: Pickups, Vans, SUVs, Light Commercial
Got a bit more adjusting done on the suspension. In the rear I had part of the plastic where the inner wheelwell wells had been that needed cut out. (Second pic) In the front the wheel hubs needed to be shortened to get the track narrow enough to fit inside the fenders. I wouldn't mind getting it a bit lower but the rear fenders will not allow it. Plus, as it is it sits level now. Later-