SpikeSchumacher
-
Posts
2,006 -
Joined
-
Last visited
Content Type
Profiles
Forums
Events
Gallery
Everything posted by SpikeSchumacher
-
Thanks everyone! ?
-
Hi Harry, this was only my second attempt at this kind of a conversion. There were print lines on the parts, but I think that is due to the complexity of the shapes/curves, and not a design or printing defect. Charles at texas3dcustoms may have more input on this. But with a little careful body prep, and a good primer/filler (Tamiya grey primer), it probably isn't anymore difficult than say a resin conversion. For the rest, basically you just need to make sure everything lines up. Some cutting/grinding of the wheel openings is necessary (as well as the kit chasses' inner rear fender well), and I made it harder on myself by blending in the tops of the over fenders. Actually cracked one of them during a next to last test fit necessitating not only body work, but a complete respray...?
-
Hi Roger, this one was a spray bomb paint job. I did about three light mist coats, and then applied (carefully) one good wet coat. I was sweating the whole time!? It may just be the outdoor lighting too... Now that the weather is cooling off, I got my airbrush set up out of storage after my recent move. Sometimes I seem to get lucky with the spray bomb paint jobs, other times, not so much.?
-
Foose pickup
SpikeSchumacher replied to bauercrew's topic in Model Trucks: Pickups, Vans, SUVs, Light Commercial
Very nicely done Bill! It's neat to see people's individual creativity come through when building the same kit OOB. -
Hi Roger, what are the radiator "braces" made from?
-
That came out really nice Bob!
-
Thanks! Thanks! ?
-
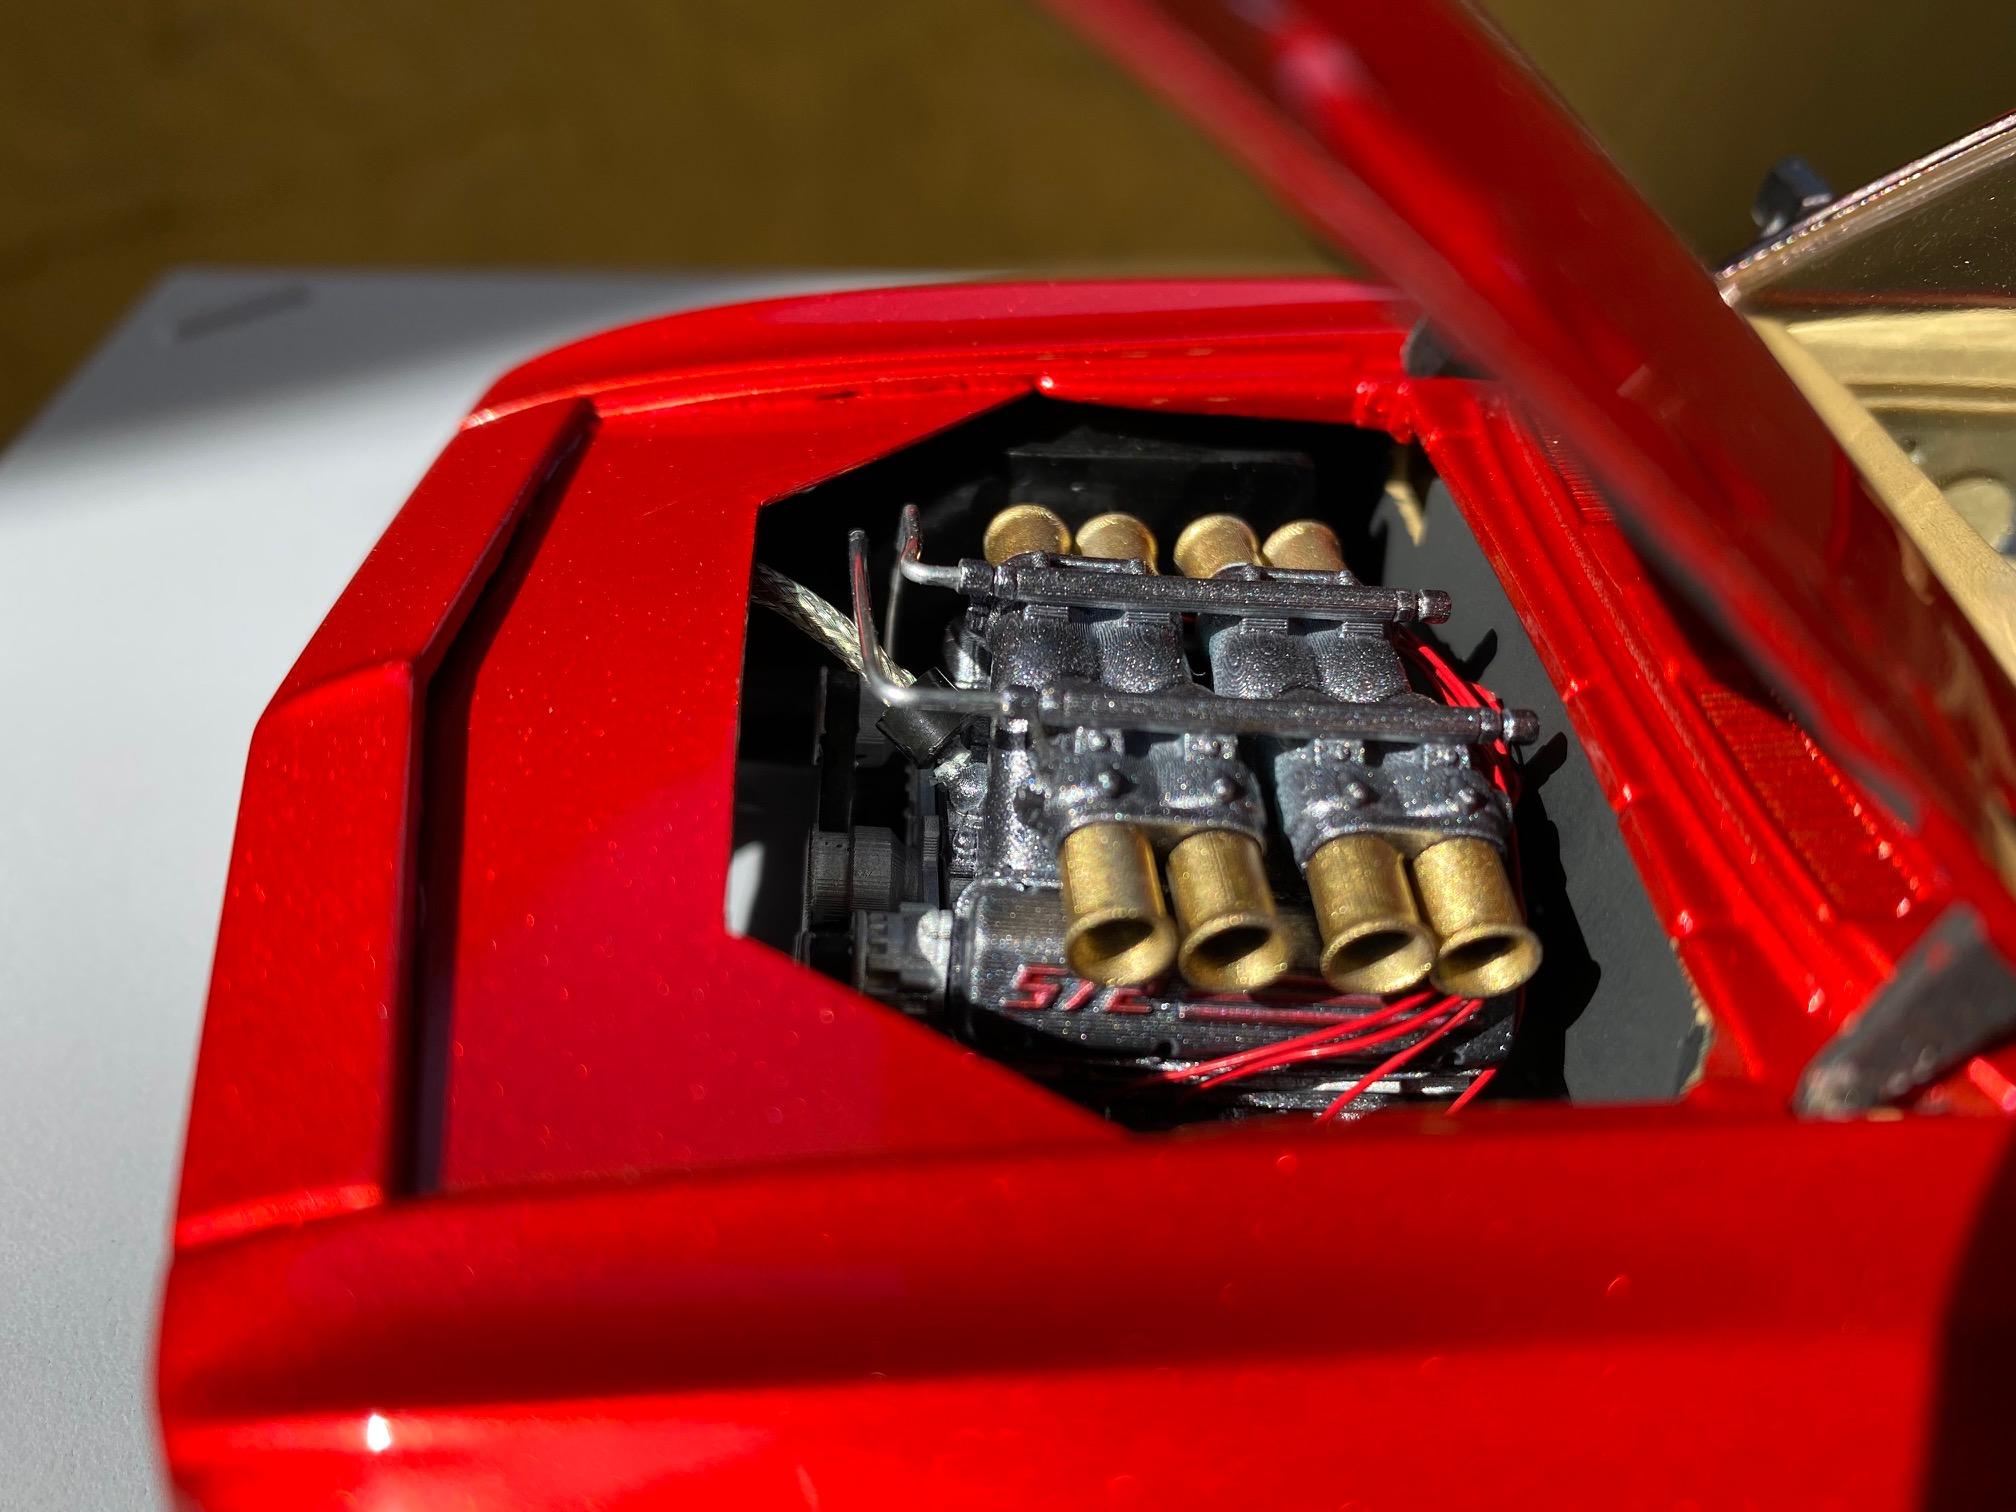
Hey Everyone, My latest completion. Body kit by texas3dcustoms (designed by BlackBox STL), engine, outside mirrors, by Iceman Collections, wheels by JaysResinWheels1948. Base kit is the Revell 69 Camaro Z/28 RS kit. Paint is Tamiya TS-21 Gold for the base, and wheels, TS-39 Mica Red, and TS-13 Gloss Clear. Polished with Tamiya compounds and wax. Fun, challenging build, very pleased with the results. Cheers

-
Looking sharp!
-
The Goat Wagon Update 12/30/22 Body In Paint!
SpikeSchumacher replied to Plowboy's topic in WIP: Model Cars
Way to go Roger! Always enjoy watching your builds. Cheers -
Chevy 3100 AMT
SpikeSchumacher replied to happy grumpy's topic in Model Trucks: Pickups, Vans, SUVs, Light Commercial
Nicely done Mario! Cheers -
Hi Charles, no not yet. Suffered a "minor" set-back during one of my final test fitting phases... I managed to crack one of the rear over fenders. Had to do body work (as I had blended the fenders in), then while I was at it I did a complete repaint. Everything else is coming together, maybe by the end of the month it will be ready. Cheers
-
The Goat Wagon Update 12/30/22 Body In Paint!
SpikeSchumacher replied to Plowboy's topic in WIP: Model Cars
Your work is inspiring Roger. Cheers -
Thanks Kim! IIRC it was Testors Colors by Boyd Orange Pearl. ?
-
Monogram 1950 ford F1
SpikeSchumacher replied to khier's topic in WIP: Model Trucks: Pickups, Vans, SUVs, Light Commercial
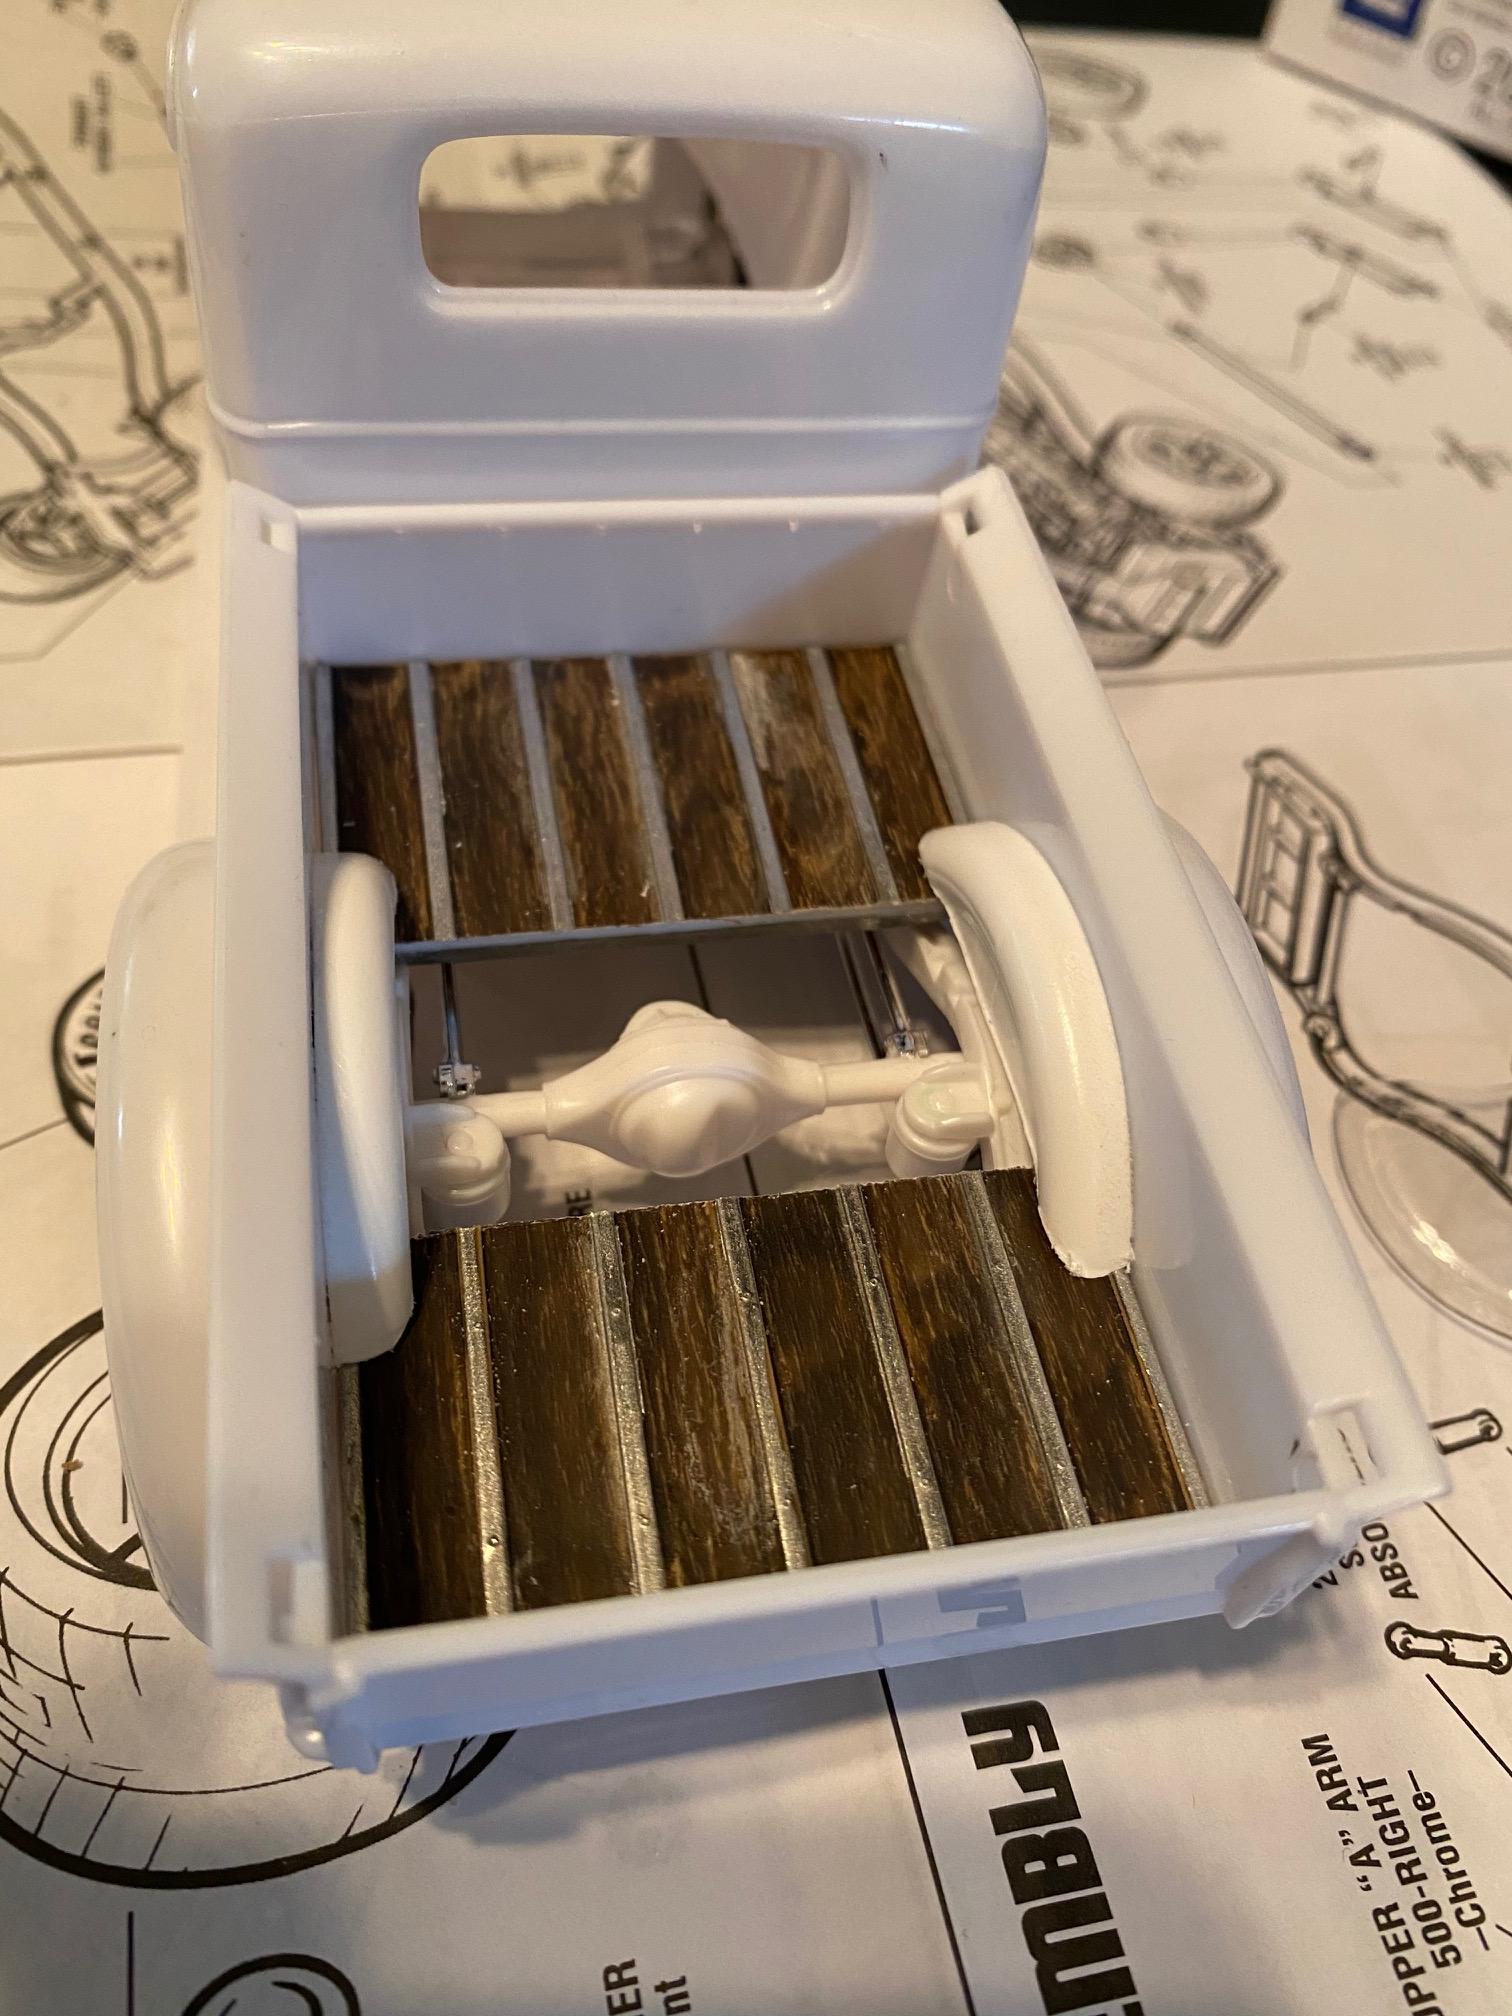
Hallo Wallid, das geht ja gut voran. Hast du schon mal überlegt, es mit Molotow-Chromstiften für die Bettschienen zu versuchen? Das erfordert zwar immer noch etwas Abkleben, ist aber vielleicht nicht so schwierig. Hier ist ein Bild von einem, an dem ich das ausprobiert habe. Am besten,
-
Just know that you are not alone... ?
-
Nicely done Eric! That color works well on it.
-
VERY nicely done Craig! ?
-
Very clean and classy build!
-
I'm definitely liking it! ?
-
1992 Ferrari 512TR in Blue Sera (1/24 Fujimi)
SpikeSchumacher replied to e30lover's topic in Model Cars
Beautifully done! -
Hi John, The wheels are Pegasus 19" & 23" Hellas. They are mounted to the '39 Wagon Rod chassis that I am using for this build ? Cheers
-
Tamiya 1/20 Lotus 79
SpikeSchumacher replied to SpikeSchumacher's topic in Other Racing: Road Racing, Salt Flat Racers
Hi John, Thank you! ? Sometimes the conditions for spraying a paint job like this are perfect, this one was such instance ? Yes, the decals came with a black background. See the link below: https://www.indycals.net/decals/f1/78lotus79.html Michael at IndyCals is makes a great product, and has great customer service! Cheers -
Thanks Mike! I tend to use Tamiya TS-13 gloss clear right out of the can, or Testors Extreme Laquer clear. Then wet sanding/polishing to a certain extent depending on how the color/clear coats go on. The black cars are all Tamiya TS-14. All of these cars were sprayed with rattle cans, except for the belt lines on the Nova (can't remember if it was Tamiya clear orange, or Testors Colors by Boyd Orange Pearl...), and the Vantastic, they were airbrushed. Cheers
-
Thanks, Carl! ?