David G.
-
Posts
11,276 -
Joined
-
Last visited
Content Type
Profiles
Forums
Events
Gallery
Everything posted by David G.
-
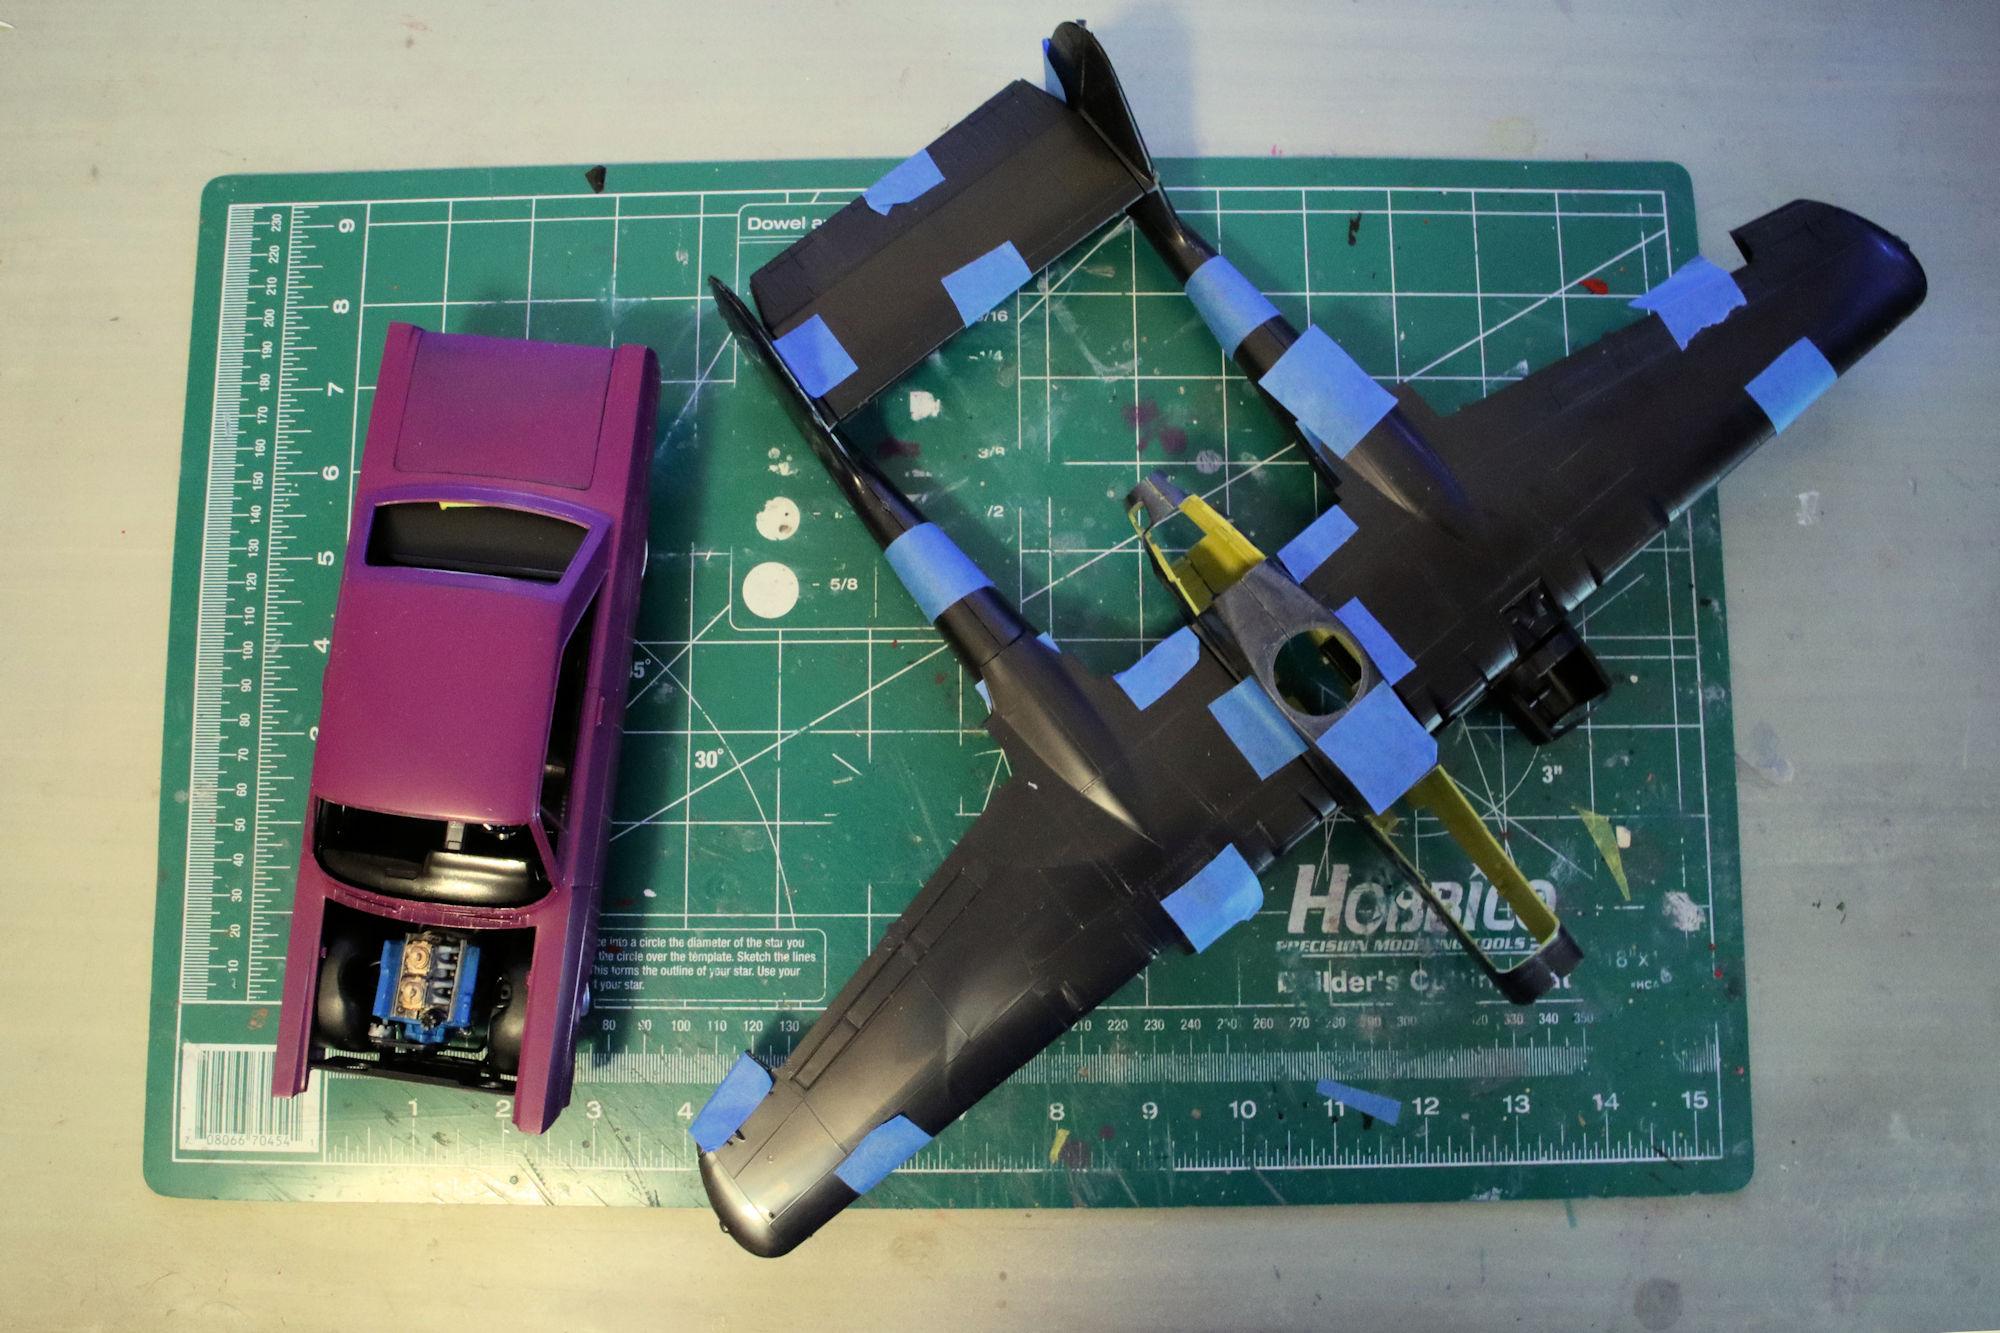
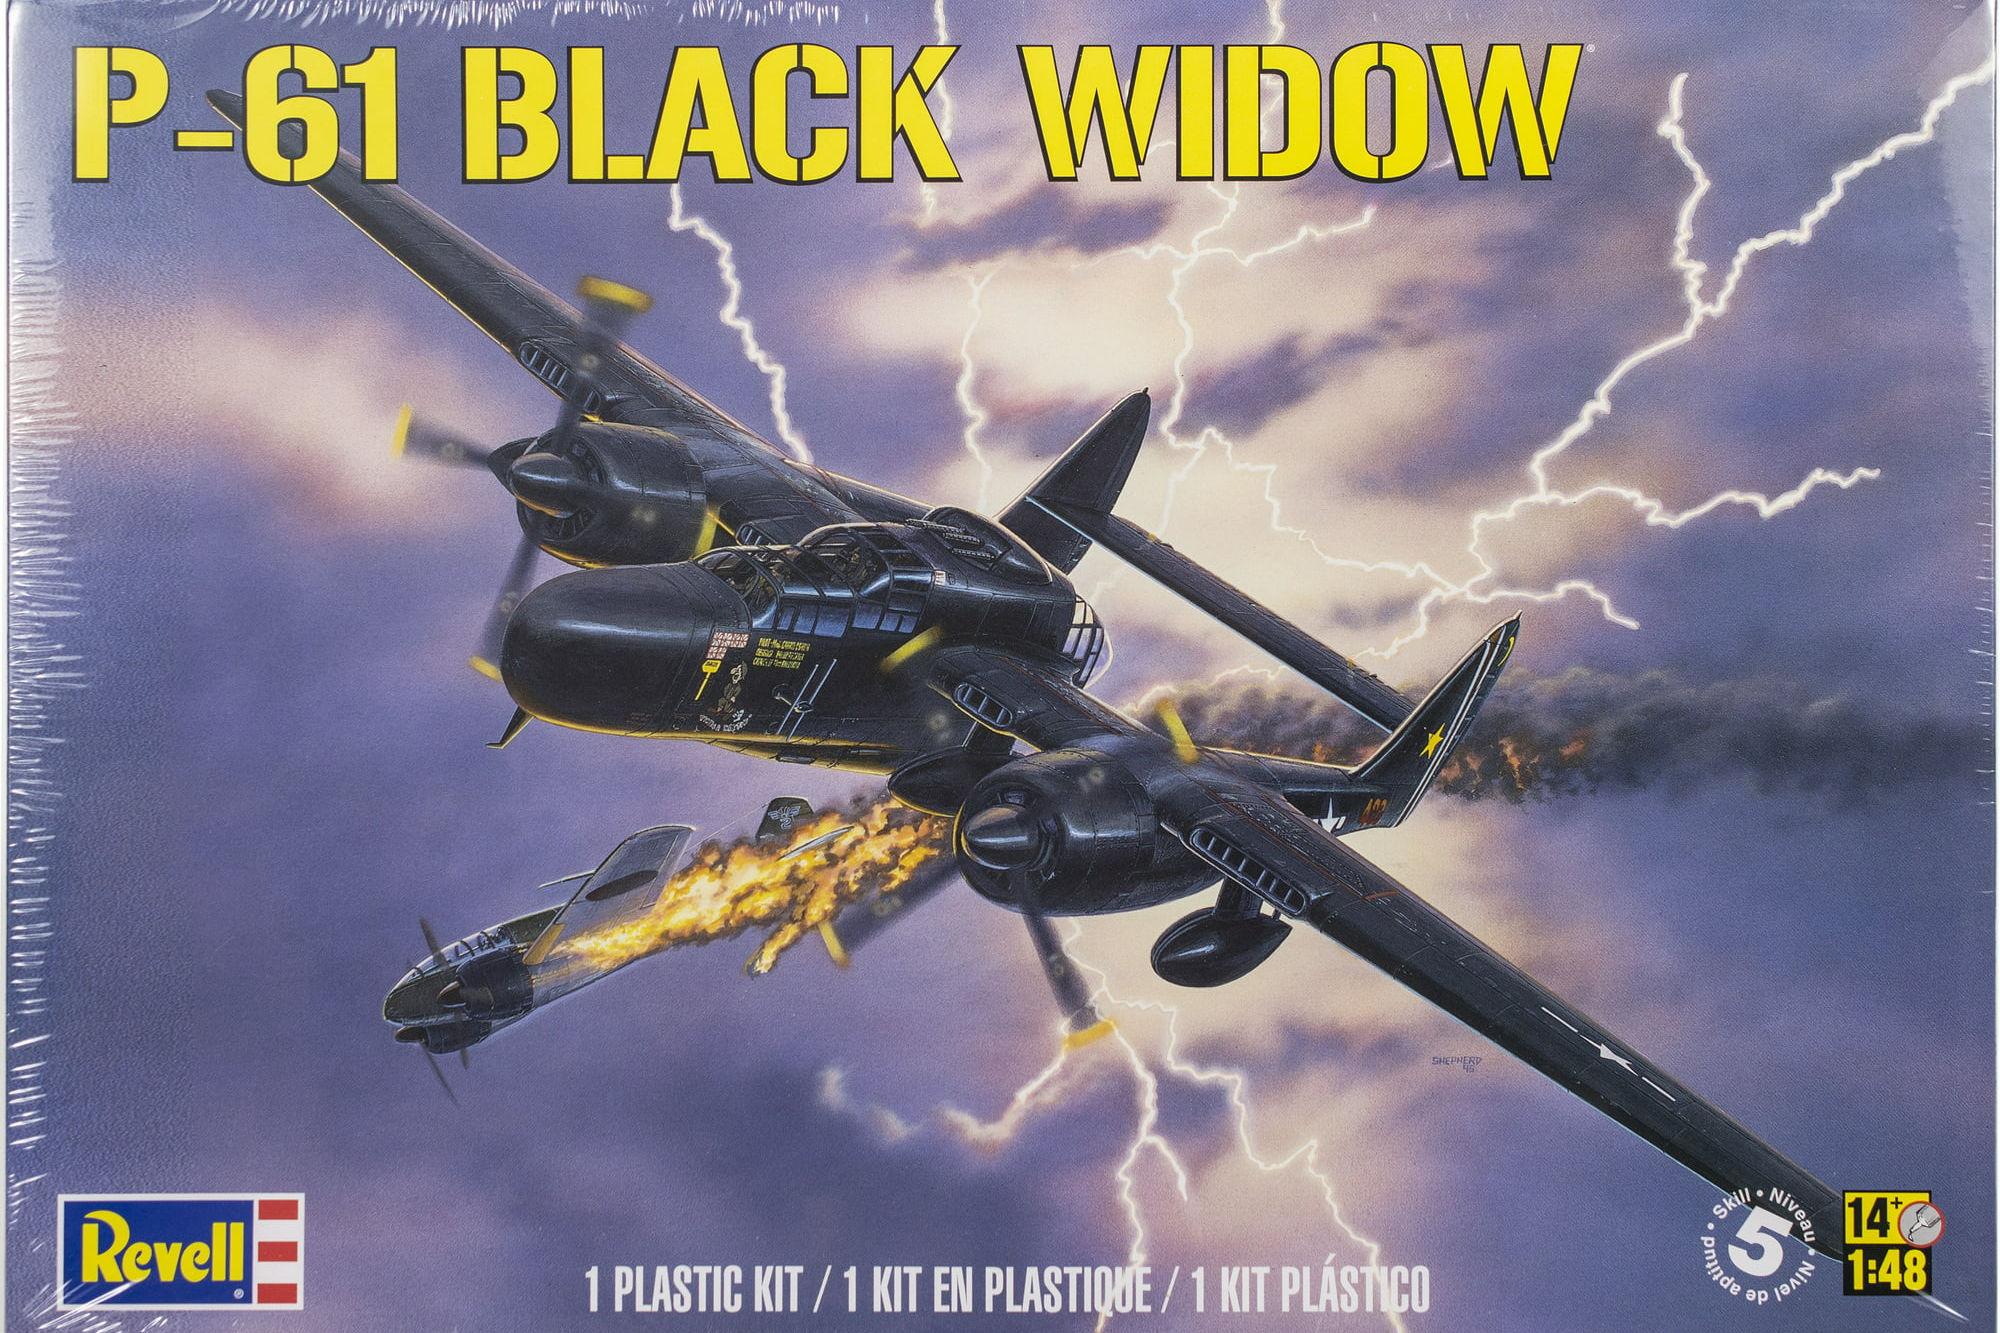
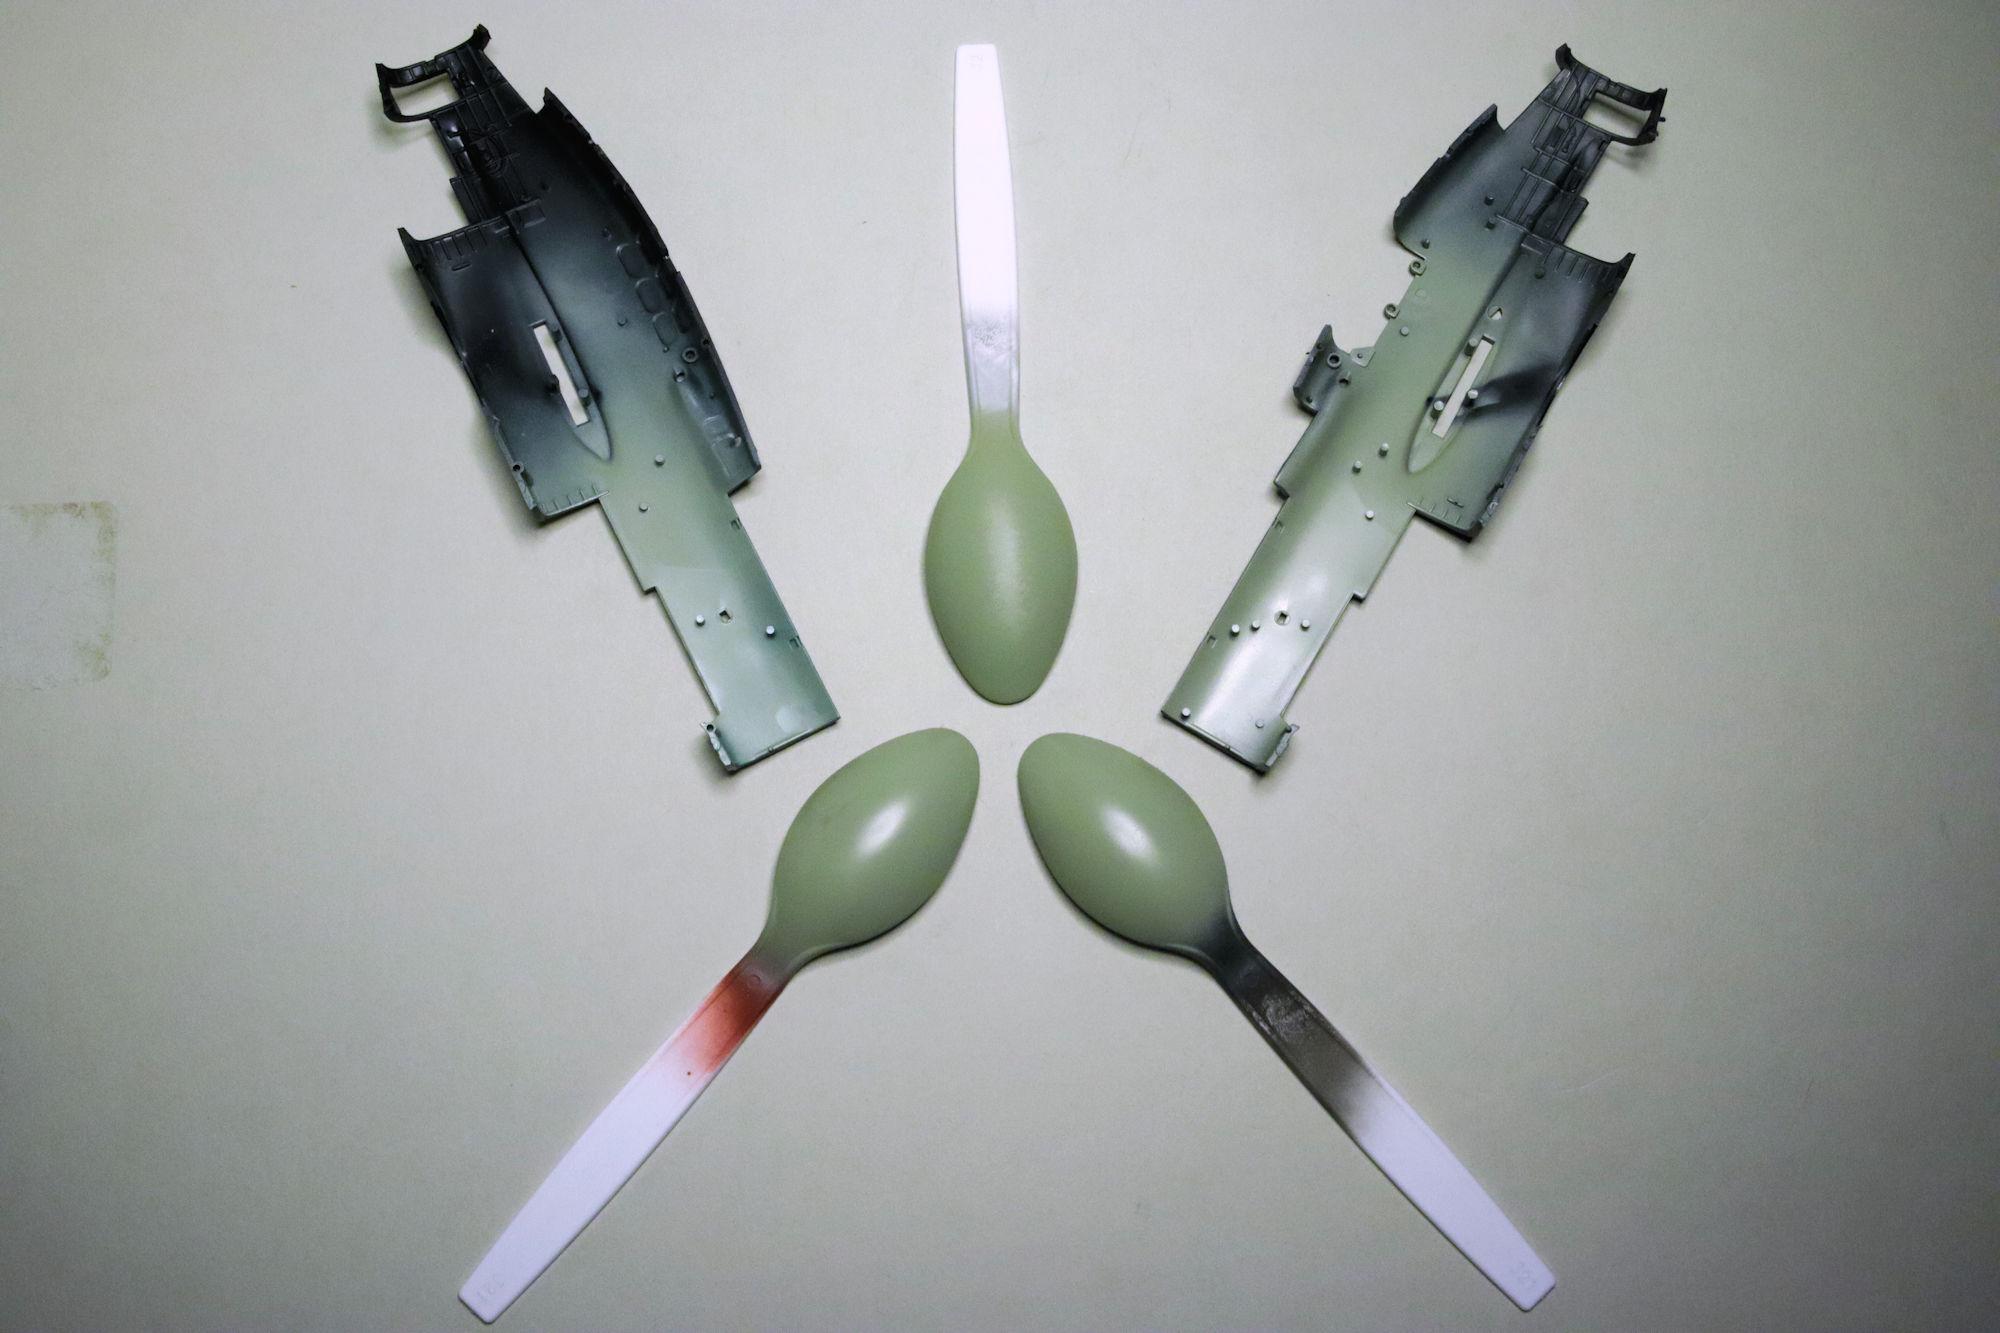
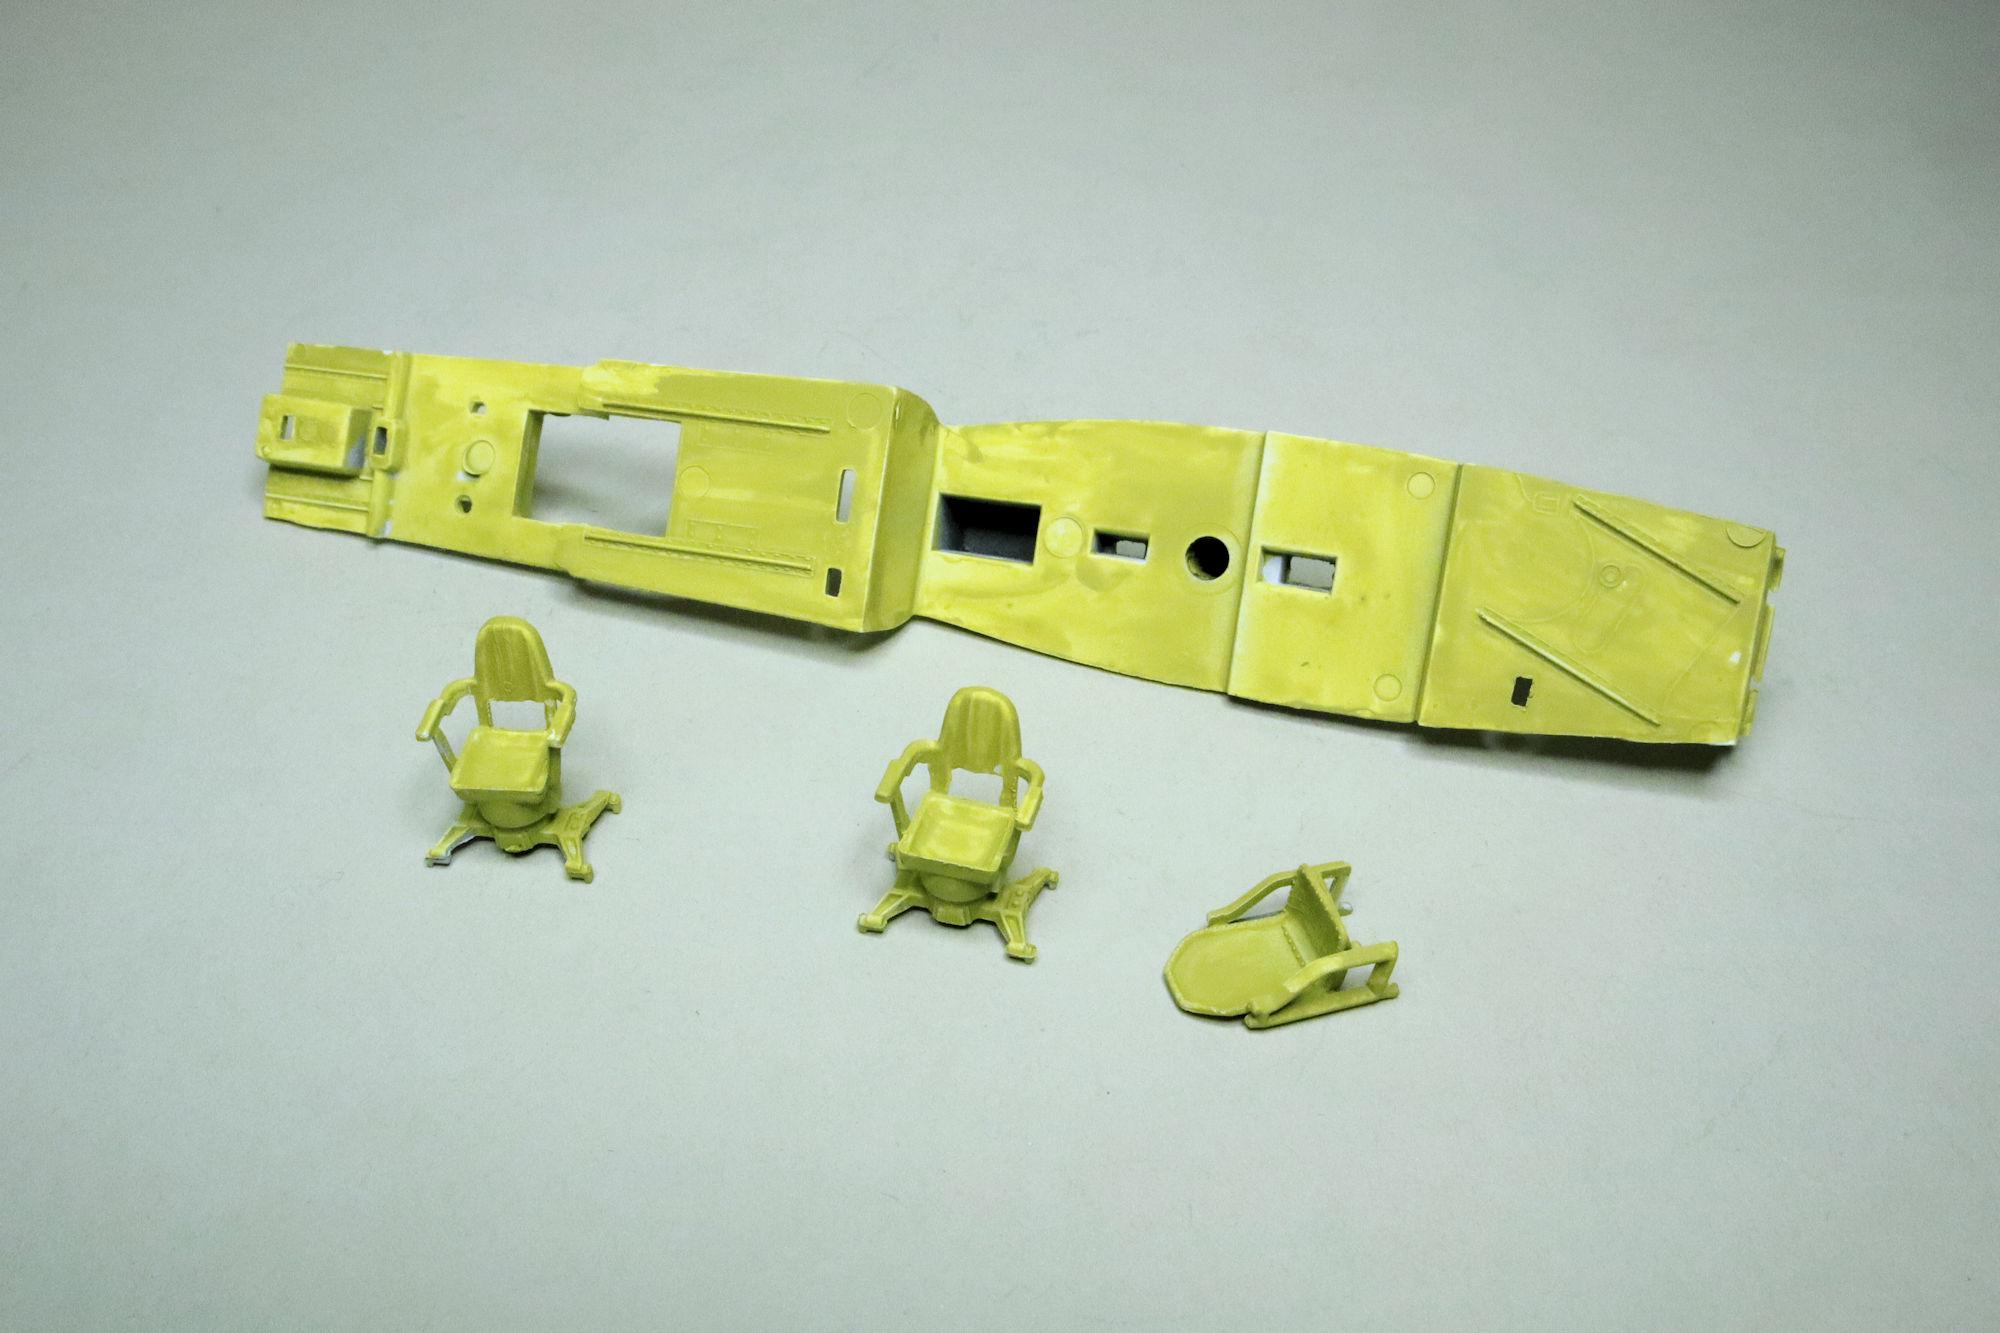
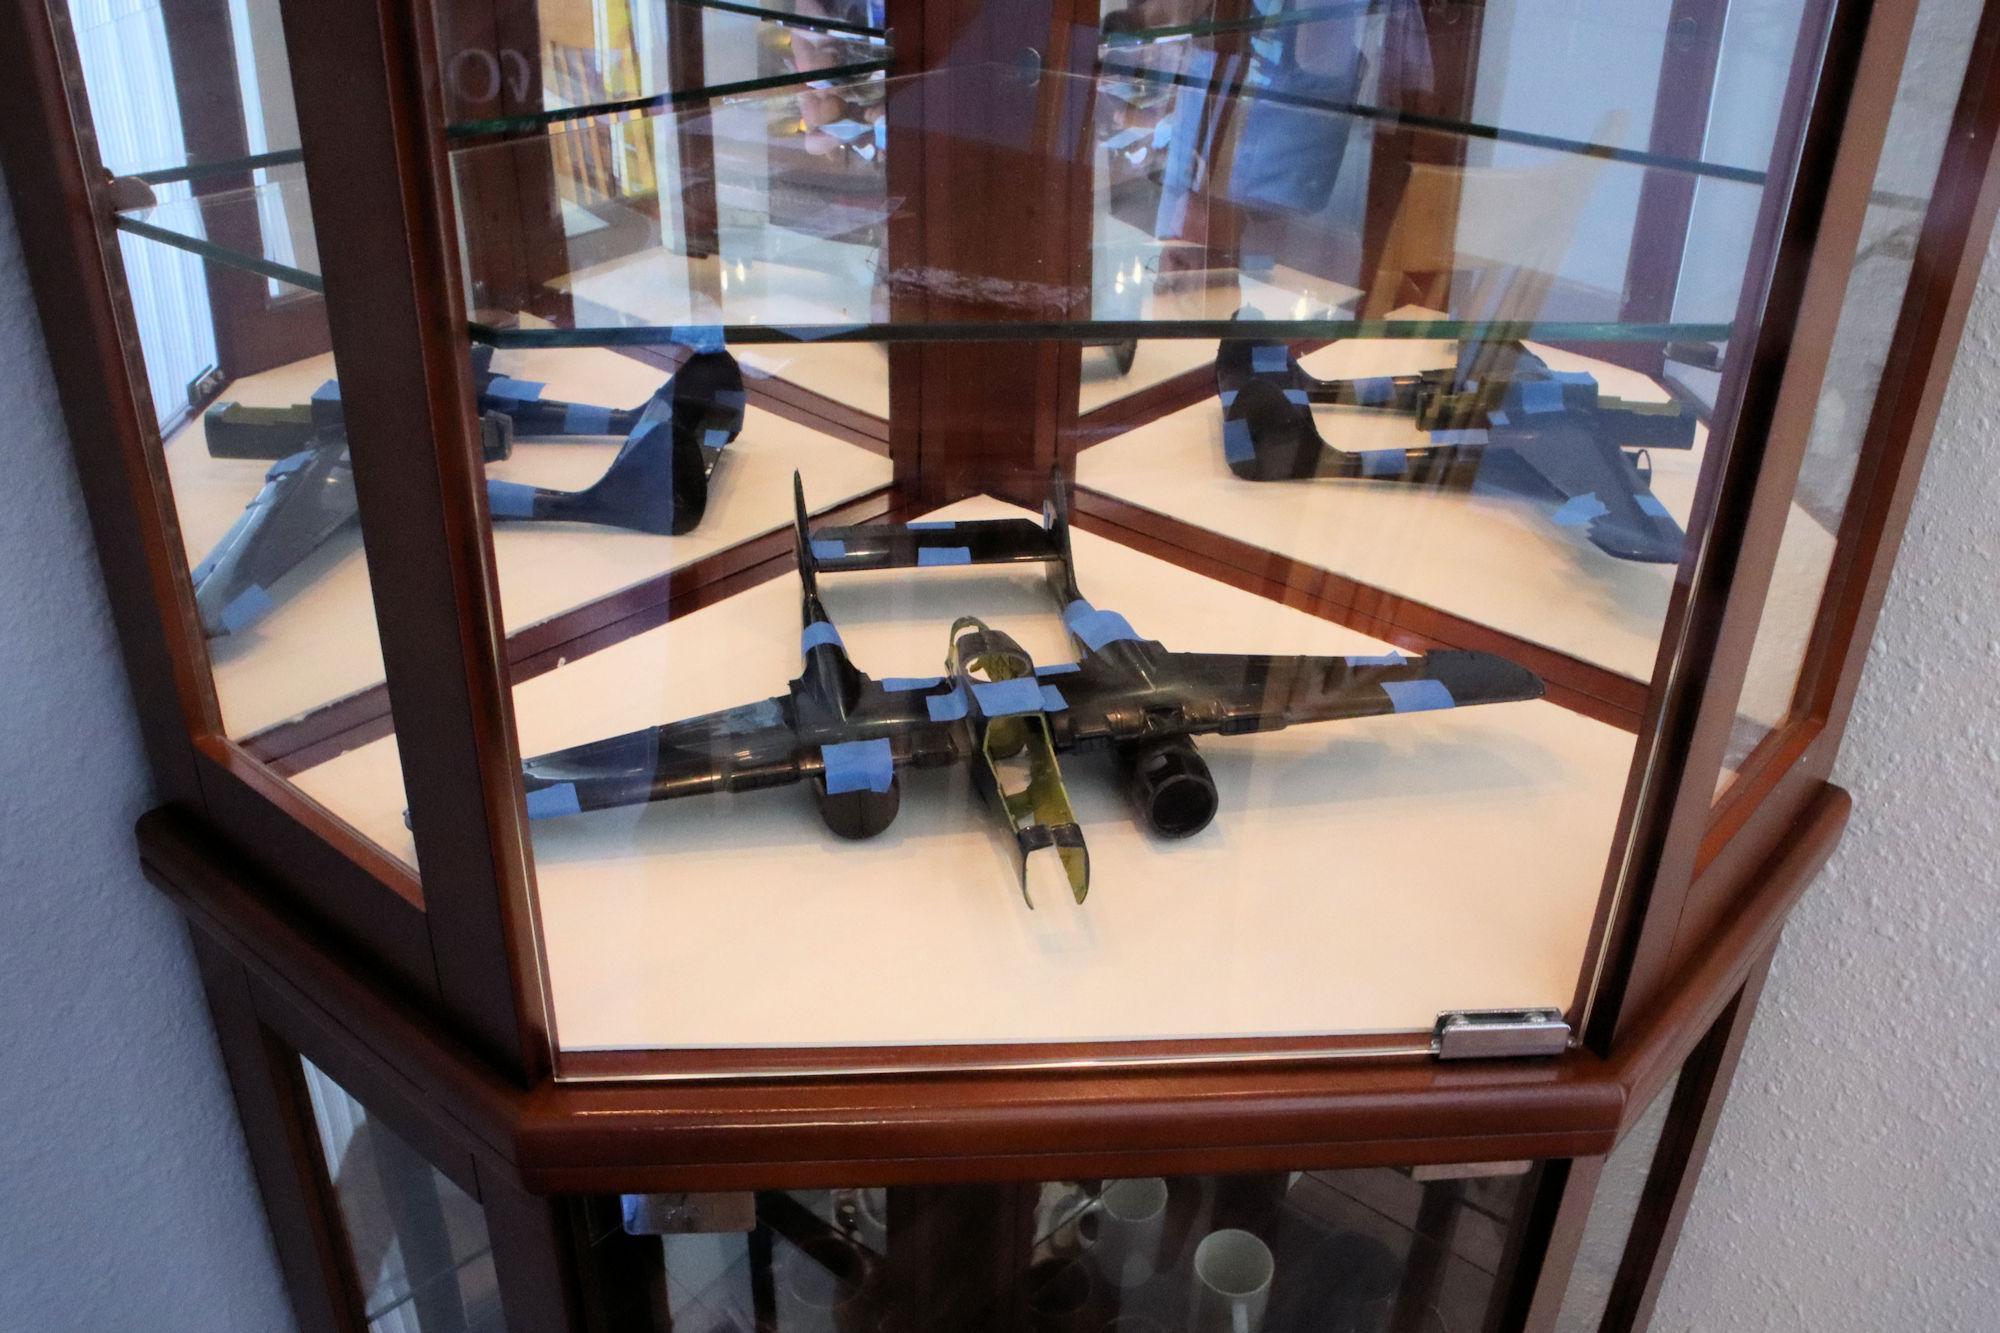
 Hello Everybody! Northrop's P-61 Black Widow by Revell. It seems that many of the P-61 model kits I found during my on-line research were finished in the typical black livery. However, not all of the actual aircraft were finished in this manner, there were some in various shades of army green. Based on the photos I've seen of actual aircraft, I decided to paint mine in Tamiya AS-29 Gray Green. This is the Northrop P-61 Black Widow by Revell. I built one of these kits as a teenager back in the mid Seventies. So, yeah, it's a nostalgia build. Here is the version I remember building the first time around. I did some color tests with Tamiya AS-29 Gray Green over a number of different primers and directly on the bare black plastic. I even tried the Gray-Green over TS-102 Cobalt Green just to see if that made any difference. It did not. Though there were subtle variations, there's not enough of a difference for me to bother with any special primers or treatments. Tamiya Gray Primer it is! The first and probably the most involved of the sub-assemblies to tackle in the cockpit. Typically, the inside areas of aircraft of this era are painted with zinc chromate paint. This paint can range in color from yellowish-green to greenish-yellow I decided to use Tamiya XF-4 Yellow Green to represent this paint. I decided to do a mockup so I can check to see if the finished model will fit in its intended display area. Good news! My measurements and estimations were correct! I even have room to make this into a little diorama. This thing is a bit bigger than most kits I normally build. Here it is on the desk in my regular work area next to one of my current projects. That's all for now. As always, thanks for stopping by for a look and if you have any comments you wish to share, please feel free to post them. David G.
-
Nice kit-bash on the front suspension, the interior looks great too. David G.
-
Good airbrush work on the engine. Every time I use my airbrush, I feel like I'm starting all over again at the bottom of the learning curve. David G.
-
The fins look good. Best of luck with the chrome, this beastie has tons of it! David G.
-
Looking good Si! I do love me a good wash! Nothing brings forth the detail in a more satisfying way. David G.
-
1:16 Gunze Sangyo 1937 Rolls-Royce Phantom III Sports Saloon
David G. replied to Anglia105E's topic in WIP: Model Cars
In spite of all the difficulties this kit gave you David, It seems to have turned out quite nicely in the end. The most recent photos you posted look good and seem appropriate for an English motorcar set in the English countryside. As I understand it, the sun does occasionally shine on Olde Albion but overcast skies are more the norm. I'm looking forward to seeing the final photos in the Under Glass section. Cheers! David G. -
The "waste-not-want-not" Starliner project
David G. replied to customline's topic in WIP: Model Cars
For the gold script on the fenders, I would just lightly go over it a couple of times with a yellow fine-point Sharpie. That usually gives the foil enough of a yellow cast to suggest gold. The rest of the car is looking great Jim! David G. -
That Monte is wicked cool Jeff! Love the color combination. David G.
-
Wishing you a speedy recovery Chris! Please stay in touch and keep us posted. David G.
-
With the white roof, the white surrounding the scripts looks like a custom paint flair. The effect is especially enhanced by the fancy, custom looking green paint. David G.
-
Amazing work on the chassis Daniel! The engine is looking good too, I can't wait to see what you do with that. David G.
-
I'm Back! Thank you all for the kind wishes! Five states, eighteen days and nearly 5,000 miles! North America Tour '24 was a huge success! I got to reconnect with family and friends and see a whole lot of the USA. It's going to take me a couple of days to get my normal life scraped back into a pile, then I'll be back on the boards! David G.
-
Hello Everybody! I'm going to be away on holiday and from the boards until the end of July. Before I go I wanted to post one more update, I just couldn't leave the "Saga of the Hood" without a conclusion of sorts. This coat of paint looks pretty good. With a little bit of work, I think this will be the one. The hood scoop is masked off because I decided that I want to paint it flat black instead of the same color as the body. In the previous post I promised some more details on mounting the hood hinges and here it is. The practical mounting of the hinges is actually a rather straight-forward process but there is a potential problem that I encountered. When attaching the hood hinges, test fit and check the shape and evenness of the mounting pads. I've cleaned up and evened out the pad on the upper hinge. The lower one is still rough and misshapen. This will cause the hinges to mount to the hood incorrectly resulting in a misalignment of the hinges and hood. If you're building one of these kits, be sure to double check this. I'll be back in a few weeks to wrap this up. Until then, thanks for taking the time to look and please feel free to post any comments. David G.
-
Thank you, I'll see you all when I get return! David G.
-
Thank you for your kind comment Bob. I really don't have a problem with curbside kits. When I built my '71 T-Bird, for a number of reasons I actually opted for the engine plate instead of the engine. It worked out fine in my opinion. Thanks again, David G.
-
Who doesn't love a mock-up? Let's see yours!
David G. replied to Belairconvertable's topic in WIP: Model Cars
Wow! ? I can't even imagine the types of experiences you're describing. That's quite a story, thanks for sharing it. David G. -
This is quite an impressive project so far Chris! I'm enjoying all the details you're adding. David G.
-
Thank you. Many of our family have passed too, we're going to see the ones who are left. And also, a recent arrival... Our new granddaughter. ❤️ David G.
-
Ferguson FF-30
David G. replied to bbowser's topic in All The Rest: Motorcycles, Aviation, Military, Sci-Fi, Figures
An excellent build! My stepdad had one of these Fergusons back in the Eighties. He had a harrowing deck, a plow and a brush hog for it too. Thanks for posting this, it was a pleasure to see it. David G. -
1:16 Gunze Sangyo 1937 Rolls-Royce Phantom III Sports Saloon
David G. replied to Anglia105E's topic in WIP: Model Cars
That is certainly an improvement David! It's beginning to look like a good outcome is a distinct possibility! David G. -
Who doesn't love a mock-up? Let's see yours!
David G. replied to Belairconvertable's topic in WIP: Model Cars
I built my first one in 1976 or 77! This is the box I remember from then. Cheers! David G.
-
Hello Everybody! I just wanted to let you all know that starting on July 11, I will be away from the boards for a few weeks. I should be back by August. We're going on a cross-country road trip to visit various familial factions scattered across the US. I may get the chance to check in from time to time. If I do, I'll probably not be responding to any posts as it's a pain to do so from my phone. I'll see you all when I get back! David G.
-
Thank you Bob. David G.
-
Monogram's 1955 Lincoln Futura Concept Car: WIP
David G. replied to David G.'s topic in WIP: Model Cars
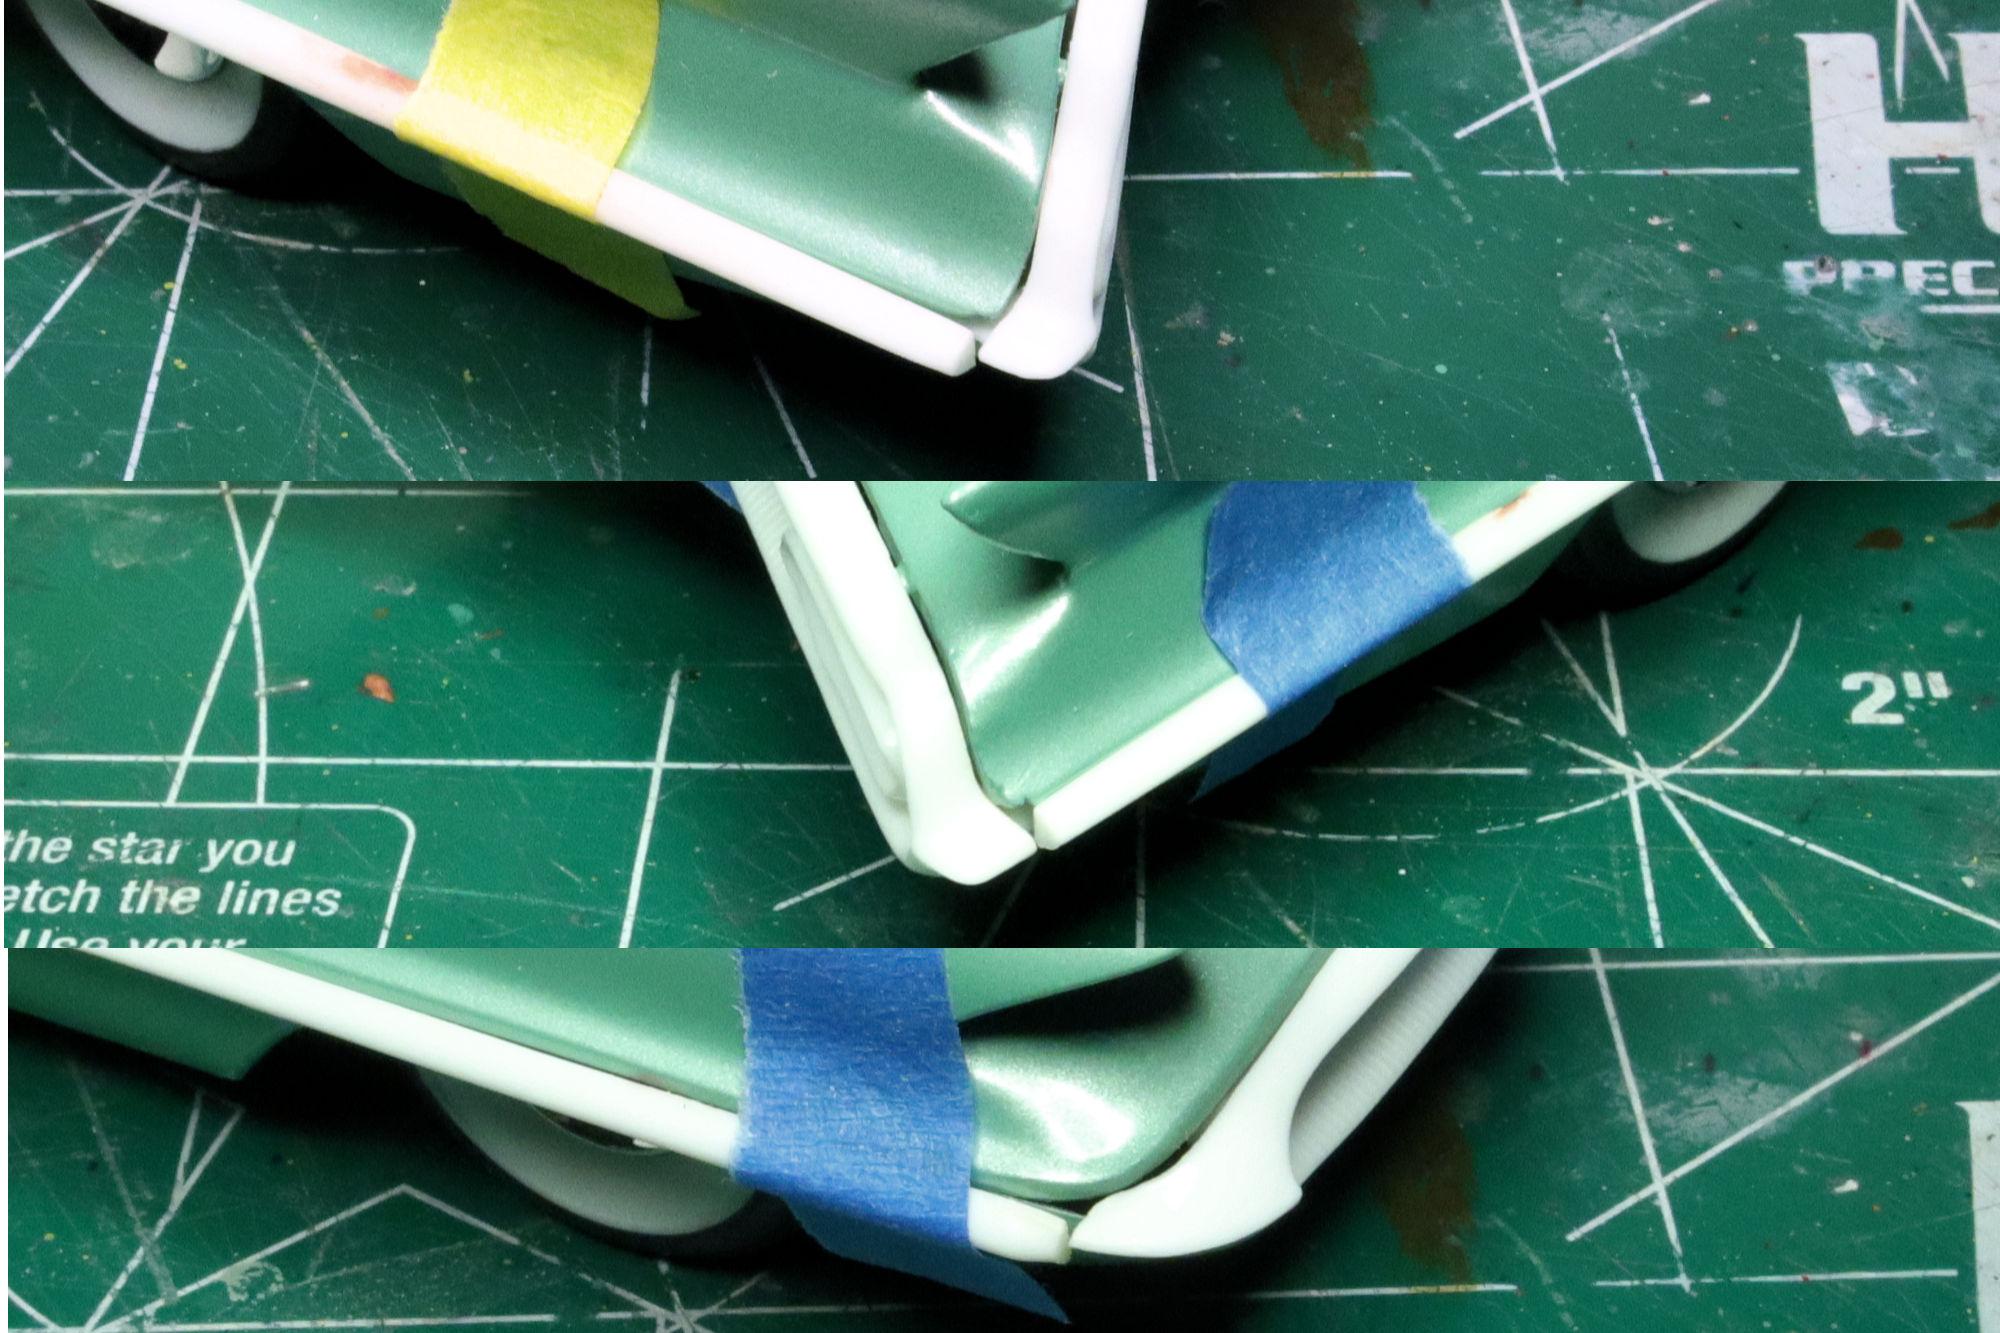
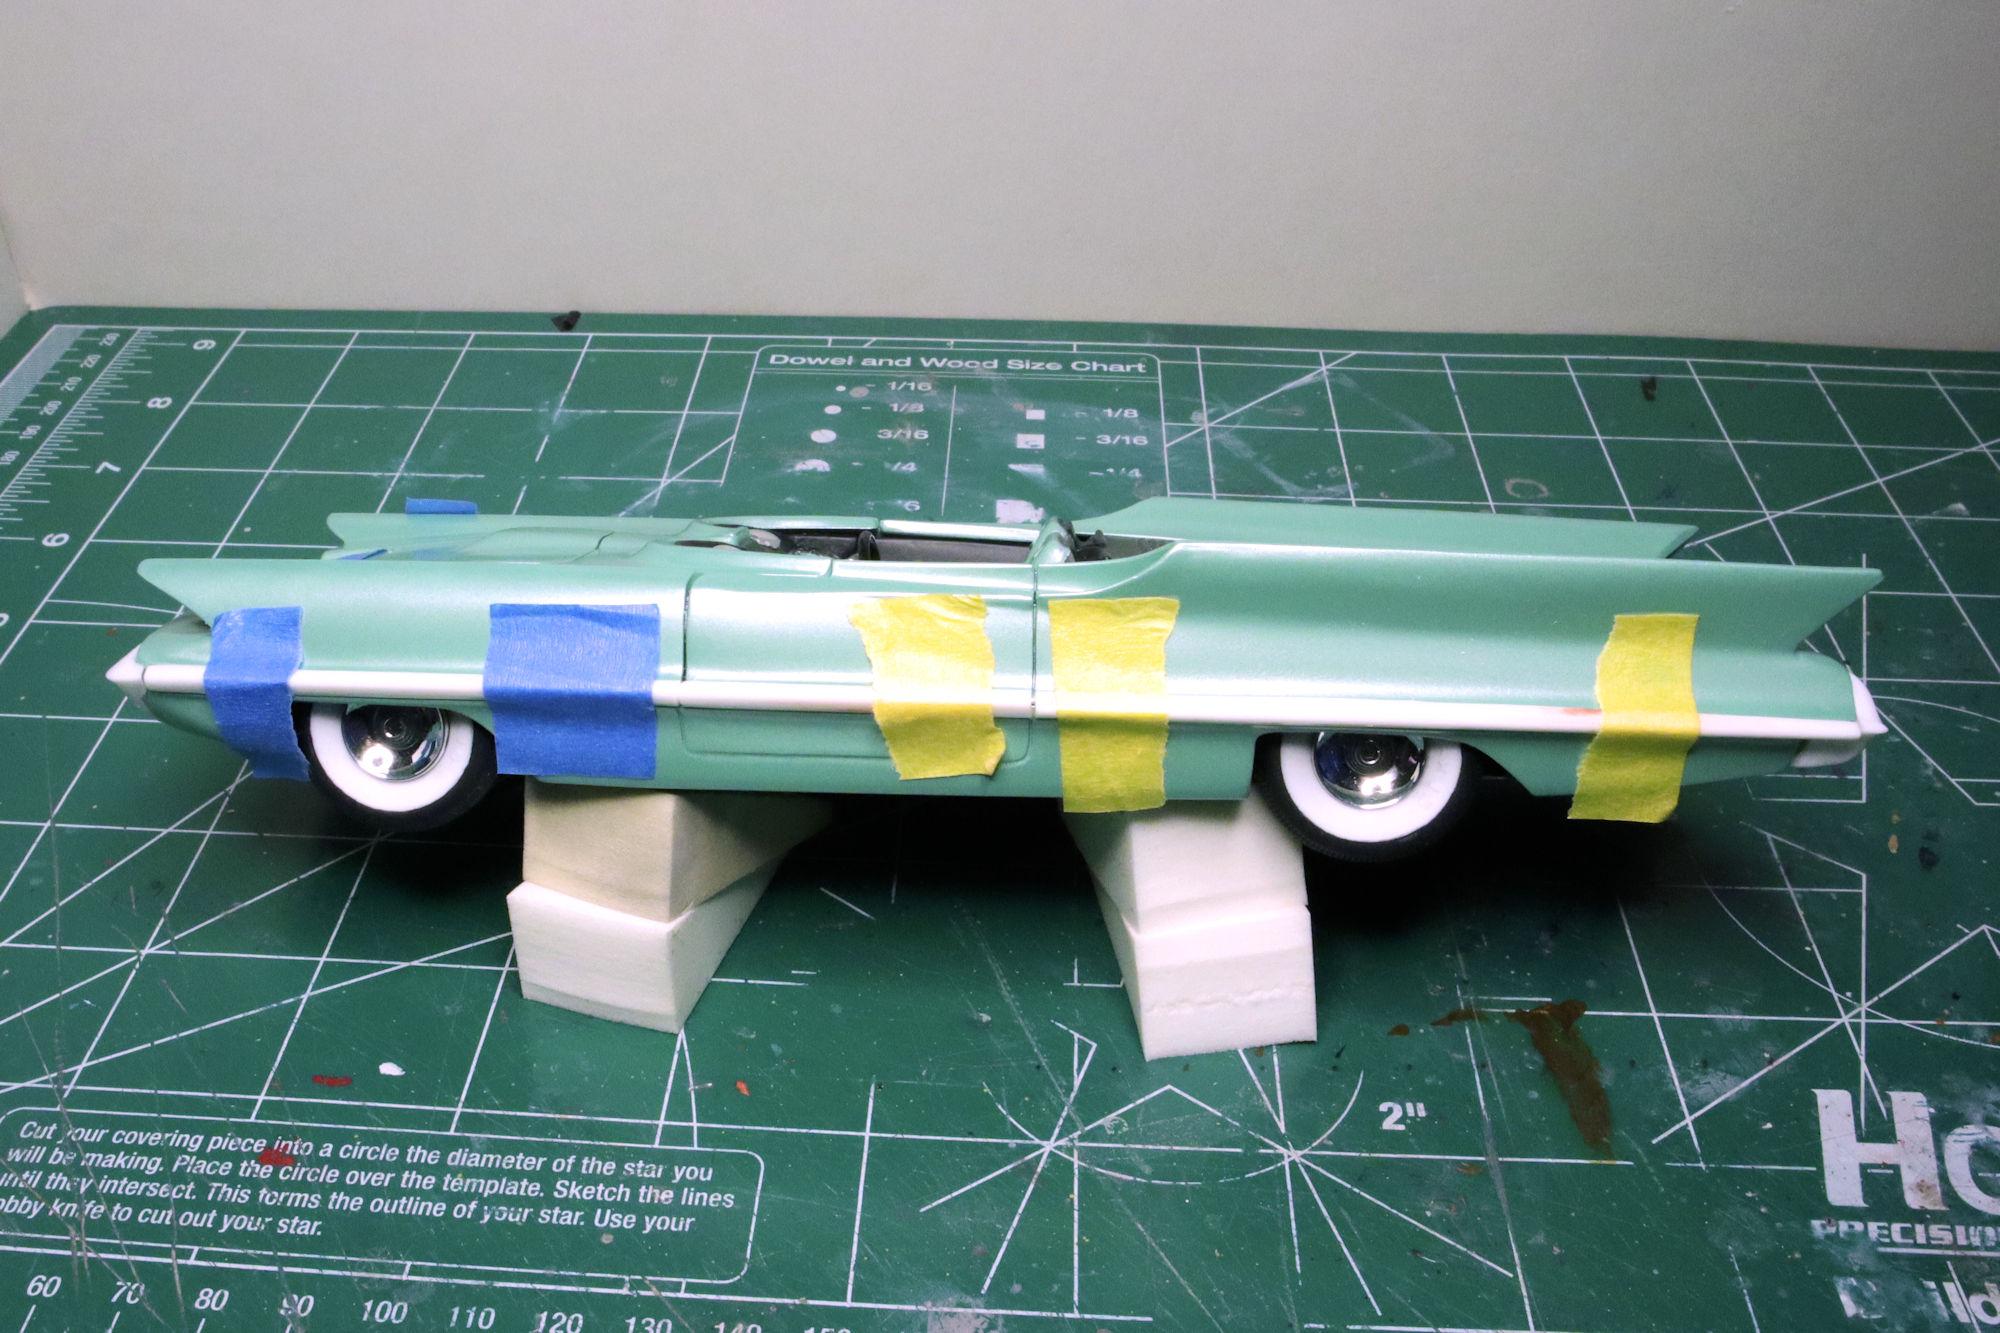
Hello Everybody! The progress is slow but there is progress. Now it's time to tackle the next challenge, the chrome trim that surrounds the entire car. I've removed the parts form their sprues so I can strip away the abysmal "chrome" from the kit. Maybe Monogram anticipated such actions as they thoughtfully cast an "R" into the right-hand trim sections. First order of business, the obligatory test fit! Of course there alignment and fit issues. Now I have to determine what is a matter of adjustment and what will require modification. And then decide how much "incorrectness" I can live with. Just to let you all know, starting on July 11th I'll be away from the boards for a few weeks. I should be back by August. Of course, please feel free to post your comments in my absence, I'll catch up on them when I return. David G.
-
Monogram's 1955 Lincoln Futura Concept Car: WIP
David G. replied to David G.'s topic in WIP: Model Cars
Thank you kindly Pierre. Thank you Mozzi, I'm pretty happy with how they turned out. I wanted them to be noticeable but not distracting. David G.