David G.
-
Posts
11,310 -
Joined
-
Last visited
Content Type
Profiles
Forums
Events
Gallery
Everything posted by David G.
-
It definitely has that Seventies Rake! I also like the plastic on the window, nice touch. David G.
-
That's an awesome mockup. The car has a great profile. David G.
-

'57 El Nomado
David G. replied to customline's topic in WIP: Model Trucks: Pickups, Vans, SUVs, Light Commercial
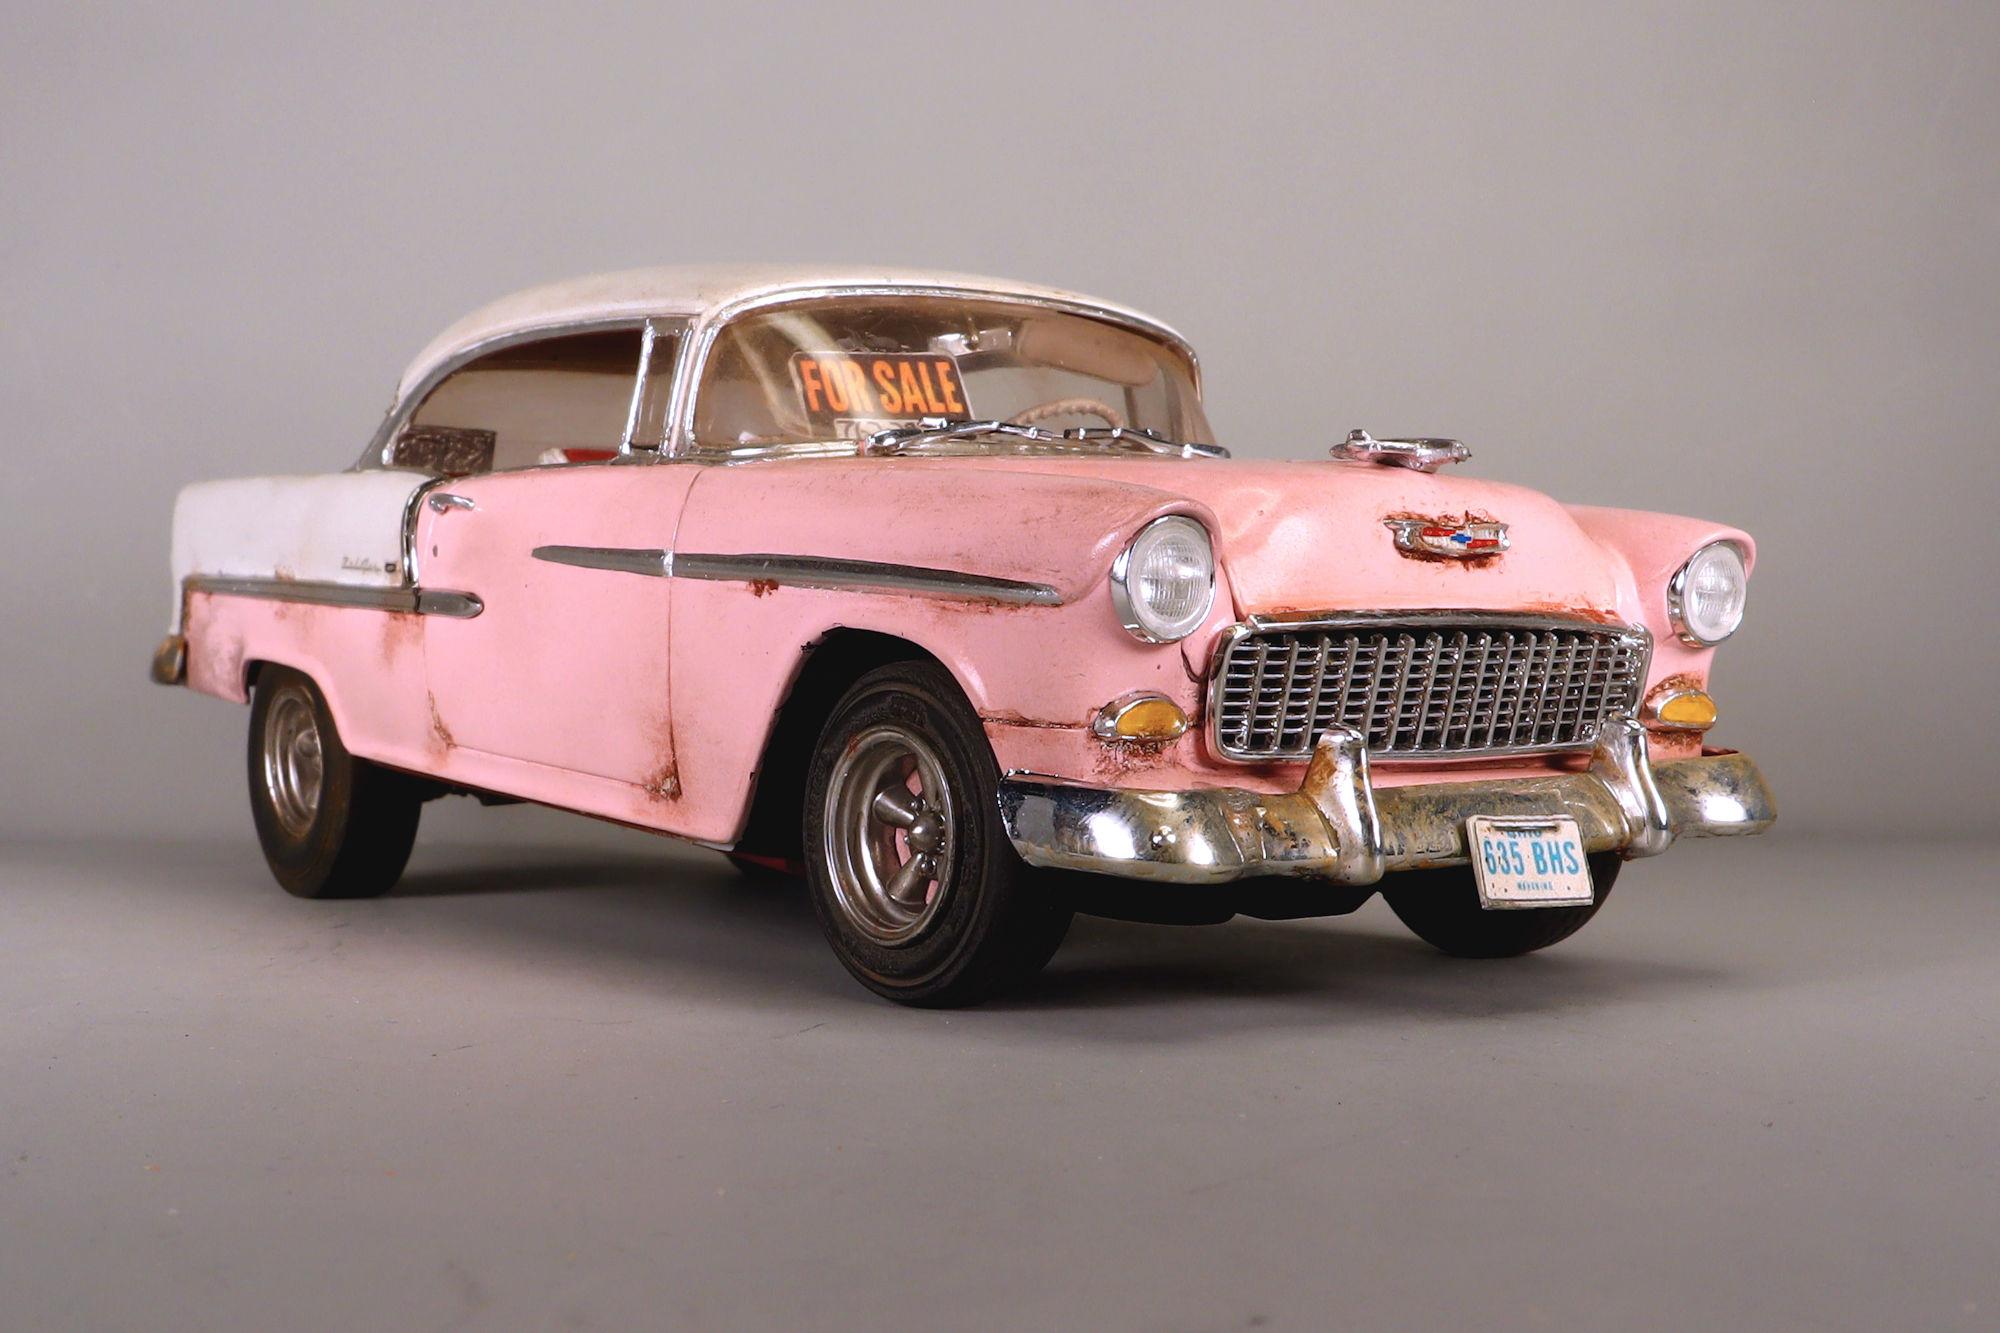
Hey did somebody say "pigged-out rust bucket"? That's just what I did with that Monogram 55 kit. Here's a link to the thread if you want to see more. And then there's "The Reaver", my 57, 58 mashup. Knowing how you feel about 57s I thought you'd get a kick out of this one. The Monogram 55 Chevy is a nice kit, I had fun building it. Sorry for the hijack Jim but I thought you'd get a kick out of those. David G.
-
Wow, those are impressive Daniel! They're as good as any PE set would have given you. In that top-down shot can see how tight those headers are. It must have been quite the challenge to fit and fabricate. Doing both at the same time ? So tell me, do you have a startup day scheduled yet? David G.
-
That's a shame about the cracking, the rest of it looks so good. David G.
-
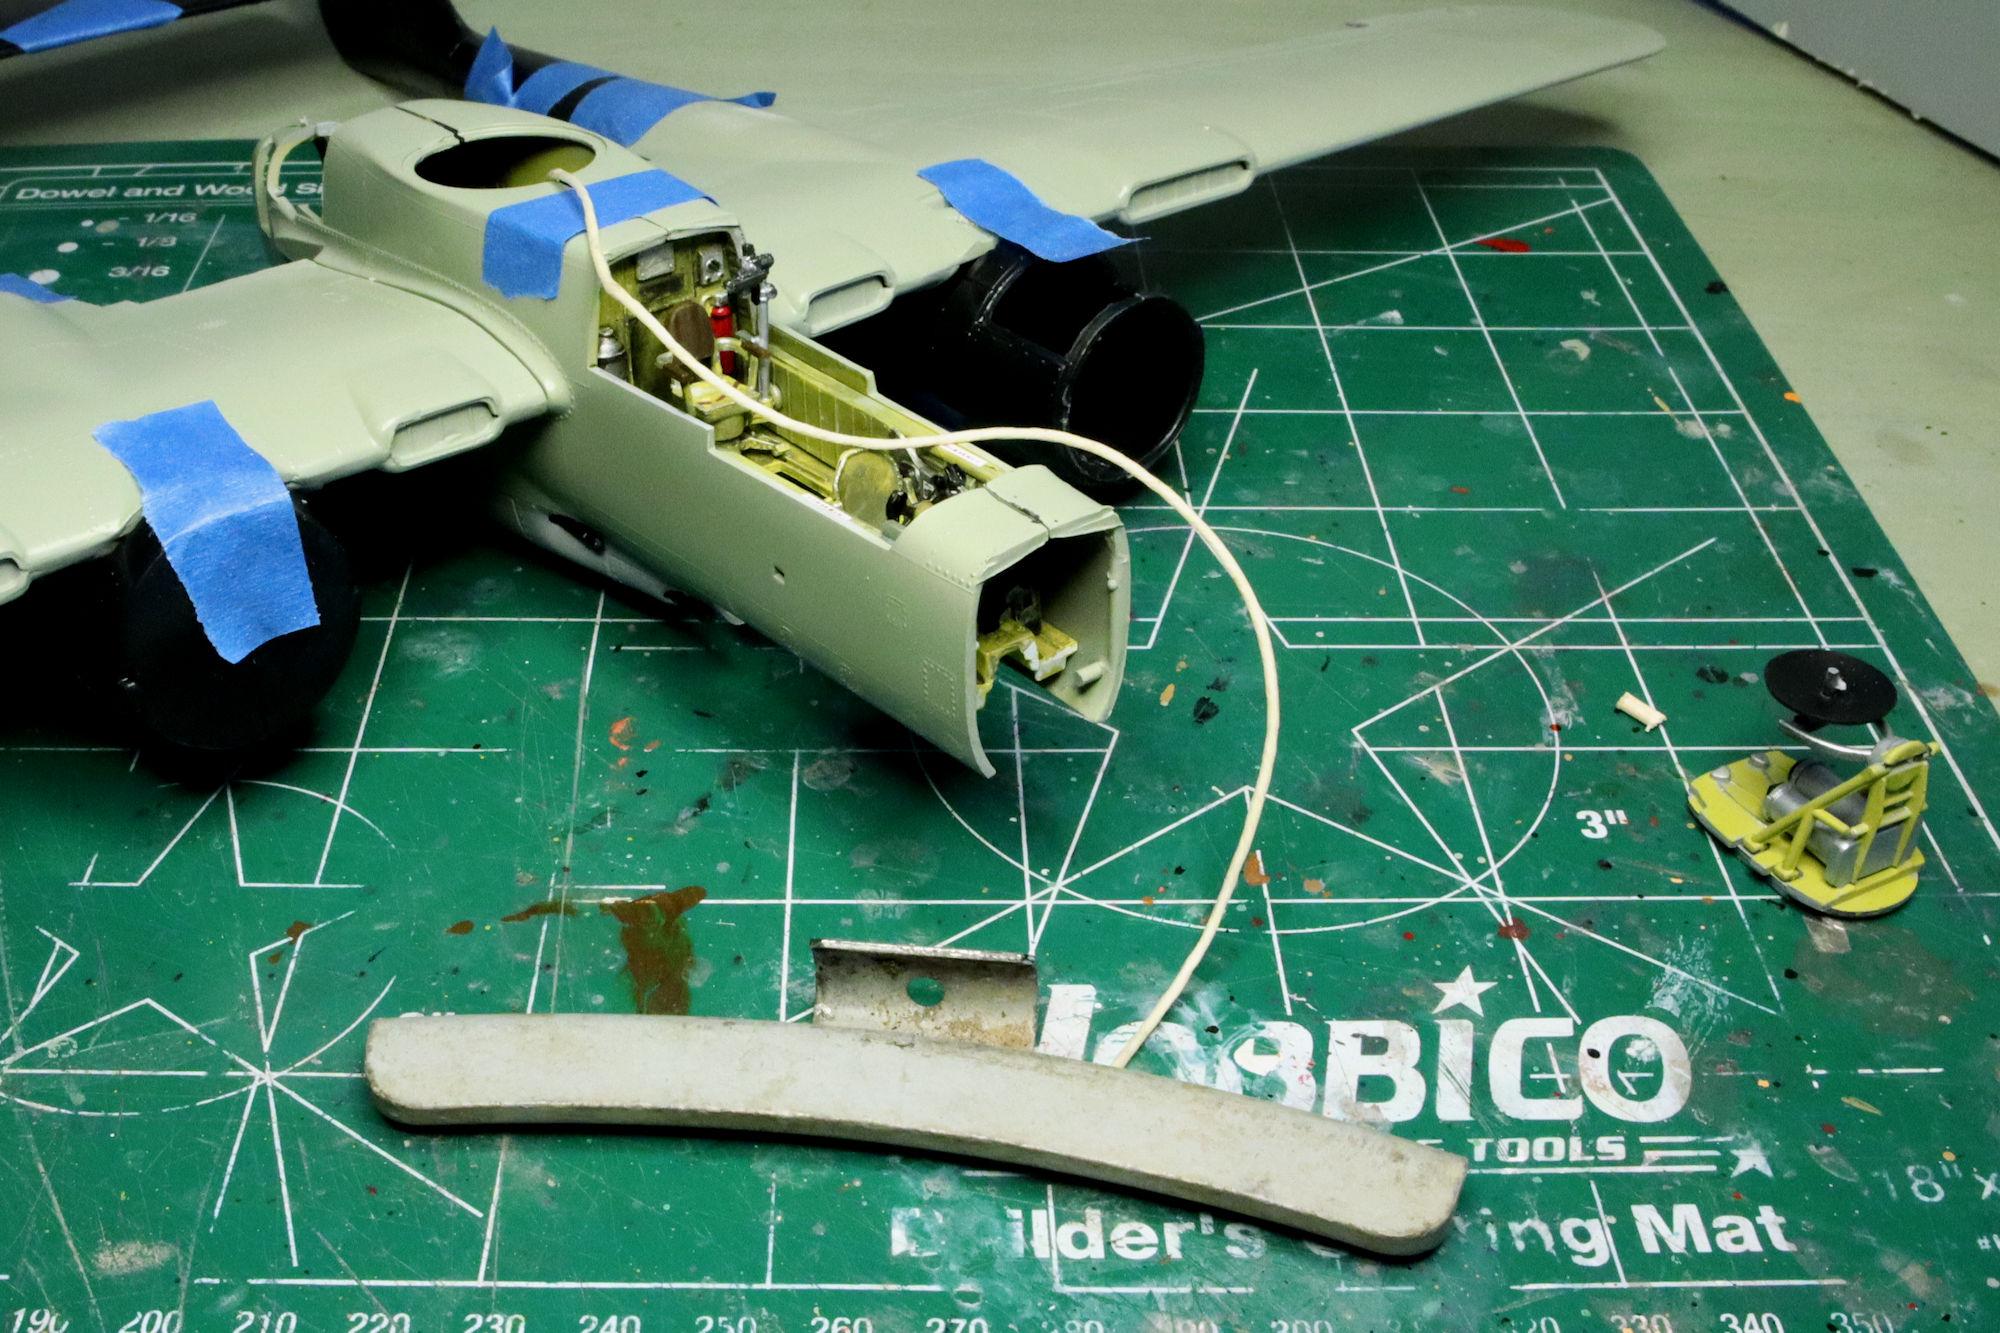
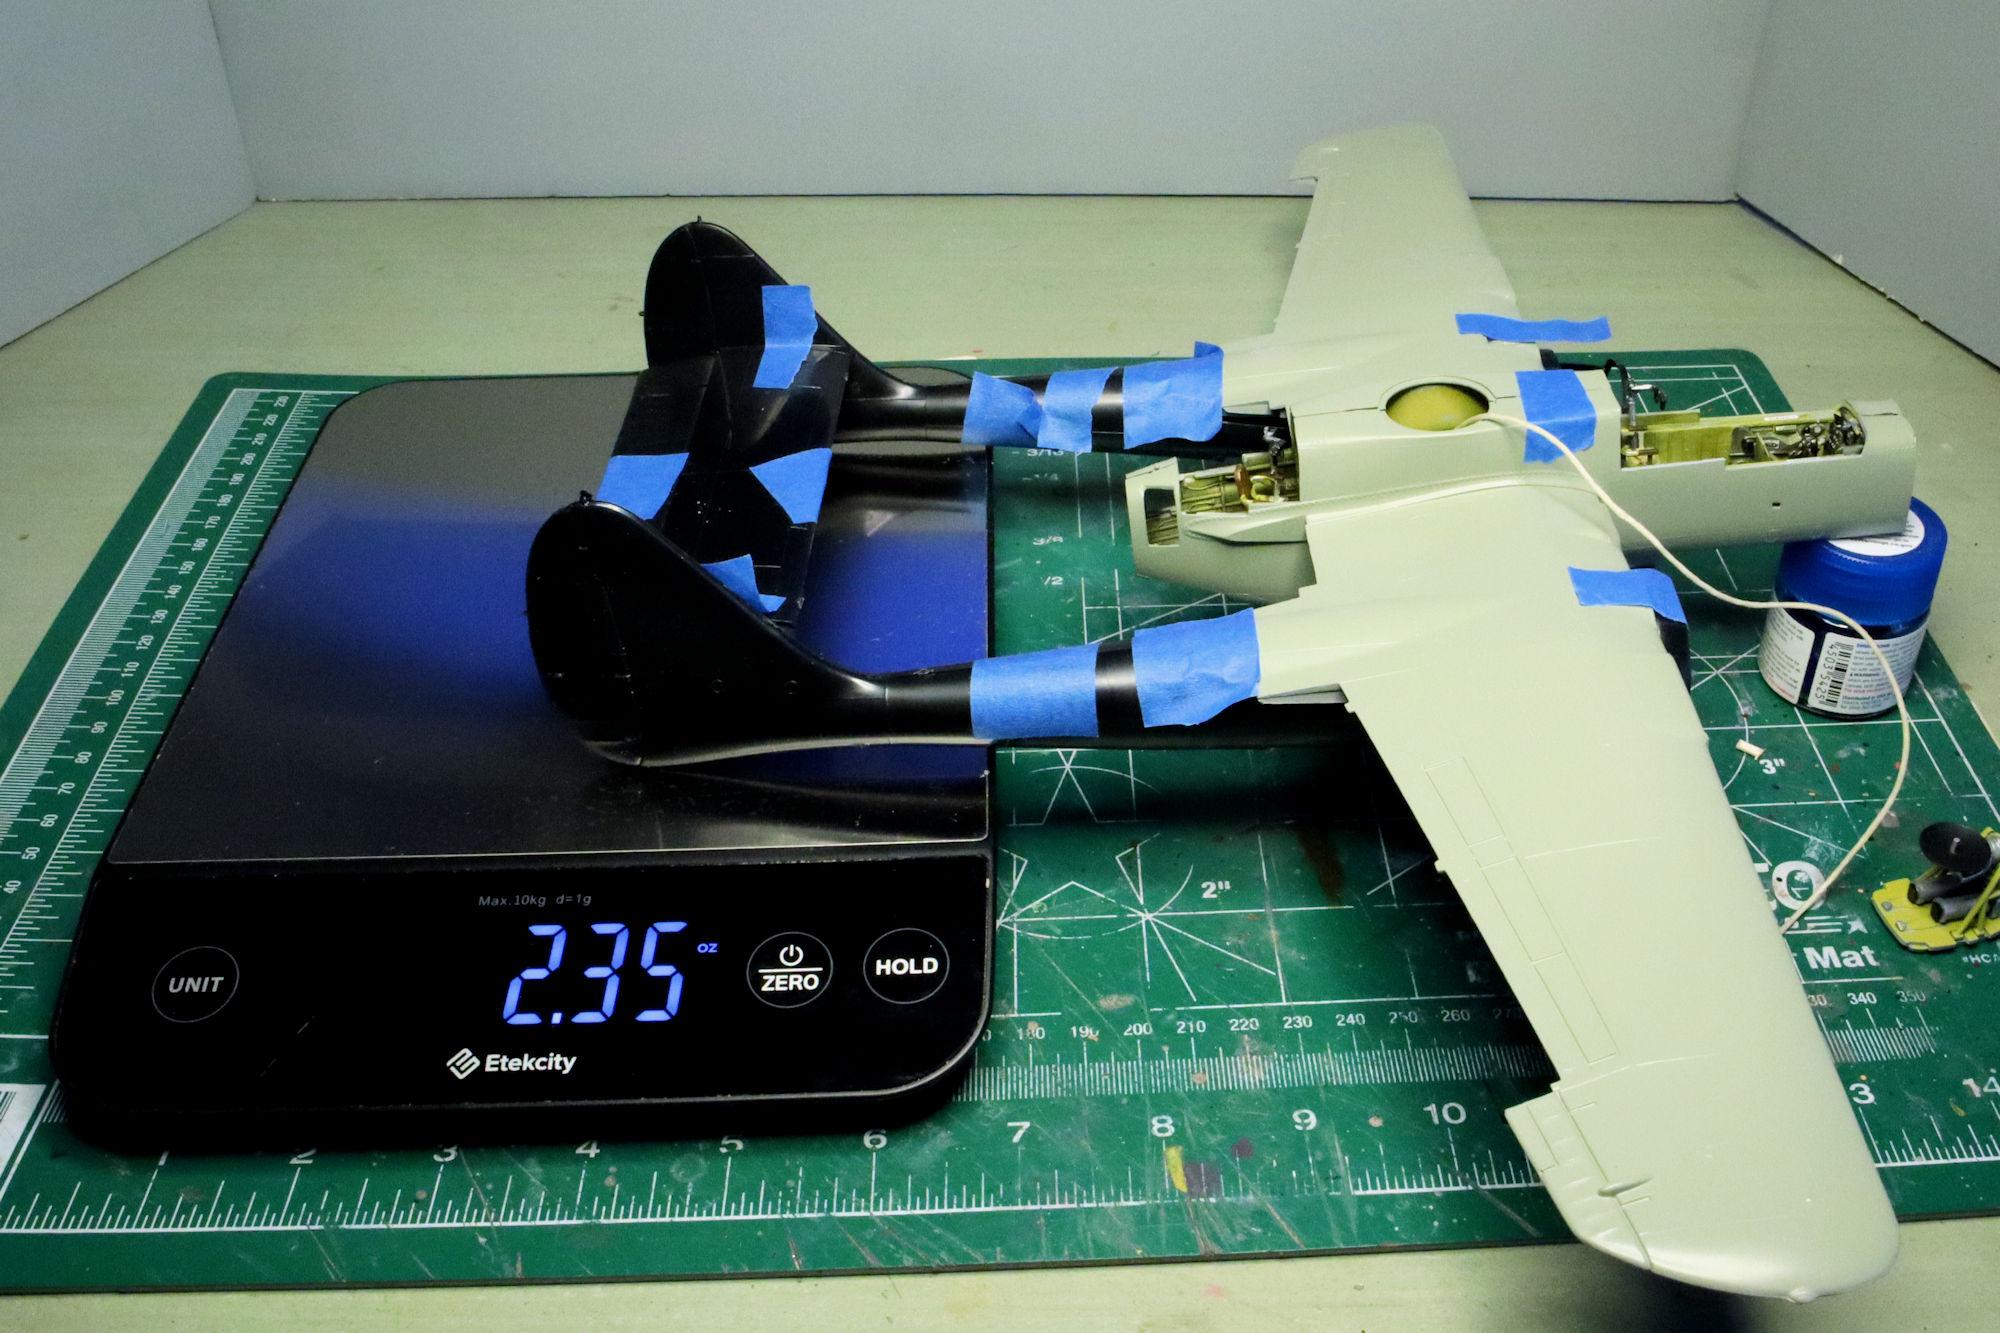
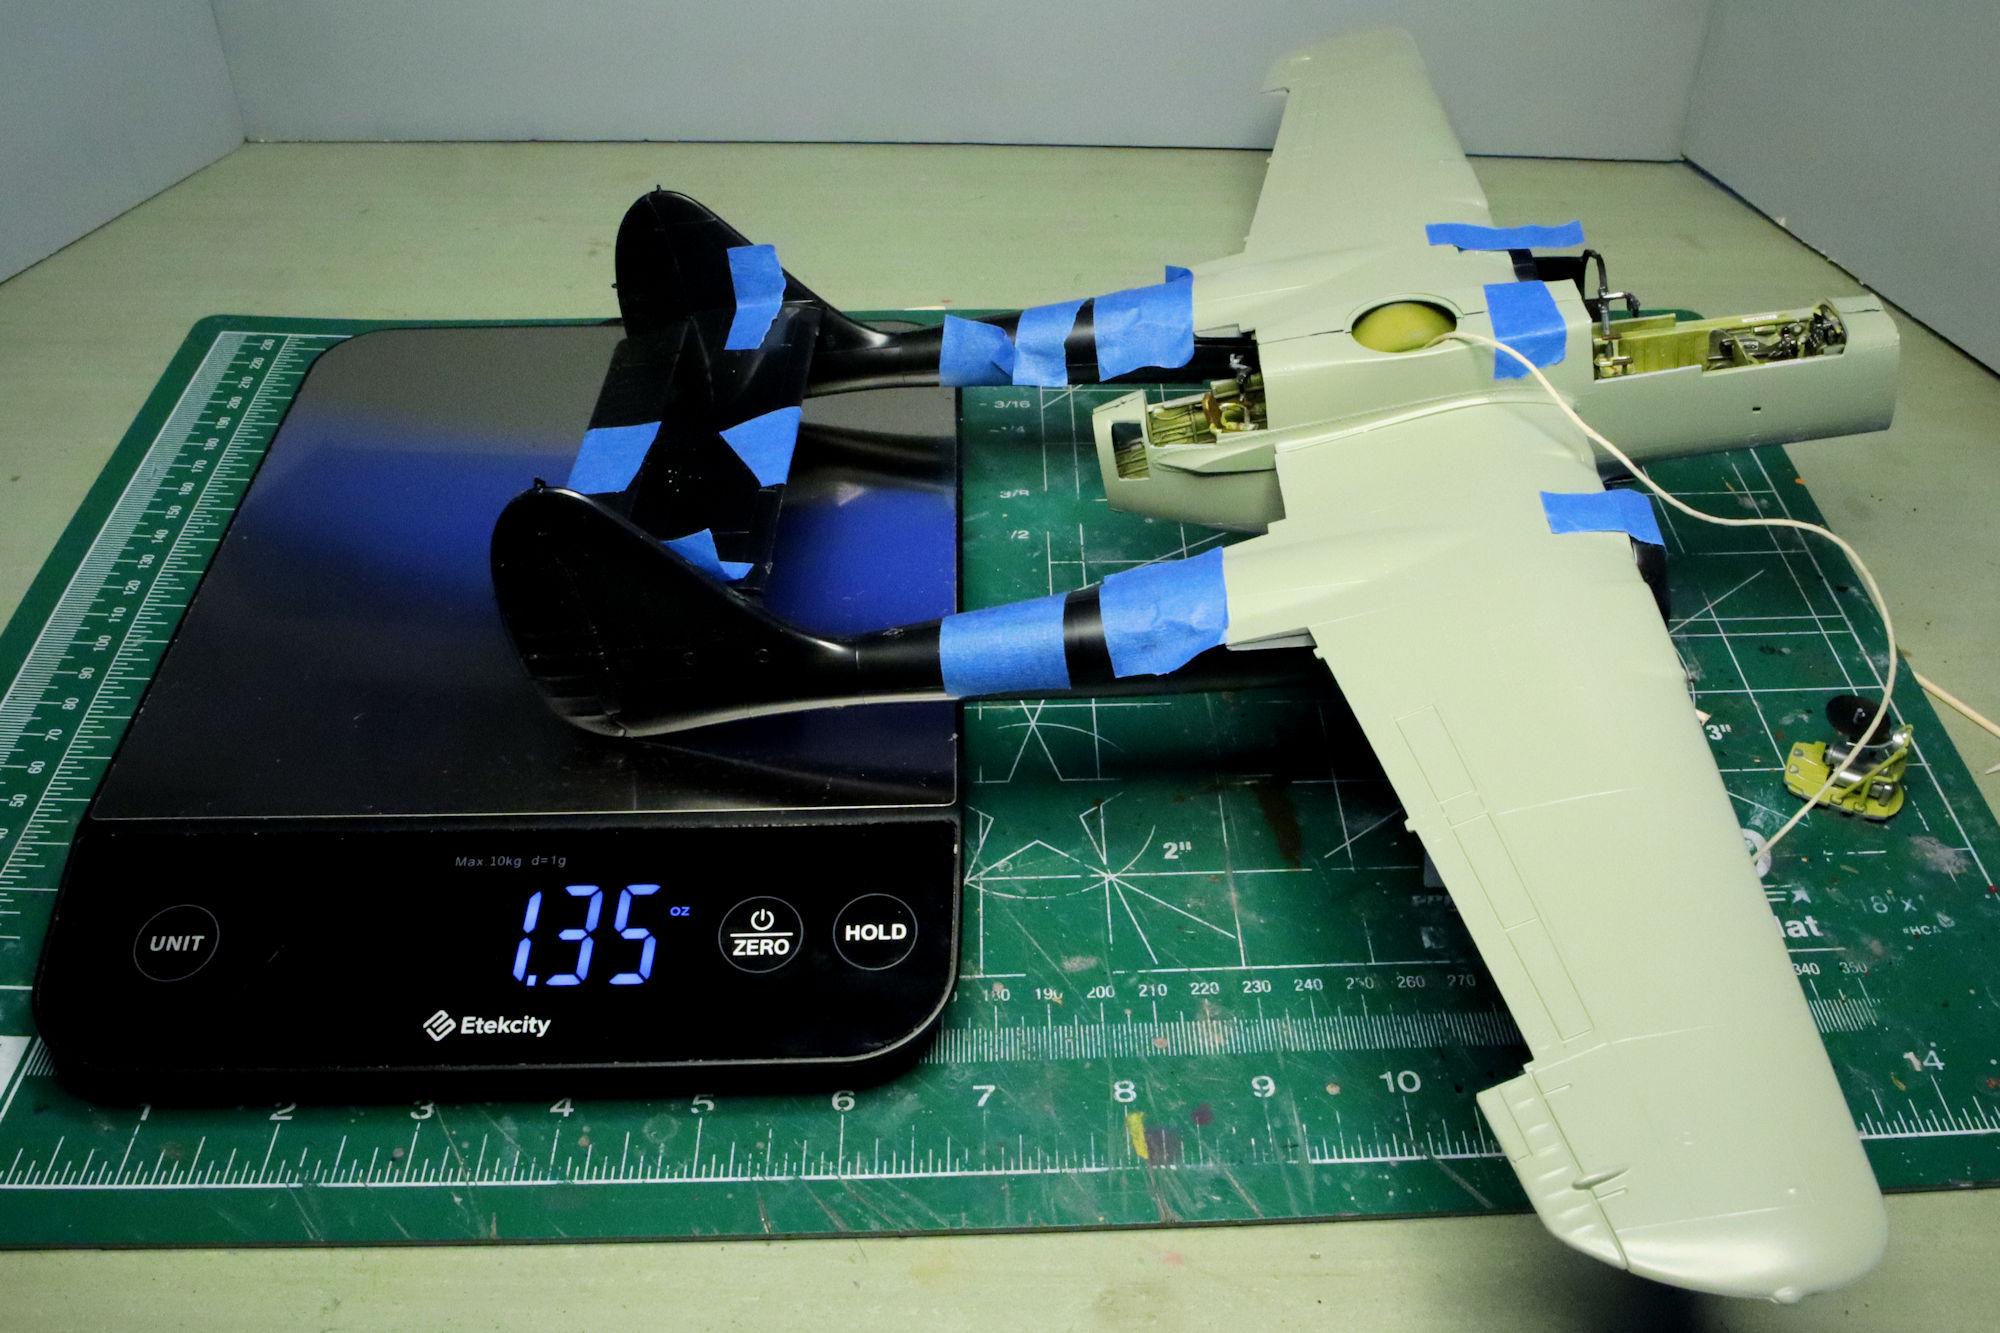
Hello Everybody! Here's the next update on the Black Widow. I'm trying to get an estimate of how much weight I'll need to put in the nose to allow the plane to balance on its wheels without having to place the clear styrene support at the rear of the fuselage. My initial guess was 2oz. According to this, I wasn't too far off. When supported farther back, closer to the ideal center of mass, the weight needed is less. I'm not yet sure what this means. ? If anything. Whatever it means, if I intend to put 2oz in the nose, it should go in the space behind the radar unit. The wheel weight shown weighs in at 1.7oz including the steel clip. It would seem that I have my work cut out for me if I intend to balance this plane using weight. As always, thanks for taking some time out of your day to follow along. Please feel free to post any comments and thoughts you may wish to share. David G.
-
I've used both of those types Jim. But after so many disappointments and errors, I'm just not confident enough to take the chance on messing up whatever I'm working when there are so many good, easier to use alternatives. I appreciate your effort but I've accepted that epoxy is one thing I'm just not going to be proficient working with. -sorry Thank you DJ! I've used PVA on clear parts and PE for years. It is much more forgiving and easier to clean up. Thank you Carl! David G.
-
Beautiful detail on the chassis, engine and interior! The lighting effects for the dash look great! David G.
-
Aw, that's just mean I know it's supposed to be that simple it just never really works out that way for me. It usually ends up sticky and never really cures completely. I can eyeball-mix ink and cosmetics colors and I'm really good at specking formaldehyde index ratios for edematous cases but epoxy just eludes me. If I have to be bad at something that's one of the things I can live with. And I use it so infrequently that it usually gets dried up in the tubes by the time I get around to needing some again. -D- I've tried that Len, thanks though. There are enough alternatives that I can usually find a work-around. -D-
-
Gotta love a good mockup, it looks great! David G.
-
I'm just not good with epoxy. I've never been able to get the mix right. -D-
-
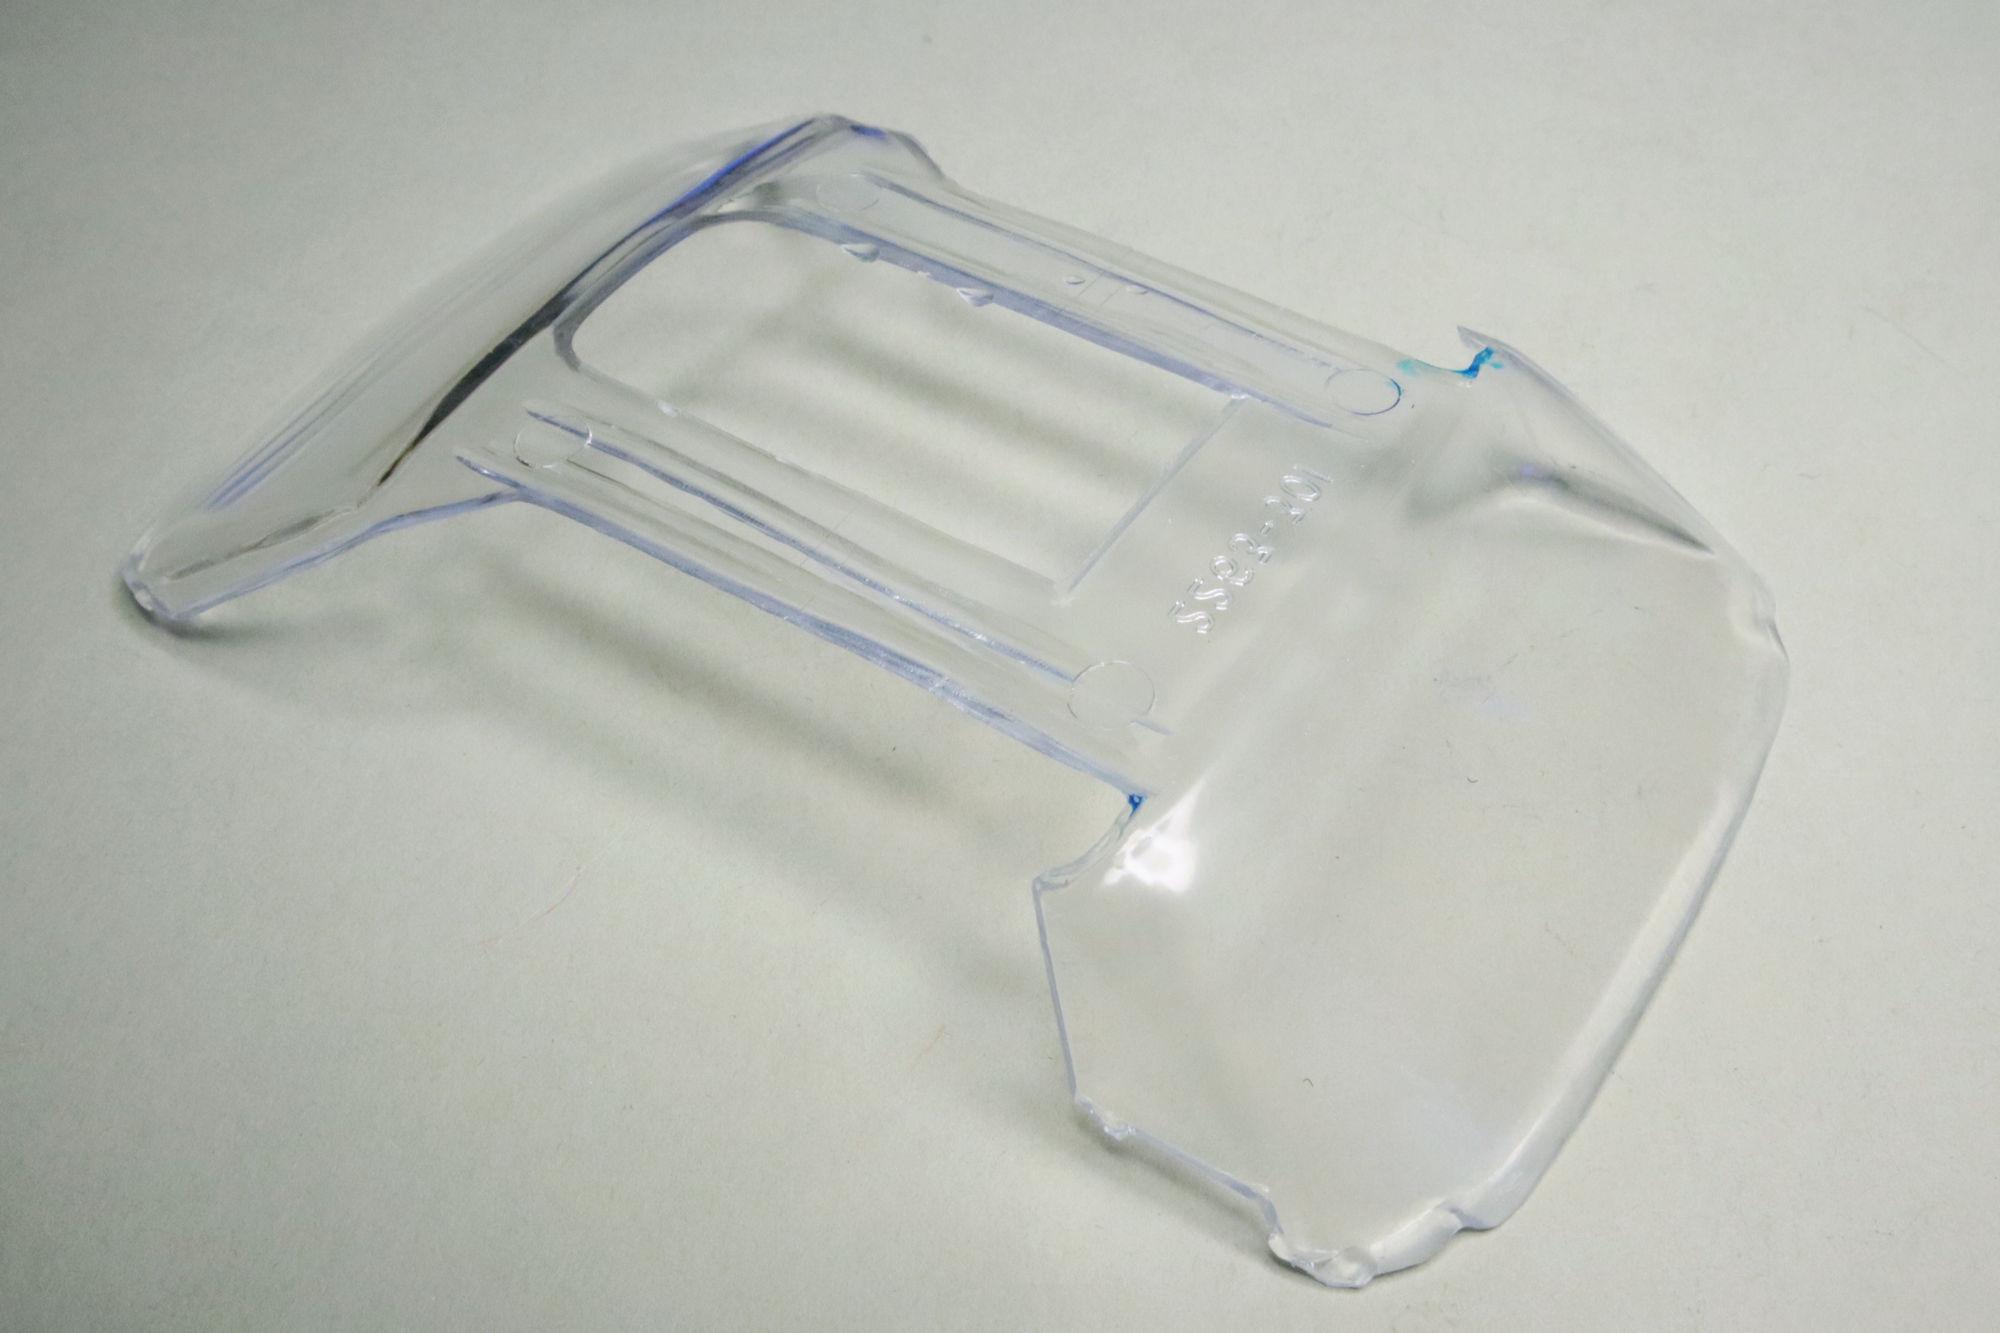
Hello Everybody! I'm in the midst of a push to finish the Galaxie, just feeling a need to get something completed. The last kit I got done was back in June... Early June! Well, enough whining, on with the update. Based on a suggestion from a fellow model builder (thanks @customline) I decided to remove the tint strip form the windshield all together. I think this is much better. I used come canopy glue to glue in the canopy (more PVA). When I test fitted the canopy it kept wanting to pop out of place so I want to allow the glue to cure as completely as possible. After two days it still has some curing to do. As always, thanks for looking and thanks for any thoughts or other comments you may wish to share. David G.
-
You really have some detailed thought processes behind planning this build, impressive! David G.
-
Just water. It's a water-based glue. The best known example would be Elmer's. -D-
-
'57 El Nomado
David G. replied to customline's topic in WIP: Model Trucks: Pickups, Vans, SUVs, Light Commercial
It may have been one of the other Tri-Fives too, 55 maybe? -D- -
'57 El Nomado
David G. replied to customline's topic in WIP: Model Trucks: Pickups, Vans, SUVs, Light Commercial
Nice work fixing the hood trim/bumper mess Jim! I think I've seen other kits where this was done correctly out of the box, I just don't recall which ones they were. I guess that mispaint on the badge is moot. David G. -
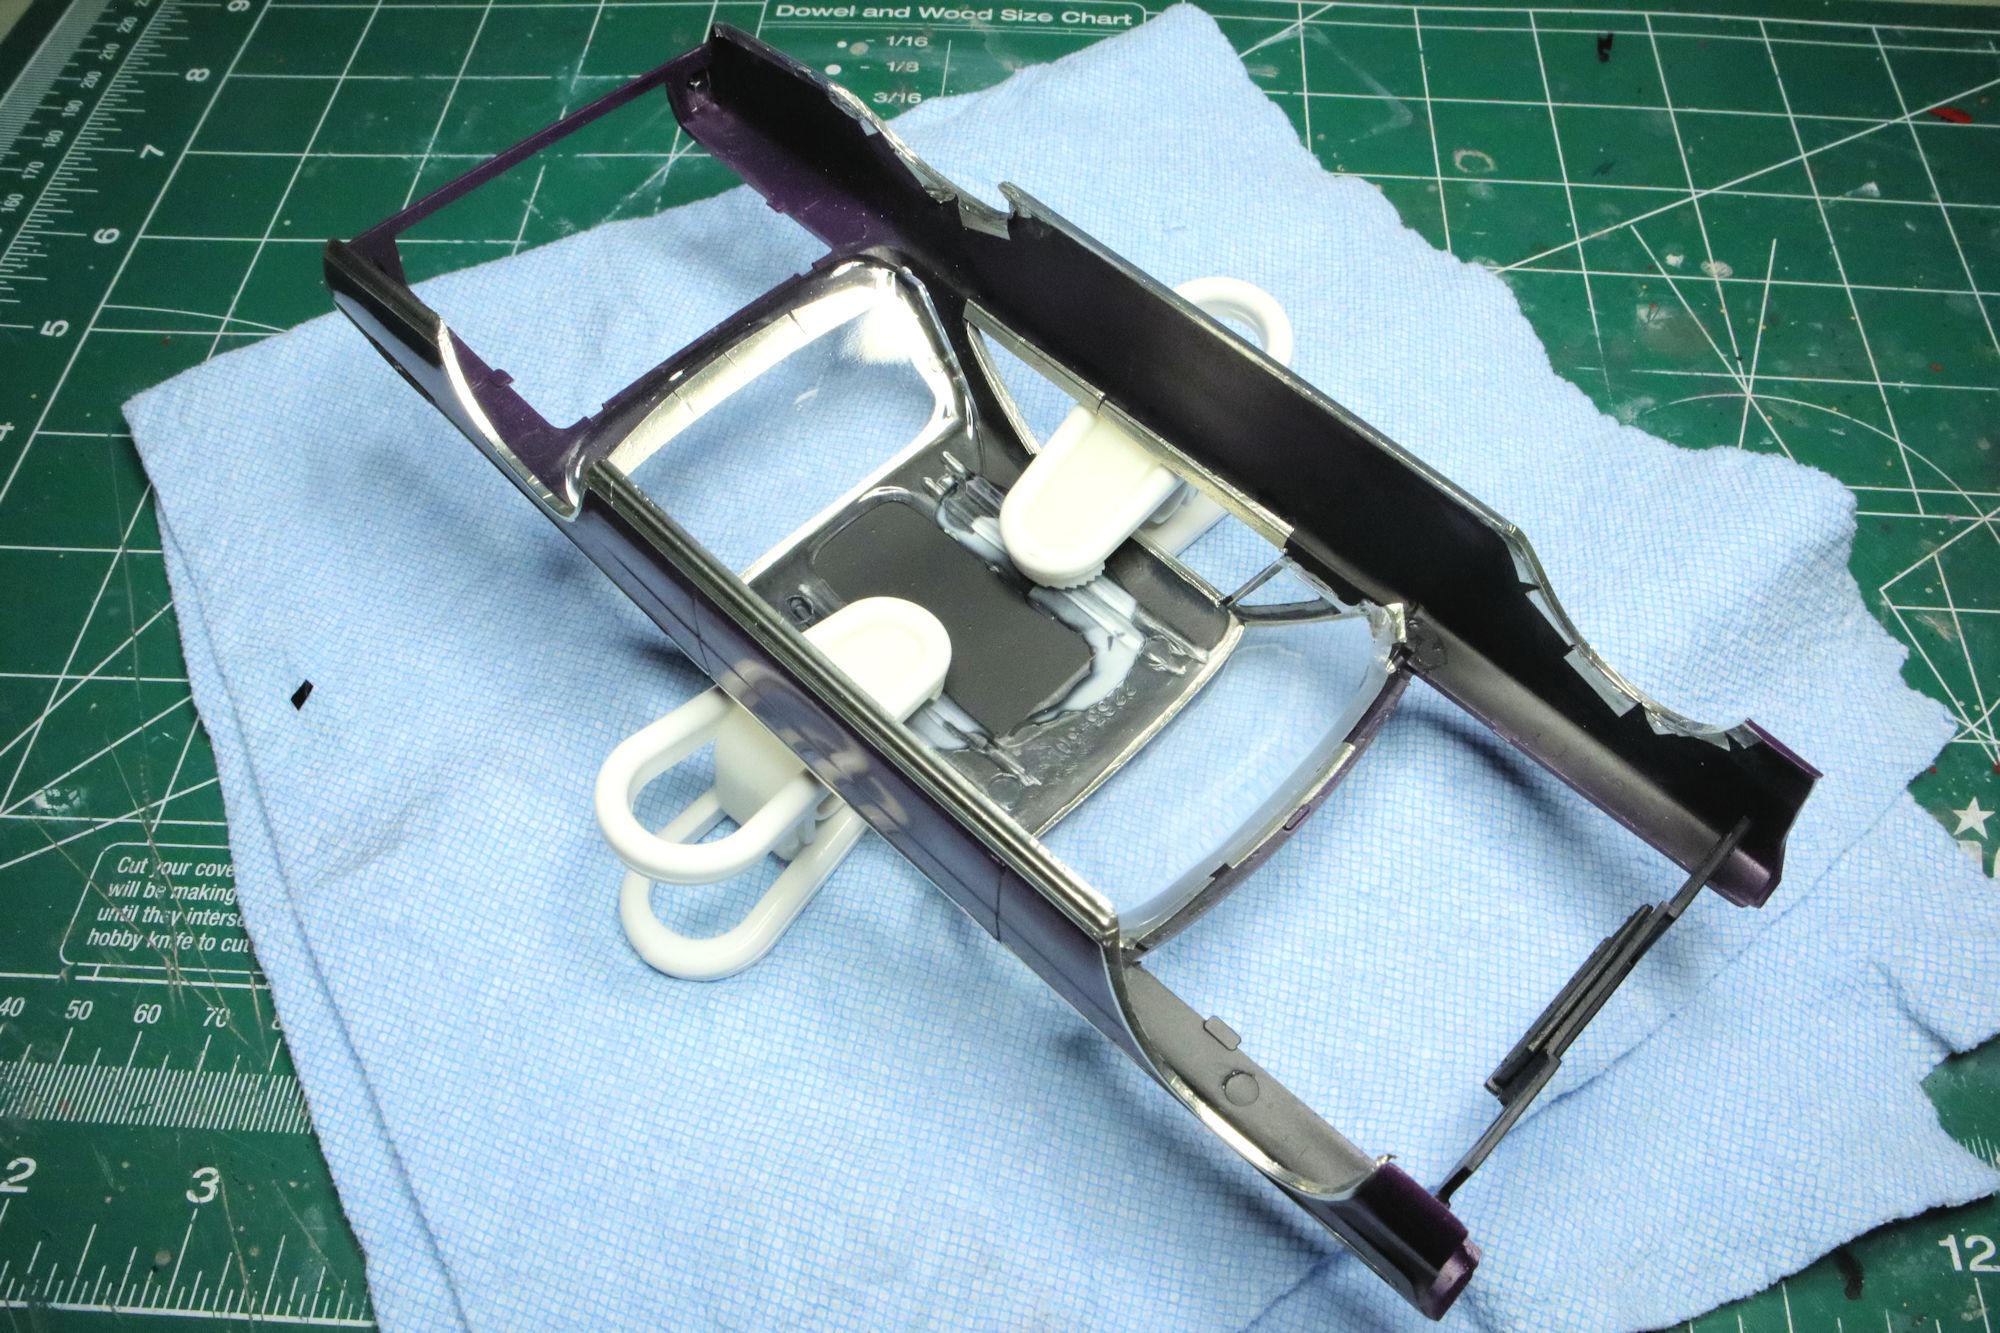
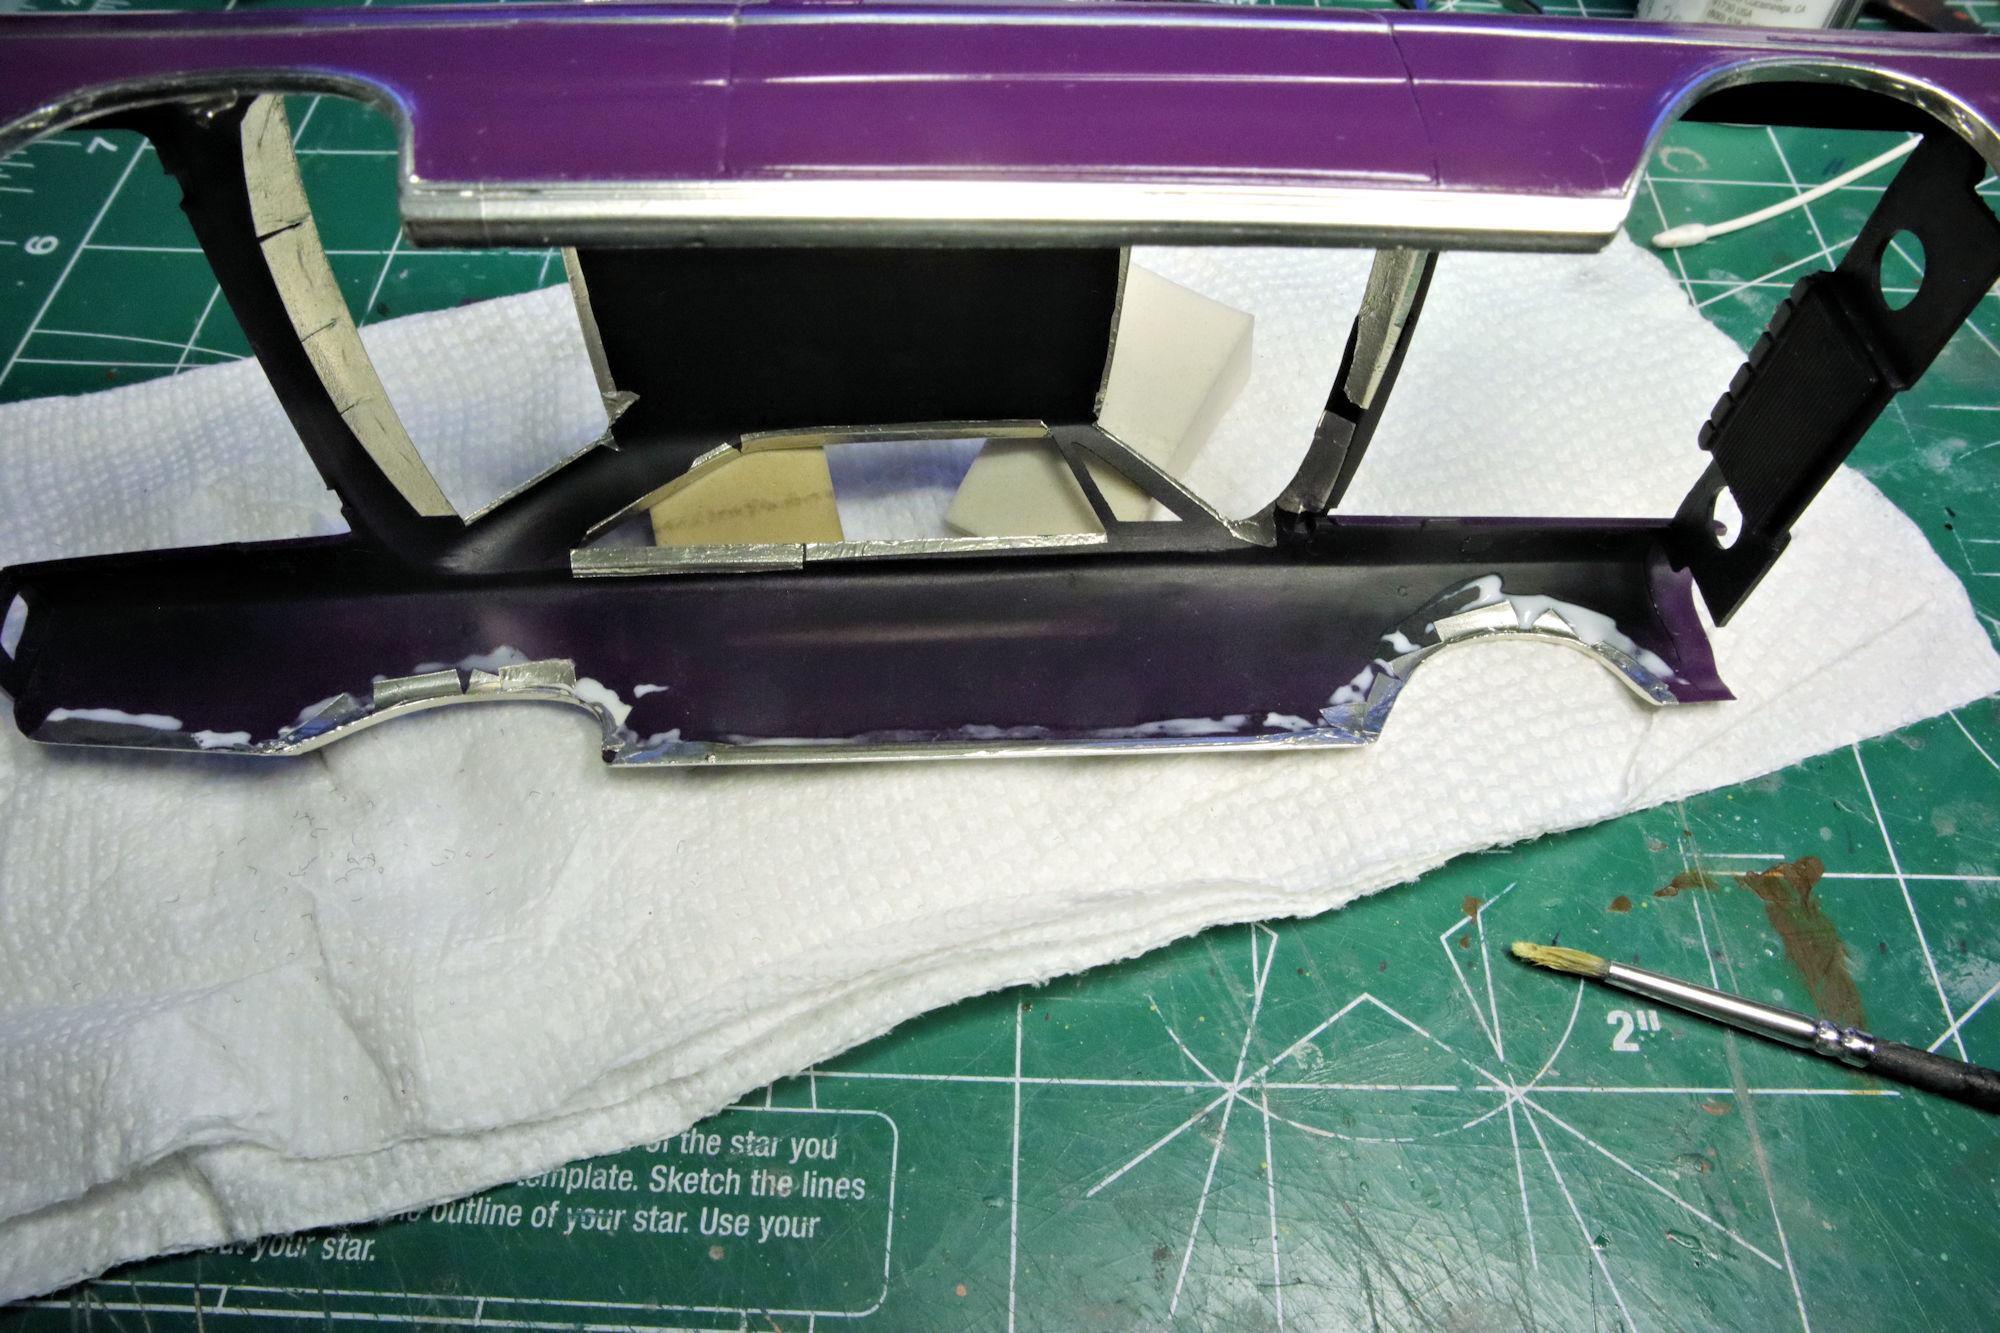
Thank you Robert. I used to just paint the foil ends to hold them down but the batch I had prior to this one had such poor adhesive that I had to use PVA just to apply the foil and get it to stick. That's when I started gluing the inside edges instead of just painting them. The new batch of foil has better adhesive and will probably stick well enough without but I've developed the habit so I may as well just stick with it. Thank you Will, that makes two of us. David G.
-
The headers are shaping up quite nicely Daniel. For the color, have you considered either chrome or just raw steel? David G.
-
An excellent recovery on the peeled paint Robert! The rest of it is coming along exceptionally! David G.
-
Beautifully detailed interior, fabulous looking detail, great build. David G.
-
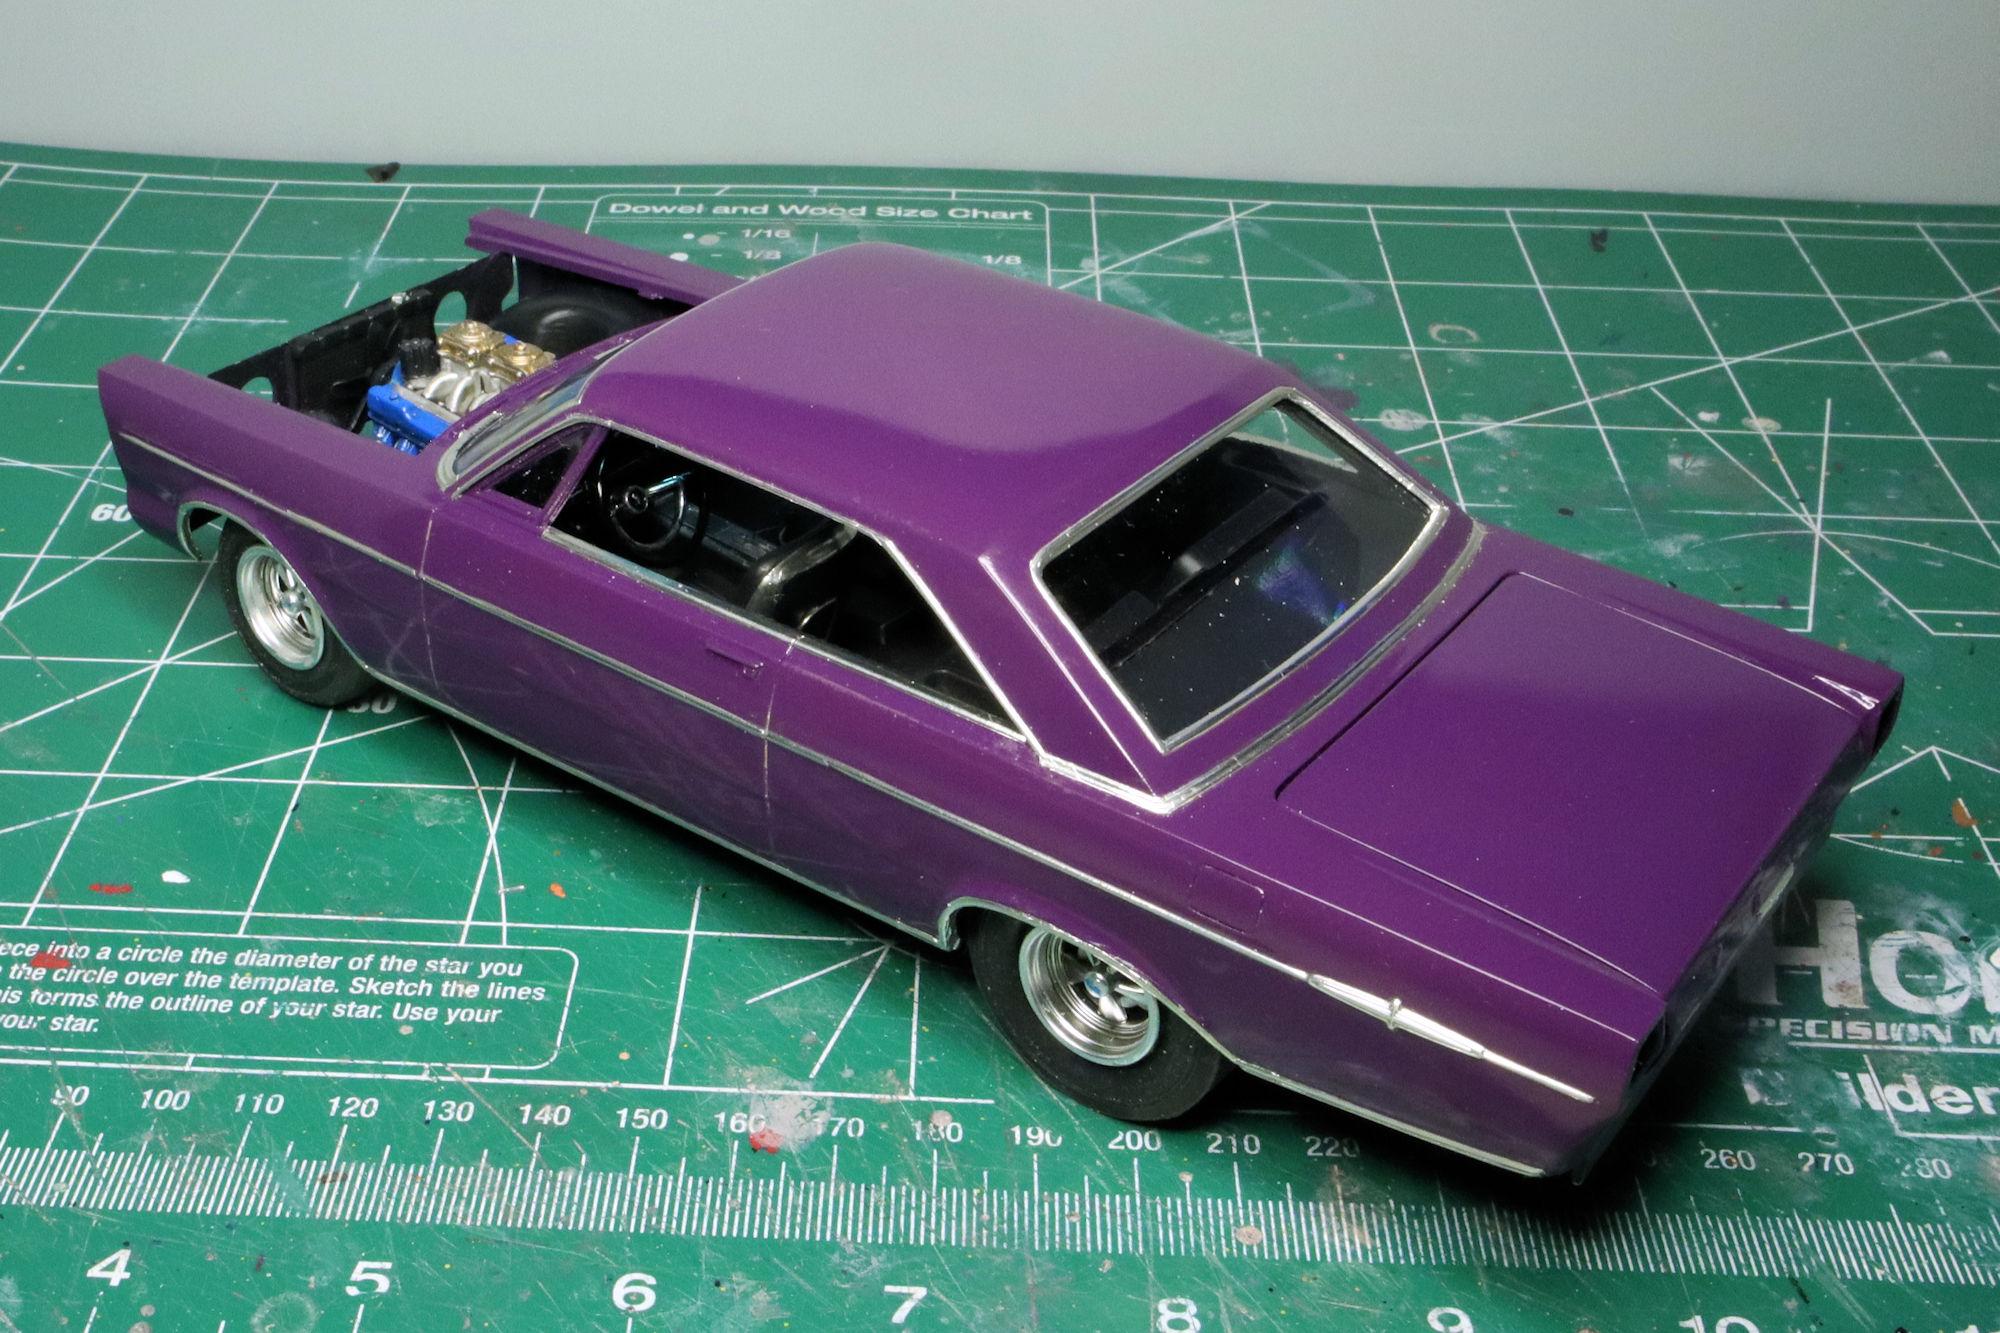
Hello Everybody! It's been a few months since I've finished a build and I'm eager to wrap this one up. It's soooo close. When completing a foil job I often brush the inside edges with a diluted PVA solution to help keep then from working loose in the future. Yes! The foil is complete! It also looks like the trunk will work as planned too. Just cleanup, detail painting and then final assembly (I hope). As always, thanks for taking the time to look and please feel free to post any comments you may have. David G.
-
Great progress on this one! Everything looks great. David G.
-
Wow, that's a lot of aircraft!
-
WIP: Custom AMT 1:25 1964/65 Chevy El Camino
David G. replied to JNordgren42's topic in WIP: Model Cars
That interior is looking fabulous Jason! David G. -
'57 El Nomado
David G. replied to customline's topic in WIP: Model Trucks: Pickups, Vans, SUVs, Light Commercial
I like the floor choice you made for the cargo area and the chassis looks great. David G.