David G.
-
Posts
11,326 -
Joined
-
Last visited
Content Type
Profiles
Forums
Events
Gallery
Everything posted by David G.
-
Thank you Greg. "Great Minds" and all that, eh? I do try my best, thank you Carl. David G.
-
The wheels look great! I would certainly use the opened grille. I did that on my 55 and I'm quite happy with the way it turned out. "Shinkicker" That just made me smile. Nicely done! David G.
-
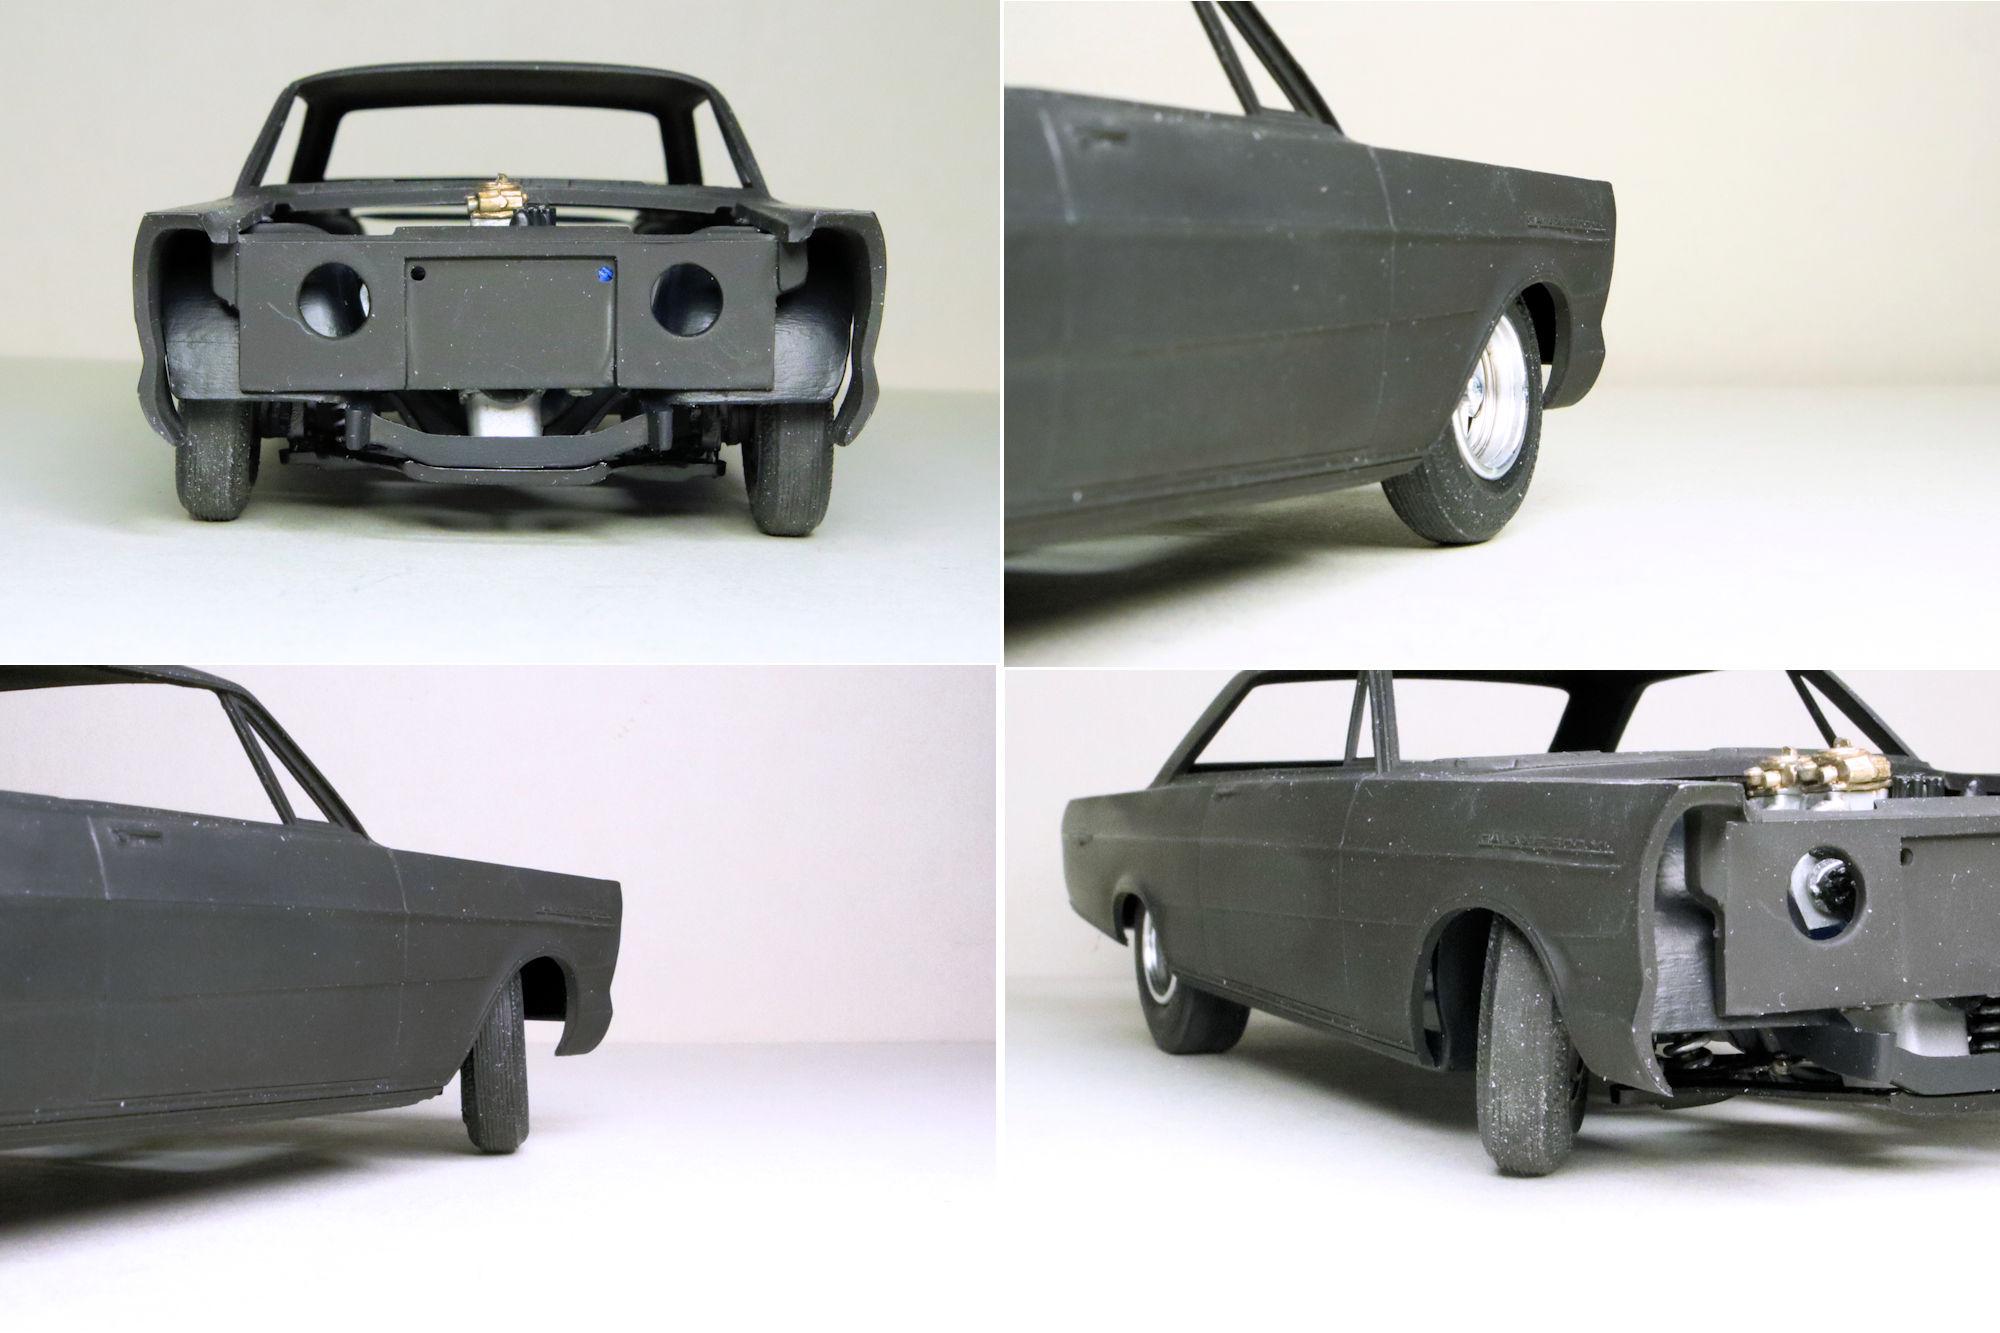
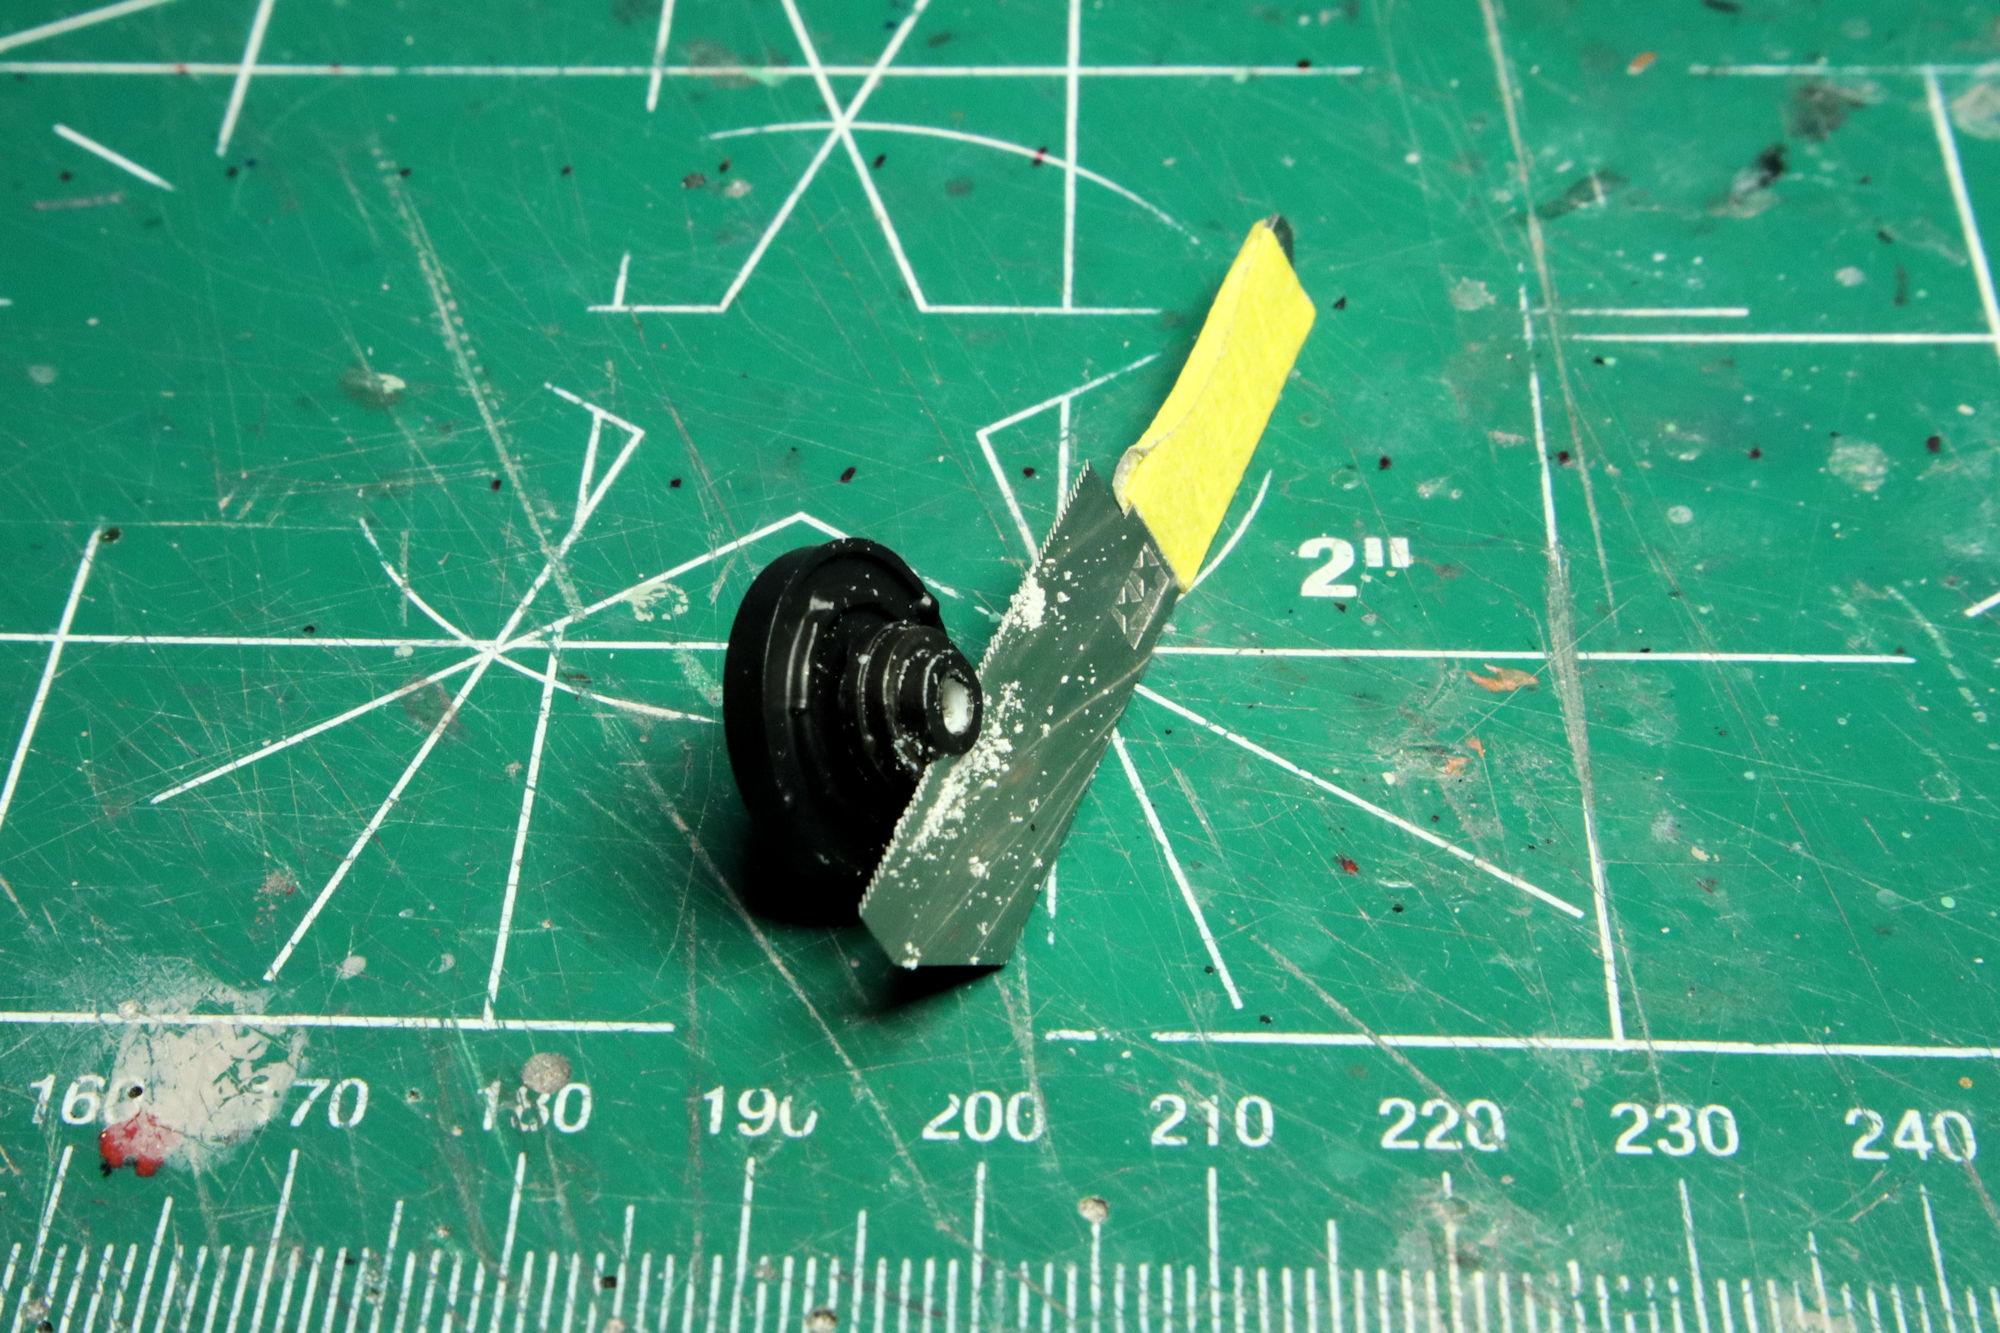
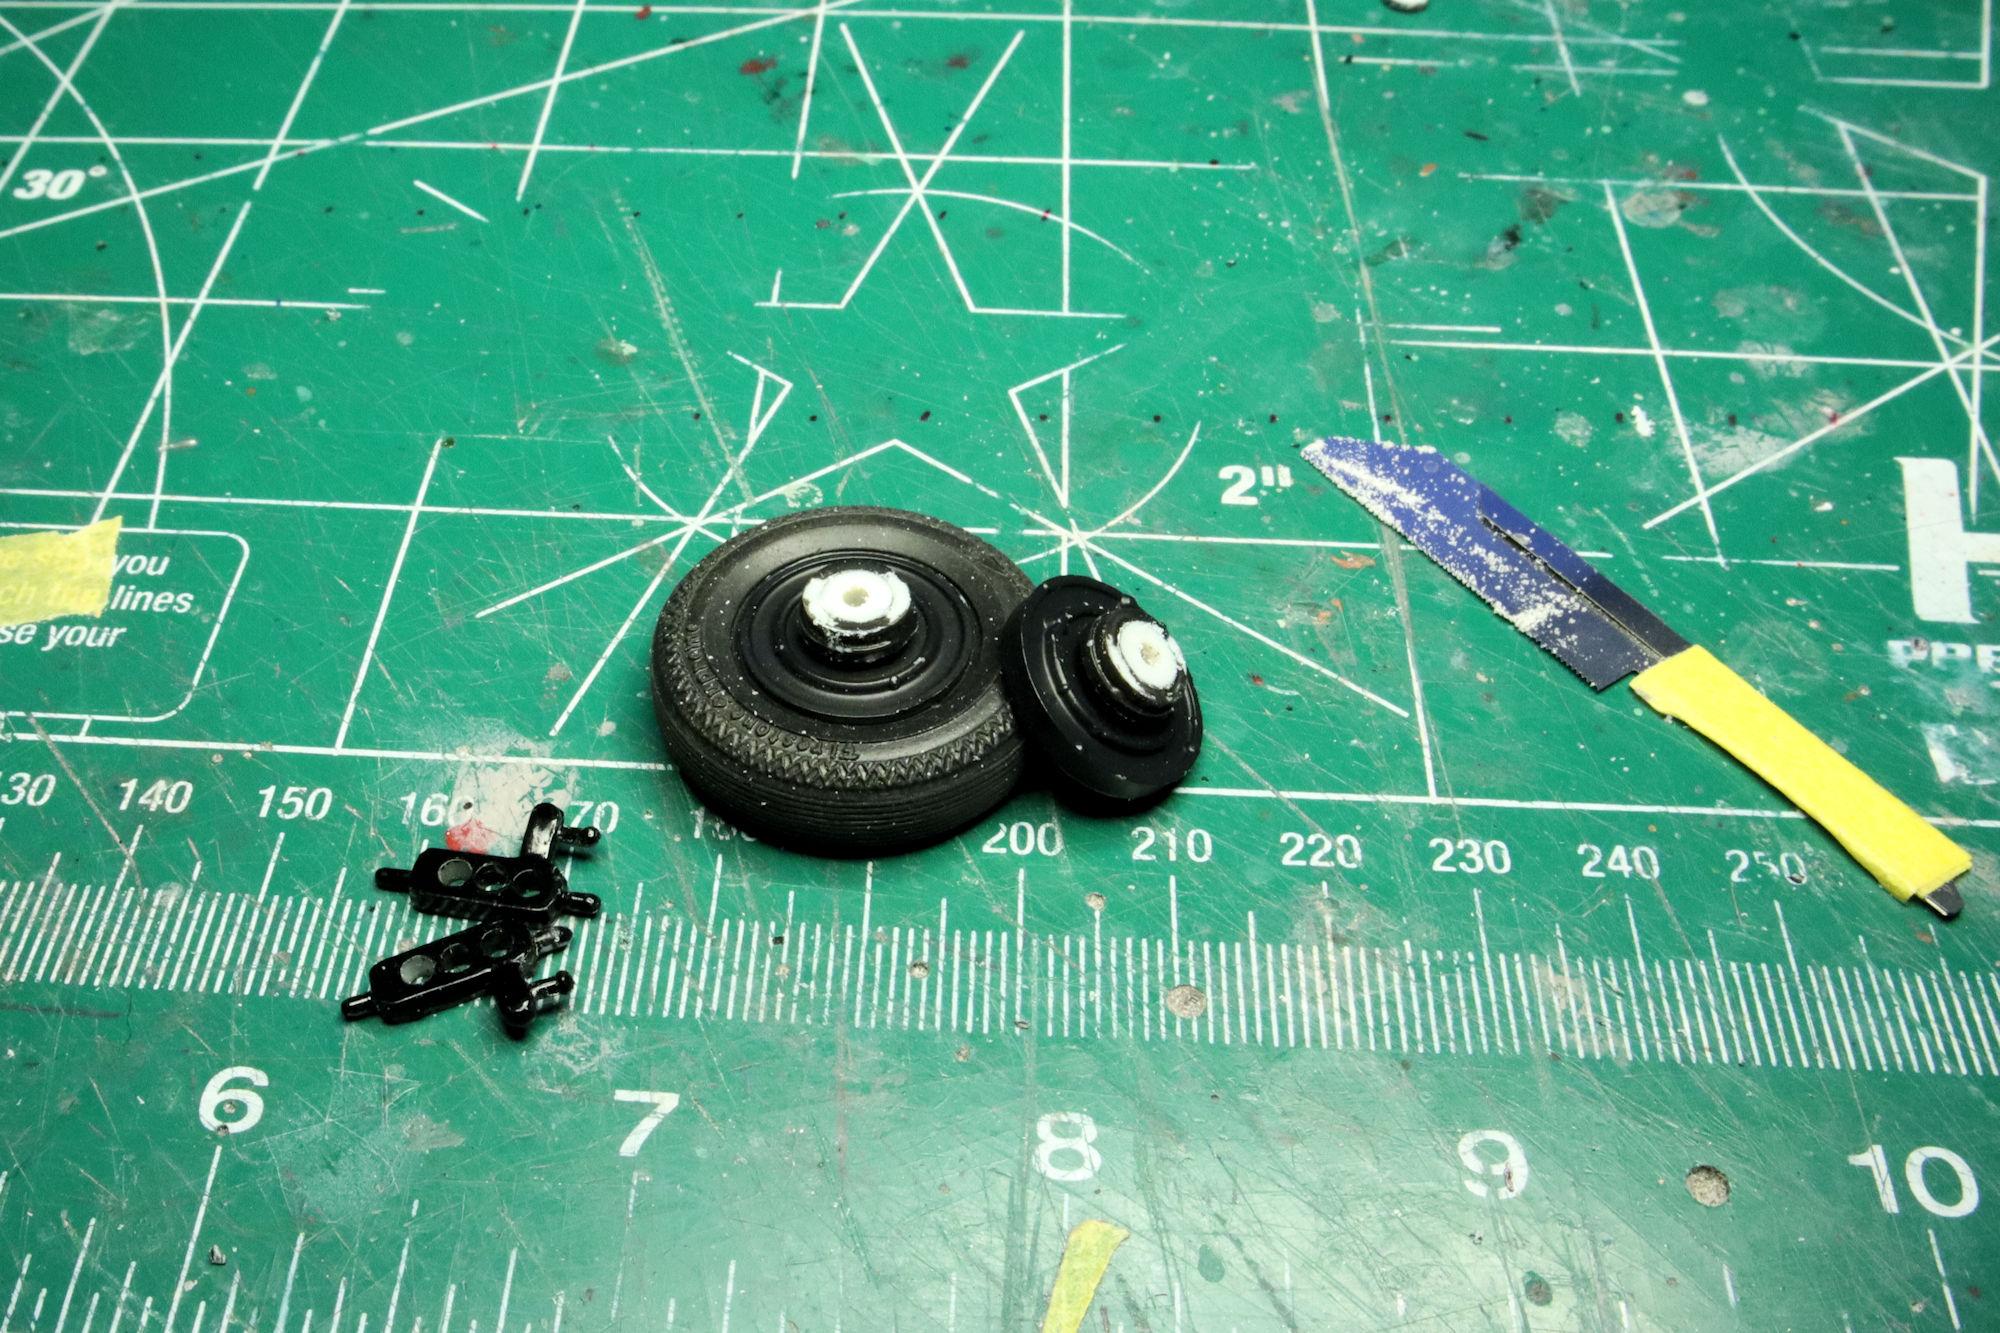
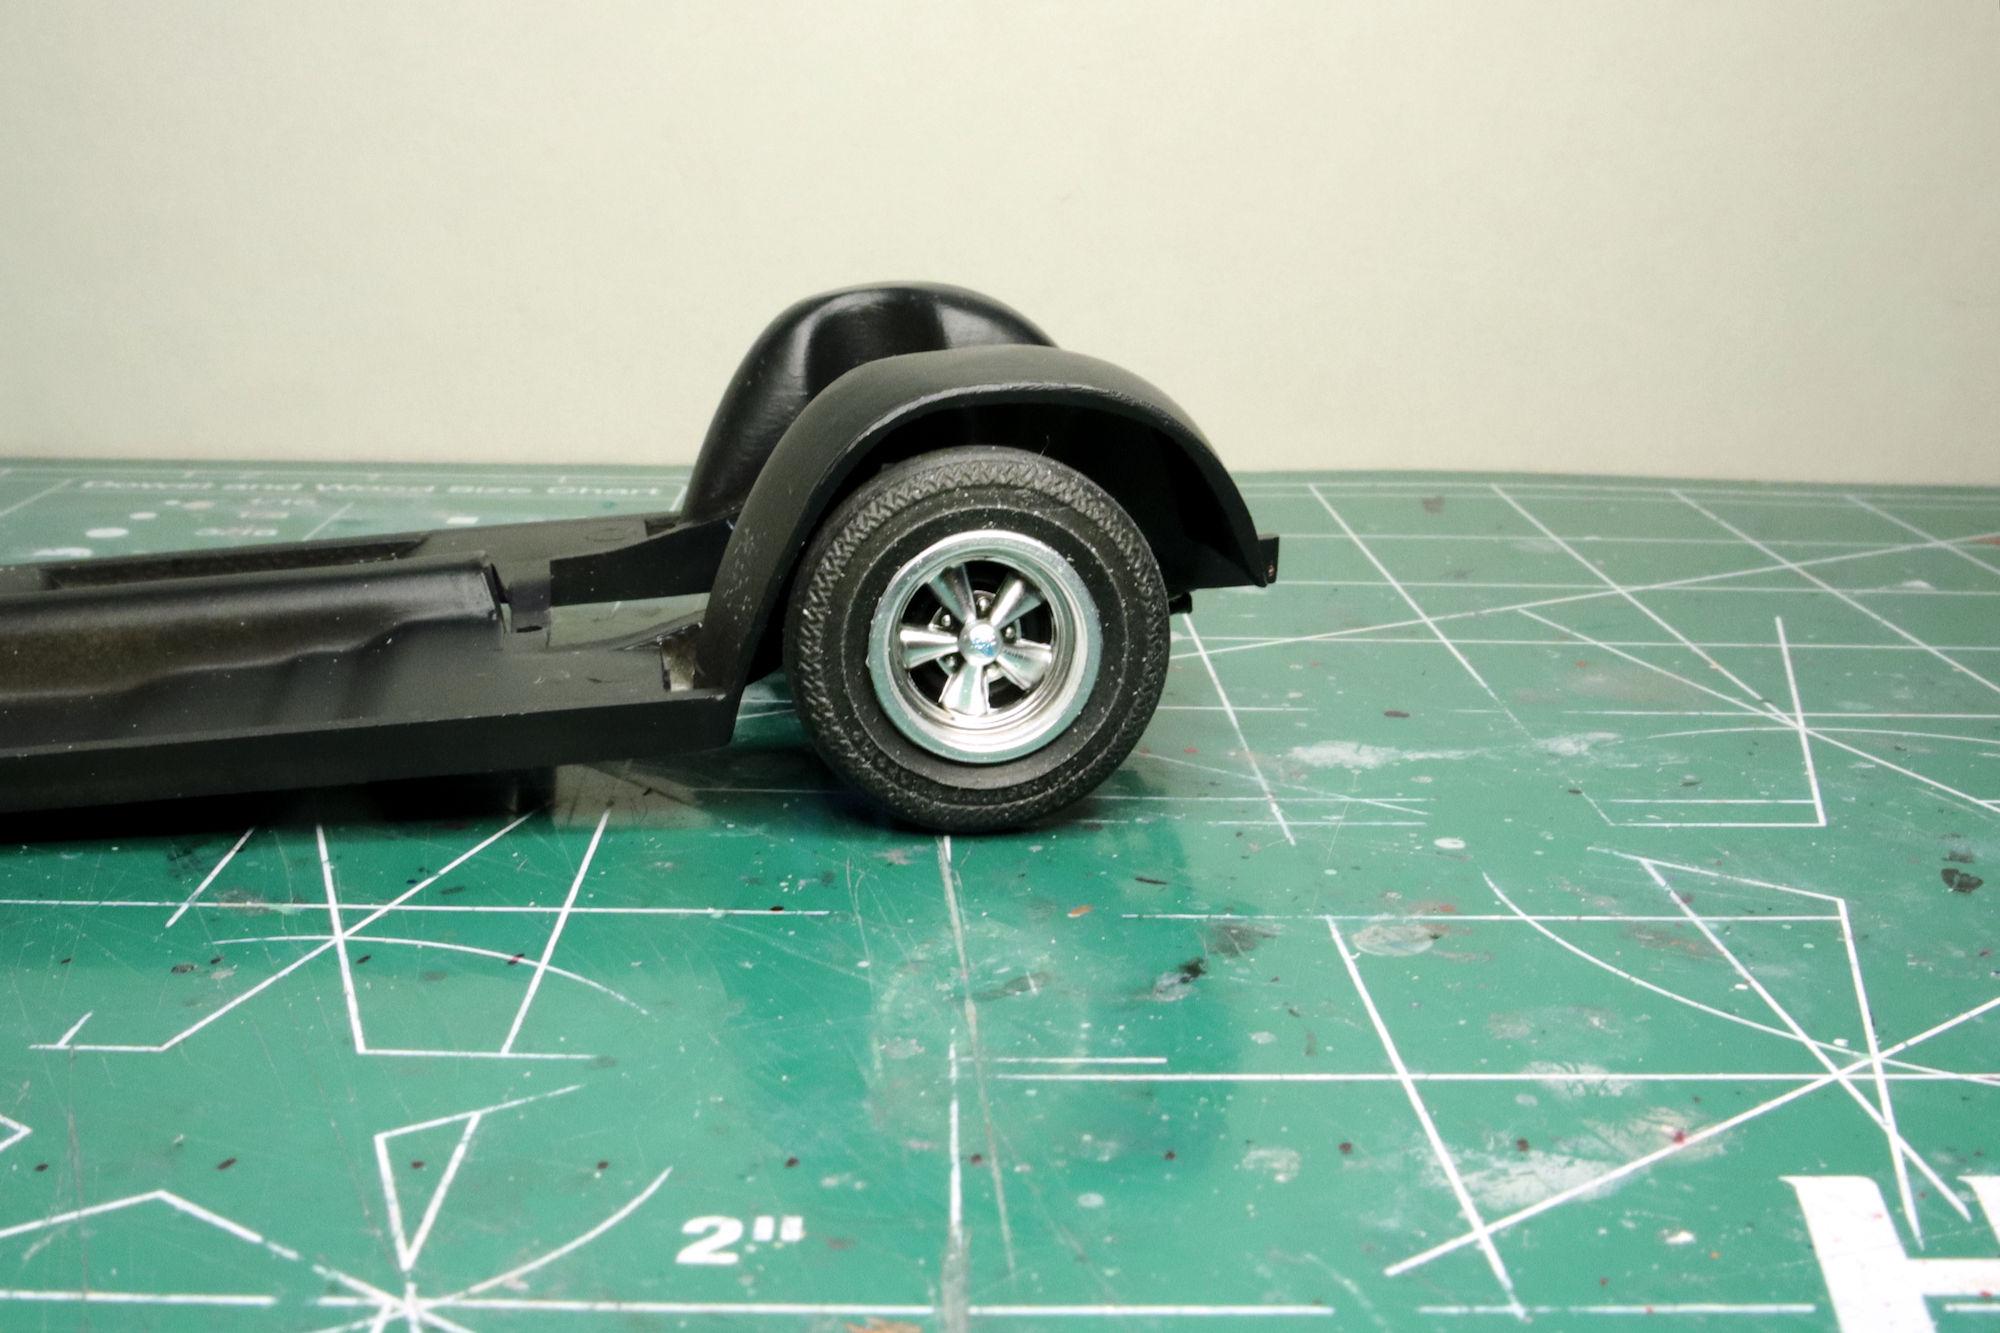
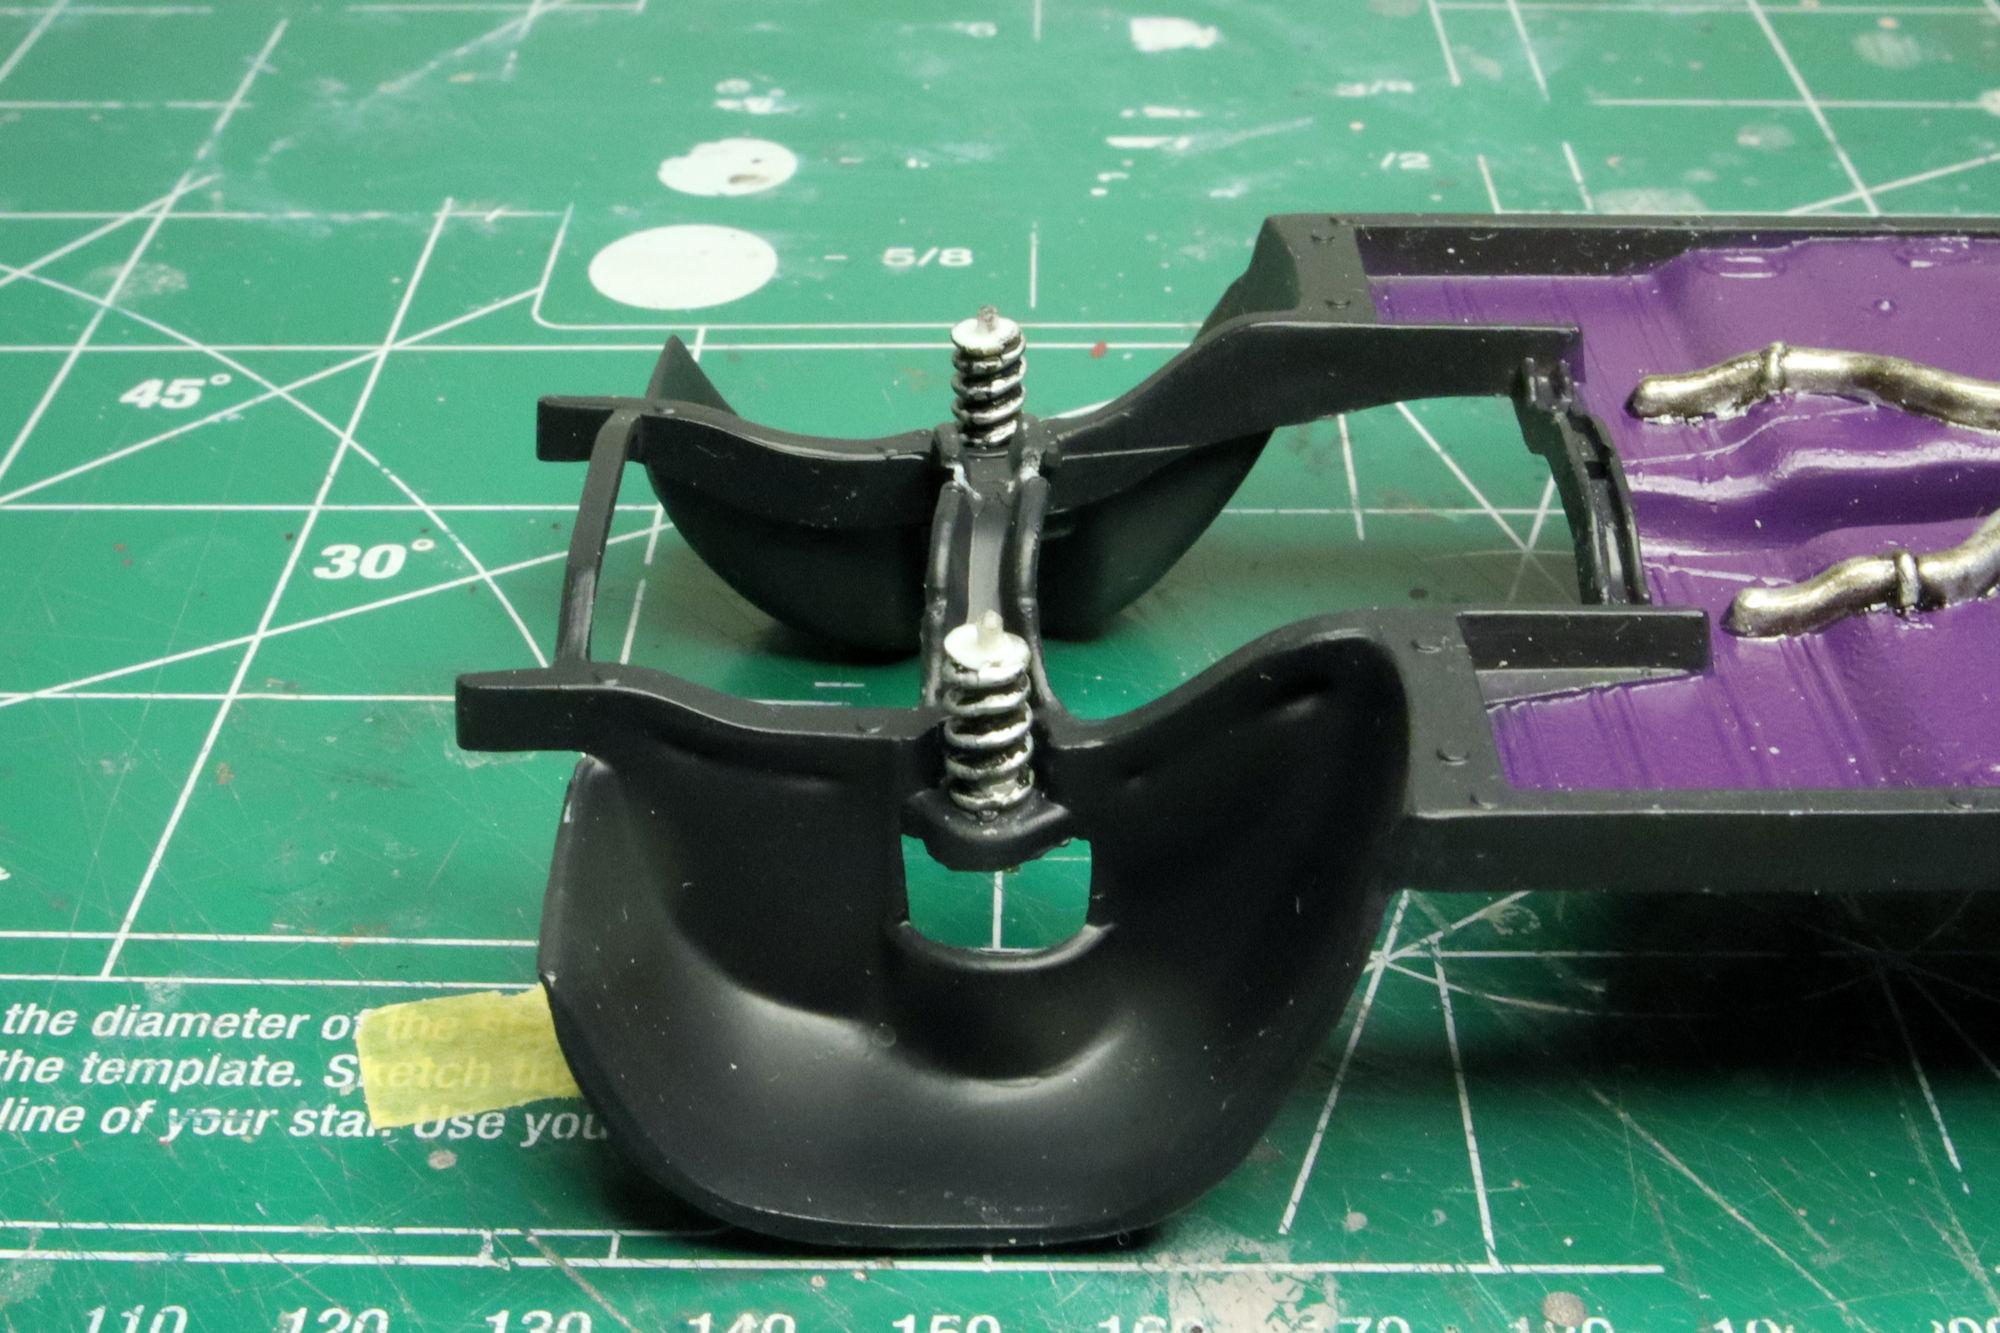
Hell Everybody! It's time for the next update on the 1965 Ford Galaxie 500 XL. In reassembling the front suspension, I found during one of the test fits that the front wheel track was a bit too wide for my liking. Not an uncommon thing to happen in model kits with poseable front steering. So using the part AMT identifies as "Front Wheel Hub" as a guide, I sawed off about 2mm from each of the wheel hub stubs. This will allow the wheels to tuck in a little closer to the steering knuckles when assembled. Moving the wheels inboard allows for a more realistic ride height and allows the wheels to swing more naturally through their entire steering arc. As always, thanks for taking the time to look and please feel free to post a comment if the muse moves you. David G.

-
BMF can be tricky Jeff, it looks like you've done pretty good with it though. David G.
-
 Welcome back Si! I'm glad to know that you're still plugging away at this monster of a build. Thanks for keeping us up to date. David G.
 -
1:16 Gunze Sangyo 1937 Rolls-Royce Phantom III Sports Saloon
David G. replied to Anglia105E's topic in WIP: Model Cars
Nice progress on this David. David G. -
Thank you Pierre. David G.
-
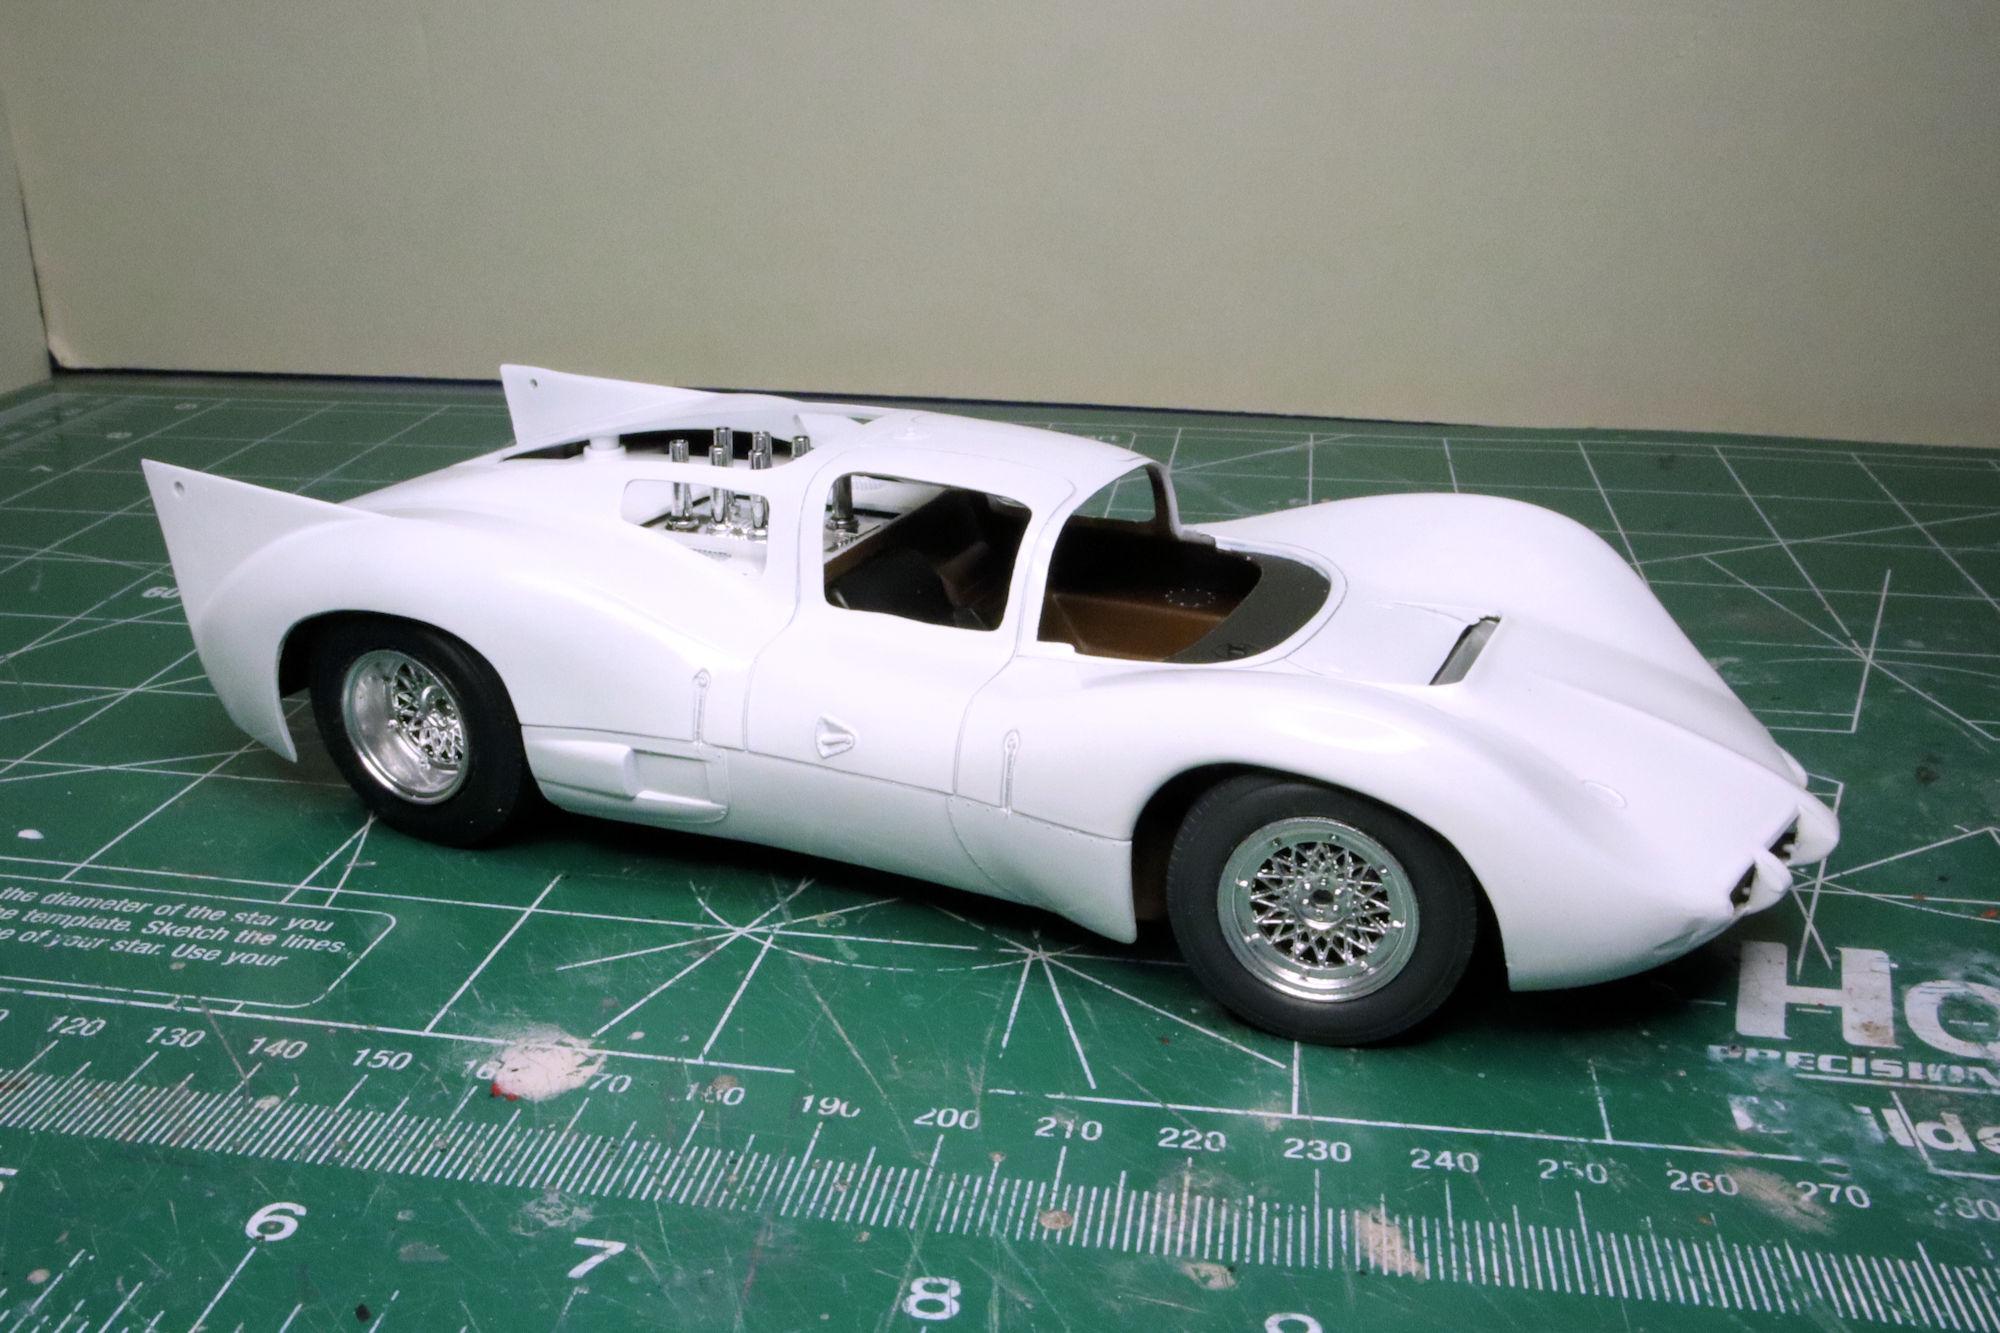
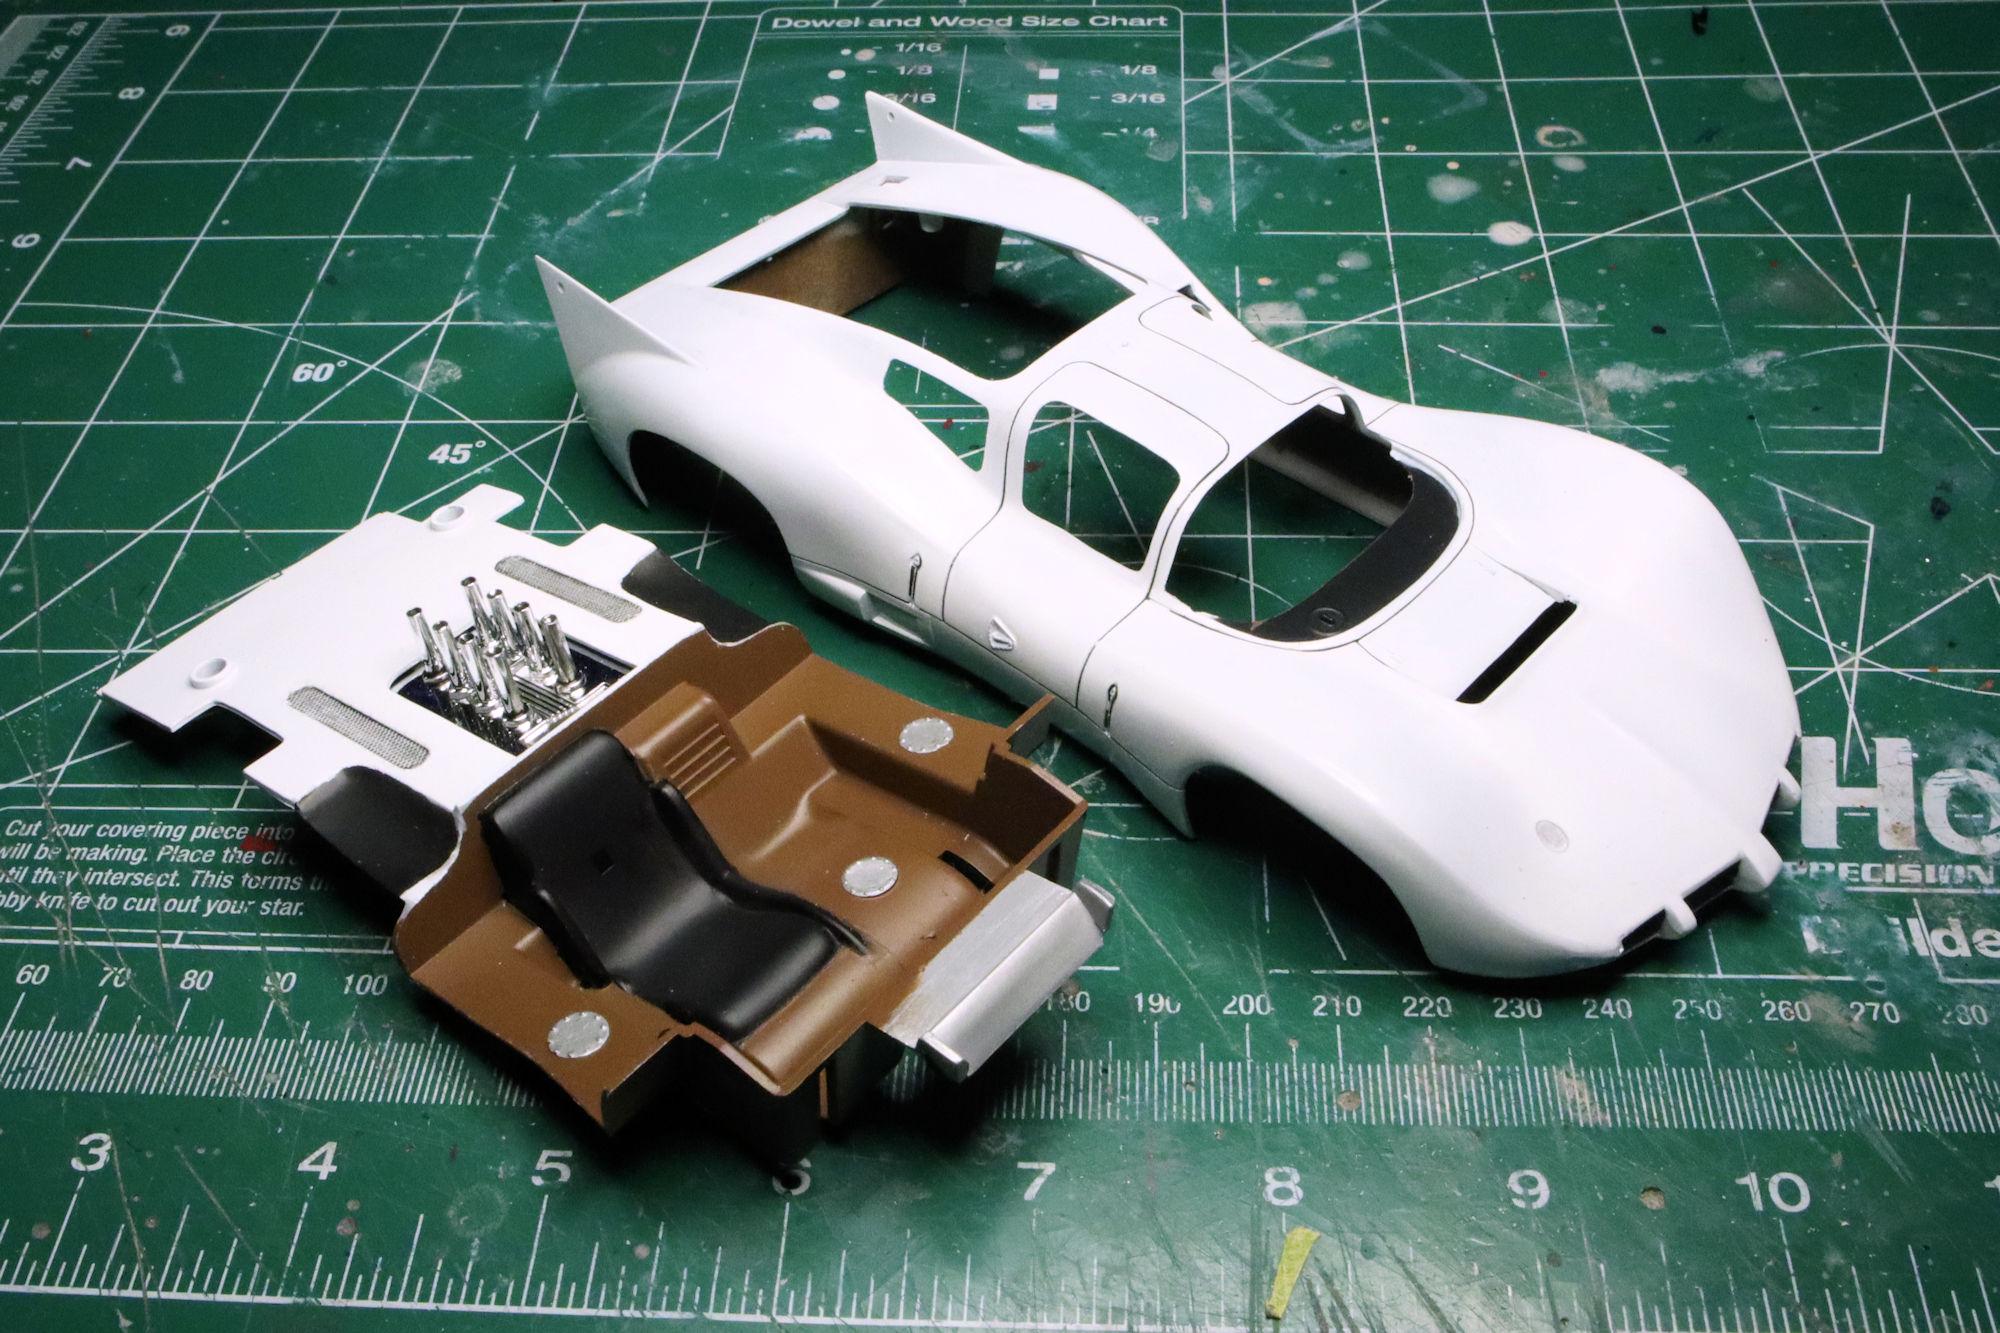
Hello Everybody! I don't usually post on Mondays but I'm getting too far behind in my updates, so here's one for the Chaparral. The first color coat looks pretty good, smooth even and clean. I'll let this cure for a while then do a little color sanding for a second coat. After letting the paint rest for several days, I darkened the panel lines with some Tamiya Panel Line Accent Color then waited a couple of days for that to dry before removing the blobs. Here we are all washed up and ready for the (hopefully) final coat of paint. This will work as the final coat. The panel lines look pretty good. For a build like this I'll usually darken the panel lines with Tamiya's black Panel Line Accent Color before each coat of primer or paint. I find that doing this creates a subtle shadow in the panel lines when the final coat of paint is applied. These look pretty good but maybe just a little lighter than I would like. I have some Tamiya Panel Line Accent Color in grey which I have yet to try. I may give that a shot. As always, thanks for taking the time to look and please feel free to post any comments that you may find stirring in the recesses of your soul. David G.
-
1:16 Gunze Sangyo 1937 Rolls-Royce Phantom III Sports Saloon
David G. replied to Anglia105E's topic in WIP: Model Cars
Well, that's about as tidy a bit of work as it gets! Nicely done and a good outcome! David G. -
Having the correct parts can be important. Even if no body else knows that they're correct, we do. Sometimes that's what matters most in a build. David G.
-
Roger that! That does make sense Len. Still, a new tooling of these classic Fords would be nice. David G.
-
STRIPPER with LOTS of PICTURES * repainting a Beetle
David G. replied to Edward Gore's topic in WIP: Model Cars
That cleaned up pretty well. It looks good and smooth which is not always the case after a trip to the purple pond. David G. -
1:16 Gunze Sangyo 1937 Rolls-Royce Phantom III Sports Saloon
David G. replied to Anglia105E's topic in WIP: Model Cars
Nice progress. David G. -
Who doesn't love a mock-up? Let's see yours!
David G. replied to Belairconvertable's topic in WIP: Model Cars
Hello Everybody! AMT's 1965 Ford Galaxie 500 XL with a 3mm lift in the back and a stock ride height in the front. The perfect stance for a weekend warrior! Cheers! David G.
-
Paint, assembly, detail and finish, it all looks perfect! And the lighting effects are the cherry on the sundae! David G.
-
It's still a pretty shade of blue and nicely painted too. David G.
-
I do remember the comment you mentioned Len. AMT really did a good job with their tooling on the '57 Ford kit I just built... such a difference between the two kits. Maybe it's time for a new tooling of this kit. David G.
-
Monogram's 1955 Lincoln Futura Concept Car: WIP
David G. replied to David G.'s topic in WIP: Model Cars
Thanks Len. Yeah, I'm lovin' these little magnetic marvels. David G. -
Monogram's 1955 Lincoln Futura Concept Car: WIP
David G. replied to David G.'s topic in WIP: Model Cars
Hello Everybody! It's time for me to post another update for the Lincoln Futura, so here it is! This kit comes with two figures. The instructions indicate that if the figures are to be used, they need to be placed into the car before adding the steering wheel. This effectively makes them more or less permanent. However, I would like to retain the option of displaying the car without the figures. Or displaying the figures in a different car. Based on that, I decided that I would make the steering wheel removable. I've drilled out the dashboard and steering wheel to accommodate a set of 3mm micro magnets. One mounted in the steering wheel column and protruding about 1mm, the second one in the dashboard inset by about 1mm, giving the steering wheel a positive location point. That way it automatically aligns itself properly when installed. With just a click and a snap, it works as it should. Now I can display the model either with or without the figures. As always, thanks for stopping by to have a look, please feel free to sign the guest book on your way out. David G.
-
Wow, those are cool! I see a brass brush in their future. David G.
-
It's like I've said for a long time: "Model builders, we're problem solvers who create our own problems to solve!" I even put that quote in my signature line. Besides, I really saw it as a part of the ongoing assembly process. Indeed that's true. Taking the time to address the issue is where the difference lies. There's no blame to be had, it's an old kit. I'm sure everything fit much better fifty years ago when the molds were clean and sharp. It's like I used to tell my son when he was young: "To blame is to B-Lame. You don't want to be lame do you?" Awww, poor AMT. They try so hard. Thanks guys, you brought a smile to my Sunday morning. David G.
-
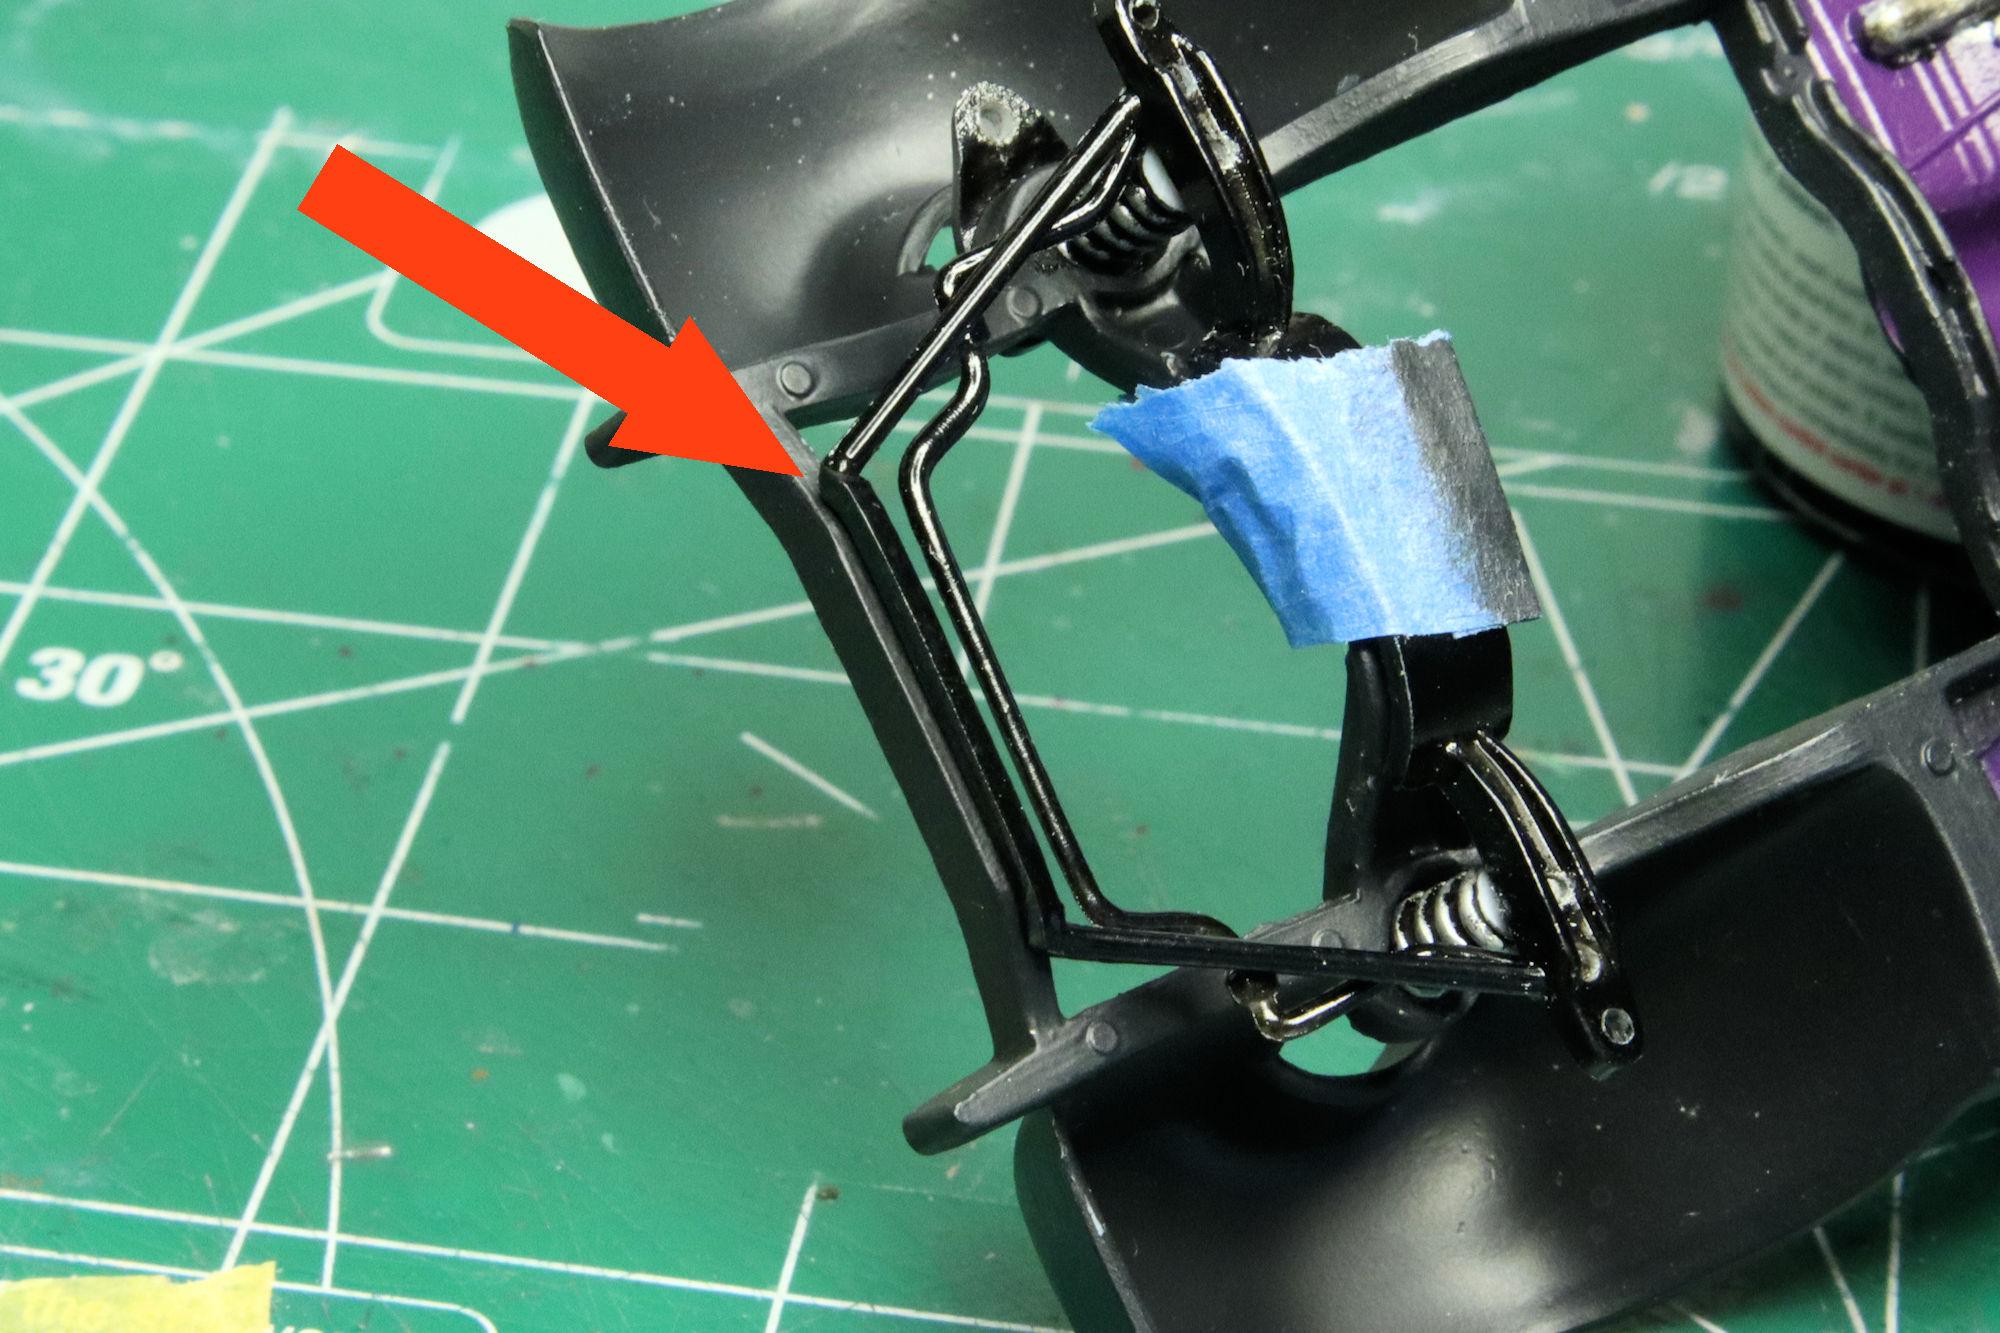
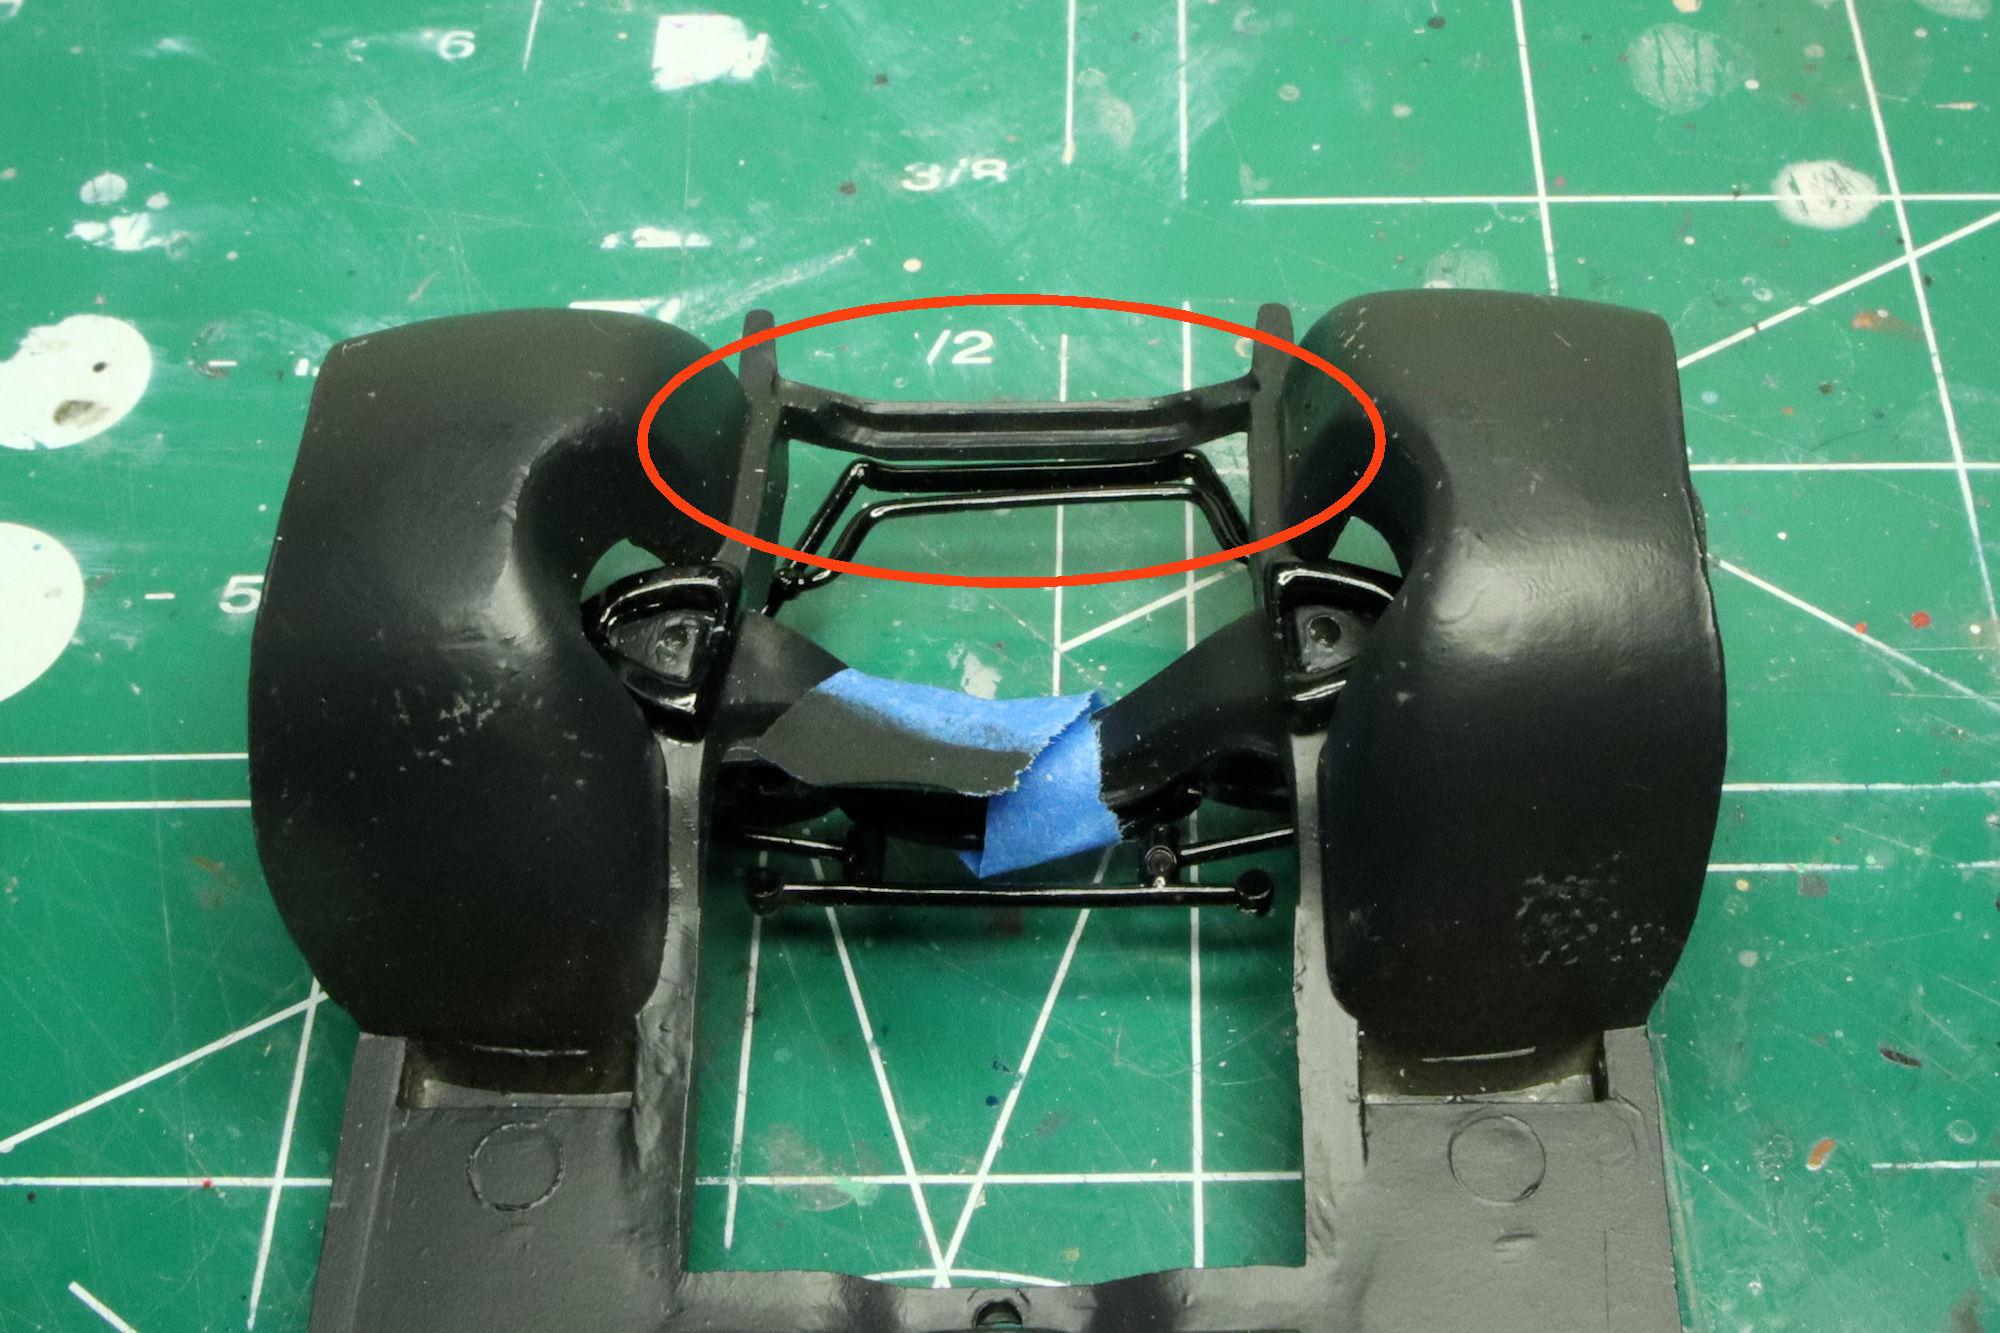
Hello Everybody! Work on the Ford Galaxie 500 continues! After assembling and installing the front suspension and wheels, it seems there are some alignment issues. The wheels seem to be too far rearward in the fender wells. Definitely some alignment issues here! I was able to disassemble the front suspension without any significant damage. I discovered that the problem came from the springs being misaligned. I was able to correct the problem with the use of a little creative destruction. When assembling the front suspension, make sure the springs are aligned and even. The molds for this kit are old and worn creating some unevenness in the castings. Some filing and cleanup may be required to get them to fit nicely. Here's a good place to double check the alignment of the suspension against the chassis frame. It's like I say: "Model builders, we're problem solvers who create our own problems to solve!" As always, thanks for taking the time to look and please feel free to post any comments, questions or suggestions. David G.
-
1:16 Gunze Sangyo 1937 Rolls-Royce Phantom III Sports Saloon
David G. replied to Anglia105E's topic in WIP: Model Cars
Welcome back David, I imagine it feels good to be back at the bench. Nicely done with the polishing. I have yet to try Tamiya's polishing compounds. I can't seem to find all three grades at the same time at my LHS when it occurs to me to look for them and I don't want to try them keenly enough to place an order on line. Ah, well. It's good having you back Sir. David G. -
Beautiful paint and detail work! The lighting is great, love the yellowish color of the headlights. David G.
-
Thank you most kindly Pierre. I'm glad to know that you're enjoying the build. David G.