David G.
-
Posts
11,326 -
Joined
-
Last visited
Content Type
Profiles
Forums
Events
Gallery
Everything posted by David G.
-
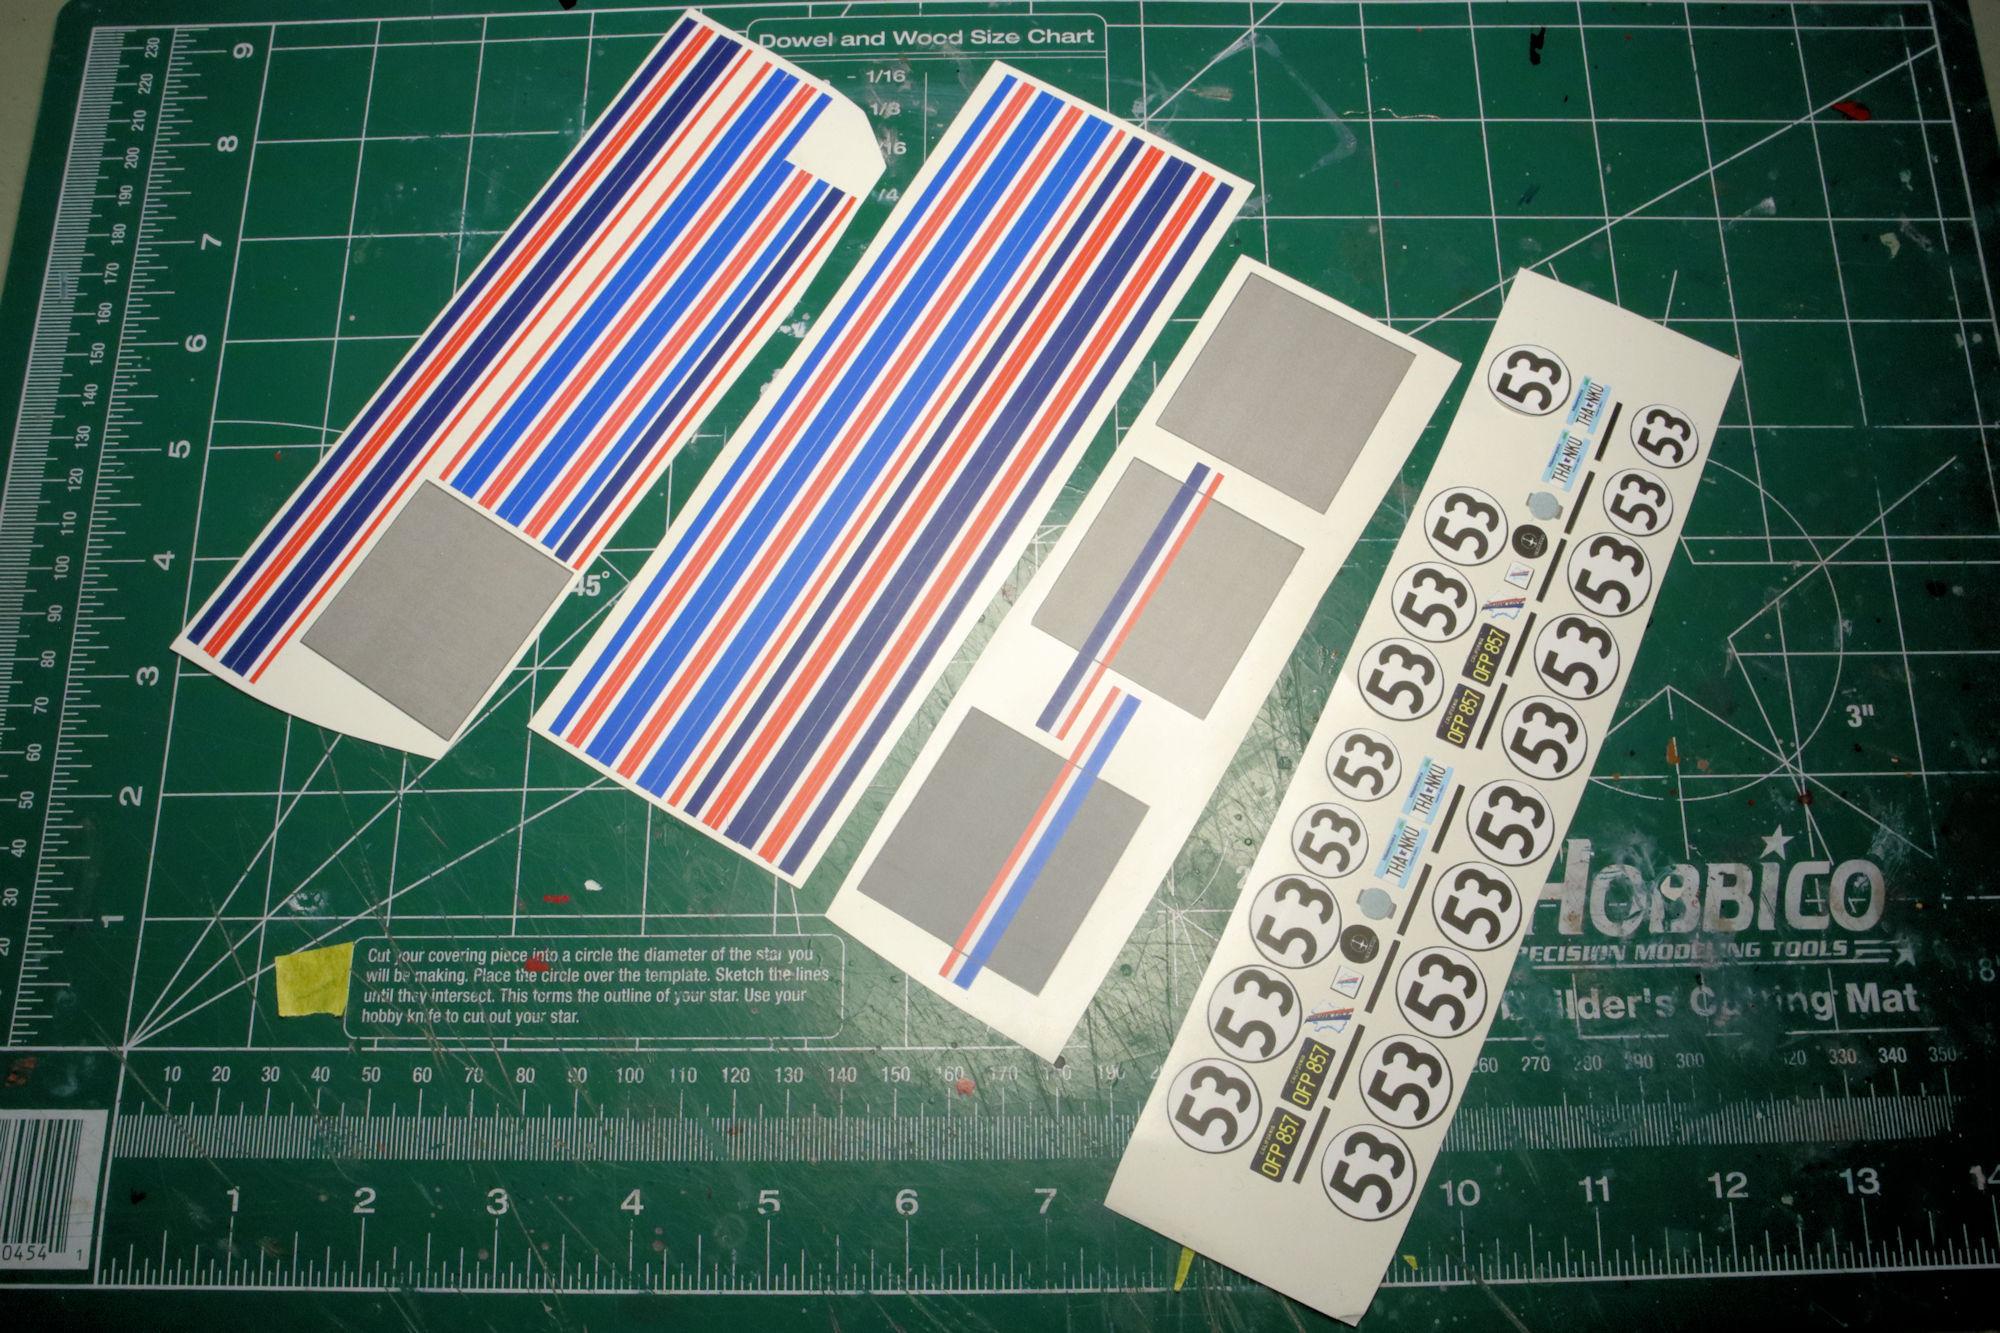
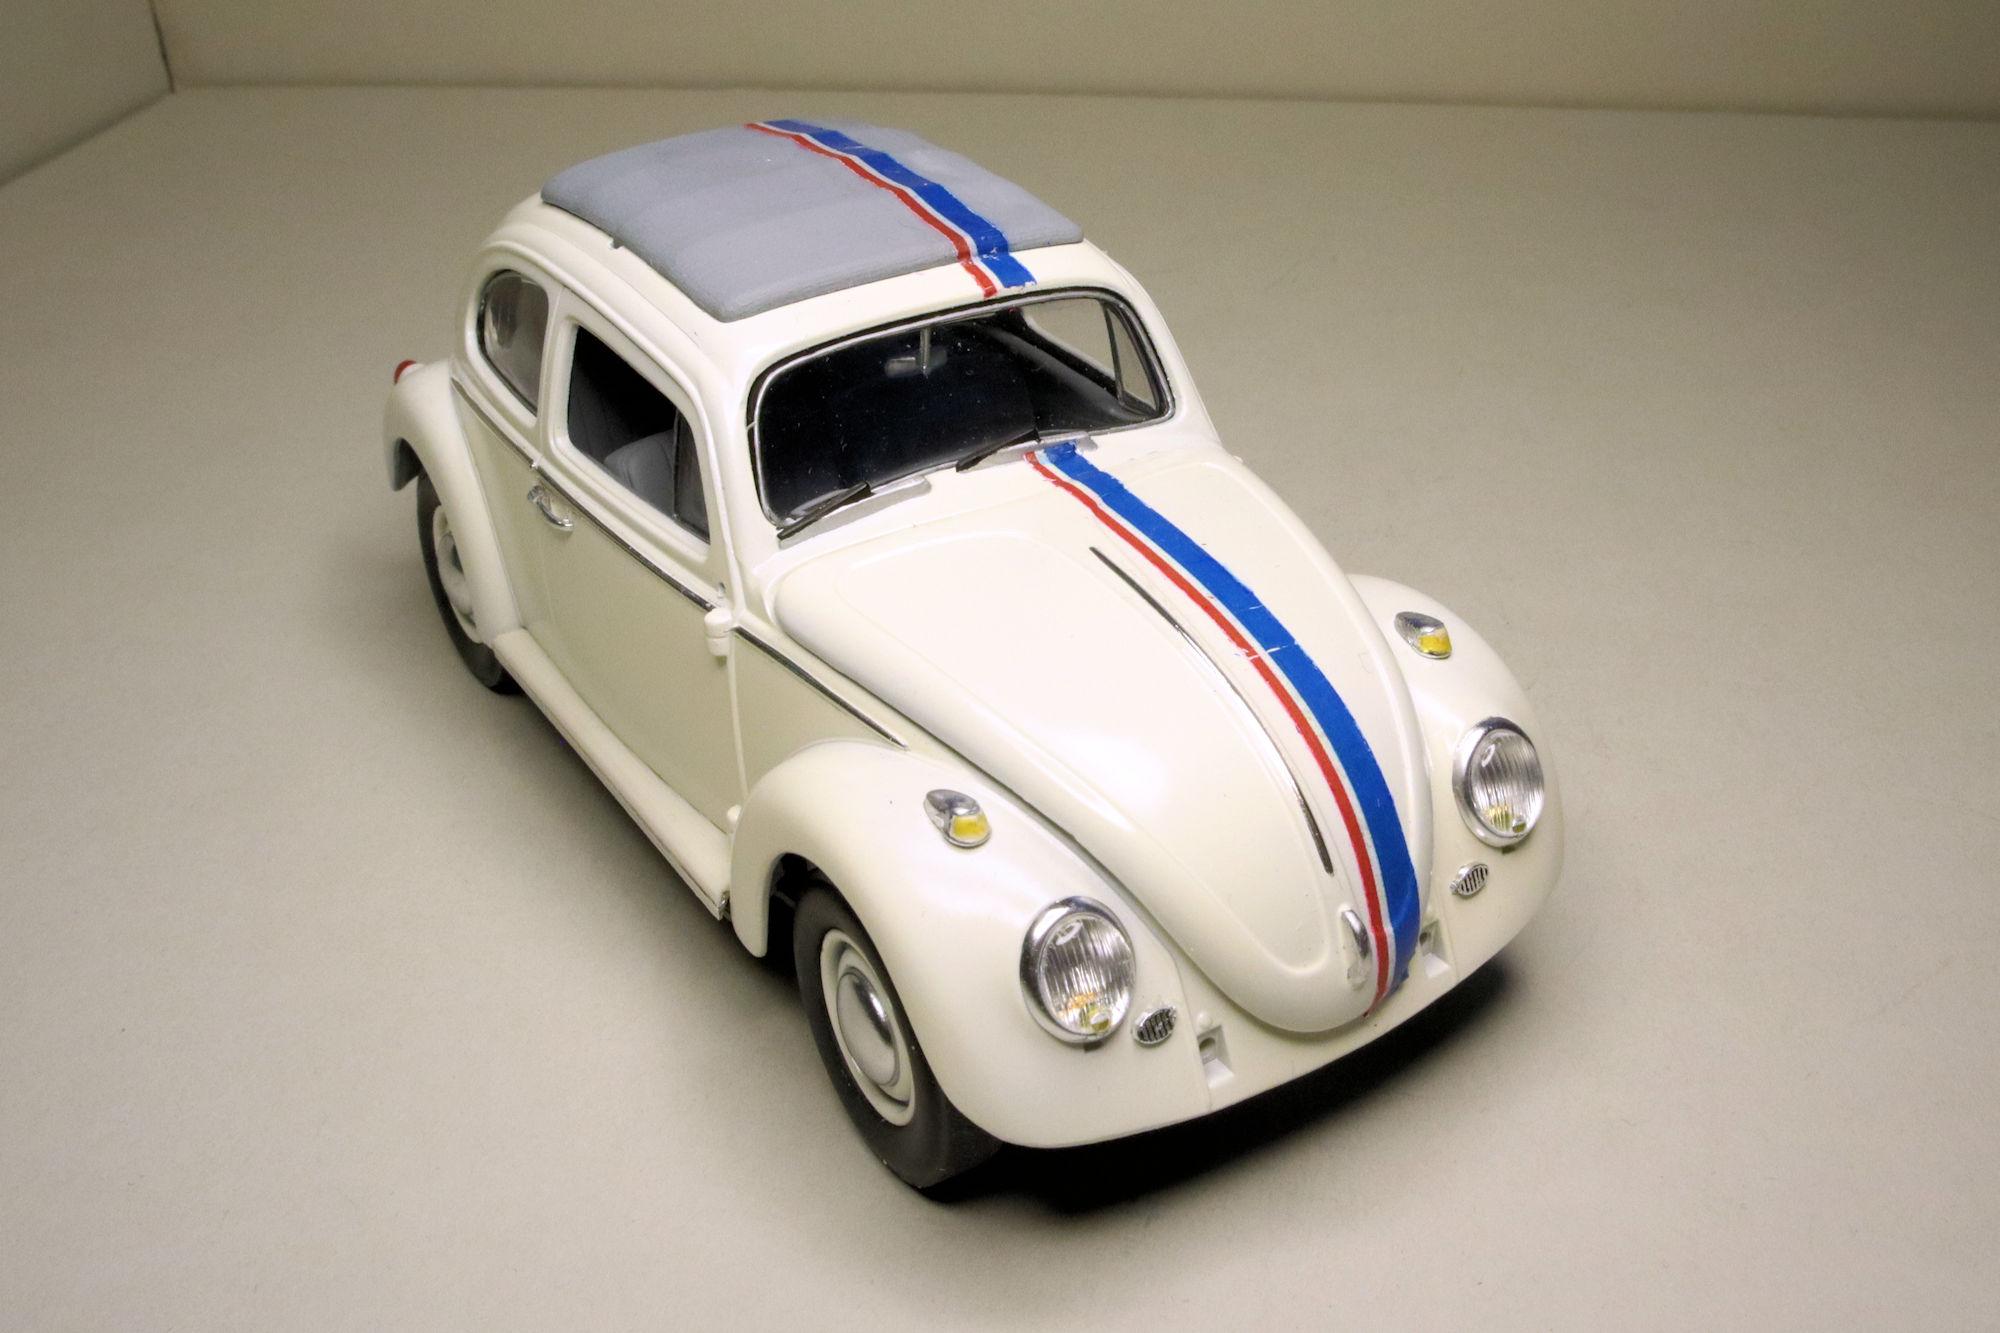
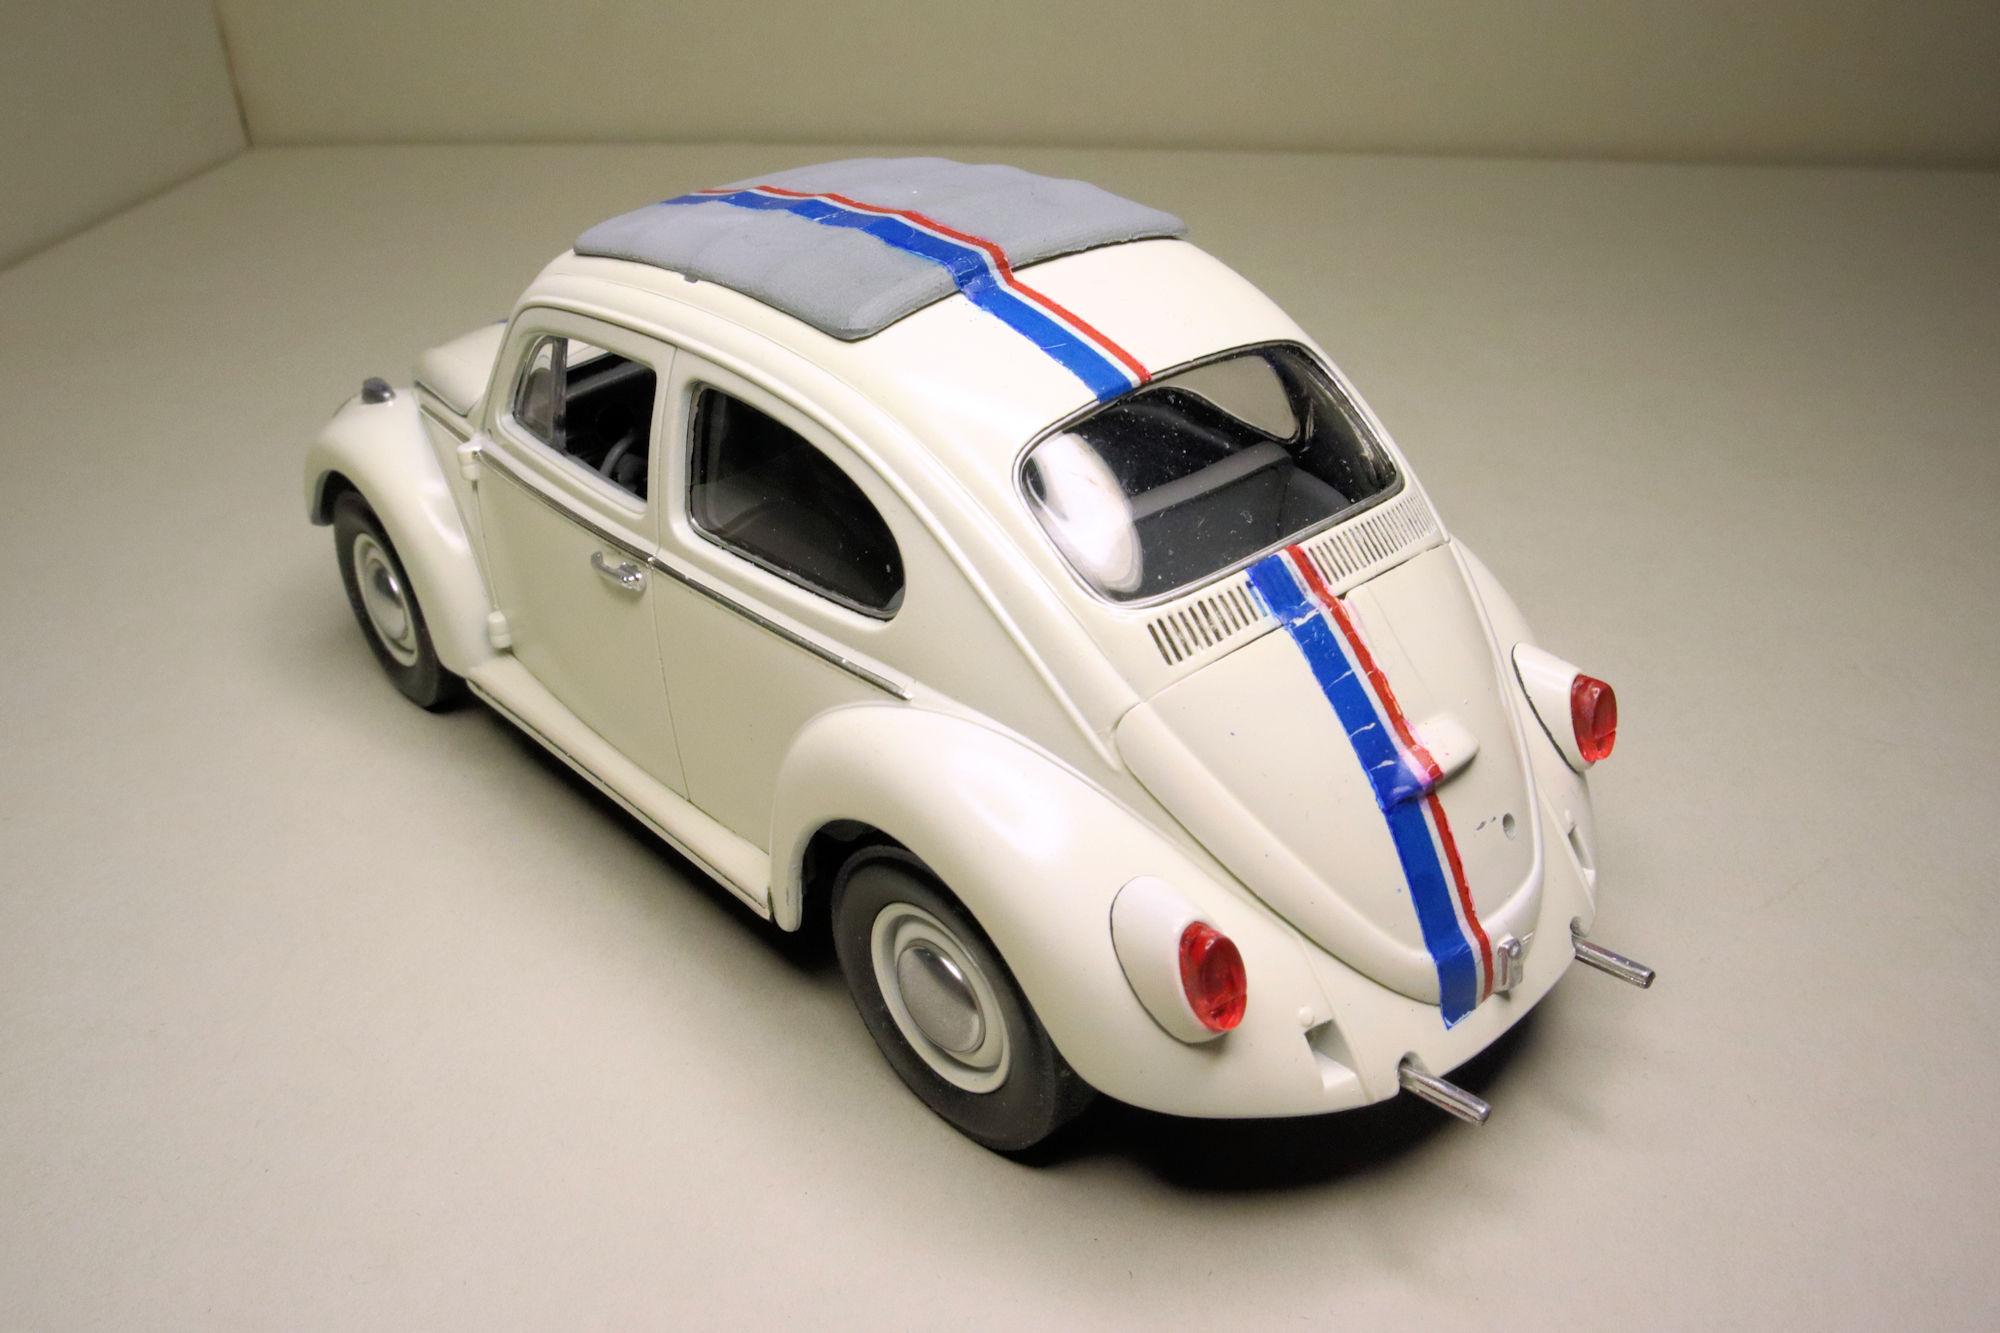
Hello Everybody! Removing the decals proved to be more of a challenge than did the stickers. When I cut the decals, the printer ink chipped off the edges in some places so I touched up the edges with red and blue Sharpie pens. The decal setting solution caused the ink to bleed into the paint. ? I managed to get most of my previous mess cleaned up. I ended up repainting the ragtop, it was just easier that way. The scarring was a little worse here. The next set of markings should cover most if not all of this mess. And here's the next set. Listed on eBay as decals, these are actually printed on self-adhesive vinyl by a company named MidWestern Clipper. They're well printed in the proper sizes and colors and provide for both the early and later versions of Herbie's race livery. So they should work for just about any version of Herbie that one would want to build. I'm hoping the flexibility and thinness of the vinyl will help them conform better than the paper stickers did. As always, thanks for taking the time to look and please feel free to comment. David G.

-
Thank you Carl. It's pretty much been solved, I just need to post the photos. David G.
-
All the weathering looks spot-on Andy! Fabulous work so far! Enjoy your time off. David G.
-
The barn came out great! Excellent weathering on the wood. David G.
-
Along with the rest of the build I'm interested to see the lighting come together. I have a couple of kits that I'd like to build lighted and I hope to learn a few things. David G.
-

1:16 Gunze Sangyo 1937 Rolls-Royce Phantom III Sports Saloon
David G. replied to Anglia105E's topic in WIP: Model Cars
It's nice being able to repurpose parts, it must be even nicer when those parts are from another Rolls kit. I'm interested to see how the vanity mirrors turn out. David G. -
1970 Cadillac DeVille Convertible
David G. replied to Perspect Scale Modelworks's topic in Model Cars
You're right, there does seem to be something a bit off regarding the proportions but it is a great looking build. Well done! David G. -
It reminds me of those Datsun pickups from the Seventies. Nicely done! David G.
-
I remember following your WIP thread on this one Greg so I know all the extra work you put into it, and the trouble it gave you. It's atricky kit at best and you certainly got the best of it. The body work and paint color are fabulous, the stance looks great too! Well done! David G.
-
Thank you Len. No, it's a laser printer. I think I just used the word "ink" out of habit. My previous ink jet printer actually did quite well when it came to decals. I printed these plaid patterns for the seats on my 51 Chevy. I'm starting to think it may be the age of the decal stock. Yes David, annoying indeed! But as I say, "Model builders, we're problem solvers who create our own problems to solve!" The paper stickers from the kit just didn't conform to the curves so I removed them and tried my home printed decals shown above. I do have the vinyl self-adhesive "decals" that I bought from MidWestern Clipper. The vinyl is soft enough and thin enough that I think they have a good chance of bending to fit the car. Thank you both for your interest and your suggestions. Regards, David G.
-
Thank you John, I'm glad to know you enjoyed the WIP as well as the end result. Thanks Mike. It's a good kit despite its age, and a fun build. Thank you Nigel. The paint job was indeed one of the greater challenges of this build. But fortunately and it does seem to have less brightwork than other cars of this era. Thanks again for your kind comments. David G.
-
Good progress on this Daniel! David G.
-
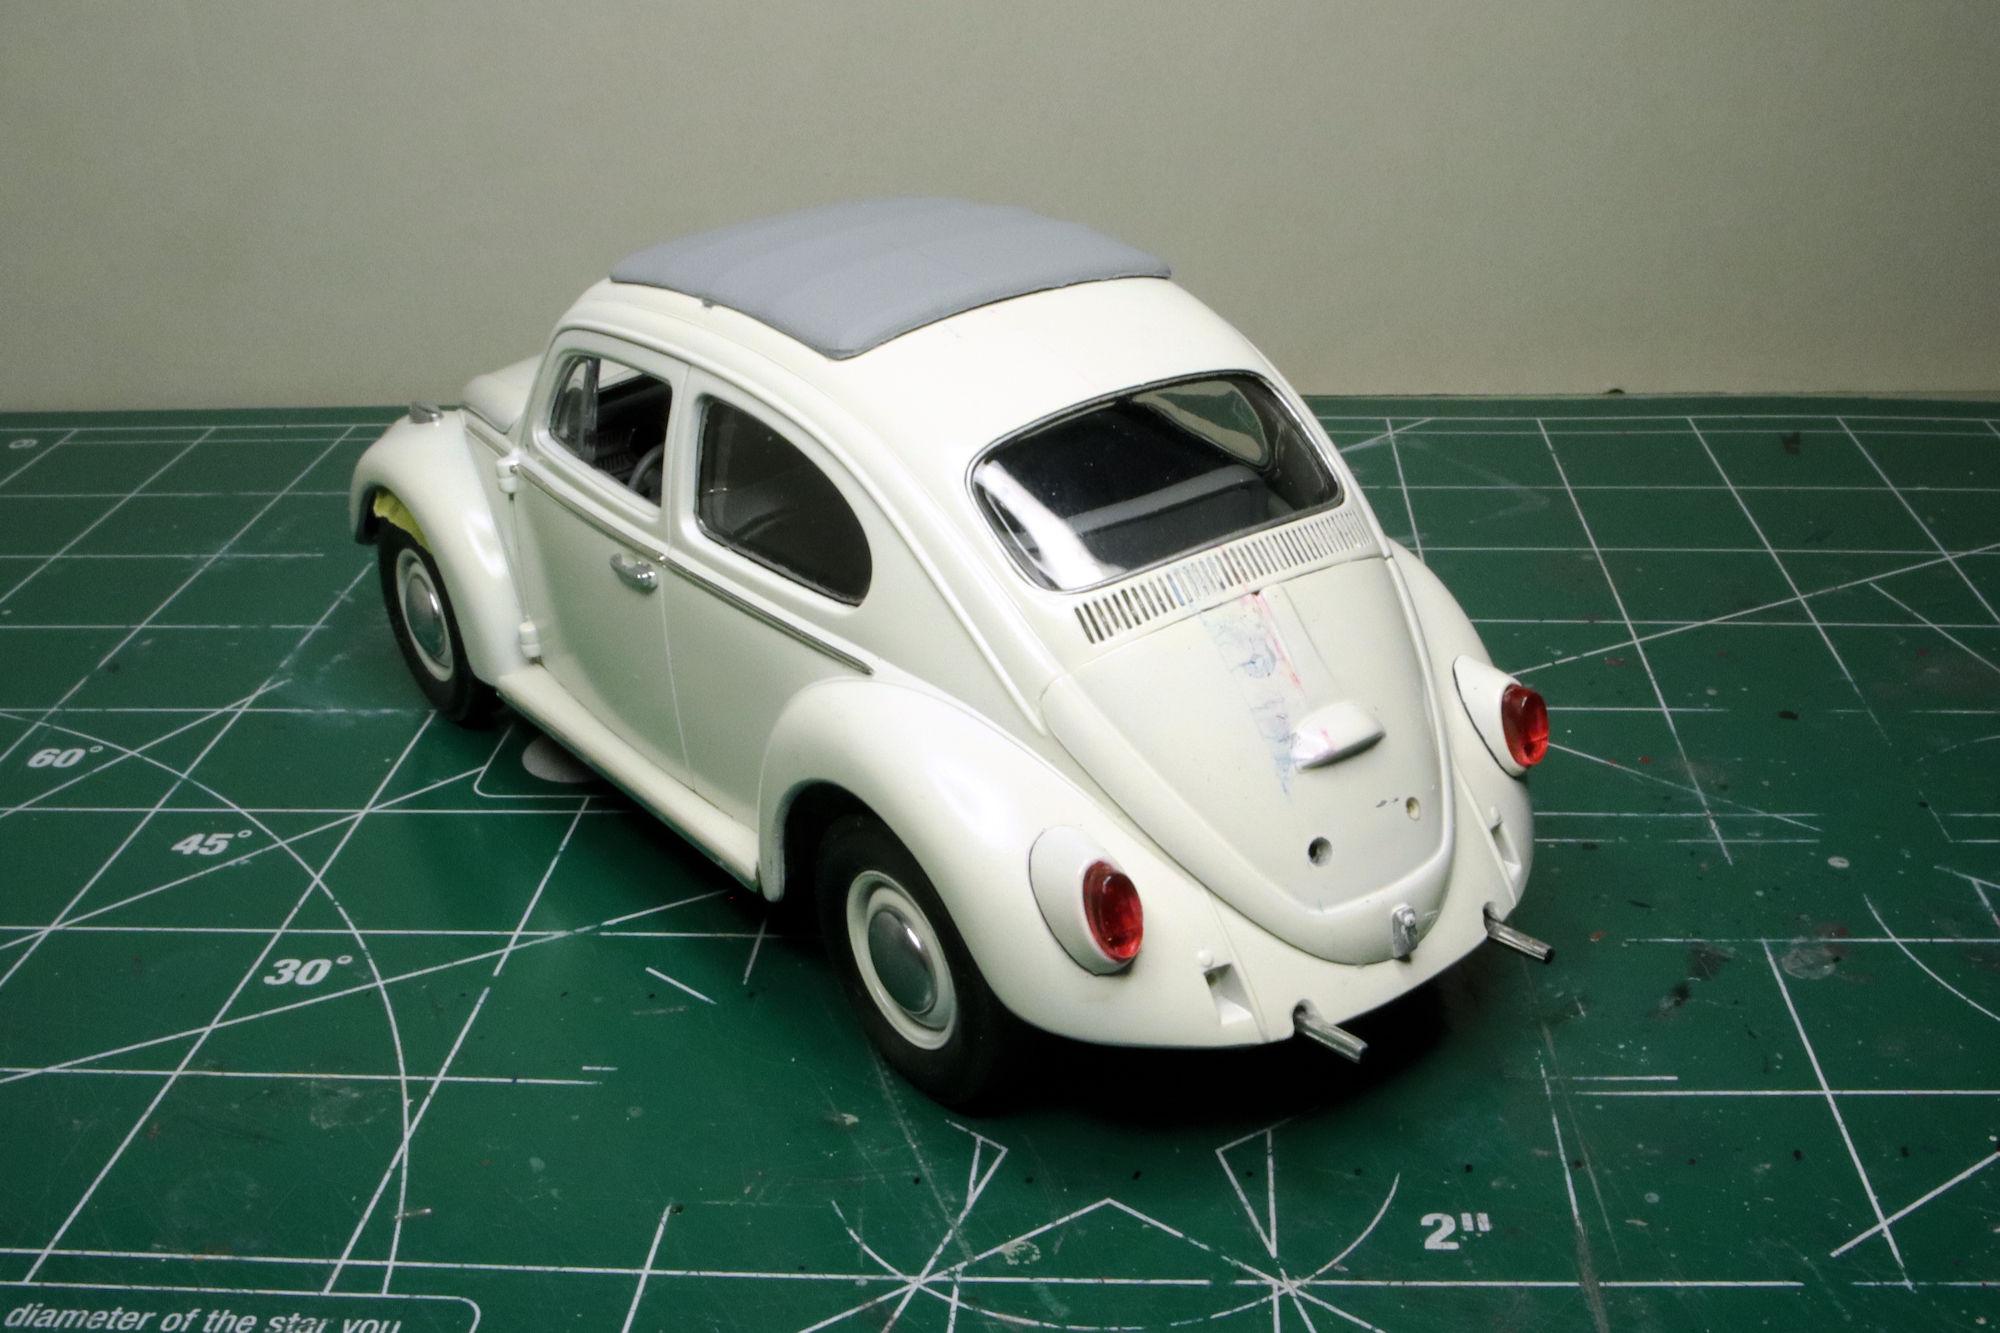
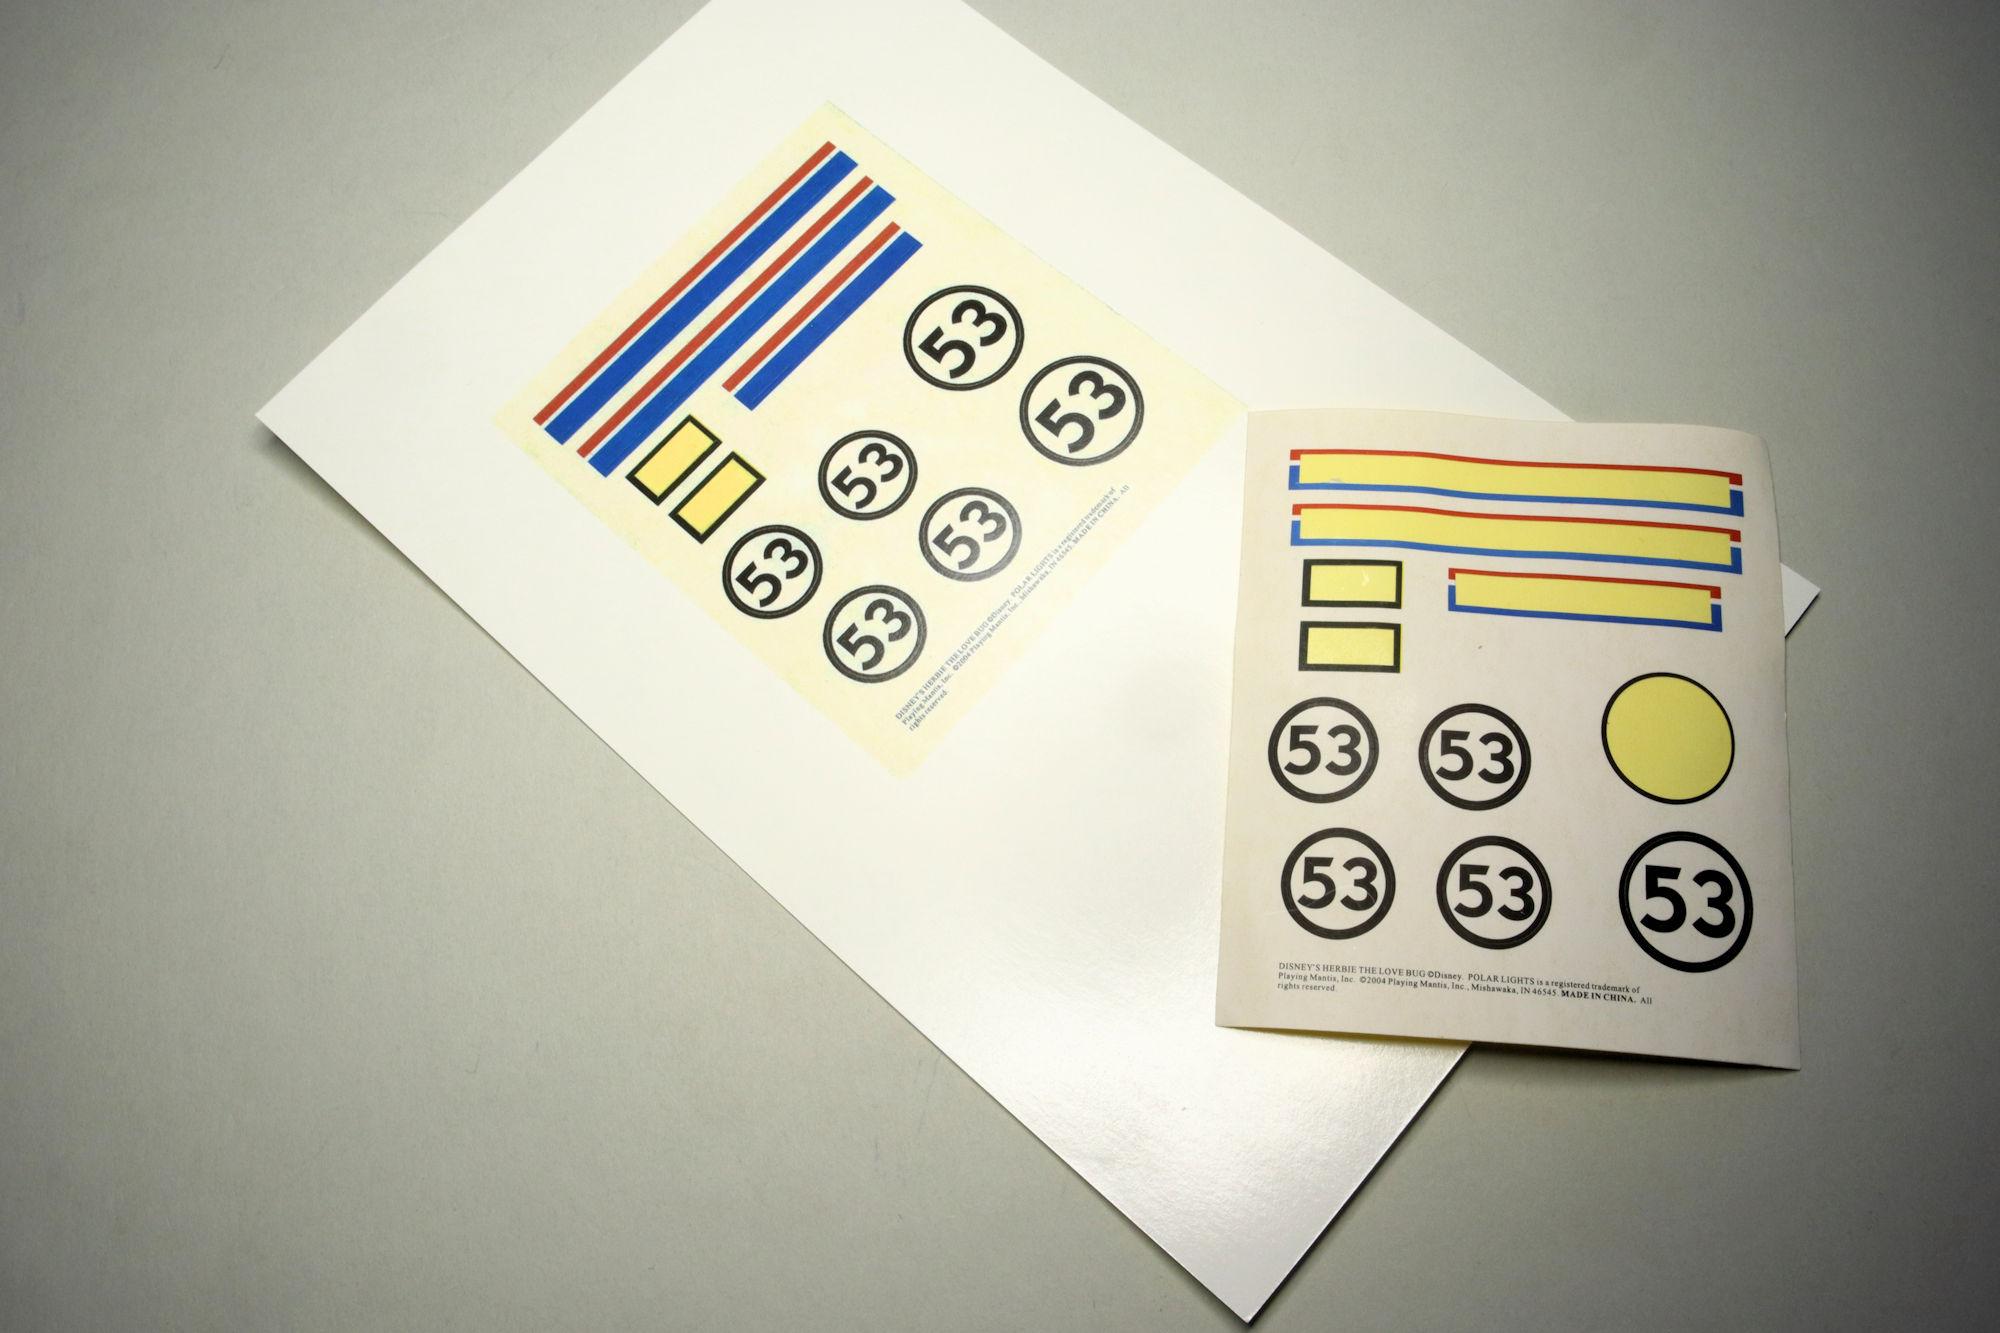
Hello Everybody! I managed to successfully remove the old stickers without any serious damage to the paint. I then moved on to my next option, a set of home made decals that I printed from a scan of the stickers provided in the kit. I've had fairly good luck making my own decals and I was able to get a good print on these. The problem came when I installed them. As you can see, the image on the decal stock cracked as I manipulated them into position. I did clear coat them, first with some semi-gloss clear and then some flat clear because I didn't like the shine of the semi-gloss. Maybe the second application of clear was too much and caused the ink on the decal to become brittle and crack. I don't know but this is obviously not acceptable. I do have some aftermarket markings that were sold as decals but are actually stickers. ? In any case, it's time for another cleanup. Thanks for taking the time to follow along and if you have any comments you'd like to share, please feel free. David G.
-
Thanks Dan. Thanks L M, I appreciate that. It's nice having one's efforts recognized by someone who has direct first hand experience with the subject. Thank you so much David. Thanks Jim. Thank you most kindly David. Thank you Mike. Thanks Jim, I was glad to have you along for the ride. Thank you Garry, having the new BMF really helped. Thank you Doyle. Thank you Larry. Thanks Bob. This is my first one, it's a good kit and I had a great time building it. Thanks Eric. Thank you Chris. I have some more photos in the que that I'll try to get posted in the coming days. I hate doing a huge photo dump all at once as it tends to be a bit overwhelming sometimes. Thanks again for all oy your kind comments. David G.
-
Nice work on this one! David G.
-
I have to say Ken, that you are truly a master of metal-finish paints. The wheels and exhaust parts look like the real deal. Cool color choice for the body too. David G.
-
Jeep CJ
David G. replied to Hard_2_Handle_454's topic in Model Trucks: Pickups, Vans, SUVs, Light Commercial
A fabulous looking build, great color paint and decal work. Nice detail painting under the hood too. David G. -
Top notch metal fabrication! I like the way the decals are looking too. This looks like it will be an exciting build! David G.
-
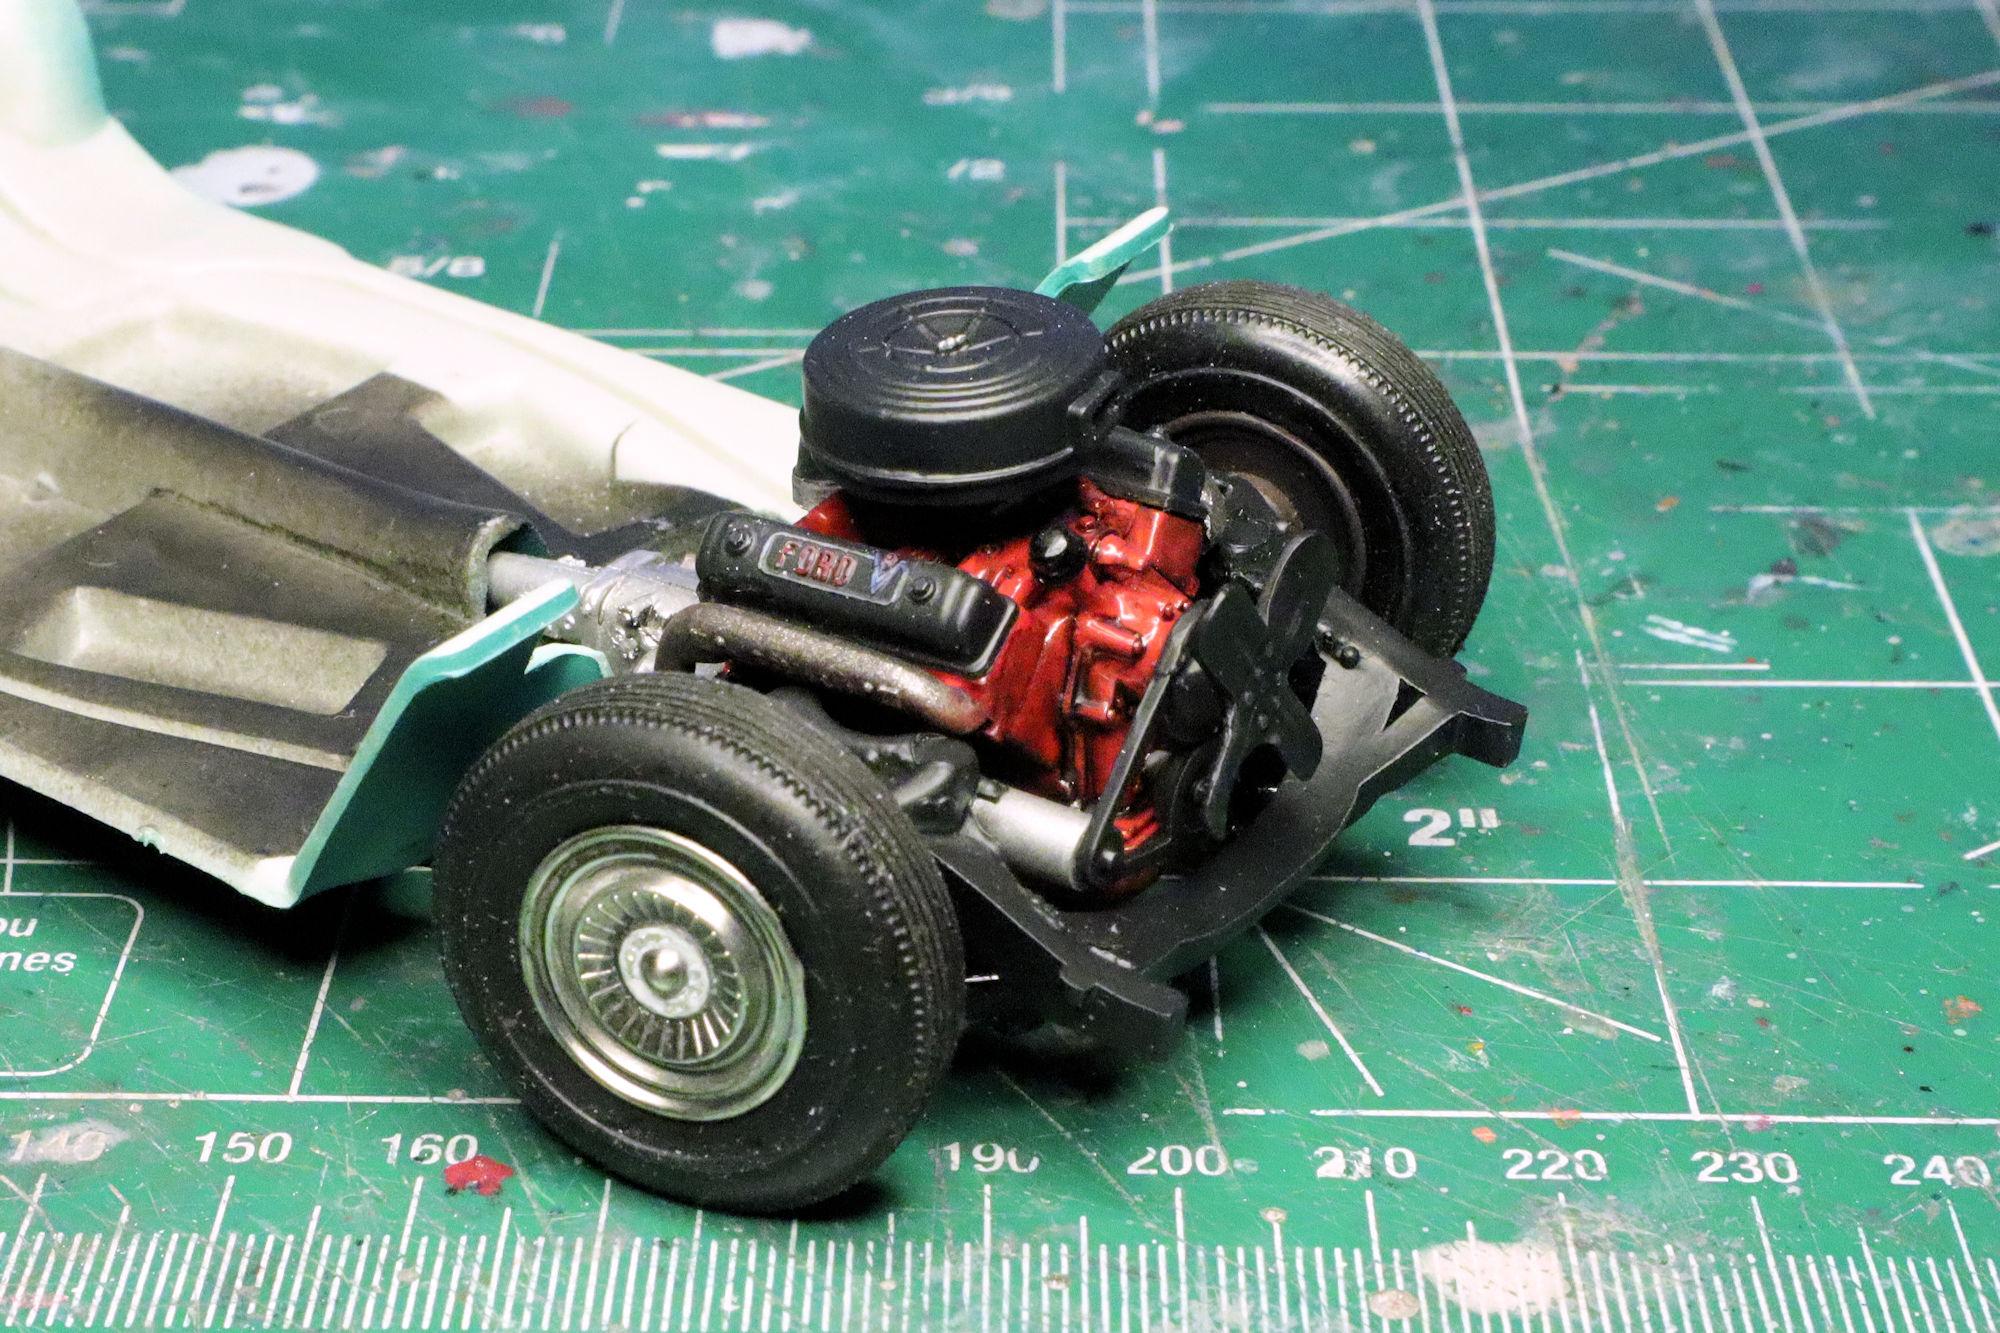
Thank you Jim. Thanks Ace, and yes I do have an engine pic... Lightly weathered, as used but not abused. David G.
-
Hello Everybody! This one is now being hosted in the Under Glass section as it is complete. Here is a link. Thanks to all of you who supported me throughout this build. I always enjoy your comments, thanks. David G.
-
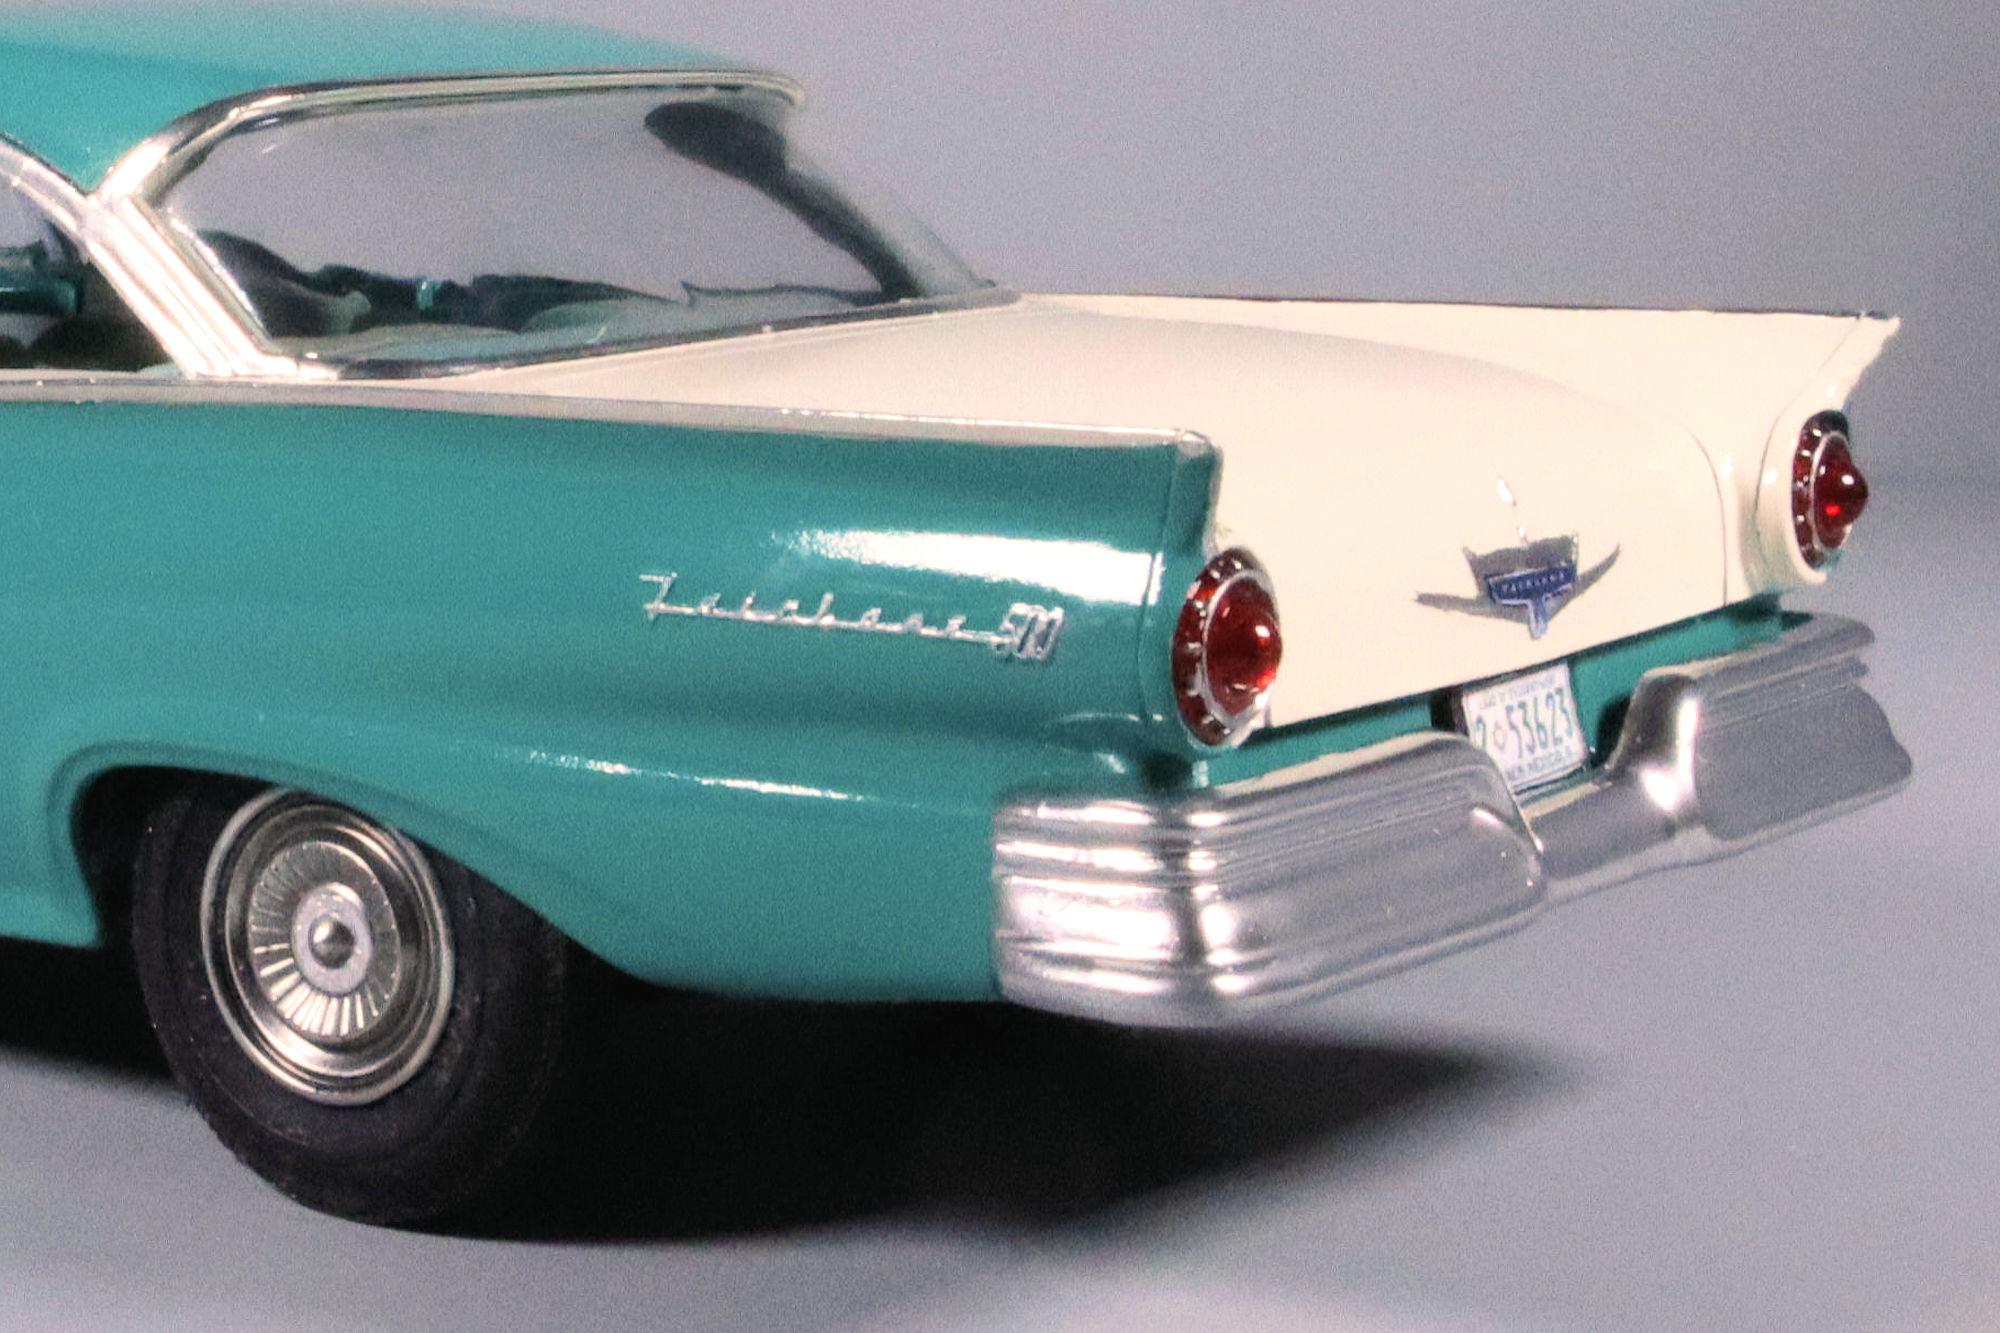
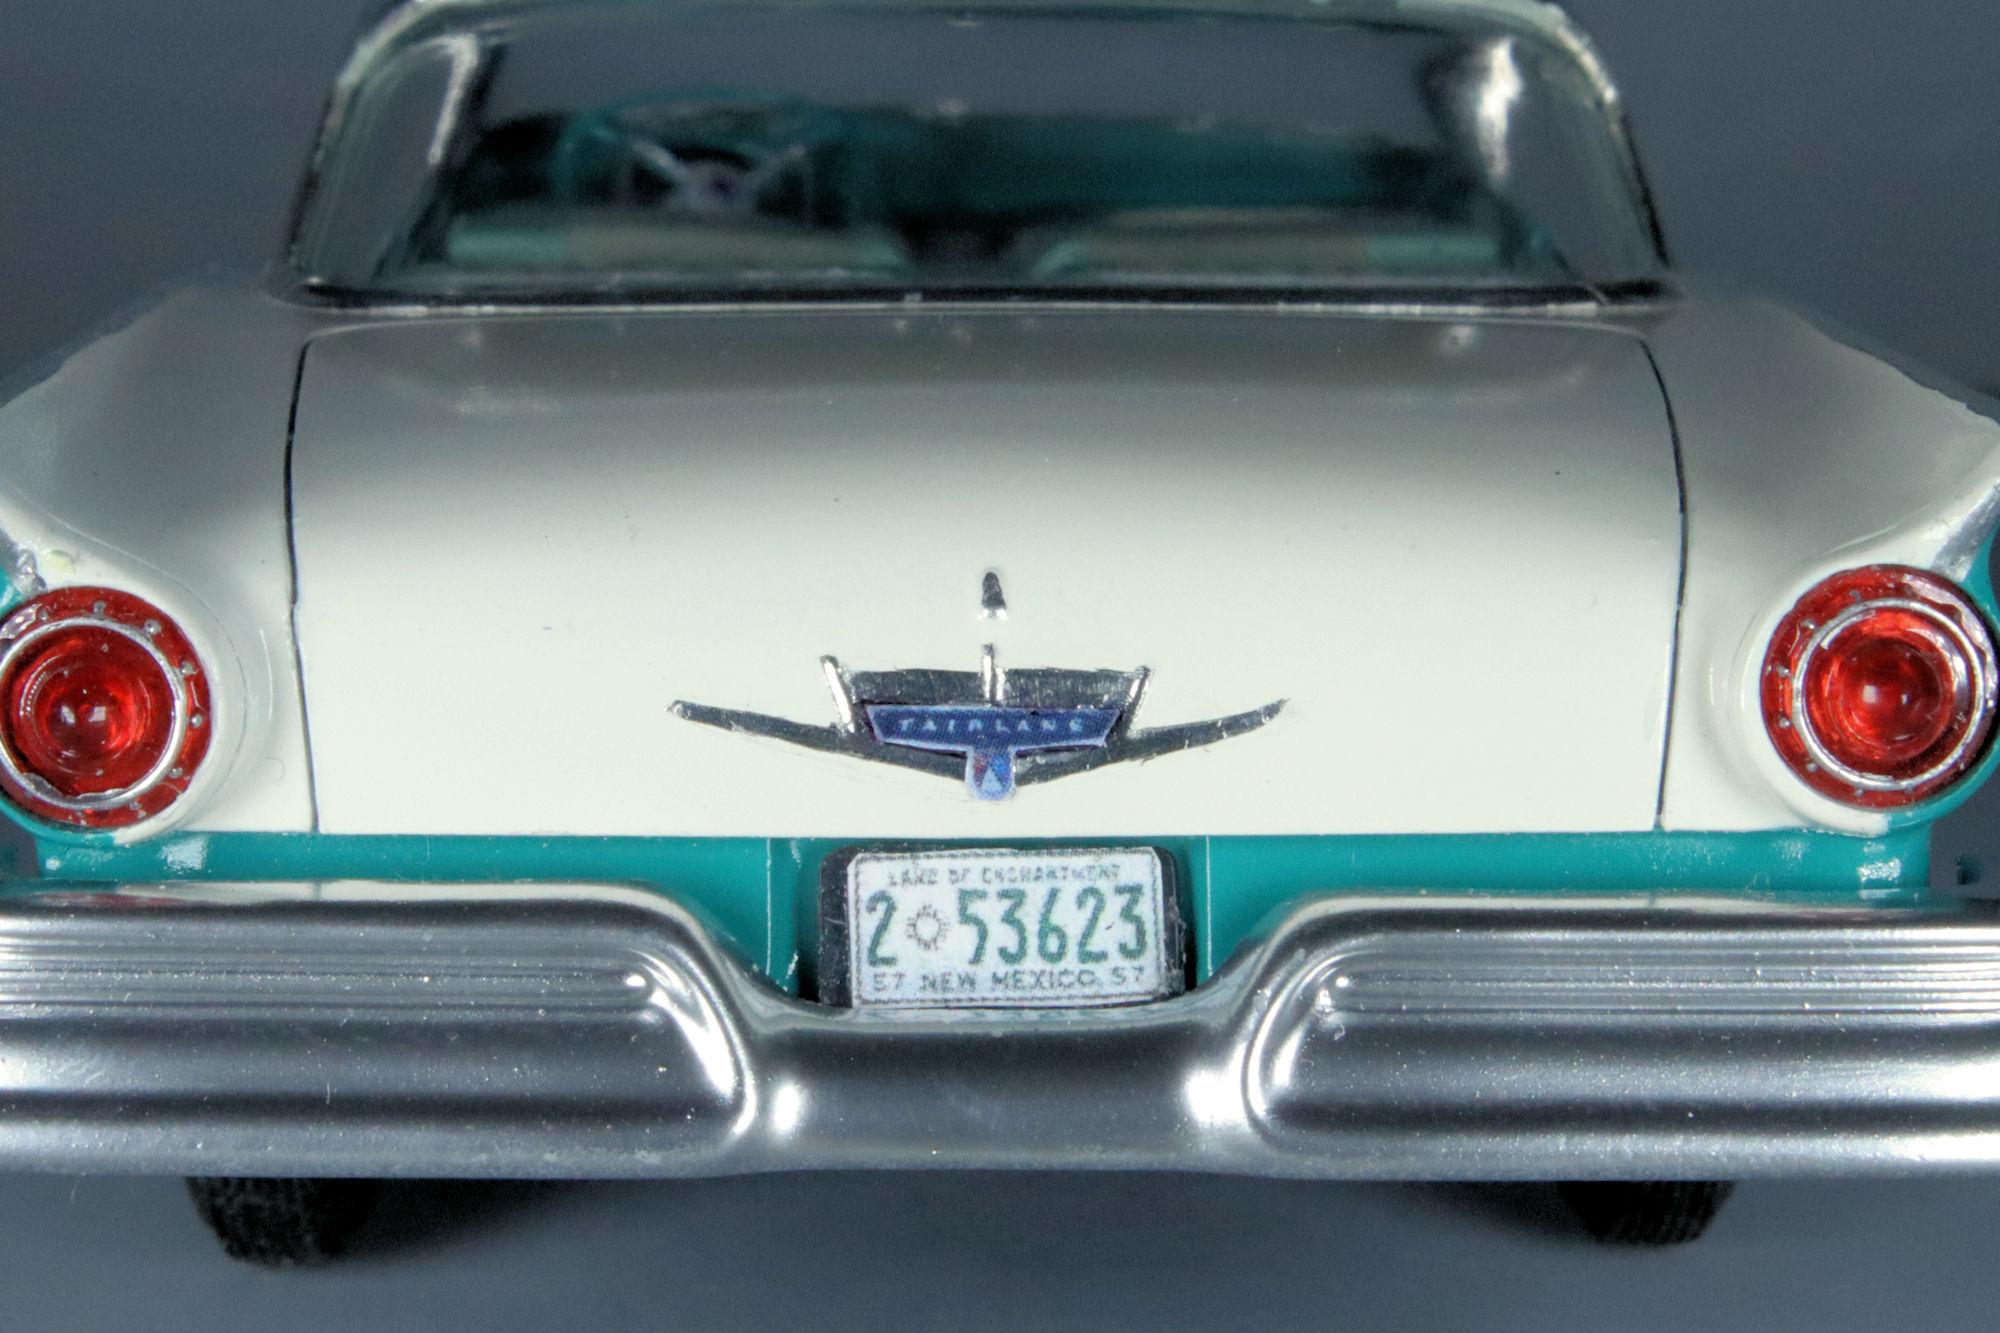
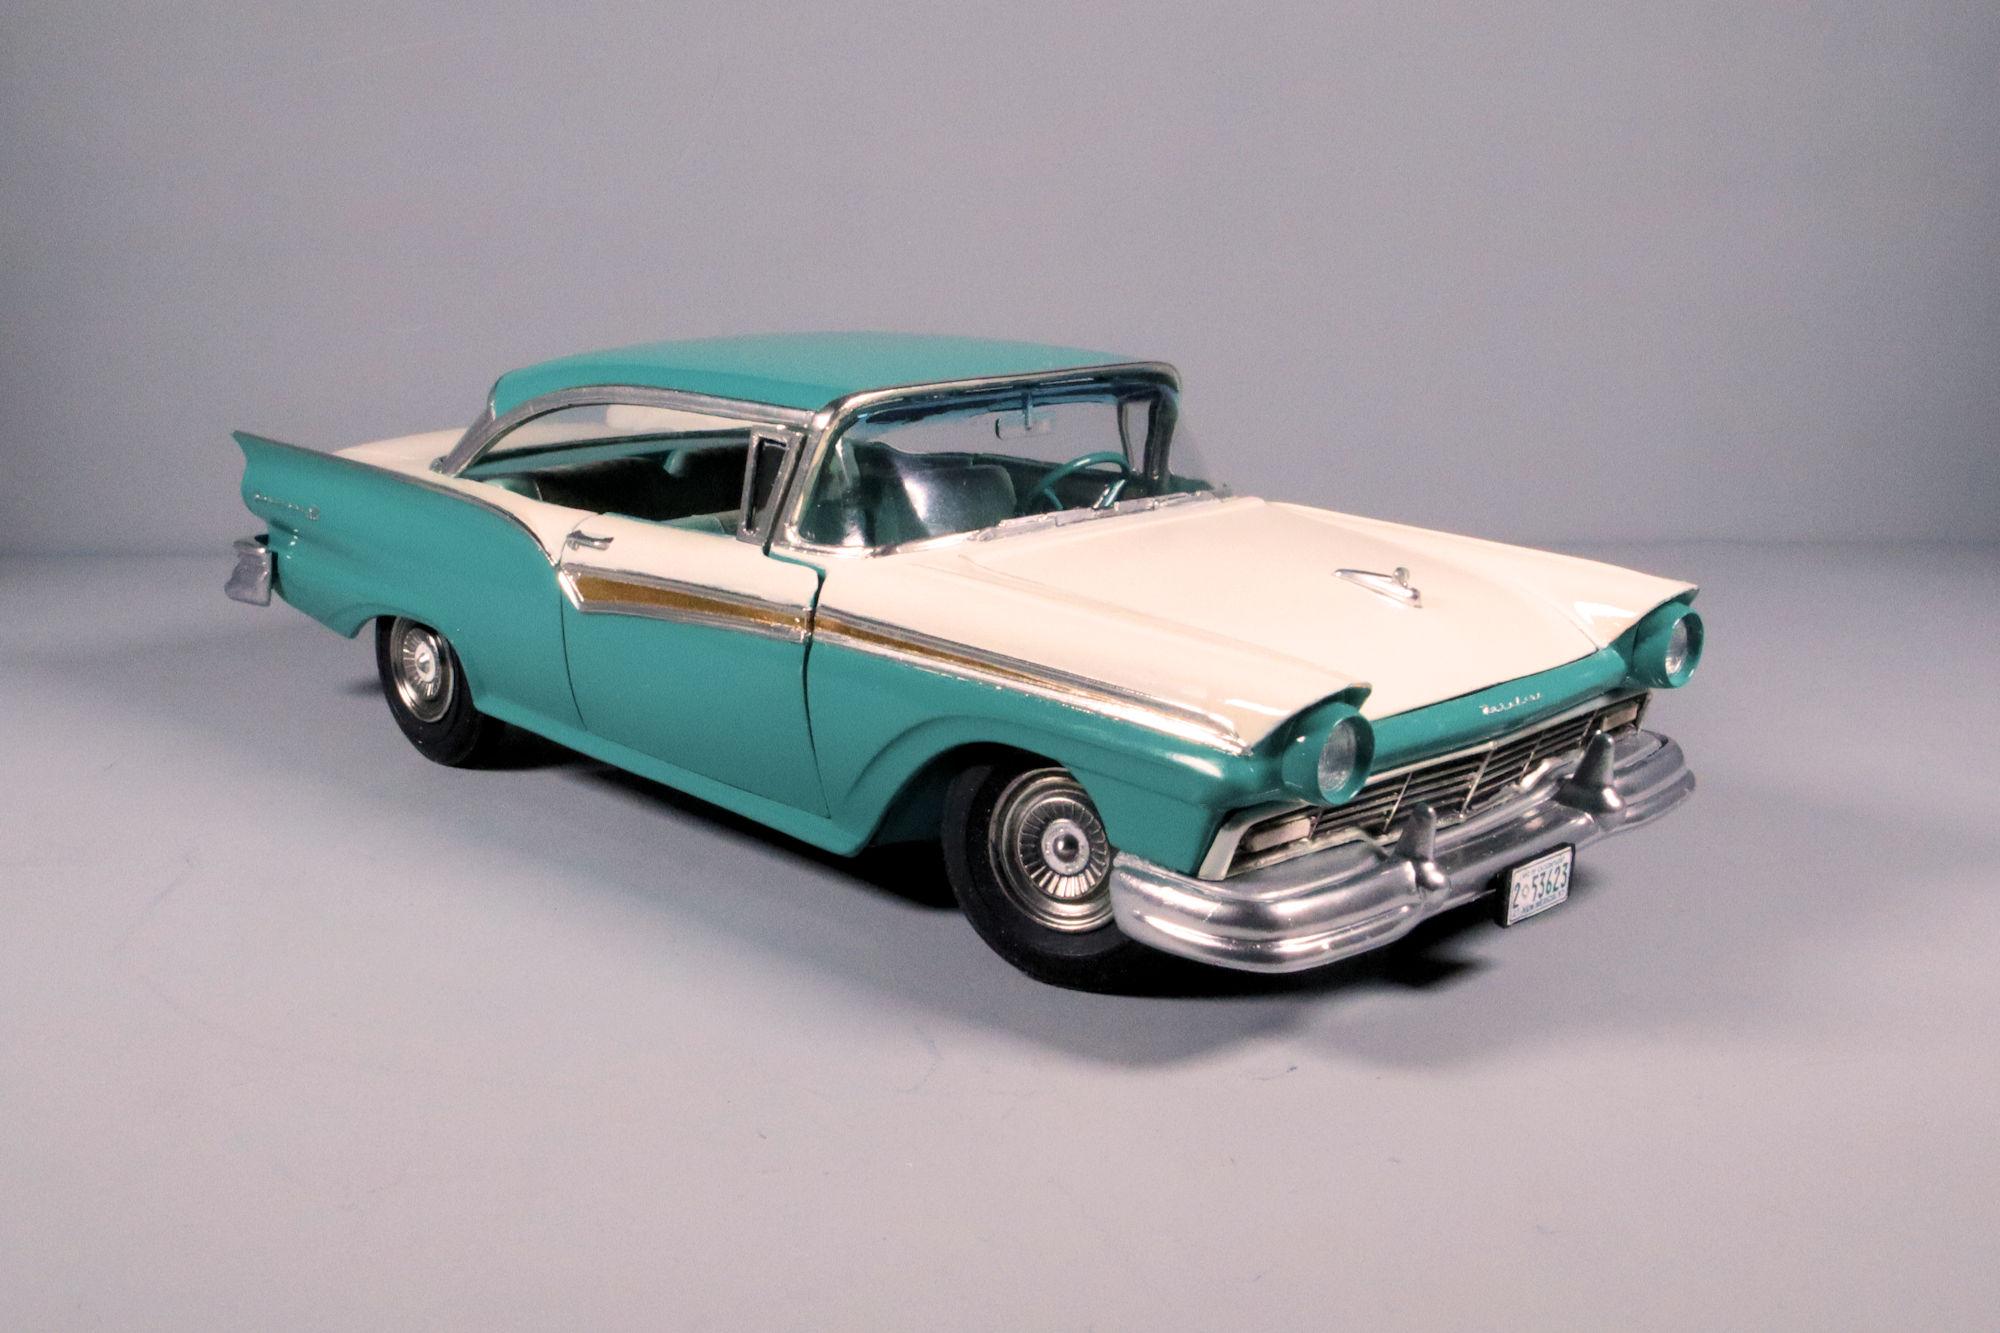
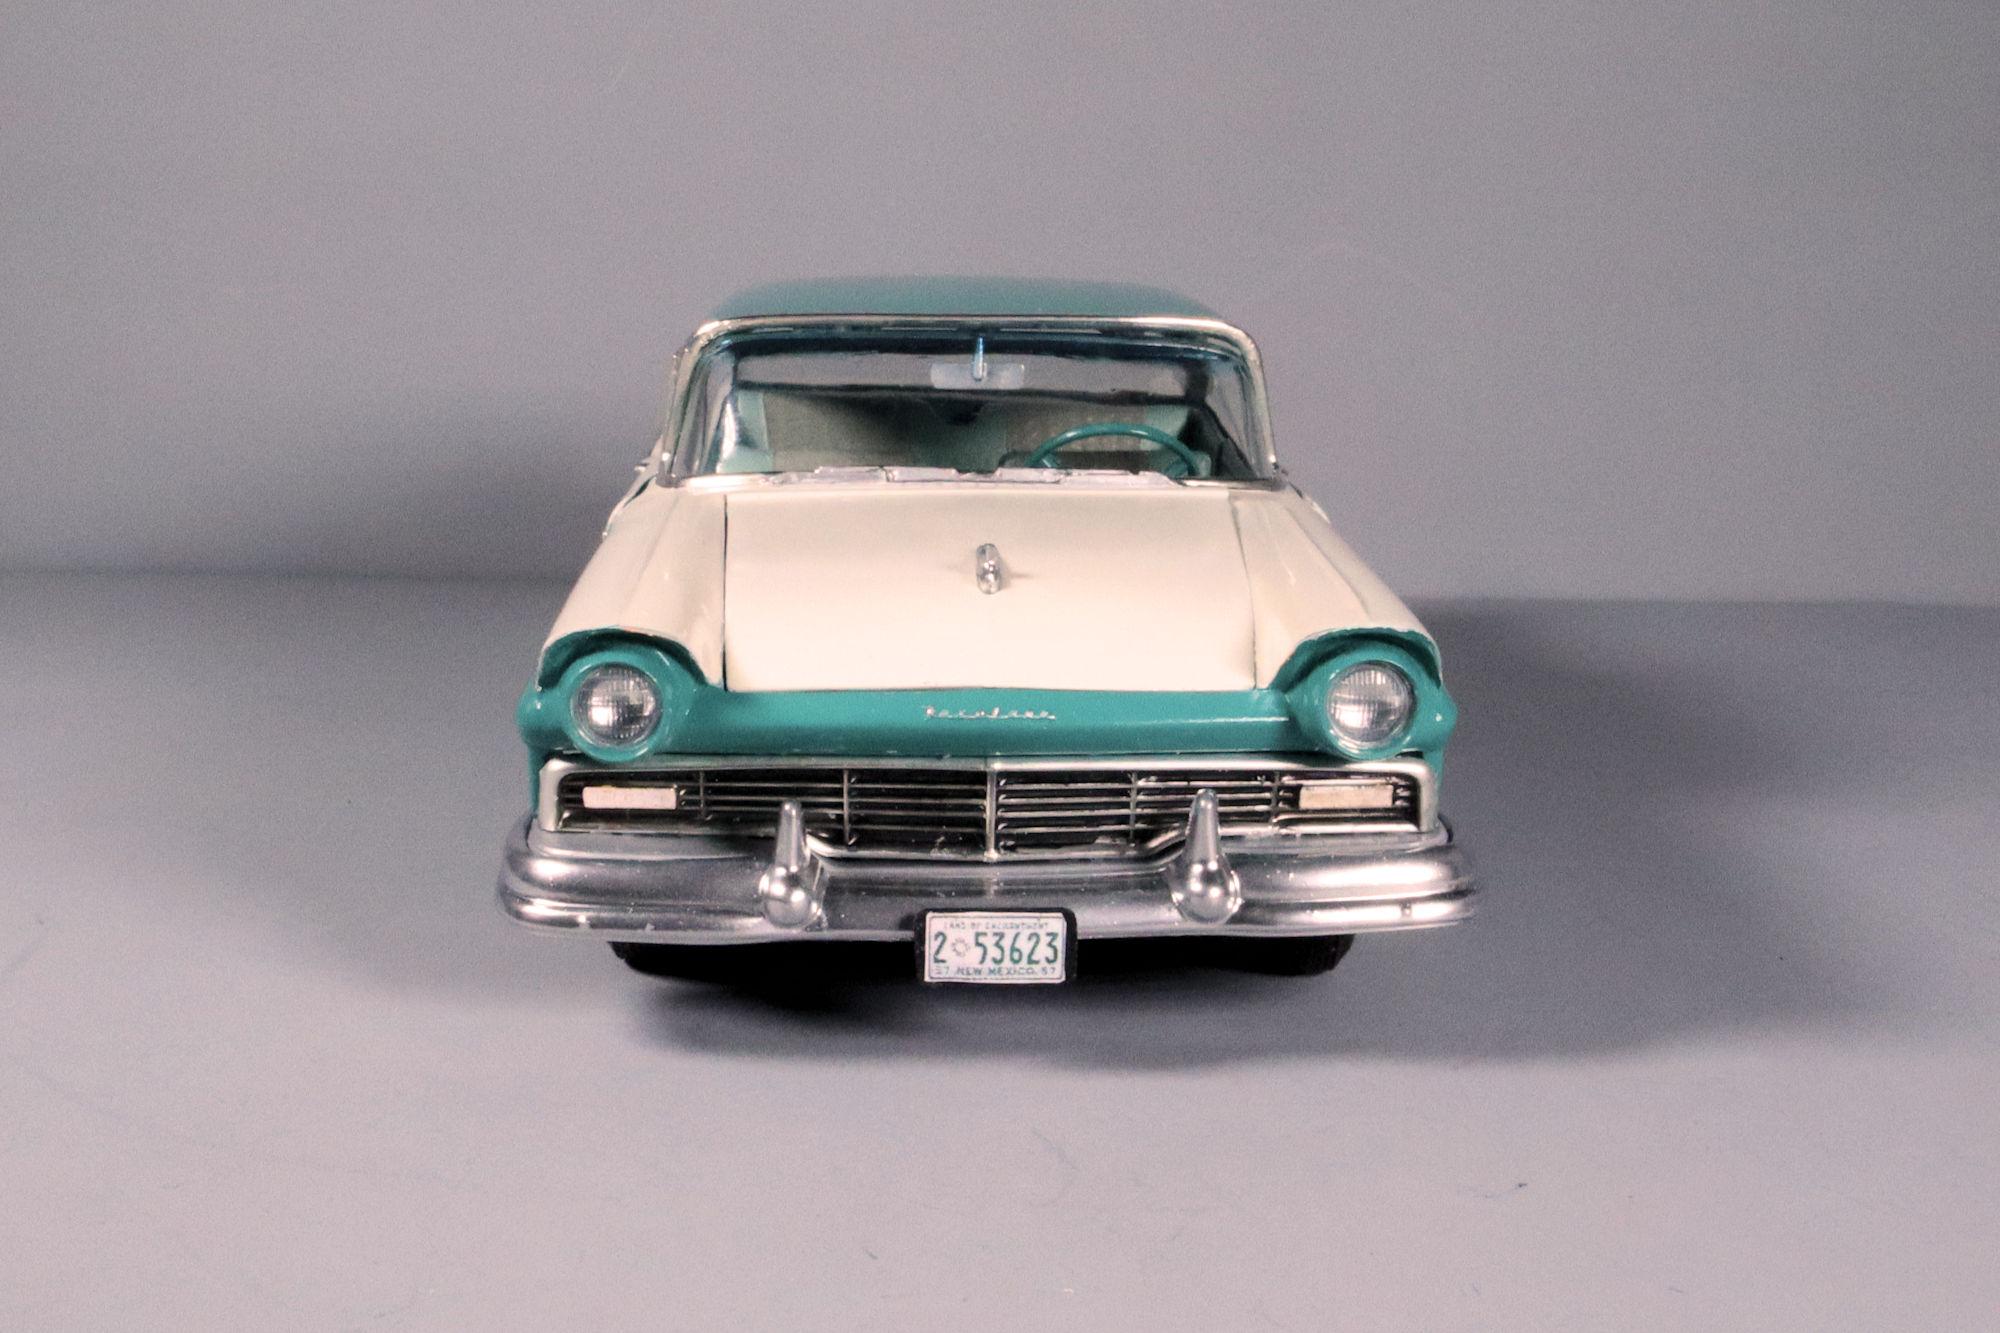
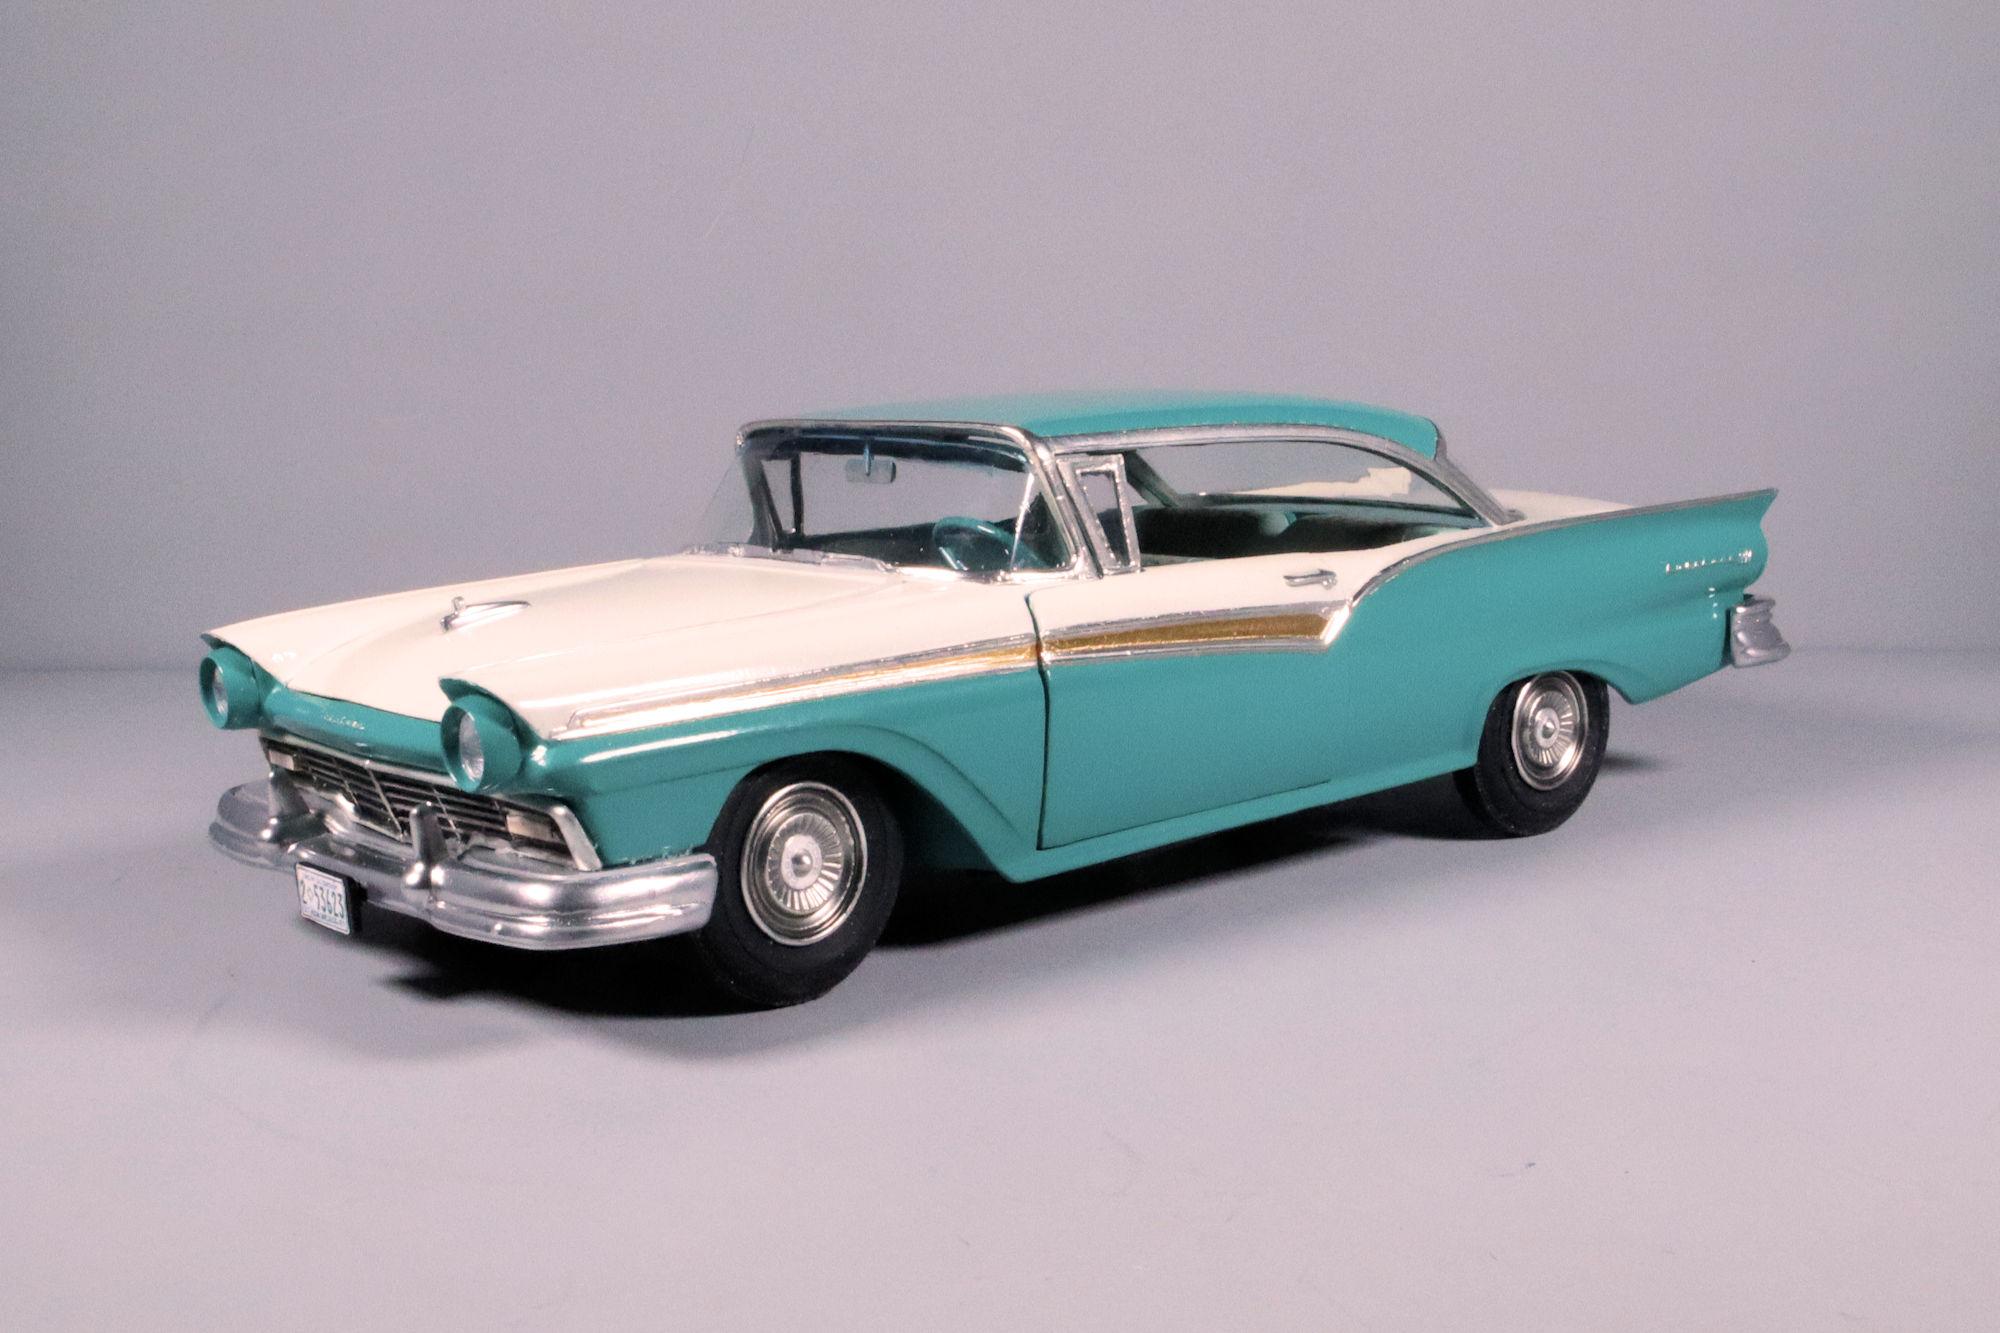
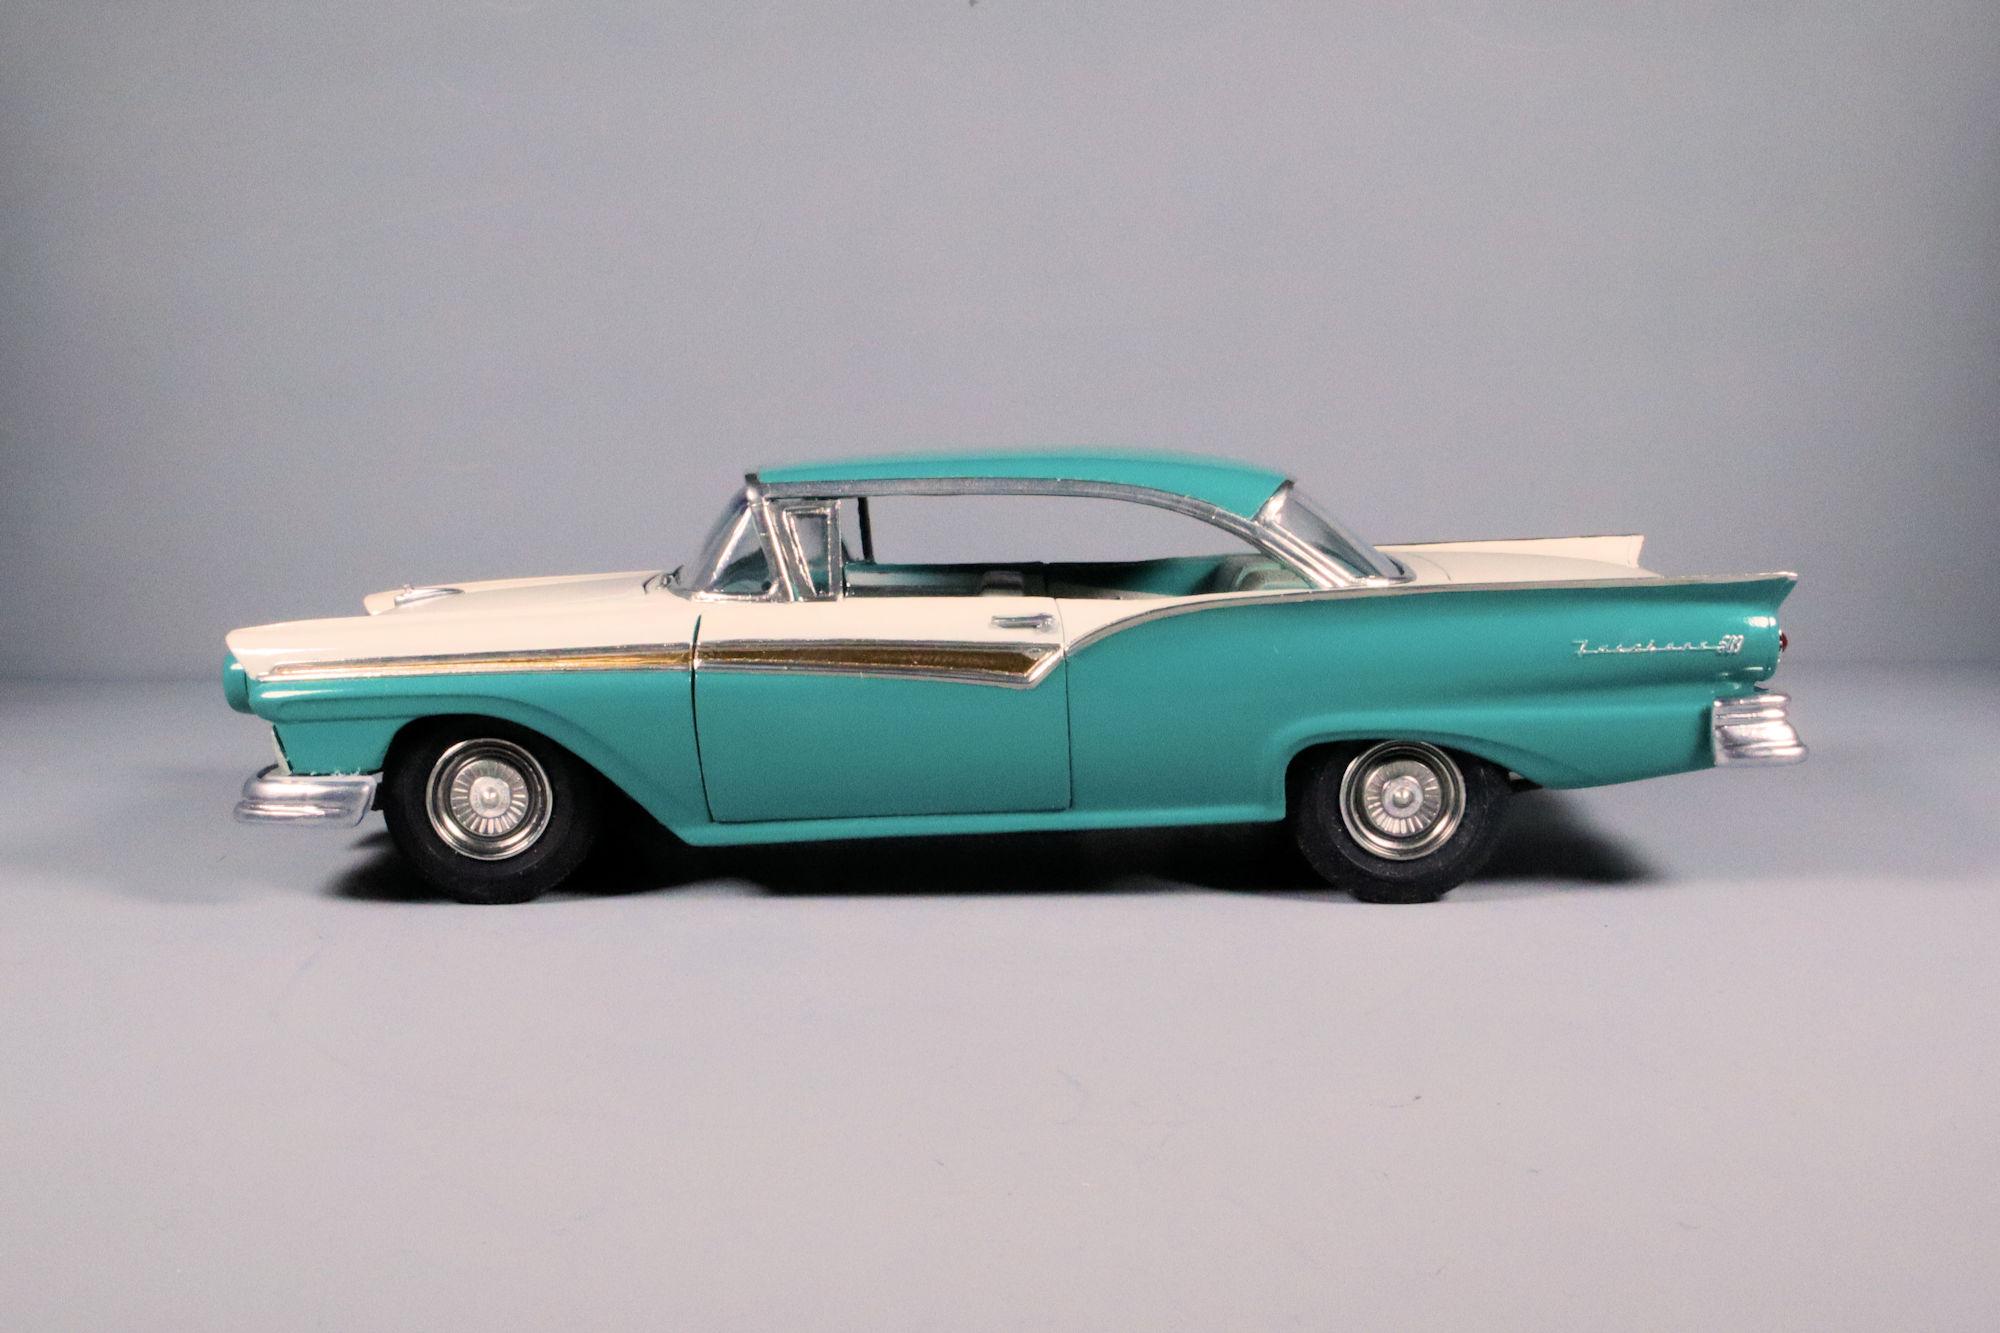
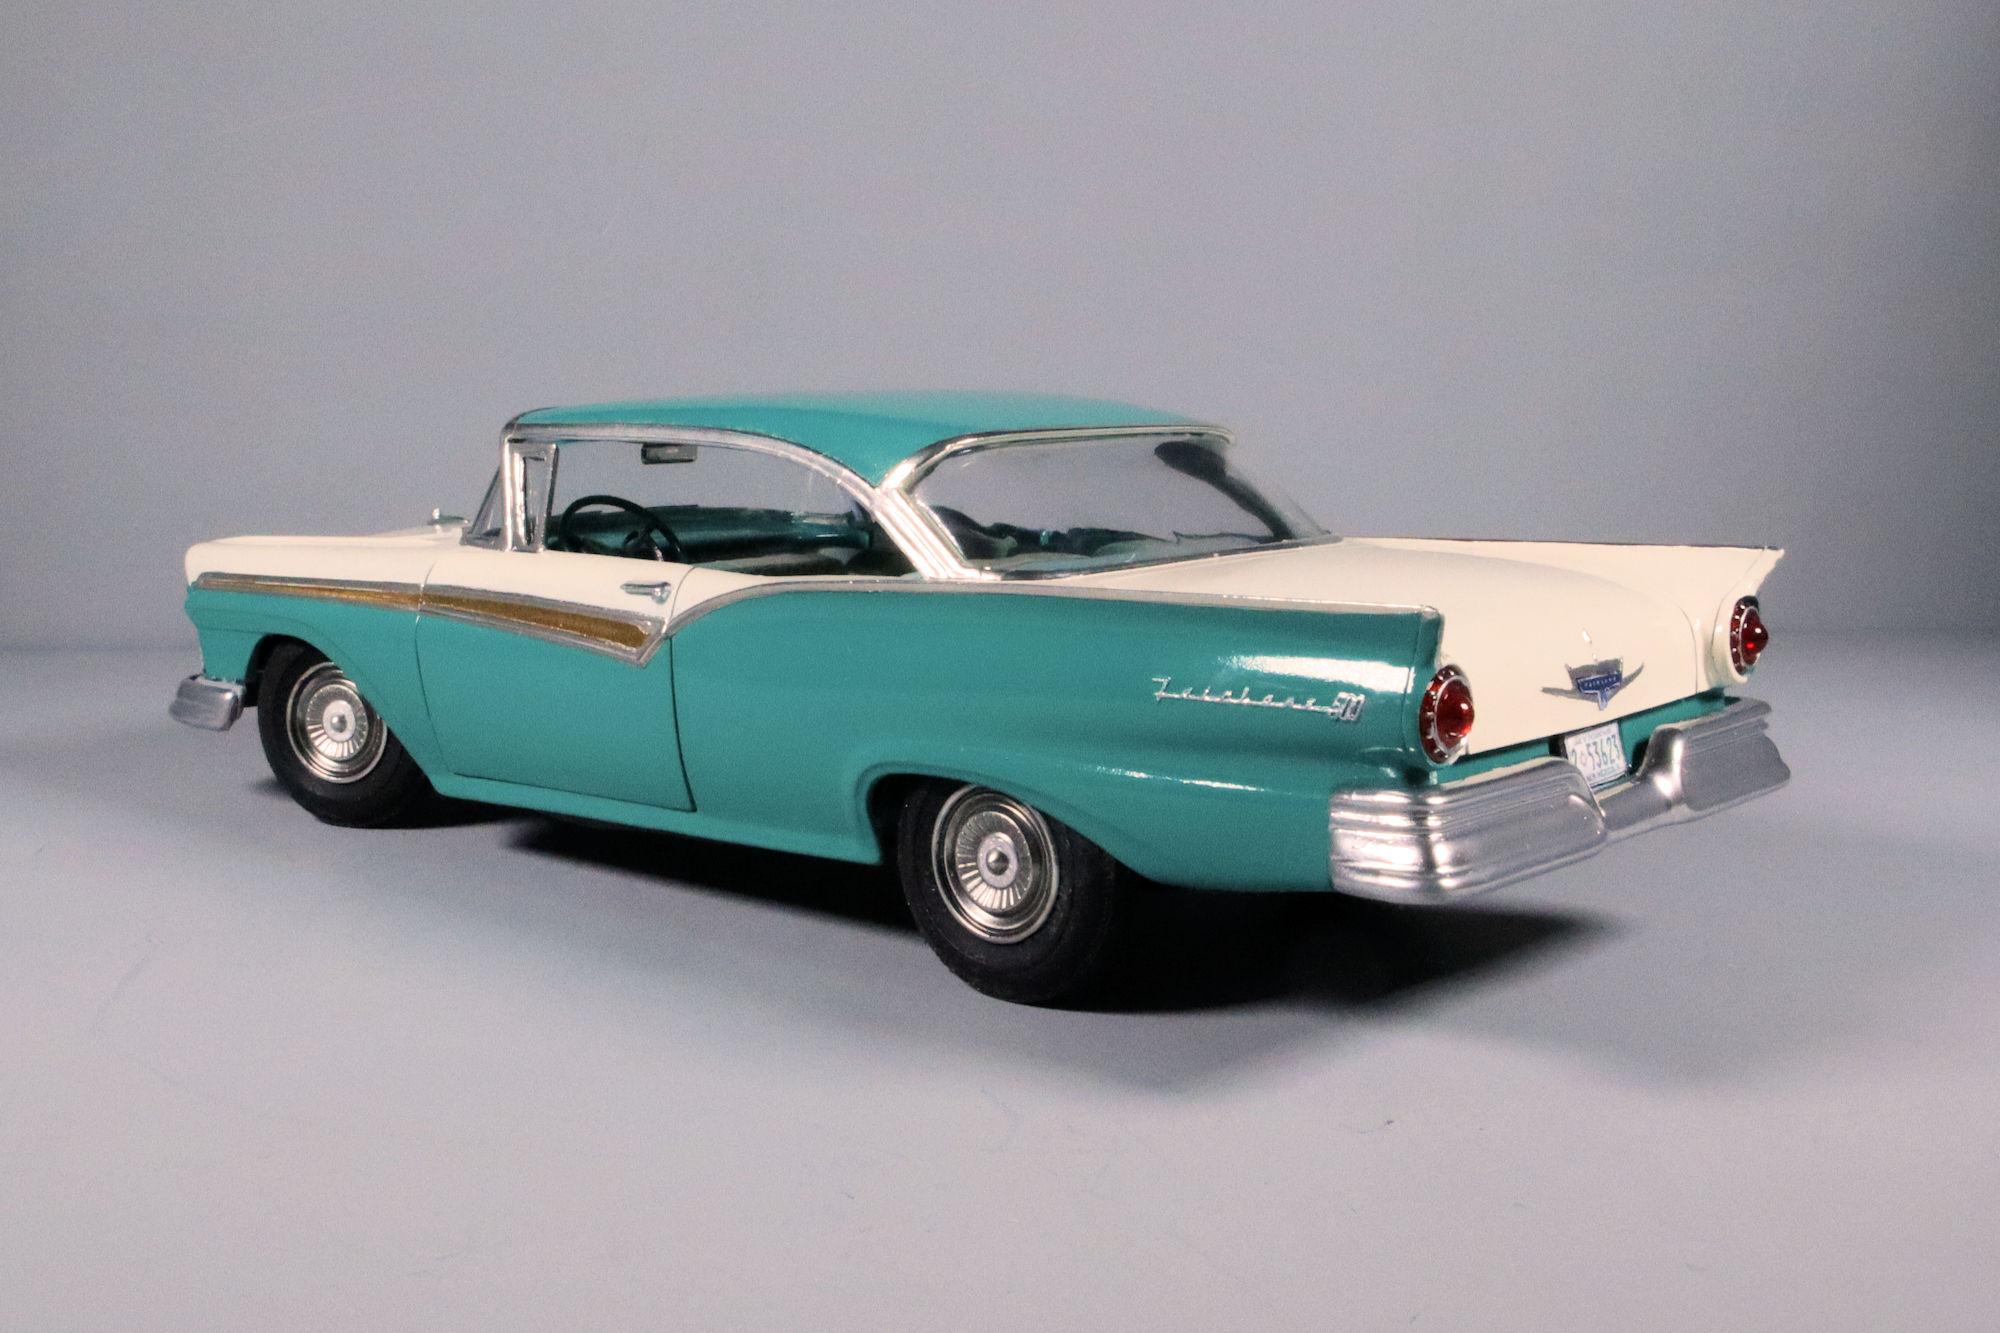
Hello Everybody! AMT's 1957 Ford Hardtop. This is one of those kits that can be built in multiple ways: drag, stock and custom or any combination of the three. I plan on building this one stock. The kit was originally released in 1963 and has been reissued multiple times in various configurations. I've been working on this one for a while and I'm glad to finally have it done. Here is a link to the build thread for those of you who may be interested. Classic front three-quarter view. The 1957 New Mexico license plate just happens to be green and white. I thought it would look good on the car. The gold in the side spear is gold colored BMF. The car did end up with a bit of a rake, but I'm okay with that. Rear three-quarter view. Quarter panel script detail. I painted this with Molotow chrome paint using a toothpick. Detail shot of the trunk badge and tail lights. The trunk badge is made from BMF and a printed copy of a "Fairlane" badge. The tail light chrome trim is hand painted with Molotow using a toothpick. I have a few more photos in the works, I'll try to get those posted in the next few days. As always, thanks for taking the time to look and please feel free to comment, if you wish. David G.
-
Yeah, tinting clear stock is tricky at best. David G.
-
1:16 Gunze Sangyo 1937 Rolls-Royce Phantom III Sports Saloon
David G. replied to Anglia105E's topic in WIP: Model Cars
Fabulous work on this David! It must be a great feeling to have everything coming together so well. David G. -
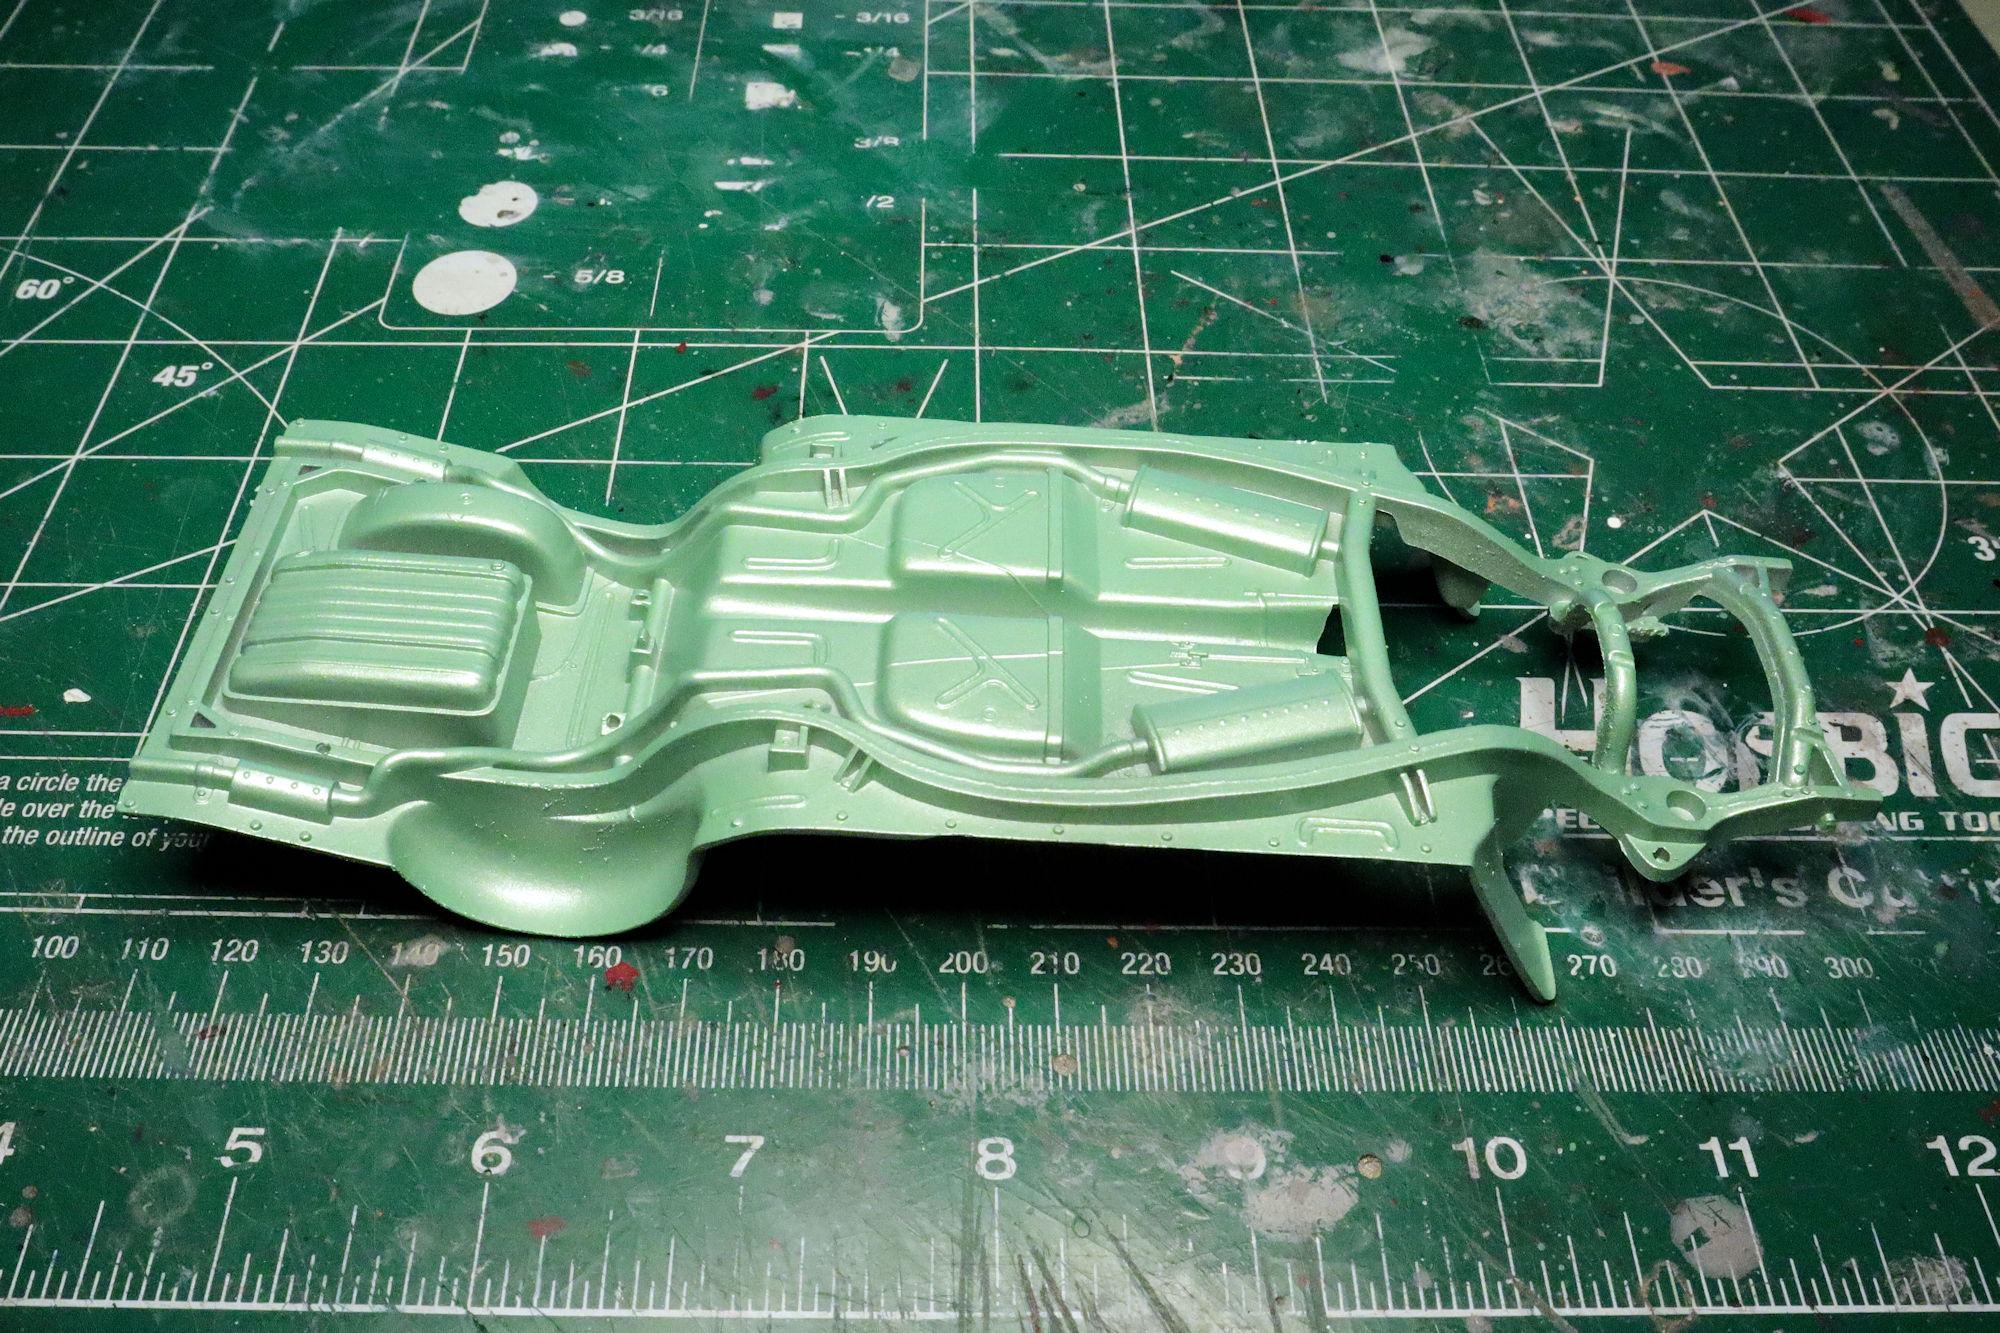
A lighted instrument panel? ? I can't wait to see that! When I first saw the chassis plate I thought it looked familiar.... I just finished up my '57 Hardtop, I've been staring at that chassis for months! David G.
-
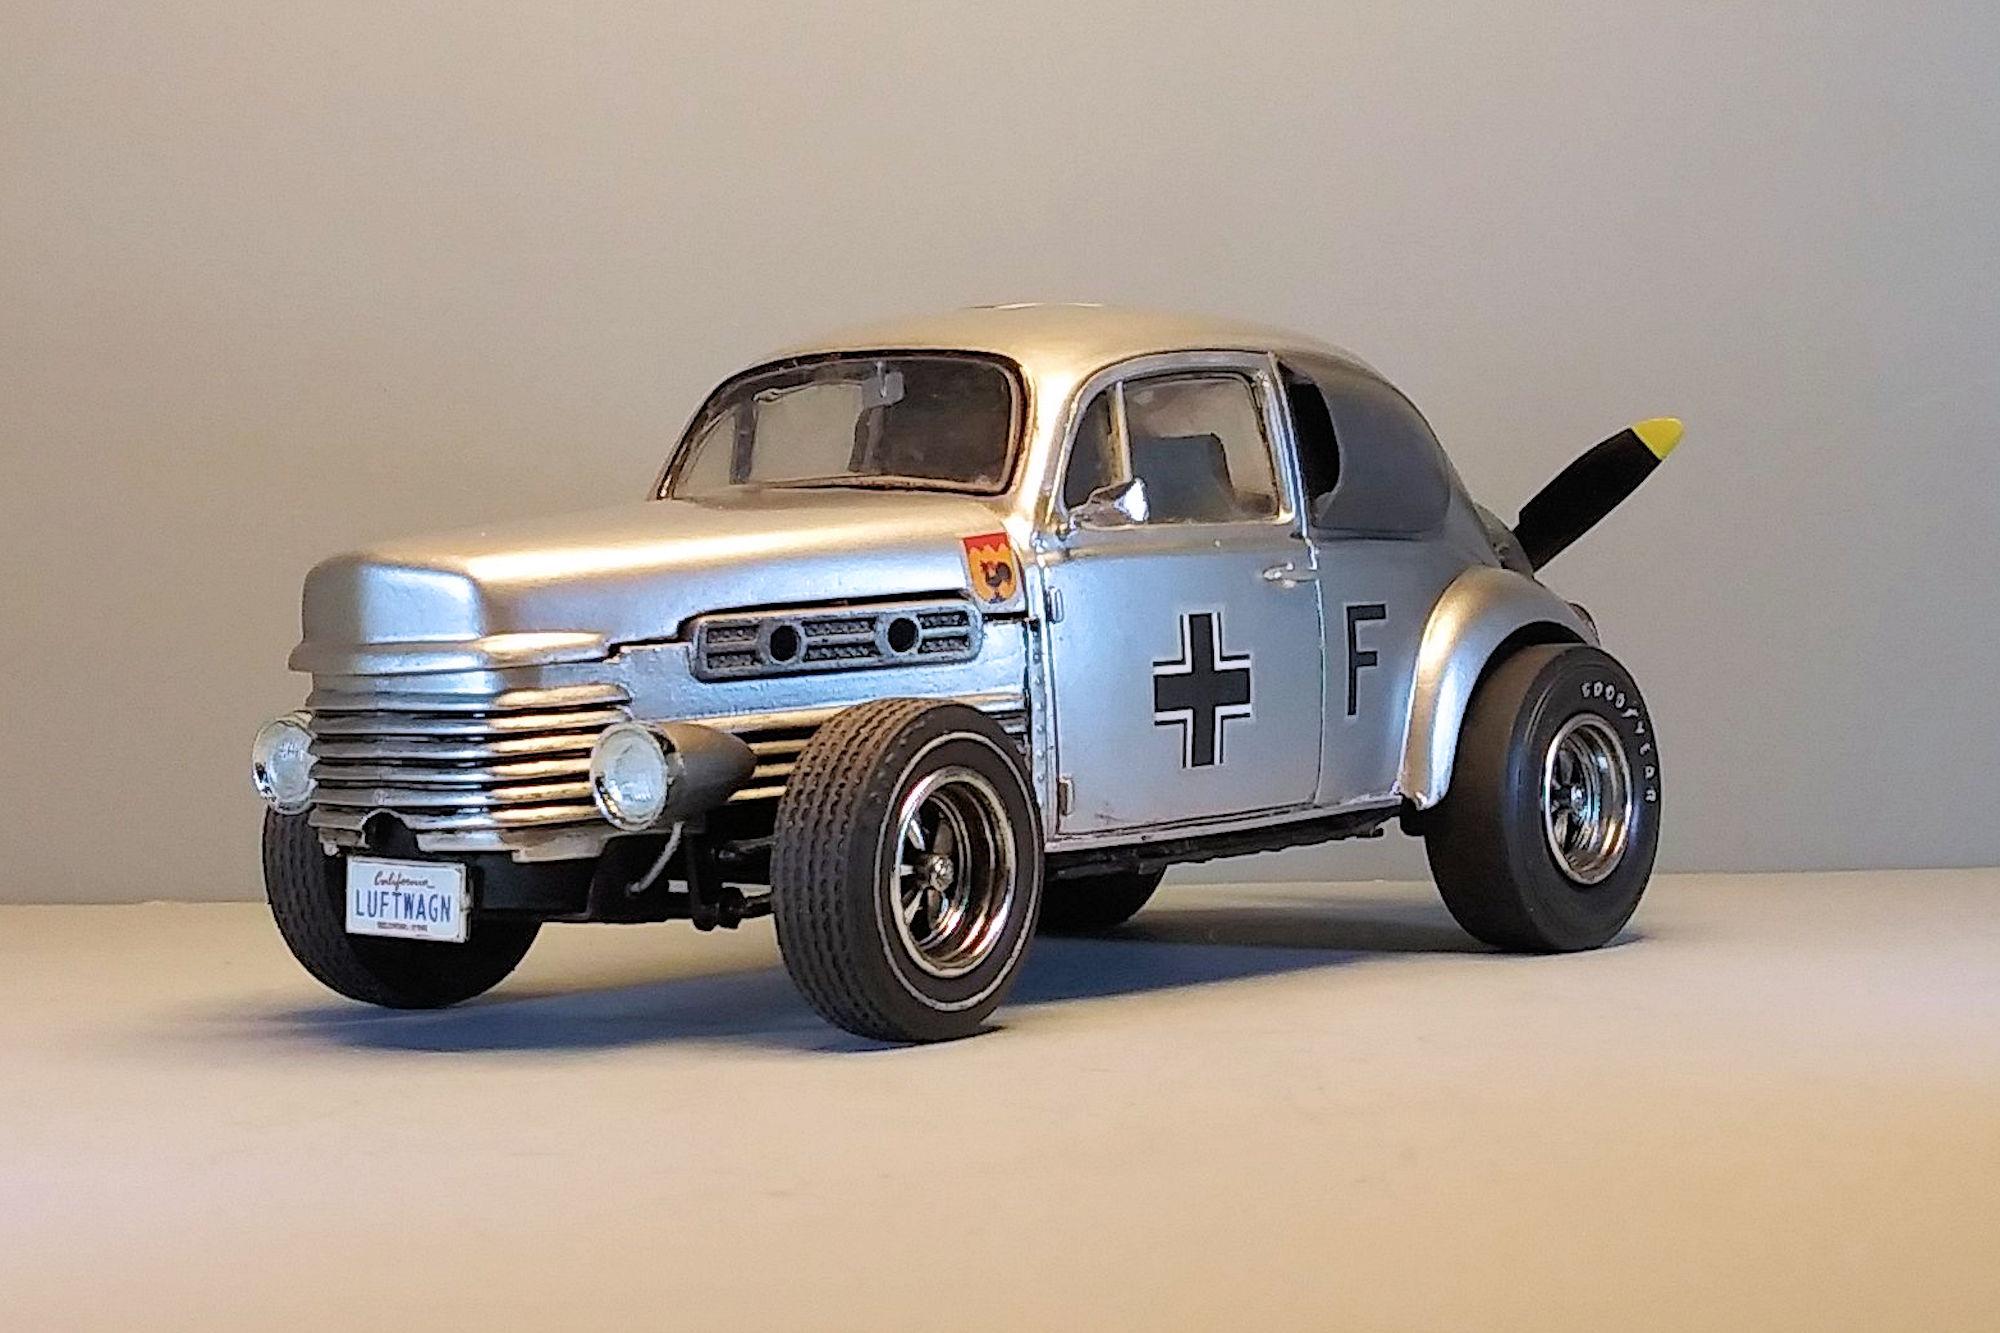
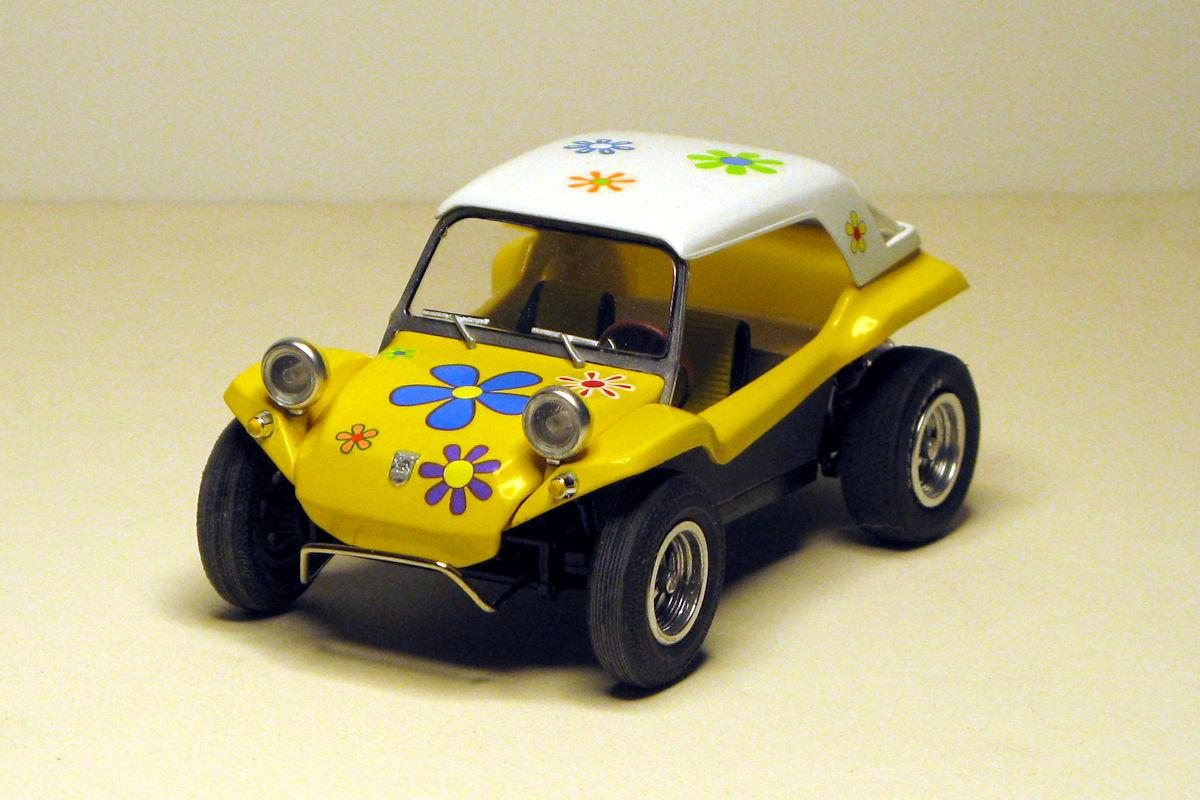
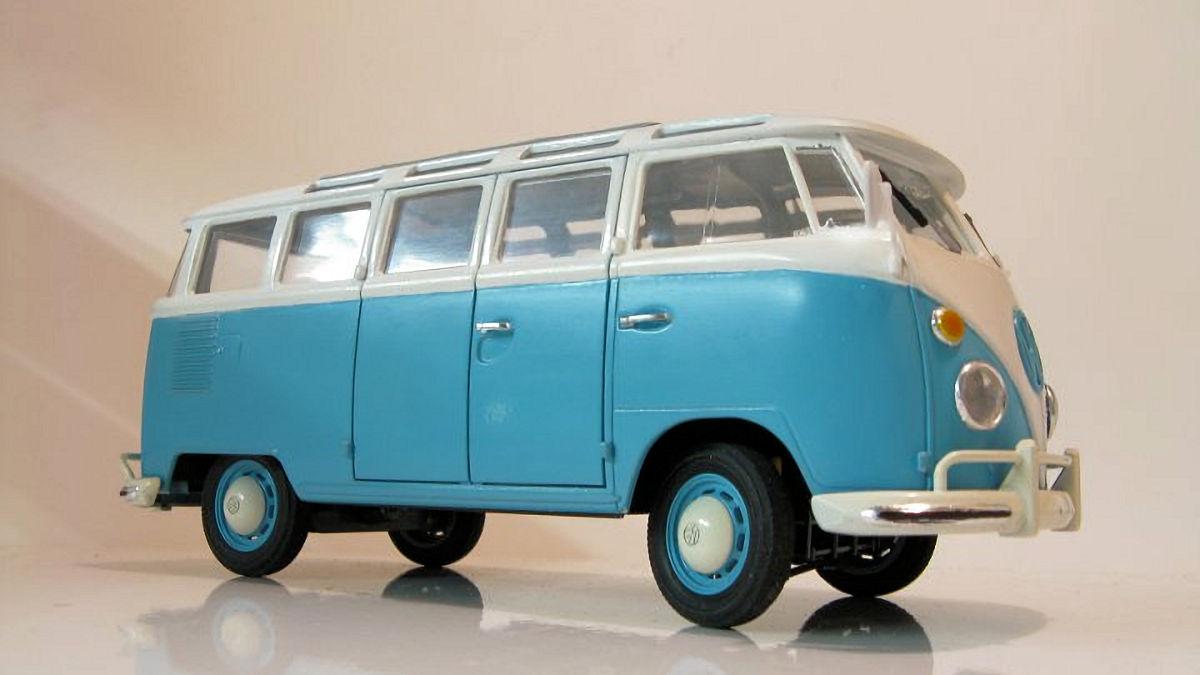
Ah, that makes more sense. No offence taken kind Sir! Believe me, I certainly thought about completing this kit unmarked, especially after seeing the paper decals provided on the kit. I even went so far as to rationalize that decision with the thought of claiming that it's Herbie as seen in the first few scenes of the movie. Before the addition of his race livery. A valid representation to model. But I, like many other car fans of my generation have always wanted a Herbie of my own. This kit being an official licensed representation, despite its inaccuracies is a better option than making another kit into something I already have in hand. Being an officially licensed kit also staves off any criticisms as to its accuracy. Whereas if I make a Herbie from the Ravel or Tamiya kit, then that's on me. Aside from all that, I already have a good stock Type 1 in the display case. And a custom. And a dune buggy. And a Type 2. With VW so well represented in my collection, a Herbie in full regalia would just be the next logical addition. But of course, I'm always open to, and appreciative of suggestions. -D- Yeah, thinking about it, that makes much more sense. A good loke though! Thank you Johnny. Thanks Dann, it's good seeing you back on the boards again. Thanks to all of you who took the time to post your comments, I do enjoy reading and responding to them. David G.