David G.
-
Posts
11,326 -
Joined
-
Last visited
Content Type
Profiles
Forums
Events
Gallery
Everything posted by David G.
-
Great looking builds Jim! I actually like how the blue turned out on the one bubble top. It has an interesting fade to it. David G.
-
Wow! That color really brings the body contours to life. It kicks light quite well. David G.
-

1:16 Gunze Sangyo 1937 Rolls-Royce Phantom III Sports Saloon
David G. replied to Anglia105E's topic in WIP: Model Cars
It's all coming along quite nicely! David G. -
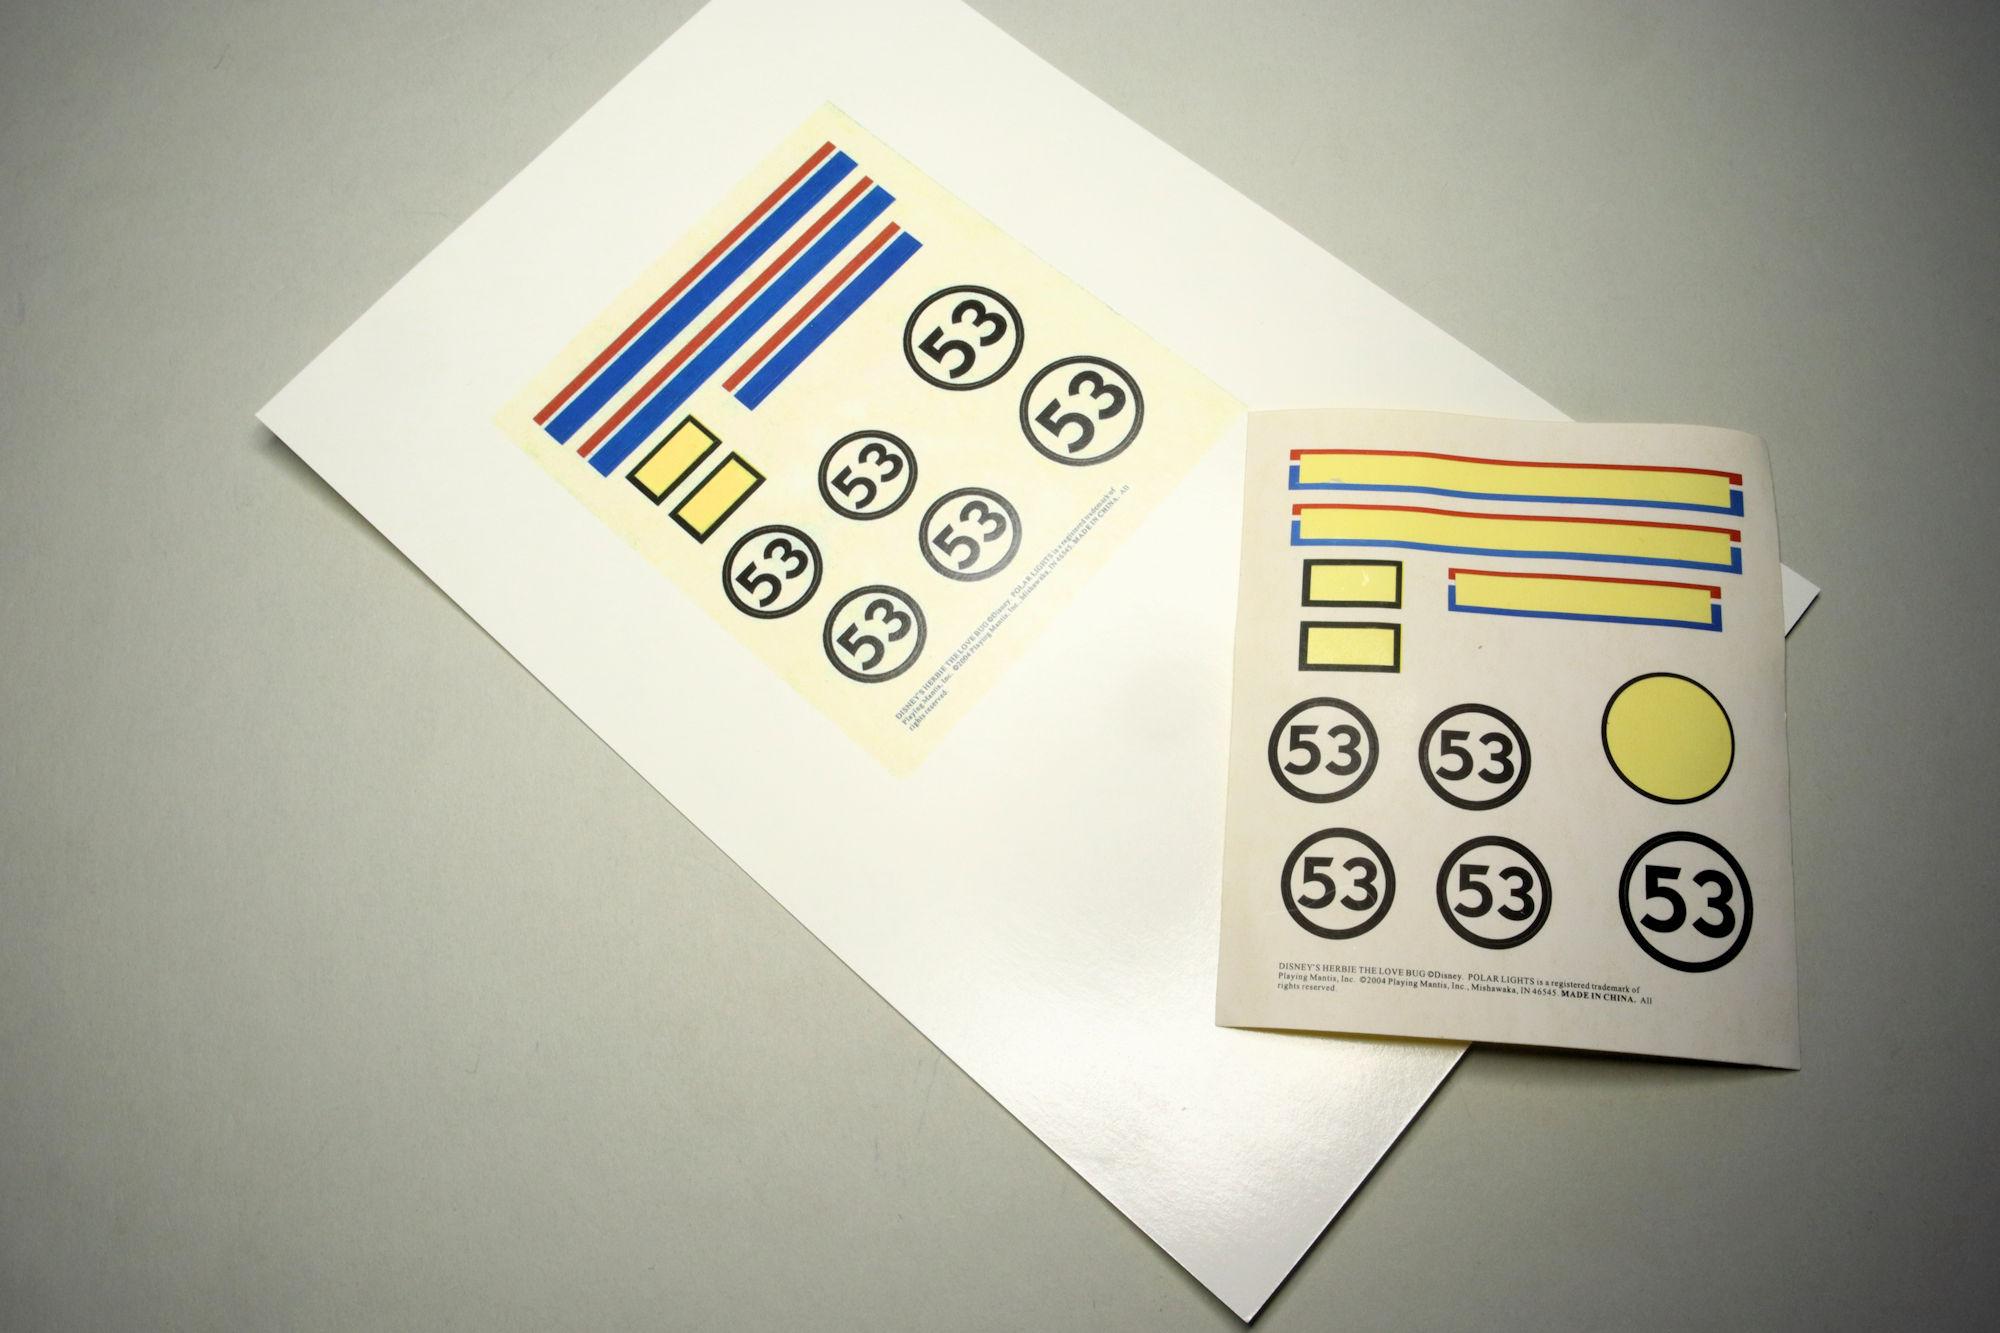
Hello Everybody! As some of you already know I had some issues regarding this kit with stickers and decals. Now, here's a part of that of this story. Instead of water-slide decals, this kit comes with... stickers. ? I gave the stickers the benefit of the doubt and tried to get them to work the way I wanted them to. To make them look the way they should on the model. They just wouldn't go. Not only did they not conform well enough, the didn't stick well either. The lack of adhesion may be my fault though. The stickers were very shiny and I didn't think that shininess would look right so I sprayed the stickers with some flat clear to kill the sheen which may have compromised the adhesive on the back. I managed to get the racing stripes to work fairly well. And I'm sure that if I tried them, the number gumballs would probably work decently on the flat-sided doors. But getting the front gumball sticker to conform to the boot lid just wasn't going to happen. Luckily, I anticipated this problem and had the foresight to scan the sticker sheet so I could print my own water-slide decals. The next obvious step was the removal of those stickers. Those... those... things. Though it took some care attention I was able to successfully remove the stickers over the course of one build session. After the stickers were dealt with it was time to polish it up and make it ready for the decals. To be continued! David G.

-
A clown car! That's funny!
-
Thank you for the pointers Delton, I'm always looking for ways to improve my skills. I have thought about dipping, that would certainly eliminate any possibility of brush marks. I do have an airbrush but I'm not that skilled with it. Though an airbrush would be ideal for tinting a windshield in this way it's not currently a very practical option for me. Everything aside from brush painting I currently do outside on my patio with spray cans and occasionally my airbrush. Which I have to set up each time I use it. For a literal three second shot of transparent blue across the top of a windshield, it's just not worth the effort for me. But dipping, that's certainly worth a go for the next time around. Thanks again, David G.
-
What a great story! It's a good bit of luck that your friend wasn't injured. It's good fortune that so many of our youthful misadventures gave us amusing stories rather than serious injuries. David G.
-
That old Plymouth looks fabulous in primer Greg! You've given this kit way more that it's due and the results really show. David G.
-
Looking good! David G.
-
Nicely done. I like the wash you use on the wheels, it really brings out the detail. David G.
-
I always appreciated Snake's honesty when it came to the critiques and opinions he offered. I'll miss that. I'll miss him. May his family and close friends find some peace and comfort in the days ahead. Model on Snake! Wherever you are. David G.
- 47 replies
-
- 6
-

-
- d___
- ill miss him
- (and 1 more)
-
That turned out great! David G.
-
Again Kyle, I just love that color! The wheels and stance look great too. David G.
-
It's more fun and I think it's a bit more challenging too. Doing a rusted, damaged and/or distressed build and having it come out well takes (at least for me) more planning and thought. I don't mean to belittle or dismiss anyone else's skills because they build one way or another. This is just an observation regarding my own experiences. Cheers! David G.
-
1:16 Gunze Sangyo 1937 Rolls-Royce Phantom III Sports Saloon
David G. replied to Anglia105E's topic in WIP: Model Cars
The suitcases look great David. I'm always amazed at what can be done with a few bits of paper, some scraps of rubber and some paint. Good work on the radiator shell too. I'd have done it the same way, more visually interesting. David G. -
1:16 Gunze Sangyo 1937 Rolls-Royce Phantom III Sports Saloon
David G. replied to Anglia105E's topic in WIP: Model Cars
! -
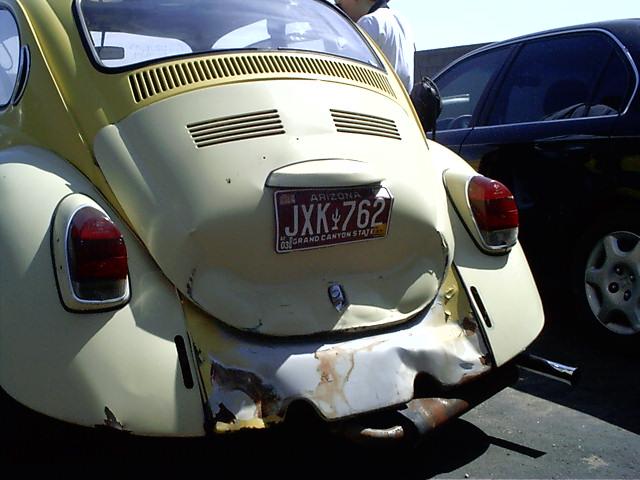
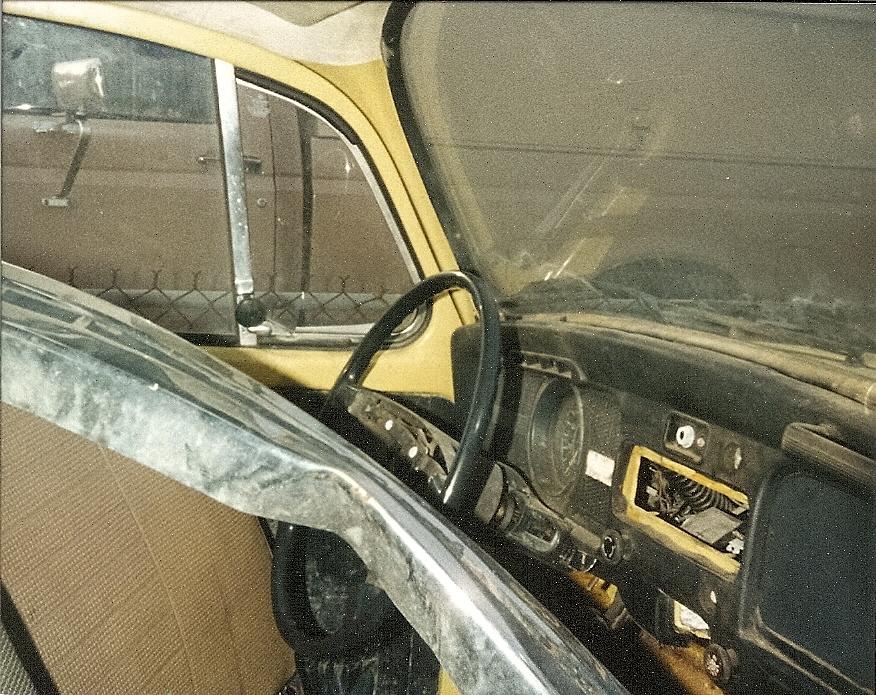
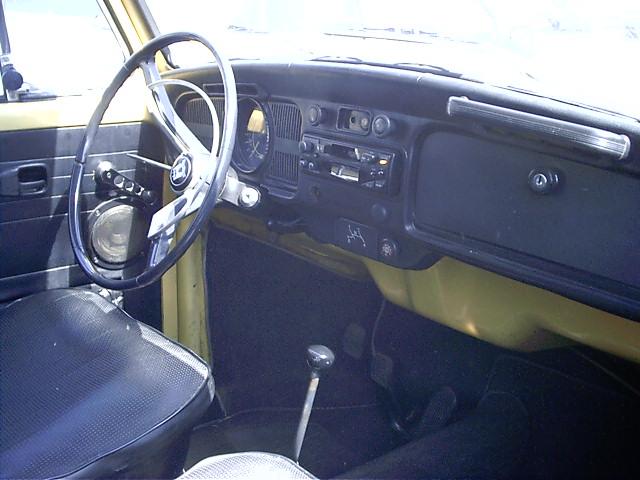
I'm glad they found your brother! It's amusing because it did have a good outcome. A bummer about the Beetle though, that's what happened to mine too. Unfortunately it doesn't take much of a bump to the back end to wreck those cars. Here's a couple of before and after pics of mine... And the one that did 'er in. Thank you Bobby. David G.
-
Thank you Ken. Hopefully, I'll get it into the "photo studio" soon for the Under Glass shots. David G.
-
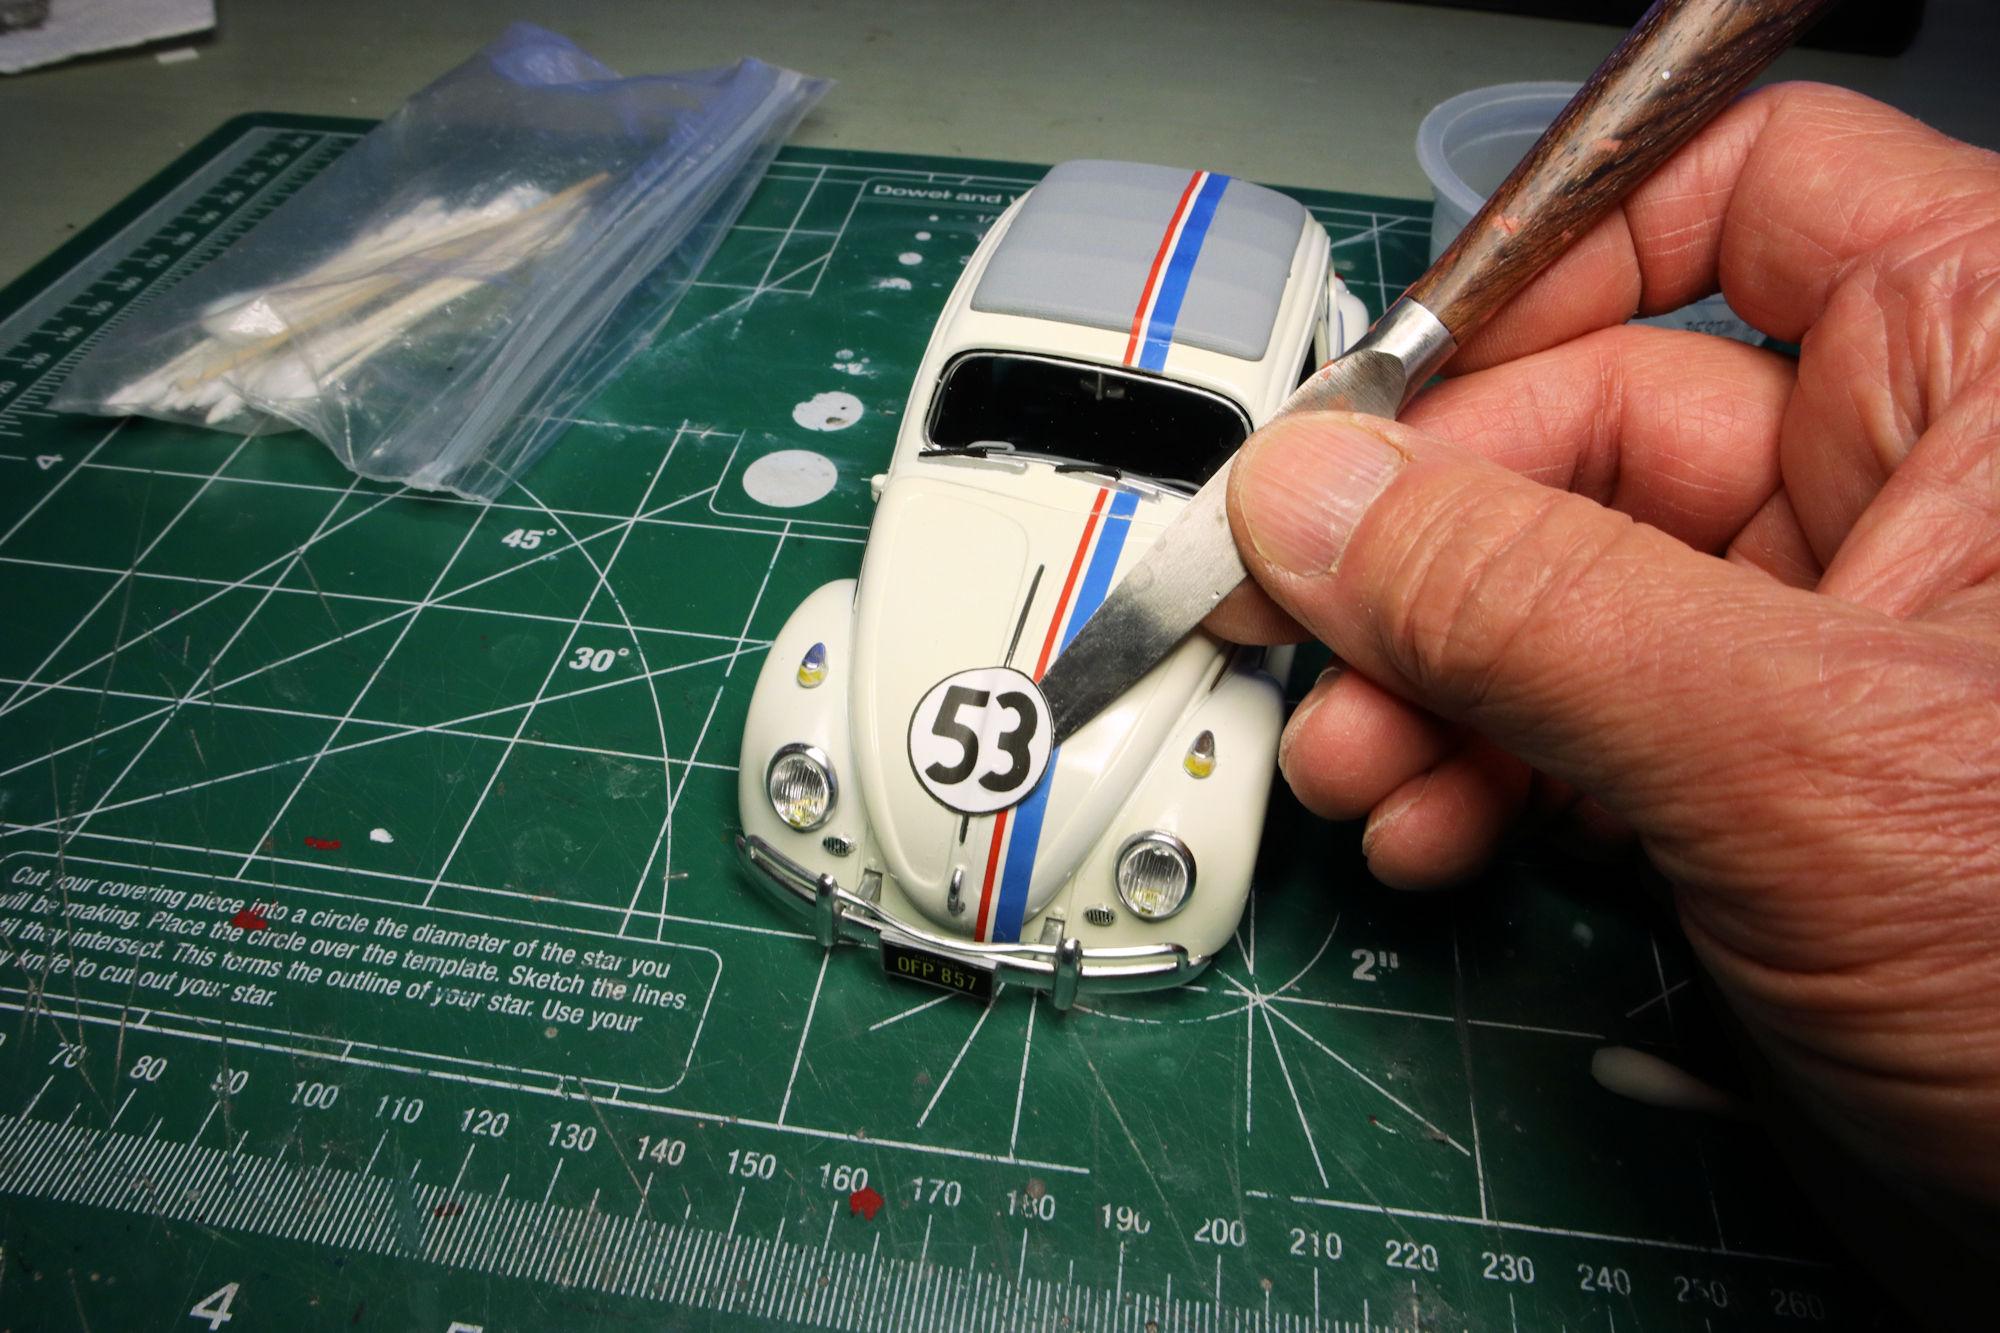
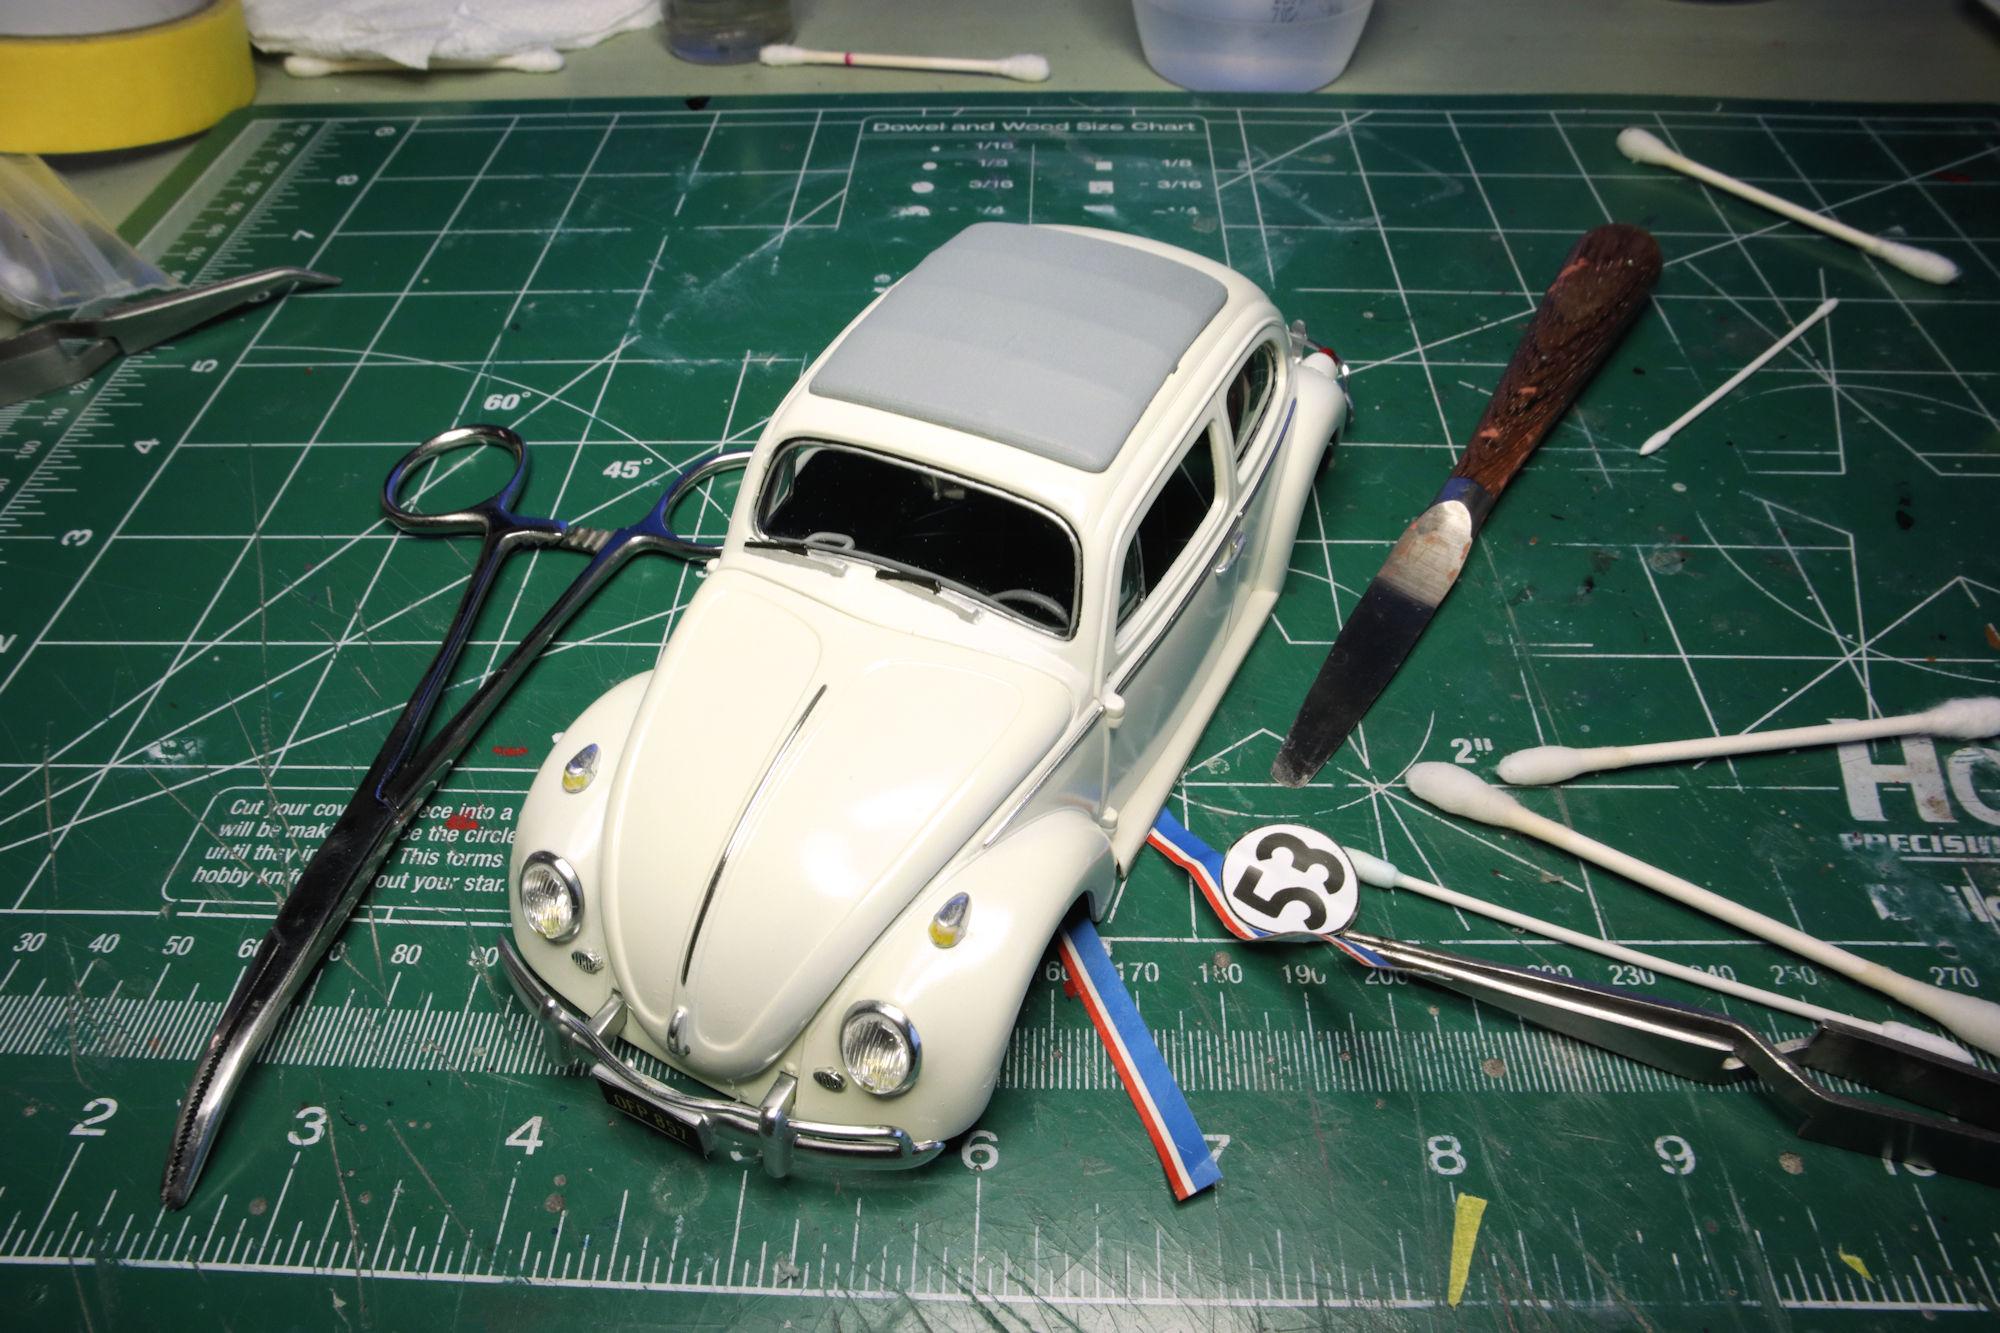
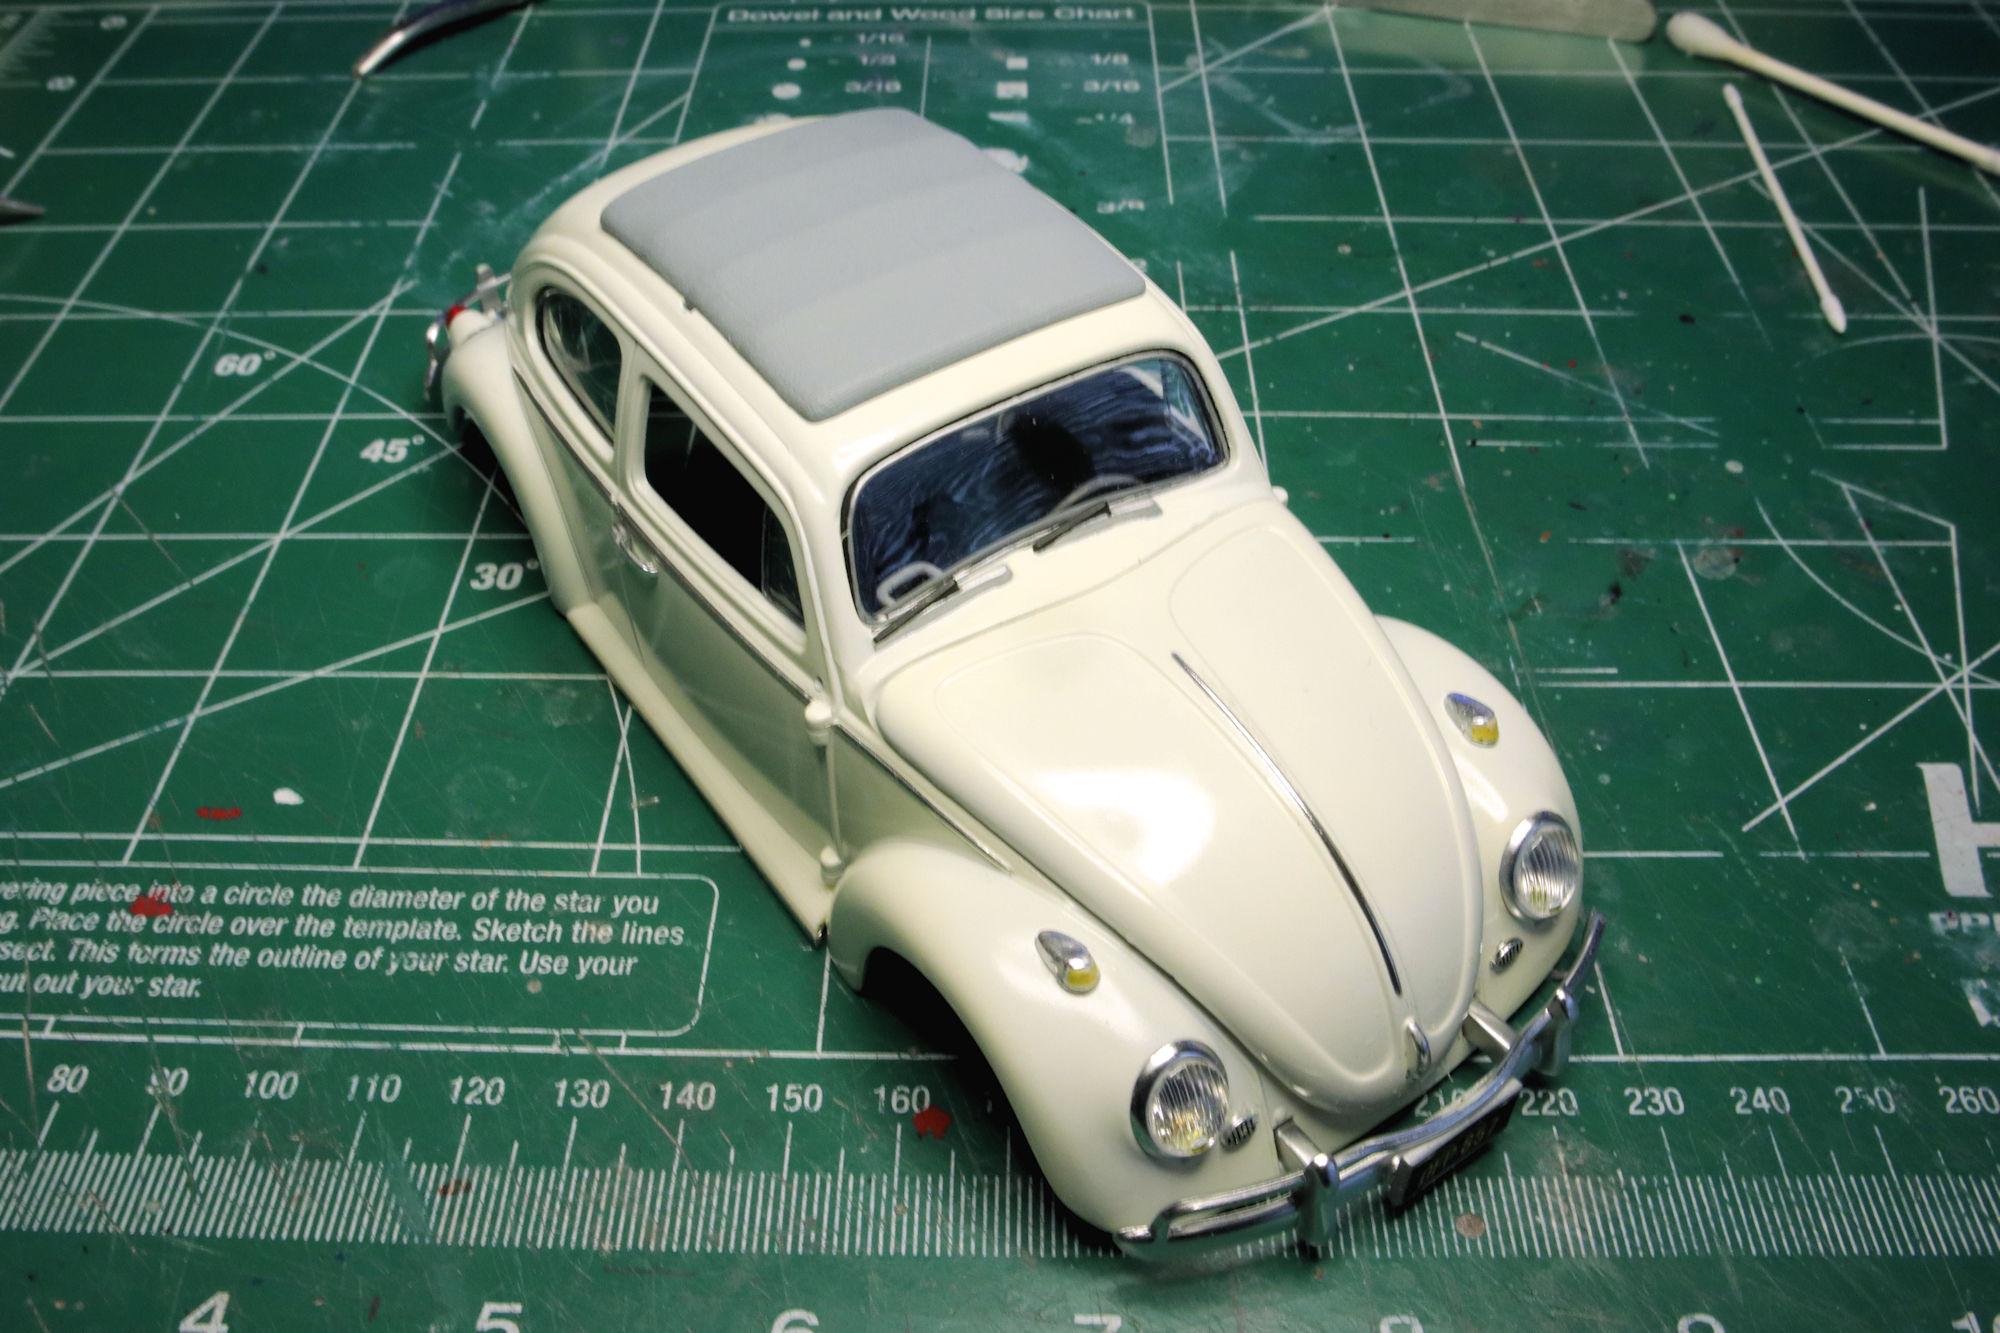
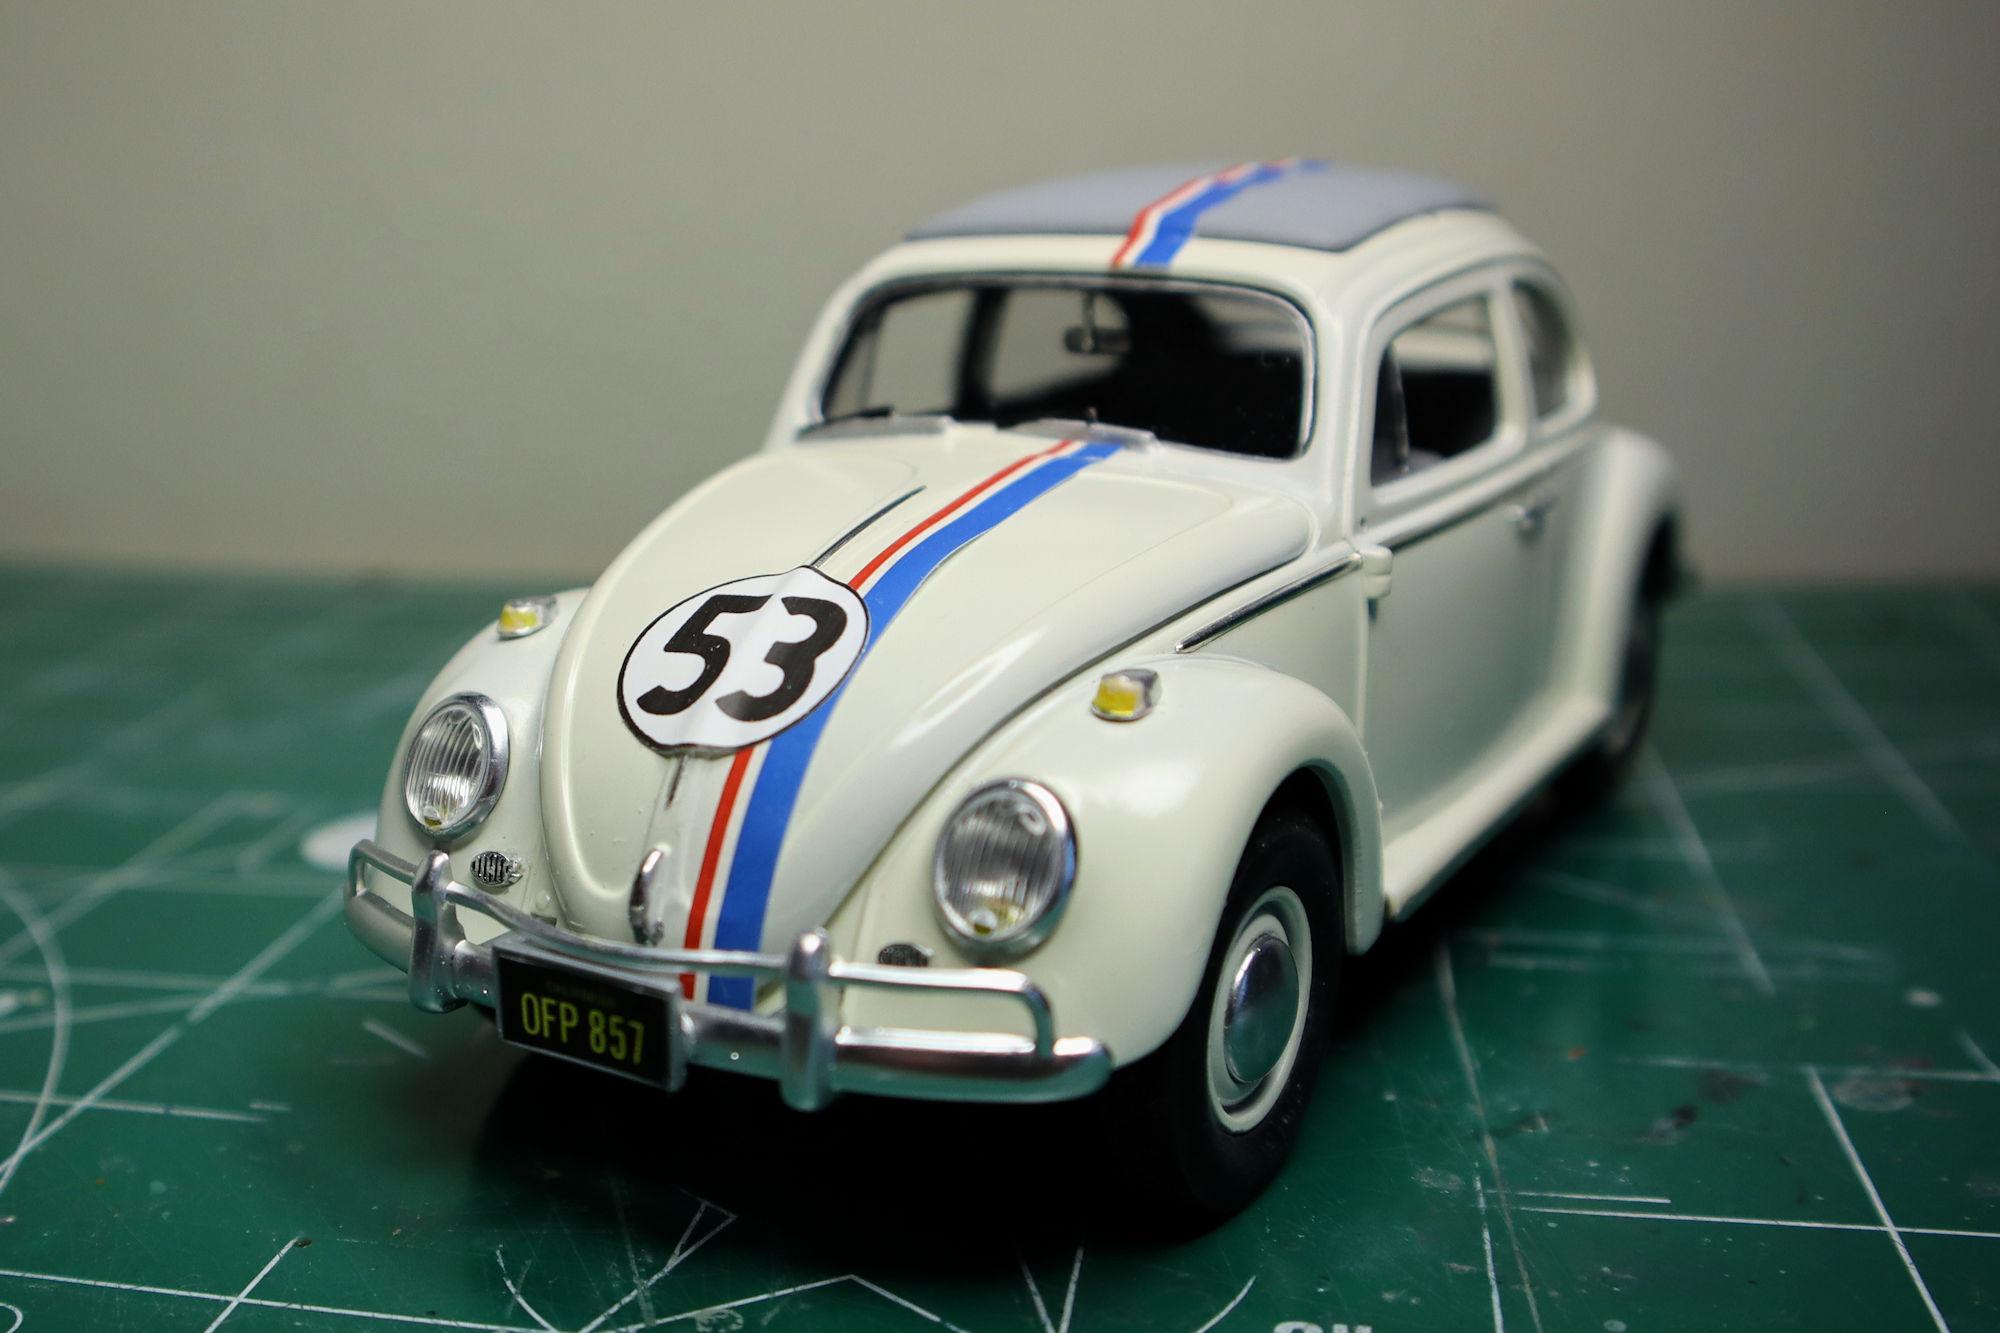
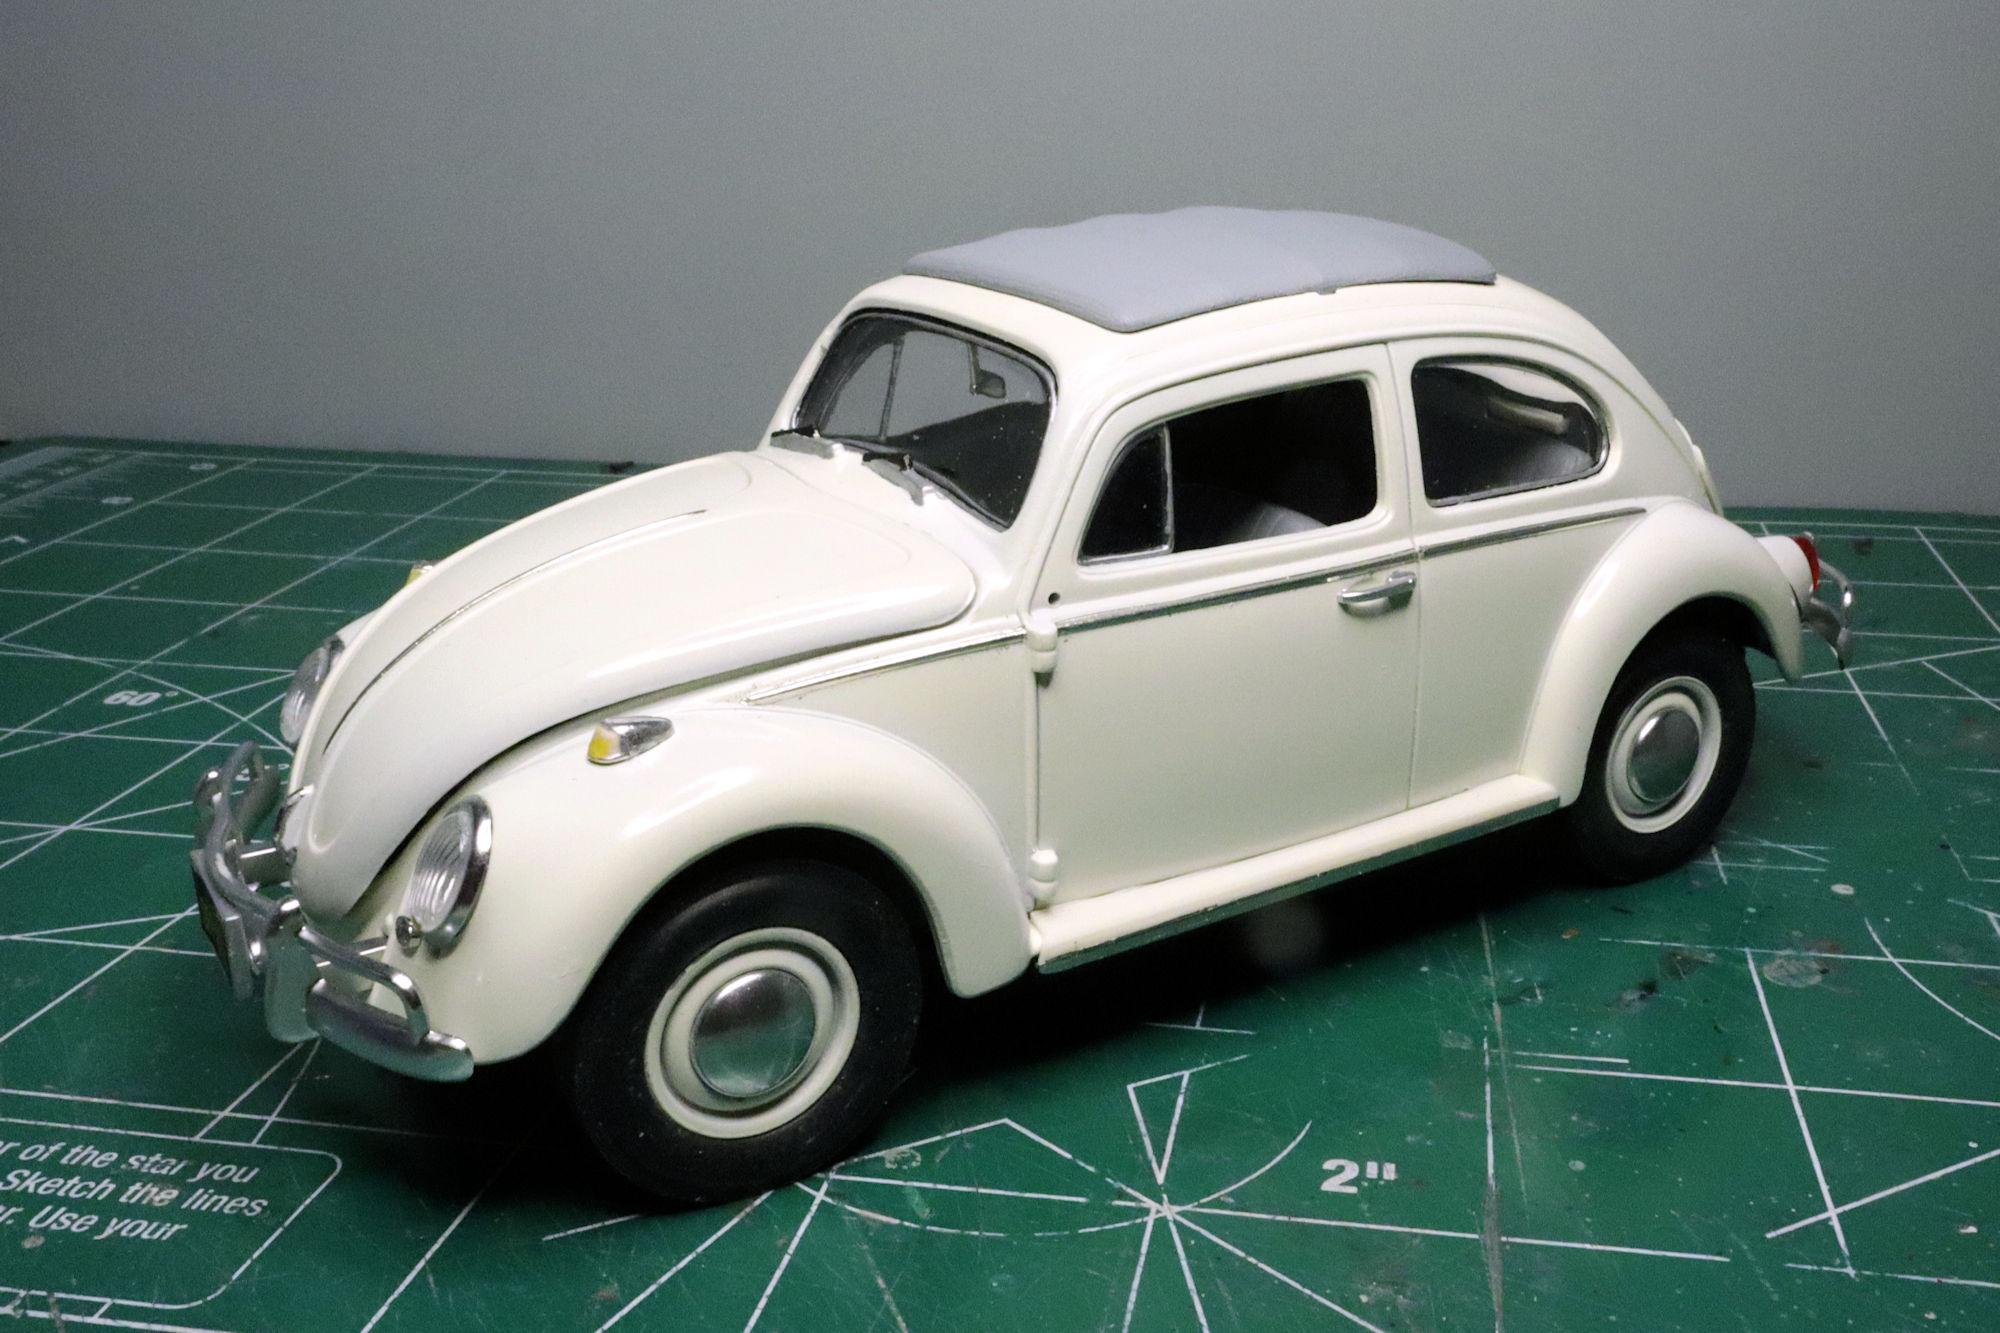
Hello Everybody! Just a quick update before I dive into the final phases of the Love Bug build. For the most part, the actual building part of this model is complete, but right now, it's just a VW Beetle. To make it into the Love Bug it will need to have the proper markings added to it, the iconic stripes and numbers that make Herbie "Herbie". I did take this opportunity to add some panel line darkener to the rear louvers. As always, thanks for taking the time to look and please feel free to comment. David G.
-
Thanks, I'm glad you like it. Do let me know about the book, I hope you enjoy that as well. David G.
-
Dang, that things flashy! And not in a good way. I'm interested in seeing what you can do with this sad old bird. I wish you all the luck with it! David G.
-
Thank you Carl. The technique is a bit tricky and I'll need more practice to get it smoothed out. Perhaps you'll have even better luck with it. David G.
-
Thanks for your response Andreas. I don't recall if you were a member of this board back about a decade ago, but if you were I'm sure you remember all that nastiness we went through. Trolls... flame wars... usurpers trying to take control of the community for themselves... It was some rough fare at times. There were policies enacted regarding, among other things, unsolicited comments. And even though those instigators and troublemakers are long gone, I still abide by those policies. They're good policies and they make sense. Thanks again Andreas!
-
Nice rust and distress damage so far. Good use of colors and salt technique. The patina you created is very convincing. The upholstery damage you made looks great! Please forgive the following unsolicited advice: When modeling rust-through damage I usually start grinding from the inside of the piece to be rust damaged. Grinding from the inside surface gives better control over the amount of damage and produces "rust lace" and rust bubble effects. Don't get me wrong, the rust damage you've modeled looks good and works well. This is just an alternate approach. Please forgive me if I've overstepped. Regards, David G.
-
That's a cool story Len. It shows the difference between those who know how to make the money and those who know how to count it. David G.