David G.
-
Posts
11,326 -
Joined
-
Last visited
Content Type
Profiles
Forums
Events
Gallery
Everything posted by David G.
-
Thank you Jim. David G.
-
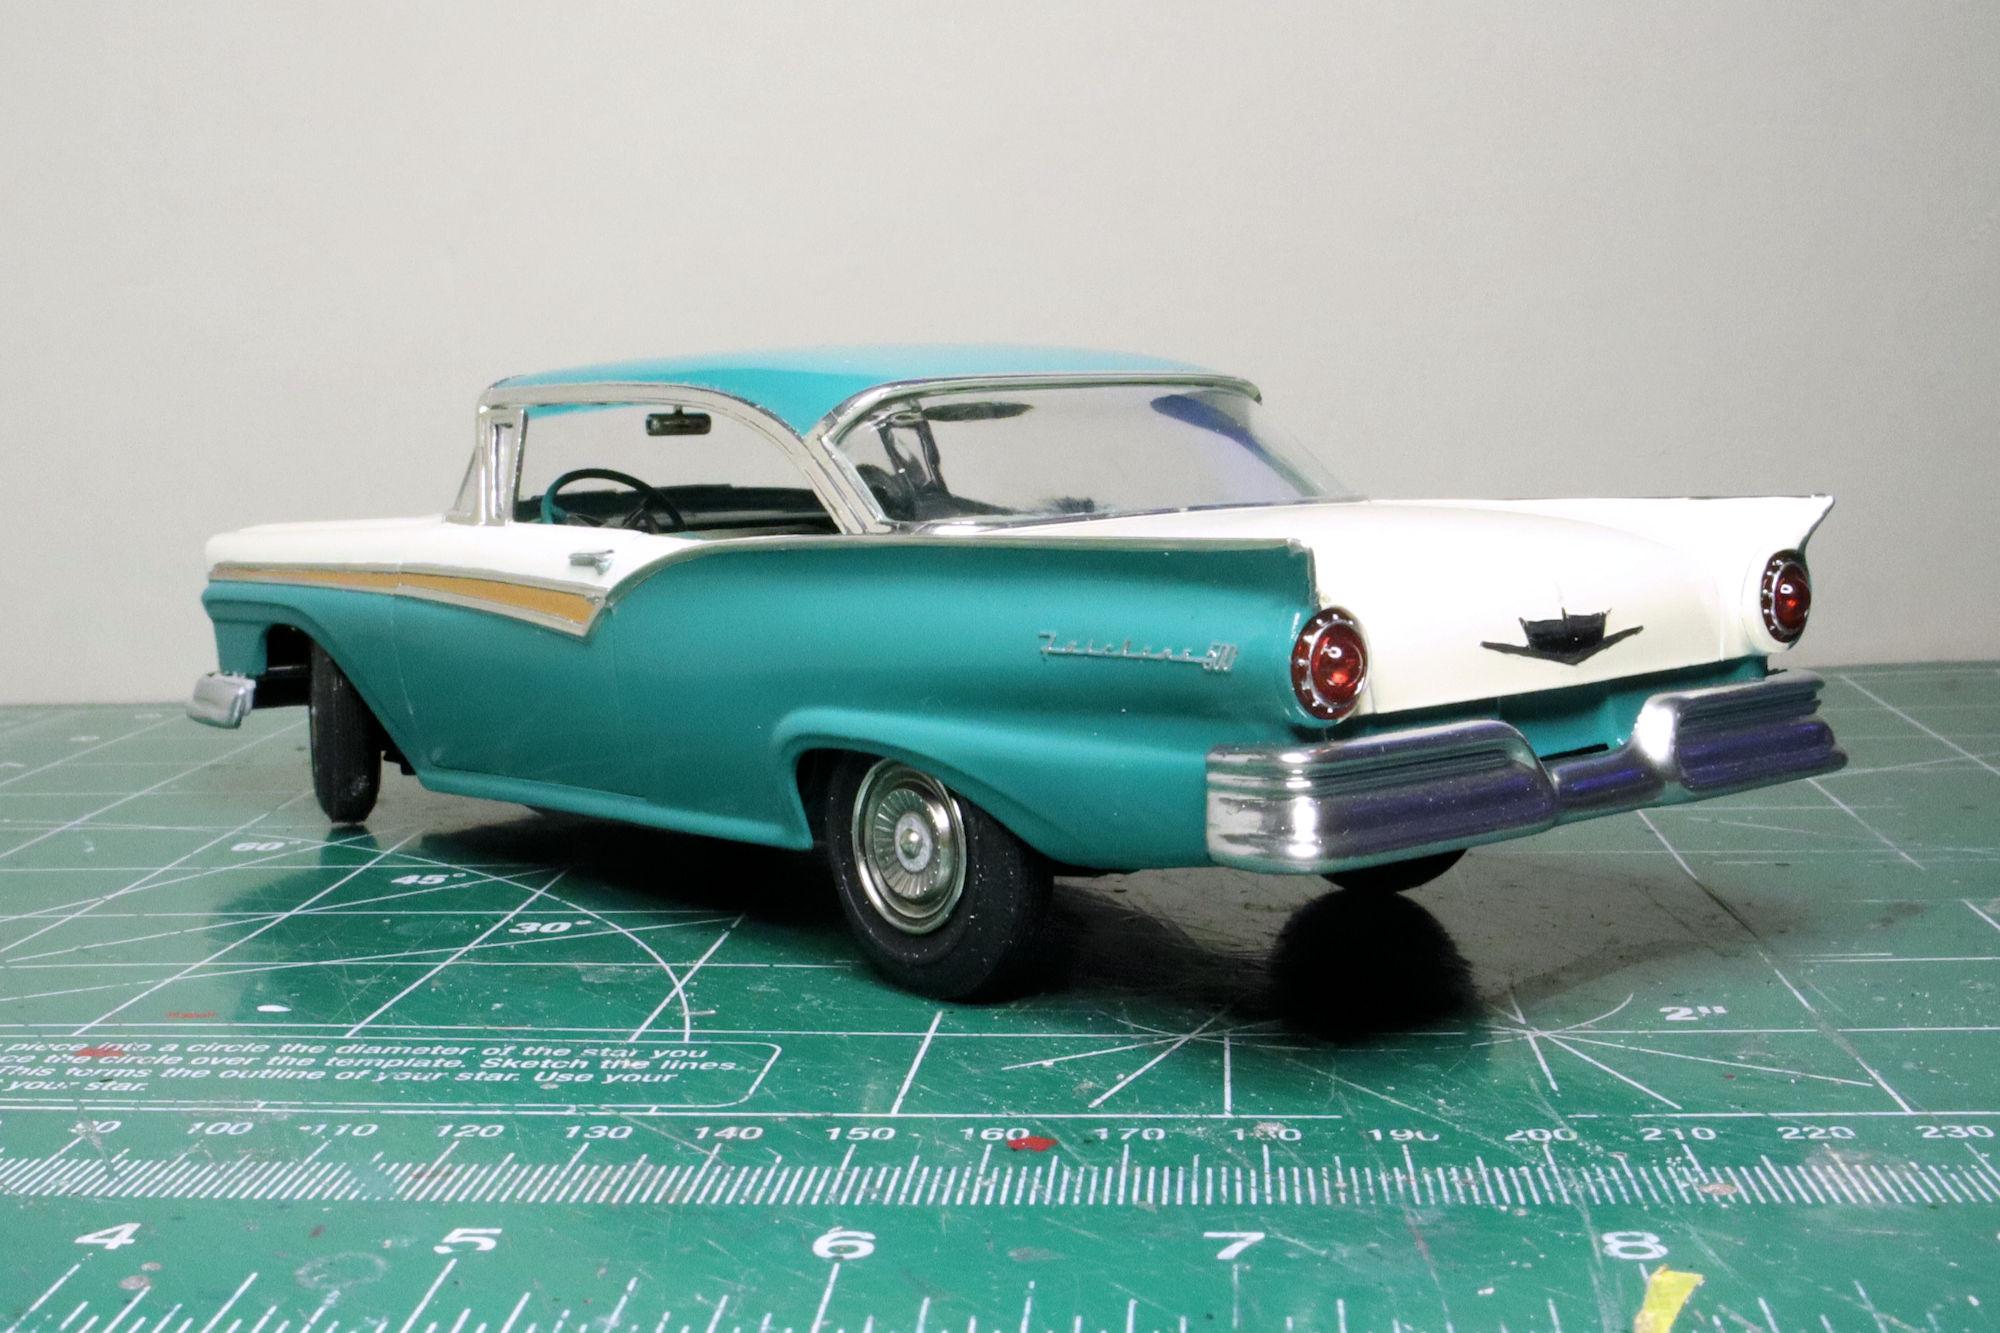
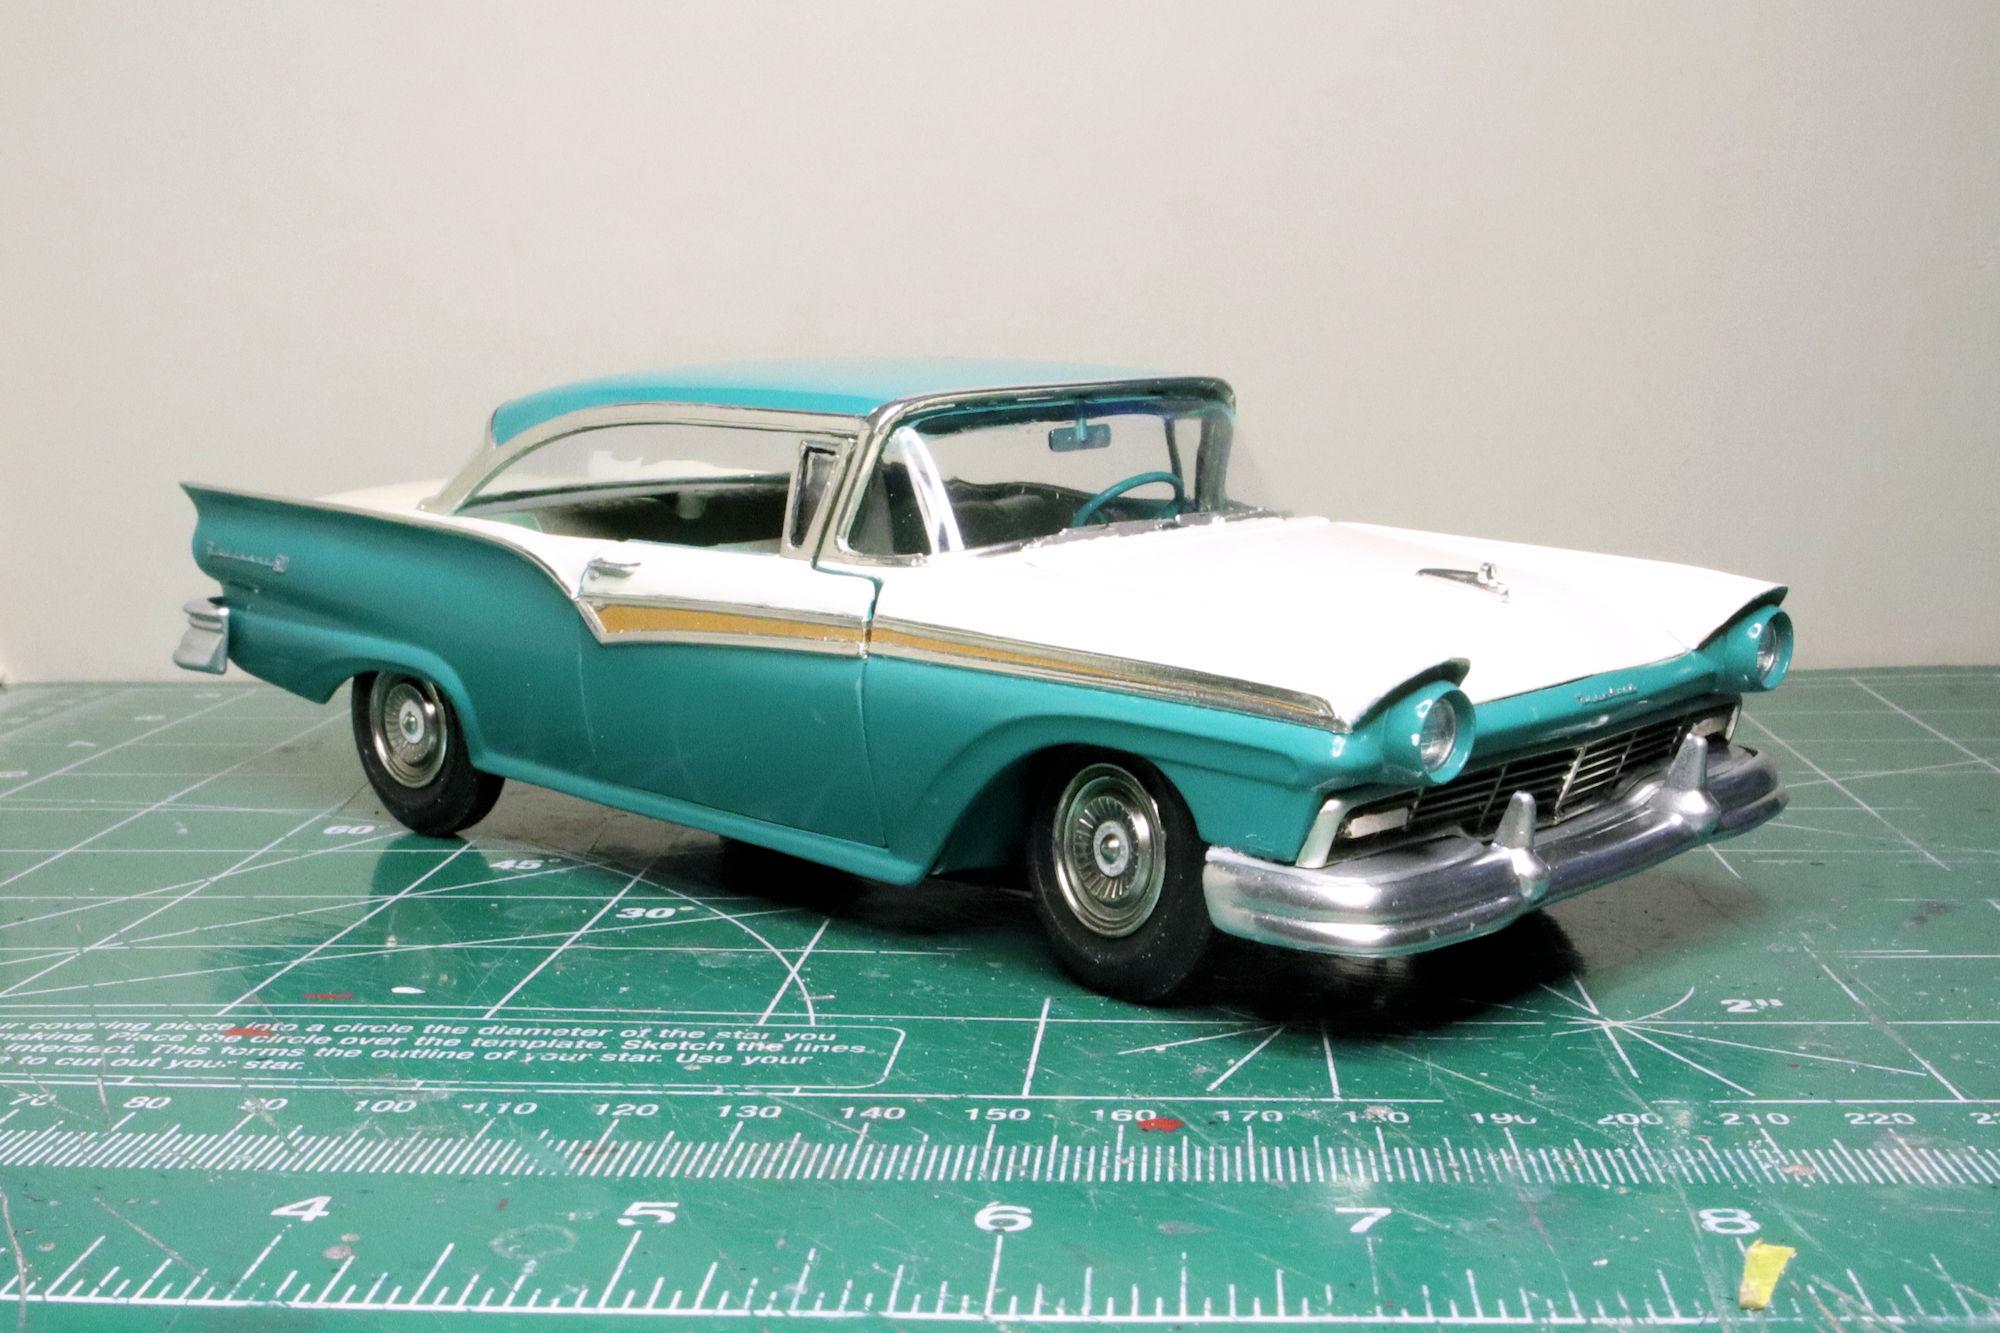
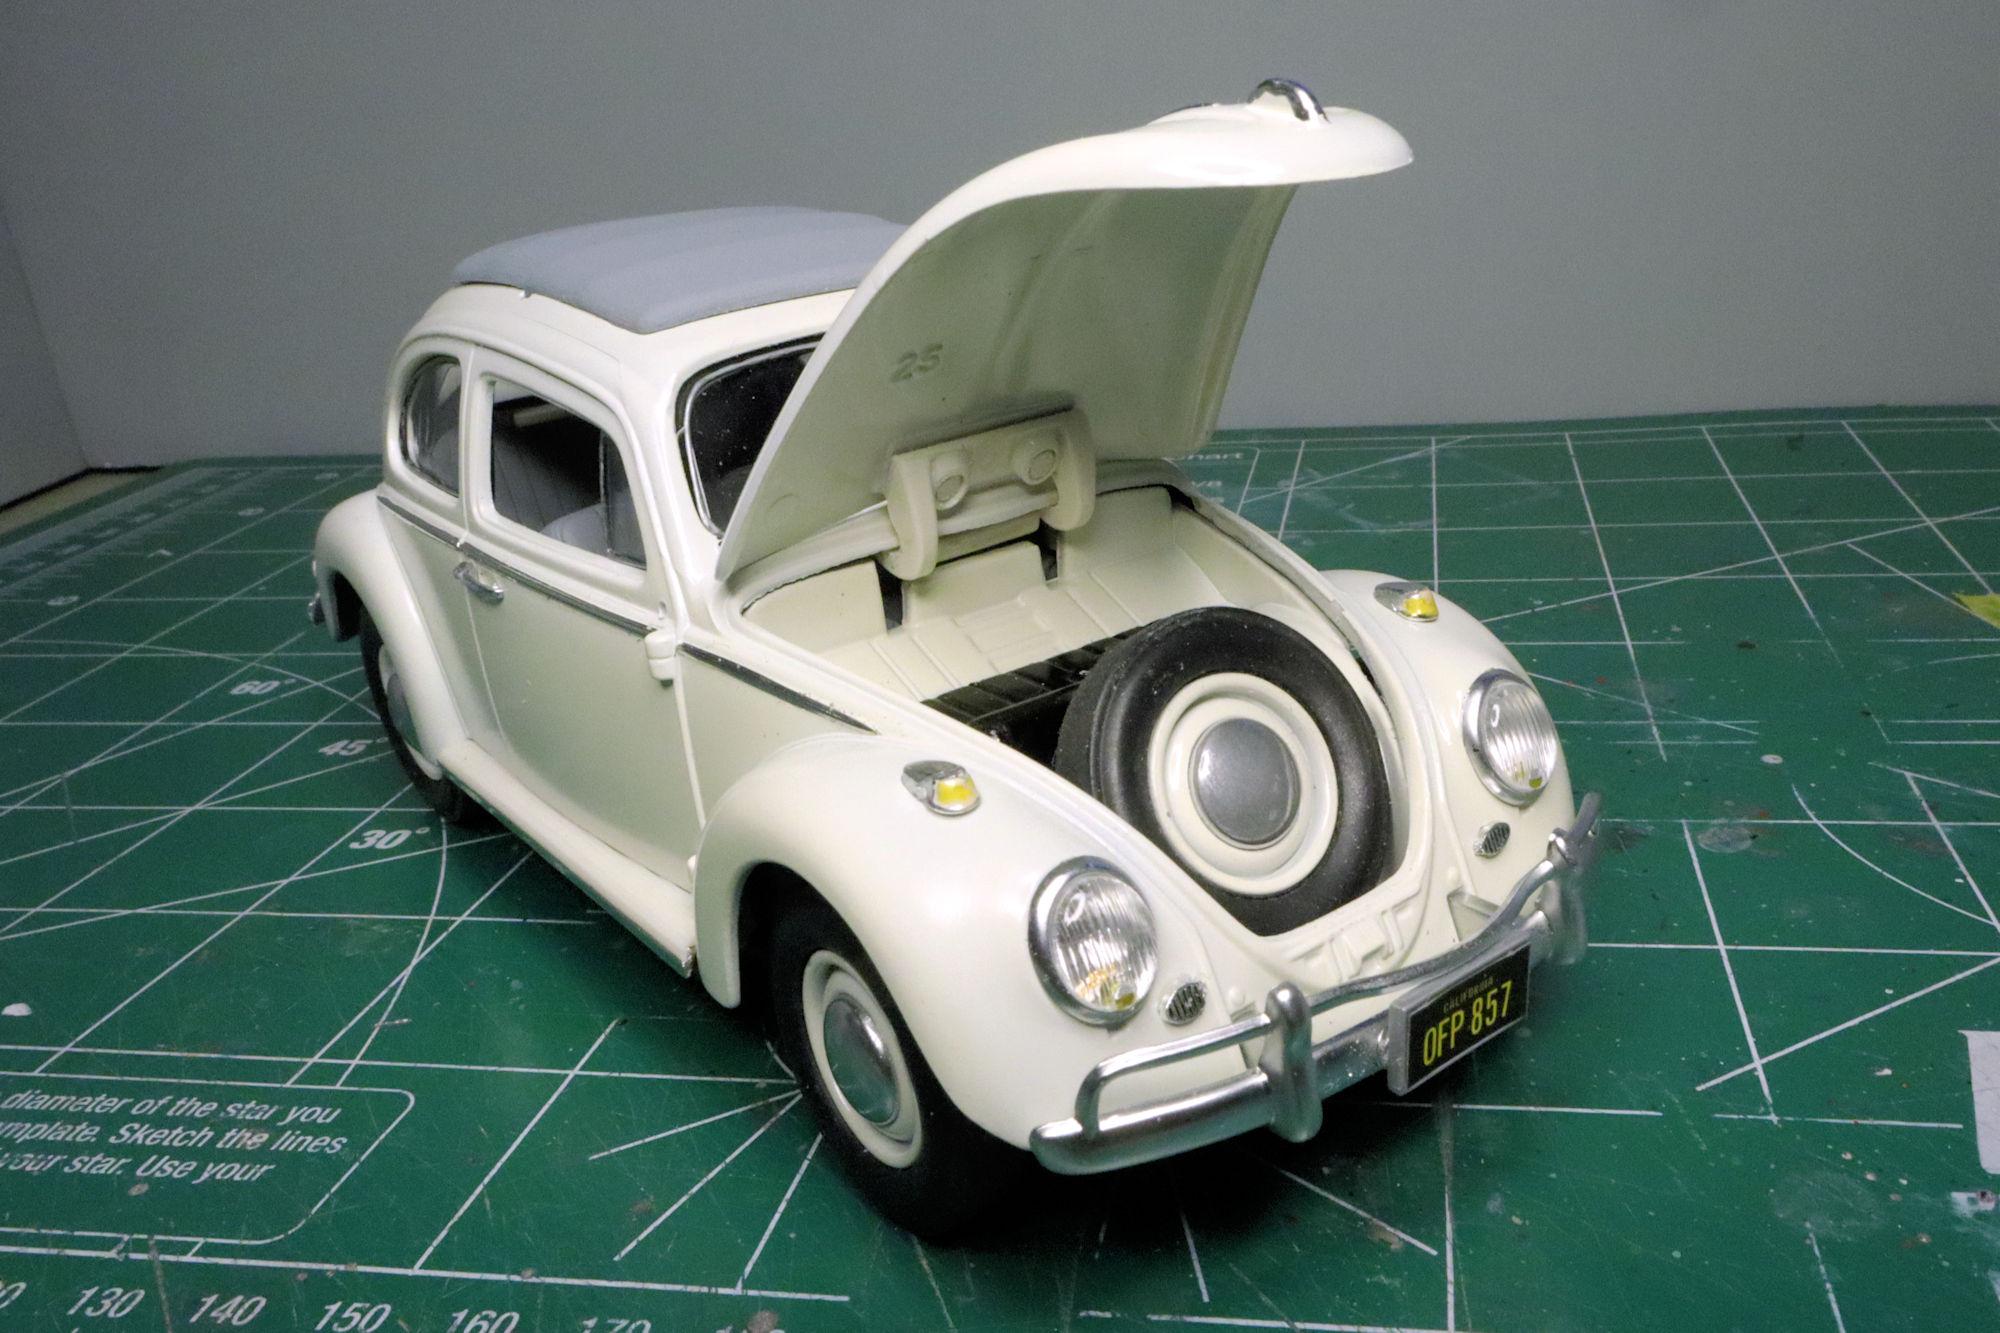
Hello Everybody! I started this one in December of last year and it's been a long road but the journey is almost at an end! The headlights, tail lights and hood are all in place. The bumpers are mounted. And the body and chassis have been mated for the final time. This one is done! I'm going to let it rest for a few days. After that, I'll clean it up, touch up the Molotow on the scripts and door handles and get it registered... well, put some license plate decals on it. Then I'll get it over to the photo studio for the final photos! Thanks to all of you who followed along and offered your advice and support. I'll see you all in the Under Glass section soon. David G.

-

1:16 Gunze Sangyo 1937 Rolls-Royce Phantom III Sports Saloon
David G. replied to Anglia105E's topic in WIP: Model Cars
Wow David, test fitting that assembly must have been a bit of a harrowing task! ? Do you know if the bend in the pillar is due to the age of the kit? Or maybe an engineering "feature"? David G. -
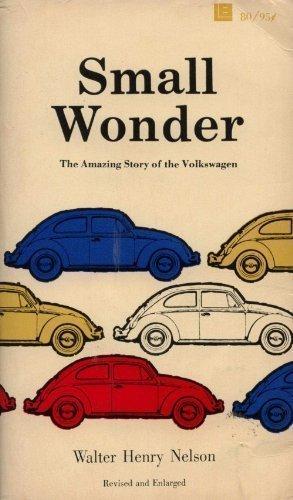
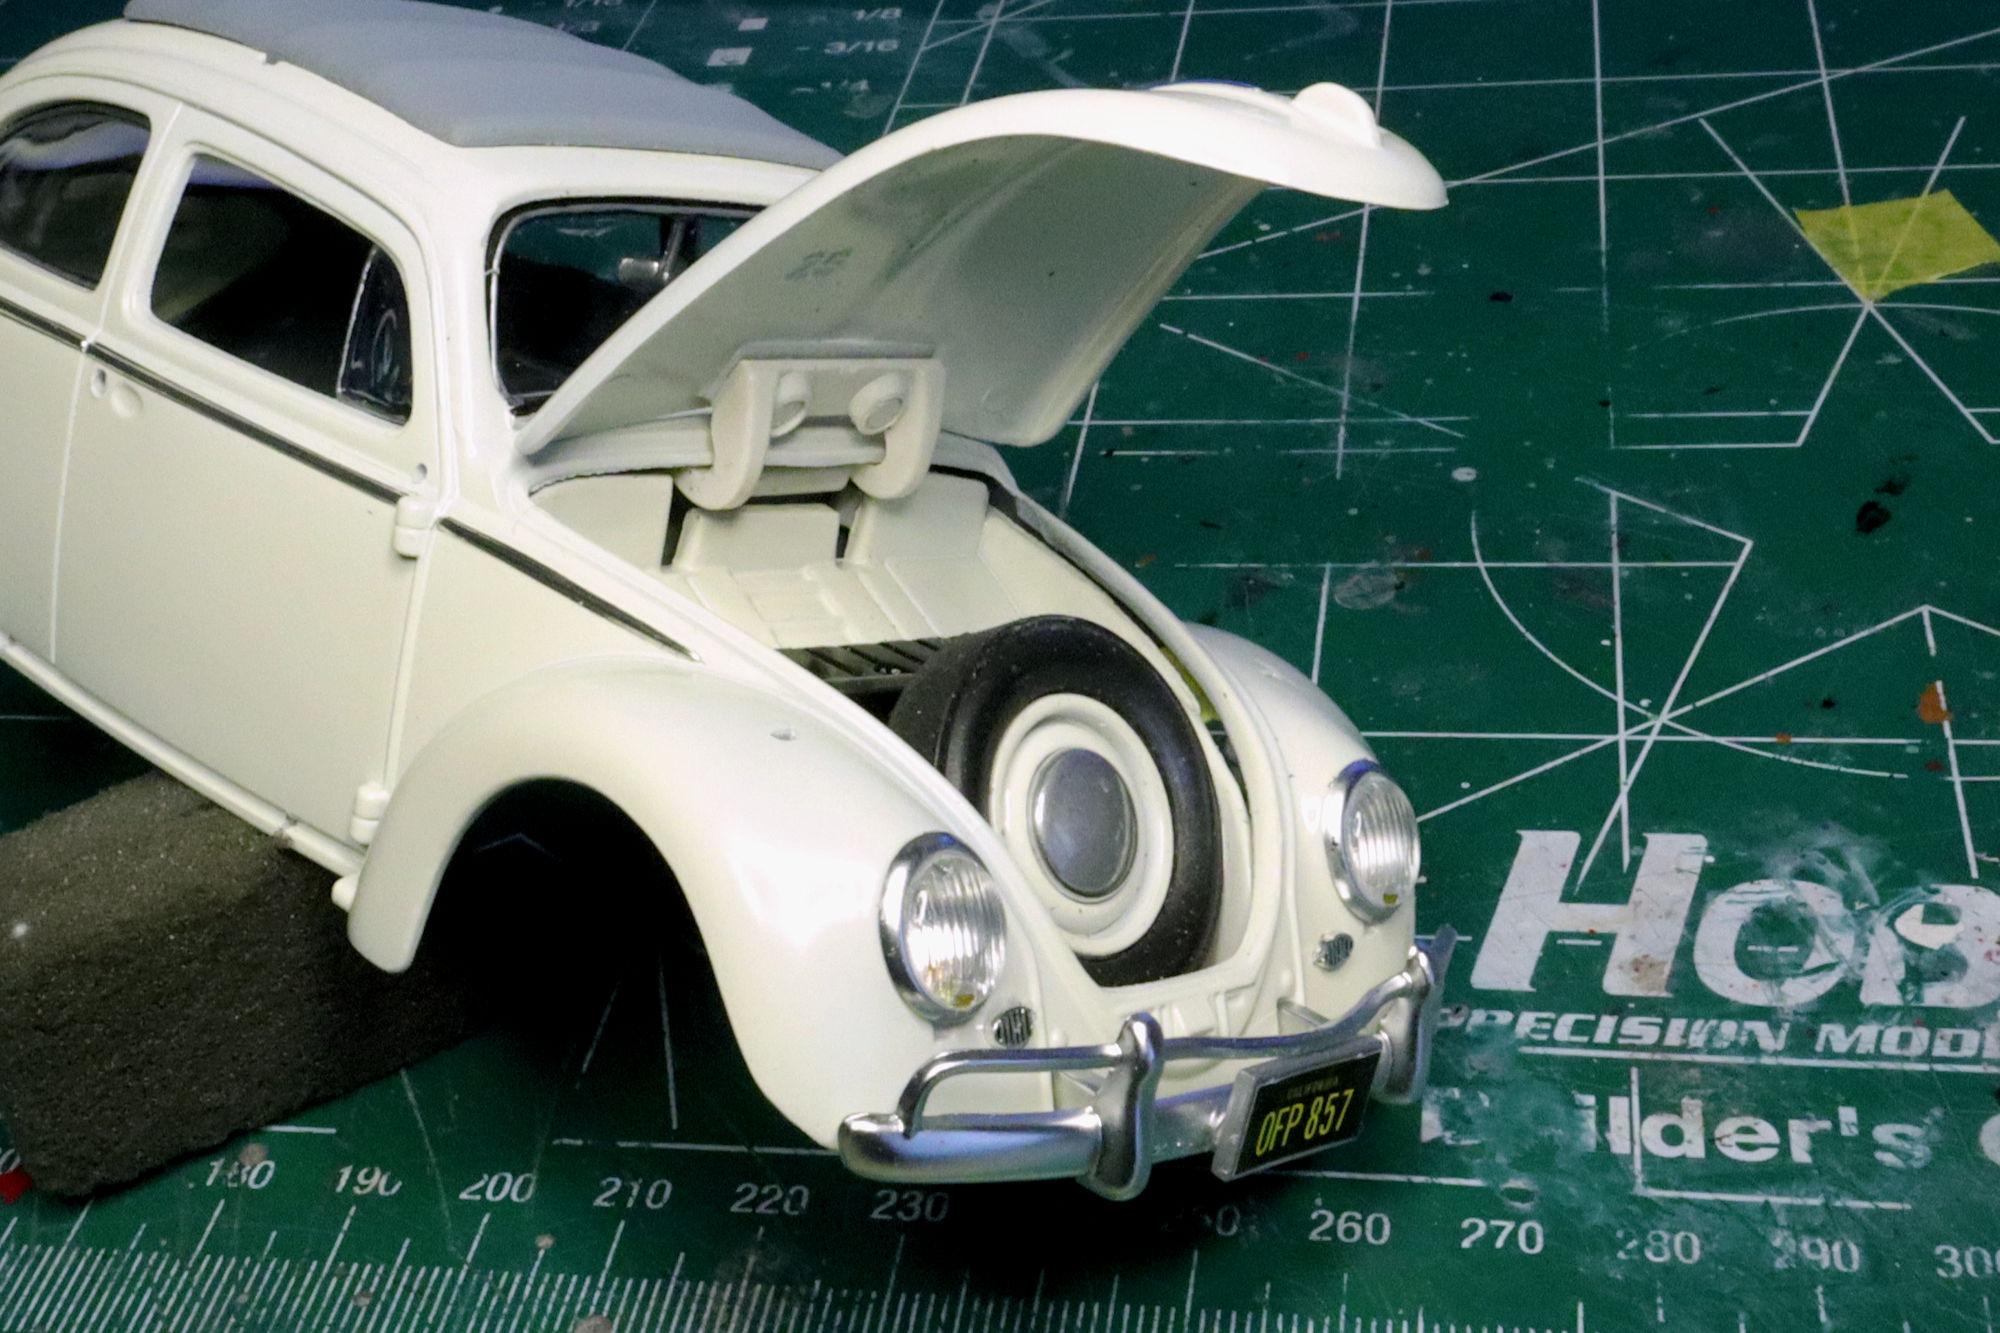
Thank you Len. No, AMT is in the clear on this one! Polar lights snap together kits (at least the handful I've encountered) are certainly on the upper end of the snap-kit spectrum. With the engineering and level of detail in their kits, they the seem to seem to bridge the gap between snap together and full-on glue kits. Almost as if they started as glue together kits and were back-engineered to be snap togethers. They can be built as snap together kits but you'll need some files, glue and paint. At least if you want something that looks like the picture on the box. The lack of corporate emblems in the kit reflects the initial agreement between Disney and VW. The automaker would not allow Disney to use their corporate logos or company name in relation to the car so all the badges and emblems were remove from the car for the first movie. After learning of the first movie's success and the public appeal it generated for their car, VW rescinded its request for the subsequent films. Is that really why the "25" is stamped into the boot lid, the inspector number? Thanks again for your comment Len. Thank you very much for your kind comment David. I've owned a few Beetles myself. The last one I owned I built from the spare parts of all the previous ones, sort of a FrankenBeetle. Unfortunately it was involved in a crash and I haven't owned one since. Your observation regarding the spare wheel in the front is spot-on. The great Herr Dr. Porsche actually figured that mass intentionally into the car's weight distribution. In part for just that reason. If you're interested in the history of these marvelous little cars, I'd like to recommend a book: (Unless you've already read it) Small Wonder: The Amazing Story of the Volkswagen by Walter Henry Nelson (1970-01-03) It's long out of print but there are still copies floating around out there, this image is from an Amazon listing. Thanks again, David G.
-
1:16 Gunze Sangyo 1937 Rolls-Royce Phantom III Sports Saloon
David G. replied to Anglia105E's topic in WIP: Model Cars
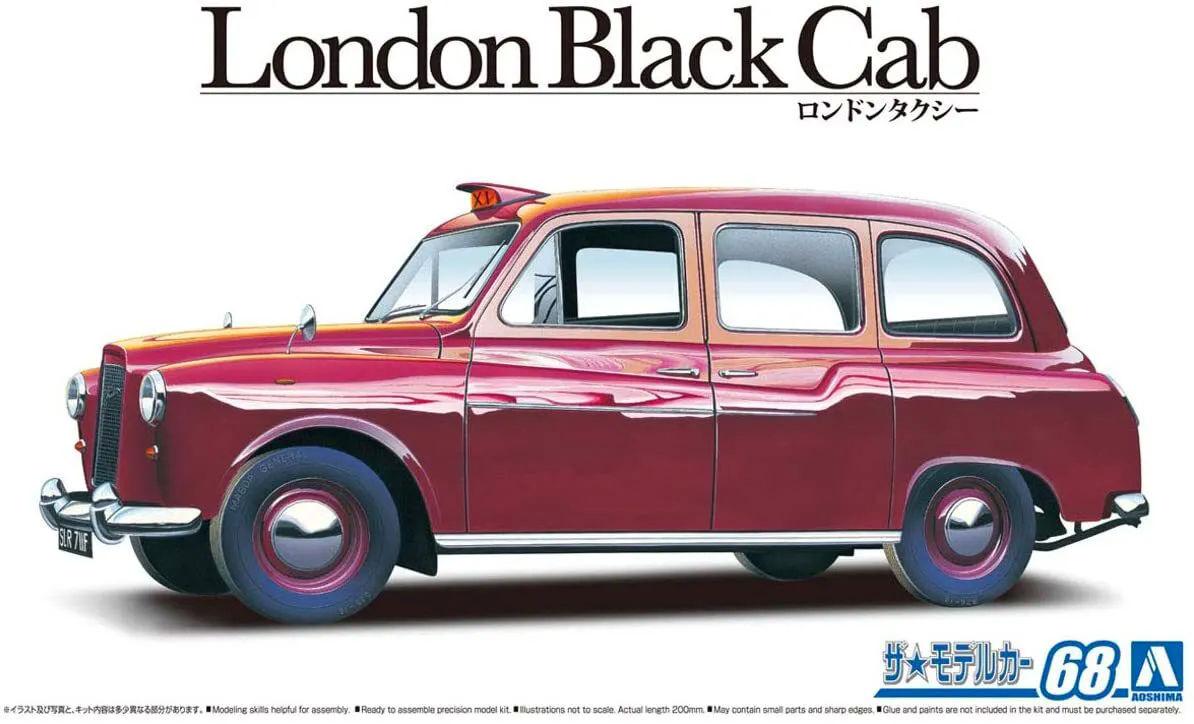
Beautiful work so far. Thank you for taking the time to post these updates, I do so enjoy seeing it all come together. As a side note, I recently acquired a kit that you may find interesting: I'm quite looking foreword to building it. Cheers! David G.
-
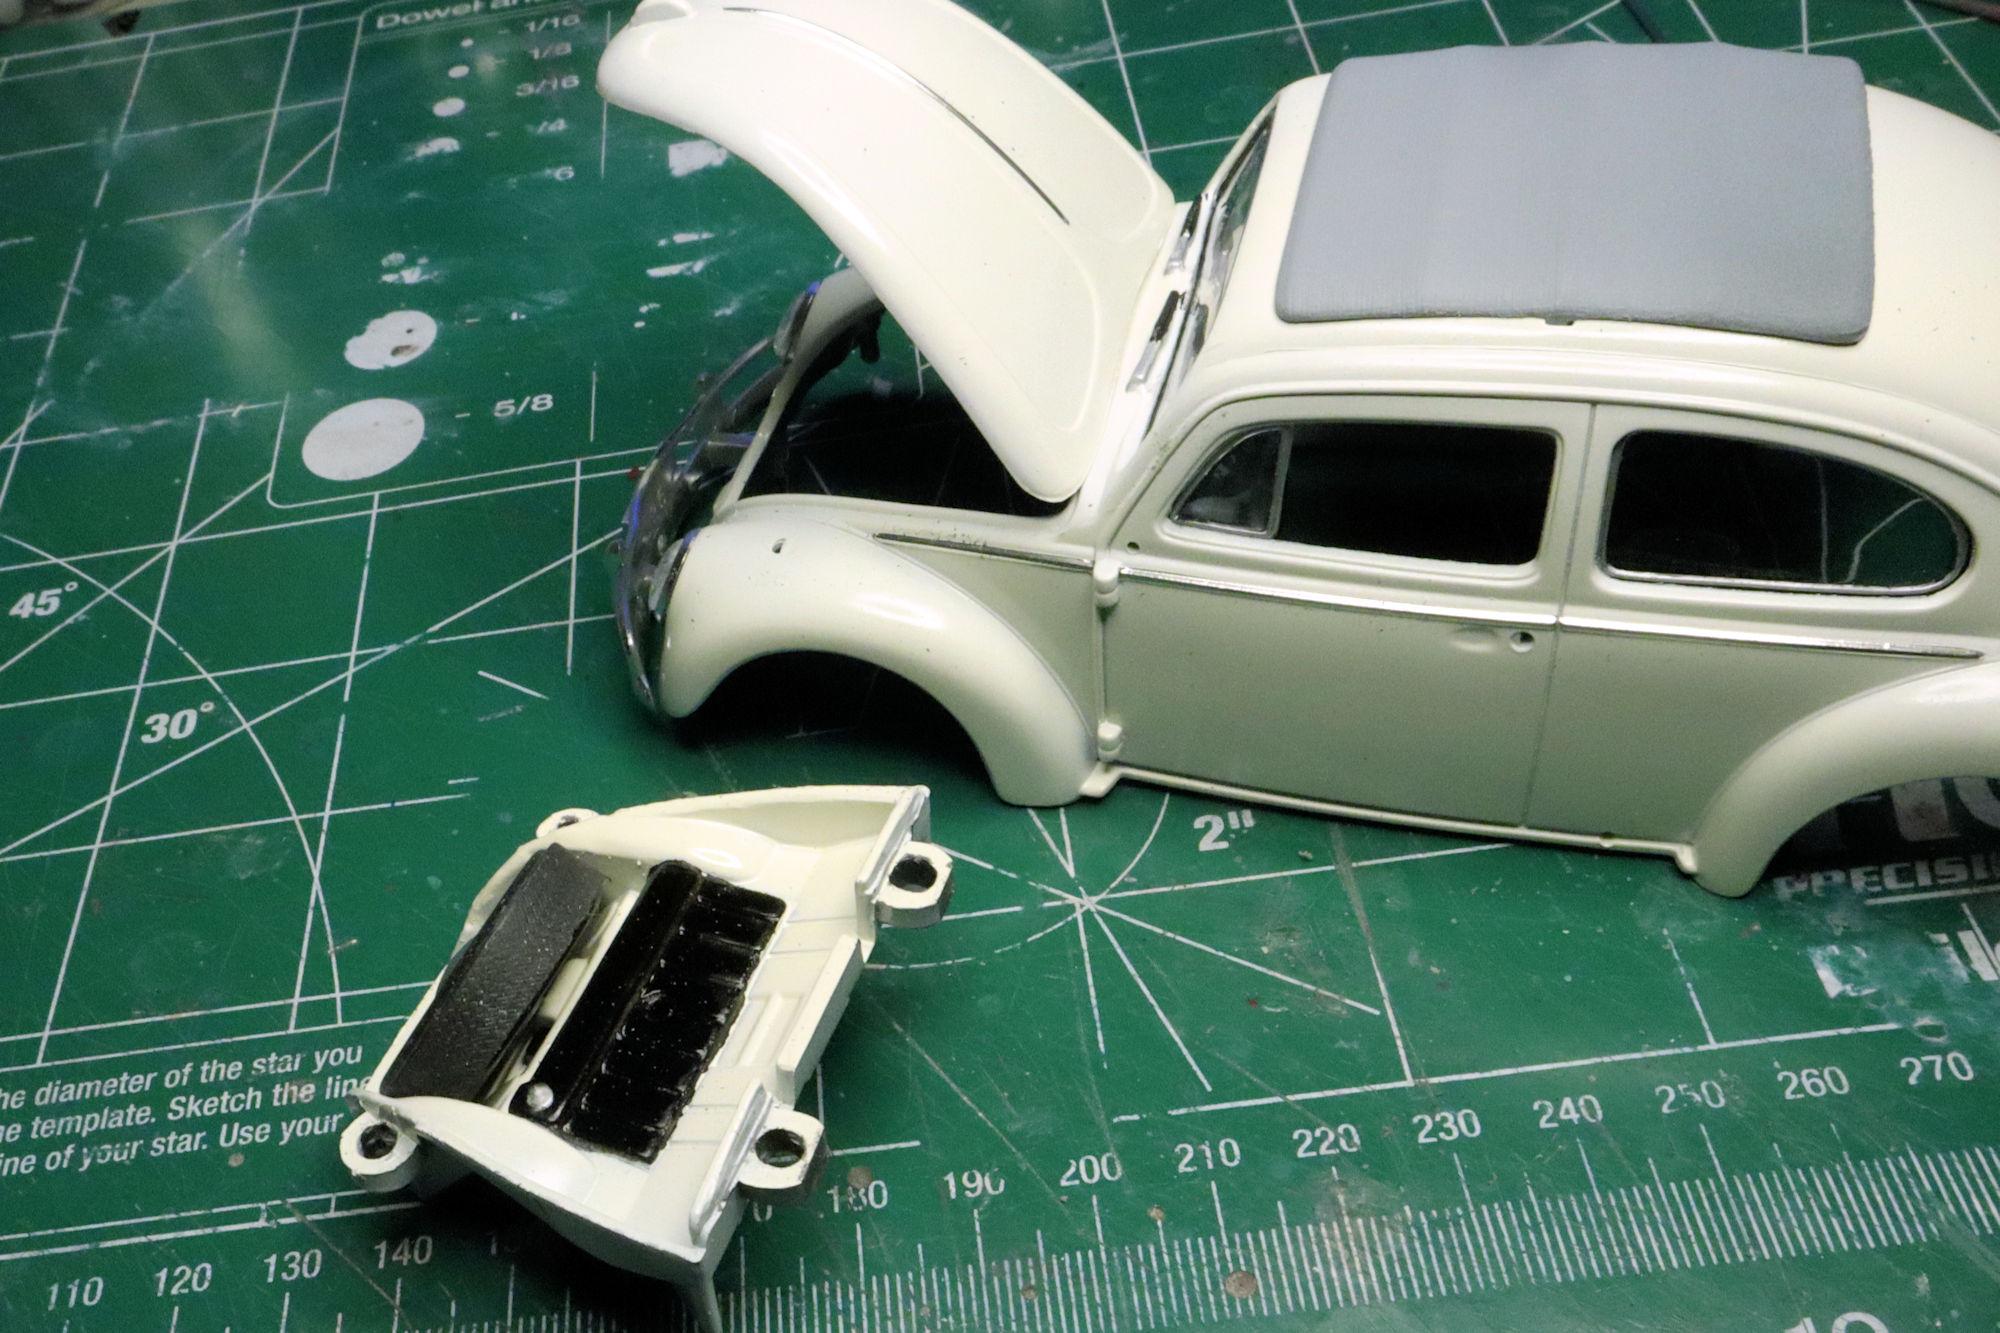
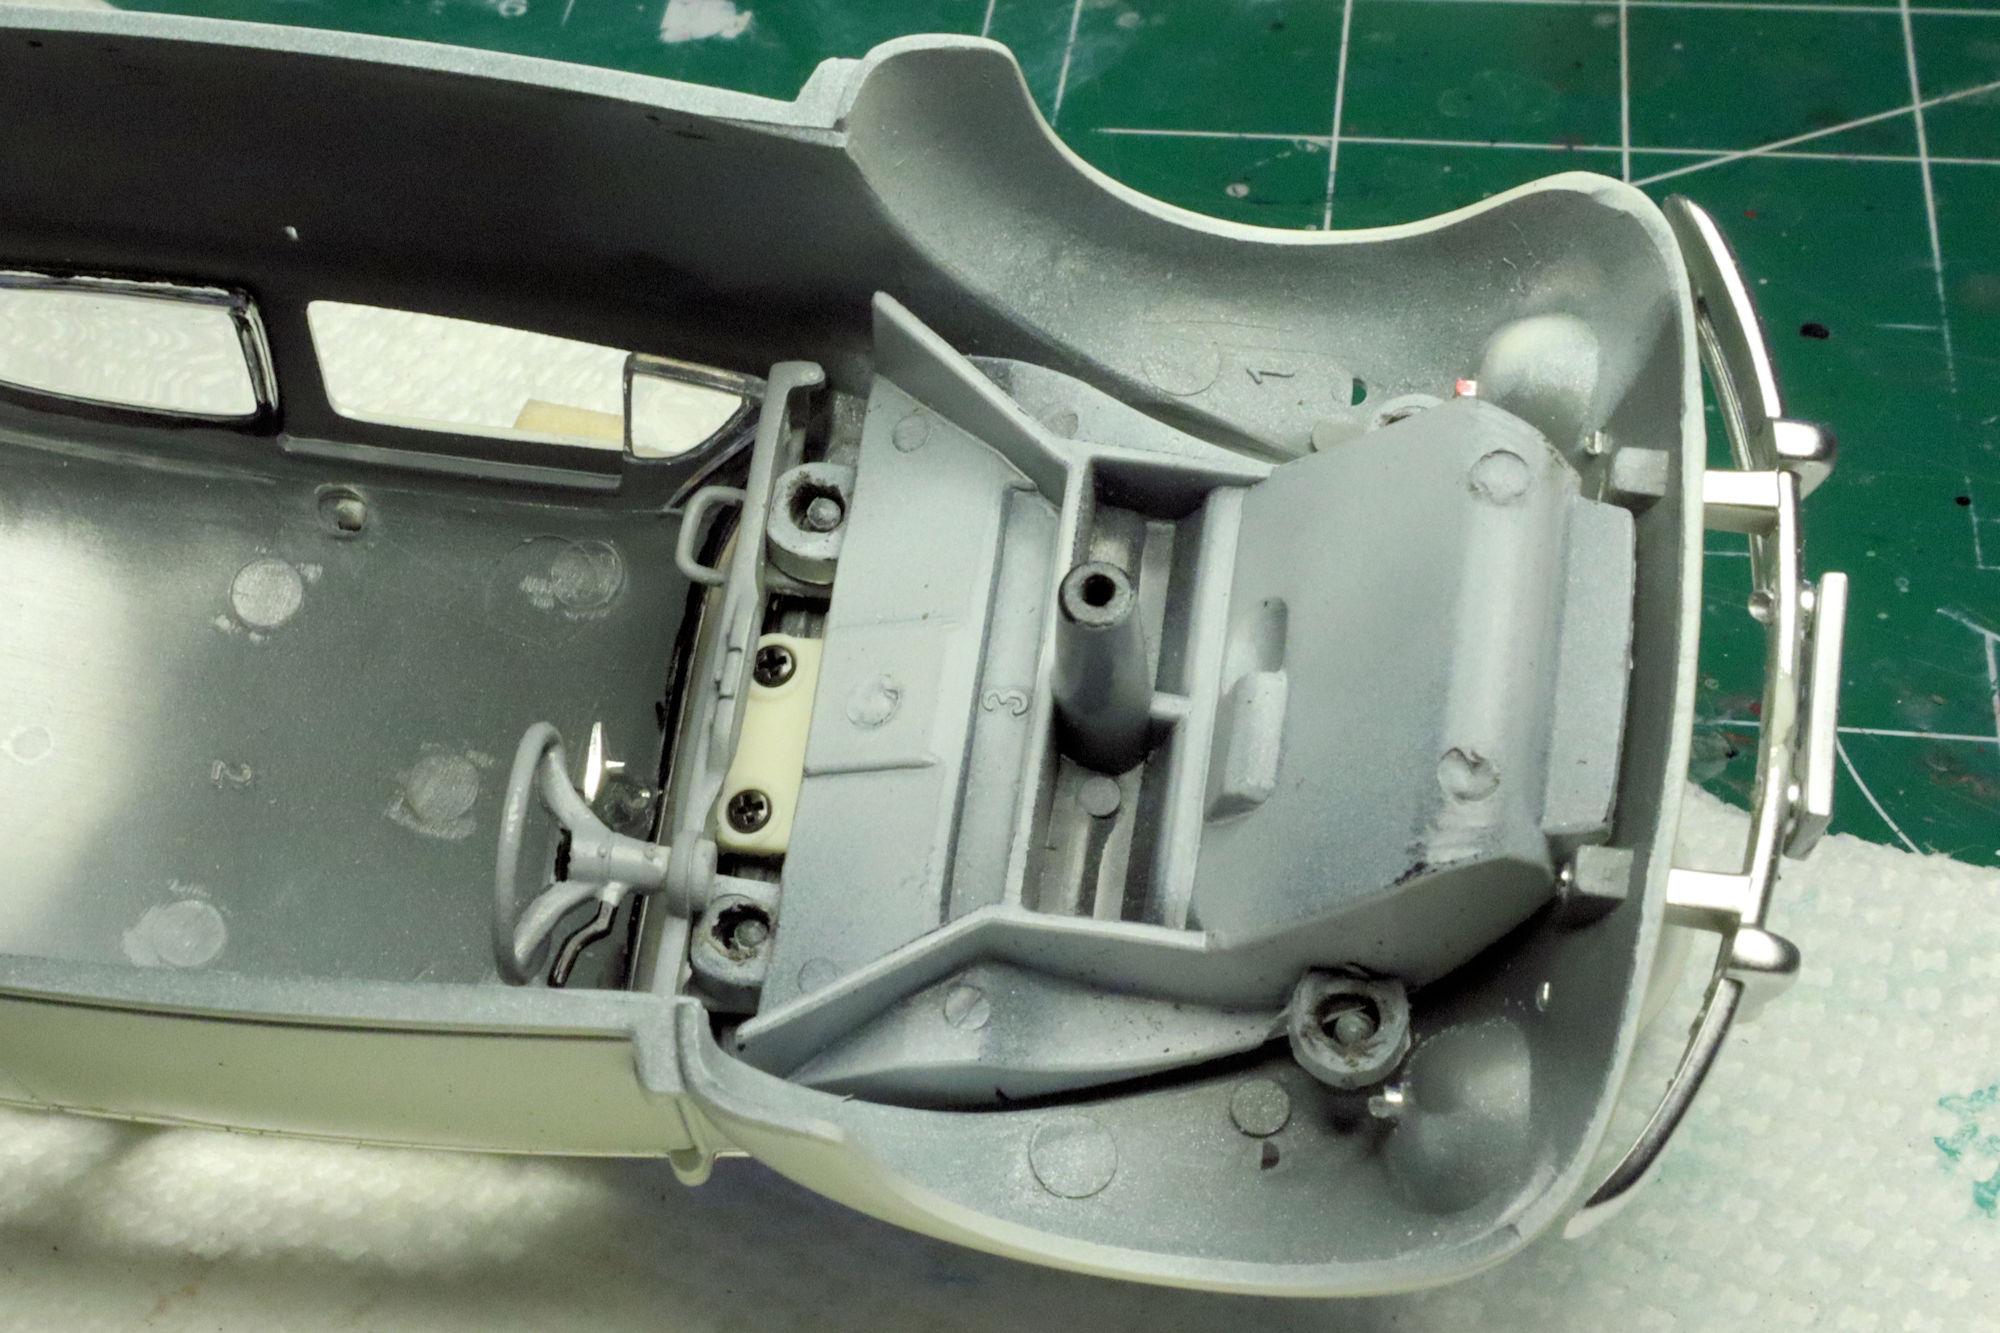
Hello Everybody! It's time for the next Herbie update. On its own the trunk section fits into the body shell quite well. But add the dashboard, glass canopy and hinge mechanism for the deck lid and everything gets pushed out of alignment resulting in this unsightly gap. The gap itself is an aesthetic issue and undesirable for that reason alone. But there is a practical reason to address this matter; the displacement of the rest of the chassis. A gap like this means that the chassis is being pushed down away from the body by about the same amount as the gap. In this case it looks like about 2 to 3mm. That may not seem like much but in scale it's around 2" to 3" of lift. This model already sits a little too high for my liking as it is. There are four locators on the trunk insert that need to be adjusted. I've filed down the back edges of the upper locators and filed out the holes on all four of them. Making the holes oblong instead of round. This is just the start, more adjustments will need to be made. Here is the sum total of all the adjustments I've made. I enlarged and elongated the holes and flattened the back portions of the upper mounting lugs as well as removing some material from their tops making them thinner. On the front lugs I've elongated the holes. Would it have been easier just to cut the lugs off just and glue the insert in place? Maybe. But maybe not. I've found that when making changes like this it's best to do it in small increments, that way one can stop when the goal has been reached. Radical changes (like completely removing the lugs) often lead to radical results. These results may not be desirable results and are often irreversible results. This is much better! Not only does the trunk look better when it's opened, the body will now sit properly on the chassis. This will correct the ride height issue that was pointed out earlier. As always, thanks for taking the time to look and please feel free to post any comments you may have. David G.
-
Thank you Len. I could probably fix the gap but it's really only visible from this angle. I think I can live with that. That's funny Ace! There does seem to be some truth in that statement though. Revell does seem to try just a little harder. Thanks, it did work pretty well I just need to fine-tune the technique some. Thank you Ken, I shall! I have thought about that Jim. I've thought about sources for such a thing. There is standard automotive window tint, but that doesn't really work well with plastic. Getting transparent plastic film to stick to transparent plastic without any of the adhesive showing seems to be the problem. I've tried that an found it easier just to use transparent acrylic paints. Which is essentially what I made with the food coloring and Future. The reason that I tried using Future was because of its softness and self-leveling qualities. When applied with a brush and allowed to level, it doesn't have as hard of an edge as transparent acrylic does. And no brush marks. I think the next step is to see if I can build out layers to get a more even transition. Thanks Glen, I'll keep an eye out for that. Maybe a solution to that issue would be using Future to dilute transparent acrylic paint... or tinting the Future with acrylic paint depending on the proportions. Thanks for all your comments, David G.
-
Hi Oliver, I followed your WIP thread for this build and watched as you pulled it all together so I understand some of the challenged it posed. I find your body sculpting skills impressive. I think you captured the illustration quite well, excellent work! David G.
-
1:16 Gunze Sangyo 1937 Rolls-Royce Phantom III Sports Saloon
David G. replied to Anglia105E's topic in WIP: Model Cars
Well played sir! David G. -
Dang, that's pretty! David G.
-
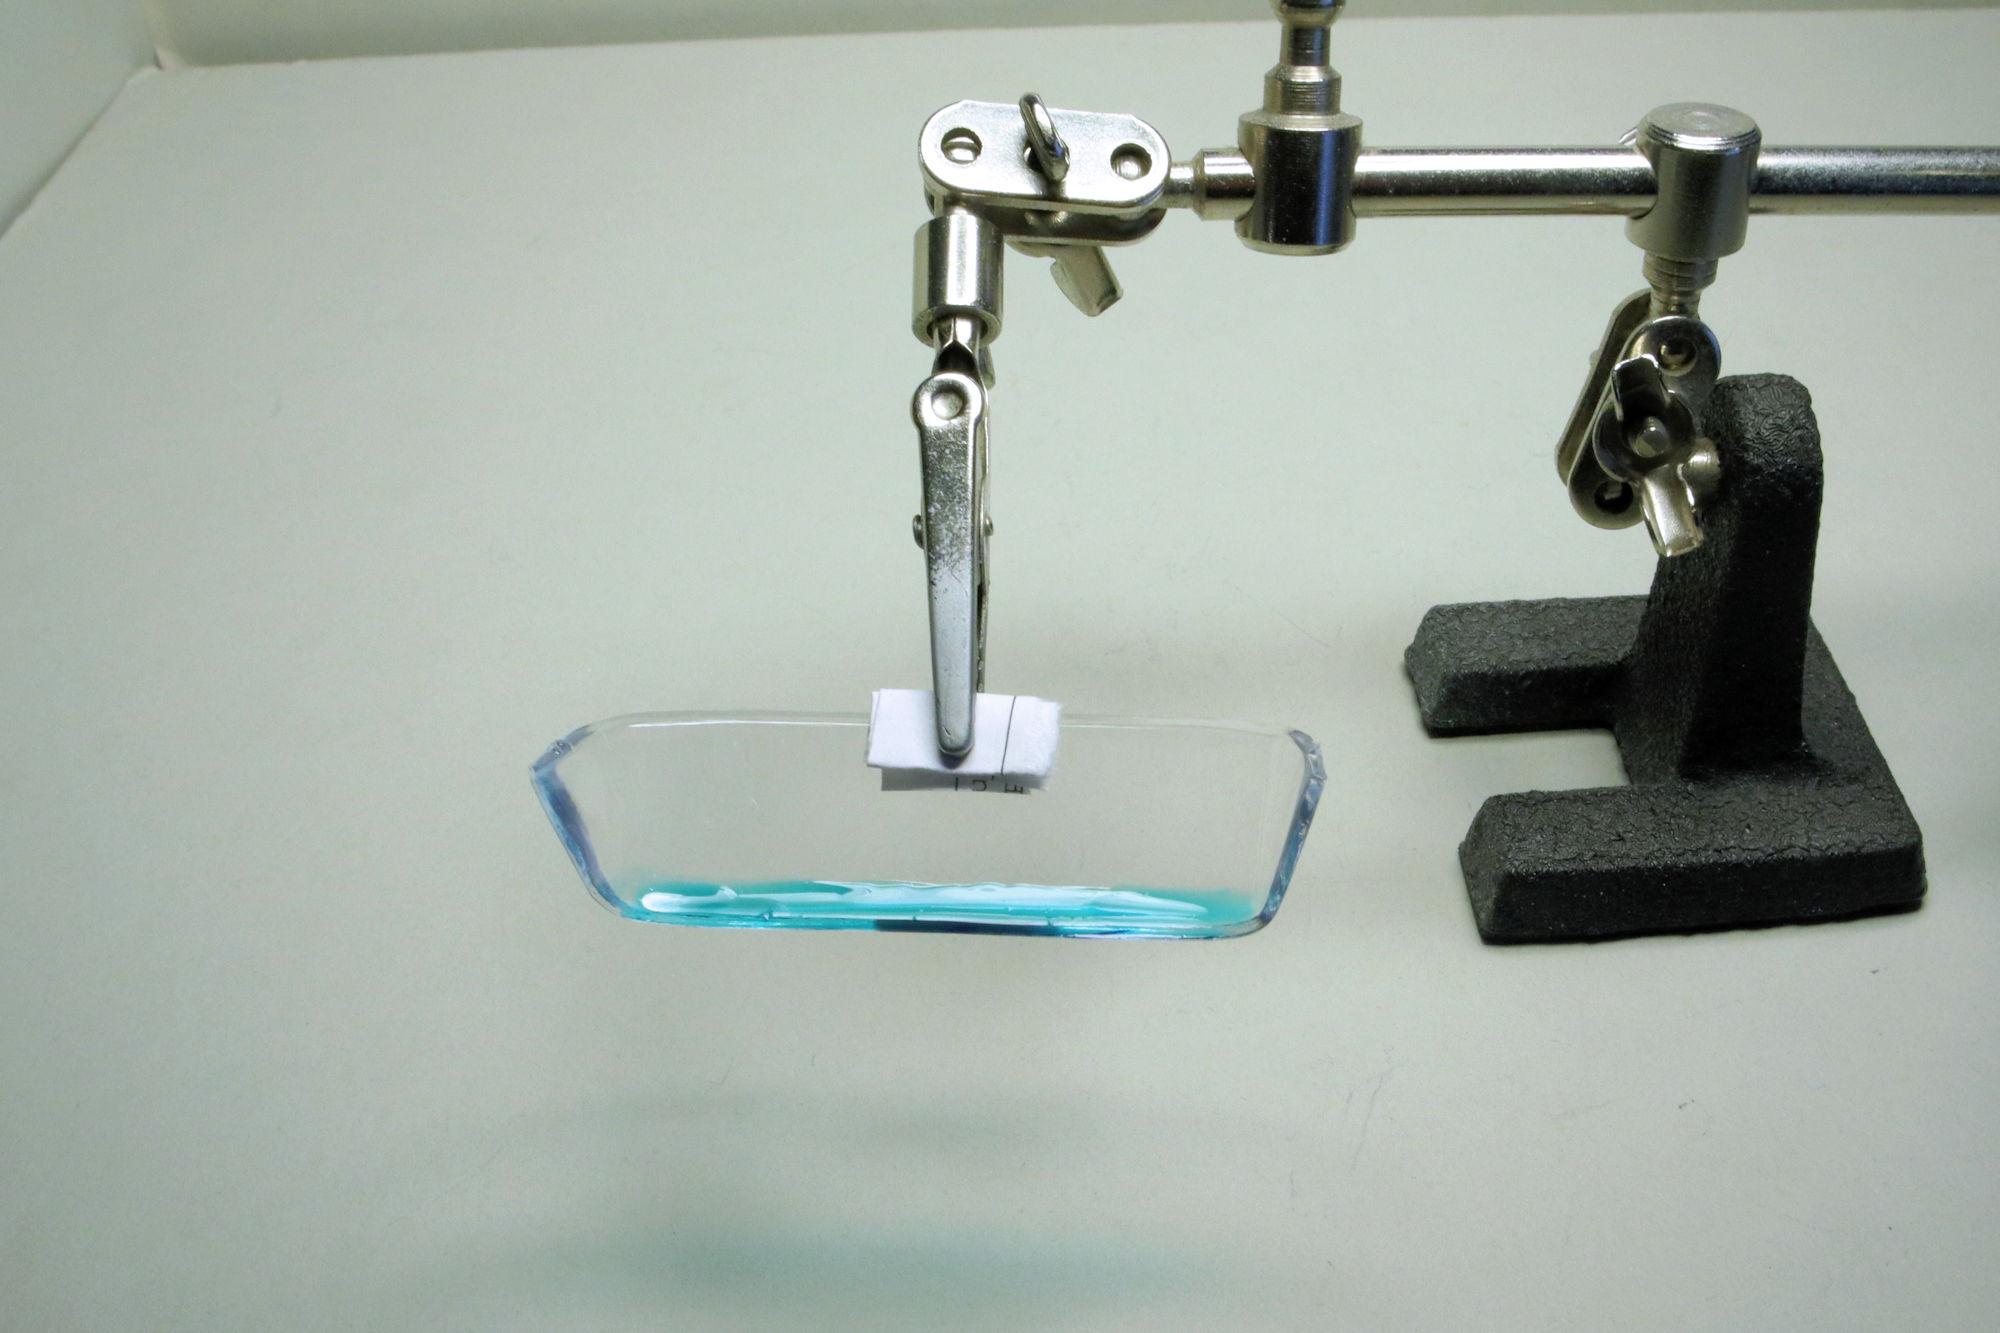
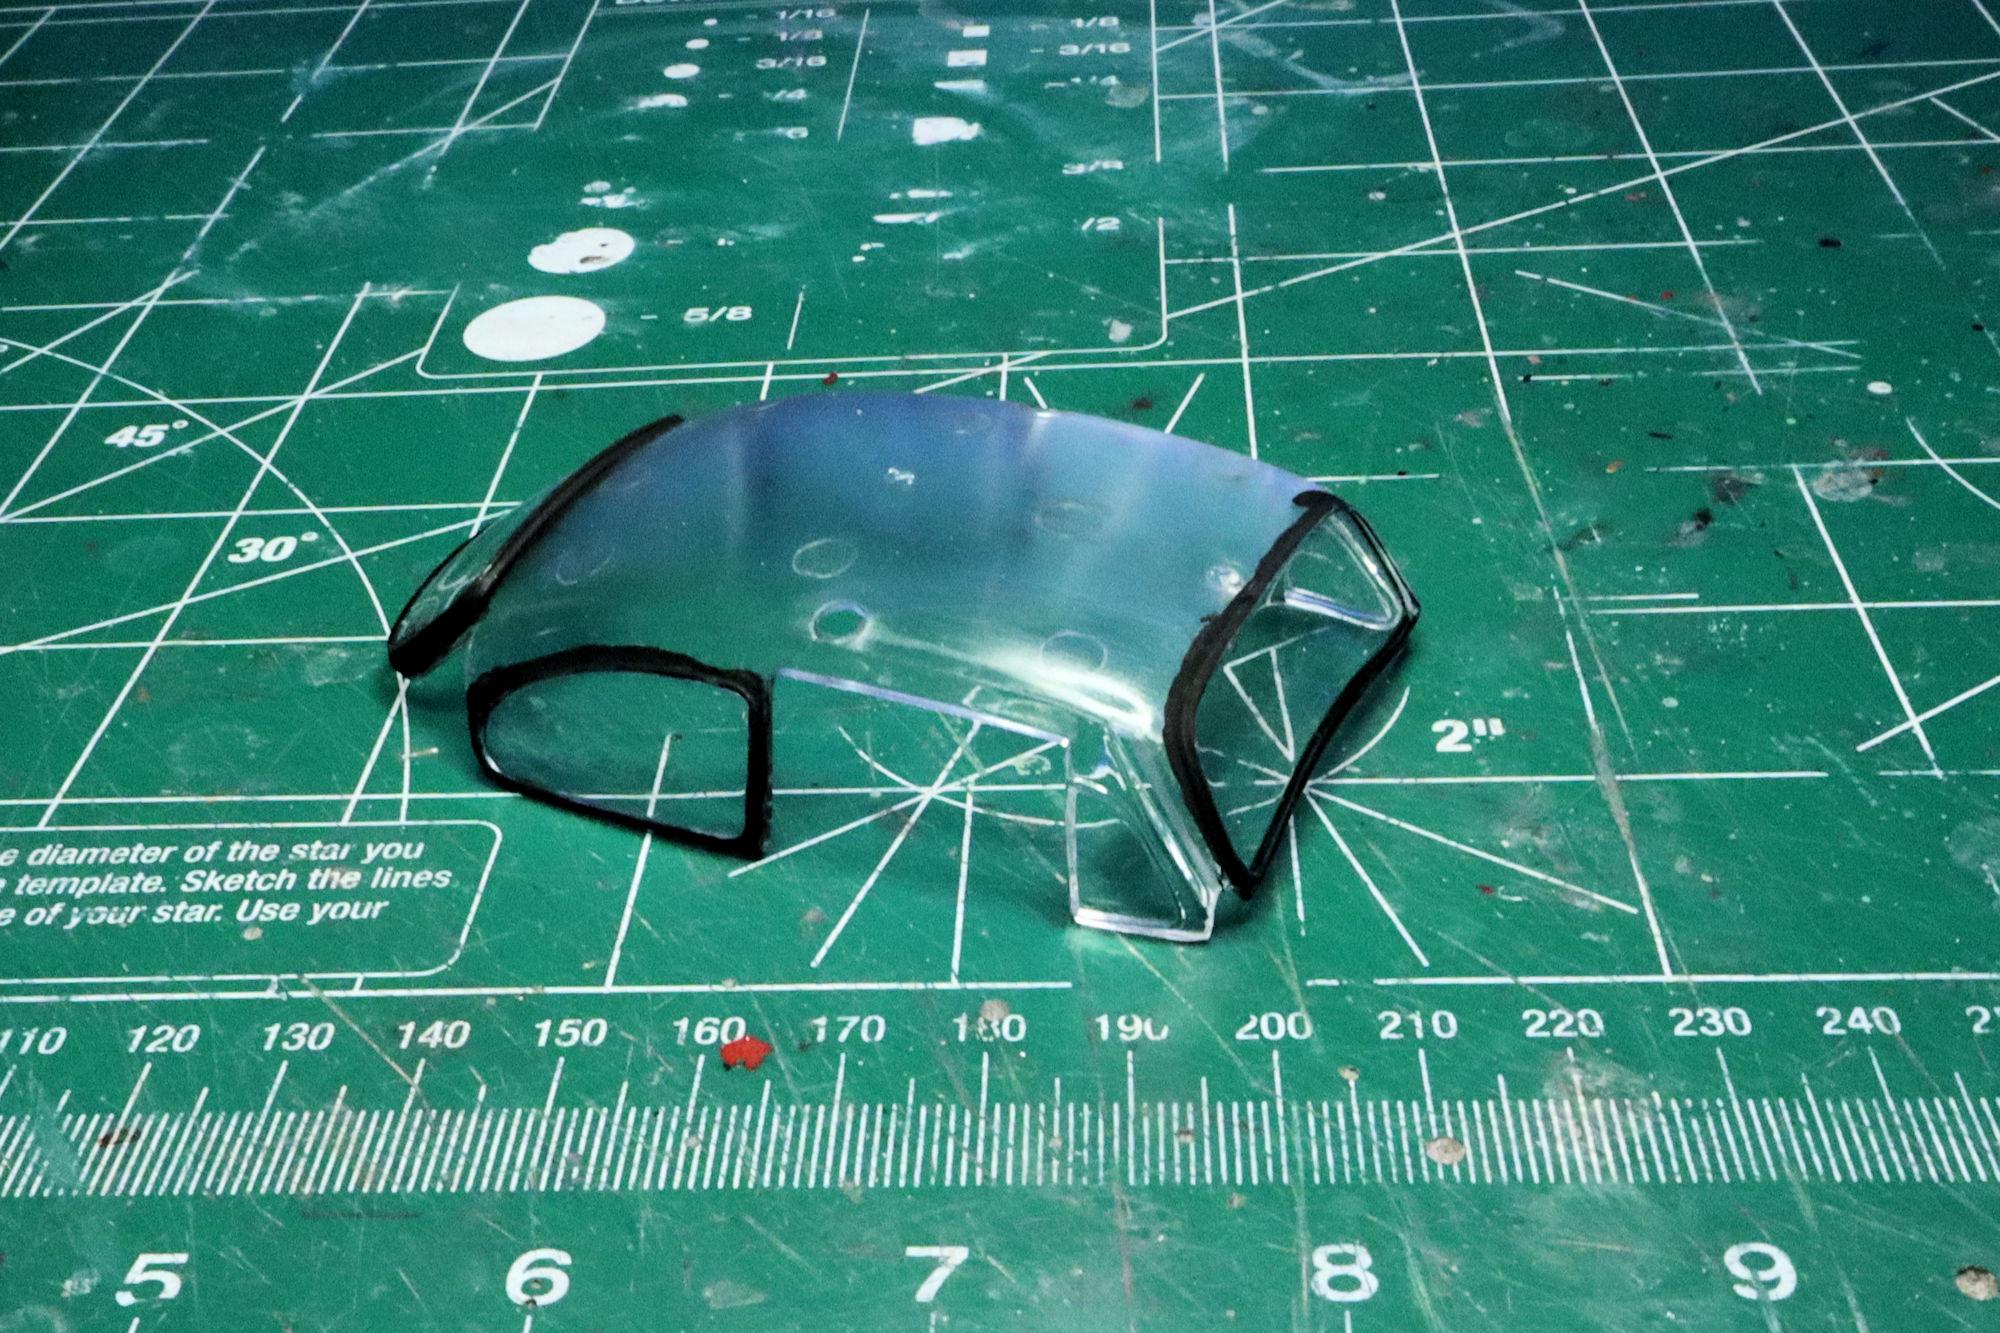
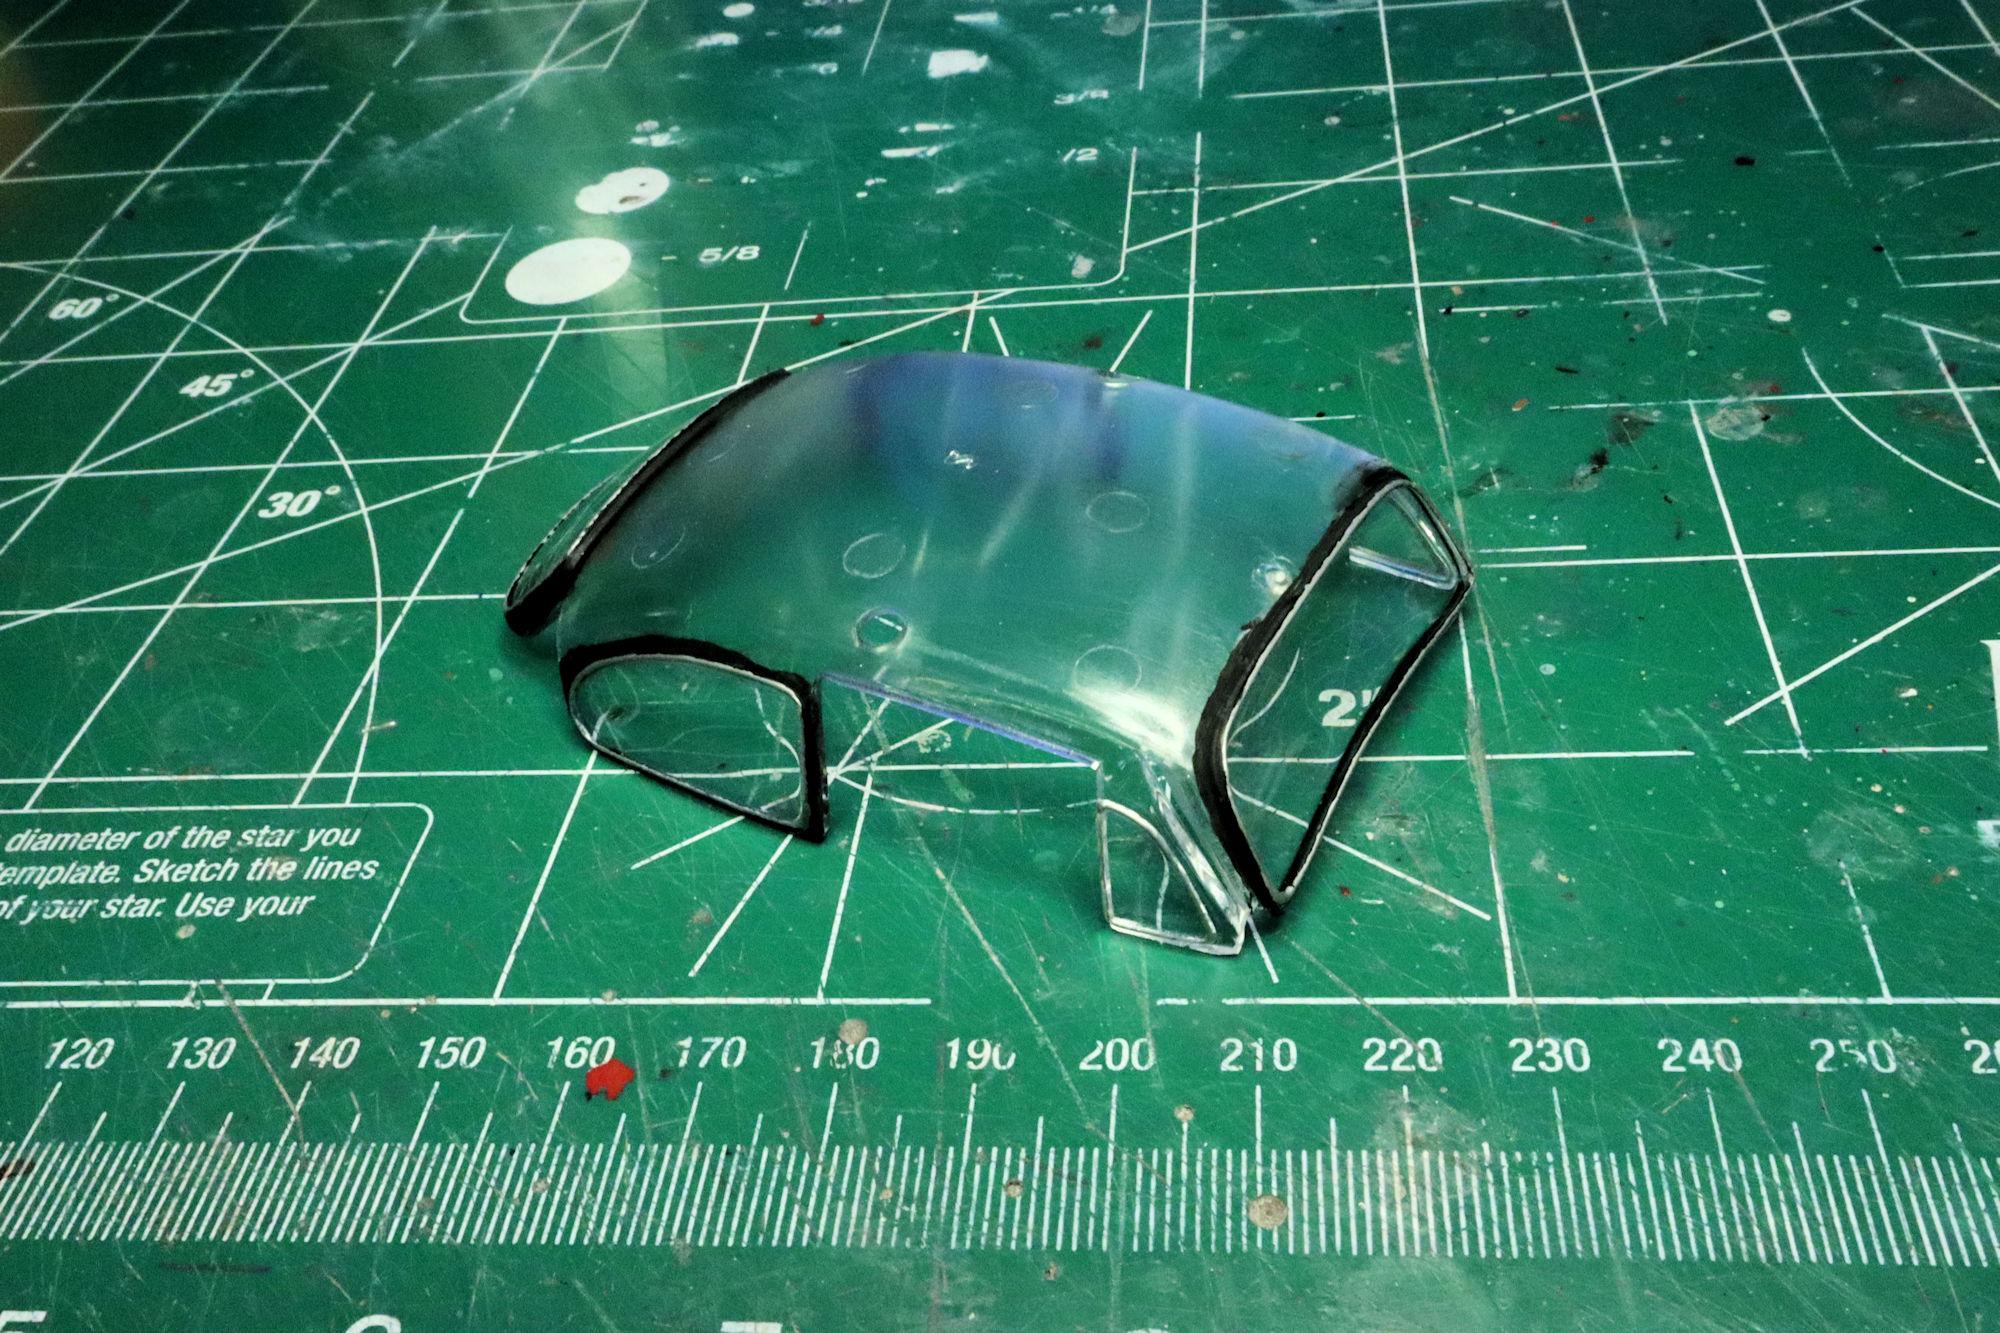
Hello Everybody! I'm nearing the final stages of this build, just a couple more times at the bench and I should have it done. In the meantime, here's another update. With most of the body tasks done it's time to move on to other things, like tinting the windshield. What I'm using for this is some Future acrylic which I've tinted with some blue food coloring. I brush it the mixture on and let it even itself out. The adjustable clamp device holds it at a good angle while the Future levels itself and cures. I just need to work on getting the initial application a little more even- and graduated. I think the end result achieved the desired effect. Except for that gap at the top of the windshield... maybe I should just leave well enough alone. As always, thanks for taking the time to look and please feel free to post a comment. David G.
-
A great looking box art based build. The colors and decal work look great! I'm currently building one of these myself, here's a link to the WIP thread if you're interested. This kit has a number of different build options and it's great seeing some of those other options built. Your version came out fabulously well! David G.
-
The wheels, stance and details are all fabulous Ken! I wasn't sure I agreed with your choice not to use the whitewall slicks but seeing the car with the blackwalls, I think you made the right call. David G.
-
Hello Everybody! I finally got around to getting my traditional display case shot done, so here it is! I thank you all for your comments of encouragement, advice and support during the build and after. You all helped more than you can imagine. Thank you, David G.
-
1:16 Gunze Sangyo 1937 Rolls-Royce Phantom III Sports Saloon
David G. replied to Anglia105E's topic in WIP: Model Cars
Hi David. I see what you're saying about the luggage compartment space. Your plan to expand the area seems more of a compensation for a shortcoming of design than an alteration of the model. Quite a nail-biter on the door pillar situation but your skill and persistence prevailed. Mr. Webb looks well and truly impressed with your abilities! It looks like you've done some more work on the figure too, some washes maybe? David G. -
I'm glad that it worked as well as it did. Thank you for taking the time to say so, I appreciate your comment. David G.
-
Thank you Trevor, it's often the little things that can make the biggest difference. Thanks Len. That'd be great if you can make use a technique like this on that Plymouth. David G.
-
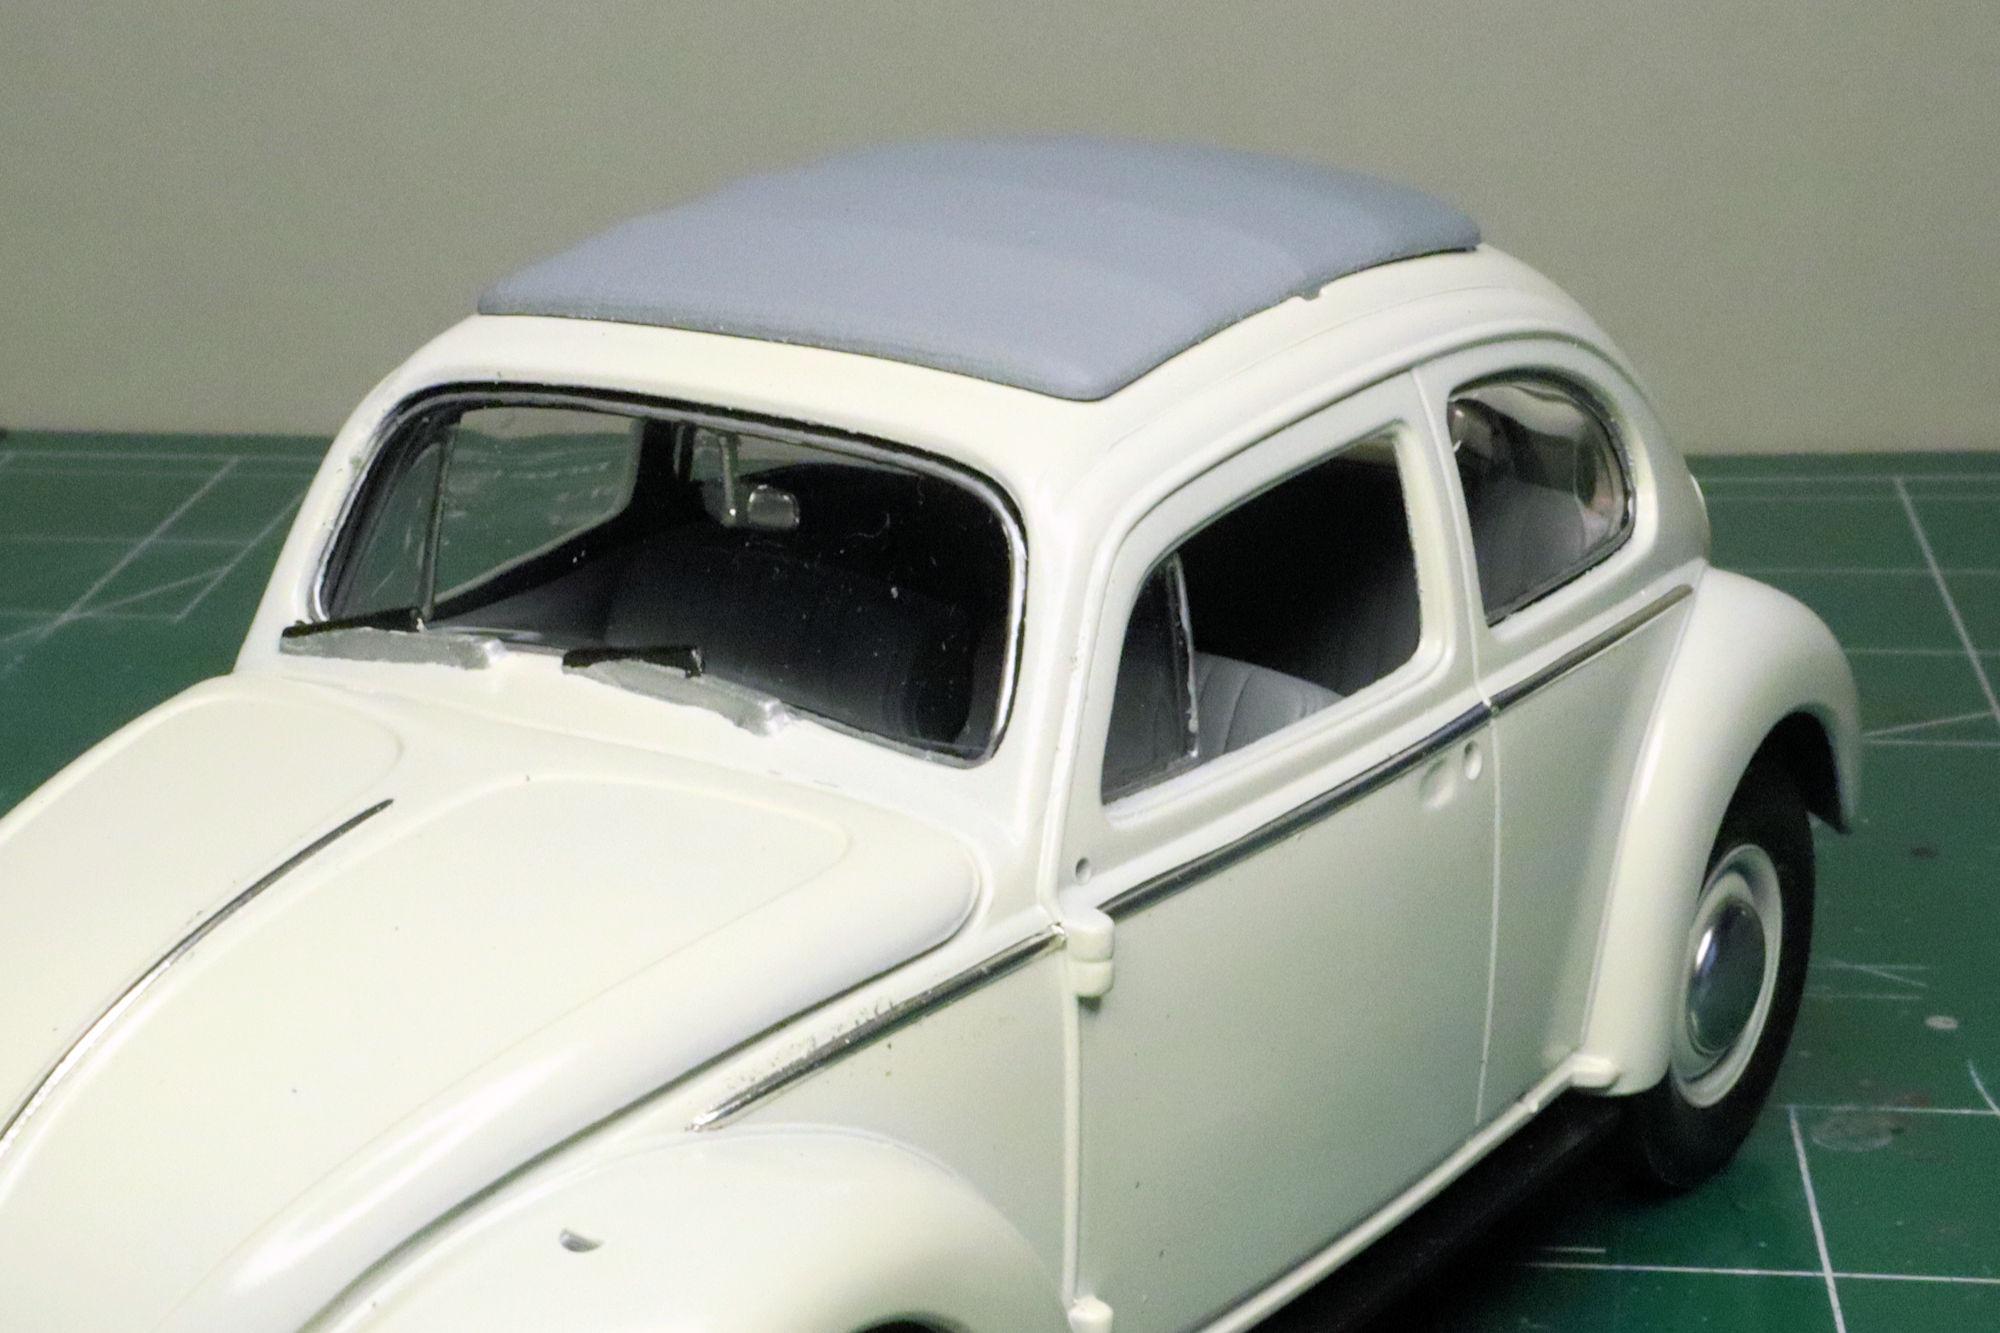
Hello Everybody! In spite of some difficulties I've encountered, this is shaping up to be one of my quicker builds in a while. Herbie is a Volkswagen Type-1 Deluxe which is typical of the models exported to the United States where Herbie resides. One of the differences between Deluxe versions and standard European models is the inclusion of bright metal trim strips in the black rubber window gaskets. To replicate this feature I started by simulating the gaskets, brushing some flat black paint around the windows. After some drying time and a little cleanup, I hit the raised bits around each window with a silver Sharpie. I think it all worked out pretty well. As always, thanks for taking the time to look and please feel free to comment if you so desire. David G.
-
I think you may be surprised to find out how many model builders actually use spreadsheets to track kits & parts & pieces. An affinity for charts, graphs and statistics seems to go along with the model-builder mindset. For at least some of us anyway. Yeah, it is kinda funny though. Cheers, David G.
-
Thank you Carl. I've done chrome trim by painting, foiling and penning with Molotow. For me it's foil that's often the easiest, for now anyway. But it also depends on the application and practicality. David G.
-
1:16 Gunze Sangyo 1937 Rolls-Royce Phantom III Sports Saloon
David G. replied to Anglia105E's topic in WIP: Model Cars
Beautiful outcome on the doors David! I can certainly relate to the sense of relief you must have felt when all went according to plan. Maybe I didn't read your post correctly but do you actually mean to cut a bit out of the luggage compartment to allow the suitcases to fit better? Would it not be easier to fabricate a new suitcase than alter the model? David G. -
Welcome back Rob! I always enjoy following your builds and I'm sure that this one will be no exception. David G.
-
Nice looking metal effects on the exhaust and underpans. David G.
-
I recently acquired this kit at the most recent Desert Scale Classic swap meet and I'm planning to build it. My pre-build research turned up your WIP on the very same kit! An excellent build Tim! I hope you don't mind my using your photos as a resource. Cheers, David G.
-
Thank you Jim. That's great, I hope your BMF batch works as well for you as does this does for me. Thank you John, I'm glad you enjoyed the thread and the build. I'm also happy to know that my work was a part of your pleasant Sunday morning. Thanks for sharing that. David G.