David G.
-
Posts
11,326 -
Joined
-
Last visited
Content Type
Profiles
Forums
Events
Gallery
Everything posted by David G.
-
Nice work with the foil David. Good looking paint too. I built mine years ago when I started back into the hobby. I didn't use foil, I masked and painted the trim. That was the first and last time for that! ? David G.

-
Welcome back to the hobby Jeff. This community is an excellent place to show your work. Some of the kindest, most generous people on the internet call this place home. Most of us recognize that everybody works at their own skill level and we want this community to be a place where builders can show their work, ask questions, offer tips and thereby improve their skills. No matter what level those skills are at. That being said, excellent detail and painting on that engine. I also really like the Caddy, that's a great shade of blue. And the Police Wagon is a really cool take on that kit. Welcome aboard Jeff! David G.
-

AMT Snap Corvette Built By My Granddaughter
David G. replied to 69H.O.Firebird's topic in Model Cars
It looks great, nice detail painting. David G. -
Nicely done! The design the theme, everything, nicely done! David G.
-
Monogram's 1955 Lincoln Futura Concept Car: WIP
David G. replied to David G.'s topic in WIP: Model Cars
I'm still waiting for the fun part to kick in on this one Jim. It's certainly engaging but filling sink marks is among my least favorite of activities. The process is just so so slow and time consuming that I'd honestly rather foil the chrome on a 59 Chrysler. At least with that it's much easier to see one's progress. How about "Klassic Kitsch" as a name for the art style? Thank you Bob! Thanks Trevor, I'm glad to know that you're along for the ride. As have I Jim. Though after seeing what needs to be done to make this old kit look good, you may change your mind. "Pop Art" works. It certainly does "Pop" Thanks BTW! More to come soon. David G. -
Hey, no worries Pierre. I find all this history quite interesting. When it comes to actual race cars and their history, my knowledge is quite lacking. It's good having some of the missing bits filled in. I'm just glad to know that building the car as I am, I'm not making some silly historic blunder. I did feel pretty safe in my decisions considering that of all the photos I found of this car on line, there were no two that were alike. I began to get the impression that there were most likely a number of Chaparrals each one reconfigured to meet the demands of the race it was participating at the time. So rather than a representing the car as it was configured for a certain race at a certain point in history, I decided to focus on capturing the car as a concept. The overall intent and feel of the Chaparral. Its poetry. So Pierre, Gary and Daniel, thanks for the information and reassurance. On with the build! David G.
-
Thanks for the update Carl, we were getting concerned. Glad to know that you're doing better, I hope you have a speedy and comfortable recovery. David G.
-
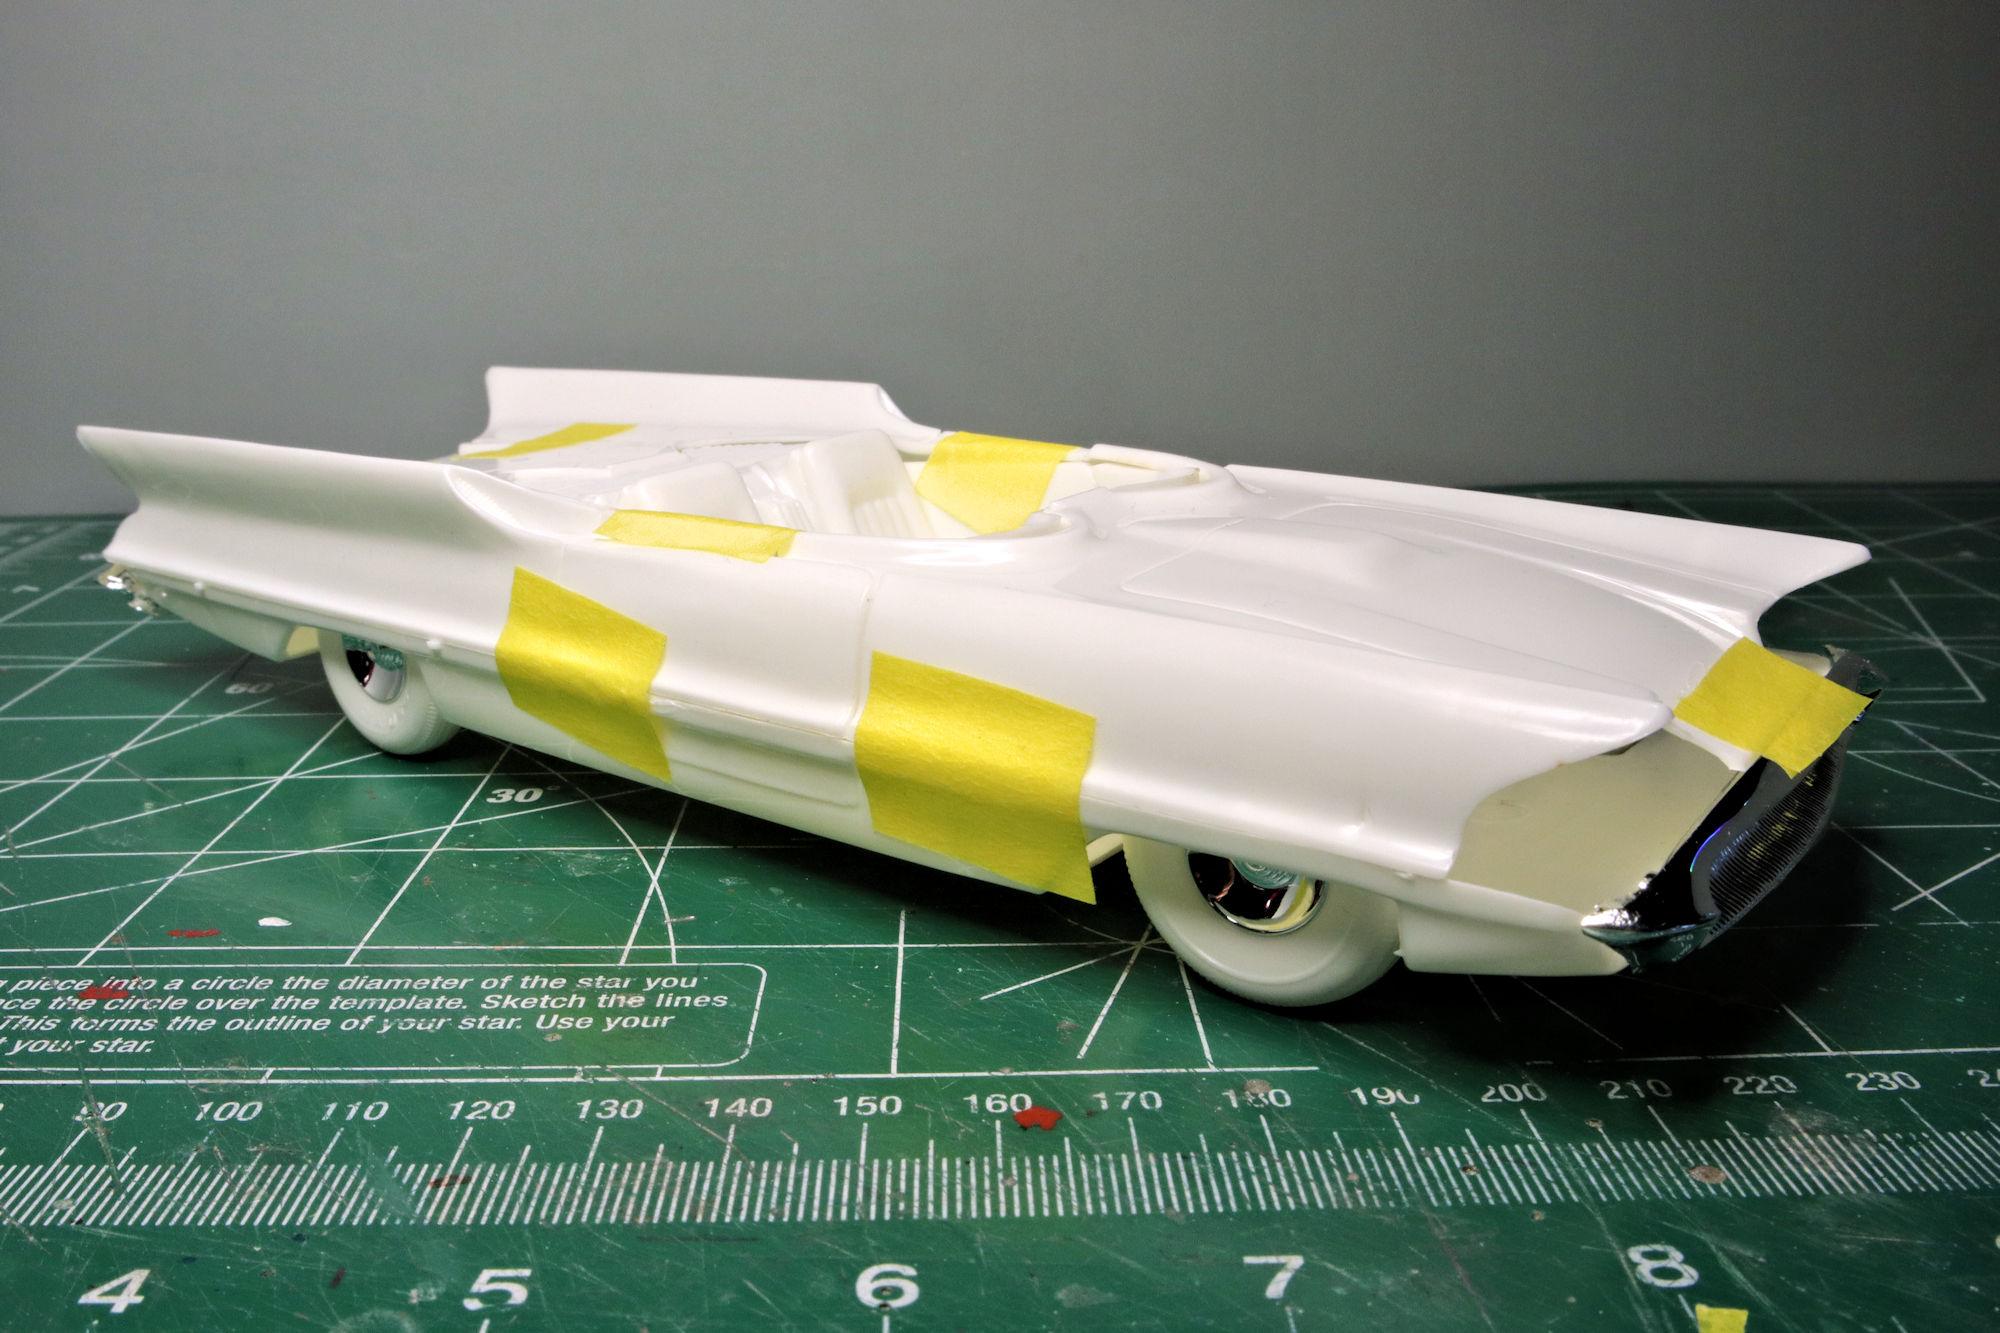
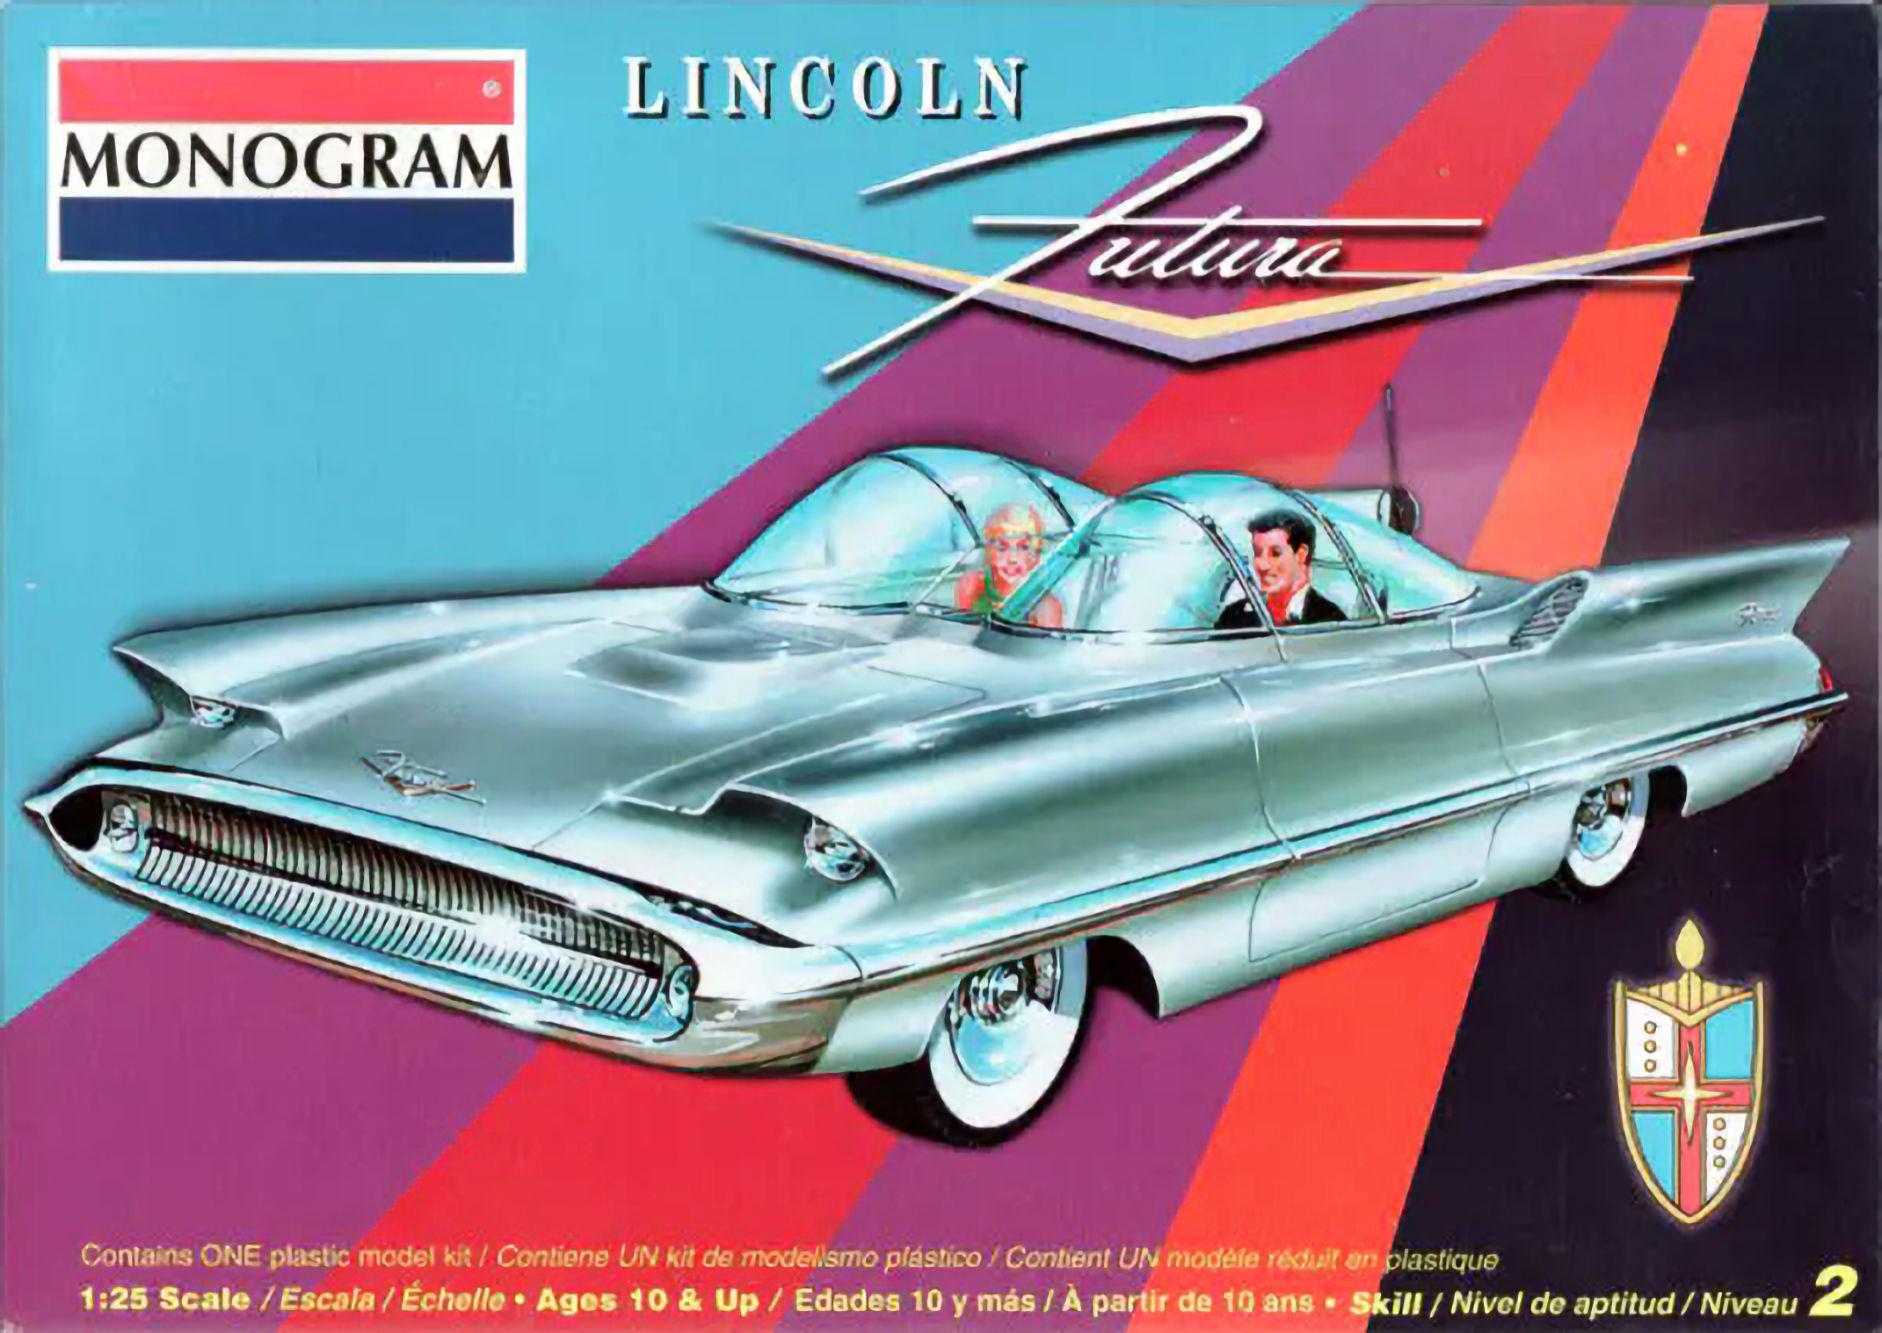
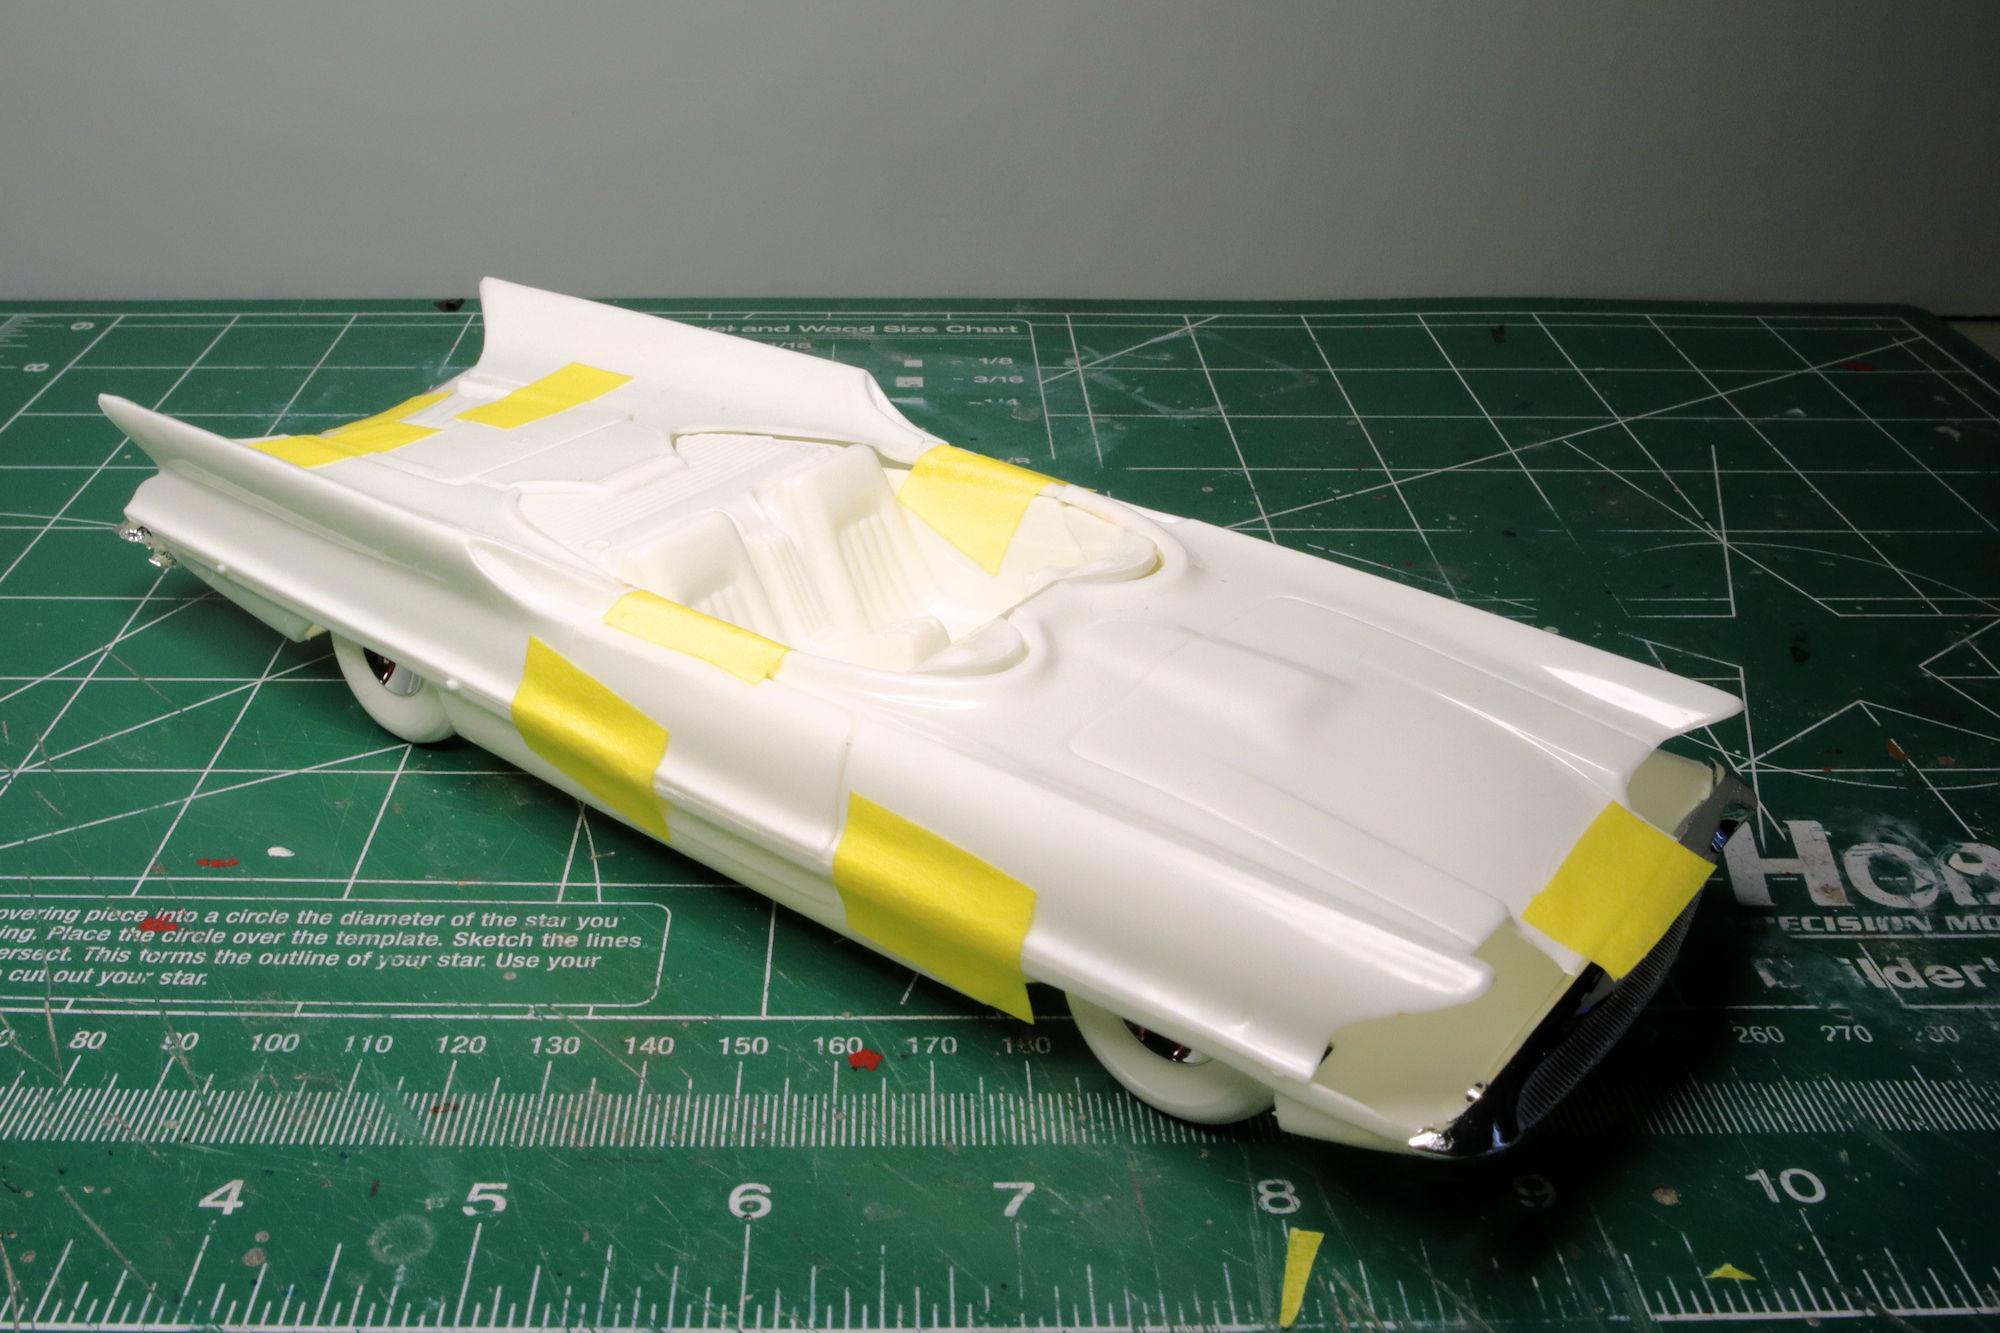
Hello Everybody! The Lincoln Futura Concept Car by Monogram. This is a 1:25 scale model of the 1955 Lincoln Futura concept car. Though not completely accurate and a little oversimplified it does have the advantage of being the most readily available representation. And it is a good representation. I'll be building it OOB without any modifications with the exception of some structural reinforcements to help strengthen and true the multi-piece body. I love the retro Art Deco style illustrations! I'll probably mat and frame this when I'm done building the car. Seriously. Test fit and mock-up. The body panels do fit together pretty well. There also seems to be no warpage. But oh, the shrink marks! ? Those are going to take some time to fix. I have the feeling that this "simple" build may take longer than I expect. Of course, since I'm now expecting it to take longer than I expected... I guess that means that no matter how long it takes, I'm right on schedule! As always, thanks for taking the time to look and please feel free to comment. David G.
-
Cool! Another nostalgia build. I've been doing a lot of those myself recently. Do you plan on building it during its glory days or the pop-rivet days? David G.
-
Thank you Donato. "Cute" is an apt description. If nothing else, Herbie is certainly that! Excellent! I'm looking forward to seeing it. David G.
-
It's great seeing this one back on the bench. Nice color, the body work looks real good. David G.
-
Thank you Bobby, it's nice knowing that you followed the the WIP thread. I hope I was able to provide you with some good information for your upcoming build. Do you plan to post a WIP thread? I'd love to see what you do with the Coca-Cola version of this kit. Thanks Steve. Thanks Ken, I'm glad you like it. David G.
-
The upholstery looks great! That gold on the cloth inserts looks absolutely perfect! David G.
-
That's some impressive metal work. The plastic bits are coming along nicely too. David G.
-
1959 Cadillac Hearse
David G. replied to Karl LaFong's topic in Model Trucks: Pickups, Vans, SUVs, Light Commercial
Nicely done! I like the way AMT has been repurposing the Ghostbusters Ecto 1 kit. First the Surf Shark, then the Ambulance, maybe a hearse is next? That would be great! Until then, that's a nice conversion. I'll have to keep an eye out for that T-Bird for the landau bar to use when I get to doing mine. David G. -
Goin' Bug-gy! Airfix Bond Bug Reissue (OOB)
David G. replied to Faust's topic in Car Kit News & Reviews
An interesting kit. Is it based on the Reliant Robin? David G. -
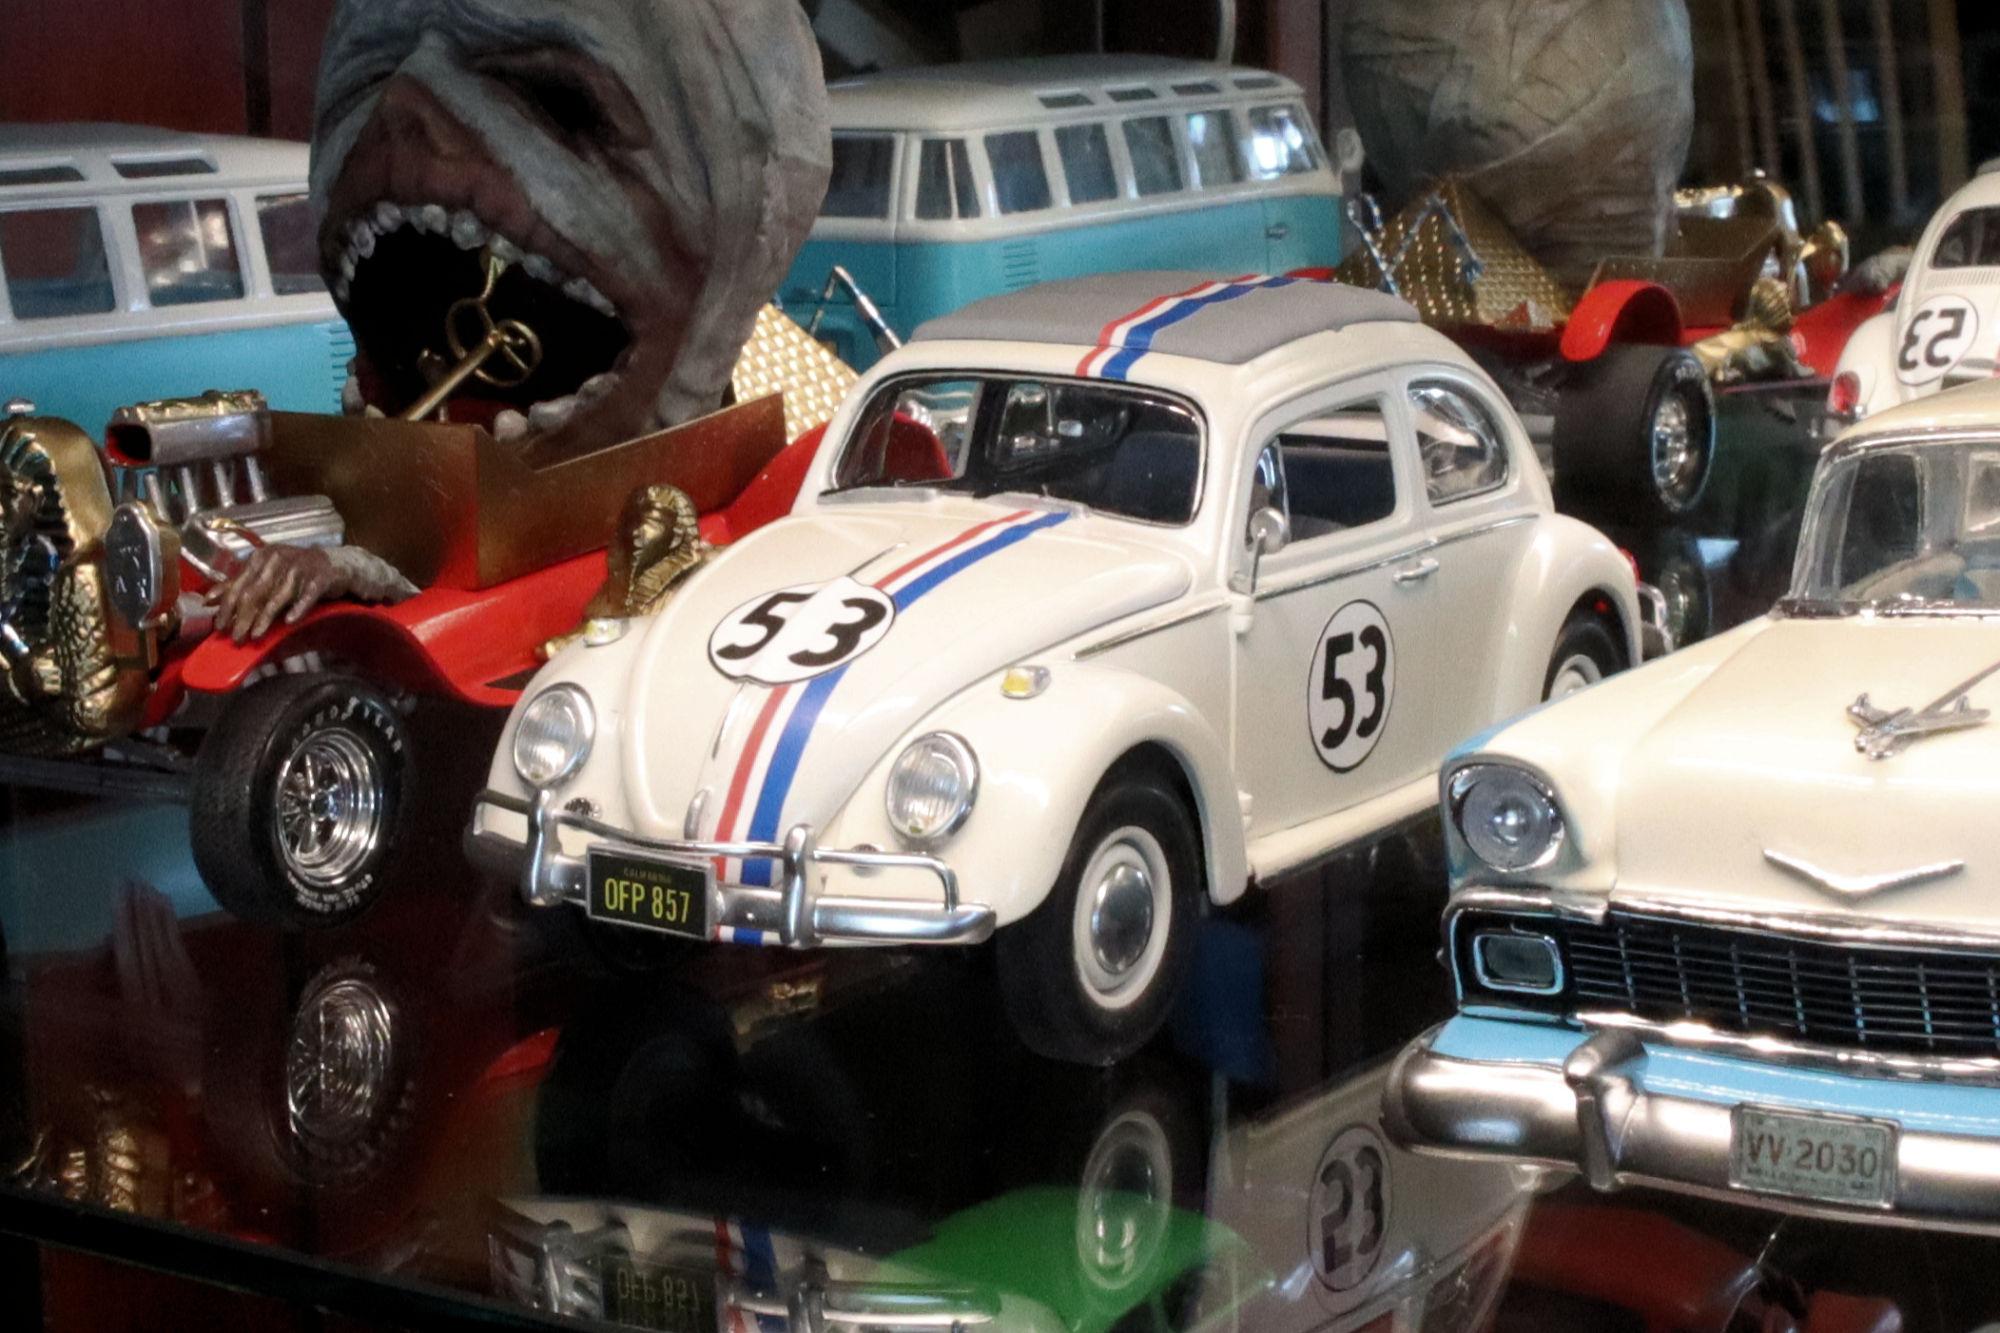
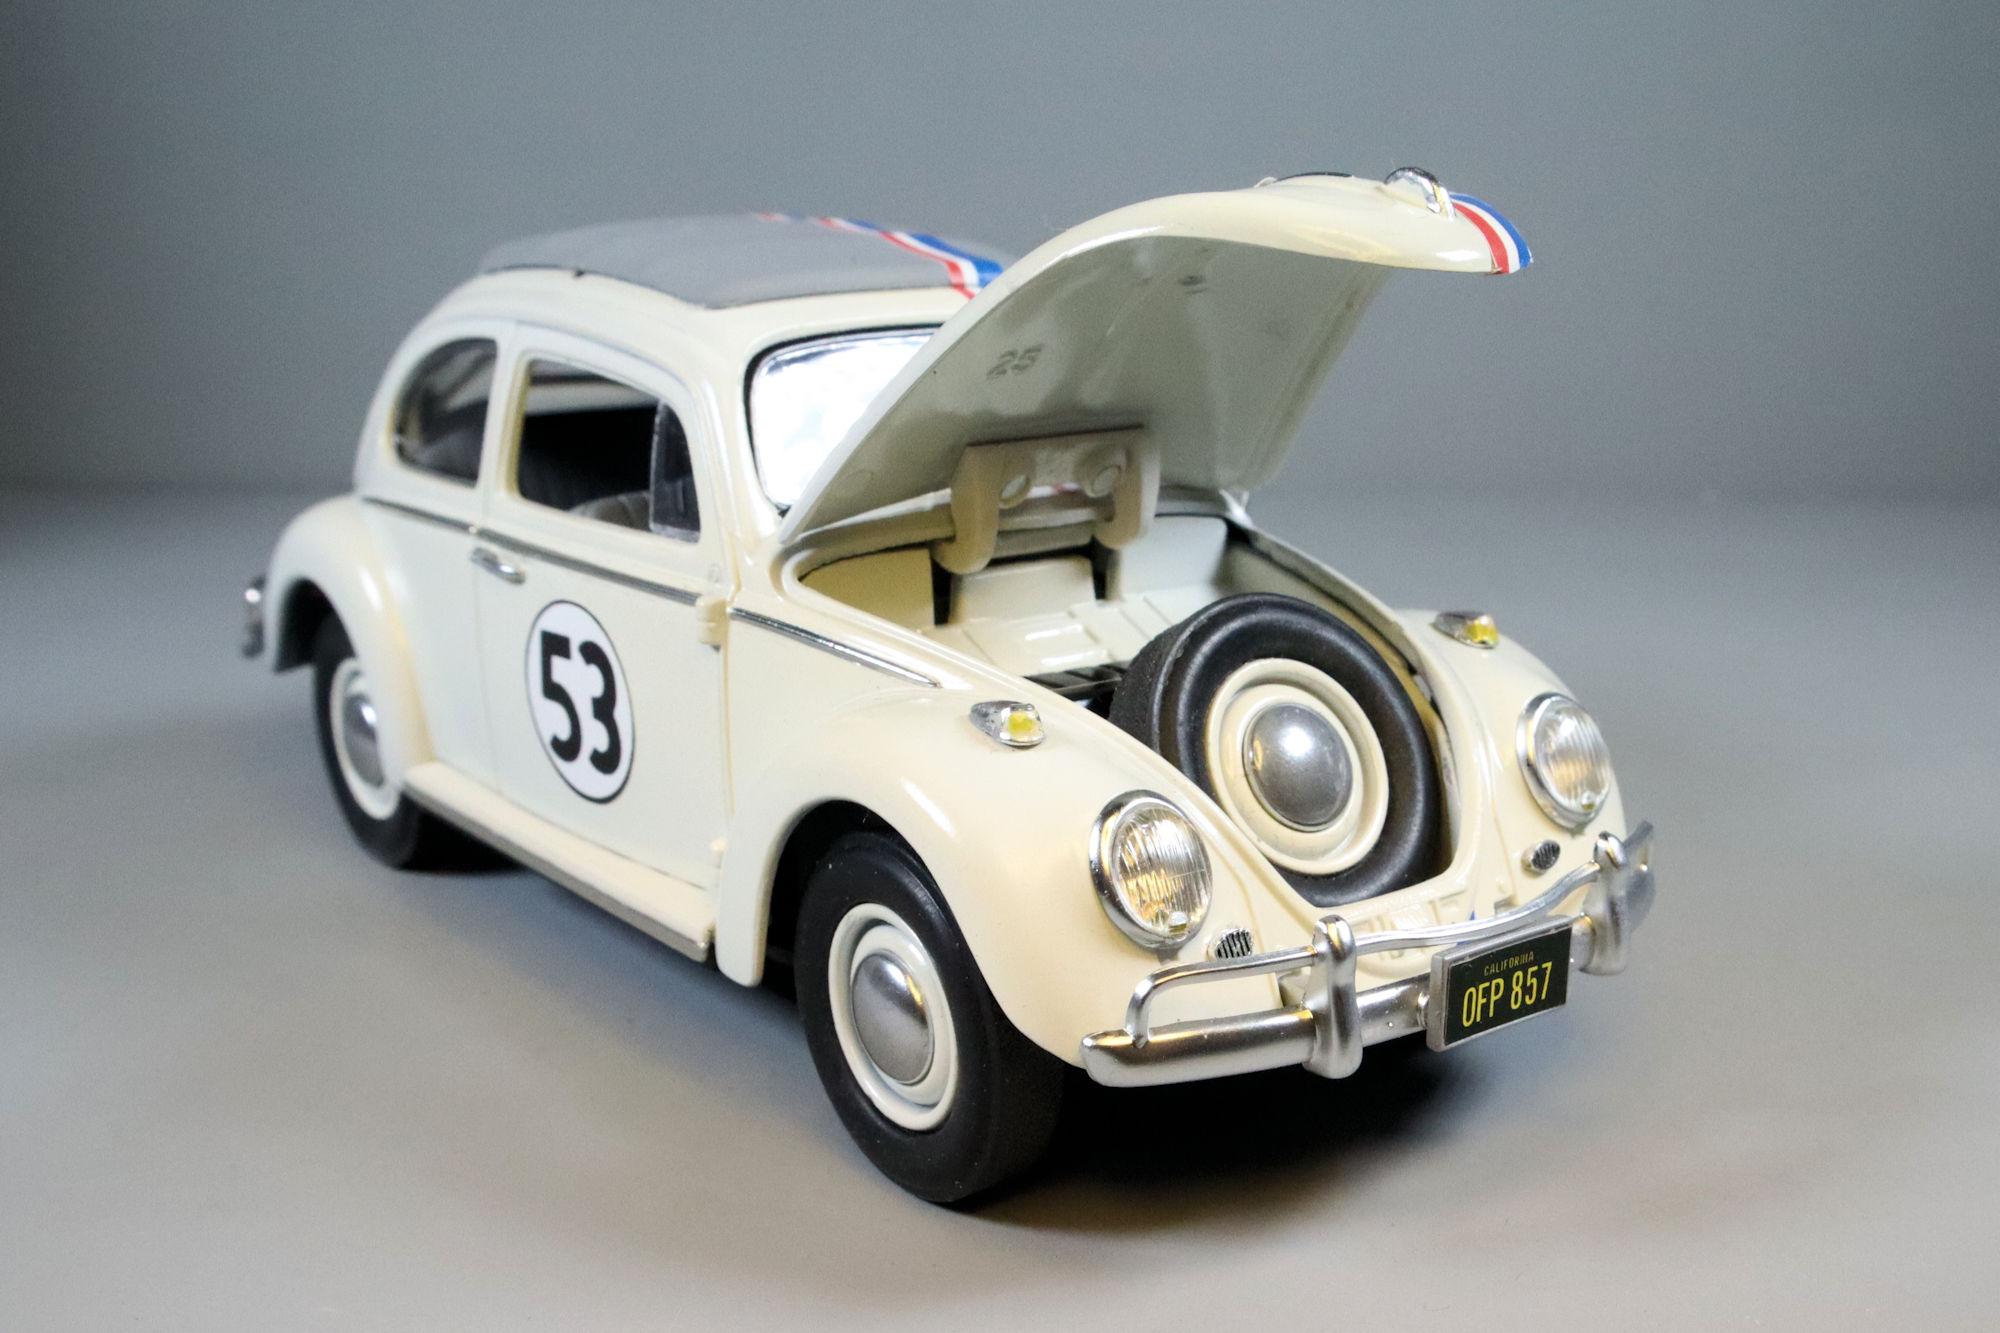
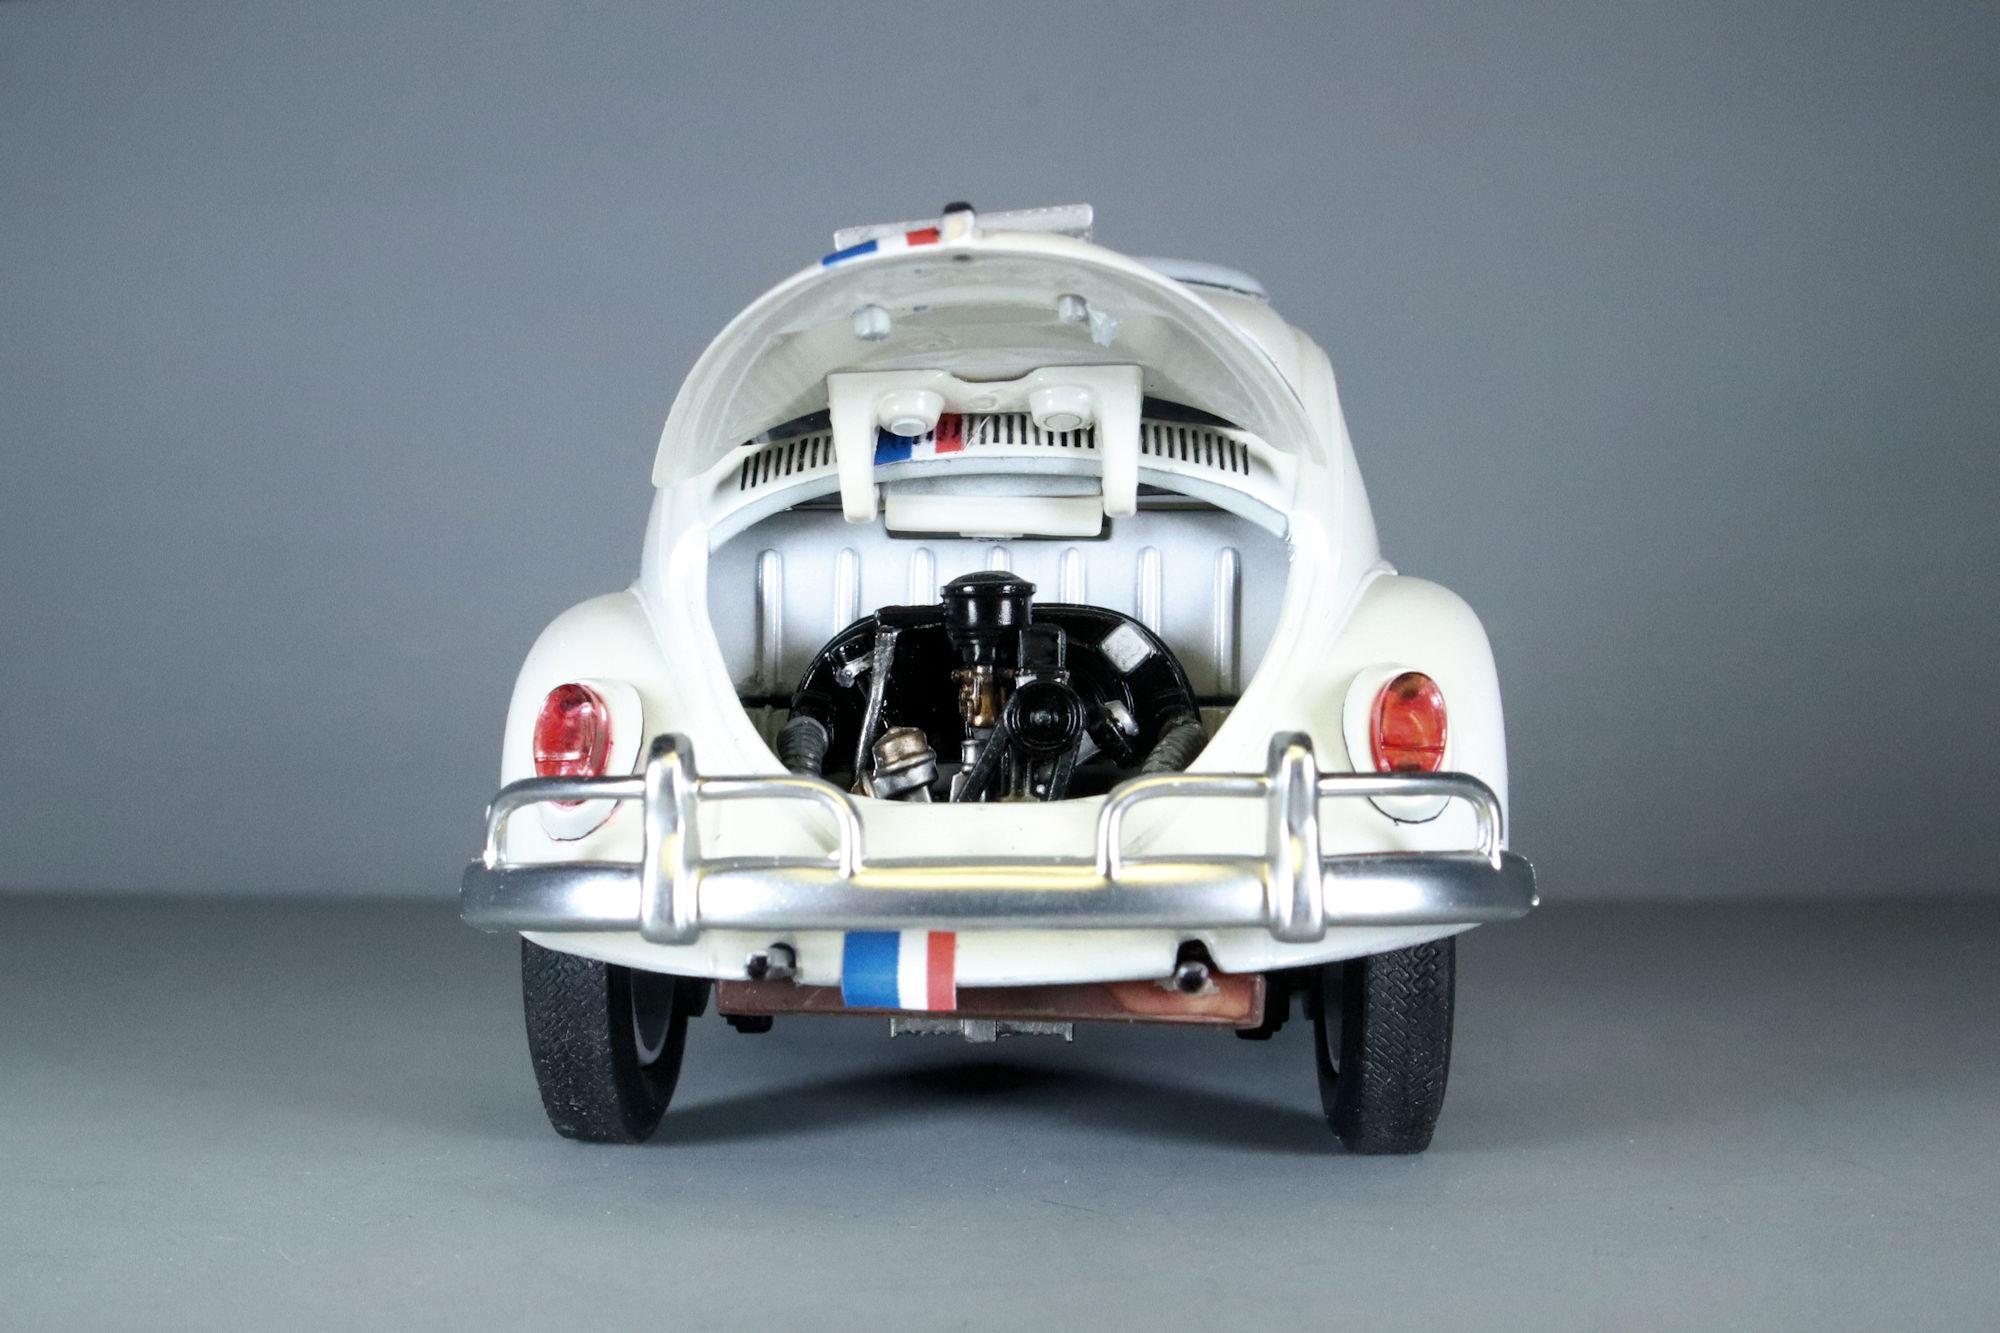
Hello Everybody! It's time to put a cherry on this sundae and call it done. The boot opens to reveal a spare wheel complete with hubcap. I'm working to find a replacement old style wheel without a hubcap. The engine looks like a VW engine but there are some inaccuracies. And last but not least, my traditional Display Case photo. Again. my thanks to all of you who followed along on the build thread and offered your comments and support. On to the next project! David G.
-
Thank you Glen. Thanks Doyle, It's most kind of you to say so. Thank you Hector, it's one of mine too. Thank you Harry. Thank you David, I'm glad it worked out as well as it did. Thanks to everyone who followed along and offered your support. David G.
-
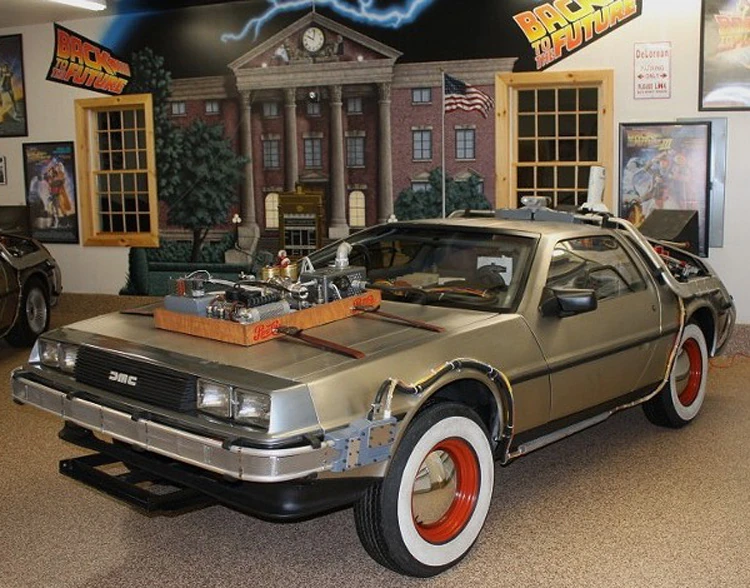
Thanks for your comment Ricky. No worries, the wheels are just a joke. I'm told that I have a dark and twisted sense of humor. I have been working on a Lincoln Futura and I just happened to have its whitewalls on my desk while I was working on the Chaparral. I was immediately reminded of the DeLorean from BTTF. As to your question whether or not Mr. Bradford is still in business, I don't know. But based on Pierre's comment below, probably not. All the contact information for the company is on the tag in the photo in my previous post, so there's a good starting point if you want to do some research. Thank you Pierre, I shall. It would seem that I really lucked out finding these wheels packed in. David G.
-
1:16 Gunze Sangyo 1937 Rolls-Royce Phantom III Sports Saloon
David G. replied to Anglia105E's topic in WIP: Model Cars
She's a beautiful ship, I hope some day you can get her back in the water again. I have my own terrifying sailing experience aboard a double-hander dinghy. We were out on Lake Erie when we were caught by a surprise summer storm. On that day, at the tender age of fourteen years, I was introduced to the consideration of my own mortality. My primary thought at that time? "If I die out here, Mom's going to be pissed !" Enjoy your time off David and be safe. David G. -
Very cool! David G.
-
I UNSNAPPED THE AMT 65 DODGE CORONET 500 SNAP TOGETHER !
David G. replied to DREAMSCALE CONCEPTS's topic in Model Cars
Nicely done! David G. -
Too cool! Chrysler products of this era are sorely underrepresented, It'll be nice having these to work with. David G.
-
Great build, great photos! David G.
-
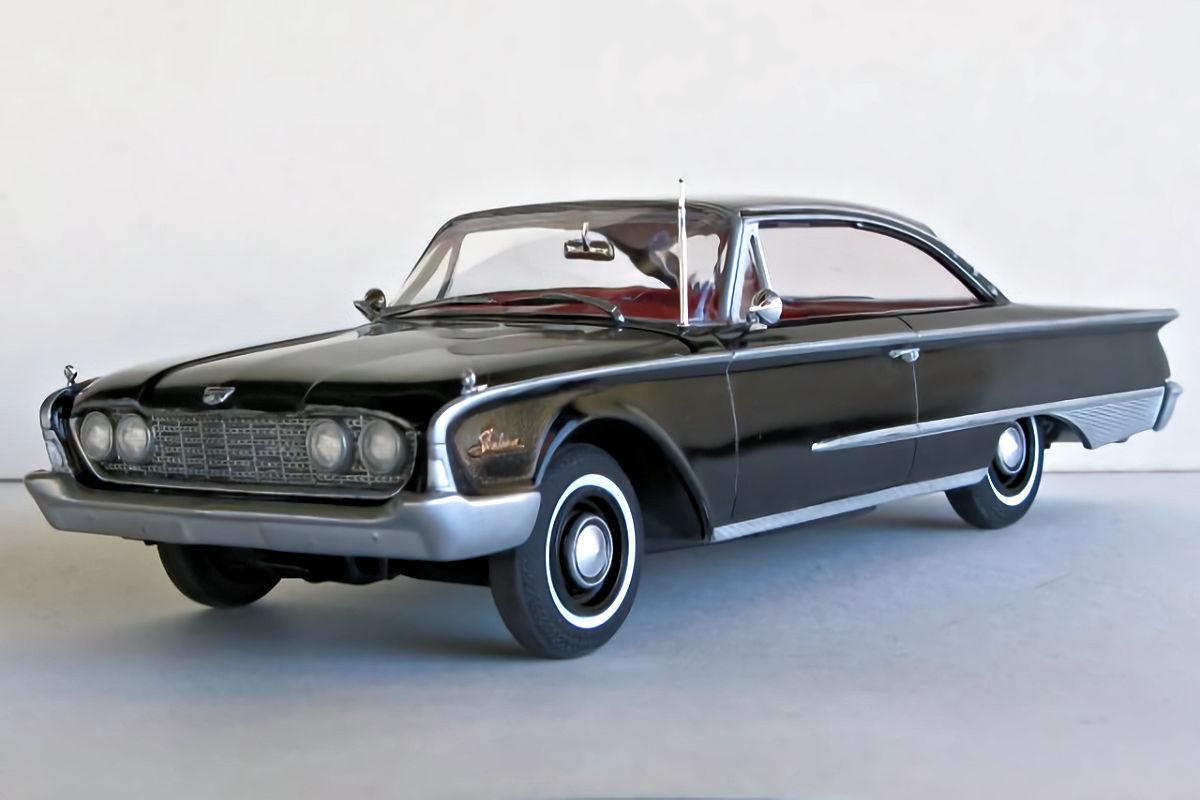
That's a great looking engine David. I built one of AMT's Starliner kits some time ago and thoroughly enjoyed it. It's one of their better kits. David G.