mrmike
-
Posts
5,325 -
Joined
-
Last visited
Content Type
Profiles
Forums
Events
Gallery
Everything posted by mrmike
-
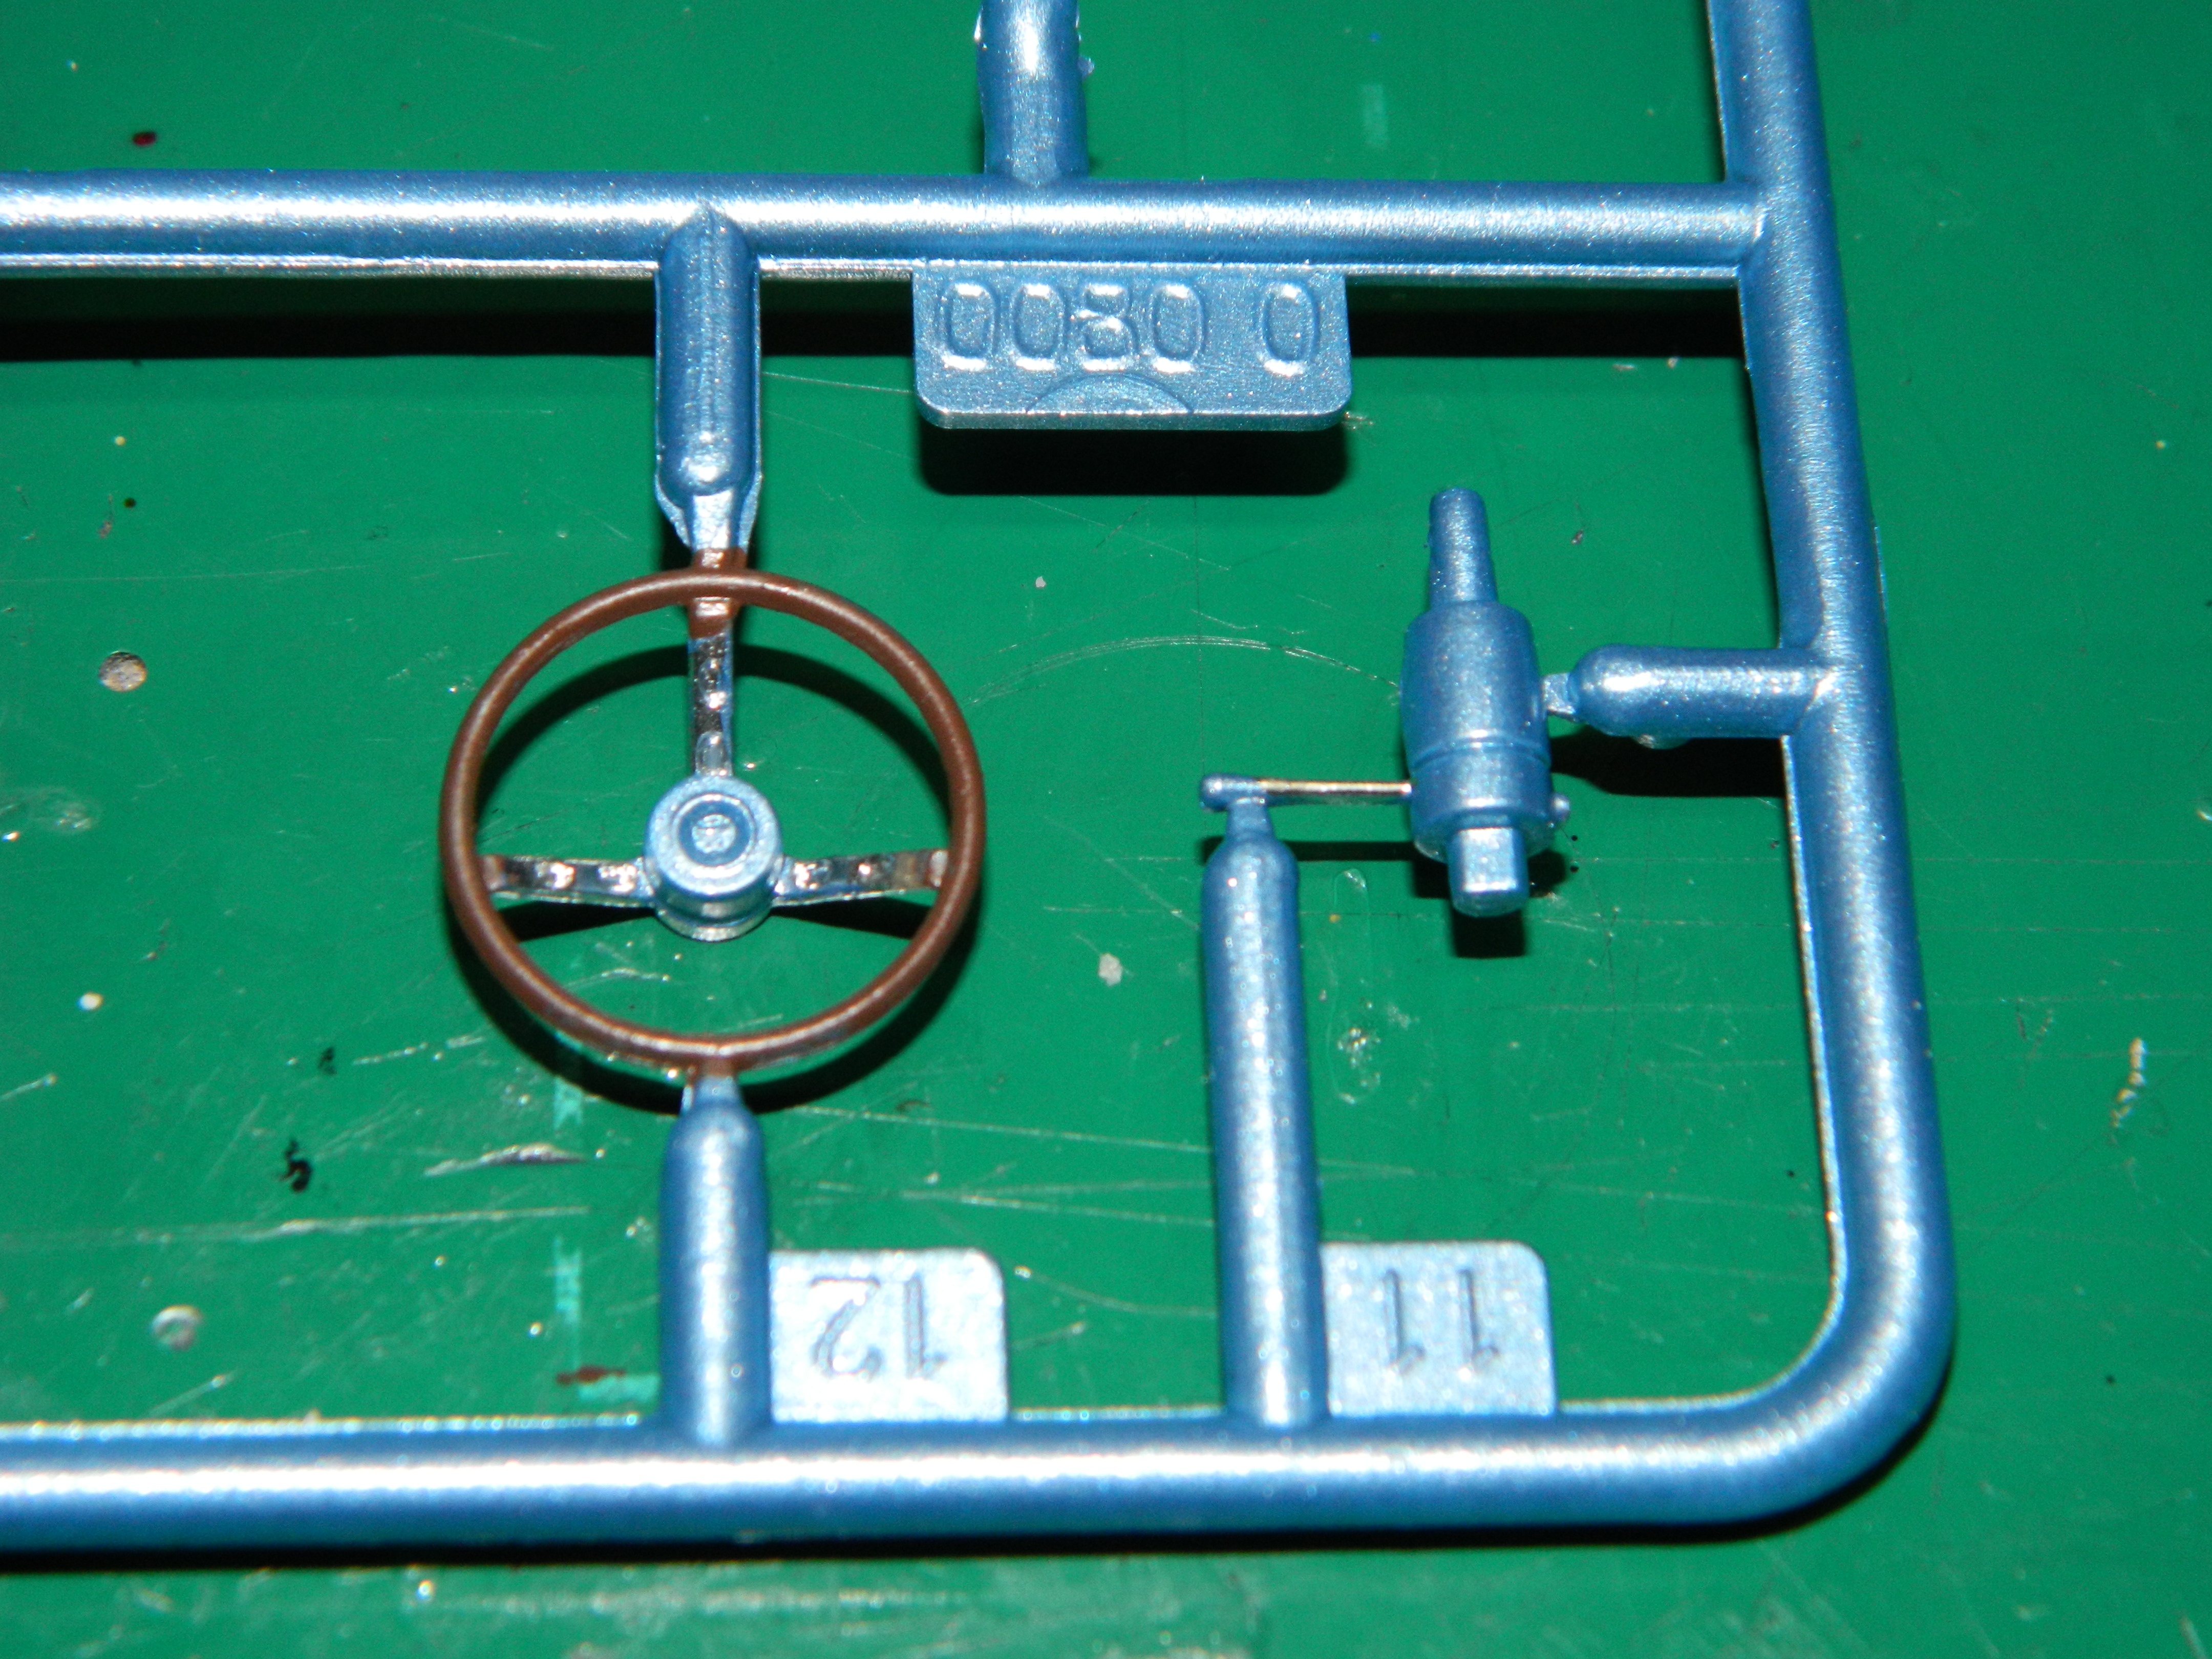
Now this is the way a Hurst Pistol-Grip Shifter is suppose to be painted! You always leave a chrome strip up the back of the shift handle and a chrome top. I've detailed the steering wheel. I should have put a dot of flat black in the spokes which I did after I noticed my flub up. And, the rear taillights are done! More to come...

-
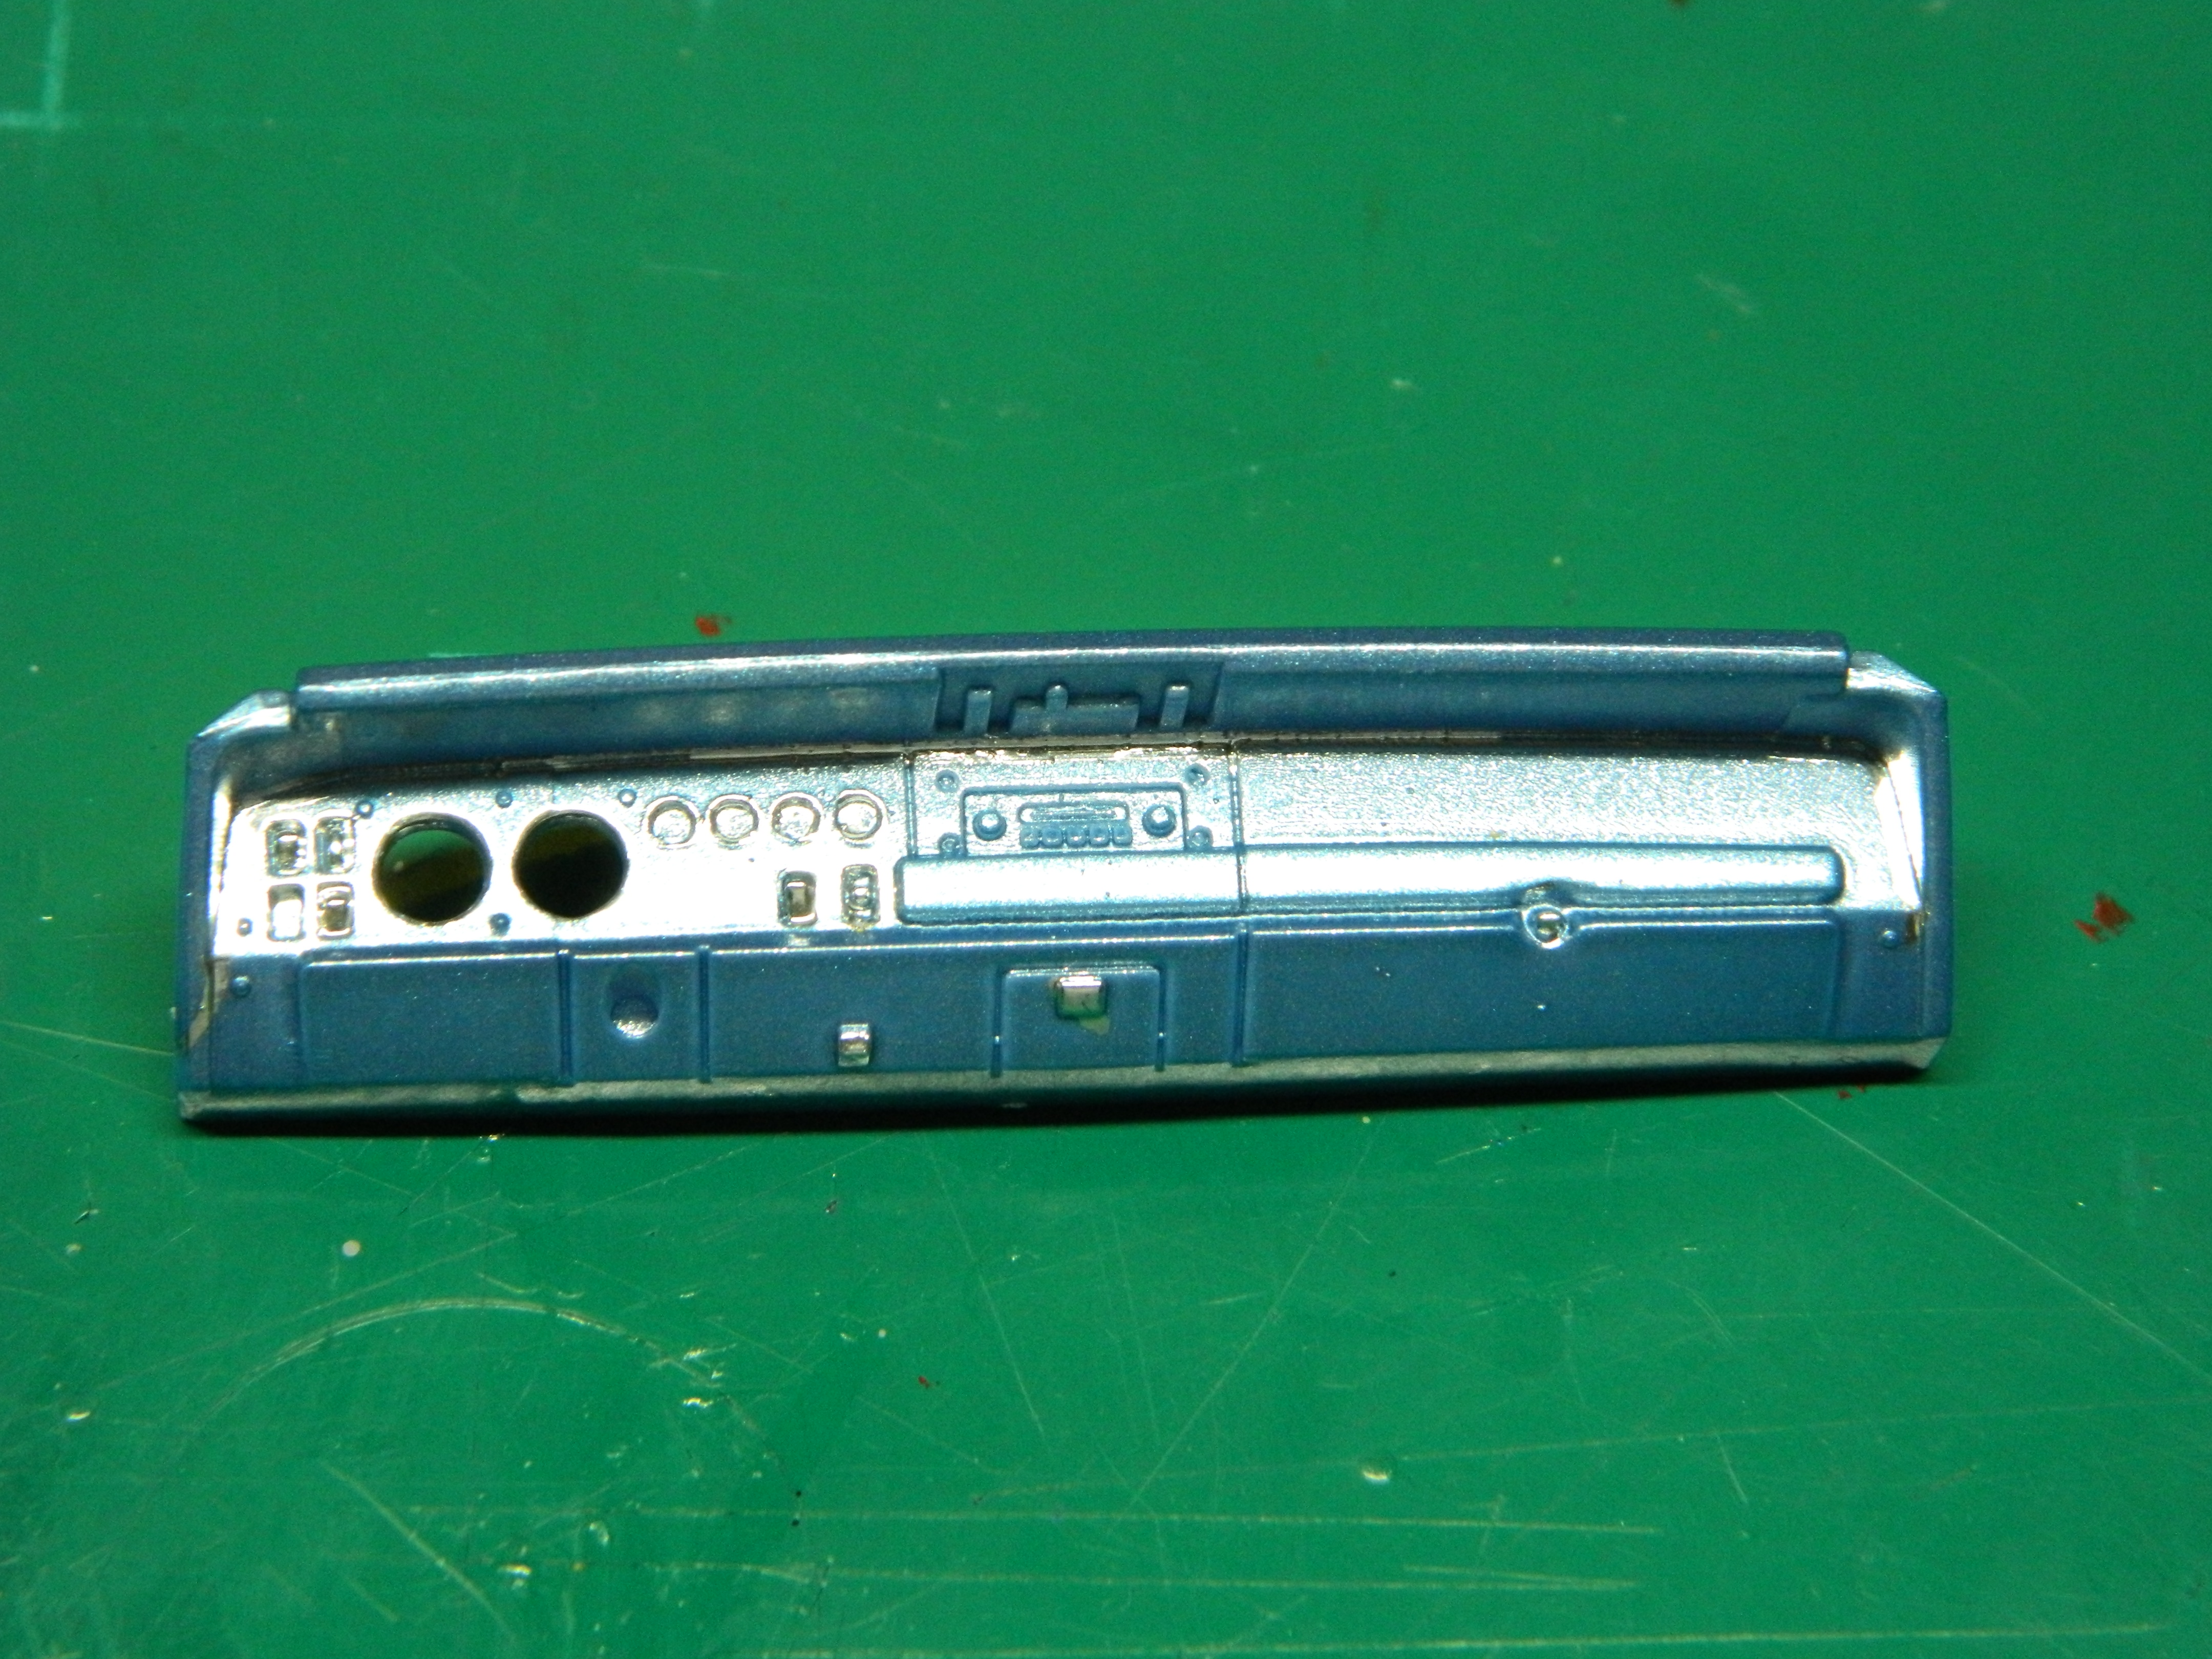
Thanks everyone! Stephen, I'm glad to see that you are still around and doing well! While I am not a fan of flat color bodies, that does sound like a neat project! Git-R-Dun! I sat down at the bench a short while ago and picked up my 1mm Molotow Liquid Chrome Pen and started picking out the chrome details before I start applying decals to the dash and console later. More to come...
-
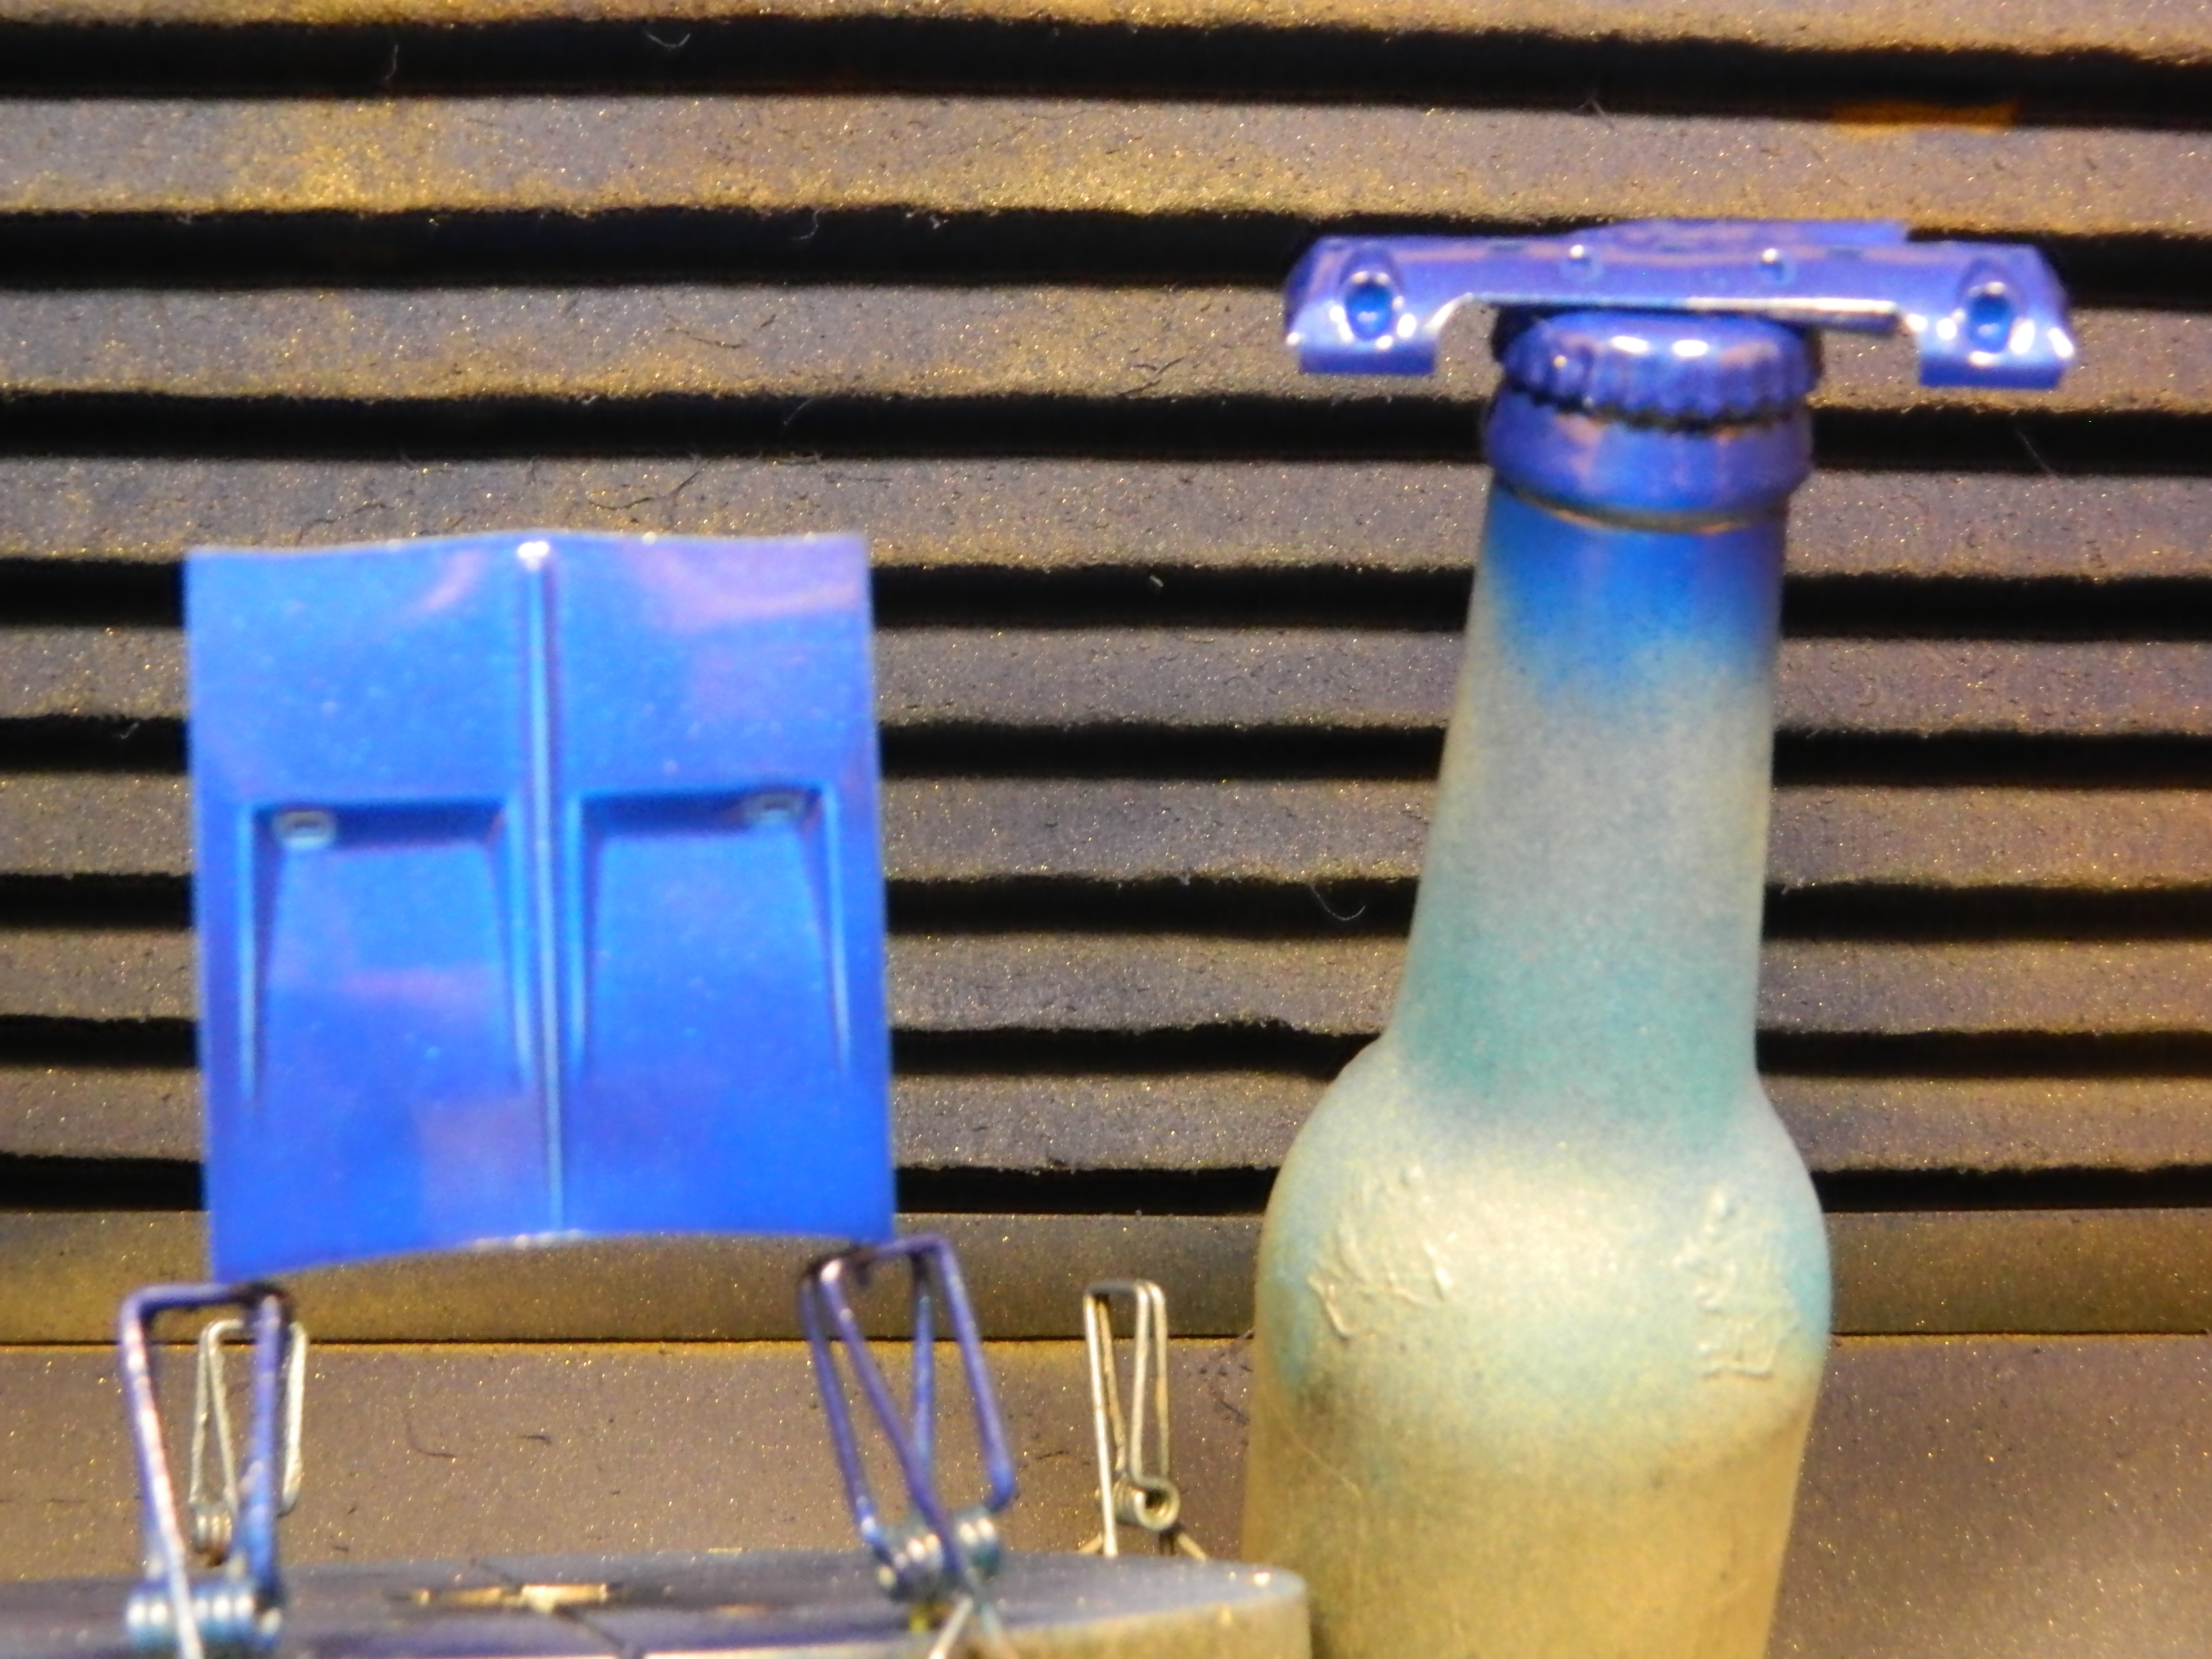
I painted the interior this afternoon with Dupli-Color Light Blue Metallic and tossed everything into the dehydrator for a few hours. Then, I painted the body, hood, and front valance panel with Testors Star Spangled Blue Lacquer. More to come...
-
Thank you Thomas!
-
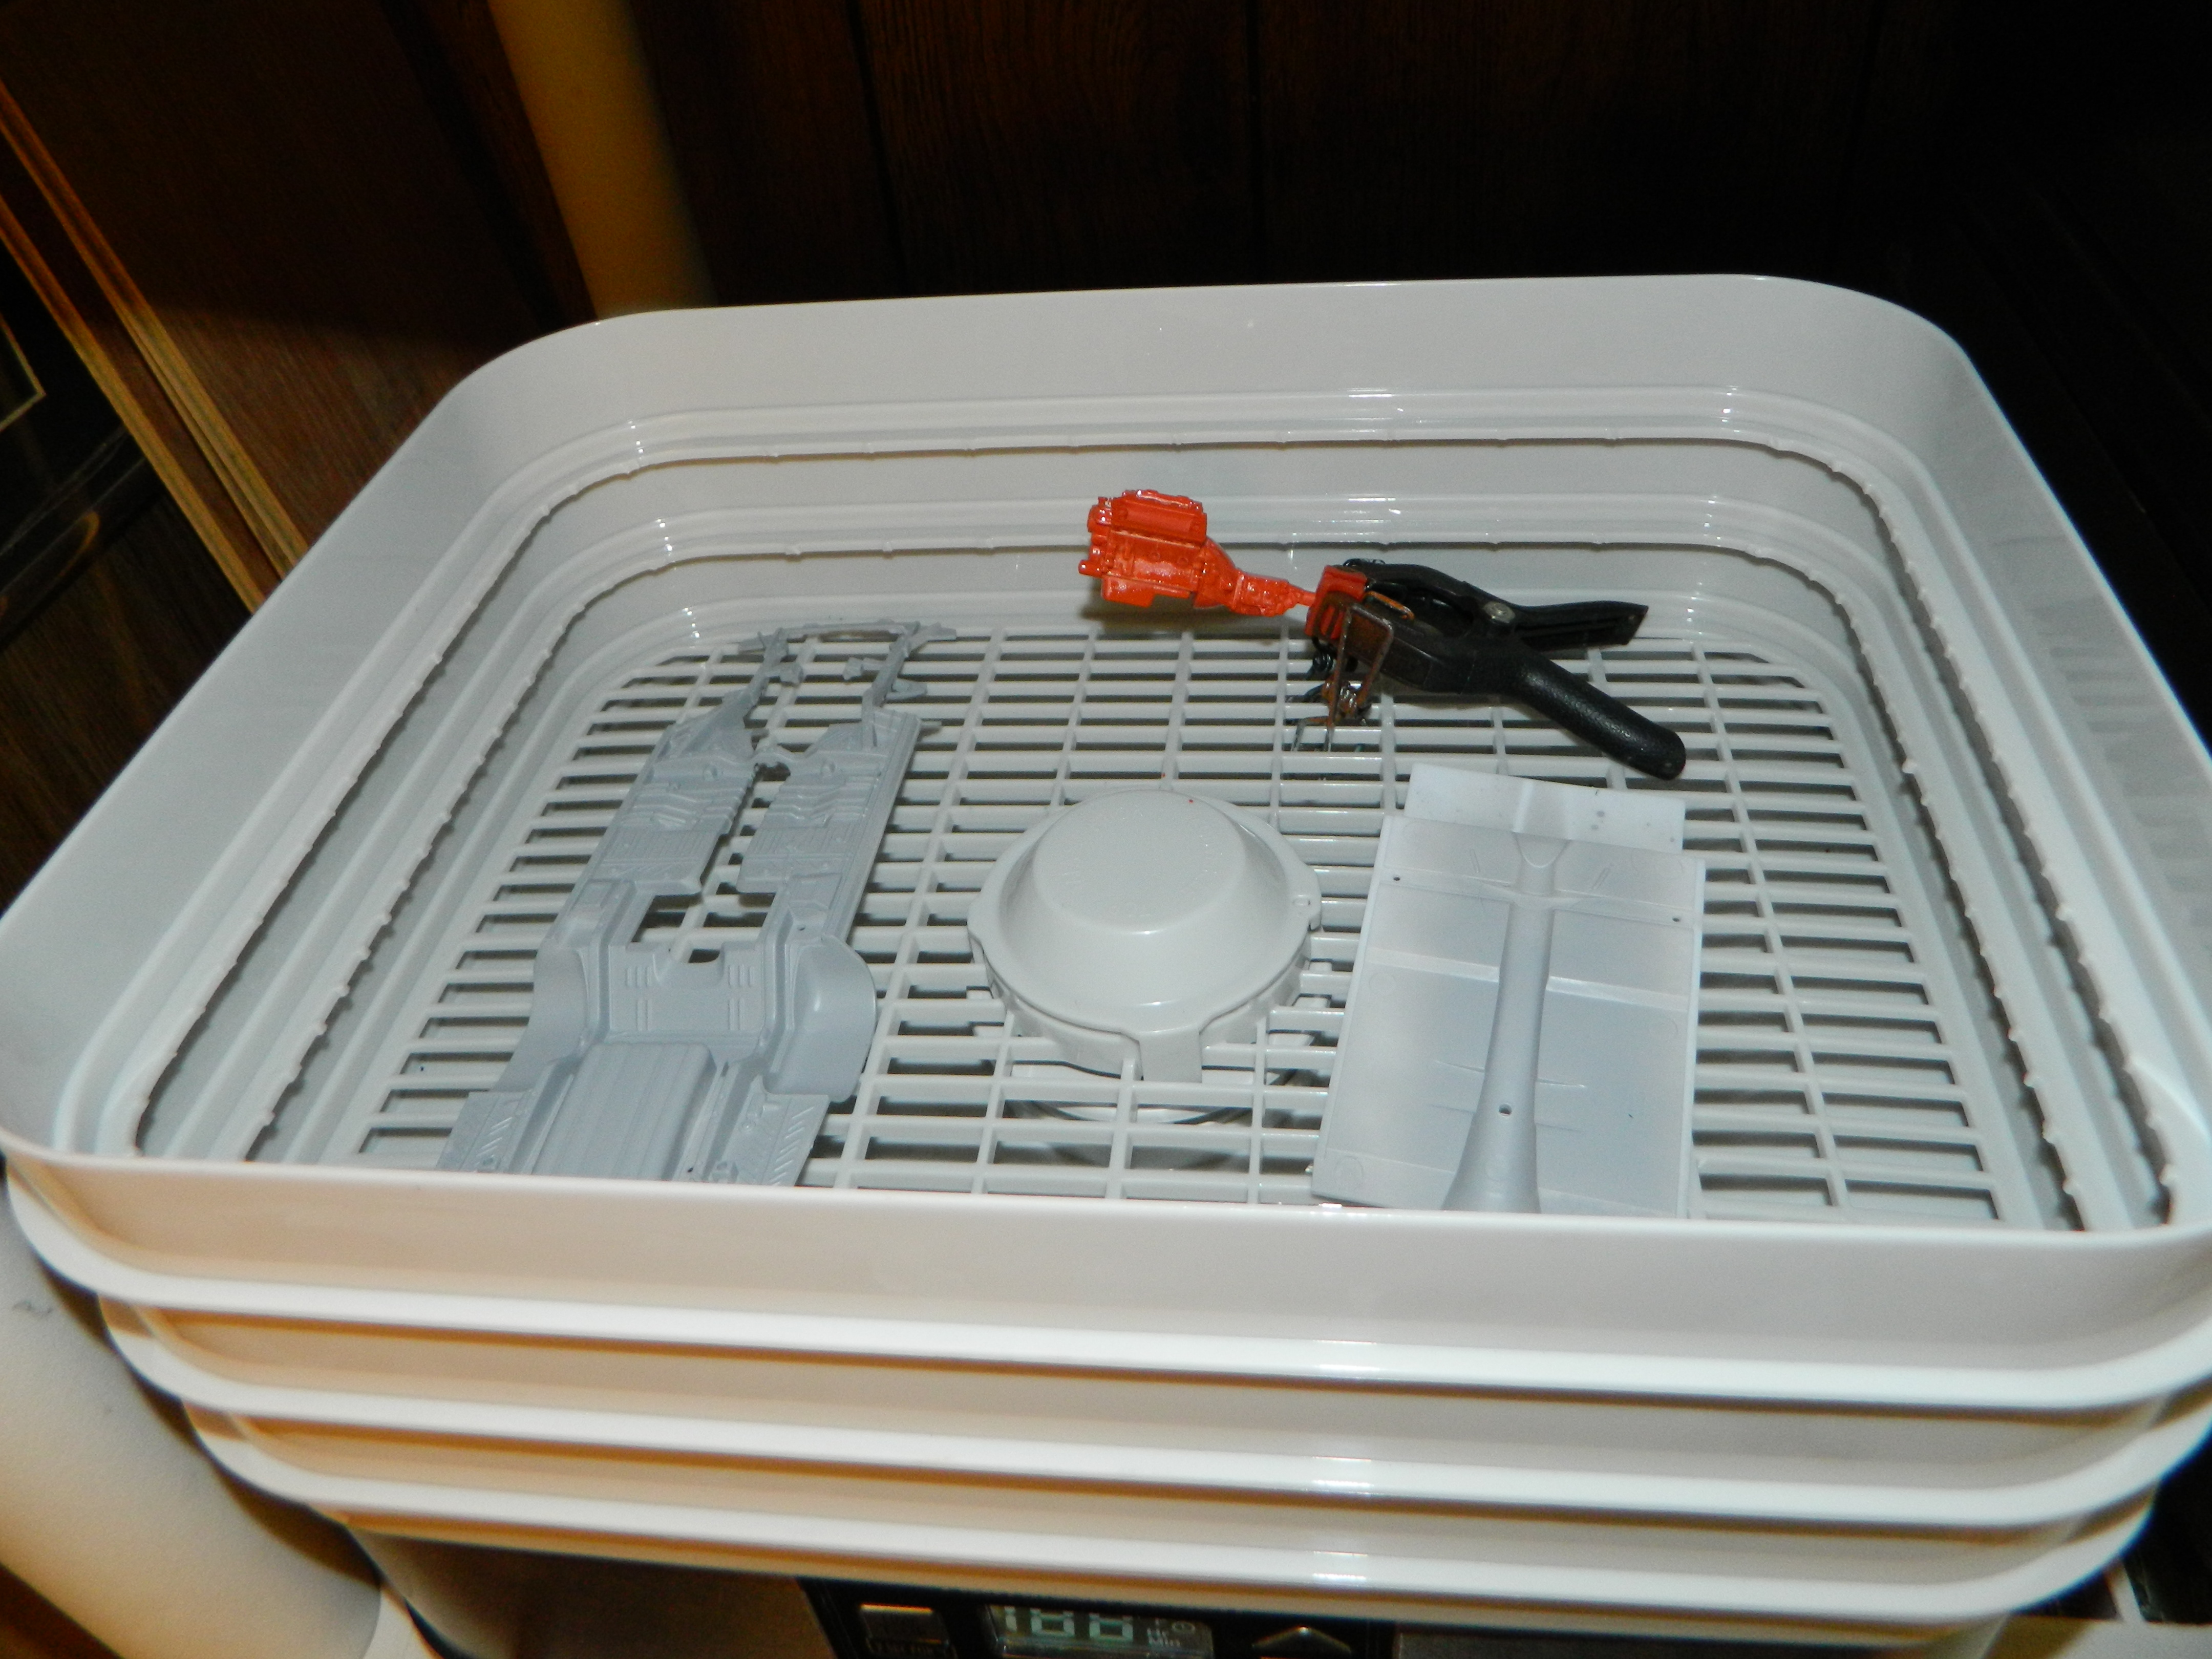
The chassis is now complete. I added overspray which has been difficult with a spray can for me and the front and rear suspensions. I'll leave the brakes and wheels and tires off until the body and chassis are together. The Hemi is in progress. The carbs, fan clutch, and the alternator are being stripped of their chrome with Easy-Off Oven Cleaner. I have distributors from Parts By Parks and Morgan Automotive Detail to decide on. Which one will it be? More to come...
-
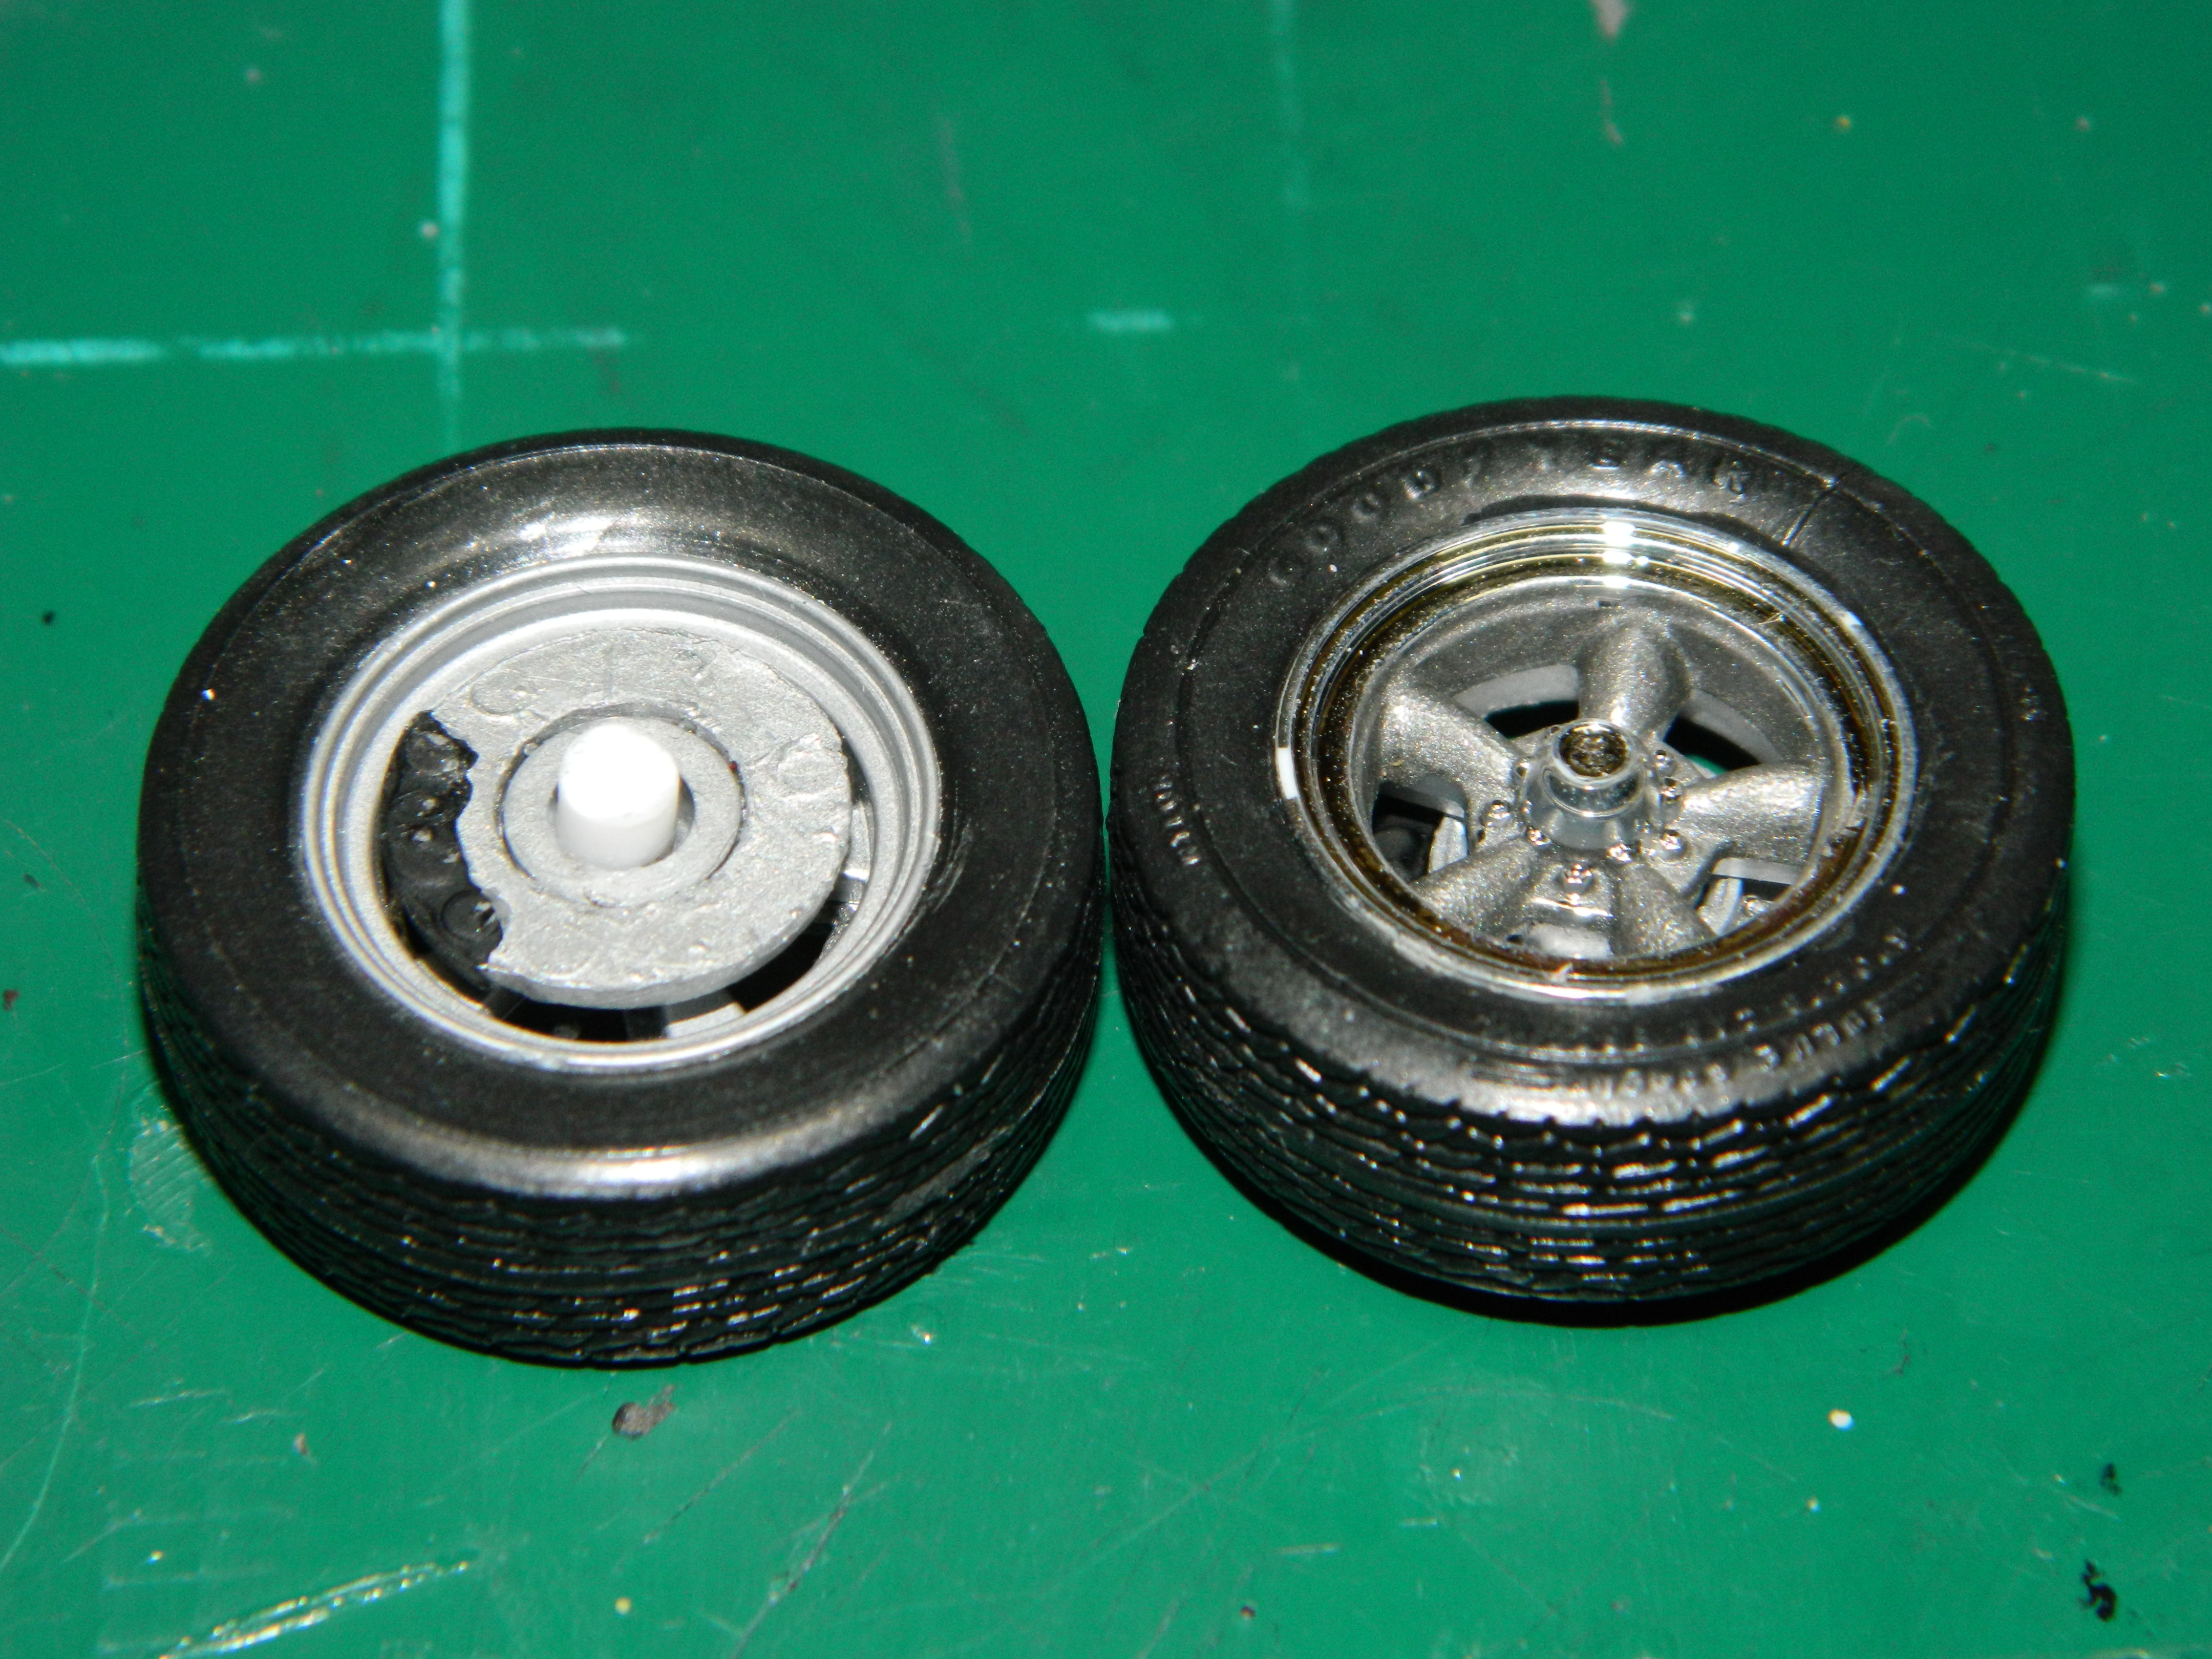
I bought those wheels and tires from Steven Zimmerman at the 2018 NNL East show. He does not have a web site, but he can be contacted through his Face Book page.
-
Thank you Tom! Those wheels look like large Magnum 500 wheels which is why I choose them.
-
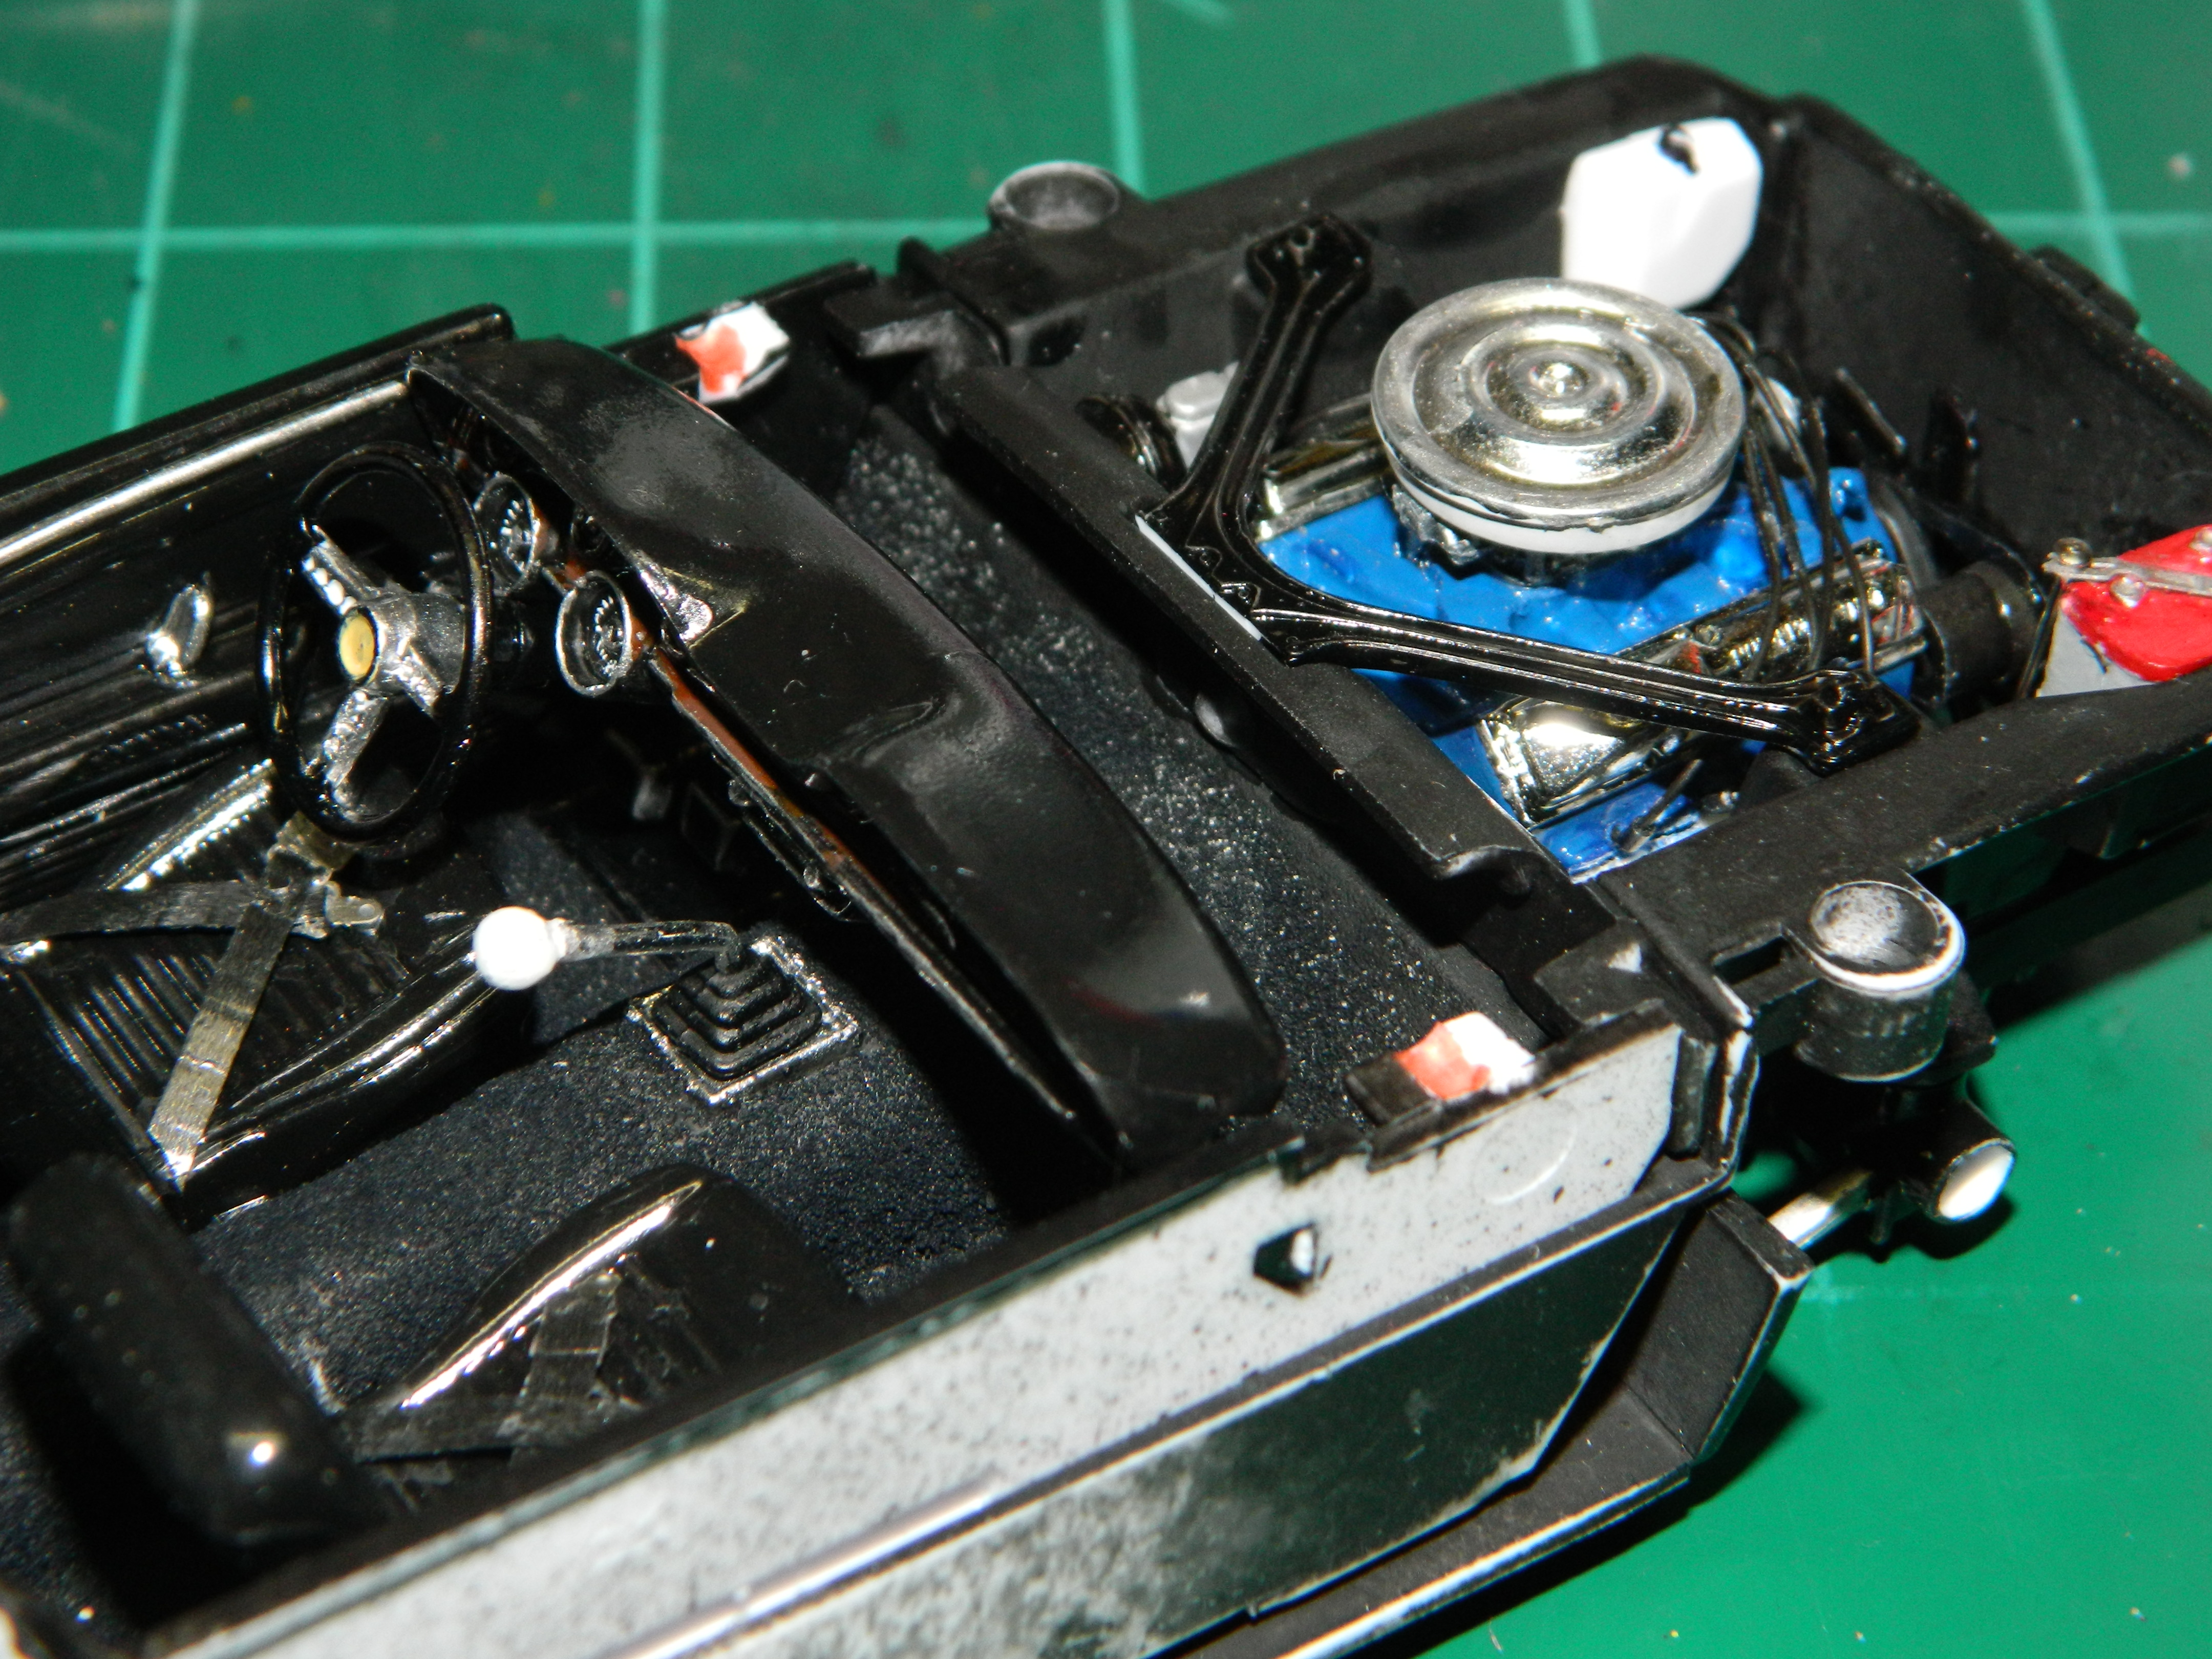
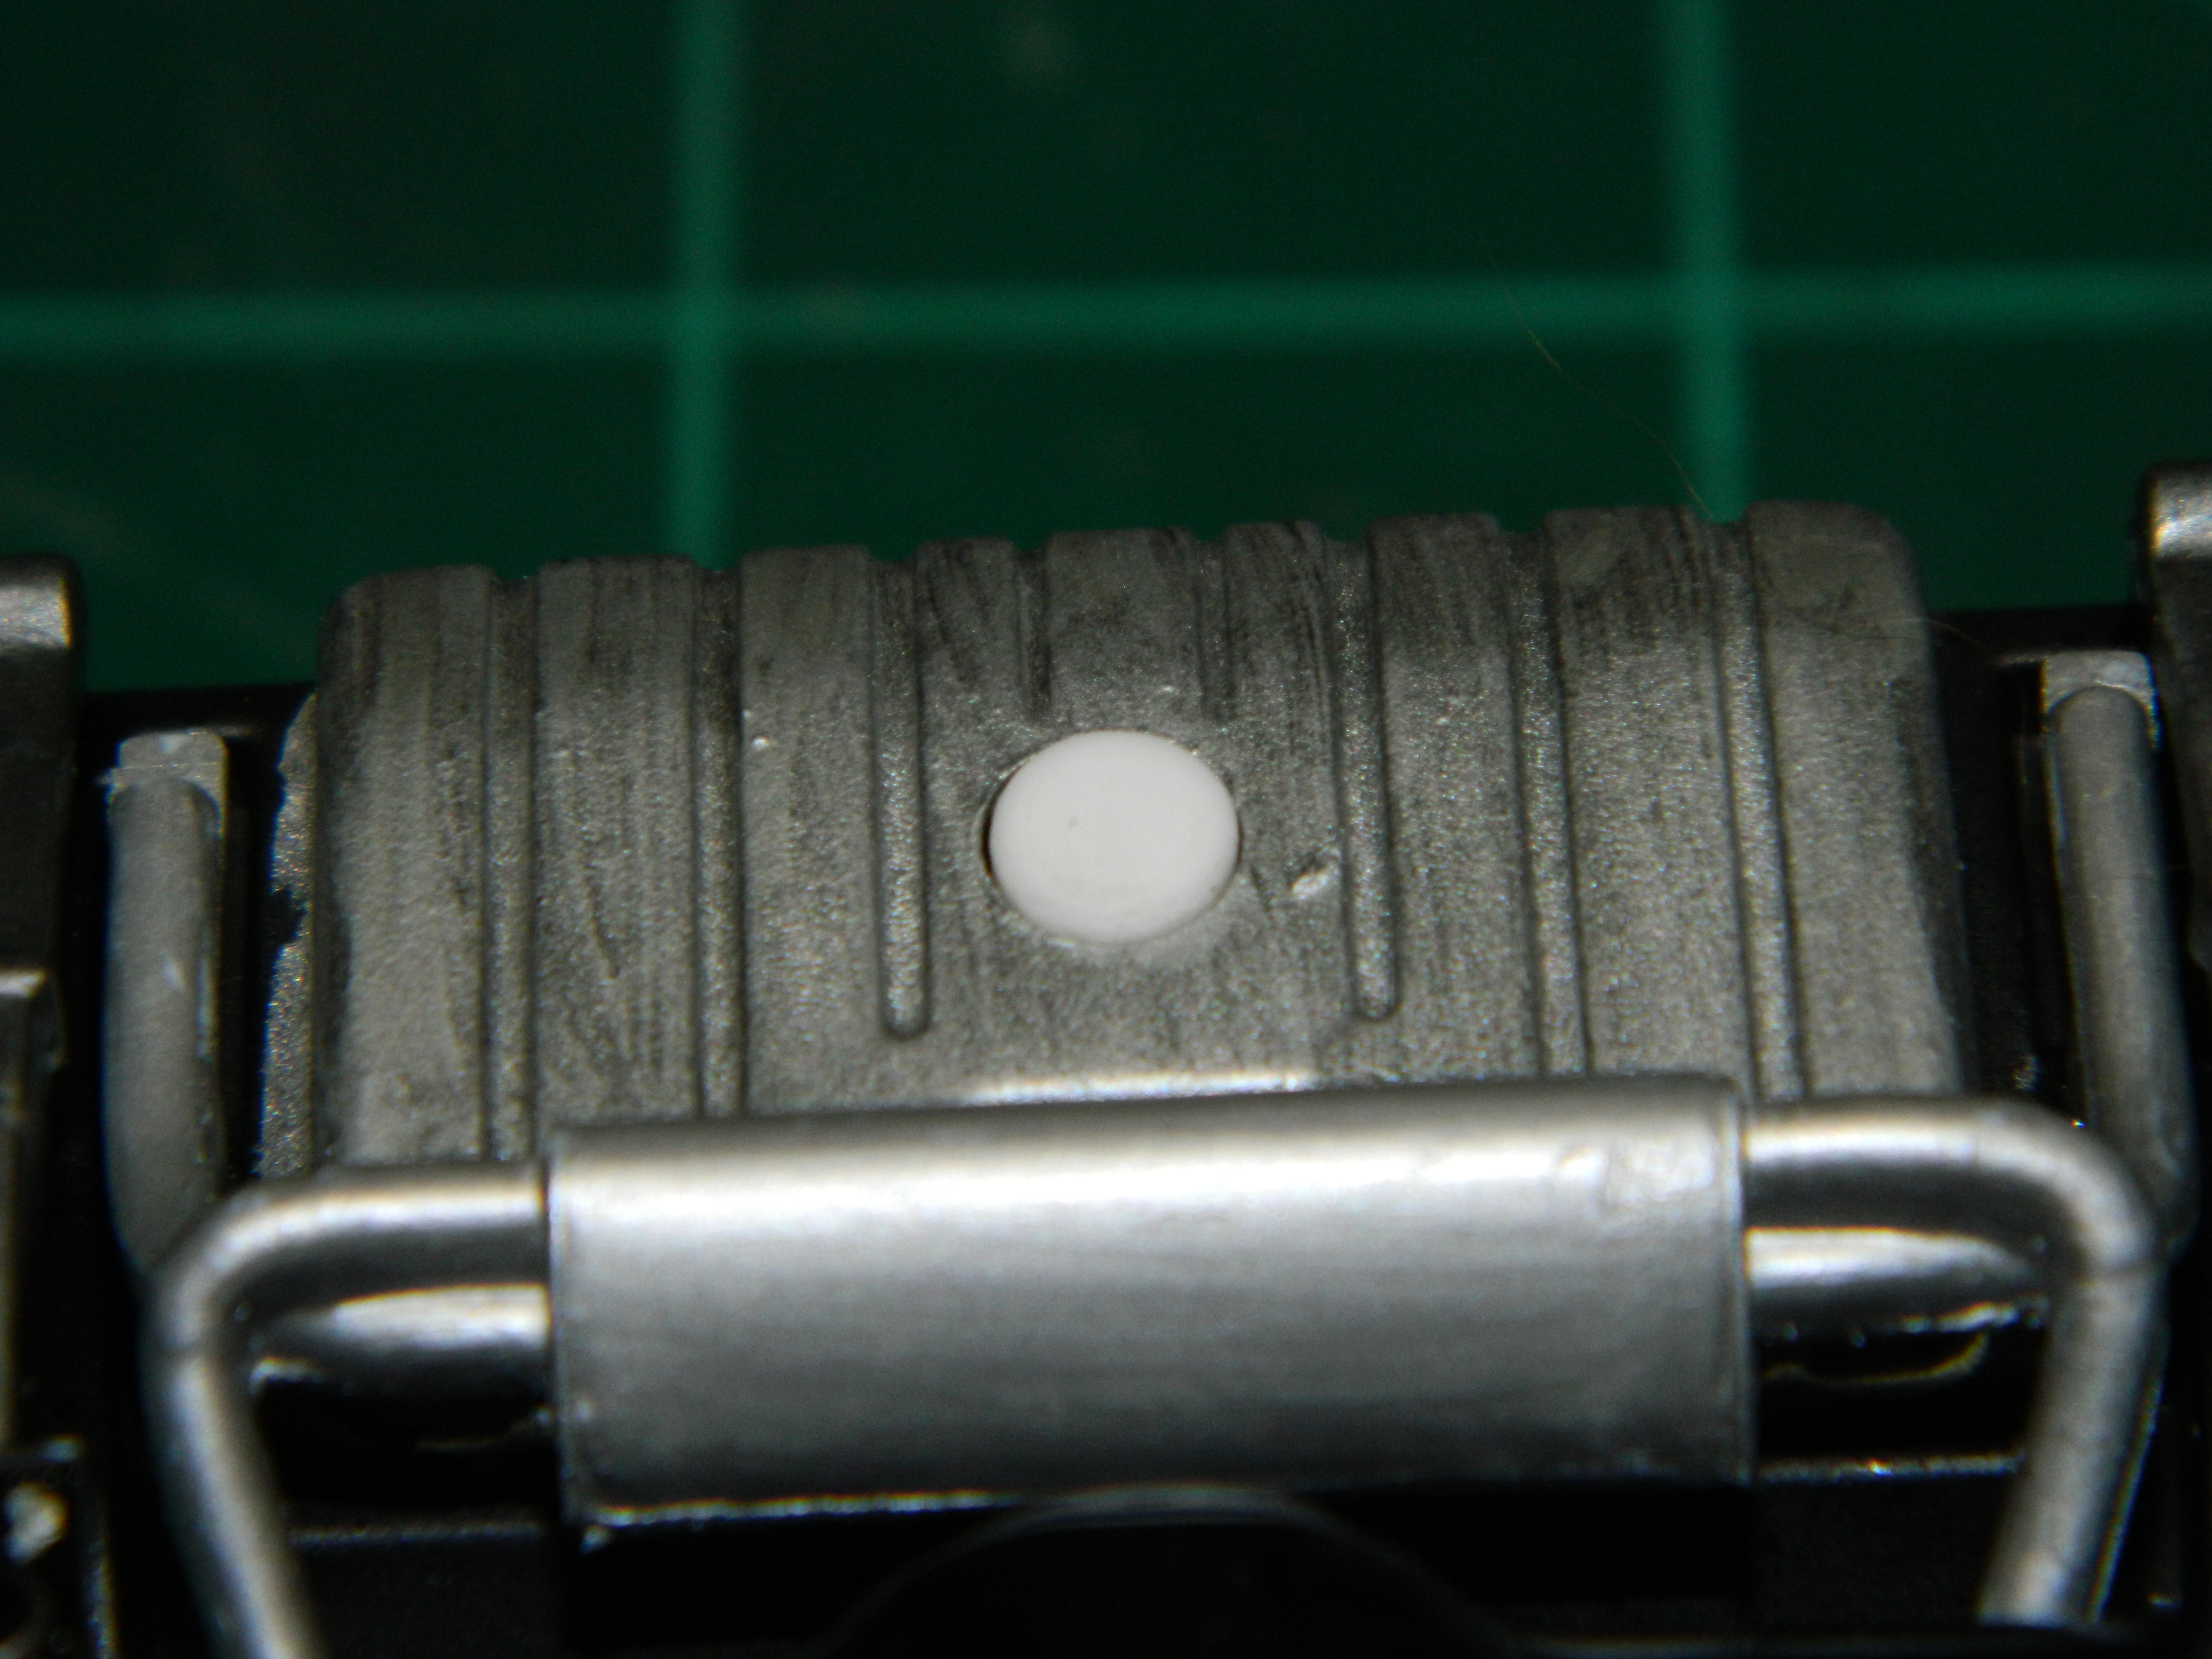
I did some digging around a found a set of wheels and tires from a Revell '32 Ford that would work with this Mustang. I kept the front disc brakes and painted them aluminium with flat black calipers. I've been adding detail here and there to the chassis and I made a set of seat belts for the front bucket seats. One of the things about this chassis that I don't like is the screws used to hold the chassis and the interior in. I found a piece of round styrene that will fit the screw hole and cover the screw when all is assembled. More to come...
-

What's the extra shifter for?
mrmike replied to MeatMan's topic in General Automotive Talk (Trucks and Cars)
A separate shifter as a reverse lockout. This prevents reverse being engaged accidentally while racing. -
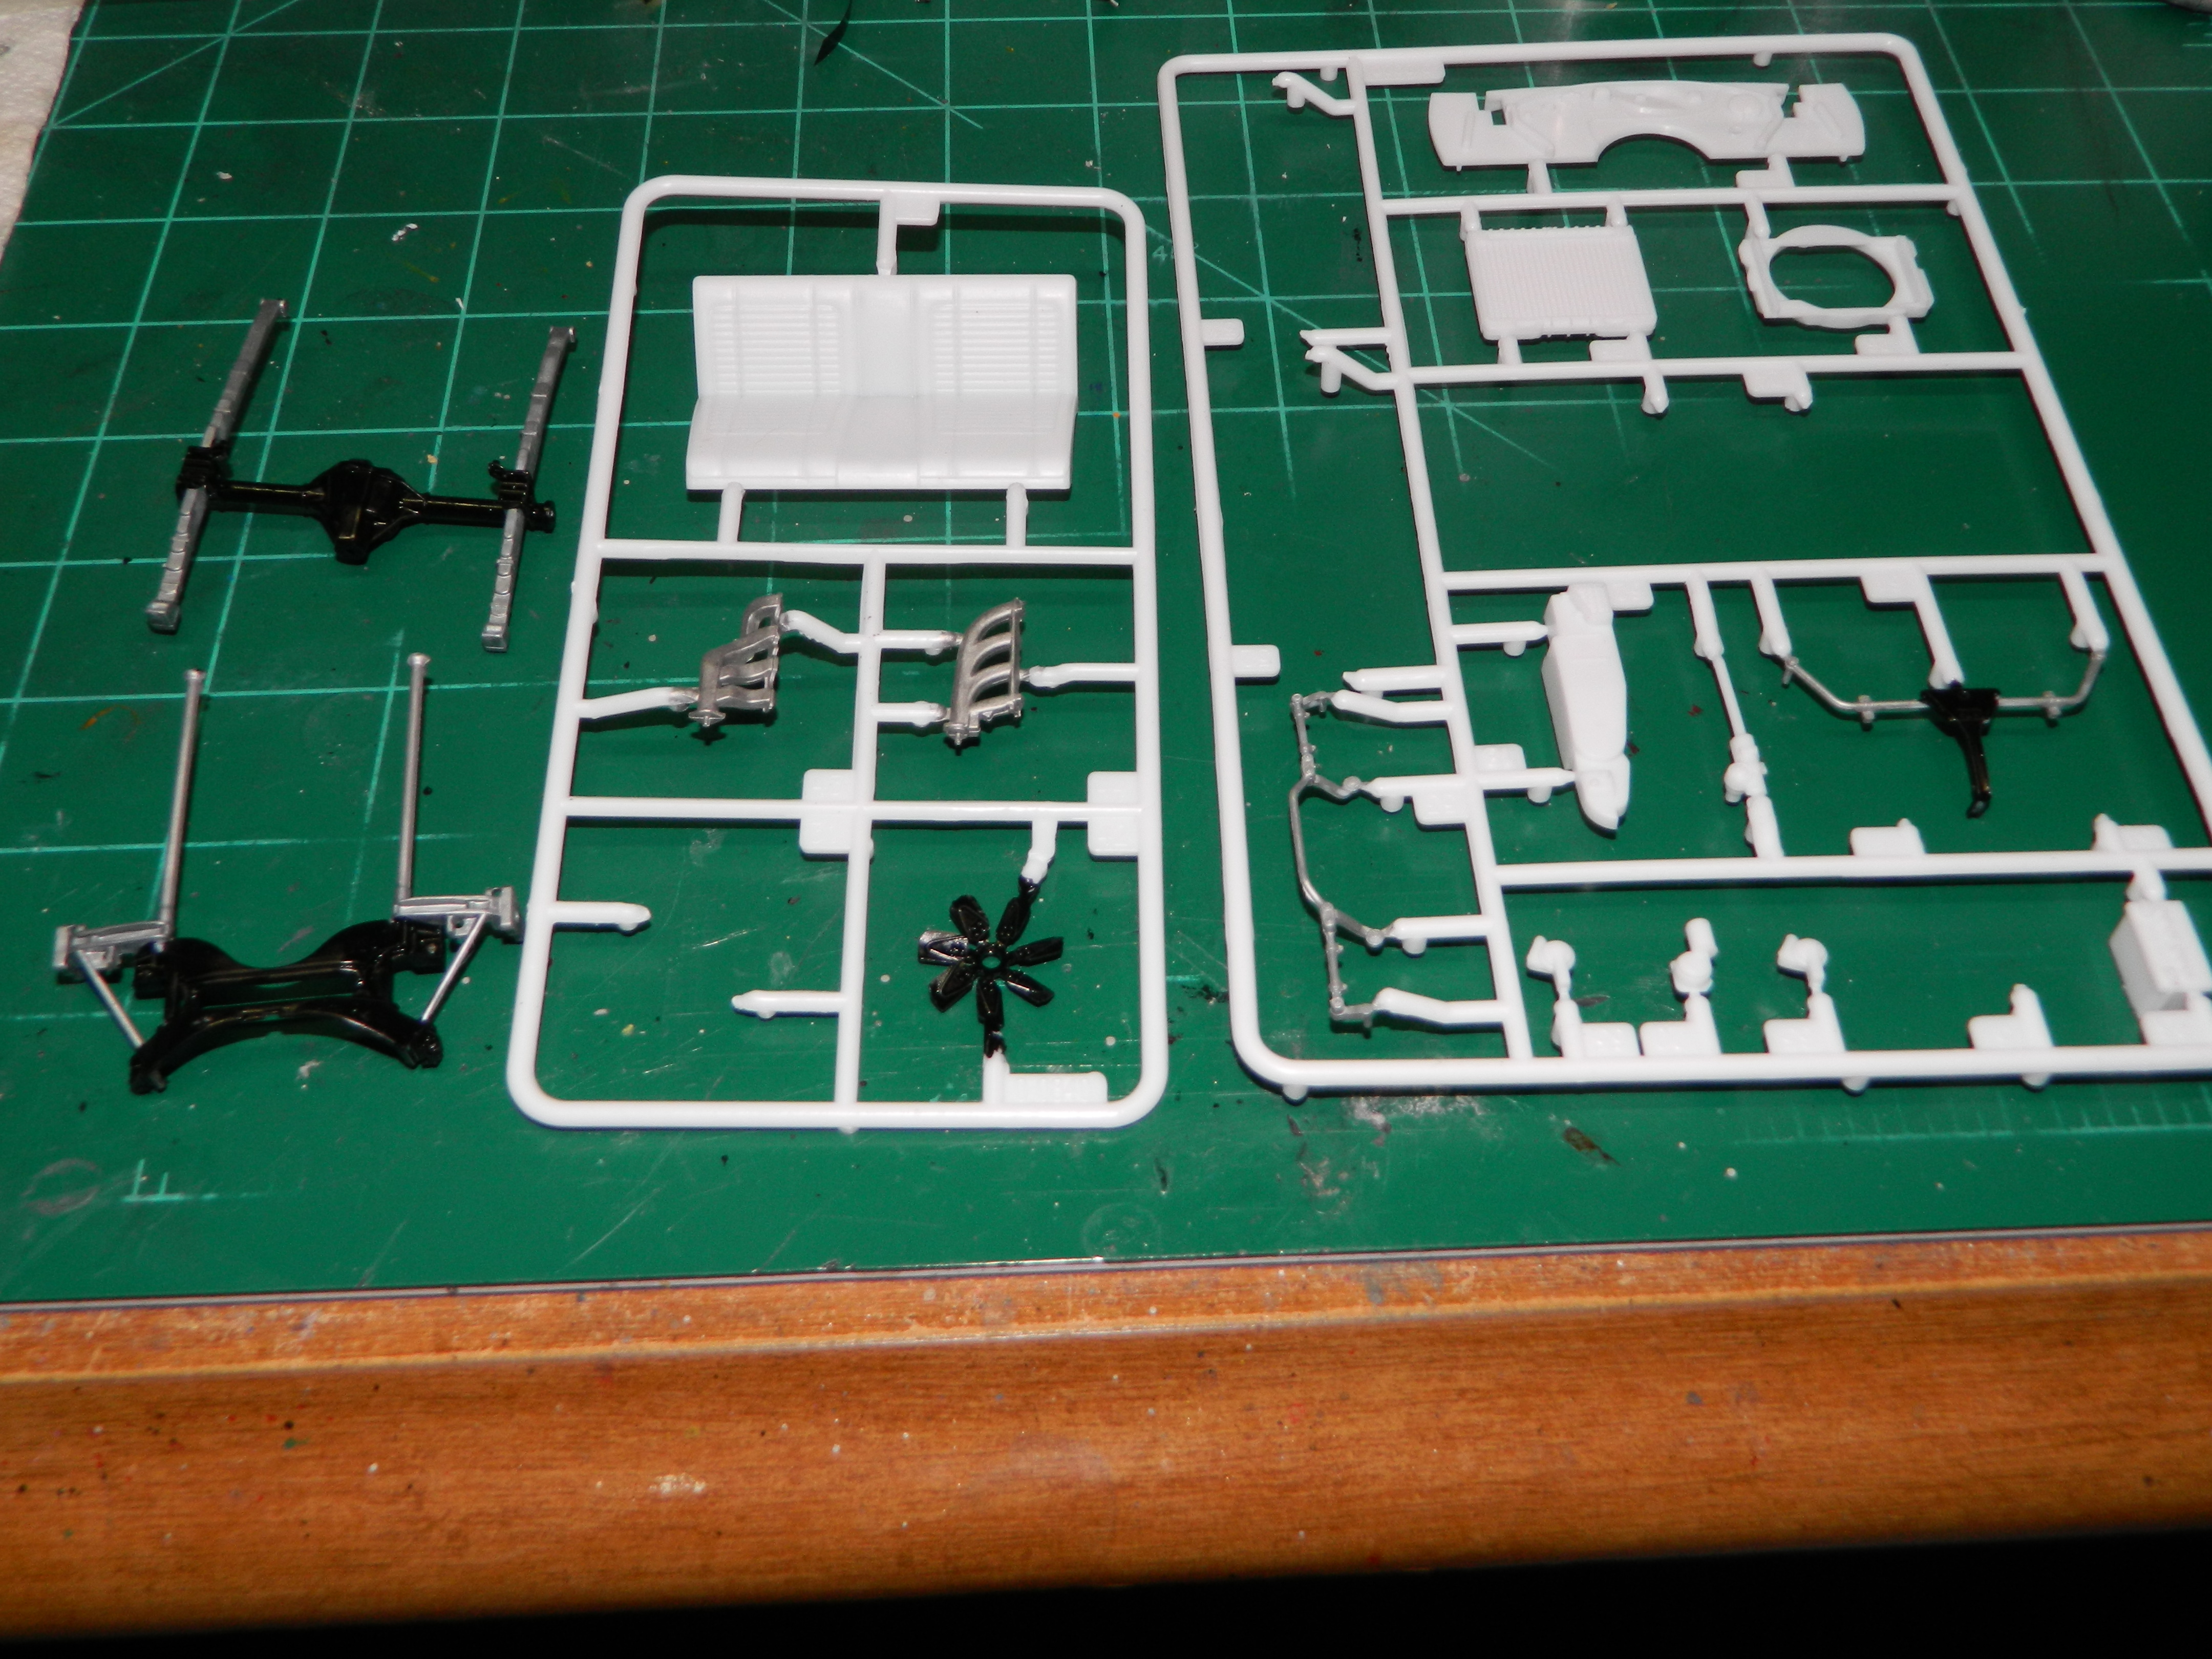
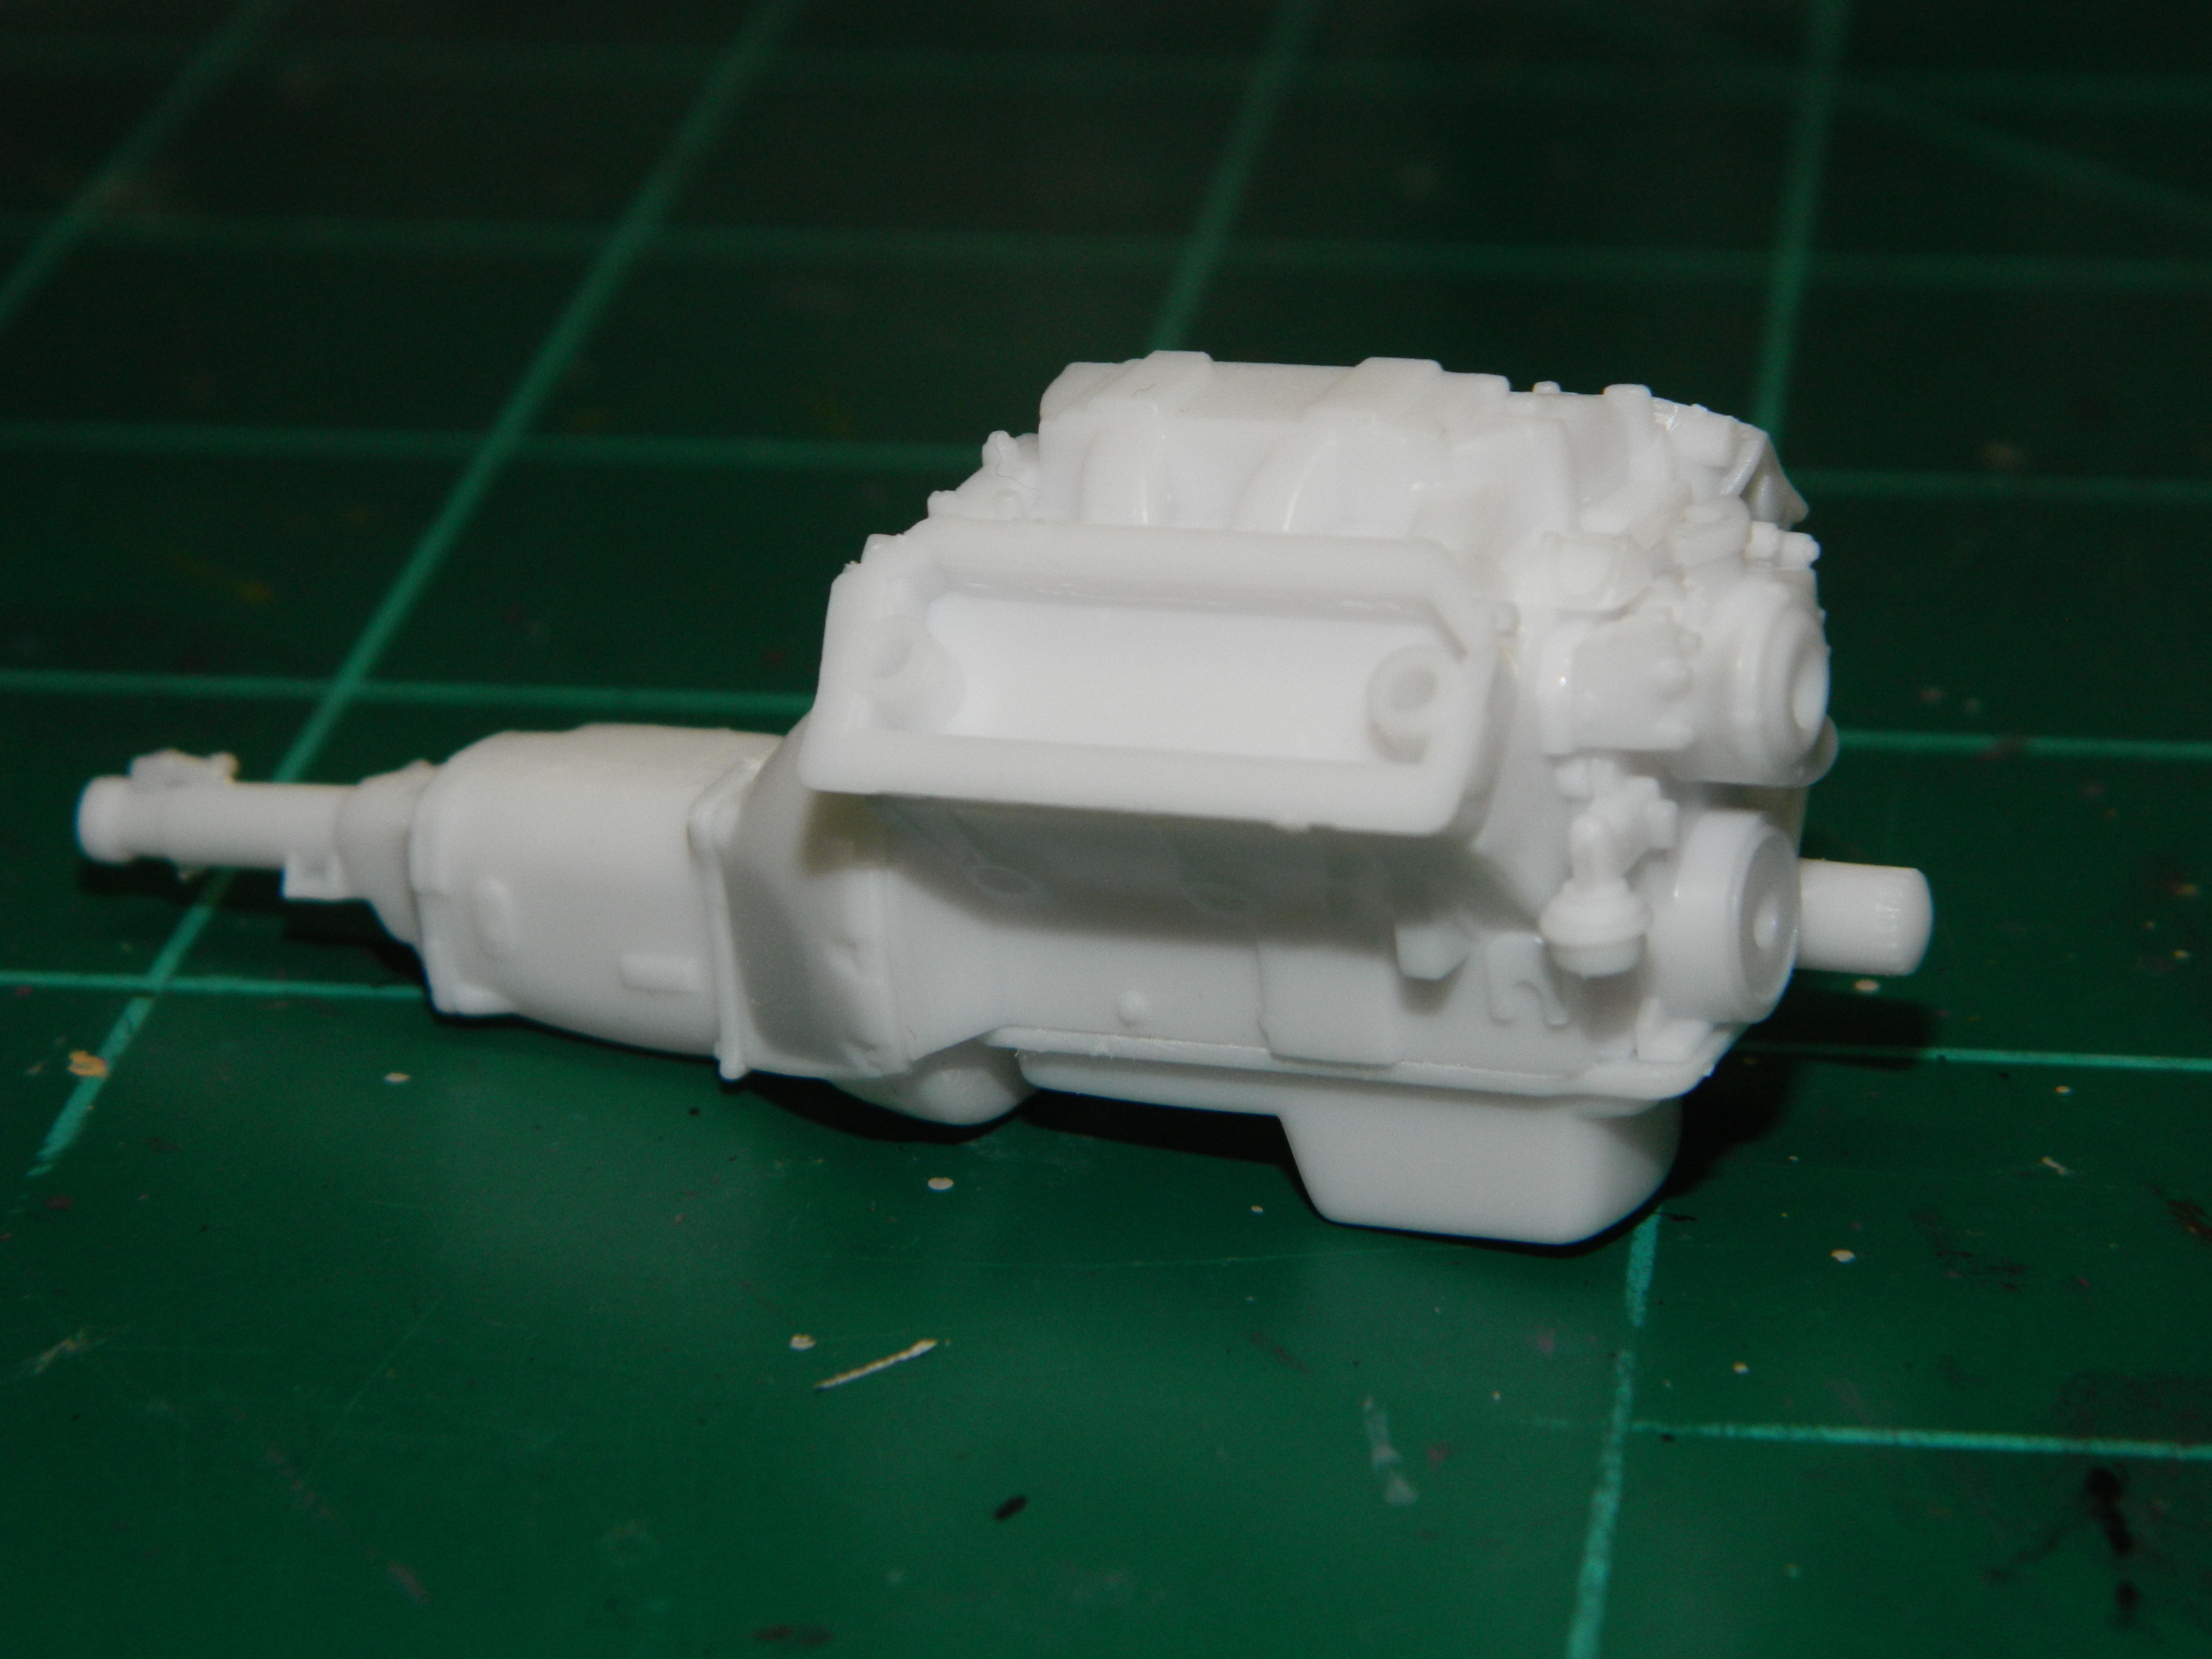
Some progress on the '70 Charger. I painted the Hemi with Mopar Street Hemi Engine Paint and the chassis and floor pan bottom got a coat of grey primer and then placed in the dehydrator for 4 hours. While those are in the dehydrator, I washed the hood and body with Dawn detergent. I painted some engine and suspension parts. More to come...
-
Come on John...git-r-dun!
-
Z-man wheels contact
mrmike replied to Modlbldr's topic in General Automotive Talk (Trucks and Cars)
As far as I know, Steve Zimmerman does not have a web site. Only his FaceBook page. I had heard that he was hospitalized for a bit and it may be a while before he can get back to making more wheels again. -
1972 Ford F100 Sport Custom Pickup
mrmike replied to mrmike's topic in Model Trucks: Pickups, Vans, SUVs, Light Commercial
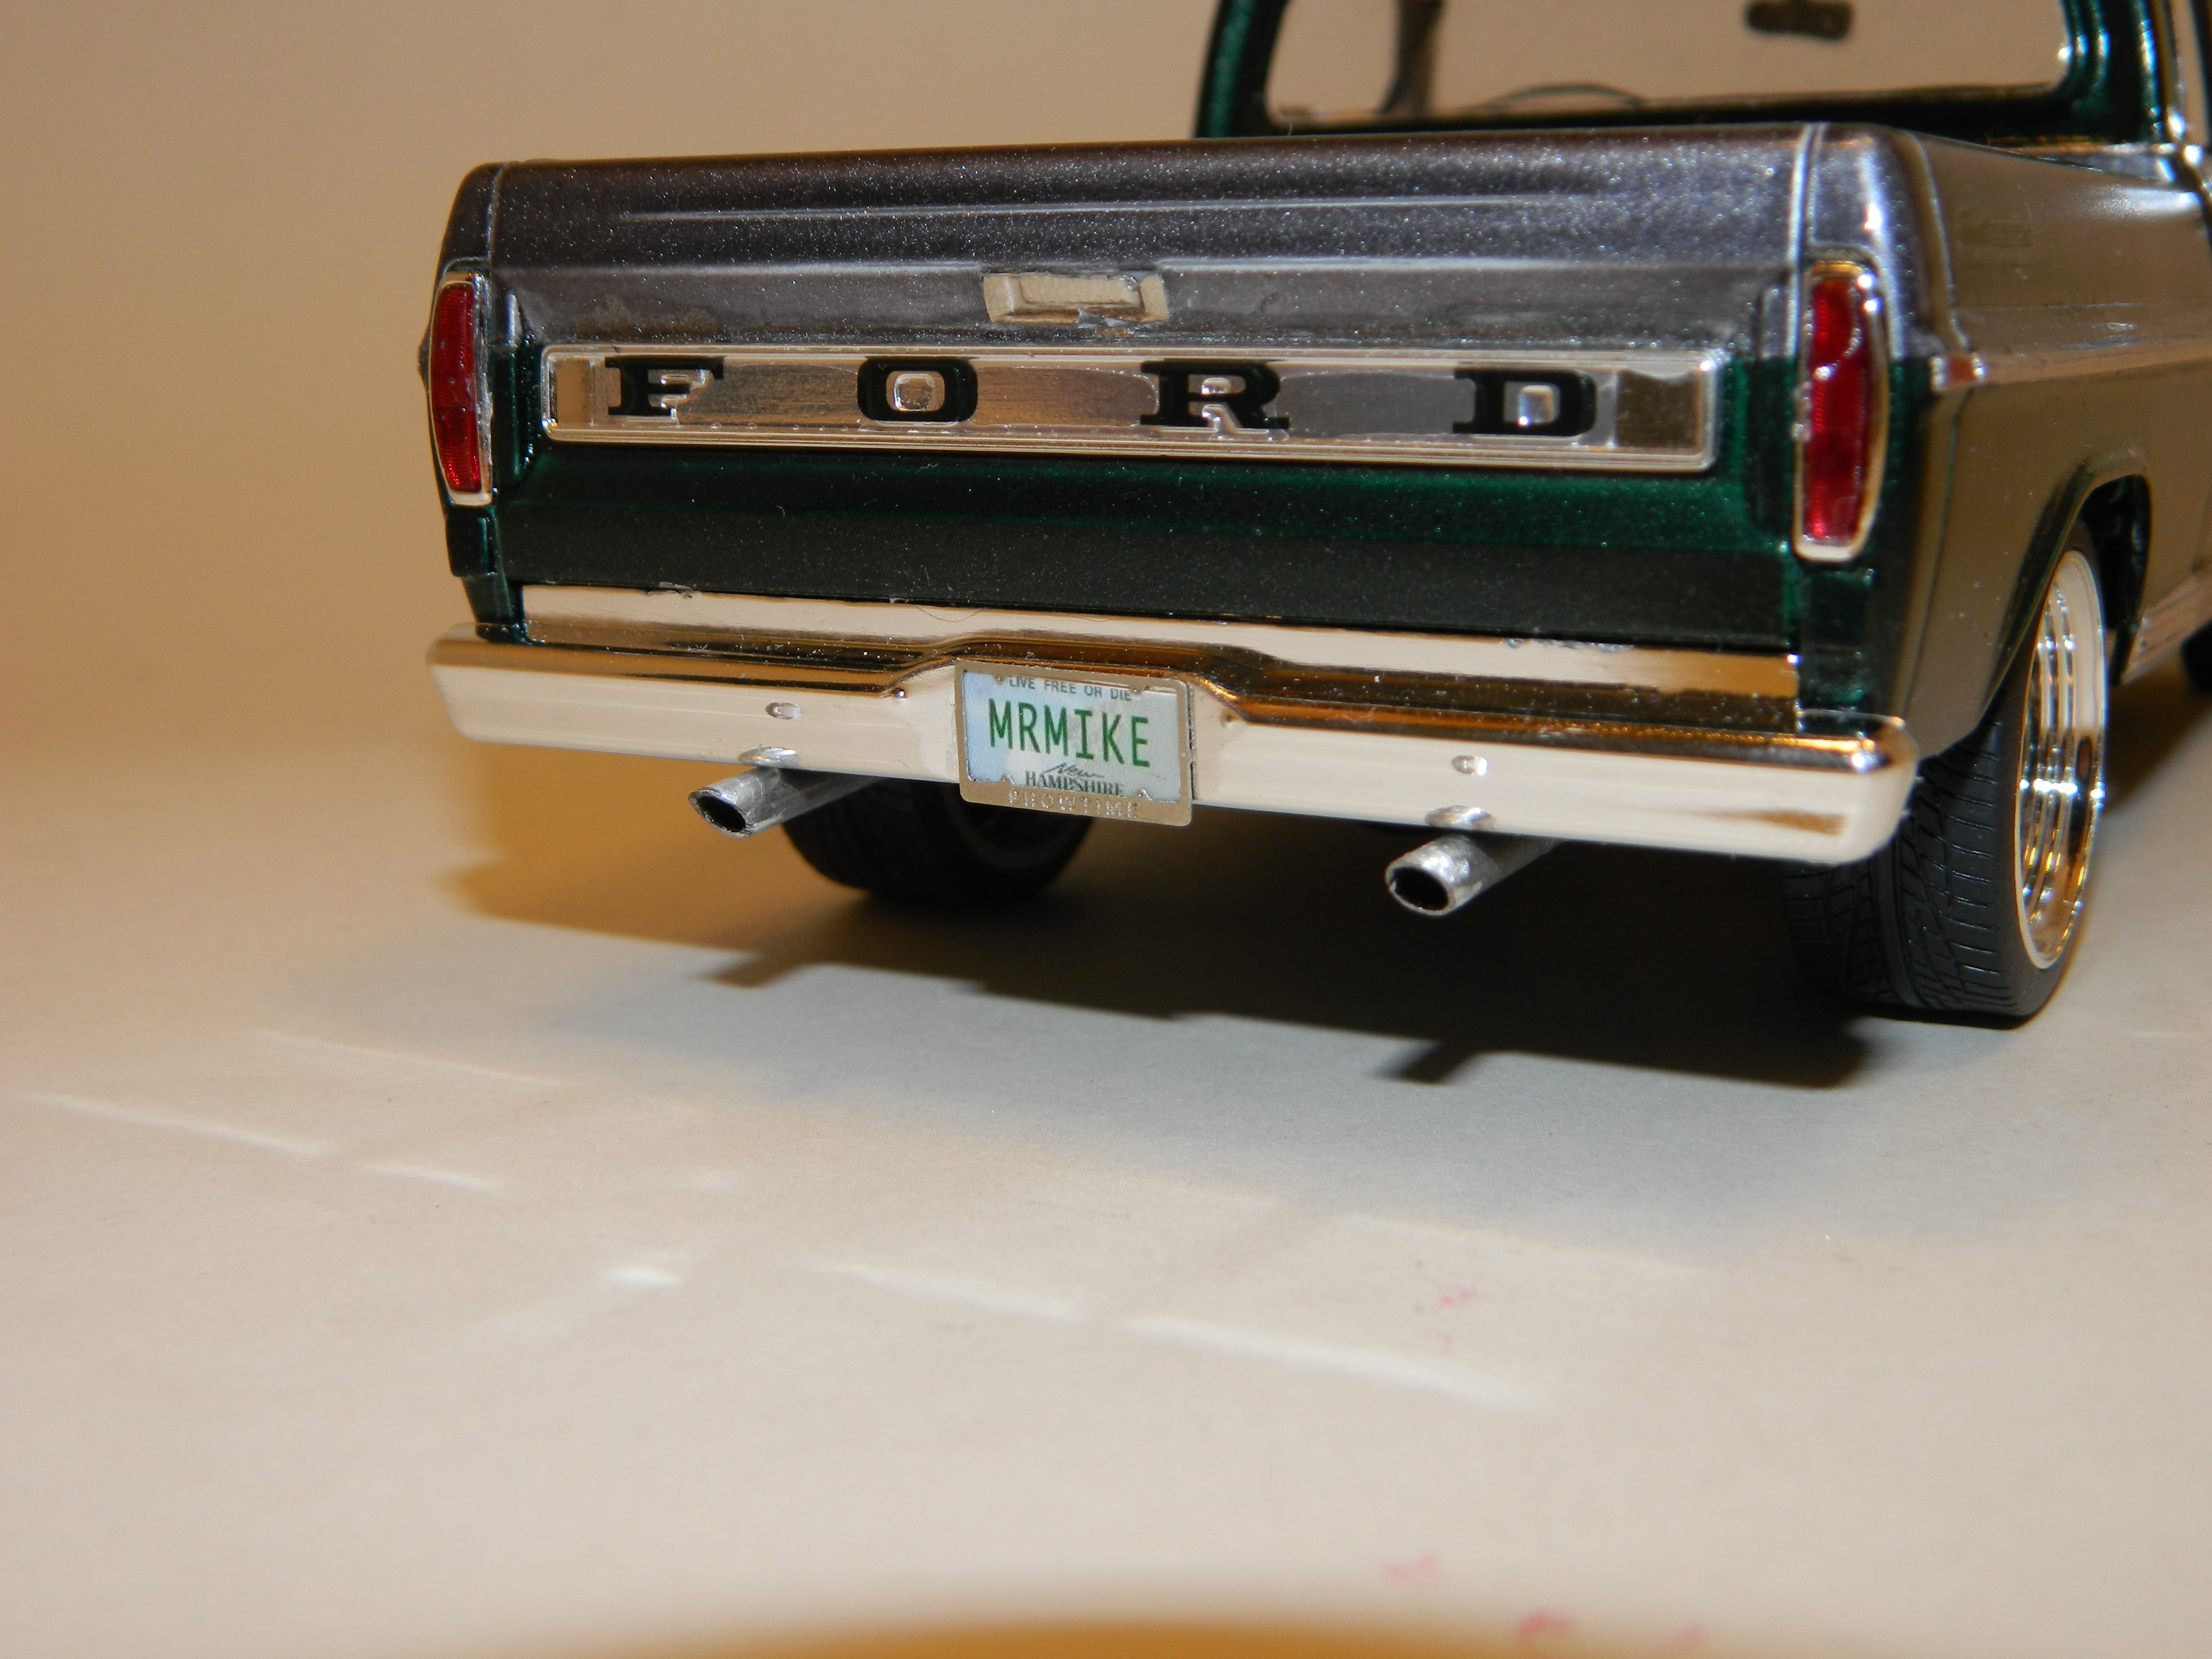
Thank you David! Very easy to make if you have a printer available to you. Go to Acme Plate Maker @ http://www.acme.com/licensemaker/ and follow their instructions. Save the image to your computer, resize the image to 0.50 X 0.25 and print it out on photo paper. -
1972 Ford F100 Sport Custom Pickup
mrmike replied to mrmike's topic in Model Trucks: Pickups, Vans, SUVs, Light Commercial
Thank you Tom! -
I just looked at Detail Master and I couldn't find anything, unless I was looking in the wrong spot. You could use some K&S screen and cut out what you need.
-
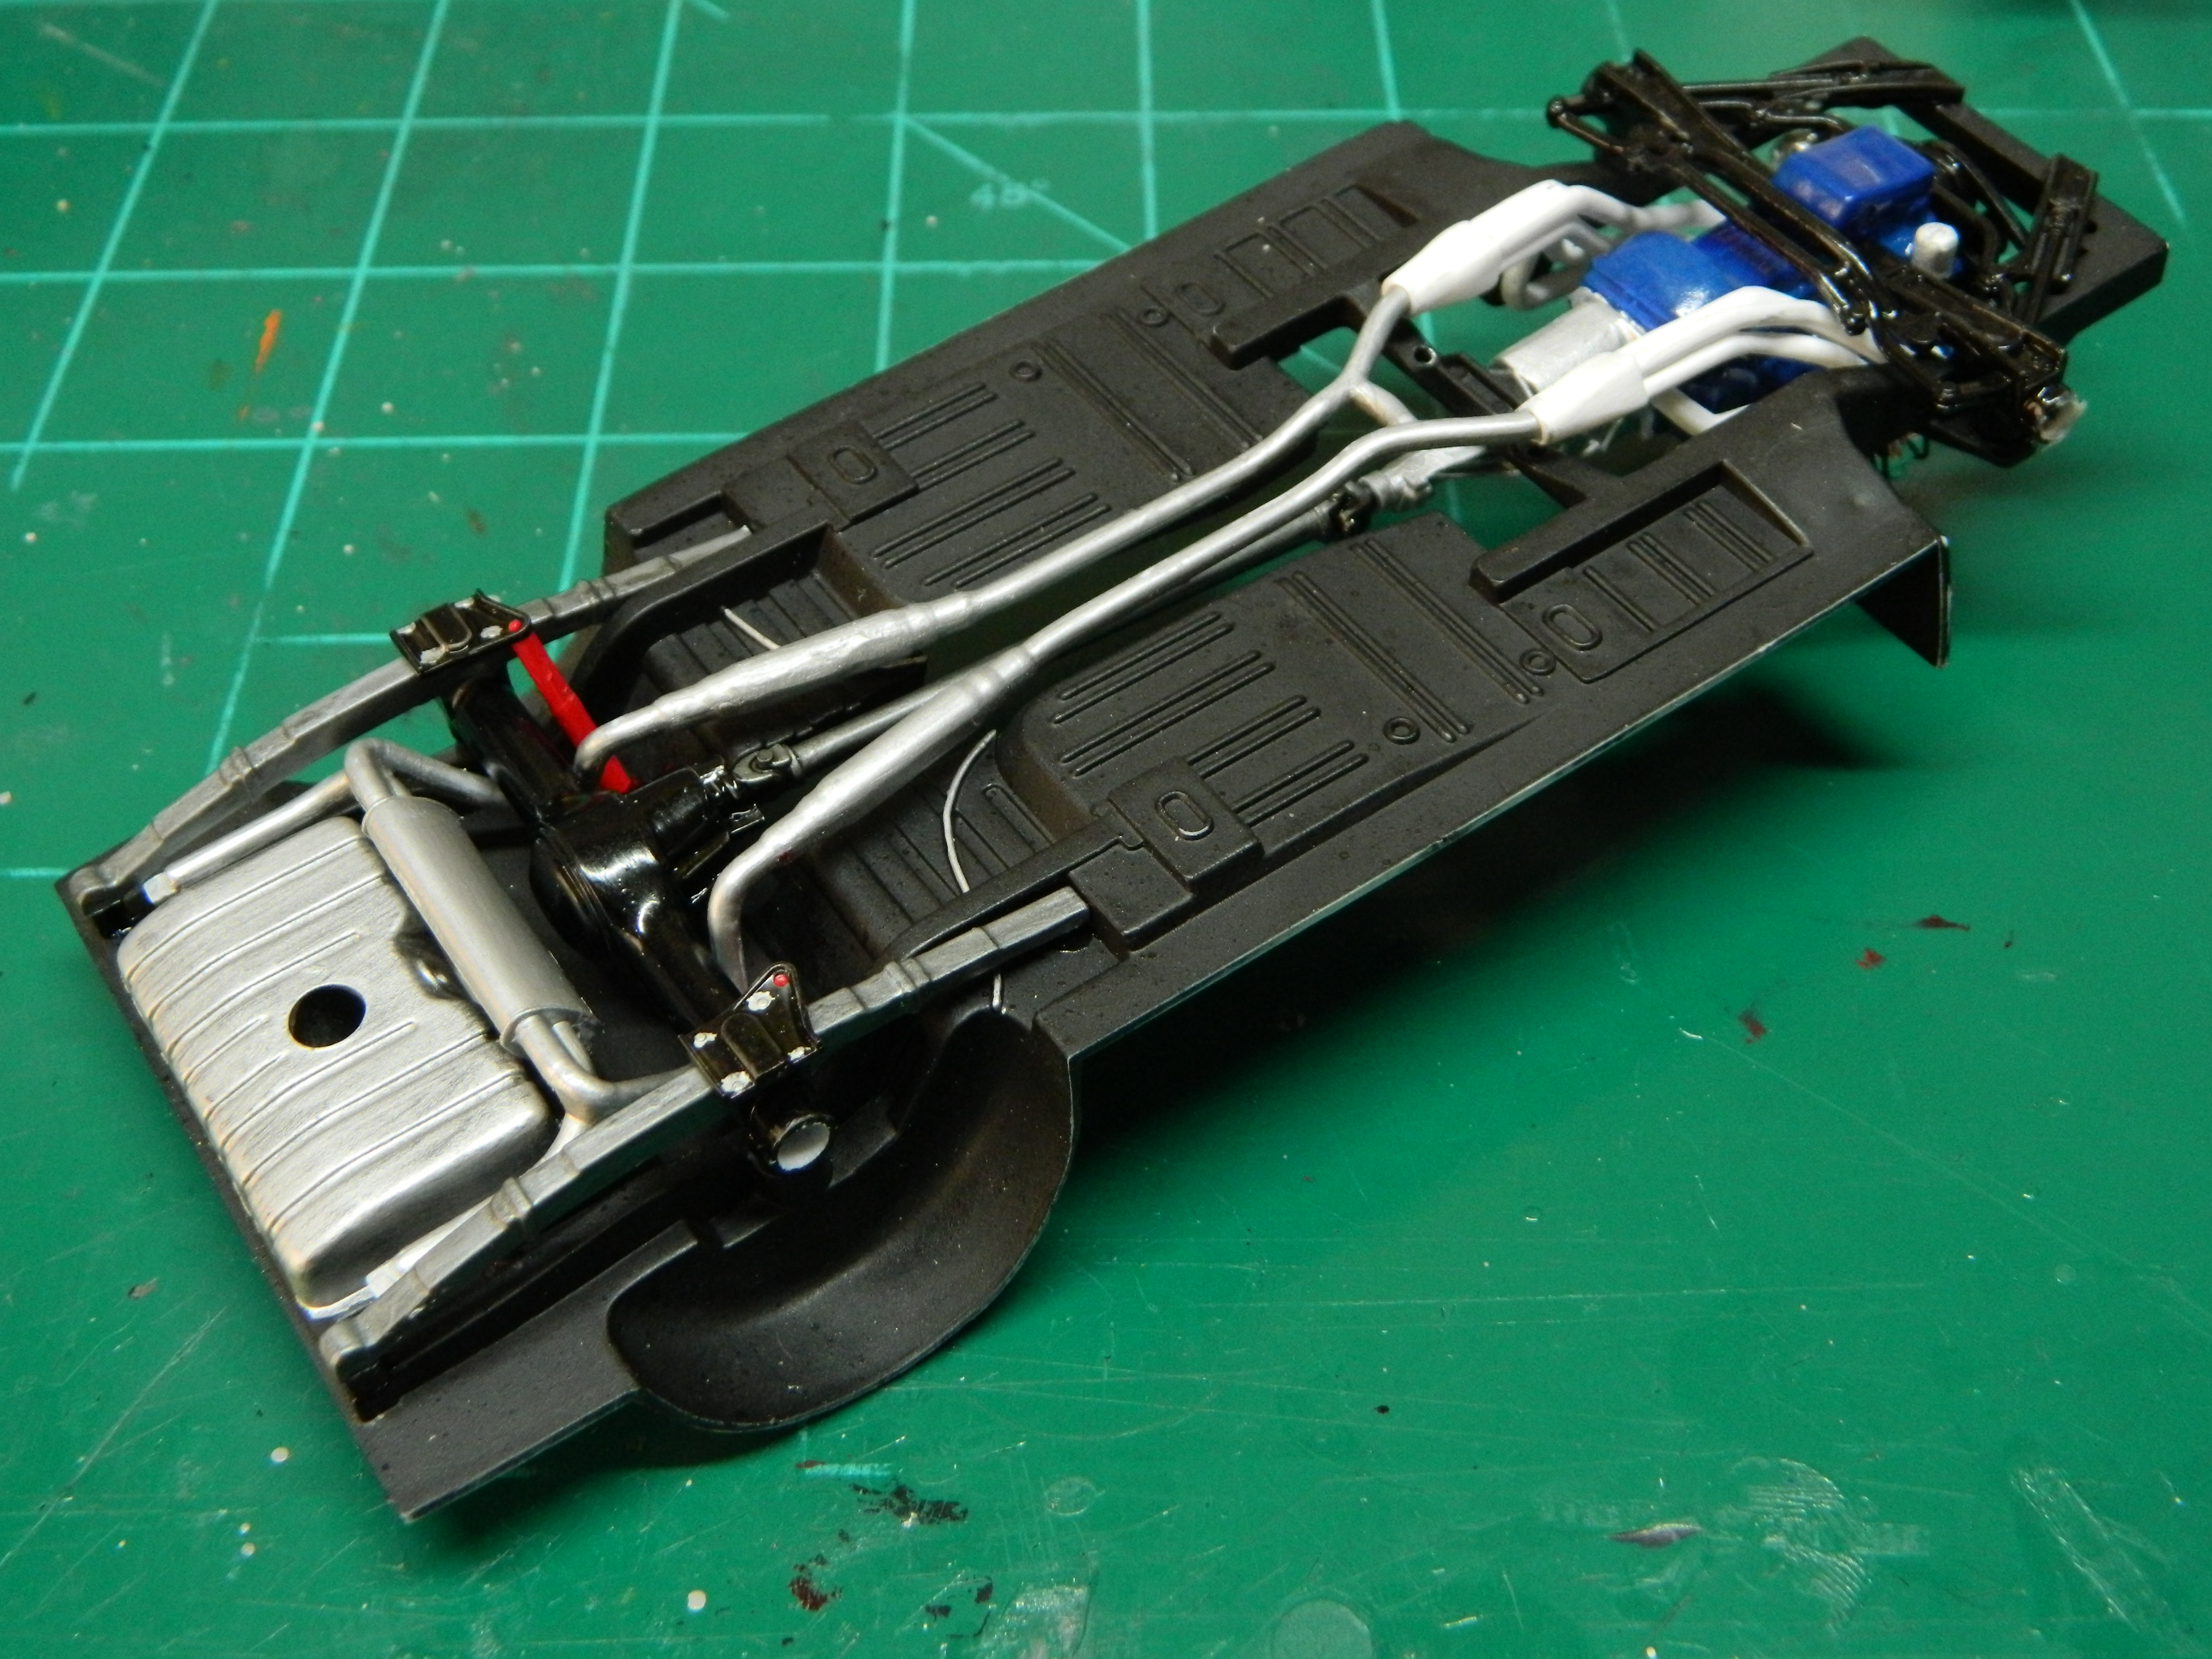
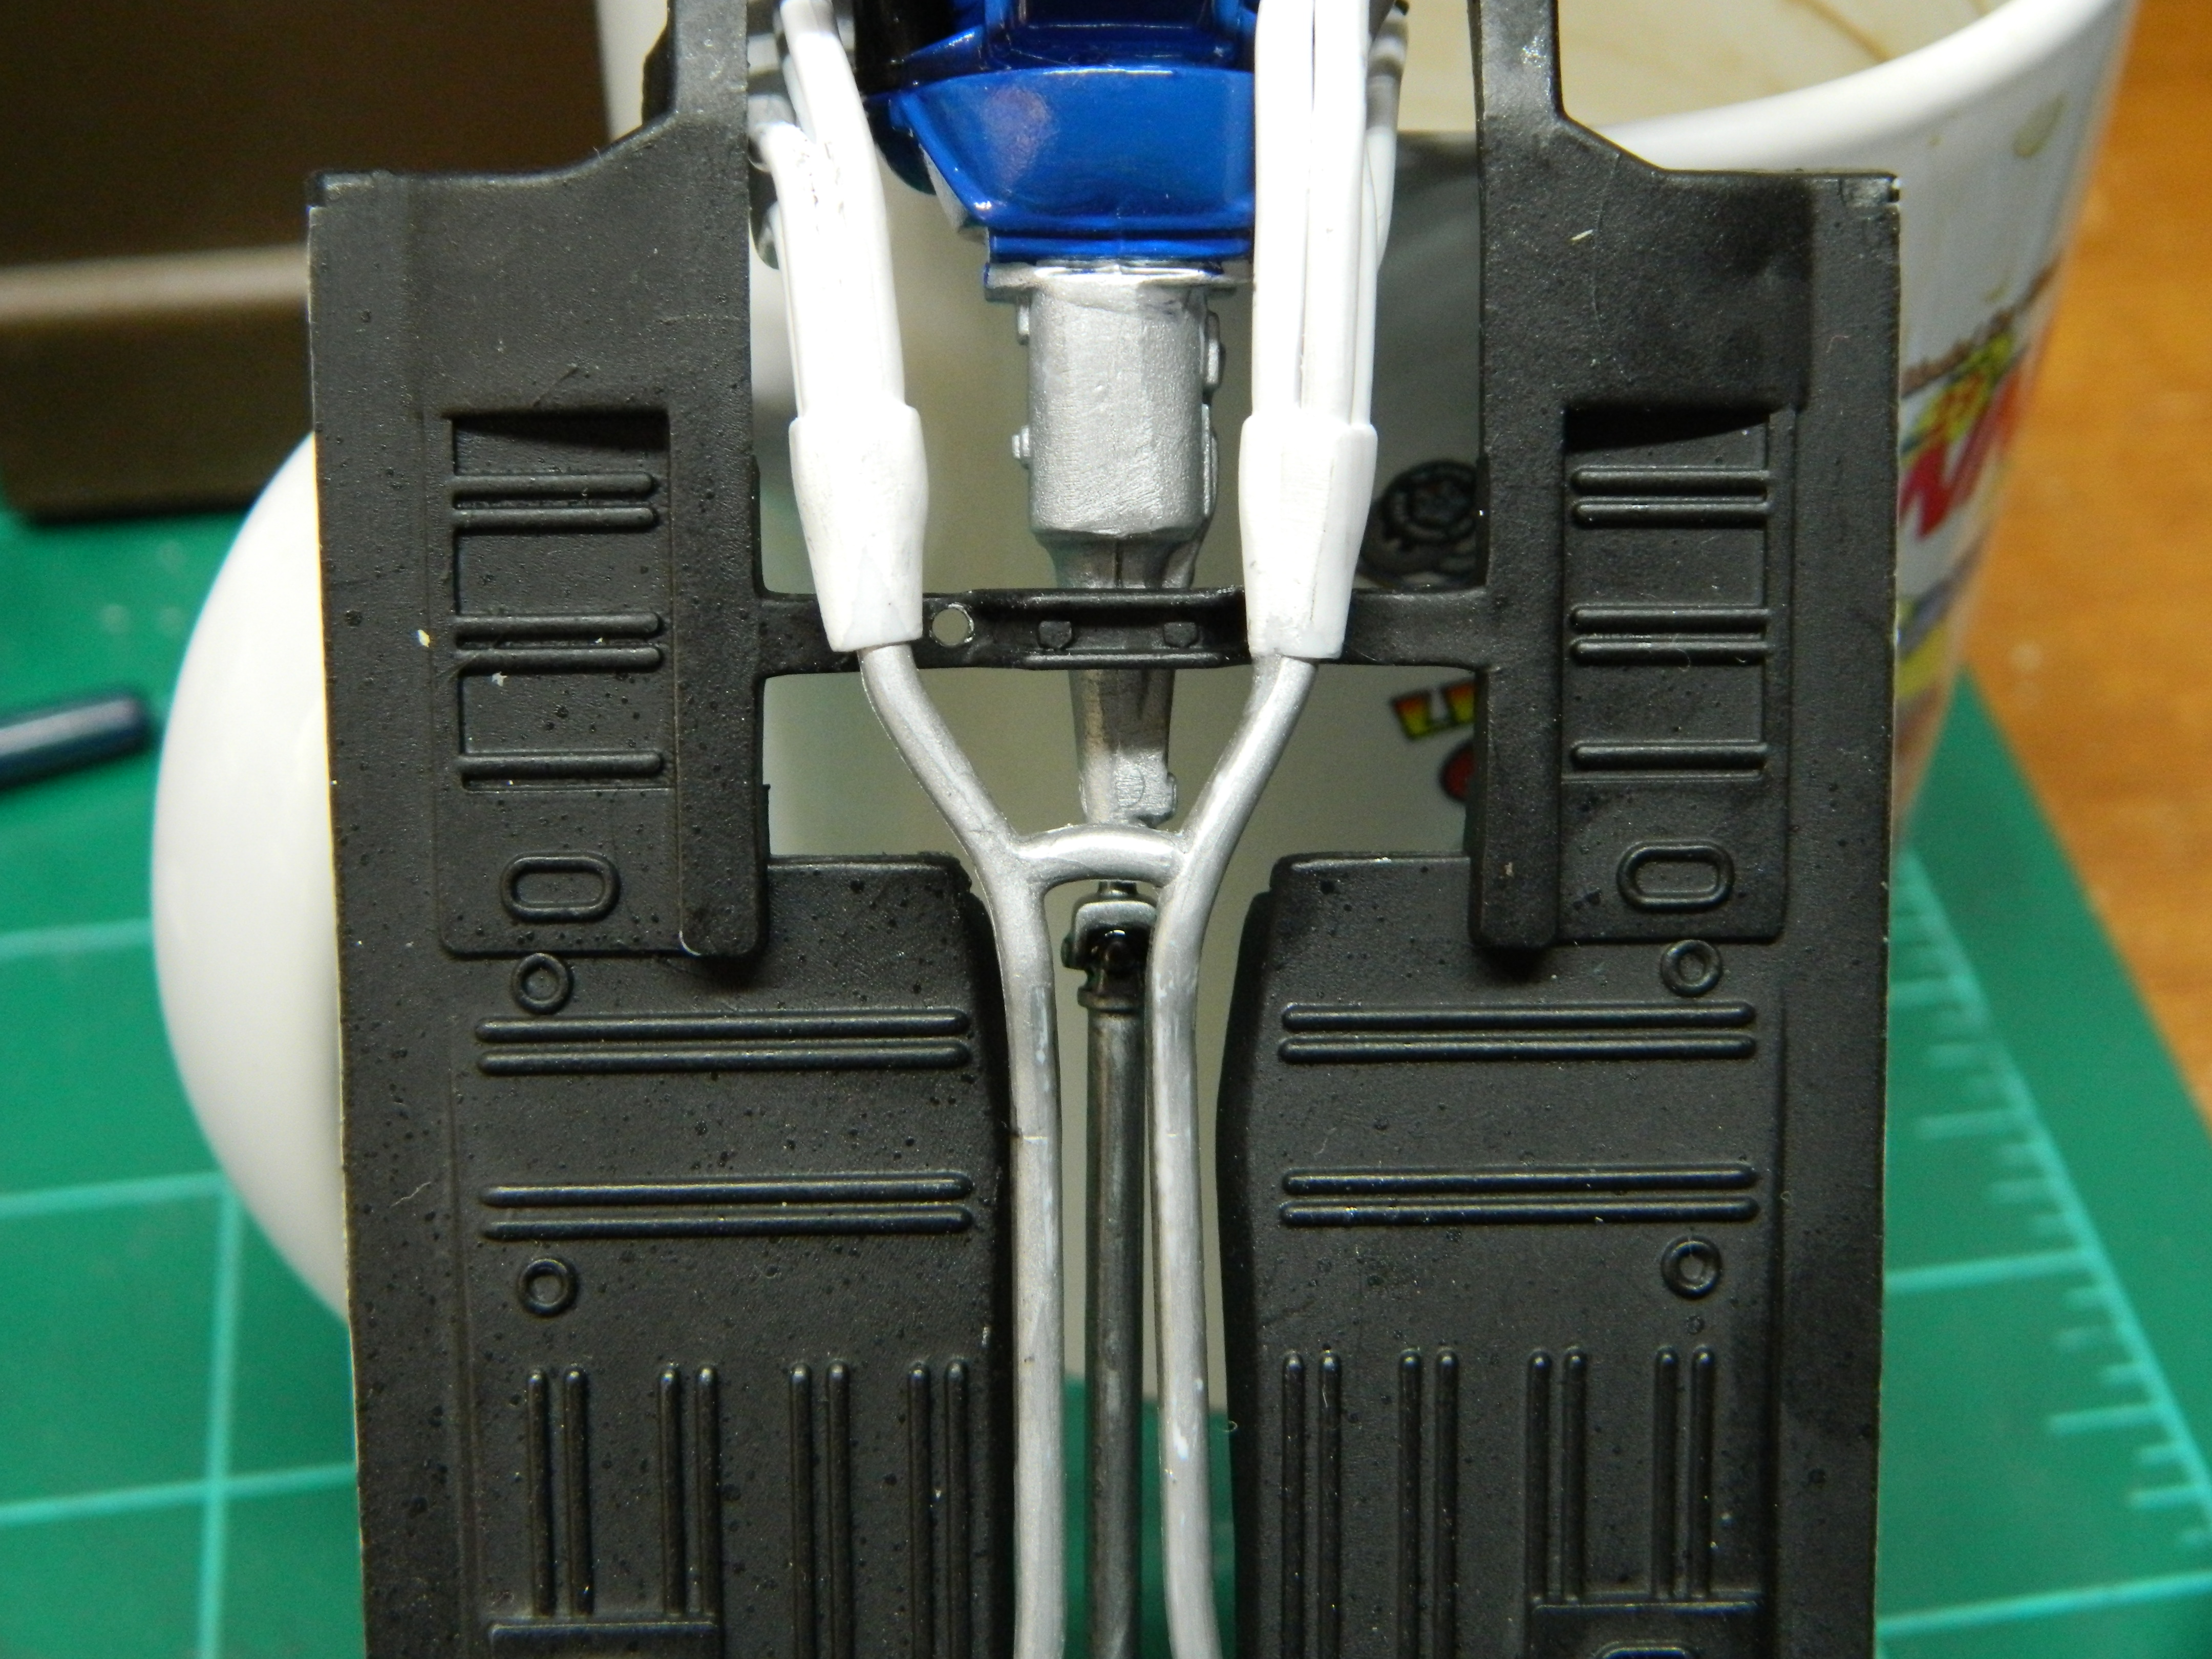
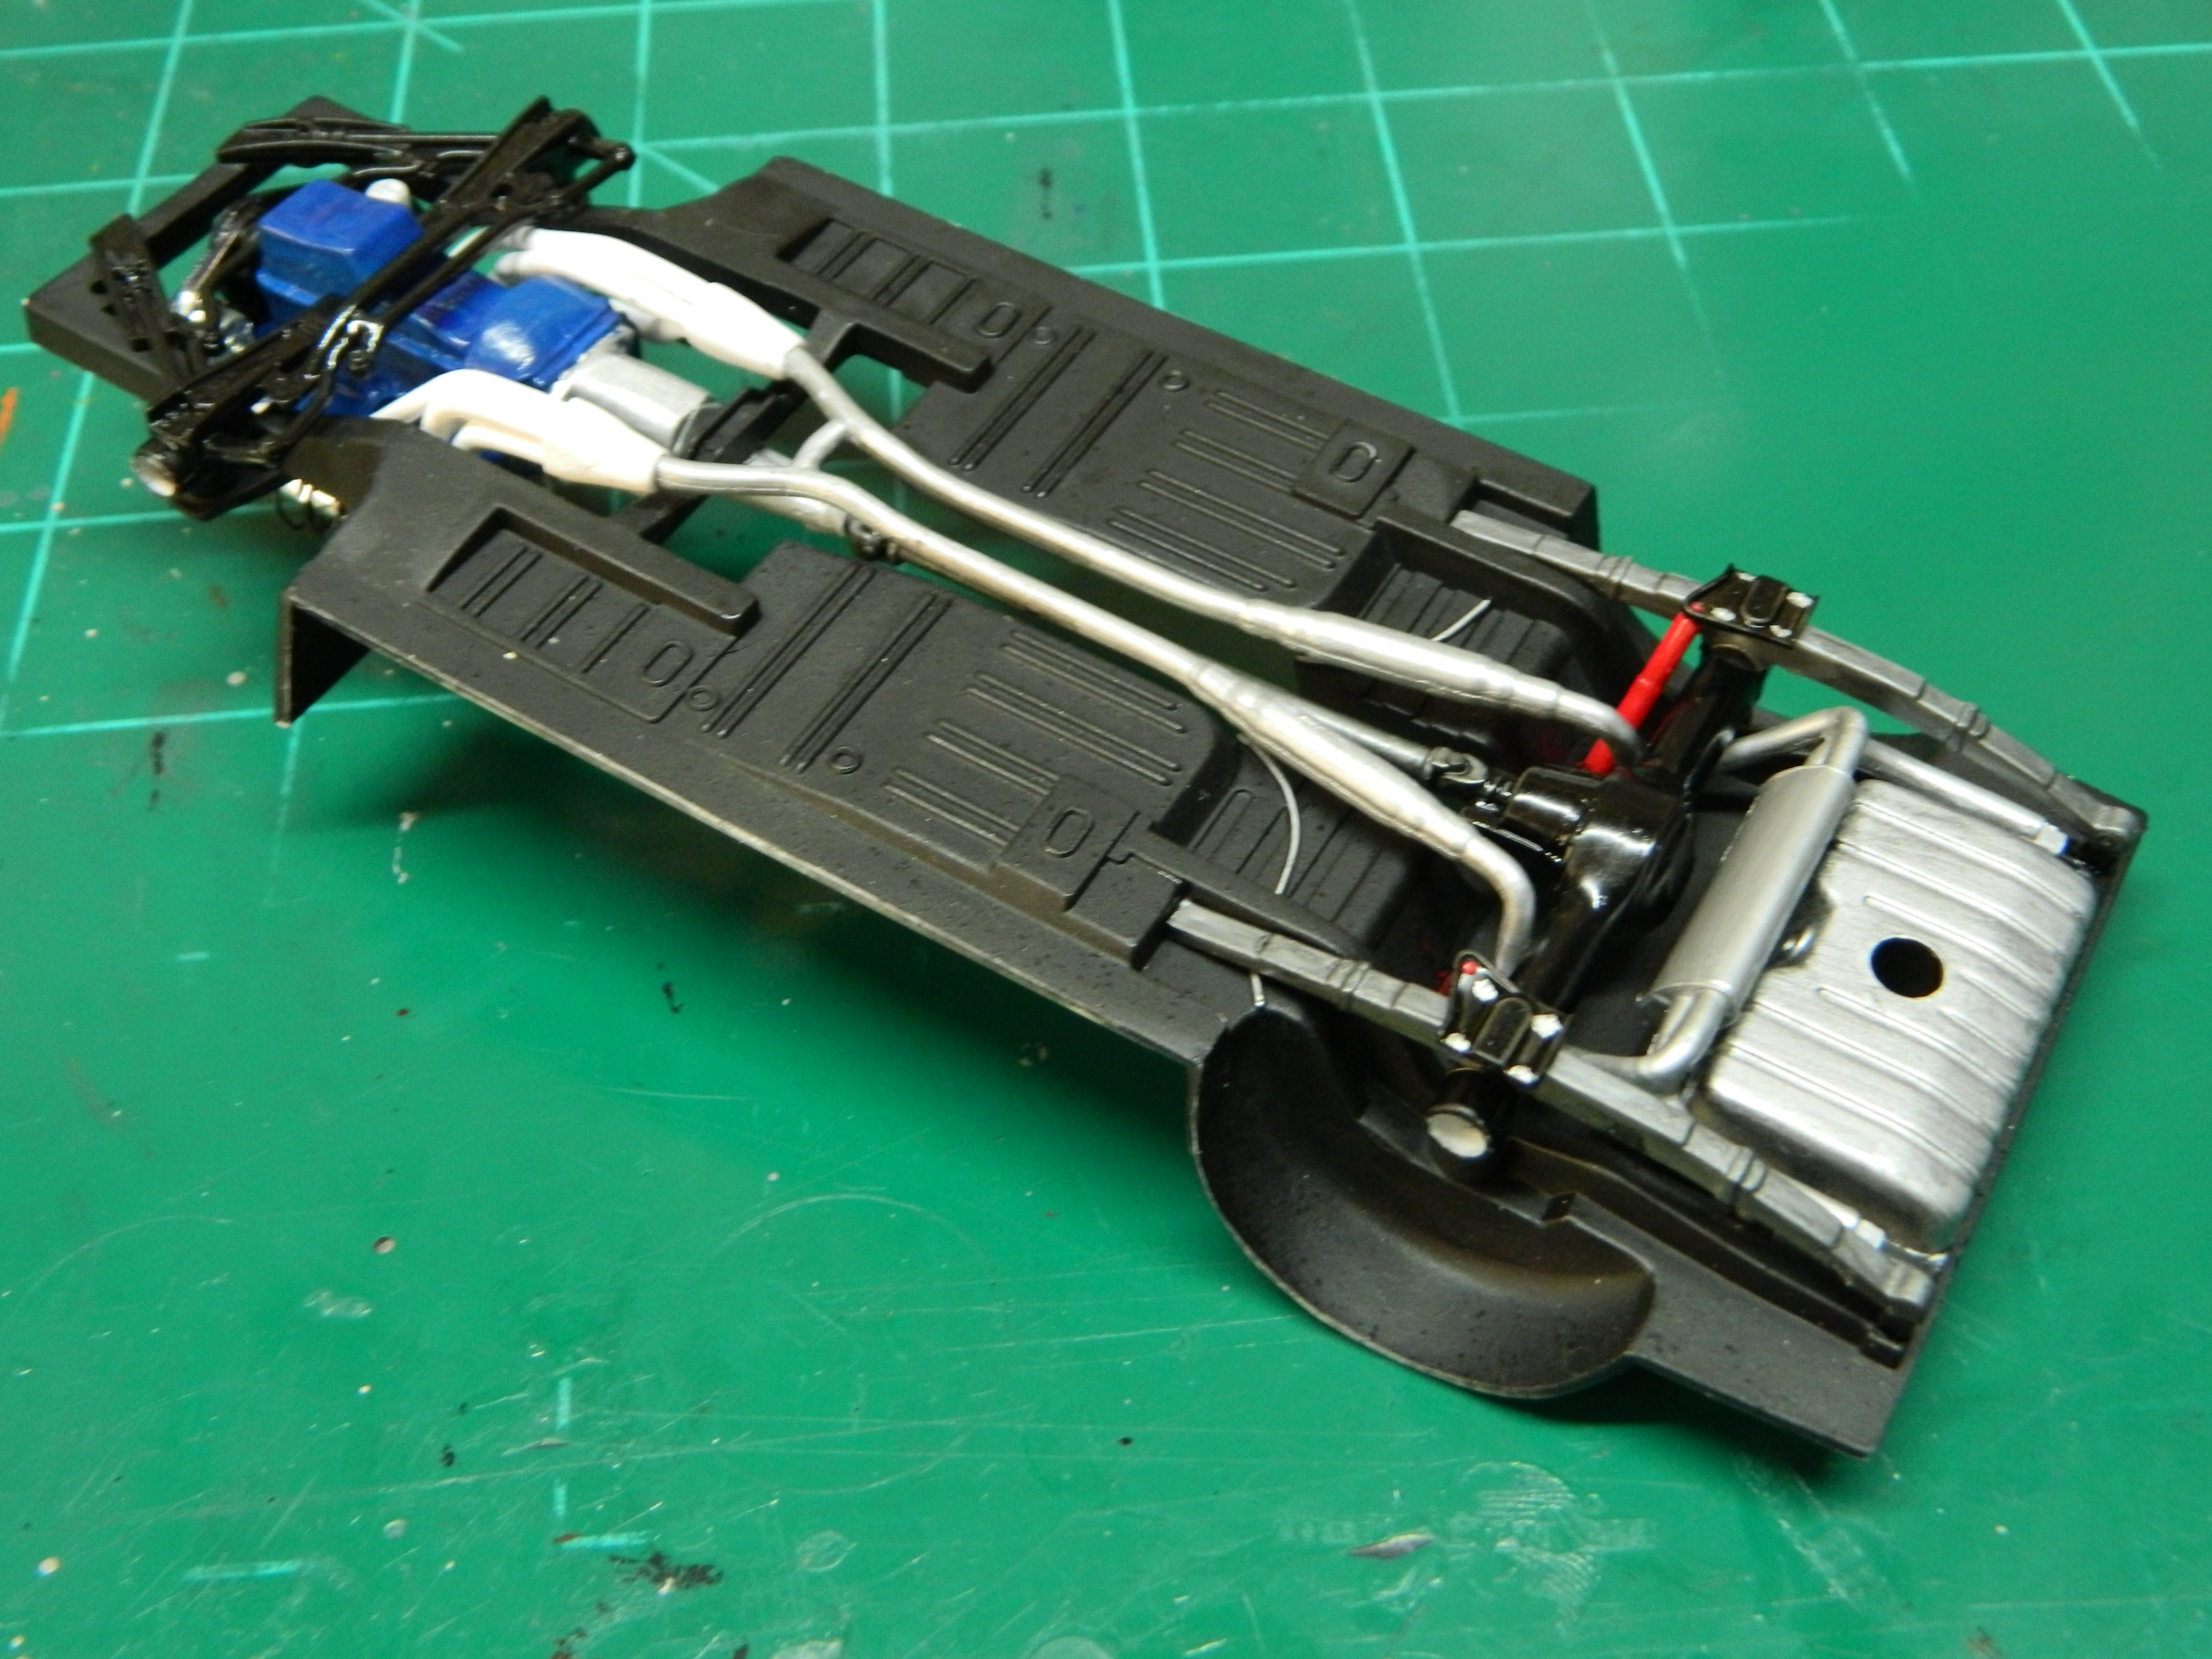
I sprayed the chassis with Tamiya TS-6 matt black and brush painted Tamiya X-18 semi-gloss black bottle paint and Model Master Metalizer Stainless Steel and Aluminium on the suspension. I highlighted any details with brush paint and a fine brush and I may do more detailing. I was able to keep the H-pipe that Marcos Cruz deleted from his model. More to come...
-
I hope to have more very soon, Mitchy!
-
I loved the story and the truck resembles exactly like it does in the story. Great job! The duck tape on the taillight is awesome!
-
I don't know how close it is to B5 Blue. The car from Garage Squad (my inspiration) was painted a color called Intense Blue and this Star Spangled Blue is kind of close to that color.
-
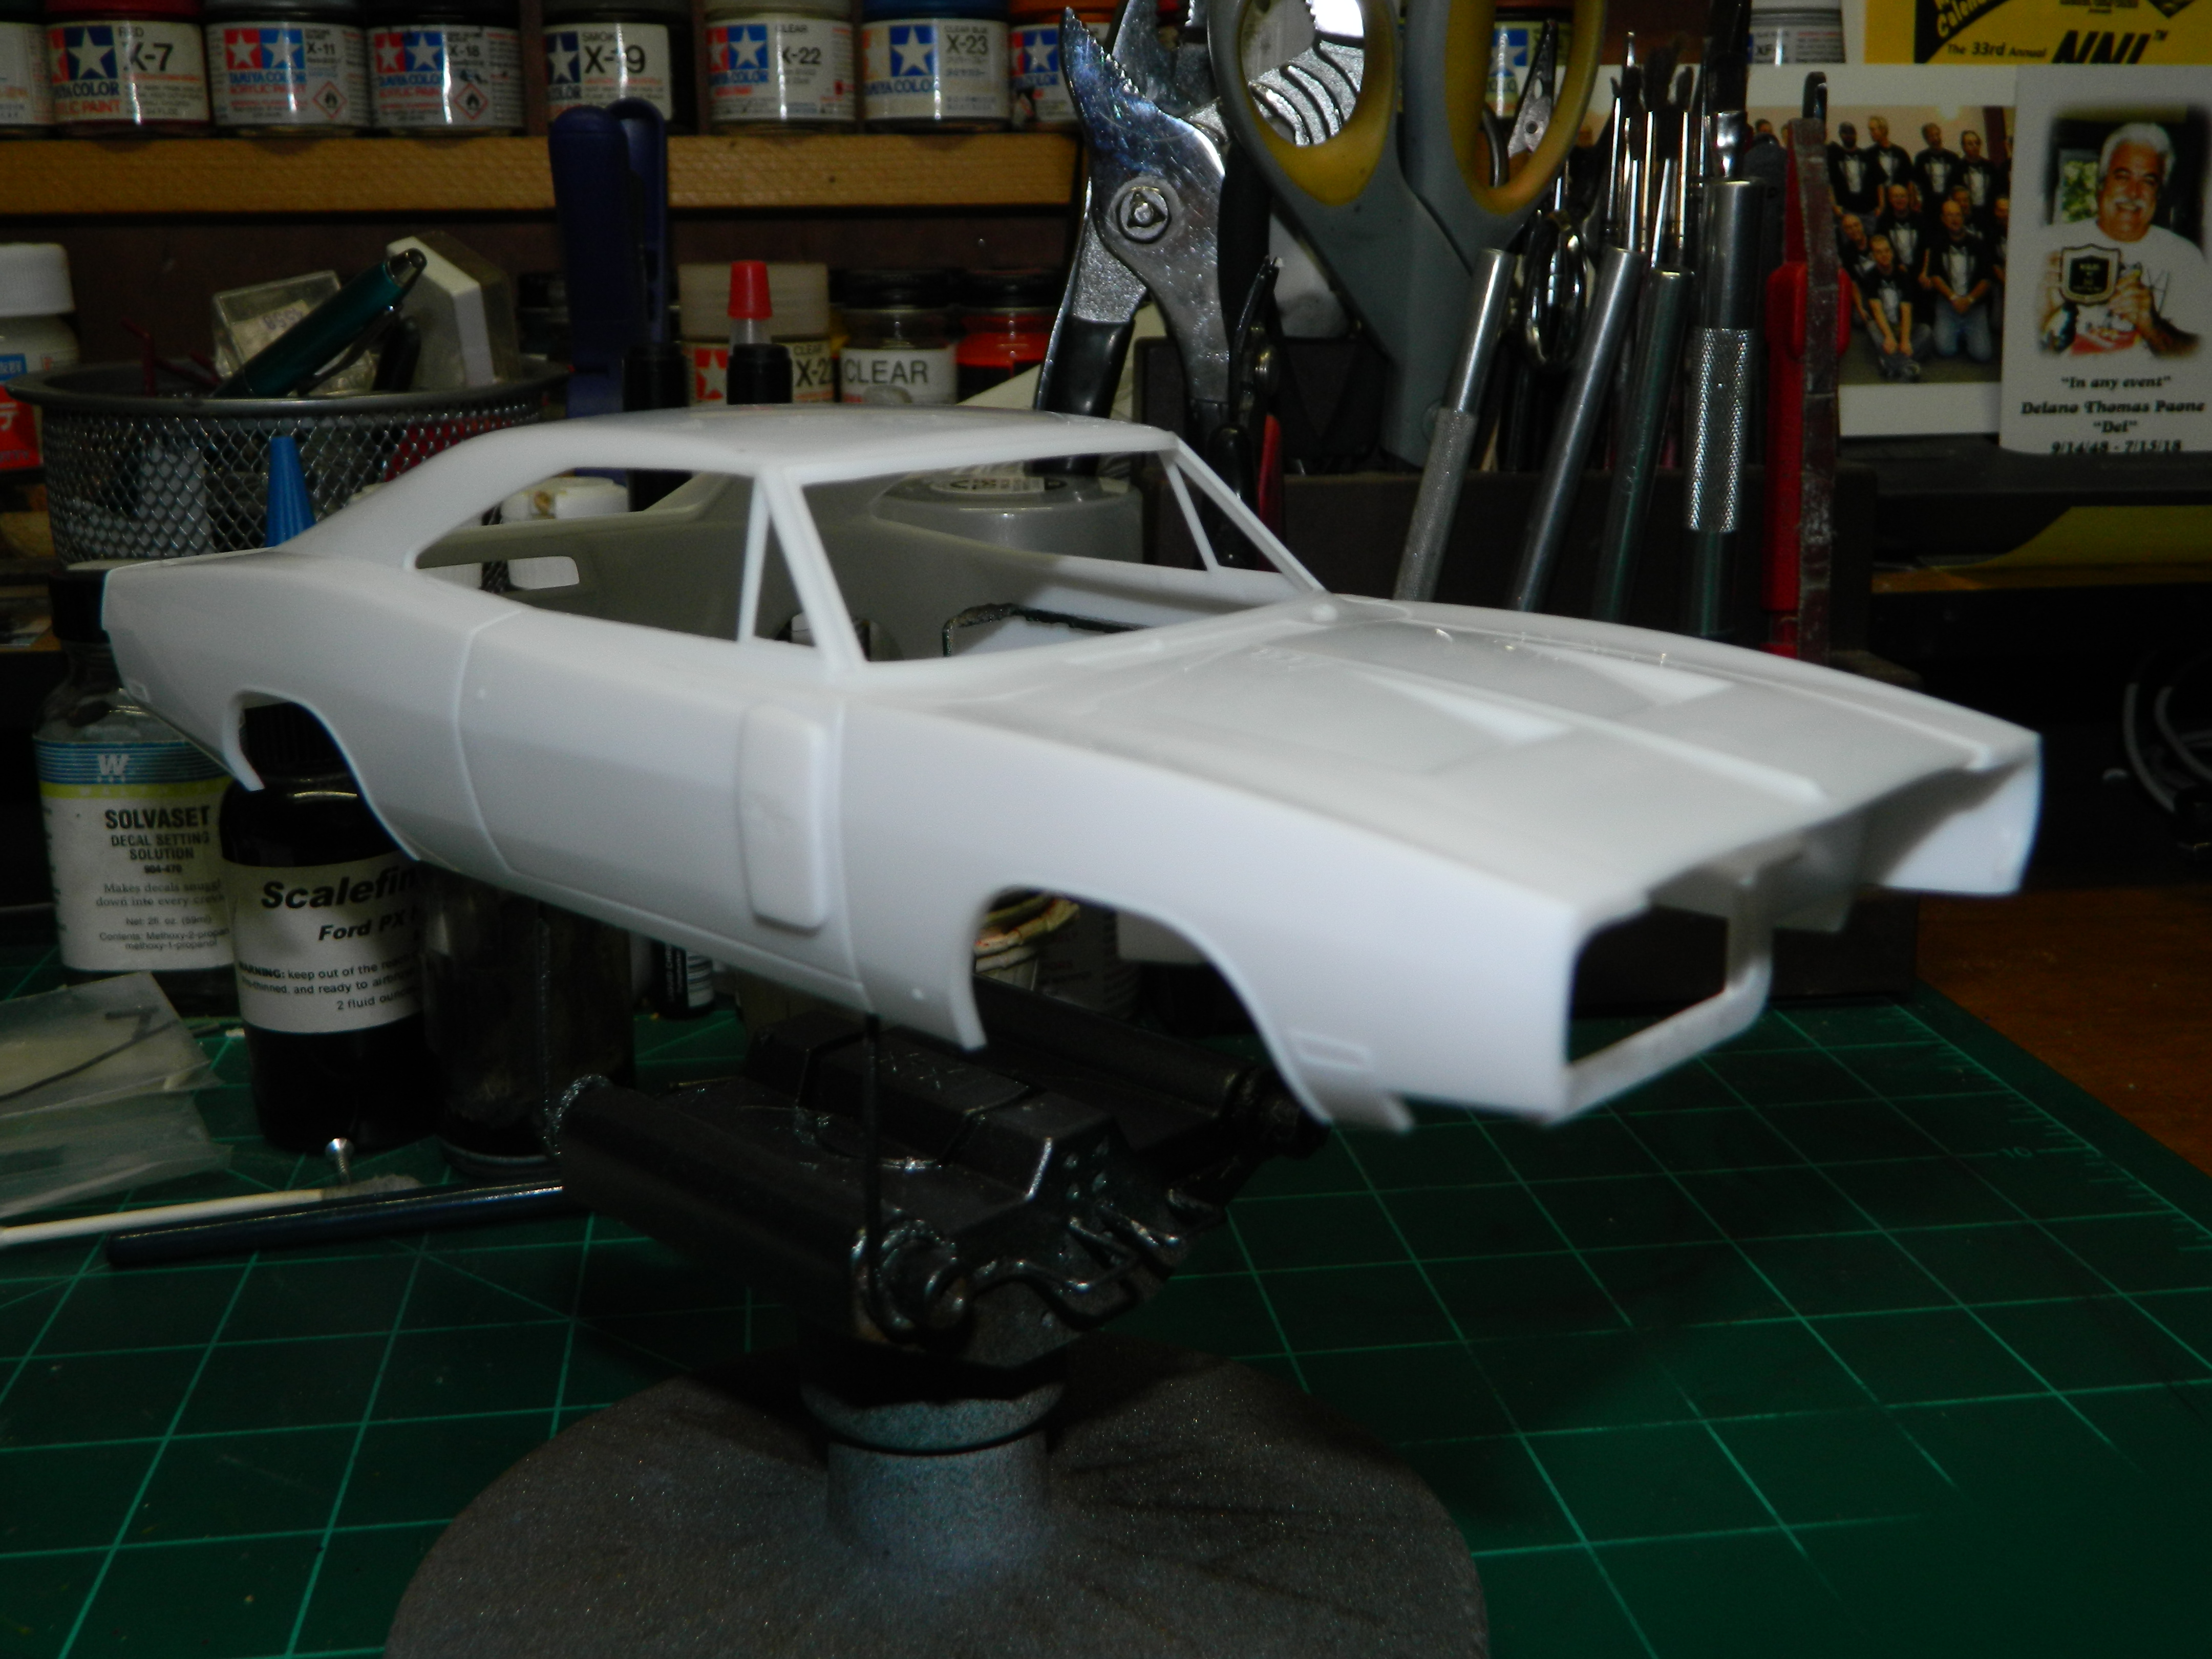
I spent some time on the Charger yesterday afternoon. I installed the door side scoops, core support, hood hinges, and added the hood. I assembled the engine and got it ready for paint. A partial mockup with the Zimmerman wheels and tires. This is going to look good! More to come...
-
1972 Ford F100 Sport Custom Pickup
mrmike replied to mrmike's topic in Model Trucks: Pickups, Vans, SUVs, Light Commercial
I was able to get my hands on some aluminium tubing to make some exhaust tips. Thank you my friend Paul A. I took a 2 inch section of tubing, cut it at a 45 degree angle, polished it and inserted onto the kit exhaust. Done!
-
1972 Ford F100 Sport Custom Pickup
mrmike replied to mrmike's topic in Model Trucks: Pickups, Vans, SUVs, Light Commercial
Thank you Oliver and Jeffery! -
1972 Ford F100 Sport Custom Pickup
mrmike replied to mrmike's topic in Model Trucks: Pickups, Vans, SUVs, Light Commercial
Thank you Dennis and Curtis! I use to take outside pictures with the model sitting on my pickup truck's bed cover. I sold the truck last September and have been taking pictures inside in my paint/photobooth. I have yet to find another spot outside the house to take pictures, but I will find a spot. -
1972 Ford F100 Sport Custom Pickup
mrmike replied to mrmike's topic in Model Trucks: Pickups, Vans, SUVs, Light Commercial
Thank you Ray and Tom! Tom, it's a little too cold and cloudy right now. Maybe when it warms up a bit. -
Thank you Tommy! I should have some progress soon!