mrmike
-
Posts
5,324 -
Joined
-
Last visited
Content Type
Profiles
Forums
Events
Gallery
Everything posted by mrmike
-
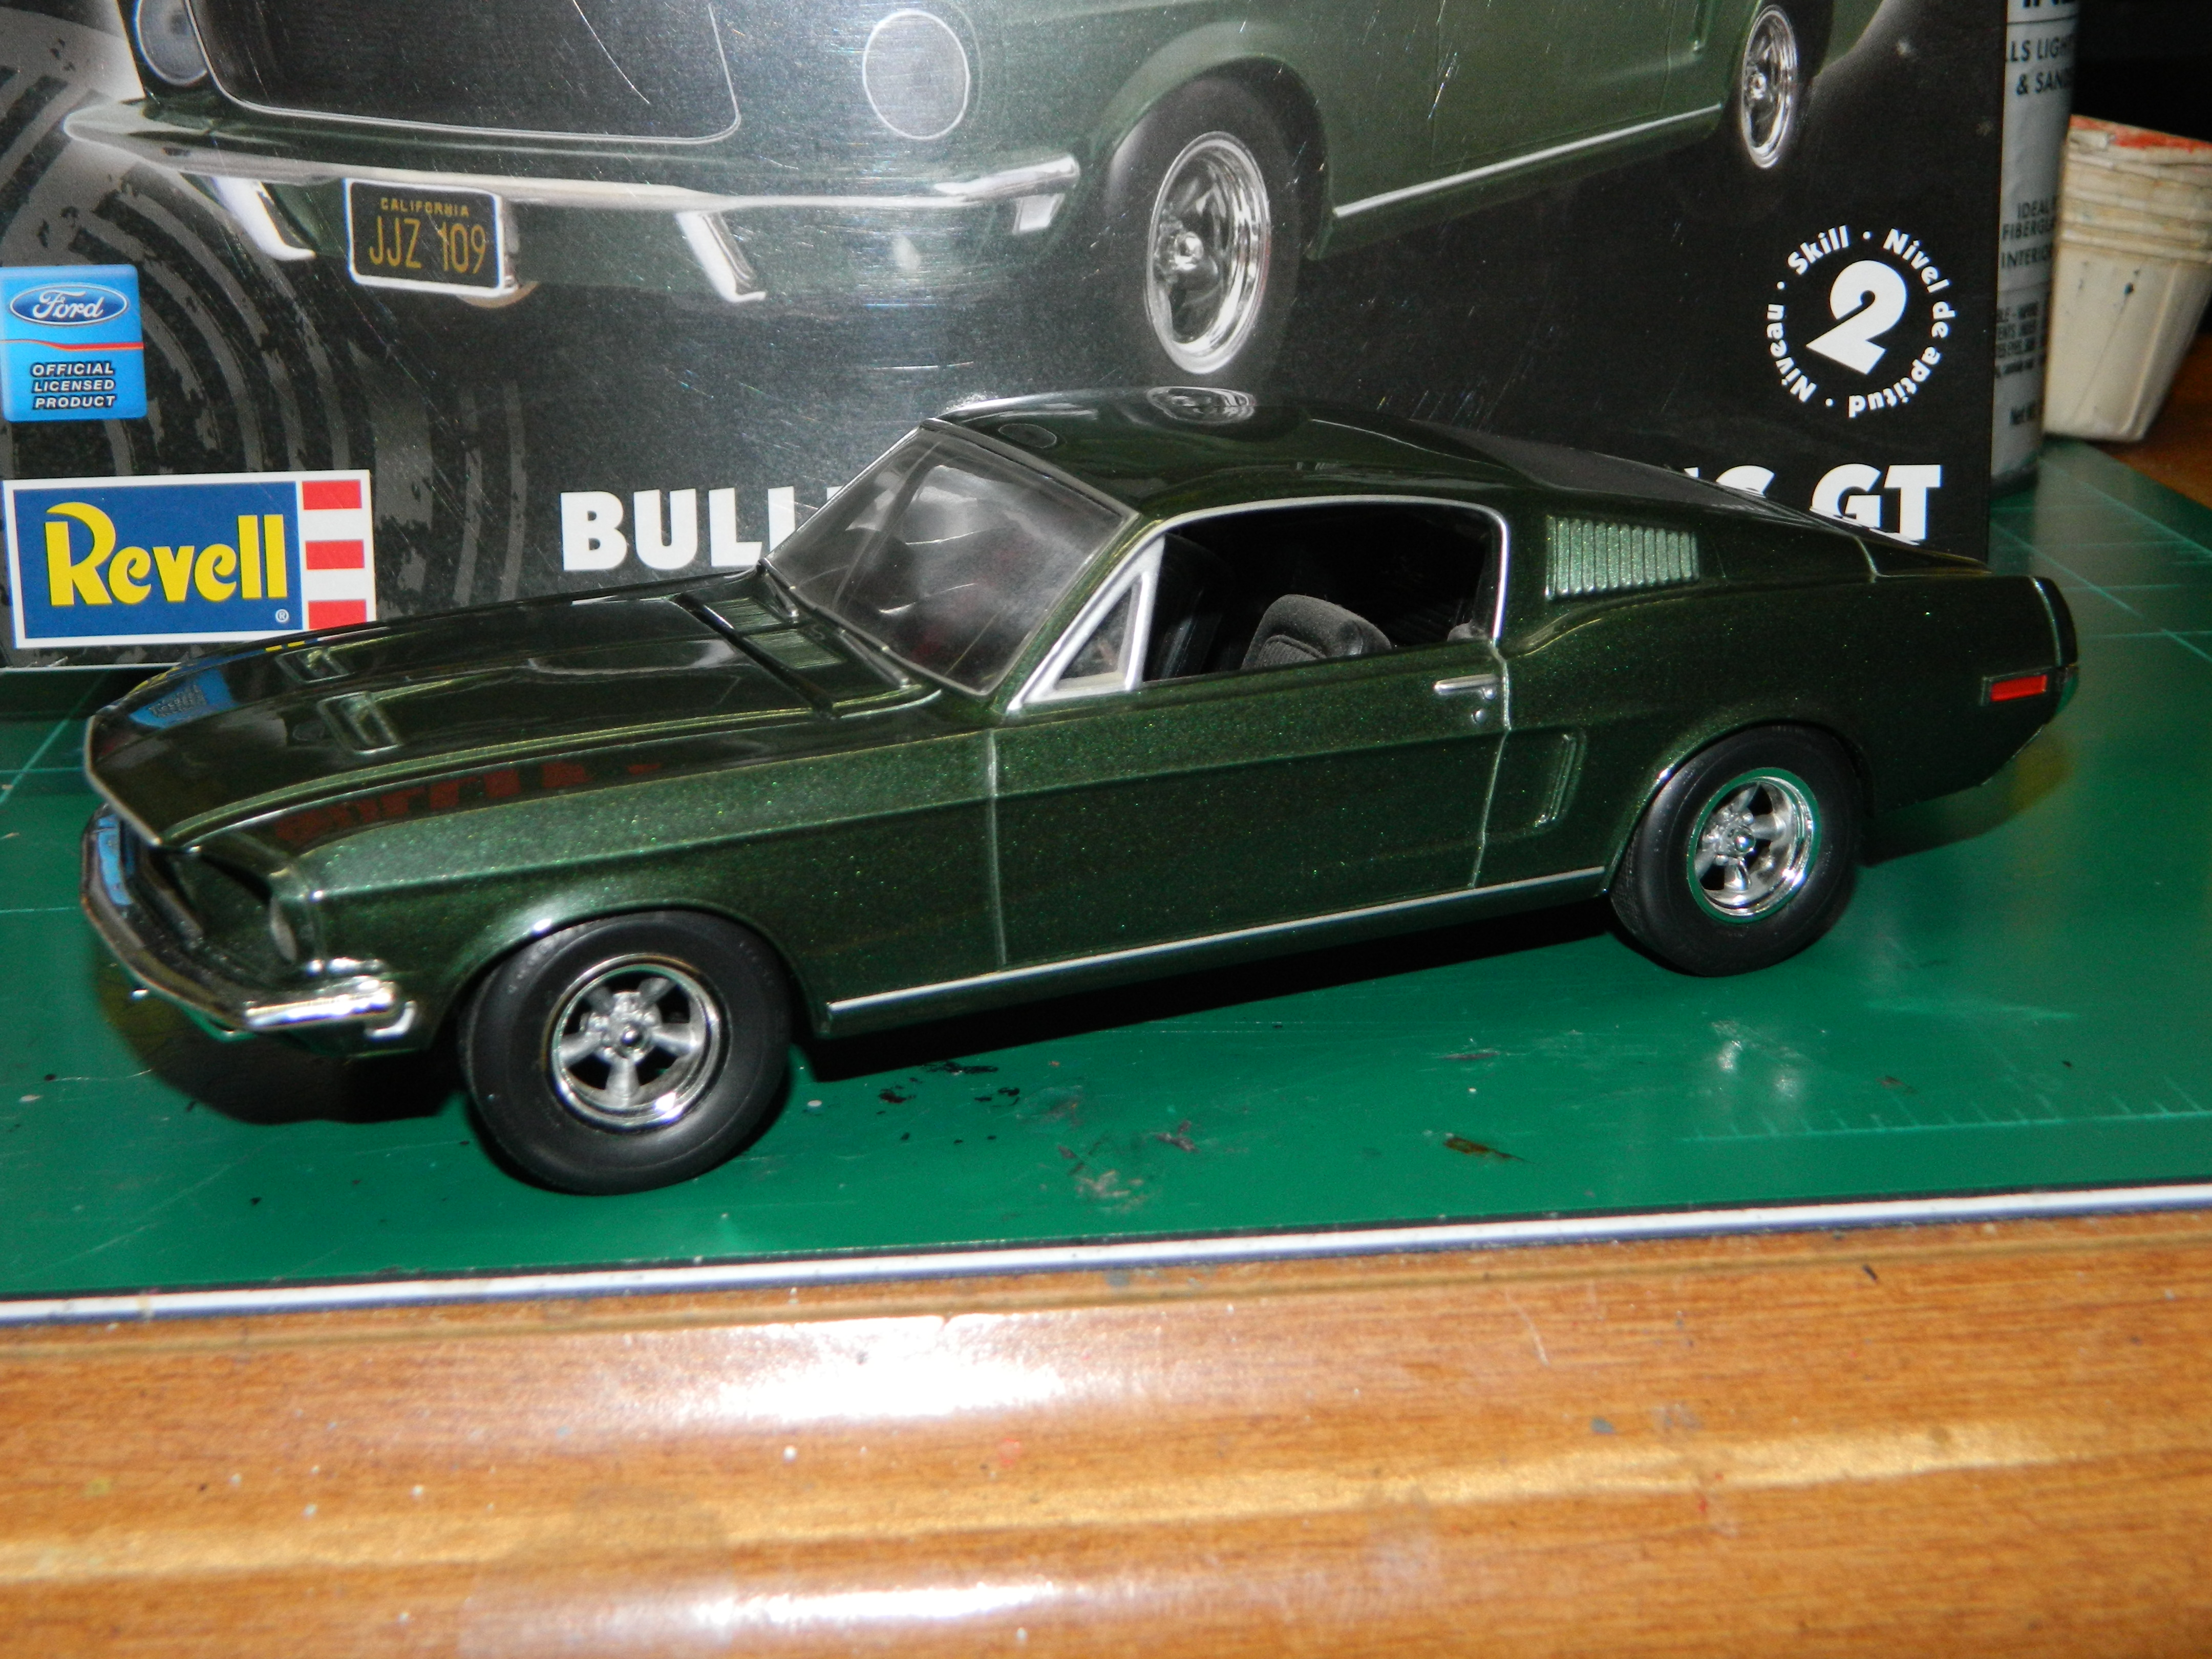
I filled the hole in the engine block and added plug boots to the wired distributor from Parts by Parks. Part of the die-cast molds is the notches on the cowl and the hood. Unless I want to do extra bodywork, which I don't want to, these are staying. There was two raised circles for the backup lights and the Bullitt Mustang doesn't have any. Out came the sanding stick and away went the raised circles. A fellow Club member has a 2 oz. bottle of Ford Highland Green Metallic by ScaleFinishes that he is going to give me. Thanks Joe Angers! More to come...

-
Yes, it is. Not a really good kit. More of a 10 footer kit. Looks really good 10 feet away! Thanks guys!
-
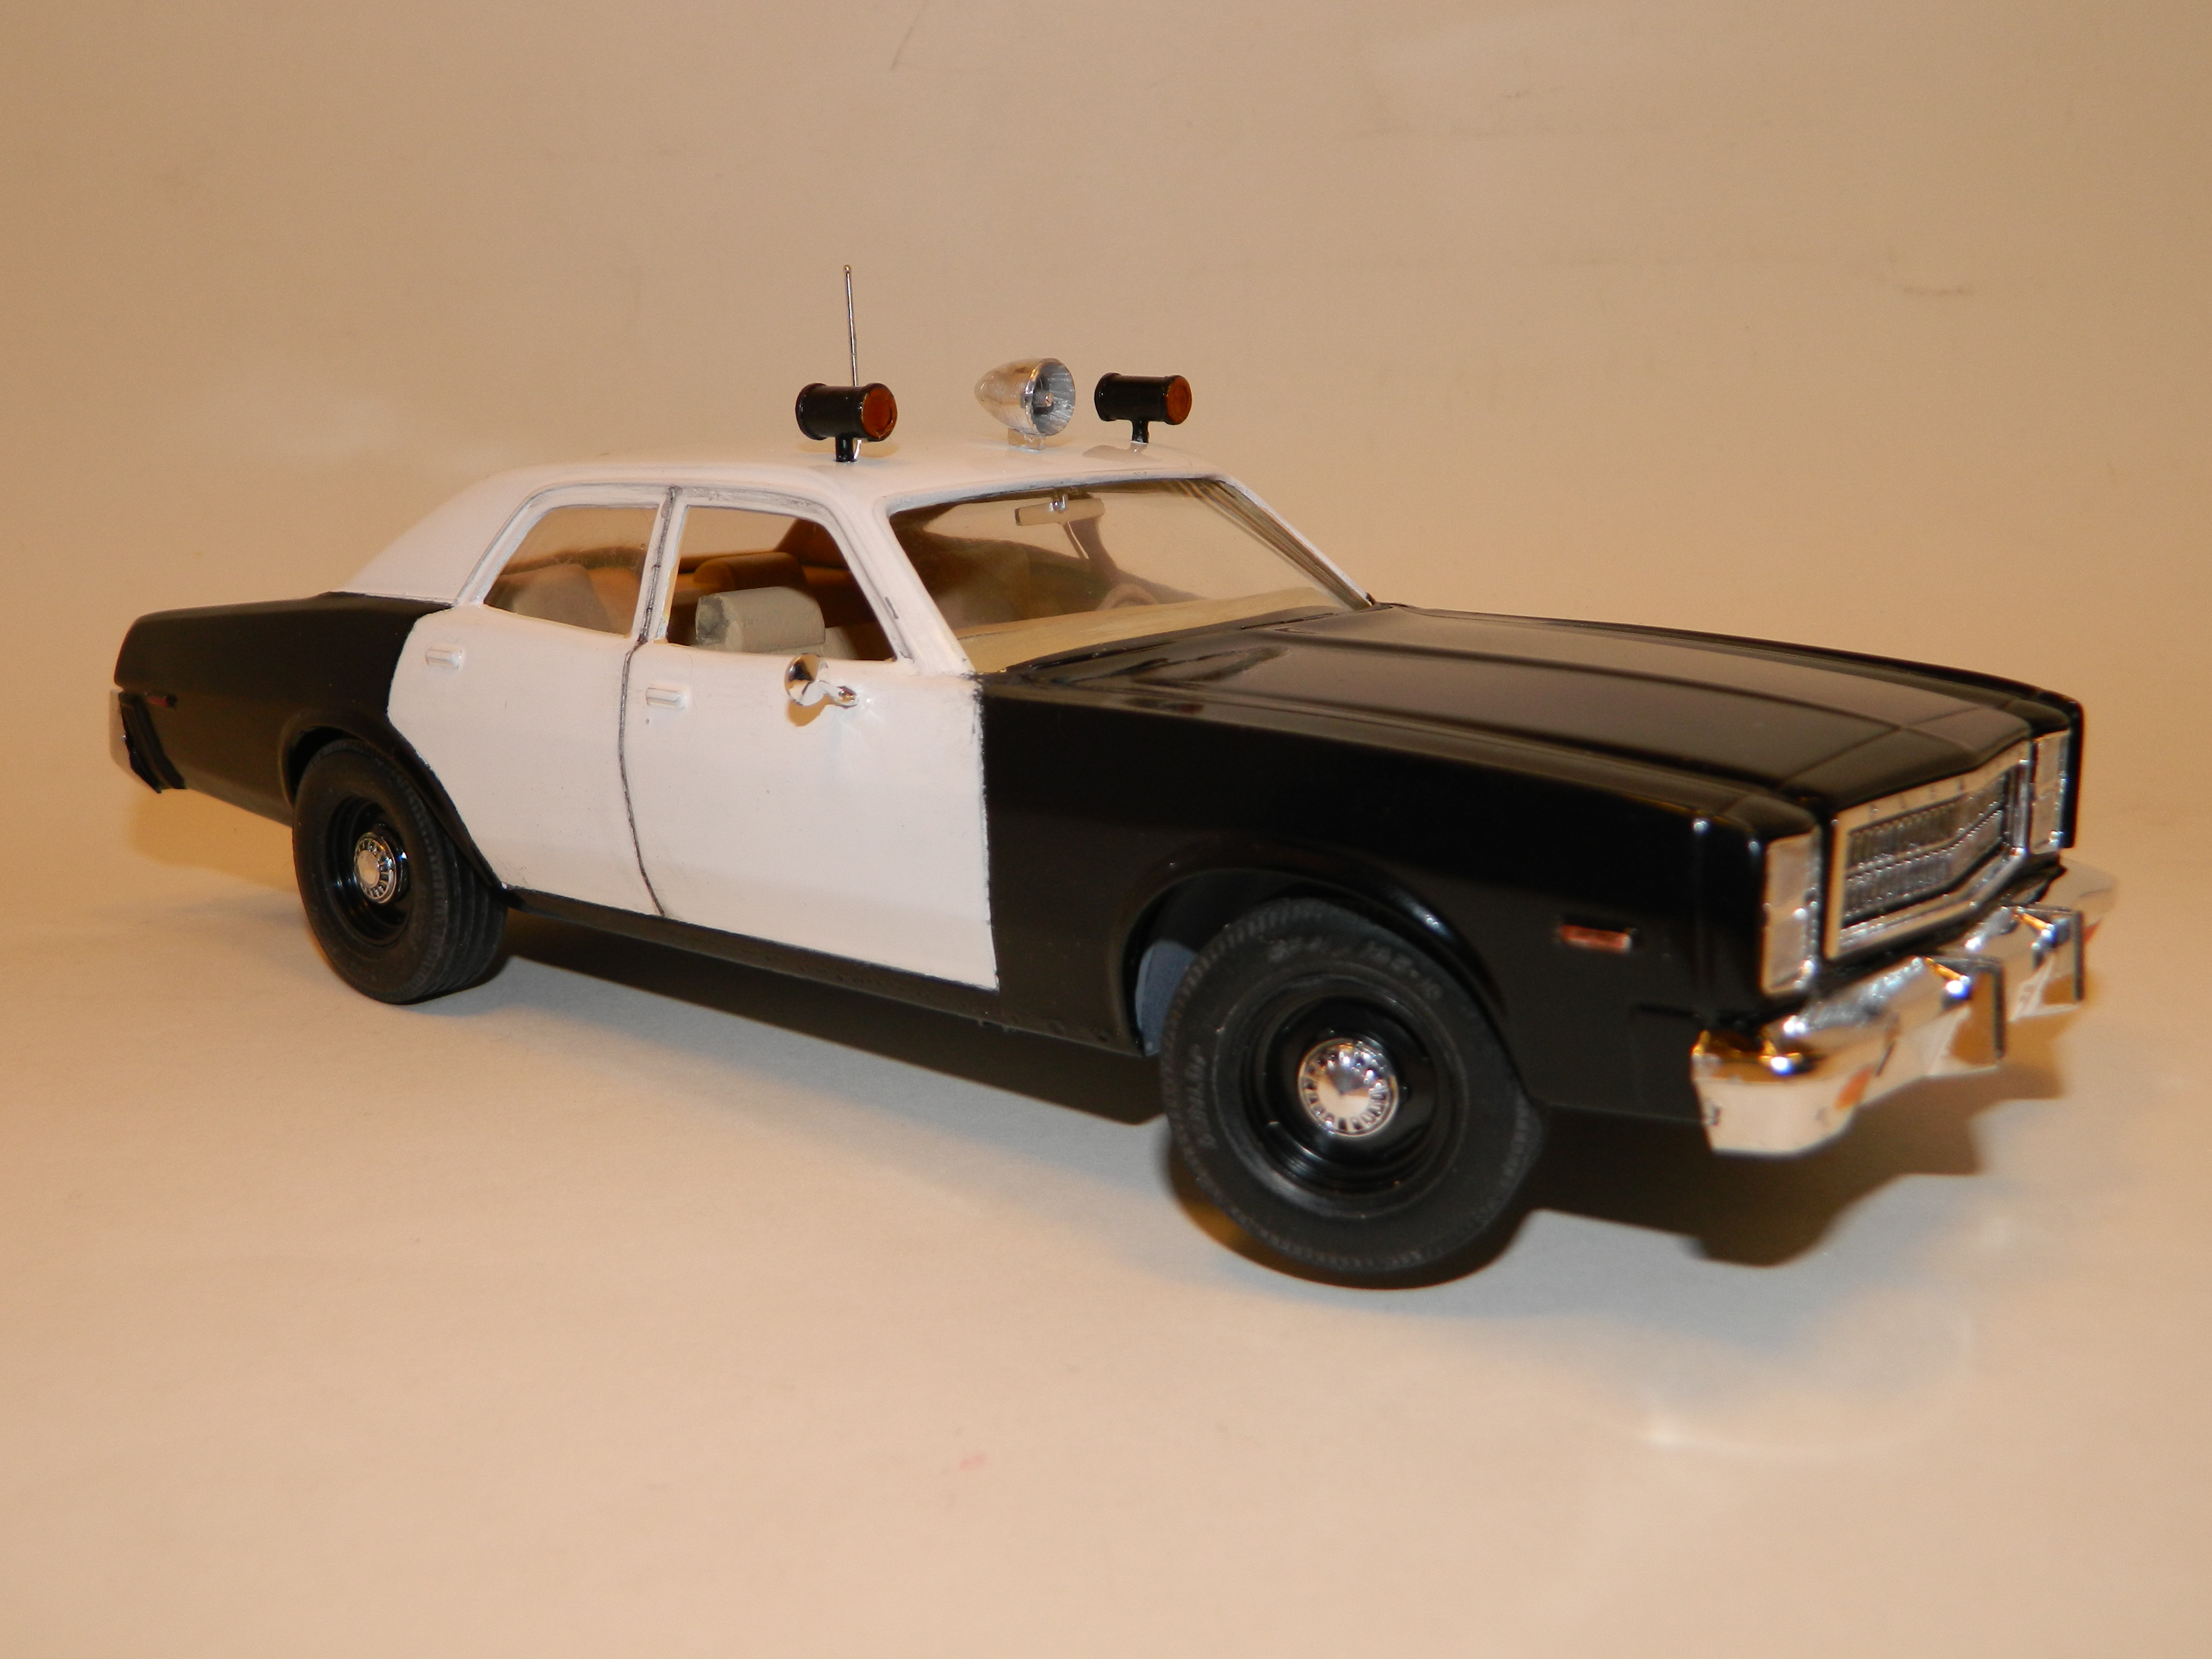
My attempt last night to add decals to the Fury was a bust! So, until I get new decals from policecarmodels.com, this model is done and posted in Under Glass.
-
I went and added the decals to my LAPD '78 Plymouth and they were junk! After ten minutes in luke warm water, they didn't budge from the backing sheet. I searched on line at policecarmodels.com and found a set that I'll have to order. This is what I get for trying to save an old decal sheet! Until I do get a new set of decals, I'm calling this build done. I would like to thank all those who have taken the time to view and to comment on my WIP.
-

Post retirement modeling
mrmike replied to misterNNL's topic in General Automotive Talk (Trucks and Cars)
I have been retired for 23 months now and my building has increased. I am building more now that I have the time, but I do tend to other projects that call a priority to everything else. I also have more builds on the bench now since I like working on one thing and if that needs time to dry, I'll work on another. If I don't feel like working on anything, I don't. -
Thank you Andre!
-
Thank you Fred! My guess about the line on the roof is this...it could be due to the thin coat of primer on the roof and the hot Dupli-Color paint I used or this is where the plastic had joined itself when the mold was being filled and not enough pressure was used to fill it or the plastic cooled faster than it should have when the mold was being filled. It could be anyone of those things or none of them and it was something else.
-
The way I understand it, based on what I have read, is that Robert Kiernan bought the car as family transportation. At one point, his interests turned to horses until he realized that the car need to be put back together, but by then he was very ill and passed away in 2014 and his son, Sean inherited the car and he rebuilt the Mustang and said that the car was to remain in the family and hidden away from the public, just like his father wanted it to be. The car had become part of the family and it was his intention to keep it in the family. That's why he refused to sell it. It was HIS car! Ford Motor Company found the car with help from some other people, wanted to help hide the car out of fear that it could be stolen and so it was hidden down in the archives of Ford. They felt that having the actual Bullitt car on the 50th anniversary of the movie and the introduction of the new 2019 Bullitt Mustang would be worth all the added secrecy. If Sean decided to sell the '68 Bullitt Mustang, he would command his price for the car, which would be in the millions of dollars. AFAIK, no one has place a value on the car. This car has been described as 98% original and the car found in Mexico is 98% unoriginal or rebuilt with new parts. The car from Mexico or the "jump" car would be worth some money, but IMHO, will not get the kind of money that the "hero" car would get because it was rebuilt with new parts or restored.
-
Looks good so far, Tulio!
-
I had noticed that and made sure that the reflectors went in as far as I could push them. A little trimming on the back side of the lenses will help as they are rather thick. Thanks for the heads up!
-
The current owner has said repeatedly that the Mustang will stay in his family. He has absolutely no plans to sell the car to anyone. His father knew that the car was valuable and he could care less. The car has been in his family since 1974 and it will remain there as a part of his family. There are two articles, one in Road and Track and one in Car and Driver magazines about the Bullitt Mustang. I would suggest you read them and discover what the whole story behind the Bullitt Mustang is all about.
-
Ivy Green and Highland Green are two different shades of green. The color of the Bullitt Mustang is Highland Green. And, if it ain't shiny, it ain't mine!
-
Just so you know, there were two cars ordered from Ford just for this movie. Serial numbers 558 and 559. 559 is the hero car and 558 was the "jump" car as I call it. The 558 was found in Mexico and was totally trashed and is now in the process of being rebuilt. 559 is owned by Sean Kiernan who inherited the car from his father and is what I consider to be a barn find or not restored-98% original. It is possible that 558 had a straight rear valance panel and 559 had the cut outs, but we shall never know. Build your model your way and be proud of it. IMHO, either way is correct!
-
The Bullitt Mustang was repainted and returned to a "stock" appearance before it was sold to a Warner Bros. employee. It was sold to a Sheriff's Deputy who sold it several years later to the son's father who kept the car and tried to rebuild the car after he had taken it apart, just before his death from Parkinson's. The son plans to keep the car as it is. No restoration. The current value of the car is probably in the millions given its provenance. The round mirror was removed and the rectangular mirror was returned to the door. The rocker trim was returned to stock appearance. I believe the rear valance cutouts were always there, but the black exhaust tips don't highlight them like they were with chrome tips. And the exhaust tips were bevel cut and went straight back. No turn downs! I hope this helps you, Pat!
-
Show Rods 1960-2001
mrmike replied to Mike 1017's topic in General Automotive Talk (Trucks and Cars)
A link to the web site would have been nice! I got it for ya'll! http://www.showrods.com/ -
I'm sure Scalefinishes would or MCW or even Gravity Colors. But, I am trying to find what I need locally, be it in a hobby shop or auto parts store and I am trying to avoid going to the internet. If I go to any of the aftermarket suppliers, it'll be as a last resort.
-
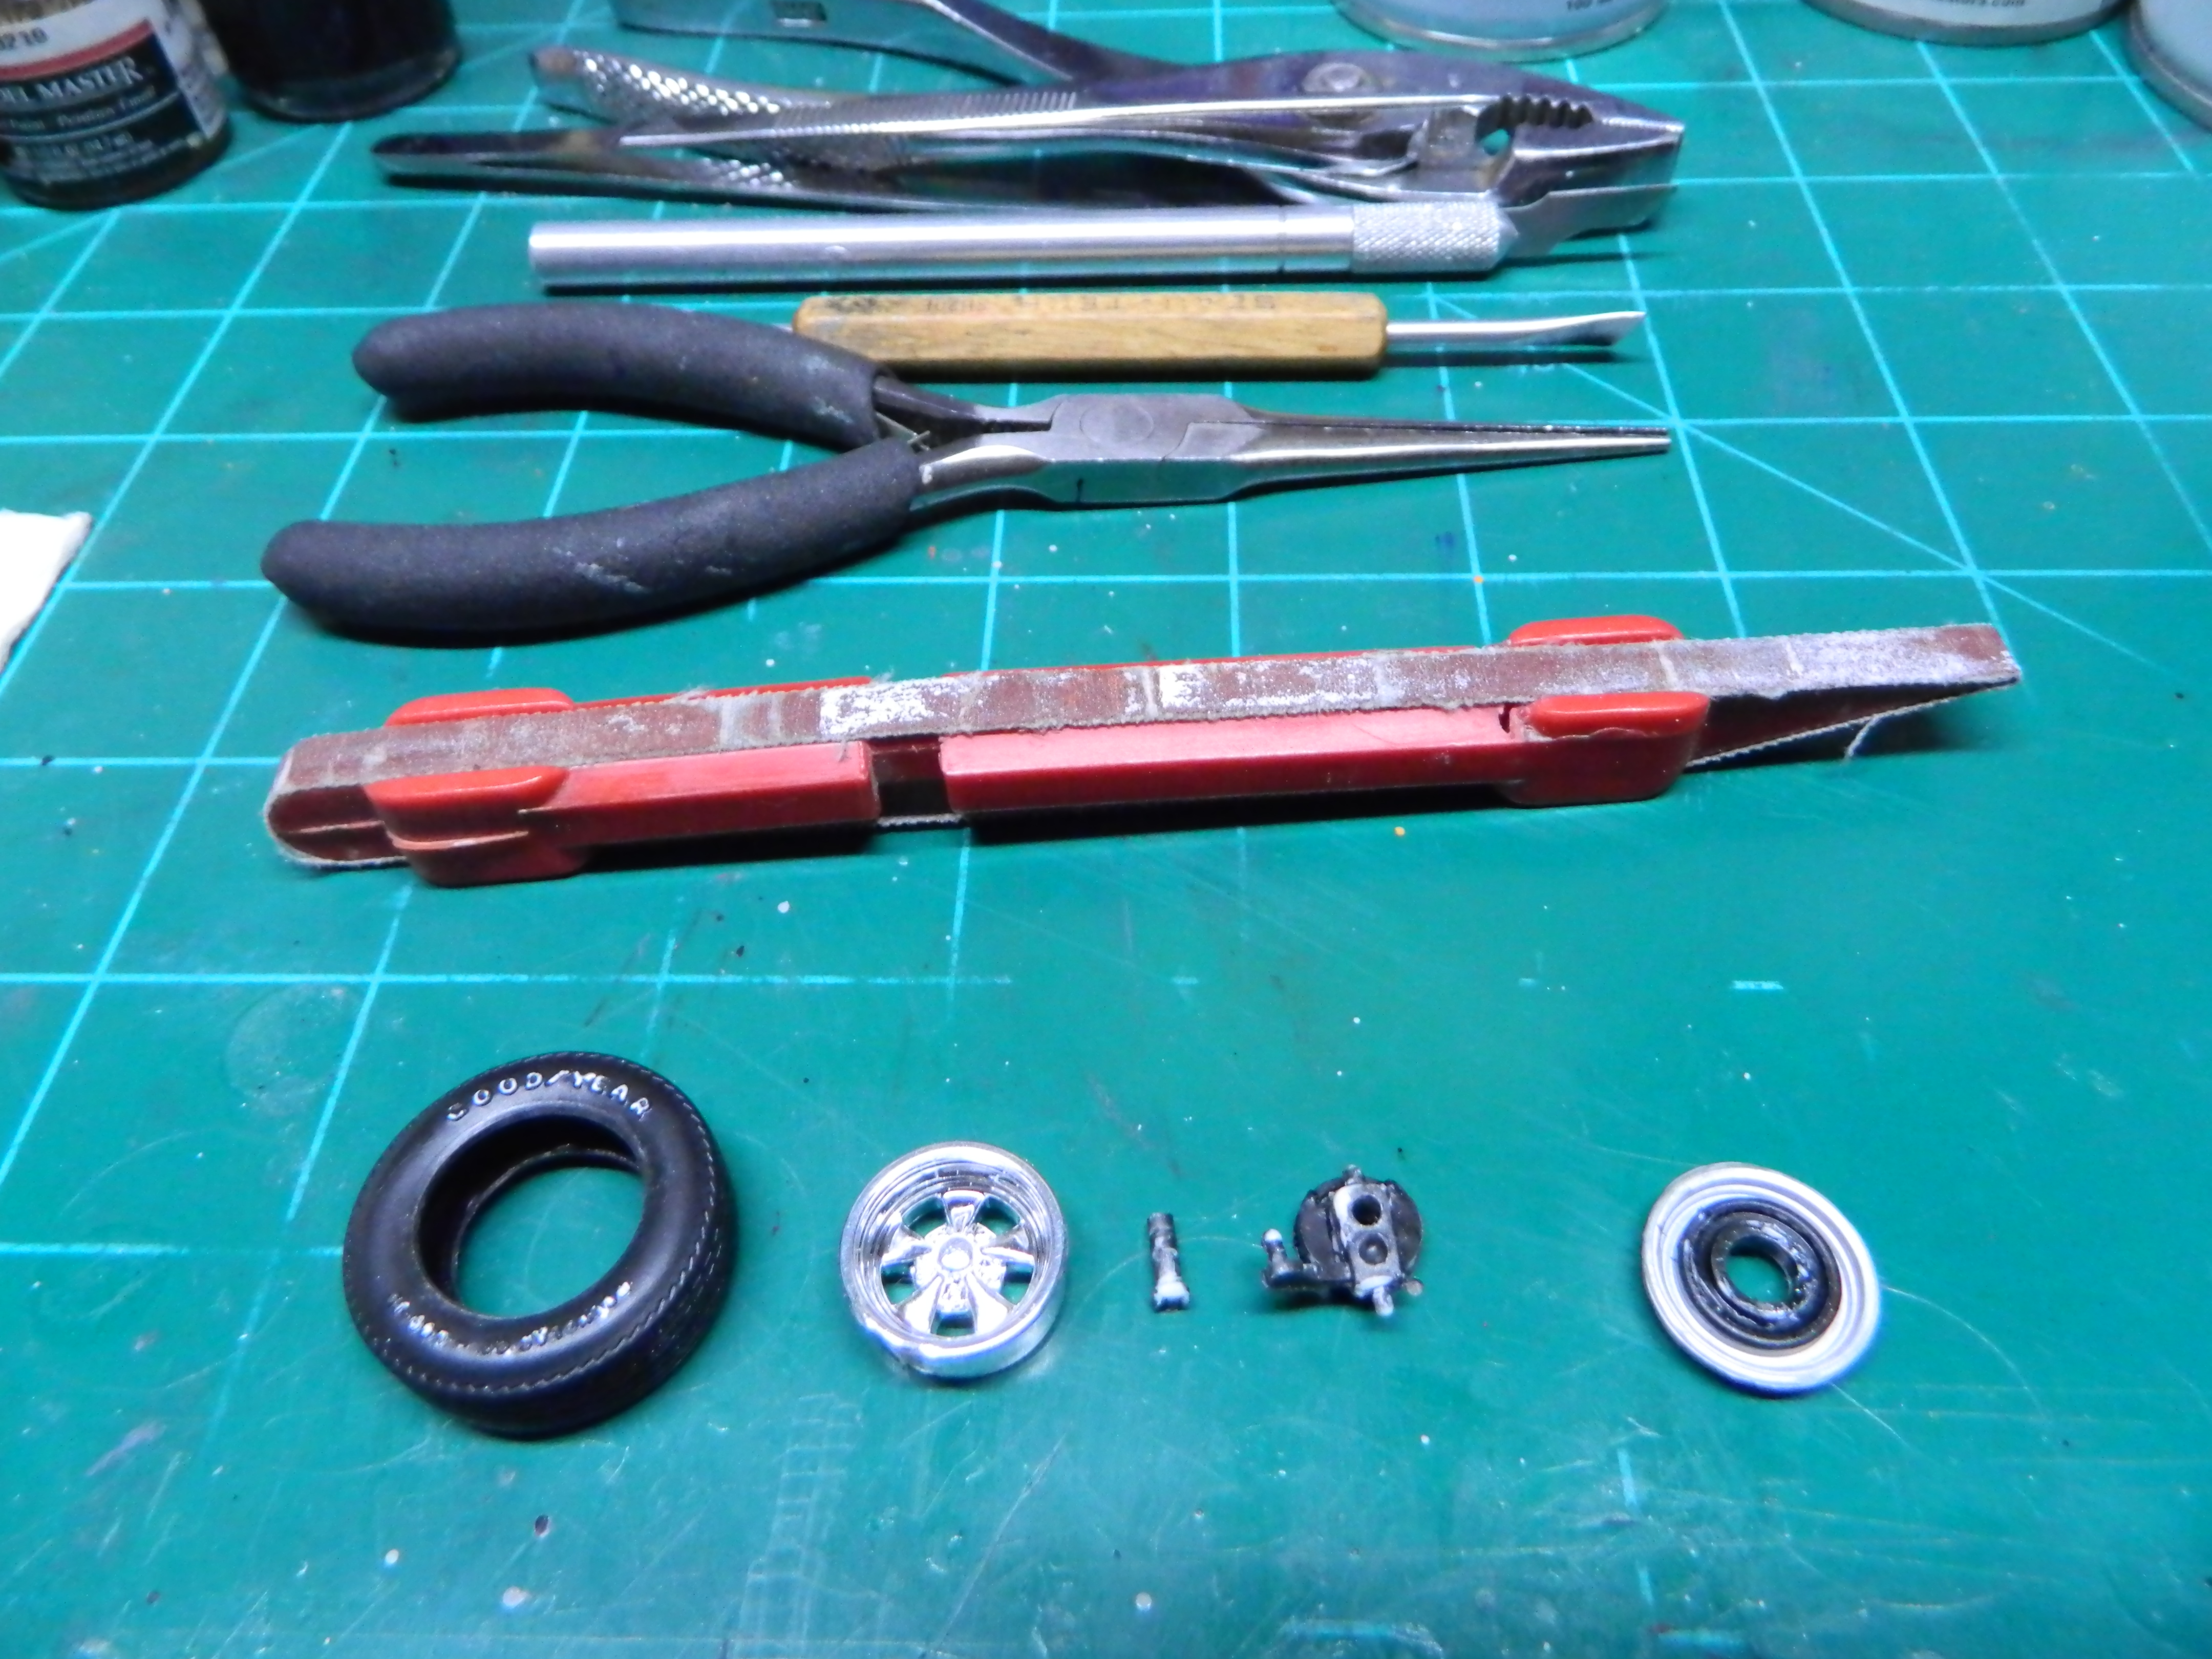
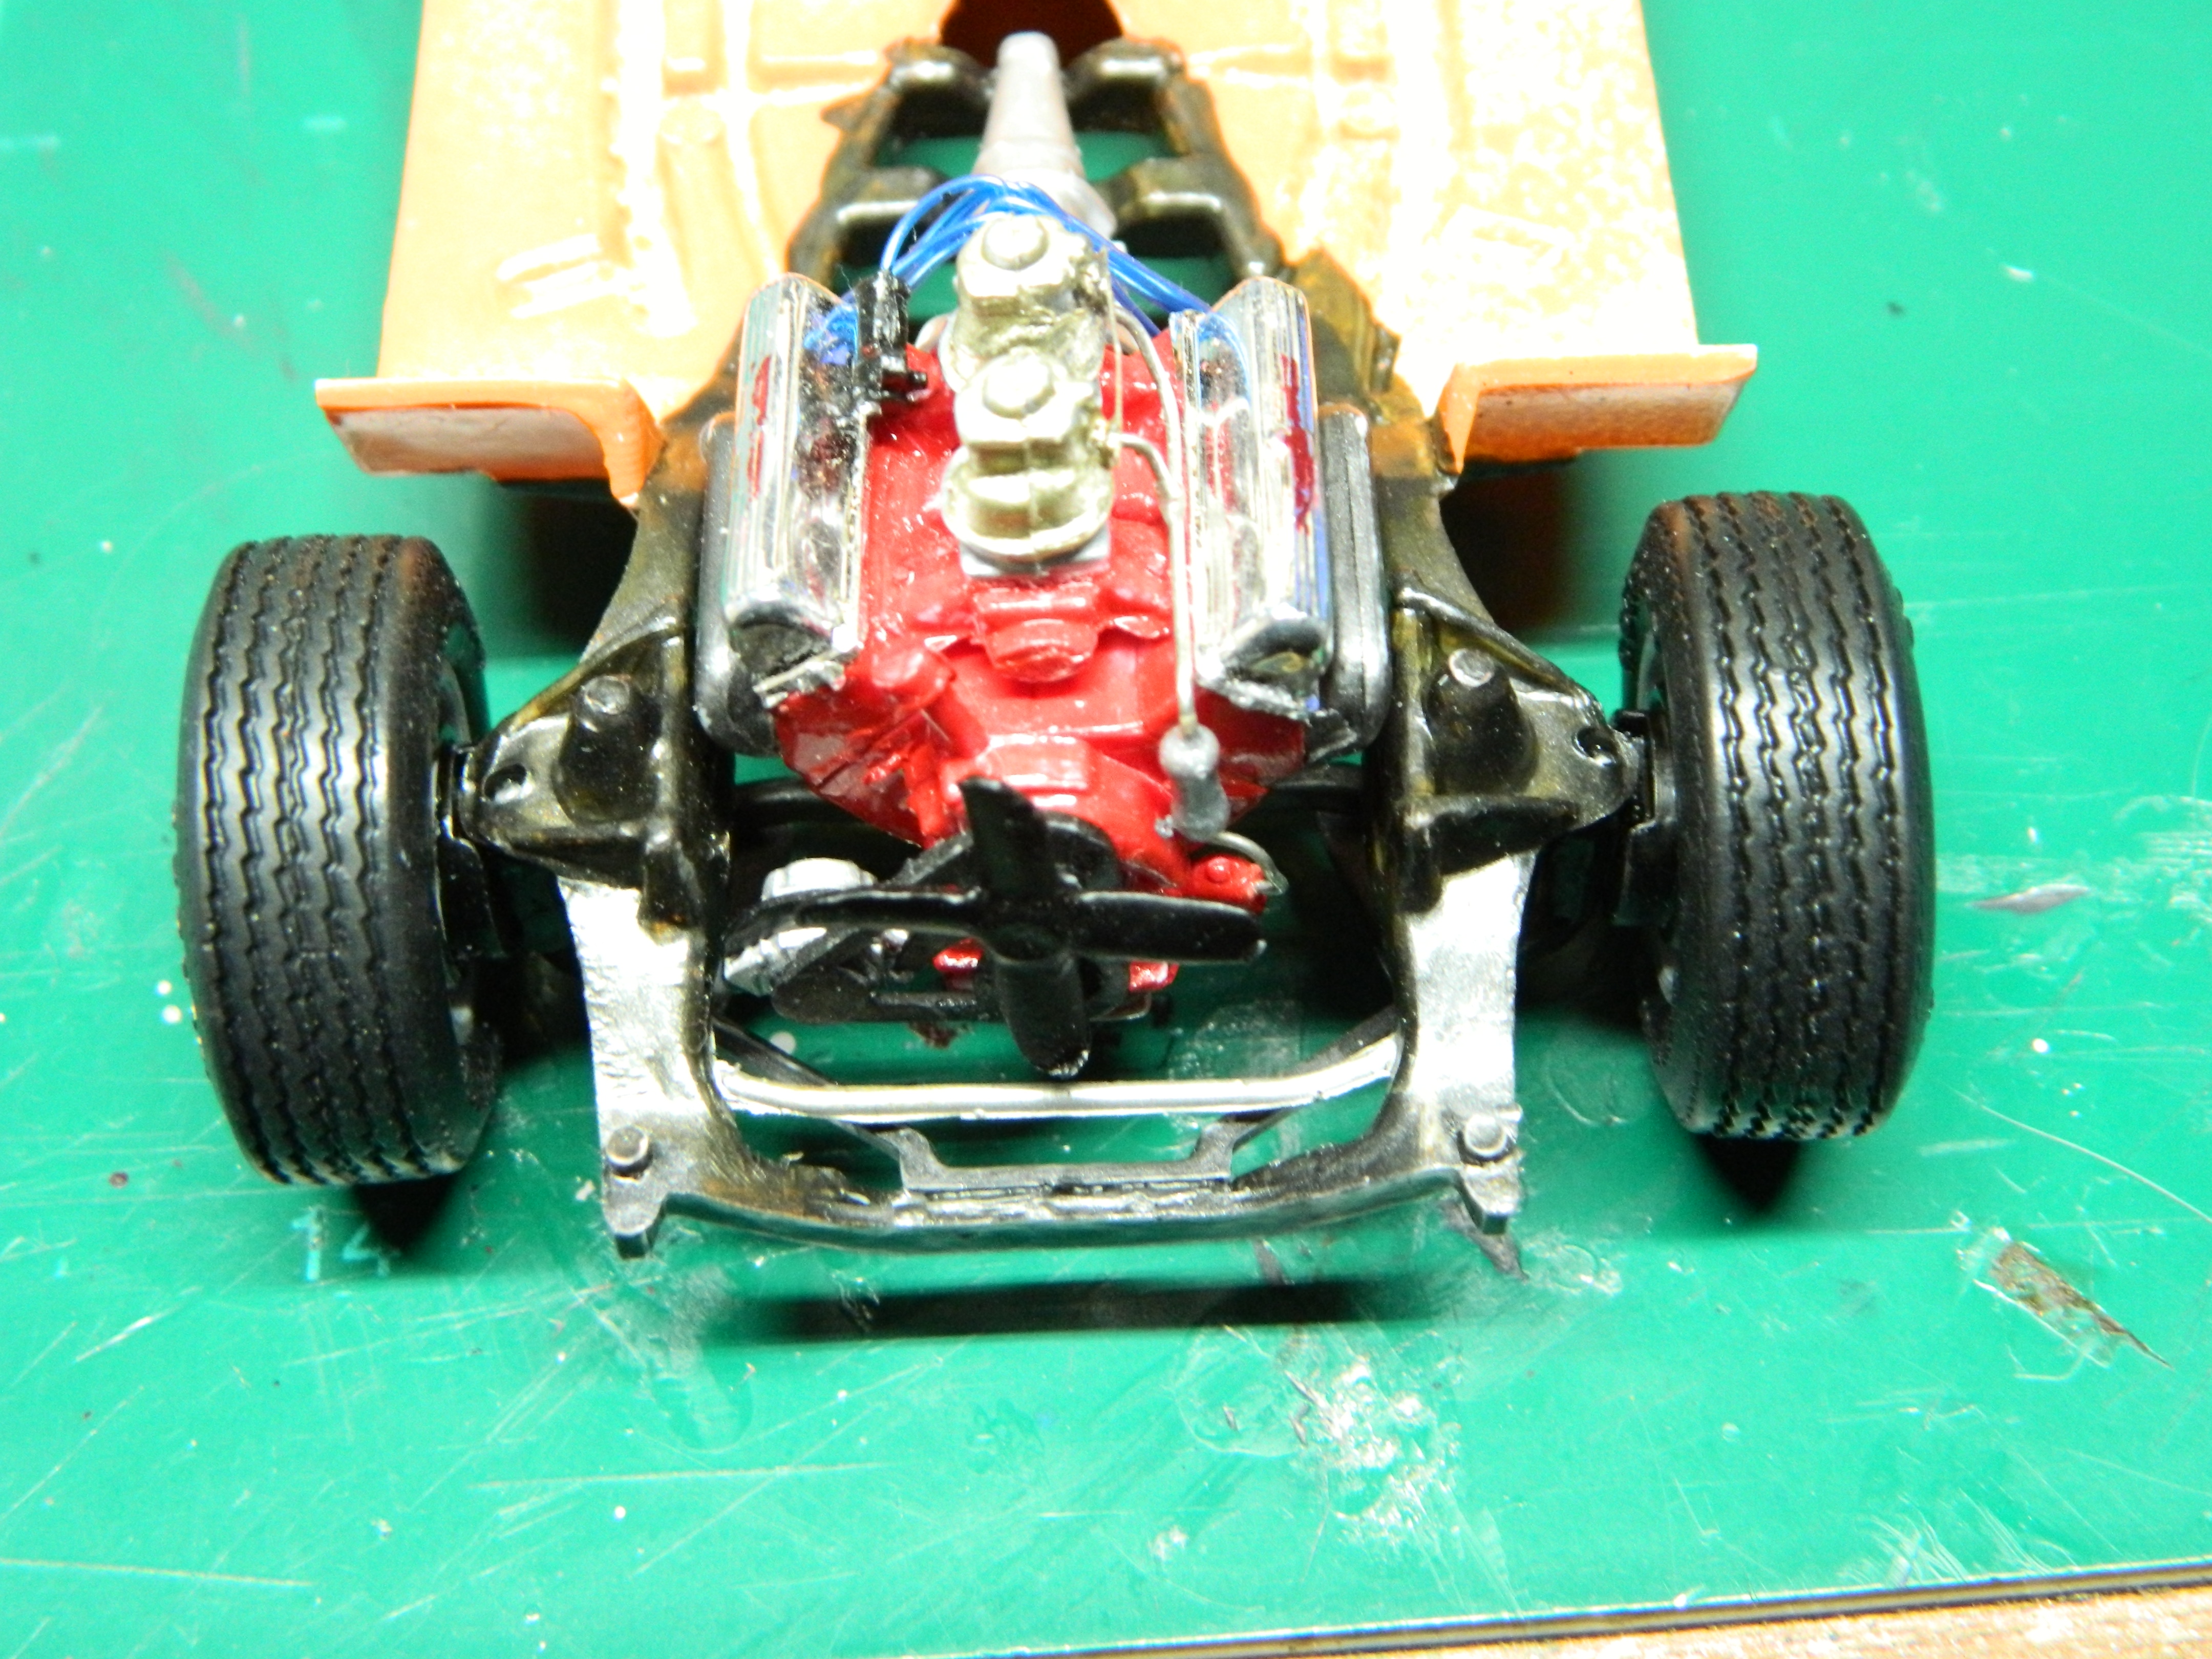
I removed the left front wheel from the rest of the front suspension and took it apart. I cleaned up all the parts and made sure that all surfaces were flat and clean and reassembled them all. The end result is the left front wheel sitting as it should. More to come...
-
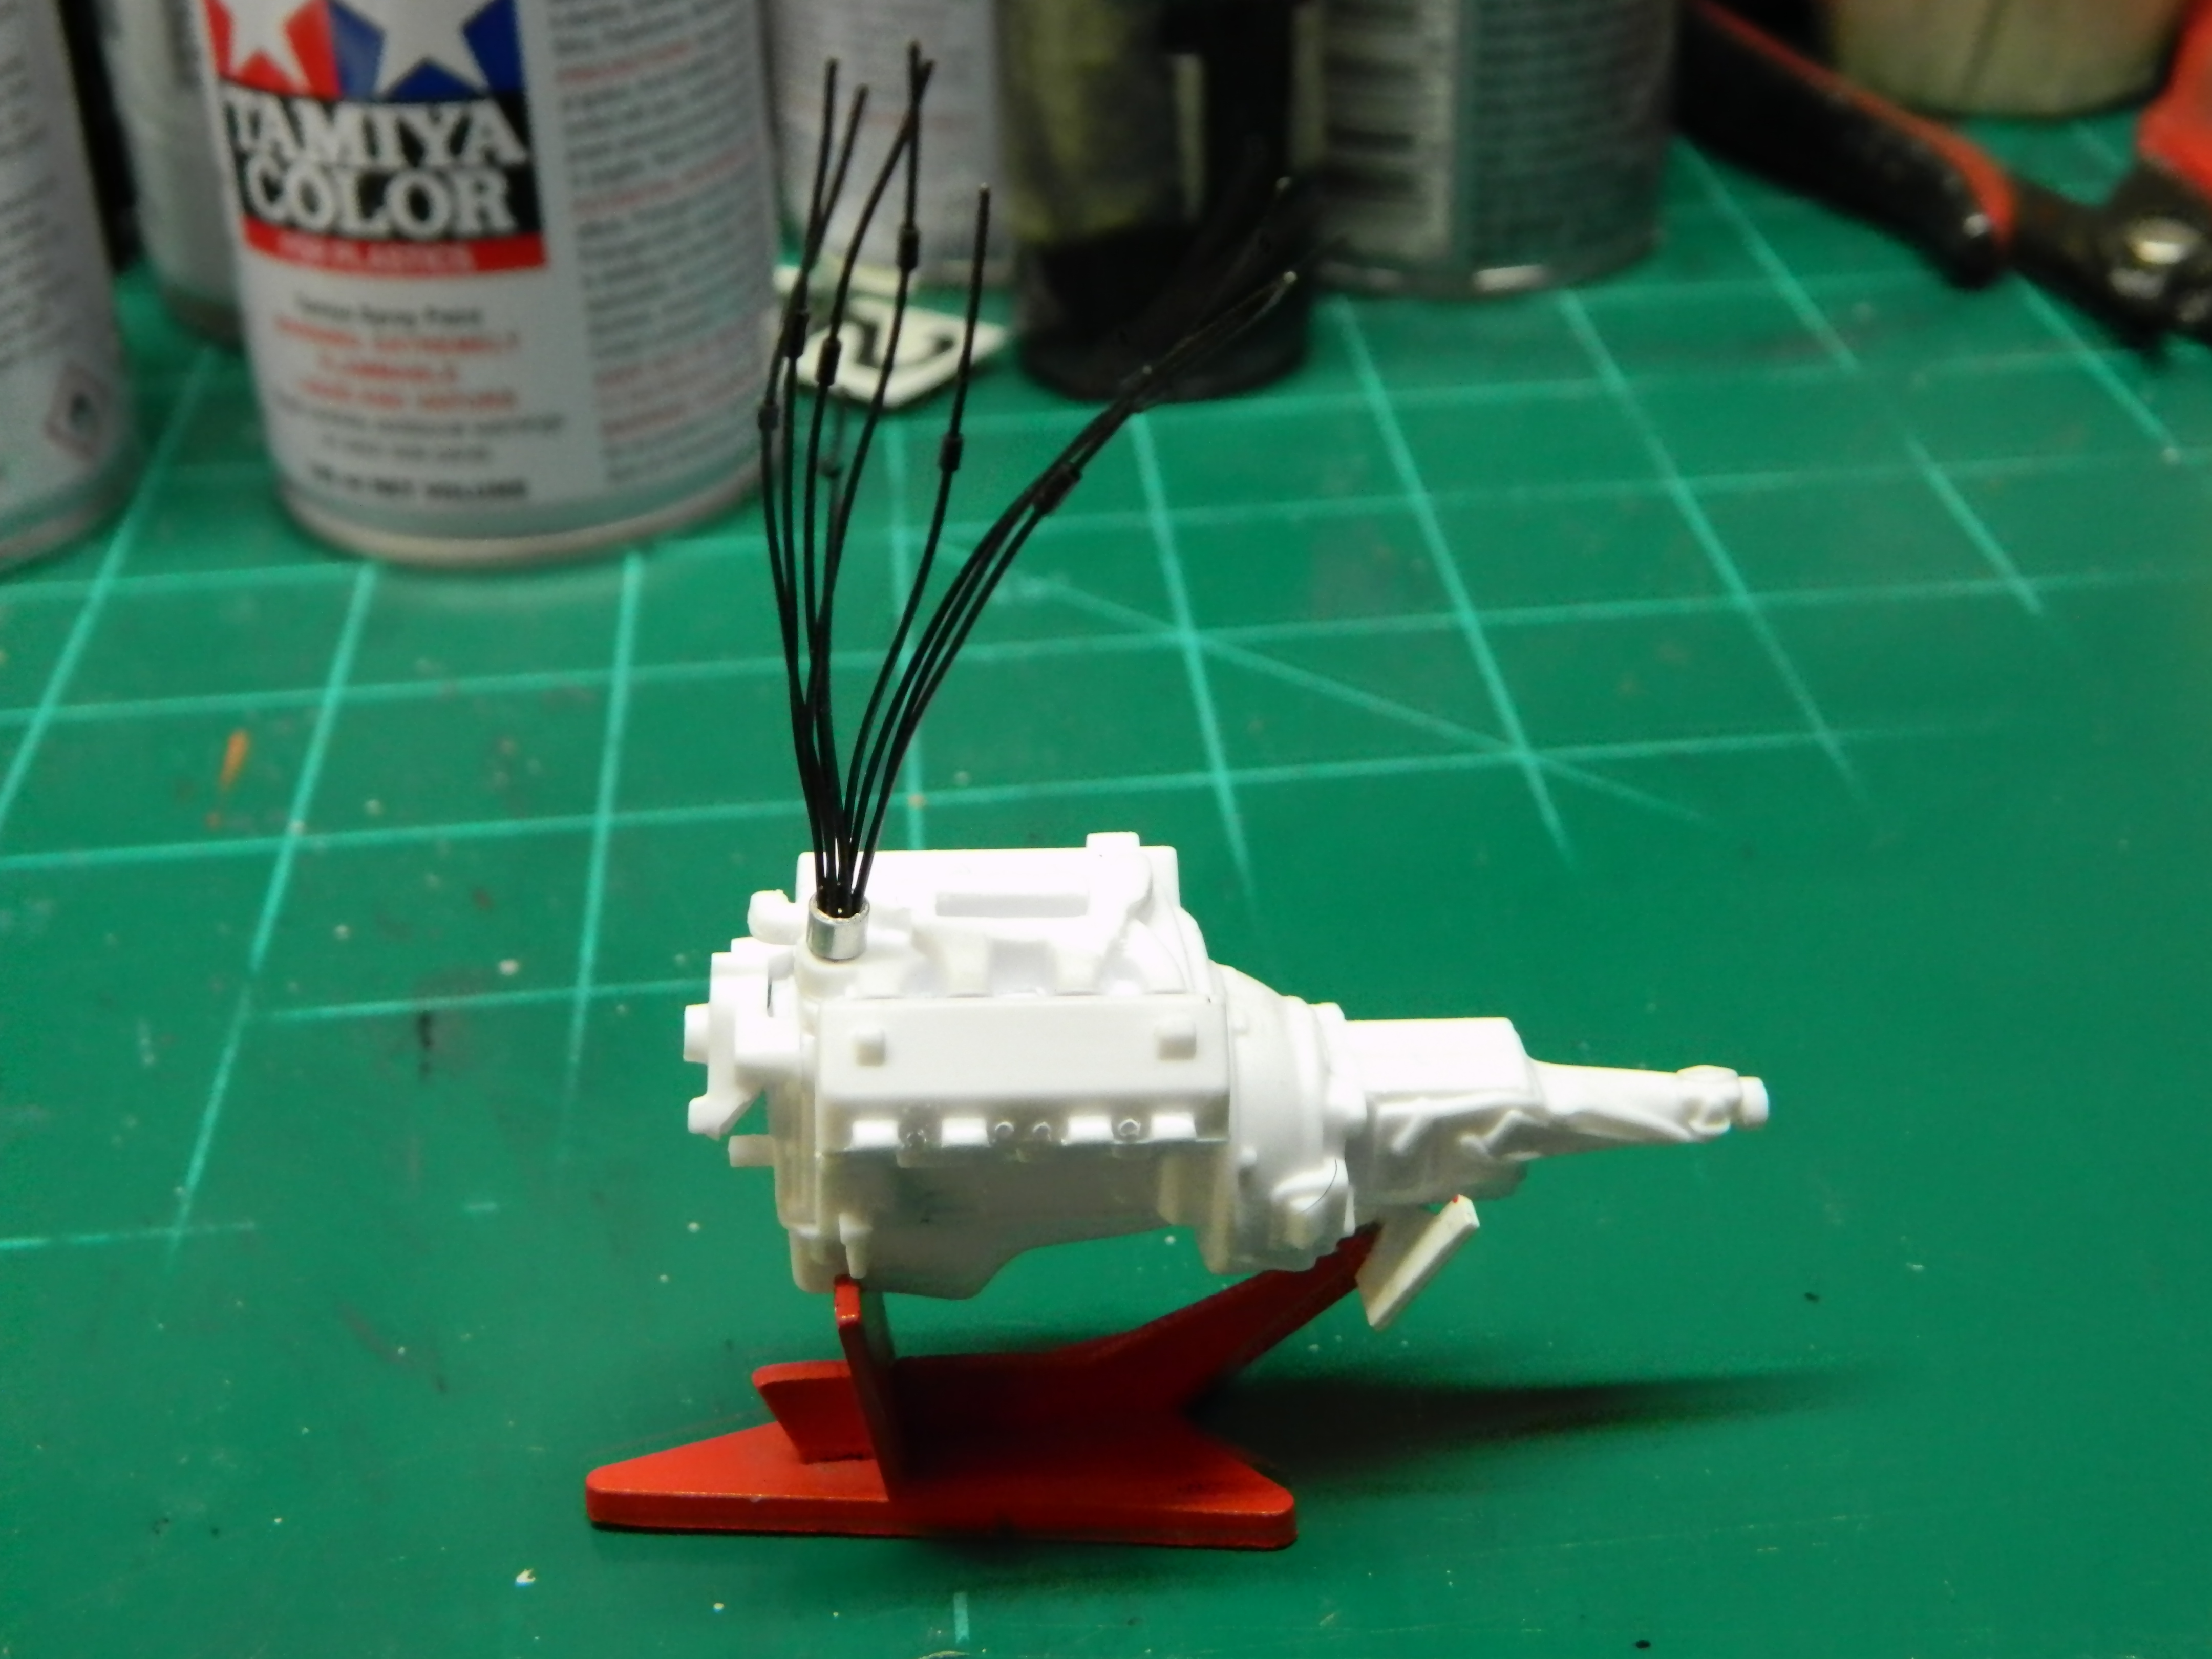
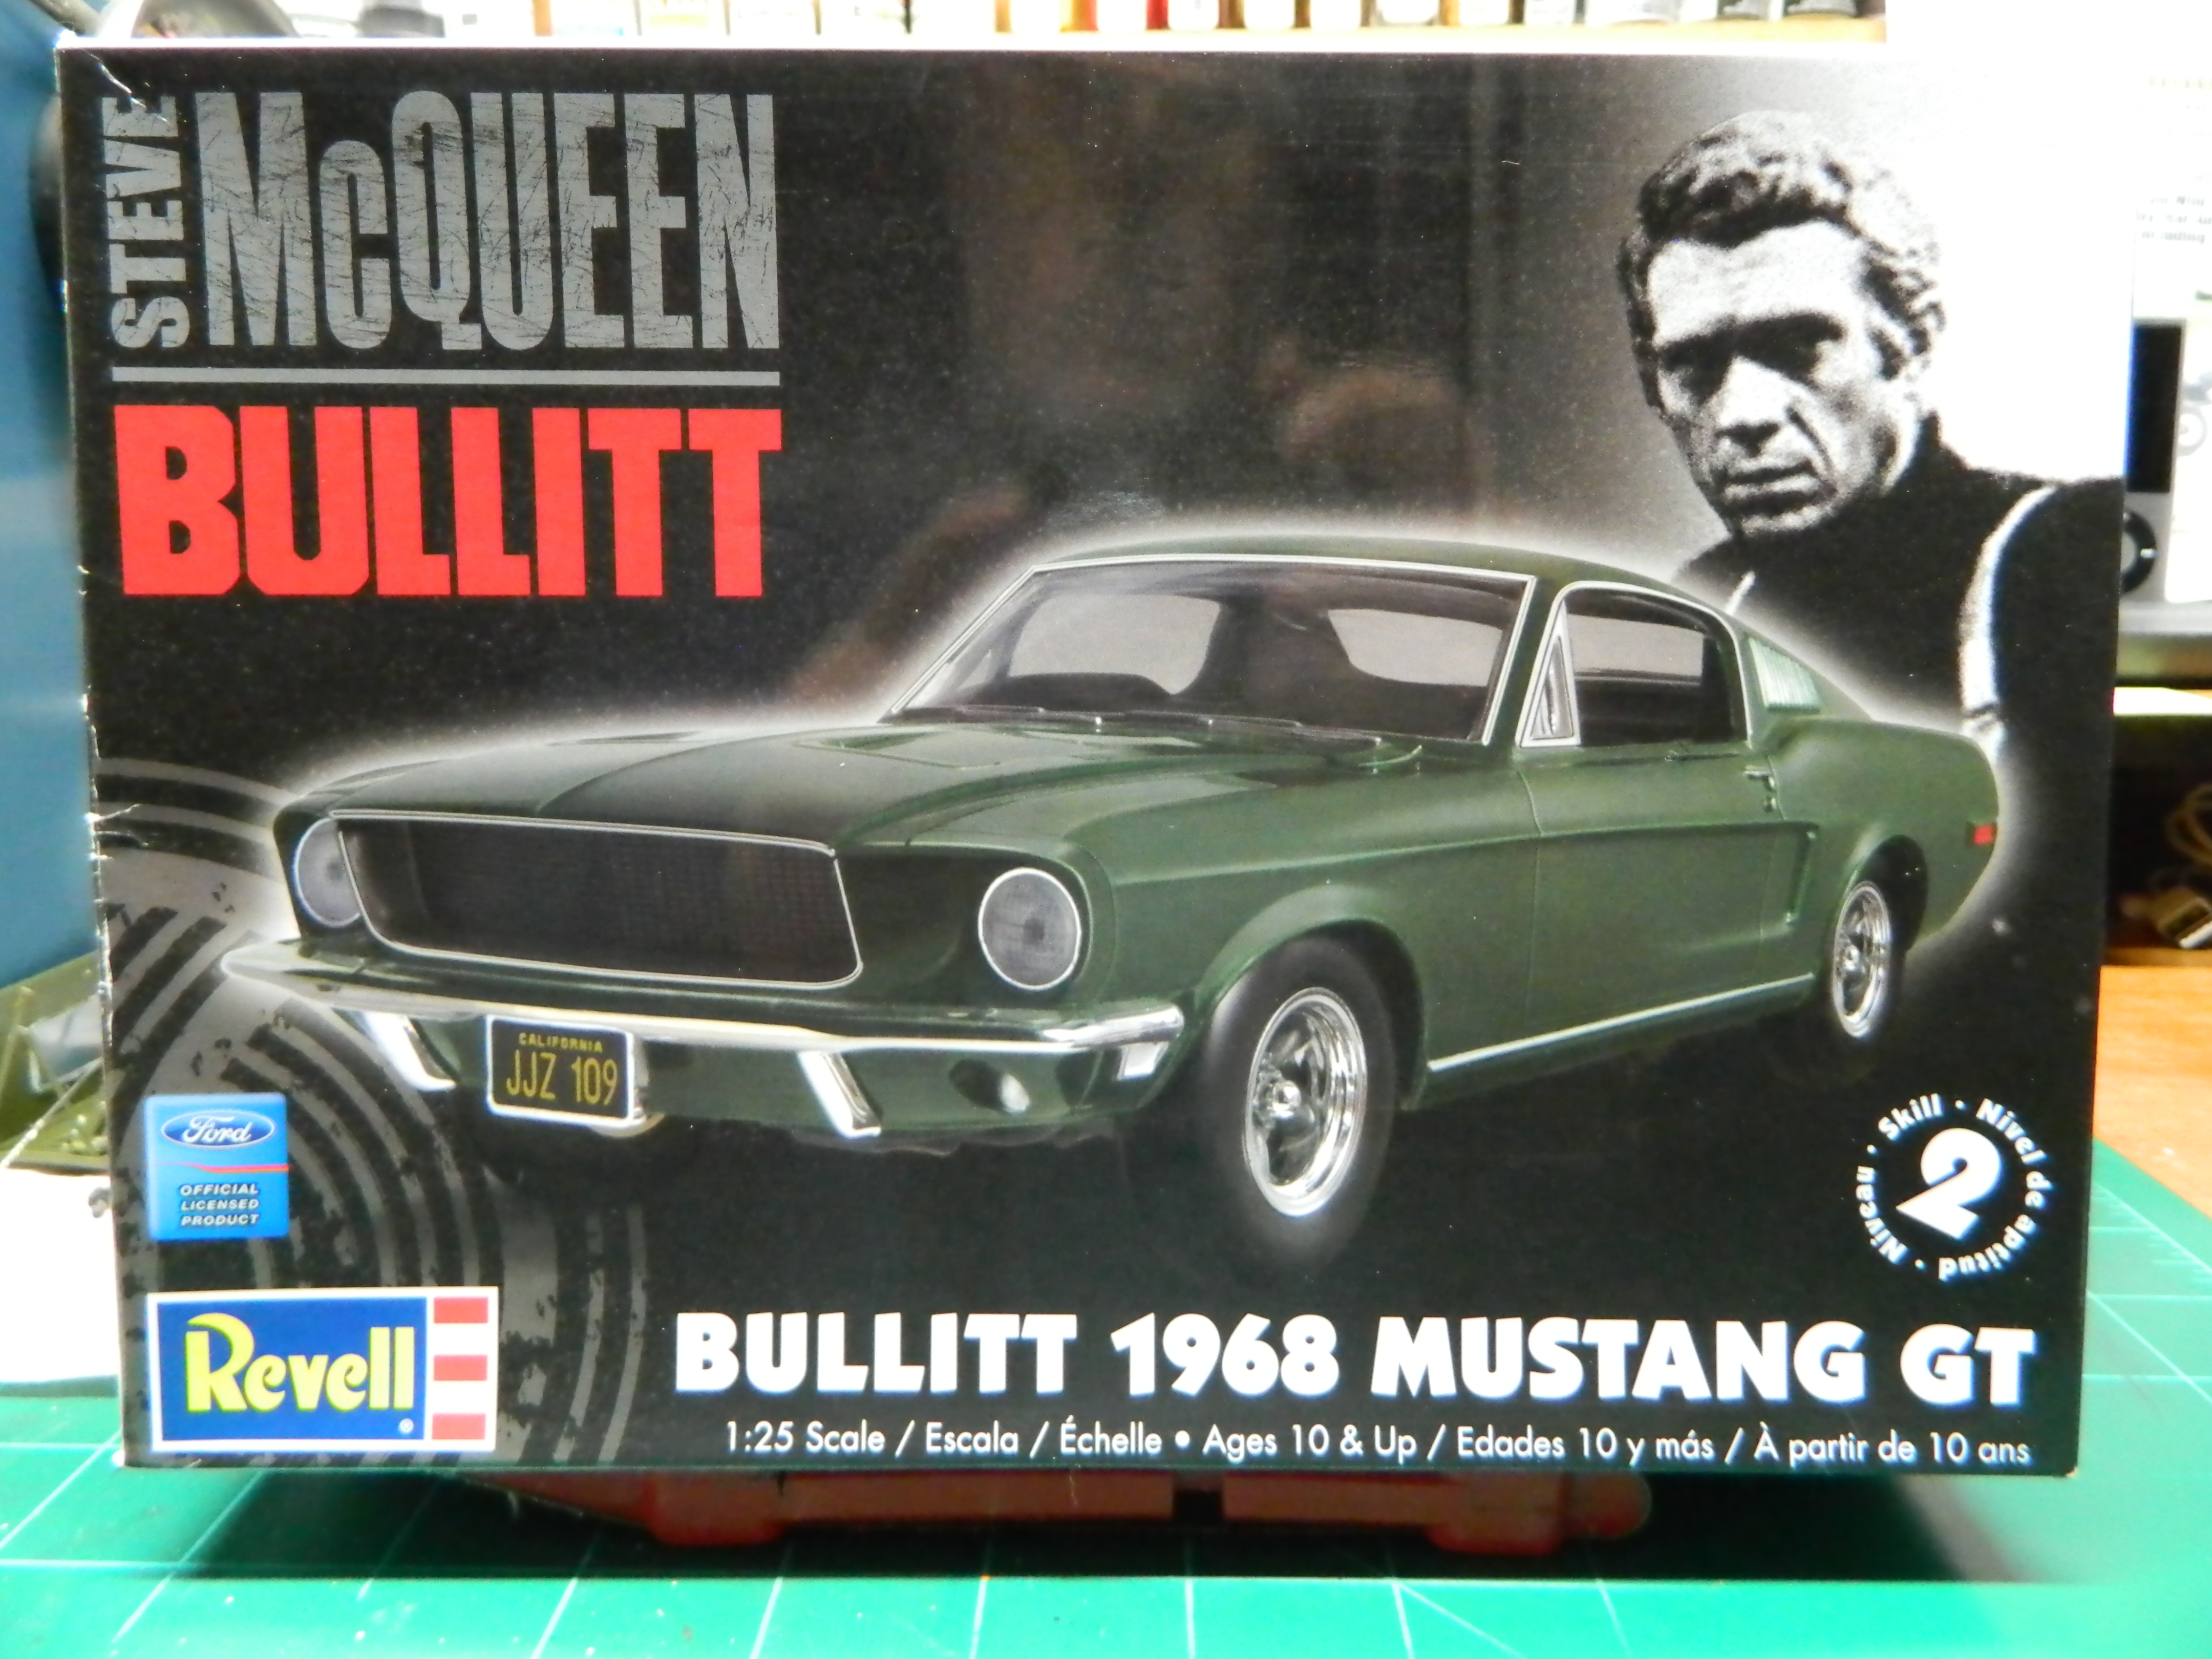
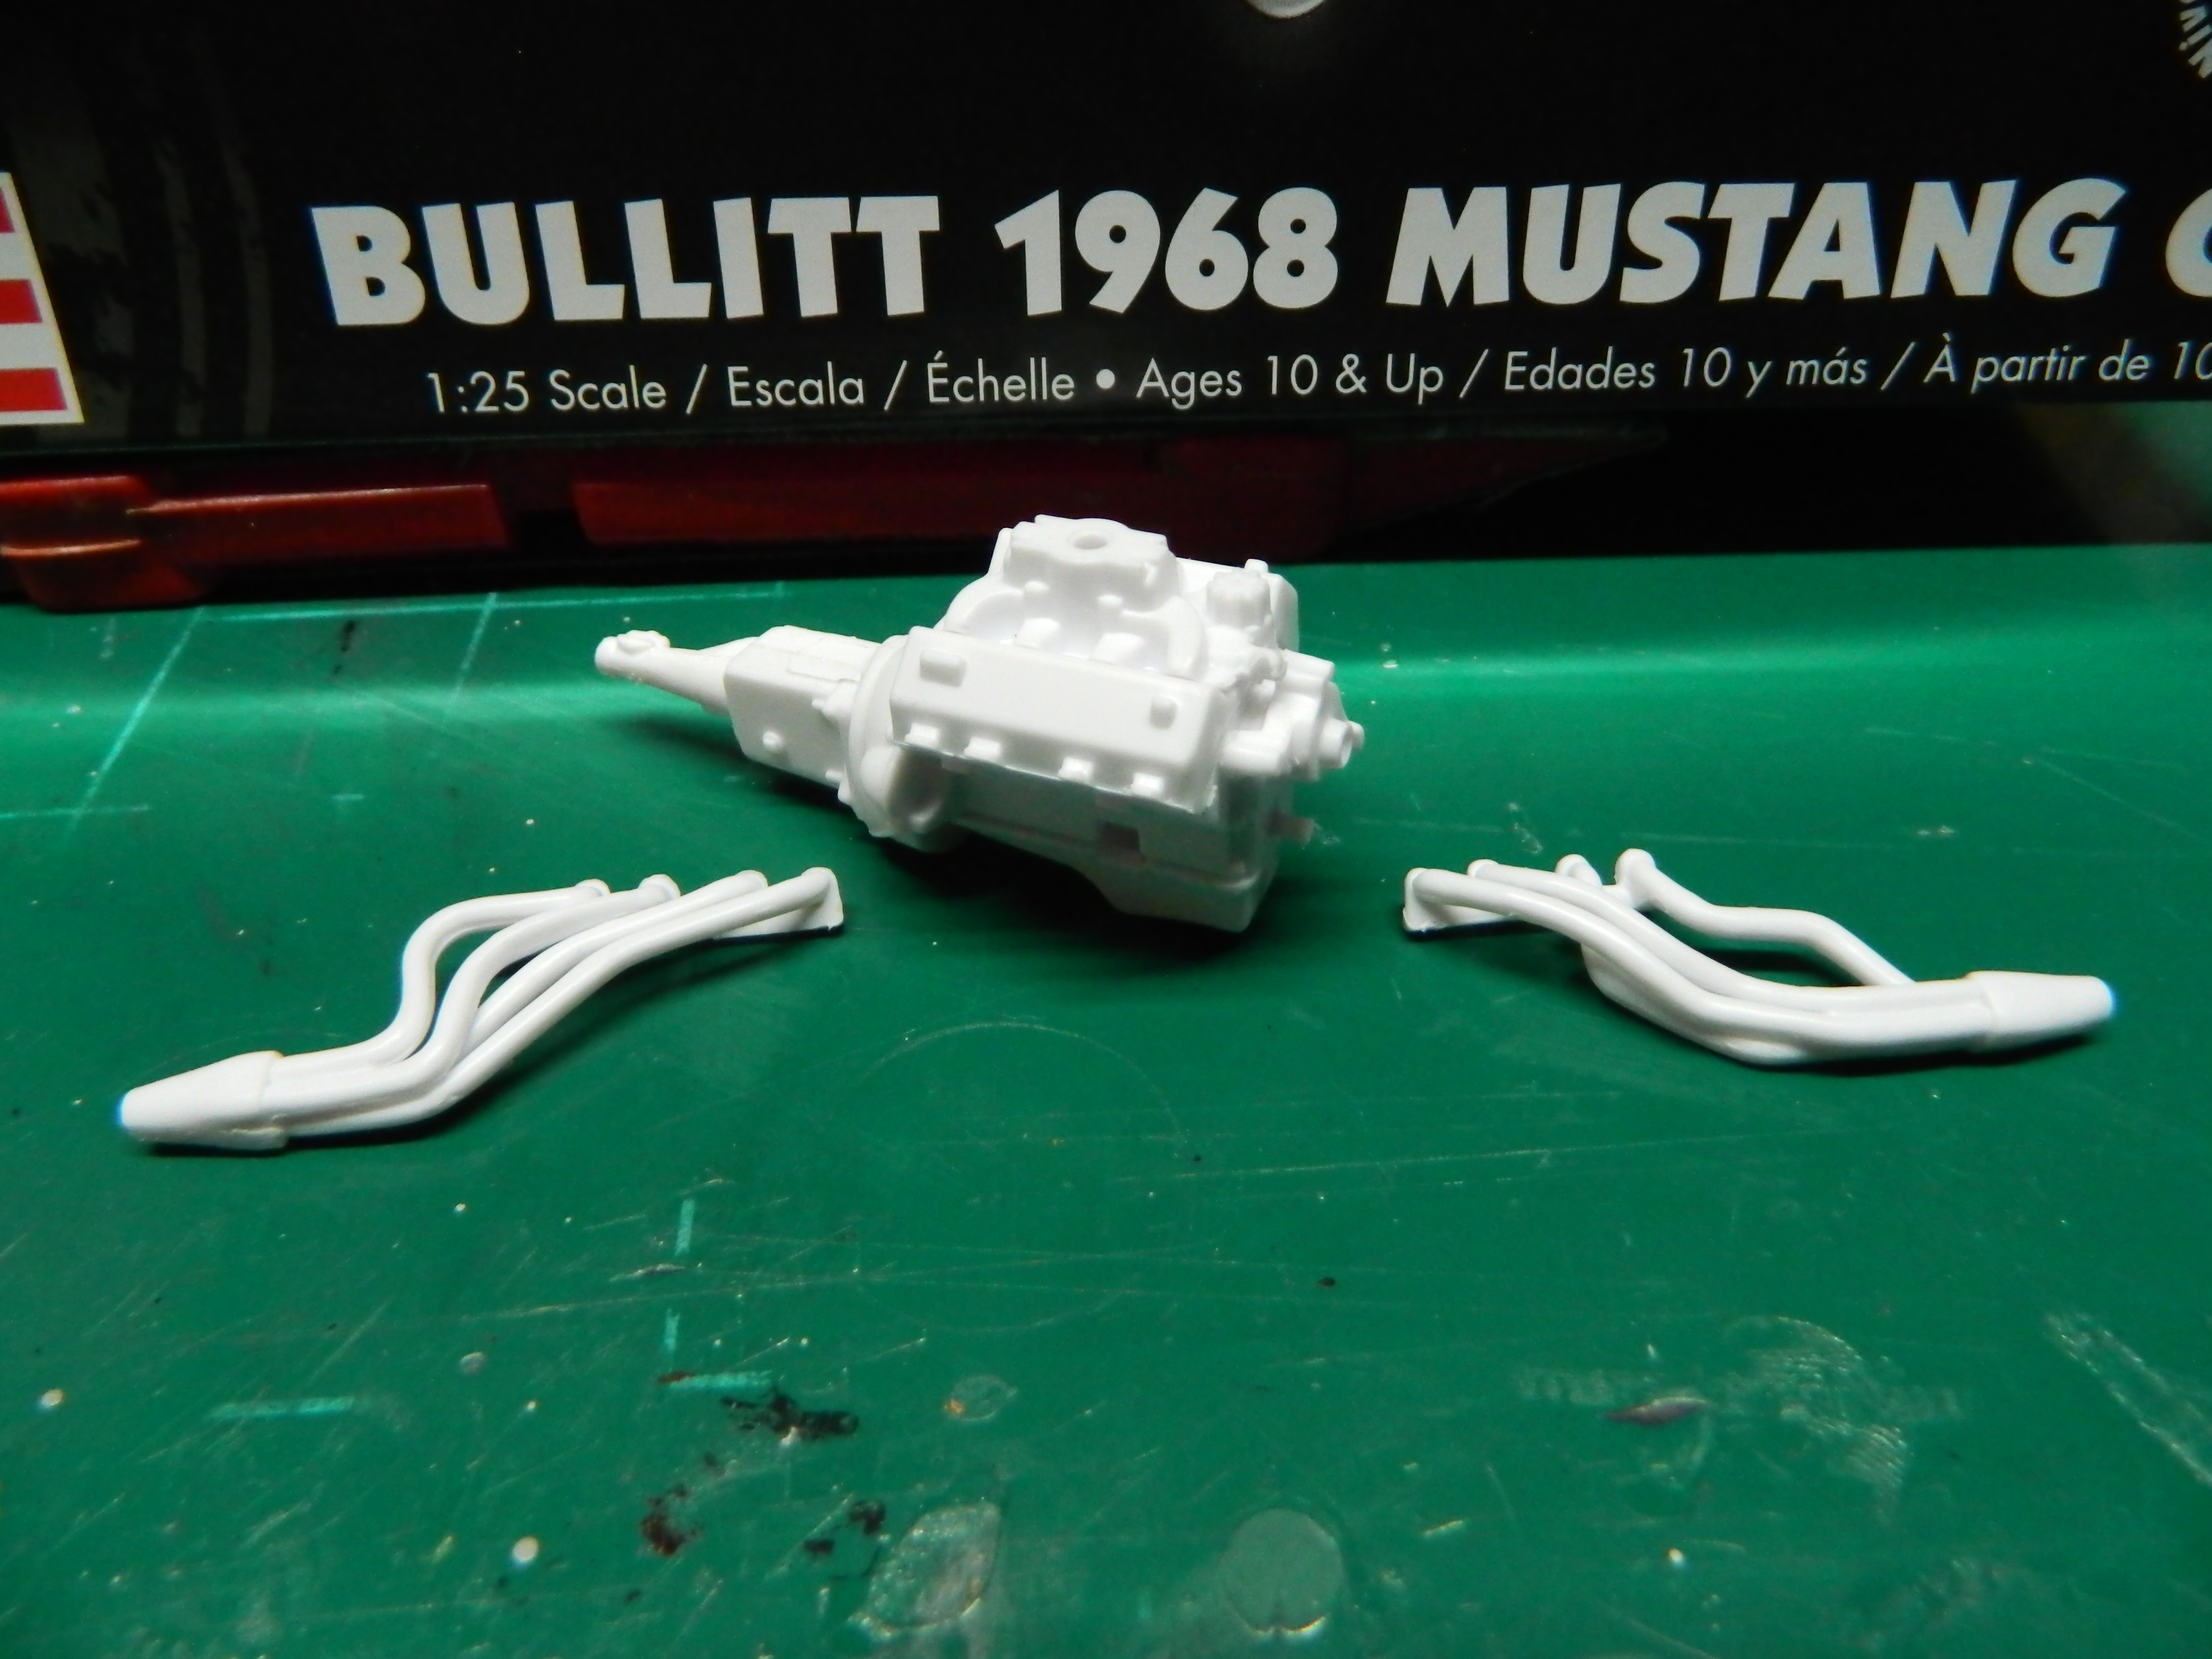
I have had this kit in the stash for some time now and with the recent articles about the Bullitt Mustang now in print and the hero car being found on the East Coast as well as the jump car being found in Mexico, I was influenced to build mine now. I am starting with the Revell Bullitt 1968 Mustang GT kit 85-4233. I also have the '68 Mustang GT kit 85-4215 that I will use the Cobra Jet headers from. I will be following the build by Marcos Cruz for mine. I will eliminate the metal axles from this kit, close the gap in the engine bay to the front fenders, and try to find a close paint color match. I started assembling the engine and the headers. I'll wire the engine and I'll rummage through my parts box for a separate carb and an open element air cleaner. And, I am done...not! This is a diecast Revell Bullitt Mustang that I built many years ago. This came from the same molds that Revell used for the plastic version that I am about to build. As the market changed, Revell converted many of their diecast molds to plastic and this is one of them. The only change I can find is to the dash. The current version has two gauges mounted under the dash and my diecast version does not have them. I'm surprised that no one has built a '68 Charger R/T from the Revell '68 Charger kit and yes, I have the diecast version of that car, too! More to come...
-
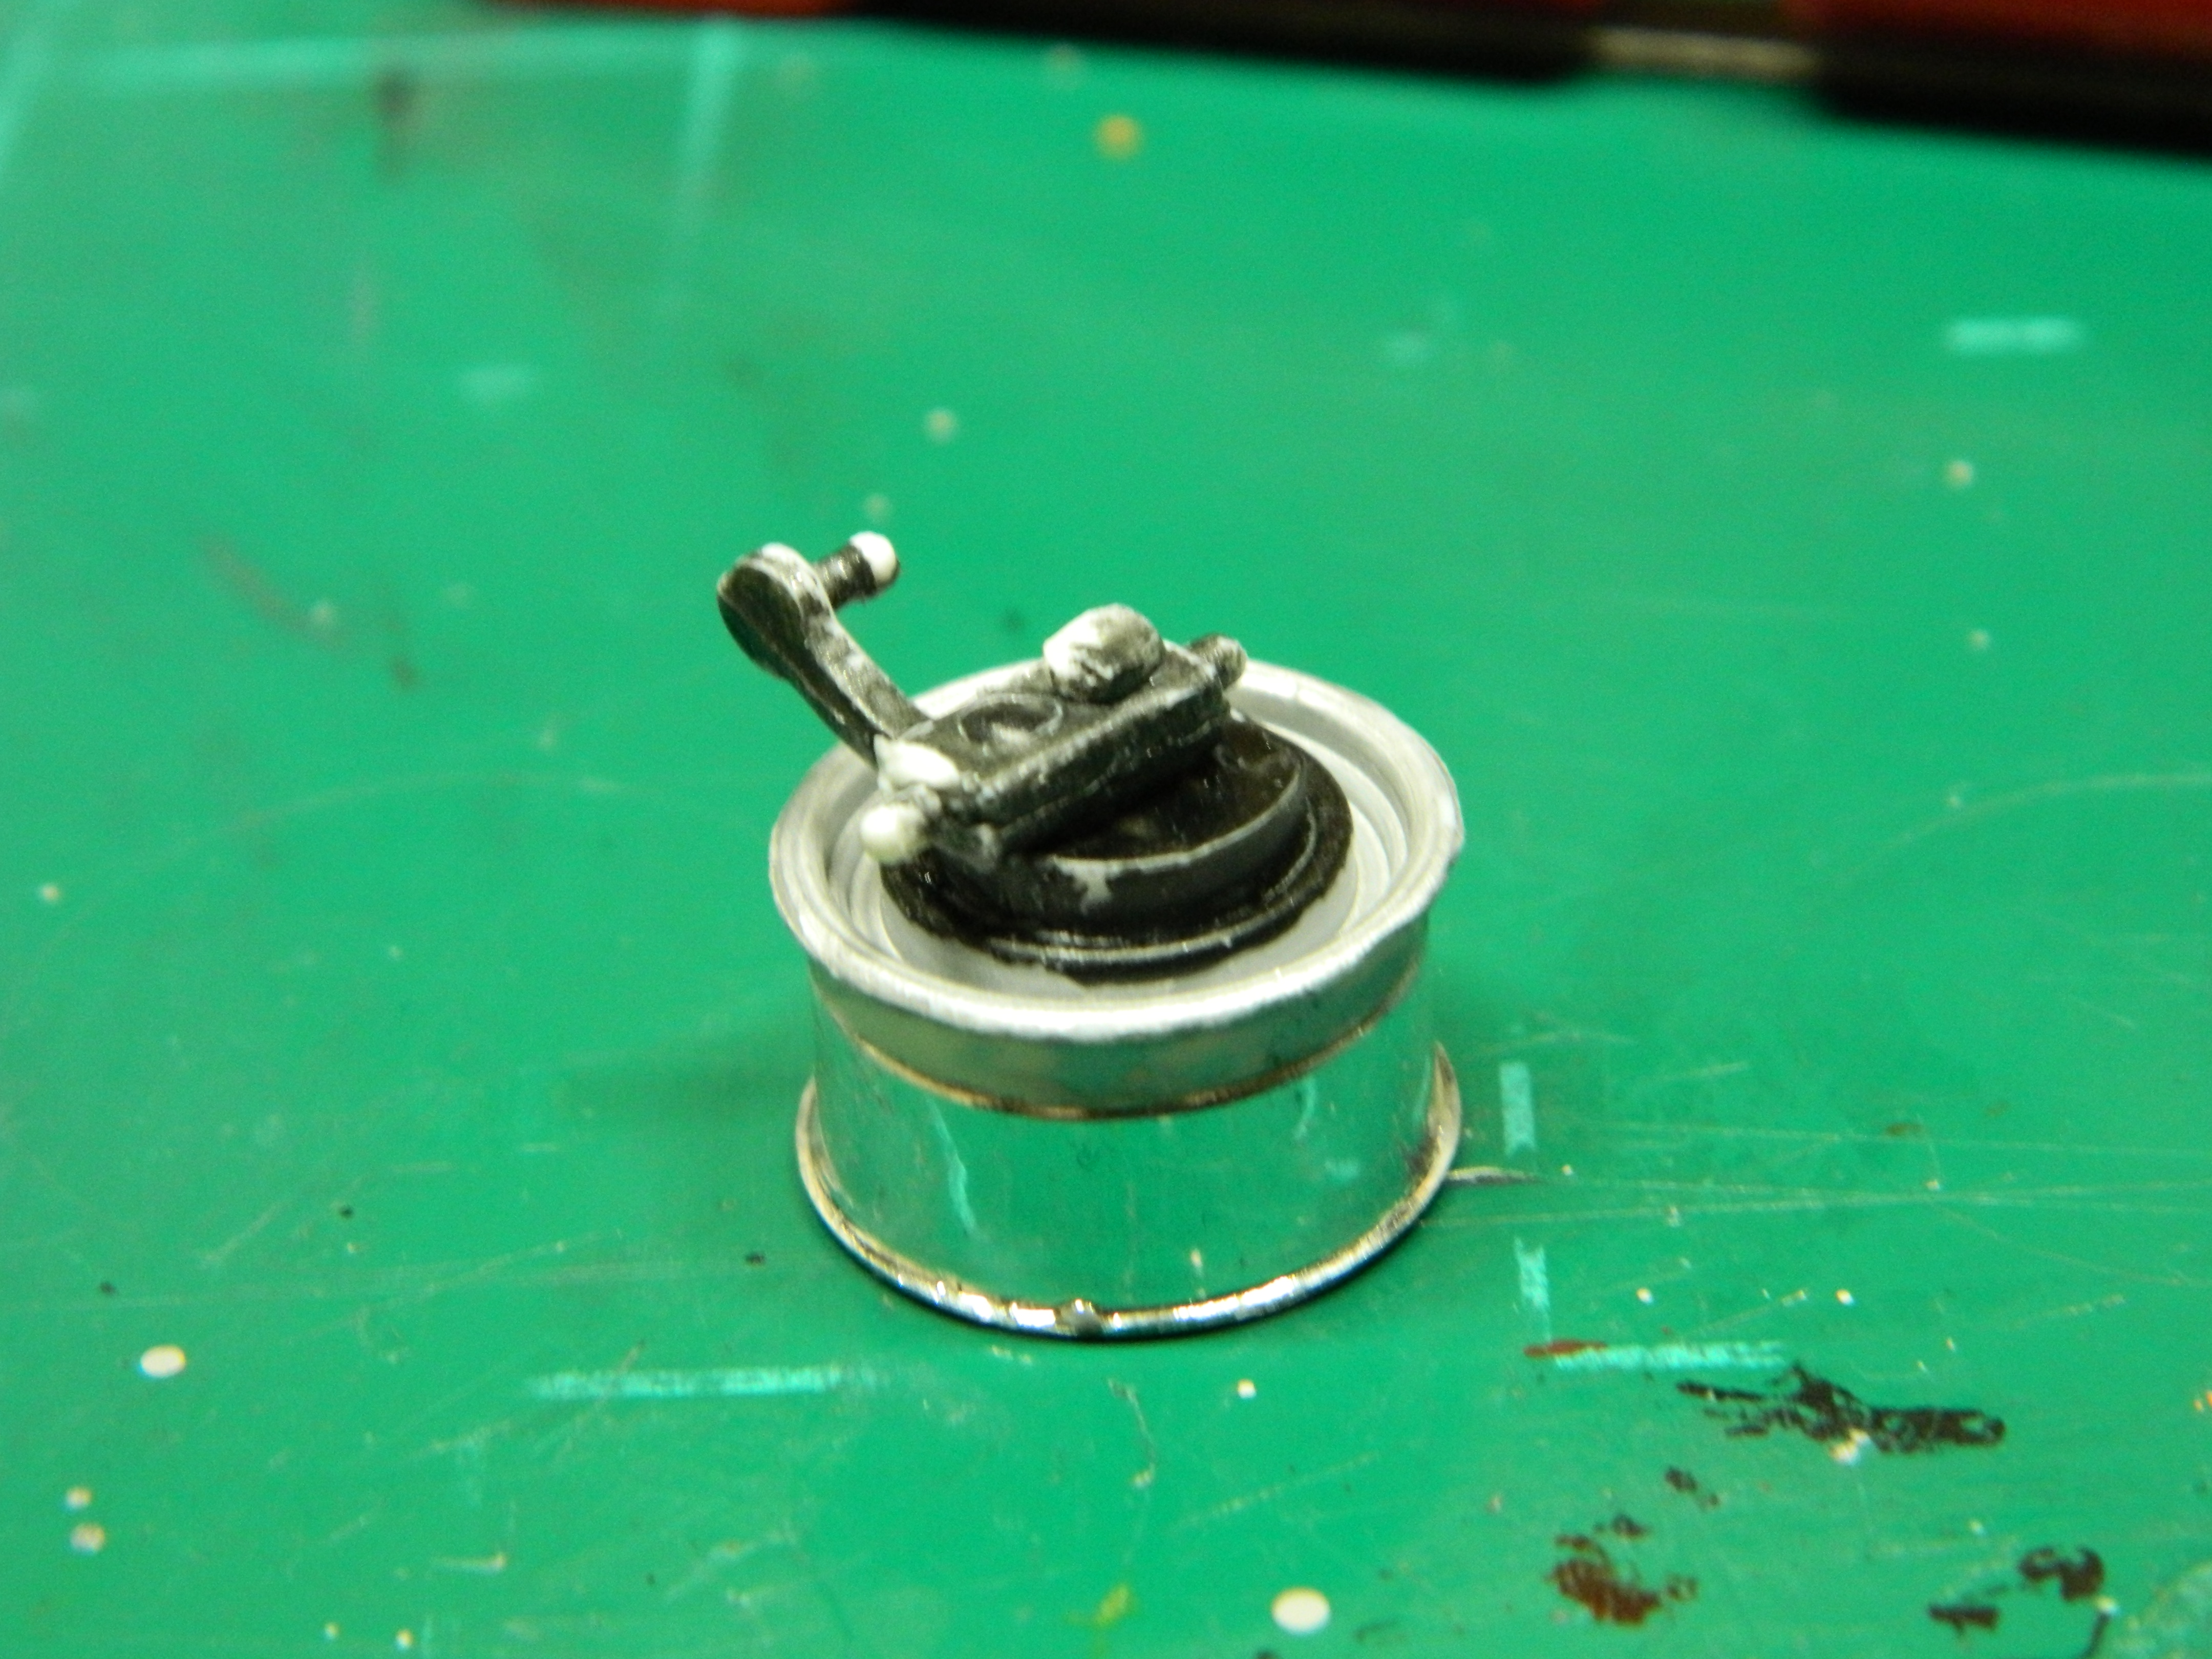
Well, the repair of squeezing the front tires towards each other didn't work. I used a pair of small needle nose pliers and gently bent the spindle arms towards the frame, effectively lengthening the tie rod. But, this lead me to discover another problem. The lower A-arm assembly was molded wrong and the left front wheel is canted. I have an idea on how to fix it, but requires taking the front suspension apart, which I don't want to do. I may just leave it. More to come...
-
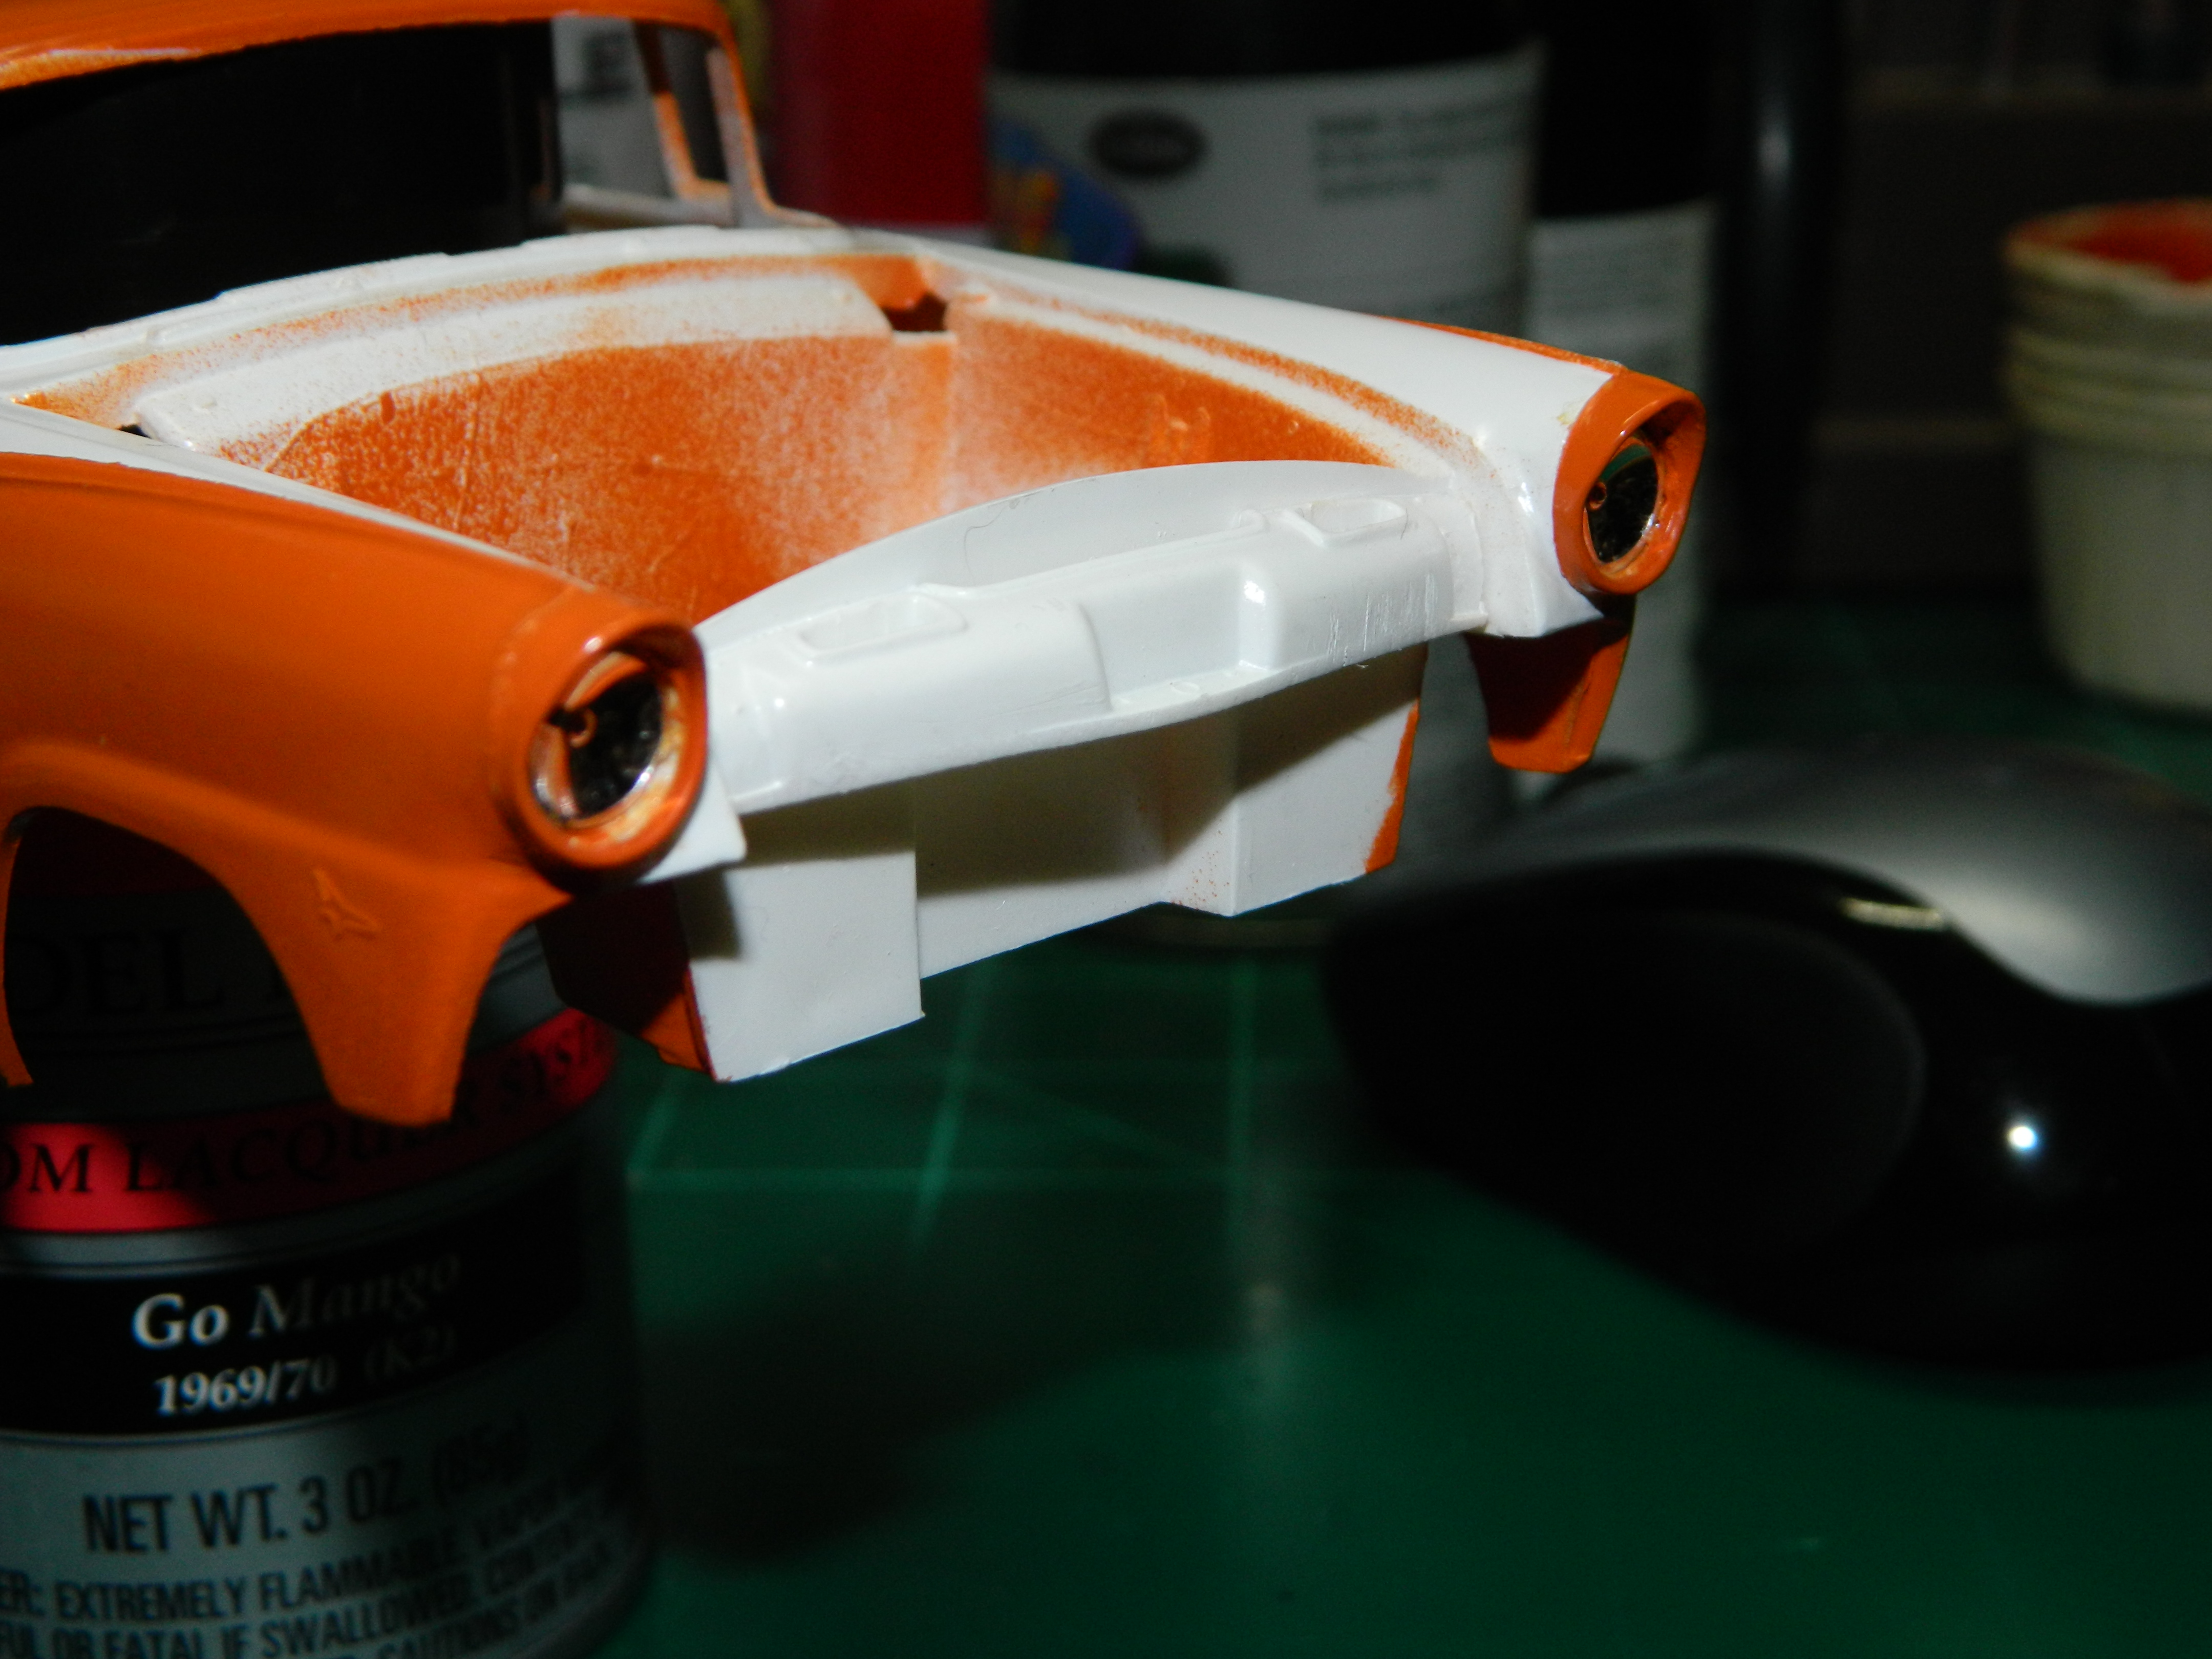
I decided to pull out the '56 Fairlane today to work on it a little bit. I added the reflectors and the headlight shrouds and then I notice the paint didn't match. I sprayed some paint into a cup and with a brush, I painted the shrouds. I took the chassis out of the box and placed it on the desk and noticed that the wheels were facing in different directions. The tie rod seems to be pulling the front wheels in different directions and I really don't want to tear the suspension apart to make any corrections. I used one of my large clamps to squeeze the wheels together and I'll leave this overnight. If this doesn't work, I'll have to take the suspension apart and fix it. More to come...
-
Tamiya paint stands...
mrmike replied to ScaleAsylum's topic in General Automotive Talk (Trucks and Cars)
Be sure to use a short self-taping screw so the turnstile in the center can still turn freely. You just want the top and the lower section to be joined together.
-
Tamiya paint stands...
mrmike replied to ScaleAsylum's topic in General Automotive Talk (Trucks and Cars)
When I had the tops come off my paint stands, I grabbed my drill and drilled a couple of holes for two self tapping screws in the tops and the bases. -
Thank you Cliff!
-
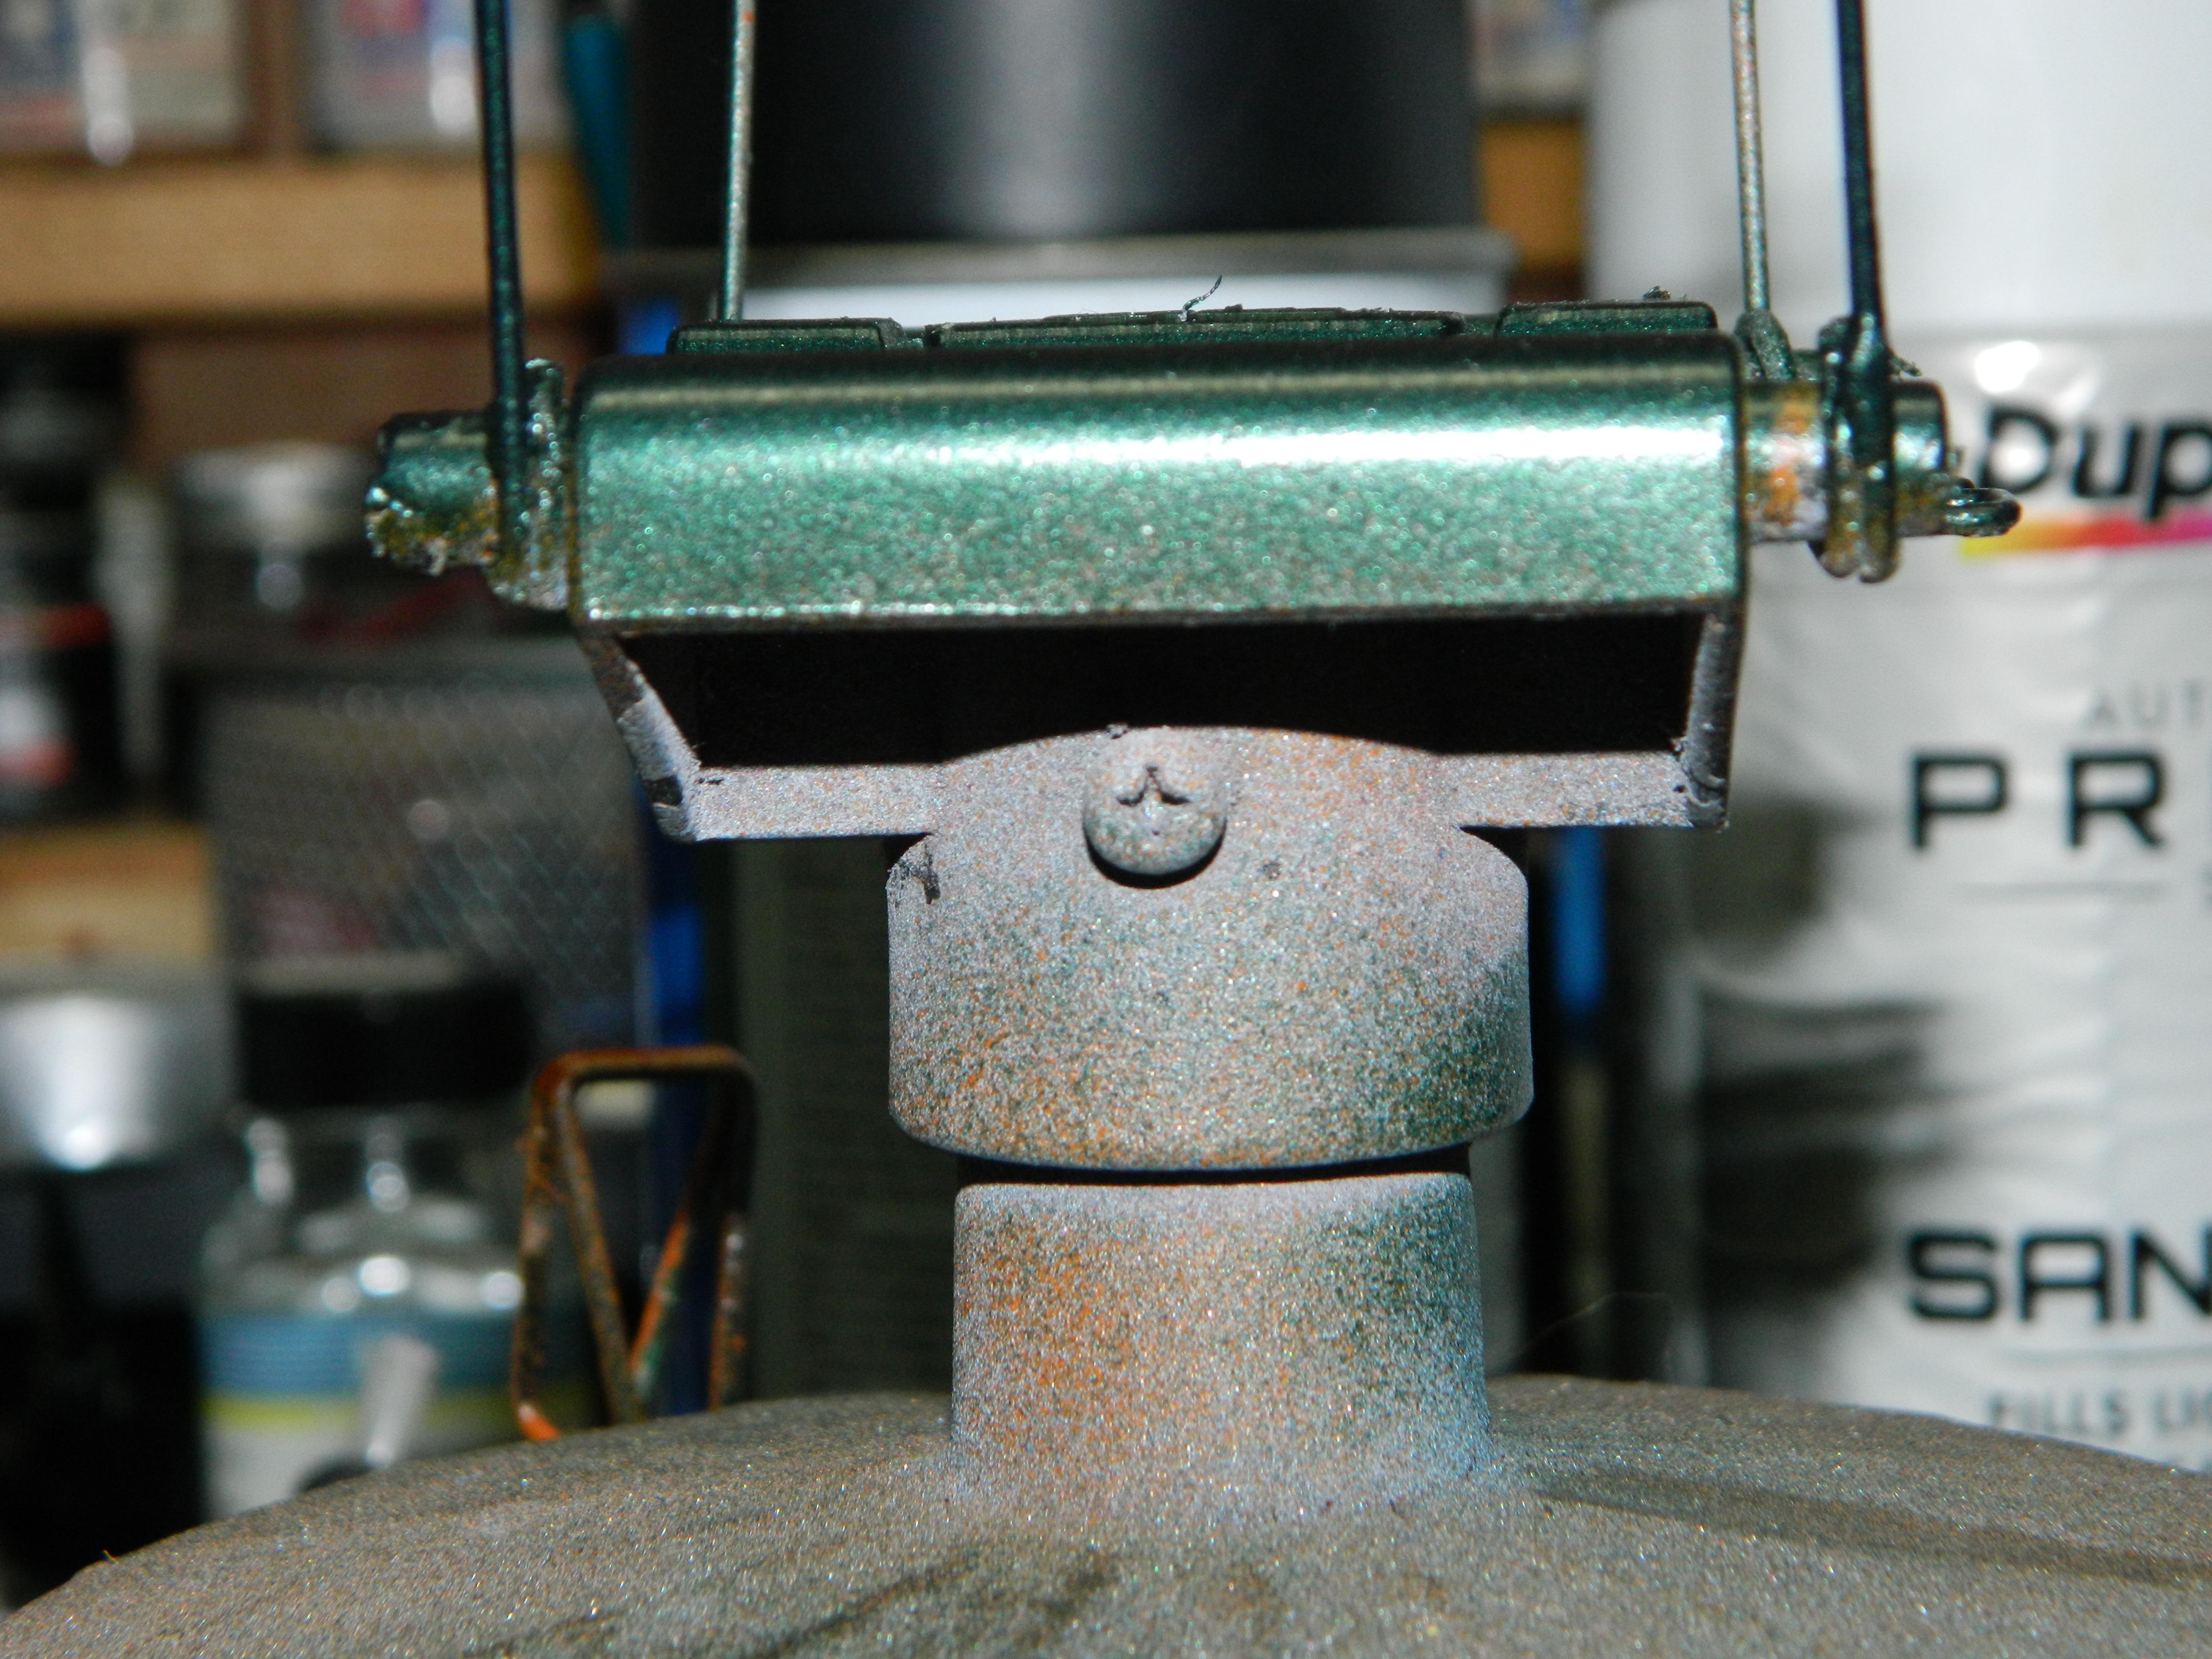
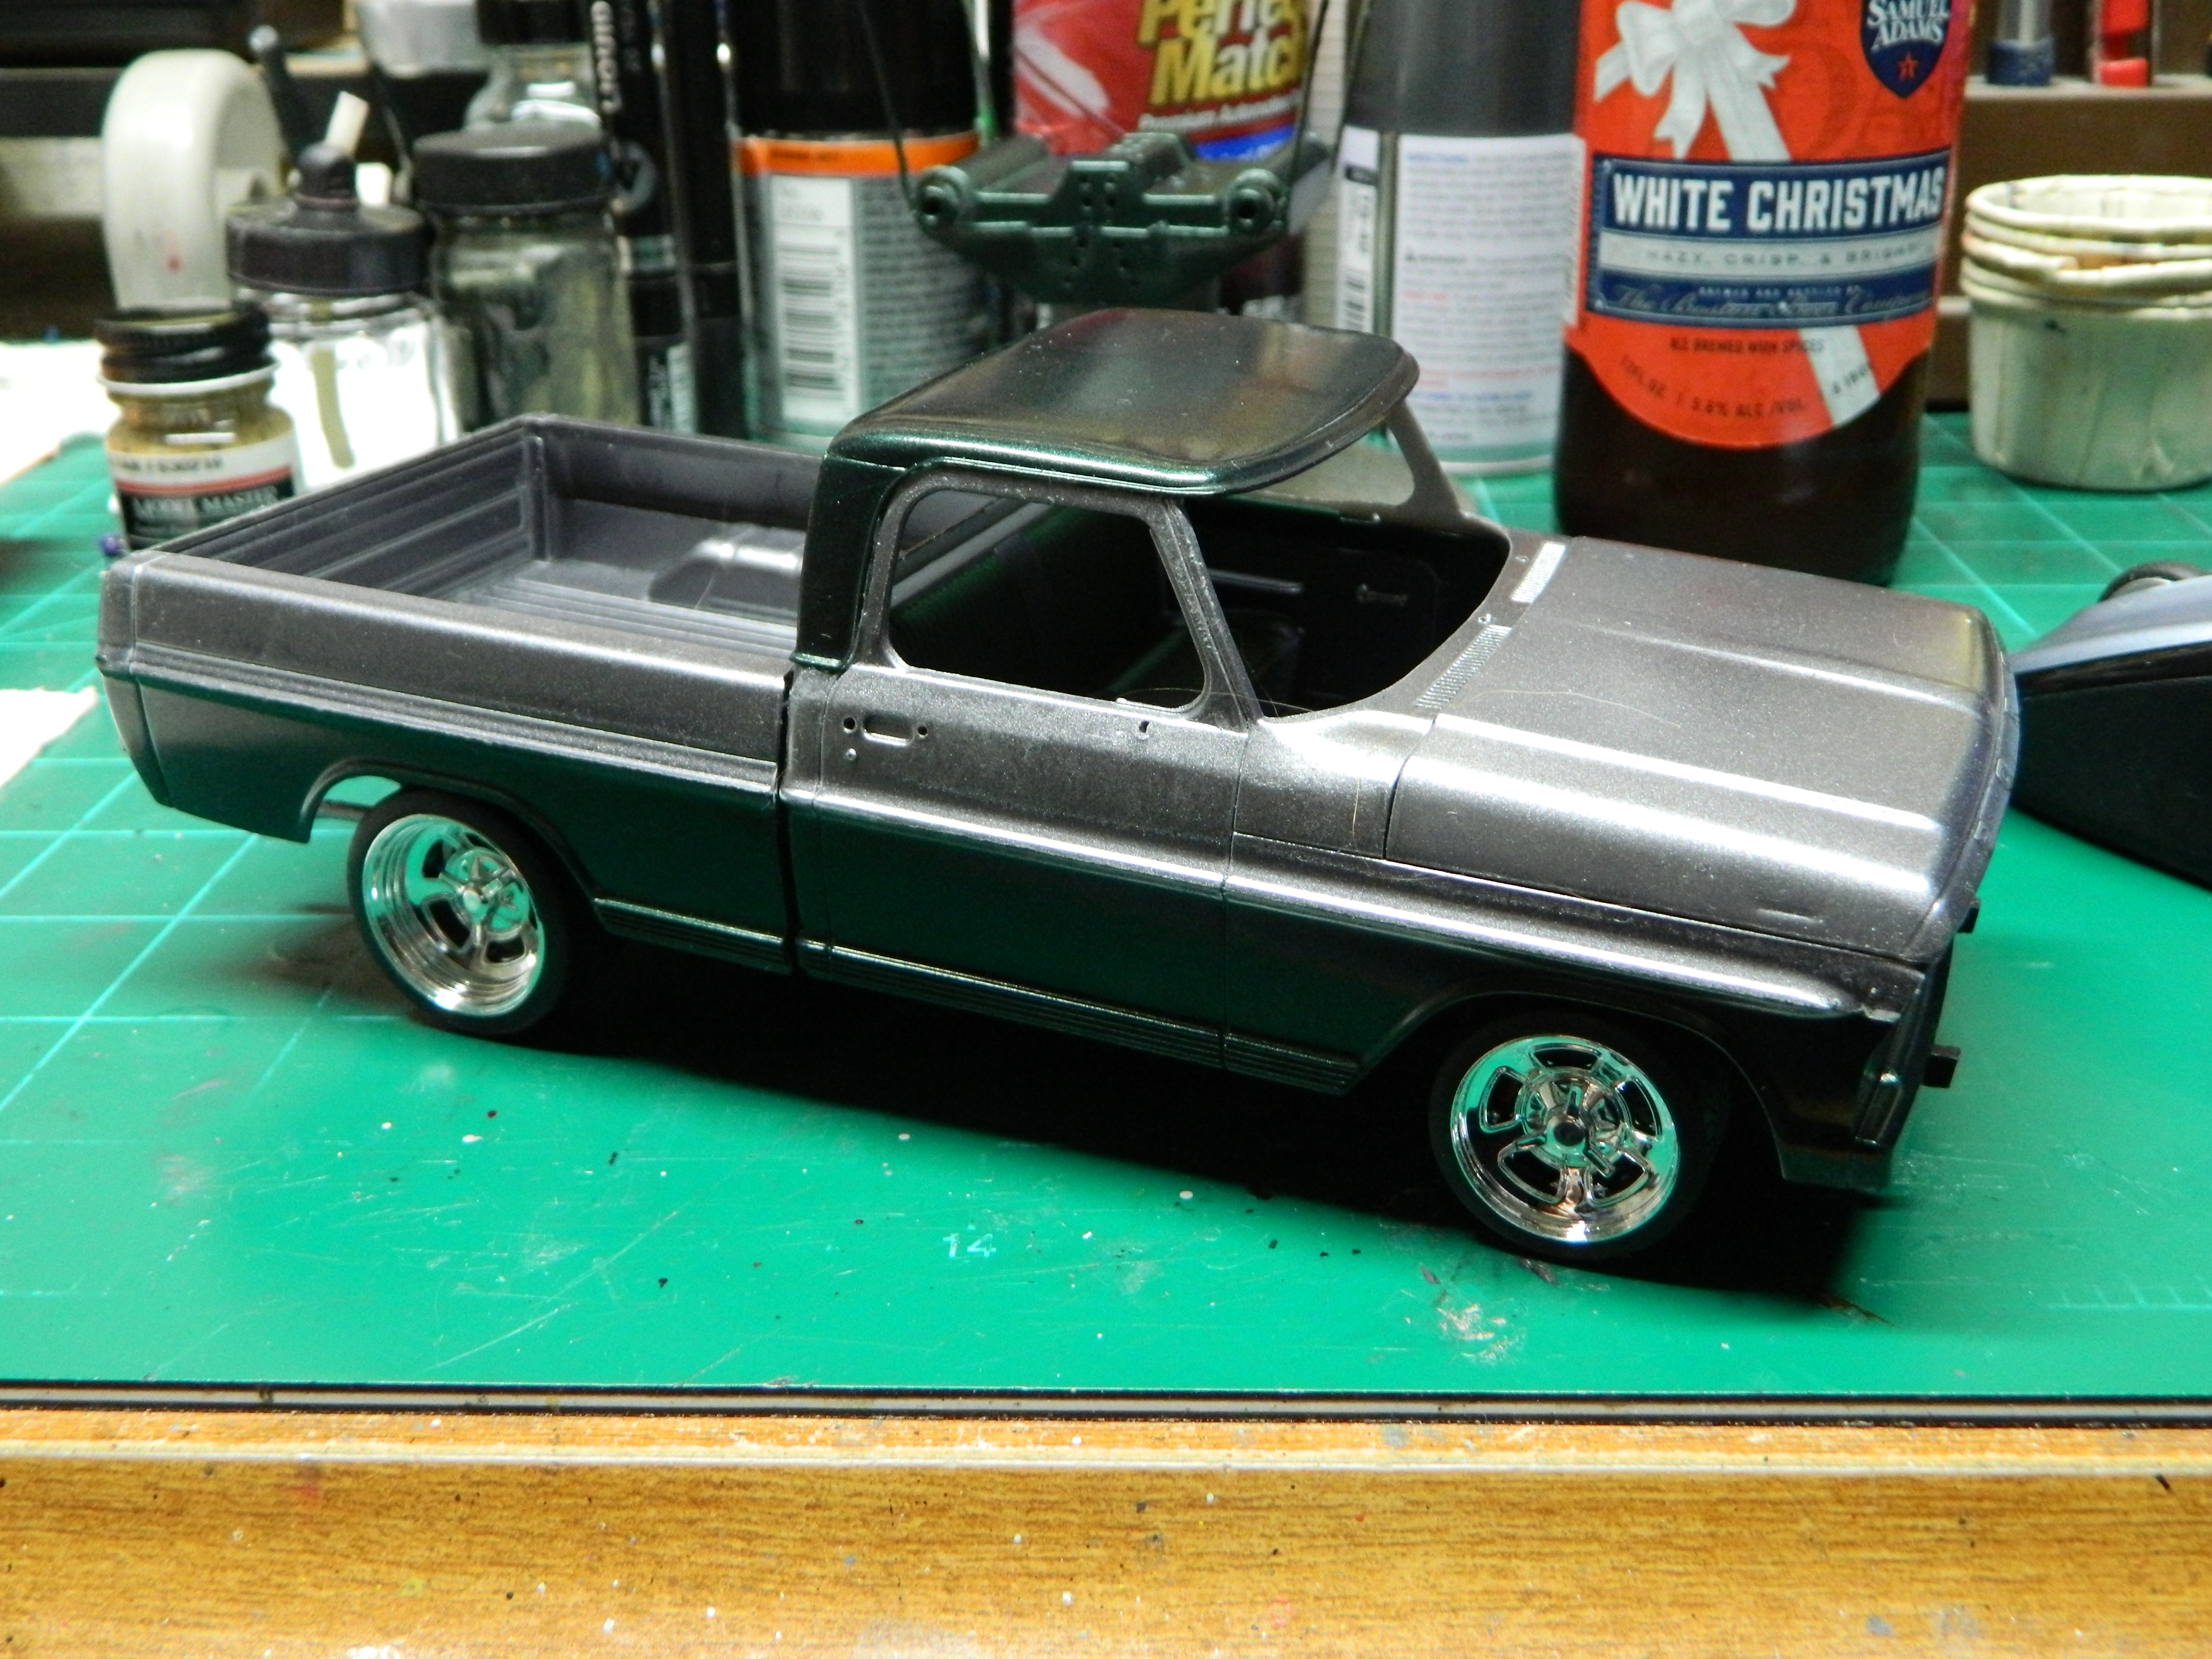
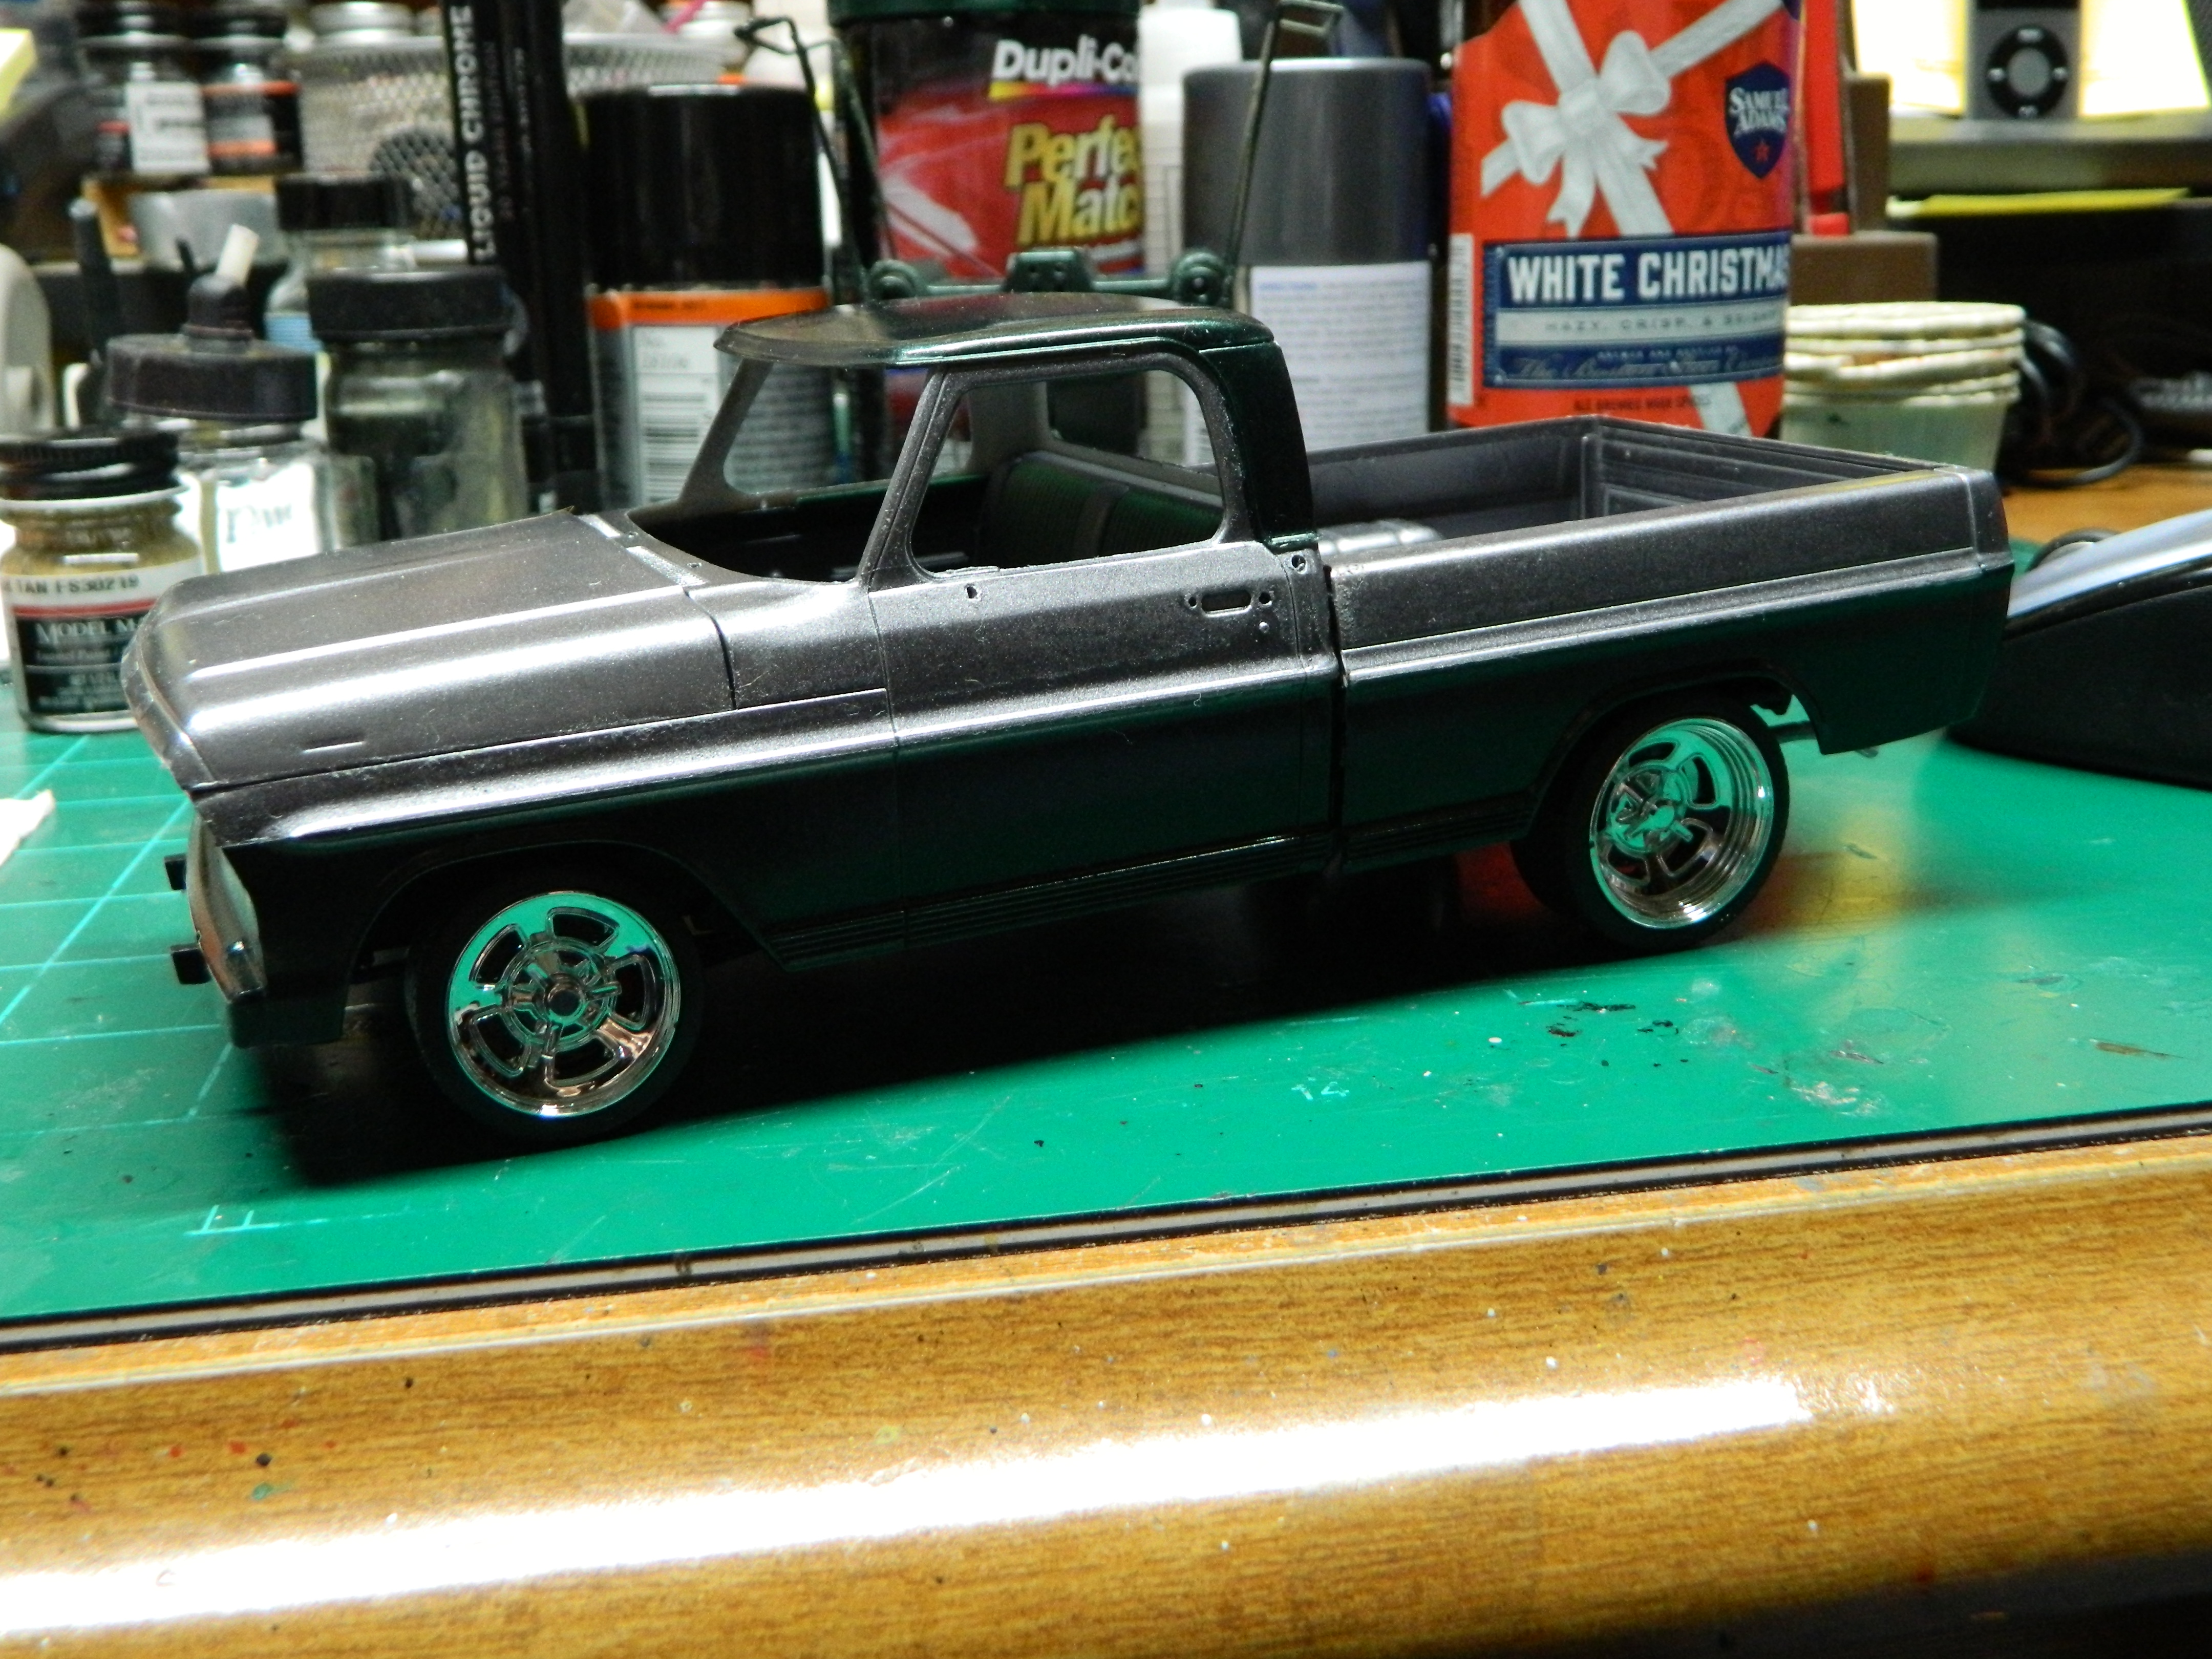
I fired up the paintbooth this morning and added another coat of Dupli-Color Forest Green Pearl to the roof. Because of the humidity, the paint blushed on part of the roof, but that polished out by rubbing a terrycloth towel on it. The join line on the roof is barely visible, but once I add several coats of gloss clear to the body, it'll probably come back. When you consider all the problems I have had with these Moebius kits, I don't think I'll be buying anymore. I do have other Moebius kits in the stash, but I'll build them when I want to and it'll be a while before I do. Moebius has a long way to go before they can be considered a good kit manufacturer by me. Right now, they are way down on the list! I removed the tape and mockup the body with the interior, chassis, and bed. Looks good so far, but it has been a lot of extra work! More to come...
-
Thank you, Joe!