mrmike
-
Posts
5,326 -
Joined
-
Last visited
Content Type
Profiles
Forums
Events
Gallery
Everything posted by mrmike
-
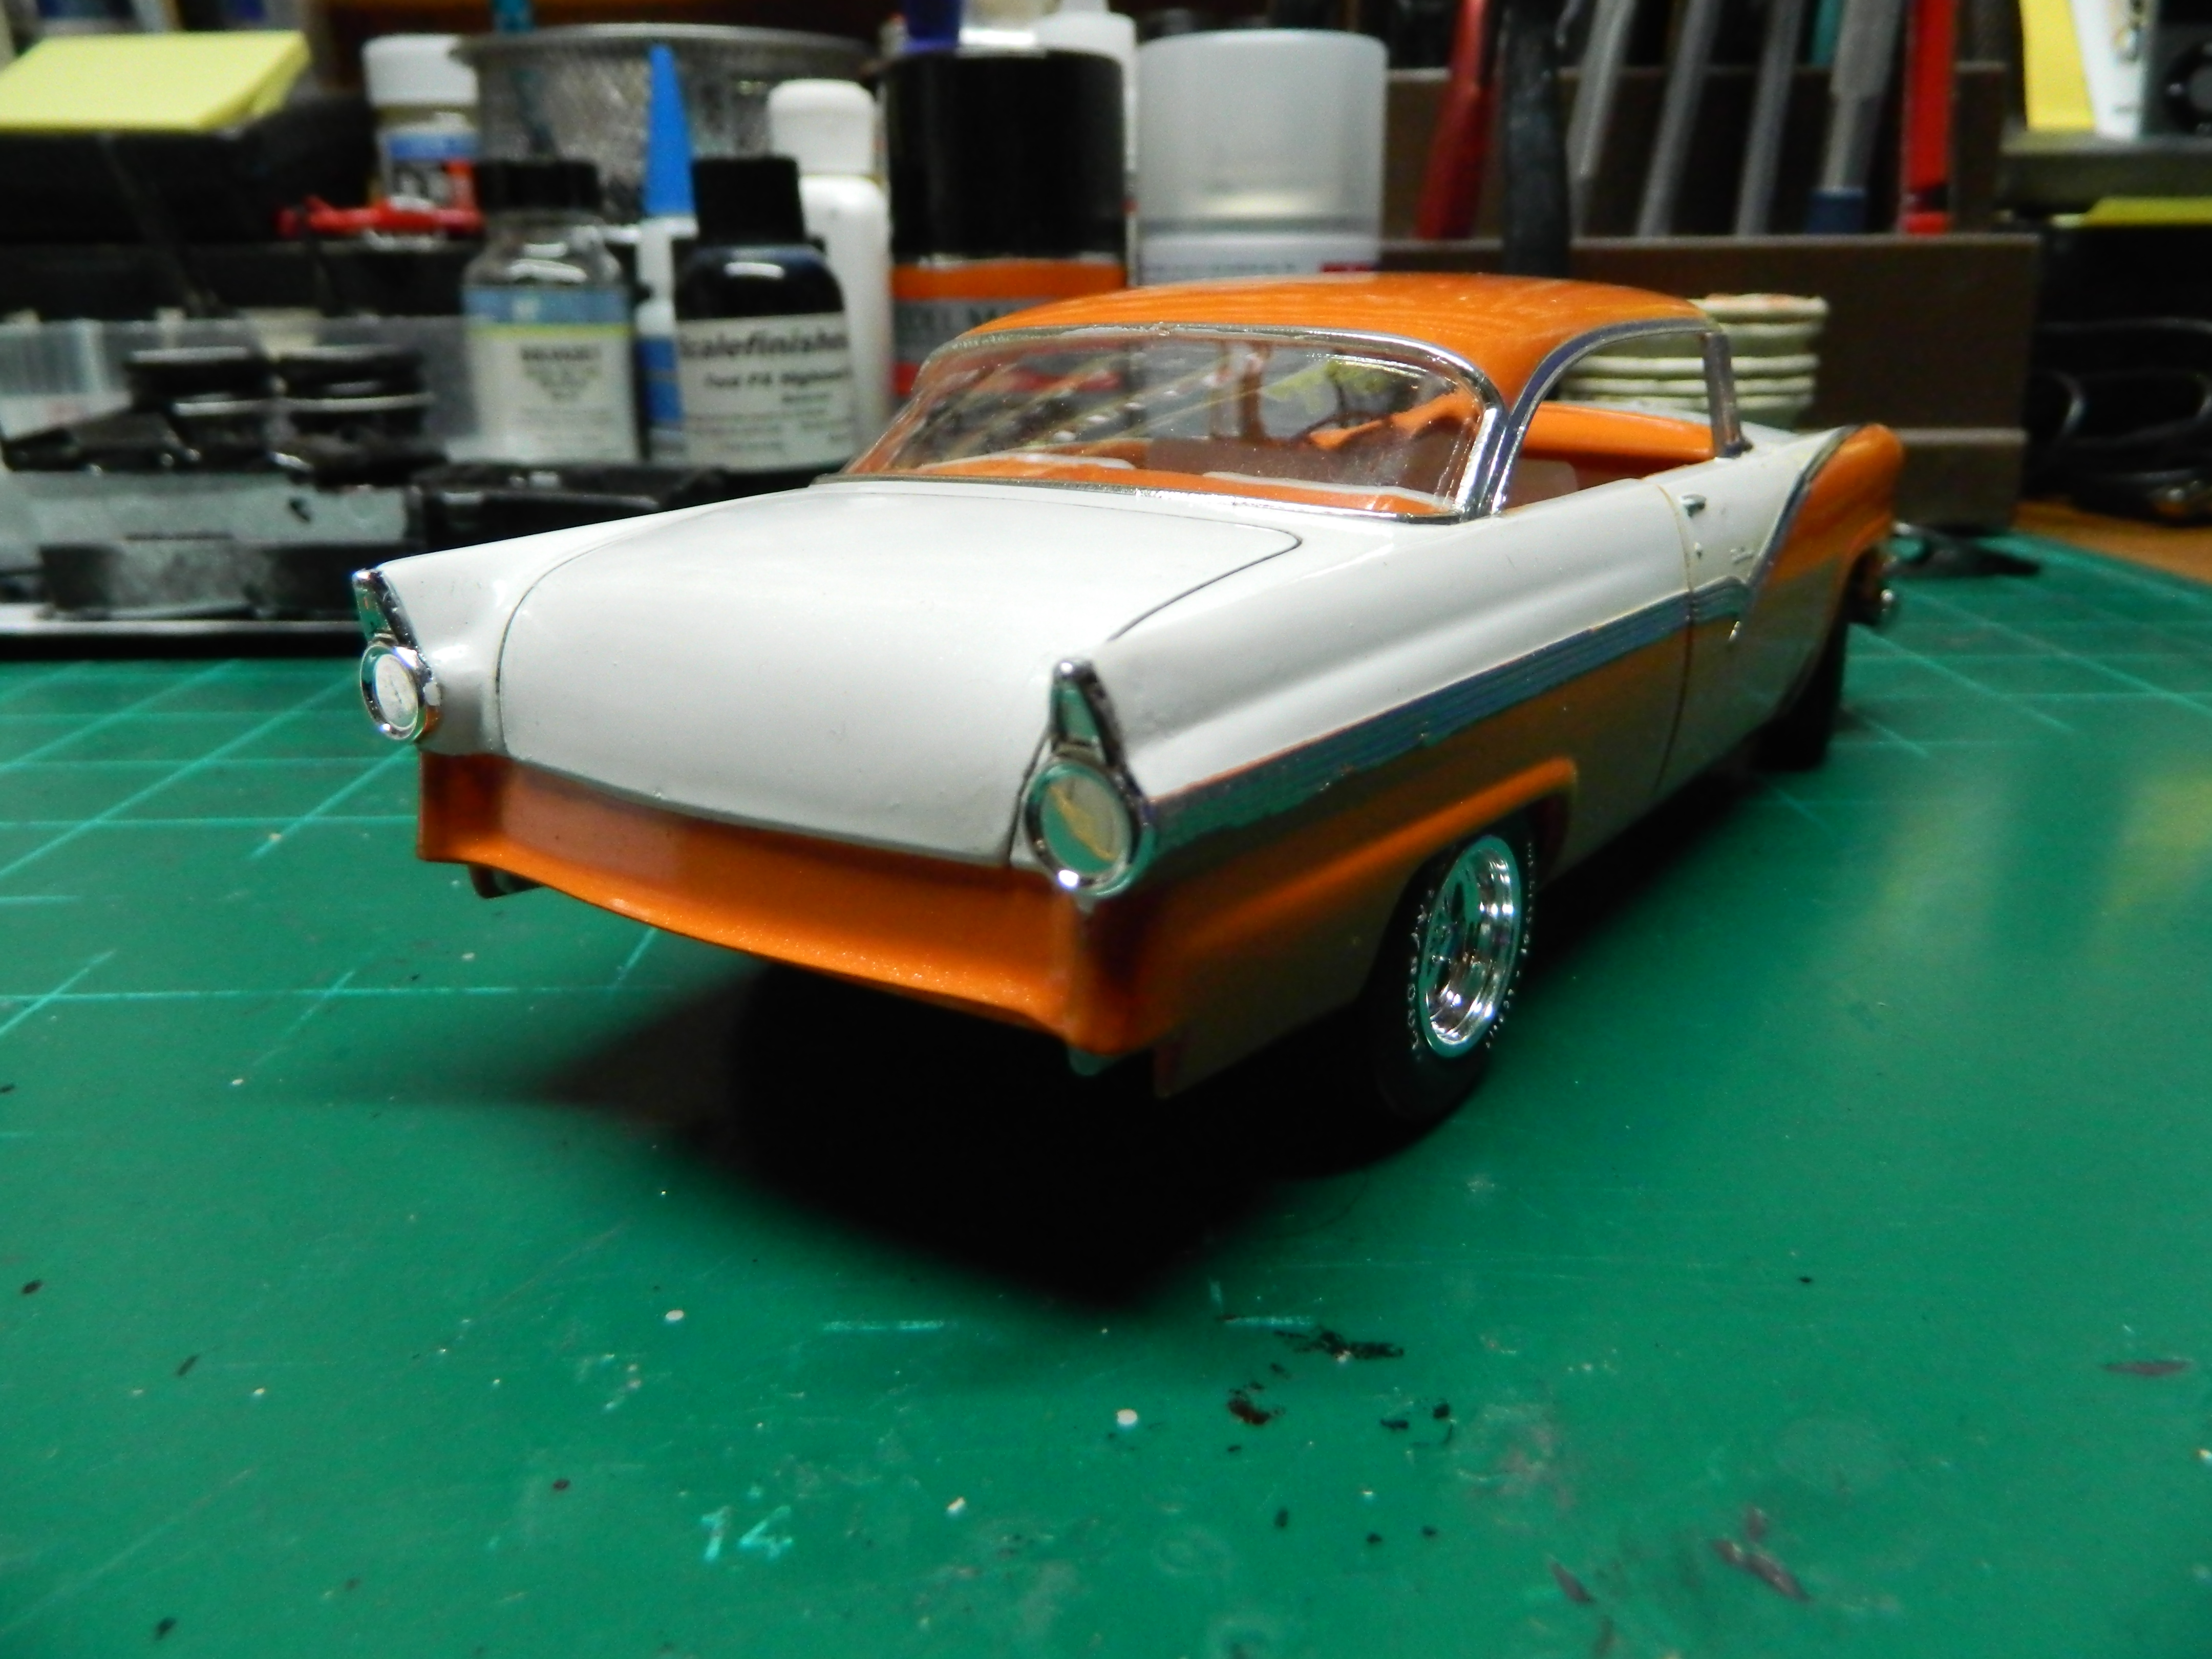
Thank you Tulio! Unfortunately, the dash still sits a little too high, but I will try again to get the windshield installed. As for the inside rear view mirror, my kit didn't seem to have one and I couldn't check my empty parts sprues to see if there was one at all since I throw them out when the are empty. I can go into my parts box and find one if I really need to.
-
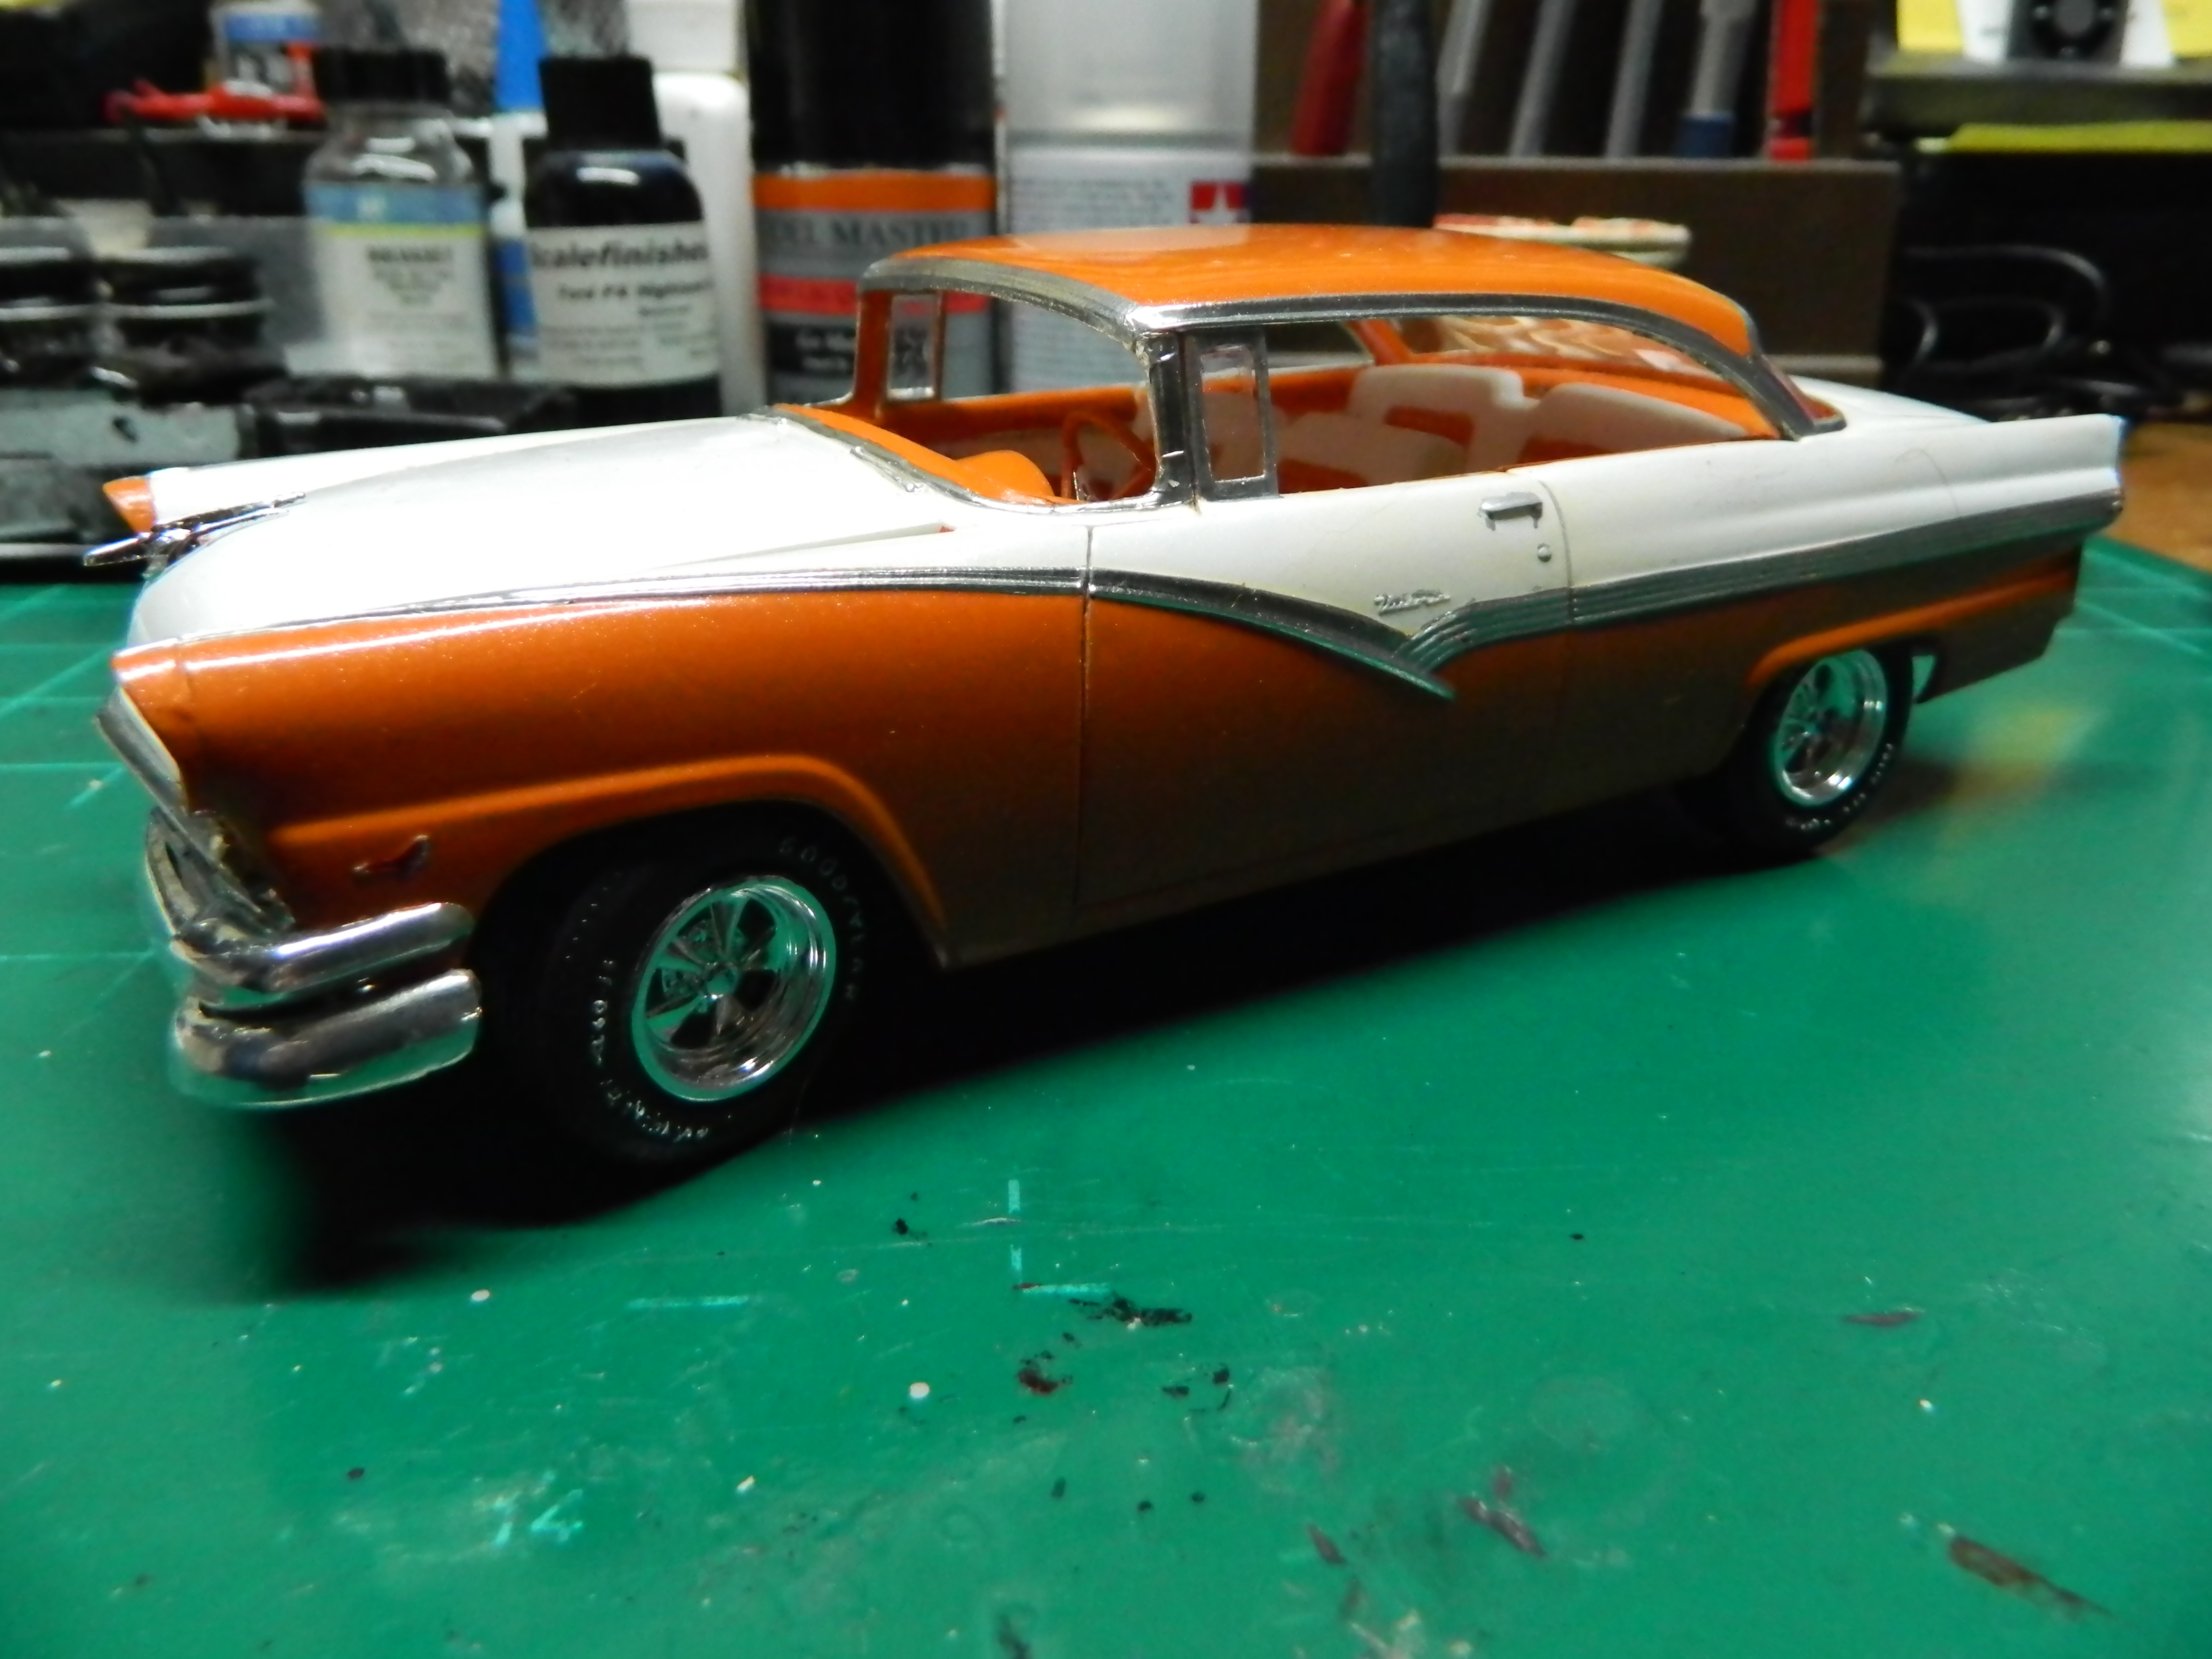
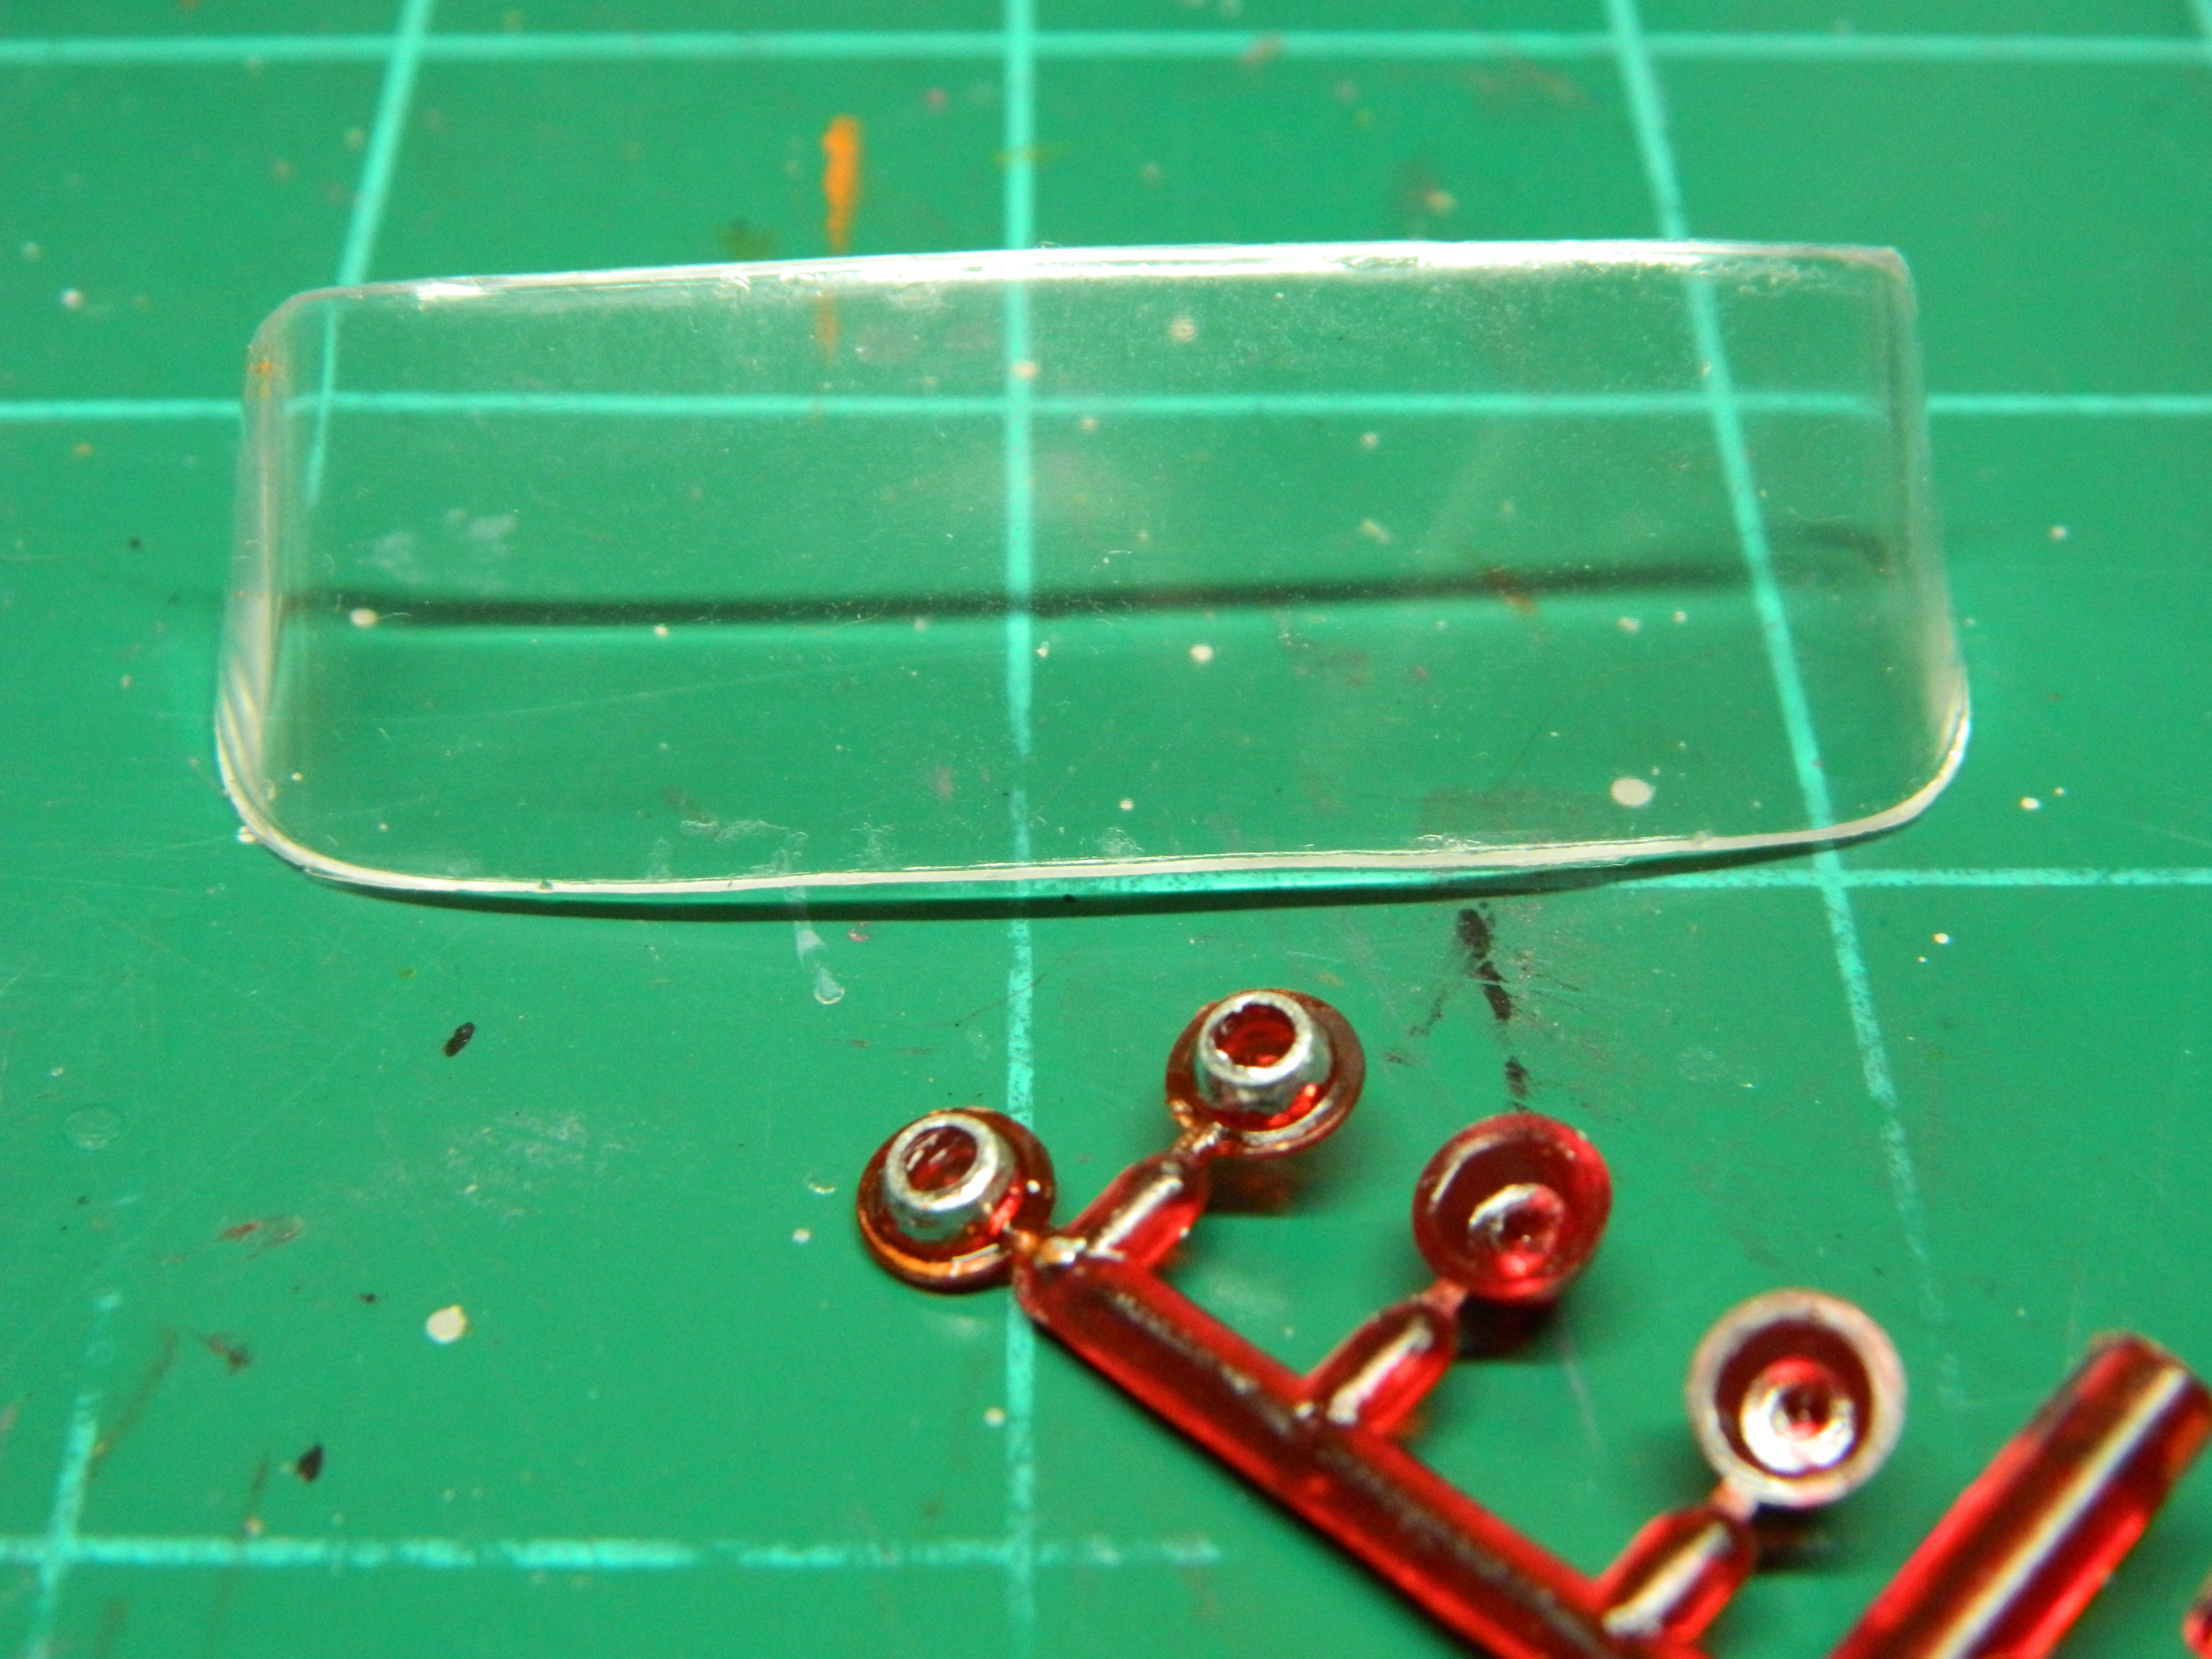
The 56 Vicky is coming together! Yesterday, I got the body interior, and chassis together after I installed the glass. I ran into an issue with the front windshield not fitting correctly. I had to trim the mount on the side panel top lower the dash and as I was packing things up for the night, the windshield popped out. I didn't lower the dash enough. I'll have to figure a way to reinstall the windshield without have to resort to taking everything apart. The windshield was cleaned up and the taillights have been detailed. More to come...

-
Thanks David! This Ford didn't take me a long to foil as the Monogram '59 Cadillac did. I spent two days foiling that behemoth!
-
I have finished foiling the '56 Fairlane. Now for some touch ups and into the dehydrator for a few hours at 105 degrees for the Molotow Chrome to dry. More to come...
-
Now that I have been able to get my hands on a decent sheet of BMF, I have started foiling the body on this '56 Fairlane. This took me almost an hour last night including polishing the foil. So far, so good! More to come...
-
Thanks Carl! I'm not 100% sure what had happened over time, but that wheel and tire were put together correctly. When I fixed the issue with the toe out, the issue of the camber showed up. Perhaps the camber issue was because of the wheel not sitting flush on itself and I may have turned the wheel.
-
Tulio, I understand your concern as I see the thickness of the headlight lenses and the depth of the reflectors within their shrouds. The backside of the lenses are scooped enough that sanding them on the back should reduce their thickness considerably and a thin coat of gloss clear will help to "polish" them. If worse comes to worse, I feel pretty confident that I have other lenses in my parts box that are thinner.
-
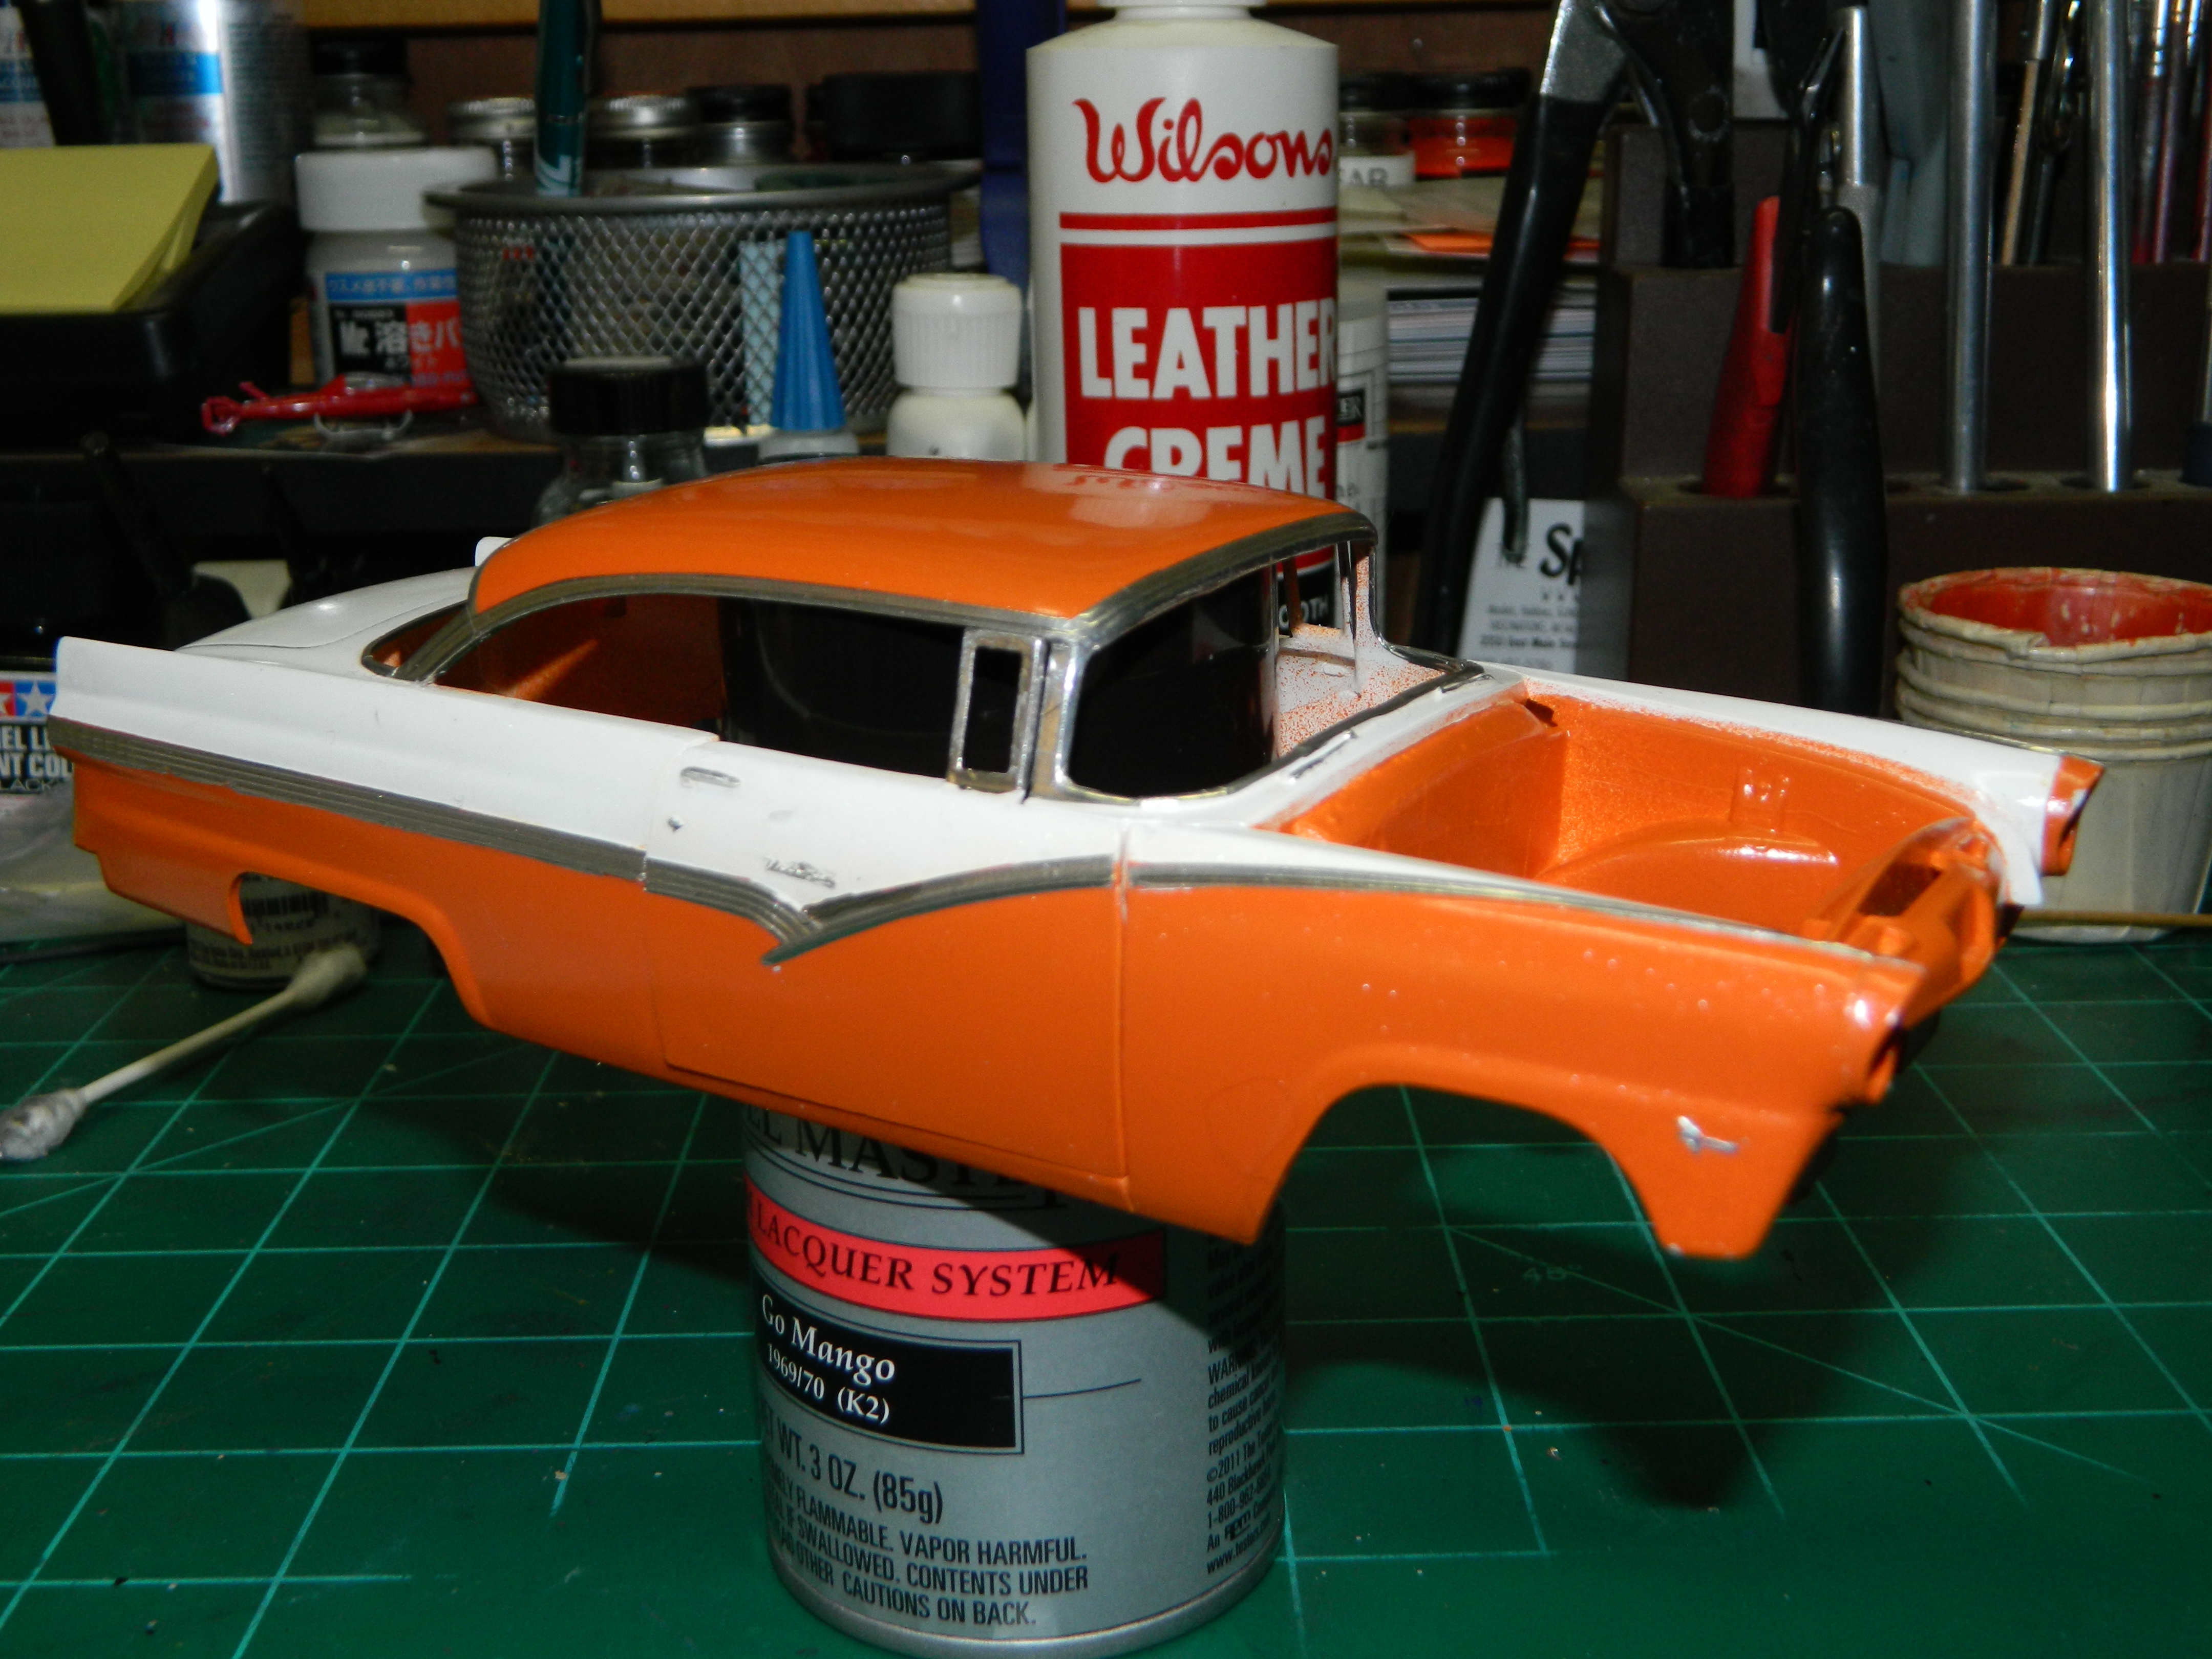
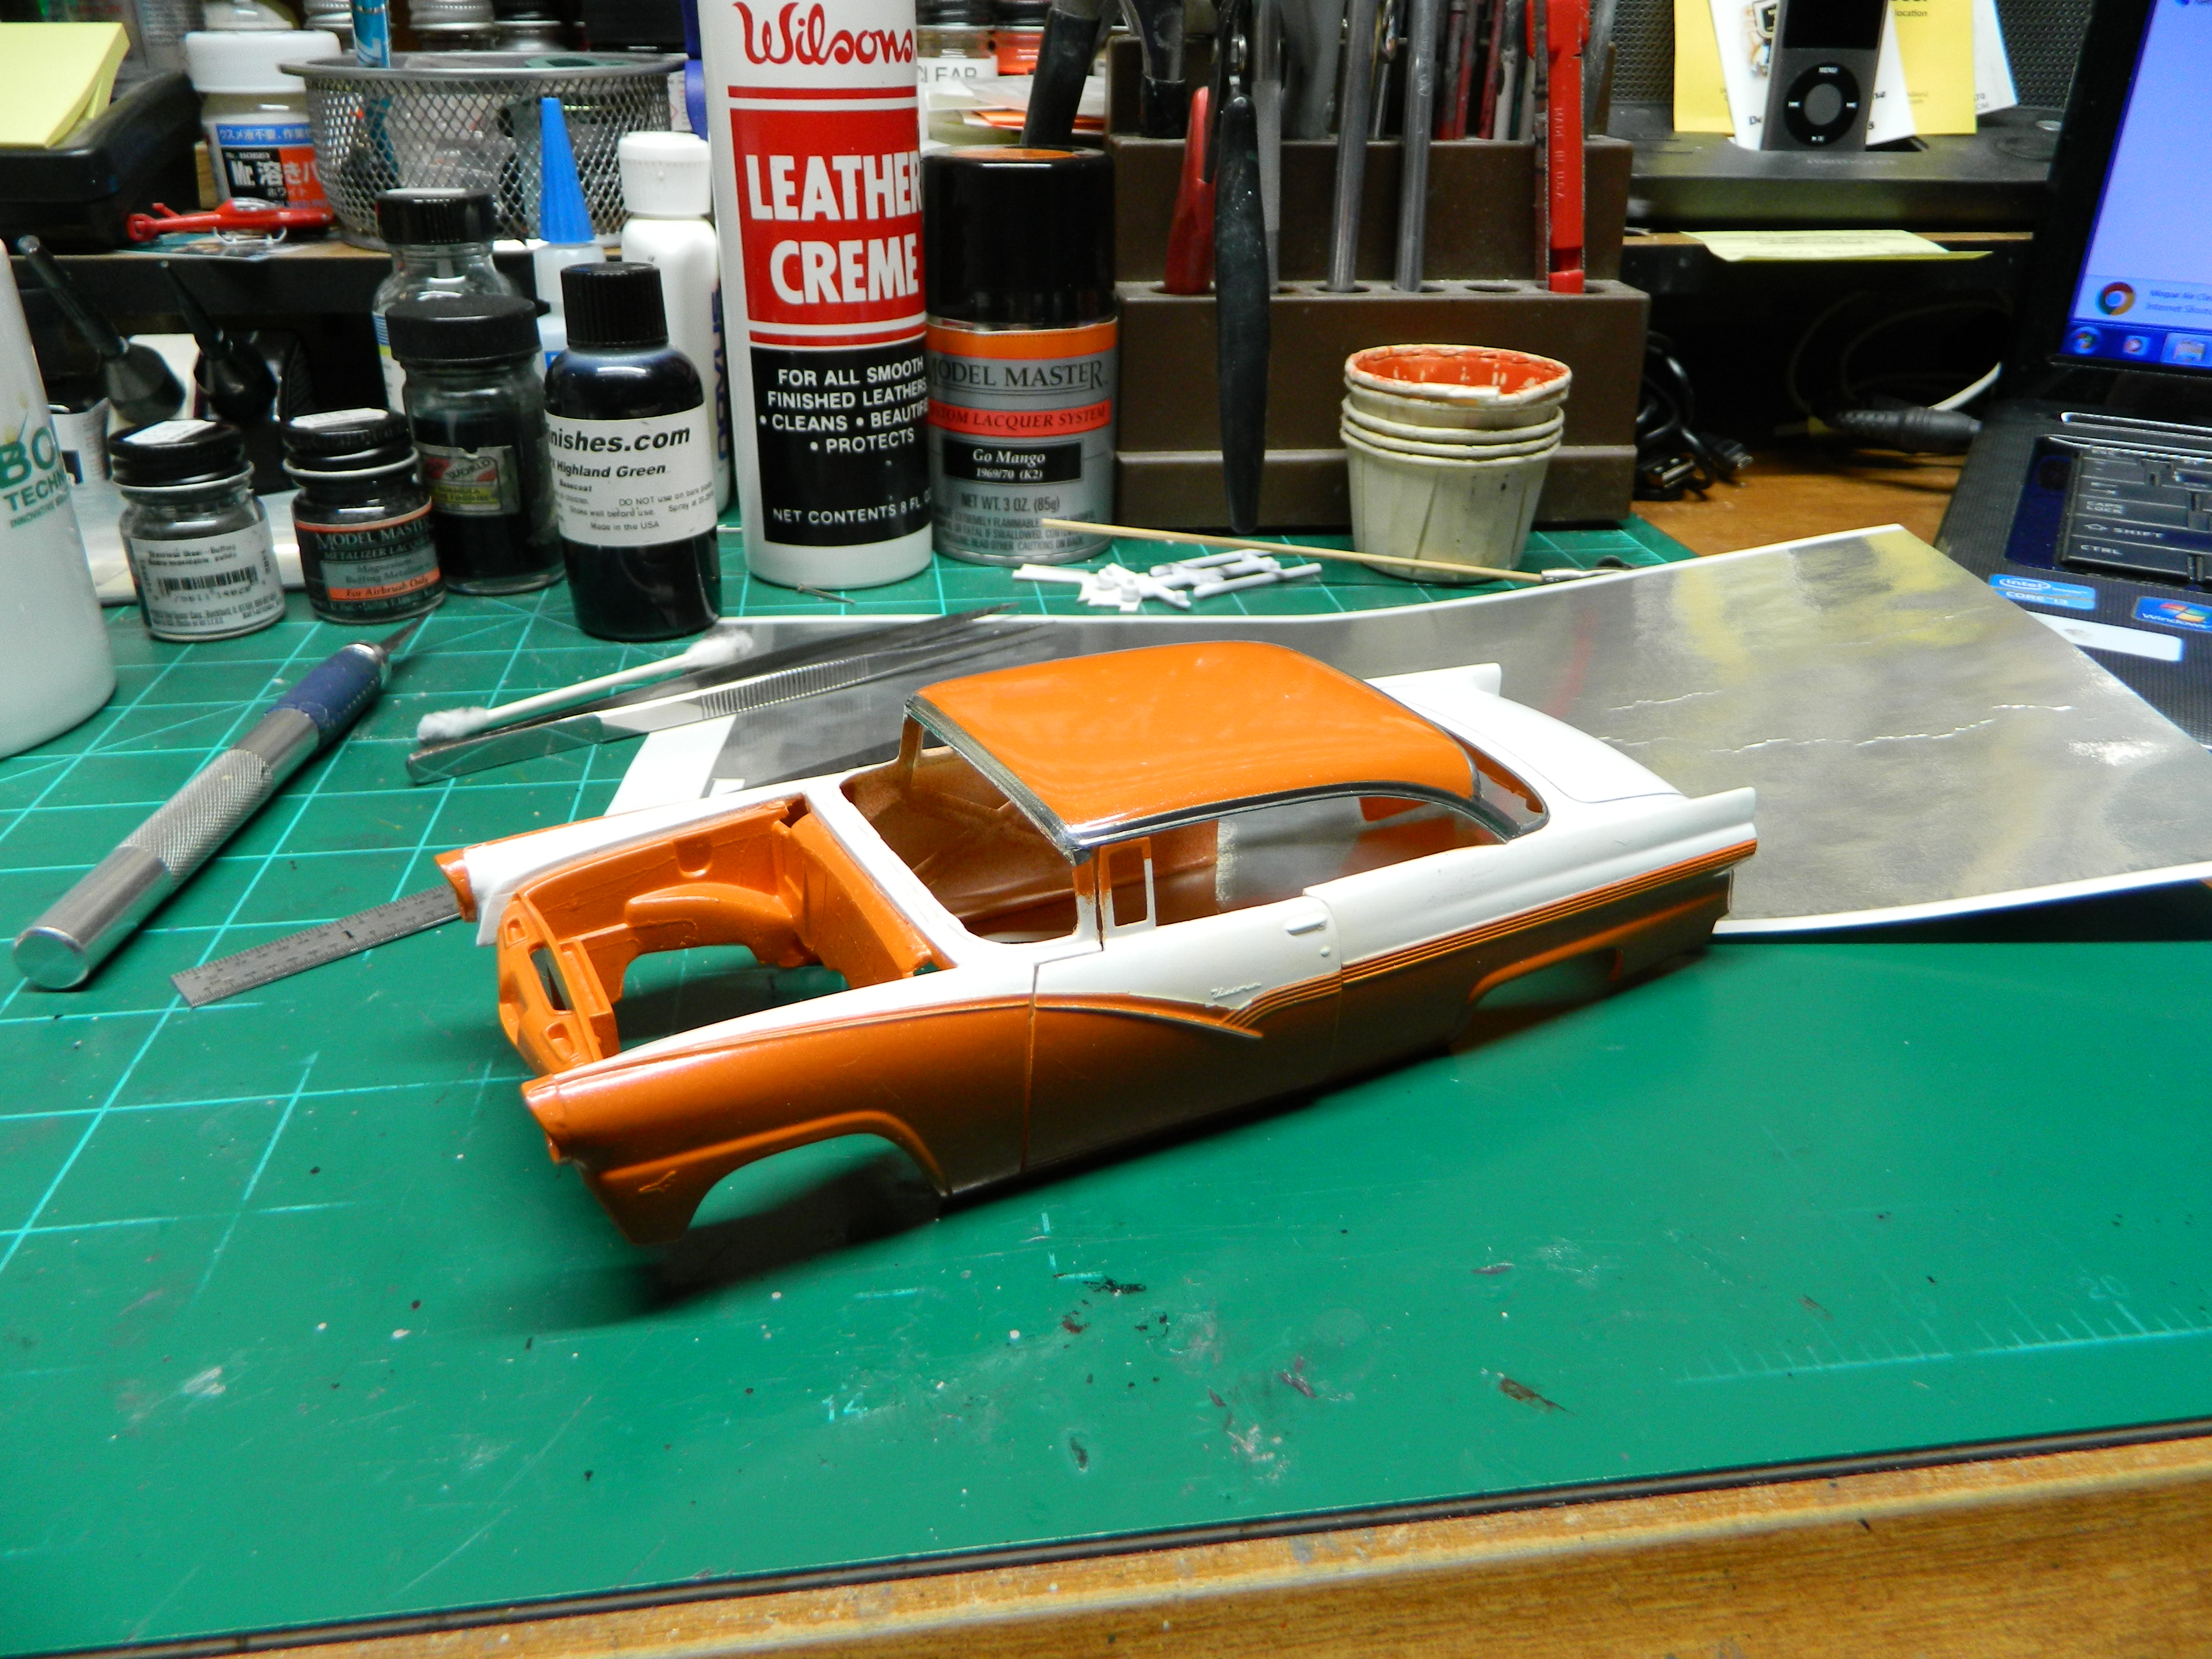
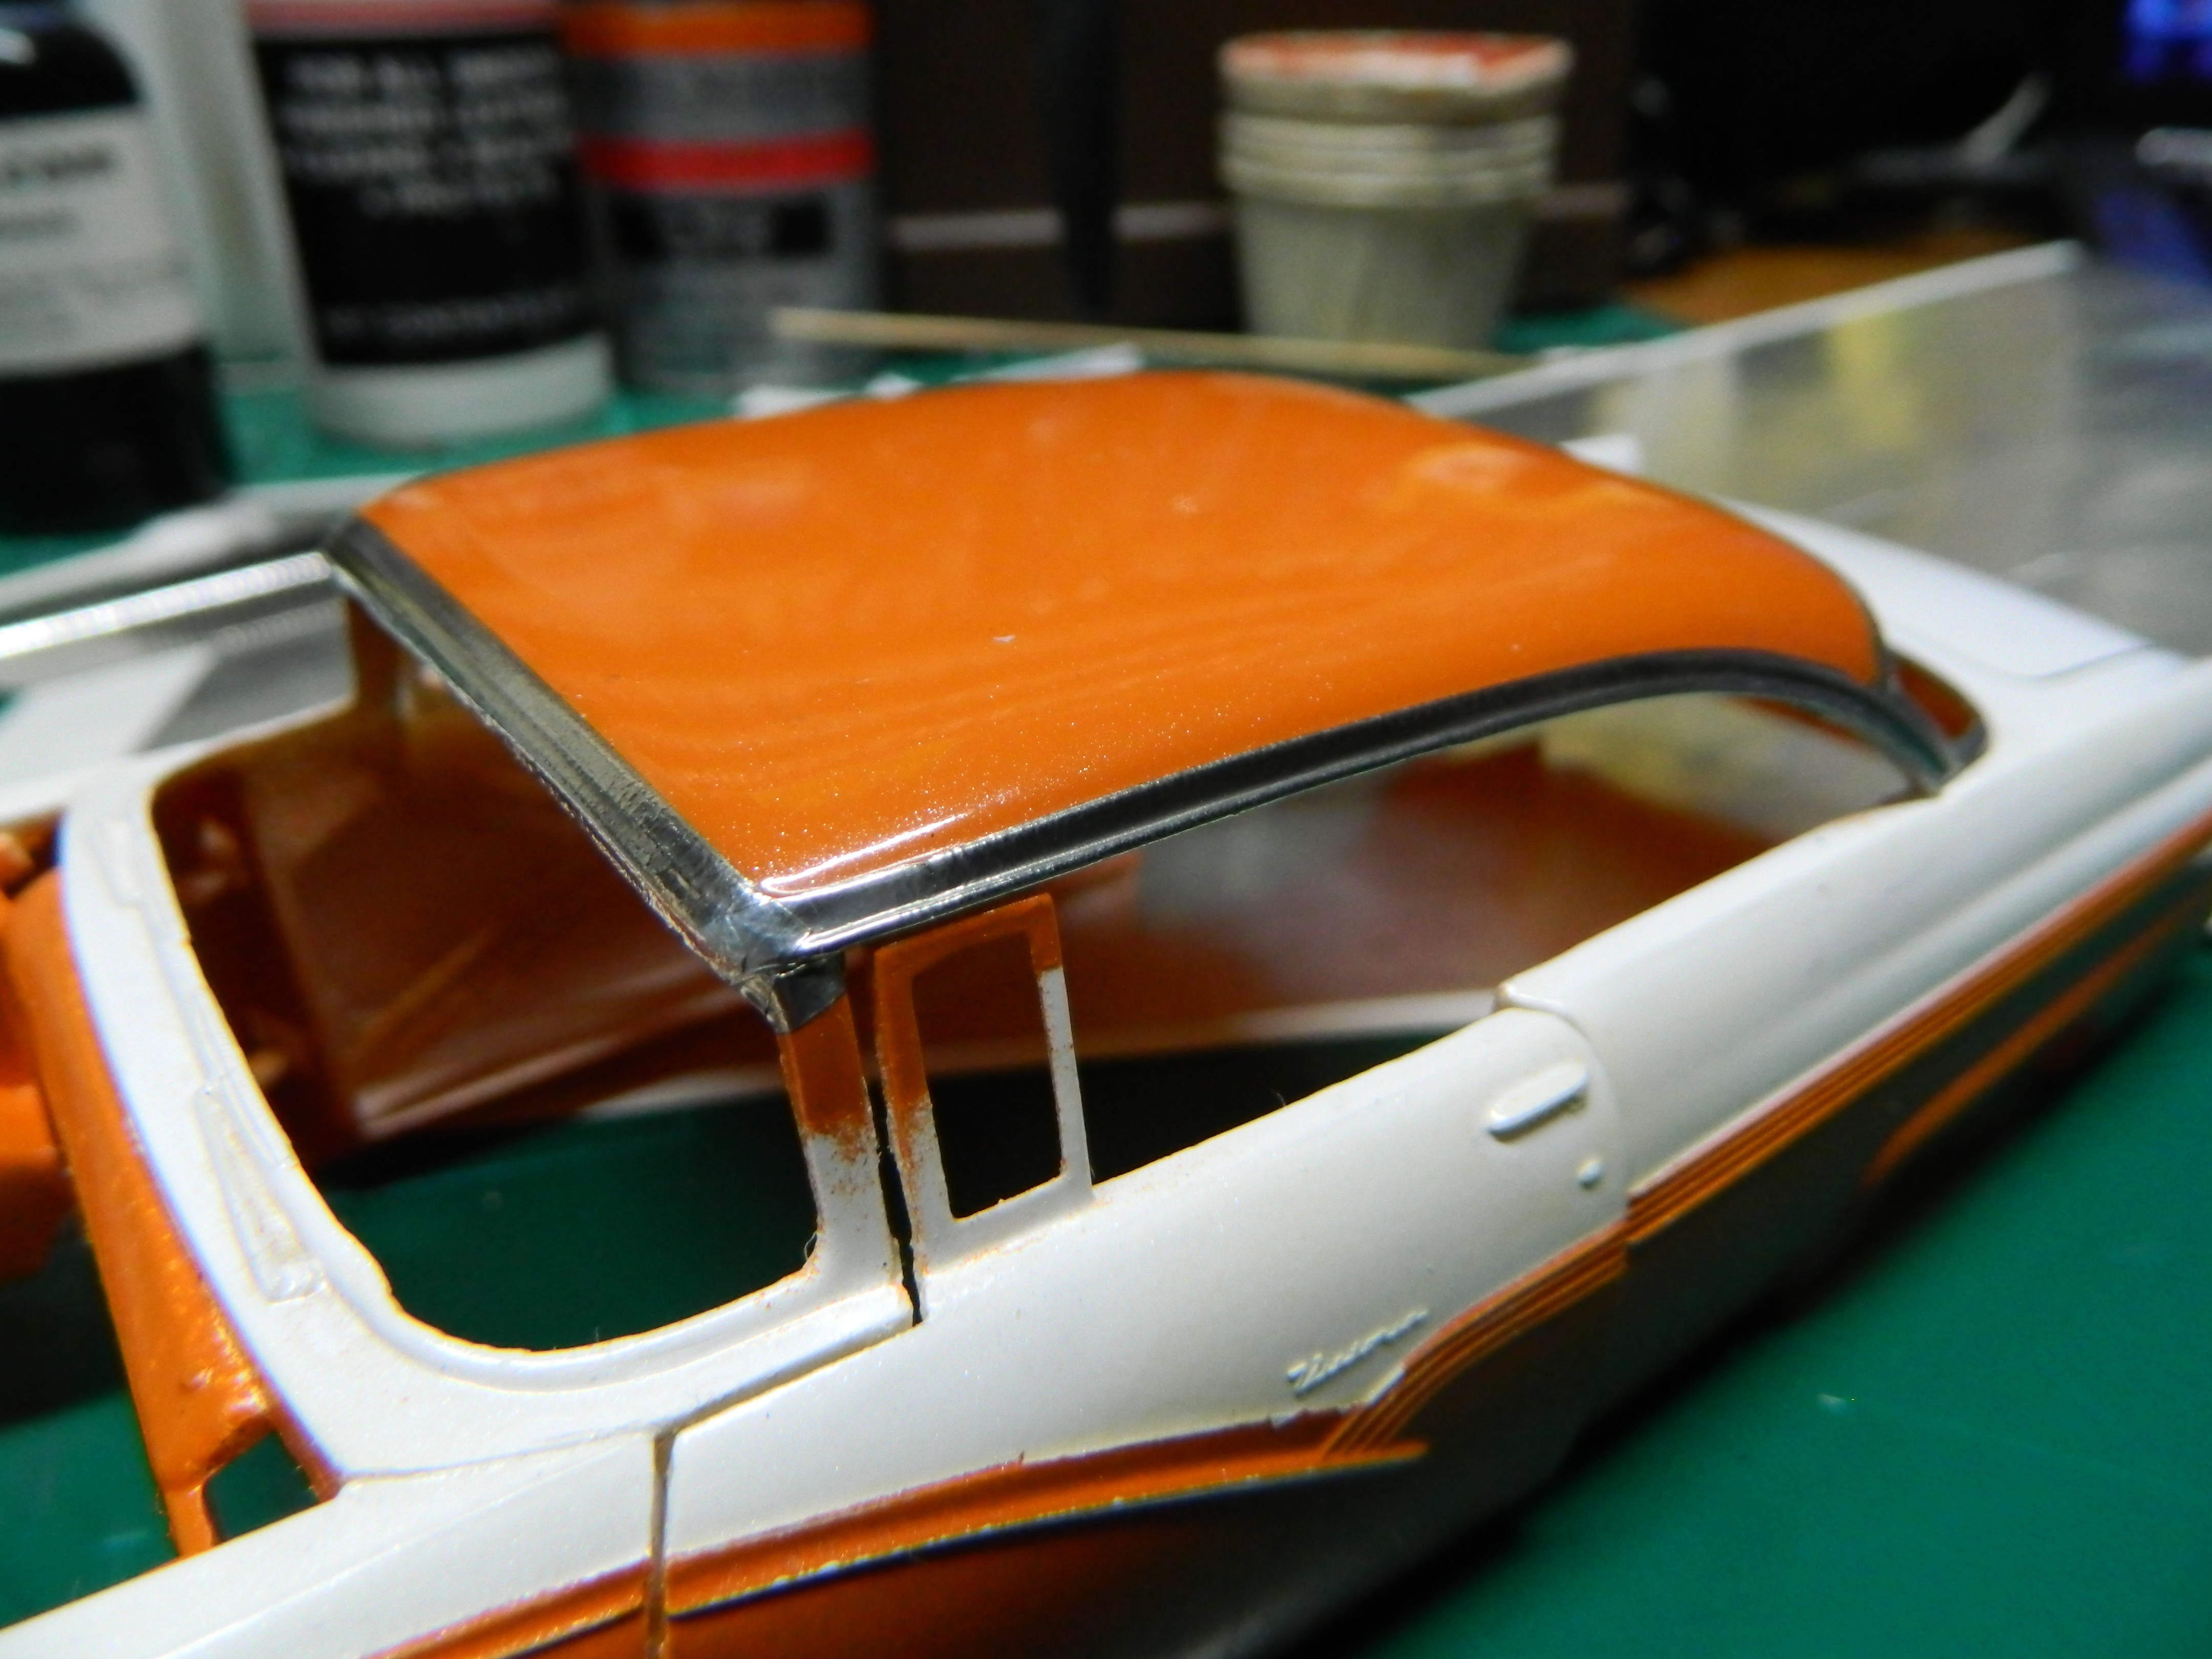
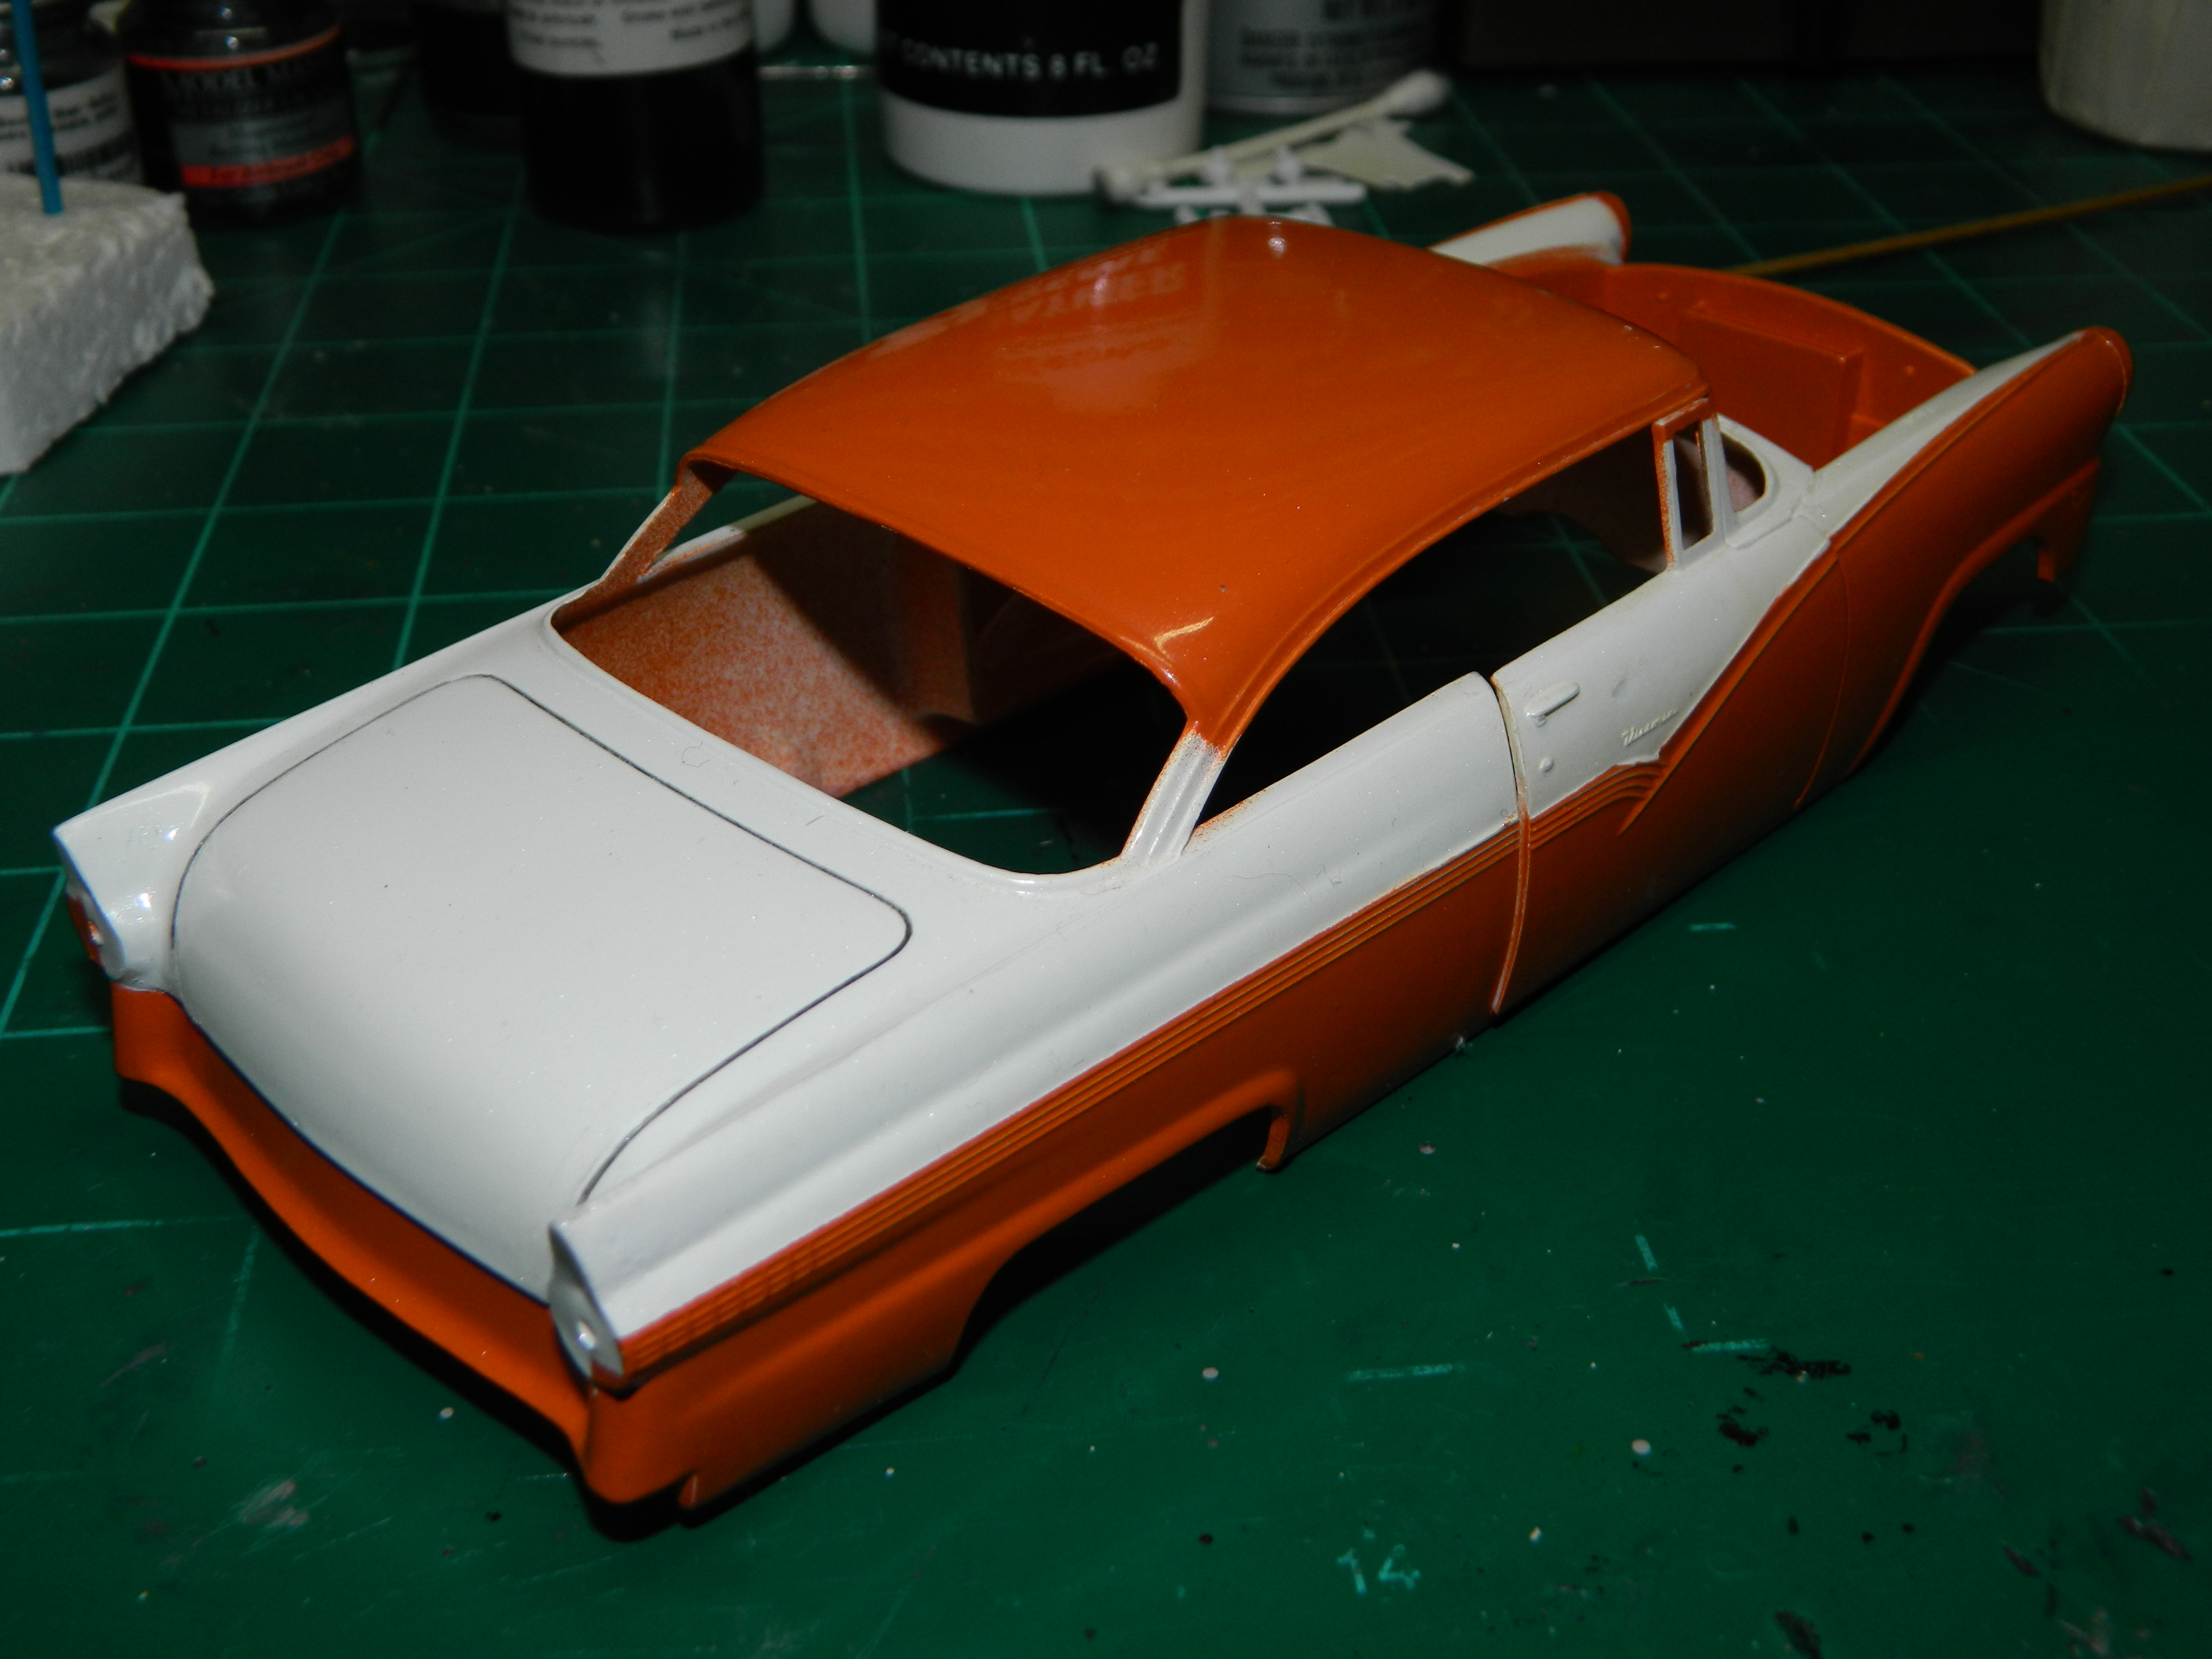
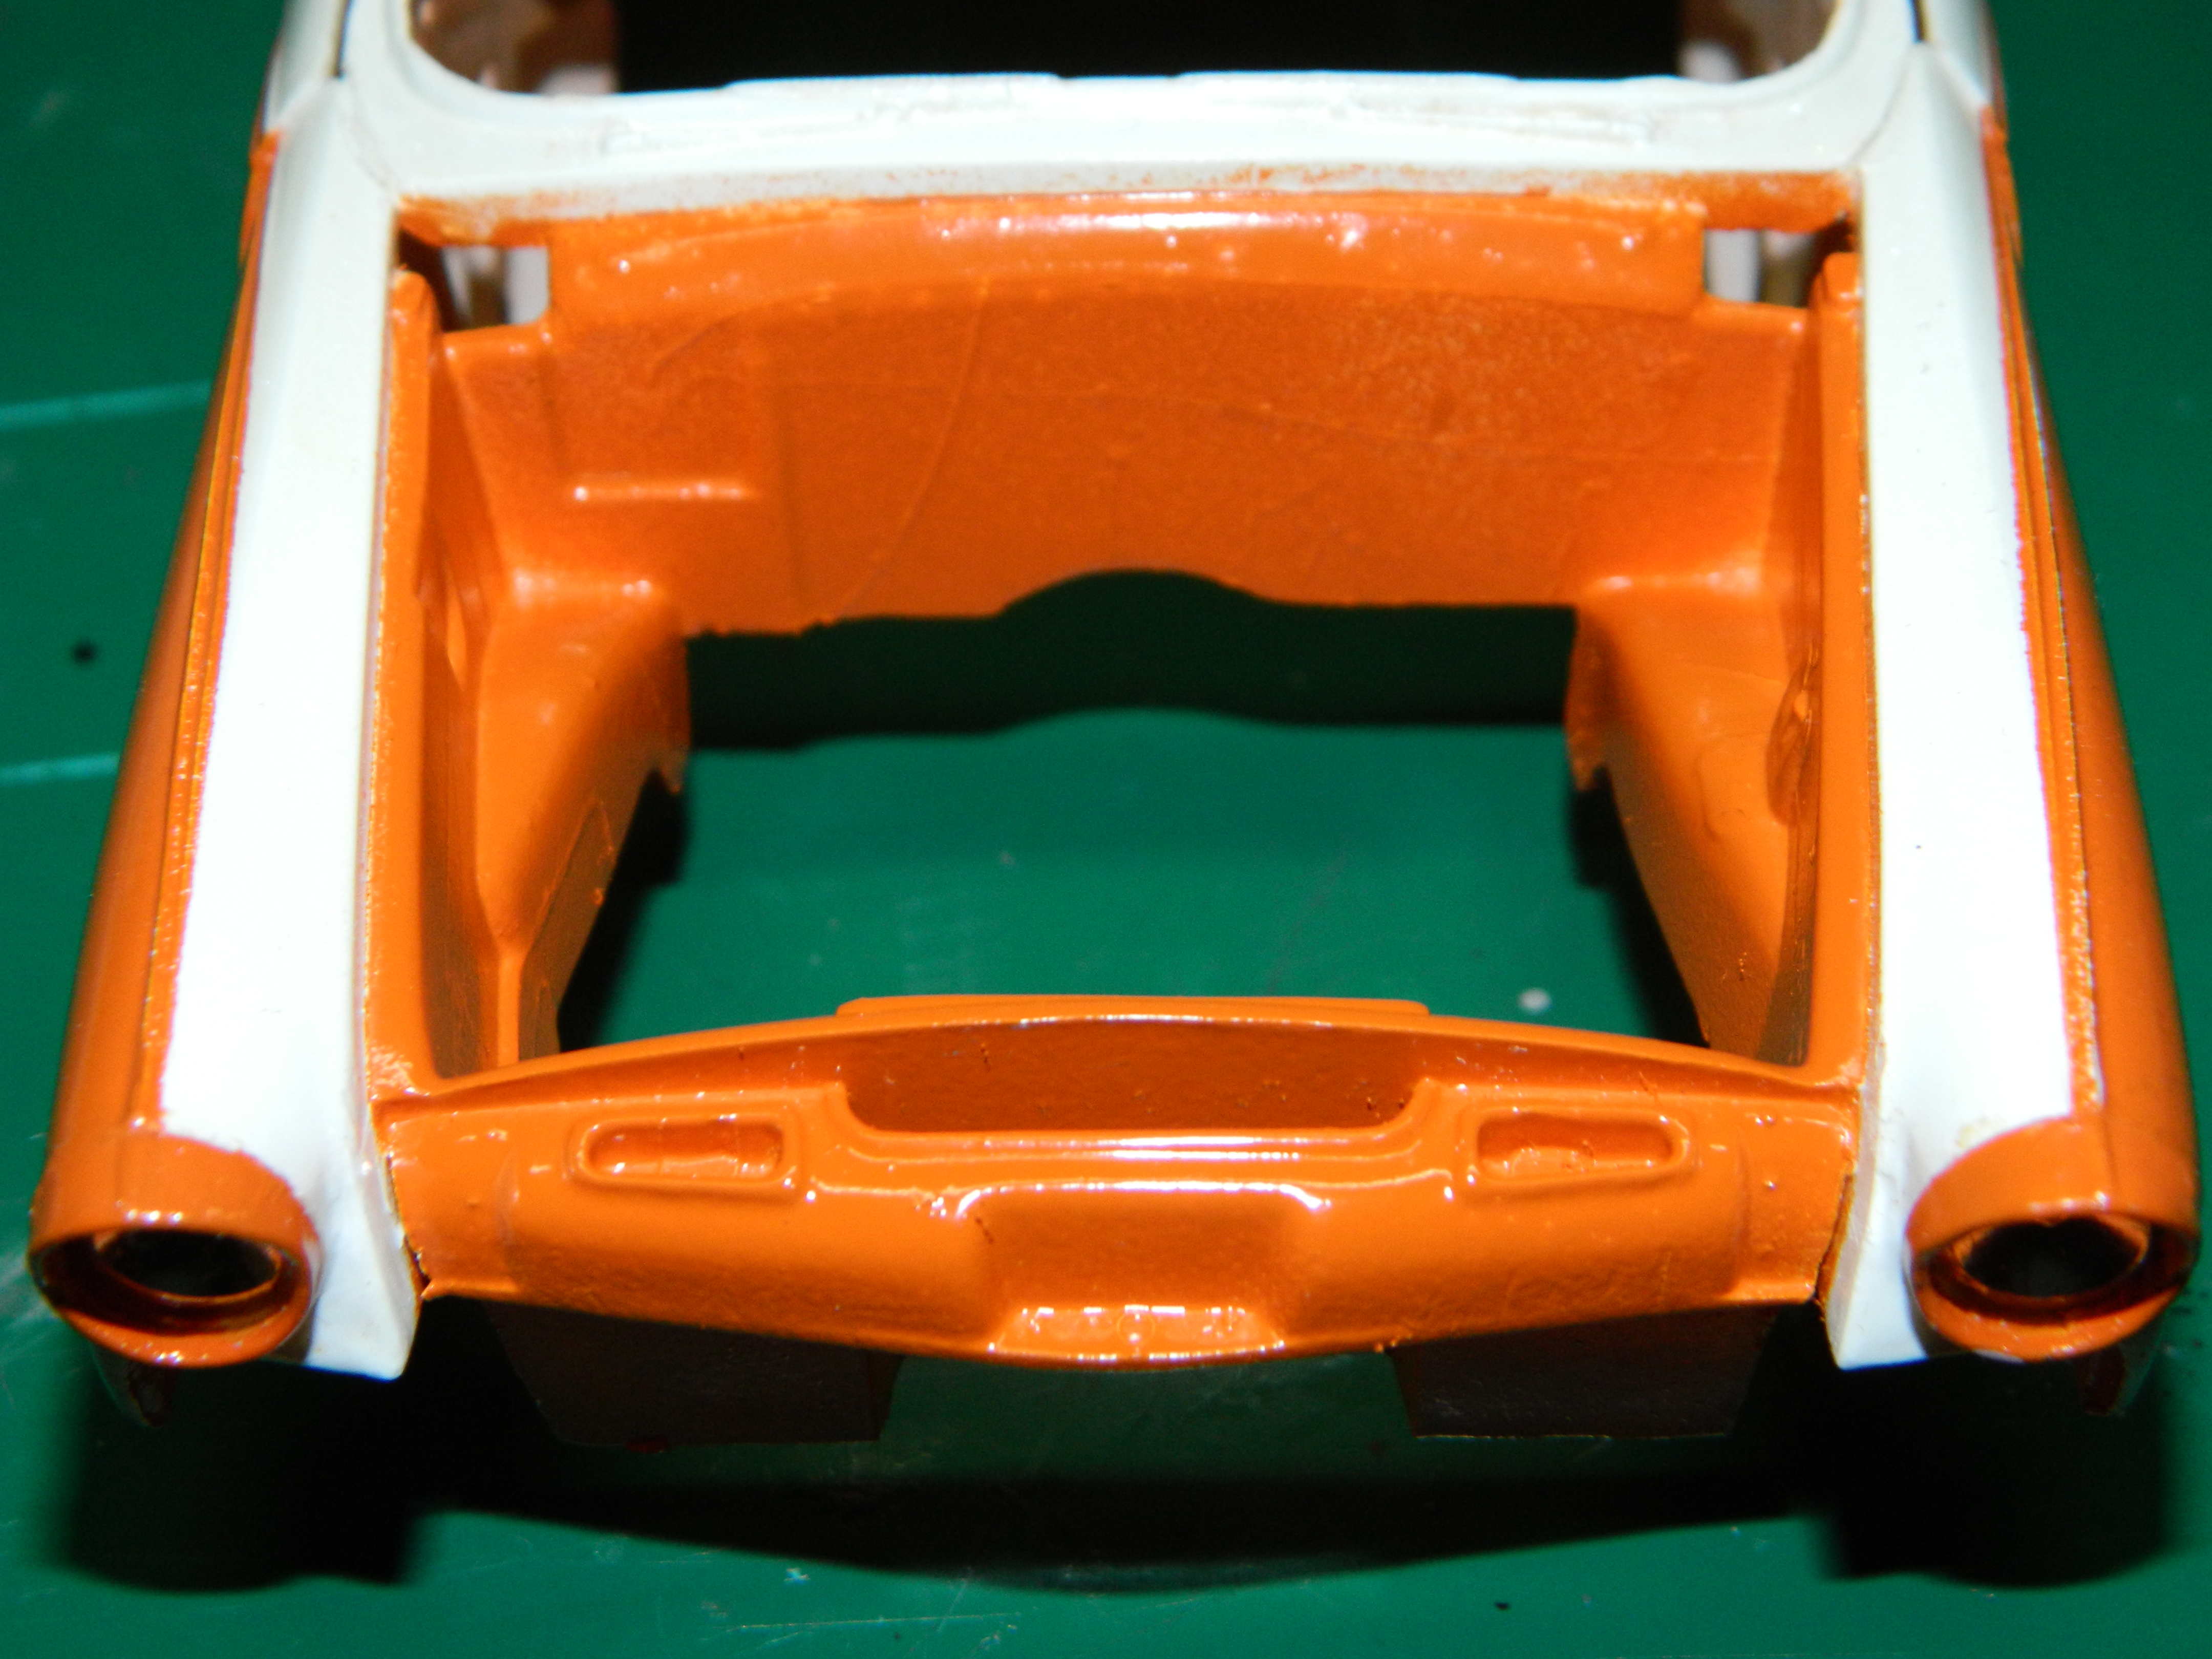
It's been almost four weeks since I have done anything with the '56 Fairlane. I took the Fairlane with me to my Play Date with two of my fellow Club members and used Barry's marvelous paintbooth! I sprayed the Fairlane with two coats of Tamiya TS-65 Pearl Clear and it looks fabulous! It is kind of hard to see the pearl, but it is there! I decided to paint the engine compartment with Model Master Go Mango to match the exterior and then I placed the body into my dehydrator for four hours. Next up will be to paint the headliner flat white and then to foil the body now that I have some decent foil. More to come...
-
Thanks Jeremy! I hate to tell you this, but that is not the complete episode. That episode runs for 32.08 minutes and the actual aired episode is just over 43 minutes long without the commercials. I didn't bother with Dailymotion.
-
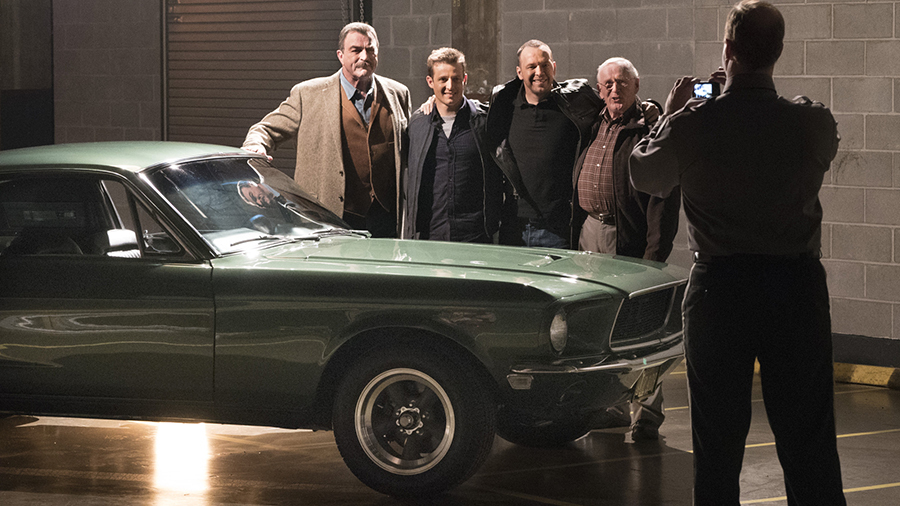
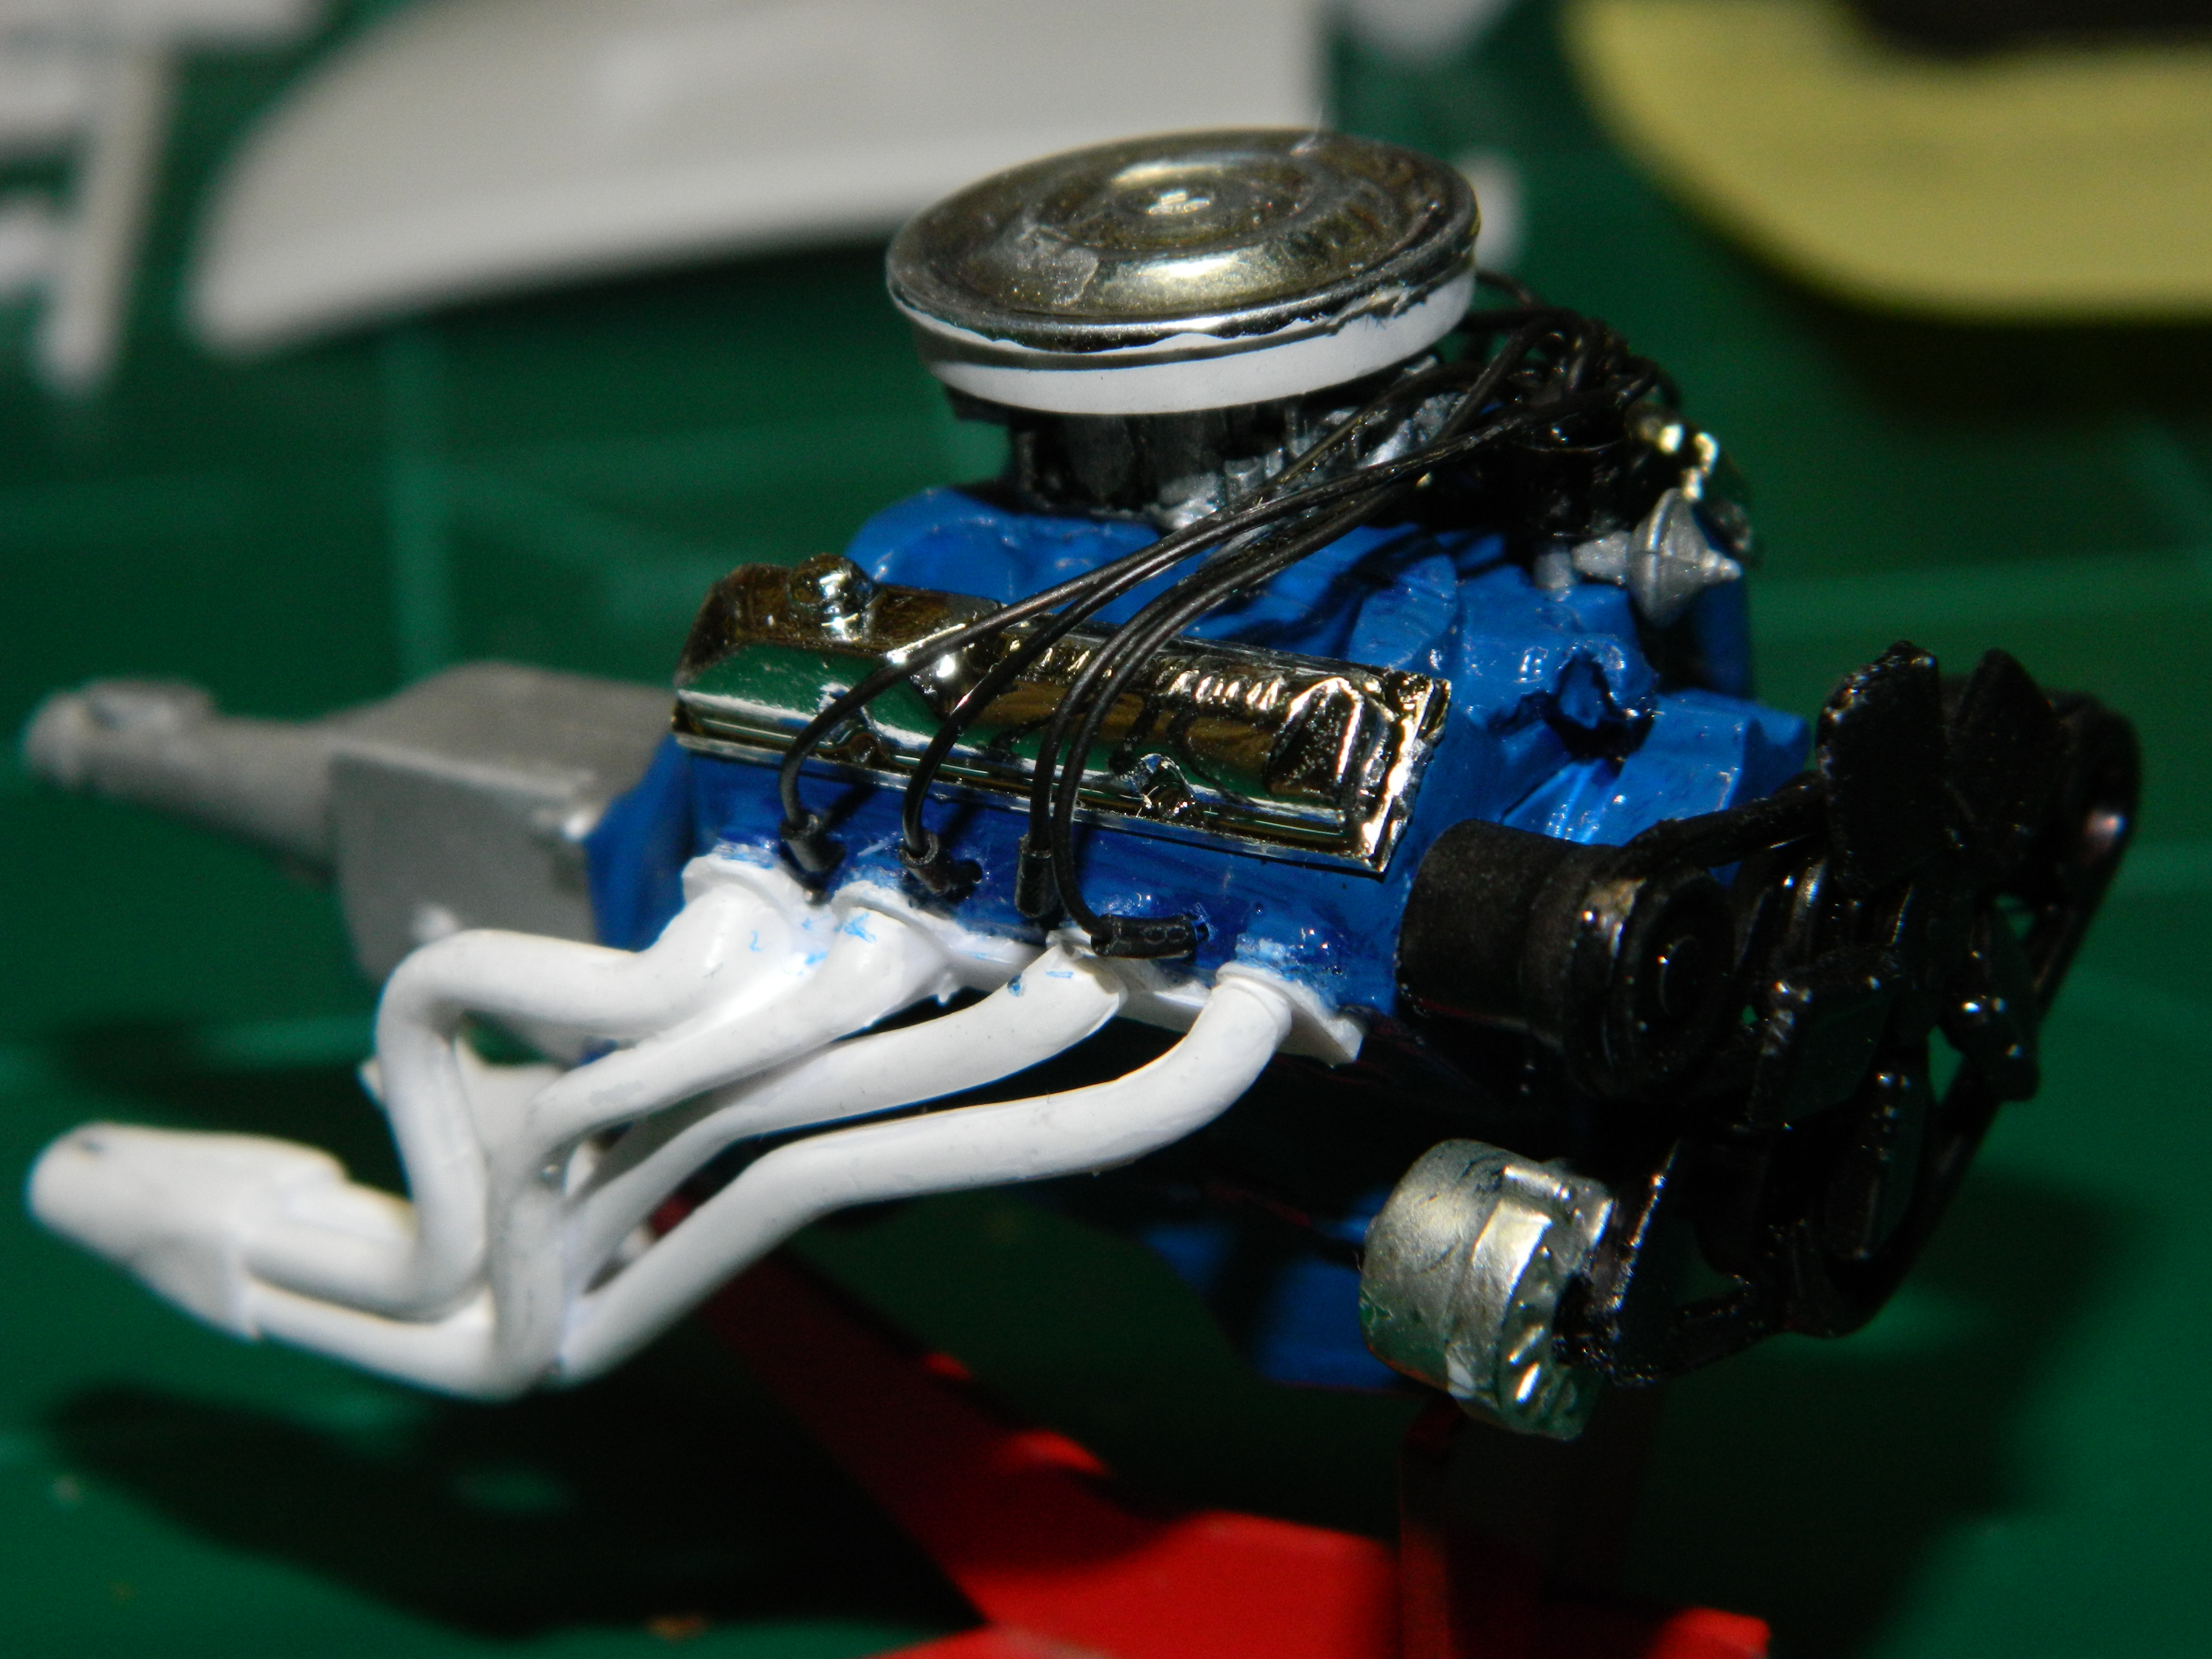
I have been doing a bit...no...a lot of research on the Bullitt Mustang lately. I even spent some time looking at Google Images for pictures of the Bullitt Mustang for my screen saver and I came across an image that I had forgotten about. The image came from an episode of the CBS TV drama Blue Bloods starring Tom Selleck. The episode was titled simply enough, The Bullitt Mustang. Season Six, Episode Seven. I have tried to find that episode for free on YouTube and anywhere else and it is only in episode previews or small snippets, but not the complete episode. More research and I found that the complete episode is on NetFlix, but I don't have an account with them. But, my wife does and she has previously told me that I could use it when I wanted. I tubed up the episode and watched it and completely enjoyed watching it. I added some more detail to the 390 CID engine and I may add more. More to come...
-
Did you order from the European company or the American company as they have two different websites. The European company in Spain is the home office. Here's the link for them https://gravity-colors.com/ . The American company does not have a contract with the home office. This could be why it could be taking a long time to get your order as they are either waiting for paint from Europe or they are trying to manufacture the paint on their own. I would suggest you try to get your money back from the American company and order from the European company at the link I have supplied. If you order from the European company, you should have your order in a couple of weeks.
-
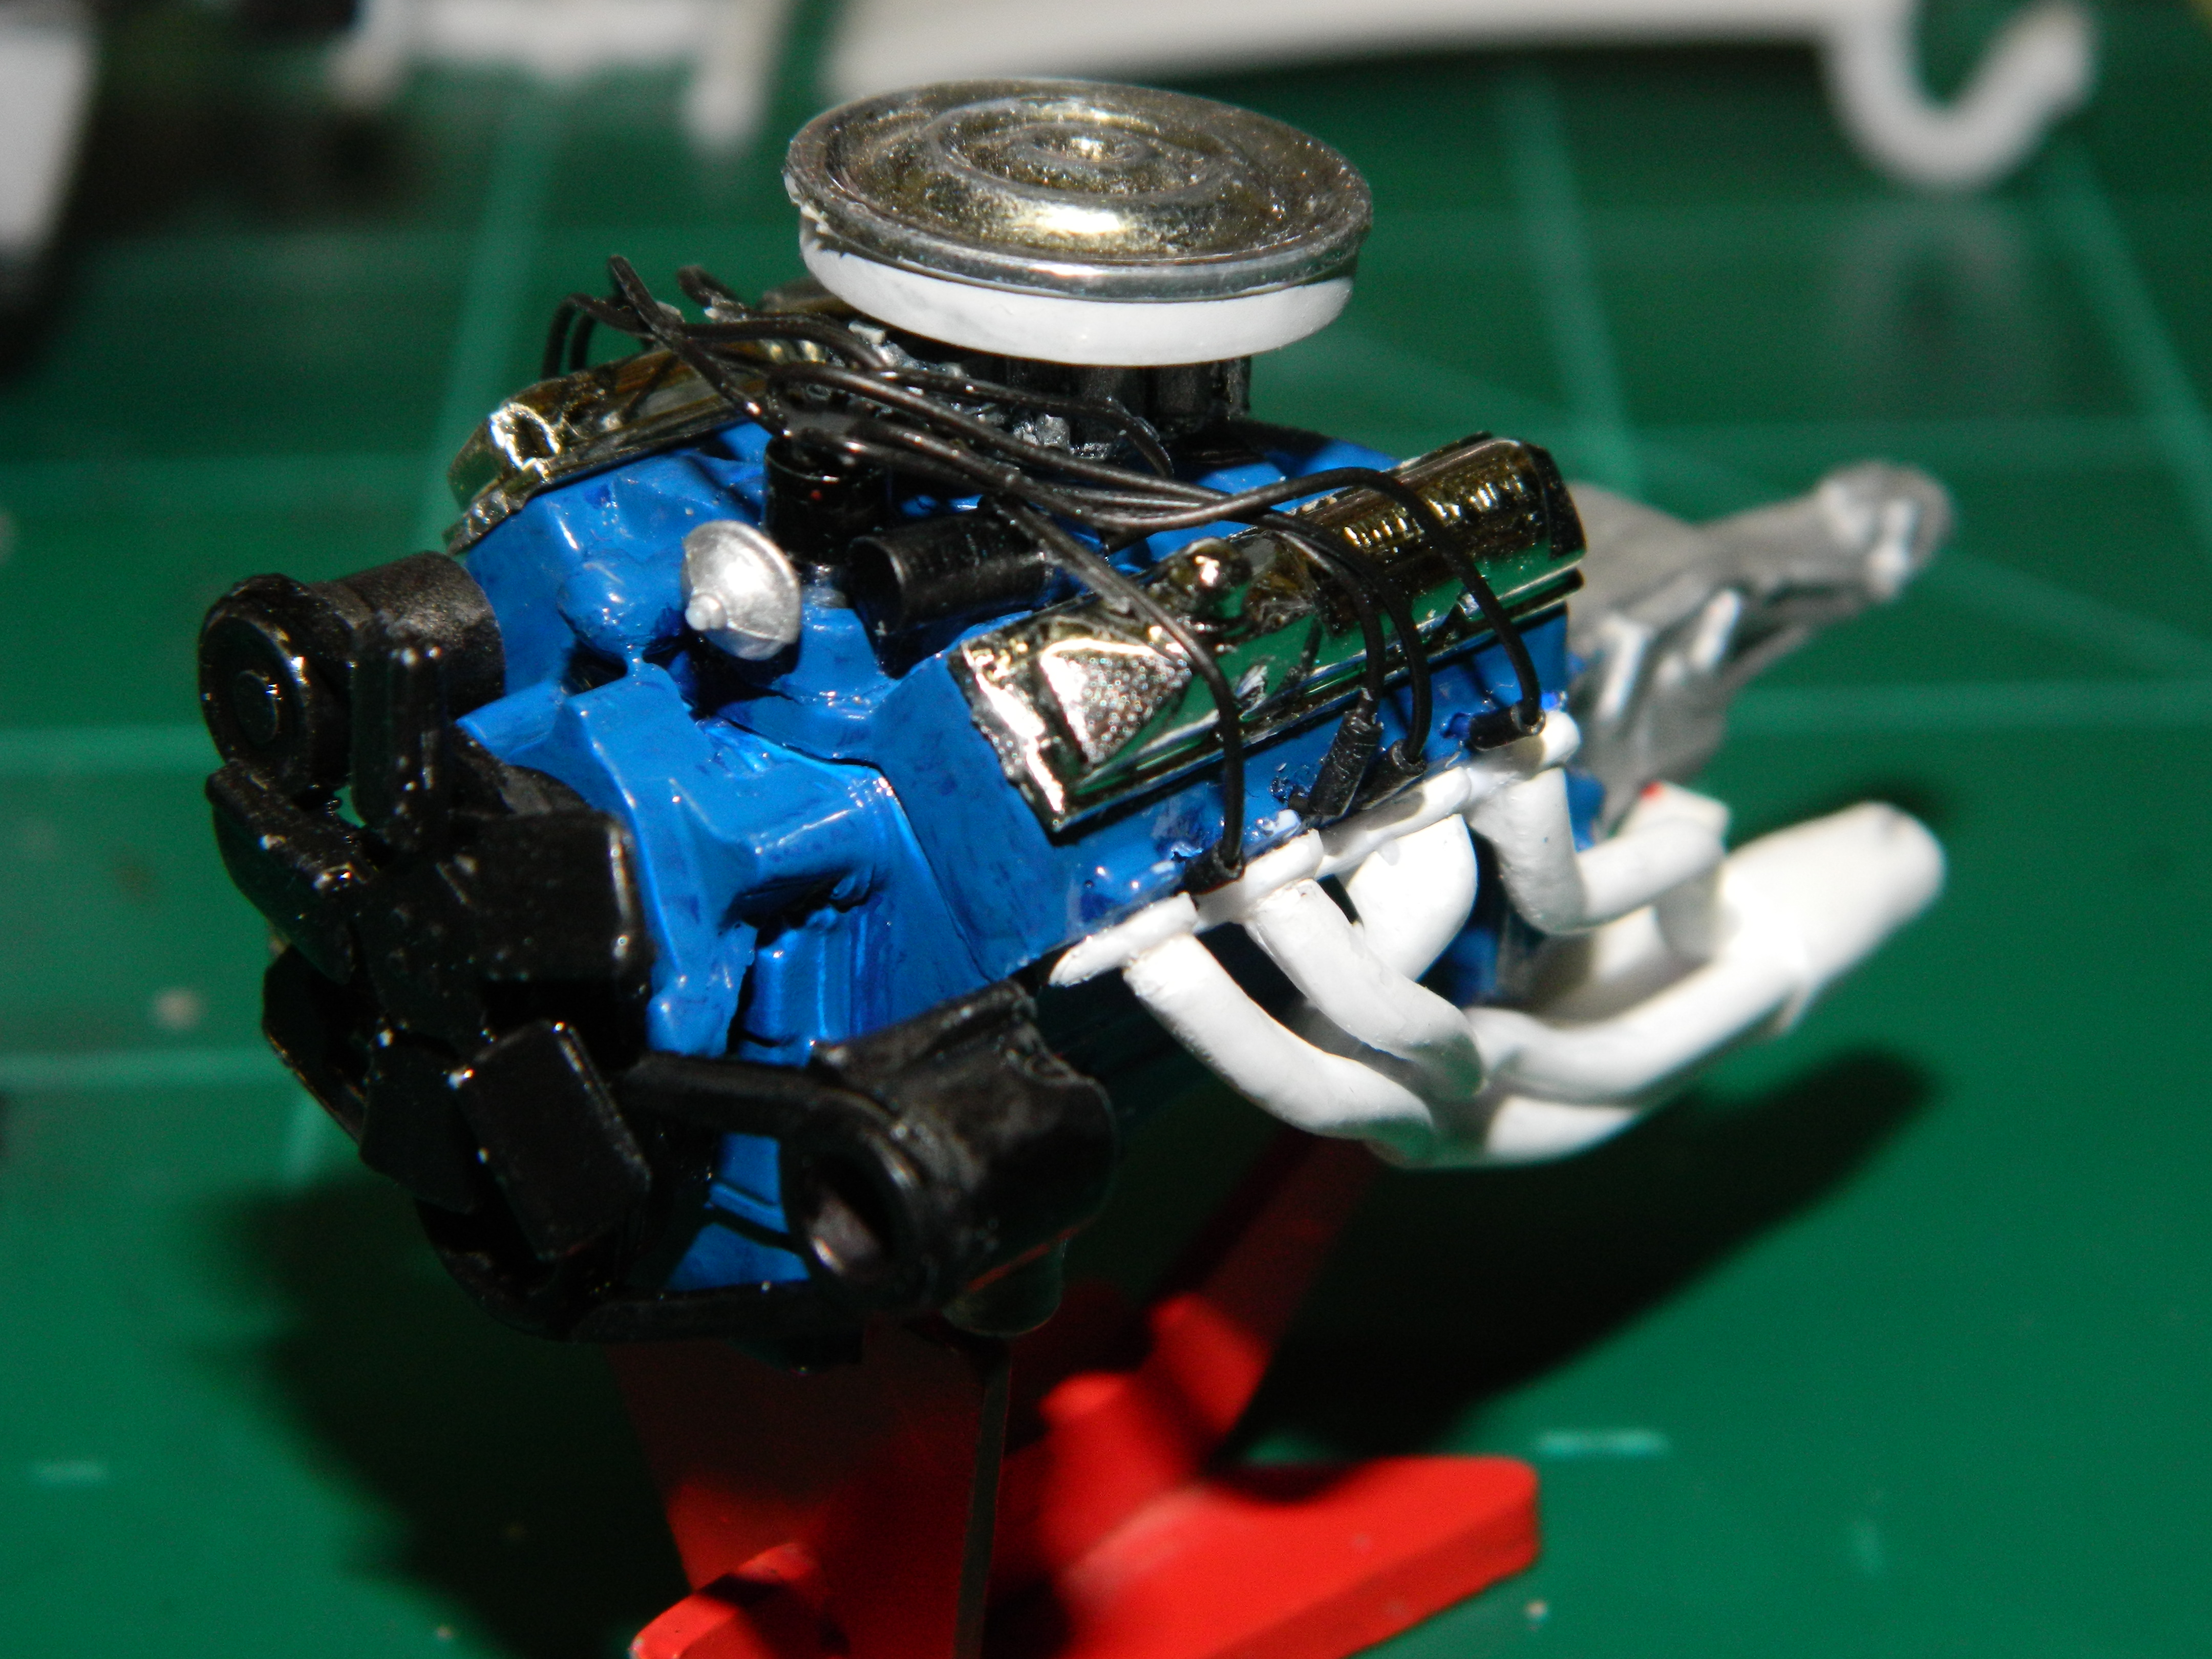
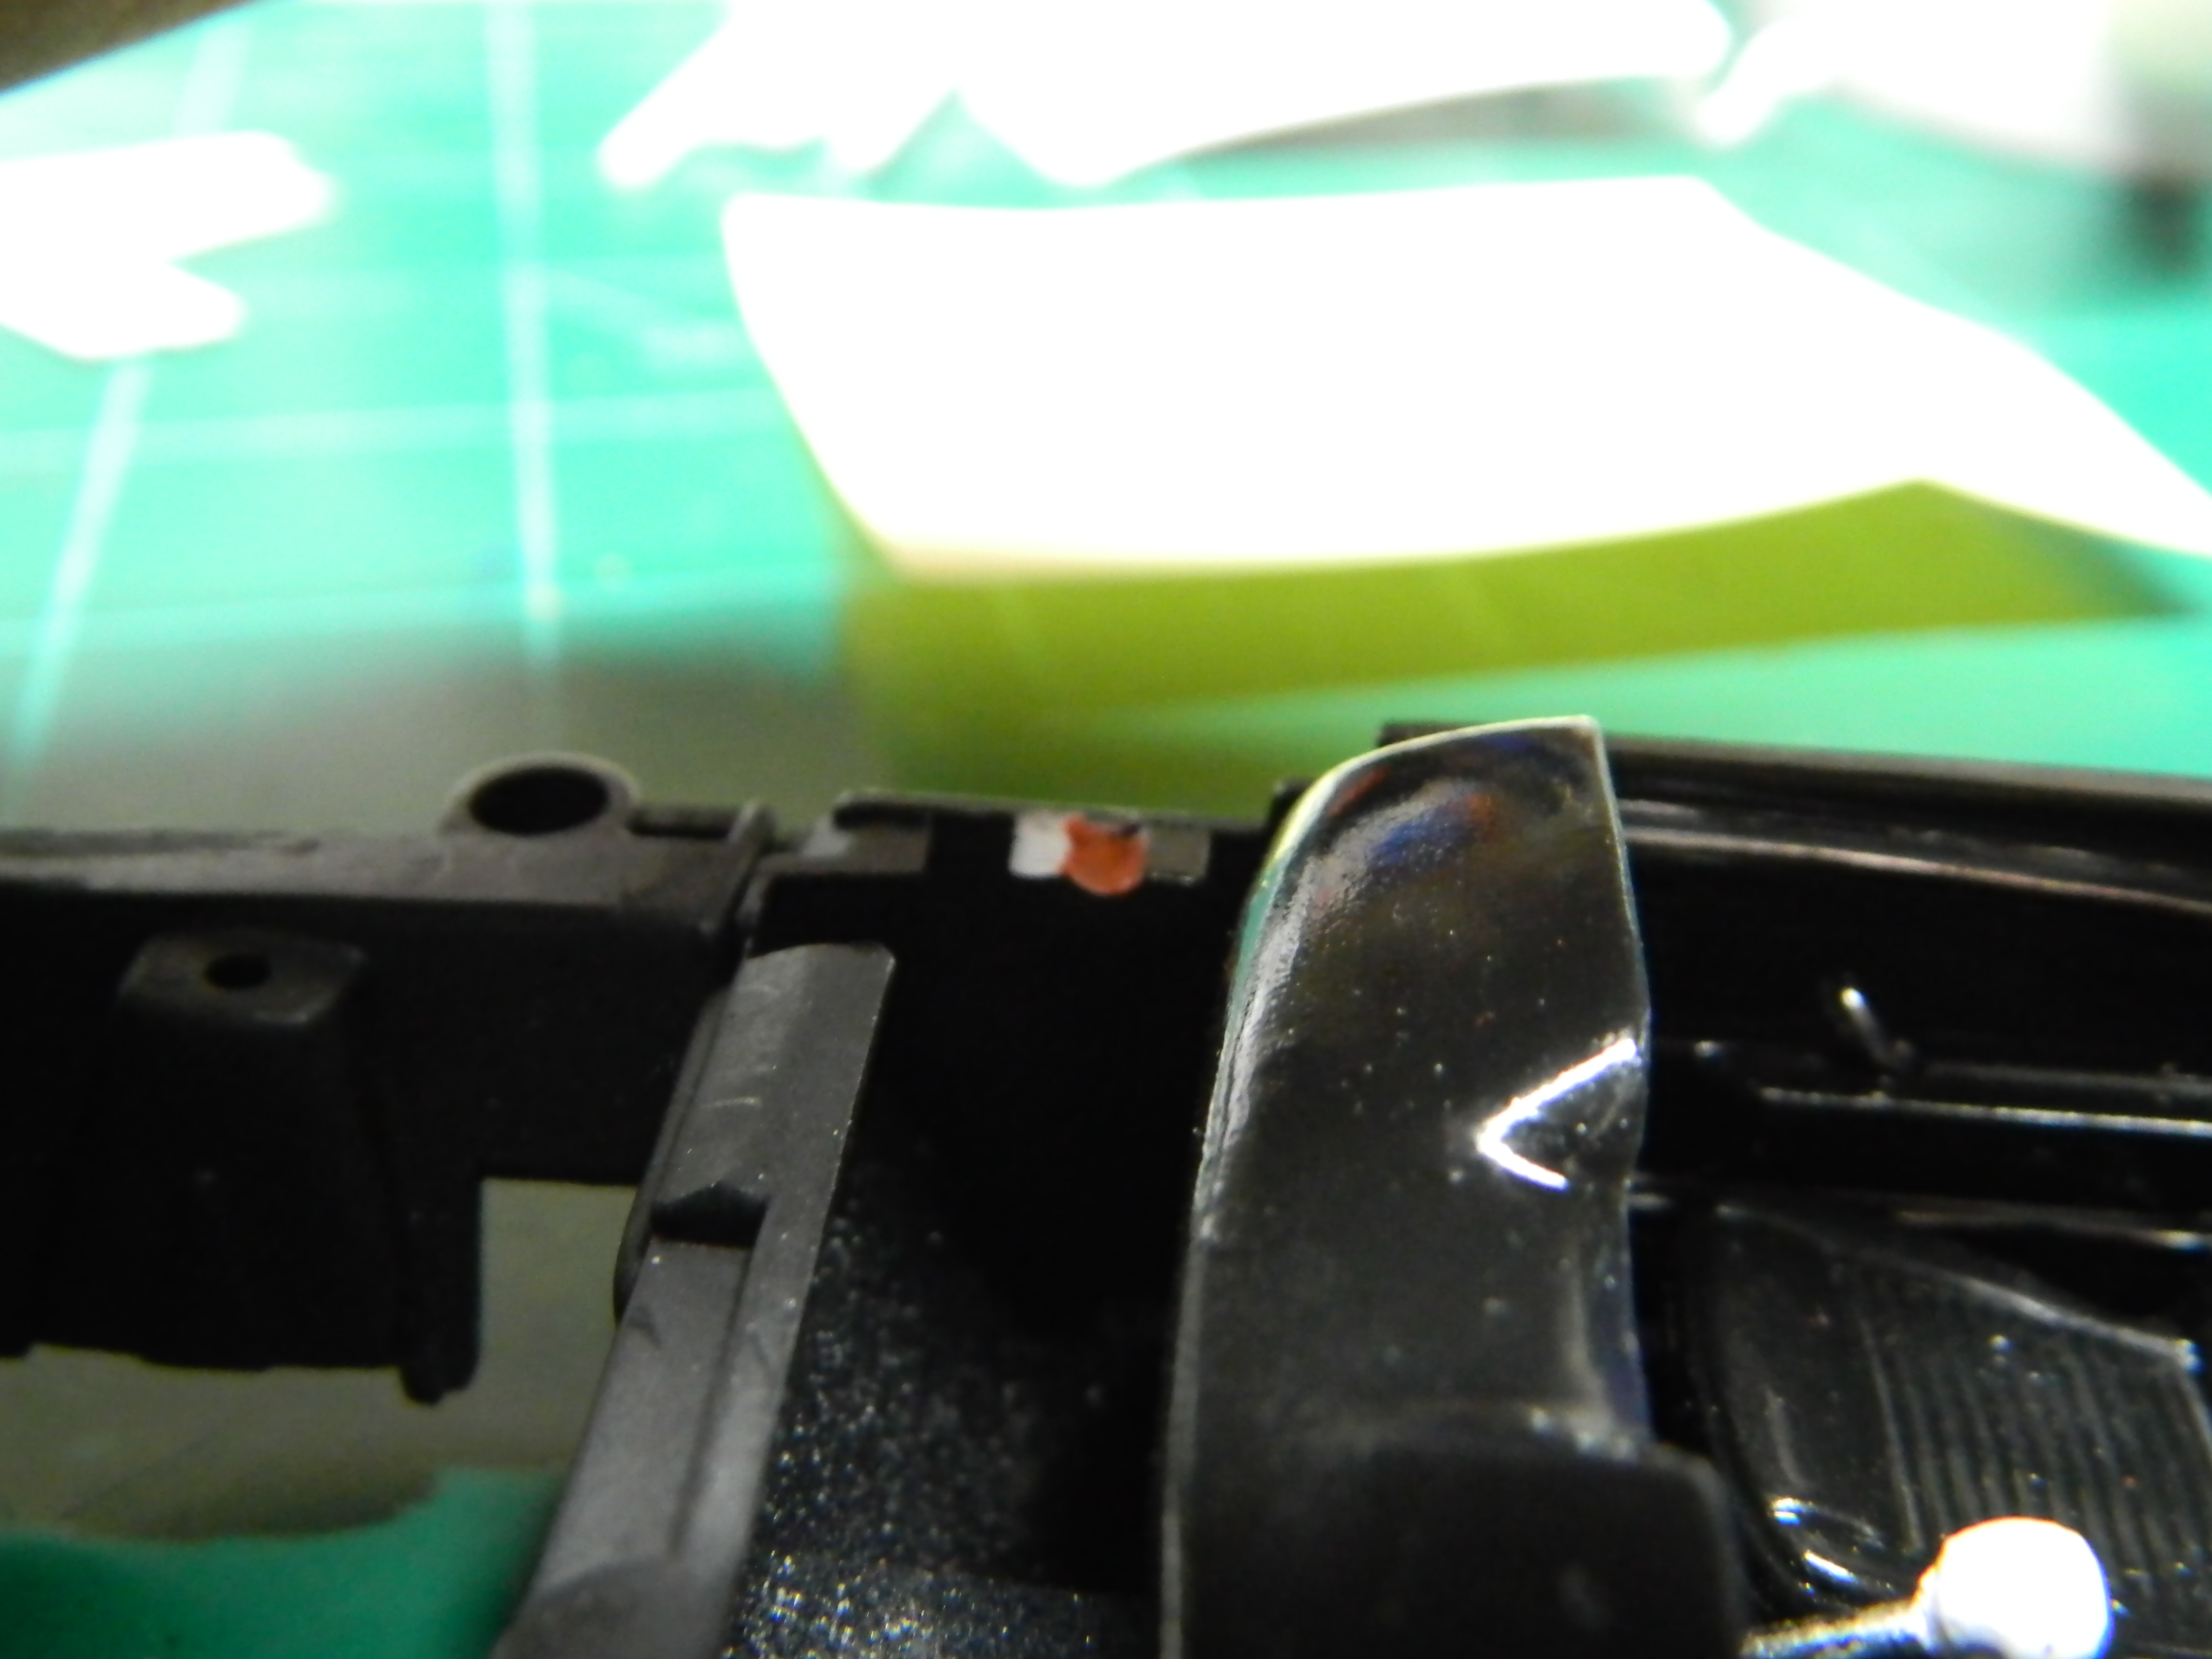
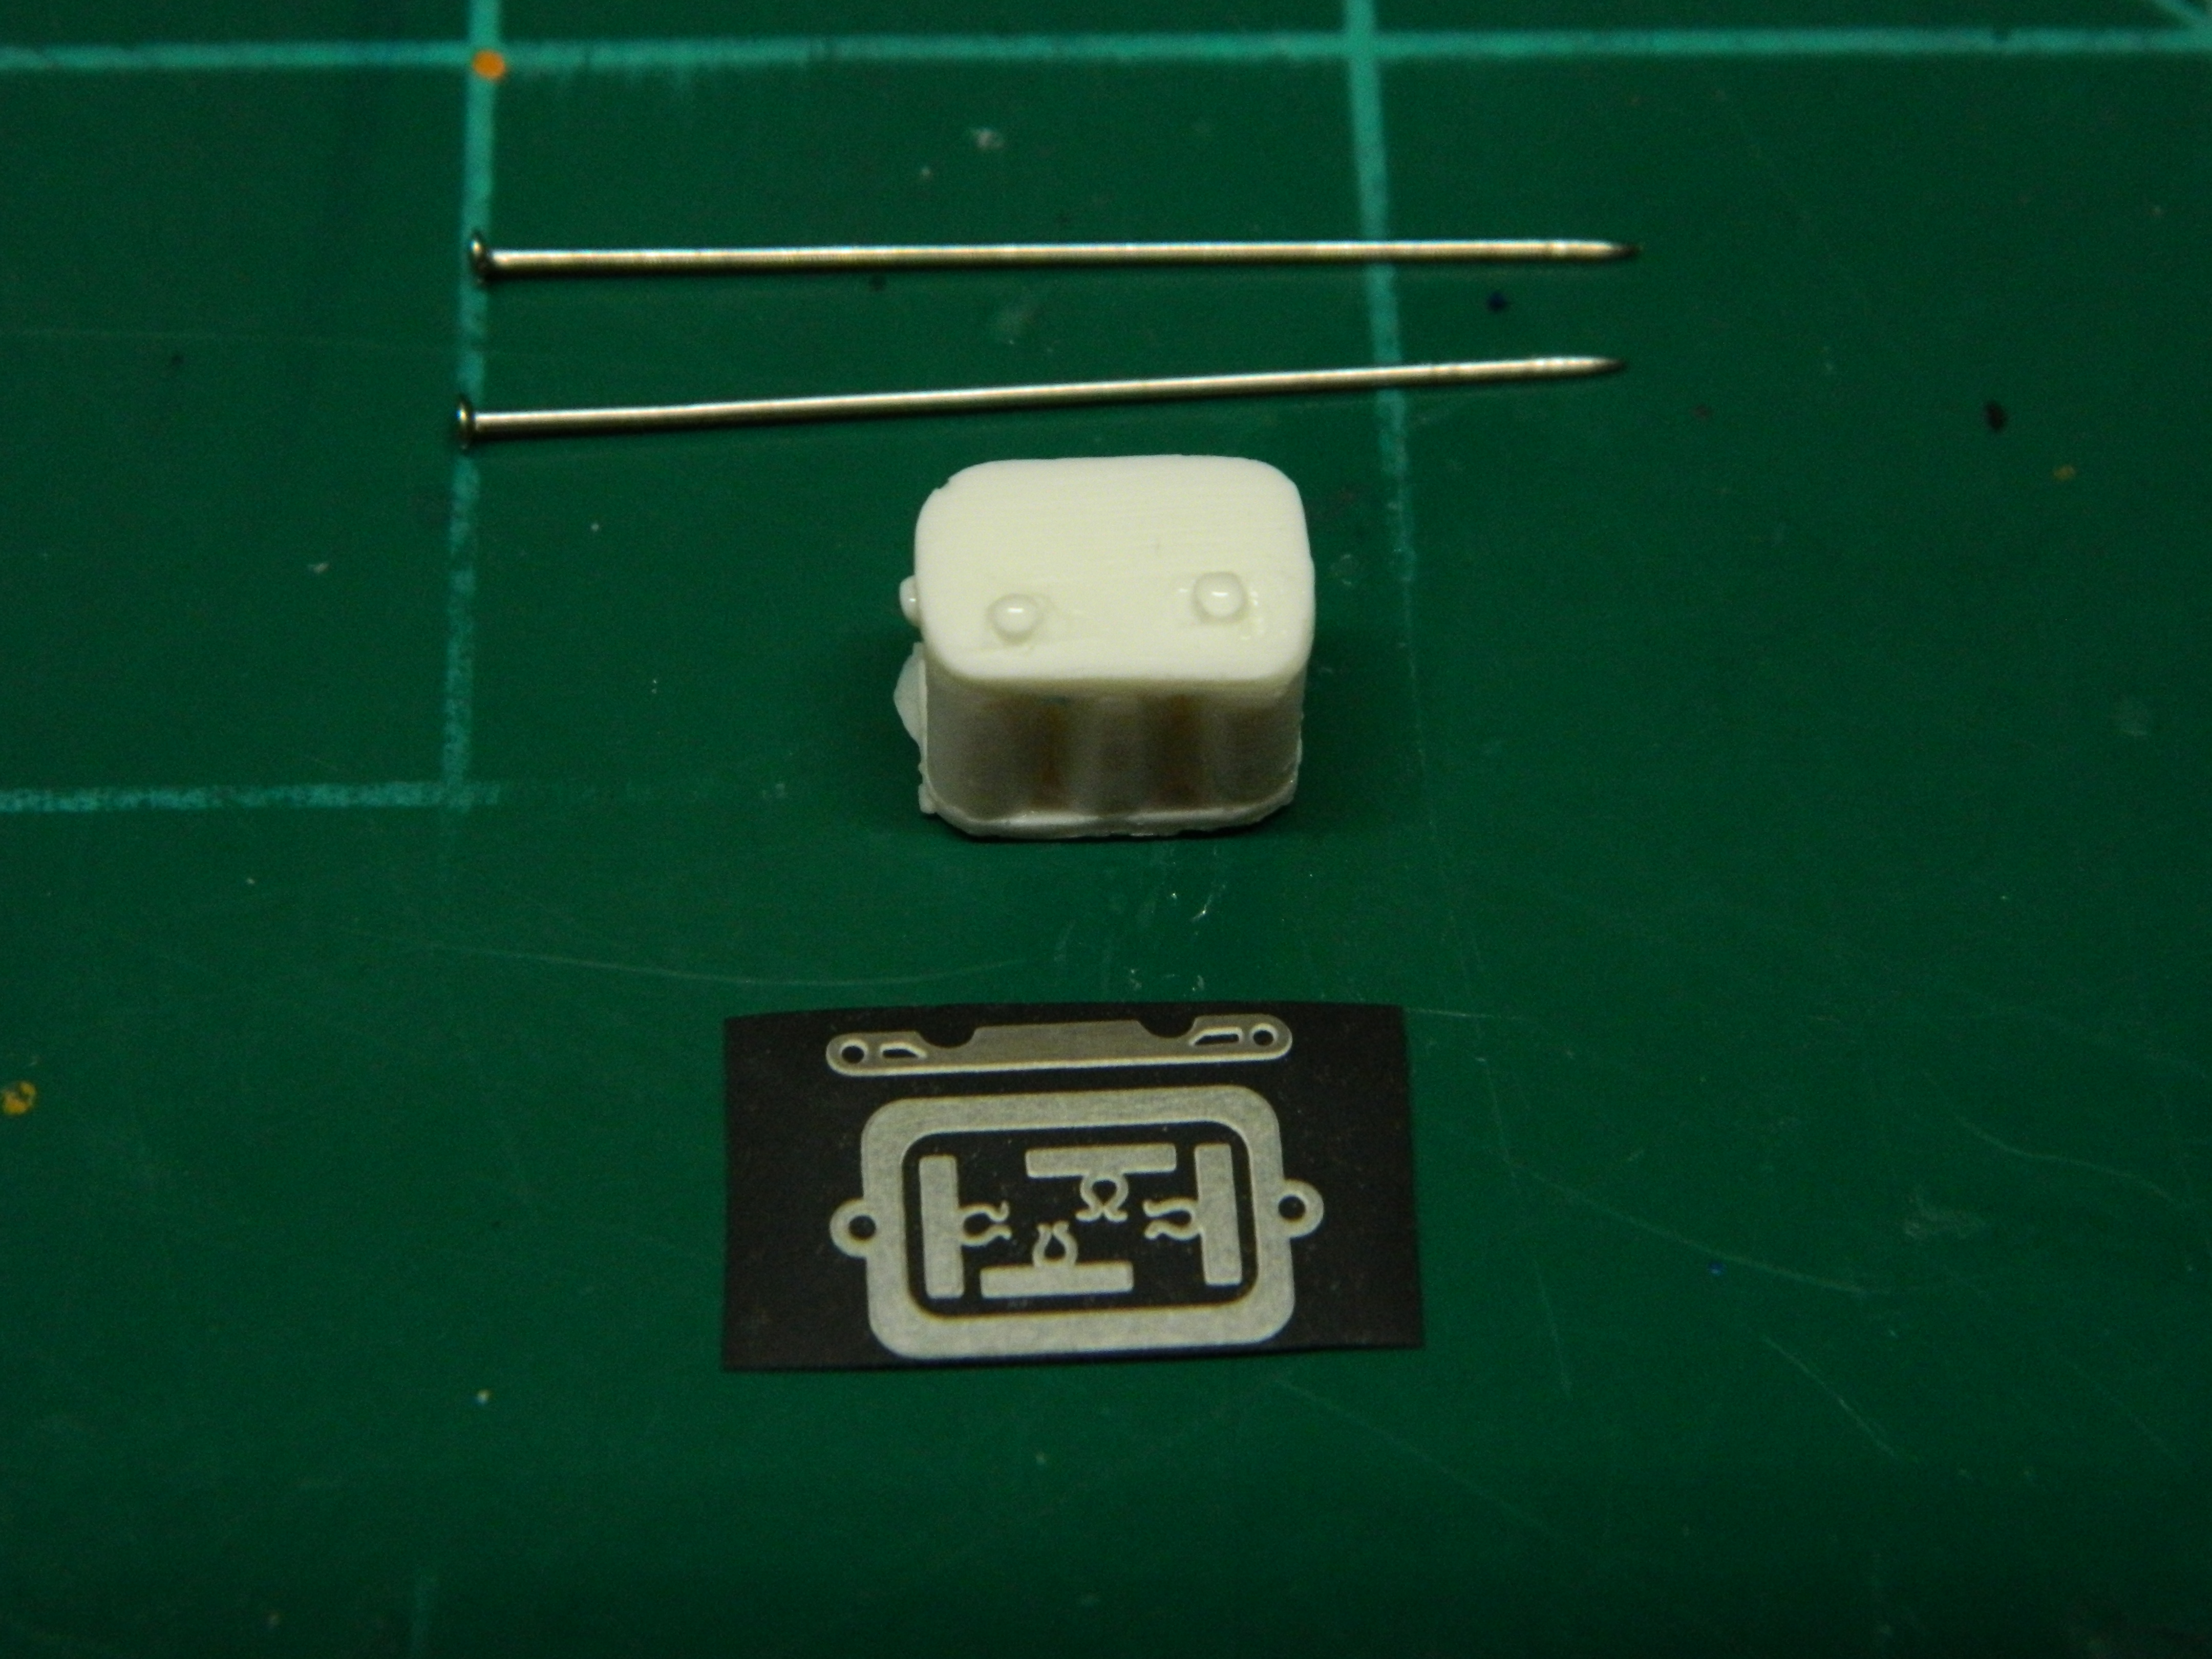
To get the interior to fit better, I removed part of the hood mounts on the interior side panels. I also deepened the grooves for the hood (highlighted in orange) with a Dremel and a small grinding bit. This is tight enough so the hood now stays up on it own. I got the Optima battery painted and now it is ready for the photoetch pieces and mounting. More to come...
-
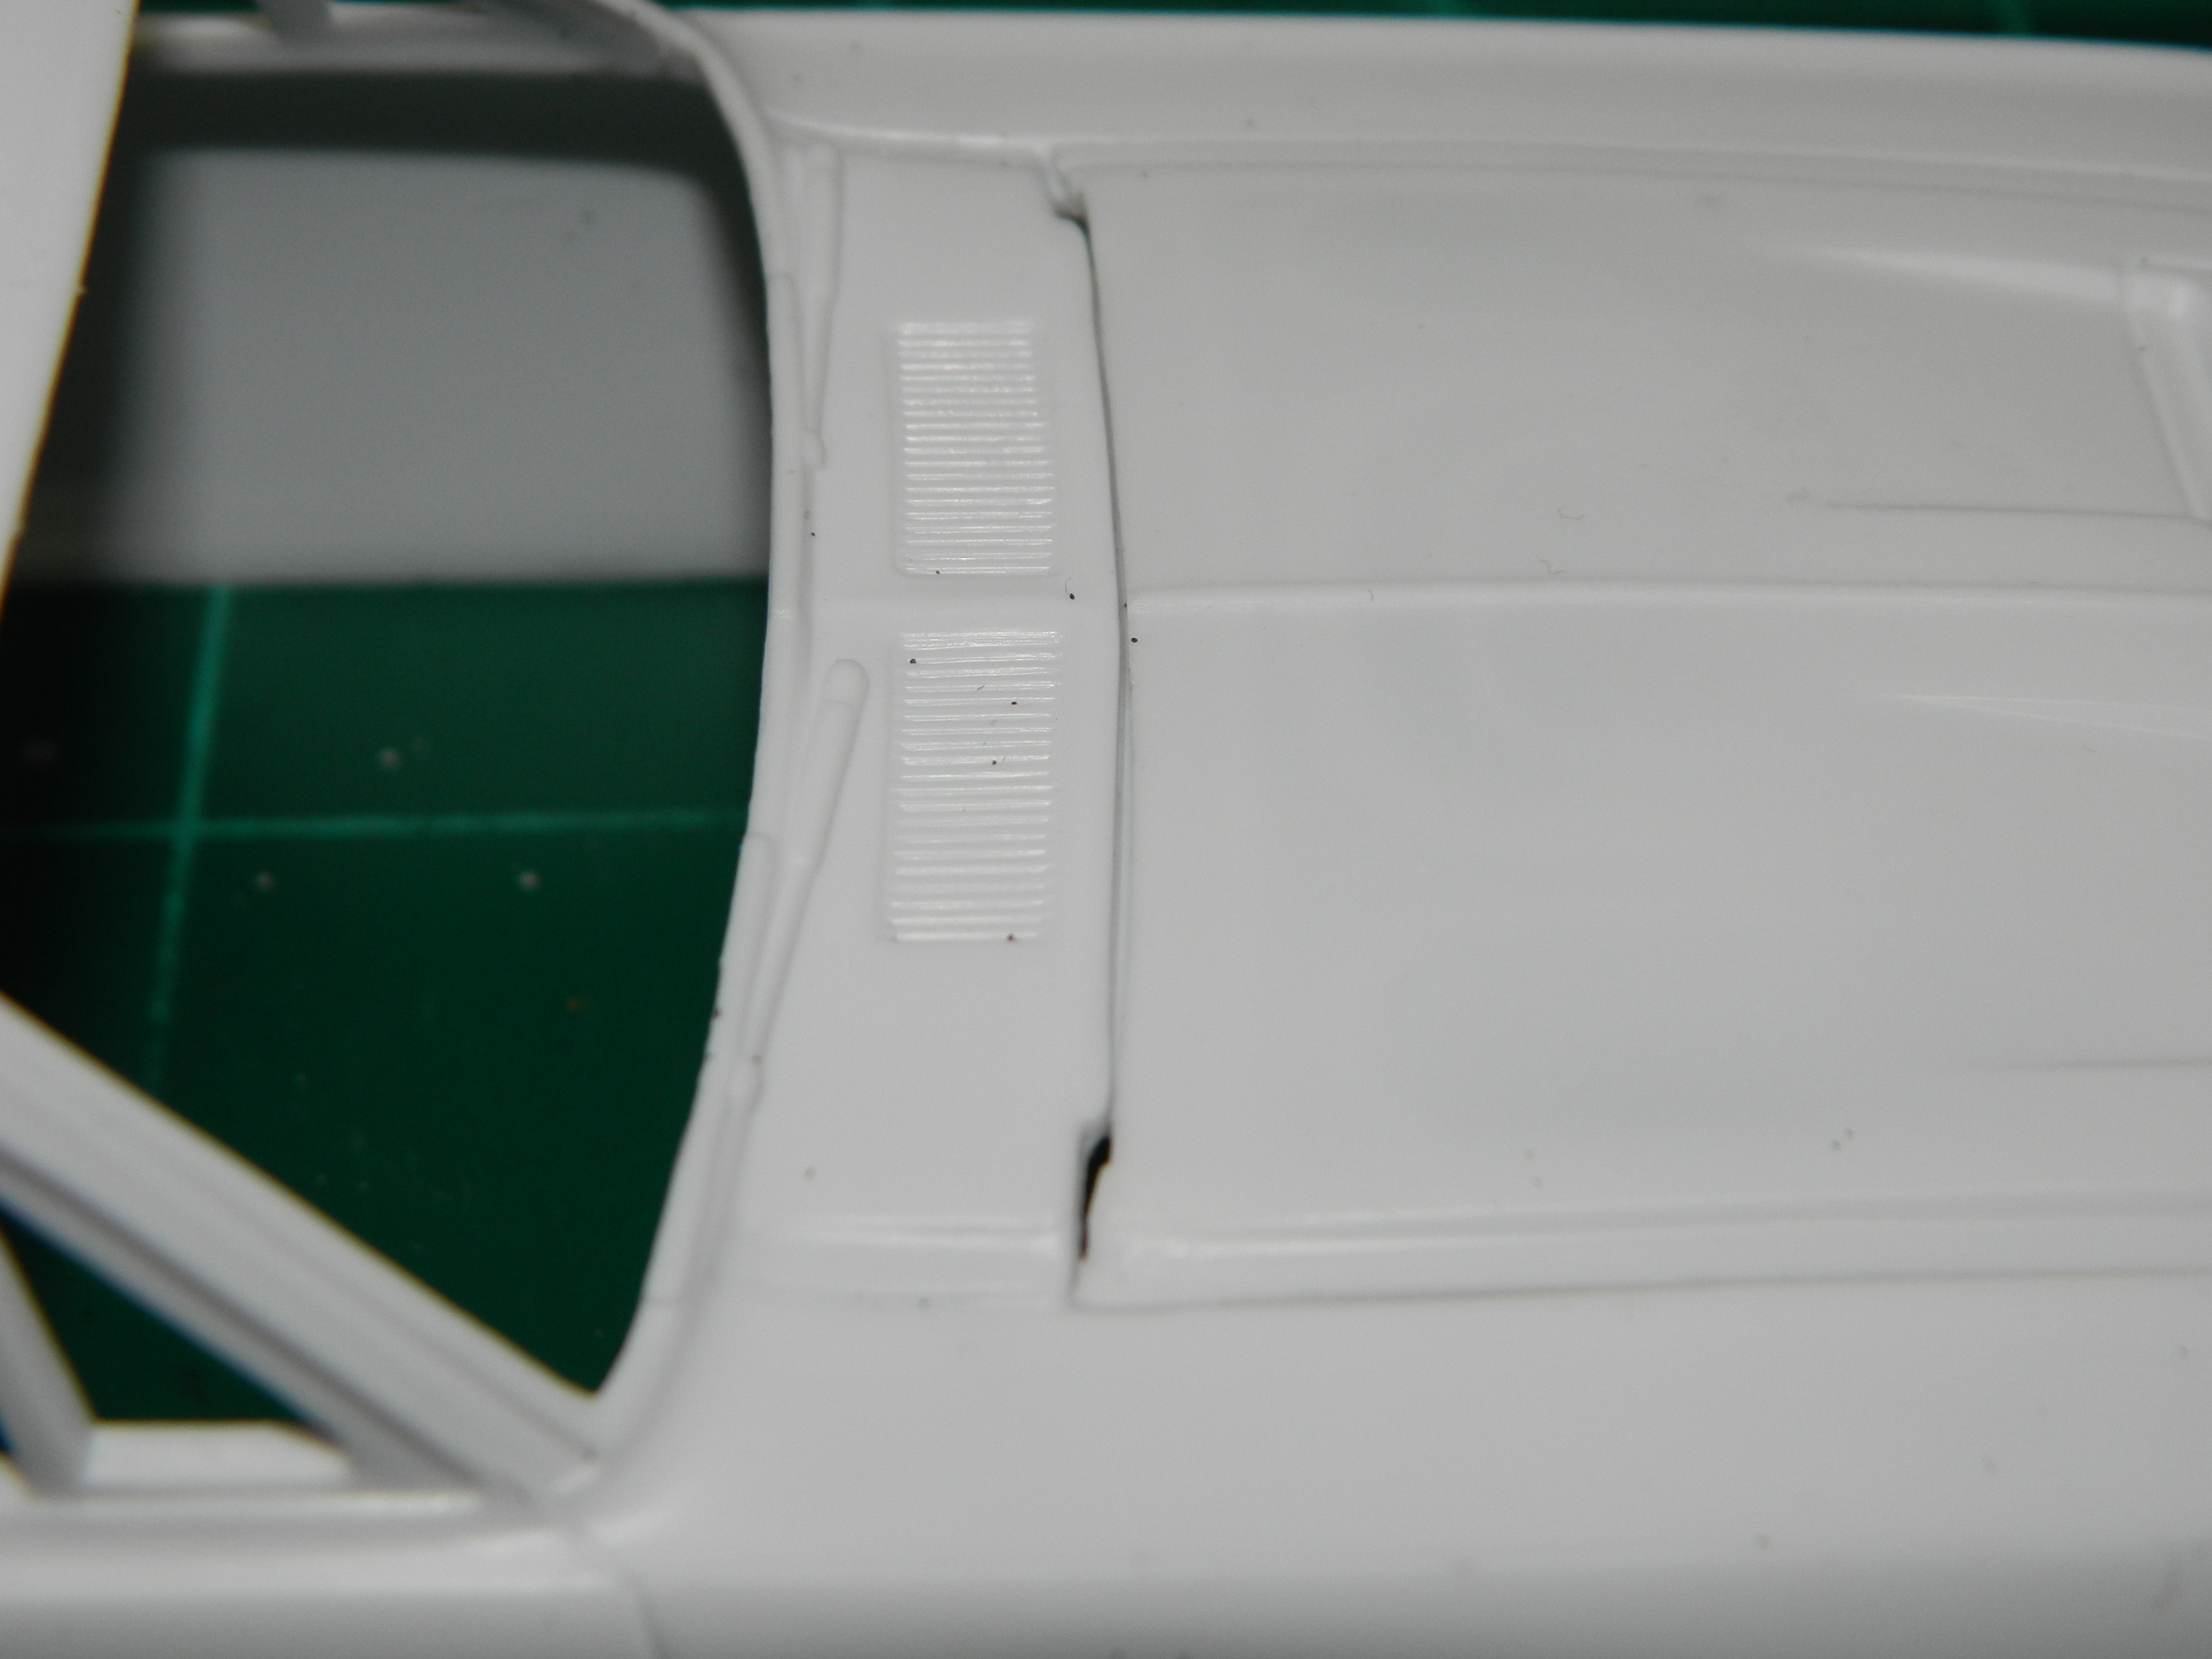
I'm almost finished with the interior, I just need to make some seat belts. A mockup with the body and hood shows the interior not sitting level and the screw holes have some play in them before the are bottomed out. I need to modify the hood pin holders on the side panels to allow the interior to sit correctly. I need to address the rear edge of the hood and the edge of the cowl. This should be even all the way across from one side to the other. More to come...
-
The rocker trim must have been painted to reflect how Frank Bullitt would have had the car. The car had been "roughed up" with some sandpaper and dented here and there by Builder Max Balchowsky and the 390 CID engine modified.
-
A fantastic looking El Camino, Randy! Your detailing is spot on! Great job!
-
Thanks Michael!
-
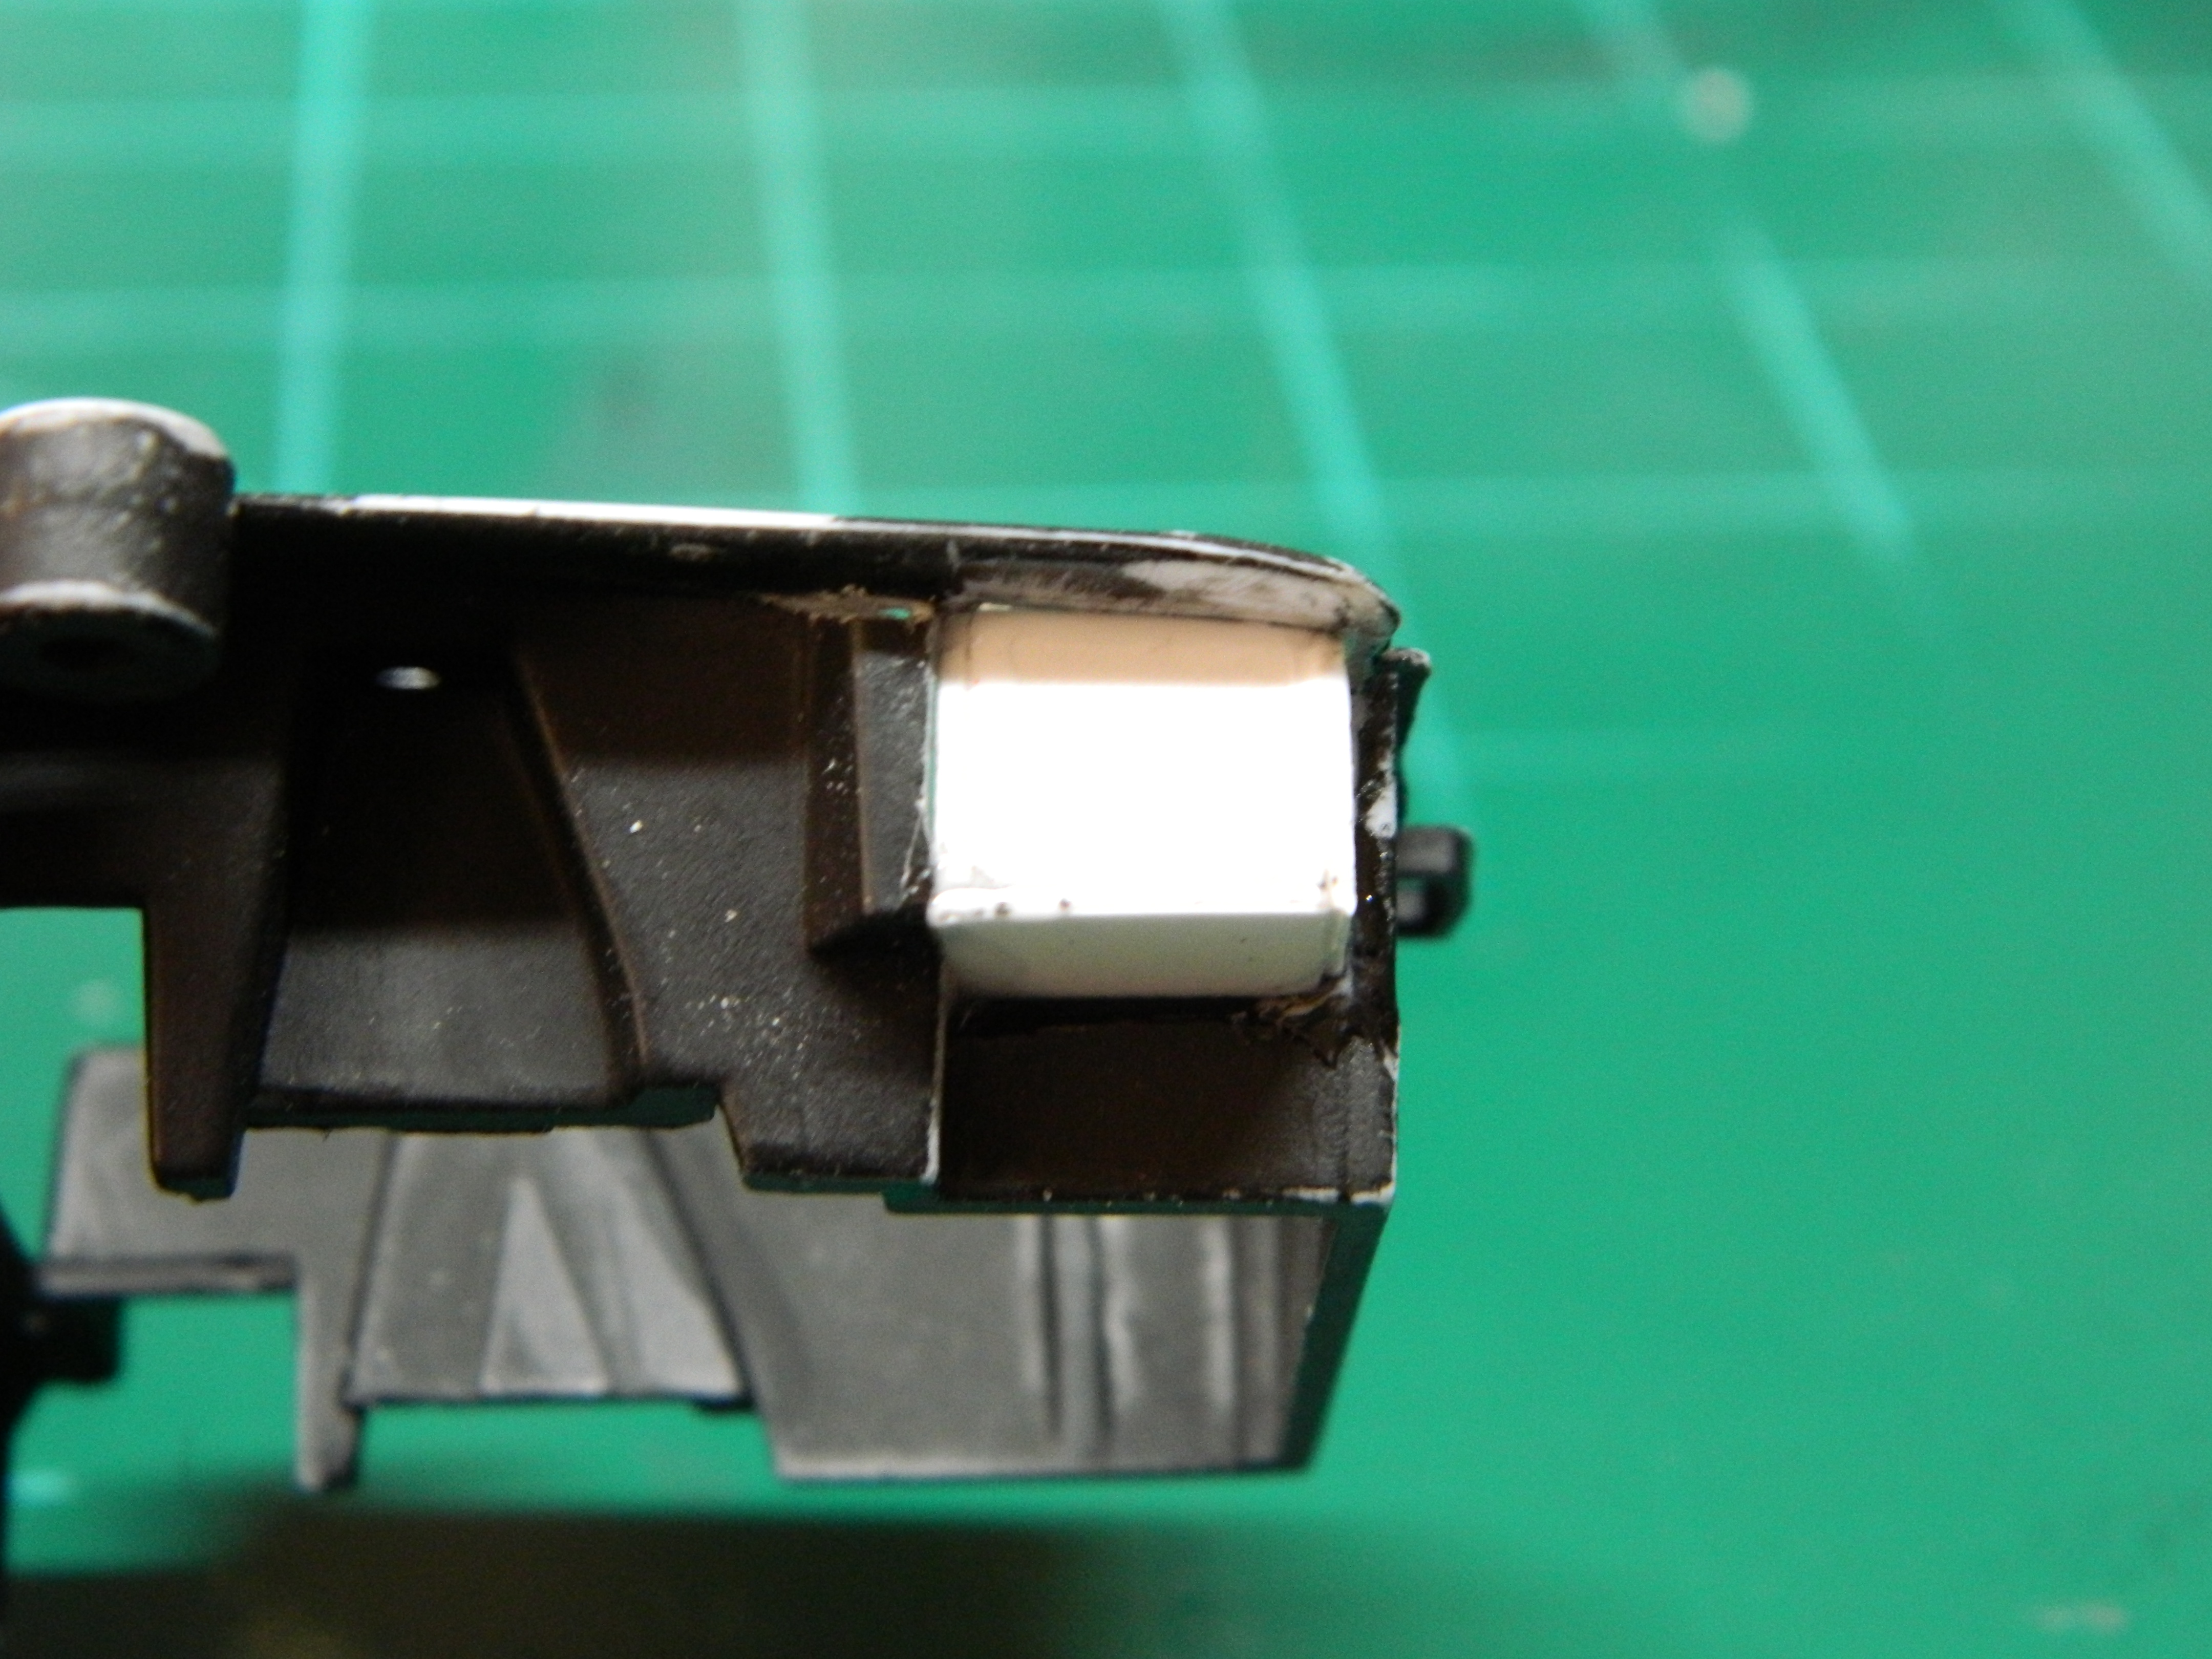
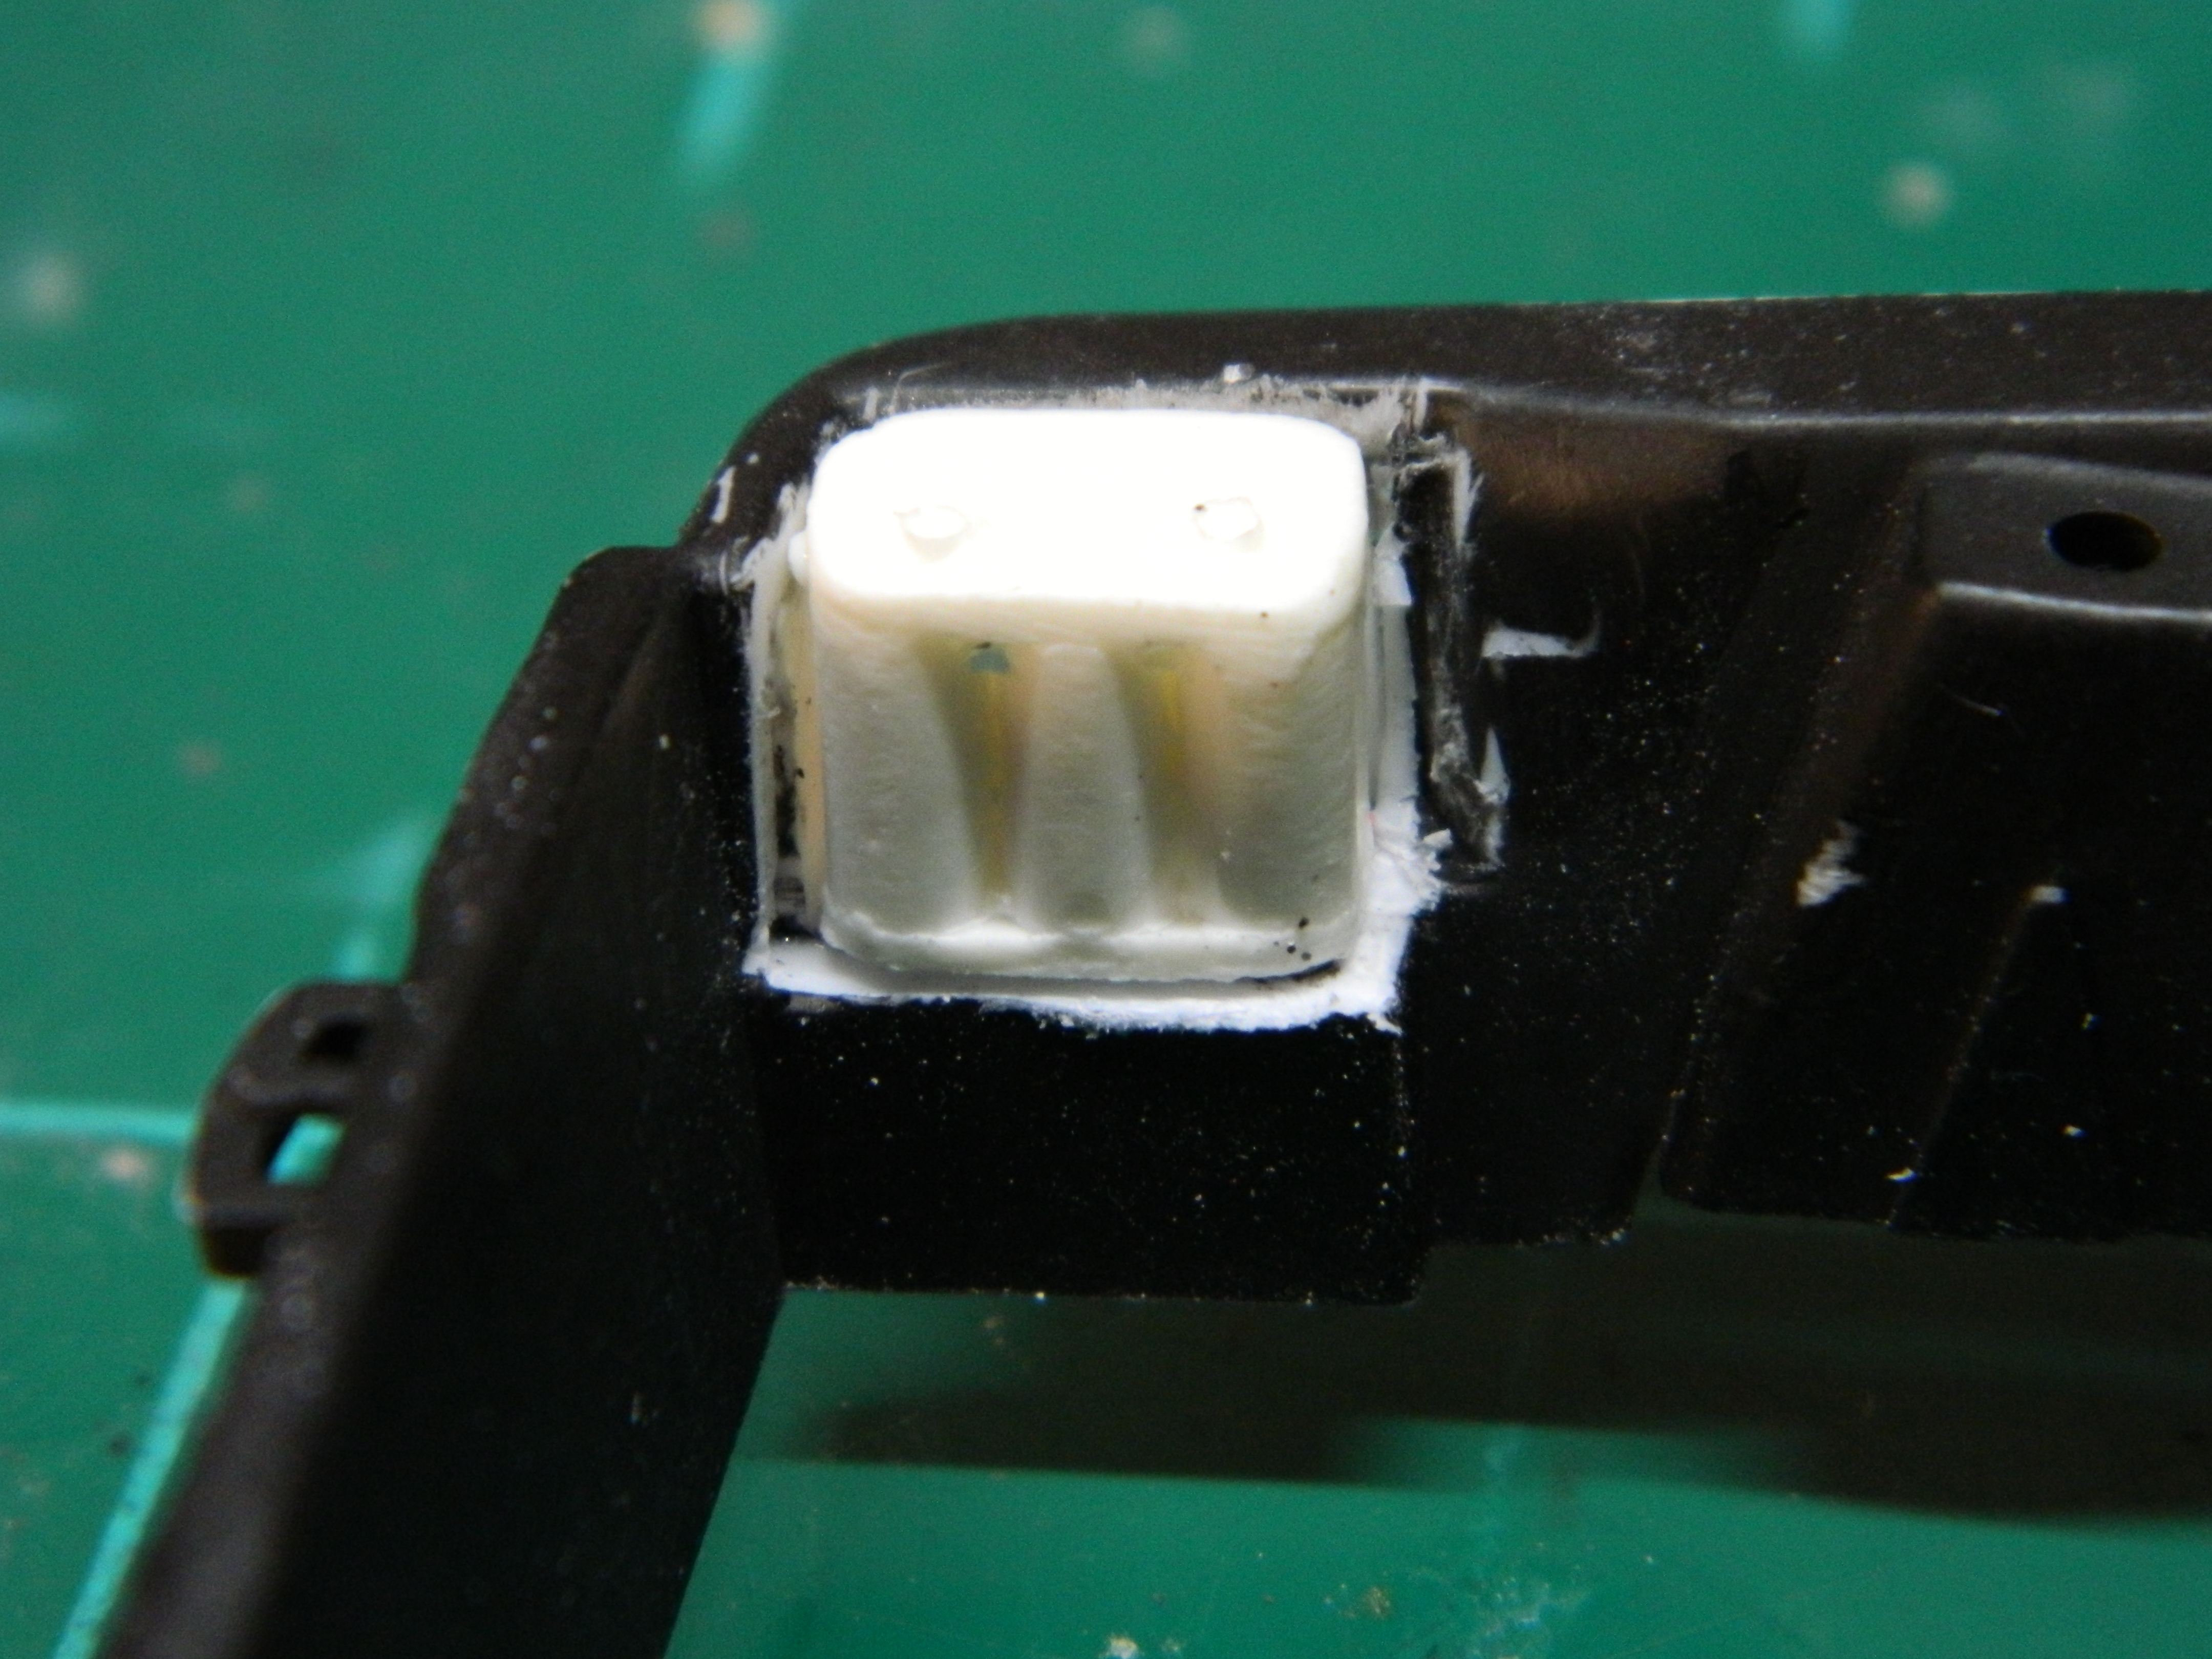
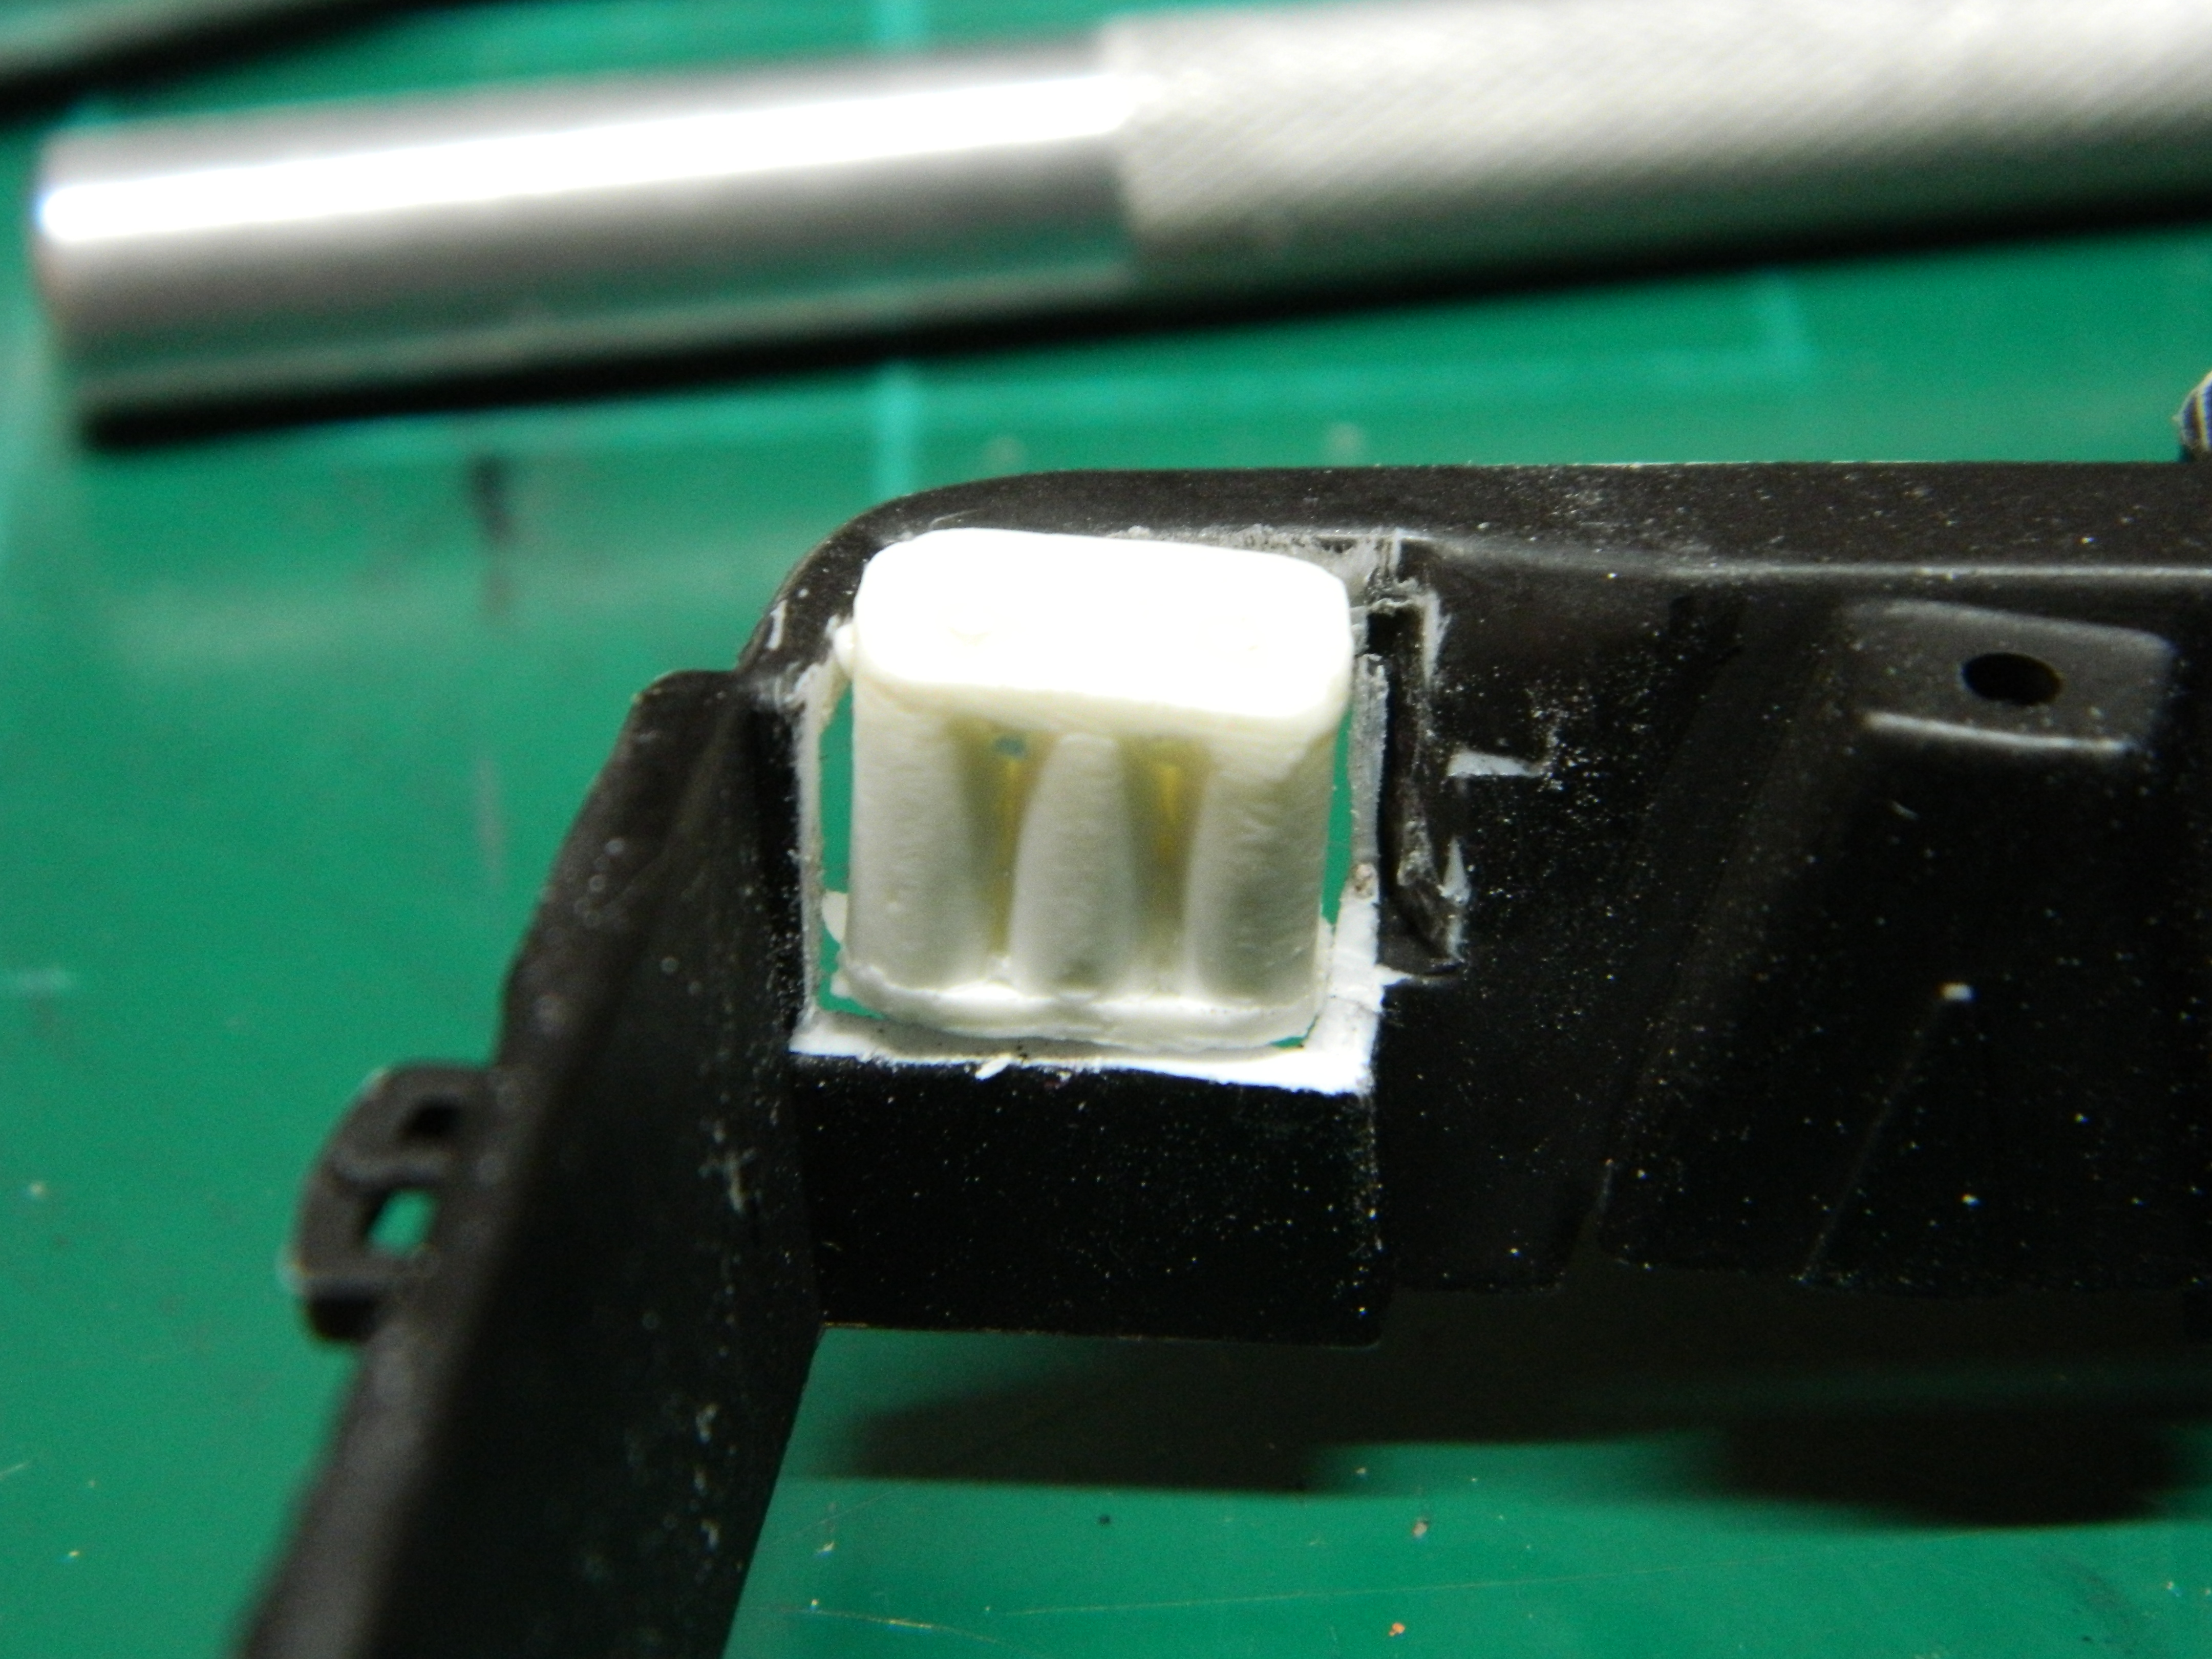
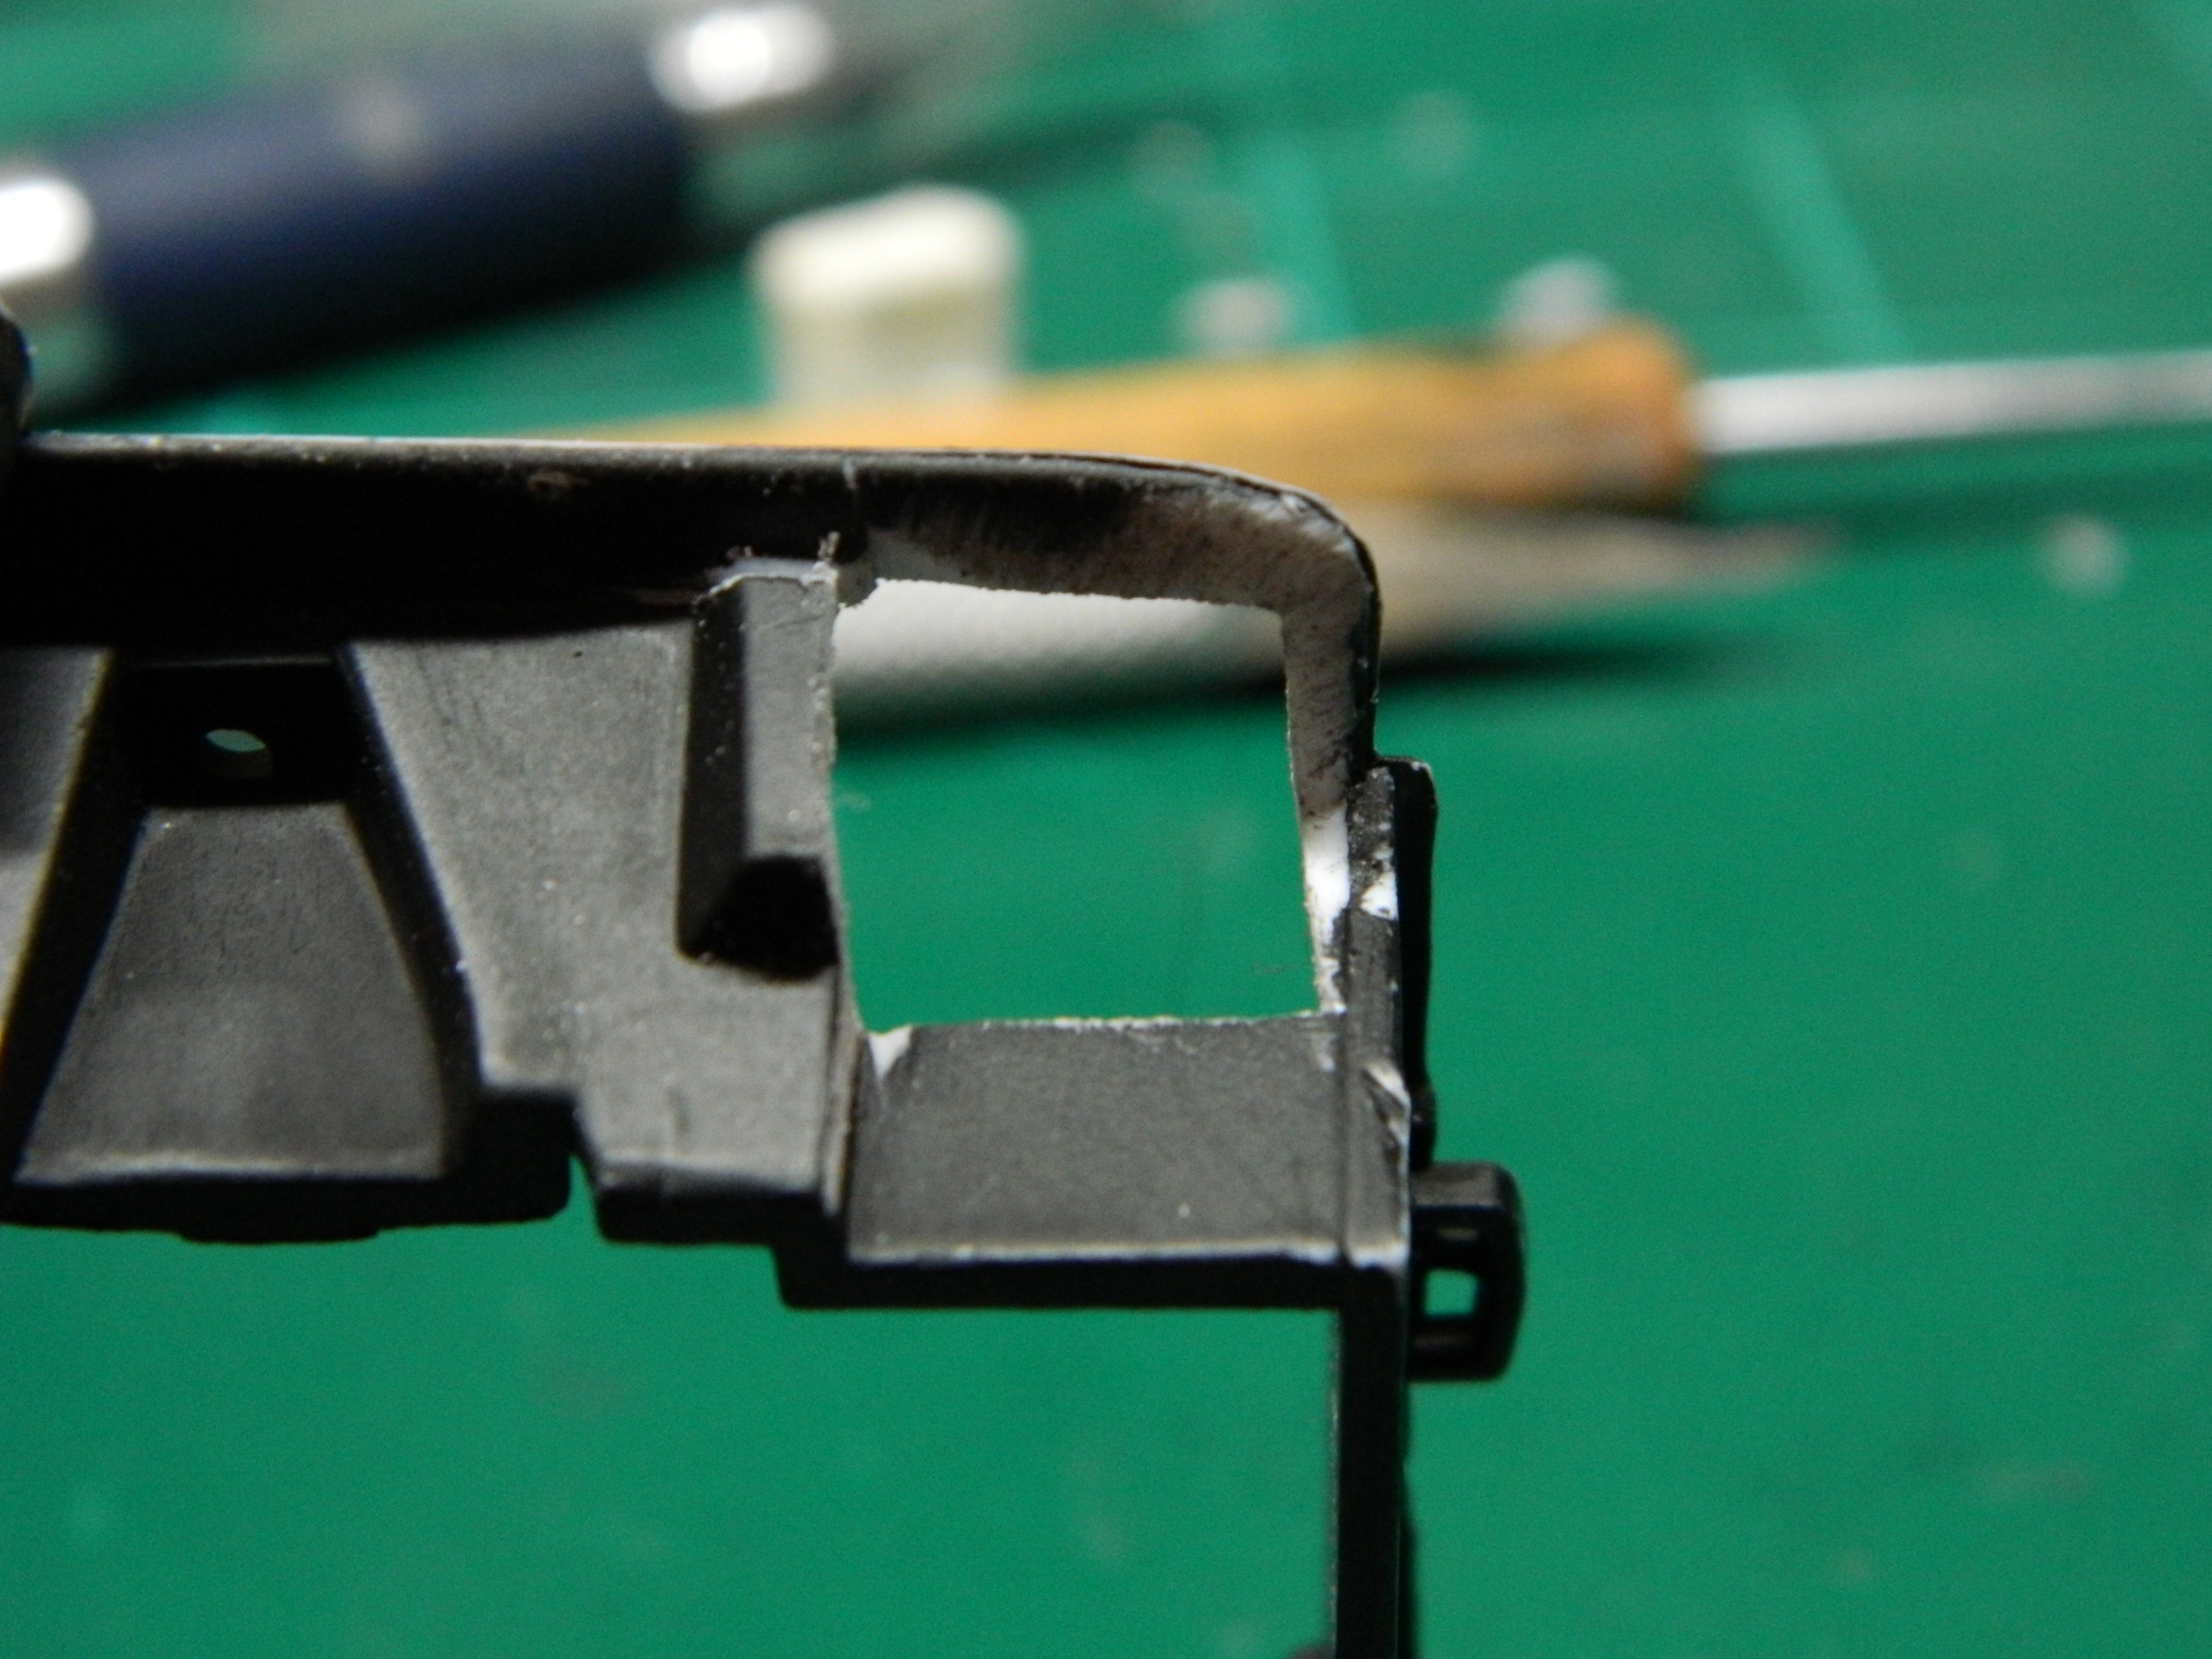
With some careful measuring, I cut some 0.020 styrene into three squares and added them to the hole I had cut into the engine bay. All the pieces were glued with Testors Liquid Cement. I mock up the resin Optima battery and the new battery tray looks perfect. Before someone panics and says that the battery will hit the hood, there is a 1/16" gap that runs between the fender and the engine compartment that is a leftover from the diecast mold. The gap will be filled at a later date. I need to repaint the engine compartment and the new battery tray. More to come...
-
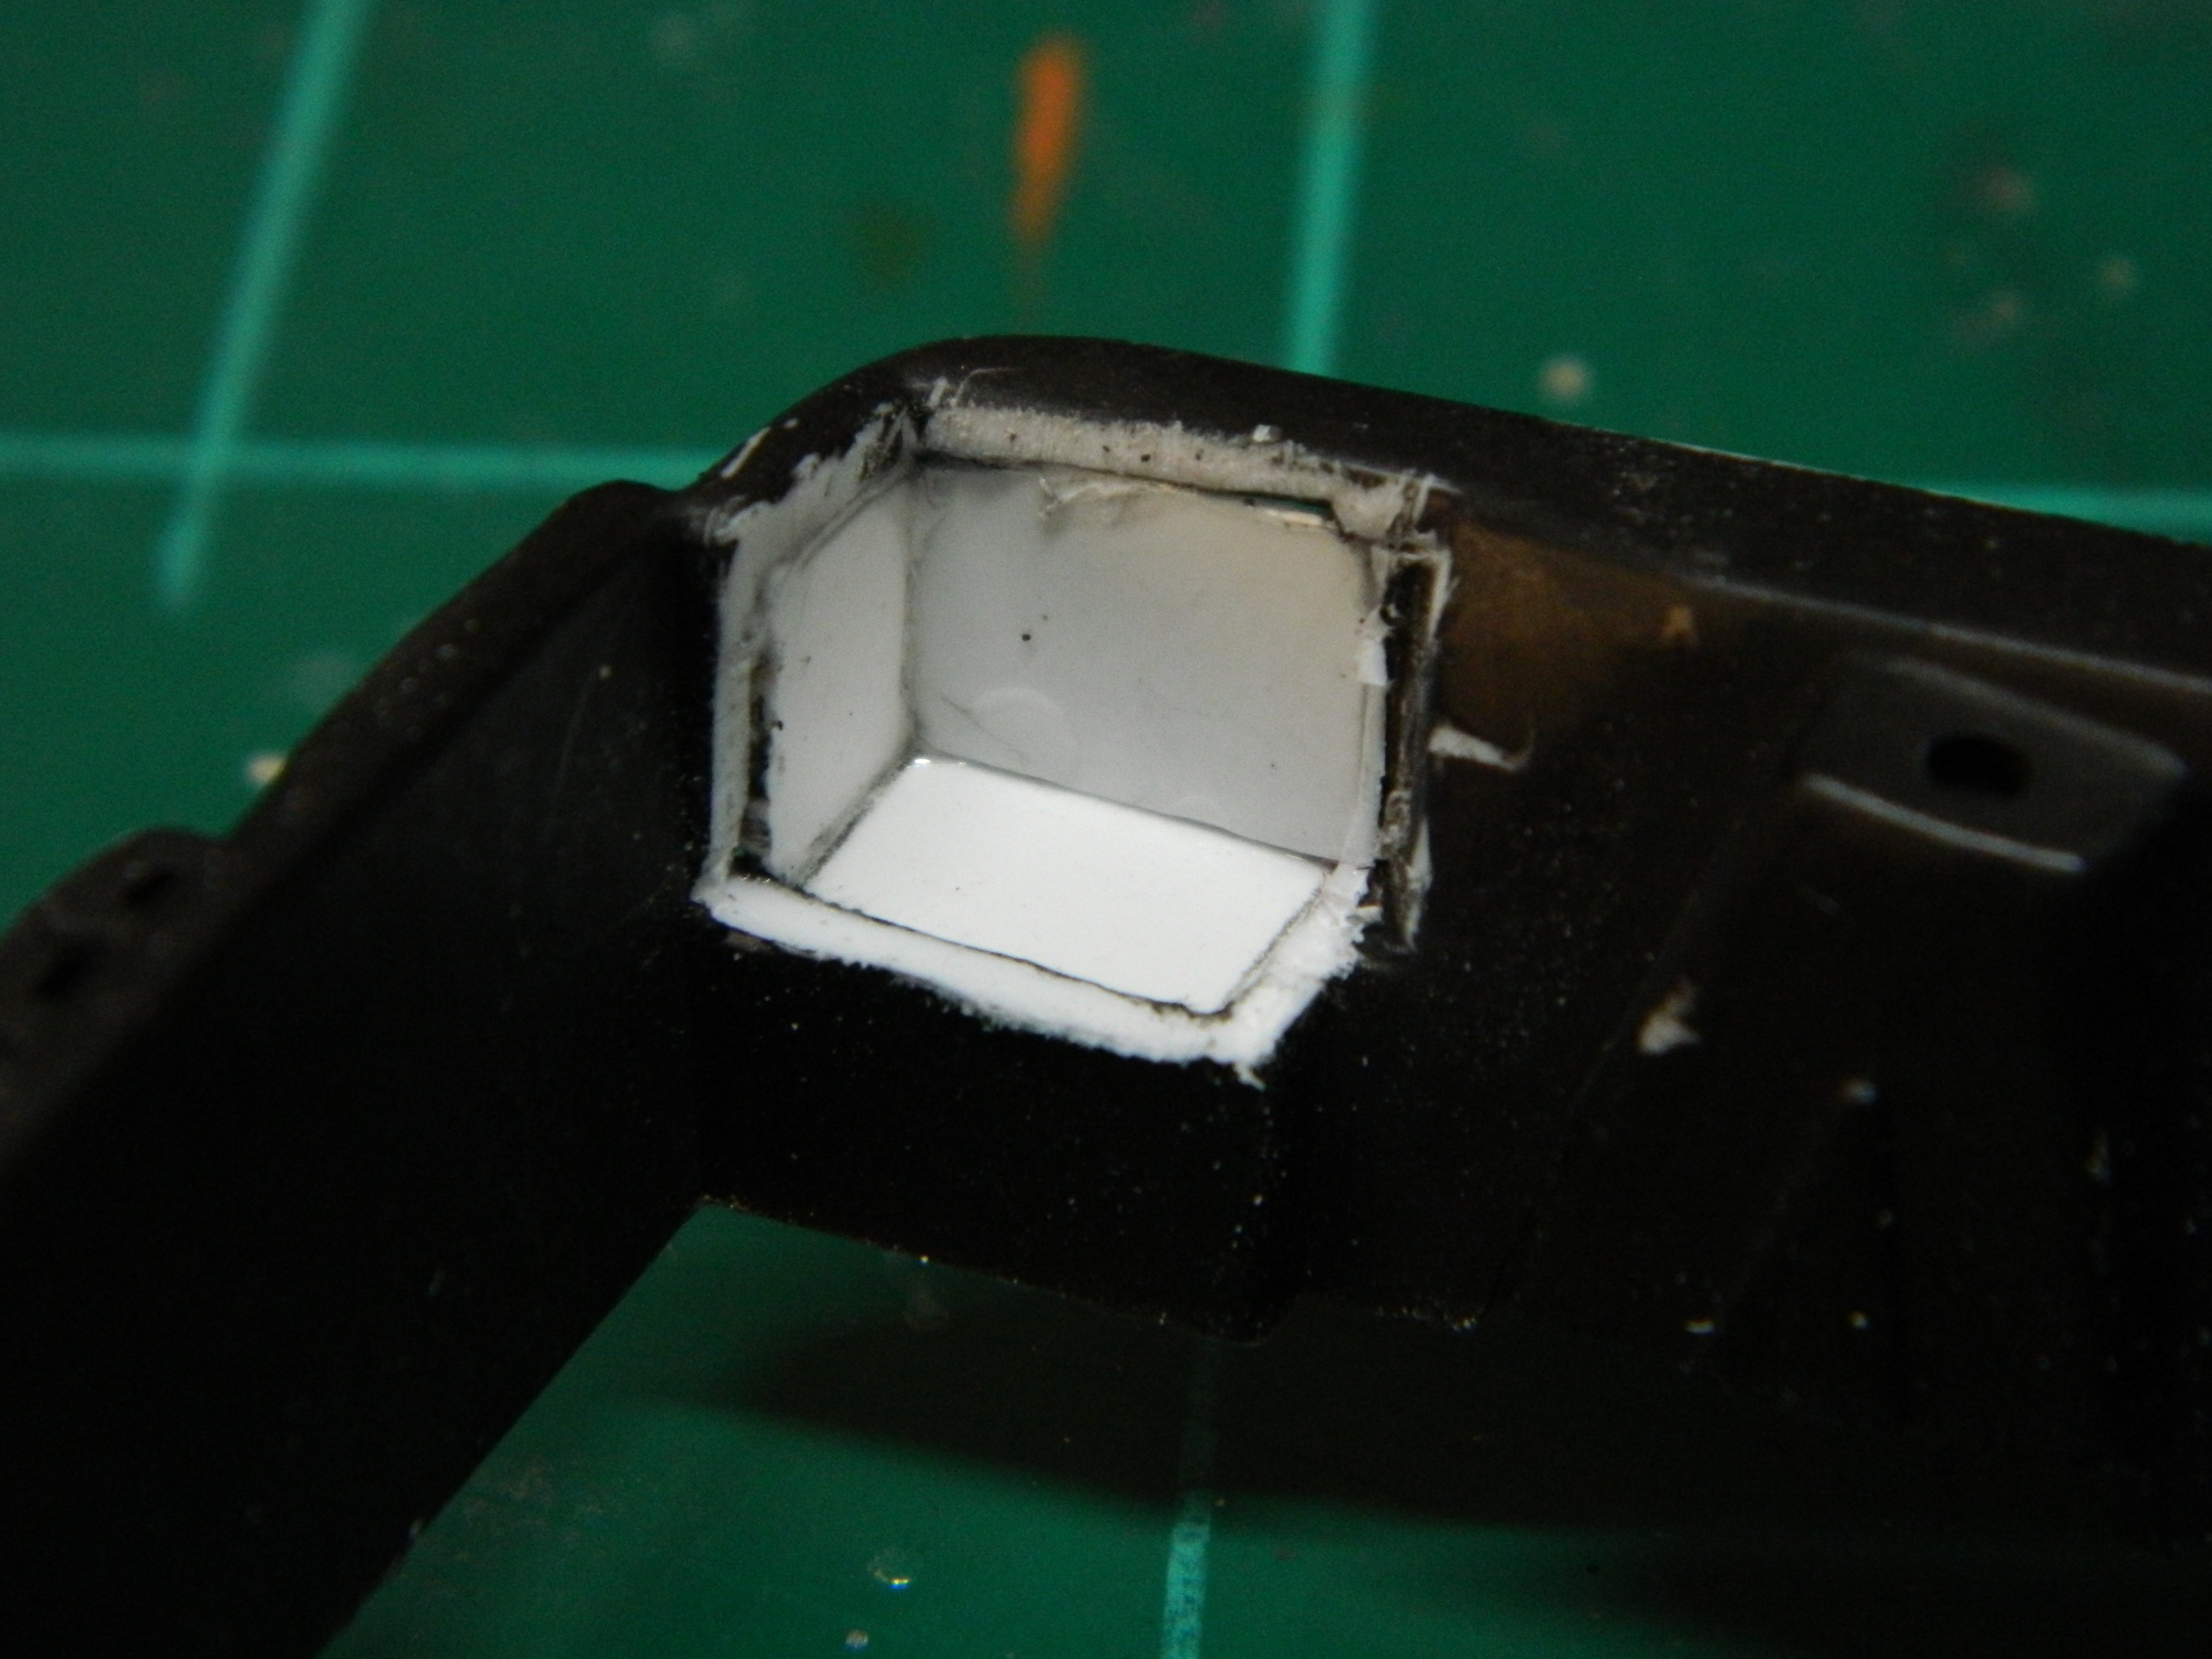
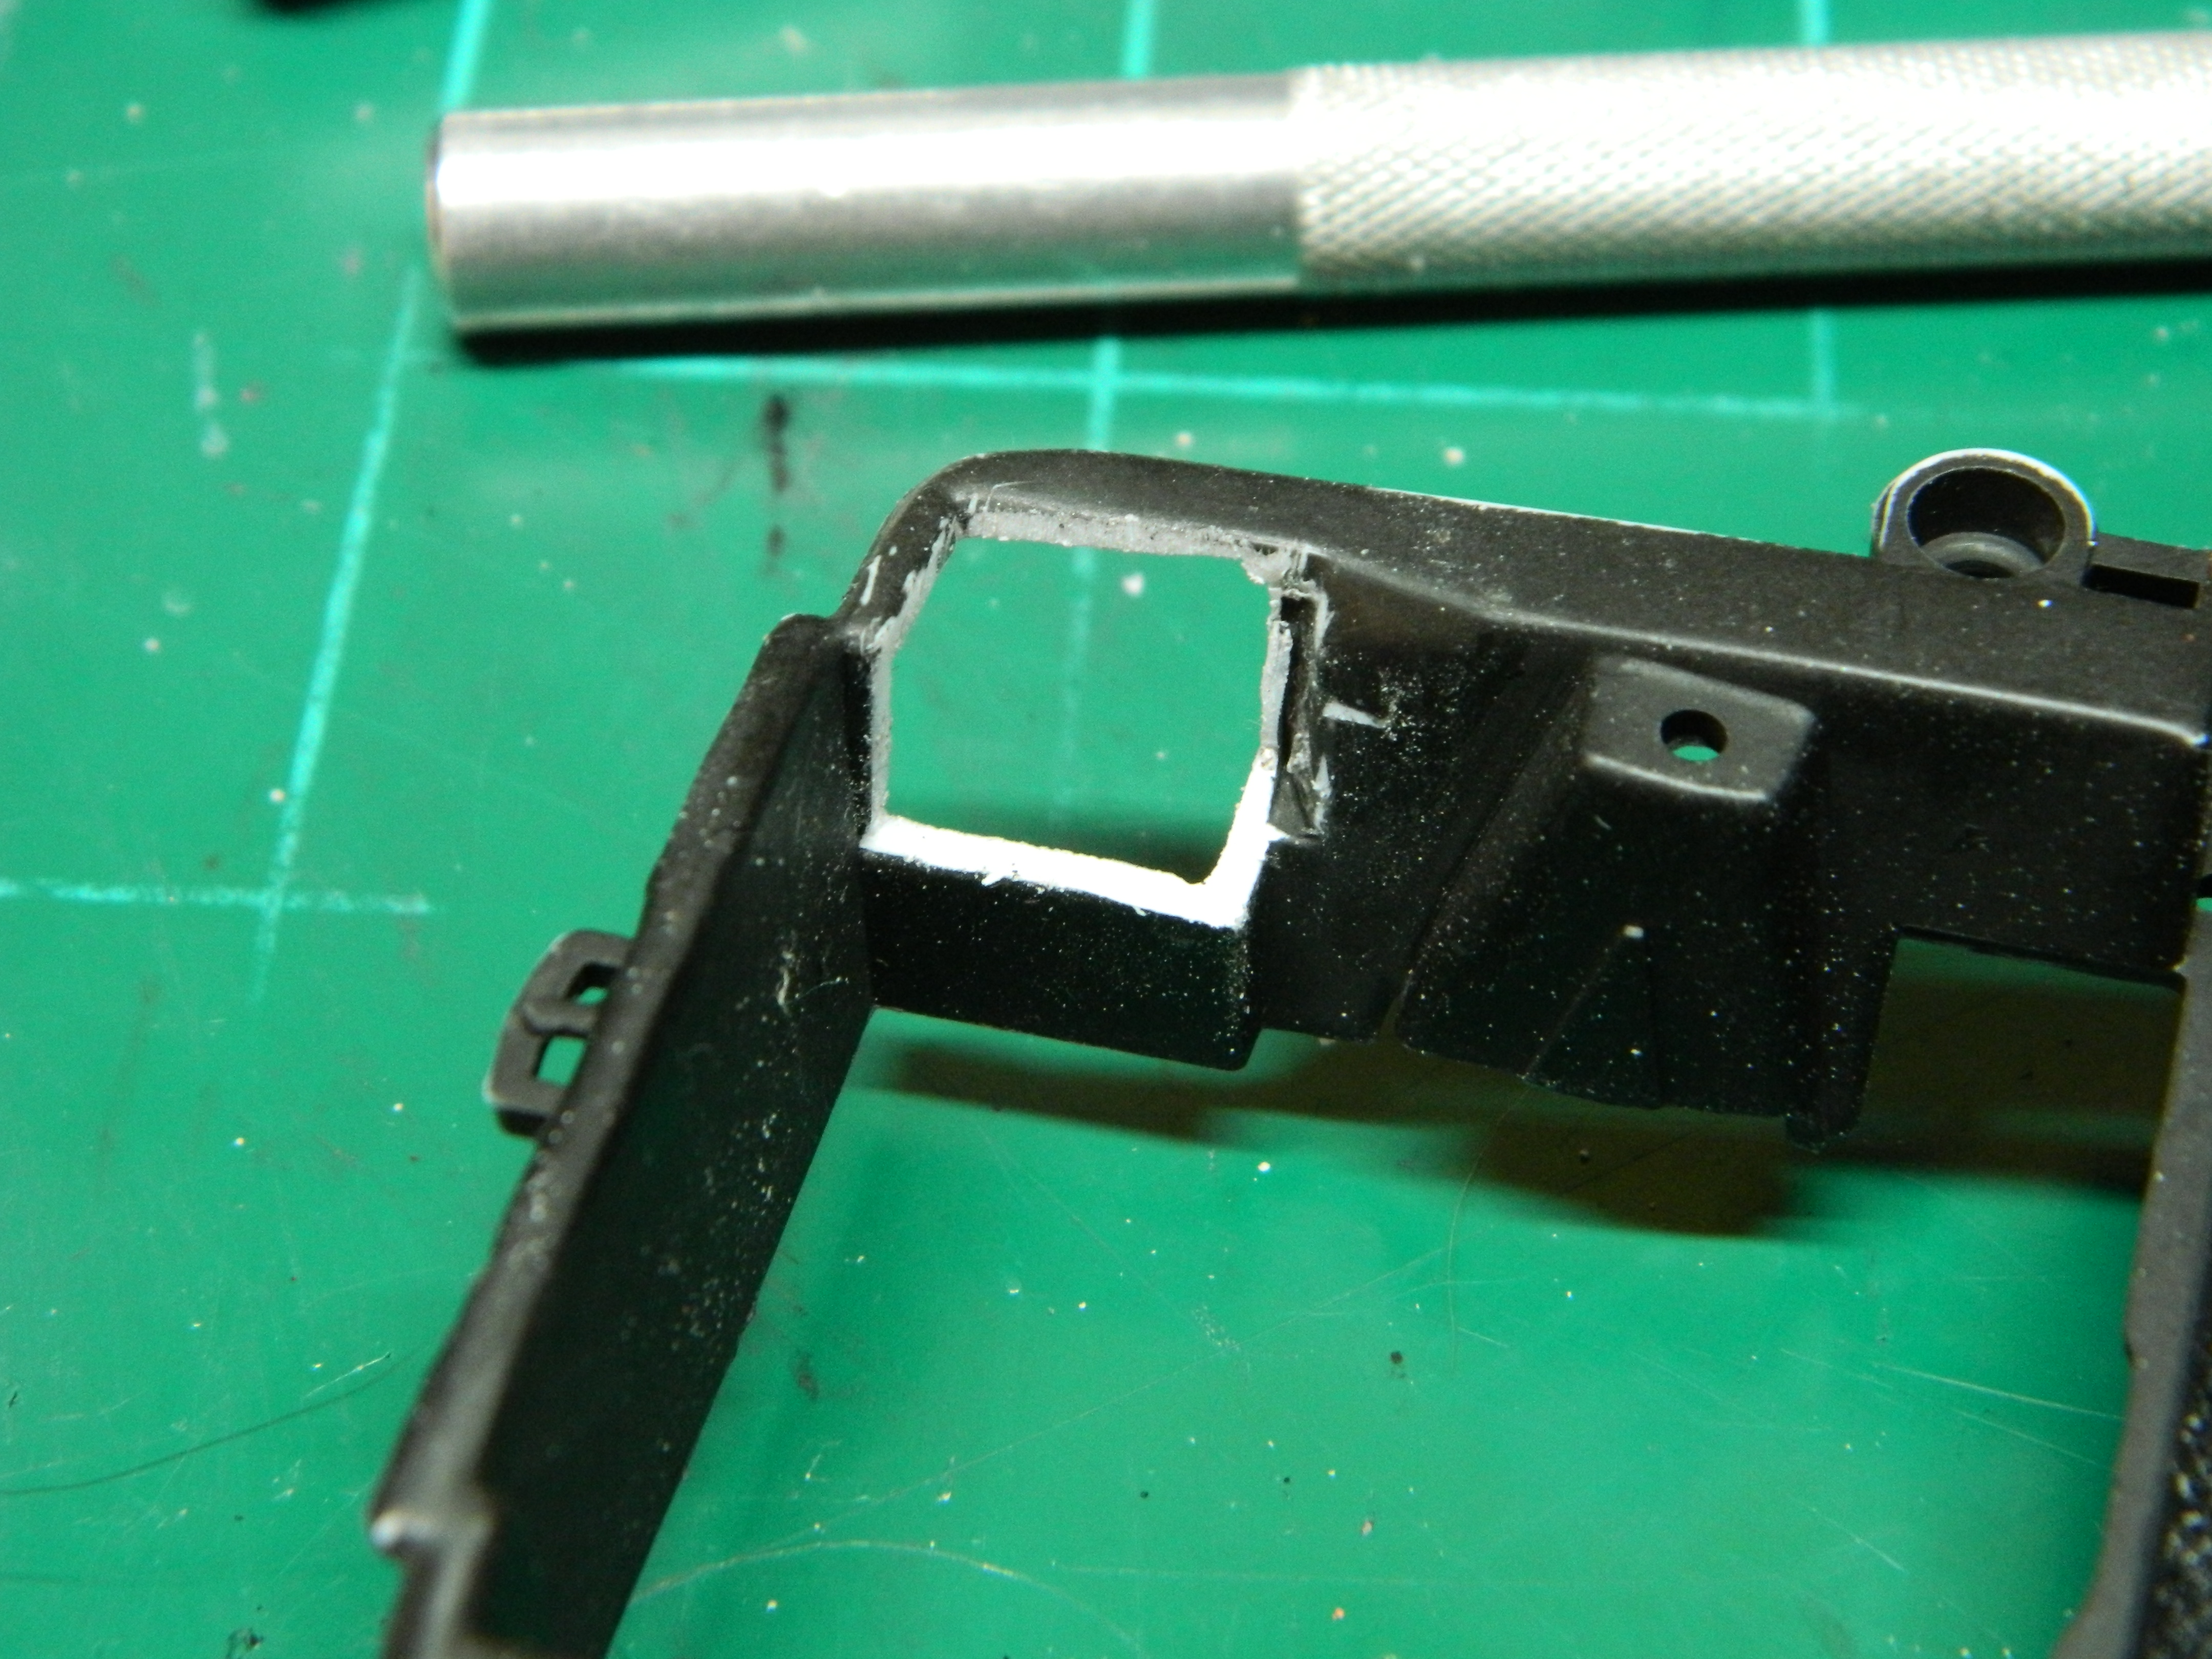
I took the interior apart and got out my photoetch saw and started cutting out the kit battery from the engine compartment. A mock up with the resin Optima battery shows that I need to clean up the battery and maybe remove some more material from the engine compartment and create a new battery shelf. More to come...
-
http://stoneyscustoms.boards.net/
-
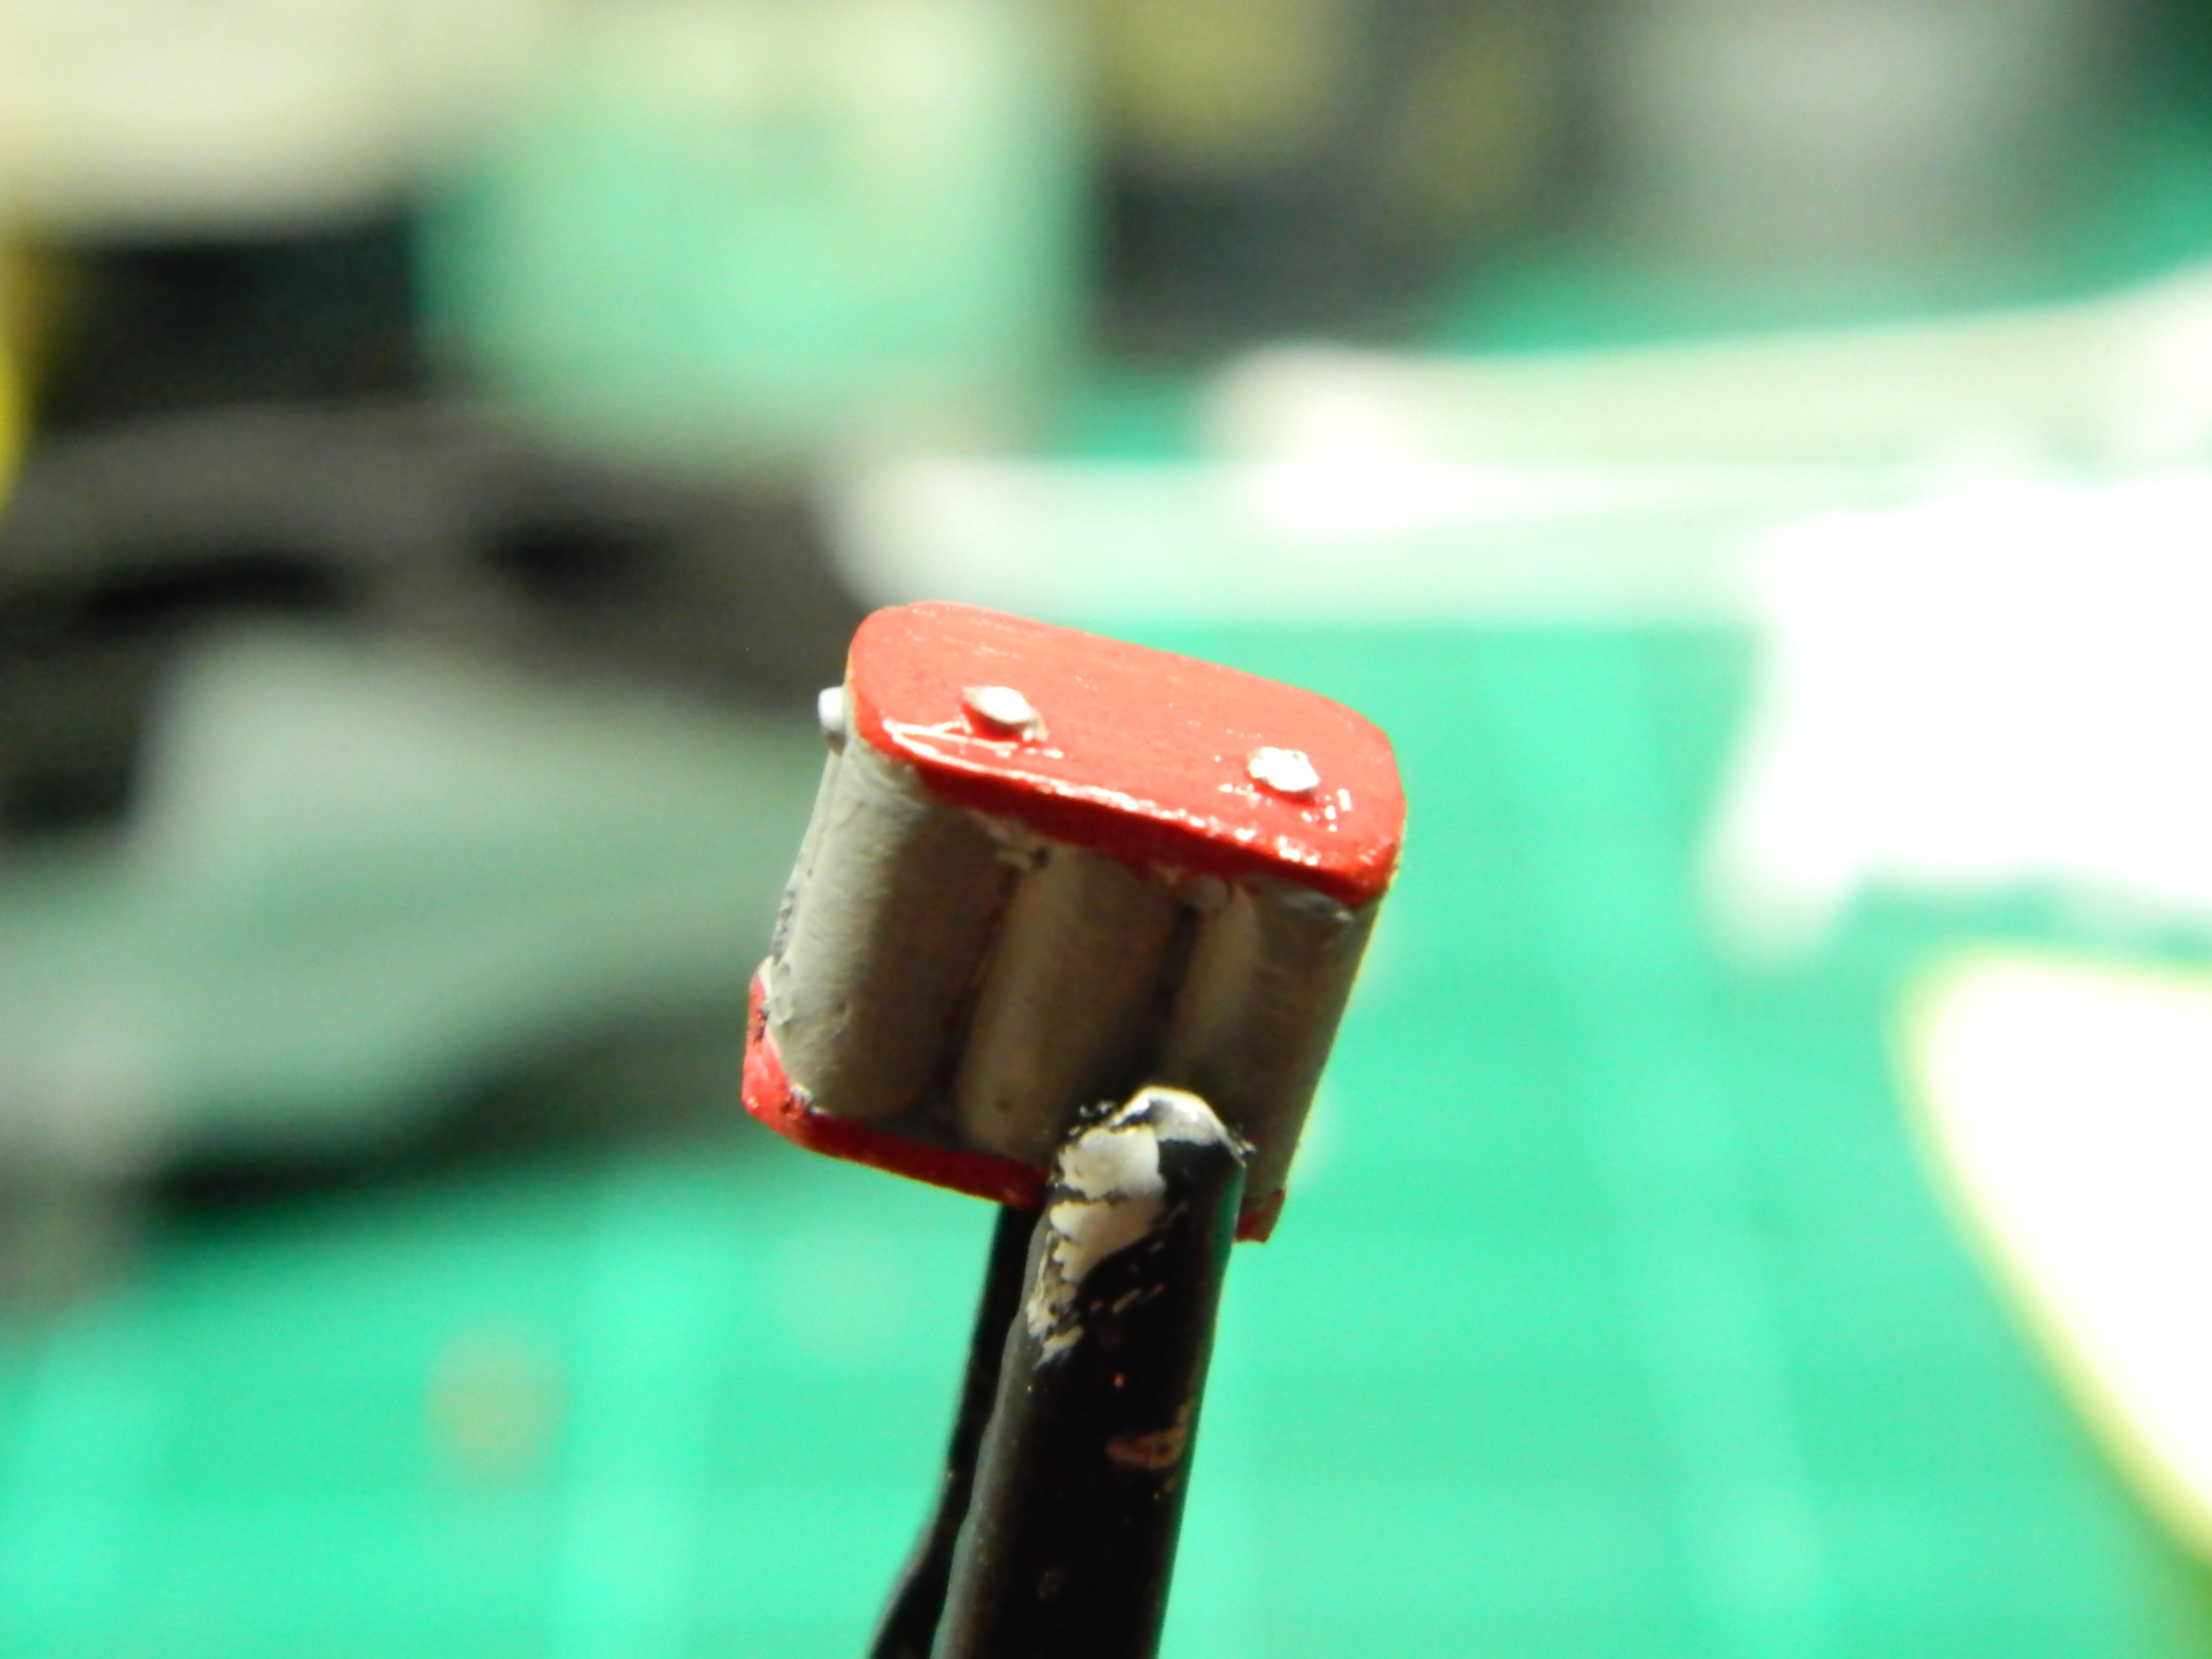
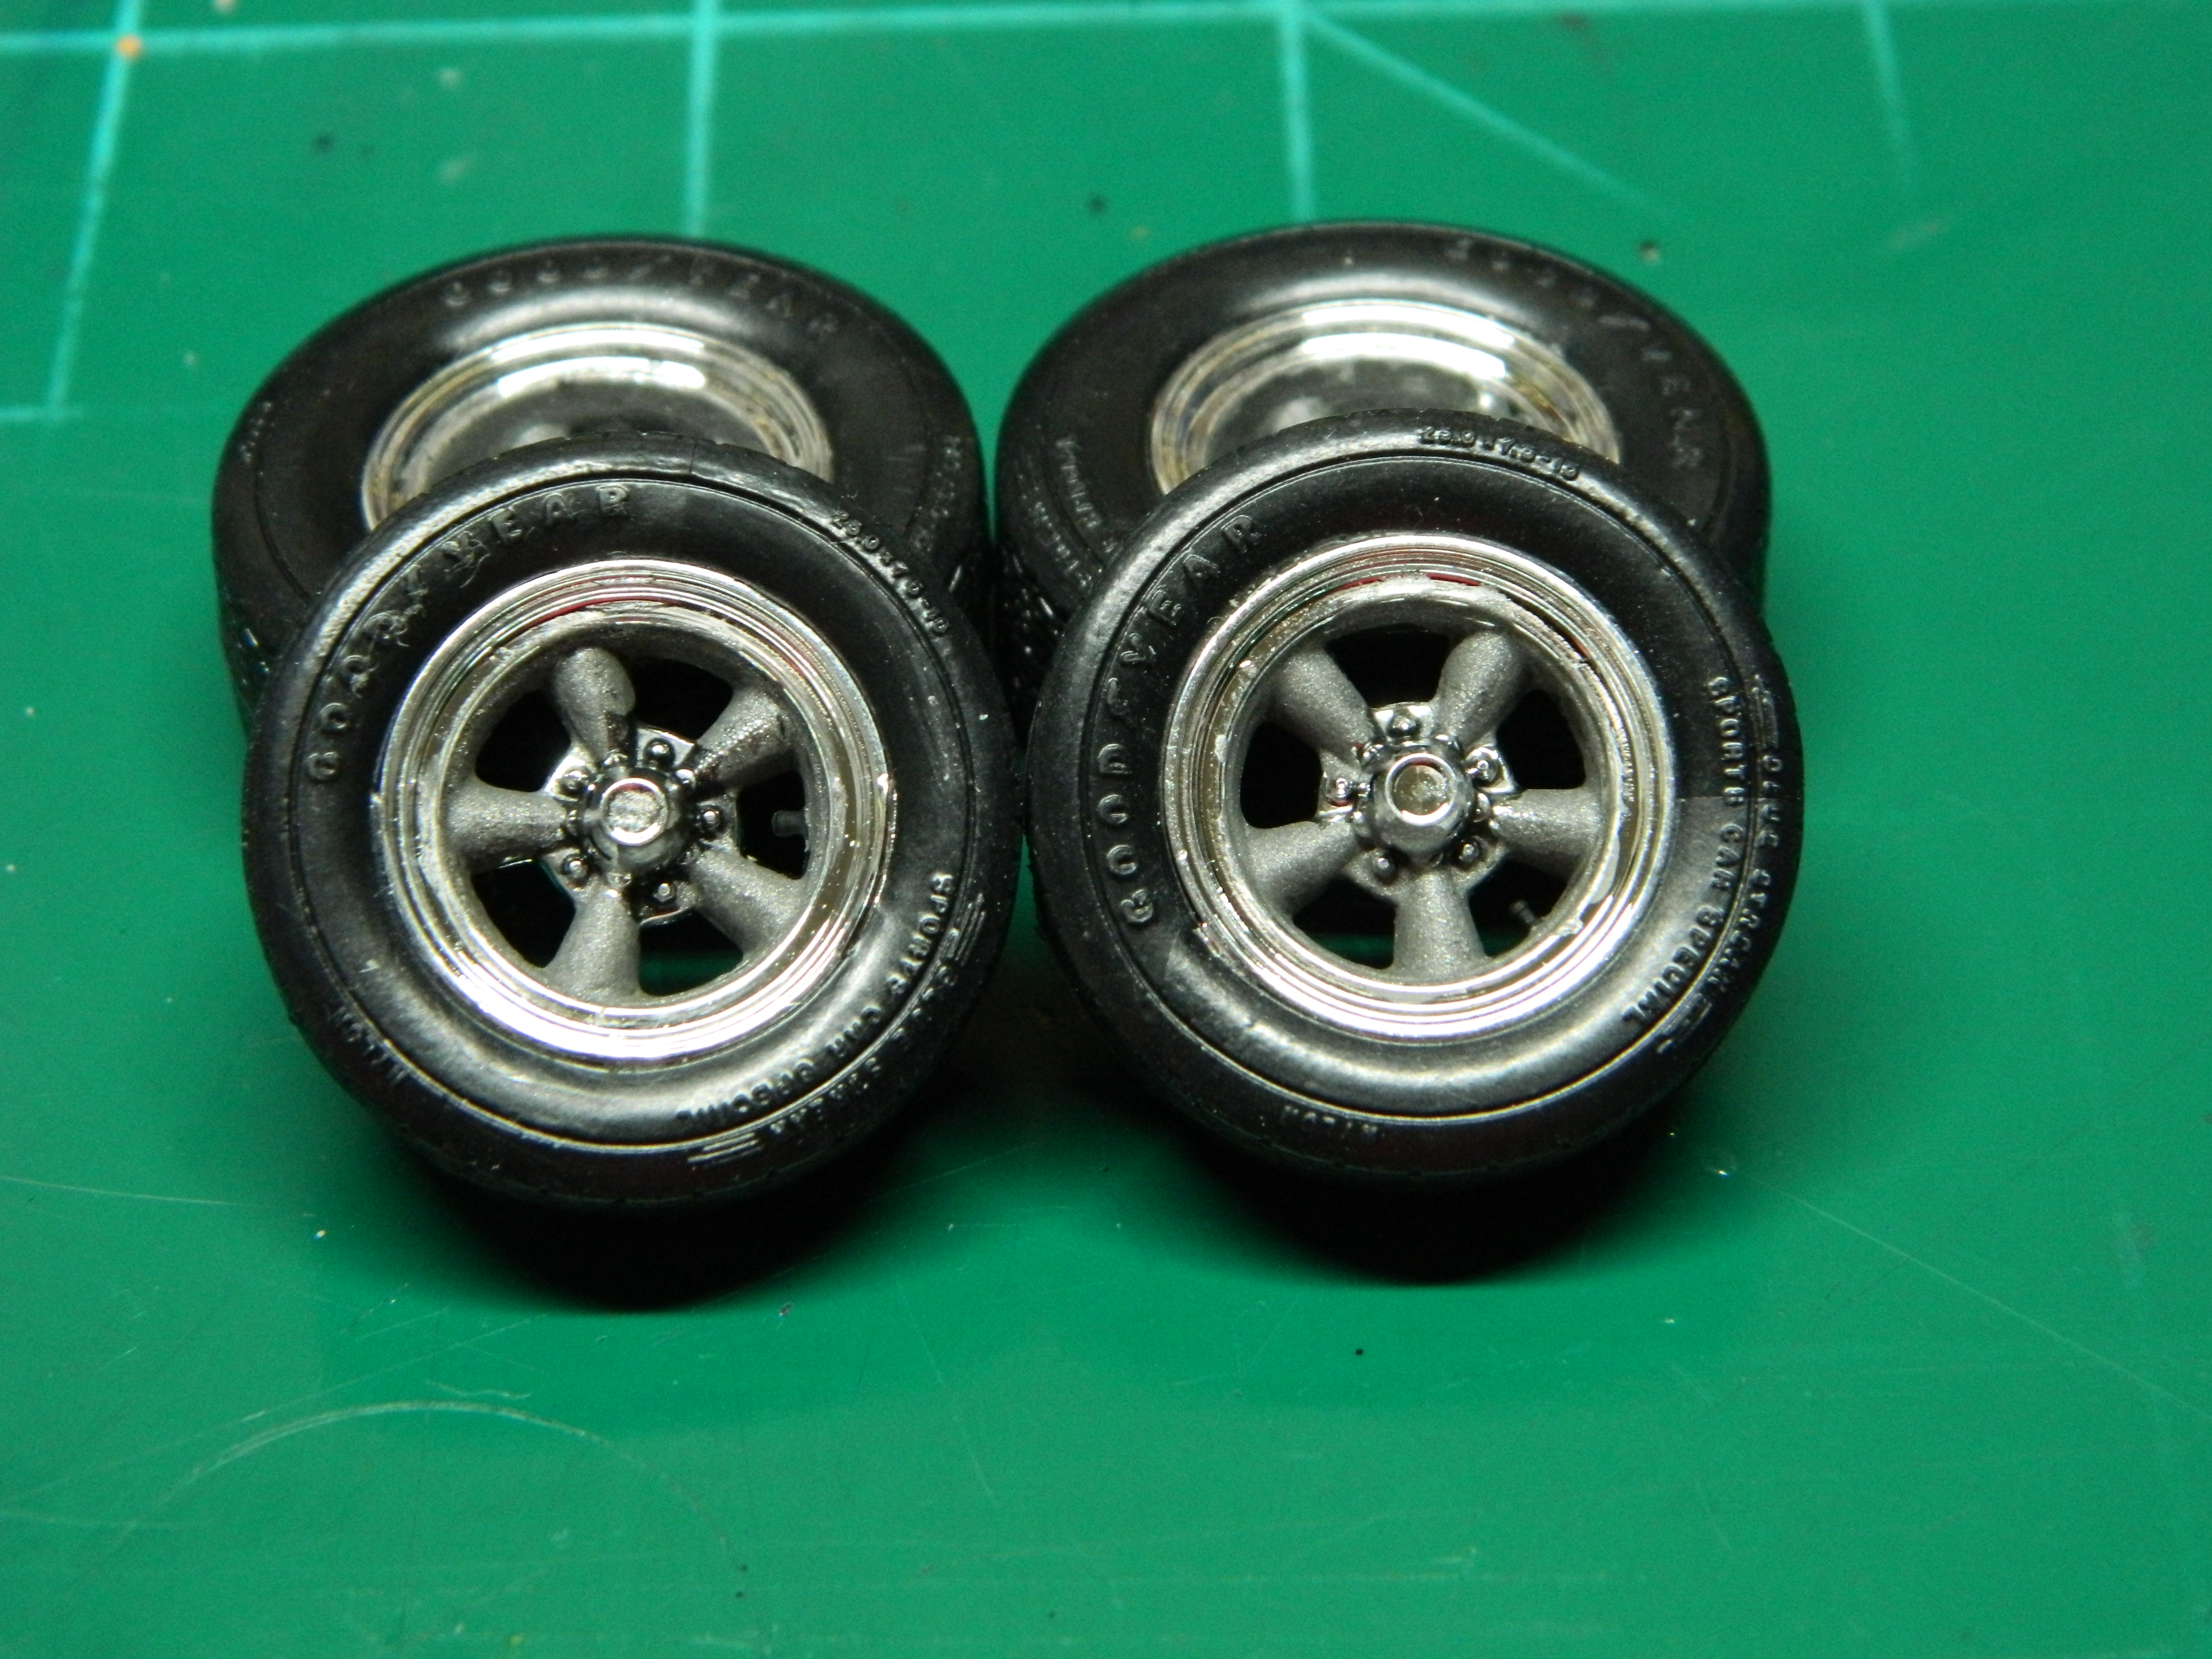
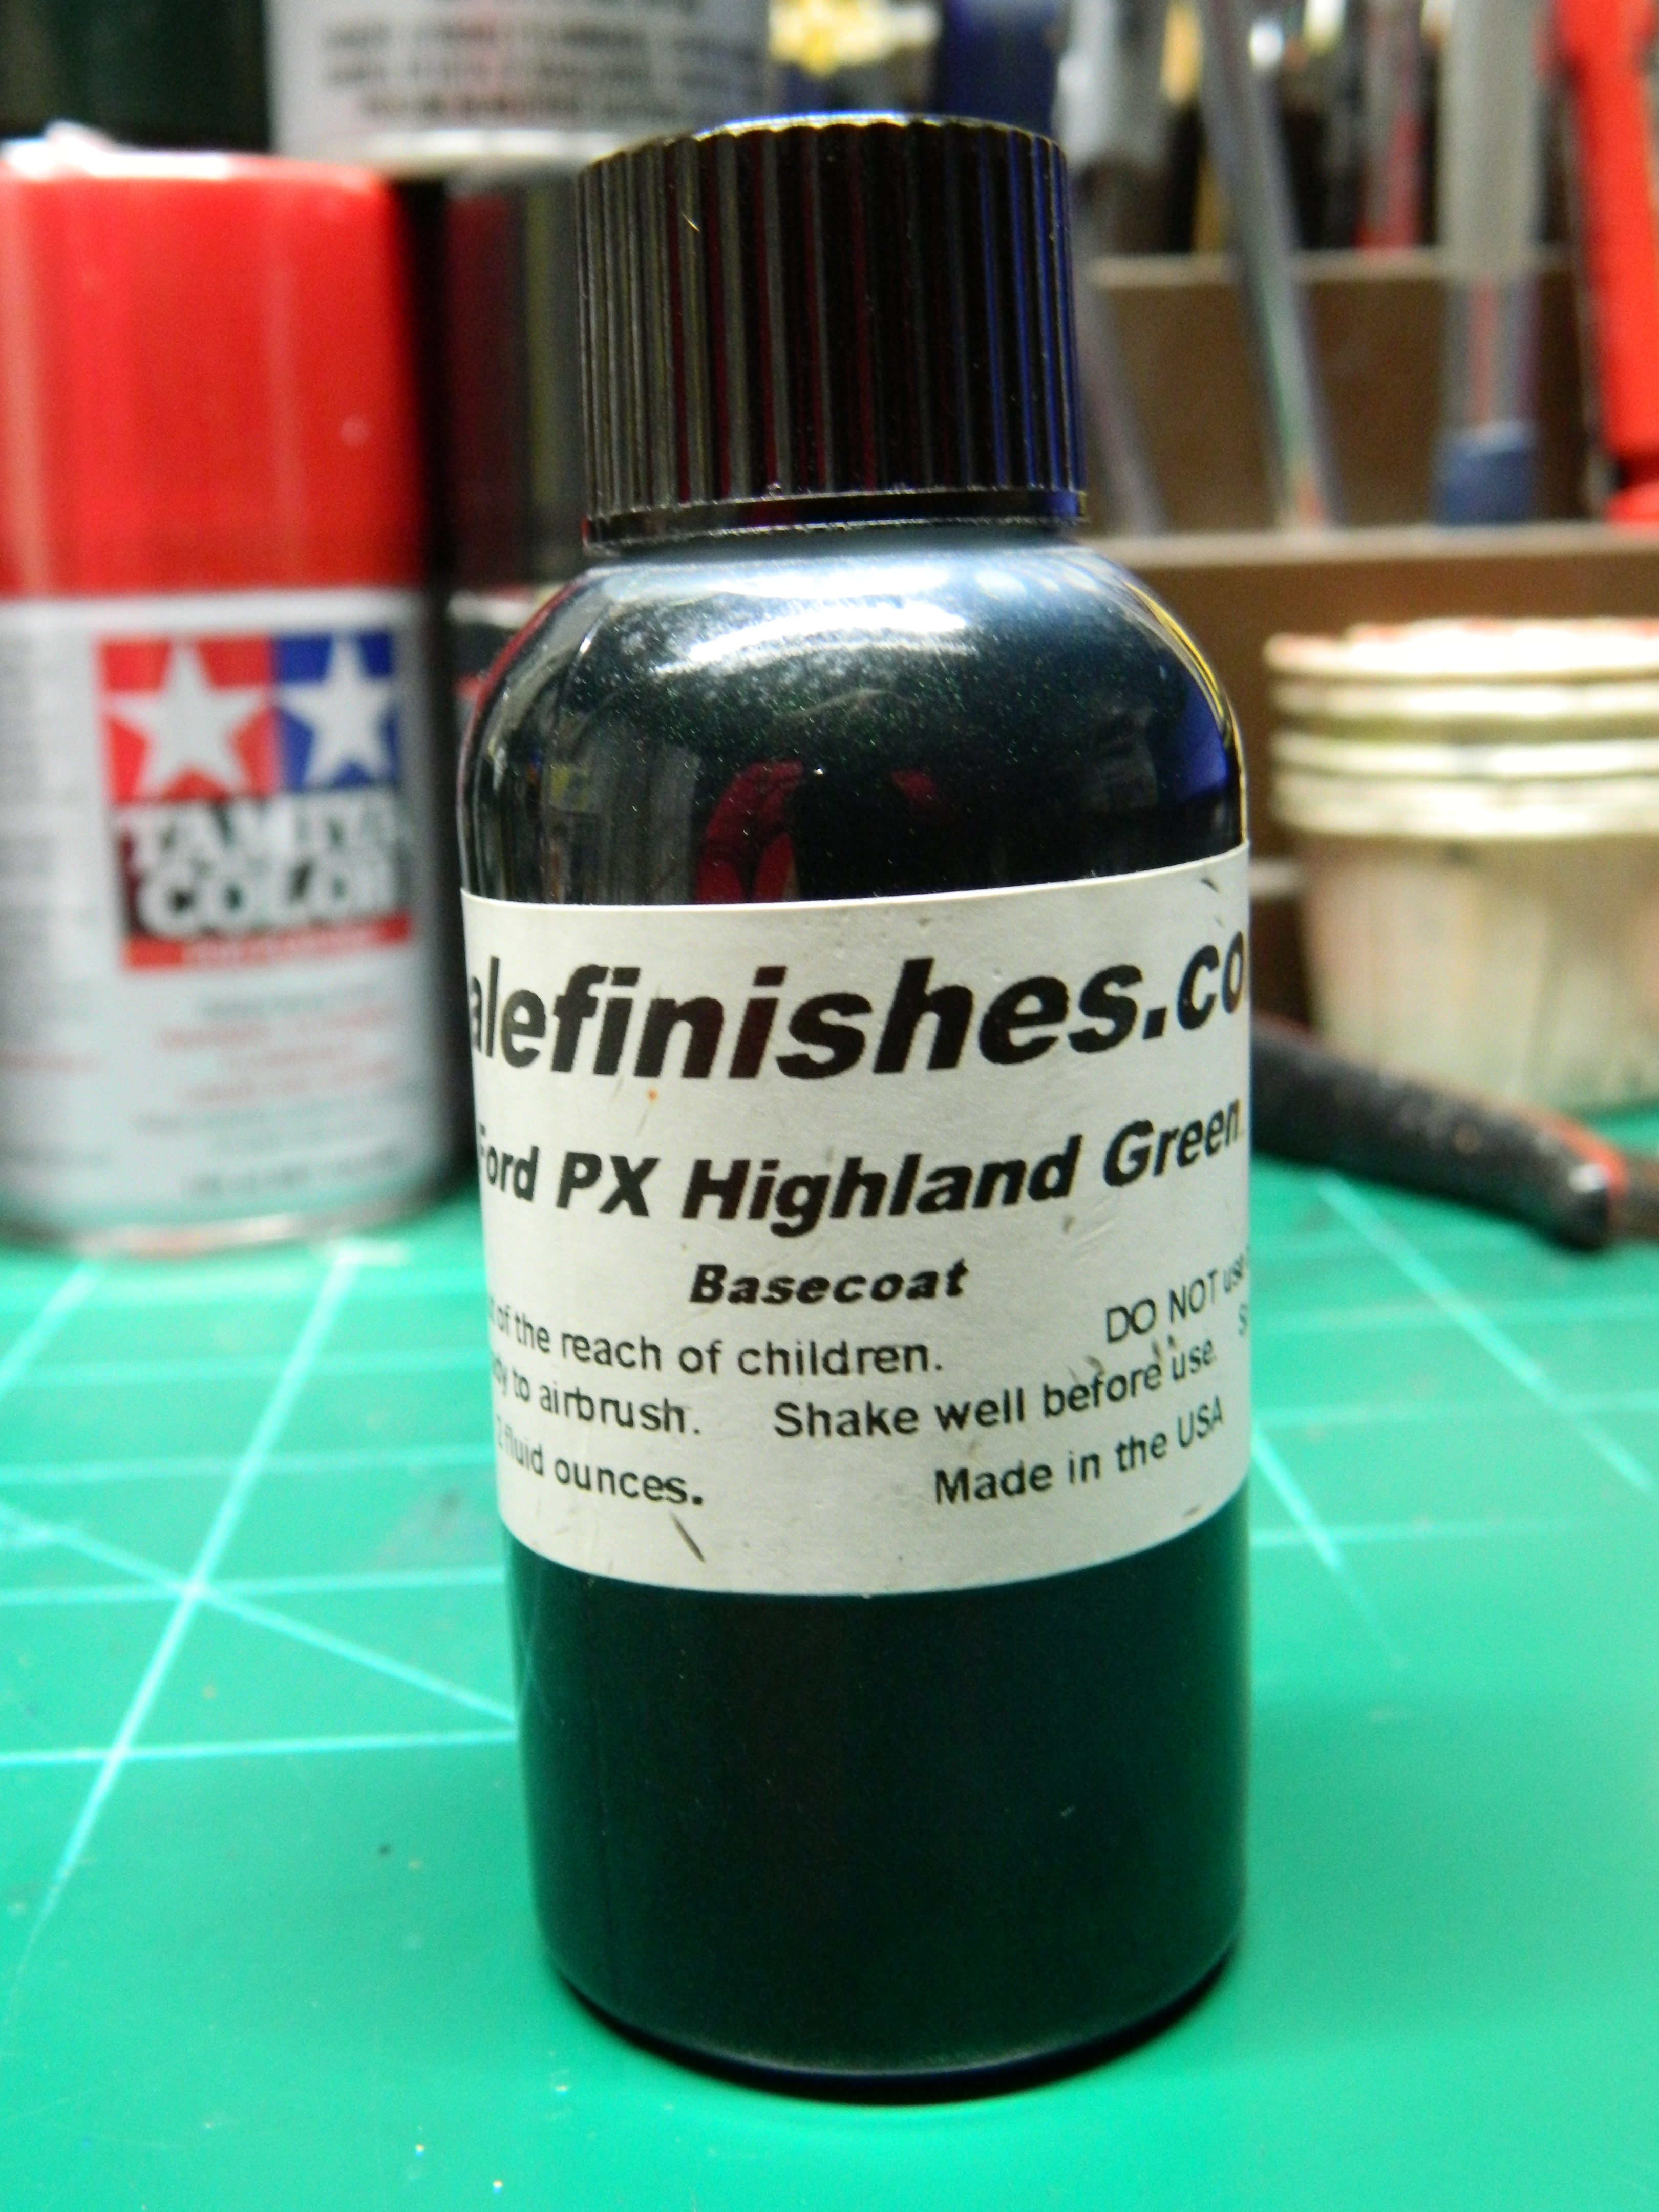
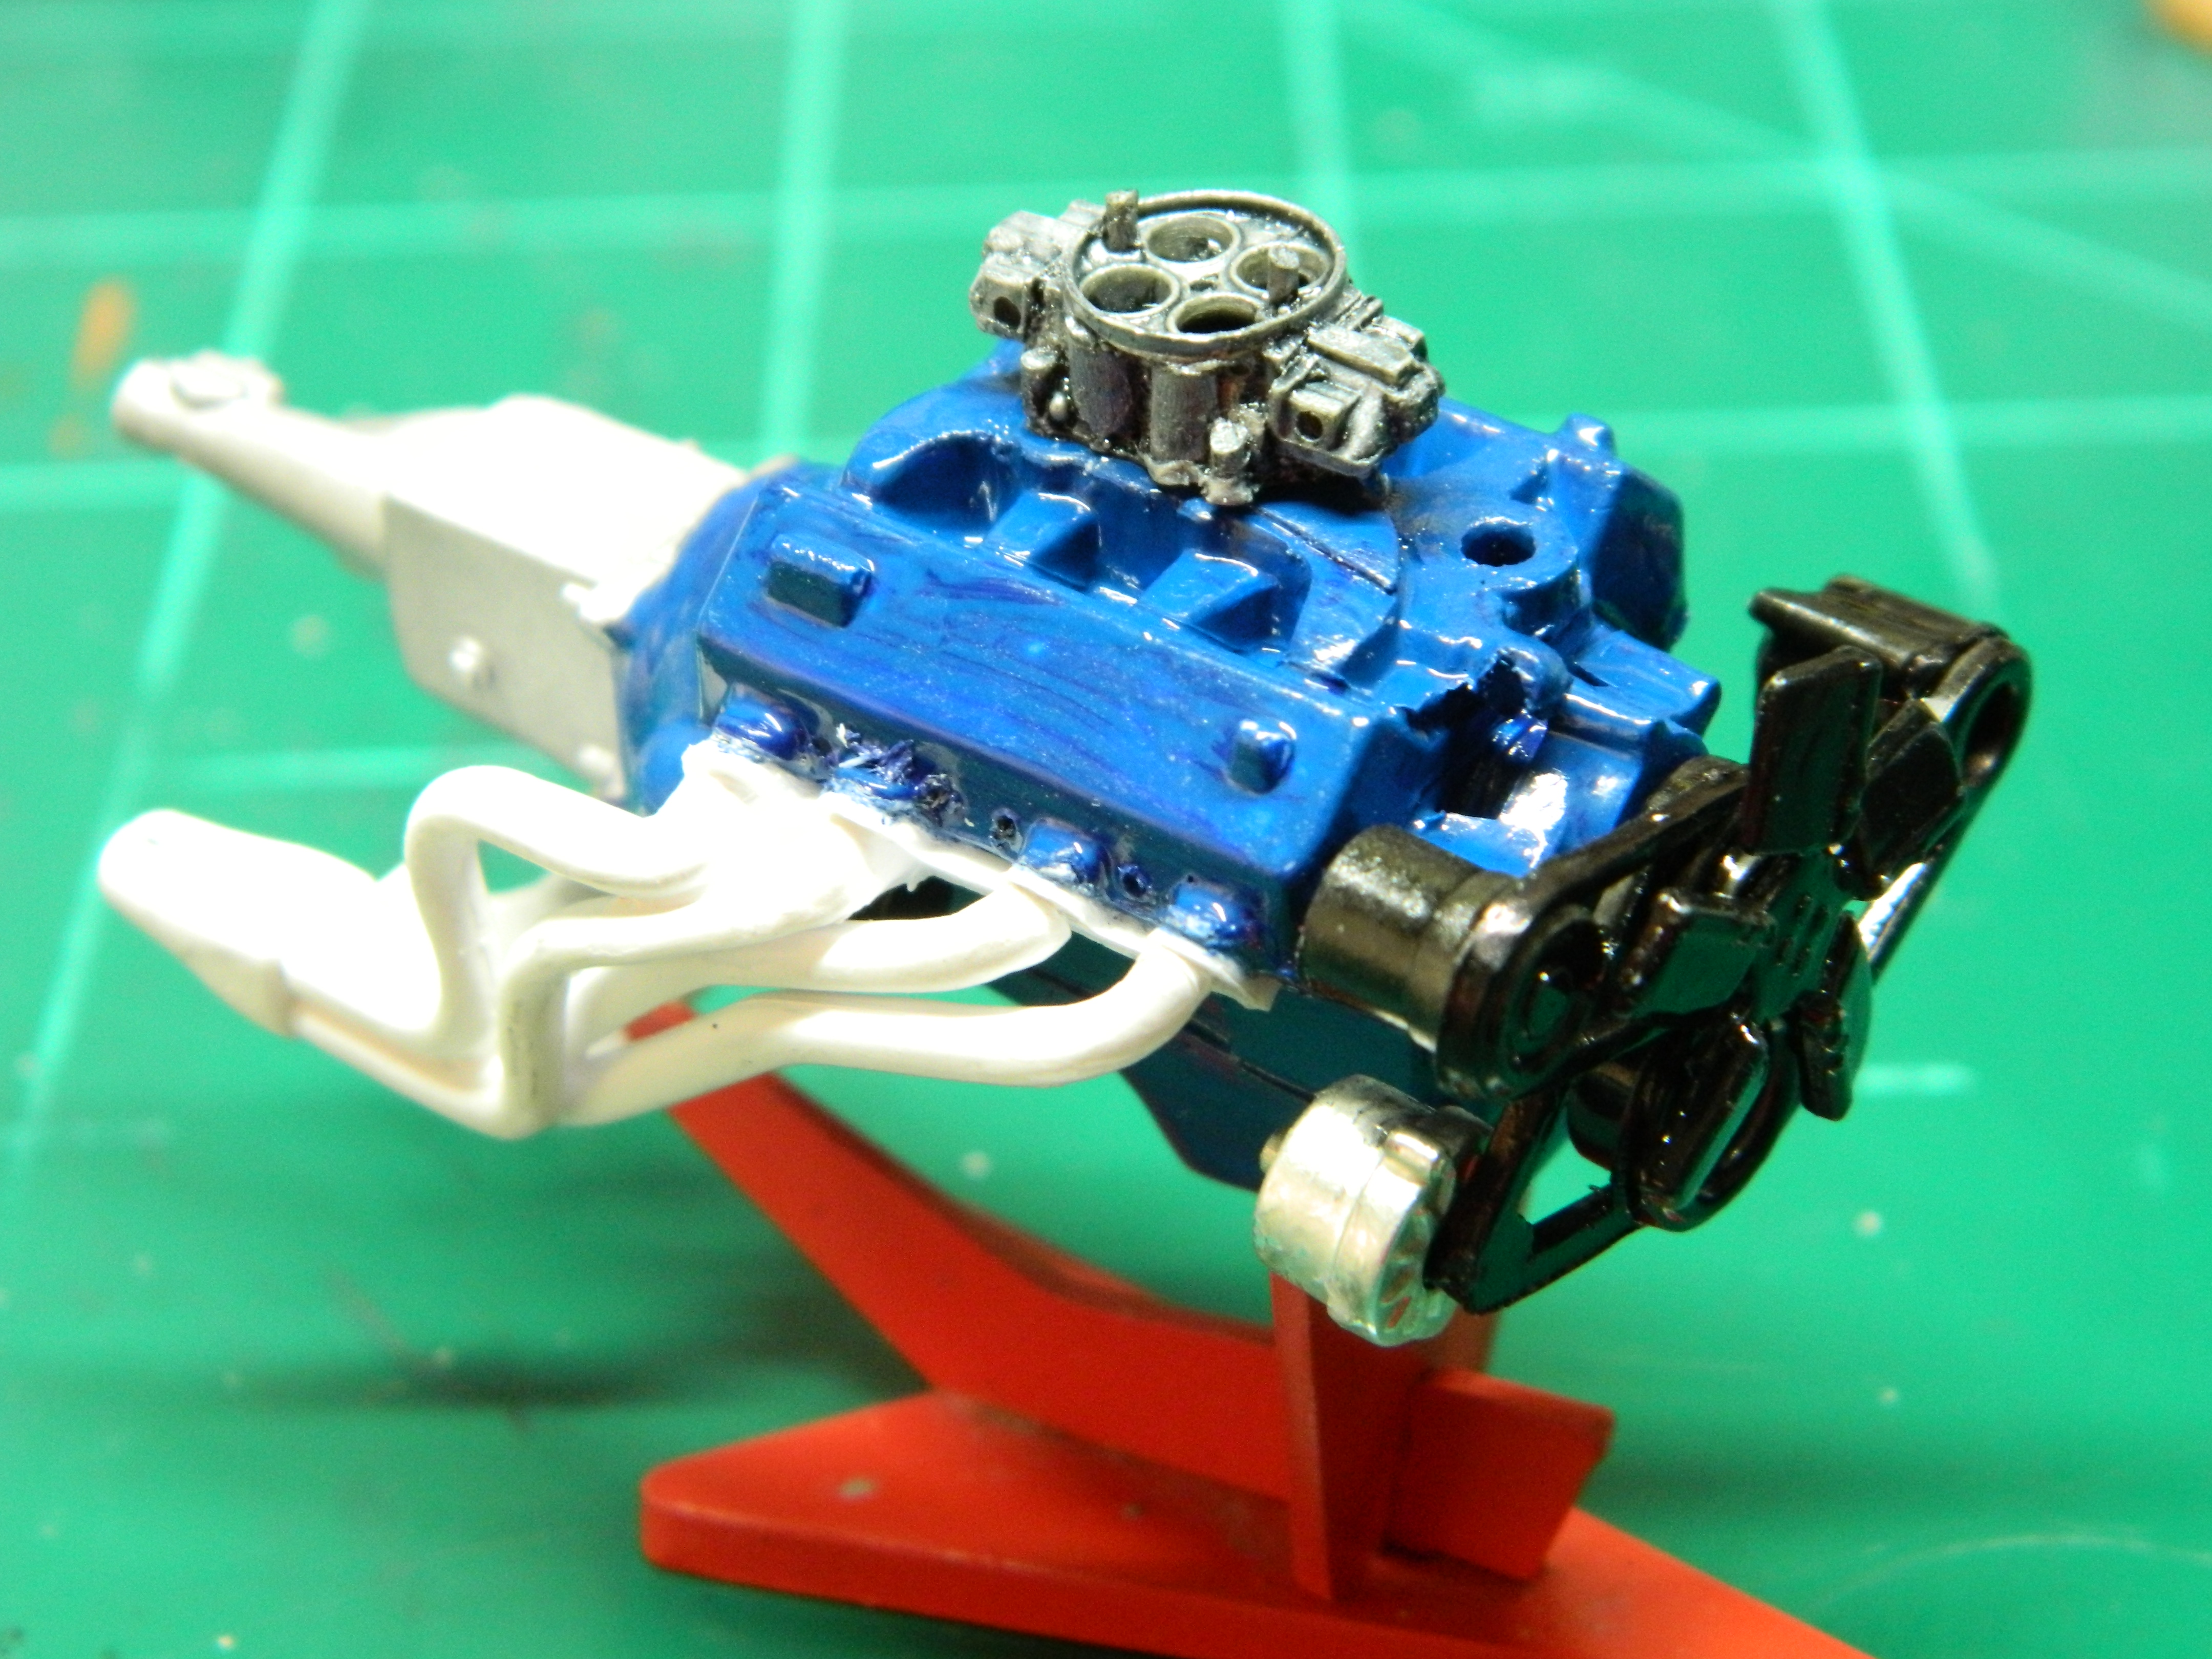
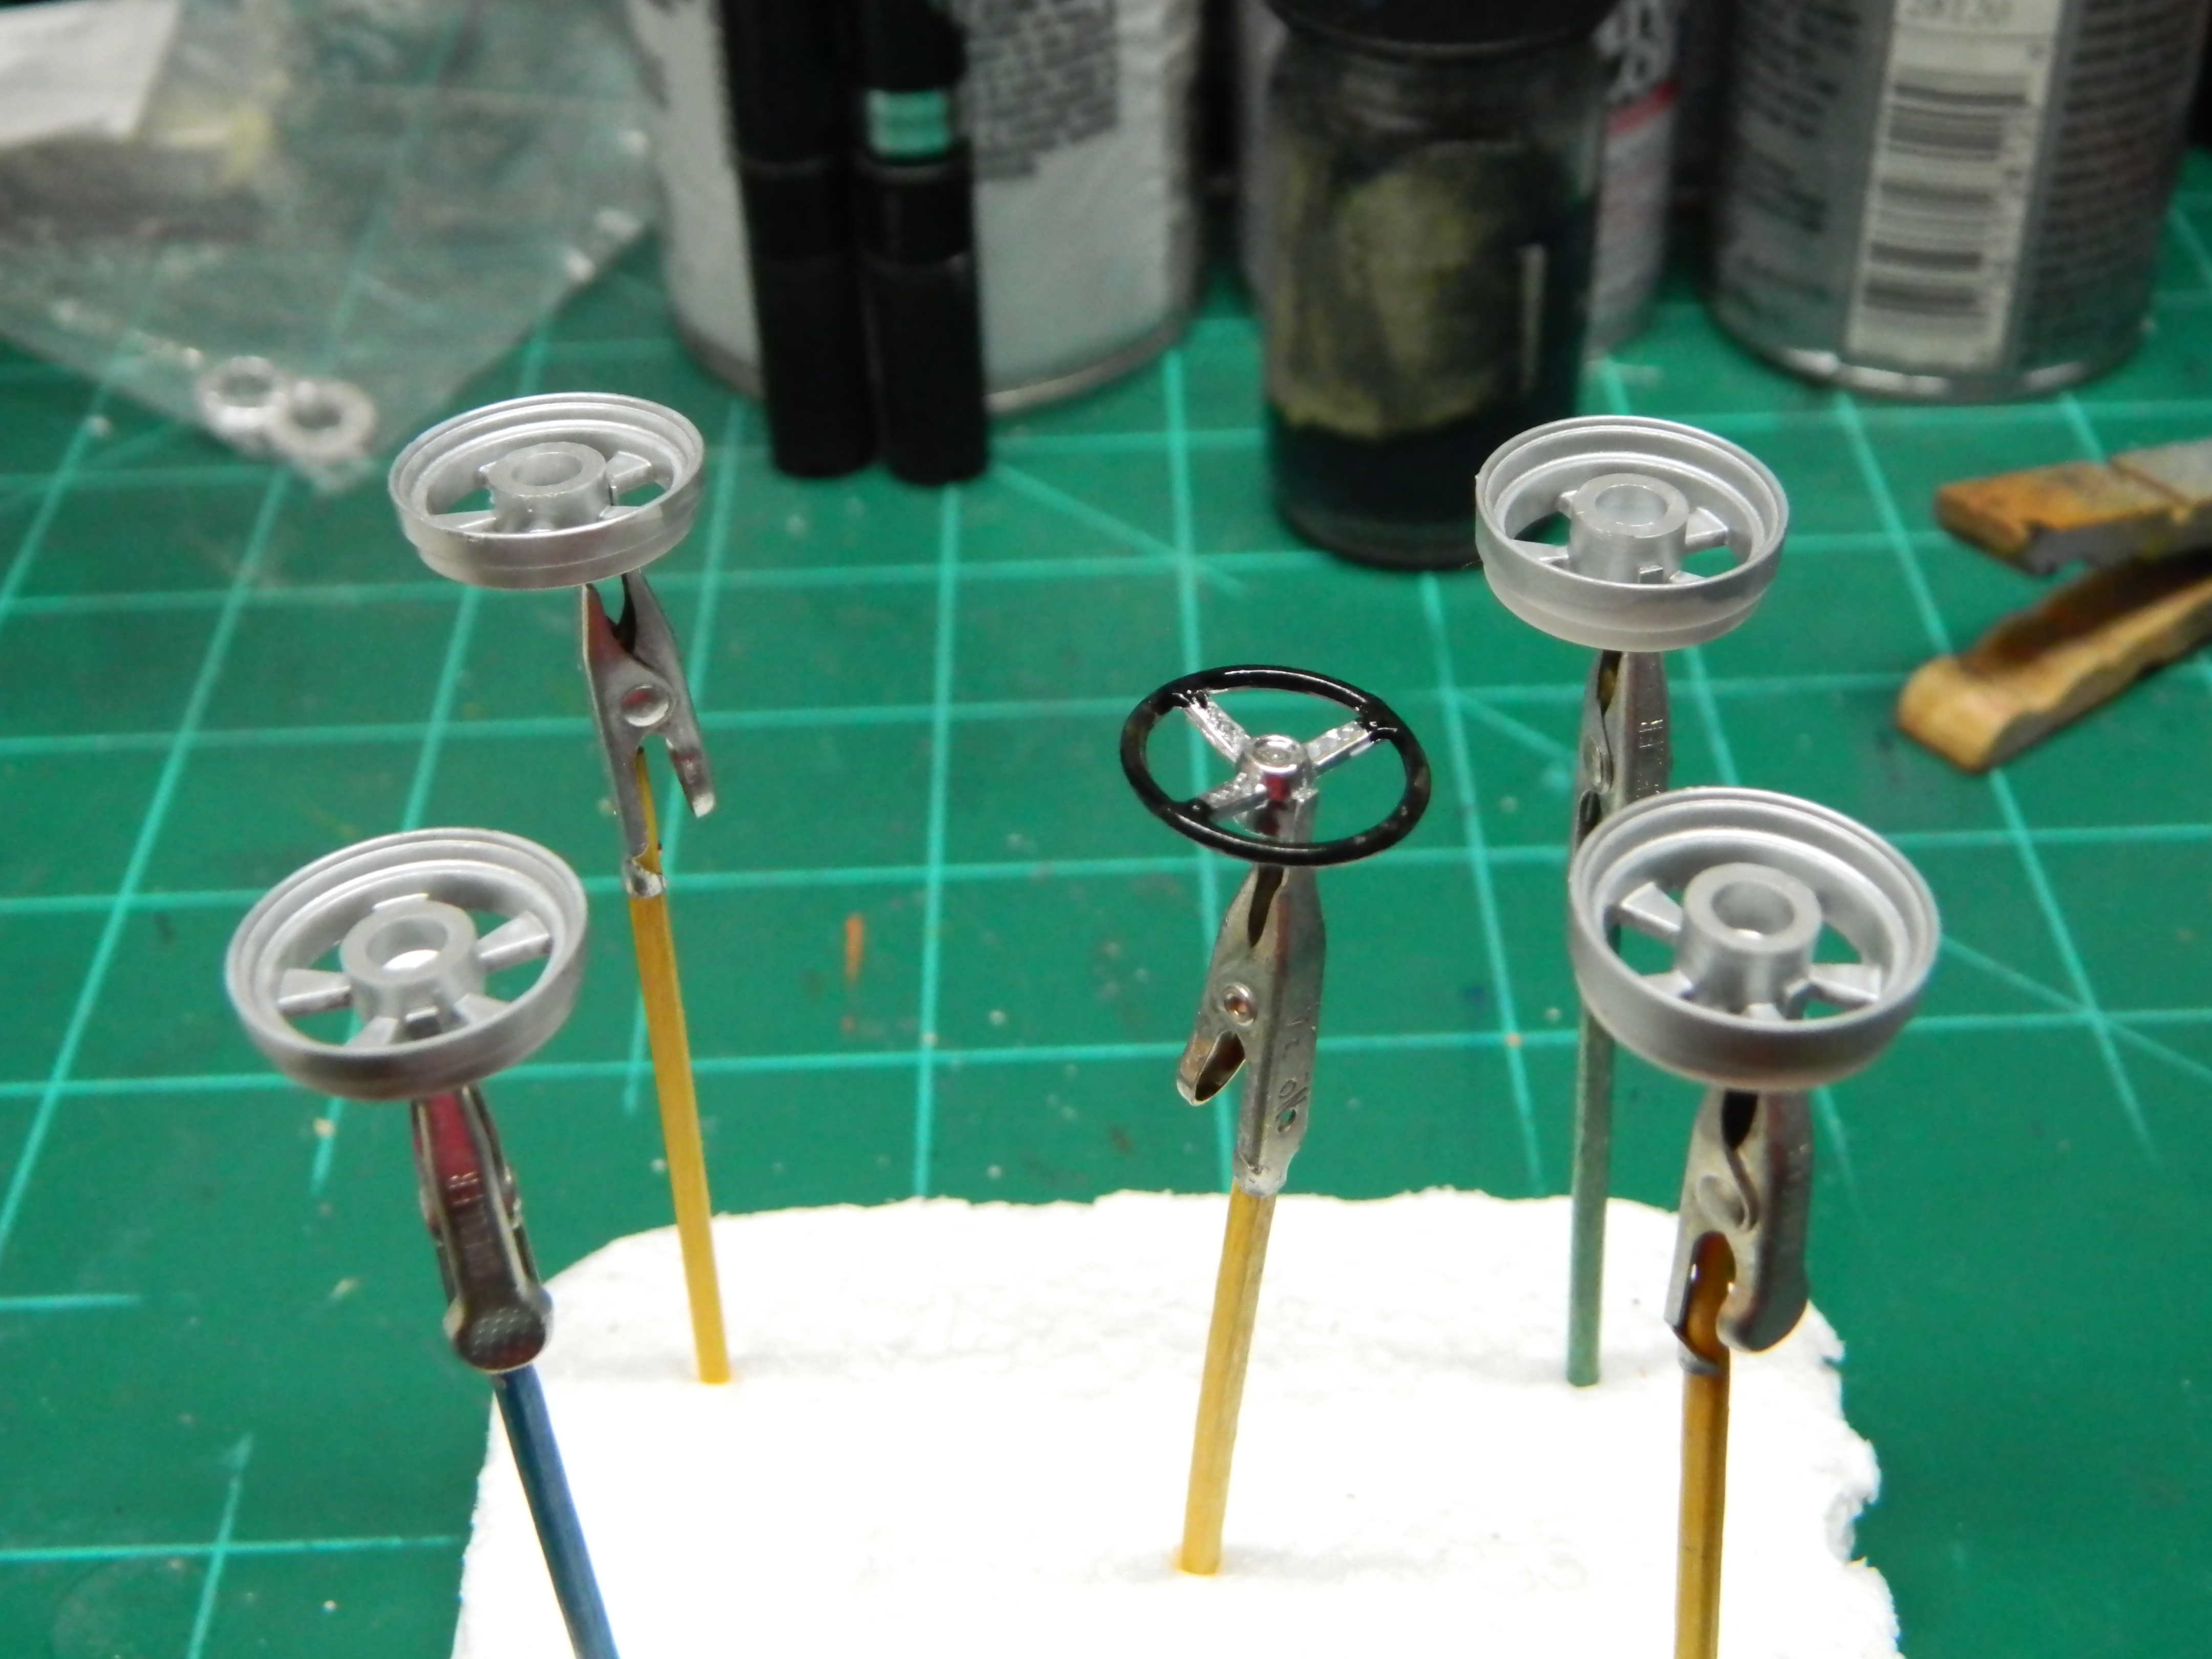
A little progress on my Bullitt Mustang. The wheel spokes were painted on the wheels I plan on using for this build. I still need to do some touchups. b bAt last weeks Classic Plastic Model club meeting, I had talked about my plans for this build and Club member Joe Angers offered me his bottle of Highland Green paint from Scalefinishes. Thank you very much Joe! At our last Play Date, my friends Paul, Barry and I were looking at pictures of the "hero" Mustang and we had noticed an Optima battery in the picture of the 390 CID engine. Paul offered me this resin Optima battery. I'll cut out the regular battery, make a new battery shelf and added this resin battery once I get it painted and detailed. More to come...
-
Looks great ! Love the color and the finish!
-
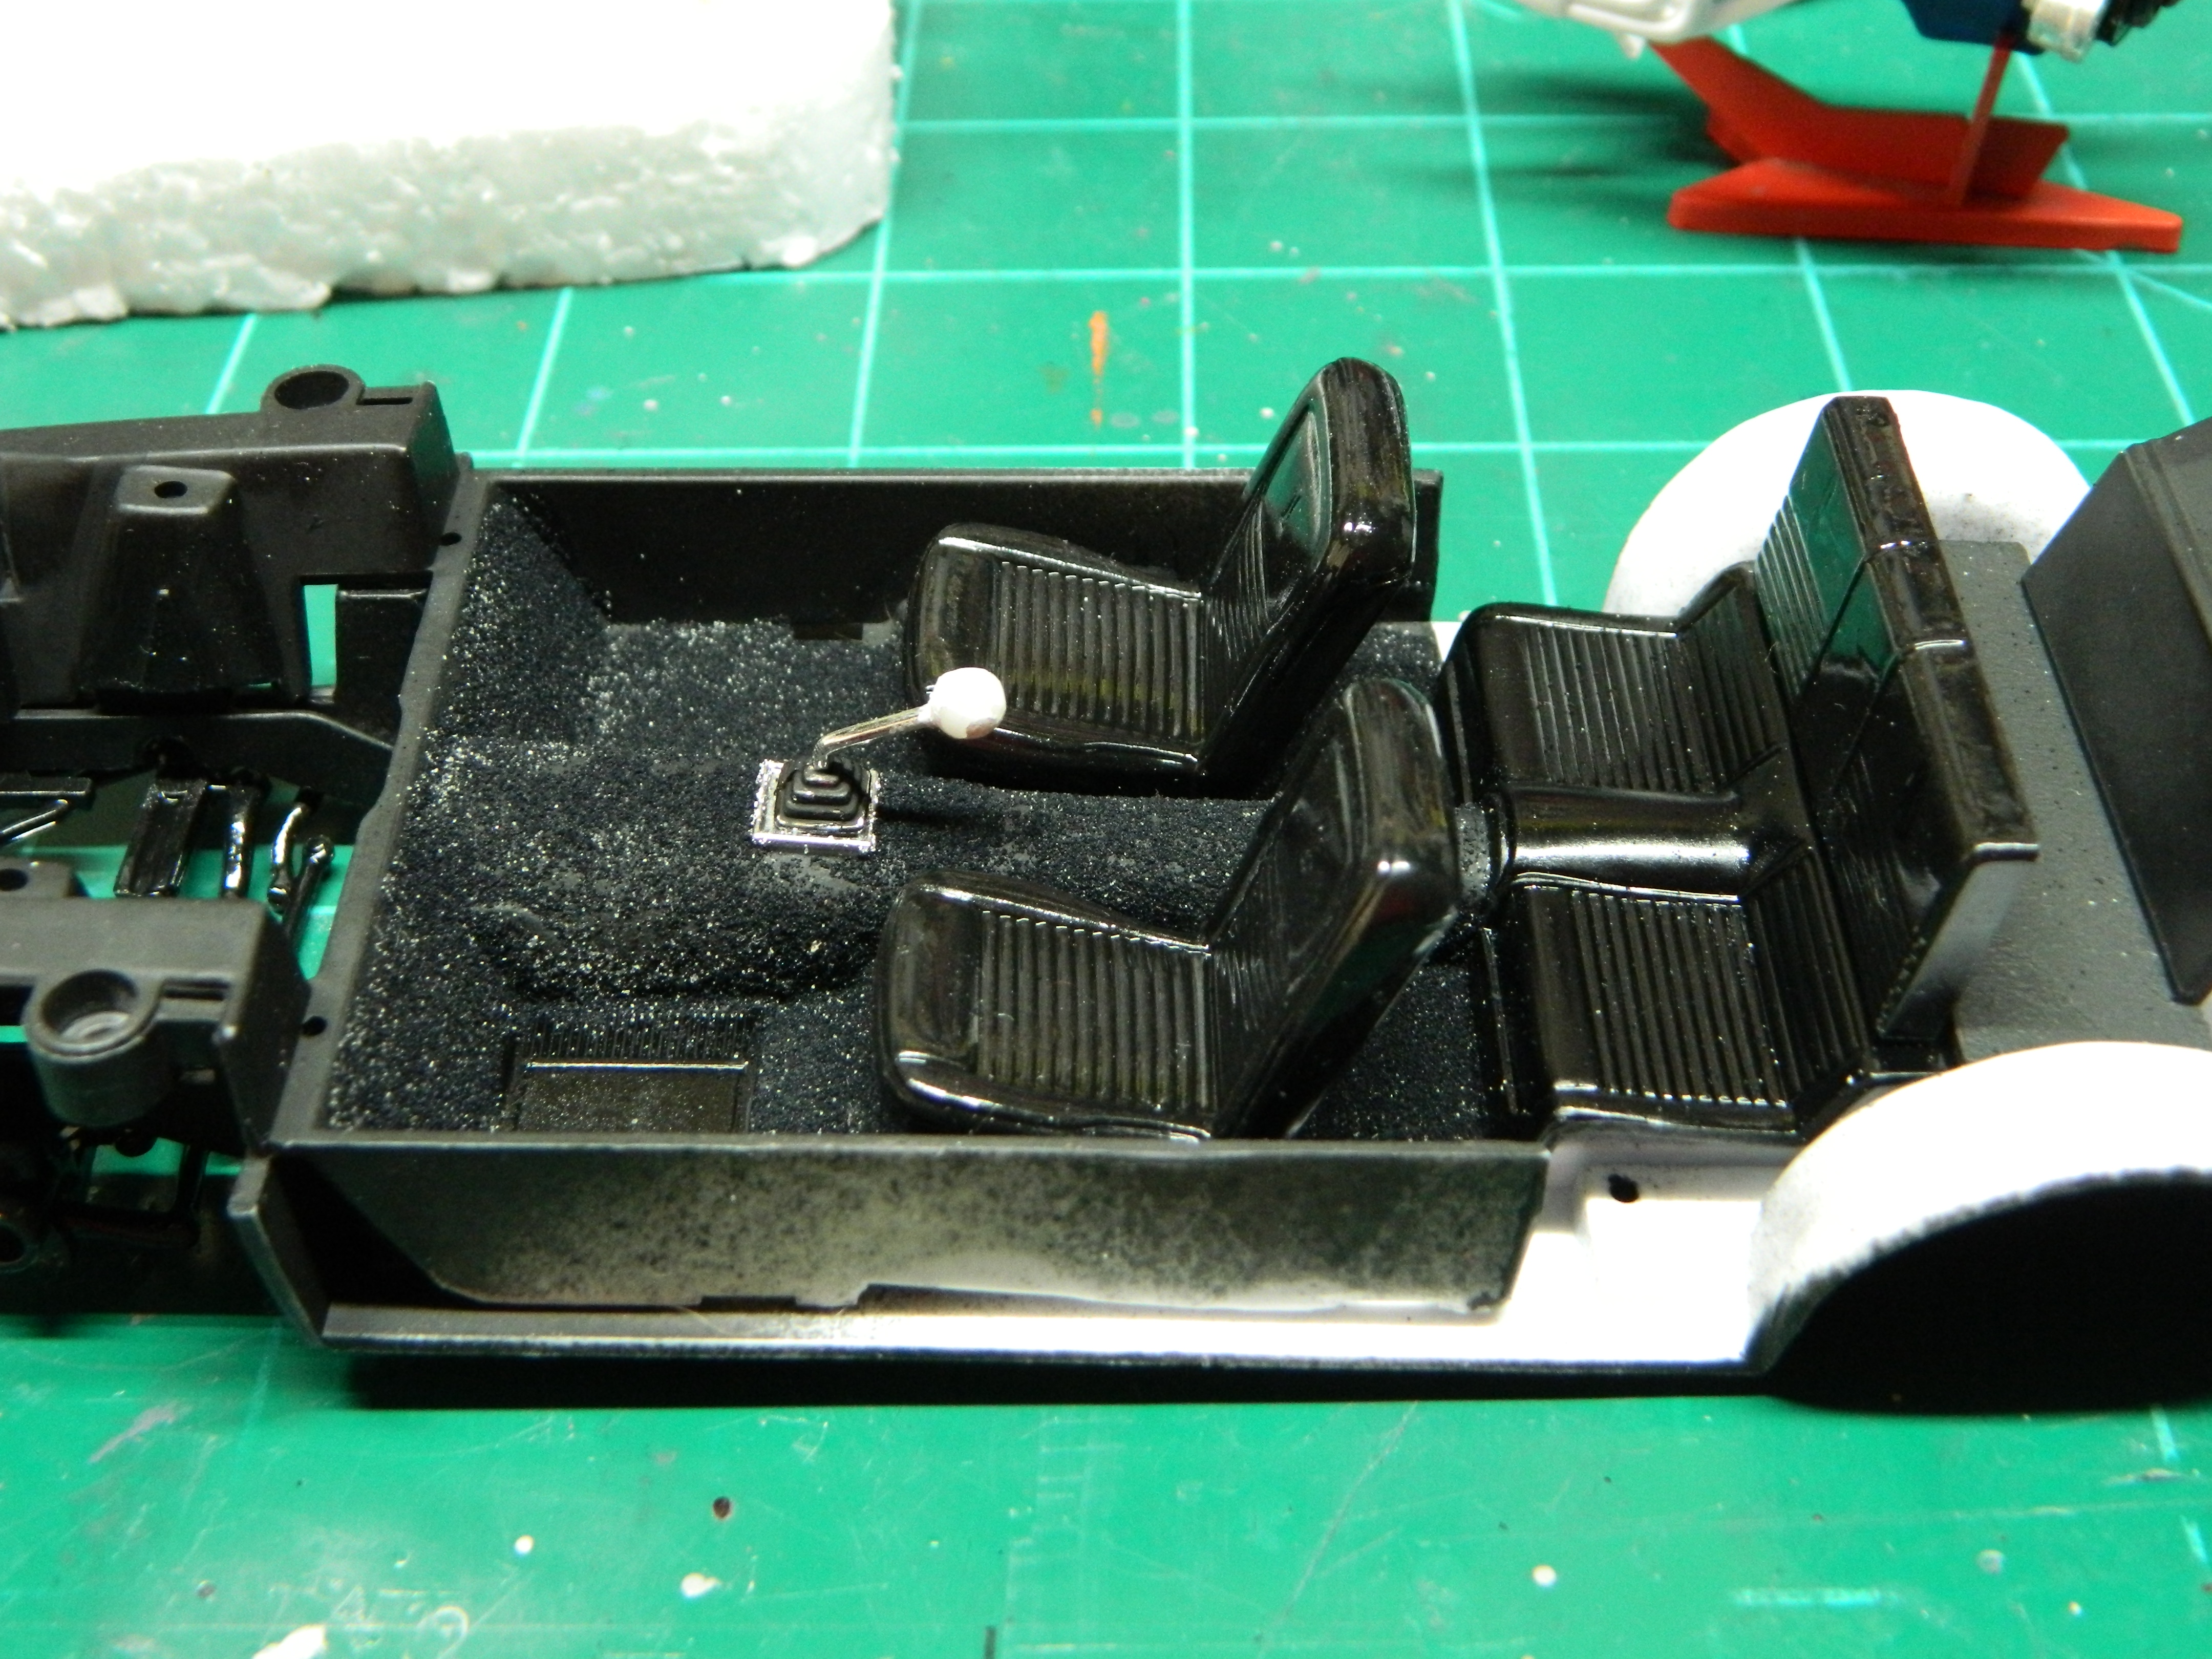
Been working on the 390 CID engine. I added the headers, the fan and fan belt assembly, and a Demon carb. I choose this carb since it does have a lot of detail to it, even if it is not correct for the Bullitt Mustang. The interior is under construction. I used embossing powder for carpet, added the shifter and front bucket seats. I painted the wheel backs for the American Racing wheels and detailed the steering wheel.
-
 Thanks Joe! I've got to finish foiling the truck first. Been fighting with foil and adhesive.
 -
Yeah, well, it kinda like this...I have the model and I used the decal on that kit when I built it. I have a friend who draws his own and I may ask him if he can do one on mine.
-
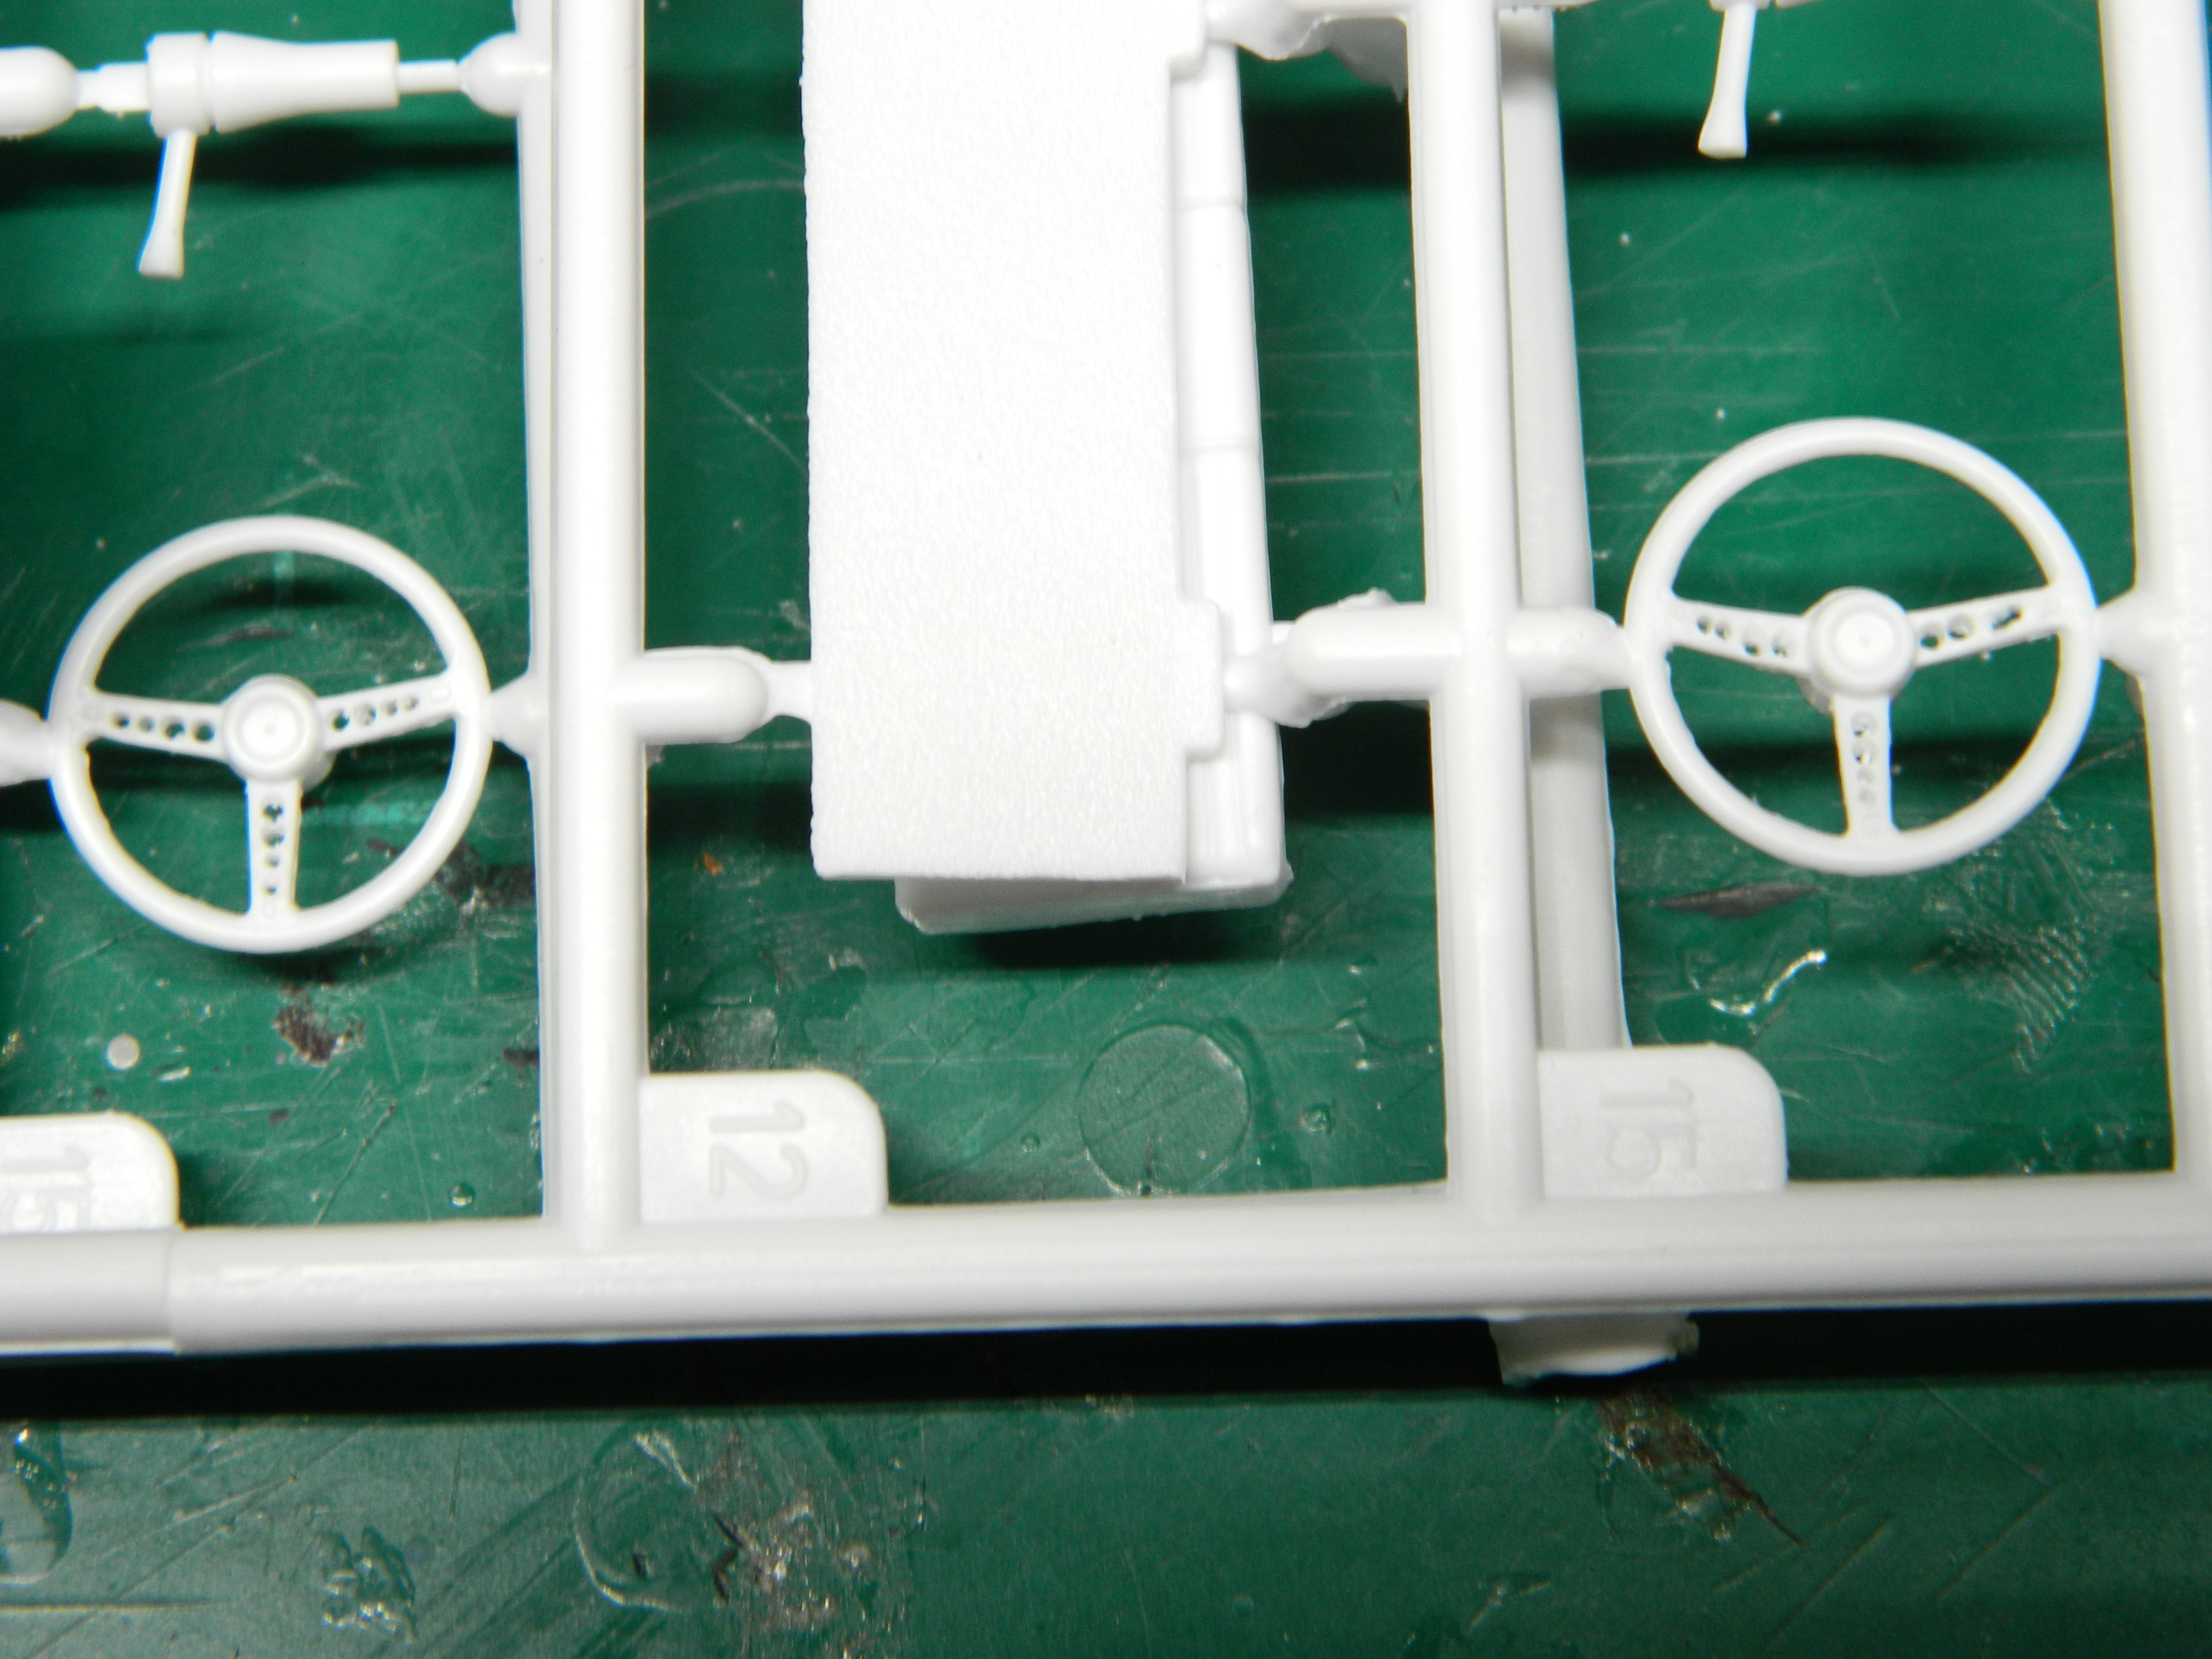
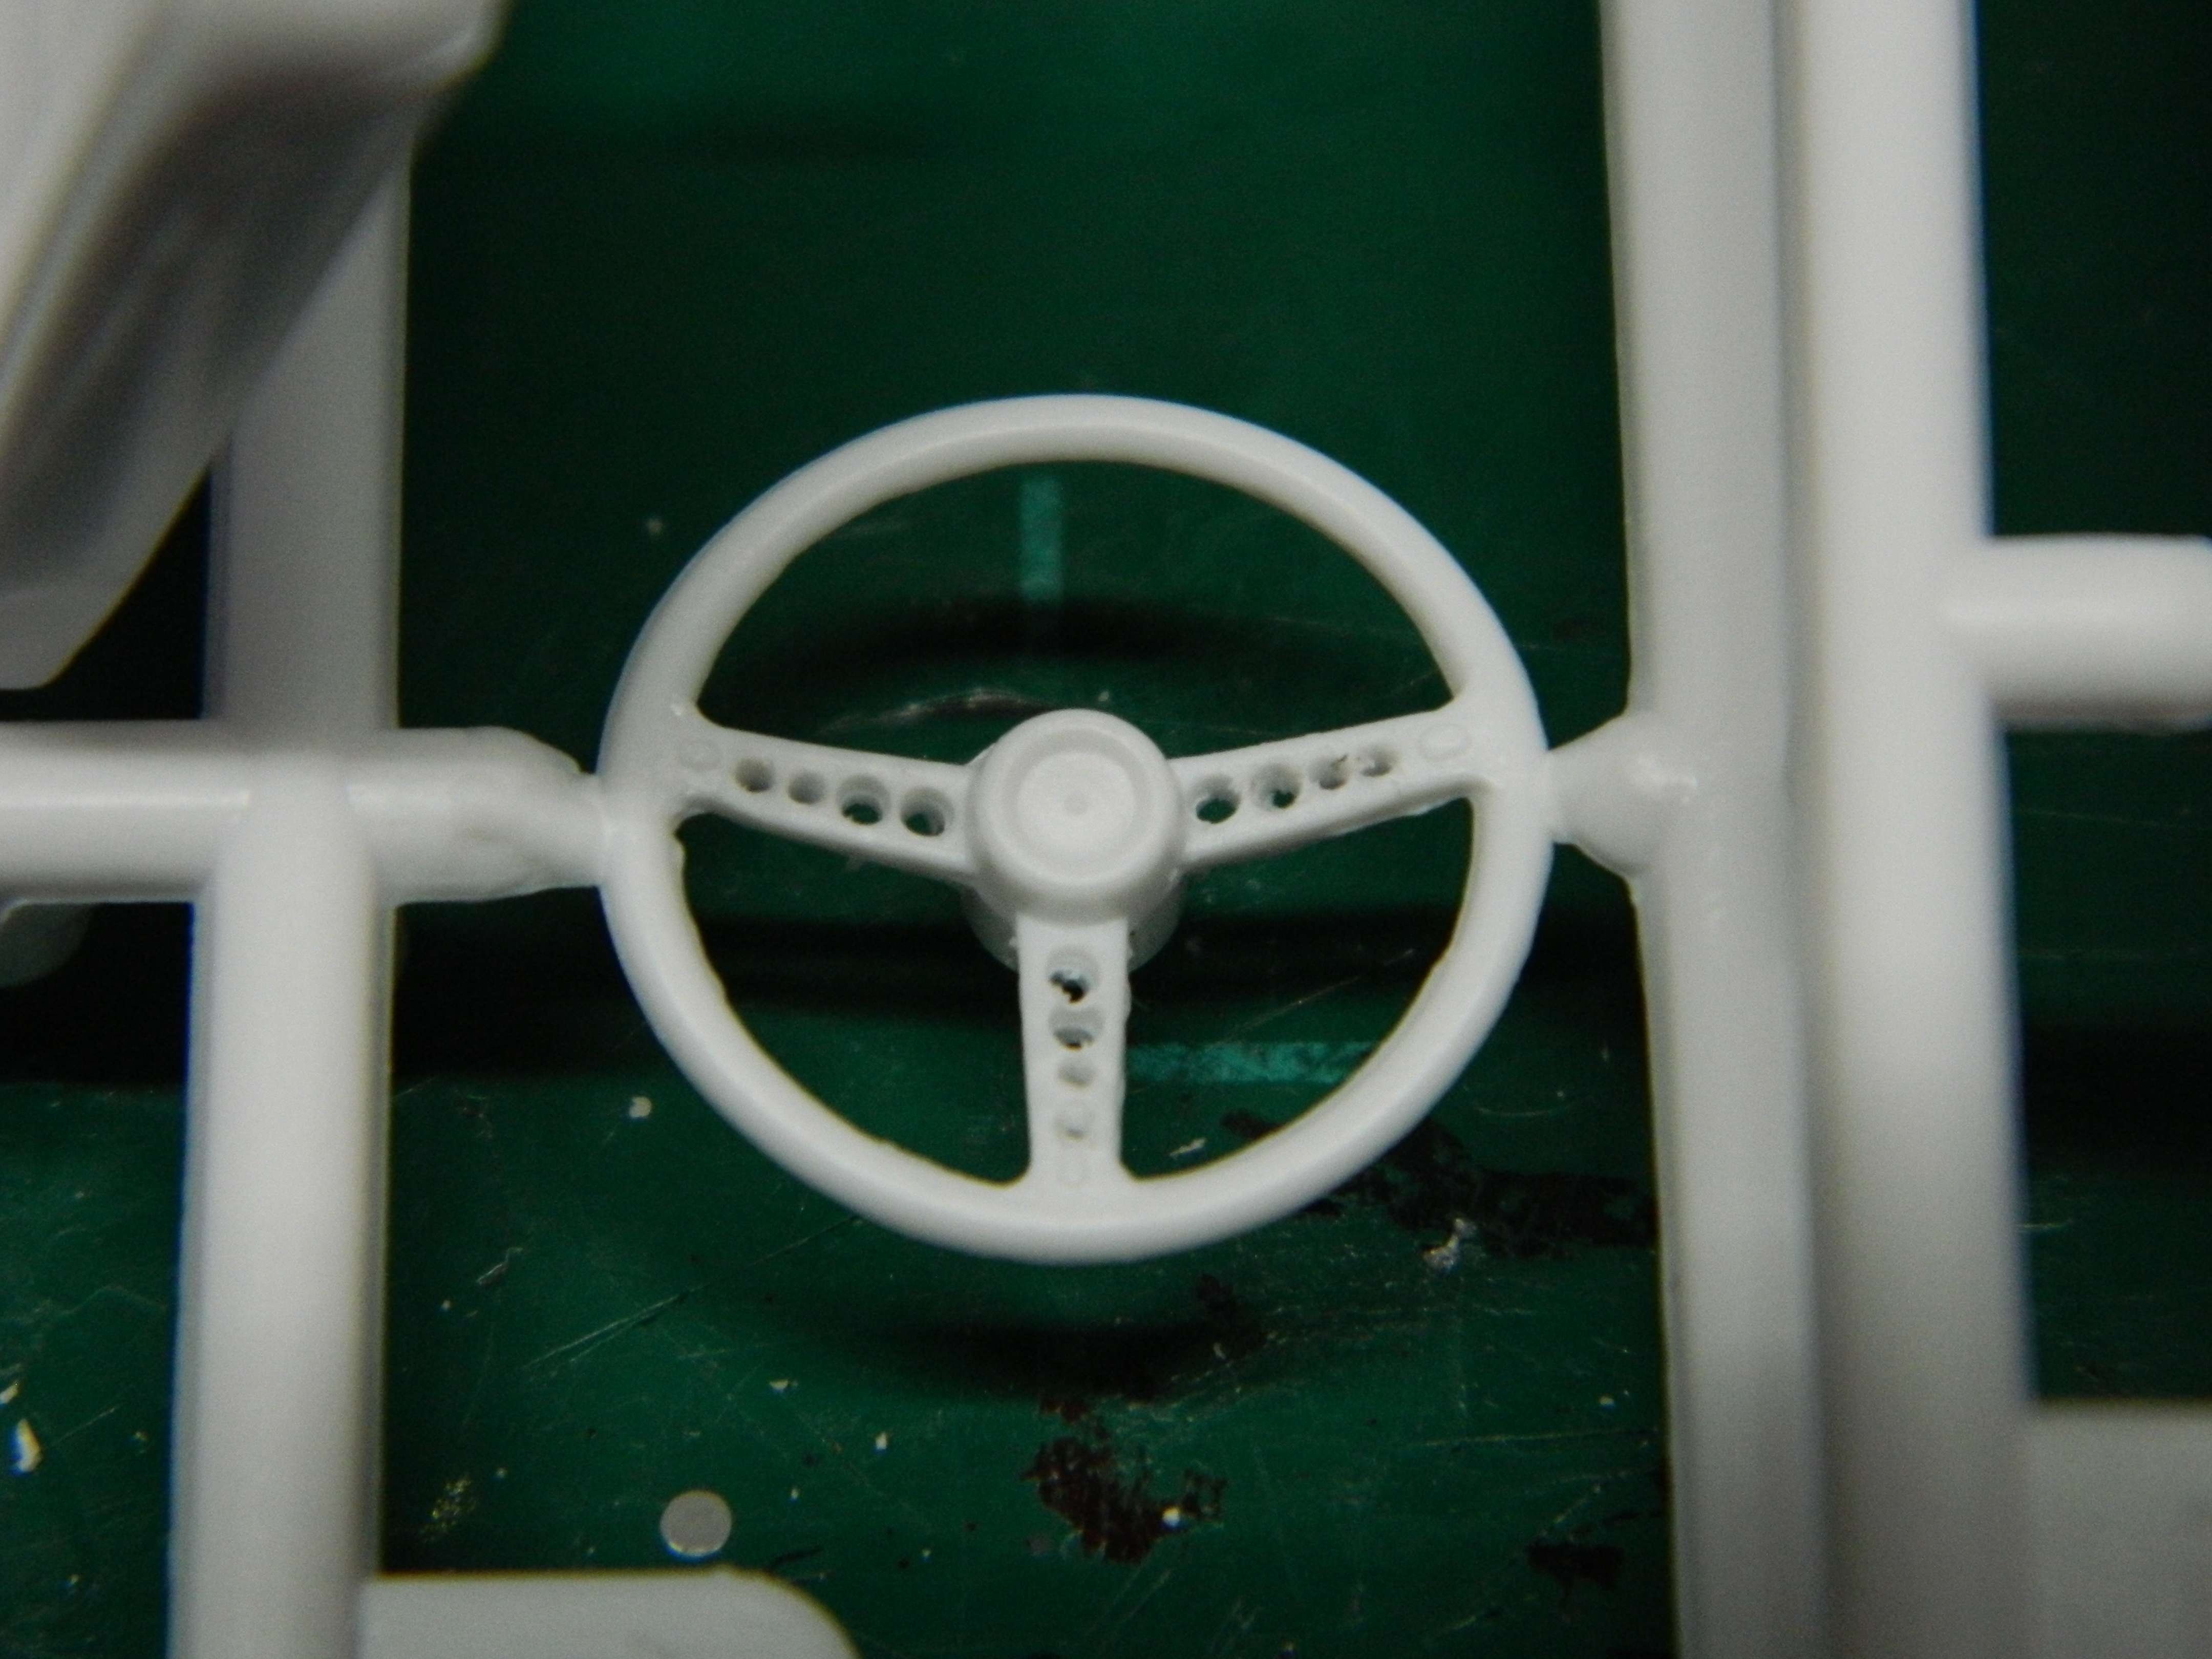
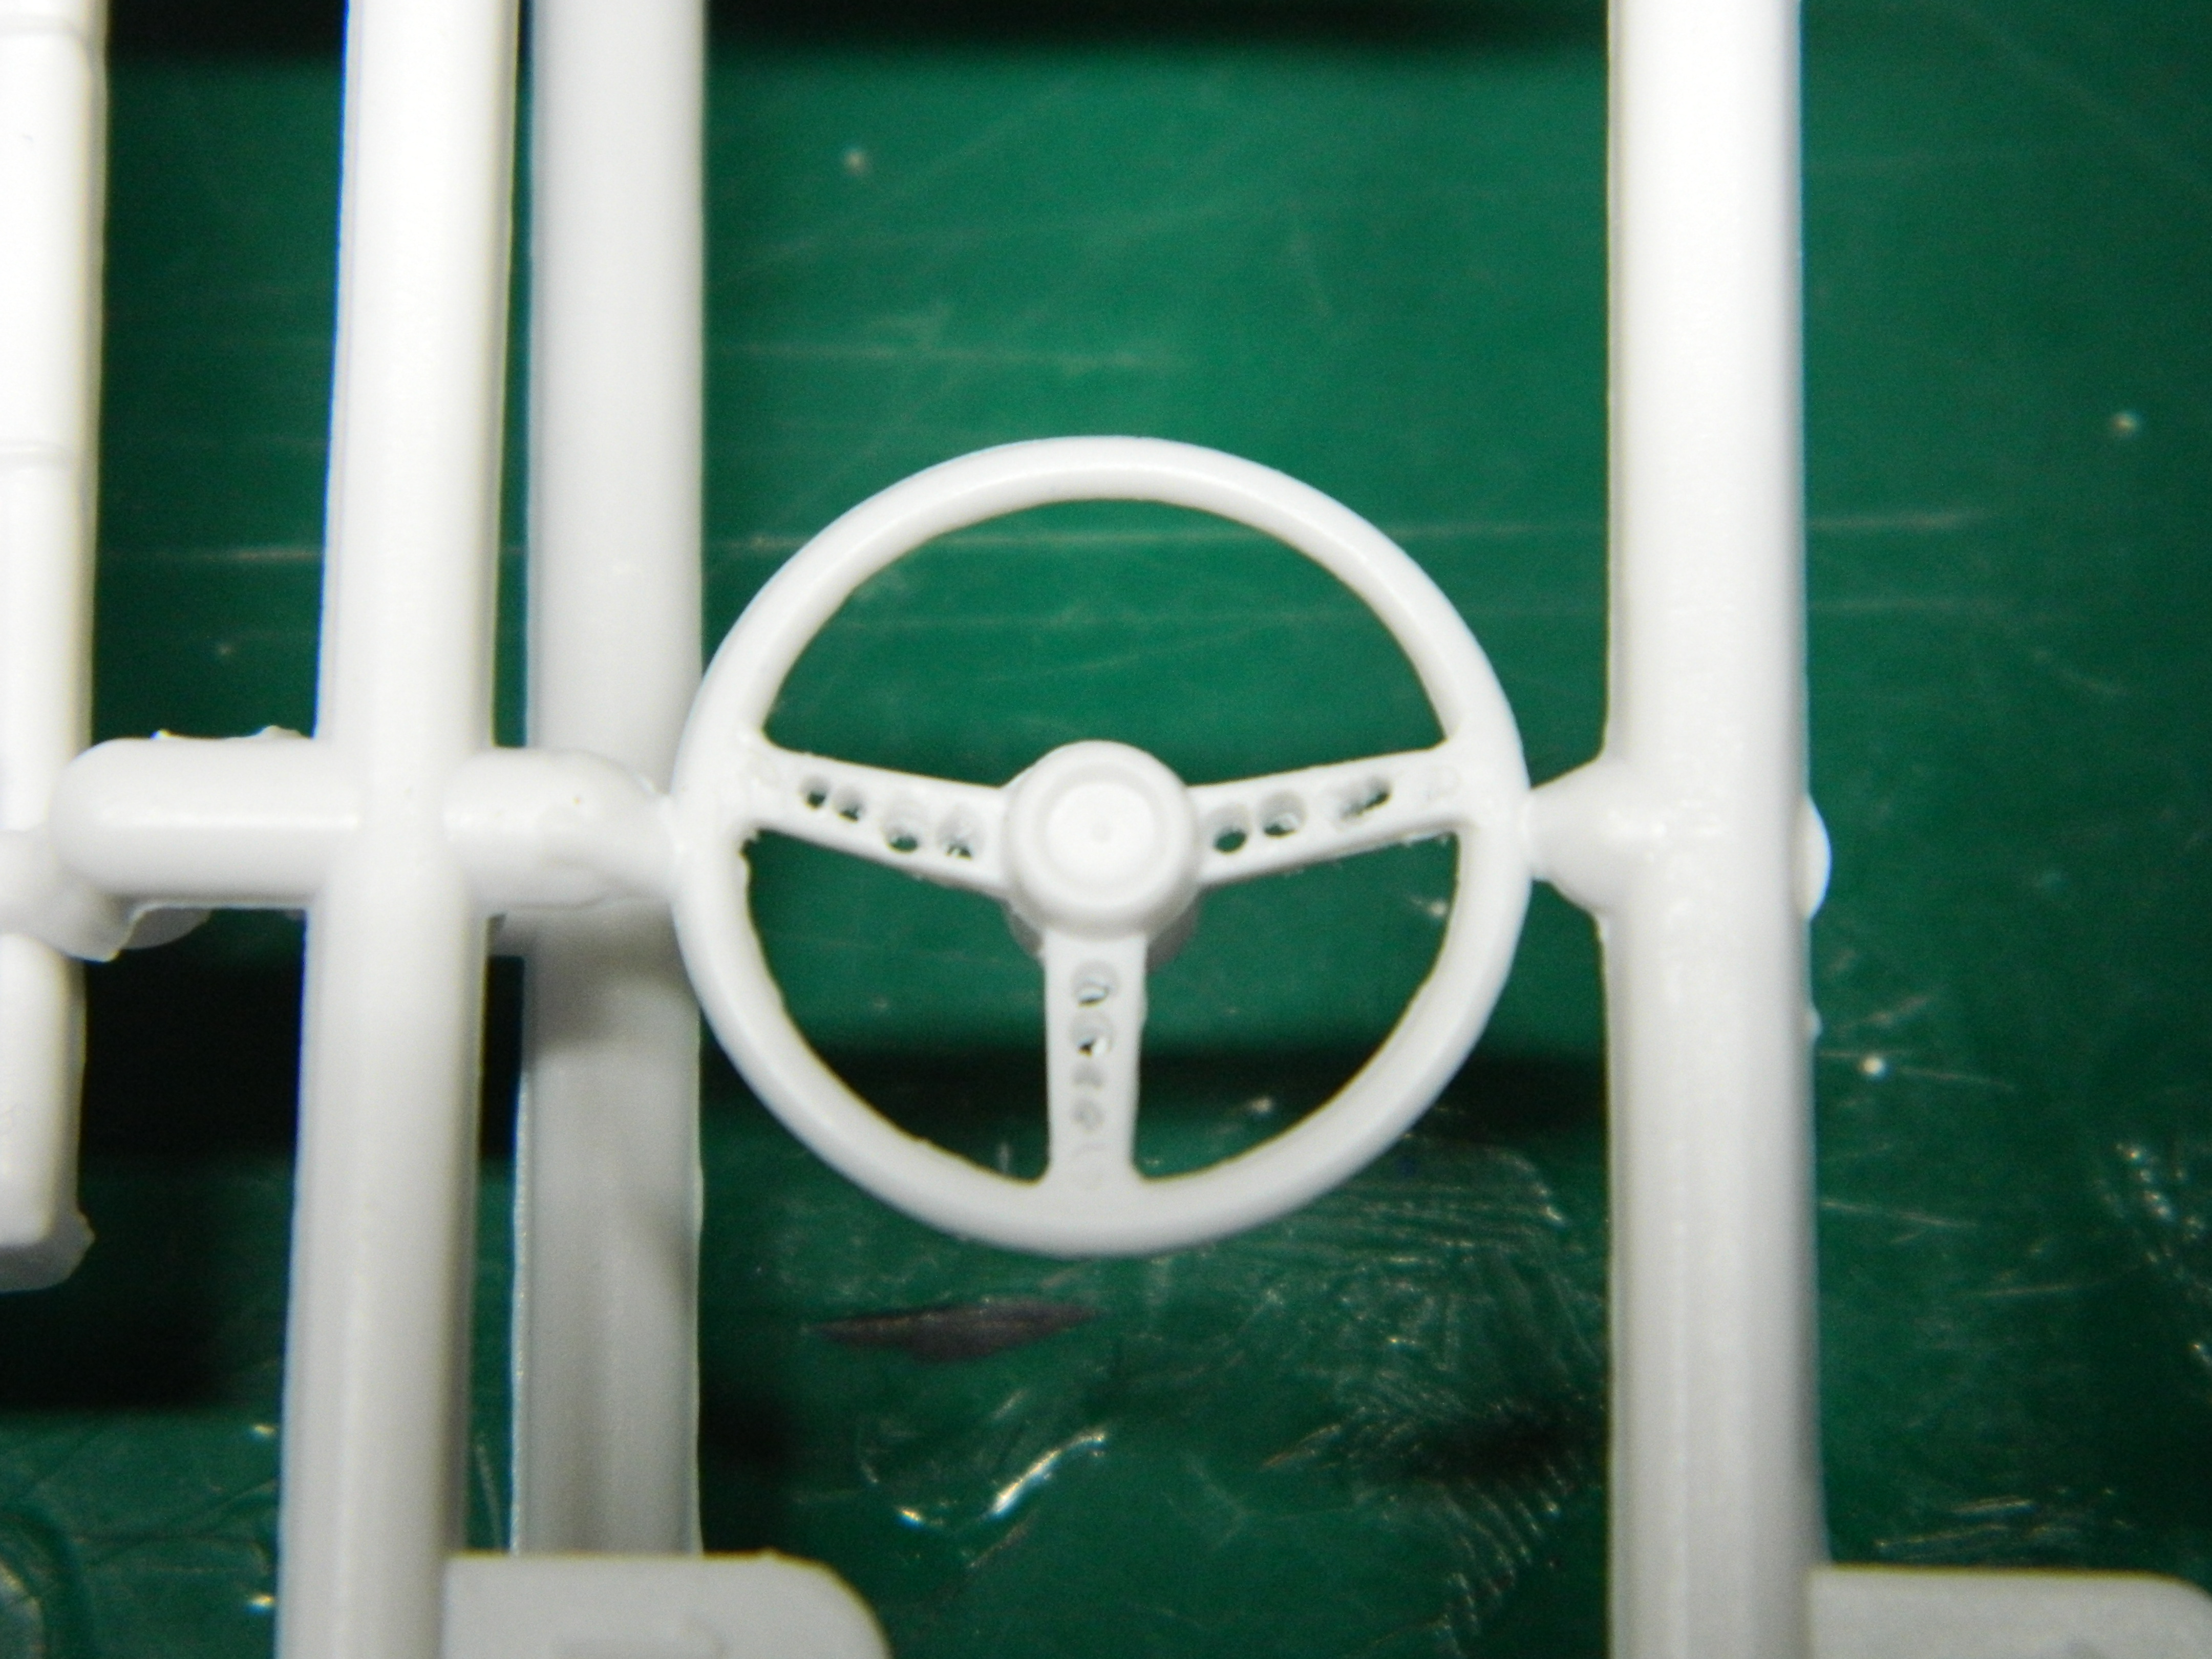
As I was looking at the steering wheel and the mis-guided holes, I remembered that the Revell '68 Mustang kit 2 'n 1 kit has all the extra parts in it for the Bullitt Mustang. This time I used my magnifier and carefully, well much more carefully, drilled 12 new holes in the steering wheel spokes. Some cleanup and Bob's your uncle! More to come...