mrmike
-
Posts
5,324 -
Joined
-
Last visited
Content Type
Profiles
Forums
Events
Gallery
Everything posted by mrmike
-

1978 Dodge Lil Red Express
mrmike replied to mrmike's topic in Model Trucks: Pickups, Vans, SUVs, Light Commercial
Thank you Andre! I always wanted one and ended up with this instead. -
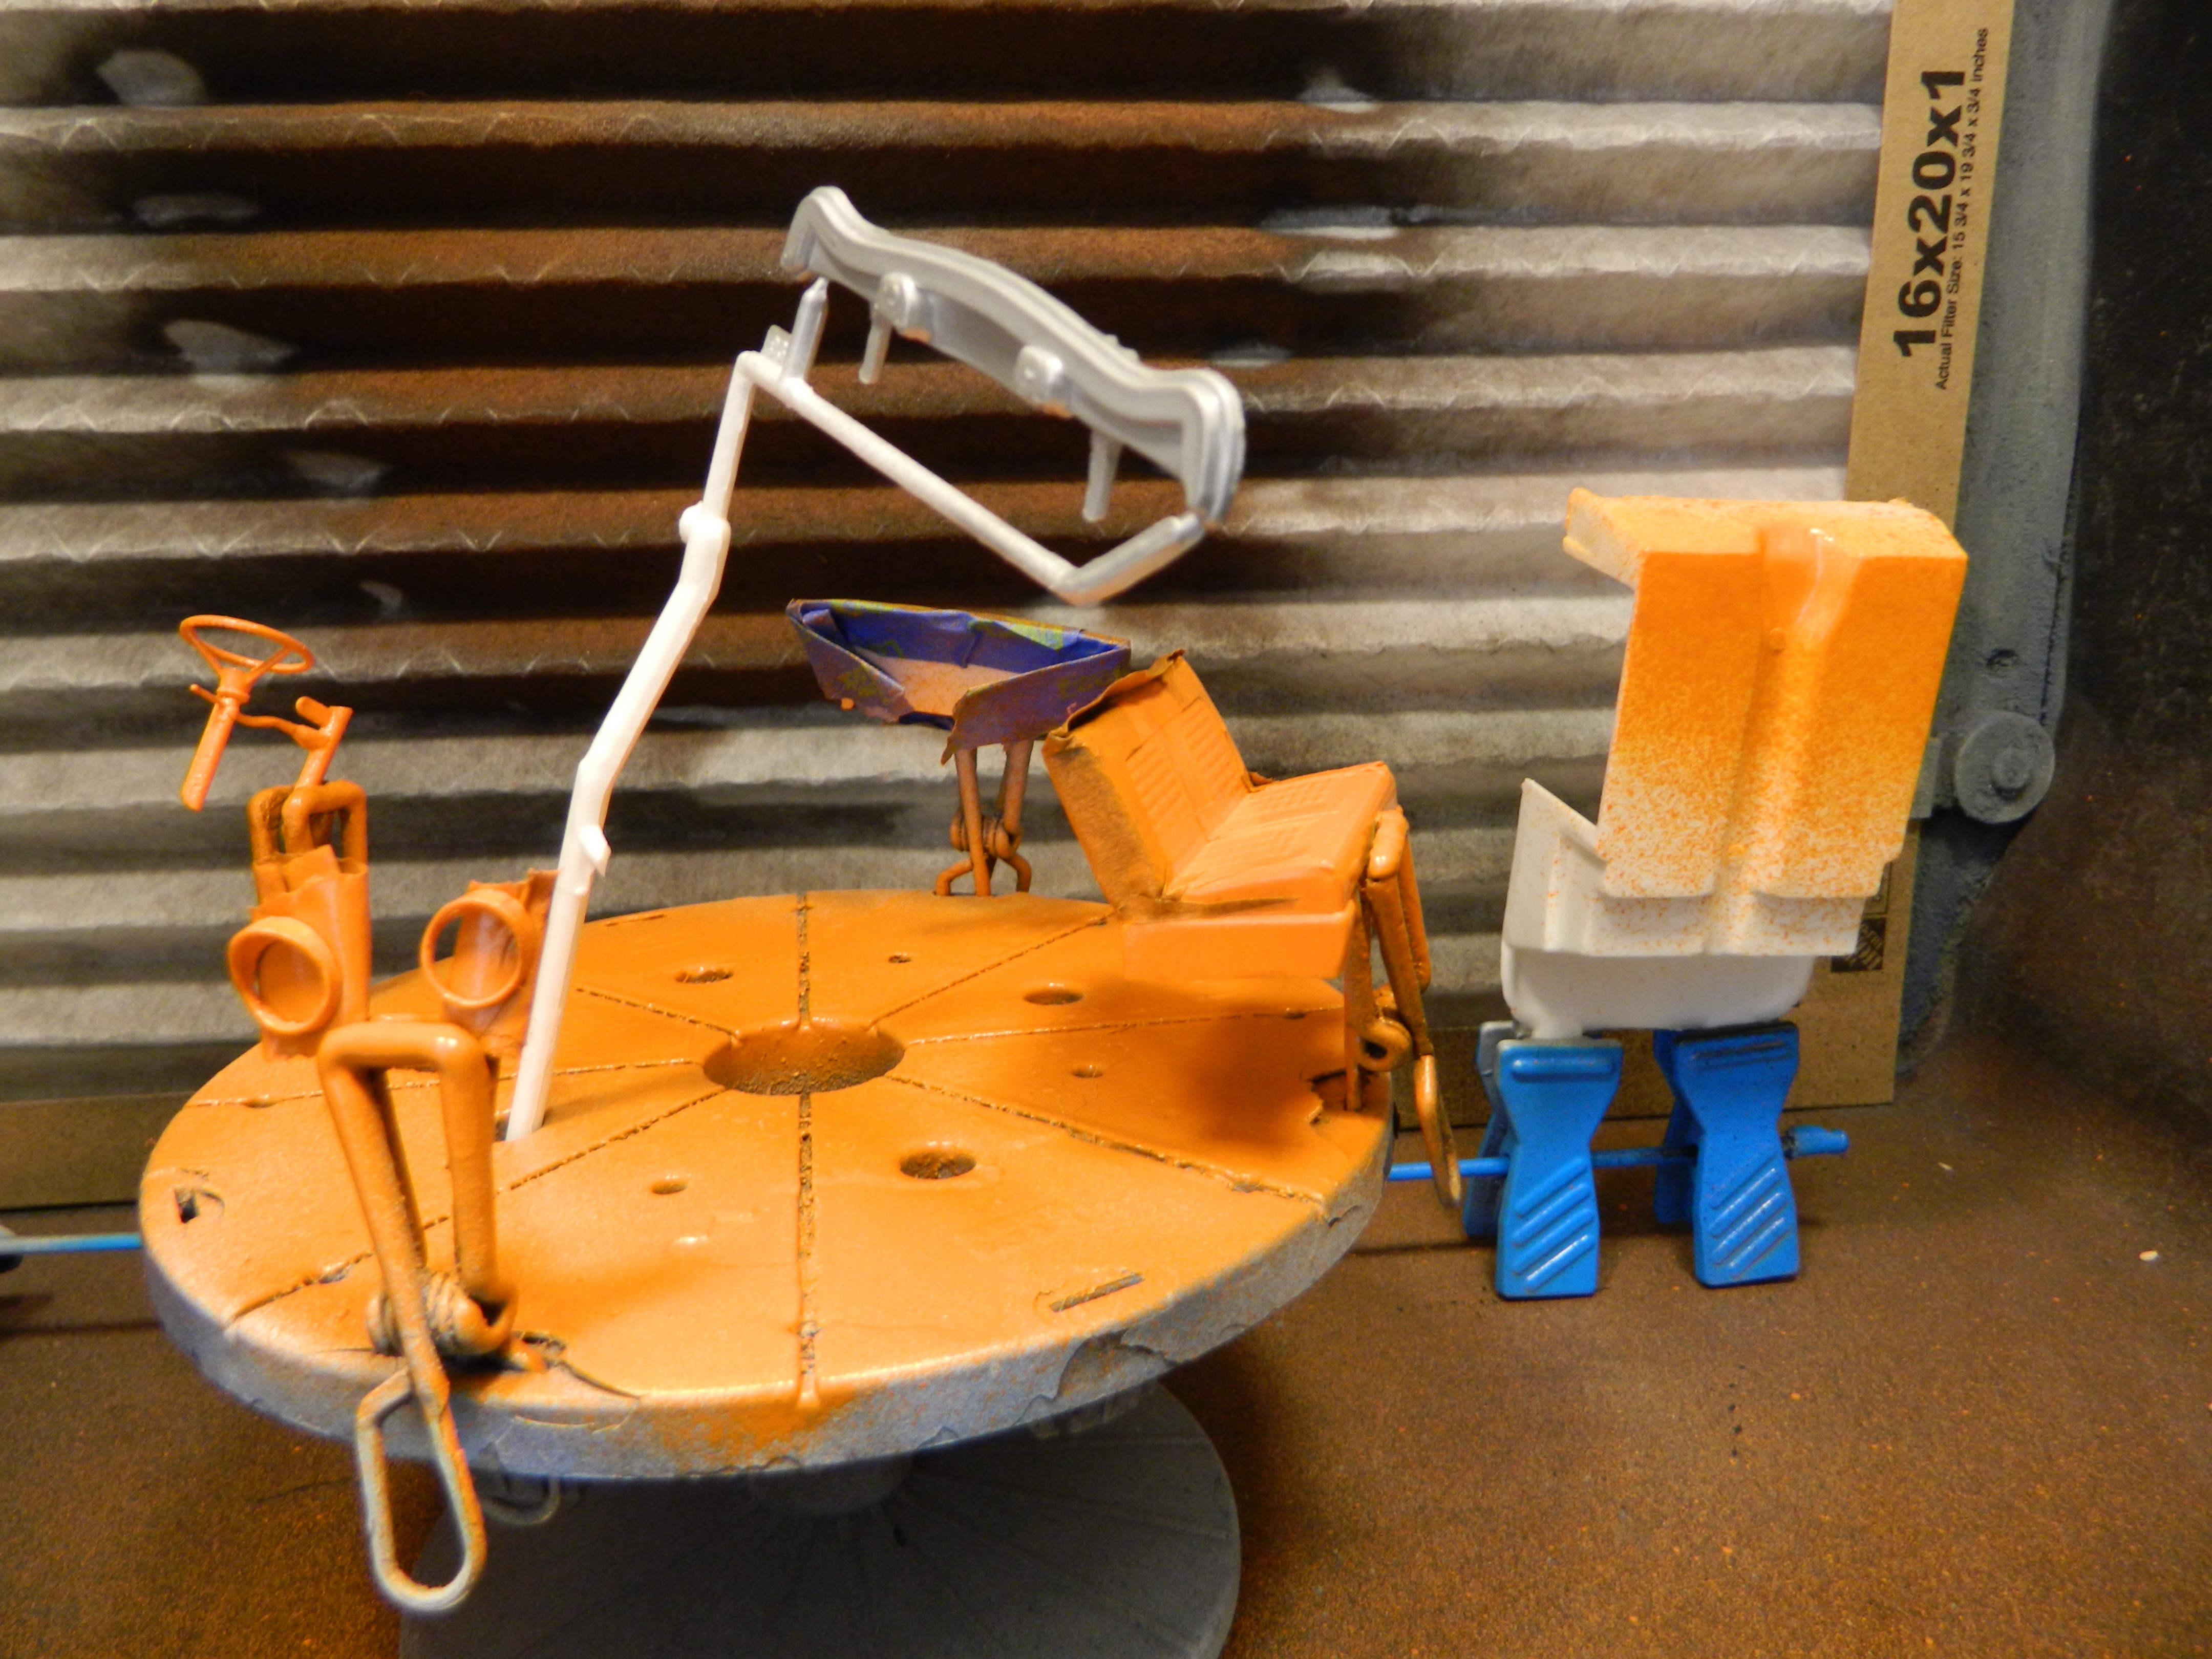
I did a little painting this morning. Model Master Go-Mango on the interior pieces and Tamiya TS-17 Gloss Aluminium on the splash pan.

-
1978 Dodge Lil Red Express
mrmike replied to mrmike's topic in Model Trucks: Pickups, Vans, SUVs, Light Commercial
Thank you guys! -
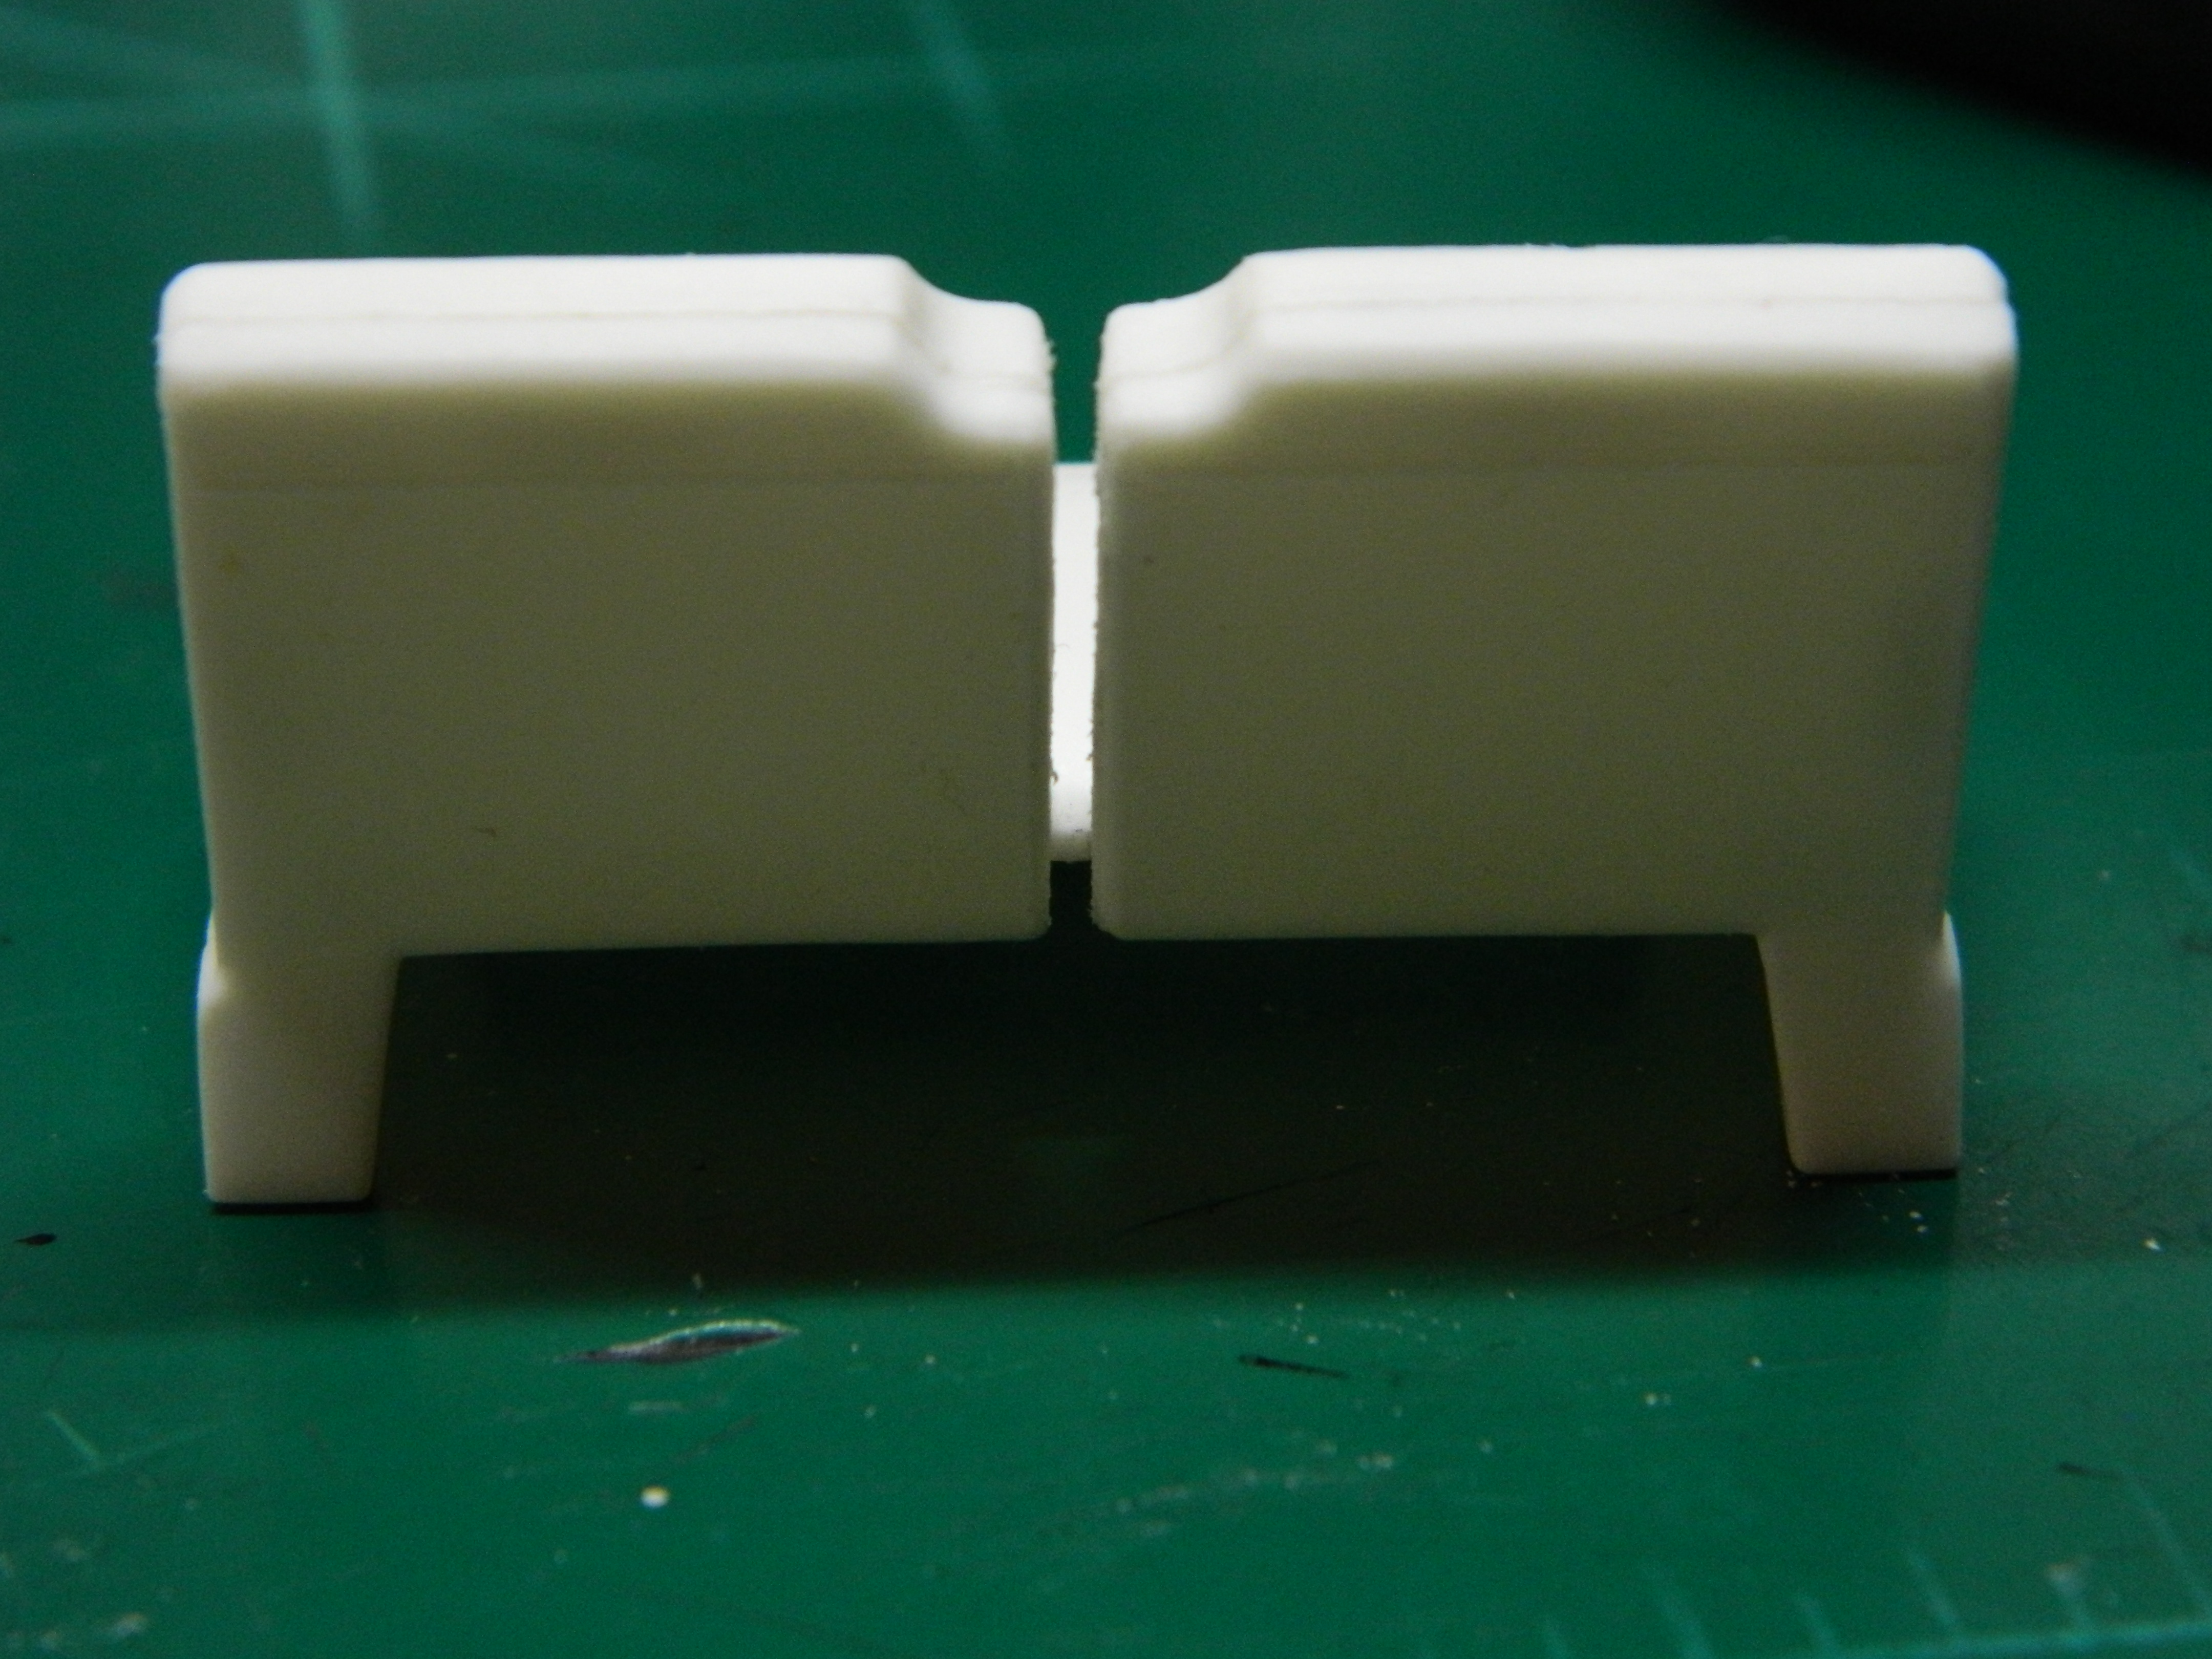
I finished assembly of the front bench seat. I filled in the sides between the seats with some strips of sheet plastic. More to come...
-
Randy, that is a great looking model! Great job!
-
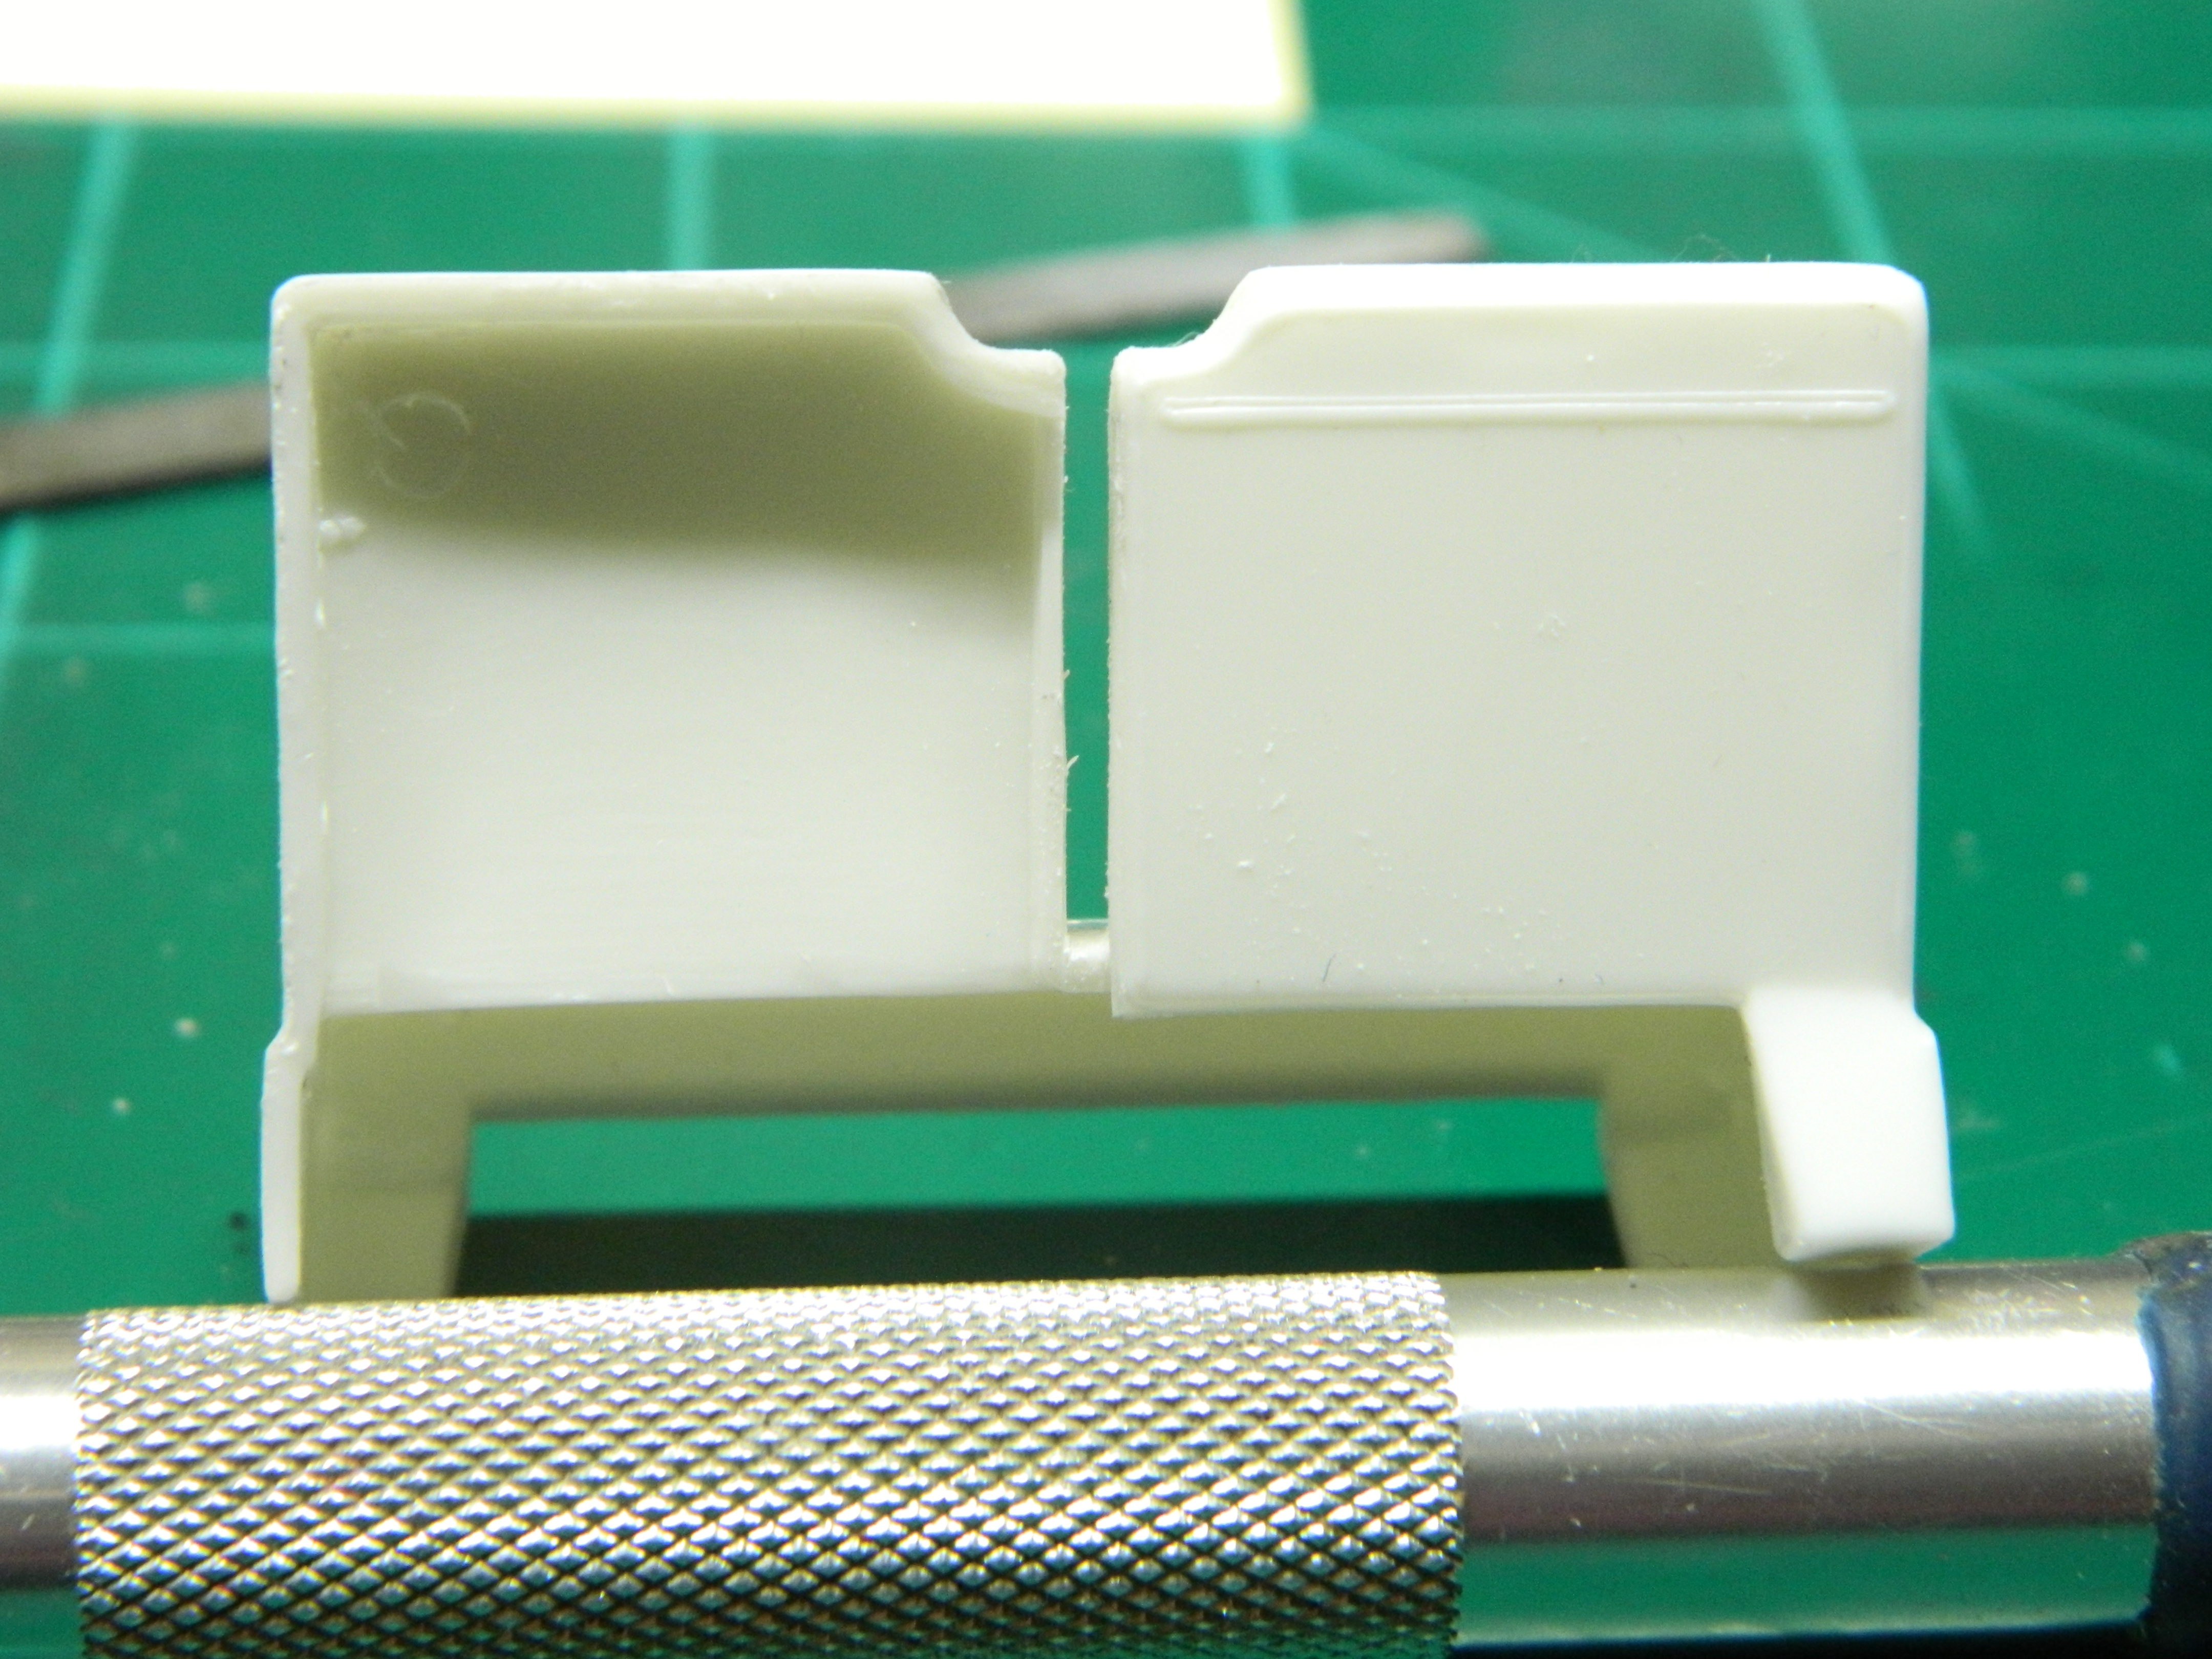
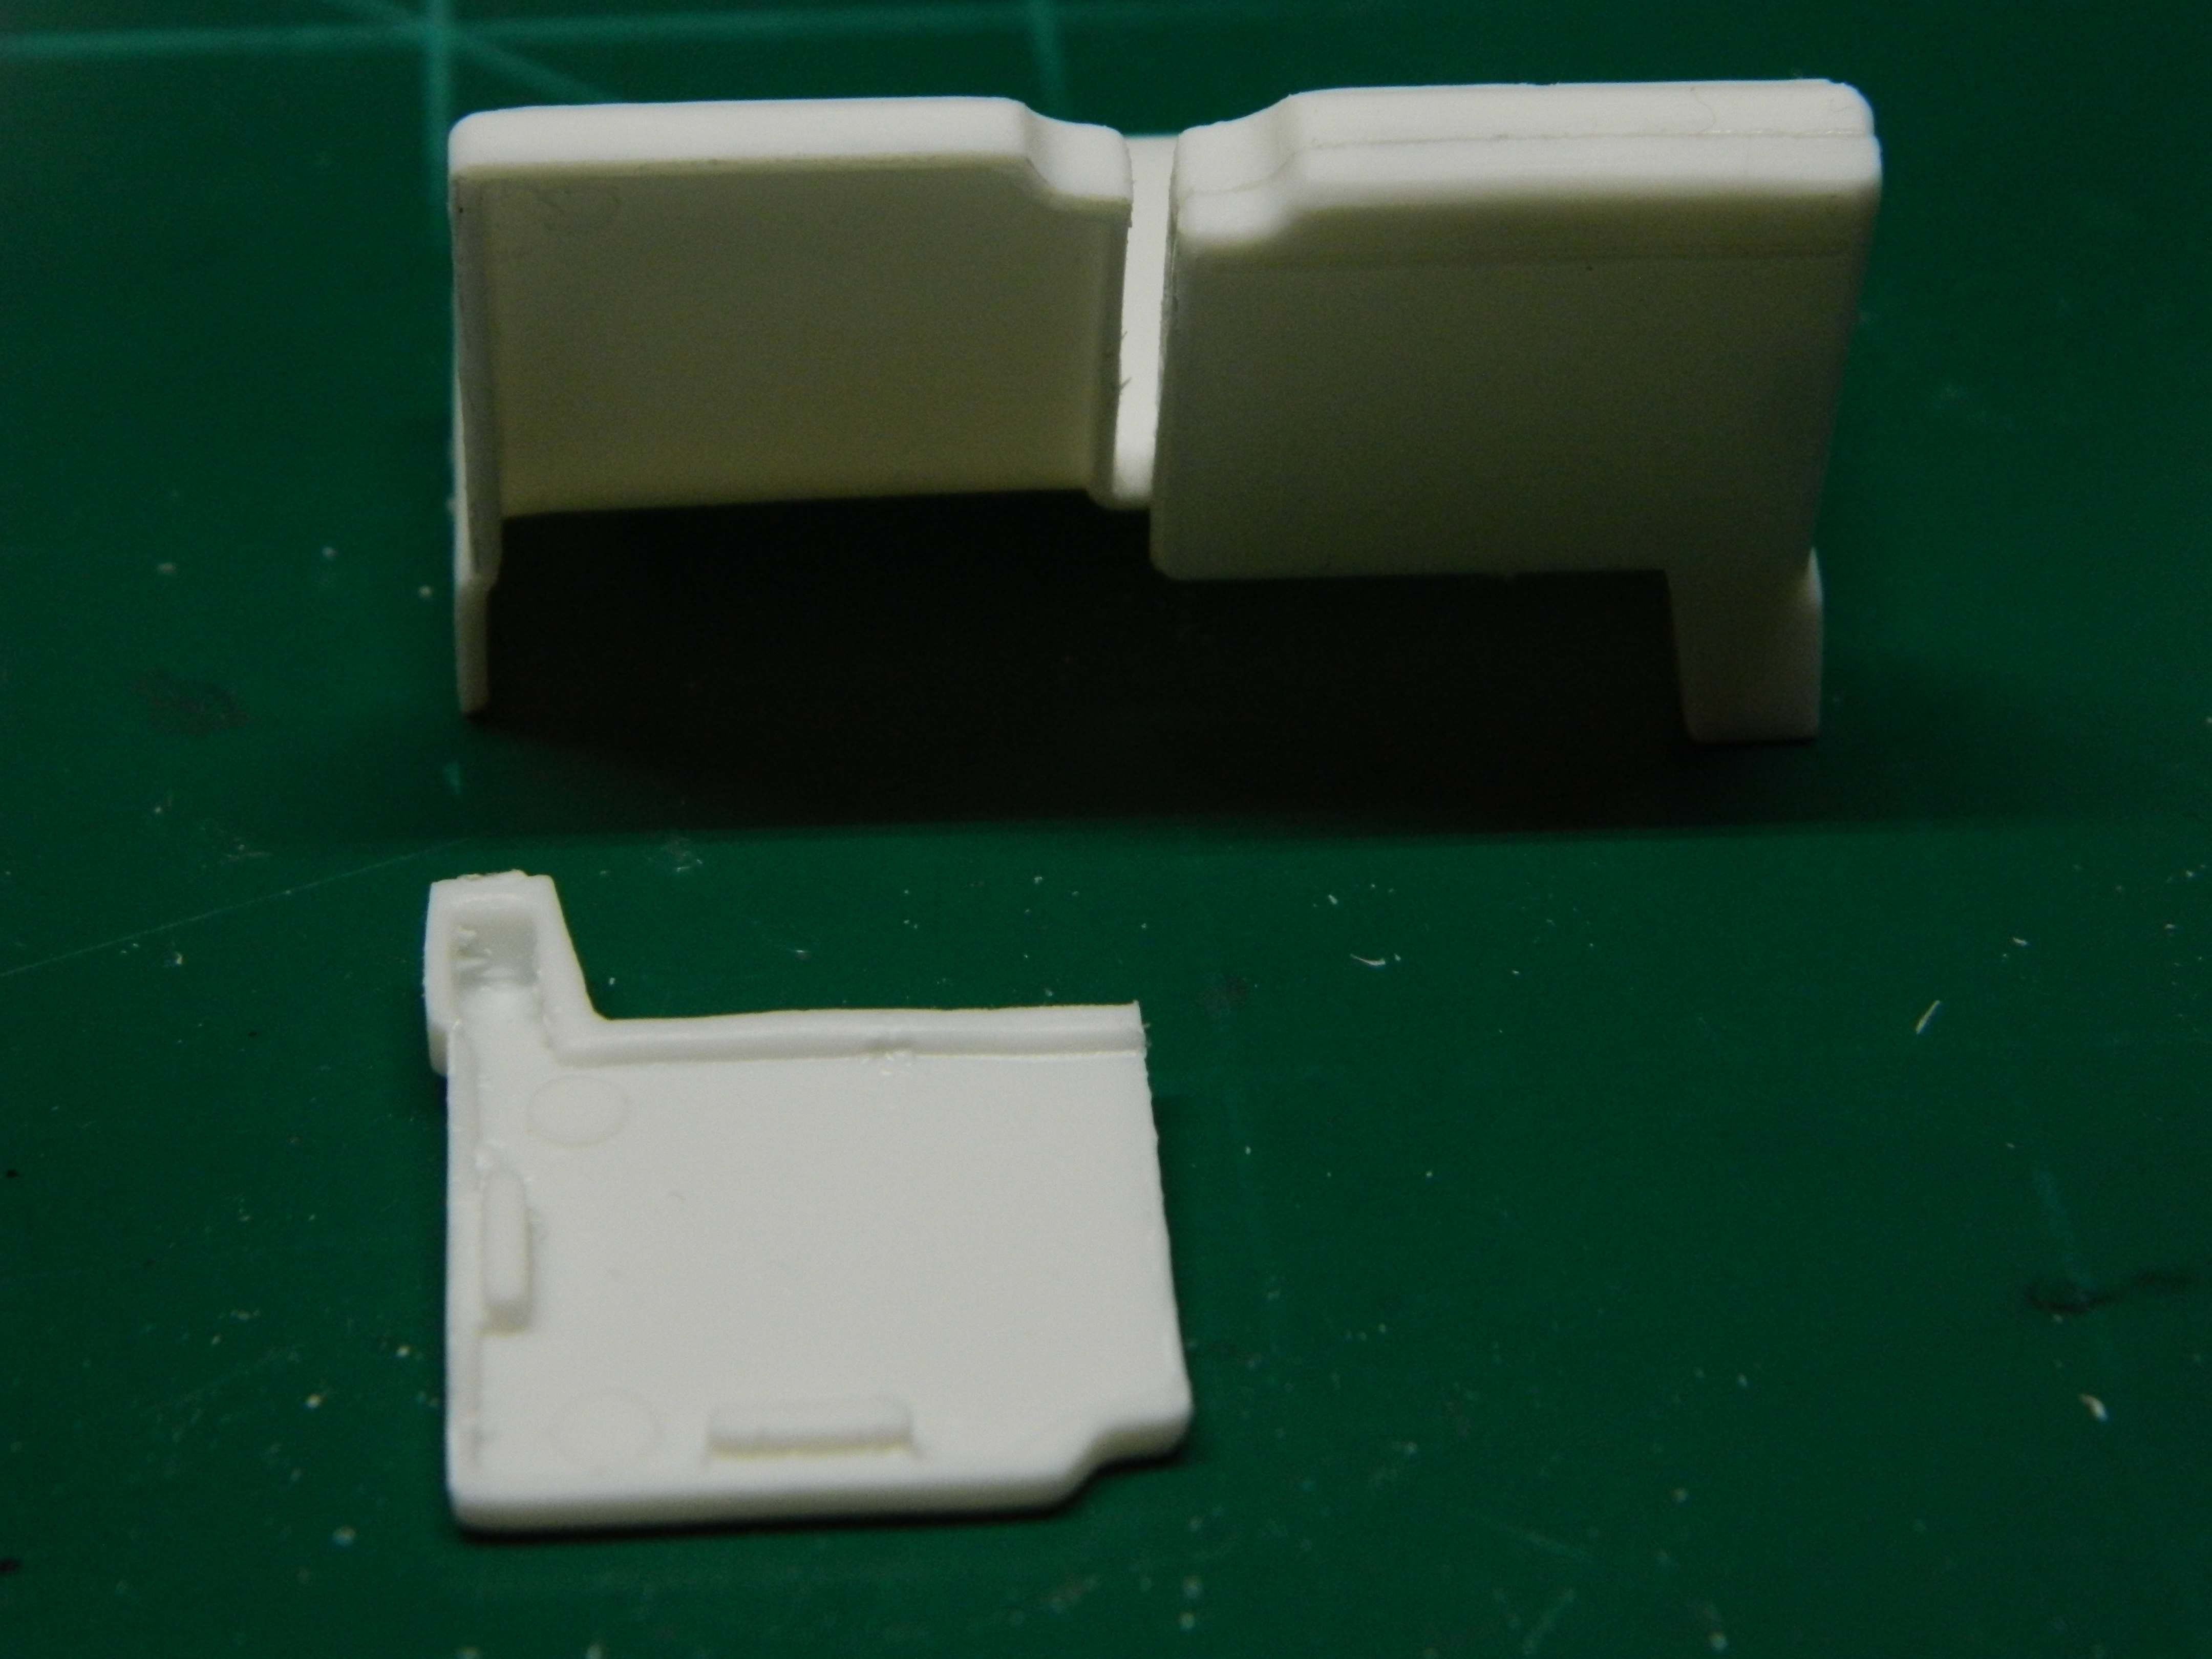
Been thinking about the front bench seat and I decided to open the splt backs. I used a chisel-point and a No. 11 pointed blade to cut out and to trim the seat back. I just need to fill in the inside of the seat backs with some styrene. More to come...
-
Thanks Tulio!
-
Thanks JC! These older cars are great candidates for customization. Mine will be a street machine.
-
I did a mockup this morning to check my progress. The rake looks spot on for what I am looking for. I wanted to see what the engine mounting would be like since I replaced the manual trans with a C4 auto trans. I was worried that the fan would be hitting the radiator, but it seems to clear it easily. But, the engine mounting is only at the oil pan and there are no frame mounts for the engine. I'll have to make a set of frame mounts that go to the engine mounts. Other than the engine mounting issue, I am very happy with the mockup and now I can move forward with bodywork and painting the two-tone paint scheme. More to come...
-
Well, my usual luck is running with me again. The "340" decal I had disintegrated when it touched the water. No problem I said to myself. I'll just grab my sheet of decal paper and pull an image off the internet. I couldn't find my decal paper! Arrggghhh!!! Until I can get some more decal paper, I'll just glue the air cleaner onto the carb and call it done for now.
-
Thank you Dan! It's will have paint soon as I started primer today.
-
I finally fired up the paintbooth and did a little painting tonight. I painted the hood with Acryl Flat Clear to help cover the gloss of the star decals and the front bumper got a coat of Tamiya TS-14 Gloss Black. More to come...
-
Thank you Carl! And, I just noticed that the air cleaner is on backwards. Good thing I didn't glue it on!
-
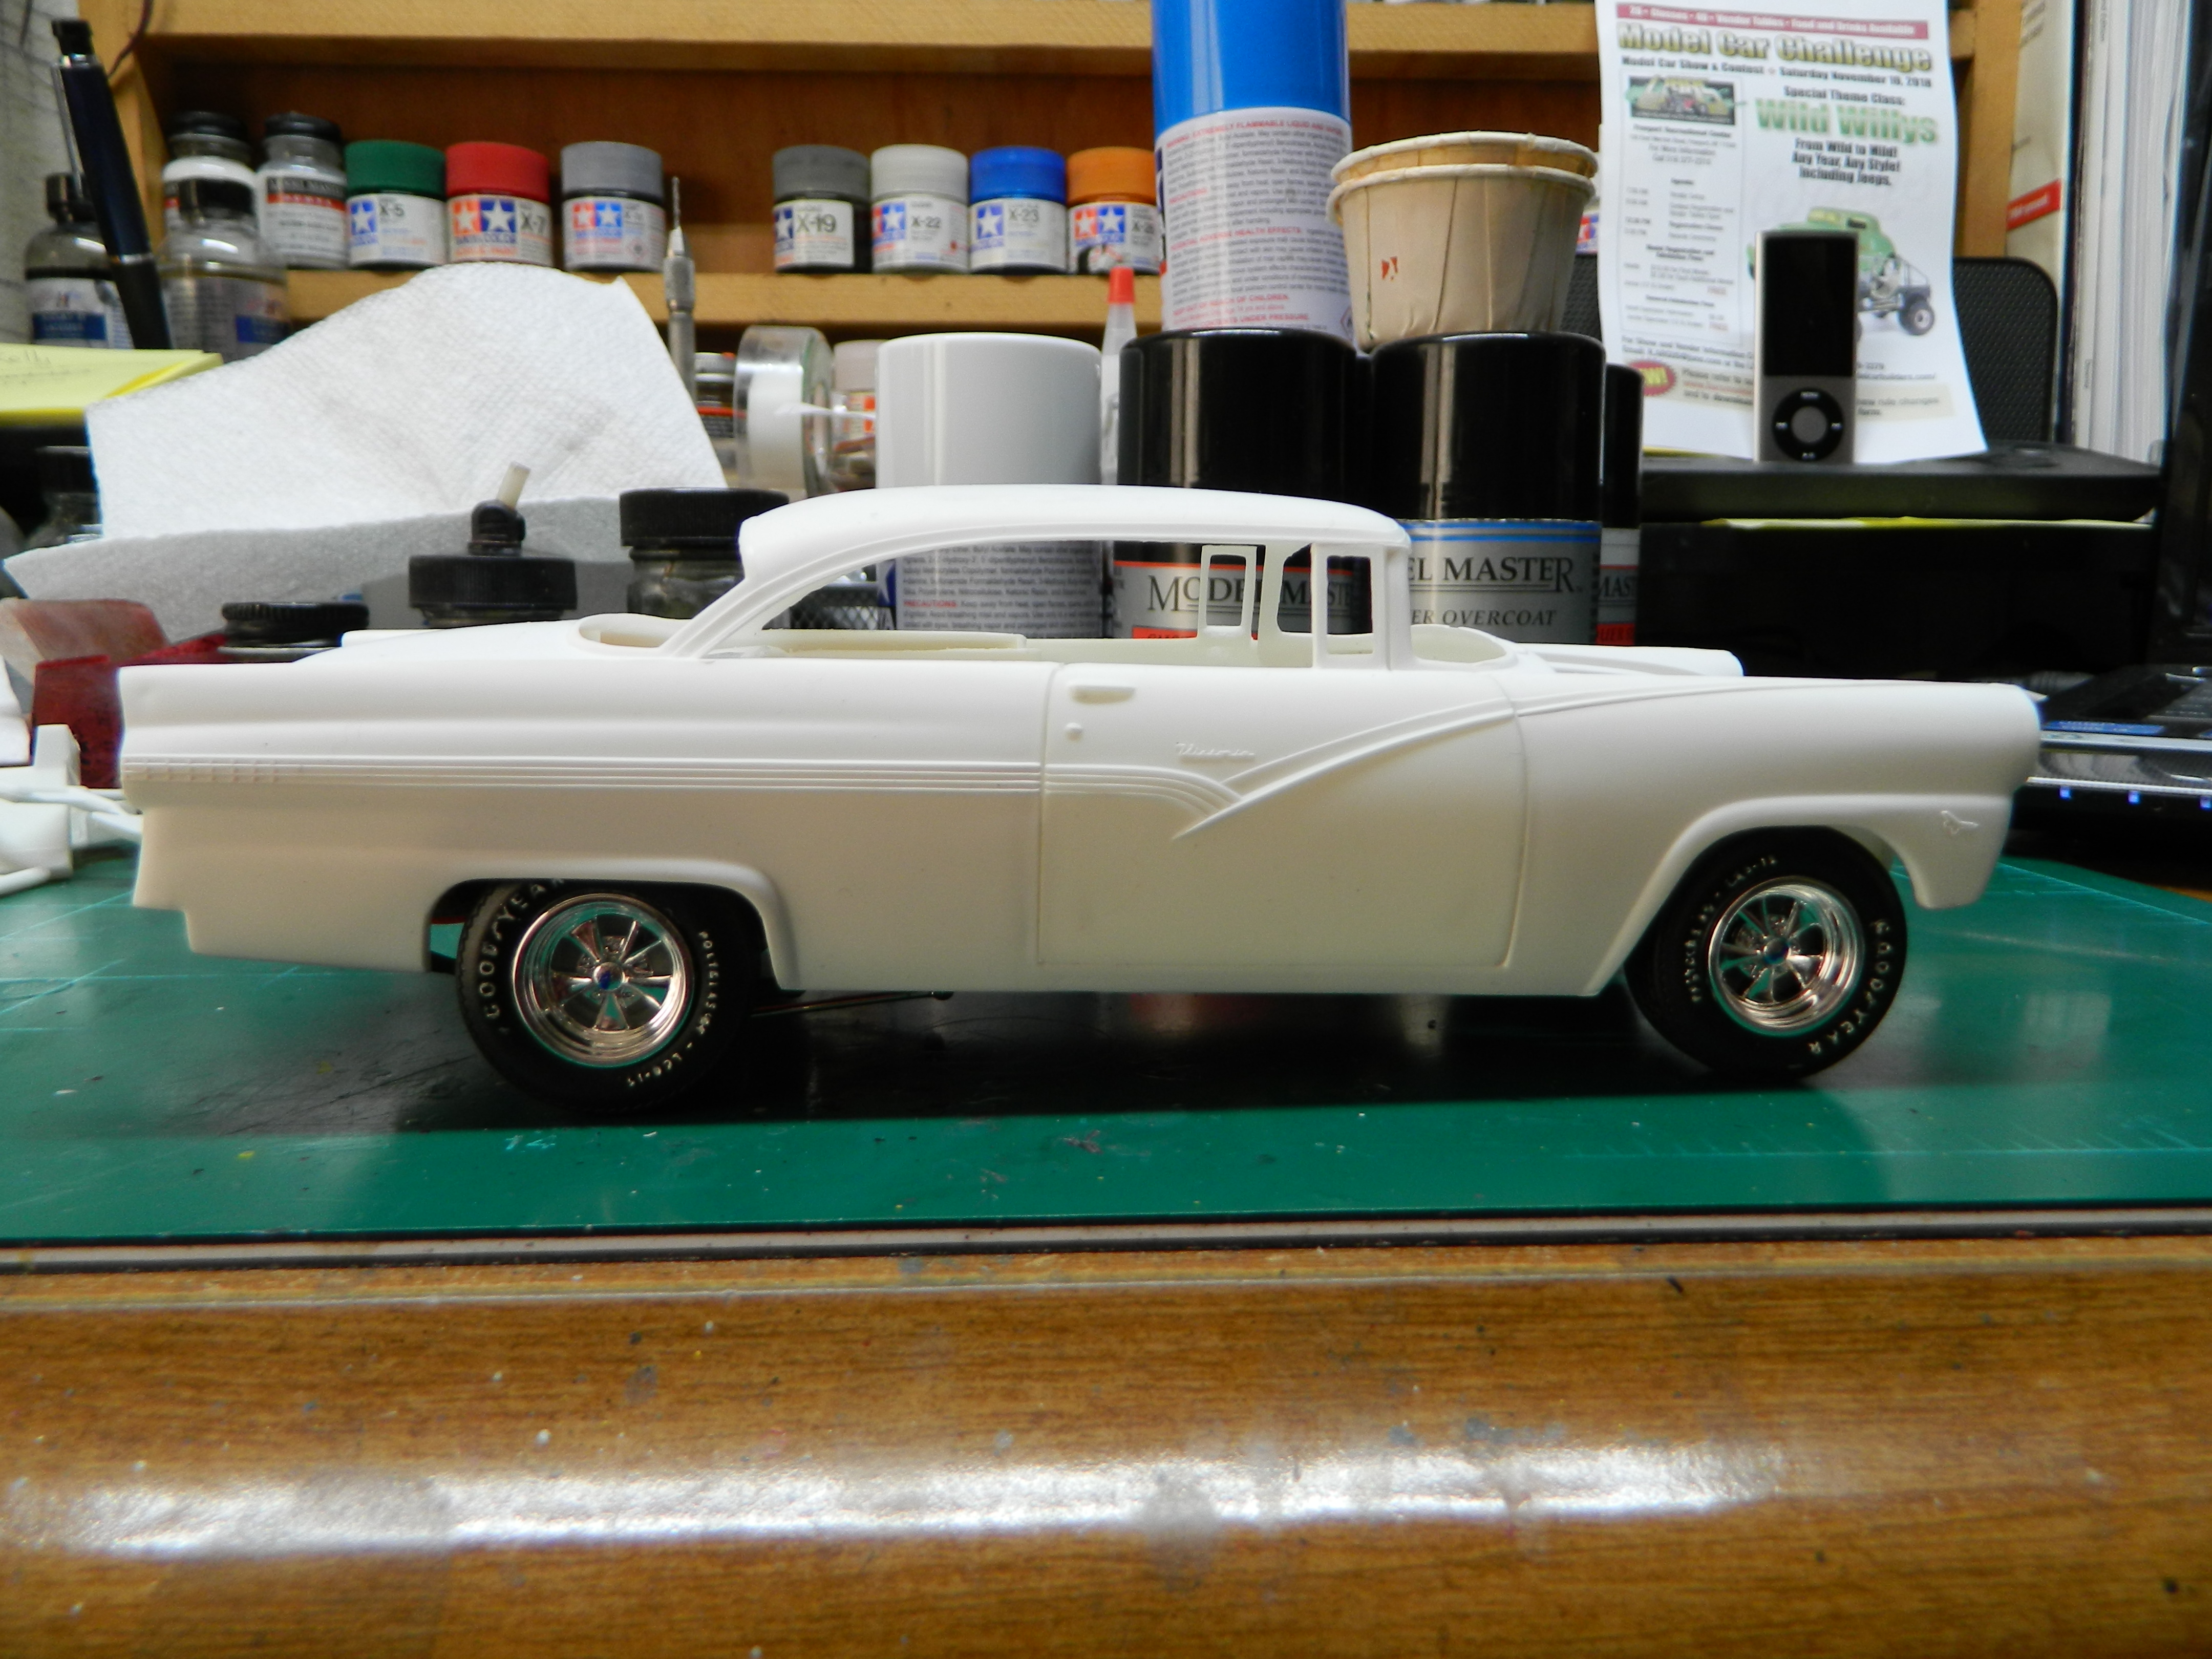
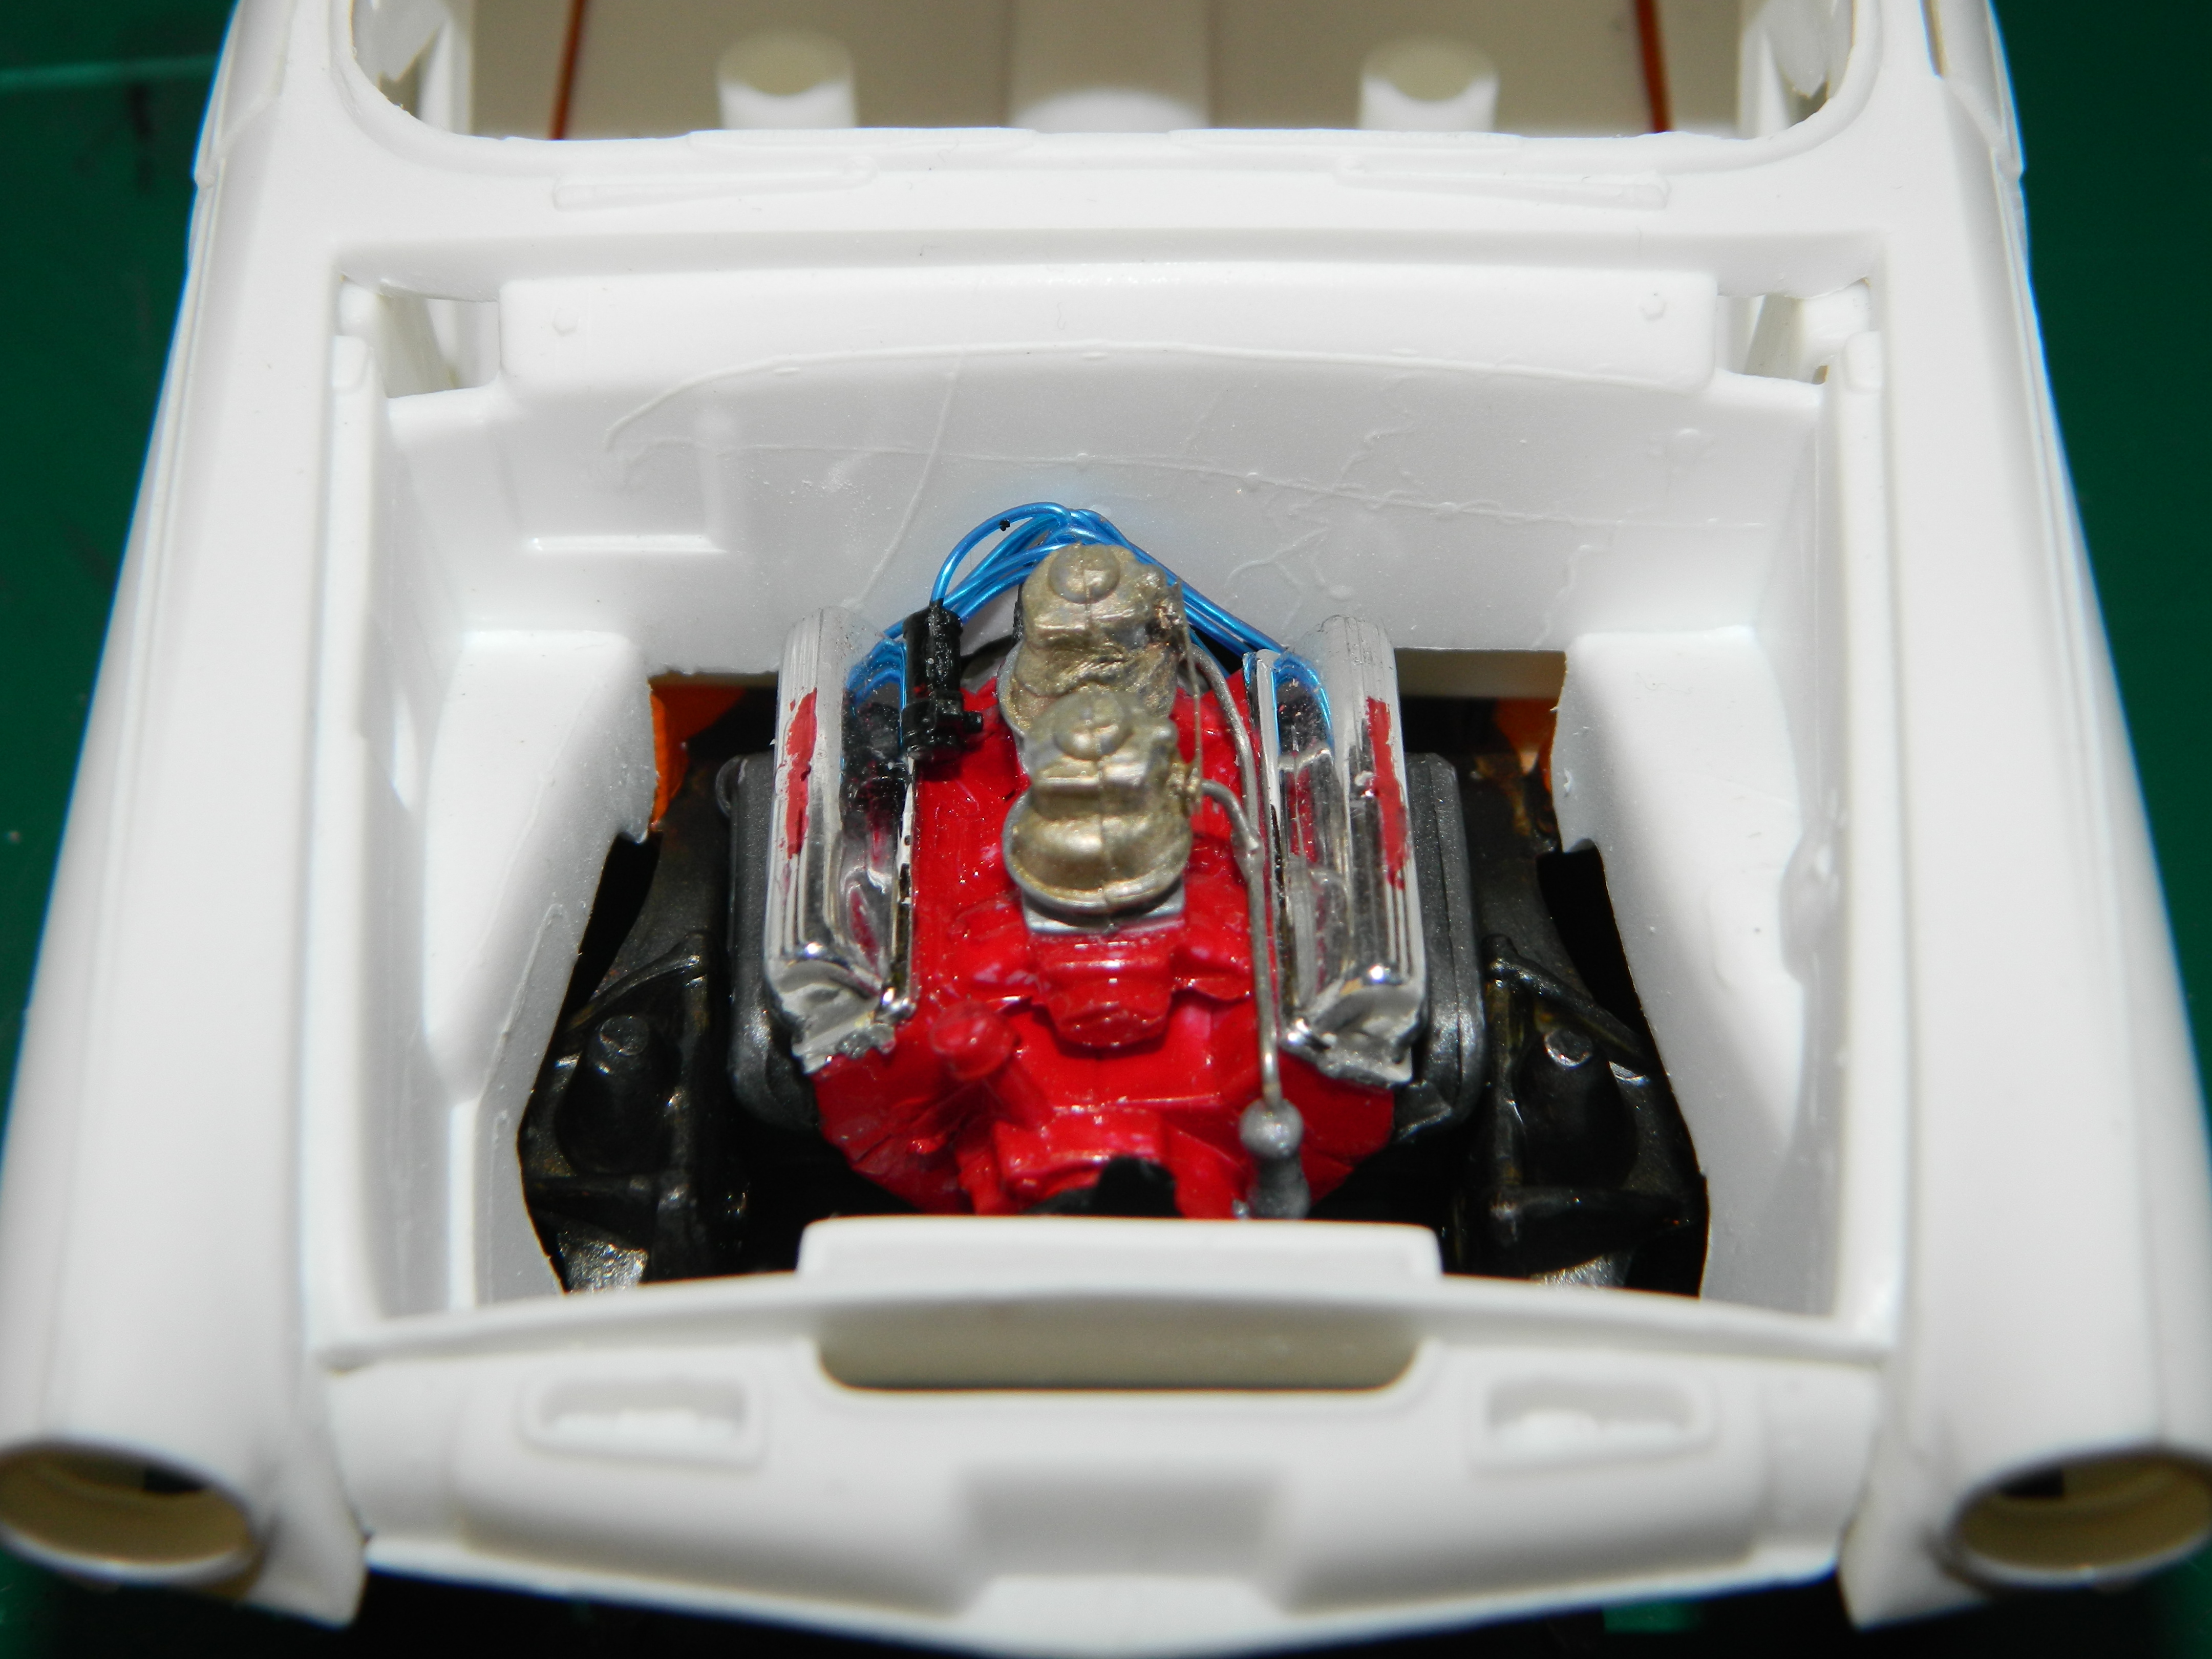
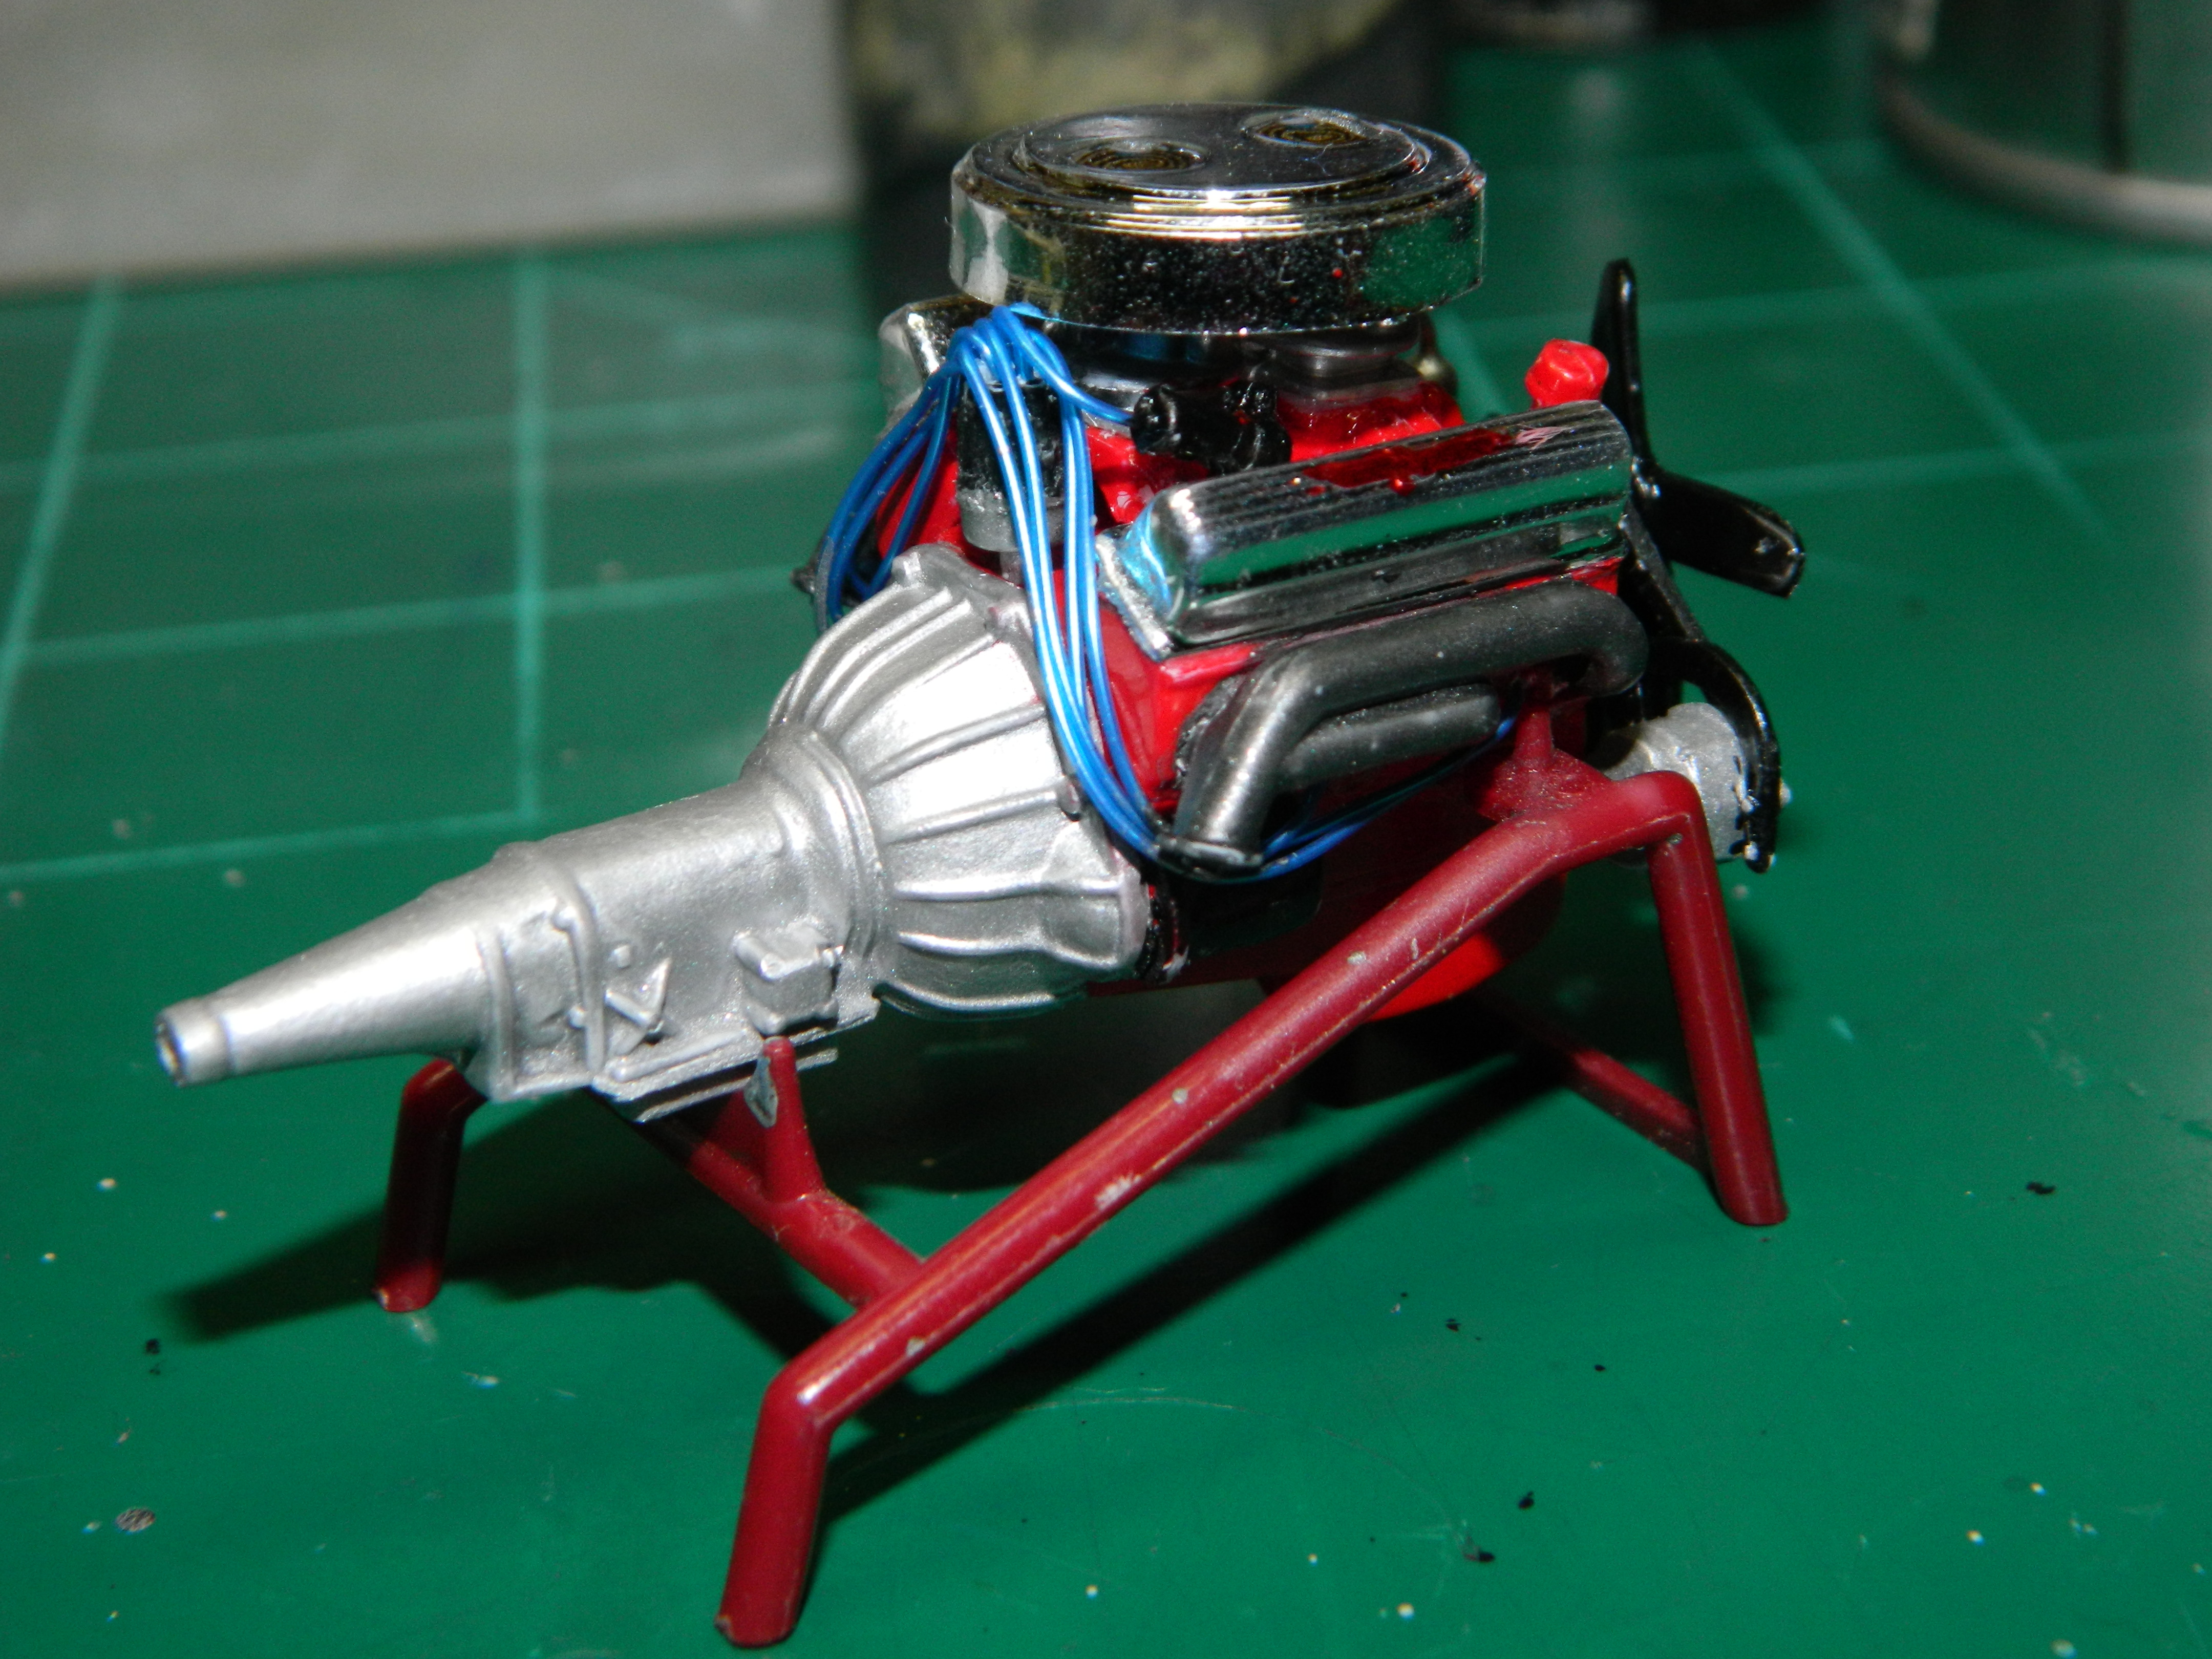
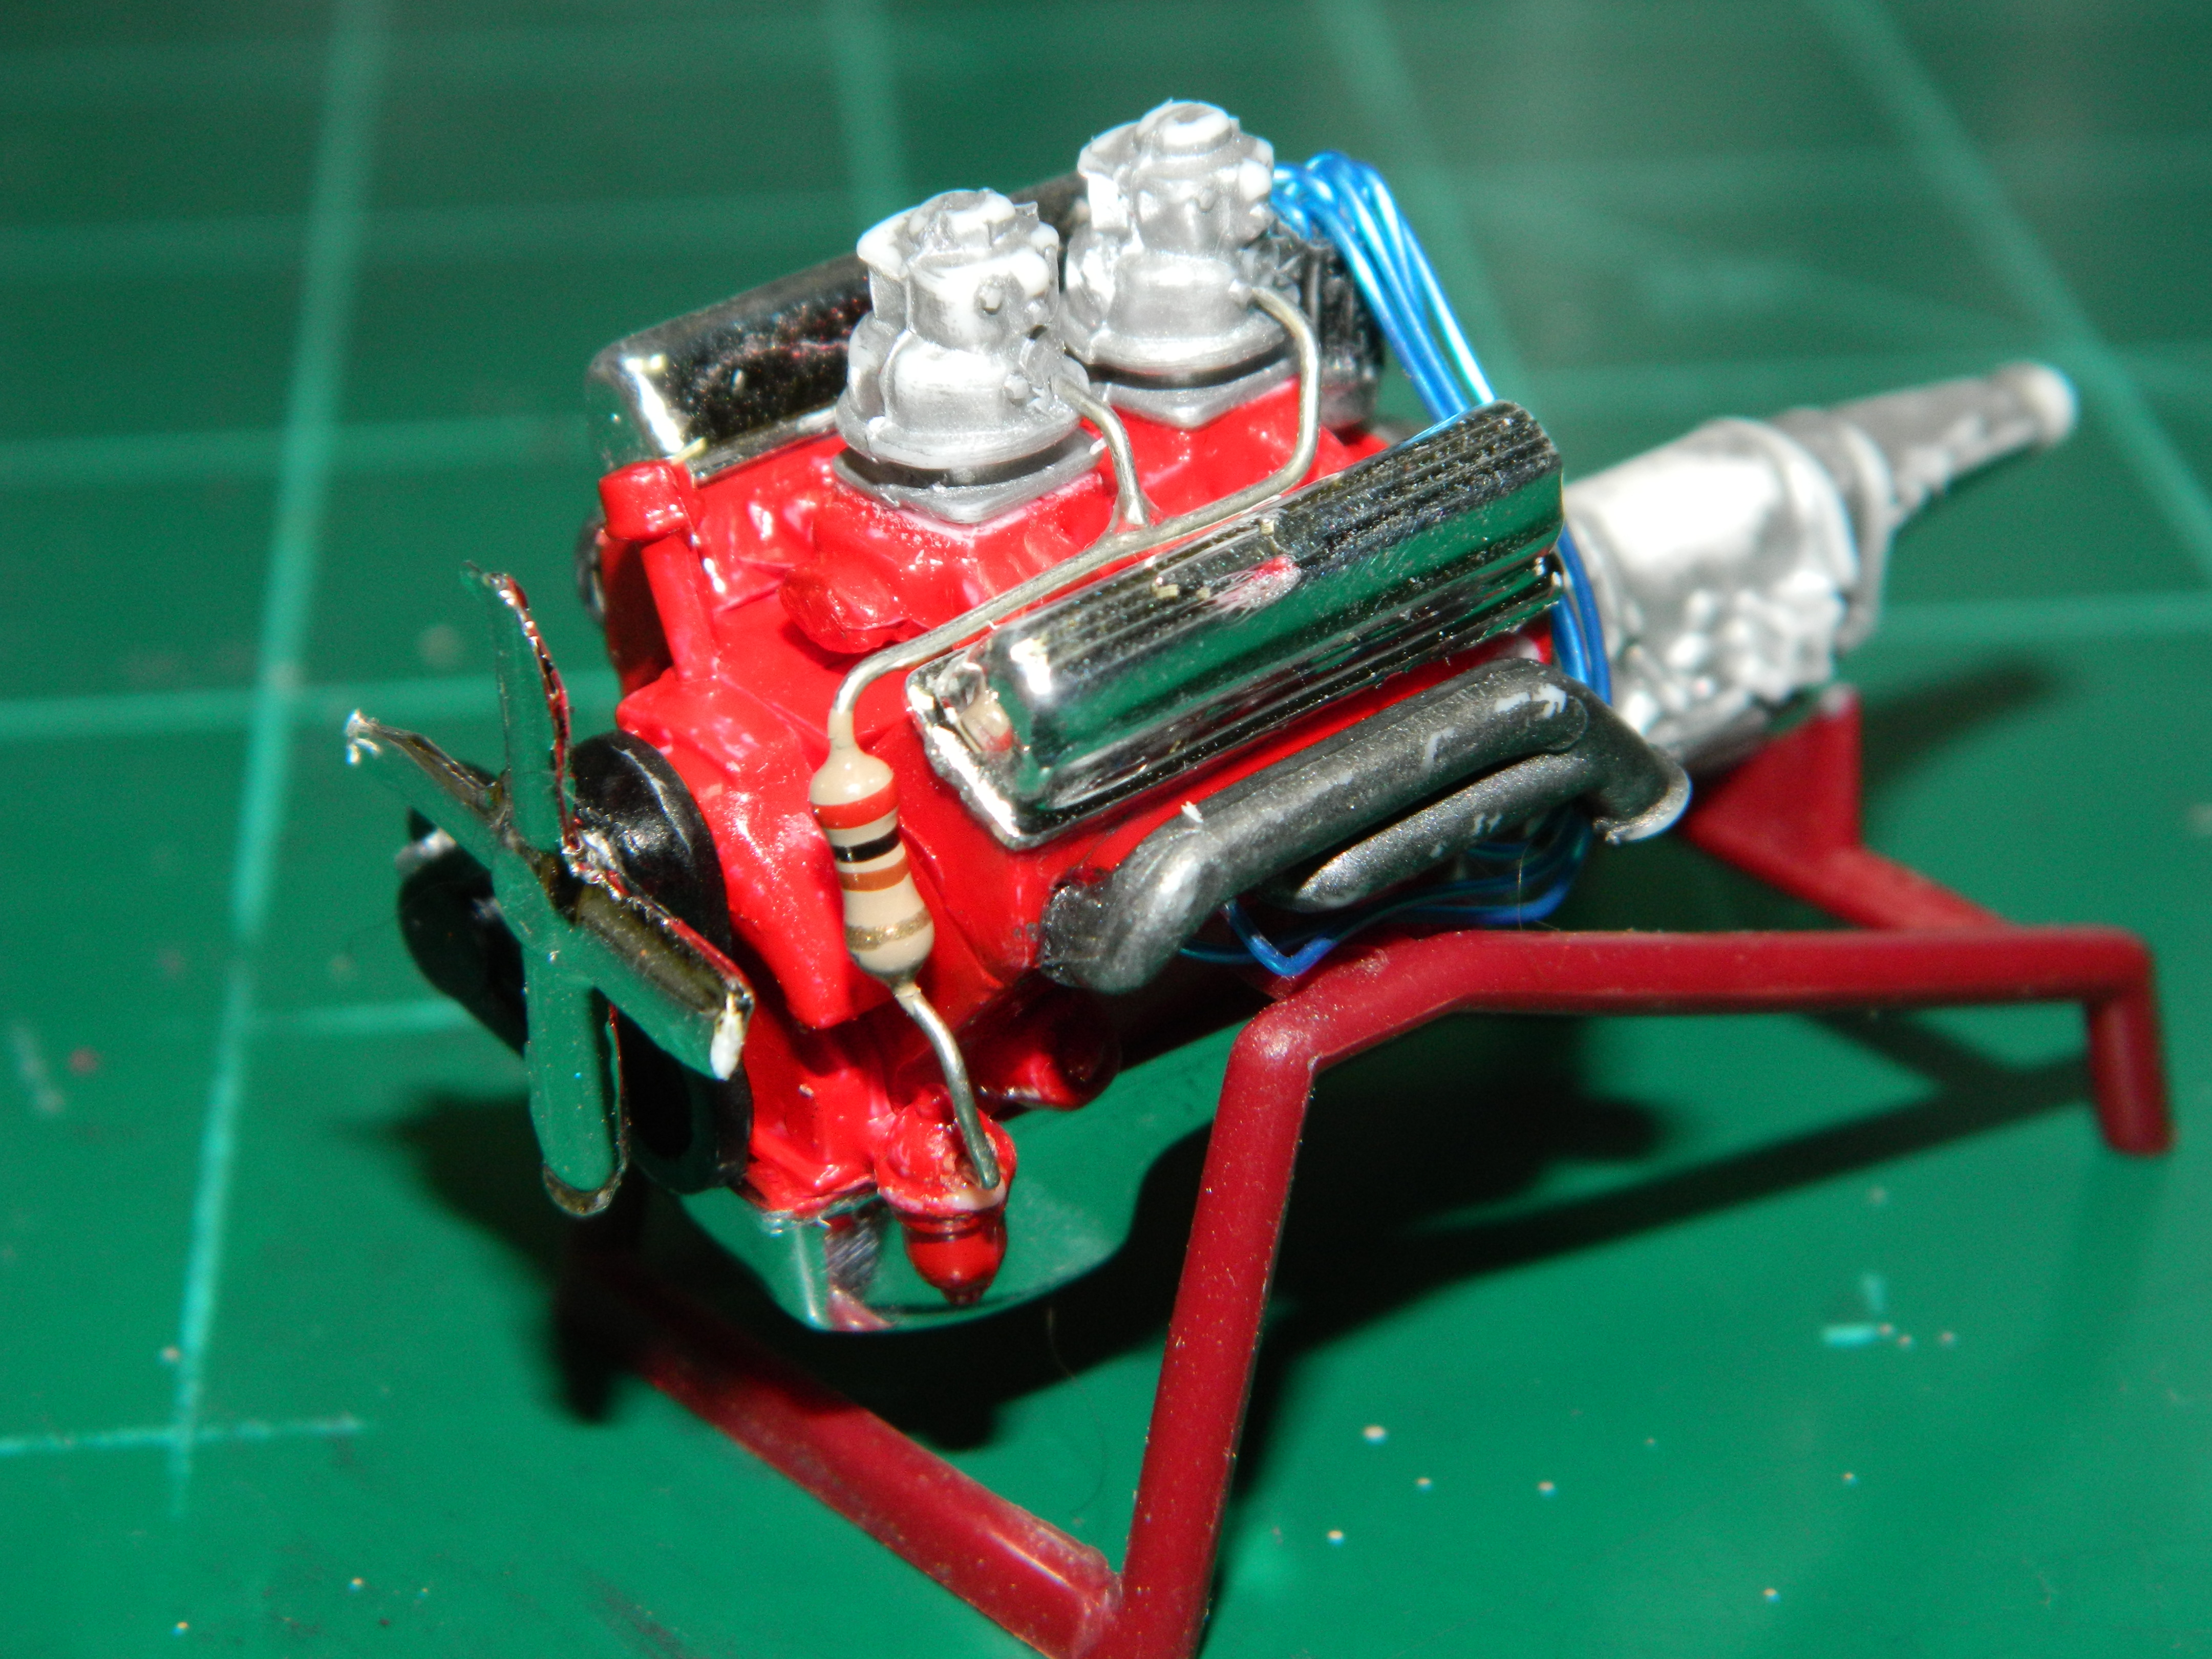
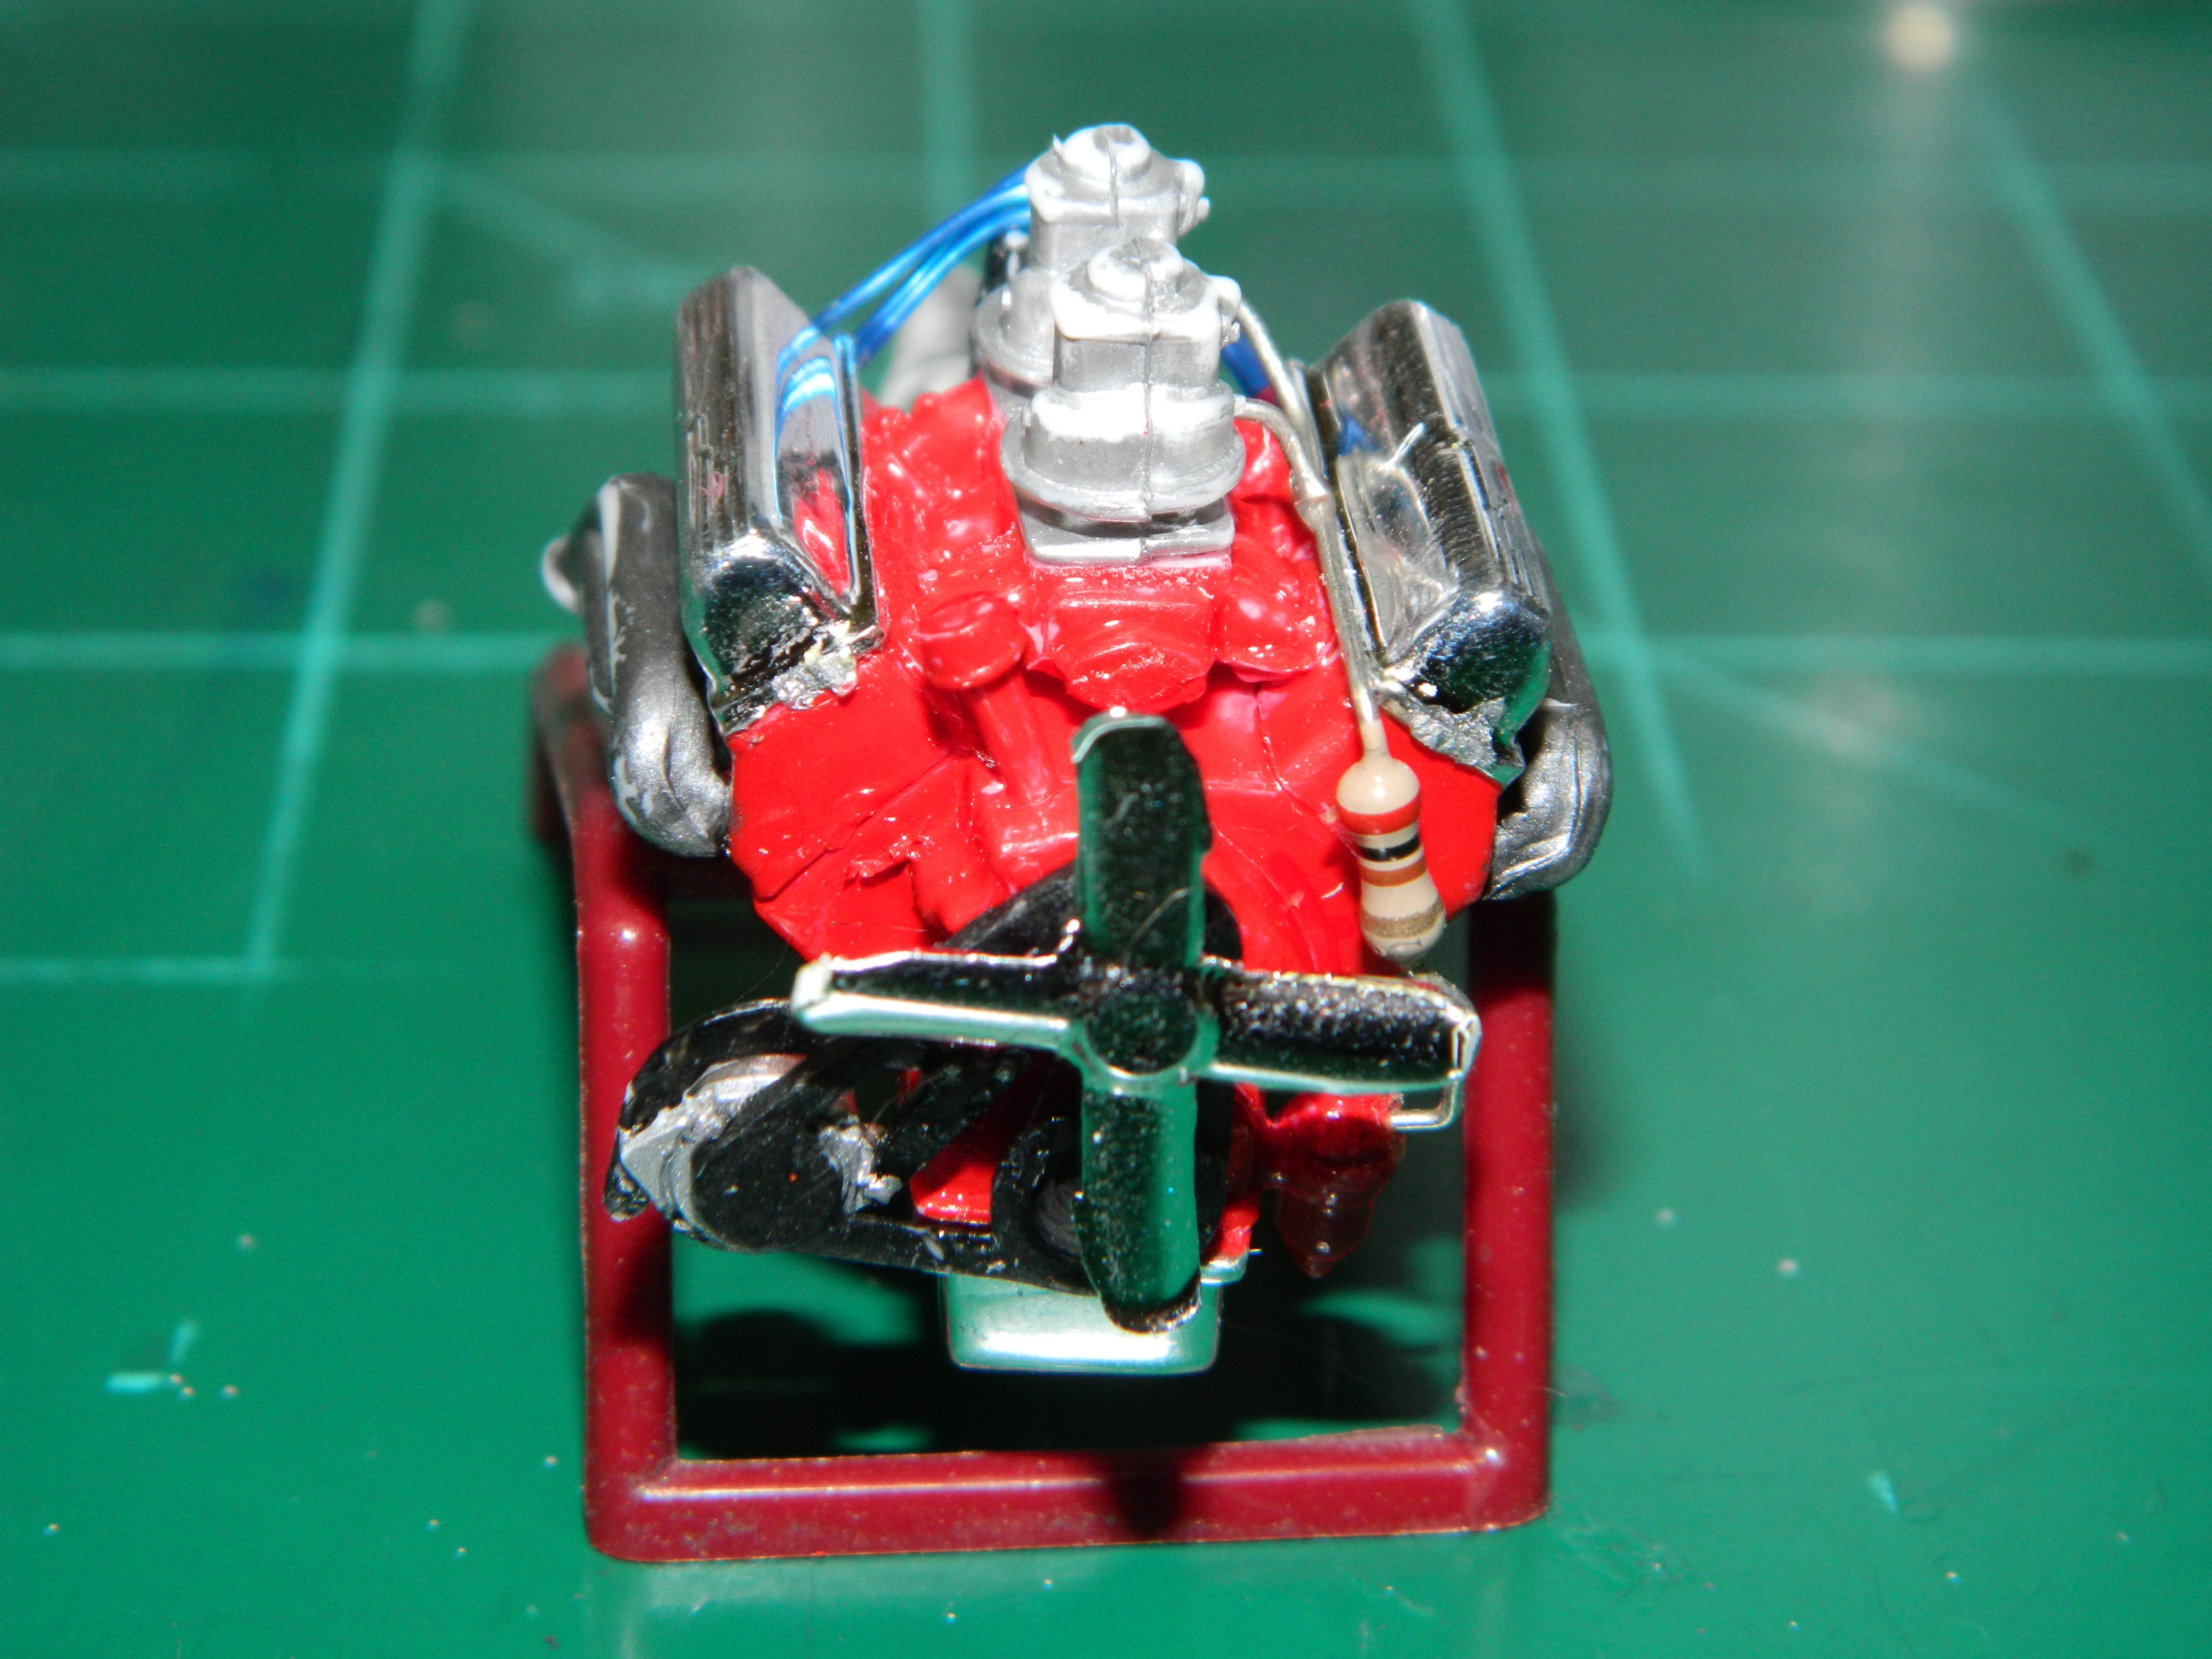
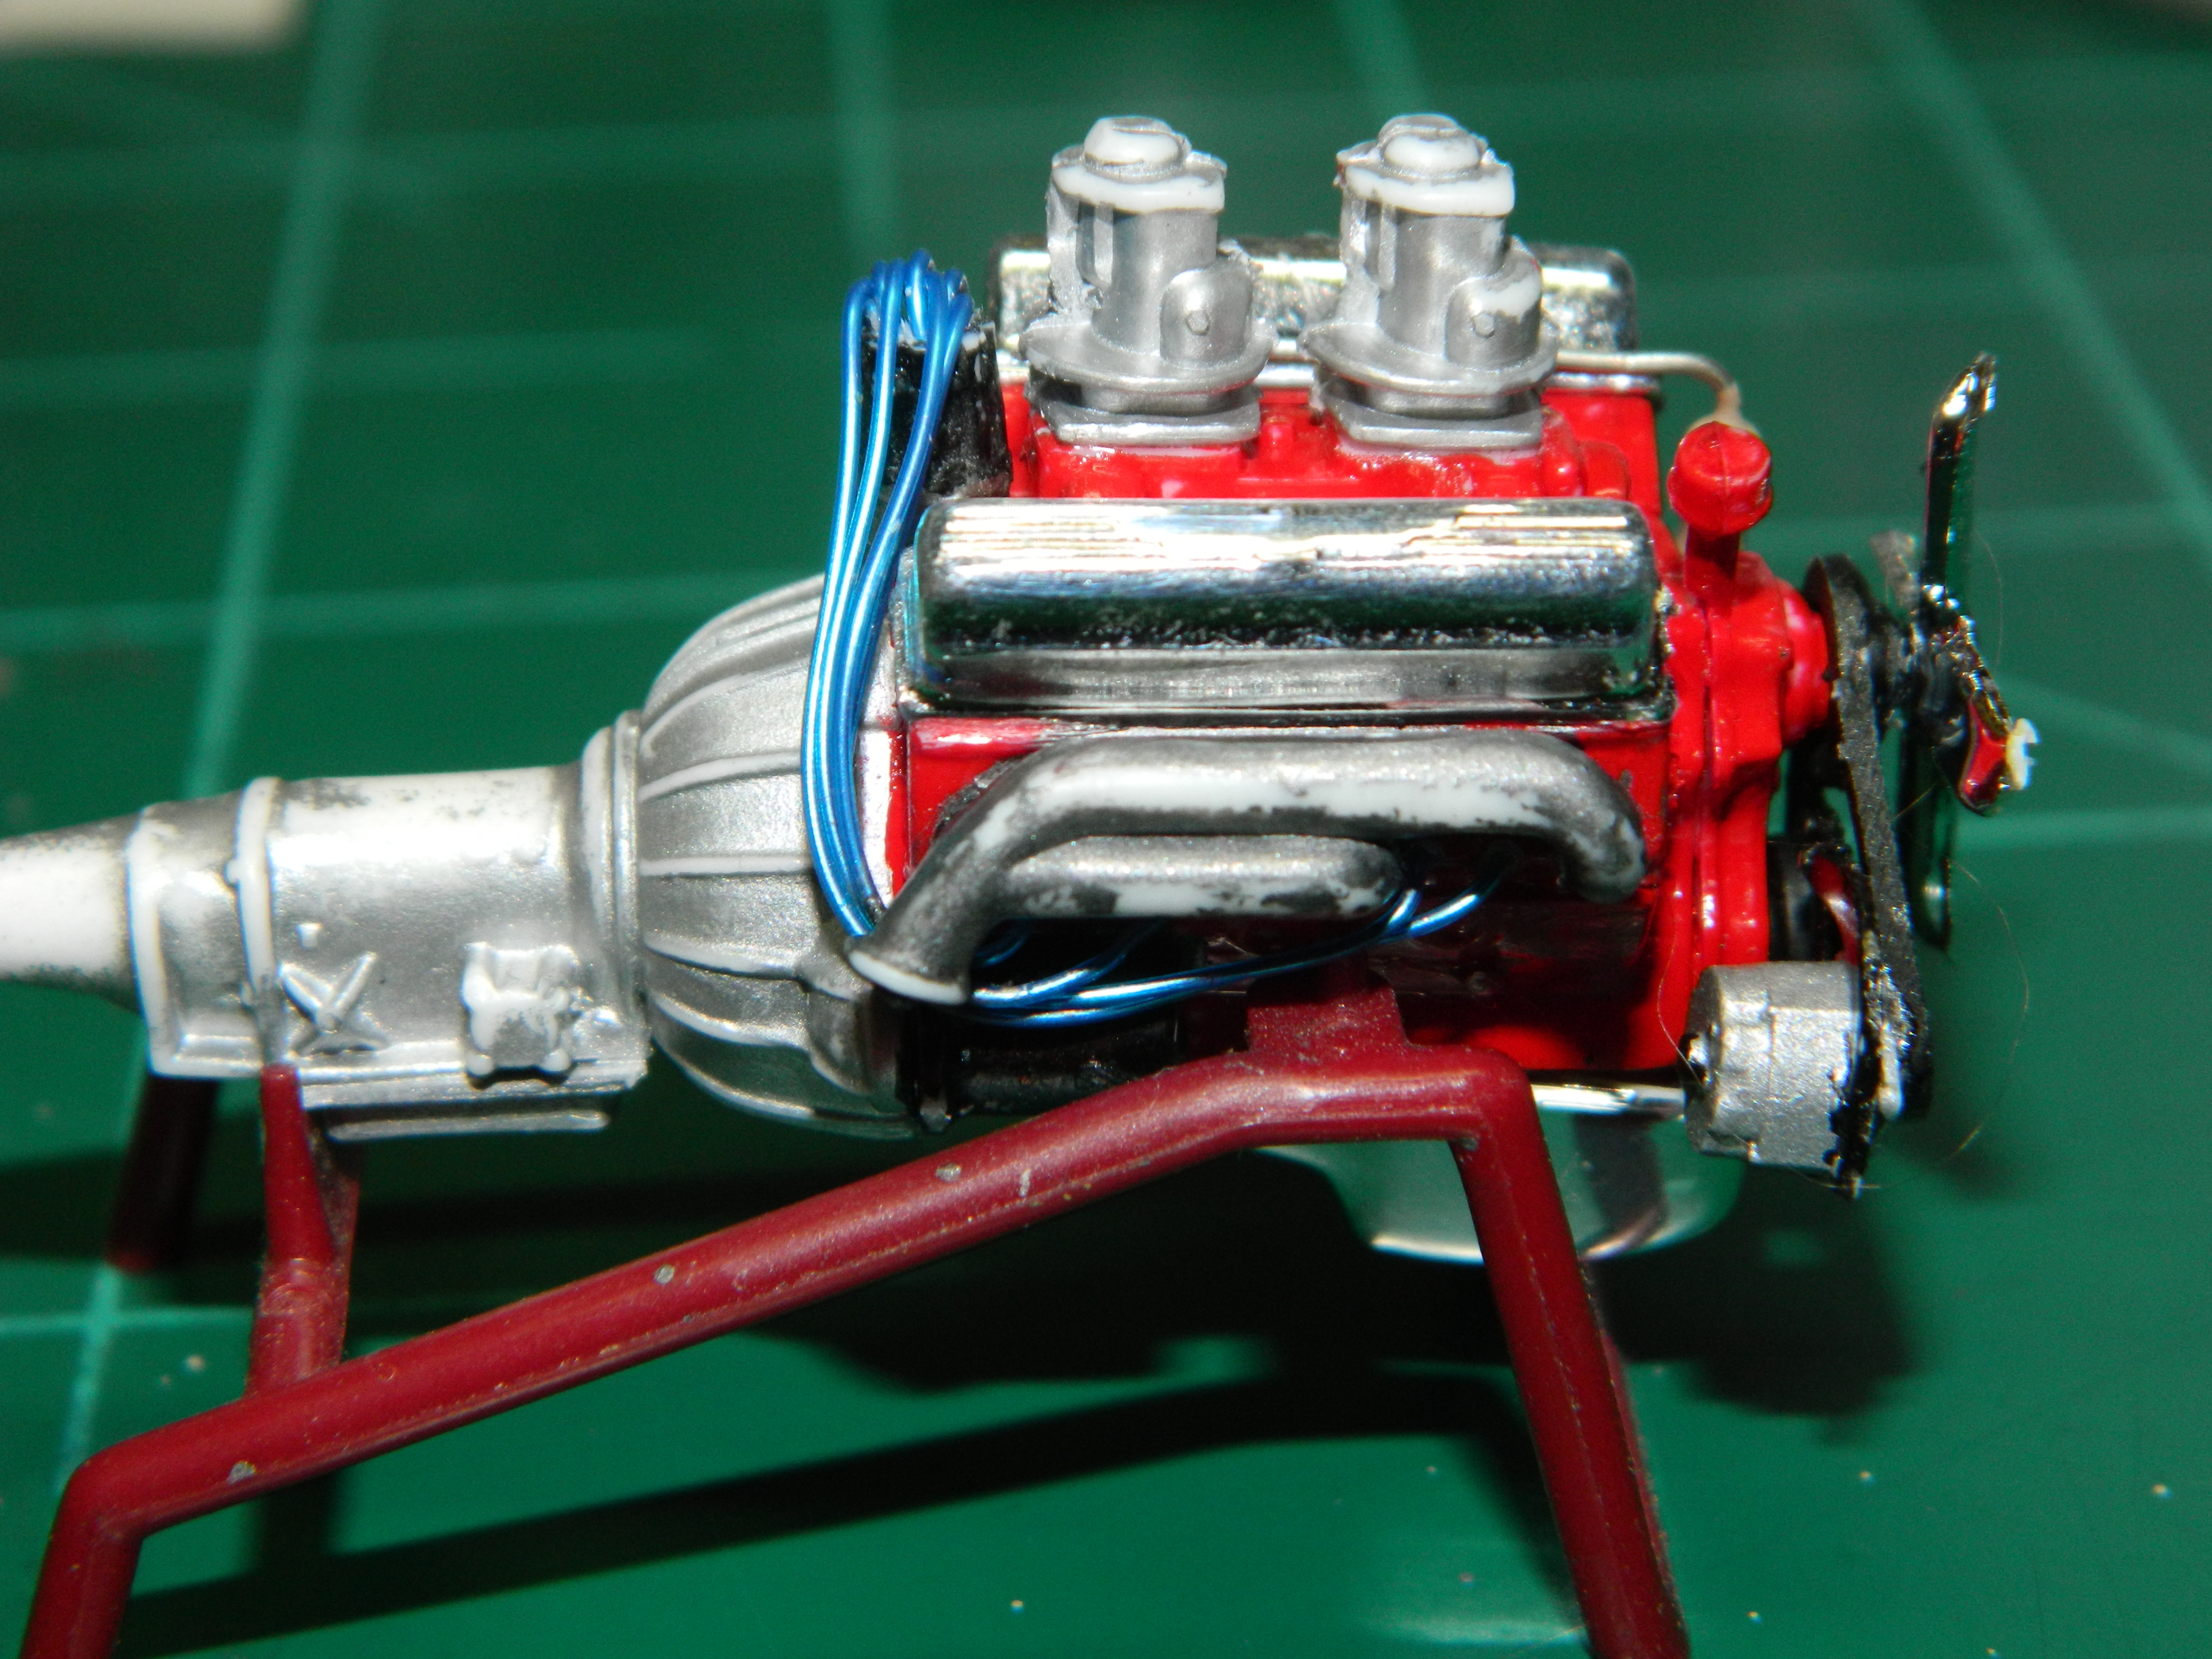
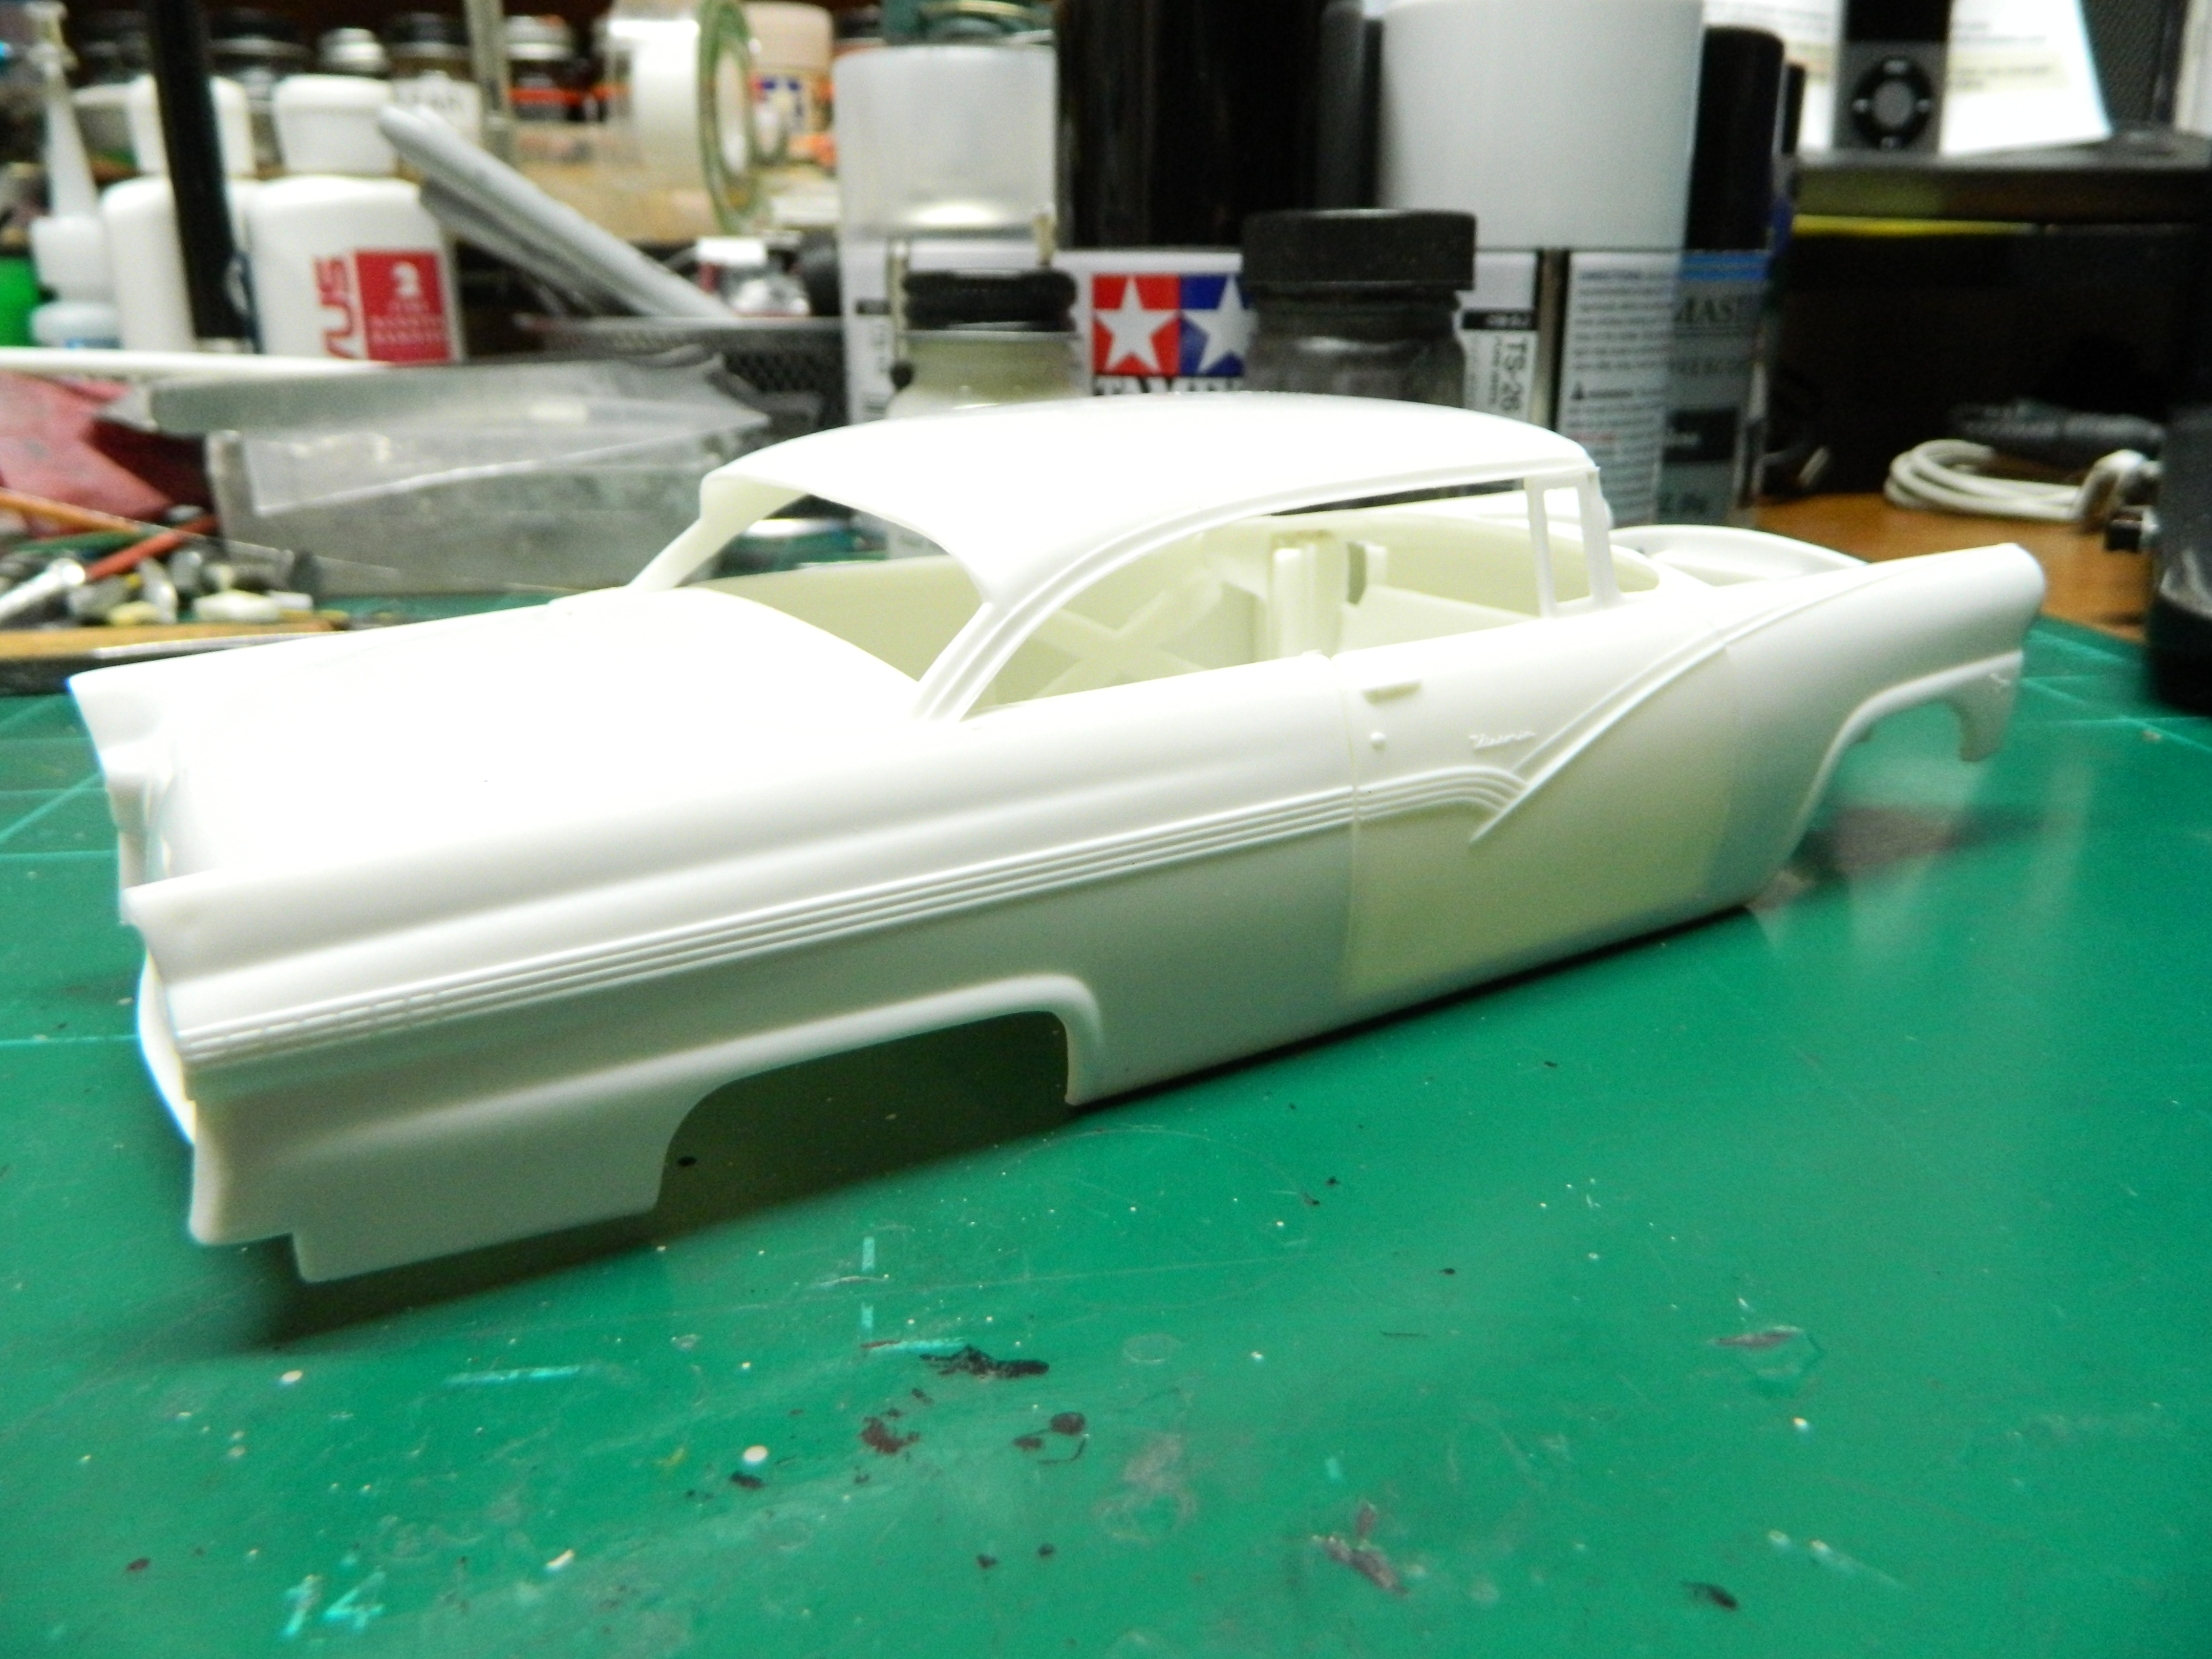
I have finished the 292 CID engine for my '56 Fairlane Victoria. More to come...
-
Looking good, Randy! I just wish there was an easy way to lower one of these...
-
Thank you Bill!
-
Thank you Andy! The plugs wires were installed via a technique I had learned partially from Tim Boyd. It is a technique applied to funny car distributors and I used it on stock builds. I had started originally doing this years ago and Tim's method allowed me to refine the technique.
-
Thank you Jacob! They will be coming!
-
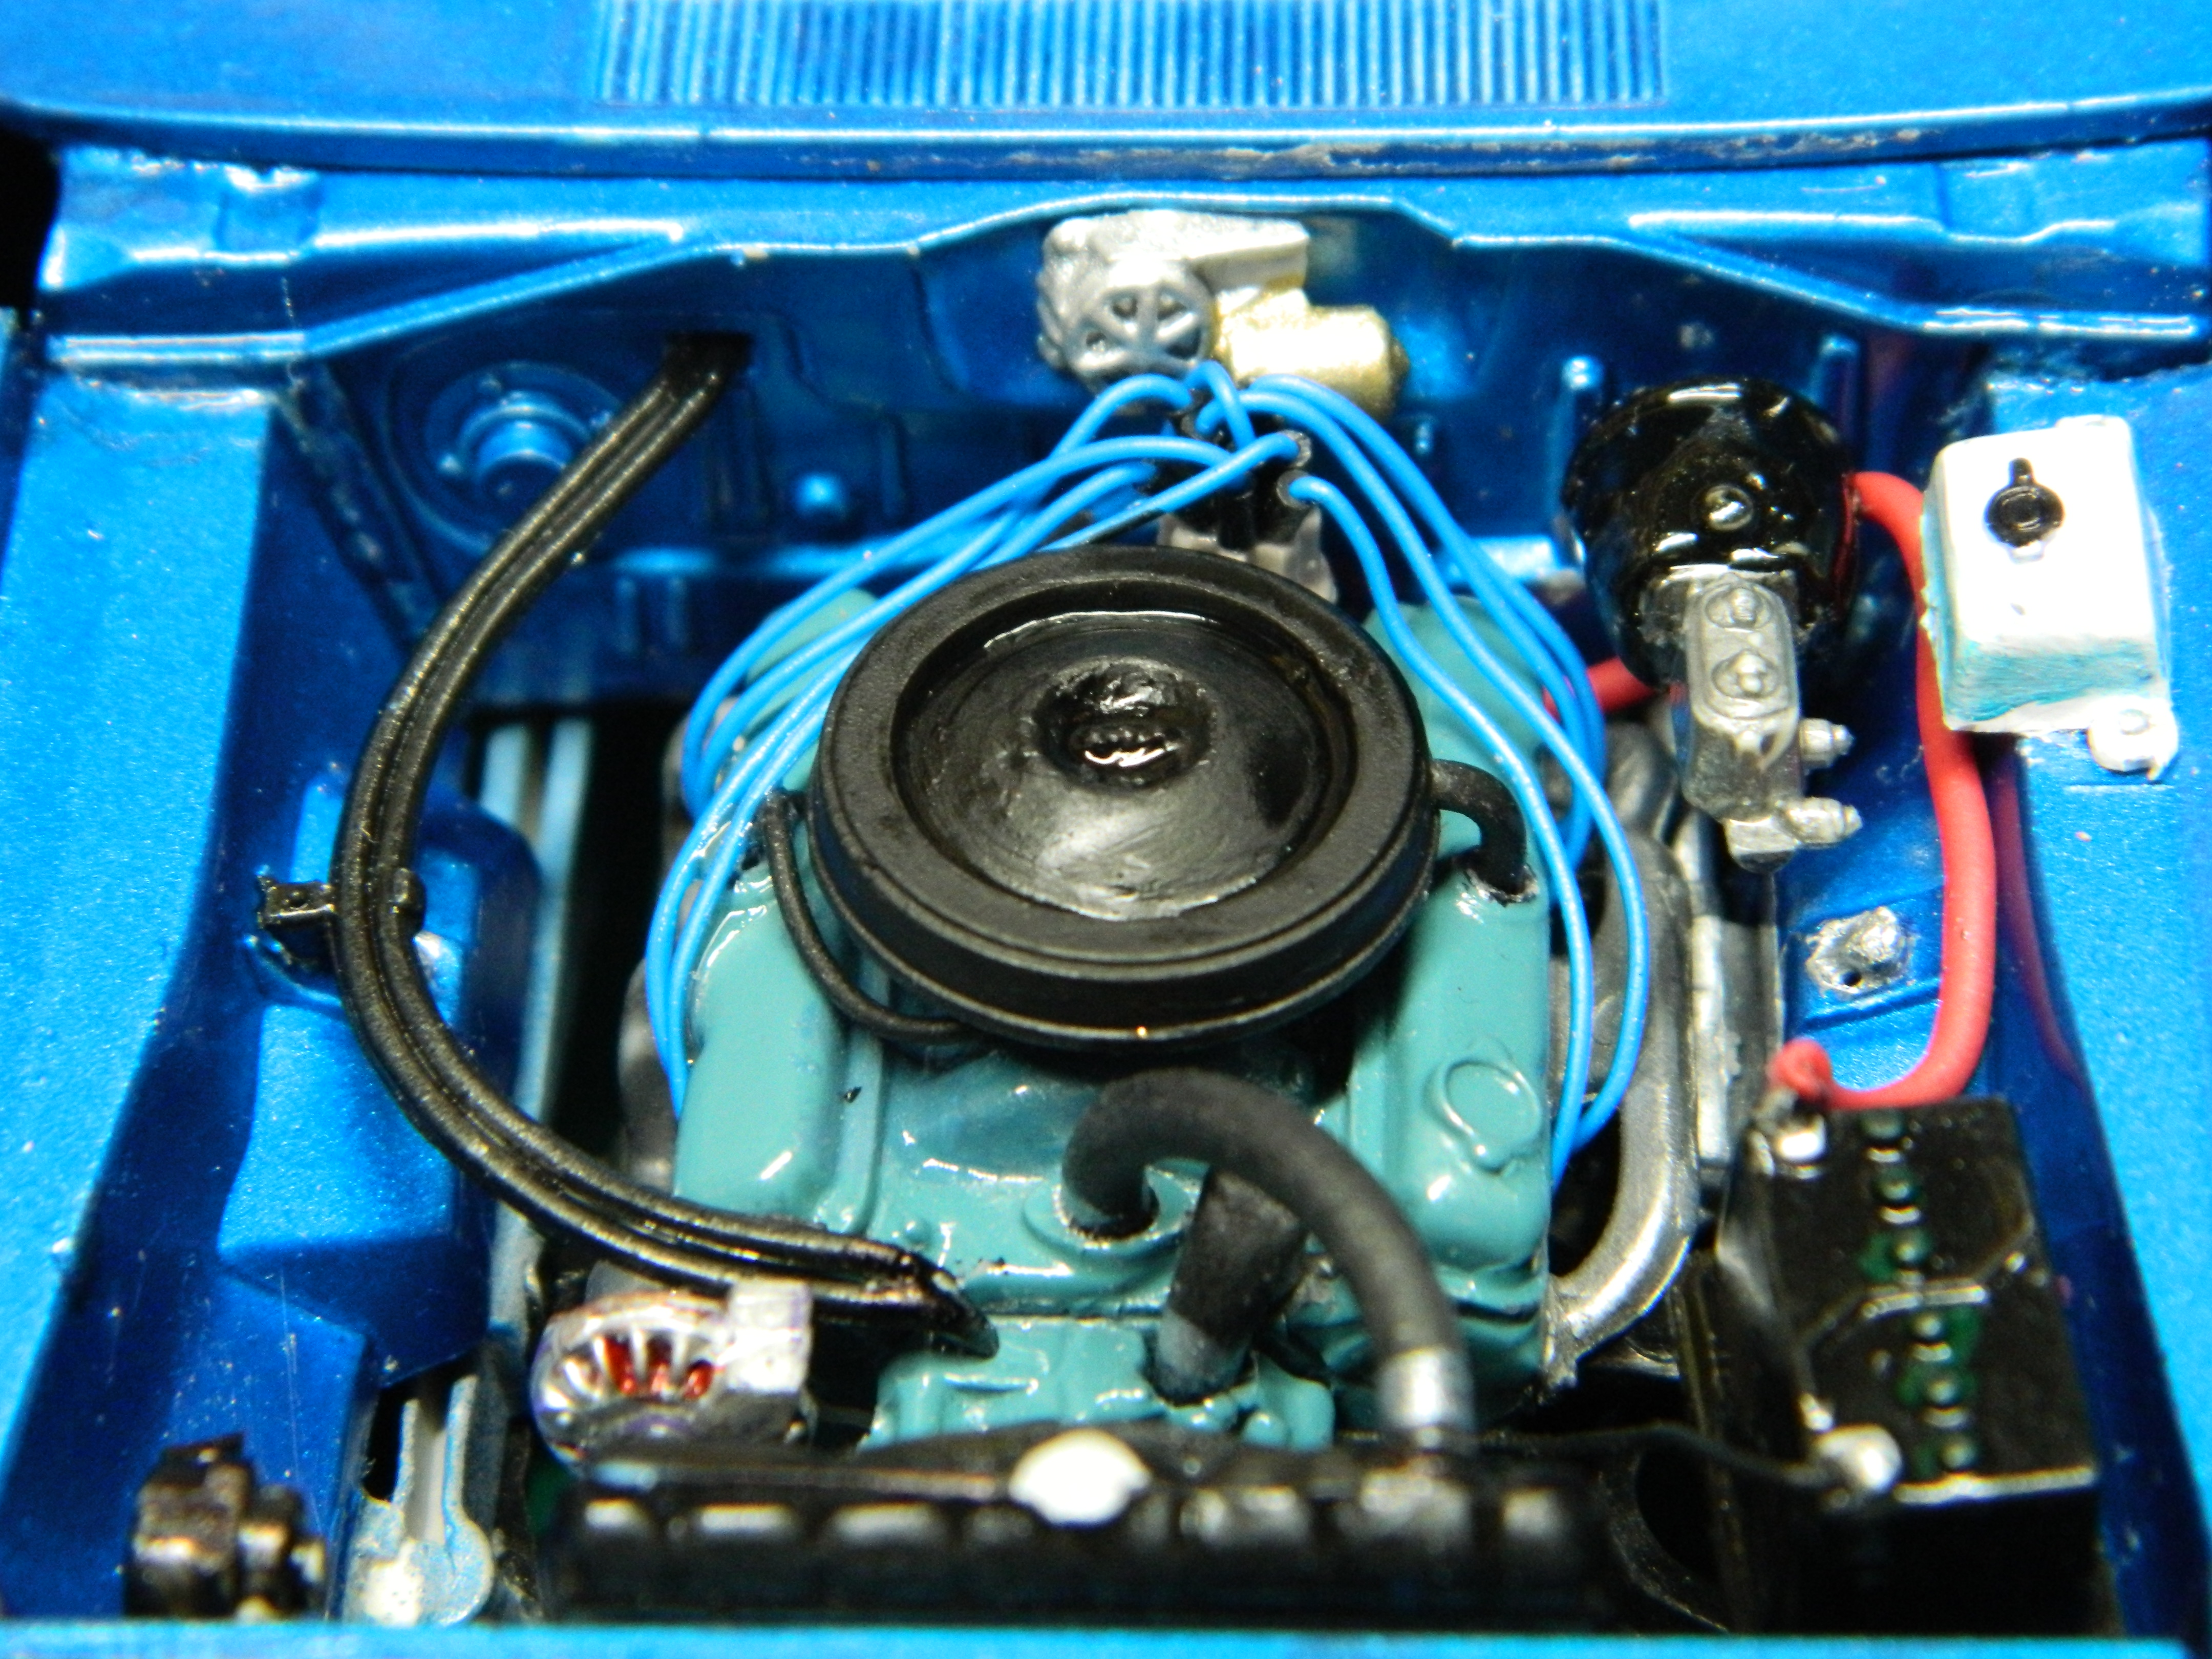
Thank you guys! I stripped the air cleaner and will repaint and re-decal it. I just hated how it looked!
-
Thank you Carl! I've been working on the 292 CID engine. I still need to add an ignition coil and throttle linkage, touchups including painting the fuel filter, and the air cleaner. More to come...
-
That has got to be the nicest looking Catalina I have seen yet, DW! Good job!
-
Moebius 1970 Ford 4x4 is done
mrmike replied to cobraman's topic in Model Trucks: Pickups, Vans, SUVs, Light Commercial
Good looking truck! Like the color and the striped driveshafts, too! You windshield didn't fit well because the cab roof is bent. The plastic was still warm and the cab was placed inside a box that was too small for all the part sprues. I have the same issue with mine and I went as far as emailing Moebius about the cabs in my two kits. They sent me one cab and said that the other looks ok and it was "workable". If I wanted a second cab, I would have to buy it. I wasn't about to fight with them, so I accepted the free cab and will try working with the other cab. IMHO, both cabs were bent and twisted, one more than the other and they should be replaced to help promote good relations with a customer and to have good product out in the marketplace. They said they haven't seen much of this happening with their kits and I said it happens more often than not because of the tight boxes and the warm plastic. At any rate, your truck looks good and thanks for letting me vent a little. -
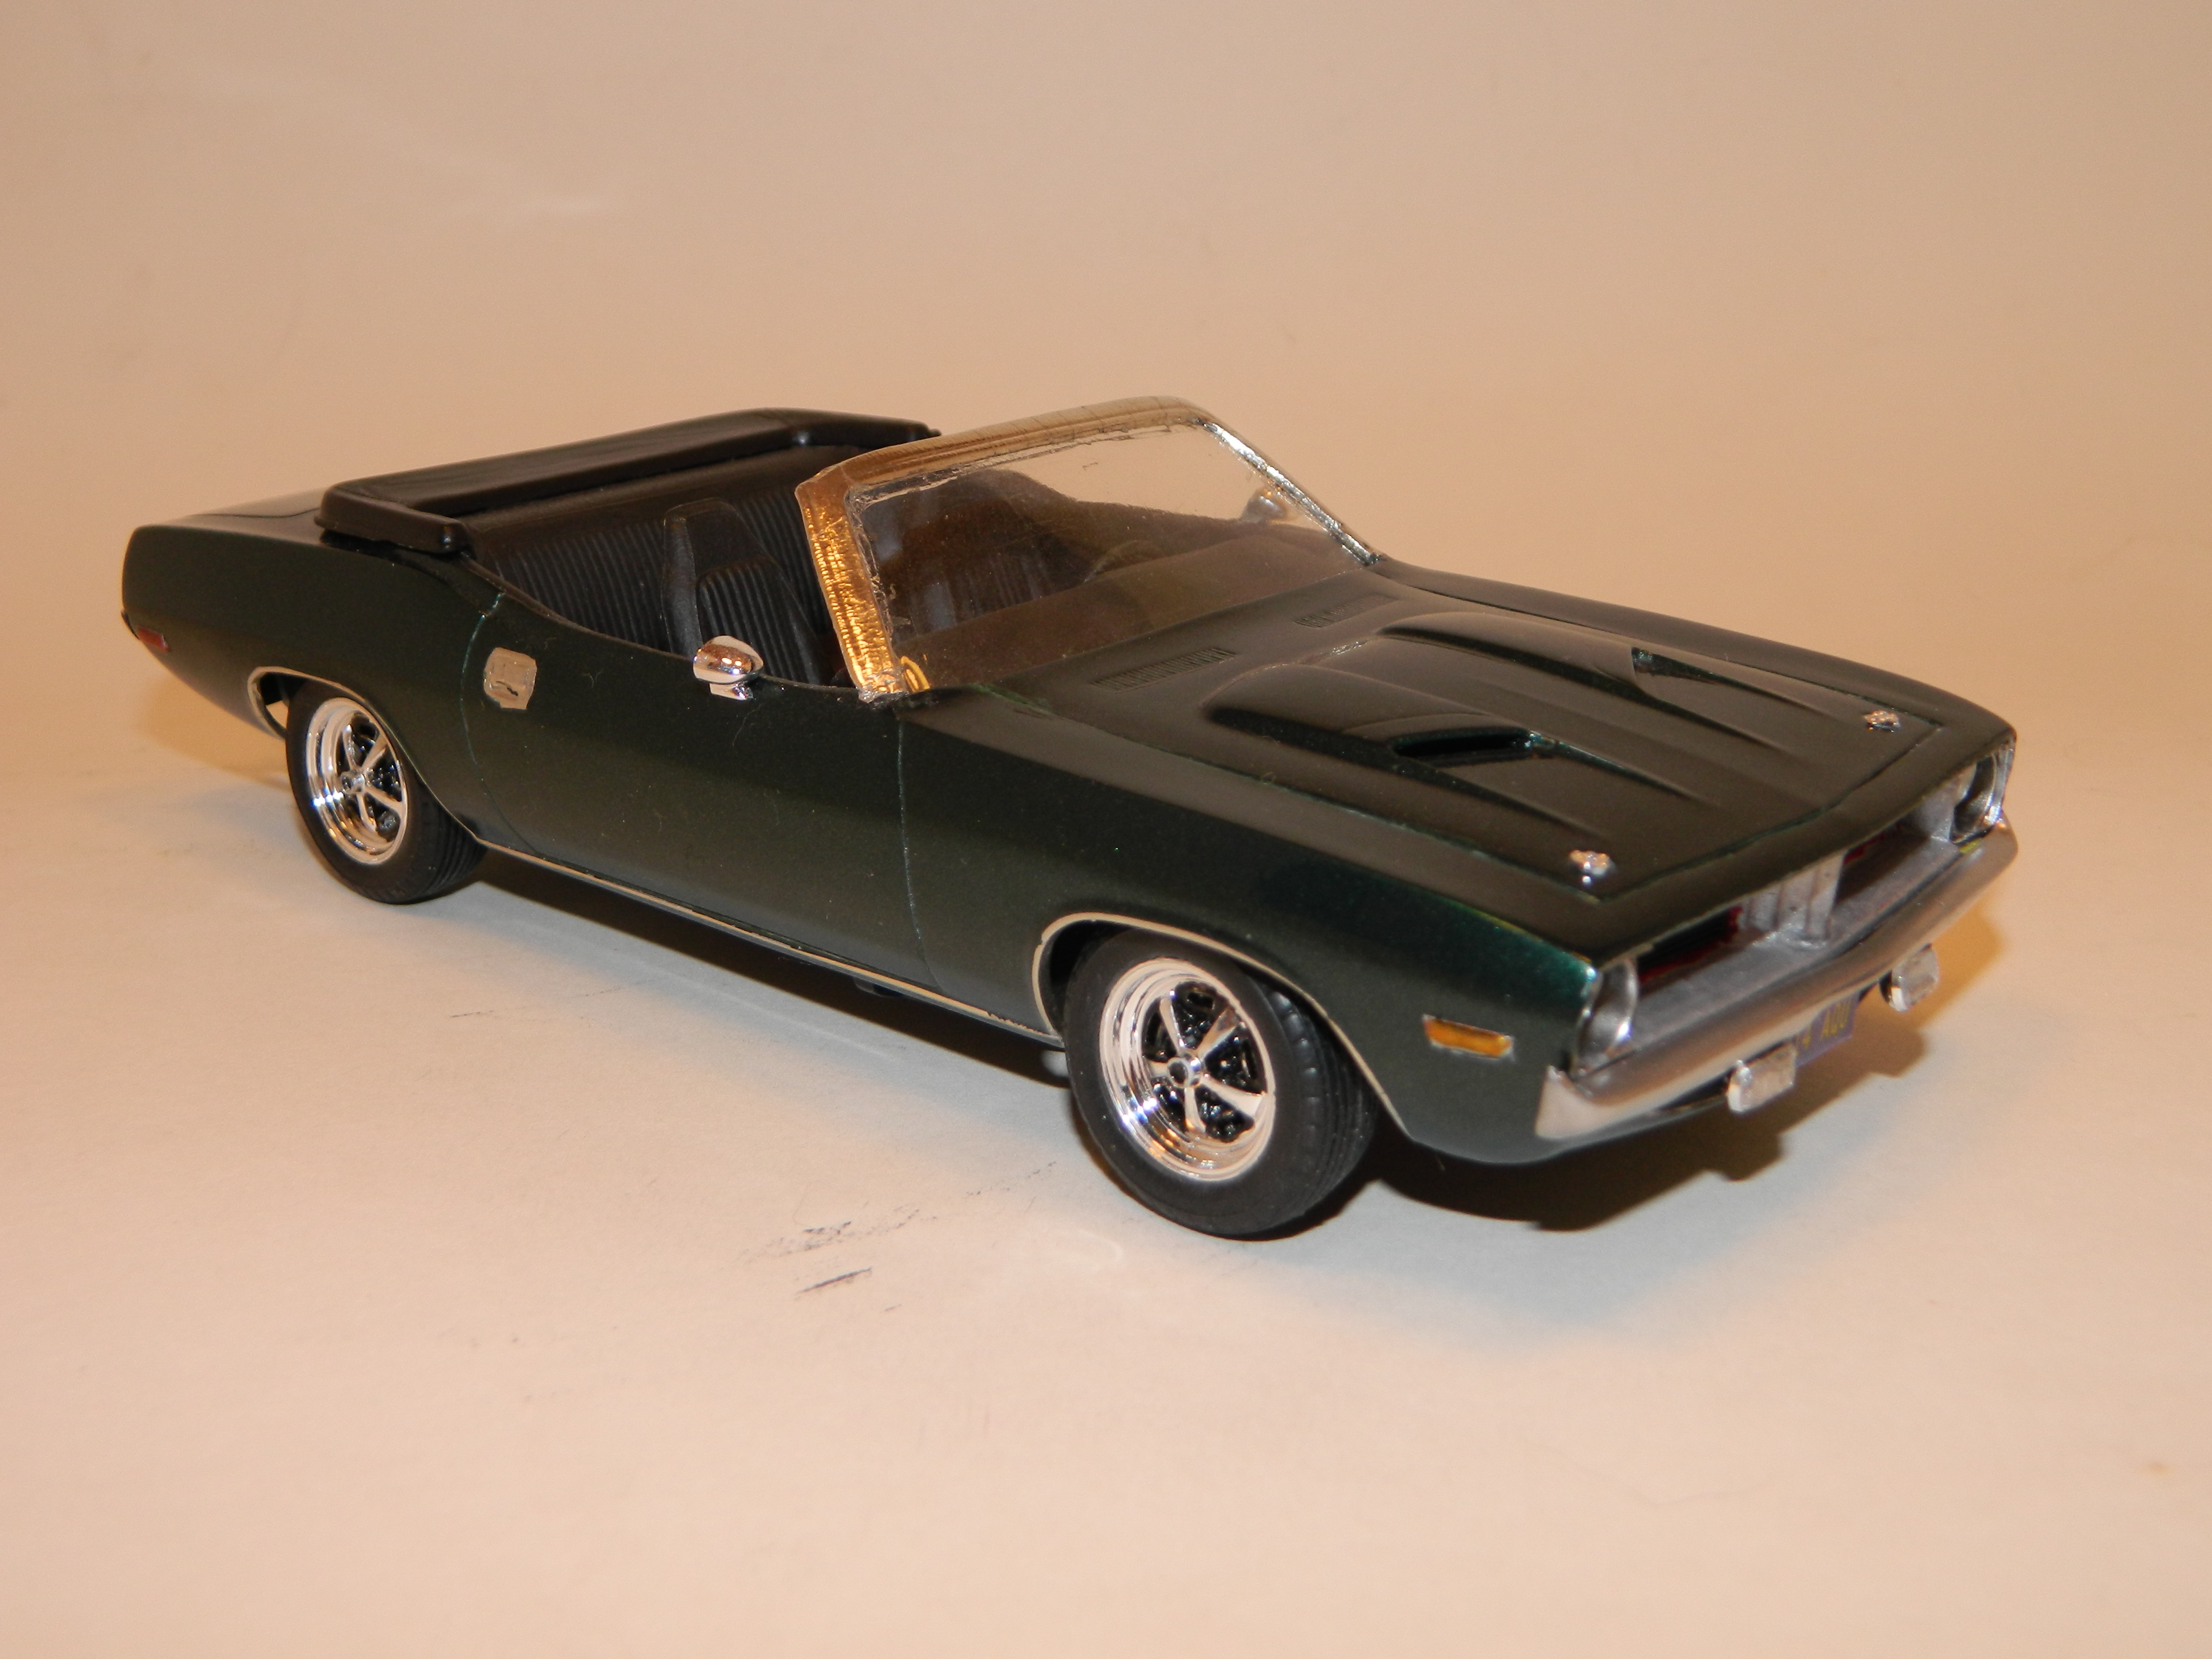
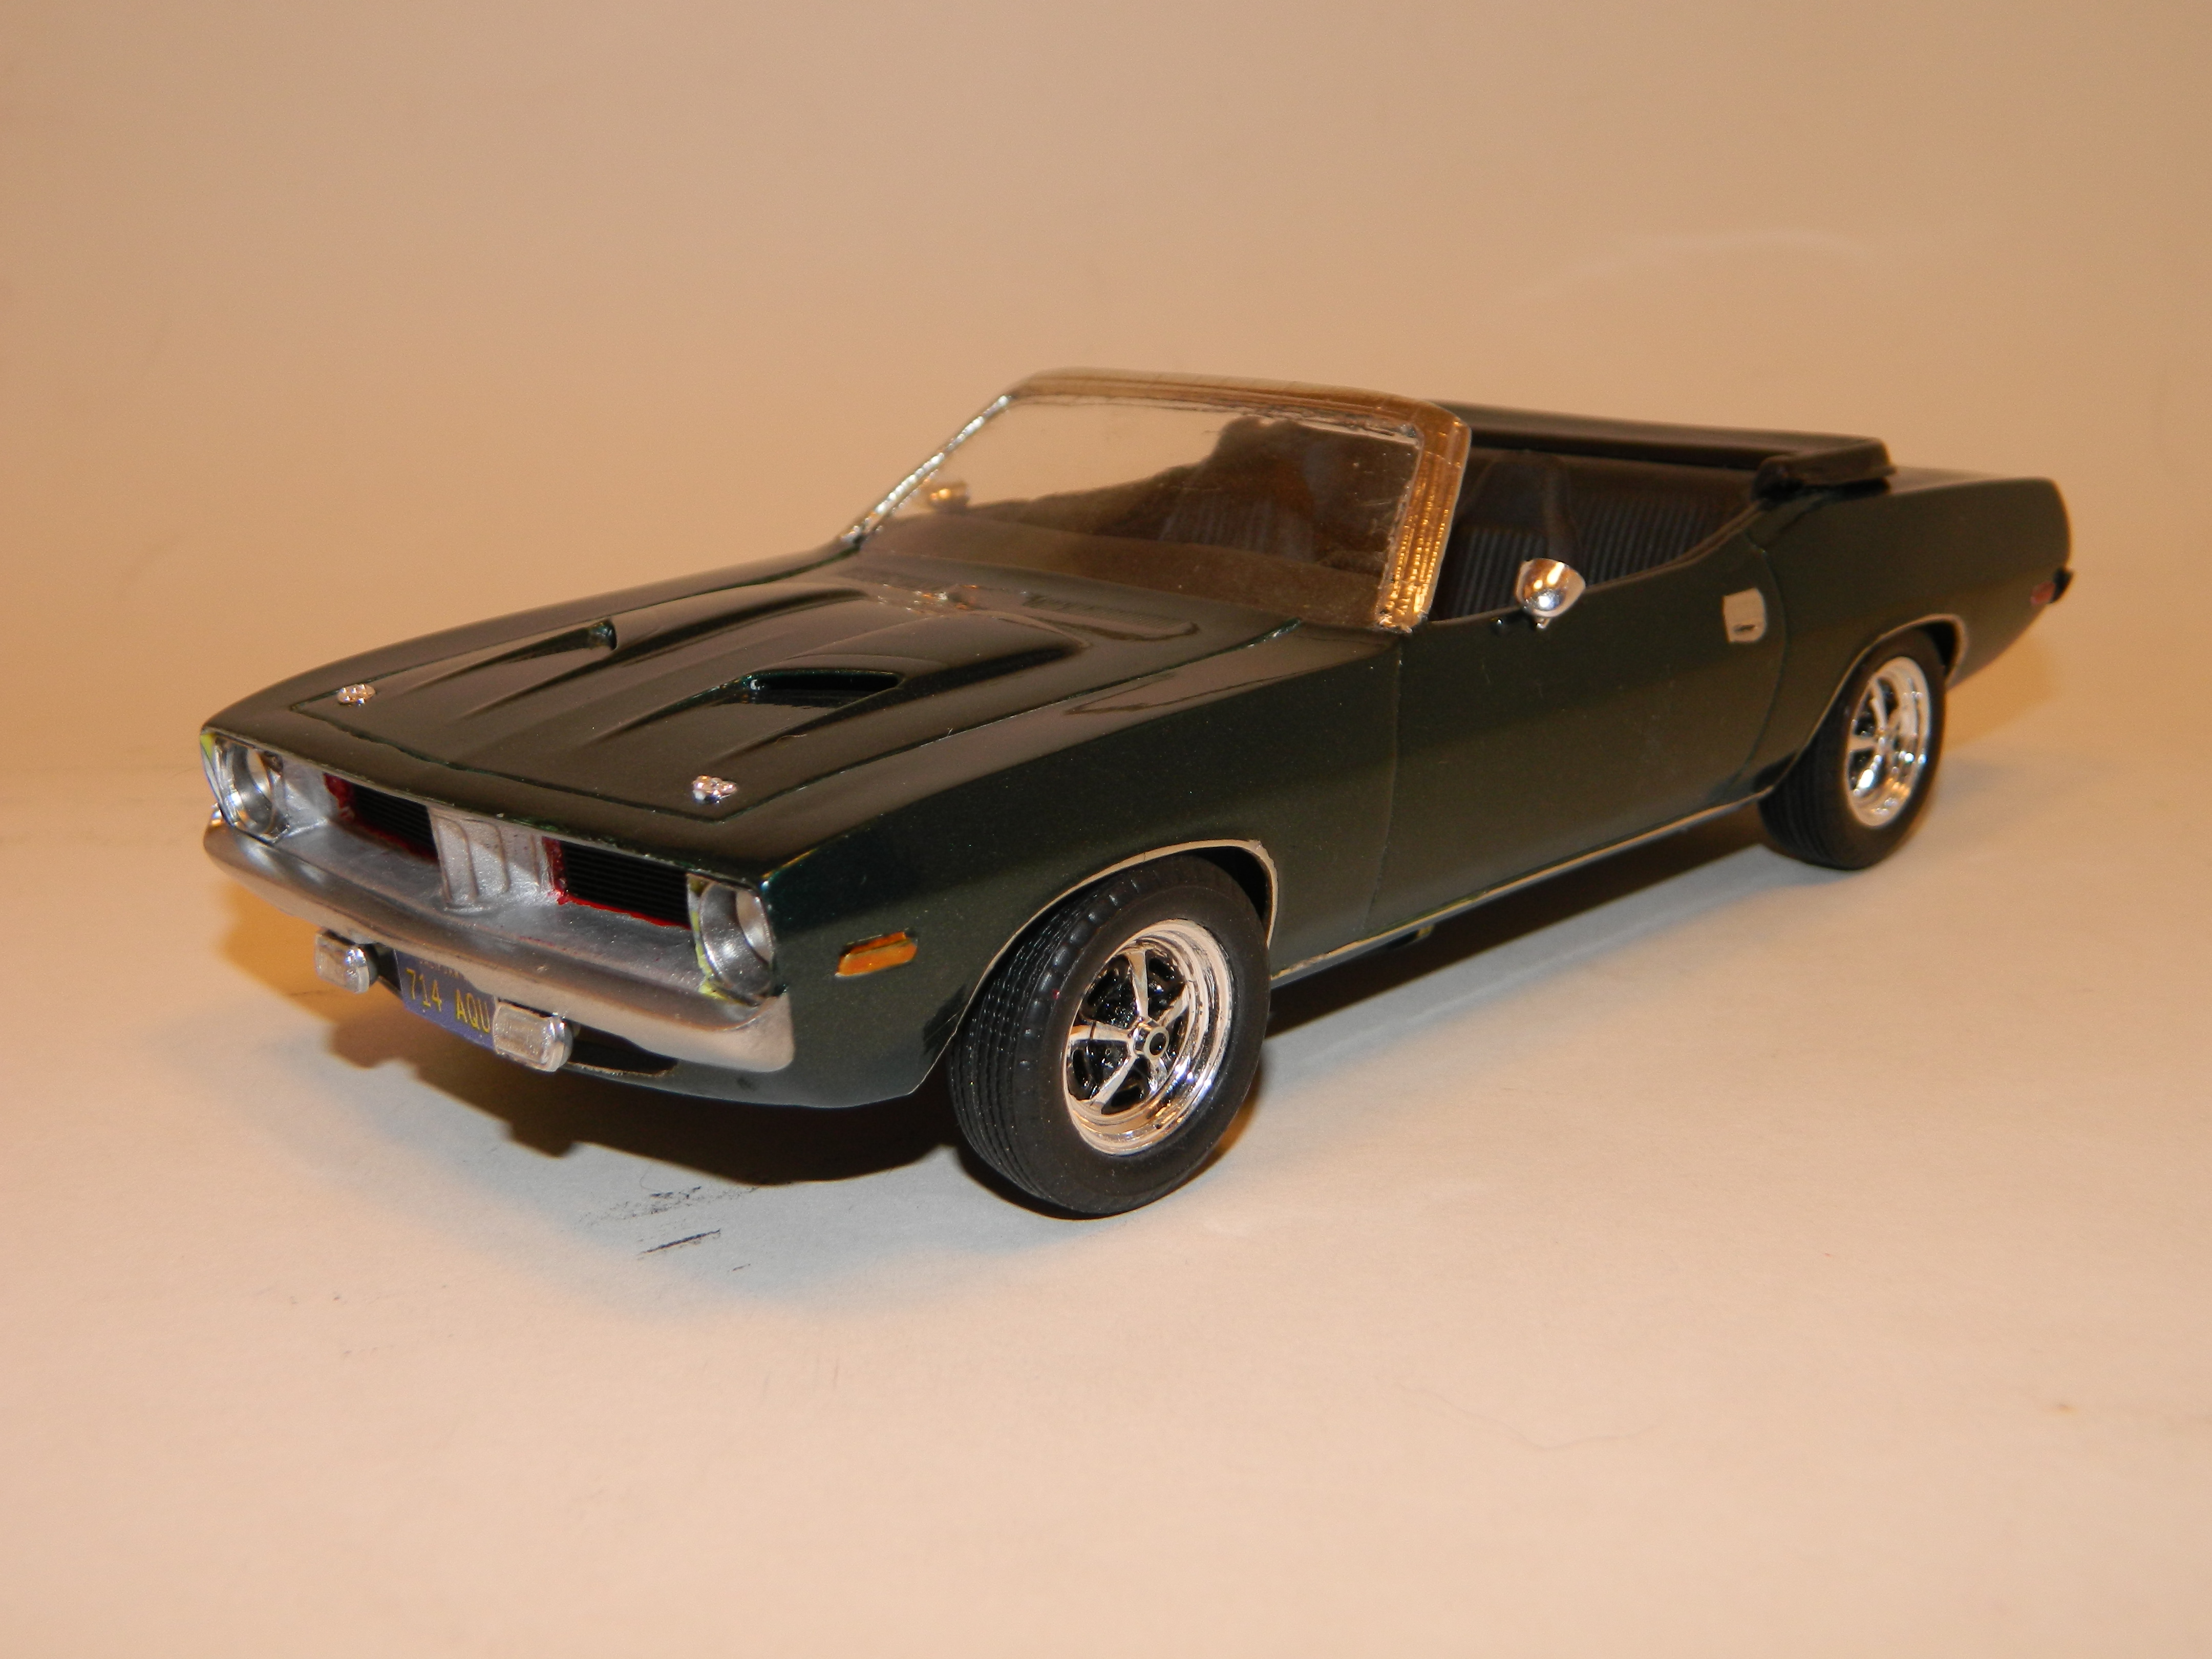
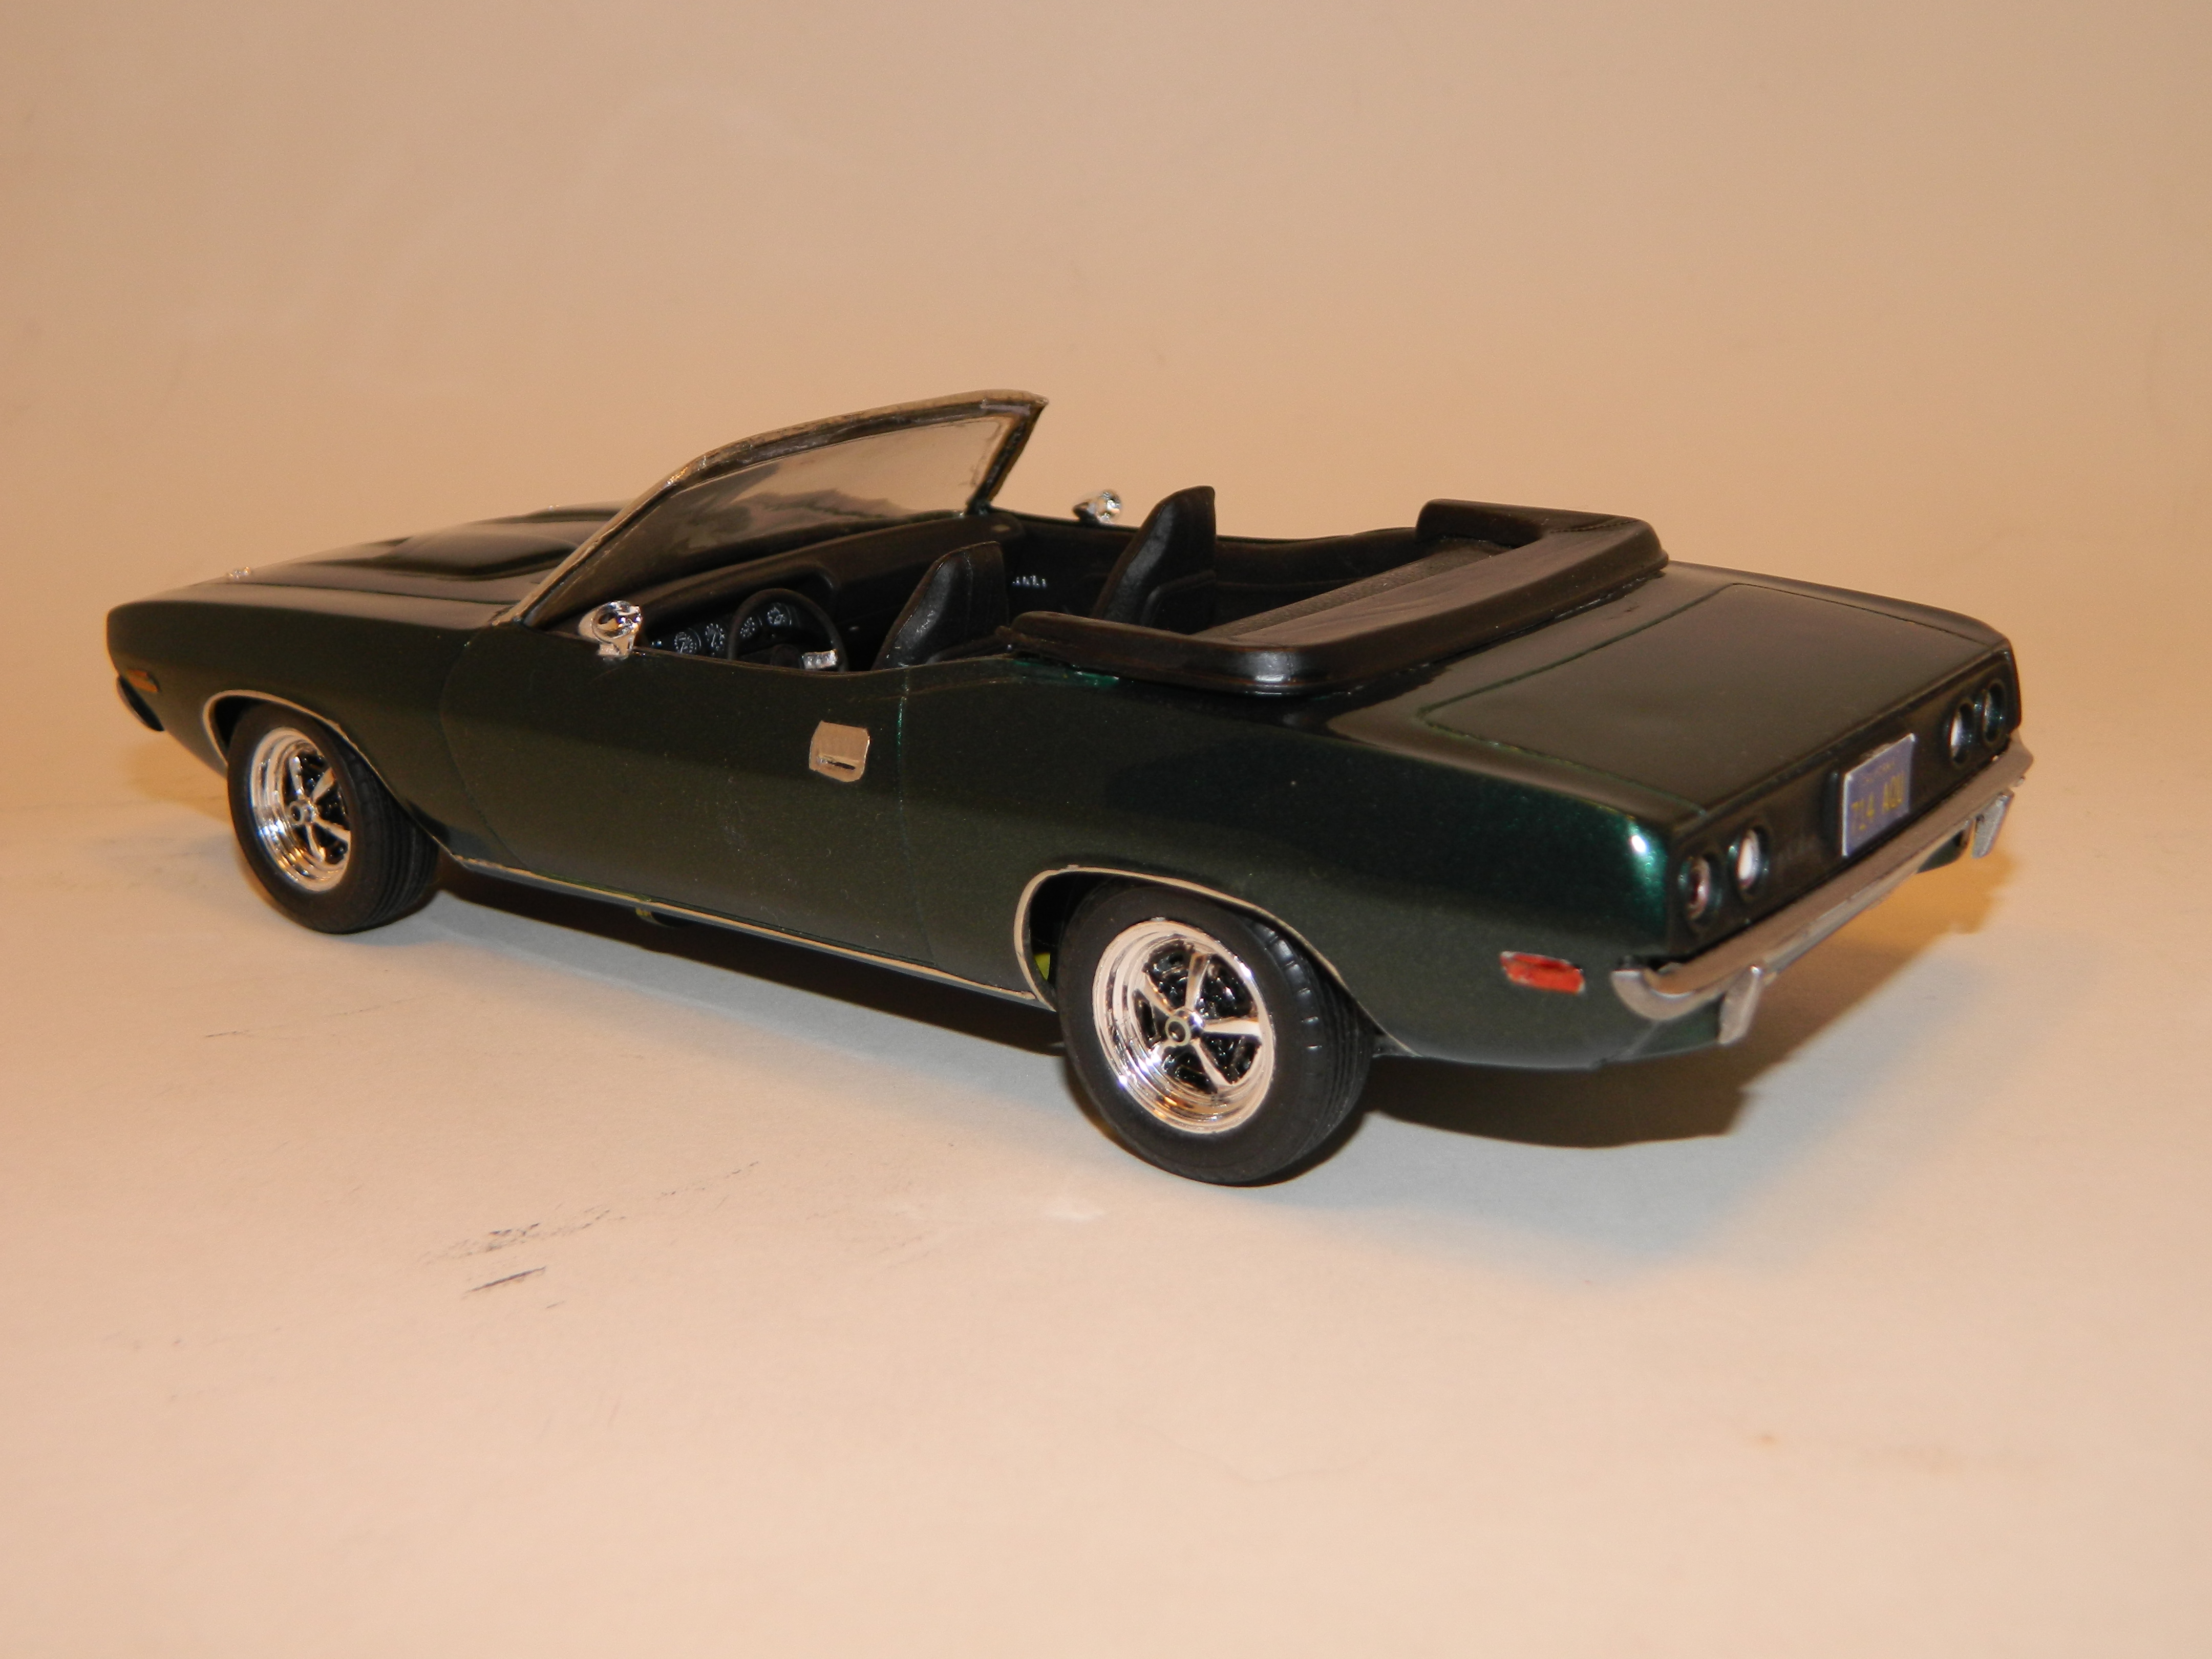
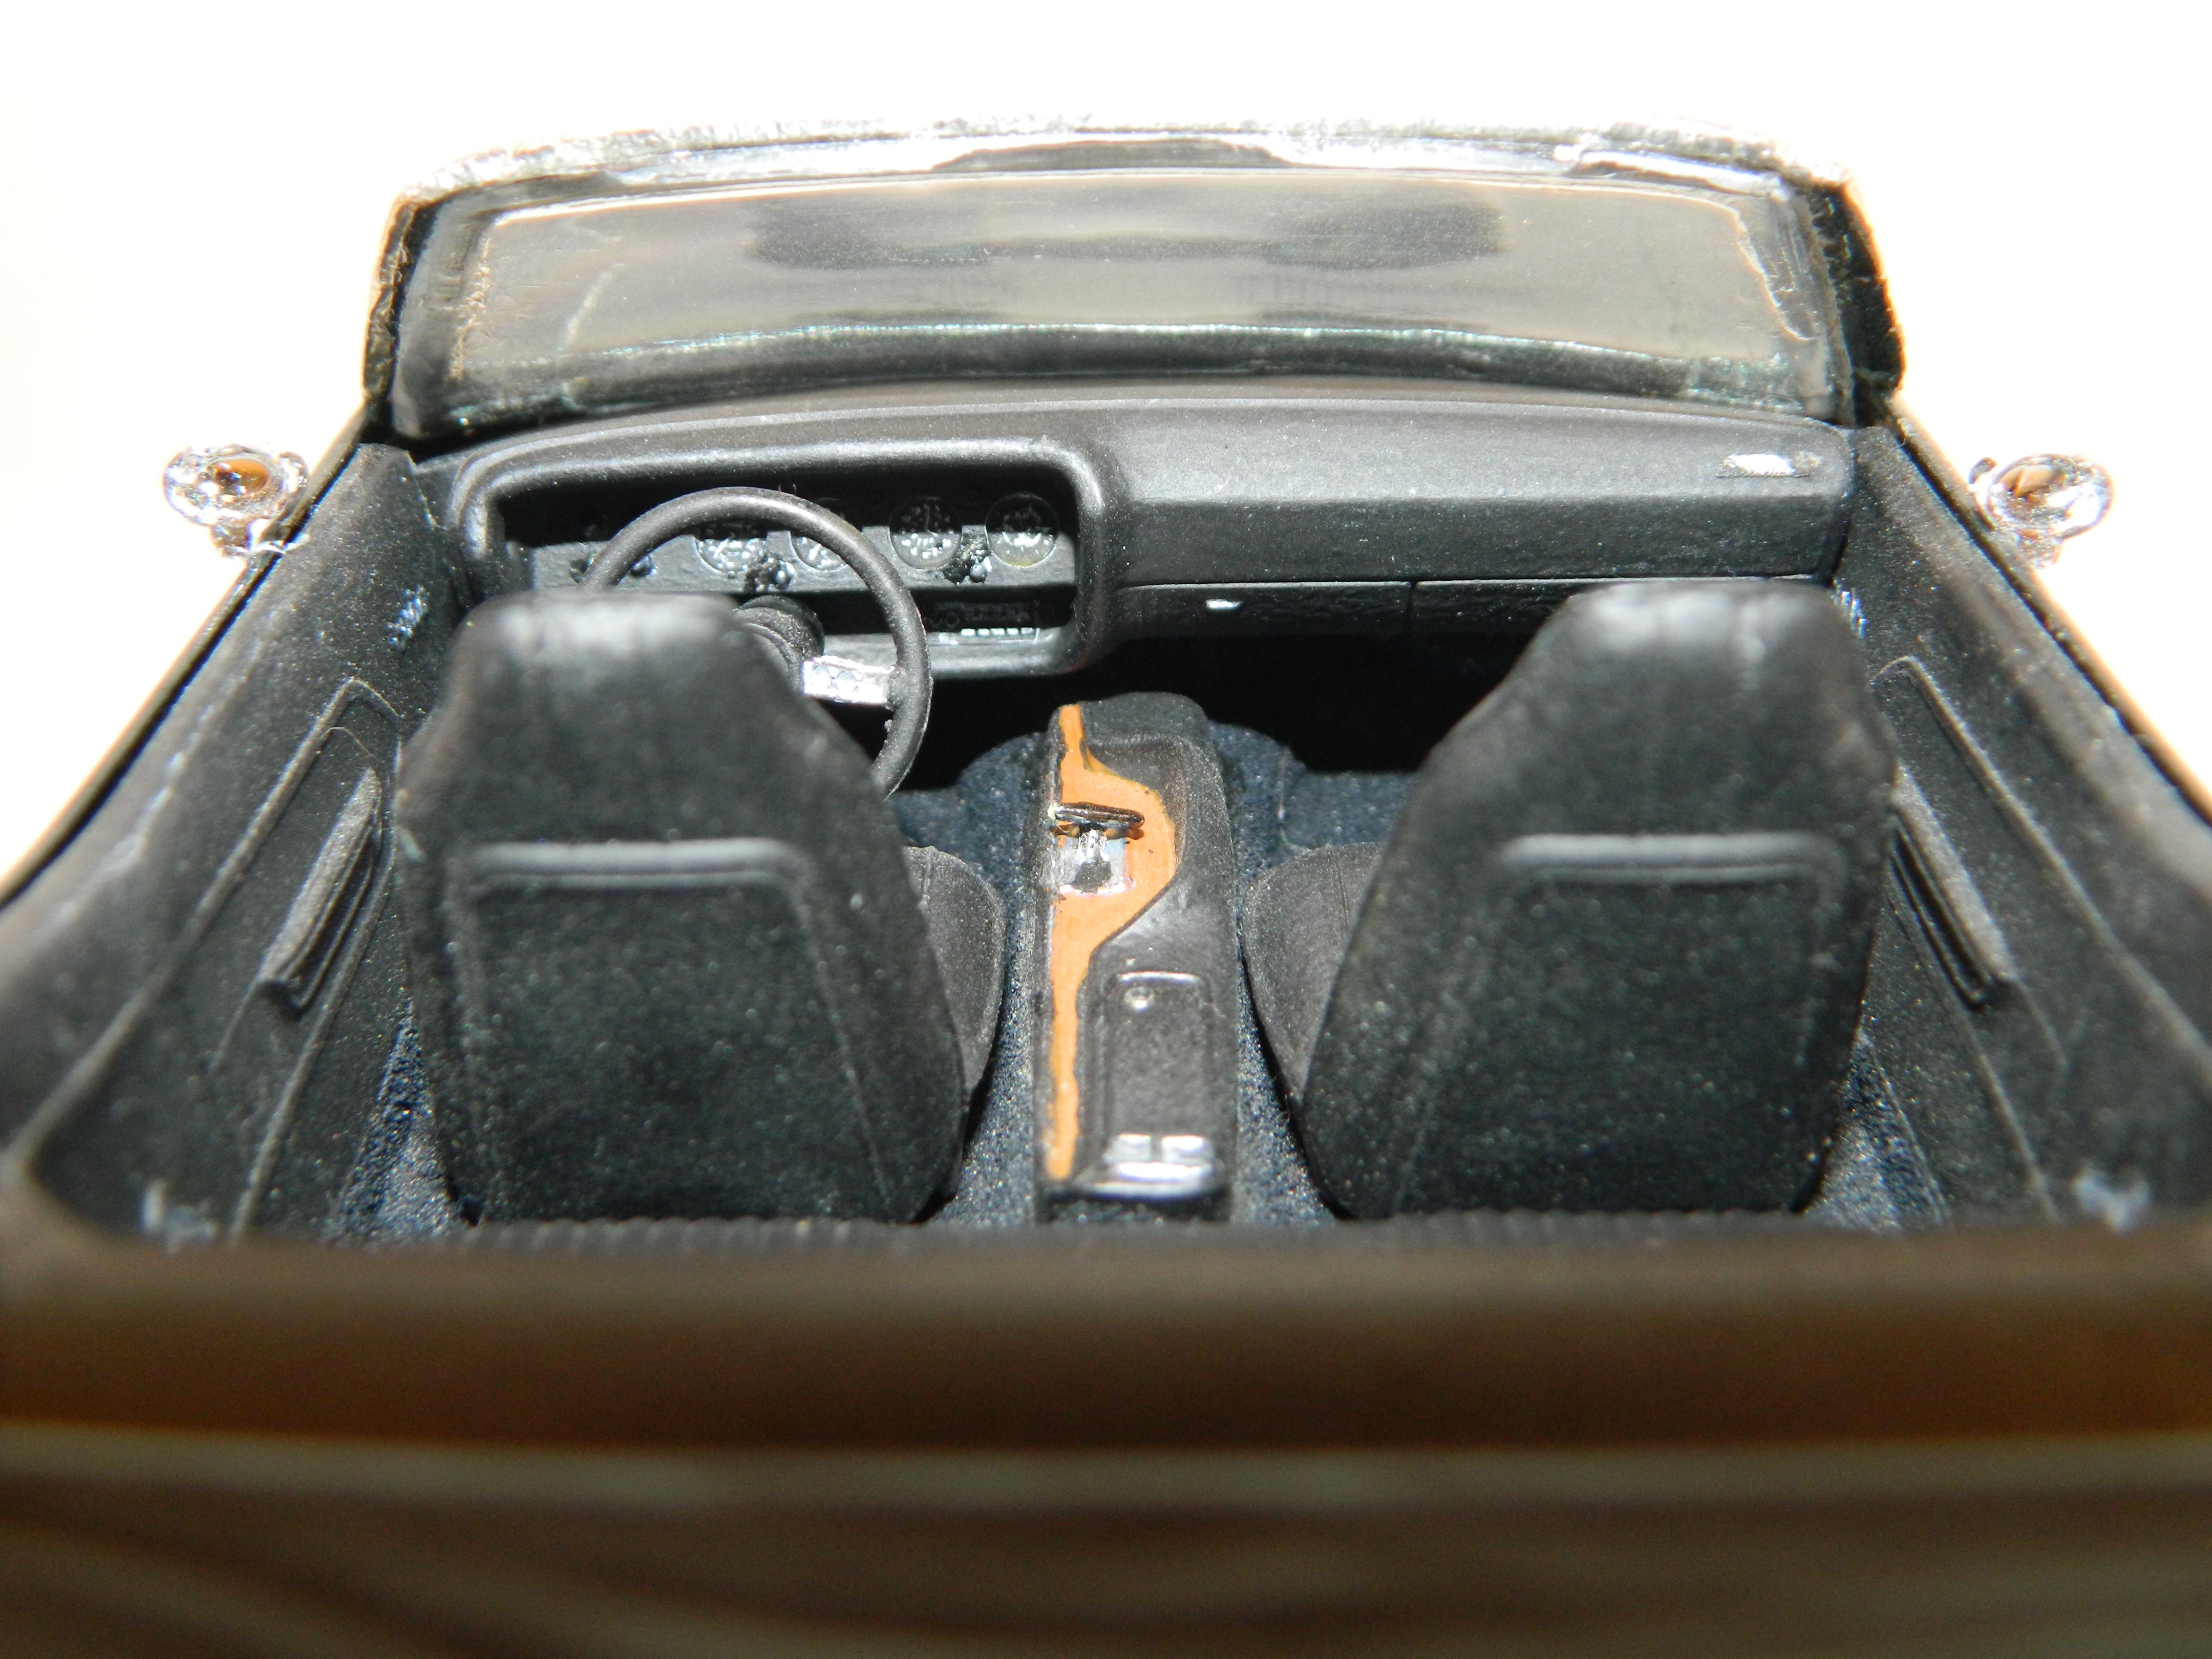
Looking good! I used the AMT '74 'Cuda as the basis for a '72 'Cuda used in the TV series Mannix starring the late Mike Connors. I removed the roof and grafted on the hood and front and rear bumpers from the Revell '70 "Cuda.
-
Thank you guys! This was a very satisfying build as I did spend a lot of time on it as well as a lot of time just staring at it sitting on the bench. I see some things that I wish I could correct, but I can't because the Dart has been assembled and I'm not about to tear it apart to correct it. The one thing that I will fix is the air cleaner. It looks horrible! I'll strip it and start over again with a new decal if I can find one in the decal stash. If I don't have one, I'll find an image of one and print it out on decal paper.
-
I hung the doors on the body, but these are not the original doors from the kit. Those doors were mis-shapened and these came from Mr. Prestigious aka Barry! Thank you Barry! The driver's door had to be re-hung after the glue dried since it didn't want to shut properly. I still plan on having a rare earth magnet and a piece of steel in the door jambs to help keep them closed. I had these tires in my parts box, so I lettered them with a white Gelly Roll pen and my magnifier. More to come...