

Exotics_Builder
-
Posts
3,641 -
Joined
-
Last visited
Content Type
Profiles
Forums
Events
Gallery
Everything posted by Exotics_Builder
-
 I don't have the kit, but HLJ has pictures of the instructions that you may be able to enlarge and match the numbers https://www.hlj.com/1-24-scale-shelby-mustang-gt500-photo-etched-parts-for-revell-kalke24030
 -
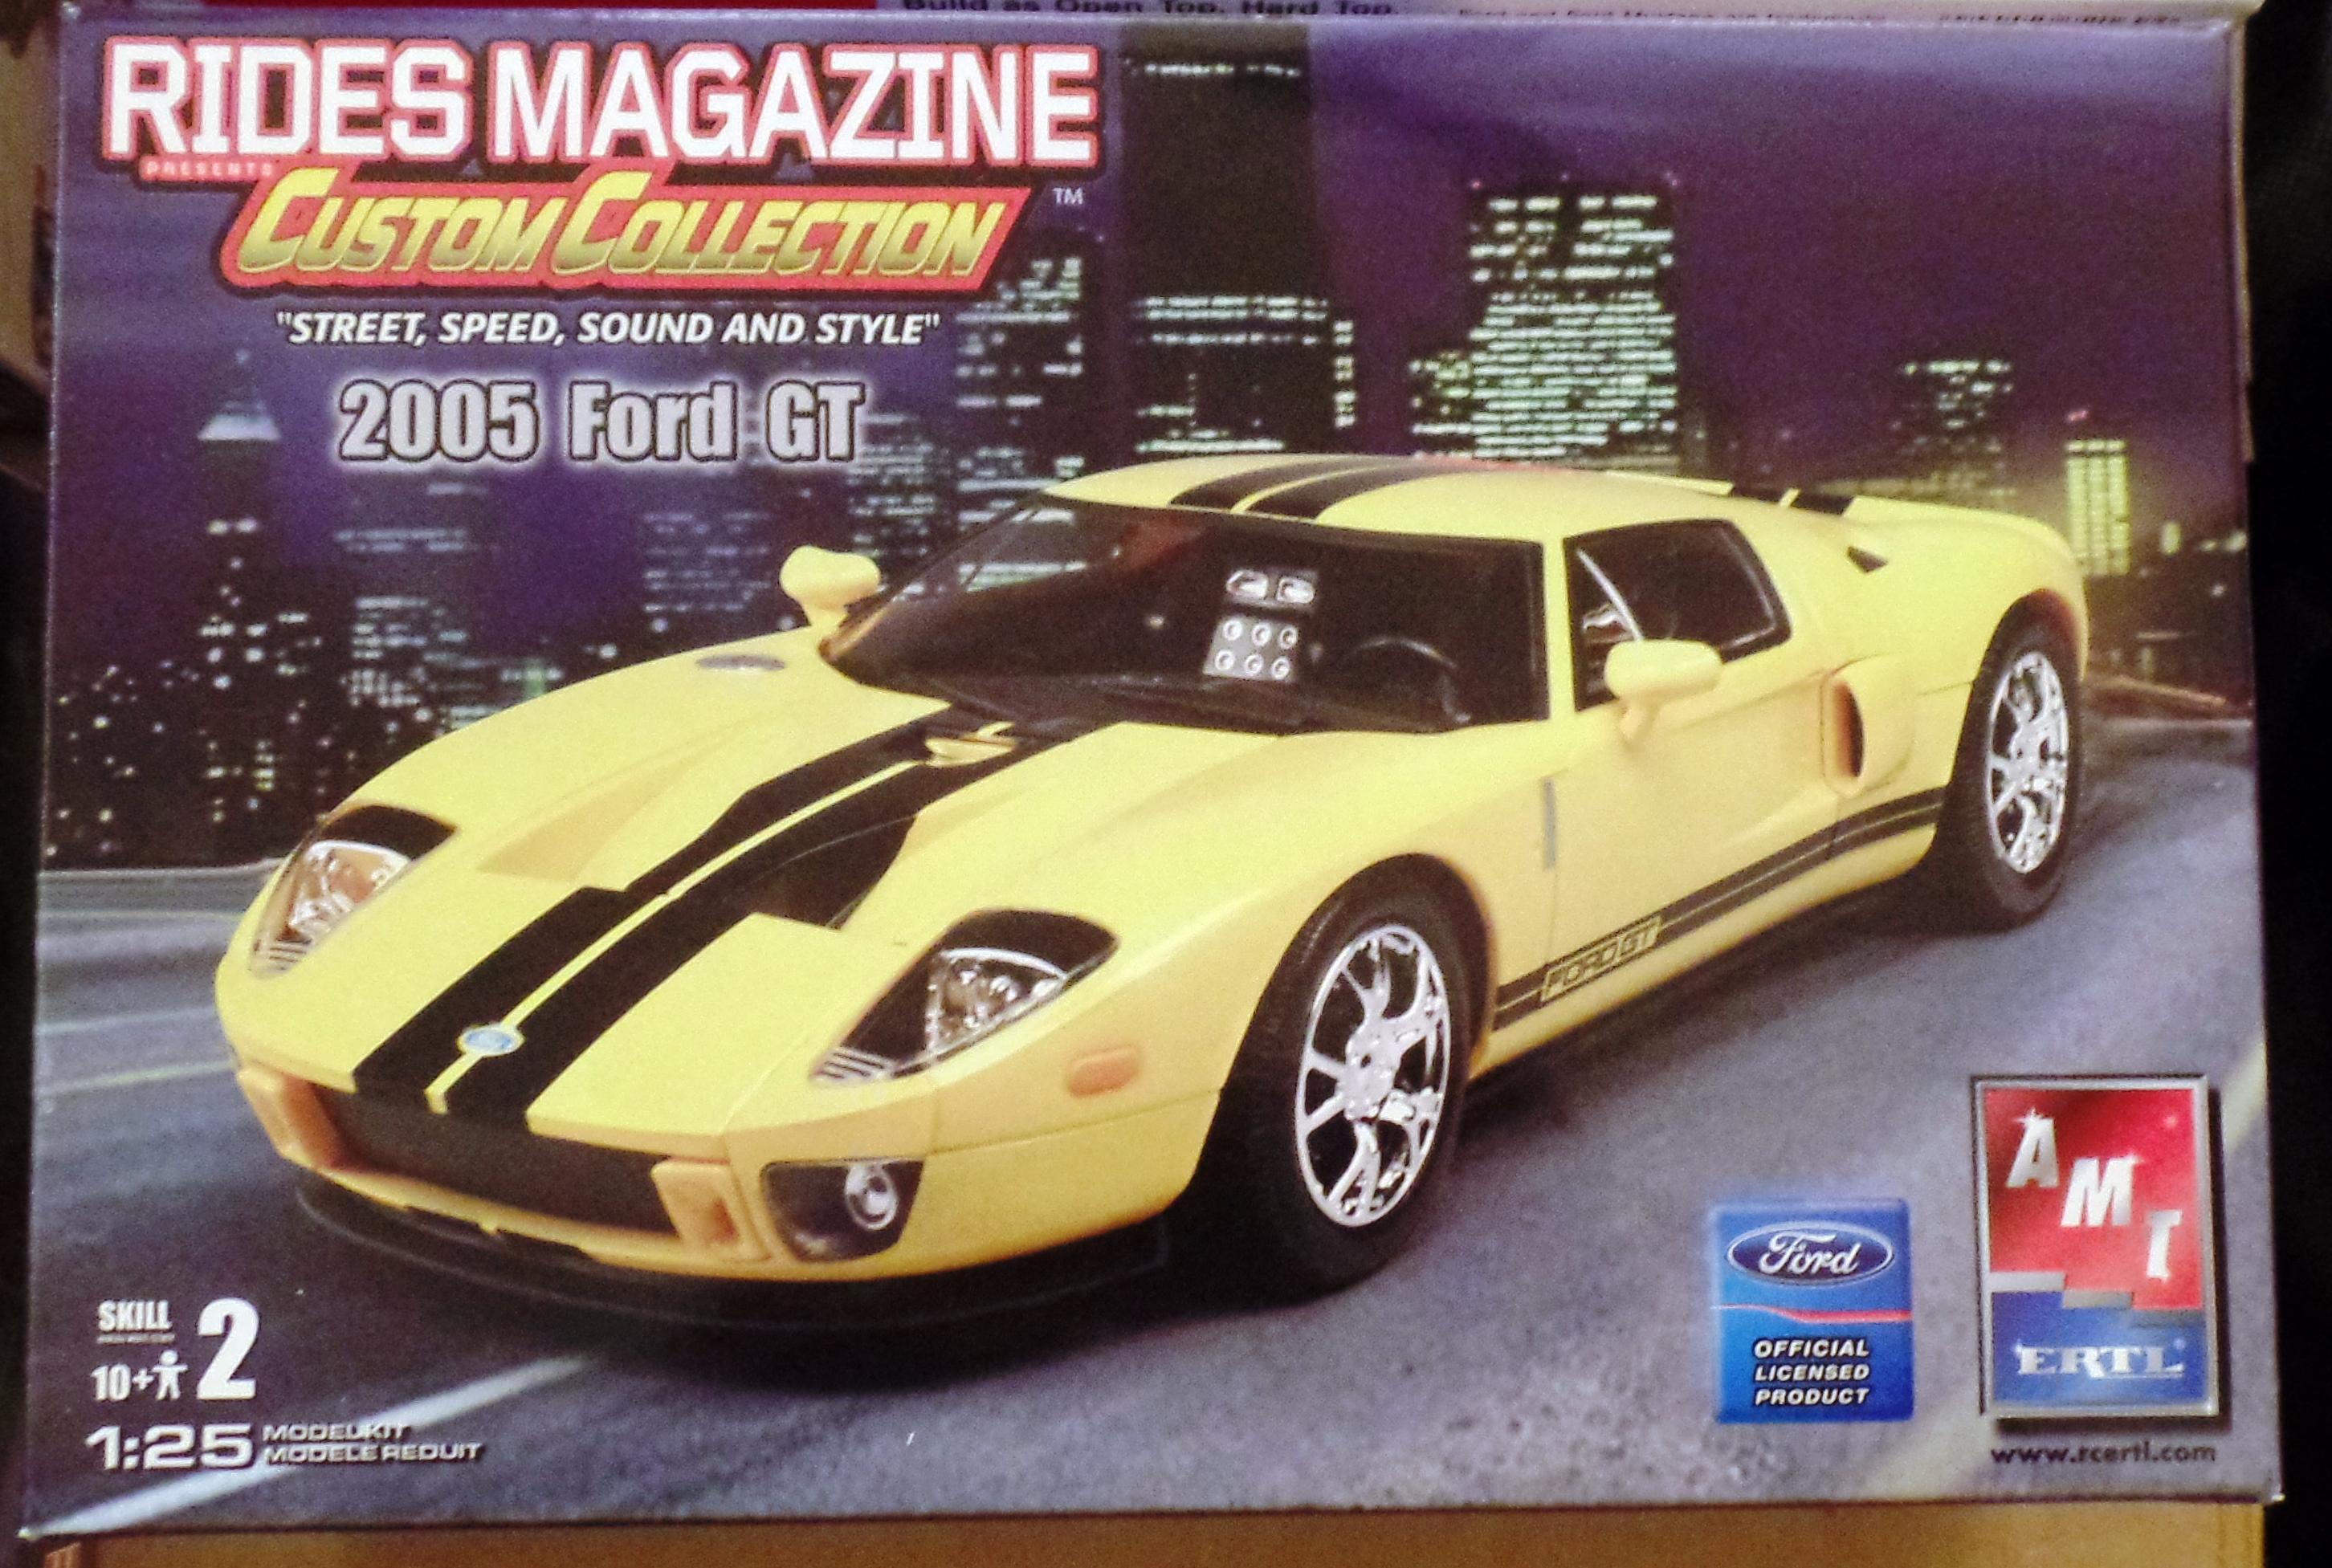
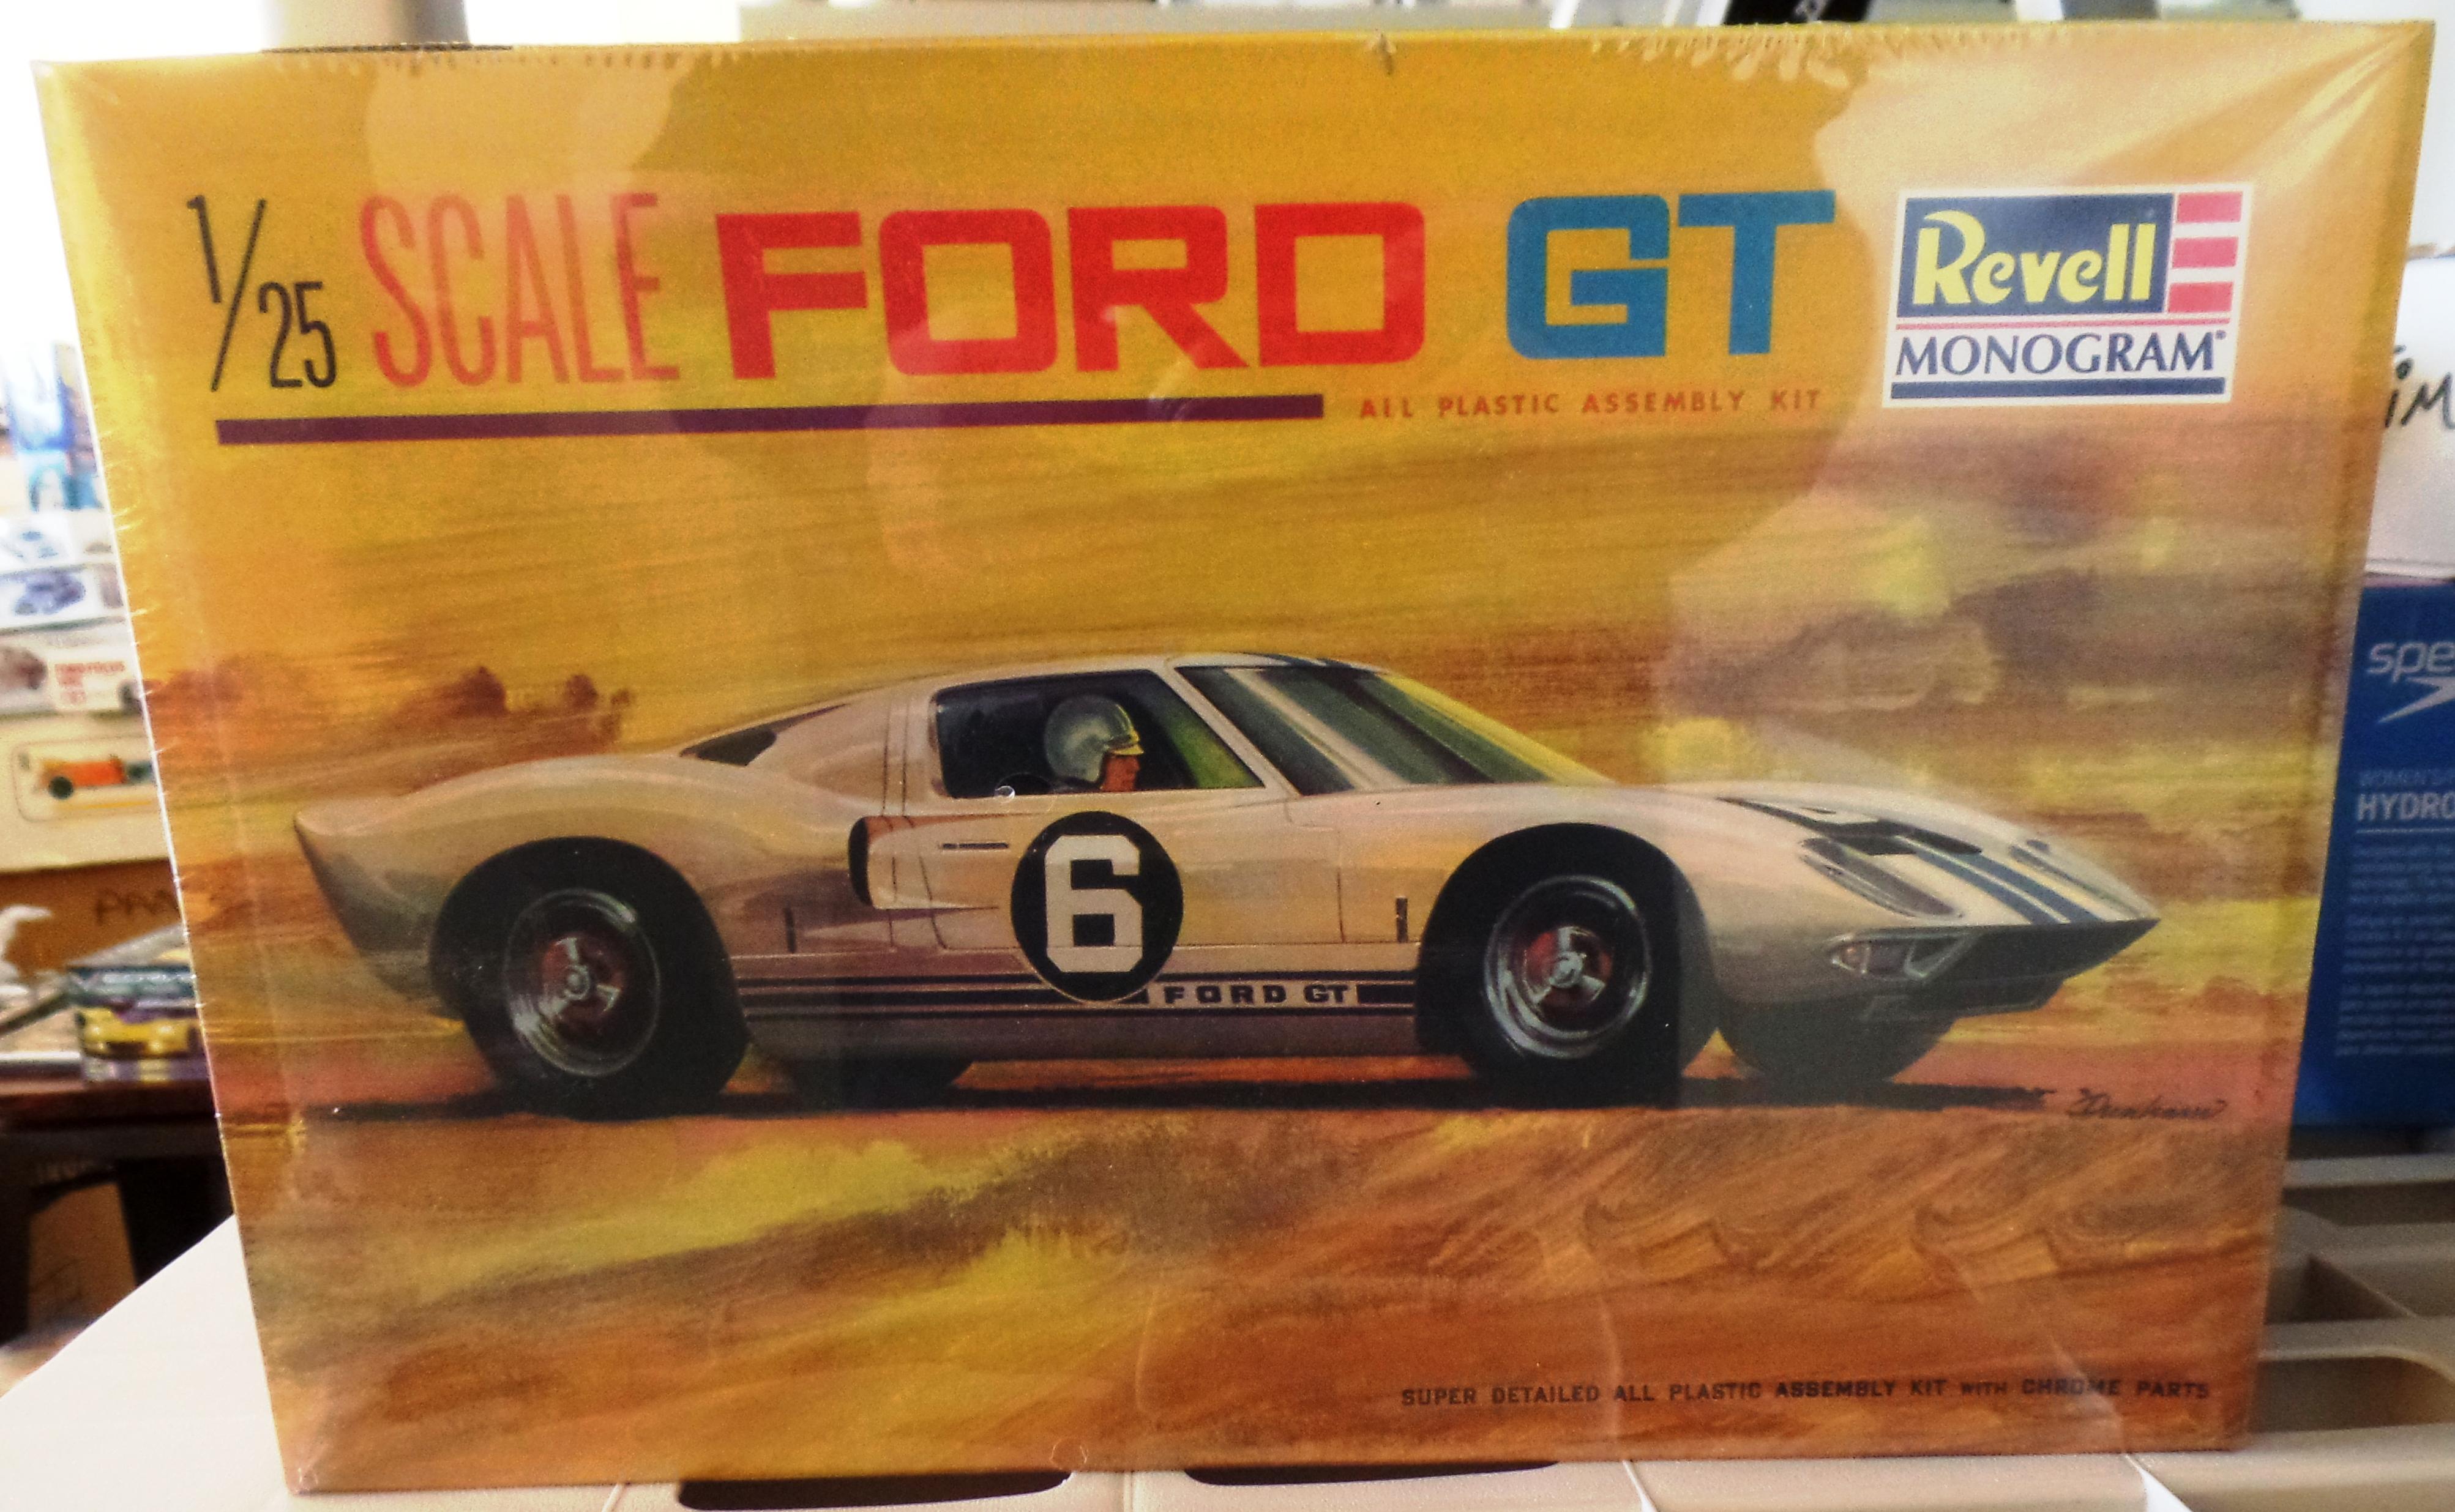
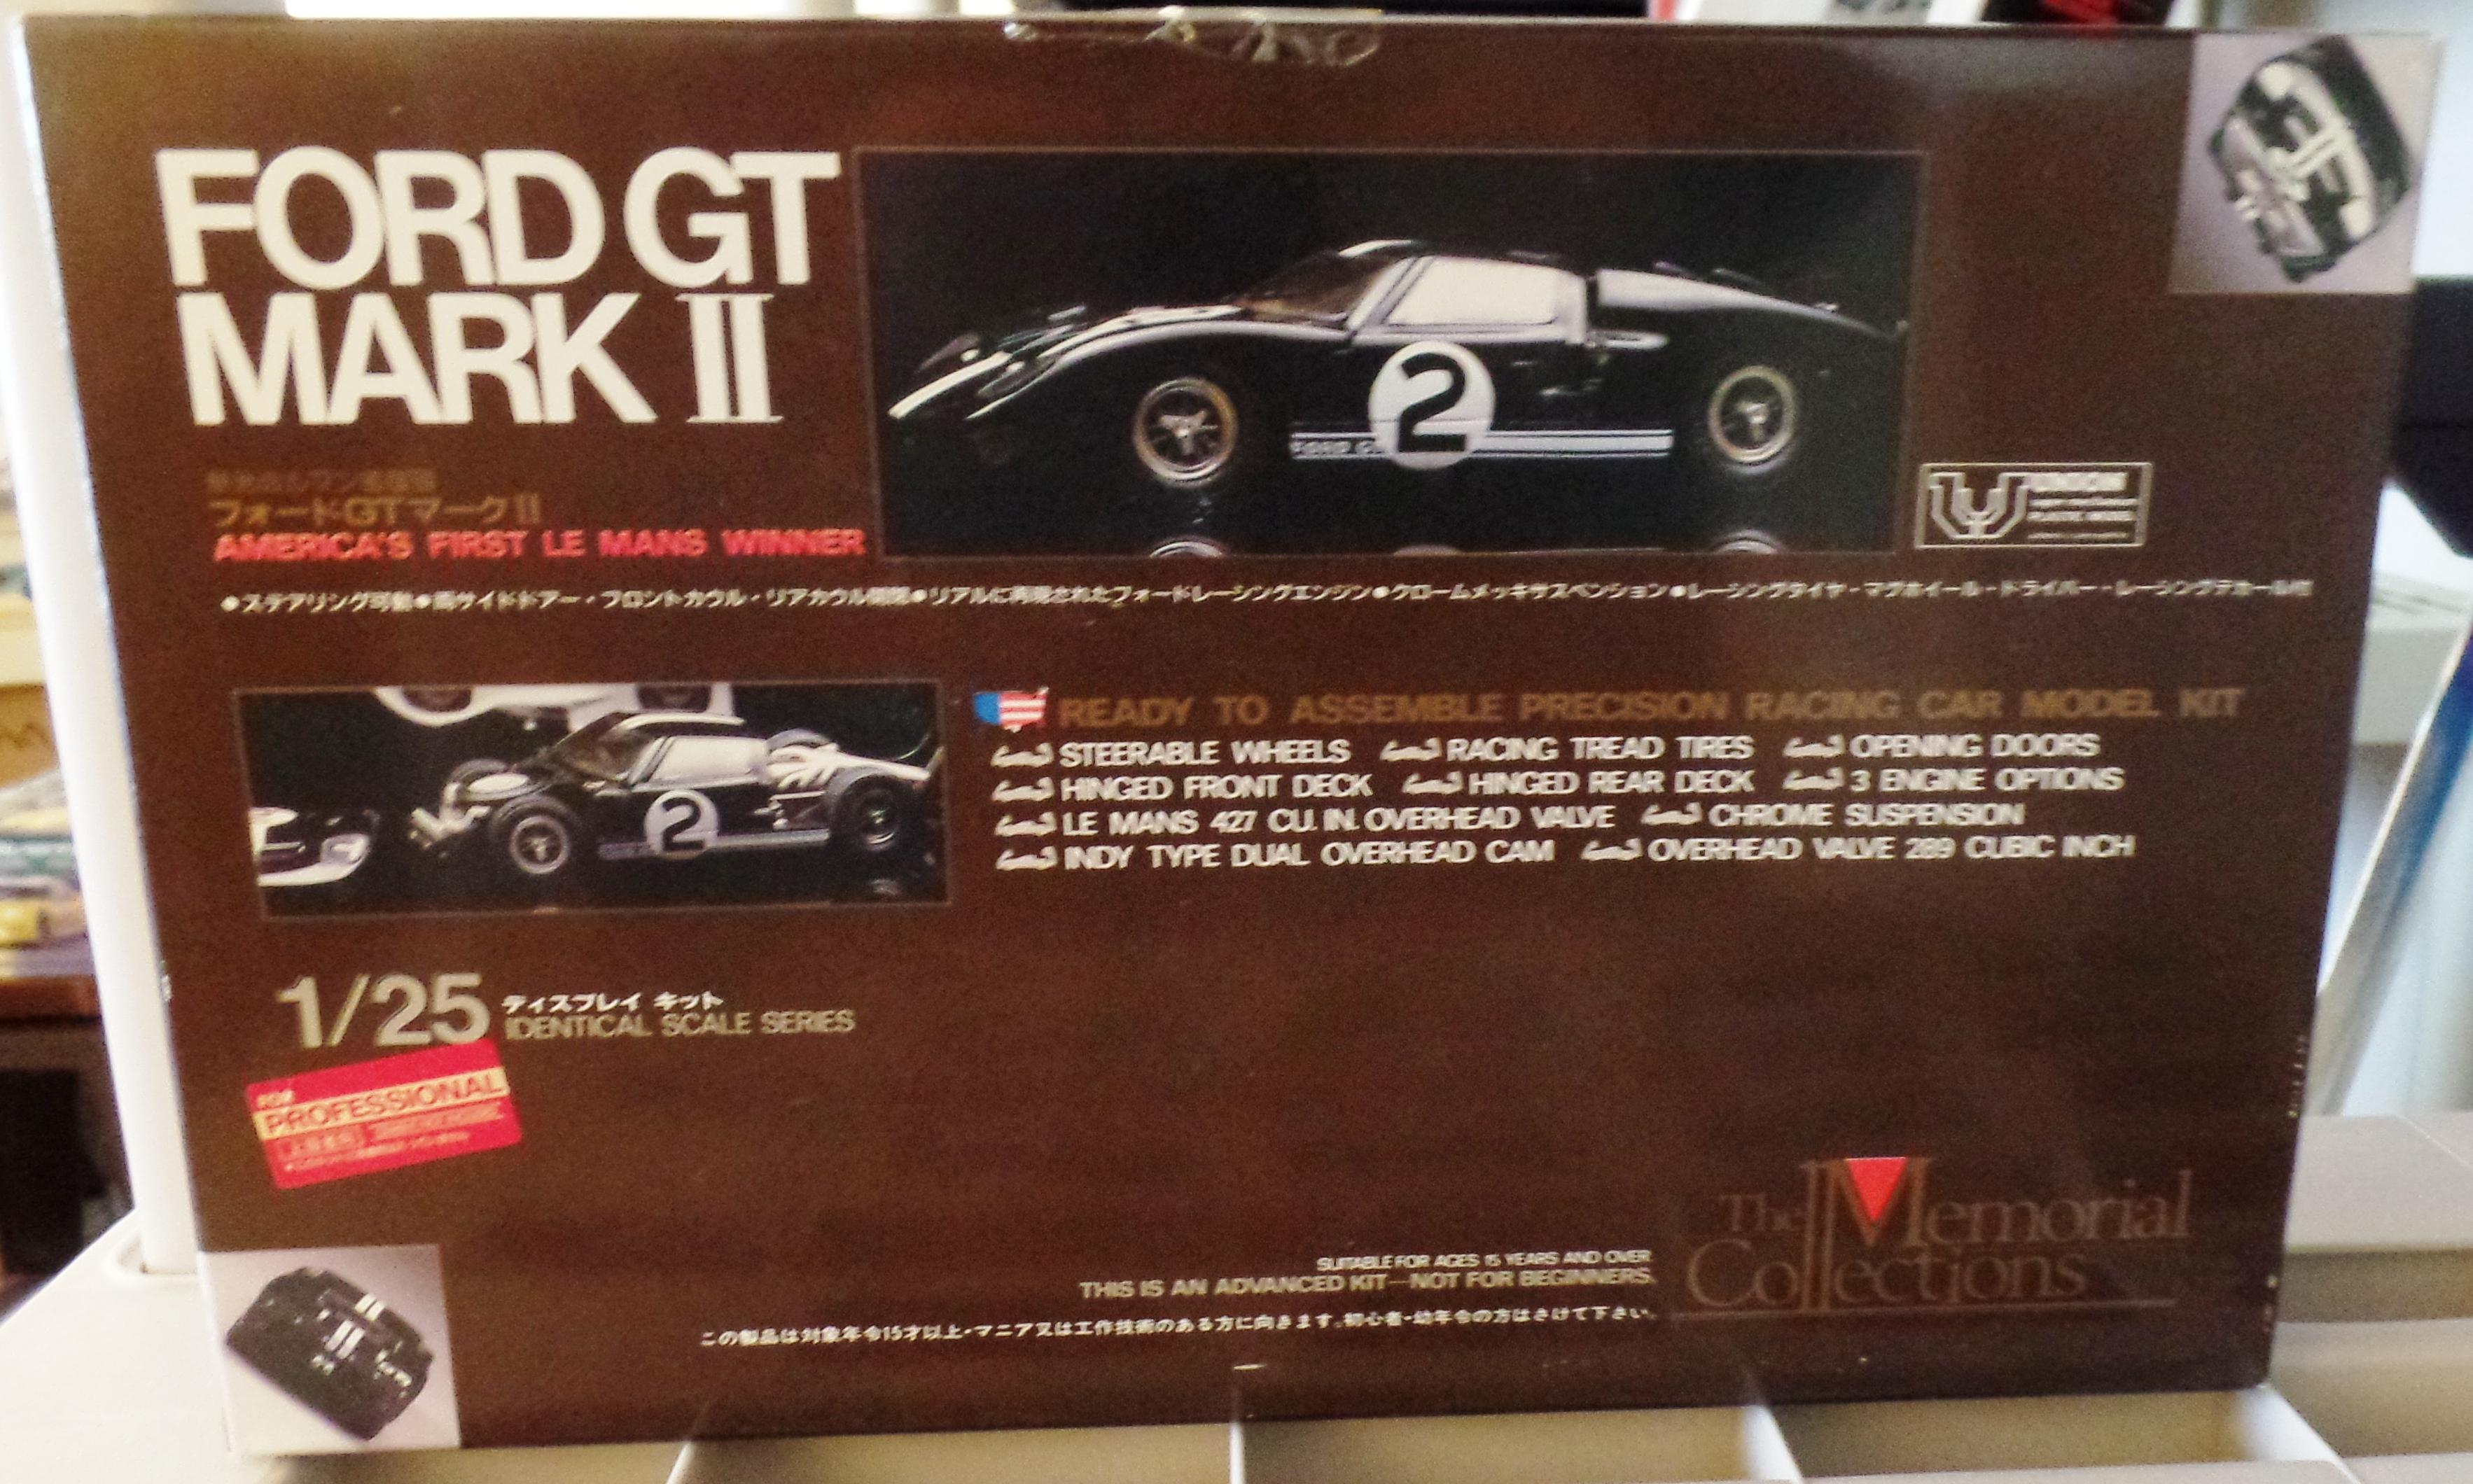
The only First gen GT I am aware of in kit form is the Polar Lights kit. I don't recollect any aftermarket parts for that. There may have been decals, but do not remember anything. I have a version of the 1st gen in the stash if you want to look at it at tonight's meeting. Stretching further back, there are GT40's and that is a different conversation.

-
Okay Jon, which Ford GT? The current version (2nd generation from 2016 on up) or first generation (2005-6)? Since you mentioned Tamiya, I am assuming current gen and it would be the go-to for a street version. There is aftermarket available depending on how detailed you want to be. Here is a good spot for reference... https://www.spotmodel.com/product_info.php?products_id=49570
-
First base coat, Bob’s Paints Crème Brulee. Accidentally spilled the jar doing a refill so having to a new order of this from Bob’s. Guess I will move to the interior and chassis while waiting.
-
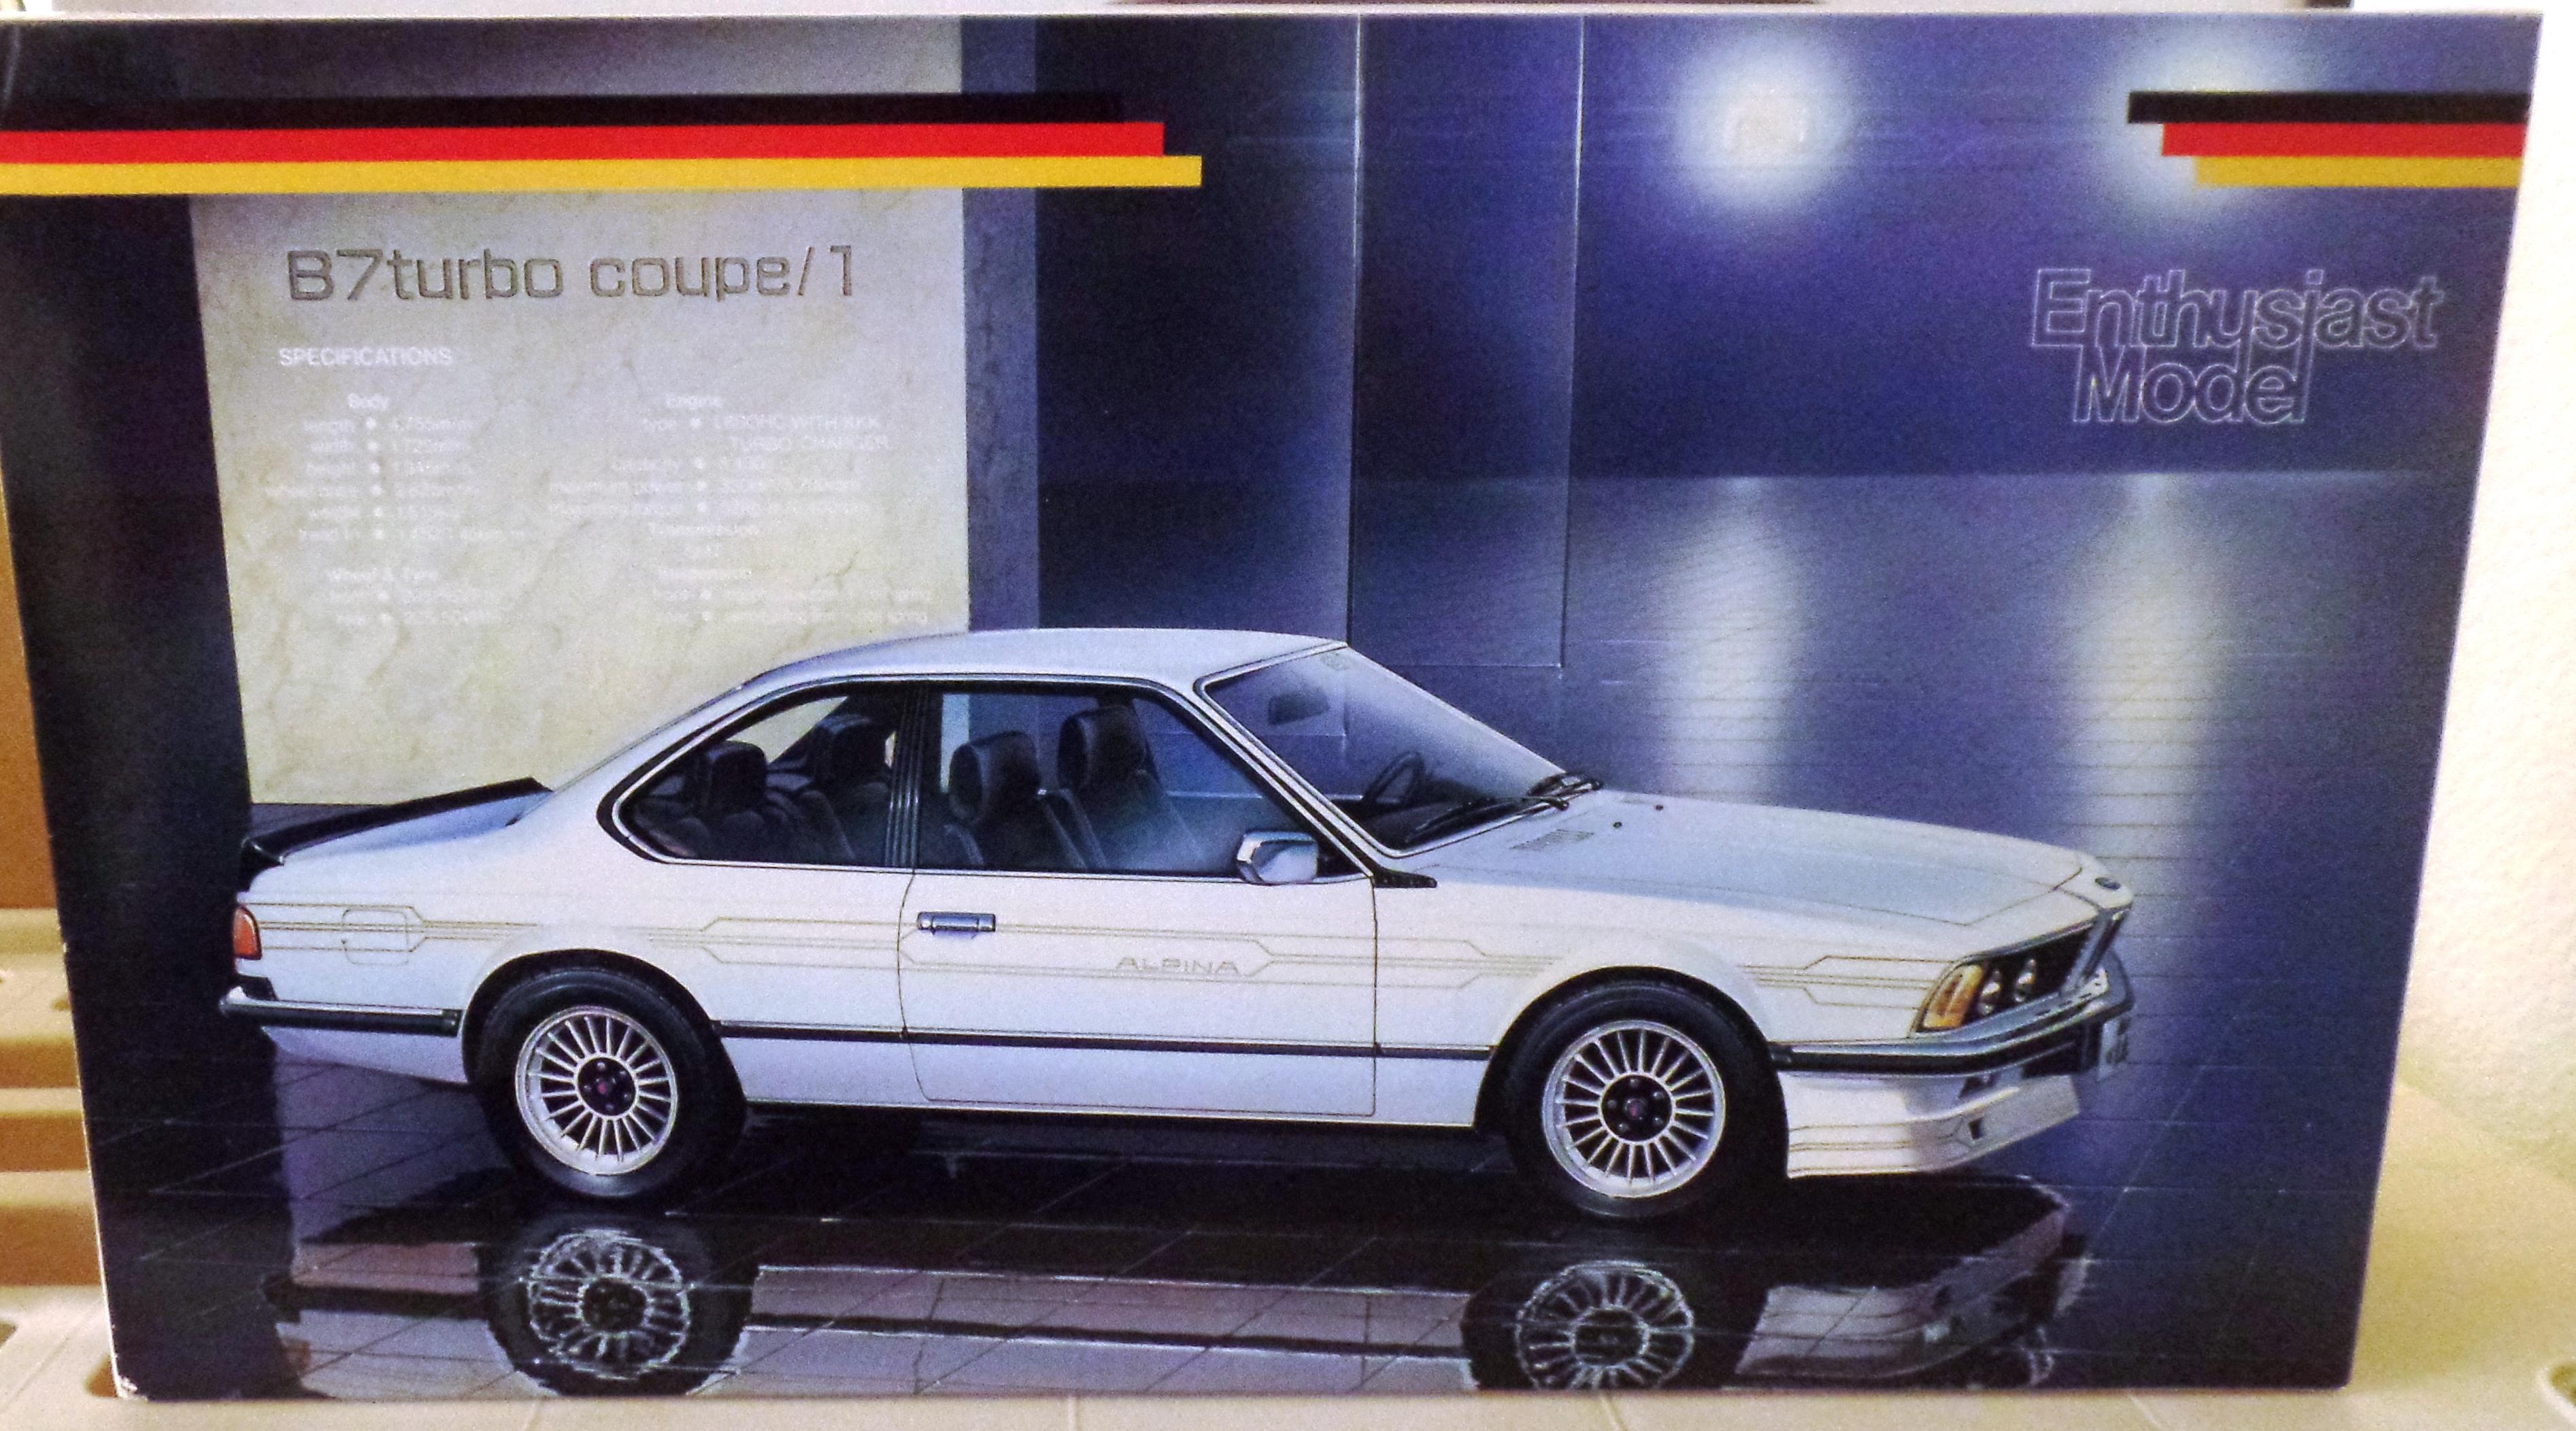
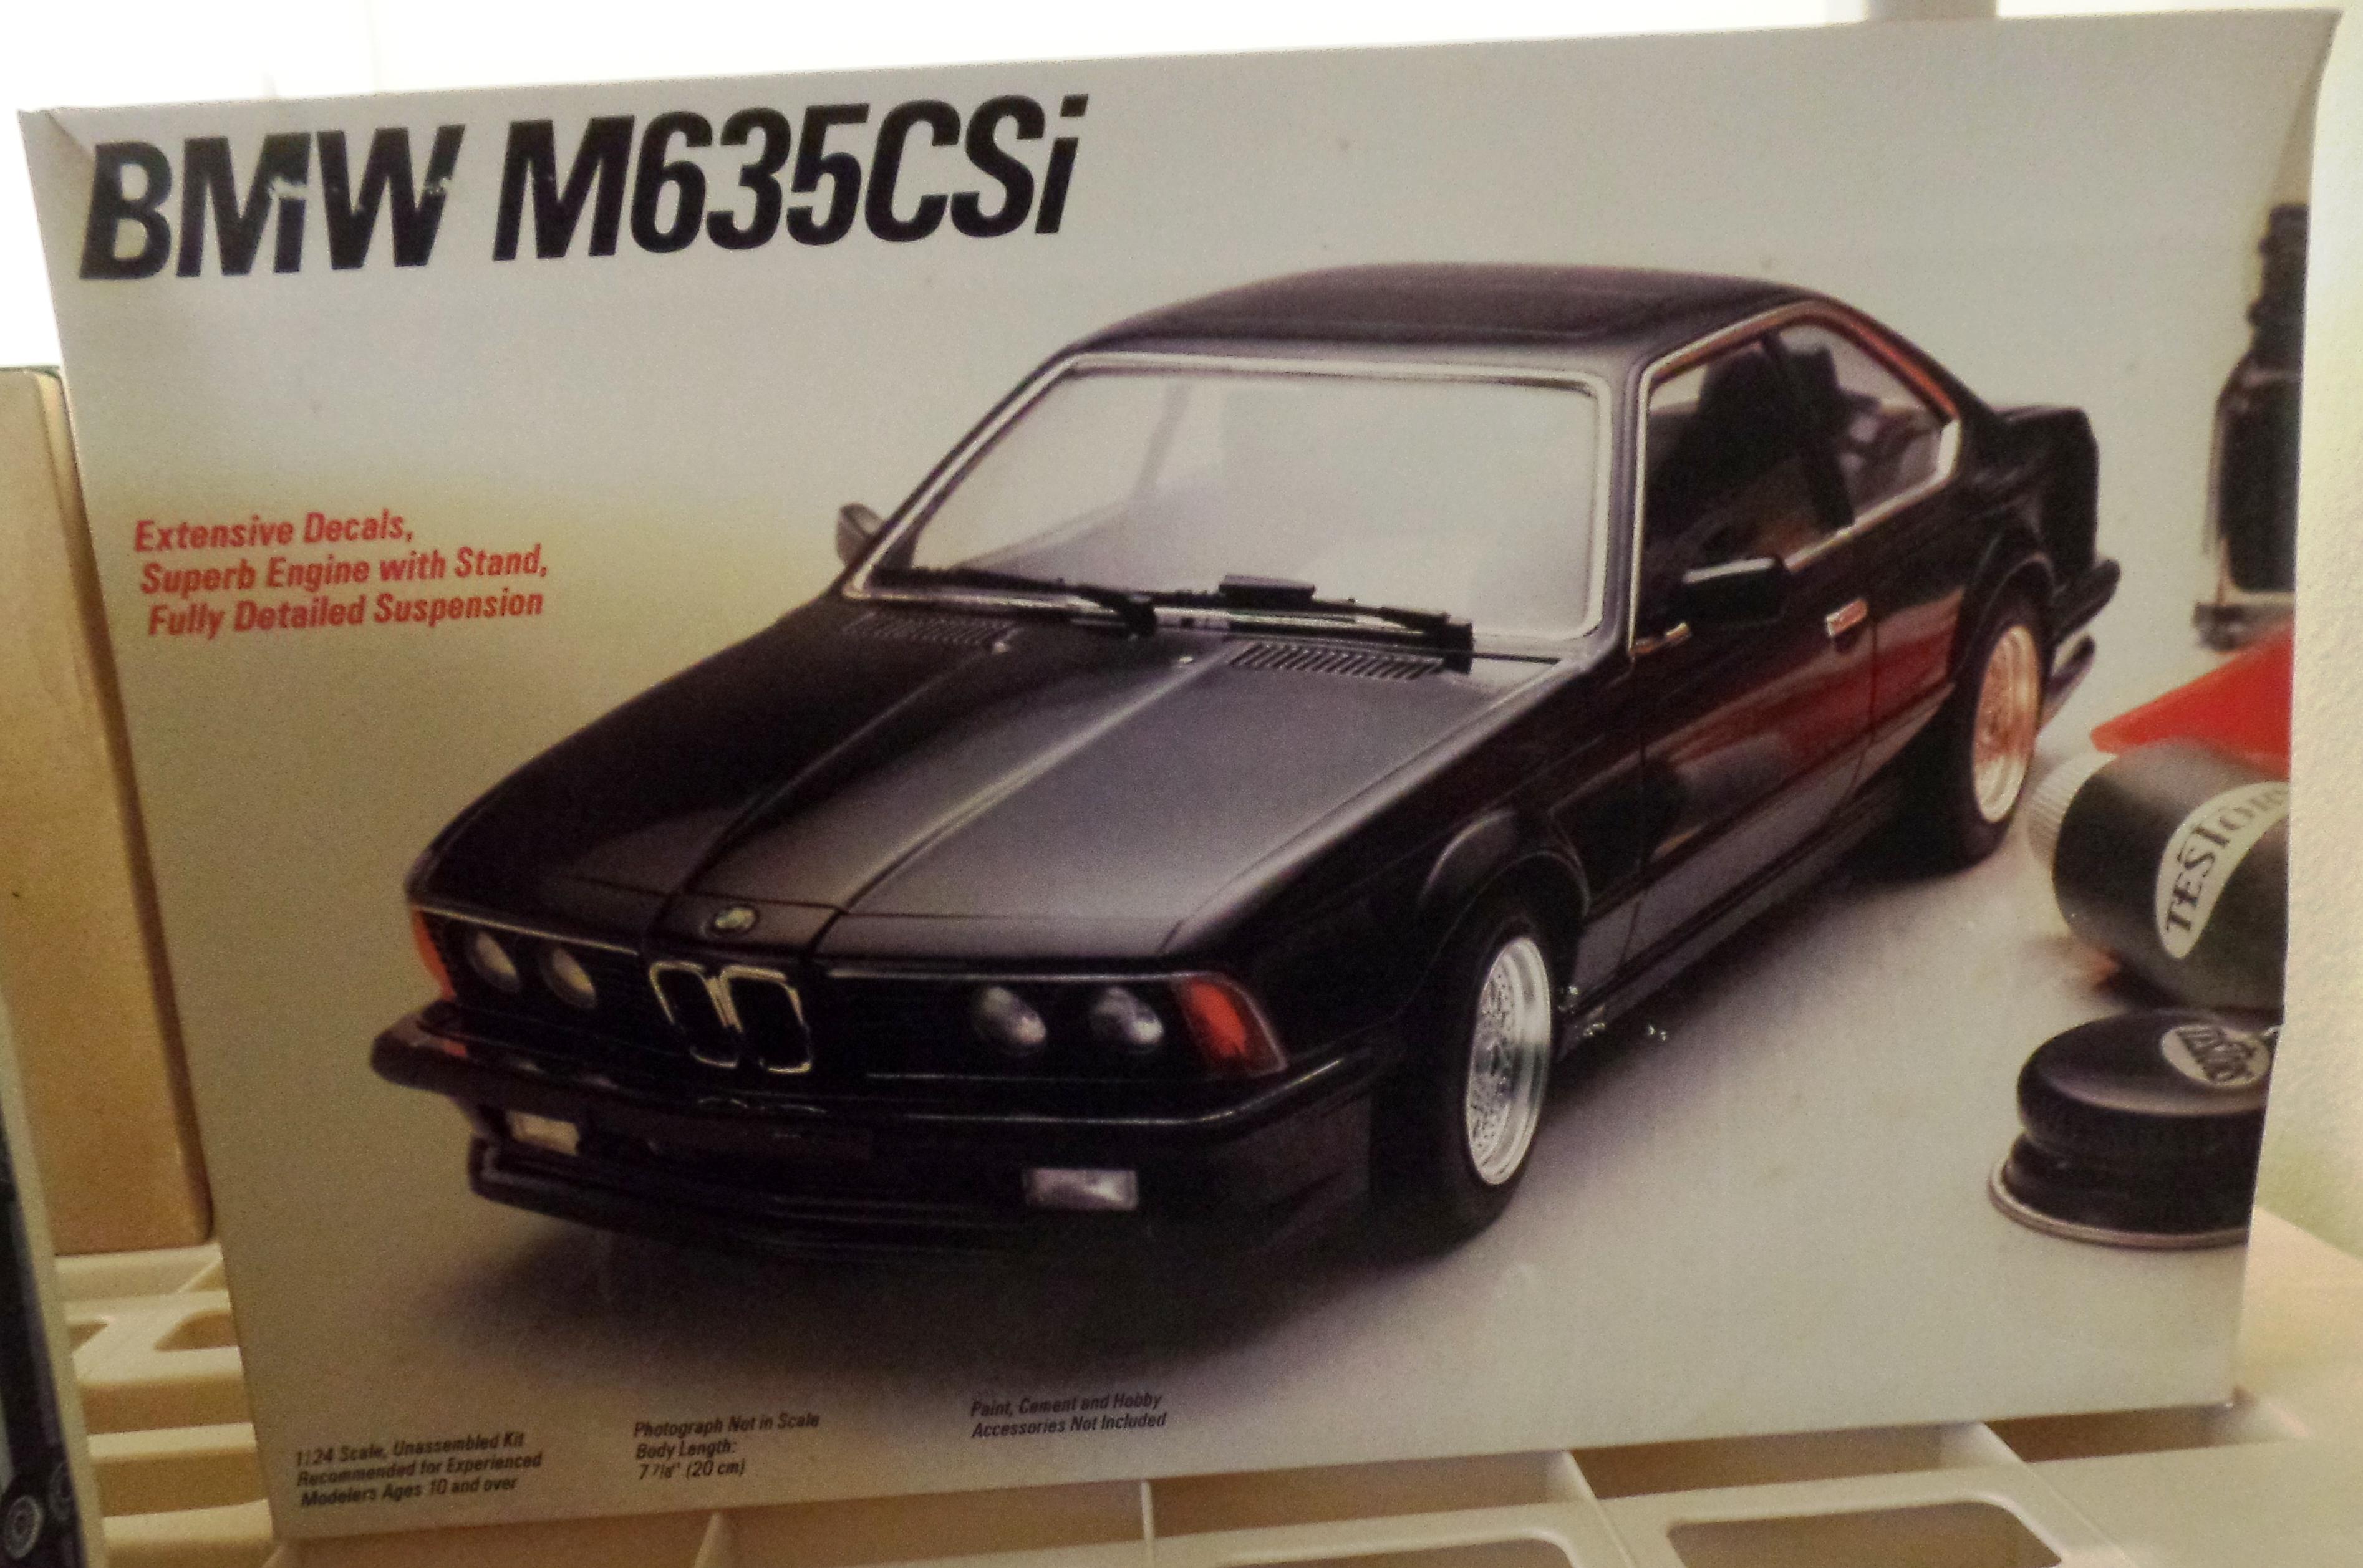
Guess I'm glad I have these in the stash (unbuilt as yet).
-
CBR BMW M635CSi, Fujimi Entusiast in depth.
Exotics_Builder replied to Mattilacken's topic in WIP: Model Cars
Got these on the to do list, so interested in what you're doing
-
CBR BMW M635CSi, Fujimi Entusiast in depth.
Exotics_Builder replied to Mattilacken's topic in WIP: Model Cars
The wheels you're showing are the Fujimi ones, not Tamiya. Tamiya wheels do not have the lug bolt feature (at least none of the one's I've had/seen) -
I'm assuming a 57 Chevy is too narrow in the pod area and the sweep at the ends is a bother
-
That was option 1. And it is what is used for the sides of the bed.
-
New Project – Revell 1969 Camaro Pace Car
Exotics_Builder replied to Exotics_Builder's topic in WIP: Model Cars
I haven't worked on it for a few months because of another project. Just painted the body and started to do first clear coat prior to doing decals. The problem is that the Revell decals (and Fred Cady decals of which I have one copy) are too orange on the stripes. Keith Marks' decals are much closer (reddish orange akin to Hugger Orange). I now have those decals and plan on getting back at it. -
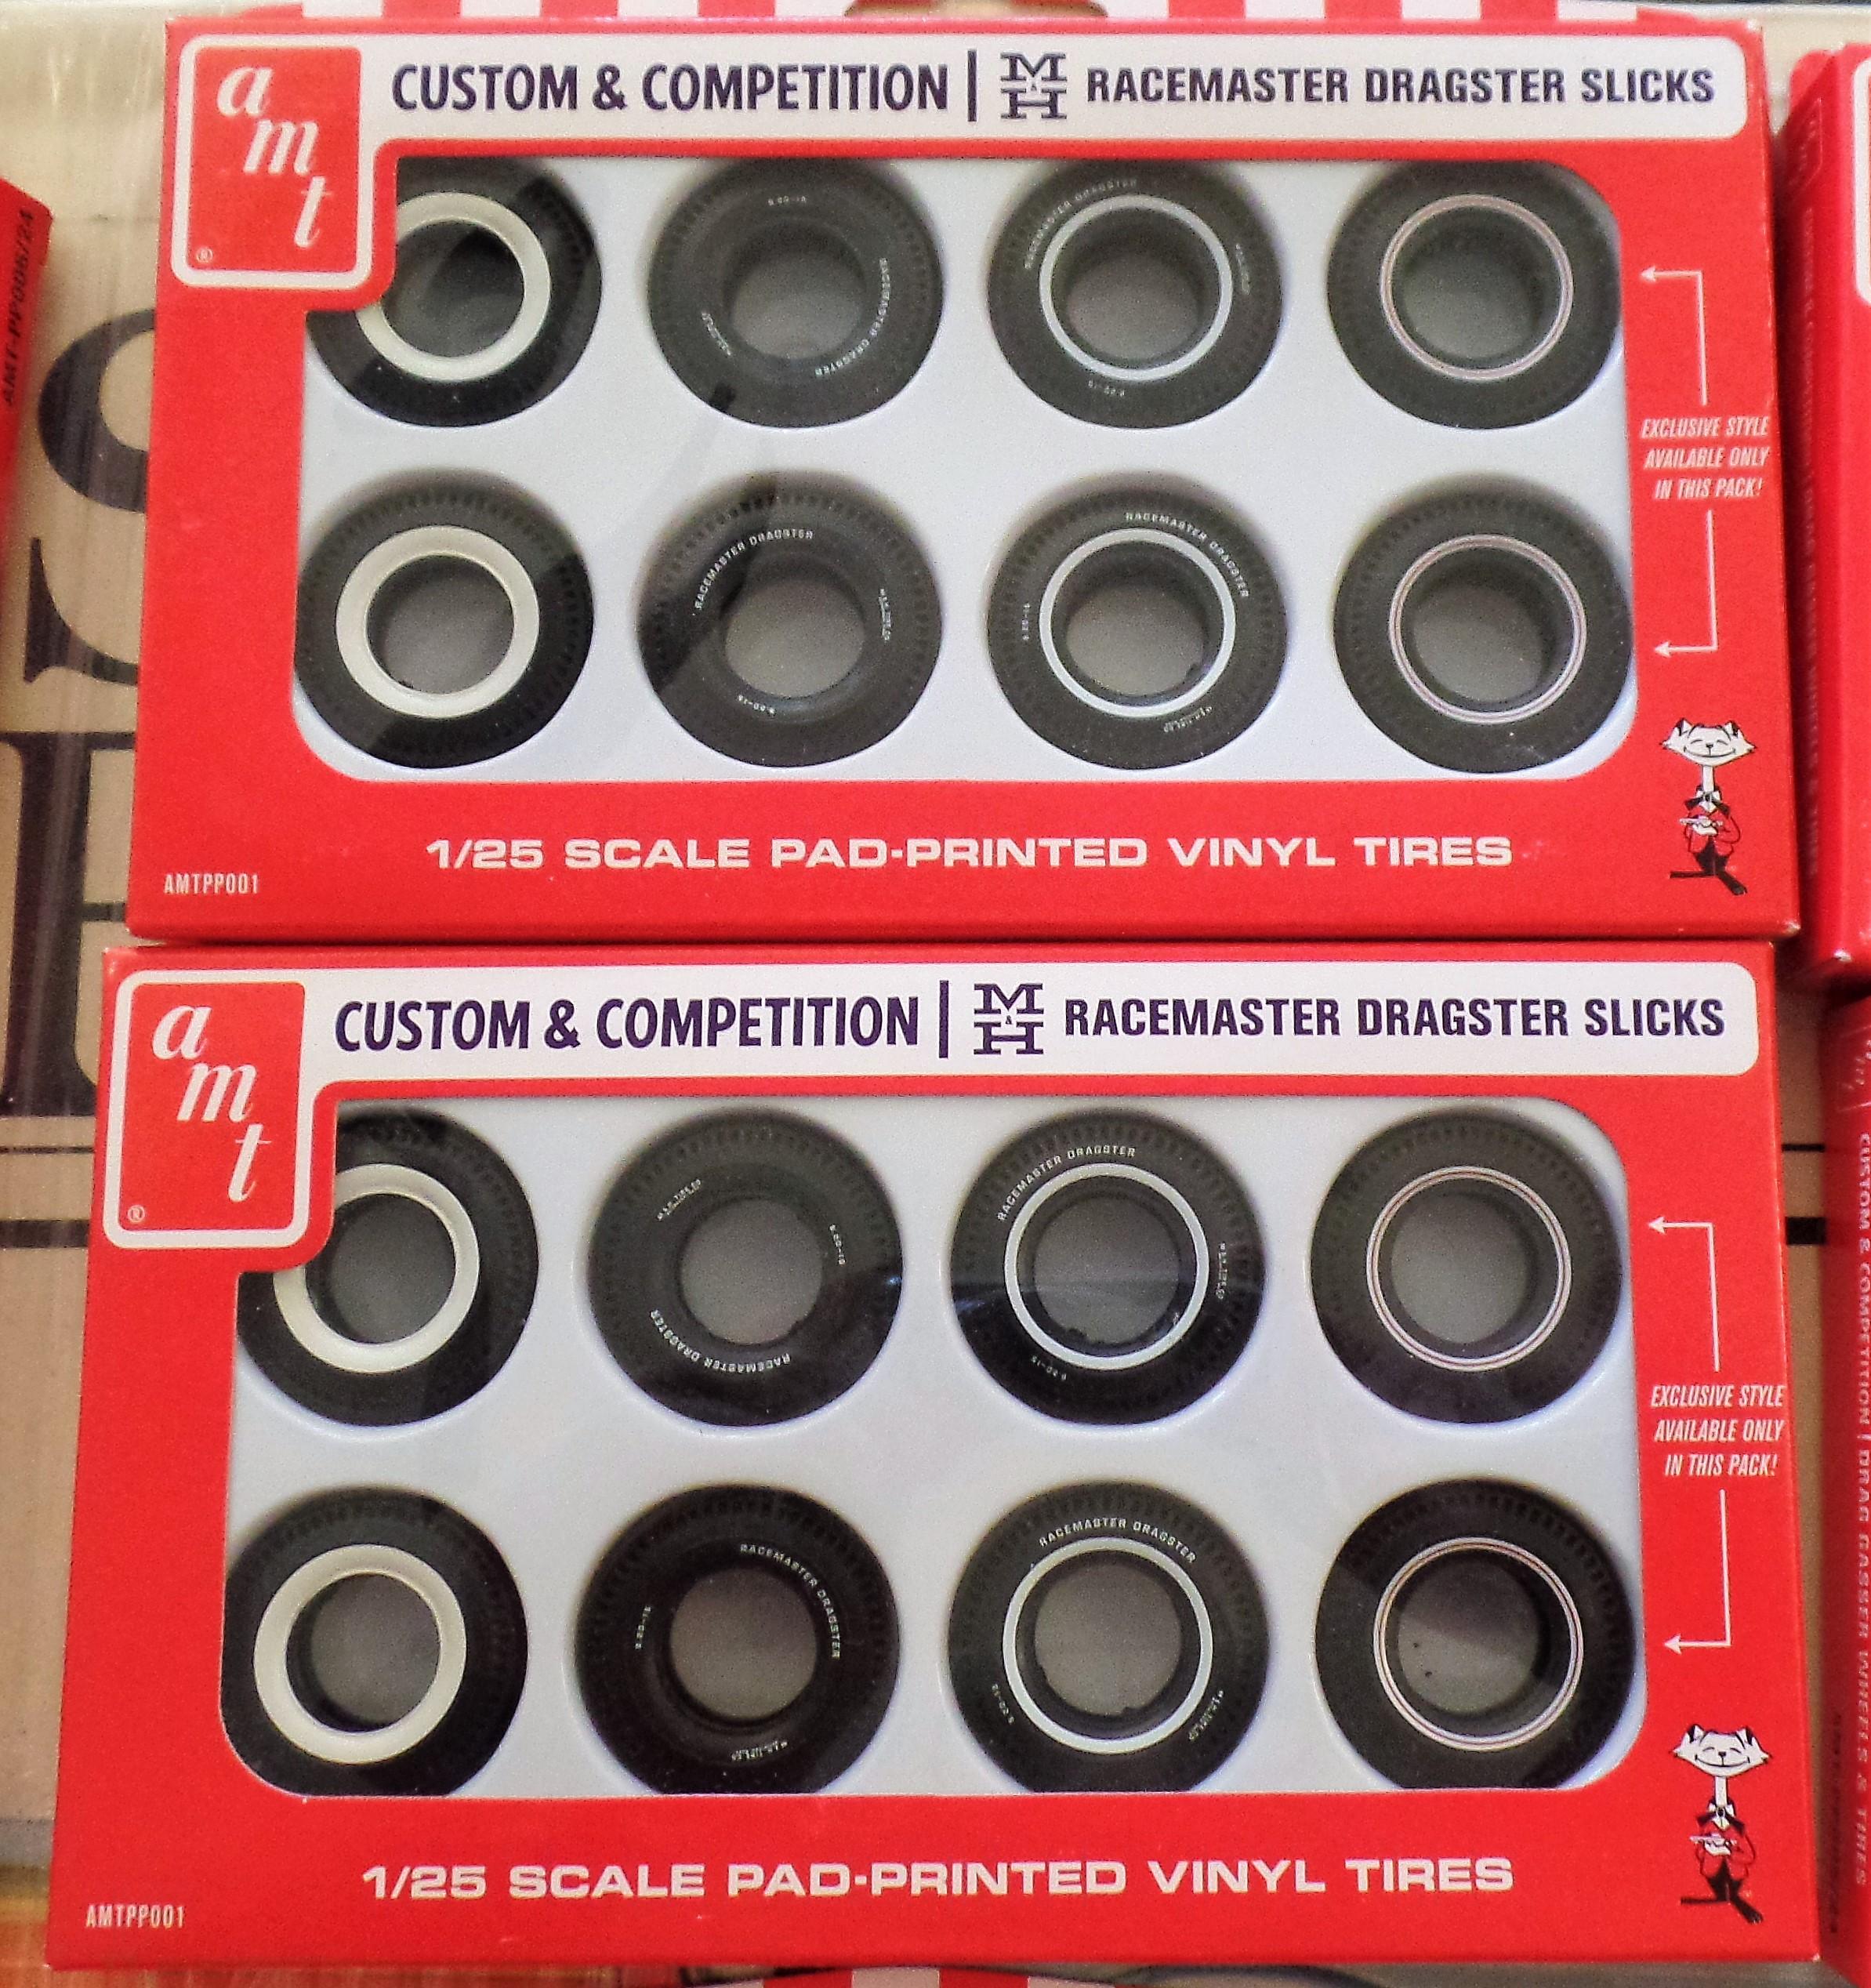
Inglewood White Wall Pie Crust Slicks
Exotics_Builder replied to JPolli's topic in Model Building Questions and Answers
AMT M&H Slicks Parts Pack has a whitewall set
-
Correct based on my check. 66 custom pieces a lot lighter than 65 (same with coupe). 66's did not come with the advanced custom pieces as depicted for this 65 I went down and checked my original unbuilt 65's (convertible and coupe) and 66 (coupe) to confirm
-
Interior seats almost done. A little cleanup and then the door panels.
-
Alpha Models Ferrari GTC4Lusso - Update 8/23/2022
Exotics_Builder replied to Exotics_Builder's topic in WIP: Model Cars
Color Coat applied. Next is clear coat and starting the interior and wheels/brakes.
-
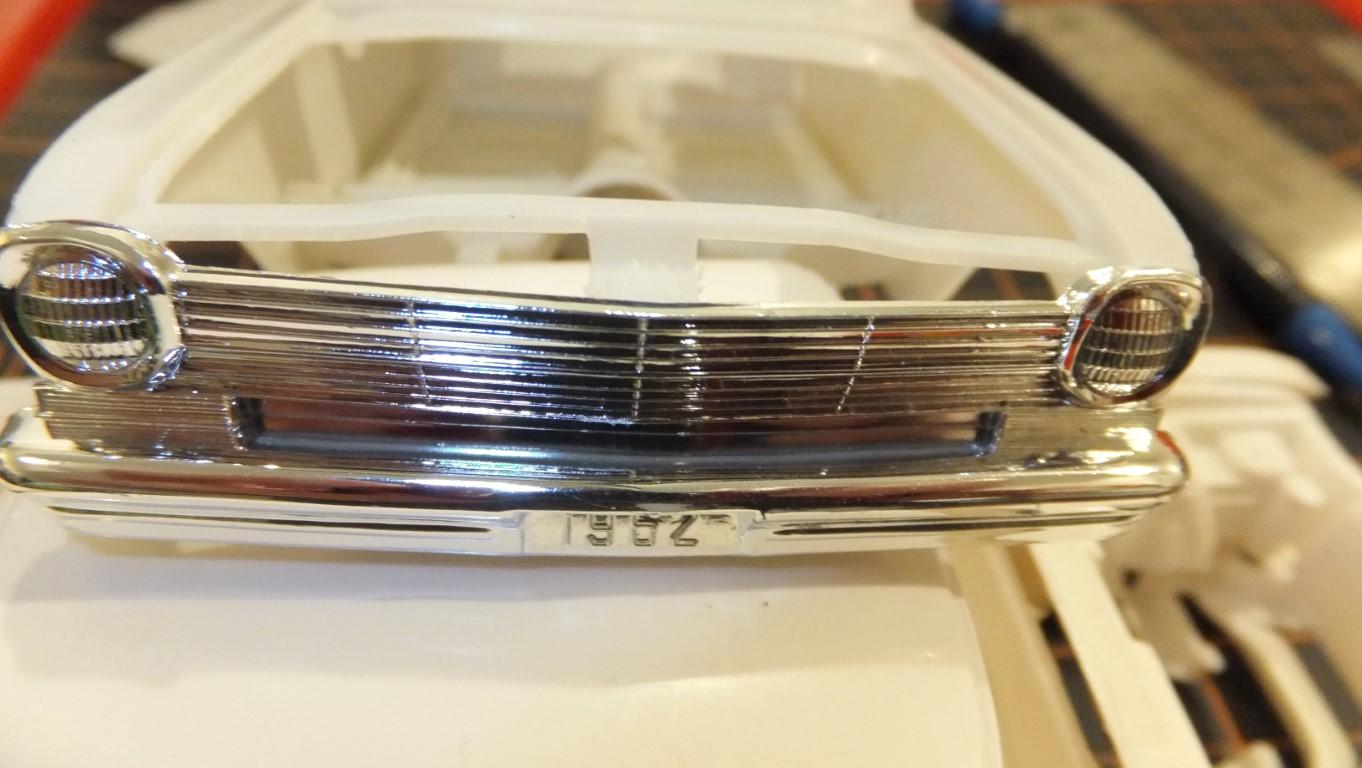
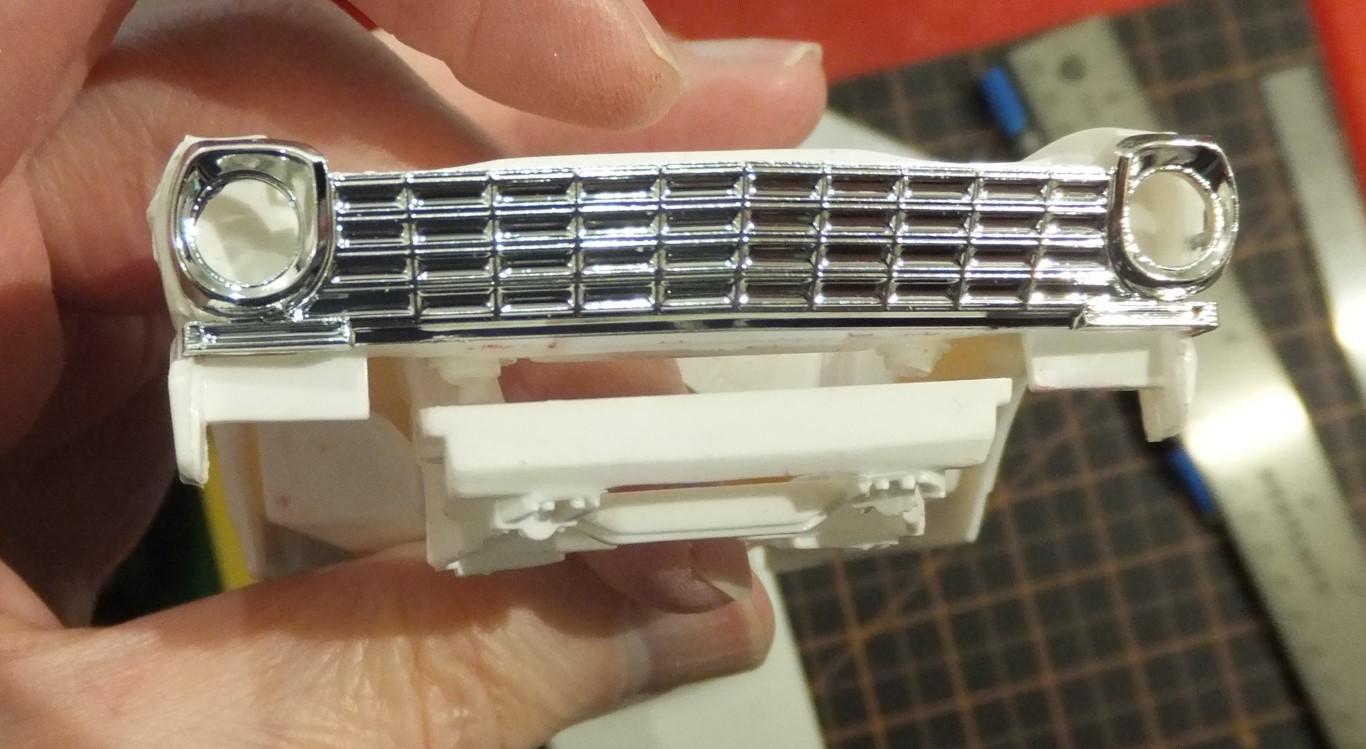
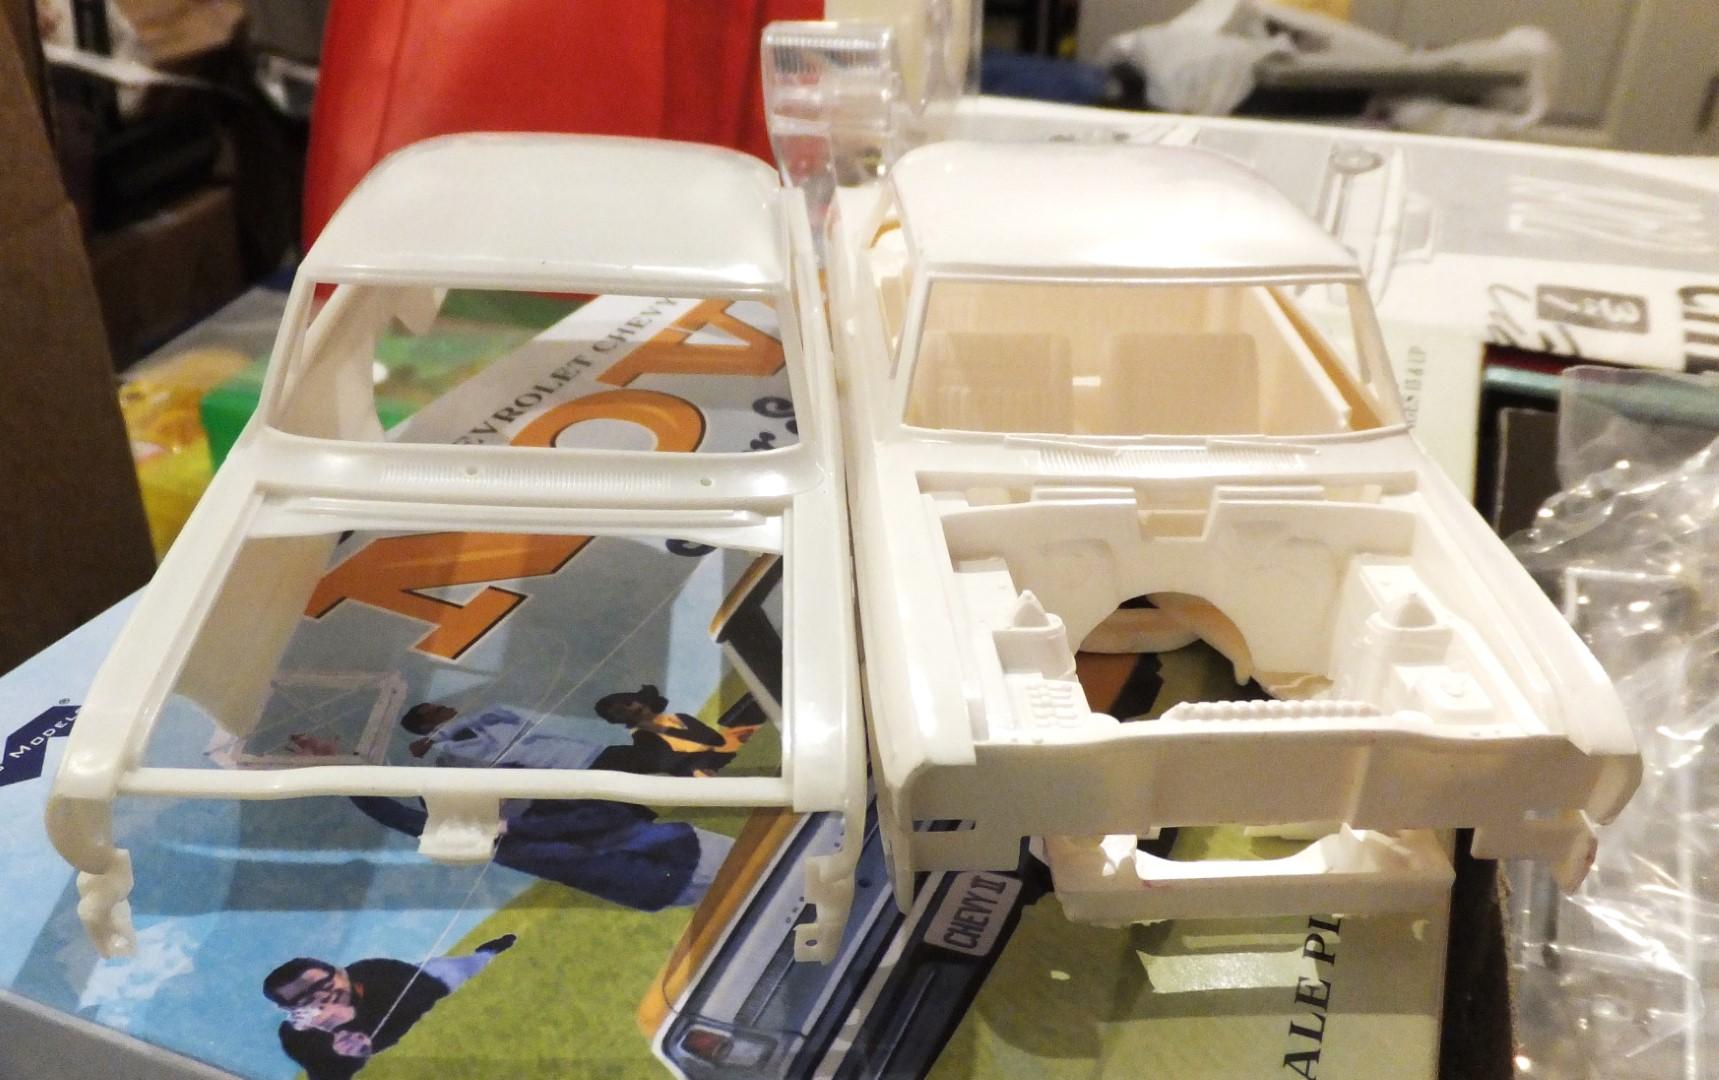
Overhead view (AMT on left) Hood interchange between Moebius and AMT. AMT has a tab in the middle of the hood that appears to keep it from sliding forward, so won't lay down as well (and I am not cutting that tab off) Side View (vertical flip copy as well) AMT grill on Moebius Moebius grill on AMT (some pins are not allowing better fit)
-
1/25 AMT Y-193 '69 Camaro Kit History & Evolution
Exotics_Builder replied to Casey's topic in Car Kit News & Reviews
Uses the Revell 69 Camaro kit as the donor
-
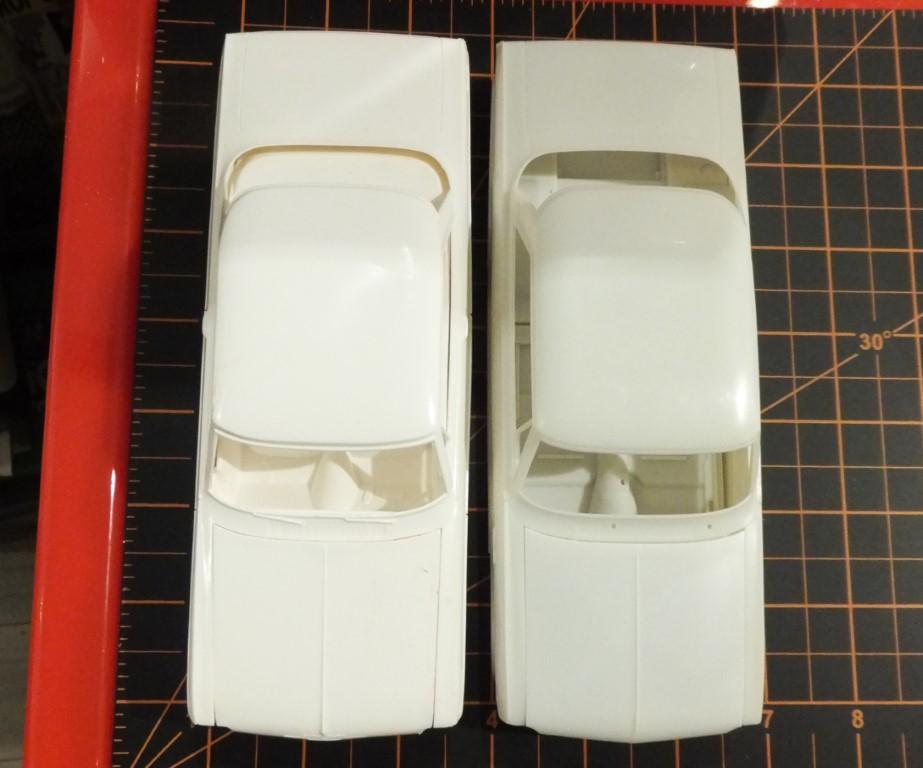
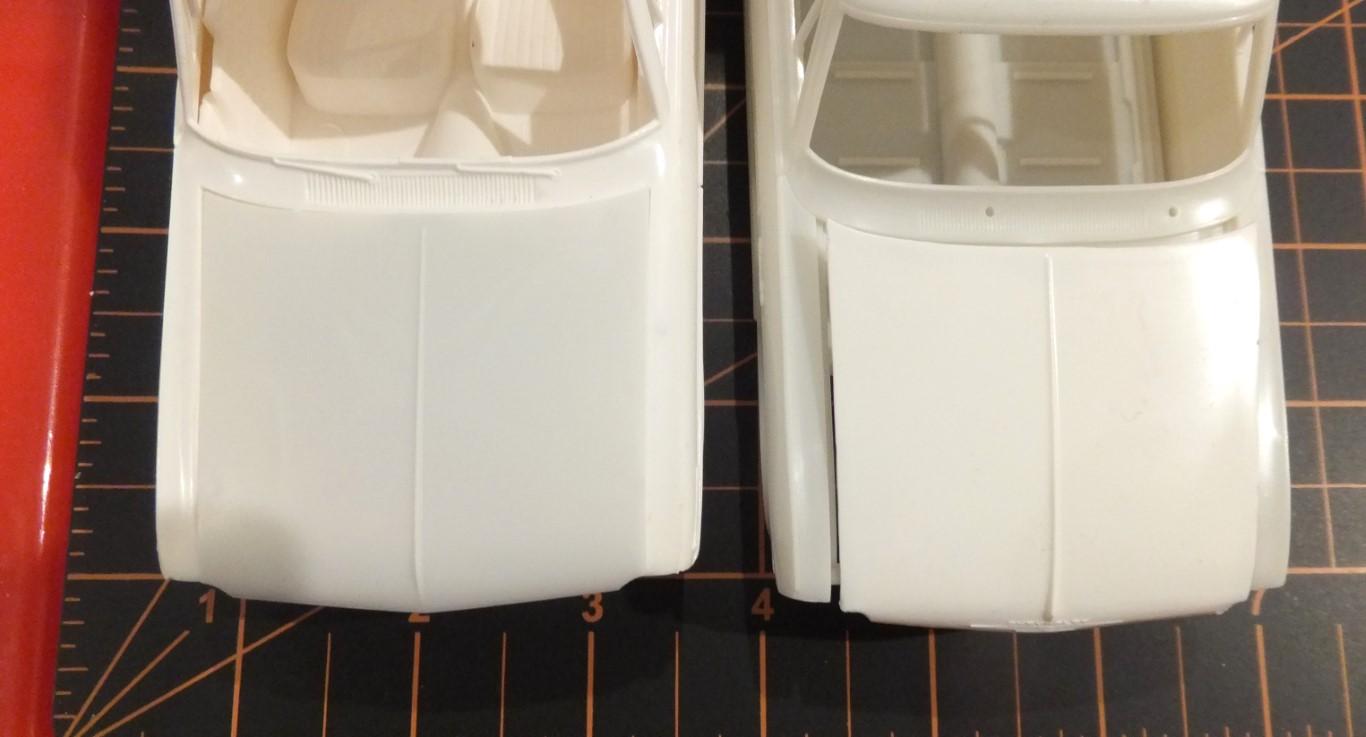
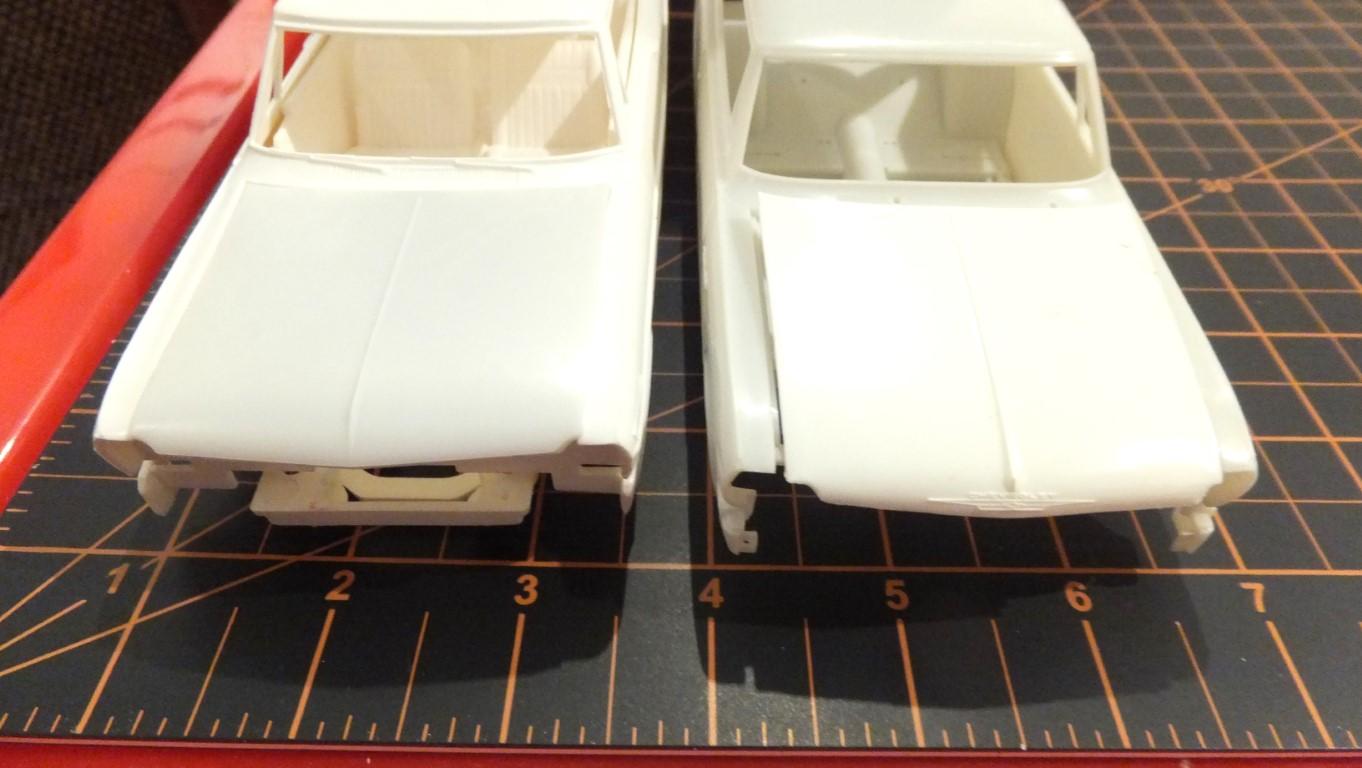
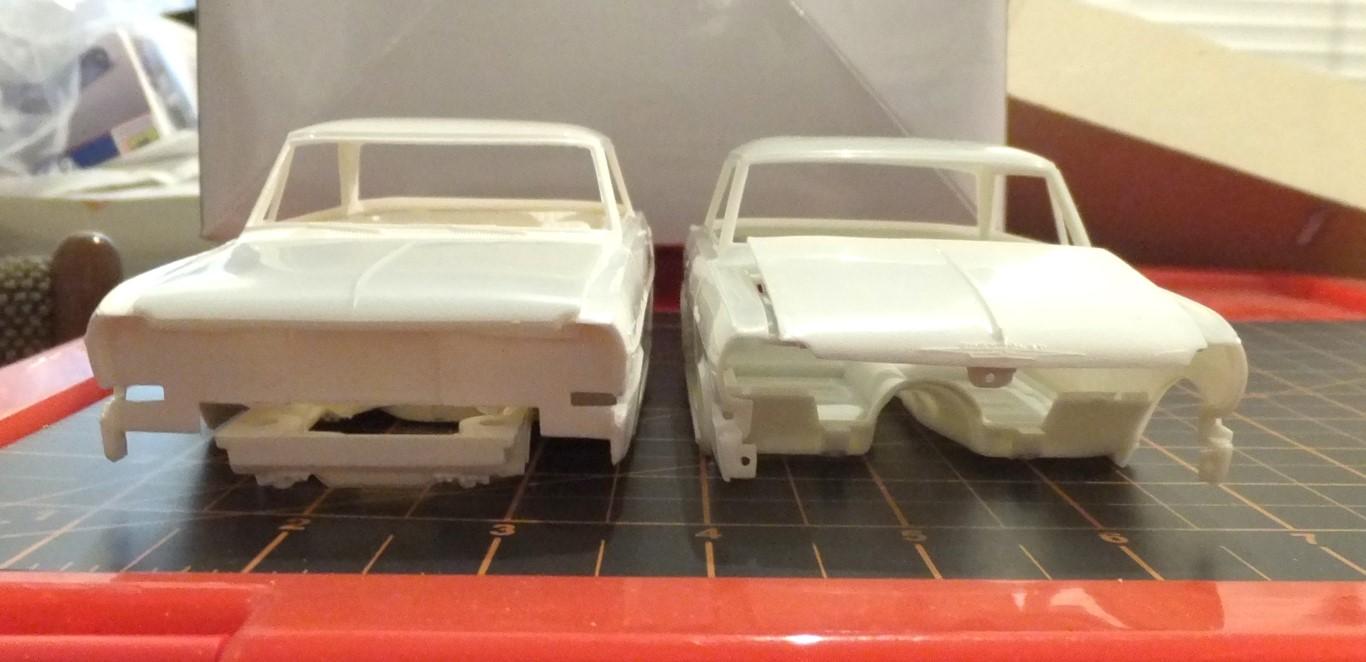
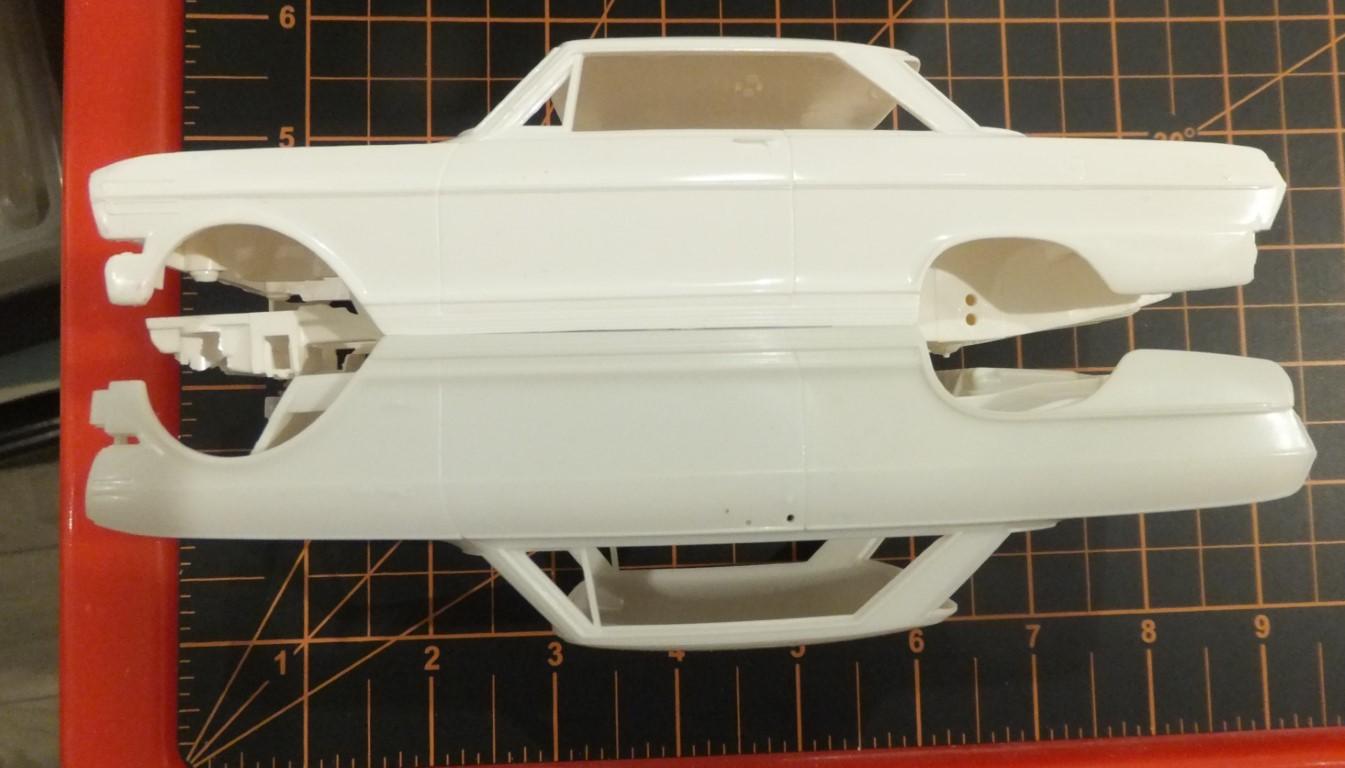
Moebius 64 and AMT 62 Novas. Off white is AMT
-
Got the first white primer coat on the body. Needs a couple of tweaks before final primer. Then Tamiya Base White will be applied before Bob's Paint Creme Brulee. Started on the interior, taking the custom interior of the Revell 59 2n1 and merging into the AMT interior. I also cut out the door panels and will use the Revell panels as well. Still more work to go on this.
-
Alpha Models Ferrari GTC4Lusso - Update 8/23/2022
Exotics_Builder replied to Exotics_Builder's topic in WIP: Model Cars
Got the last white primer coat on the body. Color will be Splash Paints Zeus Bronze (a Corvette Color that seems close to a photo I saw of a bronze GTC4)
-
Just my Moebius 64 Chevy Nova and did a quick compare to the AMT 62. They compare well, so I can use parts from either.
- 39,276 replies
-
- 2
-

-
- johan
- glue bombs
- (and 1 more)
-
1/25 Revell '69 Chevrolet Camaro SS 396
Exotics_Builder replied to Casey's topic in Car Kit News & Reviews
It had the 68-69 "ice cube tray" inserts? Stock 67's had a different insert like the 69 Nova SS hood. I am not familiar with any Canadian differences in trim, so I ask. If Revell offers the hood so the inserts are separate, you could get the inserts from the Nova to be correct. -
I actually test fitted and it can be cut down to fit. I'll show it later. I was able to trim the rear as well.
-
He does business through FB only now. He HAD a website years back.
-
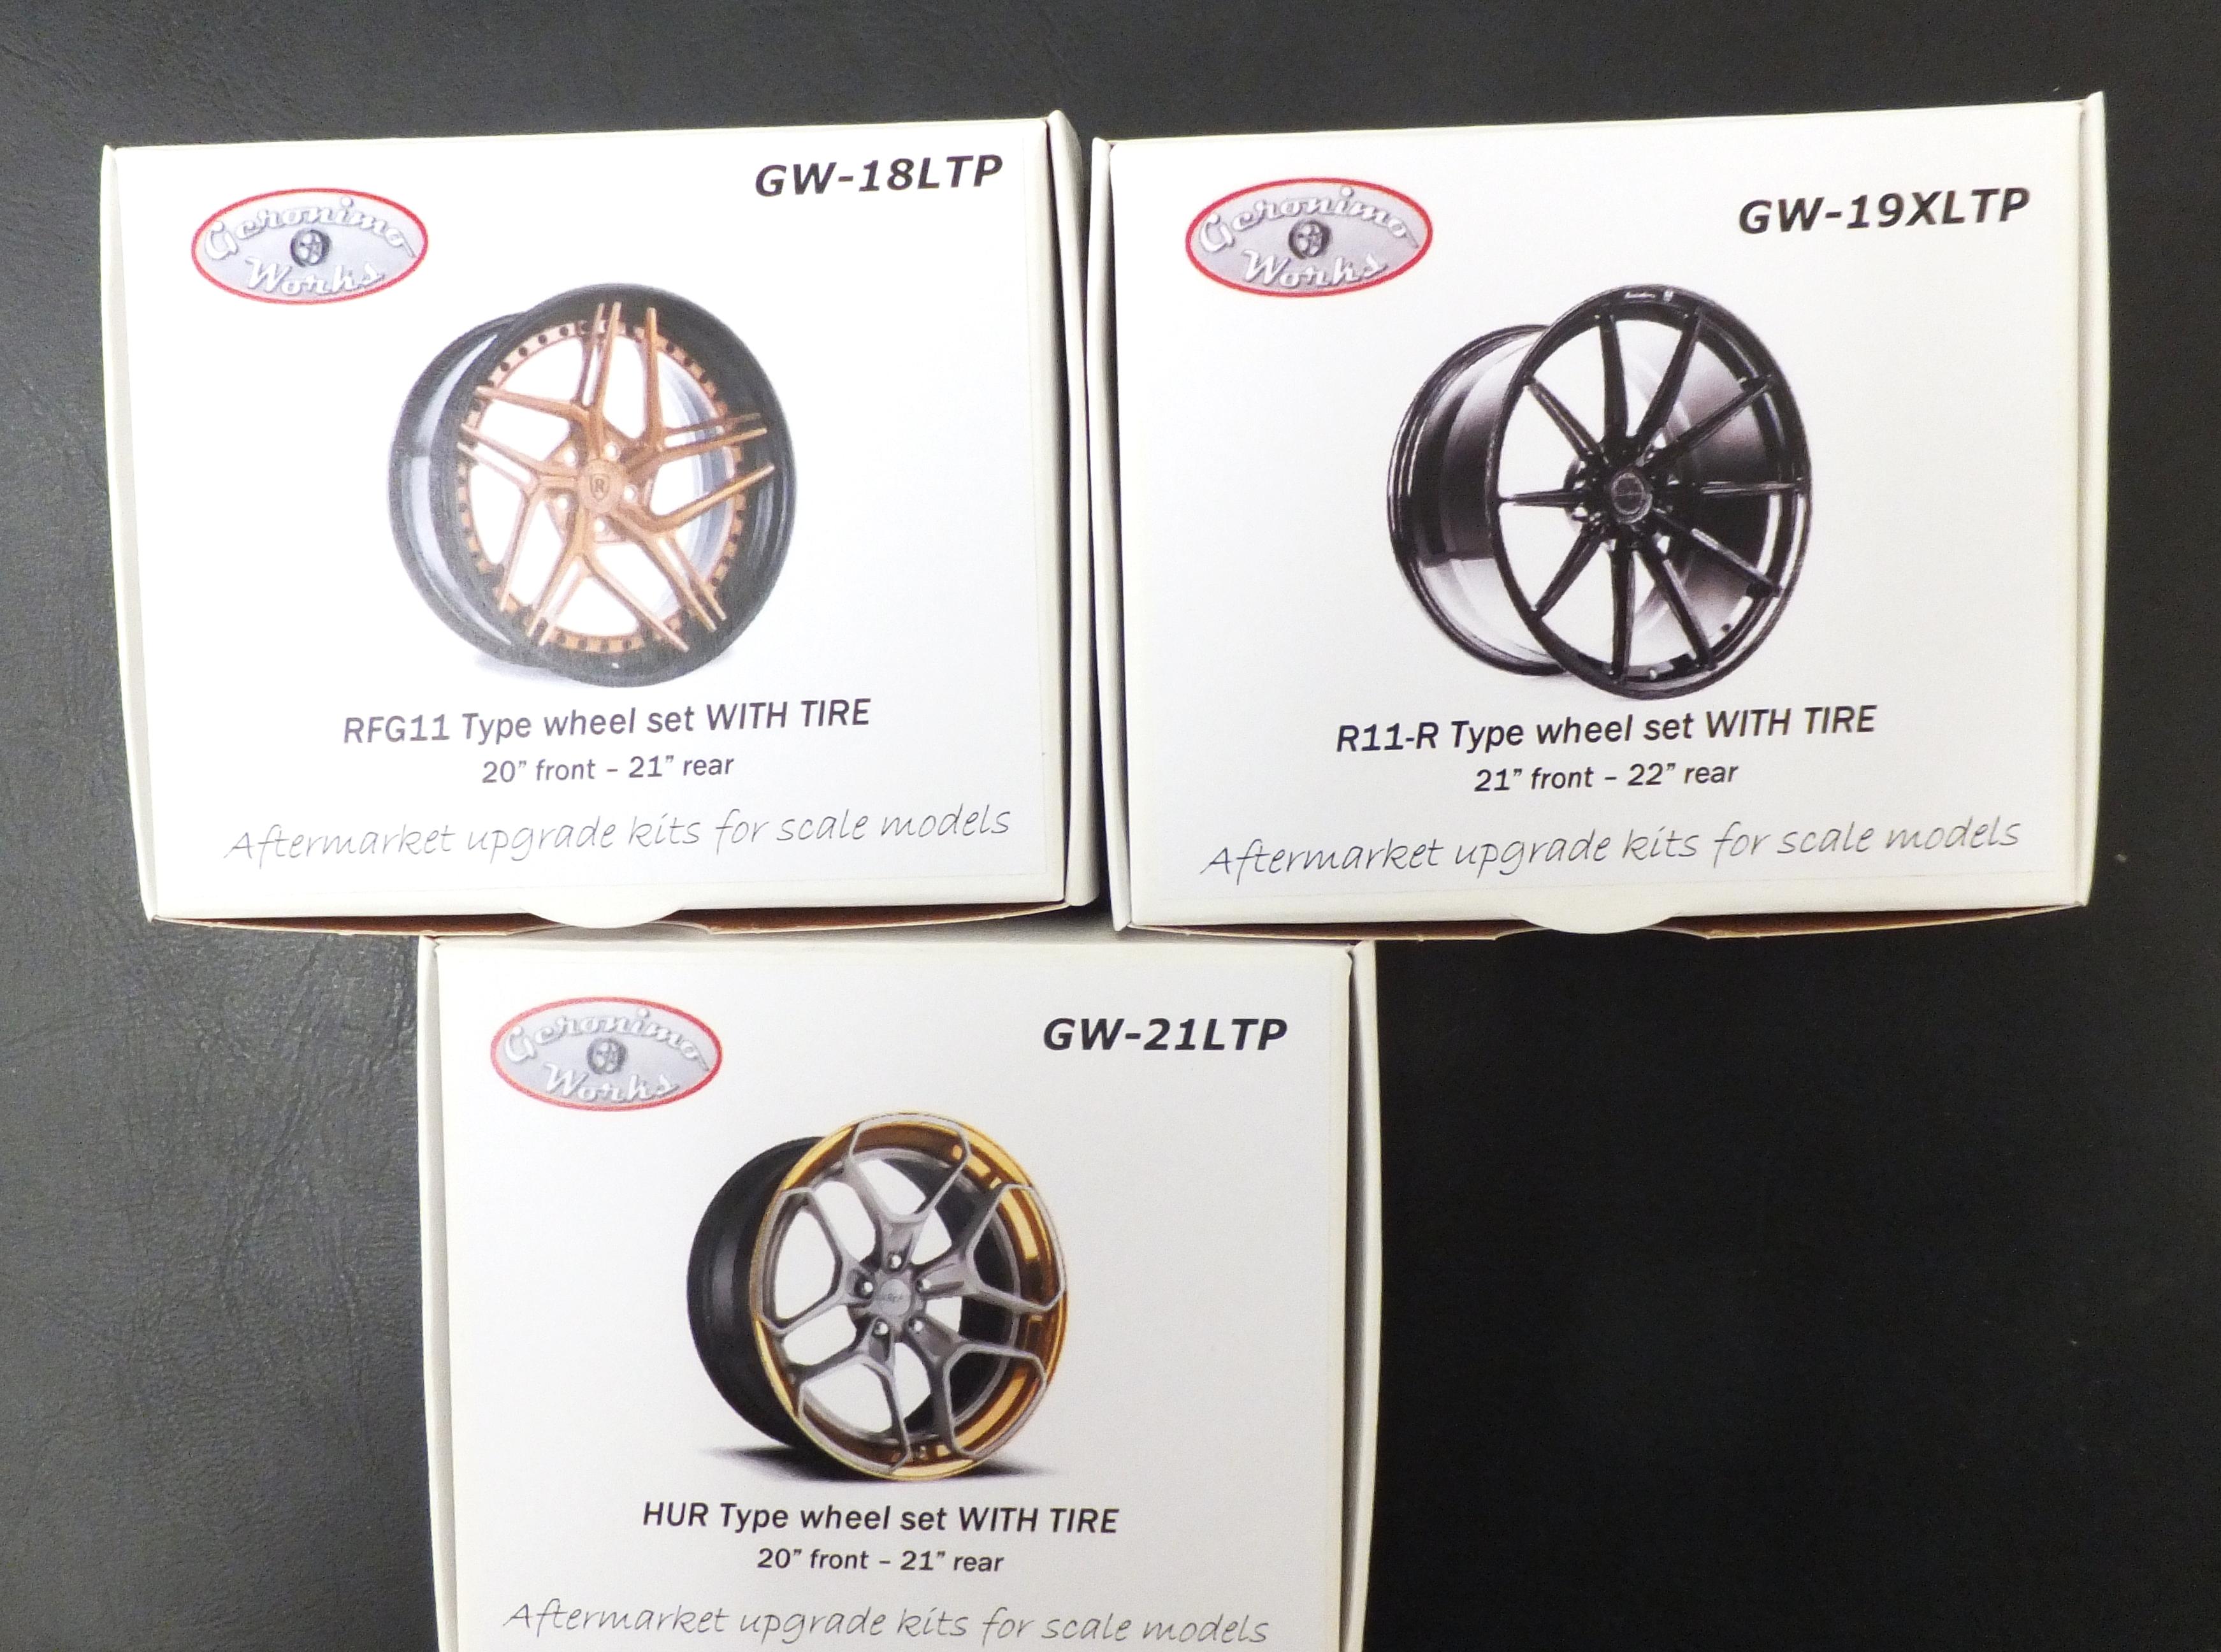
My order from Geronimoworks arrived today. One of the Center Lock wheel sets will go on a LaFerrari in the planning stage. His work is like fine jewelry. These are 1/24 scale.
- 39,276 replies
-
- 1
-
-
- johan
- glue bombs
- (and 1 more)


.JPG.3c3bac3aad8014b726dfa9afd6abe355.JPG)

.JPG.7f695930860fa35b5834d6ba243103e1.JPG)
.JPG.b5c846bf3cfe01977a967072113b5e33.JPG)
.JPG.bd2e304f78743cd7ed1b3d29dc5f5c44.JPG)


.JPG.a713382e7e8e93194c6d8063ce981aae.JPG)
.JPG.206ca270f7de094efe7ae995d7d402ab.JPG)
.JPG.ca9830cd17e2b70dbbd08b86c65167d4.JPG)

