LDO
-
Posts
3,160 -
Joined
-
Last visited
Content Type
Profiles
Forums
Events
Gallery
Everything posted by LDO
-
What is the value?
-
Another bargain 612 Scaglietti. Different box, all parts molded in white. It’s such a nice looking car 👍🏻

- 39,241 replies
-
- 6
-

-
- johan
- glue bombs
- (and 1 more)
-
??
-
I wish I had something to trade. Is that company still in business? I couldn’t find it.
-
I’ve wanted one of these for a long time. This one is a bargain (relatively speaking). It looks like the body has been painted…unless it was molded in blue. Cool car and very hard to find model.
- 39,241 replies
-
- 5
-
-
- johan
- glue bombs
- (and 1 more)
-
This is a side for Thanksgiving dinner. We’re celebrating today, because my brothers have been out of town. Cornbread with everything. It’s moist and has cheese, jalapeños, and bacon. My first time making this recipe. That little sample told me it’s everything I wanted. I tried coming up with my own recipe several times and it never worked. I finally just googled “moist cornbread with jalapeños, cheese, and bacon”. Success.
-
You know about the Tamiya 1/12 scale 1970s Dodge van, right? It’s an injection molded body for R/C. It would need an interior. It sits on a monster truck chassis, so you it would need street wheels and tires. A pretty cool canvas for a ‘70s custom paint job. You can find the bodies on eBay.
- 39,241 replies
-
- 1
-
-
- johan
- glue bombs
- (and 1 more)
-
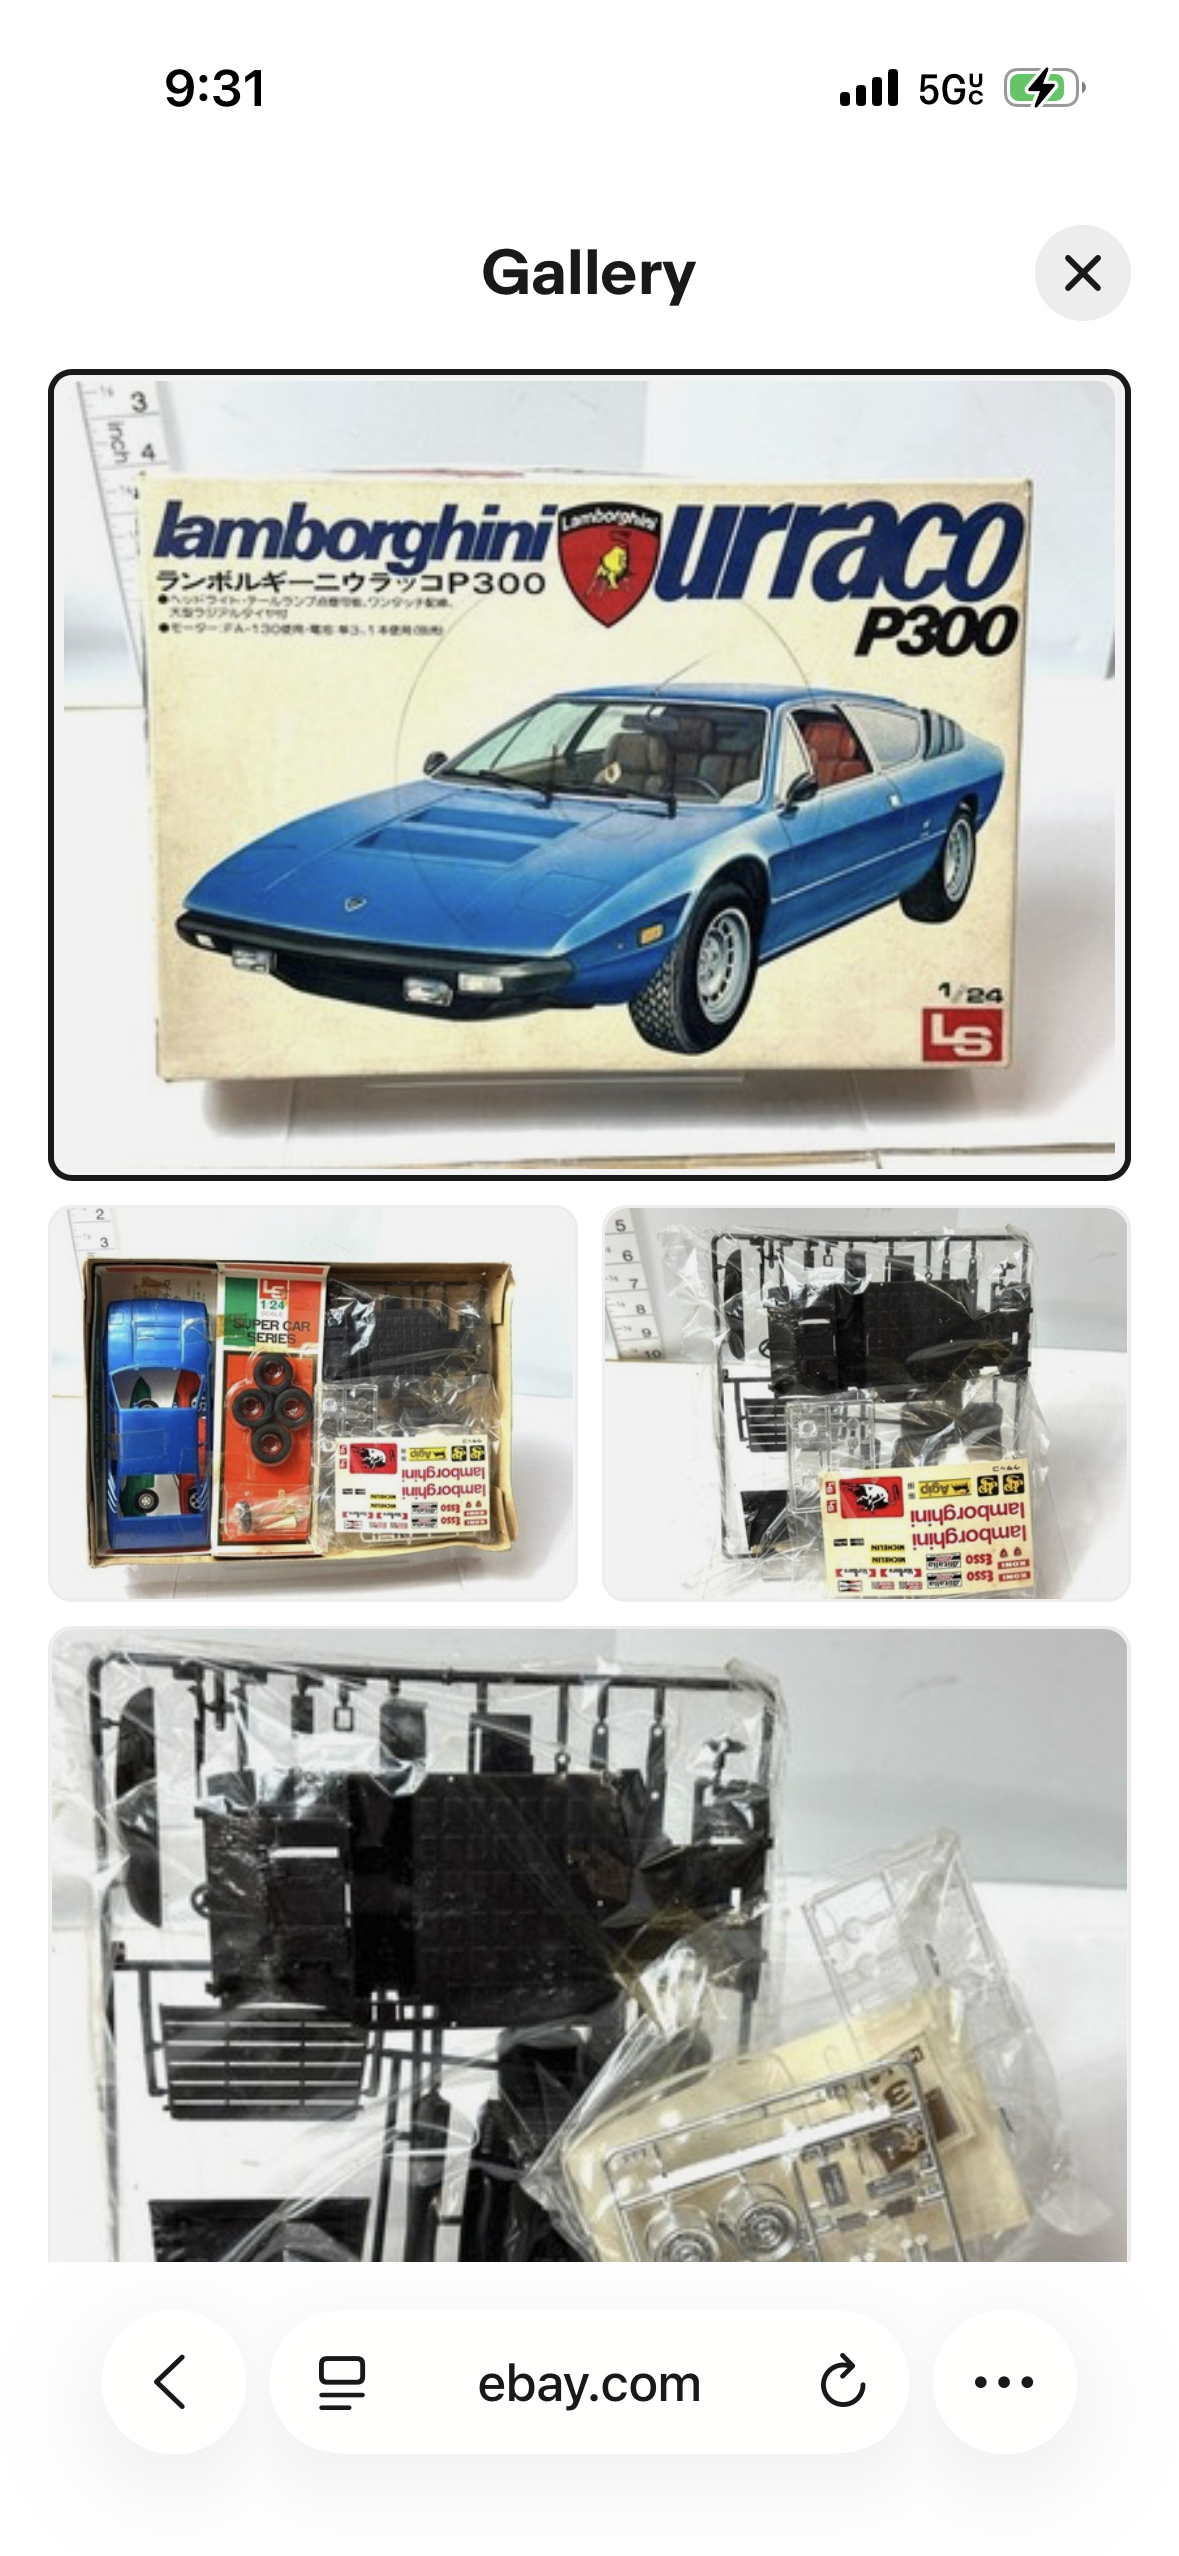
Had to get this version, with everything molded in white. I think it is a very nice looking car.
- 39,241 replies
-
- 5
-
-
- johan
- glue bombs
- (and 1 more)
-
Does anyone make 1/12 scale pro street tires?
LDO replied to LDO's topic in Model Building Questions and Answers
Wow! Thank you. -
Does anyone make 1/12 scale pro street tires?
LDO replied to LDO's topic in Model Building Questions and Answers
I do not have a 3D printer, I wish I knew how to do that. I have looked for custom printing but it’s all Greek to me. -
I haven’t had any luck finding them. Thanks. Lee
-
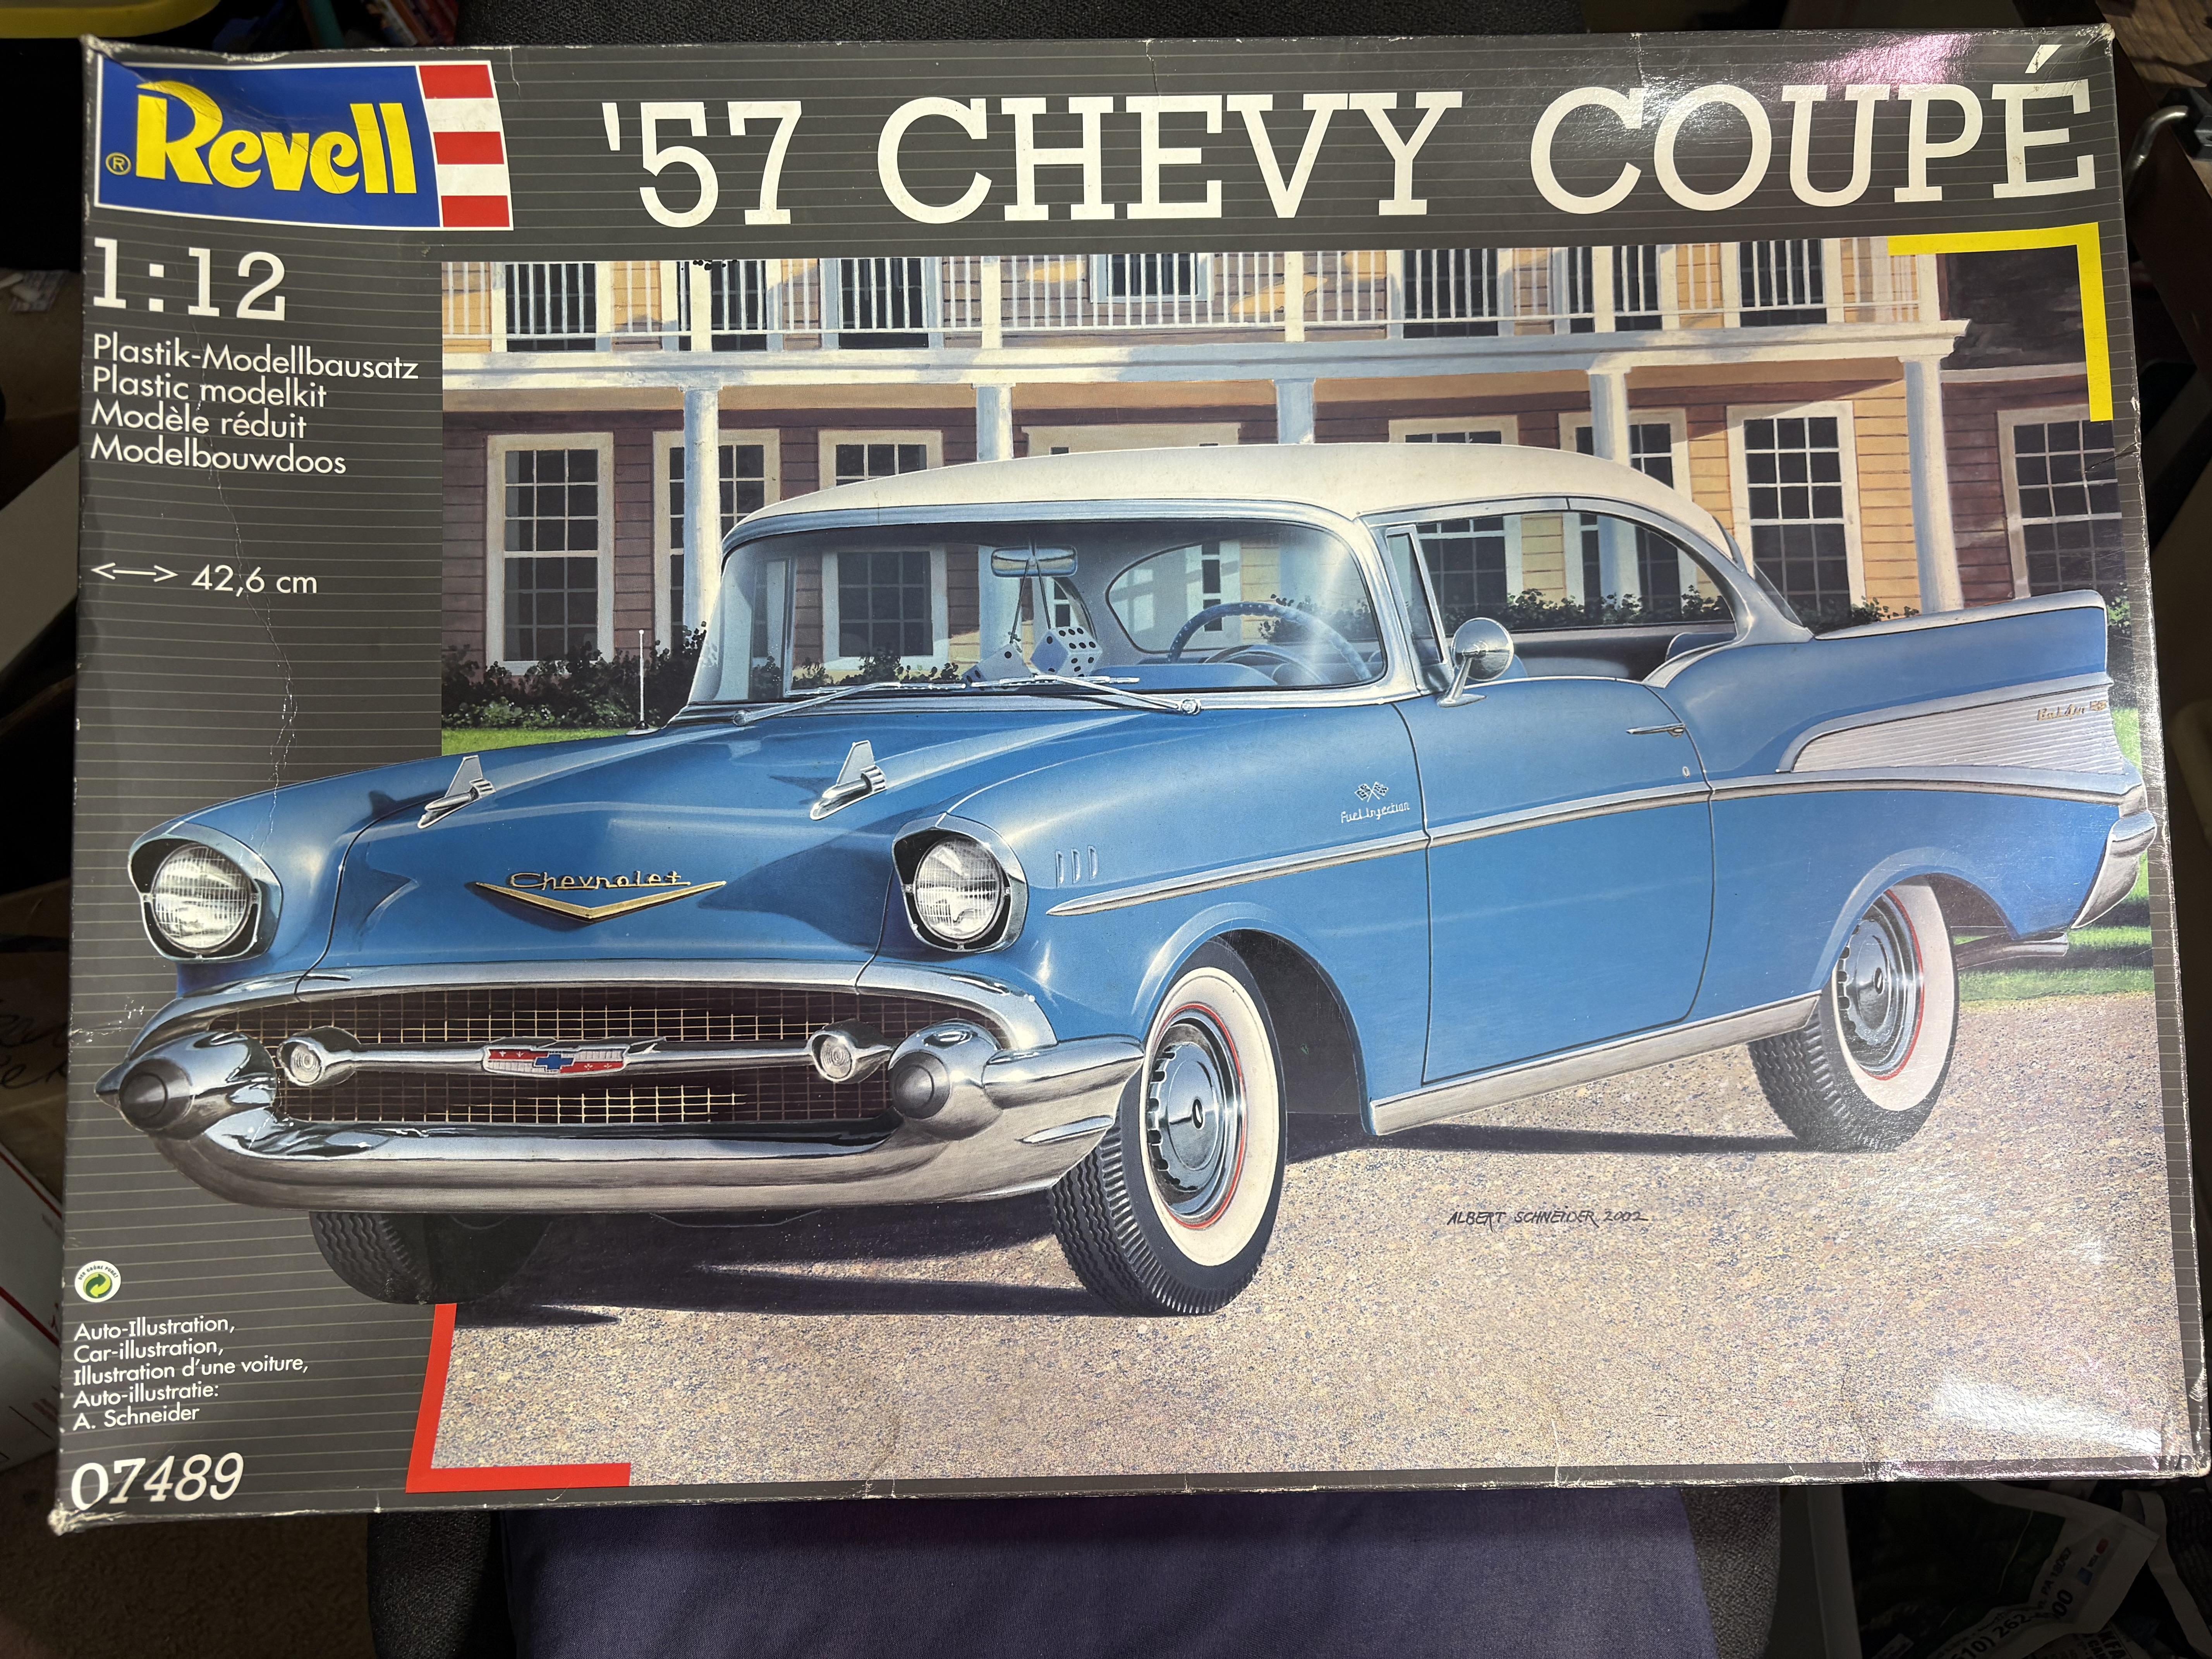
This will be a parts donor for turning the AMT Pro Shop ‘57 Chevy into a pro street car
- 39,241 replies
-
- 4
-
-
- johan
- glue bombs
- (and 1 more)
-
Thai coconut/shrimp soup. The one with lemon grass, cilantro, mushrooms, etc. the recipe is from America’s Test Kitchen and it is super simple. Theirs is with chicken. I made some last night without meat. To my surprise, Mom wanted a second bowl. (Mom lives with me). For her second bowl, she added freeze dried shrimp. Tonight I made a double batch and added shrimp. Oh my gosh this stuff is so good. I have to say that the shrimp didn’t do much for me. I could have it as a vegetarian soup no problem. You gotta try it. It is so easy to make. I like their suggestion to pour the soup through a strainer halfway through. No bits of shallot, cilantro, or lemon grass in your spoon. https://www.americastestkitchen.com/recipes/3326-thai-chicken-soup
-
Way mo cooler technology than a stupid phone...
LDO replied to Ace-Garageguy's topic in The Off-Topic Lounge
Is that legit? Because that would be awesome on an outdoor dinner table. -
Looking for one molded in white. I would like the whole kit to be the same color plastic. The one I found is molded in black. My kit will be a pro street build, so I can trade stock parts if you need them. I would like to keep the stock hood, though. I could try filling the gun sights myself and making a hole or holes in the hood for the induction system.
-
Being thankful for this forum.....
LDO replied to Sledsel's topic in General Automotive Talk (Trucks and Cars)
IMHO, Facebook is a cesspool. Its only redeeming feature the groups. I’m the admin on one. It had been a cesspool of of stupid, pointless videos and I cleaned it up. Facebook is now ruining groups with dumb posts from AI bots. As if all the other clickbait garbage and weren’t enough. -
There was an article on making your own photoetch in Fine Scale Modeler back in the 1990s. I believe it was by either Bob Steinbrunn or Paul Budzik. The subject was an instrument panel for a 1/32 P-47…IIRC. I’ll see if I can find it. Techniques have advanced in 30 years so the article may be obsolete.
-
I’m interested but I’m also just tired of being outraged all the time. I need to build a model. And get a dog.
-
Deleted
-
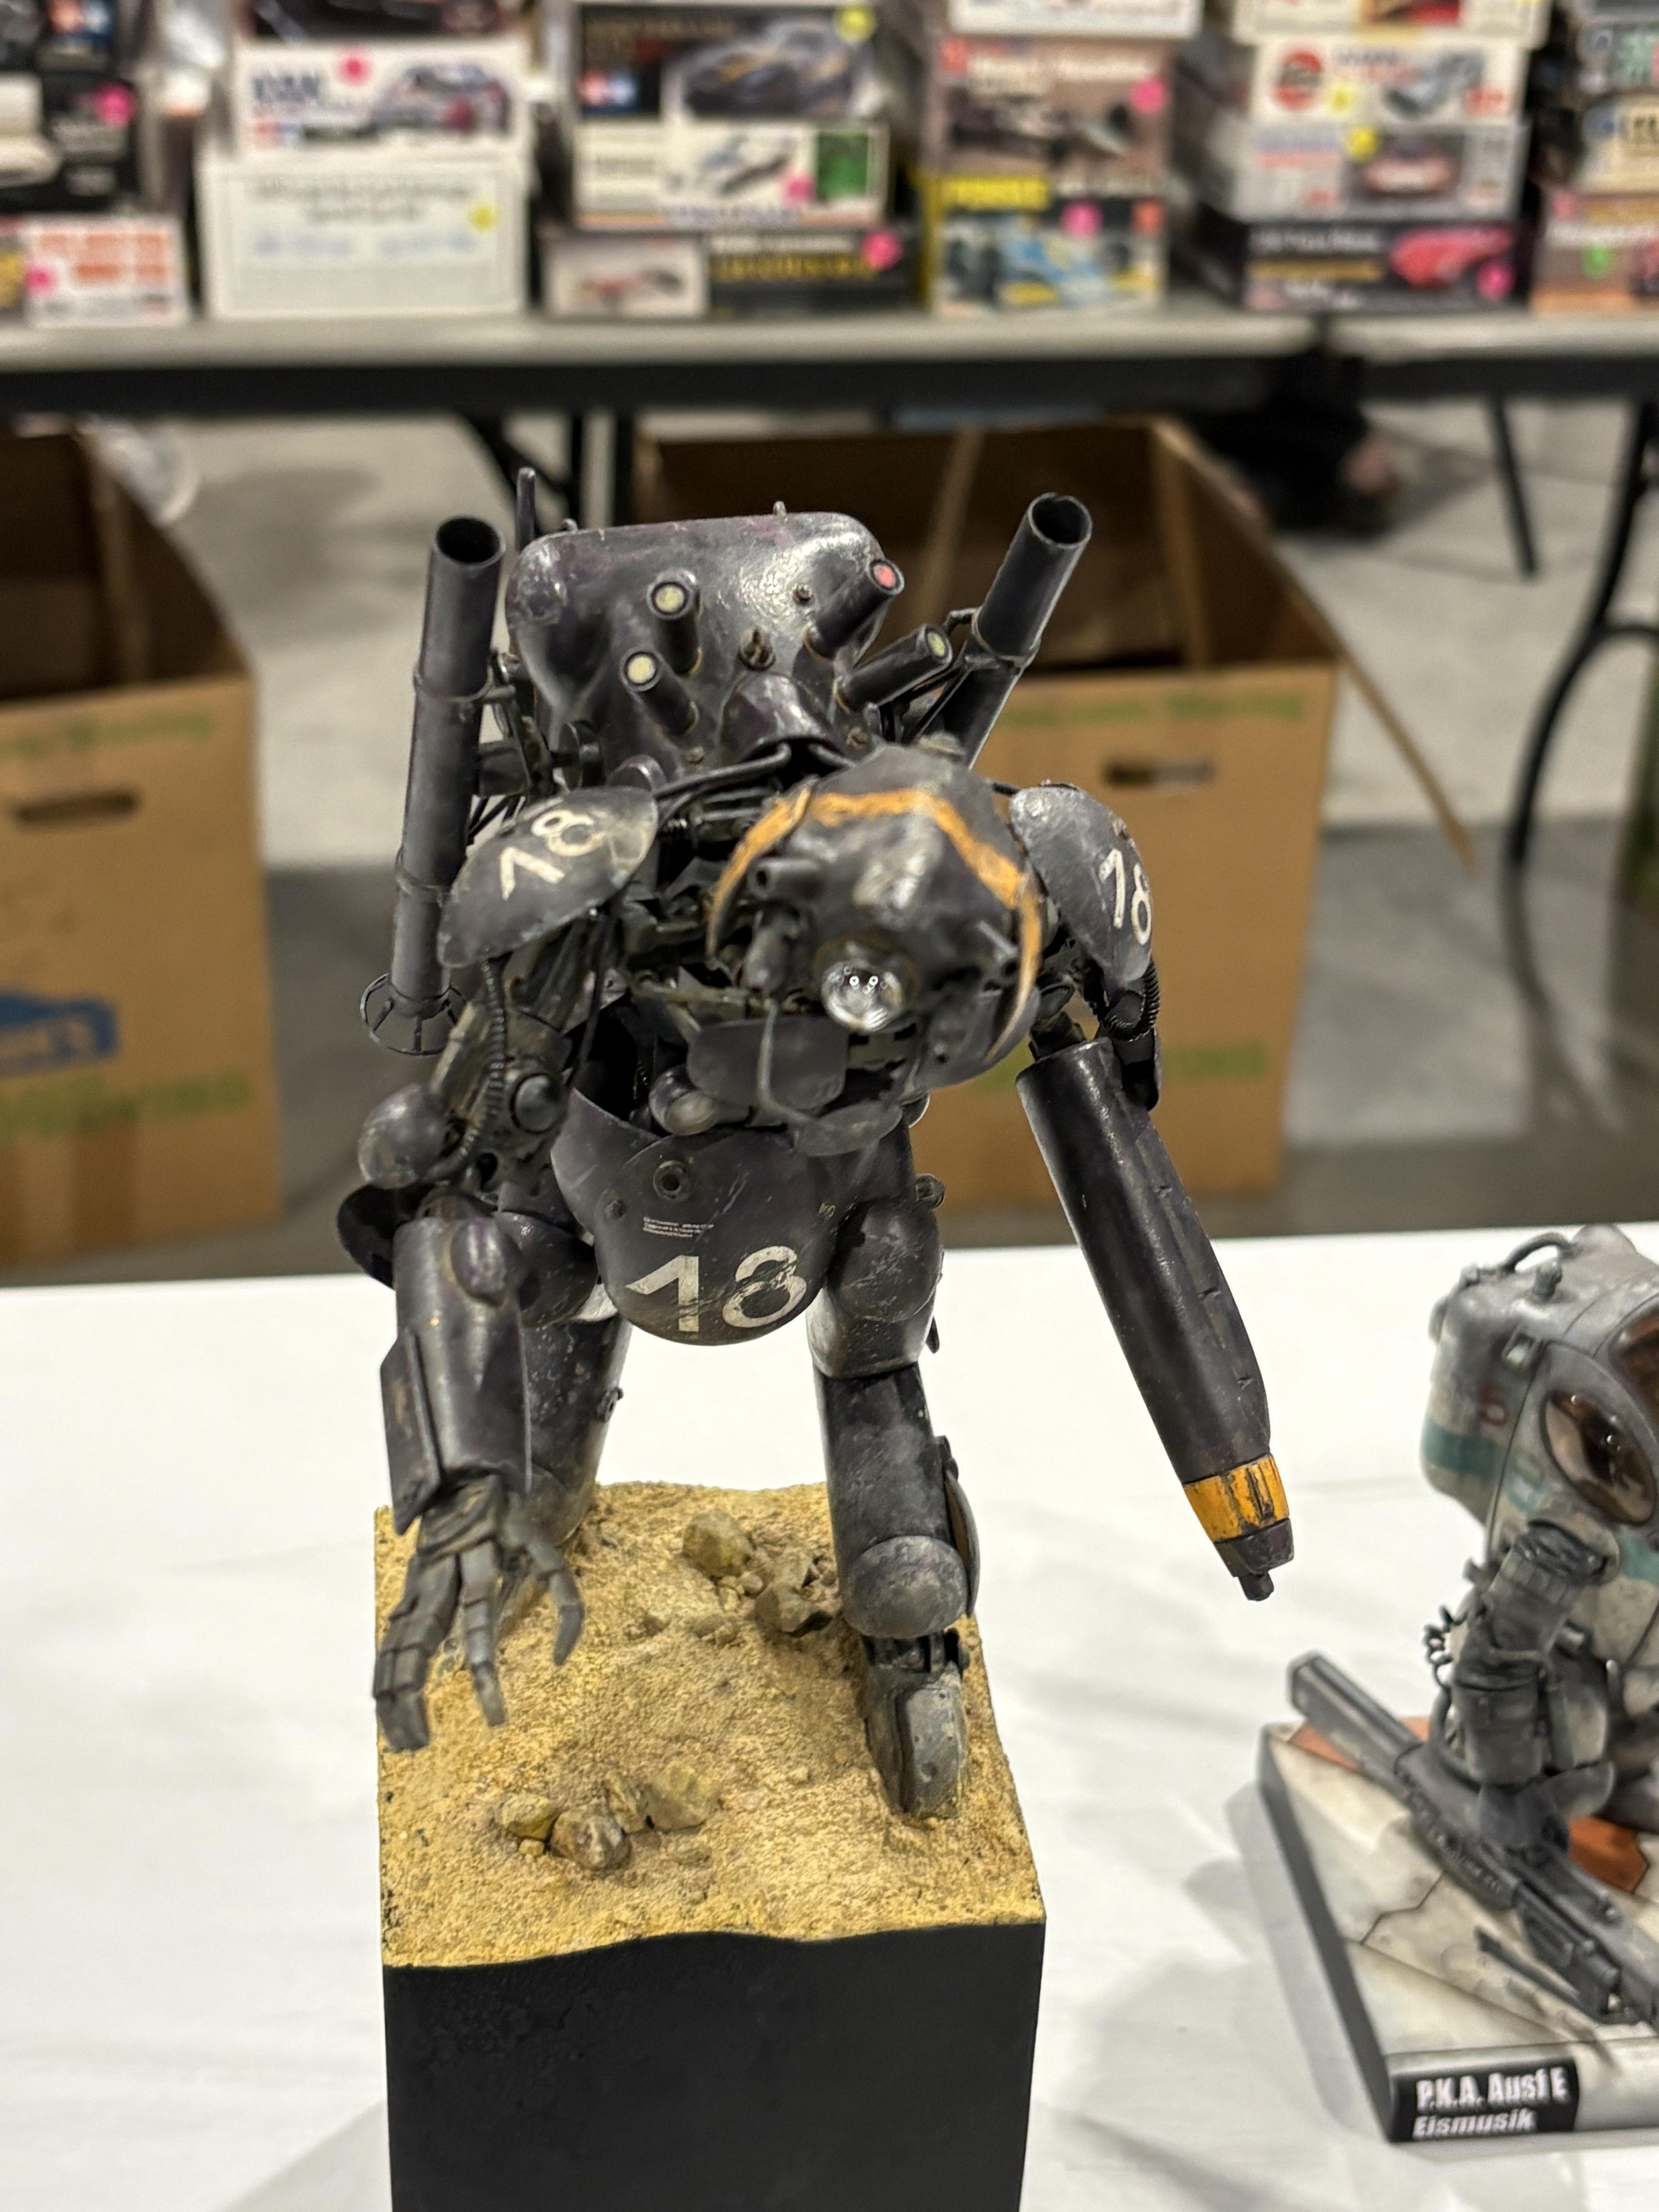
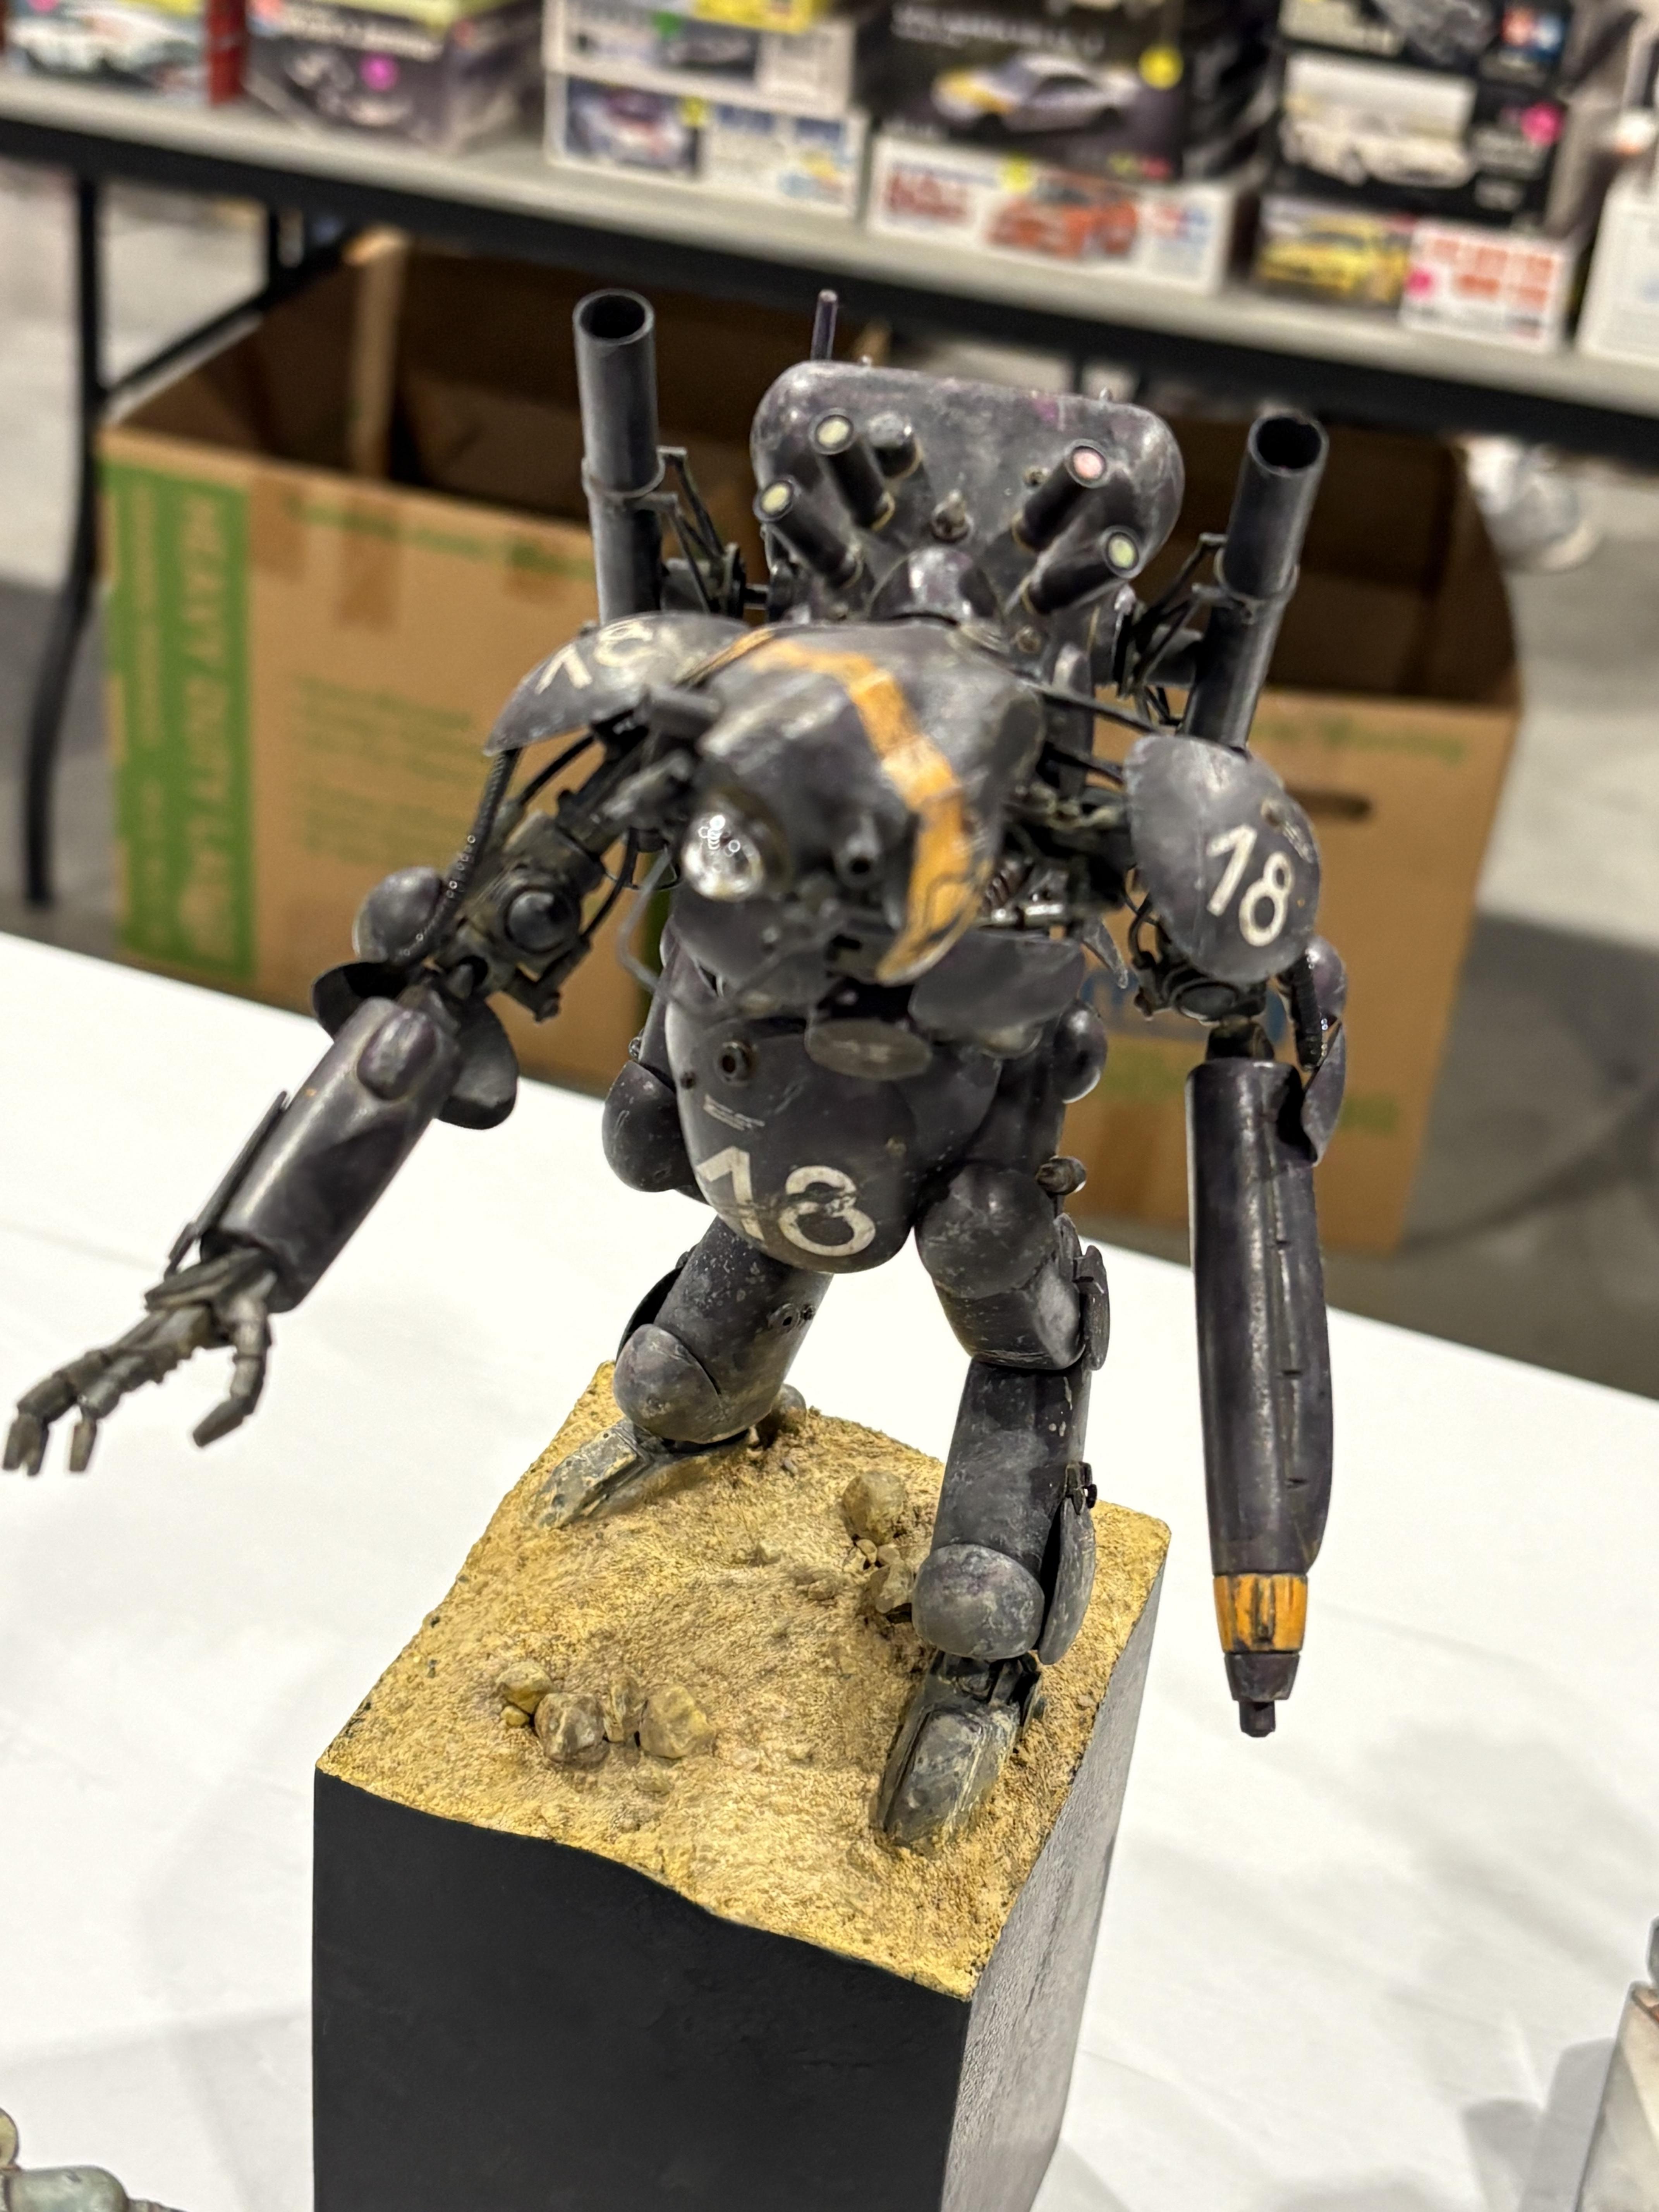
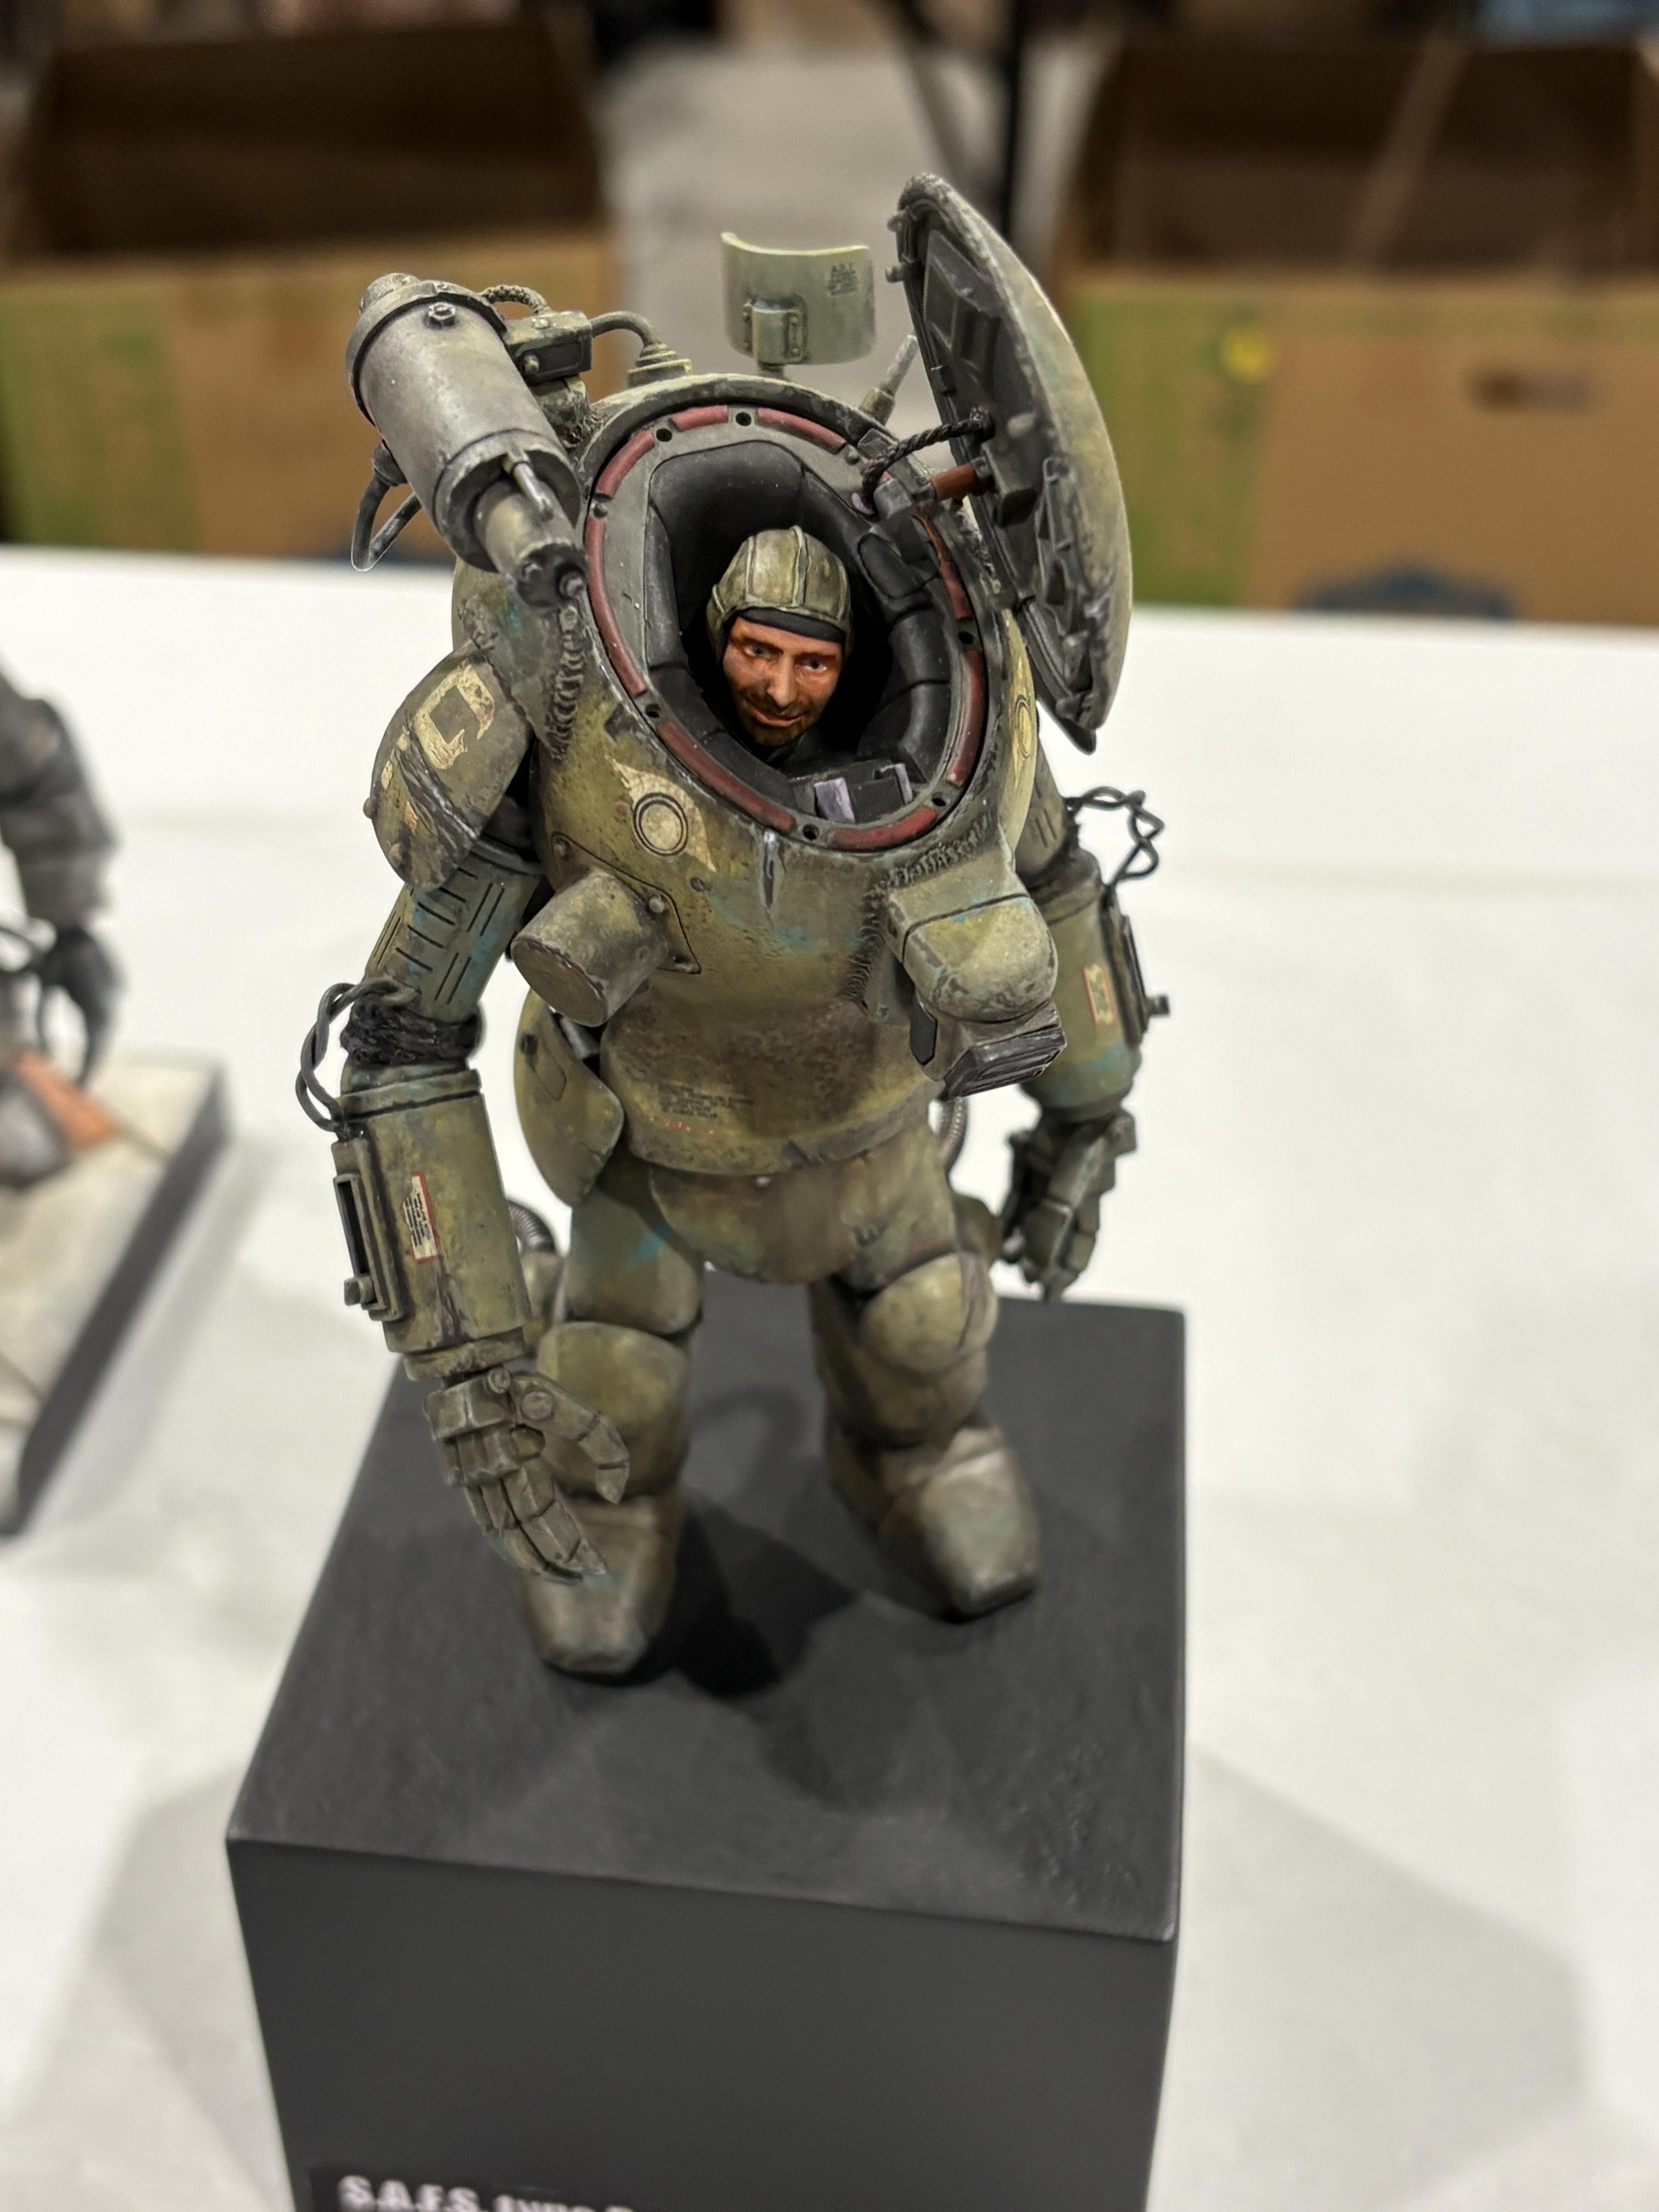
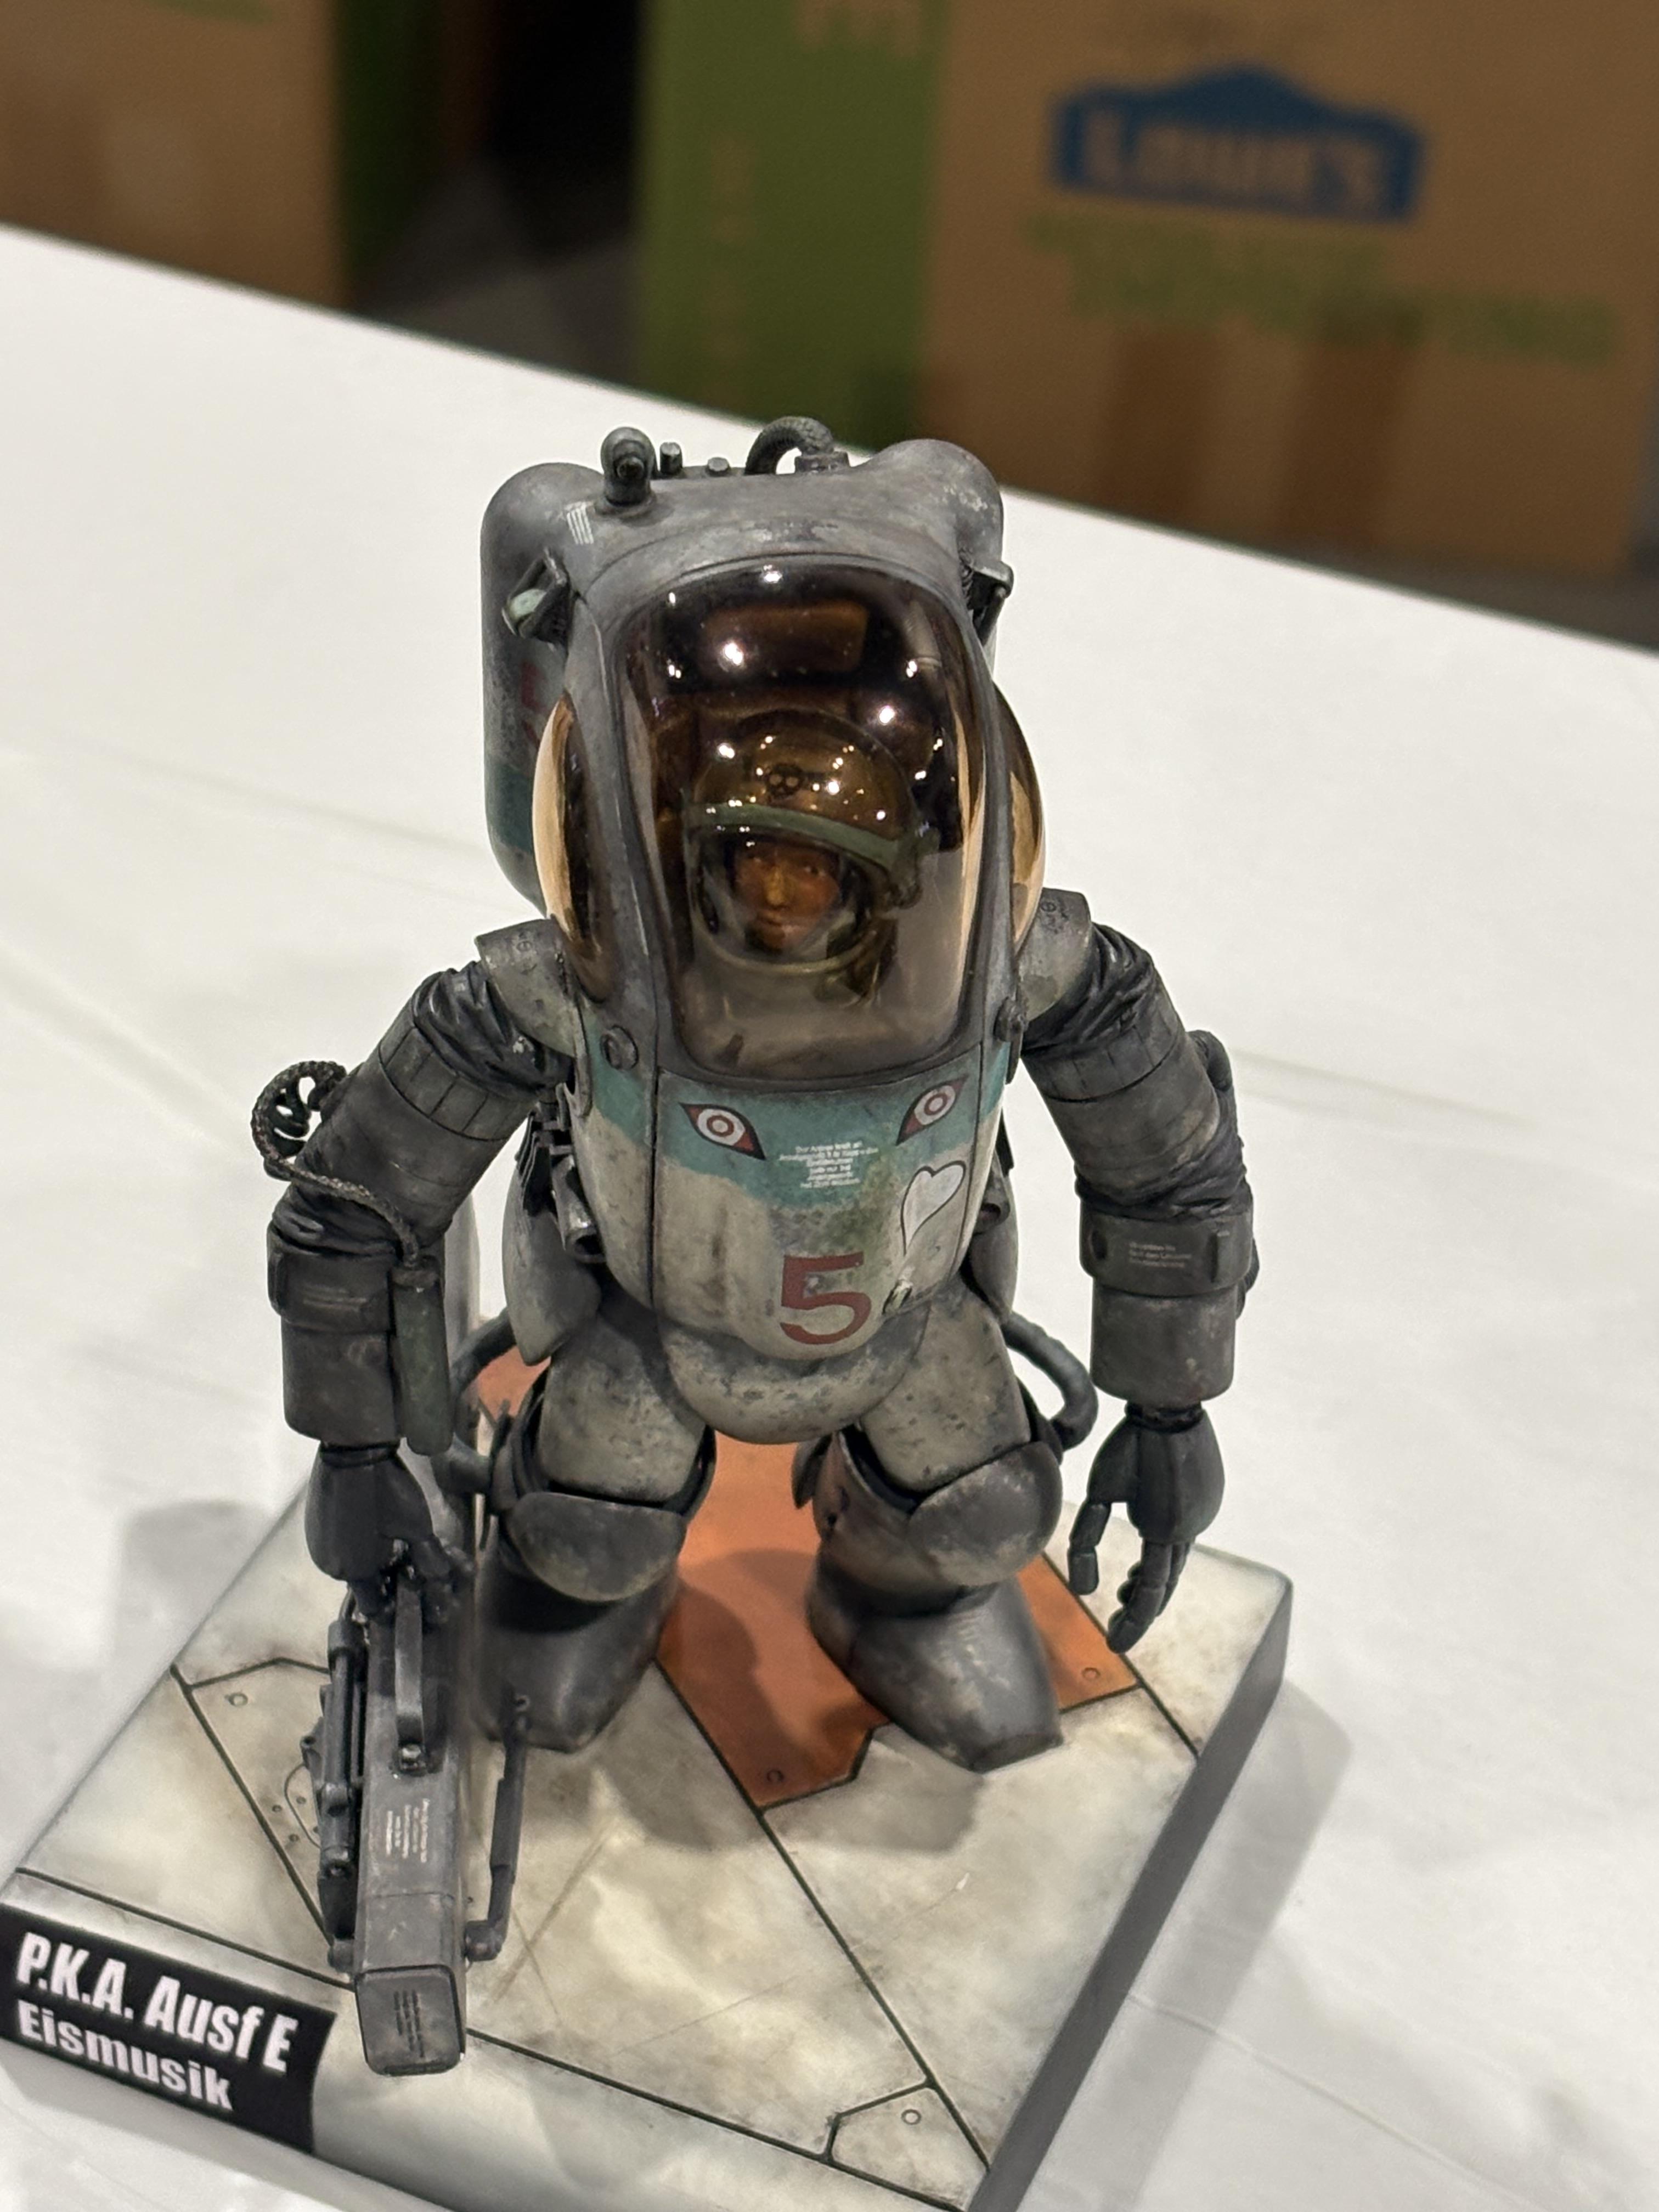
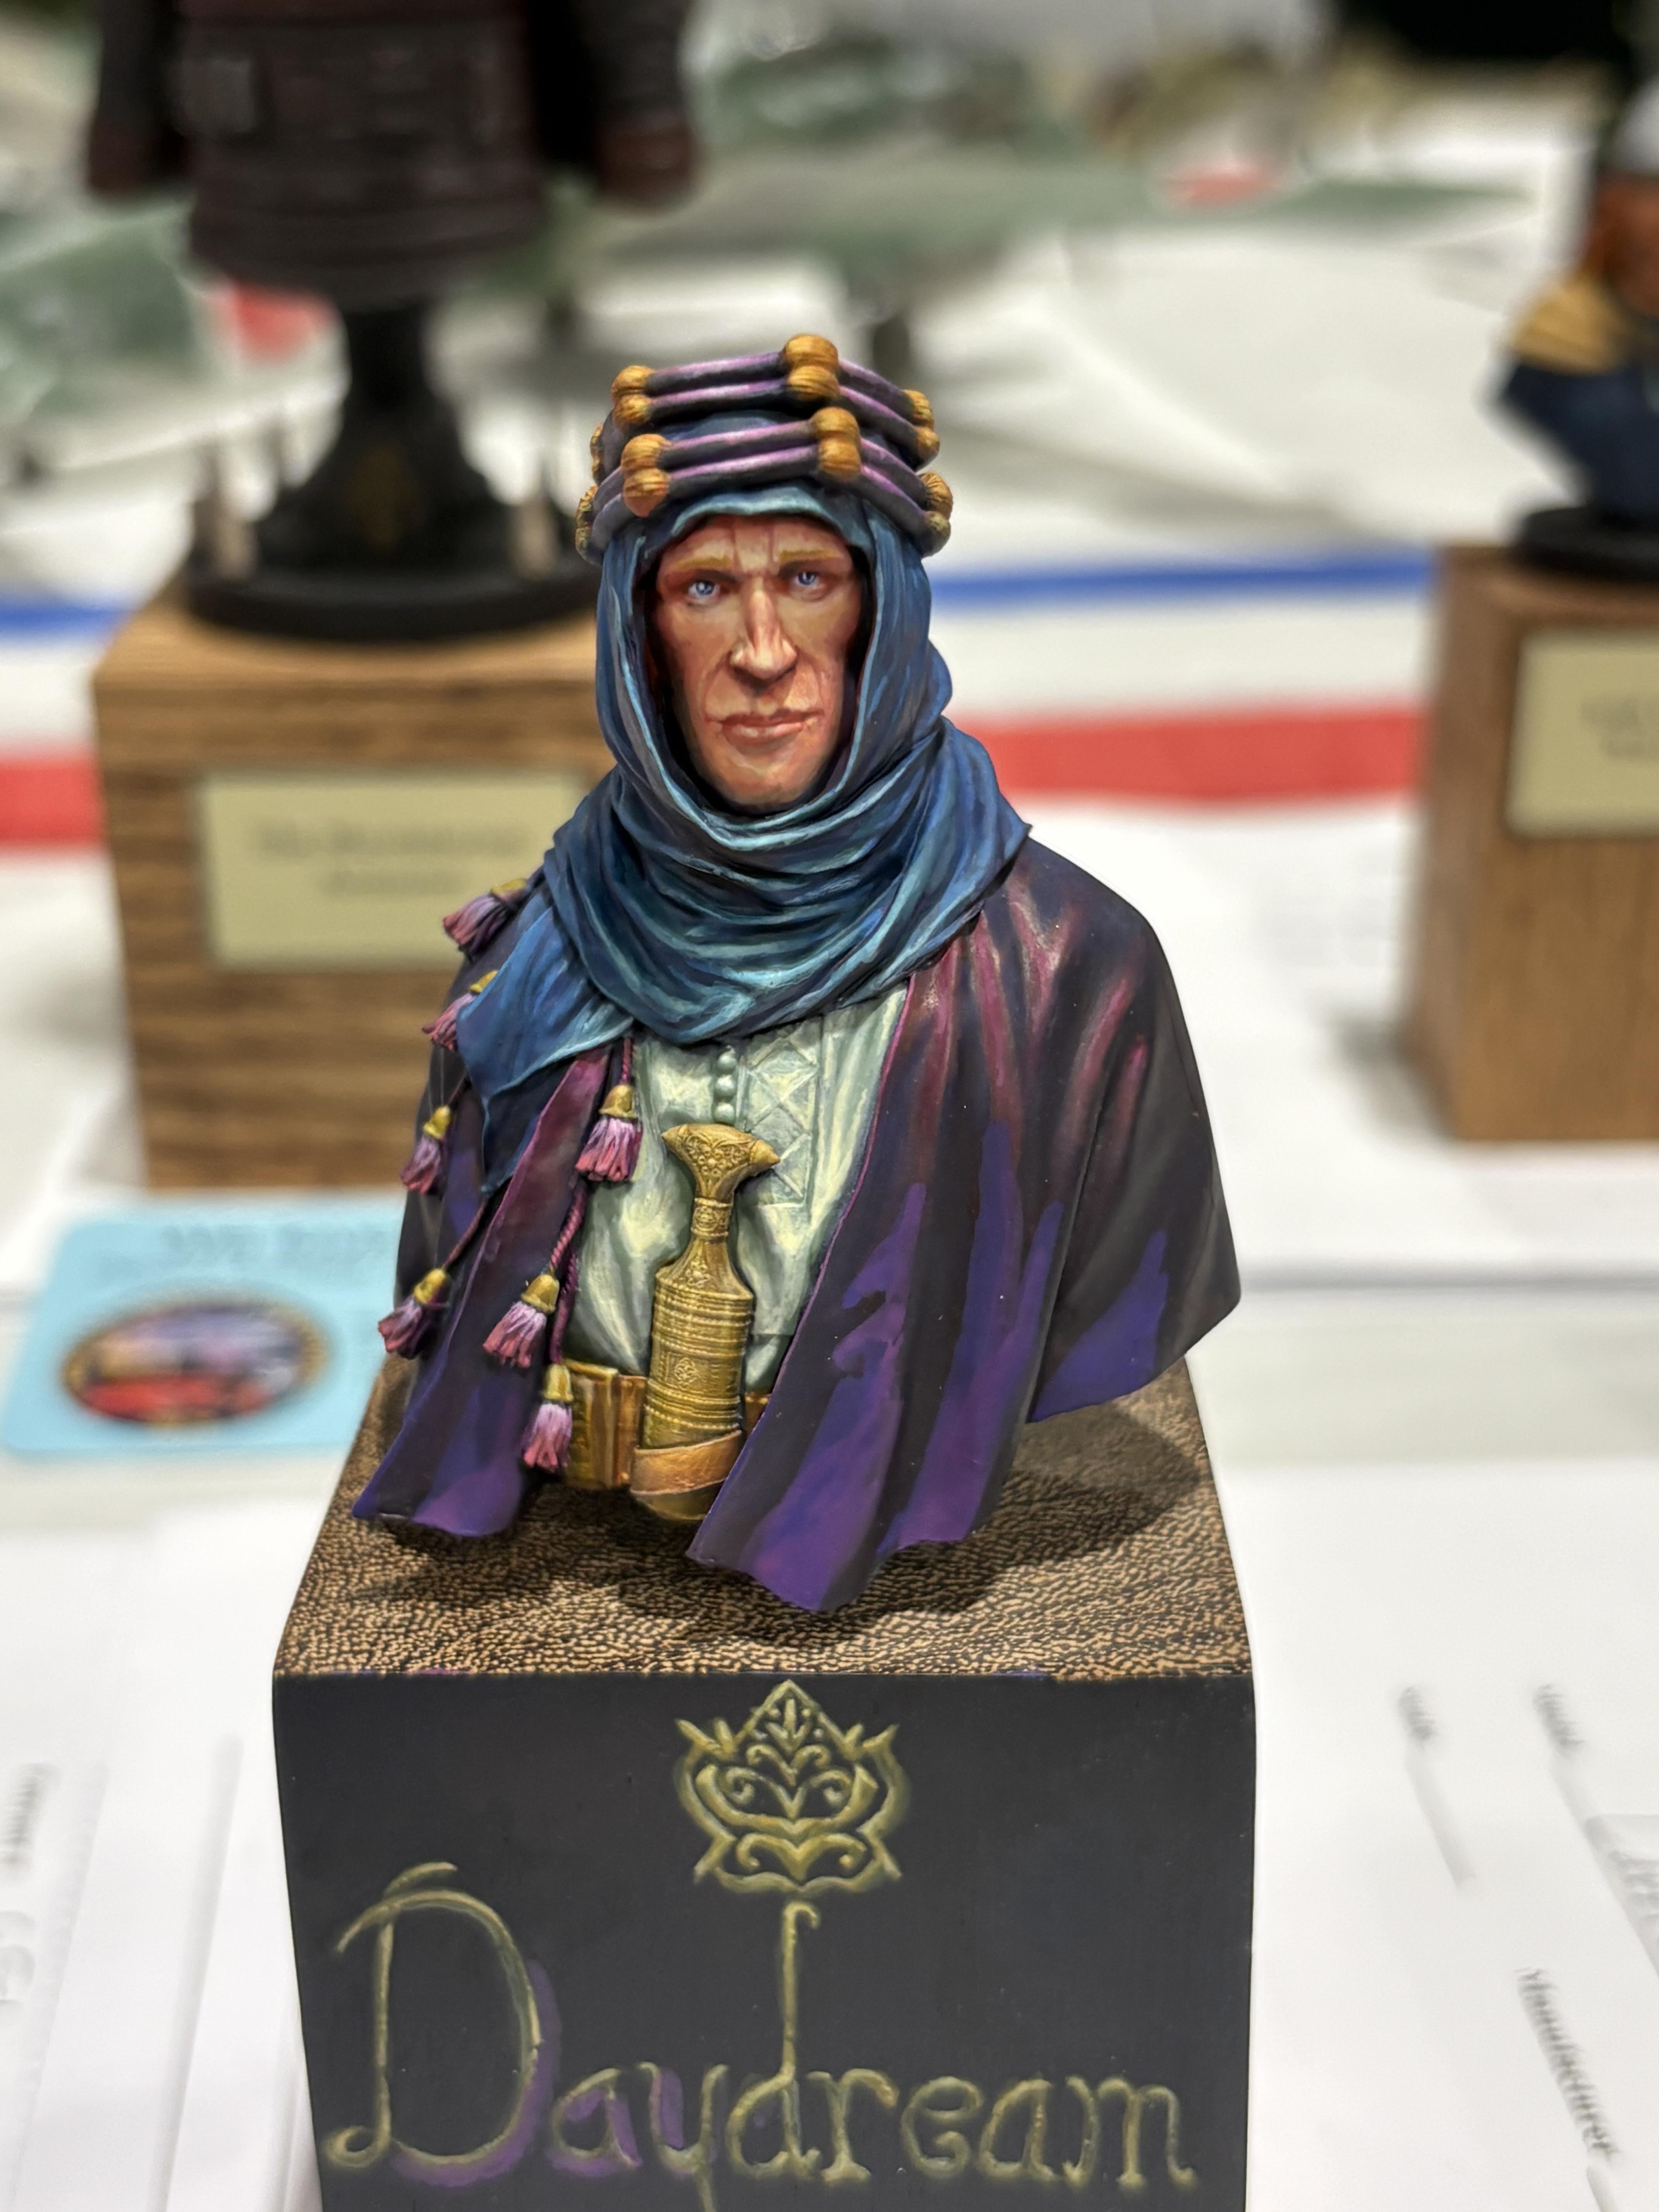
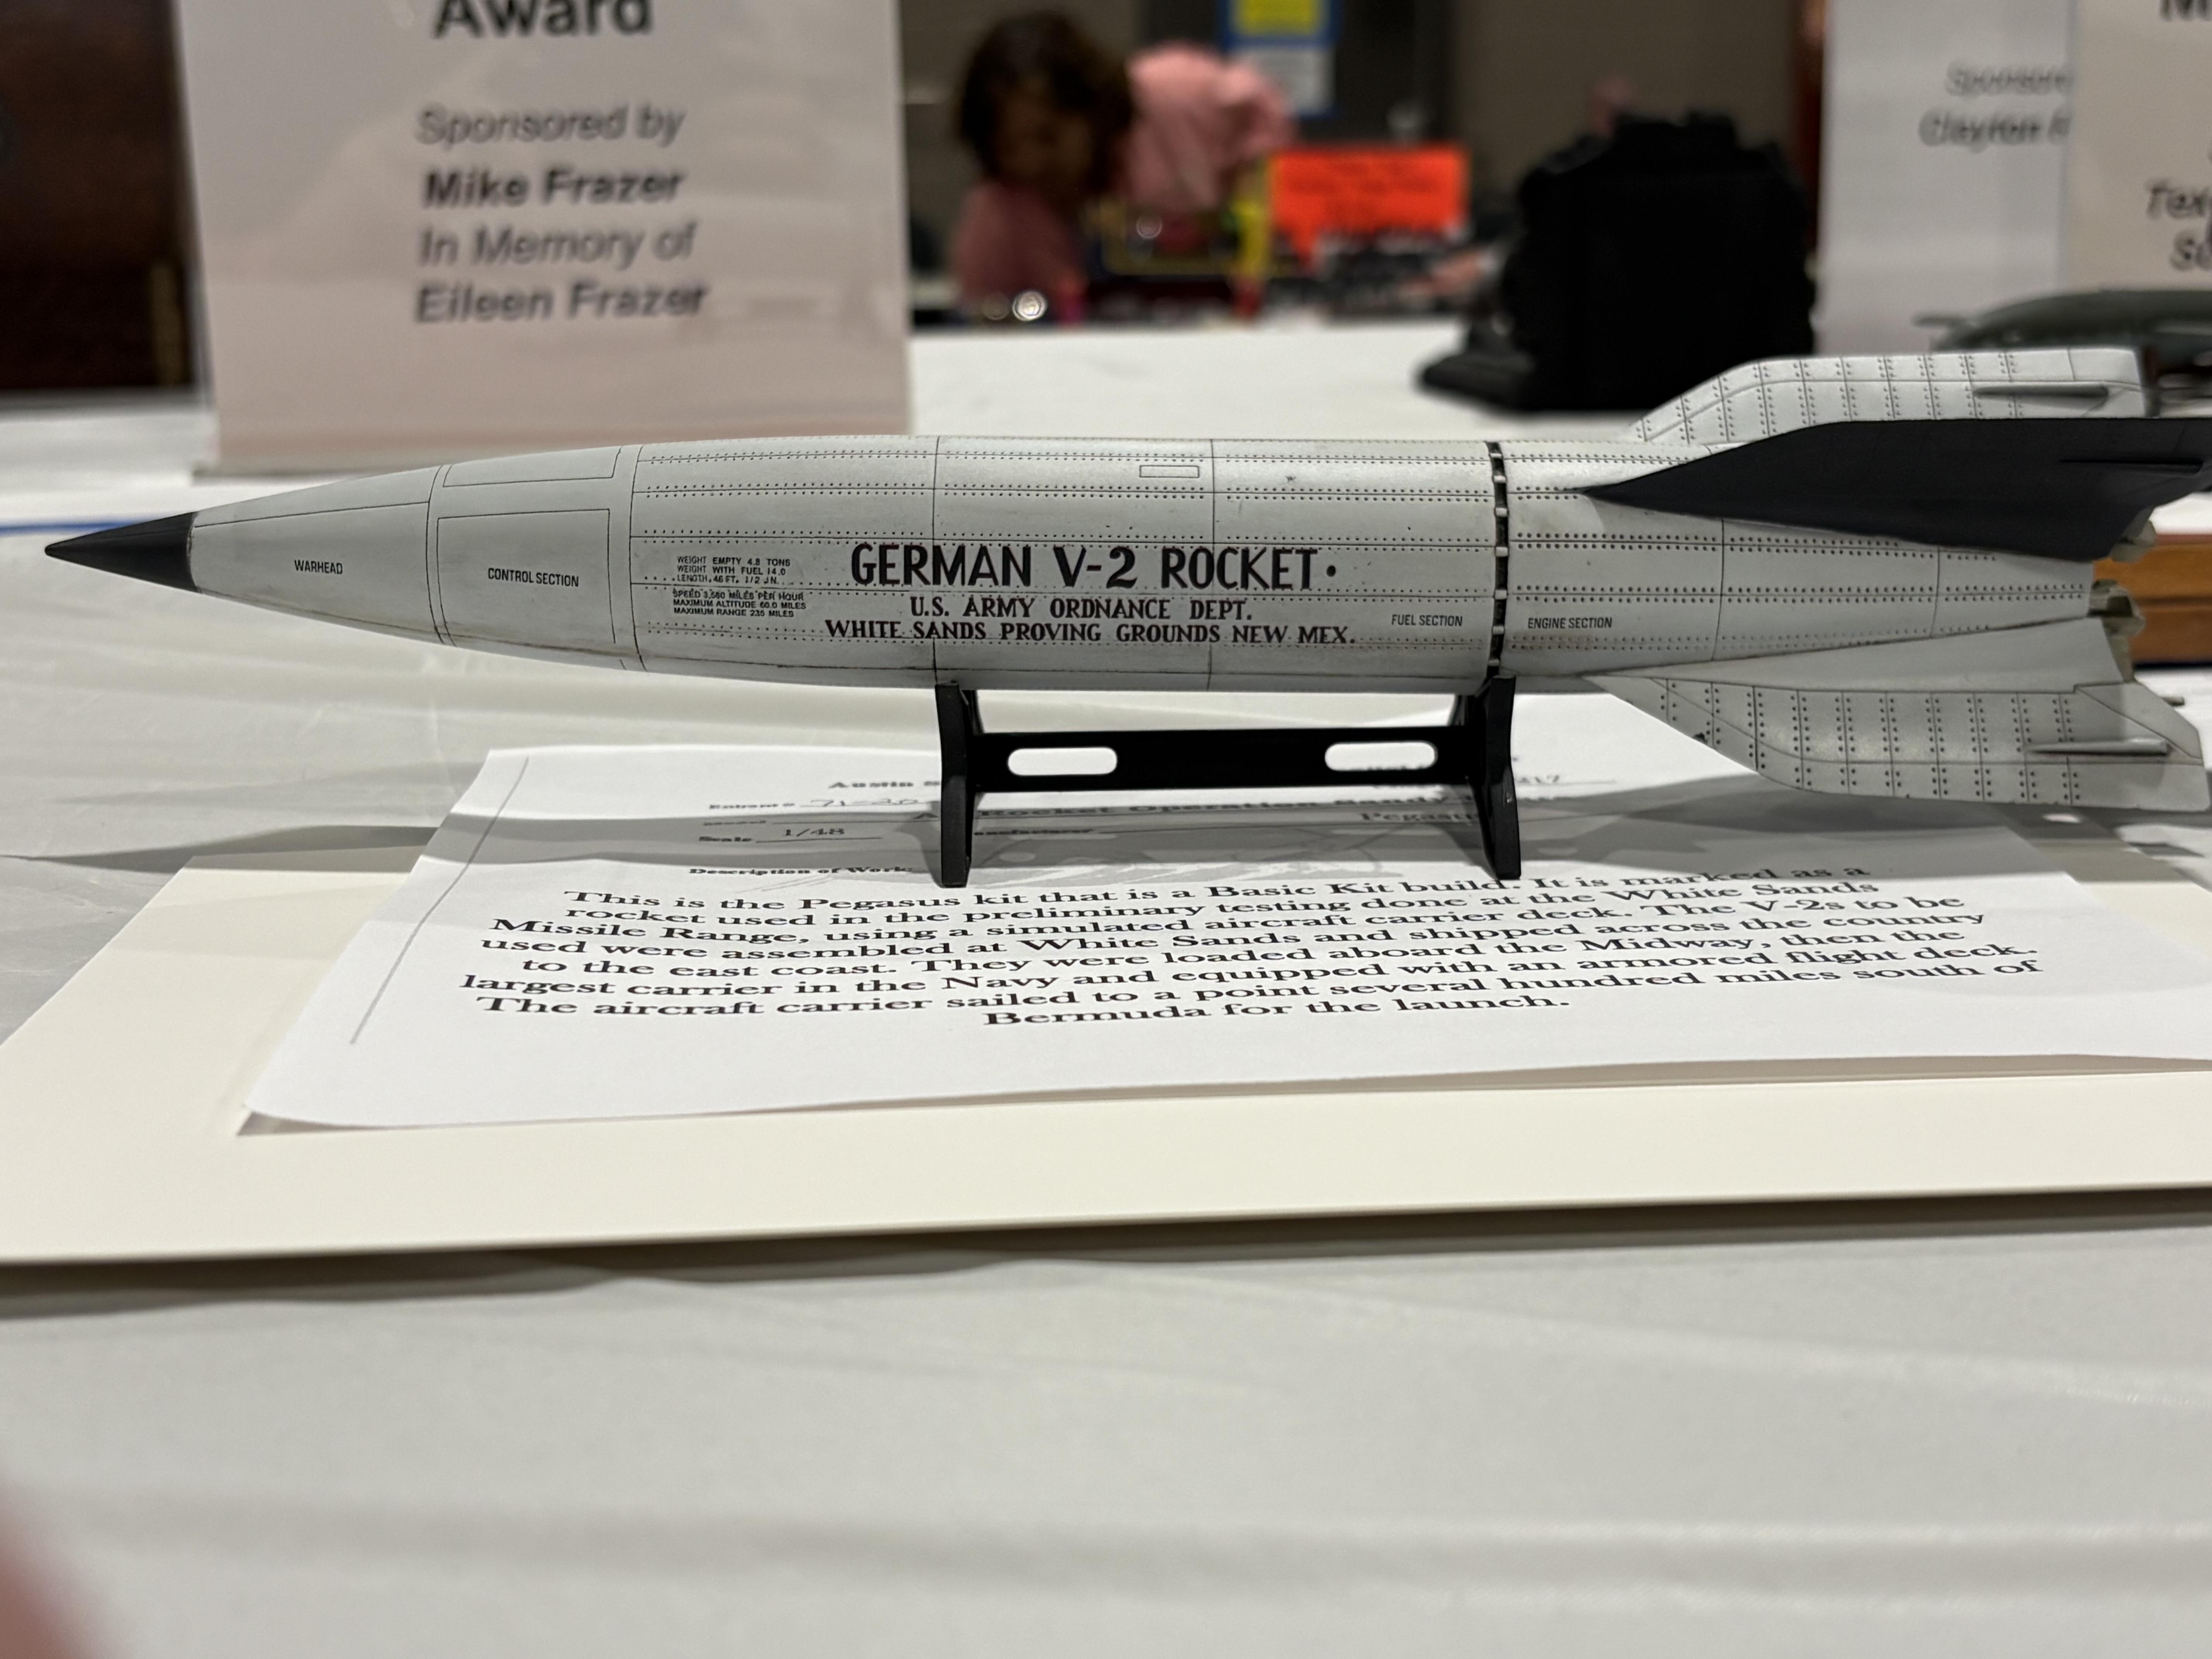
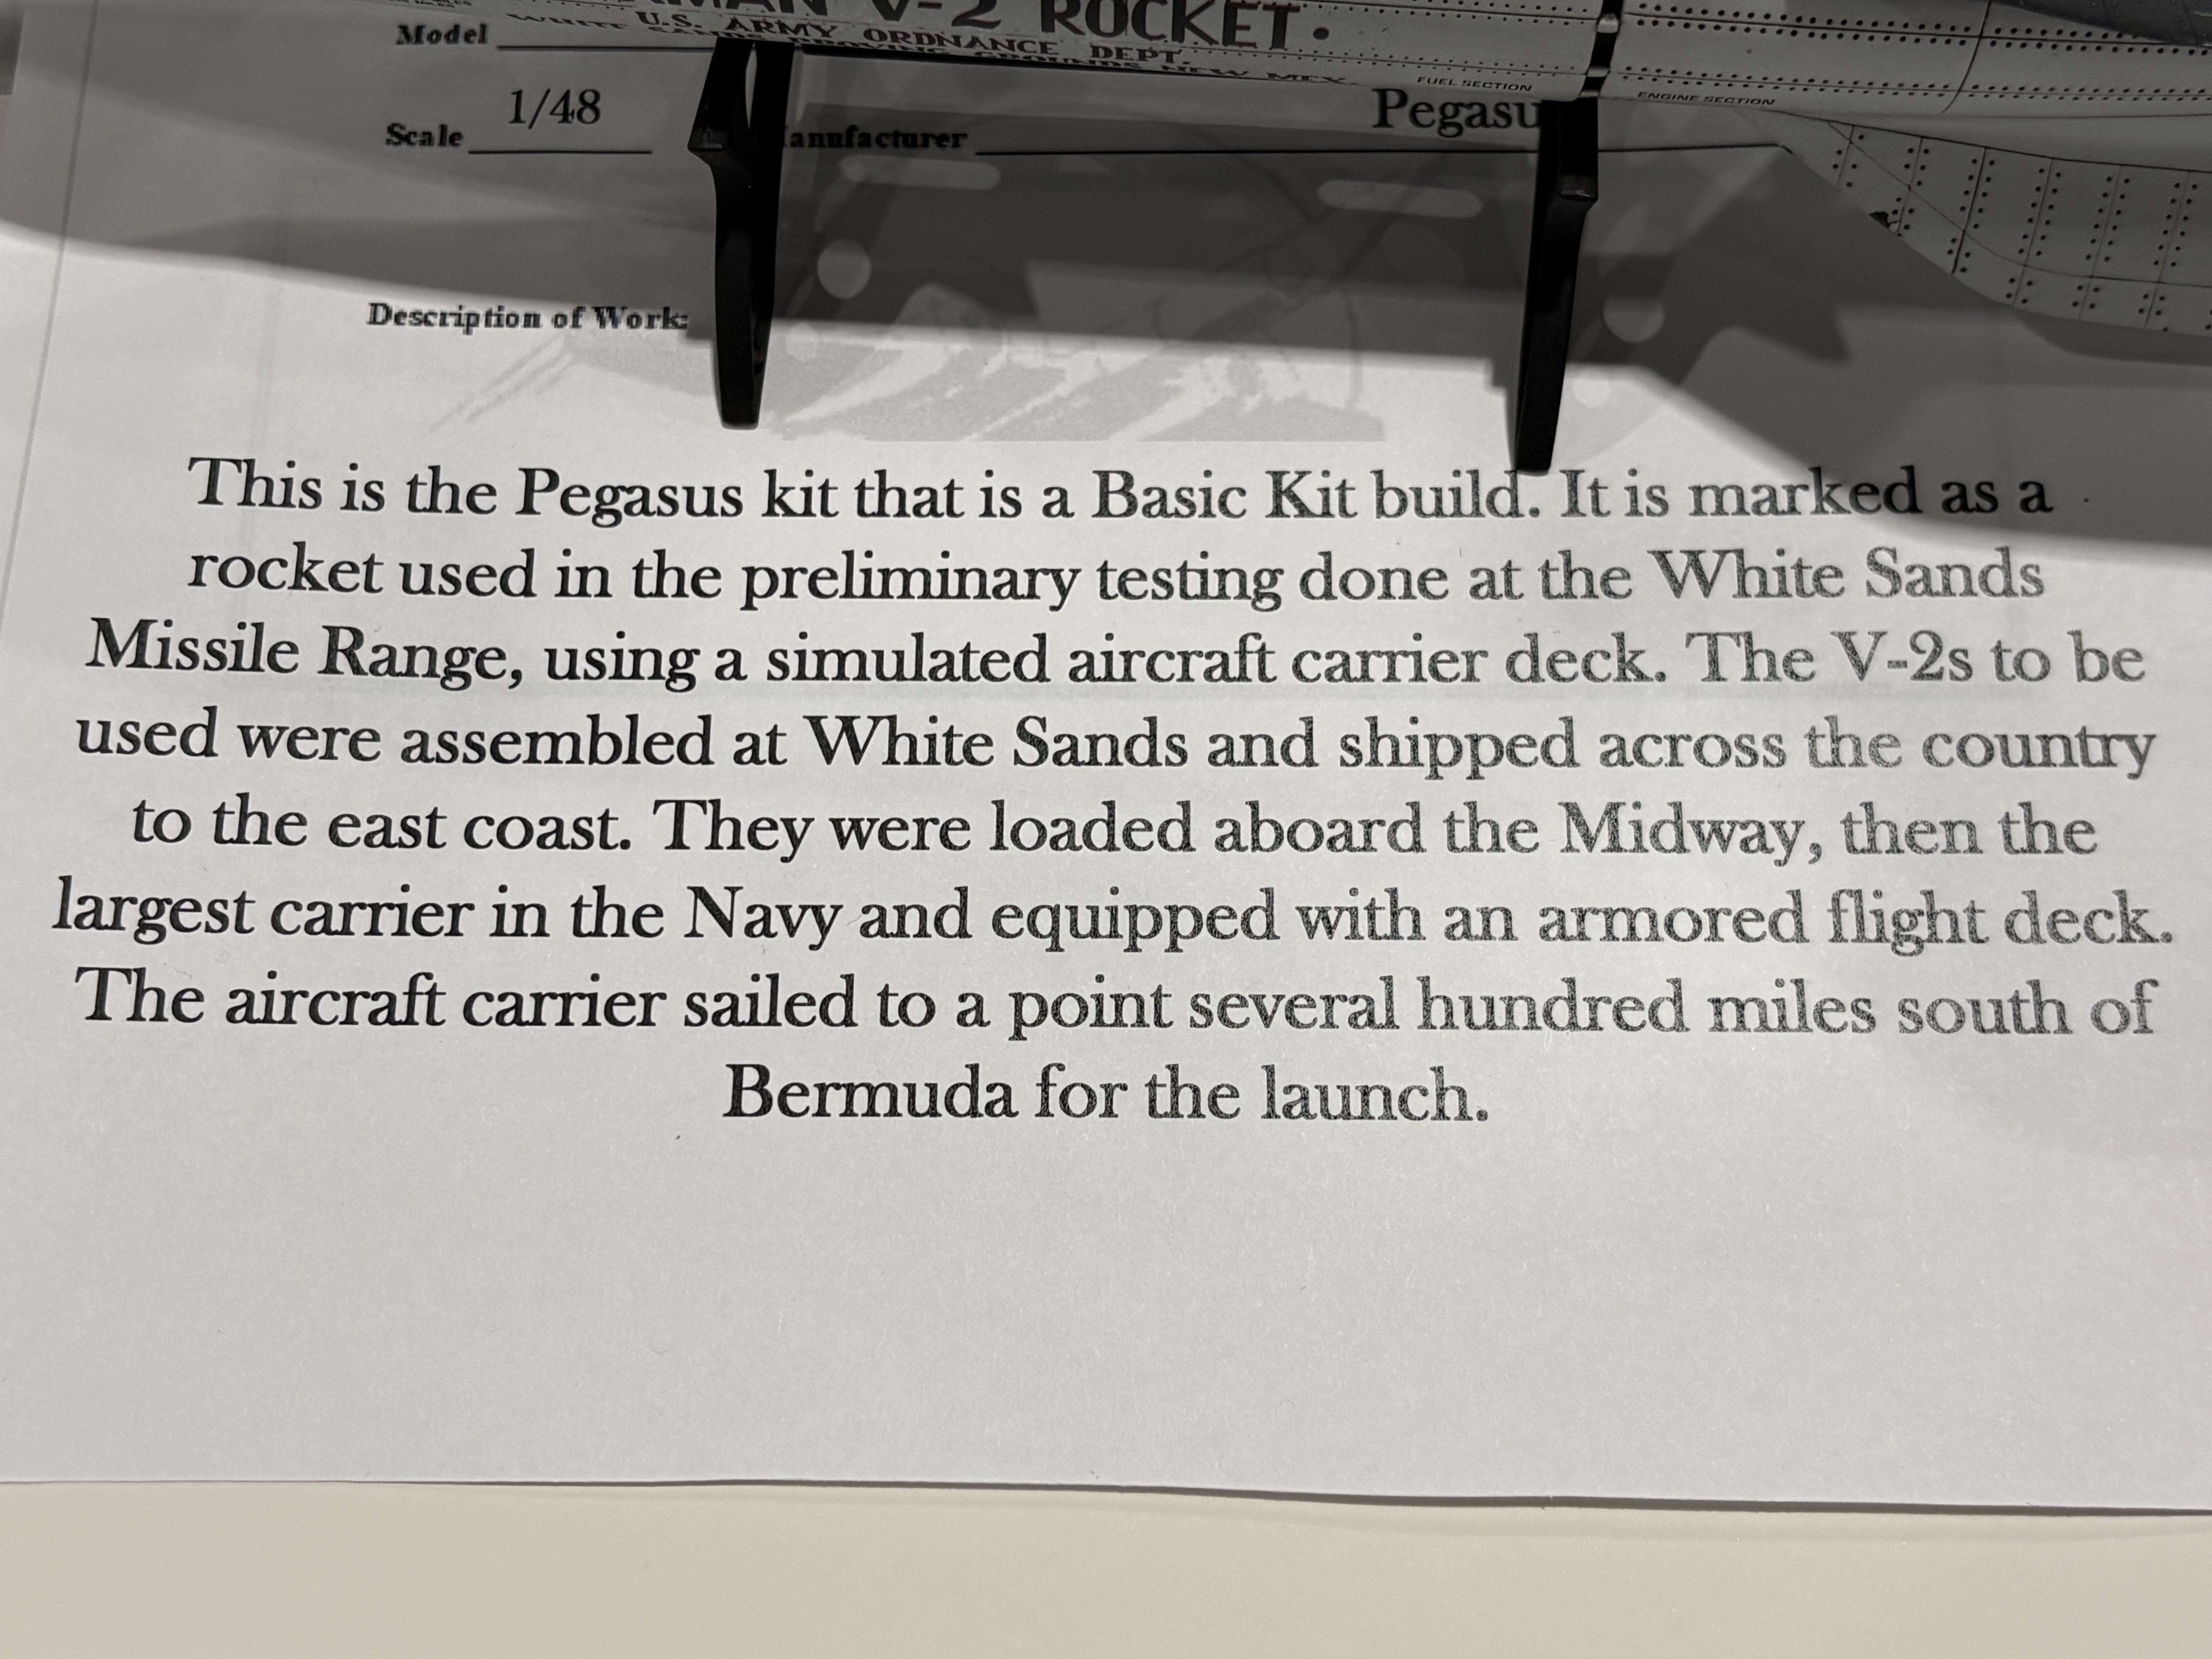
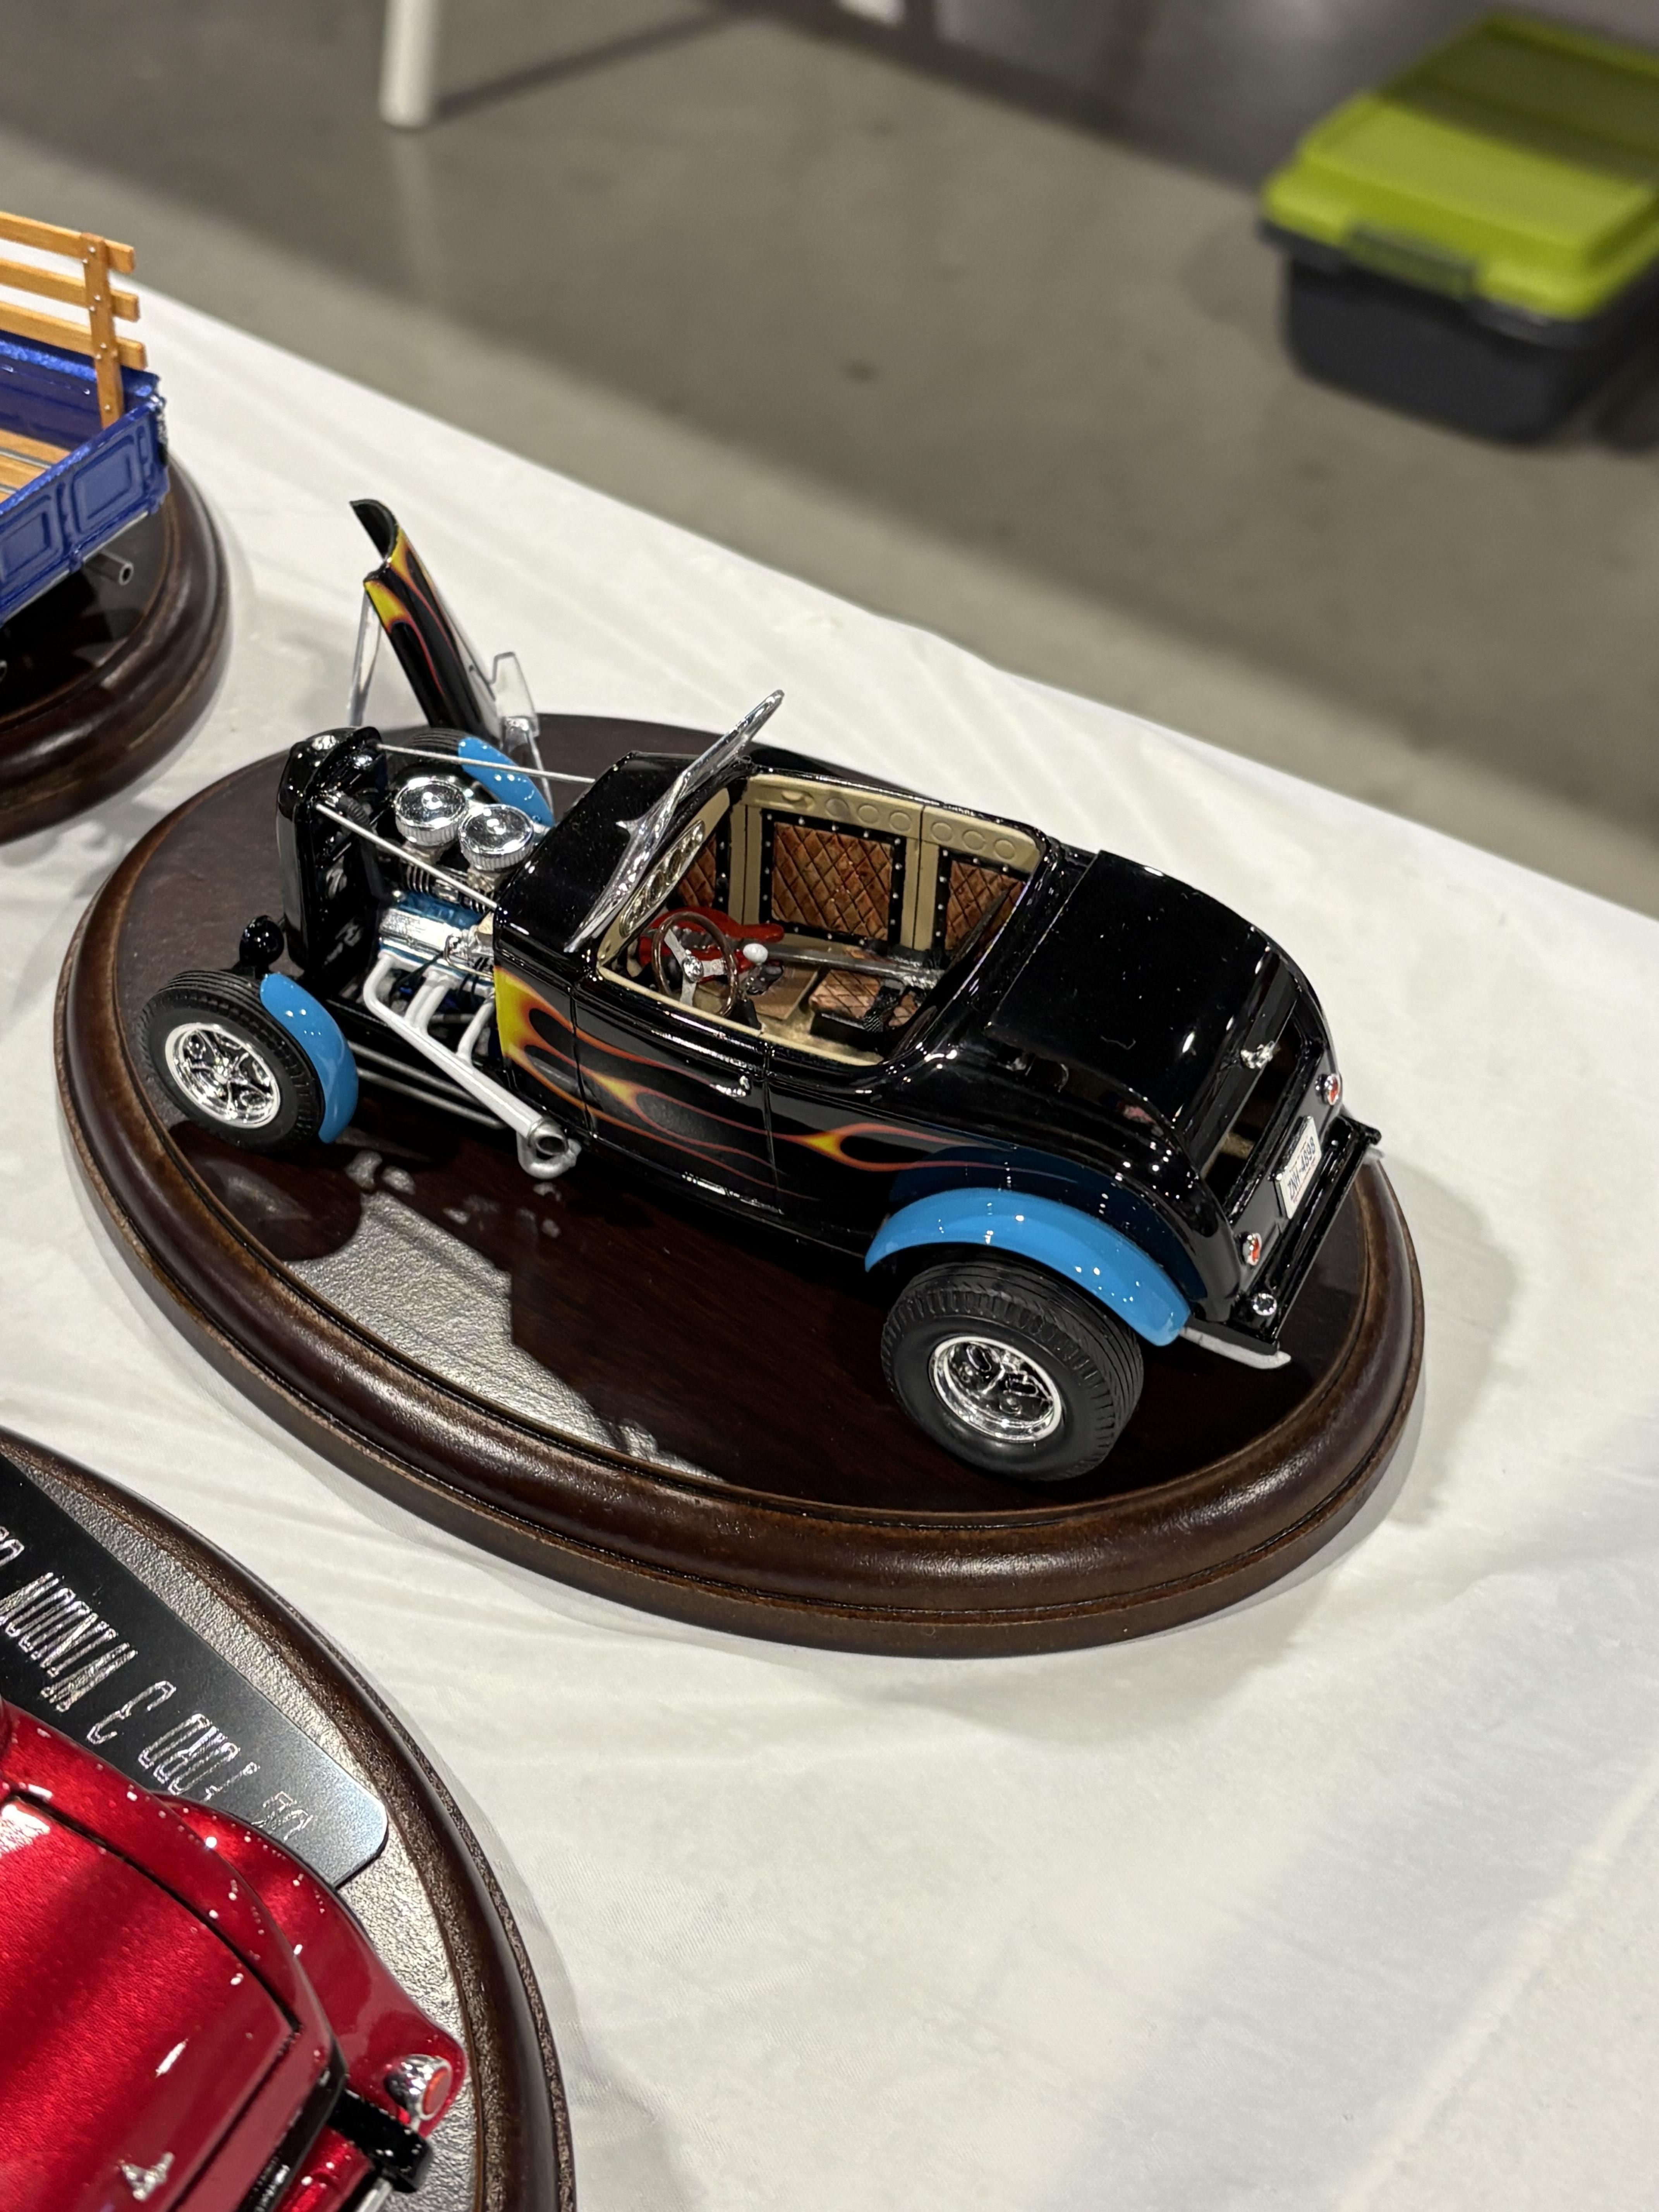
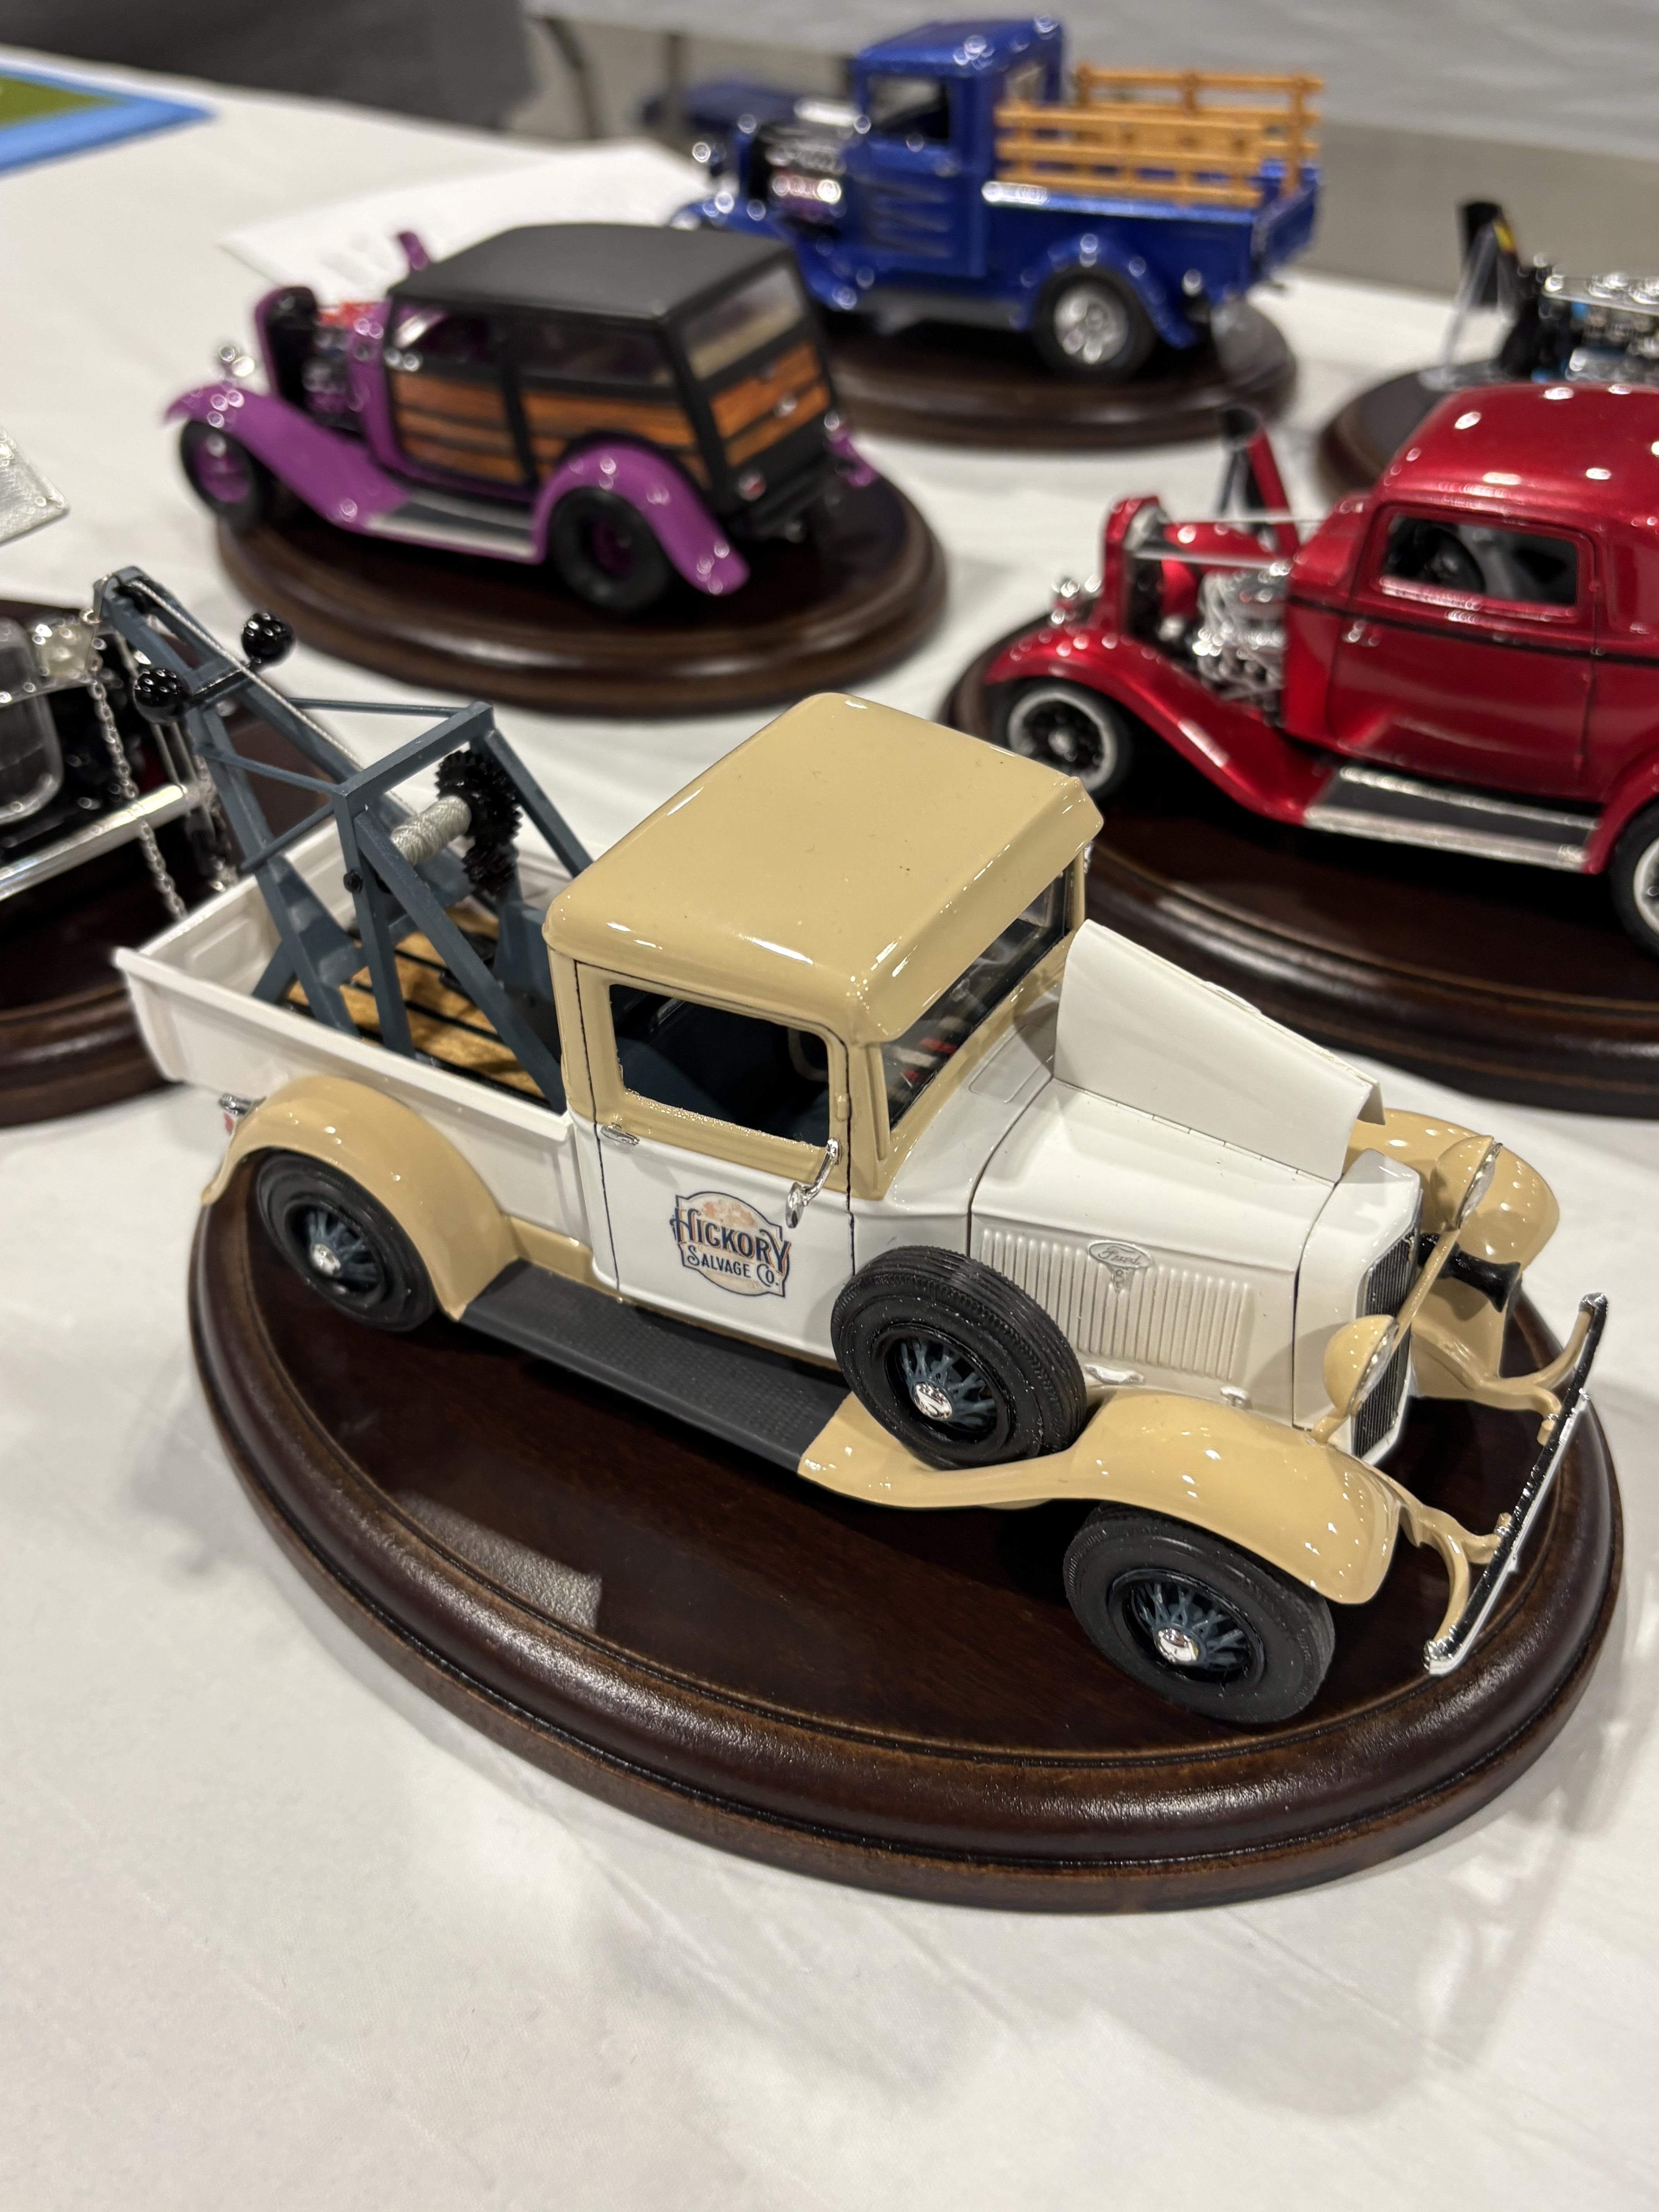
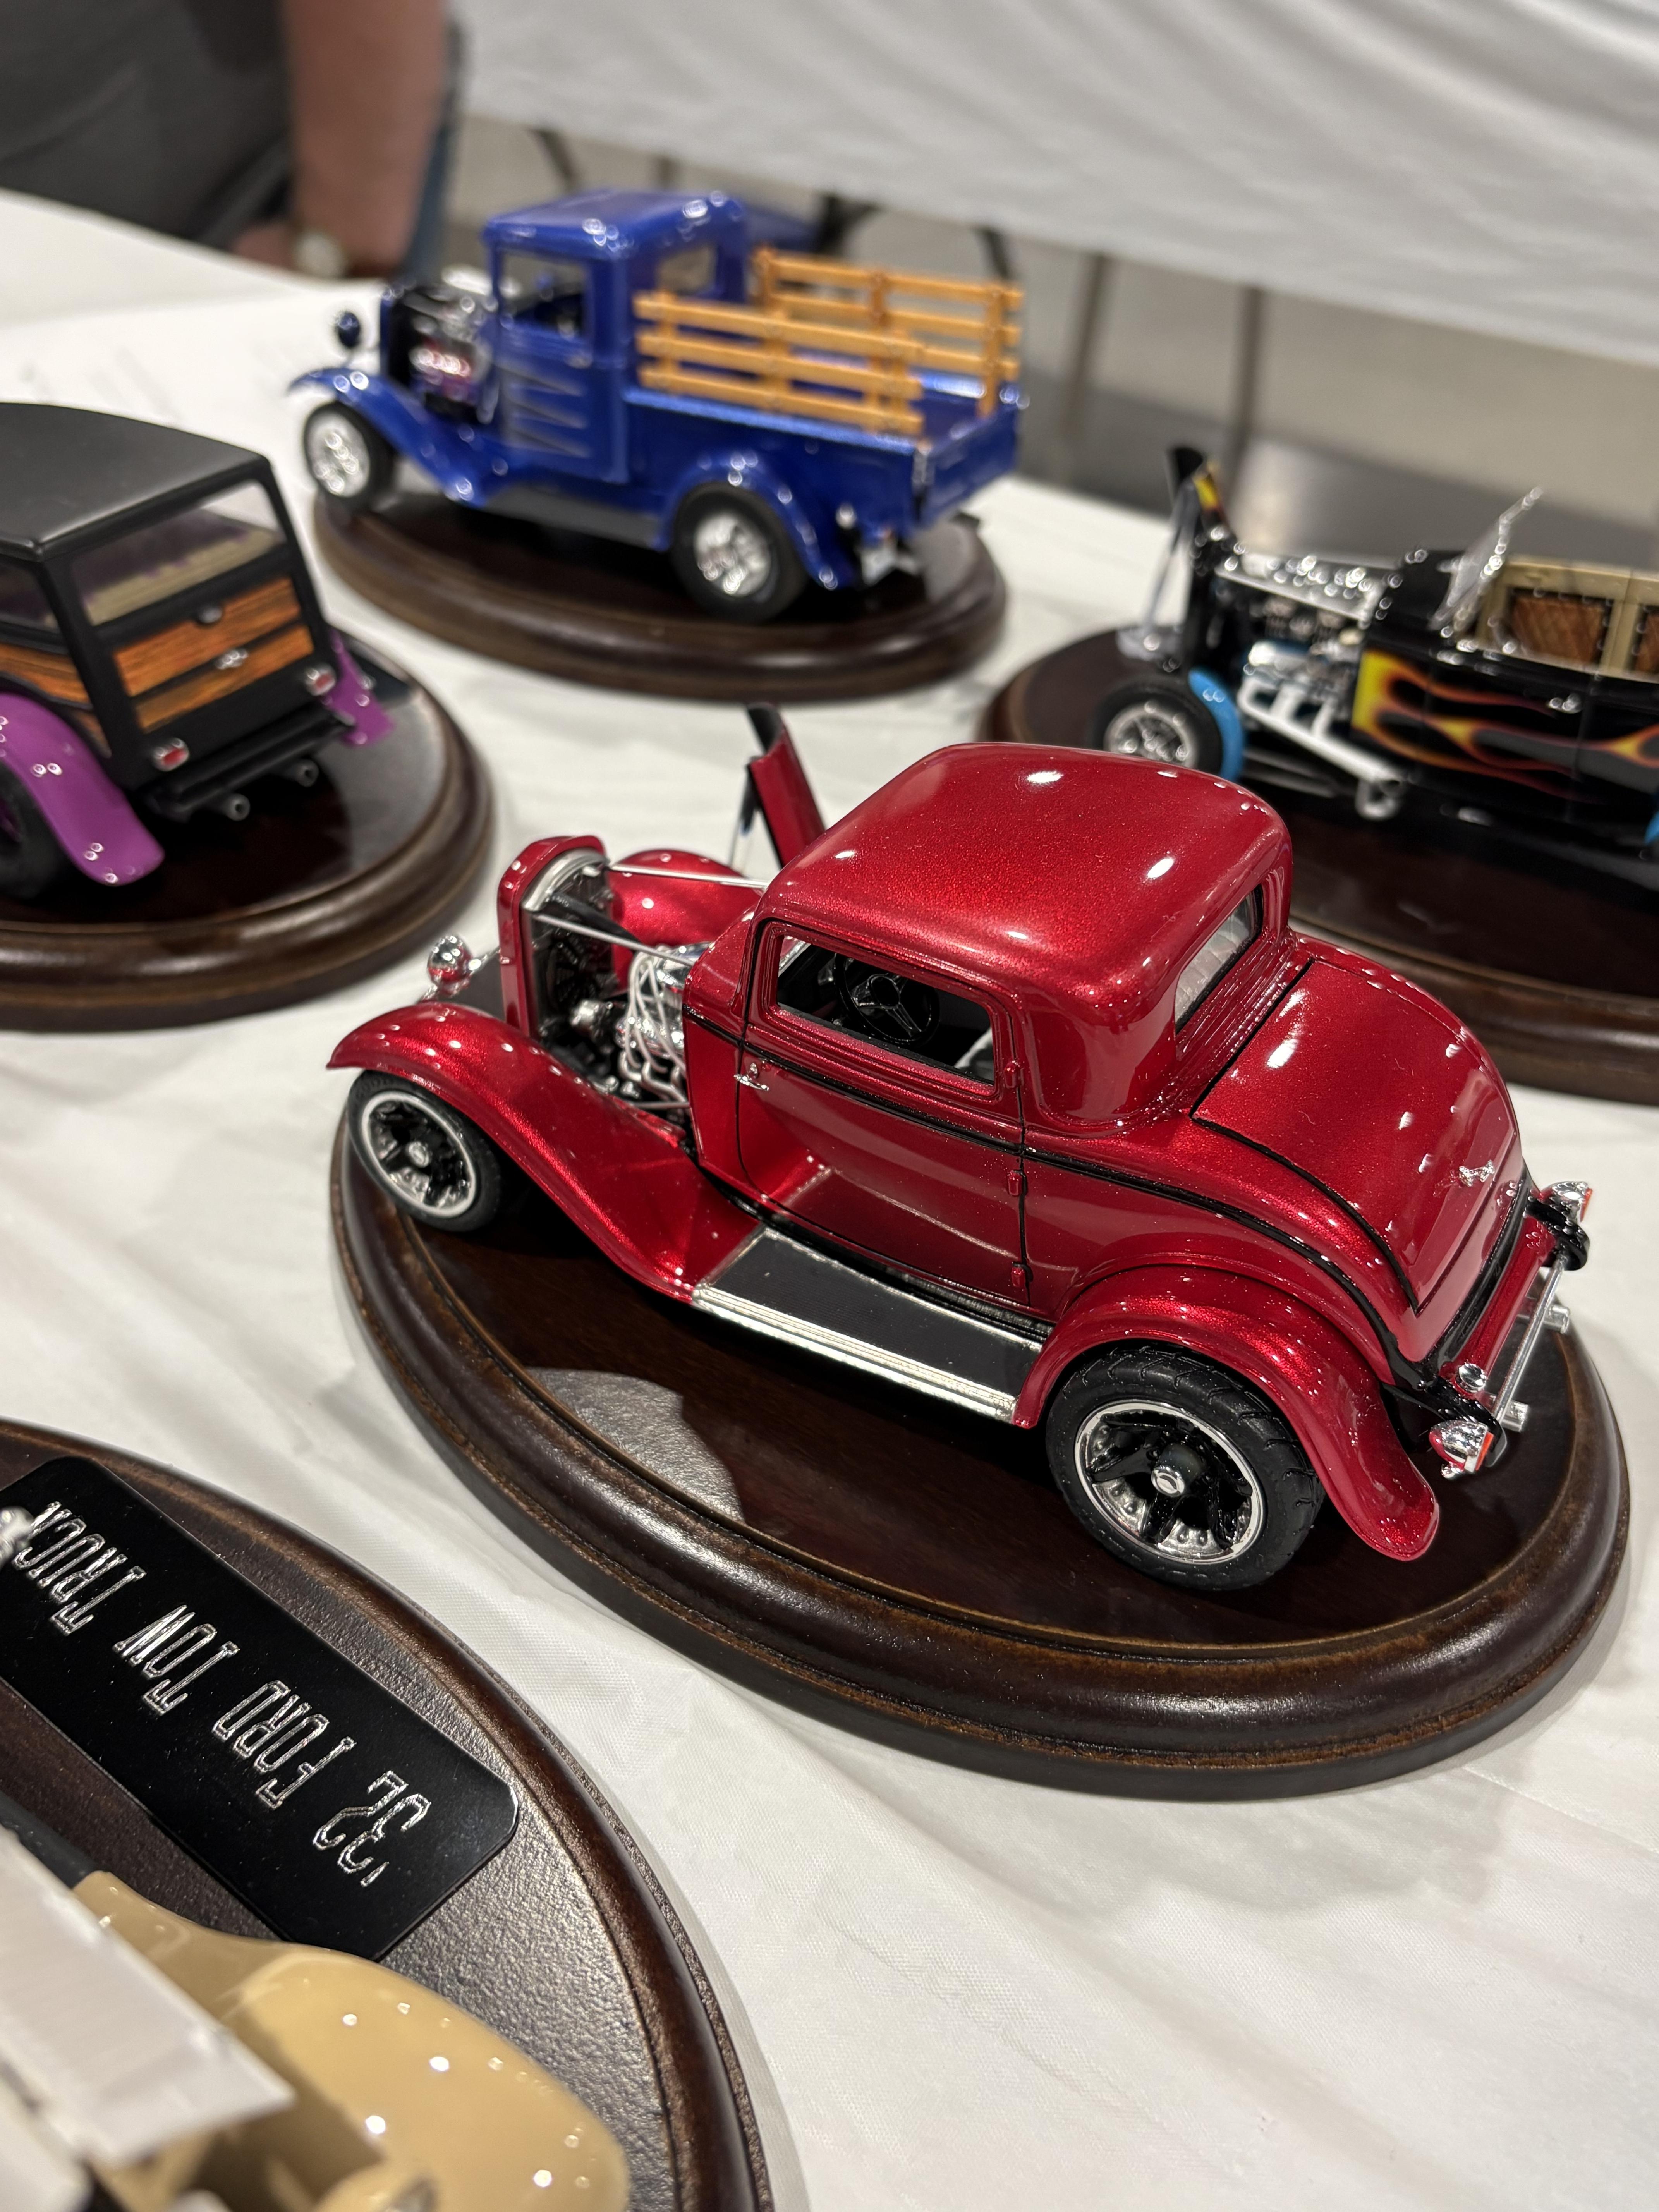
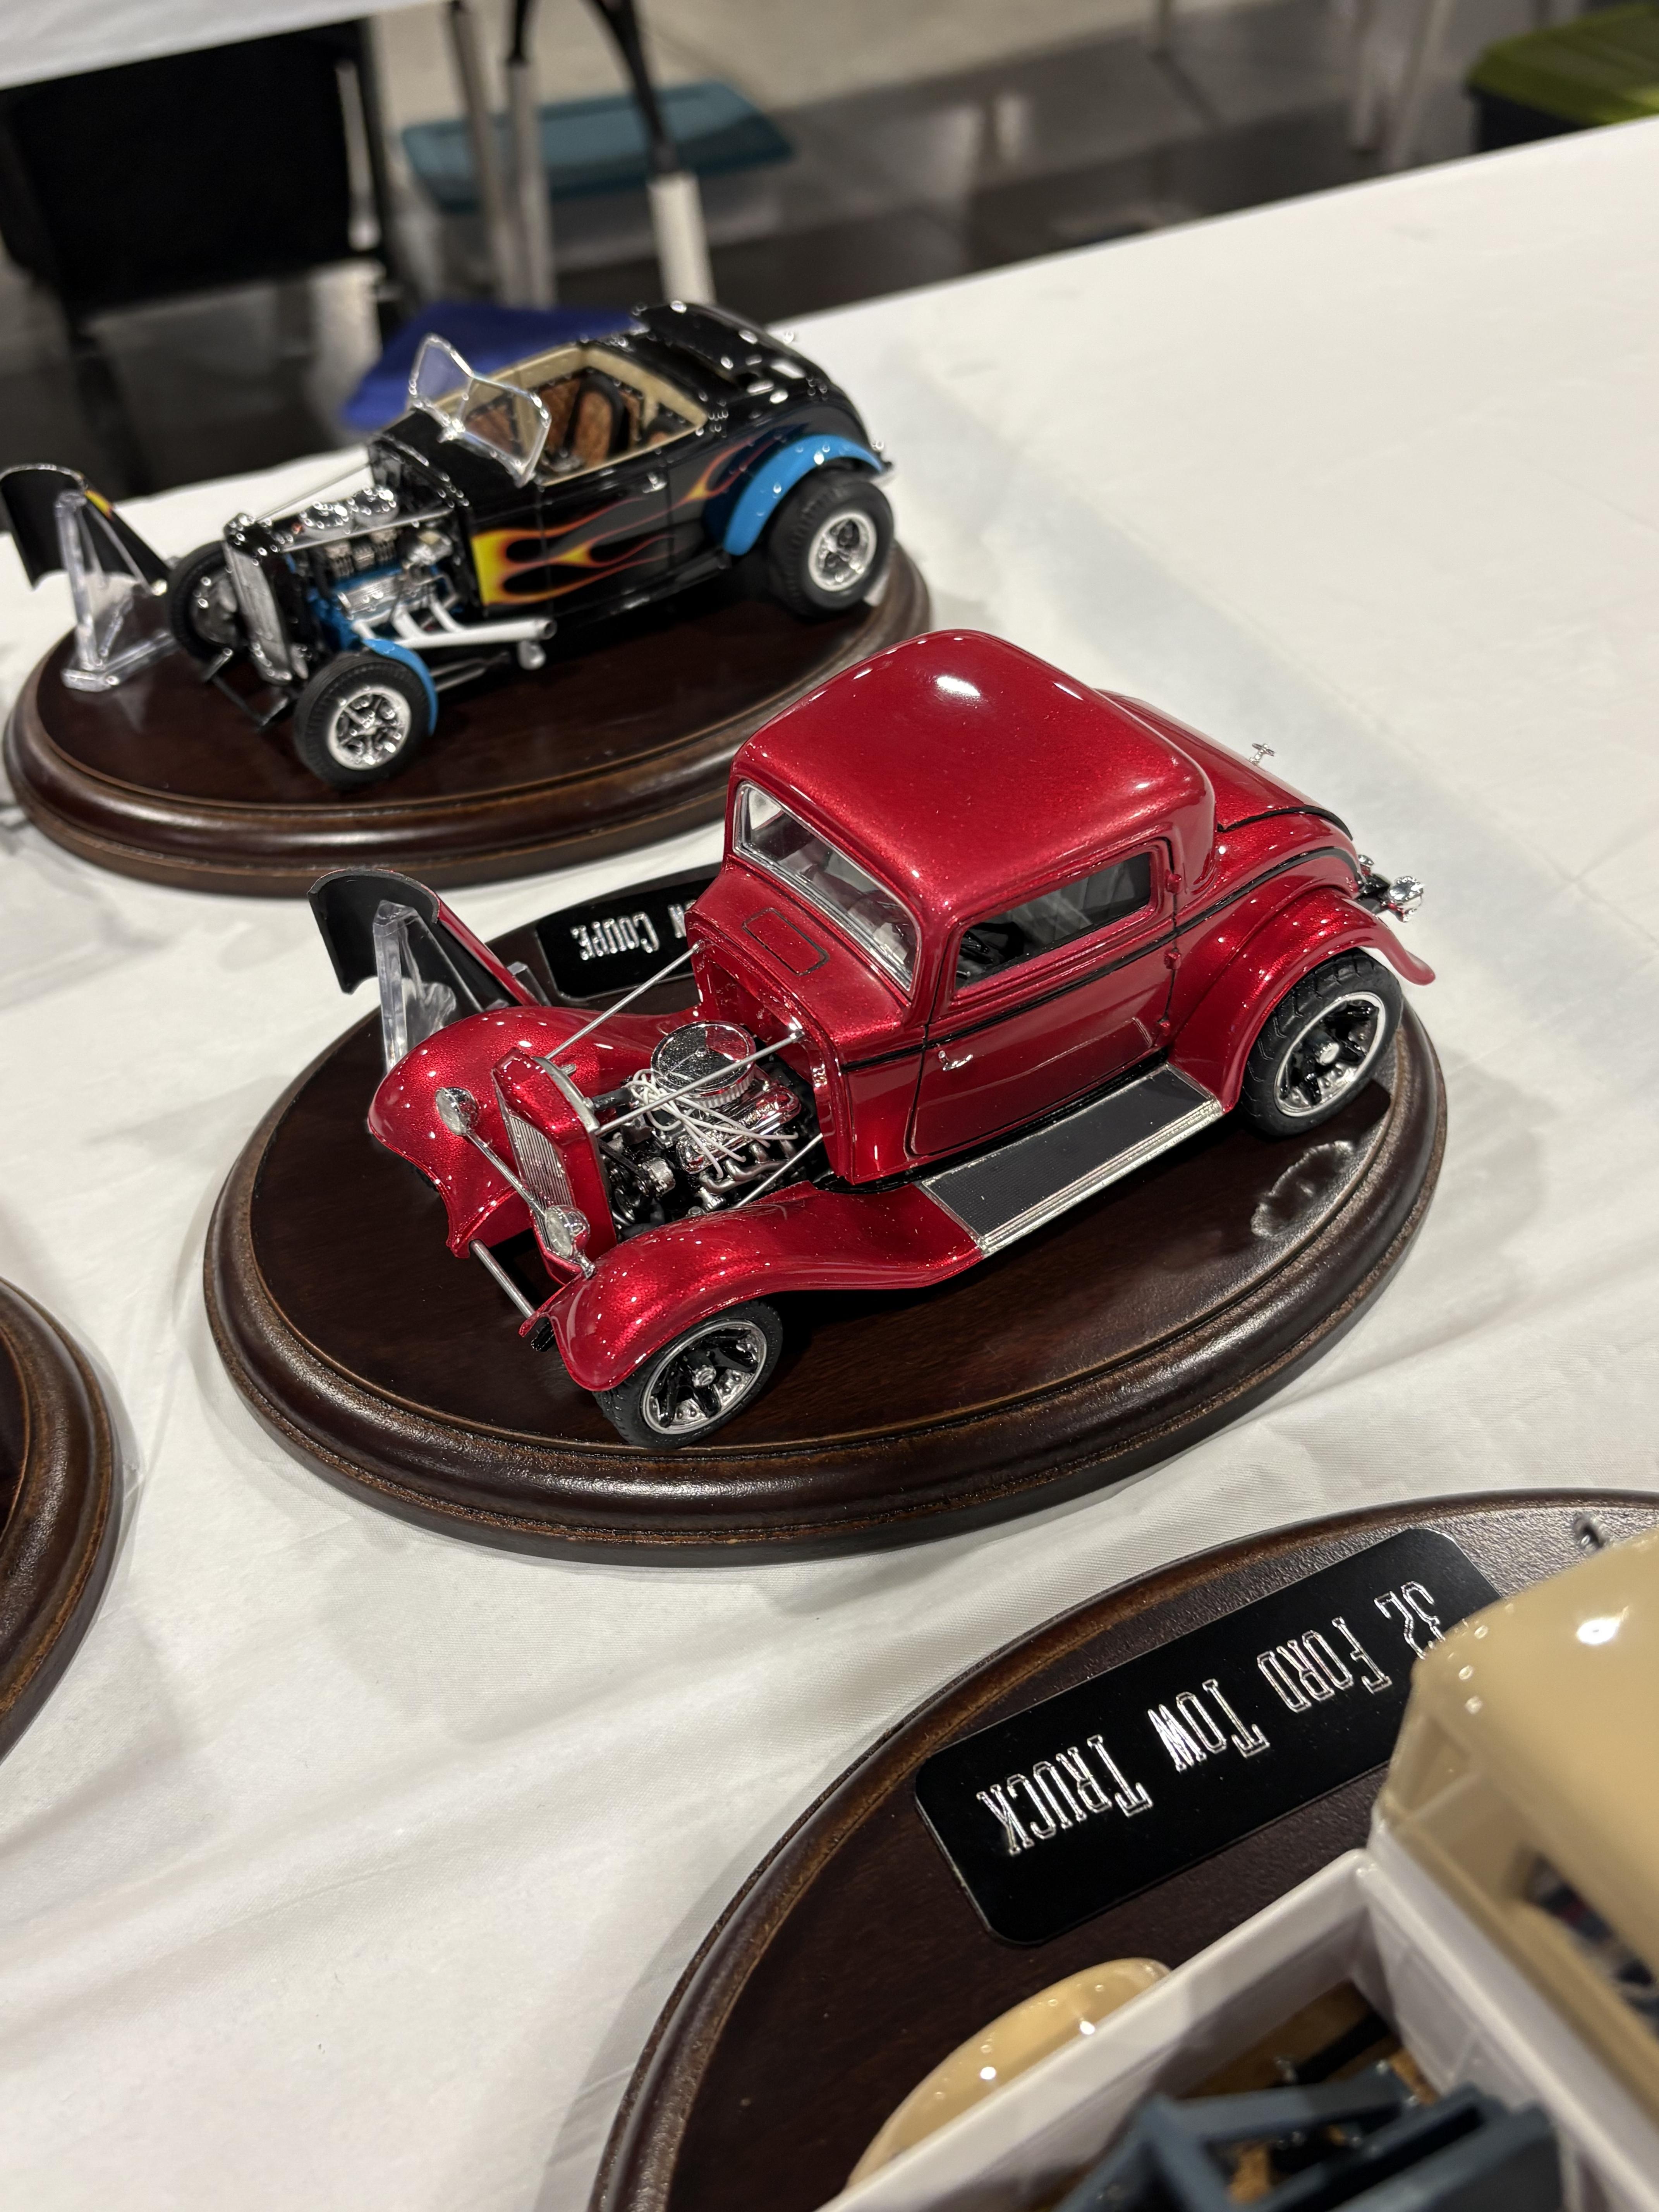
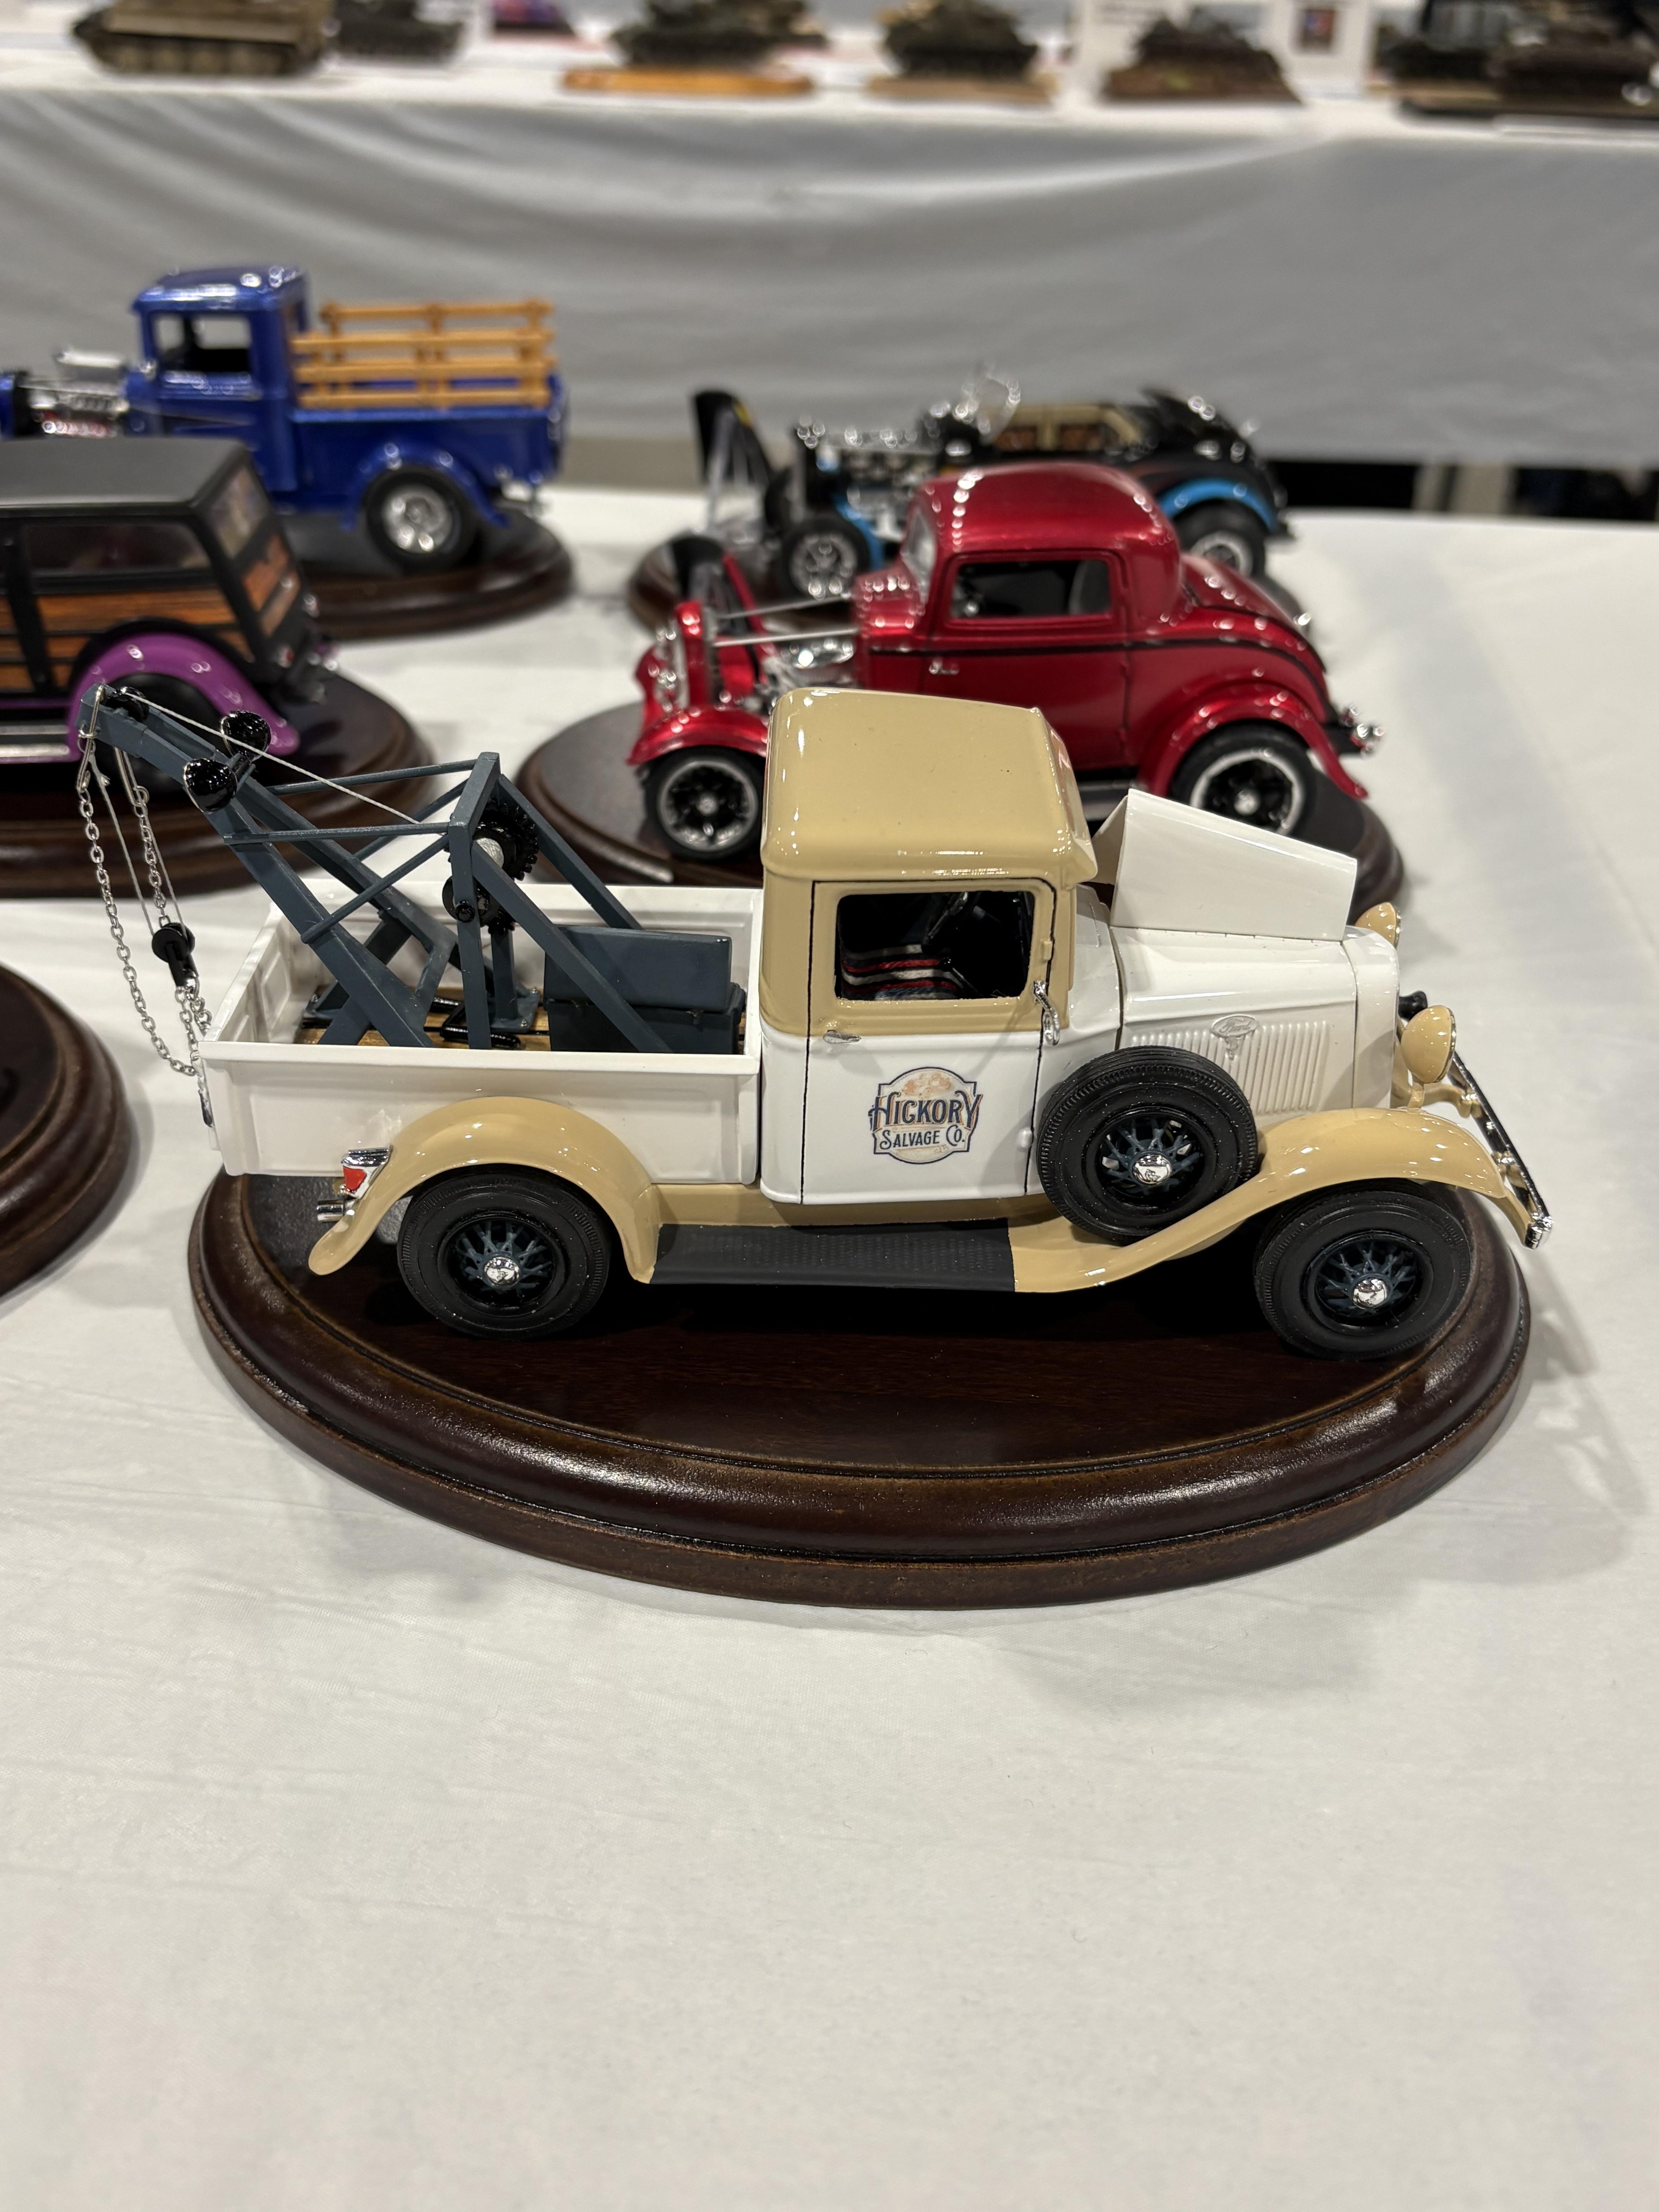
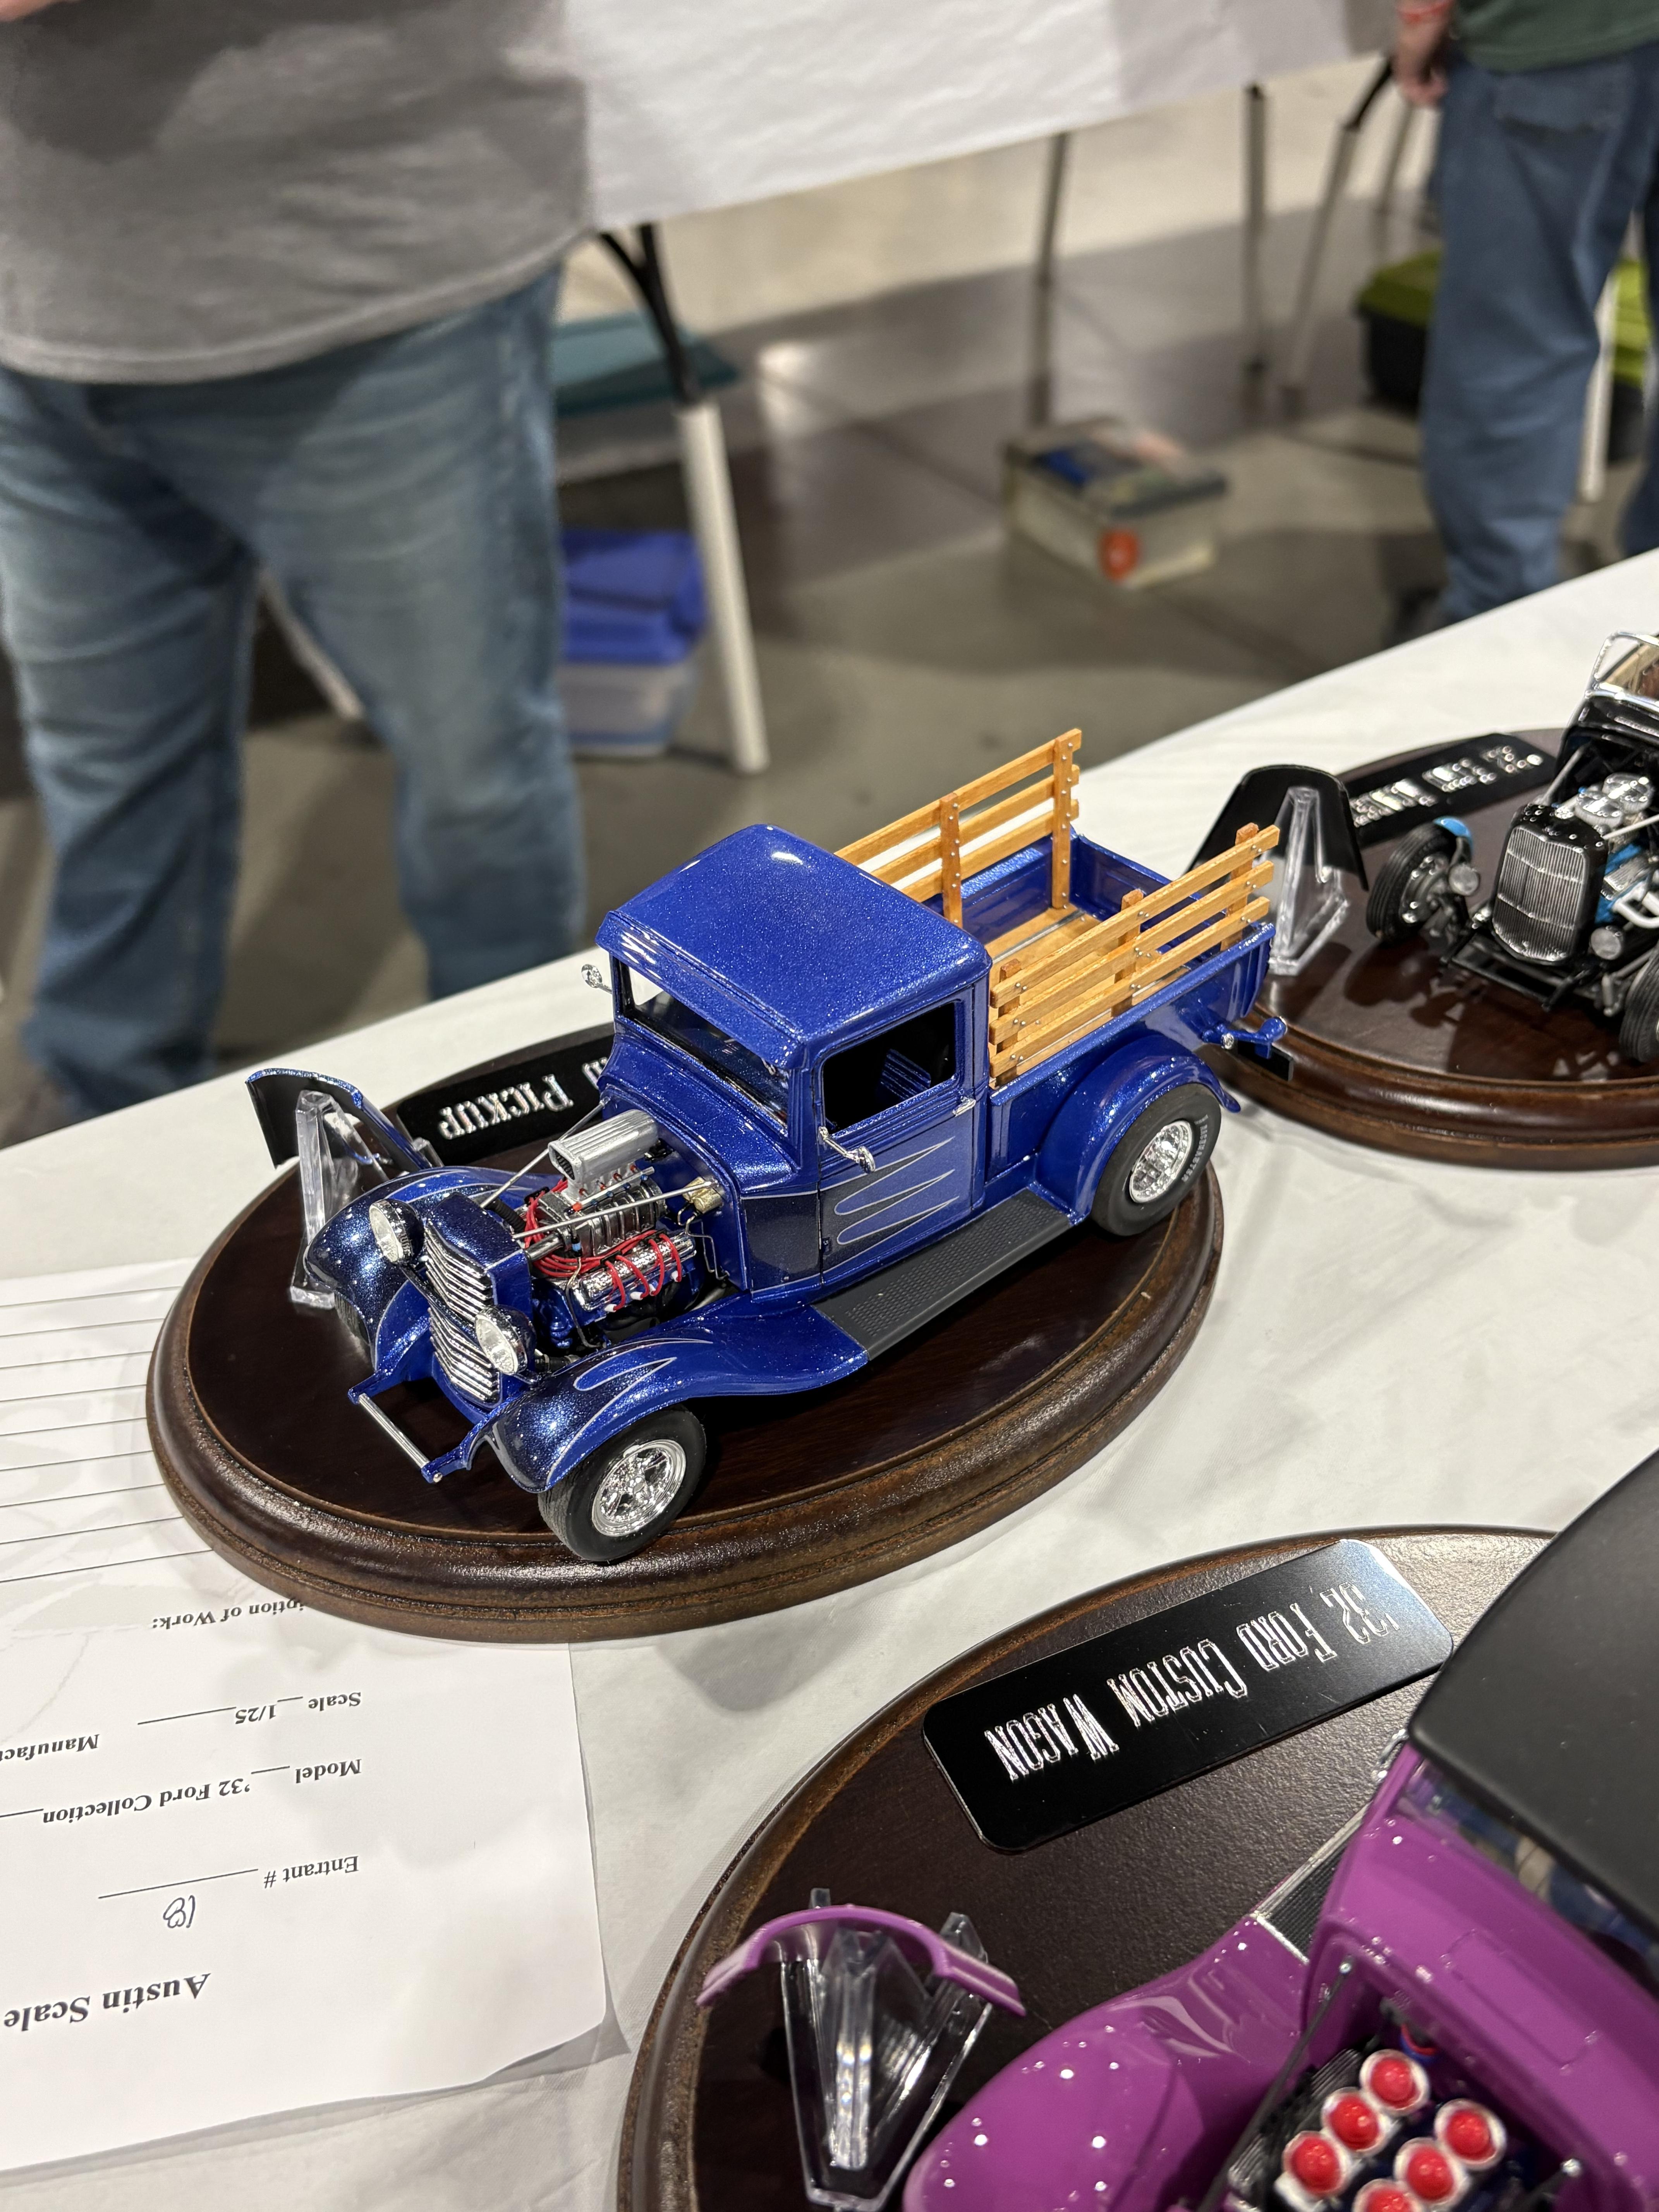
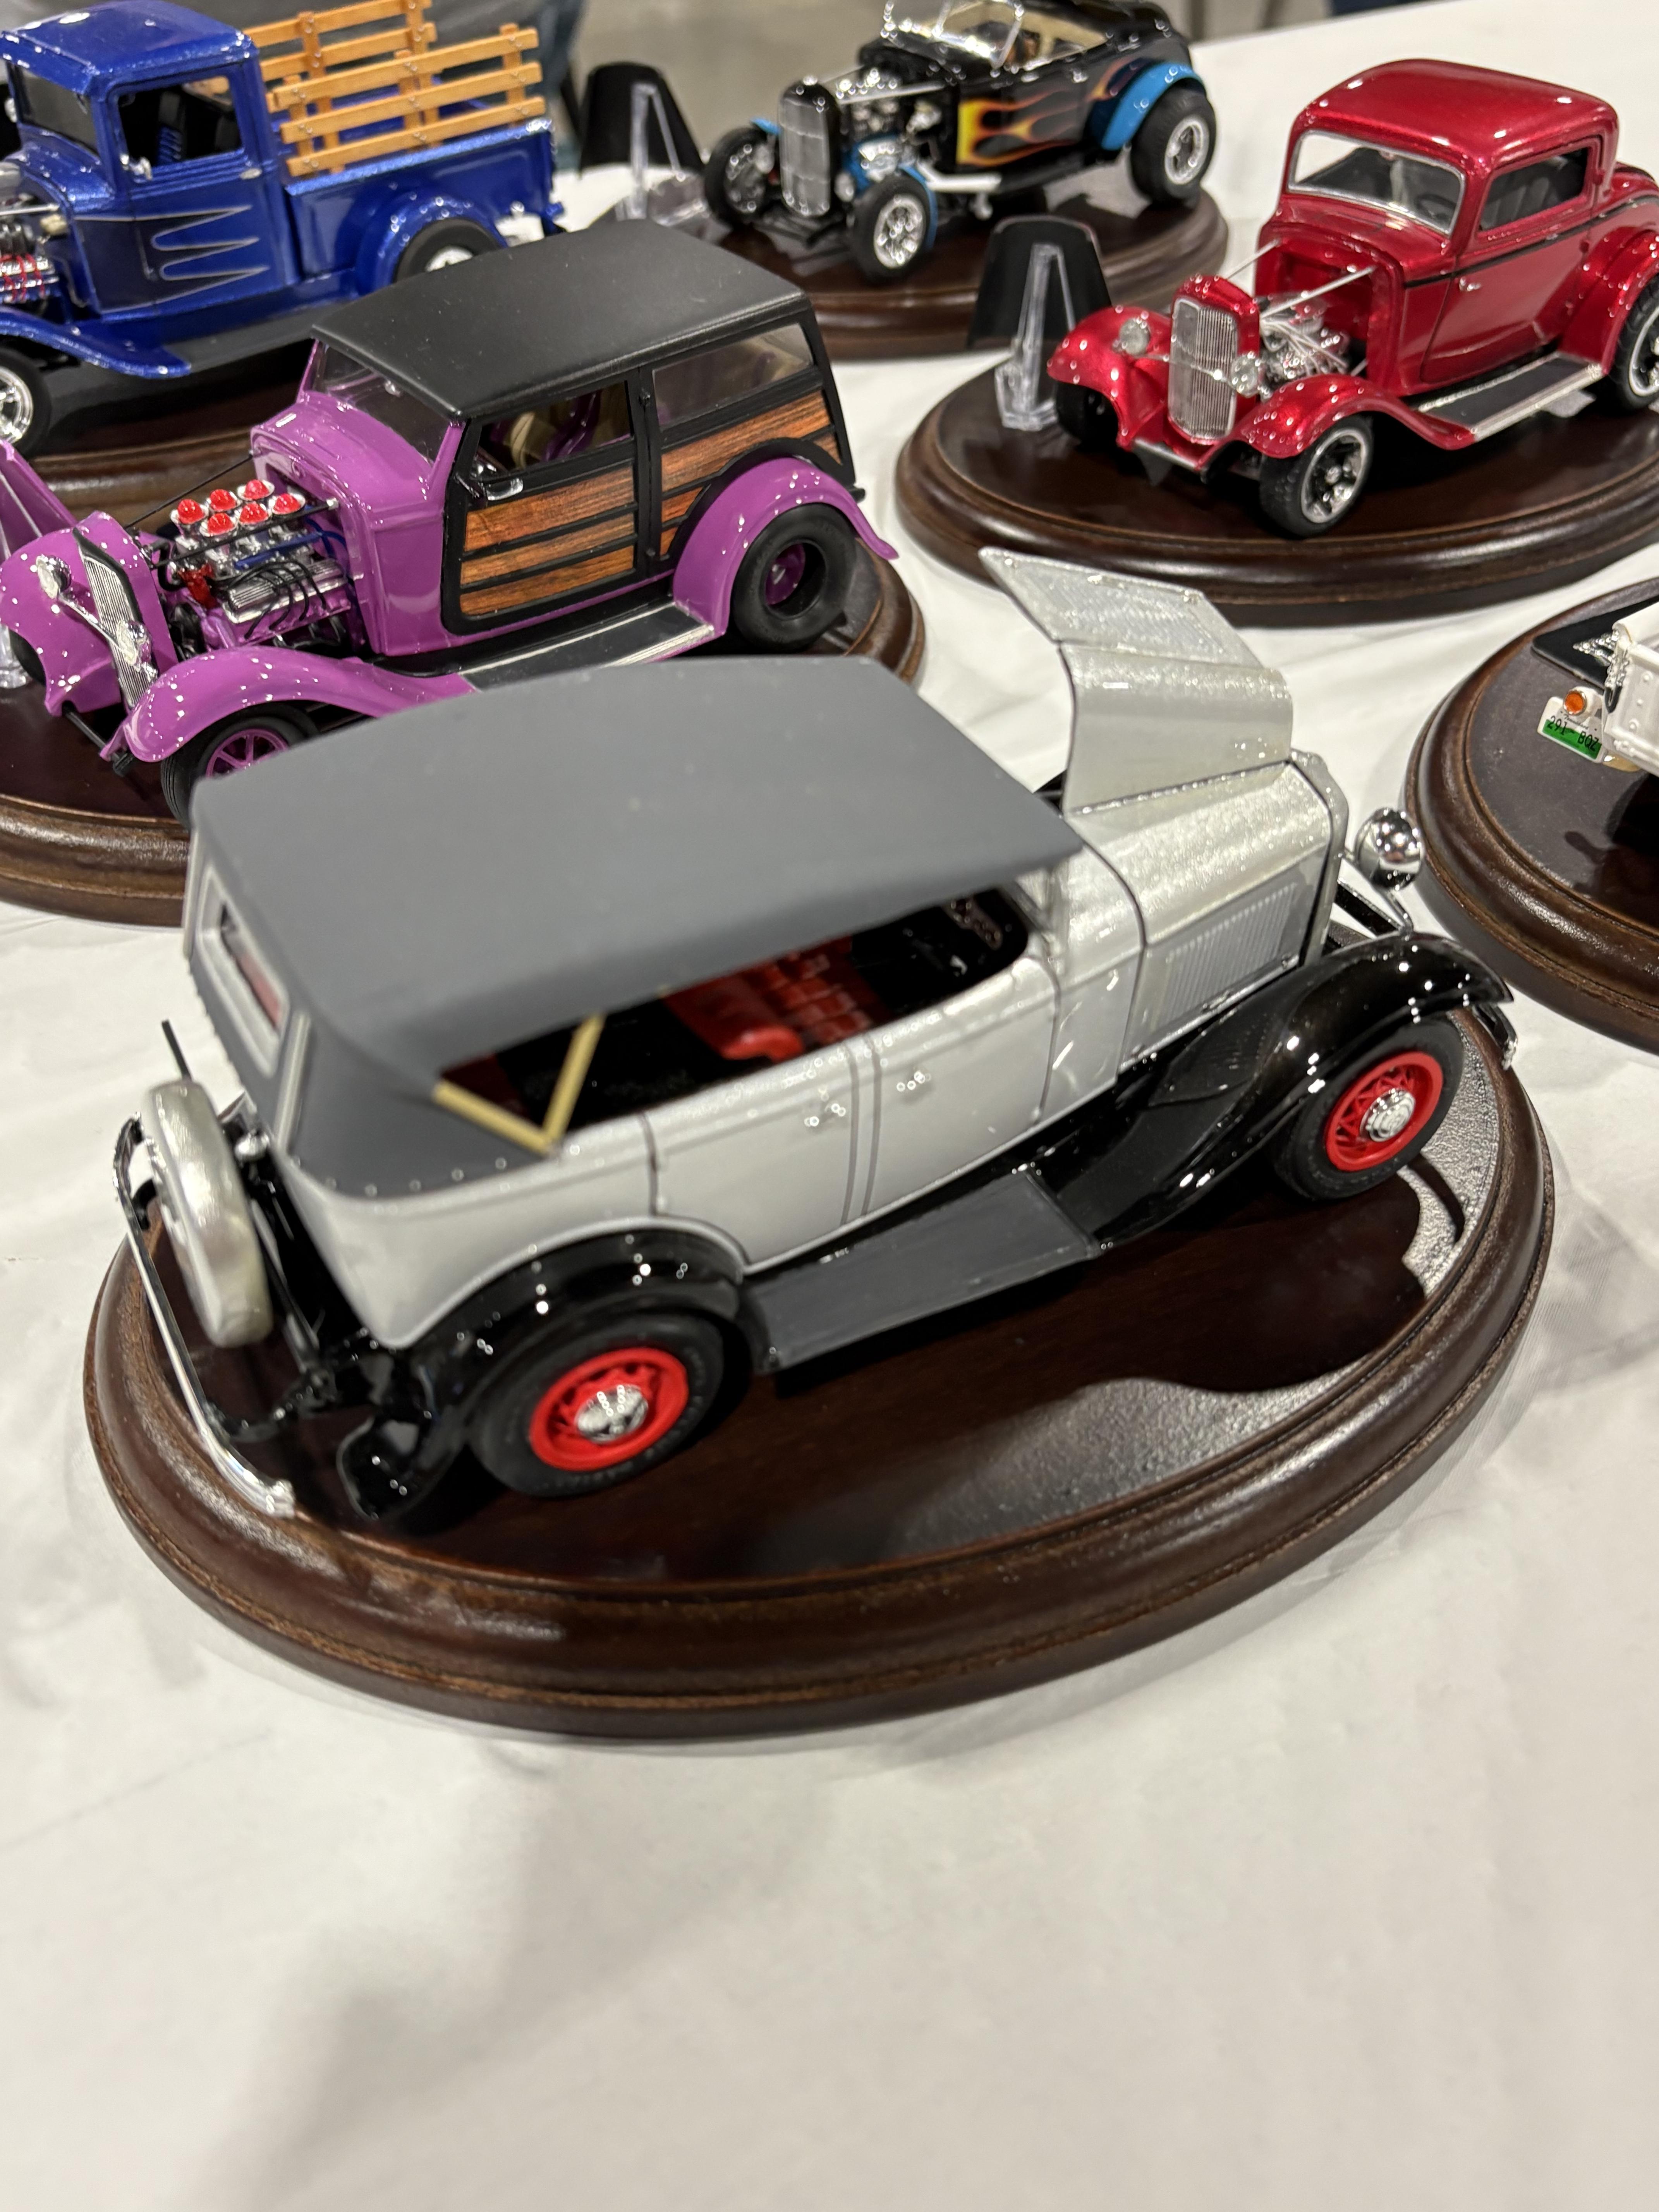
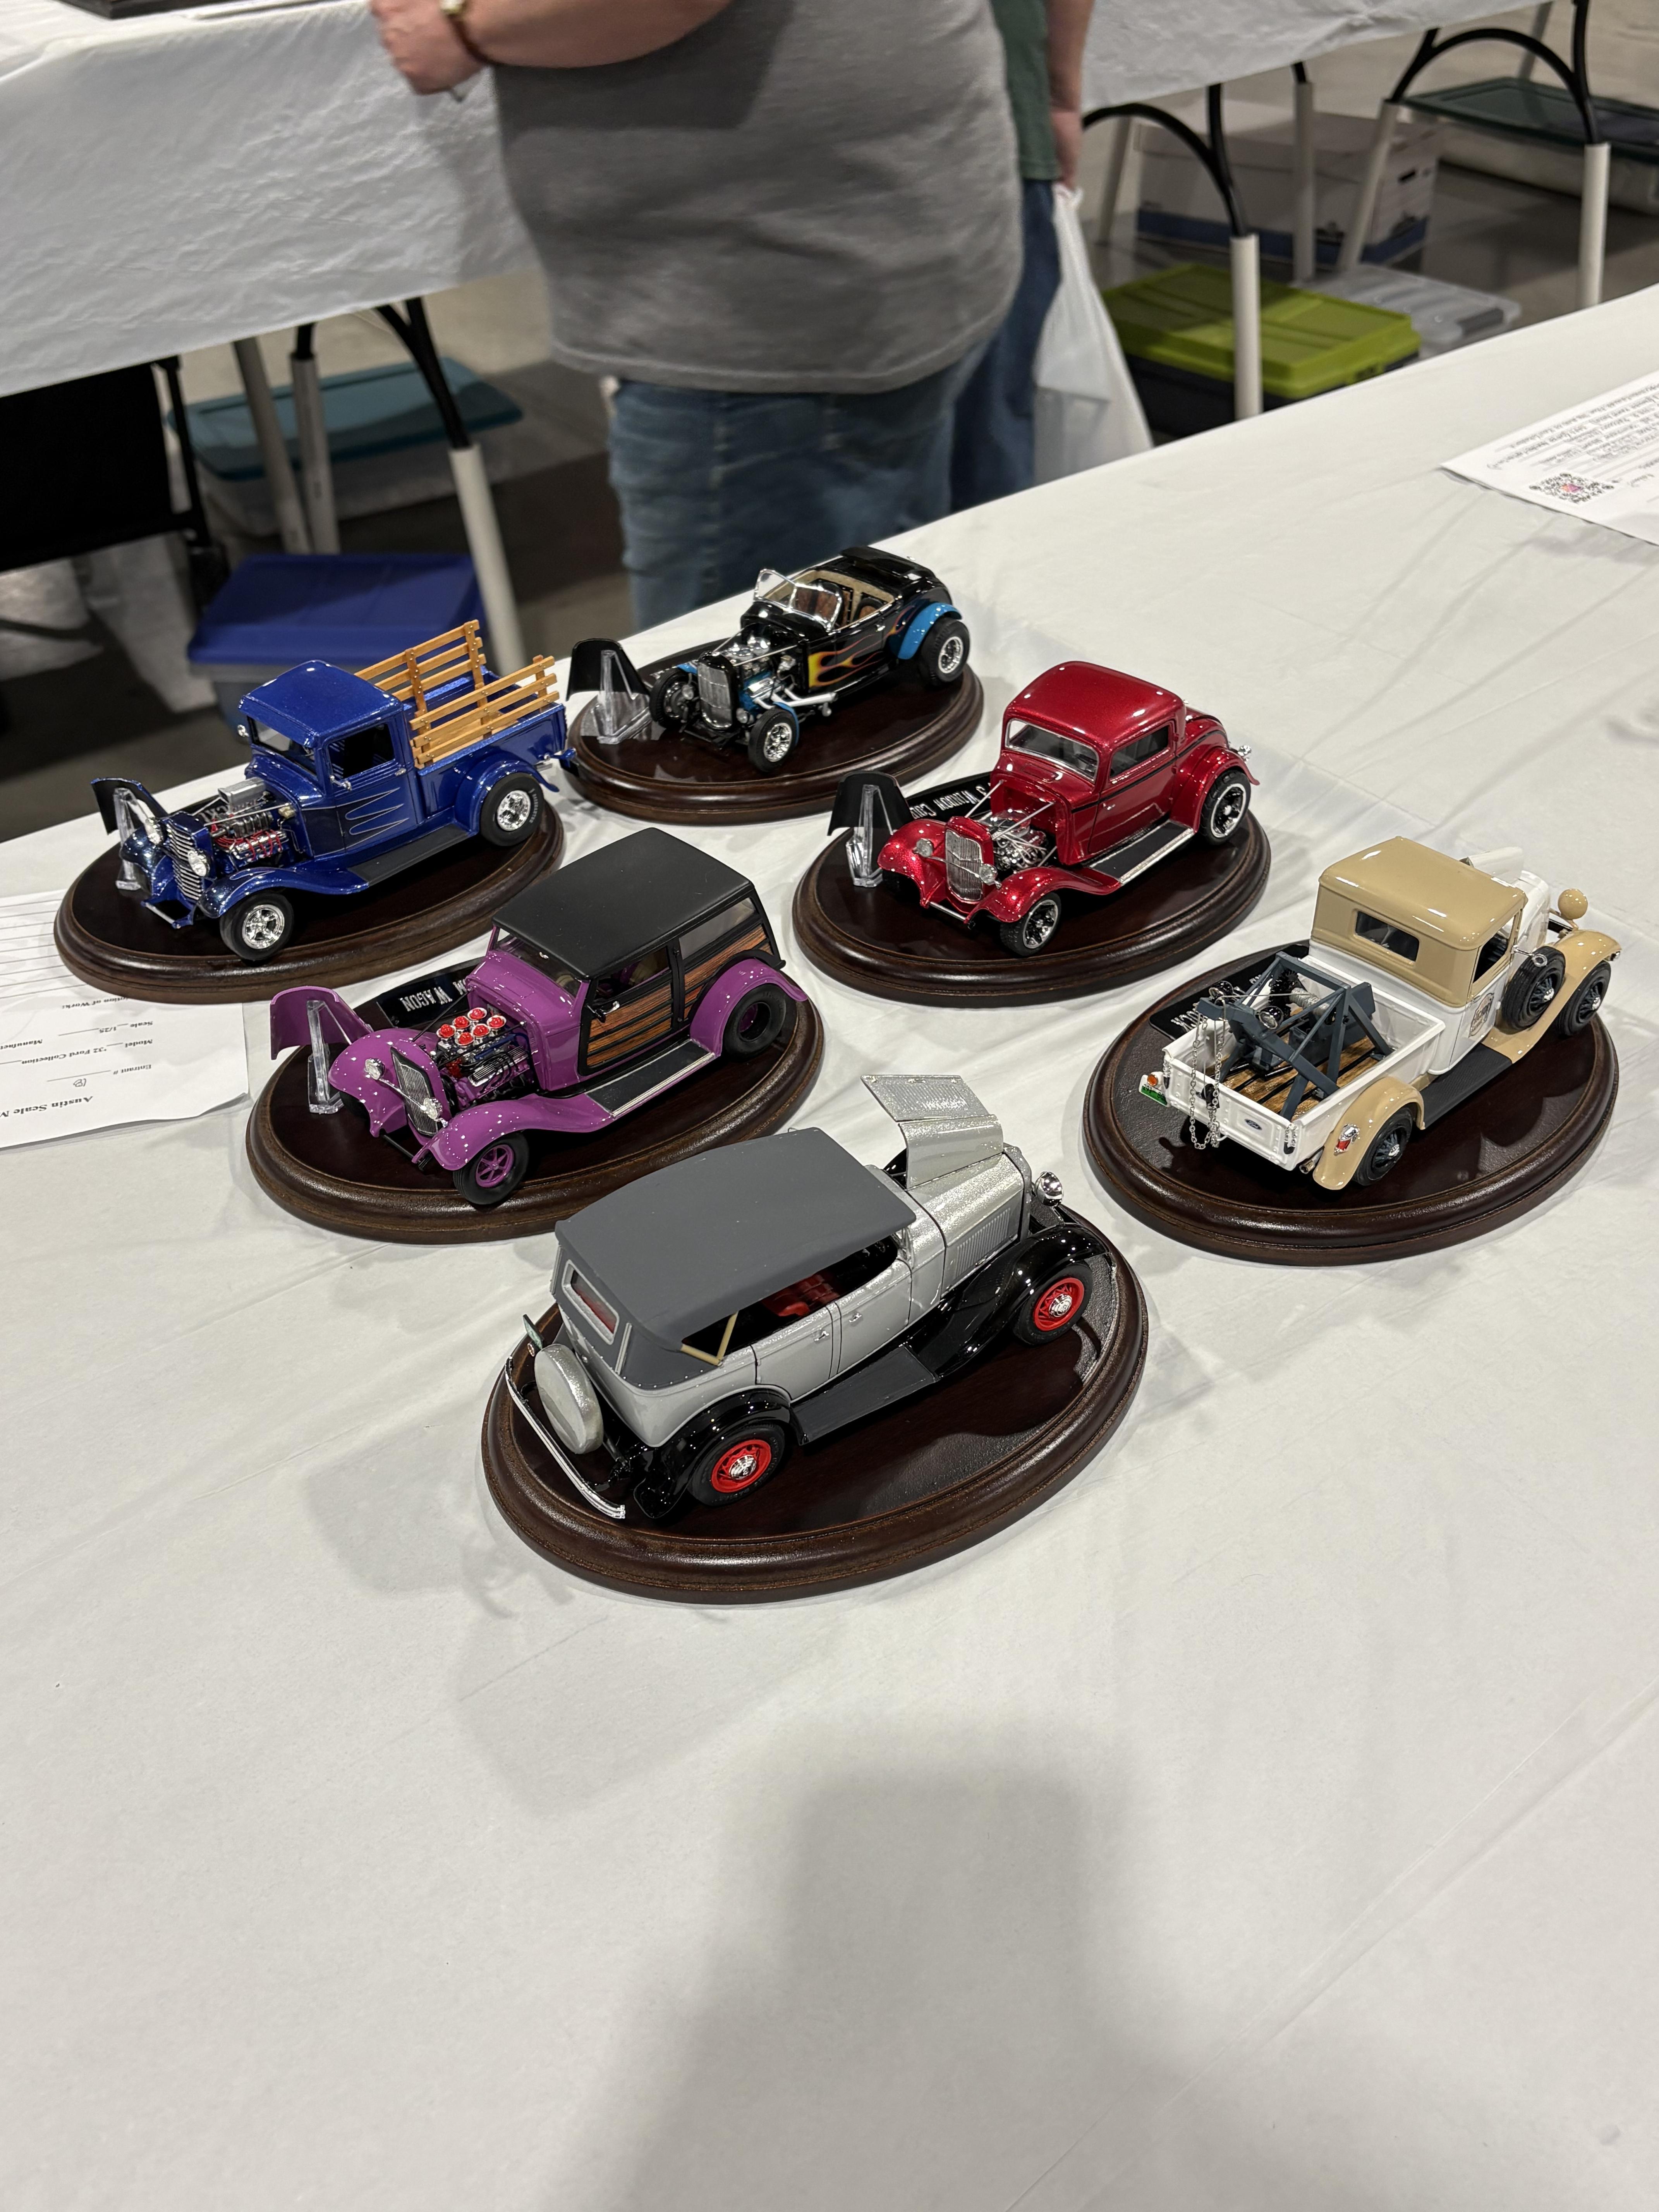
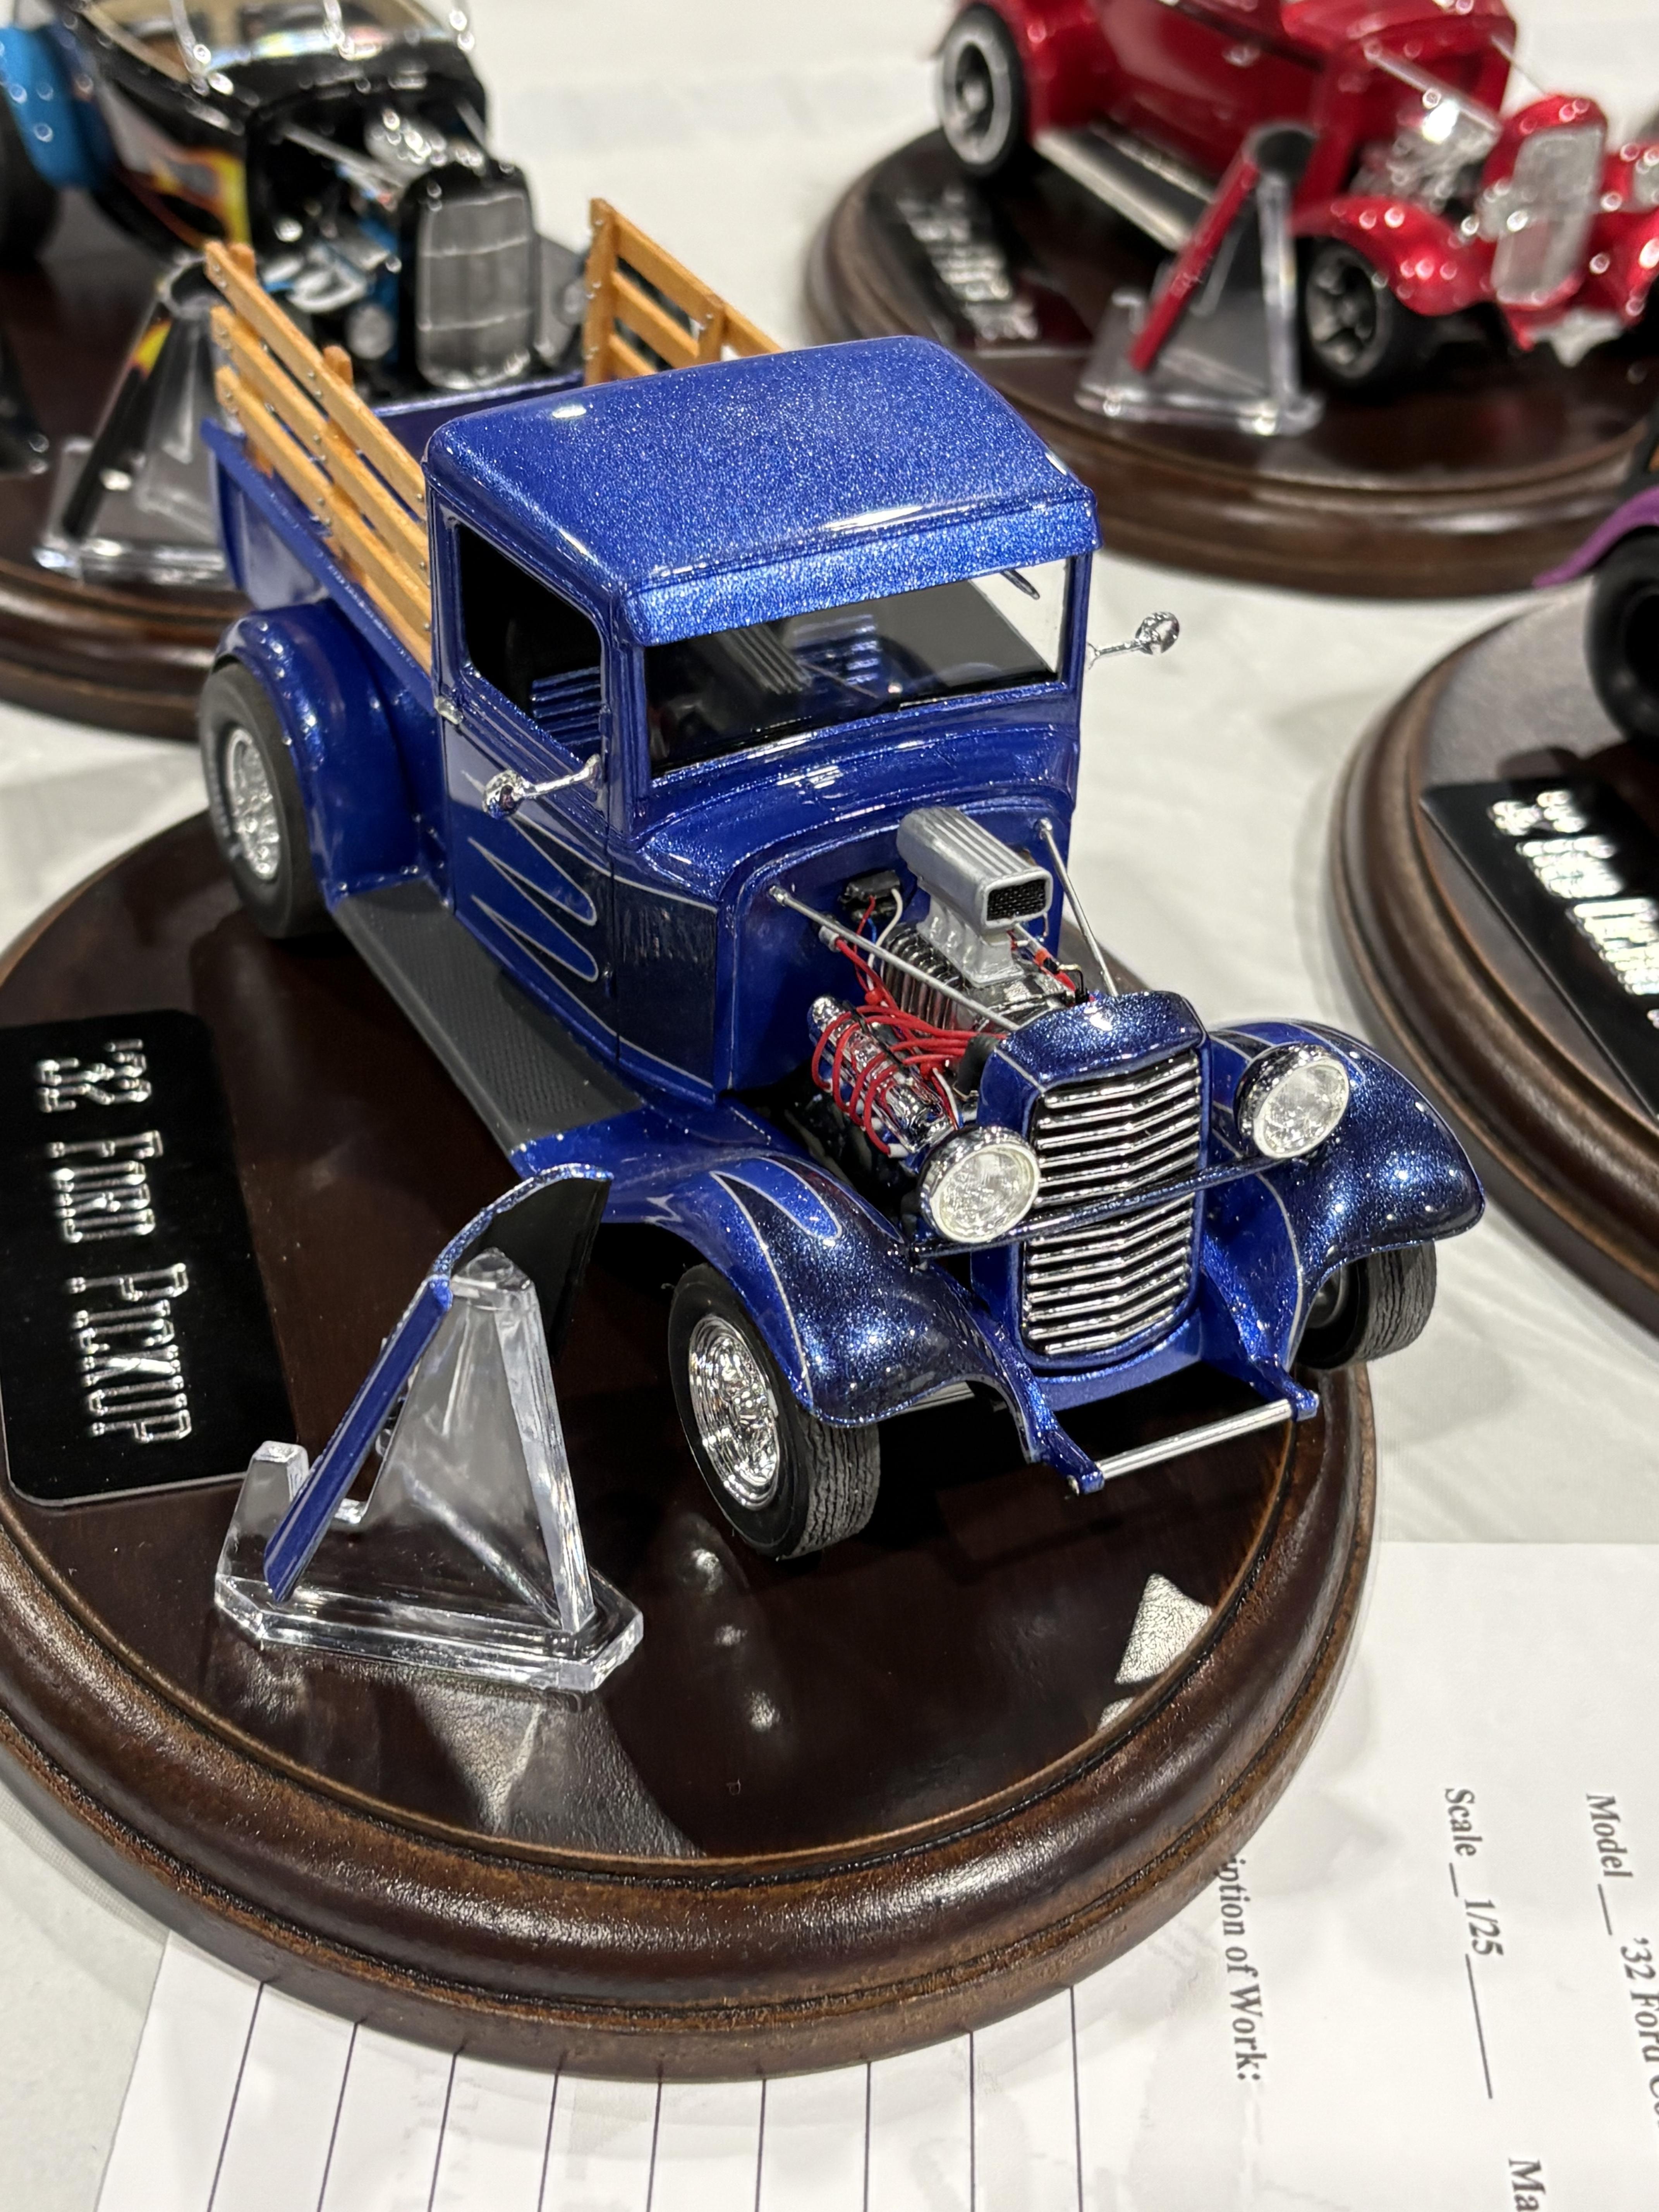
Pics from Austin Capitol Classic contest. November 8, 2025
LDO replied to LDO's topic in Contests and Shows
-
Pics from Austin Capitol Classic contest. November 8, 2025
LDO replied to LDO's topic in Contests and Shows
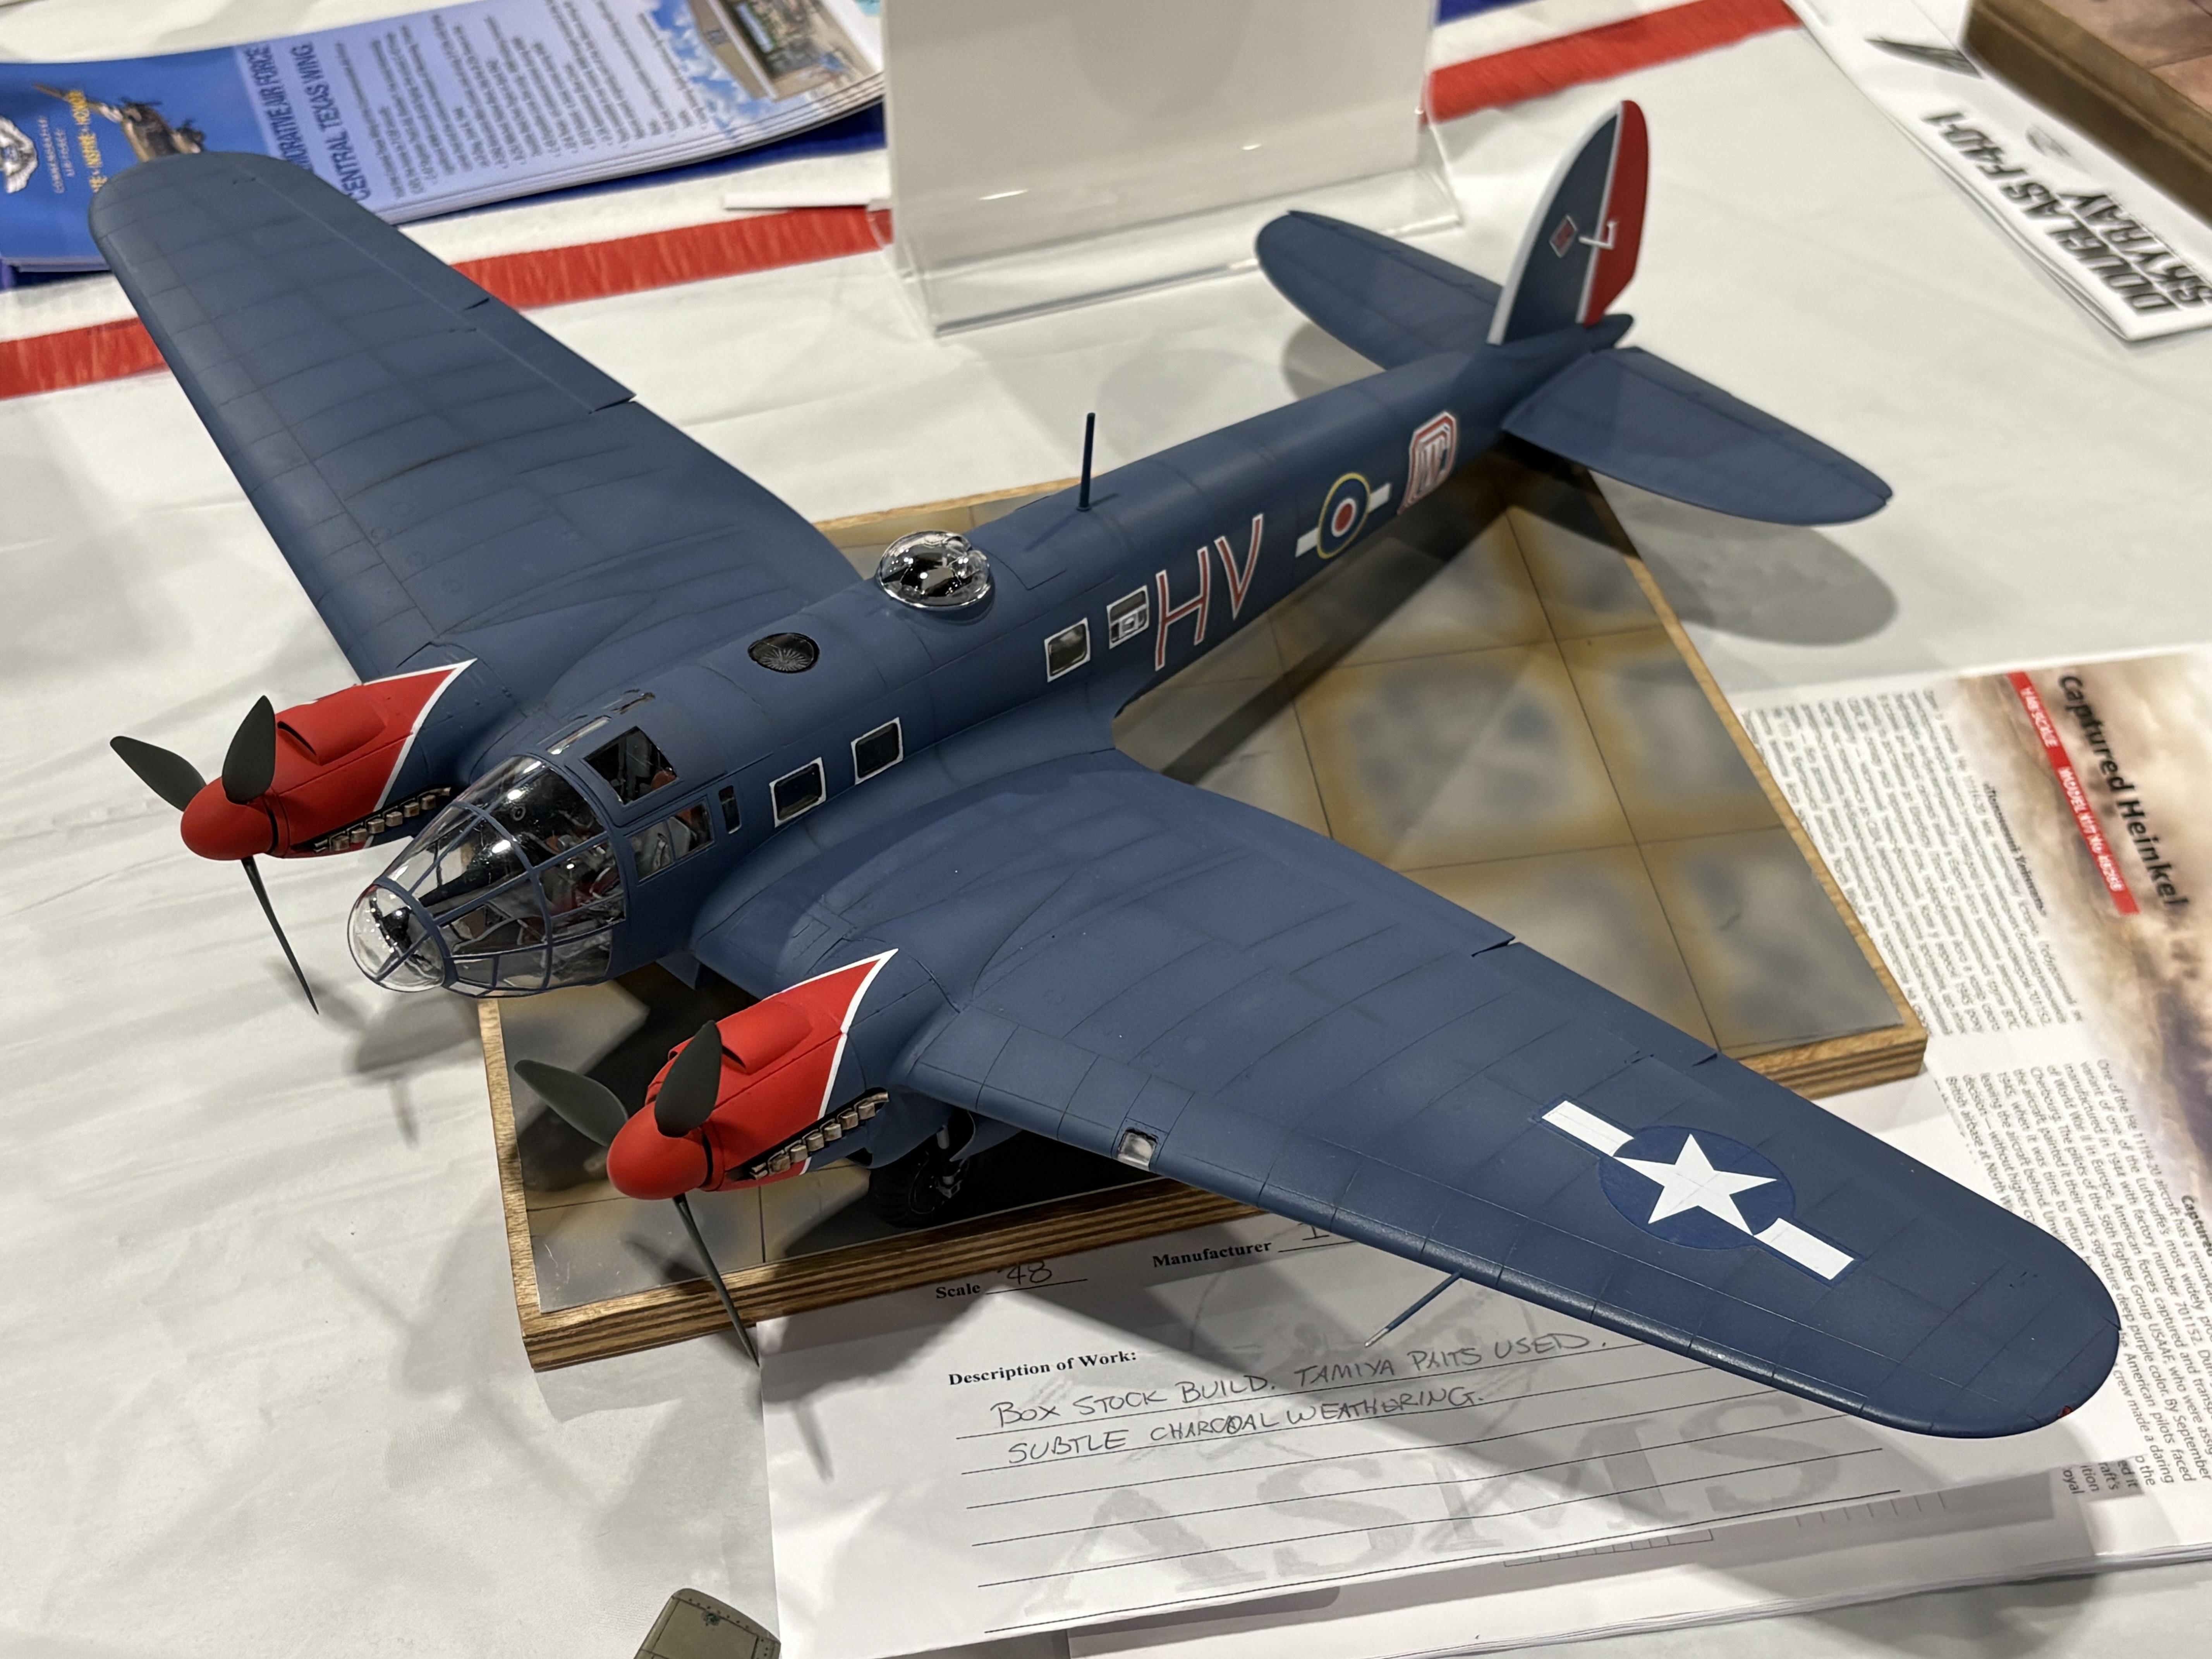
That blue and red plane is a German WWII Heinkel 119, apparently captured and used by a US fighter squadron. I had never seen this before. Interesting, IMHO.
-
Pics from Austin Capitol Classic contest. November 8, 2025
LDO replied to LDO's topic in Contests and Shows
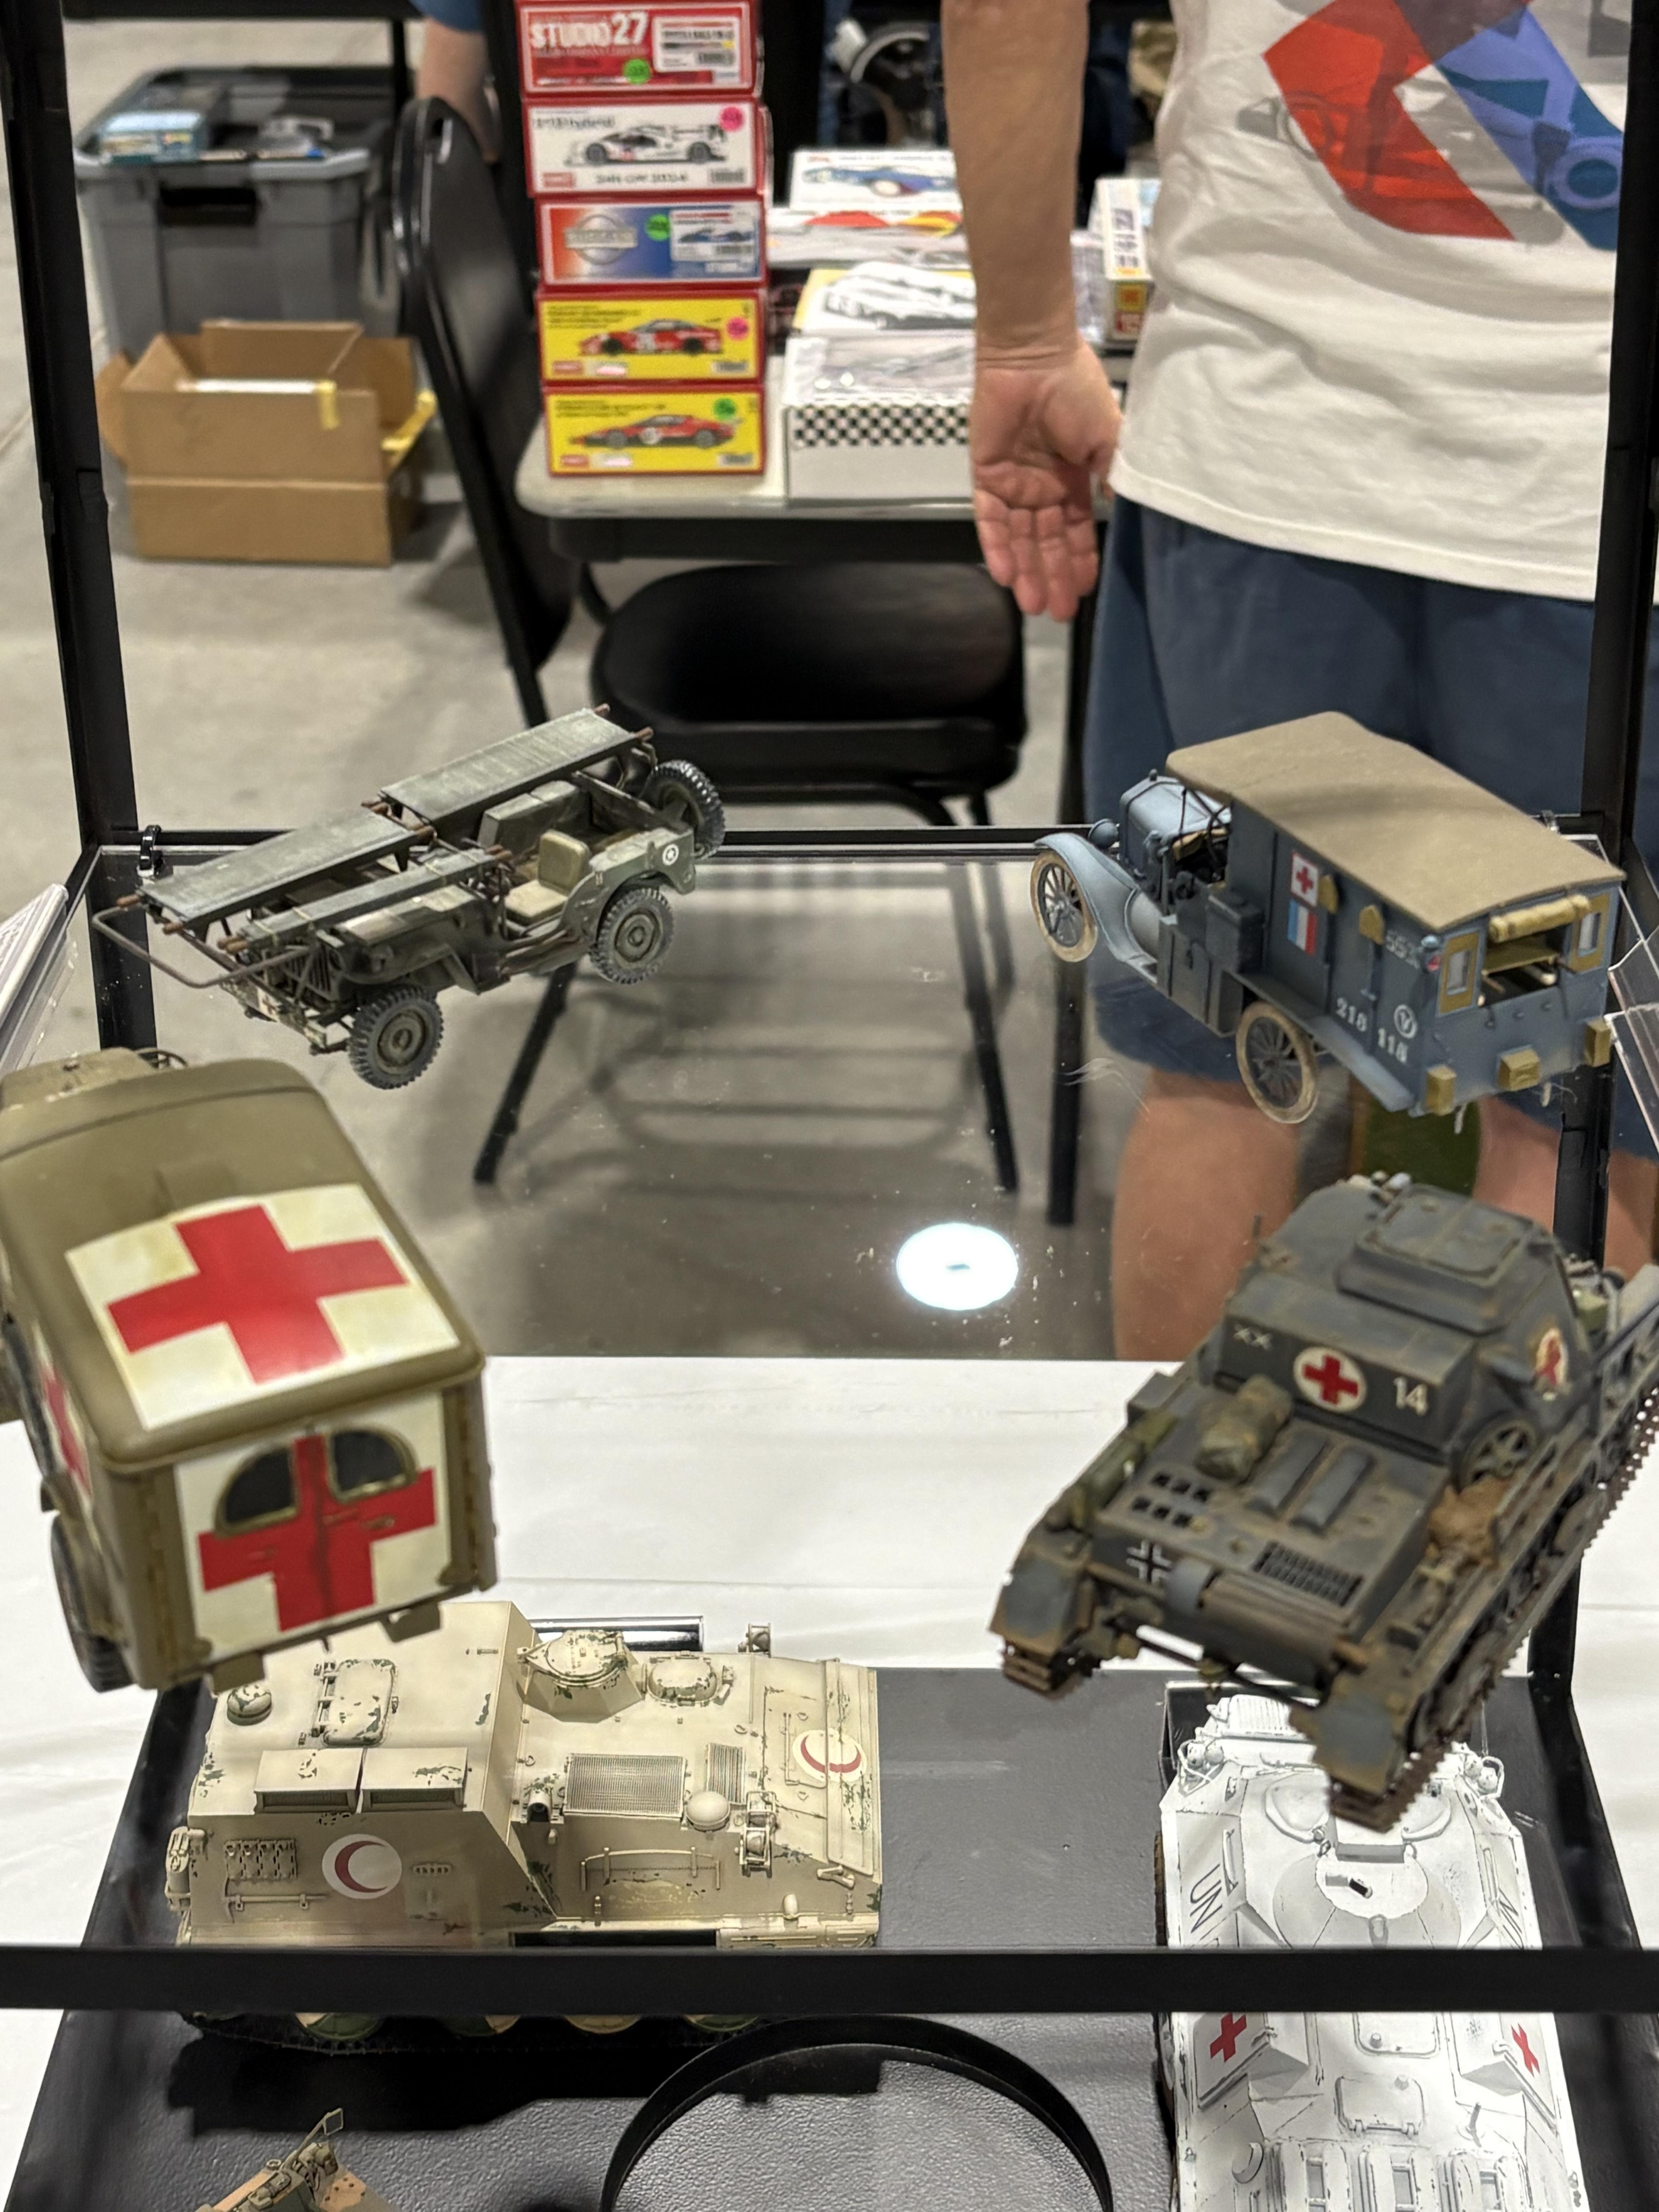
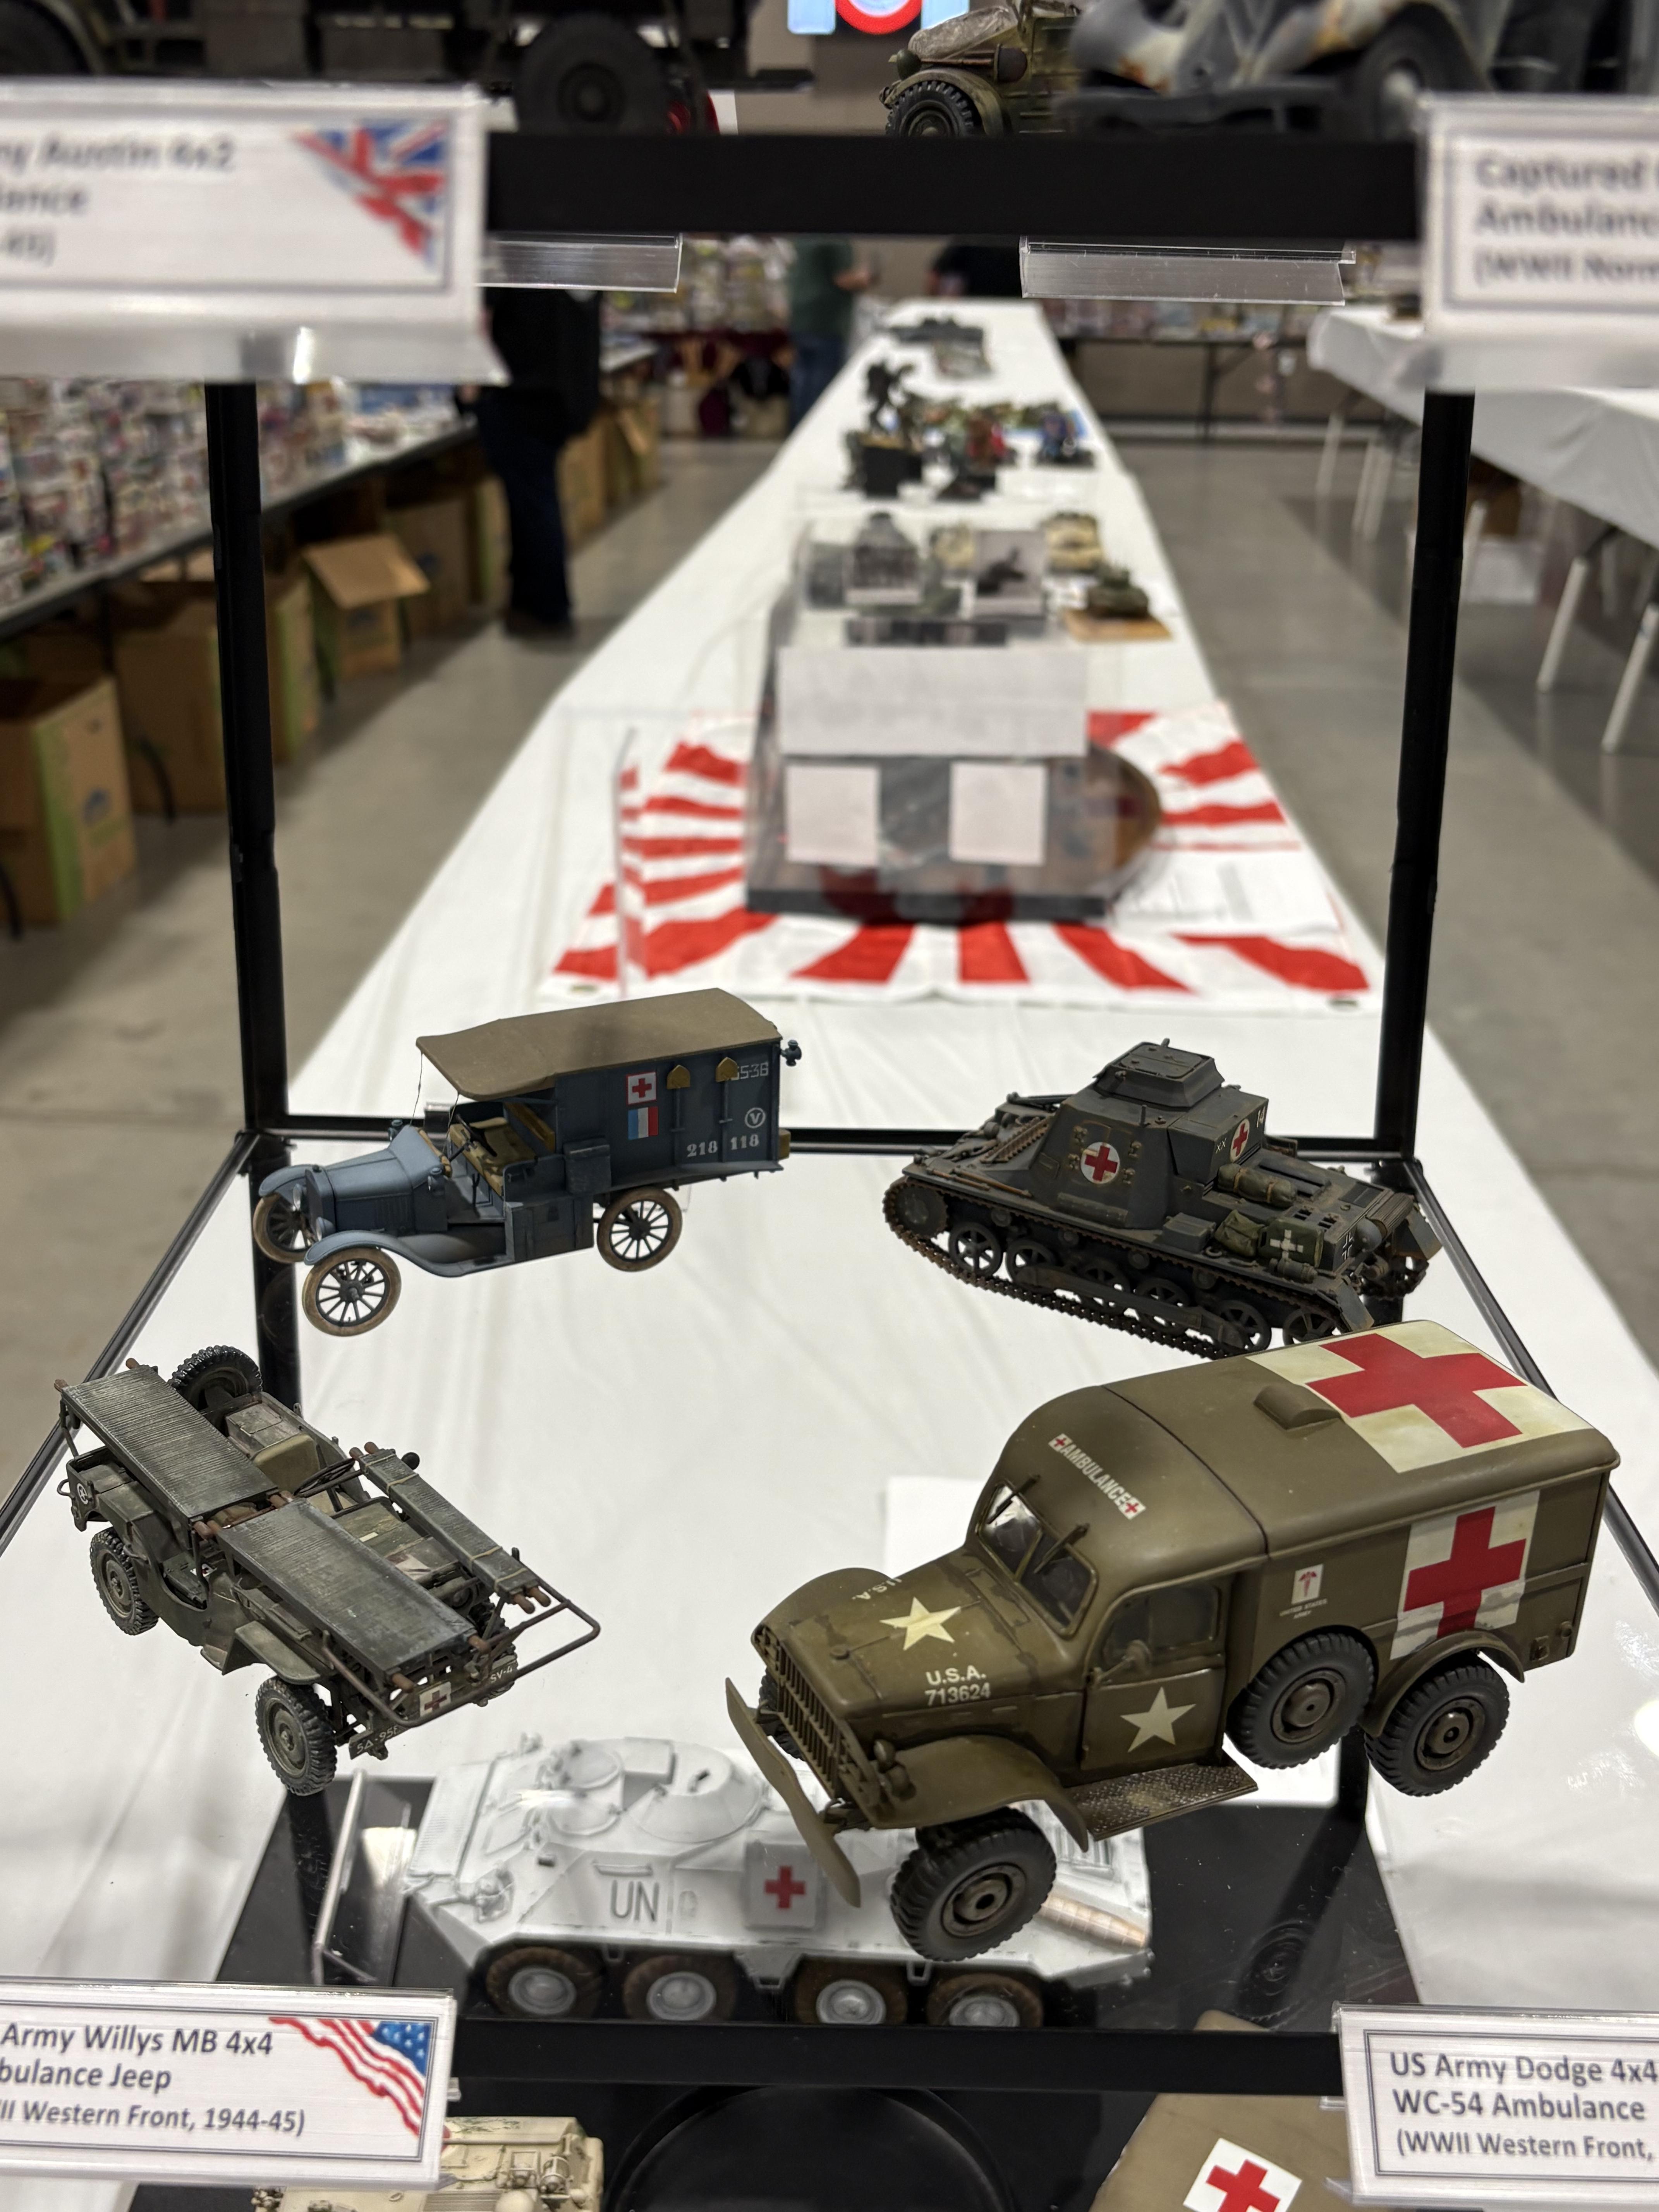
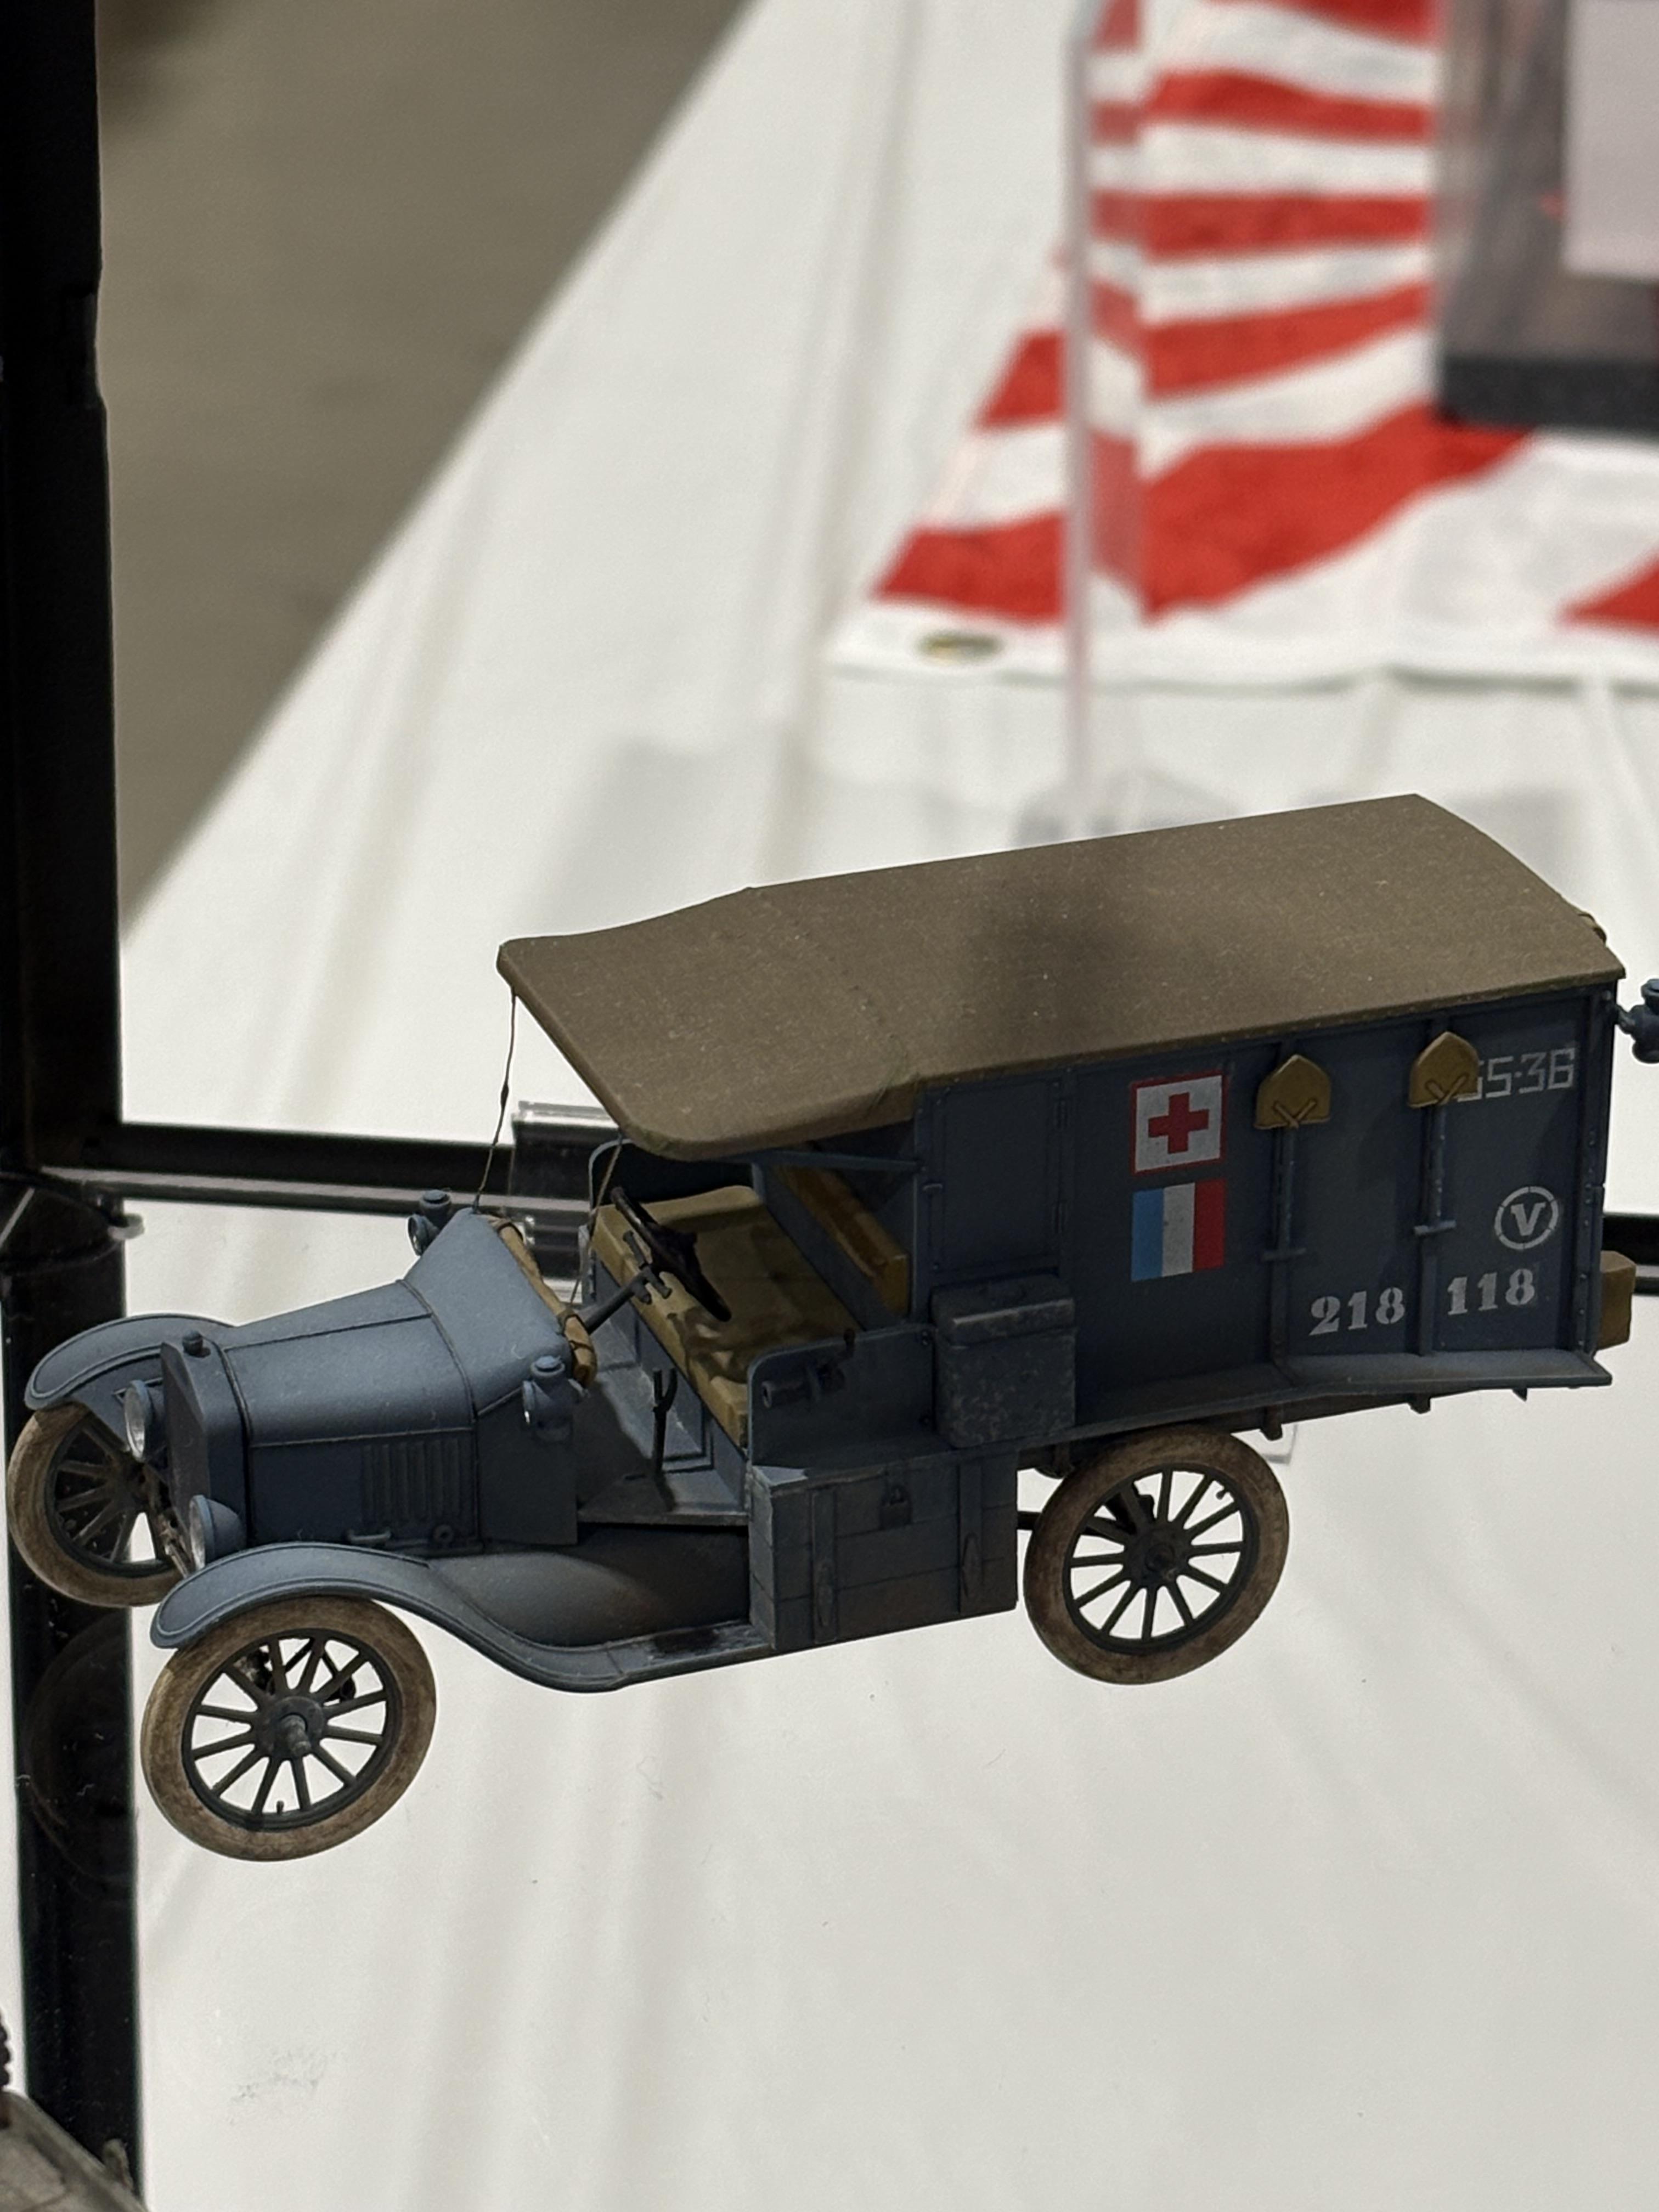
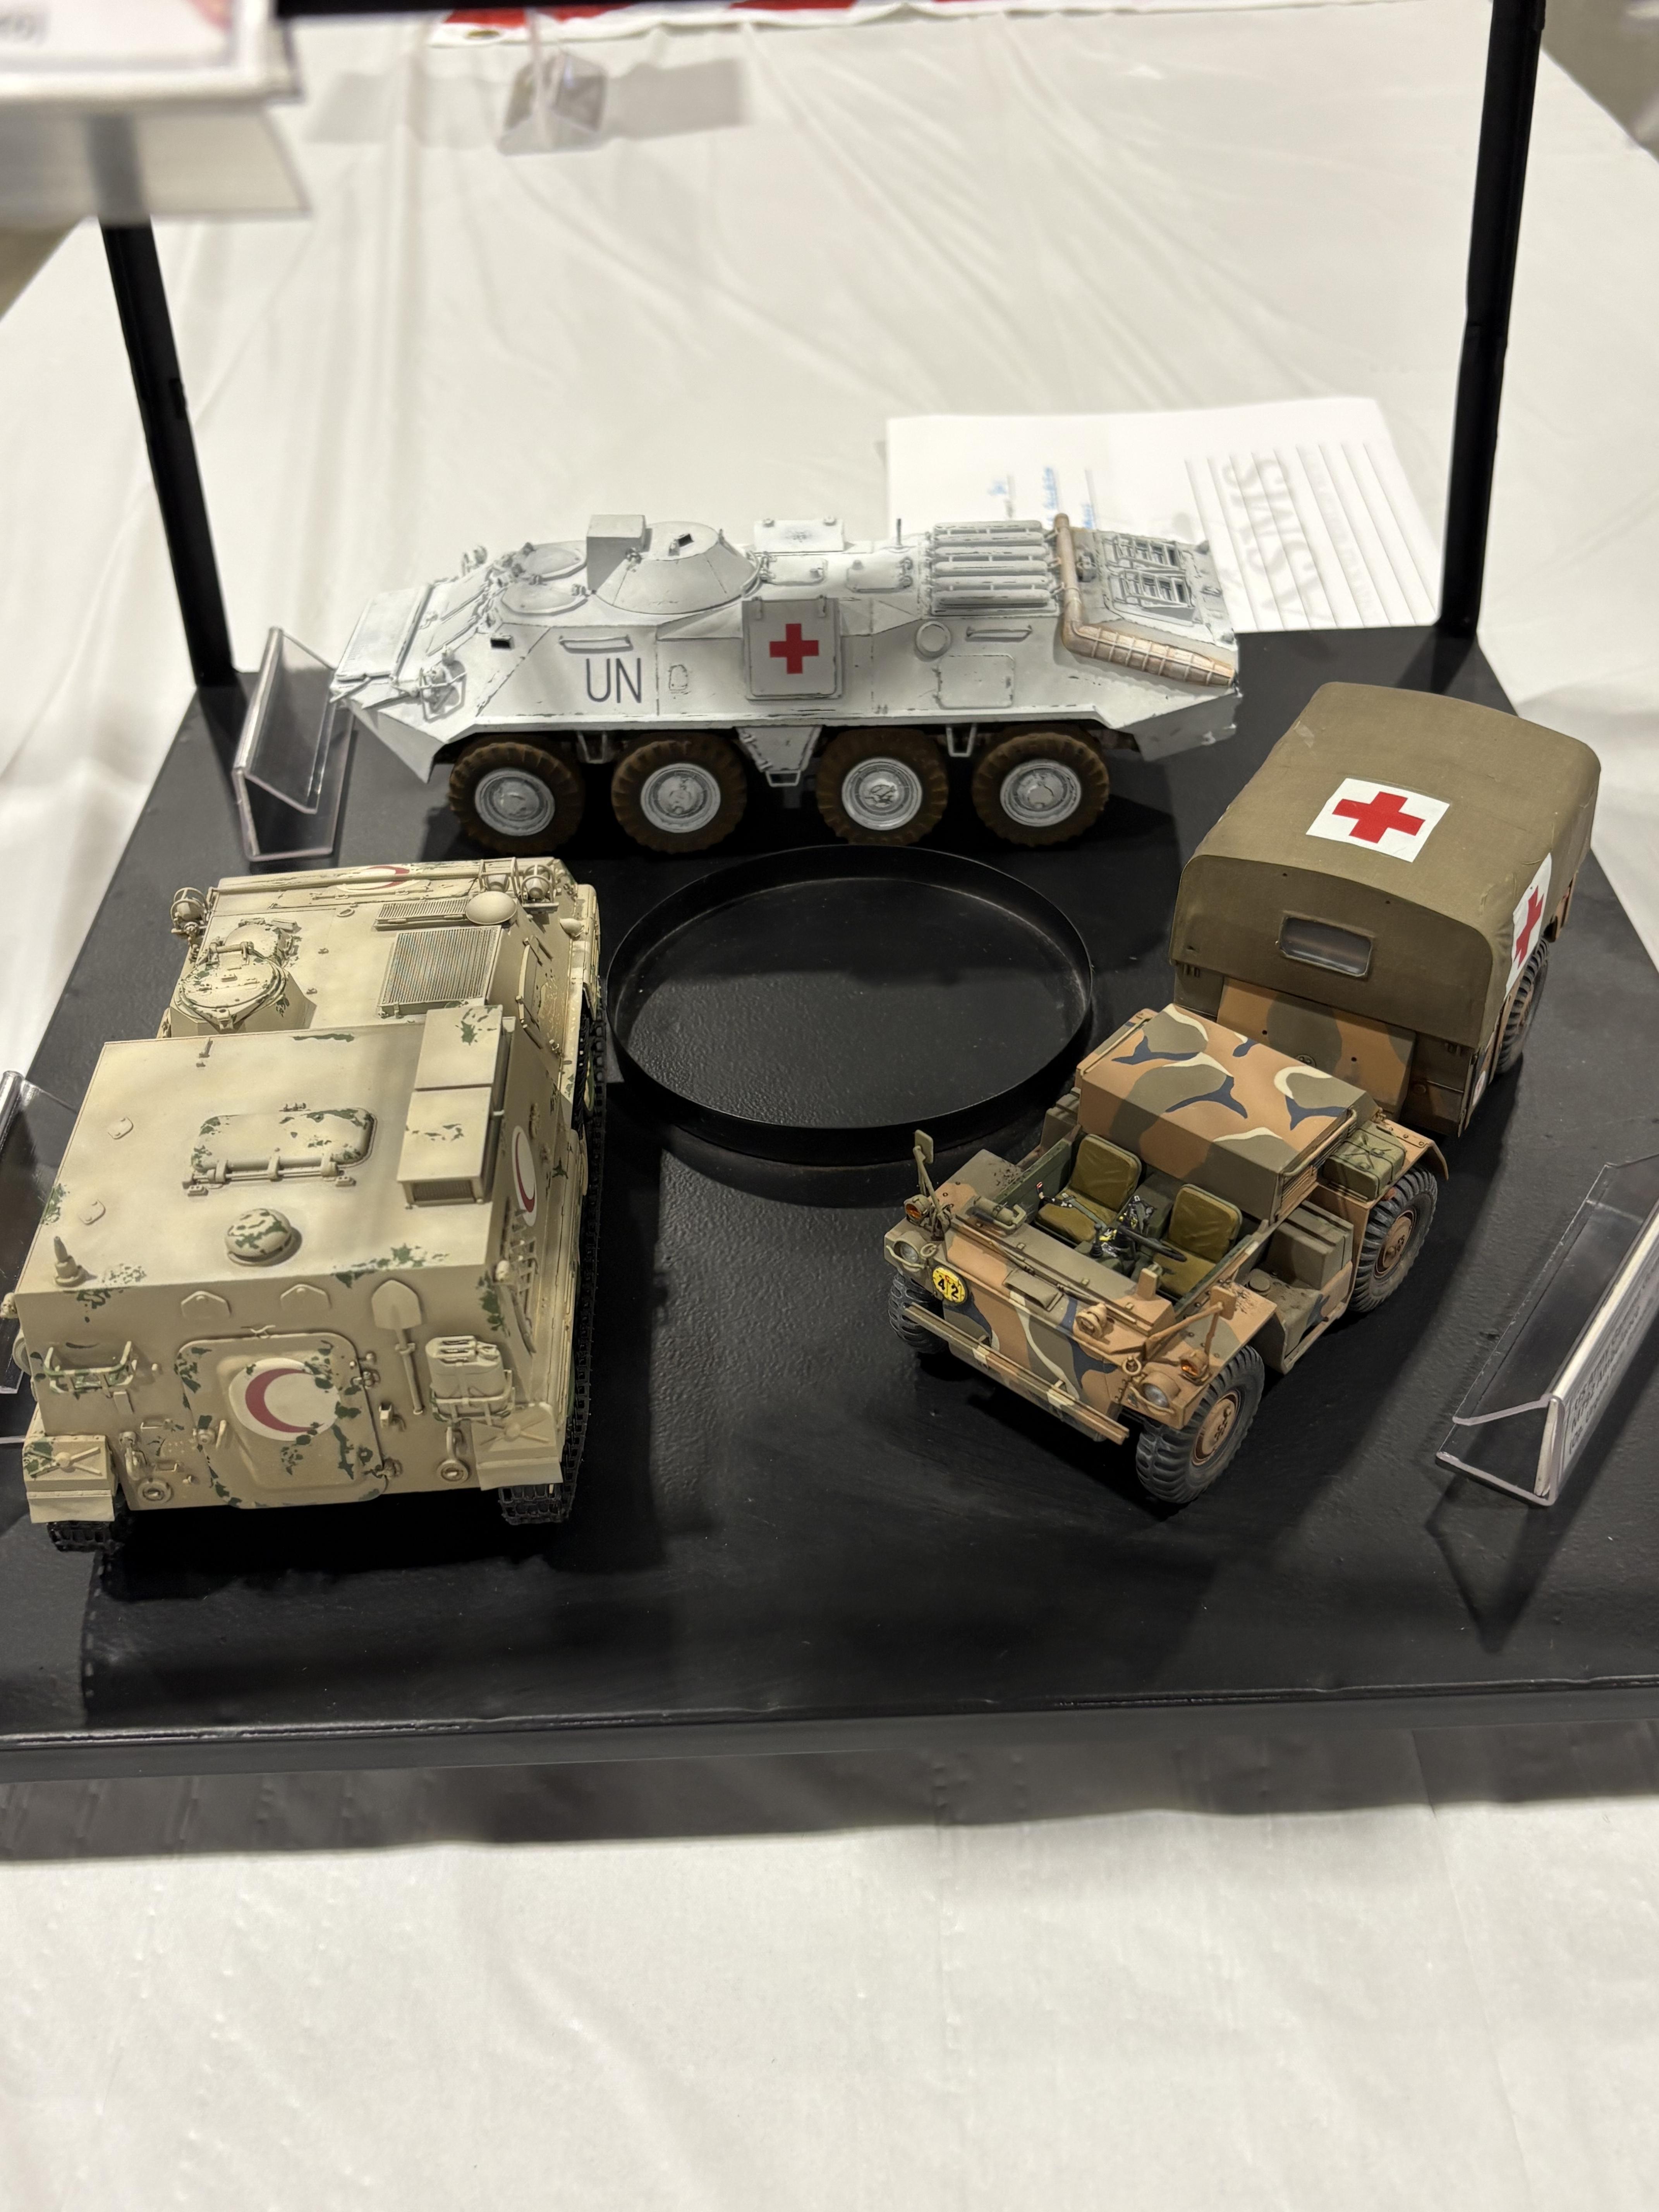
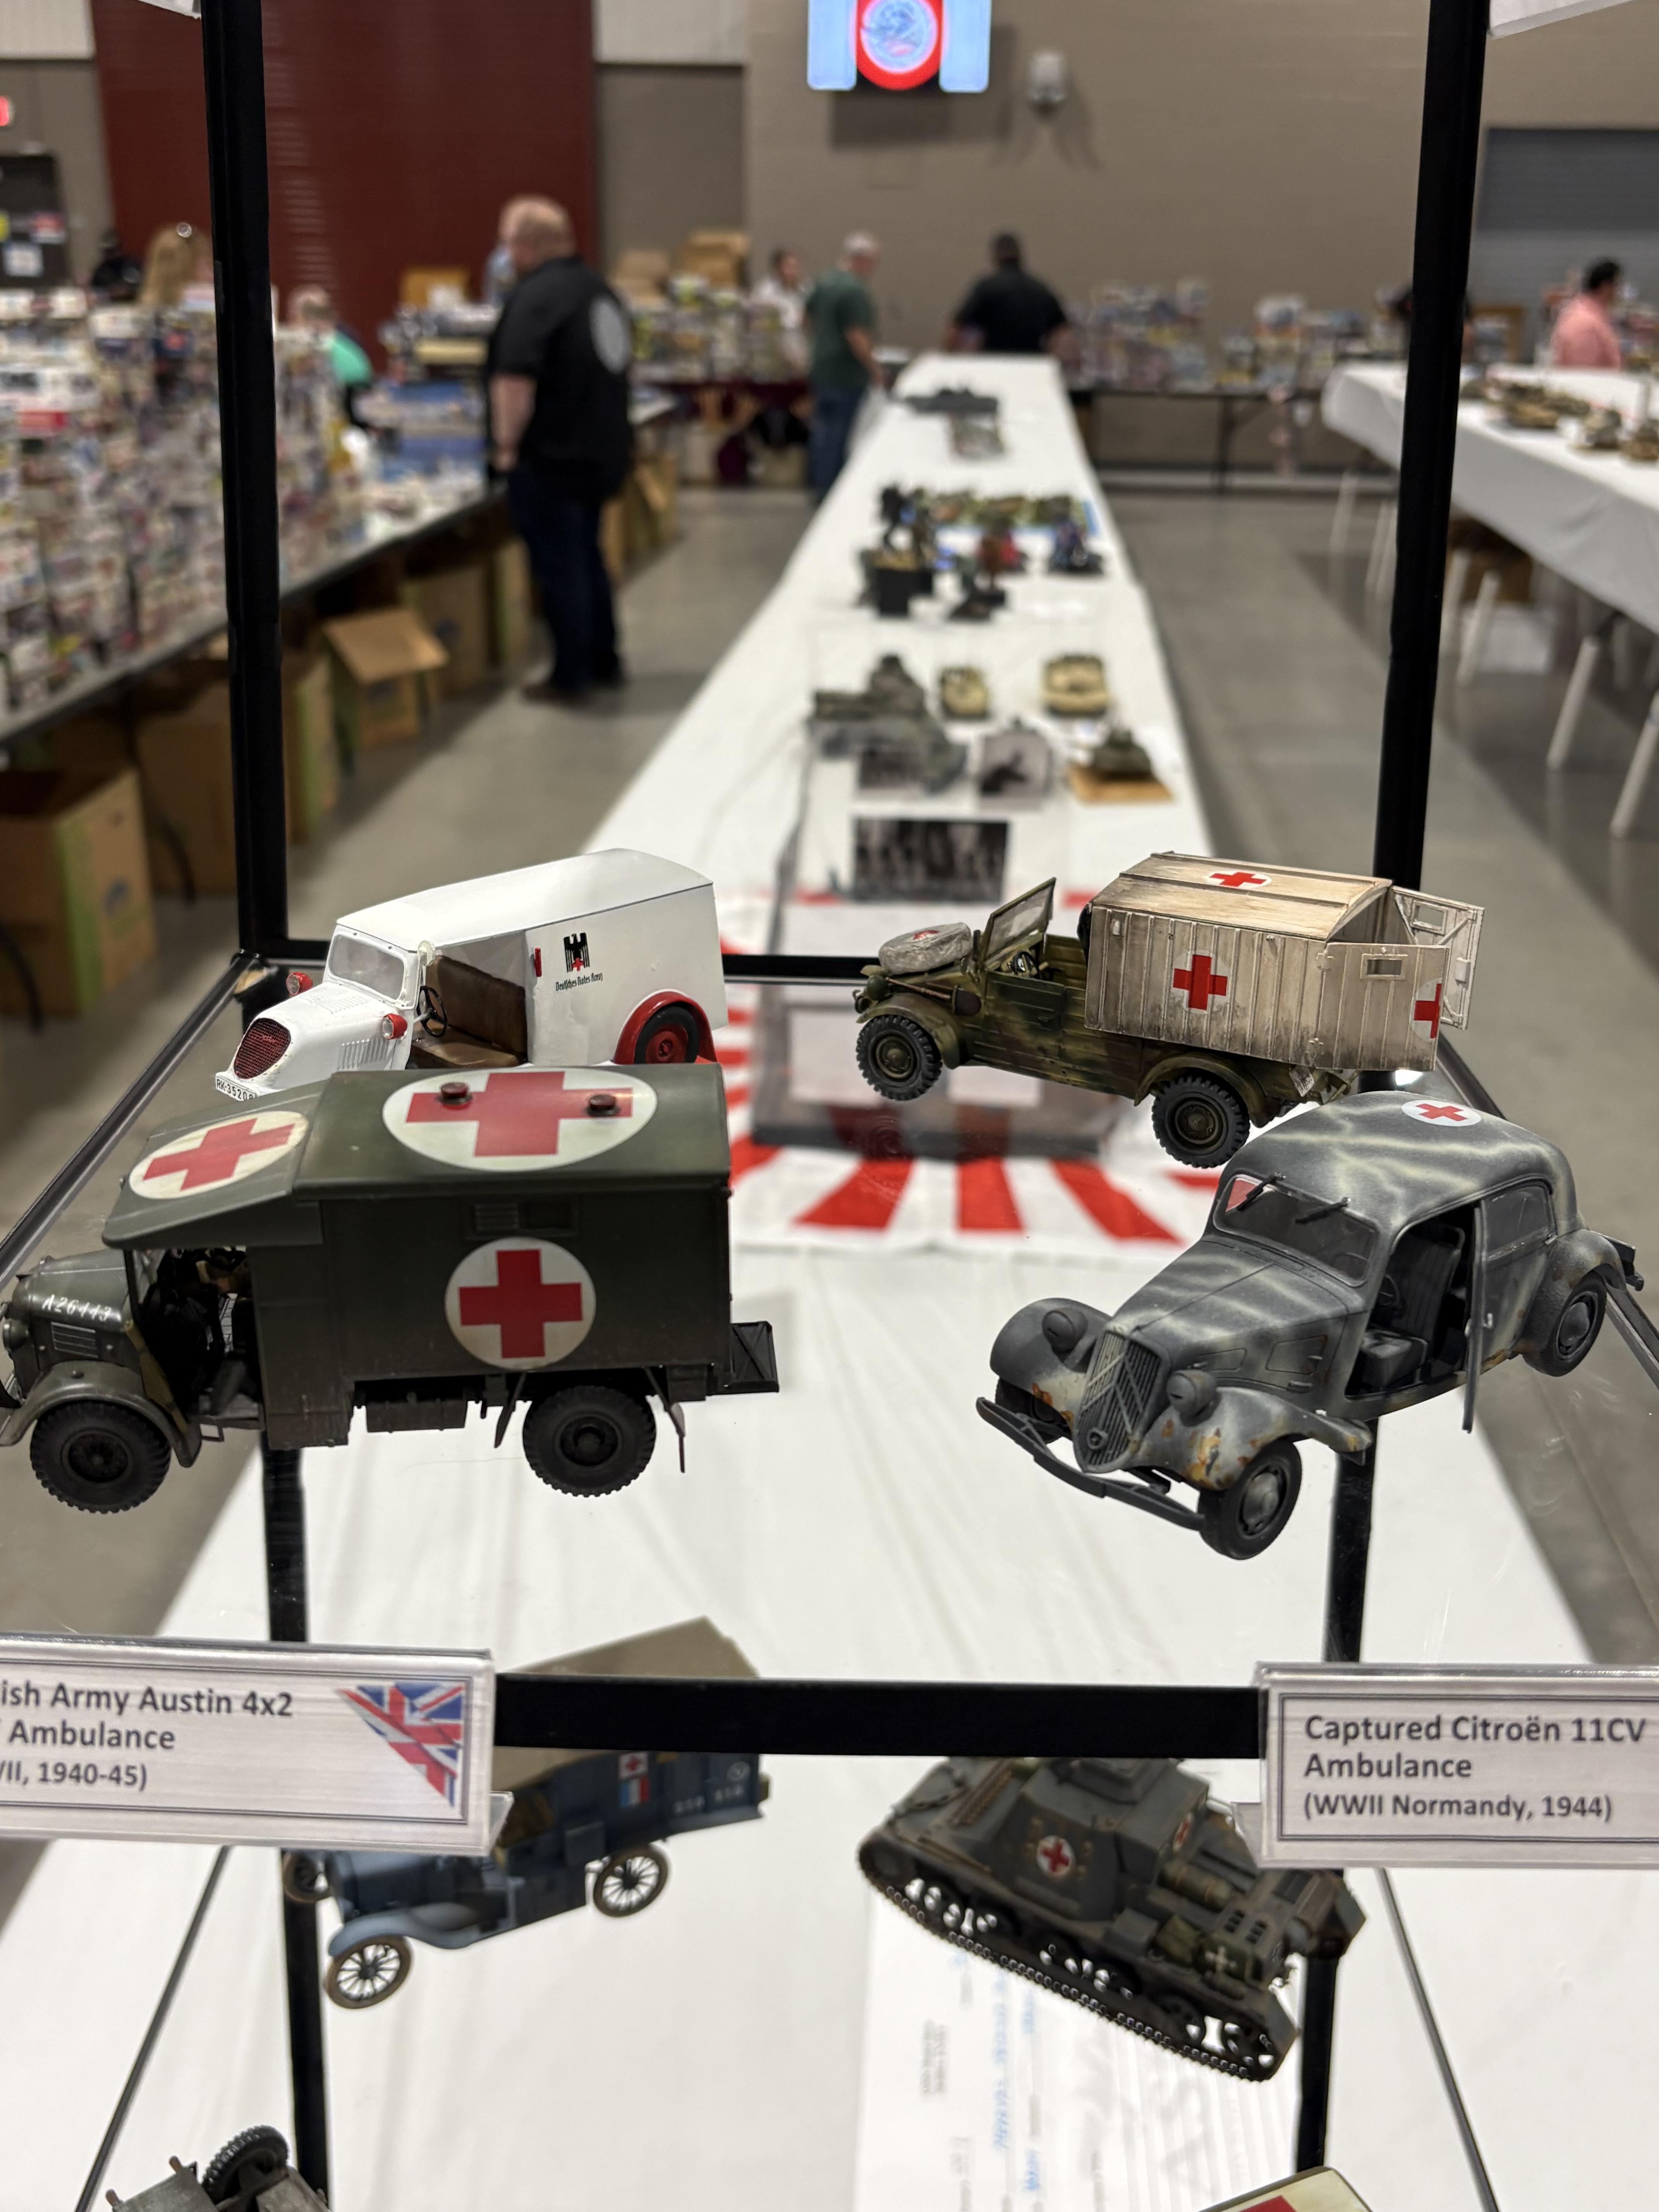
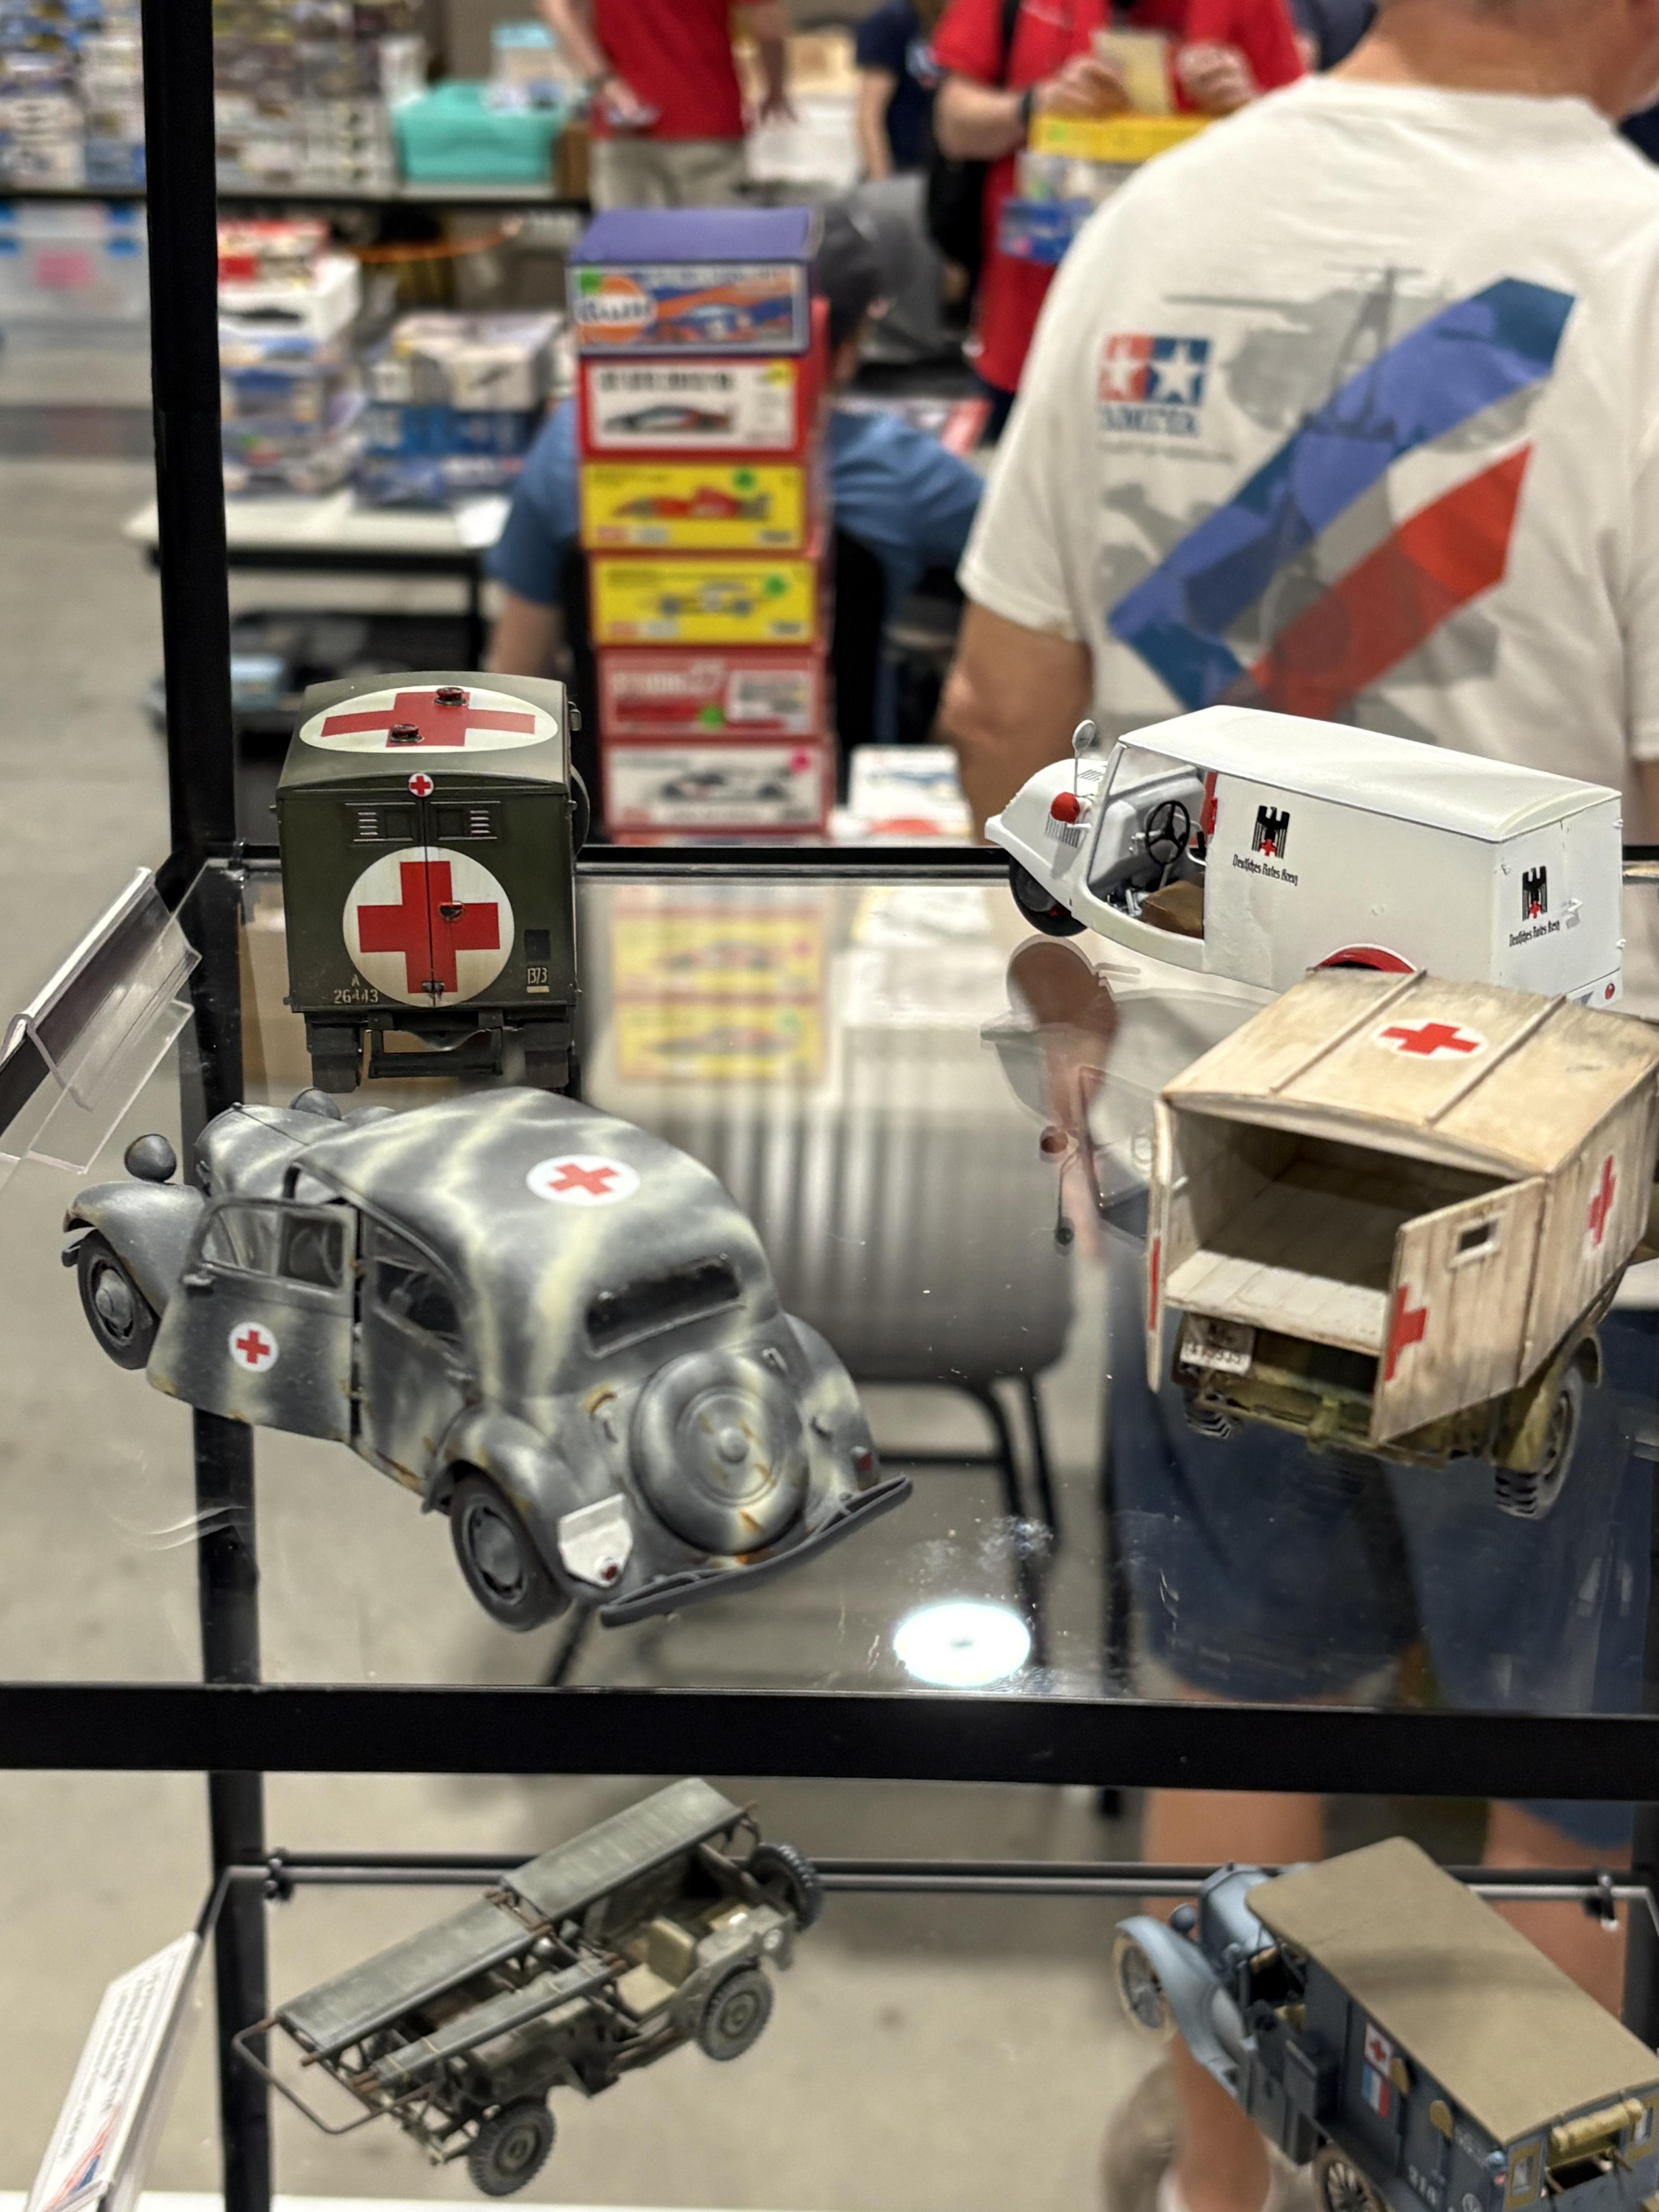
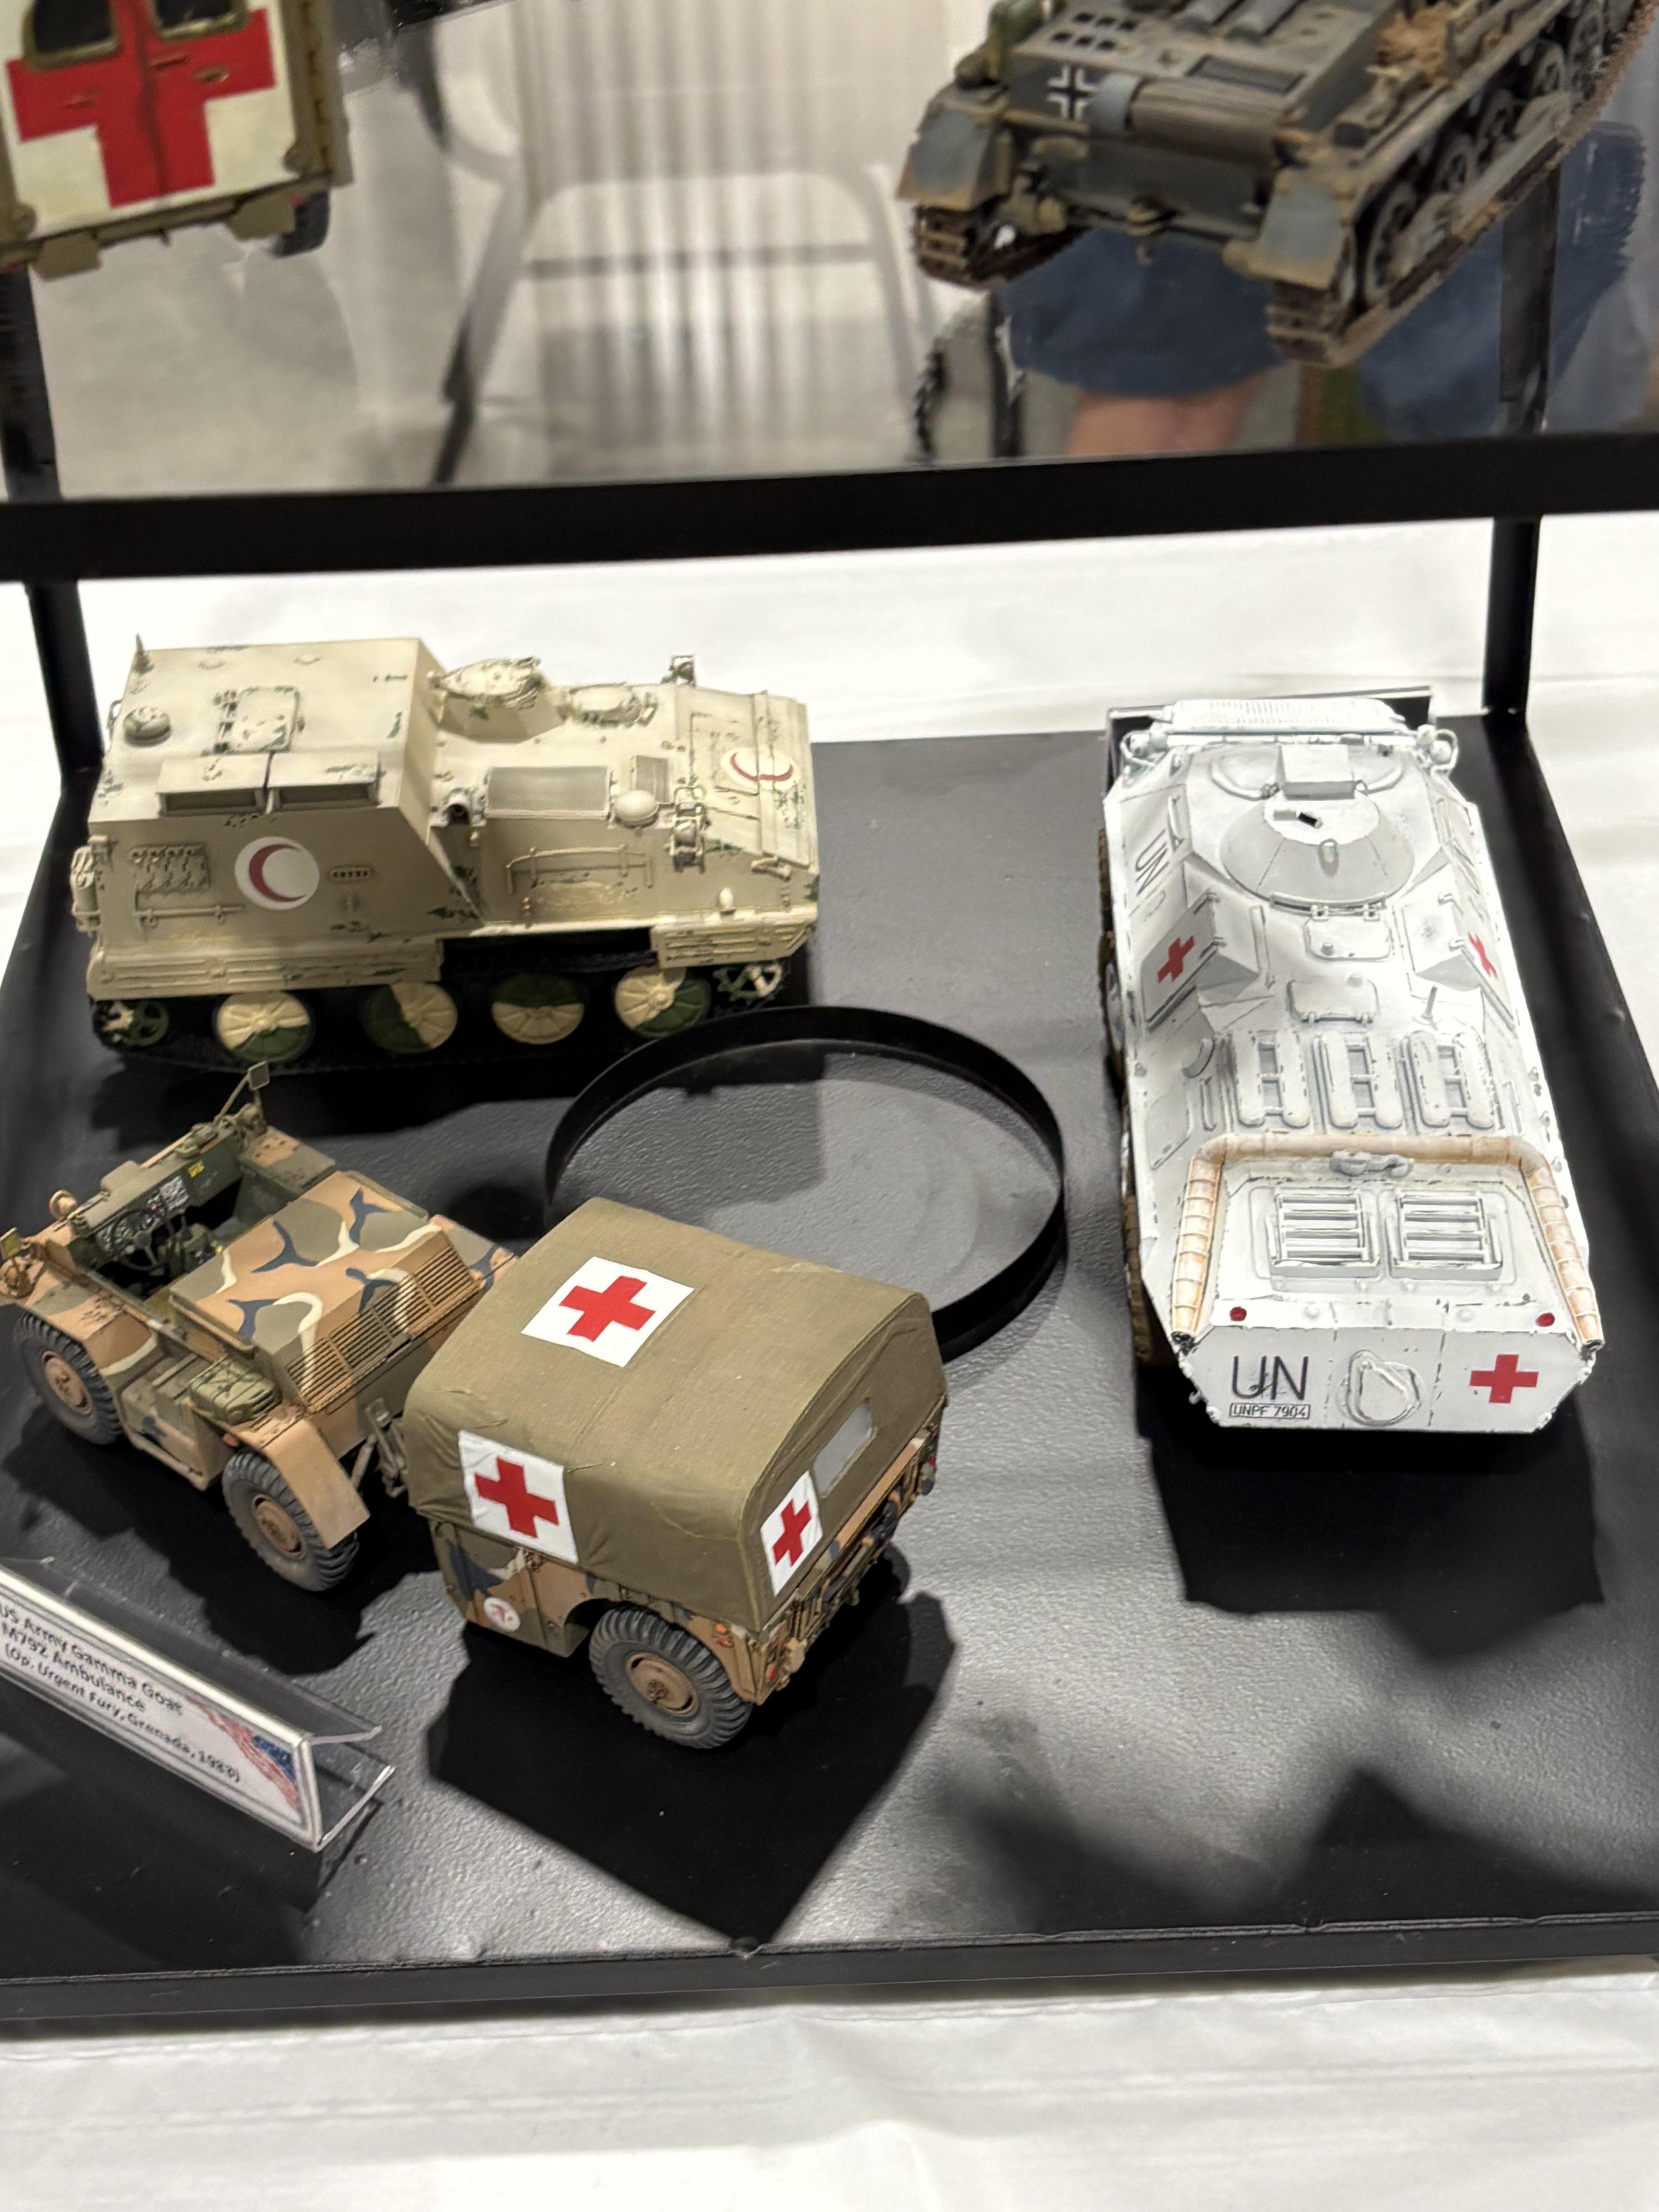
I thought this display of military ambulances was interesting
-
Pics from Austin Capitol Classic contest. November 8, 2025
LDO replied to LDO's topic in Contests and Shows
-
Pics from Austin Capitol Classic contest. November 8, 2025
LDO replied to LDO's topic in Contests and Shows