Brutalform
-
Posts
2,827 -
Joined
-
Last visited
Content Type
Profiles
Forums
Events
Gallery
Everything posted by Brutalform
-
 I recently saw one. I can’t remember if it was Harts Parts, or one of the 3-D printers out there, but I know I saw one. I was thinking about doing away with the hose away lights on one of my GTOs as well.
 -
I hope you win it
-
https://ebay.us/m/AzCVM8
-
This has been the norm for weather here. So sick of rain!!!

-
Very nice Bill. I was thinking of building this kit as a RO23, but just might build it as the GTX version, as I read they ran both cars. Paint on yours looks fantastic. Engine and chassis detail also.
-
Bill, The Belvedere I kit has the same interior as the California Flash kit. Except the engine is a wedge, instead of a hemi. Also the exhaust parts are different. Depending on what kind of transmission you plan on using, whether a stick or auto, the Moebius engine halves are all the same. So you can use either the auto or stick, and just add hemi heads and intake, valve covers, etc, if you have them in your parts bin. If you need any particular engine halves or heads, lmk and I’ll see what I have in each trans version. Using the Moebius parts on the Moebius block would be easier than fitting other parts, imho. Here are a few pics of the only Belvedere I non hemi car I built to show the parts. You can see the interior if you zoom in the first pic.
-
Looks fantastic, Bill. Interior, engine, decals, all look great.
-
This build is beyond cool! Can’t wait to see more.
-
If I remember correctly, the Golden Commandos, (not AWB) and the California Flash kits, had a low production run. Might be why people are asking ridiculous prices for them on the bay? Come to think of it, many kits are overpriced on there.
-
'63 FORD GALAXIE LIGHTWEIGHT...
Brutalform replied to Mothersworry's topic in WIP: Drag Racing Models
Cool. I built the Gas Ronda car and all the decals were from Jack. Love them old Fords. -
Beautiful color.
-
Grotheer Cable Chrysler 67 Belvedere
Brutalform replied to gtx6970's topic in WIP: Drag Racing Models
Looking good Bill. You been pumping out some builds since retirement. -
'63 FORD GALAXIE LIGHTWEIGHT...
Brutalform replied to Mothersworry's topic in WIP: Drag Racing Models
I was thinking the same thing on the seats. -
'63 FORD GALAXIE LIGHTWEIGHT...
Brutalform replied to Mothersworry's topic in WIP: Drag Racing Models
Looks really nice. The seat looks like the real one. Nice that you are using an old MCW resin interior. That’s the only way to do it. I’ve built several of these lightweights, but I still have these Tasca decals, so at least one more is gonna be built in the future. Are you using the Starliner chassis? Are the trim decals from Jack Smith? Looks really good. -
A few months back, Walter, the owner of my LHS passed away. His wife and son decided to run the business through the holidays. Well now they are closing with a “ retirement sale” beginning tomorrow. I’m going to stop by, to say goodbye, and grab some Tamiya products, mostly paint, as they are the only store in my area that sells them. Pretty much the colors I use the most. I was saddened that Walter died, but now it’s finally time to seriously start searching for an airbrush set up. I won’t be able to afford to have Tamiya sprays being sent through the mail, with the crazy shipping costs. Other things like Evergreen and K&S tube, and things like that, won’t be as expensive as the sprays. So in short, it’s sad to see a business, that I’ve been going to for decades is closing, but it kinda got me moving to move toward airbrushing.
- 1 reply
-
- 2
-

-
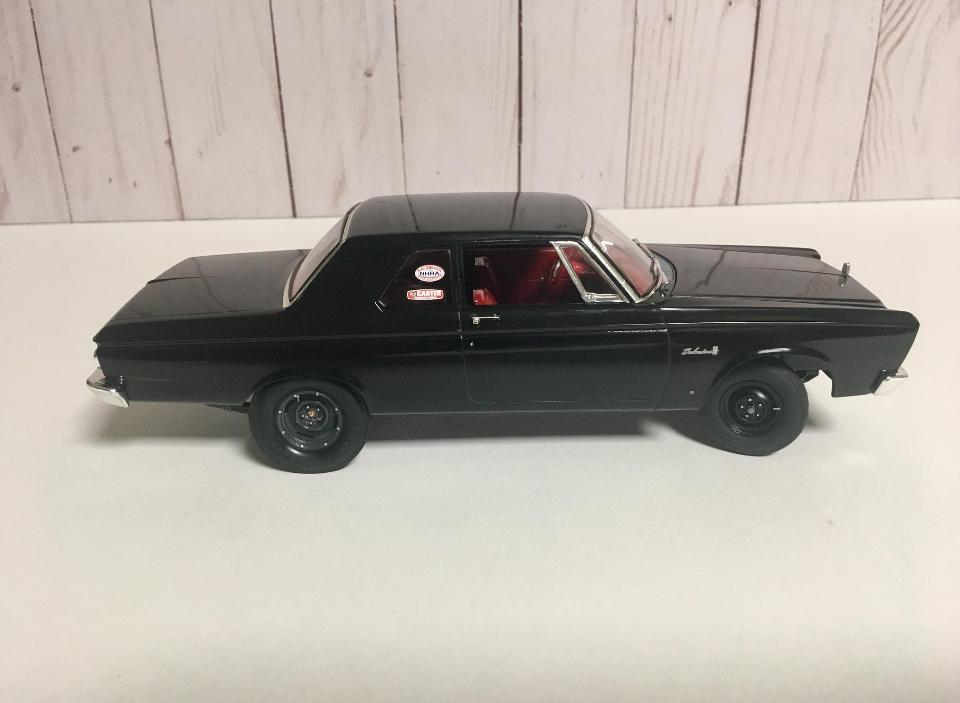
I got some interior work done yesterday, and today I masked and painted the body. Didn’t come out too bad. Just a couple little areas I’ll have to touch up with some white paint, and a brush. Gonna let it sit for a day or two now.
-
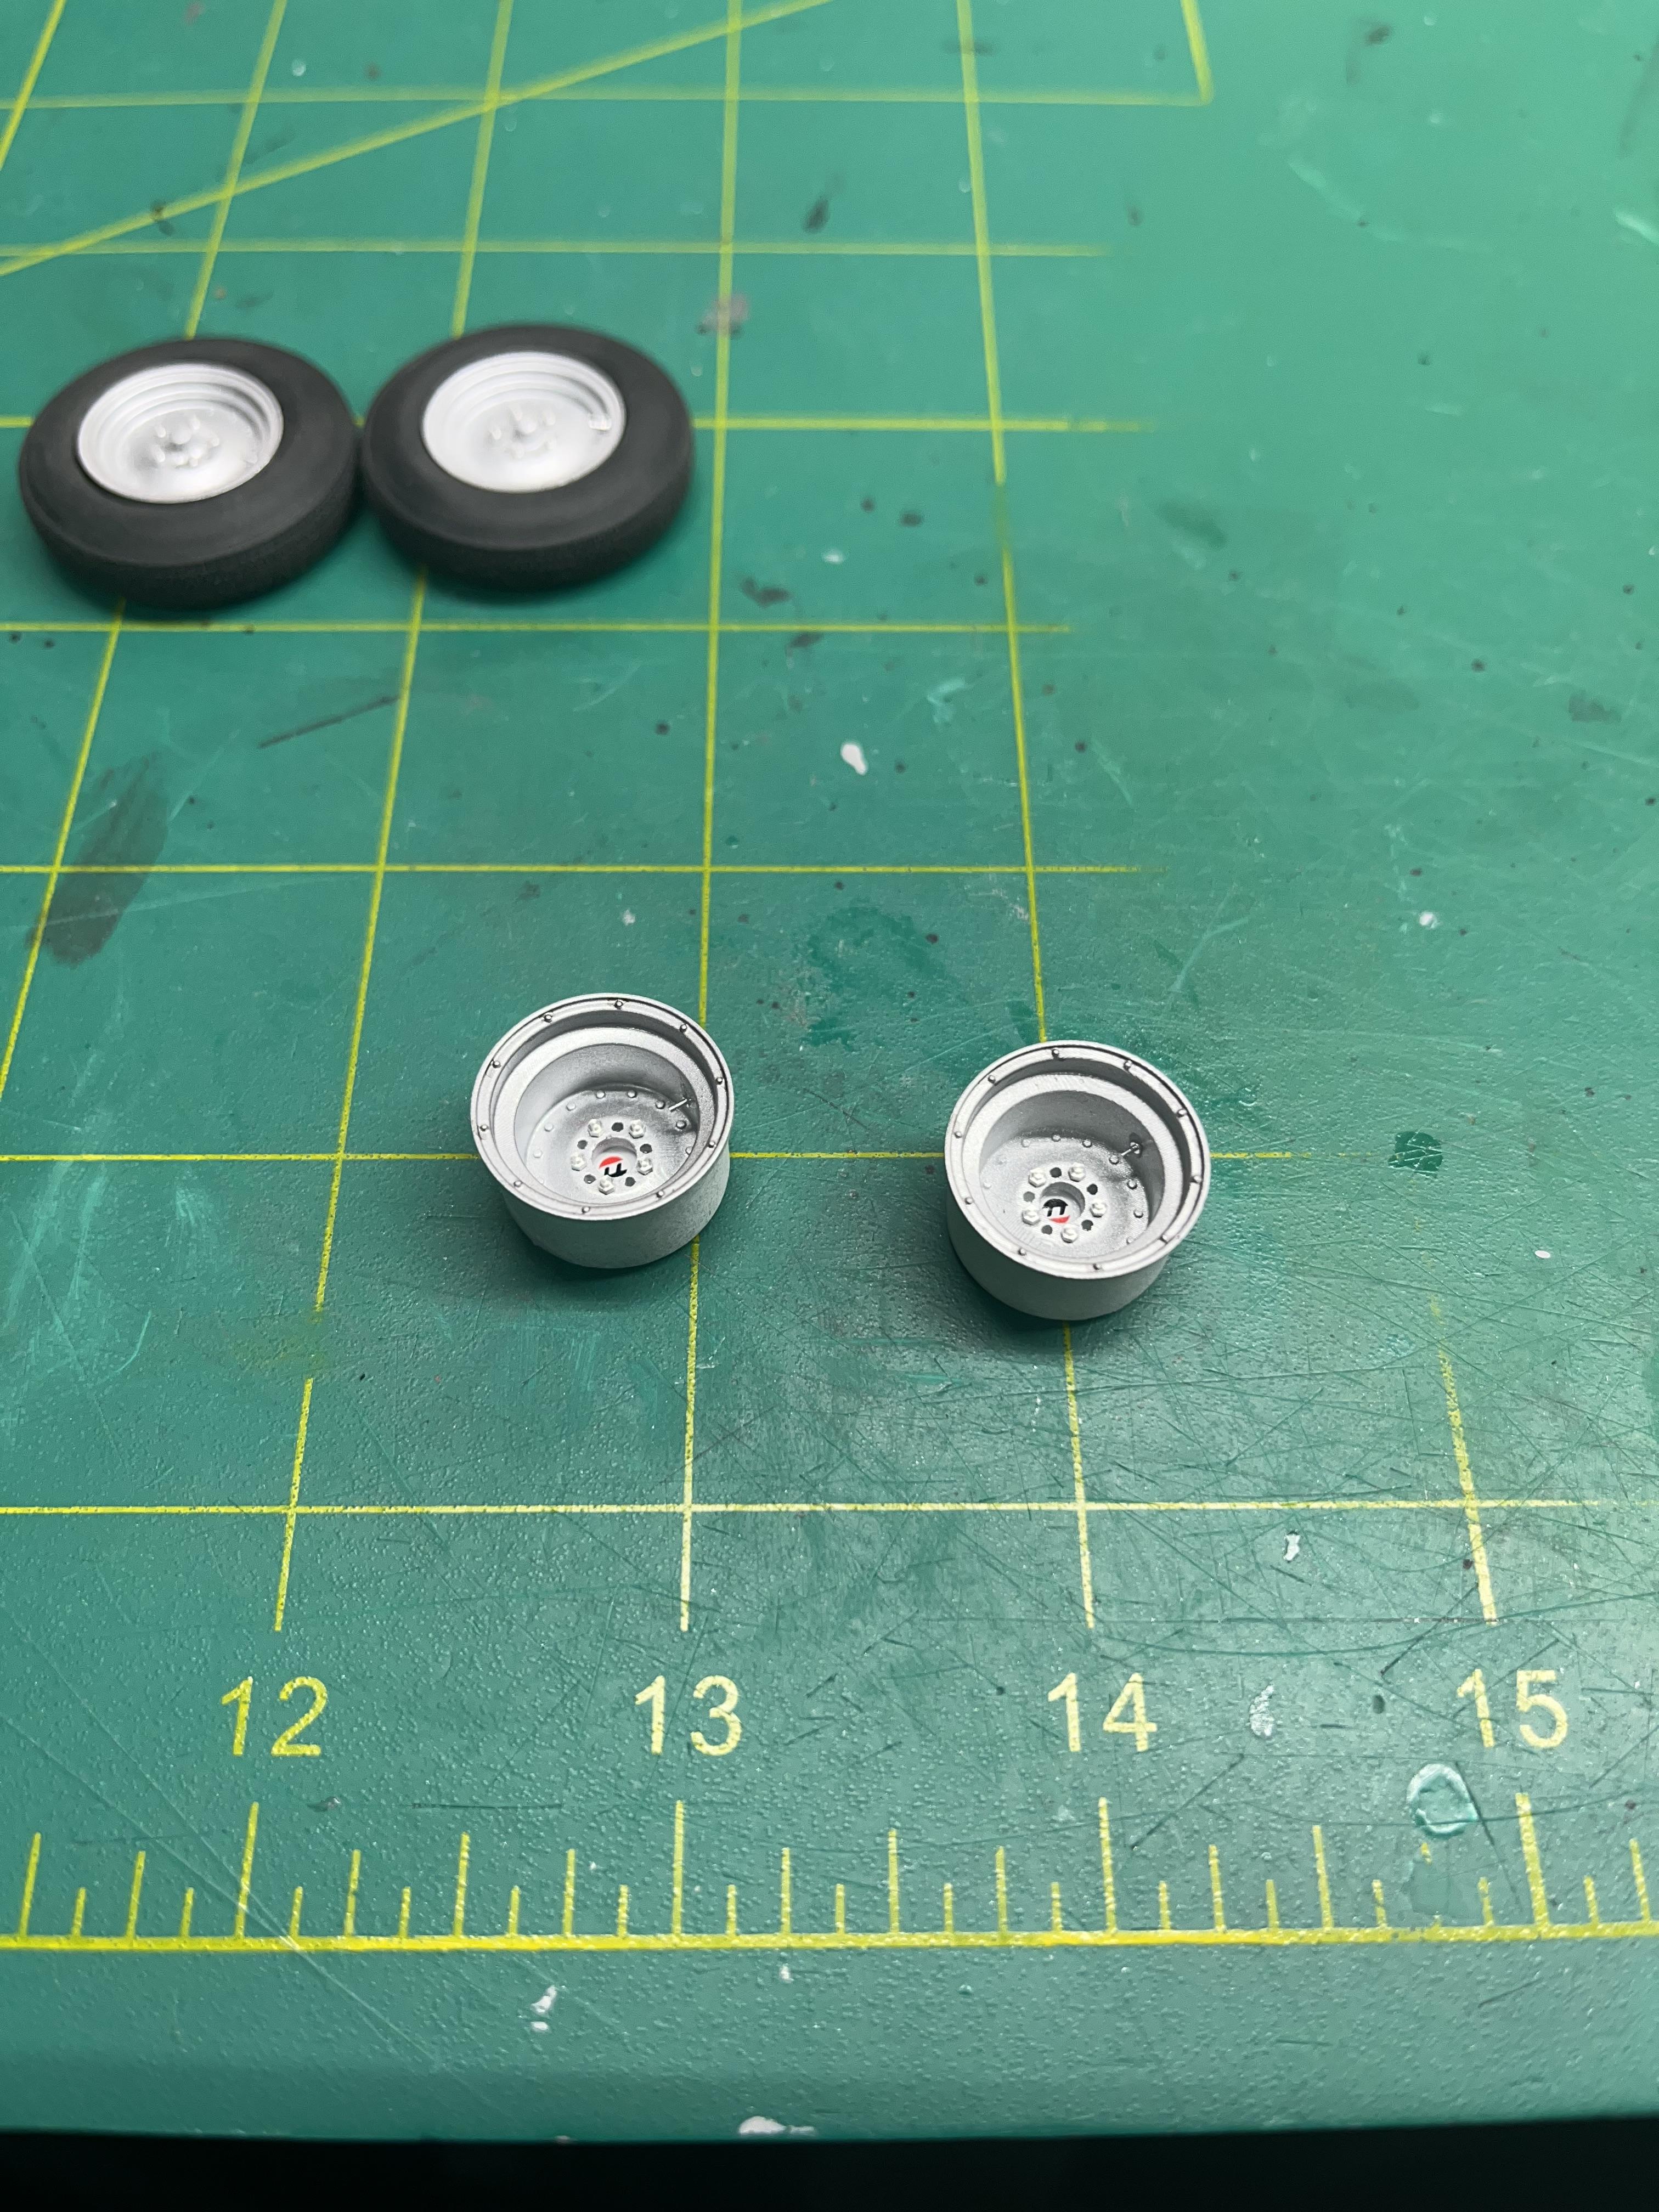
Thanks. I still have to do a little detailing on the wheels and lugs. I used the RBM lugs and studs. From what I can see on the cars under hood pic, is, it’s not running an alternator, but just a motor to drive the water pump.
-
Thanks Dennis. Your build is awesome. I hope mine comes out half as nice. I’m using these no name tires I first planned on. I also have the spindles reversed. I got the body and hood painted white. Maybe tomorrow I’ll mask it all off for the orange. I have the wheels done, and added styrene to the AWB cars oil pan.
-
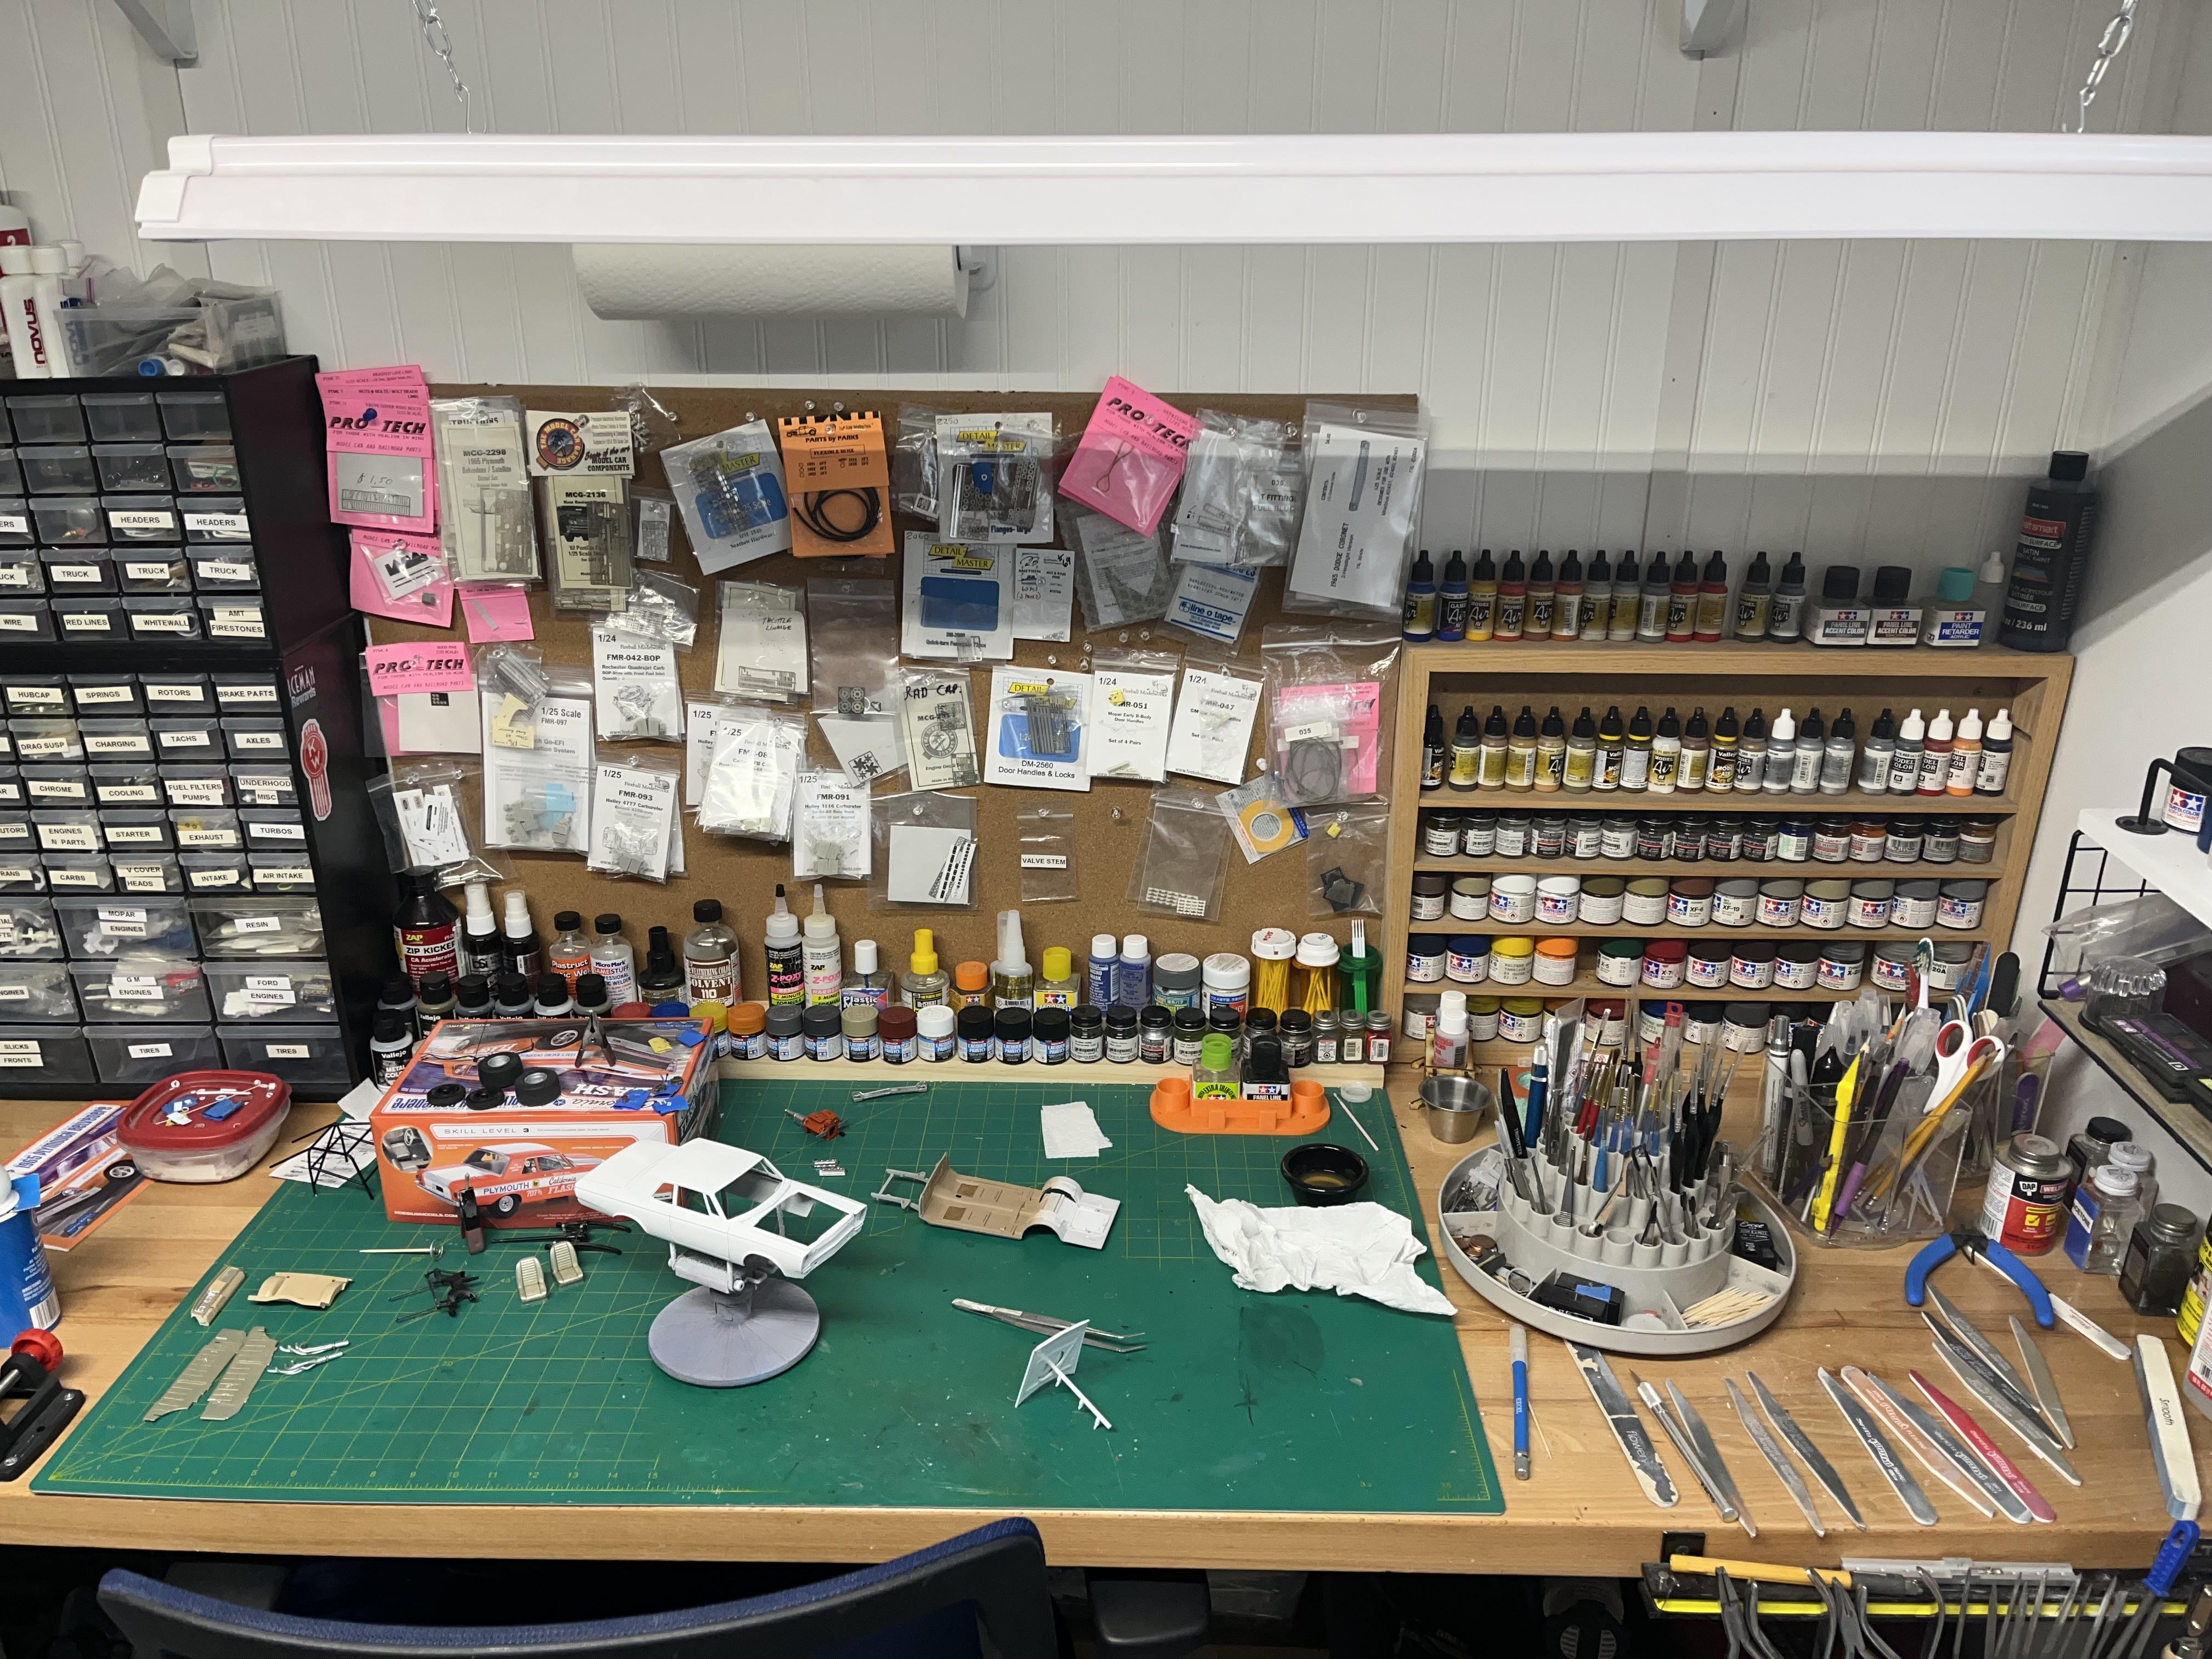
Let's see your paint storage system
Brutalform replied to Monty's topic in Model Building Questions and Answers
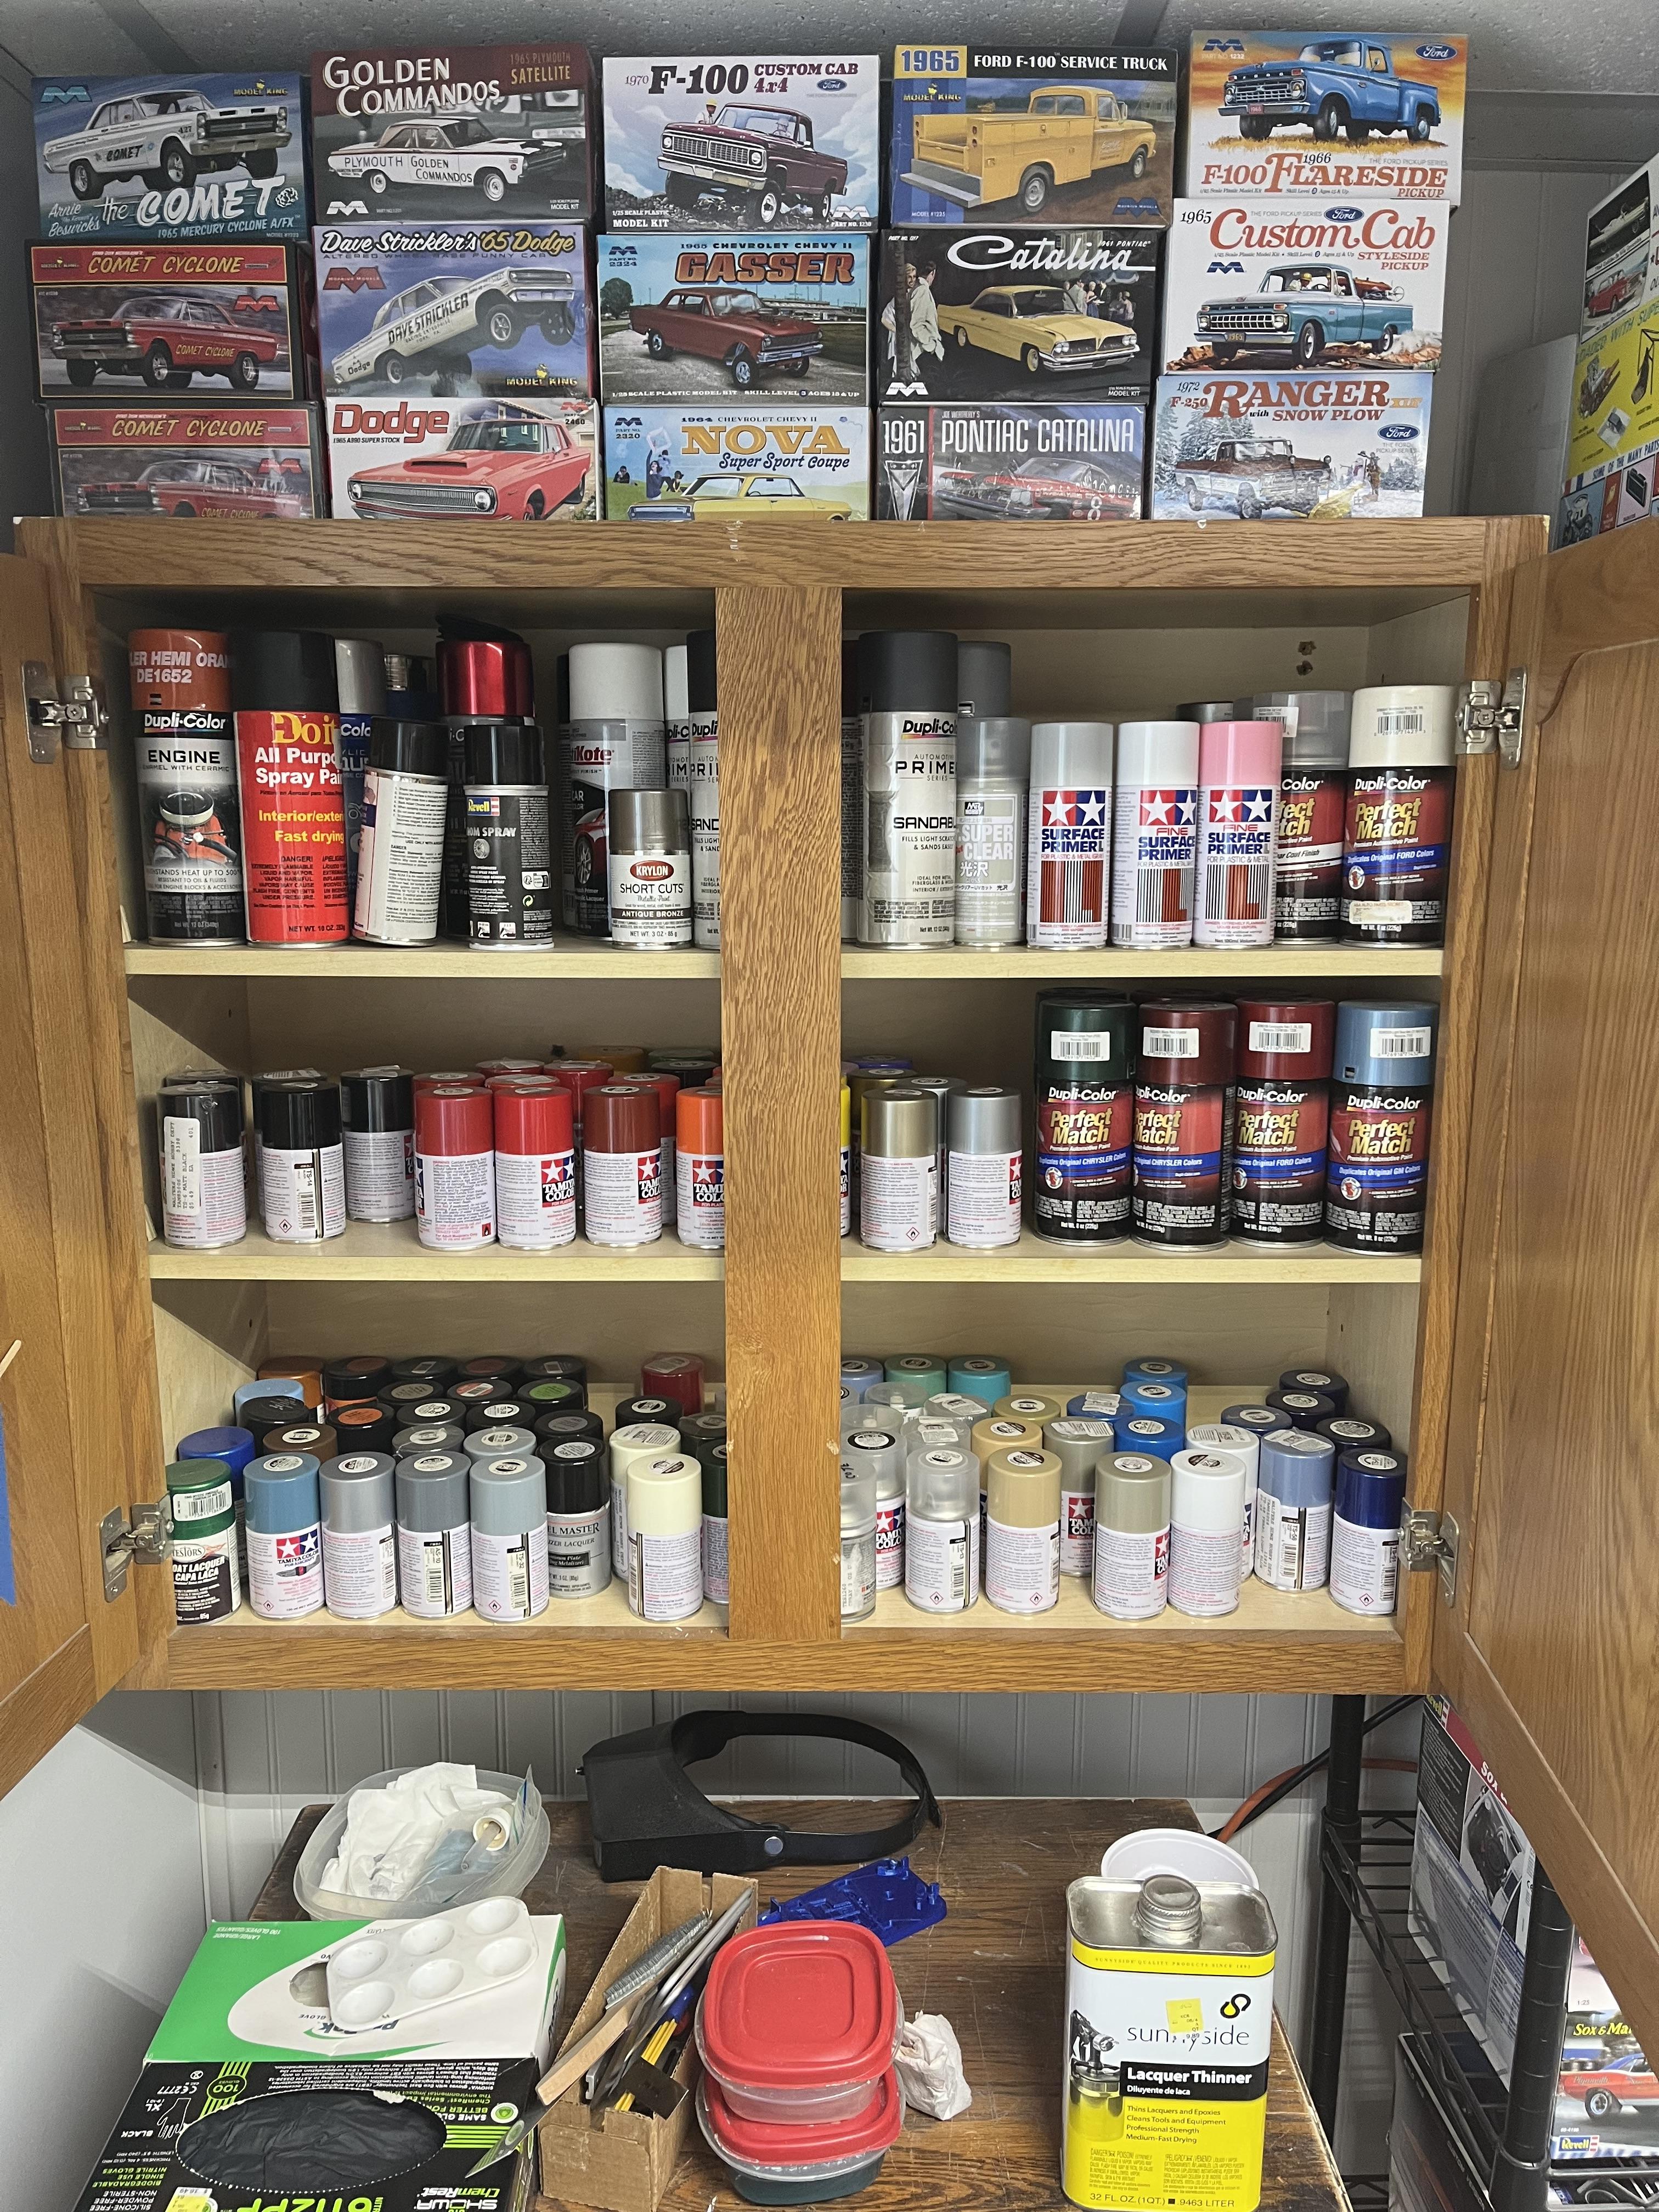
I just keep the colors on hand I use the most. Jars on the bench and sprays in the cabinet.
-
Is It Wrong to Hate My Neighbors?.....ALL OF 'EM!!!!
Brutalform replied to StevenGuthmiller's topic in The Off-Topic Lounge
I was thinking about starting a thread like this, but was afraid I was becoming a grumpy old man too. I live in a pretty nice neighborhood, so when I say a convicted drug dealer lives across the street, you might get the wrong impression, and think it’s a poor neighborhood. But, his grandparents owned the home, and left it to him. He did do hard time, for a couple of years, but he’s back. He did drive a big, fancy, Dodge ram, that he goes out and starts up, and sits in it for a half hour or more, texting, while idling. Constantly running in and out all day, everyday. The thing has the loudest, aftermarket mufflers on it. When he comes home, several times a day, he pulls into the driveway and does the same. So he got rid of the truck, and bought a nice quiet Audi SUV. I was so happy, as this thug appears to be unapproachable, and would probably tell me to eff off if I tried to talk to him nicely about the problem. But guess what? He had a loud pipe installed on this vehicle now. It drives me nuts. I get having a louder vehicle, as I used to own a drag car. But I never in a million years would even let it get to a point where I was annoying my neighbors. Like dude, if you wanna sit and text, do it inside or shut the pos off and do it. And I found out his brother is on the local police force here also. So calling the police isn’t an option. -
No, I totally understand that. And I have no problem with waiting. But they told me they will give me a price quote within 24 hrs, and it’s been a week. At least if they were paid, I’d have the ball rolling. I have heard good things about them, and waiting is unavoidable sometimes.
-
Well, they never got back to me with a price. I’d like to get the Revell decals, but if I don’t, it’ll just have white over the rear wheels.
-
Nice to see it completed. Outstanding build. Just a suggestion, you should get some poster board and use it as a back drop. The model mat doesn’t do the build justice, as a nice backing would. The cars colors would stand out.
-
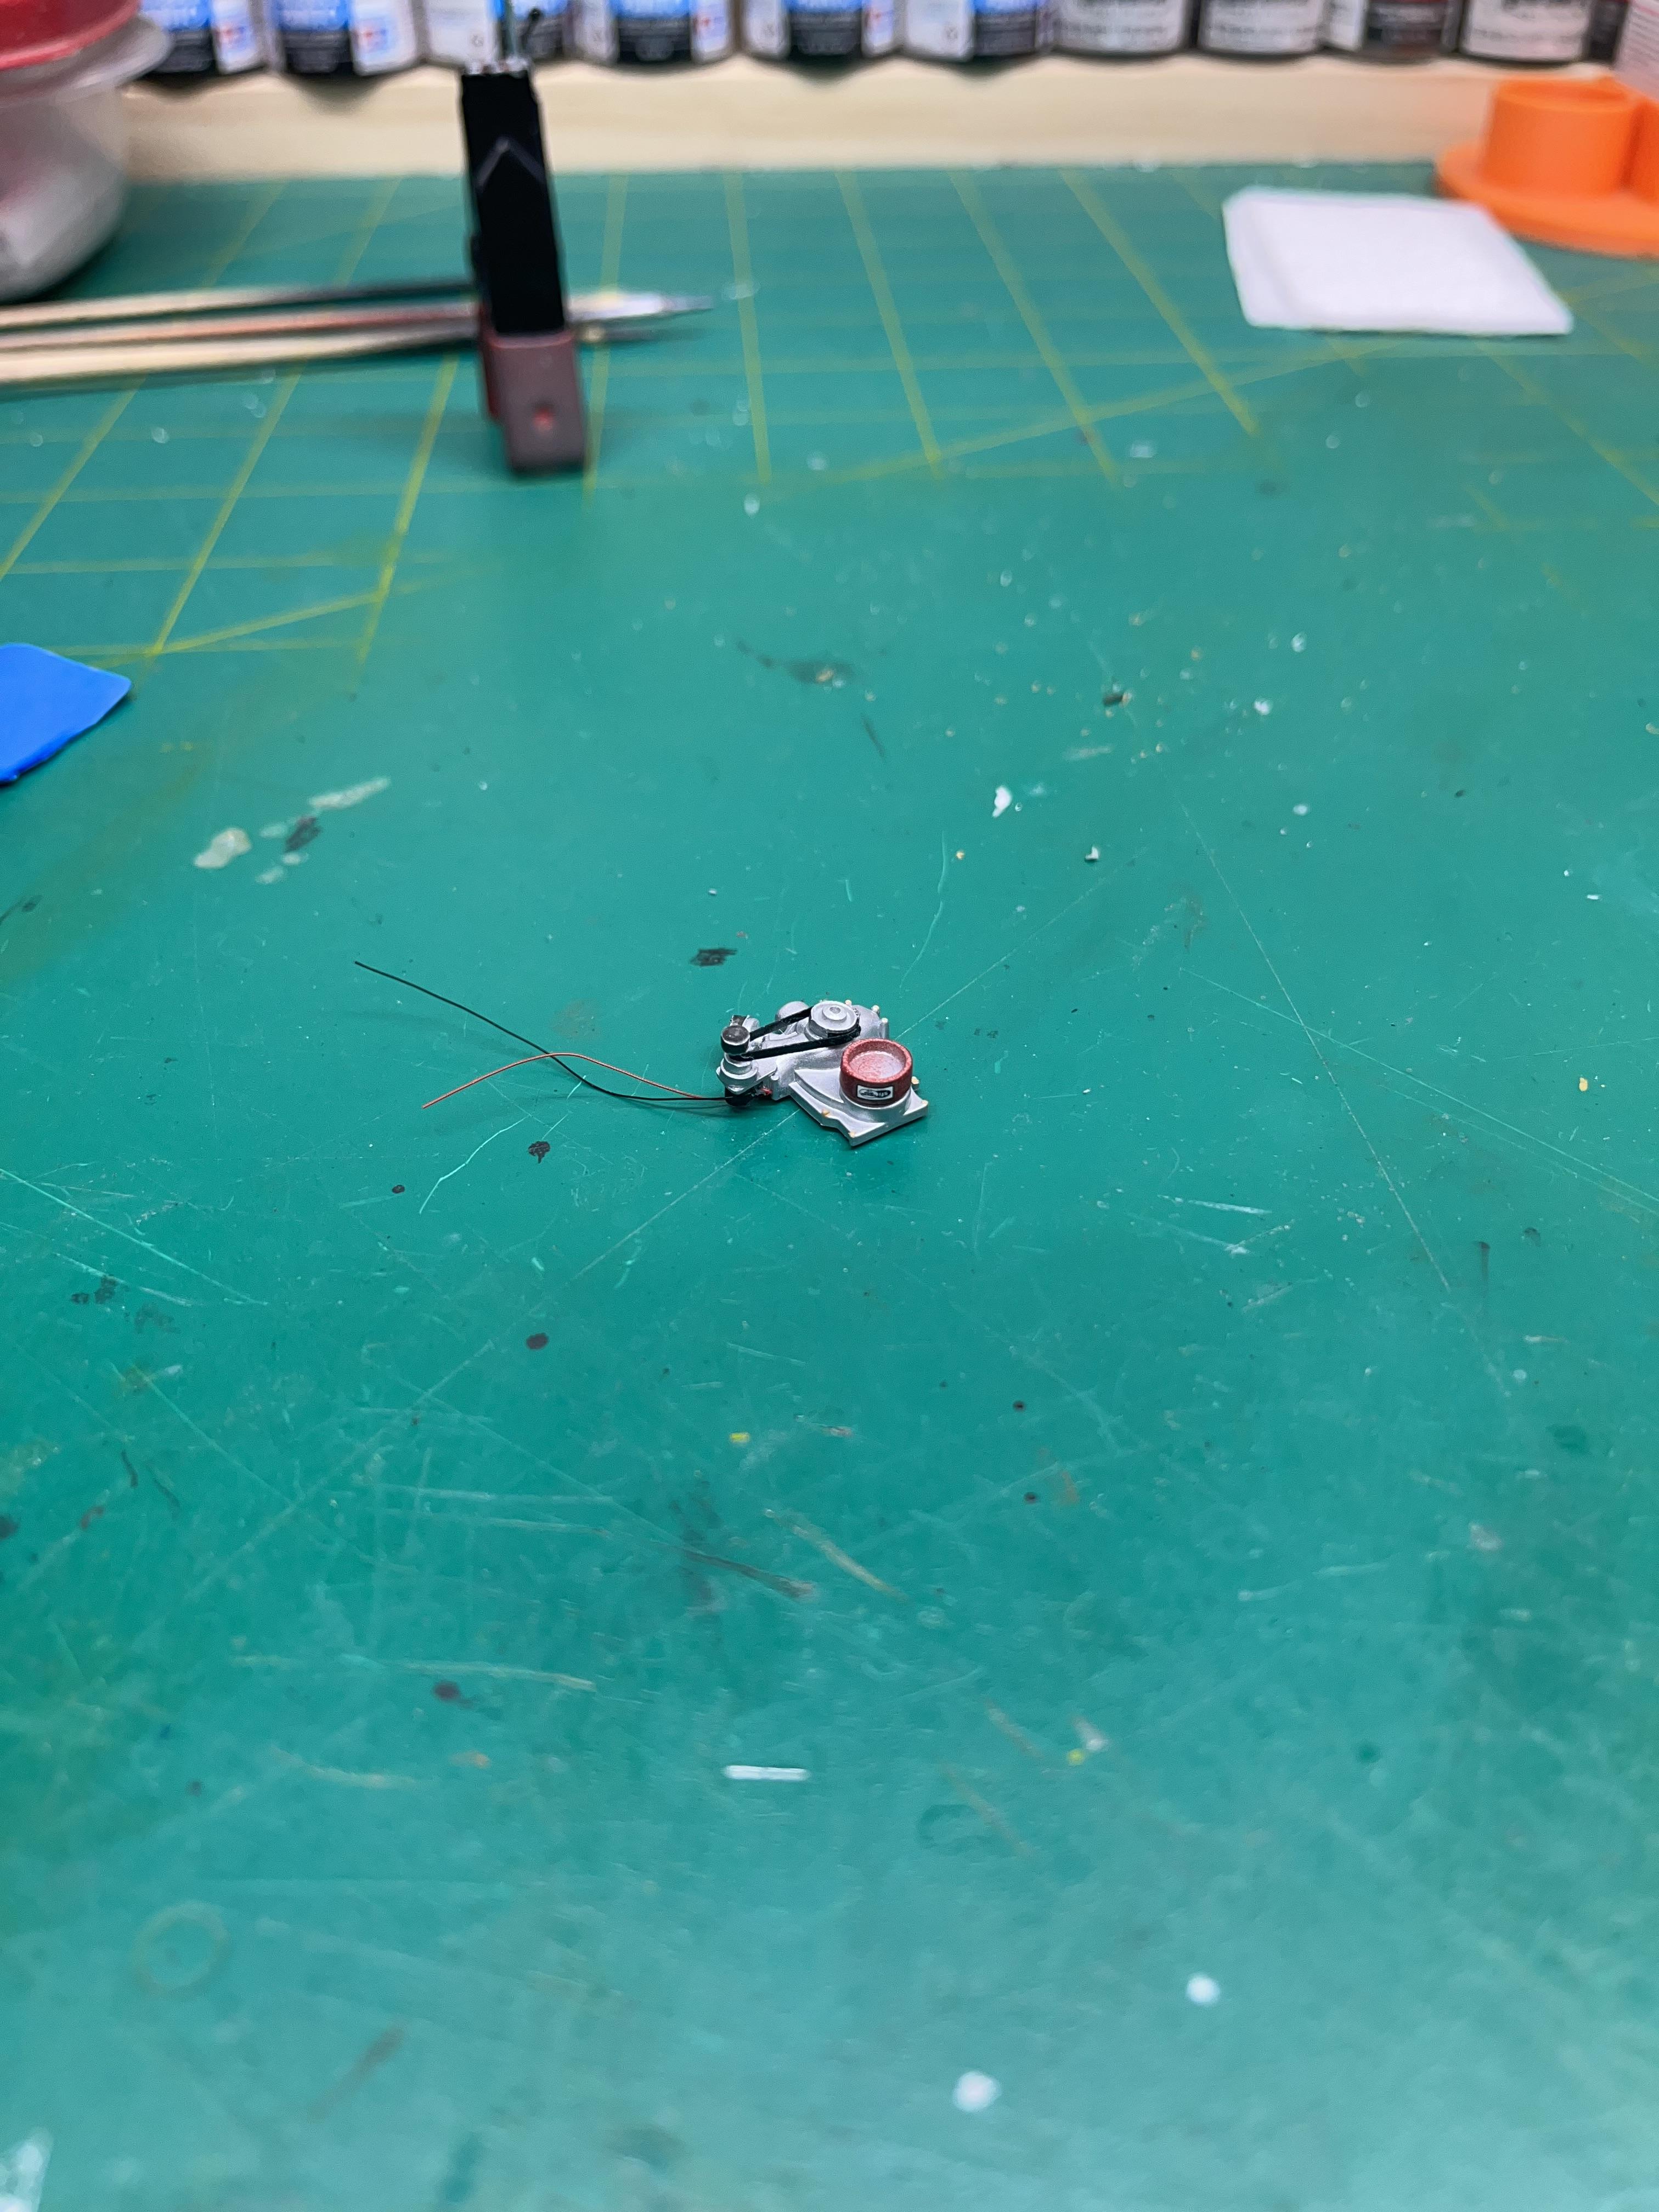
I found a close color for Holley carbs. I painted these race hemi carbs with these Vallejos. I did the plates and vacuum canister aluminum then went over it with the interior green. I’m gonna re do the throttle plates aluminum again as it appears gold now.
-
Thanks. Yes I subscribe to Ralph’s channel. I enjoy his builds and information