crowe-t
-
Posts
1,965 -
Joined
-
Last visited
Content Type
Profiles
Forums
Events
Gallery
Everything posted by crowe-t
-
Beautiful job! BTW, what paint did you use on the body?
-
Excellent Batmobile! The NATO Black and the gold pearl really make it pop. Nice subtle change with the paint.
-
Beautiful job on this Corvette! I like the color and the paint job looks great! This generation of Corvette(C3) is also my favorite.
-

I Really Like Like This Hobby,,,,, But
crowe-t replied to Fortheloveofgassers's topic in WIP: Drag Racing Models
Fortheloveofgassers(Ed) - Did you ever get this one done? I just read through this thread and found a lot of inspiration. Today I sprayed 2K Urethane Gloss clear on a body and had the decals wrinkle. I was under the impression that urethane clear was safer over decals but I found it isn't. This will be the 2nd time I'm stripping it and the 3rd paint/decals coming up. I seem to be on a mission to complete it. The decals took about 12 hours to apply and I'll be doing it a 3rd time. The first time the urethane clear had a lot of orange peel and when I was polishing it with the micromesh cloths I burned through a couple of spots. I tried touching it up and then it all went down hill. I seem to be having every problem with this build. -
I had 2K Urethane clear coat wrinkle and ultimately destroy decals. On a previous build I had no problems with Testors Ultra Gloss Clear over ALPS decals. I applied a couple of light mist coats with my airbrush and then went heavier. I finished it with a coat or 2 right out of the can.
-
Gapp & Roush Pro Stock Pinto Decals?
crowe-t replied to crowe-t's topic in Car Aftermarket / Resin / 3D Printed
PM sent! -
Gapp & Roush Pro Stock Pinto Decals?
crowe-t replied to crowe-t's topic in Car Aftermarket / Resin / 3D Printed
Thanks Dave! SMBC made nice stuff. -
Gapp & Roush Pro Stock Pinto Decals?
crowe-t replied to crowe-t's topic in Car Aftermarket / Resin / 3D Printed
Can you post a picture of the set you have? -
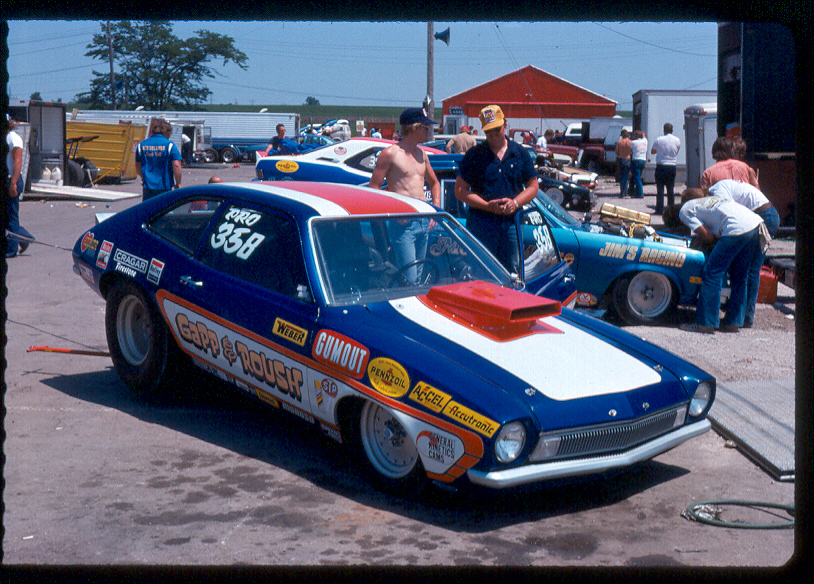
Does anyone make decals for this version of the Gapp & Roush Pro Stock Pinto in the attached pictures? I know Perry's Resin makes Gapp & Roush Pro Stock Pinto decals but they are for the other version.

-
SMBC was a great company. Their parts were very nicely cast. I'd still like to find one of the SMBC Pro Stock Pinto kits one of these days.
-
Thanks Carl and Tony!
-
Nice job! I love the color. Testors has this color mis-labeled as a 1968 color but Dark Bronze is a 1969 color, code T7.
-
Hot indeed! They held up real nice. I love the colors.
-
2013 Pro Stock Camaro body(TDR)
crowe-t replied to crowe-t's topic in Car Aftermarket / Resin / 3D Printed
Tim, Thanks for the information. I thought the Frosted Ultra Detail was the better choice but wanted to be sure. Please let me know how the TDR body works out for you. Mike. -
Thanks Mitch and Alan for the kind words! Mitch - I had fun modifying this kit and working out some of the kinks. The Round 2 body isn't all that bad. In fact the height of the grill and slope of the nose is more accurate than the '69 Revell Charger. There is something about the MPC body I like. Some of the Revell Charger's details are also a bit heavy handed. That being said the Revell Charger is a much better and more accurate kit. The MPC kits chassis is crude but it dates back to the 1968 Charger release. This was a bit of a challenge and fun to do. I like projects like this.
-
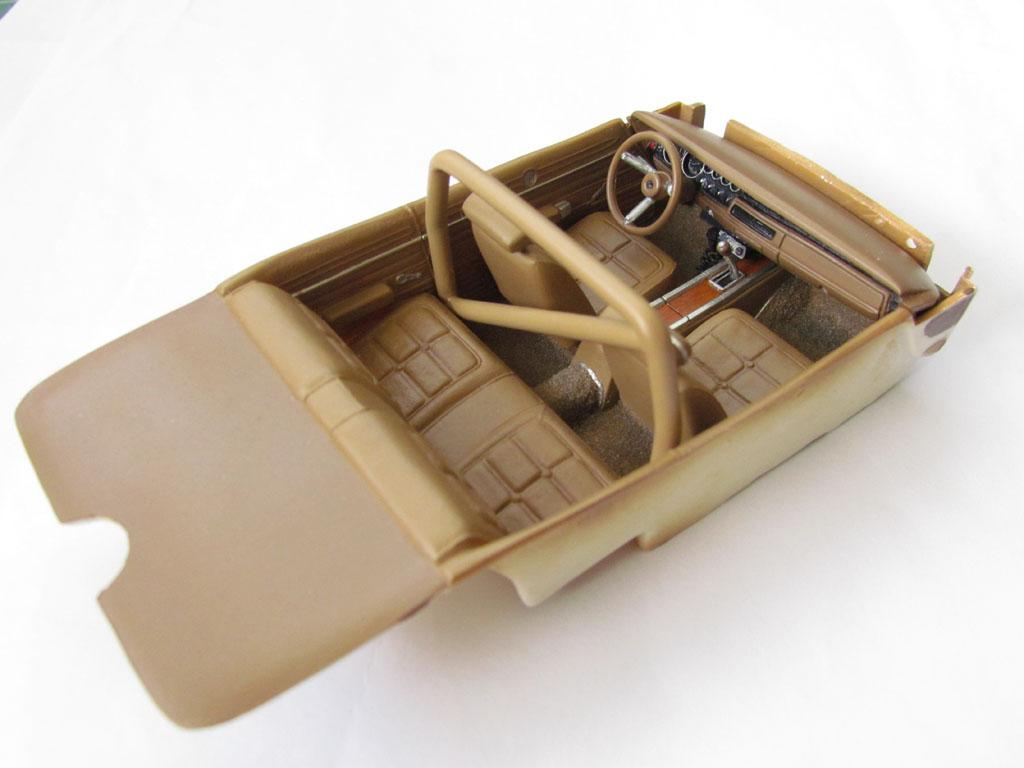
Thanks guys! Brian - This body with the indented rear window was actually used for the AMT/ERTL Fast & Furious Charger. Round 2 released all of these kits with this body. However the rear window isn't correctly sized and shaped. I opened it up a bit and re-shaped it and feel it looks a bit better. David - Most of the interior(seats, door panels, floor) are painted with Tamiya XF-59 Desert Yellow. The dash board, steering wheel, front kick panels and rear speaker deck are painted with Testors Acryl Leather with a few drops of Dark Tan mixed in. Tamiya Desert Yellow really seems to match the look of the Saddle Tan interior of a '69 Charger. The dash board, steering wheel, front kick panels and rear speaker deck were a bit darker in a 1:1 Charger.
-
Has anyone picked up one of these from TDR? It's available in 'White Strong & Flexible' and 'Frosted Ultra Detail'. I never worked with a 3D printed part but this body looks very accurate. Which would be the better one to get to build up as a model? 'White Strong & Flexible' or 'Frosted Ultra Detail'? I suspect 'Frosted Ultra Detail' is the best way to go. https://www.shapeways.com/product/MU8WTSTWD/1-25-usdr-certified-2013-pro-stock-camaro-slot-car?key=d61a31dac25f1d6b0e0a729d1c4c5674
-
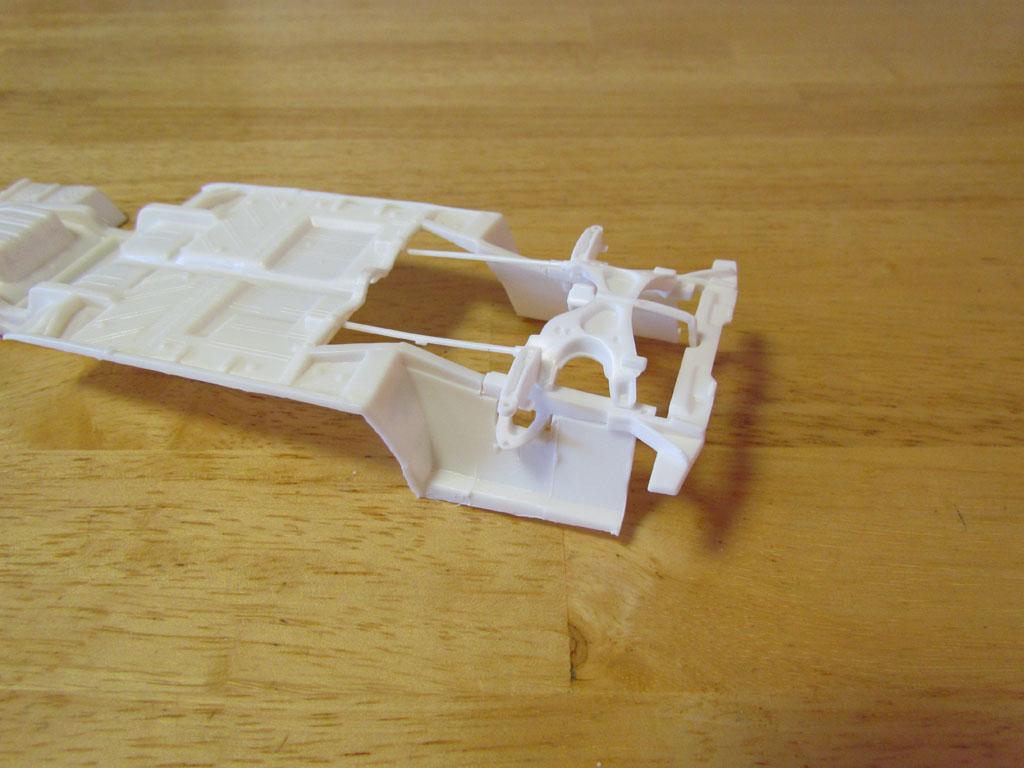
Here's a couple pictures of the interior. The roll bar and CB radio were scratch built. I added some styrene to the top of the dash where it meets the windshield, raised it up and angled it to more closely match a real Charger. The MPC dashboard sat too low and there was no angle at all. The engine is a 440 with a 727 transmission. I got this from a friend and don't know exactly what kit it's from. Possibly an AMT kit. I sprayed the bottom gray with some Testors Acryl Neutral Gray lightened a bit with white and misted the body color over the edges. I was a bit heavy handed with the body color but this was the first time I tried this. The front engine compartment area was masked off and sprayed the body color both inside and underneath. It's not factory correct but I had seen a restoration of a real '69 Charger done this way and I liked how it looked.
-
I used a hood from an MPC Charger 500 kit which is a correct '69 hood. The MPC GL kit comes with a 1970 hood for some reason. I sanded down the inner engine compartment wells and scratch built the shock towers and used a firewall from a Revell '69 Charger. New grill inserts were scratch built using some ribbed sheet. The rear end and exhaust from the Revell Charger were also used. The exhaust did need to be cut down around the rear to fit the MPC chassis. A magnet was glued under the trunk area for the CB antenna. I wanted to be able to remove the antenna in case I needed to pack it away at some point. I scratch built the pedals and used the heater core from a Revell '69 Charger. Arm rests and molding were added and a hole was drilled for the 'Charger' emblem. These were all missing from this kit. This car has a 727 Automatic Transmission so a new shifter was made.
-
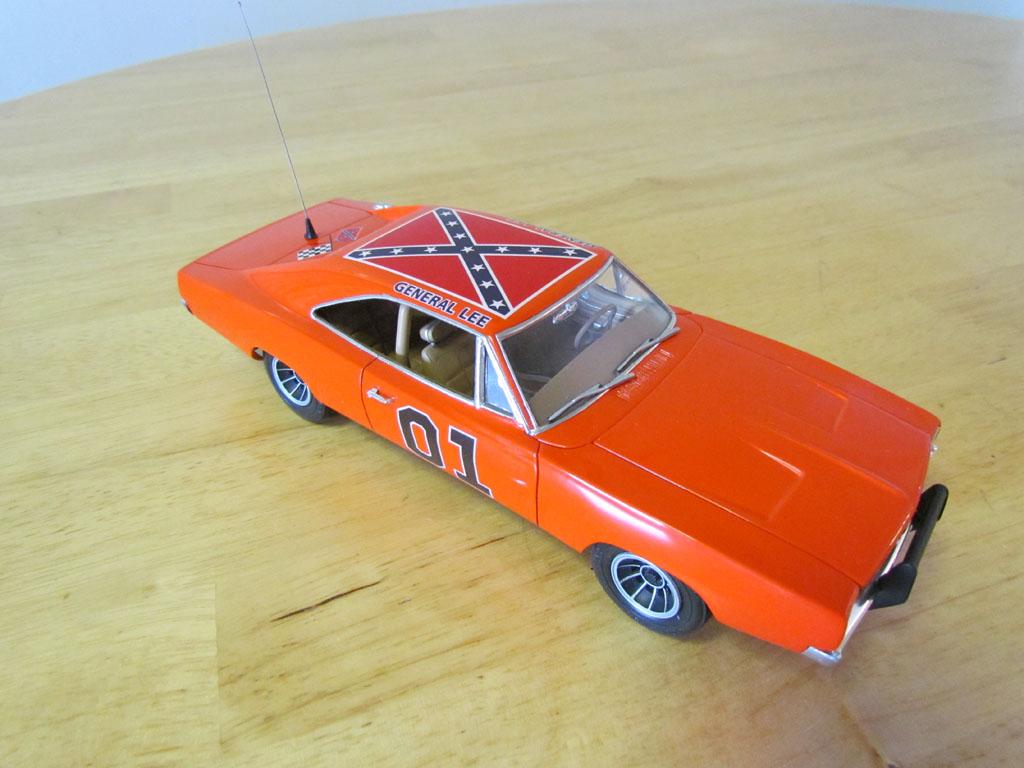
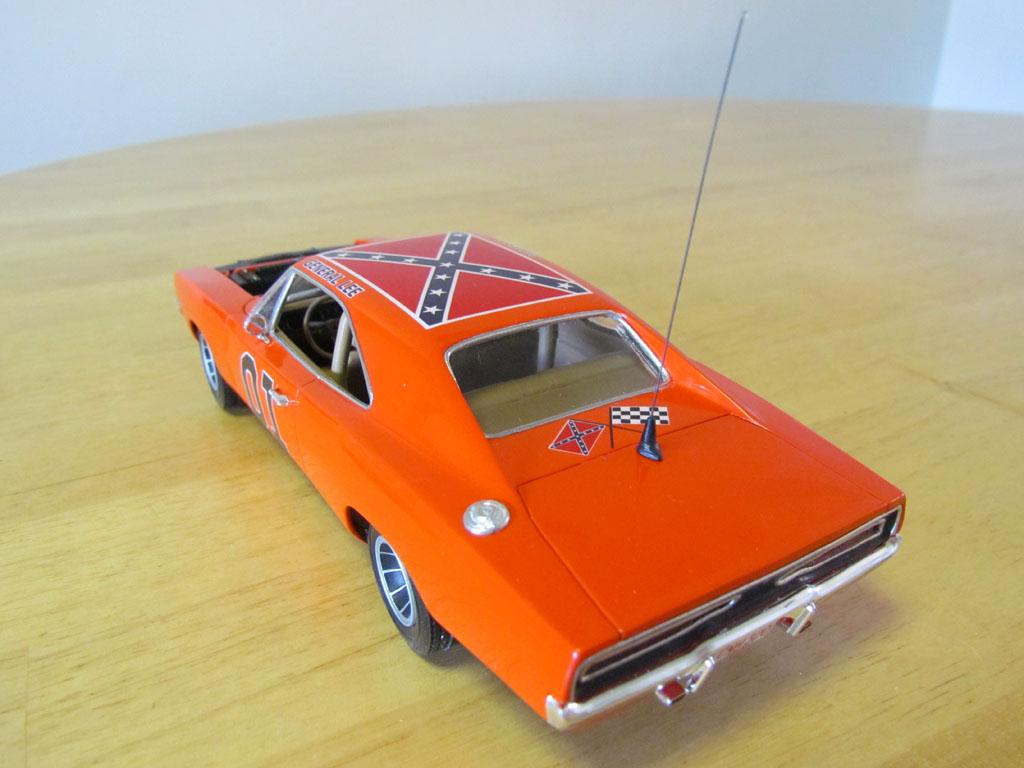
Here's a build I finished last year. I know it's another General Lee but I had some fun with this one. I built this using a Round 2 issue of the MPC General Lee kit but did a lot of modifying and used parts from a Revell '69 Charger. Even some of you non-Dukes fans might like some of what I did. The front wheels steer using the Revell parts. This build sort of represents how the car looked in the early Georgia filmed episodes. The push bar is scratch built and the decals represent the early look of the car. Here are finished pictures and I'll show some in-progress pictures. It's painted Testors Custom Lacquer Hugger Orange with Testors Custom Lacquer Ultra Gloss Clearcoat on top. Here are some pictures showing some of what I did during the build up. I started by re-shaping the rear window to more closely match the '69 Revell Charger which is very accurate in this area. The MPC GL's rear window is too small and basically a rectangle. I enlarged it and re-shaped the top. In this first picture a Revell '69 Charger is on the left side and the MPC Charger is on the right side before the window was modified. I used parts from a Revell '69 Charger chassis I picked up cheap on E-Bay. I considered using the Revell chassis but it didn't fit well with the MPC interior tub. I closed off the rear area. This area wasn't too sturdy out of box.
-
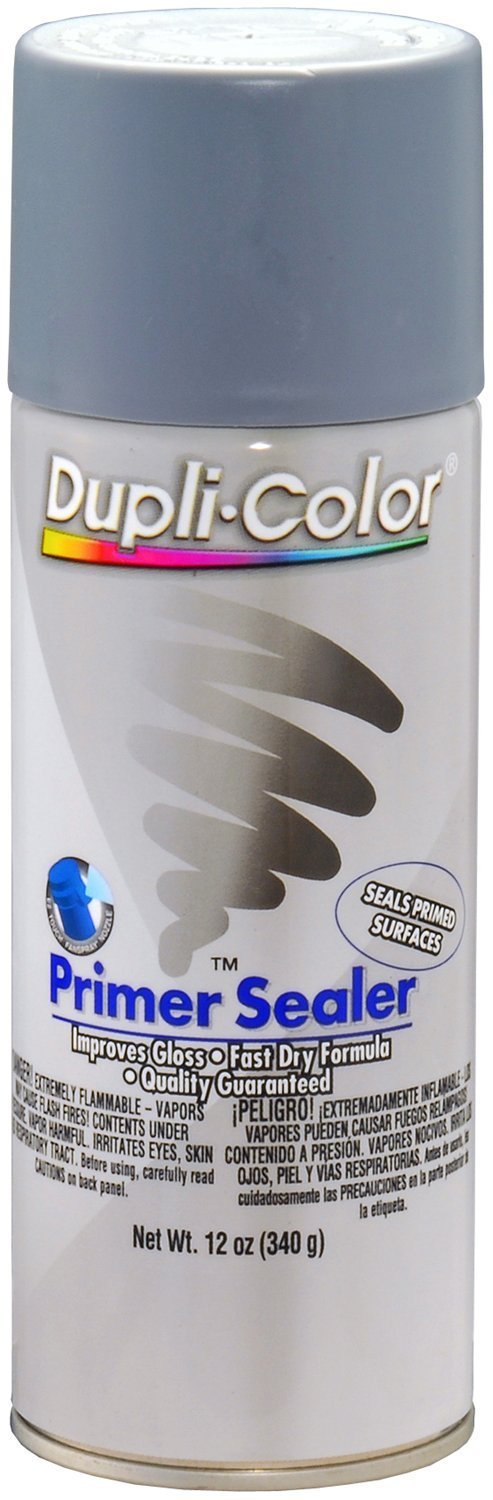
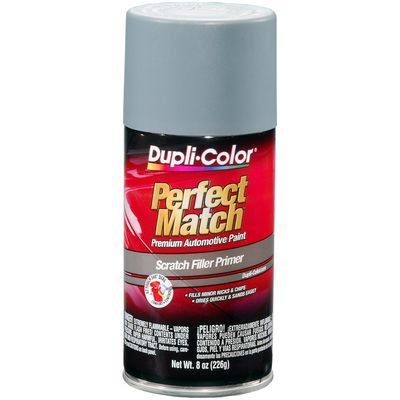
Duplicolor Perfect Match Primer question?
crowe-t replied to crowe-t's topic in Model Building Questions and Answers
Bill, Is the Duplicolor Sandable Primer lacquer based? Have you used the Duplicolor Primer Sealer? Is it thin? Mike.
-
Duplicolor Perfect Match Primer question?
crowe-t replied to crowe-t's topic in Model Building Questions and Answers
Which of the Duplicolor primers is the thin stuff? -
Is Duplicolor Perfect Match (Scratch Filler) Primer a high build thick primer?
-
Will Acrylic Urethane Automotive paint work over Tamiya Primer? Has anyone used acrylic urethane over Tamiya primer? Will it bond well to the Tamiya primer? I did a test and it seems OK but if anyone has done this let me know.
-
Yuri, Beautiful job! Did you sand or remove the chrome in the center of the grill before you painted on the body color? Where did you get the decals for the instruments in the dash board? Mike.