Lunajammer
-
Posts
4,030 -
Joined
-
Last visited
Content Type
Profiles
Forums
Events
Gallery
Everything posted by Lunajammer
-

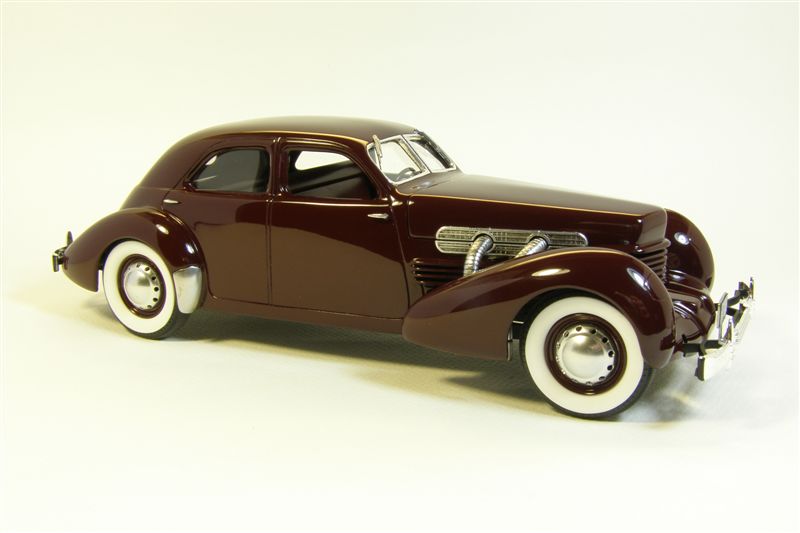
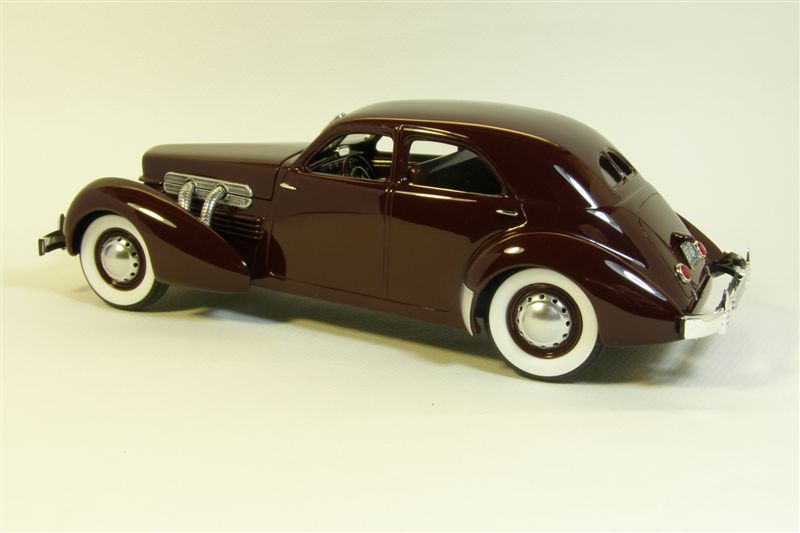
Which Cord Kit?
Lunajammer replied to OldTrucker's topic in General Automotive Talk (Trucks and Cars)
Bob Shelton's resin hard top is luscious and was a point of passion for him. Built model and photos compliments of forum member Dr Plastic (Scott A. Bregi). Shown on the Monogram chassis.
-
Man, don't get me started on over-hyped and too expensive.
-
It accomplishes everything it was designed to do; be dramatic and get lots of attention. My big thing on these, is how this (and many others like it) will be frozen in time and in about ten years will represent a very distinct, dated era as vividly defined as the Pontiac Aztec, the Edsel, the VW Thing and, oh I don't know, shag 70's vans?
-
I consider it pure luck that one of my models has appeared in contest coverage of every NNL North show I've attended (6, *toot-toot*) except last year's because I didn't notice the table note and it didn't get shot. I also think Richard's post answers almost every question. Nice work Rich.
-
I think I killed one of these in my basement. That looks pretty neat all built up. Well done sir. It's bosozo-koool!
-
Though photographing is subjective, the shooter isn't just selecting what he considers the best. He's selecting which ones offer the most variety that will appeal to the most readers. An editor may also consider the value of including the works of recognizable national luminaries (who shall remain nameless? ).
-
Yes, super glue on toothpicks leaves a residue on the unseen parts, but I like how firmly it holds until I'm done handling the pieces.
-
You really dialed this in. I don't know what it looked like originally, but I'd be surprised if it was better than this.
-
Sorry, I'm a little late to the plate here, but I like the effective use of your markers. Which compels me to recommend alcohol inks for such projects. It's basically marker ink as a liquid which can be applied with a brush or small sponge. Same effect but you don't get the stroke marks. Dilutes with alcohol (duh). Craft stores have them in the scrapbook sections. Sample of inks on washers...
-
Neat. Looks pretty cool.
-
Fabulous, flat out, regardless of novice experience. Since you are quickly growing in this hobby I recommend Bare Metal Foil for the bright work. If you can cut a paint line as well as you do, then you'll do fine with it and will really bring life to your models. This racer might be an exception, as your silver sheen fits this car just right. If I'm wrong about the trim being painted then go ahead and clonk me with a dead cat.
-
Lindberg Dodge 330
Lunajammer replied to StevenGuthmiller's topic in General Automotive Talk (Trucks and Cars)
Wow, here I enjoyed building one years ago and proudly displaying it without ever even noticing. Now I'm going to have to throw it away and hate myself. -
Progress, slight. I've added trim and given it its first primer coat. Just haven't taken pics yet. Still some surfacing to be done. Modeling for me is seasonal and as everything is turning green, my summer chores and activities keep me away from the bench. Not much more will likely happen until fall.
-
I love the Cannonball spirit of this one.
-
The 210 sedans were gone for a long time, but when they came back, they became plentiful. I can't resist them and have three unbuilts and a couple parts bombs. Except for the windows as mentioned, the fiddly-ness I don't find discouraging.
-
Thanks guys for all the good vibes and honest input.
-
Is NA$CAR for sale?
Lunajammer replied to 935k3's topic in General Automotive Talk (Trucks and Cars)
Gonna have to go with this one... -
Ooooo, yeah. The lovely Miss L was mostly disinterested until she saw parts of it, then loved it in the end. So yes, I consider myself lucky. Especially when she saw me stockpiling pointless junk, the bulk of which remains unused.
-
Yeah, a port hole is really what I wanted. But part of the project was to see keep costs down and use only what I could find. The clock box was an early choice and by the end I might have rethought that. But then, I hadn't found anything I liked that was much better.
-
Since I'm as big an idiot as any one of you, I brought this to a lamp repair shop to be inspected for safety. The old guy was confounded and deeply worried about its safety until I explained the whole thing. By the time we were done and he "got it," he thought it was a "wonderful" piece of functional art and passed it with flying colors.
-
Thanks a lot guys. Bruce you're a pretty accomplished maker, lamp lighting is pretty simple and very attention getting since there are so many kinds of interesting bulbs out there. I'd love to do a steampunk War of the Worlds martian war machine lamp. Just gotta find the right body to embellish.
-
So that's what ate up my winter and why I only got one model car built. But this stupid project was eating a hole in my head and I had to get it out. Glad I did. My fiancee loves it. It makes a nice warm glow in our living room for watching movies and gets immediate attention from guests. It's maybe pretty far off topic for this forum, but it used the same brain rhythm I use for models, mentally it felt the same.
-
...and VOILA! These little buggers flicker like flames, but mostly I wanted the impression of risky, vintage power. They really bring this lamp to life.
-
Pipes are used as a support for the flicker lamp "power unit." I used reproduction vintage cloth braided wire for actual current carrying wire. A bracket strip was weathered and secured to the flicker power unit. I used rusting paints from the craft store and chalk pastels to weather and ugly up the PVC pipes. I printed out some clock faces I like and cut them to fit the black clock box on the front. Some foam insulation will help wedge it into the box, offer support for the face, battery and clockworks. My Tesla coil looks something like this. It contains the bulb socket and PVC mount. A couple holes drilled and it all just bolts together. Add some reproduction vintage cord, a worn out old port found in my basement junk and box it up...
-
I stacked ceiling lamp inserts to imply something like a Tesla coil. My Edison light will go inside it. Found these boot laces at the second hand store for .25¢. They look like appliance wire casing so I'm running wire through it. This is one of a couple toy pieces I'm using as bezels for some copper rod. But first I painted, weathered and dry brushed it with Testors rust and metallics. These are lamp parts I found at a Habitat for Humanity Restore. I've glued some washers together, weathered them and they'll be combined with a flicker light bulb found a the craft store. I weathered the socket's cardboard with a brown marker and the socket's brass with the blackening agent shown earlier. Combined with a piece of gutter screen (keeps the leaves out of your gutter) to make a sort of "power unit" with a protective screen so you don't die when you touch it. At least, that's how I want it to appear.