Brudda
-
Posts
4,258 -
Joined
-
Last visited
Content Type
Profiles
Forums
Events
Gallery
Everything posted by Brudda
-
Do you prime all pieces
Brudda replied to youpey's topic in General Automotive Talk (Trucks and Cars)
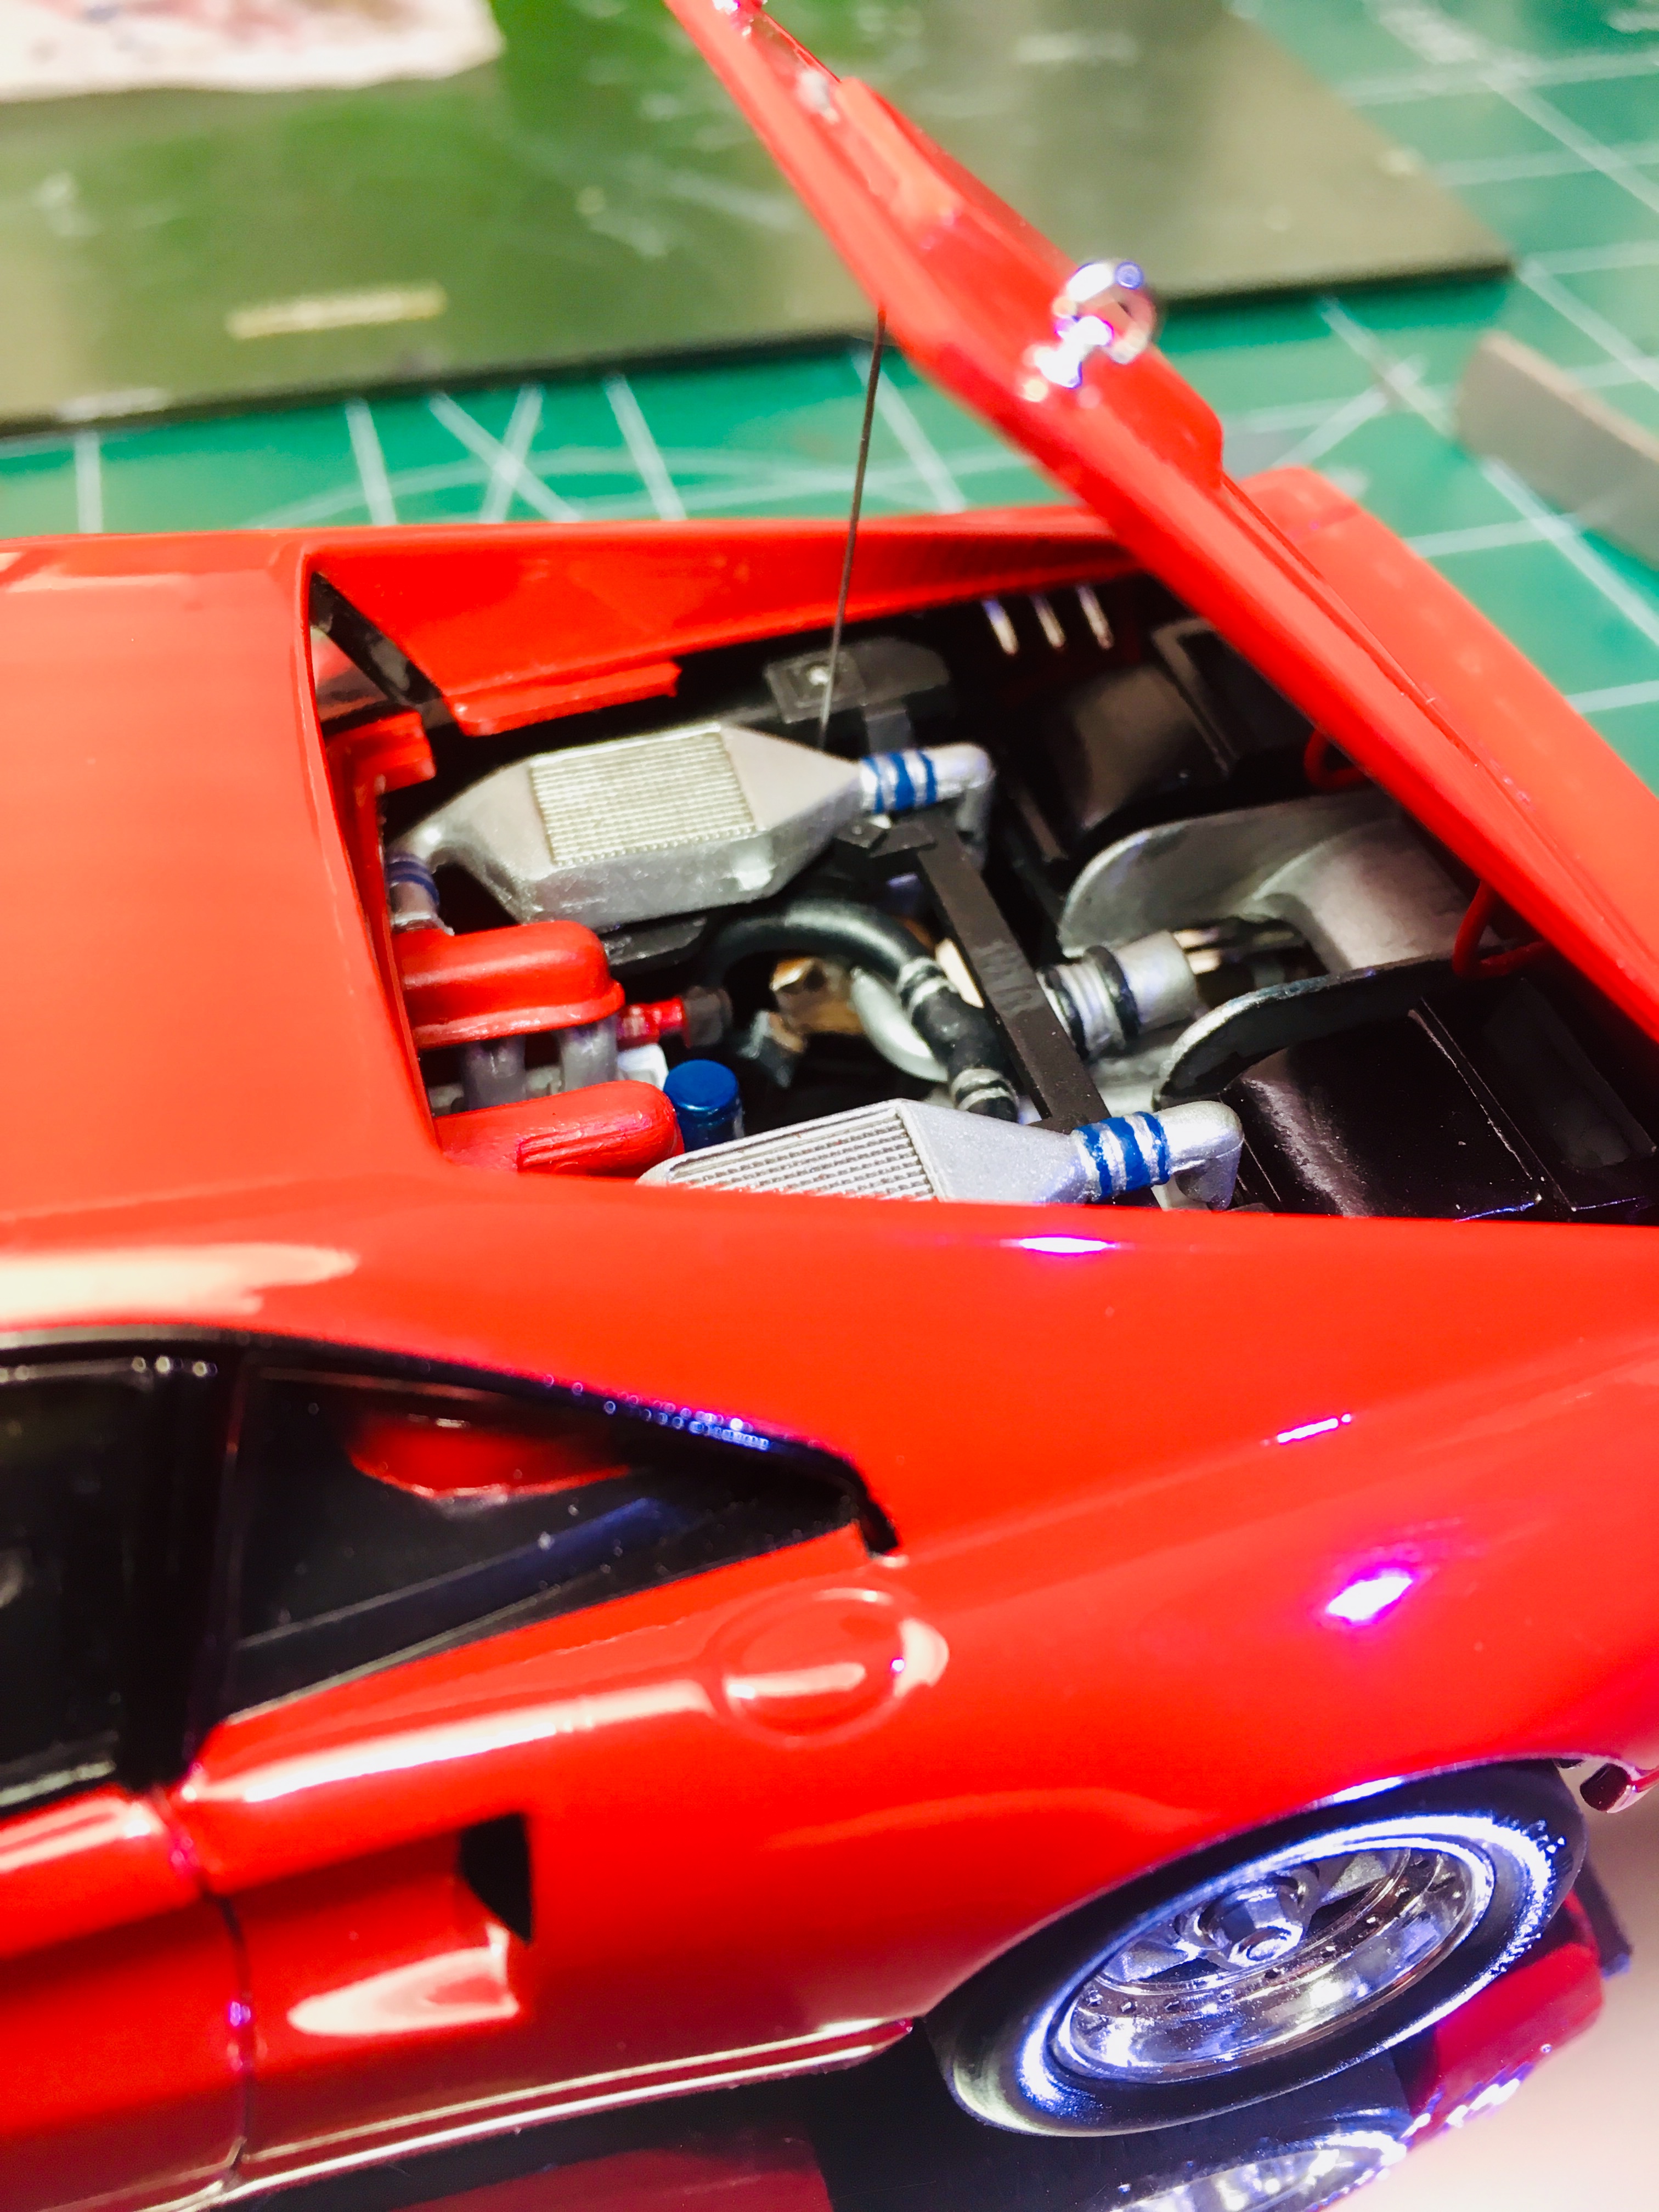
I primer just the body and the parts that need filler . Like sinkmarks with superglue, or if it’s really rough , then I prime. It is to see the imperfections and sand out. Otherwise I just paint. This model had sinkmarks everywhere! So I primed the areas that I had to fix. Body, seats, dashboard, rear suspension cradle, turbos and inter coolers, air intakes. It’s your preference but this is what I do.
-
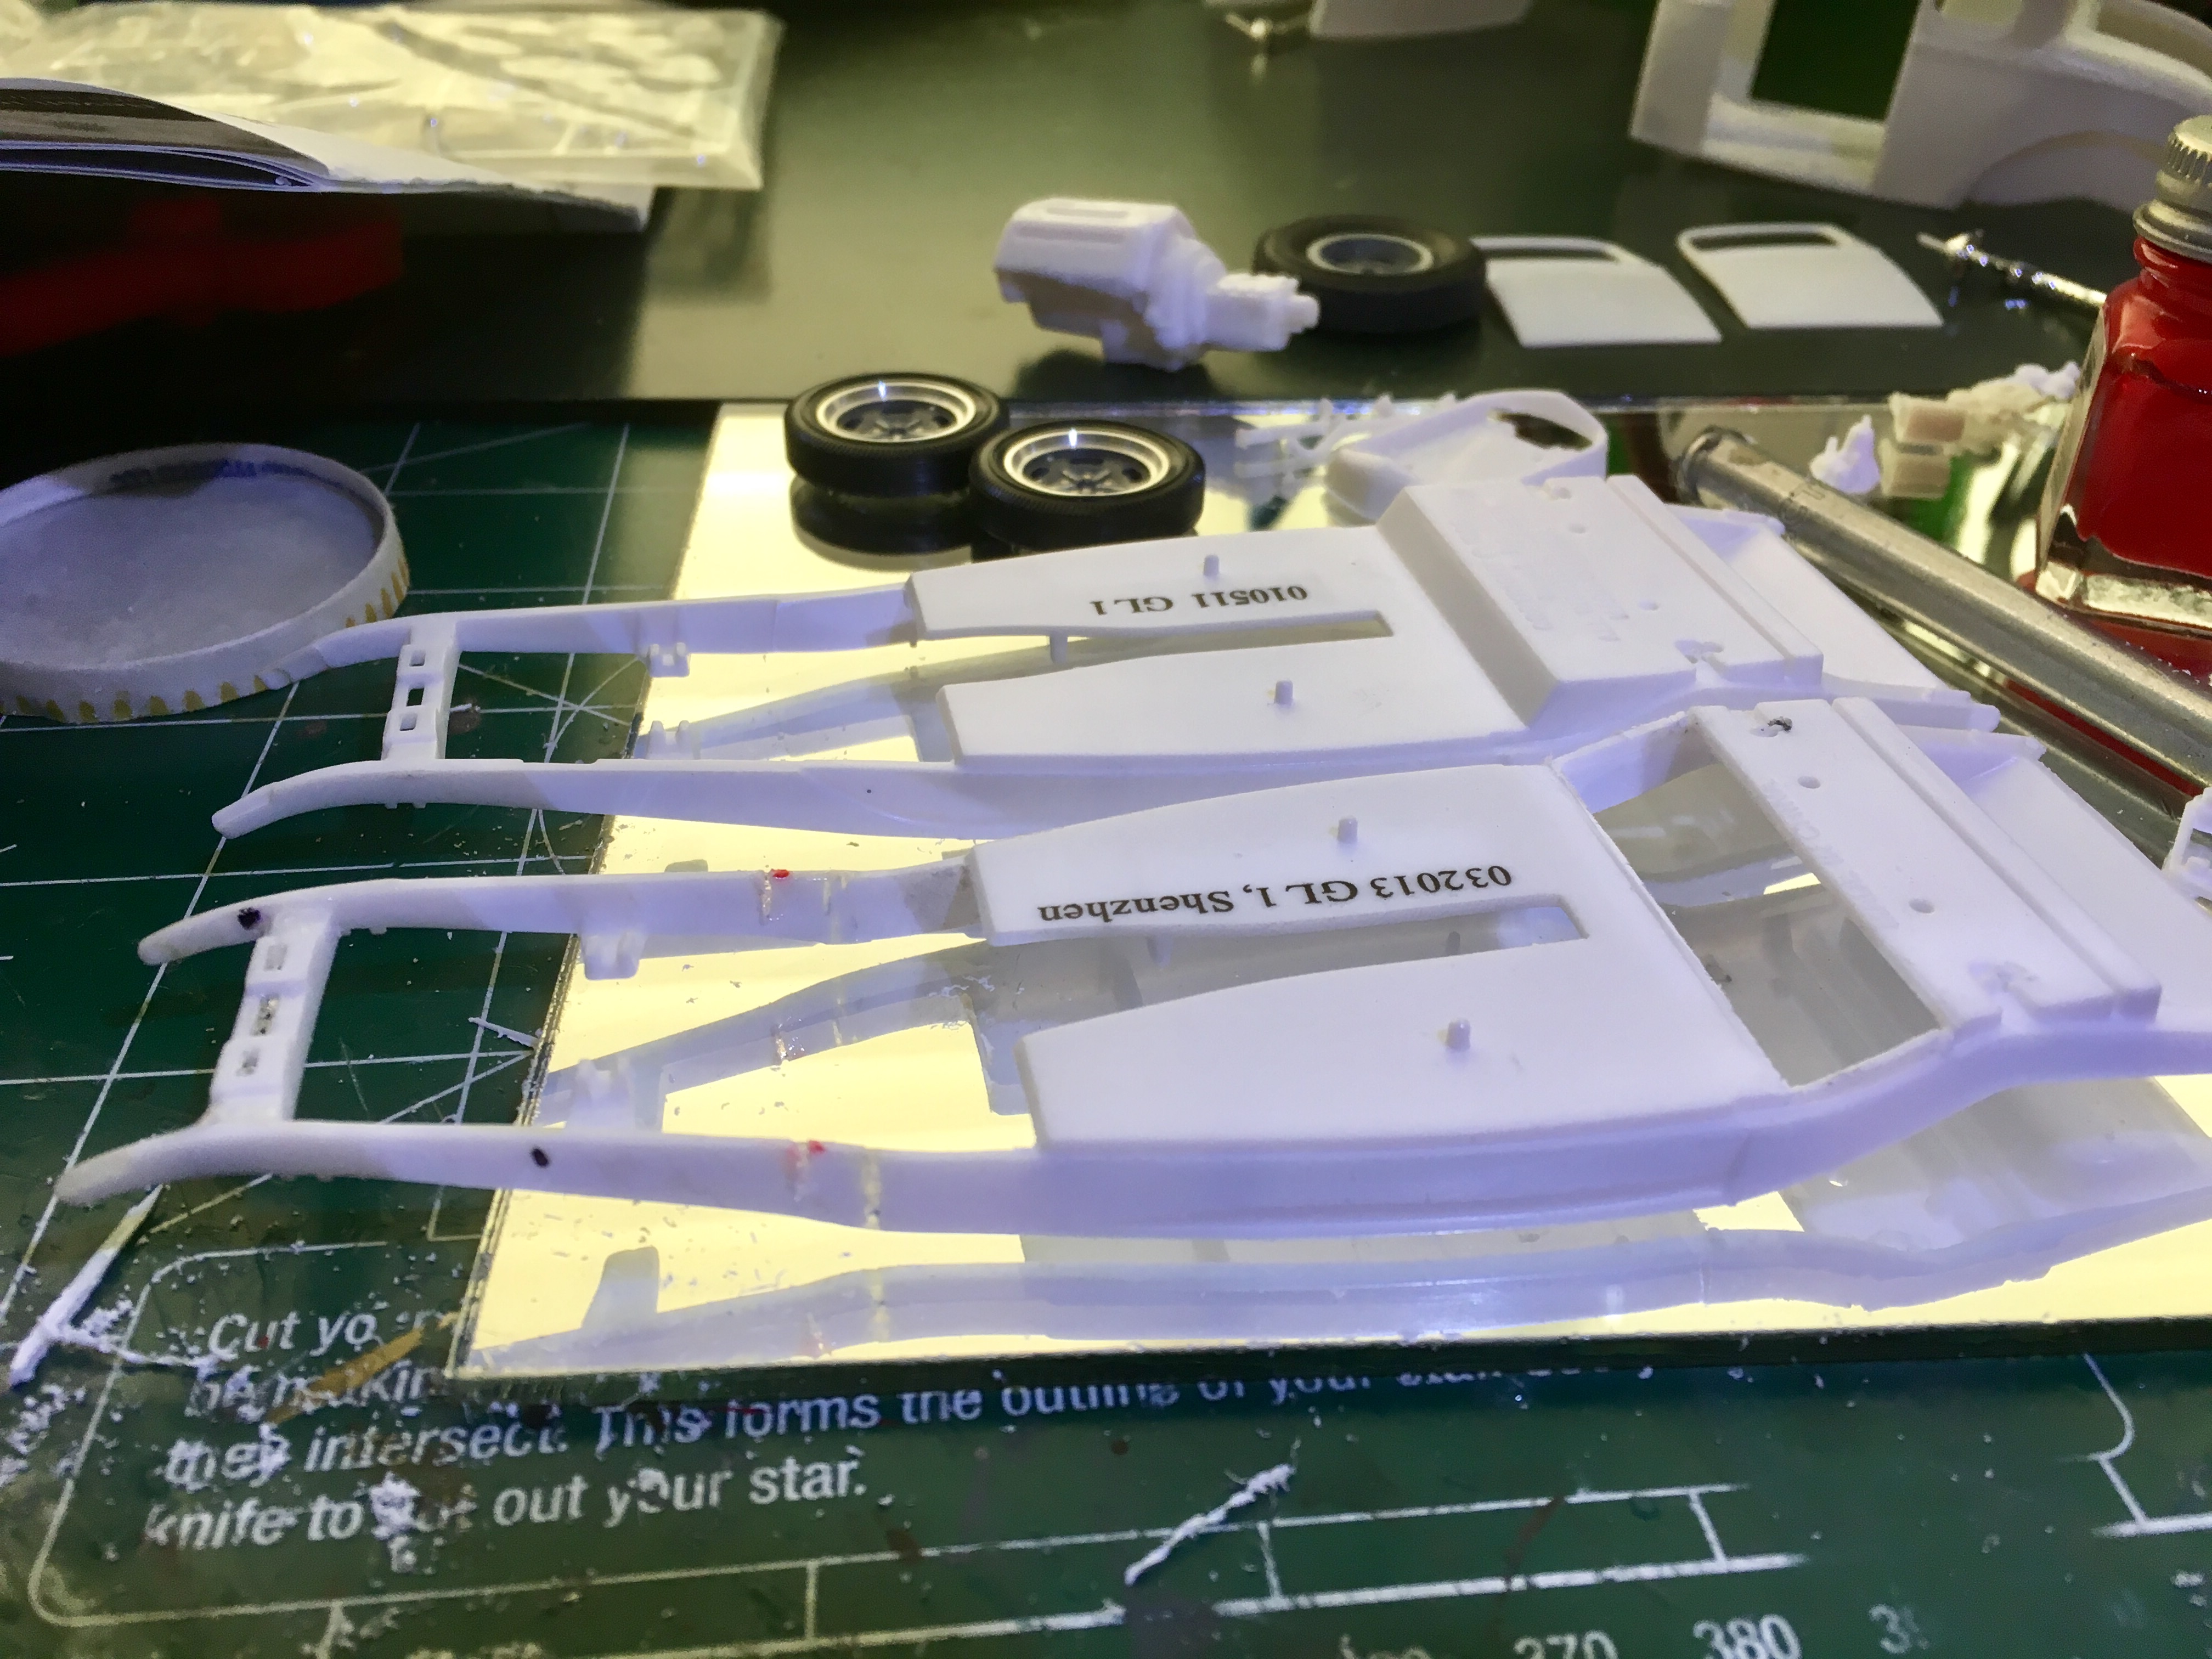
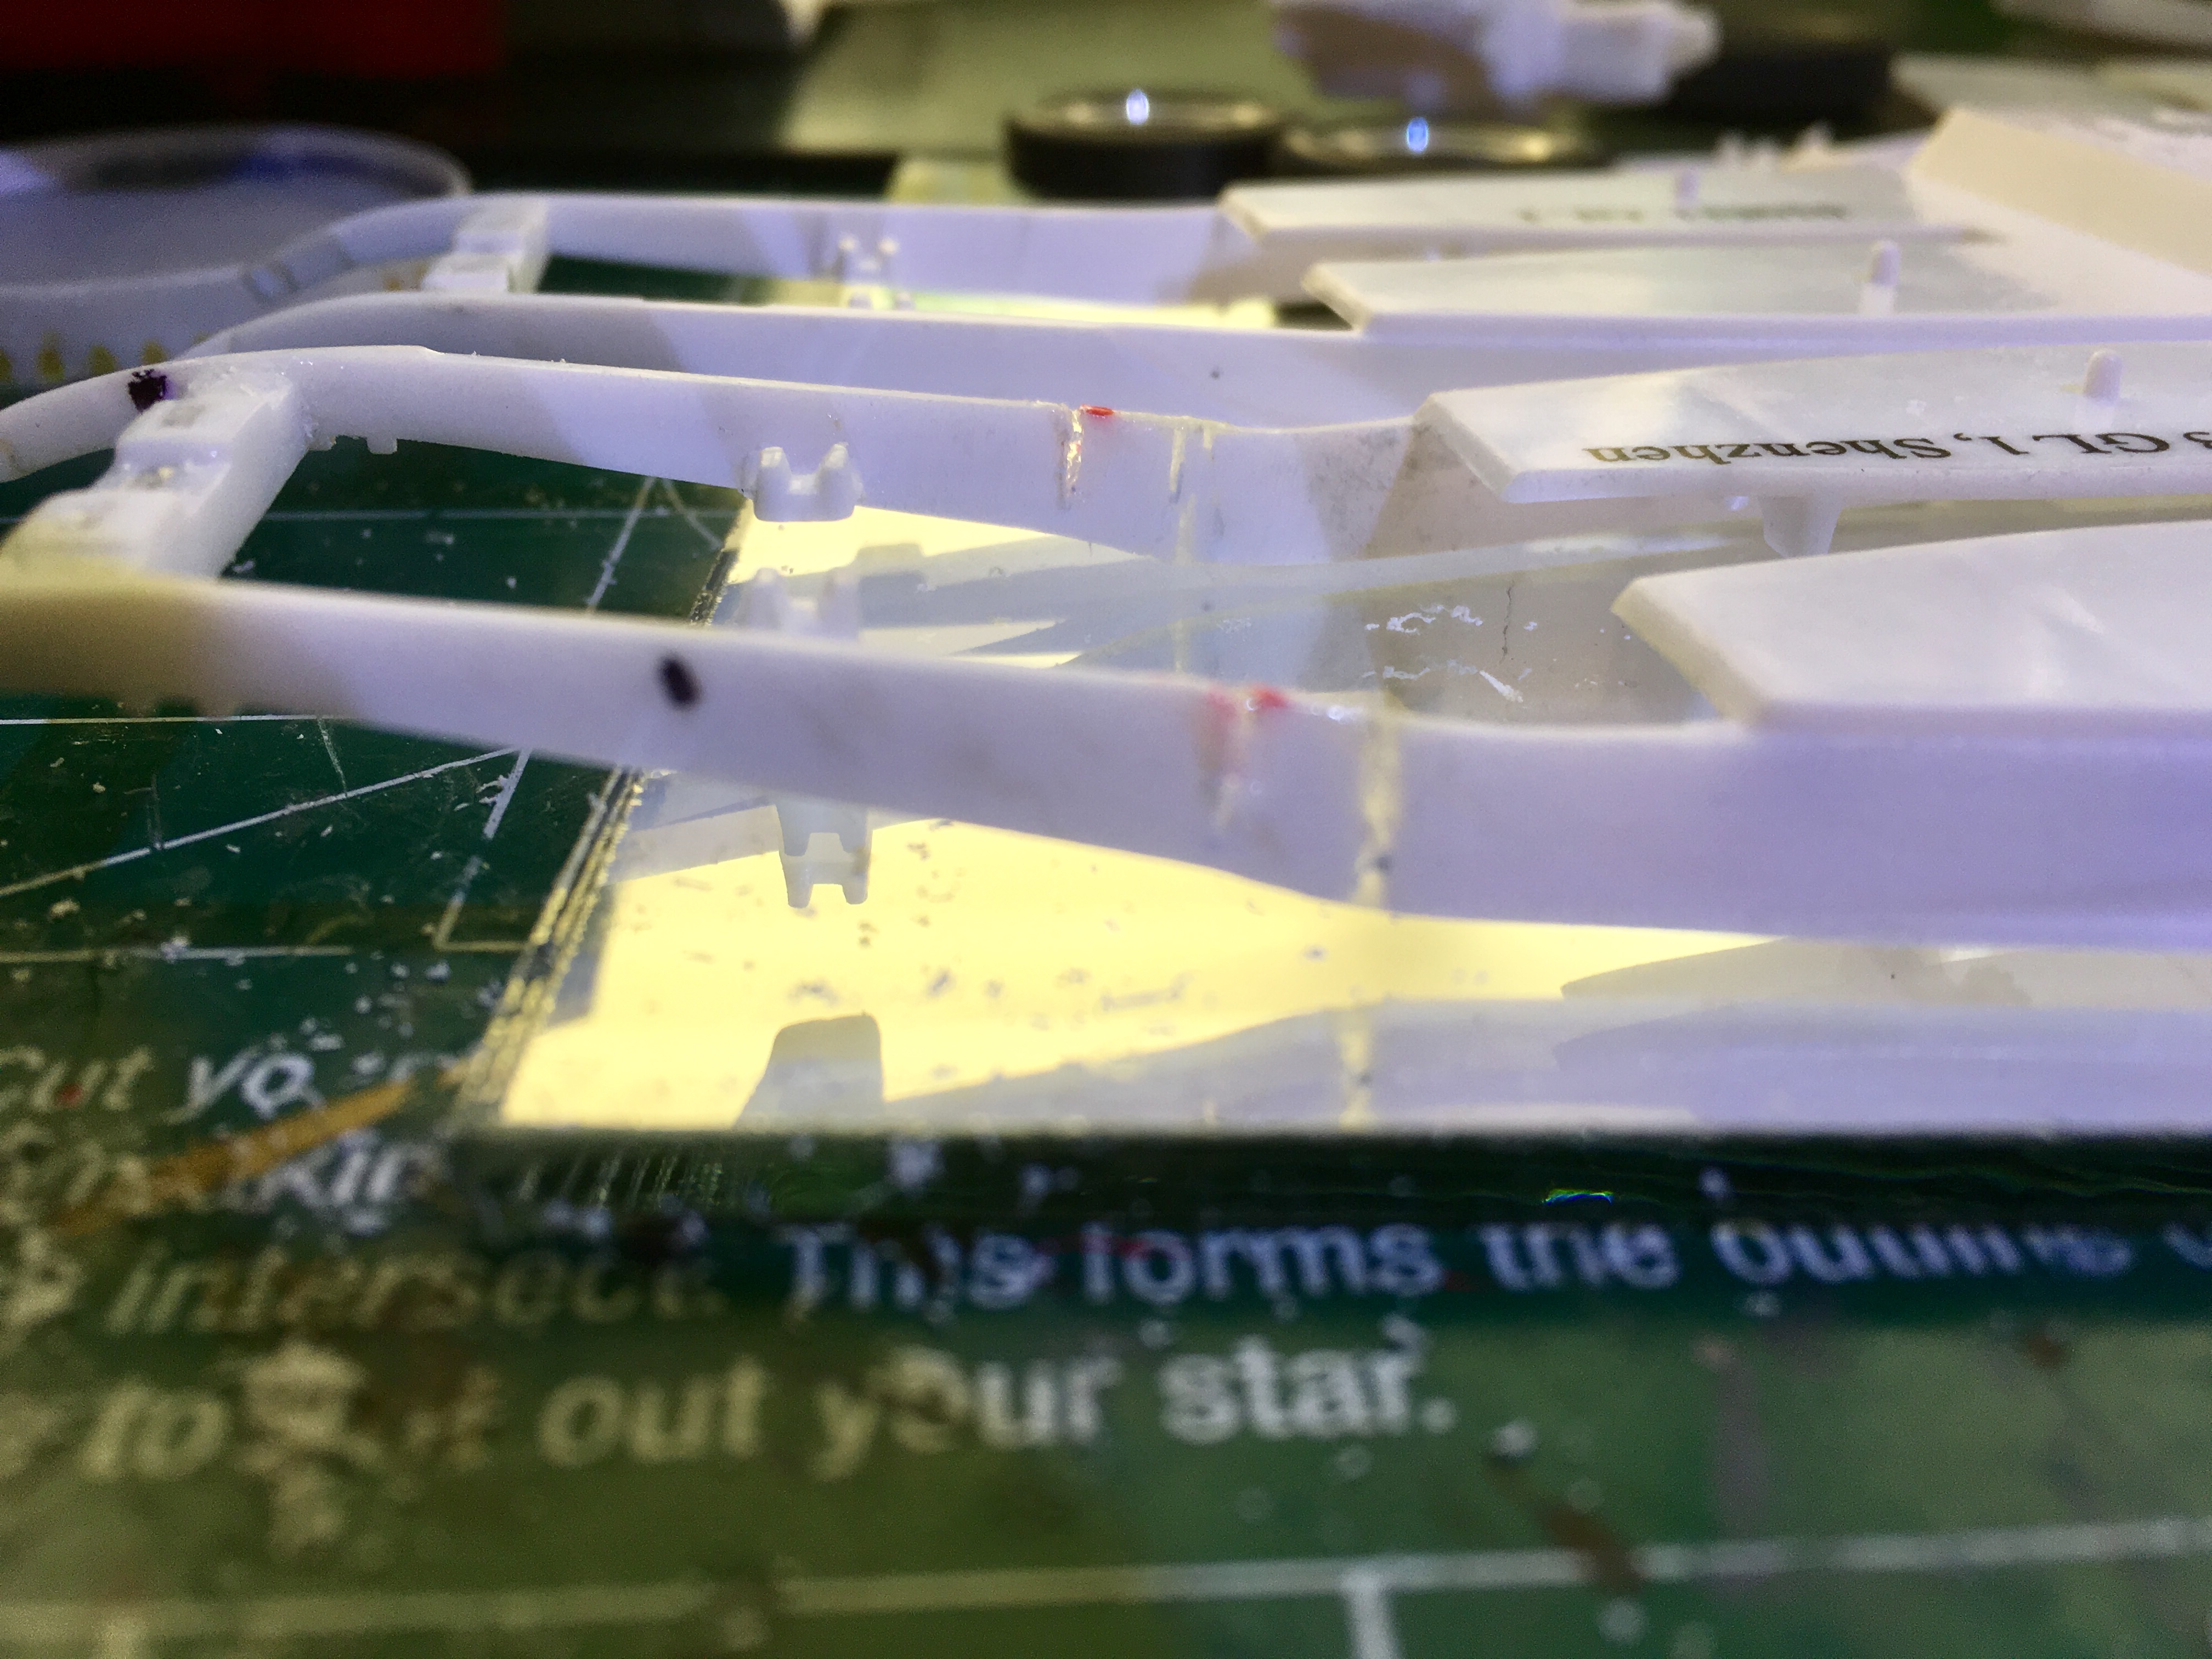
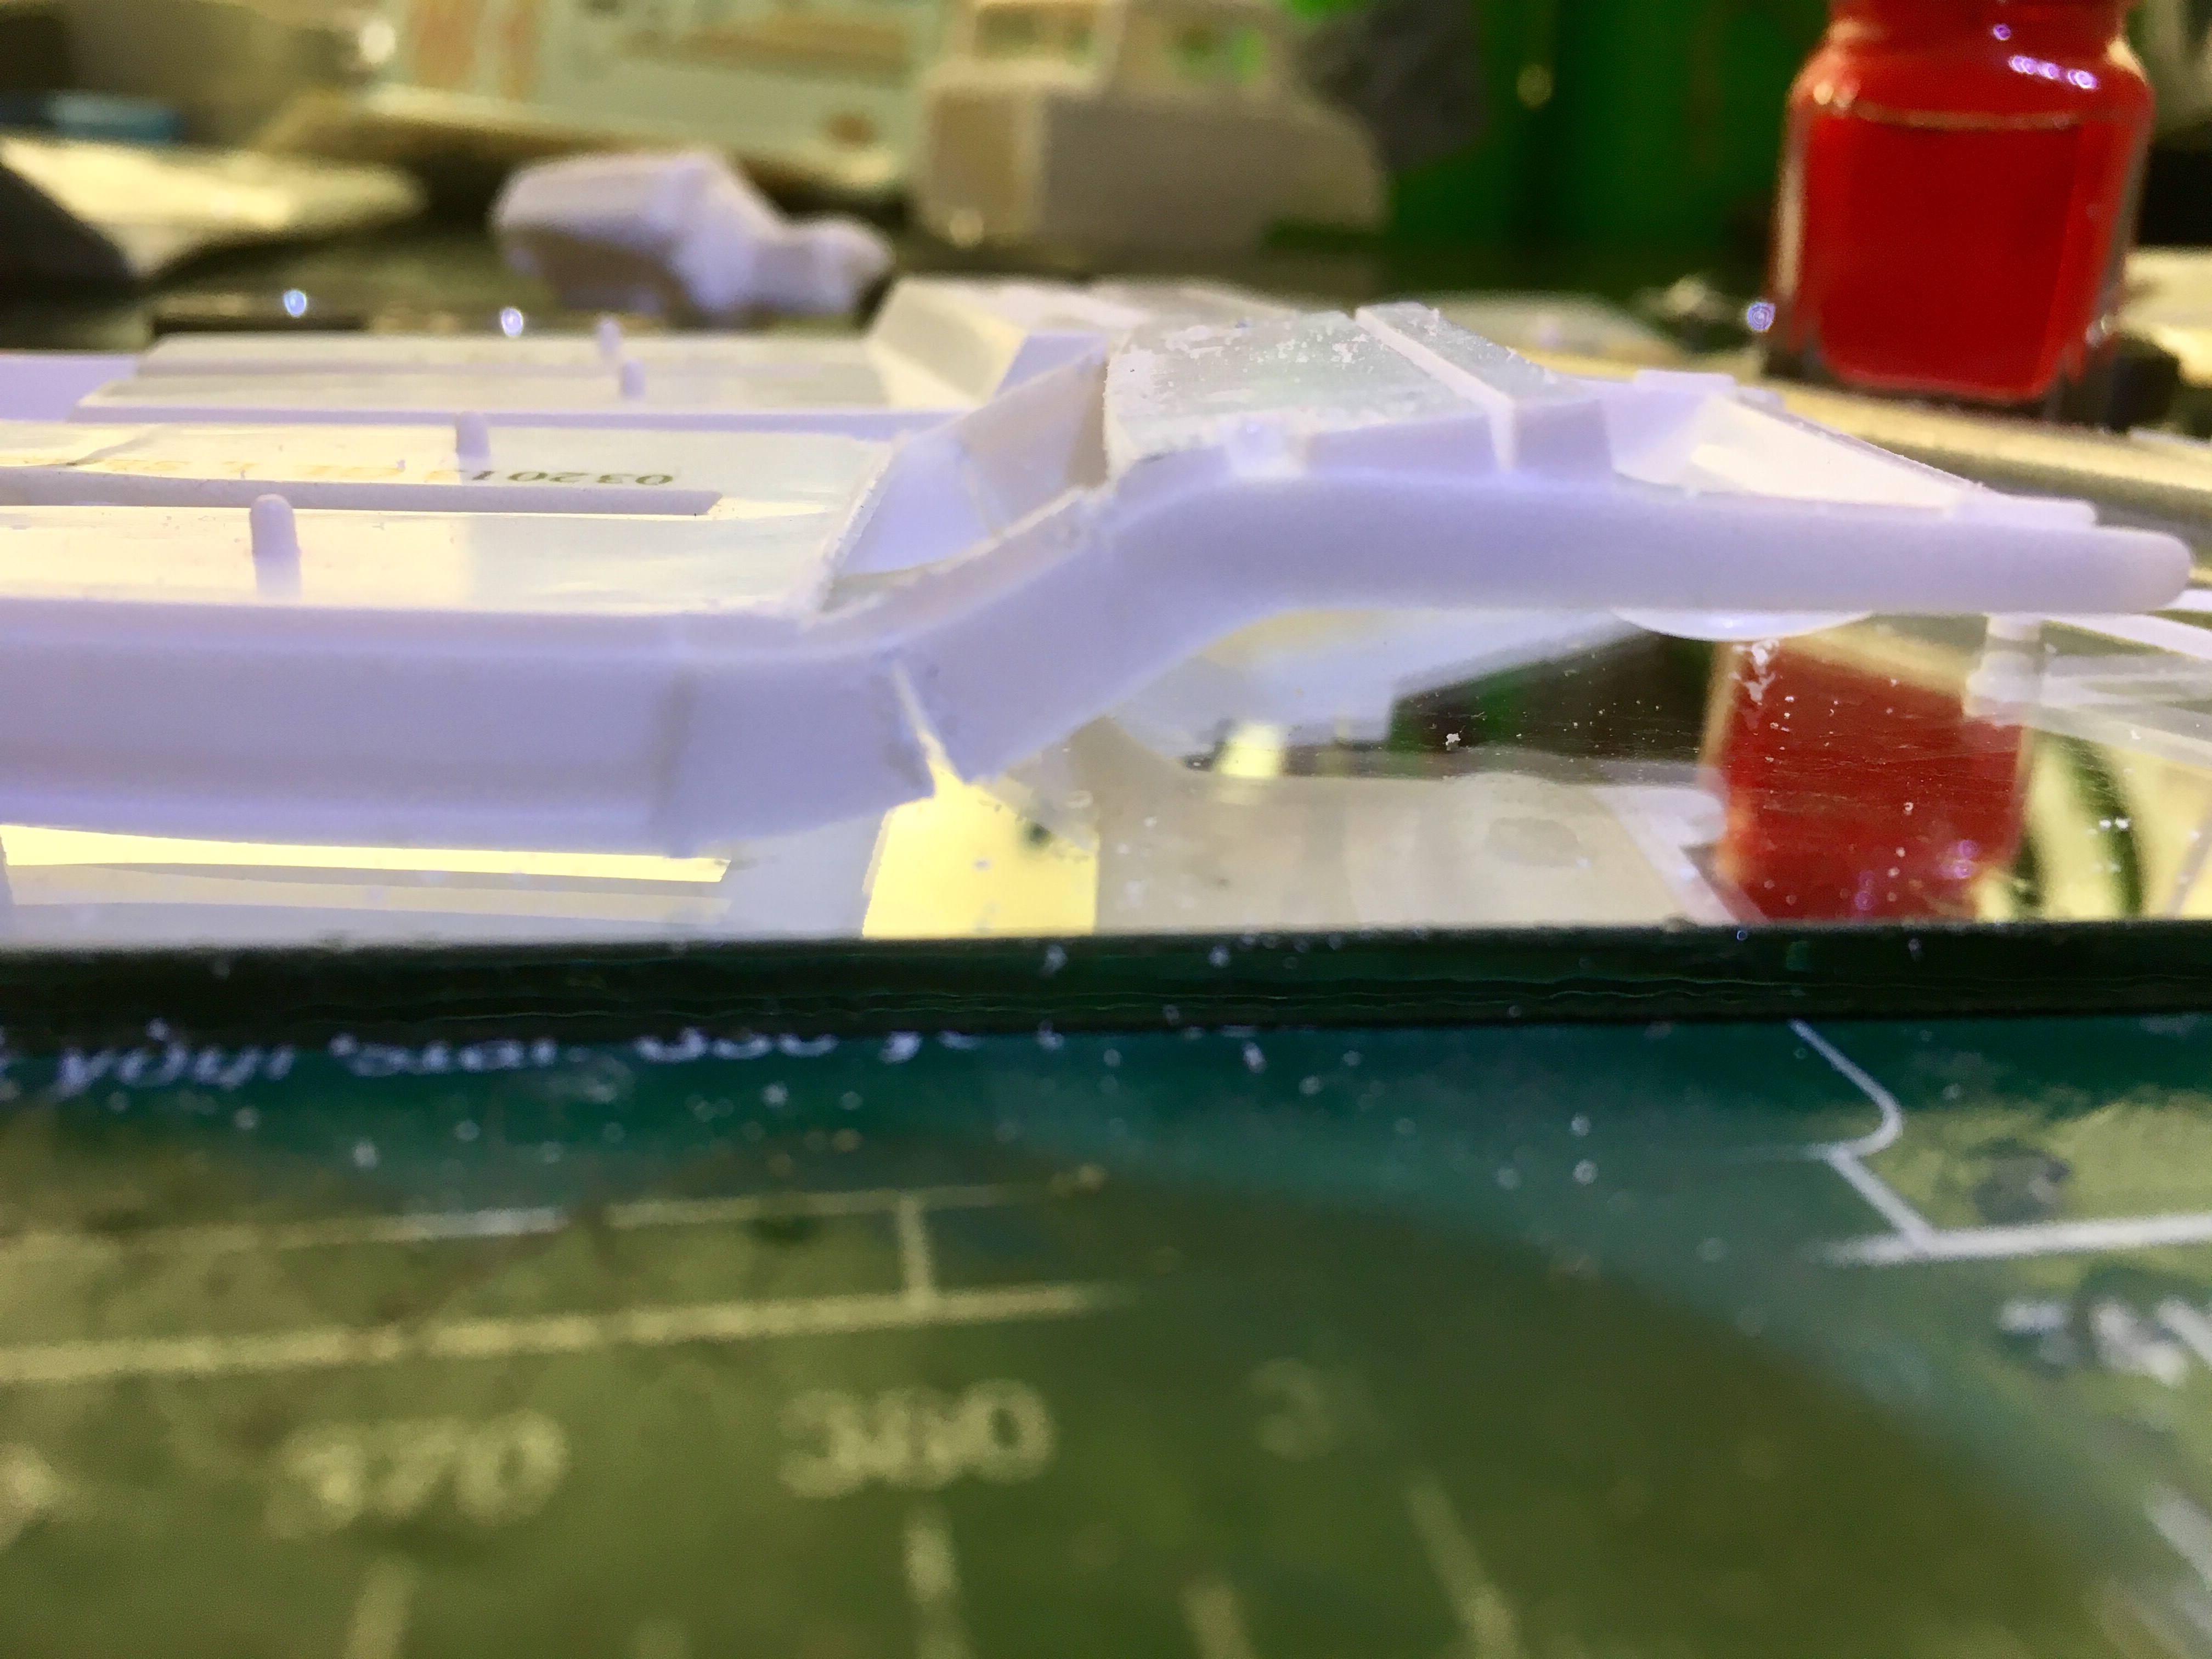
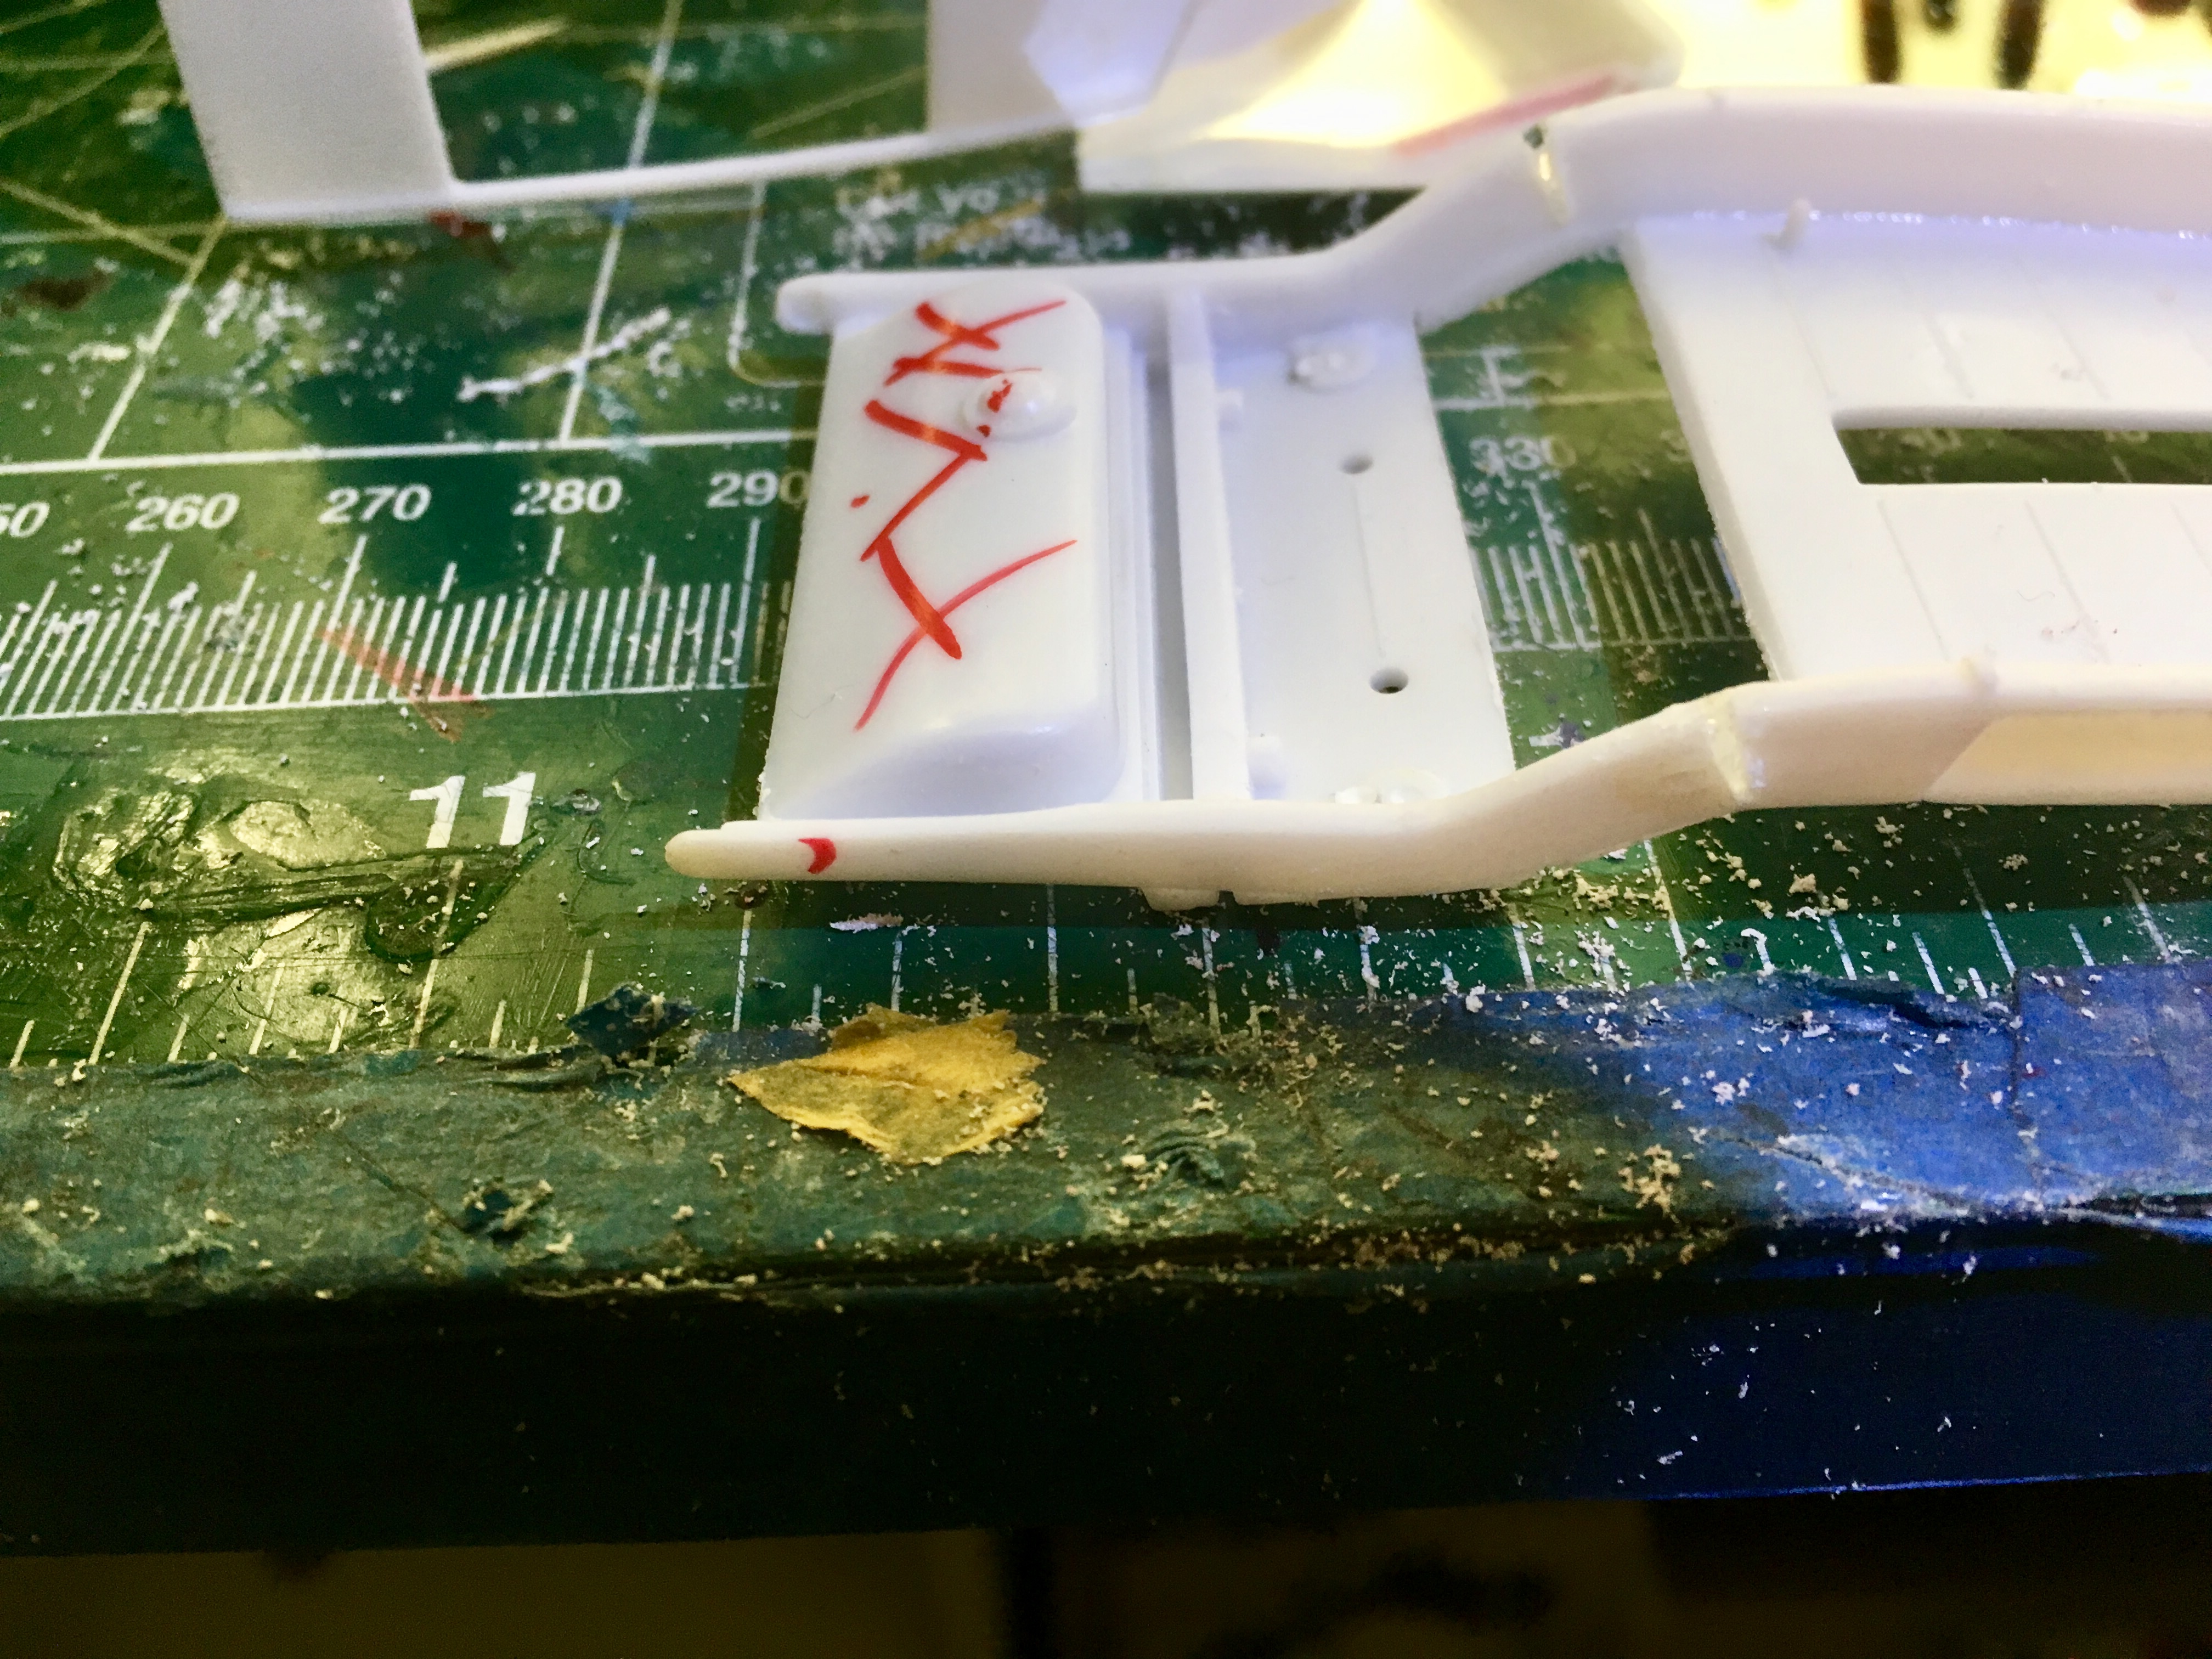
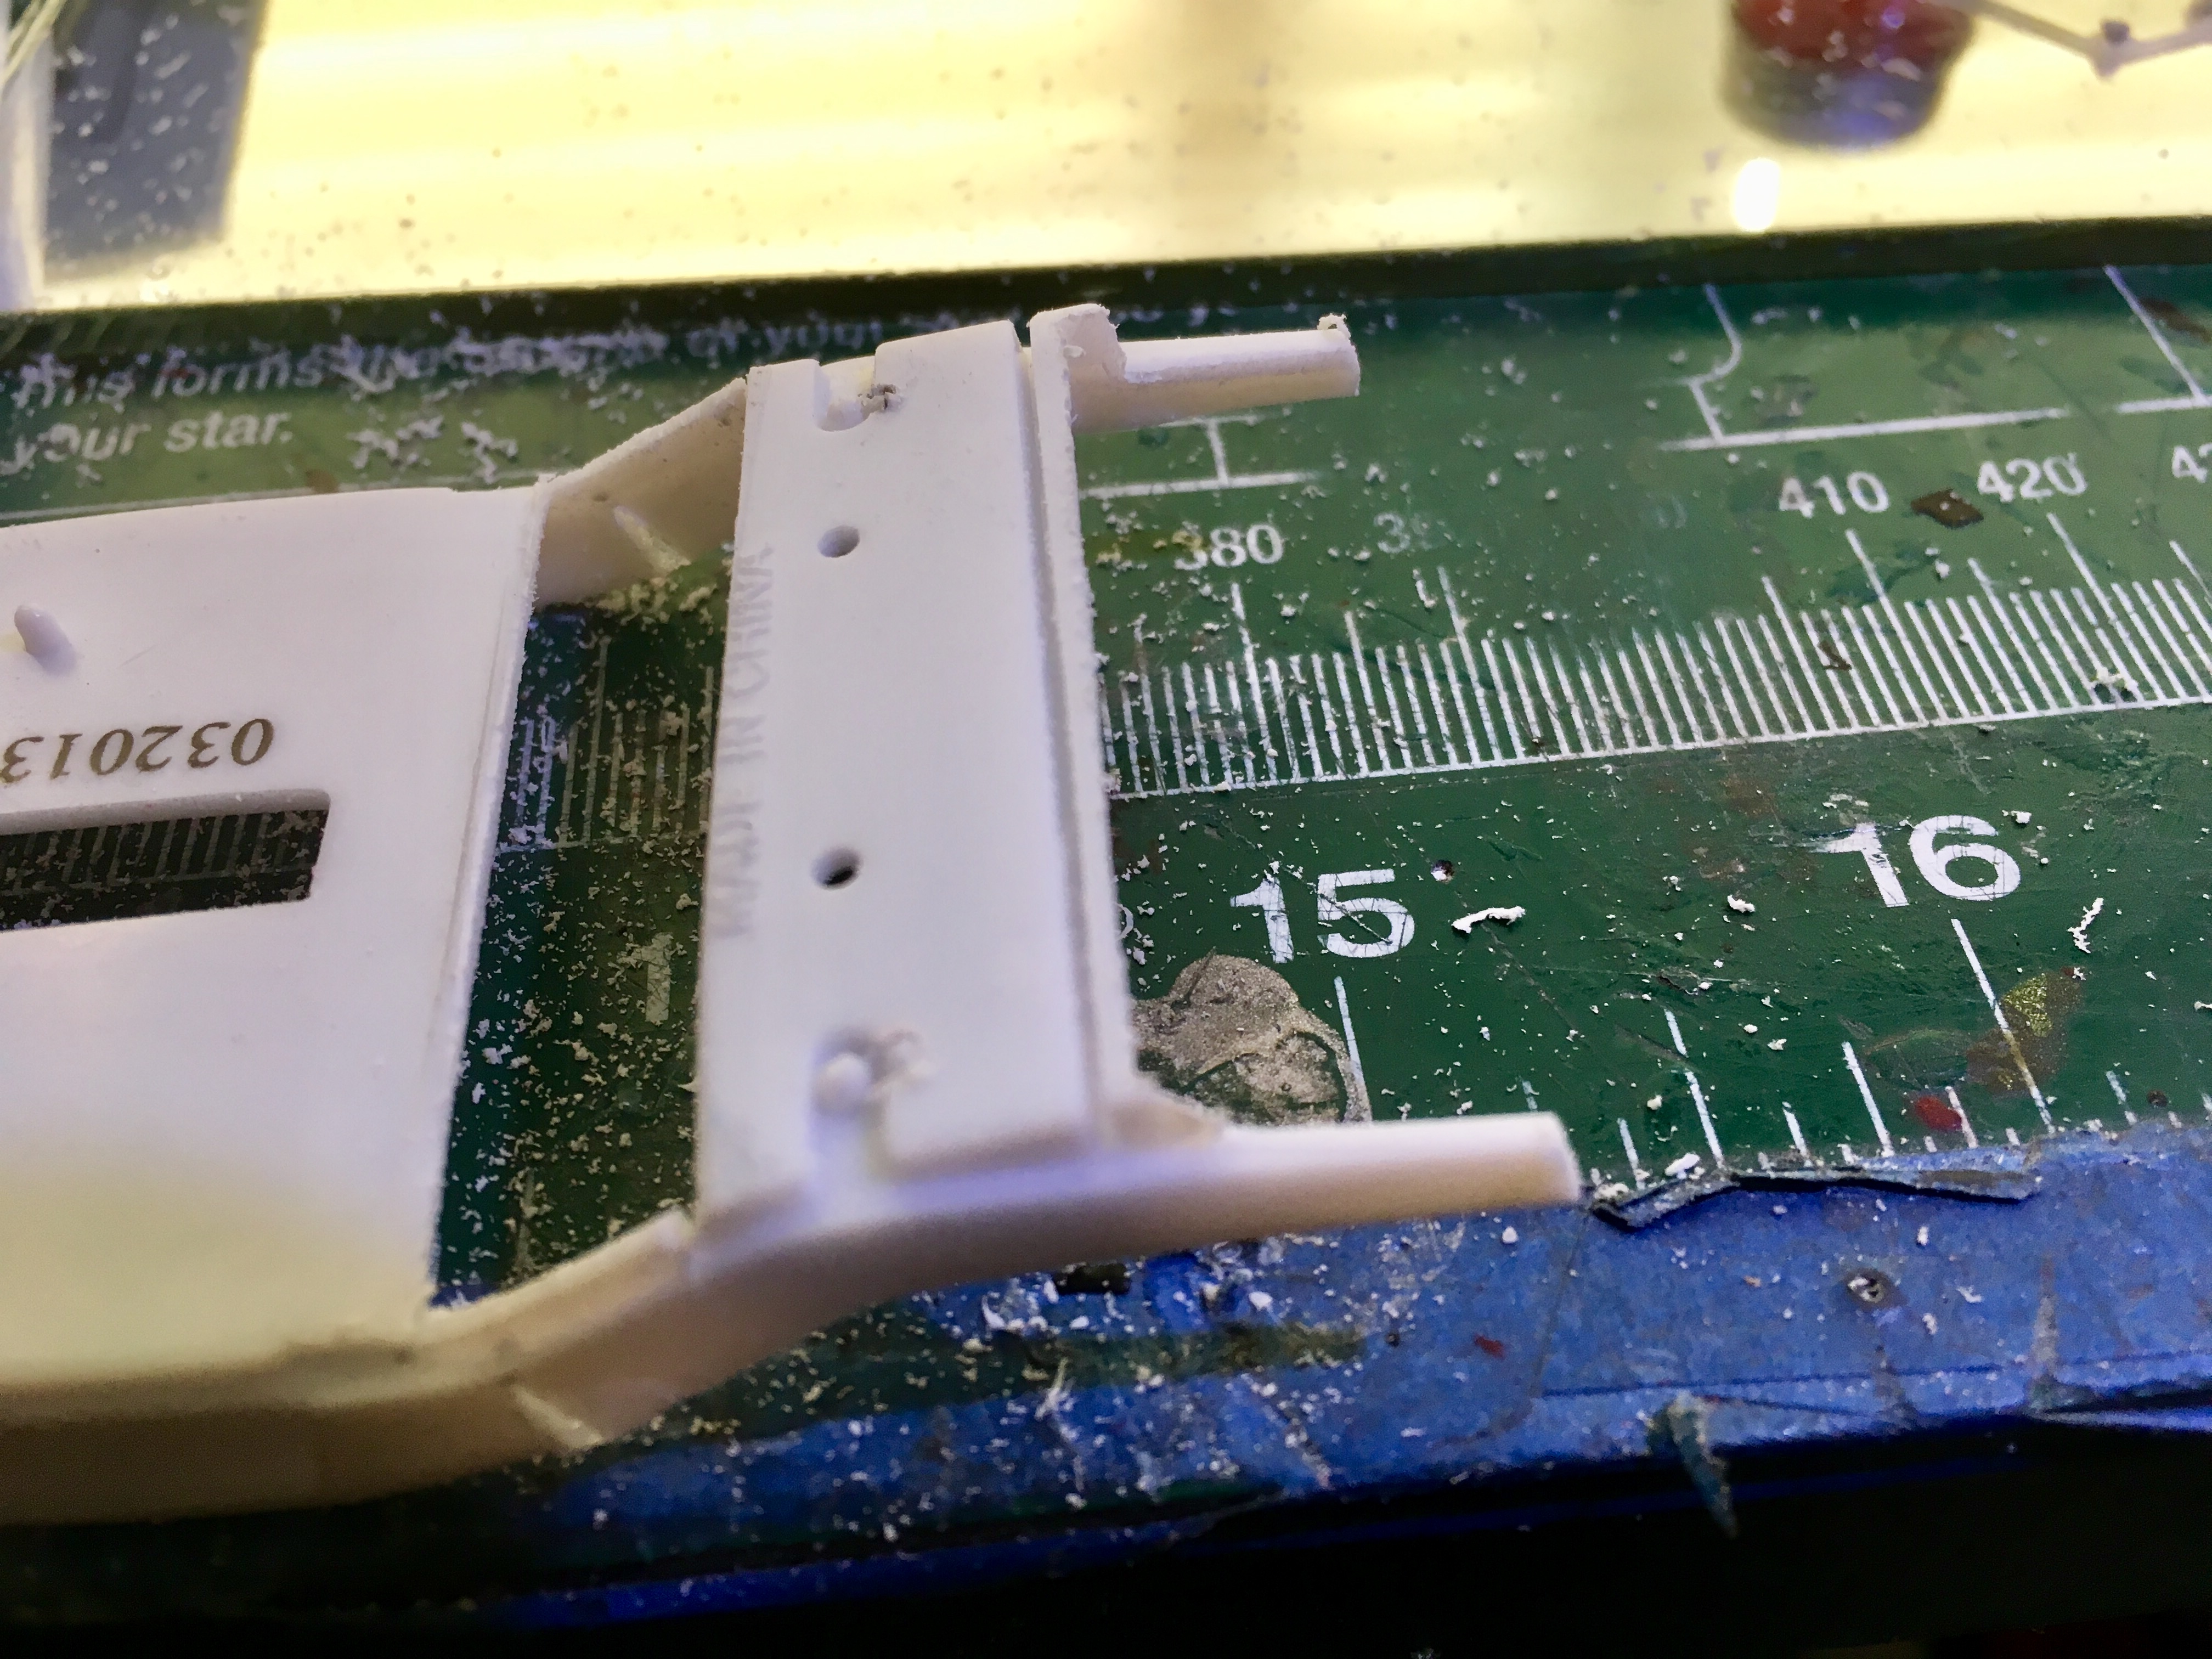
Thank you 1930fordpickup and Thank you Koellefornia kid. The following pics are what I did to get the frame correct. I was just going to leave it but had to do it right. Here are the mods
-
Very very nice!!!!!!
-
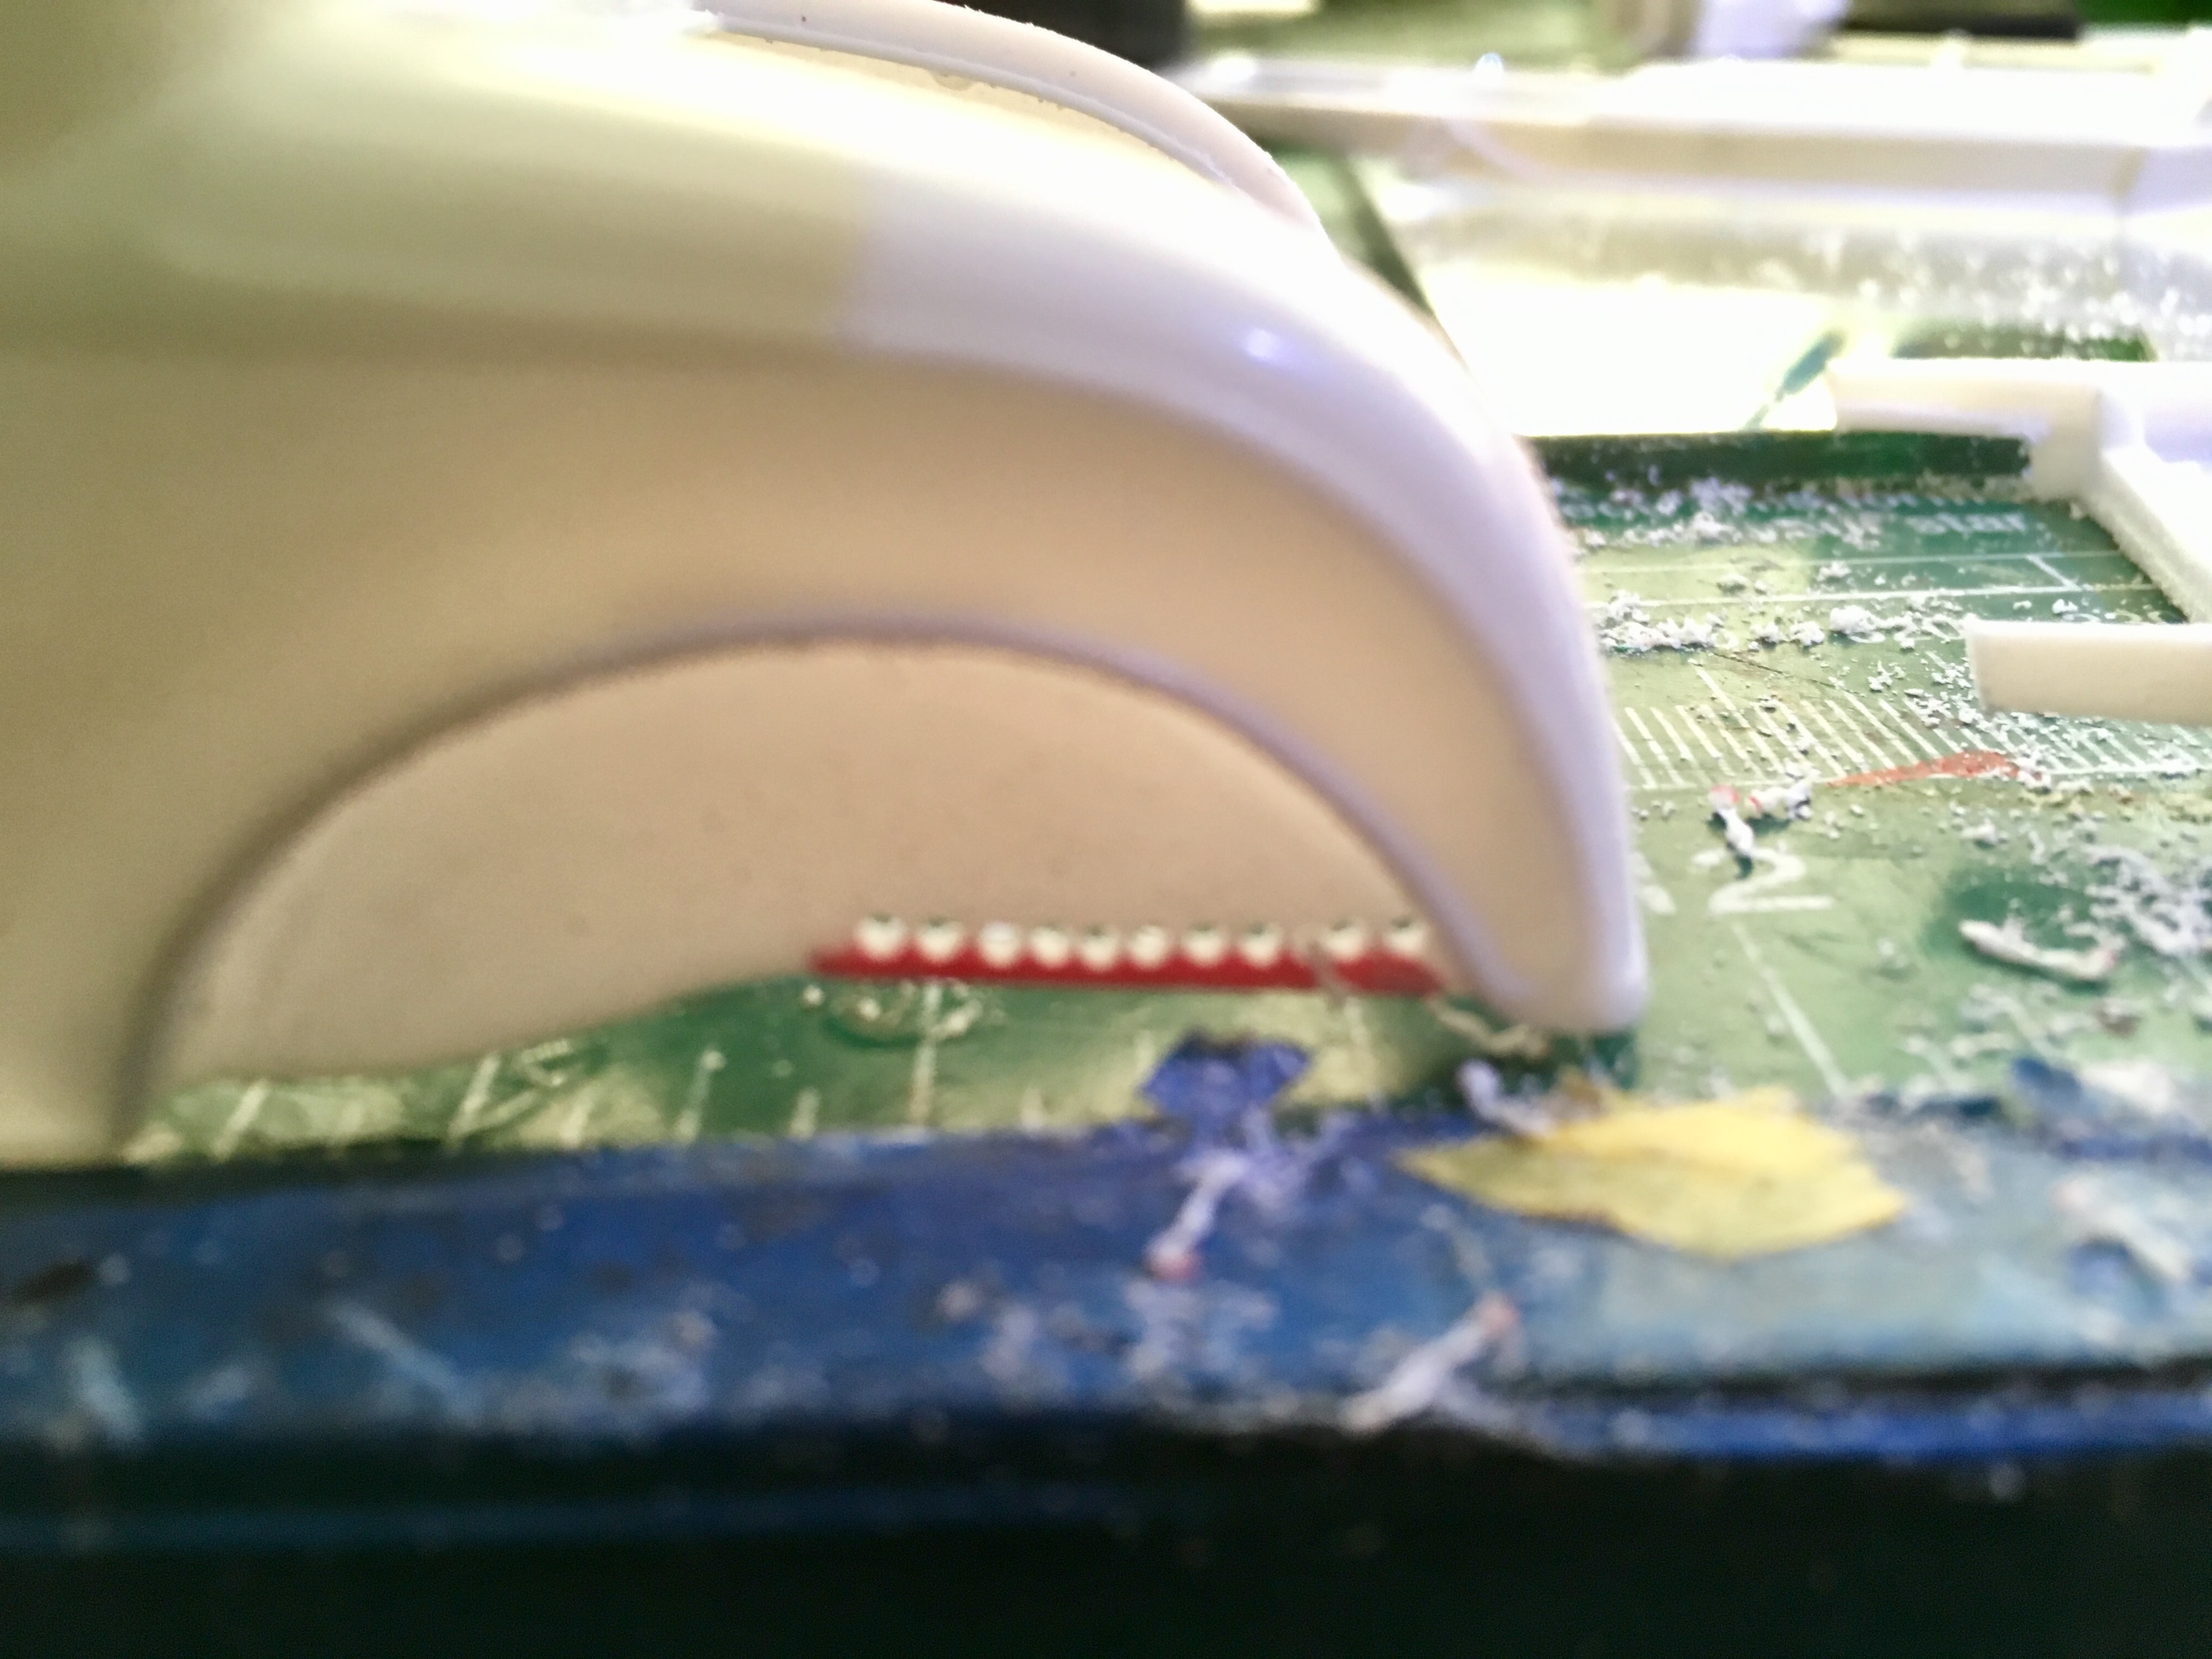
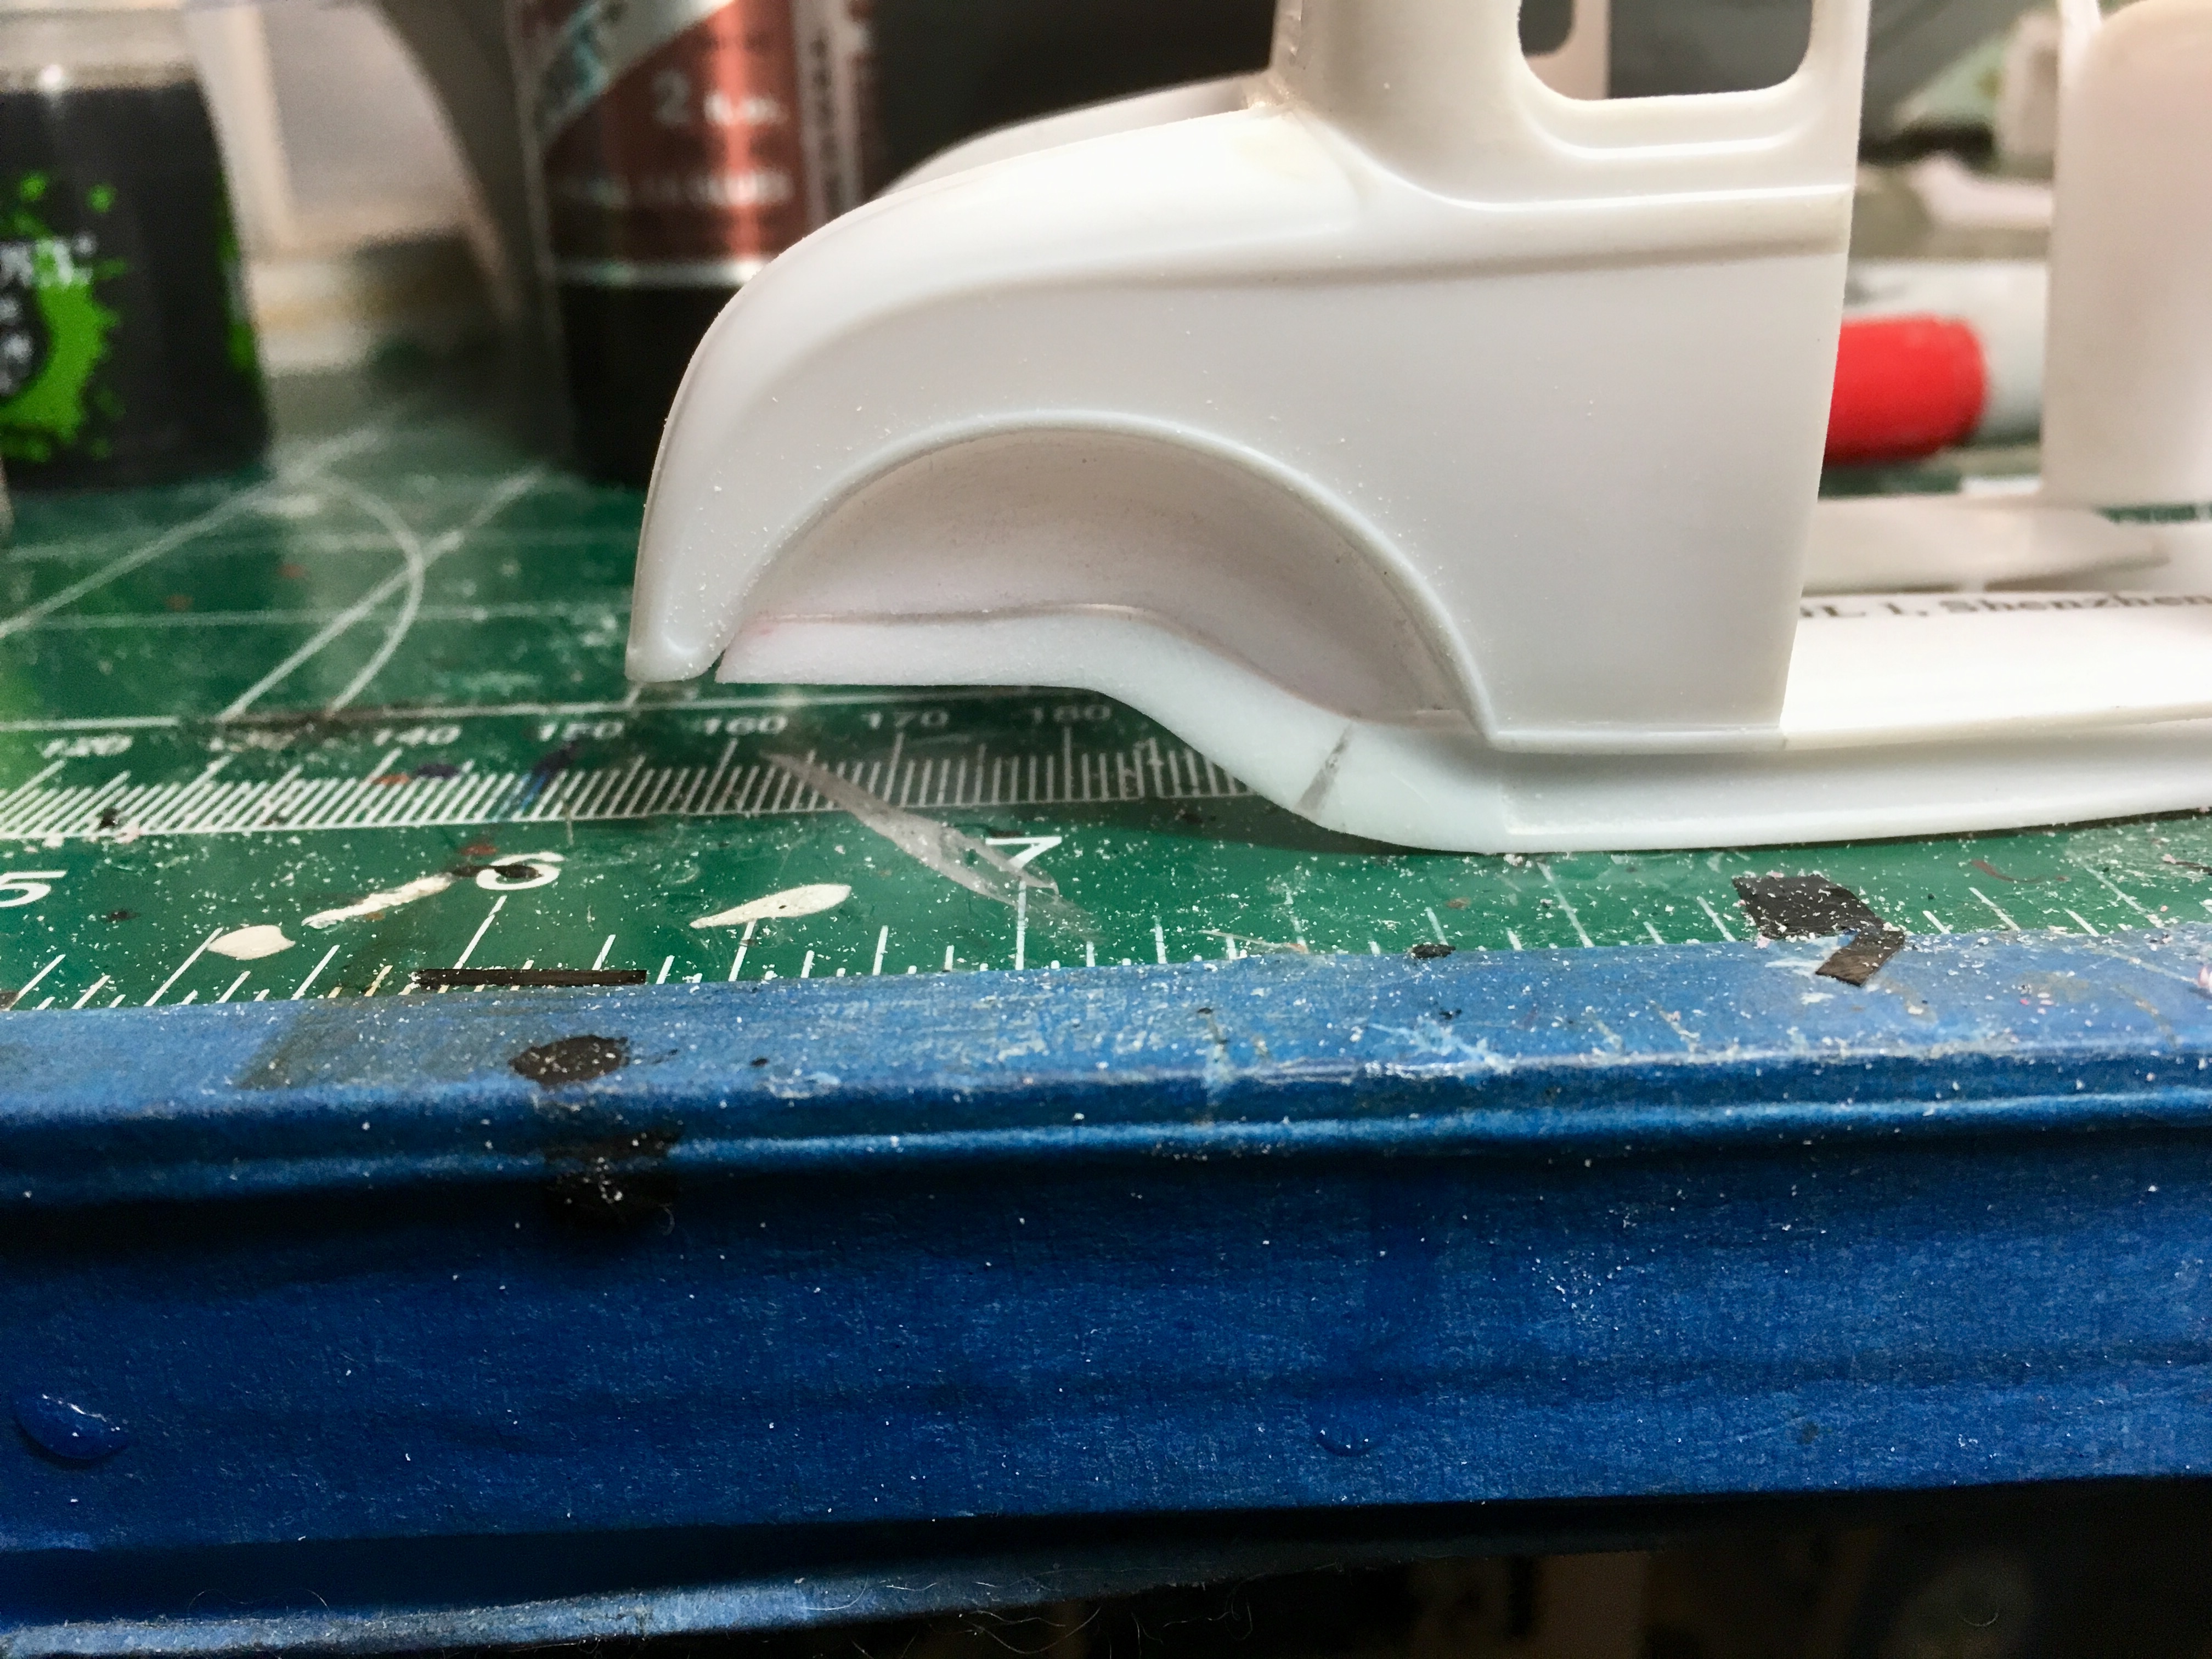
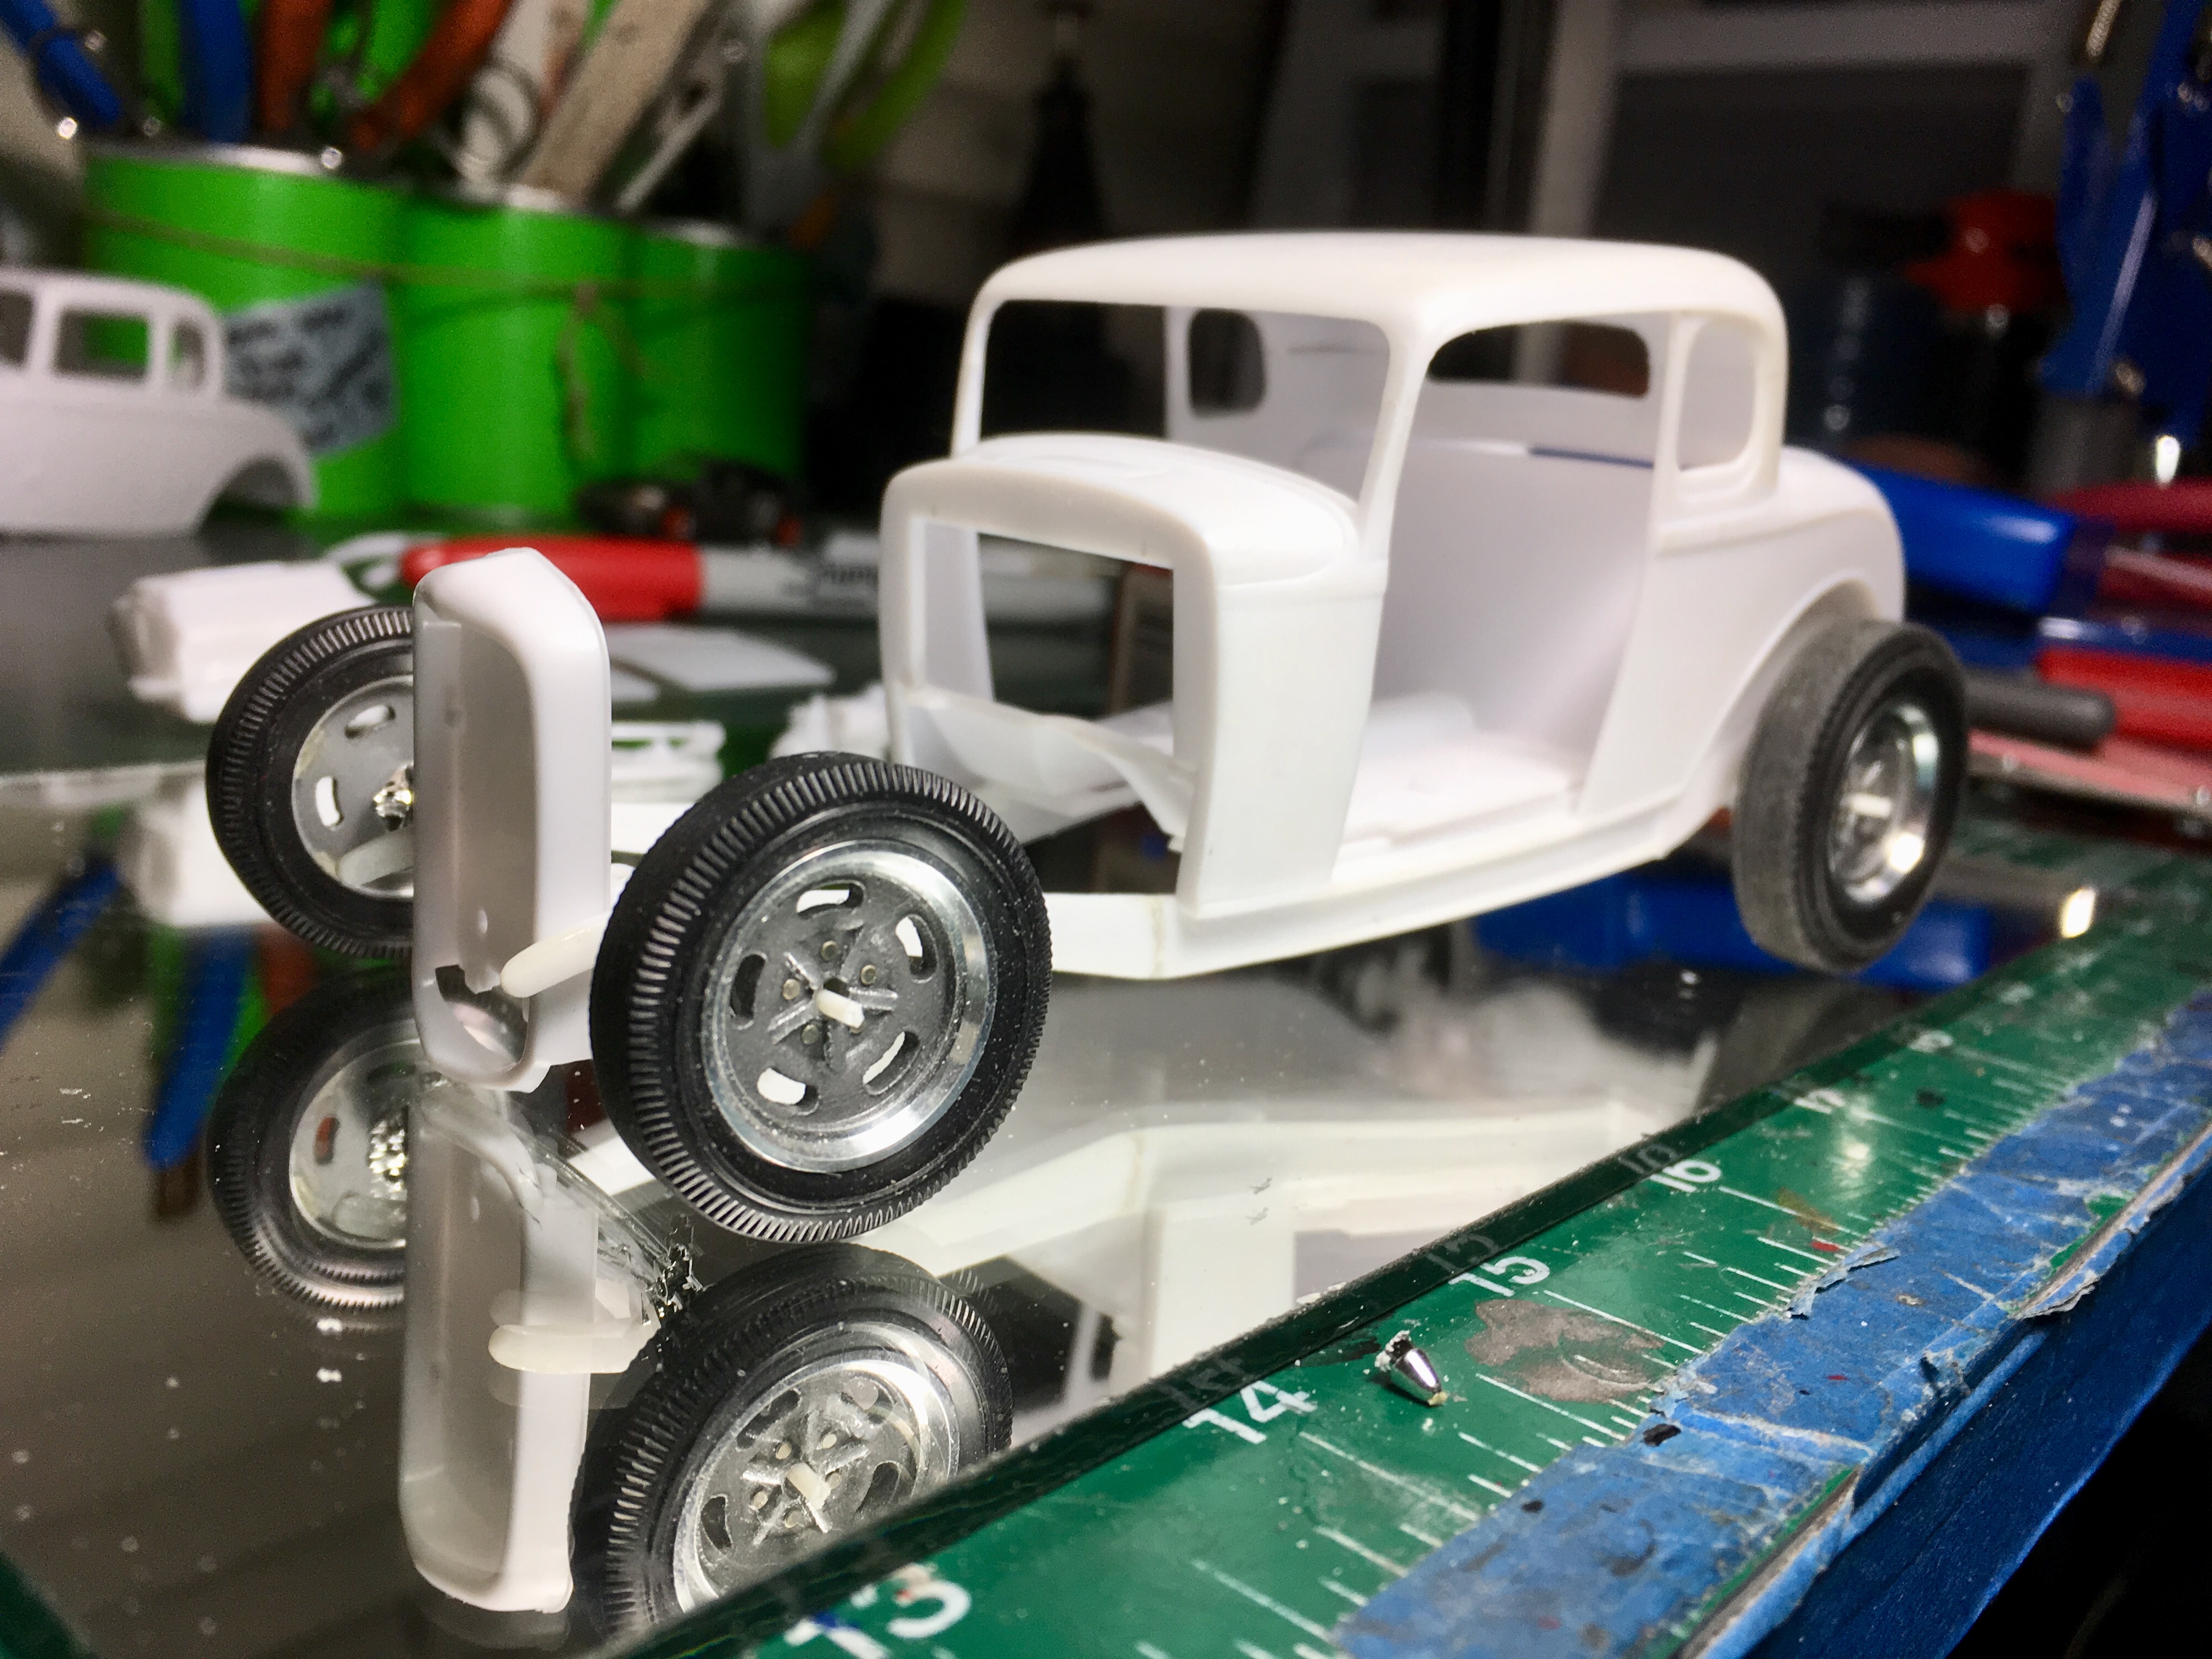
The stance I hope to get. Cut the frame to give it a aggressive stance. Hope this works.
-
Oh and yes Dan I did put amour all on the tires
-
Thank you Dan Tier, Thank you Gramps 46, Thank you randvc, Thank you Rider, Thank you Rich Chernoskv.
-
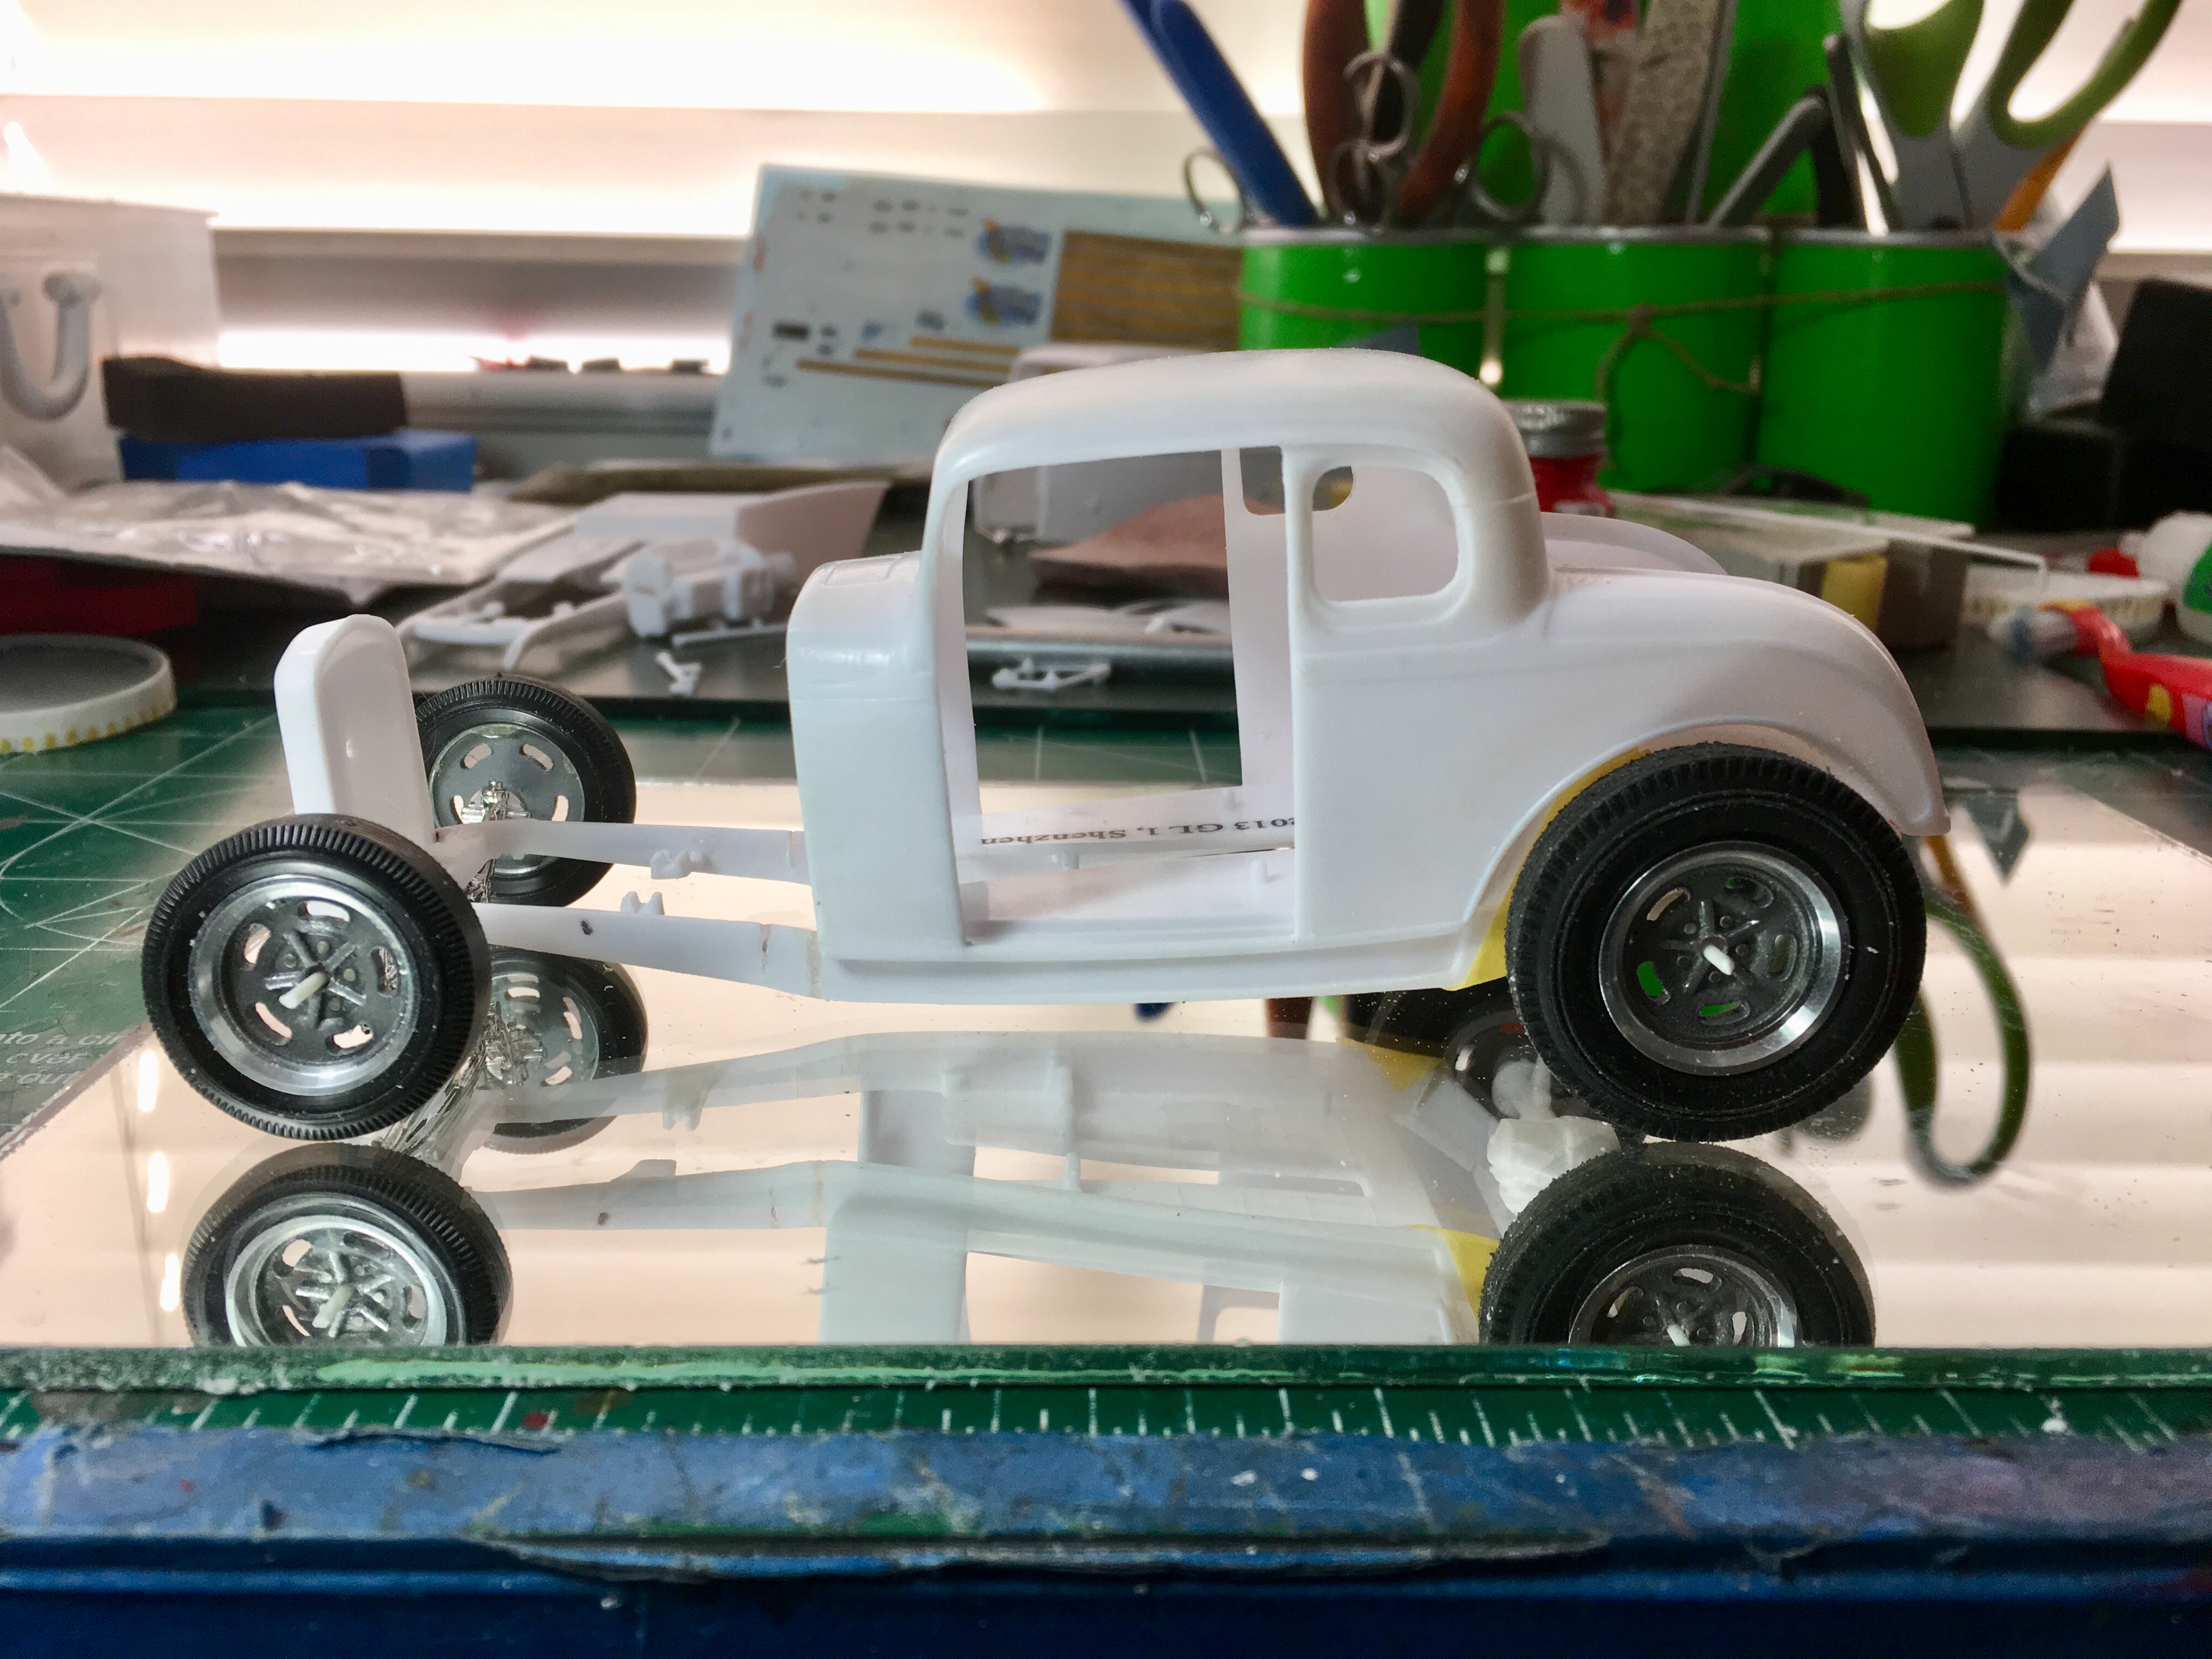
Starting new project. 32 ford, chopped the top. Compared to the stock one one the left. Opened the doors. Going to open the cowl vent also. The rear deck lid is already cut out. Using a flathead out of the 37 revell truck kit. Wheels from scale Motorsport. Have the model car garage photo etch grill. Do not have a color yet. Built a couple ,but not like this. Hope you like.
-
Very,Very NICE!!!!! Love everything about it !!!! B
-
Sorry for the very slow response I do not usually look back at the older posts. Just looking today and saw this. The color is plum crazy. PPG base with a urethane clear. The clear I use is Sherwin Williams HPC 15 clear. It’s like water. Not big and heavy like most urethane clears. The wheels are the smoothster wheels! Sharp eye sir. Hope this helps.
-
Thank you dragmodels44
-
Thank you tmathew1us and thank you afx.
-
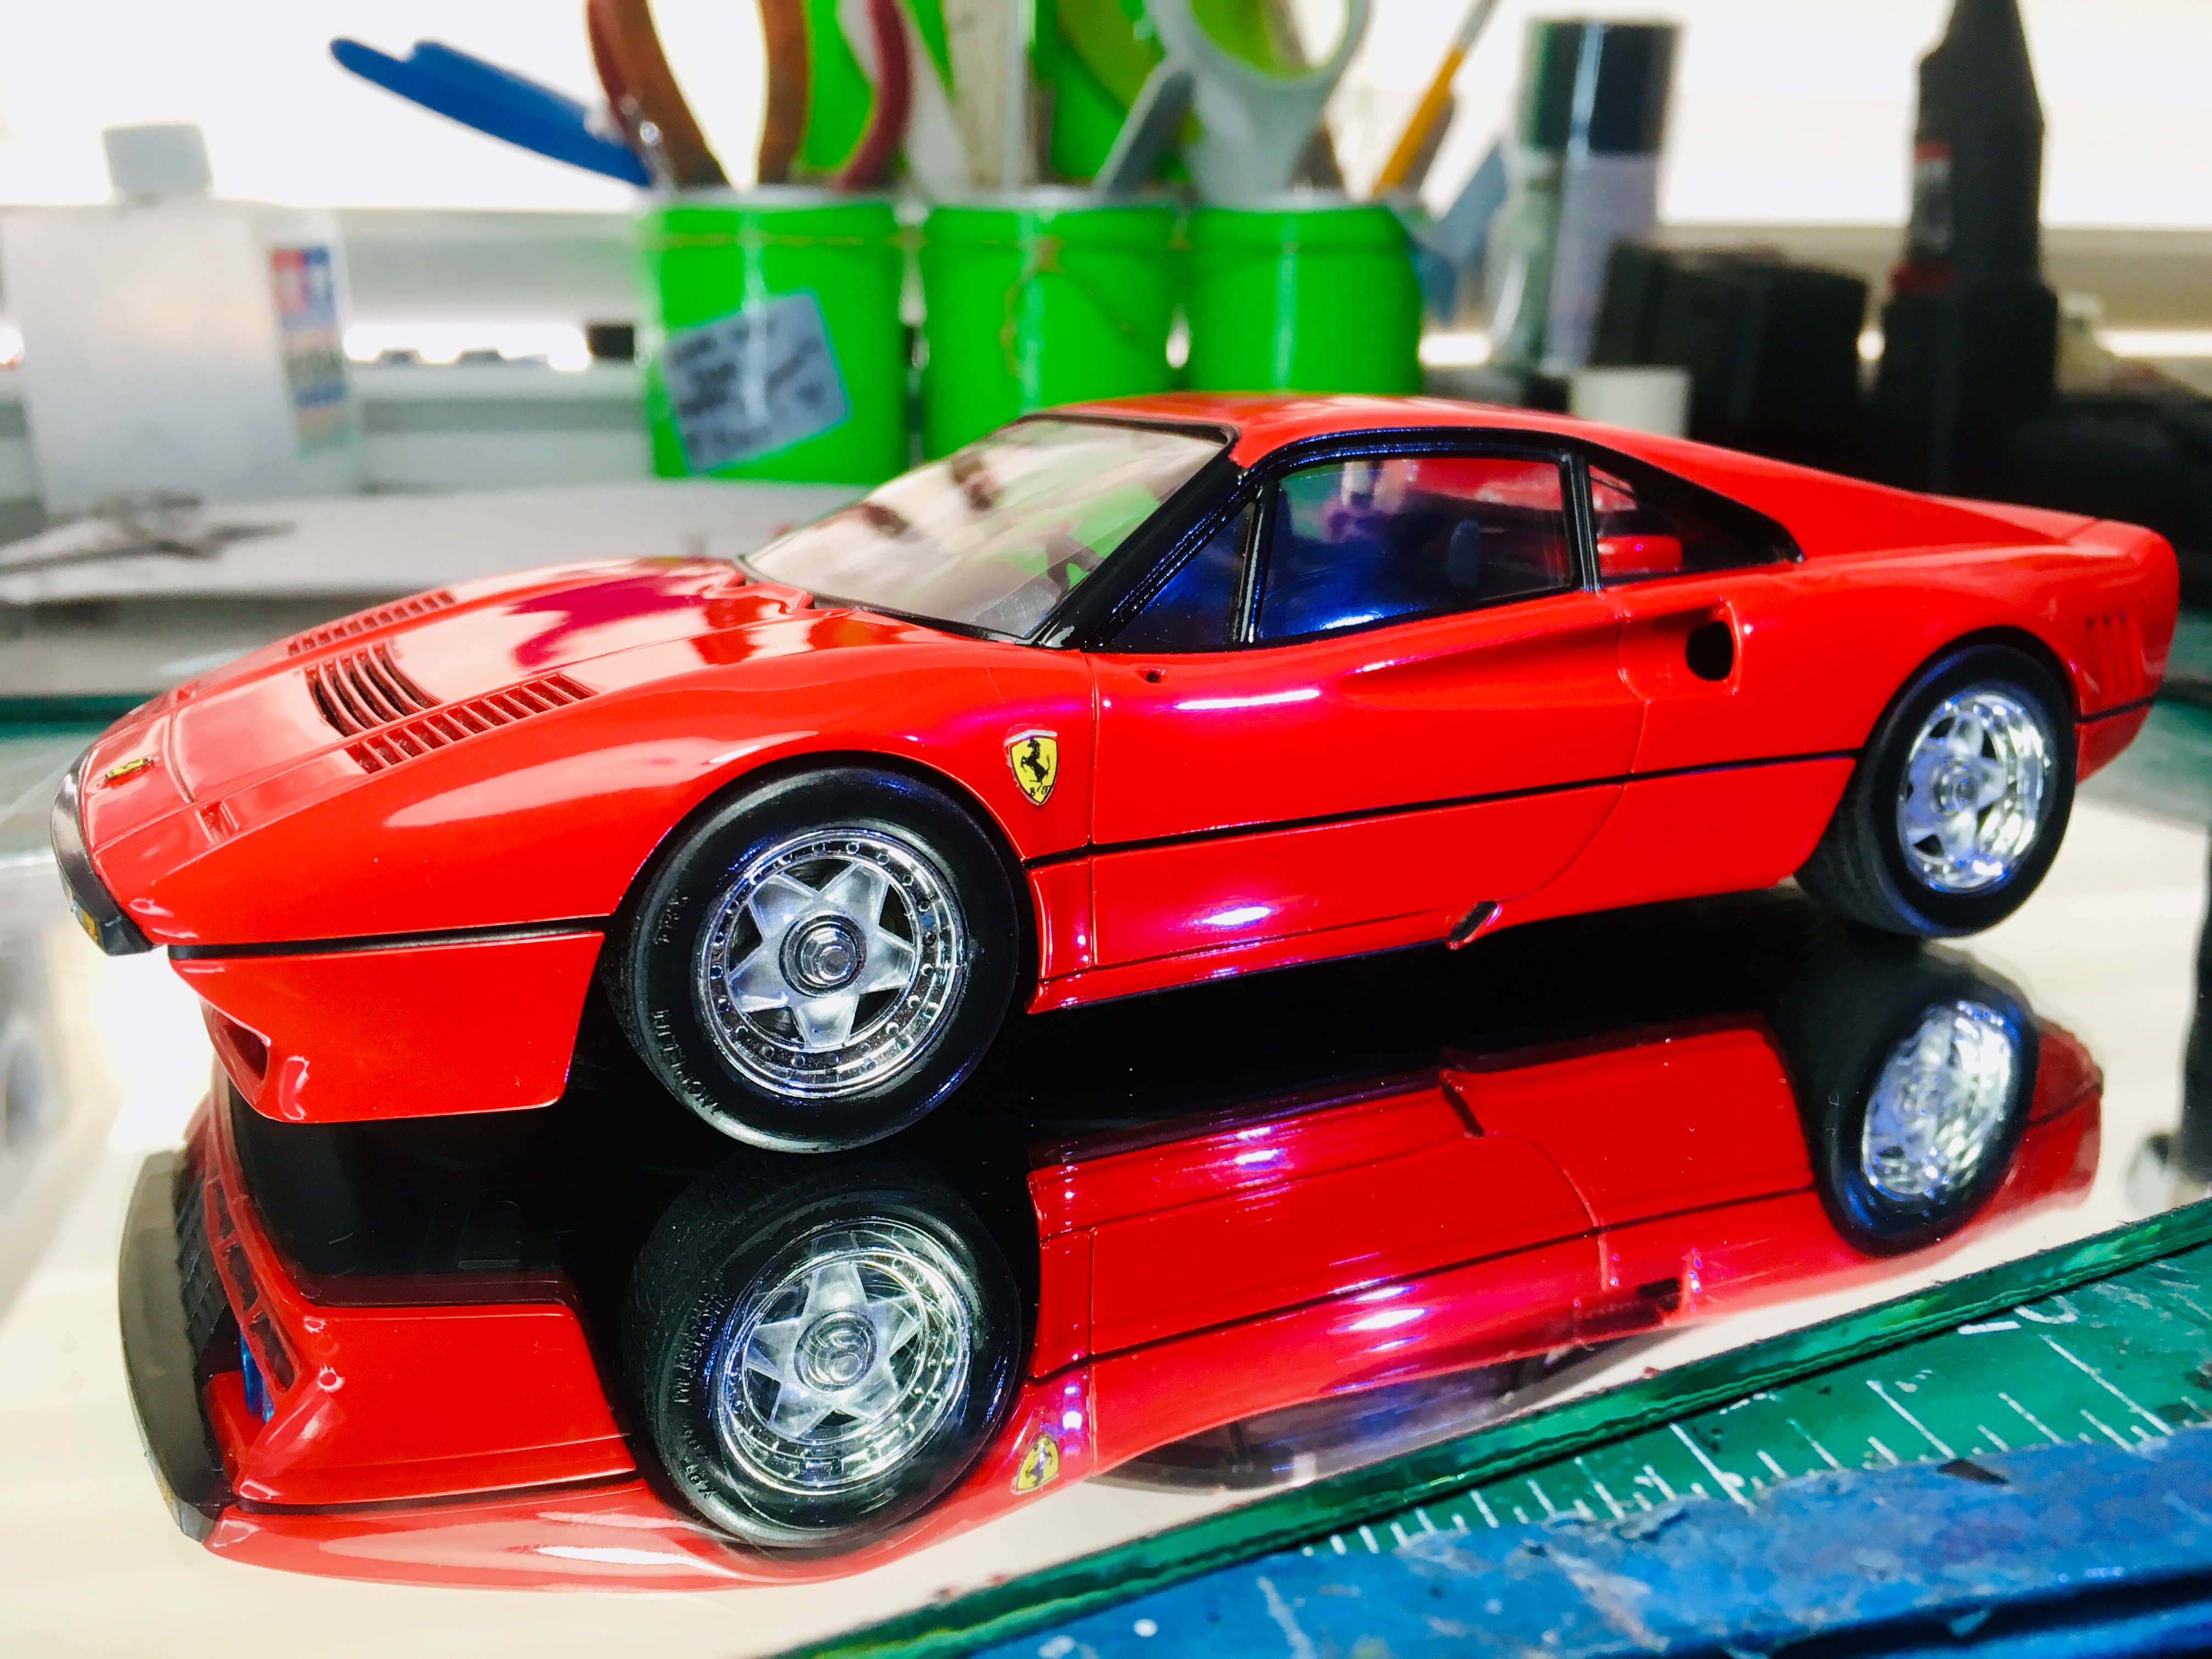
Thank you dragmodels44 and thank you Jantrix. Jantrix your comment on a lousy kit is correct. I noticed that I started out saying it wasn’t bad to it’s a rough kit. The more I got into it , the kit was getting worse. Seems like they did some good on the details but failed on other things. The sinkmarks and the stock stance are very bad. The plastic is different also. I tried a white primer and the red plastic bled right thru. Turned the body pink. So I sanded that off and used a automotive primer. PPG one choice grey automotive primer. This held it down. I bought this kit for $5 at a swap meet. I opened the box before I bought it and what sold me was the grills on the body. So I thought the rest of the kit was good. Boy was I wrong. But it worked out. Not the best 288 GTO but it came out ok. Thanks for all your comments.
-
Thank you Dominik and thank you ChrisR
-
Thank you Twokidsnosleep. I also have two kids but they are older. One 30 and the other 16. So I do get a little sleep. LOL unless they need money, then it’s no sleep!
-
Thank you zakdoggi and thank you ATHU.
-
Thank you Dann Tier and thank you Gramps46
-
Thank you tkzwolf, thank you charger74, thank you 89AKurt, thank you PappyD340, Thank you Cpt Tuttle . Thank you Funkychicken thank you Deathgoblin, thank you Rider
-
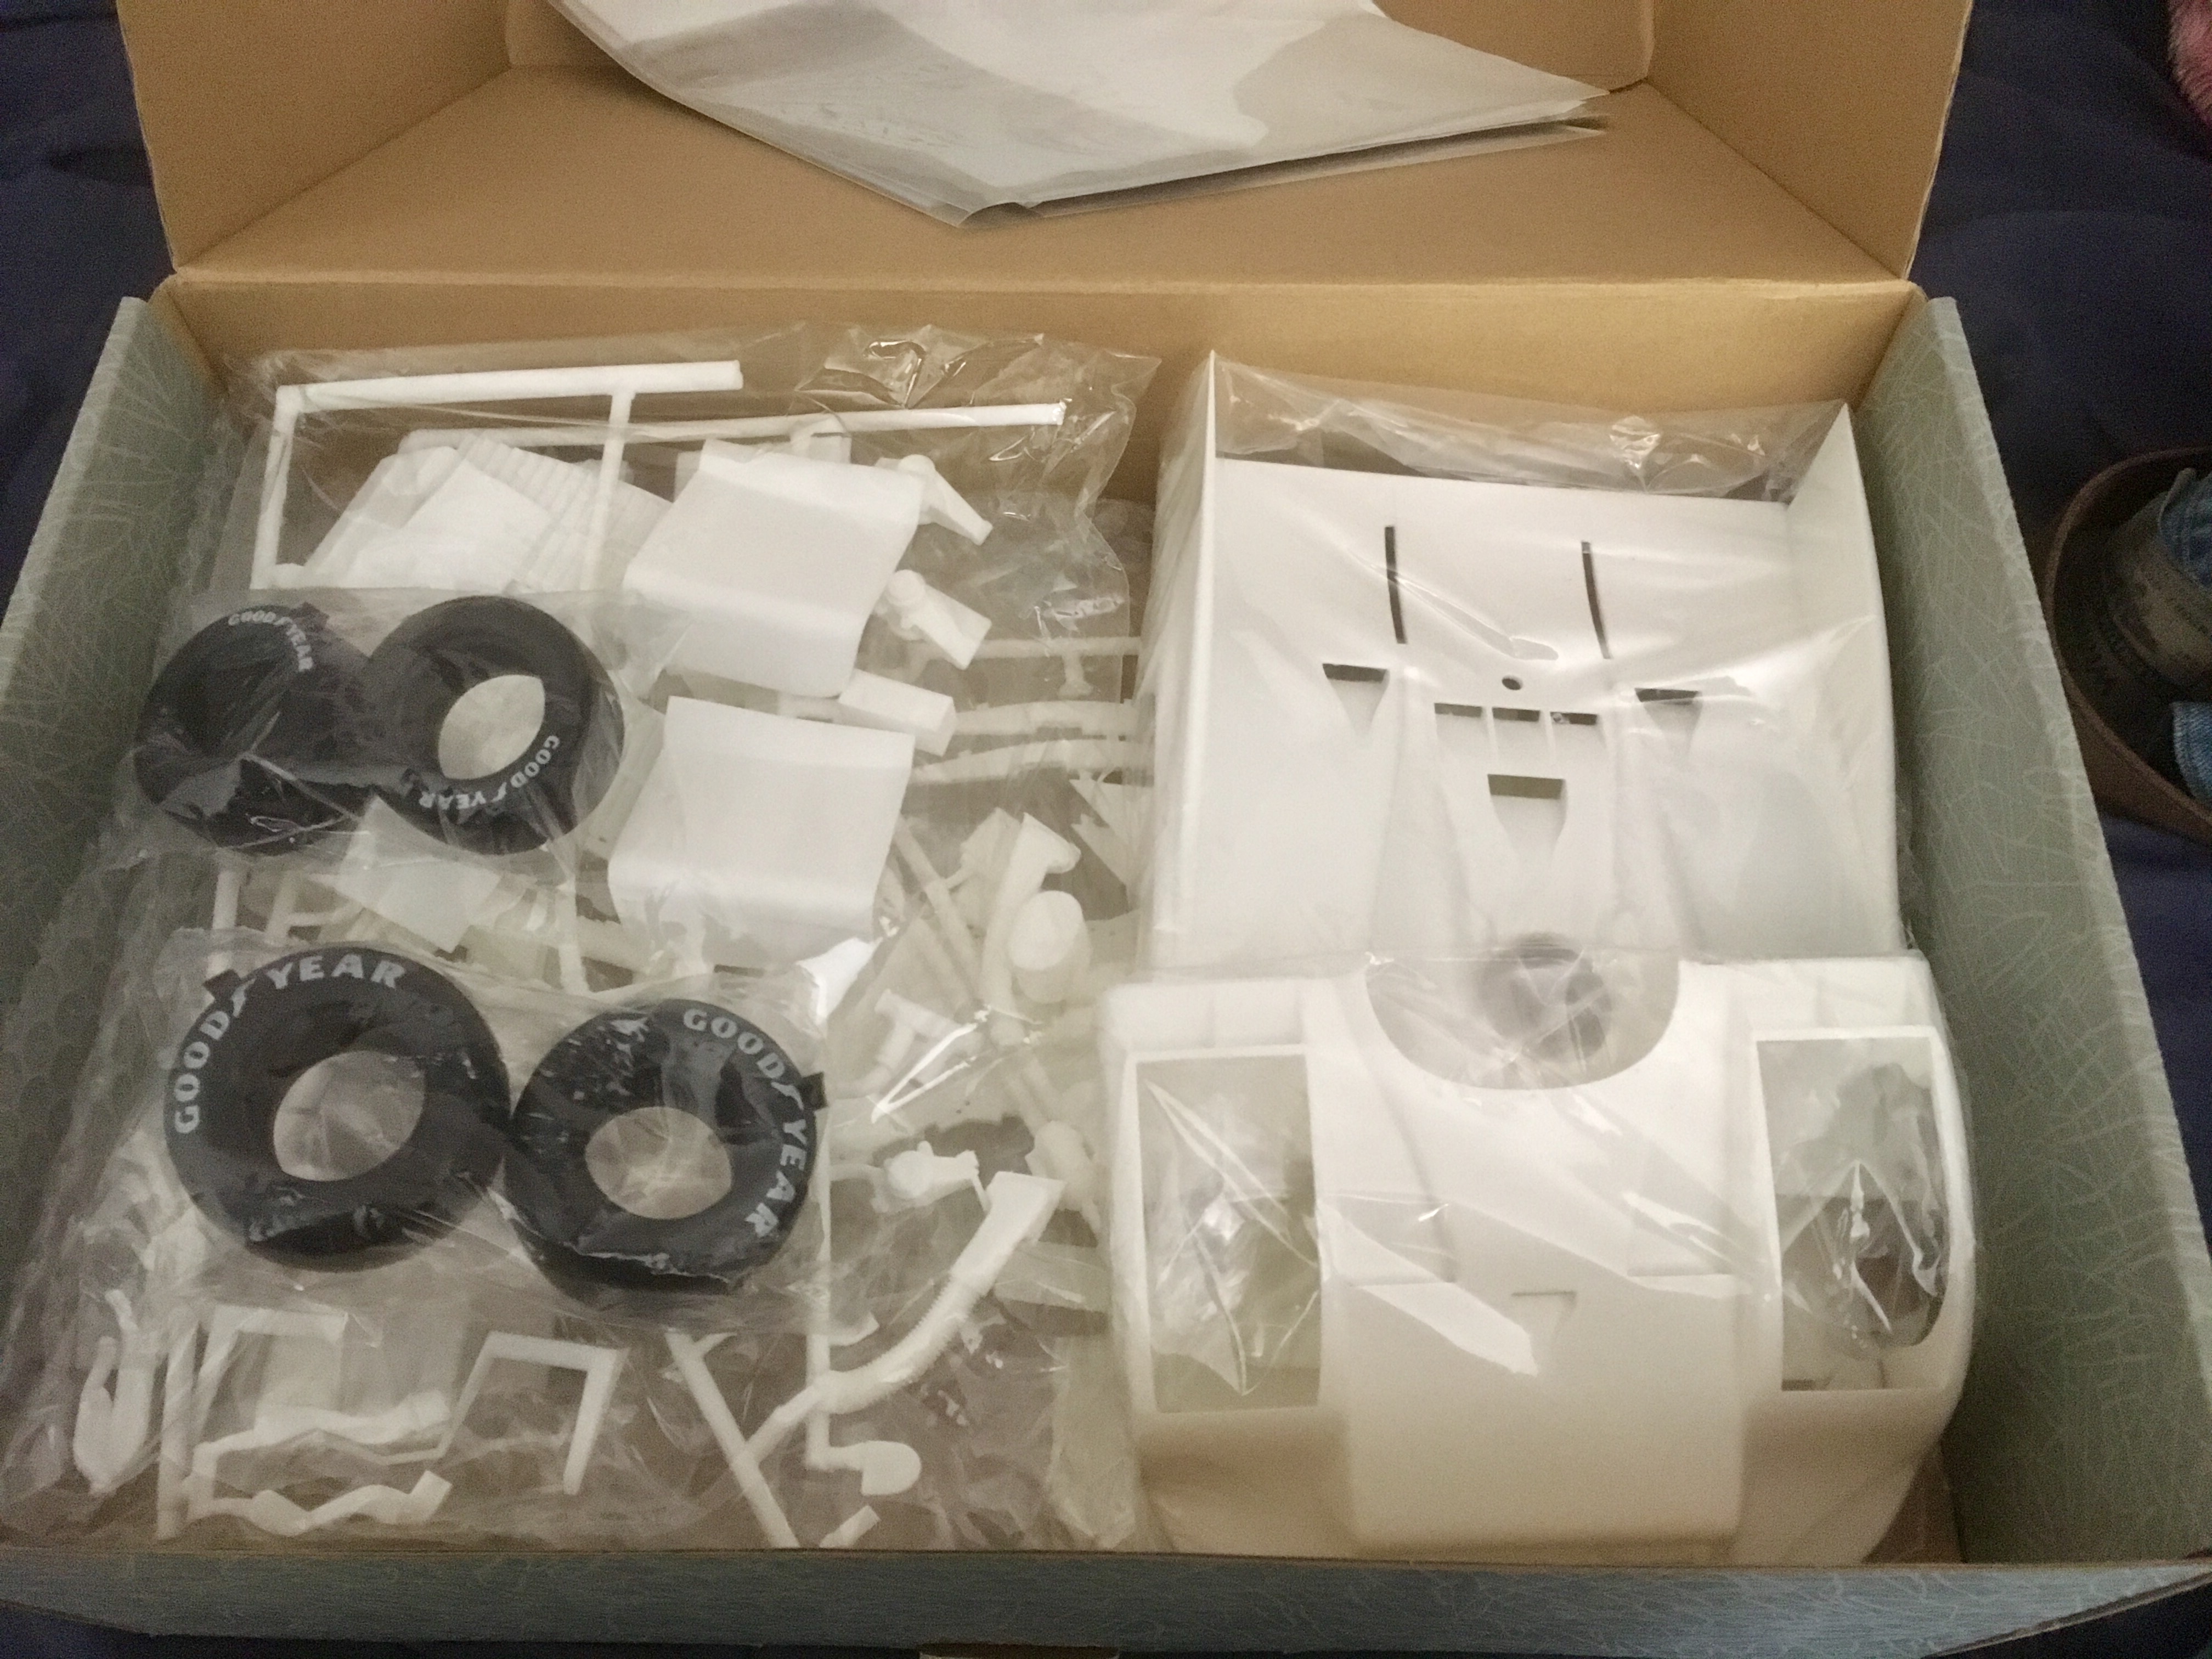
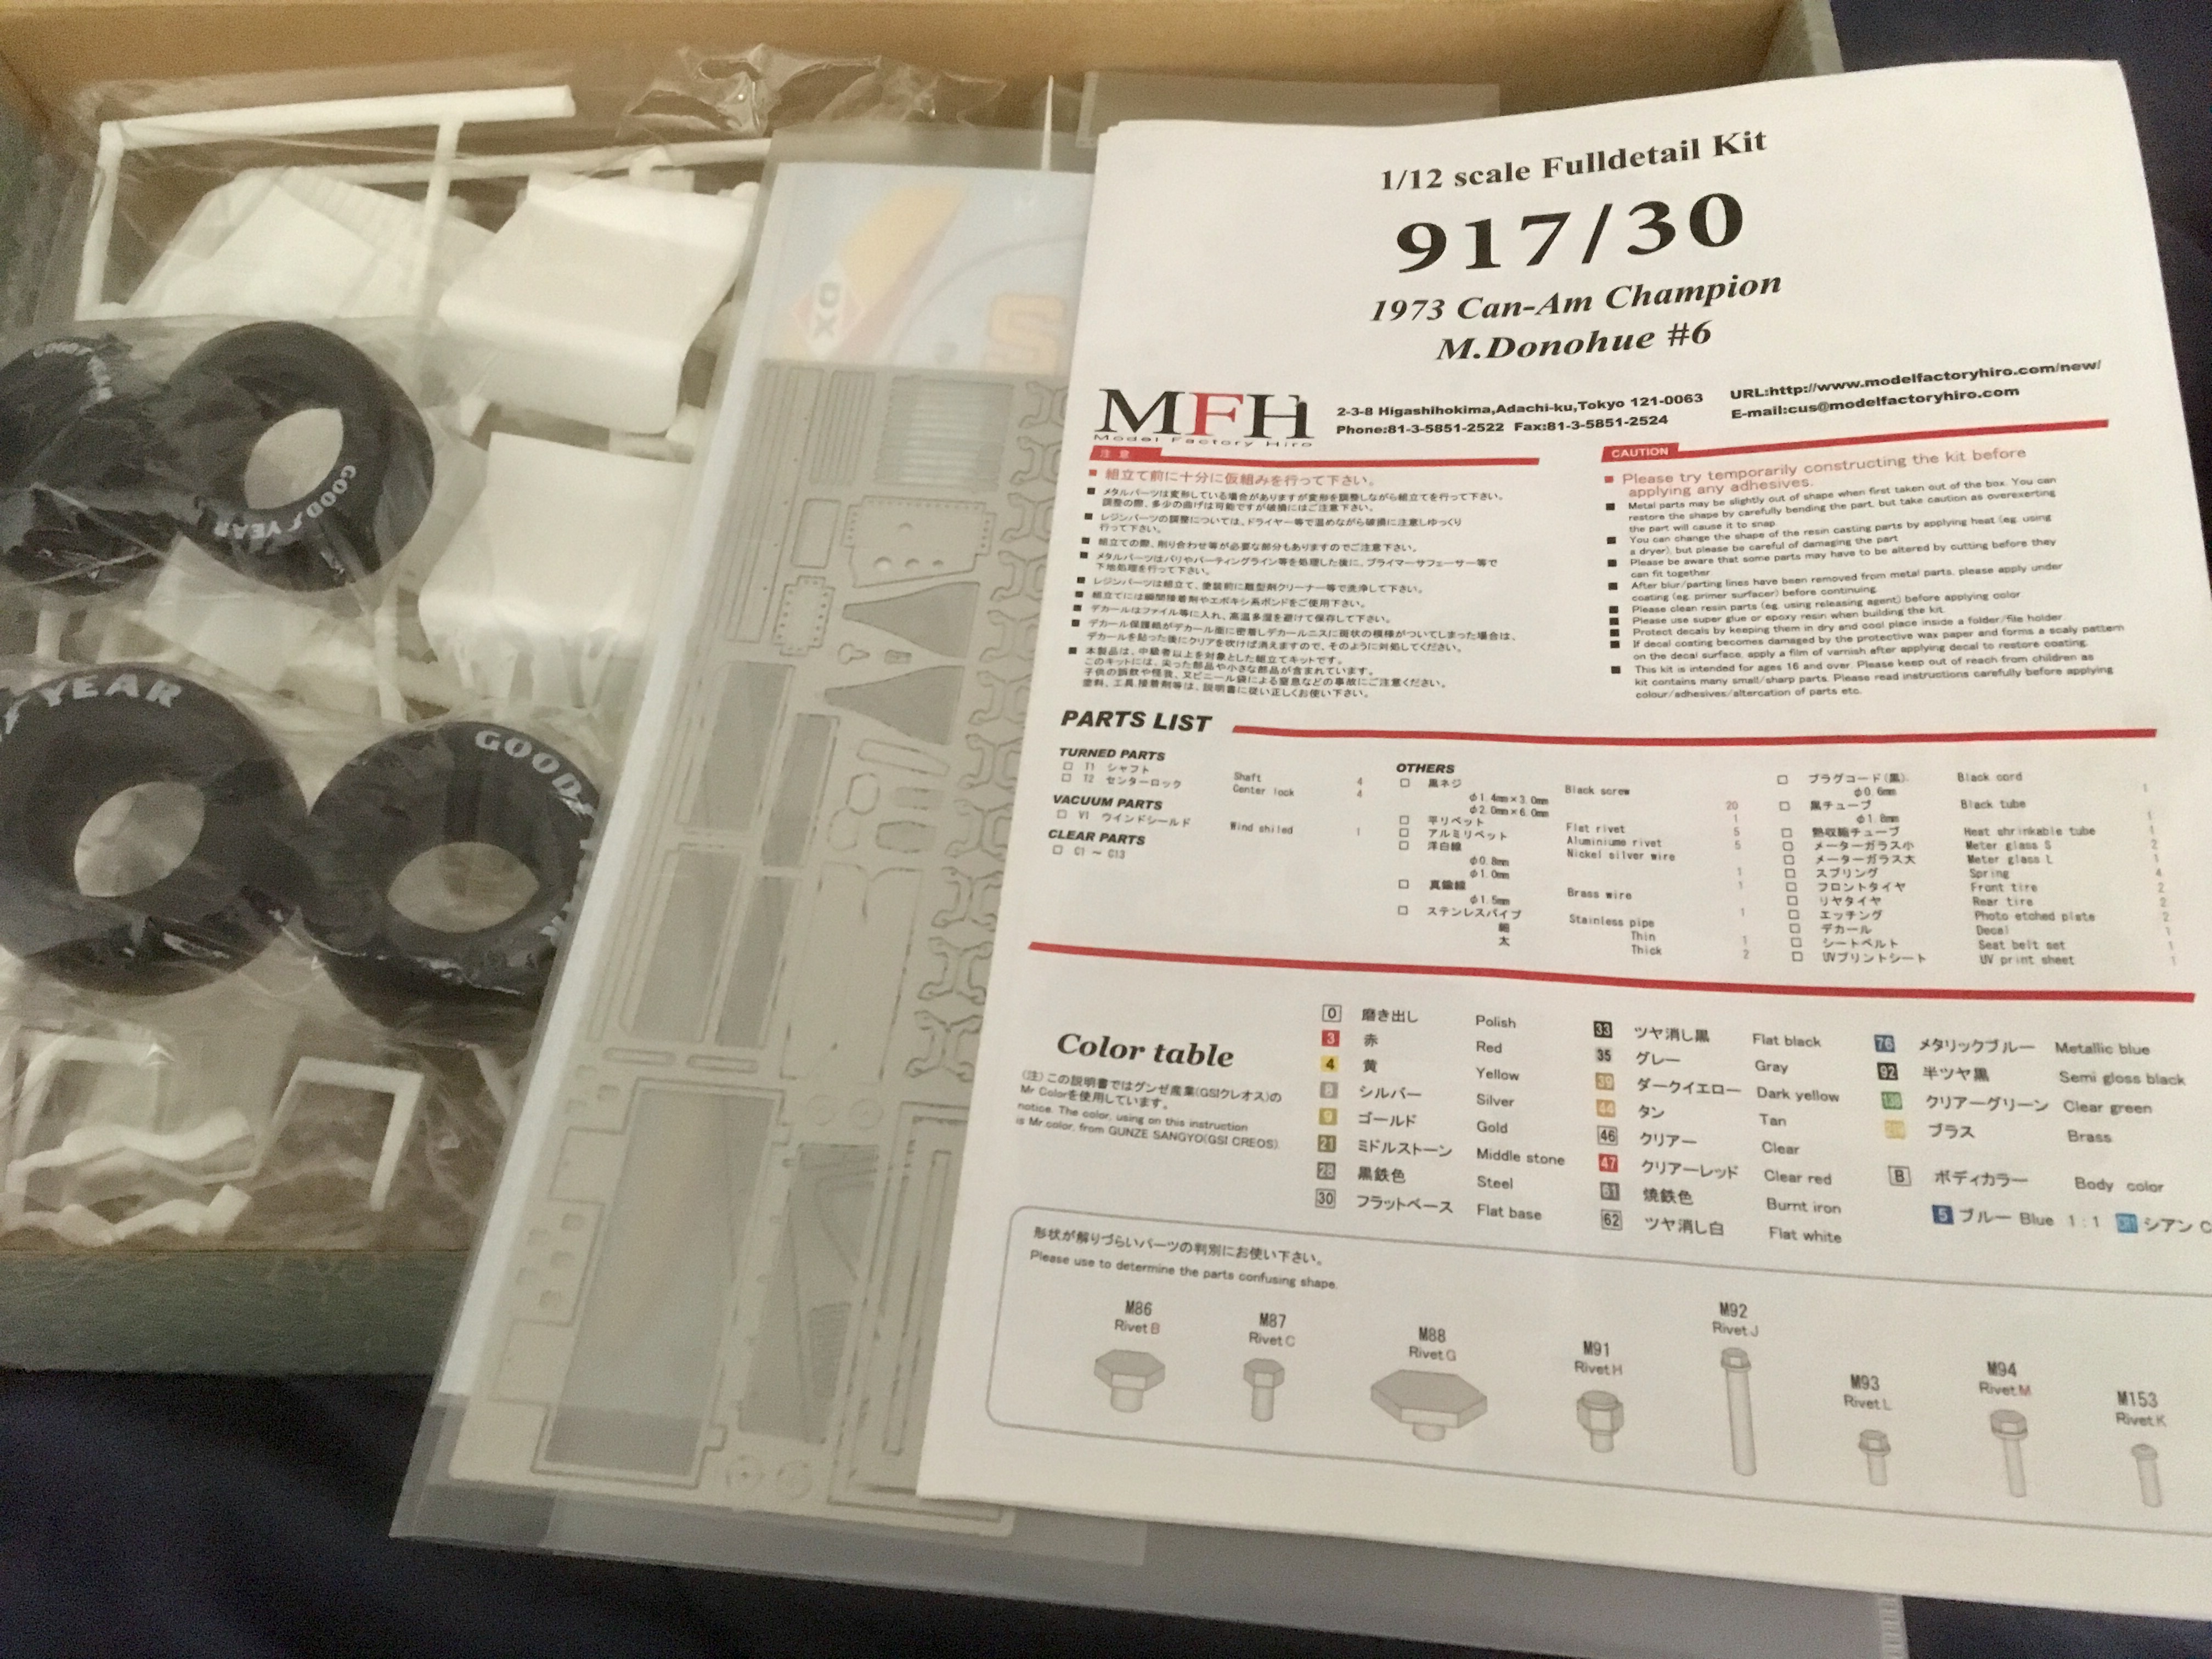
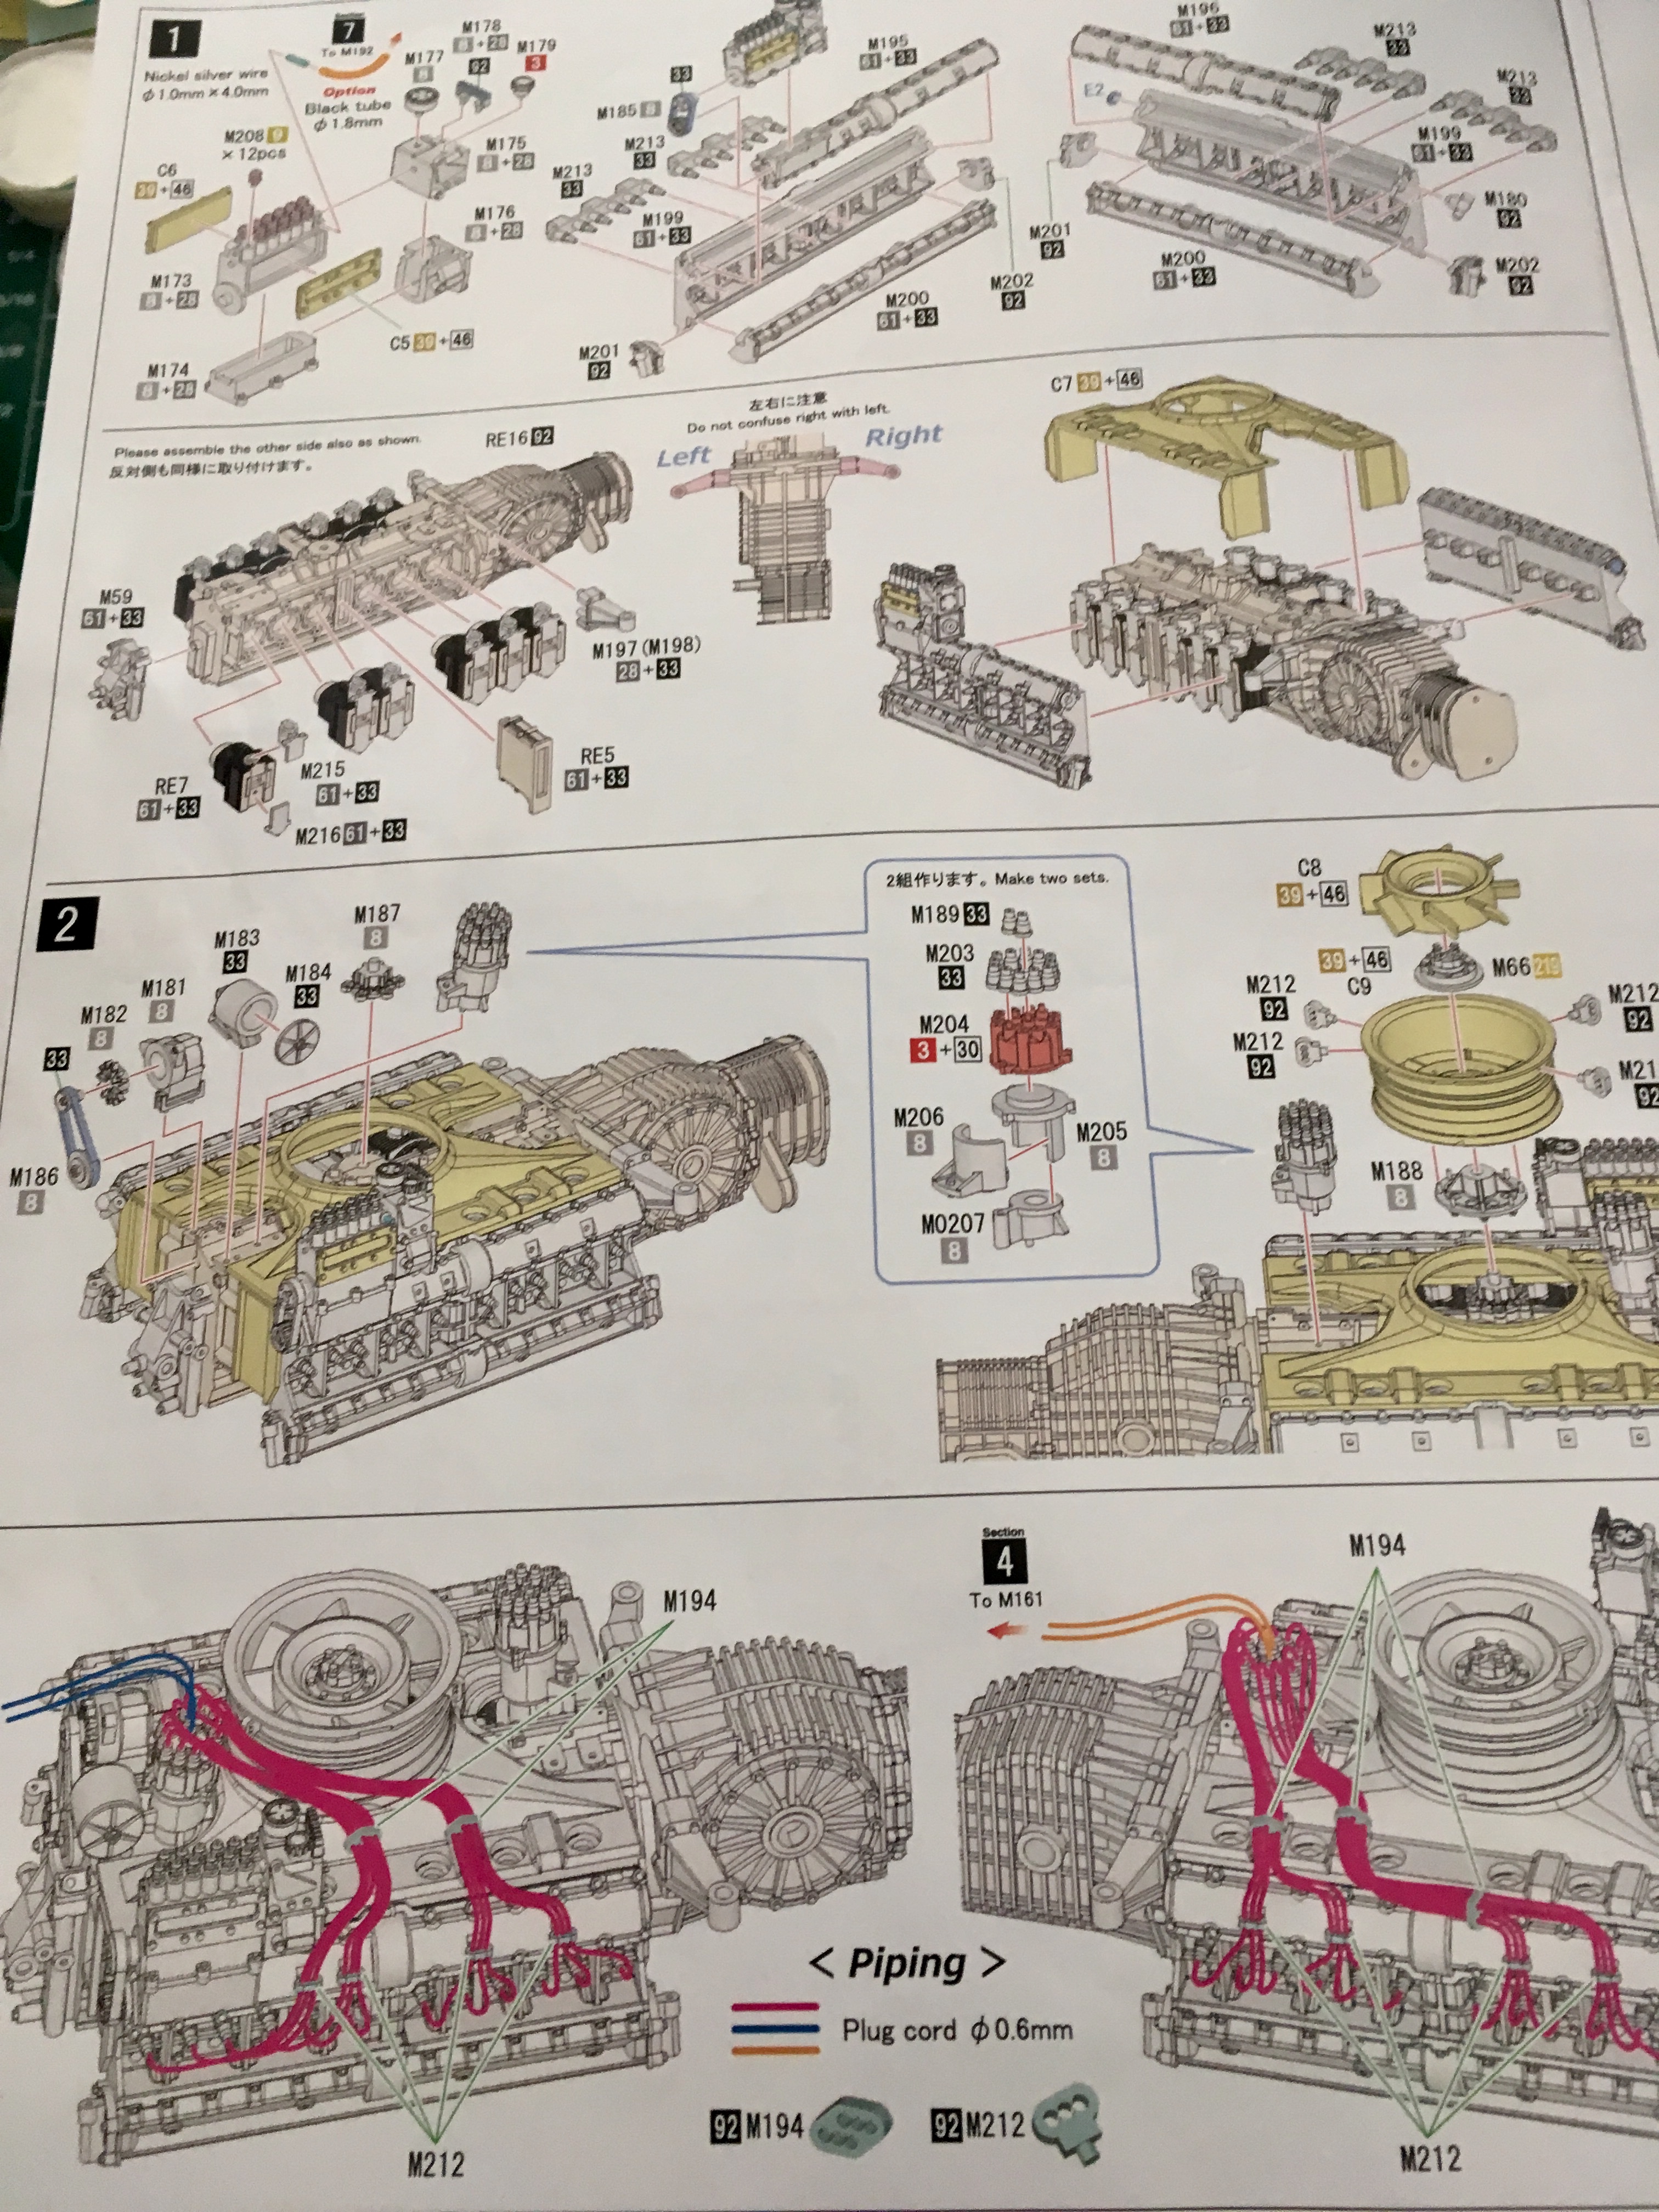
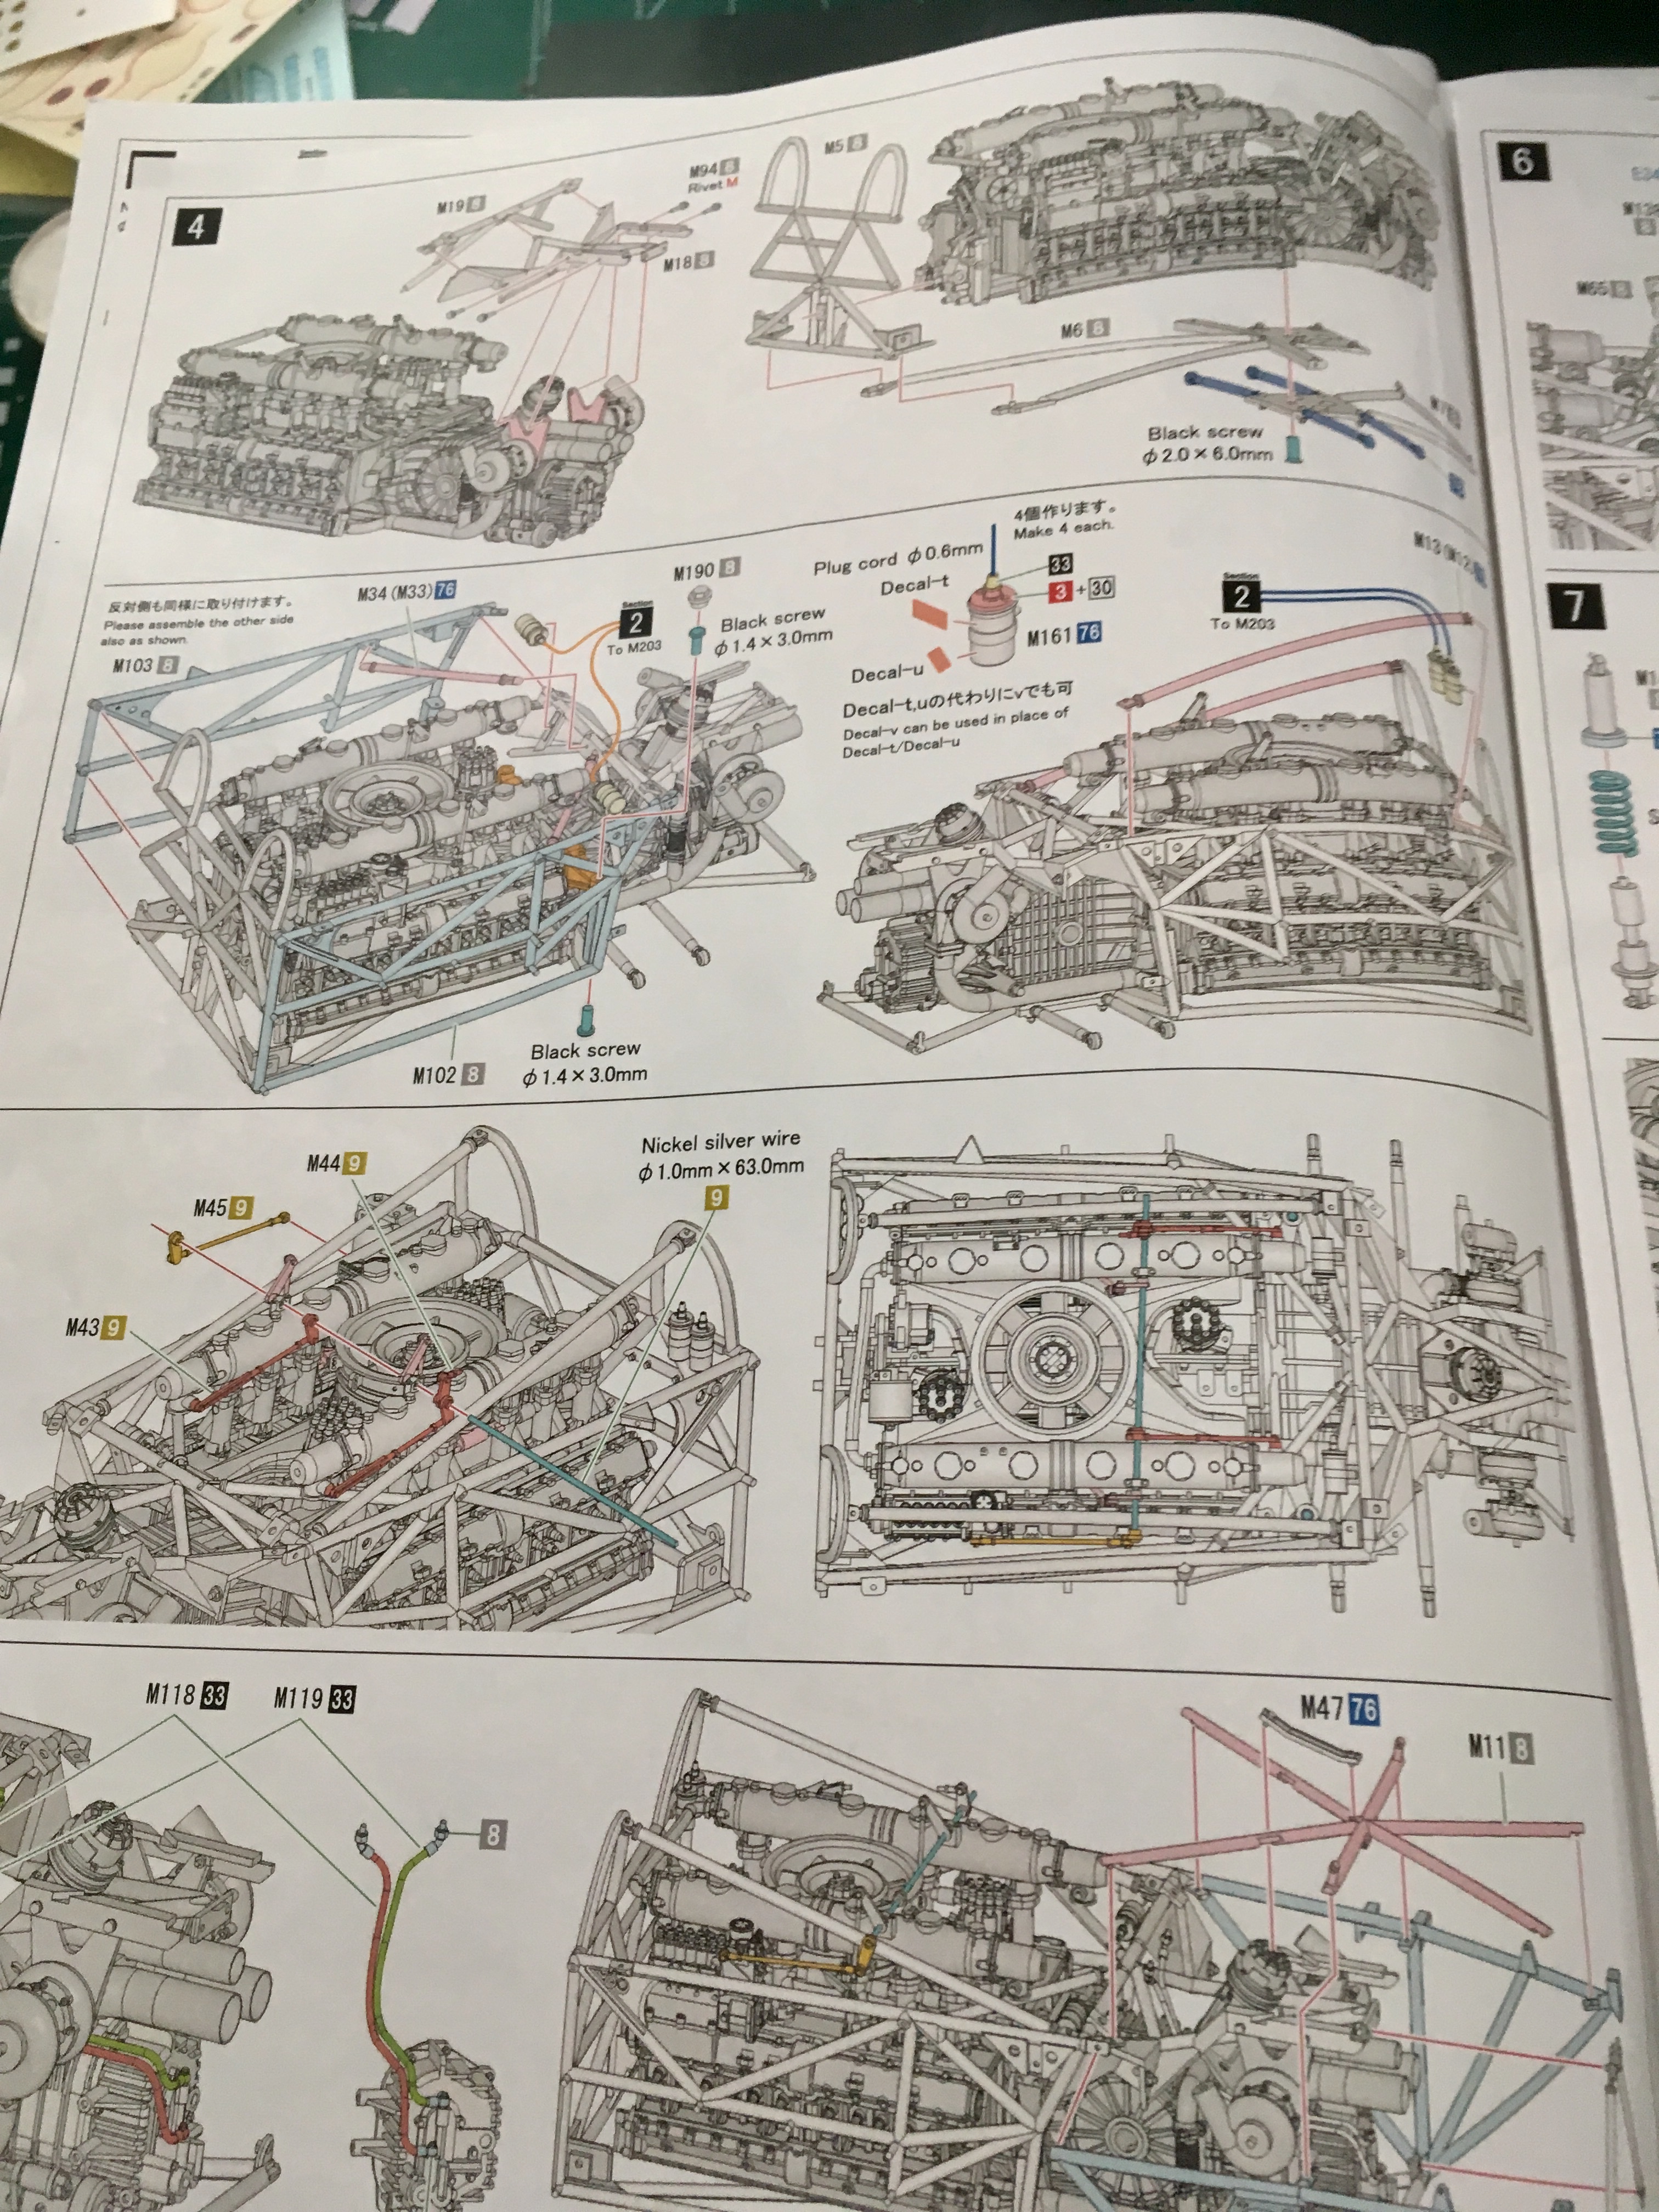
Oh boy. I opened the box. This car was a poster on my wall as a kid. Also with Farrah. So I was going to start the Gurney F1 kit but I put it aside to do the Porsche. Have to thank my friend Mark for patiently waiting to receiving payment. Now it’s paid for, so here we go. Saw Dave Thibodeau’s Porsche. Holly mackerel! I cannot even come close to his standards but I’m going to give it a try . To me , he is a grand master modeler. . This is going to probably take a year or so. I’m not in a hurry , also we may be moving back east so it may take longer. Going to do the engine first. Well , here goes........
-
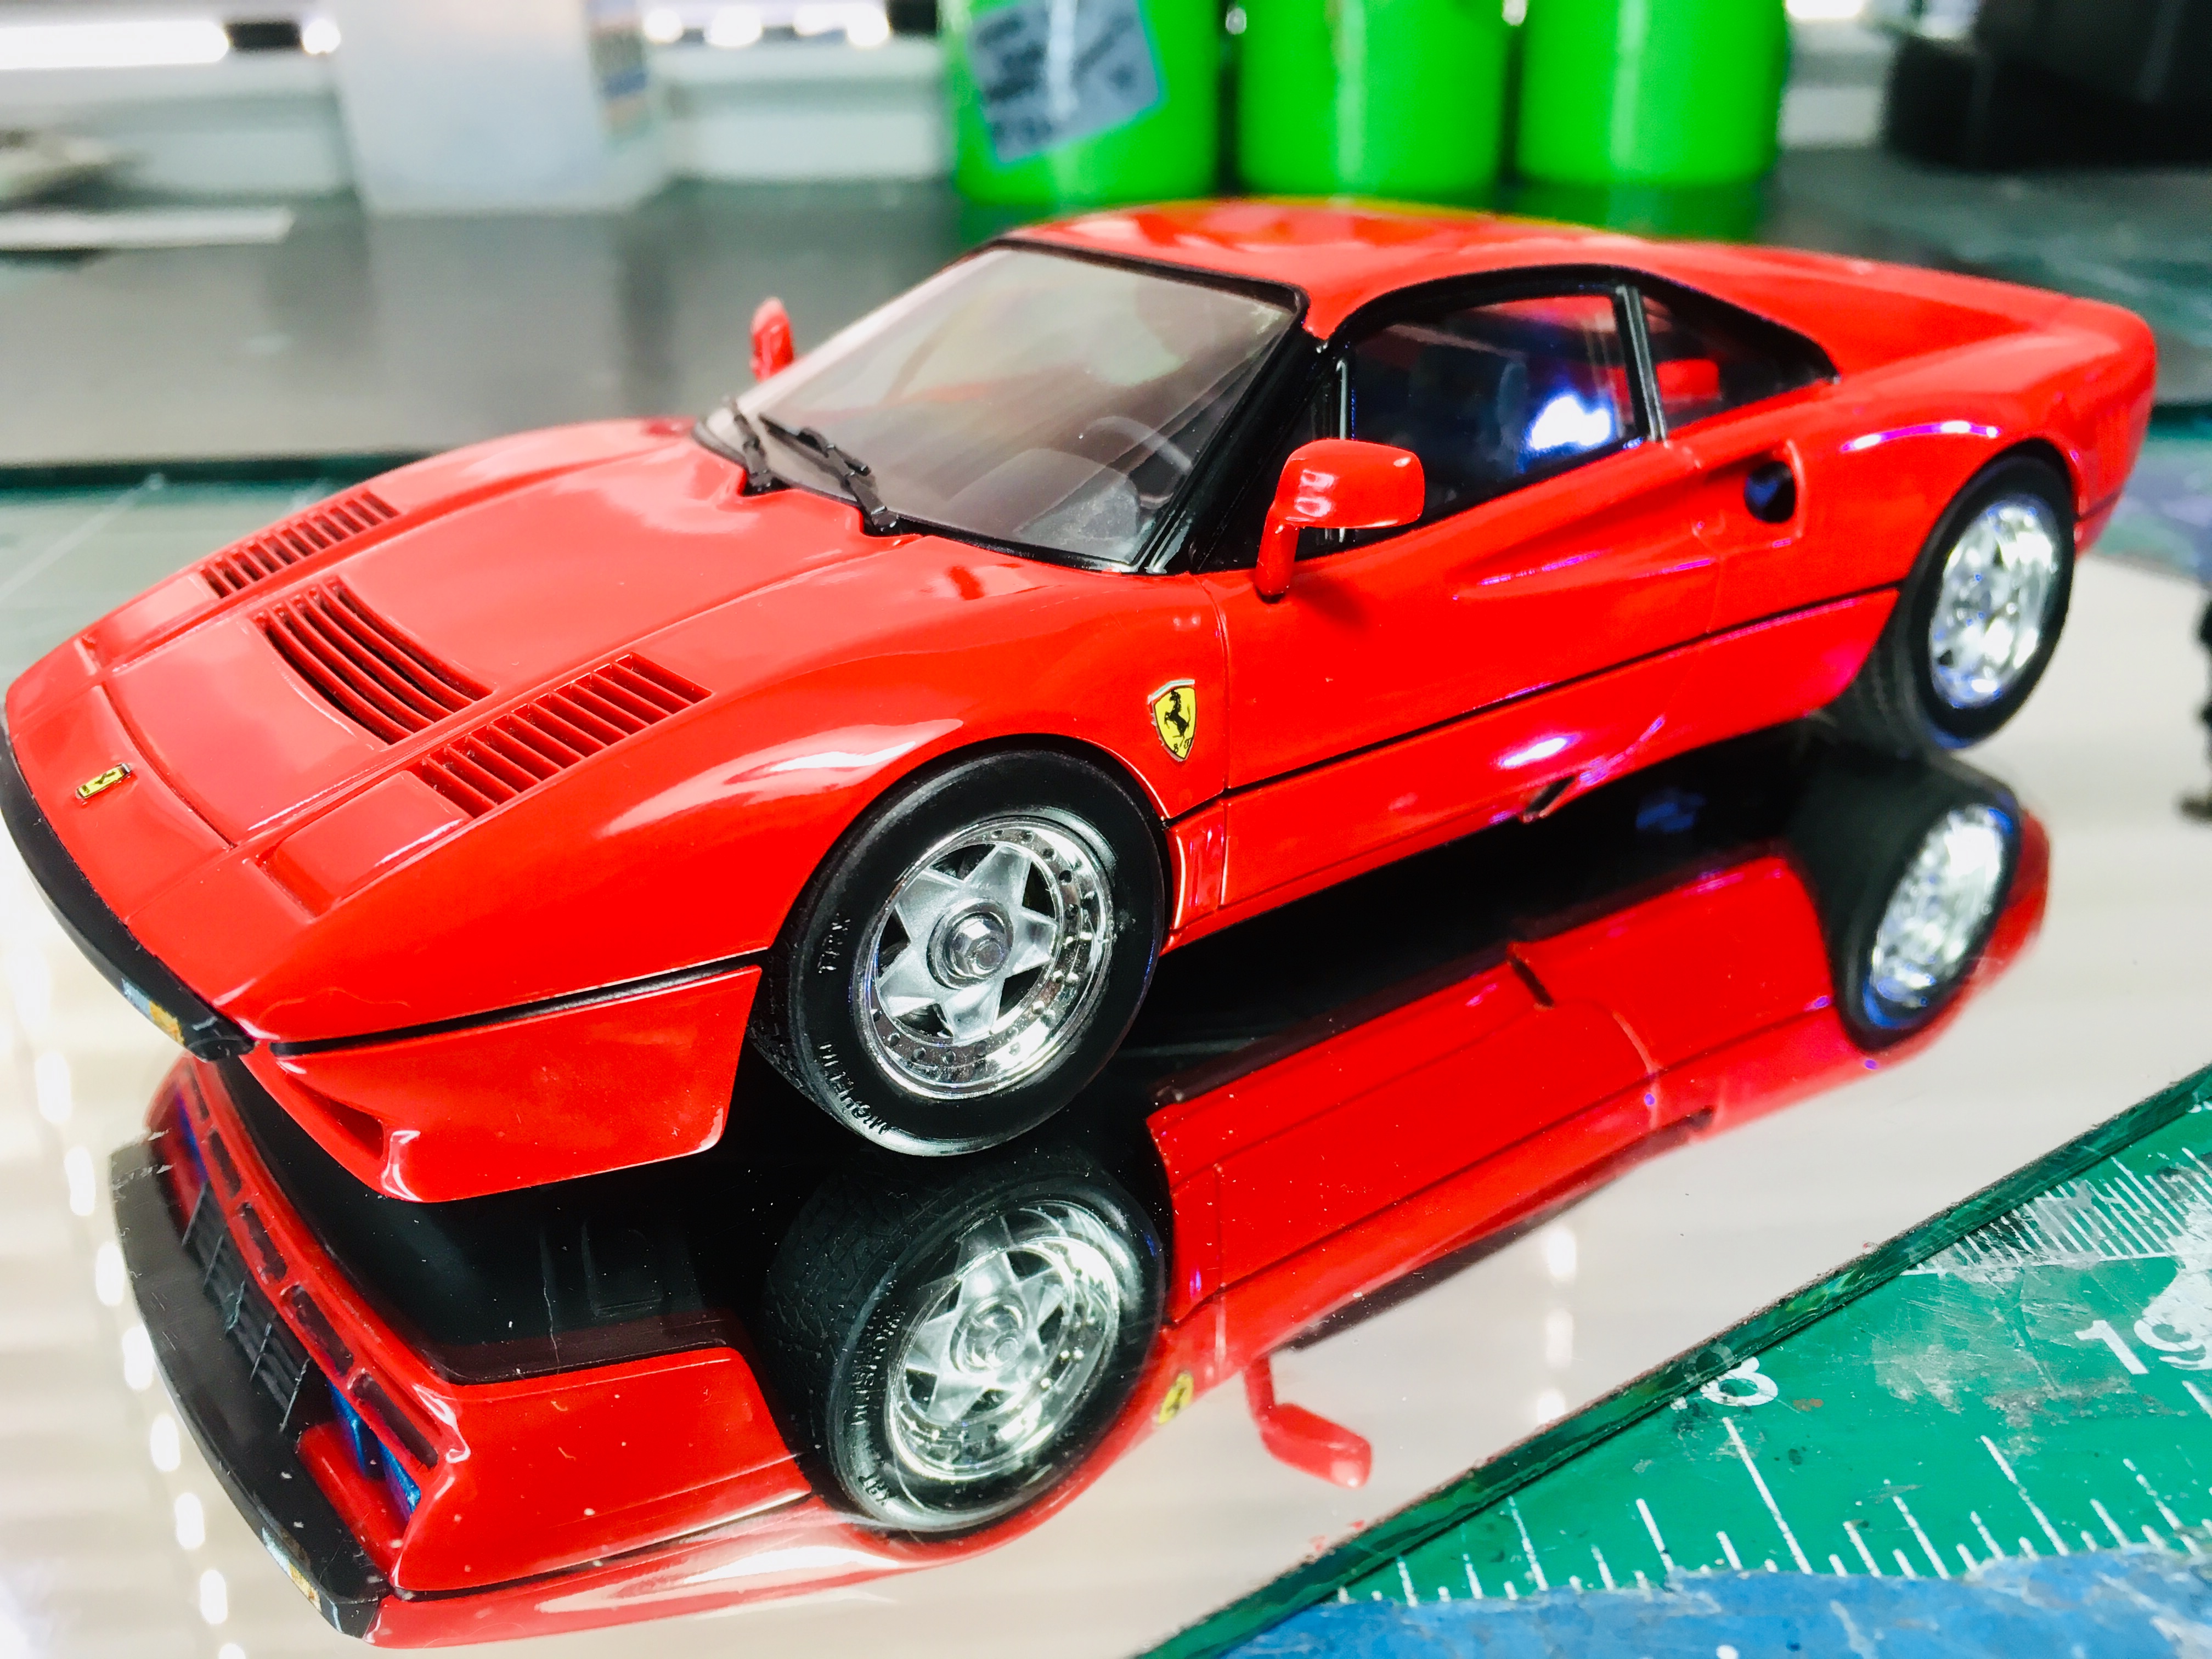
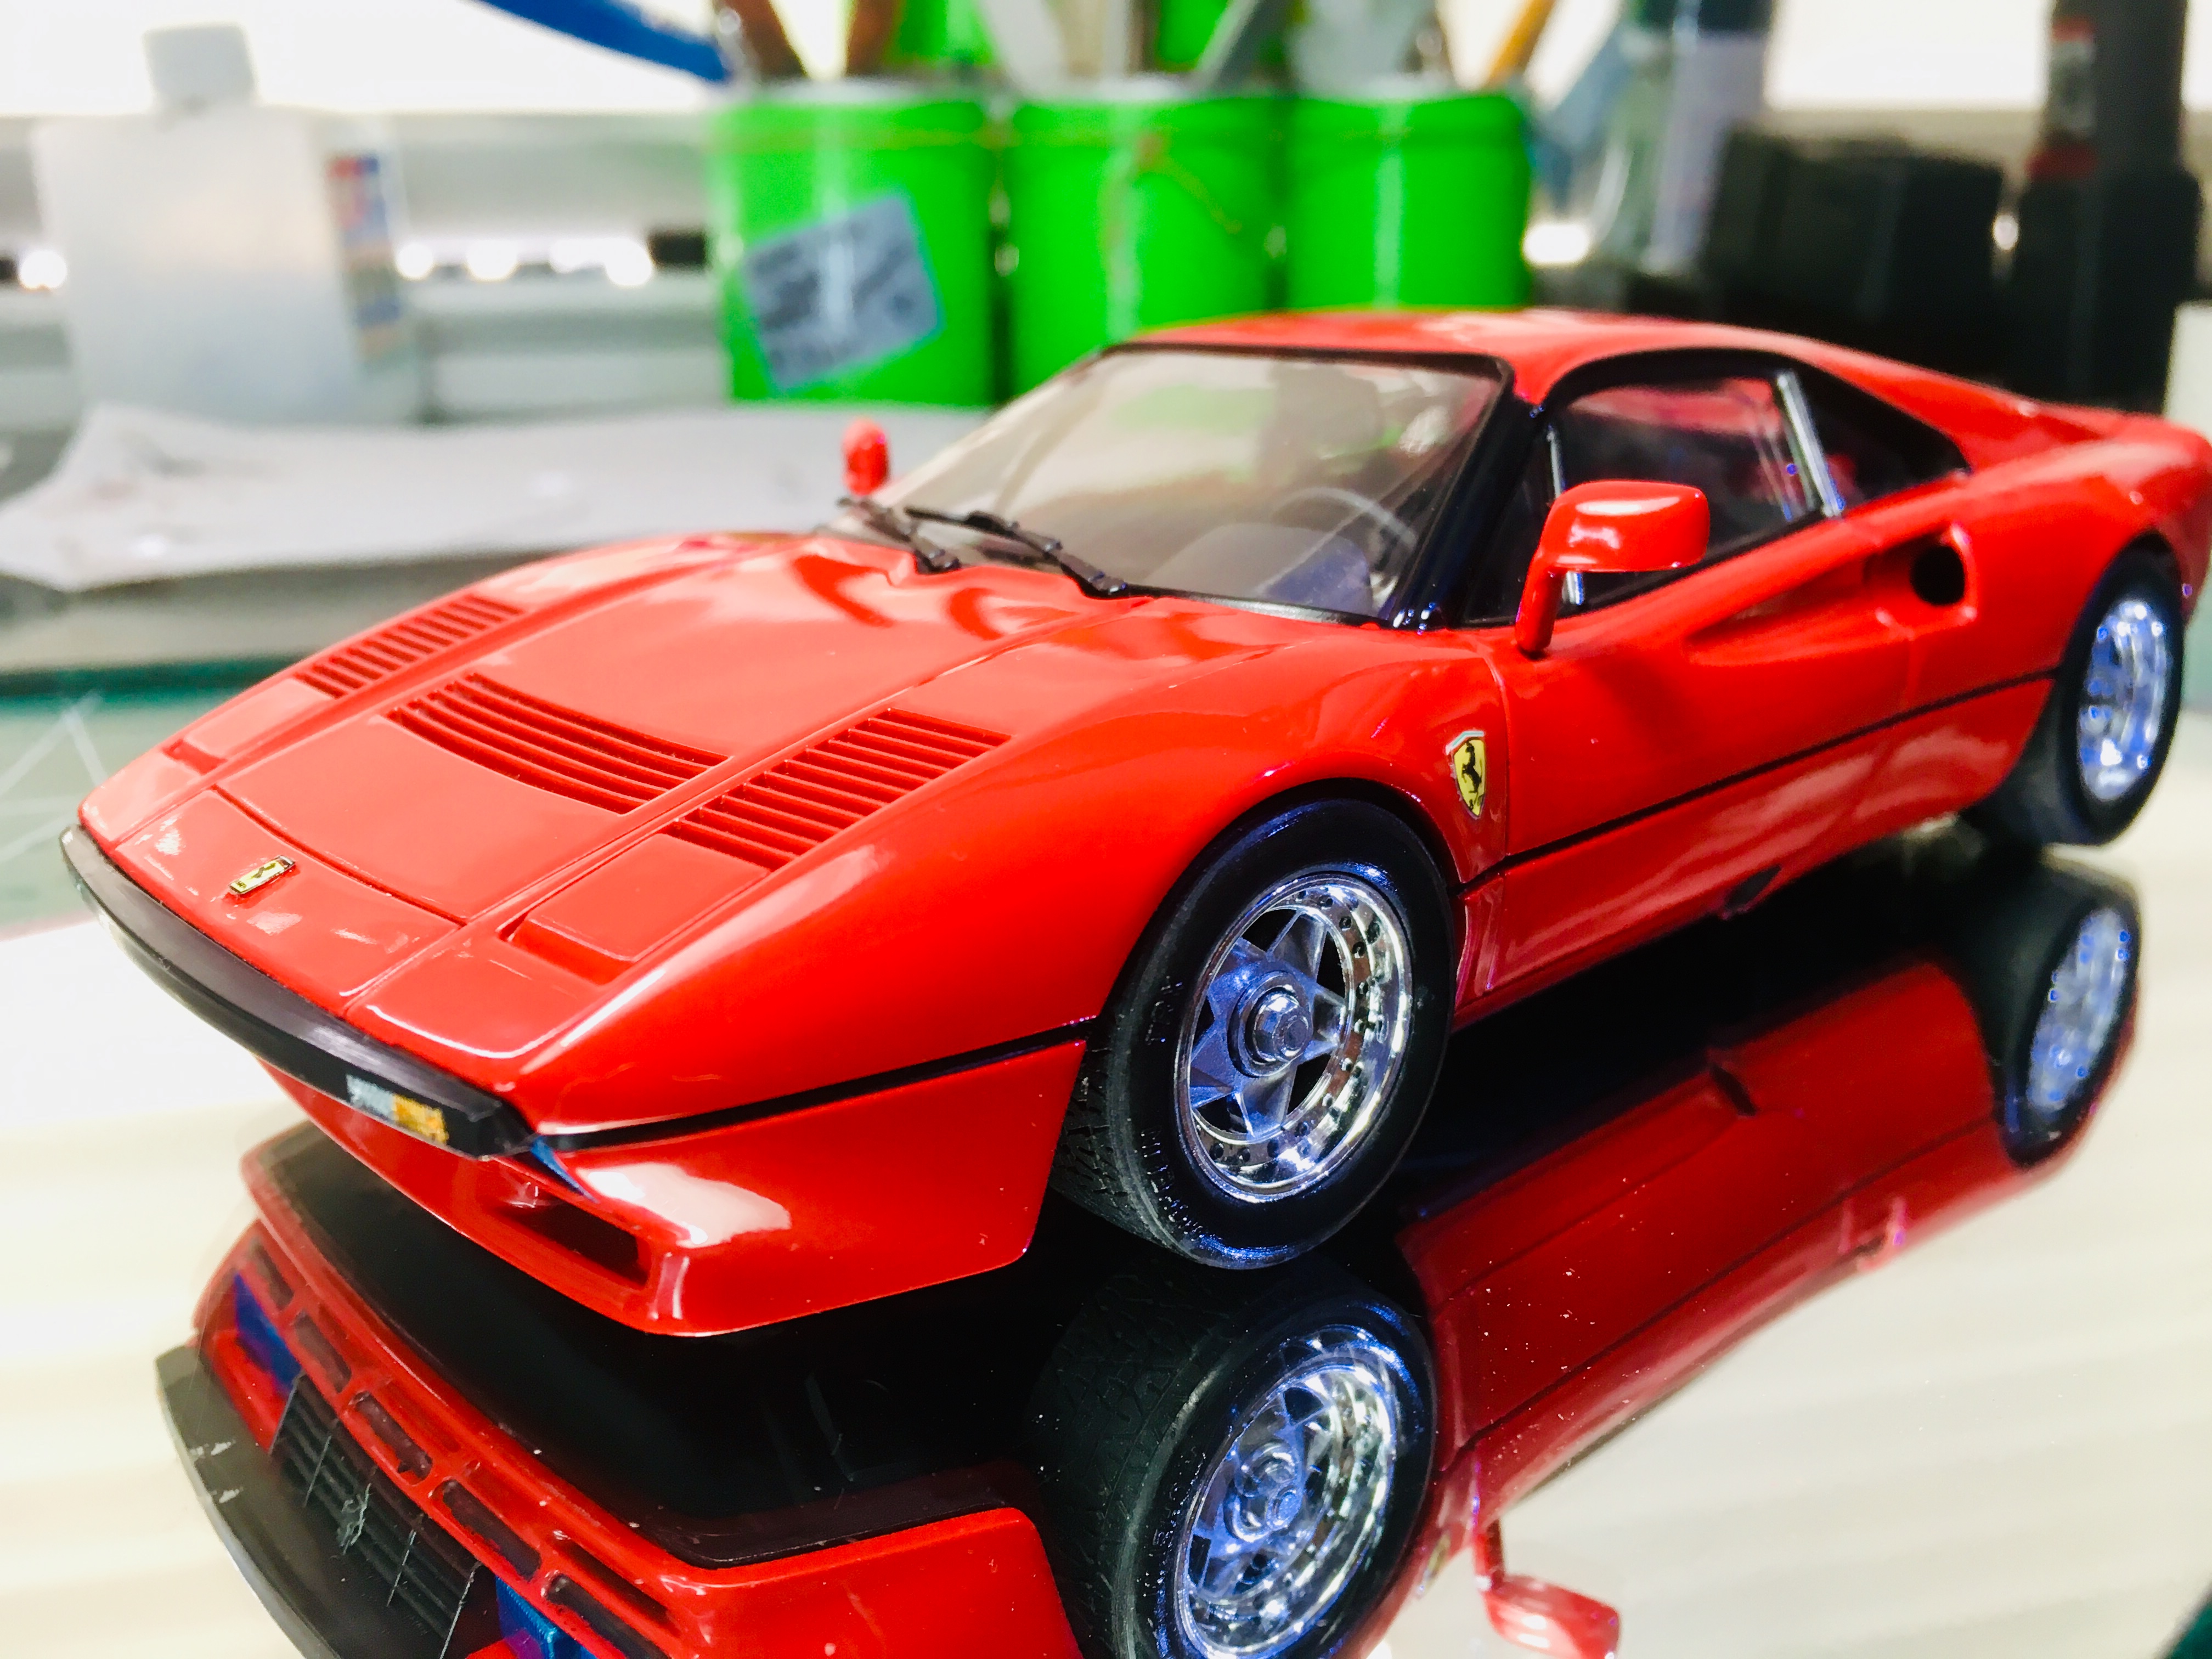
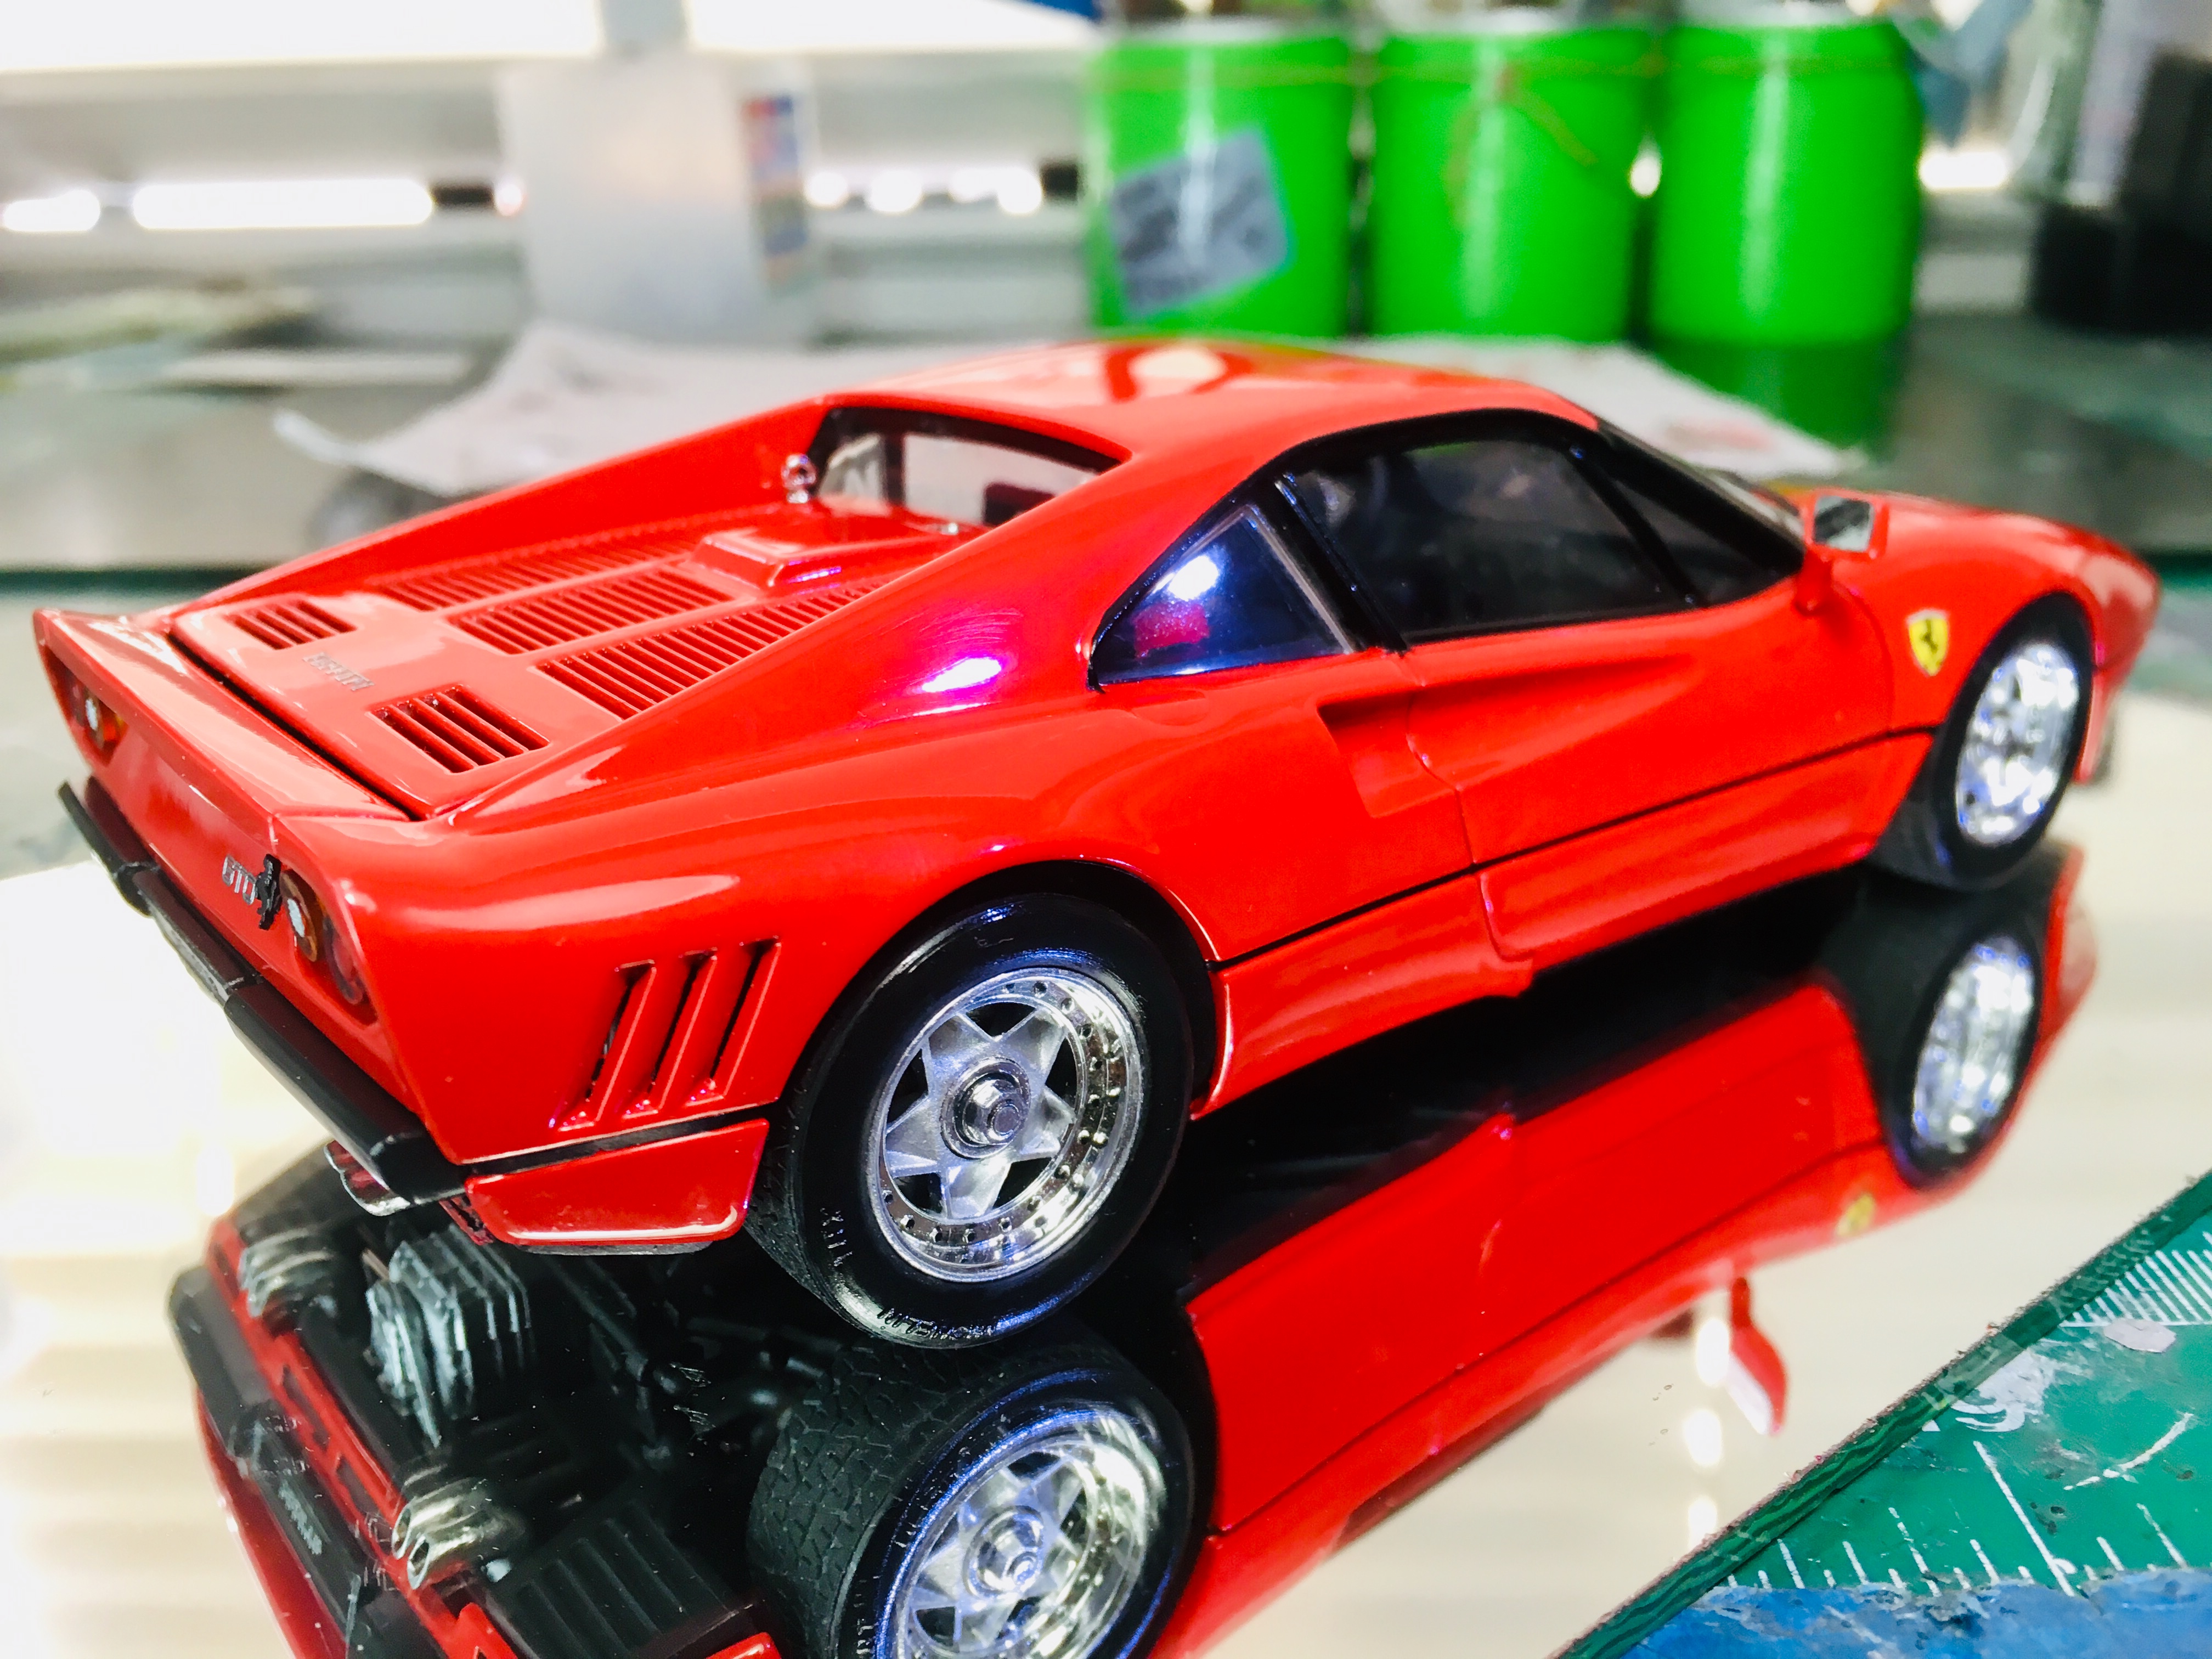
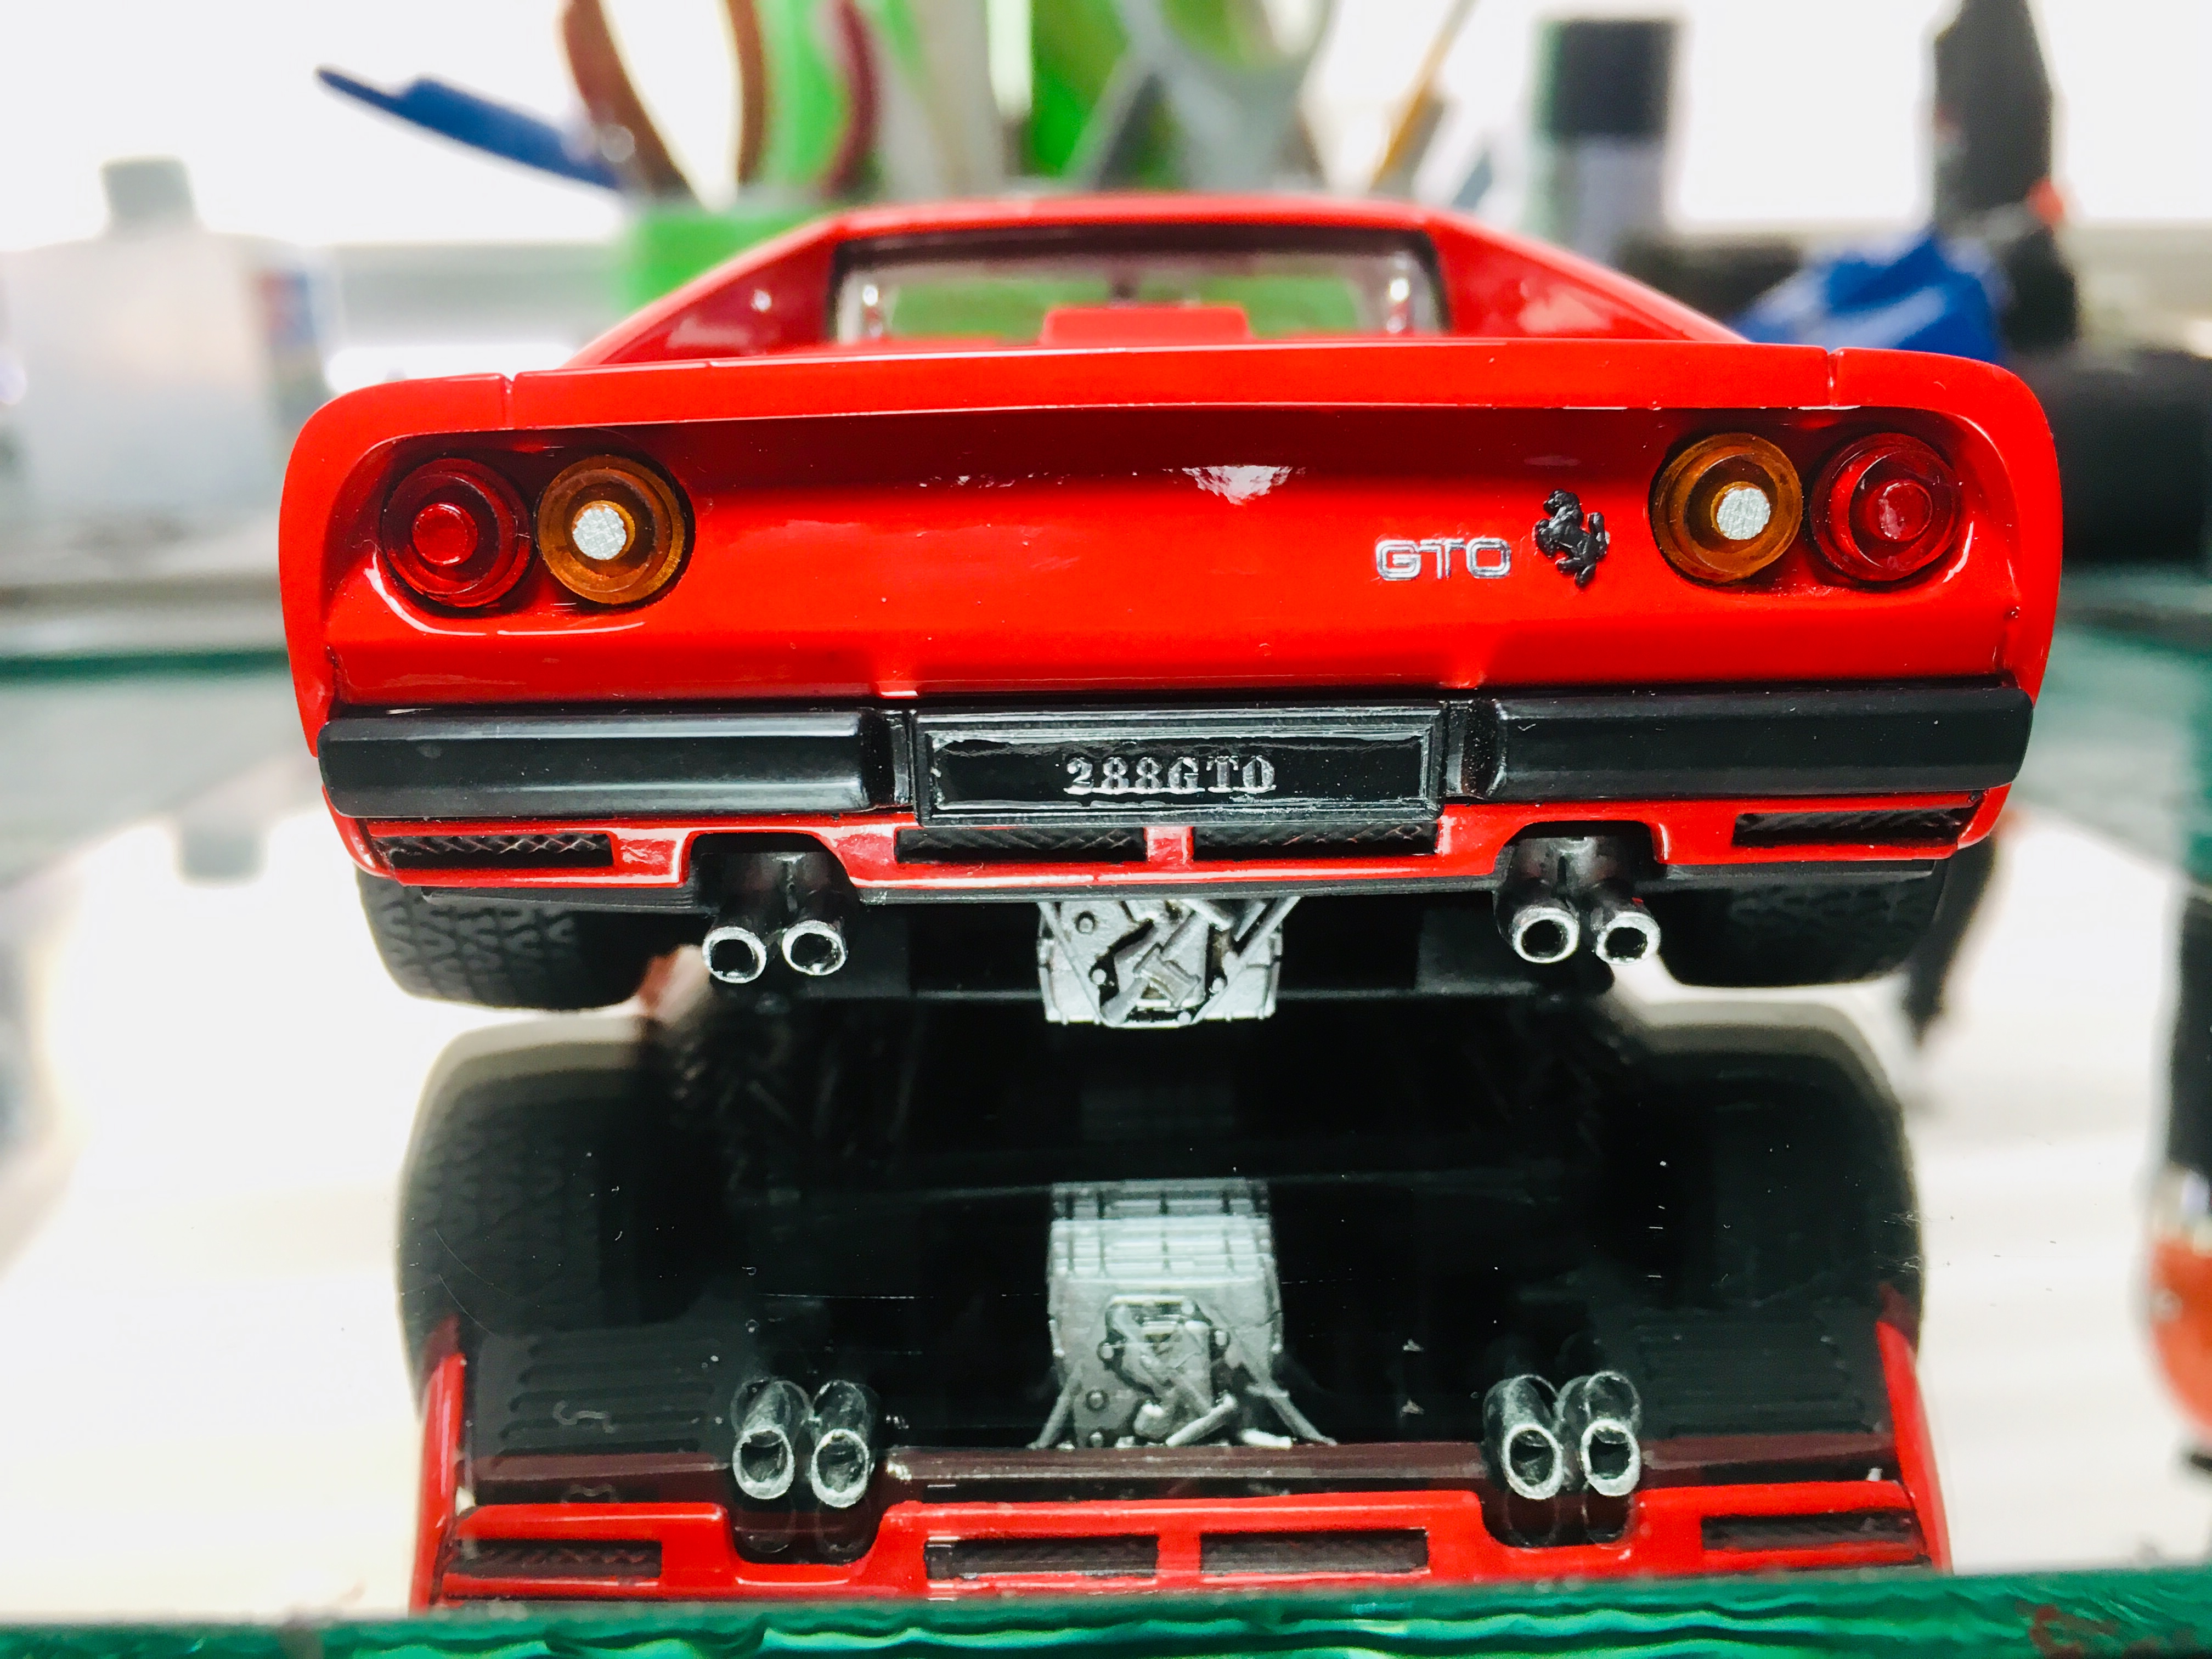
Ferrari. 288 GTO
-
Thank you webestang, thank you 70 Grande
-
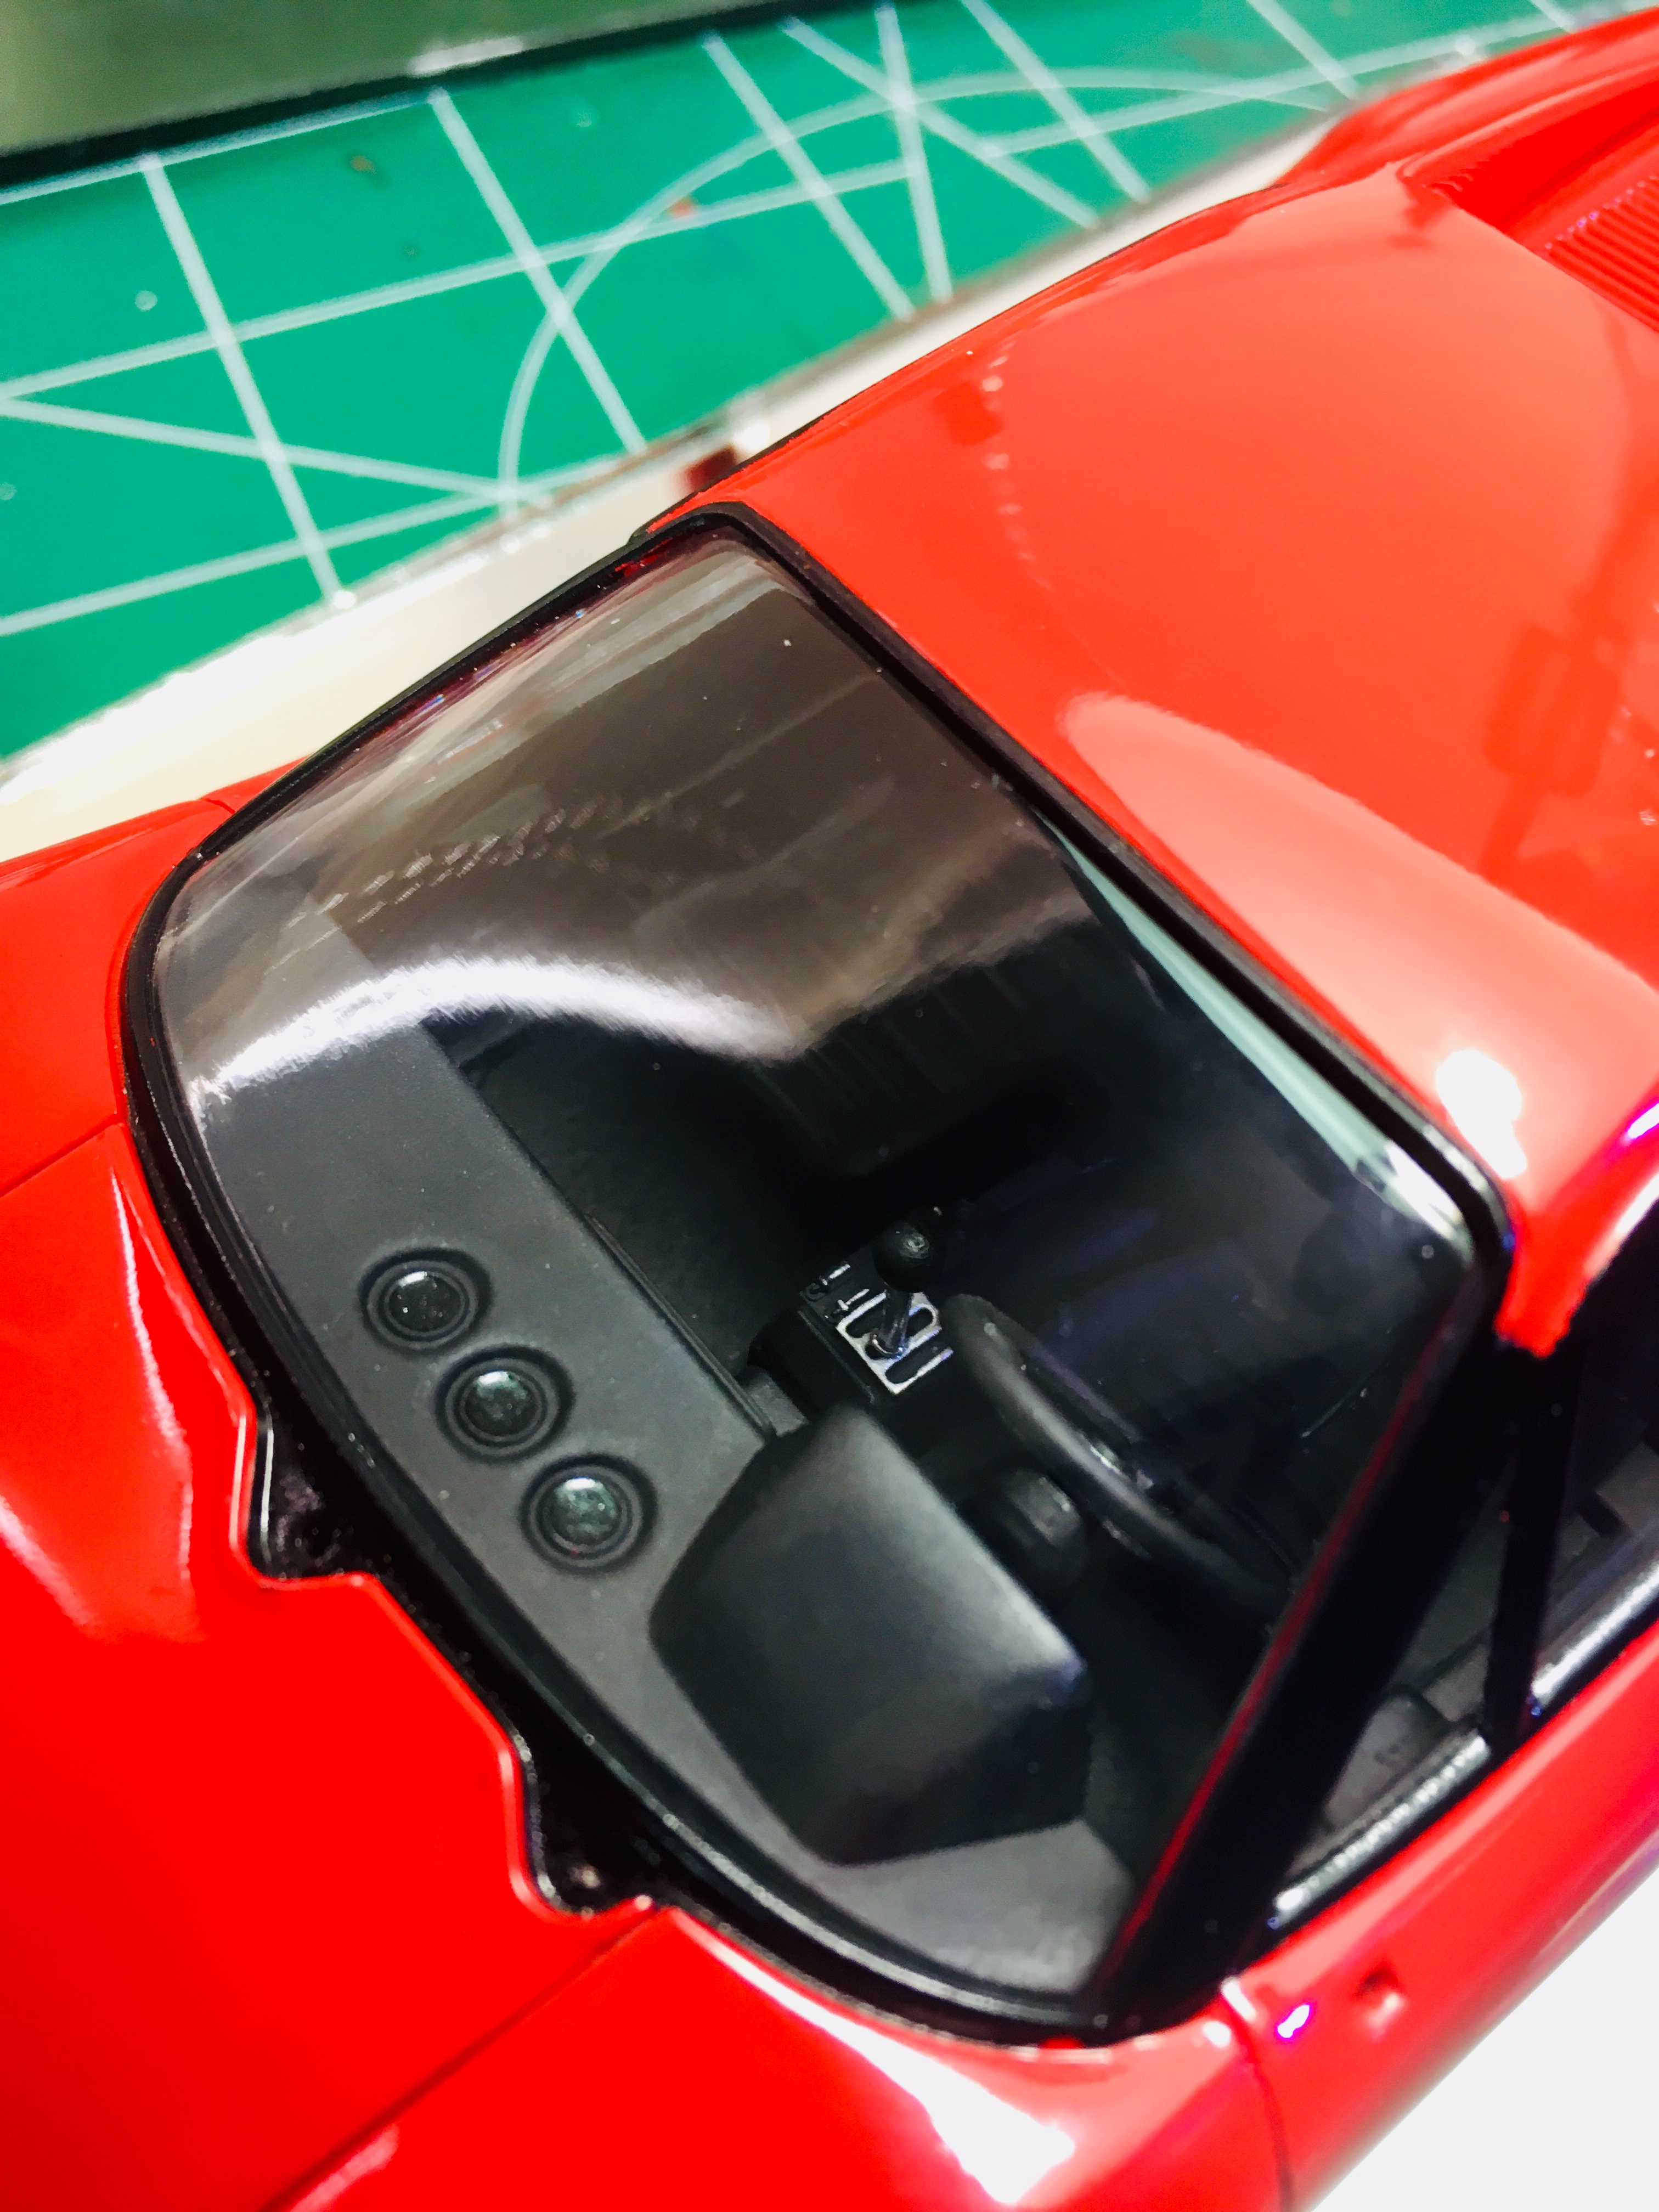
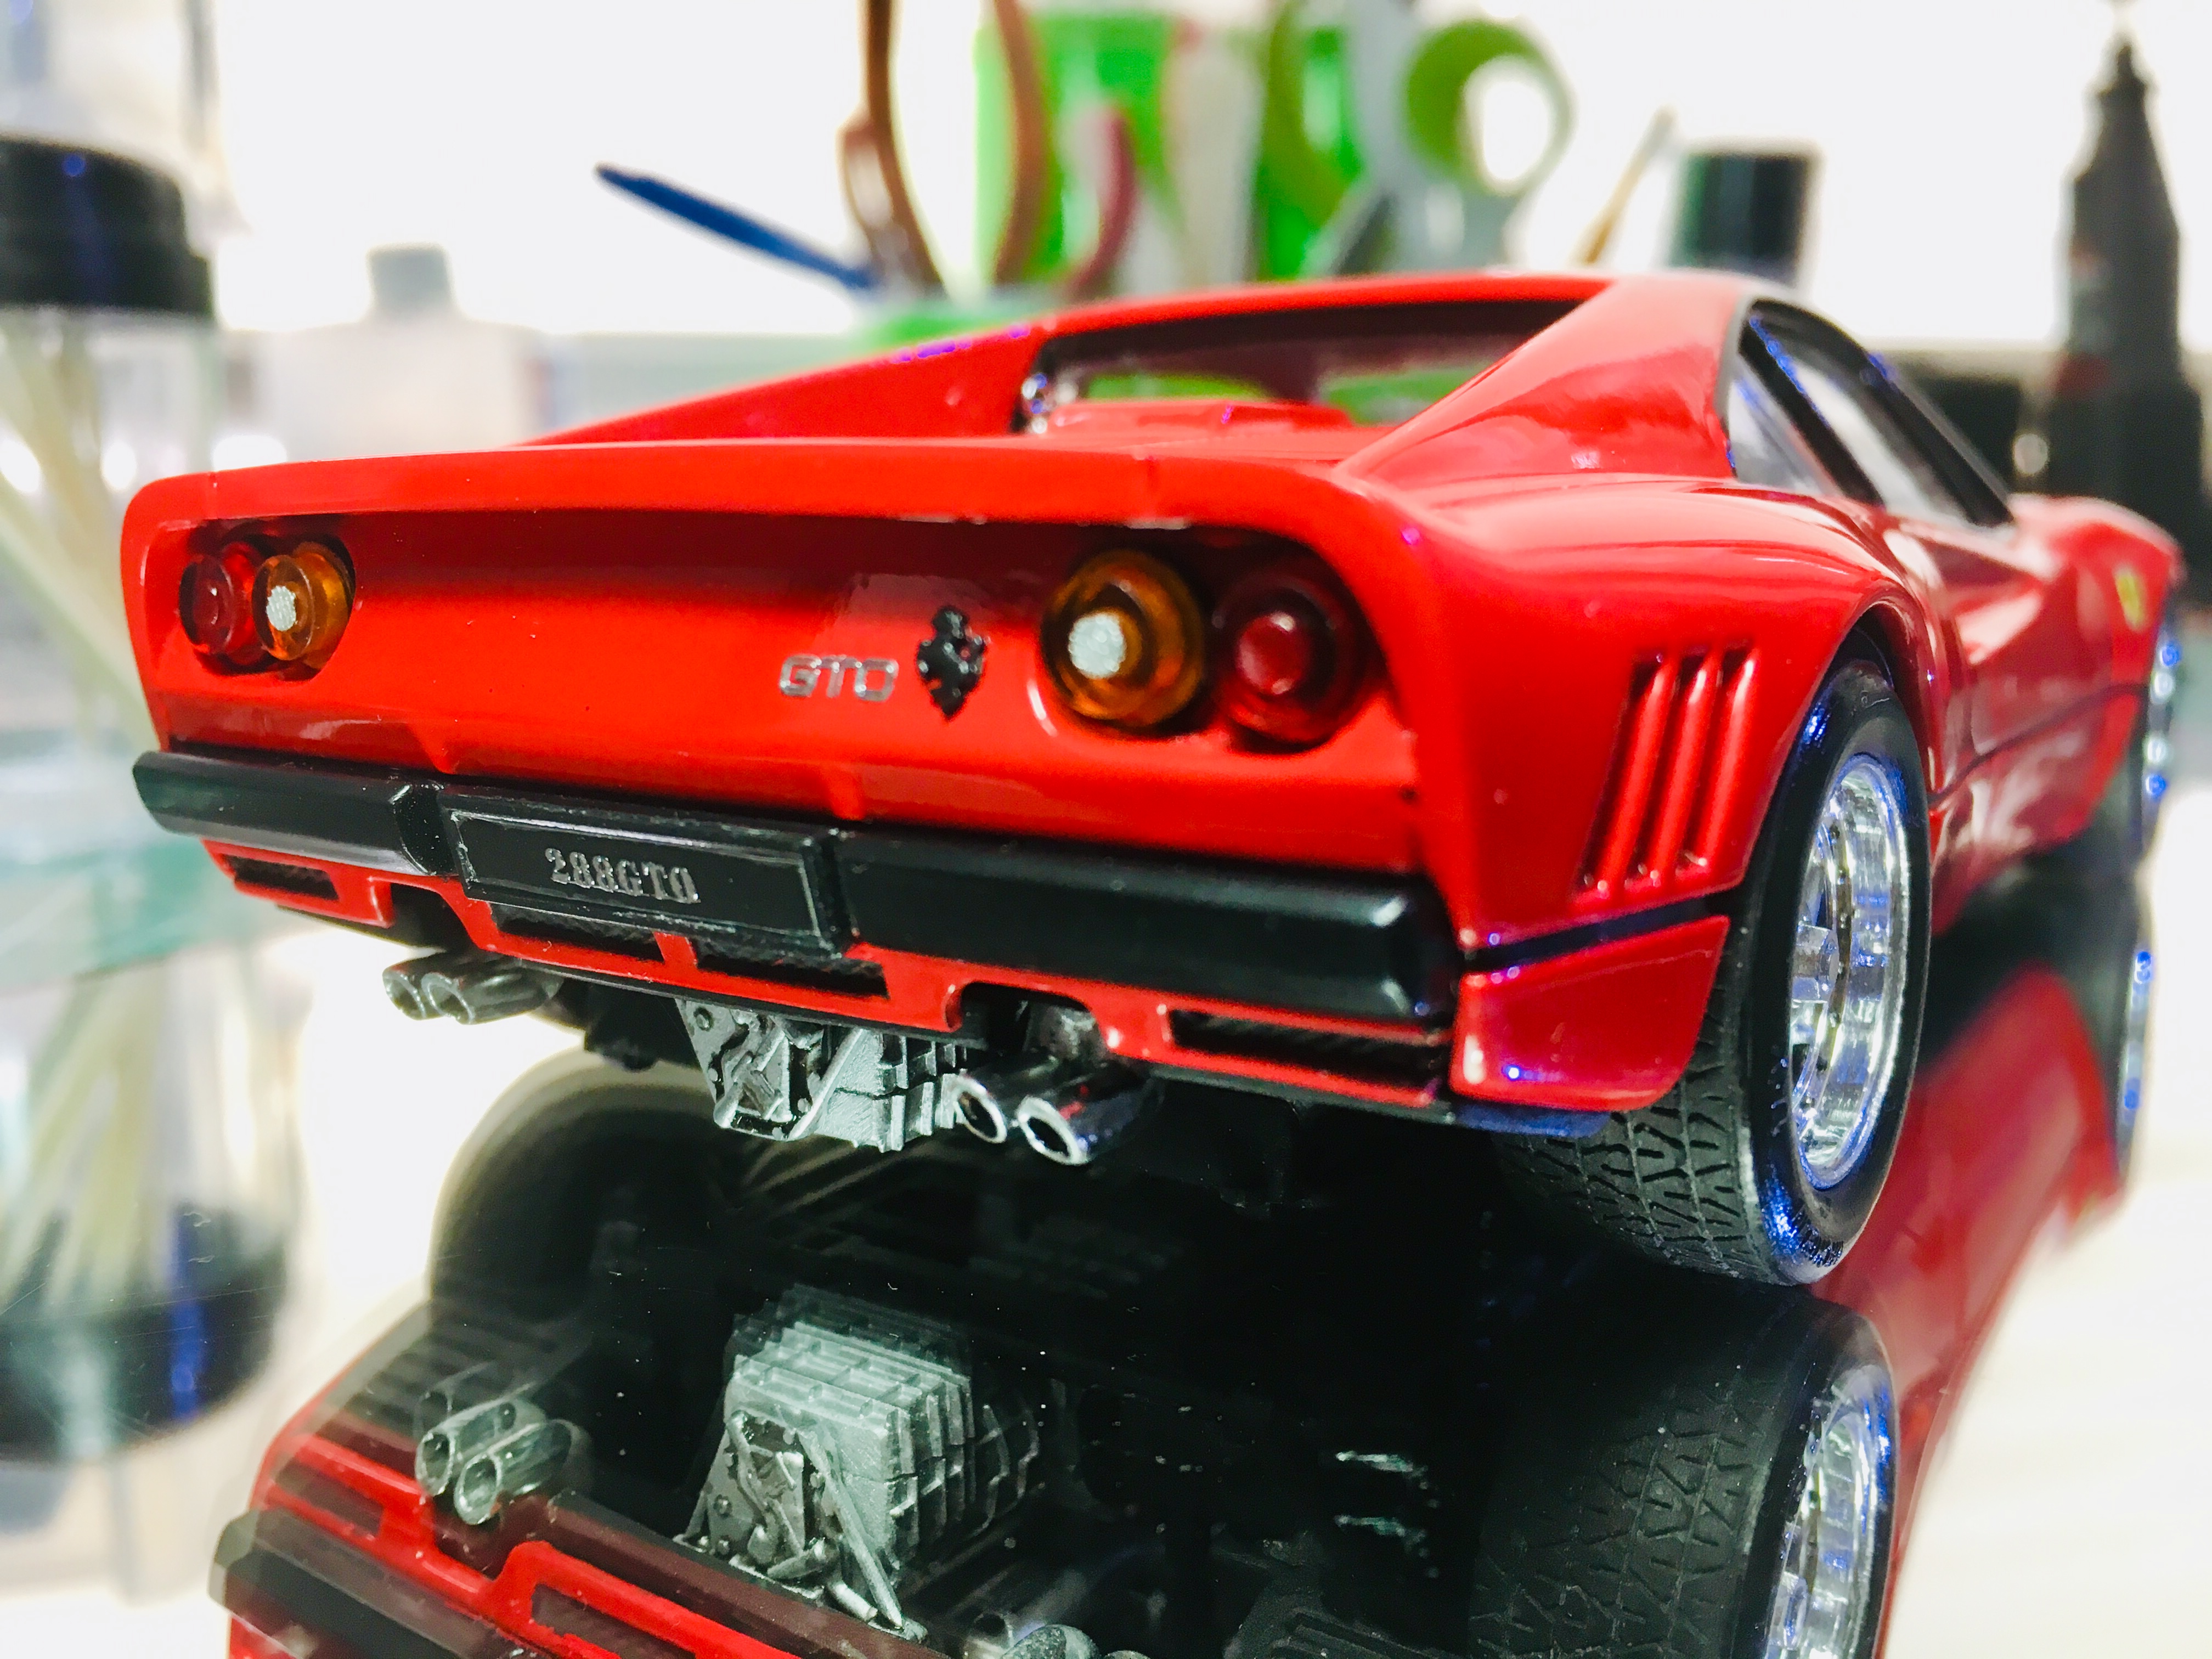
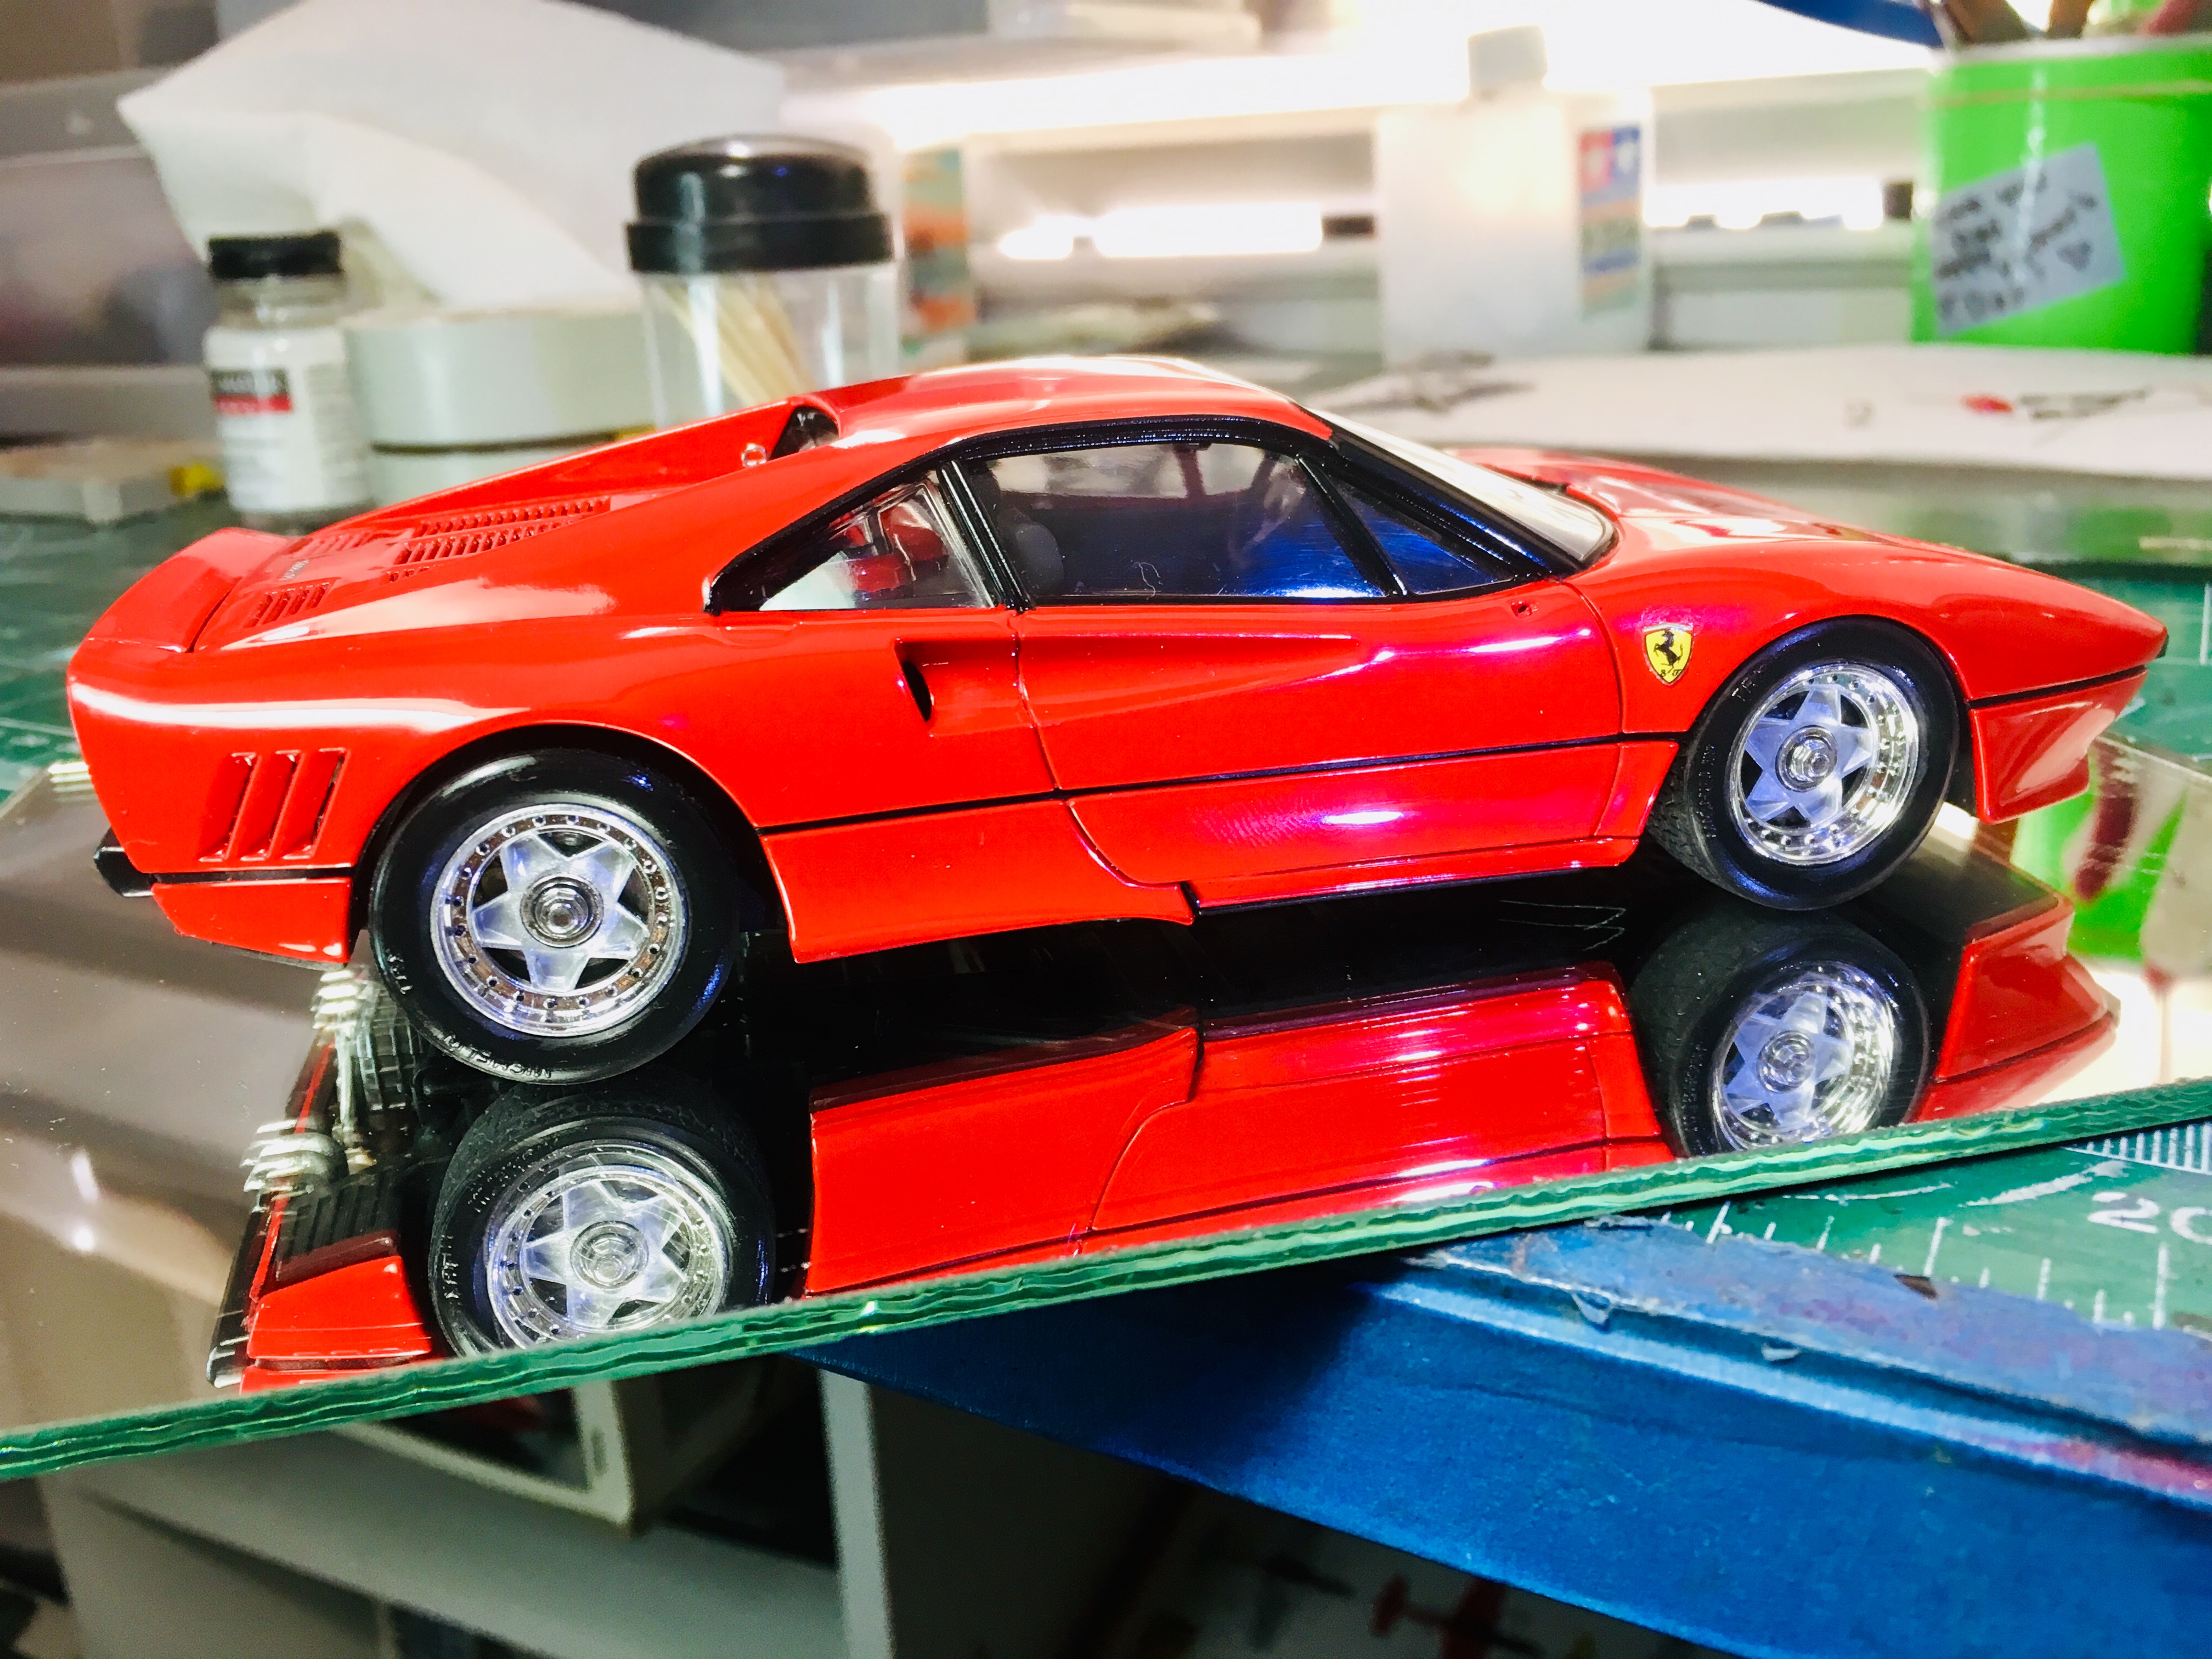
A testors 1/24 Ferrari 288 GTO. A tough kit, a lot of sink marks , the plastic was brittle, had to modify the stance, because it would be too high and the tires would stick out of the body. Opened up the rear deck lid. Made the deck lid hinge. Painted the body with a automotive red and a urethane clear coat. The interior was painted with tamiya paints. Pretty much out of box. Added photo etch emblems and vinyl for the Ferrari logos. Hope you like.
-
FINISHED!!! Tough kit. I’m happy with the results.
-
Well just about finished. Mirrors and wipers next. So fat I’m happy with the results.
-
"DIGGER"
Brudda replied to TooOld's topic in WIP: All The Rest: Motorcycles, Aviation, Military, Sci-Fi, Figures
Made me smile! Looks great! Reminded of being a kid again. Good job!!!!!! -
Thank you superdan.