
JasonFL
-
Posts
966 -
Joined
-
Last visited
Content Type
Profiles
Forums
Events
Gallery
Everything posted by JasonFL
-
Slammed truck
JasonFL replied to Rlopez209's topic in WIP: Model Trucks: Pickups, Vans, SUVs, Light Commercial
Really, I never would of thought. Where did you get the long bed from, was that included in the kit? -
Haha thanks. I had the final ones done but there was a little 4yr old visitor who wanted to play with it, needless to say I have to re-due the hood. I think the new spikes are going to look even better.
-
WOW!!!!!! This thing looks mean! I love the color choice and the flames look great. Nice touch with this Lamborghini rims, looking forward to seeing everything all done. Nice work, keep it up
-
59 El Camino custom
JasonFL replied to Lanny Haas's topic in WIP: Model Trucks: Pickups, Vans, SUVs, Light Commercial
You have some sick sick toughts and I think I like it. Pretty excited to see we're this is going. -
This is a pretty nice build. You have some cool techniques, I'm kinda a newbie so seeing how you did some of that was pretty helpful. Thanks for sharing, can't wait to see it finished.
-
Slammed truck
JasonFL replied to Rlopez209's topic in WIP: Model Trucks: Pickups, Vans, SUVs, Light Commercial
I really like this build. I used to own a truck like this slammed on 20s with flames all the way back to the middle of the bed but it was also an extended cab. Thing was huge! Can't wait to see what you do with it, what kit is this? -
Haha I'm with yea man, I'm with yea. How are you going about slamming it, besides the z up front? I'm having trouble deciding how to slam mine.
-
This is a really cool build, thing is nasty. Seeing this is making it really hard to decide on weather I should chop mine or not. Clean work though, love how you smoothed the firewall to the body, nice touch, can't wait to see the progress.
-
Die Cast 70s Chevy Truck
JasonFL replied to aksarben's topic in WIP: Model Trucks: Pickups, Vans, SUVs, Light Commercial
I would have to agree with everyone else, this thing is sick! really clean motor comp., frame, wheels, etc, nice work. -
This looks like a great tutorial, I can't wait to try this on my 32 ford rat rod. Thanks for posting
-
WOW, that is some really intense stuff man, I'm sorry to hear about it. Just keep your head up, things will get better. Best wishes to you. I really look forward to seeing your future builds, this last truck was killer
-
Man this thing is looking great. The tail lights, paint, and spikes on the wheels are sick.
-
Here's the photos of the finished work. The taillight on the right is the finished product. The top bumper (back bumper) is undone while the bottom bumper (front bumper) has been worked and finished up along with some black on the grill Let me know what you think, thanks for looking.
-
I wanted to do keep this build a little different so with the exhaust I also wanted to change the look of the frontend/hood. I had a few cool ideas but I think I'm going to stick with this one. In place of the chrome things I'm going to extend that round body line past the end of the hood with a spike that's going to match the opposite end of the hood. Hopefully giving it a more aggressive look. These are rough mock ups to give you an idea, almost done with the ones I'm putting on there
-
I done did it and got glue on the back window so my father in law had some 8+ yr old clinggy window tint so I used some of that to tint the back window on both sides to try and hide it. You still see it but it doesn't stick out like a sore thumb anymore.
-
Haha, you know I love camber, but this went a little more then I wanted. The pieces are already glued in there pretty good so I just painted it and learned my lesson for the next build. Thanks, they came in the kit and I just taped the middle off and sprayed flat black.
-
Thanks Ryan, the foiling is a great idea but it's something I didn't know about until I got on this forum. I'm going to definitely look into it for next projects. I actually took the bottom half of the front suspension and cut it up with my blade, then I took the big middle piece that looks like a skid plate and glue it in place. After that I just glued the lower/upper control arms in place to were I wanted them, after that I had to place the rotors in the right spot so the wheels would sit right (were I made my mistake, I placed them a tad to high) This is off my 69 camero but it's the same concept, hope this helps.
-
-
-
I painted the air cleaner to match the rims (black on the outside, chrome center). I also painted the valve cover ribs lime ice to match the lime ice ribs on the side of the car.
-
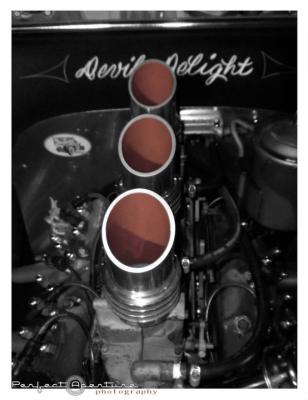
I decided I needed to detail the motor a little more so I painted some more silver, lime ice, and flat black. I'll have to try wiring on my next build.
-
-
-
-