gtx6970
-
Posts
7,940 -
Joined
-
Last visited
Content Type
Profiles
Forums
Events
Gallery
Everything posted by gtx6970
-
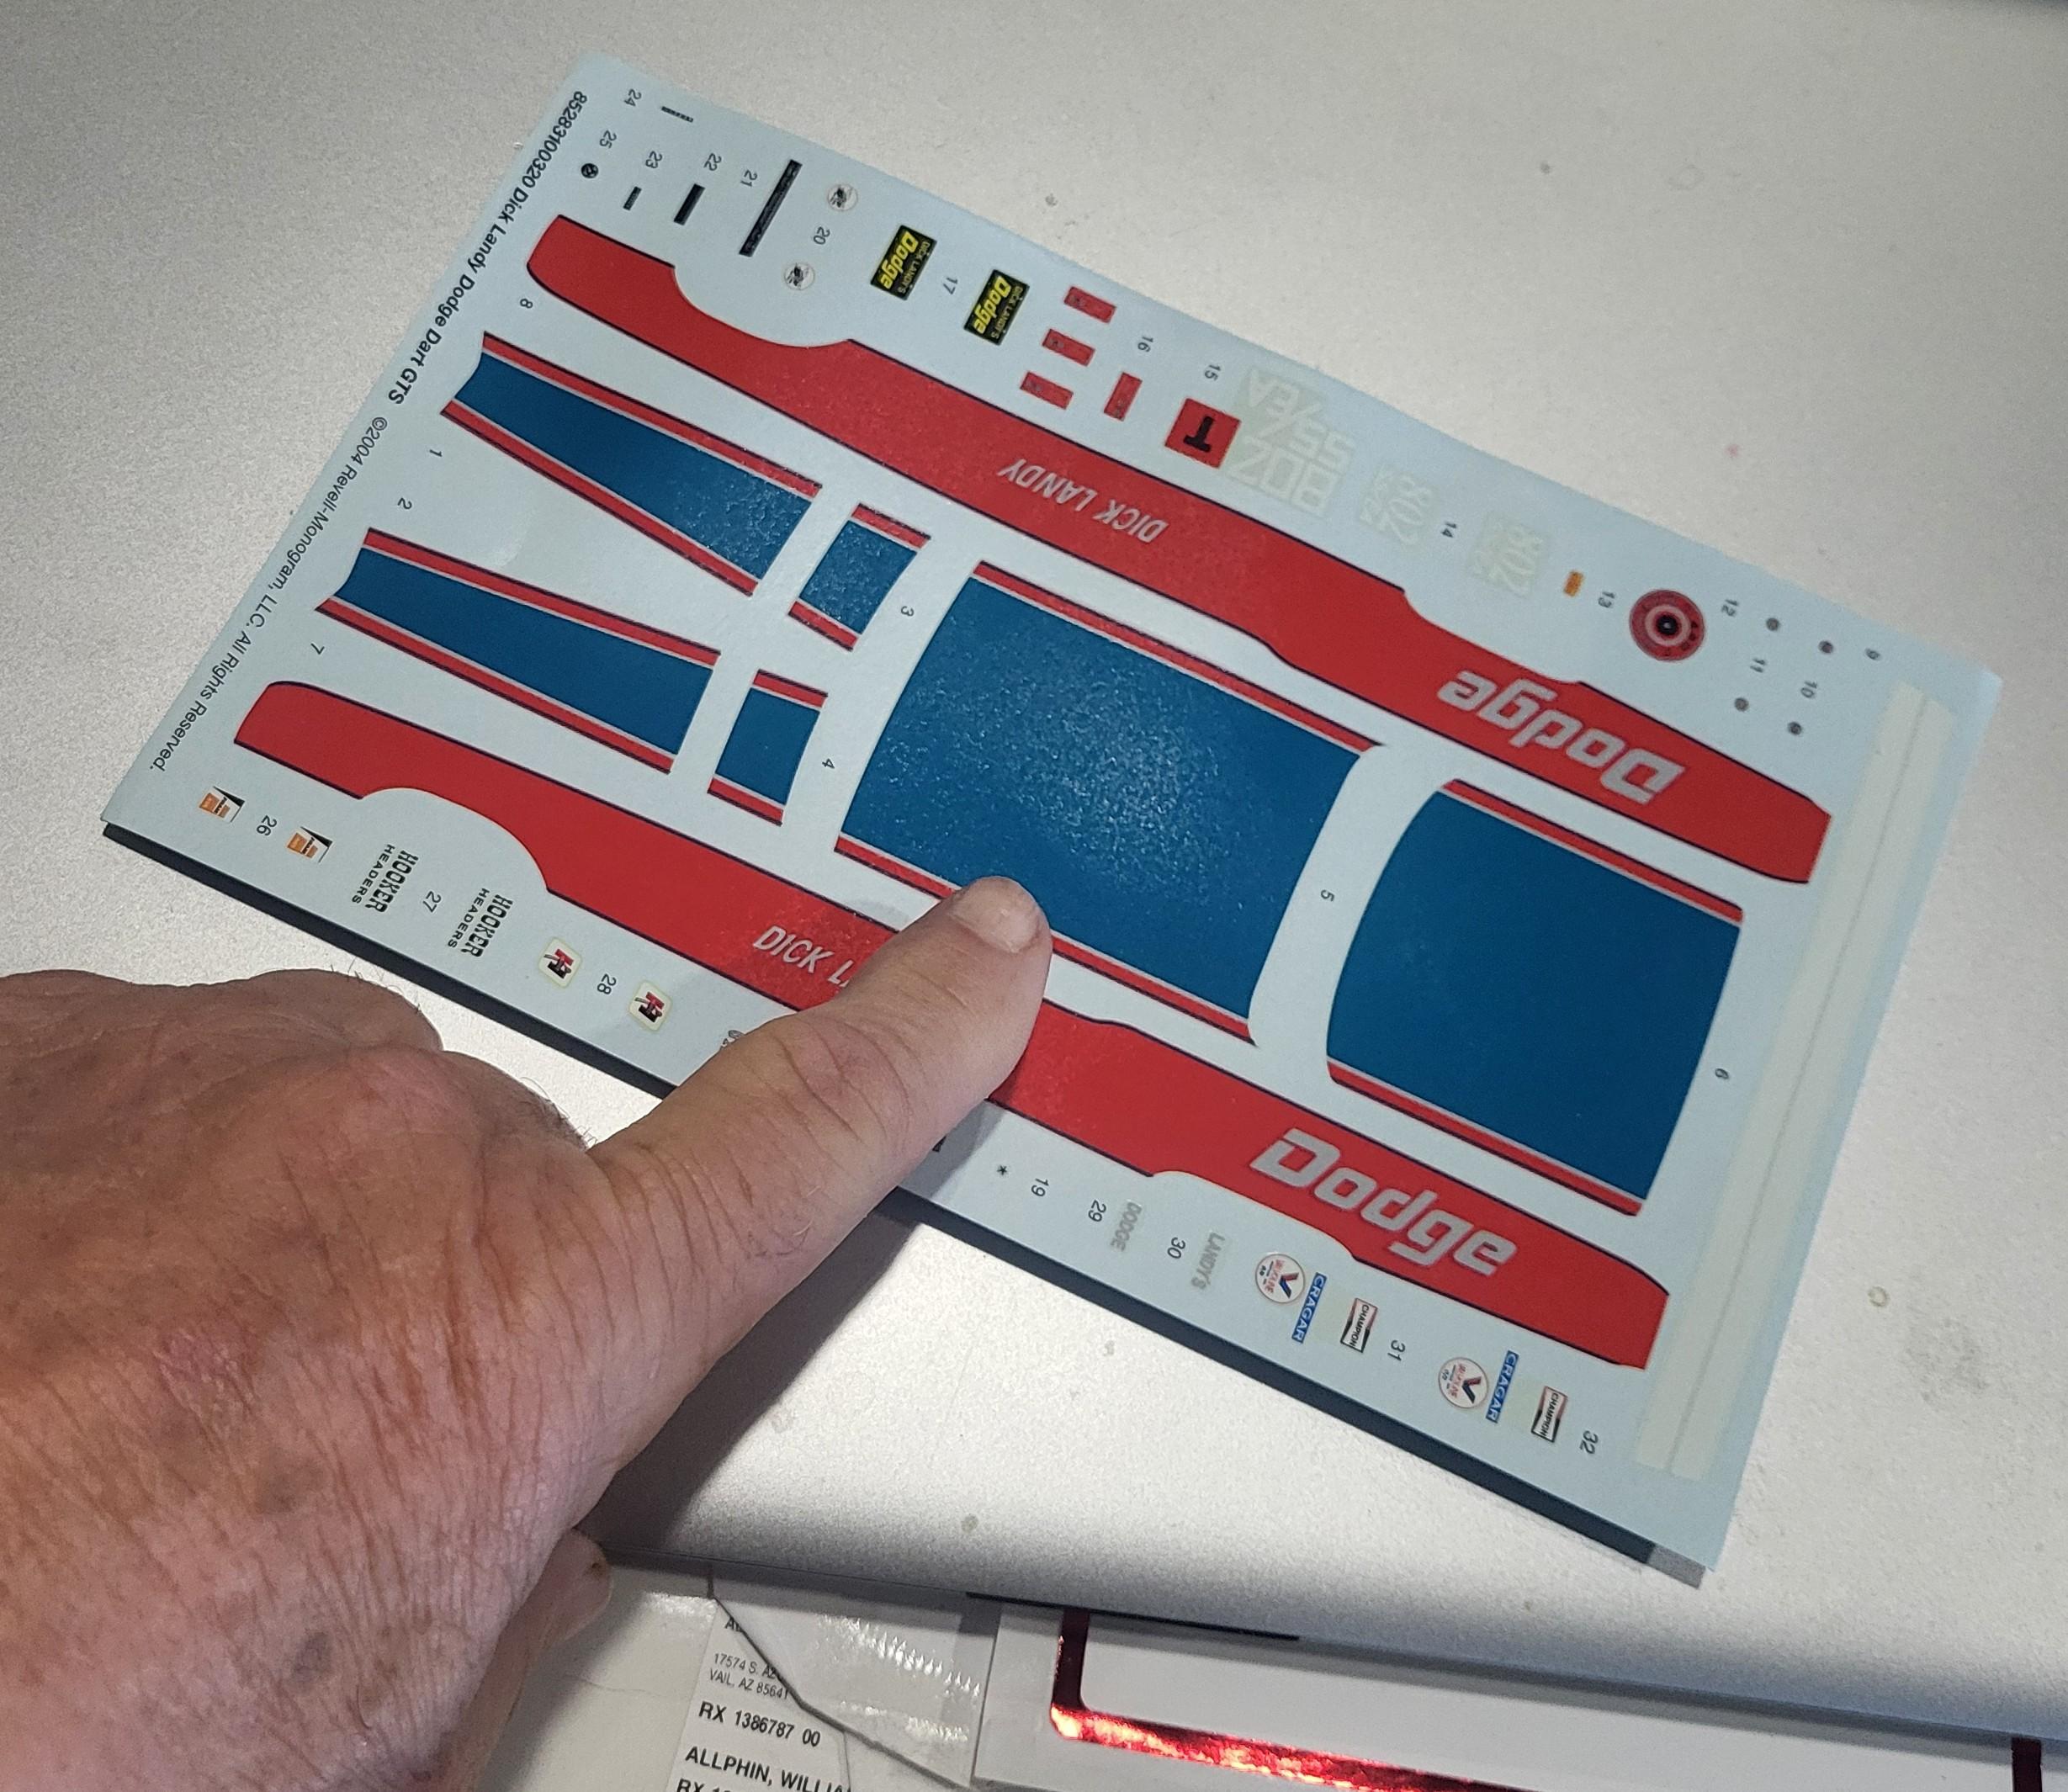
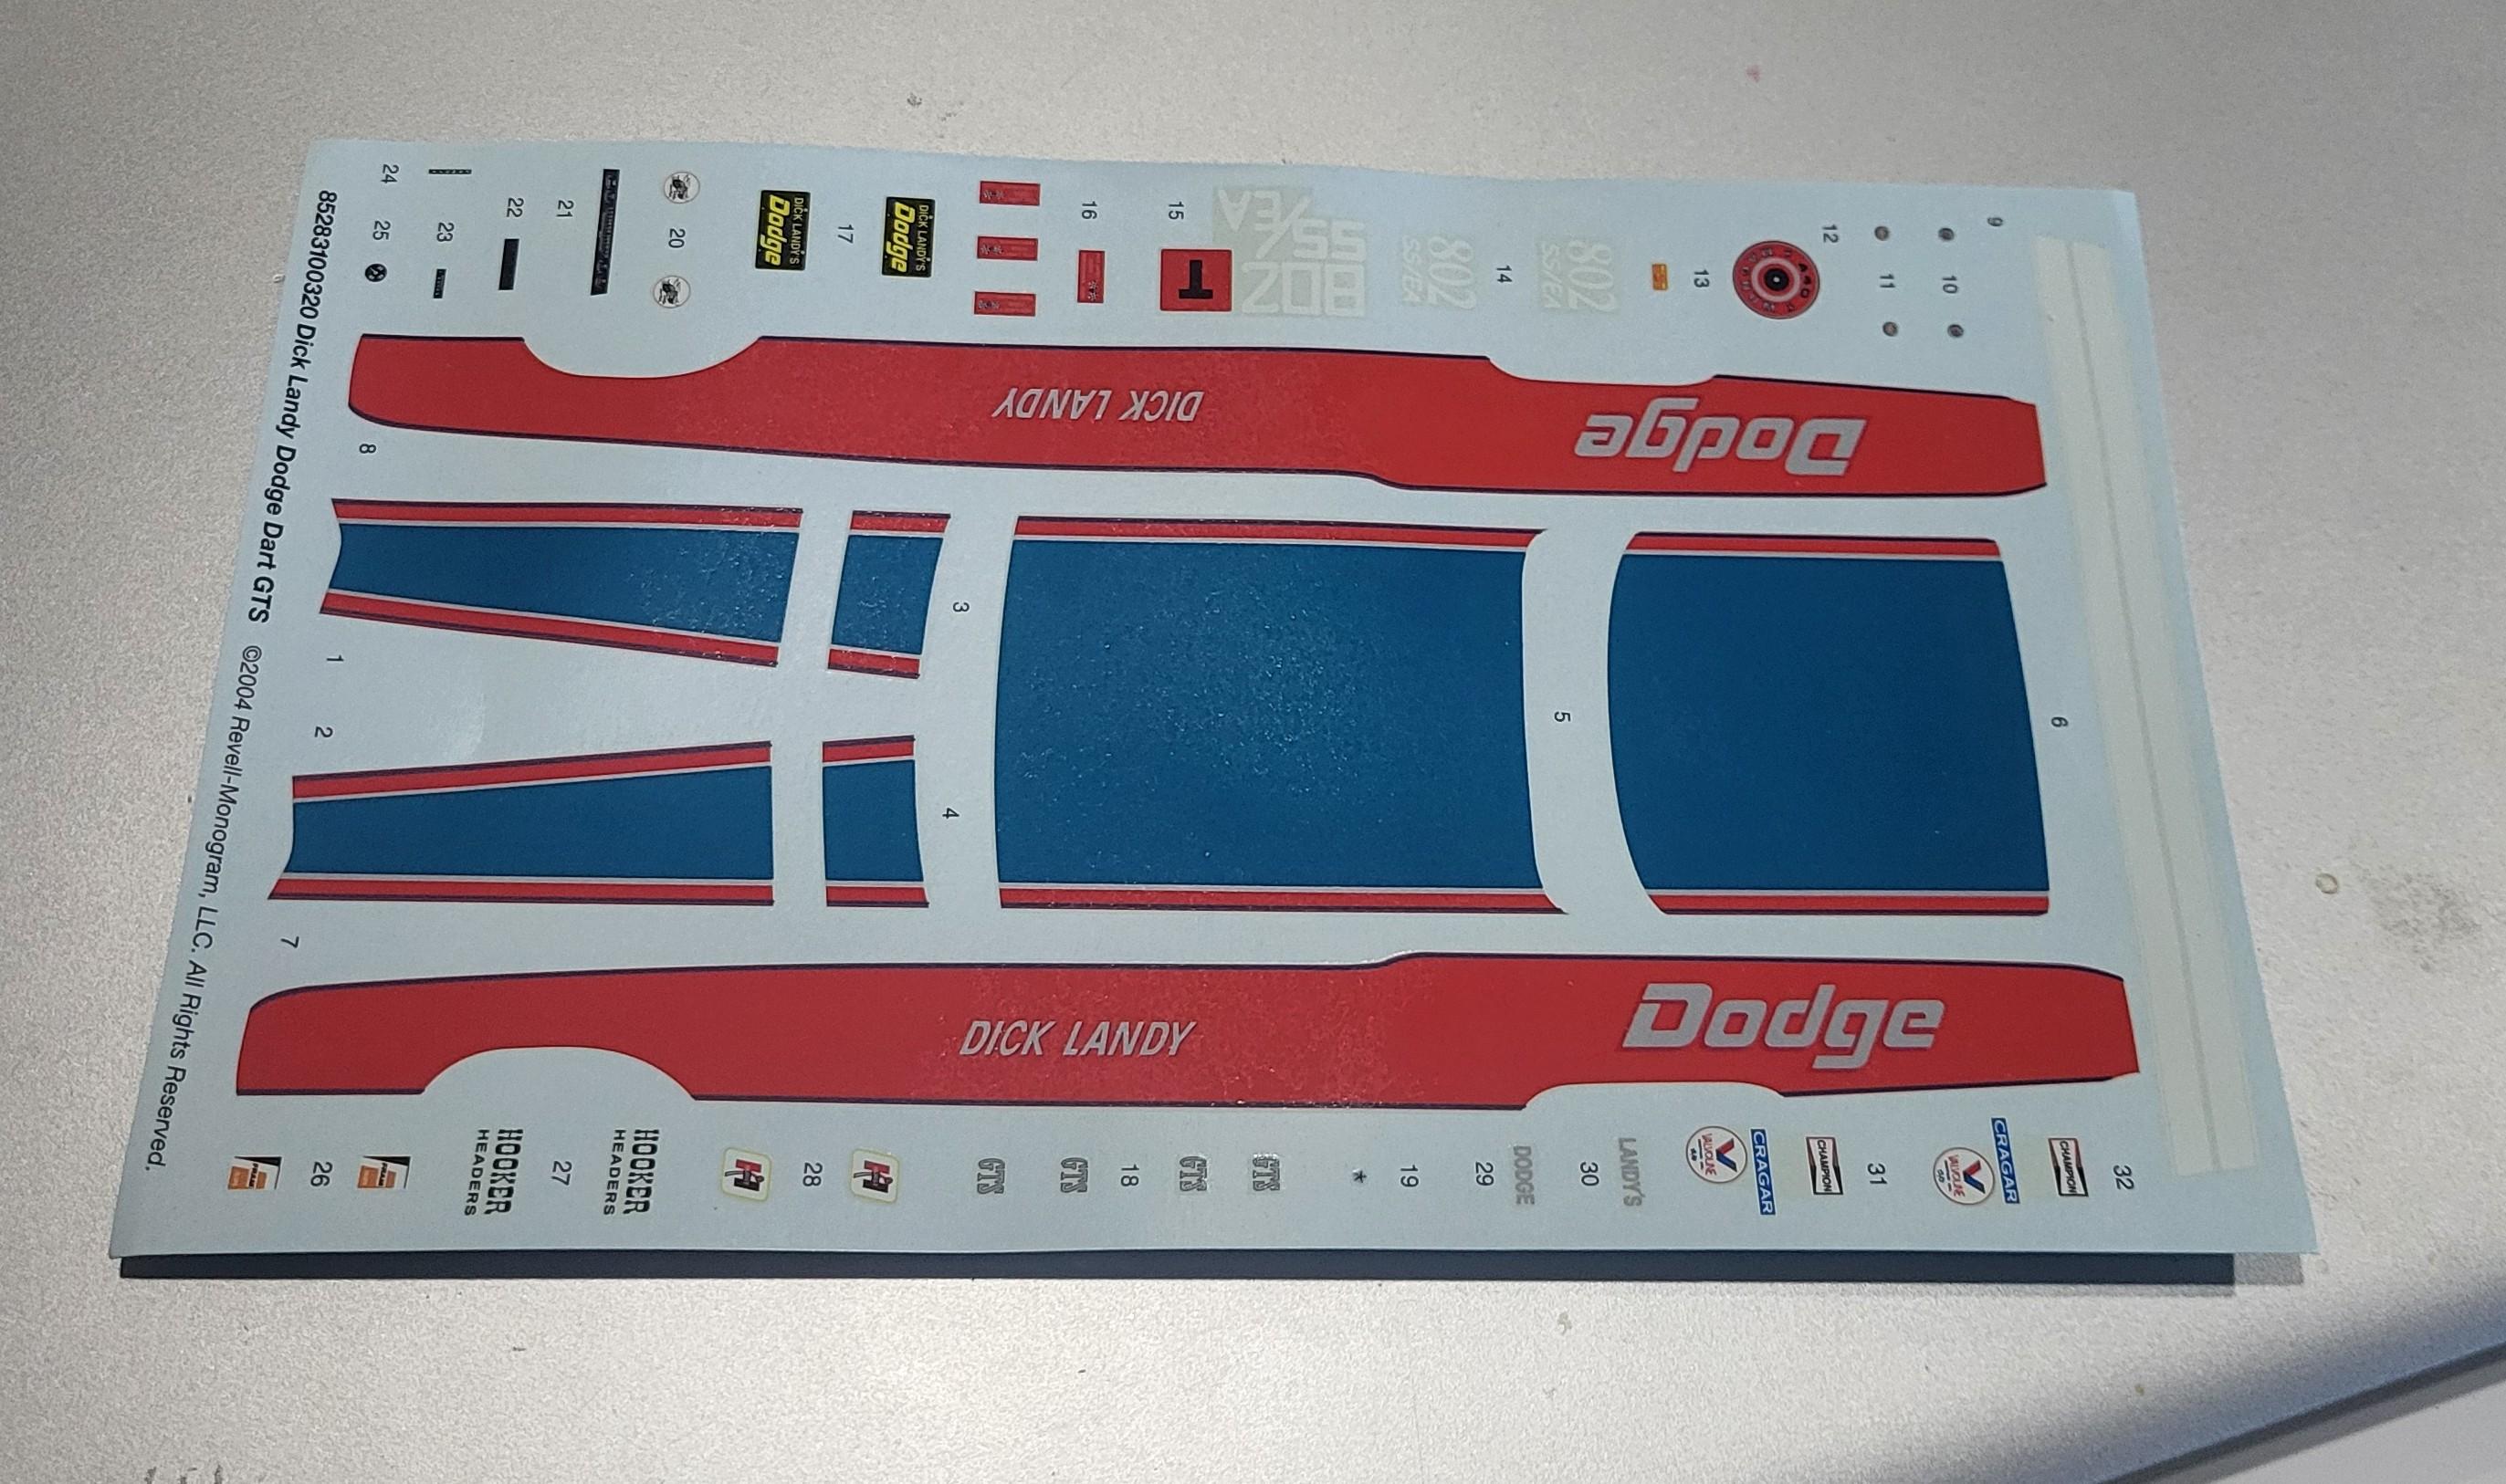
Yours if you want them

-
AMT 1970 SuperBee, one from archives - FINALLY FINISHED
gtx6970 replied to gtx6970's topic in Model Cars
Thanks all. It's not perfect...nore my best But I really like how it came out.. So thank you for the kudos -
I know this is a Longshot But im looking for an original mpc 1970 Challenger builder kit. Don't need tires . Wheels or drive train. Want an uncut body and no holes in the hood
-
MPC Coronet with Revell Charger chassis ??
gtx6970 replied to gtx6970's topic in Model Building Questions and Answers
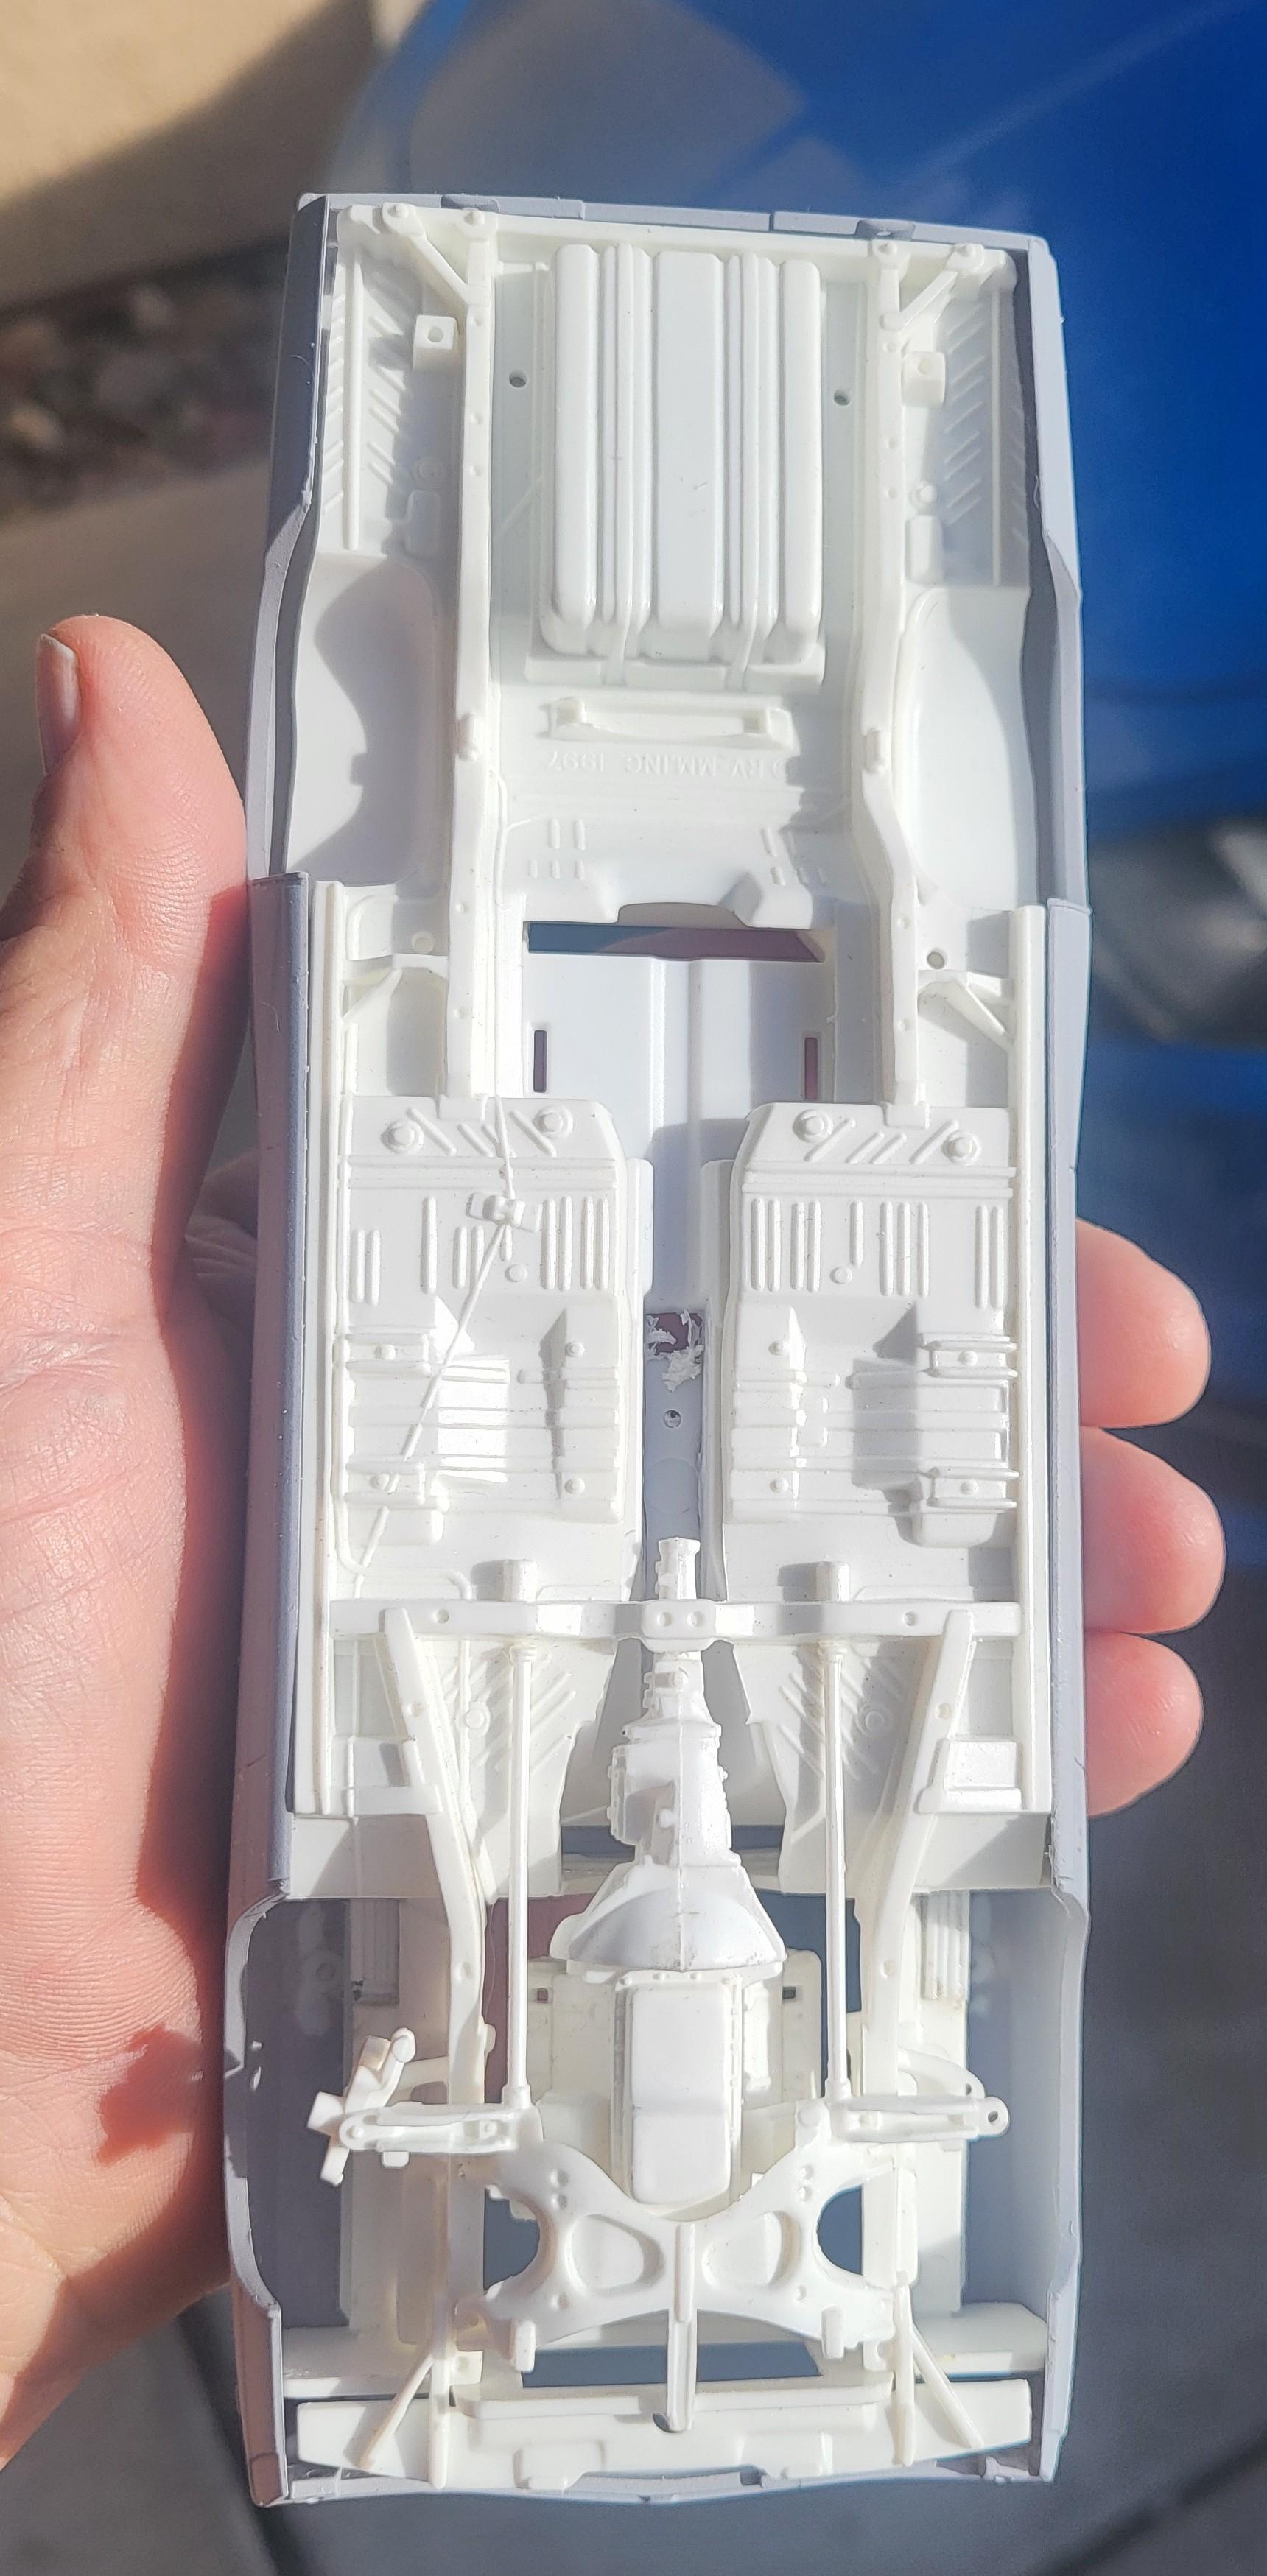
Thanks gents This will most likely be an on and off the bench build so I don't get overwhelmed and / or burnt out with it. Slow and steady it will be Spent a few hours today just getting the engine compartment/chassis in the right spot so wheels will be centered in the opening. -
MPC Coronet with Revell Charger chassis ??
gtx6970 replied to gtx6970's topic in Model Building Questions and Answers
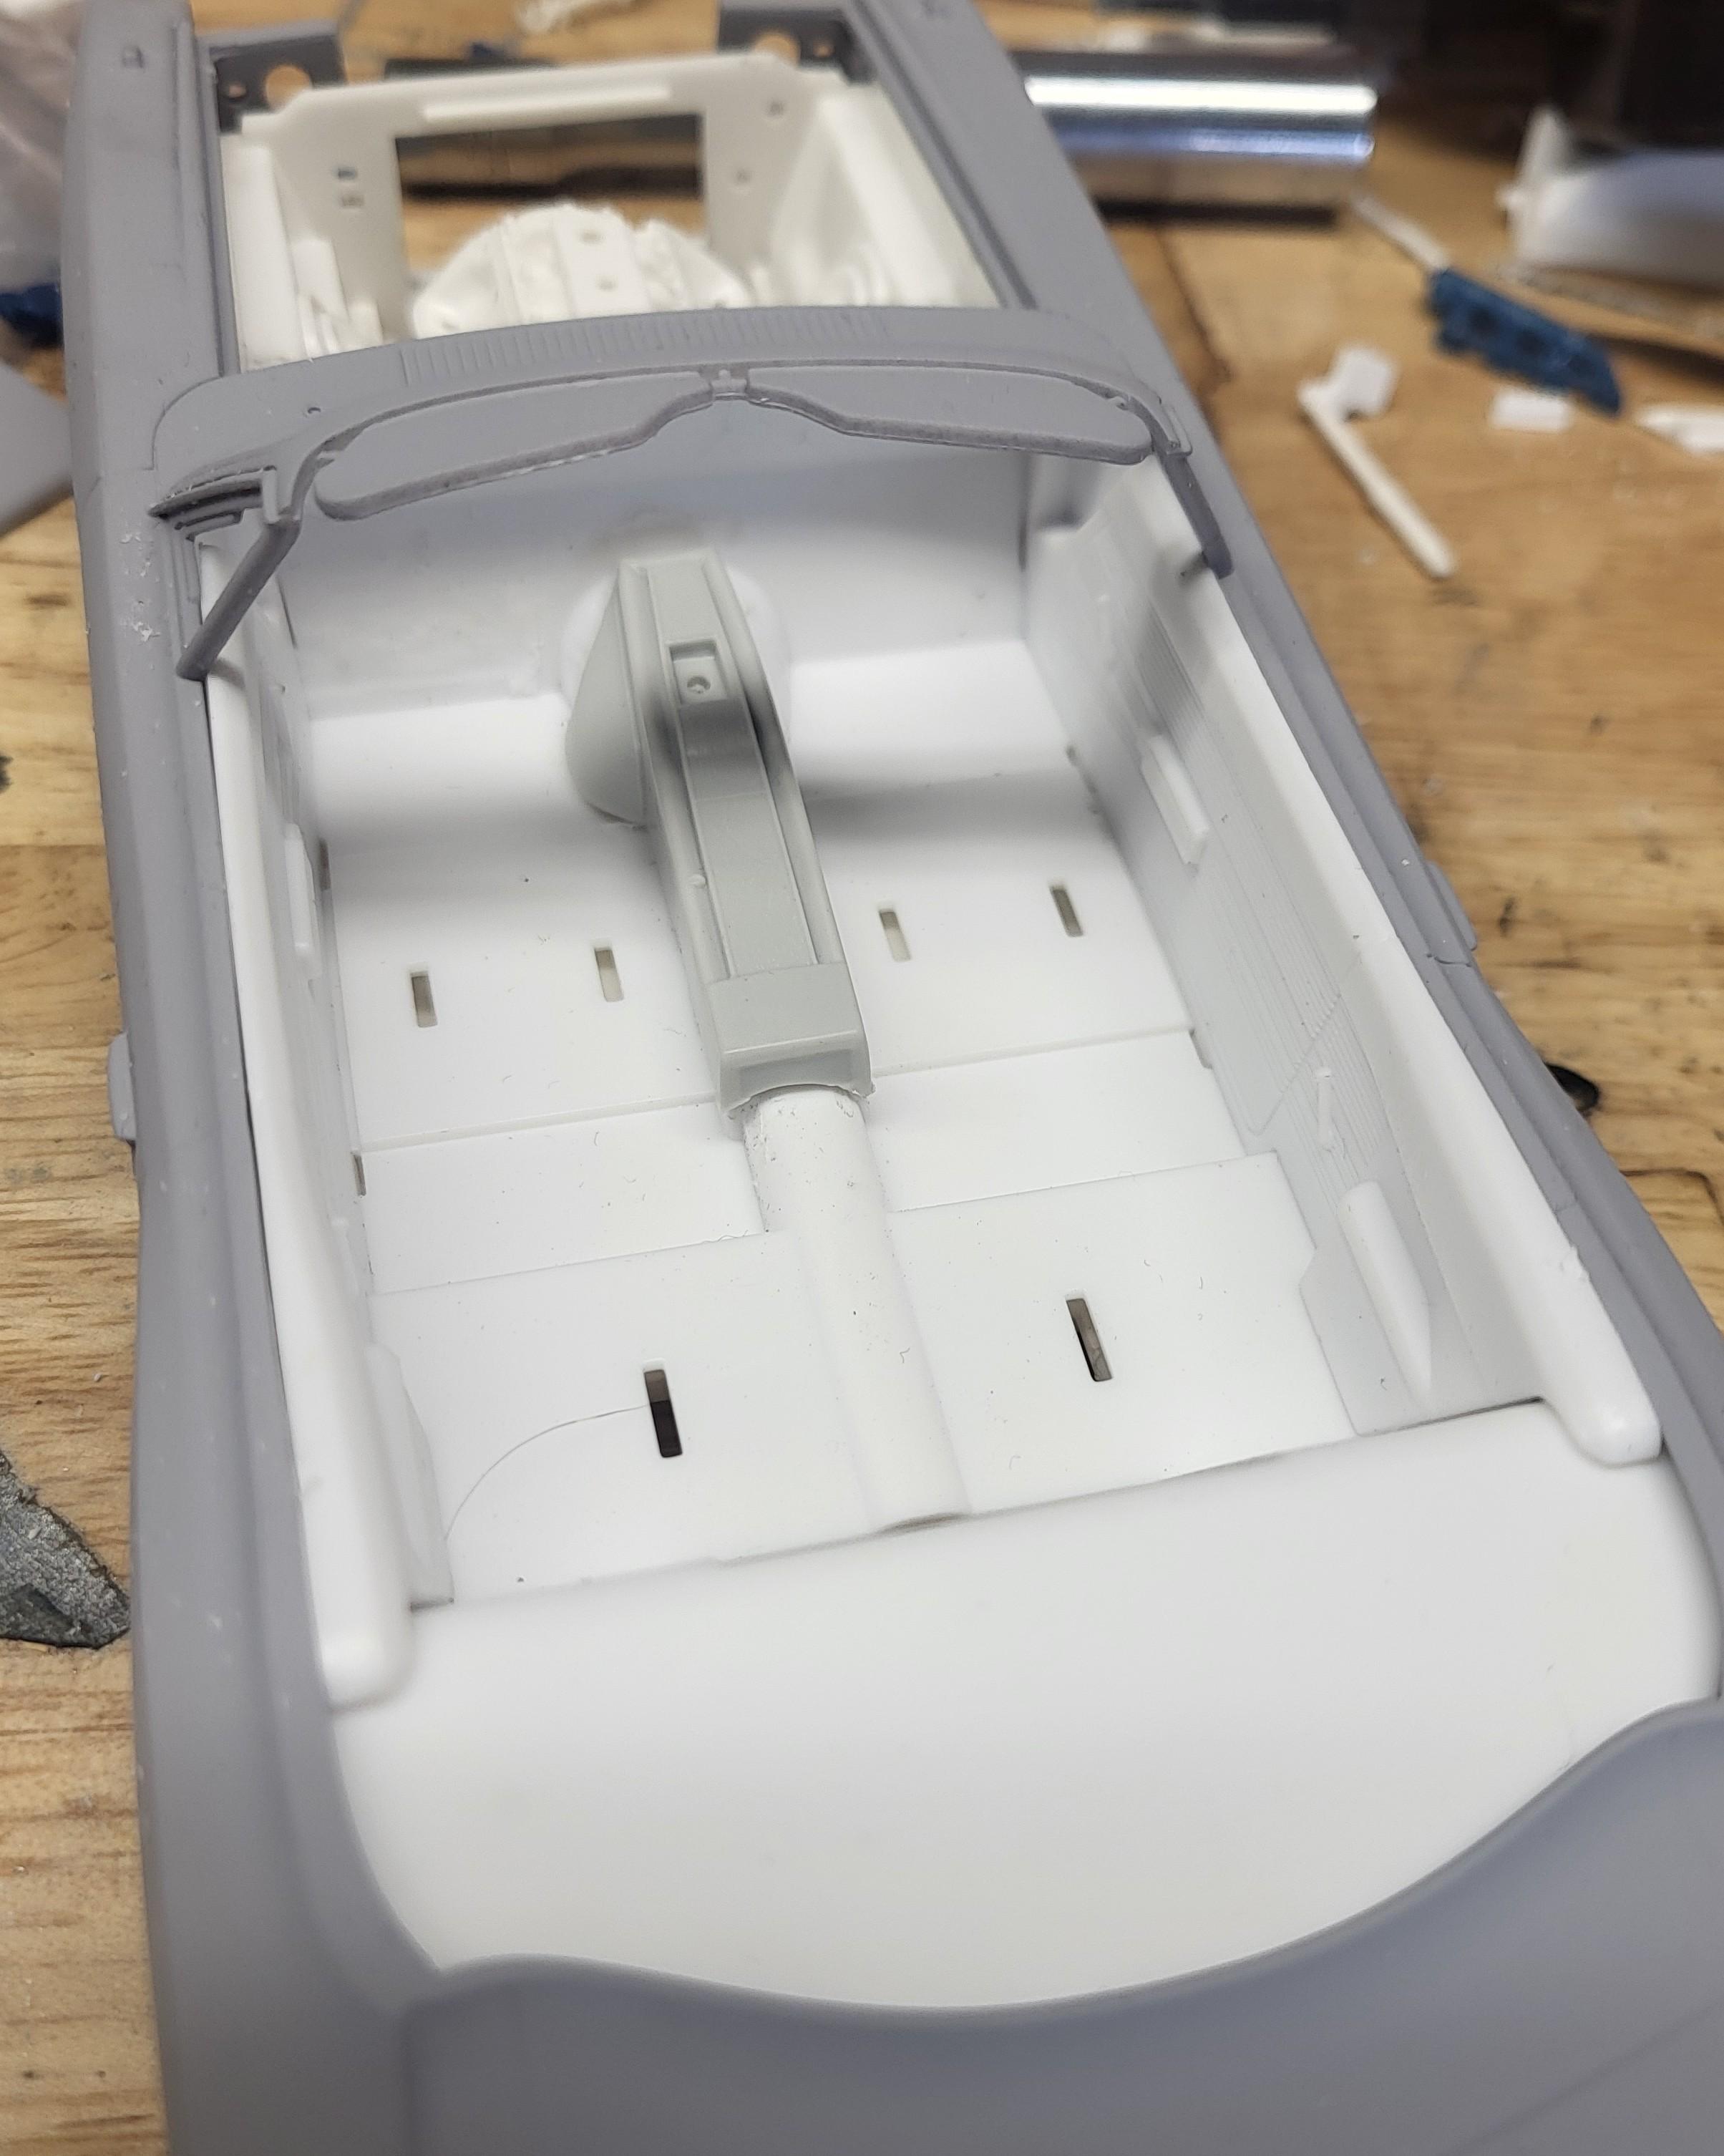
So far....so good. And easier than I expected honestly
-
blue streak tires
gtx6970 replied to earlleecliffton1's topic in Model Building Questions and Answers
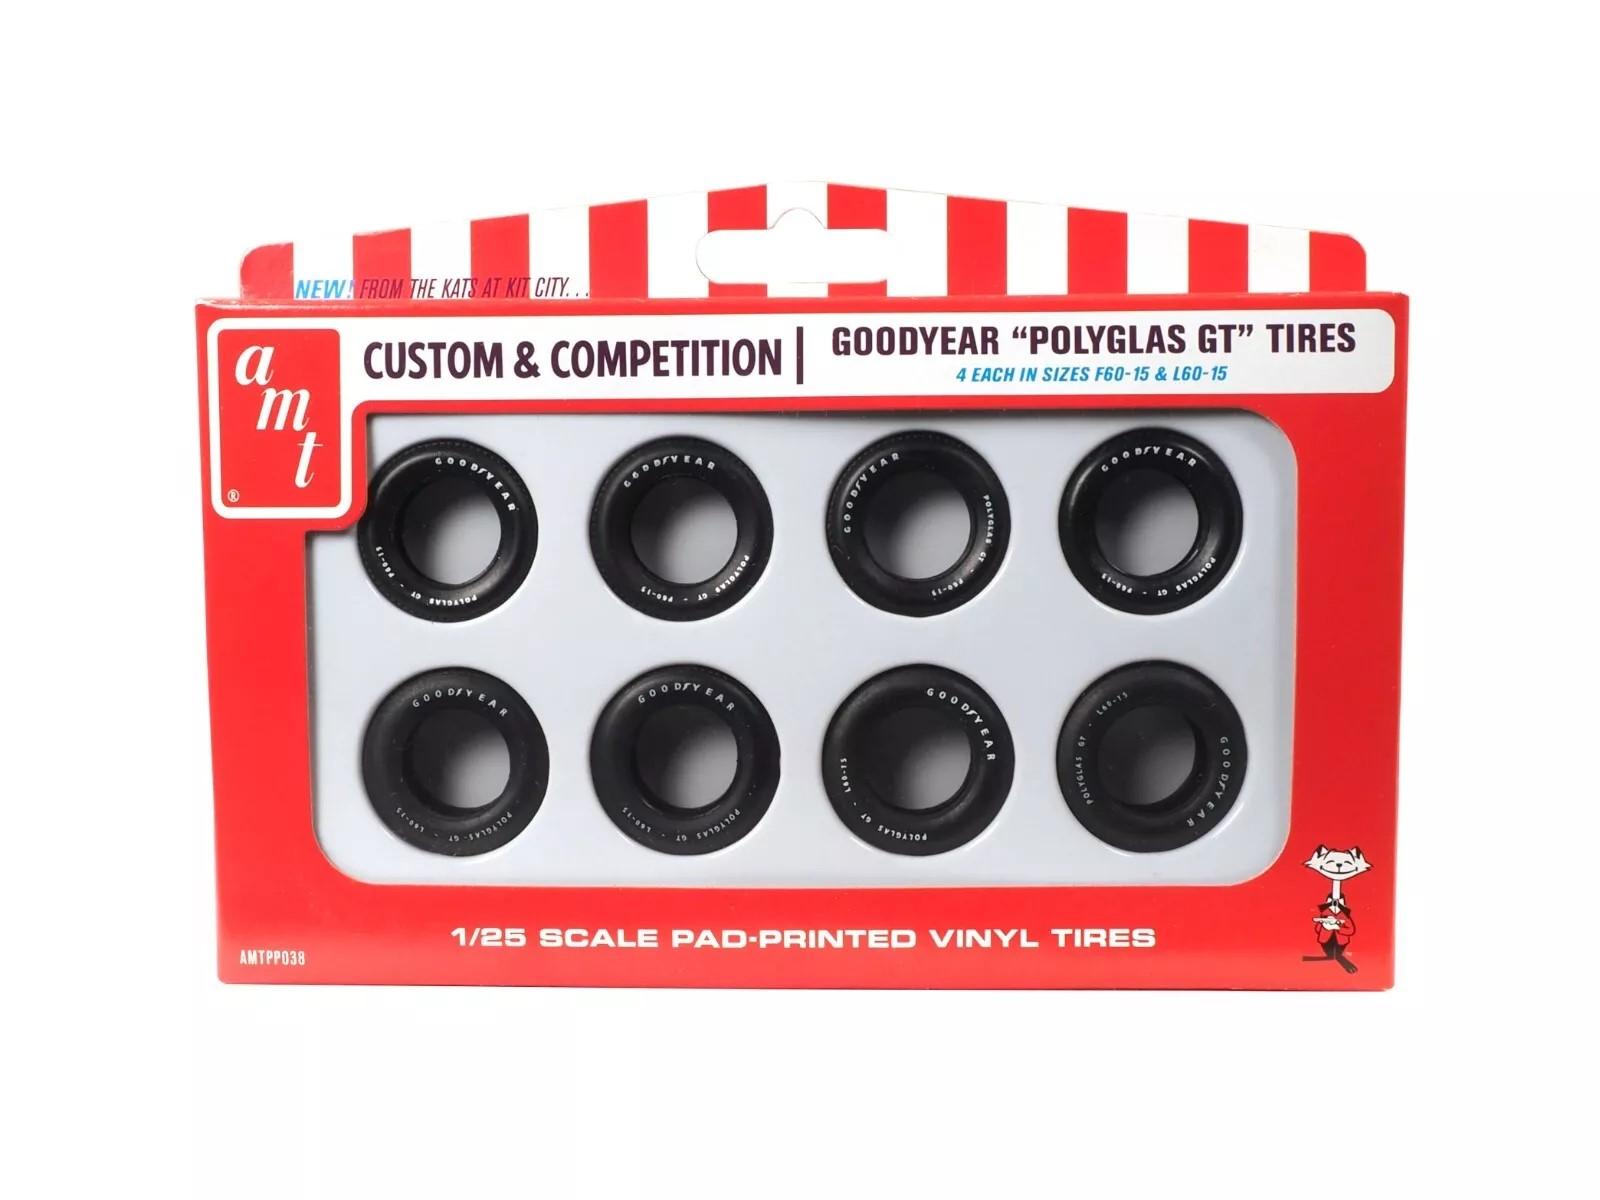
I have 2 of them Would trade them for a couple F60-15 pad printed tires , would like 4, but will settle for 2 OR the blue stripe slicks from the amt parts pack tires or, 4 of the new Firestone tires in the new Demon kt or the red line tires from the new 68 Coronet hardtop
-
blue streak tires
gtx6970 replied to earlleecliffton1's topic in Model Building Questions and Answers
I'll have to ck this weekend, But I MIGHT have a couple -
MPC Coronet with Revell Charger chassis ??
gtx6970 replied to gtx6970's topic in Model Building Questions and Answers
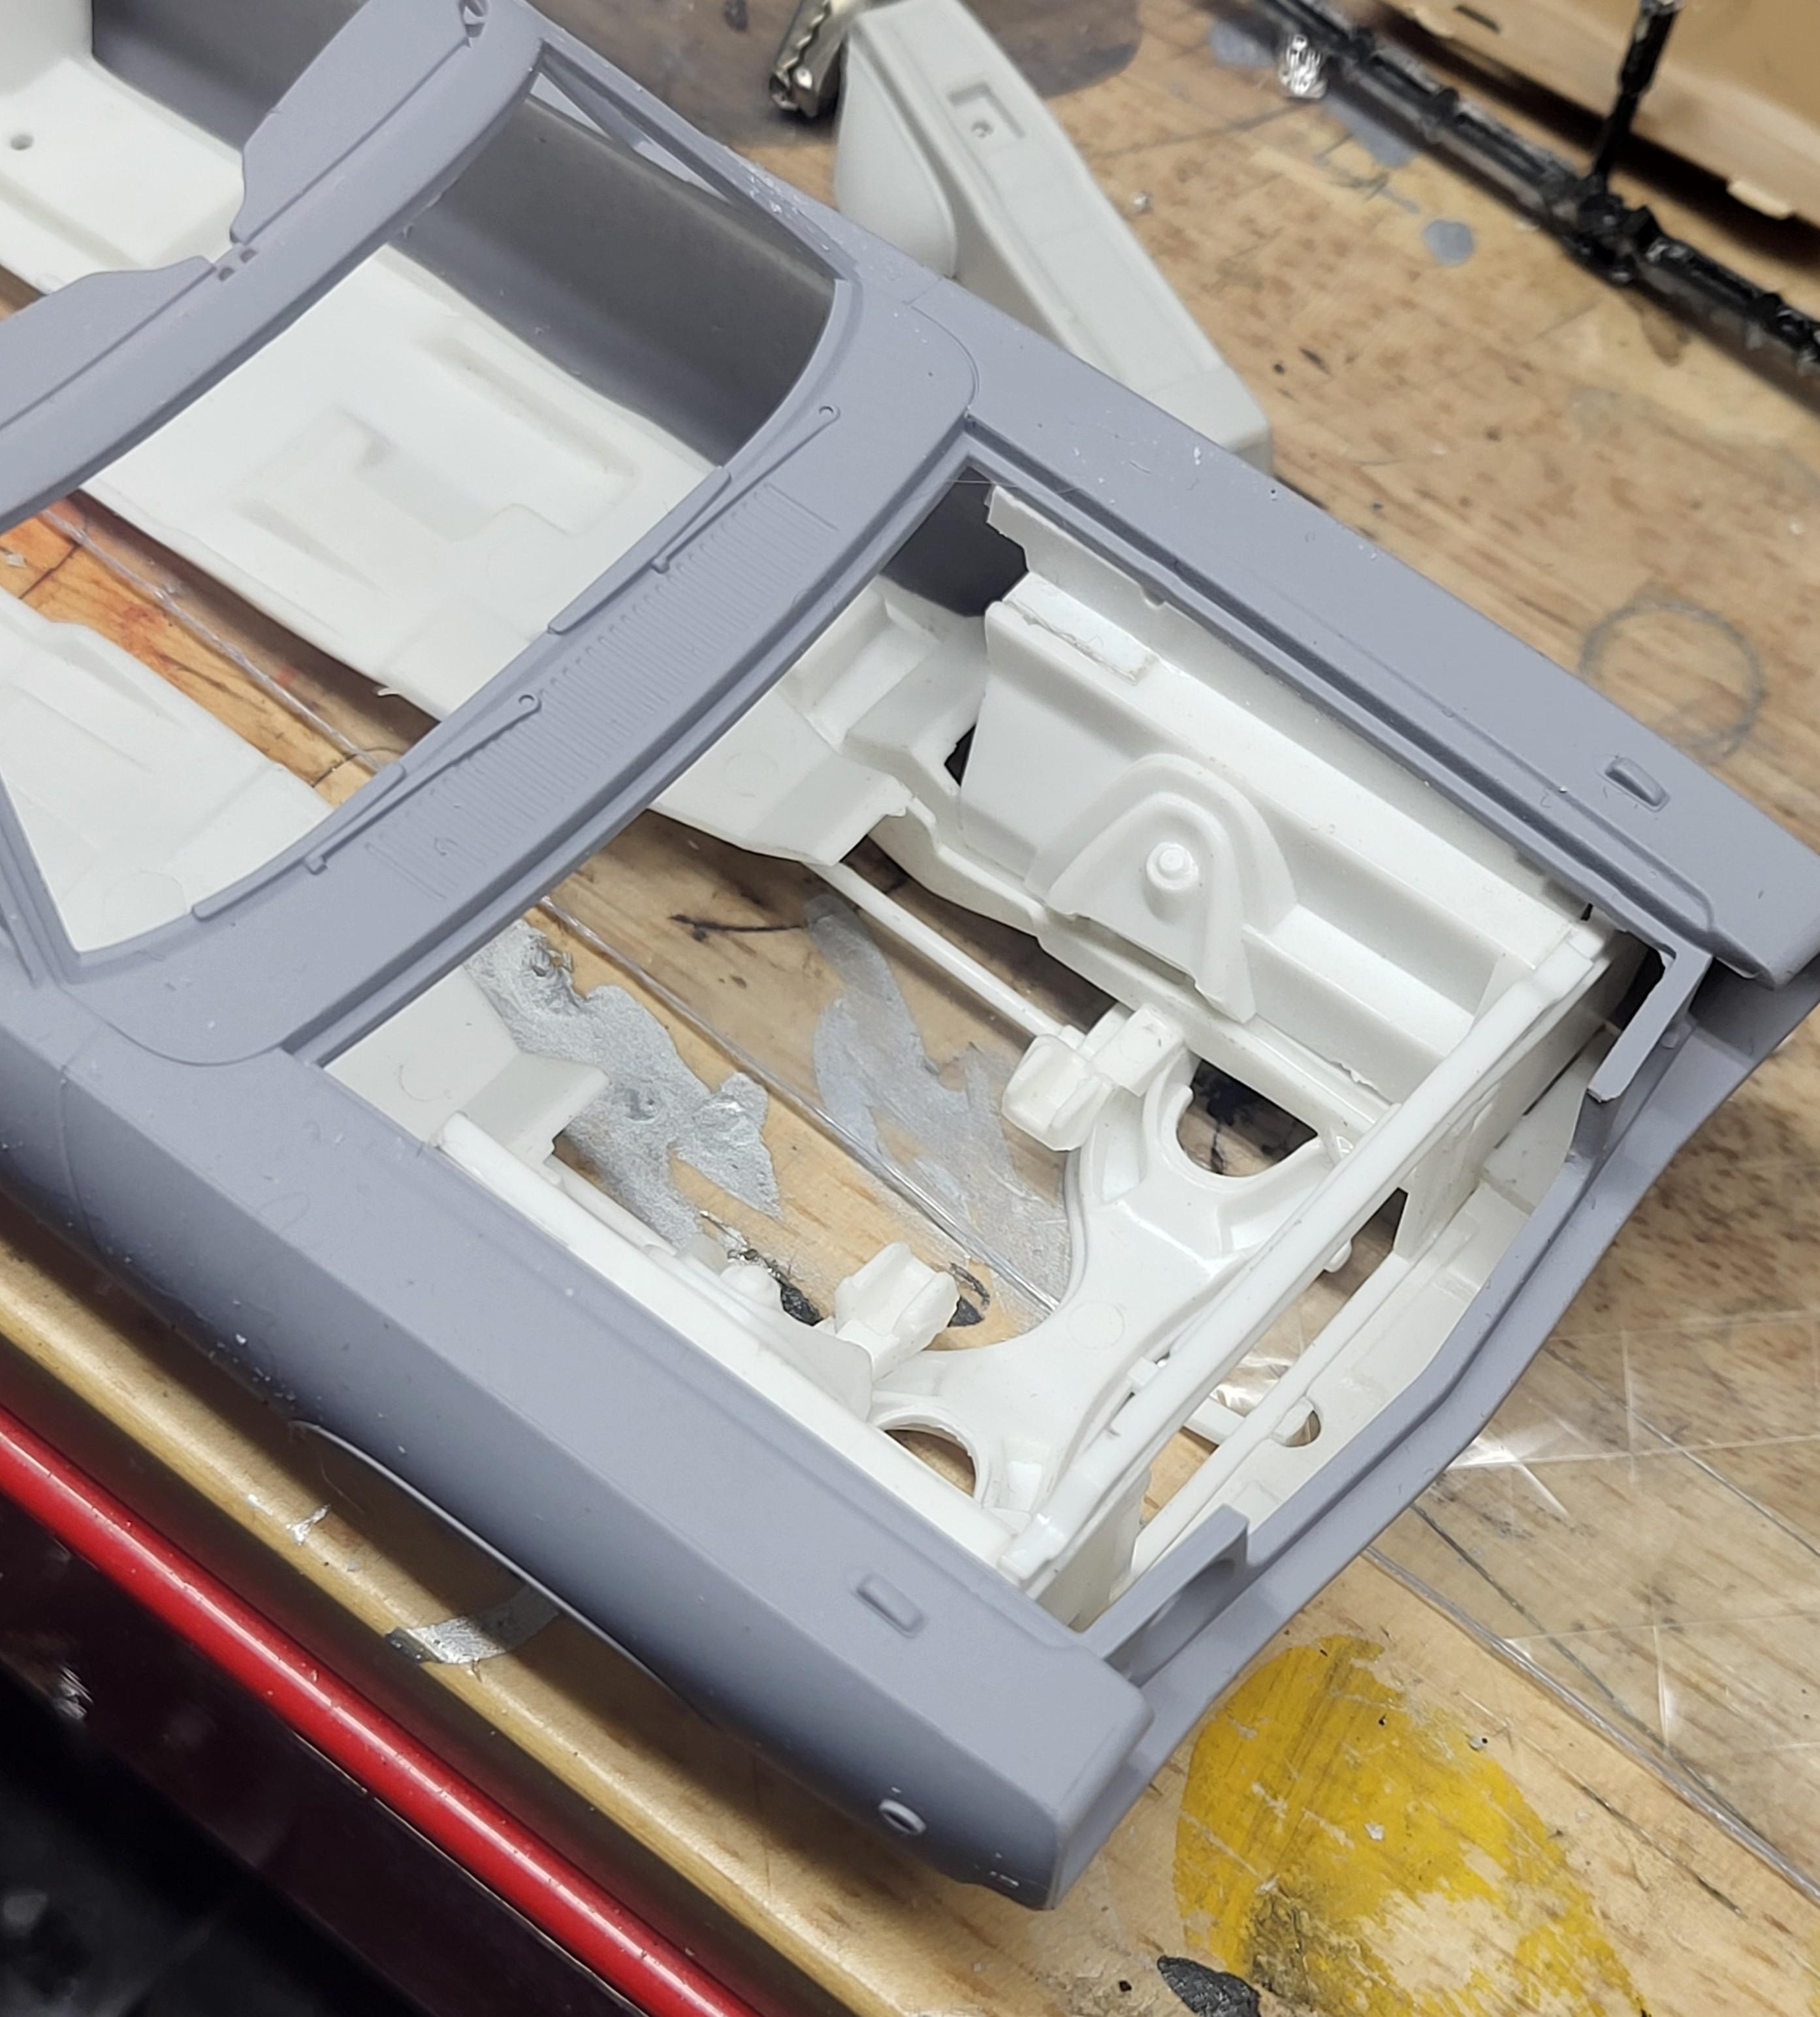
Problem solved. Im going to use the Revell Charger chassis ( actually a good portion of the kit ) entire driveline, chassis and all its suspension I dont have more than maybe a couple hours and the engine bay is almost a drop in ( from underneath btw ) Im sacrificing a Revell 1969 Charger kit So if anyone needs a body or interior, Hit me up I'm not going as far / or as deep into detail as Steve did. The car I'm trying to replicate is Hemi 4spd. So out of the box was out of the question. Thus Im all in now
-
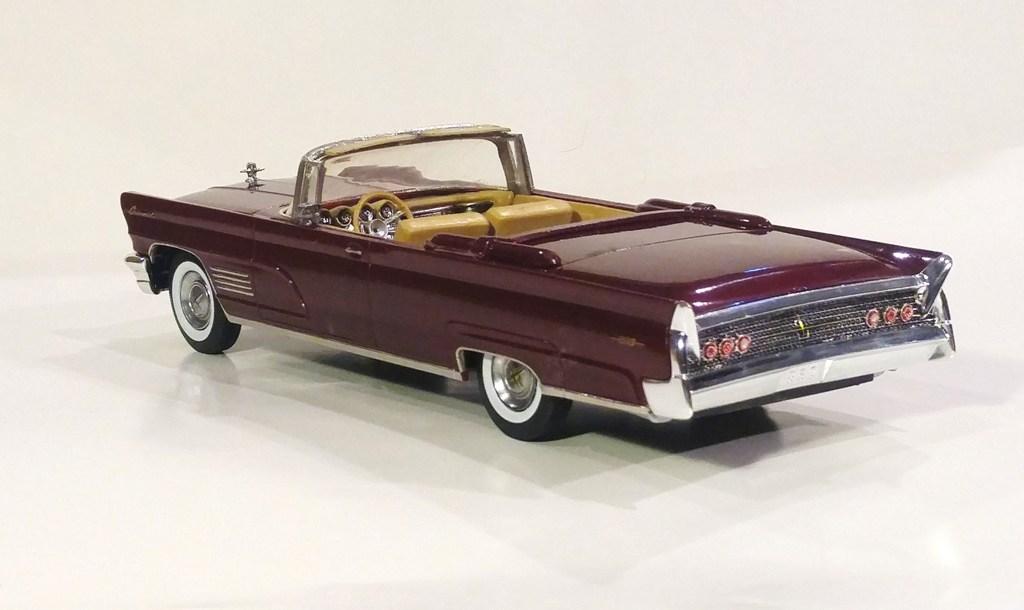
congrats ,,,,,They make for a super nice kit in the case. I rebuilt a 1960 a few years ago. and have a 59 in the stash , just no idea when I'll get to it
-
One can only wish . But that would be nice. I have one to replicate my own former car. But have been on the lookout for another one . No luck yet
-
Very nice I'm assuming resin wheels and hubcaps?
-
Thanks all. I got brave ( maybe stupid is more accurate ) But I decided it needed the wheel lip and side window opening chrome trim. To match the 1/1 car So I got the 2mm chrome pen out and made it happen. I held my breath the entire time. Im So glad that's over with Now it's done. And in the case...most likely never to re-emerge. Ps....all the chrome trim on this car is the molotow pens
-
Ok, one of these kits was avail to be built both with a wedge and a hemi So were the emblems on the doors a seperate piece ???
-
AMT 68 Road Runner tail light help.
gtx6970 replied to Brutalform's topic in Model Building Questions and Answers
there were / are both road runner and gtx tail lights avail in resin and 3d printed. I have some of the 3d printed versions But same here, dont remember who made them -
The Future of Revell...for 2024 at least.
gtx6970 replied to niteowl7710's topic in Car Kit News & Reviews
Anyone know the new tooled parts are in the Ford Longroof ? -
MPC Coronet with Revell Charger chassis ??
gtx6970 replied to gtx6970's topic in Model Building Questions and Answers
Thanks Steve Your conversion gives me food for thought. Did you have any interference issues between the interior tub to the chassis plate Or did you use the Chargers interior Floor and modify it. Is your engine bay glued to the body ? I assume those are resin wheels tires hubcaps ? I will need that same tire wheel combo for sure. I'm wanting to build a replica of a friend's 1 of 1 1968 Hemi RT convertible. But not 100% sure just how much conversion effort I have in me anymore for that kind of work / detail. -
Sharp looking Nova
-
Thanks but stripes alone doesnt help me.
-
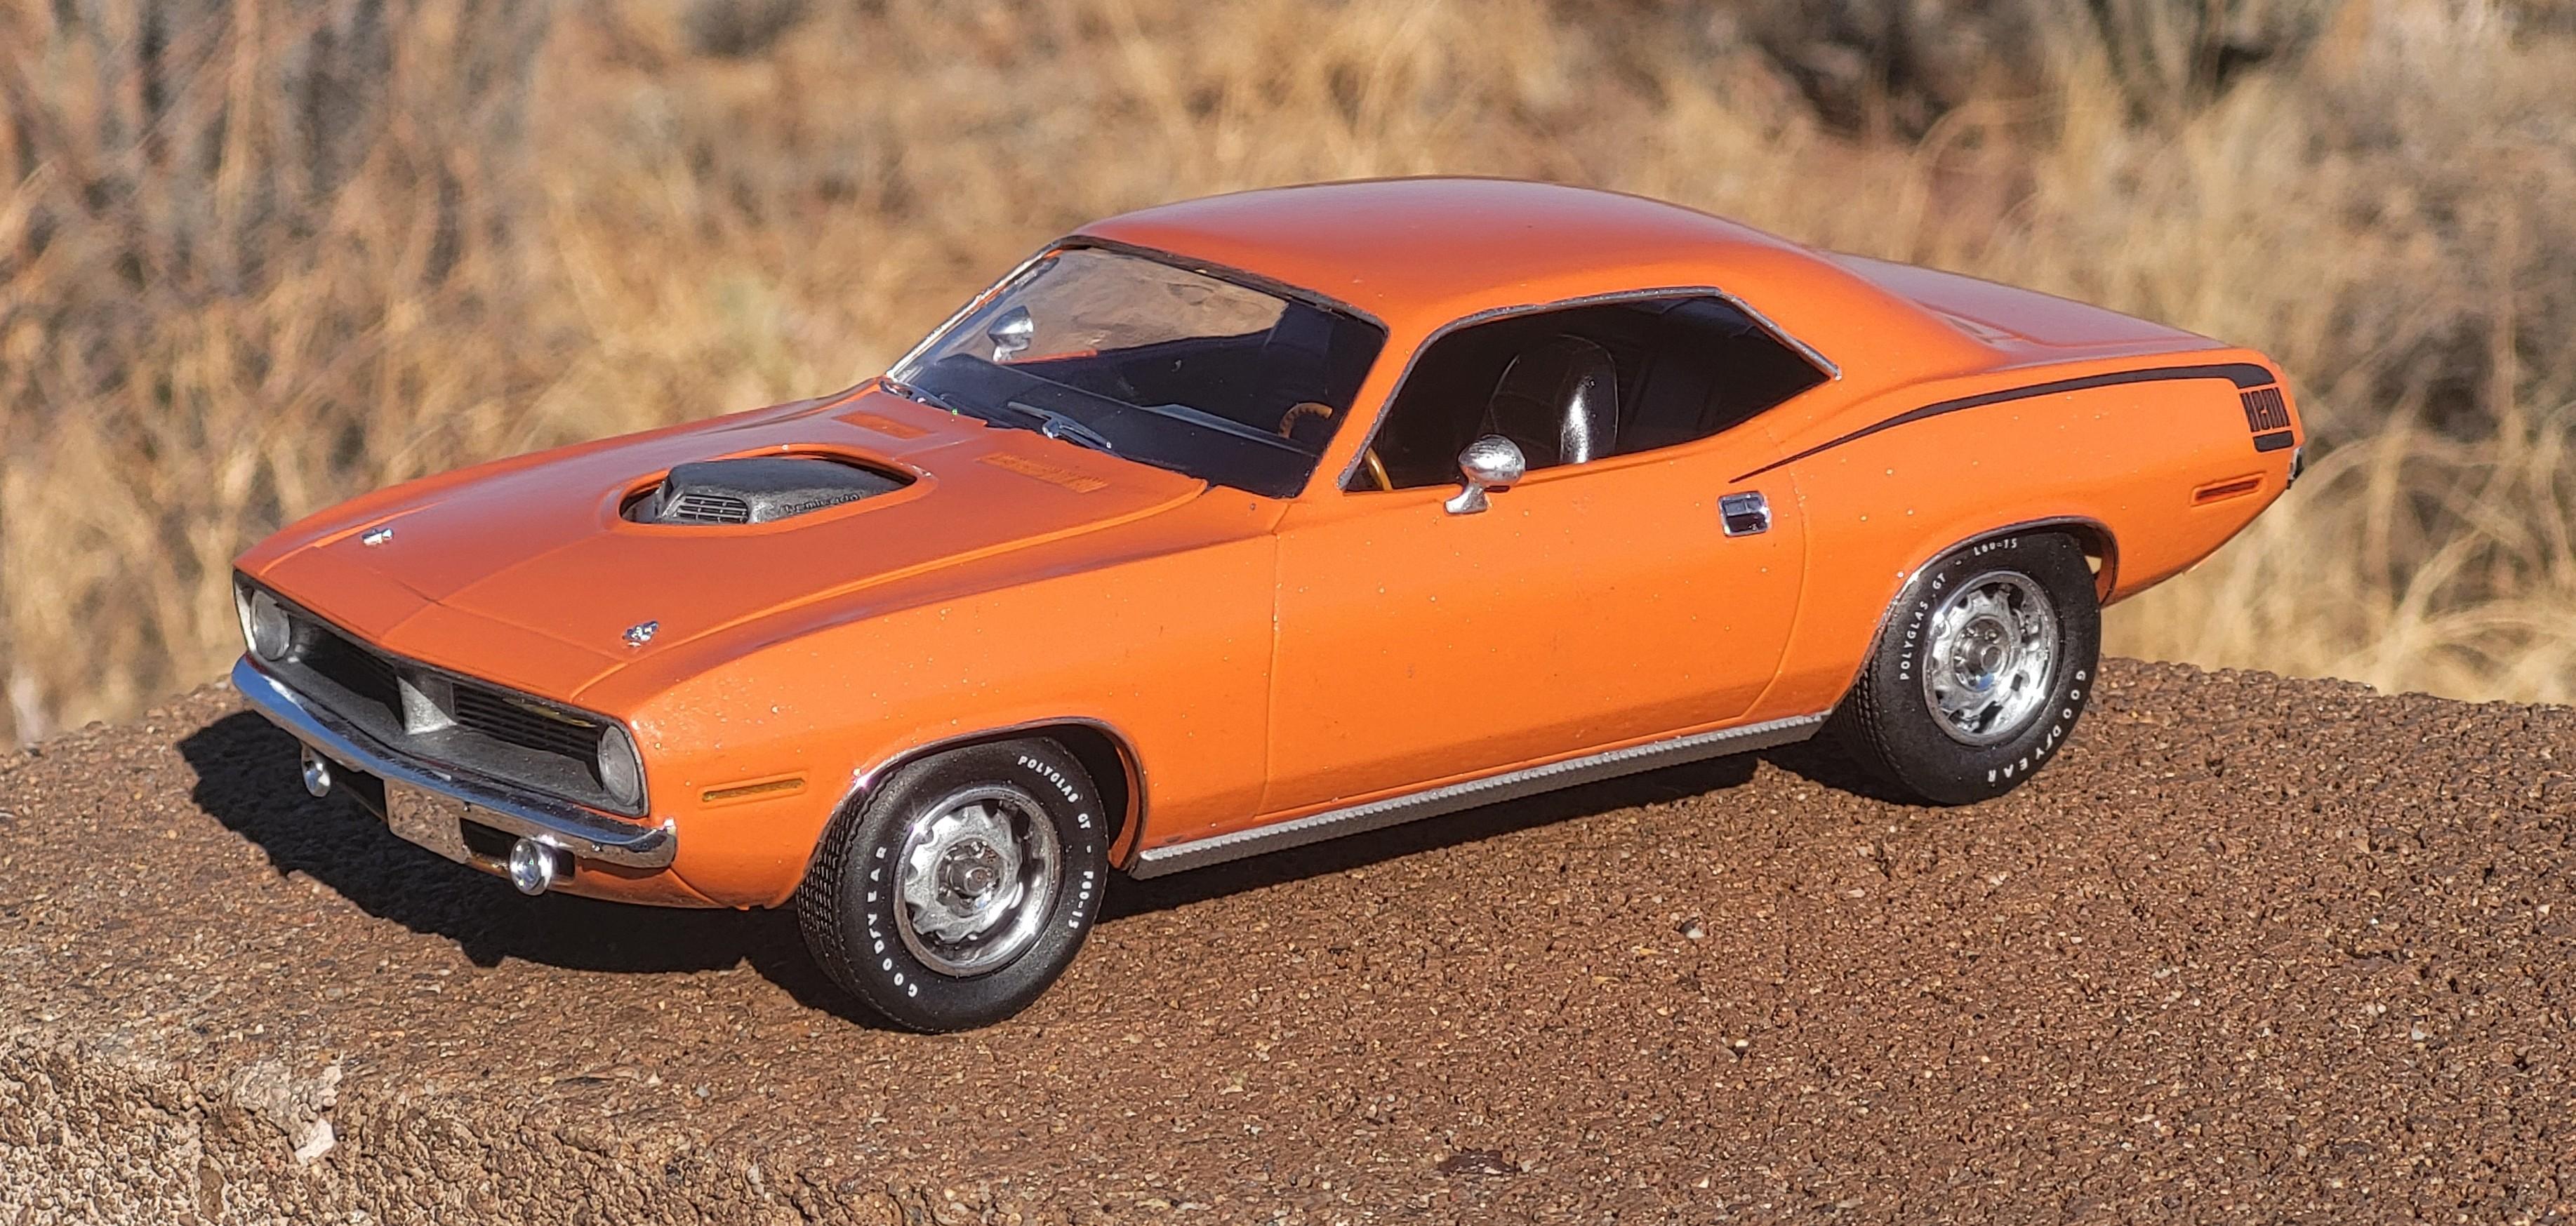
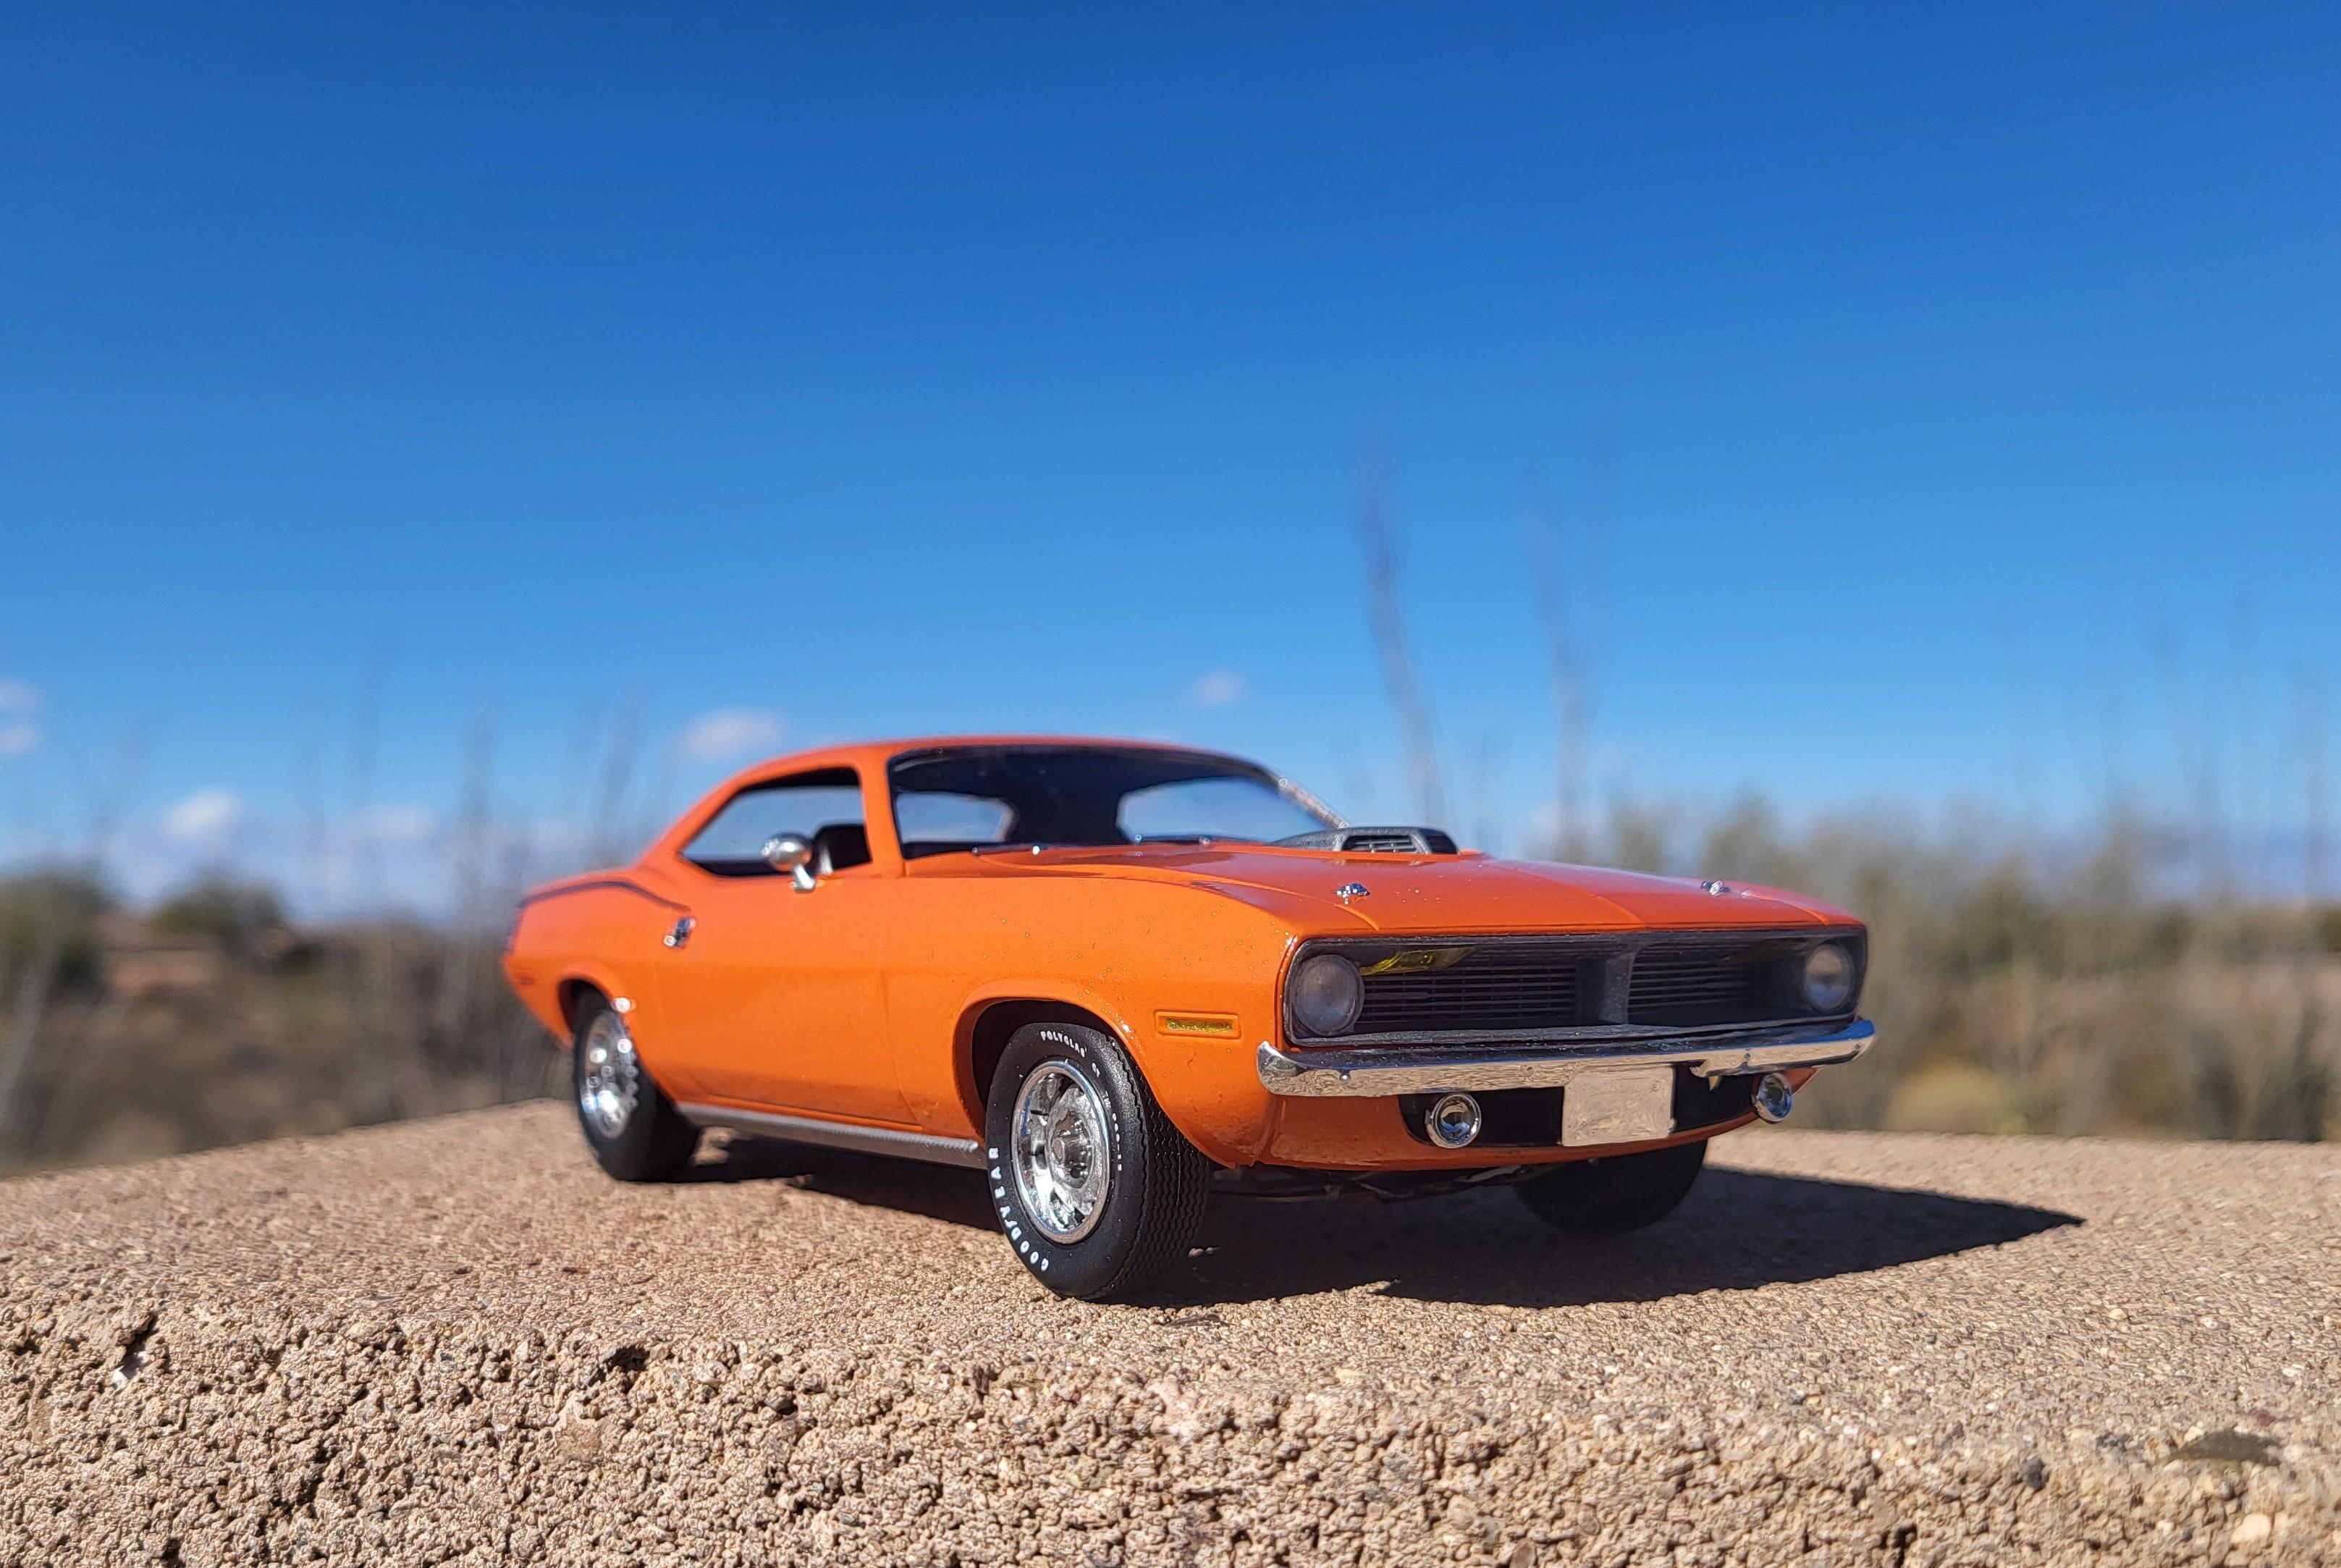
The actual car it replicates I plan to do his 6pack RT/SE Challenger as well someday
-
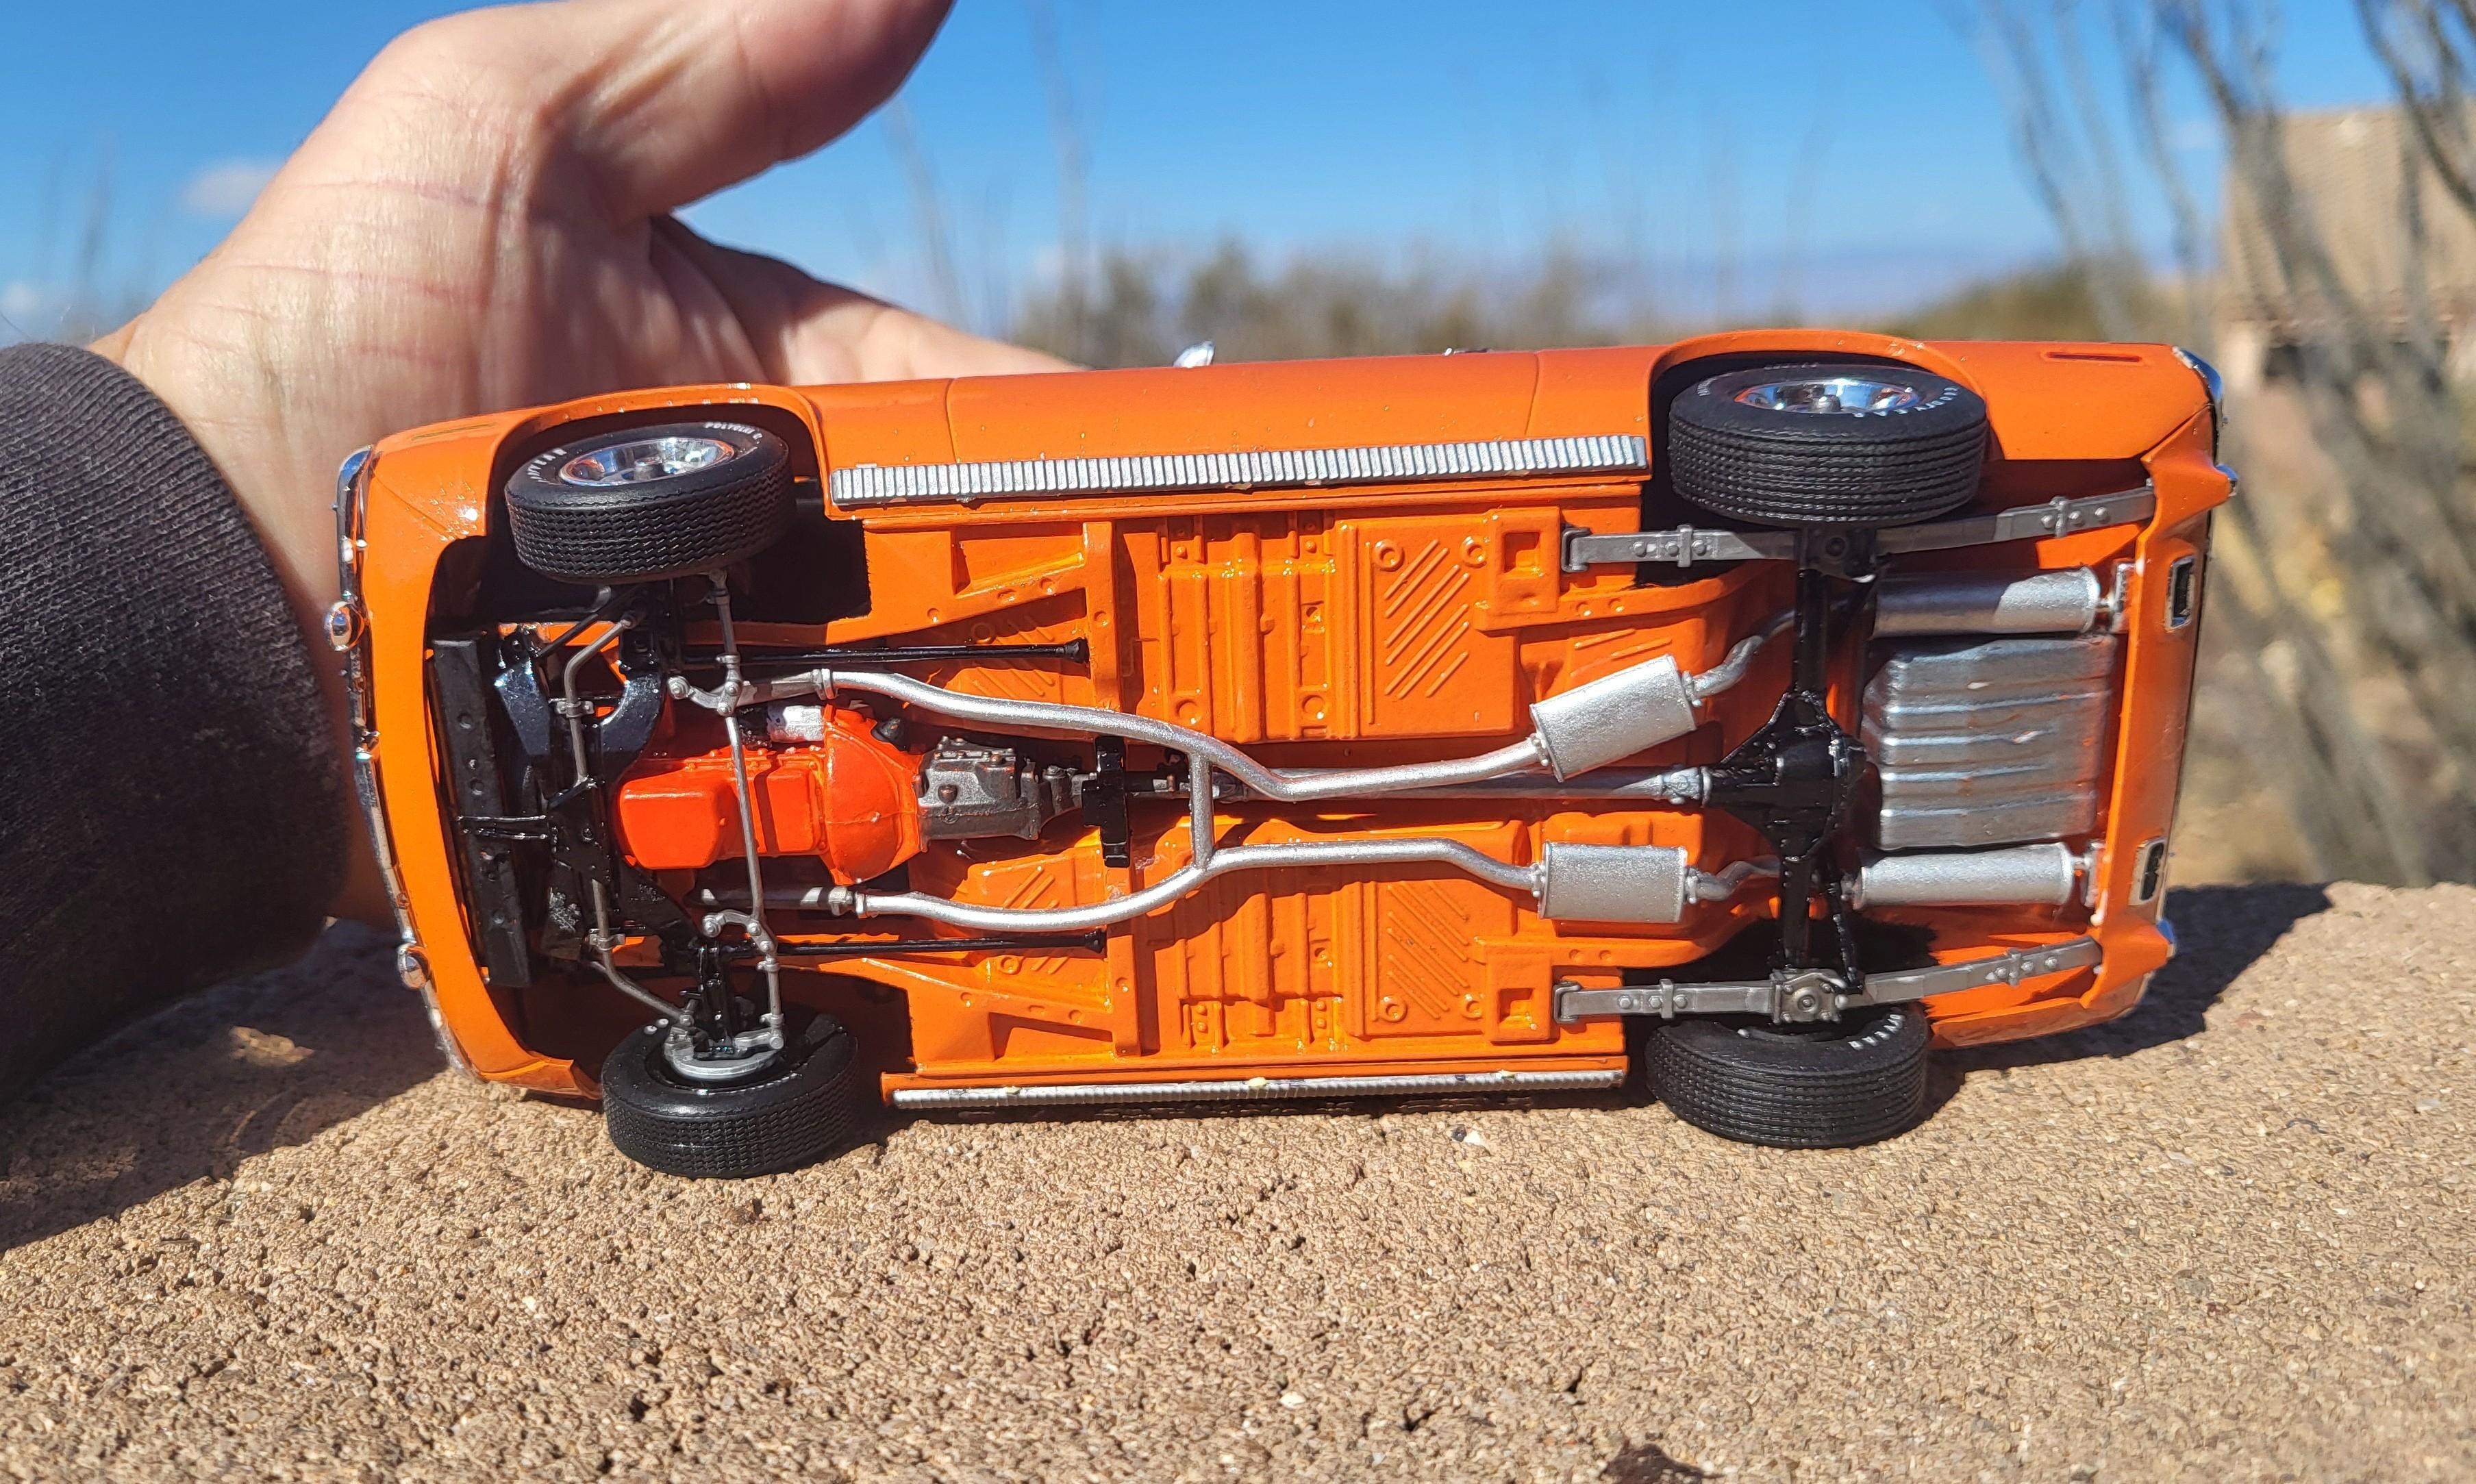
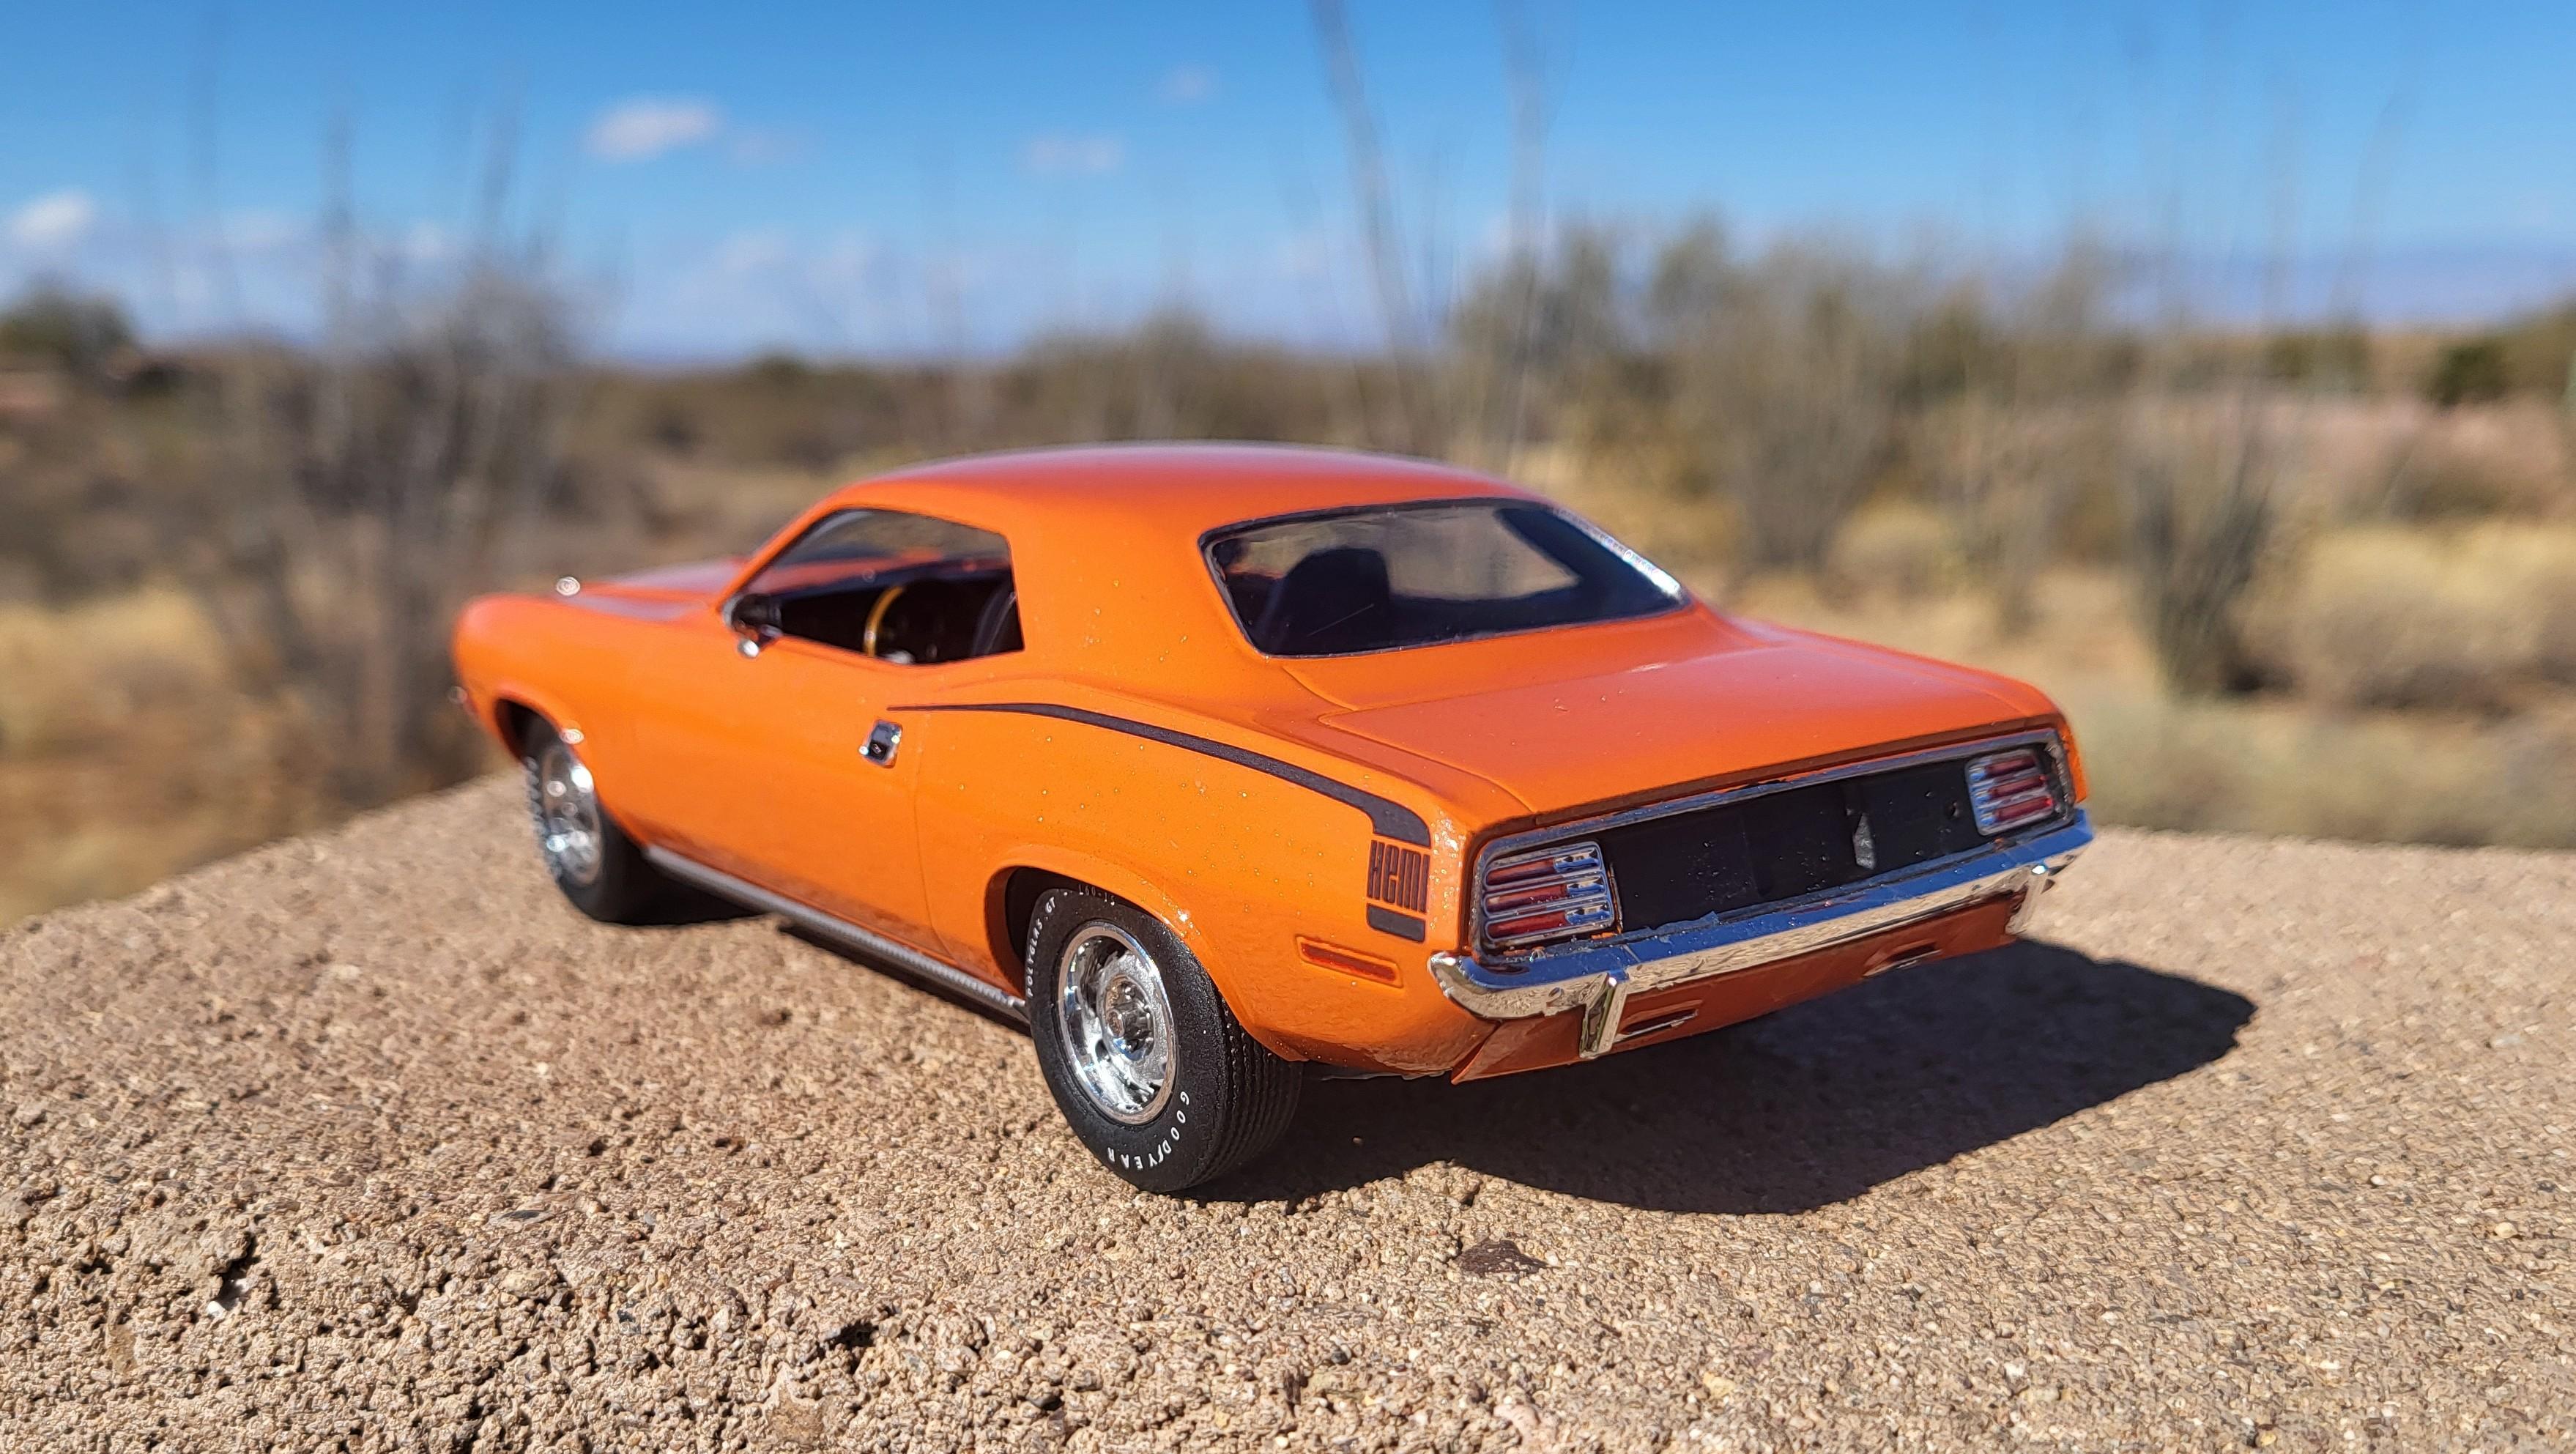
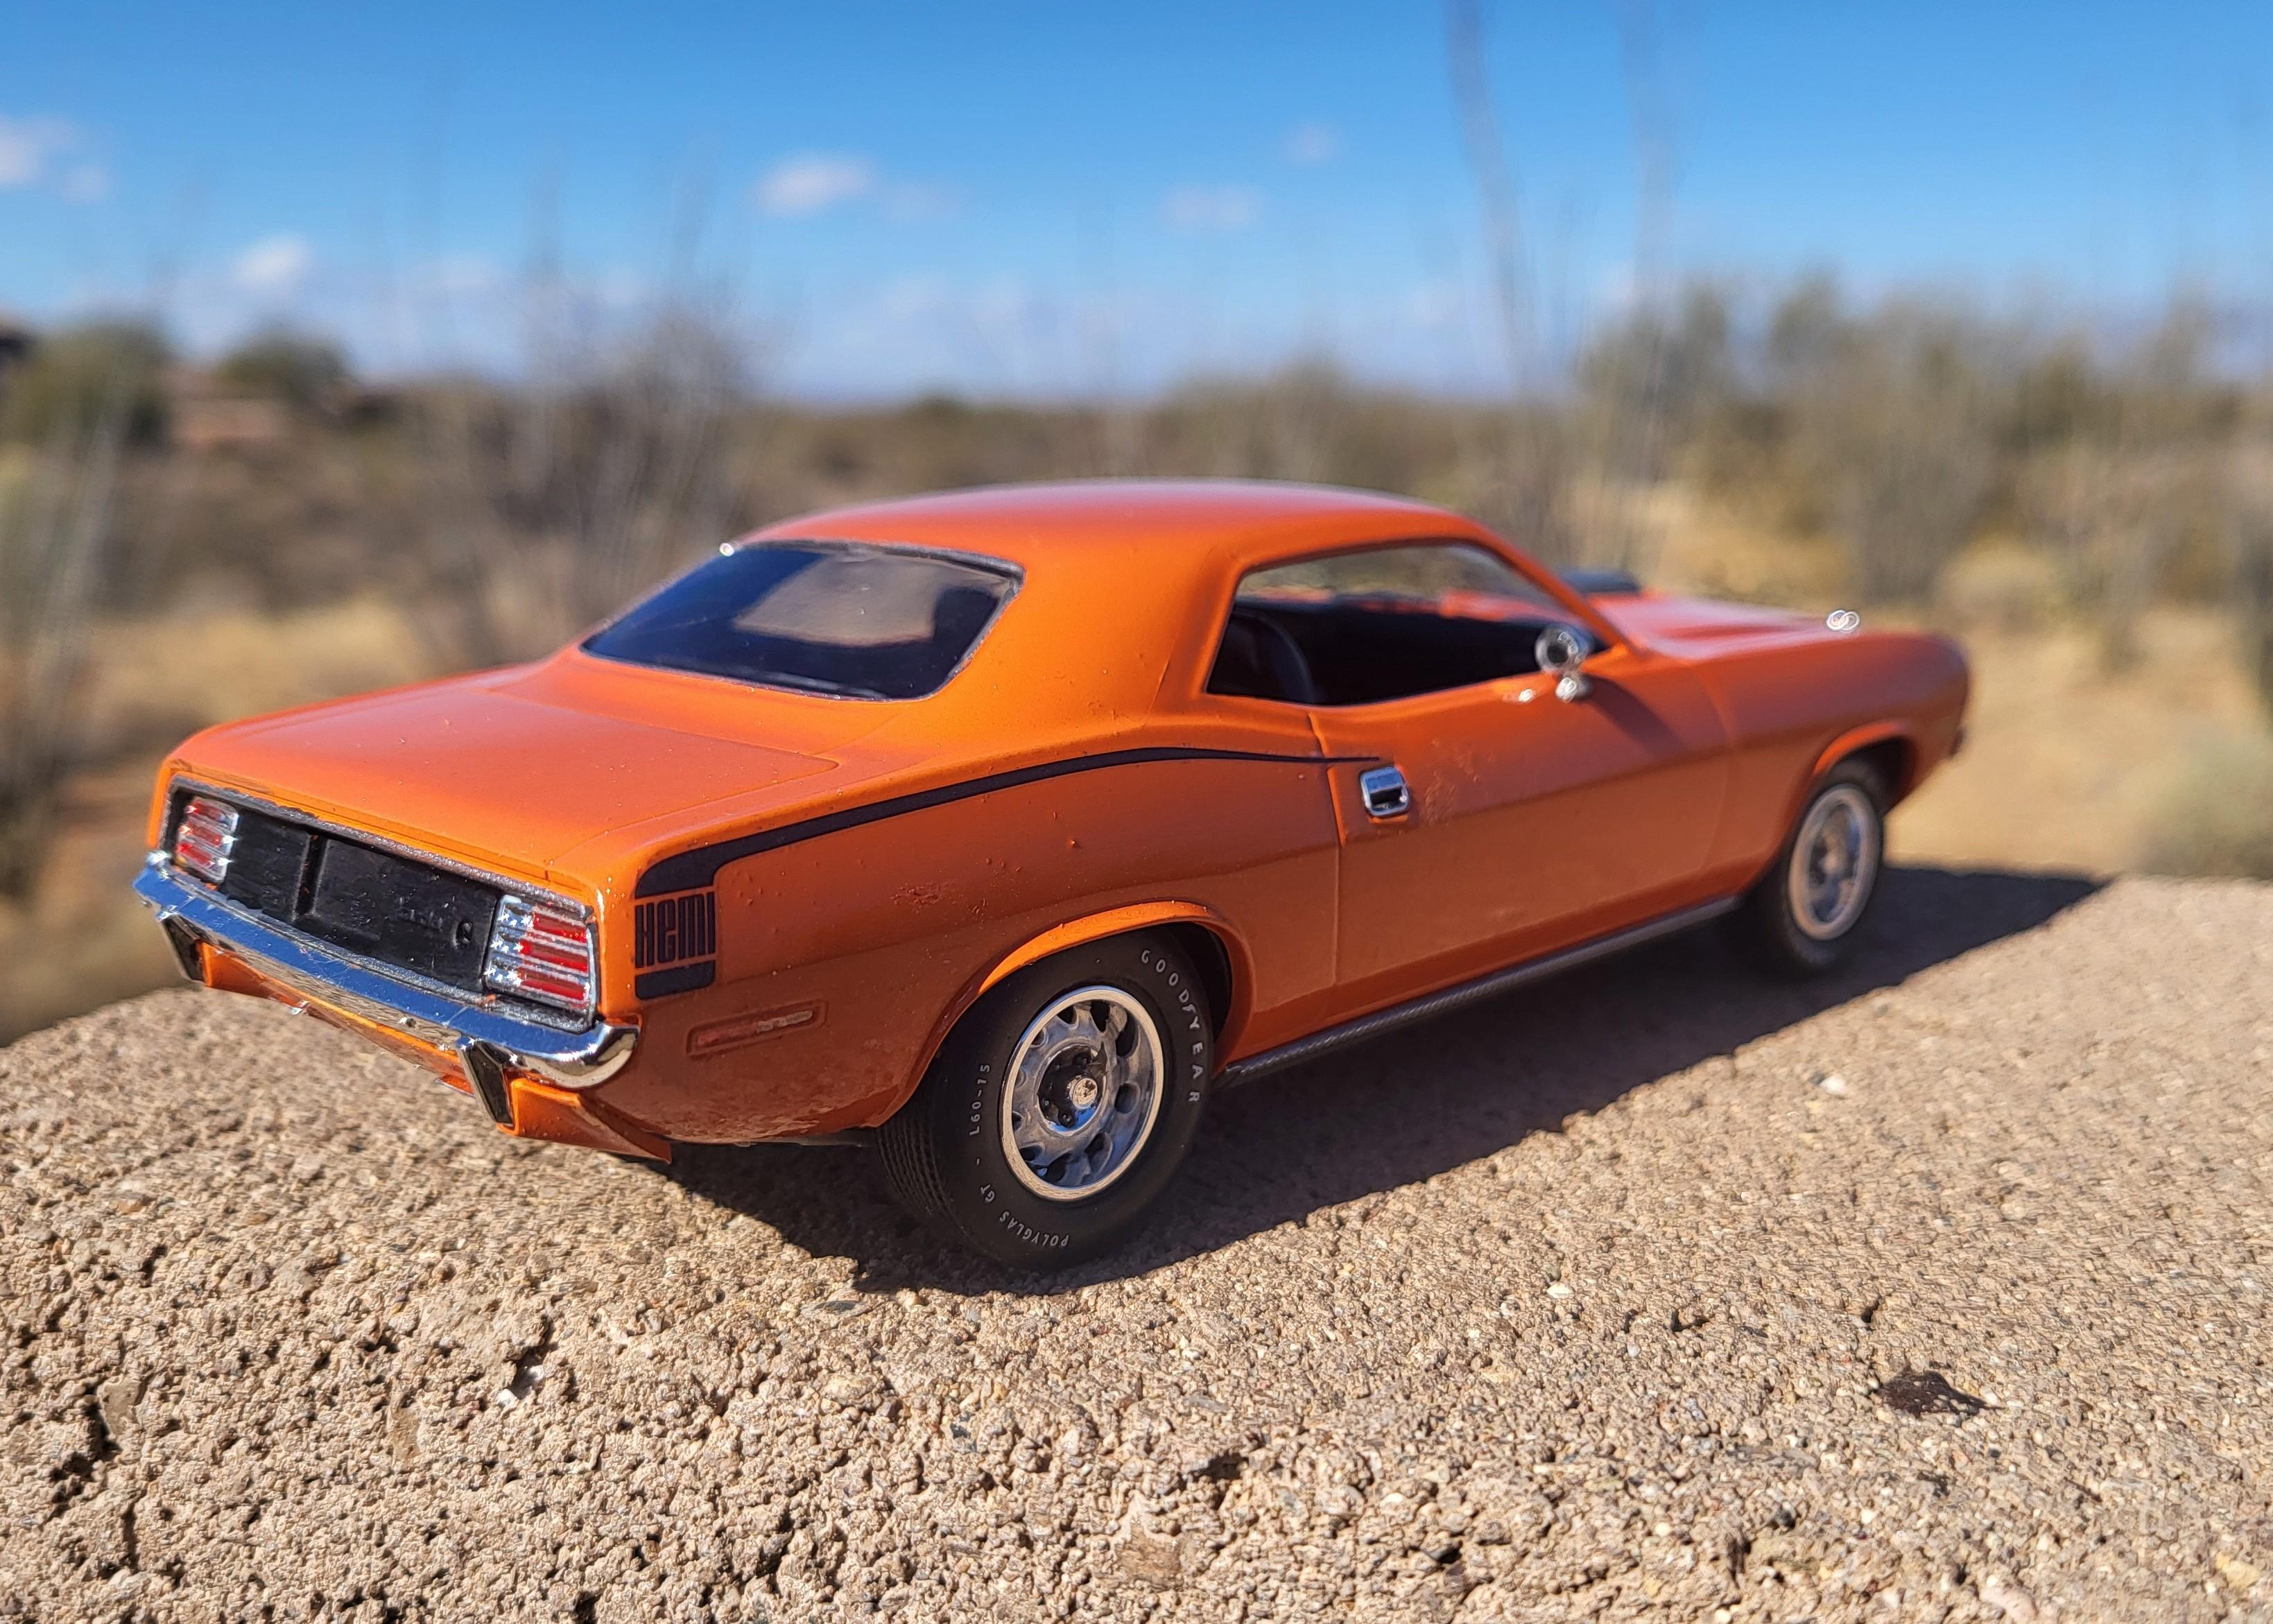
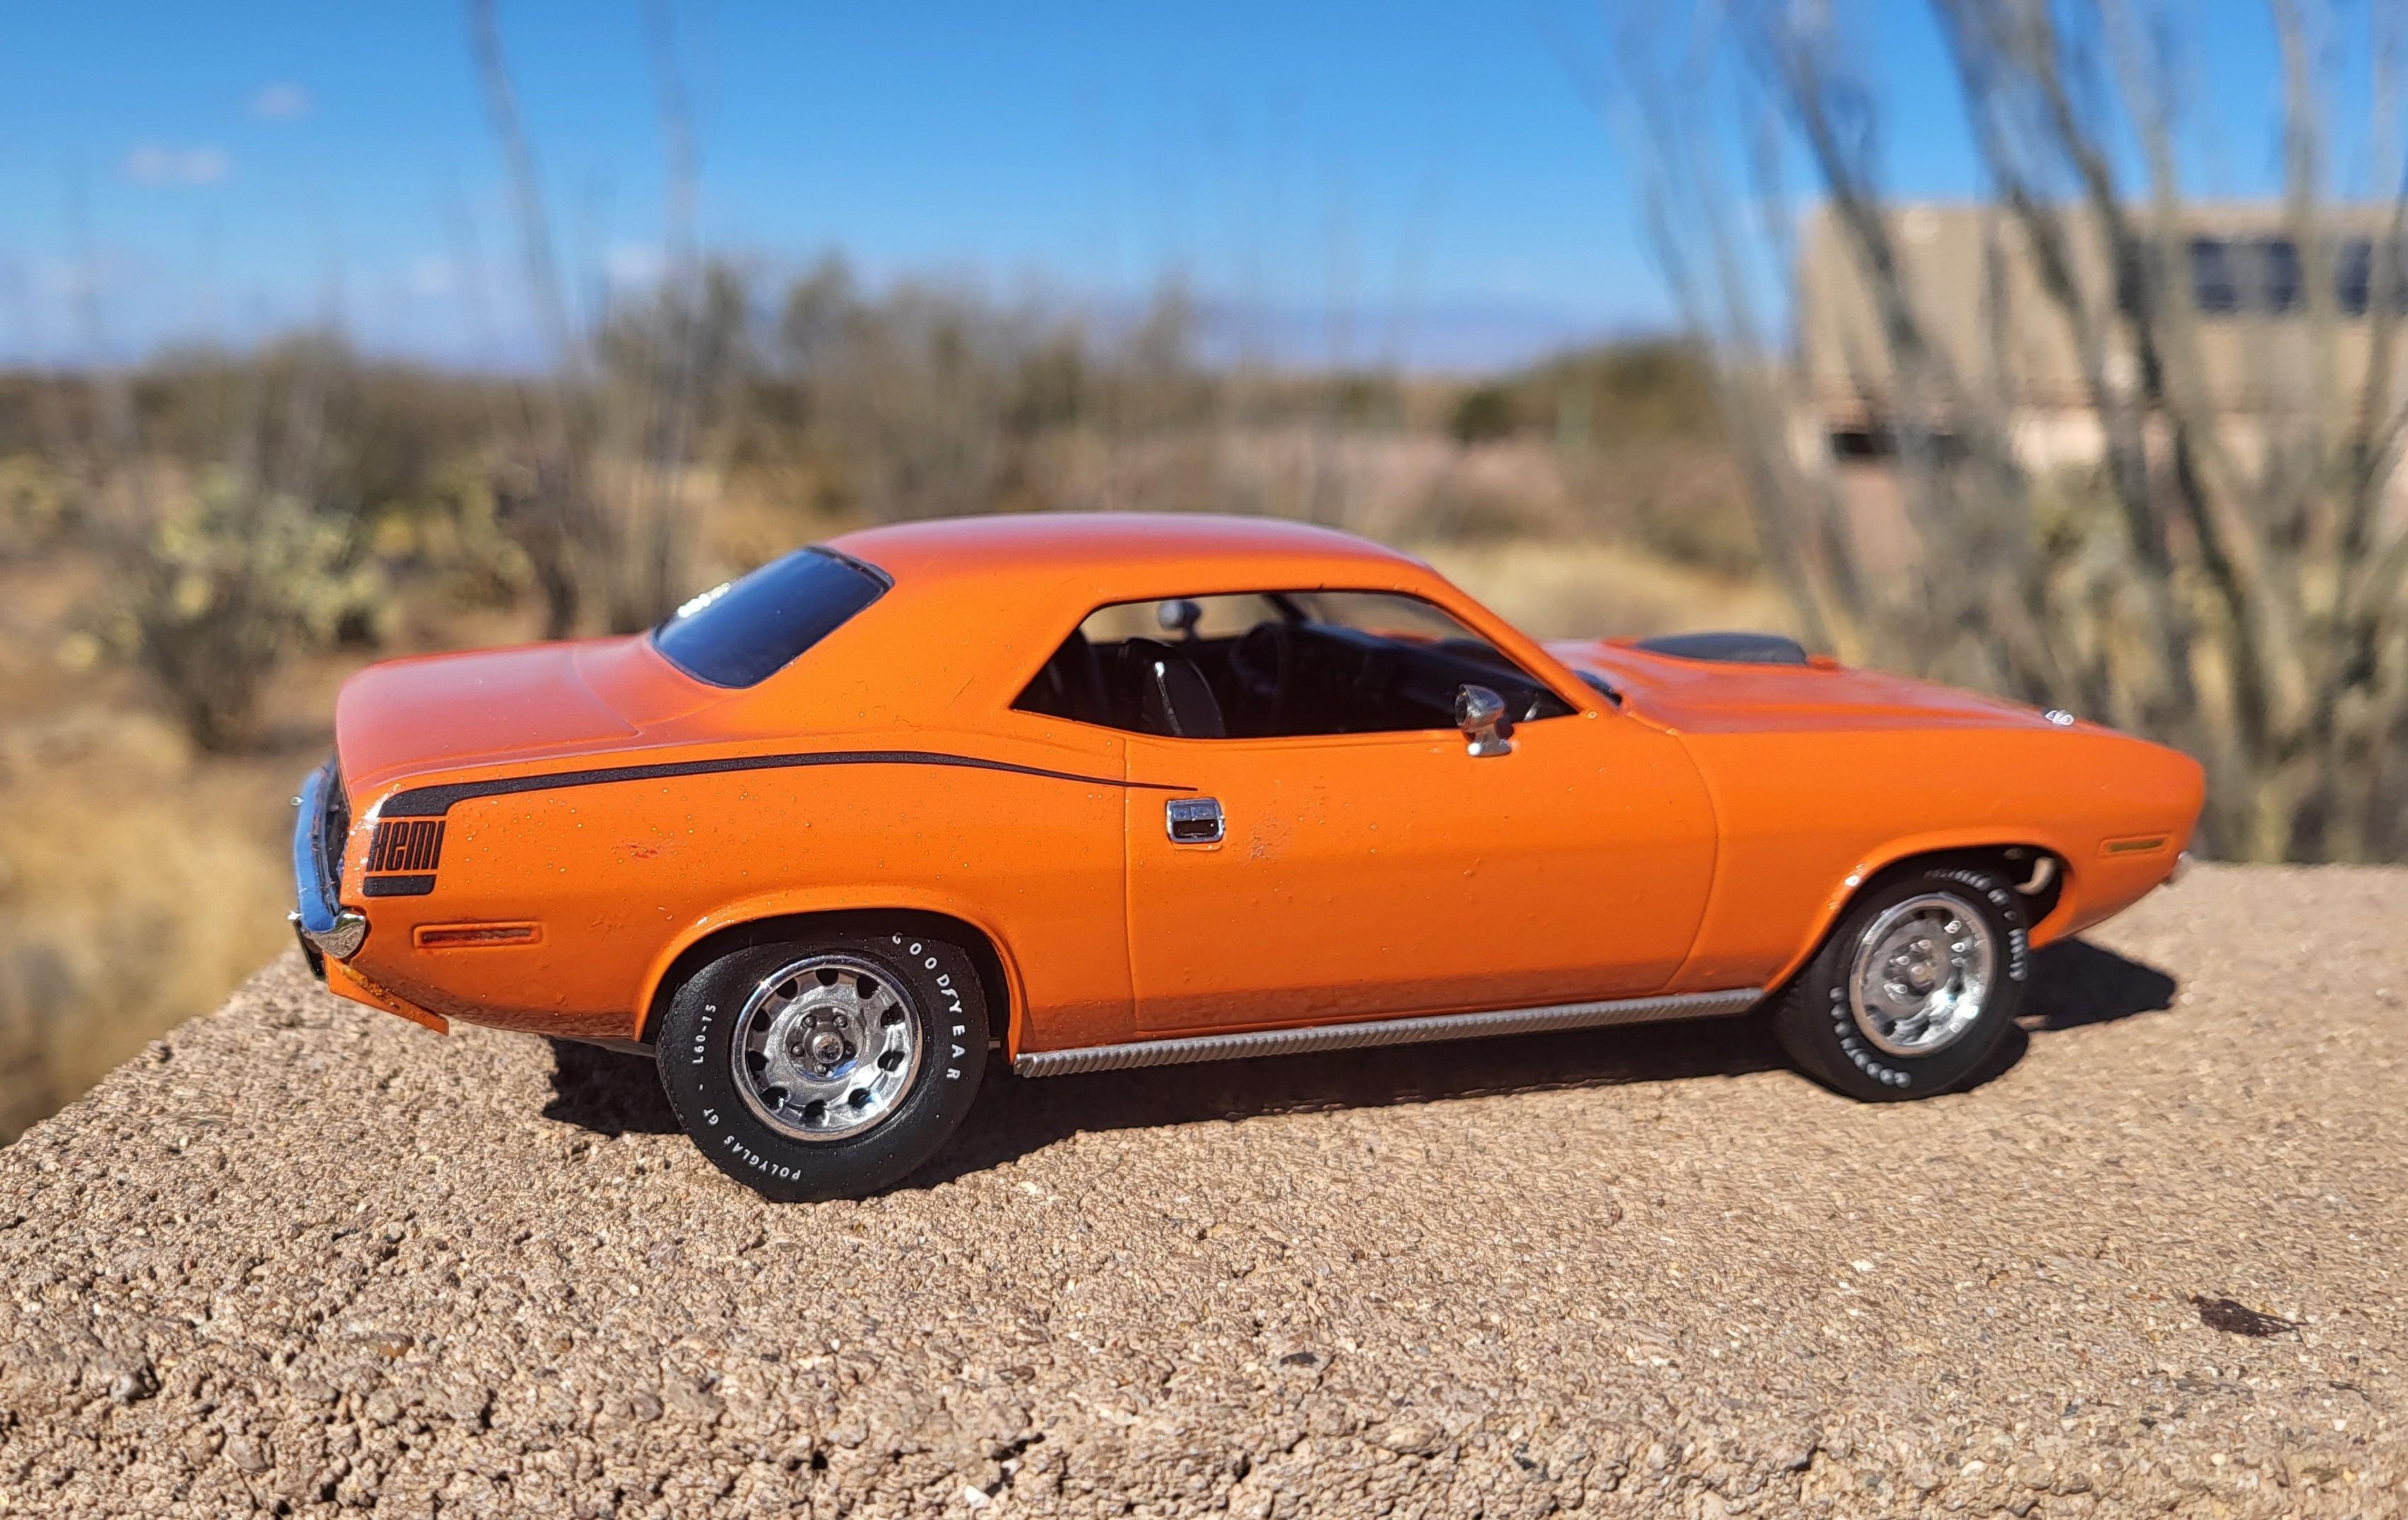
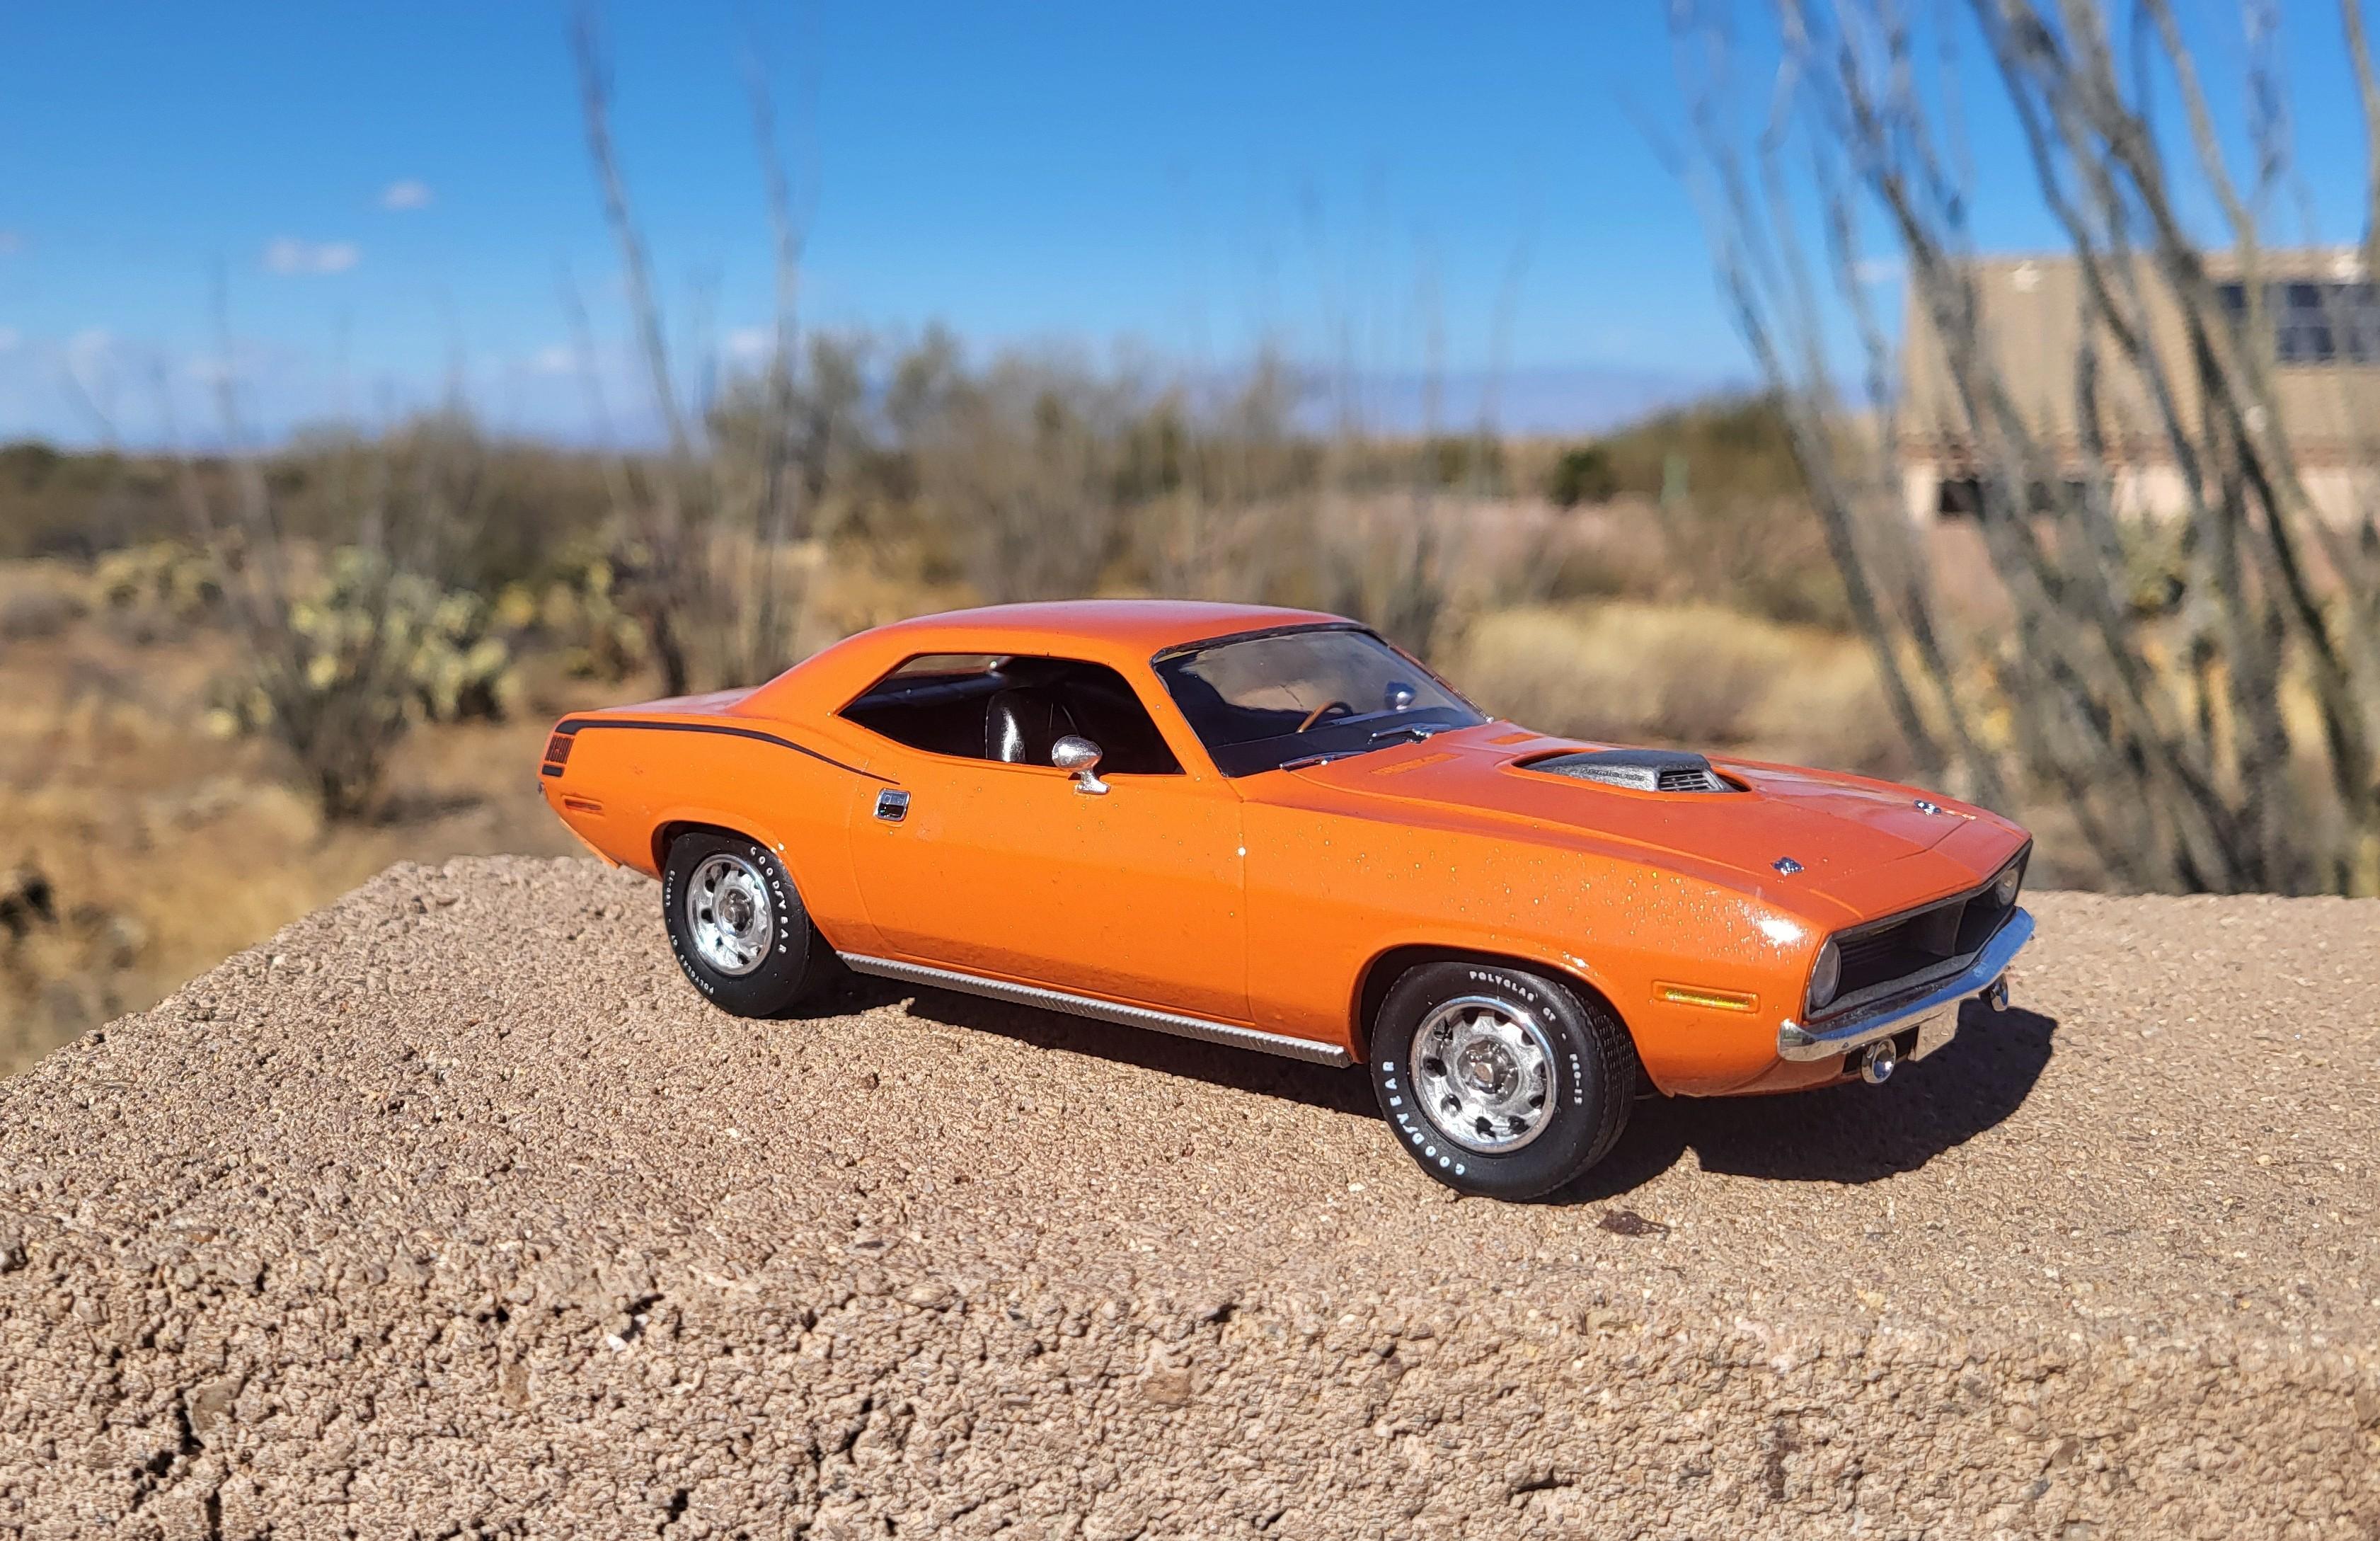
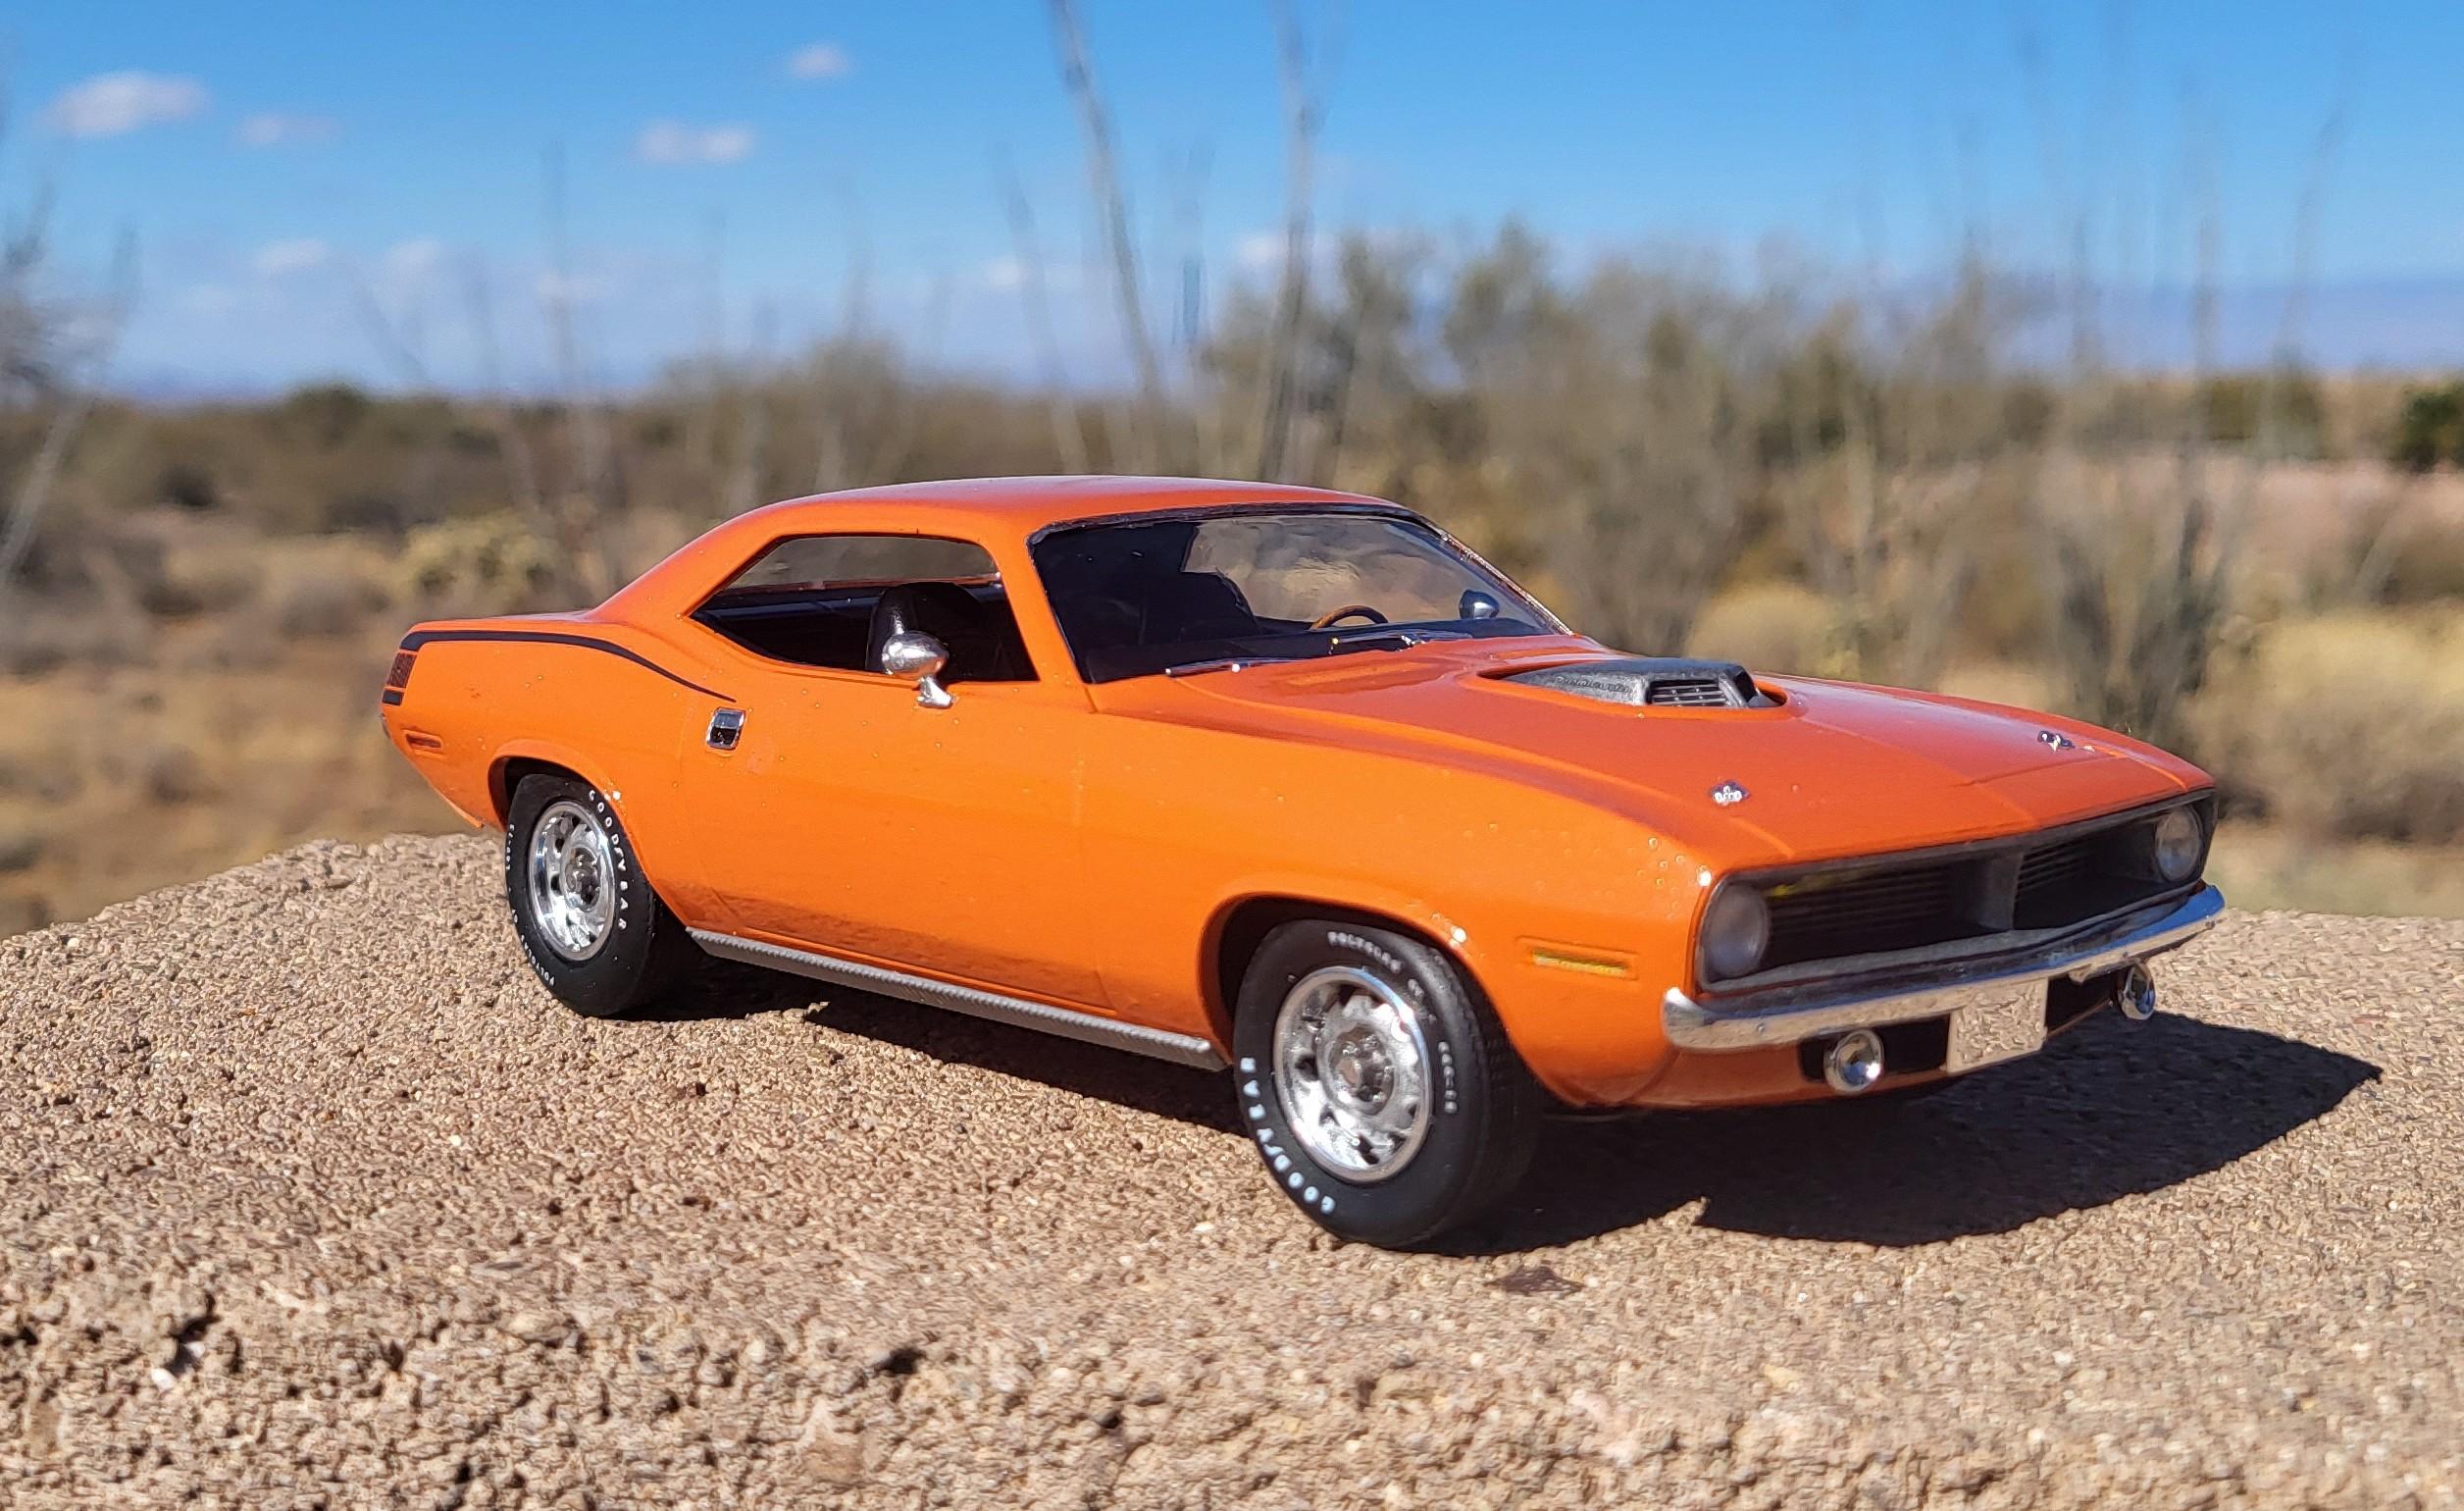
Another one done And other than a light waxing . I'm calling it done...for now Other than tires...it's built box stock A replica of a friend's car..although his car . Is a console auto. The kit is 4spd But for me....it's close enough Testors K2 vitamin C orange.( body was rattle canned maybe 8-10 years ago I think.) Duplicolor semi gloss blk for the interior Duplicolor hemi orange engine enamel for the HEMI Comments good or bad...more than welcome. It's good to be retired and have lots of bench time avail.
- 17 replies
-
- 14
-

-
I would take all the upper blue sections Or just the one by my finger
-
Anyon used the chassis components from the Revell 68-69 Chargers under the mpc 1968 Coronet bodies yet ? Any issues using it? I don't have any of the amt ertl chassis left over
-
Thanks I have the parts kits. The are 4 of each size But really don't have much use for that many of the L60 sizes
-
Yes. Just the roof section is all I need. Just Let me know
-
60's Stock Car Steelies
gtx6970 replied to CA Whitecloud's topic in Car Aftermarket / Resin / 3D Printed
Best I remember. the 60s era stock cars just used a widened stock steel wheel The Johan Petty Superbird and/or 64 Plymouth has some good ones in it maybe take a look at the rims in the Lindberg Petty Plymouth I might have some if you need just the wheels