David G.
-
Posts
9,733 -
Joined
-
Last visited
3 Followers


Recent Profile Visitors
20,816 profile views
RCprofile.thumb.JPG.1691ea753d0f0897fdc1b2510cf06775.JPG)


David G.'s Achievements
MCM Ohana (6/6)
-
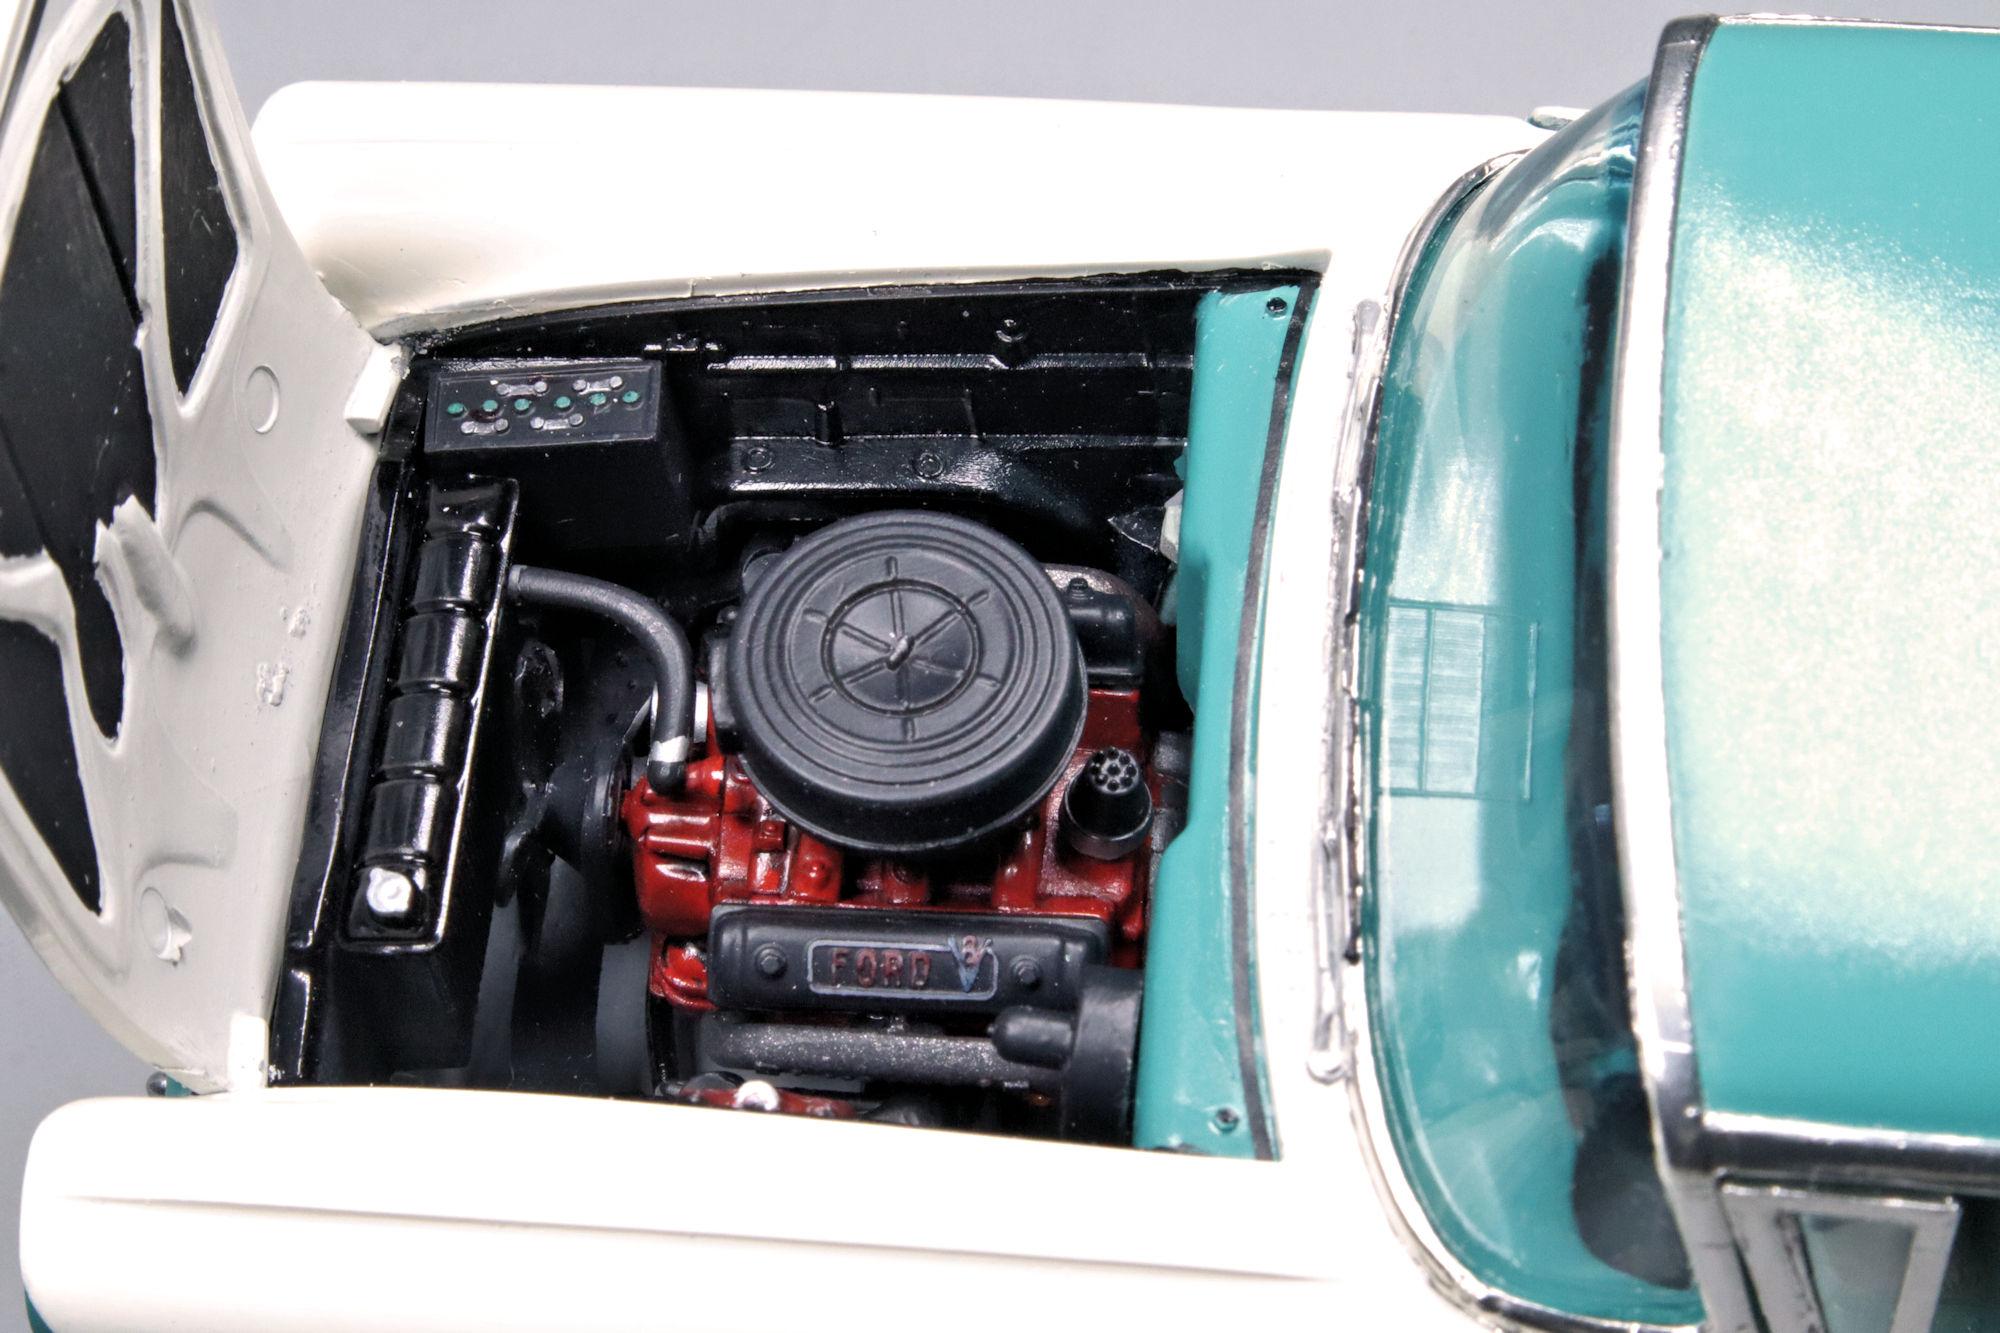
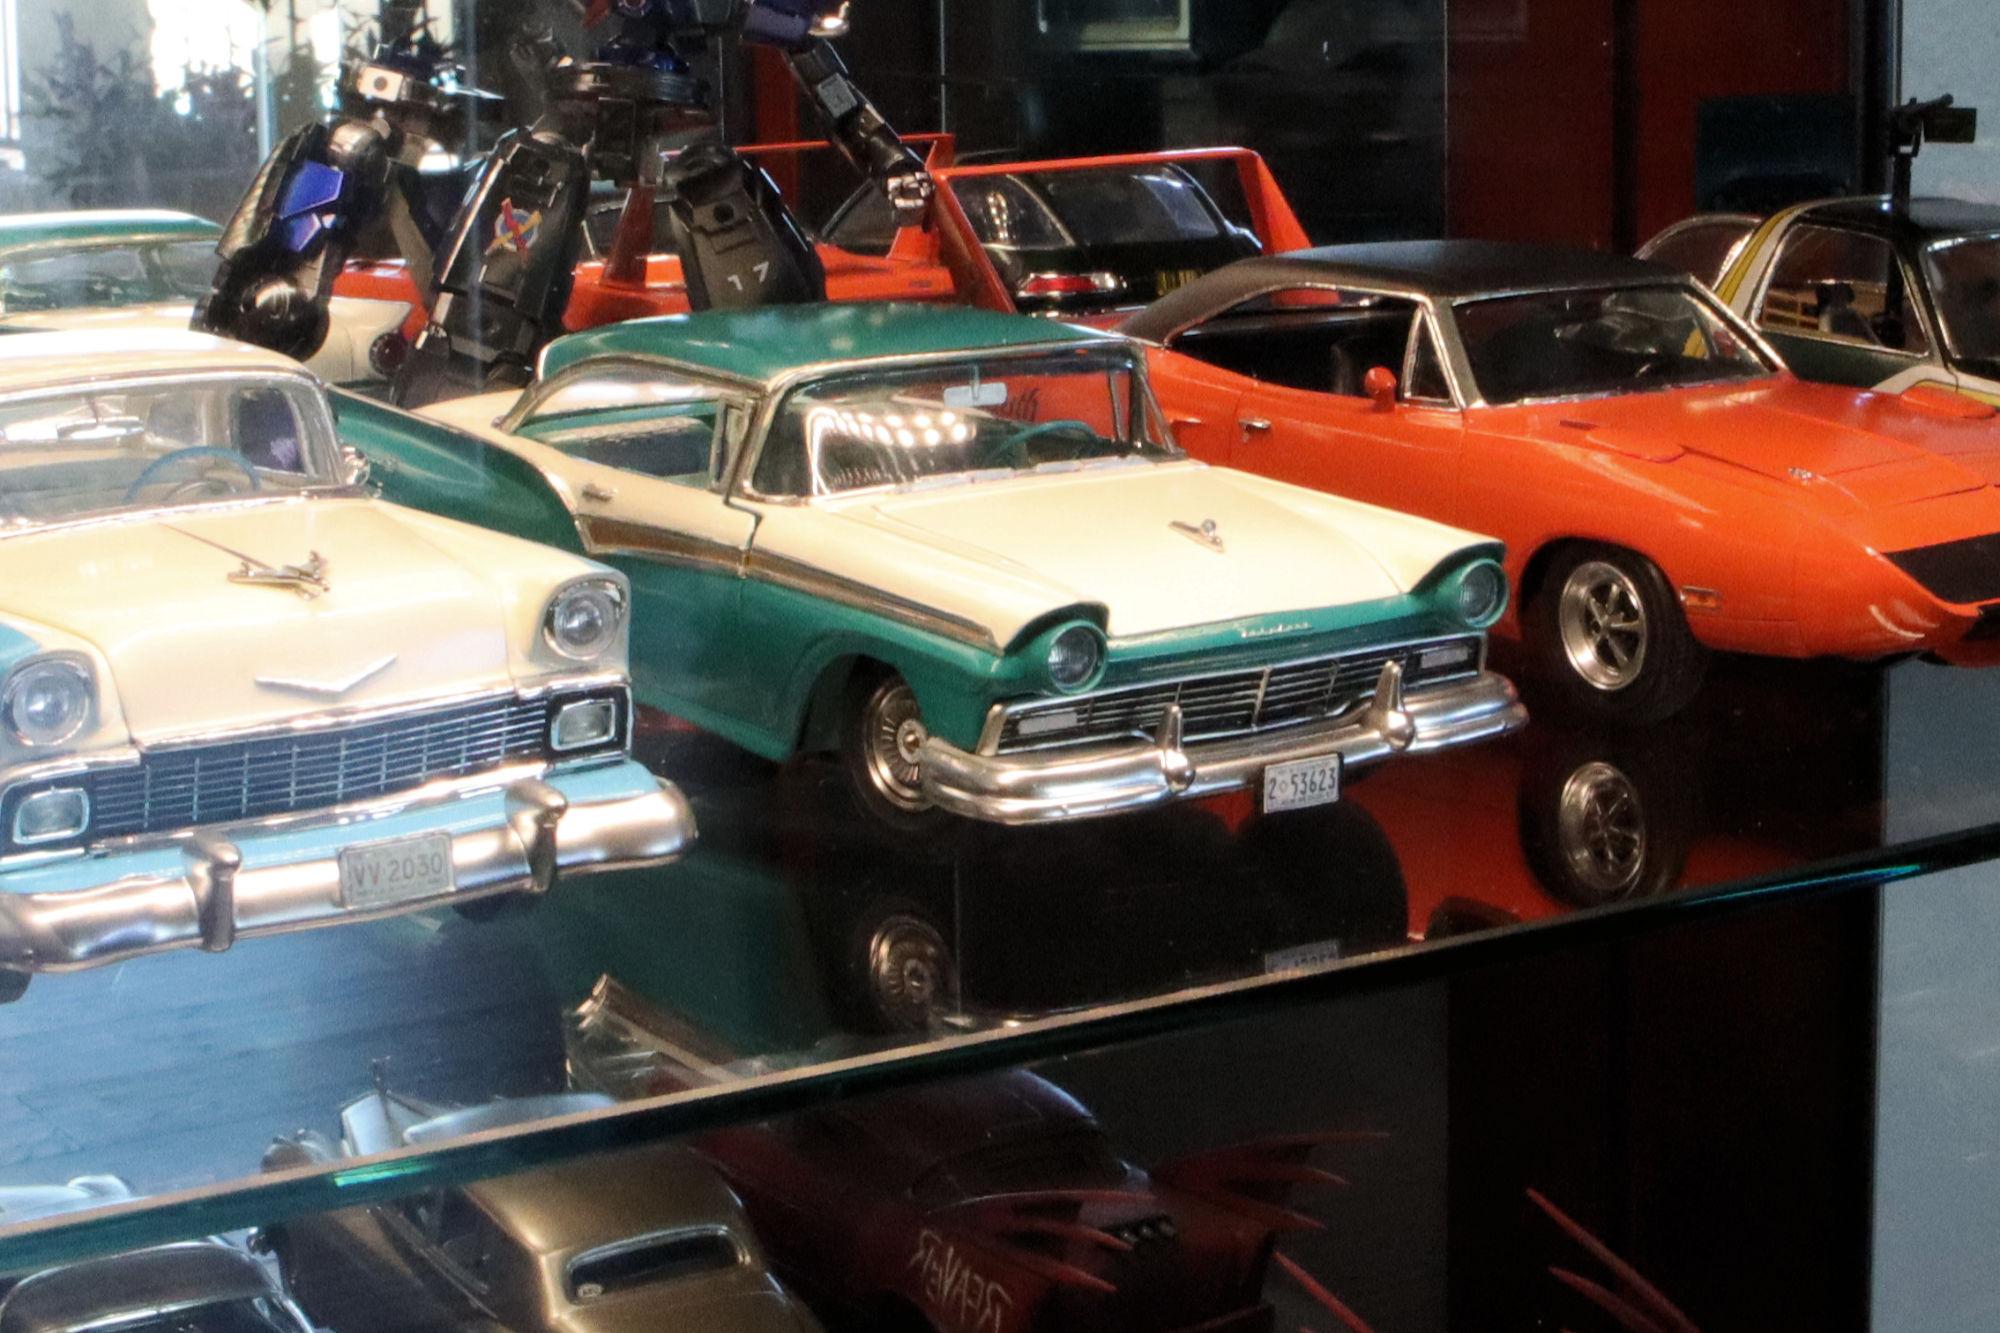
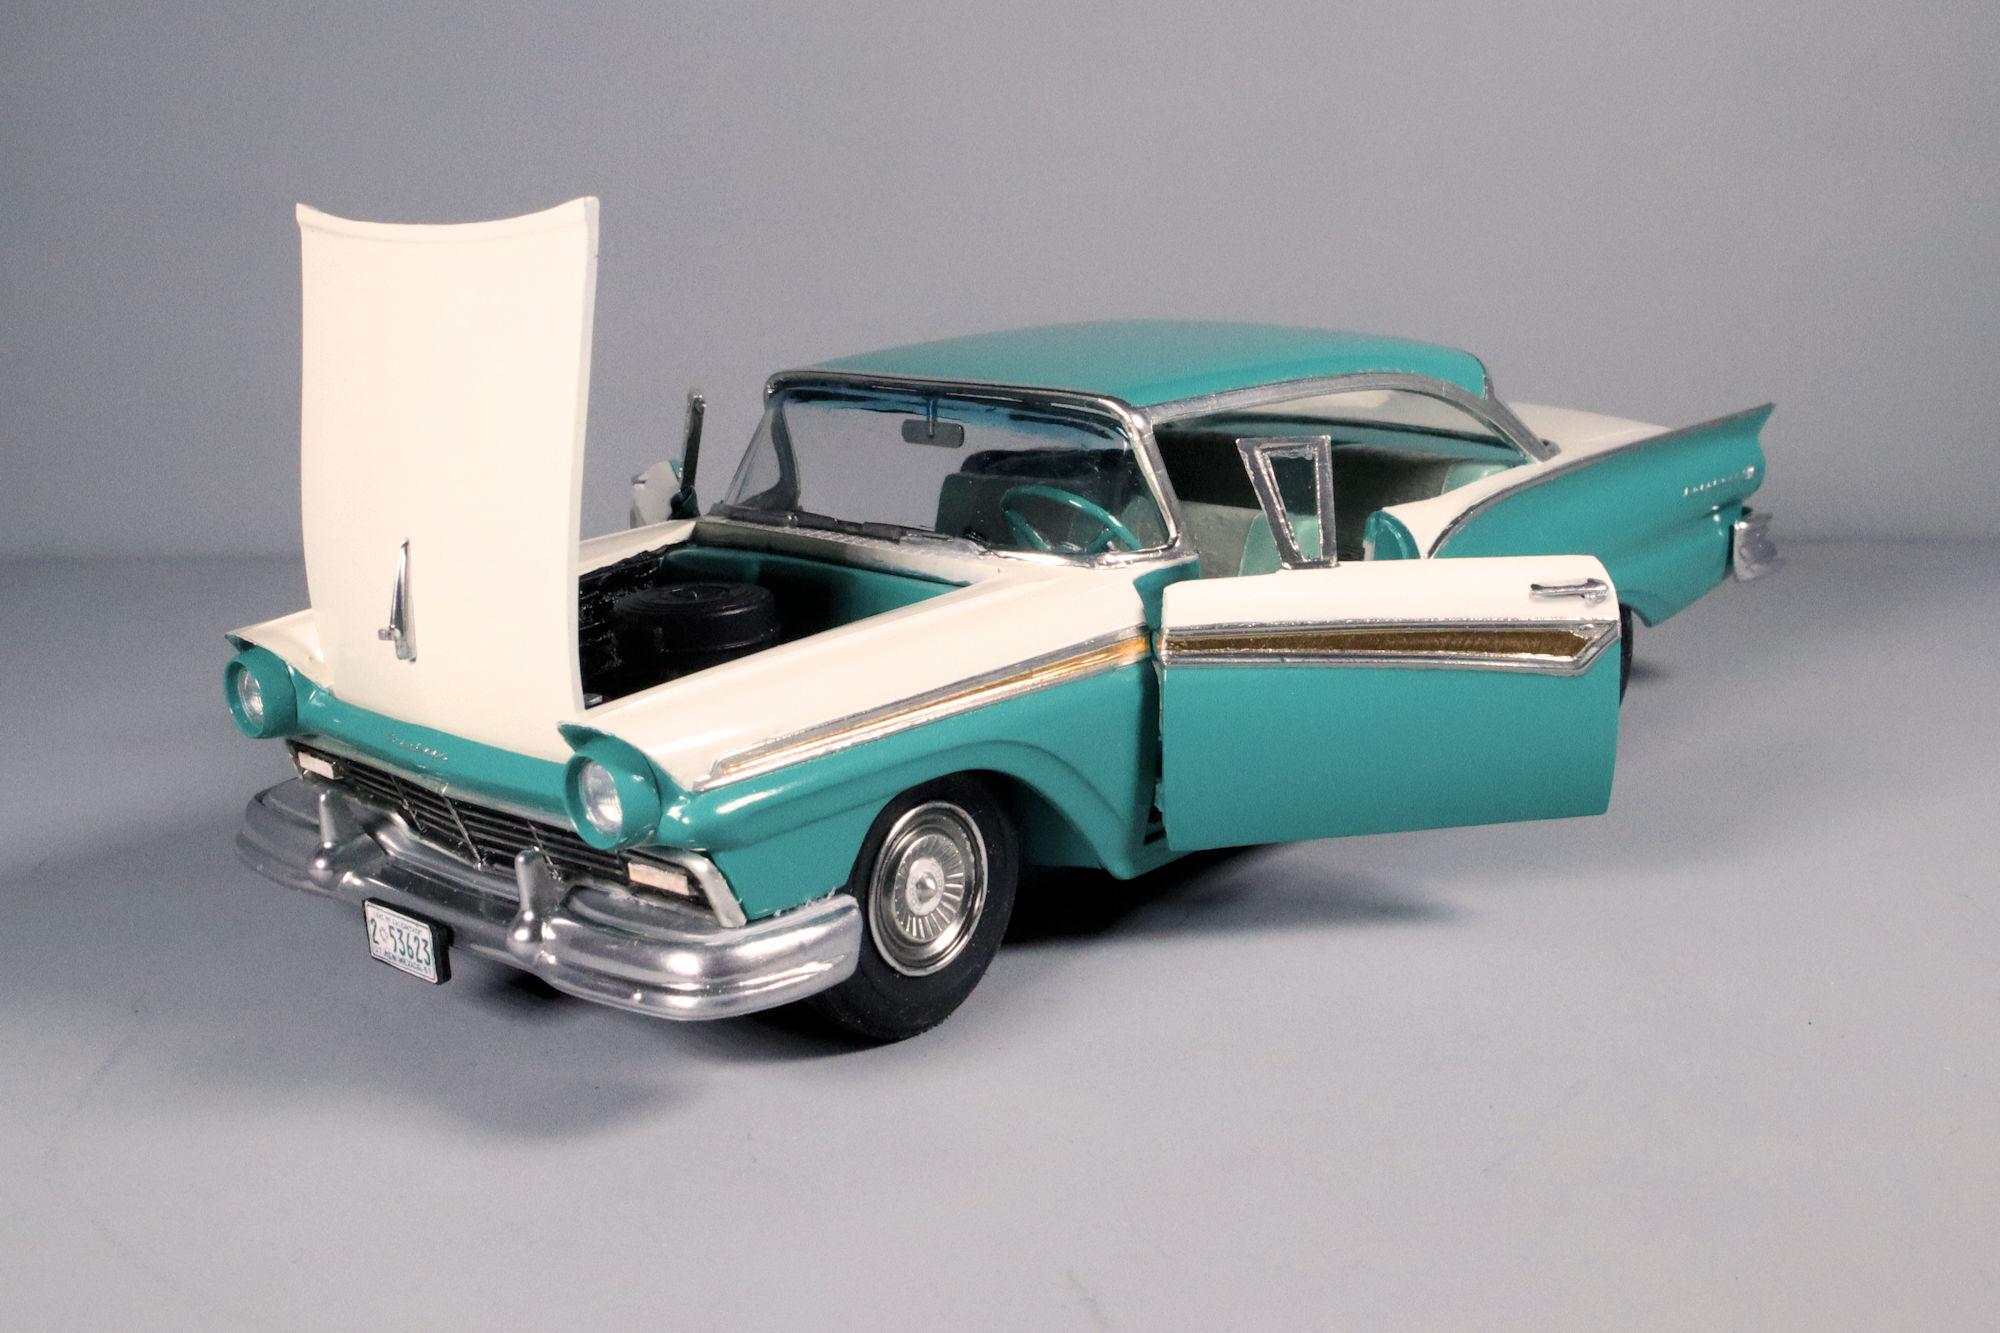
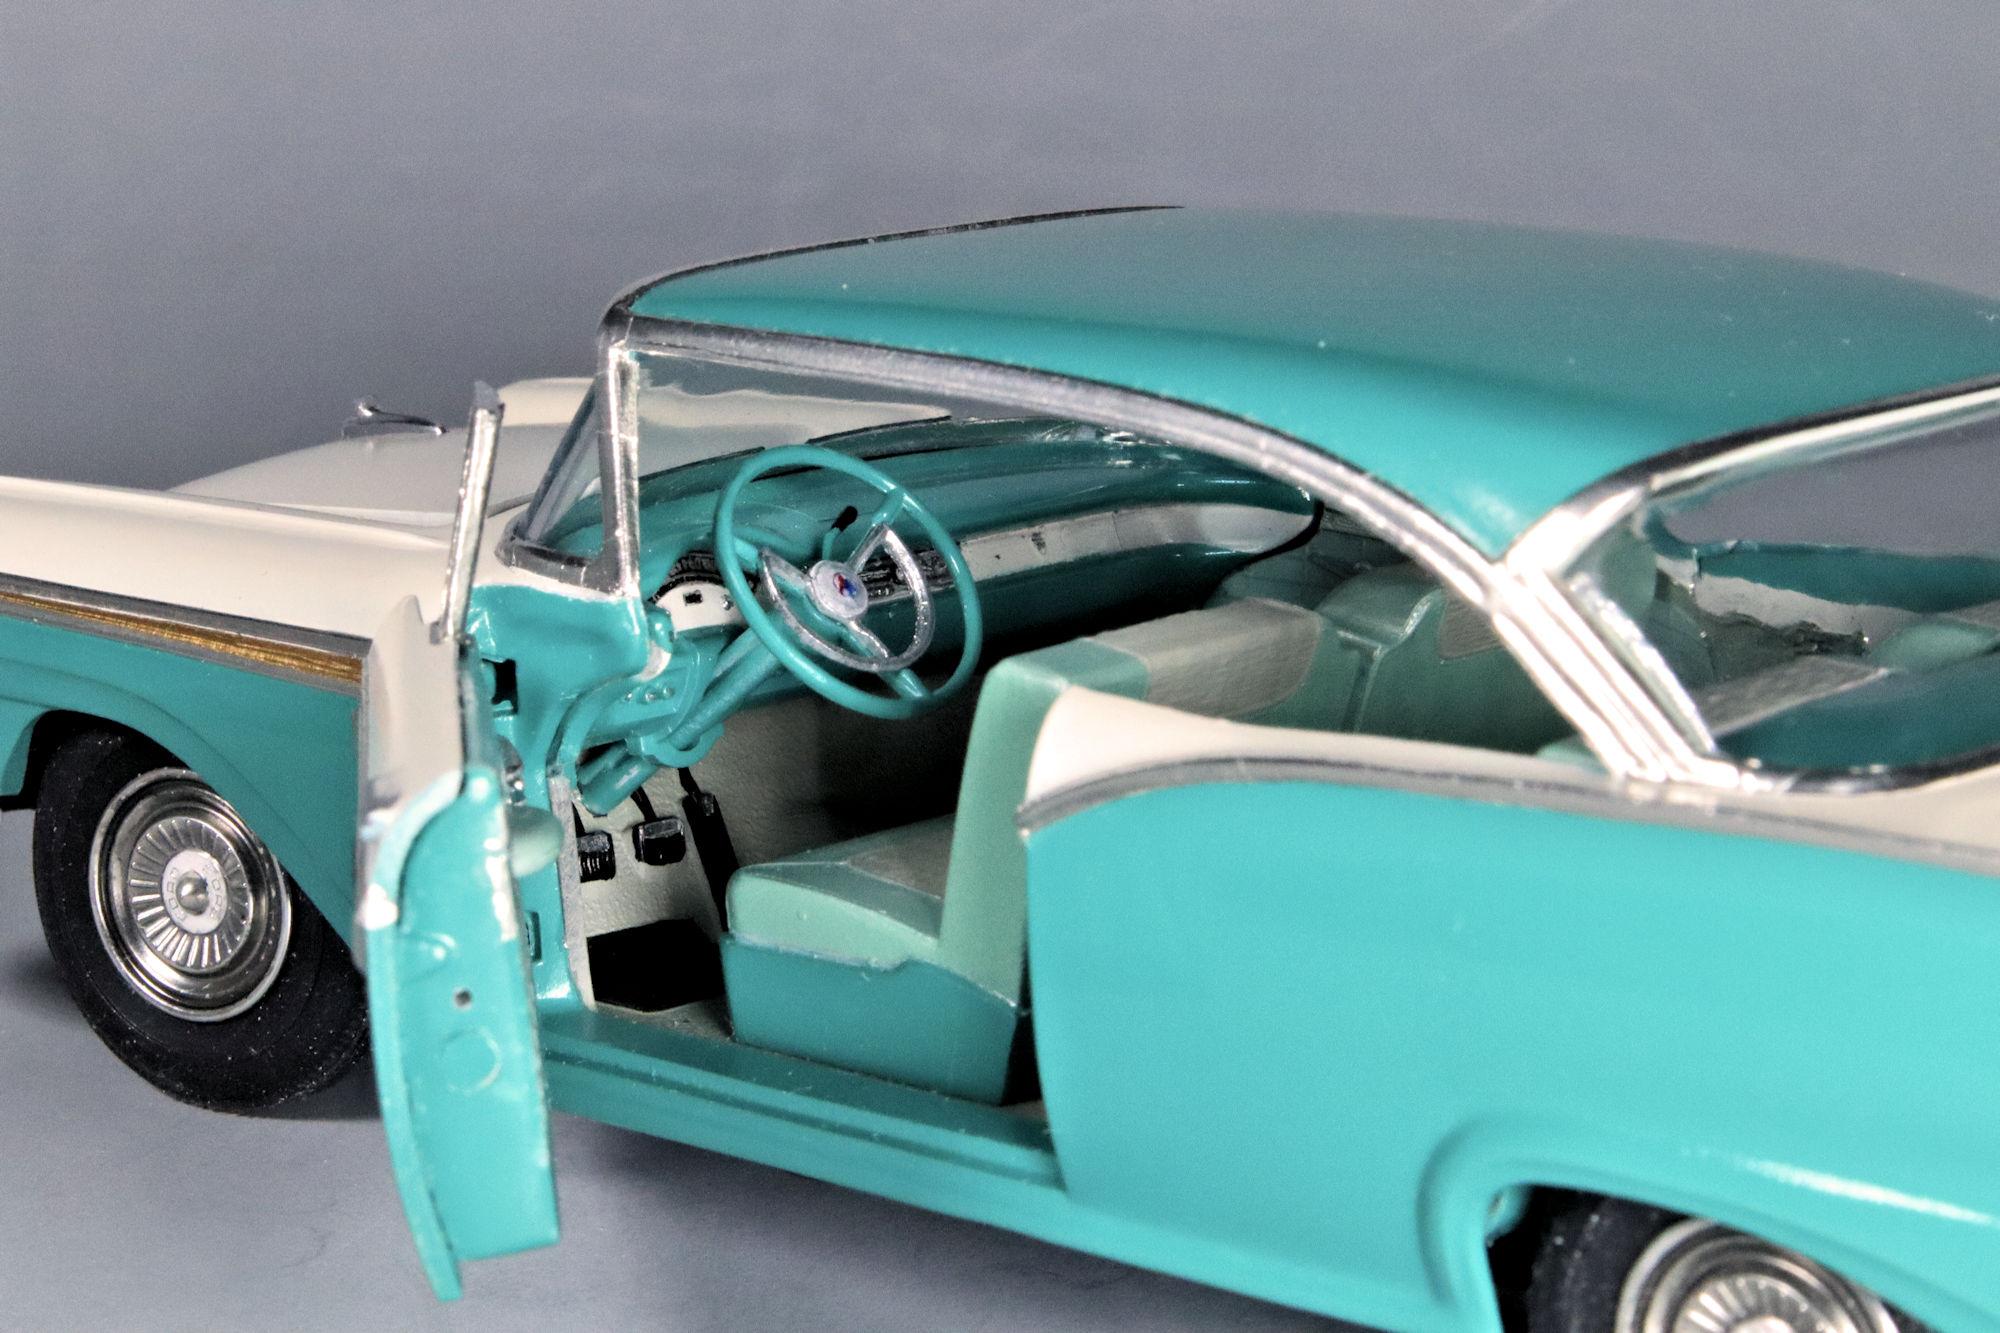
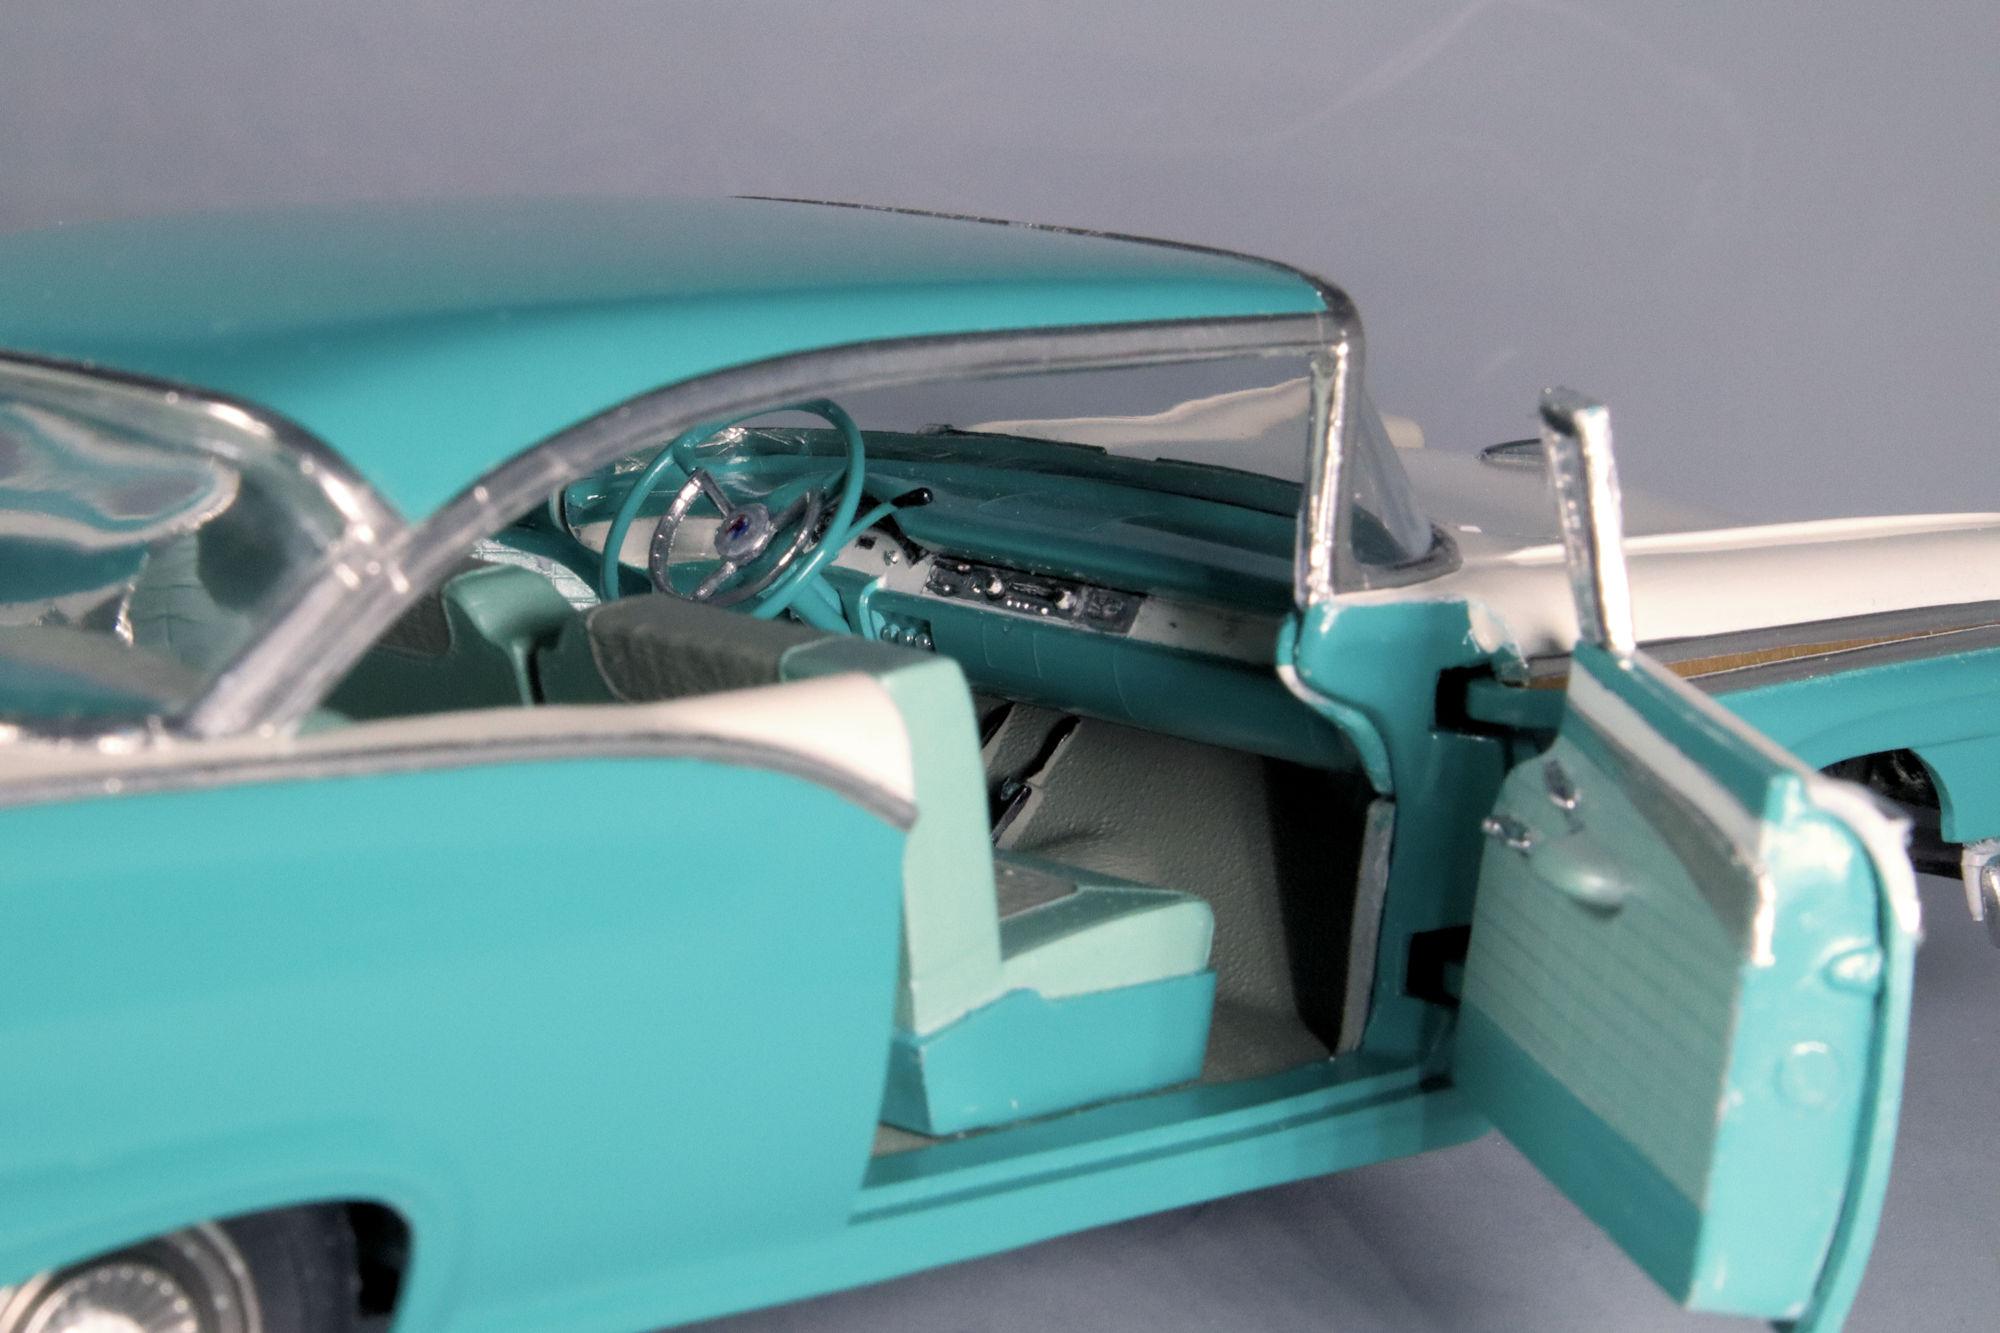
Hello Everybody! Here is the final set of photos for the 1957 Ford Hardtop build. This kit has an opening hood and doors. Opening doors make it easier to get shots of the interior. Another interior detail shot. Engine bay detail. I cut strips of electrical tape to use as inner hood seals. And last but not least, my traditional Display Case shot. Thank you all for your support and encouragement with this challenging and satisfying build. David G.

-
Things to consider for future builds, thanks Len. Thank you Dan. David G
-
Thank you Al. Thanks Ken, I appreciate that. David, thank you! Thank you Bob. I've had my eye on that one, I've even had it in my hands a couple of times at the hobby shop but there was always something I wanted just a little more. Now that I have this one done it would be cool to have a matched set. Thank you all for your kind comments, I enjoy reading and responding to them. David G.
-
The foil looks clean and tight, even the script. Cool! David G.
-
Thanks Donald, I'll have a look for those. Nice hinge work too! David G.
-
Everything about this build just feels right Ken. David G.
-
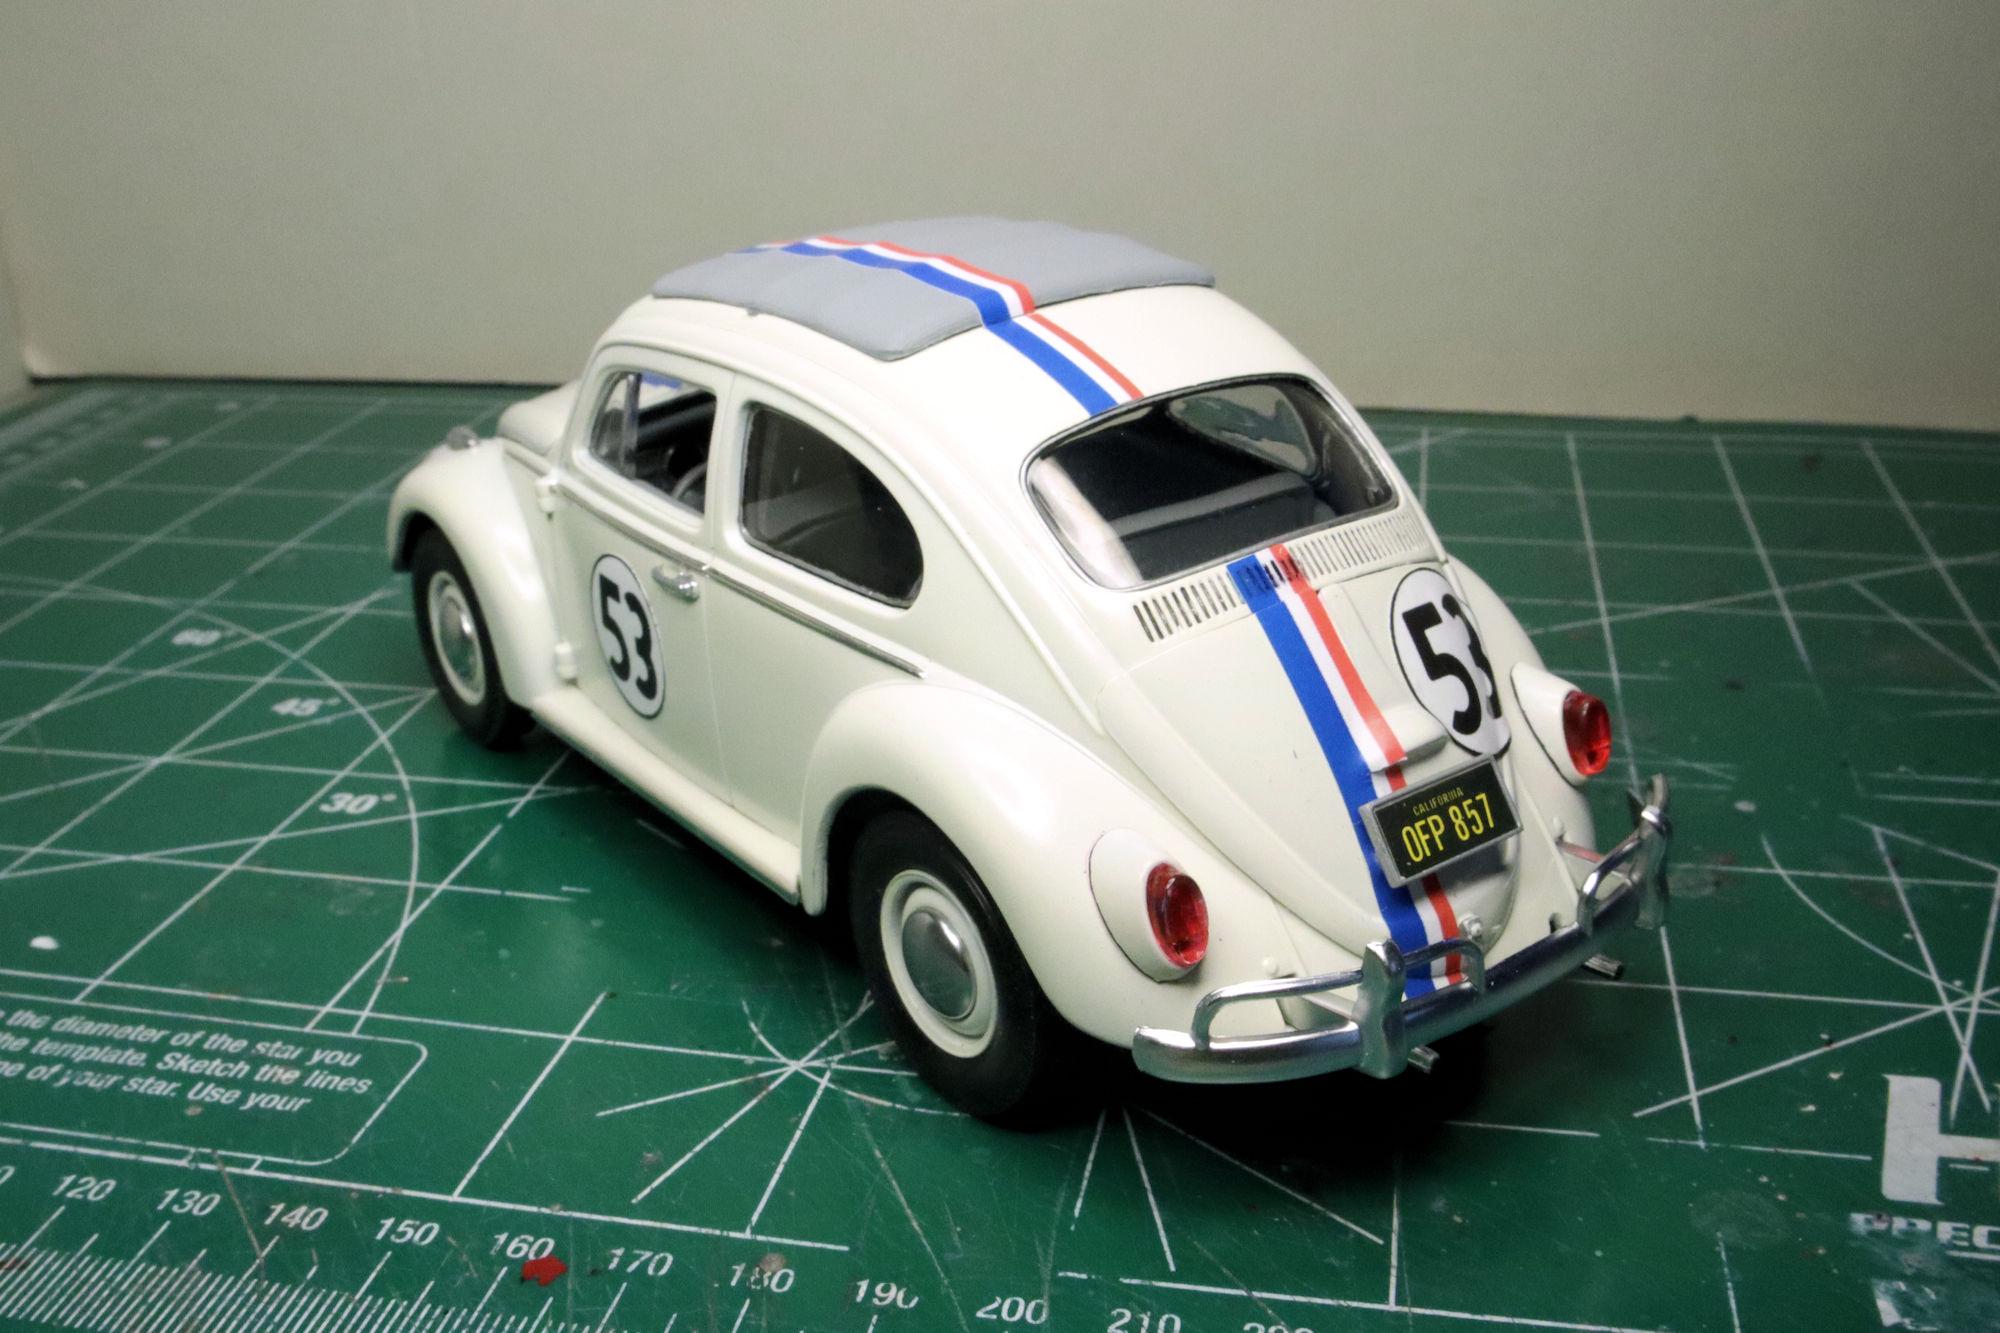
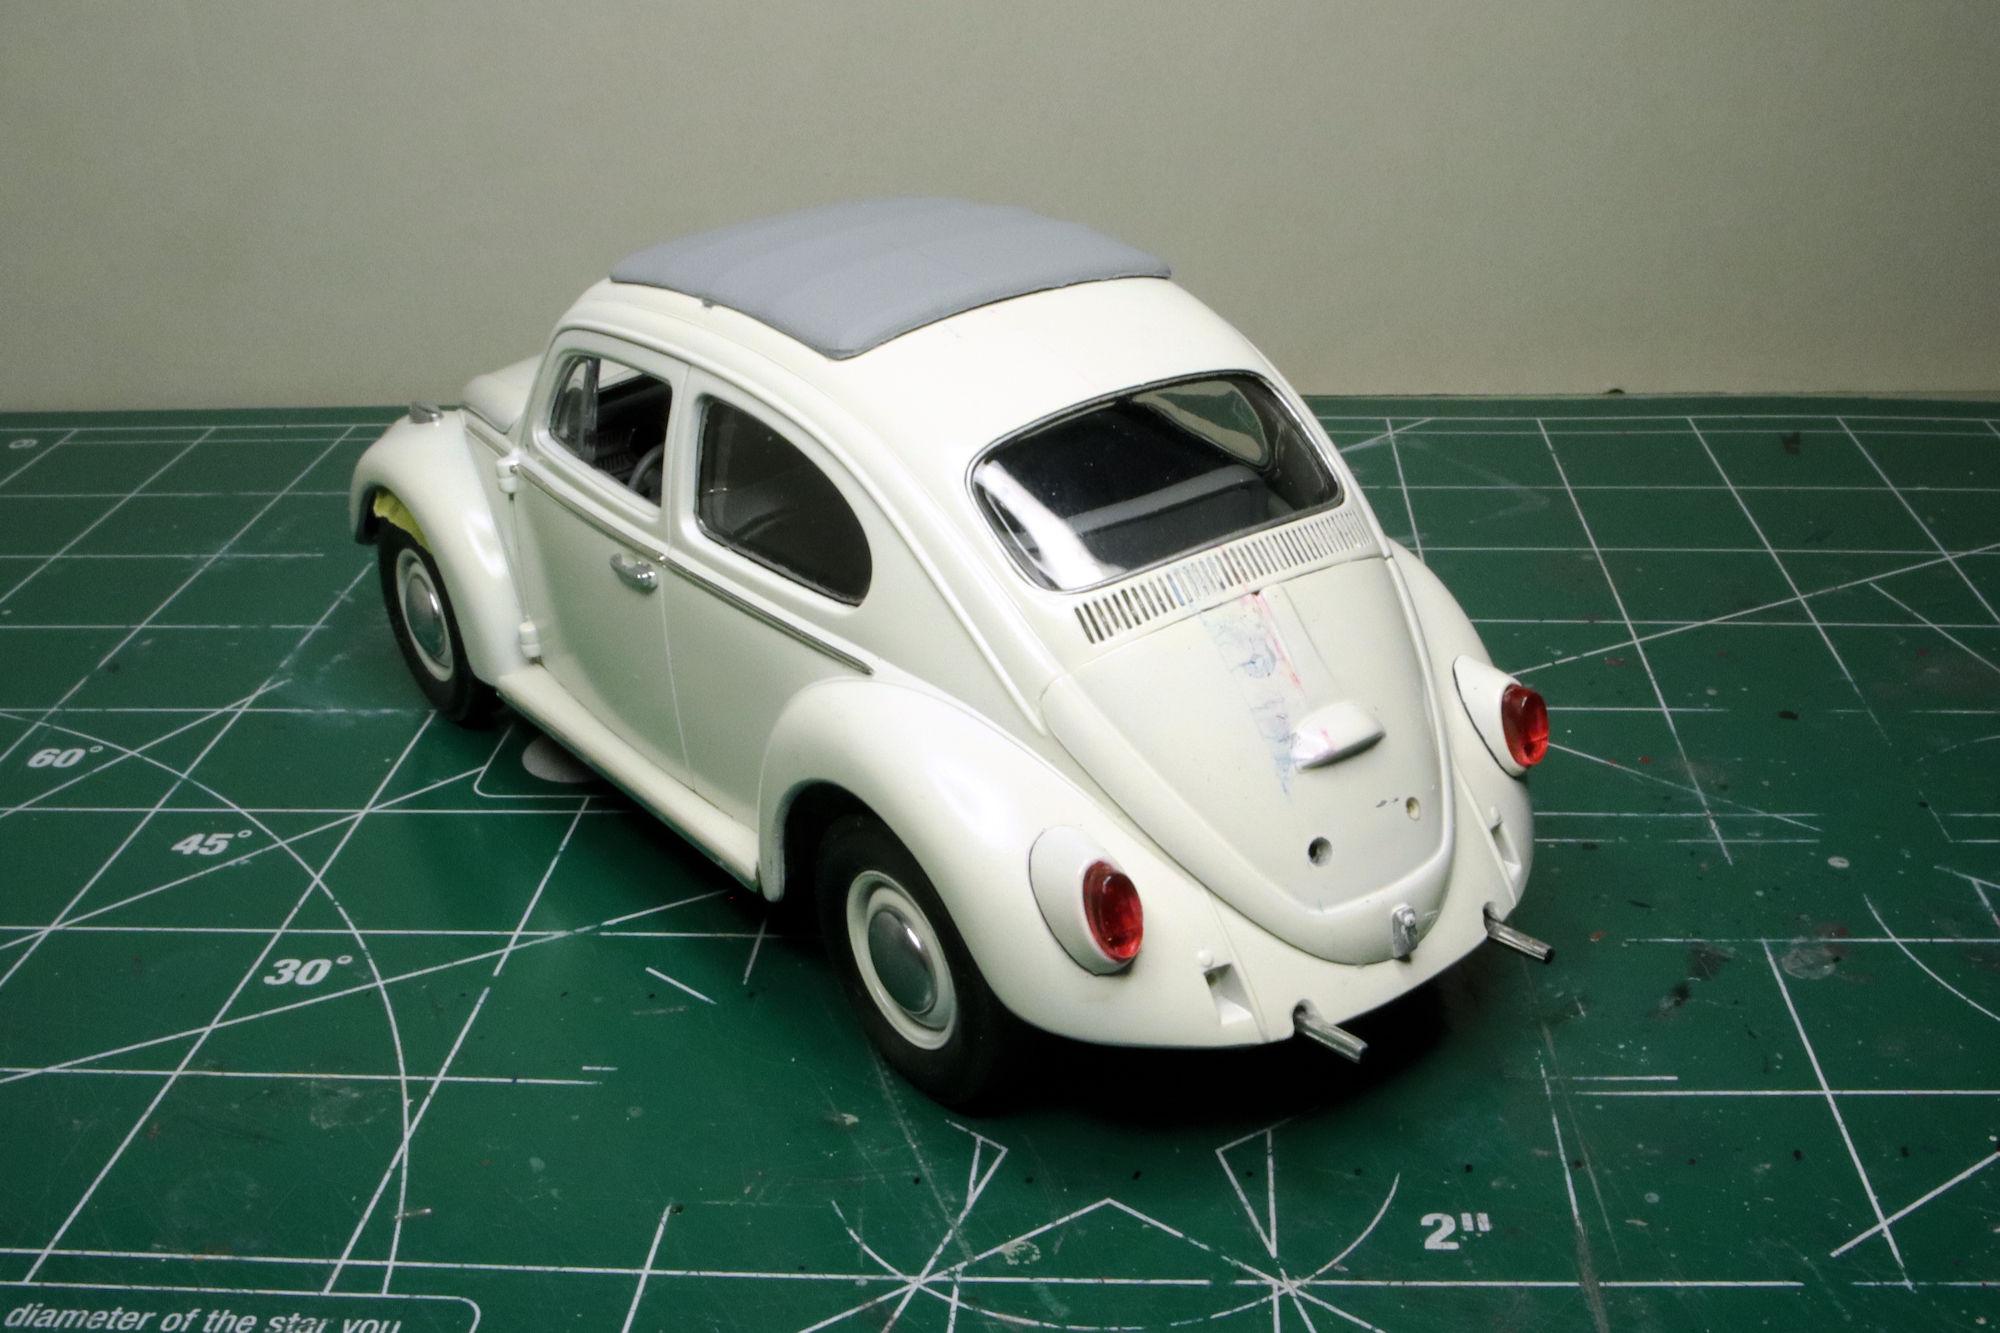
Hello Everybody! The kit itself was a simple and easy build. The race livery markings, not so much. After three attempts, success! Though not perfect, the vinyl decals do a good enough job of conforming to the complex curves of the boot lid. With a little gentle heat, they might even lay down even better. But I'm not about to mess with that. They even covered up that mess on the rear deck lid. That wraps up this build. I'll post the final photos to the Under Glass section soon. Thanks to all of you who offered your support through your comments, compliments and encouragements David G.
-

Monogram's 1966 Chaparral 2D Coupe
David G. replied to David G.'s topic in WIP: Other Racing: Road Racing, Land Speed Racers
Thank you for your comment Pierre. I have a set of aftermarket wheels so that part is taken care of but I'm afraid that the oil will just have to run hot. I've already committed this one to paint and I'm not sure I have the skills to effectively scratch build the actual cooler. The body mods wouldn't be much of a problem but I lack a source for the cooler itself. I am working on a control mechanism for the wing though. Thanks again for your comment. David G. -
Thank you Carl! David G.
-
Thank you David, they actually worked out pretty well. Not ideal but well enough. I'll be posting the photos soon. There's a bit of a lag between my build cycle and postings. It's probably due to the number of projects I have going and the time it takes me to edit the photos and compose my comments on them. I've been trying to catch up on that but we each work at our own pace, eh? It hadn't occurred to me about that toner is made of plastic. Based on that, wouldn't ink actually be better for decals? Ink would cut down on the chances of reactivity and interactivity with the plastic oriented chemicals and surfaces we work with. Thanks for your kind wishes Len. The vinyls worked out fairly well, I'll be posting the photos soon/ David G.
-
The bronze and blue are a beautiful color combination Ken. Great work on the chassis detail too. David G.
-
Adjustable lift shackles! 😮 Just like real life! How cool is that! David G.
-
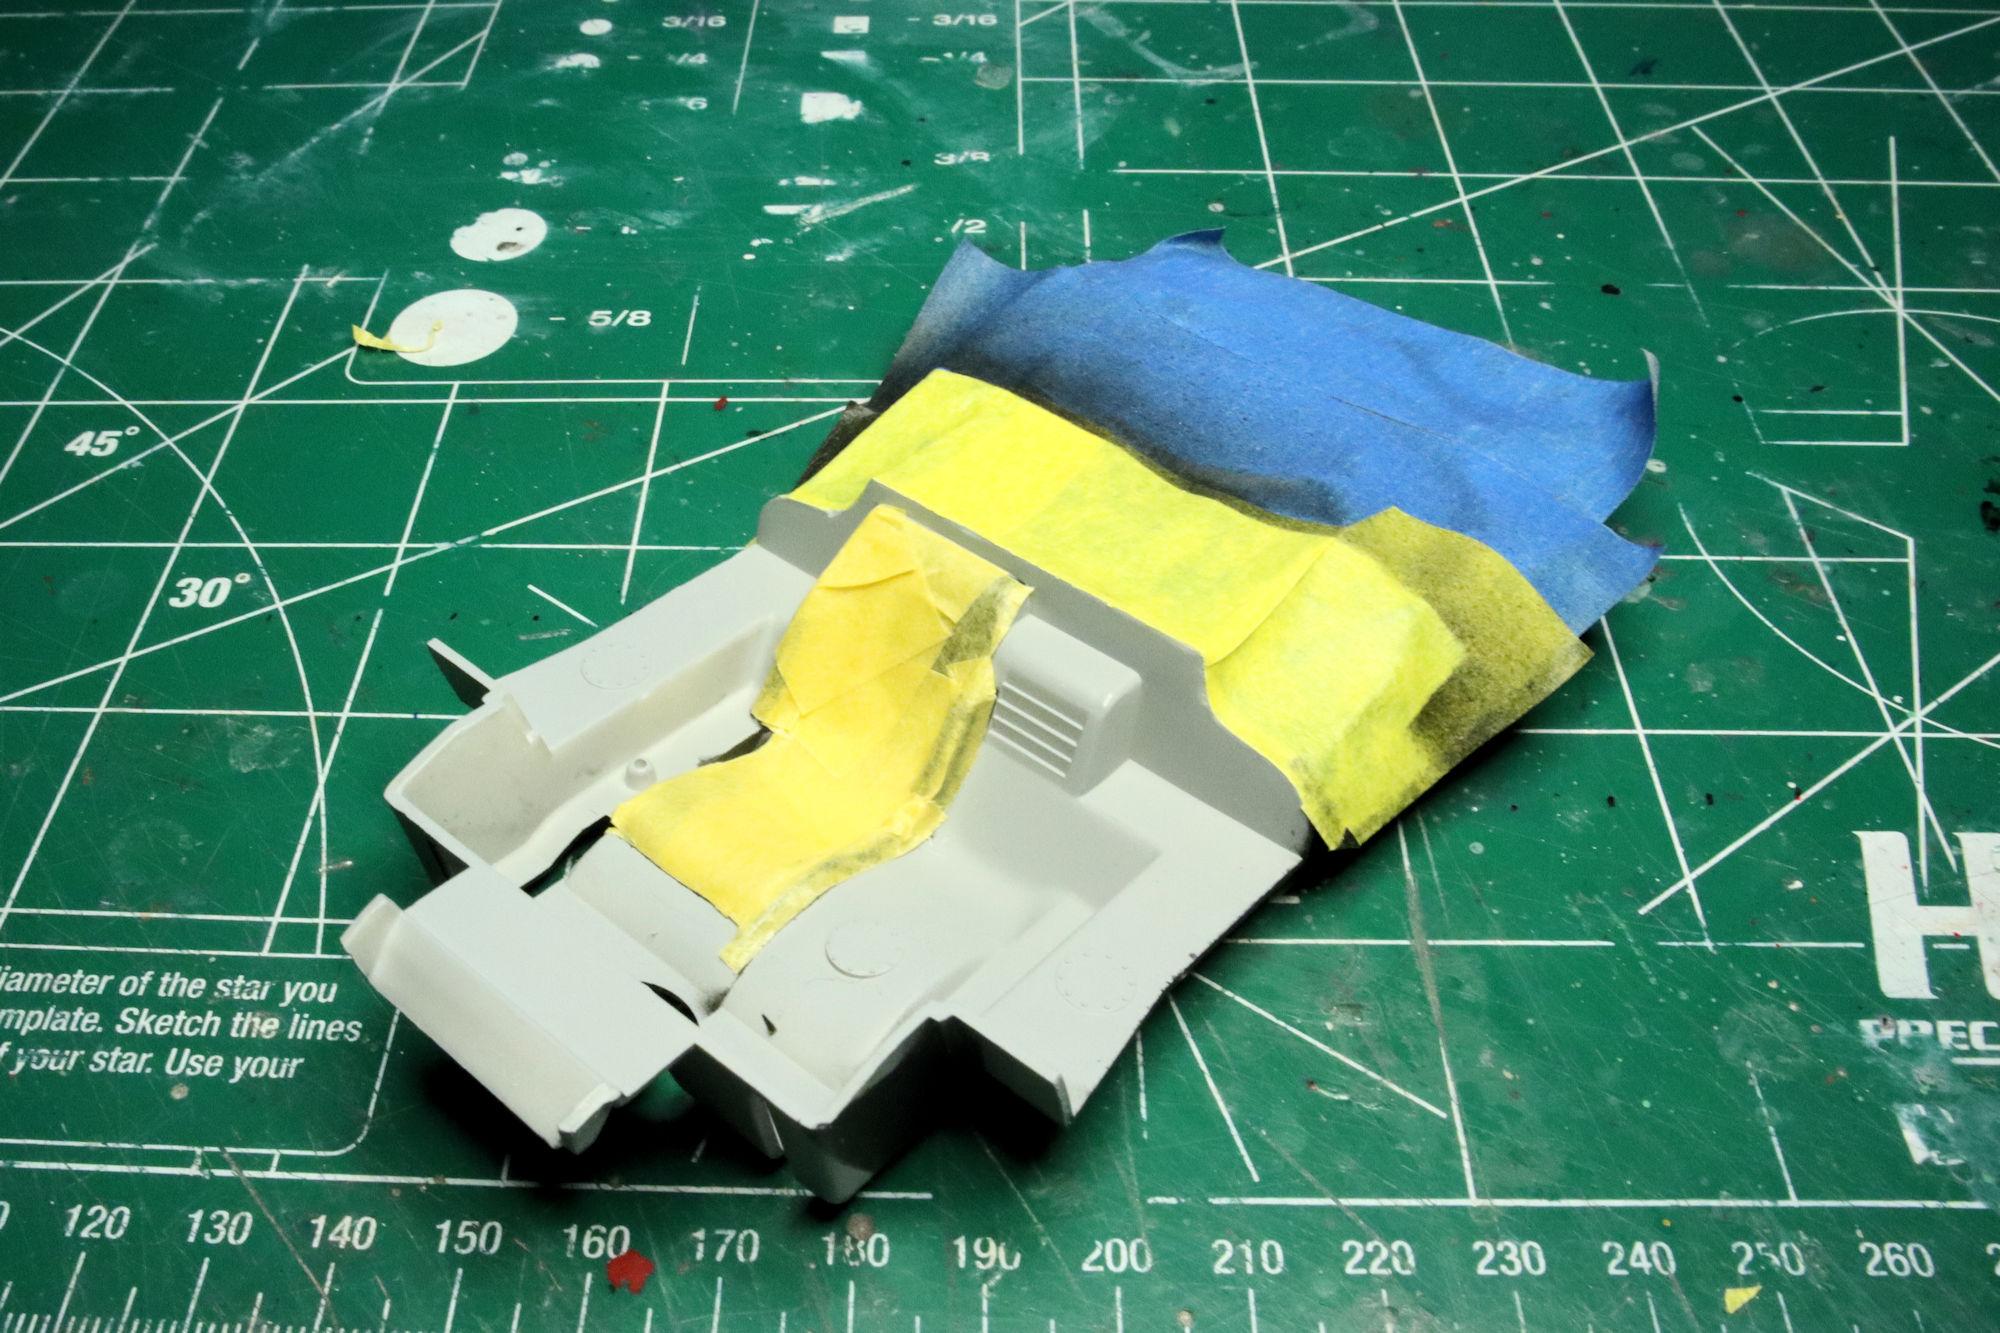
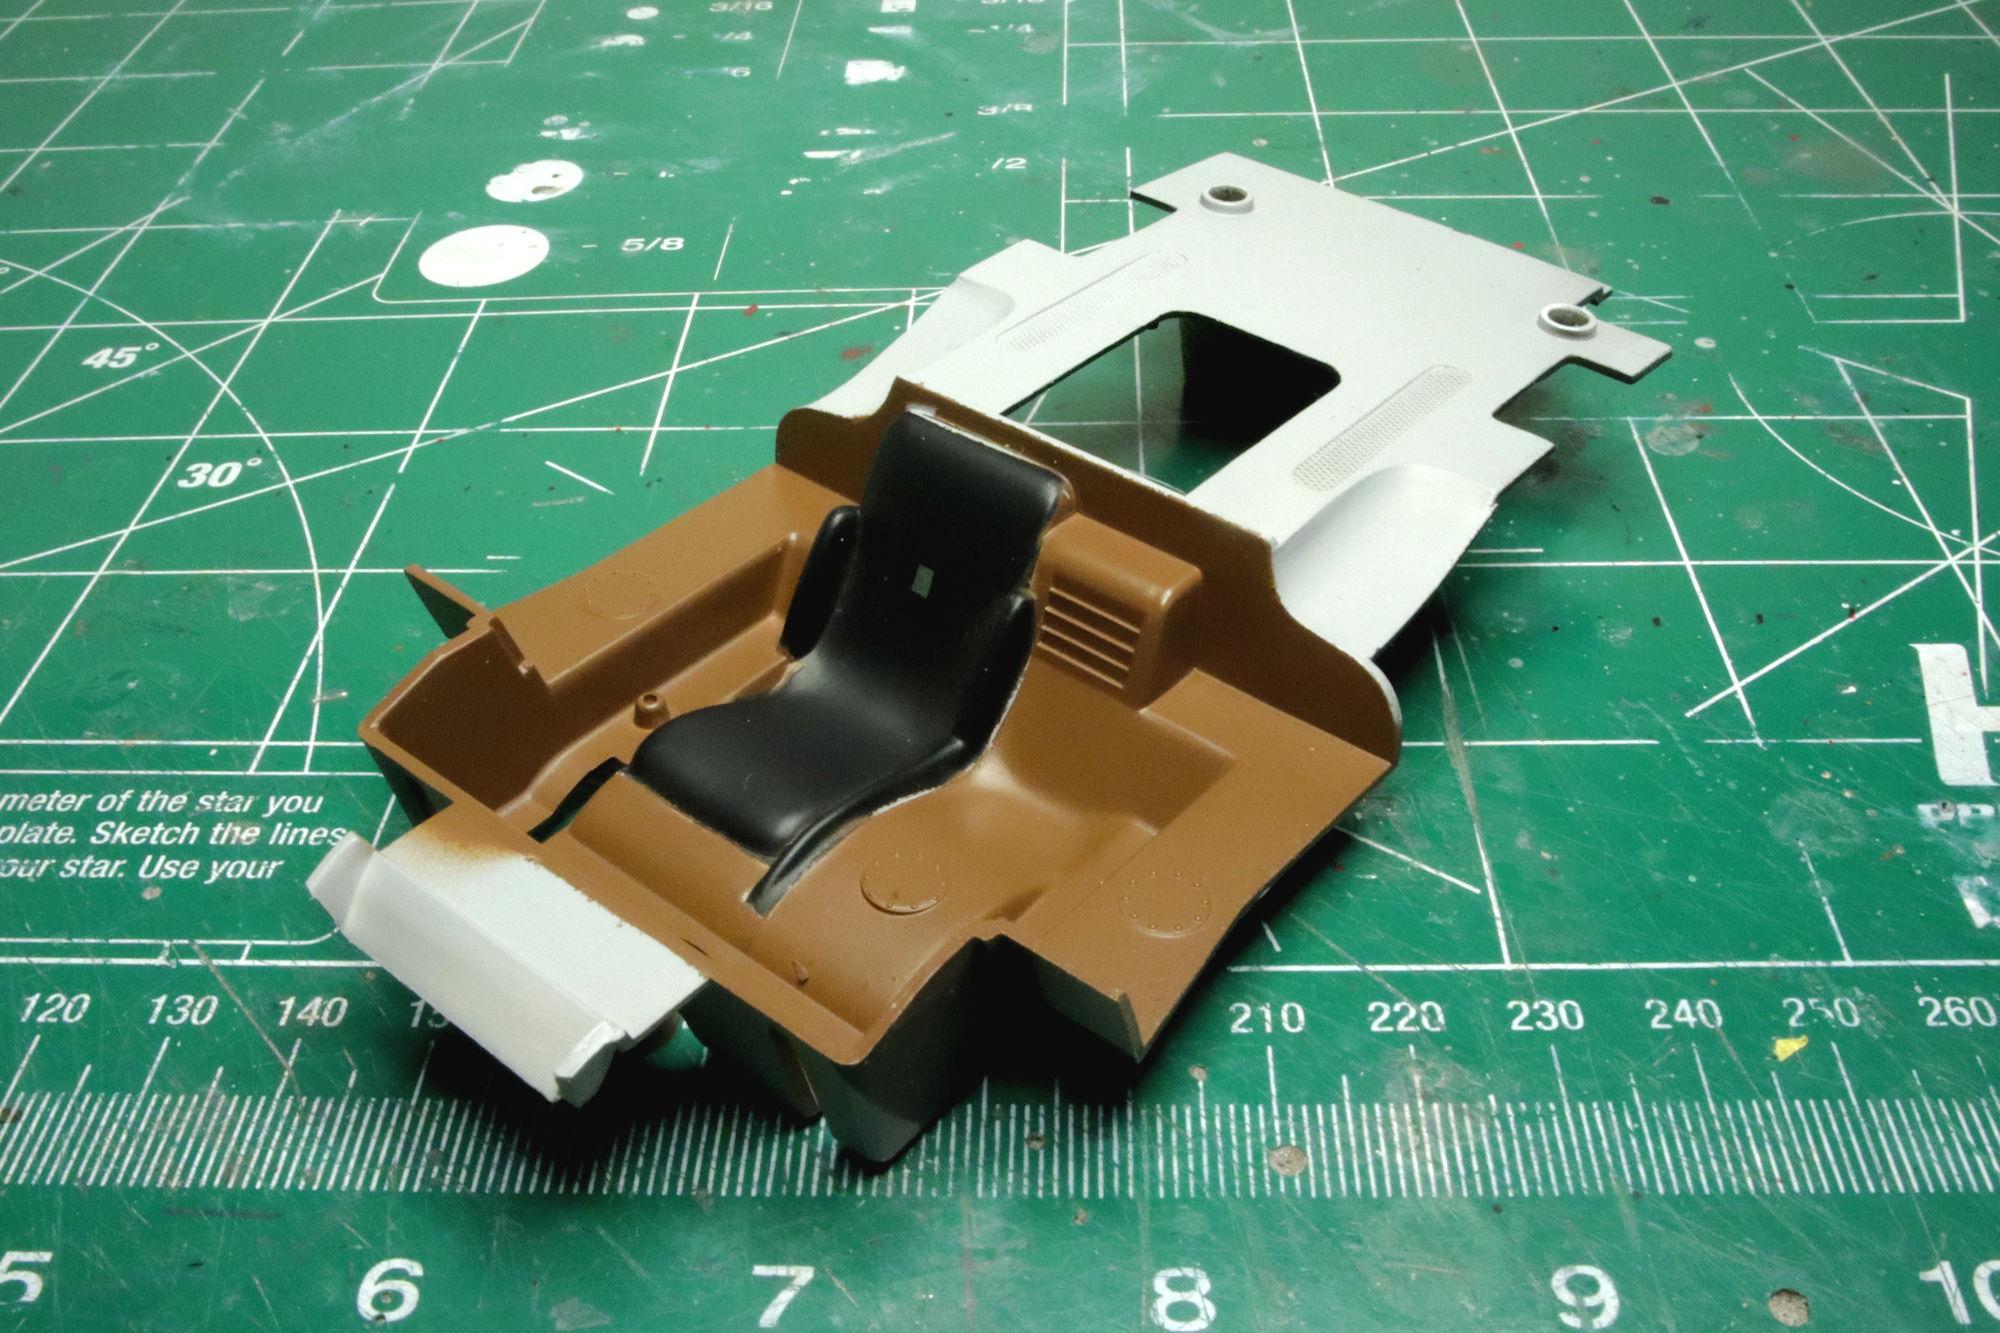
Hello Everybody! With my other two builds wrapping up, I felt it was time to start another. After a good washing, dry off and primer, I started cleaning up the parting lines and flash. There wasn't a whole lot of work to do. The molds seem to be in rather good shape for a sixty year old model kit. Masking the interior. Flat black has been sprayed on seat, and here we see the masking for gloss brown called out for the rest of the interior. The brown is down! I used Tamiya TS-1, Red Brown, it seemed like the right color. Plus, it's the only suitable brown I had at the time. It seems that this will be a pretty quick build. As always, thanks for taking the time to look and please feel free to comment. David G.
-
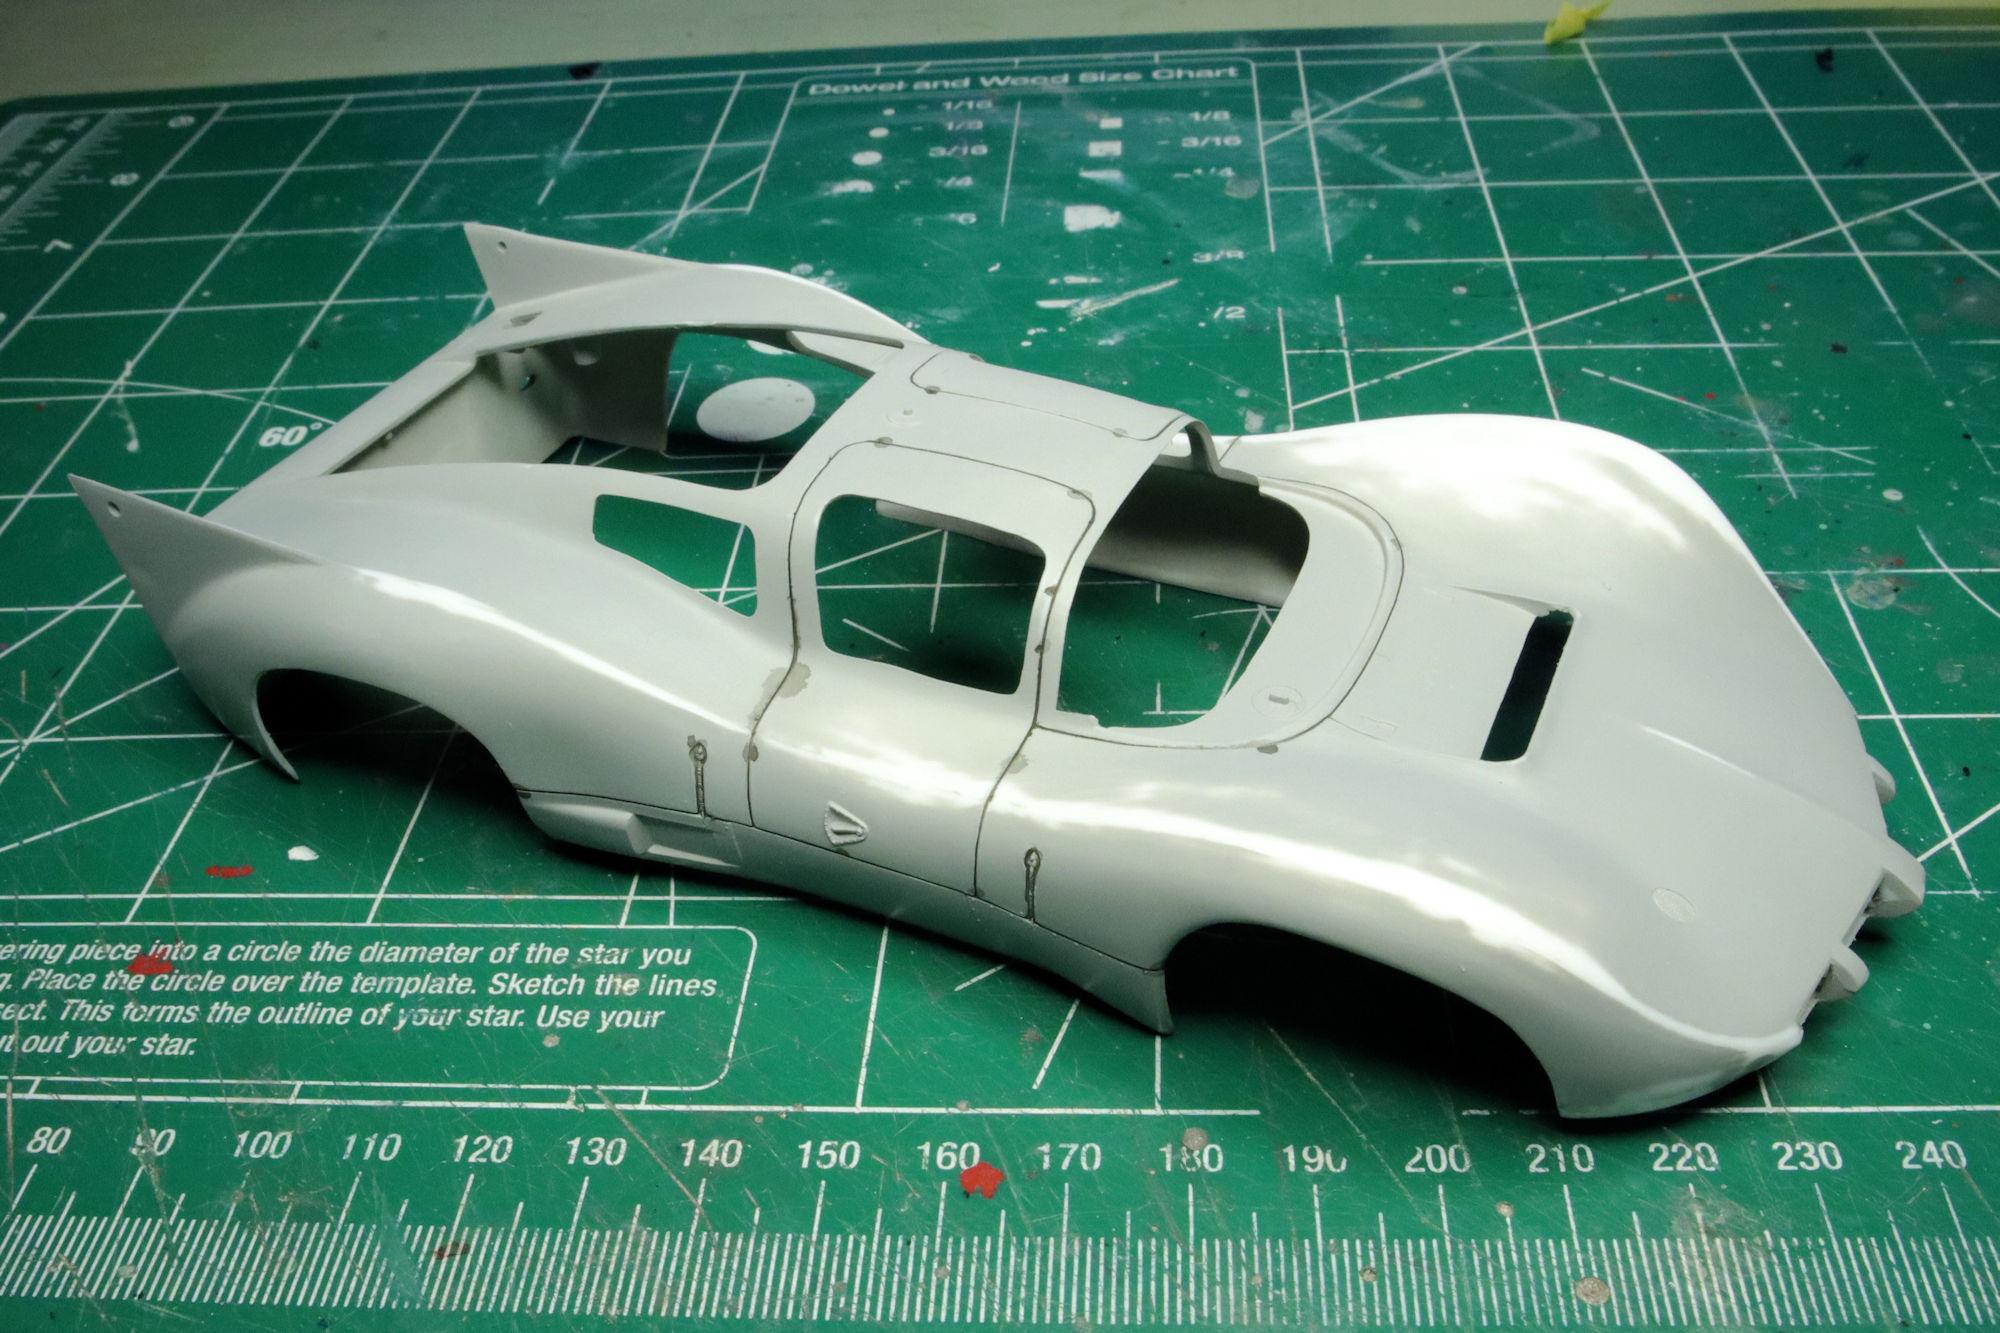
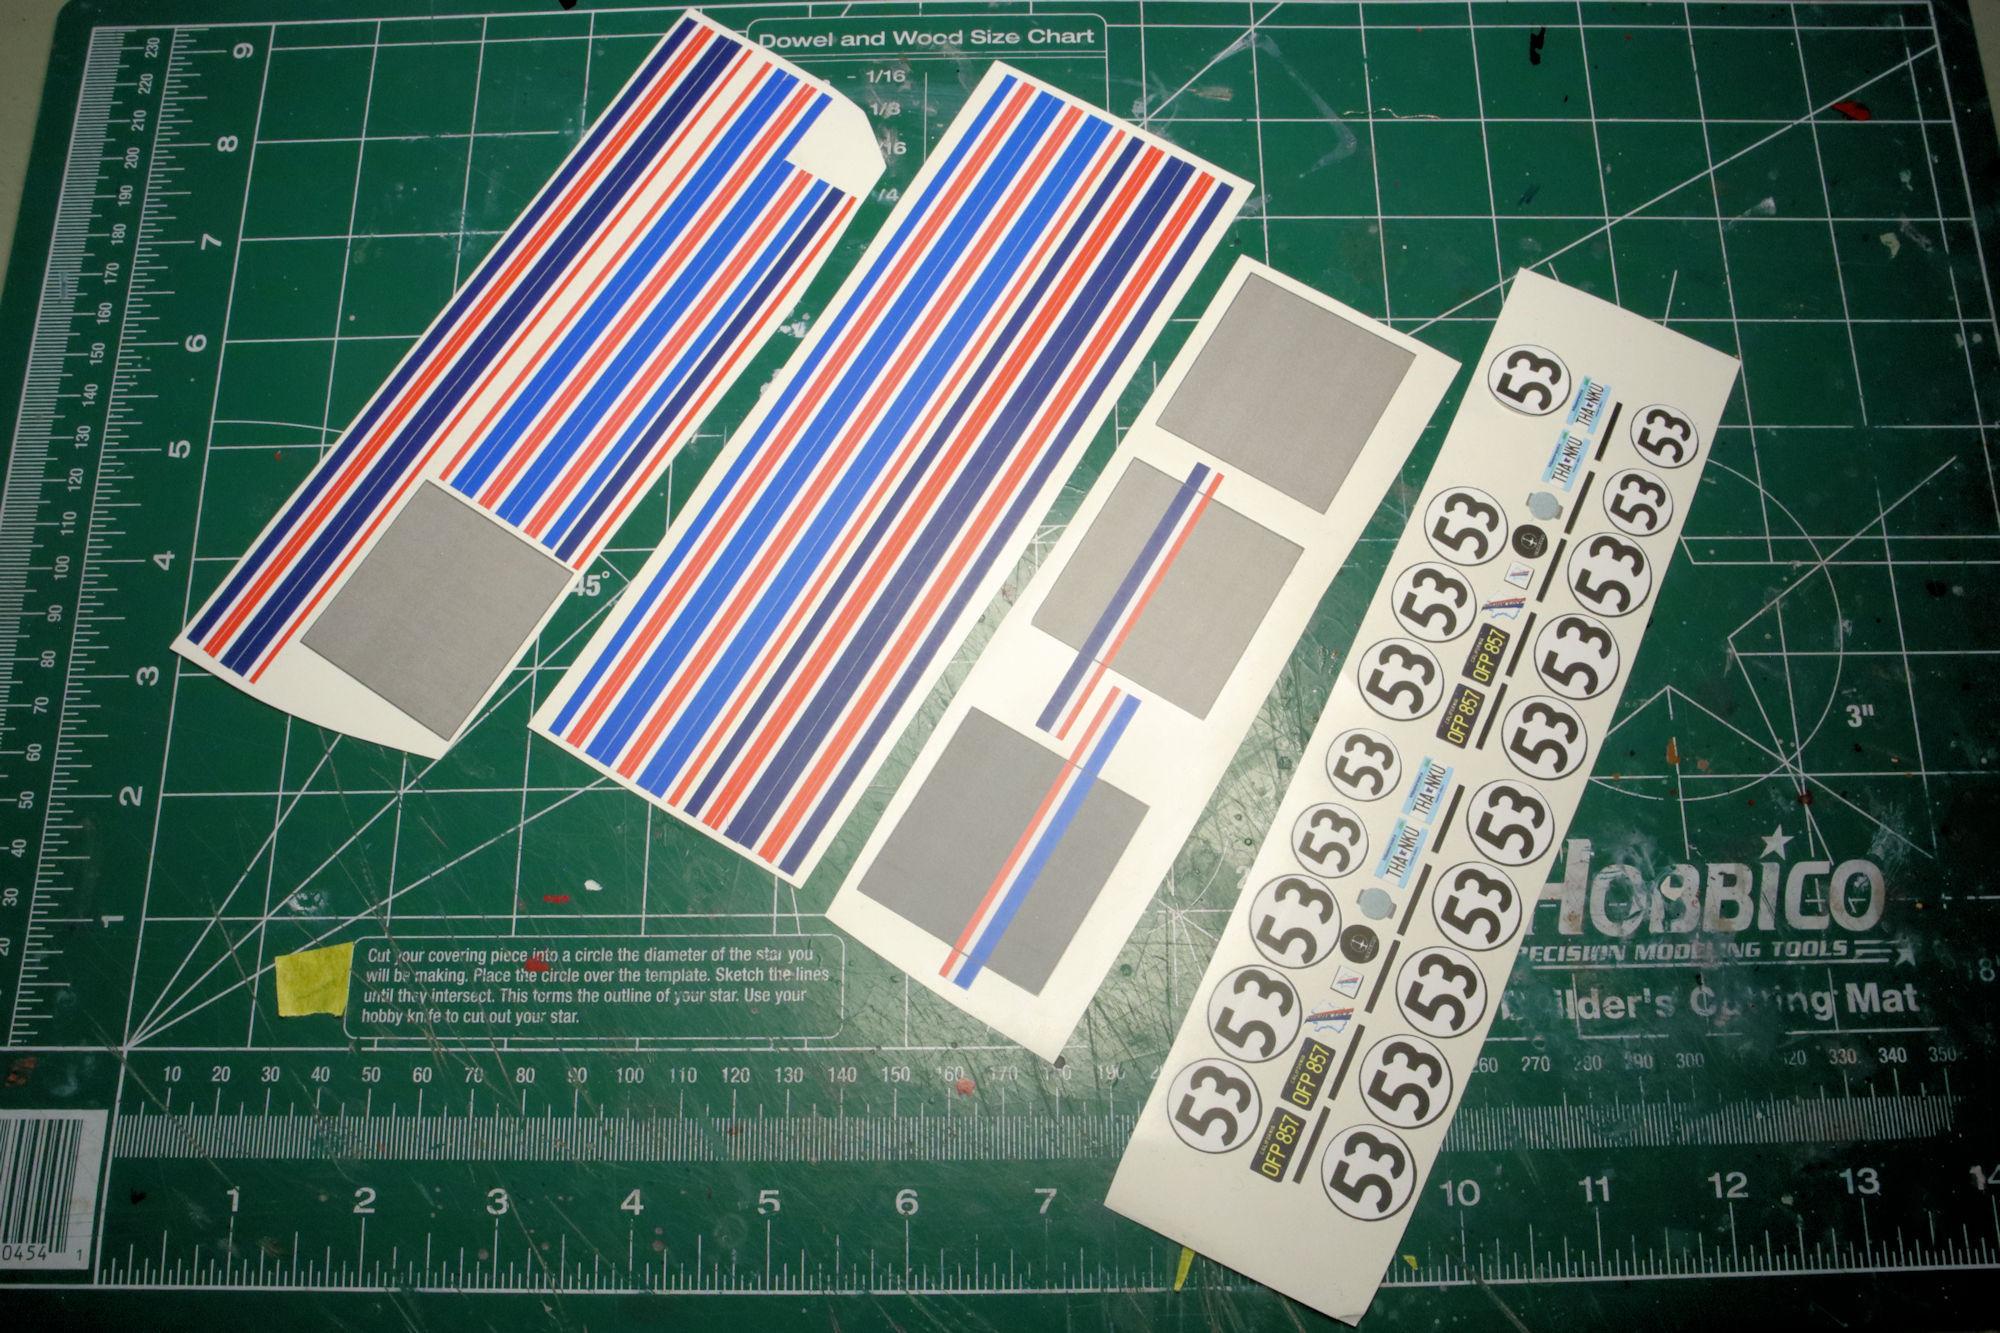
Hello Everybody! Removing the decals proved to be more of a challenge than did the stickers. When I cut the decals, the printer ink chipped off the edges in some places so I touched up the edges with red and blue Sharpie pens. The decal setting solution caused the ink to bleed into the paint. 😕 I managed to get most of my previous mess cleaned up. I ended up repainting the ragtop, it was just easier that way. The scarring was a little worse here. The next set of markings should cover most if not all of this mess. And here's the next set. Listed on eBay as decals, these are actually printed on self-adhesive vinyl by a company named MidWestern Clipper. They're well printed in the proper sizes and colors and provide for both the early and later versions of Herbie's race livery. So they should work for just about any version of Herbie that one would want to build. I'm hoping the flexibility and thinness of the vinyl will help them conform better than the paper stickers did. As always, thanks for taking the time to look and please feel free to comment. David G.
-
Thank you Carl. It's pretty much been solved, I just need to post the photos. David G.