Speedpro
-
Posts
782 -
Joined
-
Last visited
Content Type
Profiles
Forums
Events
Gallery
Everything posted by Speedpro
-
I feel pretty dumb right now as i did not know this. Not a mopar guy so i don't follow much.
-
Very nice! Love them monogram kits!
-
Thats a beautiful road runner! Great job on the photo's too!
-
Good looking cuda!
-
Very nice!
-
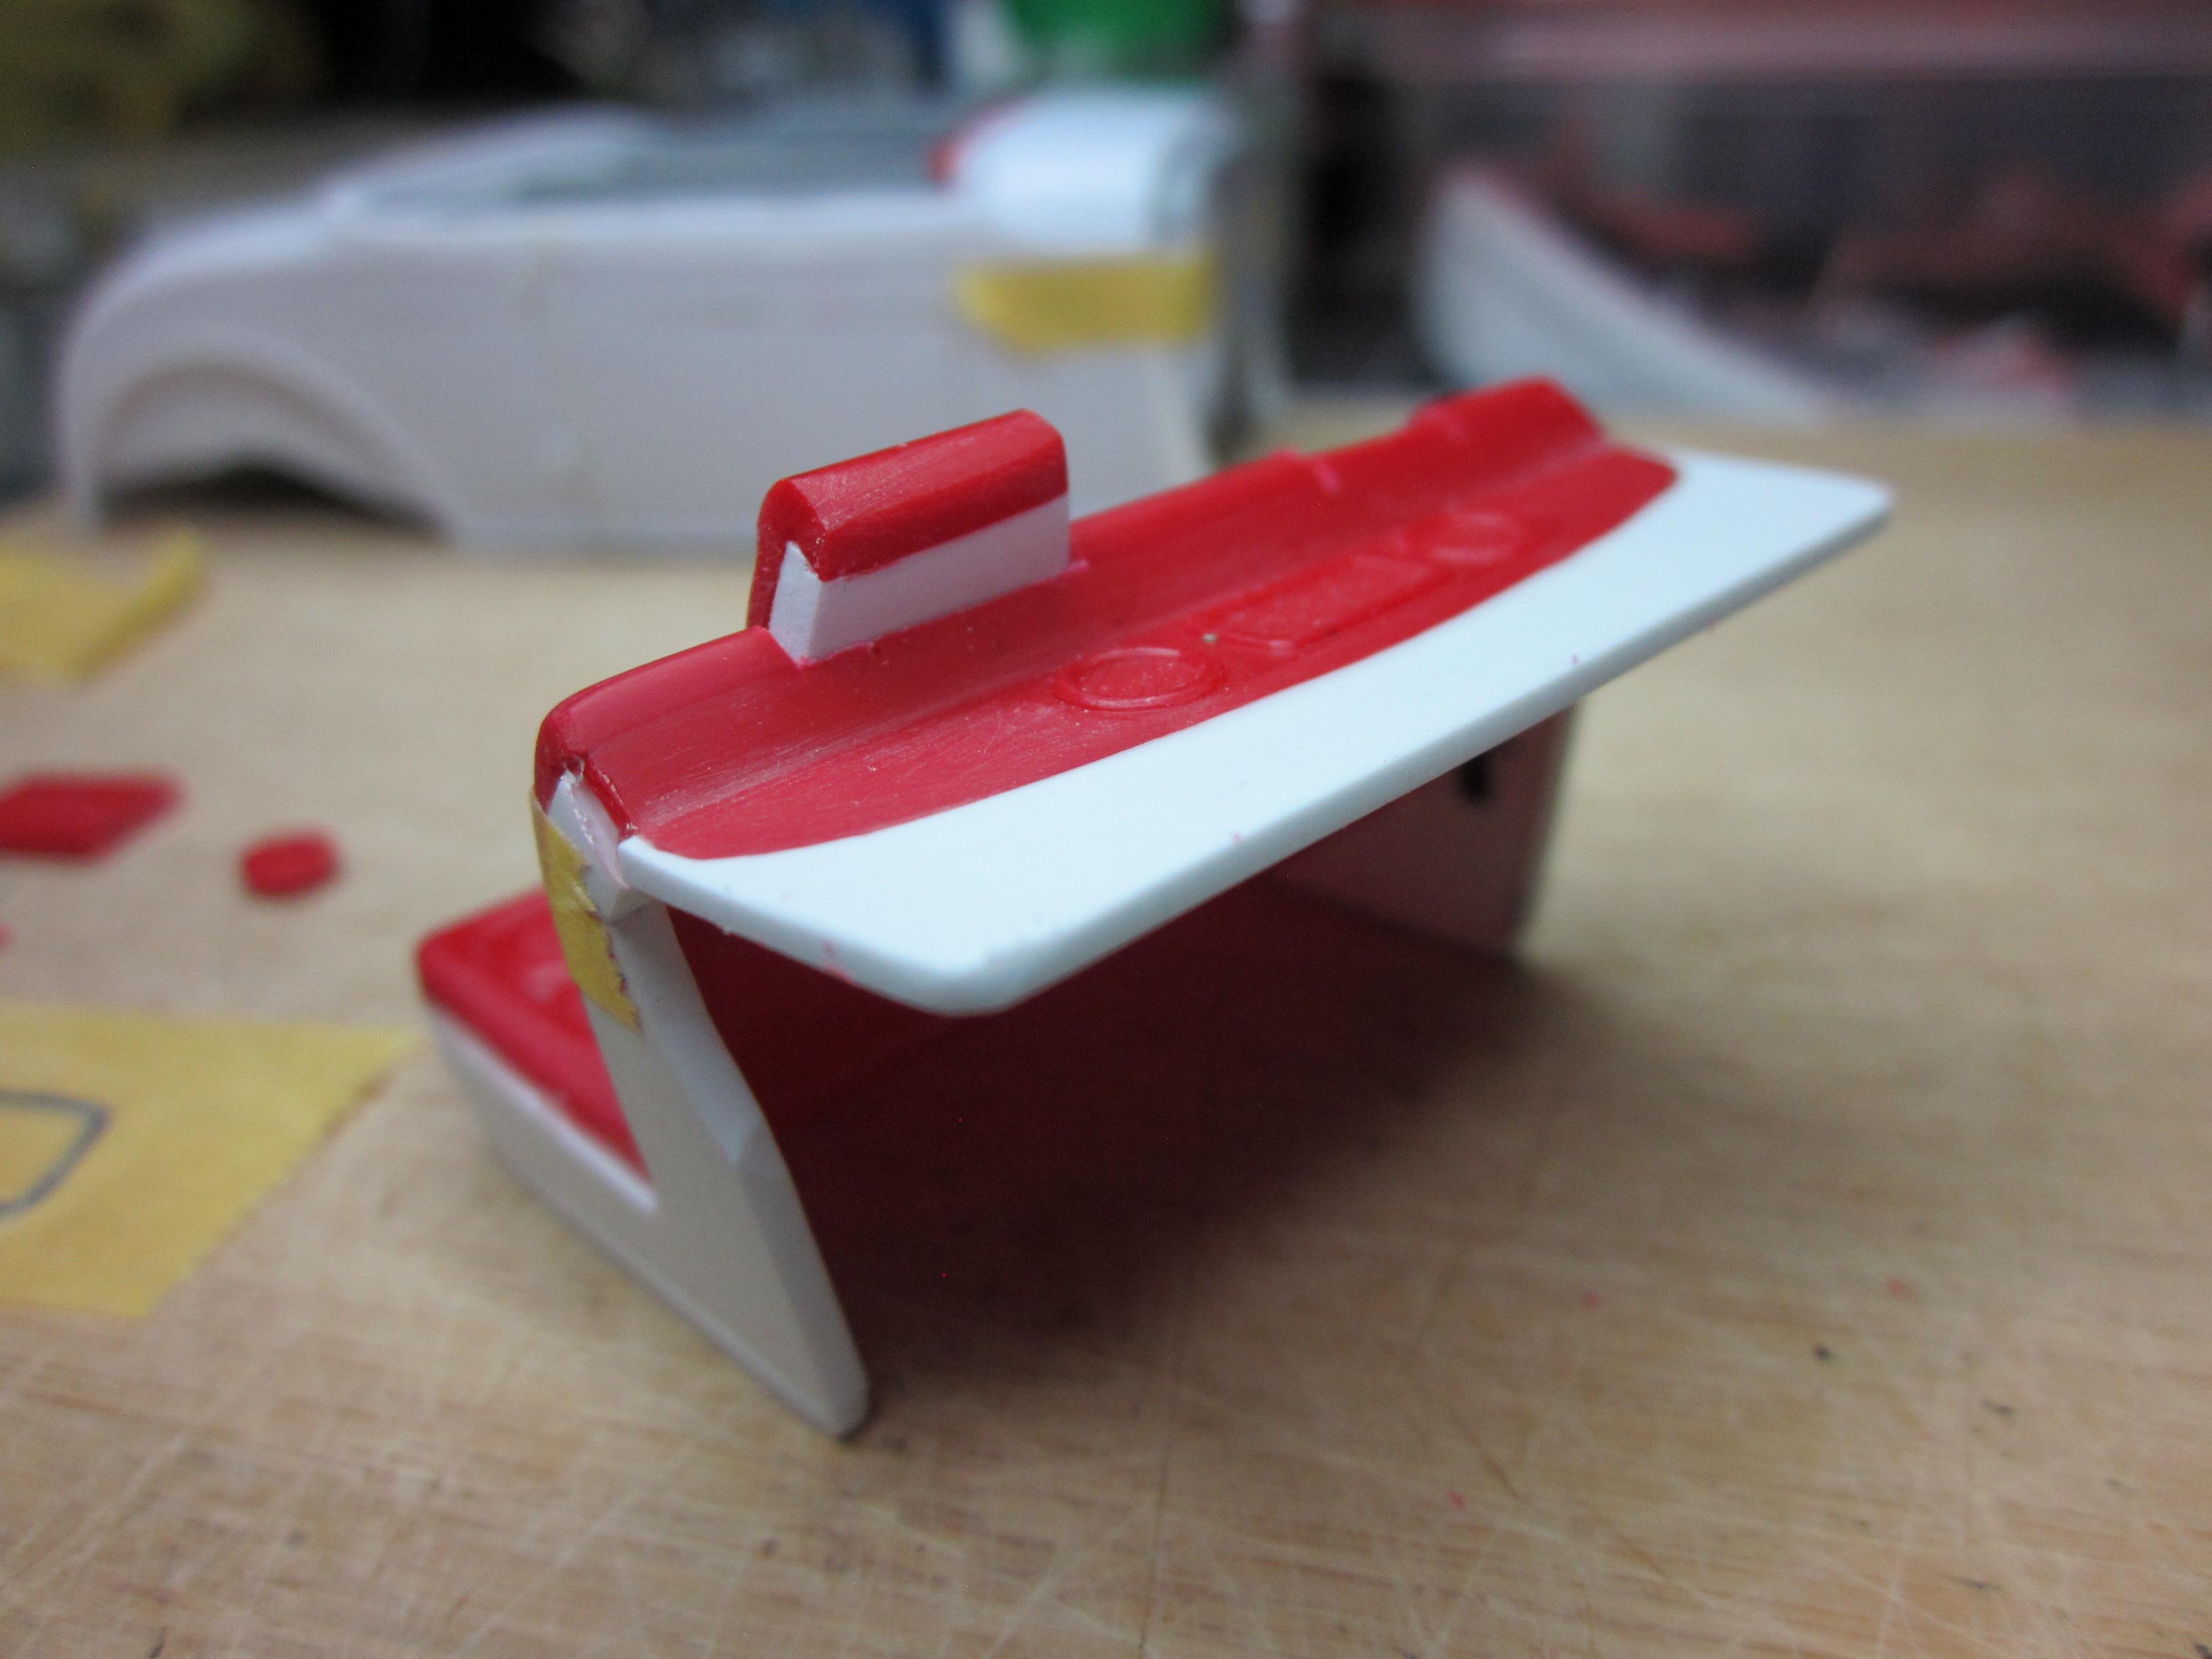
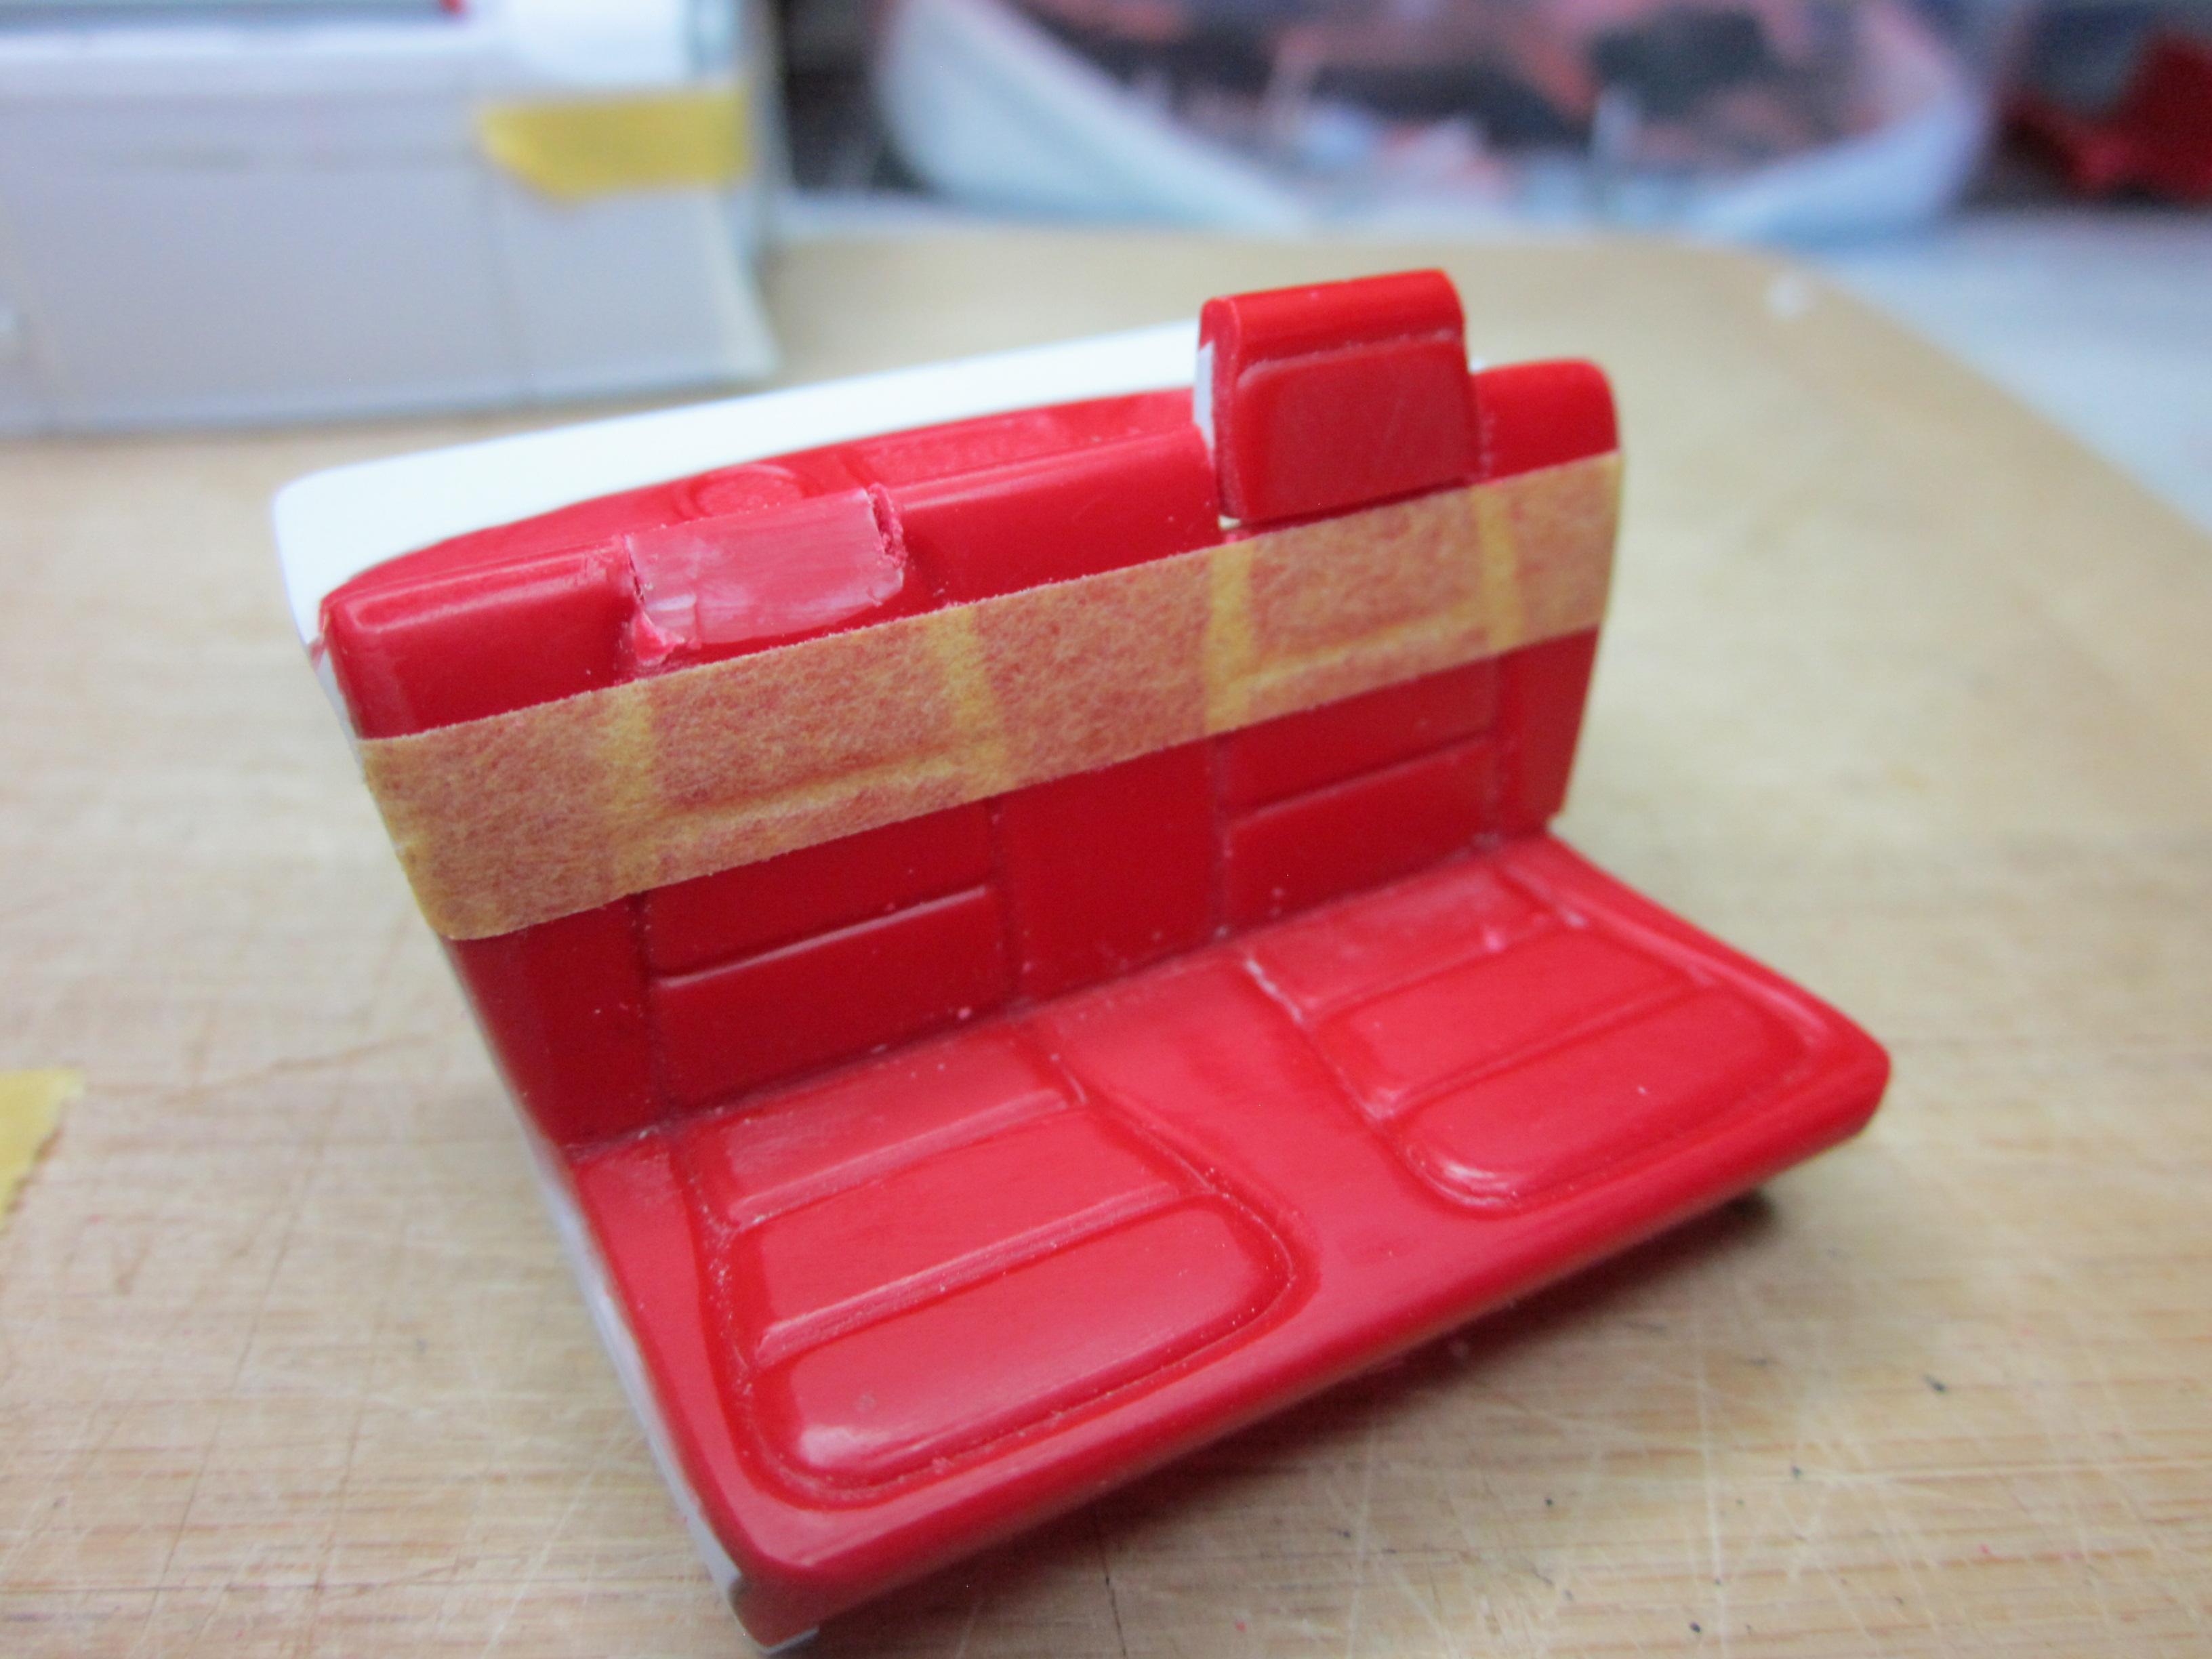
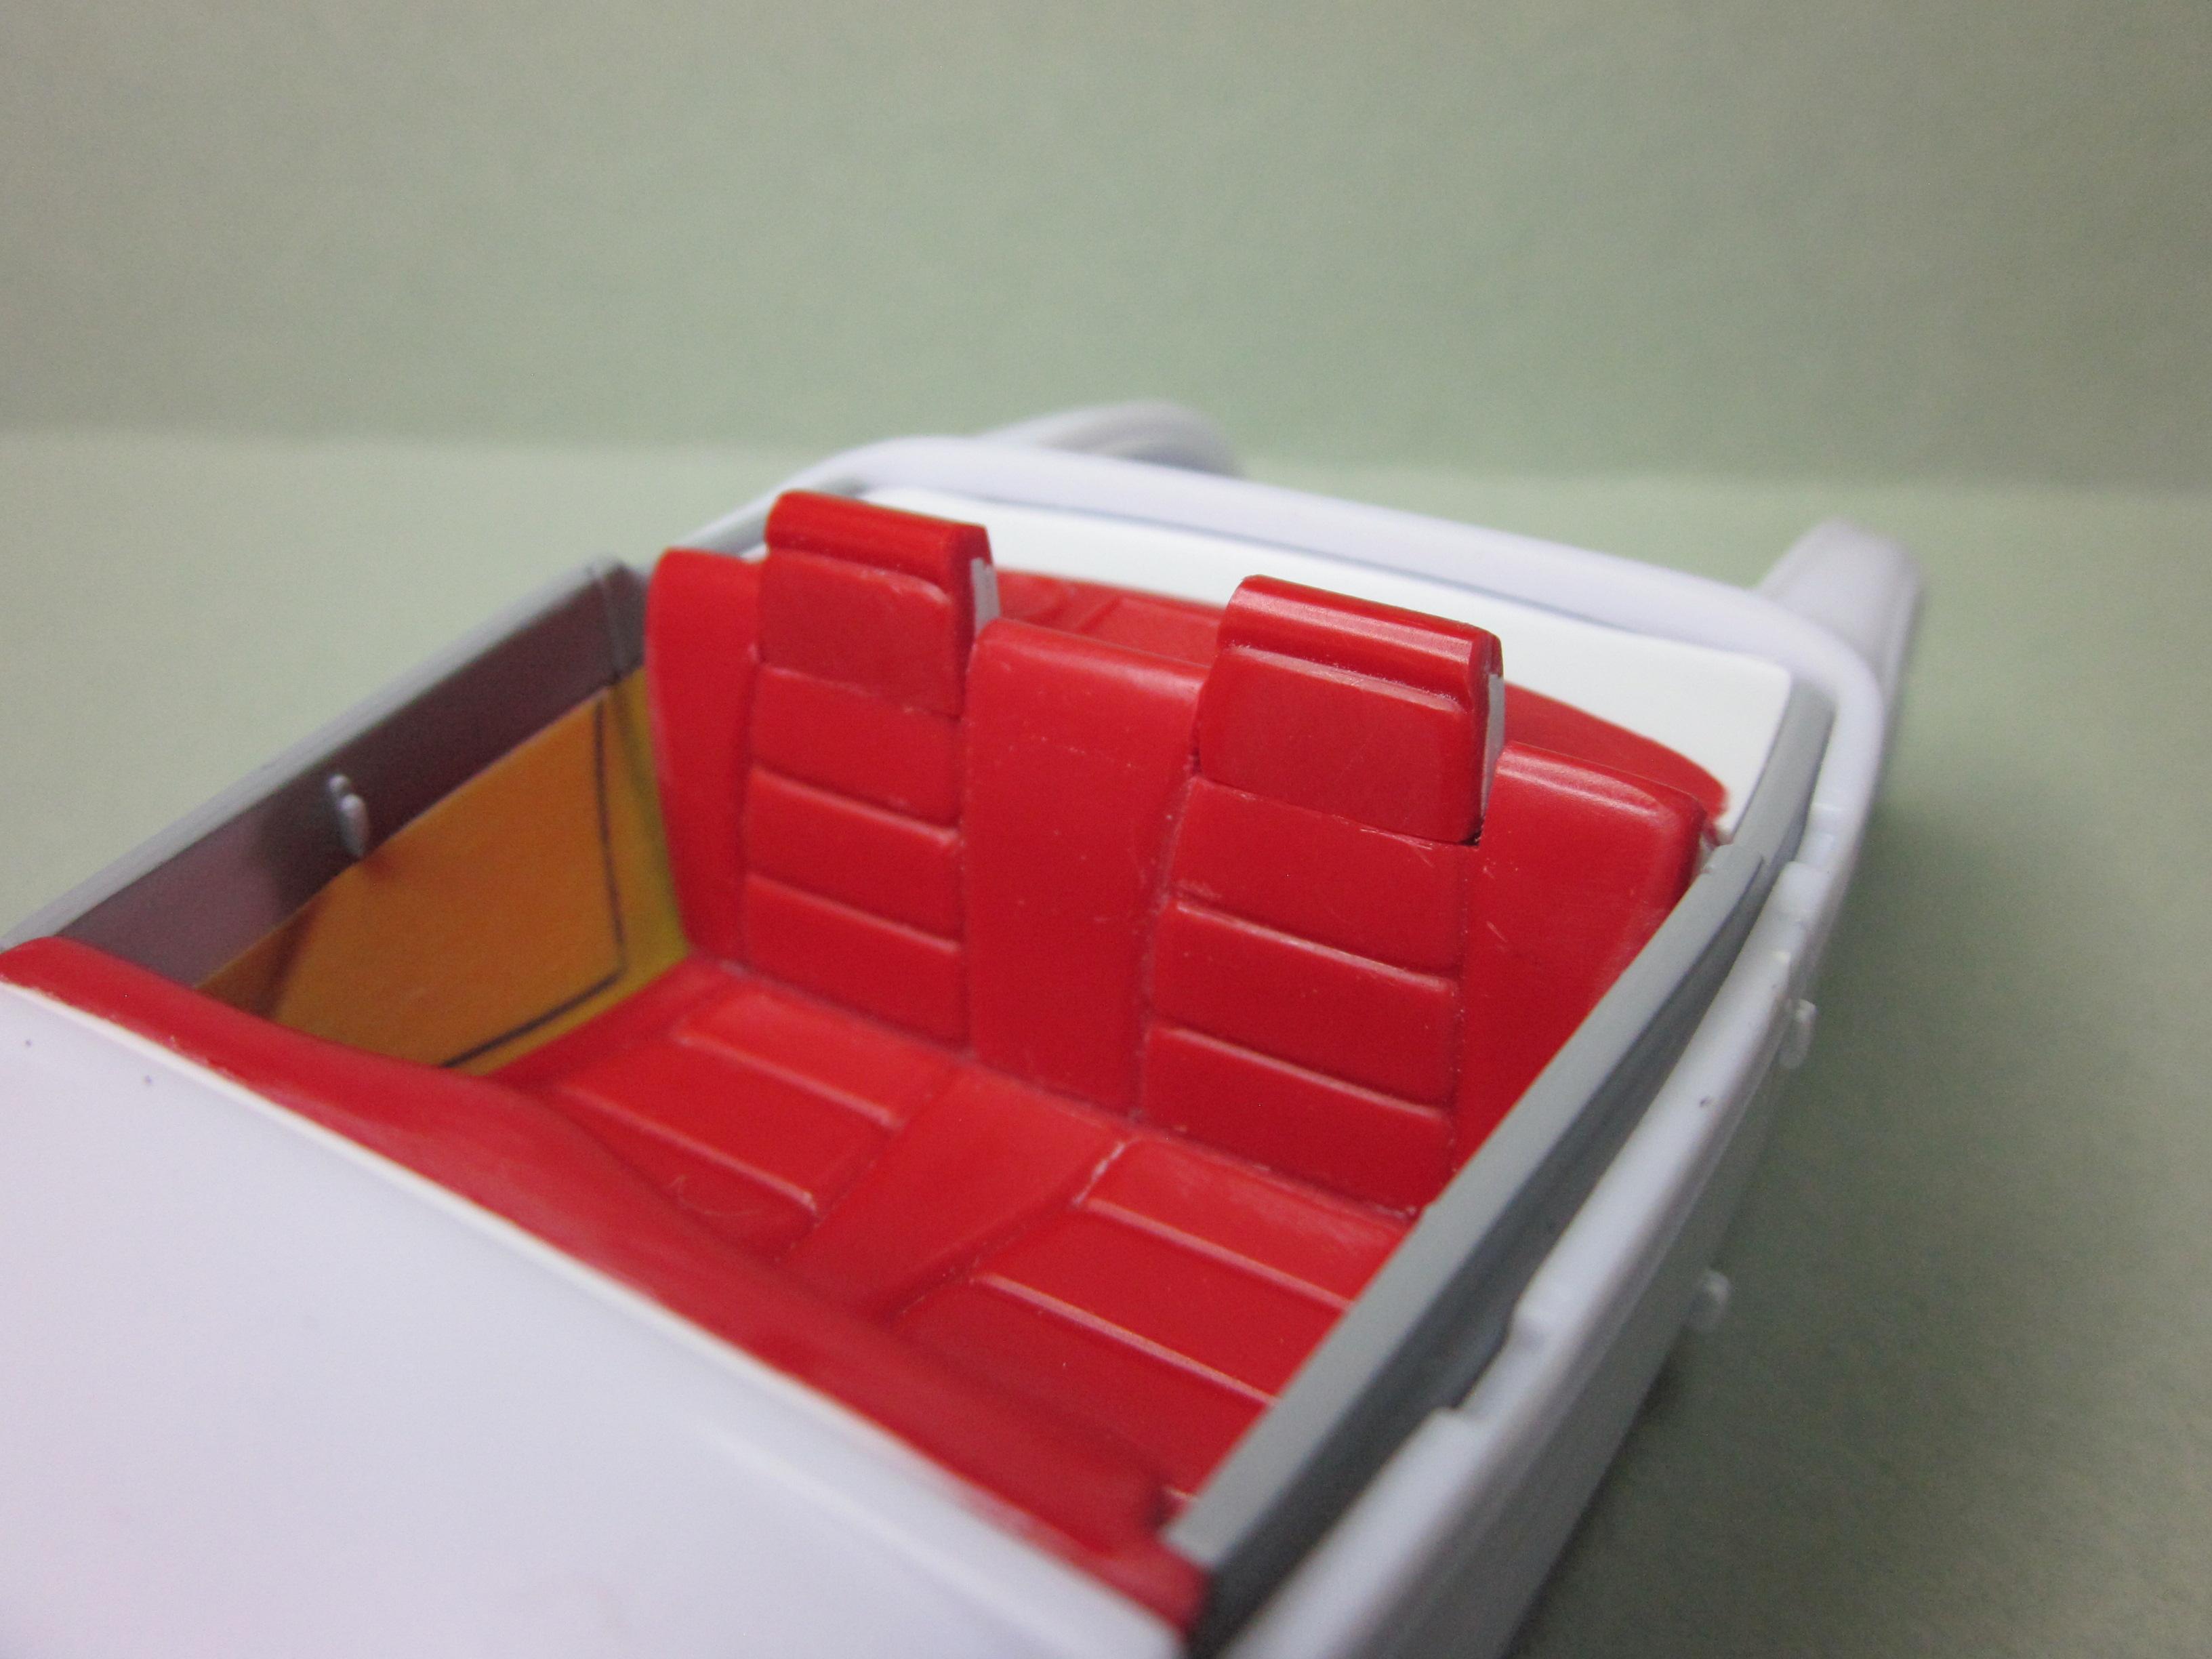
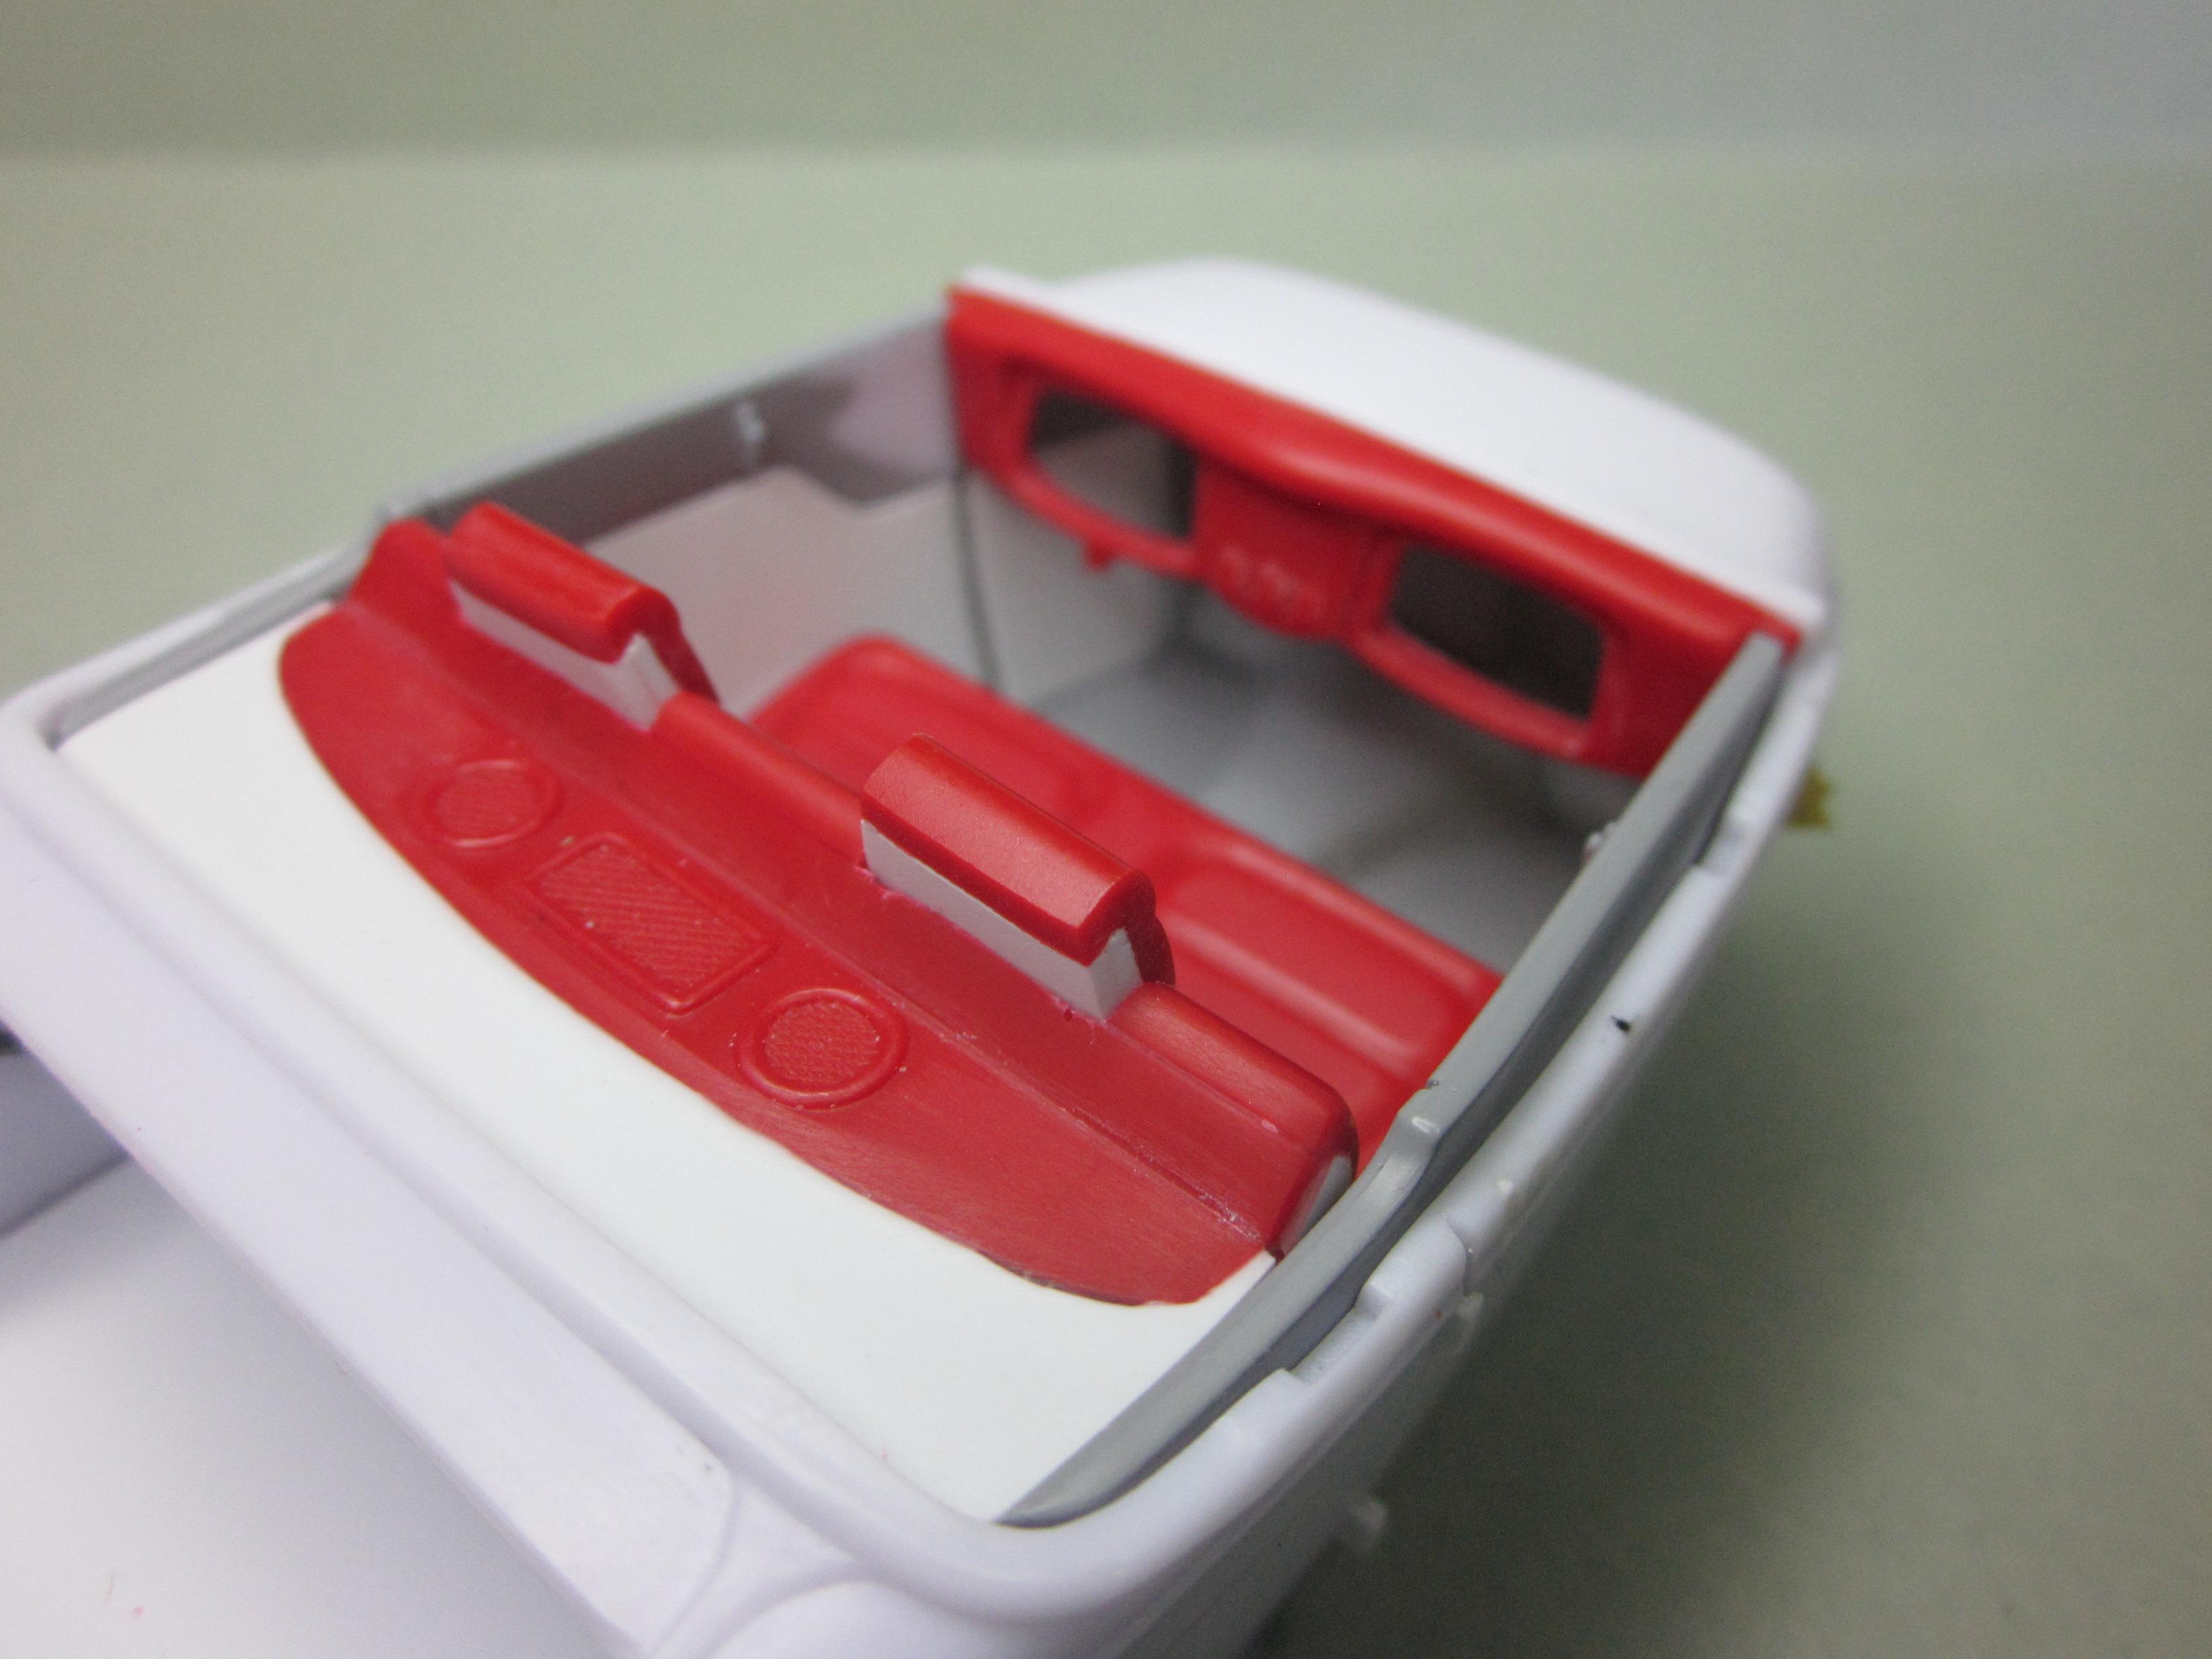
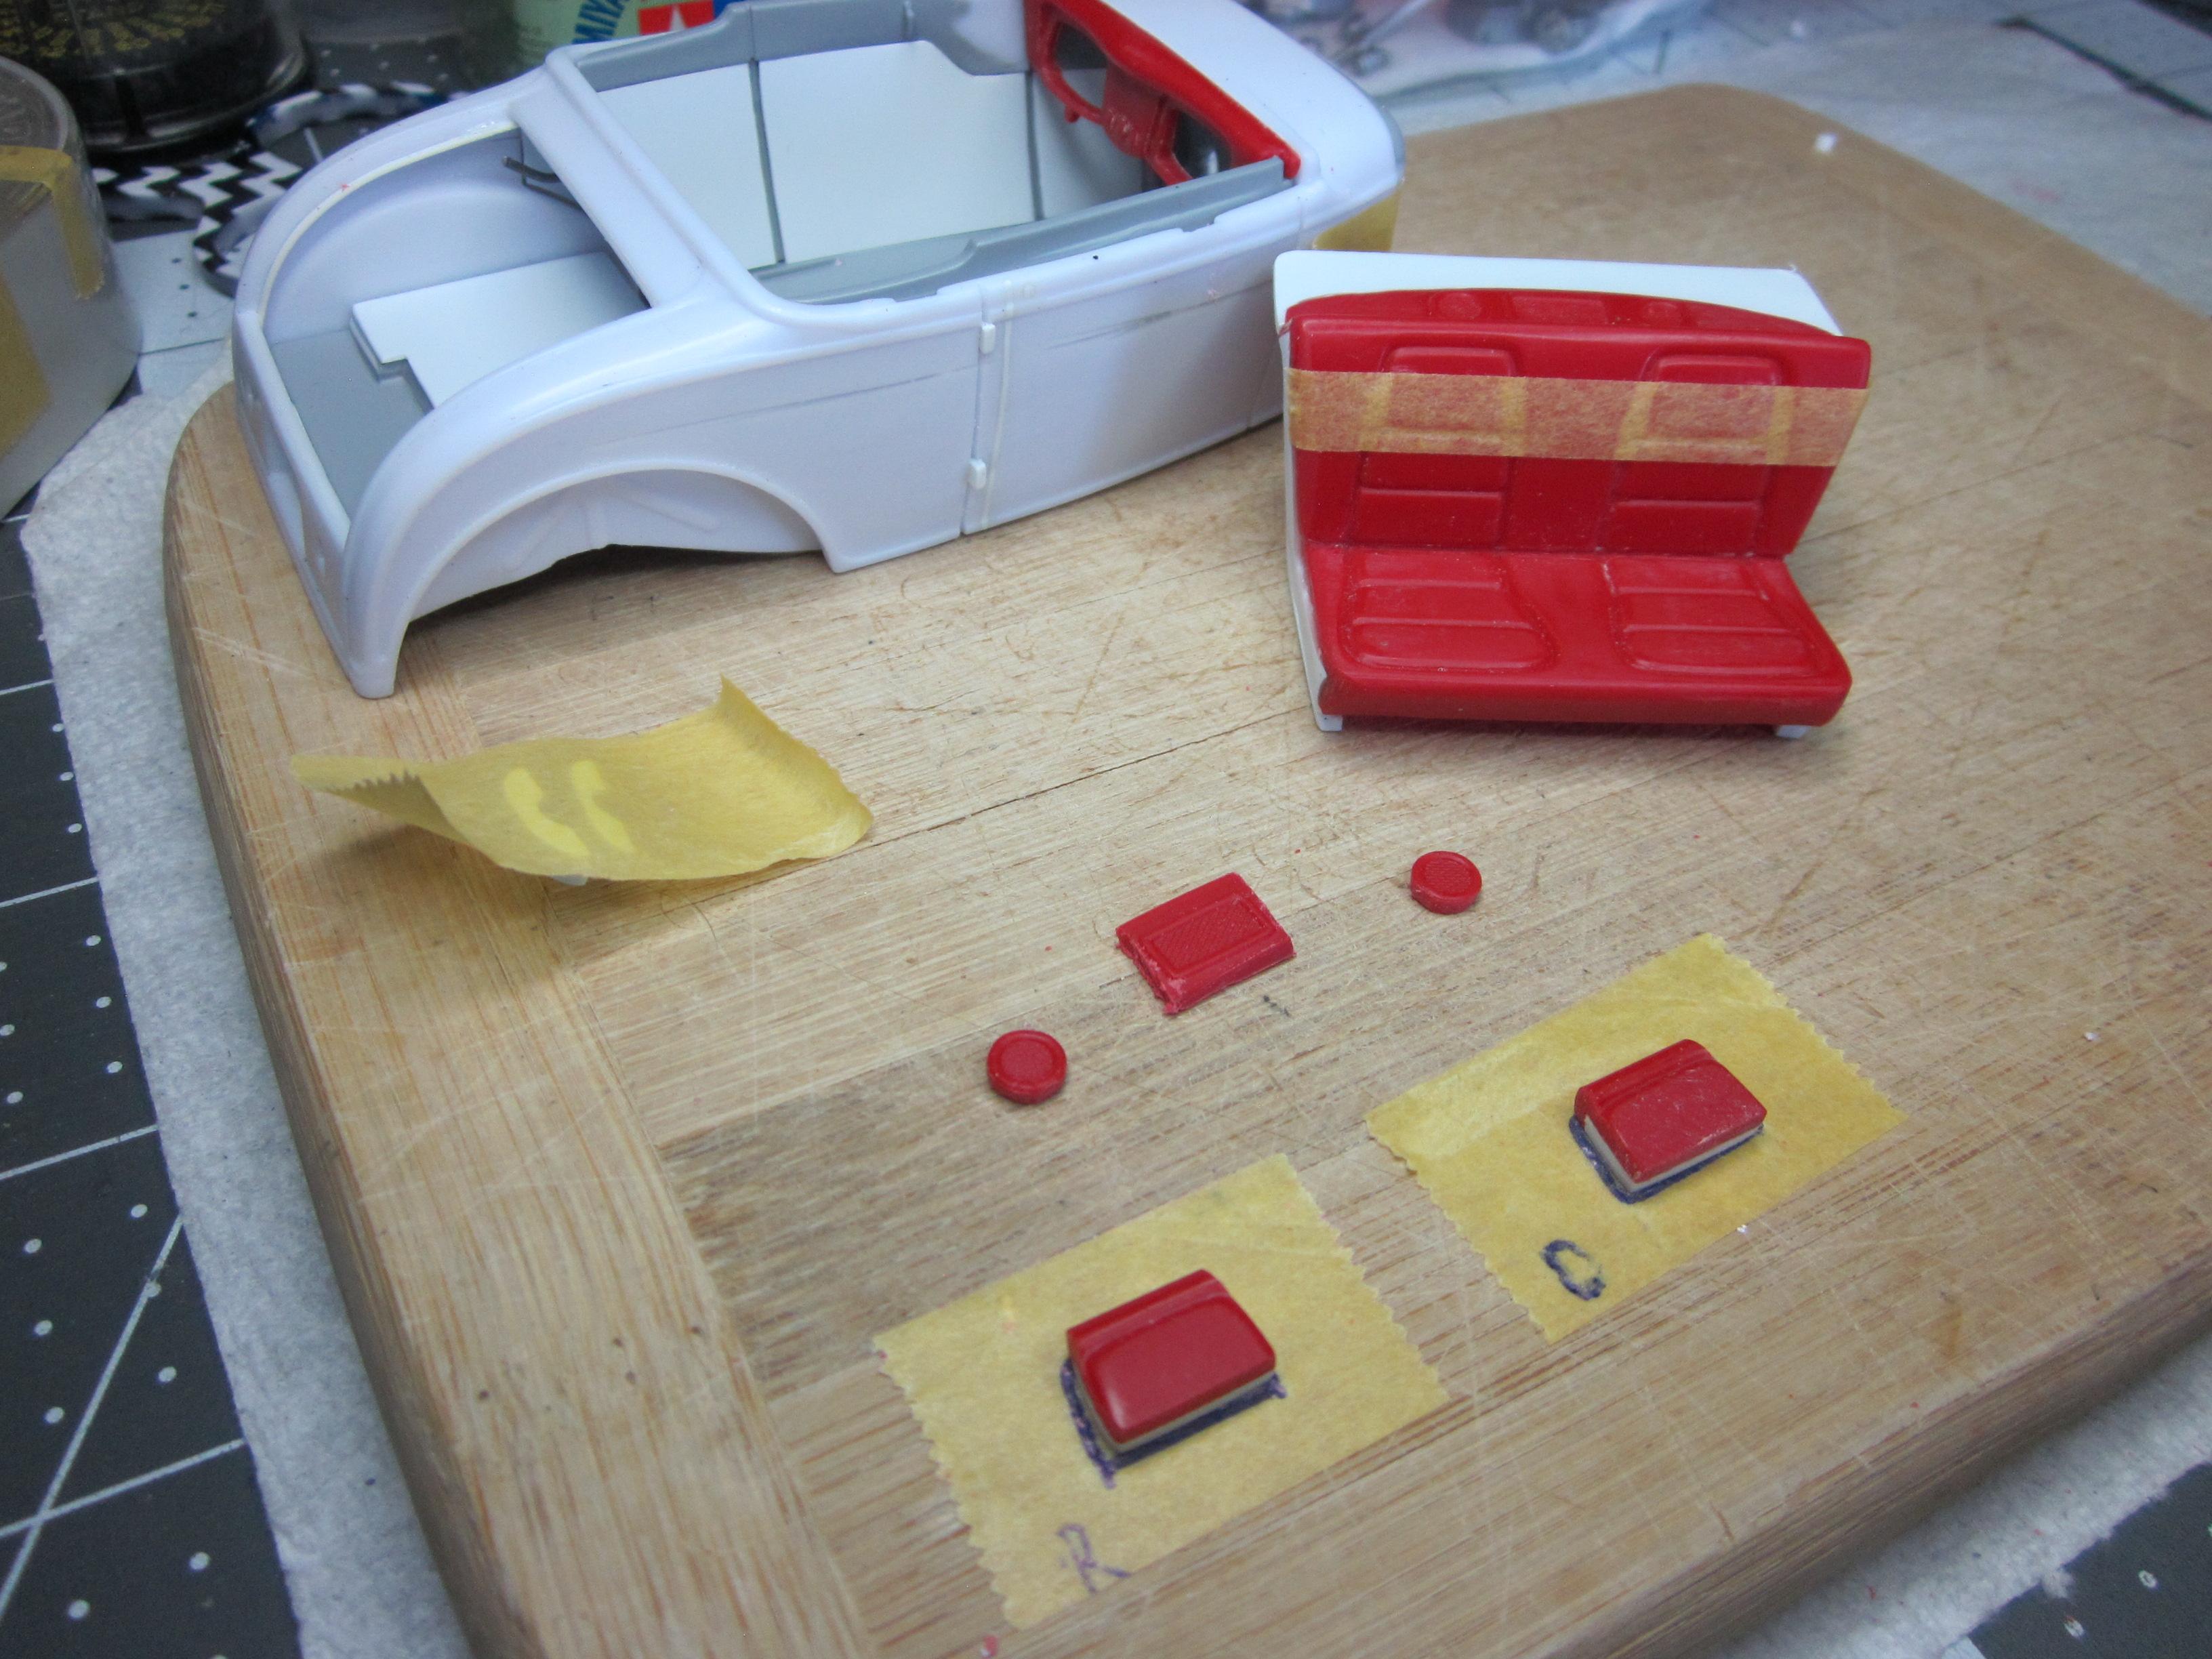
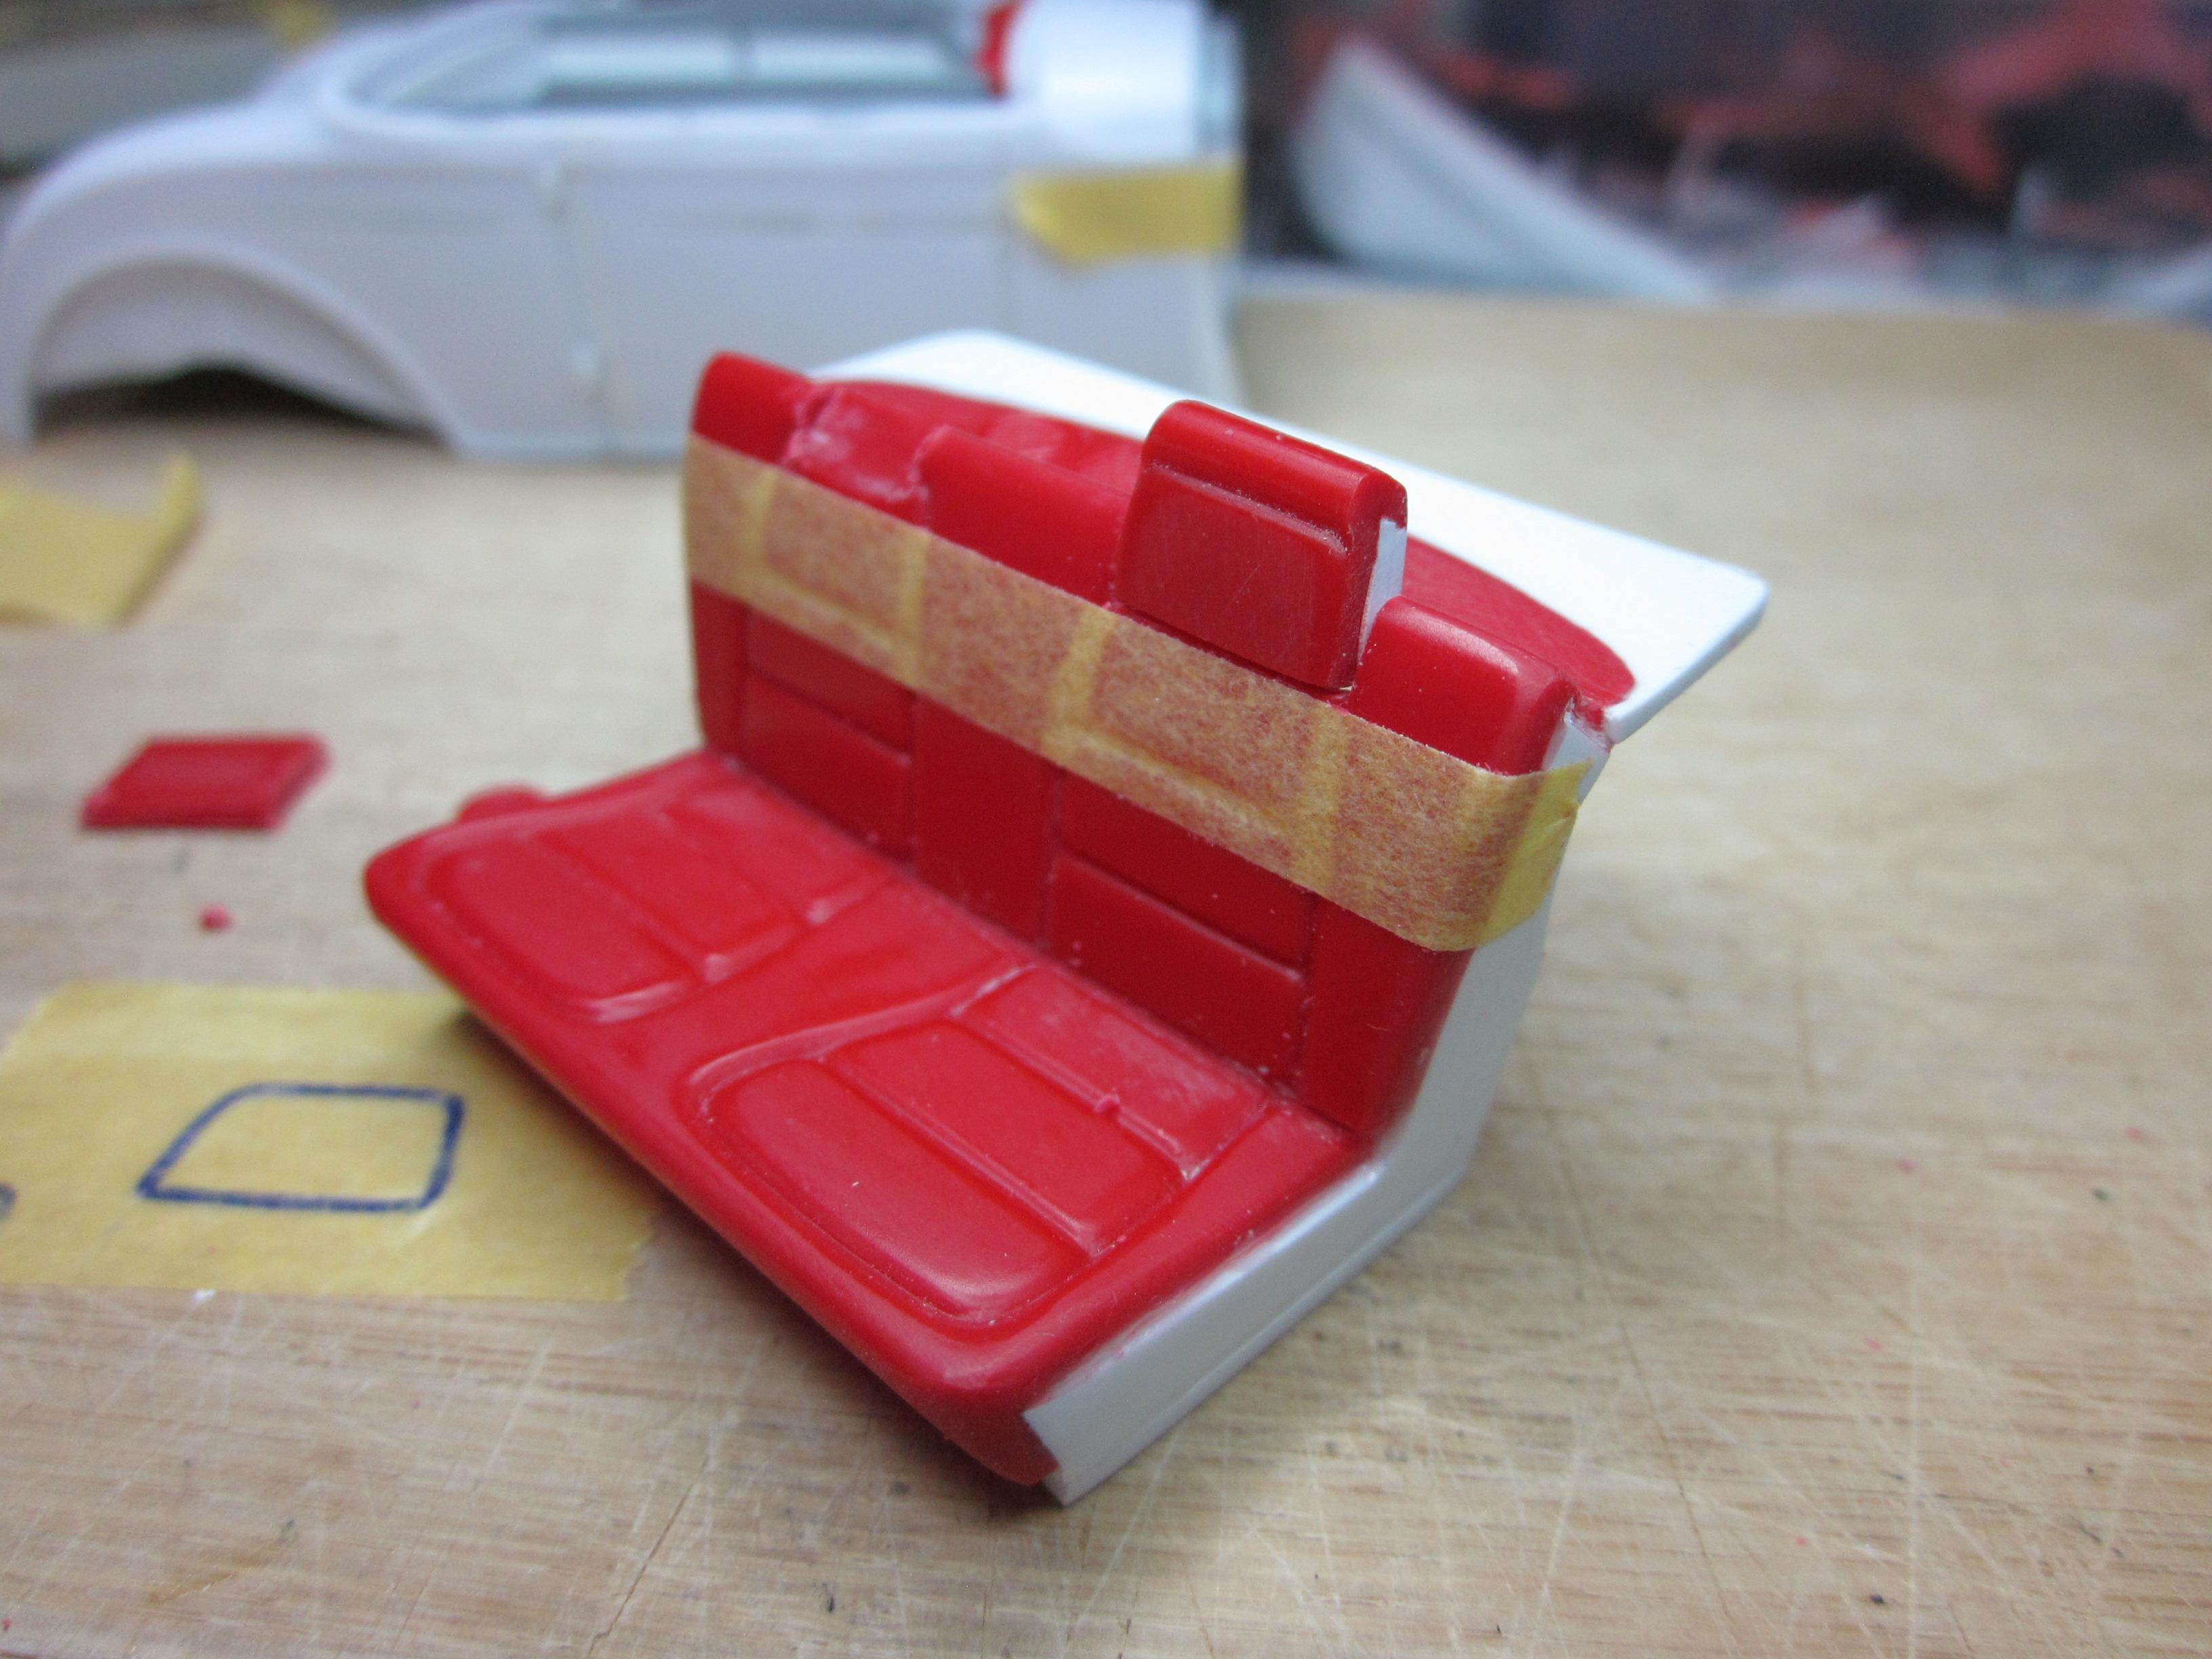
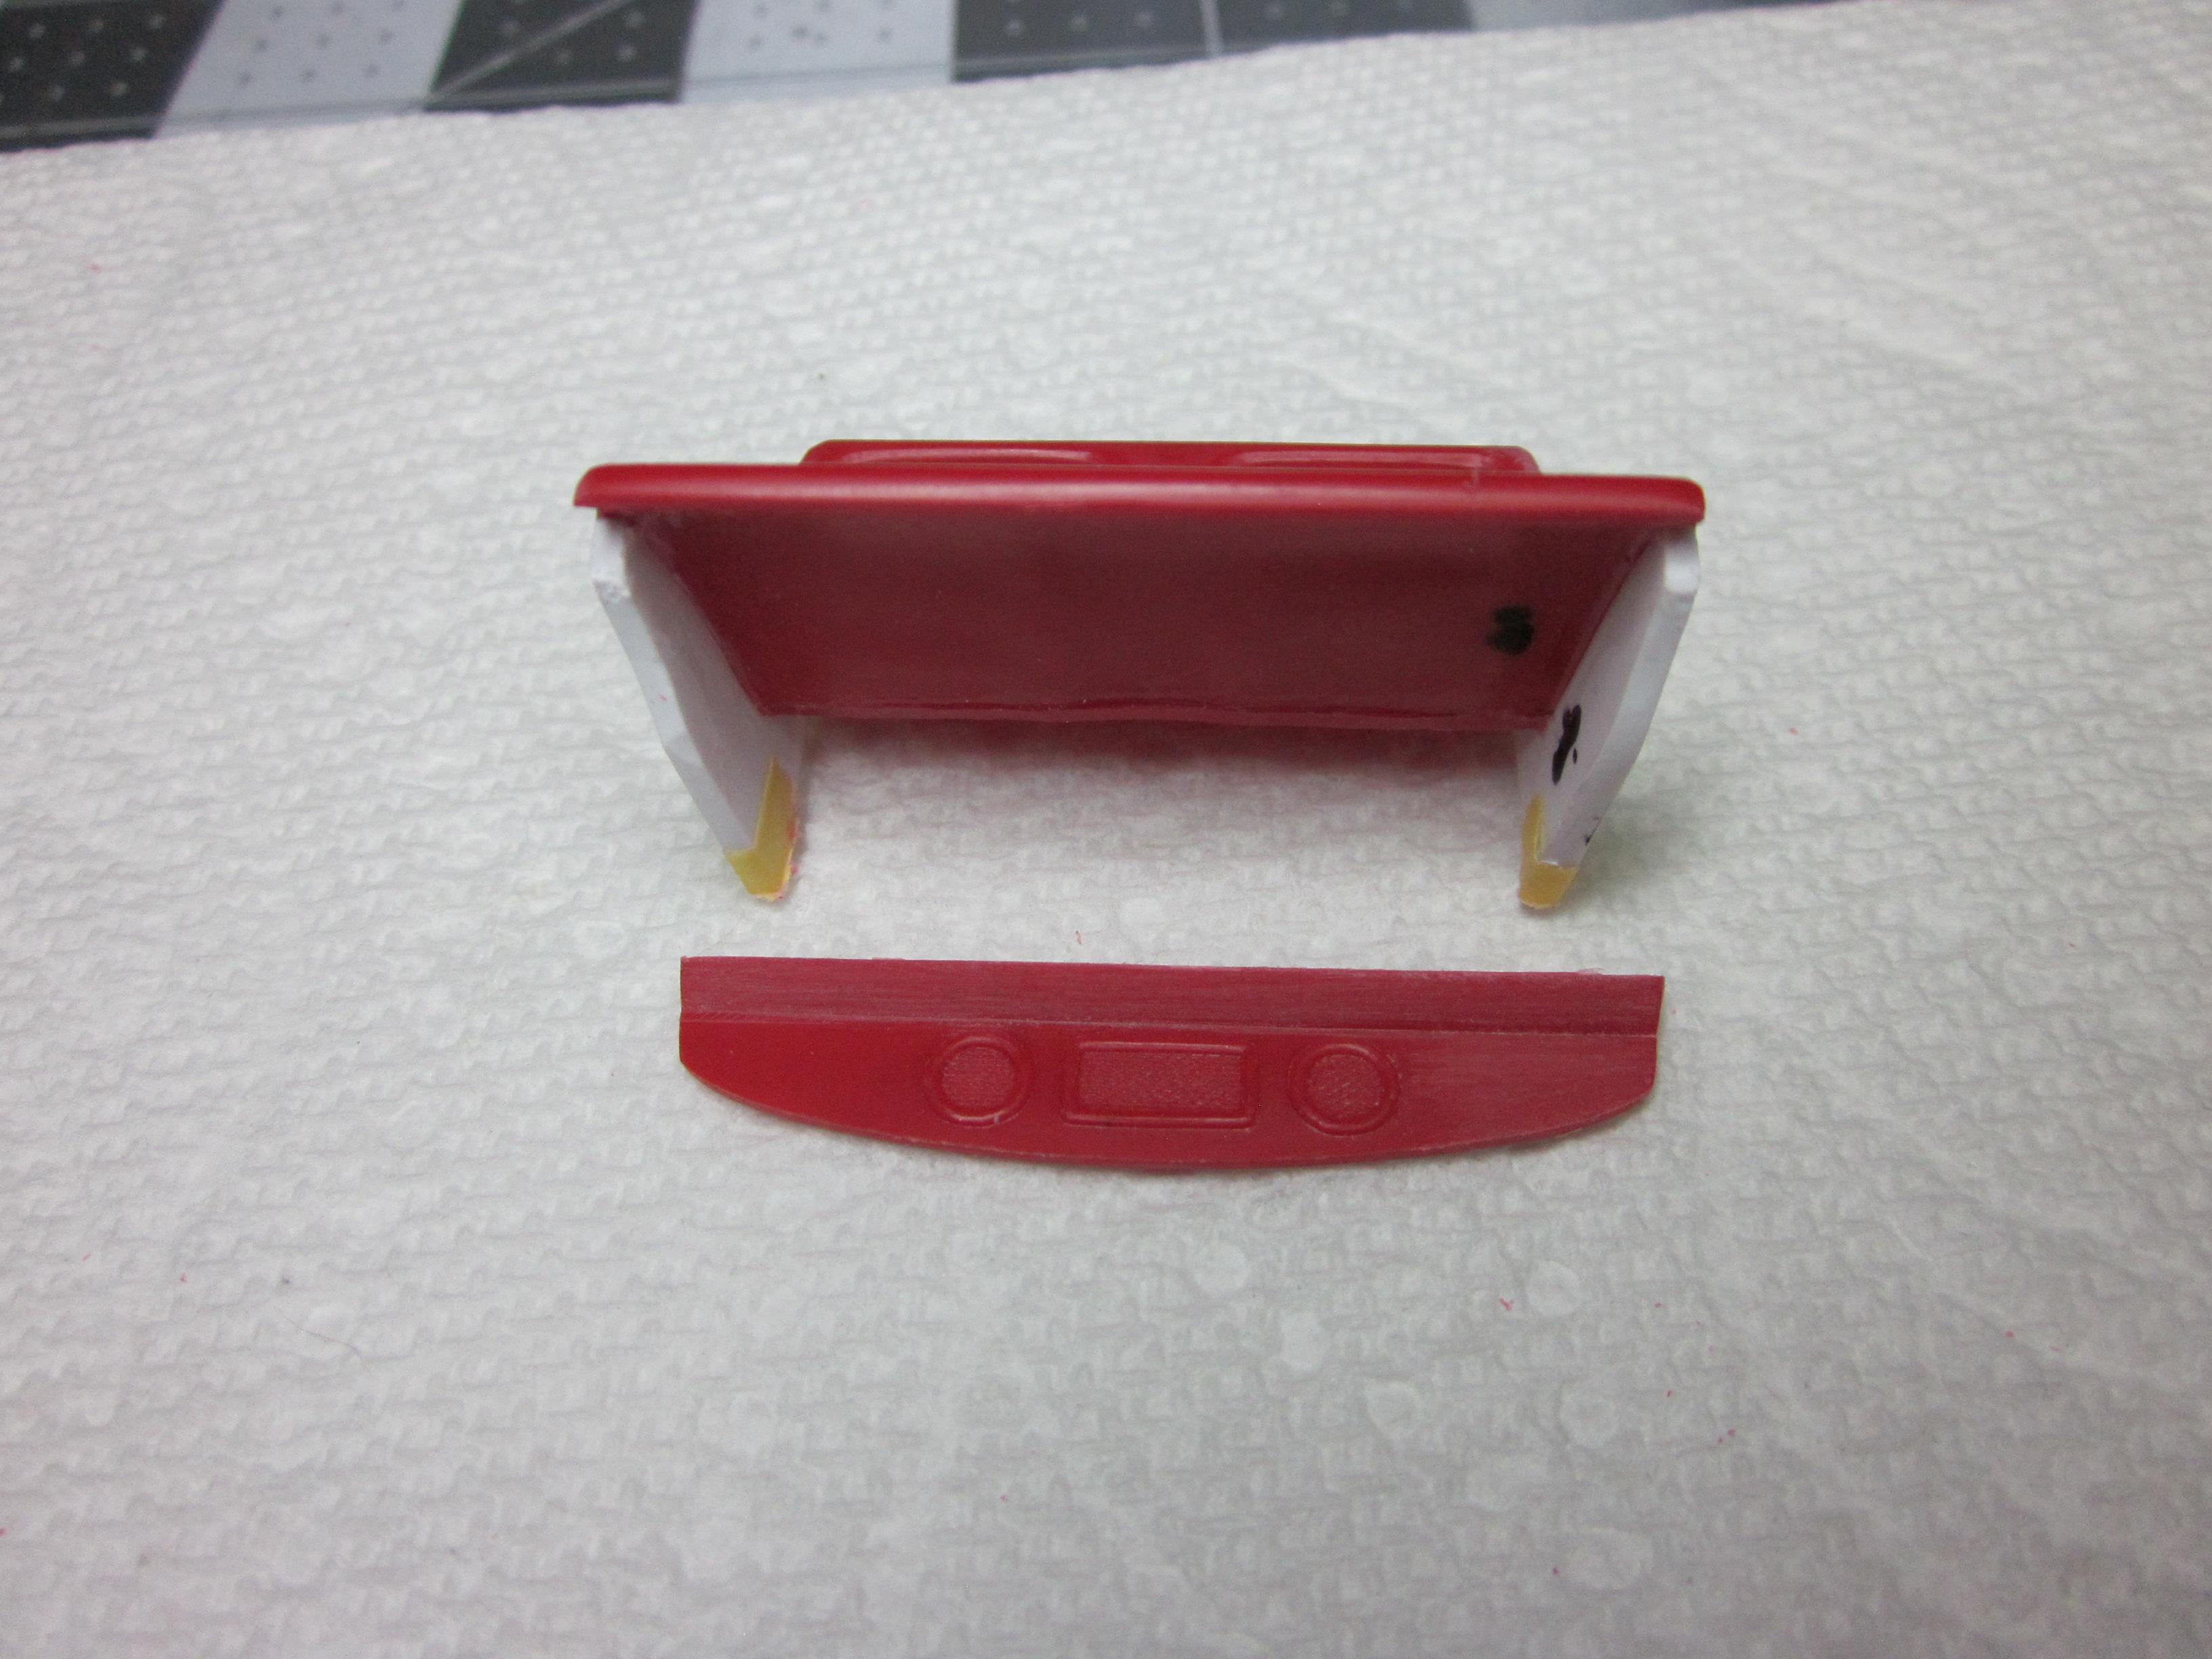
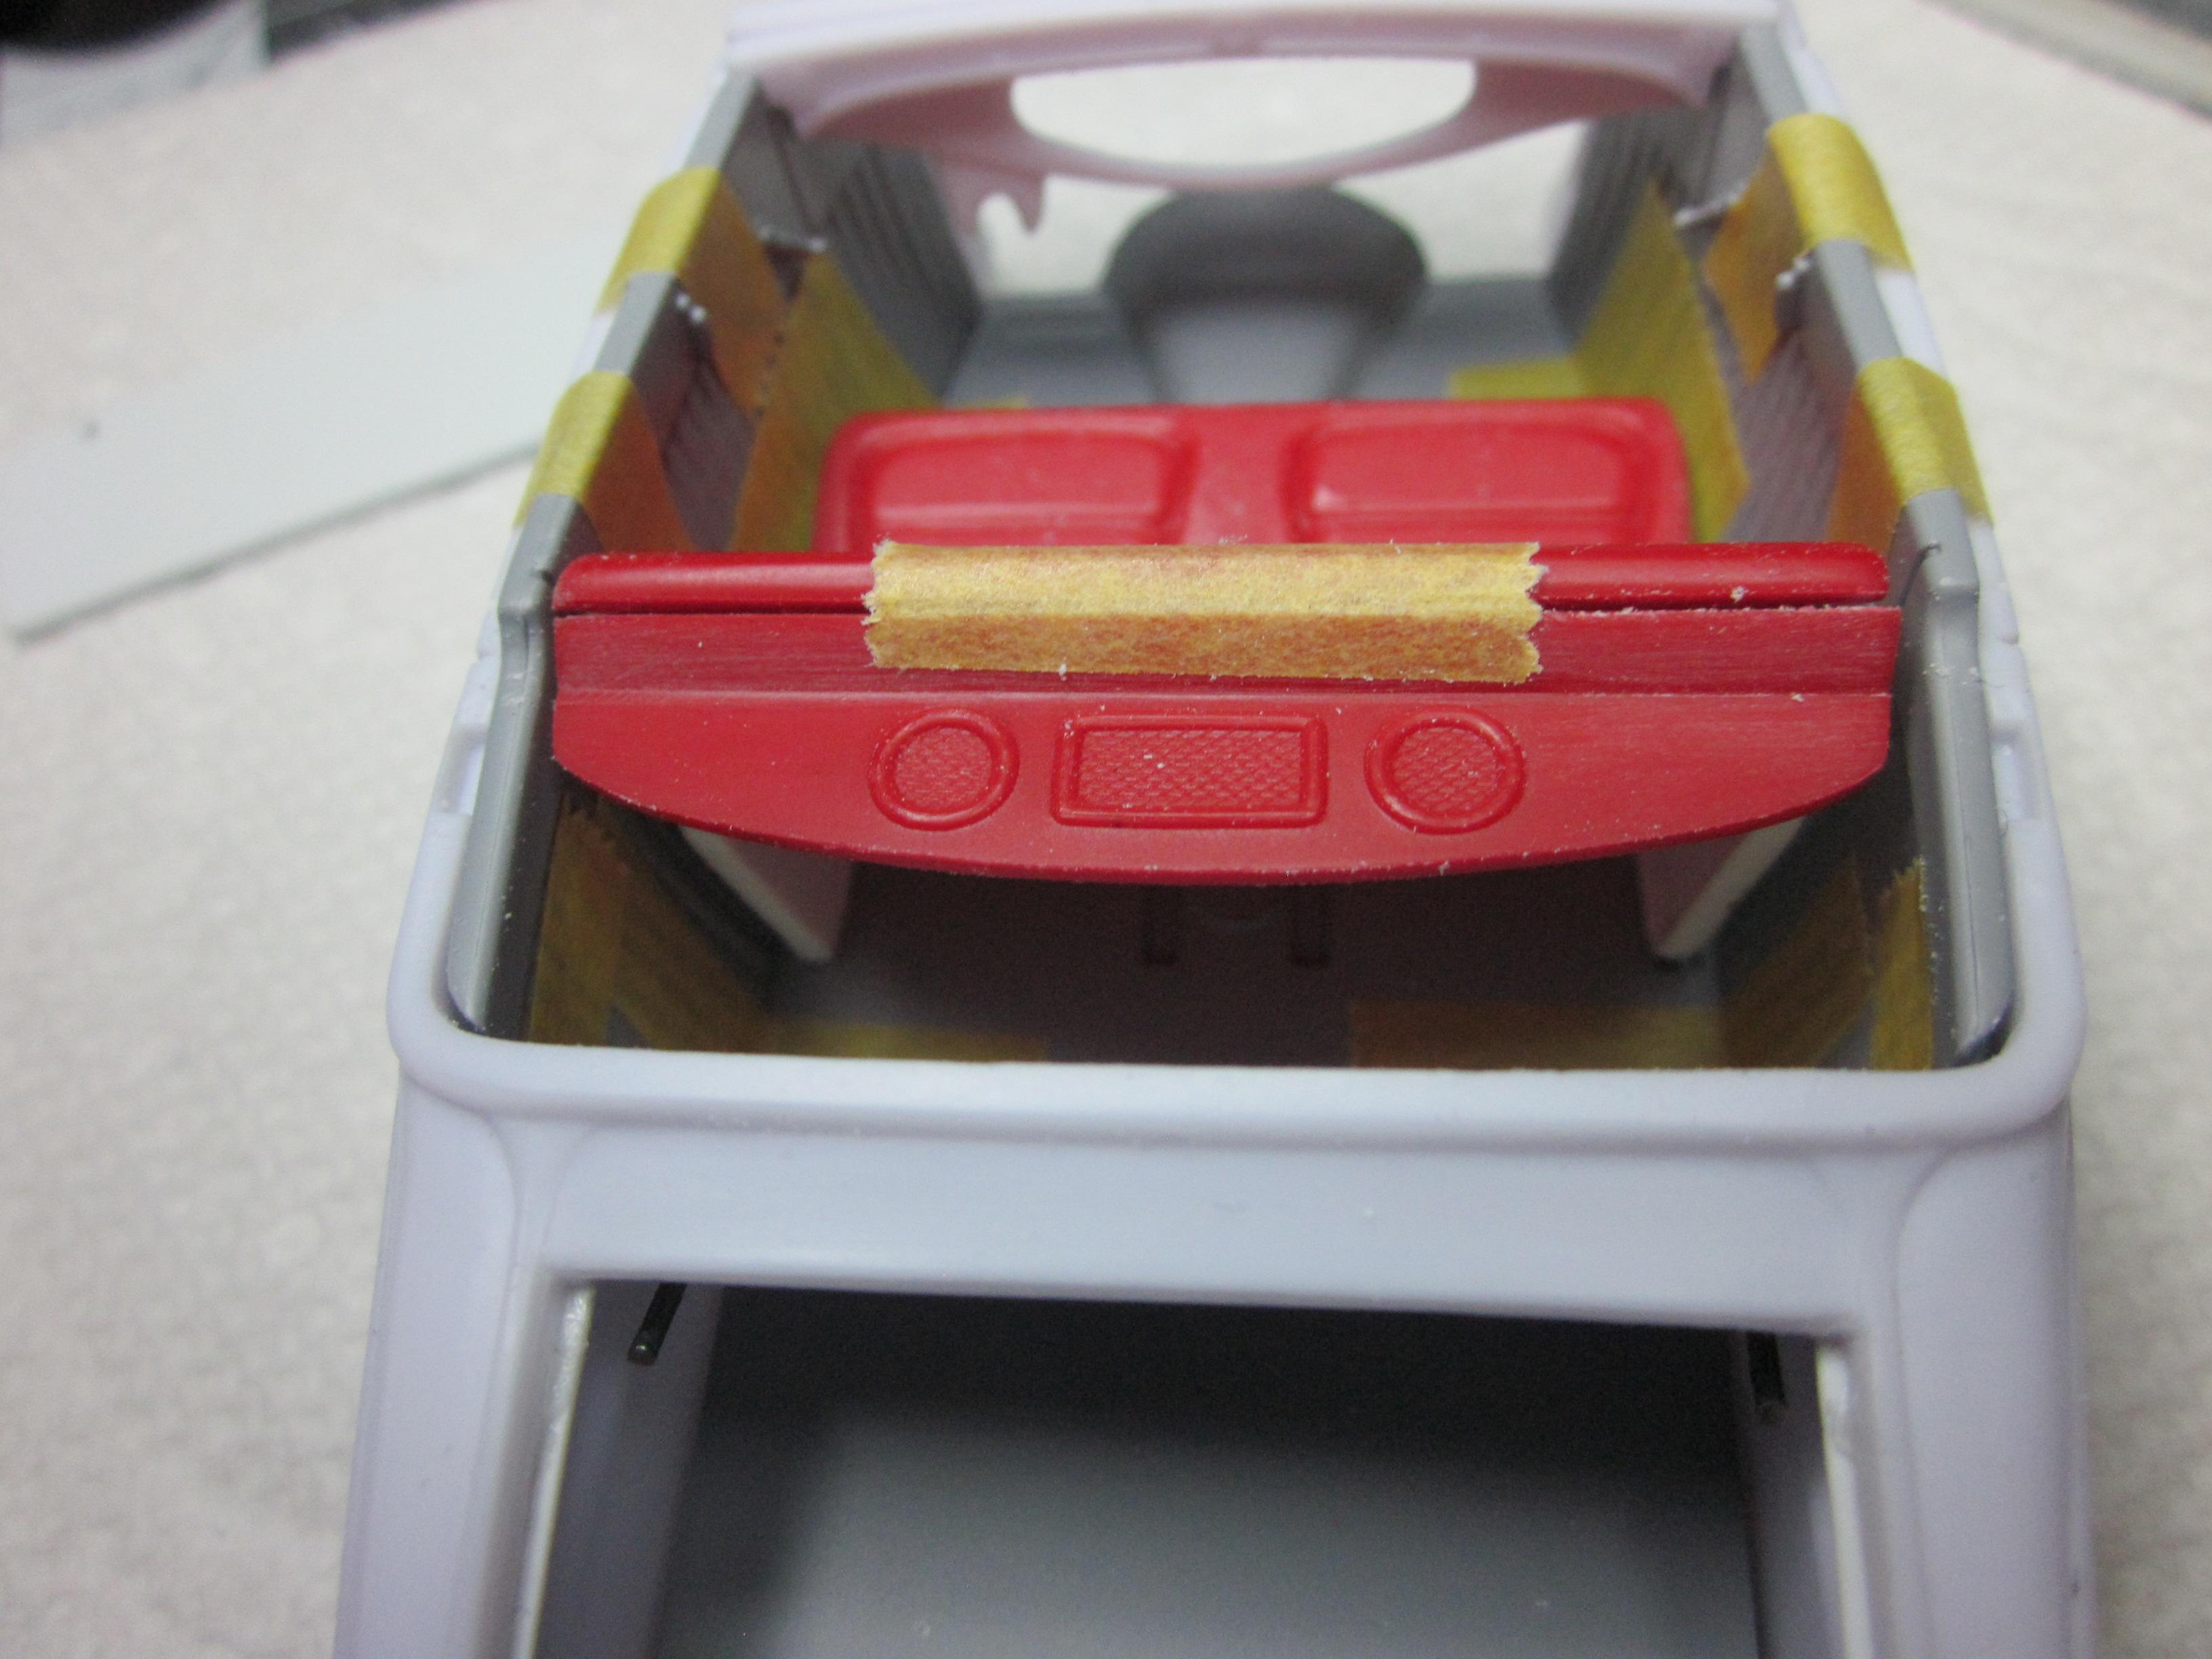
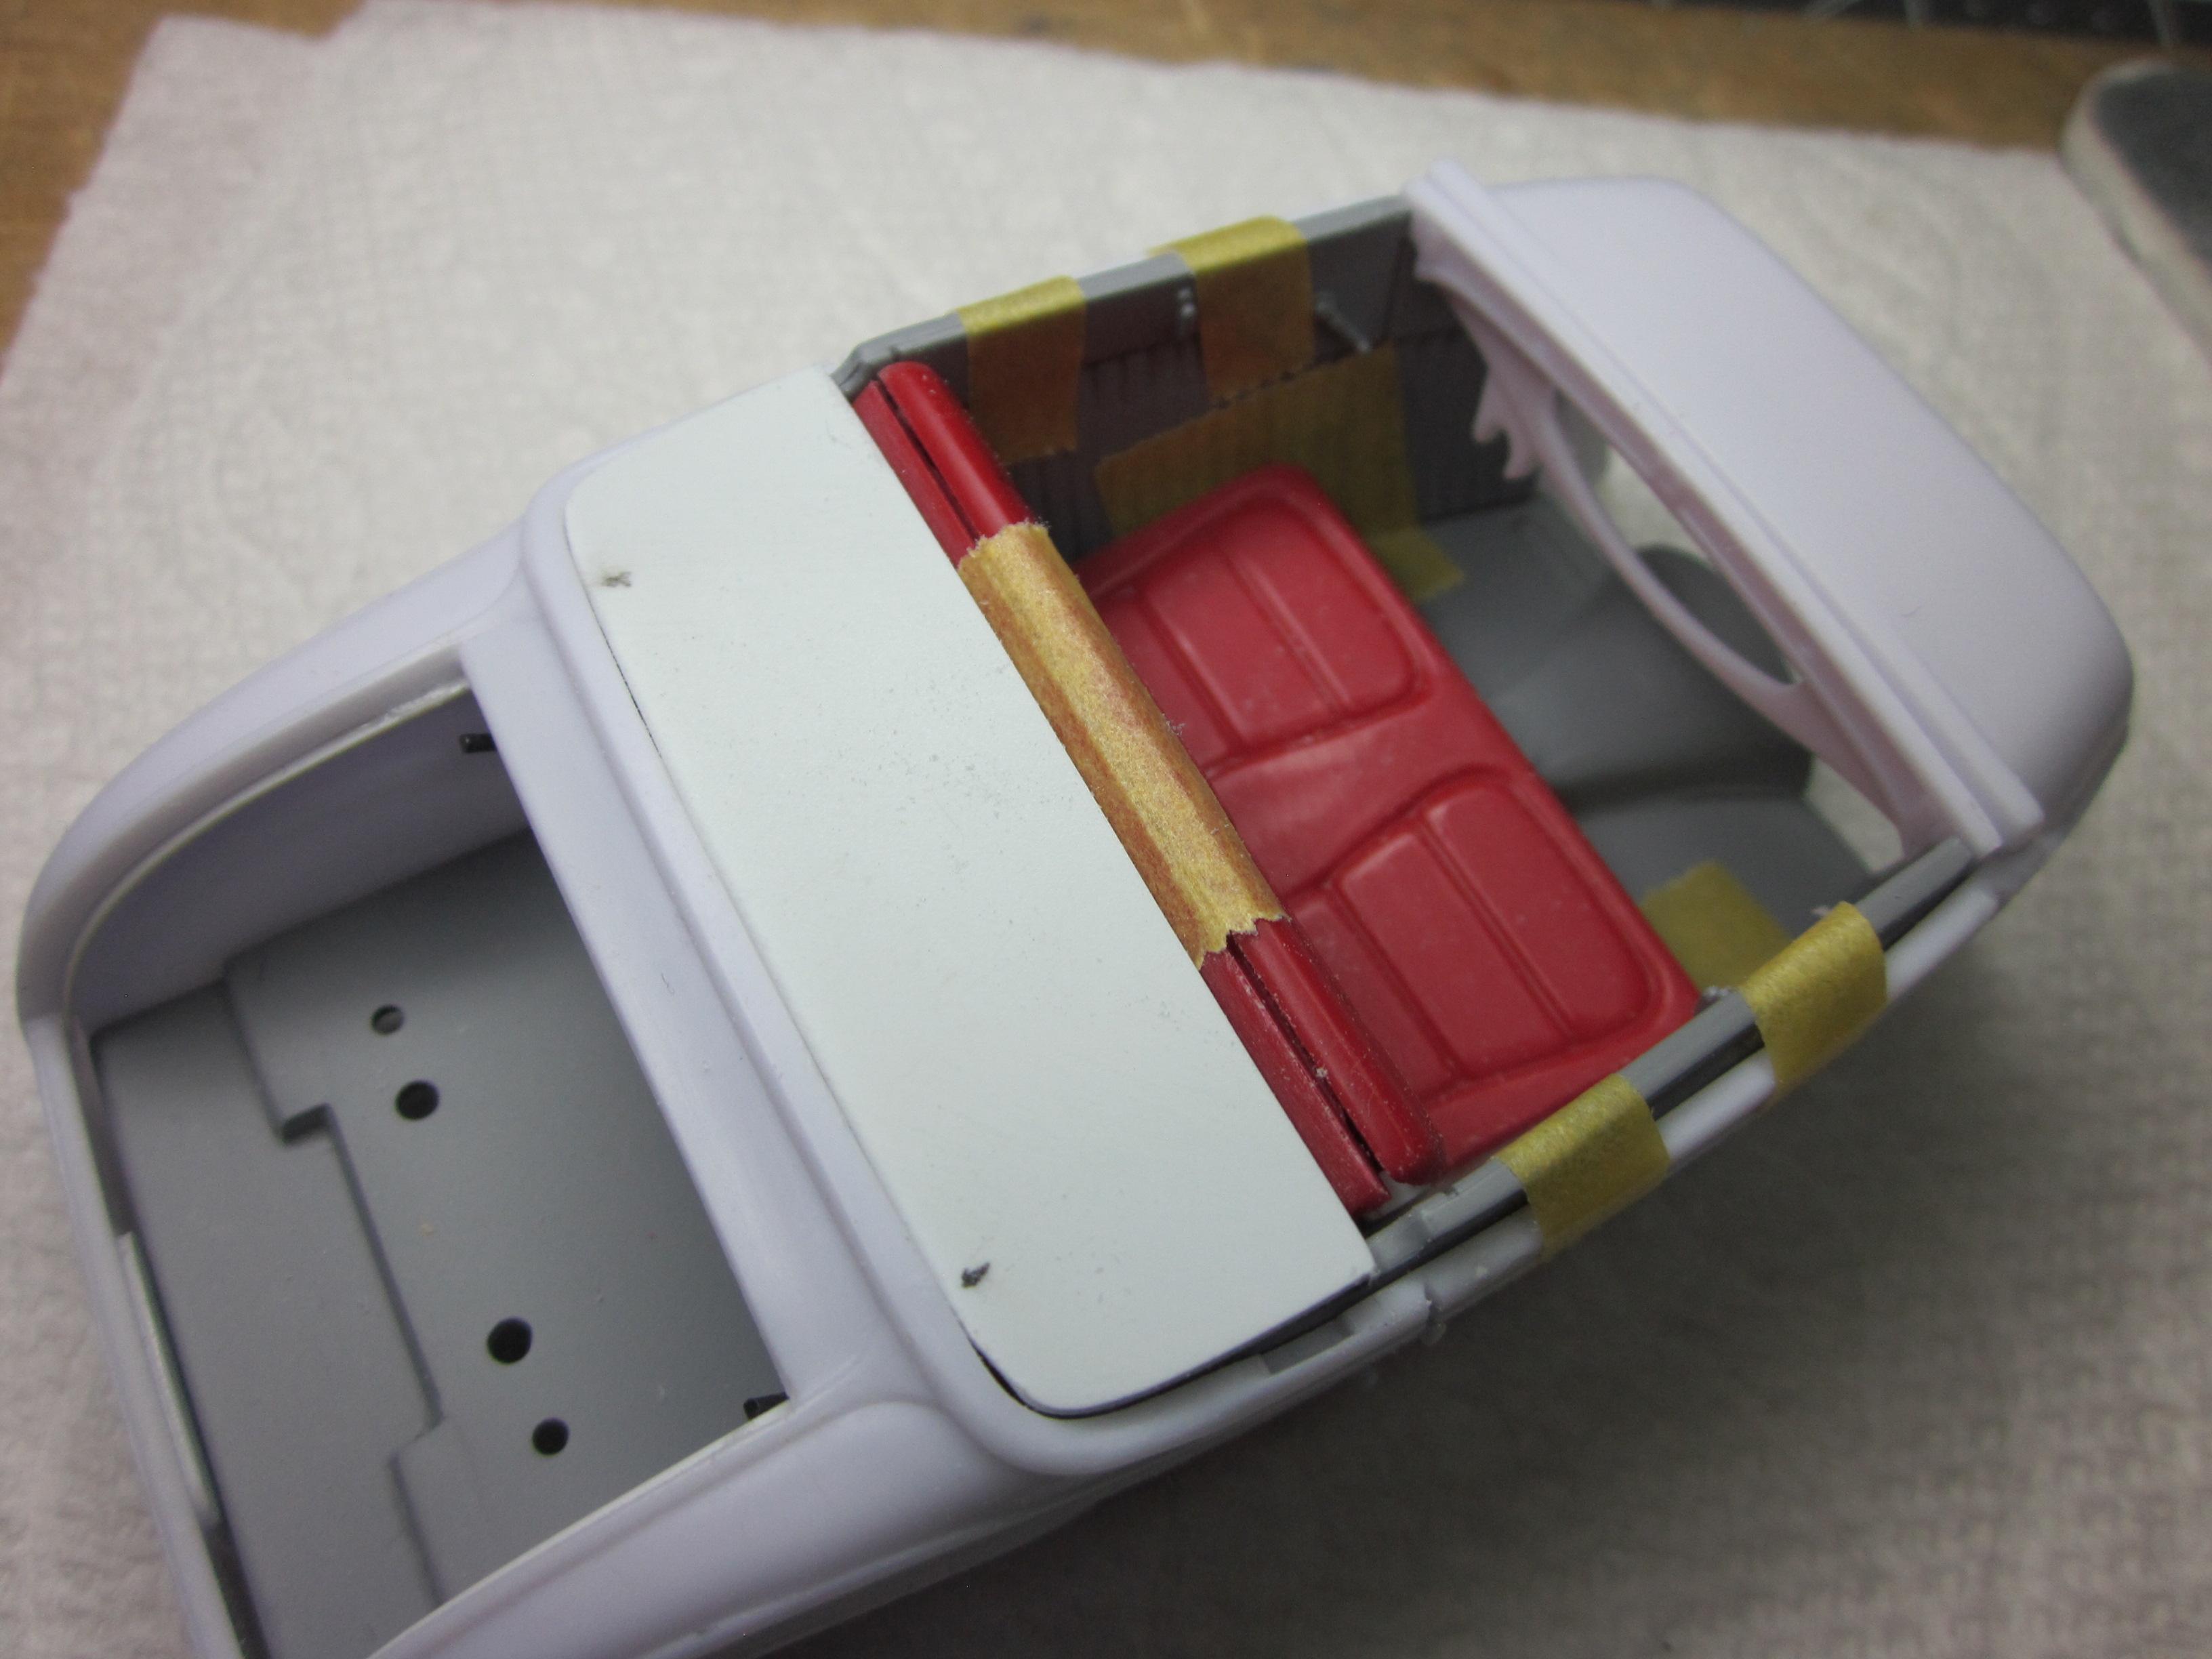
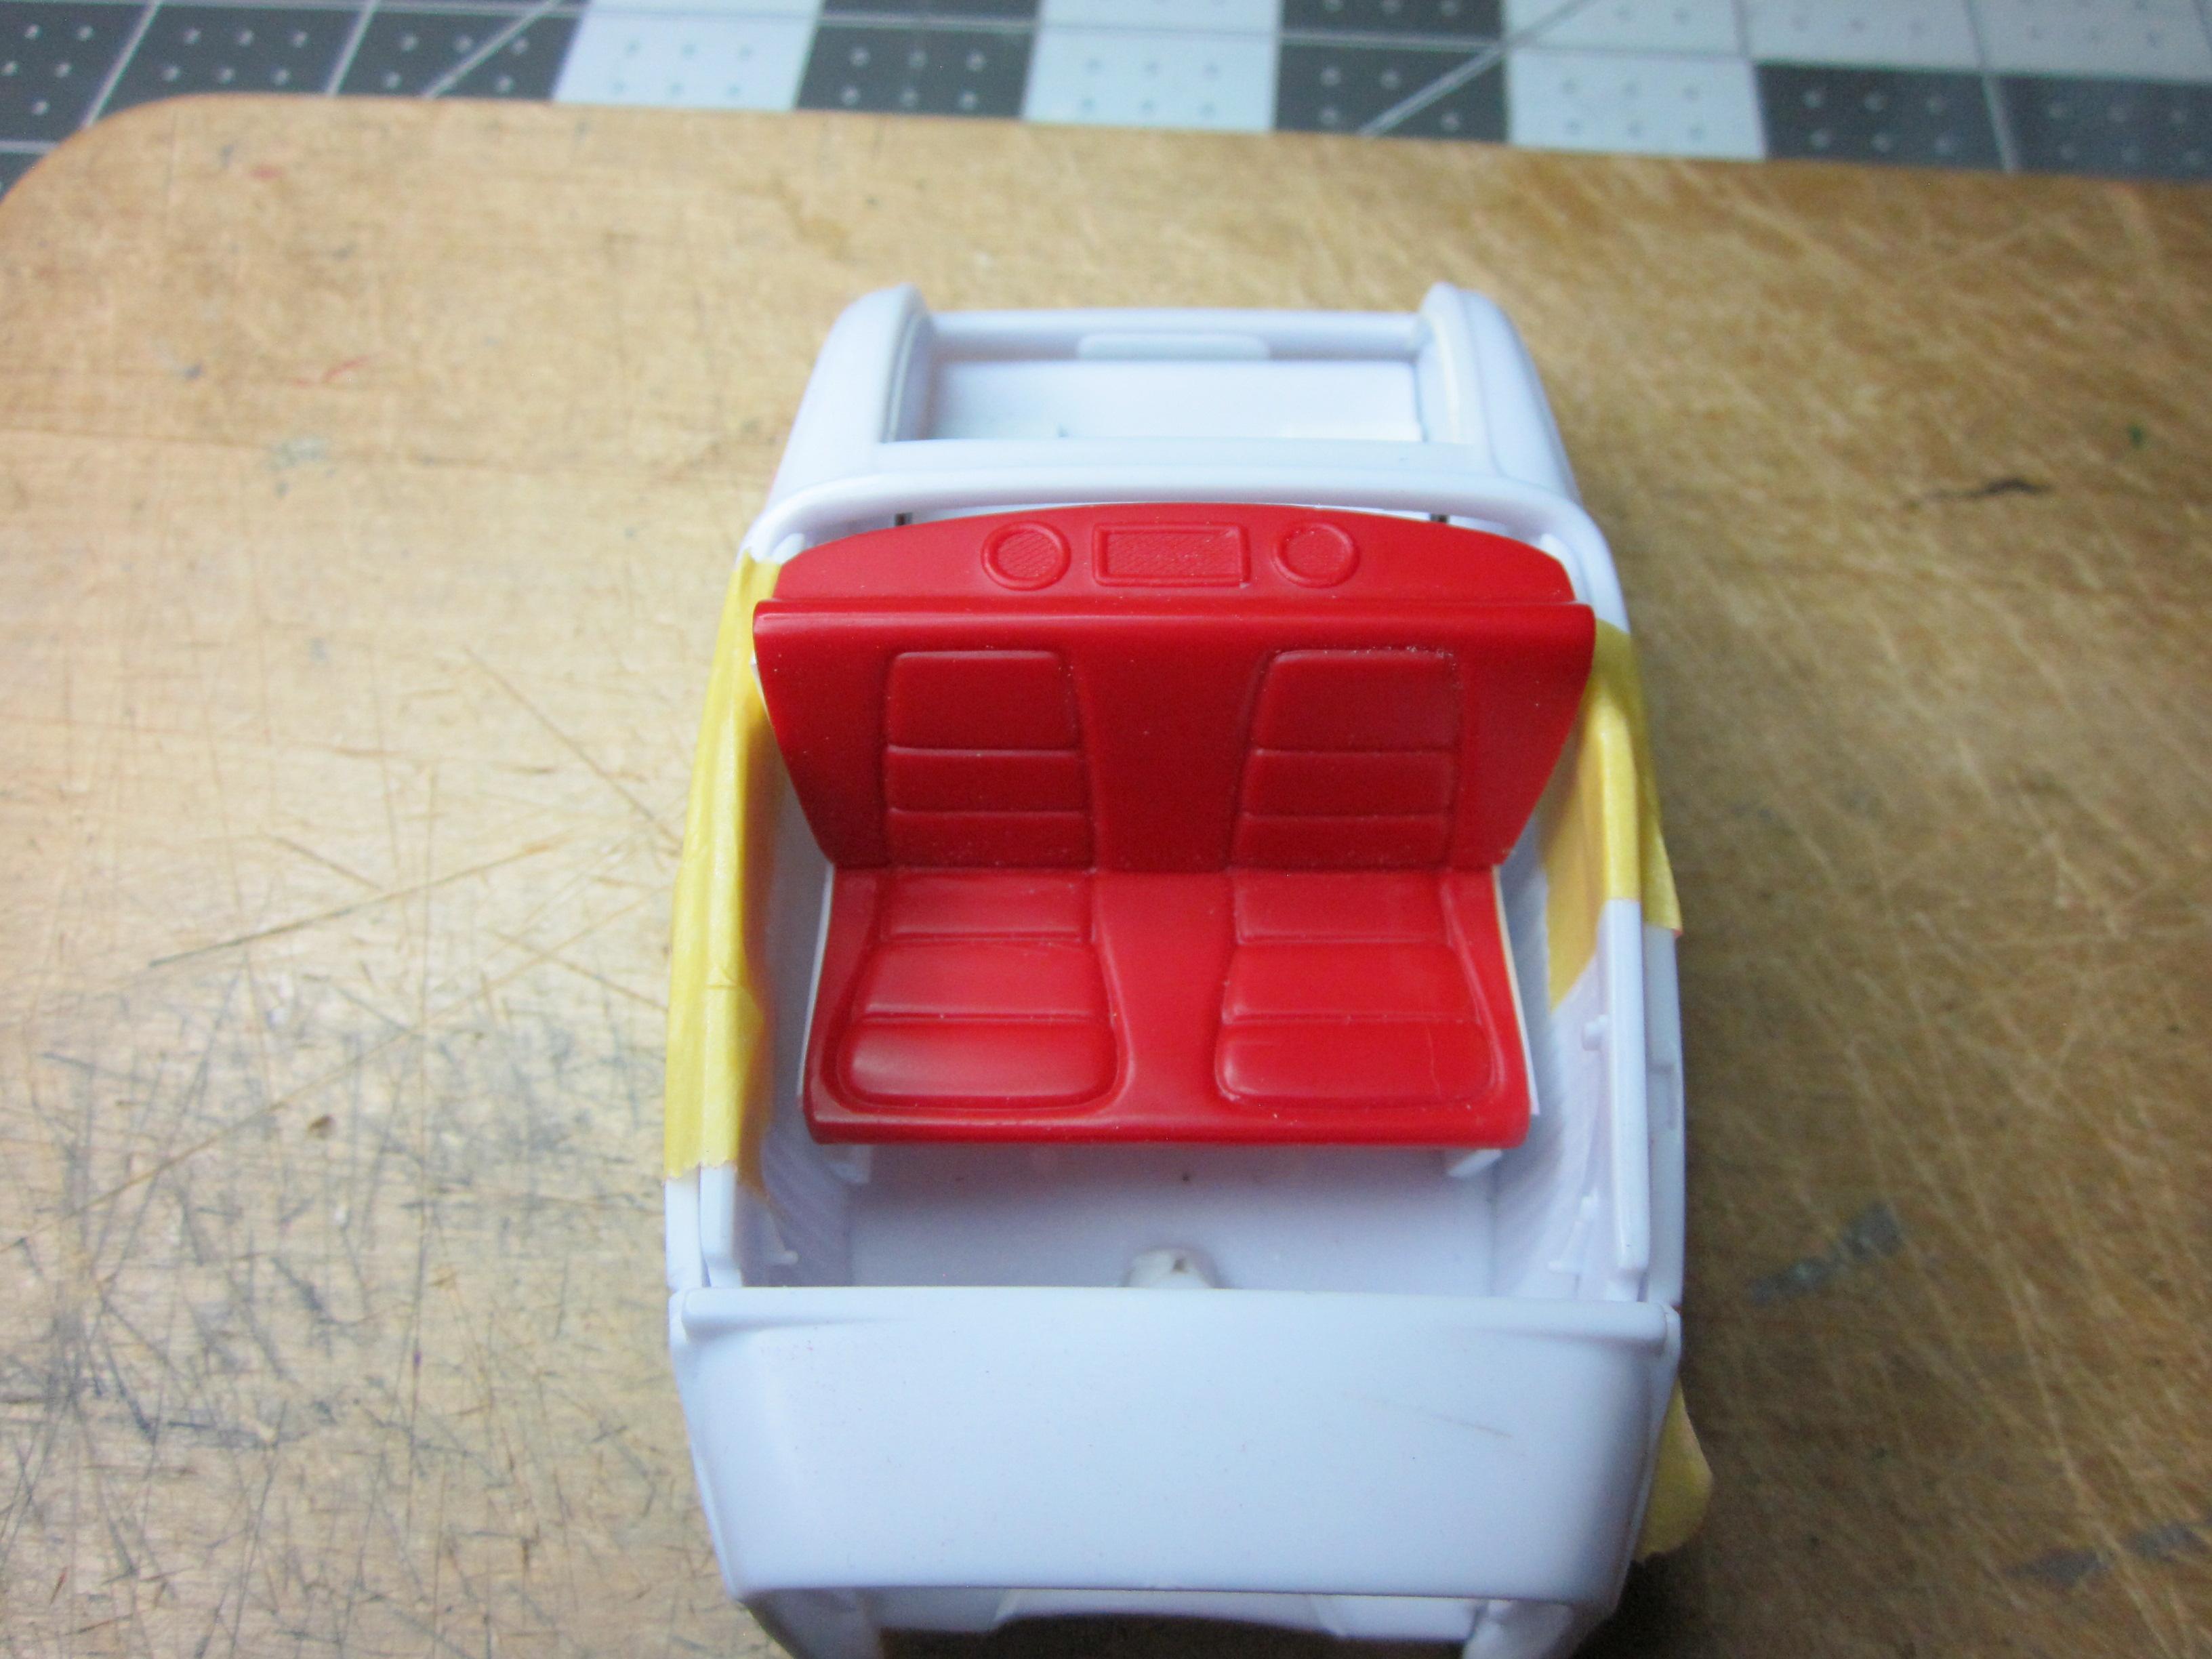
Have a small update on the seat. Decided to add headrests. The idea is to cut up another back seat (the seat was supplied by my good friend @Kit Karson) using just the top pleat of the seat back. It was shaped to what looked right and added some material to the back side to add some thickness. I used my calipers to make sure they are Identical. The plan is to mount the headrests on pins above the seat top. But plans change. I came up with a idea that will work with the seat better and not be so intrusive. And I didn't for how tall they looked. I took a measurement of the pleats, then applied that to the headrests. Now the headrests are the size of the pleats and the seat was cut to accept them. The end result is they don't sit so high and they blend right into the seat. Much happier with the way they look. Still needs a little fine tuning. I think the seat is done getting any more mods. When the top is put on, it look's perfect. I also cut up the rear package tray of the donor seat, and the speakers will be mounted in the kick panel below the dash. That's it for now...........................

-
Thanks greg, My approach to building is more of "there is no plan, figure it out when ya get there". I just do one thing at a time and do it the best I can when I'm there. Thank's DJ, It's interesting to see what builders do with things like this. I've done it a couple times and this is the easiest way to deal with it. I removed all the floor framing as I wanted it to be smooth. Made it alot easier. You did it the way I ended up doing it the first time I built this car. Came out as expected, but is was too much work. Thanks for checking out my '30.
-
Topher, That's a pretty cool idea to use that hurst shifter as part of the steering linkage, but 1.1, I would be thinking it wouldn't be a good thing. If ya can't steer it and stop it, It ain't worth building as they say. Thats alot of engine you're putting in there. It's going to look really cool when it's finished! Nice work so far!
-
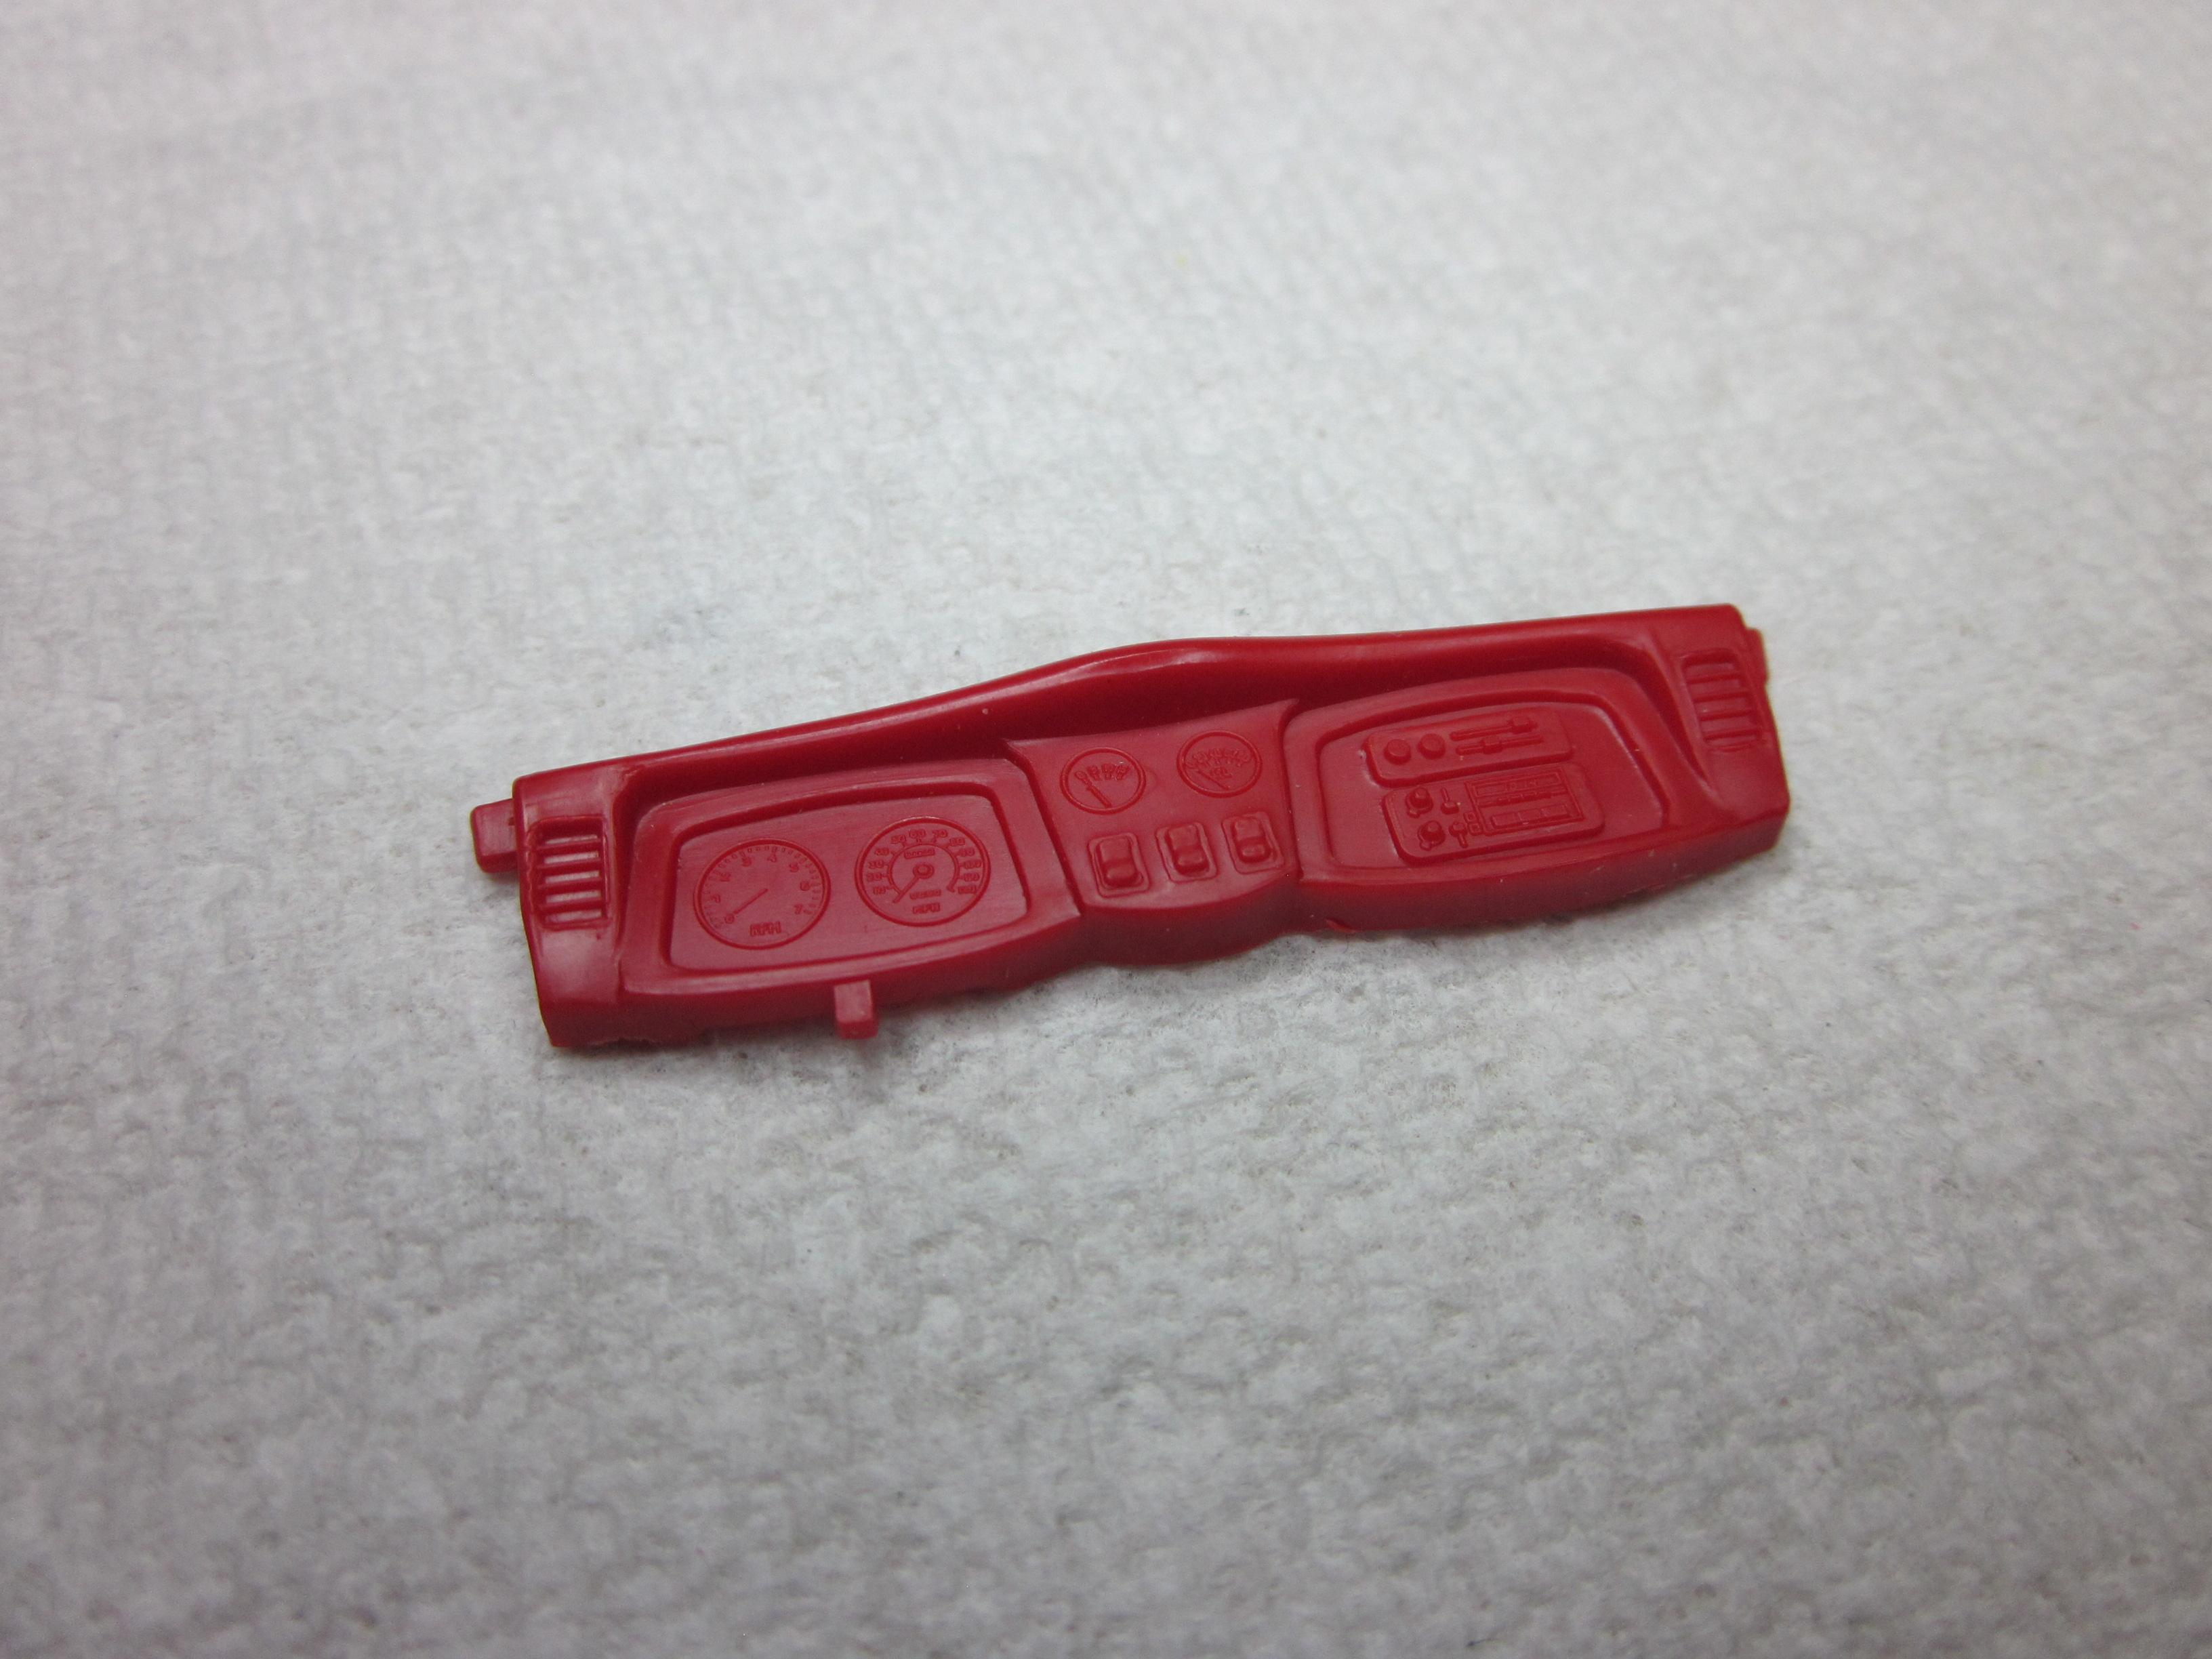
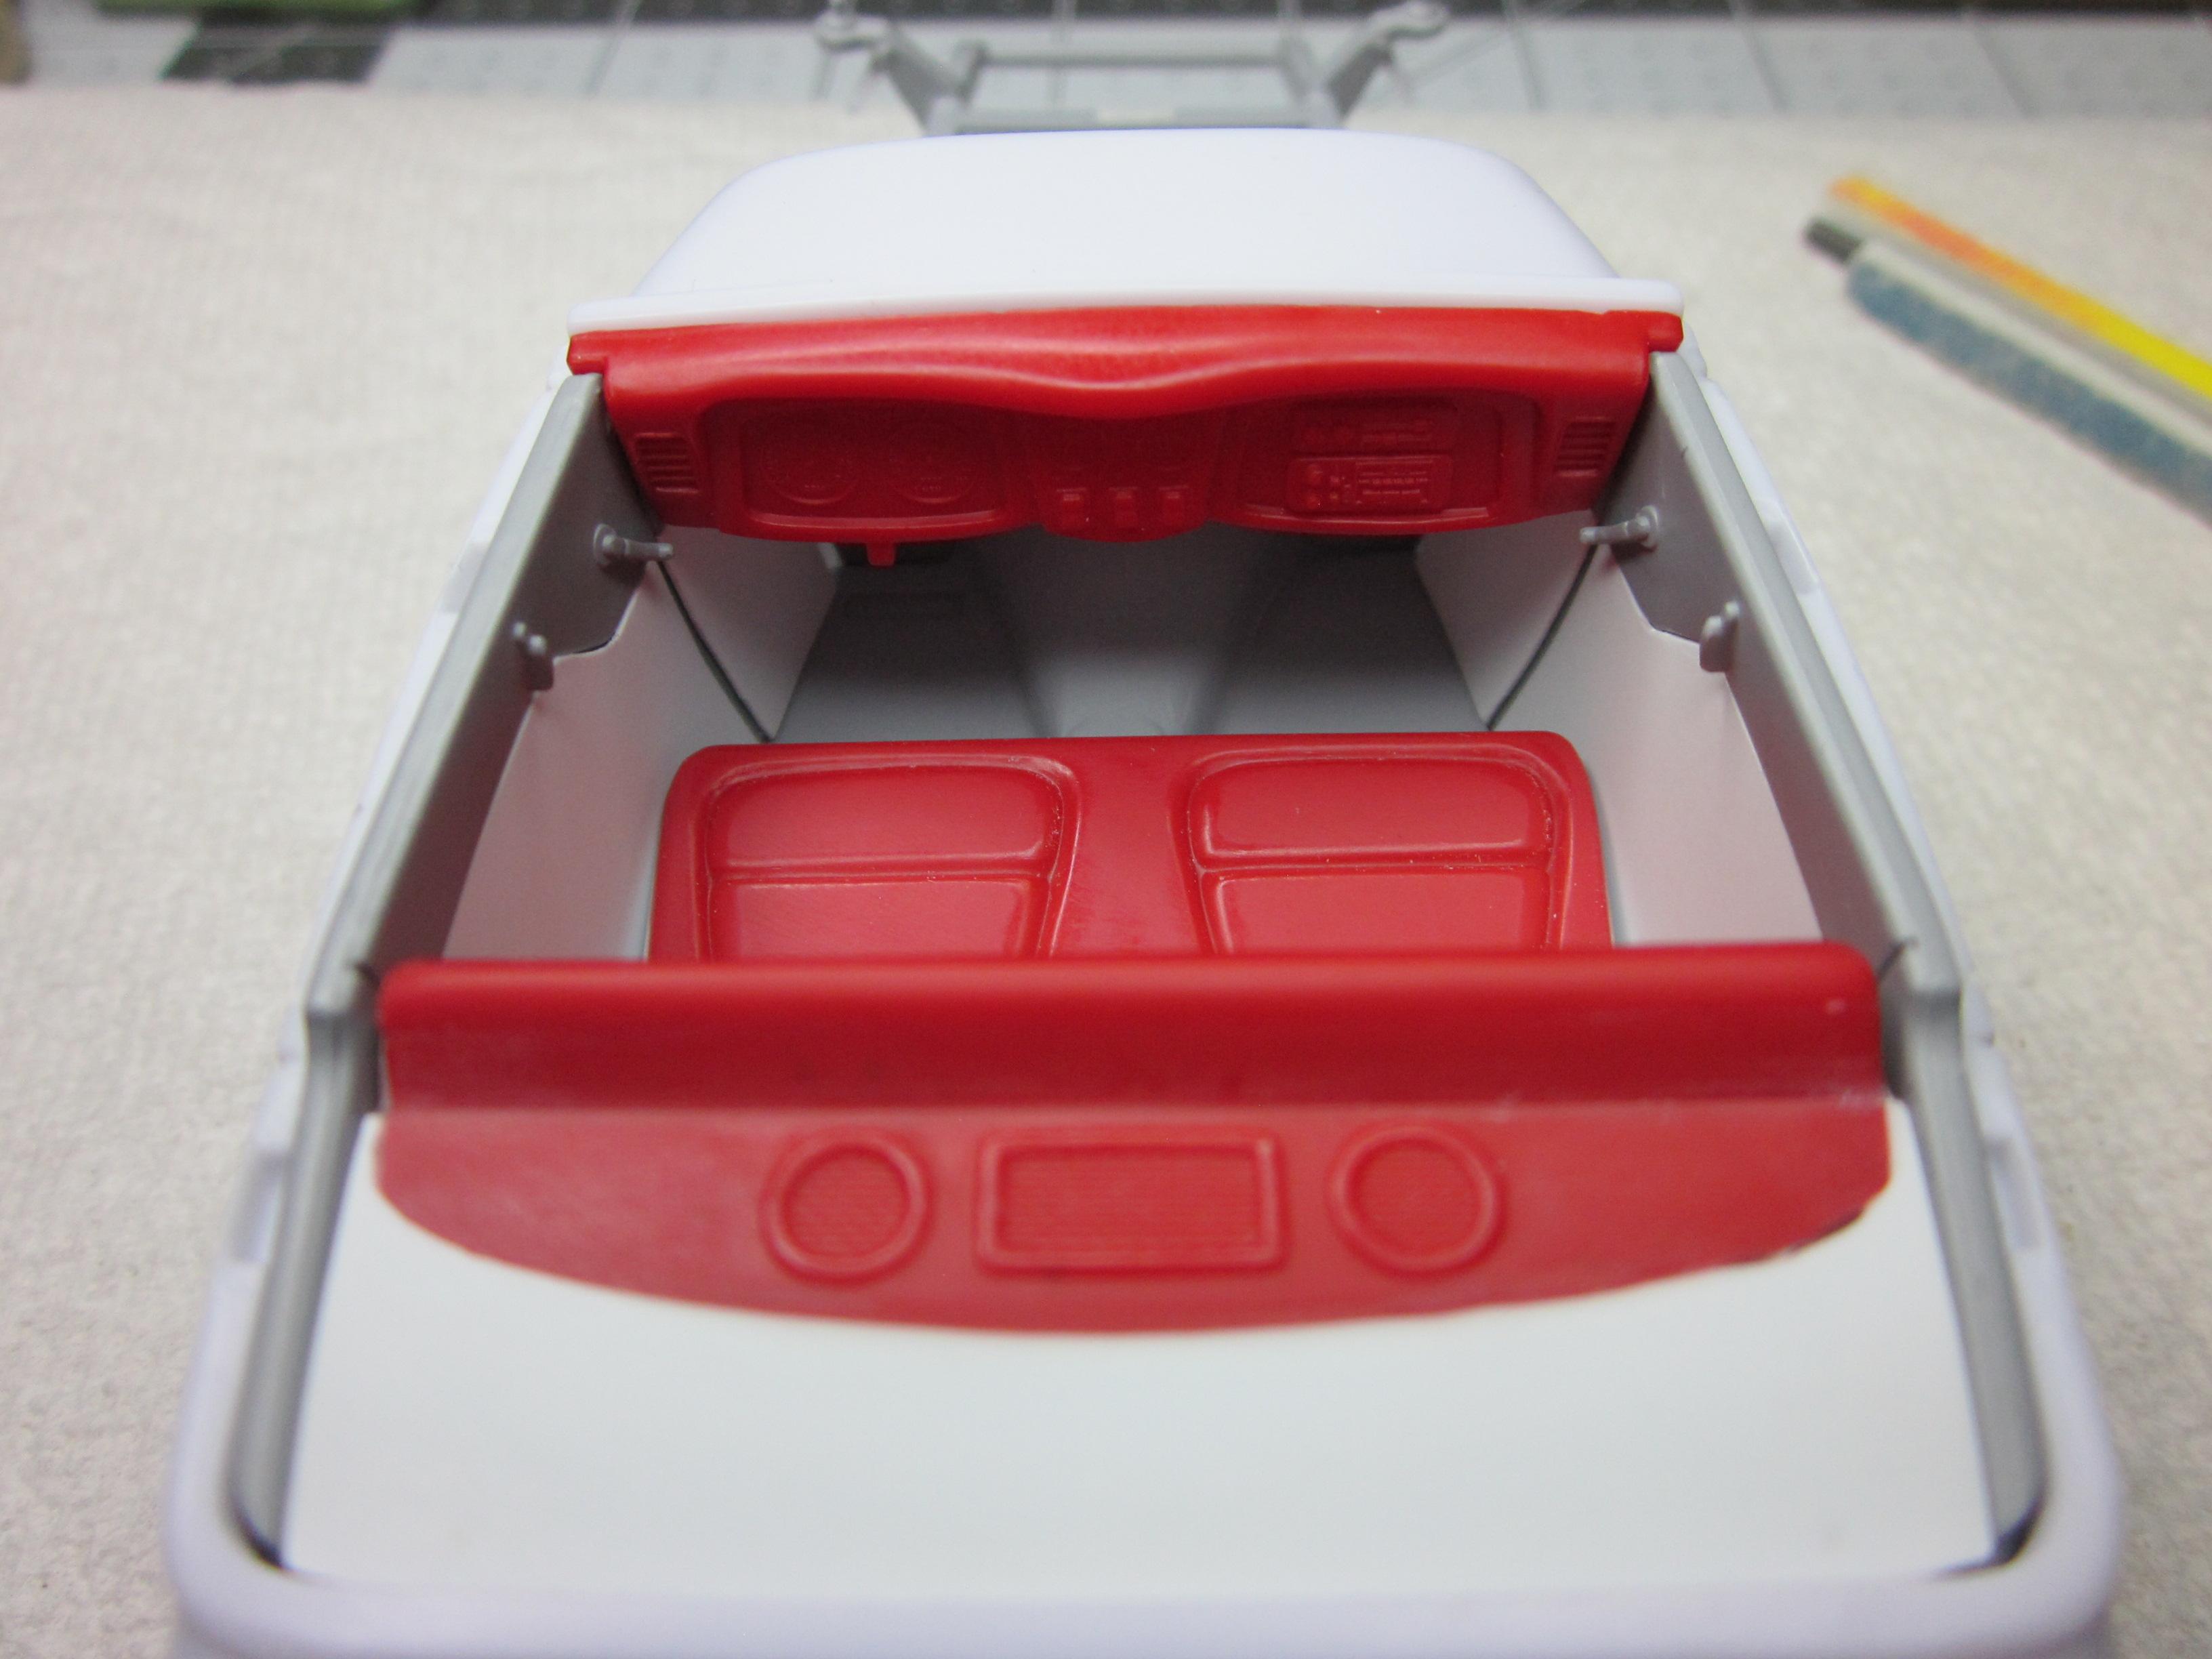
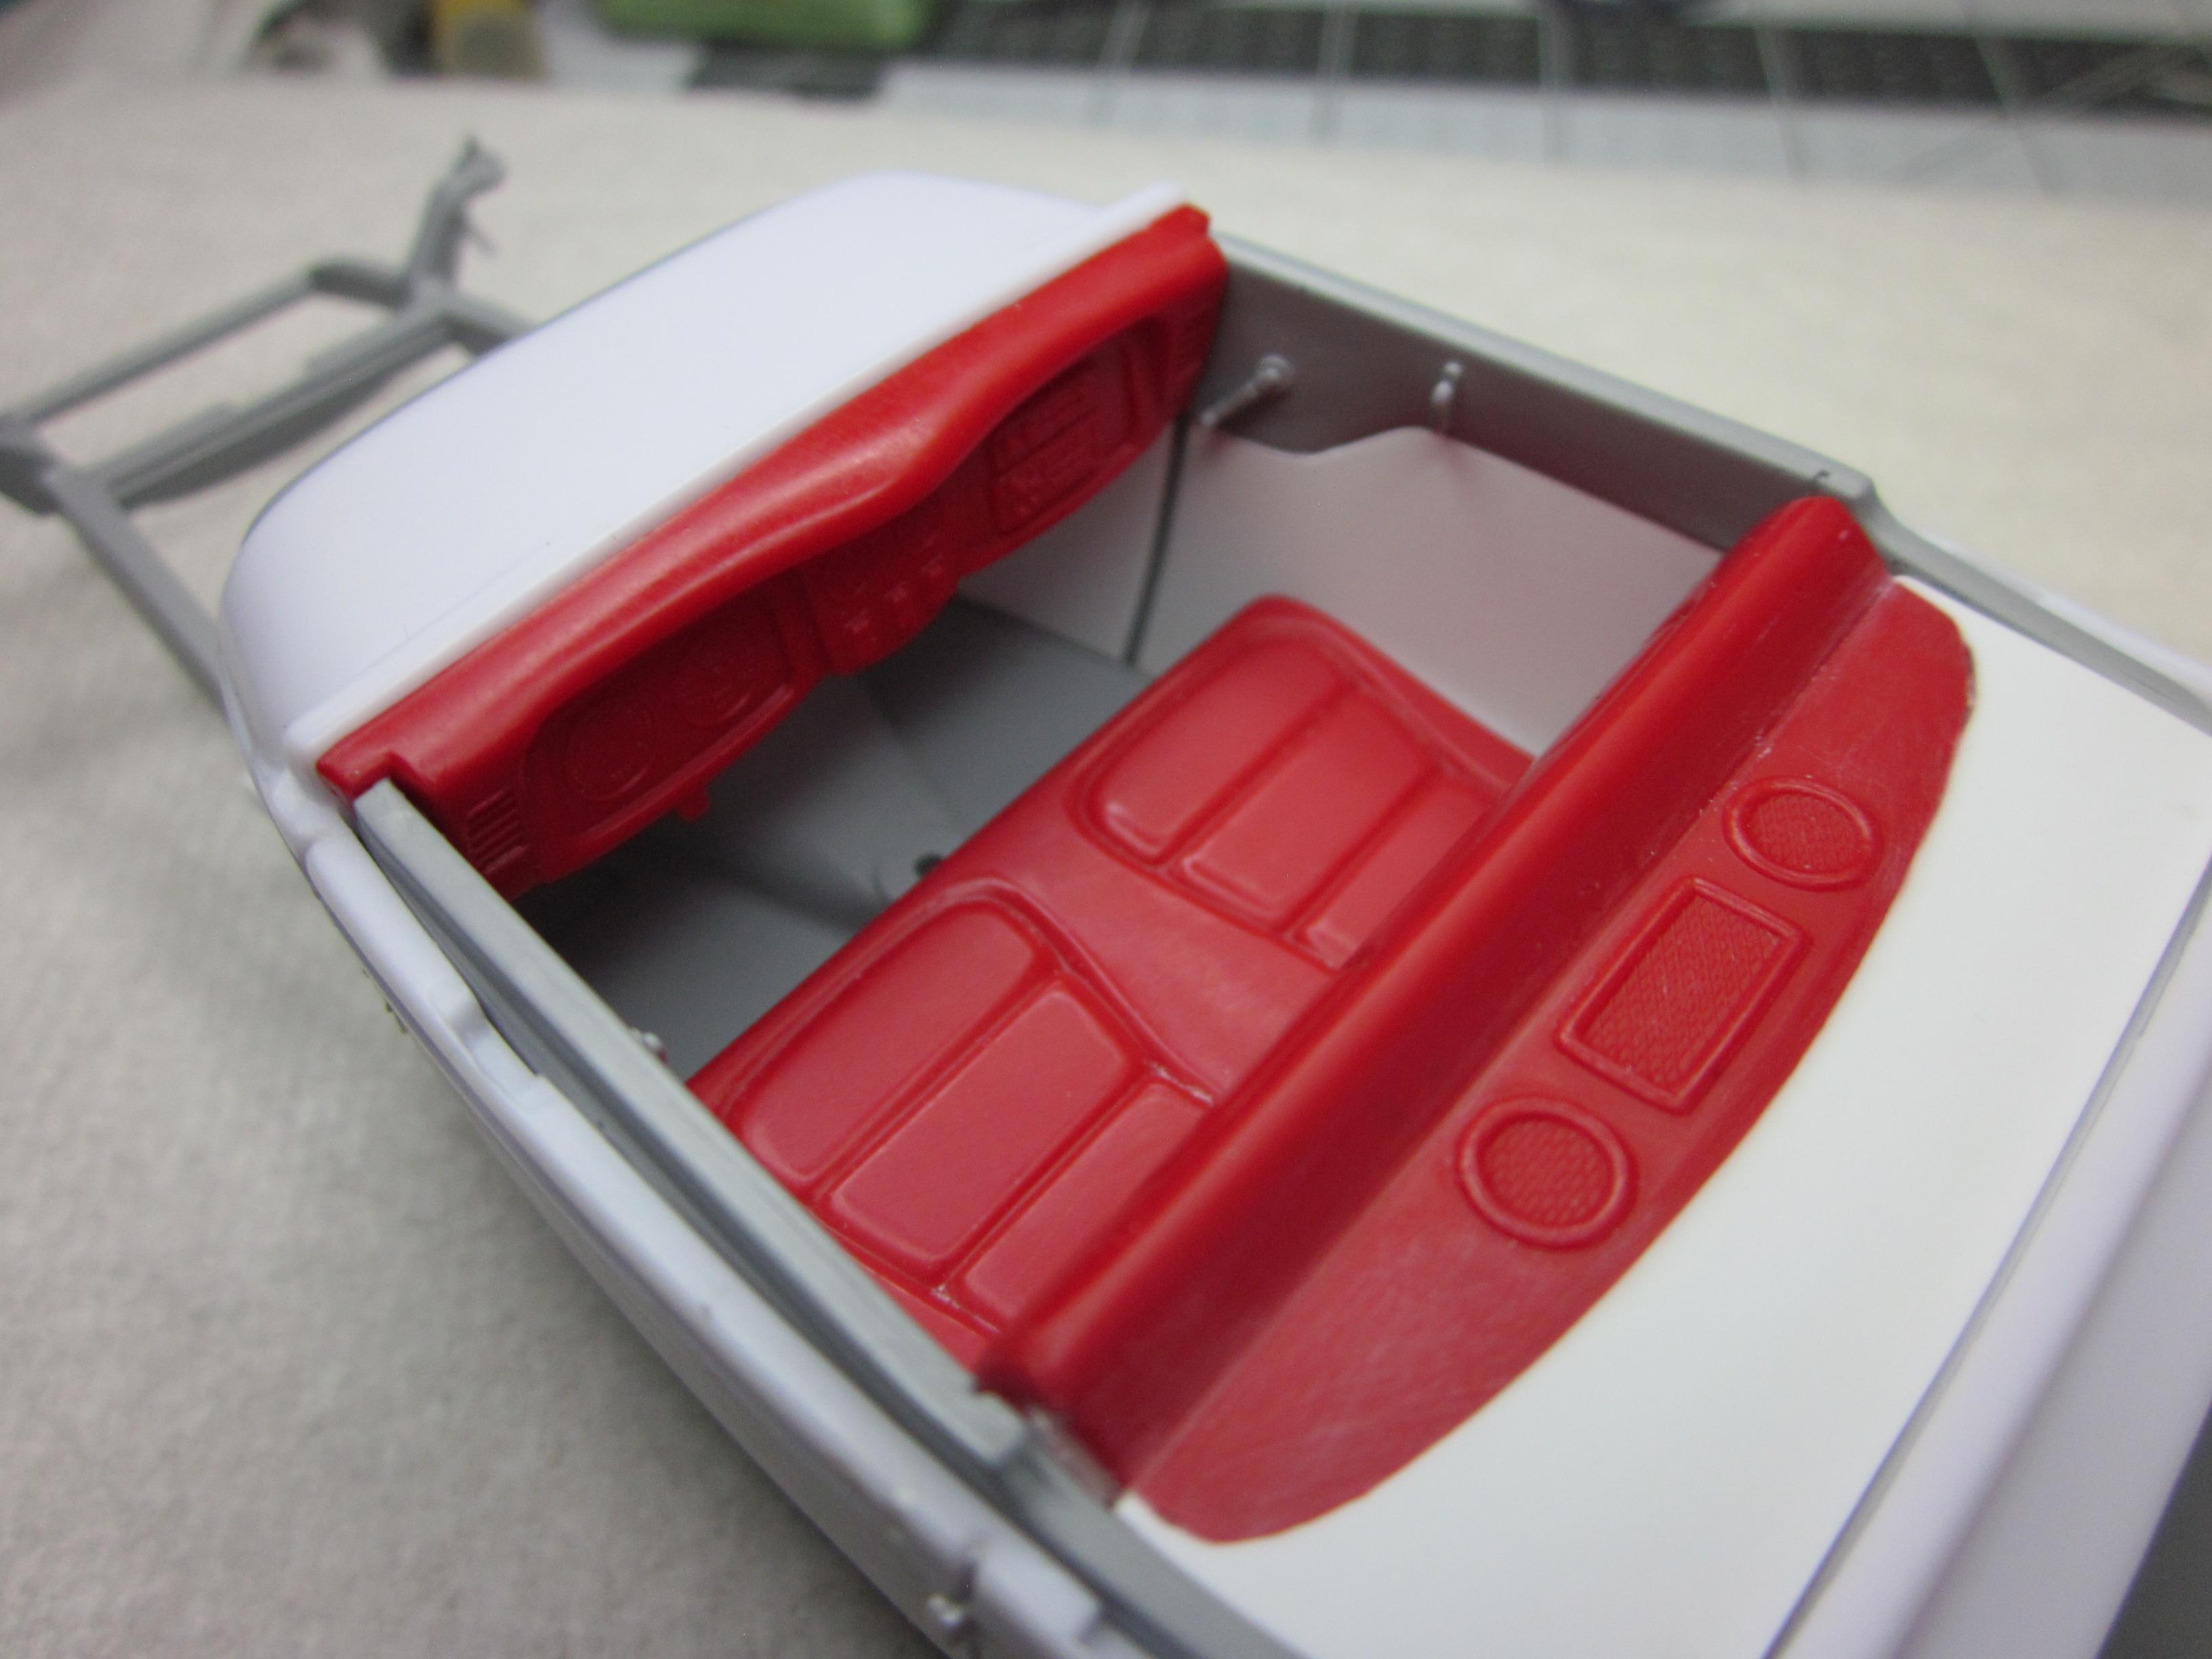
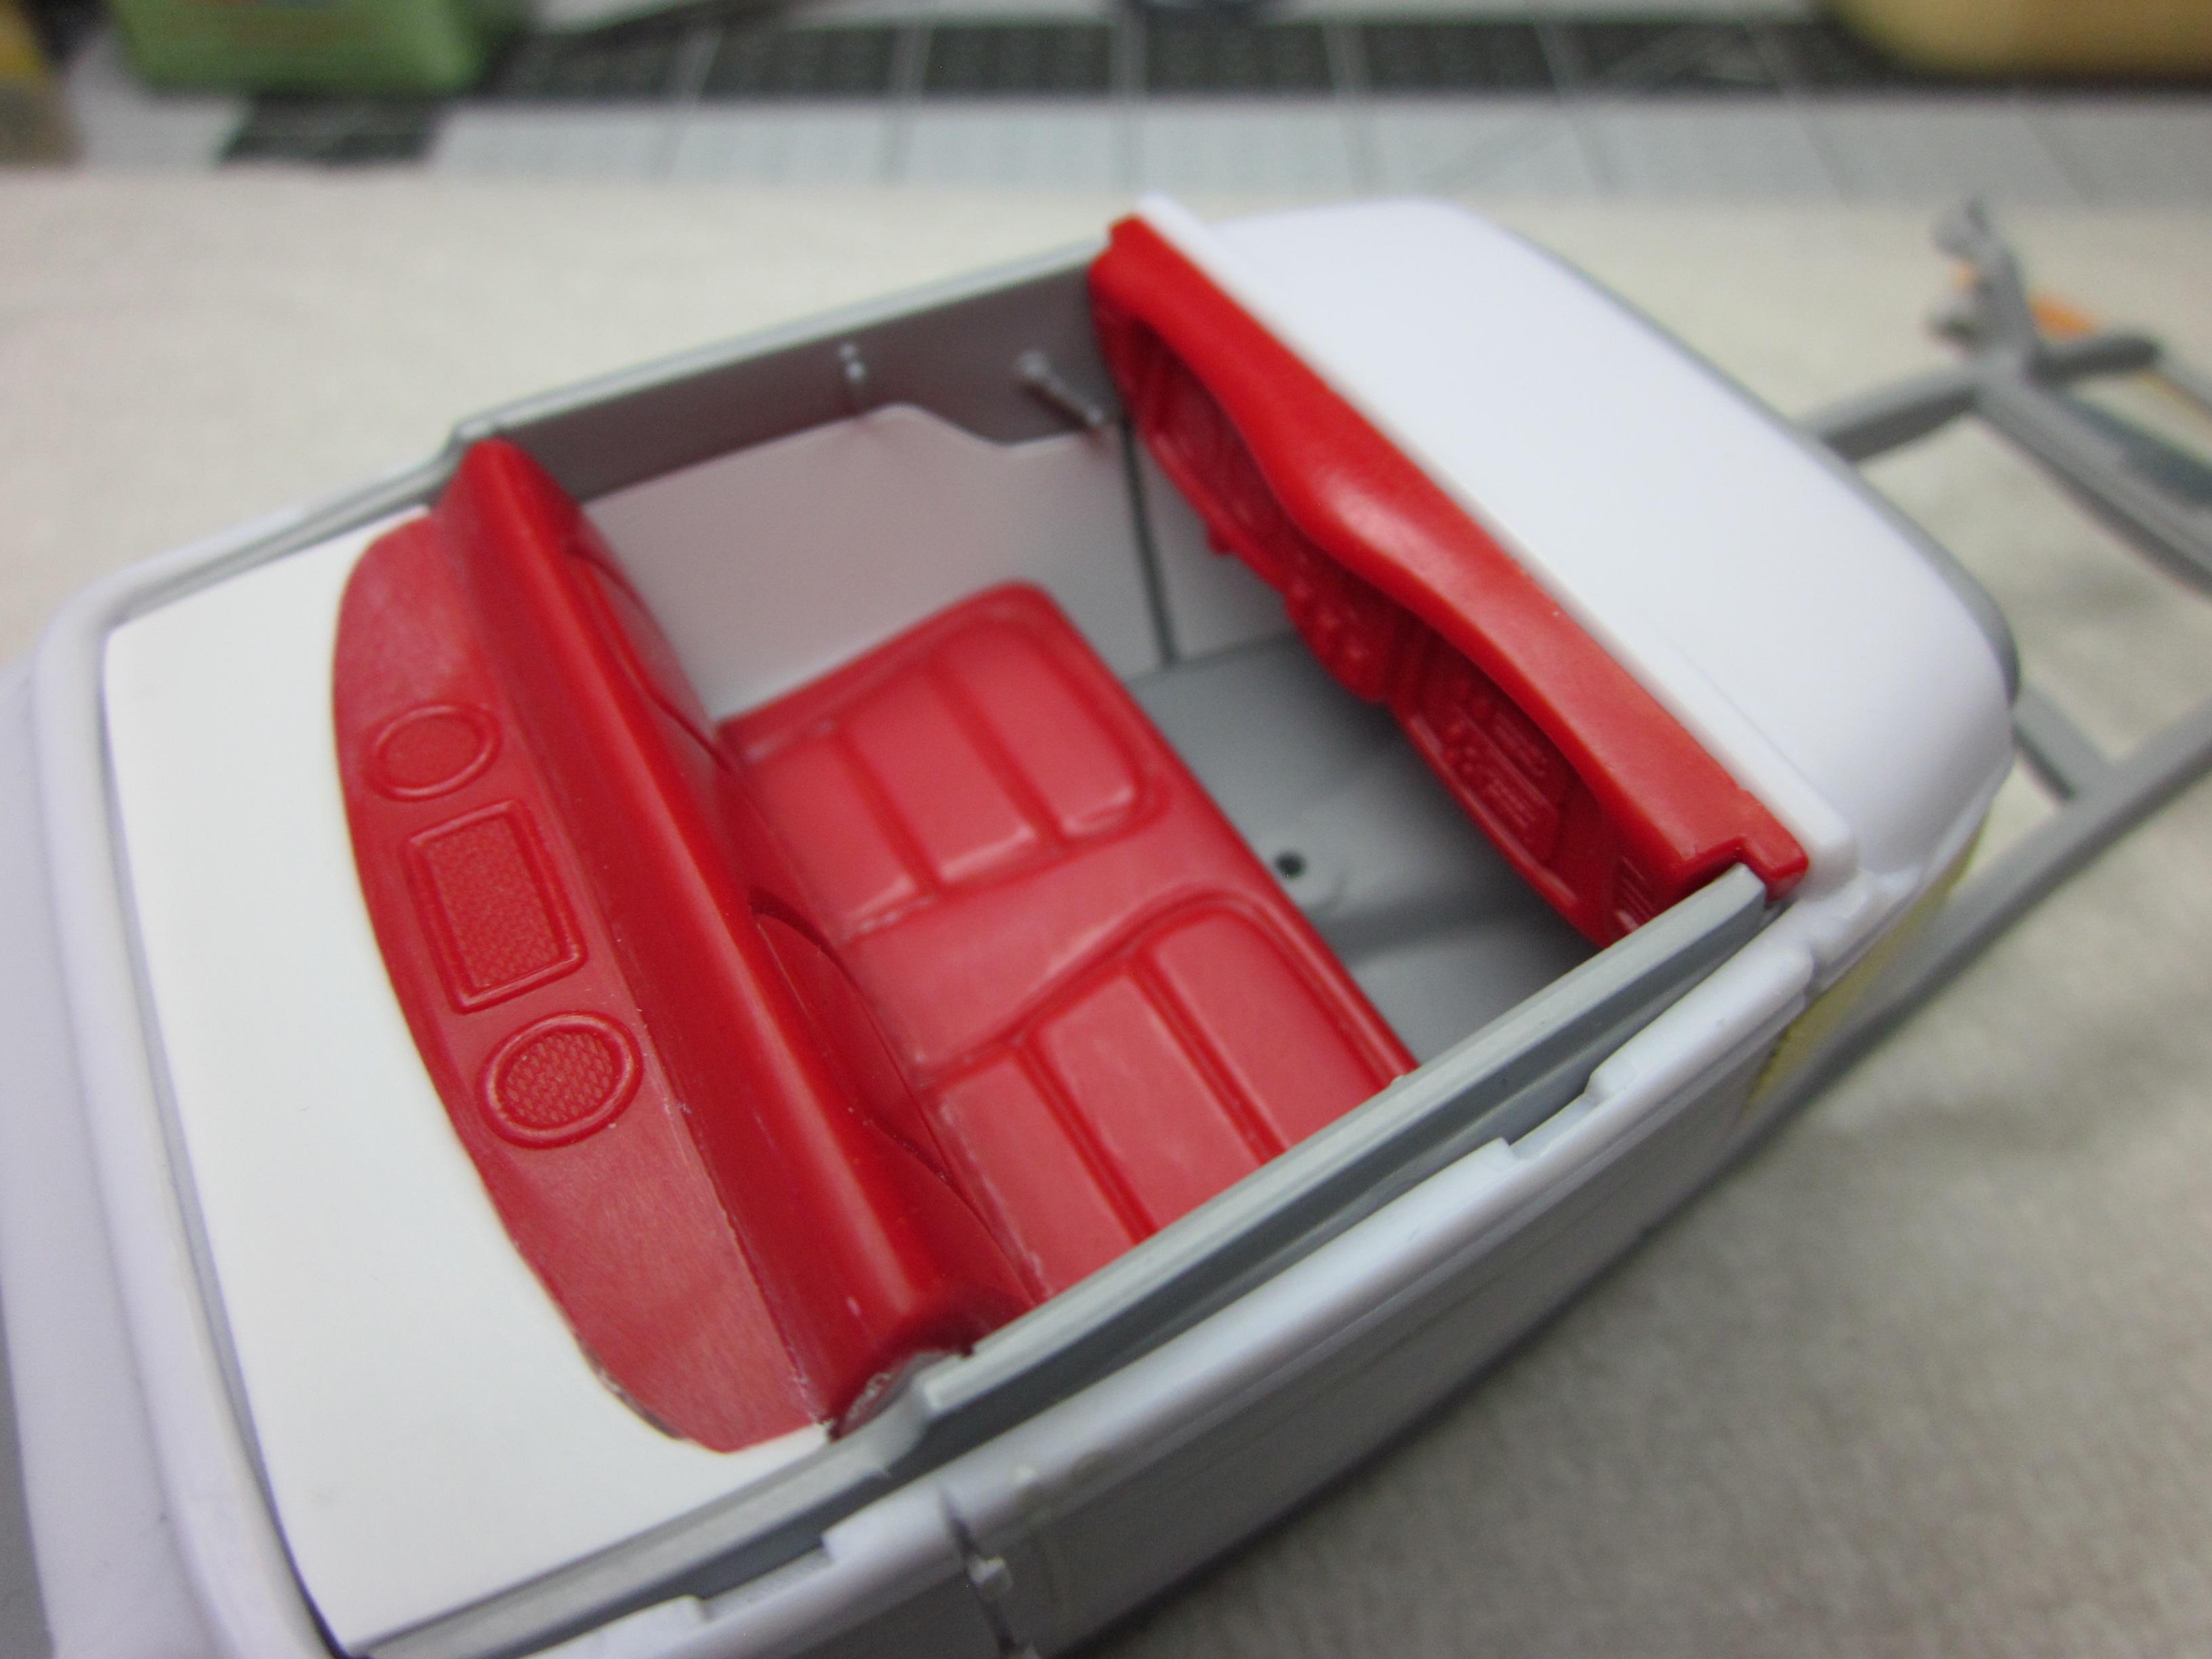
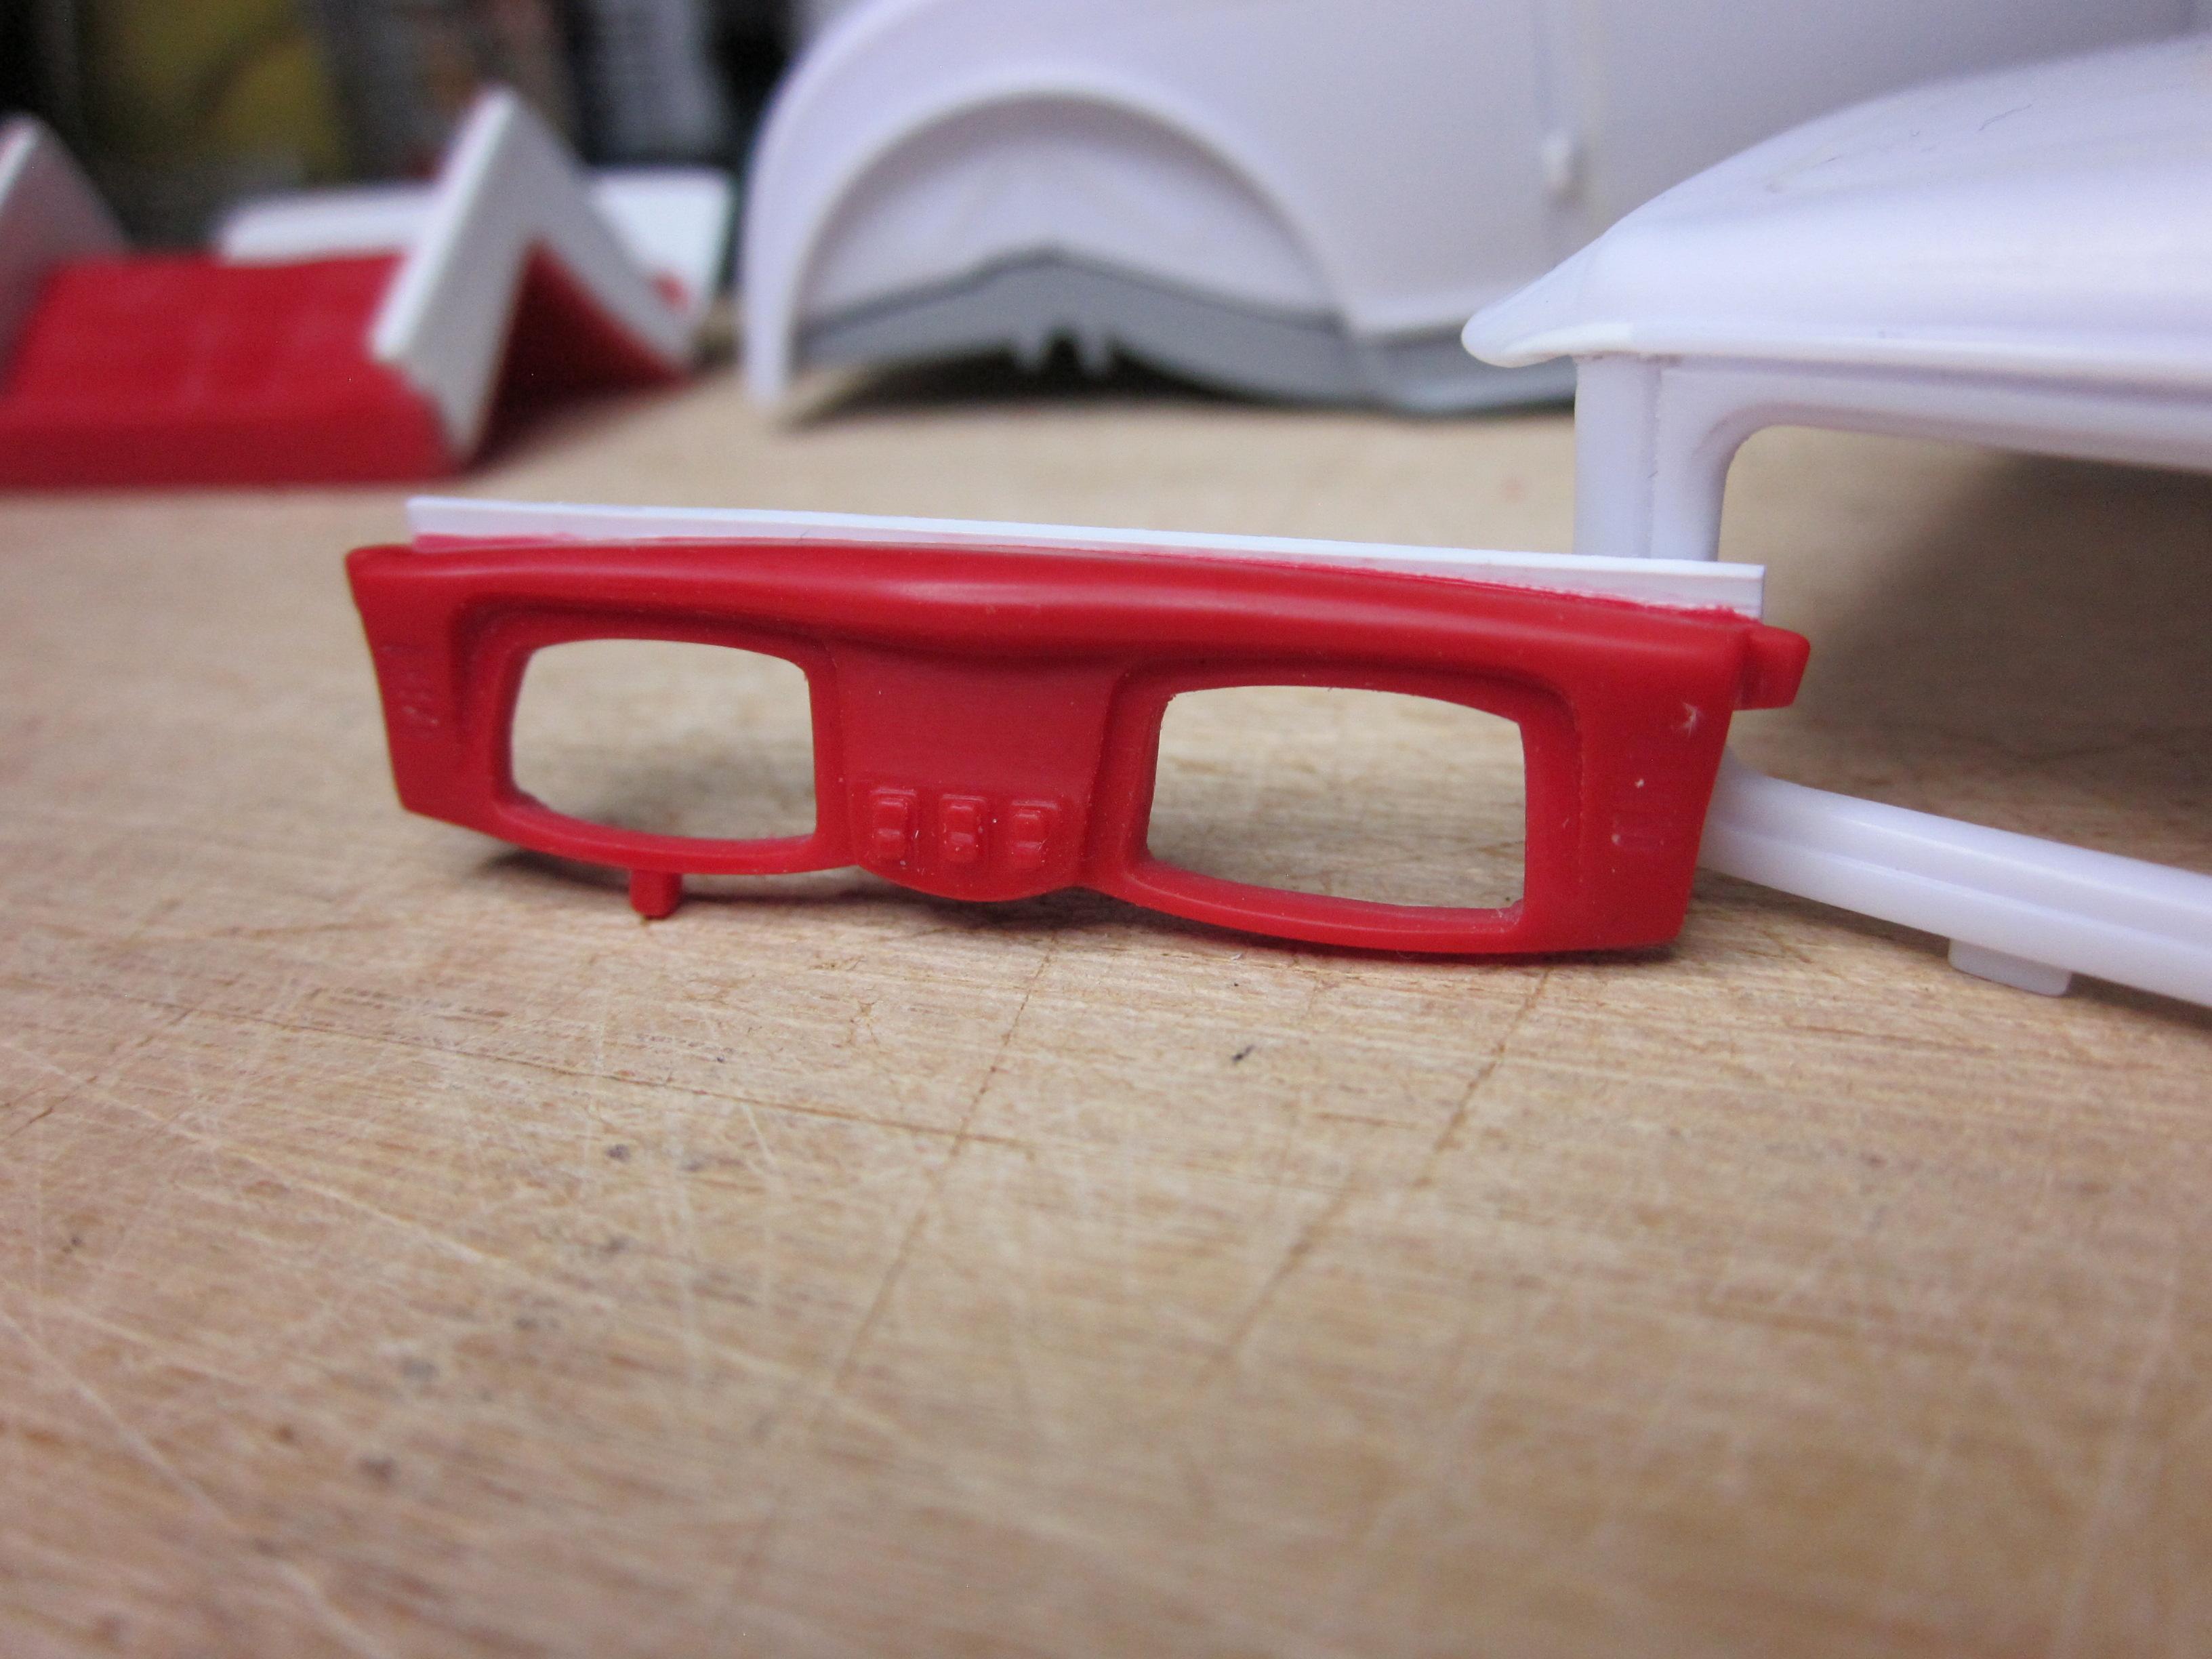
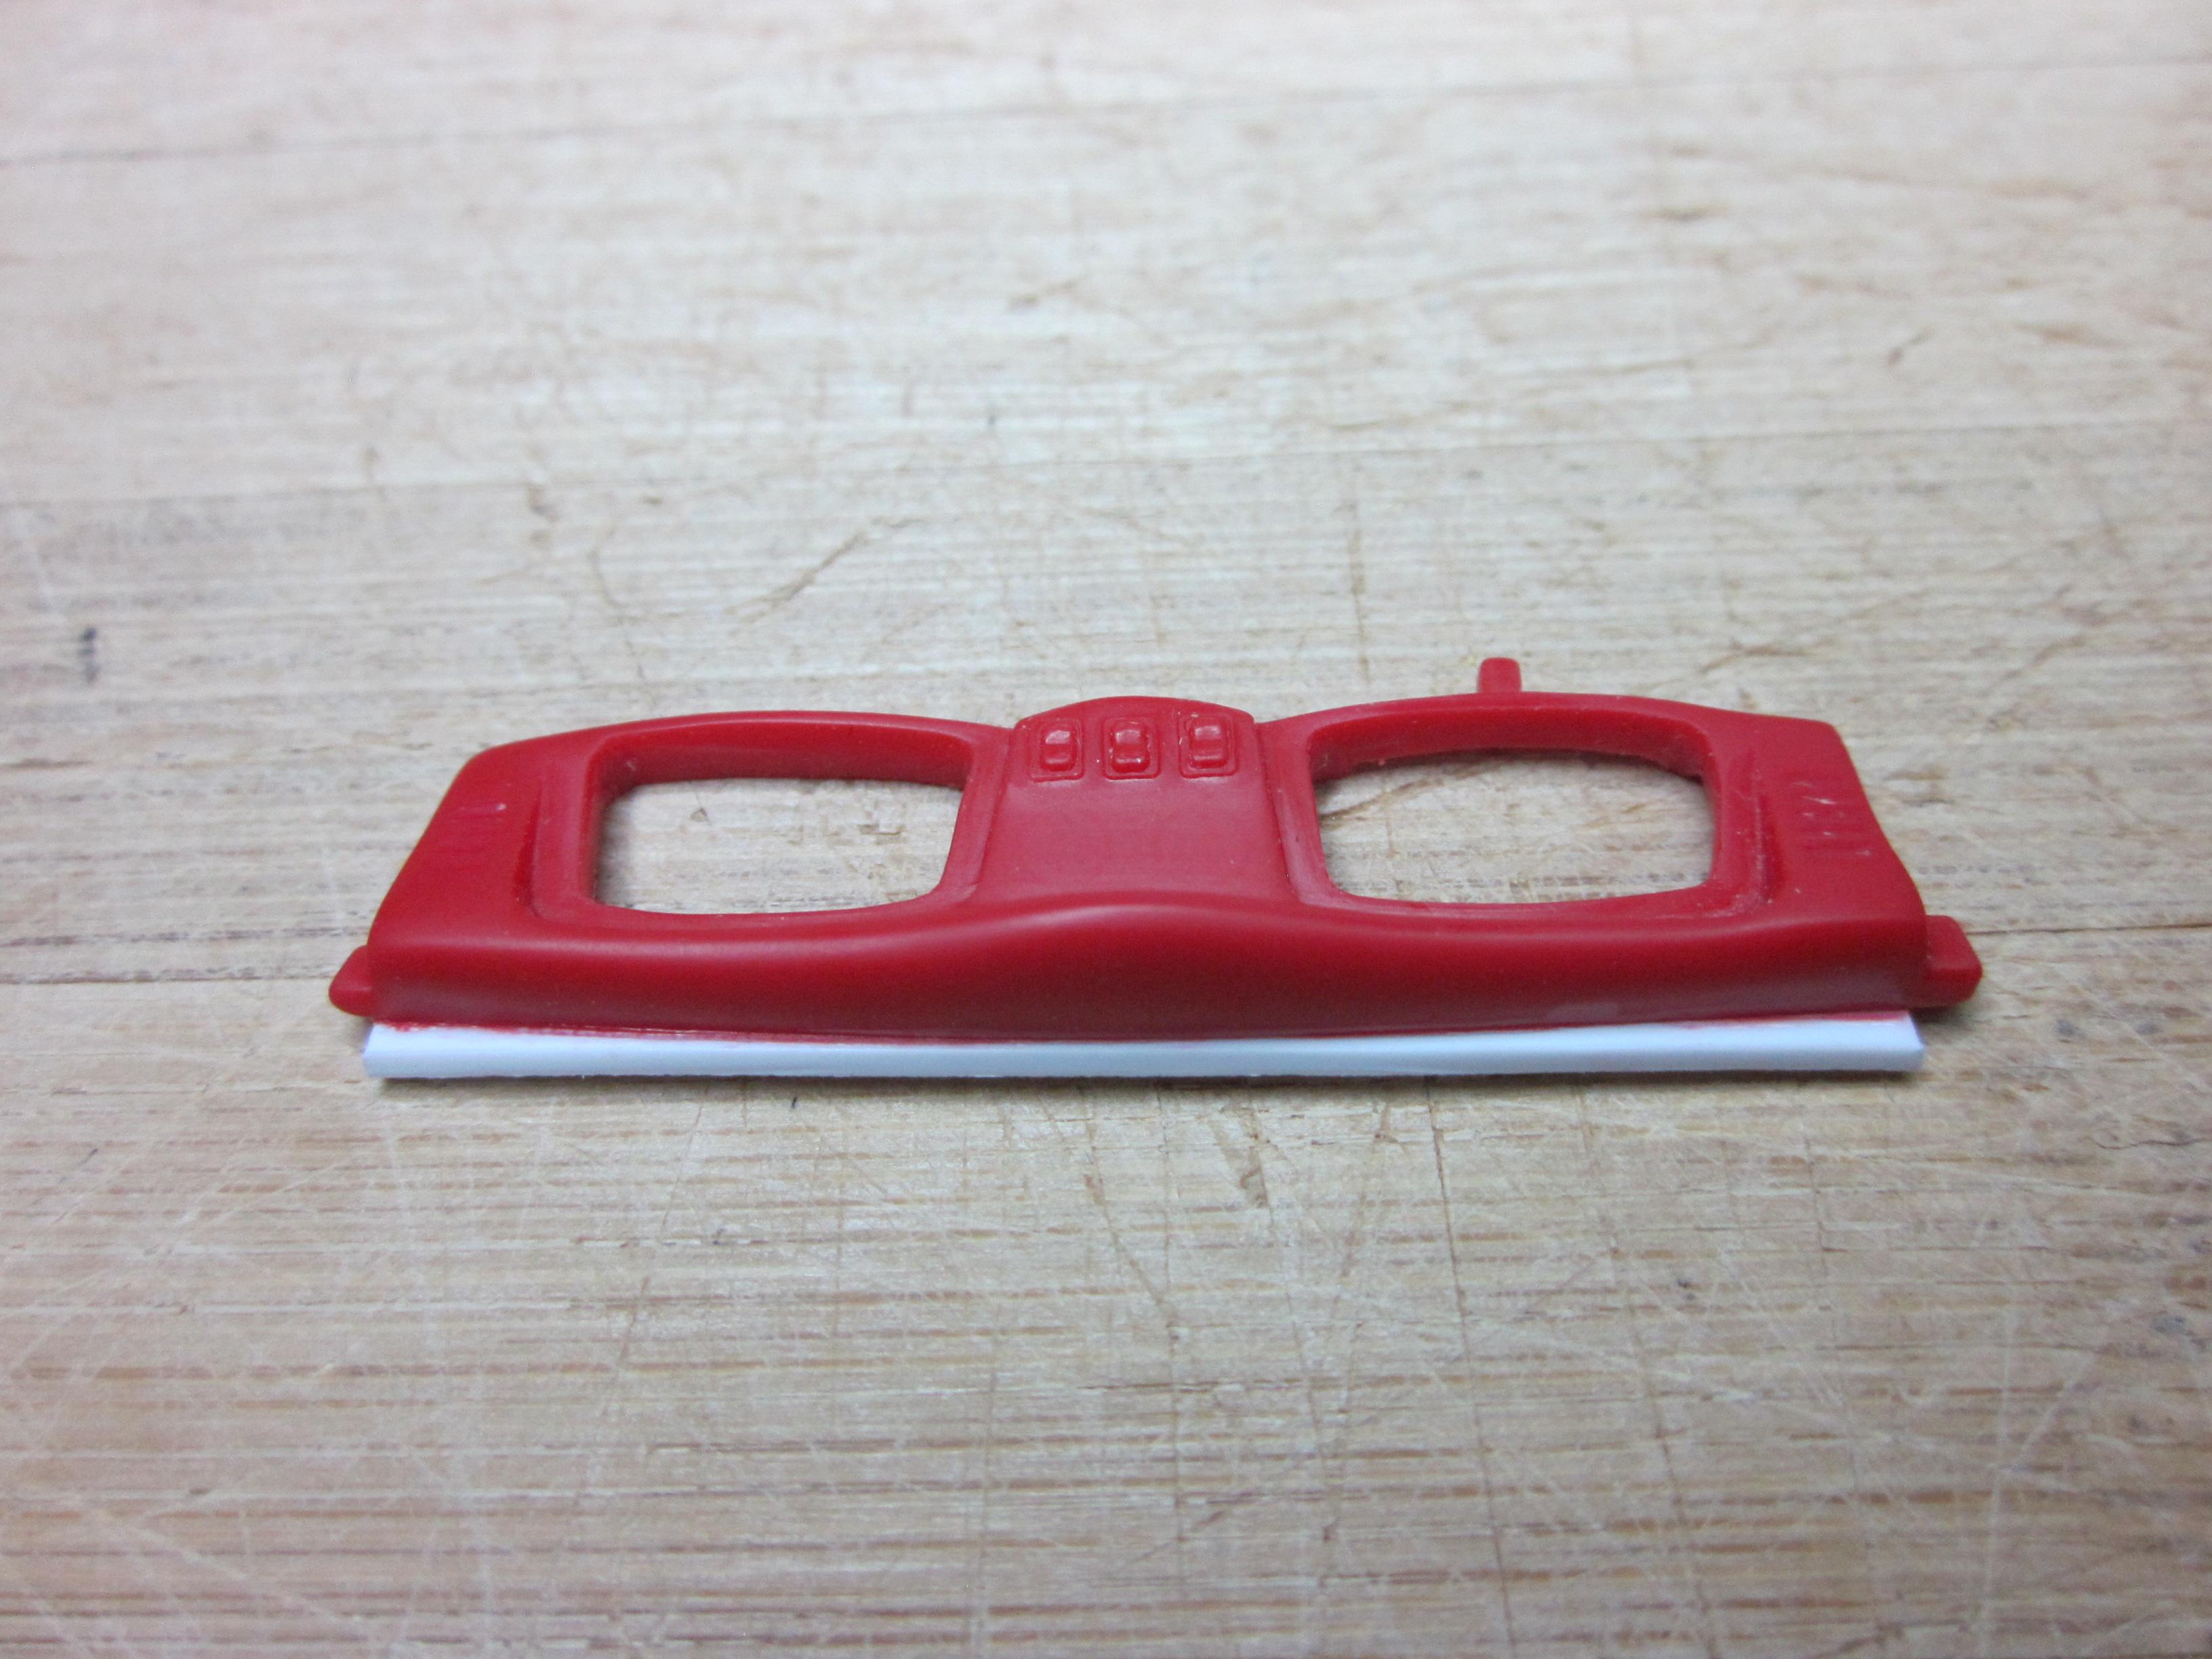
Some things are meant to be, and this just has to be done. I'v been working on the interior on the '30 and for a noticable change, the rear seat from the amt '33 ford street rod as been incorperated into the build. The door panels were smoothed out using evergreen sheet. But the stock dash sitting in the interior just wasn't looking so good anymore. Looking for options, a few different dashes were looked at to replace the kit dash board. One of those dashes was from the '33 kit. It was test fit into the interior bucket and to say it fit perfect was almost an understatement. Right off the parts tree, it needed no modifications to fit. Amazing, What are the chances! So the dash from the '33 is now being used. The theme for this build is to moreless modify all the parts in some way. The plan is to remove the stereo/glove box door, speedo and tach and the two gauges in the middle. The toggle switches are staying. They will be marked as window switches because the window cranks have been removed. They were alittle close to the dash. As far as the vents go, both will be filled. I want the dash to have a smooth appearance. This dash has alot a character and I think it adds just the right touch for the interior. Got he dash cut out and vents filled. During the final fitting, I found that the dash has a arch to it. To the point that a piece of material was added where the top of the dash and the cowl meet. That was sanded down to fill the slight void it had. Now that the dash fit the top, I found that it needed alittle support to make it stay in the position it needed to be when installed. A piece of round solid rod fixed that. The seat needs some adjustment at this point. This part mounts alot more forward. The old one mounts under the cowl. I'm also curious about the angle of the steering column. Thought I was past all that. I was, but this is way worth it. Thinking a section may be in the future................... Thats it for now.................
-
The interior is looking awsome. On the windshield, I see you have sanded to 6000. Thats a start, but it really needs to go to 12.000. then polish out from there. The results will be very noticable.
-
The paint idea should look pretty good!
-
Worked on the door panels. Just had to get rid of the rolled pleat look. Made a couple templets out of tape. Transfered to .015 evergreen sheet. Eazy pezy. Not sure where it's going from here. It'll work its self out.
-
Lookin great Bob! I'm enjoying the paint. Looks like everythings really coming together well. Did that steering wheel from this kit? Or maybe the '66 nova kit?
-
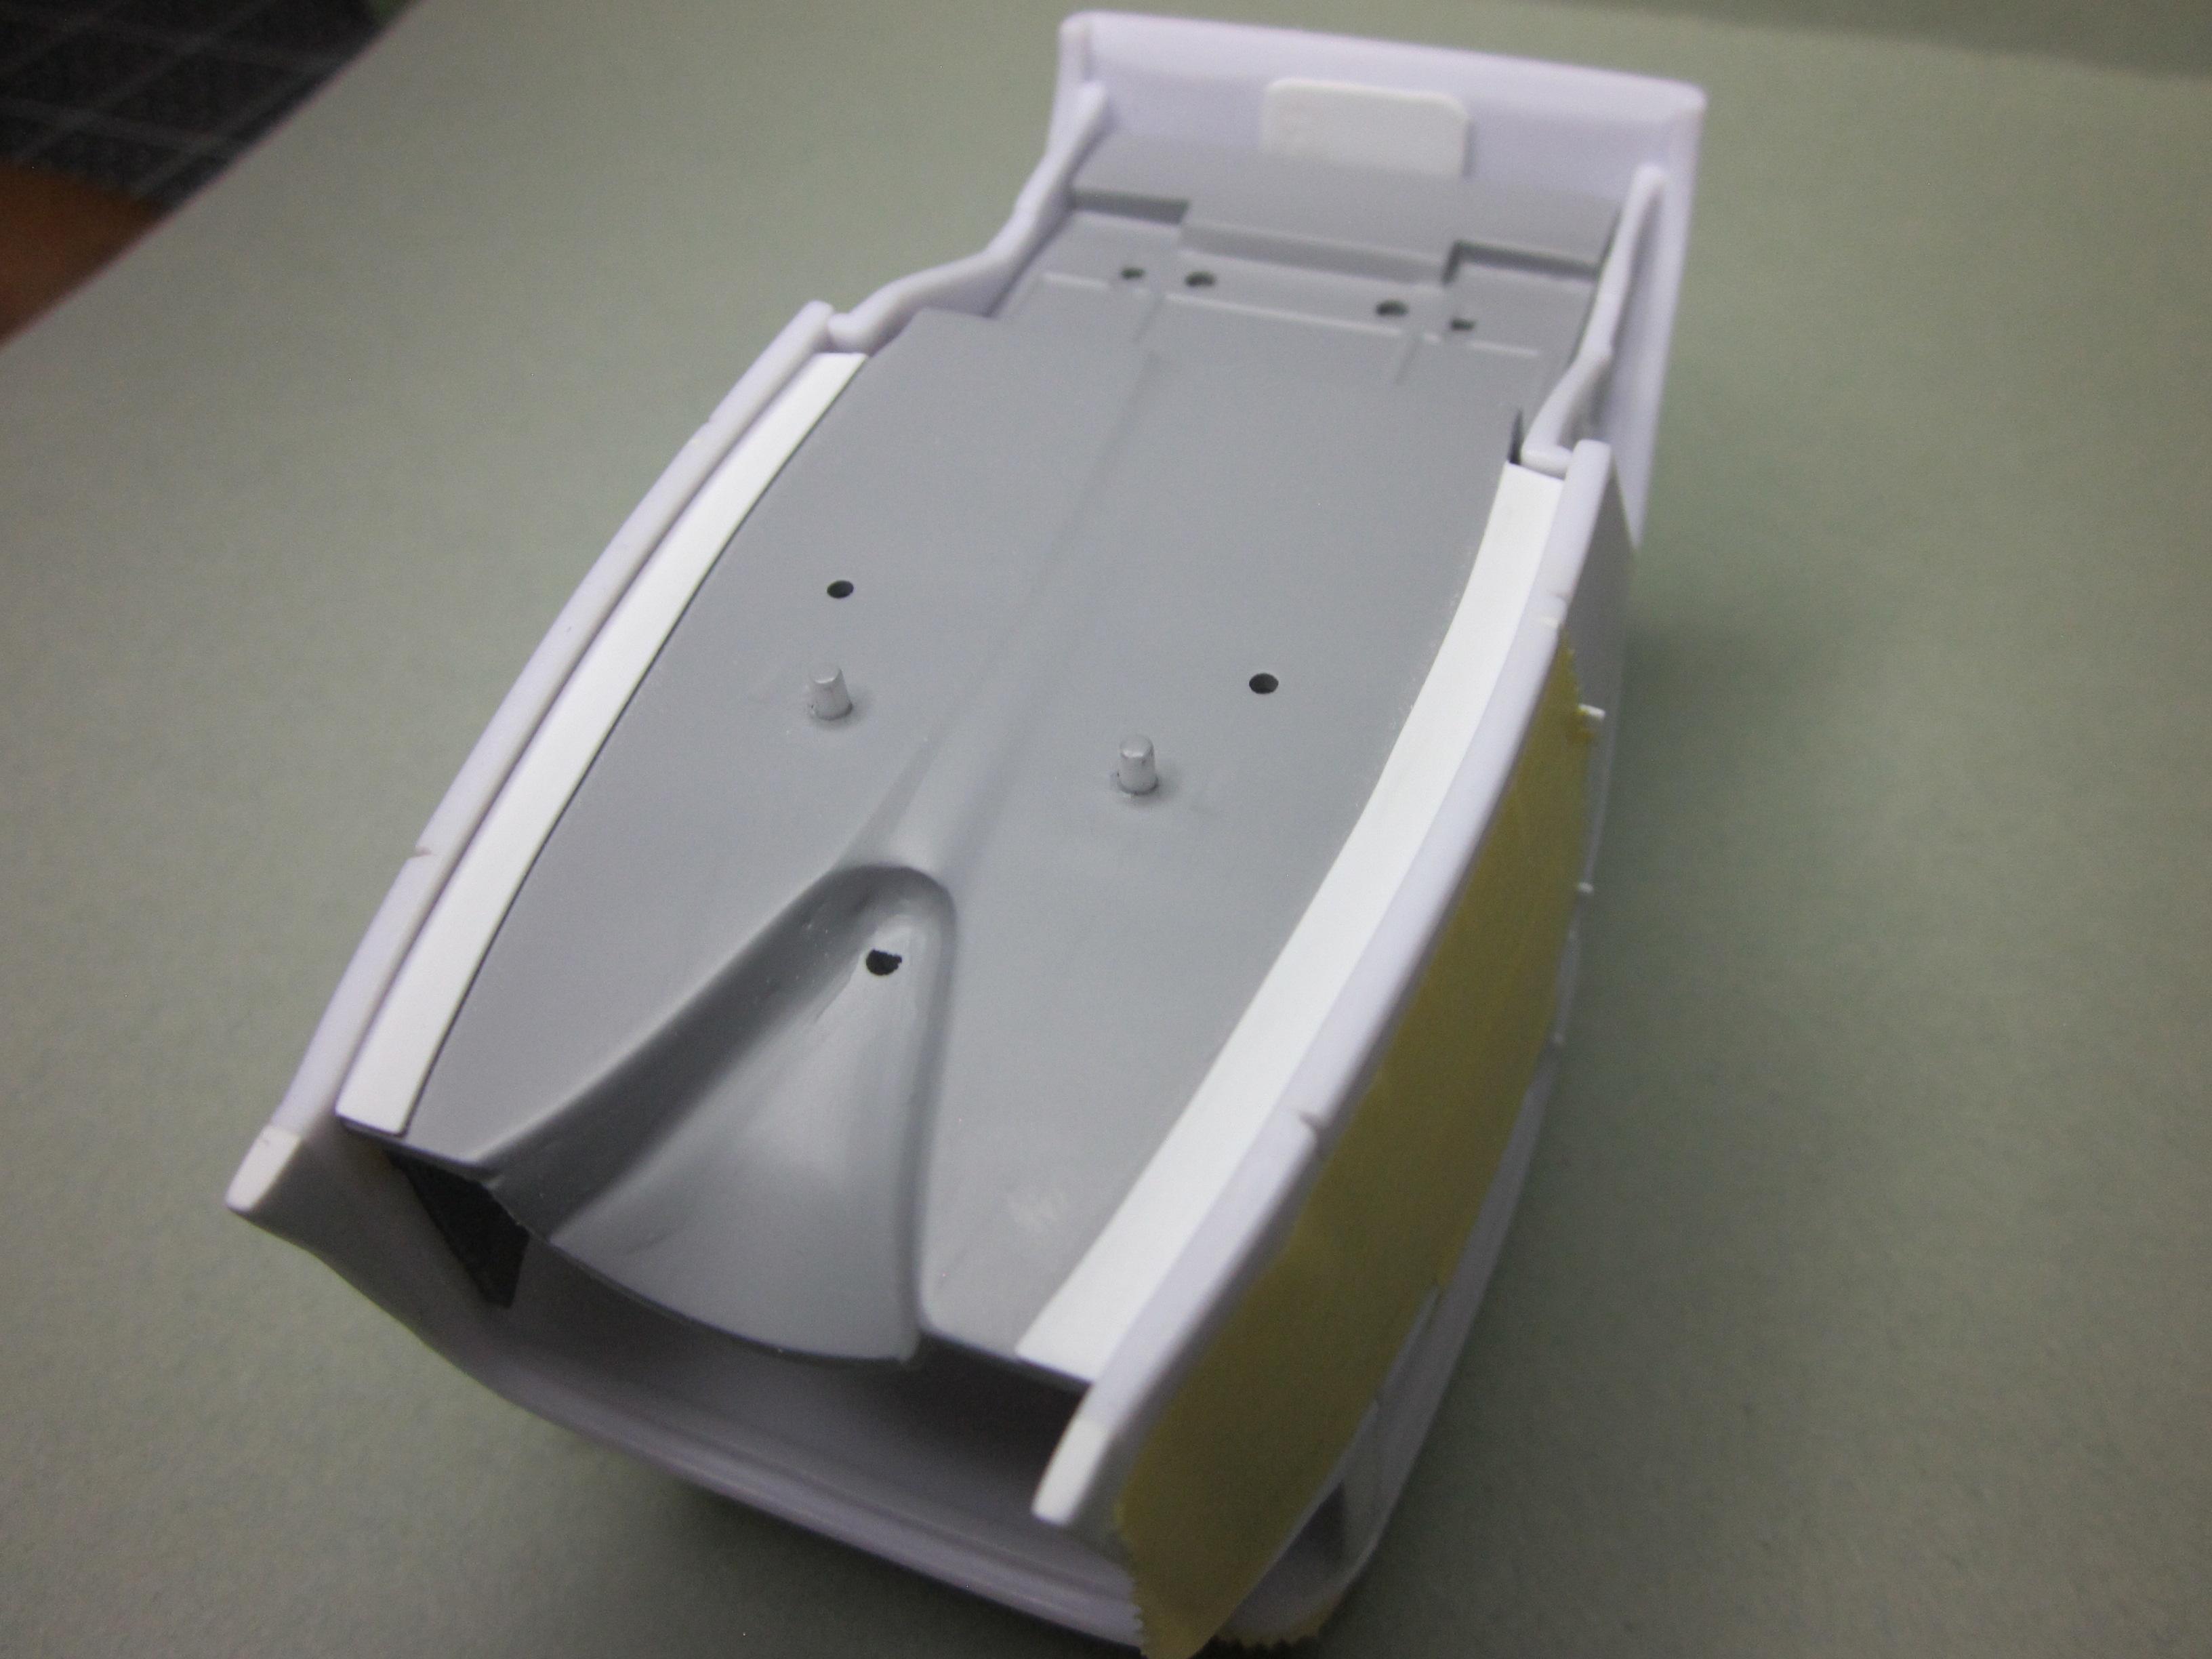
The time has come to start working with the interior. I have a seat from a '33 ford that I was working on awhile back. I'm going to bite the bullet and go the distance and make that seat fit the car. But before the seat, I wanted to take care of the slots that can be seen on the bottom side of the floor boards outer edge. This was a easy task. A couple strips made from 0.20 evergreen sheet were glued to the bottom of the floor board. I probably could have made them to be not so noticable, but chose to make them be seen. Adds a liitle character to a other wise flat surface. All that was done to the door cards was to sand a little off the 6 tabs that sit in the slots. I think I have a fair plan for the rear deck of the seat as it needs to be lengthened. A piece of 0.60 evergreen was shaped to fit the opening for the rear deck. The rear deck was cut off the seat. It was done this way for adjustment reasons. It will be grafted into the piece that was made to be the new rear deck. After the two parts were joined, the seat and the new rear deck were glued back together. Some finish work still needs to be done. When fitting the two parts back together, it was obviuos that the fit of the overall seat was going to be right on the money. One thing that was noted was the steering column was not lined up center with the driver's seat. That will be adjusted. And what to do with those pesky door cards! Till next time.............................
-
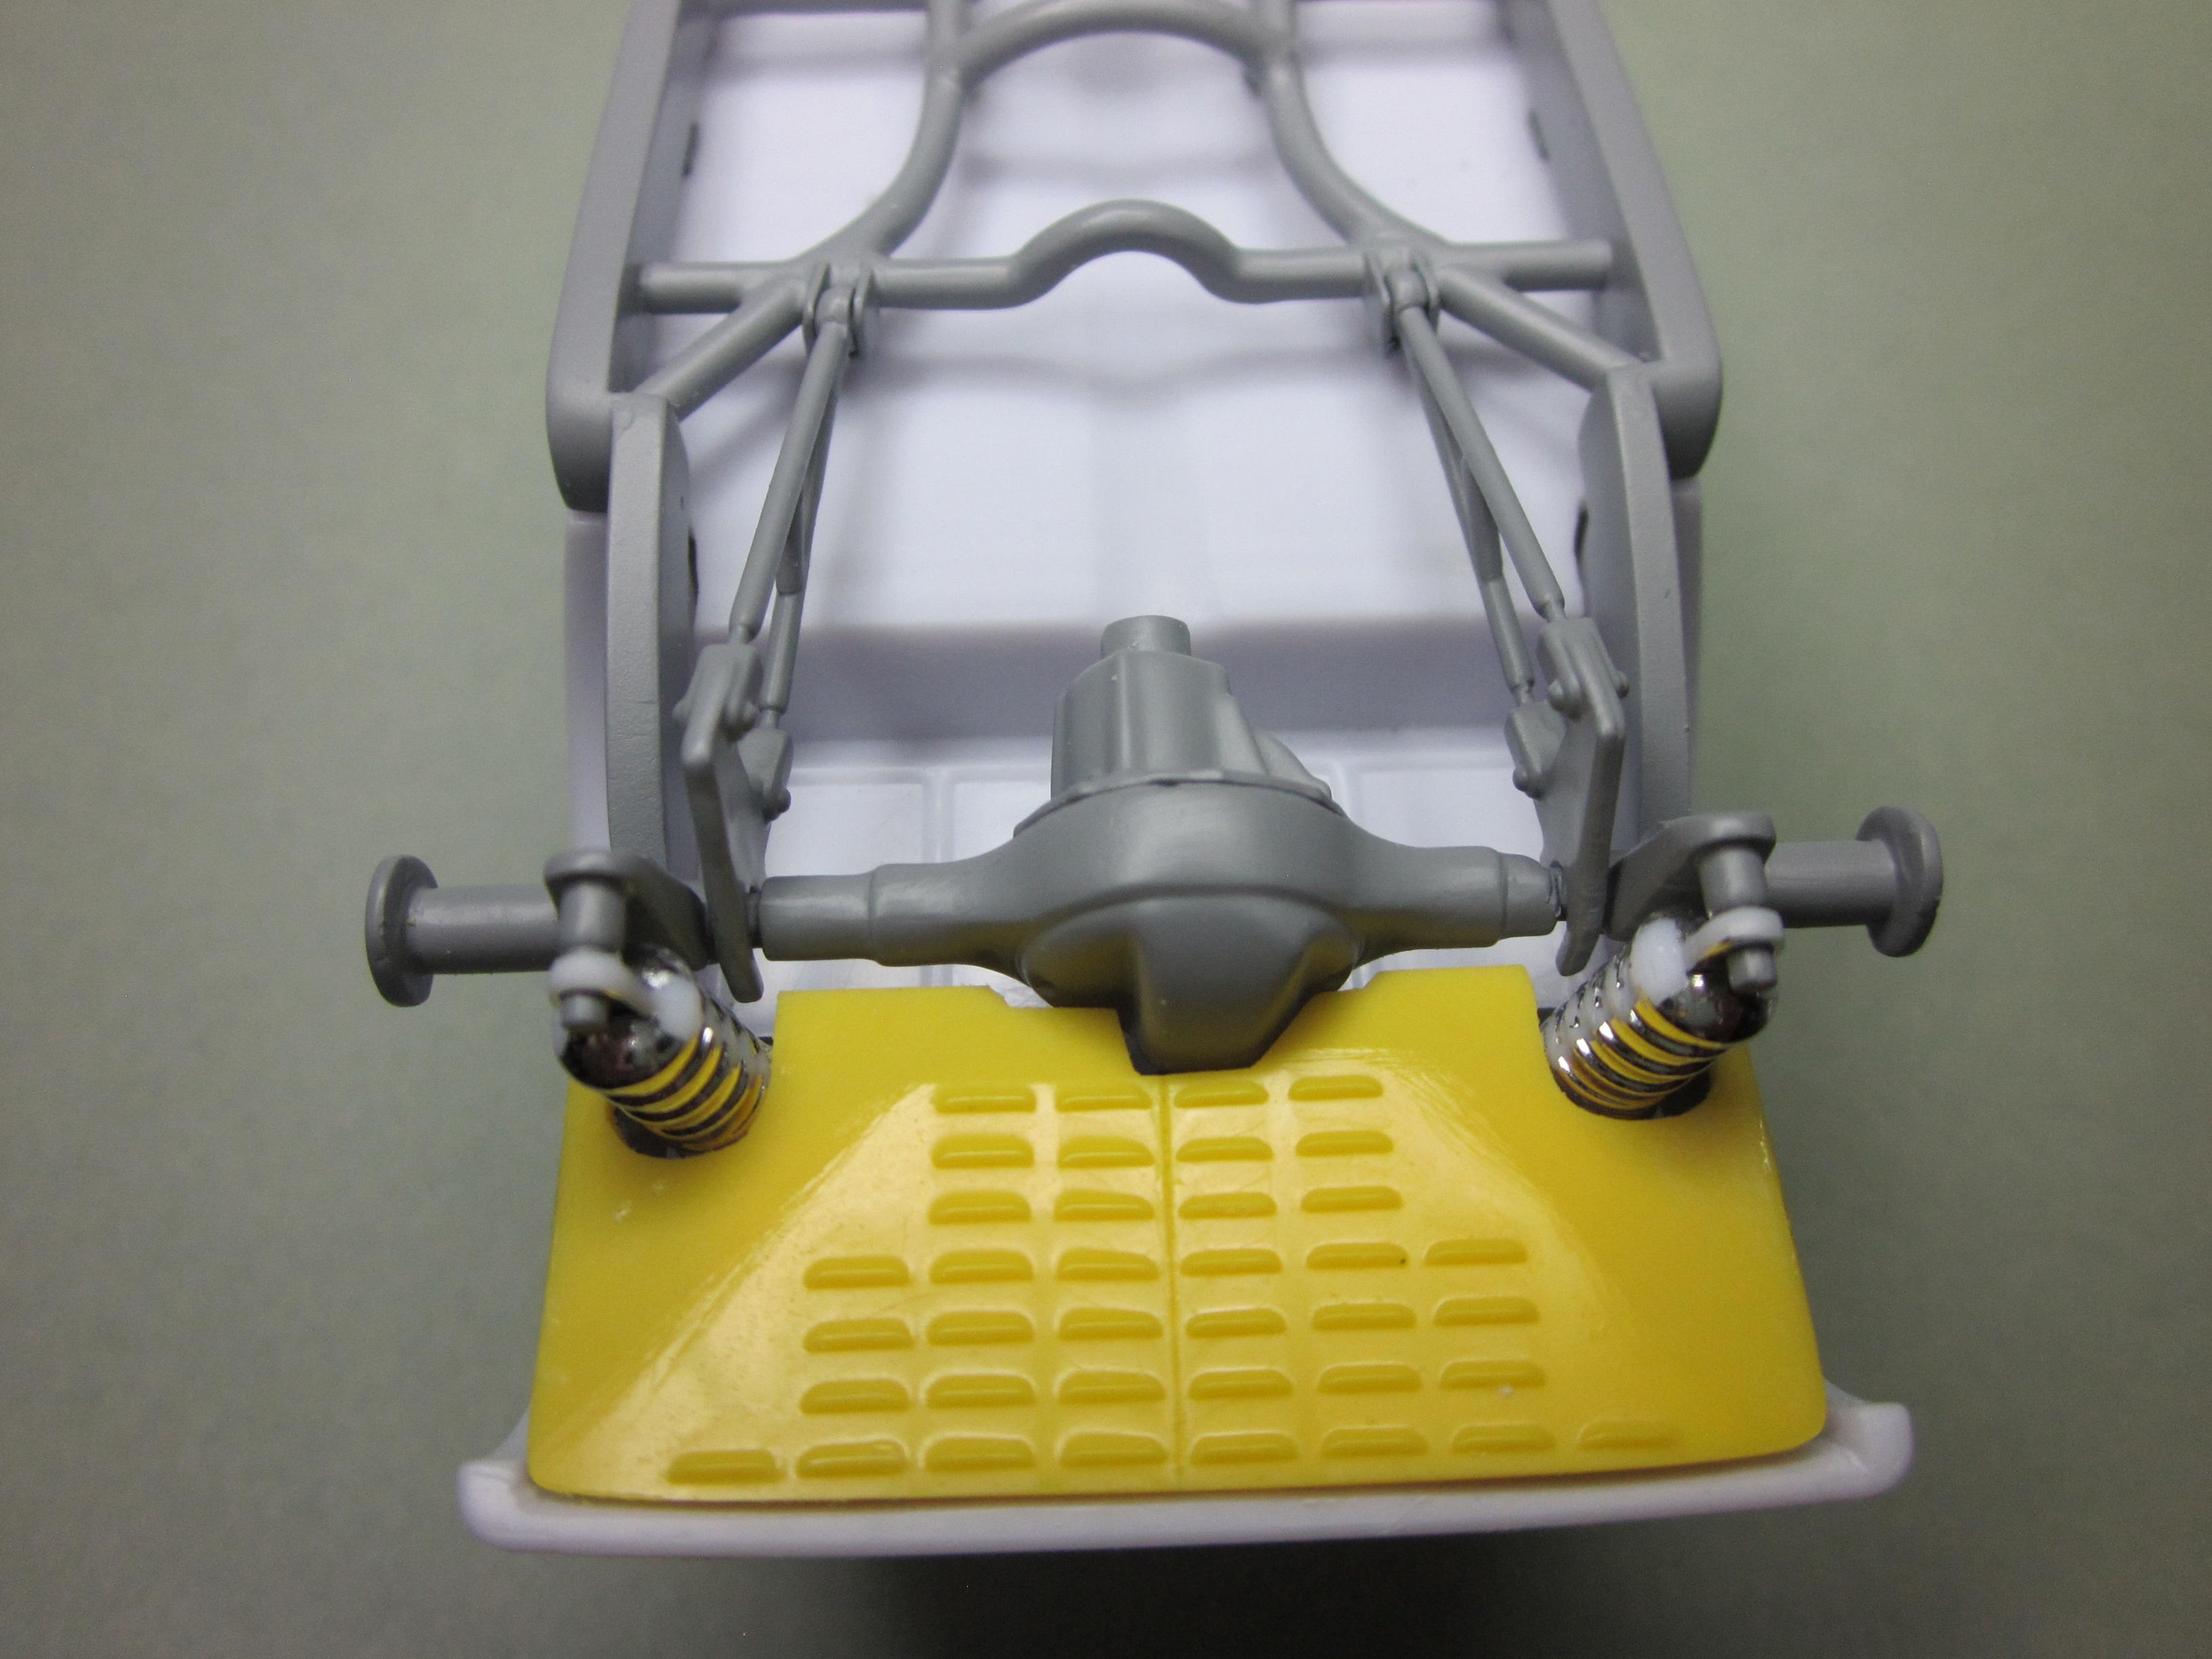
Below is part of a post I made on the previous page about Fixing the upside down wheel clyinders. It has been brought to my attention by @NOBLNG that there is actually nothing wrong with the parts in the kit. I thought it was just a mistake when the kit was made and thought I was doing good by showing how to fix it. I apologize to any builders that used this on their build. I'll try to do better in the future. Speedpro Ah, fixing one of the biggest flaws of this kit, the upside down wheel cylinder trick! I'm sure everyone knows about this so here's a couple picks of what I did to correct this issue...........put a flat on other side, add material to original flat, sand to shape and you are now 180 degrees in the right direction and the wheel cylinders are doing the same. IF you are building a factory stock '30 Ford Model A, you really don't want to do this modification!
-
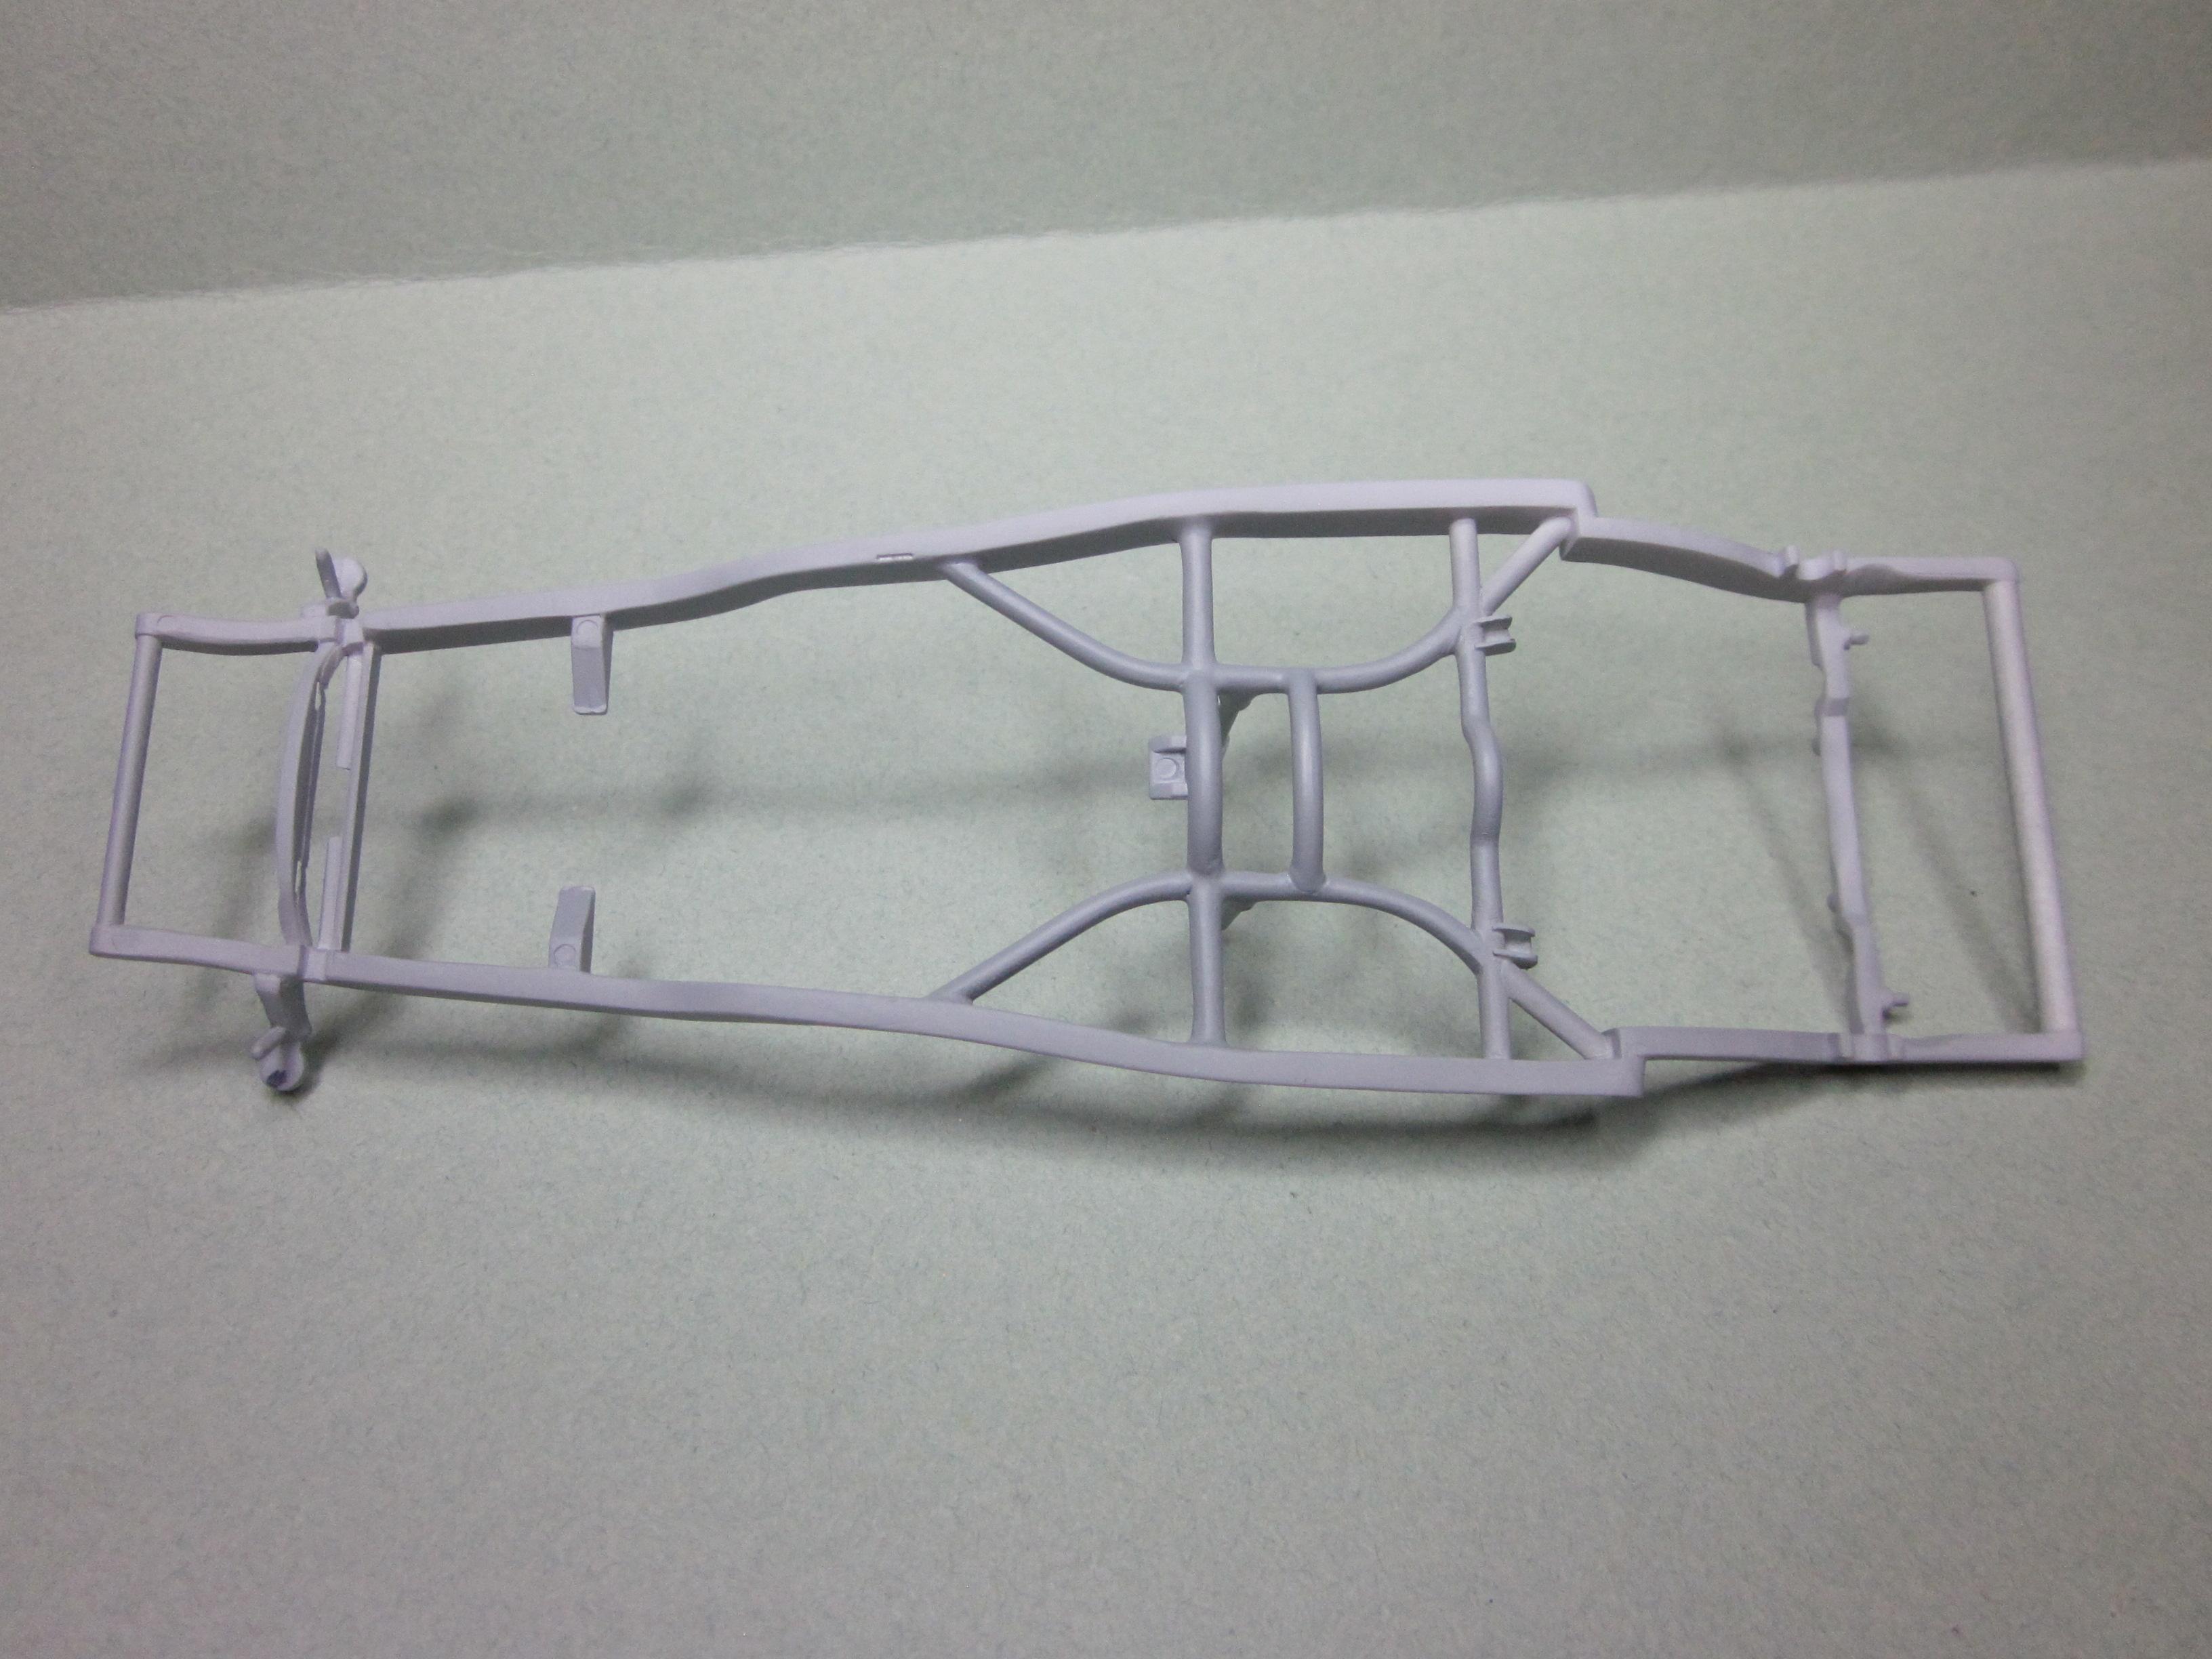
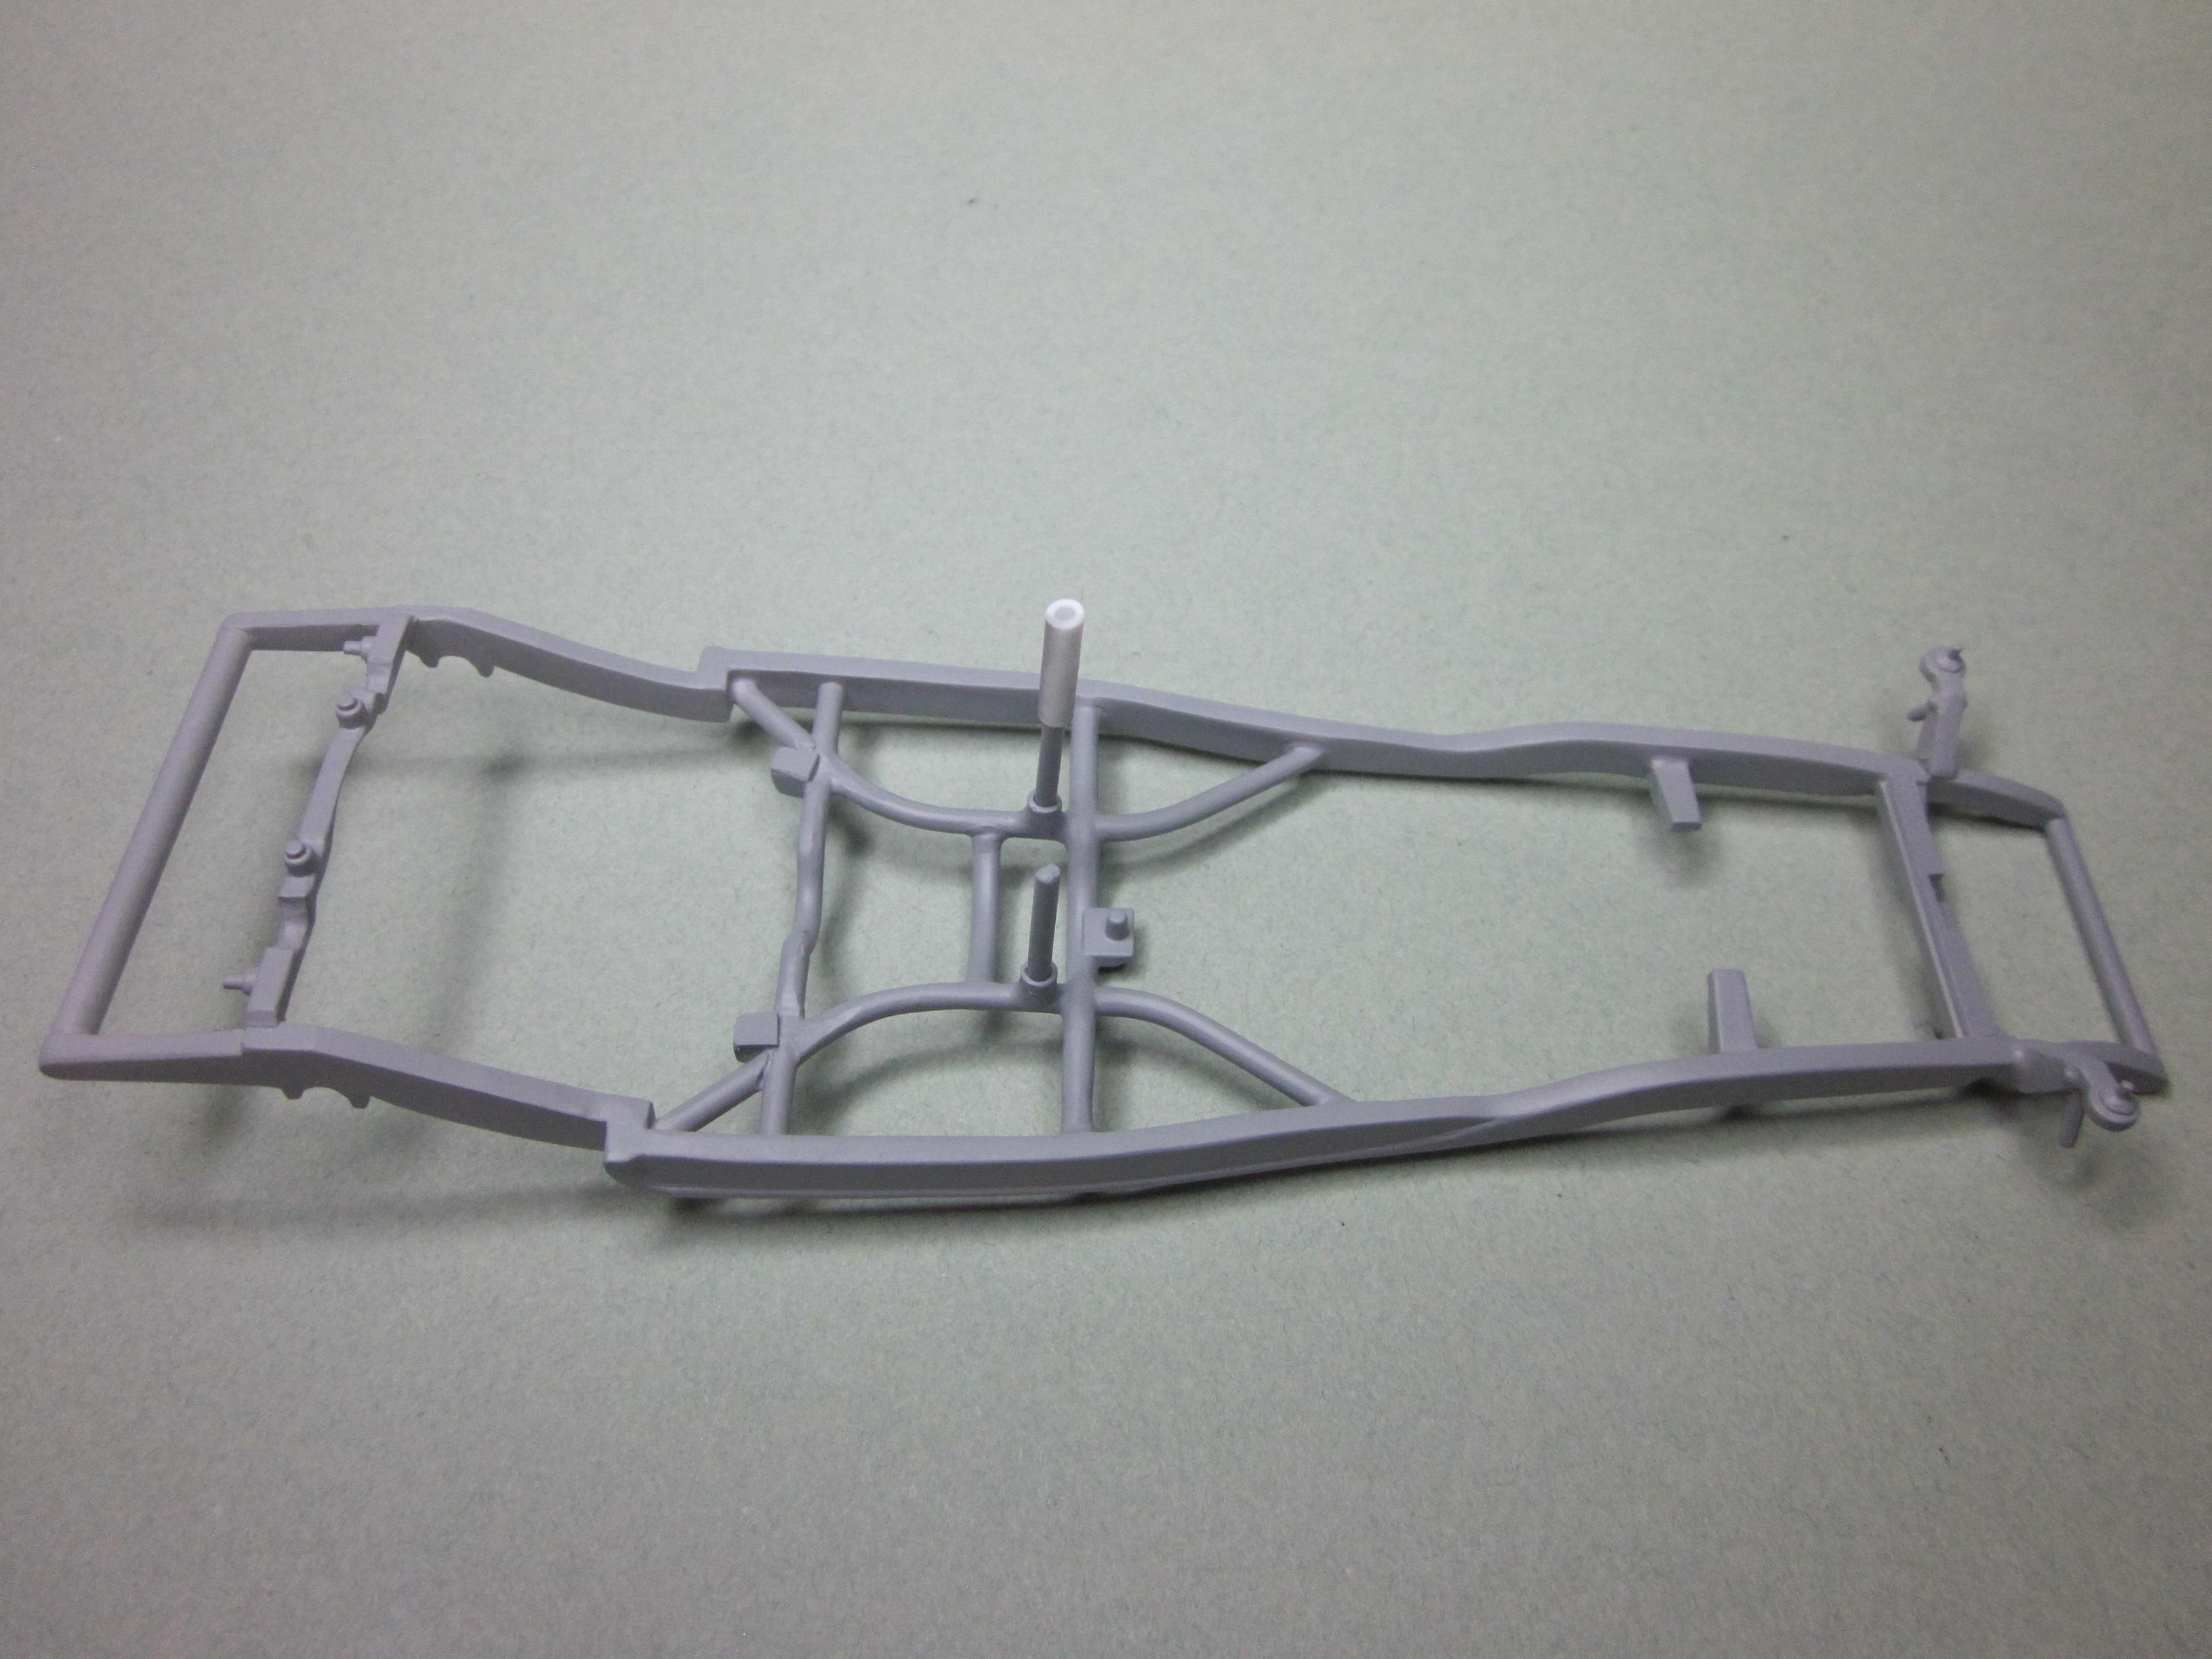
Thanks to everyone for taking a look and all the great comments. Very much appreciated. I have been working on the seat and trying to figure out exactly where it was going to be located. I found this hard to do, realizing that it would be a good idea to maybe have the steering column in place might help a little. To make things easy down the road, I decided to use a pin to help attach the column and drag link to the frame. When the frame was being cleaned up, the mount for the column on the inside of the frame was removed as it was not needed. A hole was drilled through the frame for the pin to mount the column too. Also drilled a hole in the bottom of the steering box. At the drop down on the dash, I decided to use a collar that was made using a piece of .100 solid rod drilled out to 1/16th that will slide onto the column. Had to file the drop down on the dash to fit the collar that will support the column. The drag link was a little more than just attach and be done. Ended up drilling into the link to fit the pin going through the frame, shorting the arm and since there is a slight interference with the radius rod, I made a longer pin and a sleeve to get the drag link to clear the radius rod. I know this is a small thing, but the hole in the firewall for the column was filed in and now fits the column much better. I think now the seat can be fit and be confident it's where it needs to be. That's it for now. Till next time......................
-
Nice start, for your color combo, carpet and console both would be same color as the rest of the interior. When the interior was lets say white, it would have black carpet, console, headliner, dash pad, half the door cards and such. But your's being red, all the same.
-
Very nice! Watched you build it, looked like alot of fun.
-
Outstanding build! The conversion from the chevelle to the beaumont is so well done it looks like it was a kit you built. Love the engine details are perfect right down to the yellow and blue wires for the wiper motor. I have owned chevelles my whole life, I have a '66 super sport that I have owned for 26 years, was a classic car tech for 35 years and would go up to vancouver to do the chevelle show. Seen these cars many times, and you nailed it. Whats always intreged me was the color options for these cars. Don't see these options here in the states. Black exterior with a green interior was not seen here. Had a customer with a 1969 Pontiac Parisienne 2+2 big block 4-speed that was black with painted white top and bright blue interior. Always thought that was interesting and wonder why they didn't do that in the states. Beautiful build and admire what you have done!
-
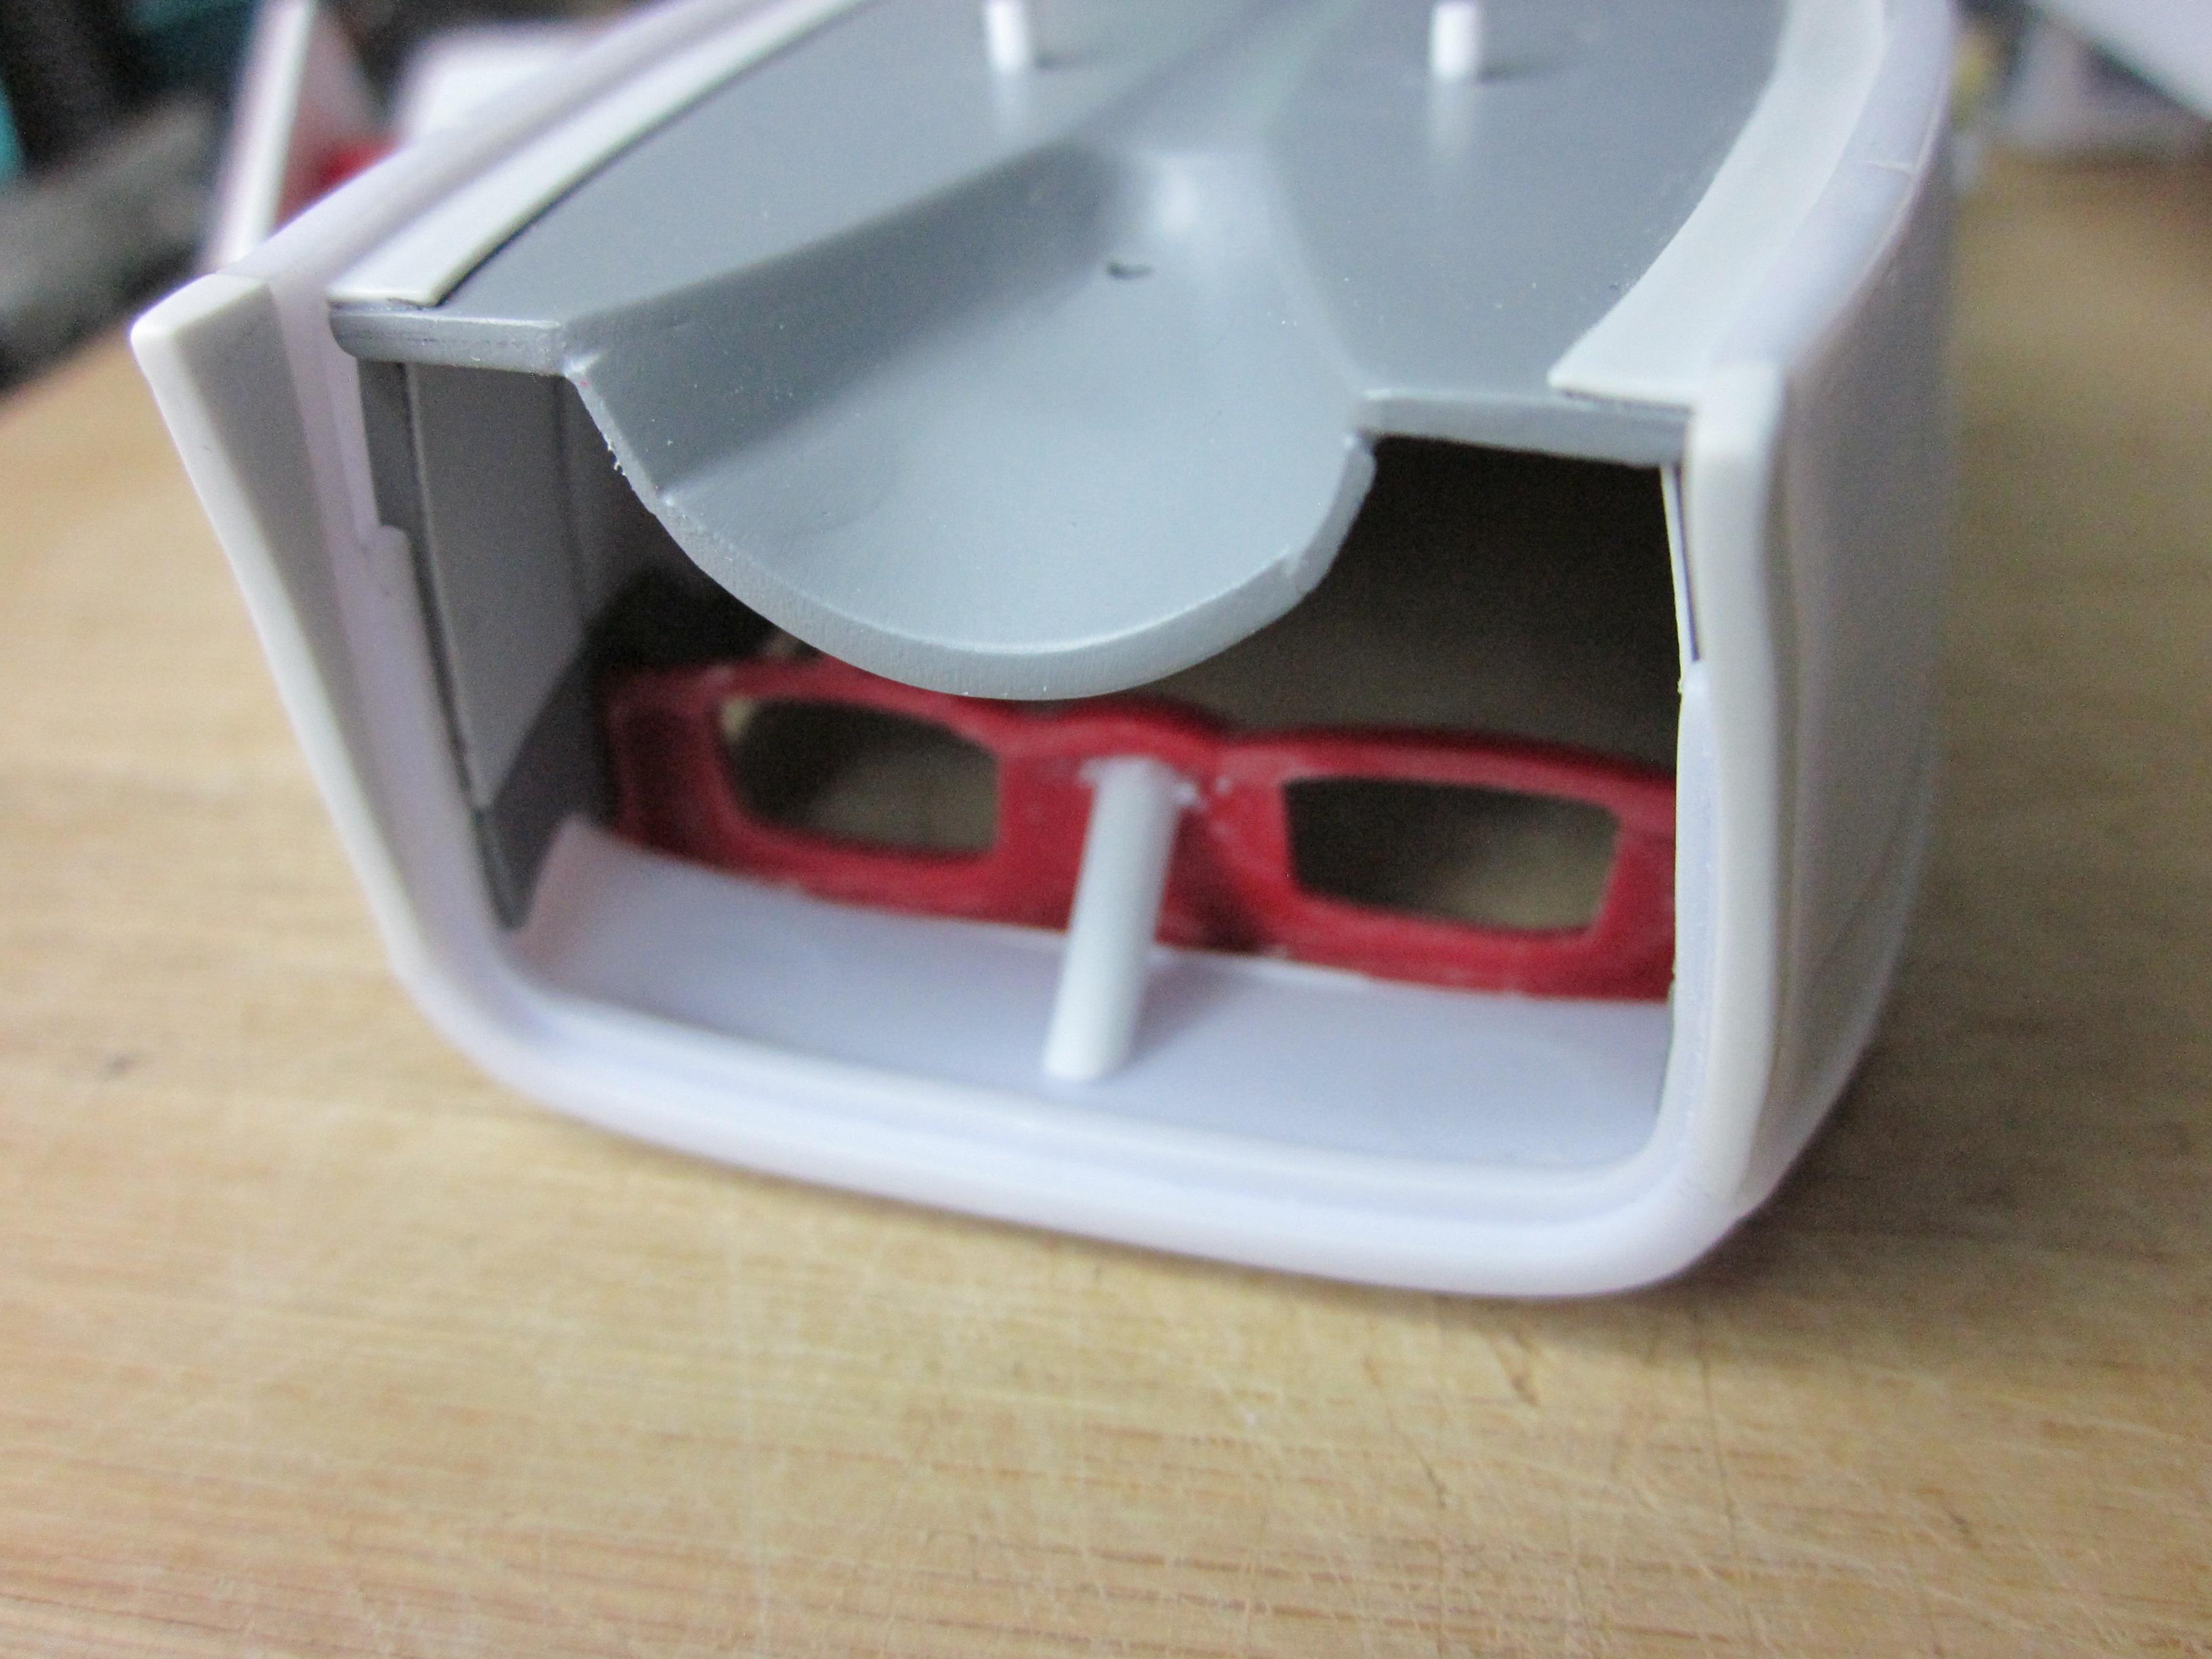
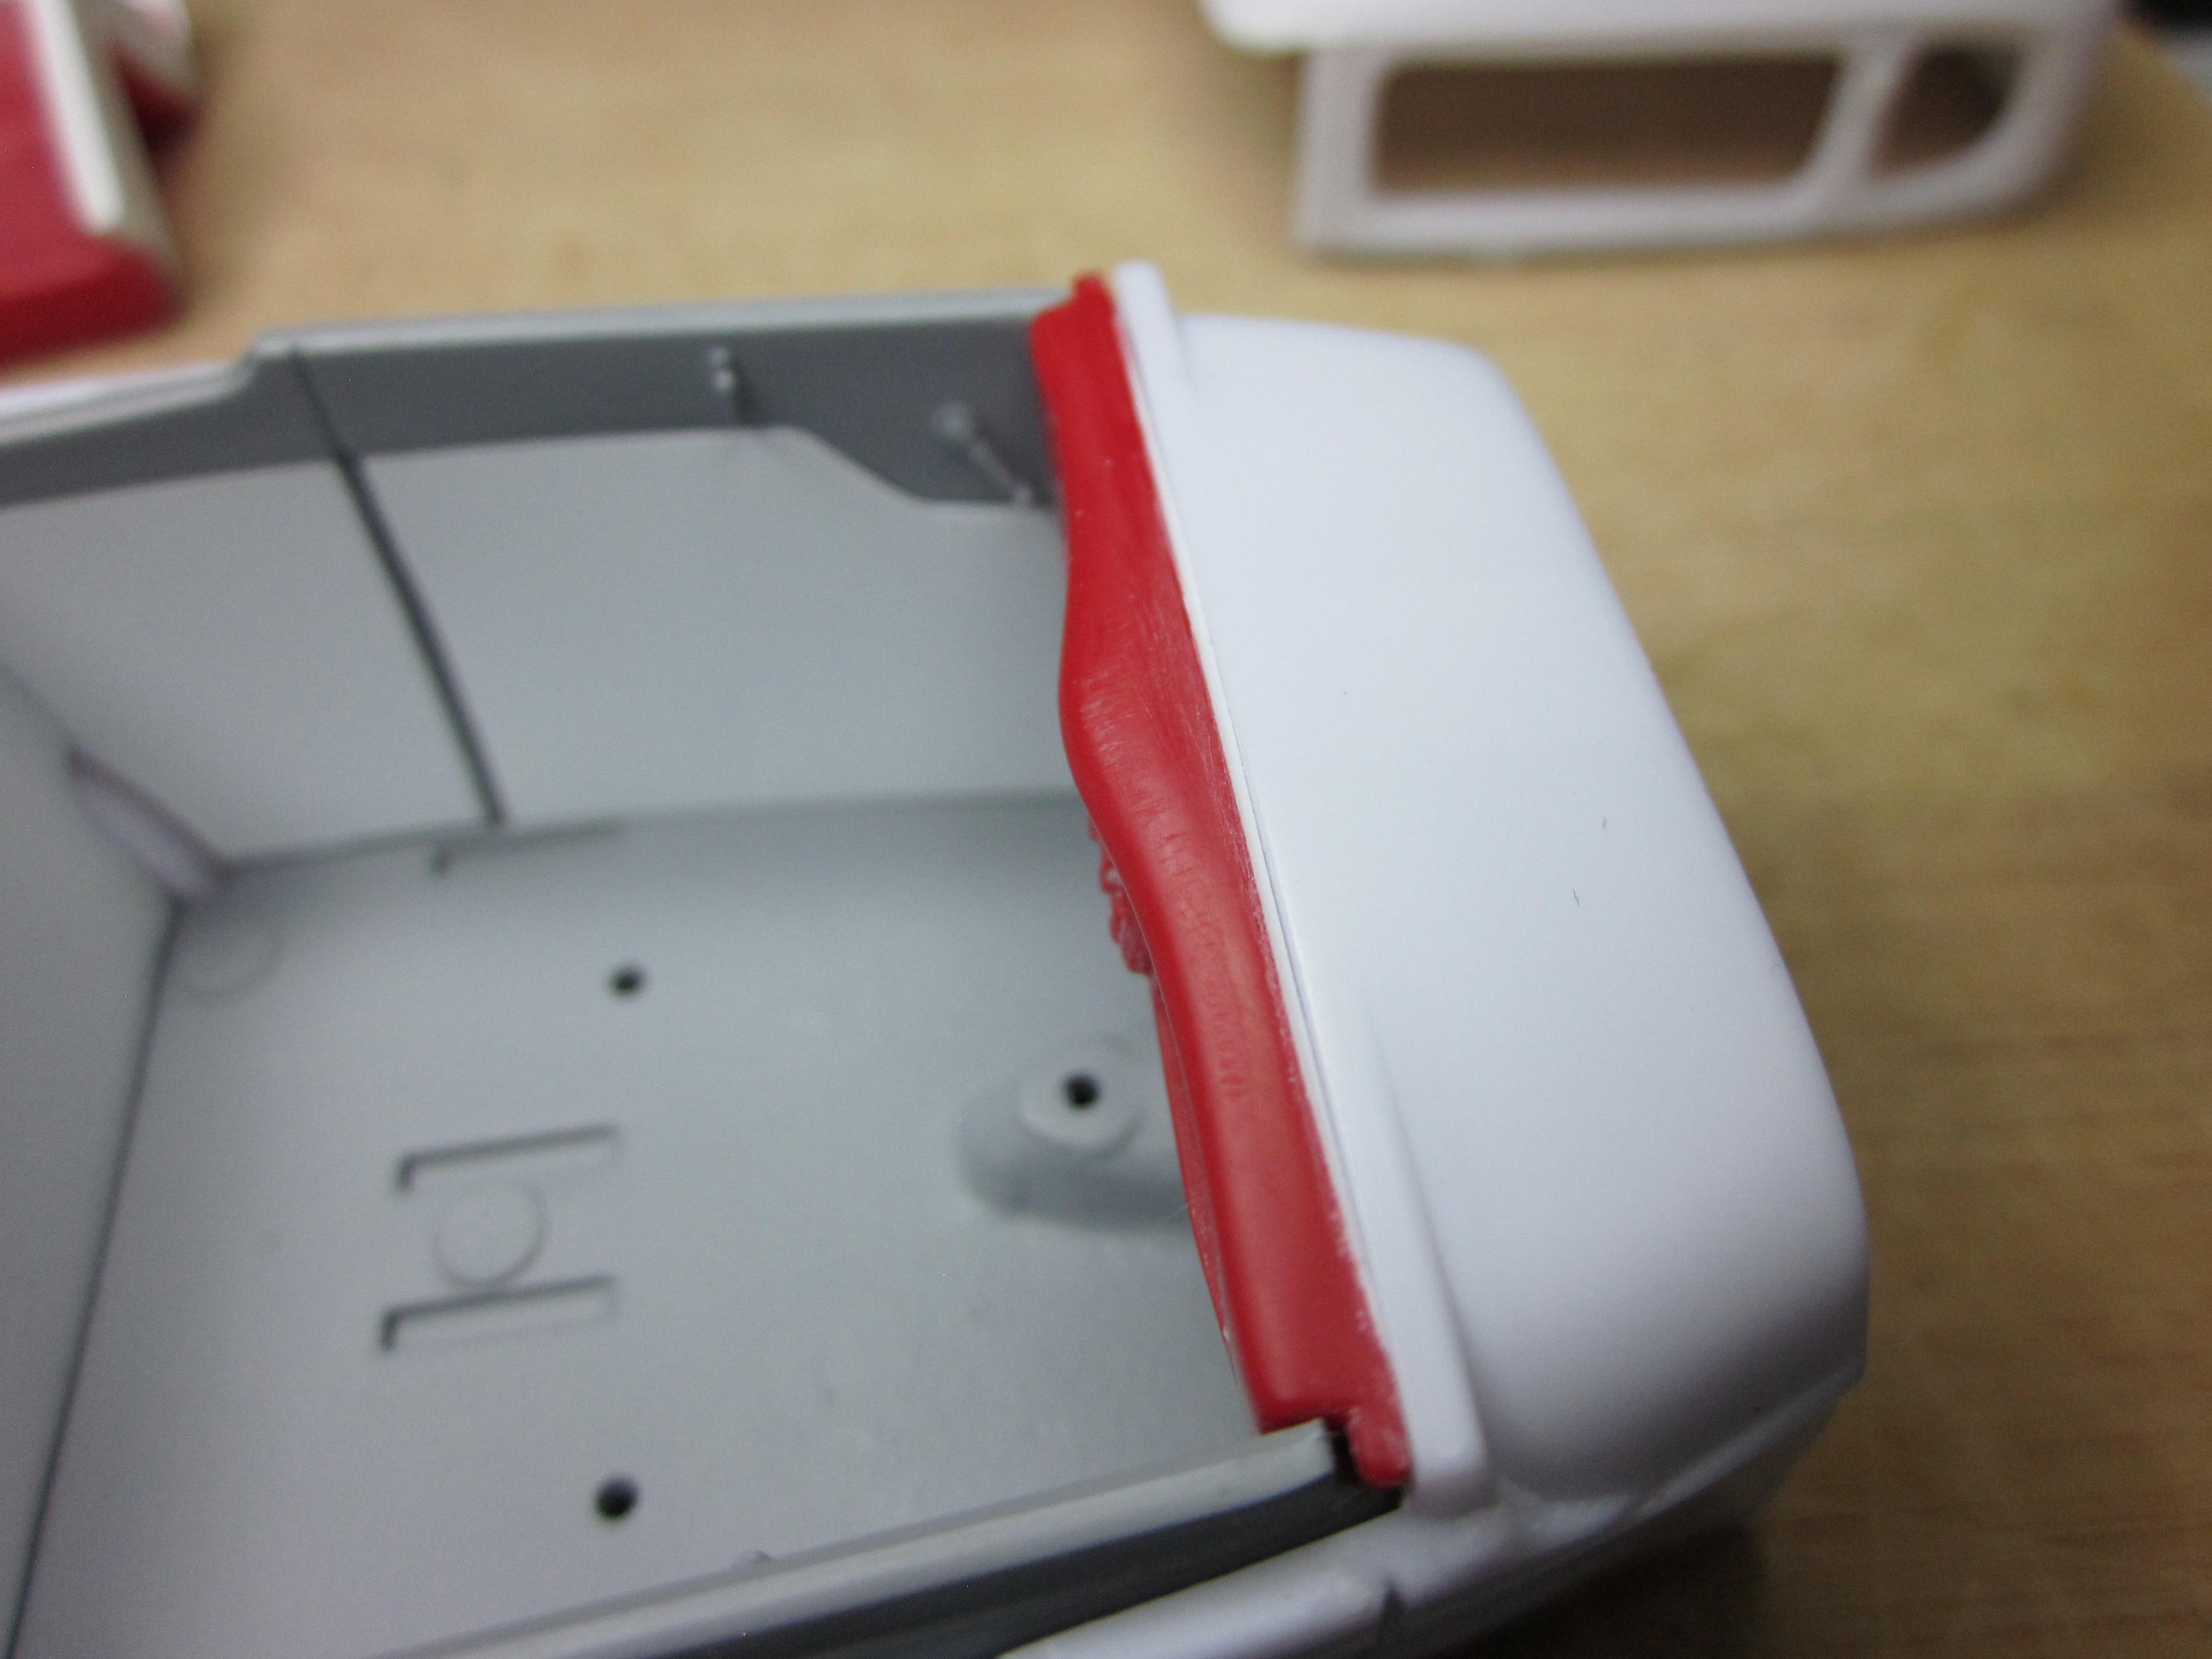
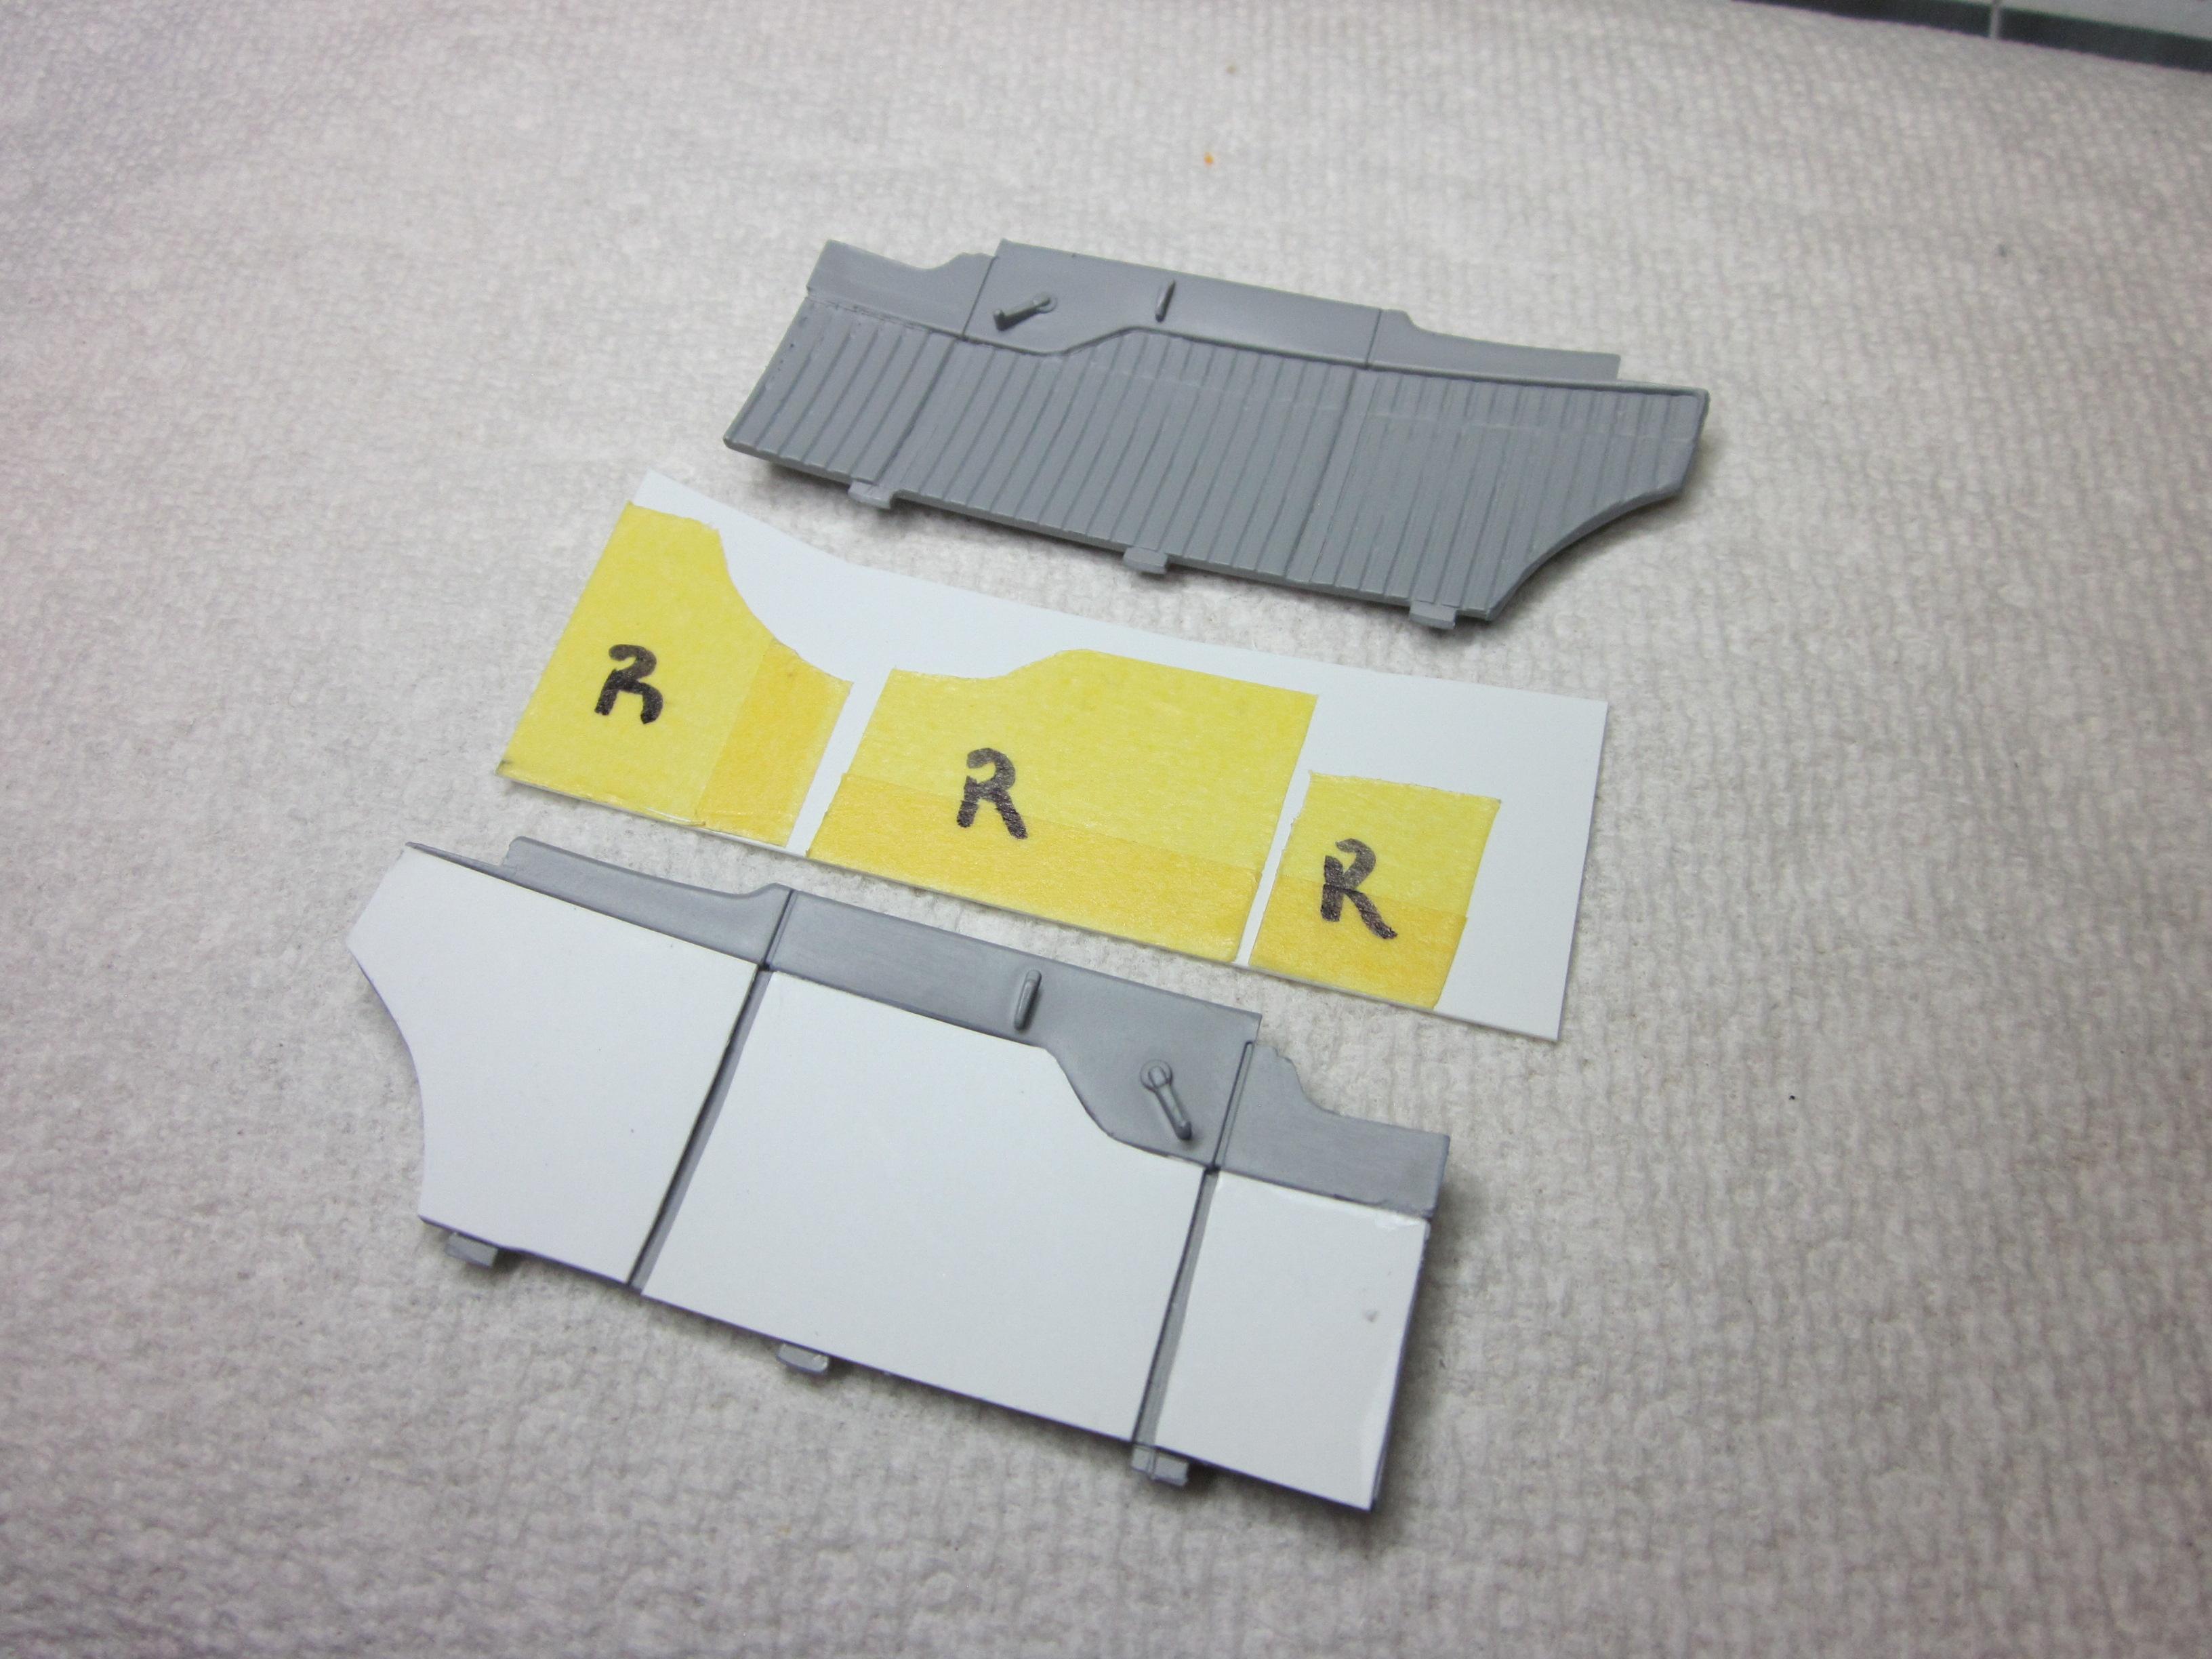
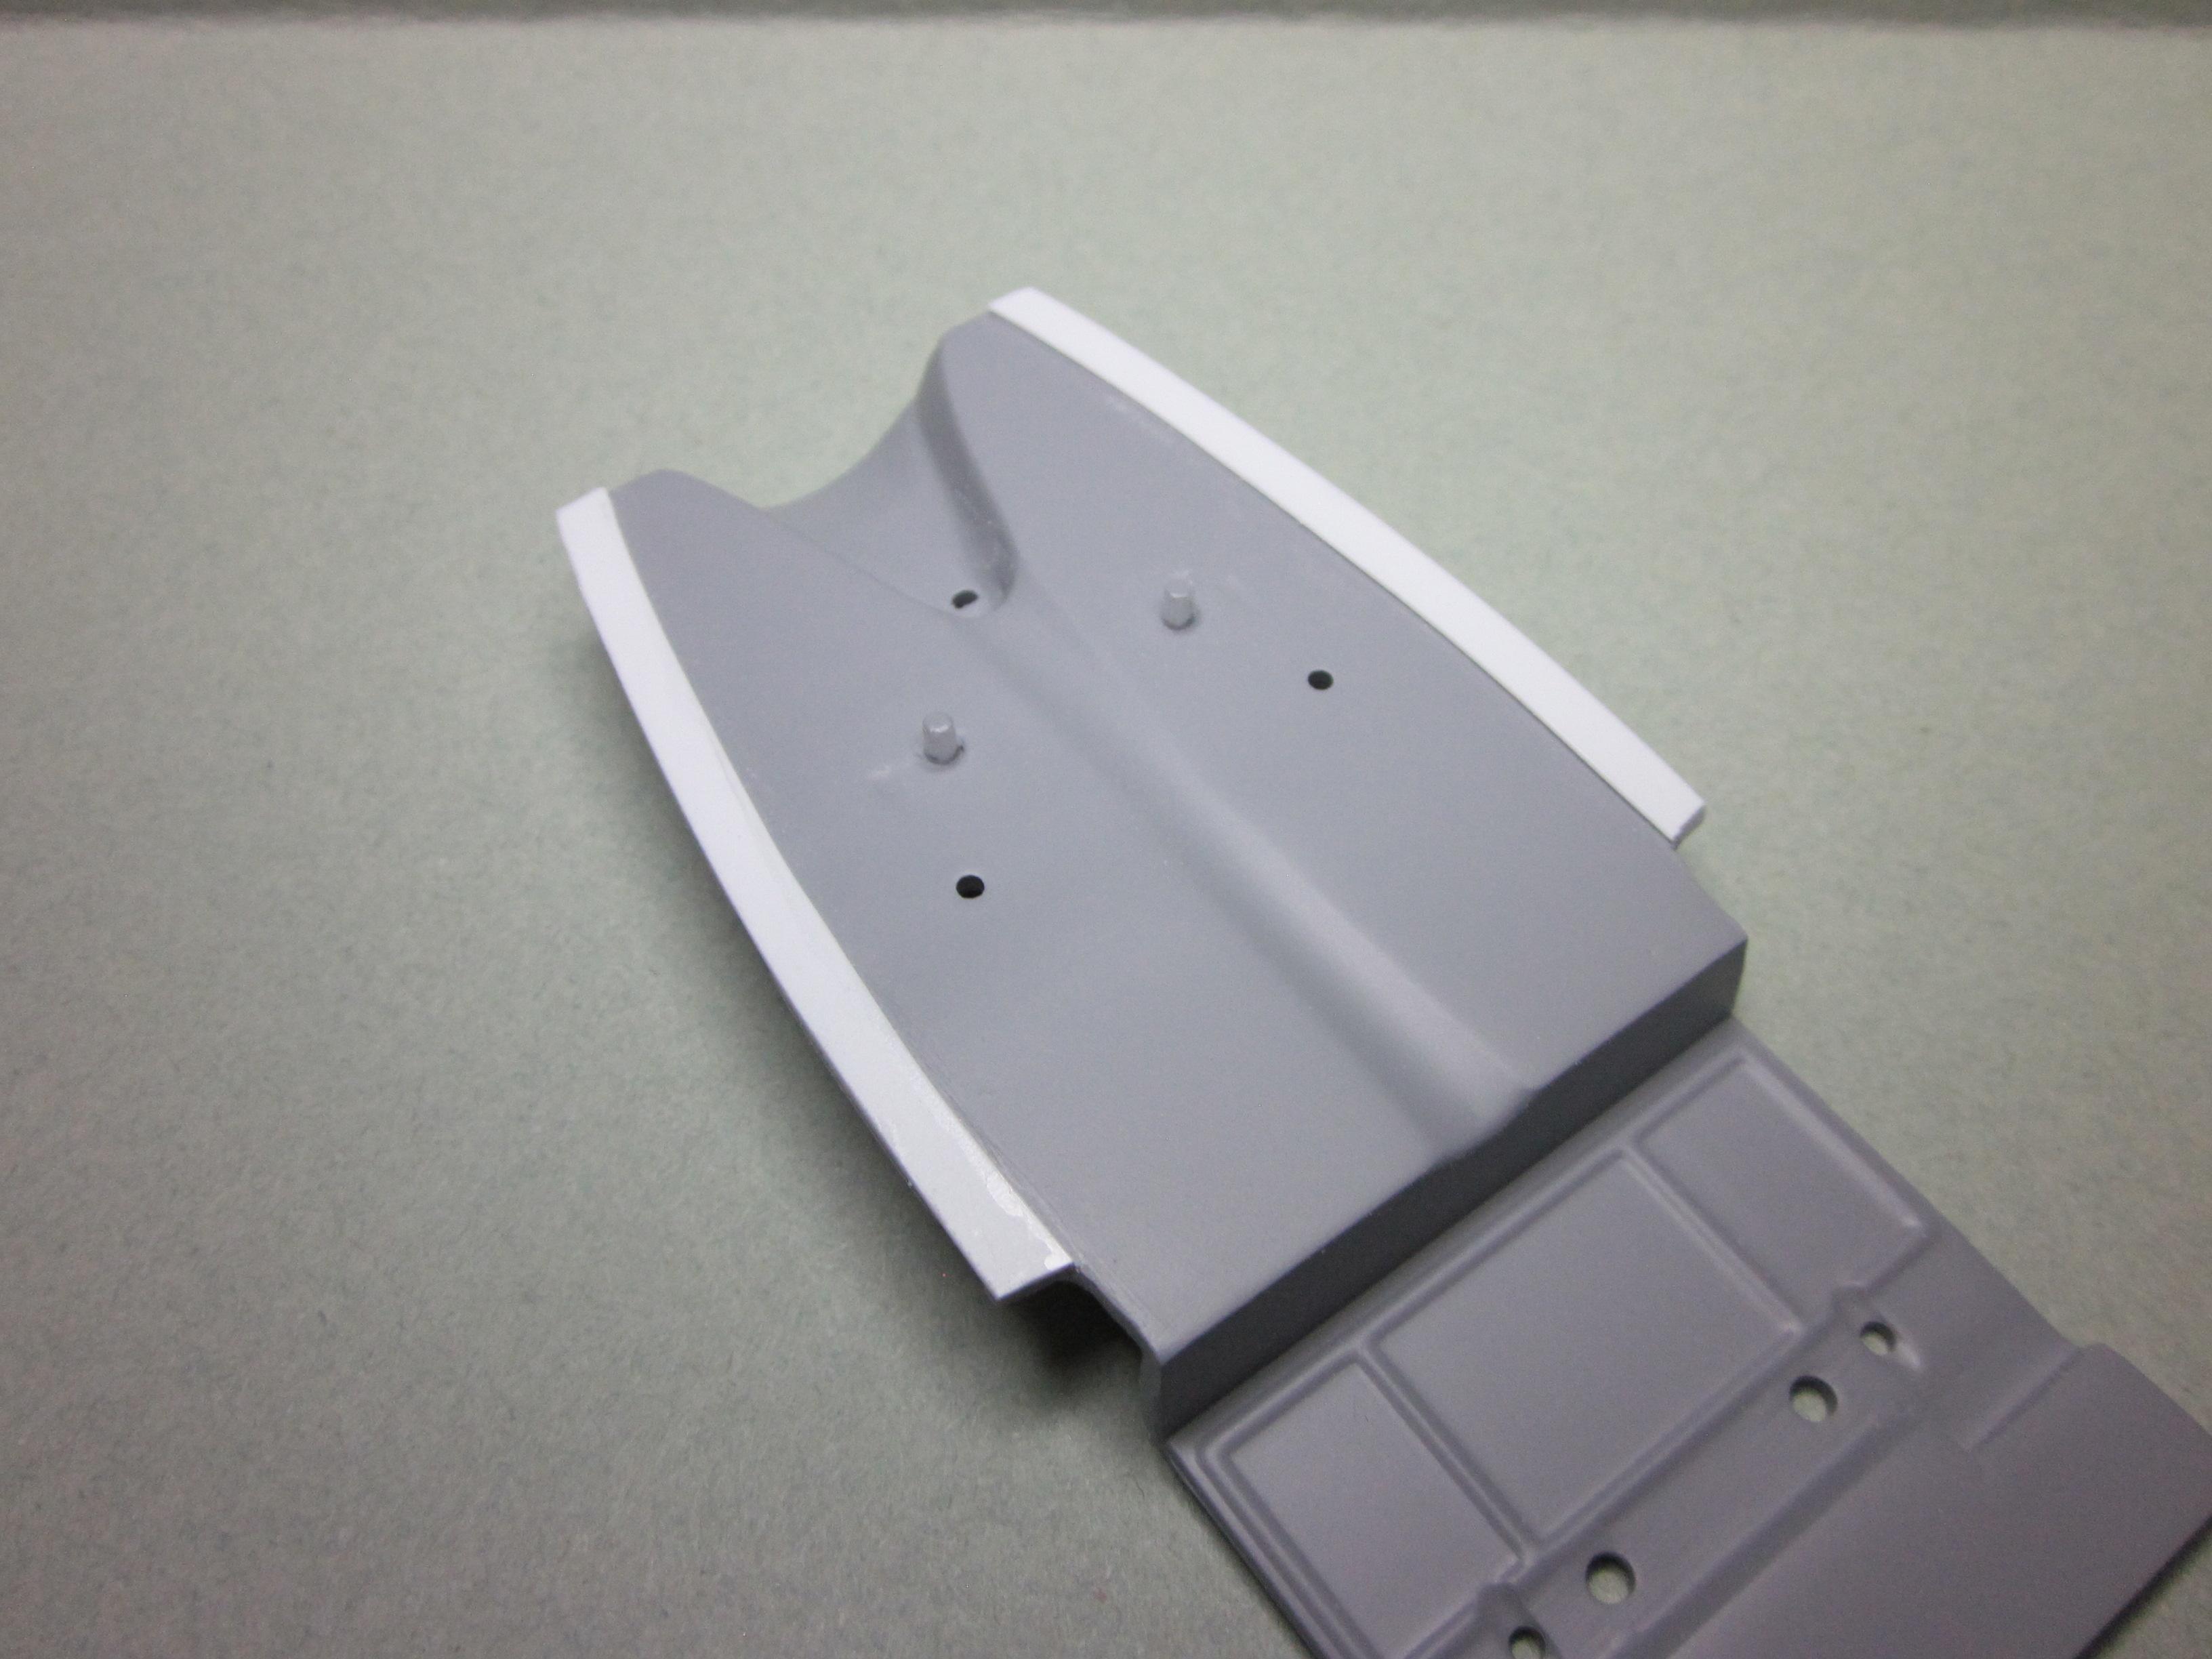
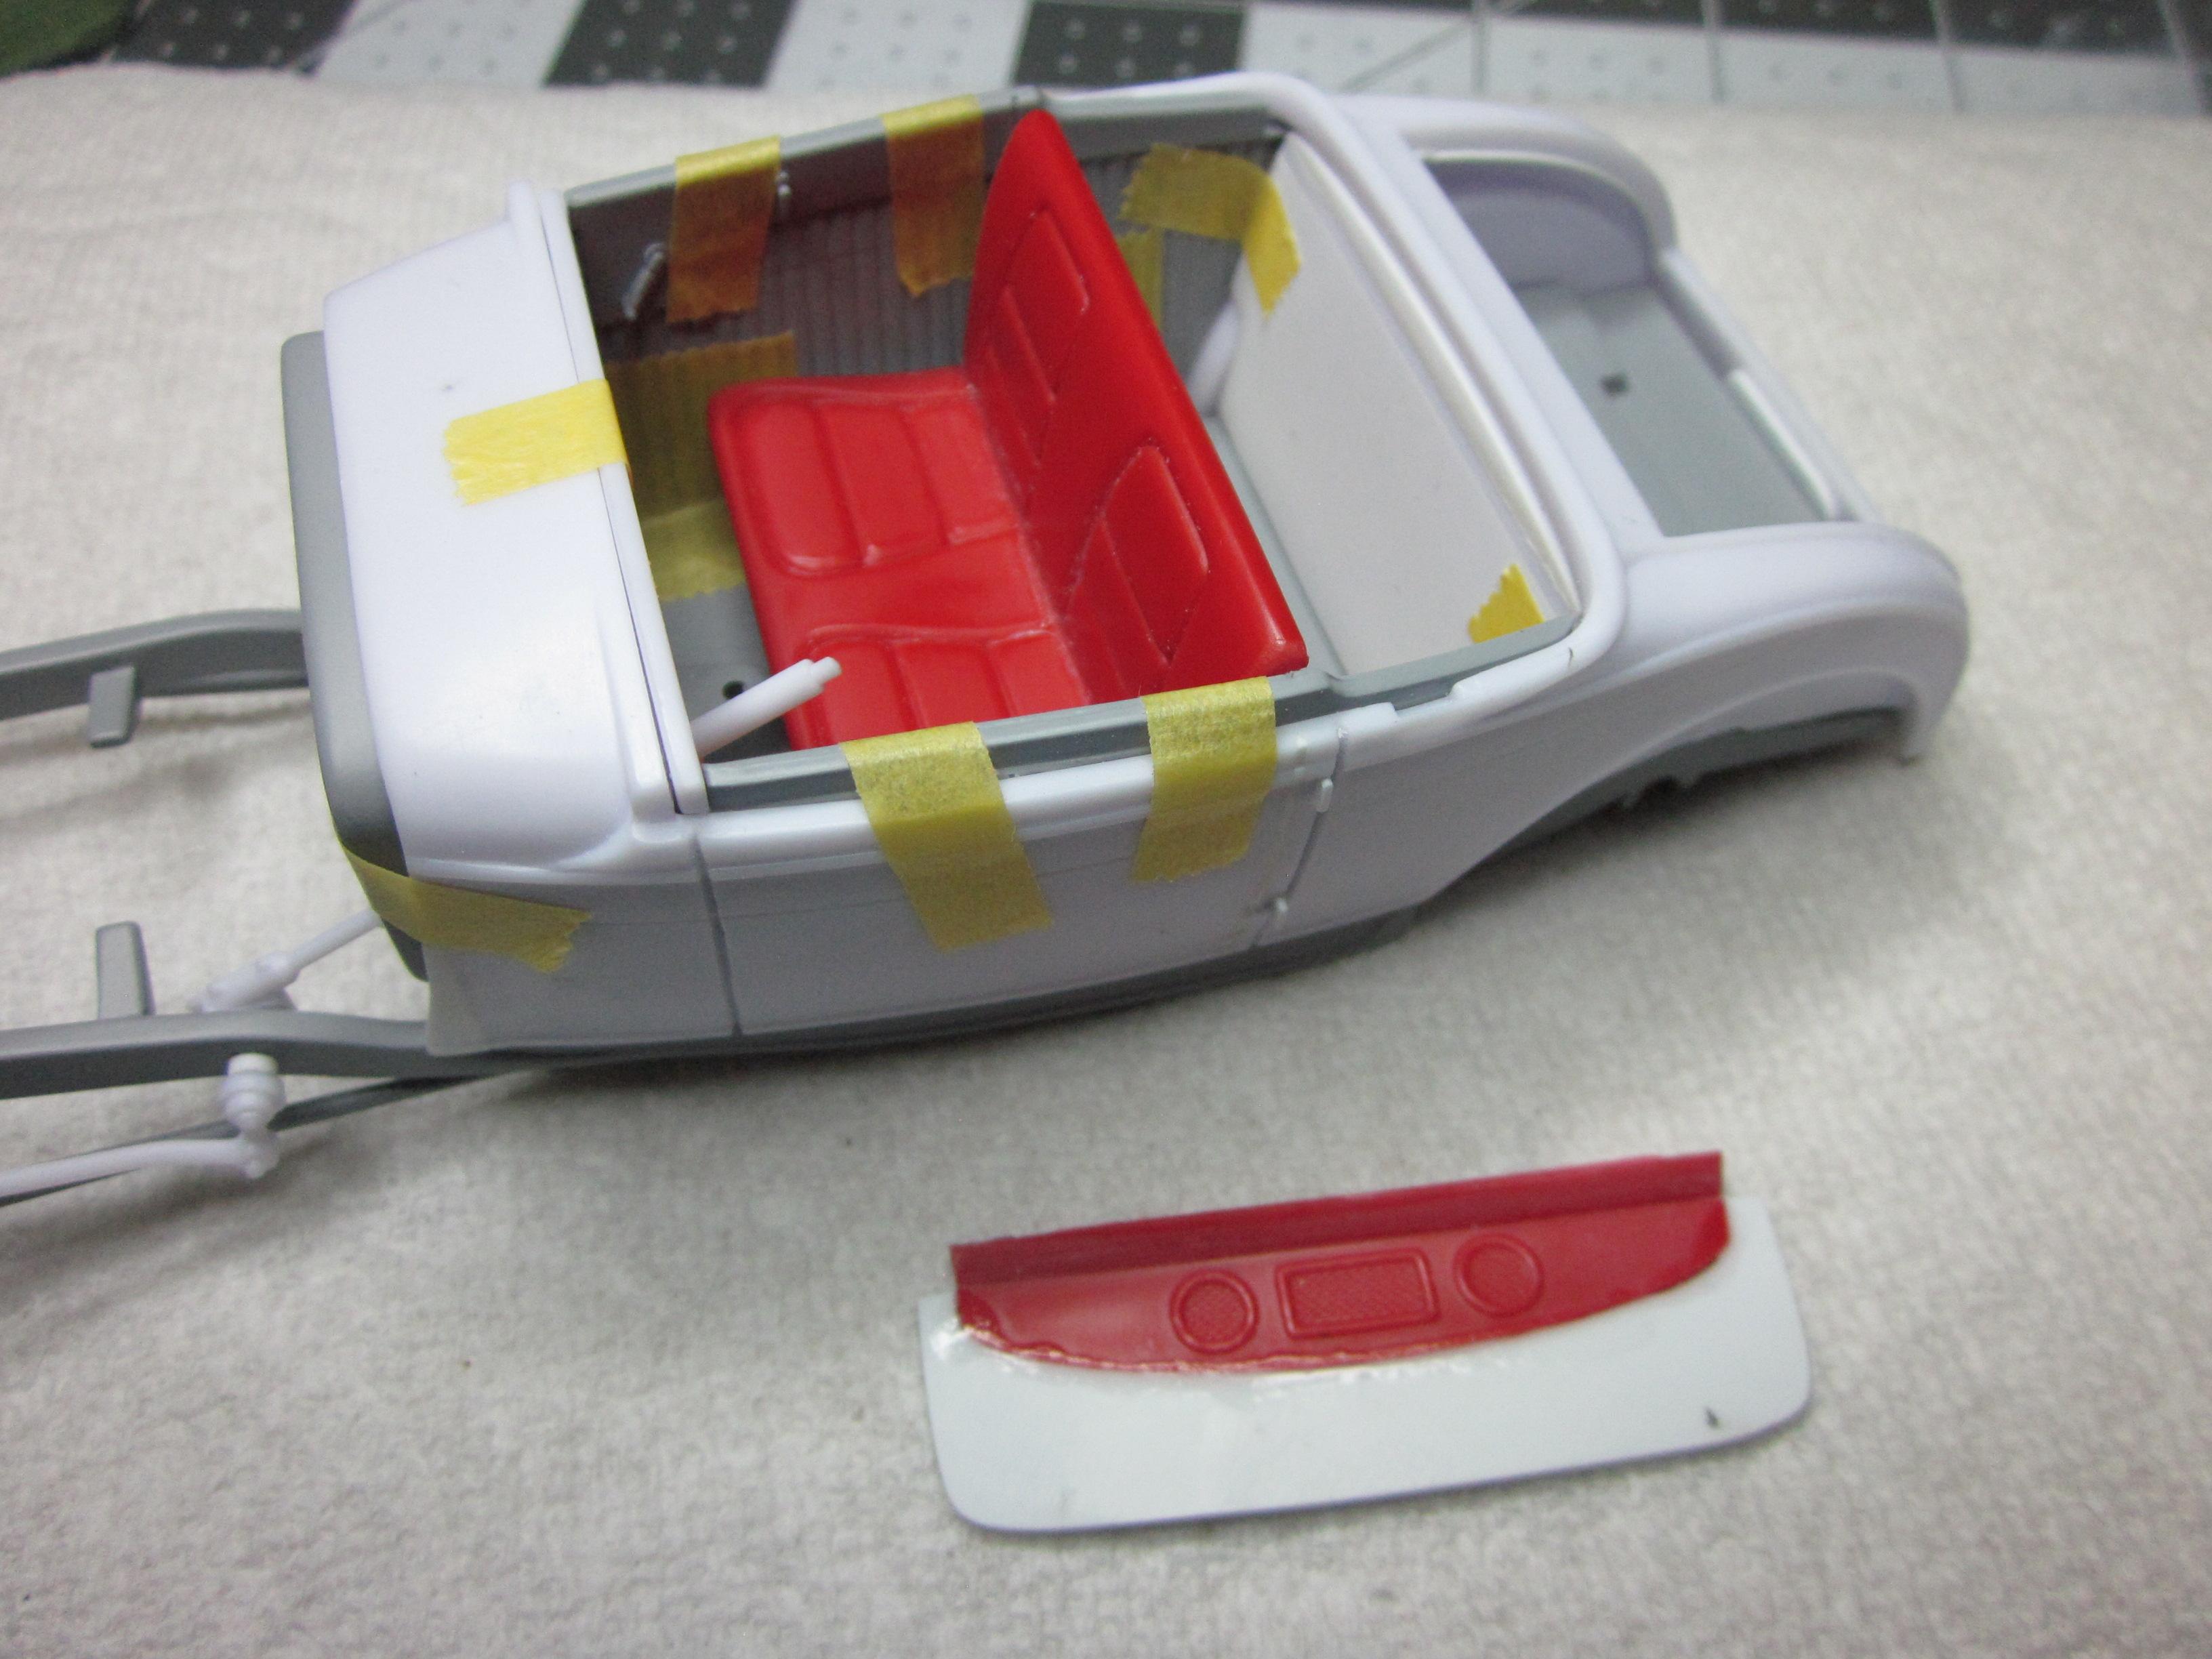
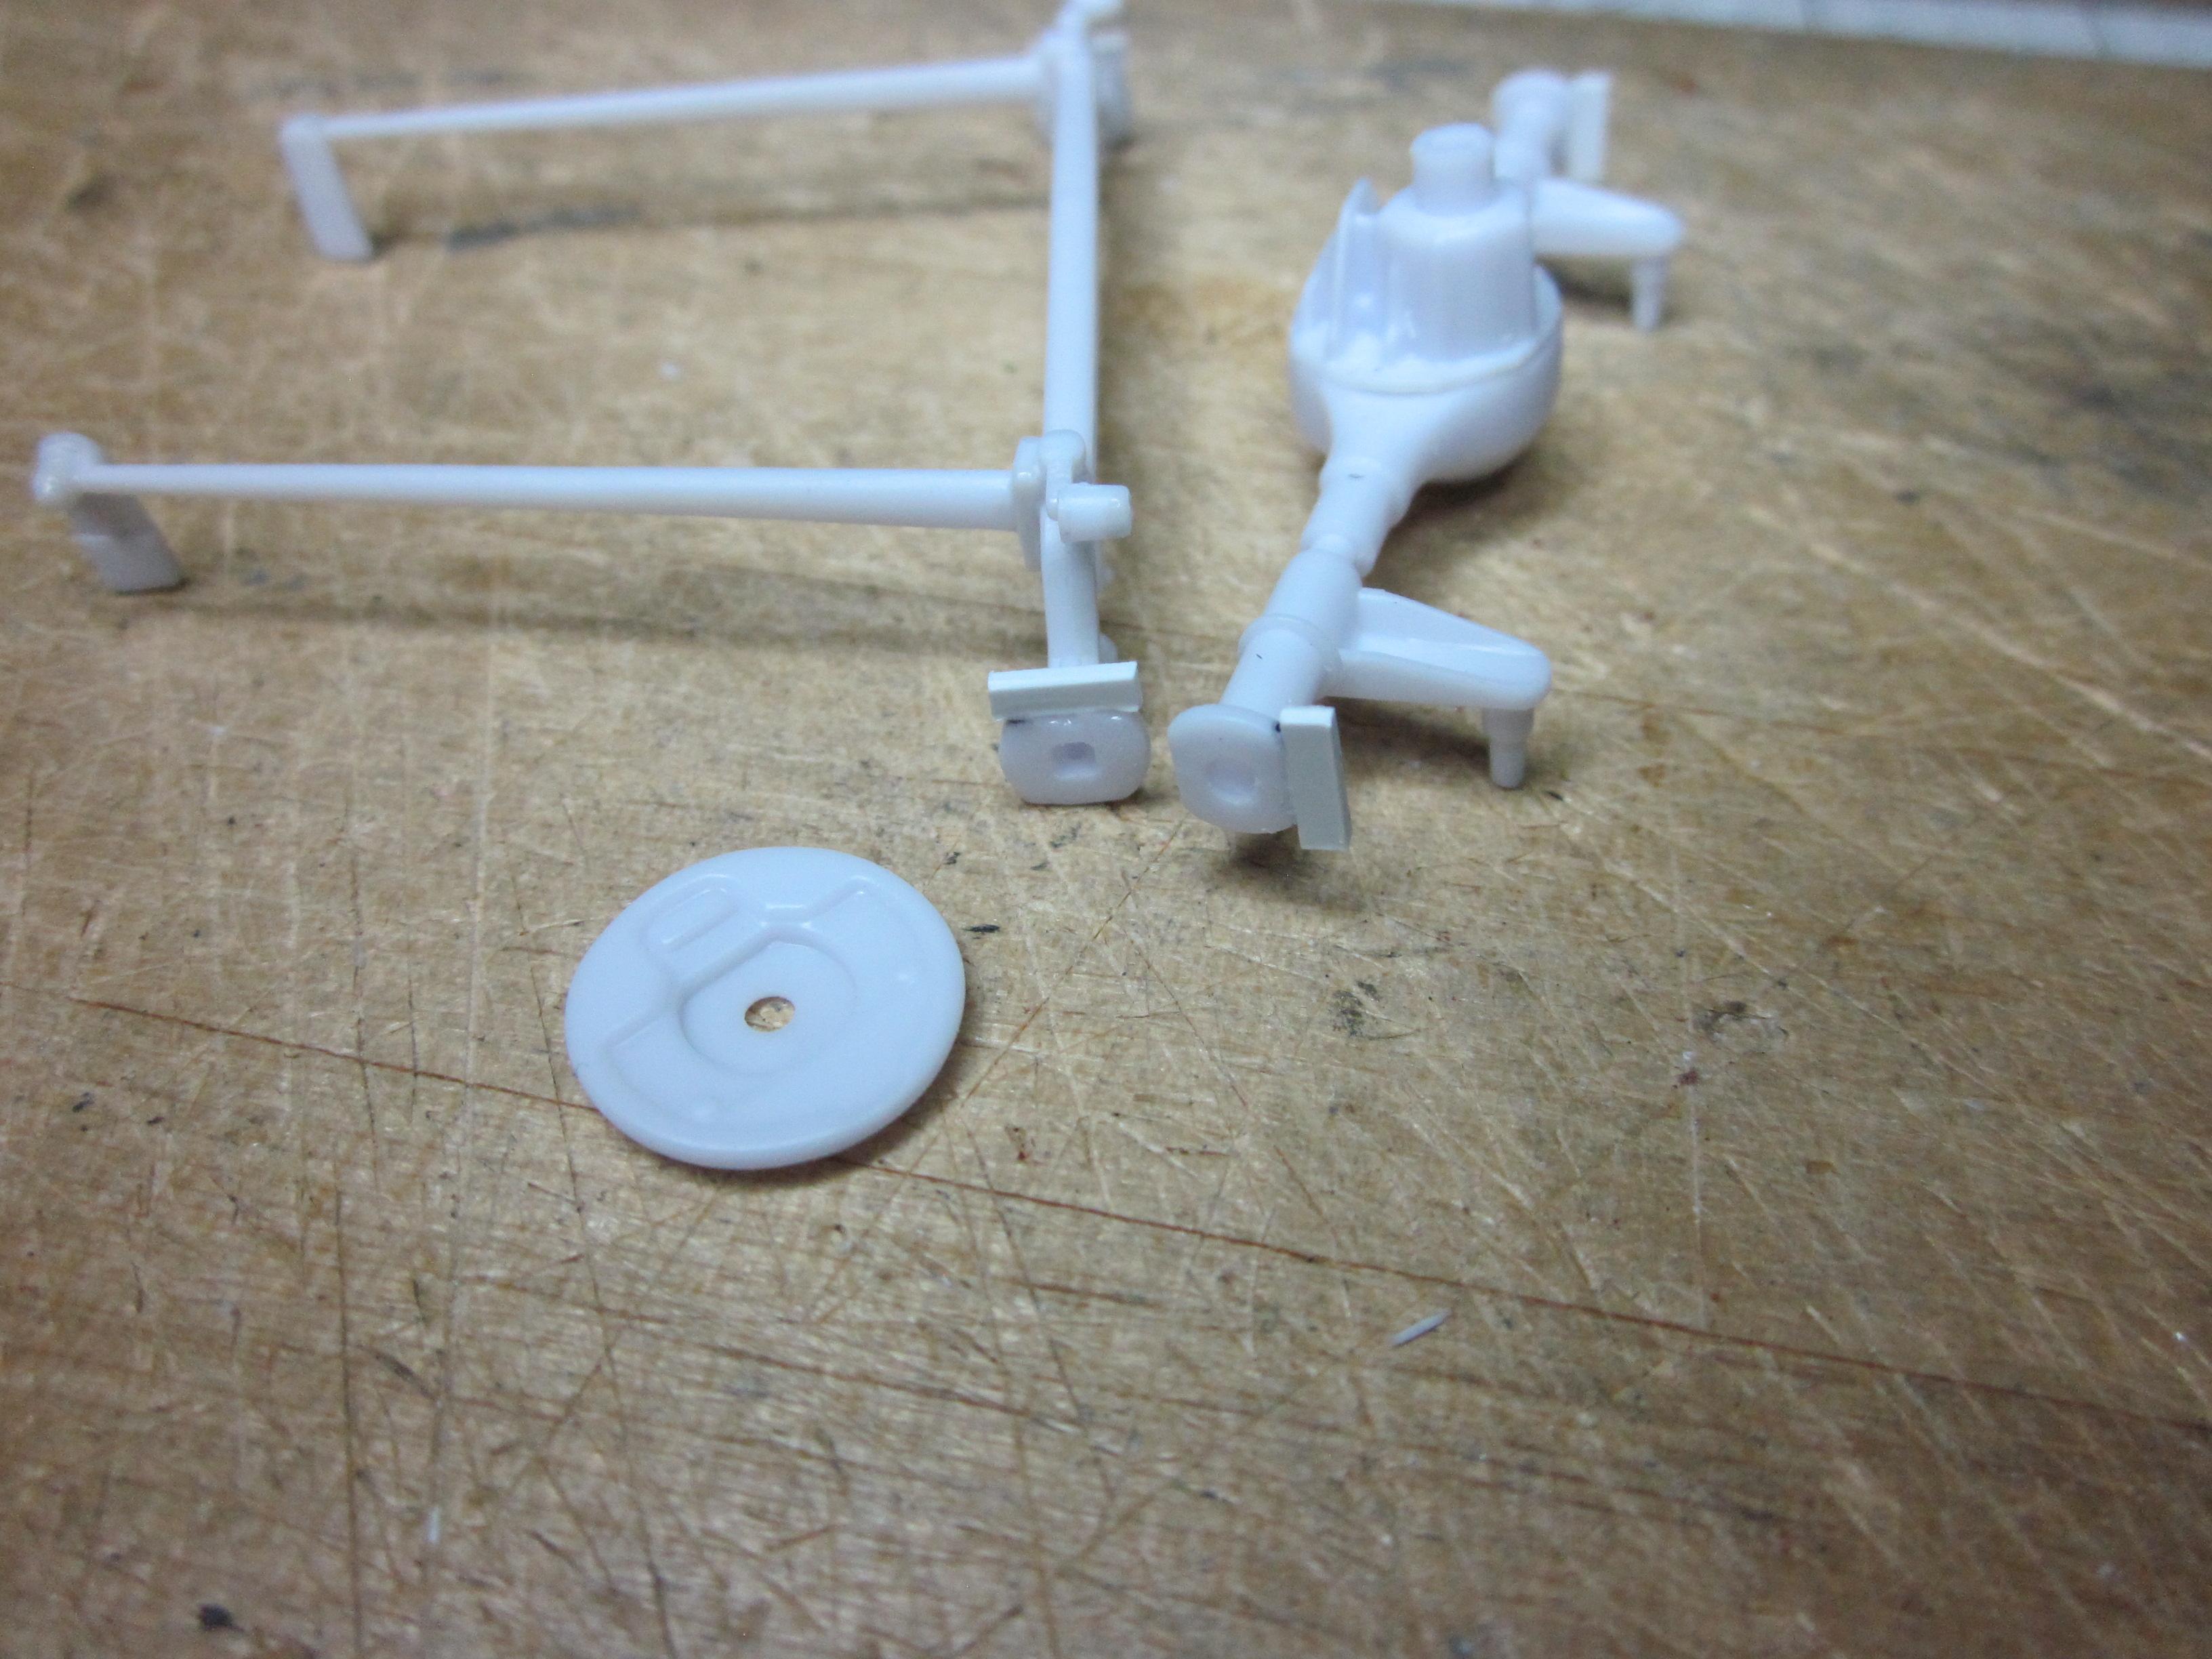
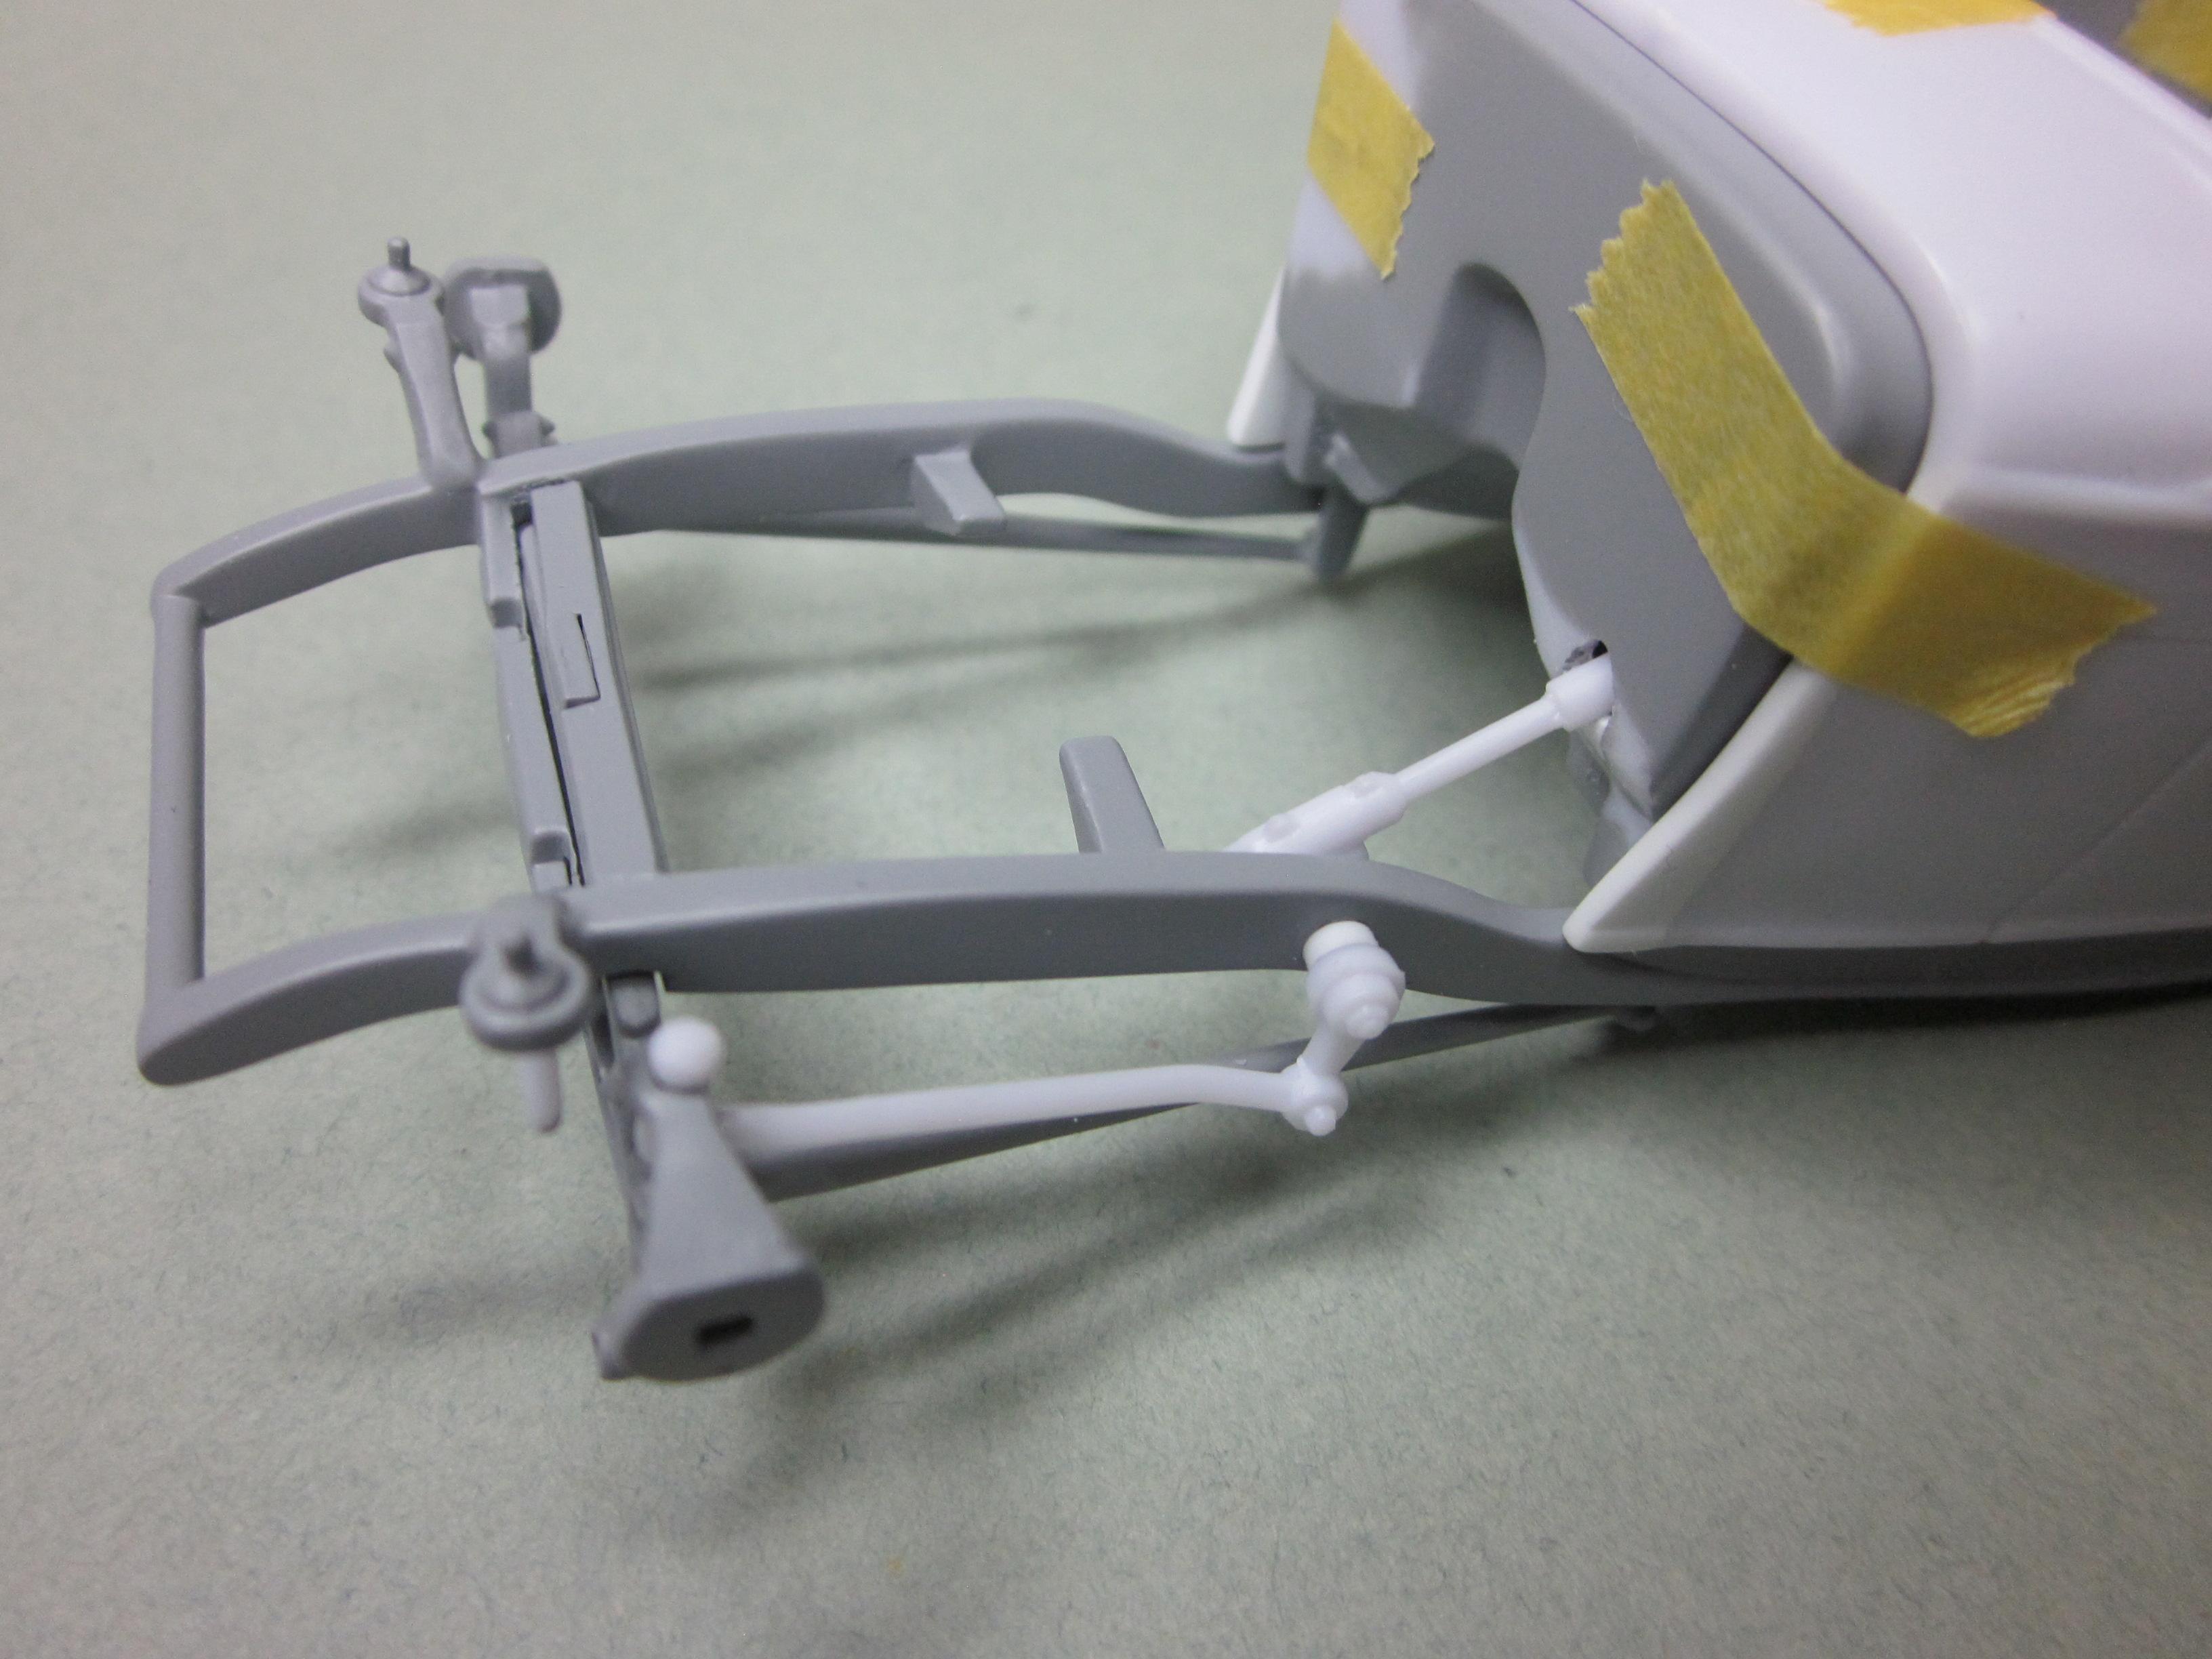
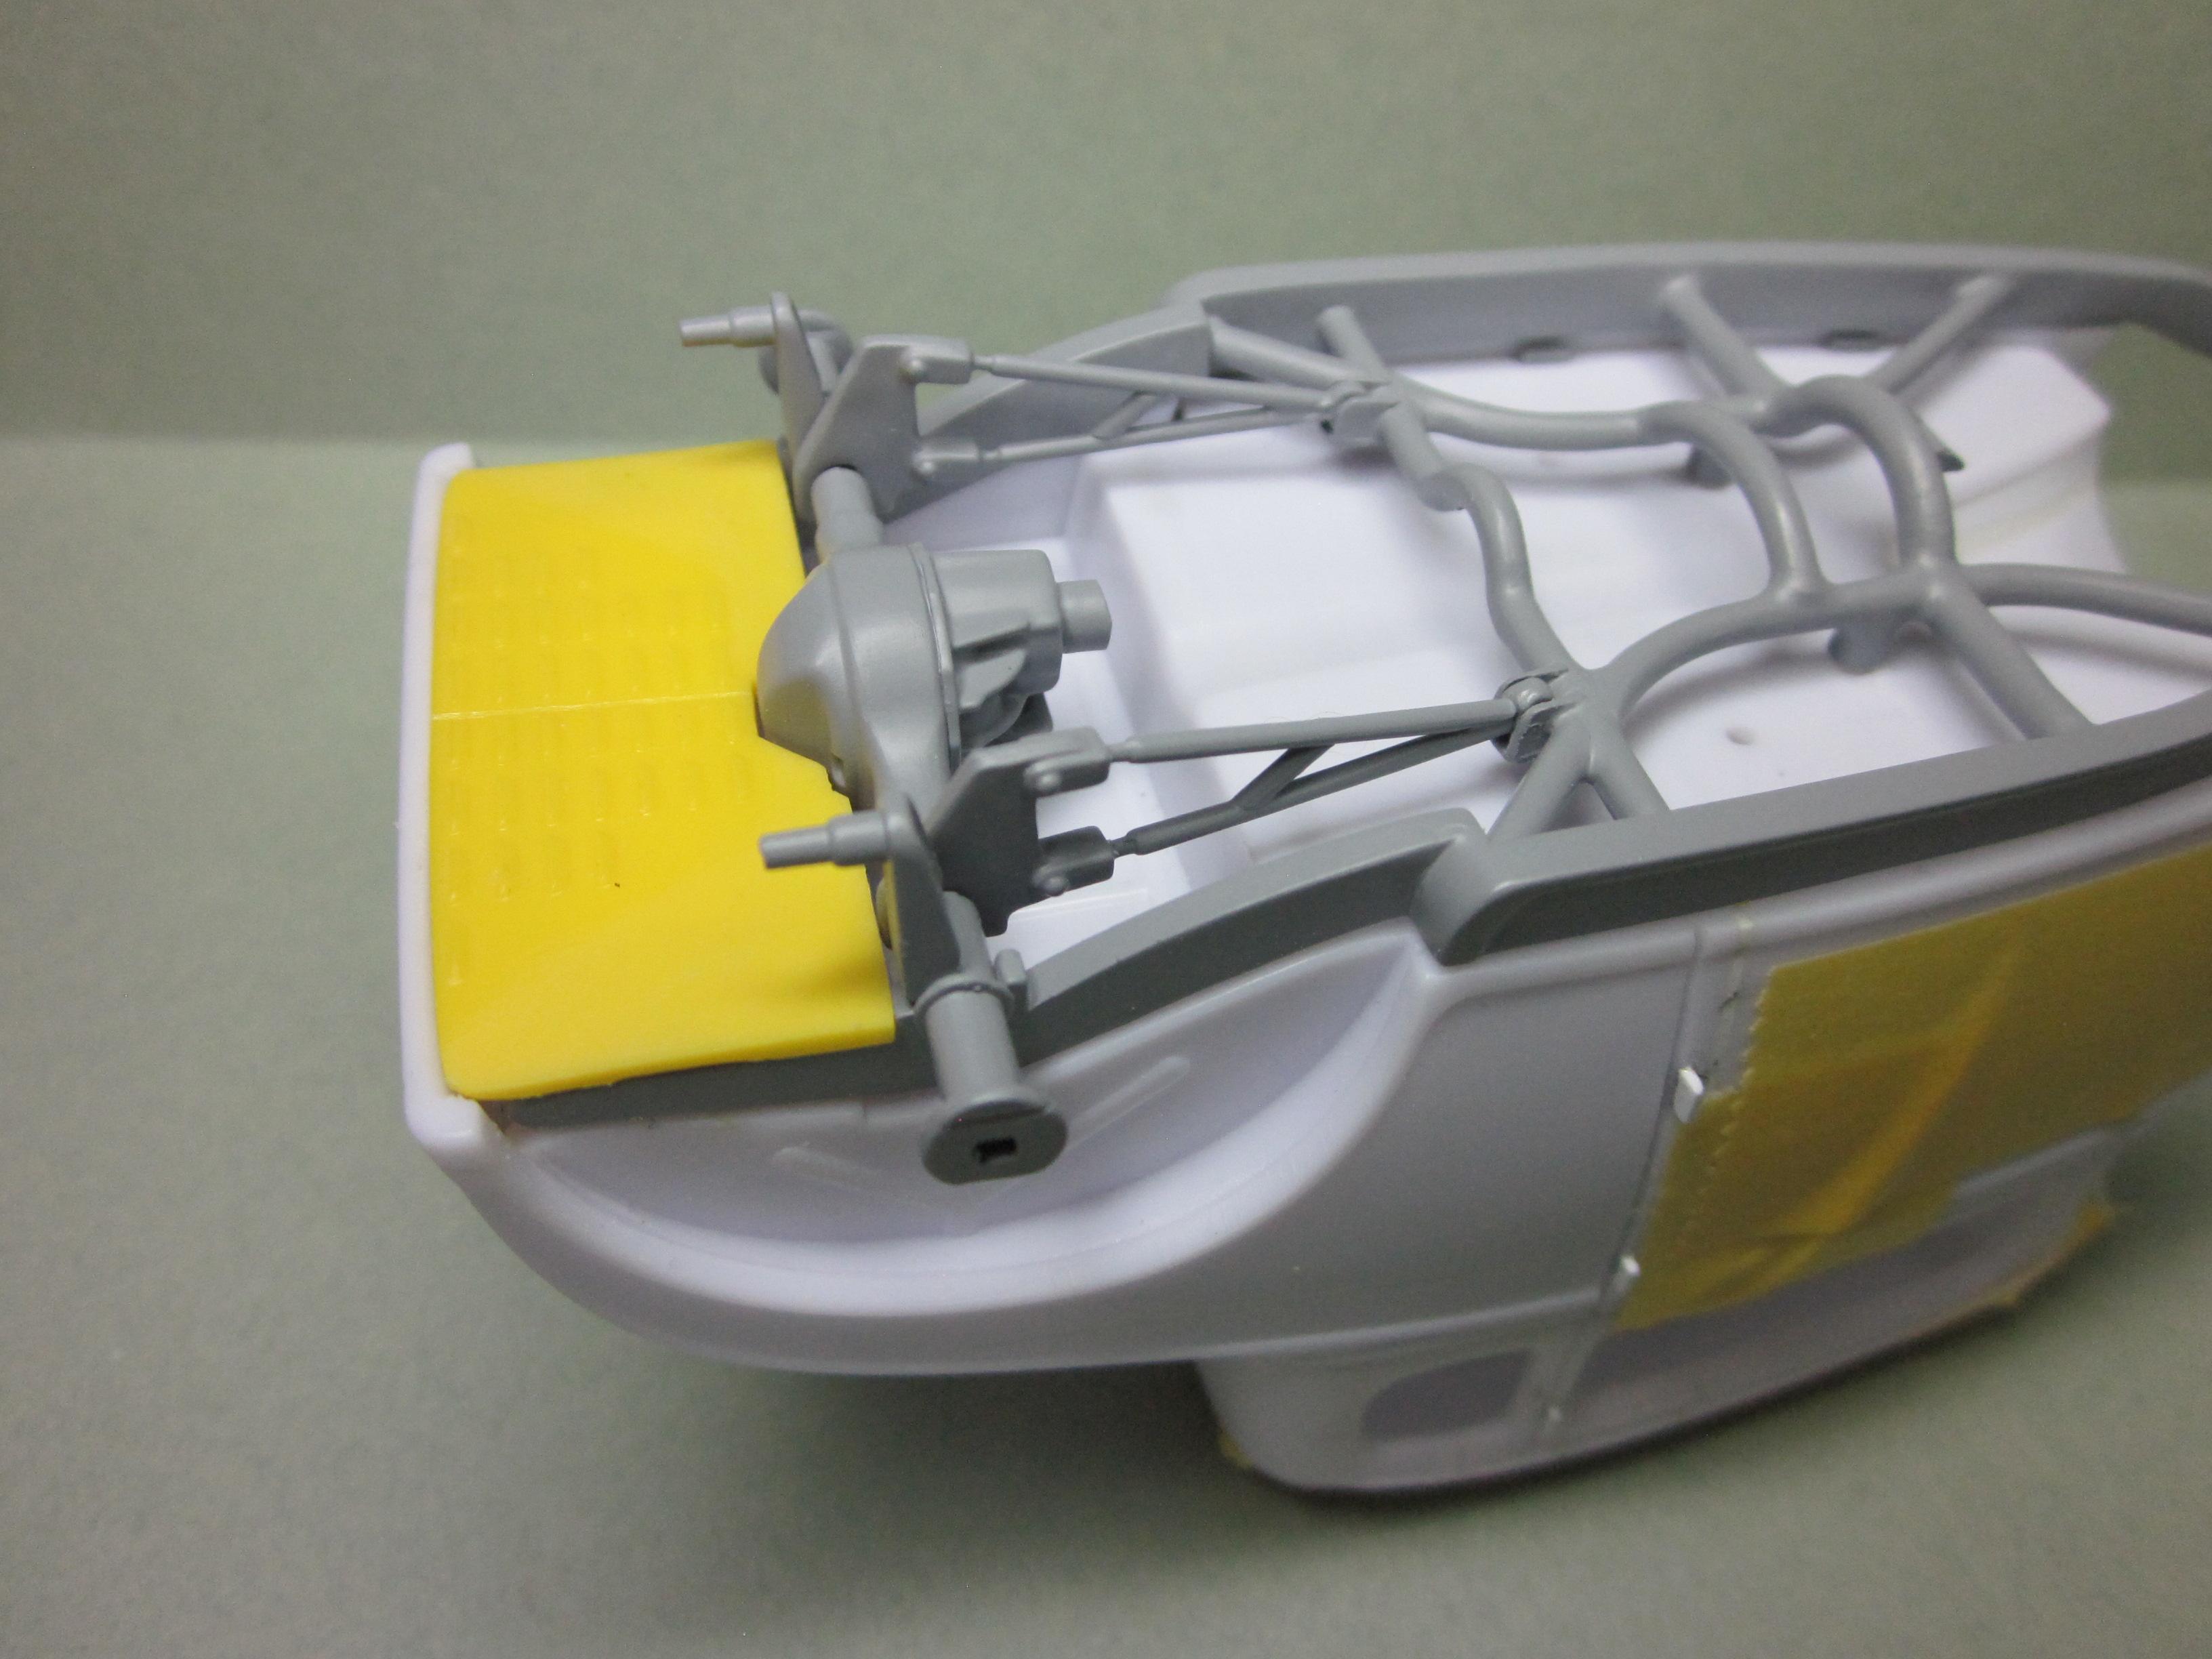
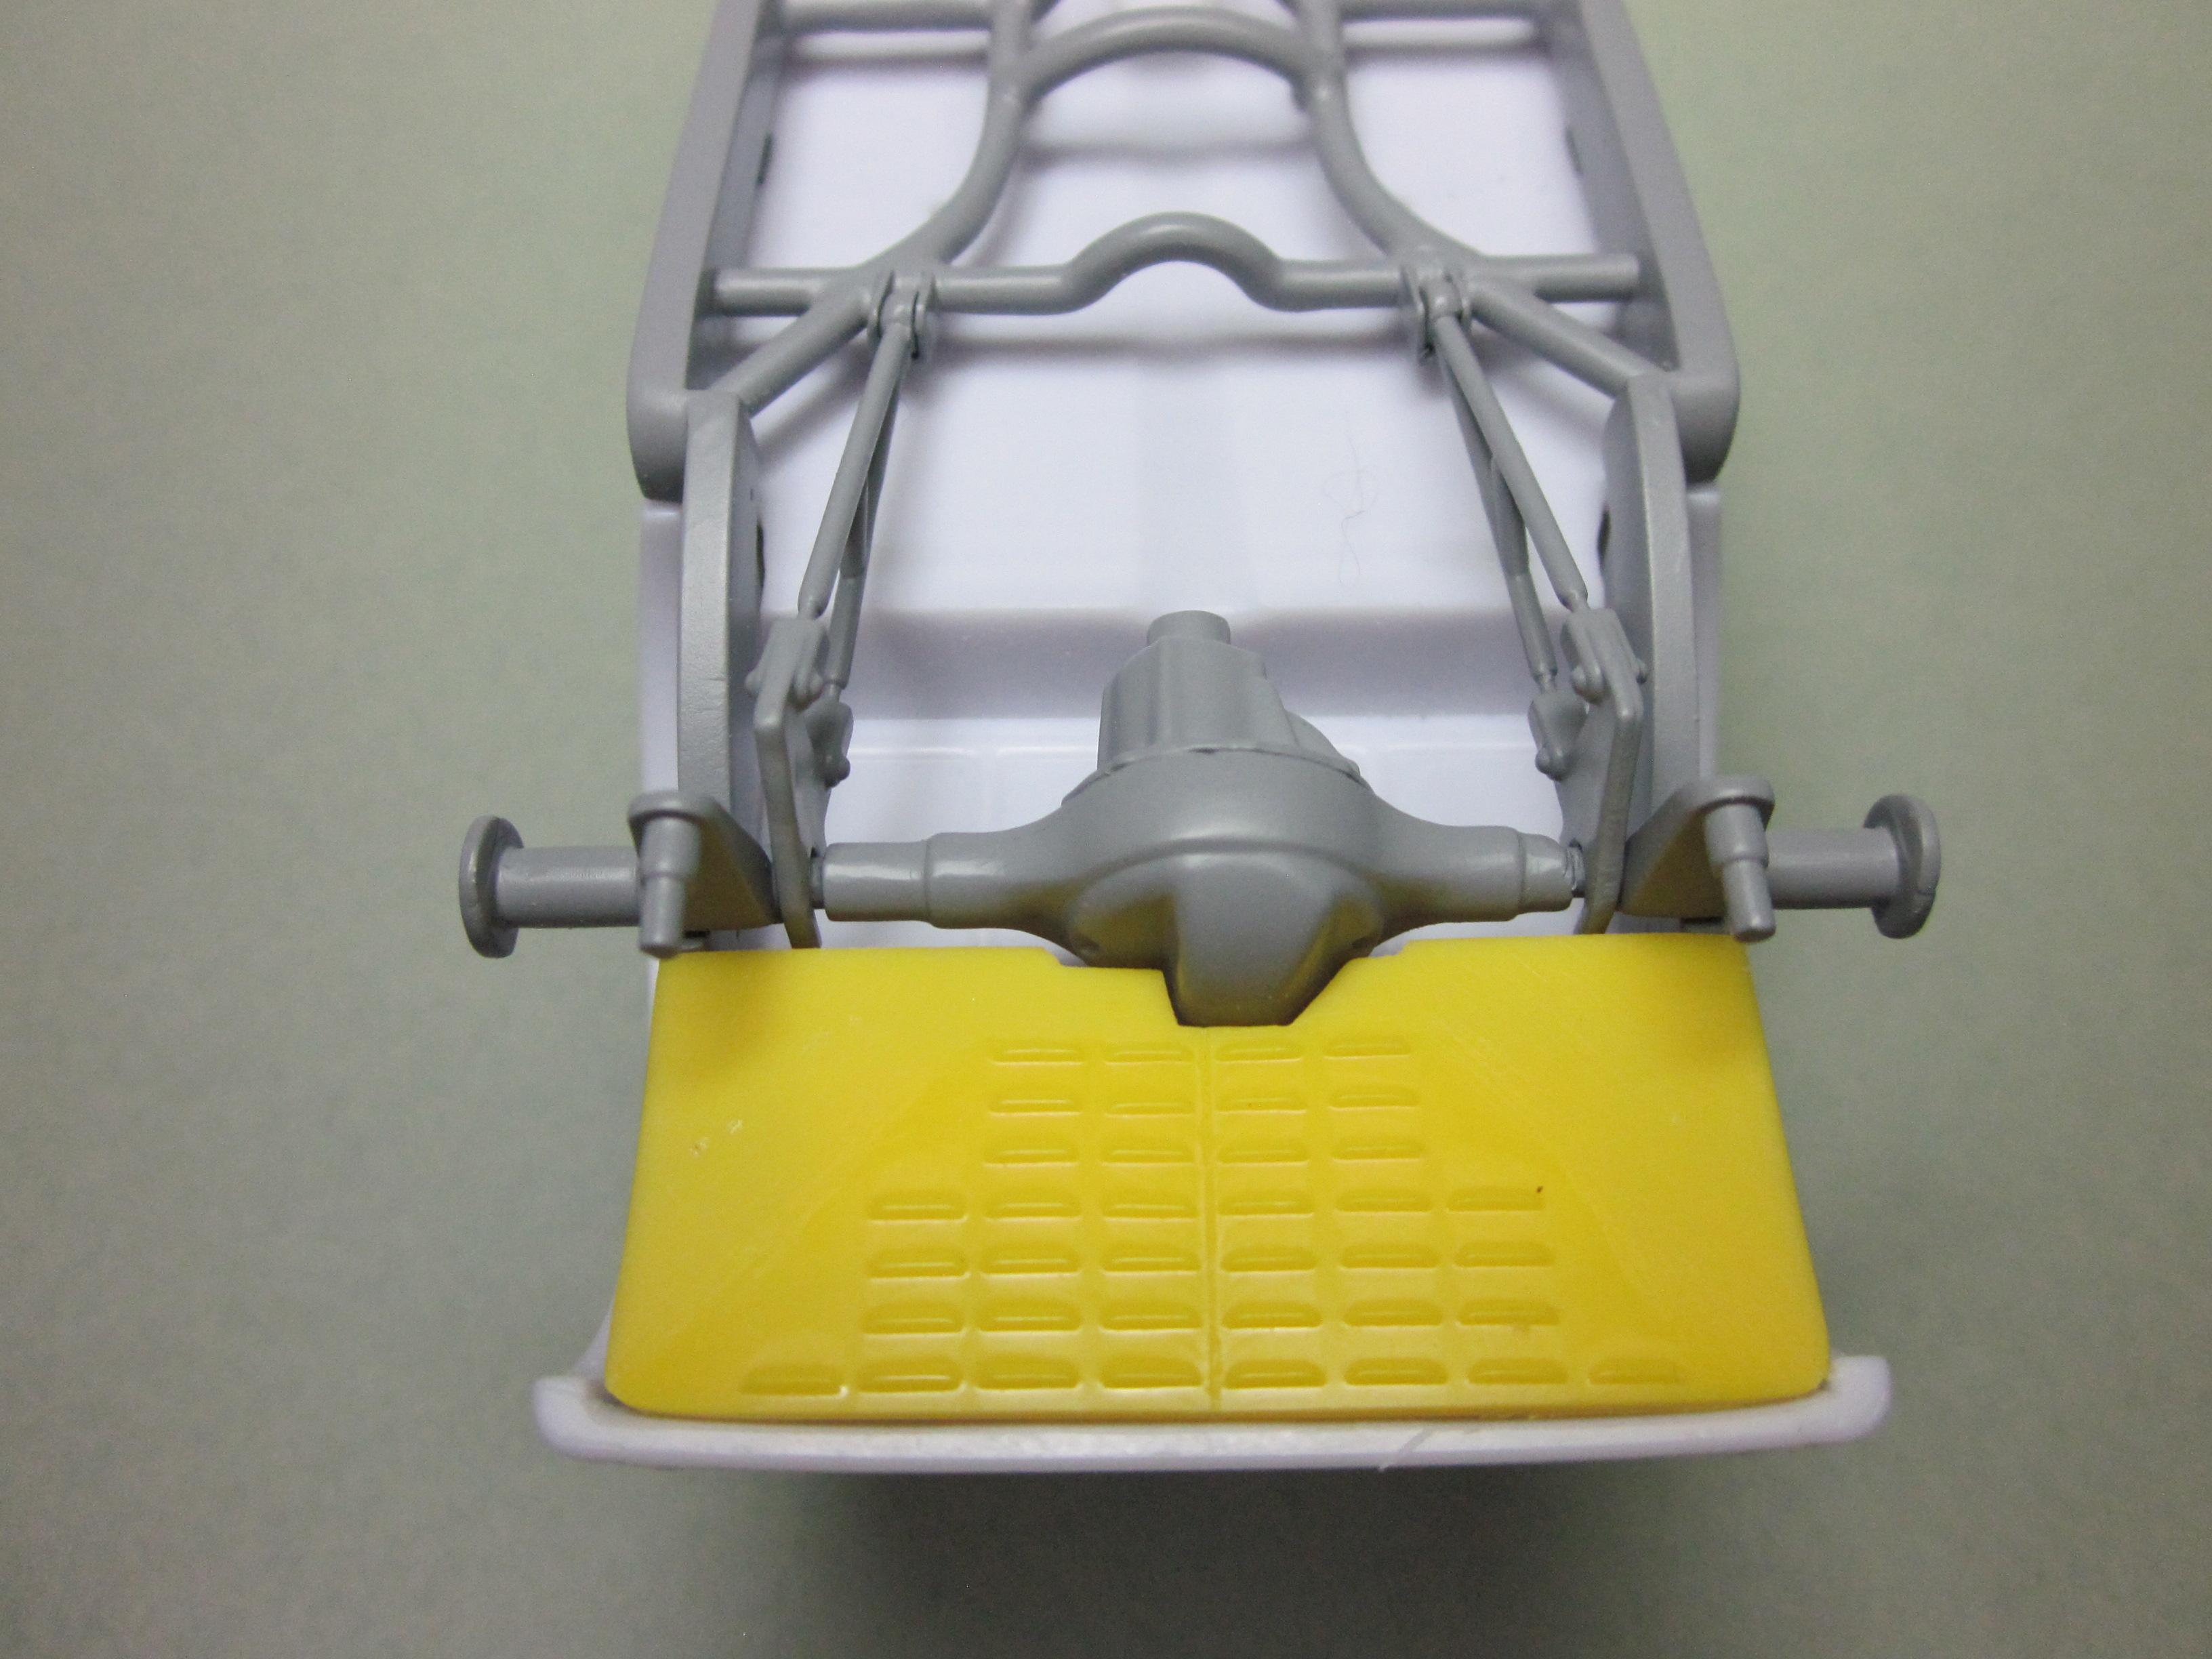
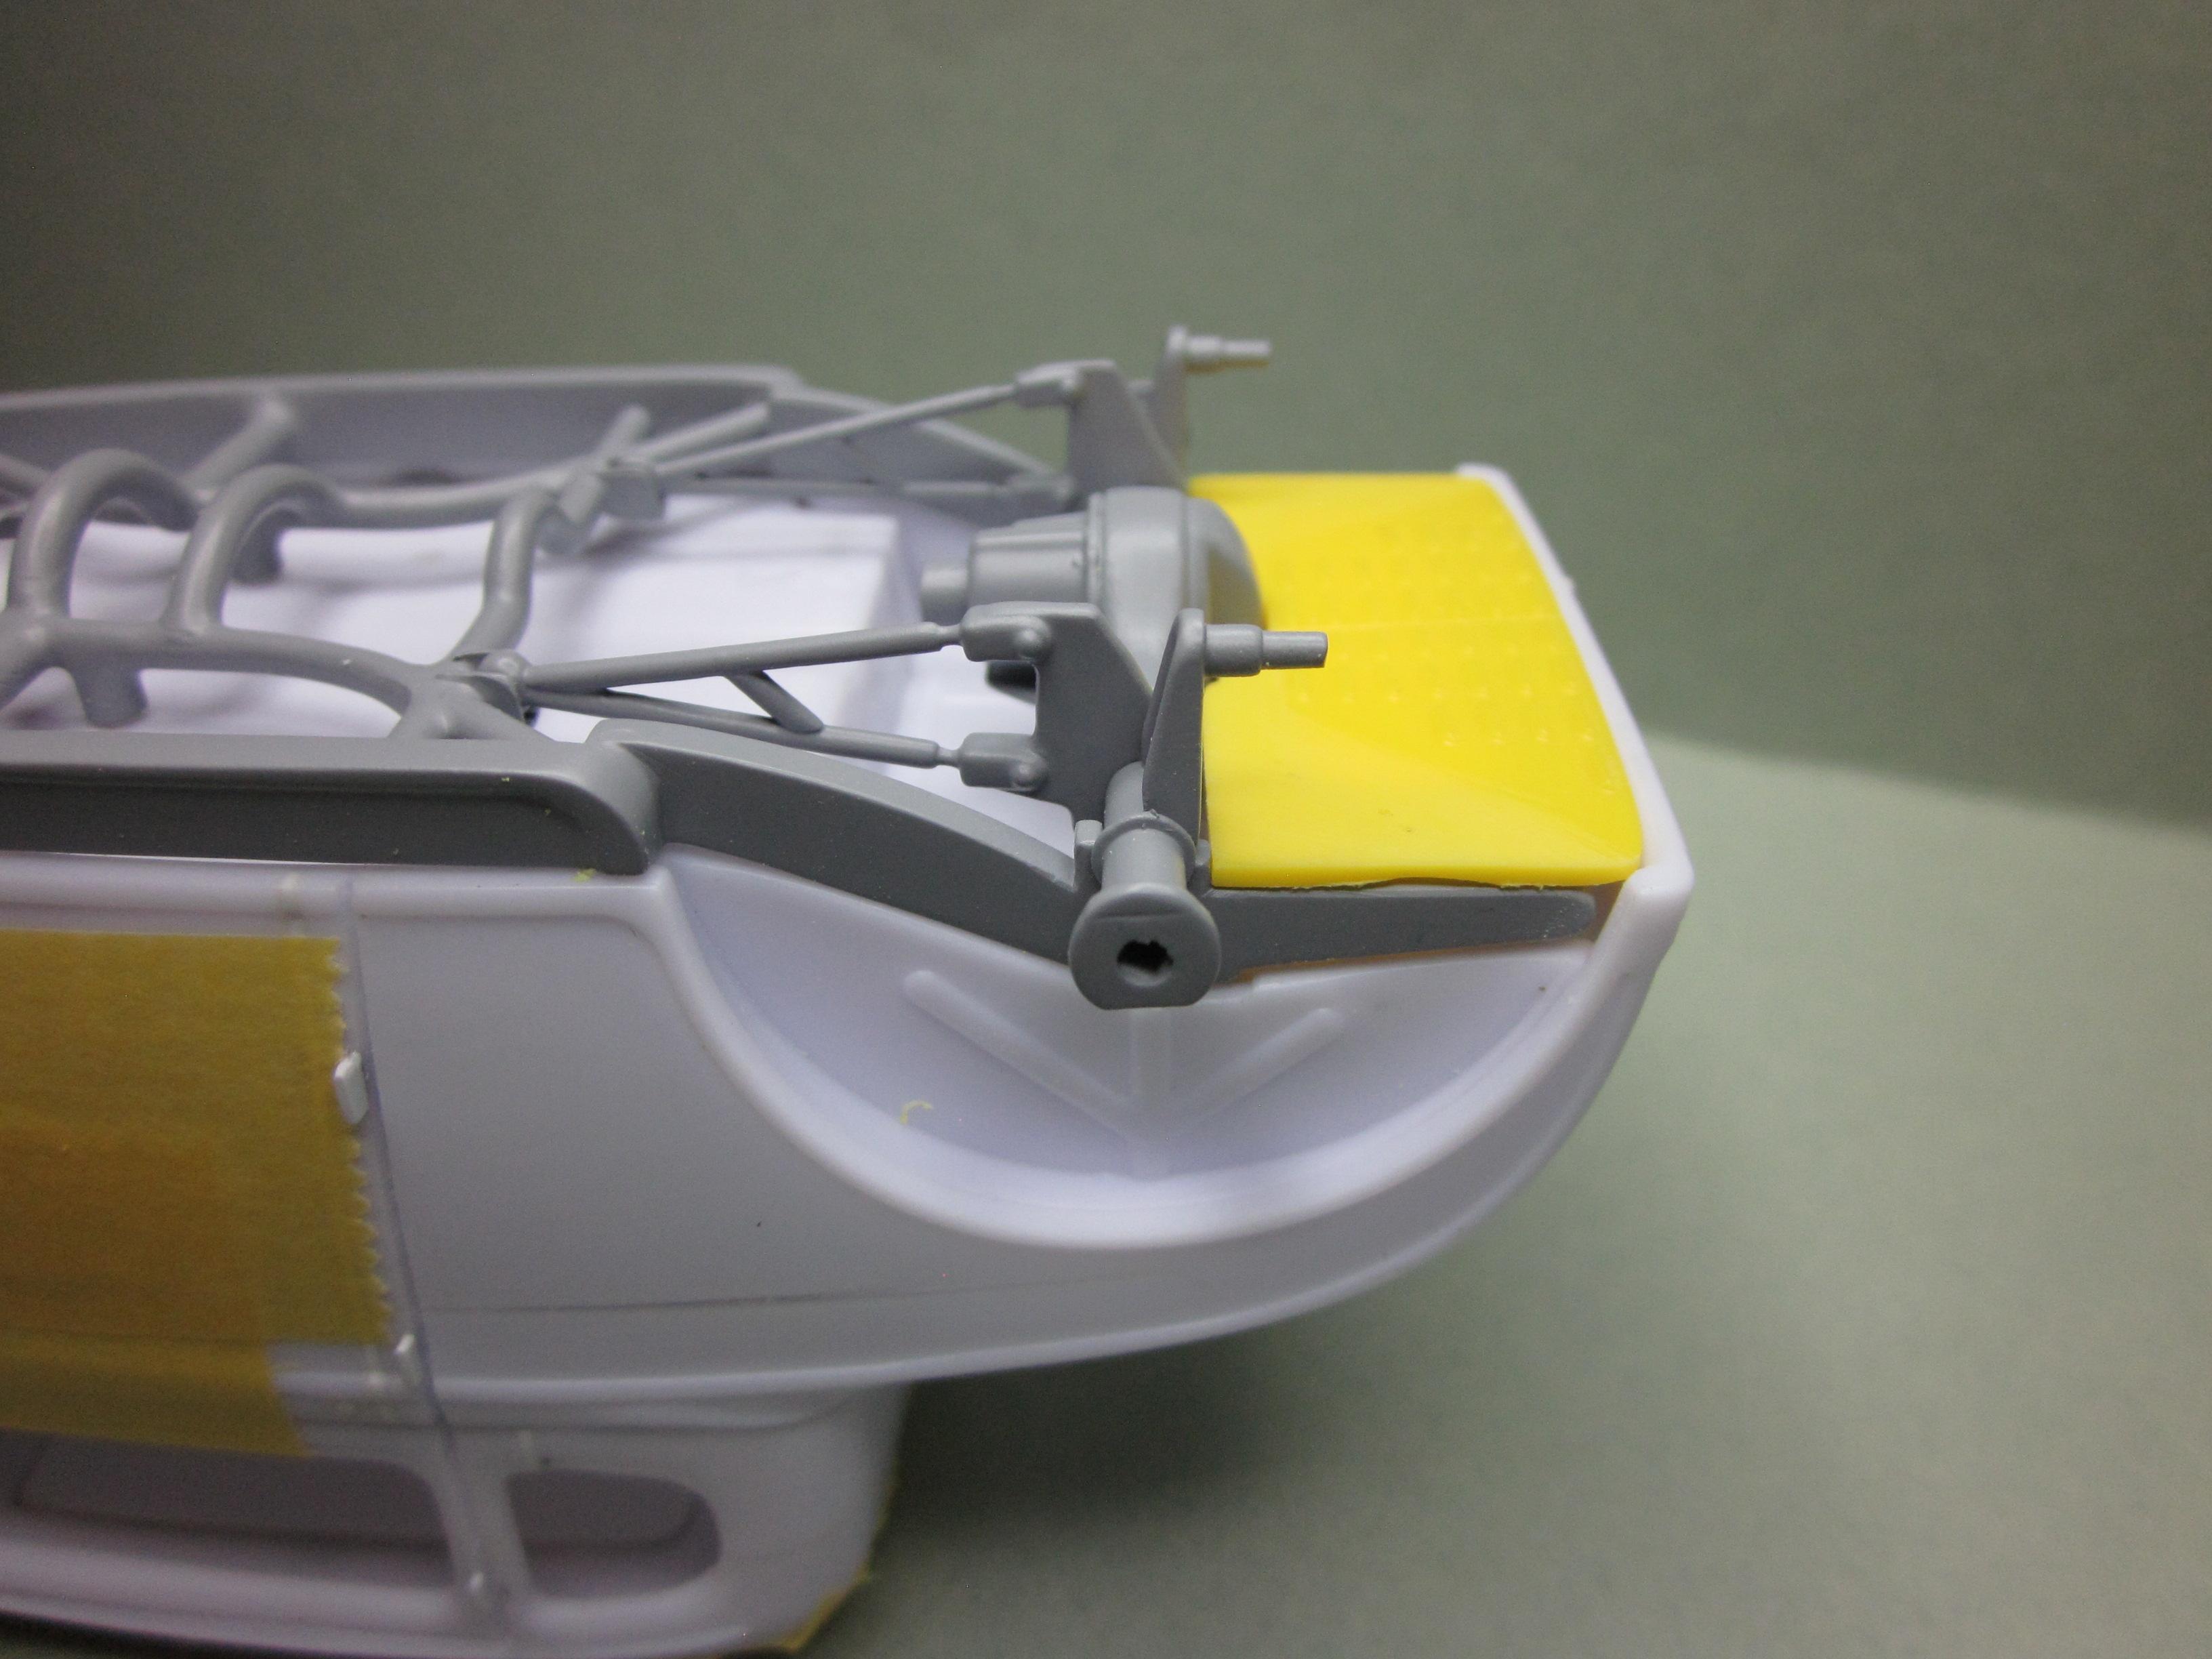
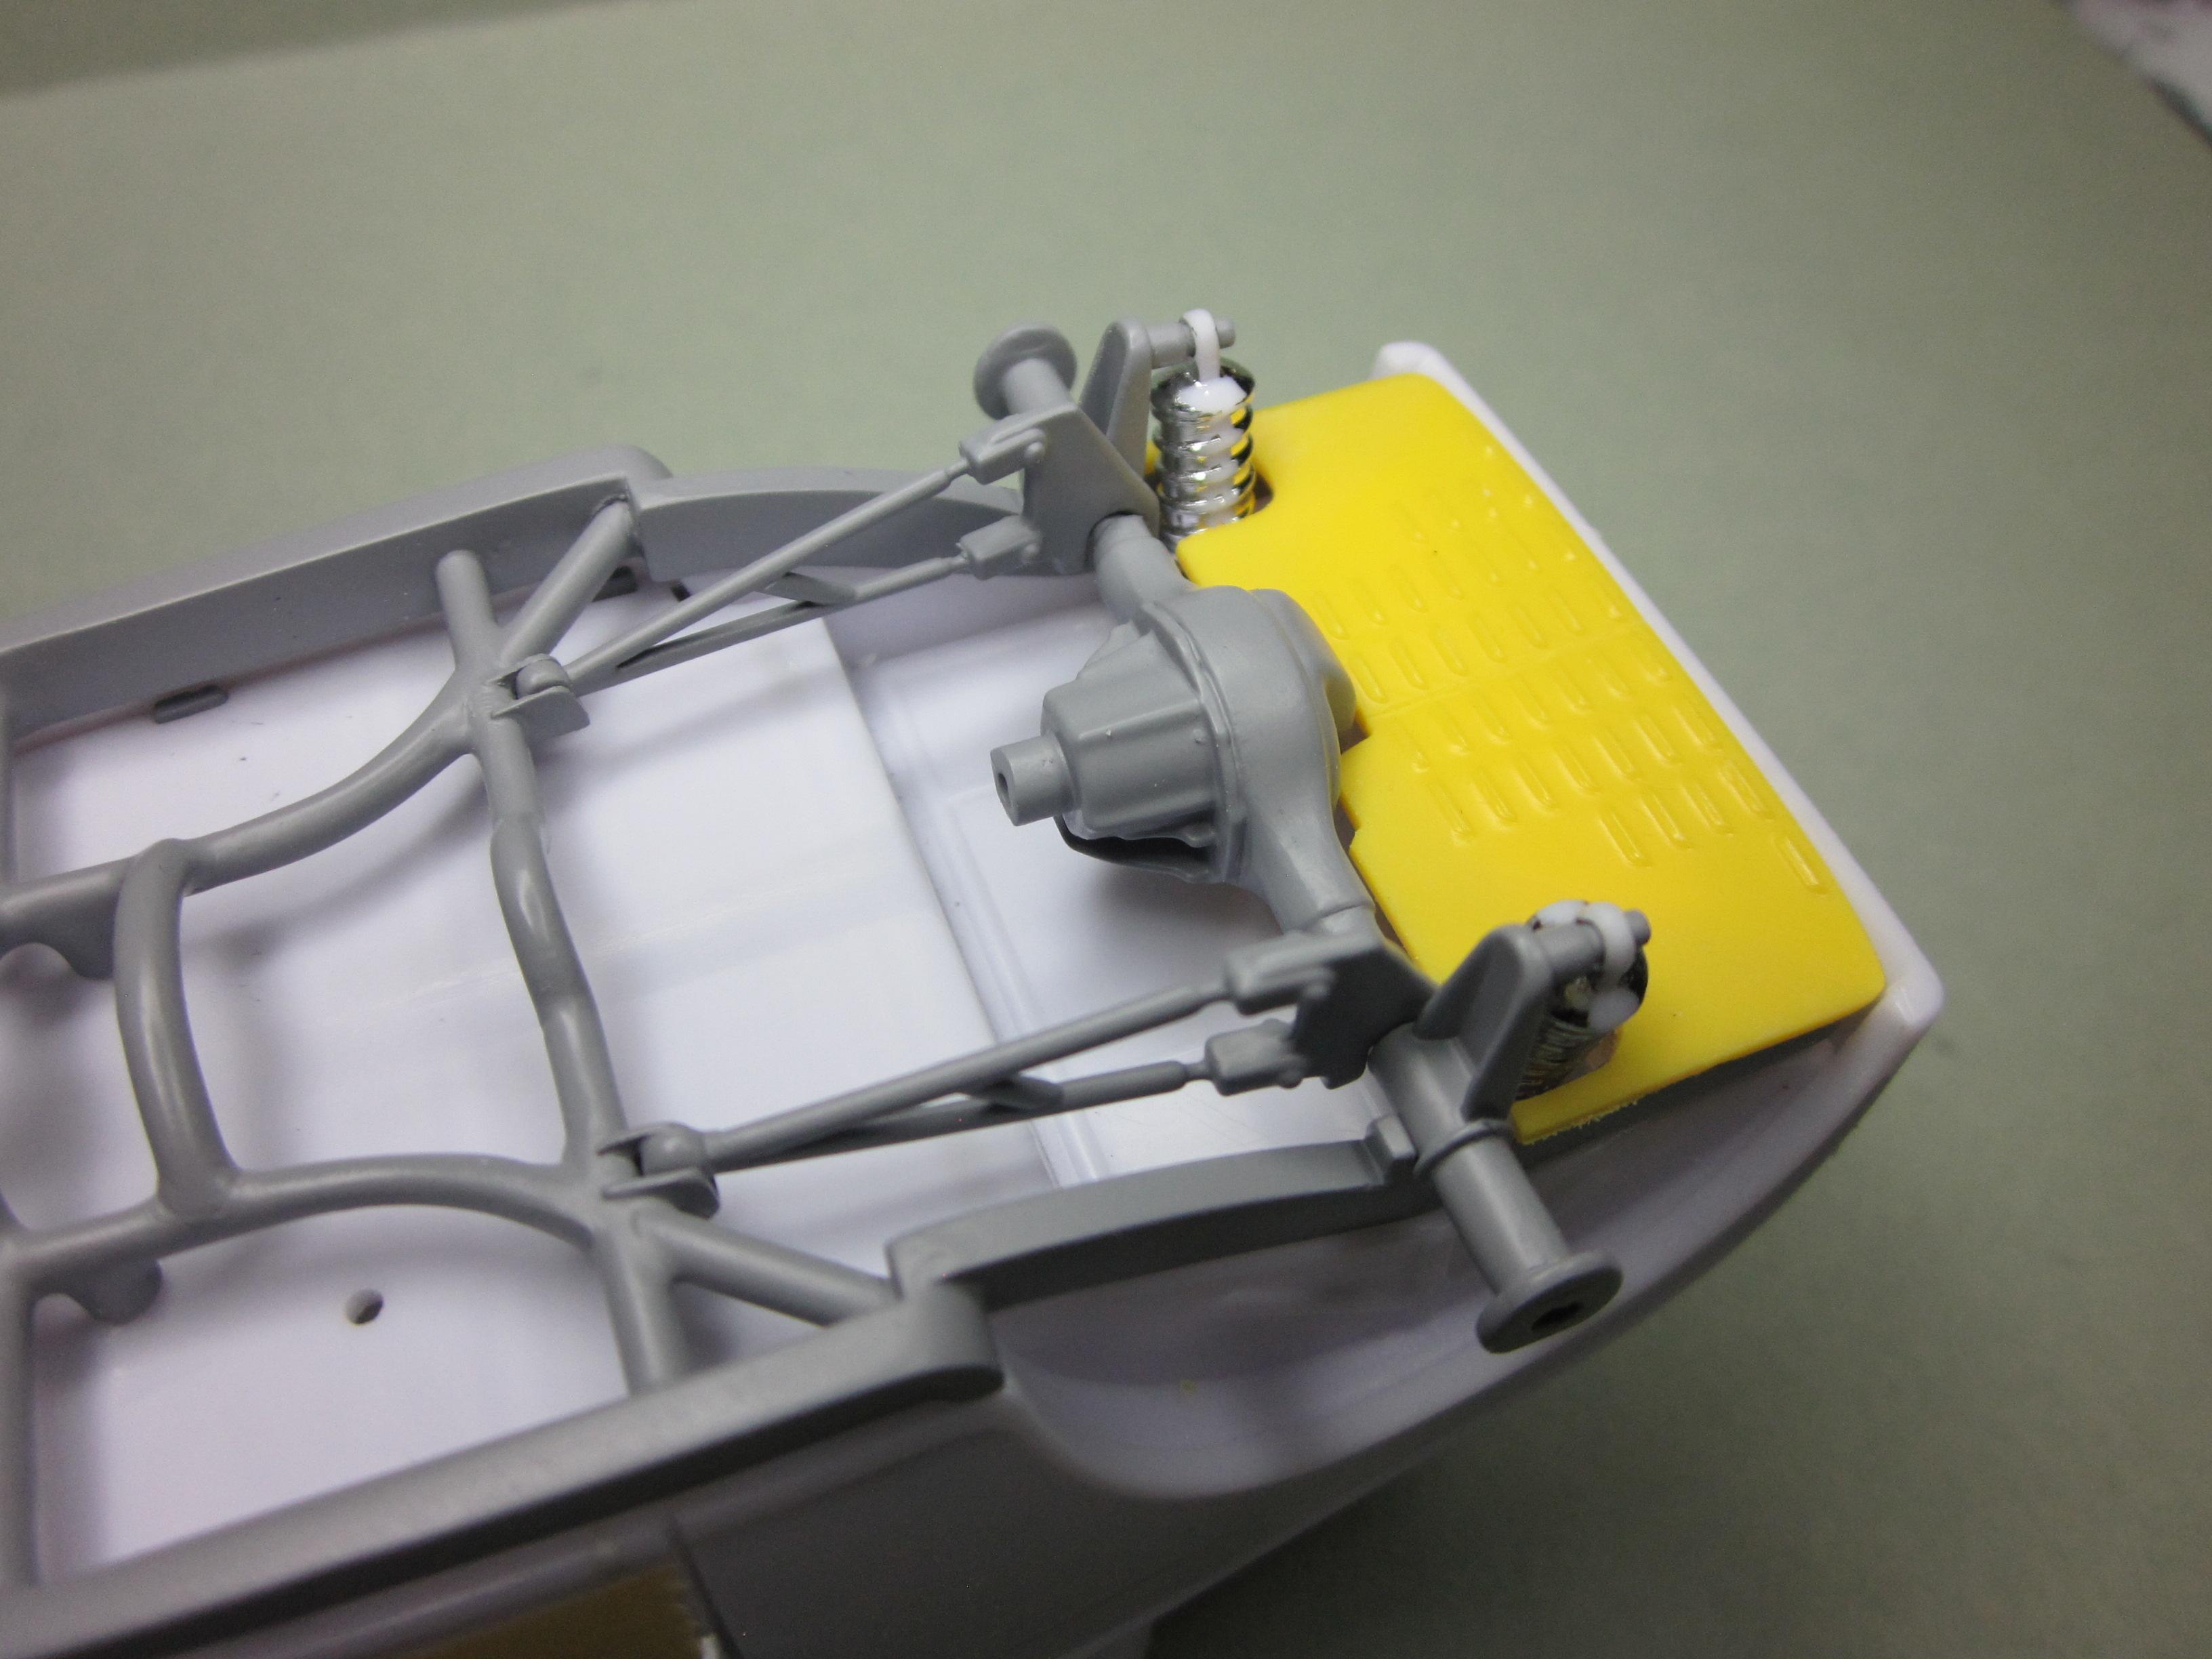
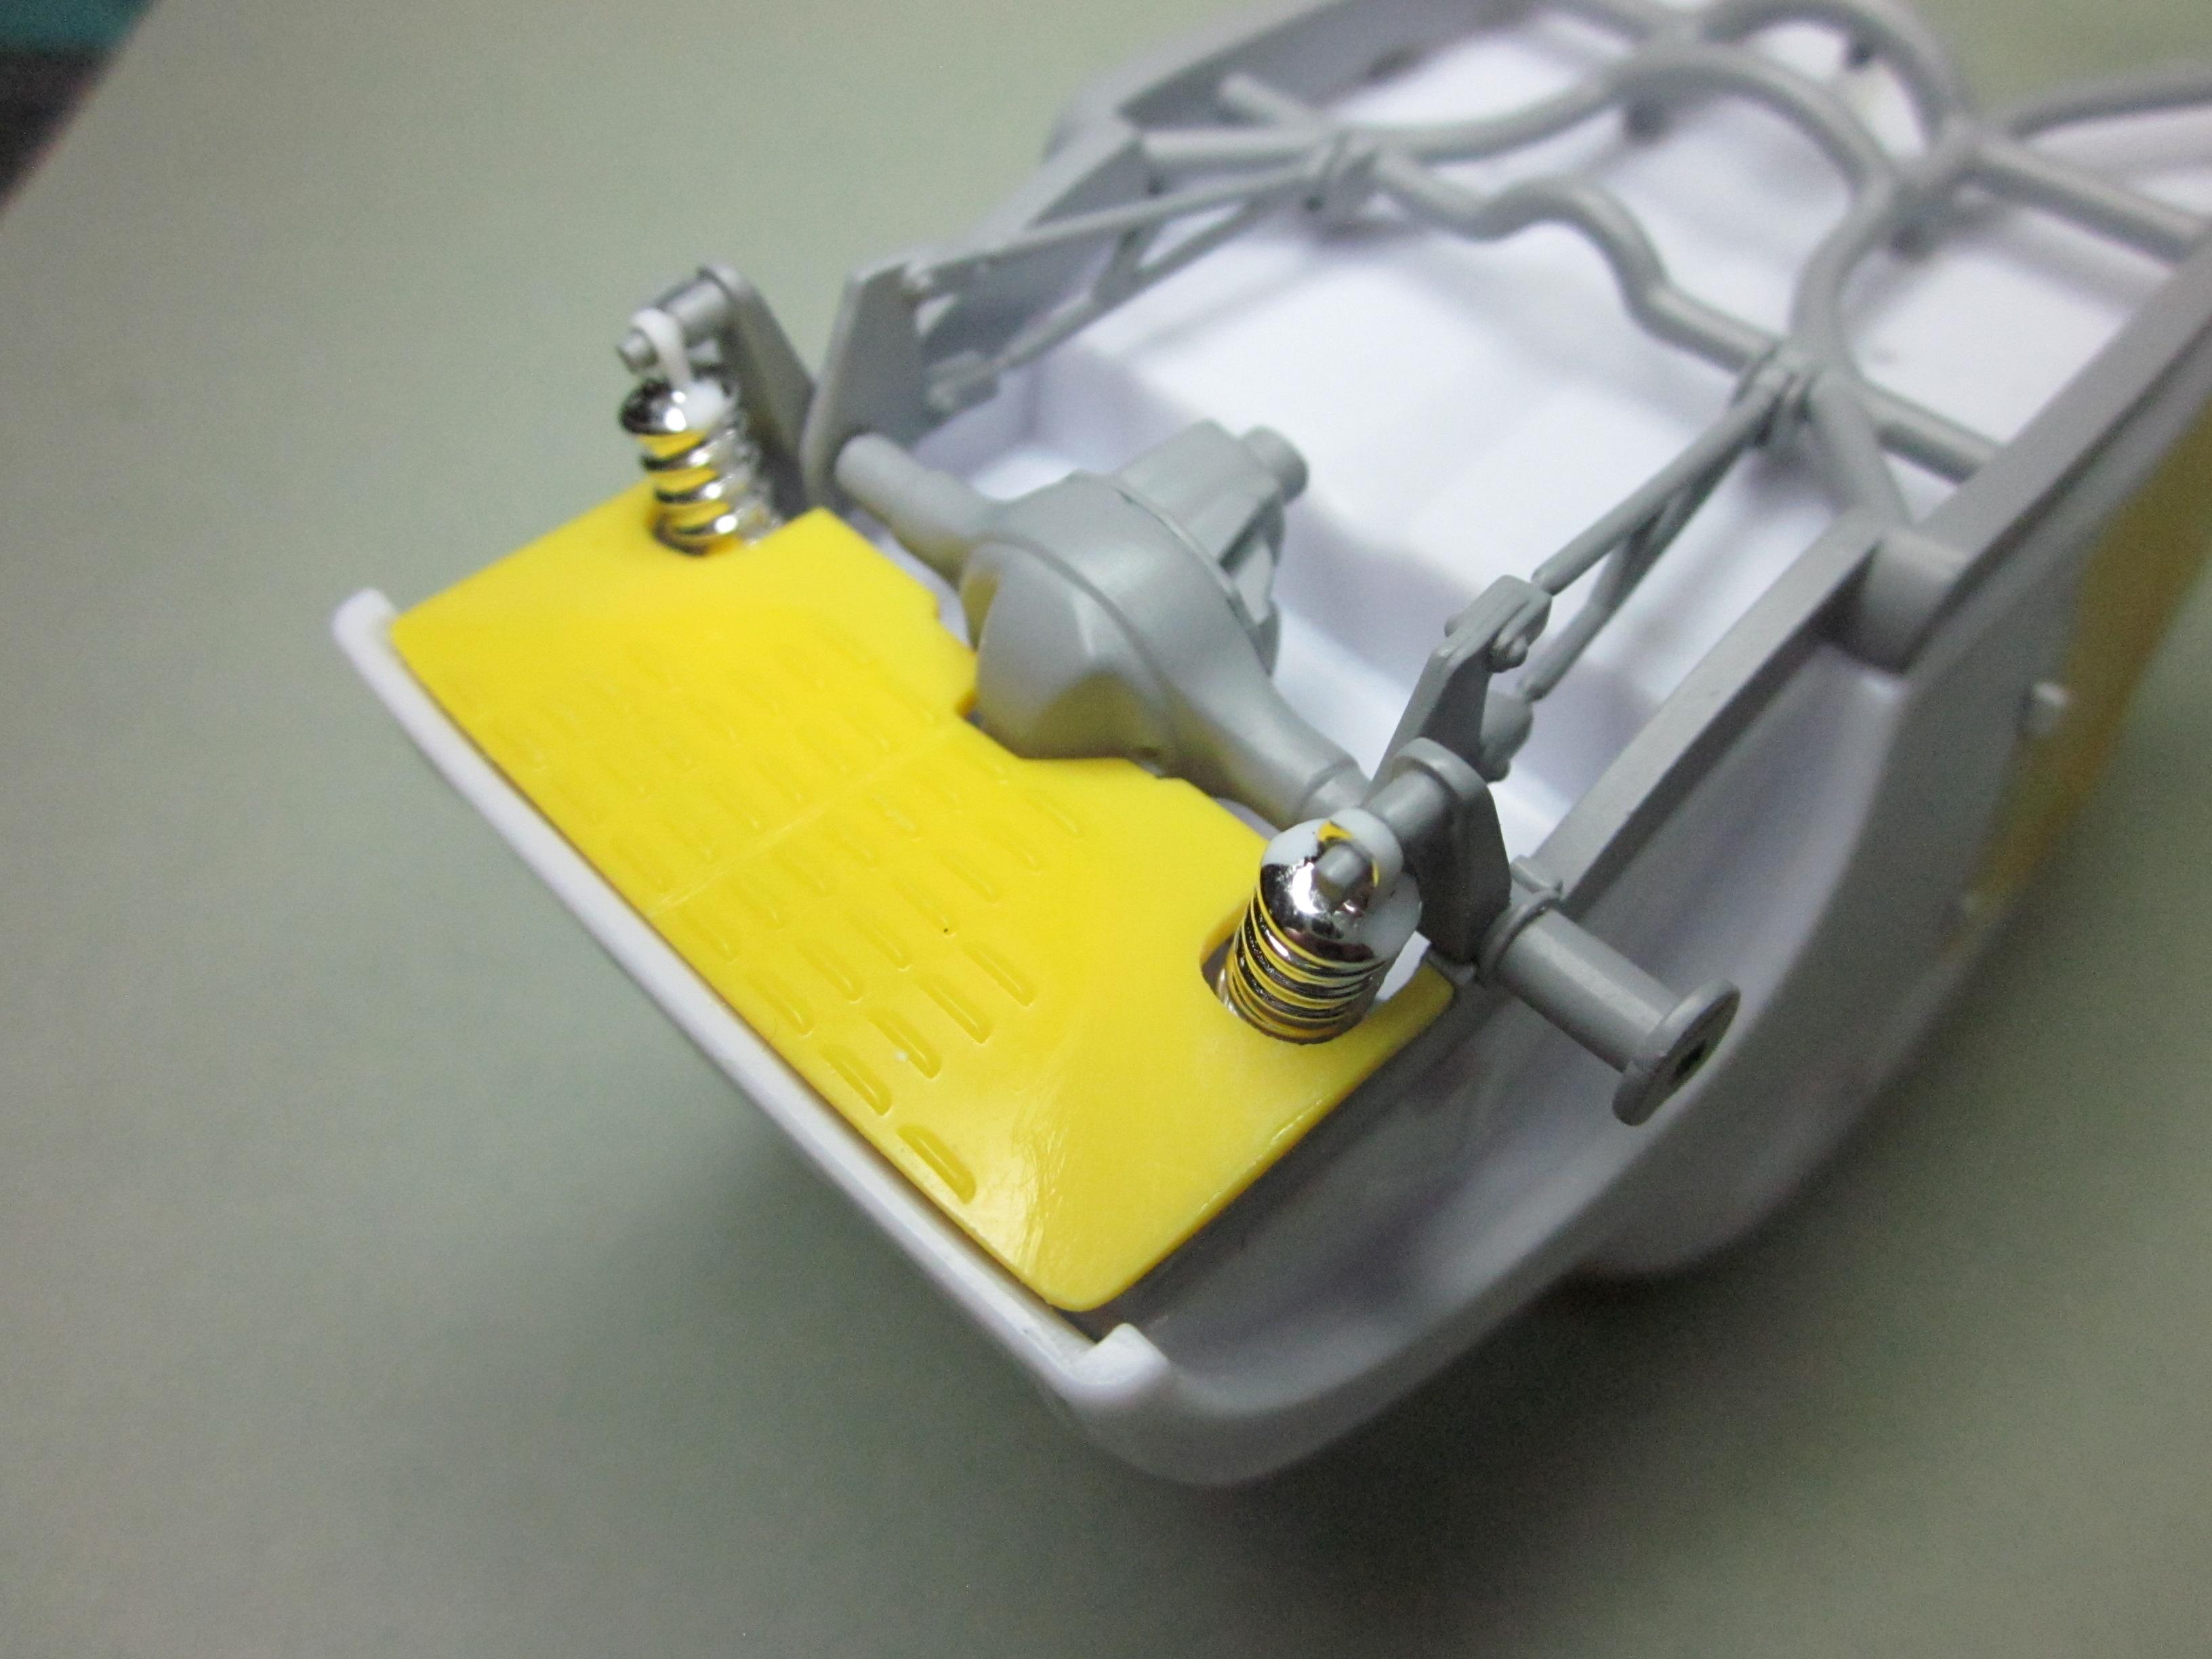
I pulled these hood sides from a used up monogram '32 ford roadster kit. I thought about trying to use these as they are intended, but just came to the conclusion that they will not work. So what could I do with these hood sides? And they do have louvers! After thinking about this for a while, I have come up with a idea. The idea I came up with is to build a rear splash or belly pan (call it what you want). I figure with the louvers it will make a nice pan. But it is the louvers that will make it a challenge to make it look right. It's going to be close! First things first, I welded the two parts together with tamiya extra thin cement and let it dry overnight. Then the cutting and sanding got the part to fit in its location. The front leading edge was trimmed to conform too the differential. At the rear, the body lost some of it's thickness so the pan would sit down on the frame rails. I had to do it this way so the pan can use the louvers I had planned on using. Like I said, It's tight. In the end, eveything worked out. Got the frame and some misc parts primered. It was slow going on the pan when it came to cutting the holes for the coil overs. In the end, this was well worth doing! The pan will be painted body color. As always, things happen! And yes, there was a stumble along the way! Was doing the final sanding and broke the part in half. It was glue back together and a strip of evergreen added to the back so that won't be happening again. What I don't like is, it's covering some other work that was done, but it is what it is. That's it for now, till next time..........................
-
Thanks Bob, some day I'll get her up on 4 wheels and really see what I'v been doing. Thanks David, I always like to build something a little different then what comes in the kit. I mean, who doesn't. But I use and modifing the parts that come in the kit for most of the build. And add some scratch building along the way.
-
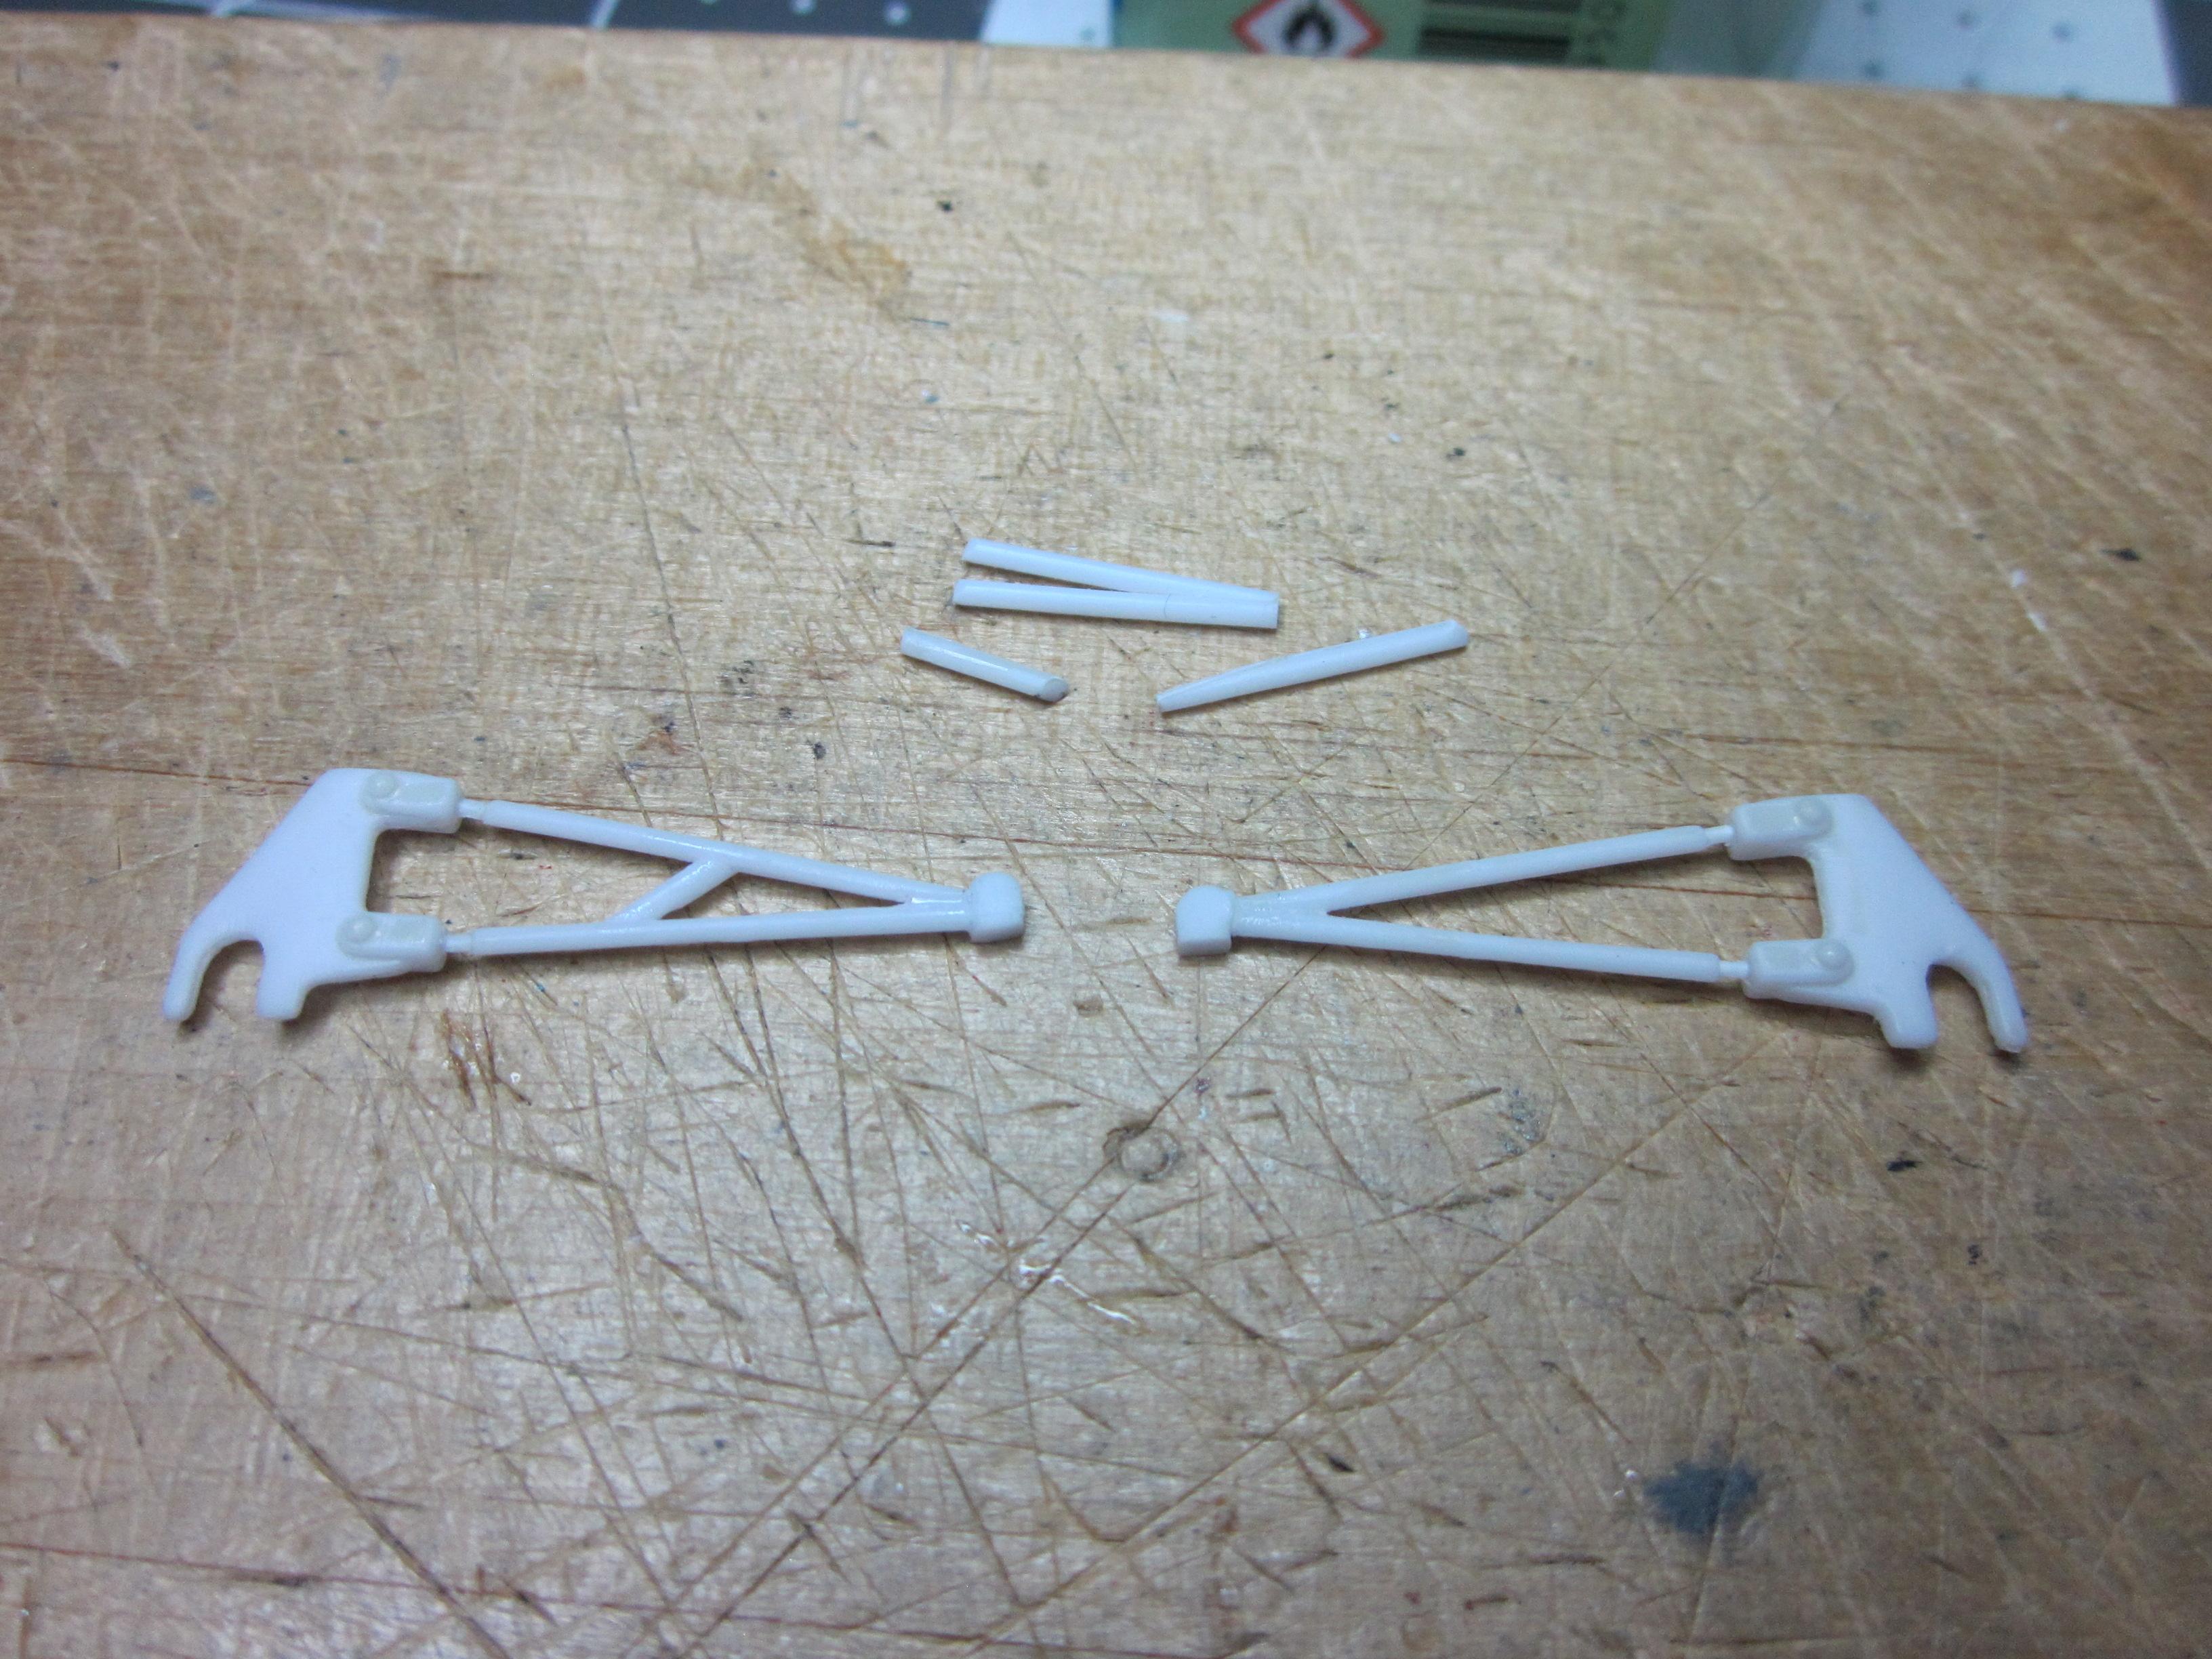
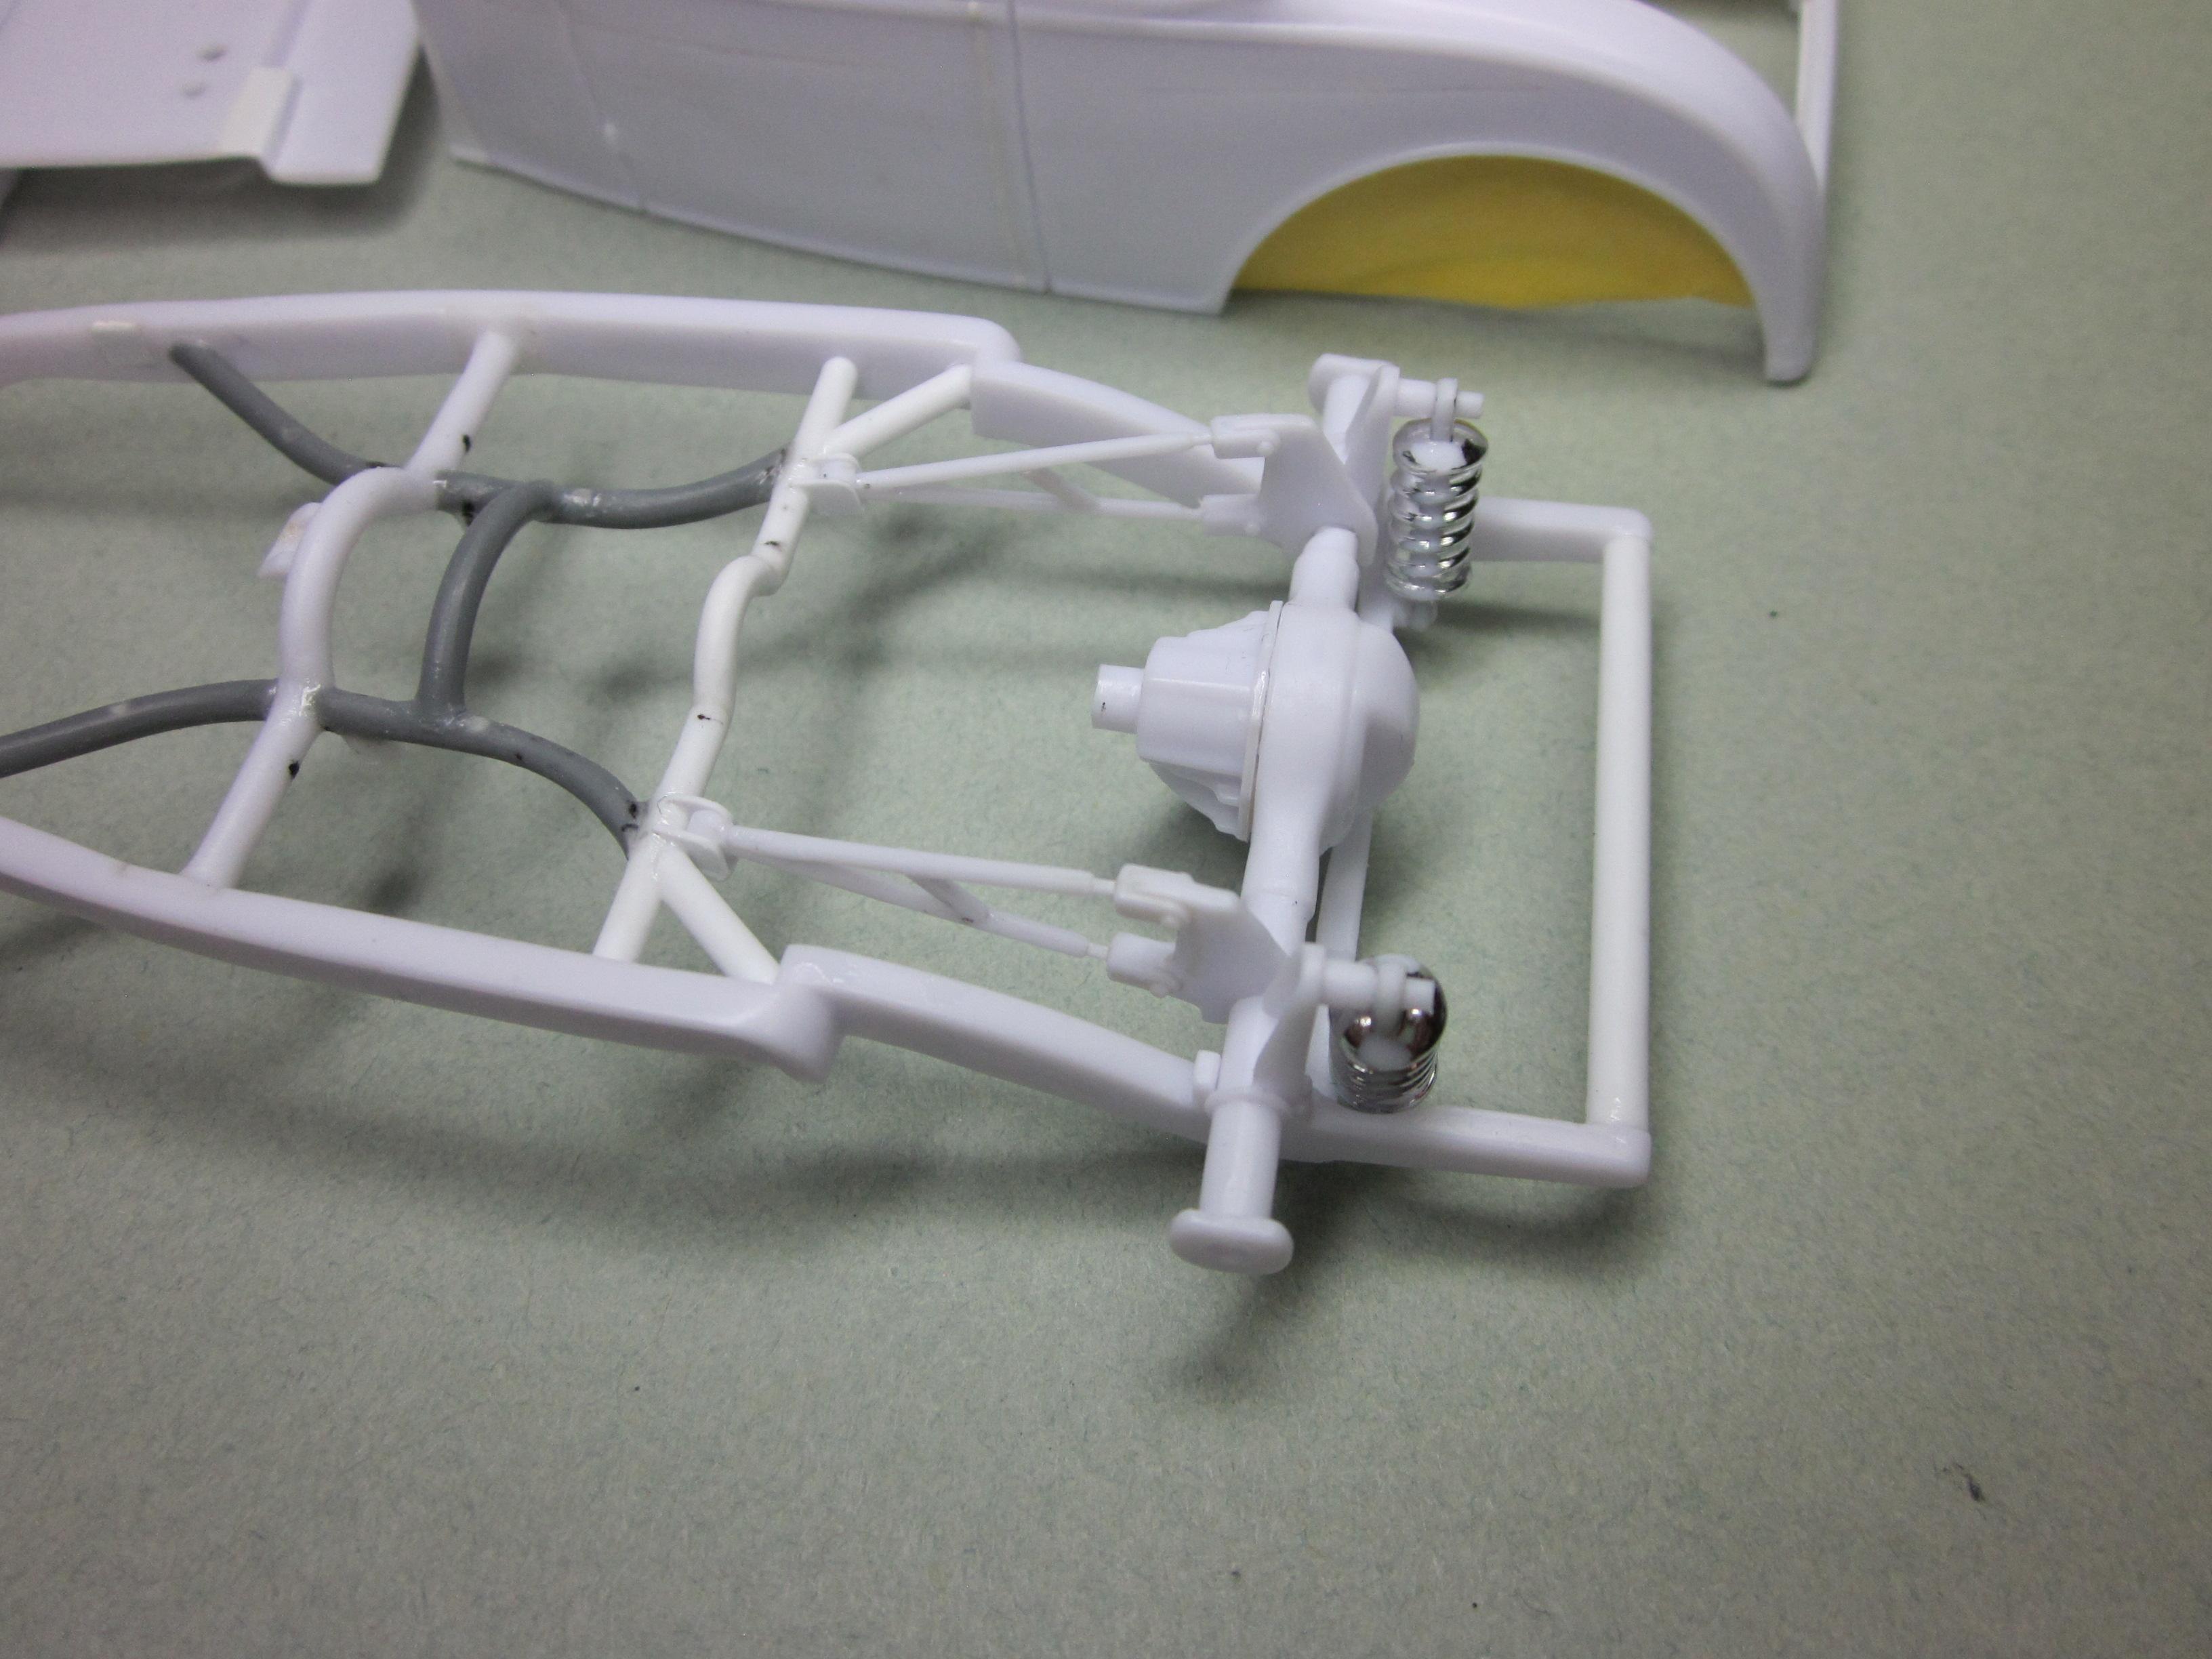
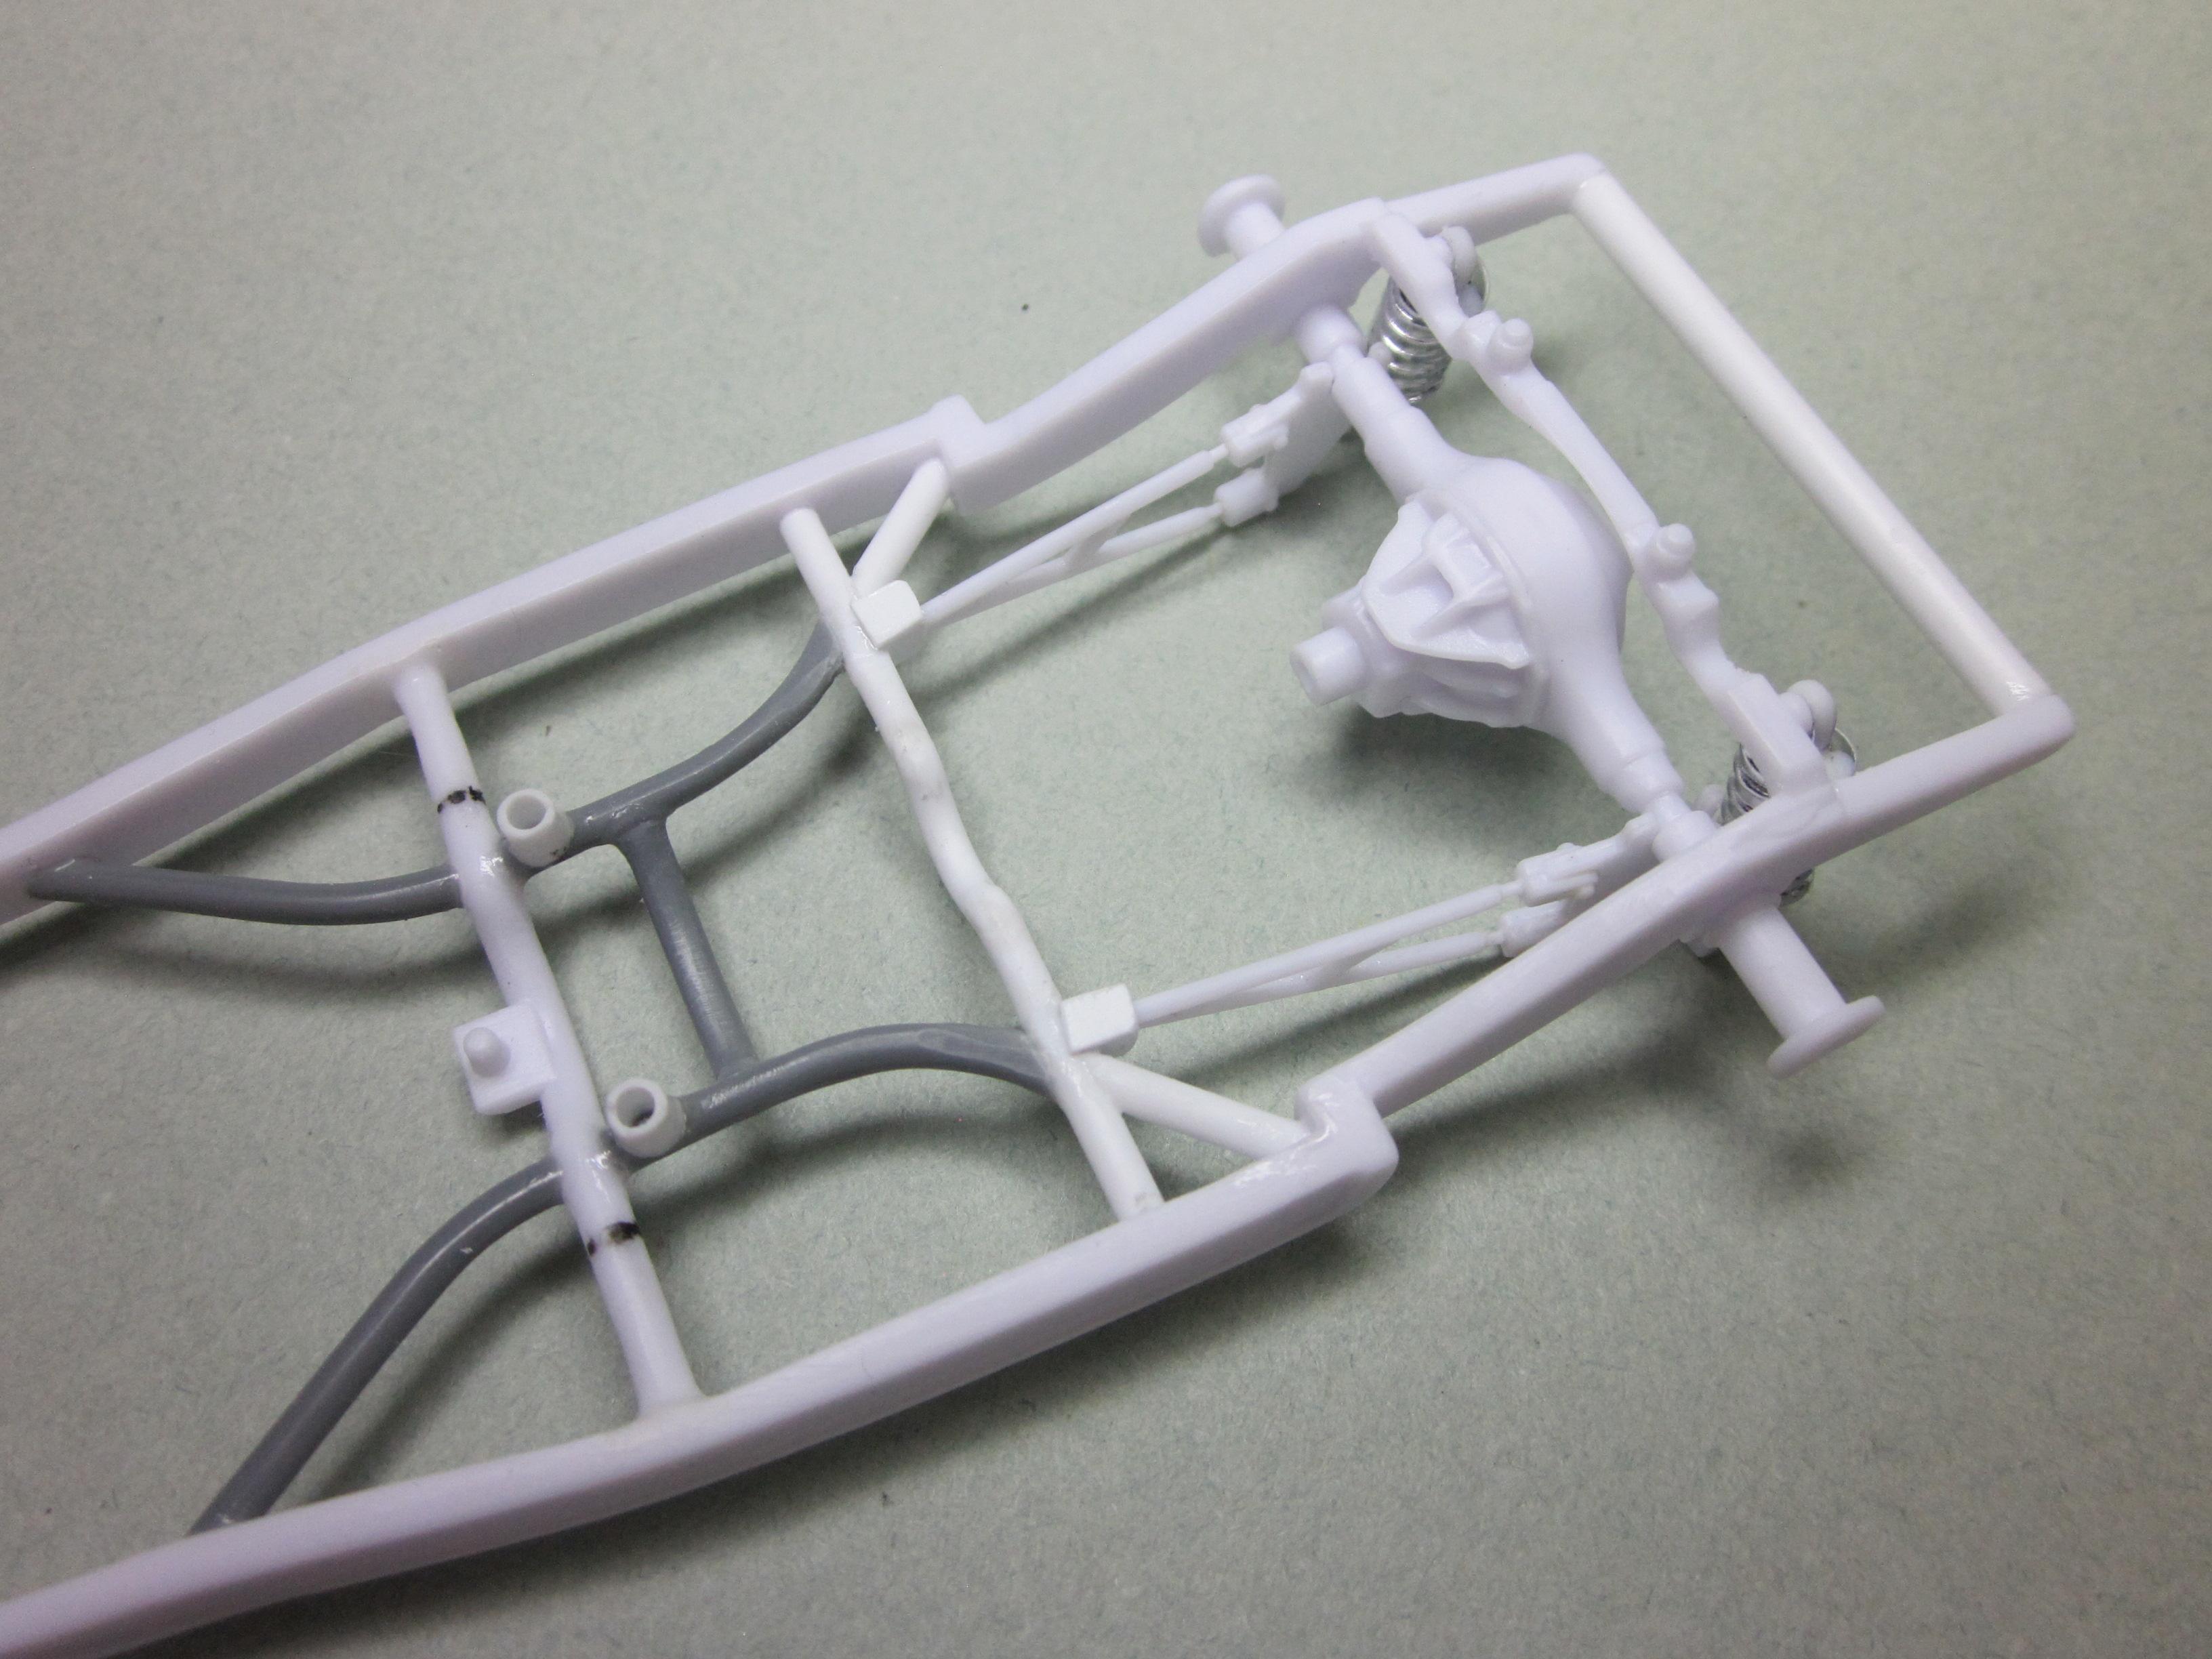
The build has been moving along, but still I am coming up with idea's and being feed suggestions while talking to friends. Pretty late in the game for any big changes or additions, but some small ones can happen. Lately, its about paint because its getting so close to that stage. Added a thing or two that more than likely didn't need to be added, but just had to do it. Update time on the model A. When I left off last time, the rear suspension was being worked on. The ladder bars were next to be fit. But first had to build a couple mounting points for the ladder bars to mount to. With the box's in place, the ladder bars were be built. Short and sweet, the kit bars were modified by shortening them and using the parts that were cut off to build the new pair. Nothing fancy. At this point, the only thing left to do is put a light coat of primer on the frame and see how much more work I get to do, Ya! Not as bad as I expected. There are some areas that need to be addessed. Get things squared away and a couple more coats of primer and it'll look good. Maybe even good enough for paint! This is what happens when you are digging through box's of kits. this came out of the AMT '33 Ford Sreet Rod kit. The kit has a real nice front bucket seat, but it was the back seat that grabbed my attension. I put it on the bench for further examination. 2 hrs later, I have the seat looking like its going into the car, but am not 100% sure on this yet. I'm still working on it. That's it for now. Things will be getting some MrSurfacer 1000 primer next couple days so things might have a different look the next time you see them.
-

Chopped 40 Ford Sedan Delivery Traditional Custom
Speedpro replied to Ferbz's topic in WIP: Model Cars
On mods like this, you gotta just make that first cut, thus throwing yourself into the "NO turning back now" zone. I think you did a great job! It really gives the front end what it was looking for. -
Nice! I like how the revell kits can be mashed together to create build's like this. I think the color combo works well together and makes the car stand out.
-
Cool wagon! Thats some great weathering. I respect guy's that can pull this off as well as you have. I myself have never tried doing it and probably never will as there are enough guy's doing it that I don't have to. Awsome build!