R. Thorne
-
Posts
783 -
Joined
-
Last visited
Content Type
Profiles
Forums
Events
Gallery
Everything posted by R. Thorne
-
Old bucket/racing seat possibilities?
R. Thorne replied to R. Thorne's topic in Model Building Questions and Answers
Thanks to all who replied with suggestions. Right now I am leaning towards the Revell Anglia (partly because I have those in stock and they look good) with, of course, some modifications. Thanks again to the modelcarsmag brain trust. -
You’re a winner in my book. Don’t be disheartened, your attention to detail and accuracy is admirable, though some call that rivet counting. Outstanding model and something to be proud of.
-
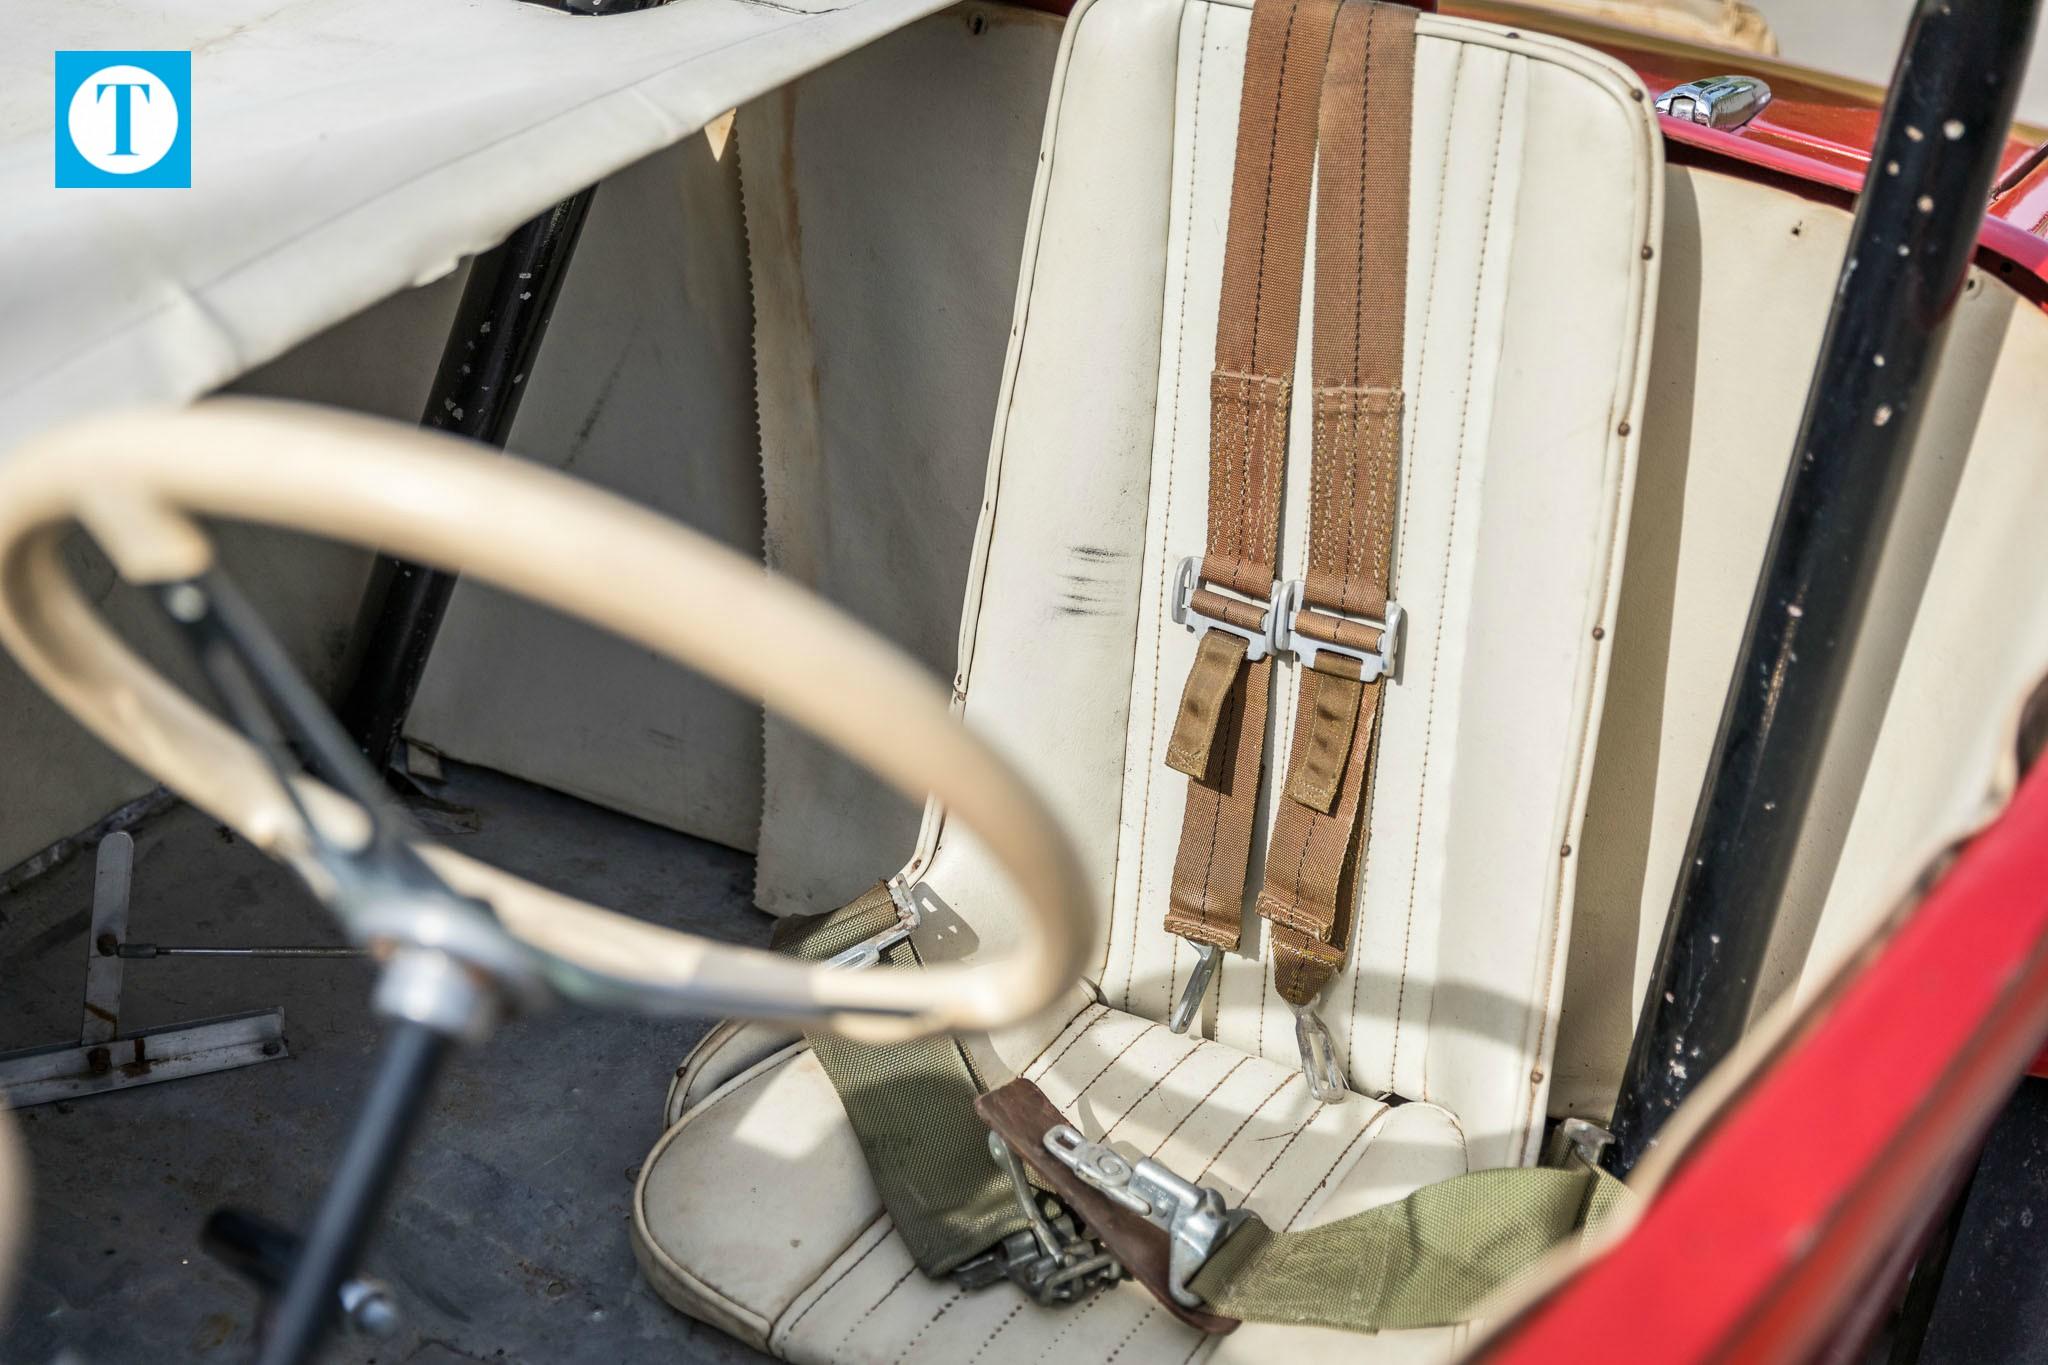
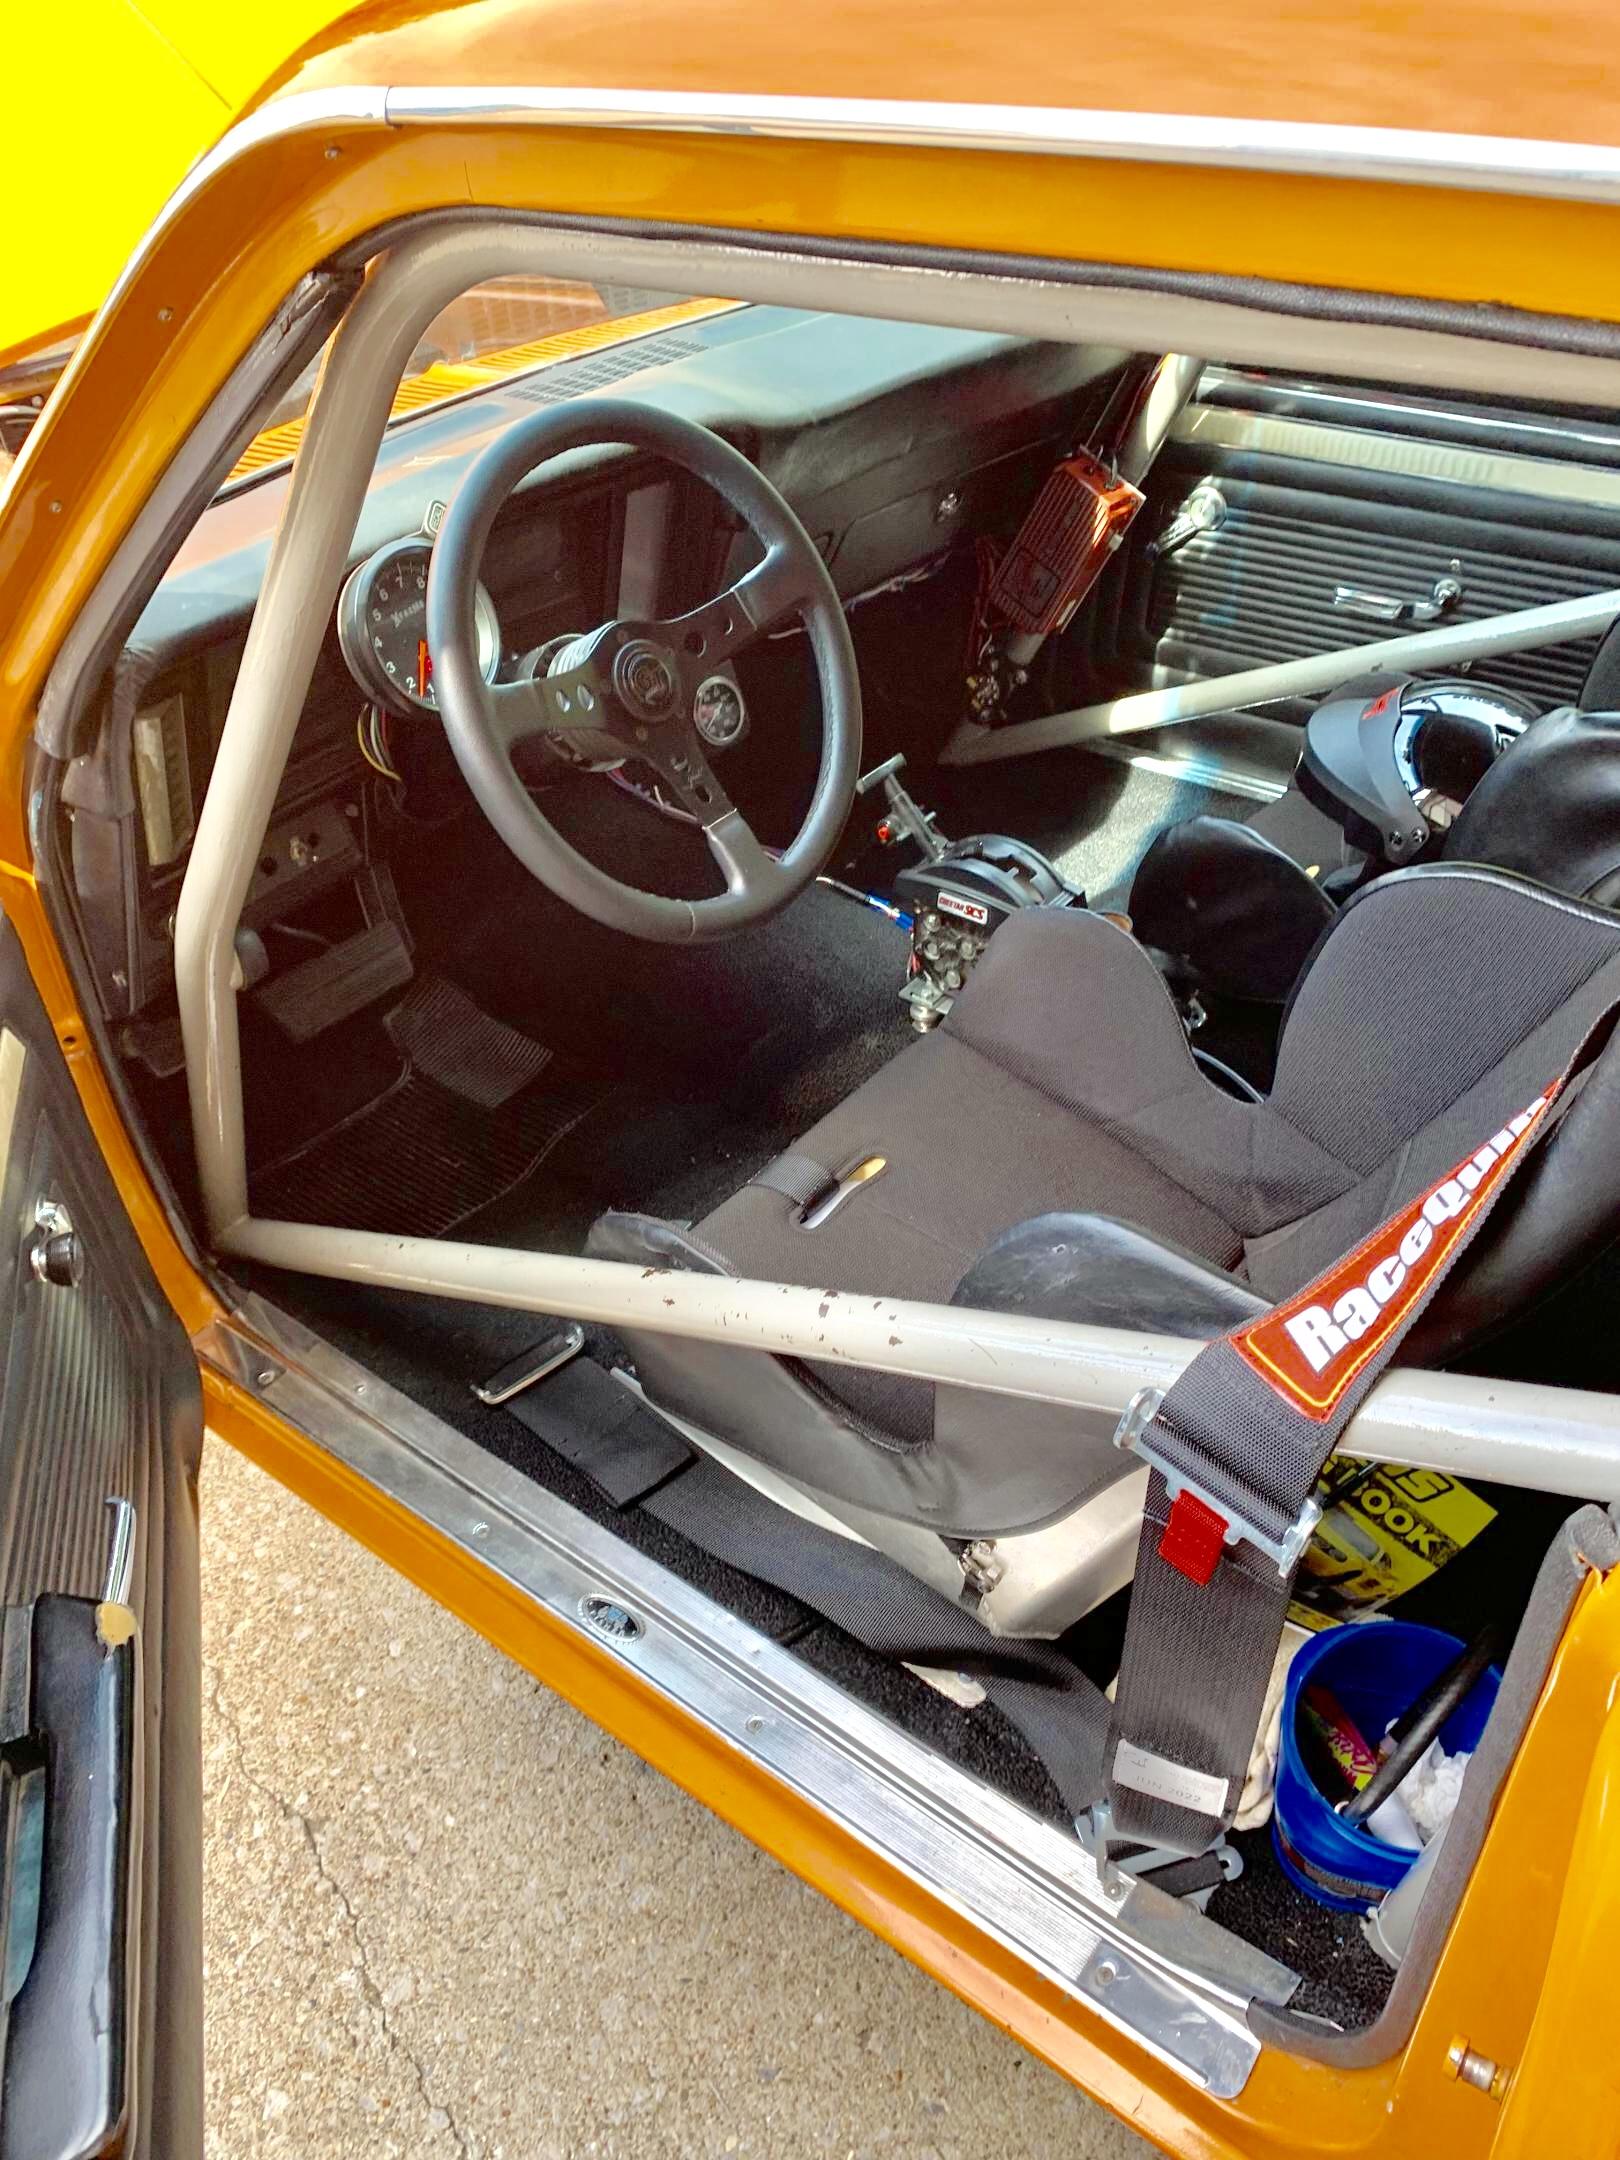
After looking through some threads with minimal results, I am looking for some bucket seats as was found in this mid 60’s drag car (A/SR 31 Ford). Probably have to make ‘em but thought it was worth a try. Any ideas?

-
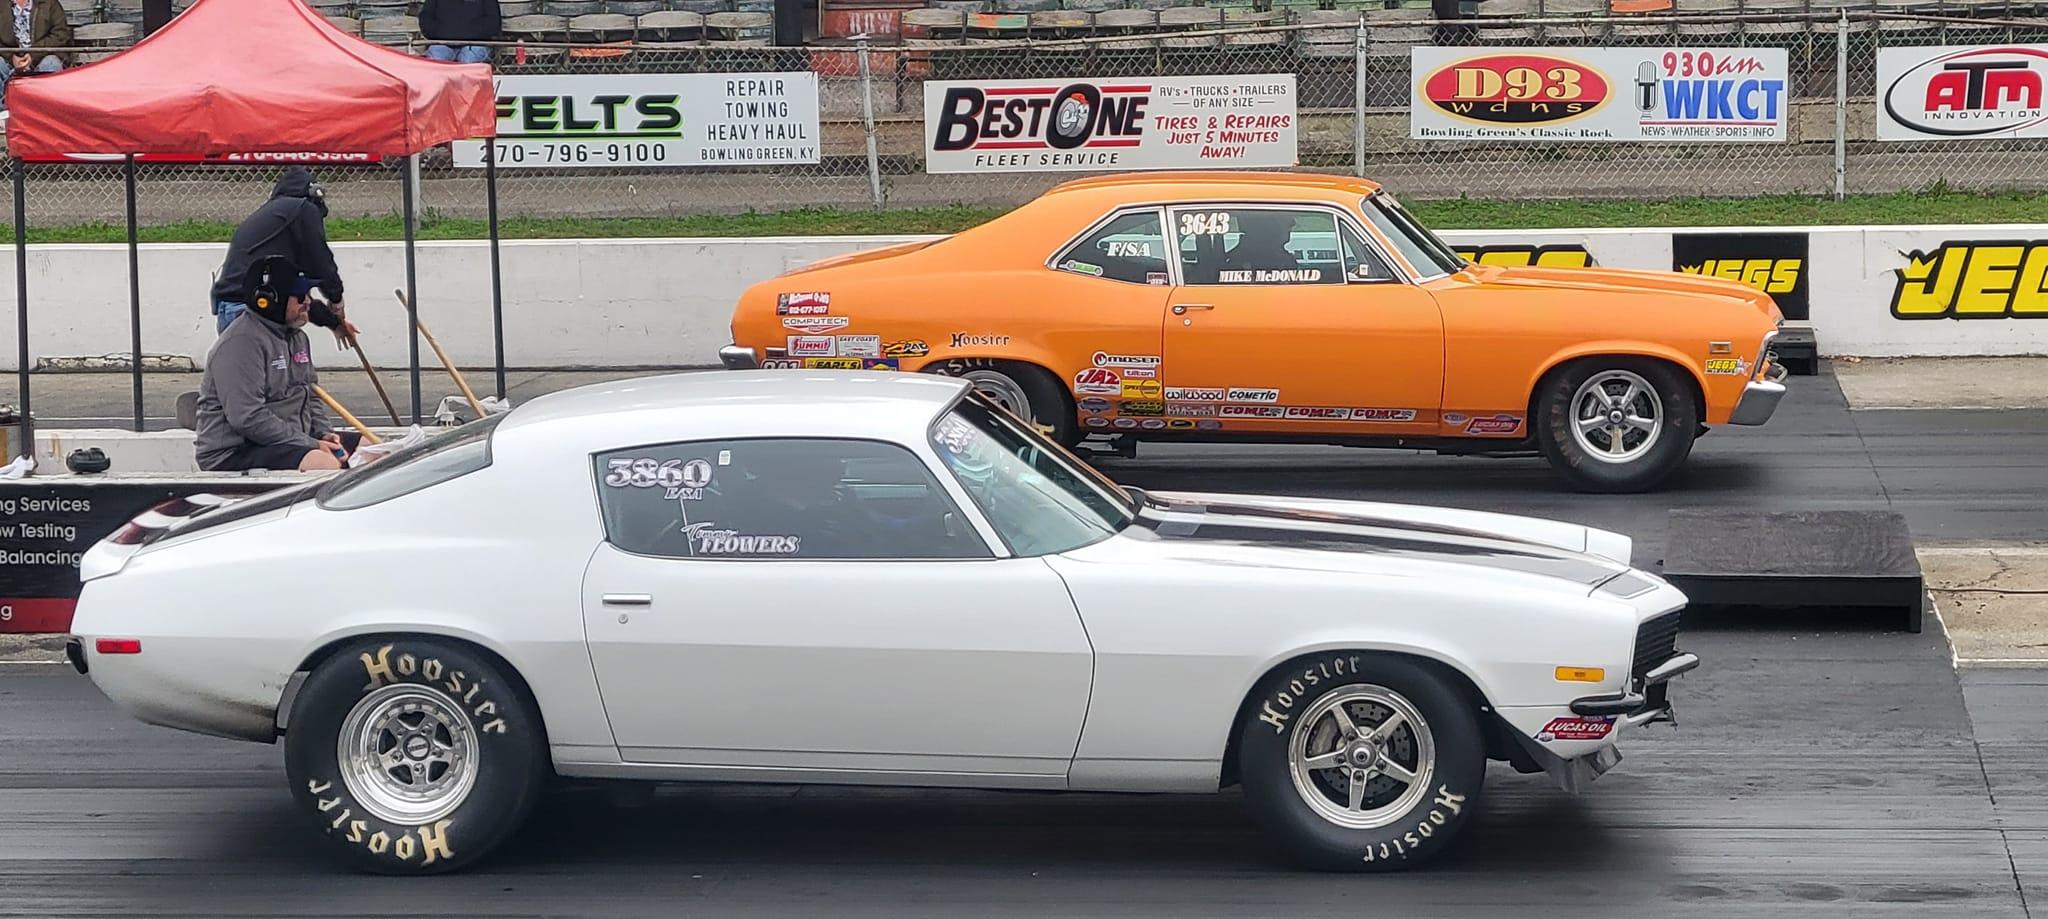
Thanks. Stockers are cool.
-
Thanks, Roger. Looks like Mike added some decals. This photo was taken at Beech Bend last Saturday for the Combo meet.
-
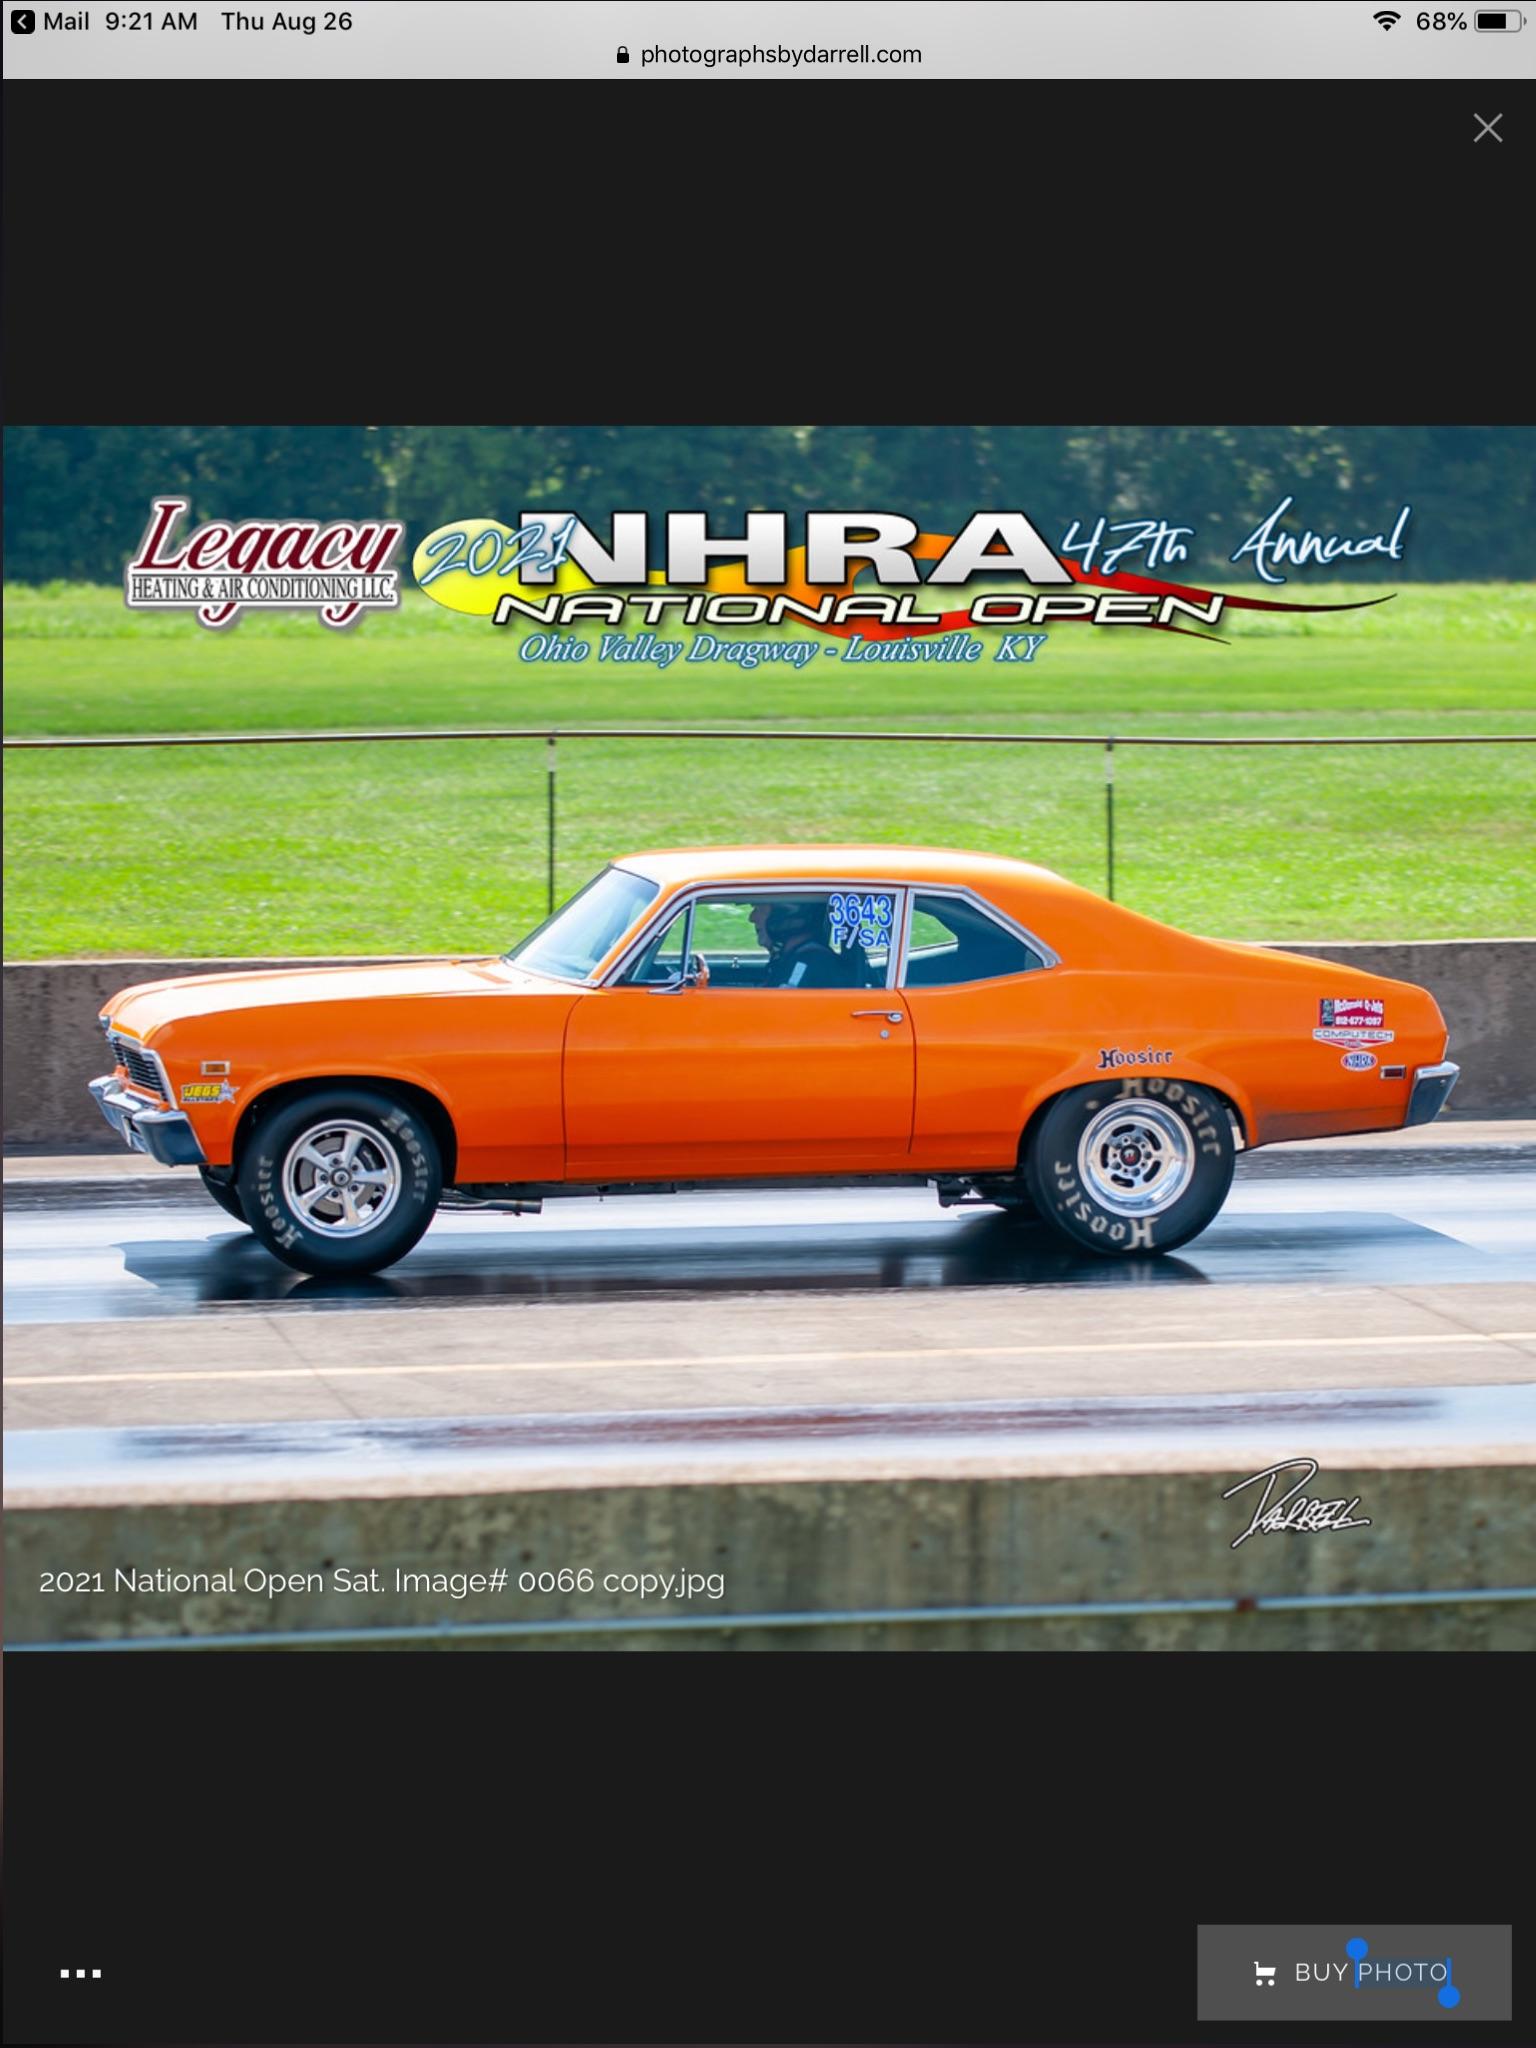
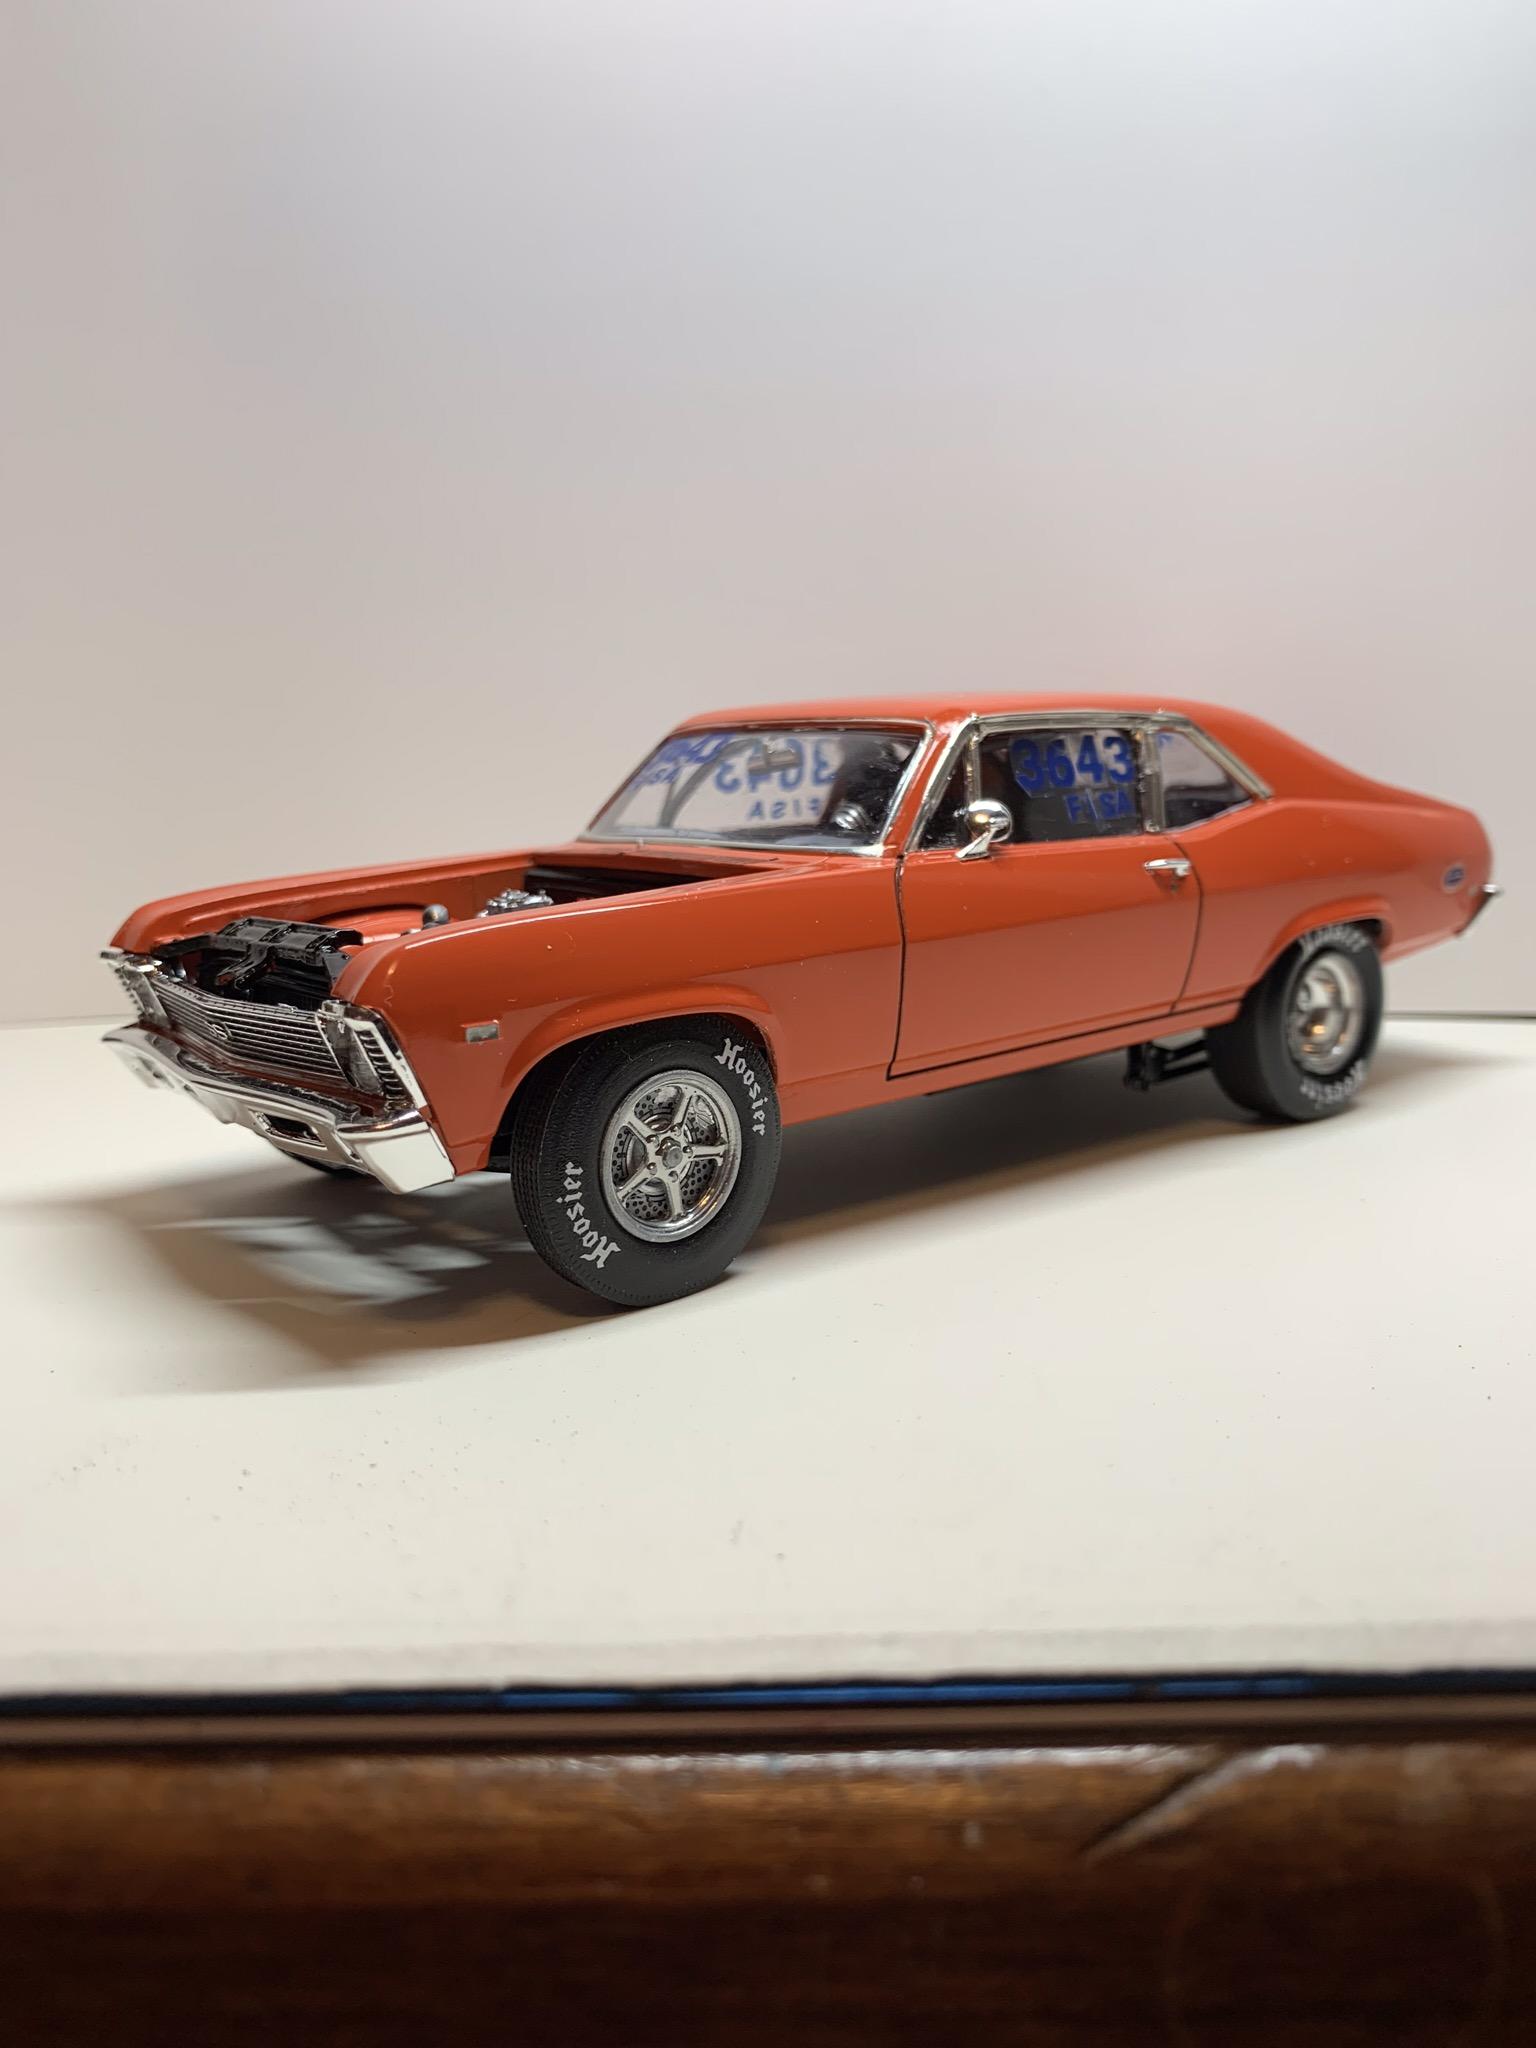
1969 Nova F/SA NHRA Stock Eliminator
R. Thorne replied to R. Thorne's topic in WIP: Drag Racing Models
Thanks. I had fun with it. -
Thanks, Chris. Very true, Ulf. One of the things learned from this build. Thanks for responding.
-
What paint do I use over rubber?
R. Thorne replied to Mike C.'s topic in Model Building Questions and Answers
Yellow sharpie? -
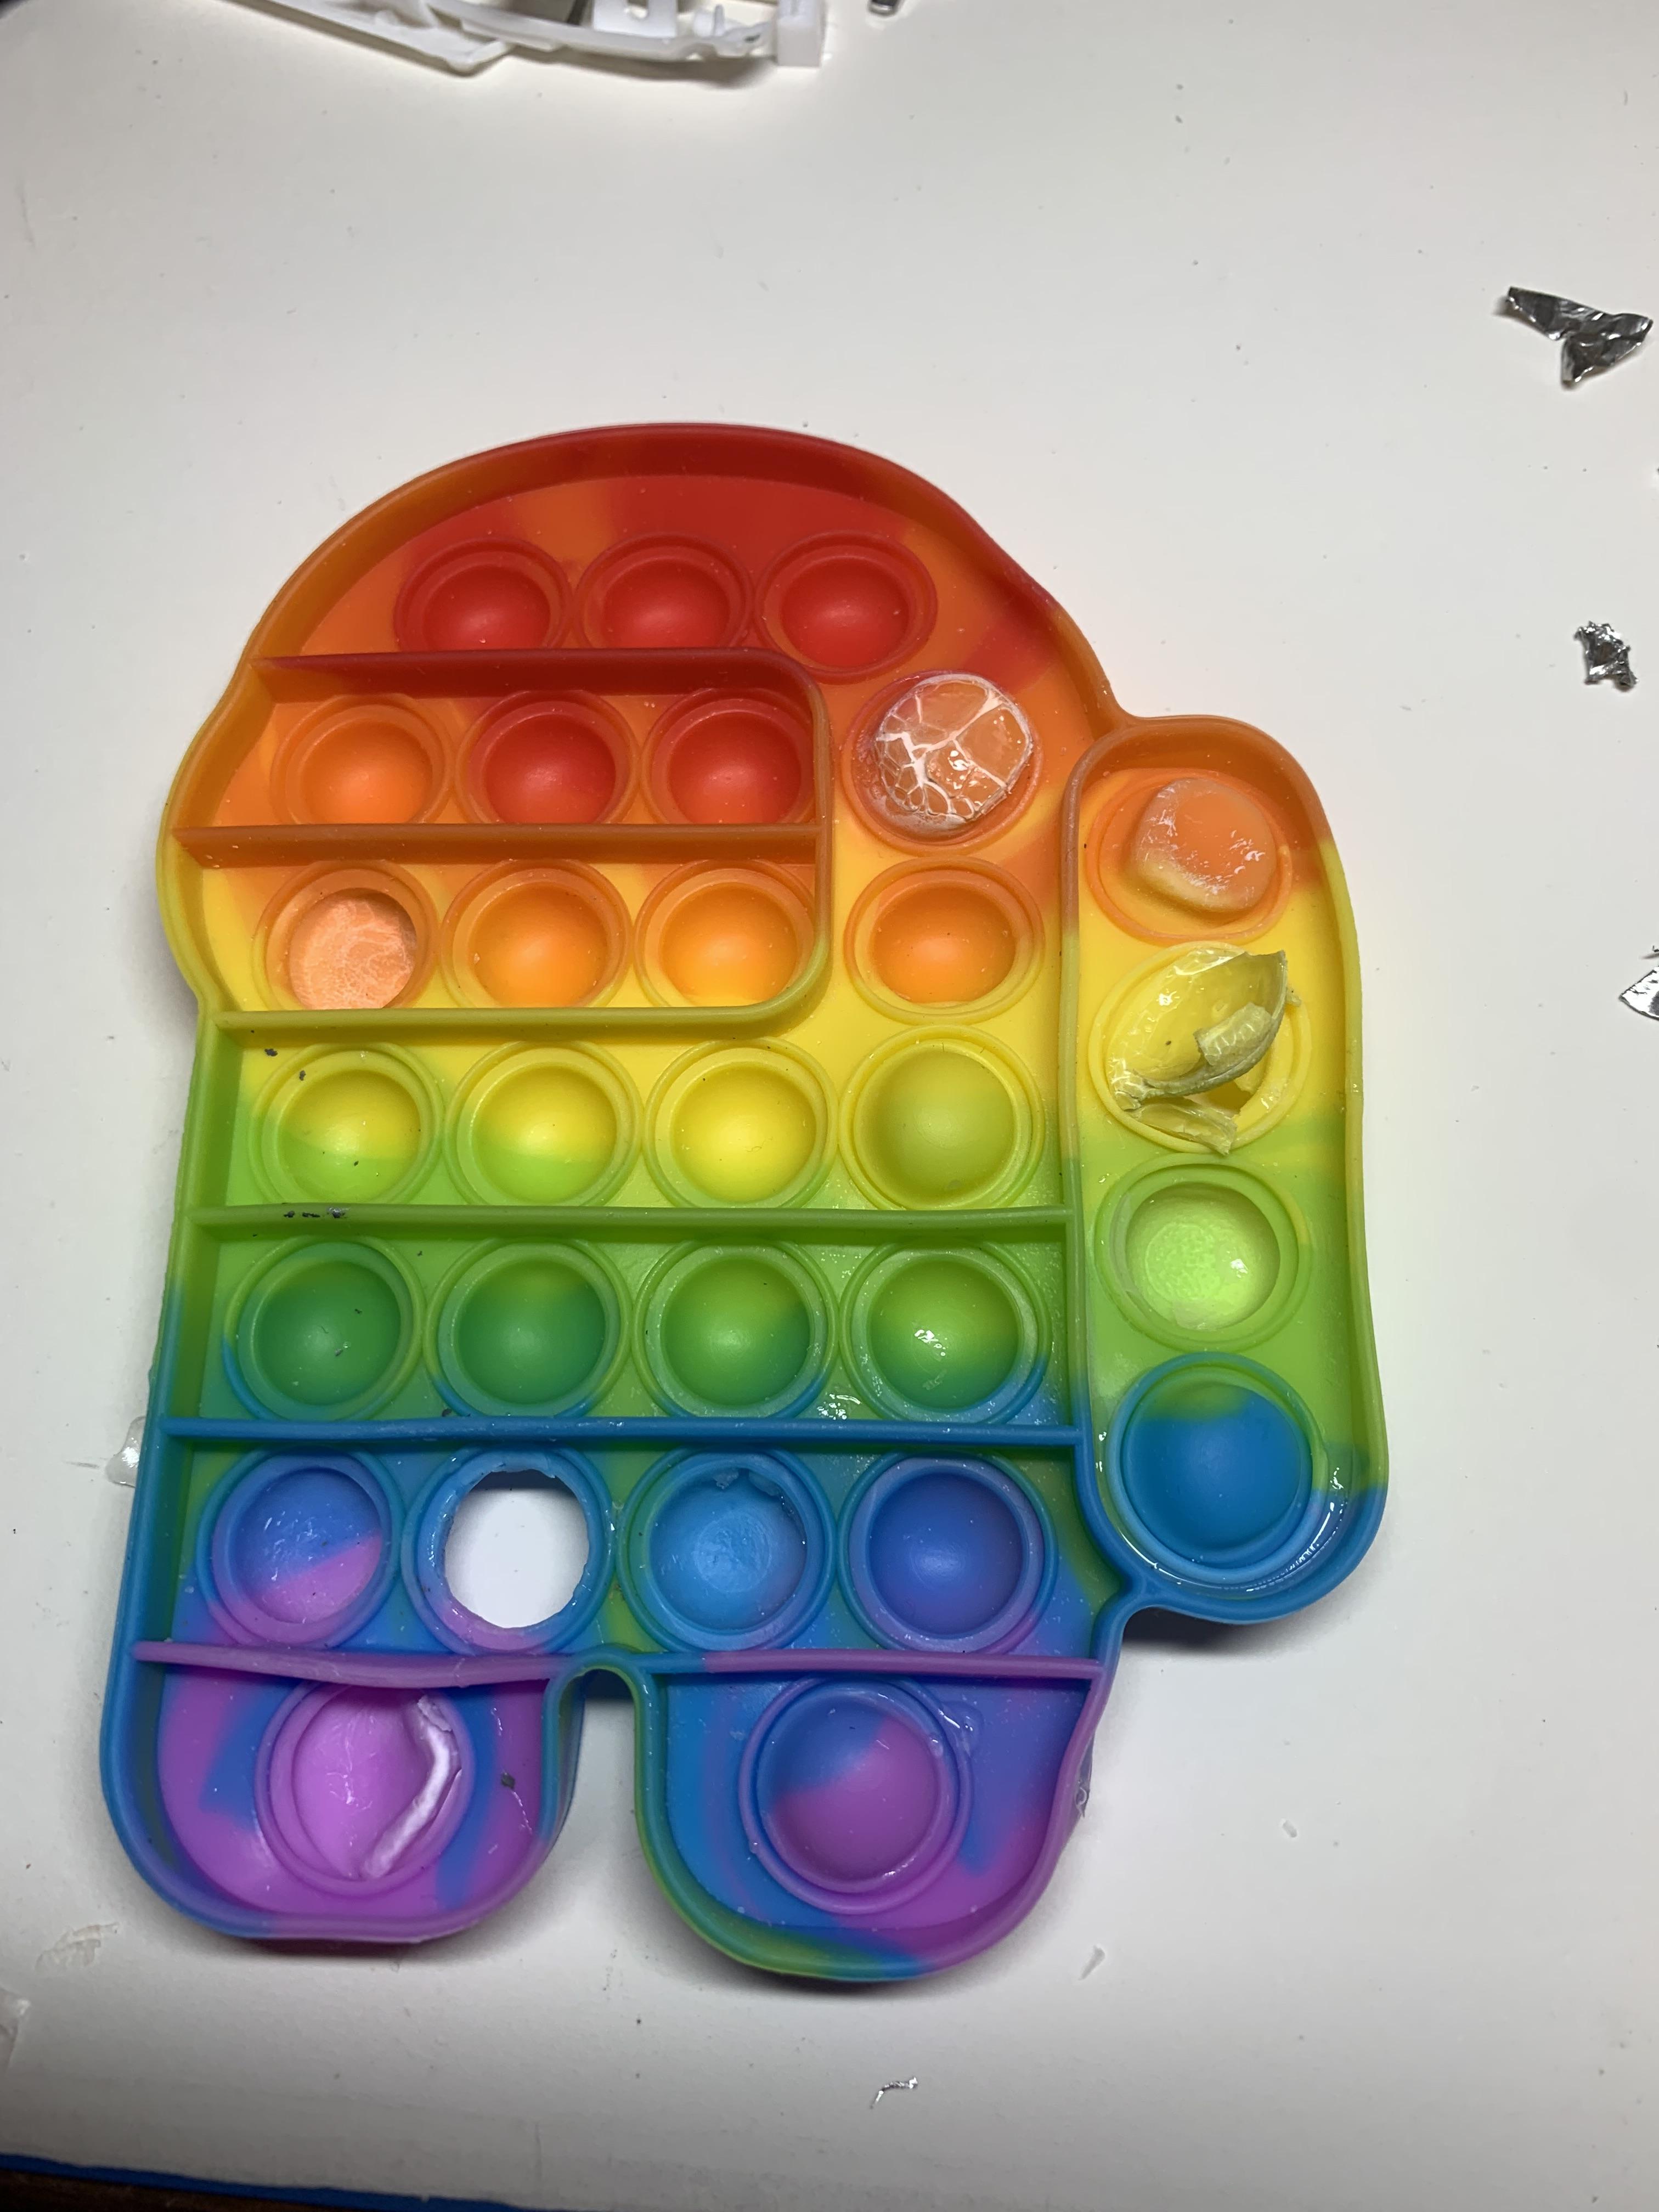
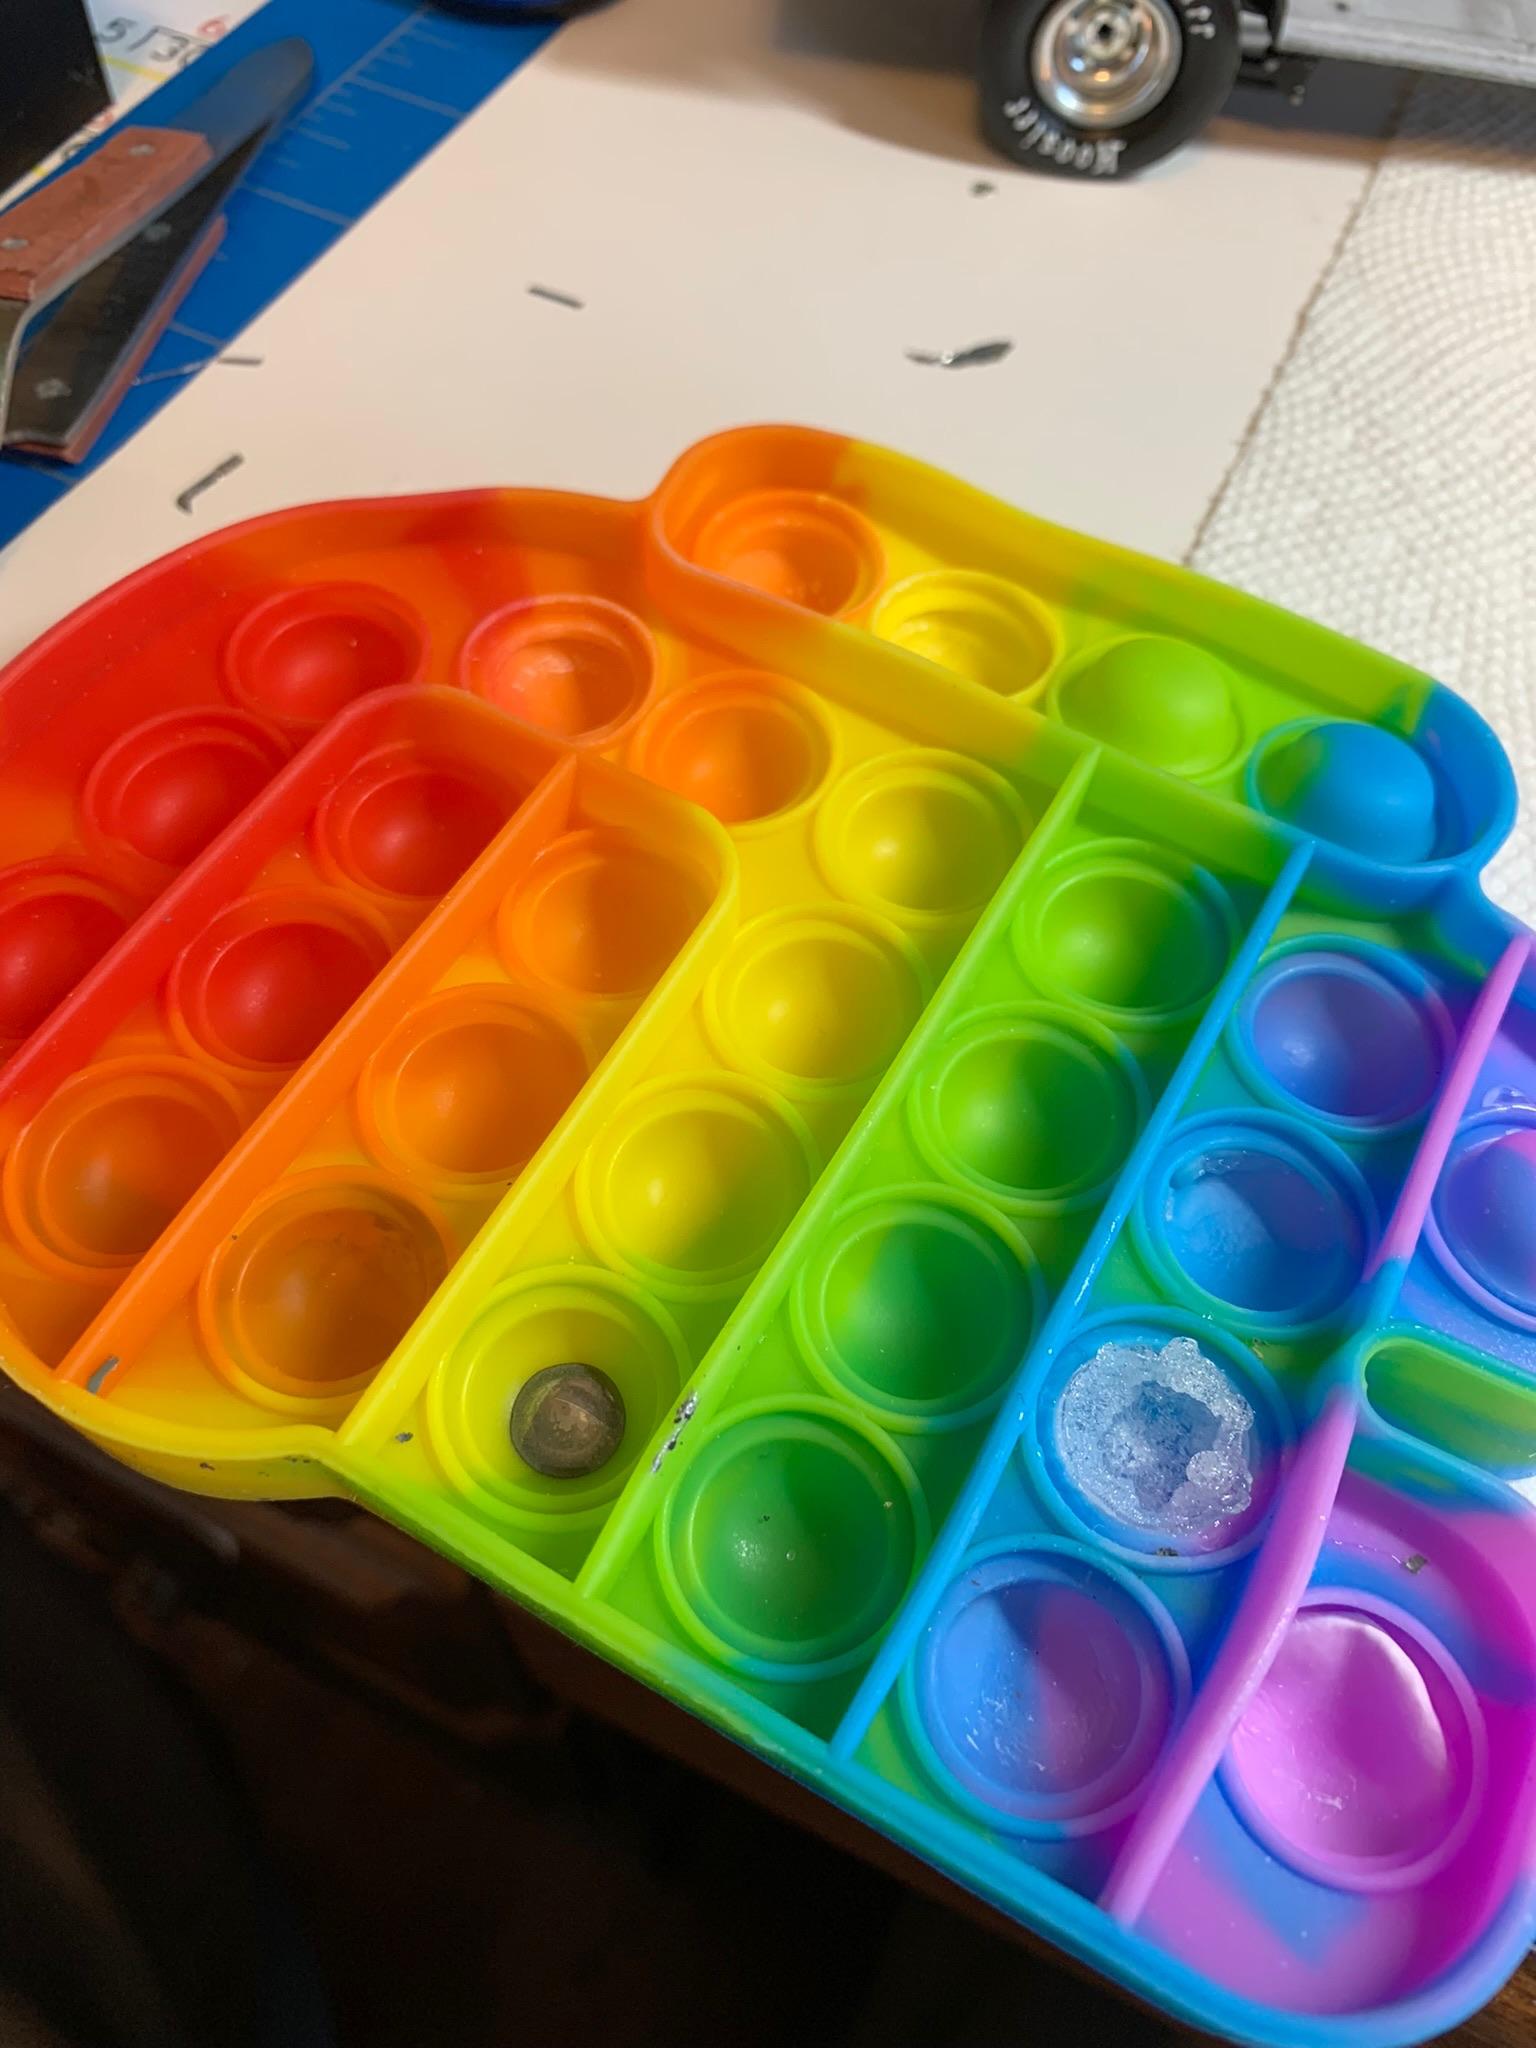
I apologize for this thread/tip. Sorry you had that experience, Greg. Mine had worked great for a week as I popped it out easily the next day. Then, last week I left ca glue in it for 2 days and it ripped apart trying to pop it out. Real silicone would not have reacted that way, so I assume these widgets are not made of pure silicone. Back to my upside down pill bottle, but it does work good for small dabs of paint and Green Stuff World chrome paint.
-
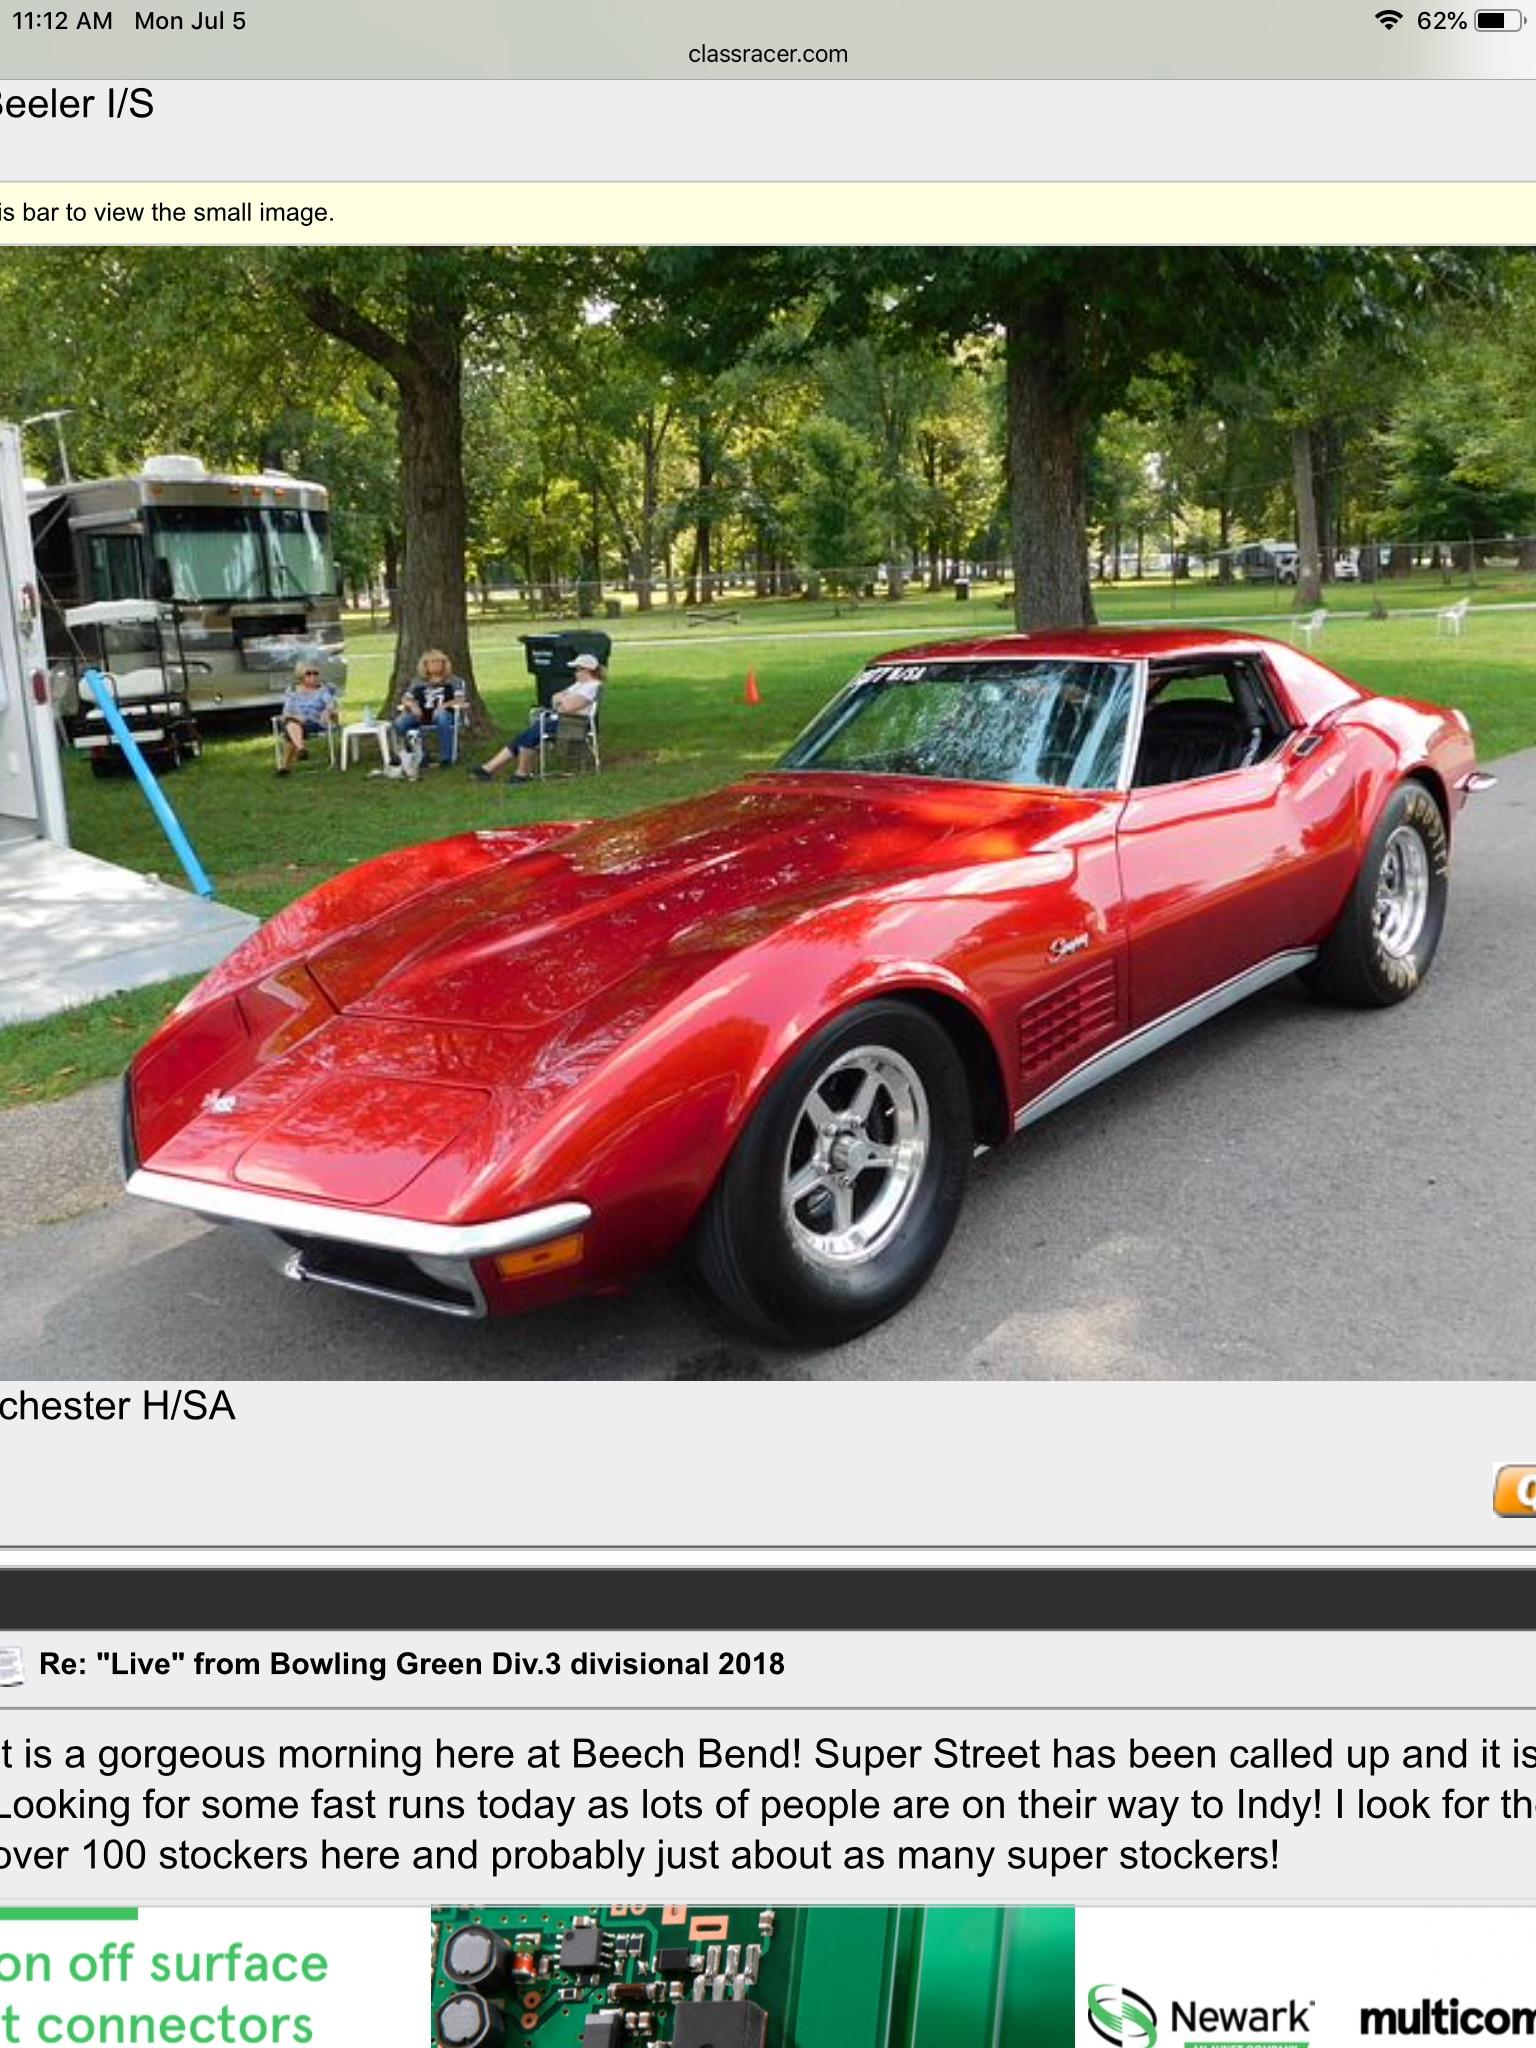
Thanks, Ian. This project was more challenging than I thought it would be. My OCD inclination is not completely satisfied with the results, but are we ever? Still, I learned some things and had some fun. One of my next projects and, possibly, the prettiest Stocker out there.
-
Thanks, guys. Much appreciated.
-
1969 Nova F/SA NHRA Stock Eliminator
R. Thorne replied to R. Thorne's topic in WIP: Drag Racing Models
Thanks, Roger. Your comments are always appreciated. -
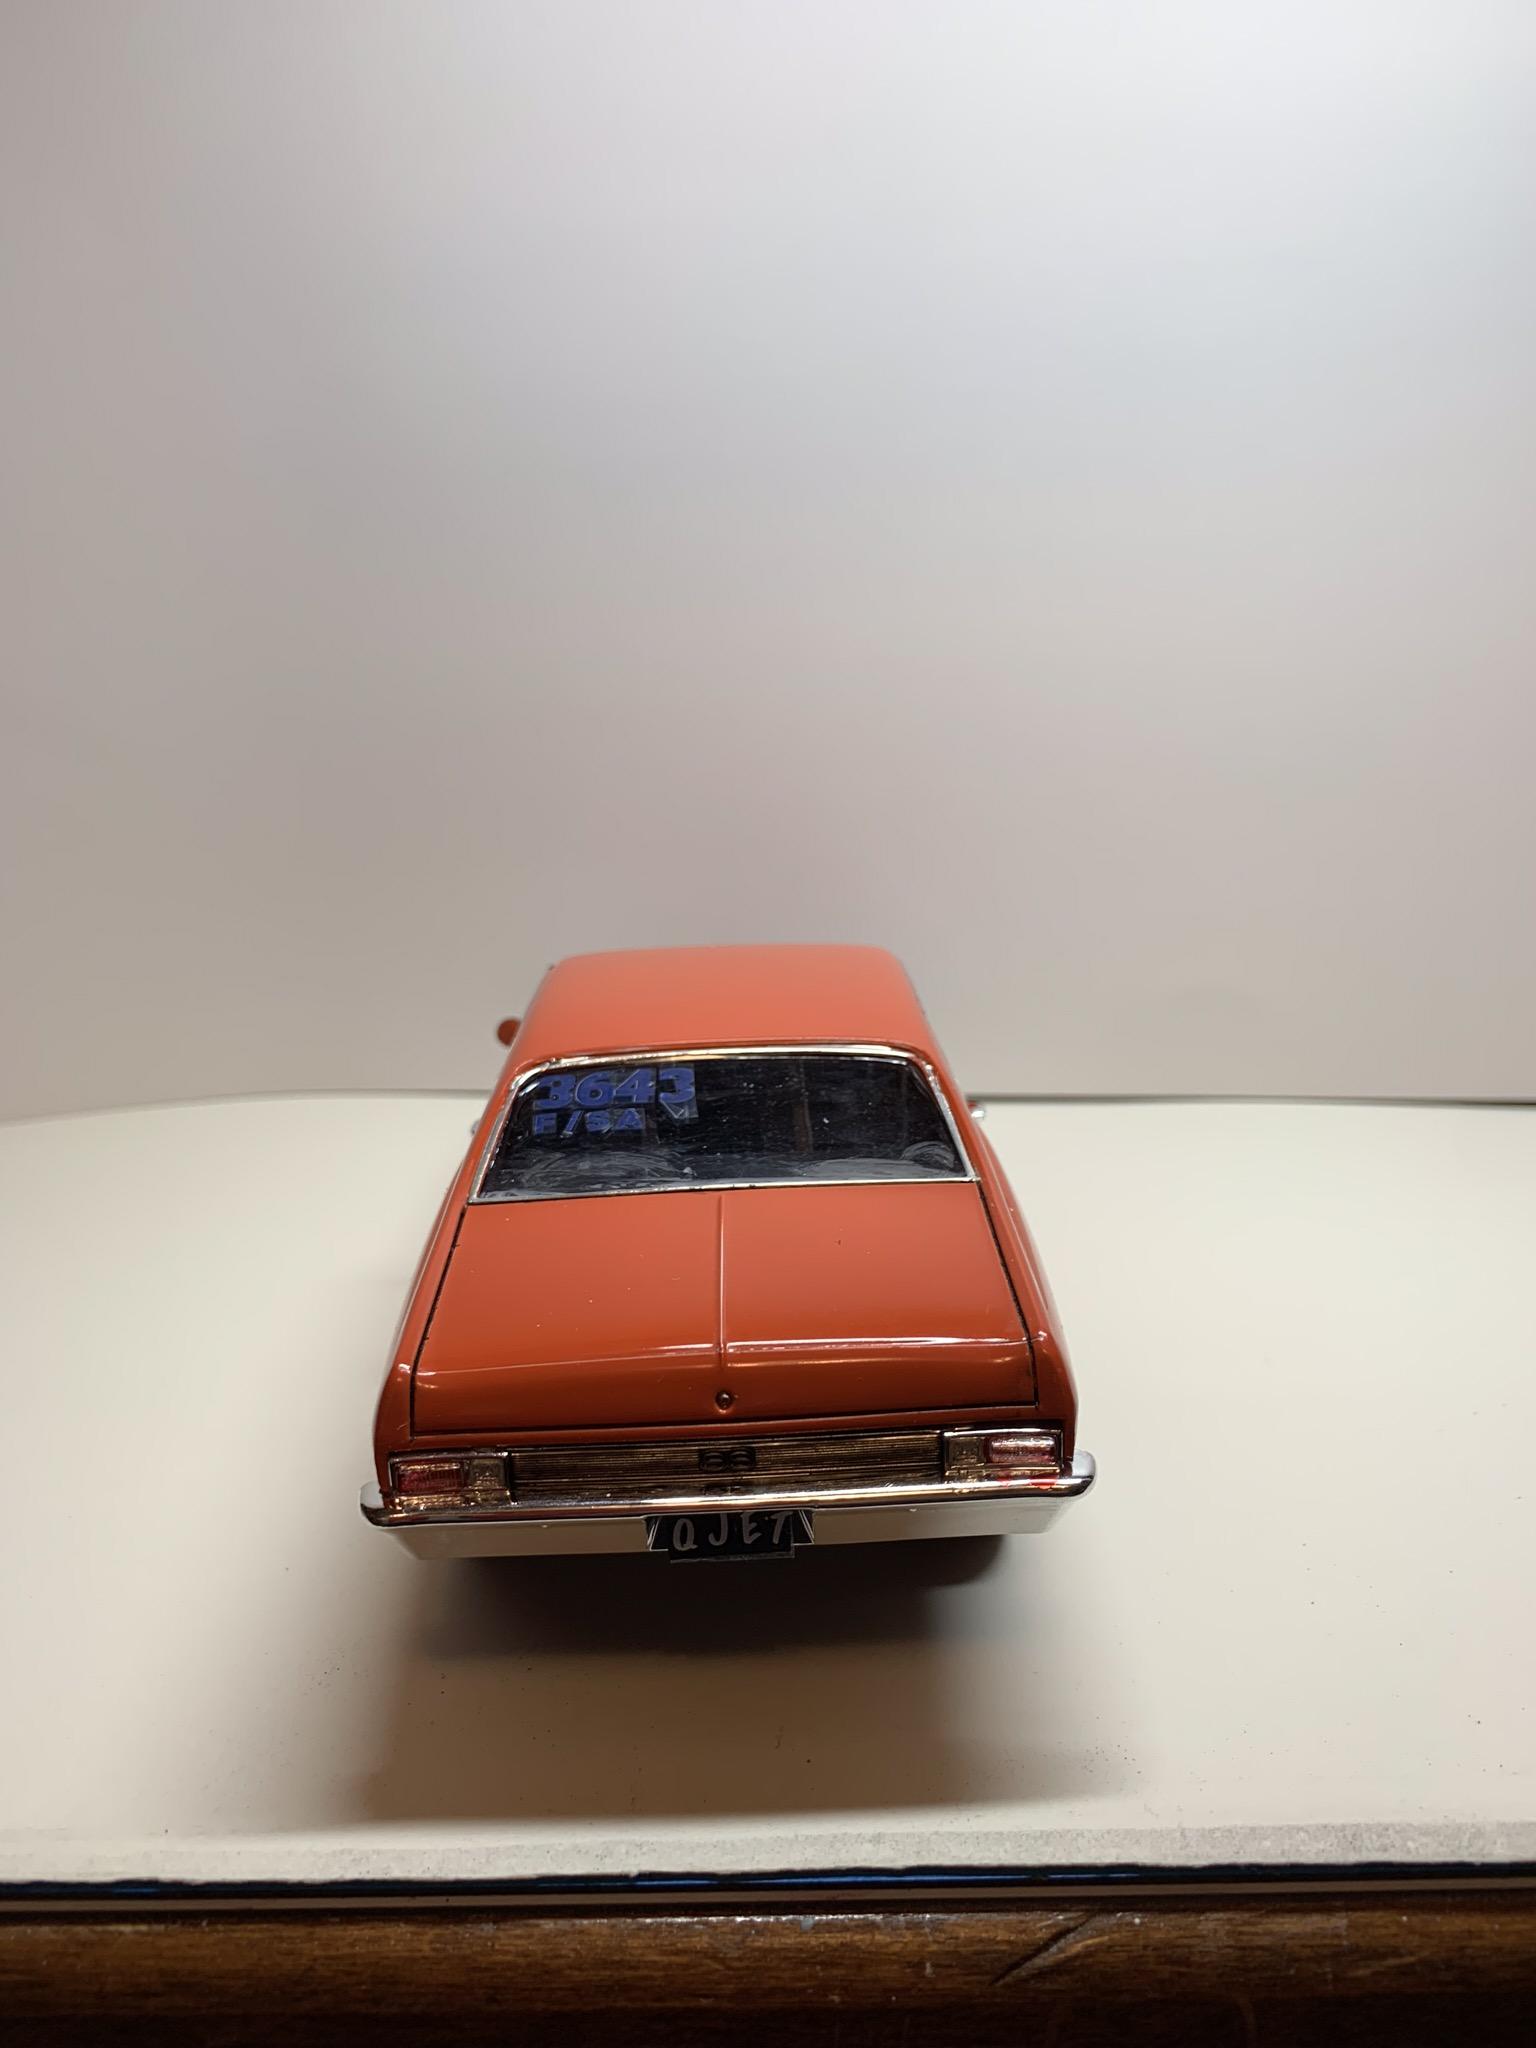
A model I built of a friend’s current Stock Eliminator car. It’s not perfect, but I had fun and some challenging experiences, plus some new tools to try out. More details of the build and numerous pictures of the progress in the WIP thread with the same title. Cheers.
-
1969 Nova F/SA NHRA Stock Eliminator
R. Thorne replied to R. Thorne's topic in WIP: Drag Racing Models
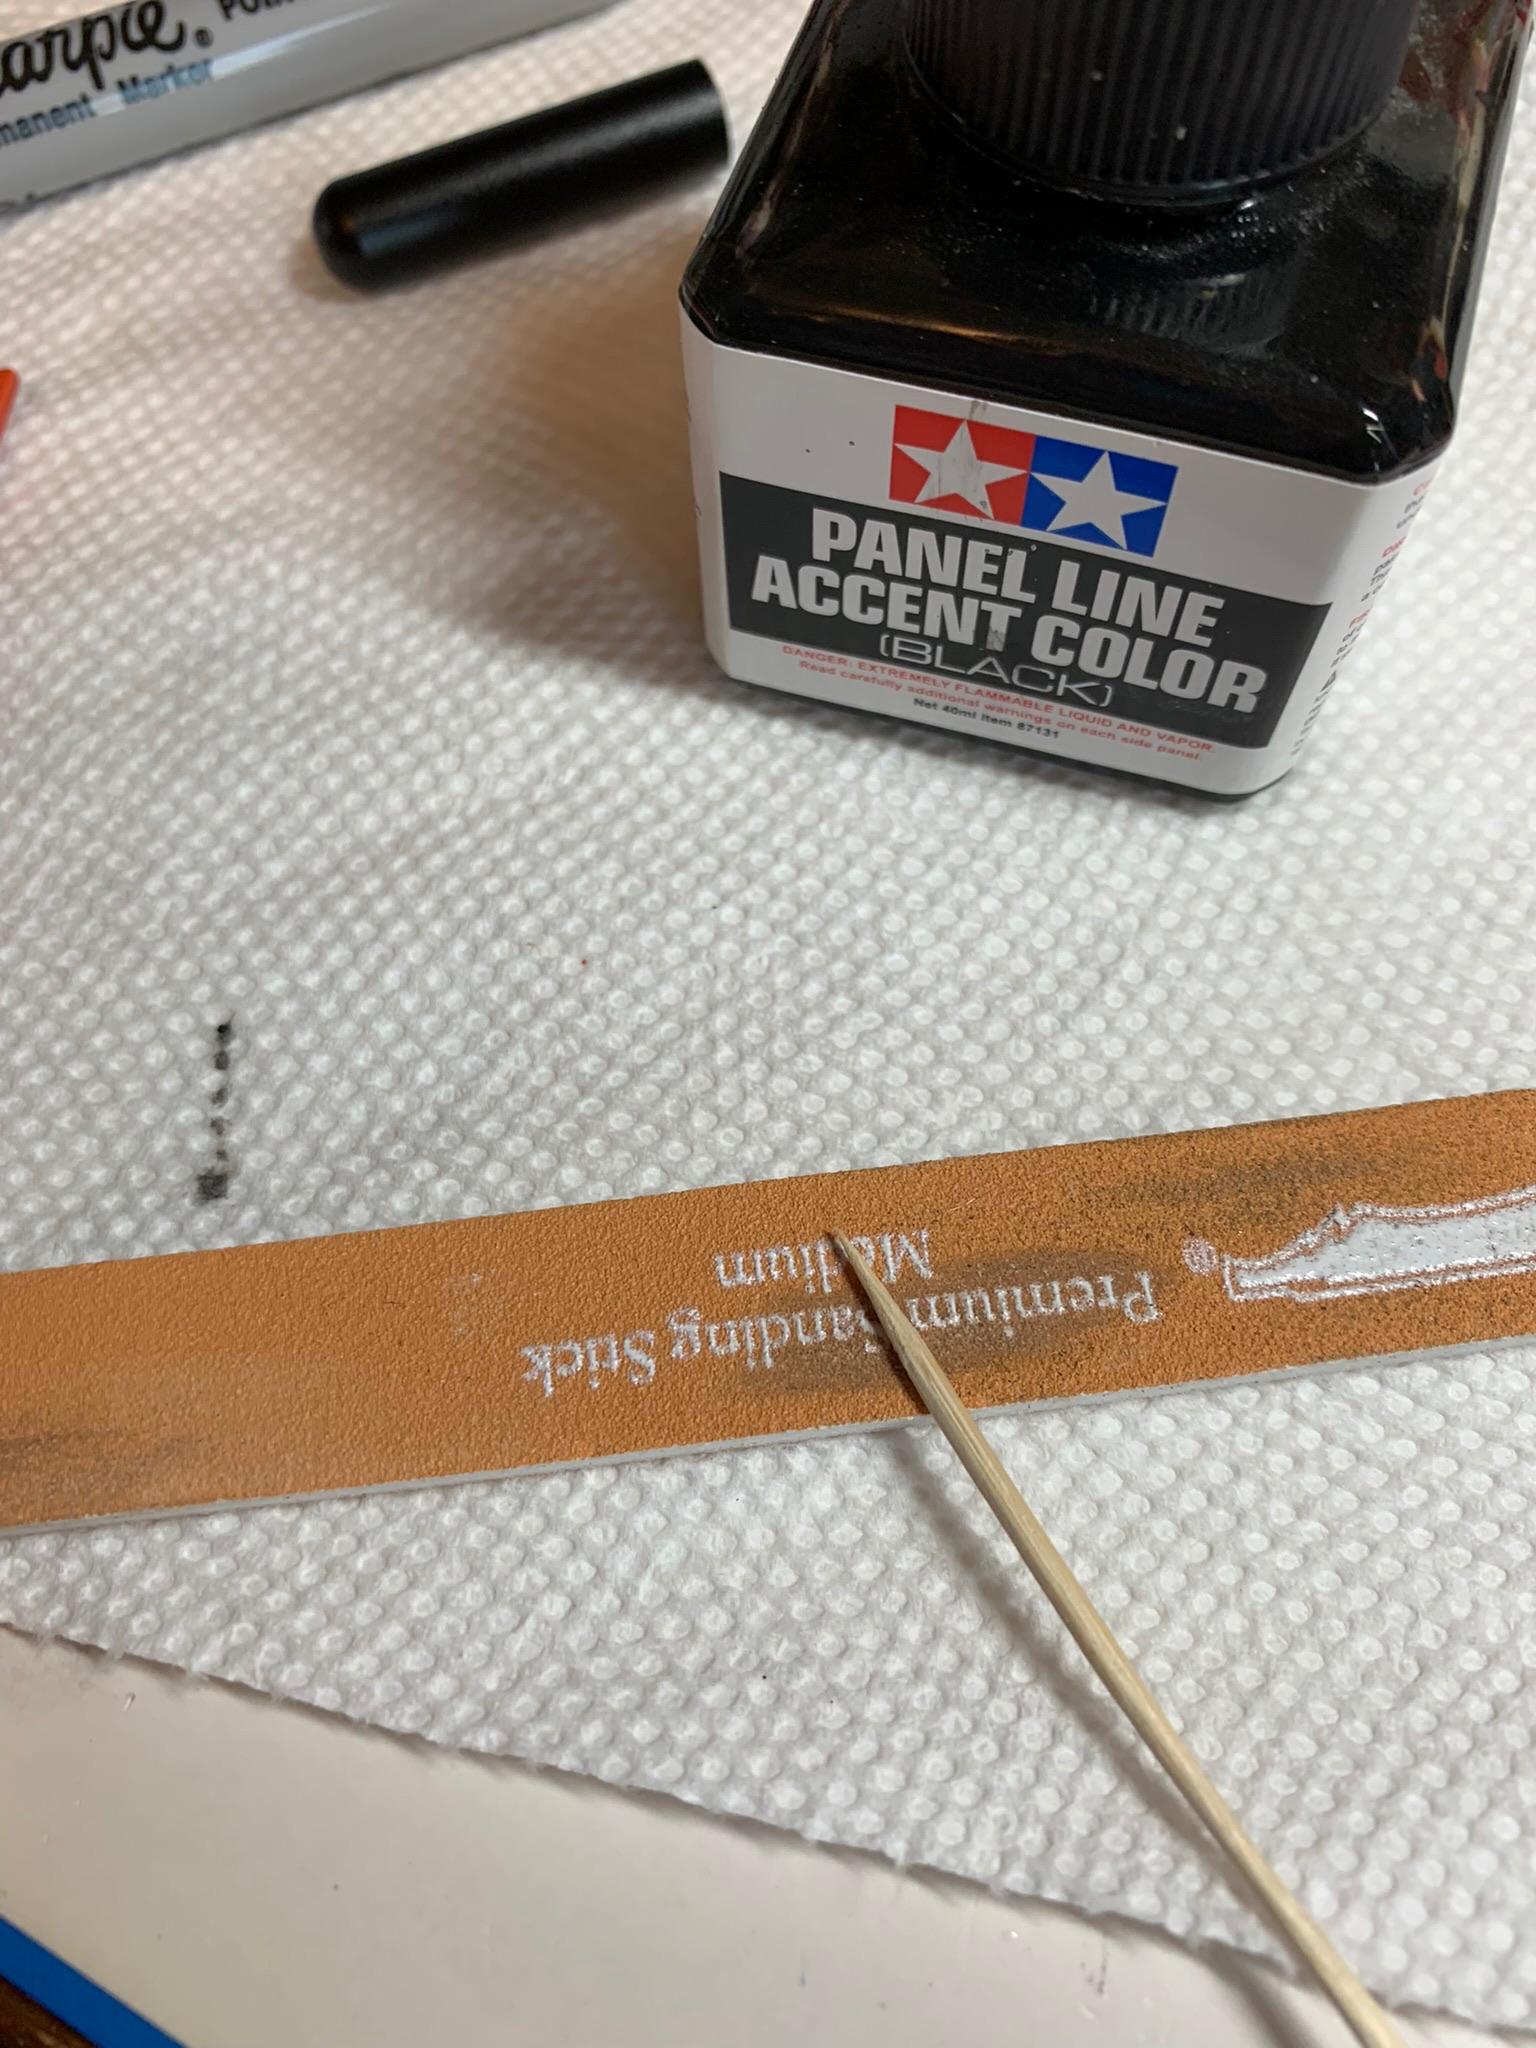
First of all, thanks to all who took the time to look and comment on my build (especially you, Roger). Secondly, for those expecting perfection, sorry, not in my capabilities. I am, however, a constant experimenter and curious fellow about all things. That comes with obvious rewards and pitfalls. Anyway, I am done with this model. Put the pesky mirror on (drilled out the mirror back so the nub would go in, removed paint and chrome and used modelmaster cement). Tried out the fountain pen style Dspiae tool and did the panel lines with it (after scraping them out on the doors with a sharpened toothpick). Forgot to do that on the trunk and it shows. I am not really thrilled with the looks (too dark, may soften it a bit on my next build). Very little cleanup with the pen. I like it. Will get some finished pics up in that section. Thanks for looking.
-
Mr. Hobby has a similar base white in a 180ml can.
-
1969 Nova F/SA NHRA Stock Eliminator
R. Thorne replied to R. Thorne's topic in WIP: Drag Racing Models
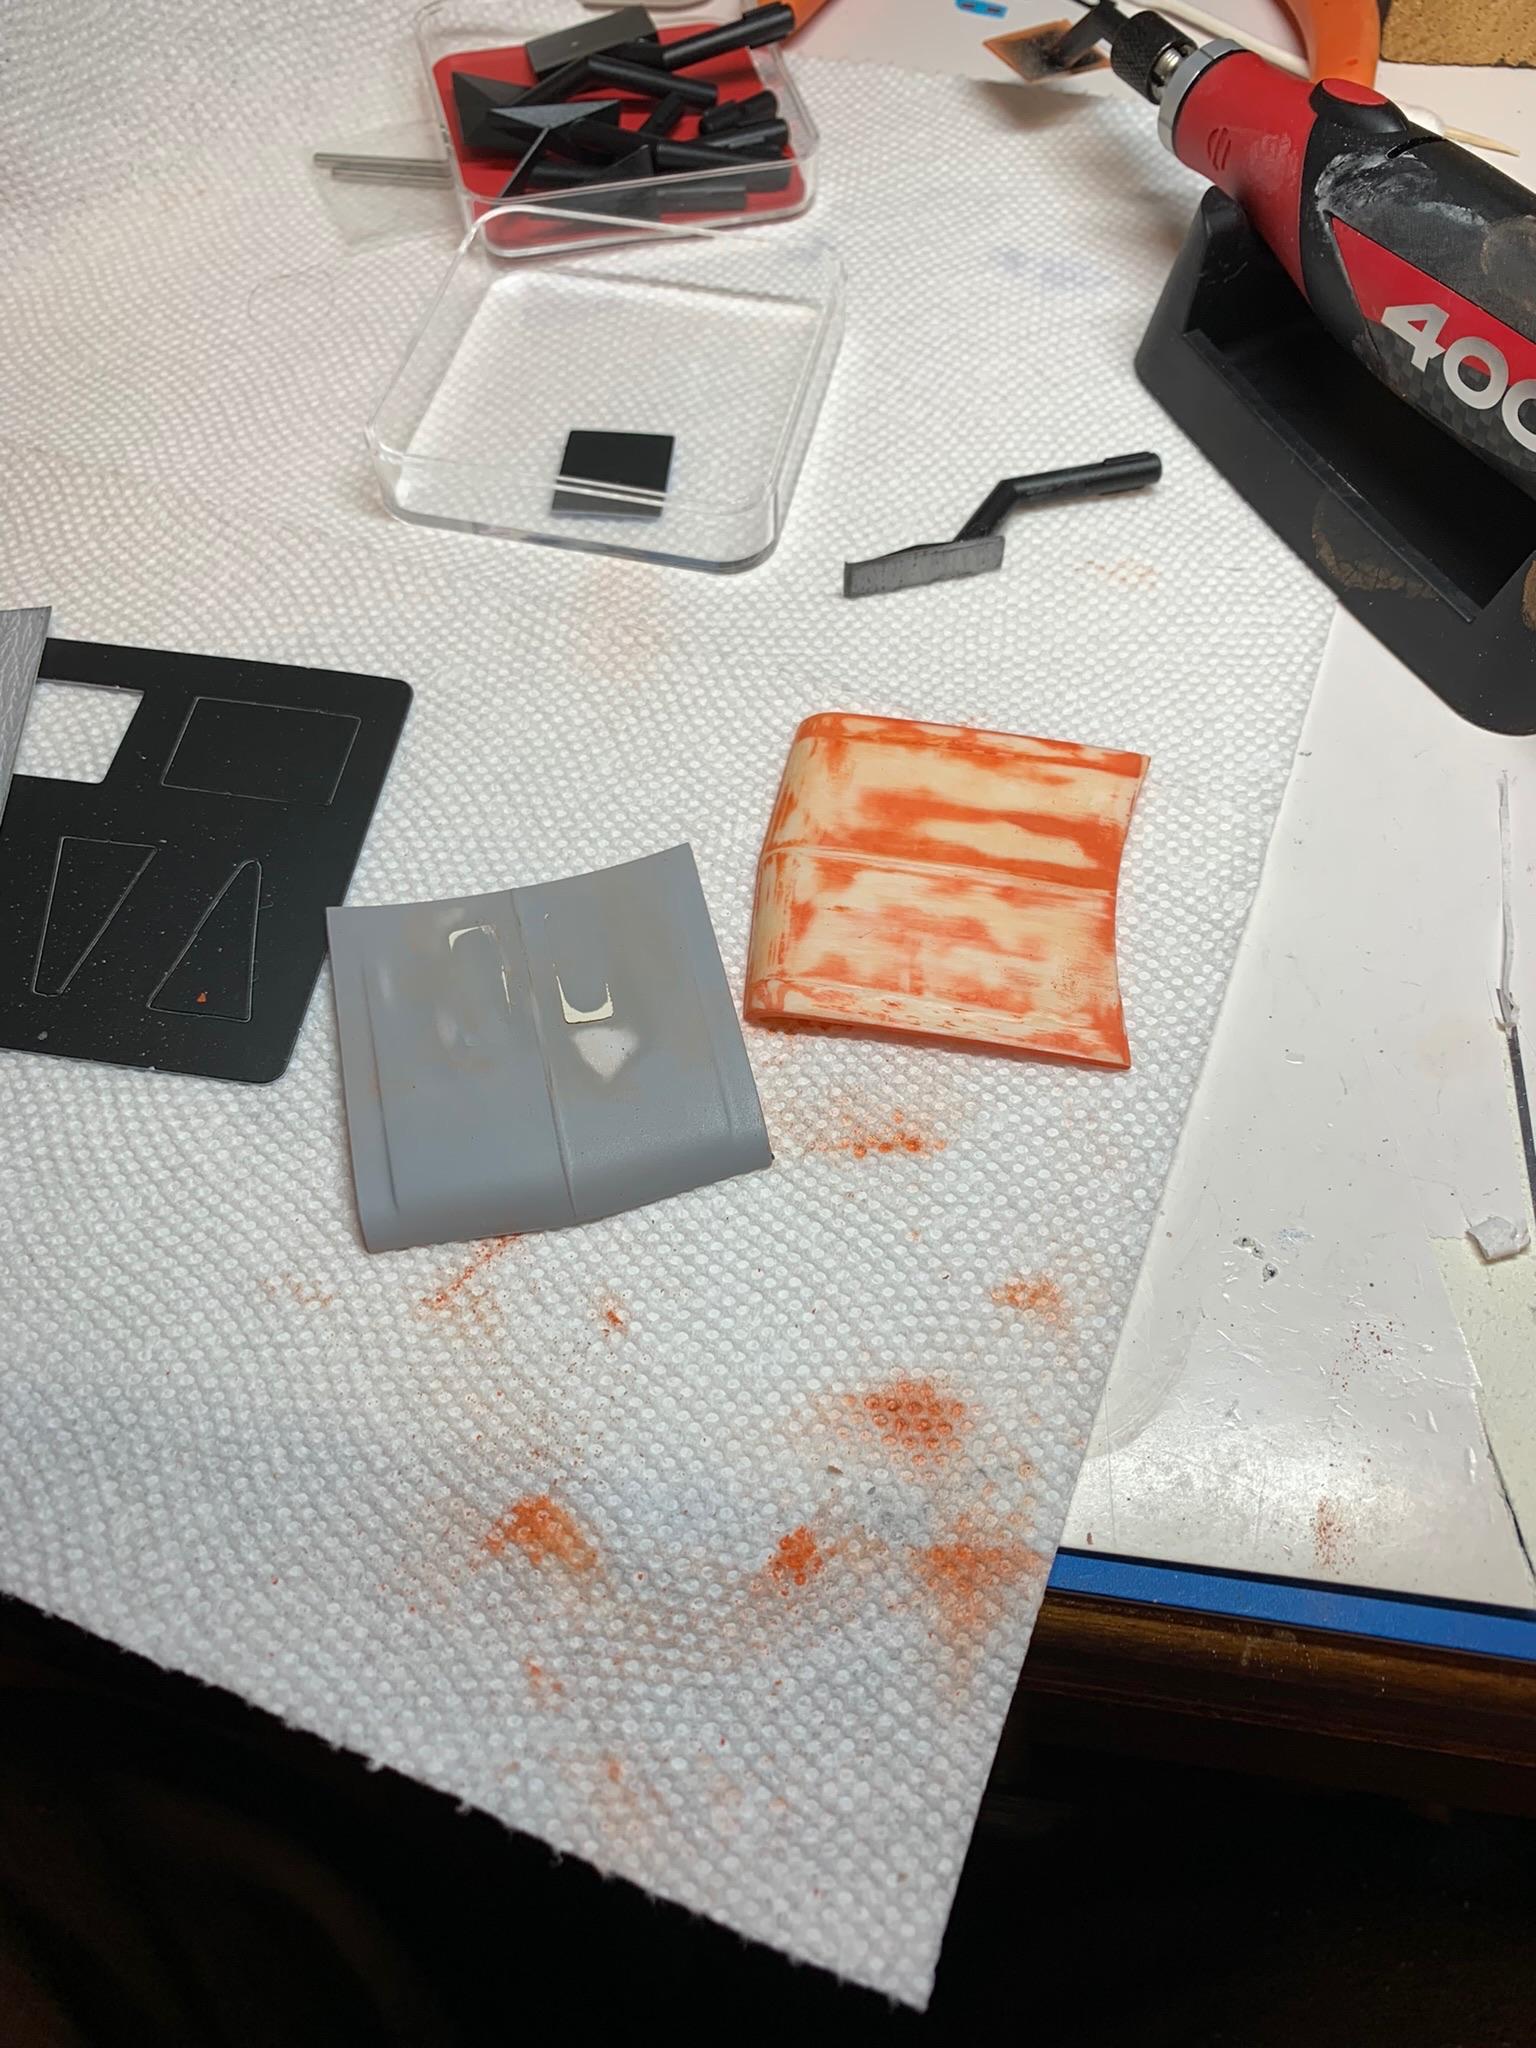
Put rear bumper on, then looked for hood and remembered it was still in the alcohol tank. Cleaned both hoods up, ran the sander over them. Now they’re ready for primer.
-
1969 Nova F/SA NHRA Stock Eliminator
R. Thorne replied to R. Thorne's topic in WIP: Drag Racing Models
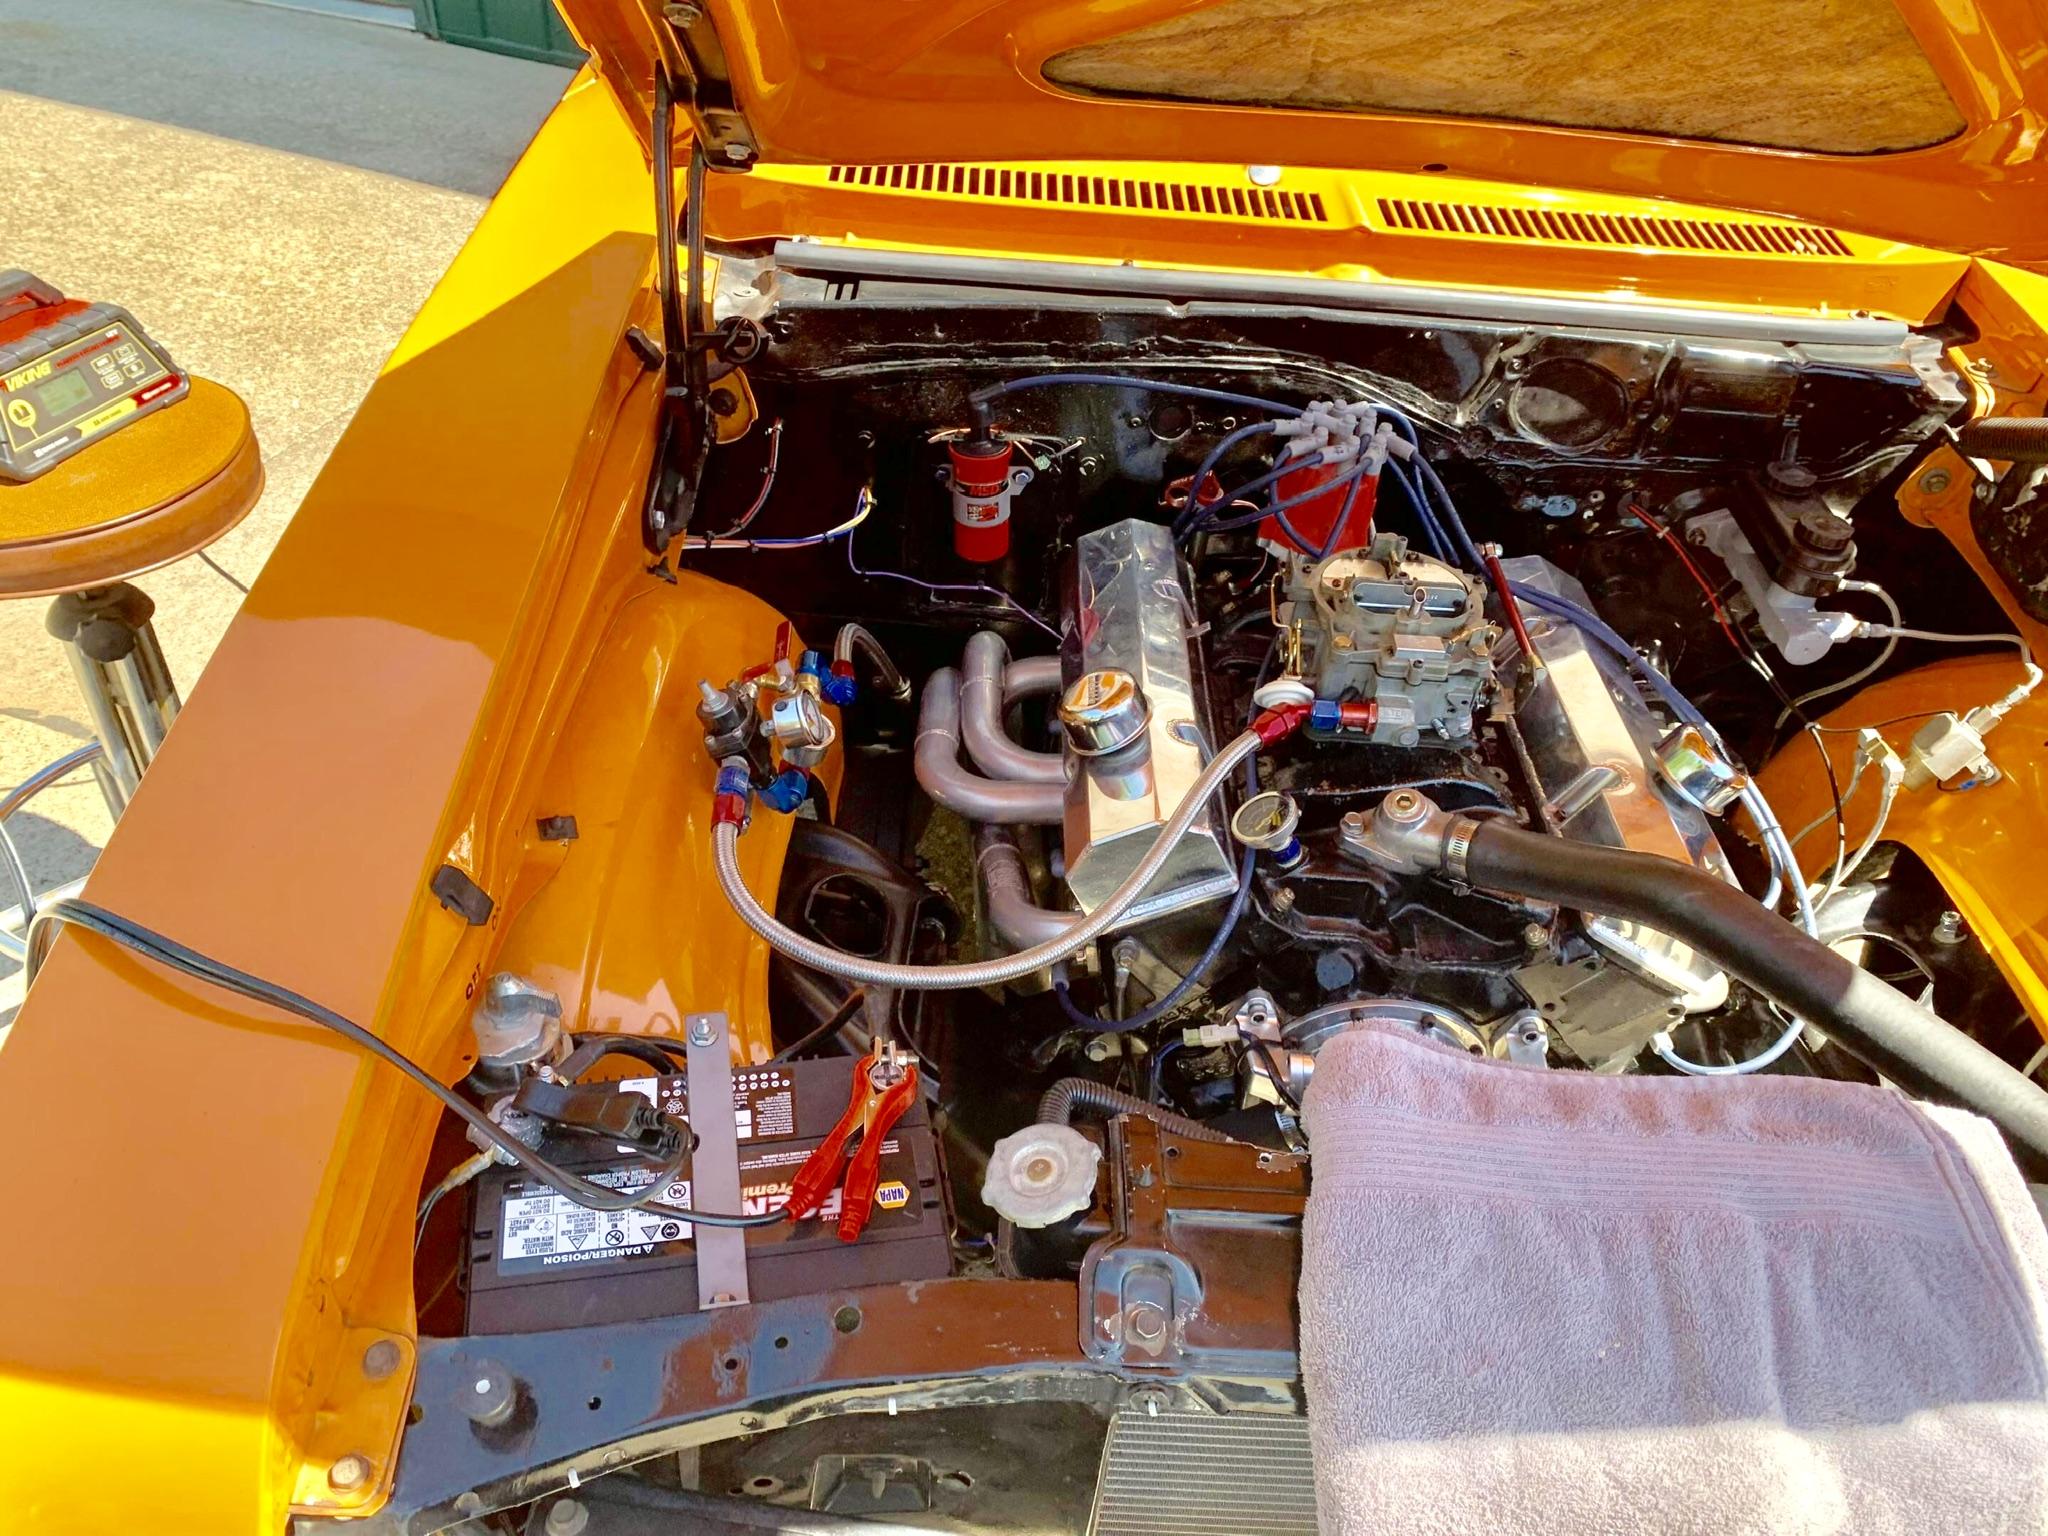
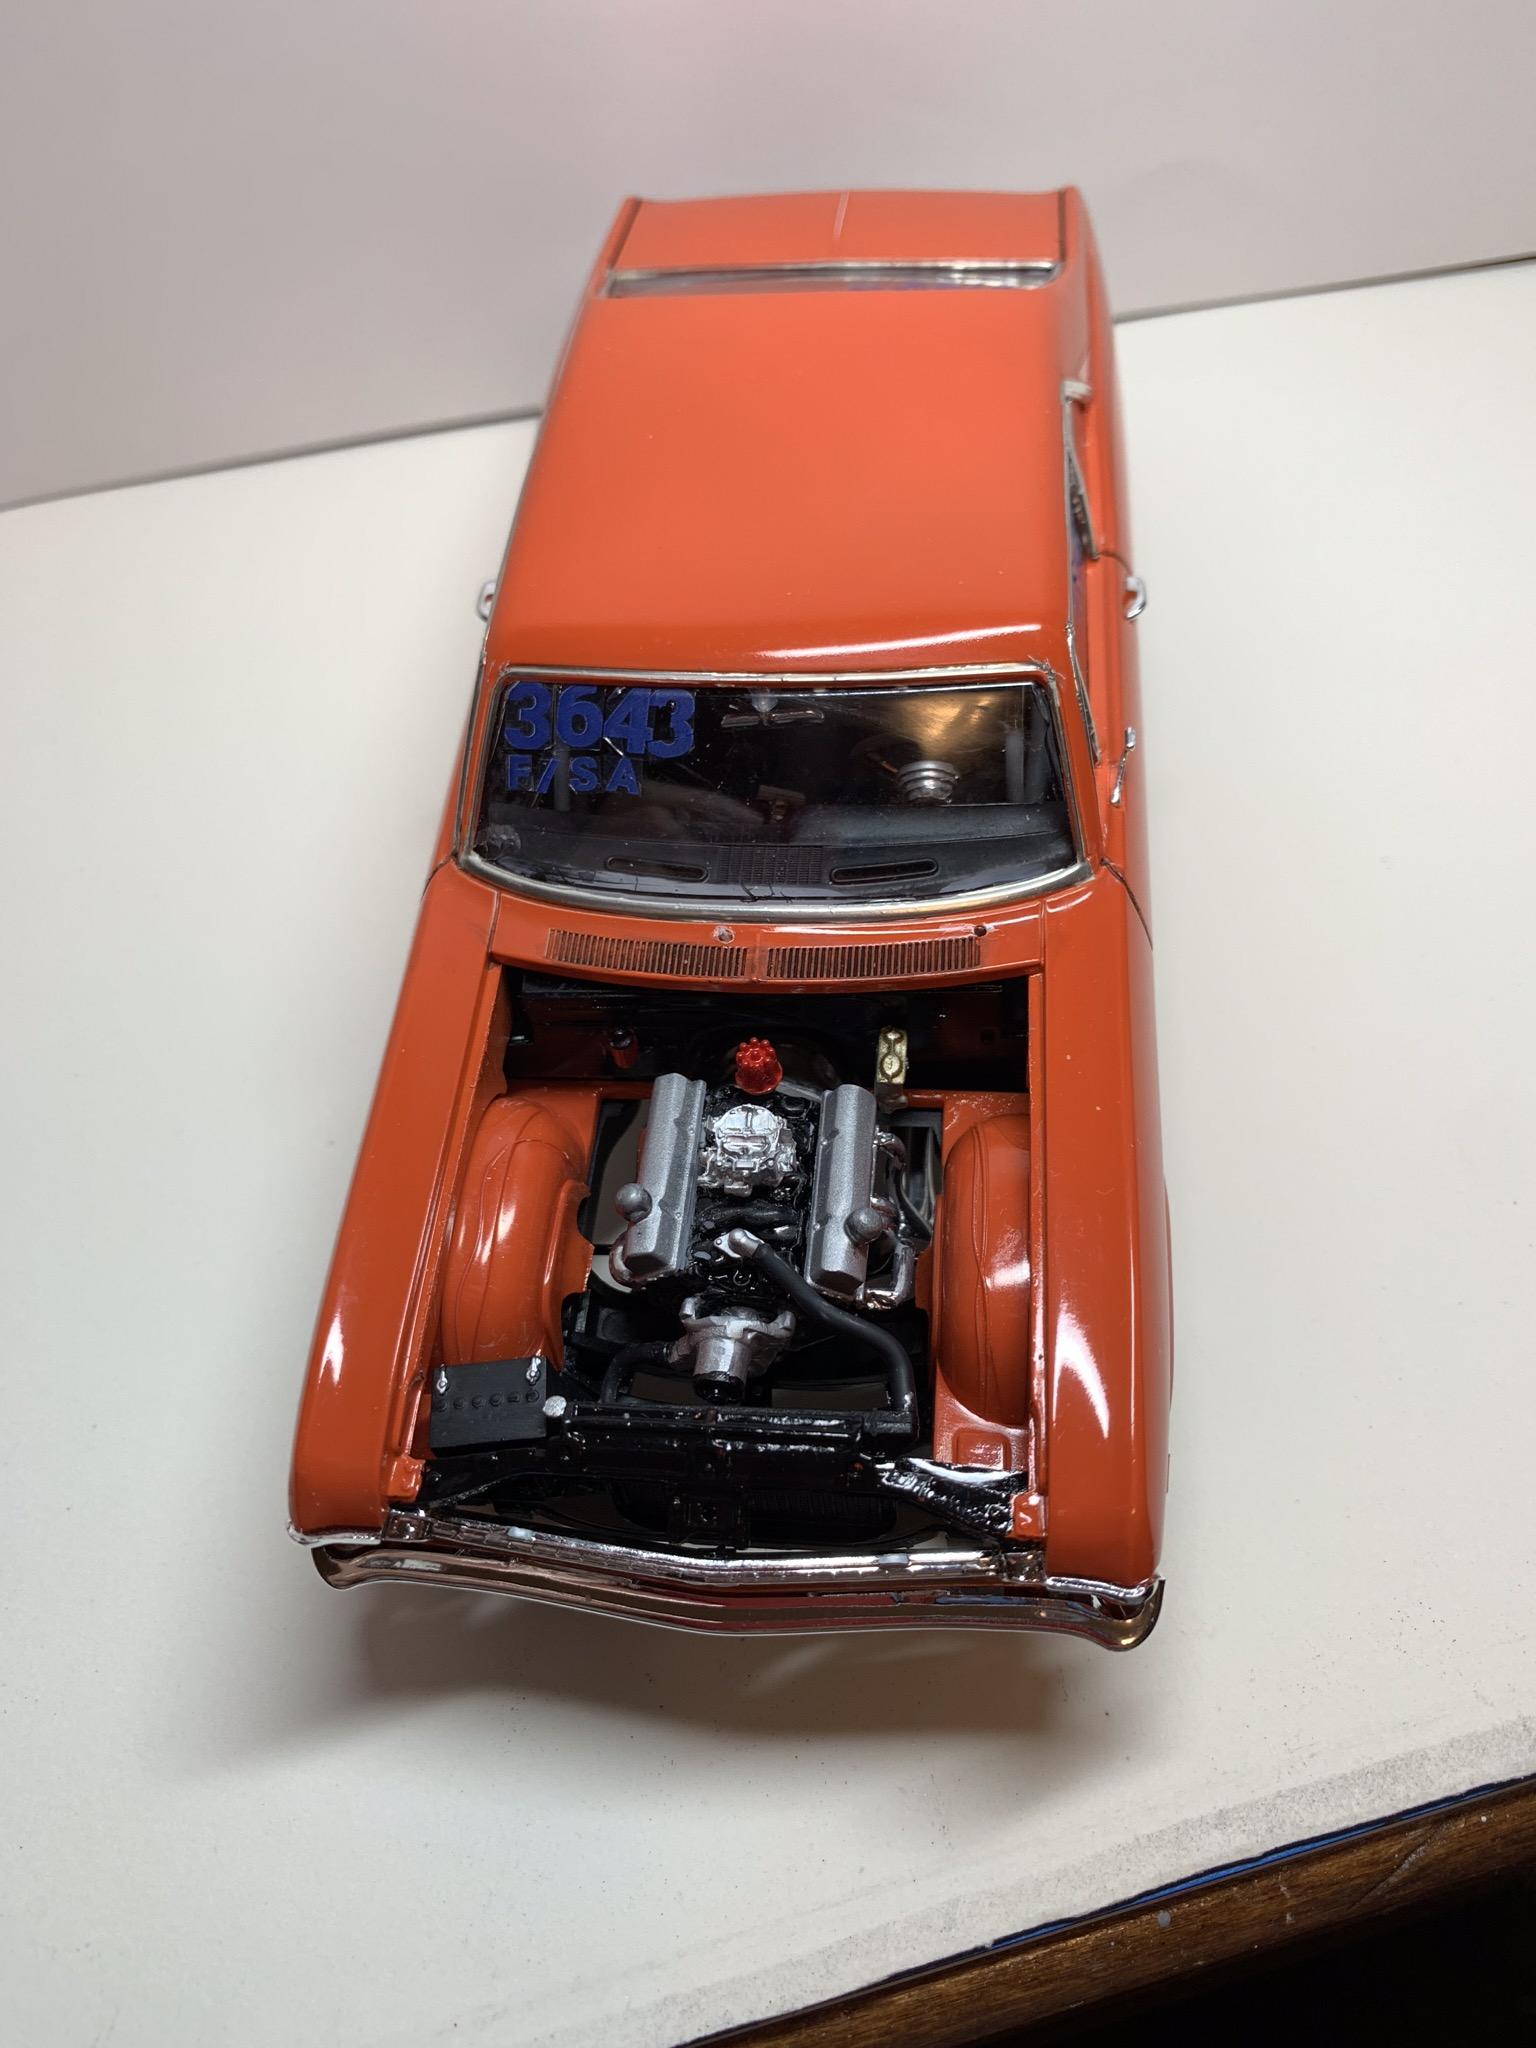
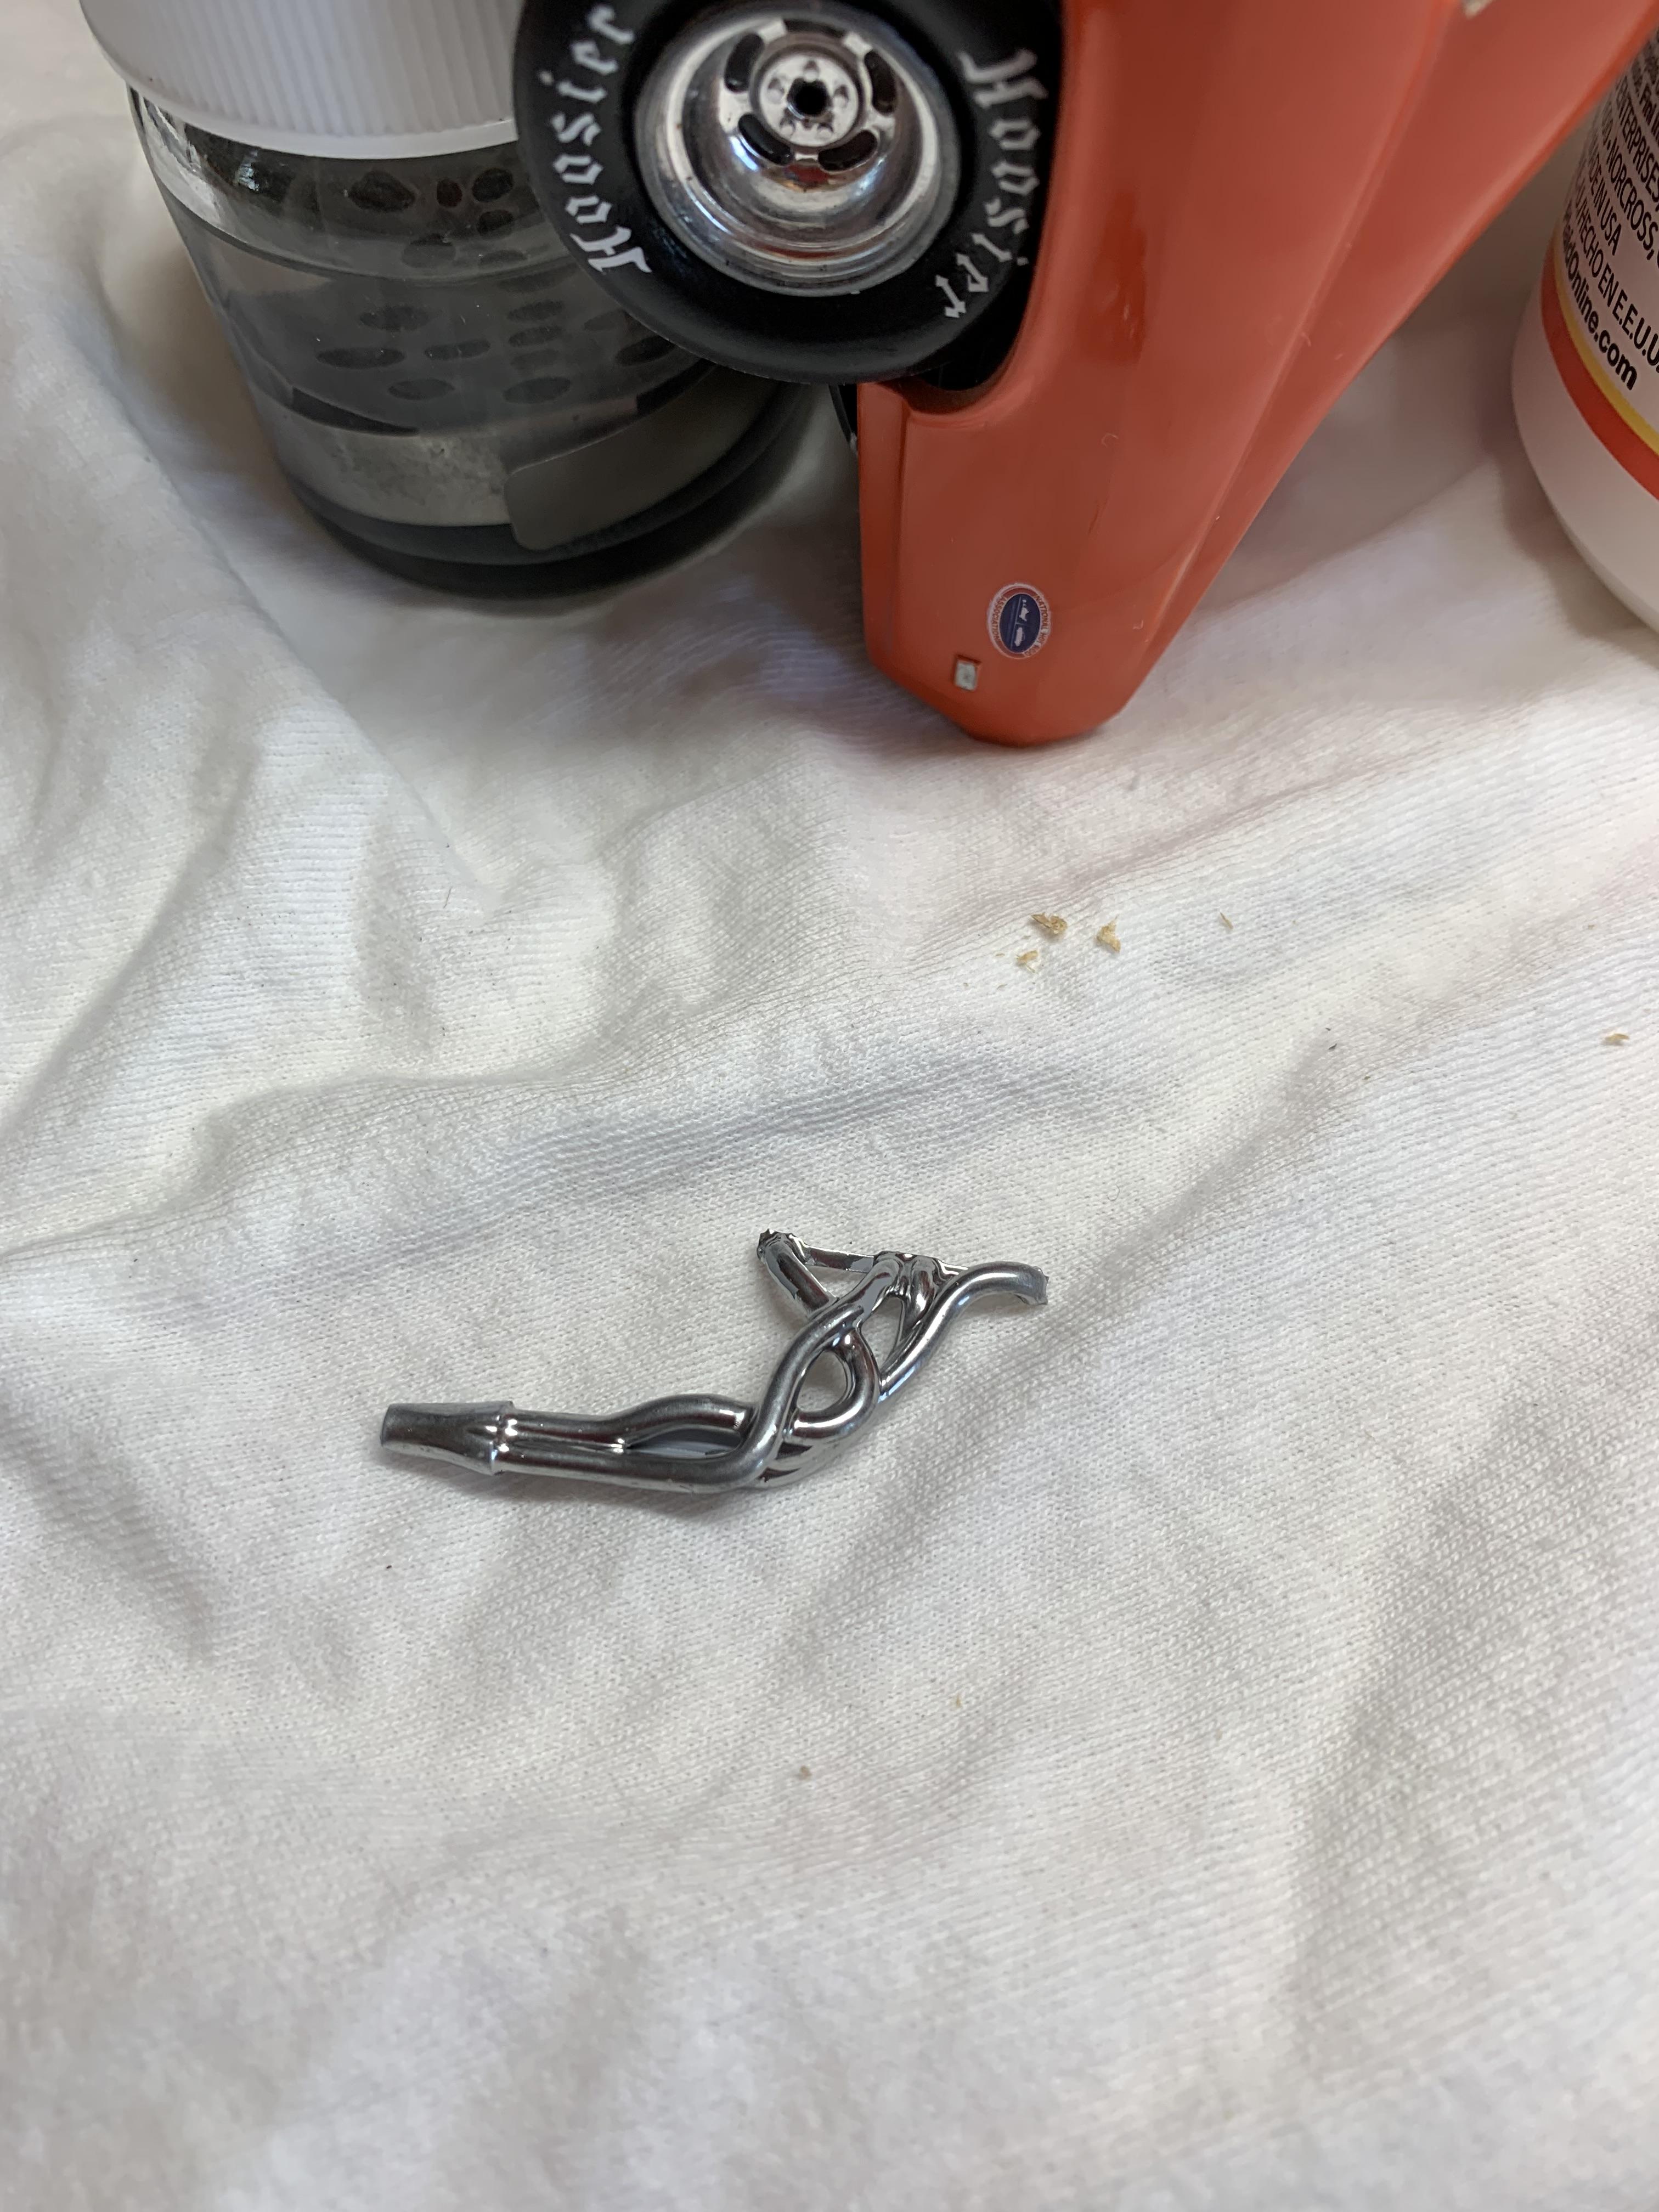
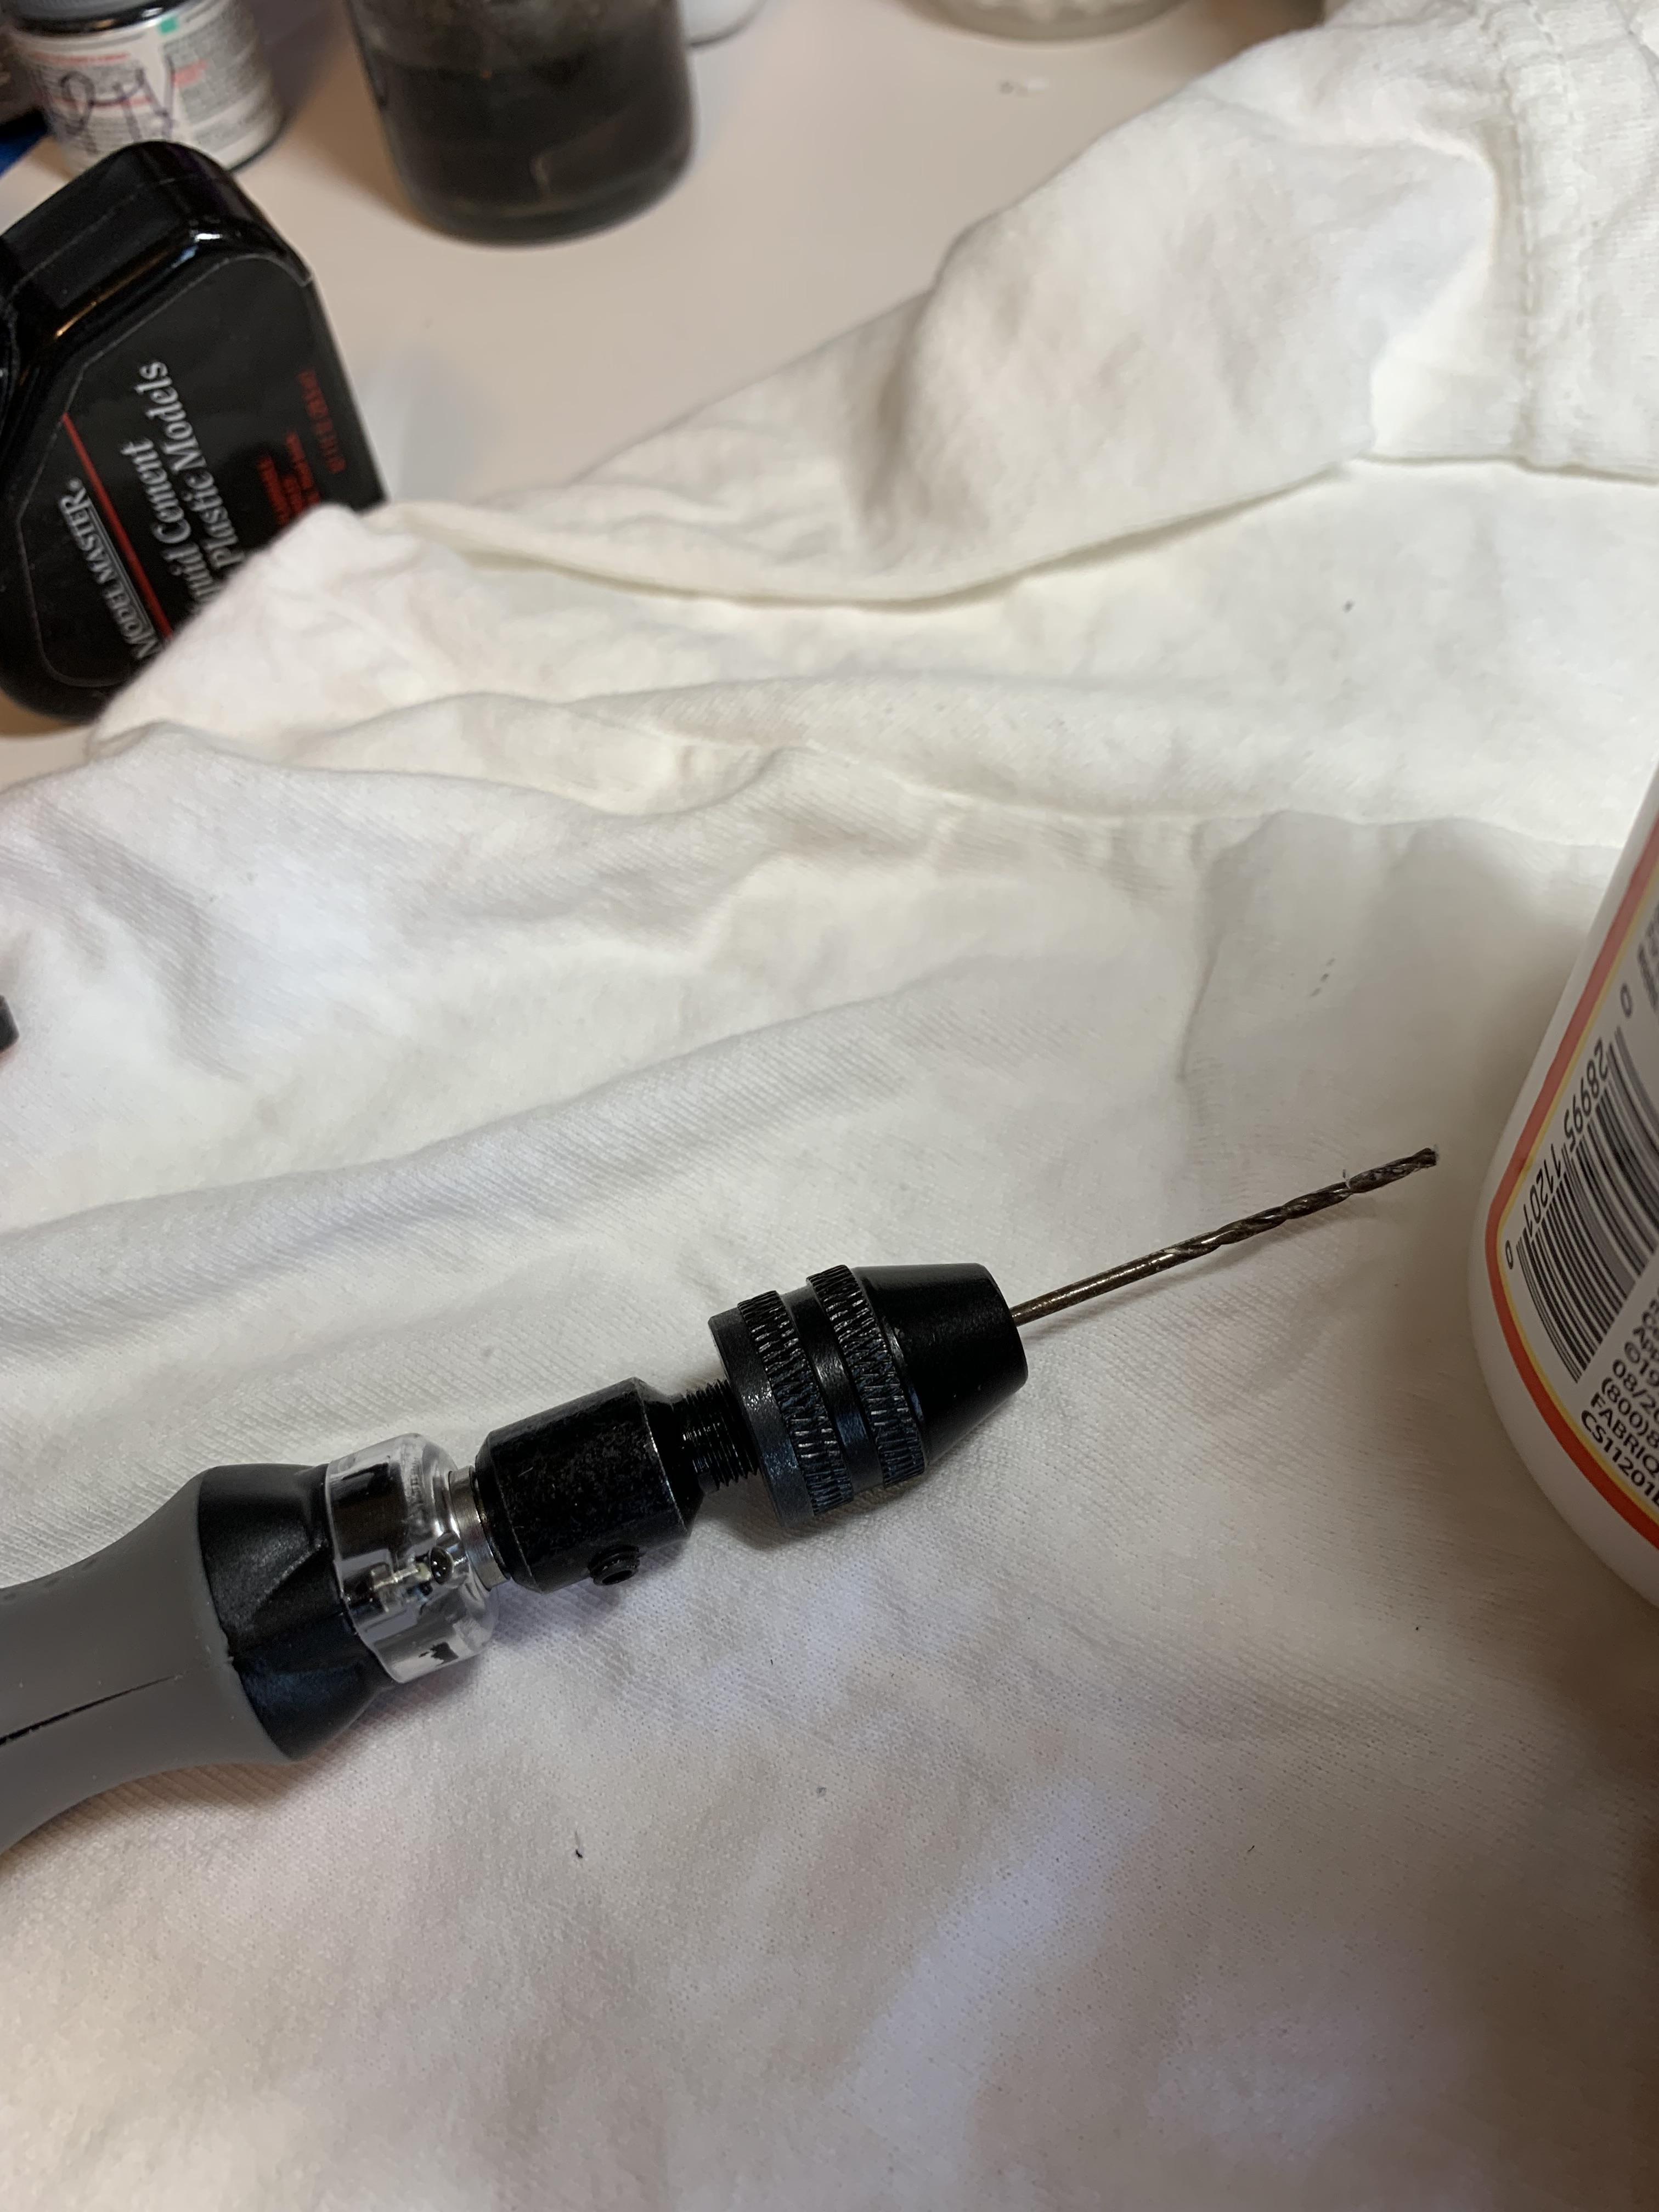
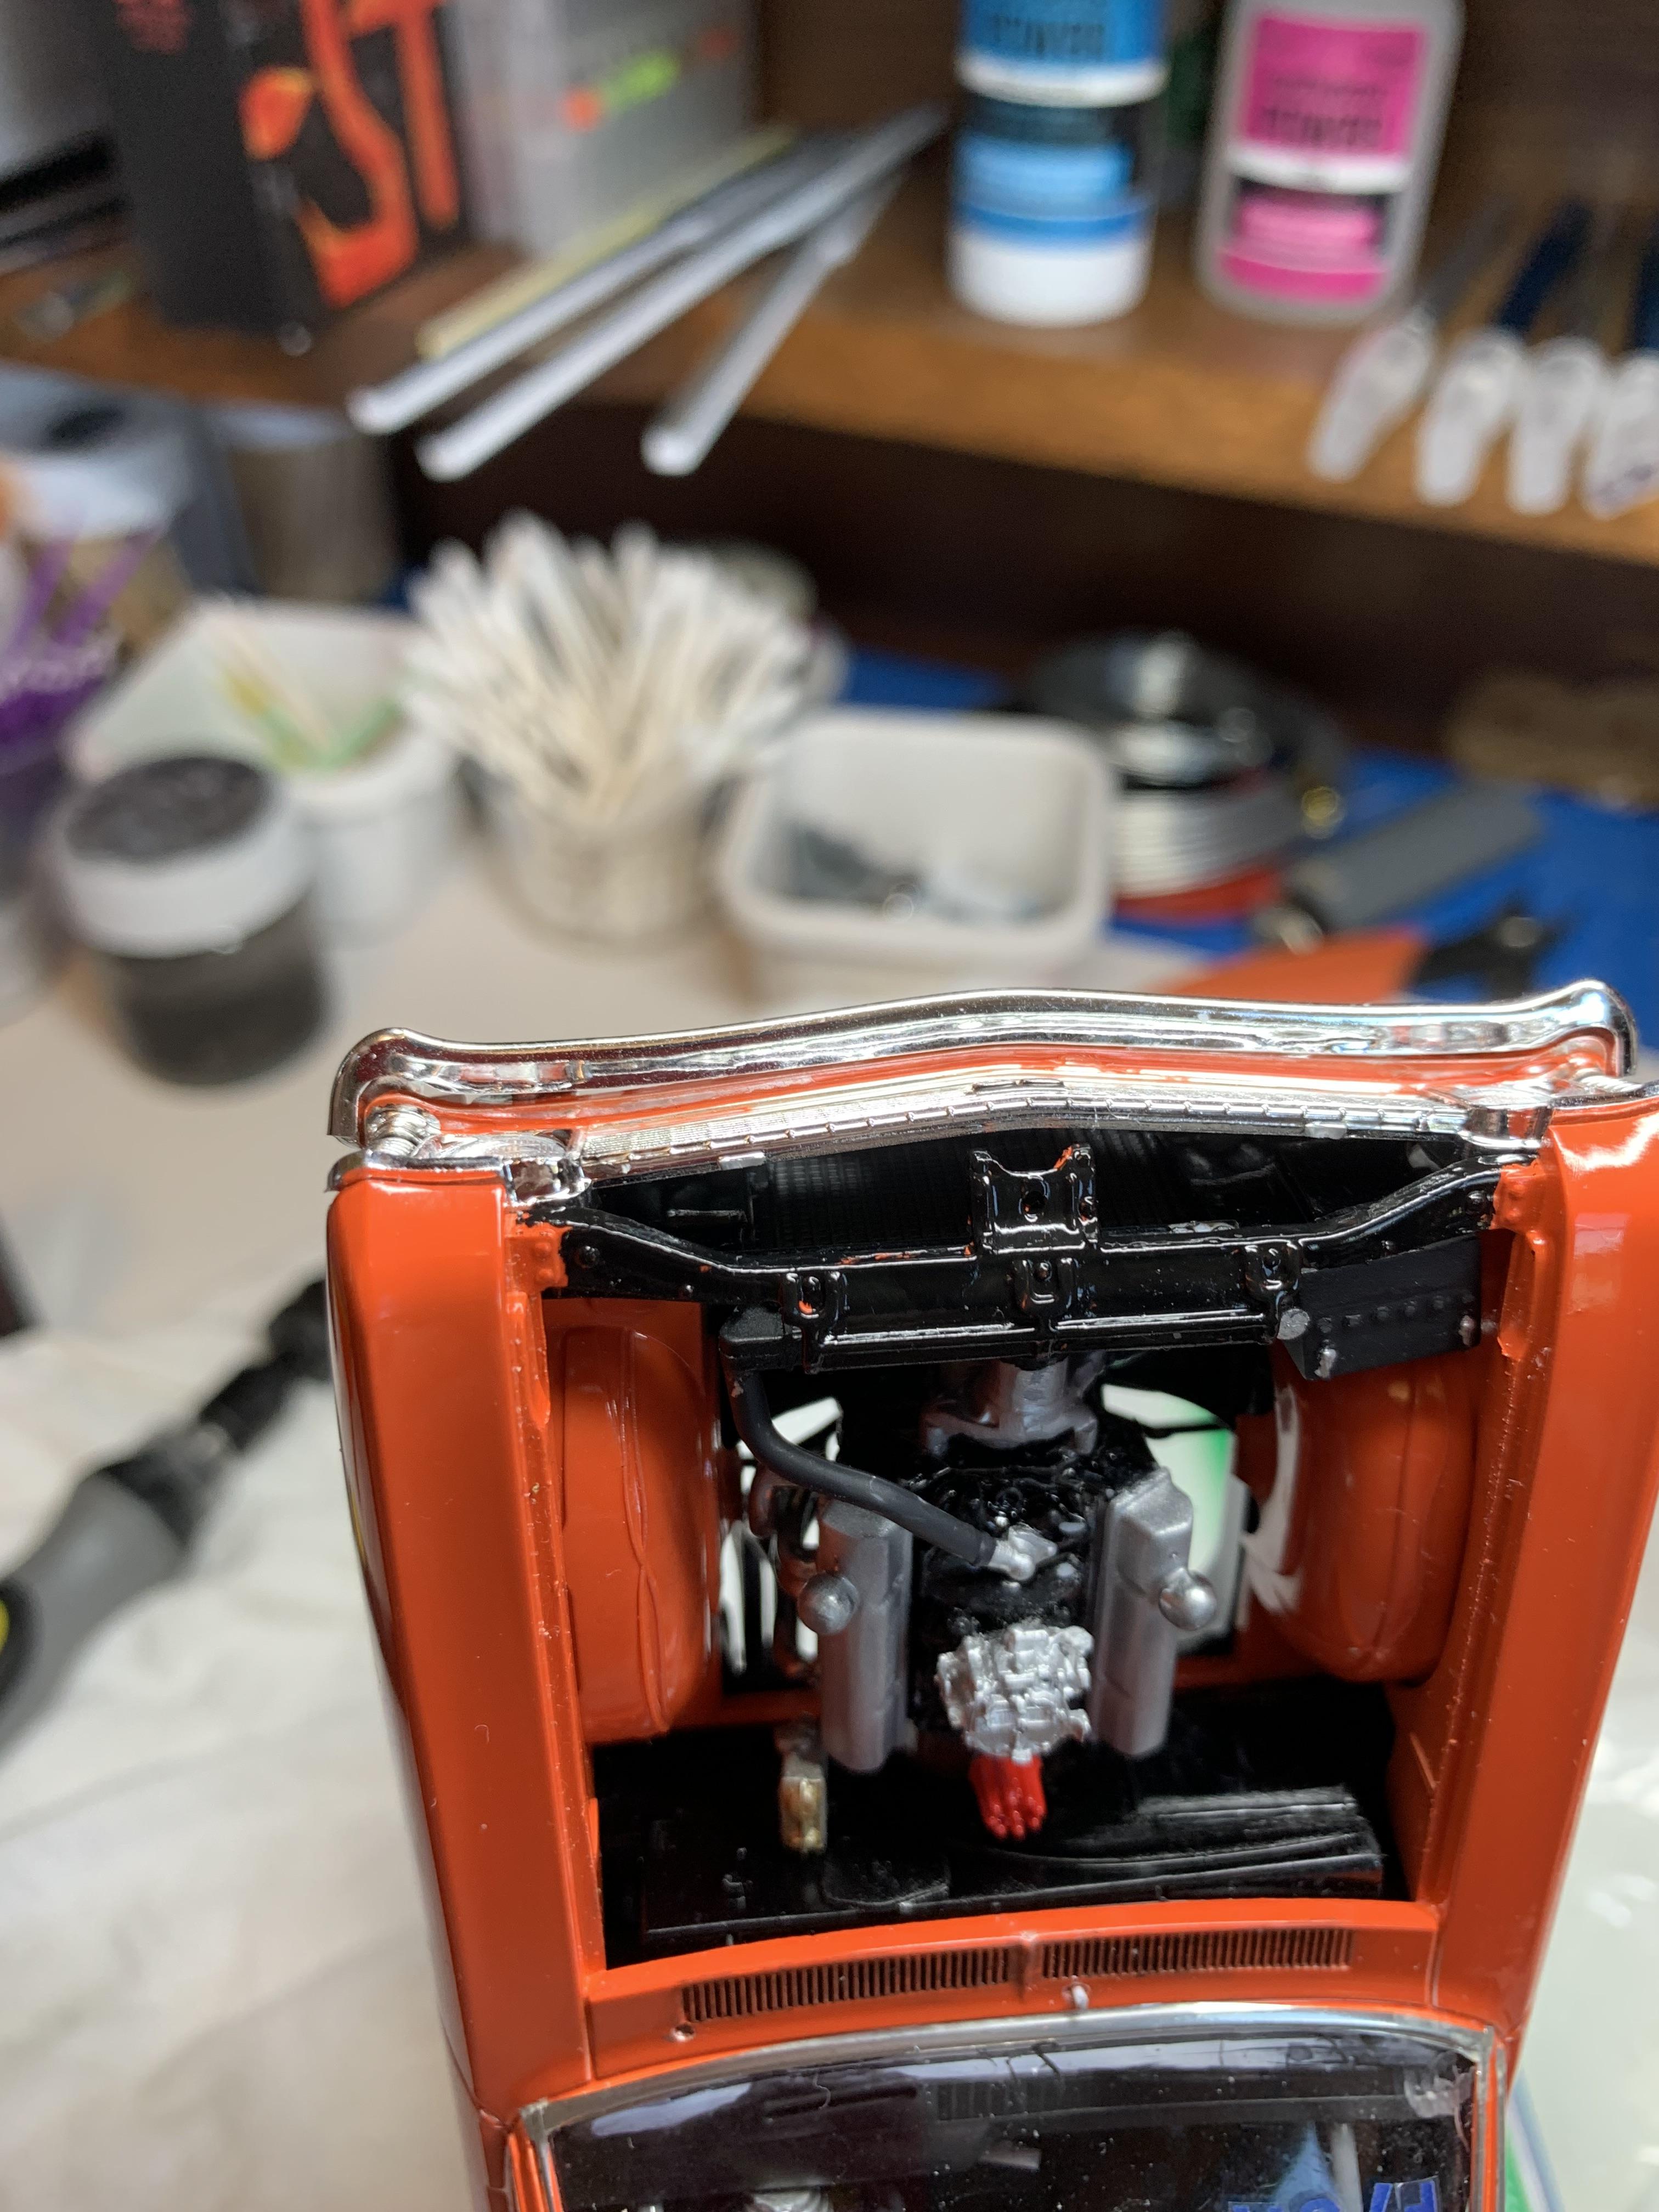
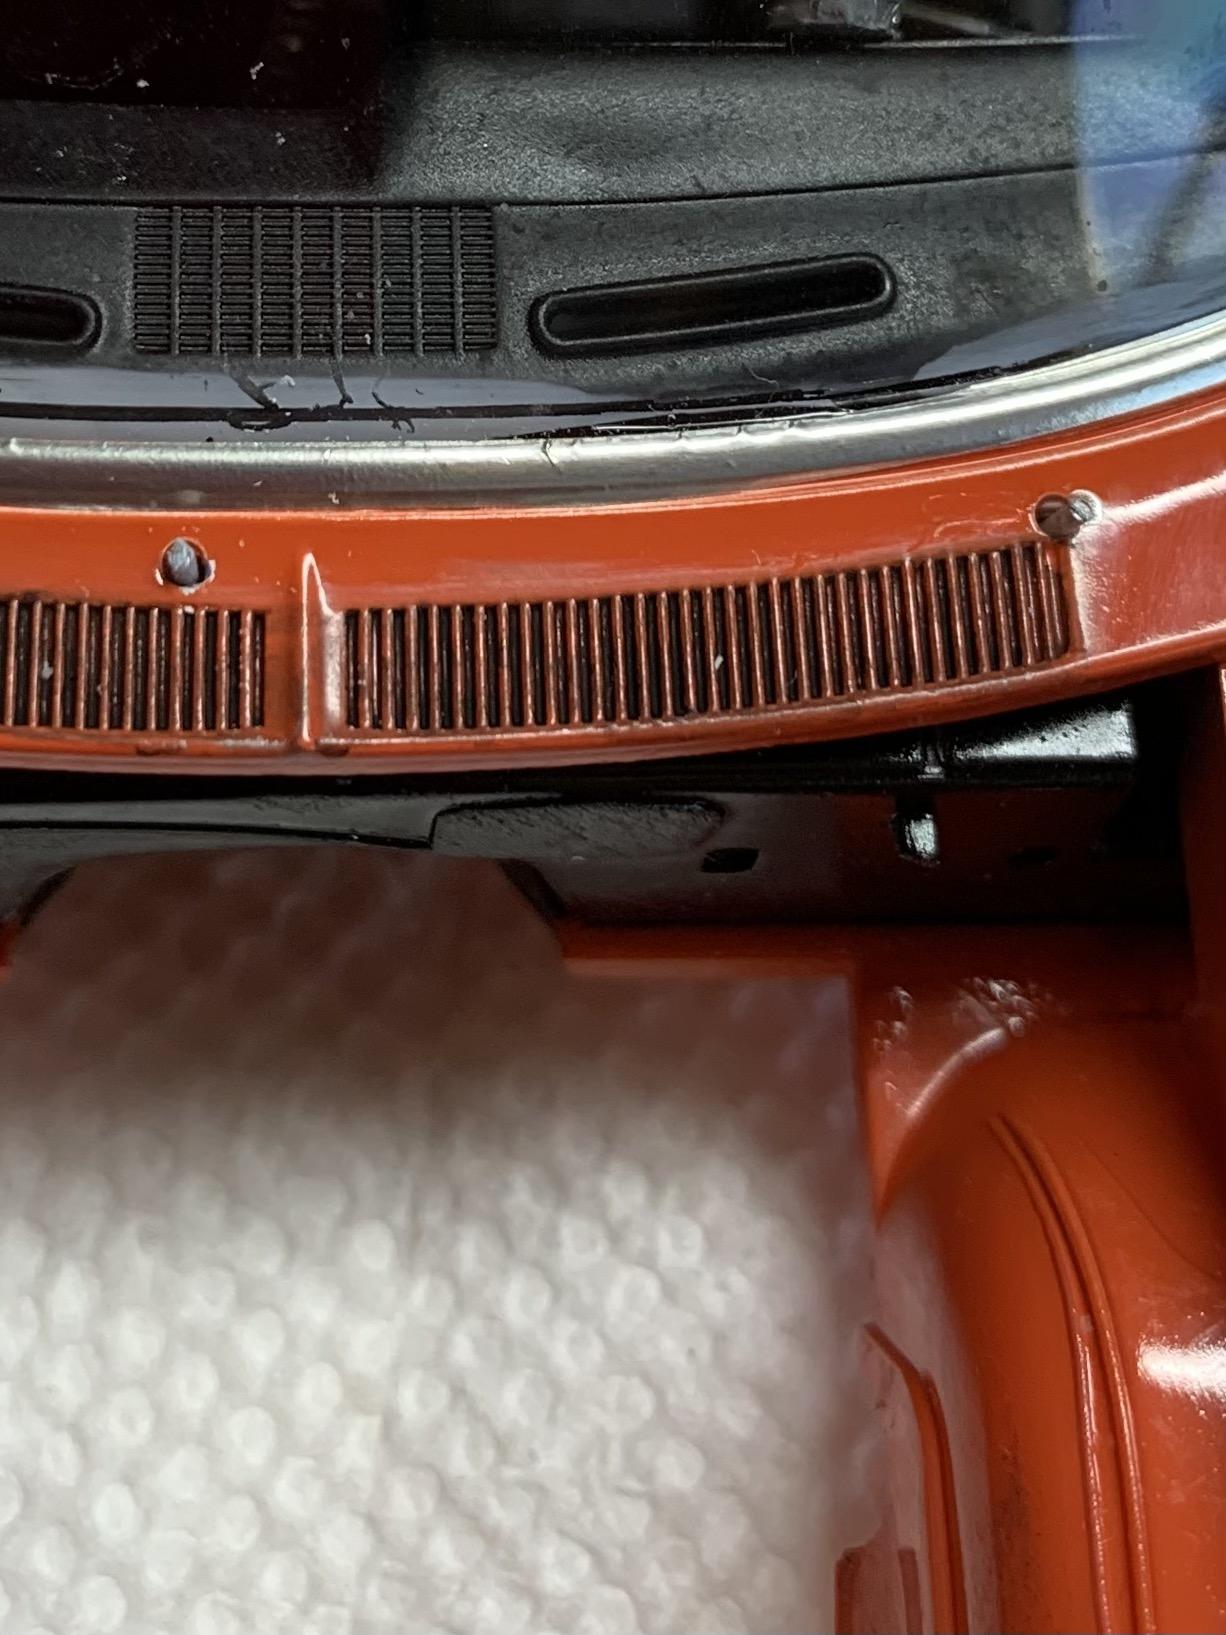
Sometimes it’s 2 steps forward and 1 step backward. In the process of installing the front bumper/grille assembly, the right side header fell off. Then, forgot to drill the hole for the master cylinder (as no booster is used). My low speed drill saved me there. Got the top radiator hose on, next is the coil on the firewall.
-
Speechless!
-
1969 Nova F/SA NHRA Stock Eliminator
R. Thorne replied to R. Thorne's topic in WIP: Drag Racing Models
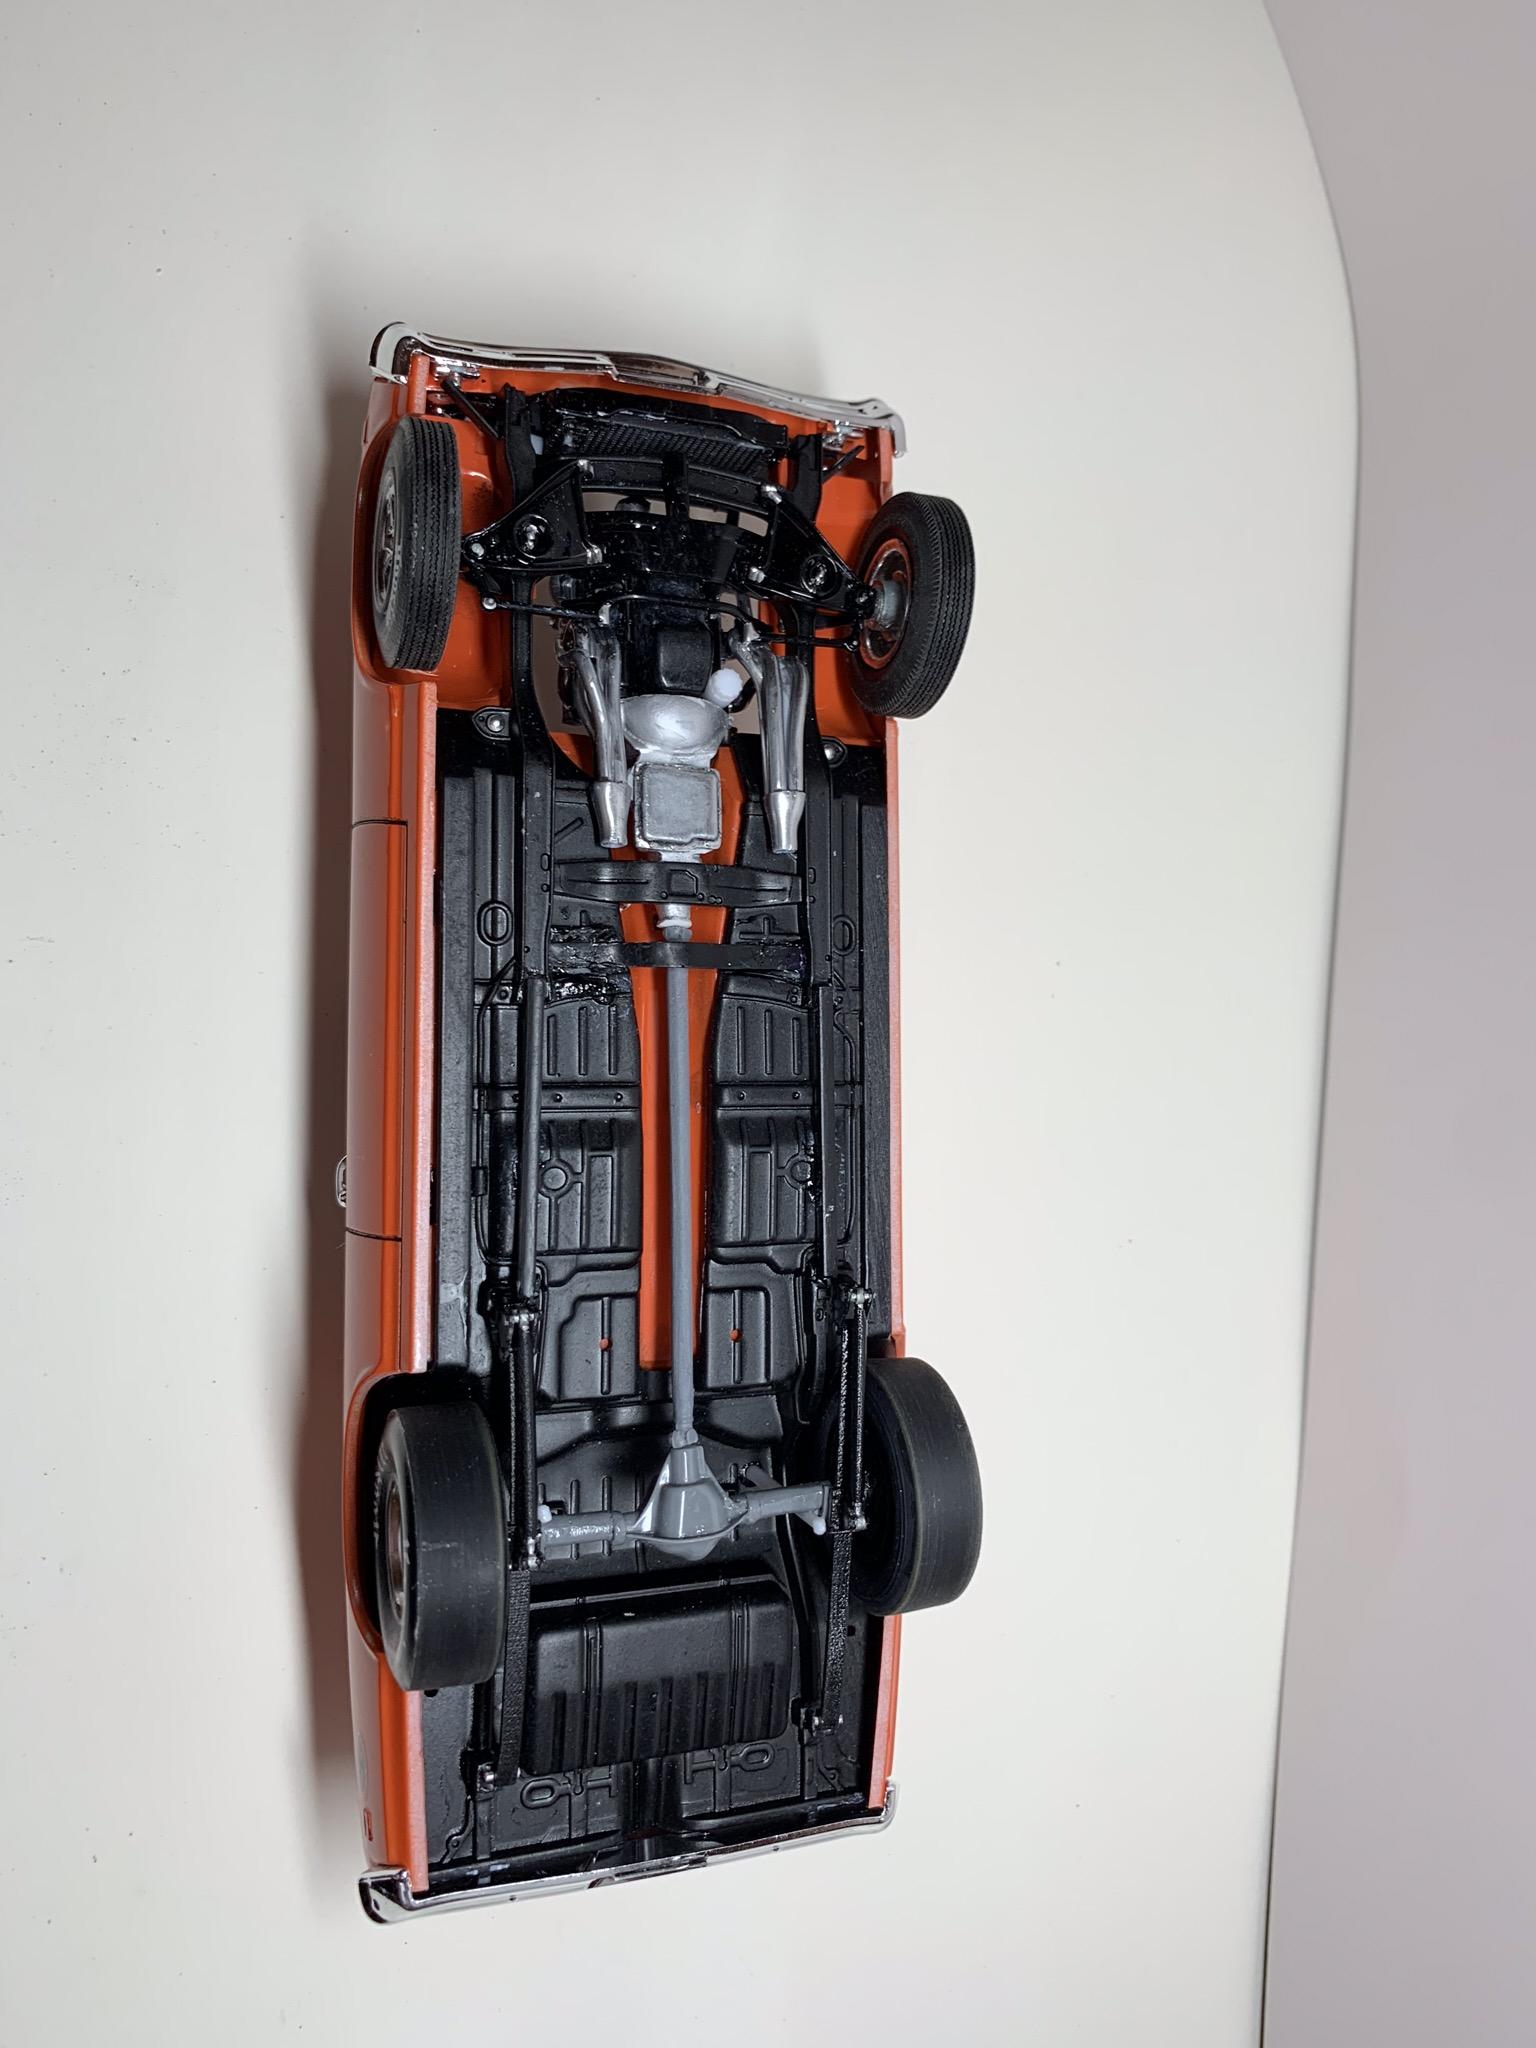
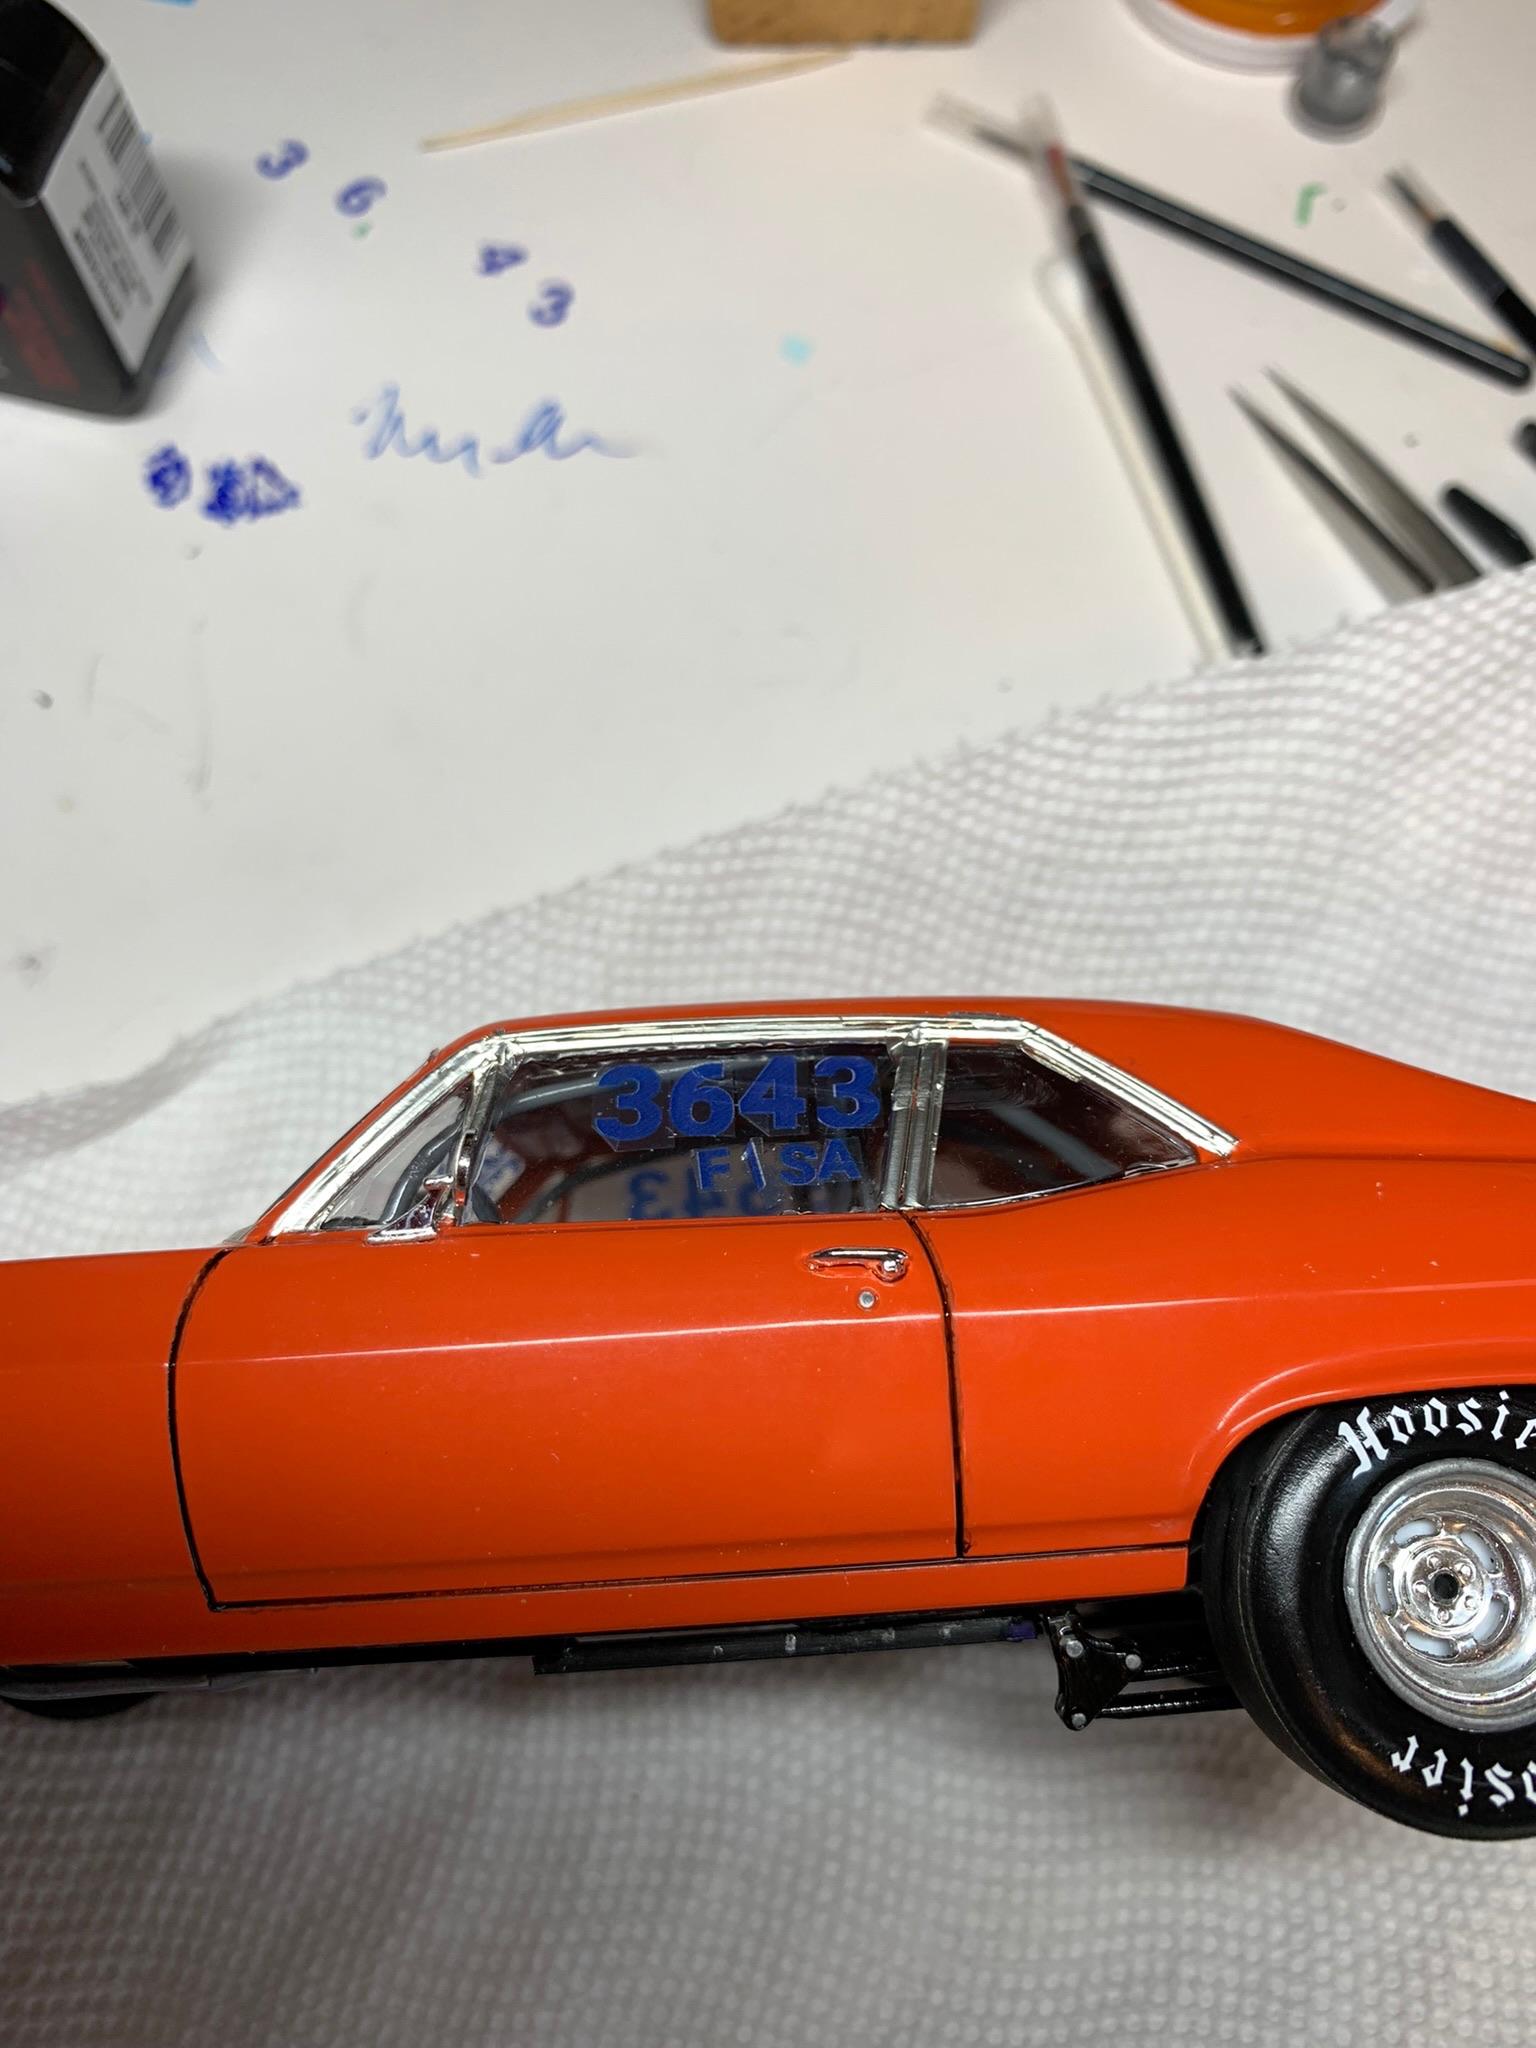
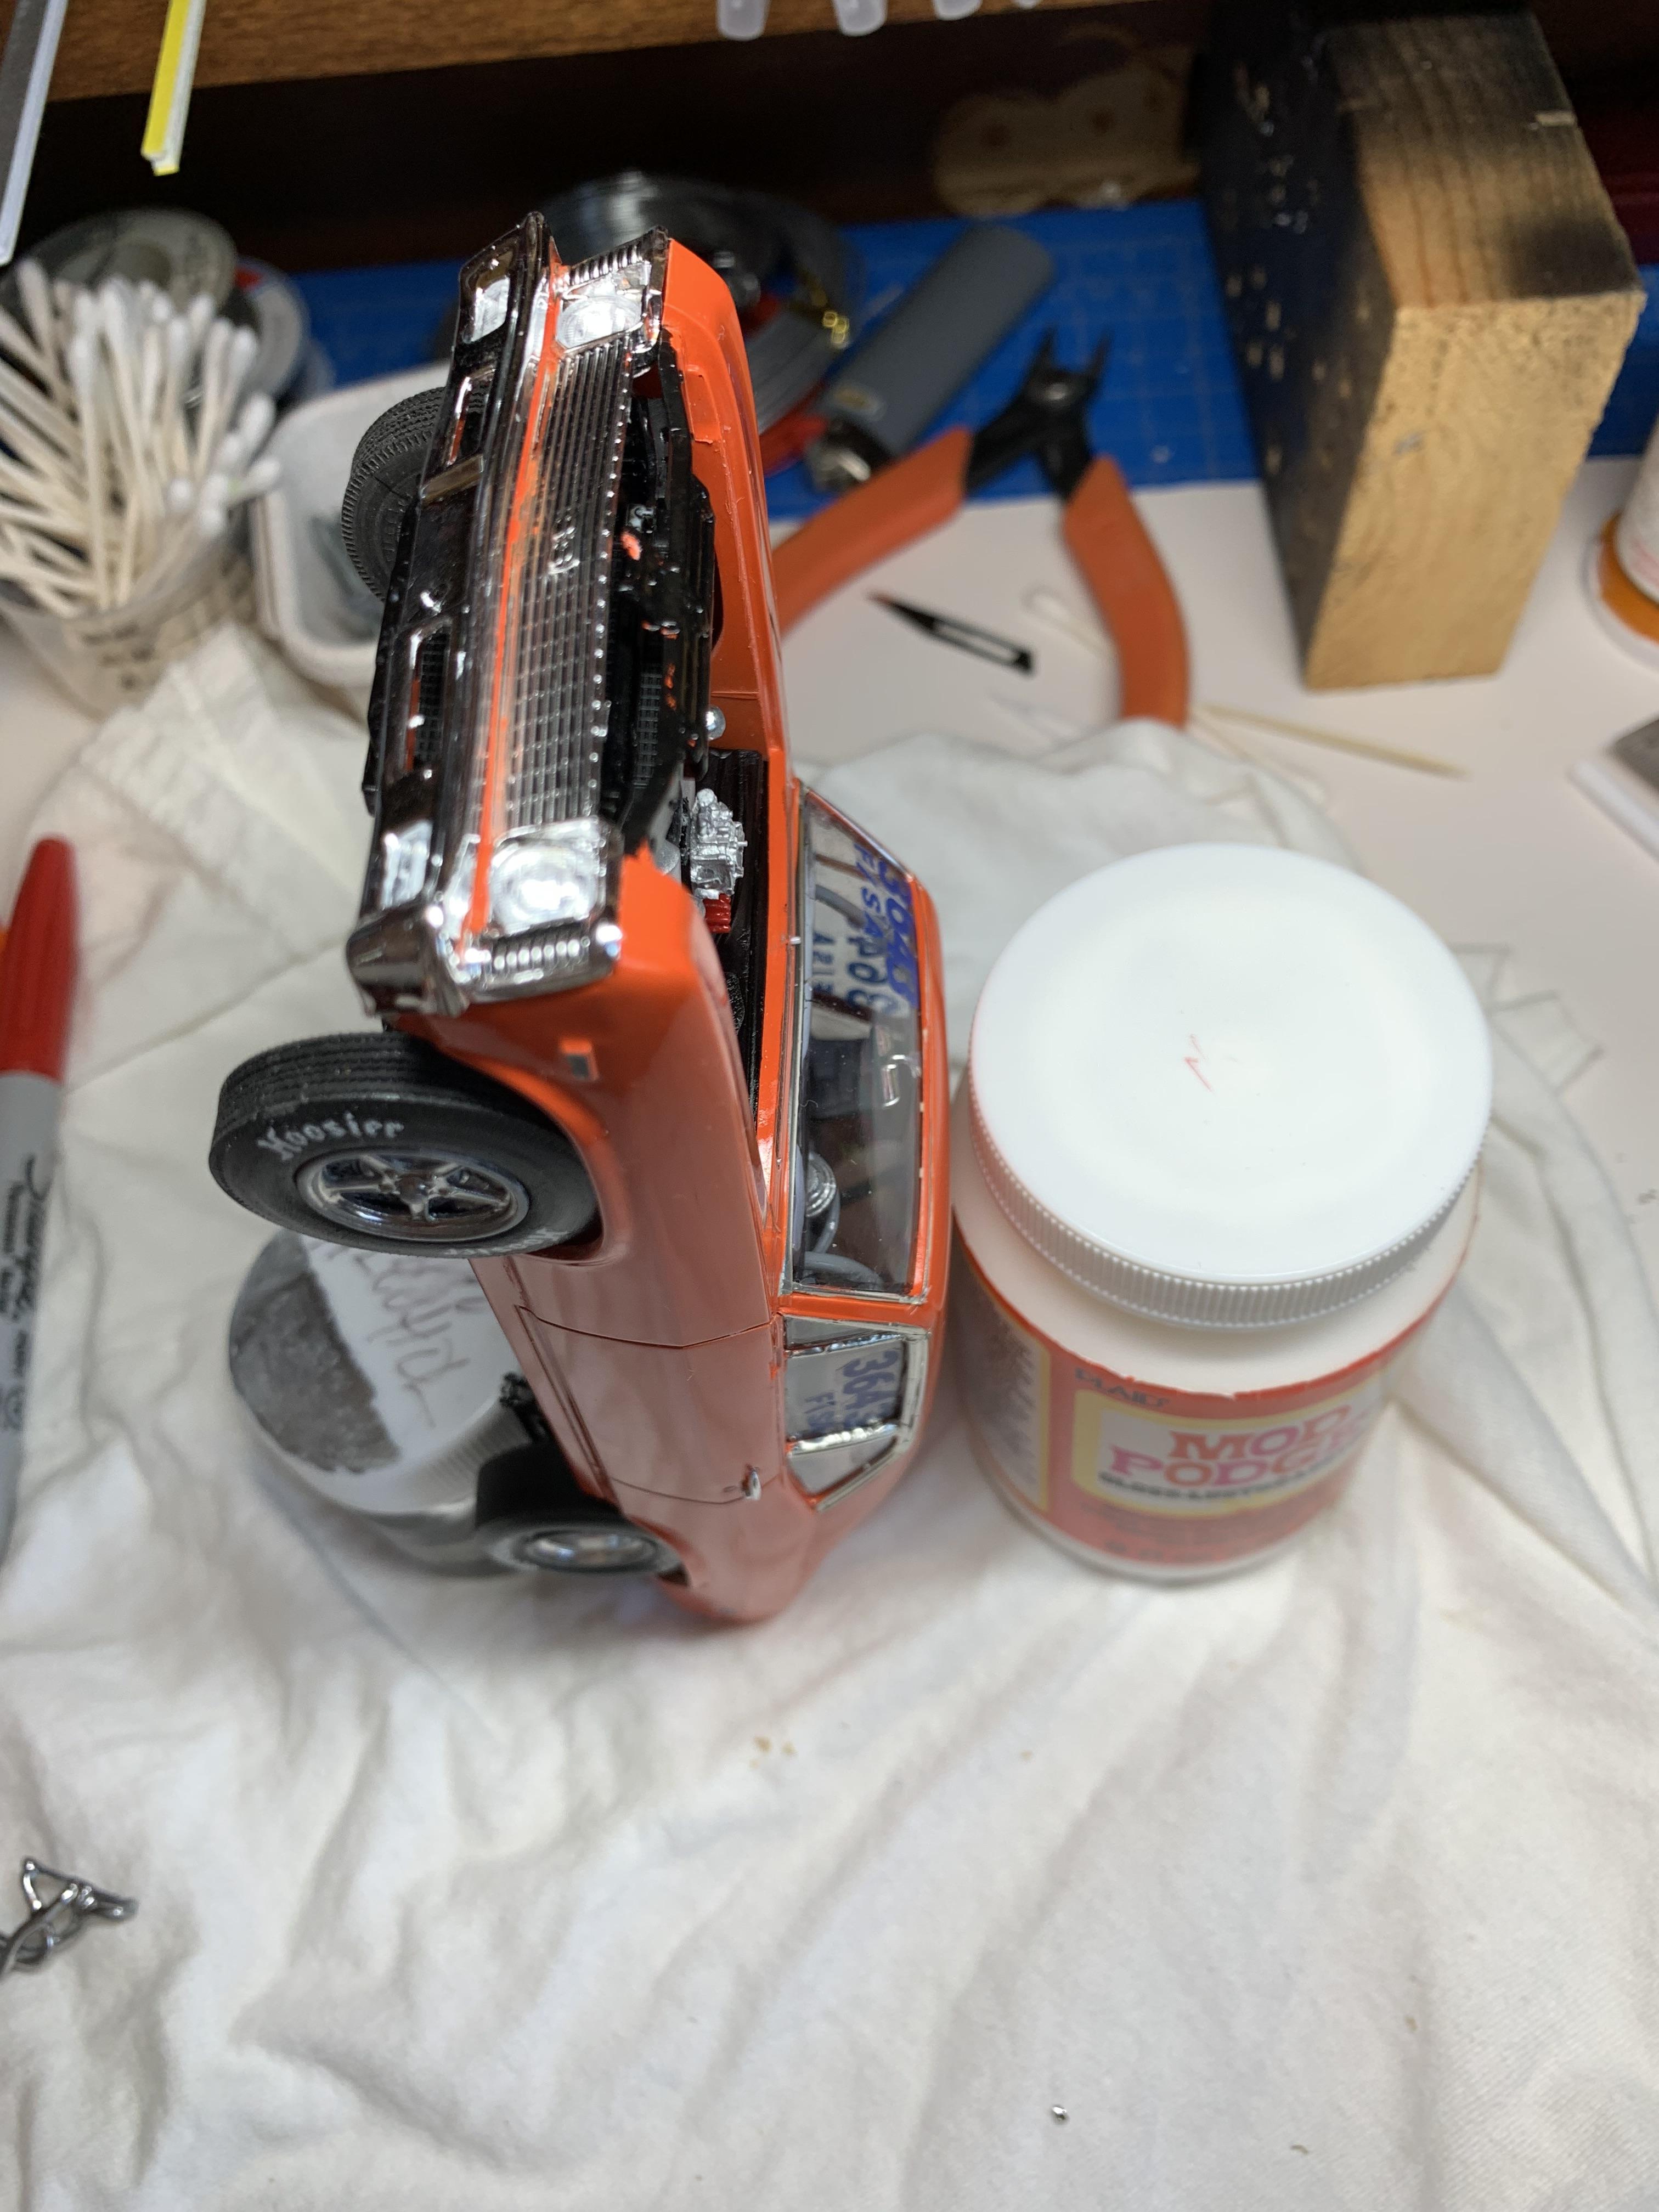
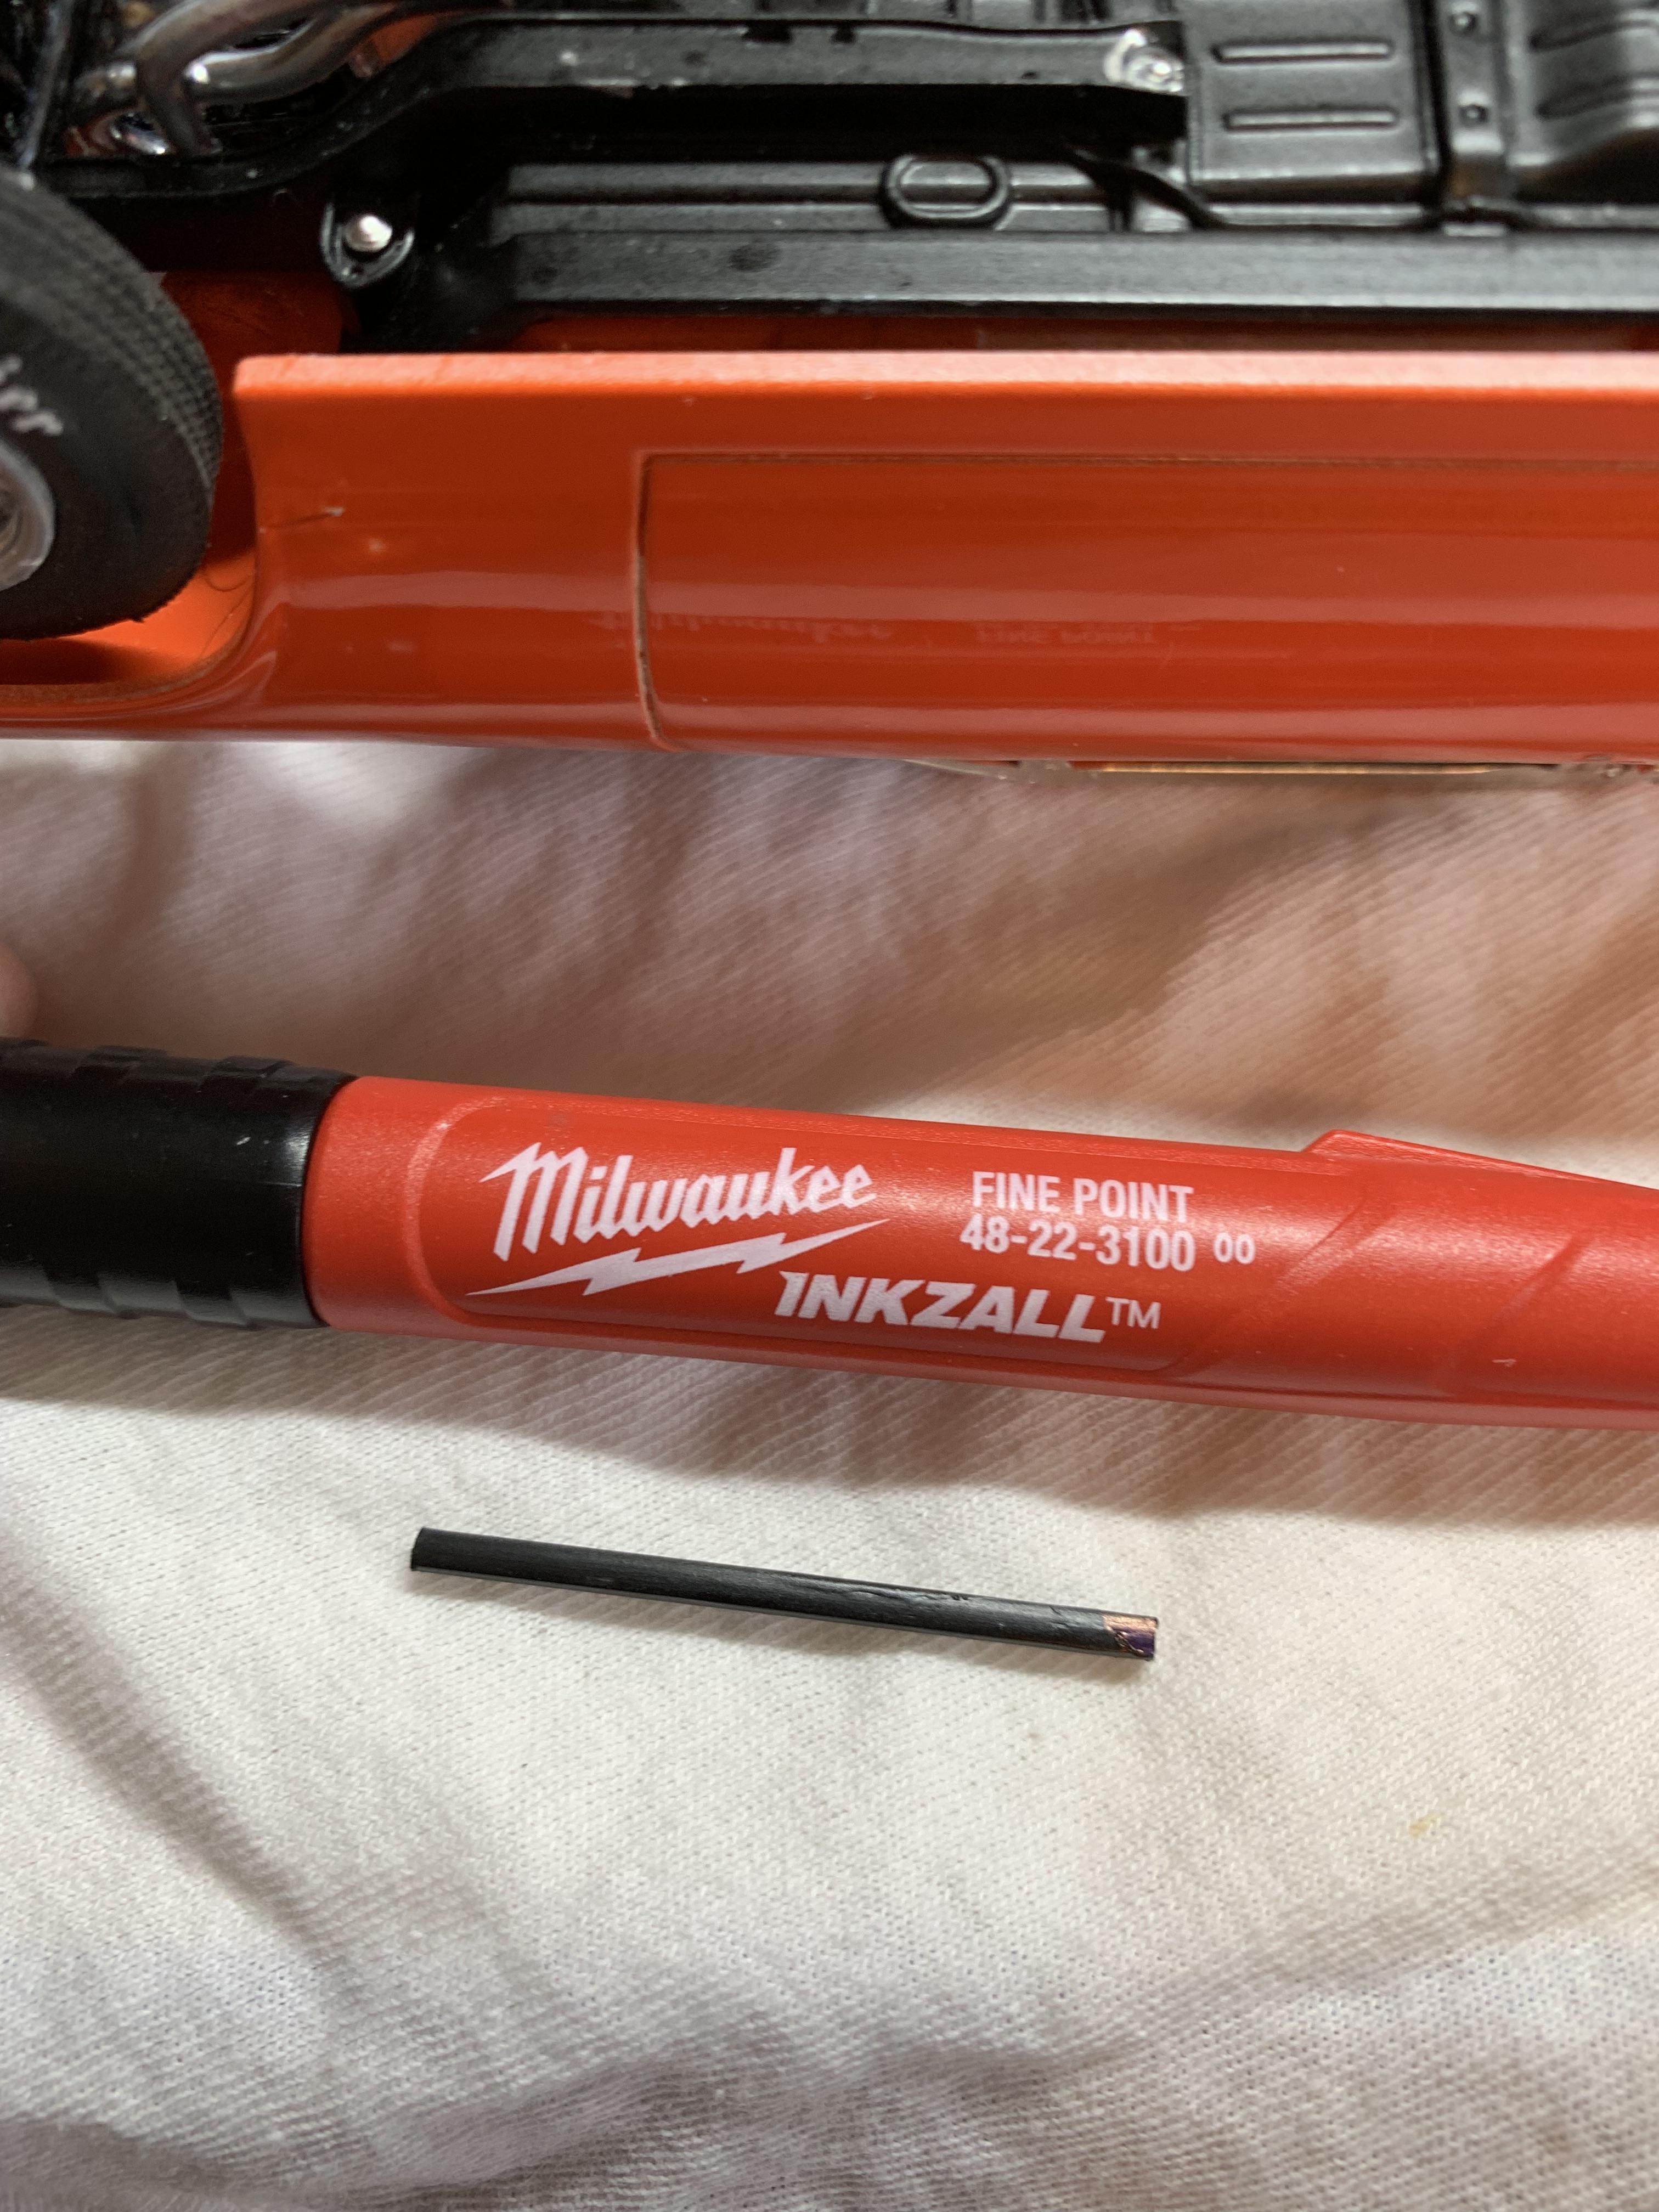
Should finish tonight. Made subframe connectors from 2mm square stock and driveshaft loop from .010” styrene. Yes, I know the driveshaft loop is supposed to be 360 degrees, but not this time. Not my best work, but I guess I’m really getting tired of looking at this and am antsy to move on. Trial fit of body on frame. The stance is not perfect (should sit a little lower in the rear). The Milwaukee marker is not quite as “purply “ as the Sharpie version. The spreader tool really helps stretch the body for installation.
-
I like the fidget for small amounts of ca glue and paint. The next day, after it has dried, I just pop it out. Since ca doesn’t stick to silicone, it works decent for me.
-
1969 Nova F/SA NHRA Stock Eliminator
R. Thorne replied to R. Thorne's topic in WIP: Drag Racing Models
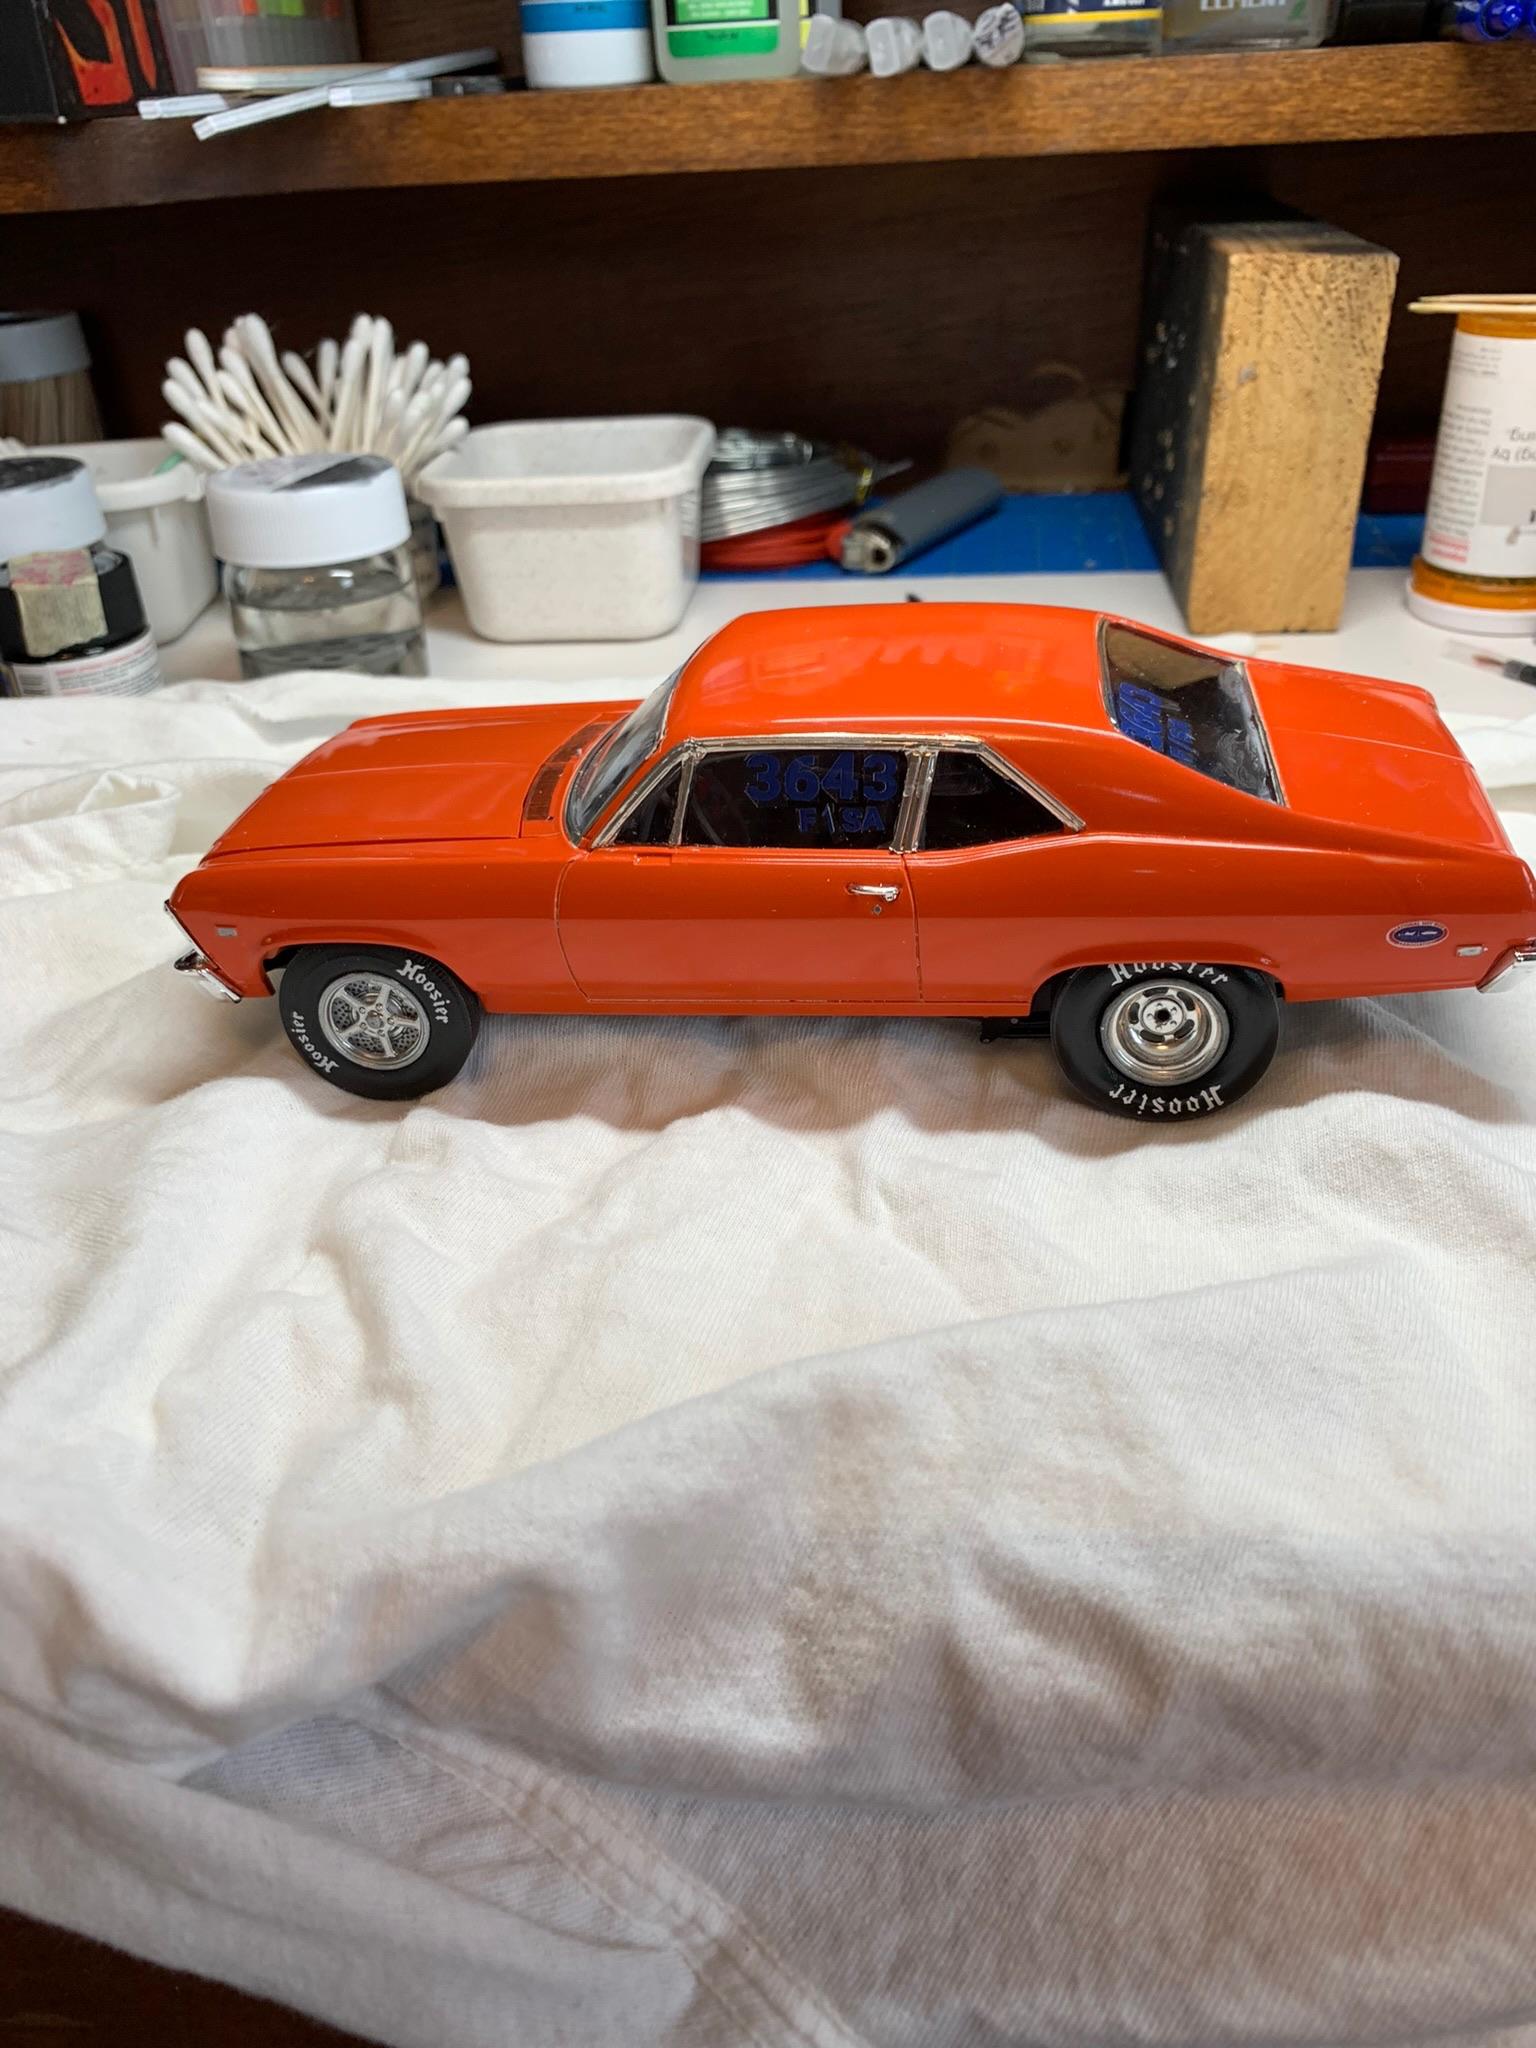
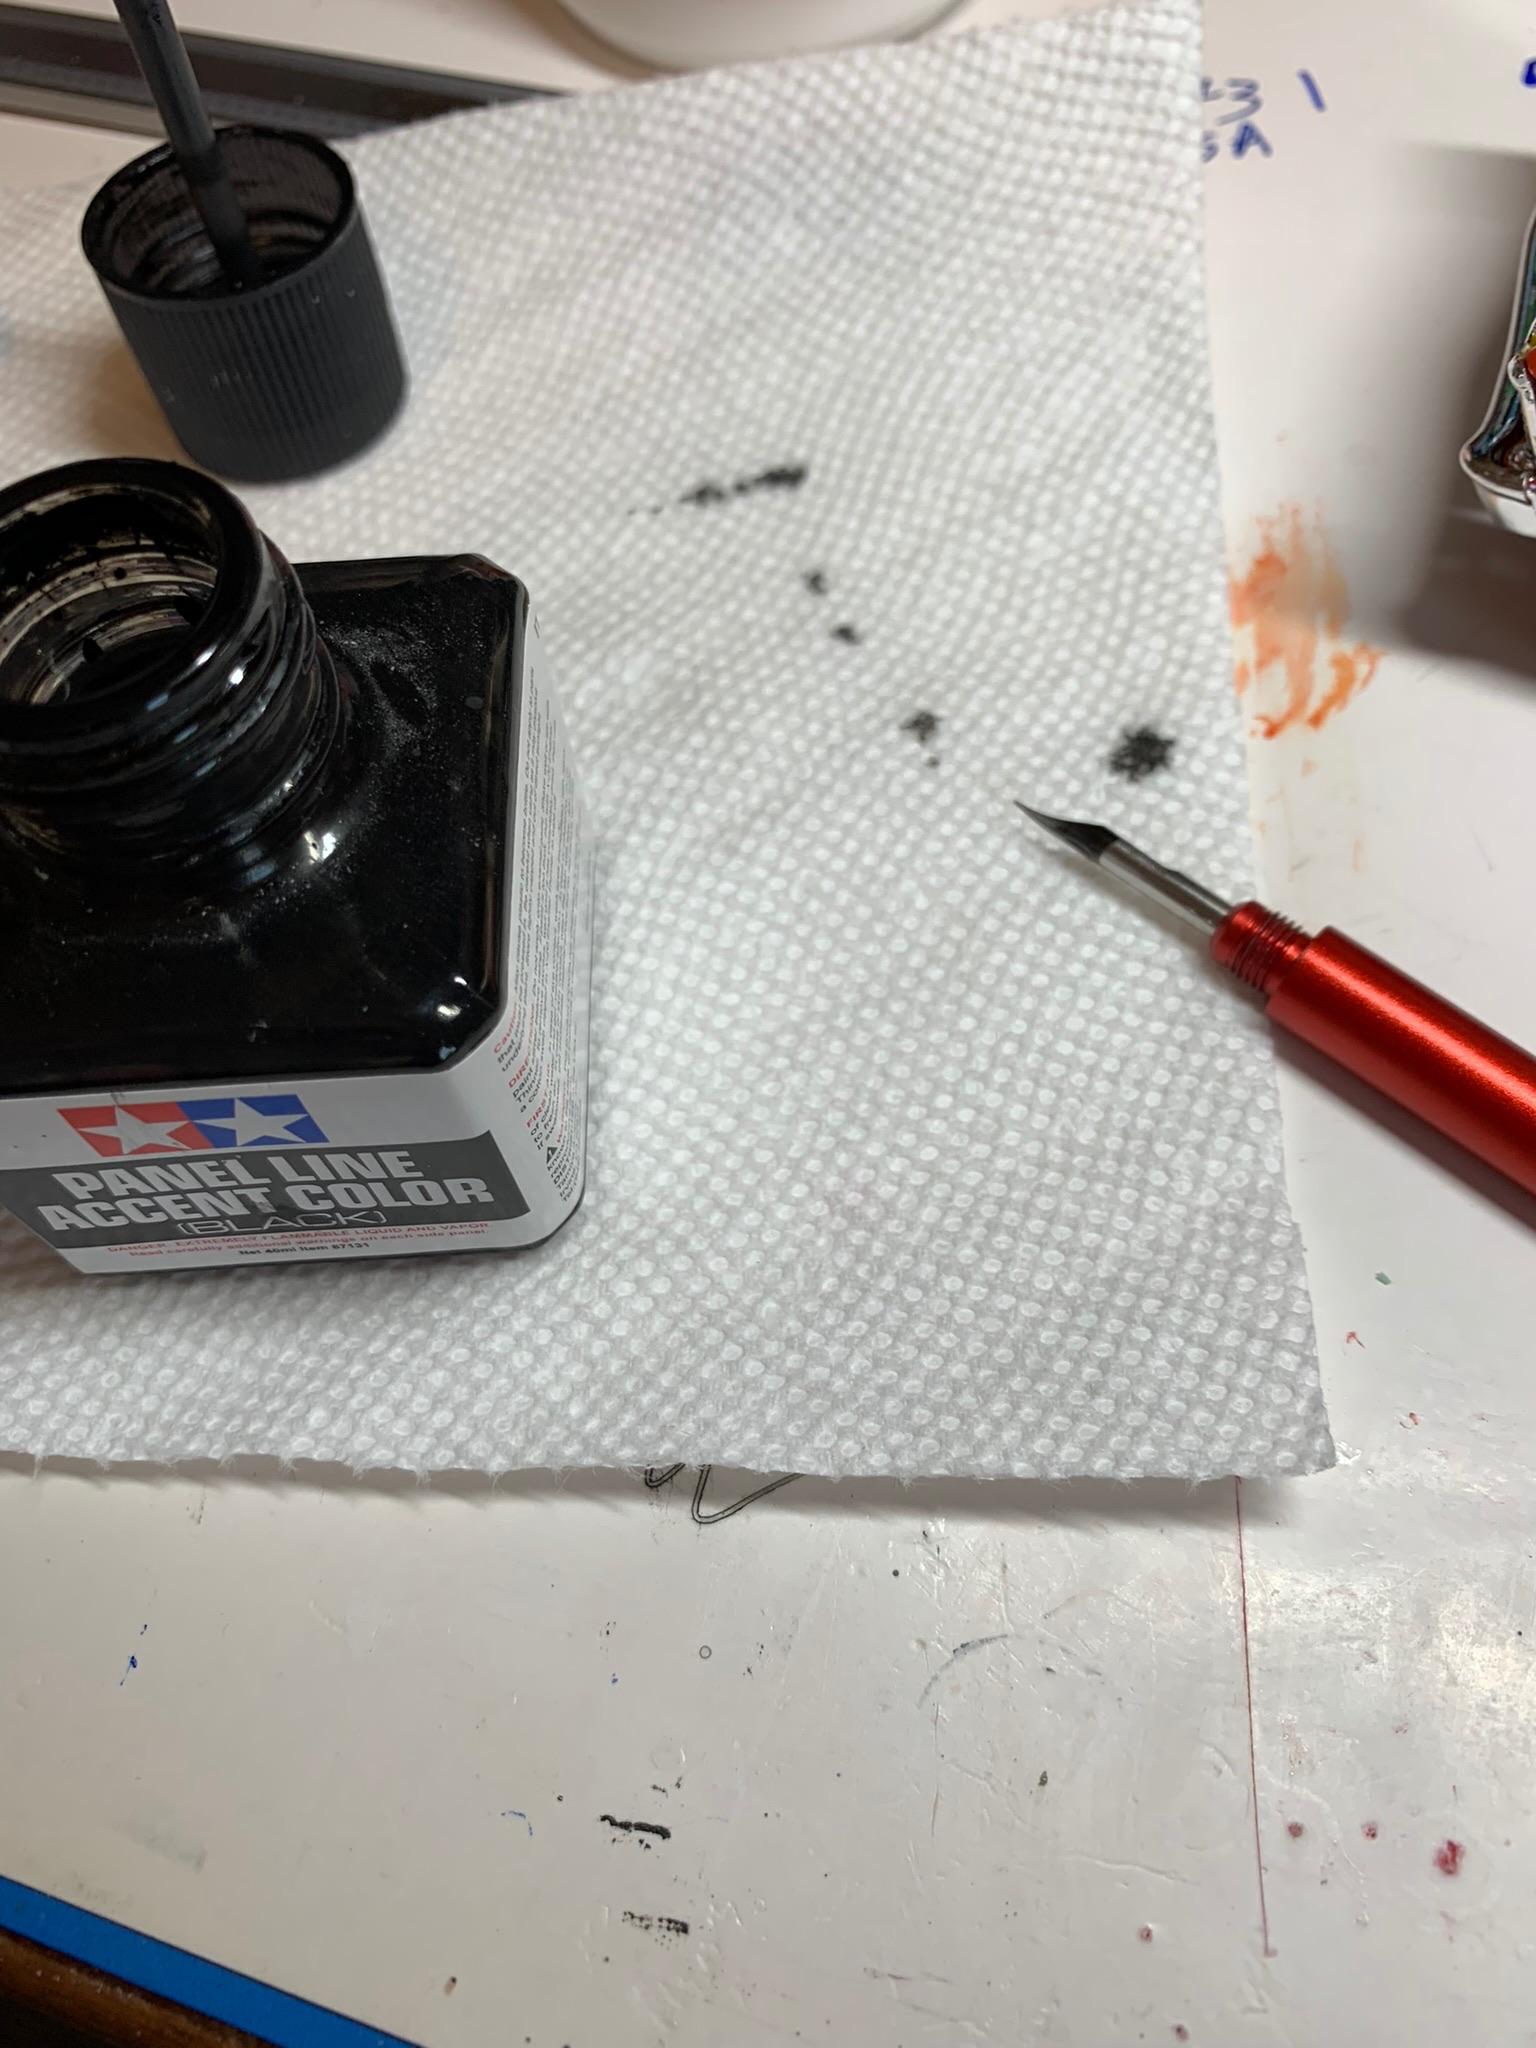
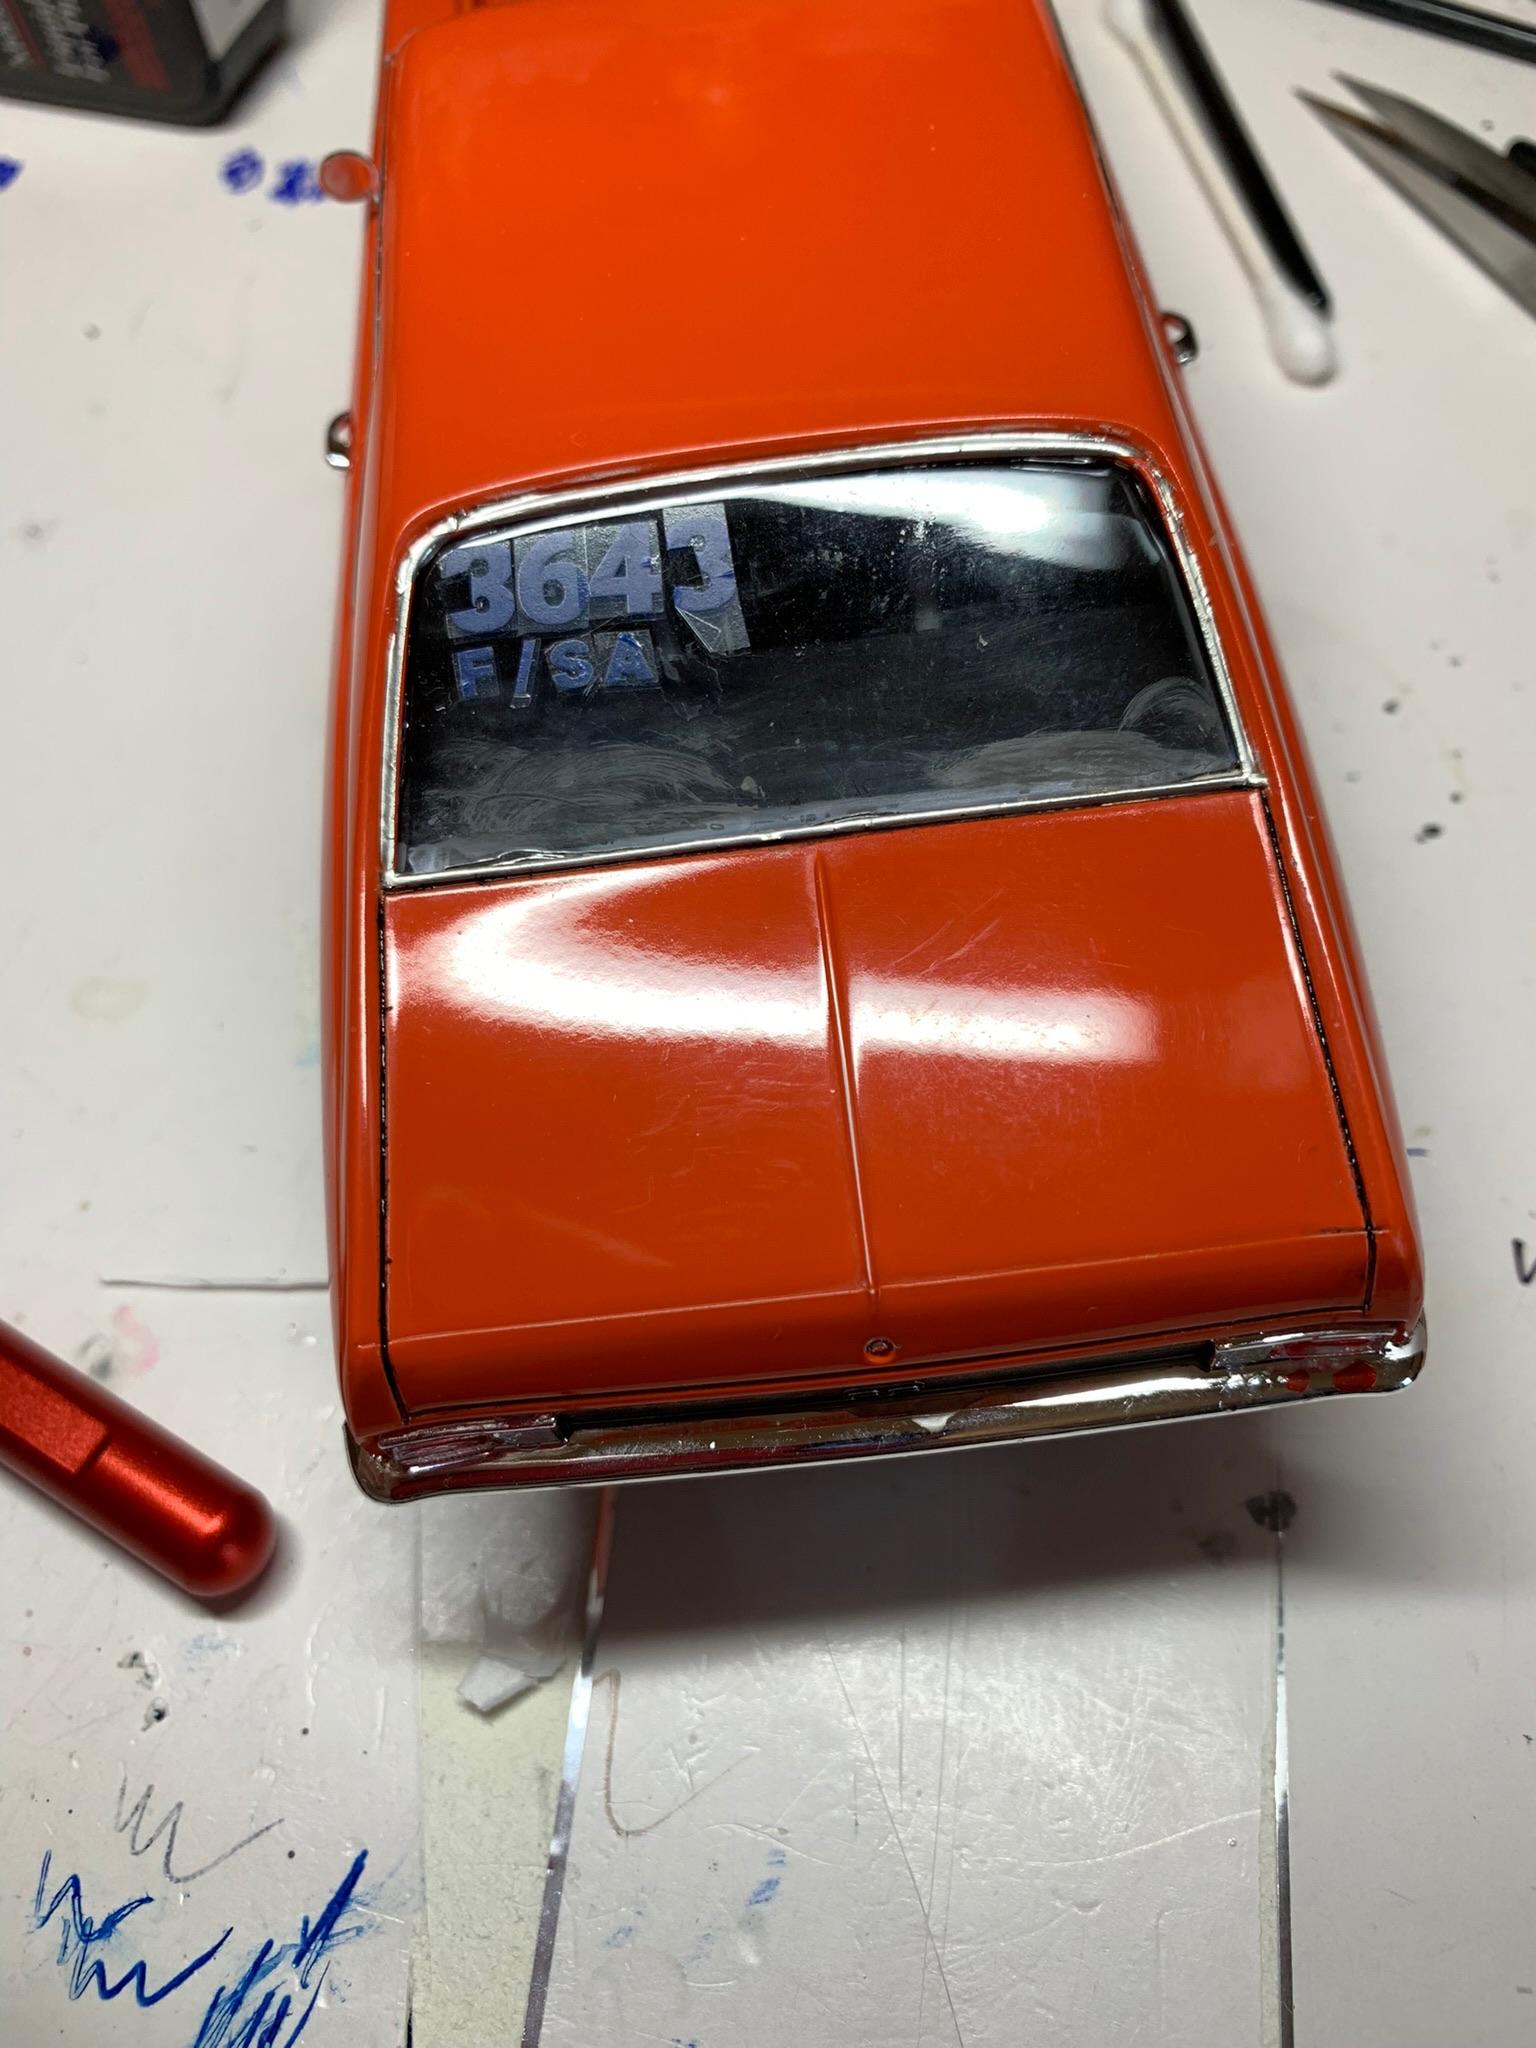
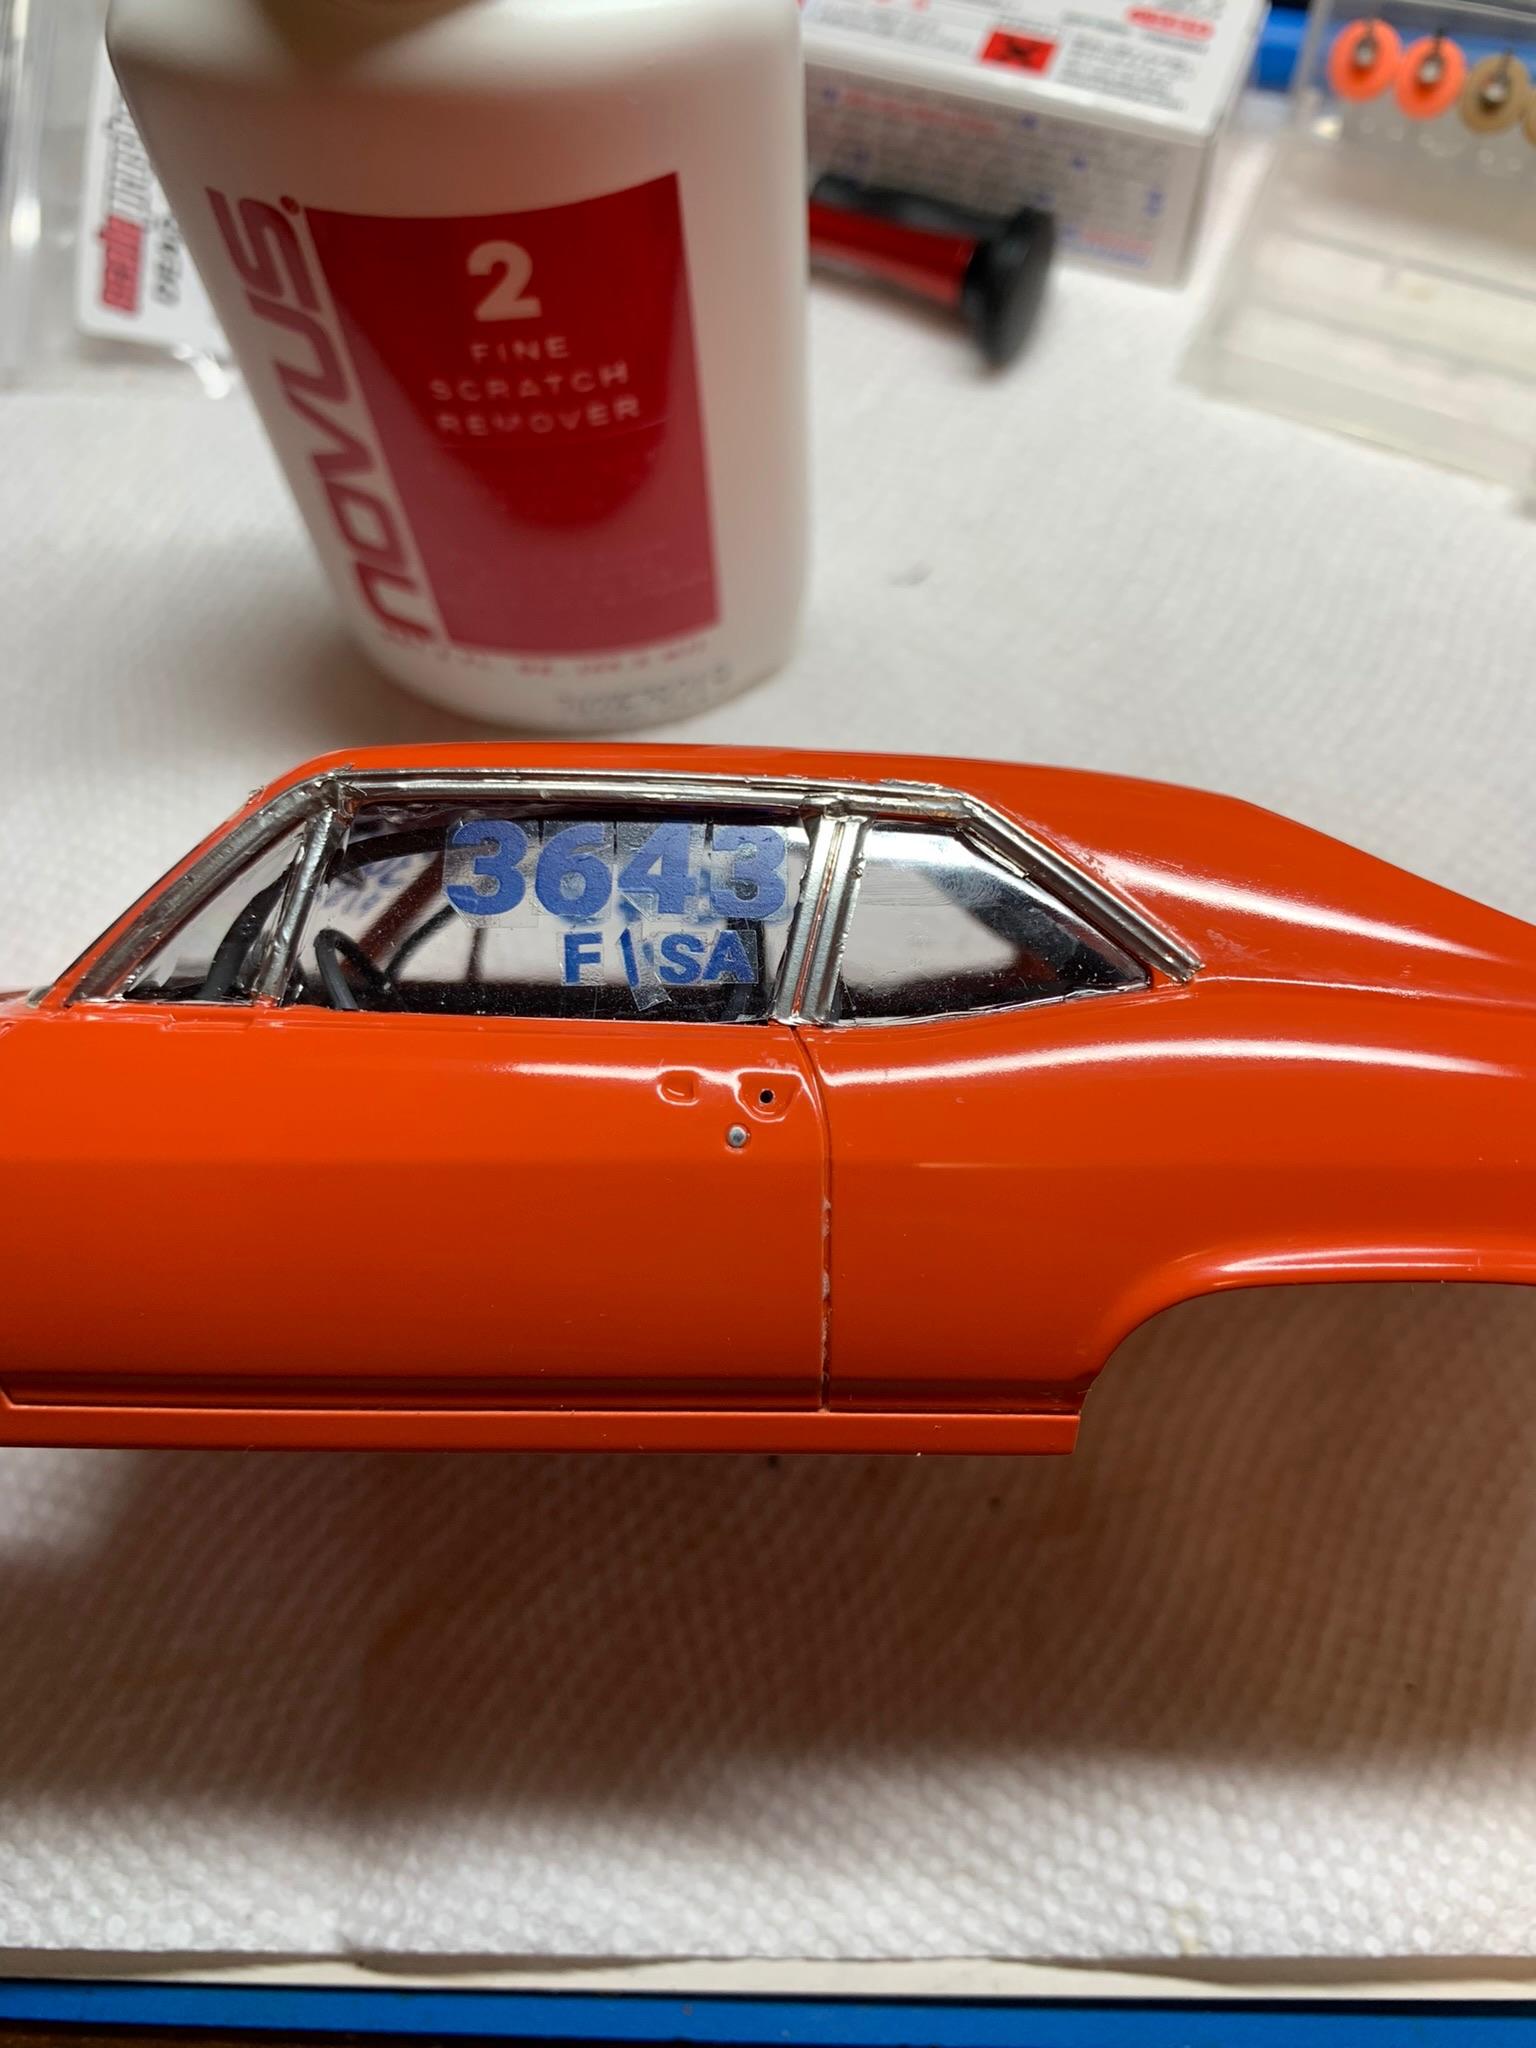
Closer and closer, but always experimenting. Completed bmf and lettering. Not thrilled with the results, but I don’t think I will forget to do the bmf before the windows are installed again. Anyway, some small stuff, drilled the door handles and body for some .025” styrene rod installation. Some Tamiya black wash on the vent holes, Then made some windshield wiper “stubs” from .025” rod. Very few people use wipers on stockers, but the mechanisms are still required. Some “chrome” for the side markers and door and trunk locks. I then noticed some marks on one corner of the roof. They were not there after painting, but materialized during the last week or so. Tried some Tamiya polish to remove them with no improvement. Then the old reliable Novus 2 came through for me and removed the mysterious marks on the top and did the rest of the car with it, too.
-
1969 Nova F/SA NHRA Stock Eliminator
R. Thorne replied to R. Thorne's topic in WIP: Drag Racing Models
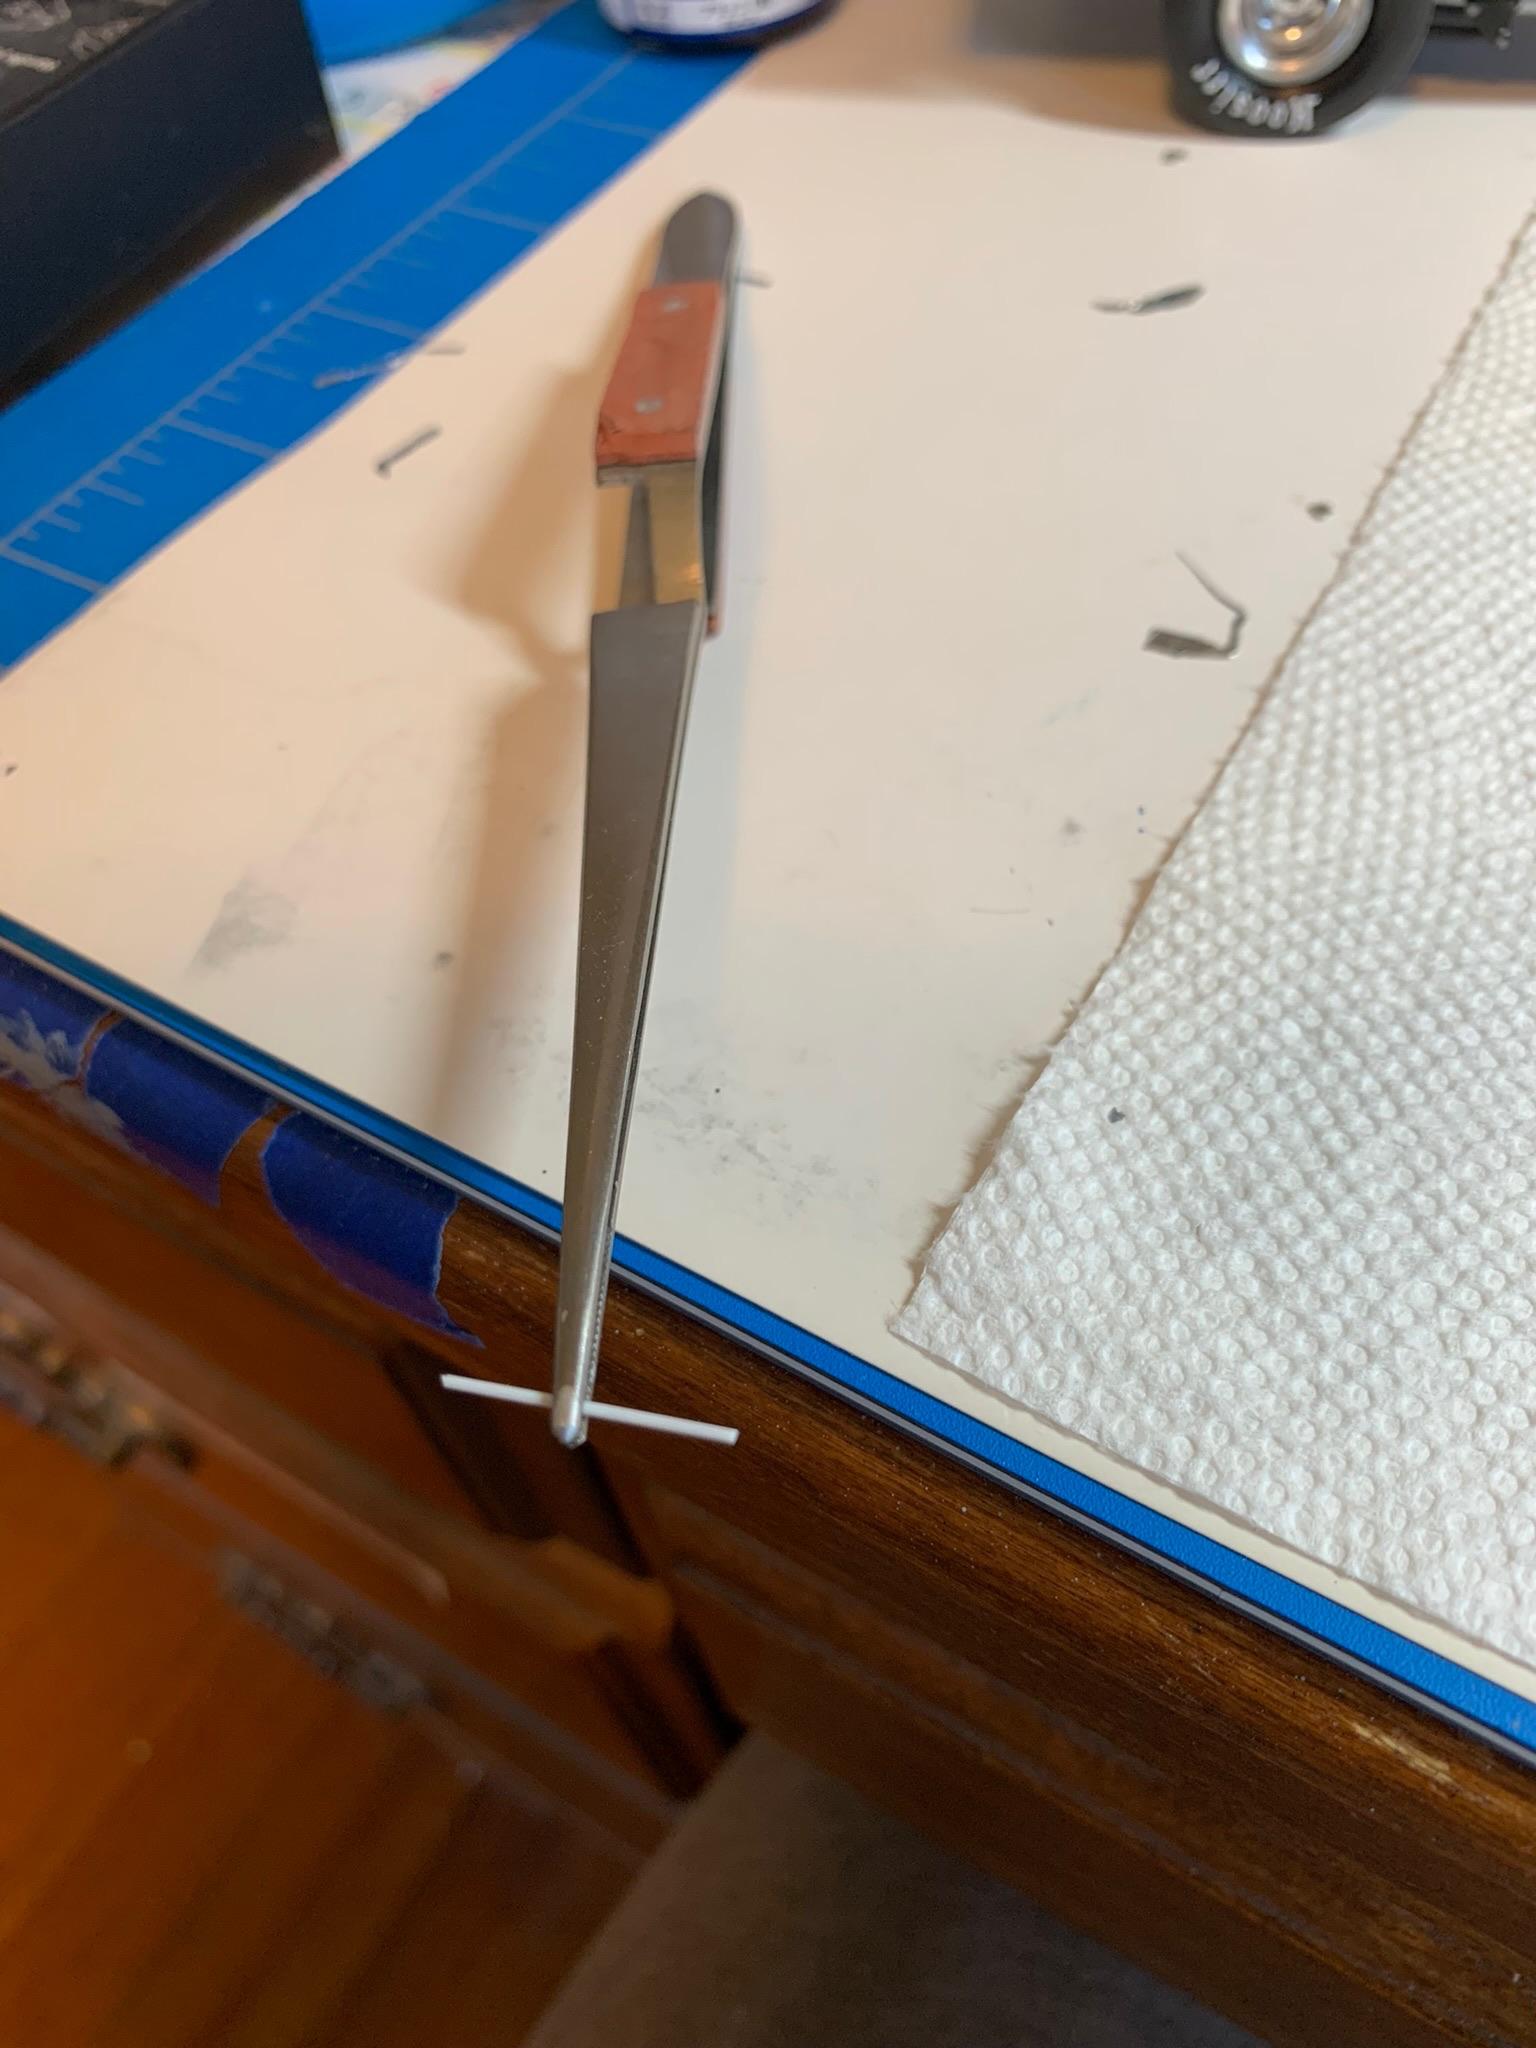
Daniel, what I like about those blades is you can “rock” or pivot them around corners without fear of slipping out of the groove or channel. Also, you can push or pull (like slicing tomatoes) as you proceed down the panel. -
1969 Nova F/SA NHRA Stock Eliminator
R. Thorne replied to R. Thorne's topic in WIP: Drag Racing Models
Thanks, Mark. I am always experimenting, sometimes with less than optimum results. Finished up the numbers and bare metal foil today. Two of my most helpful tools when it comes to bare metal foil: my fingernail and a #15 scalpel blade. It cuts better than the pointed end of a #11 type blade.
-
1969 Nova F/SA NHRA Stock Eliminator
R. Thorne replied to R. Thorne's topic in WIP: Drag Racing Models
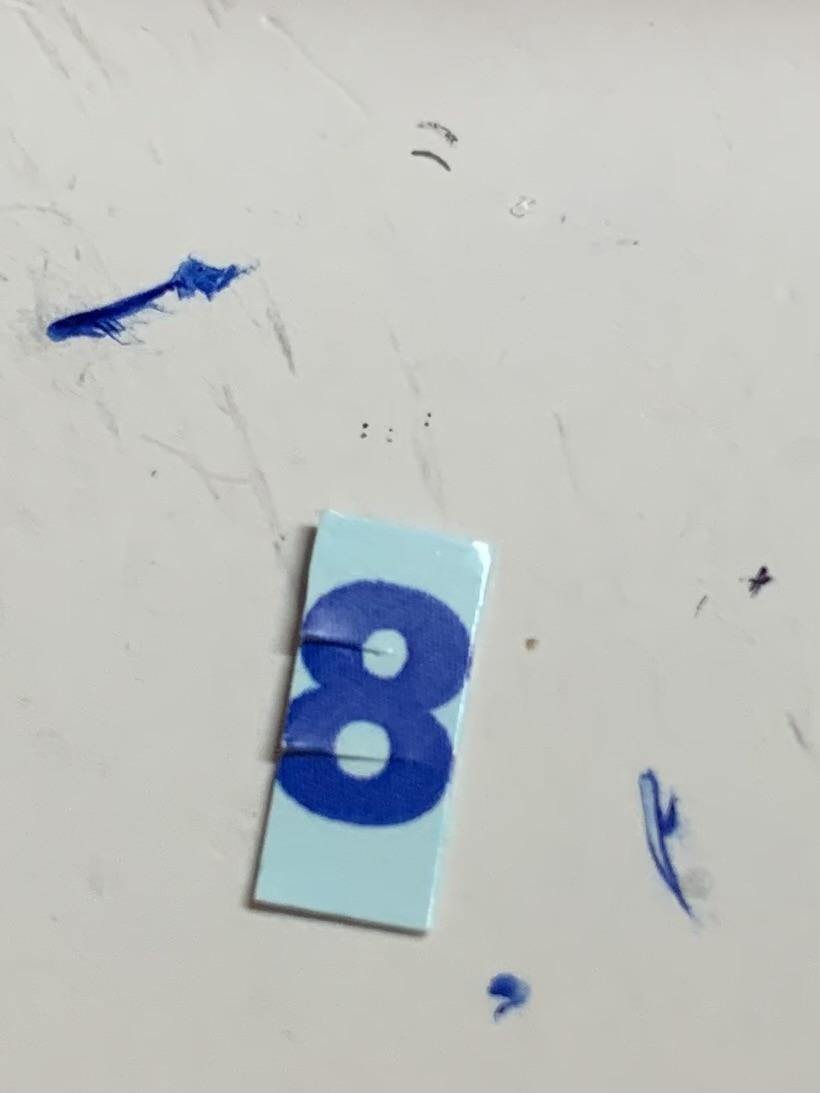
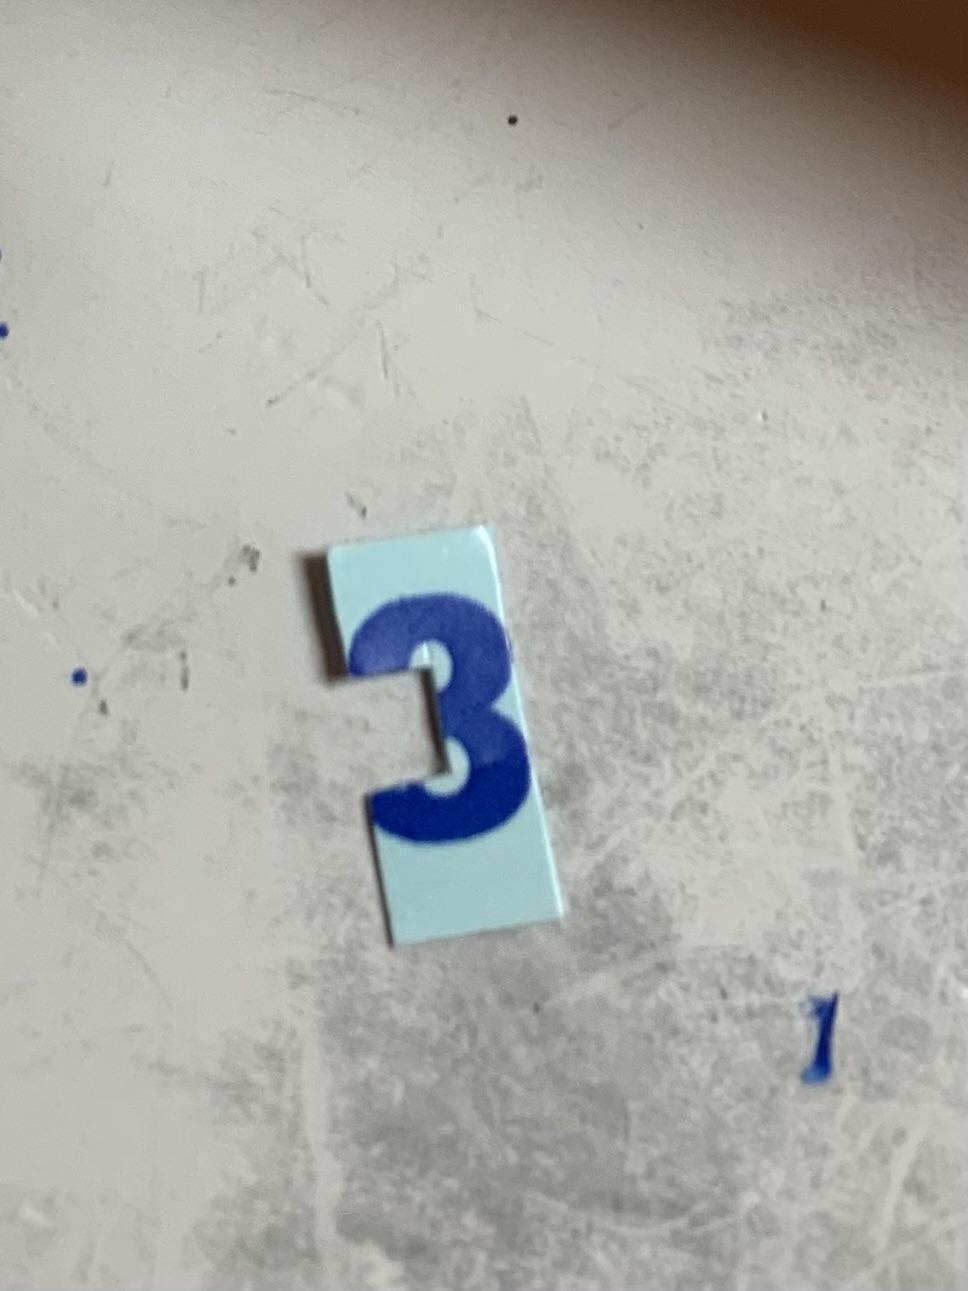
Got the blue numbers and letters yesterday. Some progress last night with them. I only have the rear window to do. Ran out of #3, so made some out of #8. Not exactly thrilled with the look, but I am moving on with this build. Still have some foil work to finish, hopefully today.
-
1969 Nova F/SA NHRA Stock Eliminator
R. Thorne replied to R. Thorne's topic in WIP: Drag Racing Models
Front and rear are done. Finishing up the side windows which are slow going.