Stef
-
Posts
562 -
Joined
-
Last visited
Content Type
Profiles
Forums
Events
Gallery
Everything posted by Stef
-
Very stoked to get this kit; I really hope it does gangbusters for Revell. However, Revell no doubt has some stiff competition in this niche, as for awhile now, Aoshima has been making some truly insane Lambos and Liberty Walk variations. These kits come with 28,000 little trees, many molded in different colours, and sometimes parts come spray painted. Would love to see Revell have crazy success with this kit; I'm in for a couple of 'em.
-
Yes yes yes that is the one, thank you! I never built these later Revell/HOTROD street machines, though I'm guessing they're based on the factory stock 82/83s. Will definitely pick one of these up, thanks!
-
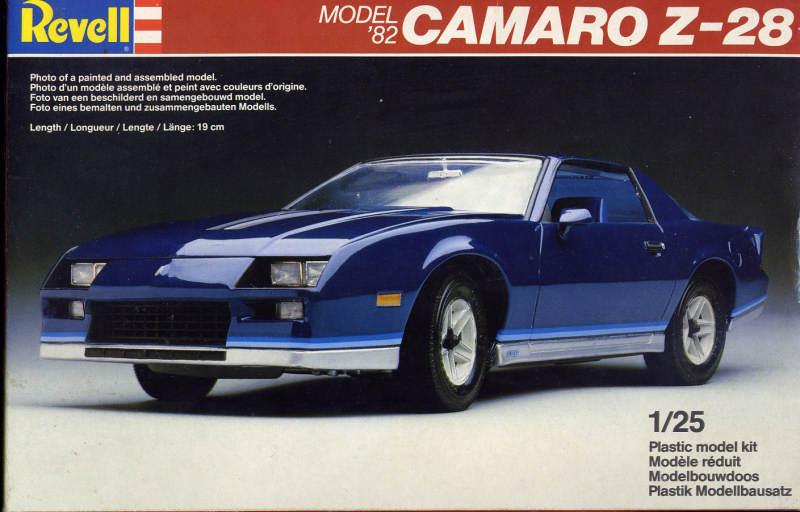
You're right about the 1/16 Berlinetta, Rob, as well as its sister kit, the Firebird SE. Revell also did 82 and 83 1/25 Camaro kits which I thought were even better than the MPC, AMT, and Monogram kits of the time. I found this pic of the 82, but pretty sure the one I had was an 83, with a white car on the box, gold trim, and it was molded in a beautiful pearl white, IIRC. Can't find a pic right now for some reason, but this kit was amazing to build. Would love to get this one again. Hope this helps, thanks!

-
I've built HUNDREDS of model cars; some a few times, most only once. And I still want to build hundreds more. There are literally THOUSANDS of model cars out there, from old sealed 1/25 Johan Desotos to new Aoshima 1/32 snap Skylines, and everything in between. And new, semi-new, remastered new, new in 40 years, and old new models continue to hit the market near daily. This is a fantastic time for the hobby; I love Round 2, Atlantis, Revellogram, and all the manufacturers for making our dreams come true, surprising us, exceeding our expectations, and breathing new life into old, lost, forgotten, and ignored subjects. Everything is new: new box art, new decals, new pad-printing, new glass colours, new white styrene, and occasionally new/optional/restored parts. Who would have thought that in 2025 and beyond, we'd see the Fiero again, along with the Beretta, 60 Nomad wagon, 60 and 63 Ford pickups, 72 Holmes wrecker, 65 Backaruda, the Galaxie 46-48 Chevys, 63 Nova wagon, 68 Coronet, 71 Demon, 85 Blazer, and countless other gems. I don't even need or want a house anymore. Just divert the mortgage payments directly to the model companies, gimme a shed to build in, and I will be happy for the rest of my days, building as many of these REISSUES as I can.
- 51 replies
-
- 11
-

-

November 2025 Round 2 Product Spotlight
Stef replied to Tim W. SoCal's topic in Car Kit News & Reviews
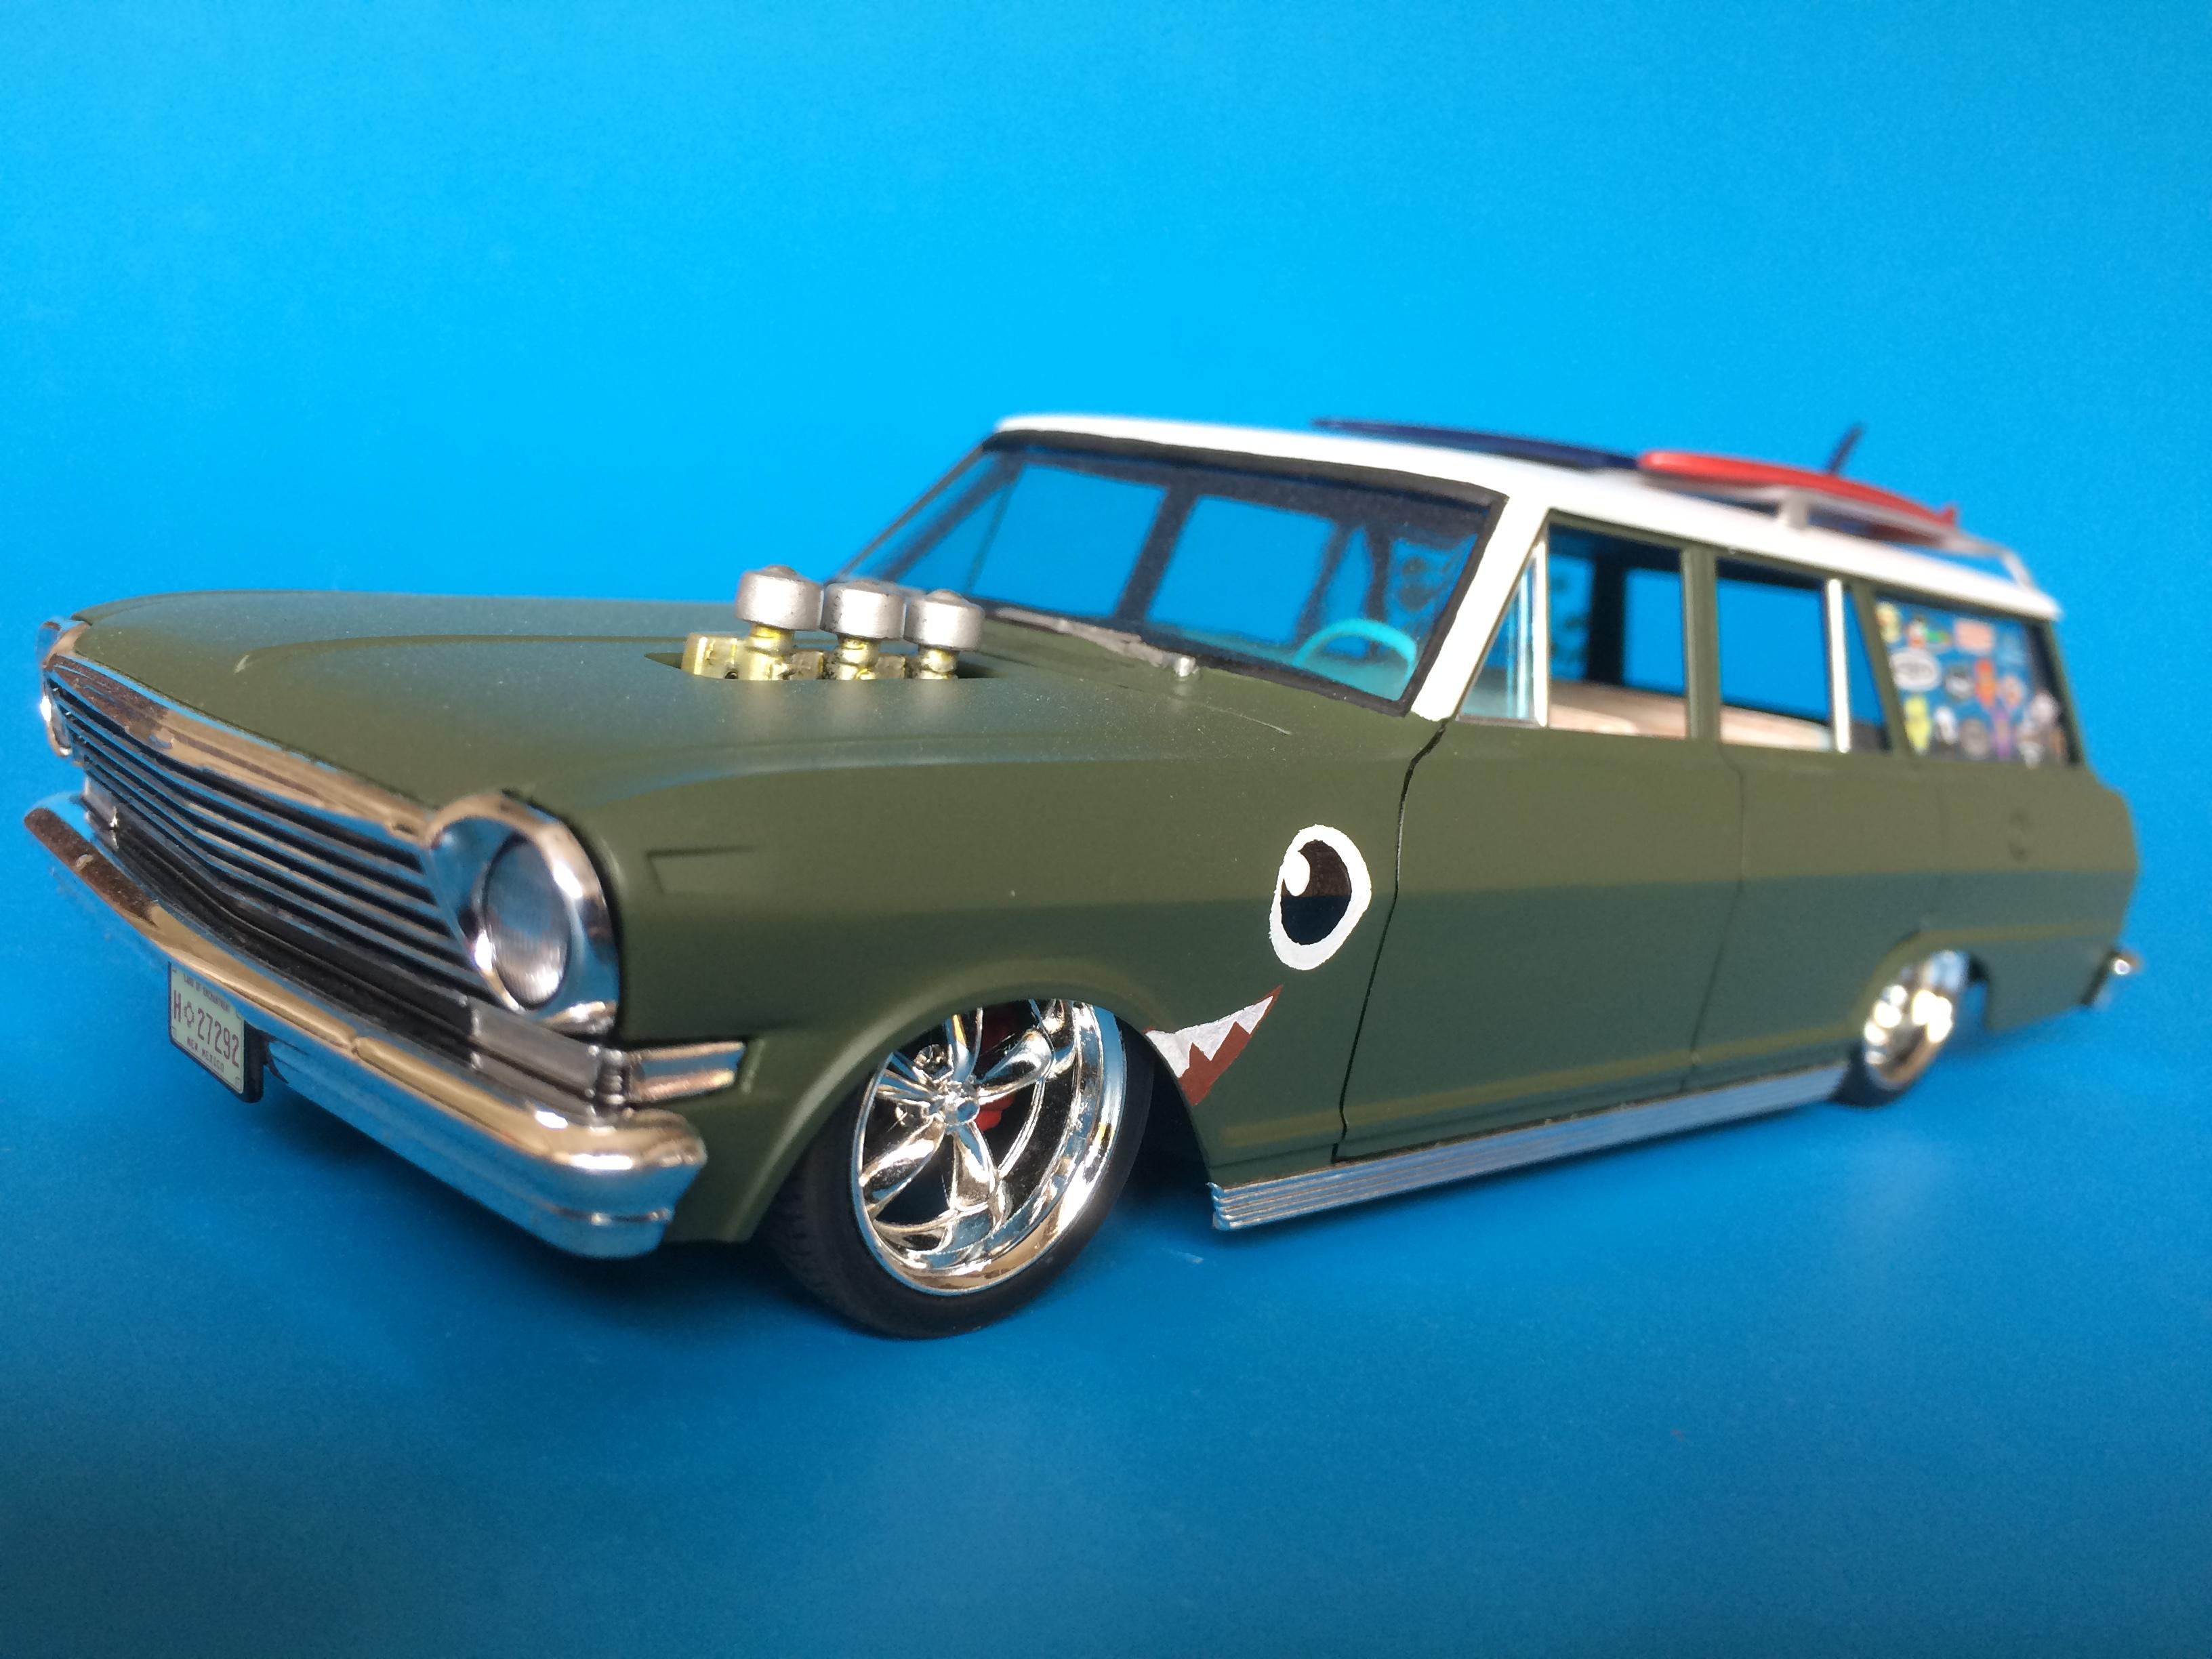
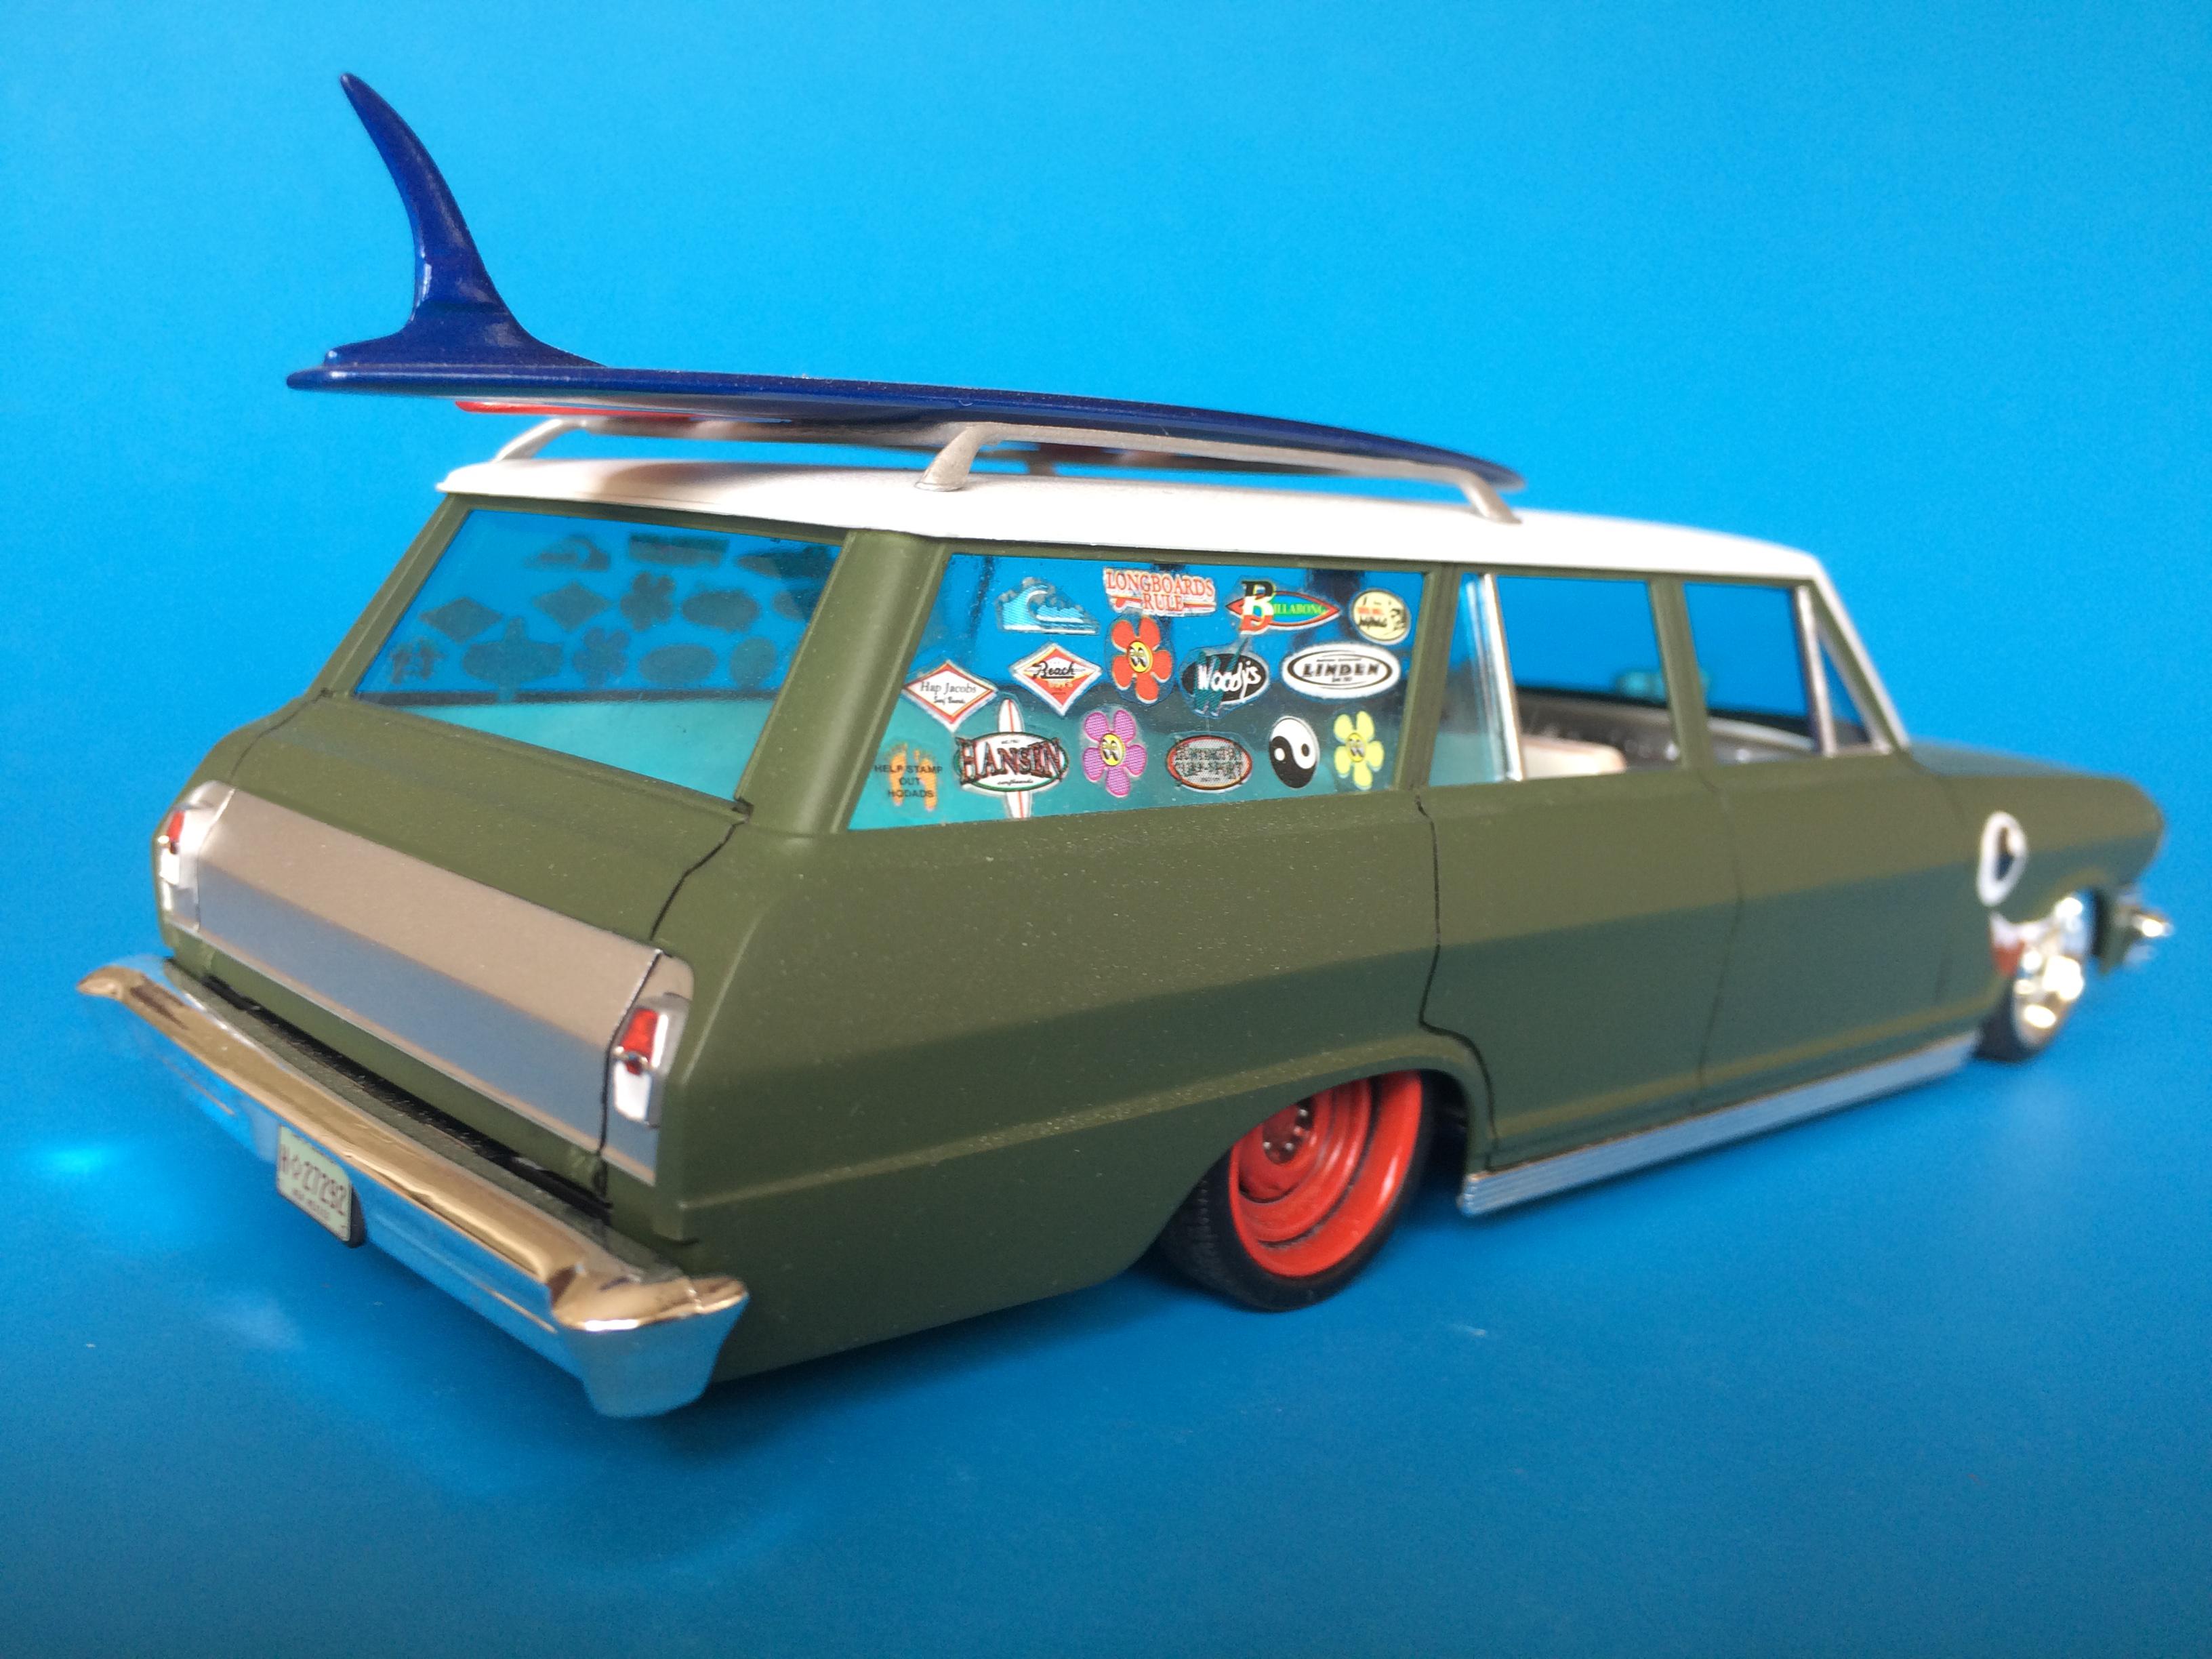
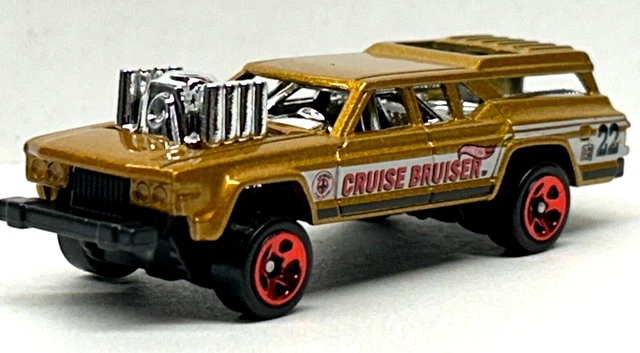
Yes yes yes, Michael! I recently finished off my 63 Nova as a "baby" surf shark, and the 60 would certainly make for a stunning surf wagon. Also, Hotwheels made some sort of gasser/puller/smash-up-derby kinda wagon that I'd also like to do! So we're at least 10 Nomads... what other styles can you guys think of? Round 2 really hit it outta the park with this one. The possibilities are endless!
-
November 2025 Round 2 Product Spotlight
Stef replied to Tim W. SoCal's topic in Car Kit News & Reviews
What an amazing haul this month; thank you, Round 2! I want almost everything, including 4 Nomads: factory stock, pro touring, gasser, and drift wagon. -
BIG MACK ATTACK: Last year, finished off my Mack R685ST, have a Mack Bulldog Tanker in the stash, and this baby is gonna complete an awesome Mack trilogy! Thank you Round 2 you, are sick awesome, I love you... keep taking my money!
-
Great stuff, wow wow wow! Thank you Round2! How similar will the 63 LeMans convertible be to the 63 Tempest AWB, other than roof and wheelbase?
-
FTFY. Been lookin' for one of these bad boys to do THIS to it. Found a 1/24-1/25-ish remote control toy which is not too bad for a start, but its panel lines are way too thick for my liking. Might even scratchbuild one outta sheet styrene. Take like 5 minutes.
-
Never built the Cyclone, but I do want, and intend to get. What donor kit(s) would be the best for creating something close to this factory gem?
-
Marvel's Hydra coupe 1/12 scale full scratch build
Stef replied to François's topic in WIP: Model Cars
Hello Francois I was at Torcan and saw your model in person. Walked by, and there was always a crowd. Until you are a judge yourself, you may never fully appreciate the challenges of being one. It is good form to respect judges and fellow competitors alike, at all times. Check your ego at the door. Never slag on anyone and do not resent the process. Word gets around fast. You may think you're better than others, but not everyone is impressed by 3D printing, newcomers, entitlement, or sour grapes. Many builders have dedicated their lives to their craft, and 99% of the scratchbuilding they engage in is done by hand, without computers. Being hyper-competitive only gets us so far; treasure the relationships, the experiences, the humility, the fun, and you'll go much further. Hope this helps, thanks. -
Nooice dude! So glad you got this one finished off. Your in-progress shots in the 74 Super Charger thread were a tease, and now this is the payoff of the century. We need to get this kit back onto the market more than ever. When Round2 sees this post, I'm sure they'll do just that.
-
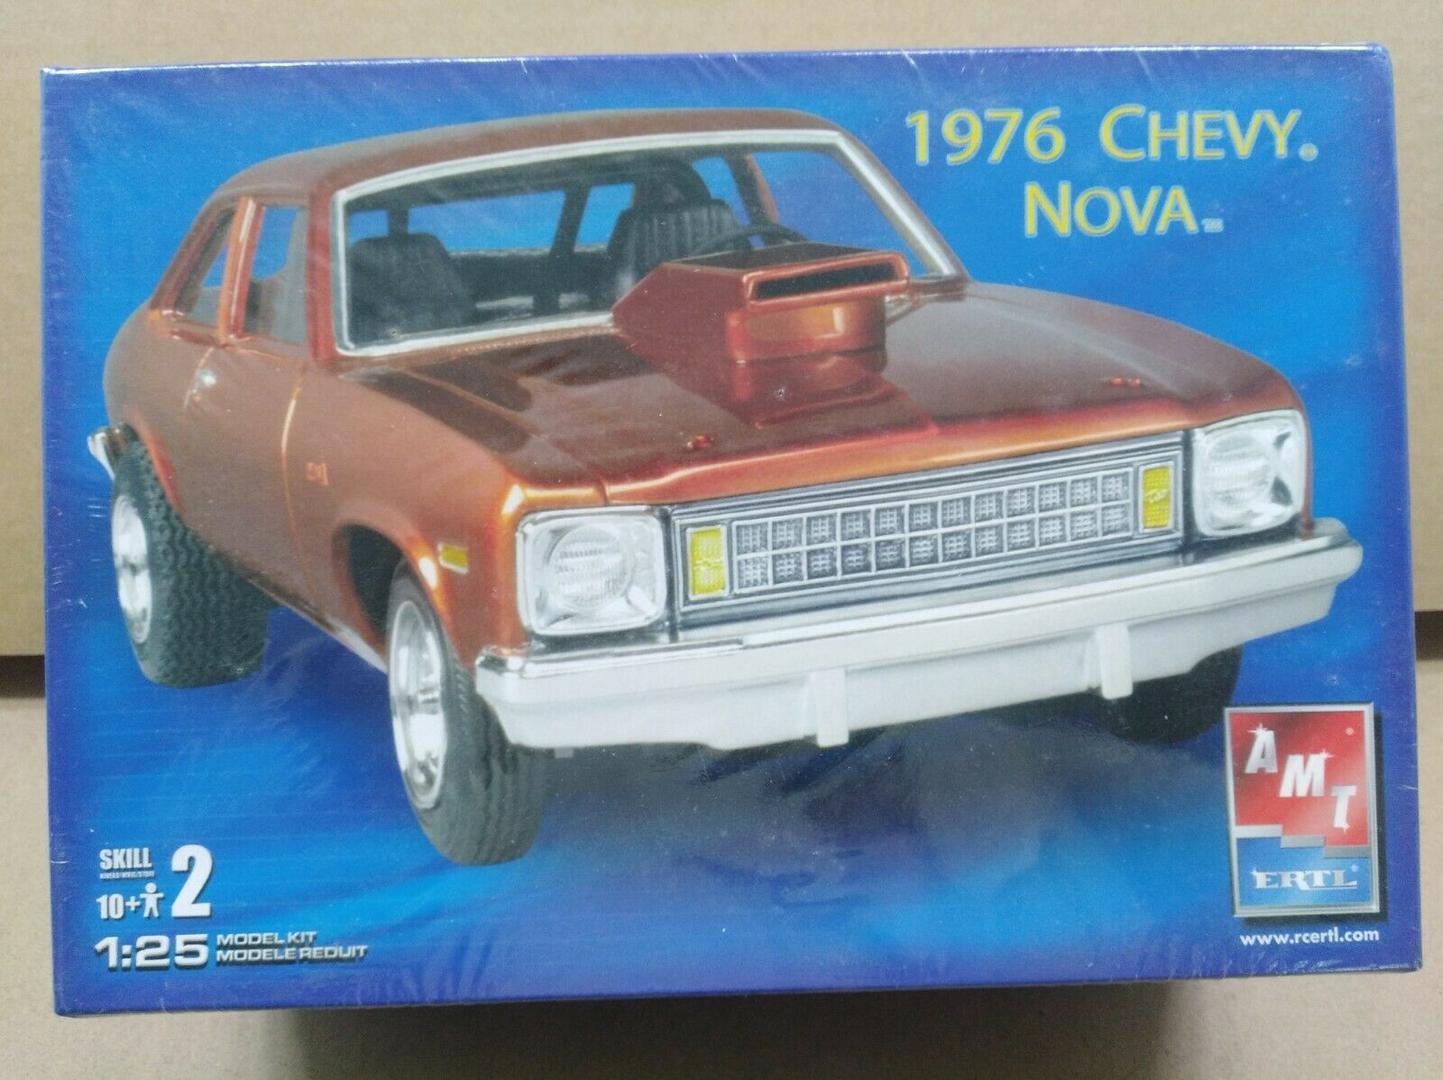
A few years back, I got the early 2000s reissue of the 76 Nova with the orange car on the box. Was pleasantly surprised this "street machine" looking box art car turned out to be a fully-tubbed Pro Stock / Pro Street kit, yet perplexed that it ran on undersized rear street tires that do not fill out the tubbed interior/chassis. It's nice to see Round 2 correct this oversight.
-
What a phenomenal September; I want the Batmobile, Scirocco, Nova, and prolly everything else, too.
-
Coming Soon from Atomic City's JoHan line of new kits
Stef replied to thatz4u's topic in Car Kit News & Reviews
I agree 99%, but I just know one of these days I'm gonna pull the trigger on something stupid expensive just because it's rare, I want it, been chasing it for decades, and I want the glory of the kill! -
Coming Soon from Atomic City's JoHan line of new kits
Stef replied to thatz4u's topic in Car Kit News & Reviews
We all have a huge demand for the FULL KIT -
Agreed 128%, Michael! I love old and new-to-me! The guys in my model car club keep finding great old stuff for me that I've been hunting decades for, and they, this forum, and HPI Guy, introduce me to so many new and old kits and subjects I never would have thought of before! These Moebius kits seem poised to offer the best of both worlds: they'll hit us with nostalgic feels, while satisfying our modern cravings for detail, challenge, and potential. Still working on my Moebius 72 wrecker, and it is such a joy to work on a modern kit of something I grew up with every day as a kid! Moebius is on fire, and I am here for it!
-
Very eager to get this sucker and all its imminent variants. Built the Johan Comet Pro Stock back in the day, molded in orange, and ruined it. Very fortunate to get another, sealed Comet Pro Stock in 2018 molded in teal. Built it much nicer this time. When these kits hit the shelves I will shovel as many as I can into my shopping cart. I want them all. Mavericks and Comets, stockers and drag racers, and more more more. I grew up with these cars, and nostalgia is one hell of a drug.
-
Revell & Atlantis at the IPMS National Convention 2025
Stef replied to niteowl7710's topic in Car Kit News & Reviews
Agreed 128%. As much as I loved building Tamiya's R34 V-Spec, I'da loved it even more with full underhood detail. -
Lots of great stuff this month, and the video is a day early, too! Really vibin' on Chad's evolution; he's much more prepared, enthusiastic, and knowledgeable than ever, and I am here for it. Great job, Round 2, my wallet is NEVER safe.
-
Thinkful Wishing about Round2 Models, future Kits.
Stef replied to stavanzer's topic in Car Kit News & Reviews
Heh, we've all been there, Gary! Right you are; it's all about "point of entry". In the 70s, many old 1/32 Lindberg kits were pretty rough for a 10 year old. That bias carried with me into the early 90s, until Scale Auto raved about a bunch of all-new Lindberg kits, except that THEY WERE TOO BIG! Everyone begged Lindy to go 1/25, and so they did. And what followed was an insane onslaught of state-of-the-art kits of long sought after subjects: 61 Impala, 66 Chevelle, 64 Dodge 330s, 53 Fords, 64 Belvedere, 67 Olds 442, 97 F-150, and more. And so, by 1999 or 2000 when Lindy announced their upcoming 48 Lincoln, I was so excited. Home run after home run, Lindberg could do no wrong. Heh. Got mine, opened the box, and I was shocked, horrified, apoplectic, and crestfallen by what I saw inside the box. To me, it was utter trash. Unbuildable. Unworthy. Beneath me. An insult. Waste of time. How could Lindberg betray me like this? How could they get this so wrong? I immediately threw it in the garbage, and swore off Lindberg forever. That was 25 years ago, and I've since learned that 48 Lincoln kit was actually an old Pyro, and Lindberg merely reissued it. So yeah, "point-of-entry". I came into the new Lindberg not realizing their extensive back catalog, and was not prepared for something older and sucky. Sometimes old kits are mega awesome, and new ones are baffling, and then there's everything inbetween. A couple years ago, I tracked down a decent 48 Lincoln buildup, and I plan to one day take it apart, clean it up, and do as nice a job on it as I can, warts and all. And having said all that, I don't get angry at what's in the box anymore; I just realize there are SQUILLIONS of kits of all kinds of vintages, and I just enjoy 'em for what they are. If I want to go the extra mile, I have. I do. I will. And if I don't want to go the extra mile, just as well. And yeah, girls have a funny way of making us lose interest in models! -
Thinkful Wishing about Round2 Models, future Kits.
Stef replied to stavanzer's topic in Car Kit News & Reviews
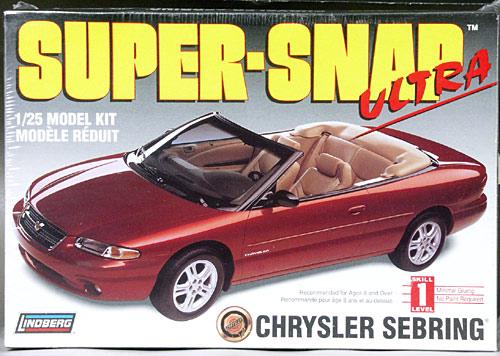
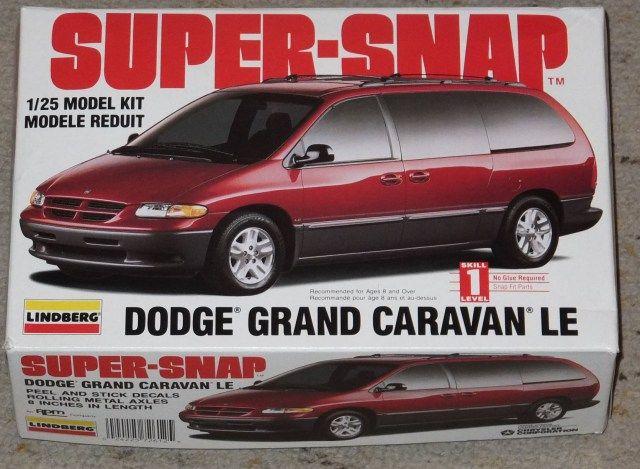
Right you are, Gary, and I've been thinking about your post for days now. Lindberg made some really neat stuff in the mid-late 90s that Round 2 should still have. The Sebring, the Caravan, and the Atlantic all come to mind. I built all three back in the day, and I'm sure a lot of us would love to see these classics again!
-
Nooice. Even when you DON'T stuff huge wheels under your builds, Tim, they still look like you DO, heh.
-
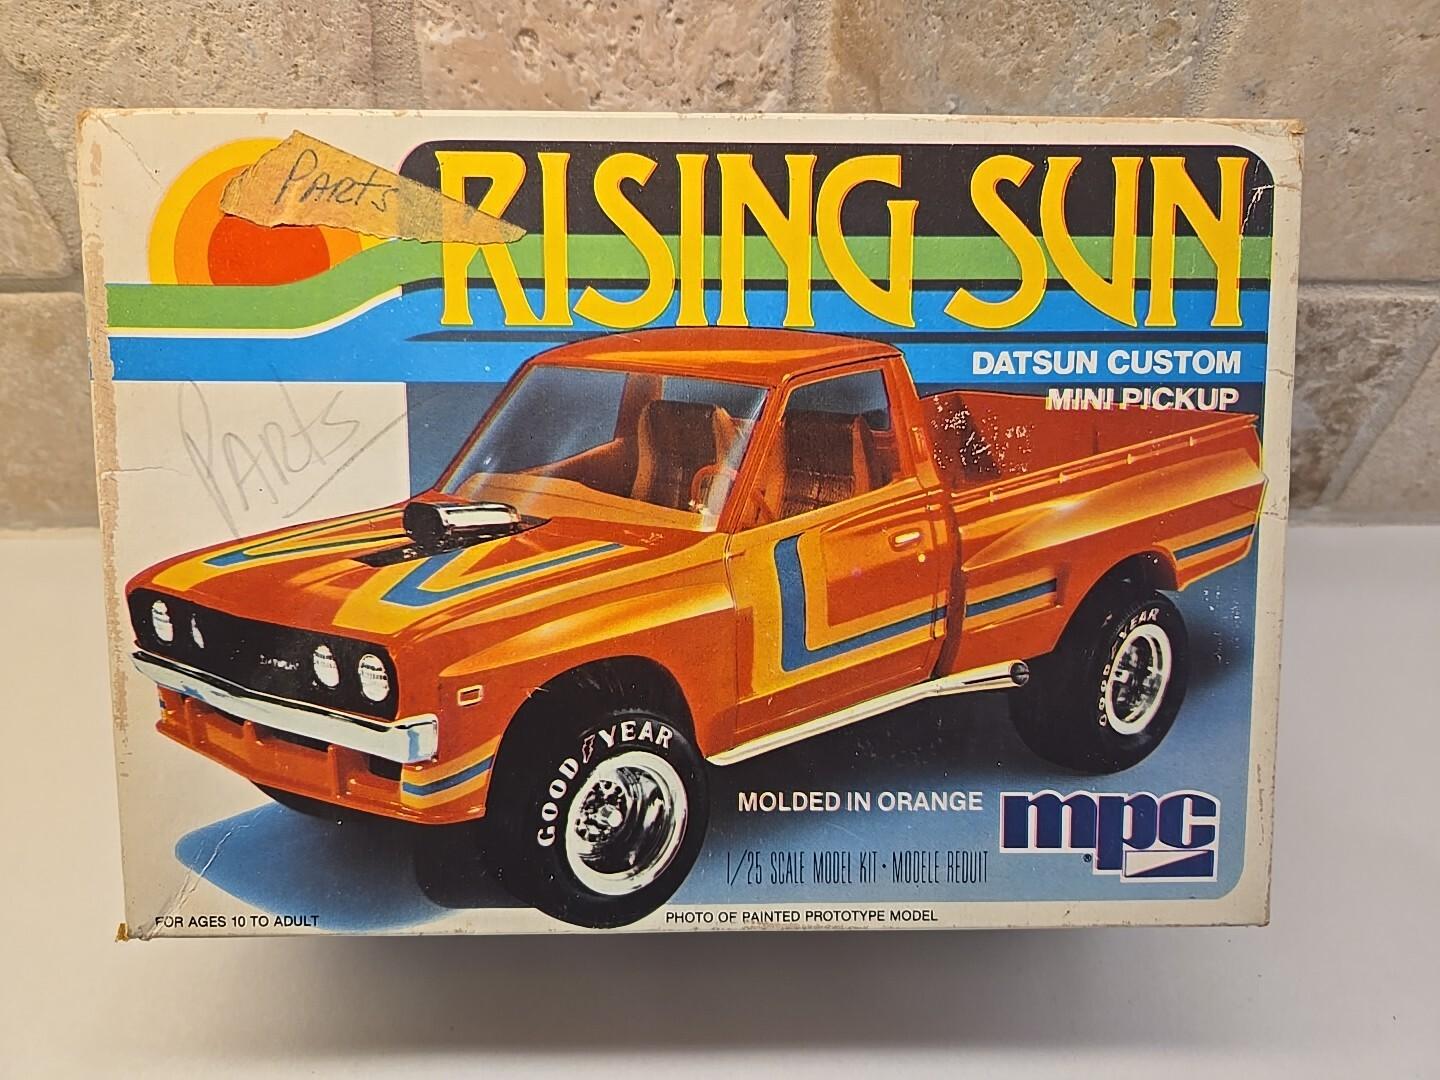
Awesome! Looks like nearly all of the pieces and options for this kit have survived the test of time. All we really need now are the stepside bed and topper from EXPRESS-O to complete the series. Me personally, really hoping Round 2 brings back RISING SUN next!
-
Thank you, Round2, another of my grails has been resurrected from the dead!