Funkychiken
-
Posts
2,662 -
Joined
-
Last visited
Content Type
Profiles
Forums
Events
Gallery
Everything posted by Funkychiken
-
turned out quite well!
-
really appreciate the comments! keep building!
-
beautiful! i like the choice of colours, in keeping with its era!
-
its a great build of a fantastic car! love it
-
No relation, but funnily enough, I work for Ford! I like the name Harish! It sounds a bit scottish!
-
1967 GTO Pro Street - Self Isolation build
Funkychiken replied to carl63_99's topic in WIP: Model Cars
I can't believe orange and blue gave you that colour, but it looks amazing! -
I like daily runner builds, and yours it's coming along nicely !
-
That's a classy ride! Looking good so far...
-
Beautiful build, that colour does look nice, and suits this car...
-
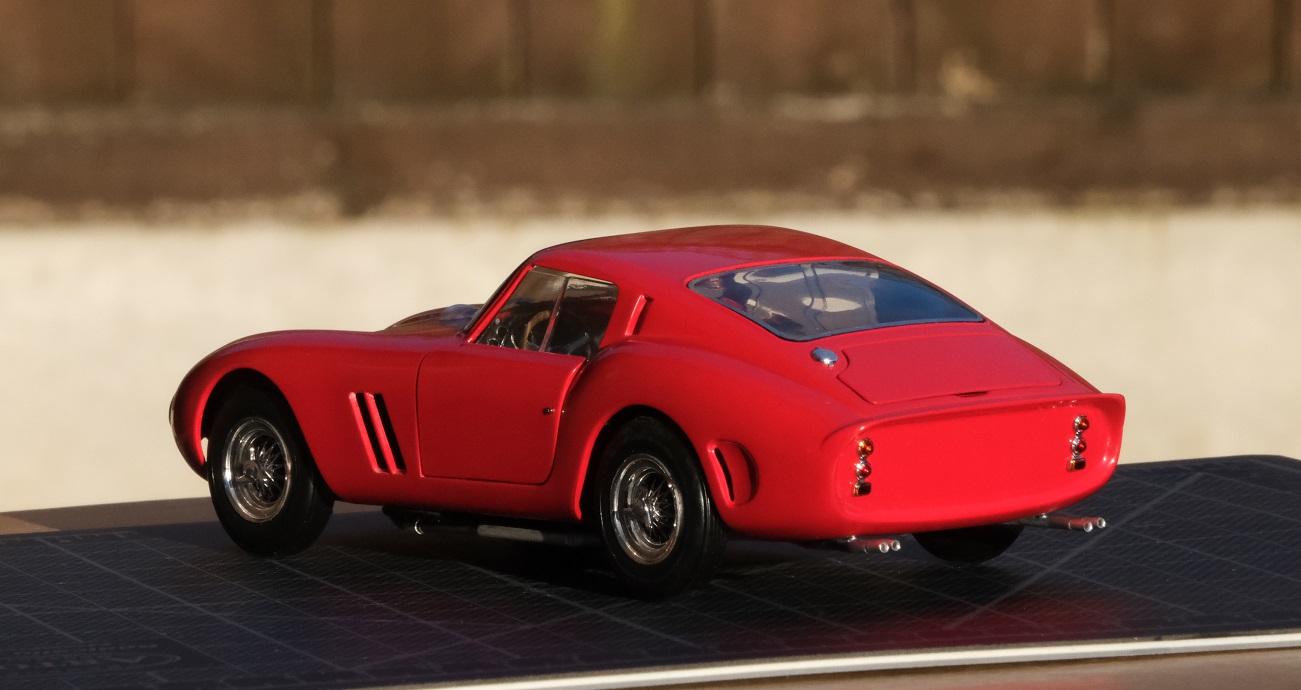
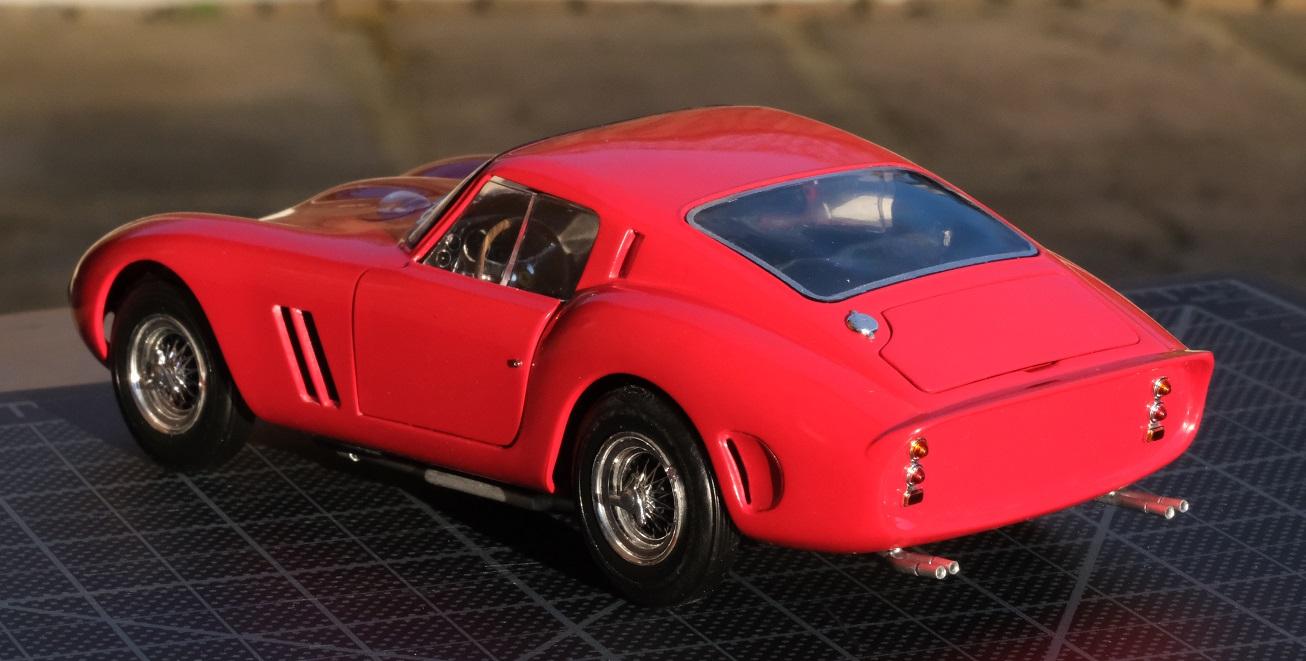
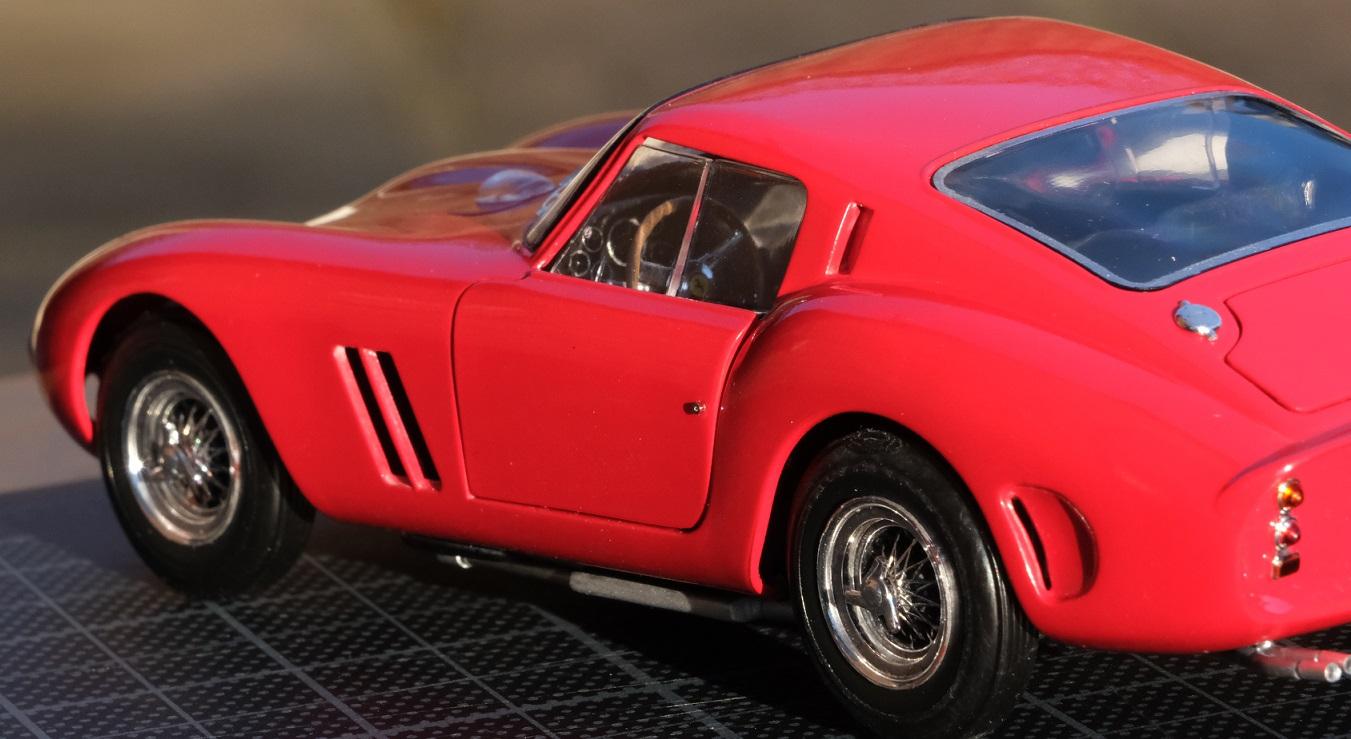
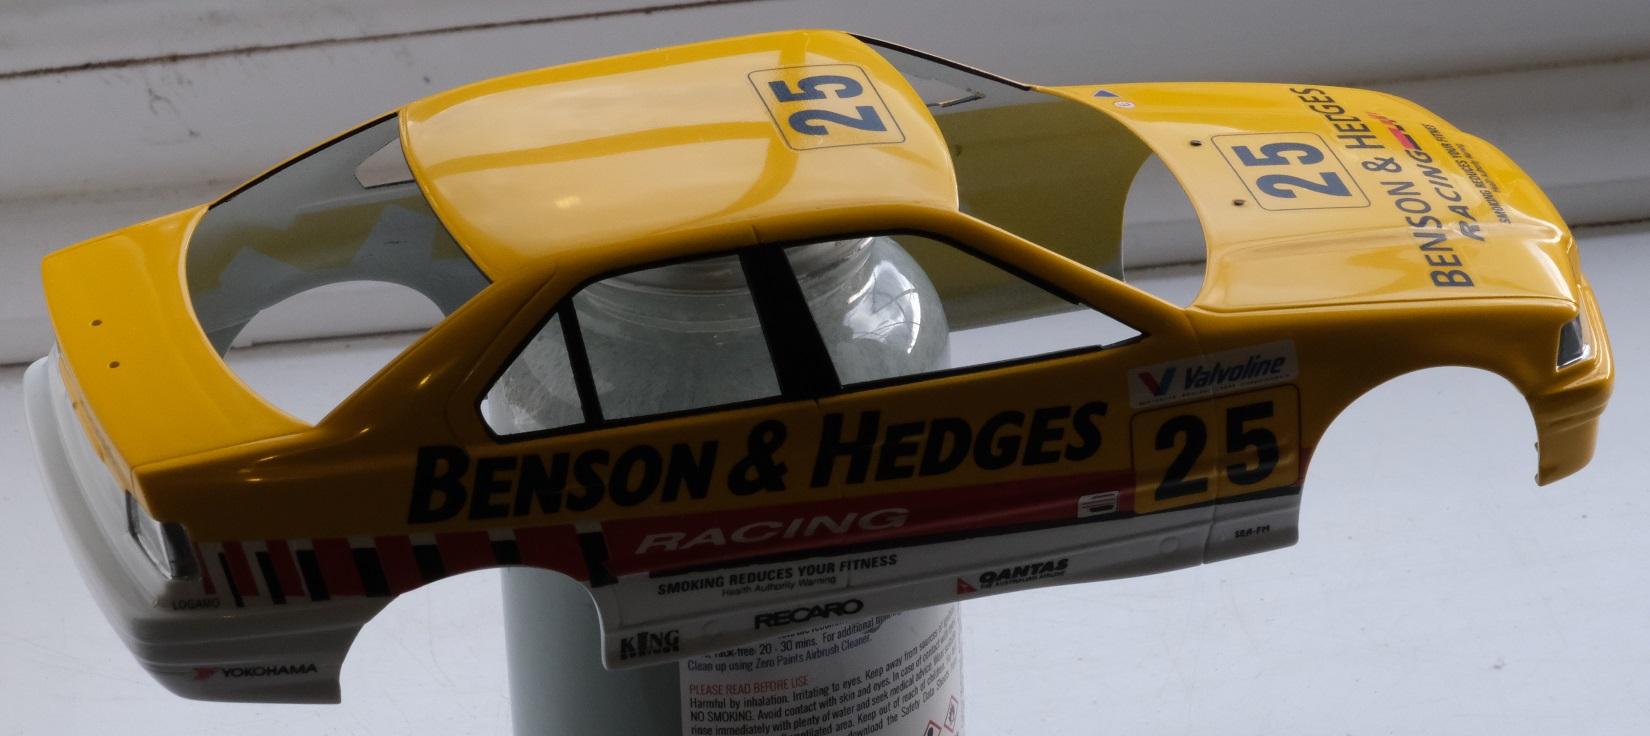
This is a strange looking car, the front end is completely out of proportion for the real build. I started it about 6 years ago - in fact at a car Model Forum I think was called Mikes Model Cars, I can't remember! But it was a cheap purchase, cost me a lady, and it was the first kit I started to use teh AB on. cutting a long story short, I messed the body paint up & ended up having to buy a 2nd kit just to finish it! But finish it I did, not the best looking model, but I learned so much building it. The rear looks better than the front, so that's how it's going to sit on the shelf! Comments welcome, and it's Number 2 for finishing this year! already beating last years build count...

-
If I ever become a bad boy, then this is the car i'd get! great build...
-
Very unique builds! high quality finish too!
-
I like the colour combo of this Shelby, great build
-
It's difficult to call out a favourite with this bunch of 'vettes... they are great!
-
Its a beautiful build of a strange looking car, theat purple is excellent!
-
that's a lovely looking caddy
-
I have a soft spot for the curves of the cobra, and yours is stunning.
-
That is a beutiful build! the colour suis the stang...
-
Revell 1993 Chevy Camaro B4C New York State Police
Funkychiken replied to polybius's topic in Model Cars
A beautiful Blue! great build! -
Thanks Michael, appreciate it!
-
This build was not the usual Tamiya perfection, but it was enjoyable, and turns out into a fantasic completed build. the main 2 problems I had were fitting the engine cover - was a little twisted. and also the final fitting of the body onto the chassis, it sits too low at the back, and there were some lugs that clashed with the body. Overall, really pleased! colour is Alclad II Cobalt Blue over Bright silve base and finished with Zero 2K and sanded/polished. Interior is with Zero paints... Comments welcome!
-
great F50, one of my favourite Ferraris! agree with Dann on the comments for the mesh that you used to replace the kit piece - which I beleive in the kit is clear. so well done on that!
-
Continued to final assembly, but since I opened up the grille, I will have to add a radiator. So I made one! very basic and not great looking, but its better than the gap! next pics will be in the finished section
-
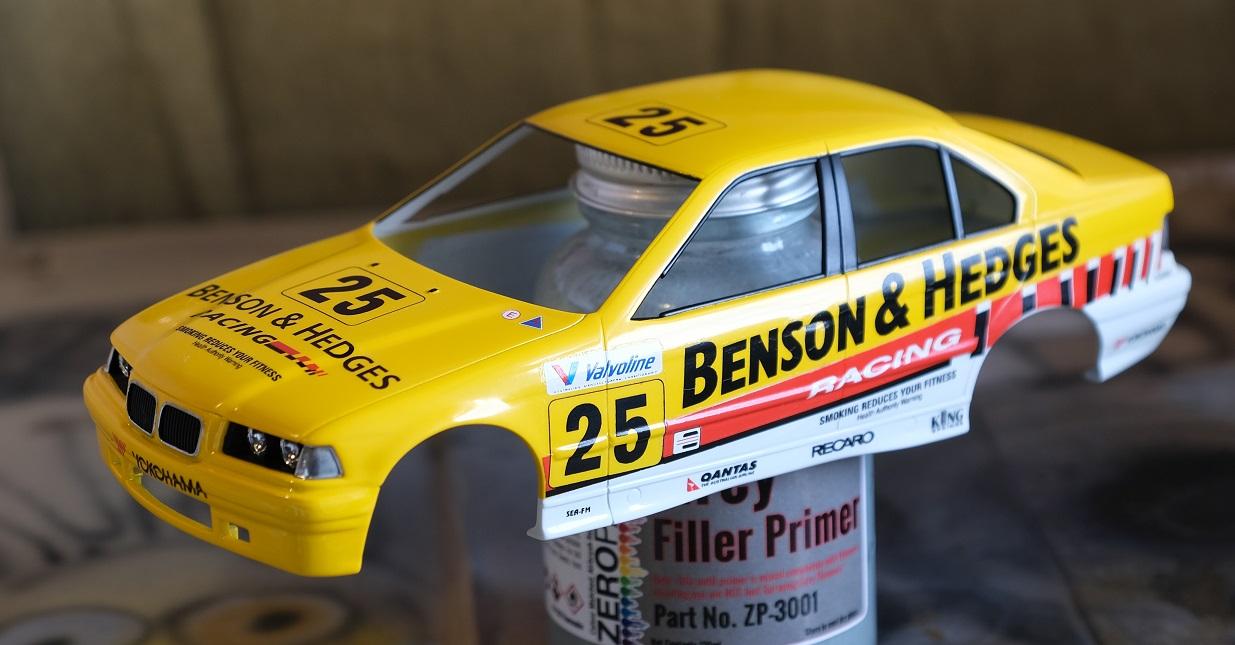
SO DECALS NOW DONE - A HUGE THANK YOU TO DR TREVOR!!!!!! Originally I intended on coating with Zero 2k, but decided to just give it a few "coats" of modelling wax - well, Nuvous "clean & shine" does the trick, makes the decals look less "on-top" not perfect, but looks good enough for me, and worth the effort in the end
-
SO normally, I use Microsol Decal Set frst, then Micosol Decal Softener after. This time, I used just the softener - but underneath the decal it made a huge difference, although the side effect of having the decal in multiple pieces, is that it was no longer straight. only one bubble appeared around the "R" I again tried to pock a hole and use setting solution to no avail, so cut it out and cut out an additional piece of ceal & added it over the "R"