Russell C
-
Posts
1,933 -
Joined
-
Last visited
Content Type
Profiles
Forums
Events
Gallery
Everything posted by Russell C
-
64 Dodge D100 Pickup Pro Street
Russell C replied to AmericanMuscleFan's topic in WIP: Drag Racing Models
Jealous of your machining skills, really nice work! My late father was a pro machinist for decades, gave me a mini lathe he built, but I still barely make circular shapes via eyeball engineering. My loss for not learning enough from him. -
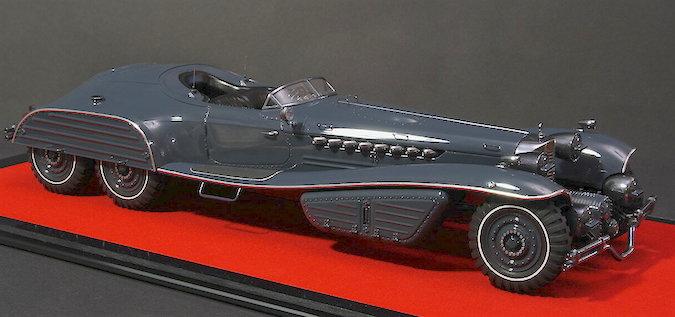
GT Spirit 1/18 scale Koenig Specials Ferrari 512 BBi ... except for much cheaper than what ebay usually has priced at in all the Buy it Now listings. And same goes for an 18th scale Joyride/ERTL Bluesmobile and 18th scale Minichamps Volvo P1800 ES wagon. Happens rarely, but smokin' low price ebay auctions do strike occasionally, I got my wish that way for a 24th scale Franklin Mint Checker cab for $30-ish from an estate sale seller, because it had a couple of missing door handles, accessories & original packaging.
-
Sharply well done!
-
Car art
Russell C replied to Scott8950's topic in 1:1 Reference Photos: Auto Shows, Personal vehicles (Cars and Trucks)
A Pro Touring hit parade! -
1/25 AMT 1976 GMC General Tractor -- Coca-Cola
Russell C replied to Casey's topic in Truck Kit News & Reviews
Snag this and another van body and rebuild! (save the Coke decals for one of your future politically correct Senna McLaren Honda F1s, I guess) -
That's a serious level of old scratchbuilding!
-
1/25 AMT 1927 Ford T Vintage Police Car
Russell C replied to Casey's topic in Car Kit News & Reviews
Was the very first I built entirely on my own in 1972 or 3, brush painted the whole thing yellow using a couple of those little Pactra bottles, and the wheels rolled fine so I could play with it in the carpet. I think I still have the chrome star rattling around somewhere in my parts boxes, from the headlight brace. Didn't think of it 'til just now, what police department would have a cruiser painted like a taxi? -
Thanks! Borrowing from another pair of Fotki accounts, more of the front / back / top with my fake story of how it was variant of an Edsel prototype. Used those same quad headlights that Brad used, but stood the grilles from a Studebaker Starliner vertical, and partially recessed the Ford caps into Stude wheelcovers. I should dig it out of storage and fix the roof. Ran out of time to do it right before flying up to GSL.
-
That was for the GSL "Group 09" category. Brad went a different way (quite nicely done, I must add), but using his own photograph of my entry, I just lost my mind on direction.
-
May be a boon for the stolen car sales industry, too. I'm prepared, though, my 34 year-old daily driver came with one of these from the factory.

-
Let's See Some Glue Bombs!
Russell C replied to Snake45's topic in General Automotive Talk (Trucks and Cars)
Would be interesting to see what your interpretation yields, compared to mine. You may beat me to completion on it, though. A variety of non-modeling obligations still conspire to be monstrous time eaters for me lately. -
Not a huge fan of the Marvel movies, but ran across the Cap'n America one with this car's brief screentime appearance. Wondered first if I could see more of it somewhere and then of course wondered if anyone has done a model of it. Can't tell the age of this site https://yadi.sk/a/d2Yck7nO3T8cjG but it looks like the guy (or somebody) has done a bunch of 3D drawing, printing & building.
-
I was thinking that was a two-tone green & white, but a quick glance here shows my memory is faulty: https://www.imcdb.org/v006489.html
-
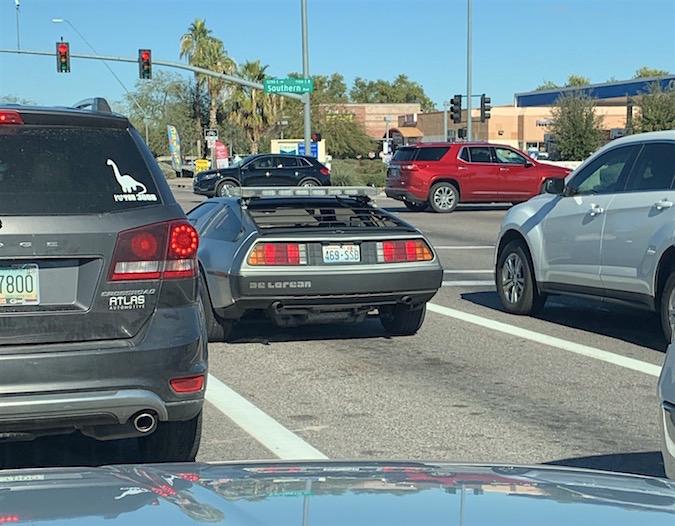
What did you see on the road today?
Russell C replied to Harry P.'s topic in General Automotive Talk (Trucks and Cars)
Incognito time machine with what appears to be one of those flat LED police-style light bars strapped above its rear window. Sounded nice, don't think I ever heard one running.
-
Cue the complaints in 3...2.....
Russell C replied to iamsuperdan's topic in General Automotive Talk (Trucks and Cars)
I'd prefer my 2cents to be termed more about concern than an actual complaint. Does anybody ever believe MPG claims by car makers? I never have, and my real world driving always falls short of what the advertisements said even though nobody can call me a leadfoot. Then, while it's admirable that the cars can get such quick charges, that might also be under absolutely optimal conditions. Then, judging from the wide open distances out west that I see on my vacation jaunts, a person has to keep a good eye on not running short on gas even today. I could, for example, arrive on fumes in SW Colorado, but the smart move is to fill up halfway there. How many fast charge stations between here and there, outside of Phoenix? On a map I found, I see one in Payson, one in Winslow, and zip for the entire sw corner of Colorado. Maybe the demand might fill in the infrastructure, but then they might have to re-open the part of the coal-fired powerstation by Page that was recently closed down just to keep up with the need for extra electricity. -
Custom Channeled Hot Rod Tub (mostly scratchbuilt)
Russell C replied to traditional's topic in Model Cars
Really nice, inspiring work there! -
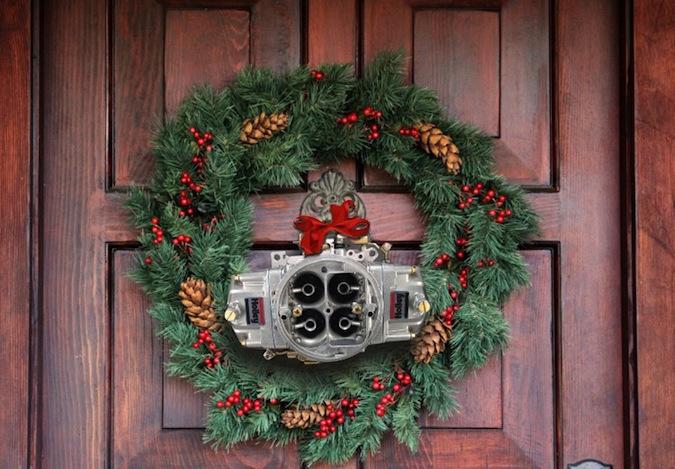
♫ ... But the prettiest sight to see, is the Holley that will be on your own front door! ♫
-
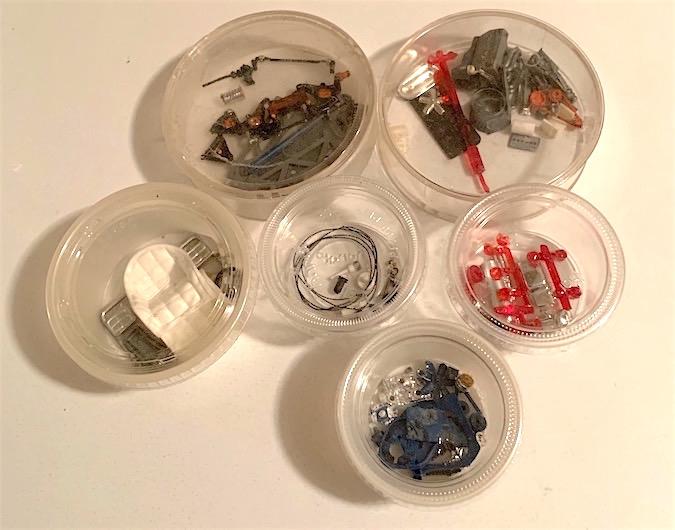
The combo of little salsa containers with snap-on lids from Mexican food restaurants, and really old electrical tape (?) containers that are like flat cups with overlapping tops. Pays to keep the lids on to avoid scattering 'em all into the carpet, though.
-
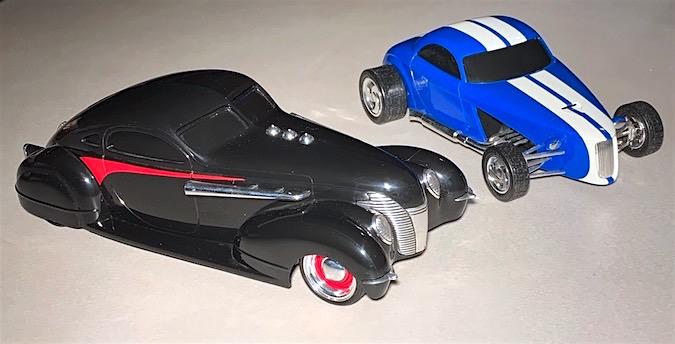
Poor, but patient guys like me benefit from being the single bidders on low price eBay auctions like this, where the seller had an incomplete mislabel for this pair. Been looking for a Blackforce for quite a while just to rob the baby moonwheels from it. However, the longer I look at the Super Coupe, the more I think I can throw a pile of my other unused/unloved parts at it to turn it into a neat rod project.
-
What did you see on the road today?
Russell C replied to Harry P.'s topic in General Automotive Talk (Trucks and Cars)
Saw this yesterday, but forgot to post it.
-
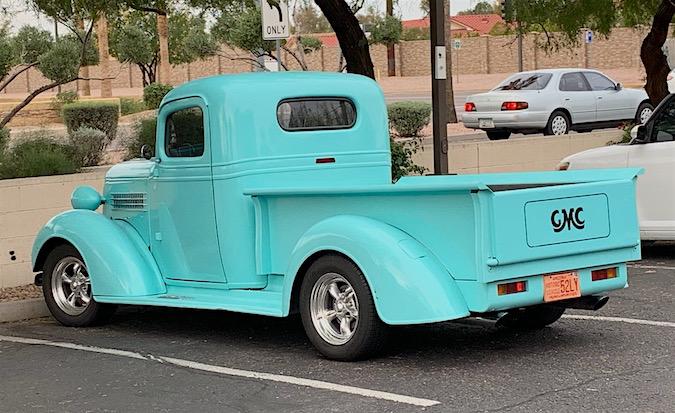
FYI, that shape on the top of the Monogram passenger side fender is the jack and jack handles. Don't know regular Blazers well enough to know if the 2nd battery was an option in gas engines, but I do know that the '76 and '77 Blazer Chalets (gas, 350s or 400s) with the factory-installed camper units had a second battery on the driver's side to power the camper unit's lights and sink water faucet.
-
I'm a fan of trucks but...
Russell C replied to iamsuperdan's topic in General Automotive Talk (Trucks and Cars)
Misplaced design study for the Lamborghini Countach pickup version? -
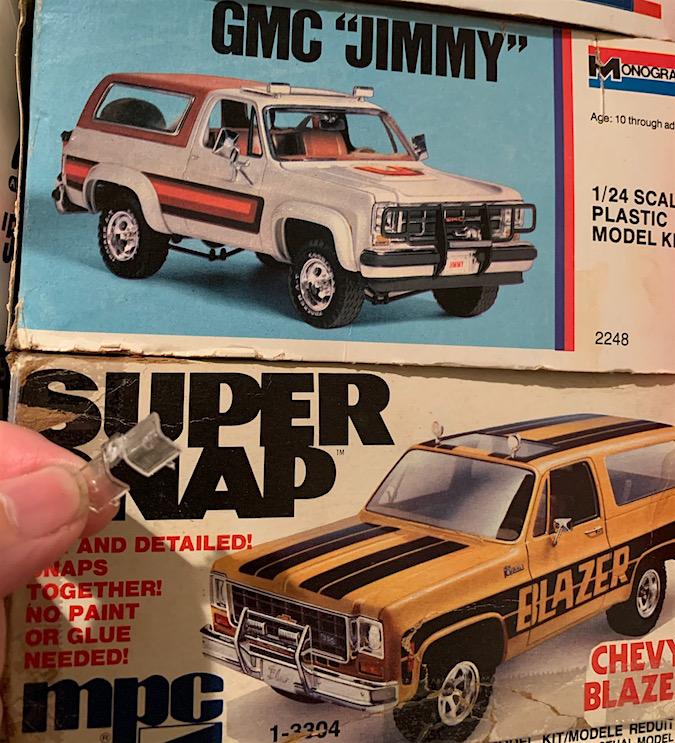
Should look like this, then, for the Monogram kits. Still not sure which kit mfg'er I'll choose for my '76 GMC factory stock project, but I remember that the taillight lenses in the MPC gluebomb I got really seemed not to have the proper curve to them. More sharply L-shaped. Hard to see, but these lenses have tiny raised ribs around the backup lens part, and itty-bitty dots in the corners for the mounting screws. I don't care for the kit locating nubs on the back sides, they look like giant gas bubbles, so those will be sliced out for my project.
-
What is that, though? A 24th or 25th scale, or one of those larger scale diecasts? I've got a set of two clear lenses (where of course the small backup lens area is left unpainted) from one of the GM truck kits or the Blazer / Jimmy, but those are firmly earmarked for my own GMC Jimmy project. Not that I discourage scratchbuilding, but somebody else may have the lenses rattling around in a parts box ......
-
1/24 Mitsubishi Champ-Puerto Rico's street version
Russell C replied to simonr's topic in Model Cars
Spotted one of these very pricey kits on ebay within the last month or so, never knew anyone put them out. Very nice, Simòn! Plus I have my own weakness for these, my dad sold me his Plymouth Champ after my abortive attempt to own a Fiat X1/9 (soon discovered I couldn't afford to fix all its faults). I owned the Champ from '87 to '94, but then I stupidly totaled it. Fun car with the "power/economy" shifter, basically making 8 forward gears and it did actually make for two gears in reverse. Pic below from 1991 of my drive over Ophir Pass in Colorado a day or three after a bulldozer had scraped the road completely open, nice and flat with no troublesome rocks.