gotnitro?
-
Posts
4,500 -
Joined
-
Last visited
Content Type
Profiles
Forums
Events
Gallery
Everything posted by gotnitro?
-

Autocar/ Challenge Transit Mixer
gotnitro? replied to Mopar - D's topic in WIP: Model Trucks: Big Rigs and Heavy Equipment
What's not to like about this build , it has huge floats, that wicked bumper, and BB stripes! Curious..dm 600 steel hood from AITM by chance ? His steel hood Mack's are insanely cool. My buddy is doing a RD? steelie right now -
Definitely watching this develop, loved your take on the 300C
-
Gorgeous color and the engine looks great I'm partial to B5 blue , but your lime green makes a killer that will definitely turn heads
-
Very nice work, those proton packs are a treat to look at
-
Autocar reborn
gotnitro? replied to gotnitro?'s topic in WIP: Model Trucks: Big Rigs and Heavy Equipment
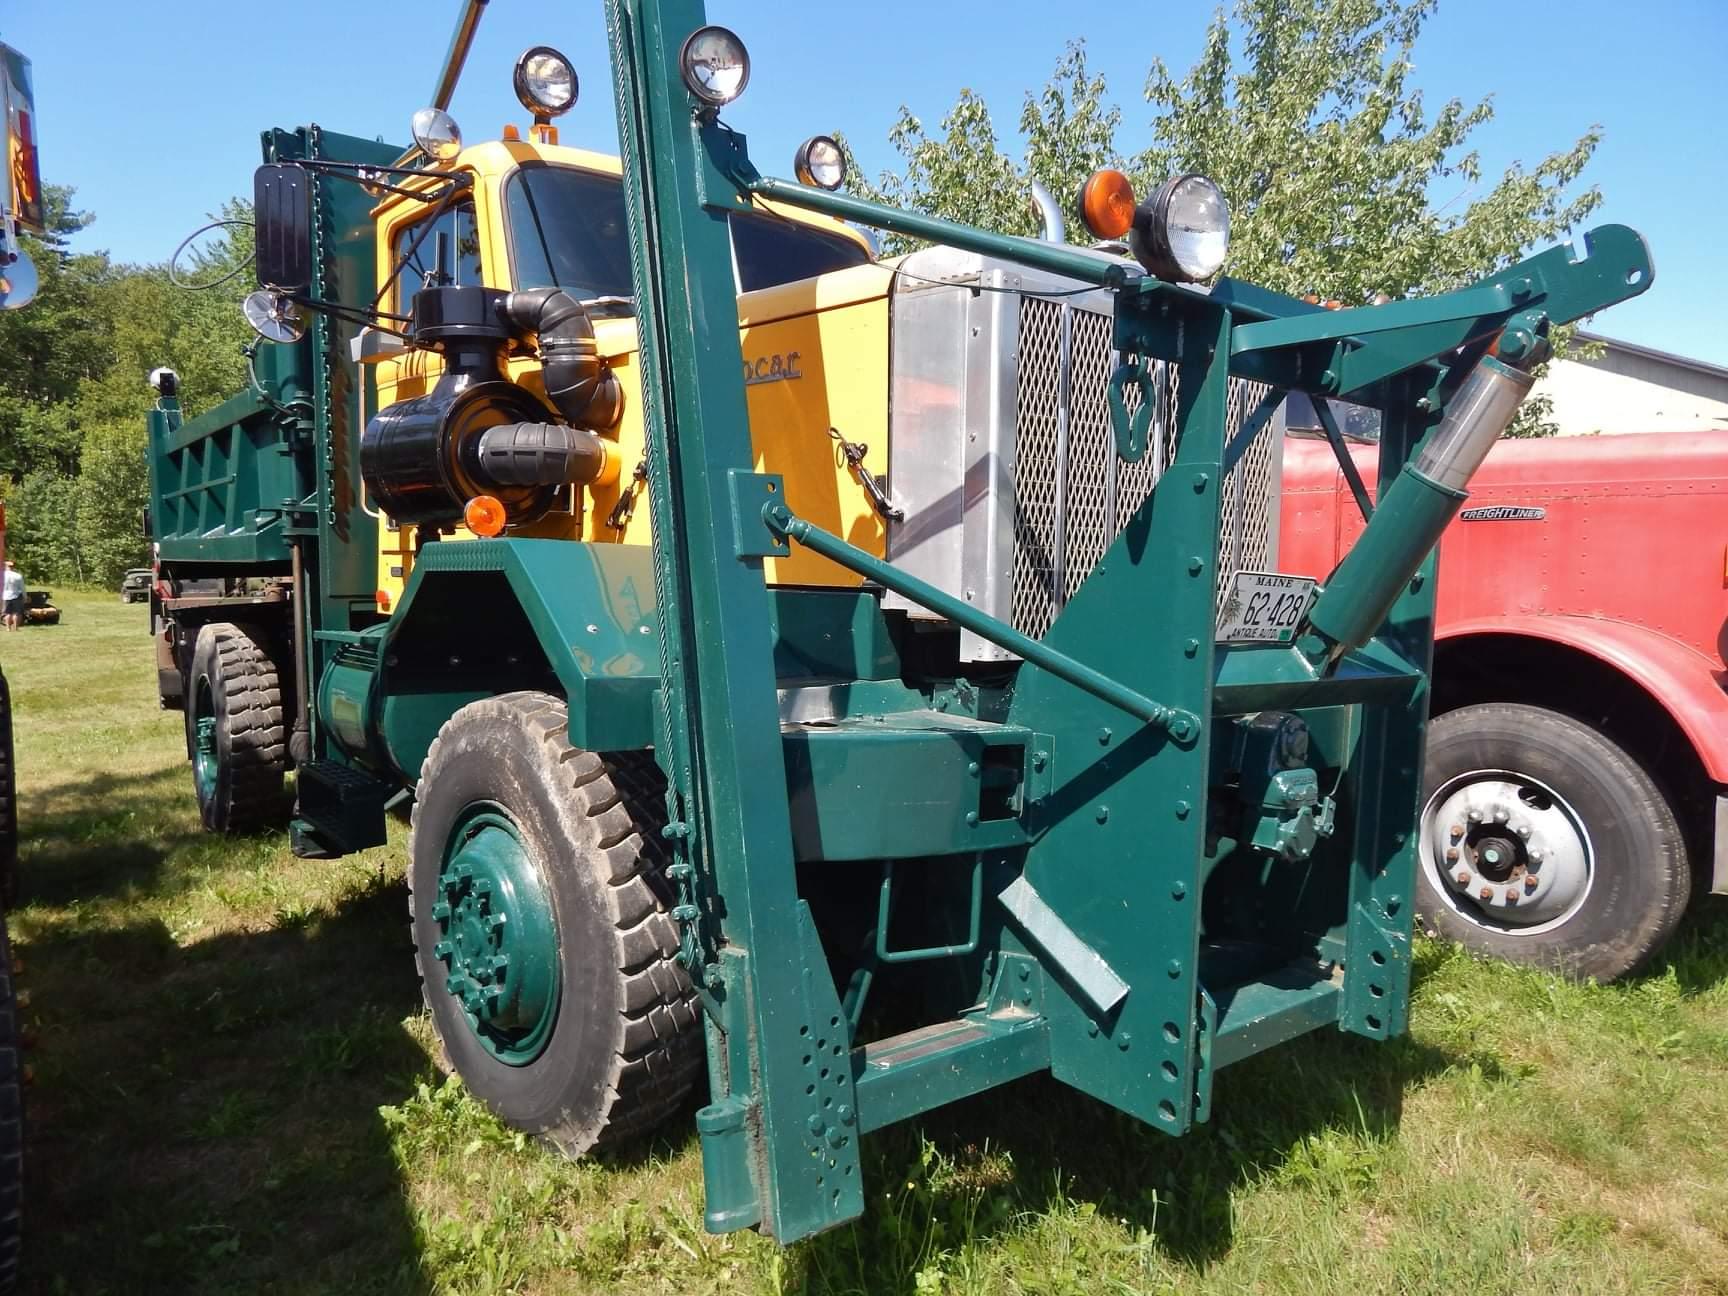
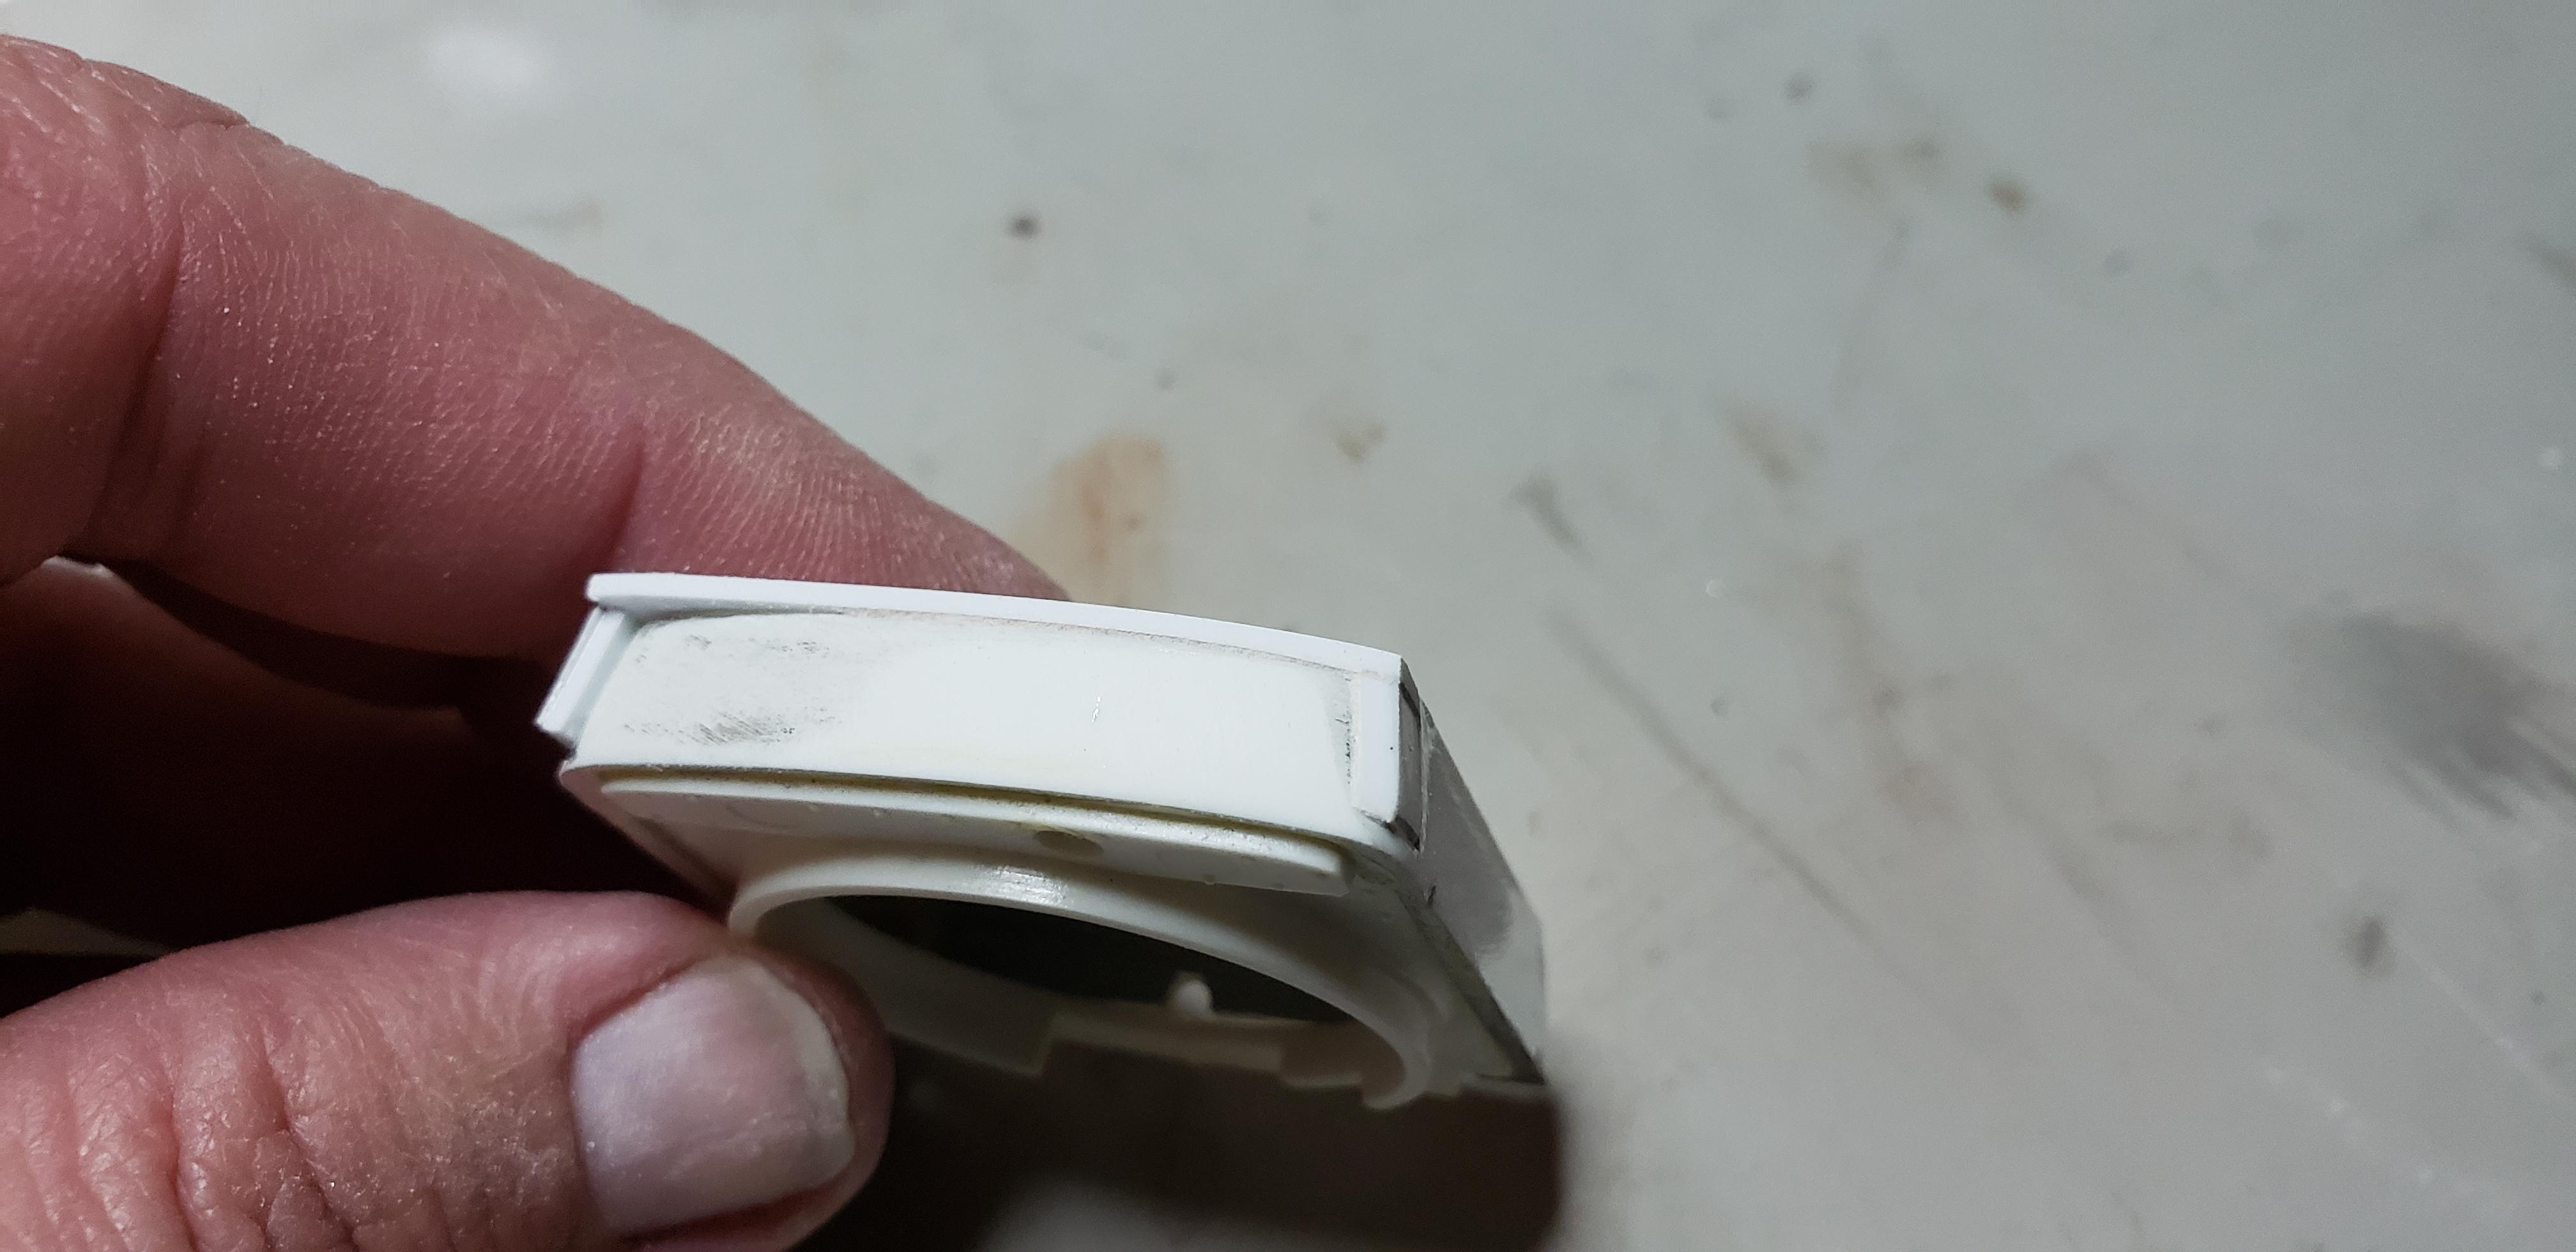
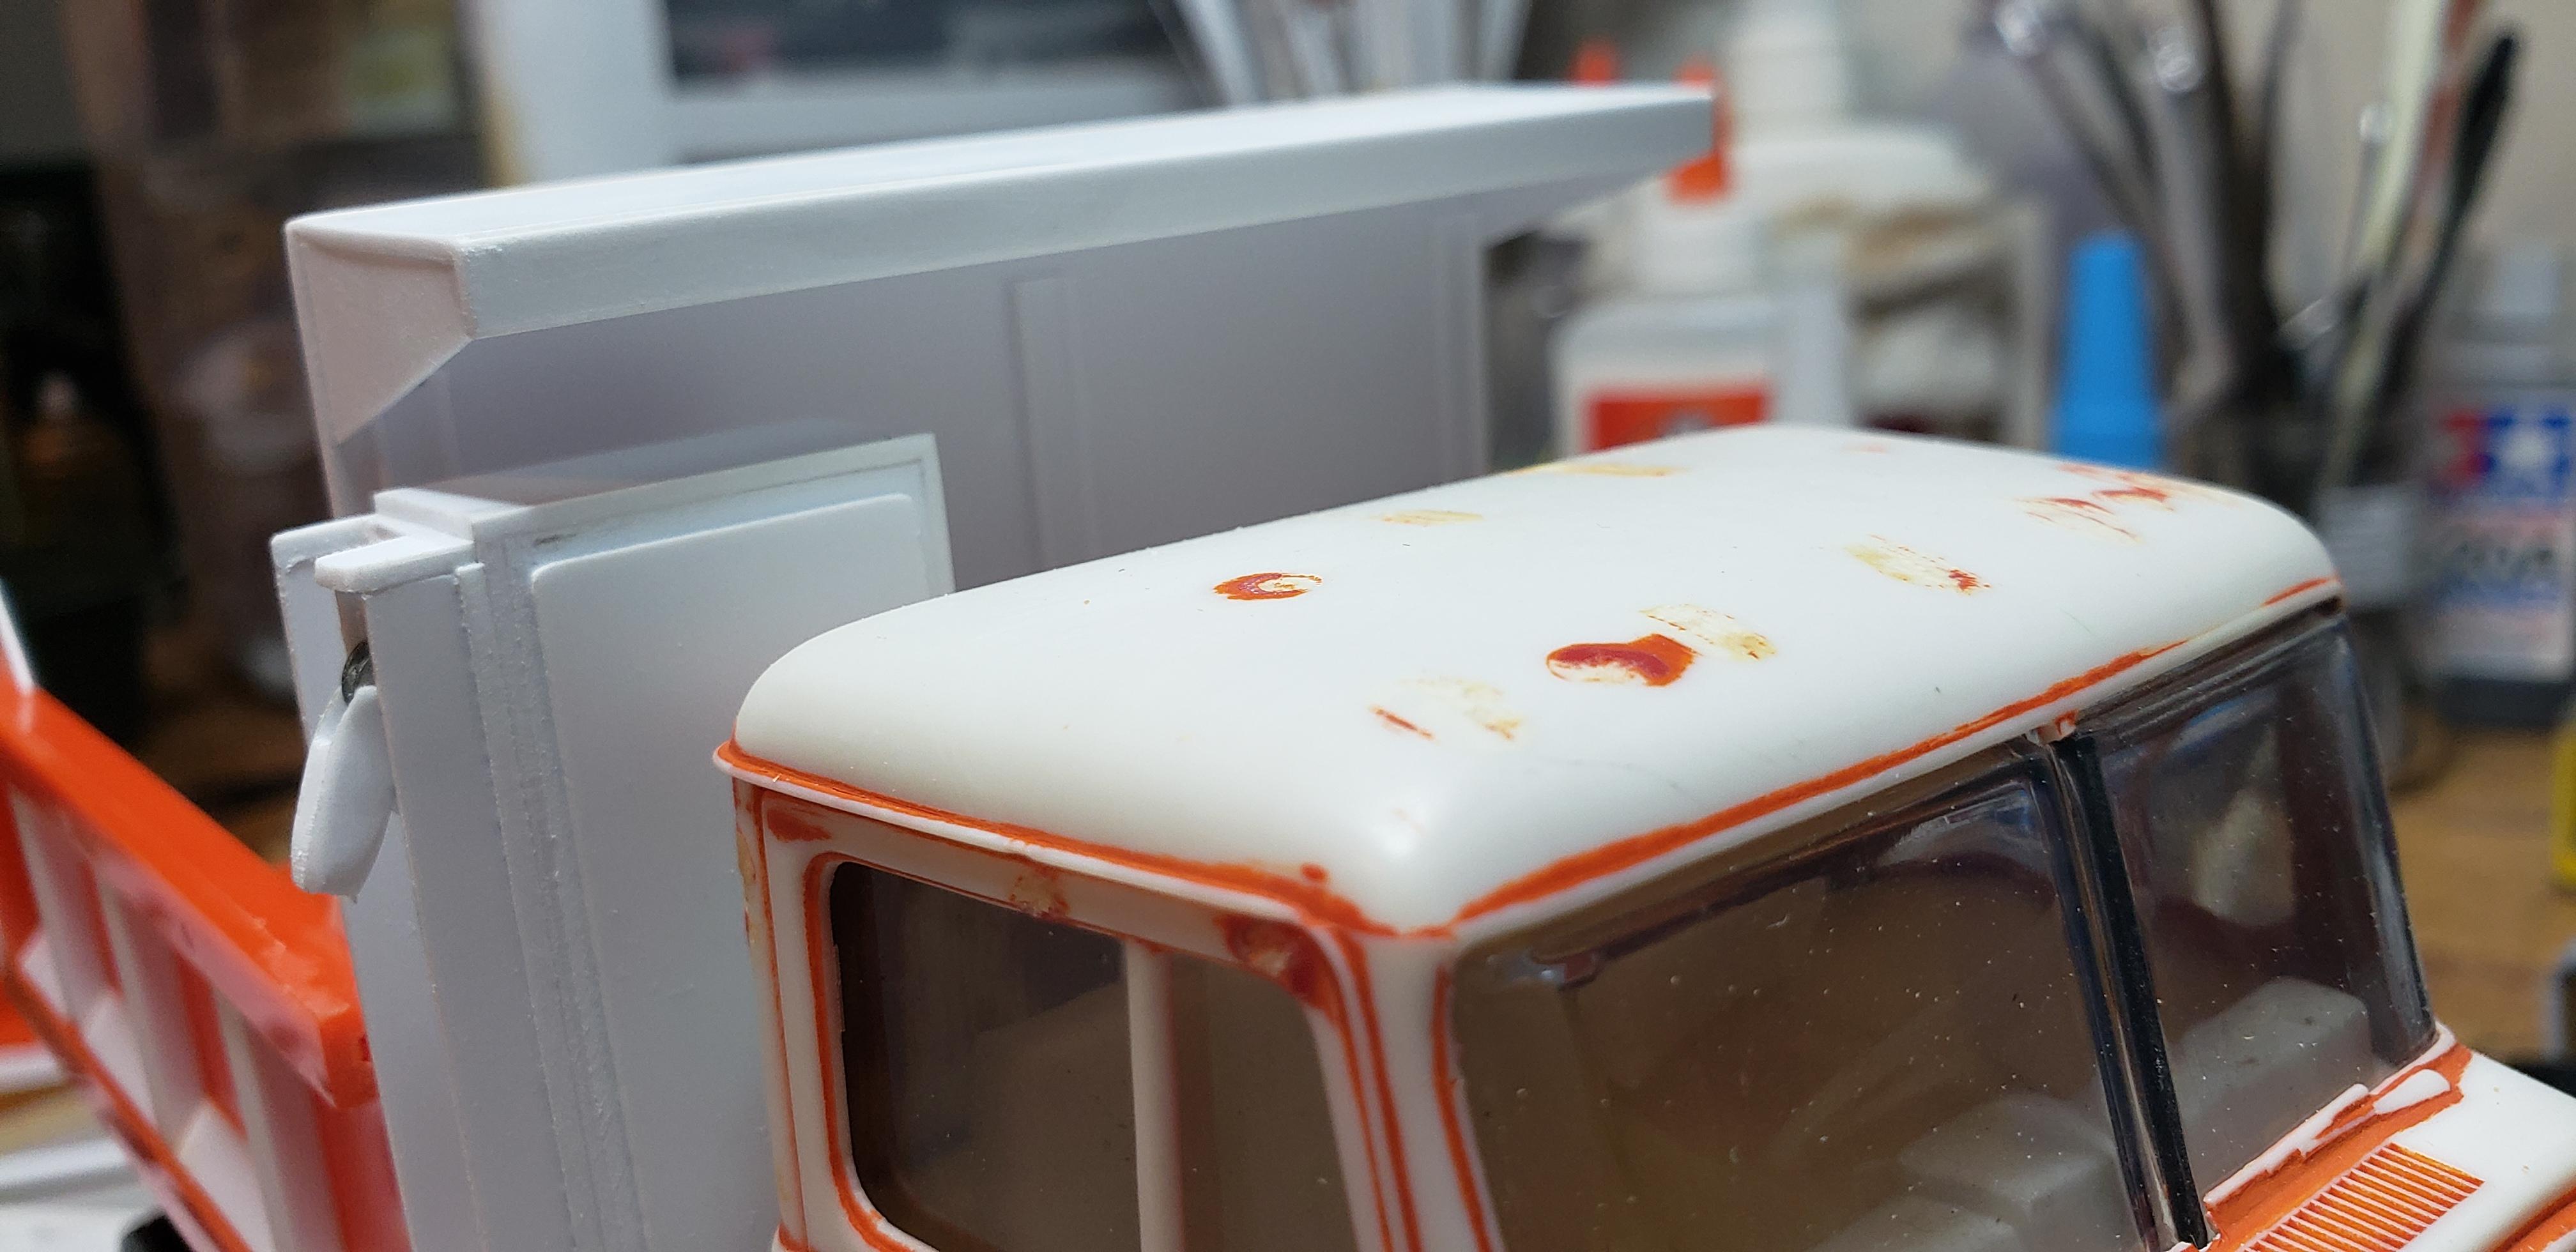
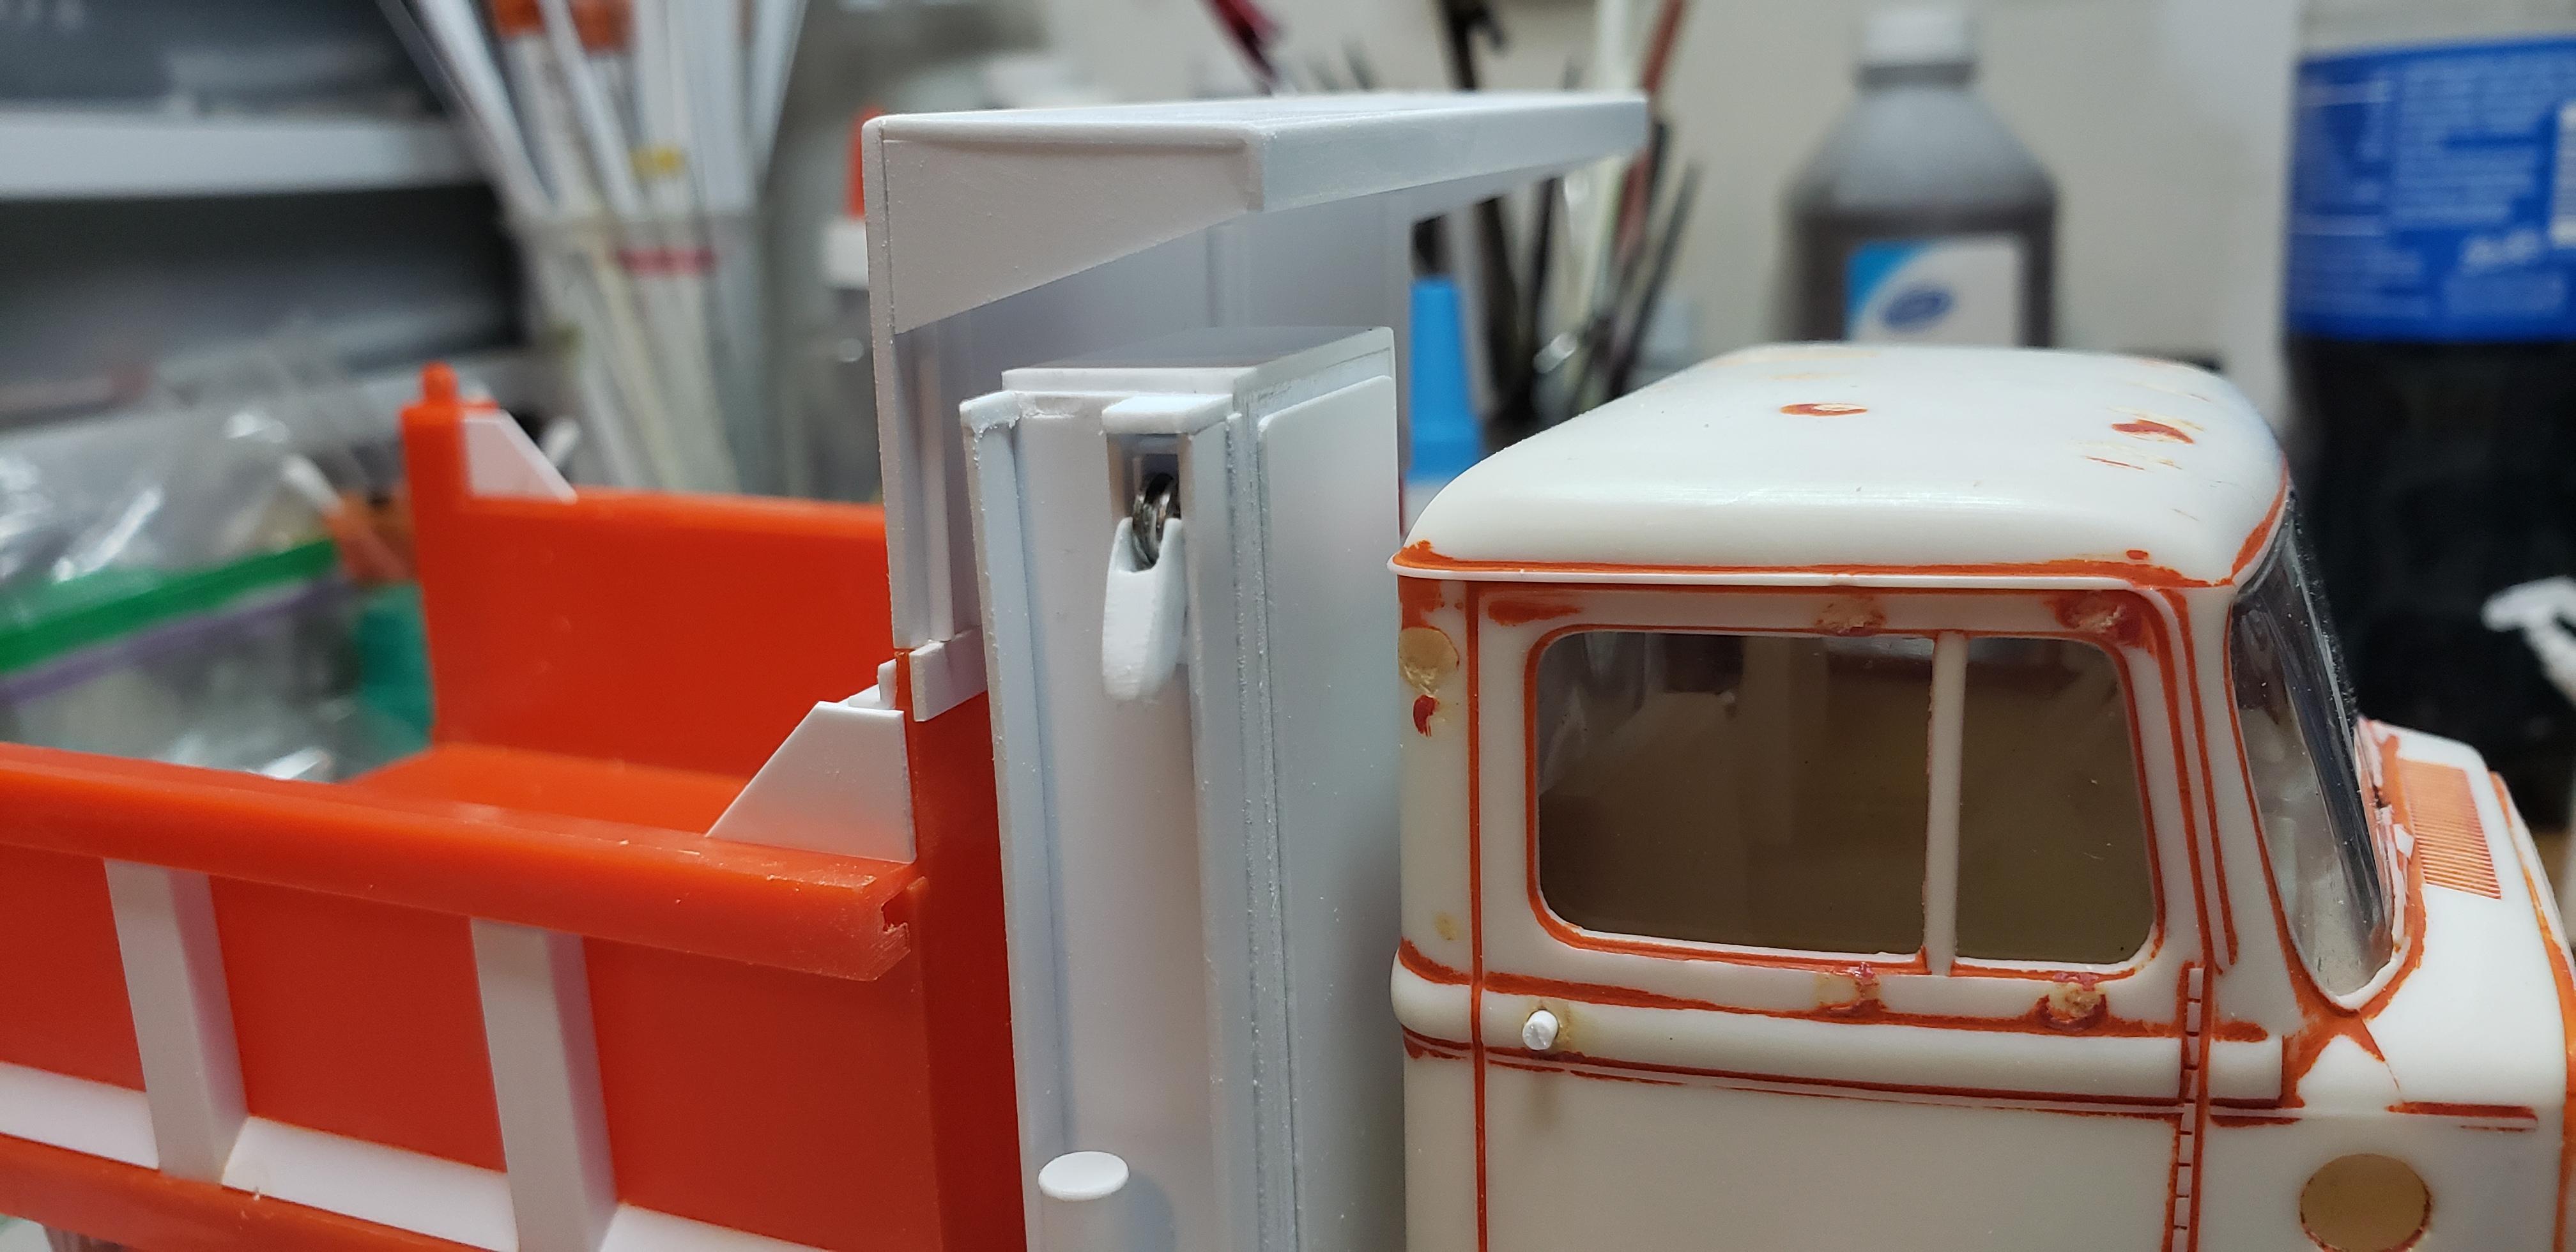
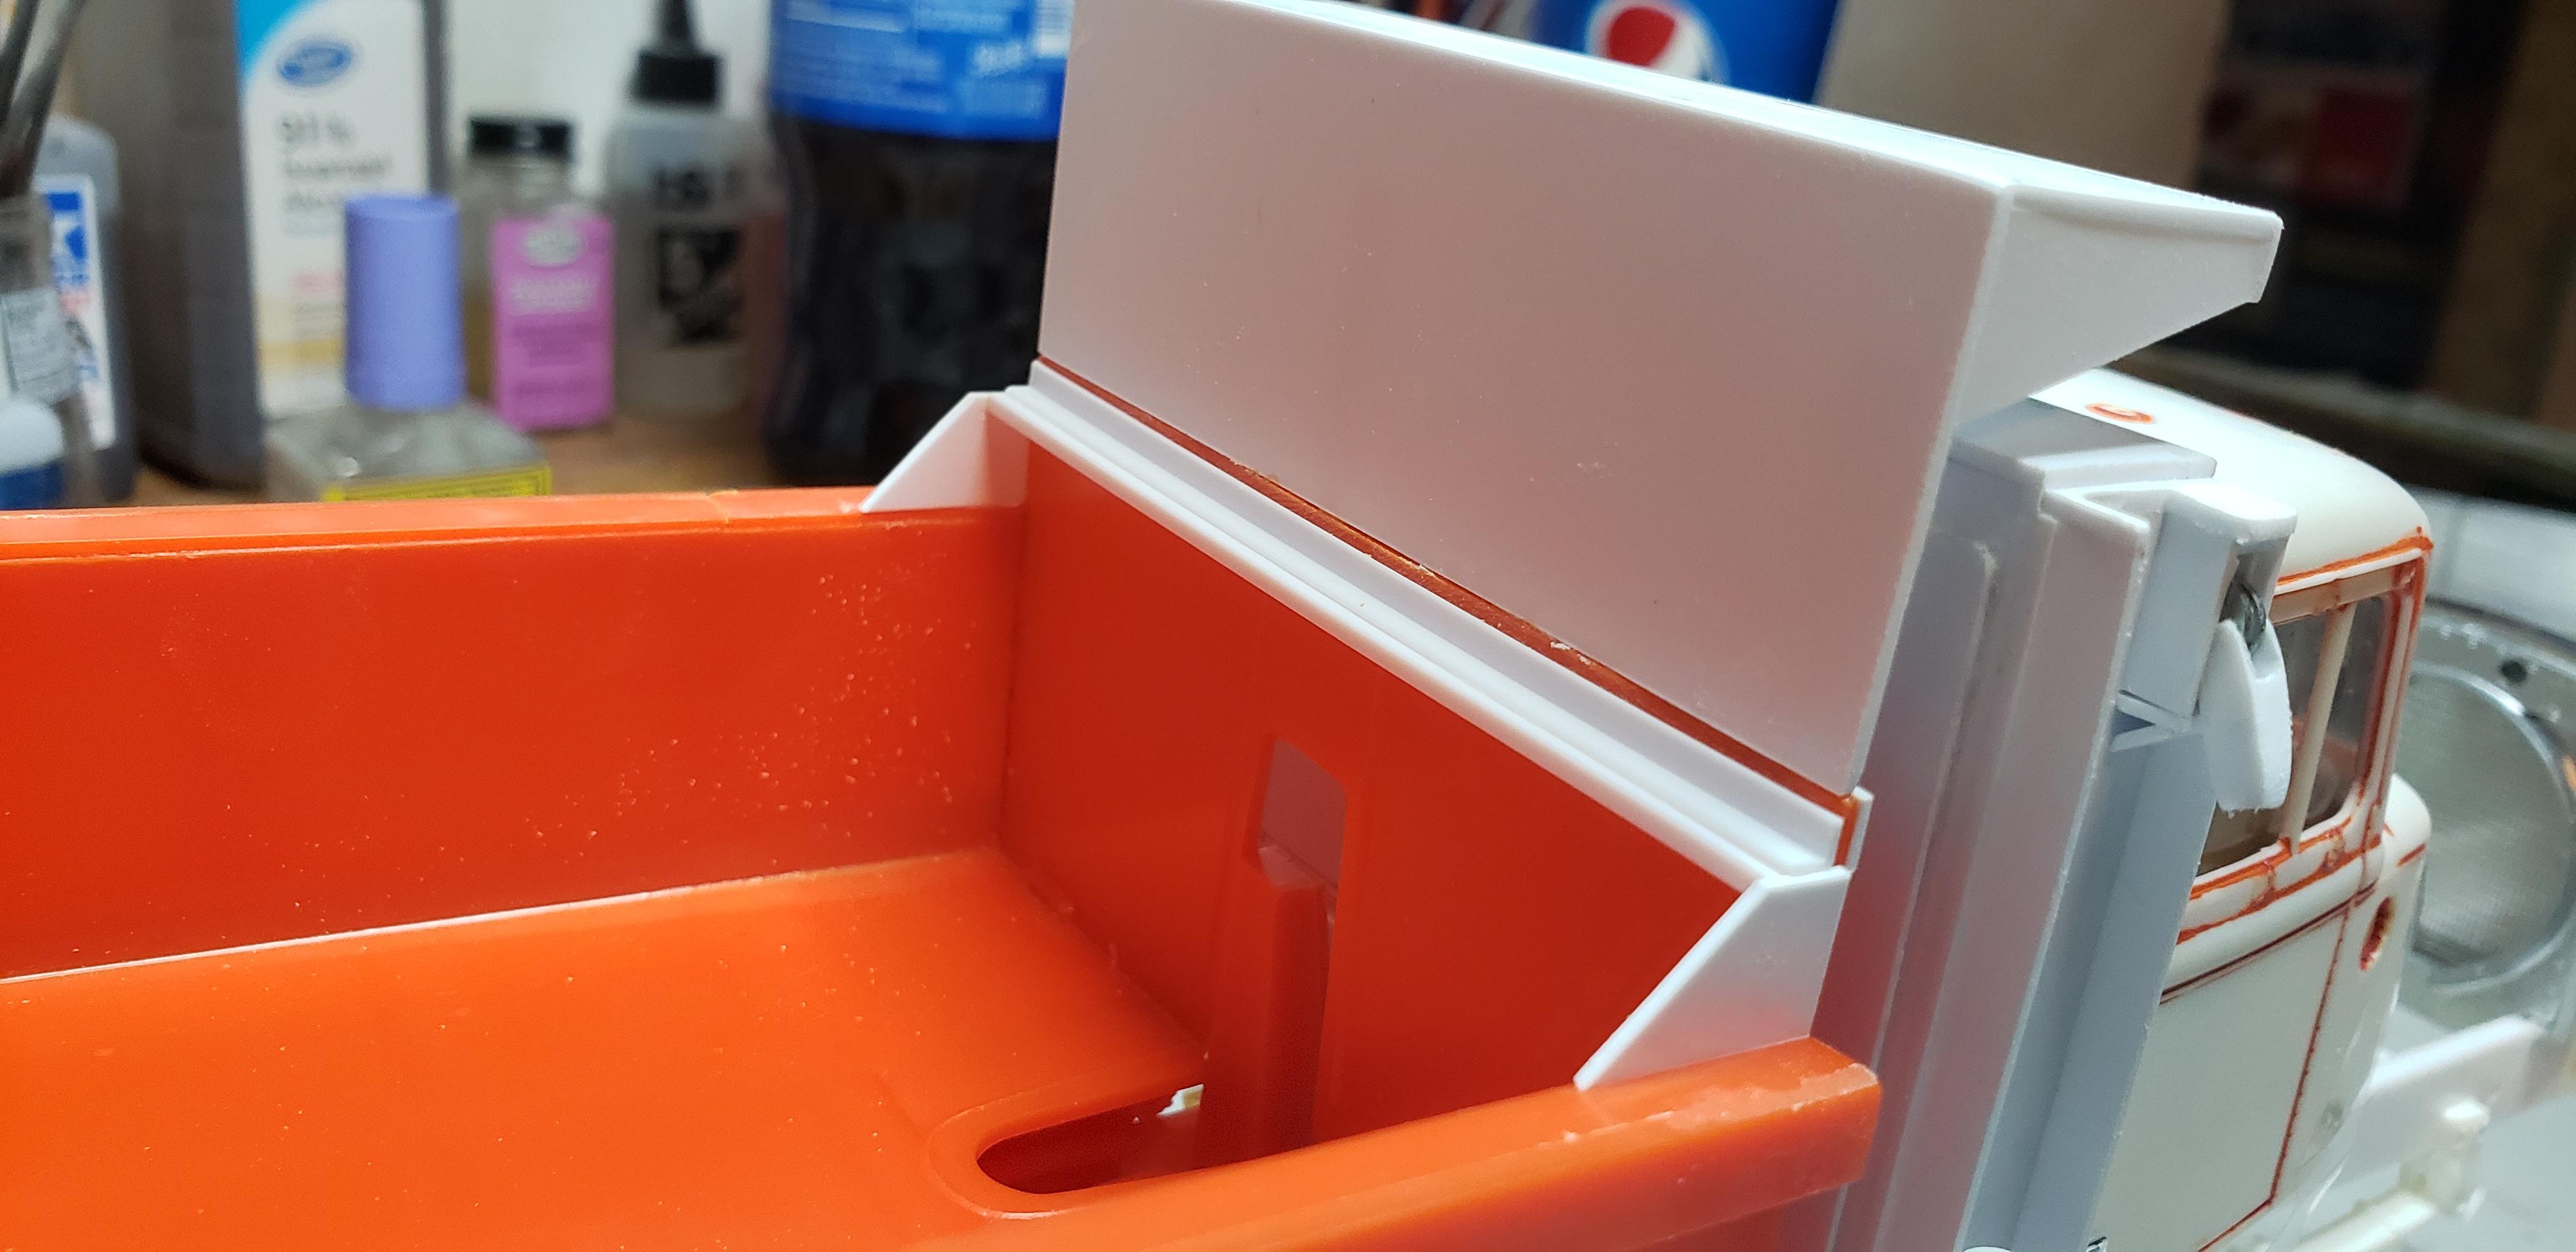
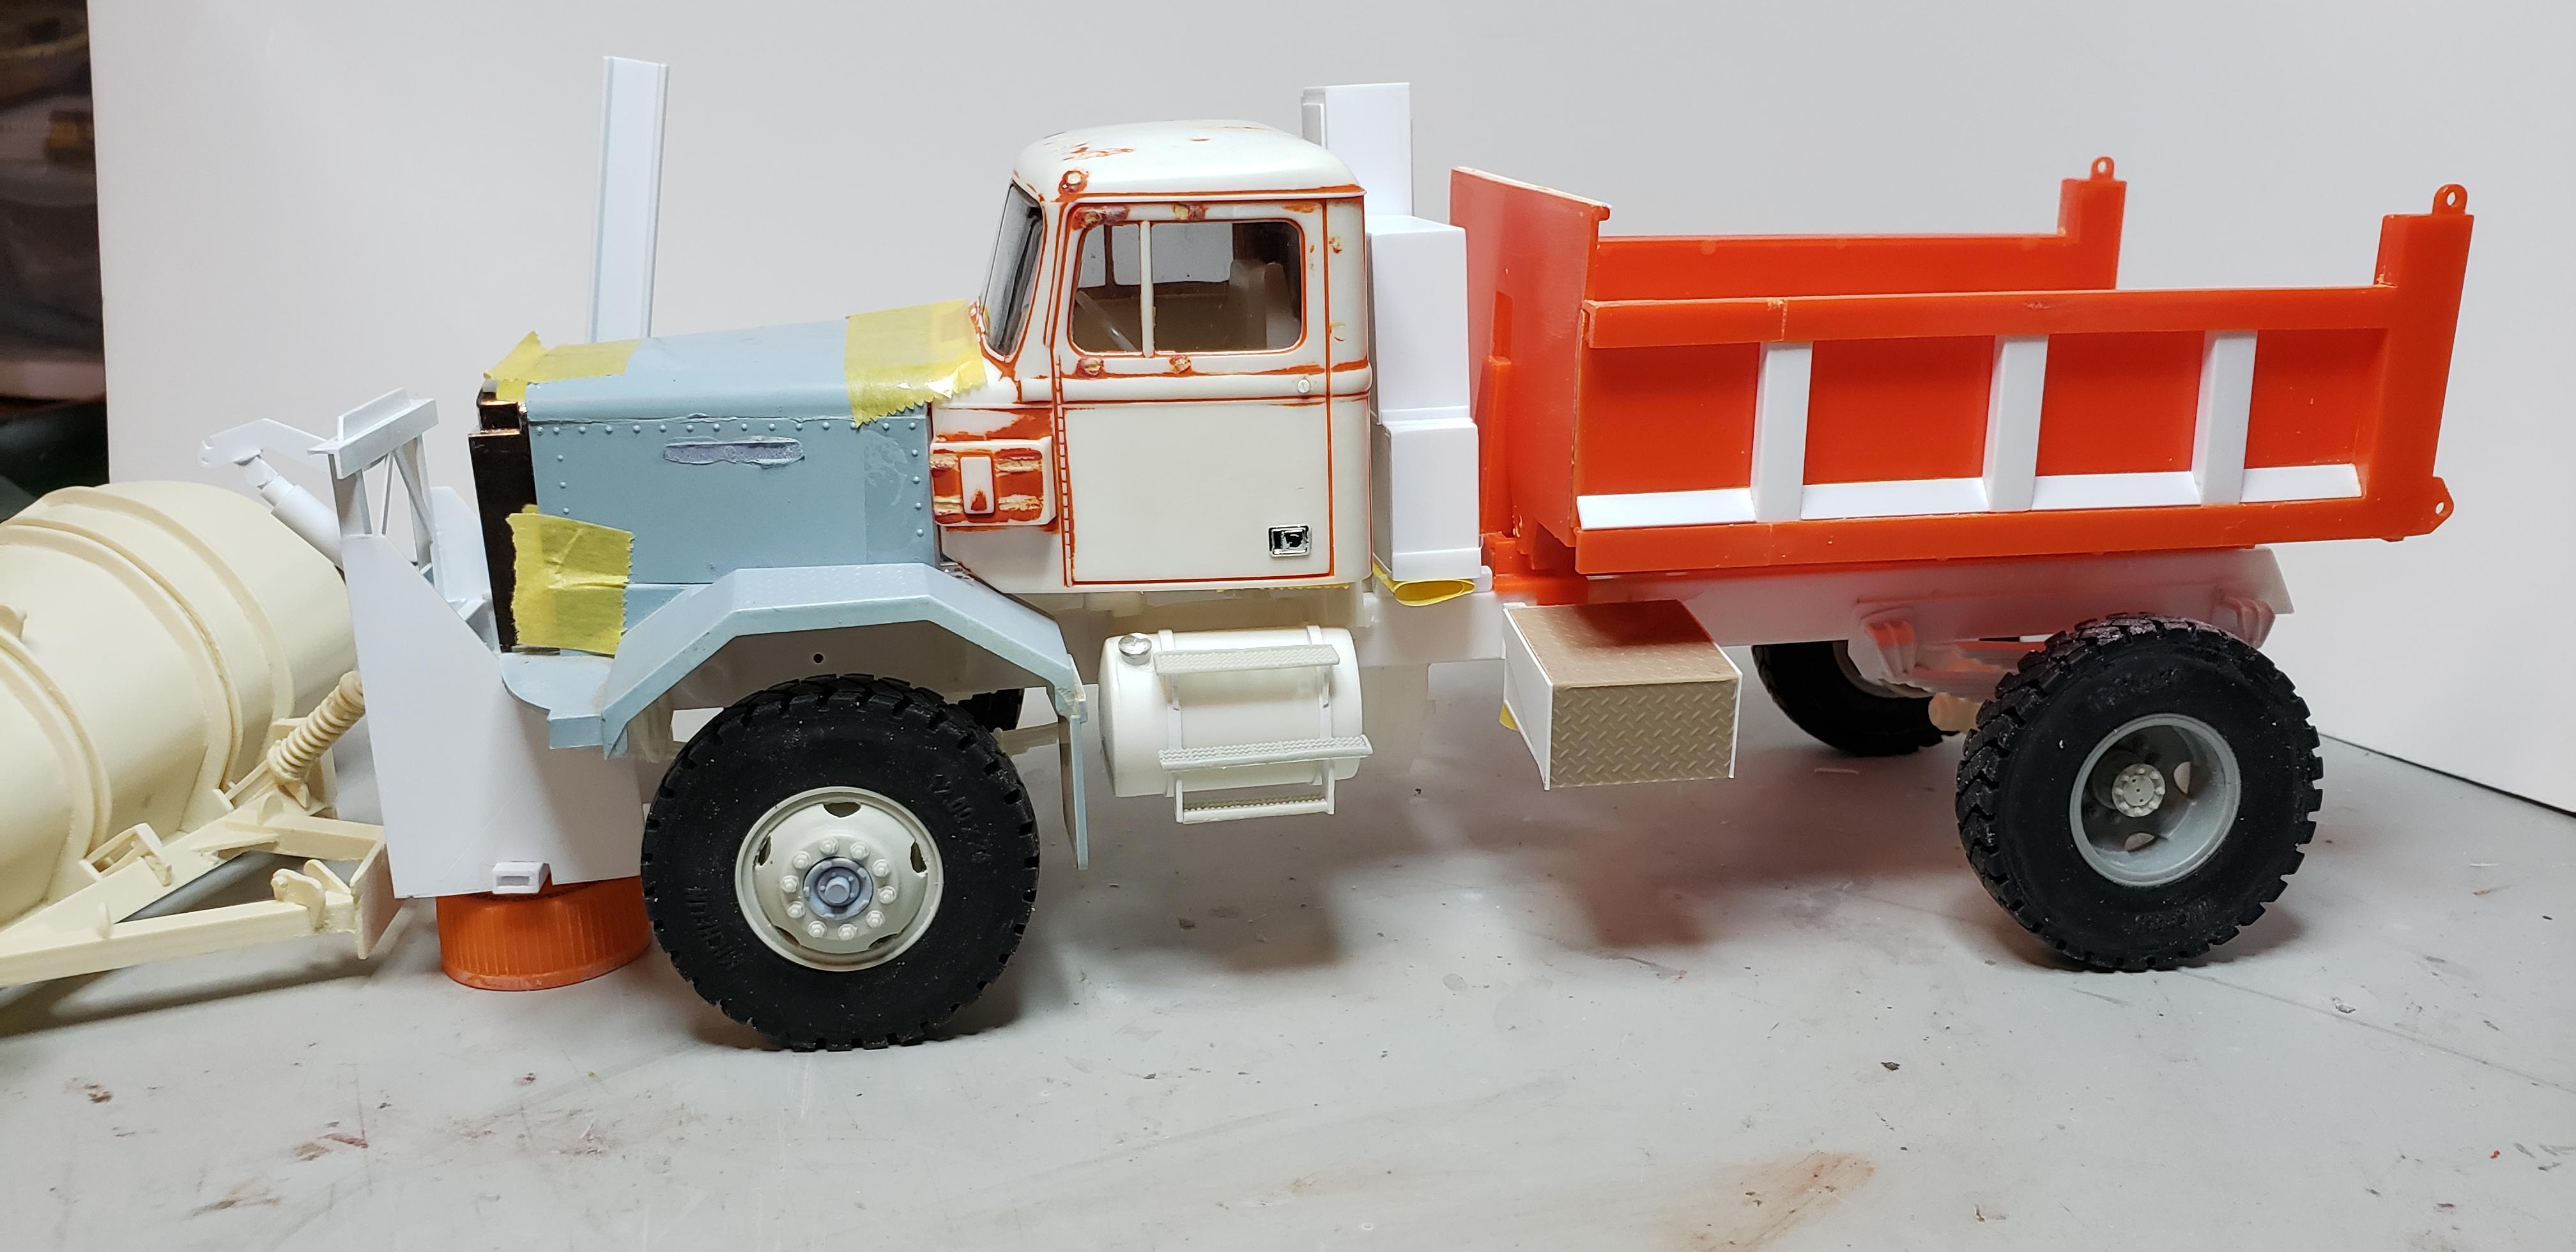
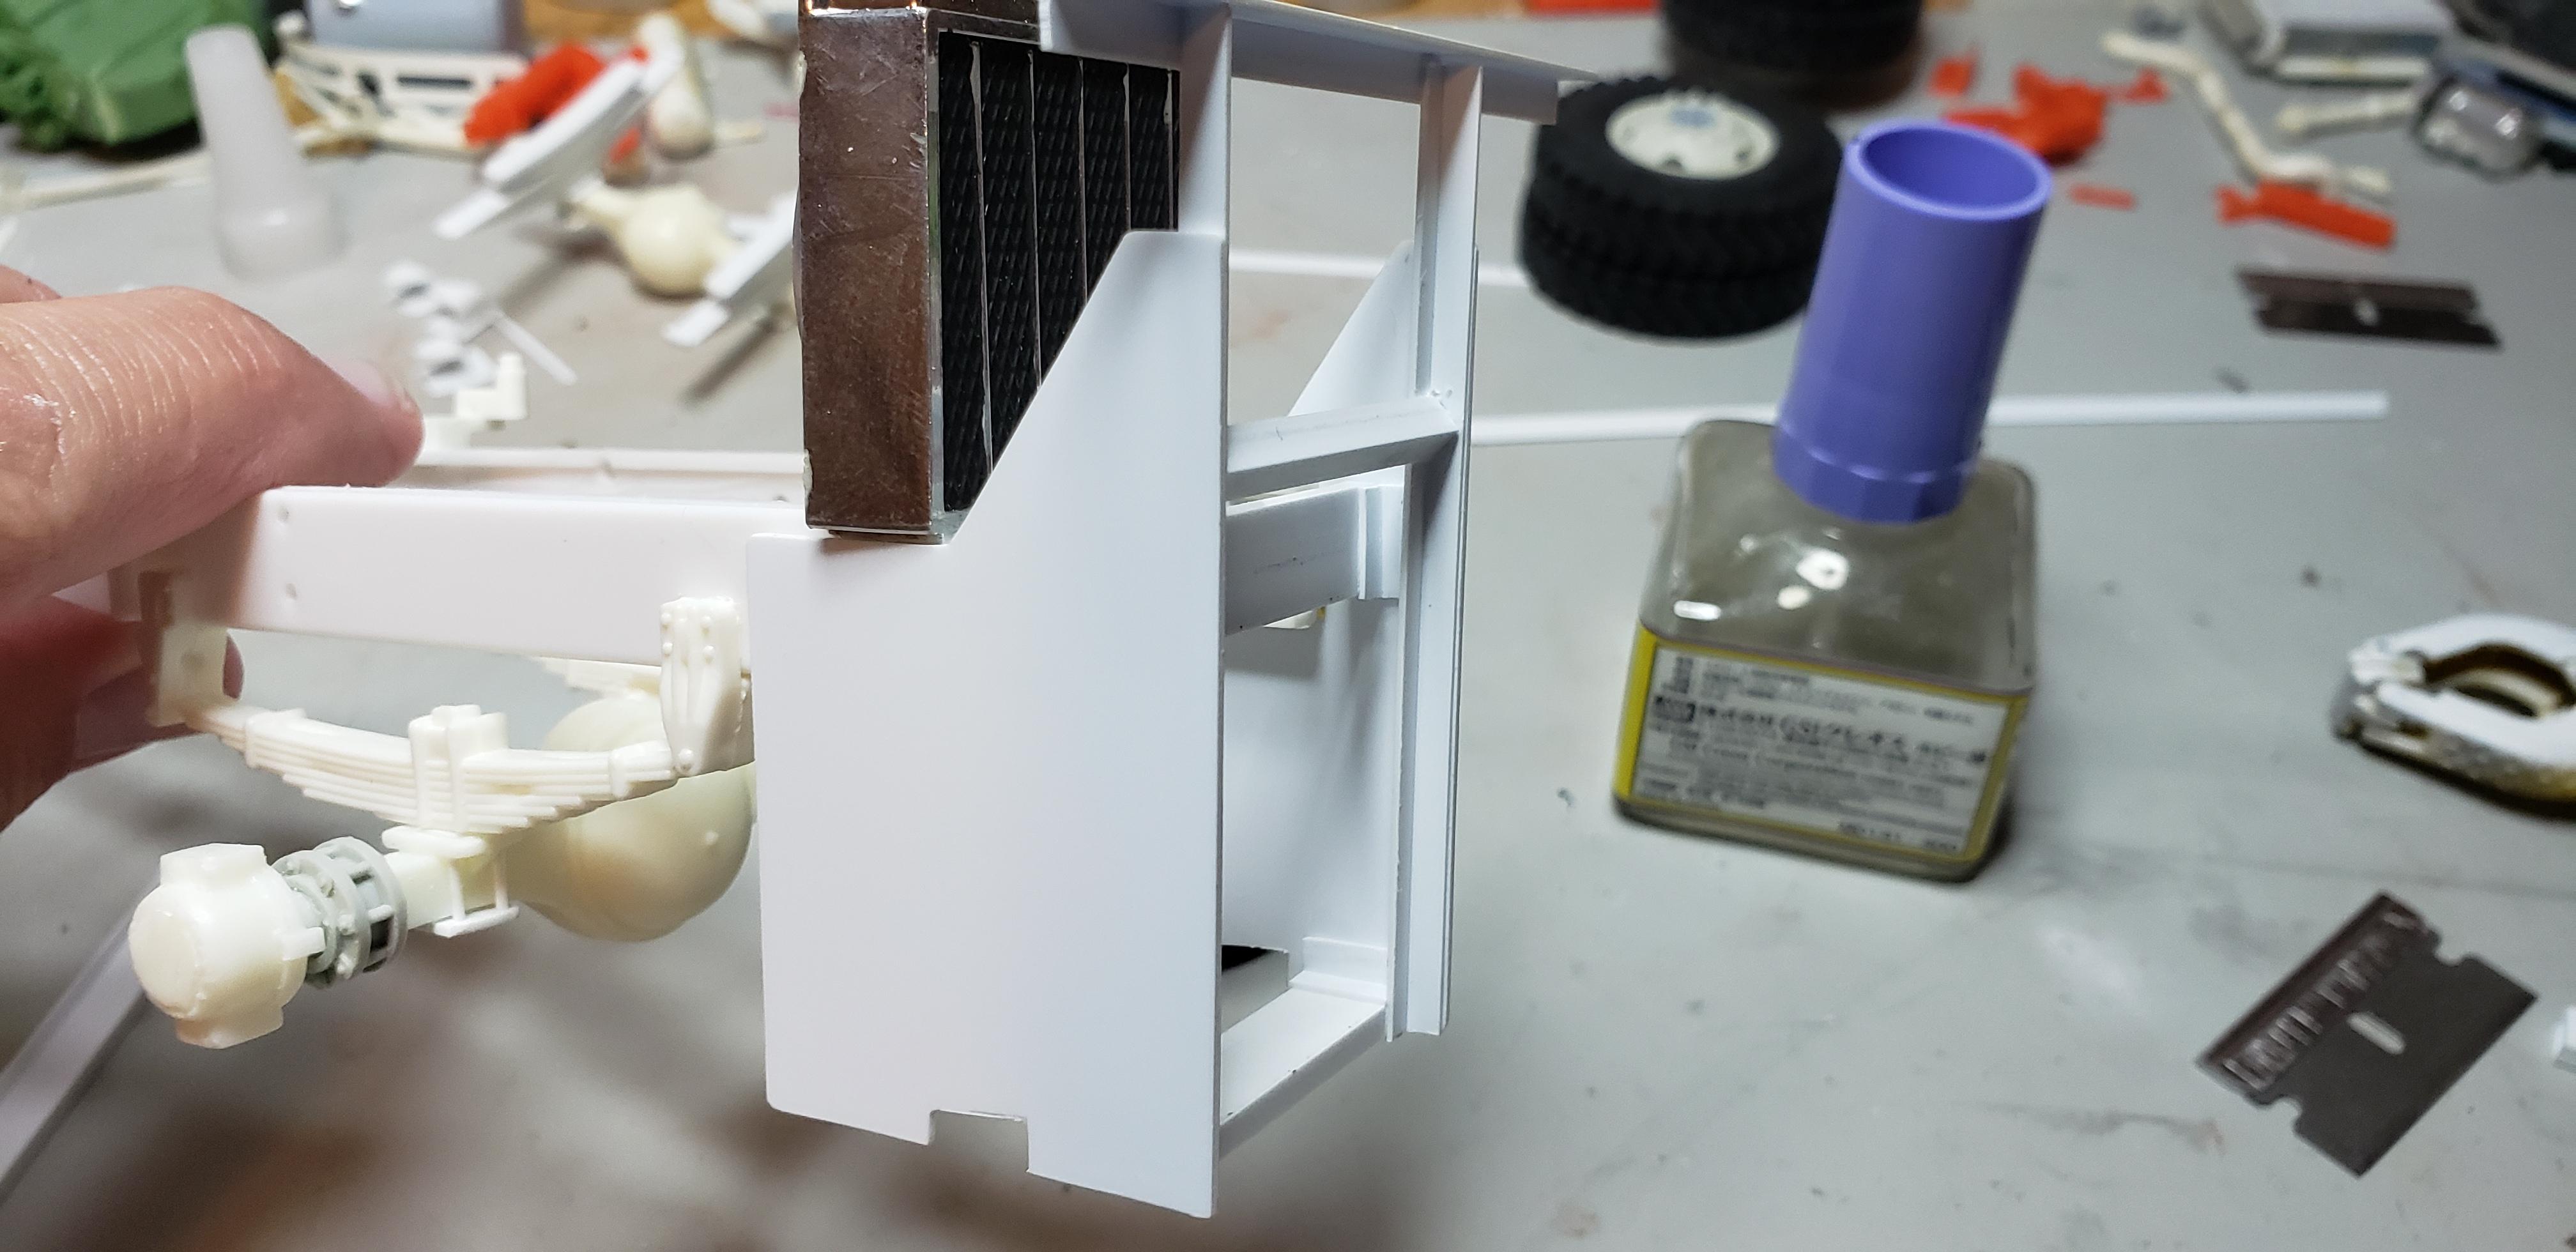
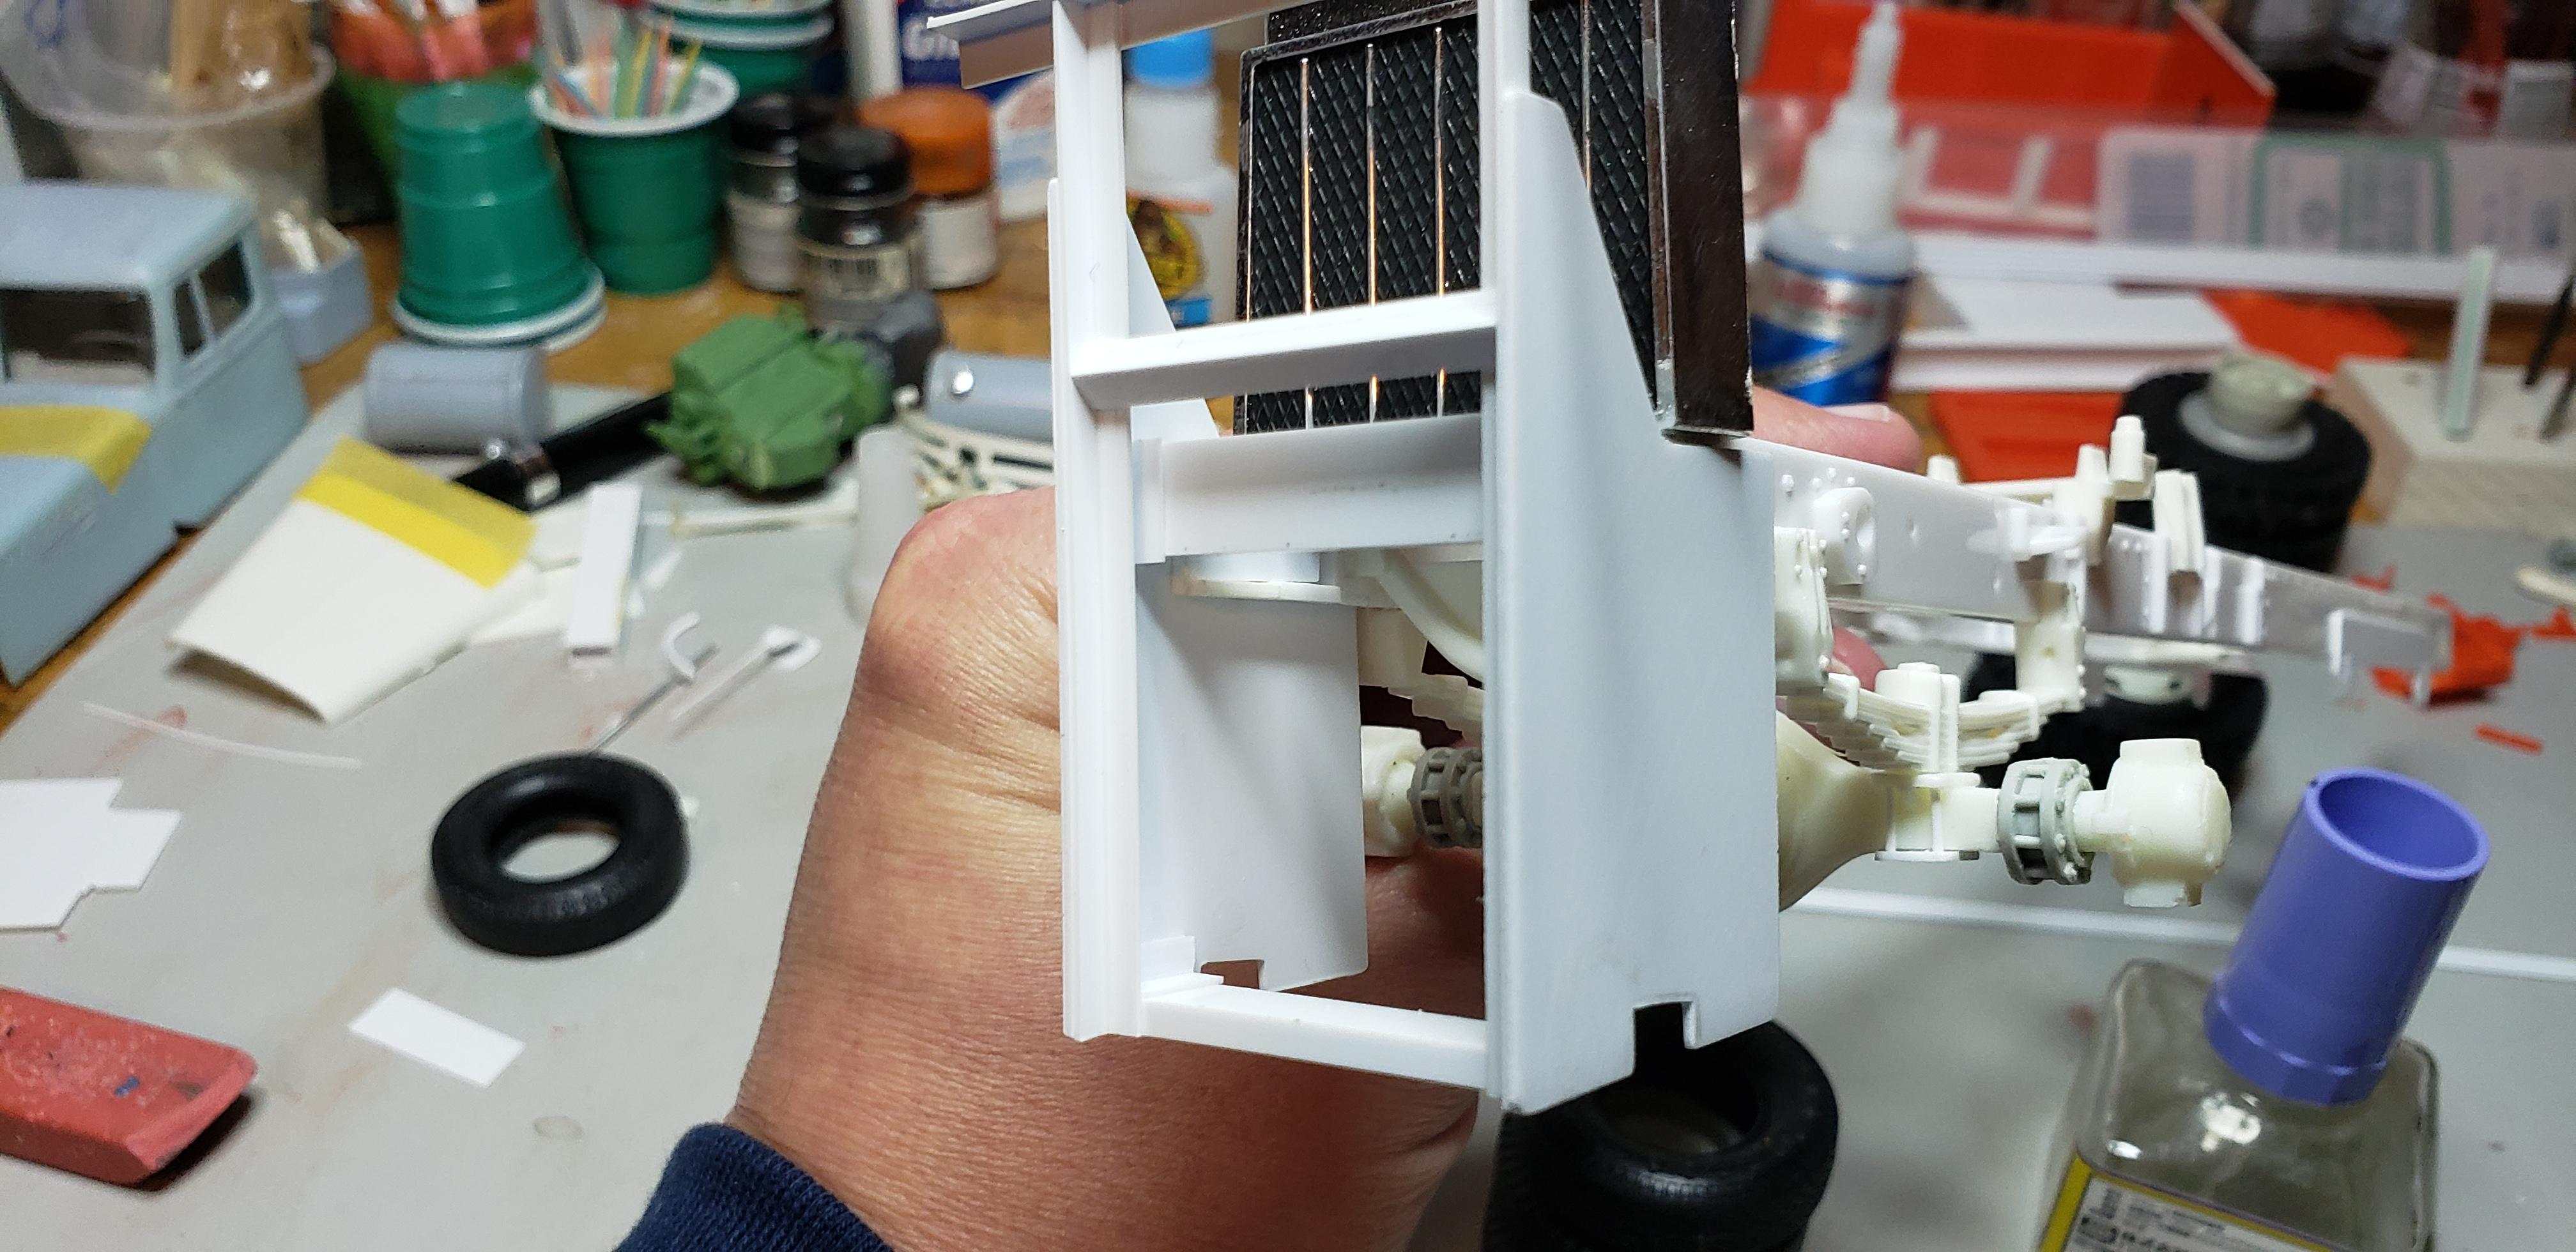
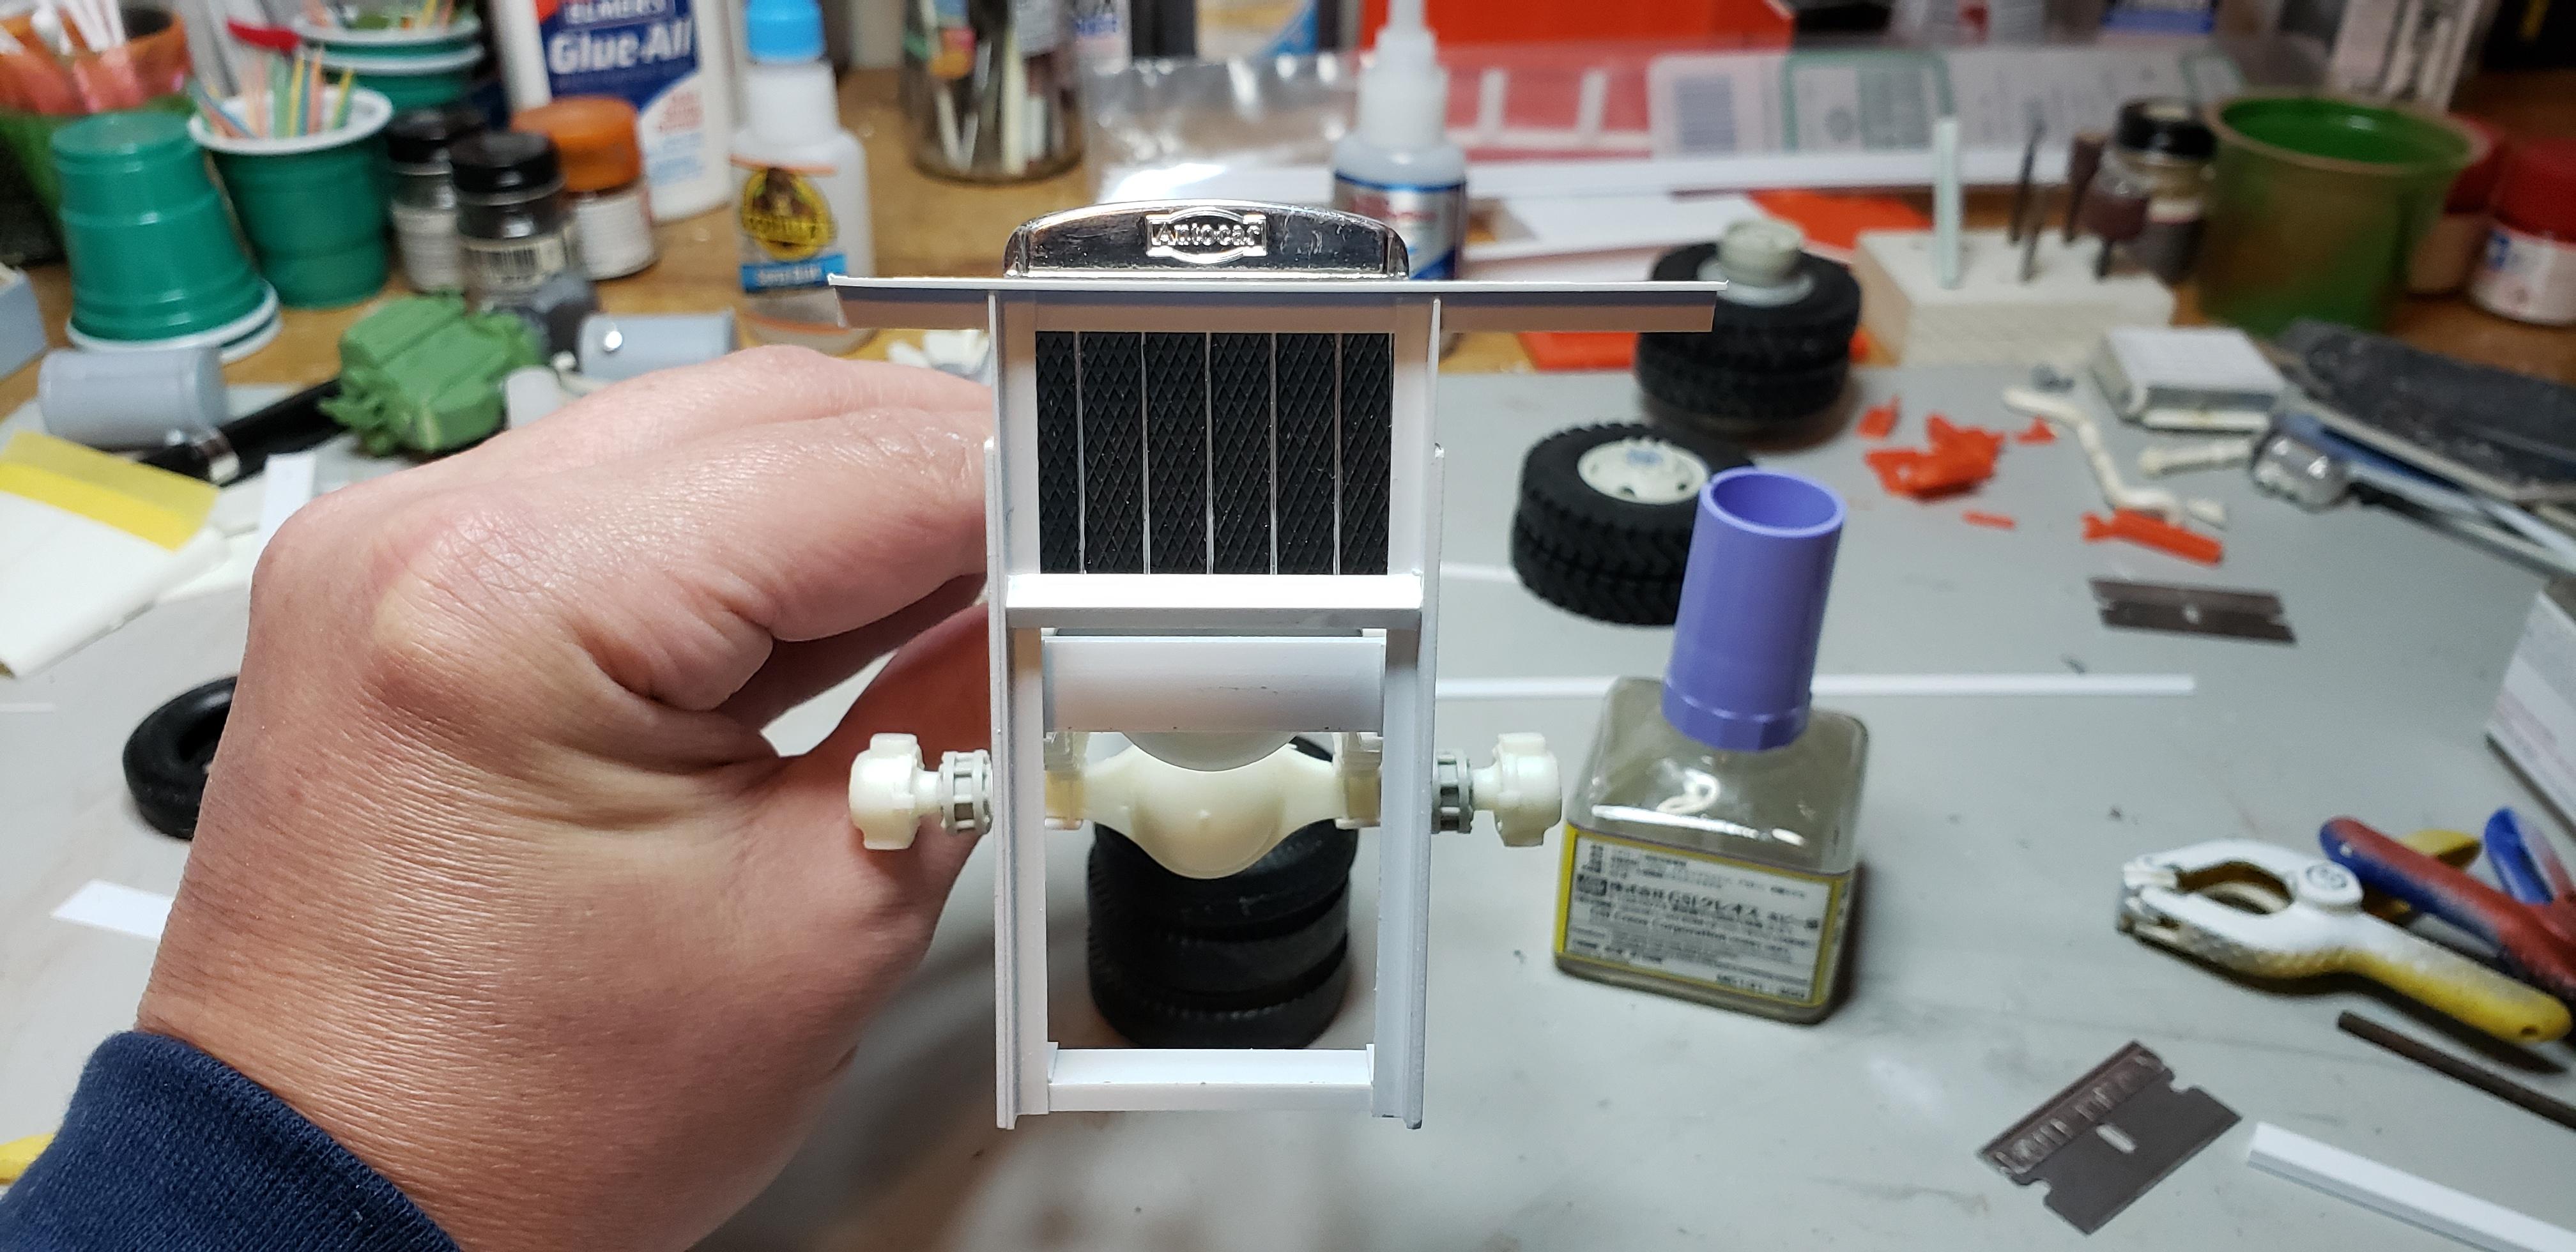
Thanks Dan sometimes I spend too much time changing a perfectly decent part , for small gain. We're building a truck from a fleet ..getting them close enough has been our motto. One area we've been chatting about being noticeably different is the hood/ grill. Ryan found the ad from auction site, and it cleared up some questions we were having. The kit truck is a 6 series AC , the reference truck is a 7 series. Pretty close until ya start looking closer . Slam lock doors are obvious, then the elephant in the room..the square hood / grill . Here's one of the trucks I've been picking details from..and staring at the non tapered grill So..short of remaking every kit part , or ordering a DC cab / hood , i decided to experiment. Taking .040" strip and filling the tapered section of the upper grill, then sanding the curved top back into it..and I have a modified grill. The vertical sides will remain tapered to avoid a weird profile looking at the truck. Its one of those small changes ya might notice, or not . Checking the shape w hood I'll have to foil cast the original emblem to replace the one sanded off..I forgot to foil cast it before sanding away. Finally the cab guard was replaced. We chose to model a truck with one, and I had already removed it . Just enough space for the plow supports to fit under it. The other side will have the exhaust stack . Thanks for any feedback or criticism! Jeff
-
Another fantastic build from your bench!
-
Autocar reborn
gotnitro? replied to gotnitro?'s topic in WIP: Model Trucks: Big Rigs and Heavy Equipment
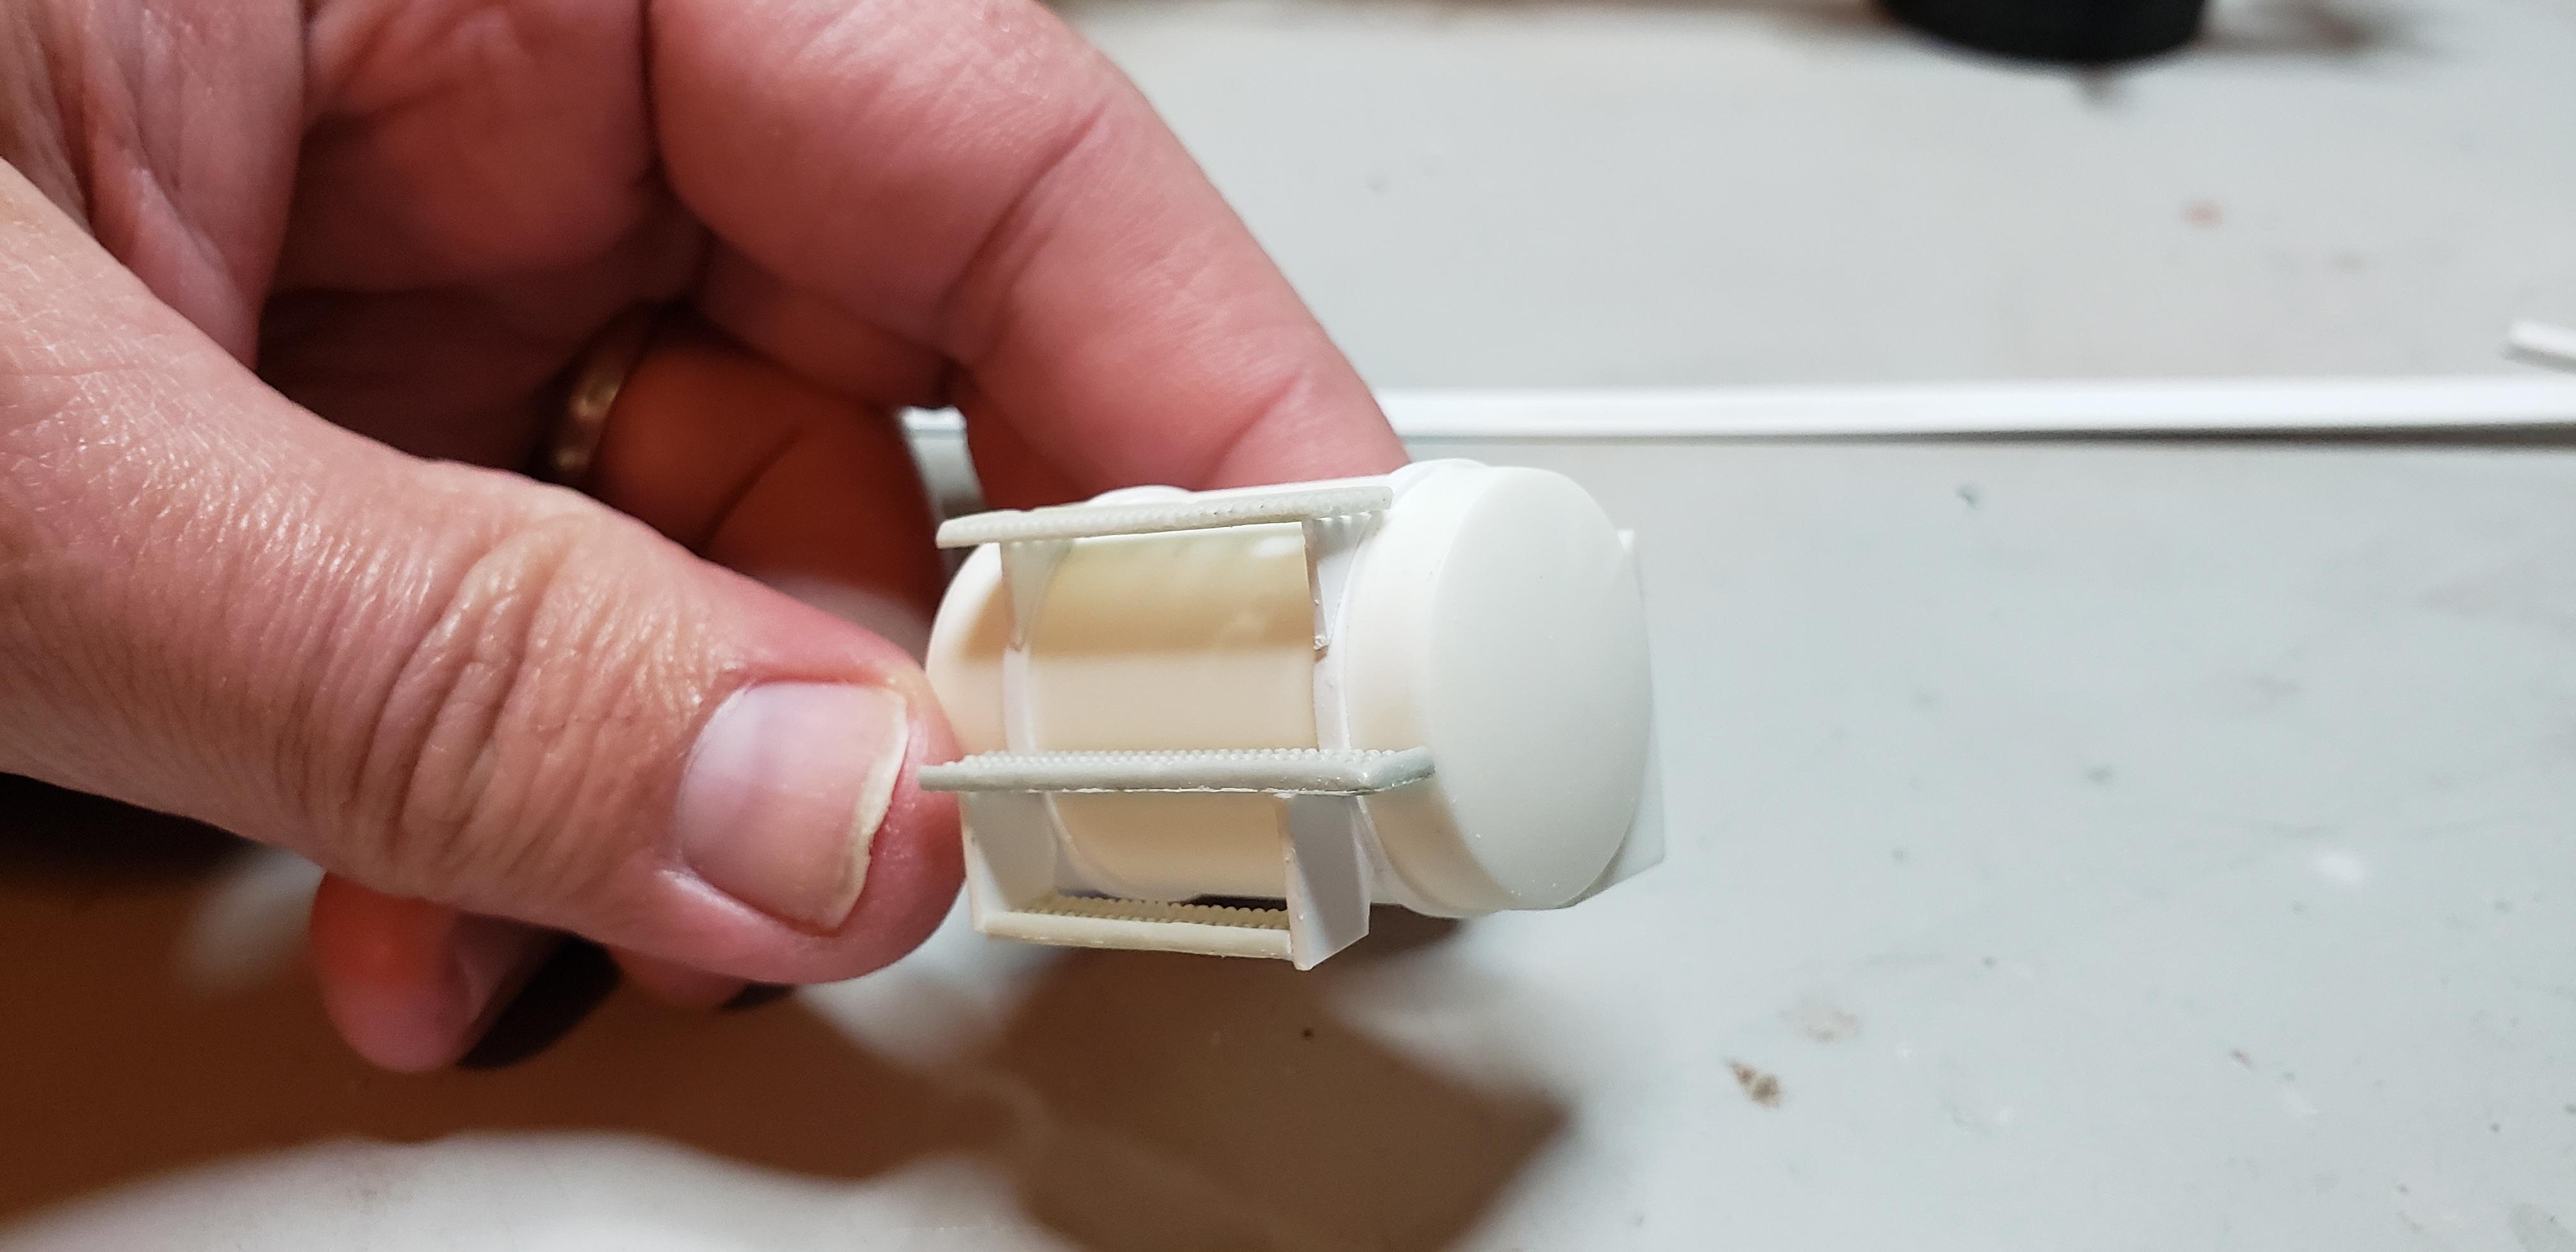
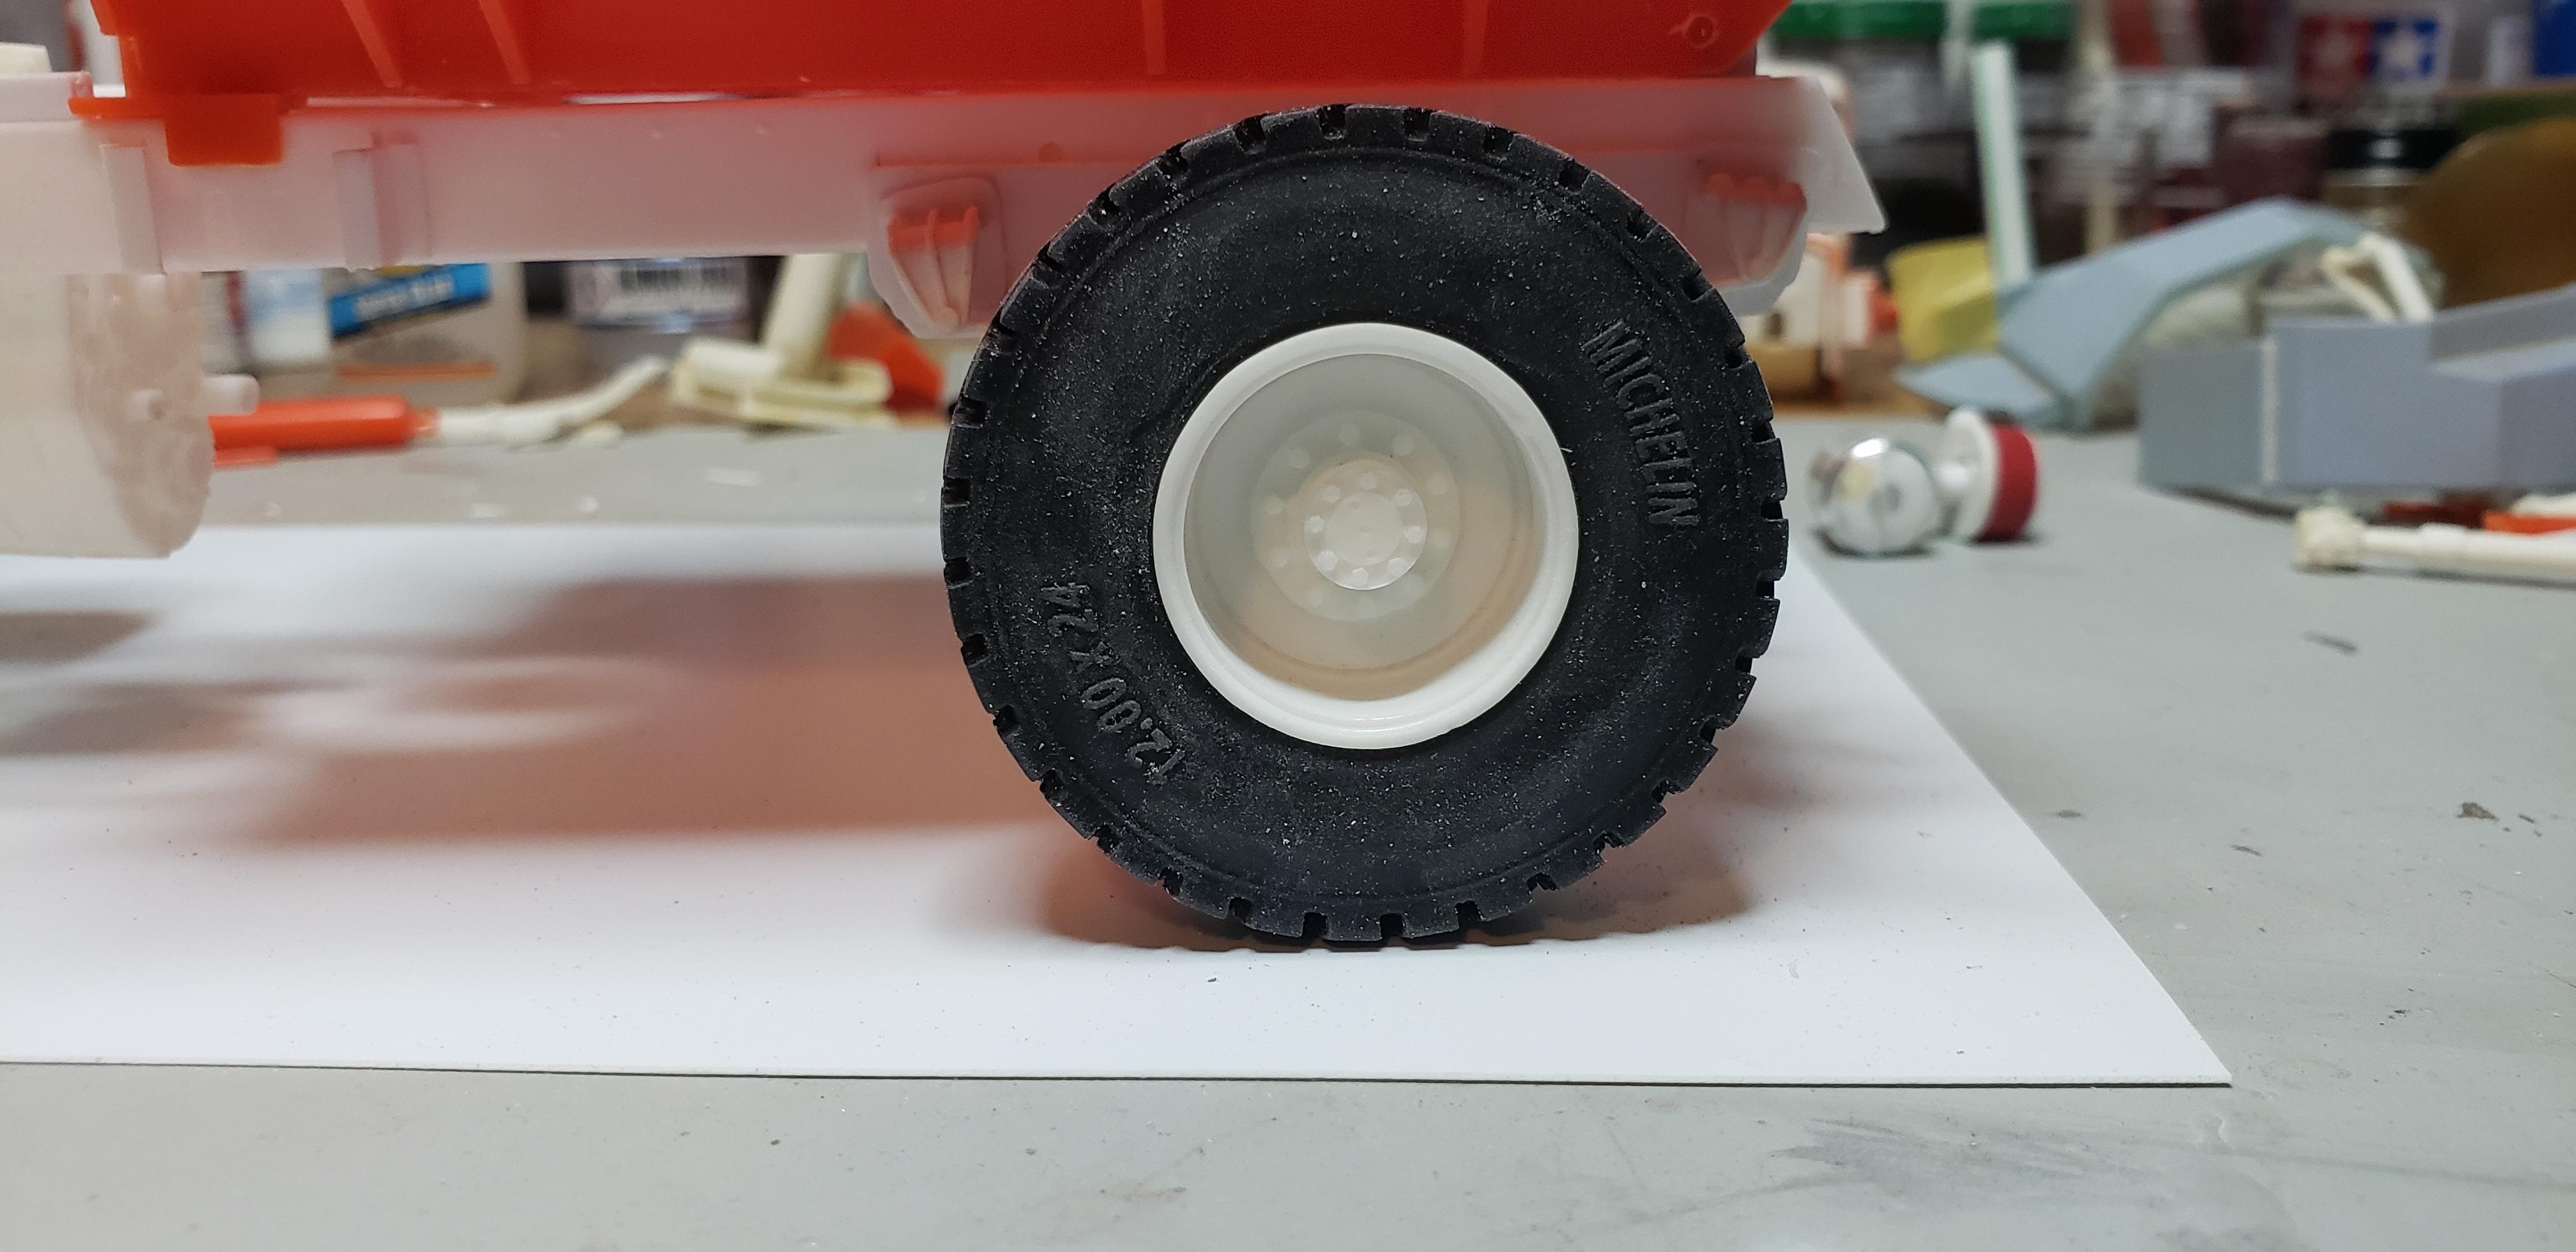
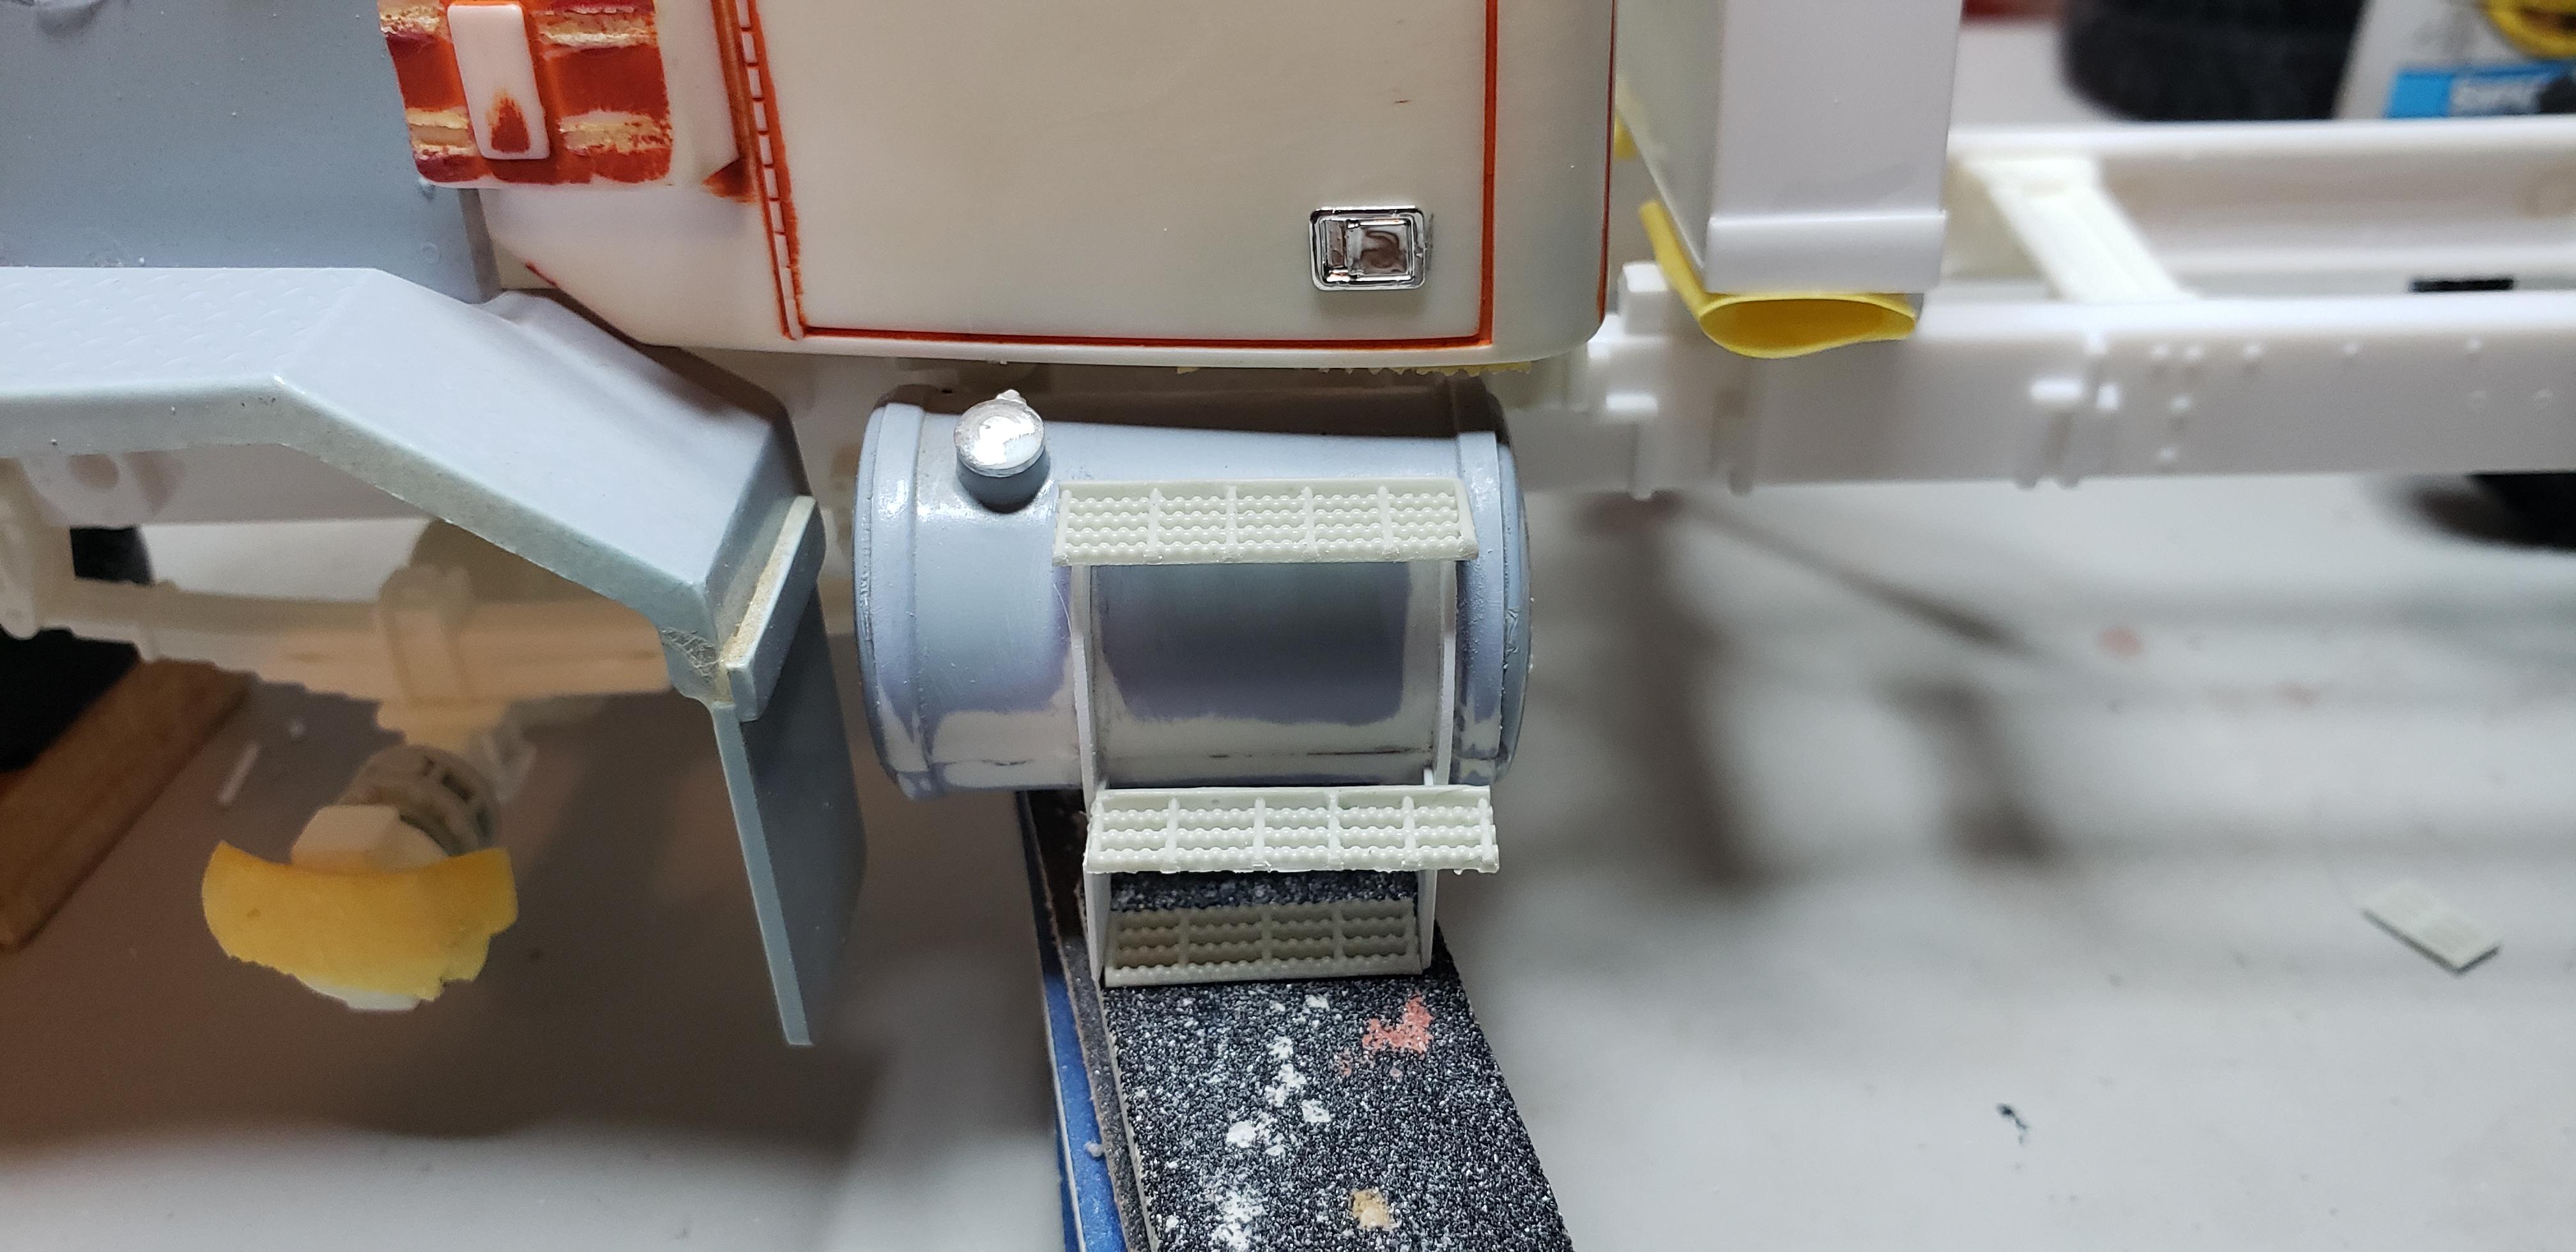
Wknd update ! I've been updating several parts that I'd built incorrectly. Most prominent was the fuel tanks, the kit parts needed the straps sanded off and relocated . I feel like I'm rivet counting again... new steps and mounts were added too A big surprise happened Friday when a package arrived from the west coast ! Ryan Pedone had cast a new pair of solid steel wheels up for his truck, and sent me a set. These wheels were very common on plow trucks..they fit the 24s perfectly I was starting to get distracted by new project photos..so a mock up was in order. This helped refocus the crew ! The 5 hole rear wheels hadn't been swapped yet
-
Really nice work and photos. Definitely looking forward to a couple kits Hopefully they'll replace those inner side walls w solid sheet , cant imagine real truck has those slots for trash to collect around packer blade .
-
Autocar reborn
gotnitro? replied to gotnitro?'s topic in WIP: Model Trucks: Big Rigs and Heavy Equipment
Bob- those braces are 30 thou strip beveled to fit against body Thanks for the feedback! -
Very nice KW
-
Nicely done build Roger looking forward to your photos under glass Thanks for joining the brbo this yr too
-
Really coming along !
-
Autocar/ Challenge Transit Mixer
gotnitro? replied to Mopar - D's topic in WIP: Model Trucks: Big Rigs and Heavy Equipment
Very cool theme ! The BB stripes look killer -
Diamond Reo
gotnitro? replied to Sam I Am's topic in WIP: Model Trucks: Big Rigs and Heavy Equipment
Boy Sam you have the DR shaping up nice! The Big Cam looks good tucked in there too -
Autocar reborn
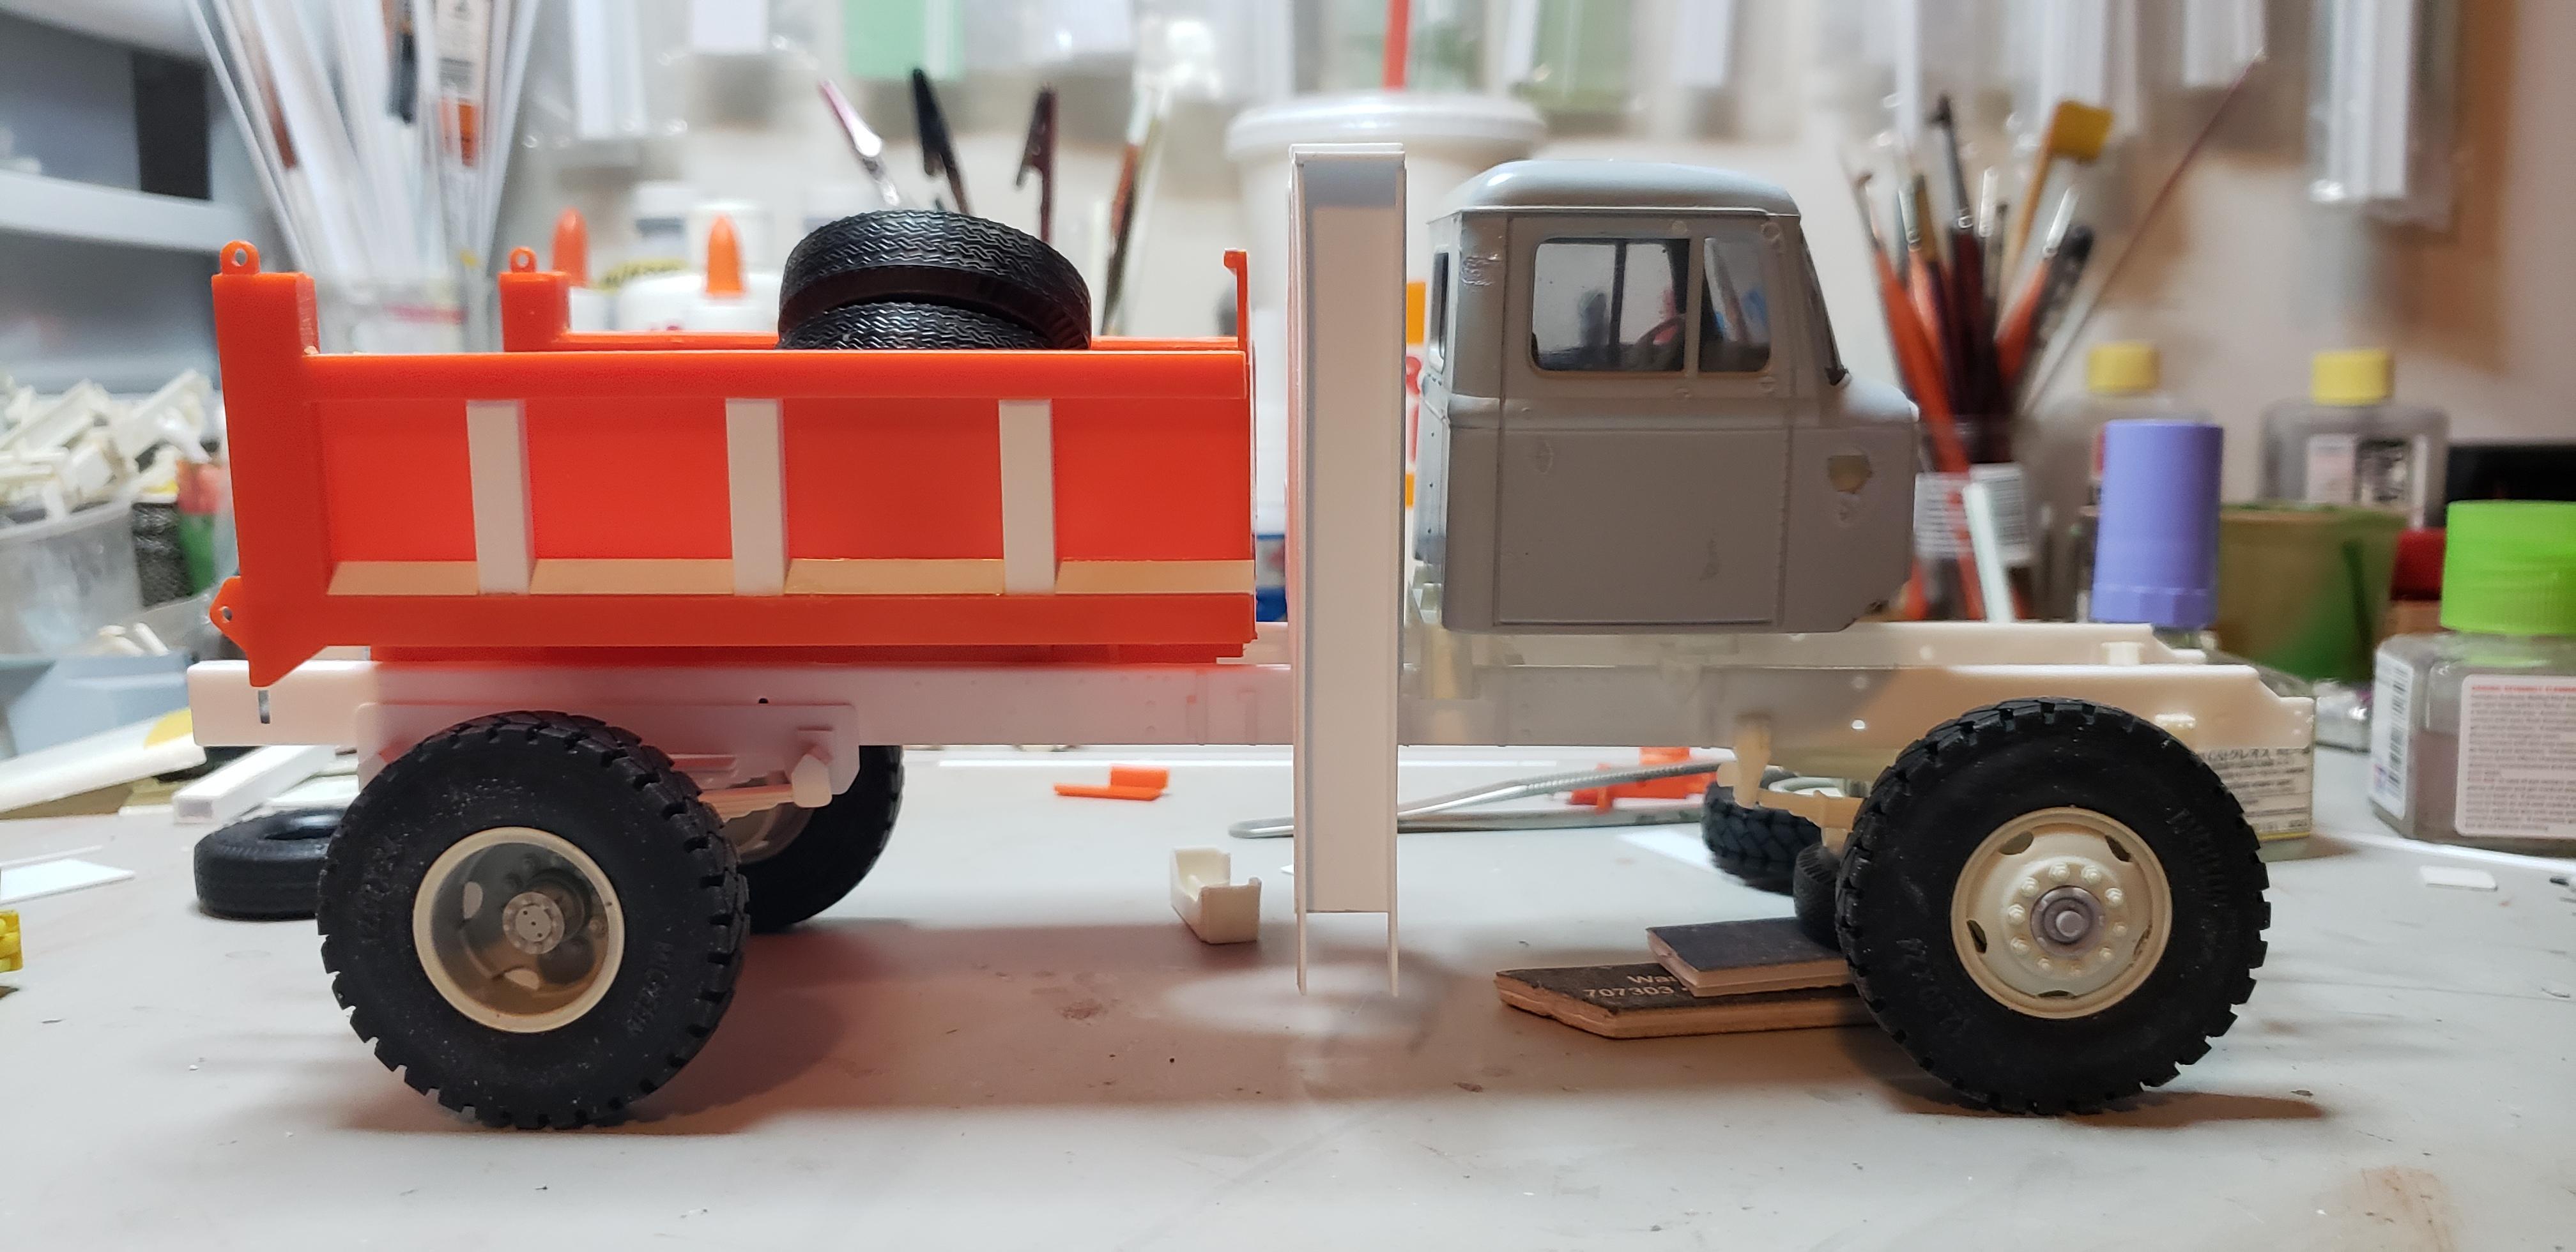
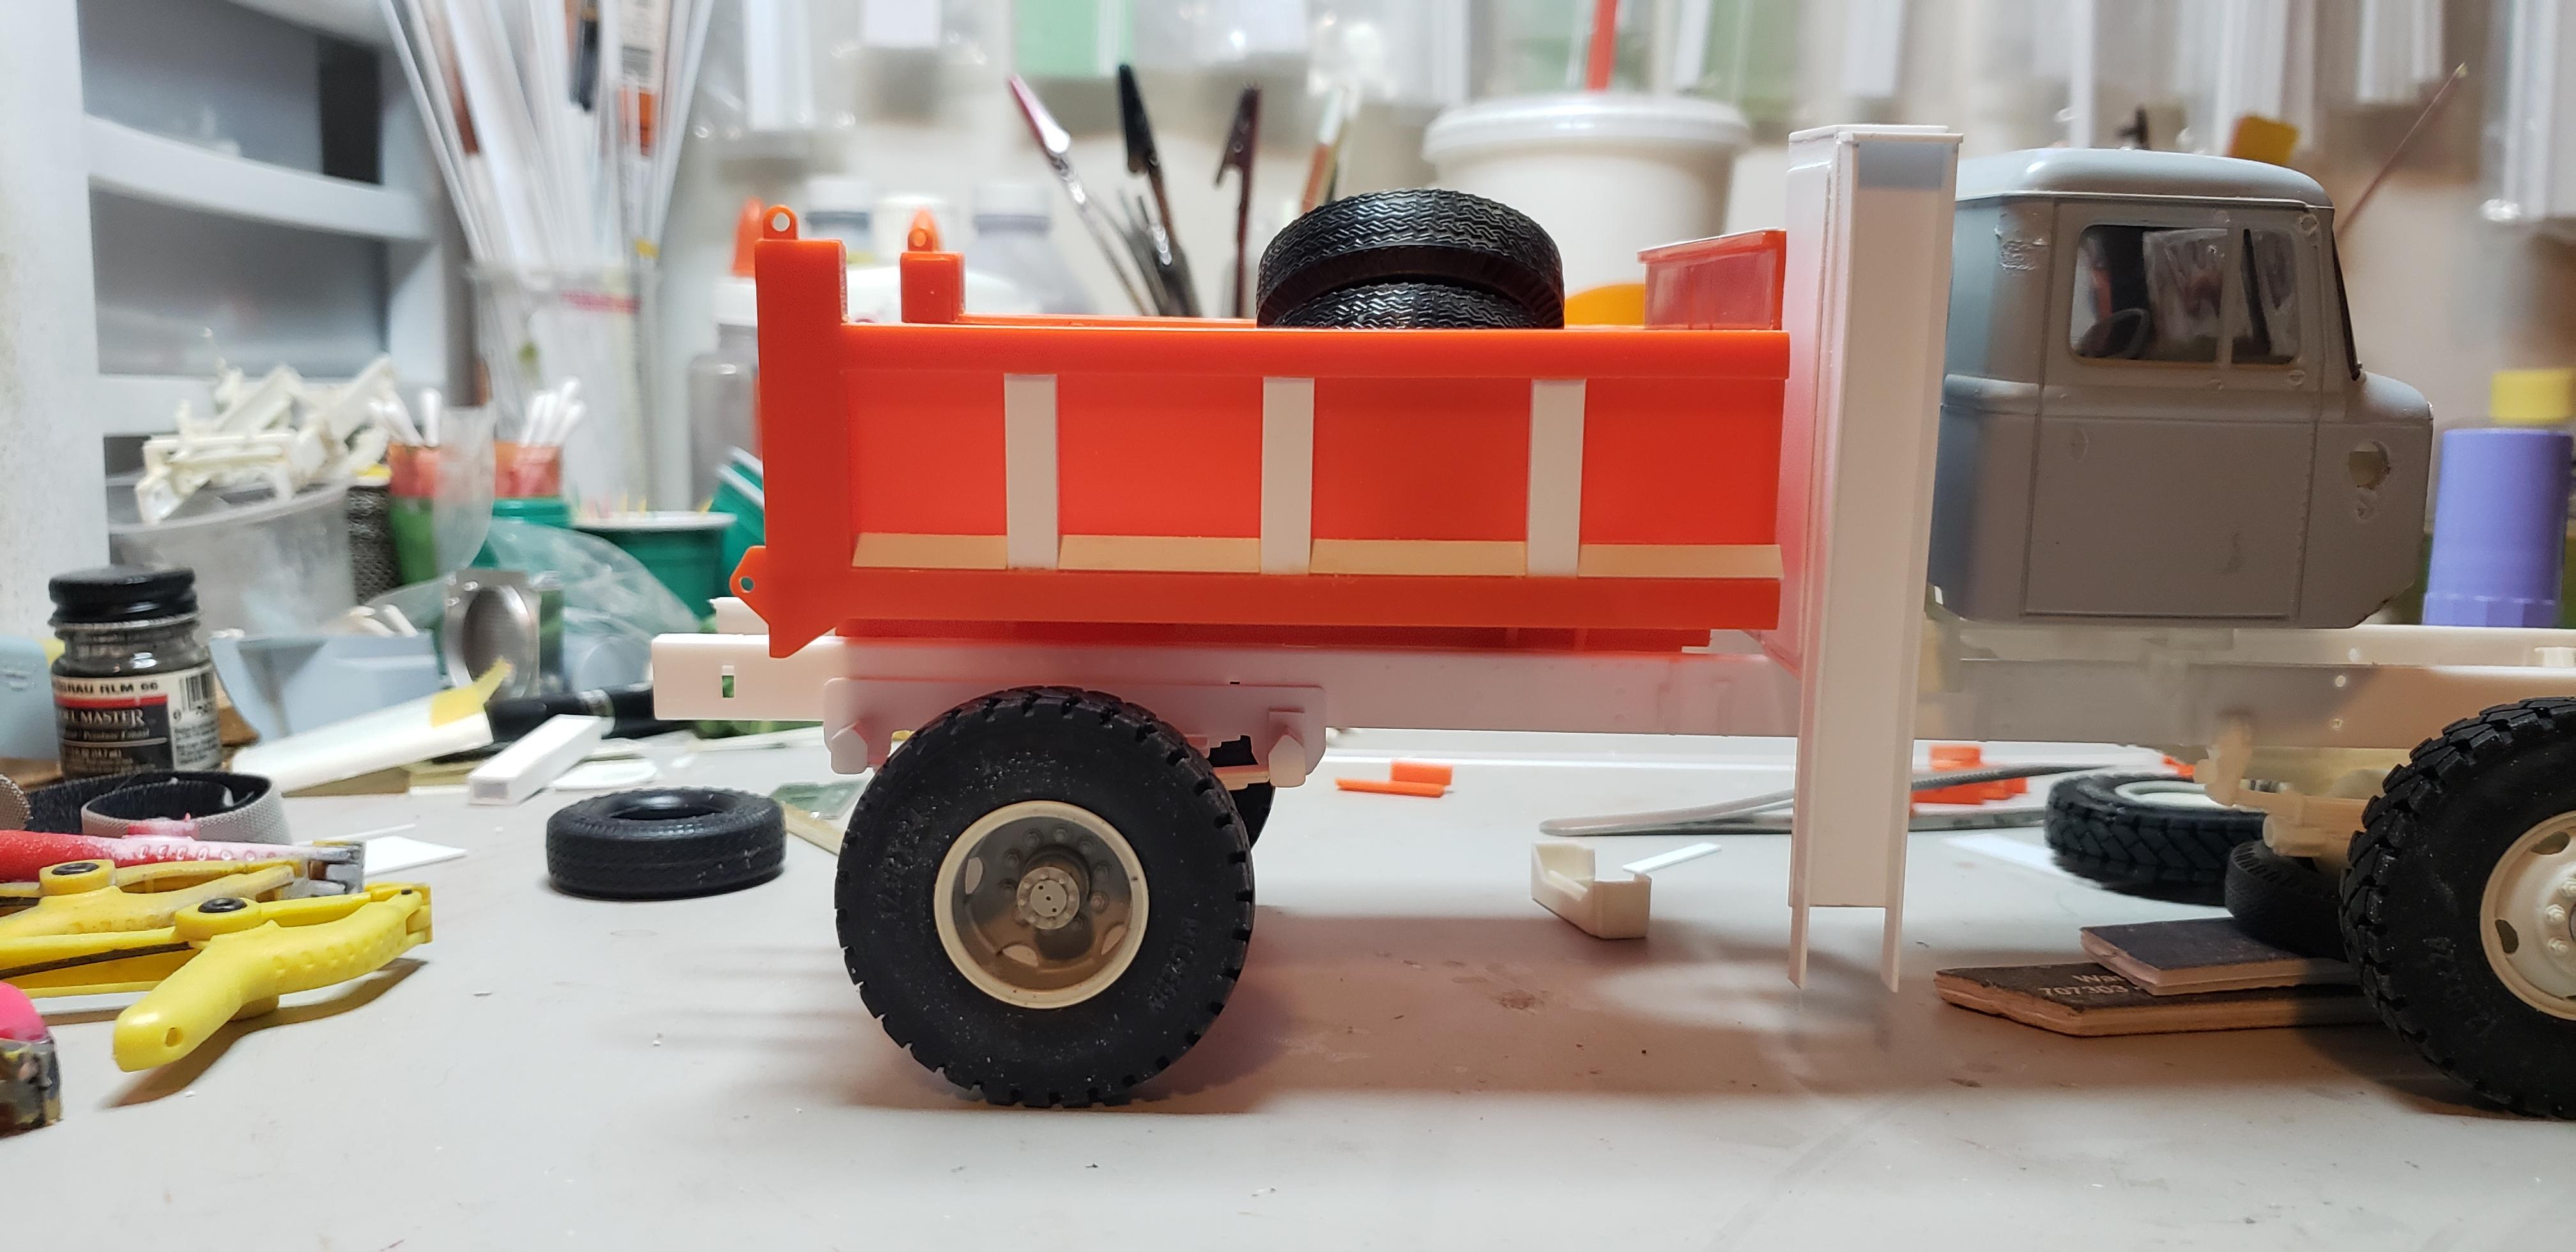
gotnitro? replied to gotnitro?'s topic in WIP: Model Trucks: Big Rigs and Heavy Equipment
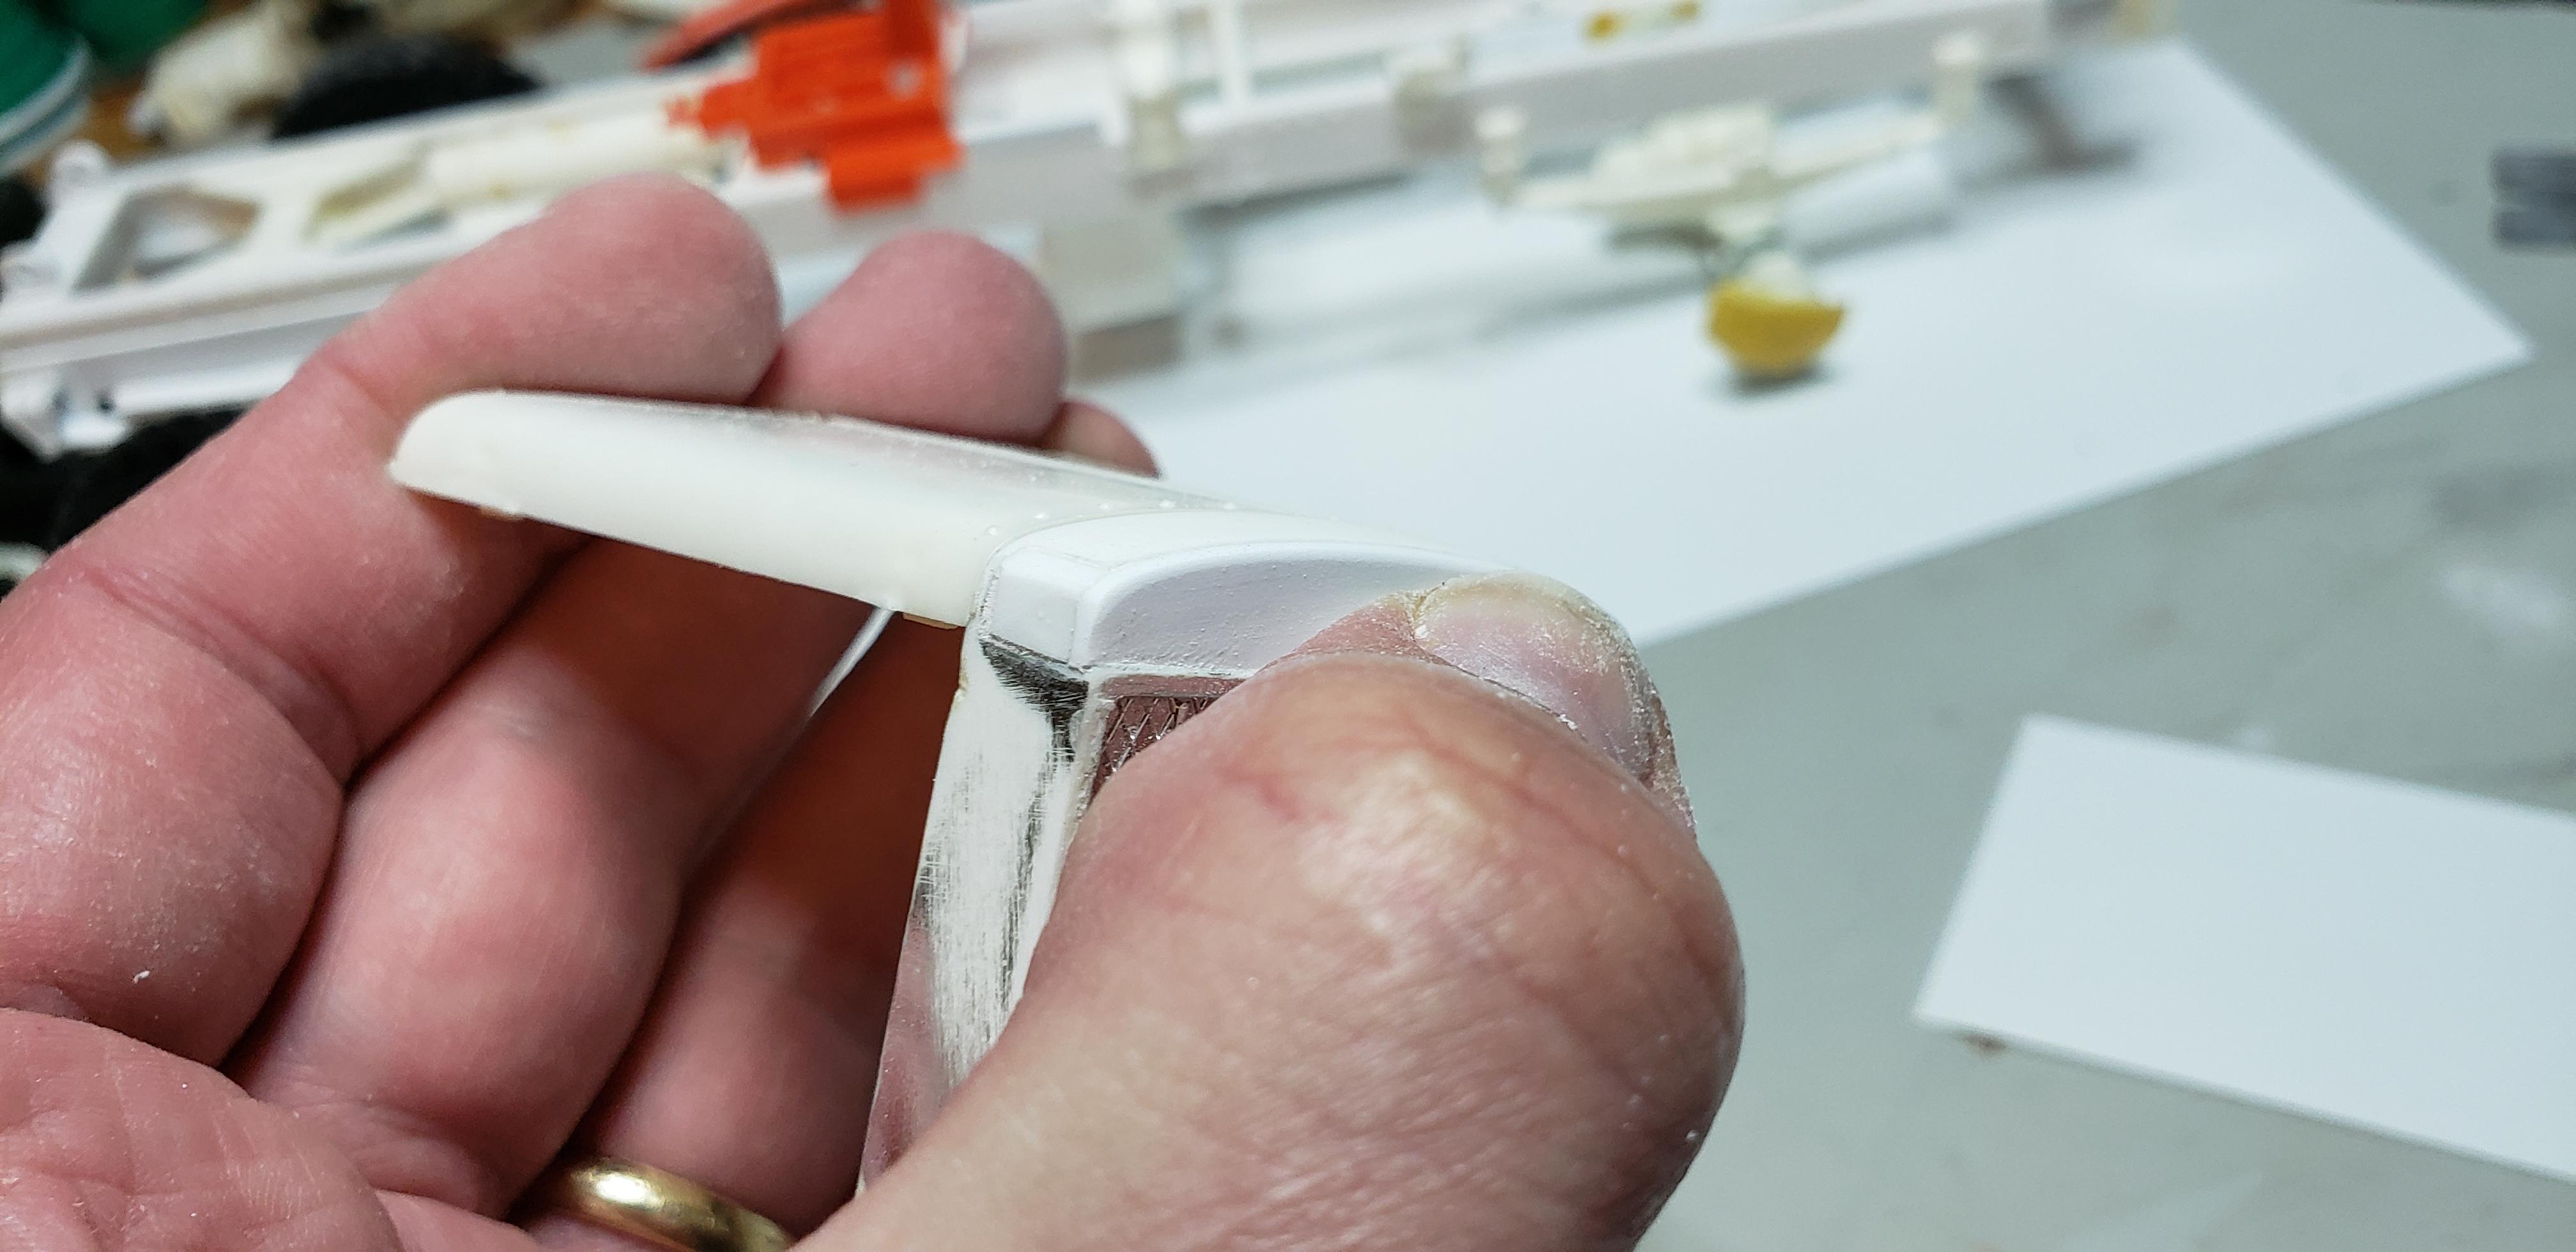
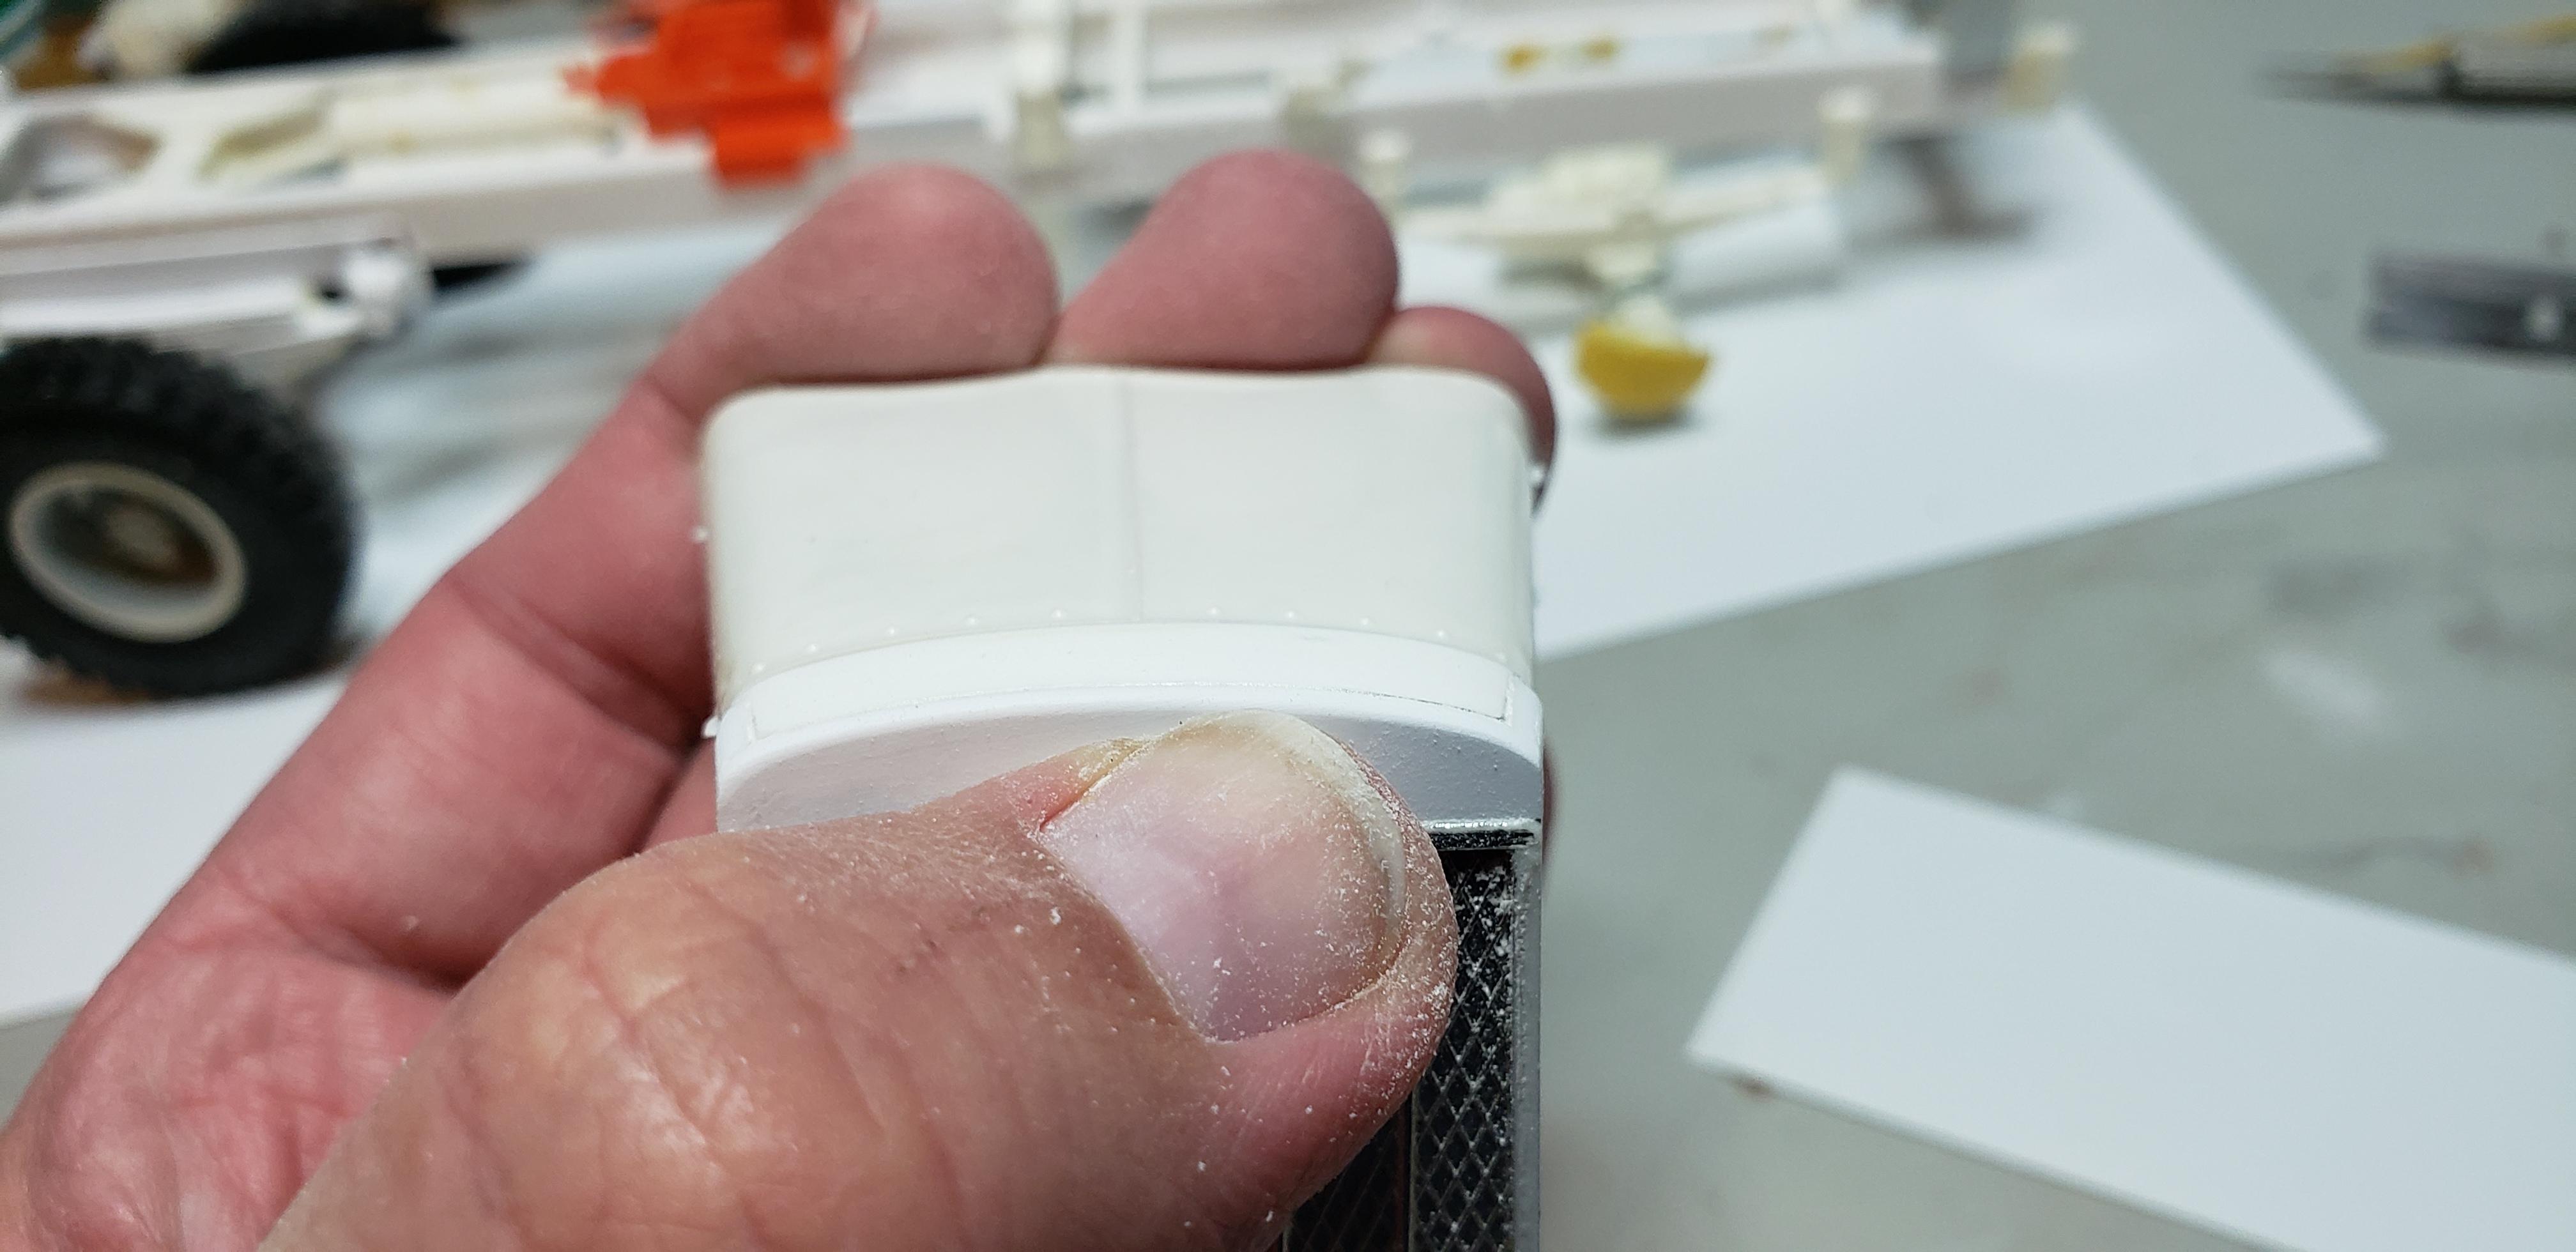
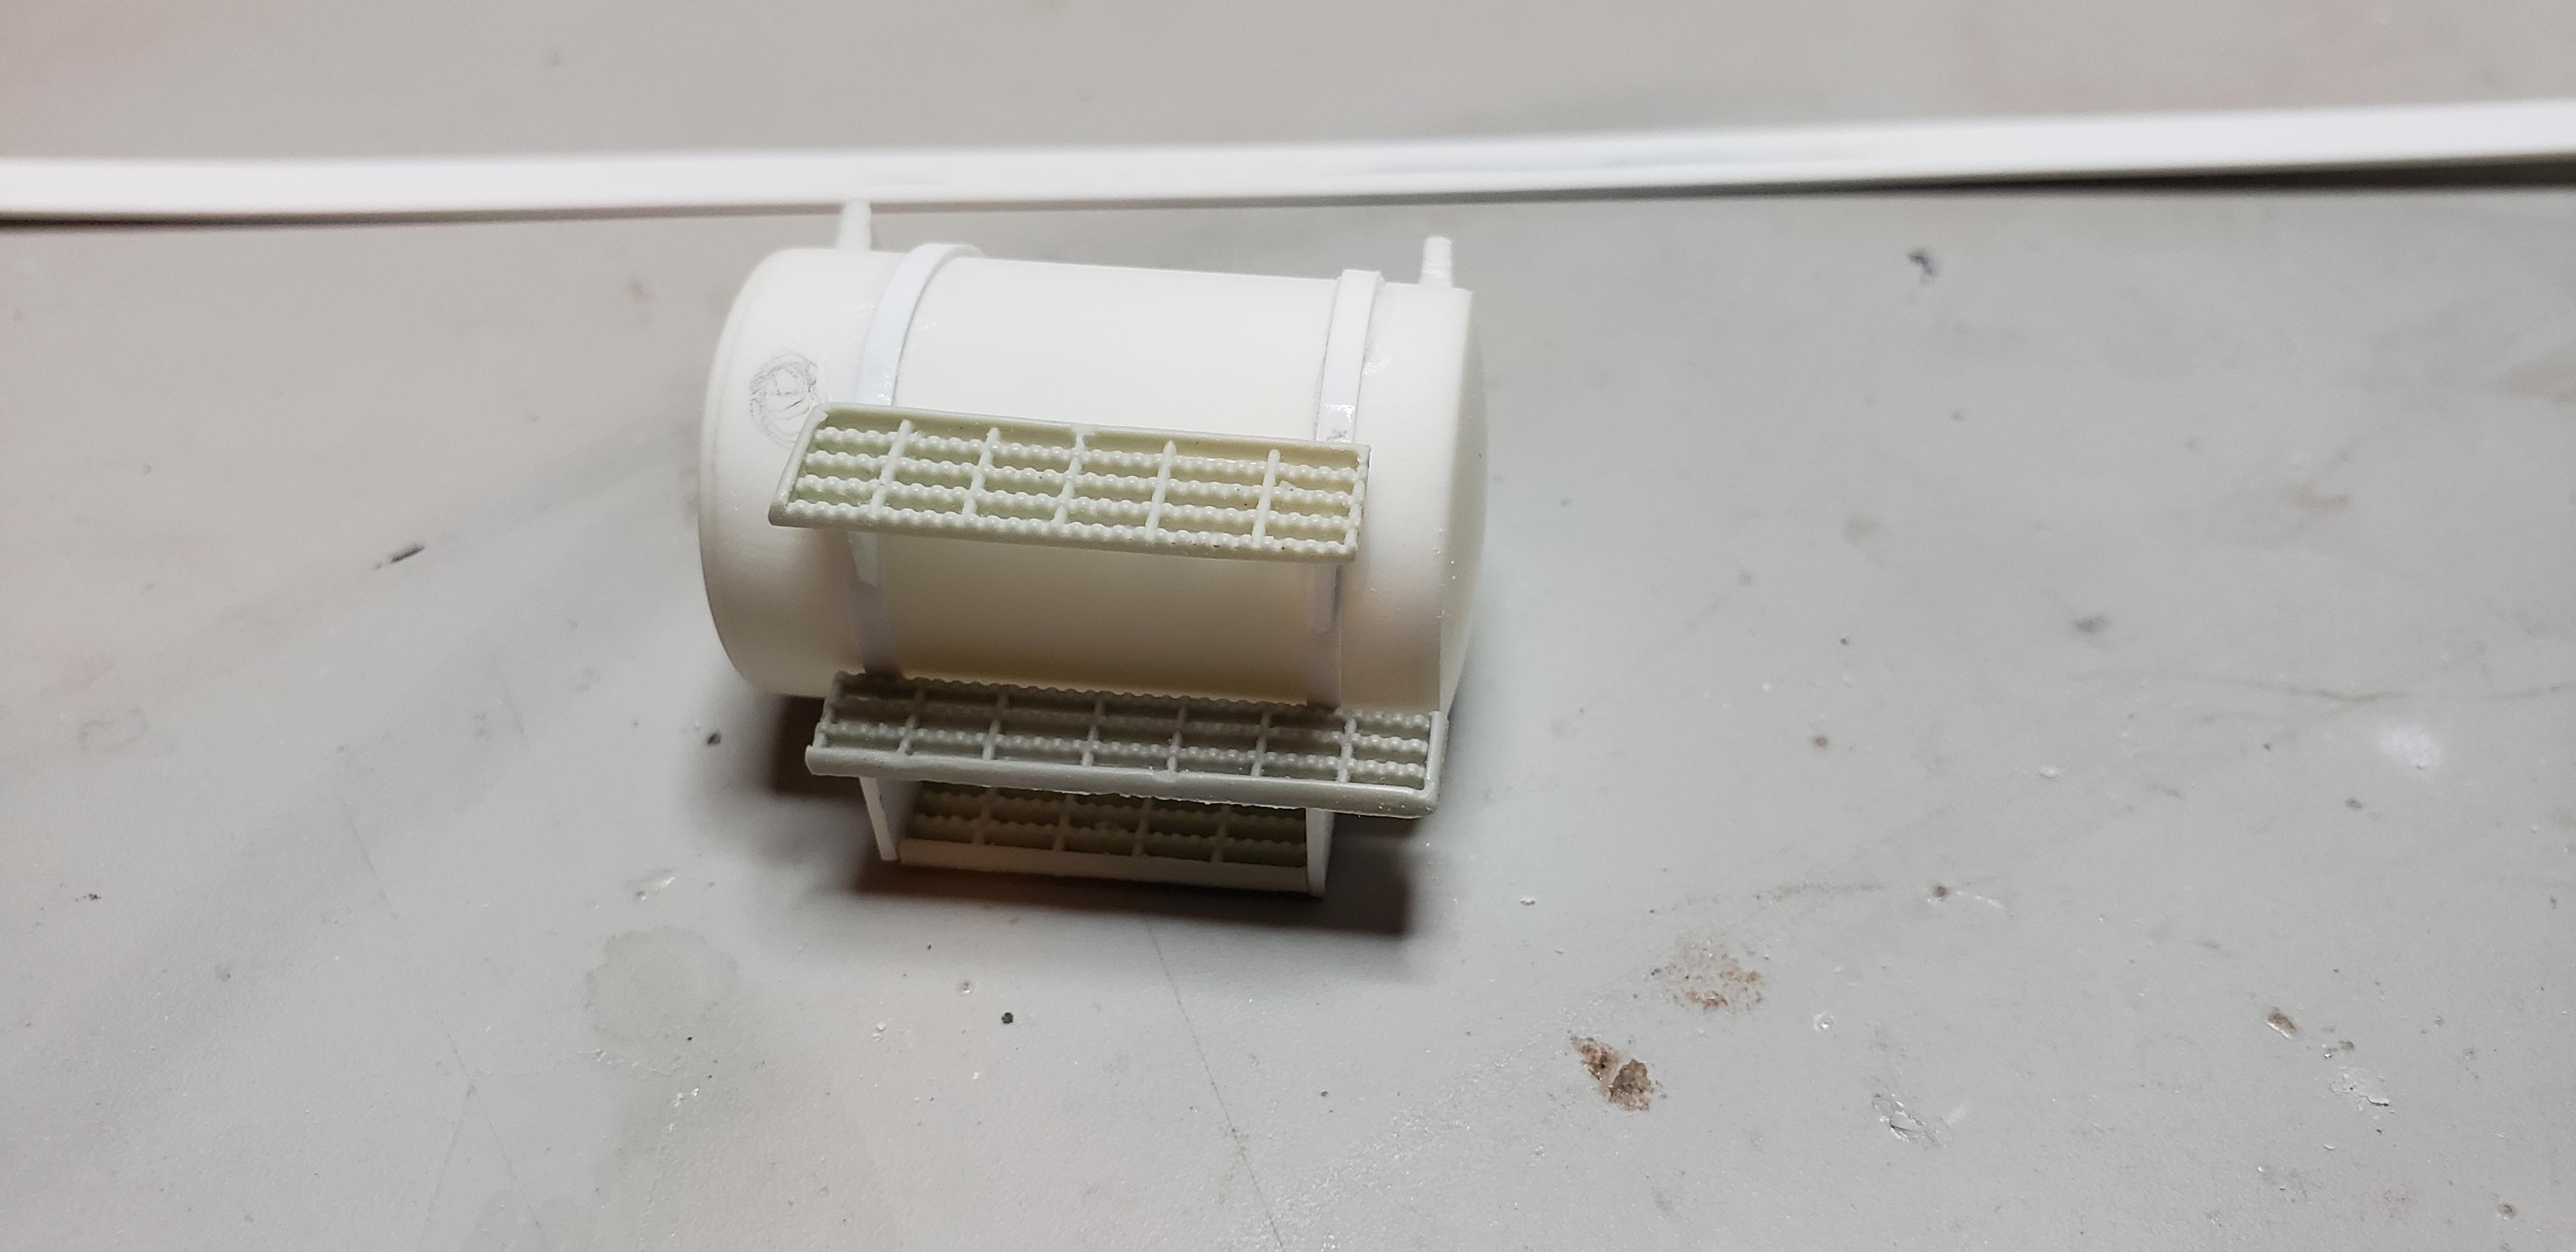
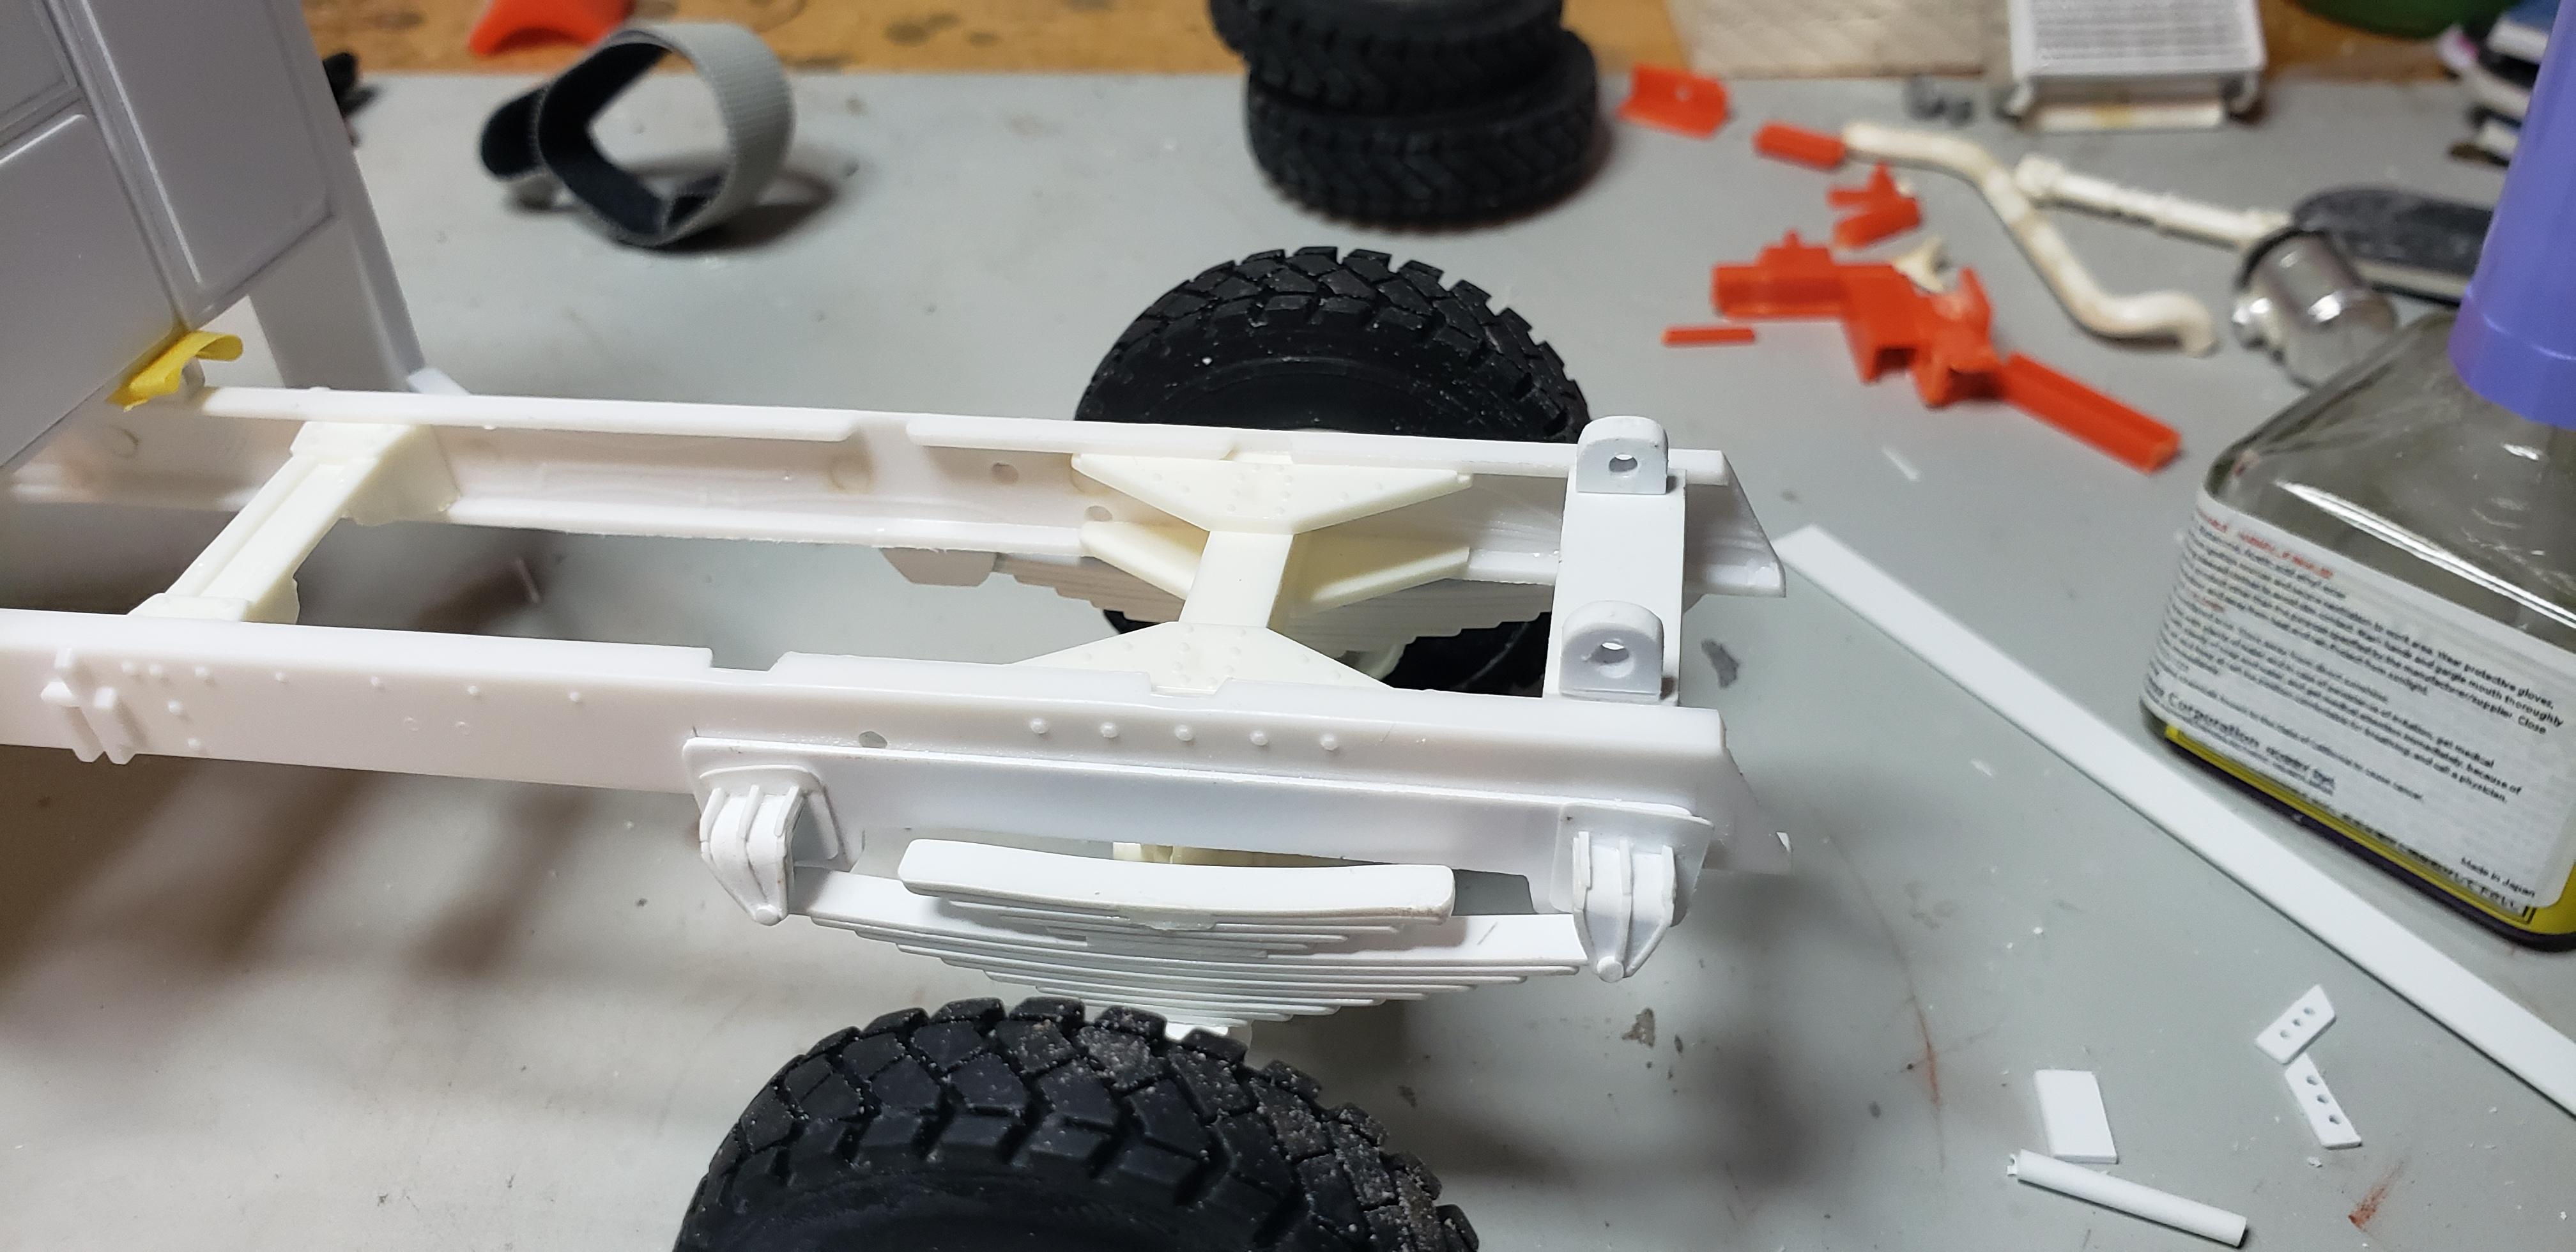
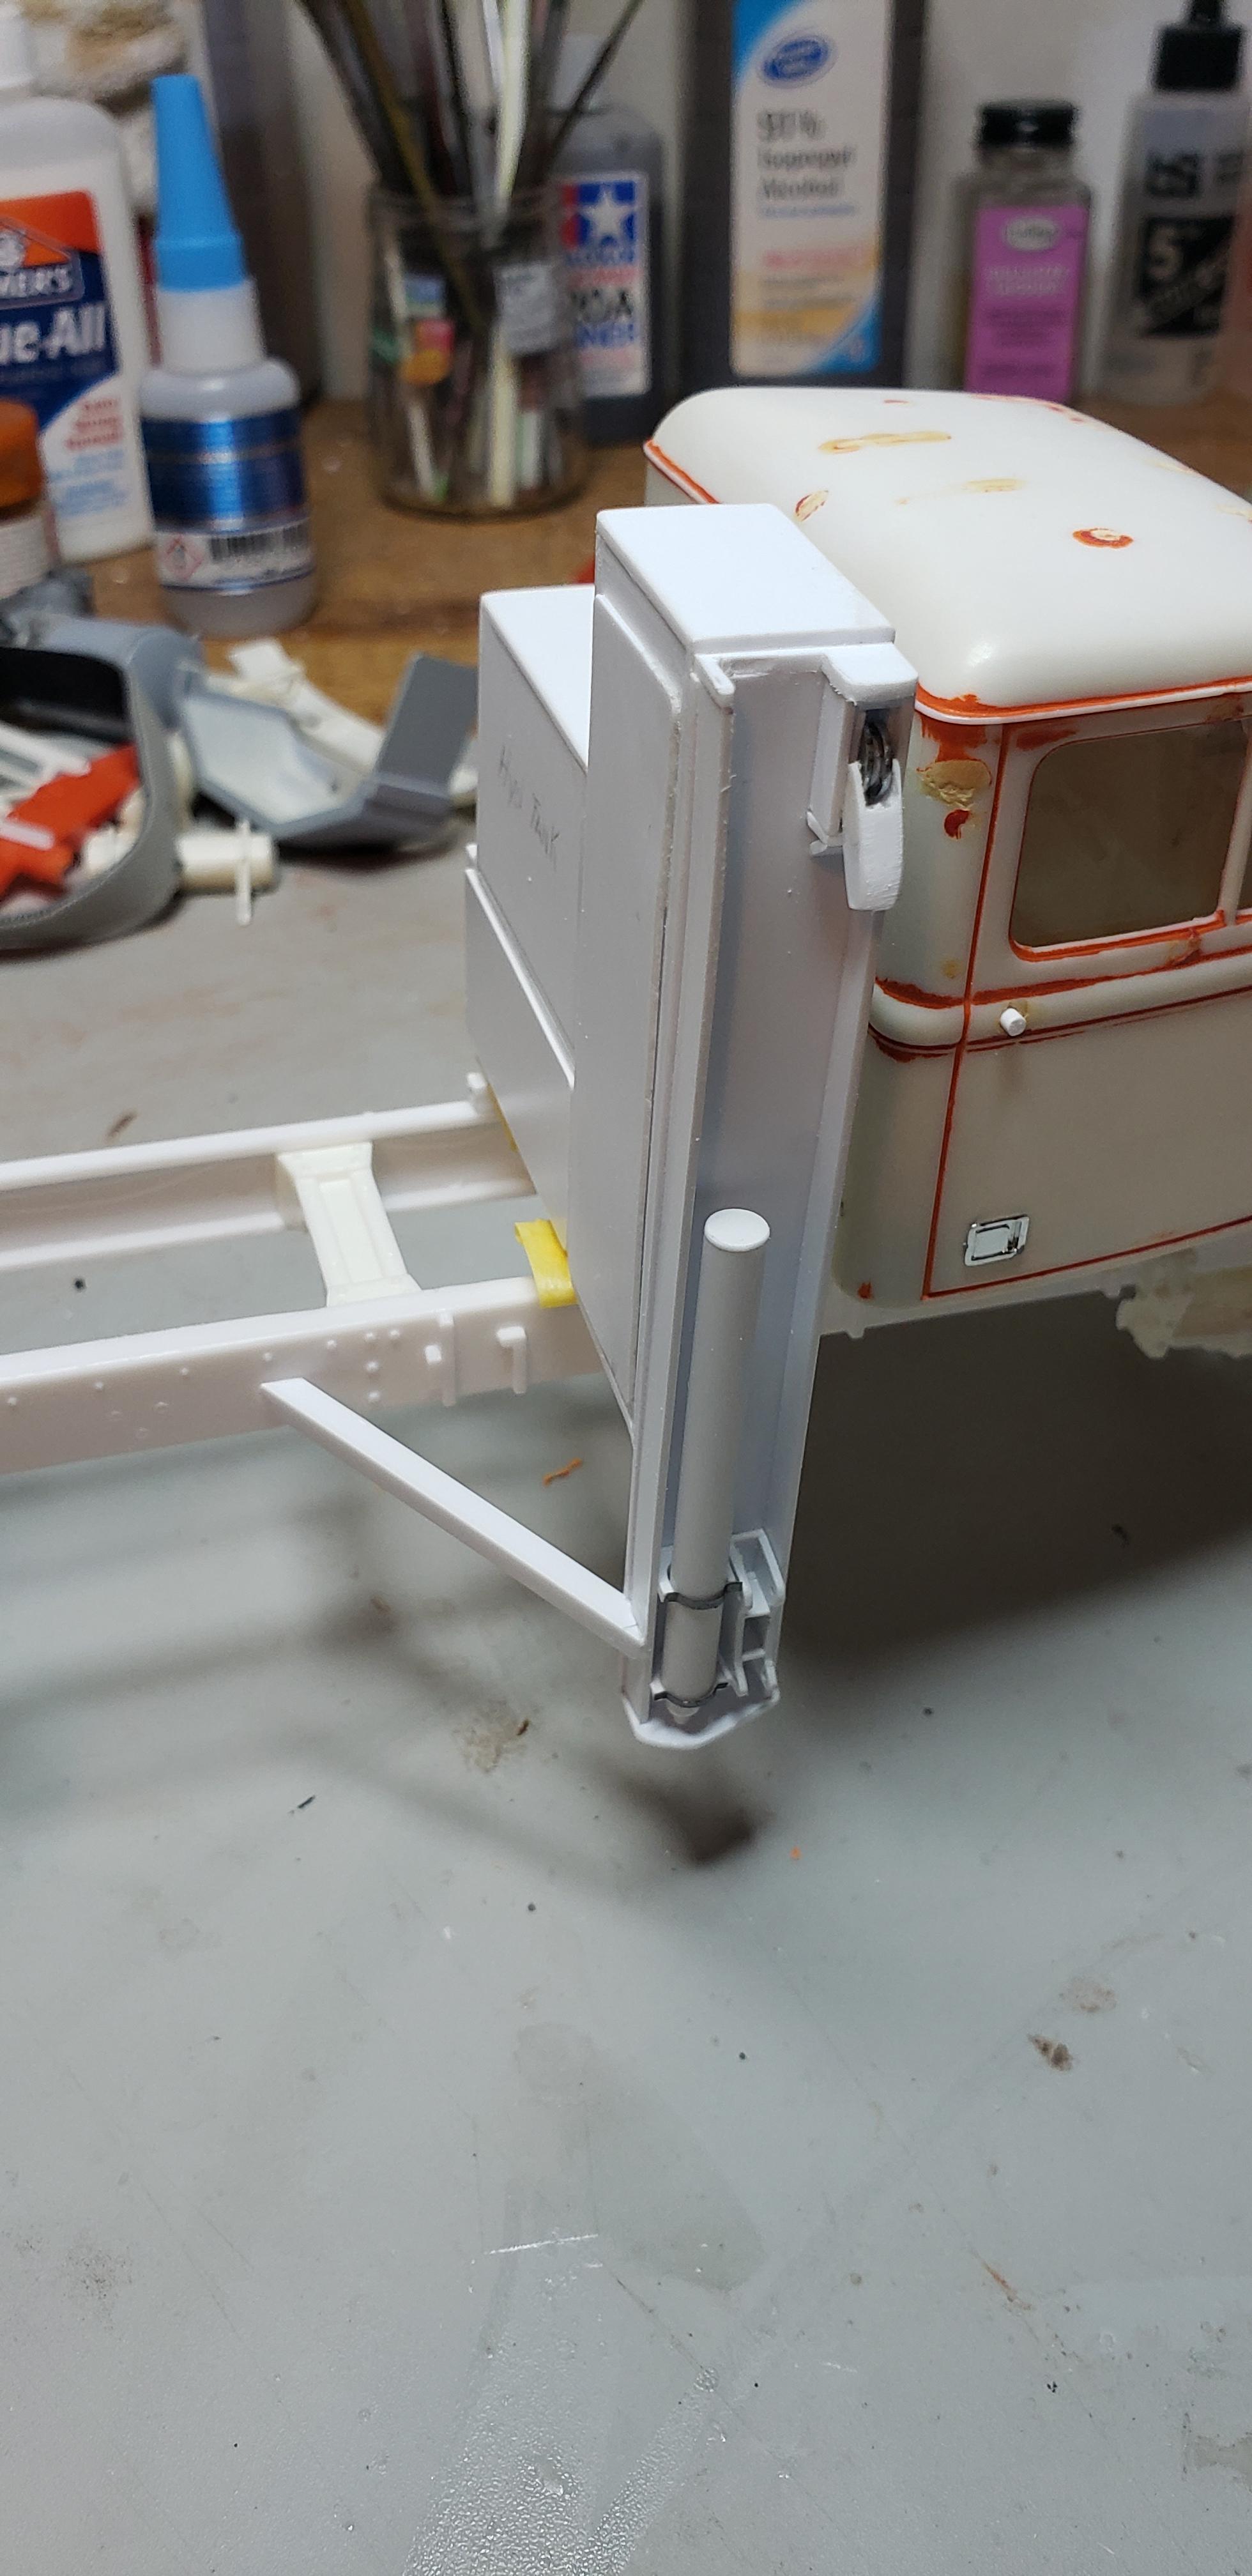
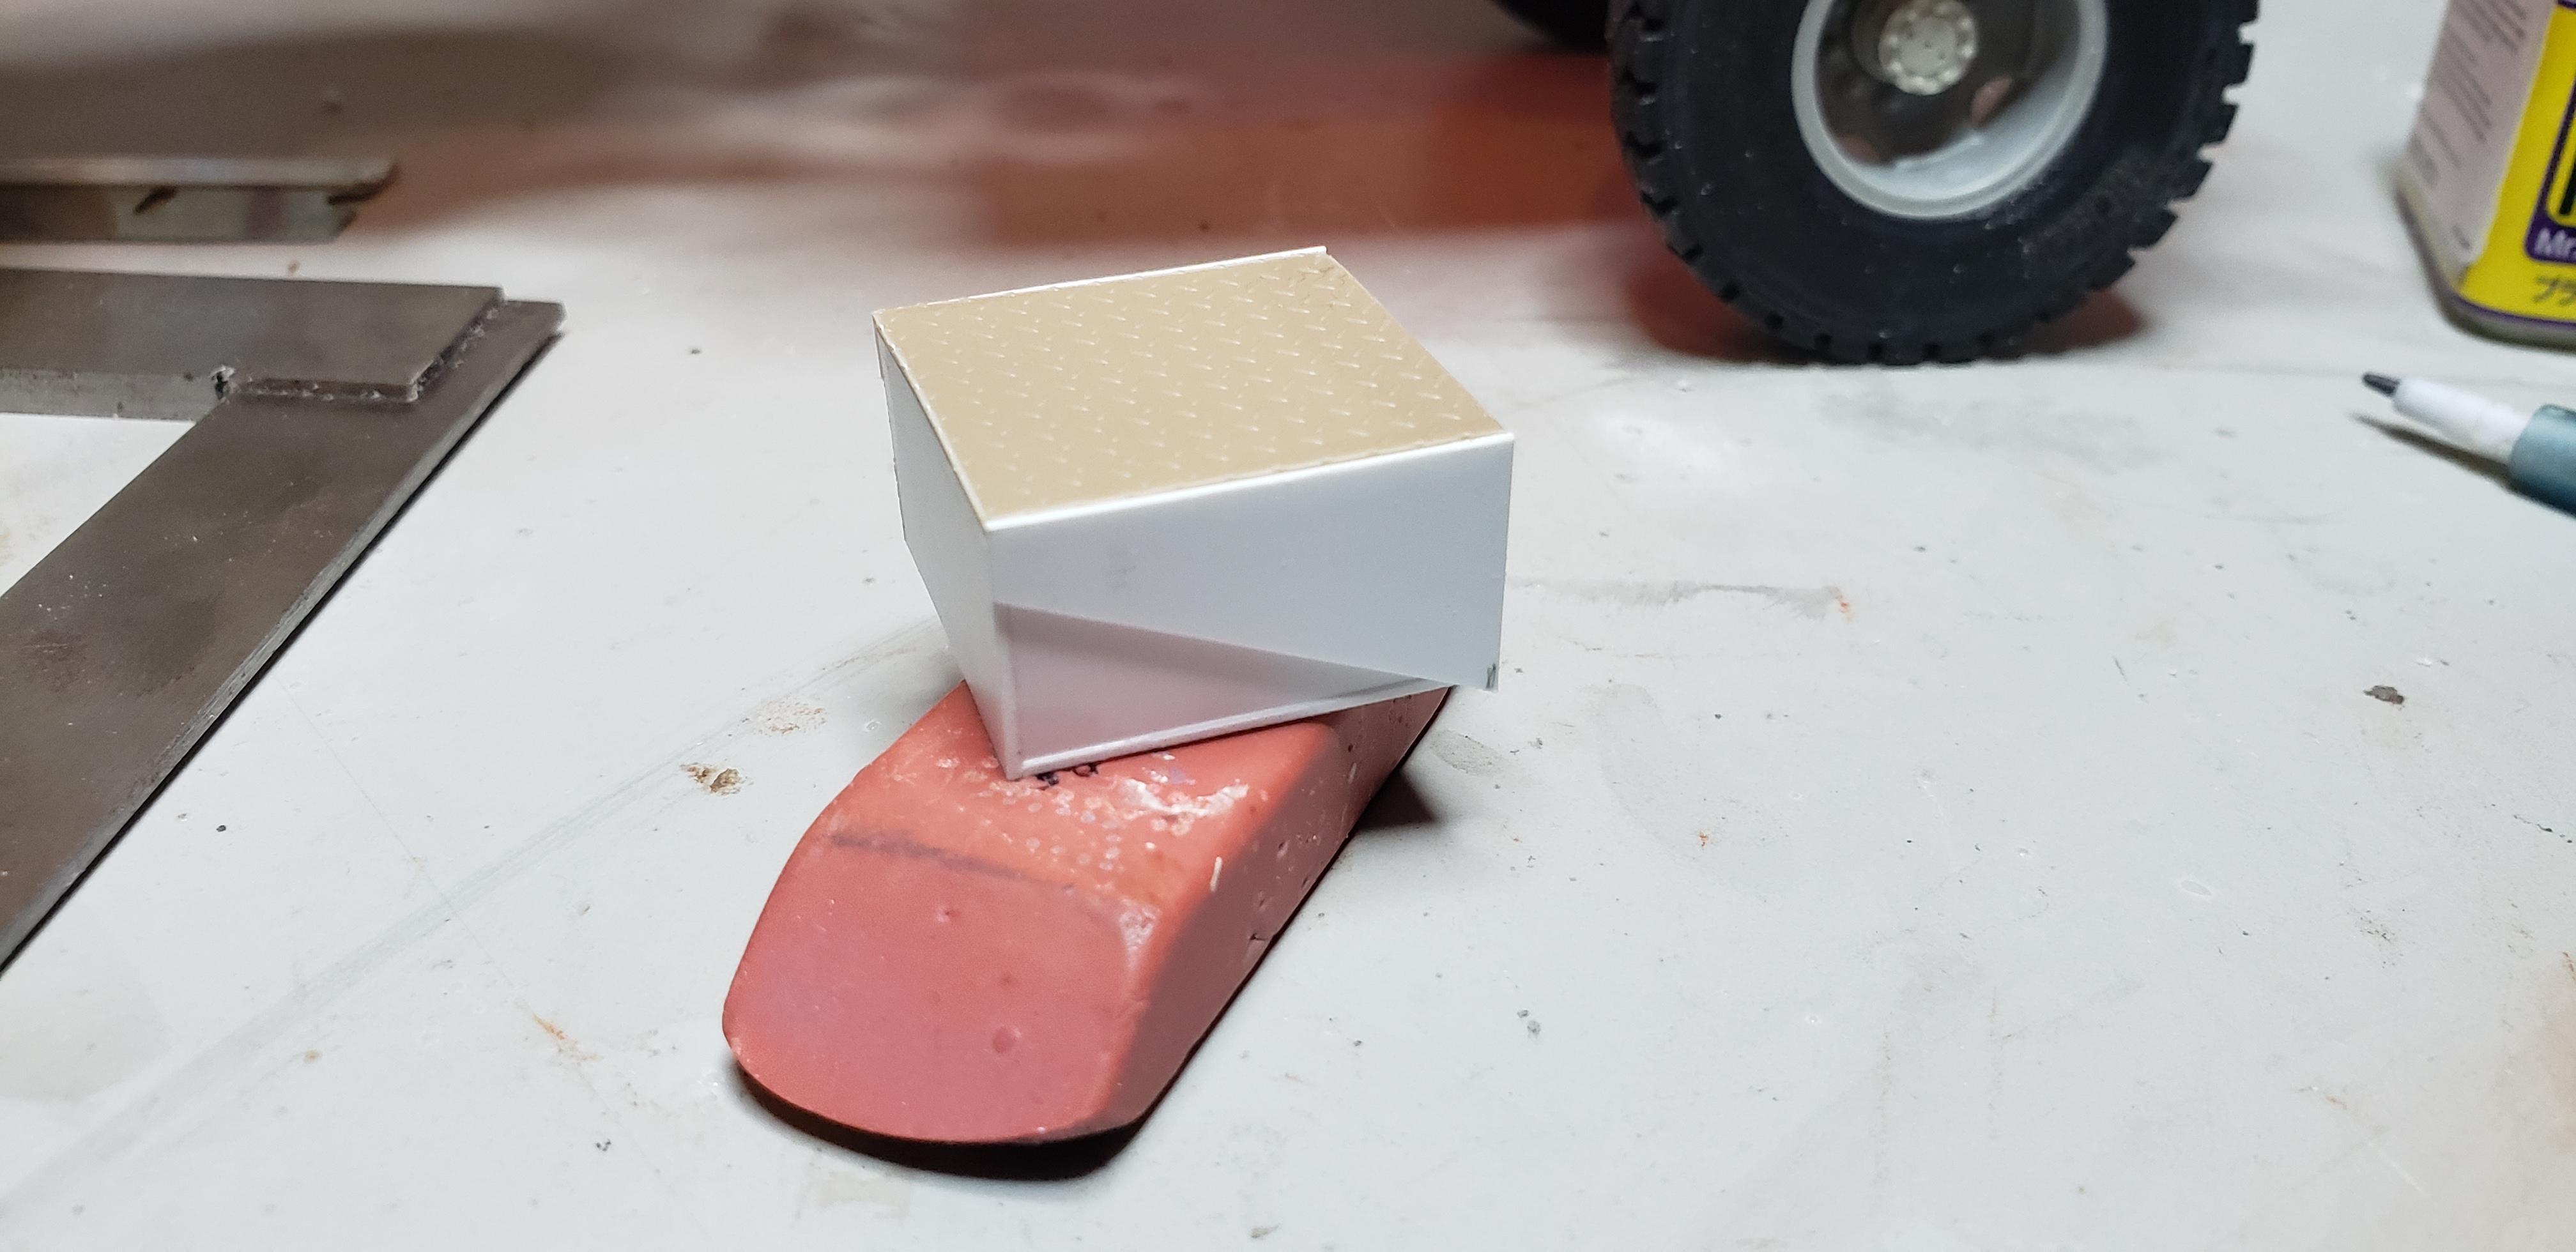
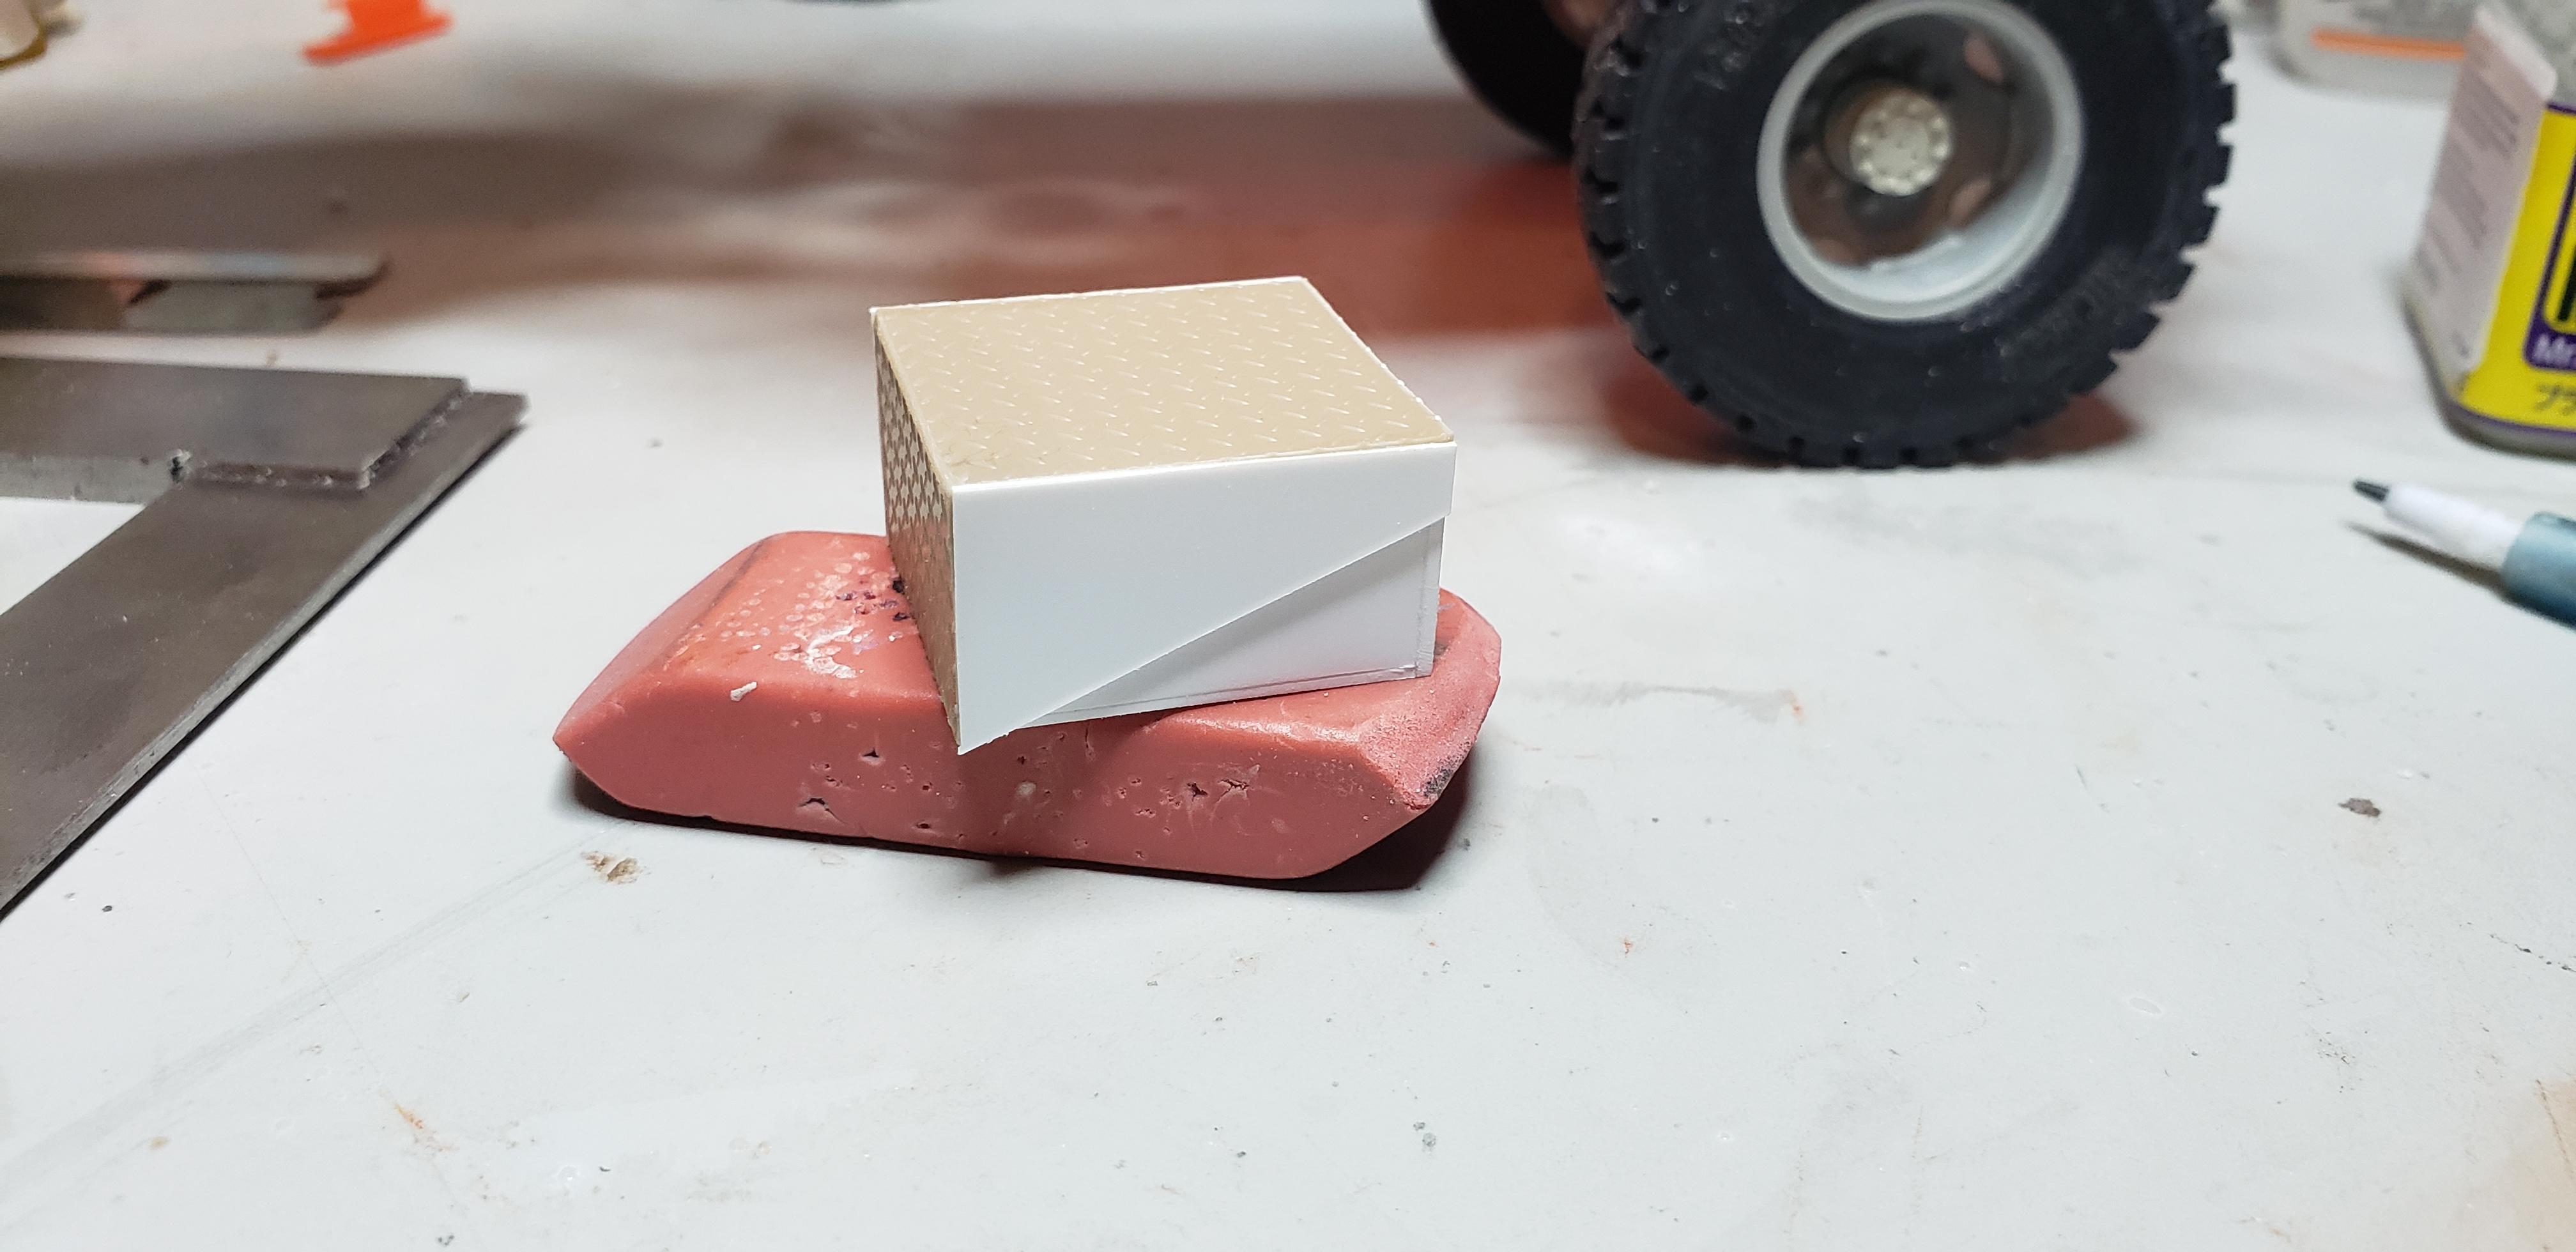
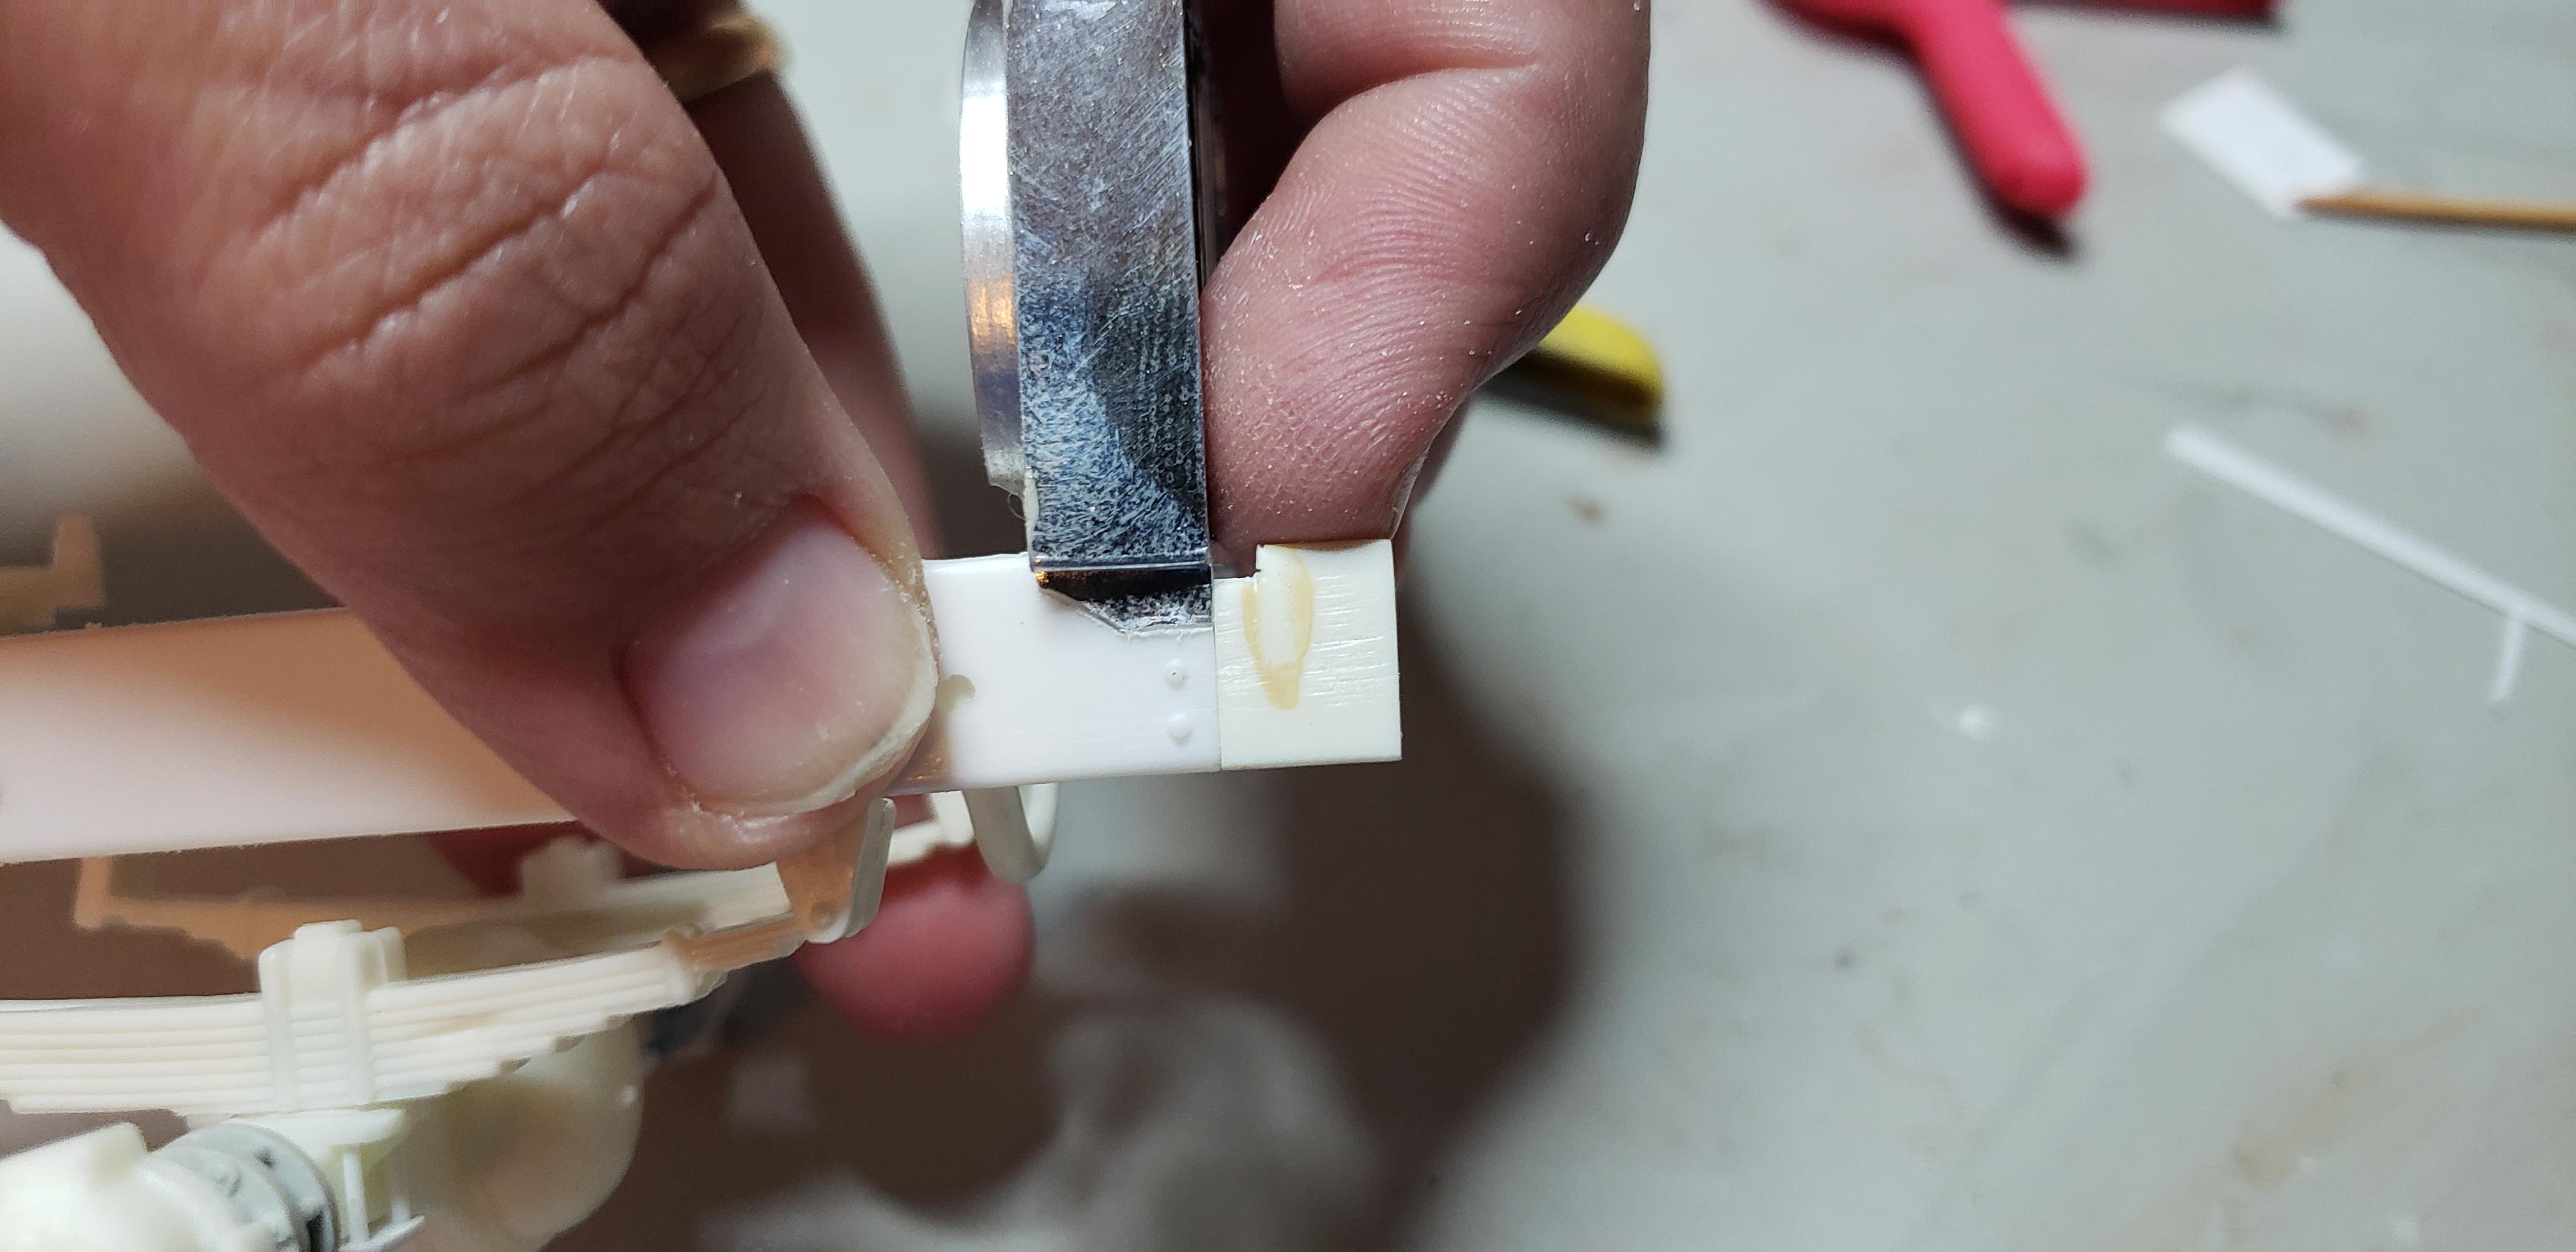
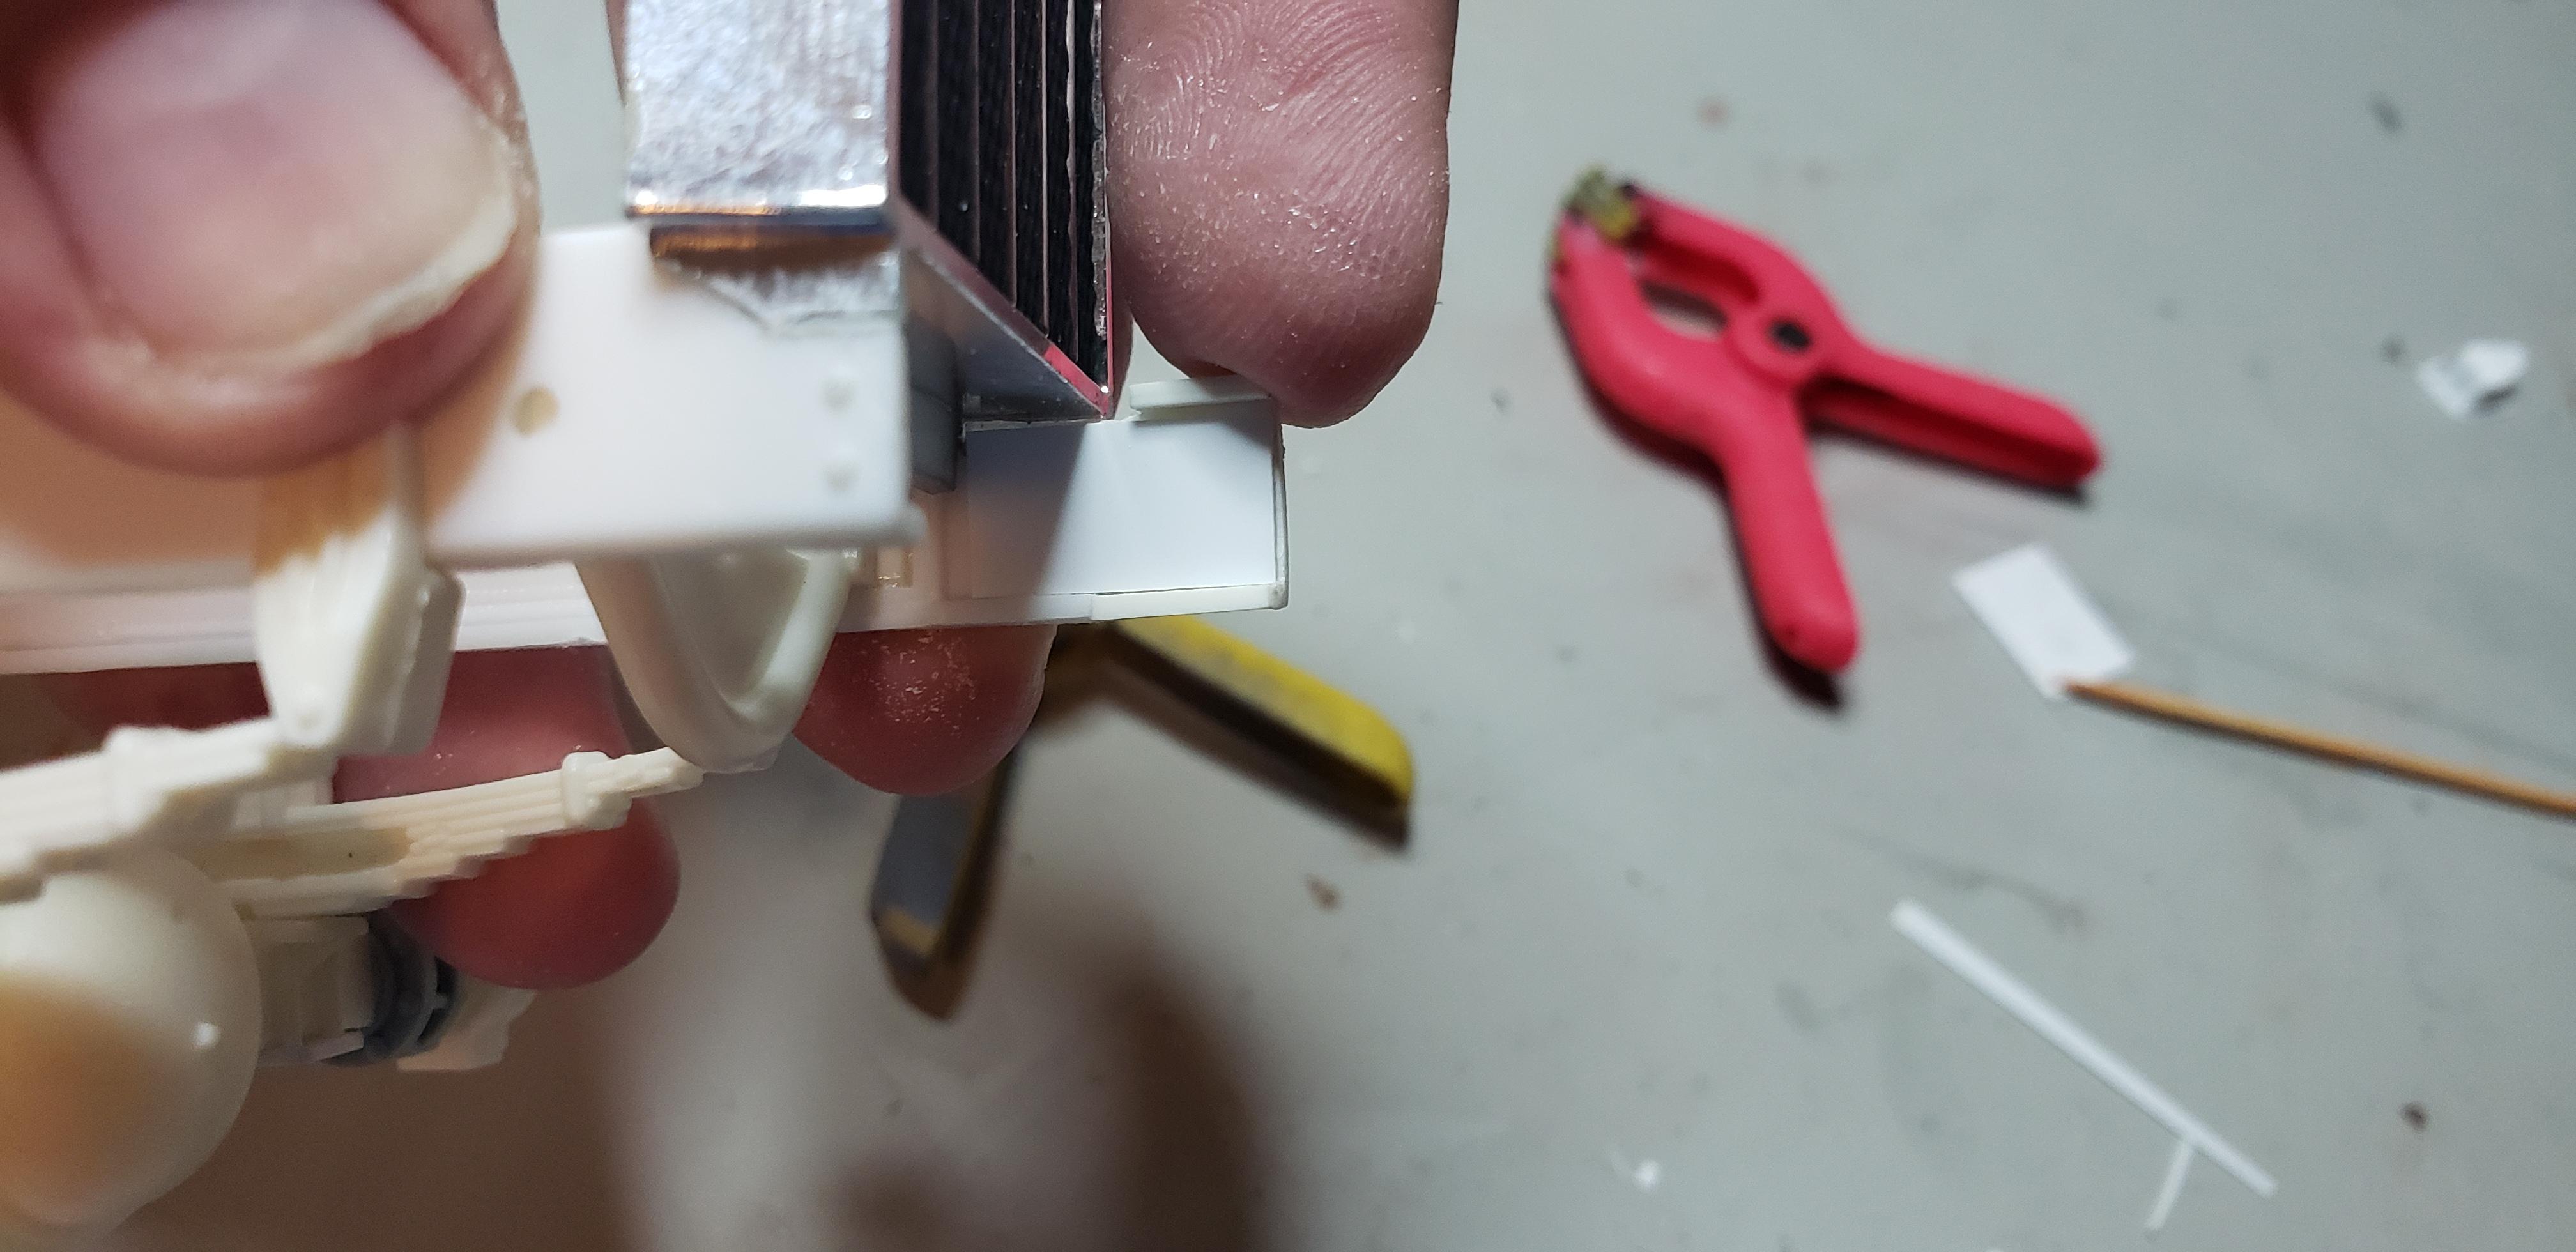
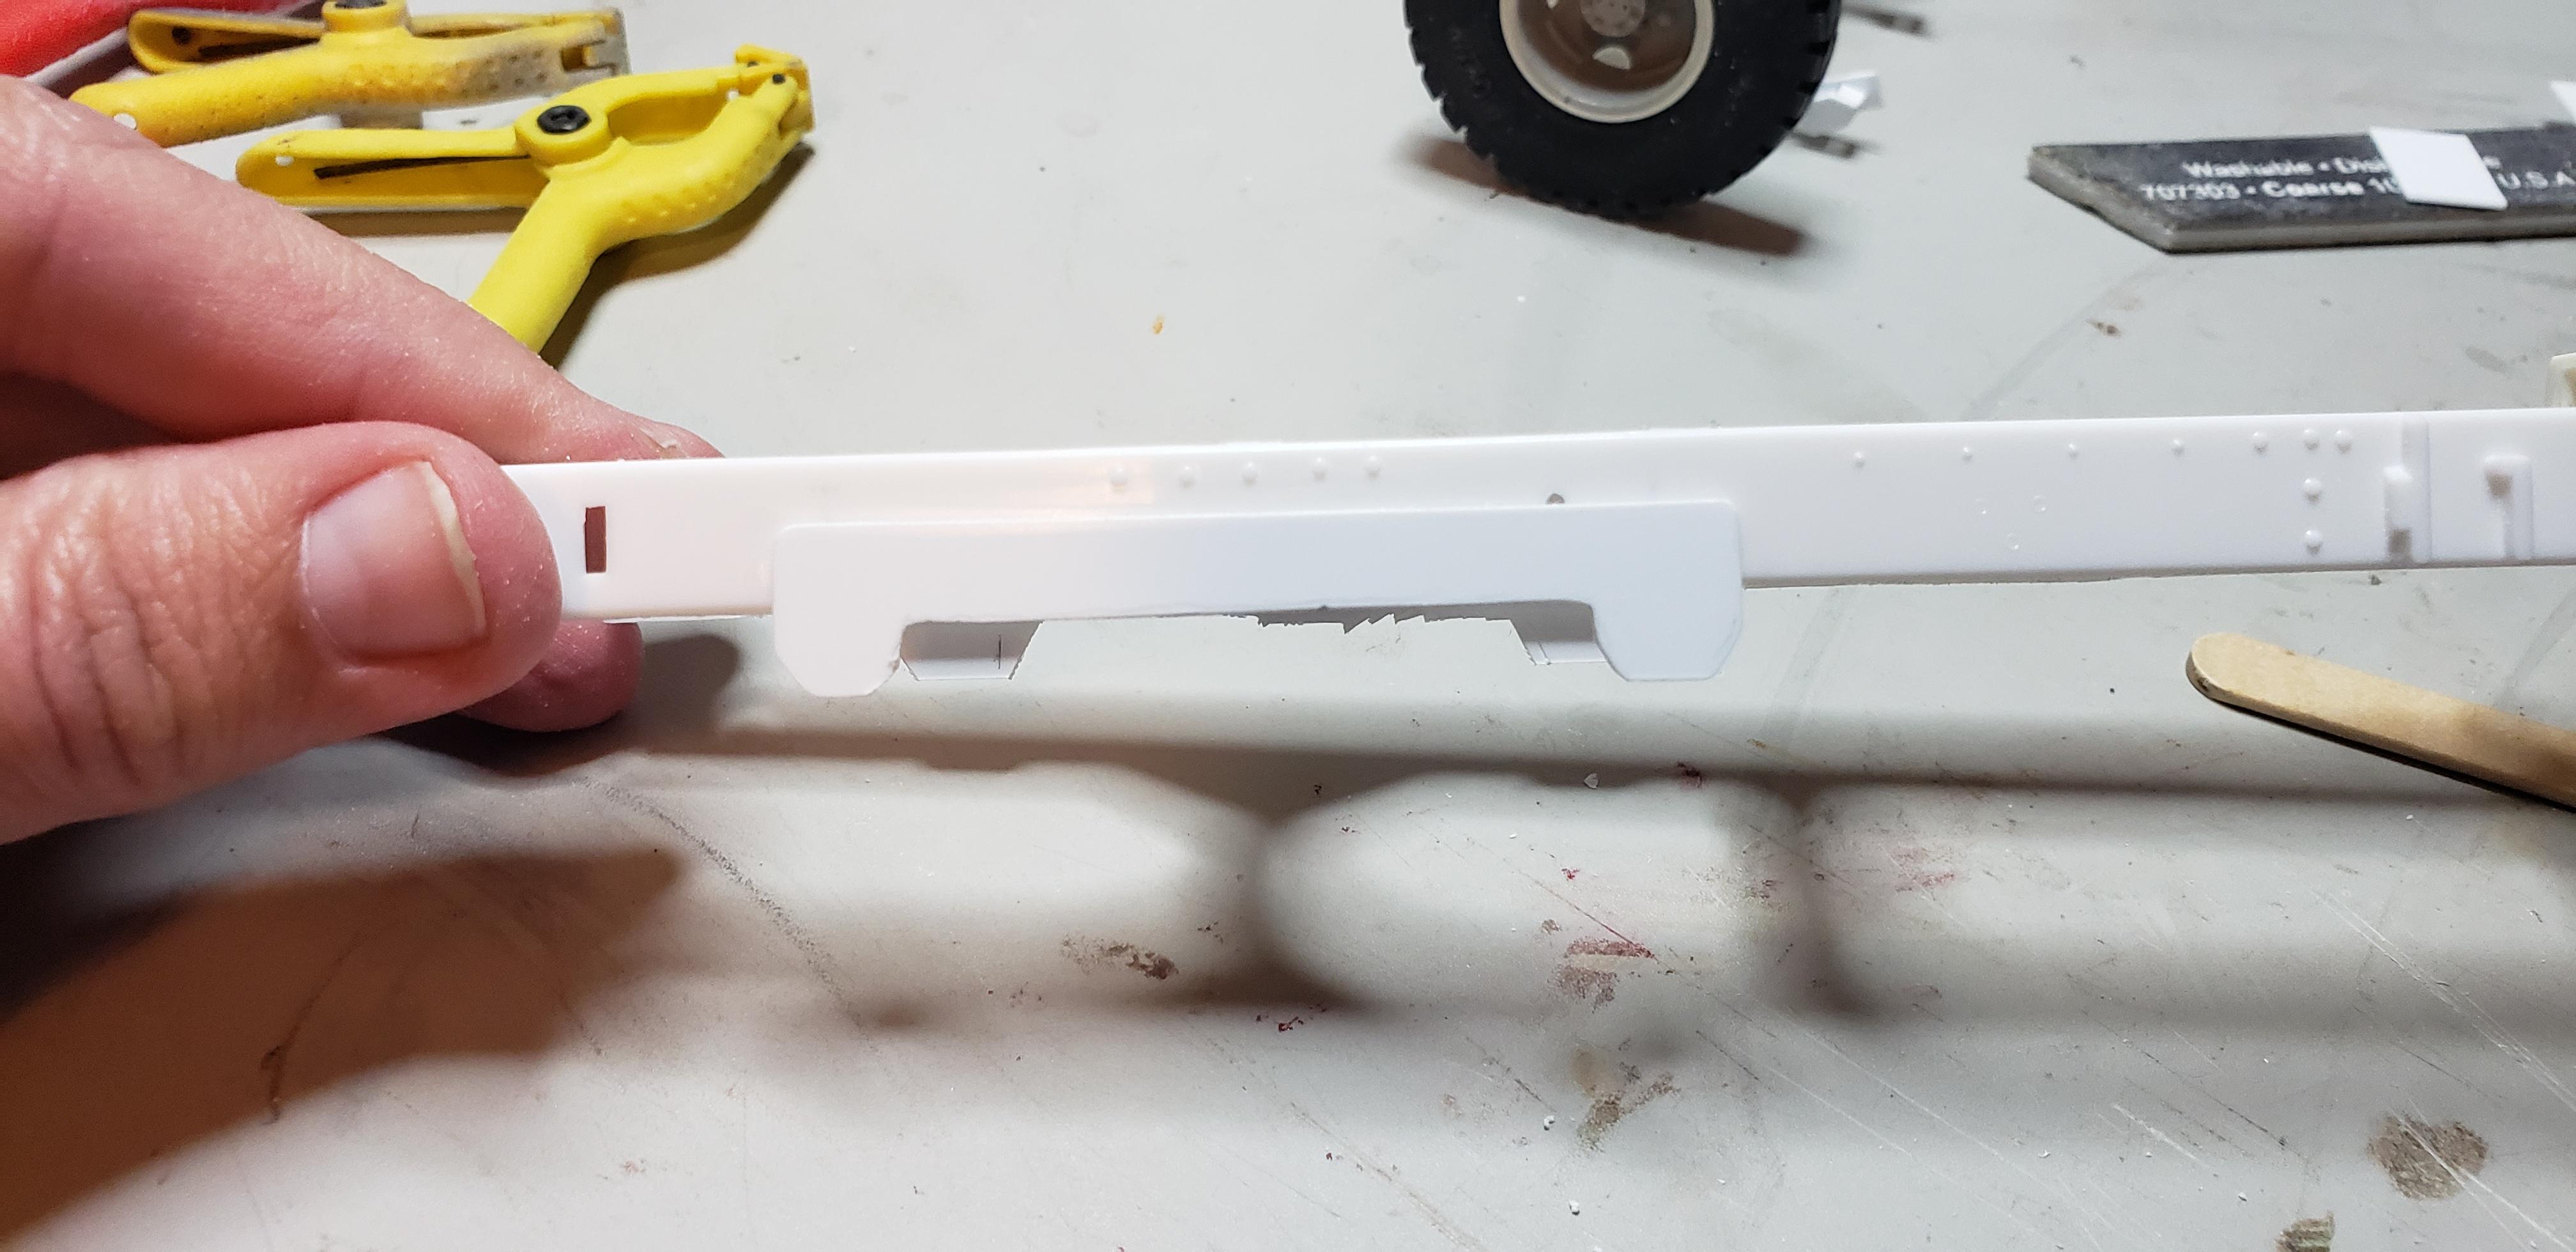
Wknd update, tackled a few smaller items that I could bust out fairly quick. Studying photos showed changed to the kit fuel tank steps. I used some curved sheet for mounts, then deck plate for the treads. I finally got around to angle cutting the frame rails, adding a c/m on the end from I beam then installing the dump bed pivots. The rear susp is waiting for bolt details and the overload stops above the spring pack..or whatever their called. The wing tower pulley, lift cylinder and wing rod strut mounts were fabbed up, and temporarily installed w a bar that'll be welded to the frame rail. Lastly the truck wouldn't have any electrical power without its battery box . I tested out my new machinist square from micro mark to cut straight lines . I covered the top and front w plastruct diamond plate . Wrapping the hinged sides w angle cut sheet finished it up . Thats it for the wknd ..gotta wire up a new kitchen outlet tomo. We've been updating the old wiring in the house room by room. Turning off the main panel for a few minutes while adding the breaker will keep things from getting exciting !
-
Looking forward to seeing your trailer ! I have ya covered on the awol tire !
-
Mack B-81 W.I.P.
gotnitro? replied to rekcirb13's topic in WIP: Model Trucks: Big Rigs and Heavy Equipment
Beautiful Mack ! Very classy colors too -
Autocar reborn
gotnitro? replied to gotnitro?'s topic in WIP: Model Trucks: Big Rigs and Heavy Equipment
Thanks Sam , I'm really enjoying this build and the squirrels haven't side tracked progress. The box already has a future..coming soon ! -
Looks good so far ! What size tire are your short , I probably have a few your welcome to
-
Autocar reborn
gotnitro? replied to gotnitro?'s topic in WIP: Model Trucks: Big Rigs and Heavy Equipment
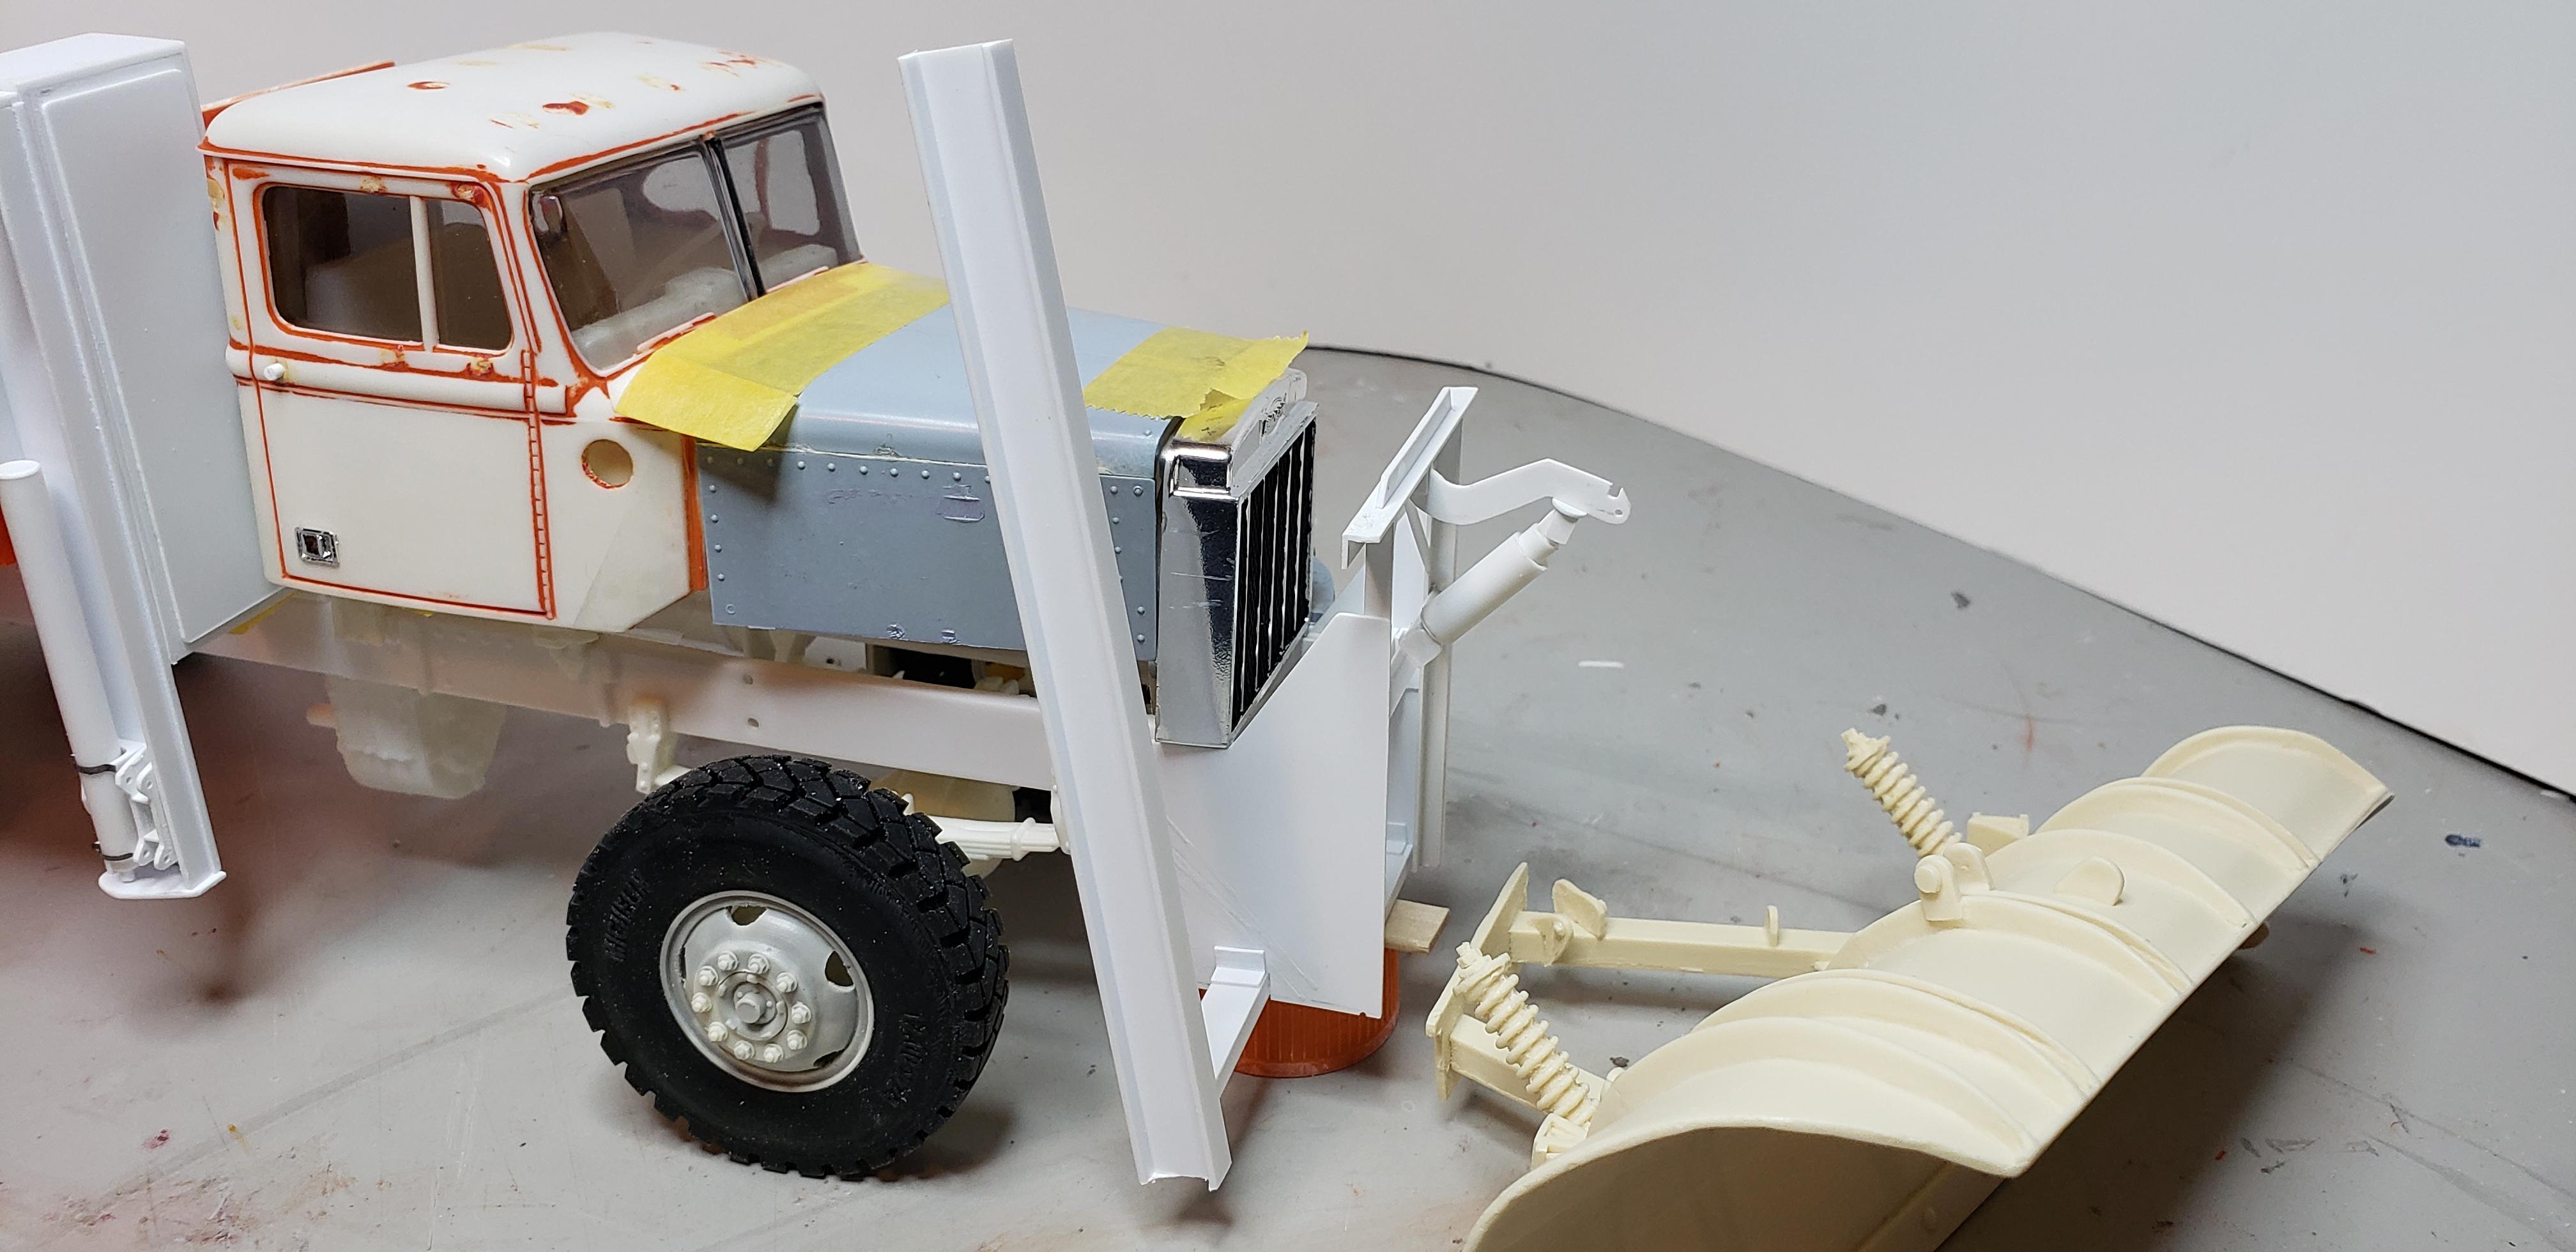
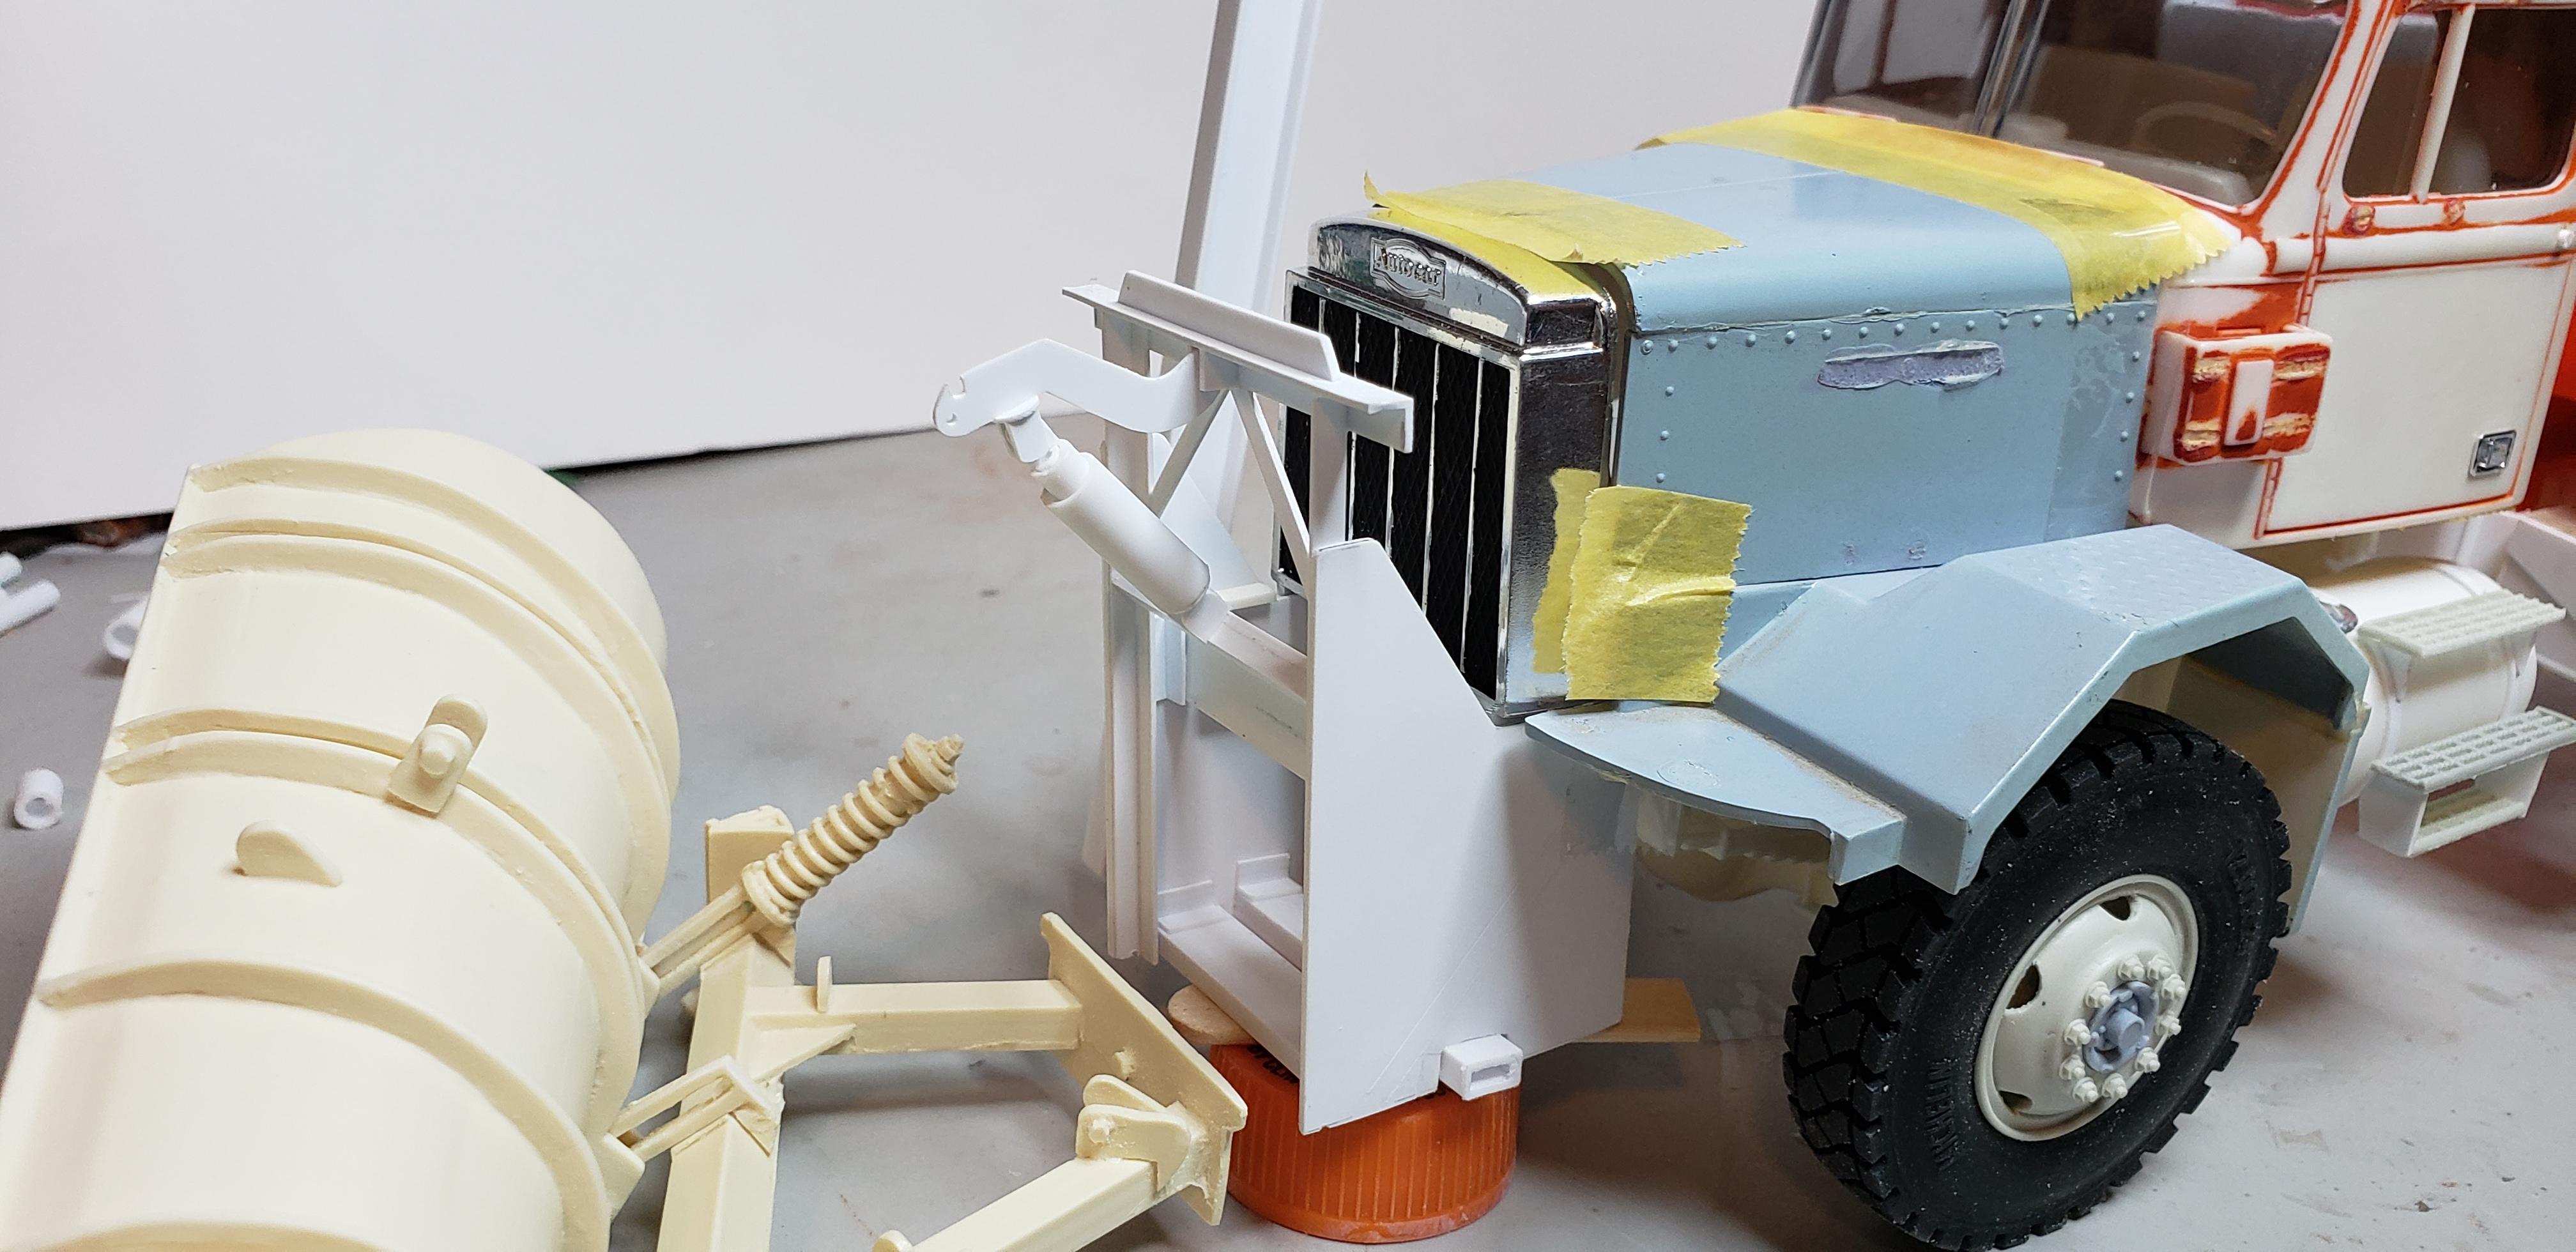
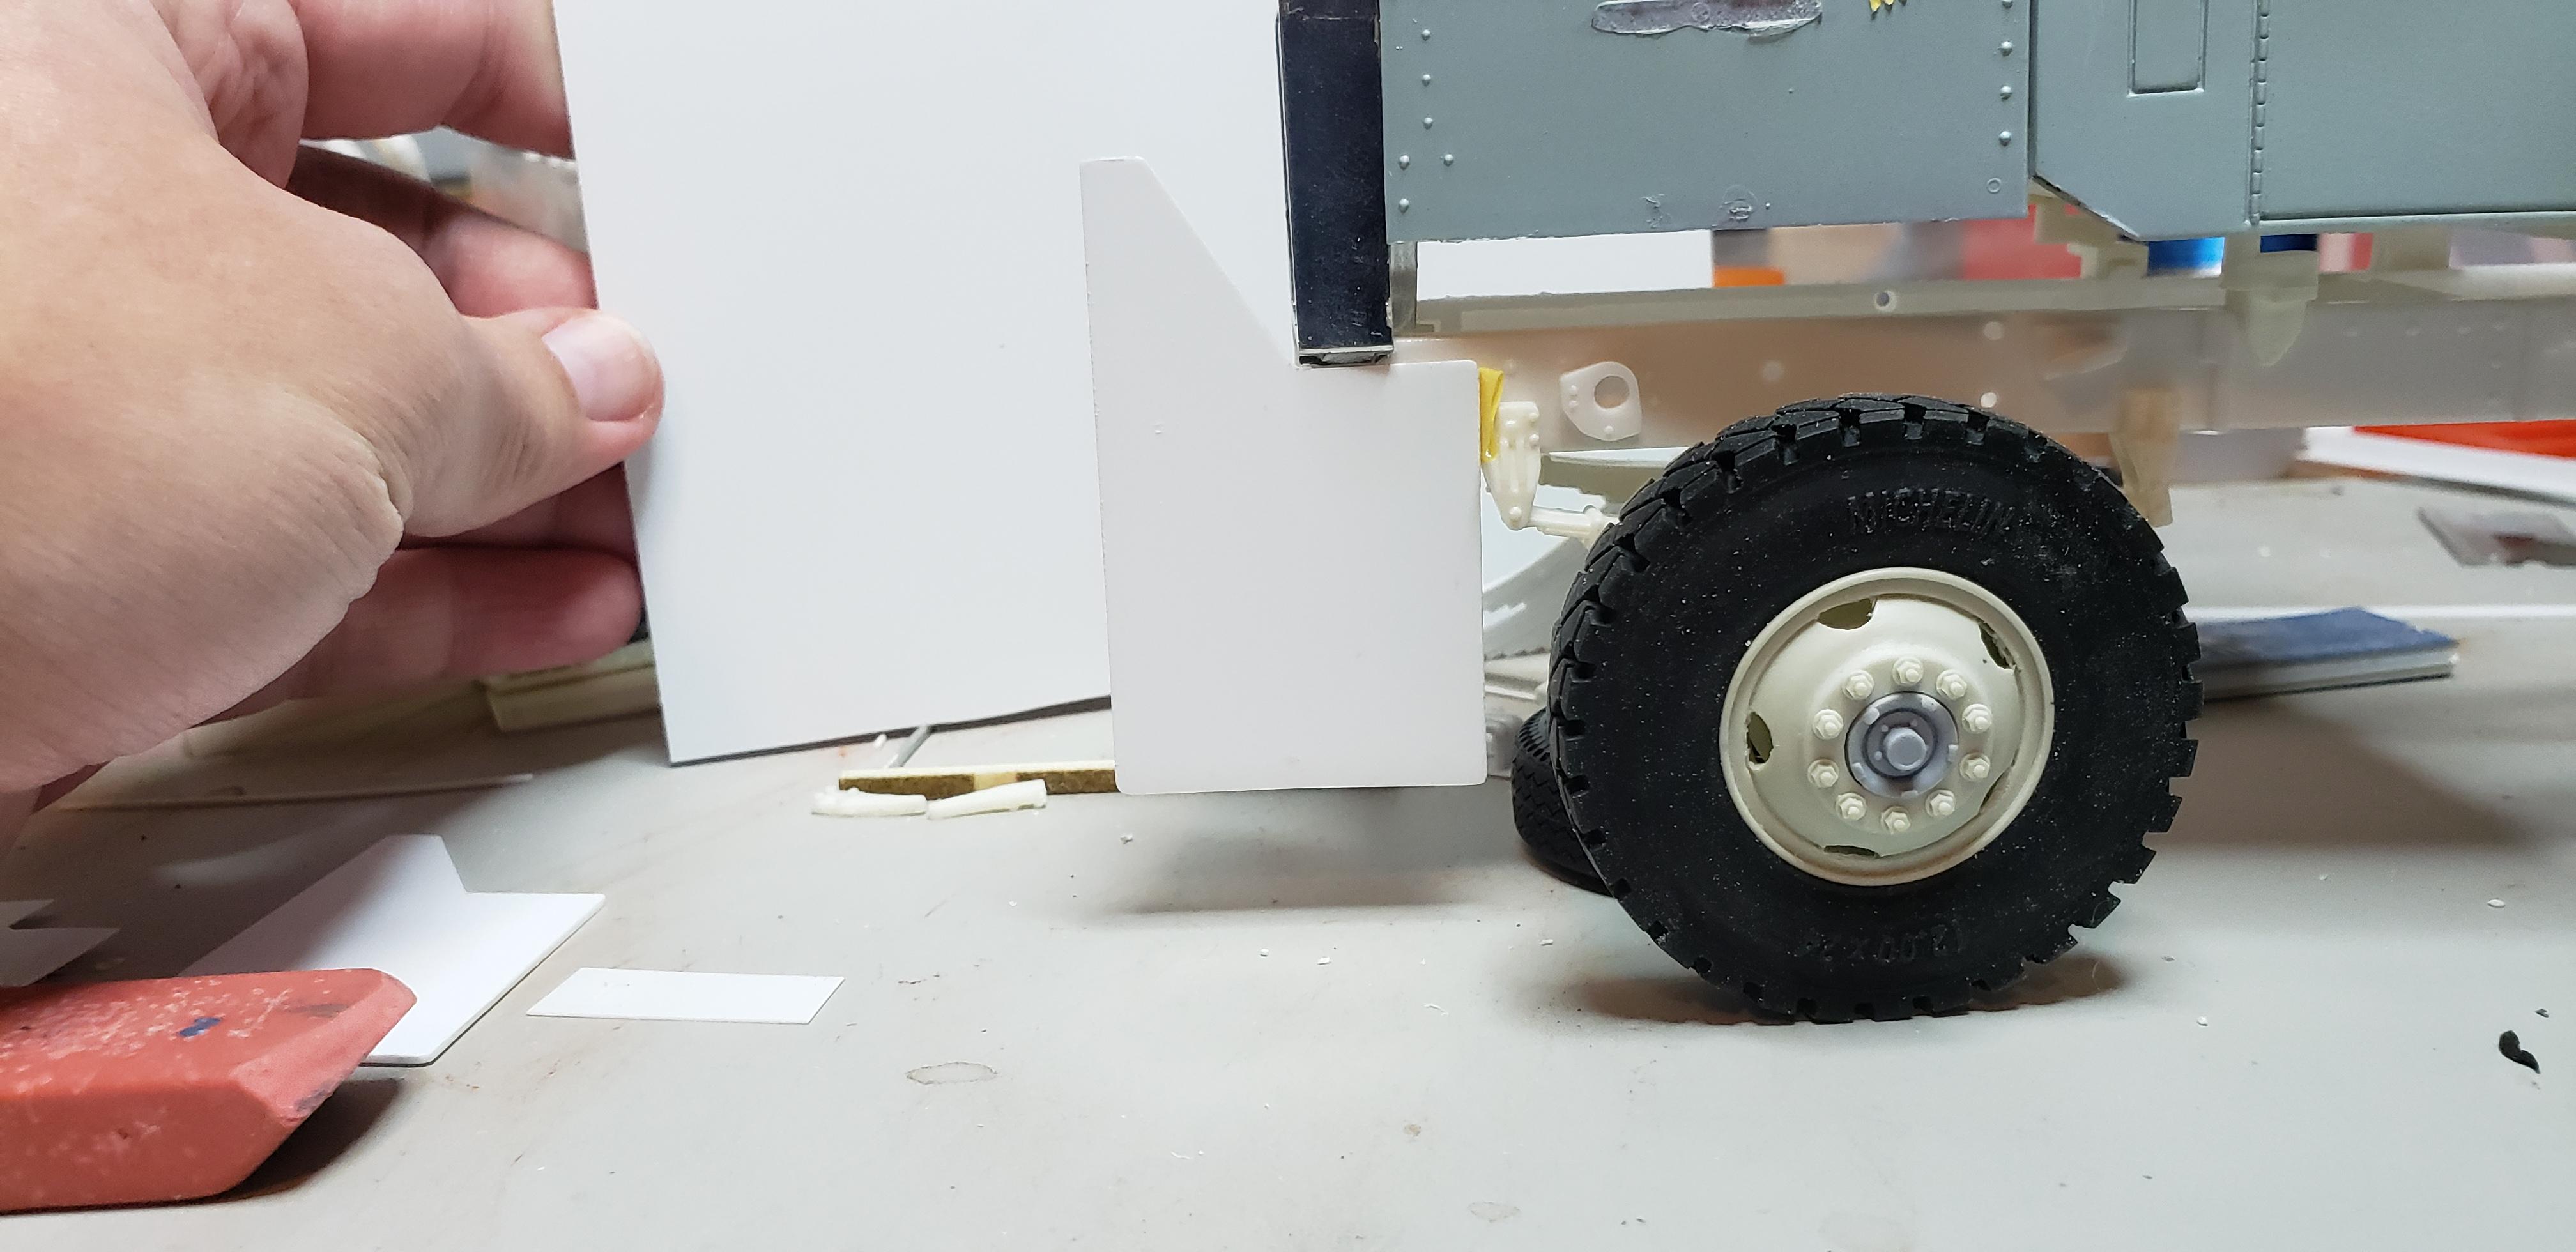
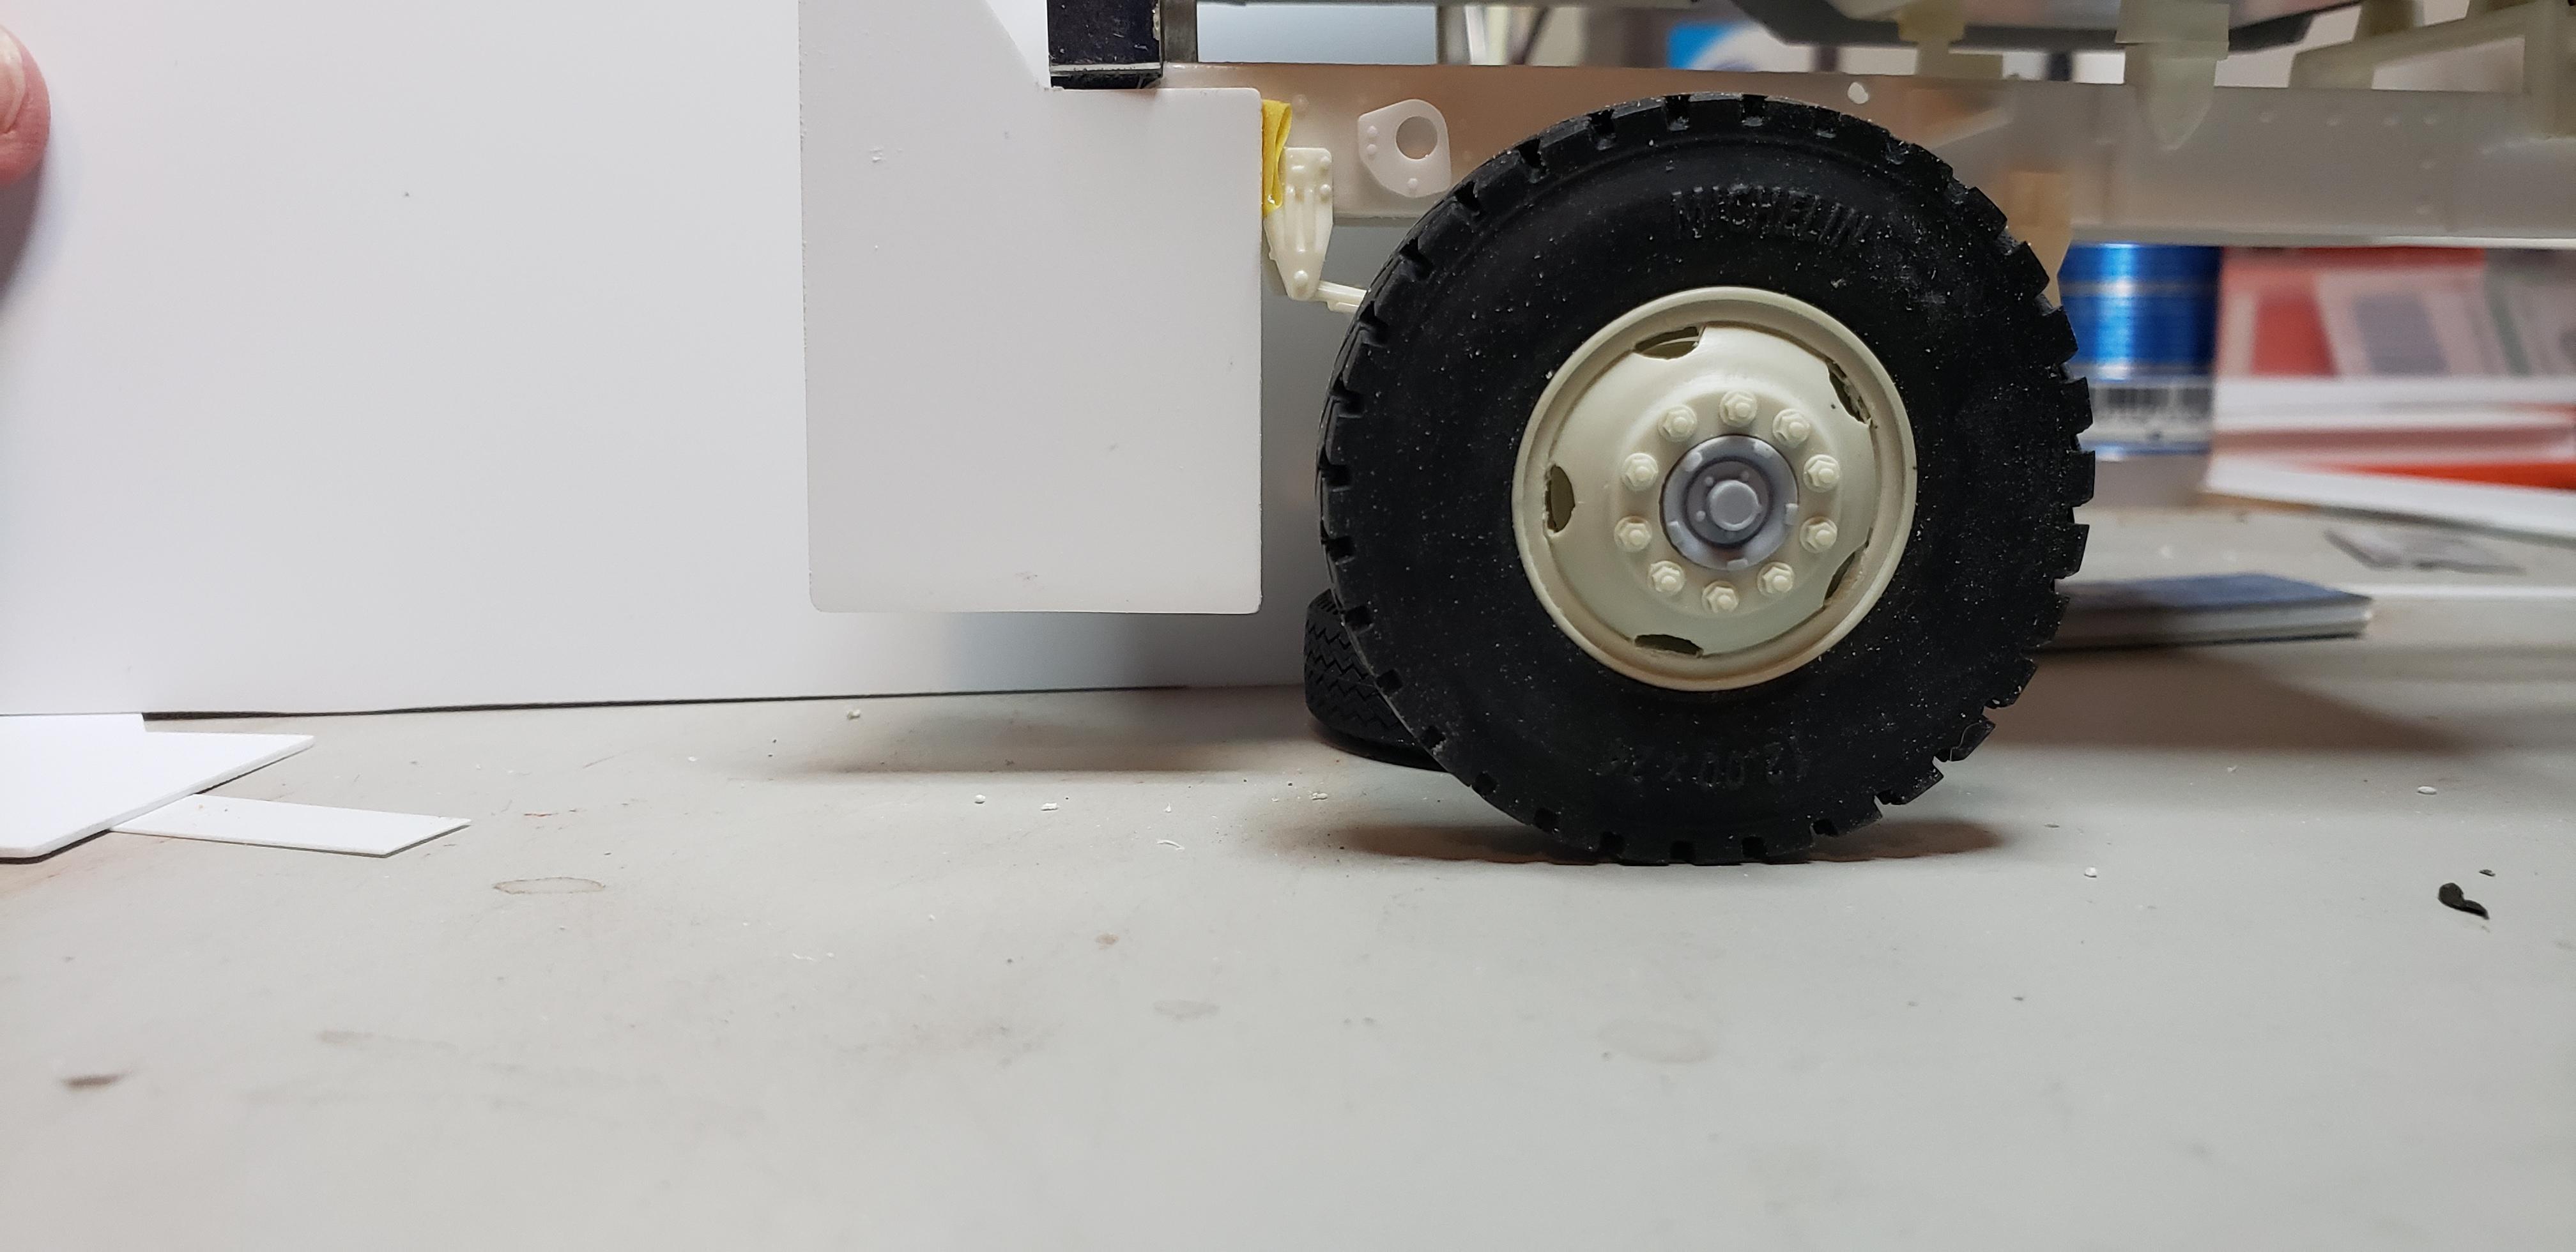
Spent a few hours working on the plow , notably the plow hitch. The stock autocar frame doesn't have any extension forward of the radiator, so I used pieces of the retired frame for small extensions. I worked out a pattern for hitch side plates, using the mk 1 eyeball. Judging the ground clearance off the front wheel , and width off the grill. Building the framework once the sides shape was determined was simply stacking angles/ tubes . I really enjoyed building the skeleton for hitch, now the remainder of the plow fittings can be installed / fabricated . Heres the start of the hitch assembly. I reinforced most of the fittings w angled plates , later ill add meng bolts . A very important detail i wanted to capture was the alignment of the hitch to the radiator. The top rail will have several work / driving lights fit. The lights will be level w the autocar emblem on the grill shell. The upper angled plate is just mocked up, I wasn't sure how wide I wanted to leave it during mock up. A good friend thats building the same truck cast the proper type rear wheels for this project. He's sending me a set and some driving lights to light the snow covered roads . Thanks for following along!
-
Autocar reborn
gotnitro? replied to gotnitro?'s topic in WIP: Model Trucks: Big Rigs and Heavy Equipment
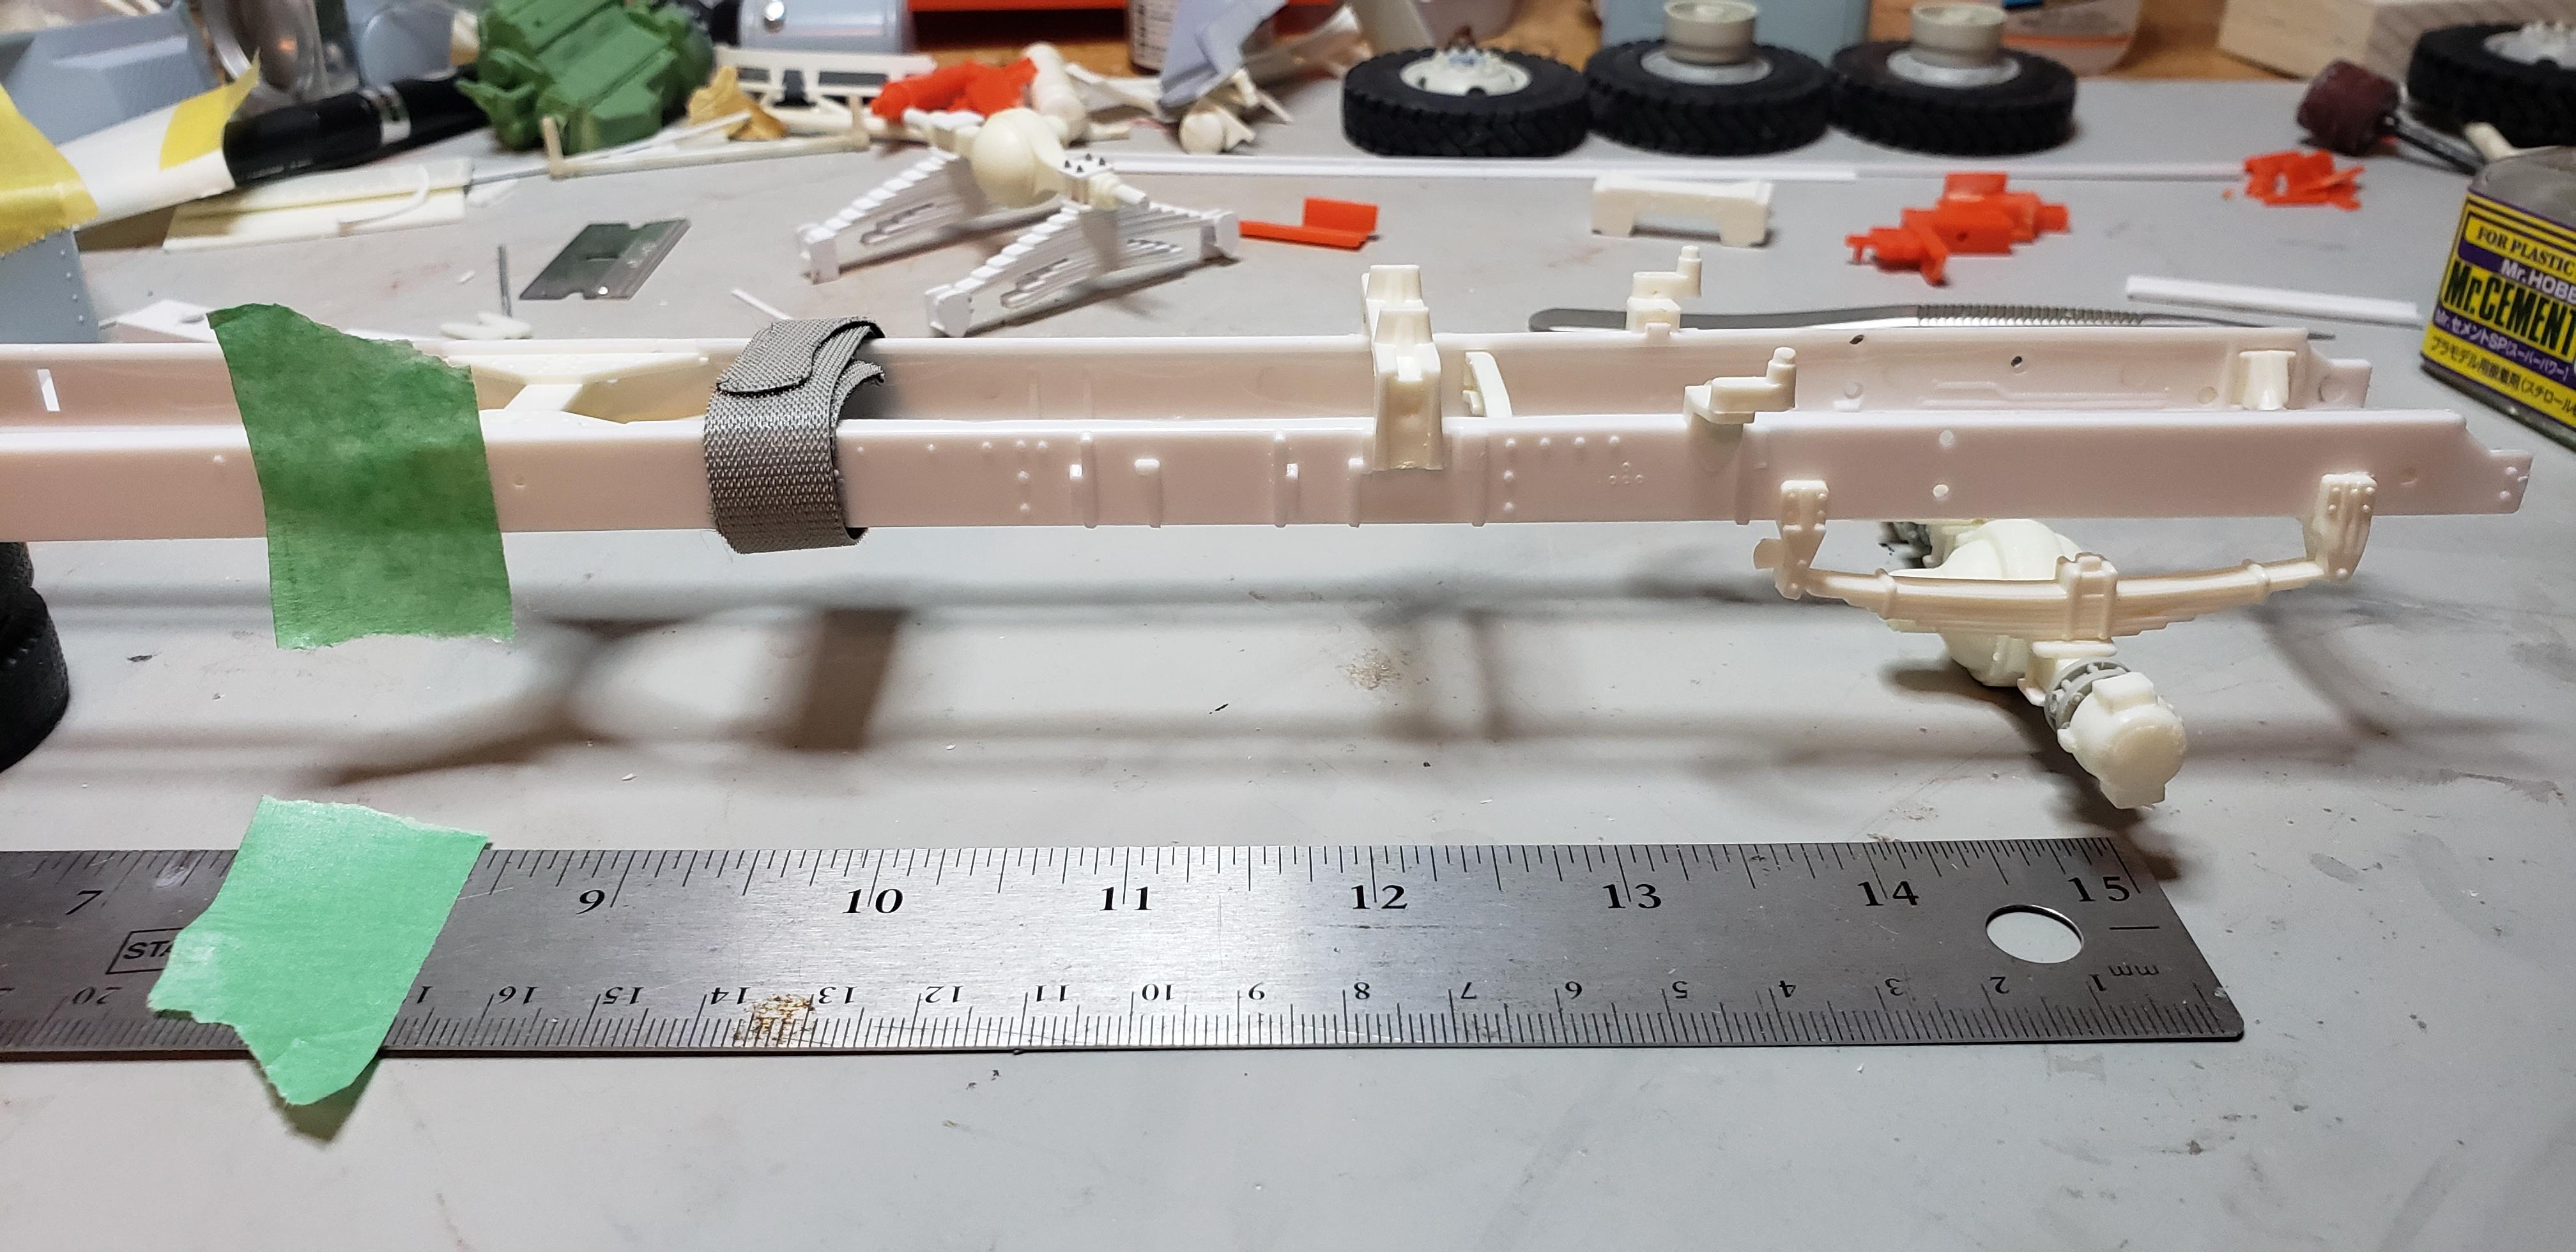
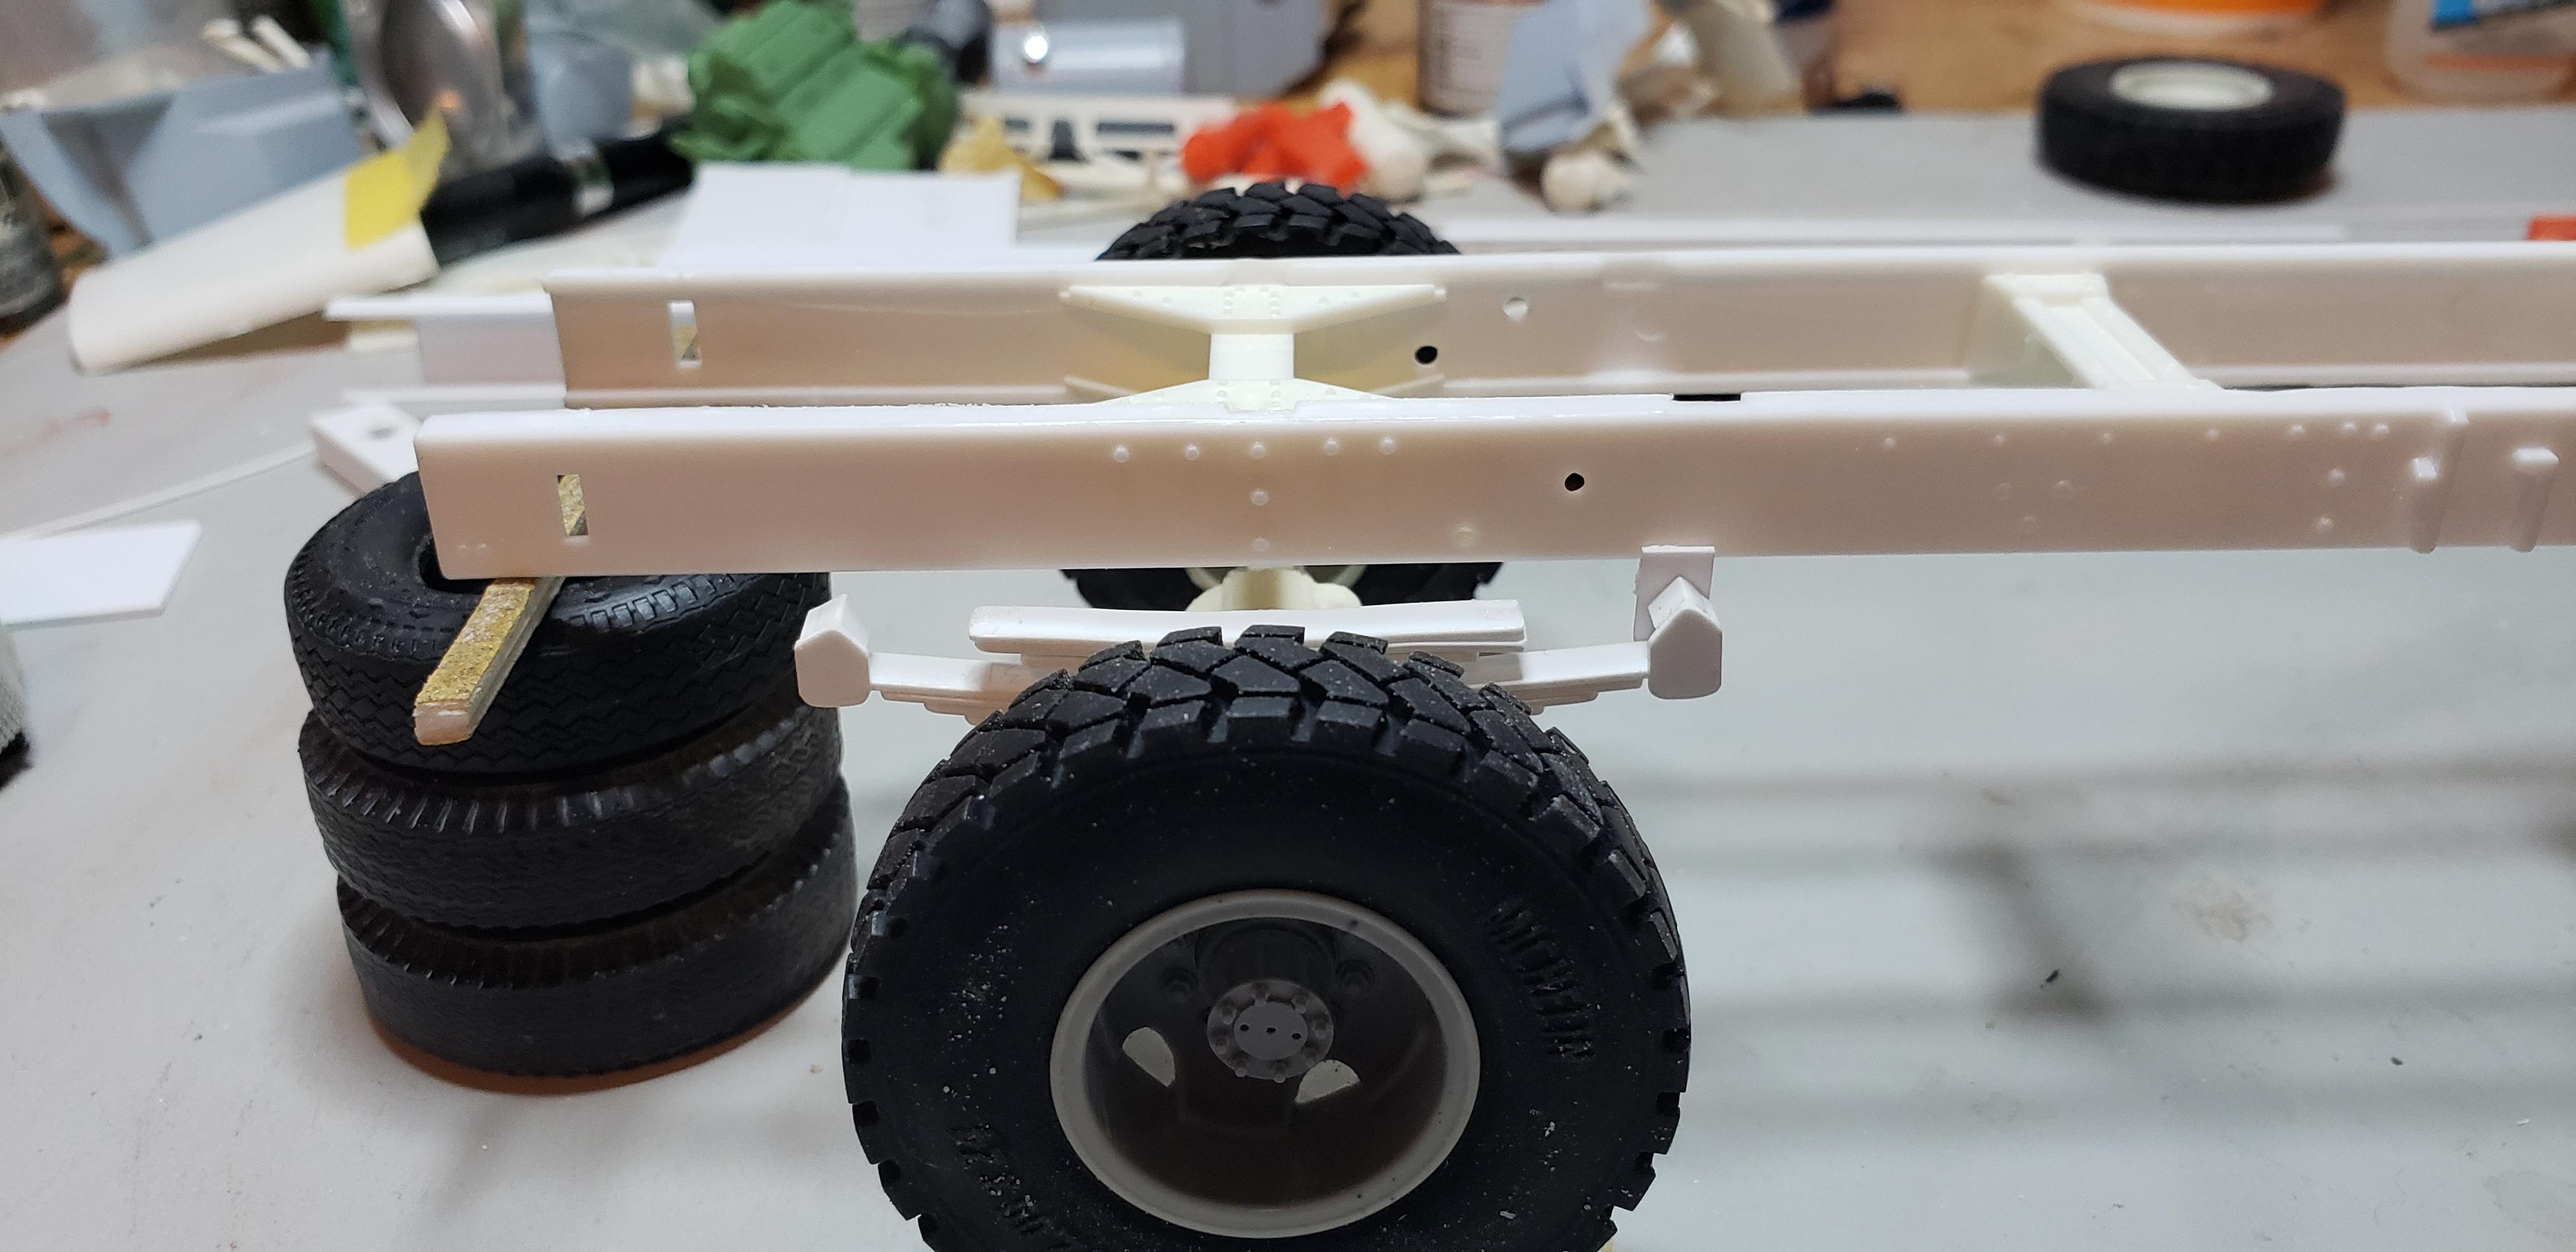
Well sadly the donor frame was retired . The older plastic didn't approve of my squirrels fondness for power tools. They wanted to correct the bow and arch that developed . We sat around listening to country music awhile and got back to work. Enough crying over it...that waters down the bourbon I had another nearly intact parts truck w new frame parts..here I go again. This time I built the front end parts leaving the rear frame parts off . Mocking up the cab, wing tower and bed showed me where the rear tire would line up similar to my photos . I just shifted the loose crossmember back till satisfied. The old chassis wheelbase was 165..the new one lands around 186 . This actually looks better overall. Well the axle wanted to live right in line w these molded on bolts..easy to match other side ...but you can see my mounts are short now . Buddy sent me a few photos of plows w fishplates for this purpose. I used a strip of 030 for mine. Test fitting everything together ❤ nice and level, frame is square and so clean. Now to figure out the box pivots again. Heres the new layout. Theres a small frame cut needed on the end but I'm leaving it awhile Thanks for following along , be back w updates after I dry out the turkey tomo and resort to box mac and cheese ? Happy Thanksgiving to all my friends on here too! Hope everyone has a great holiday
-
Autocar/ Challenge Transit Mixer
gotnitro? replied to Mopar - D's topic in WIP: Model Trucks: Big Rigs and Heavy Equipment
Now we're talking !!!! Sublime green mixer..didn't see that coming wow very cool -
DM800 finished
gotnitro? replied to brian falcone's topic in Model Trucks: Big Rigs and Heavy Equipment
Looks great ? -
1/24 Oshkosh M 1075 PLS
gotnitro? replied to Grzegorz's topic in Model Trucks: Big Rigs and Heavy Equipment
Outstanding work ! I still remember driving our Hemtt fuel truck around the base , such an odd feeling turning corners and feeling it swing since the crew sits ahead of the steer tires. Good times -
Thanks , another fun build checked off the list