Perspect Scale Modelworks
-
Posts
1,529 -
Joined
-
Last visited
Content Type
Profiles
Forums
Events
Gallery
Everything posted by Perspect Scale Modelworks
-
Does she, or doesn't she? Only her hair dresser knows for sure.
-

Flex Shield ad - oh I gotta get this LOL
Perspect Scale Modelworks replied to 89AKurt's topic in The Off-Topic Lounge
This works better:
-
Lunch left in the fridge too long will be eaten by your co-worker.
-
It shall be, it is, it was.
-
Enough of reissues.....
Perspect Scale Modelworks replied to baycolony's topic in Car Kit News & Reviews
I'm with the OP on this topic. I'm an old guy but get board with all the 50's and 60's reissues we've all seen over and over and over again. I get the nostalgia some have for the old kits, and the fact that the US model manufacturers are not aiming for a younger market, but come on, give us something new. I was shocked to see AMT re-release the 2005 Chrysler 300c. That's now a 20 year old car. I would have liked to see the revised version from 2011 through 2023. I'm sure a modern F150 would sell well, or Ram, or Silverado. I'm just glad 3D printing is an option. -
1995 Caprice wagon
-
Time keeps on slippin', slippin', slippin' into the future. *Oopps. I think I missed something 😏"
-
What Irked You Today?
Perspect Scale Modelworks replied to LokisTyro's topic in The Off-Topic Lounge
Heard a local meteorologist say "Eastrin" for Eastern. I know people in some areas say this but not so much in South Florida. In any case, as a professional broadcaster and weather expert, you should have a better grasp of the english language. -
It is better to have loved and lost than it is to have someone that doesn't love you tell you to get lost.
-
Paper bag for valve cover gaskets
-
I think GM's problems started decades ago. One of which is the fact of them competing against themselves. Too many brands under one. Consider the fact that Toyota makes Toyotas, Honda makes Hondas, Mercedes, BMW, Nissan, etc do the same. Some do make "luxury" brands, but those are generally made for the North American market. The idea of making the same car with very slight differences in styling and features never made sense to me. Shedding Oldsmobile and Pontiac, as sad as that was, made business sense. Honestly, was there really a big difference between a Camaro and Firebird, Nova and Ventura, Park Avenue, Regency 98, and Sedan Deville? Even Mopar and FOMOCO caught on and canceled Plymouth and Mercury respectively. I'm sure some will disagree due to nostalgia or emotional attachments or whatever, but it was another example of the giant auto industry telling us what we liked and needed. They told us we didn't want convertibles, station wagons, coupes, and now they tell us we don't even want cars at all, just trucks and SUVs.
-
El Corvino
Perspect Scale Modelworks replied to Big Messer's topic in General Automotive Talk (Trucks and Cars)
That's a neat idea, and a ton of work to get there. -
There is a file for the '72 on cults3d.com.
-
1/24 Lotus Esprit Sport 300 by Monogram
Perspect Scale Modelworks replied to cjmin75's topic in Model Cars
Nothing weird about the colors that I can see. Nice build. -
Are there any fender skirts made to fit the '60 Nomad?
-
The Franklin's are 1955, I6, so that wouldn't work for the Silver Cloud II. But, there's always this option: However, I should be able to use the grill, lights, bumpers, and door handles from the Franklin if I can snag one at a reasonable (low) price.
-
Very nice. Can you share your technique for using the chrome paint on the scripts?
-
I may just go curbside on this one. Sourcing or scratch building an accurate V8, along with all the body and interior work to be done, may make this a lifetime project. I'll take a look at the Franklin Mint die cast to see if there any parts I can use. Thanks.
-
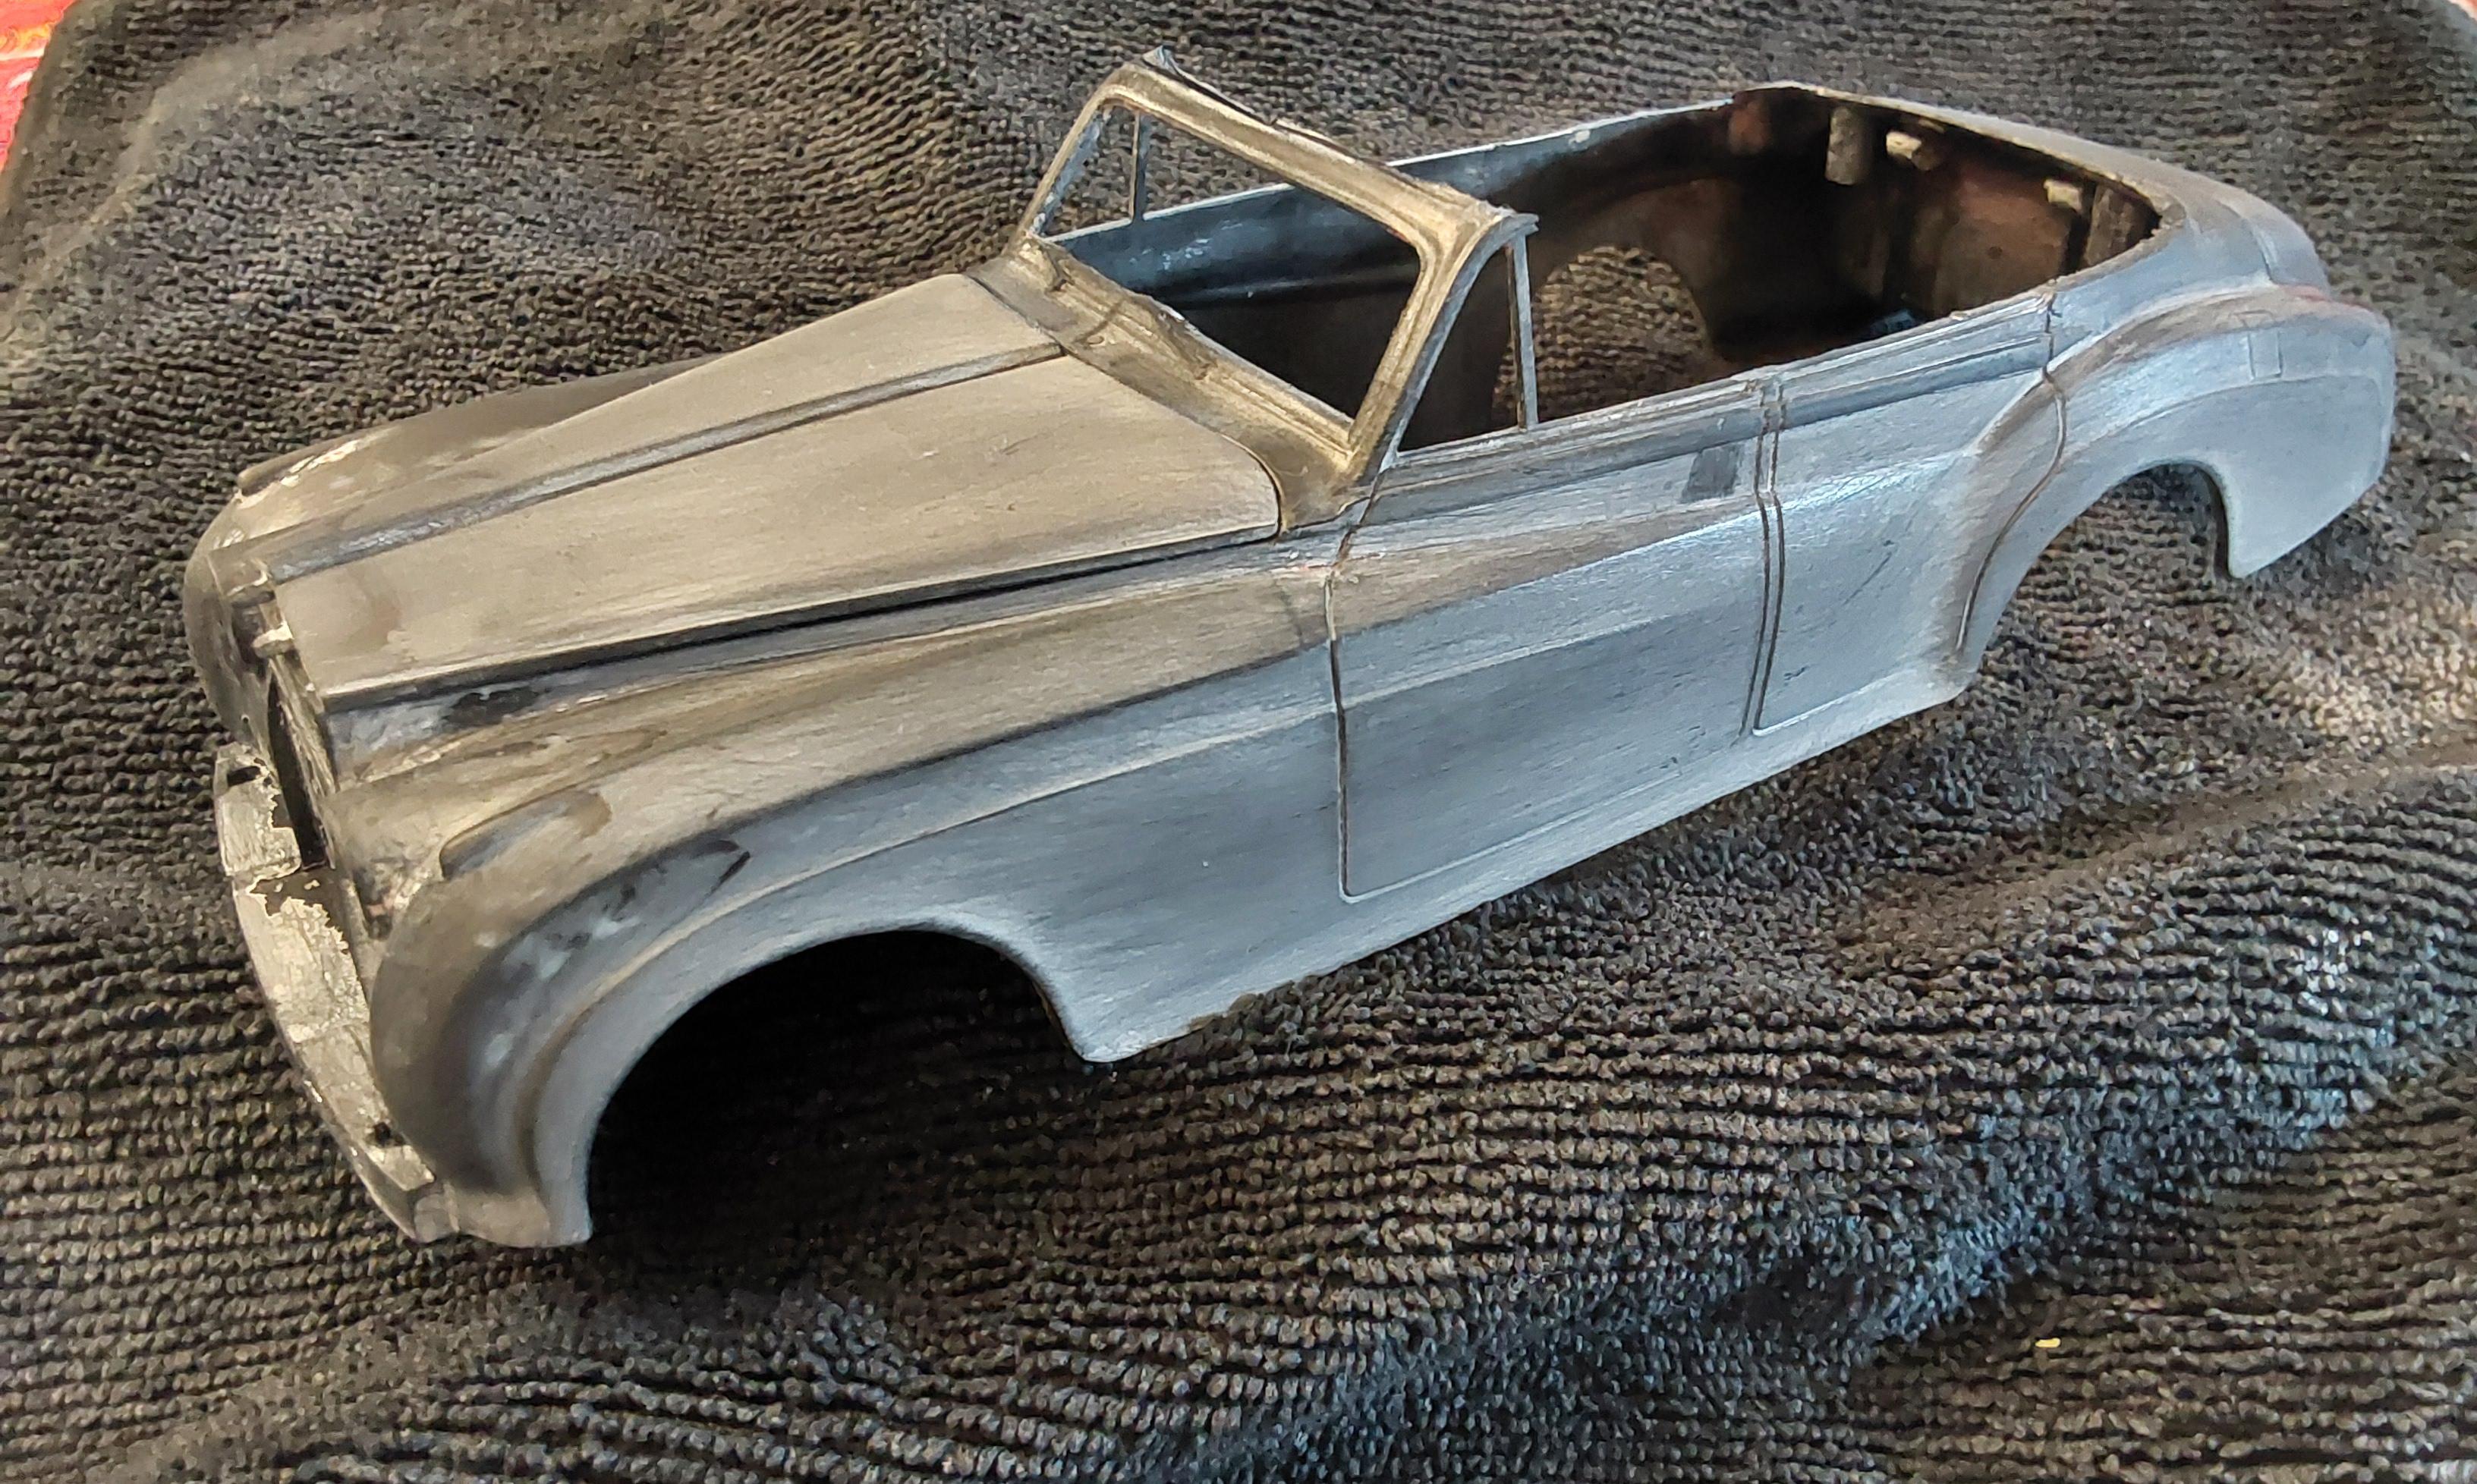
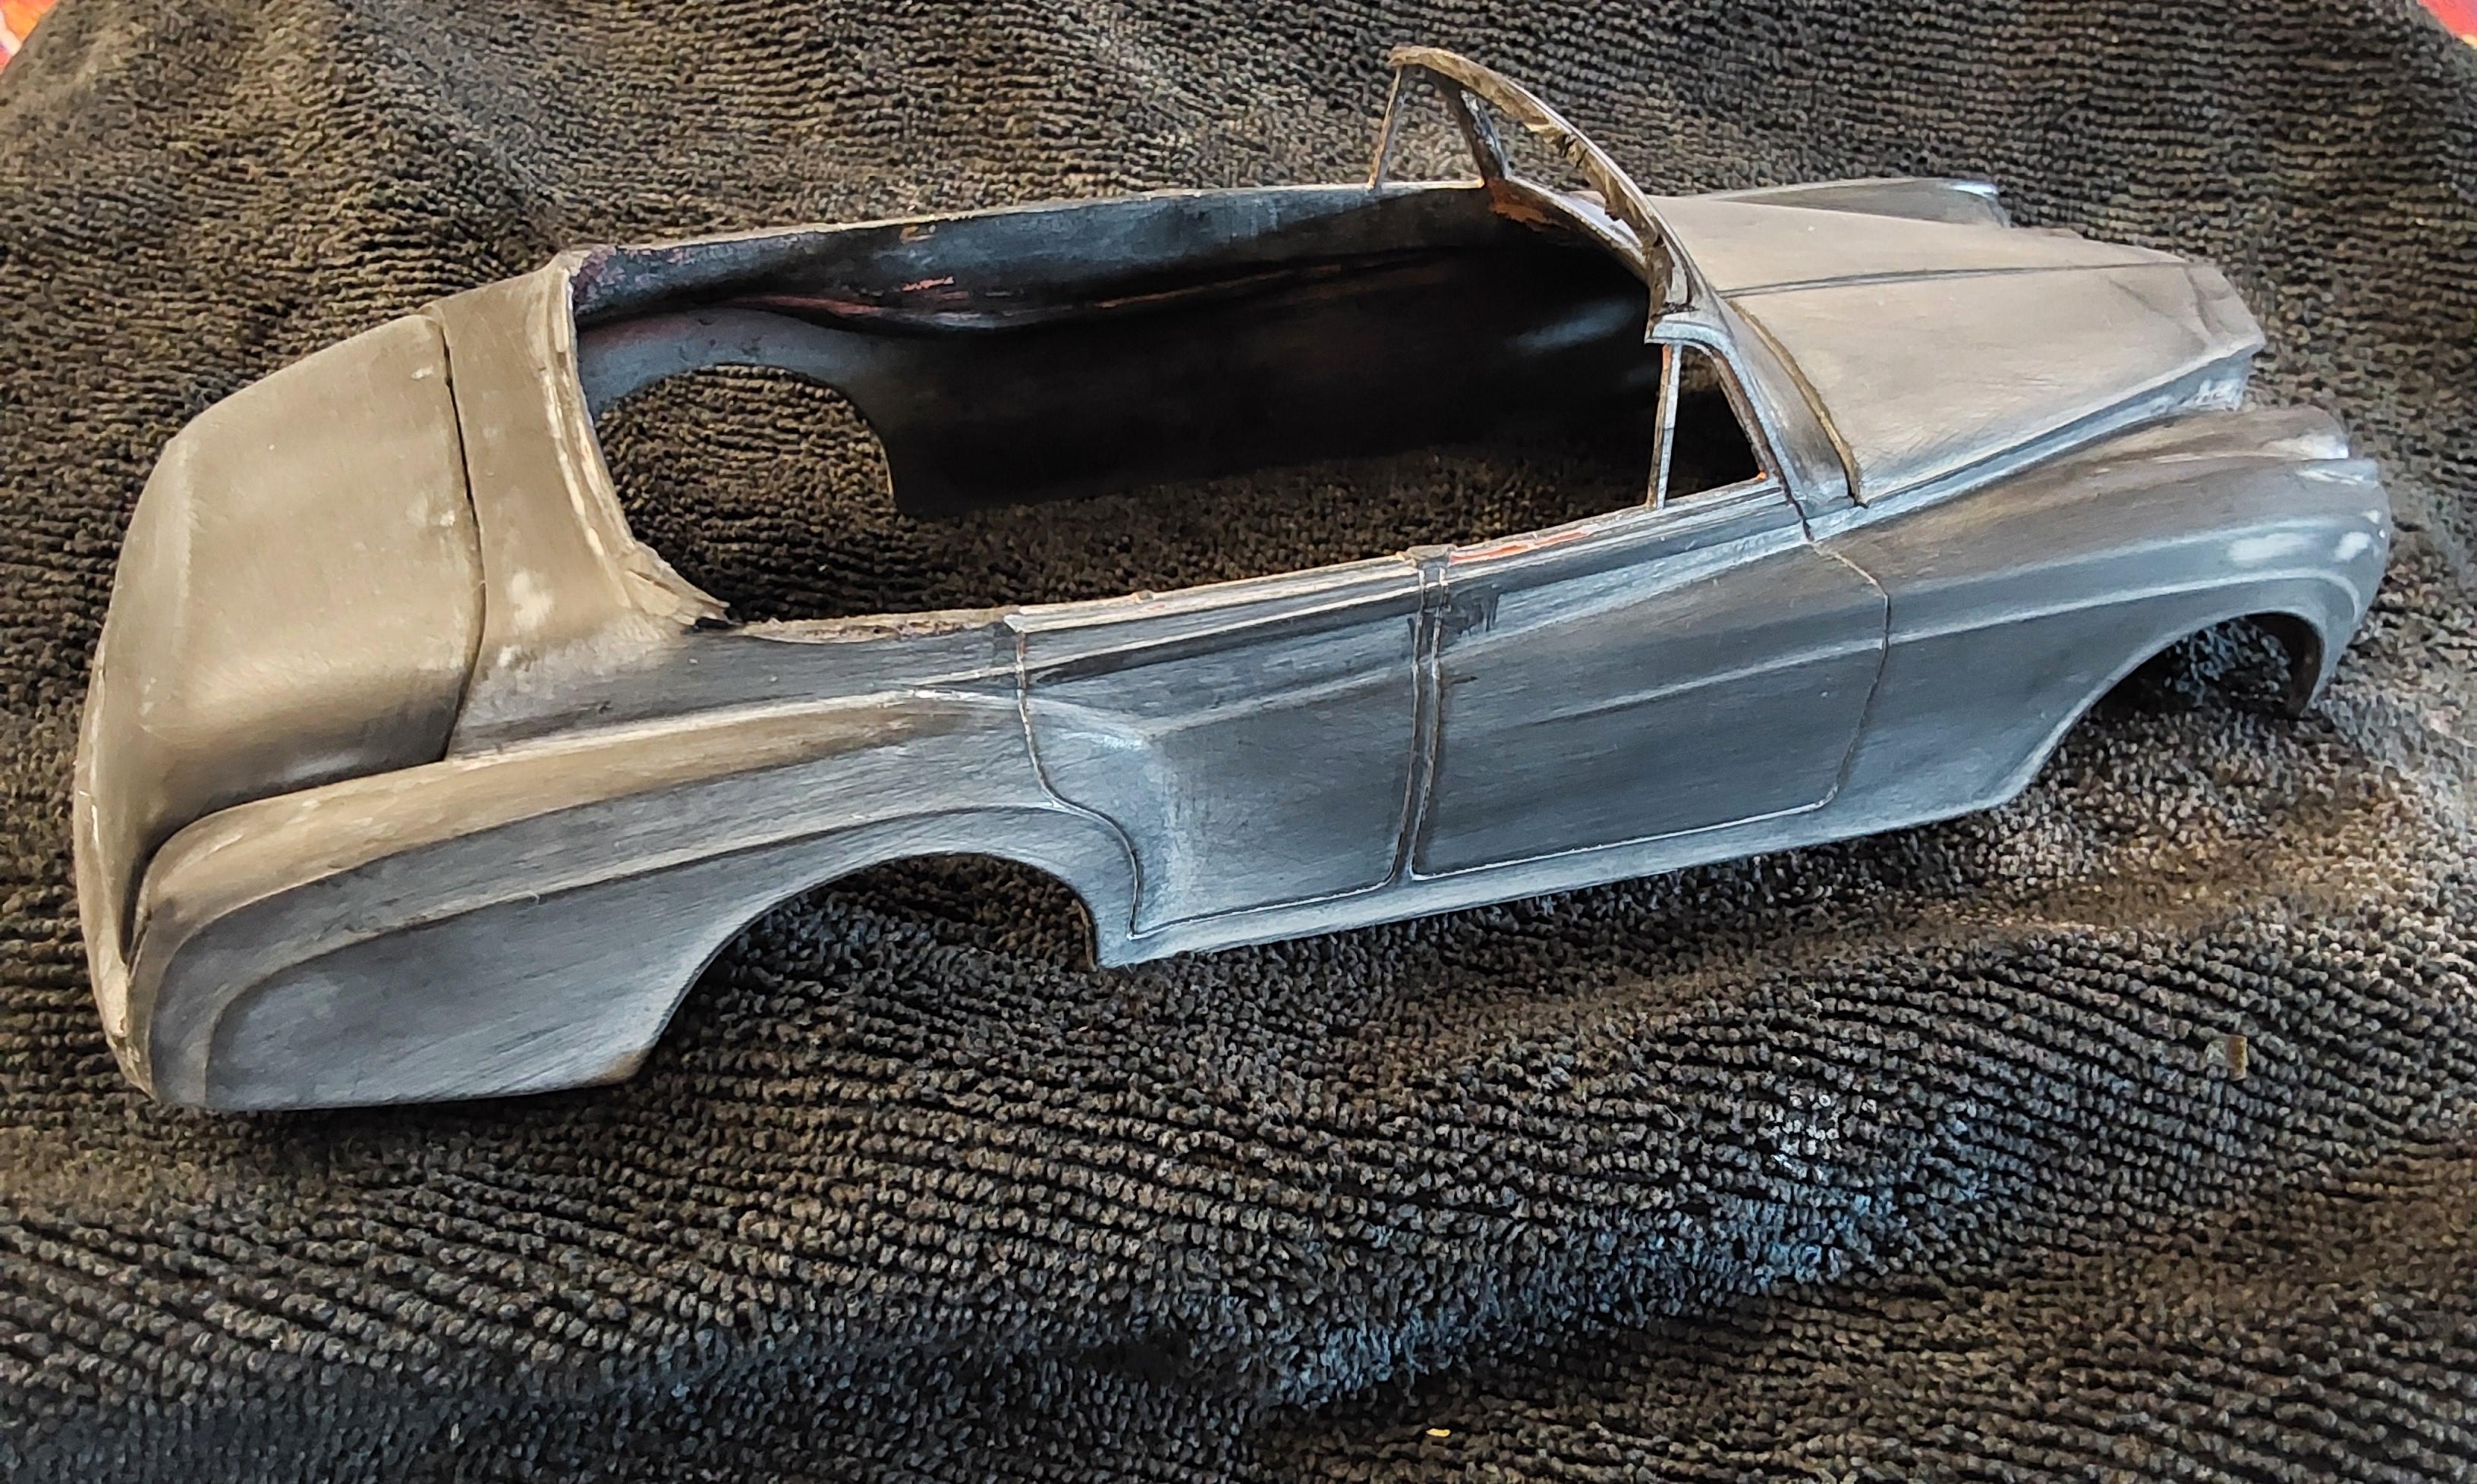
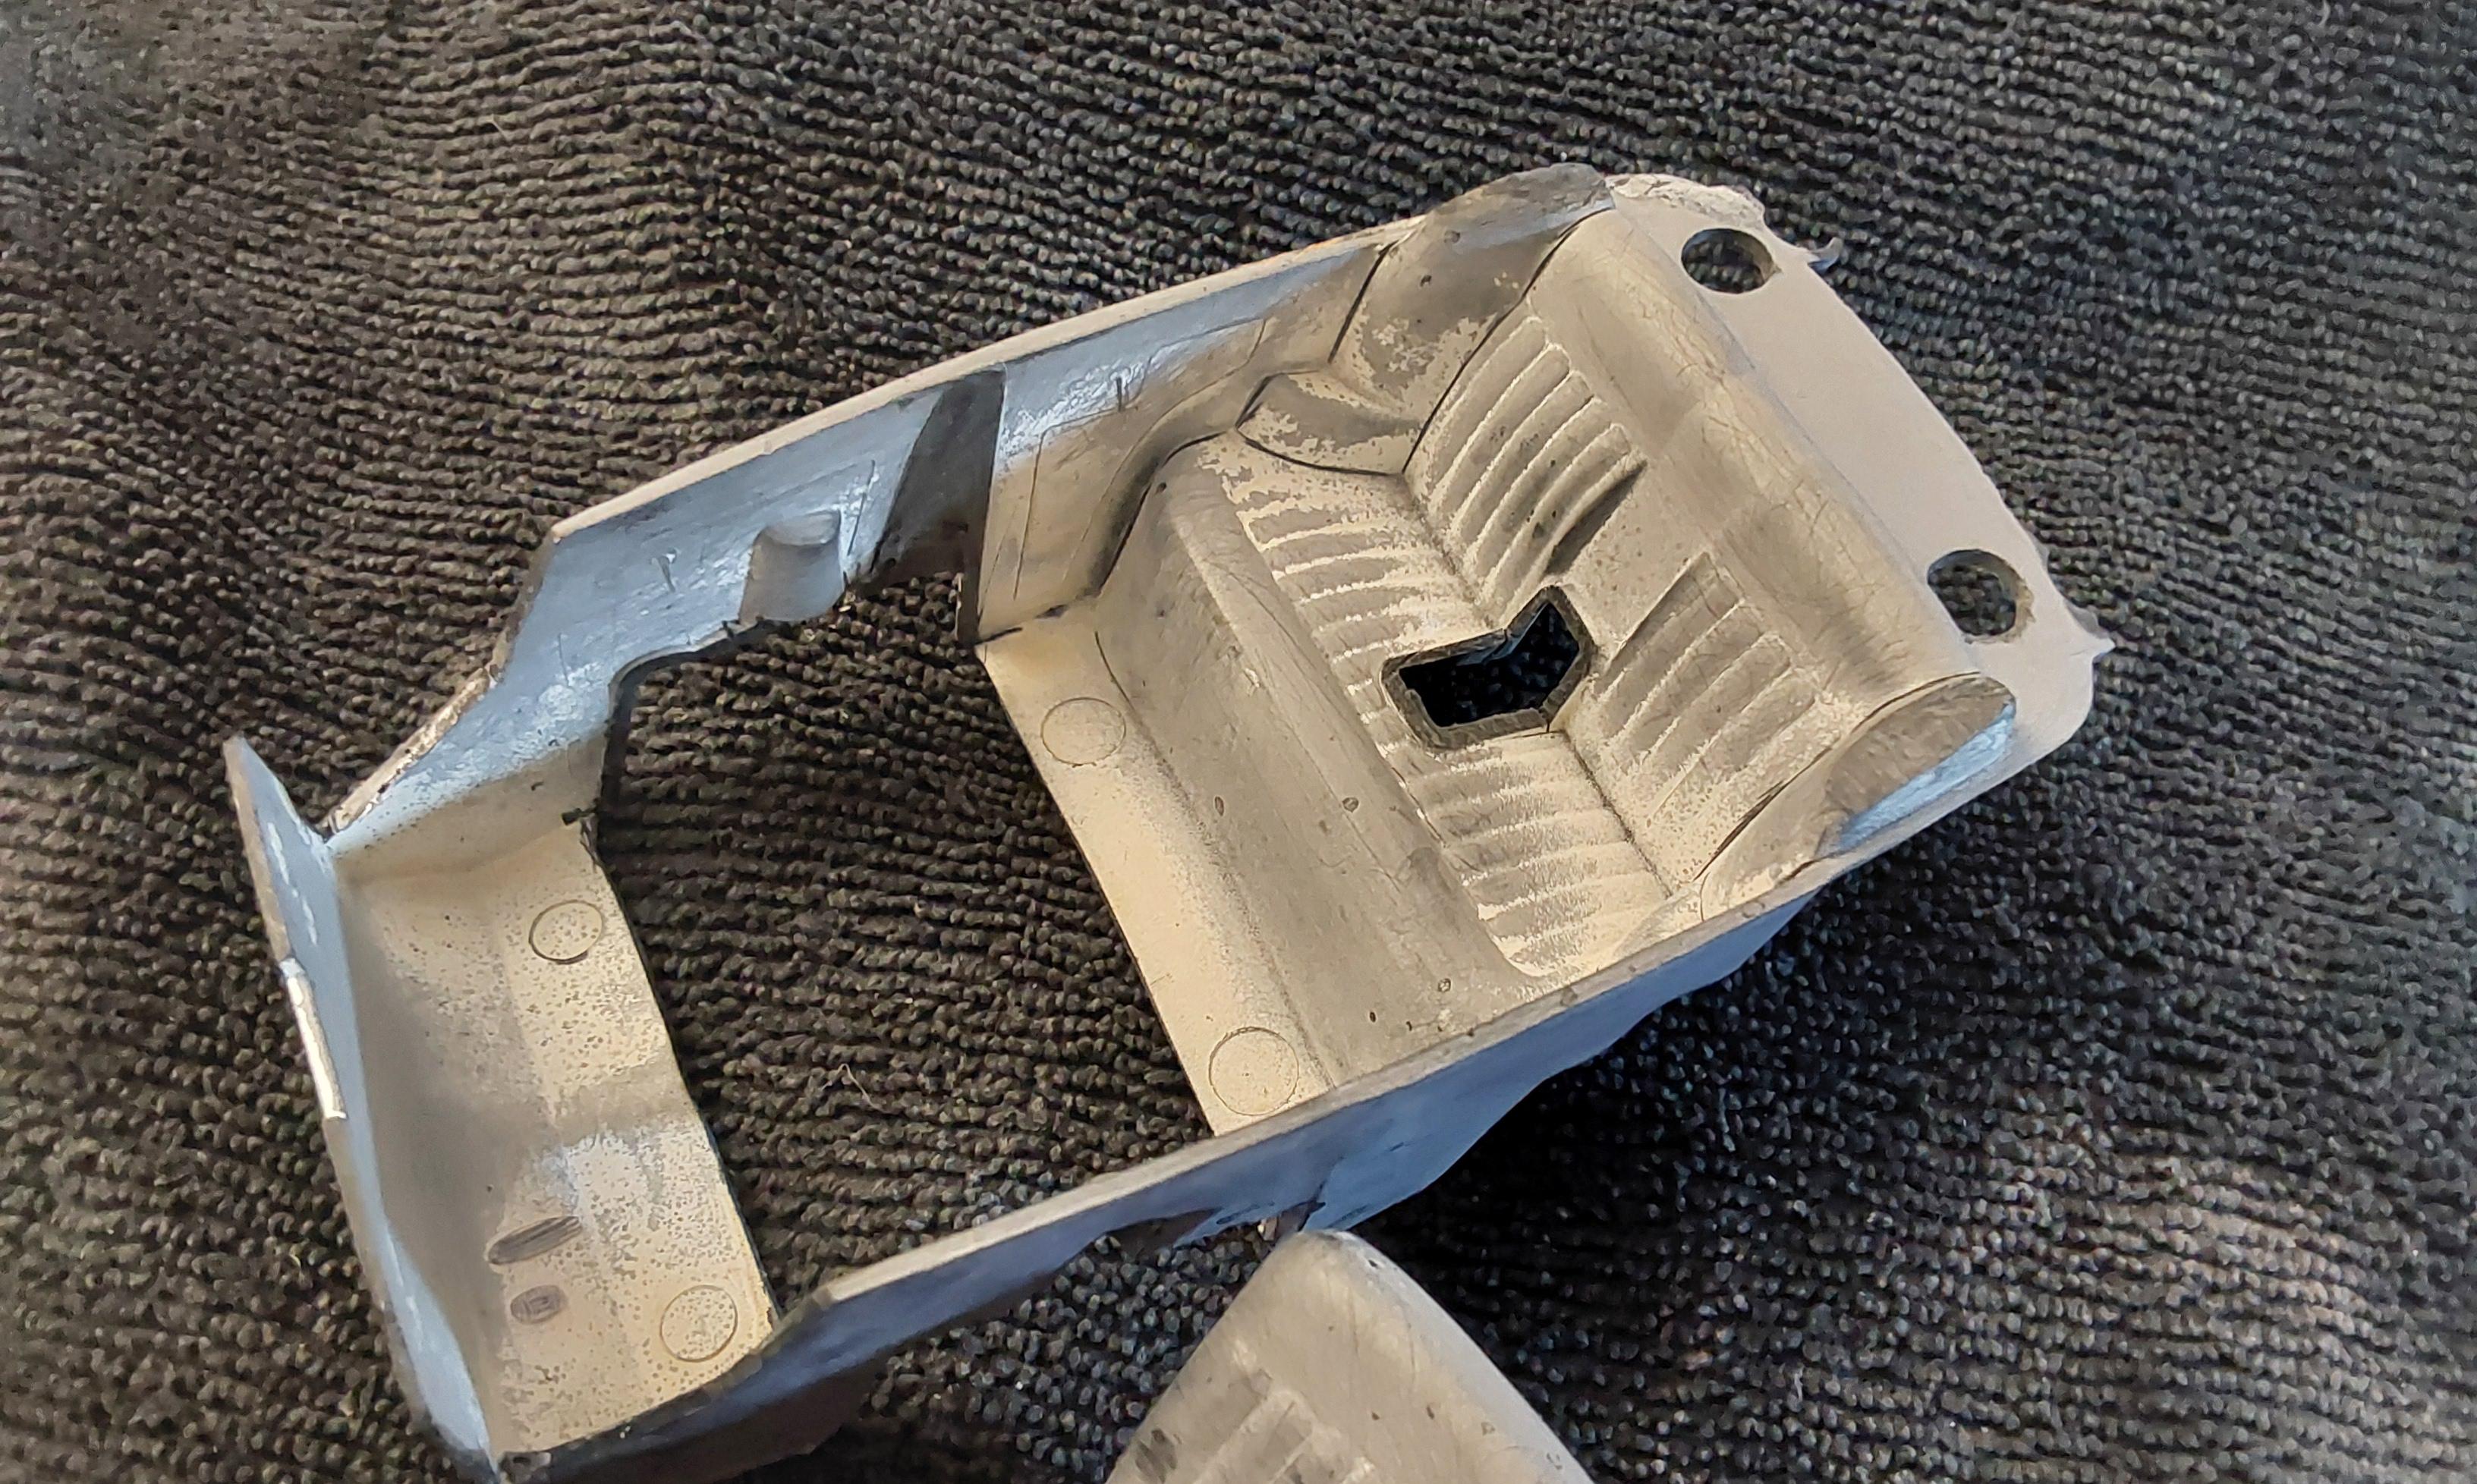
I figured before I went any further, it might be a good idea to strip the paint from the body and interior. I don't remember what paint I used but it sure was tough to get off. After a week soaking in the purple pond, the paint only faded but would not come off. I bought a fresh yellow can of Easy-Off which took two rounds of about 2 days each, to strip the paint. After all of that I still had to sand a few spots. There's still some fine tuning to be done before I shoot some primer and see what I have. The interior may need another shot of Easy-Off.
-
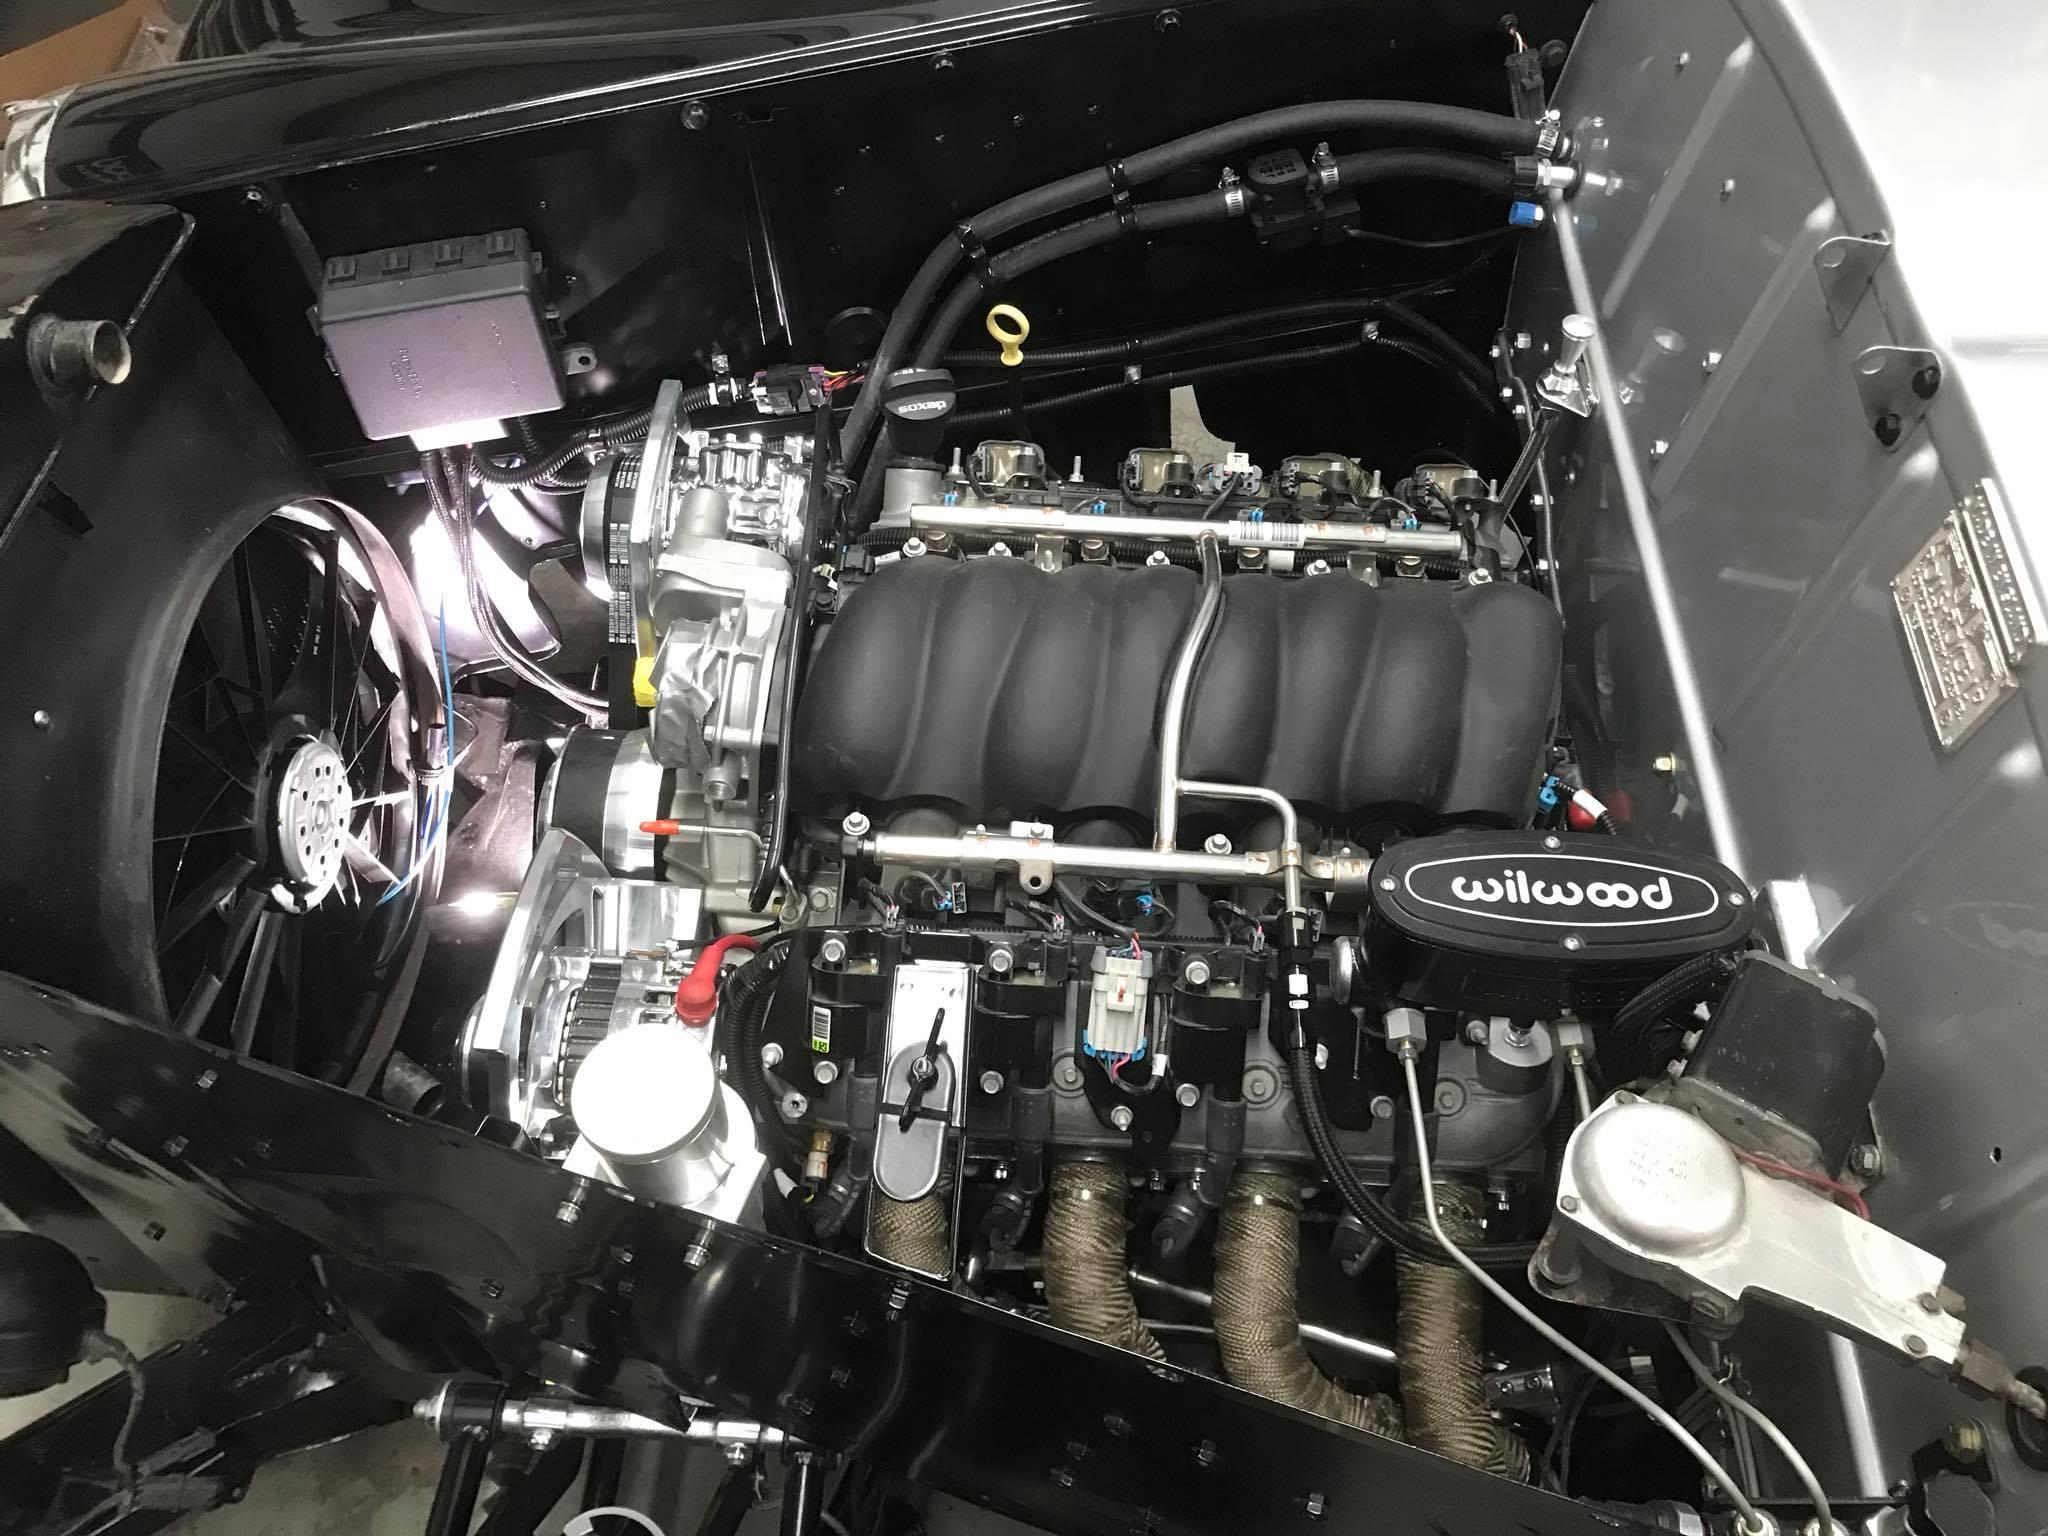
Thanks for reminding me of what fun that was on the Pontiac Grand Prix 3800 Series II engine. Also, the BMW E90 electric water pump. Besides the more than $500 price tag, the 'easy' way to get to it is to remove the front bumper.
-
Was there ever a stock version of this Beamer made?
-
Rough part of town.
-
Interesting
-
I know there were flower cars made from Coupe Devilles but I didn't know there were sedan conversions.
-
Since the interior will be exposed, I'll have to correct the door panels. I removed the front seat, which I'll clean up and try to make a bit more realistic as much as I can. I'll probably put the center armrest in the up position on the rear seat as well.