Skypower
-
Posts
486 -
Joined
-
Last visited
Content Type
Profiles
Forums
Events
Gallery
Everything posted by Skypower
-
Good looking rides, I'm new to this also but when I did my Hemi I drilled small holes in the plug sockets of the valvecovers and ran the wire all the way in and then glued with sap a gap, worked for me.

-
Was wondering where you got off to John, Cuda looks great. Thanks for showing the tools, awesome job.
-
Looks cool.
-
So Cooooool.
-
Keep it going, Firebirds are cool.
-
Your work looks great, Thanks for posting this info, I am new to all this and building a paint booth is on my list of things to get done, so this helps a lot. Thanks Bob
-
 Thanks for the info Charlie. I check those out.
 -
I'll be watching where this one goes. Cool idea.
-
I love this build your paint looks awesome. You have given me some ideas to use in my build, I may use aluminum rod for my shocks next time instead of styrene rod. Looks killer.
-
Well it is a very cool boat. Red and green would be appropriate. lol It's looking good just have fun with it.
-
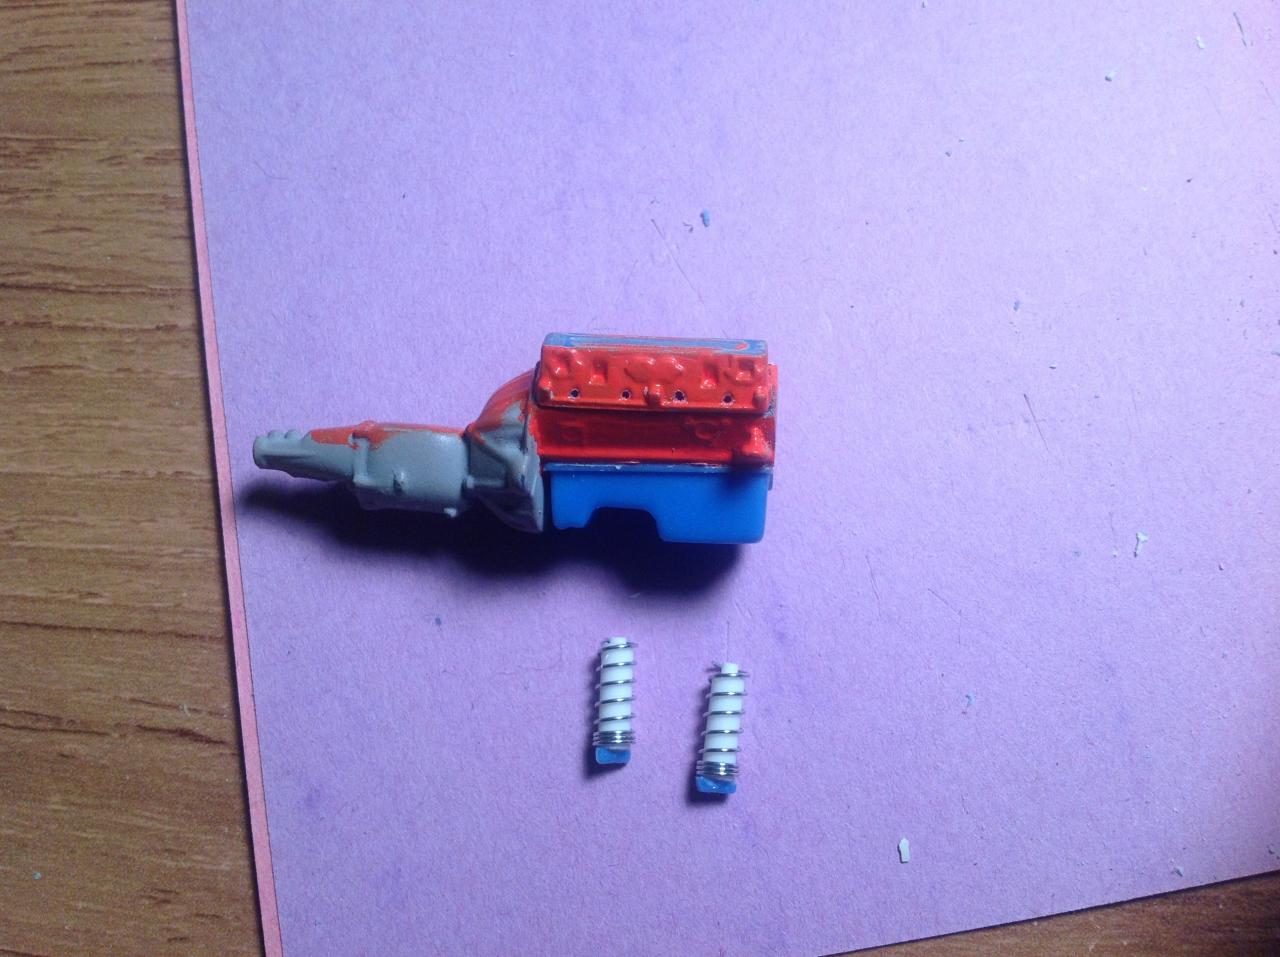
Thanks for the input Scott. Not much done again,mcan't paint with weather like this, I need to get some paint on the chassis so I can start building. So I did some more sanding on parts, more work on the hood, it needed to widened and stretched. Scratched a couple of shocks for the front and drilled the heads for plug wires, that's about it. Anyone know where I can get some springs for building shocks I just keep stealing all the pens in the house they work ok but I have seen much more realistic stuff on here, and would like to have the correct stuff. Thanks Bob
-
1/16 Scale Army Vega Funny Car - Finished 10/14/2018
Skypower replied to Mooneyzs's topic in WIP: Drag Racing Models
I think the dash looks better this way as well as giving you the room you need for all your plumbing. Thanks again for the step by step, really helps a lot of us new guys. Thanks again. Awesome Job. -
Very cool and loved the surprise under the hood, that's the kind of thing that makes modeling fun.
-
Nice detail looks awesome. Nice to see one done differently.
-
Beautiful is all I can say a true work of art.
-
Problem solved found the missing part. Thanks everyone. Not much done tonight cut the hood out and cleaned up most of the rest of the parts, painted the distributor and that's about it. I did add to my collection of tools today, acquired a flex-I-file that sure helps with detail stuff and got this in the mail today. I used some credit card points I was about to loose, figured I could use this.
-
Nice I chopped mine all up and robbed parts from it, but some day when I get brave enough I will try a scratch built promod with the rest. I love your colors, looks tuff and the details very nice.
-
Thanks guys I will dig thru the chrome bits and see if I can find that piece, I guess I just didn't do enough looking and jumped the gun after seeing that issue. After all the other issues I have had with this one I just thought not again. I will look when I get home for that piece. Thanks Bob
-
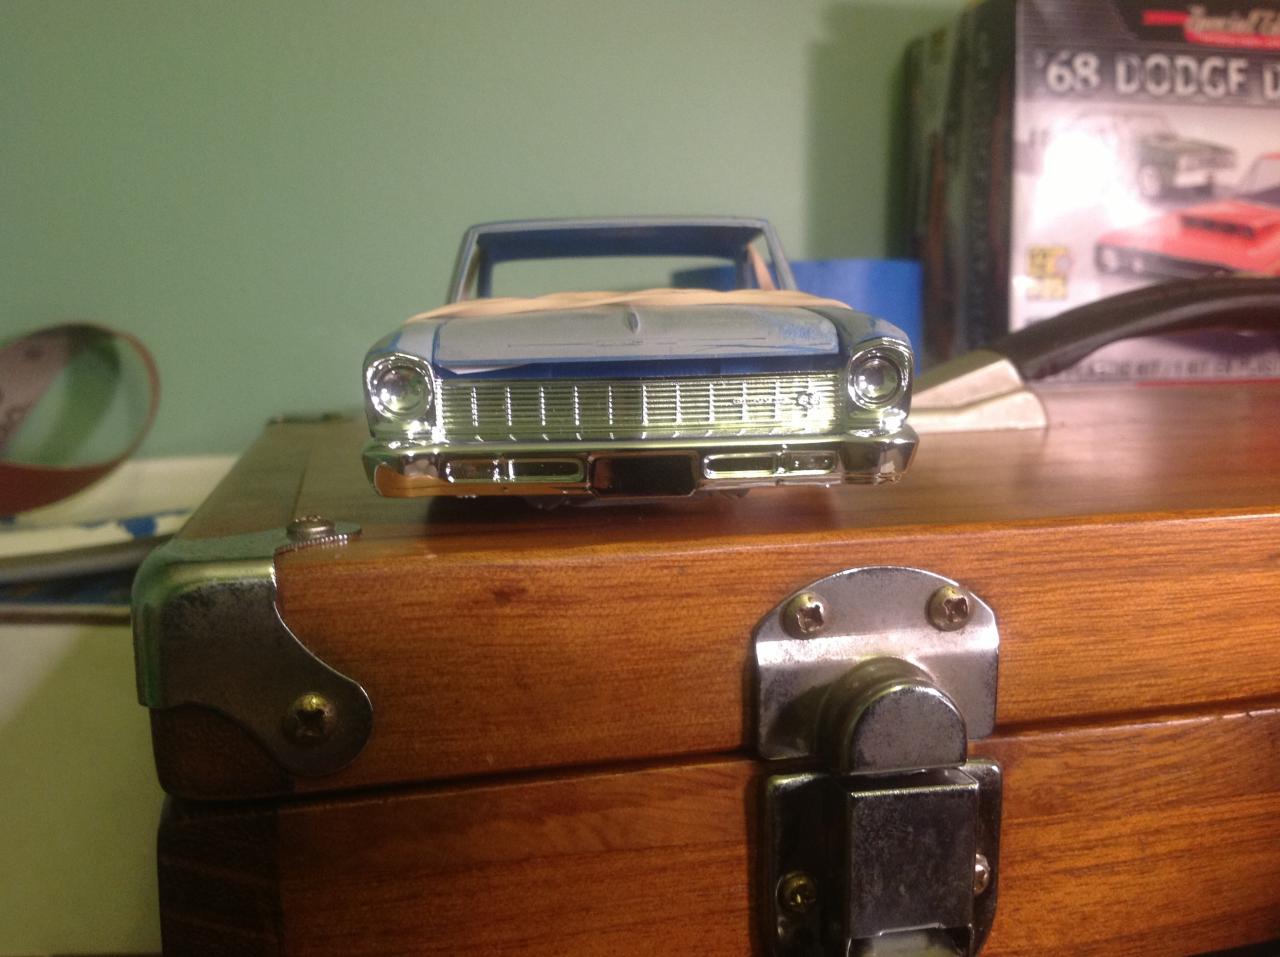
Any suggestions on how to solve this problem. I have a significant gap between the hood and the grill. Seems to me that this should not be there but I don't have any idea how to solve it. Taking suggestions and opinions. Thanks Bob
-
1/16 Scale Army Vega Funny Car - Finished 10/14/2018
Skypower replied to Mooneyzs's topic in WIP: Drag Racing Models
I would hardly call that a junker. Nice job. -
Looks great.
-
1/16 Scale Army Vega Funny Car - Finished 10/14/2018
Skypower replied to Mooneyzs's topic in WIP: Drag Racing Models
I'm not even worthy of commenting on your work but I say fix it now while you can, rather than force something else latter. Just my opinion. I am a complete newb to all this with a whopping one sorta build under my belt, so take it for what it's worth. lol Your work is some of the stuff that inspirers me to want to learn this art, so thanks for the inspiration and the lessons you are teaching while doing this build. I am watching and learning. Thanks Bob -
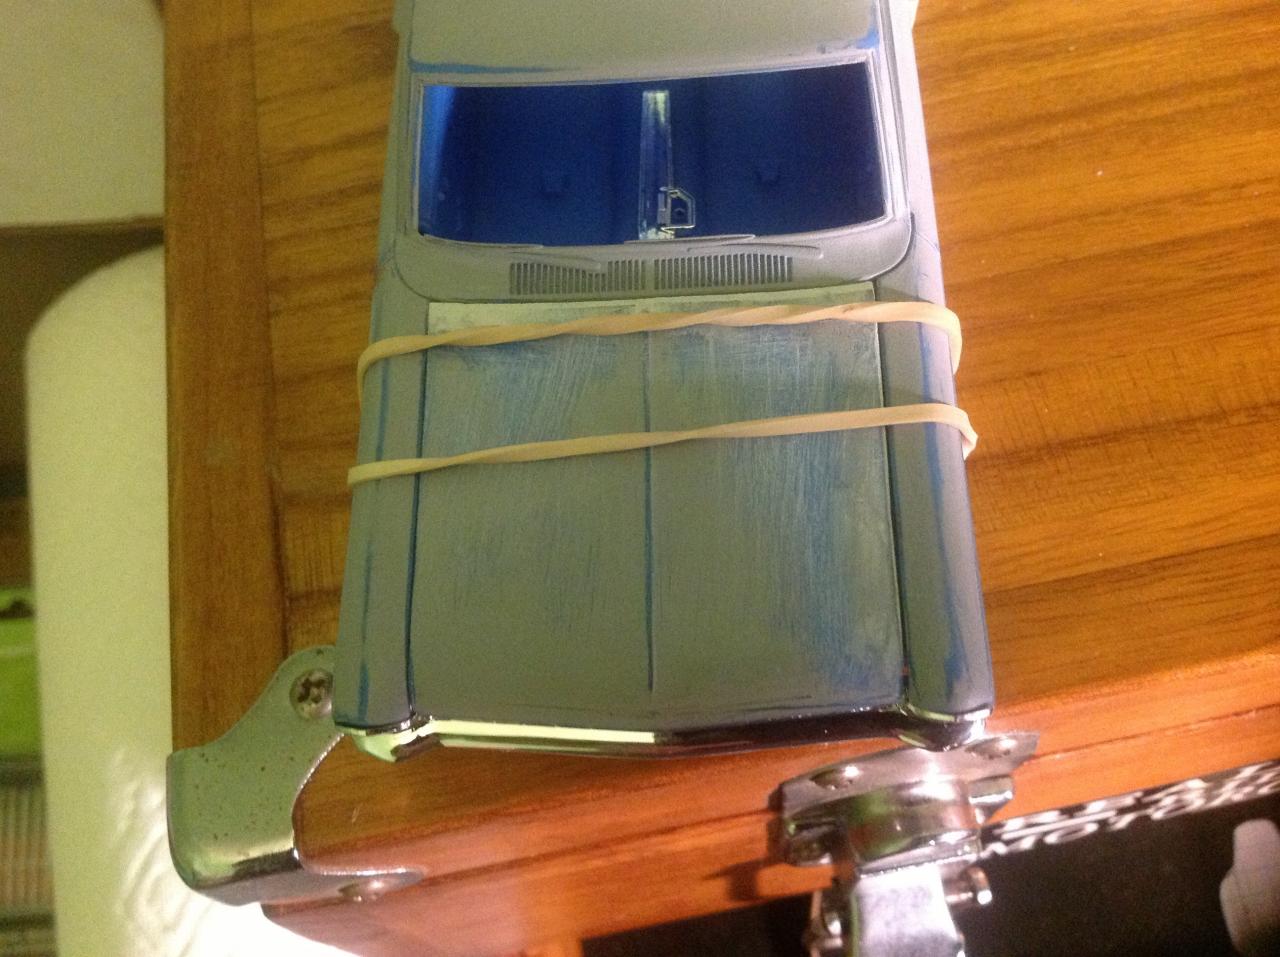
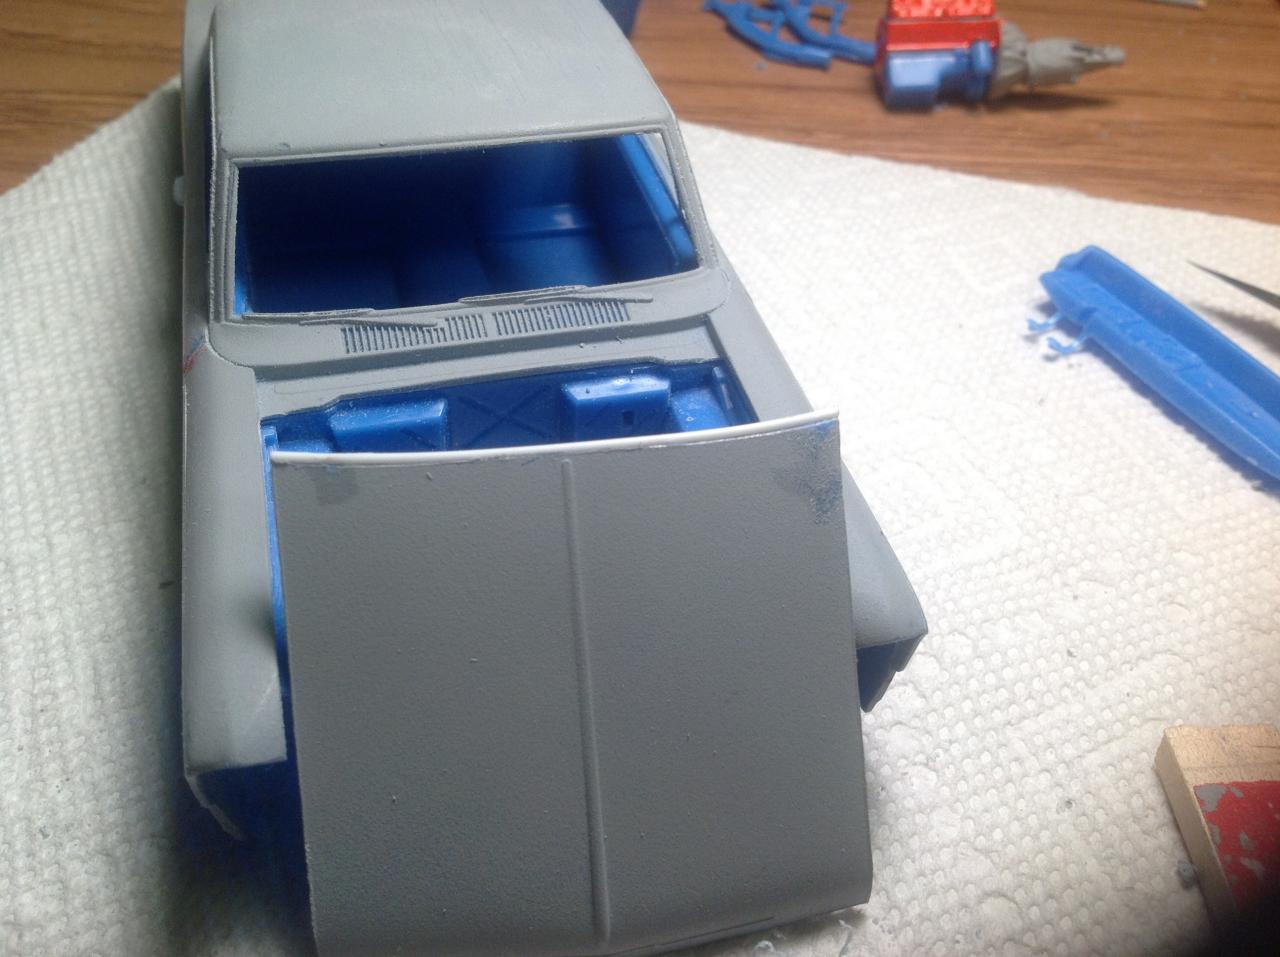
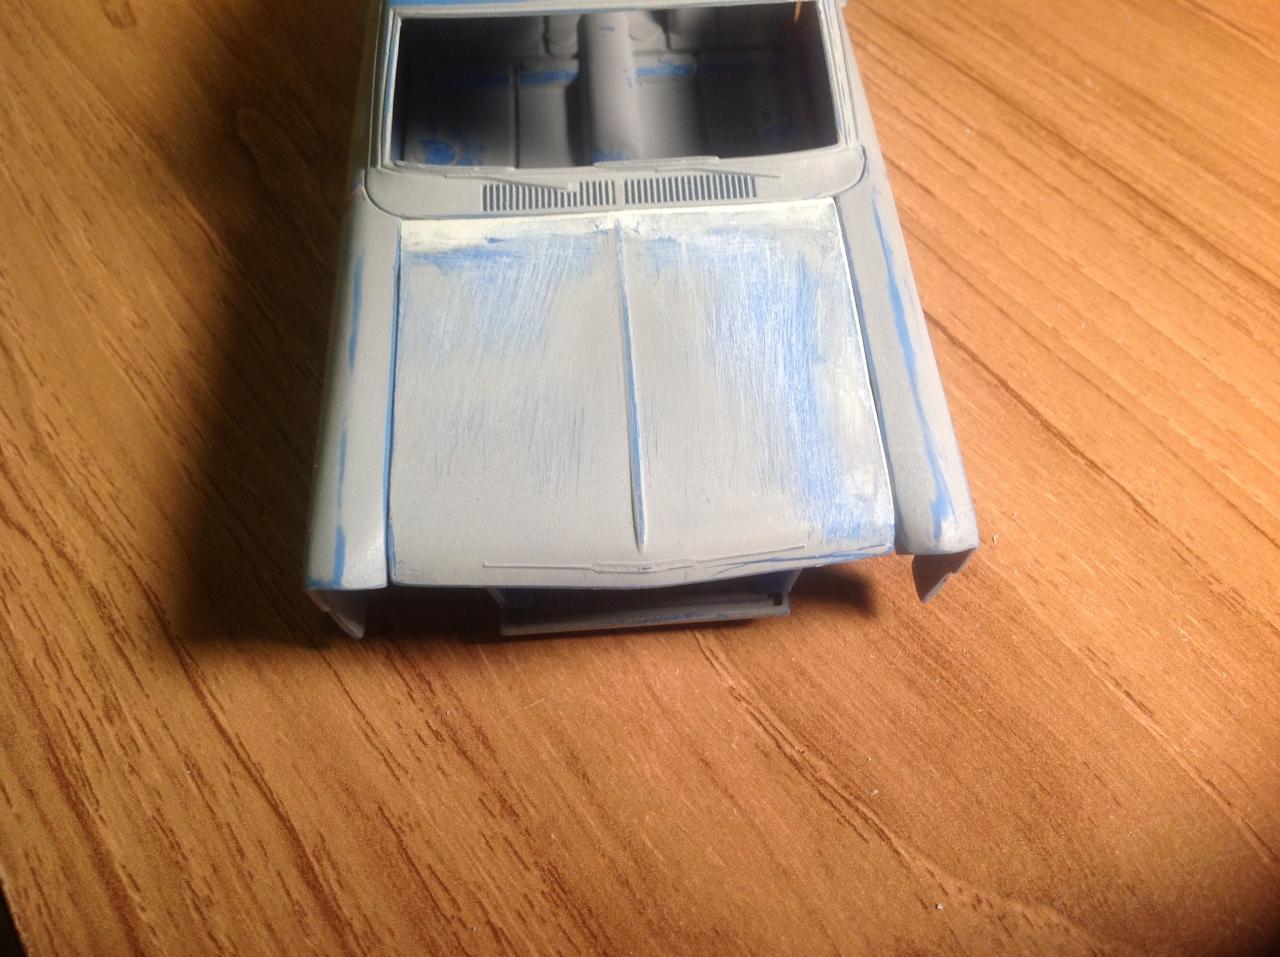
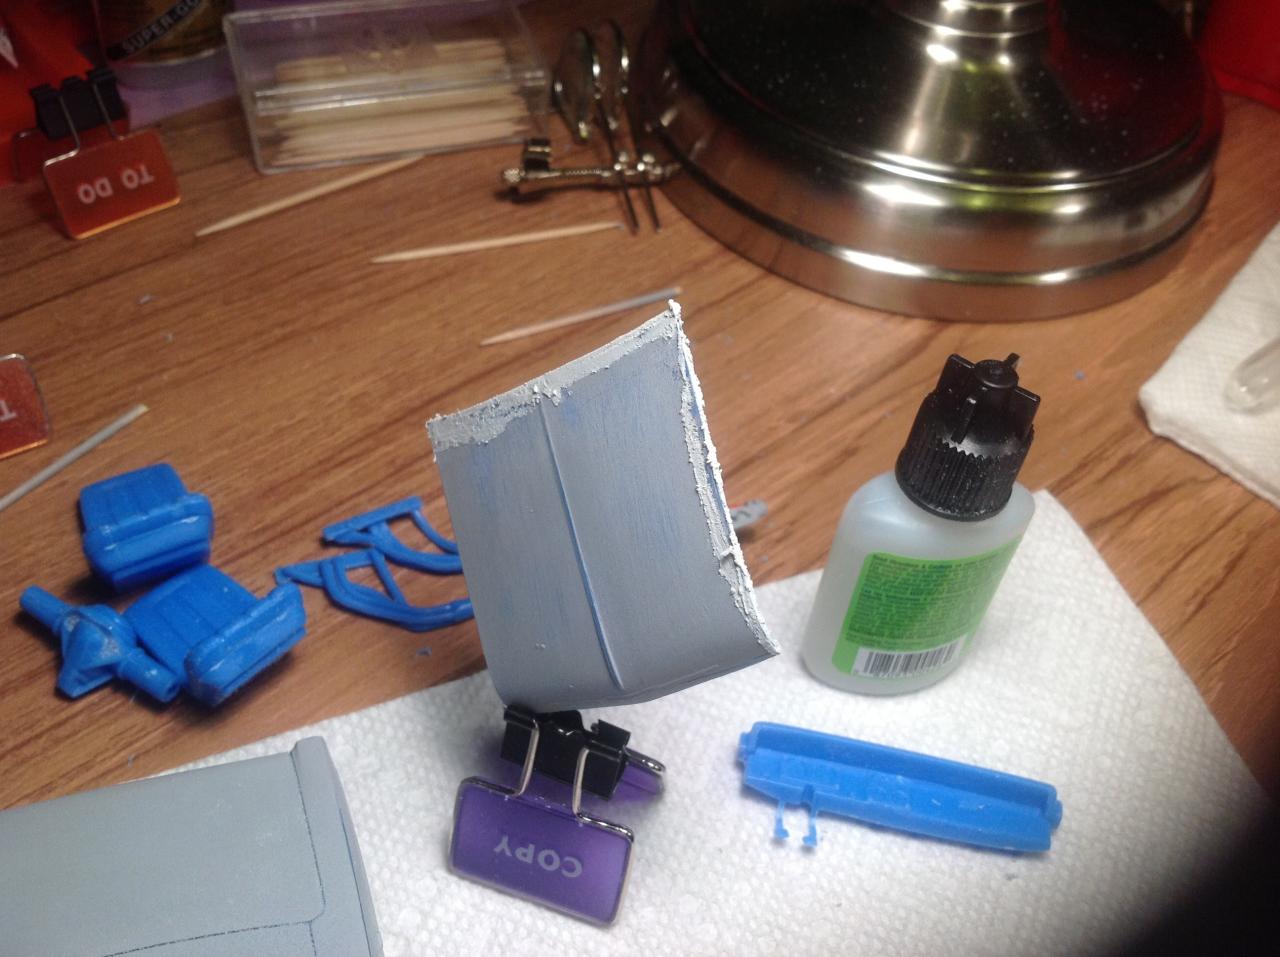
Thanks Gene. I started messing around with this one again tonight and sure enough nothing went easy. Hood was too short so a couple hours of messing with it, it's now getting closer. I also played with motor some and realized the deck on the block was not square so I had to add some filler to it so the intake was square with the oil pan. After messing with hood I stuck it on the body, and well it sits too low in the front so will have to be shimming it up, I think I kinda have that sorted as well, another night thinking I could start building and another night spent messaging parts instead. Oh we'll I have got to be getting closer to being able to start mocking this one up at least I hope so. I don't know if I went the best rout on fixing the hood but here's how I did it. Tell me what you think . I used .040 rod and glued it to the back edge of the hood cut it to length and then used squadron white filler to fill. I then worked on sanding all the edges square, seemed to work for me just took some time and several coats of filler on and off. I always sand to much off and have to refill. I got to figure that one out one of theses days. Still got some work on the hood to fix the corners but its getting close I think. You guys take a look and tell me what you think I have never messed with any box Novas so not to sure on the body lines just guessing. Thanks for looking.
-
Very cool love the color. Can't wait to see which way you go with it.
-
Wow Greg this thing looks great and thanks for showing us how your doing things step by step I am taking this all in and learning a lot from yours and Johns builds. Thanks Bob