Straightliner59
-
Posts
5,817 -
Joined
-
Last visited
Content Type
Profiles
Forums
Events
Gallery
Everything posted by Straightliner59
-
 I wouldn't assume that to be your thought! It's just a very real risk! It's a thought, but, I need to consider "my team's" budget. Then, again, the fuel injection is "home built", so, theoretically, they could splurge a little on aesthetics!
 -
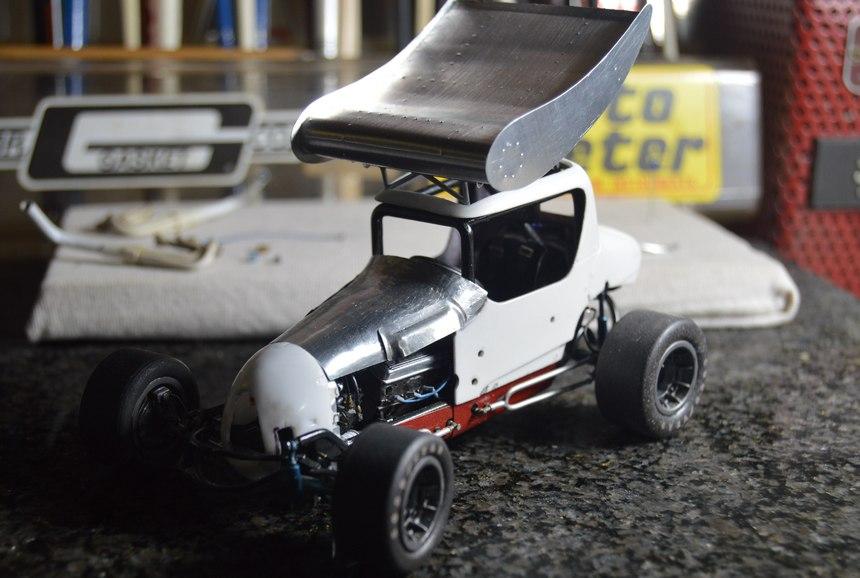
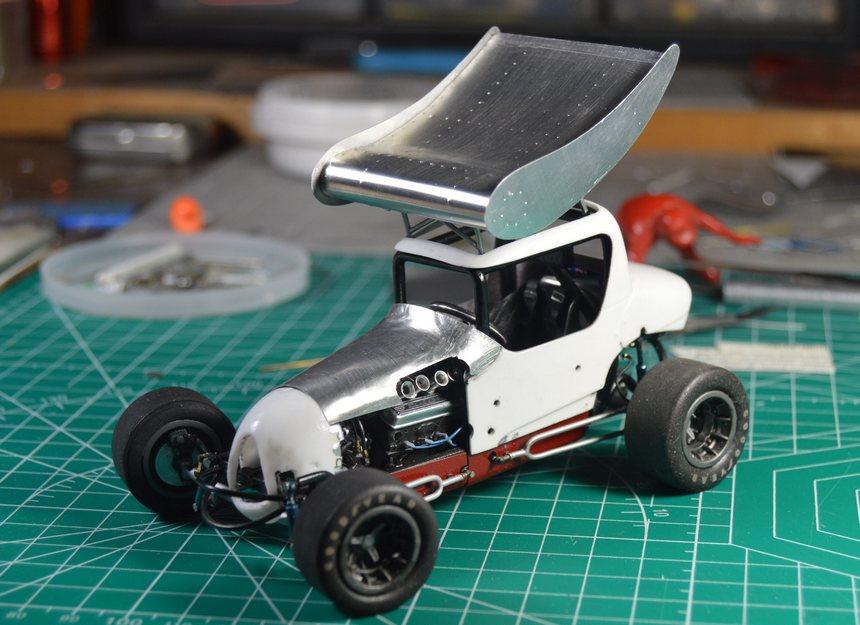
I think this tidies up those cutouts, very nicely! Of course, there's the standard adjustments and final fitting, along with thinning the edges, and a row of faux rivets. Looks pretty old school racer! How about a row of louvers, down the center of the hood? Comments, critiques and questions are always welcome. Thanks for lookin'!

-
The whole thing is great, but, I am particularly fond of that grille shell! Beautiful work, all around, Charlie!
-
With the Coke markings, you could do some local bottler, somewhere. There was one in my hometown. That would be kinda cool.
-
Given the circumstances...yep! Everything looks great, sir.
-
Very nice radiator! That black looks just right.
-
I'm not sure that styrene would be very practical to make this hood, unless one was to modify the kit piece, or carve a buck, and vac-form it. That wouldn't be near as much fun! ? I really enjoy working the aluminum sheet, and I love the way panels look, that have been created from it! Thanks so much for your inspiration, and encouragement, Francis. They are very much appreciated.
-
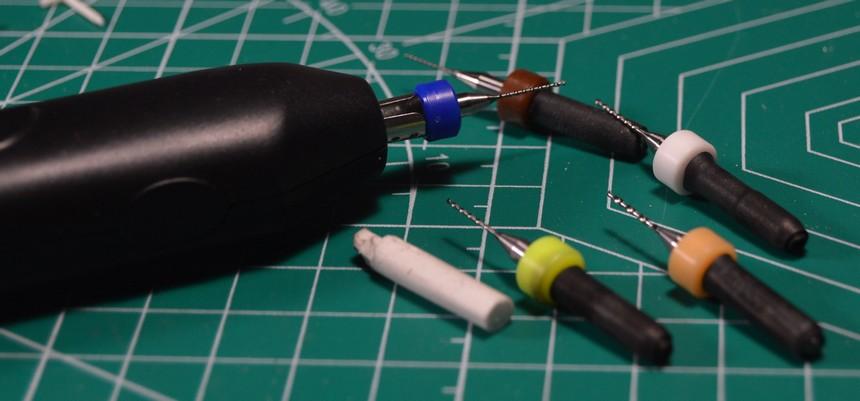
Improvised Power Drill
Straightliner59 replied to Straightliner59's topic in Tips, Tricks, and Tutorials
Thanks, Mike! That low torque is what makes this so valuable. I have a Dremel with a flex shaft, and a mill. They both have too much torque. This thing, if a .5 mm bit catches, the motor stops! -
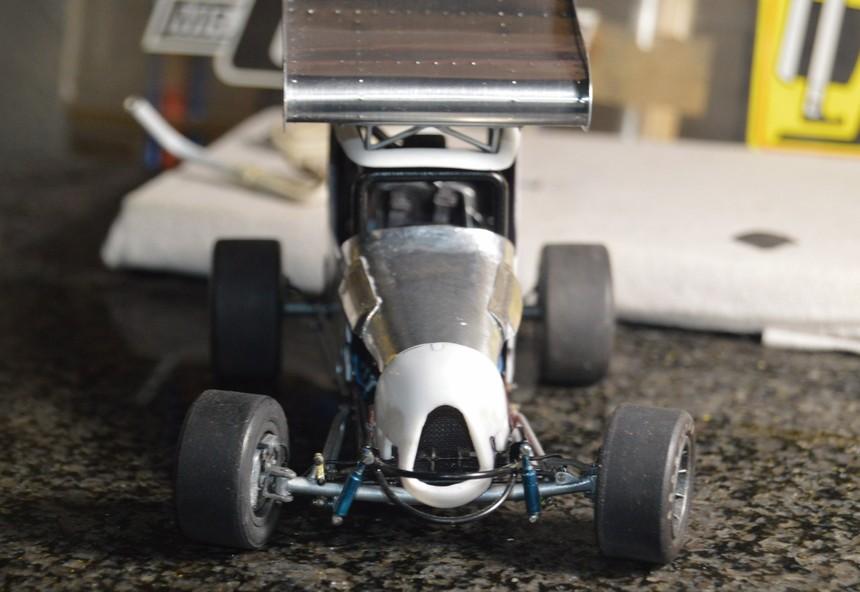
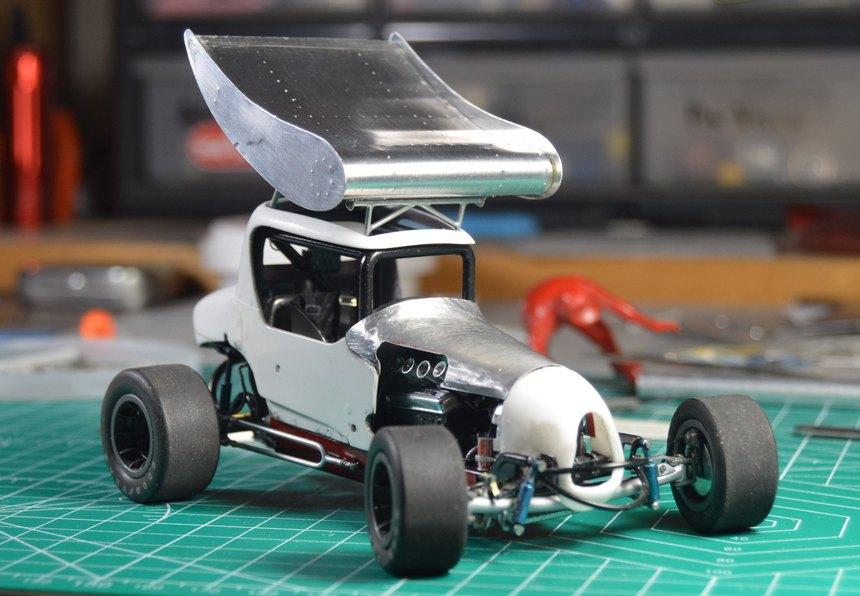
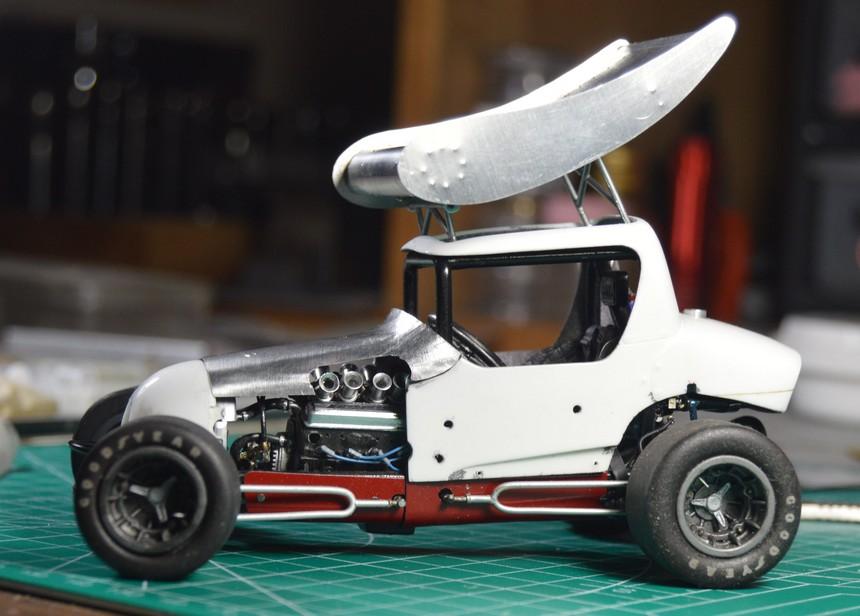
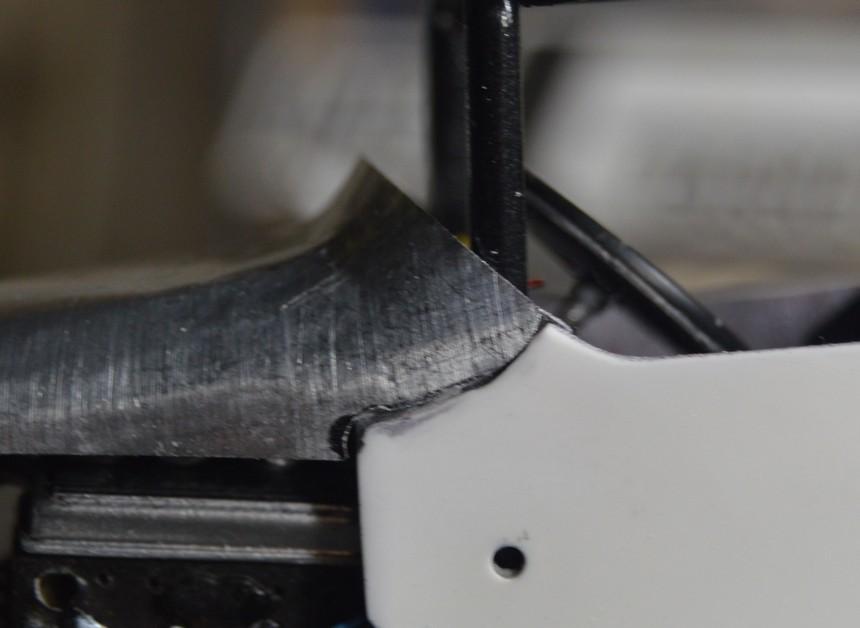
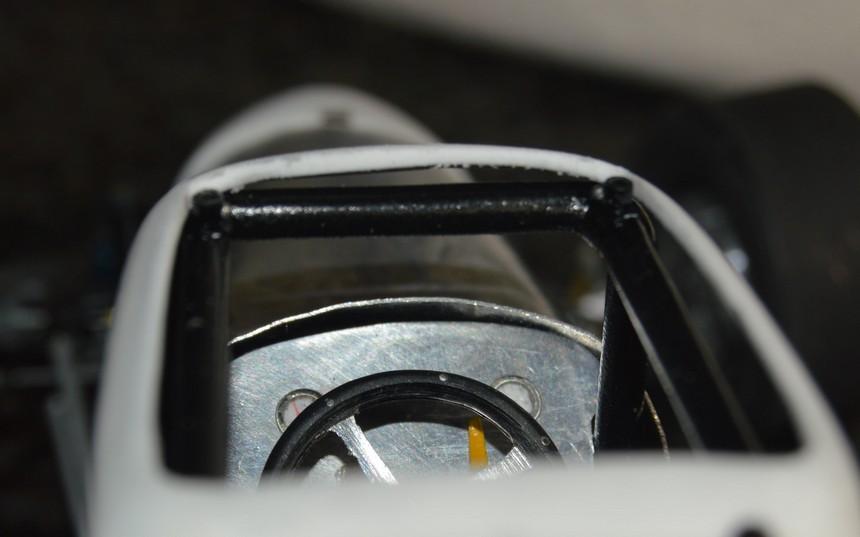
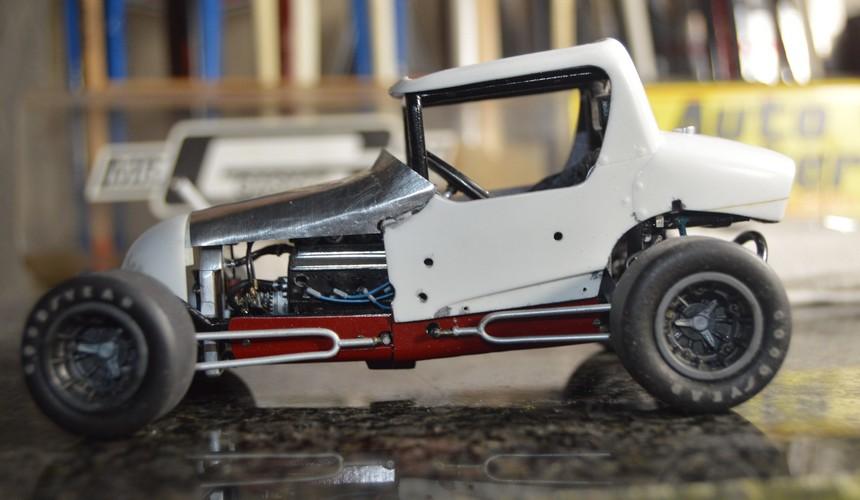
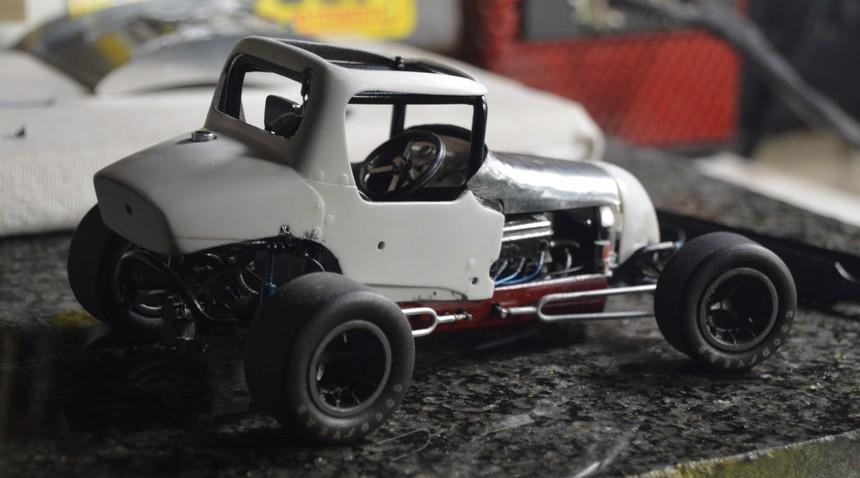
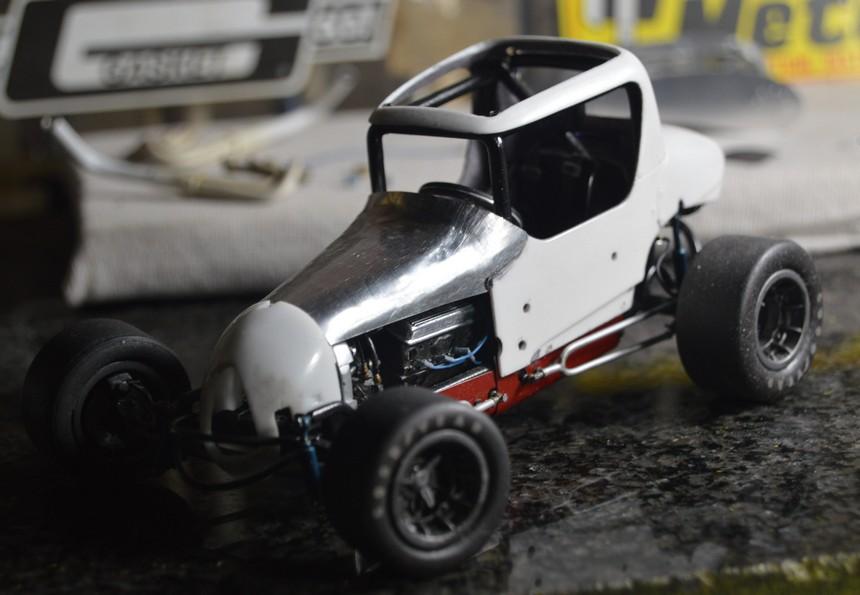
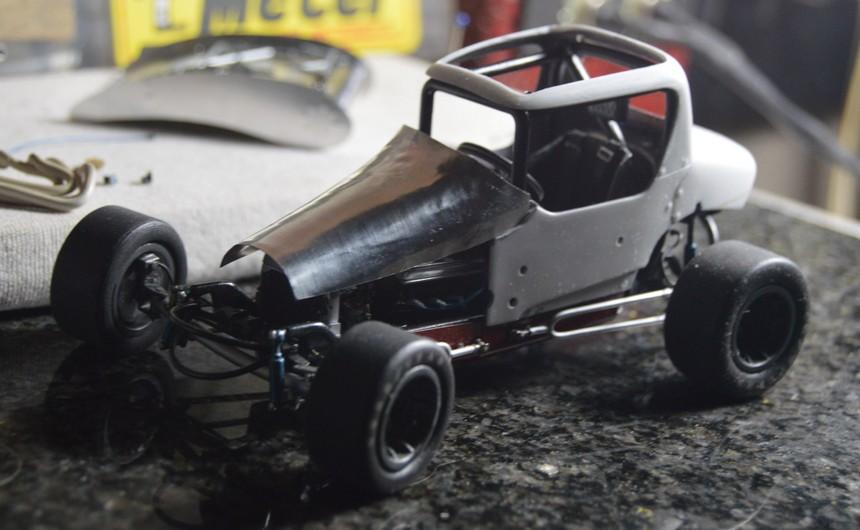
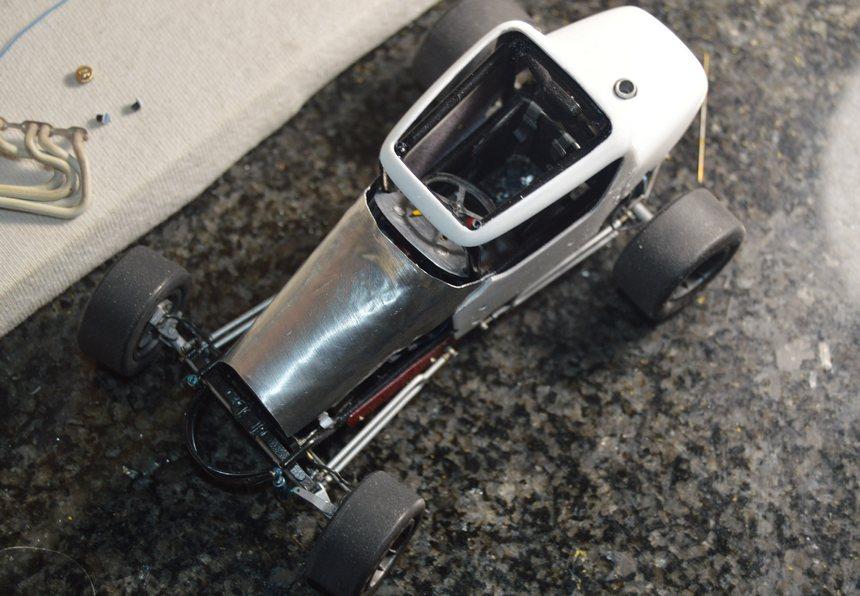
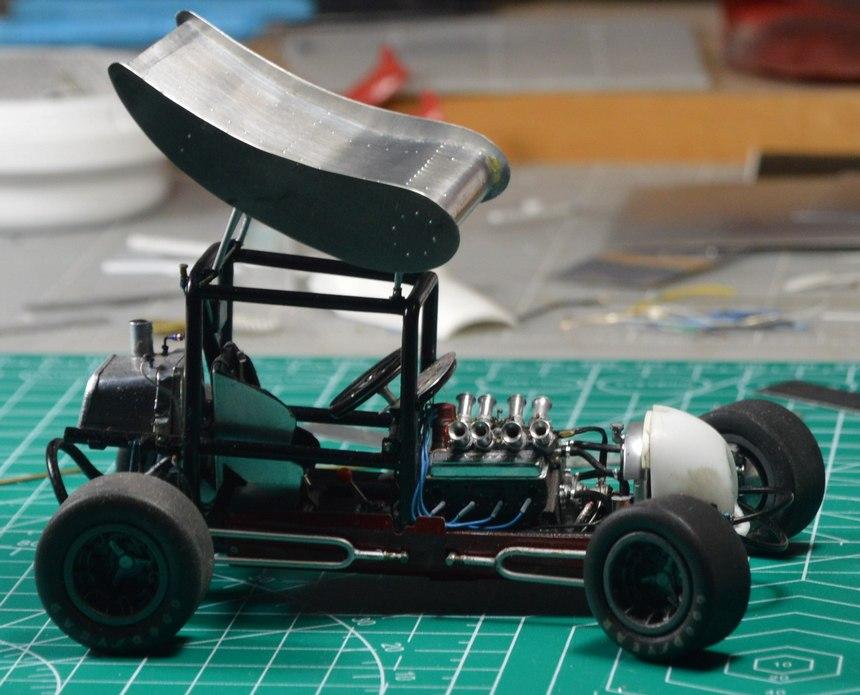
Work on the hood progresses. I made some tabs to mount the grille shell. I then punched two 1/16" rubber discs from a section of bicycle inner tube. I sliced each of these in two, giving me four thin discs of rubber. I glued these inside the grille shell mounting tabs. They'll represent vibration-damping biscuits, and they have the added bonus of holding the shell in place, while work continues on the hood. I knew the point would come that I would have to deal with cutting out the hood, to clear the injector stacks. I have the openings roughed-in. Once they're finalized, I will make a tapered "eyebrow" to kind of finish out the opening. This thing fits, beautifully! Almost perfectly, even. In these photos, the gaps you see where the hood meets the body is because the body is a bit down, in front. In its proper position--heck, I'm amazed at how well the thing fits.? Thrilled, too! I just had to have a gander at where I am headed... As always, comments, questions and critiques are welcomed. Thanks for looking!
-
Thanks, Ian! I'm looking at ways I can smooth the area at the transition. I still haven't re-annealed it, yet, either. That will help. It's definitely tricky, up around the dash. I'll just keep at it, until I get it, or ruin it! If I ruin it, I'll just start over, again. If I get it on the first shot? That would be awesome!
-
I did a search through a search engine, in the recommended manner; While I'm reasonably sure this has been posted here, before, I couldn't find a direct link, to it. It's a gold mine!: http://oldcarmanualproject.com/books/1957ChevyStockCarCompGuide/index.htm
-
- 1
-

-
Boy, AMT really took the easy way, with these FCs. The bodies would be much easier to convert to stock! ?
-
The double letters at the beginning indicate a supercharger. AA, BB, etc. There were oddly-named classifications, based on individual tracks, as well. Typically, BB/G and B/GS would indicate the same thing.
- 39,081 replies
-
- 2
-
-
- johan
- glue bombs
- (and 1 more)
-
How Can Tail Lights Be Tinted?
Straightliner59 replied to crowe-t's topic in Model Building Questions and Answers
I think that would be your best option, short of building it as an assembly, with layers.? That's what I would probably do, but, I might be a bit "touched"! -
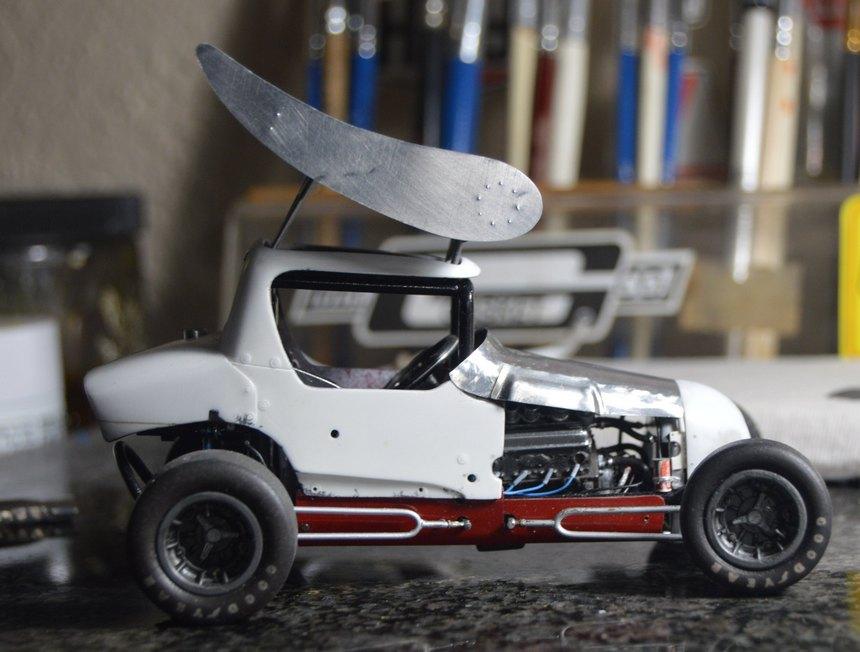
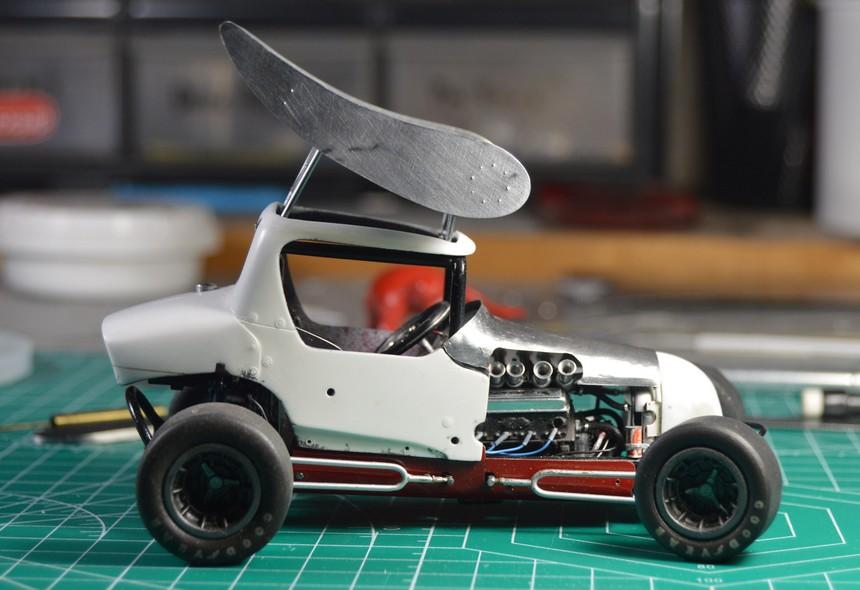
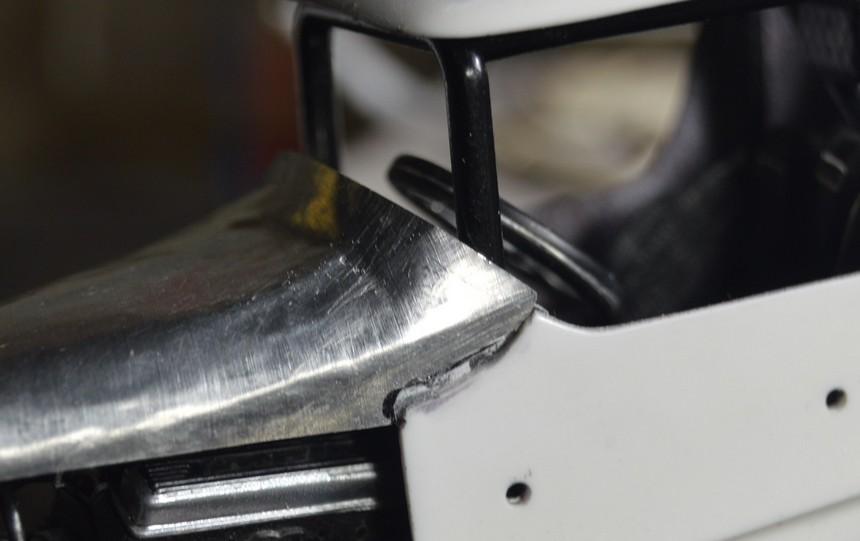
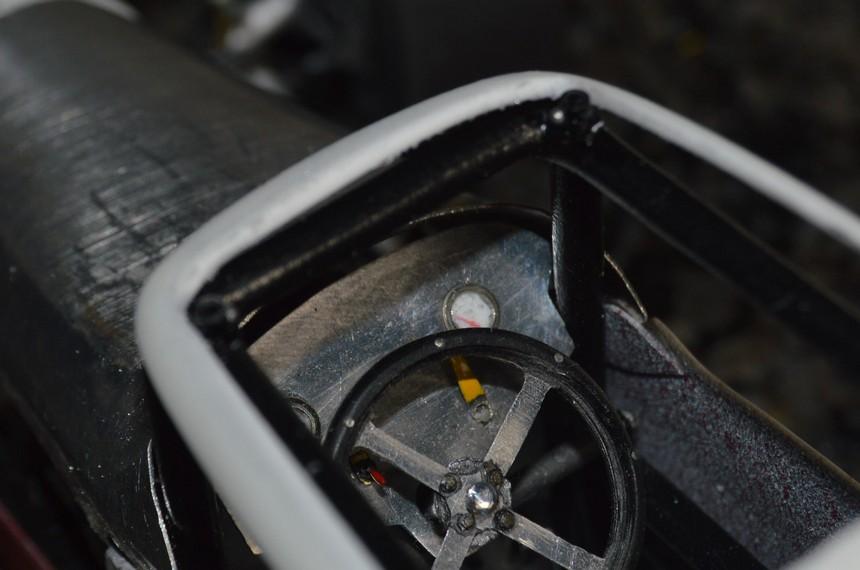
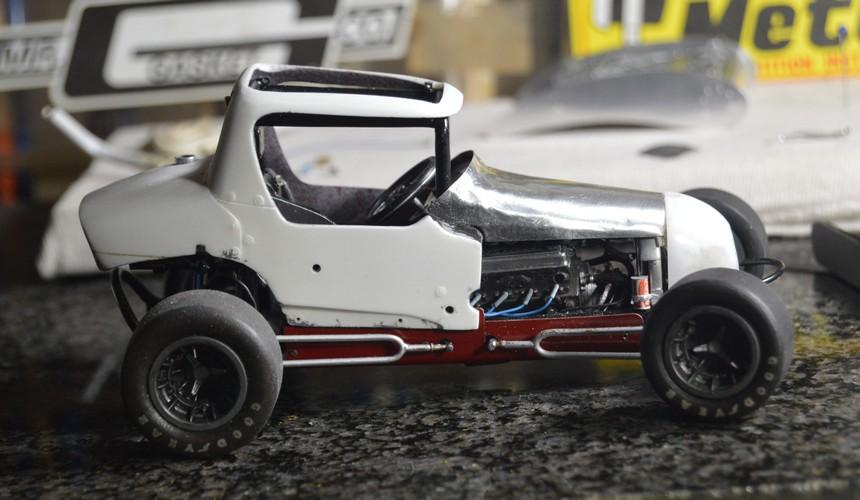
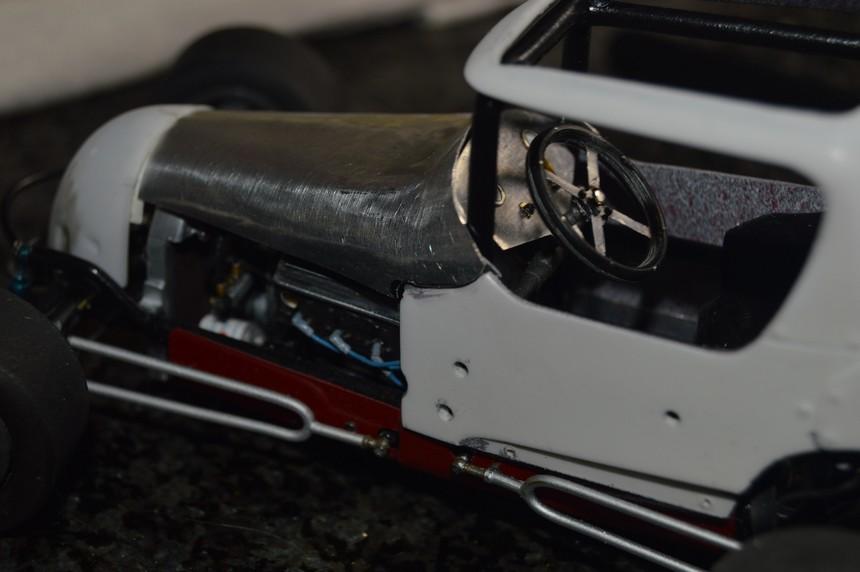
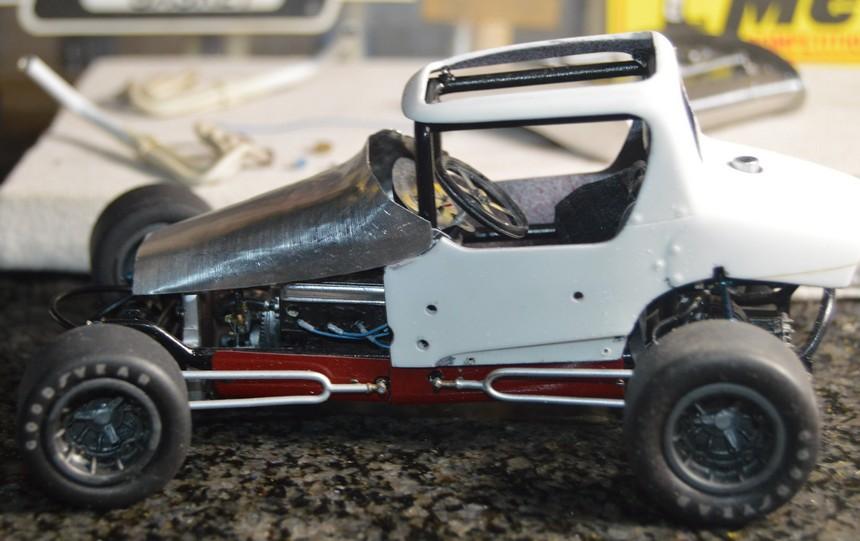
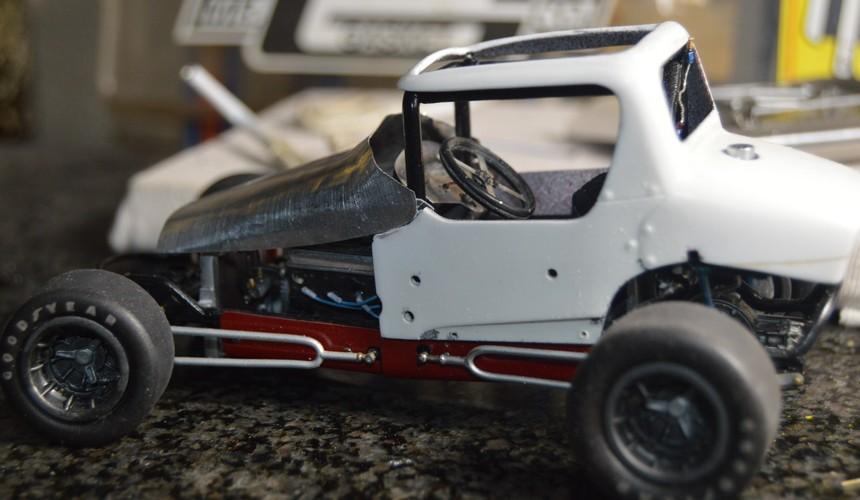
A bit of filing on the rear corners of the hood tightens up the distance between the hood and the dash. That the hood isn't smooth, yet, is inconsequential. At this stage, getting the fit is of main importance. It's mostly bend, file, fit, repeat! Some of these photos illustrate what a large difference a small adjustment can make. I also need to add stock to the parts beneath the sheet, so that the seams/joints are flush. I also need to determine the mounting of the grille shell, as it needs to be "home" as work on the hood progresses. Comments, questions and critiques are always welcome. Thanks for looking!
-
Exactly! And, they HAVE to be there!
-
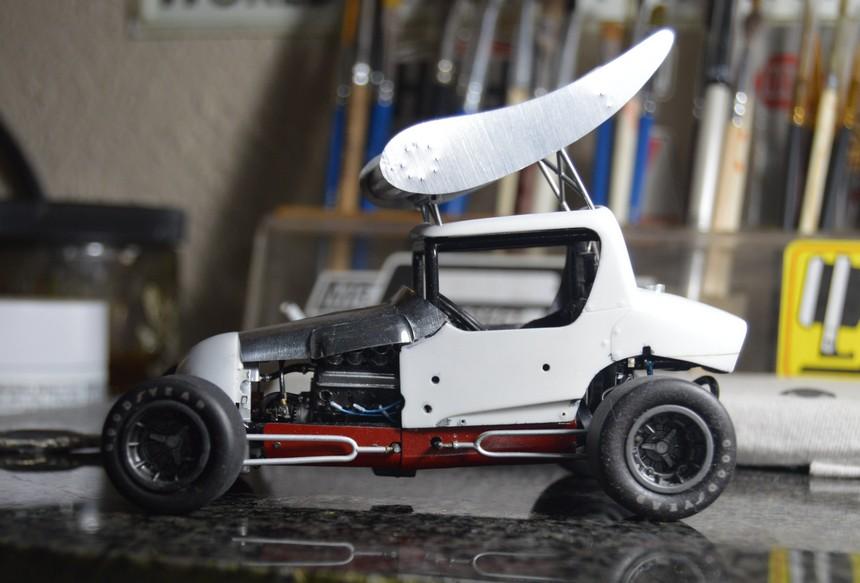
Thanks, Tim. I am hoping for an early night home from work. The fit at the firewall/dash is getting closer. If I can get that taken care of, it'll just be fine-tuning and smoothing! Thanks for your comments!
-
Very cool! Those wires have me reluctant to build my Monogram Bugatti.
-
64 Dodge D100 Pickup Pro Street
Straightliner59 replied to AmericanMuscleFan's topic in WIP: Drag Racing Models
If I didn't know better, I'd swear you were just posting cleverly Photoshopped photos of a real vehicle. Some of you guys are truly raising the bar! That's exciting, to me! And, it does need to be at Salt Lake. -
Stupendous work! I've never had to use that word, before! This is absolutely inspiring, and amazing.
-
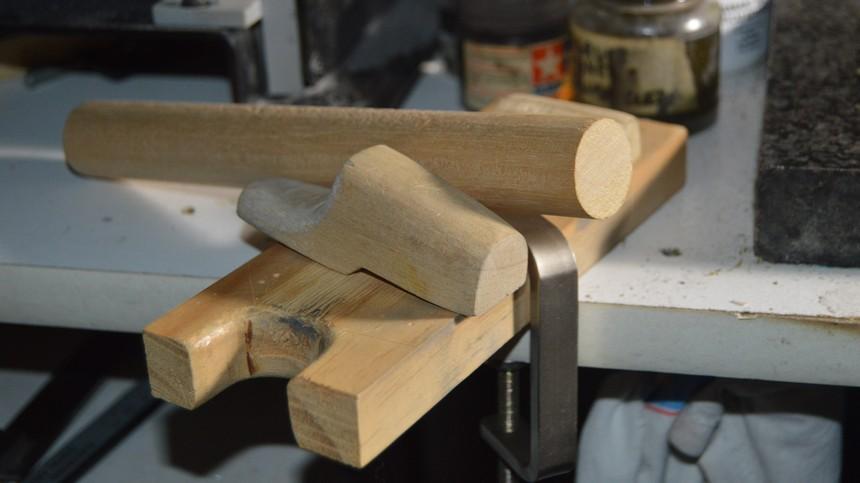
Thank you, kindly, my friend! Here are the beginnings of the hood, along with an assortment of wood shapes I used for forming it. I have a box of various bucks, etc. that I have collected, over the years, for forming sheet over. The hood is in need of re-annealing, as it has work-hardened...
-
Well, I suppose. I will need to figure an easy way to attach it, though. It doesn't seem too practical, at this point. It's a great idea, though!
-
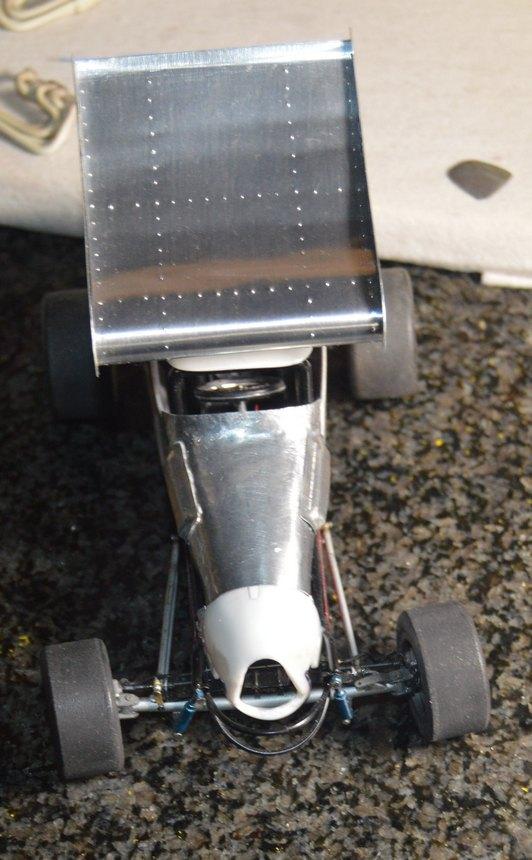
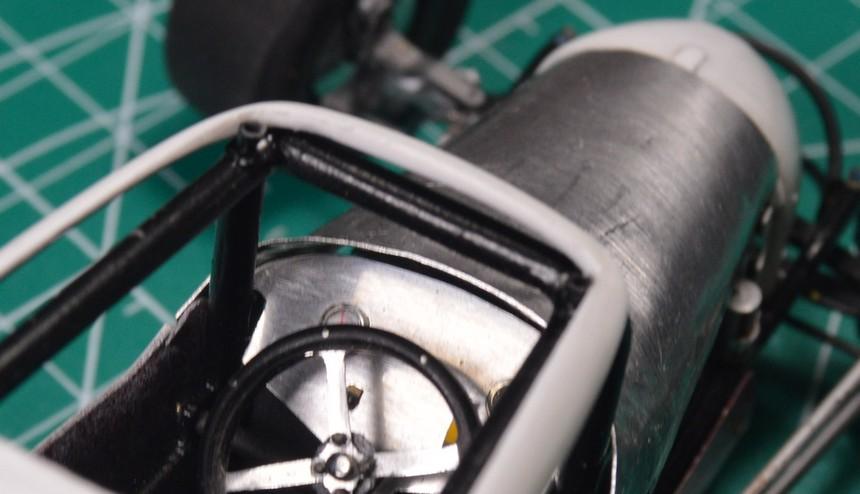
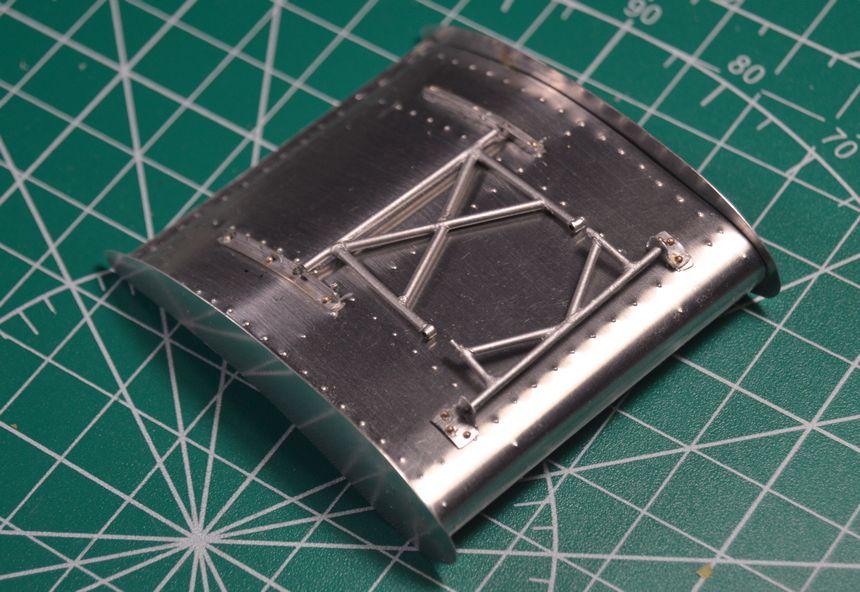
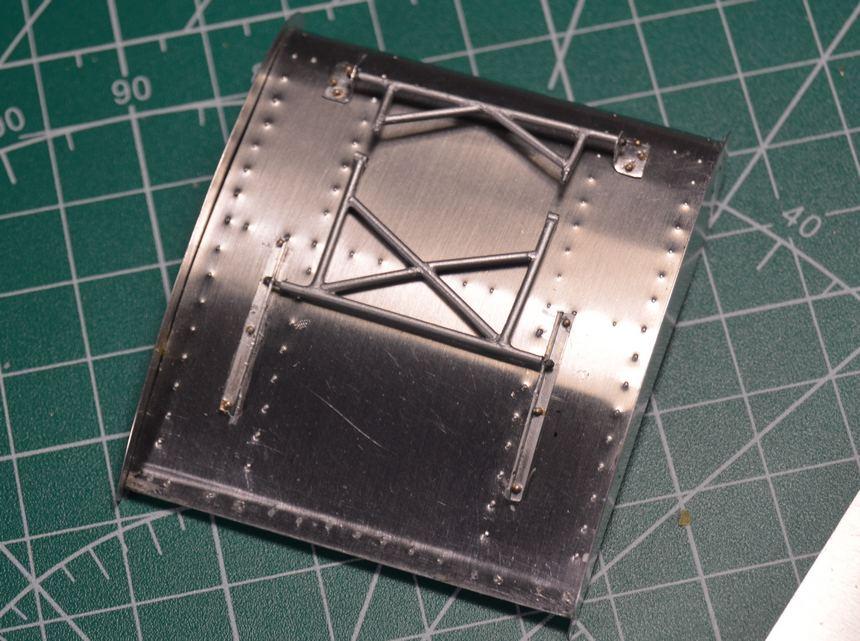
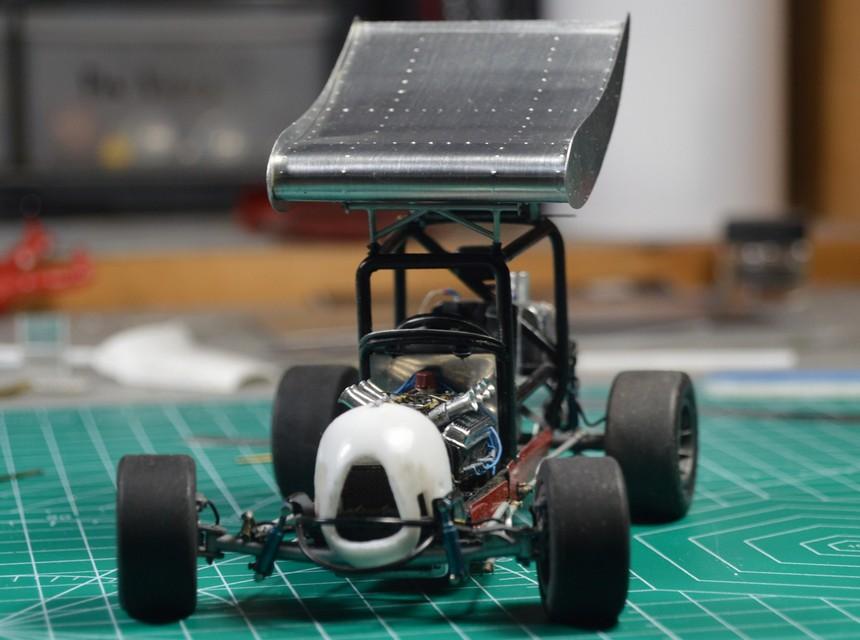
Wing underside detail...I've begun work n the hood. The brackets are being held on by the rivets. I used a high speed bit in a power eraser to drill the holes. It worked out, well.
-
Holy cow! Did a rainbow and a leprechaun fly out, when you opened the box?! Nice!
- 39,081 replies
-
- 2
-
-

-
- johan
- glue bombs
- (and 1 more)